When Alton Brown was filming Good Eats, he and his crew produced eight special episodes, in addition to the regular seasonal episodes. Seeing as Ted and I will be having our Thanksgiving dinner with his parents this year, we decided we would have my parents over to our house for an early Thanksgiving dinner, which we had yesterday. It just so happens that the first of the Good Eats special episodes has a Thanksgiving theme, so, of course, I used the recipes from this special episode to fill our (first – lucky us!) Thanksgiving table this year.
Ted and I have only hosted Thanksgiving once at our house. In 2010, we hosted both sets of our parents, along with Ted’s aunt and uncle. It was particularly cold and snowy that year, and Ted was in charge of cooking the turkey. My dad contributed our family’s favorite stuffing with blue cornbread and chorizo sausage, and everyone else brought a side dish or two to share. Ted chose to follow Alton’s turkey recipe from this episode of Good Eats. He’ll tell you it turned out dry, but the rest of us thought it was very good. The highlight of the day was when Ted and my dad were carving the turkey. As we did not have a carving board, they were carving the bird on a pull-out cutting board under the kitchen counter. The bird was quite hefty, causing the cutting board to slant toward the kitchen floor, and all of the turkey’s juices began running off the edge of the board. We all saw a huge mess about to form, but Hitcher, the hound, stepped in to save the day, positioning himself perfectly so the juices would run straight into his open, waiting mouth. Ellie, my now mother-in-law, was laughing so hard that I thought she was going to fall over.
Good Eats Roast Turkey
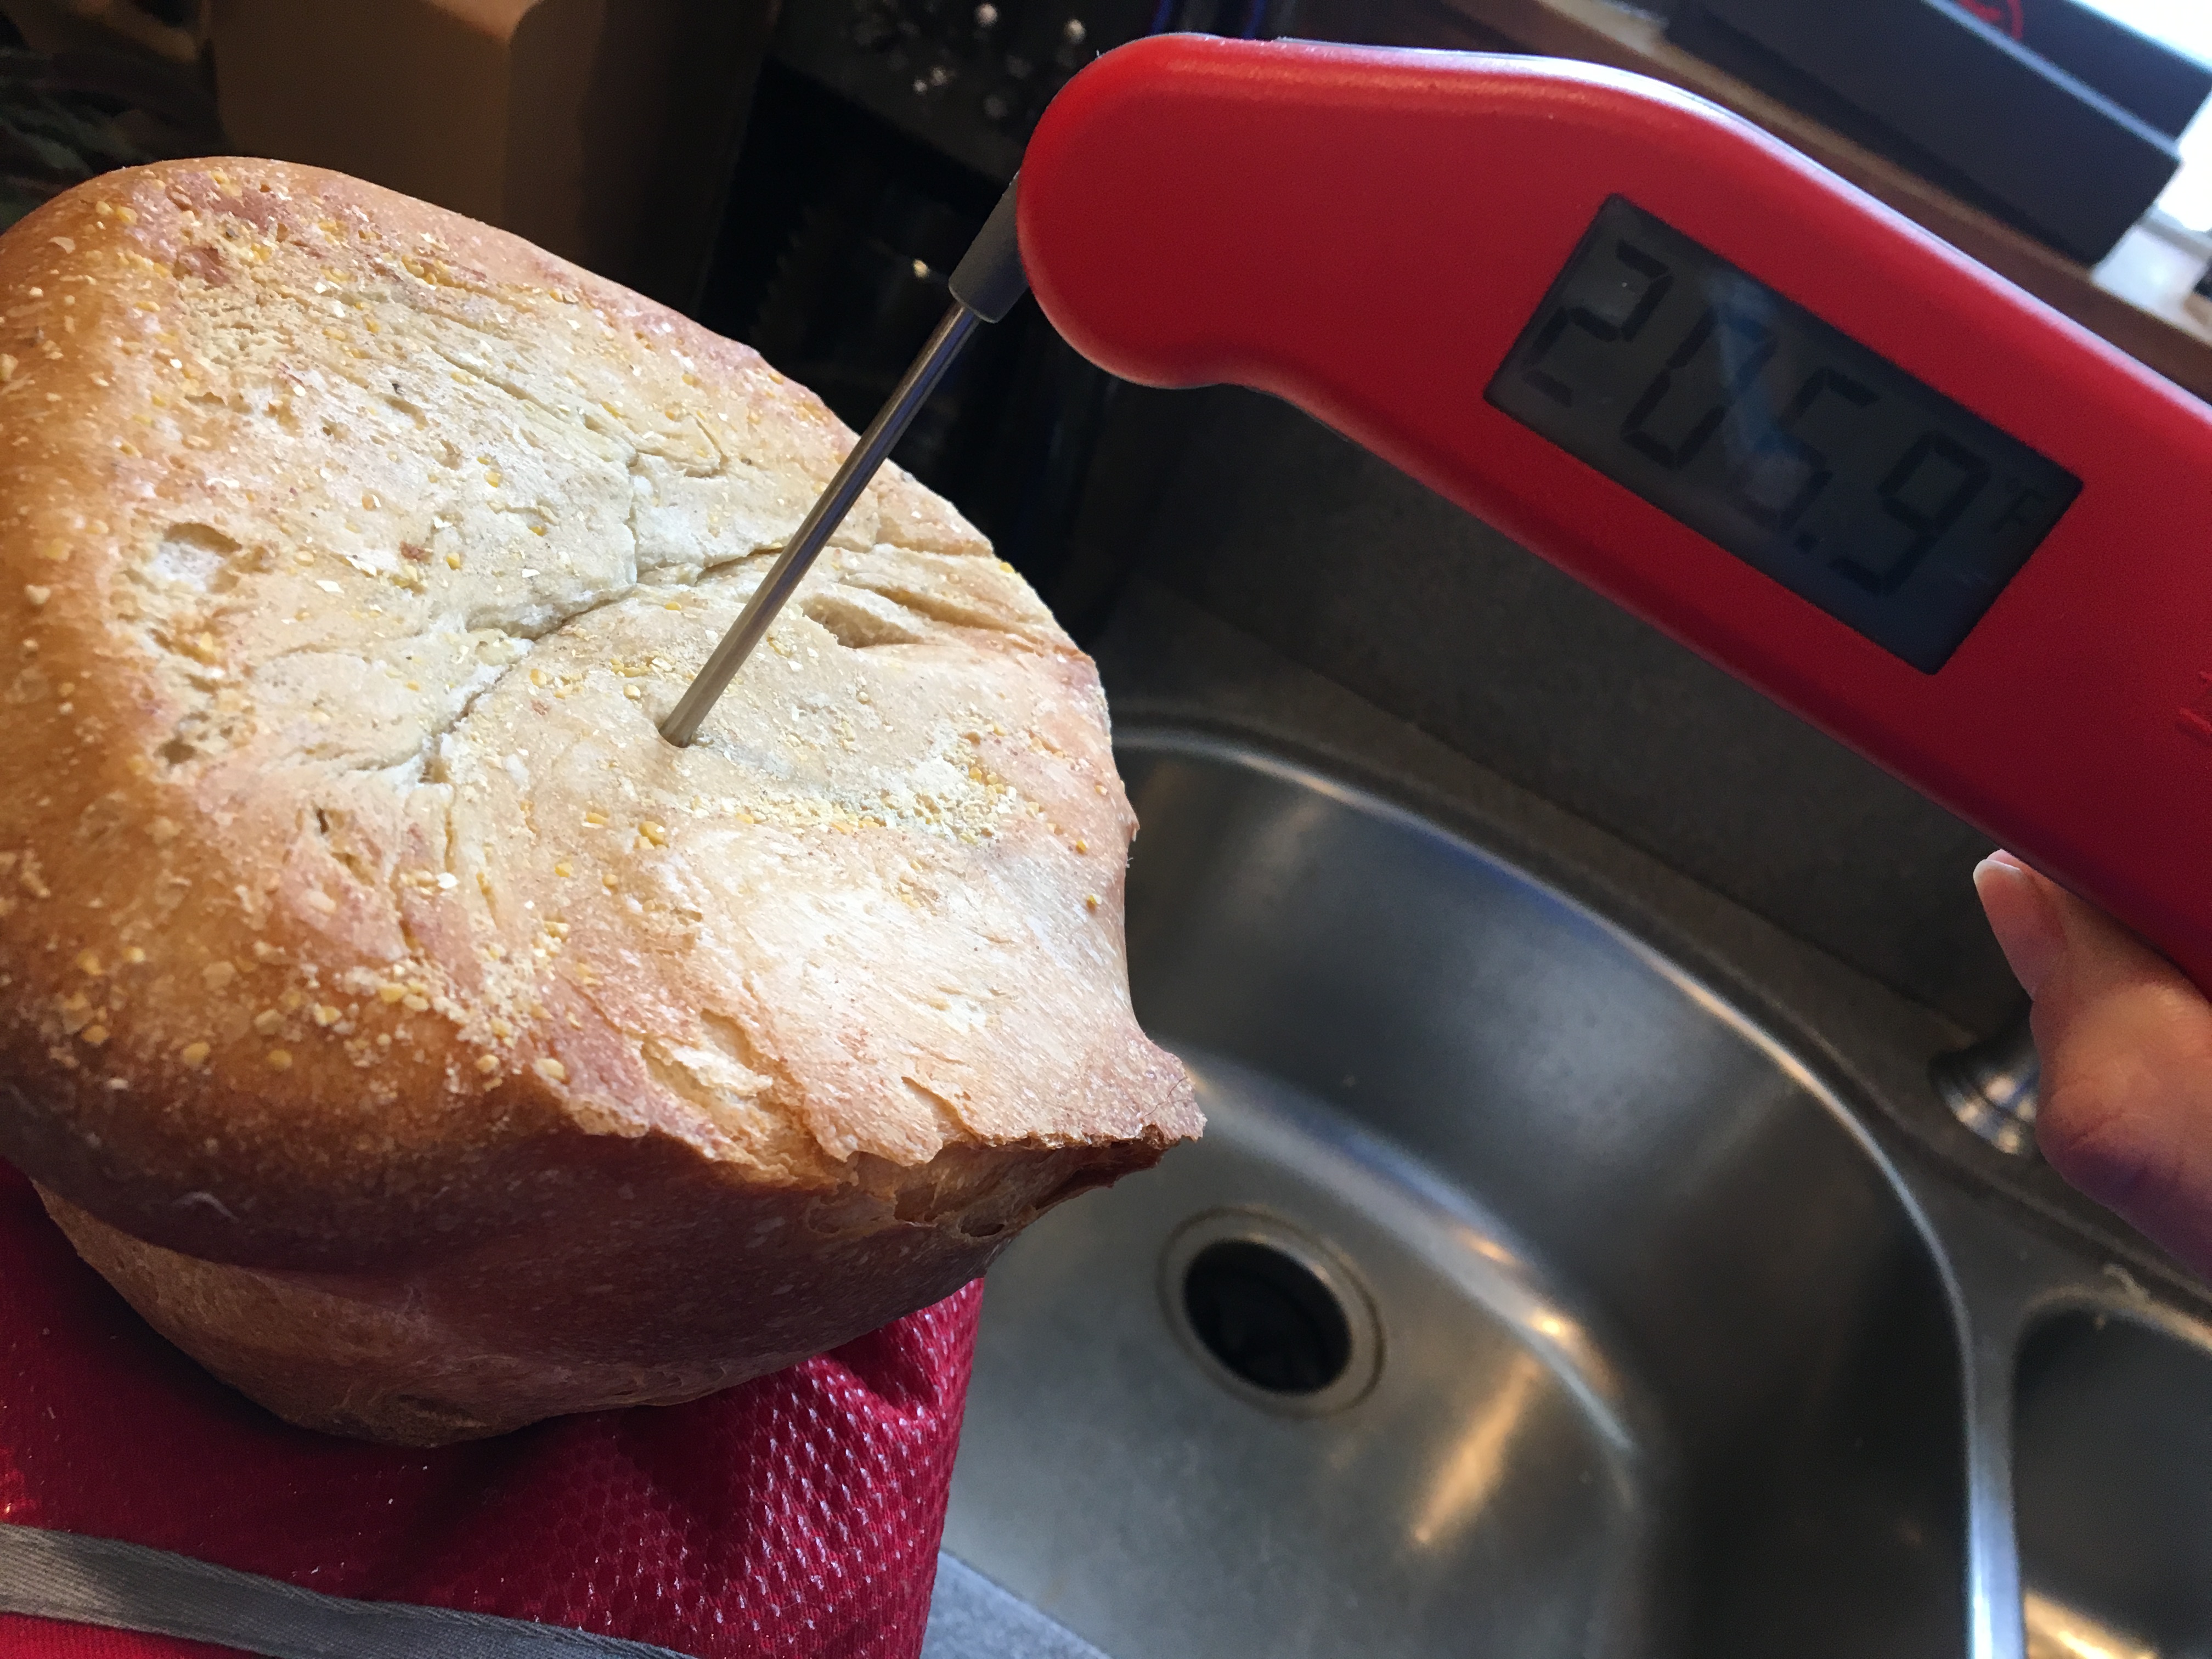
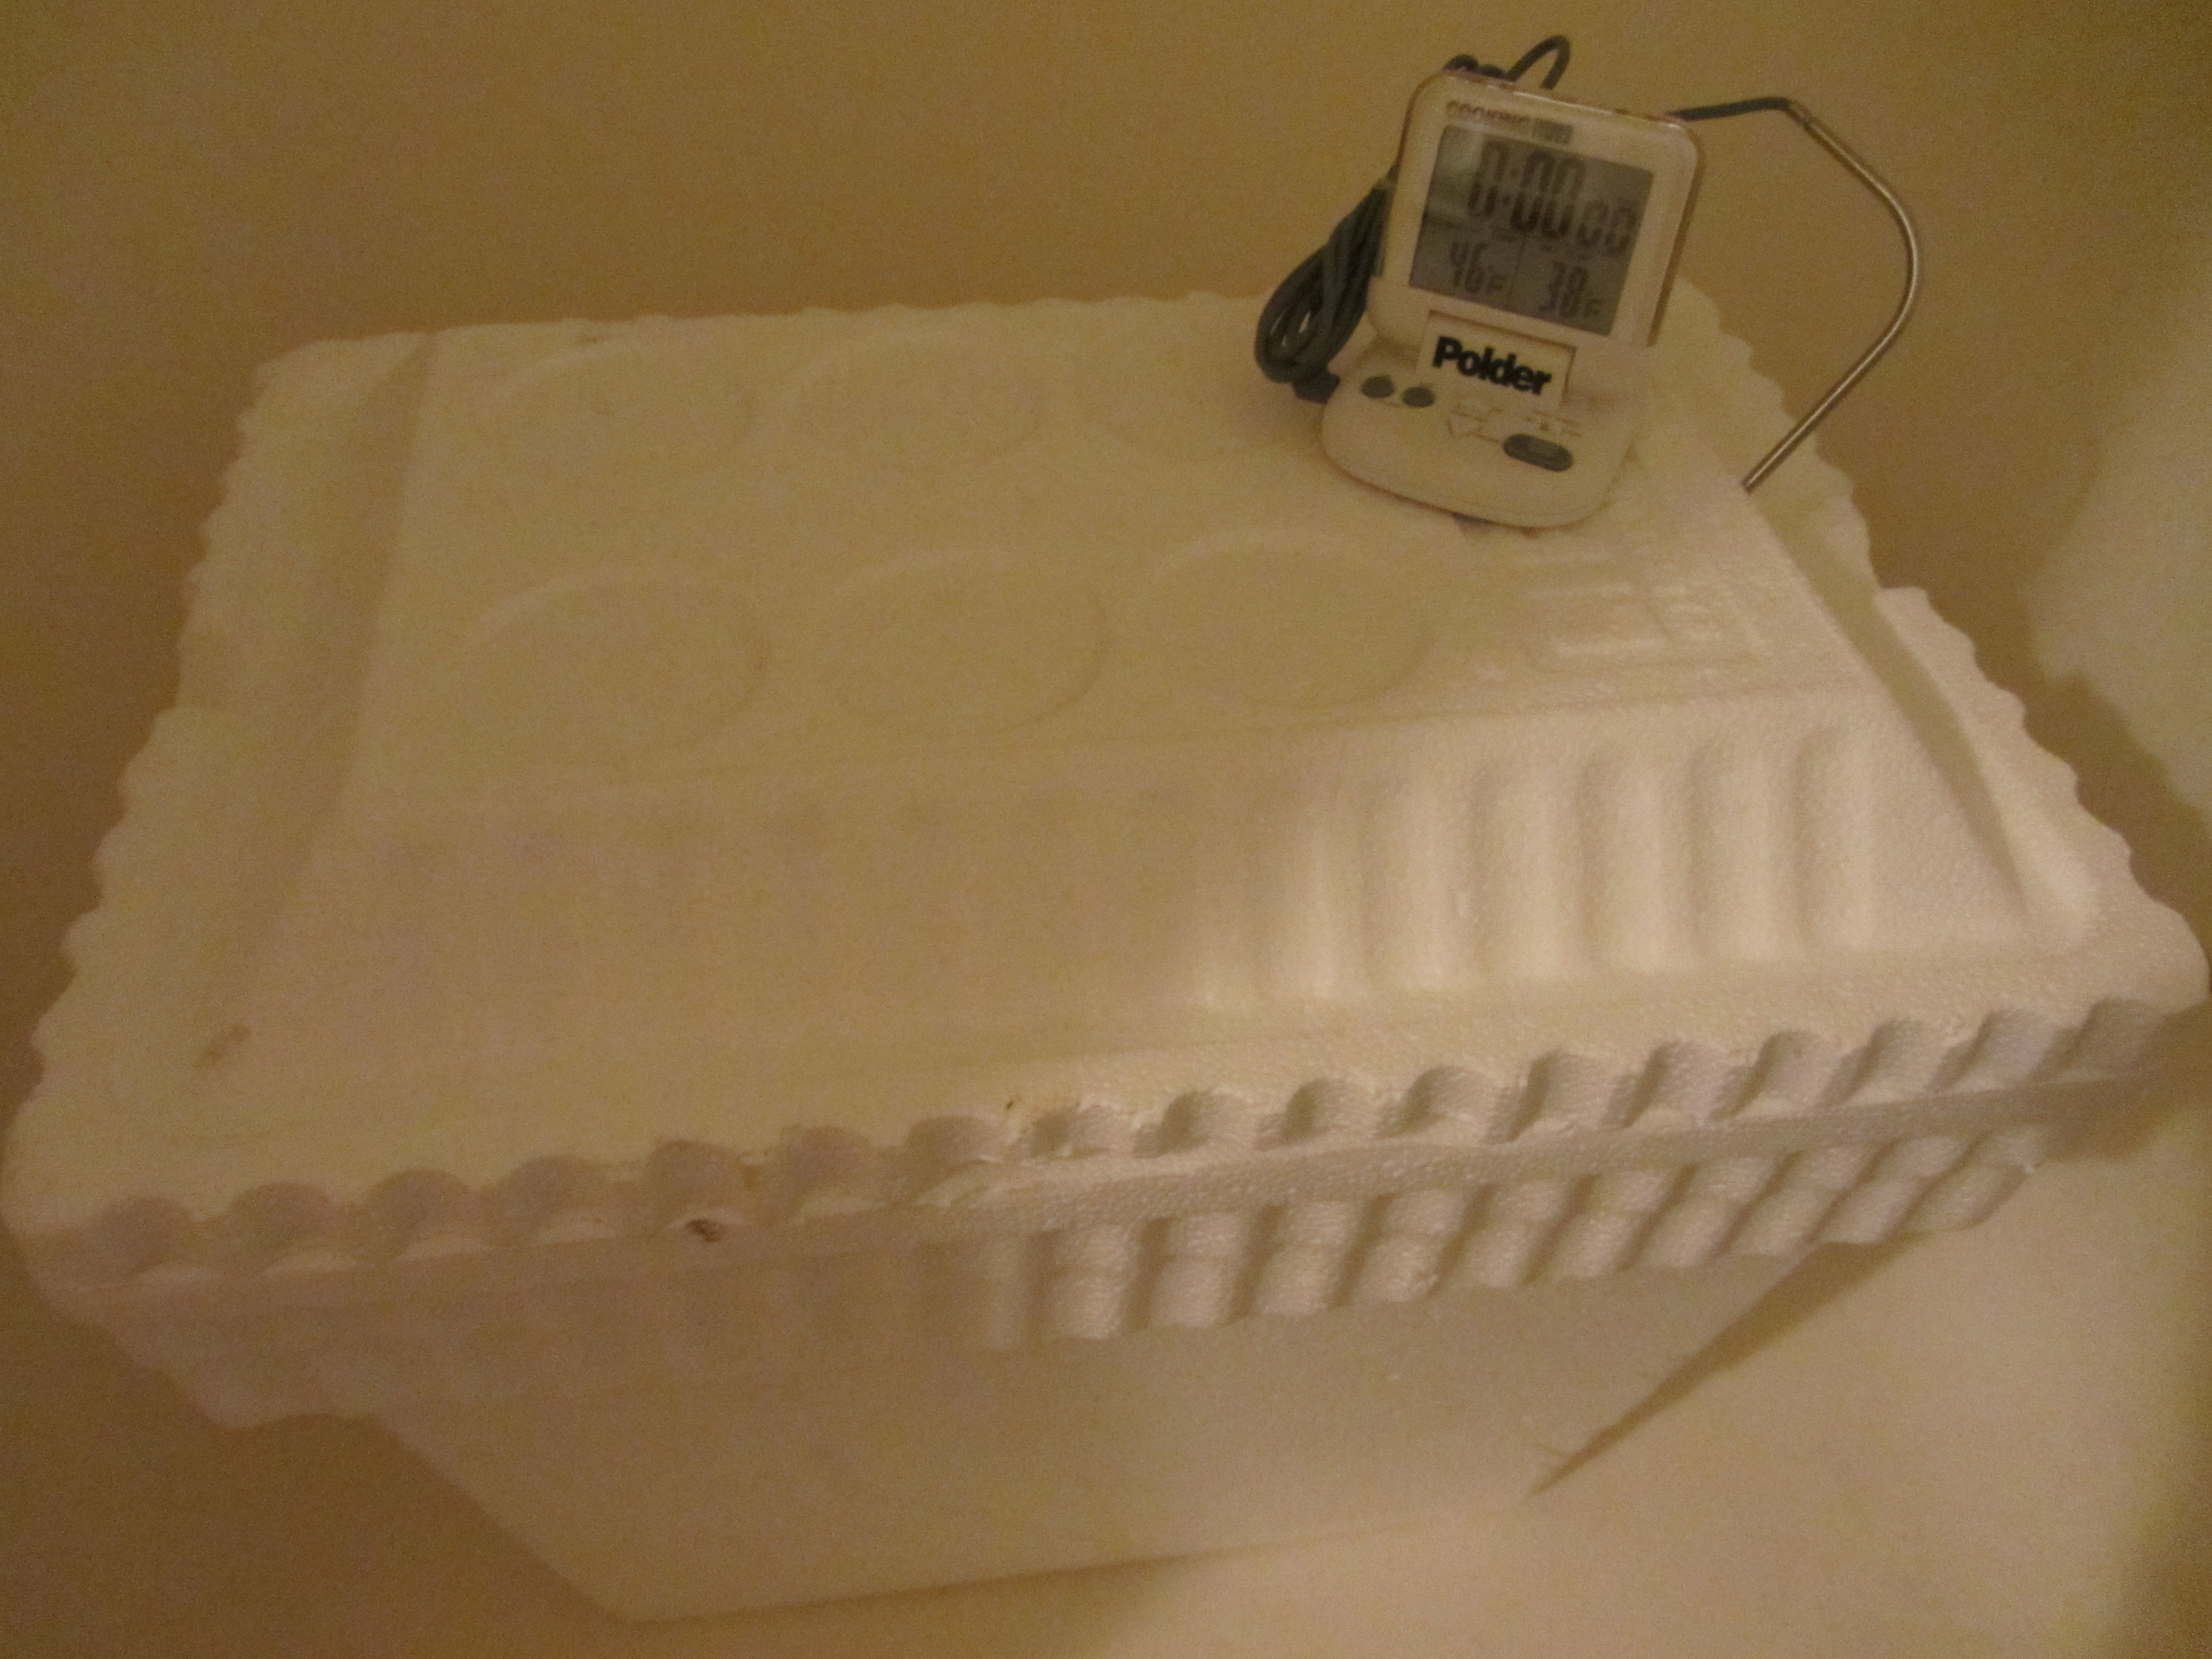
I was nervous yesterday, as I was cooking my first turkey. While I have always contributed something to Thanksgiving dinner, I have never before had the responsibility of cooking the almighty bird. I carefully watched Alton’s preparation of the recipe. For this recipe, he recommends a 14-16 pound turkey, but we purchased a 13 pound turkey since we would only have four people eating. To begin, you want to thaw your turkey for two-three days prior to Thanksgiving. I started thawing my turkey Monday evening. To thaw, Alton recommends putting your turkey (in a pan) inside a Styrofoam cooler with ice packs. Since we have two hounds, my turkey thawed safely in the guest bathroom shower.To monitor the temperature, he suggests sticking a probe thermometer through the top of the cooler, with an alarm set to go off at 38 degrees. We did not have a probe thermometer, but after watching the episode, I realized it would really be a necessity to properly prepare a turkey the Alton way. I purchased this thermometer at Amazon, which happens to be the same one Alton uses in the episode.

Turkey thawing in cooler.
As an alternative, if you need to thaw your turkey very quickly, you can put your turkey in a five-gallon bucket of cool water, changing the water every three to four hours; it should take ~six to eight hours. Note: Always thaw your turkey in its original wrapping. Did you know that turkeys are only technically considered frozen if they are below zero degrees? A refrigerated turkey is one between one and 24 degrees, while a fresh turkey is at, or above, 26 degrees. My probe thermometer went above 40 degrees, but the turkey still felt quite frozen, so I left it in the cooler until late Wednesday night. Sometime while your turkey is thawing, you want to make your brine. You can make the brine up to two days ahead, and you will want to make it early since it needs to chill. For the brine, combine vegetable stock, Kosher salt, brown sugar, peppercorns, allspice berries, and candied ginger in a pot. I ended up adding my ginger later, as I did not have any in the house.
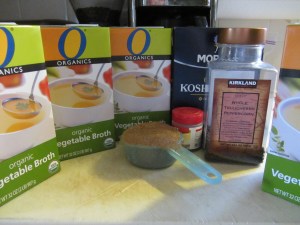
Brine ingredients: vegetable broth, brown sugar, allspice berries, Kosher salt, and peppercorns. Not pictured: candied ginger.

Brine on the stove, minus the candied ginger.
Bring this mixture to a boil, and then allow it to cool to room temperature with a lid on the pot. Once cool, you want to thoroughly chill the brine in the refrigerator.

Candied ginger. I added this after my brine had cooled, as I did not have any.

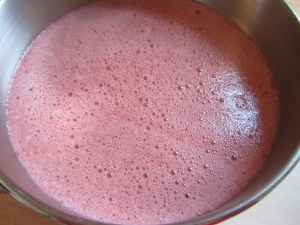
Cooled brine with candied ginger added.
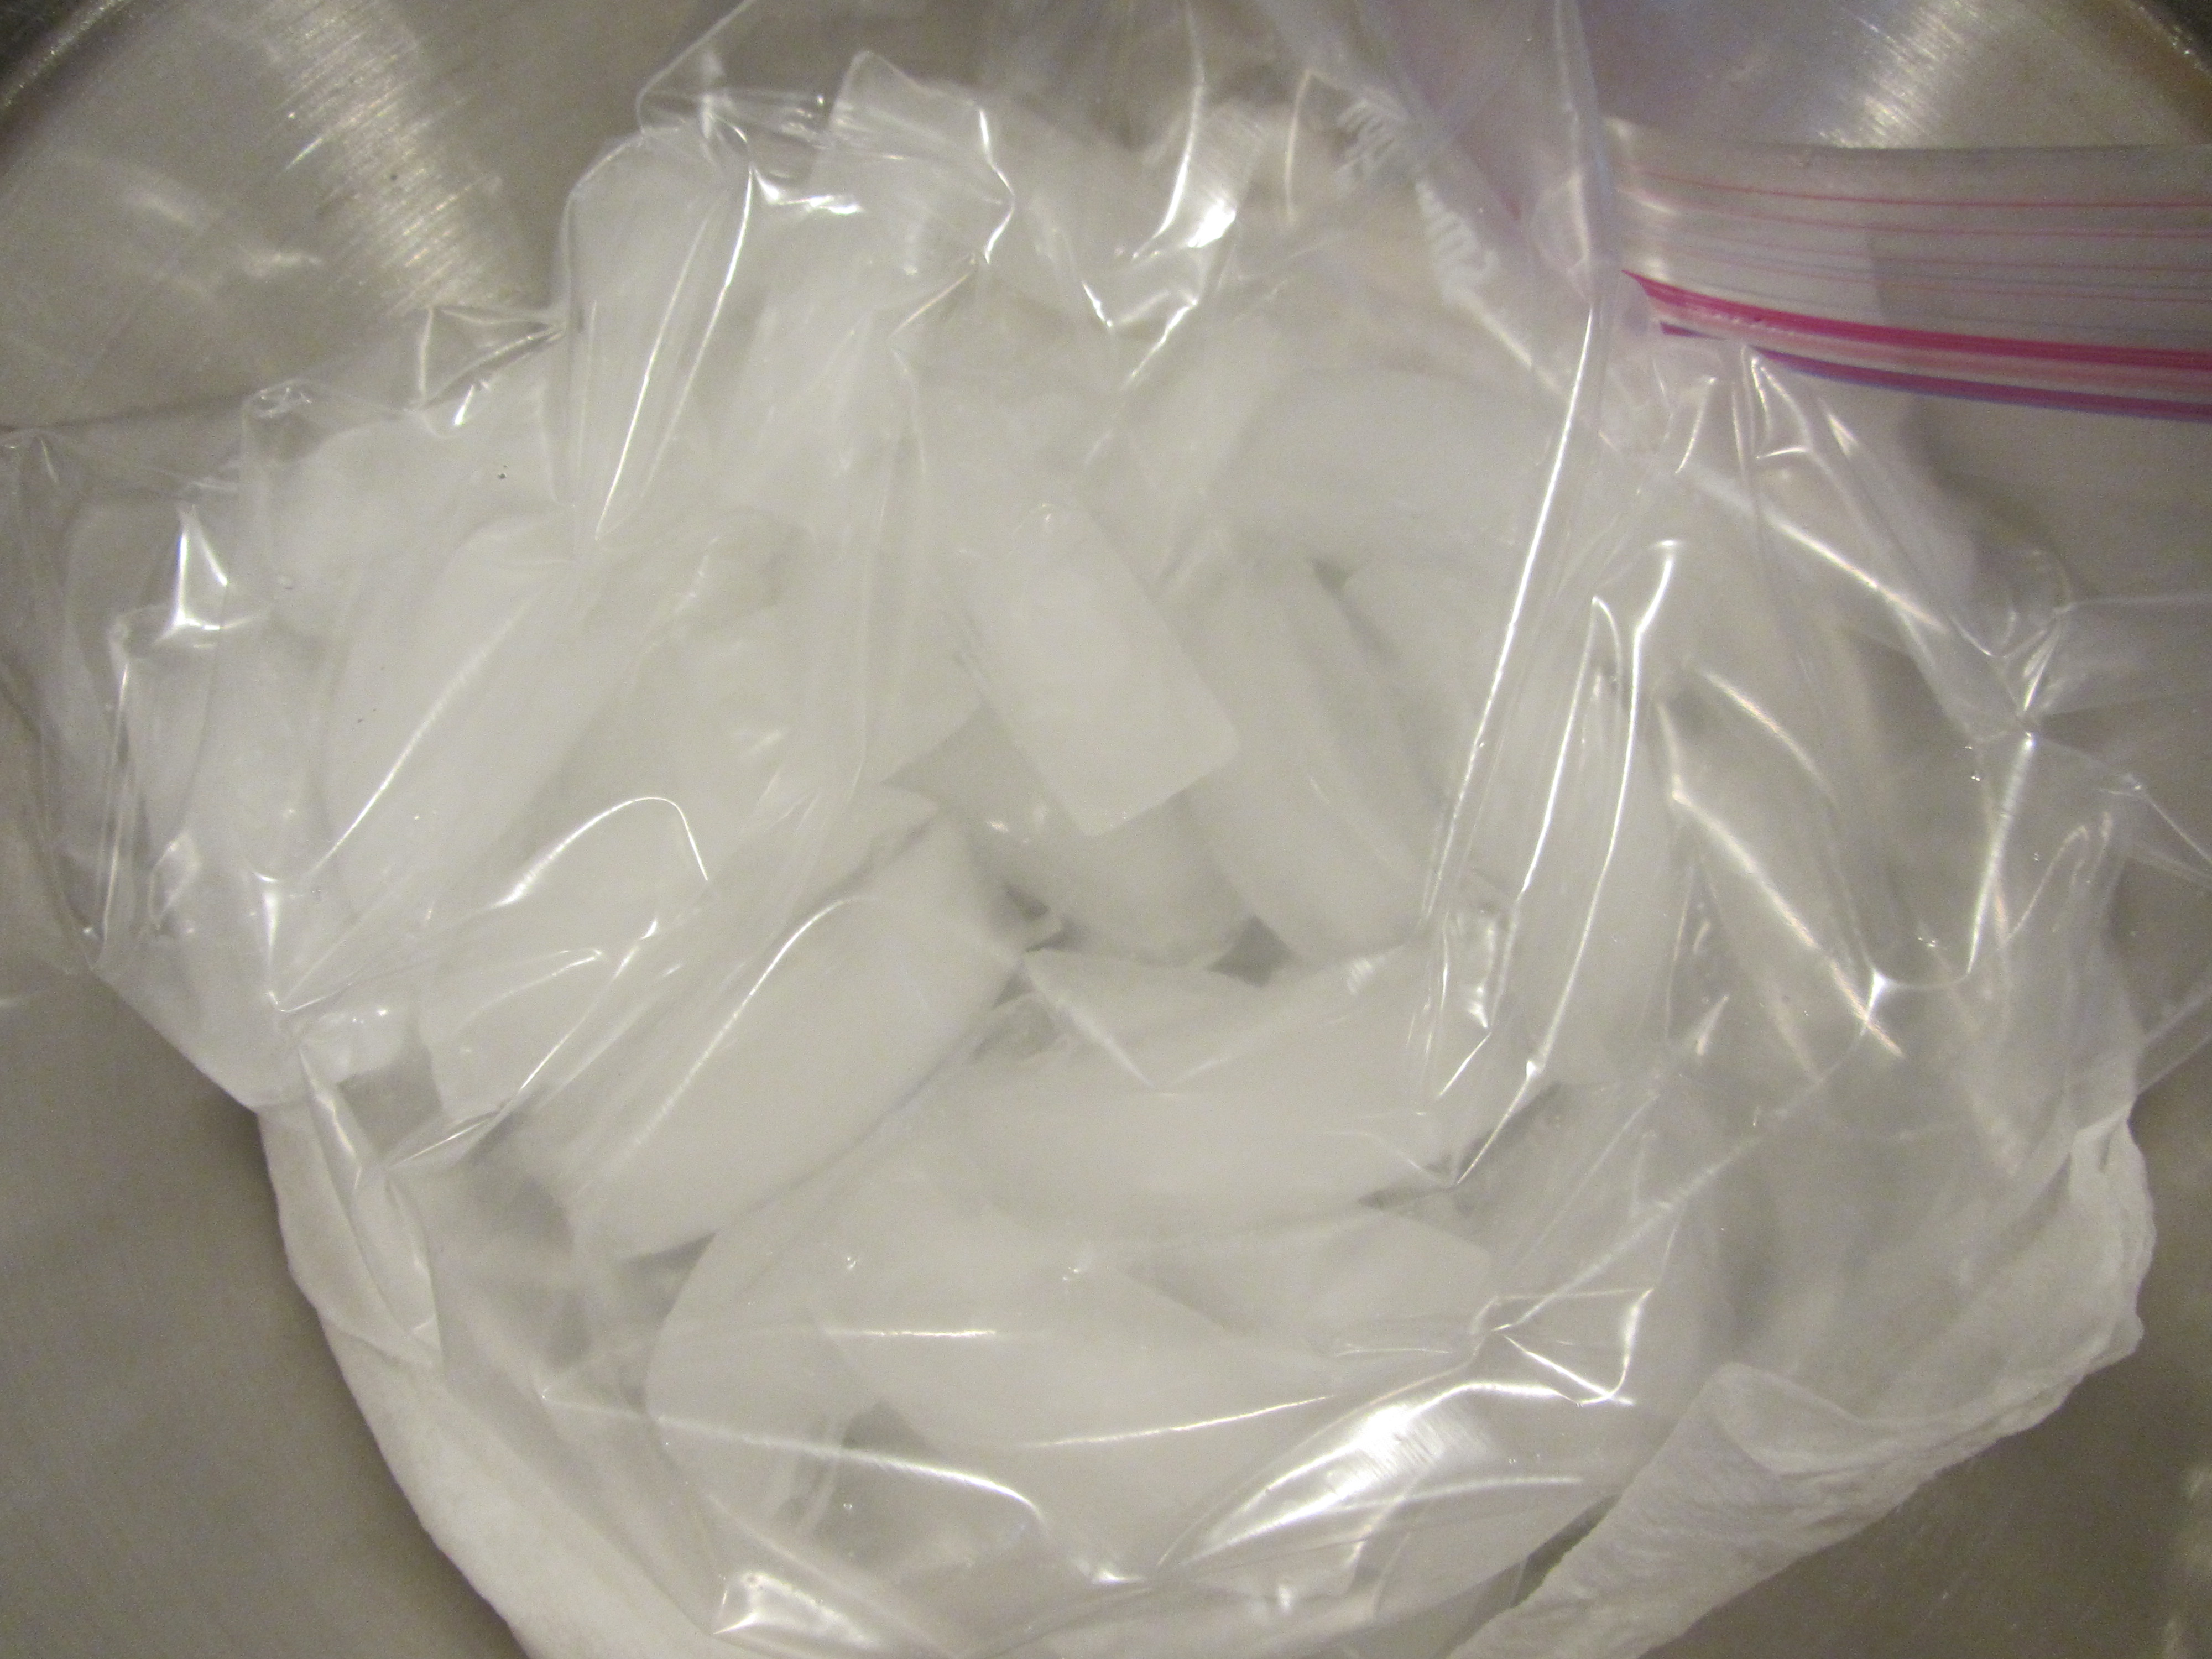
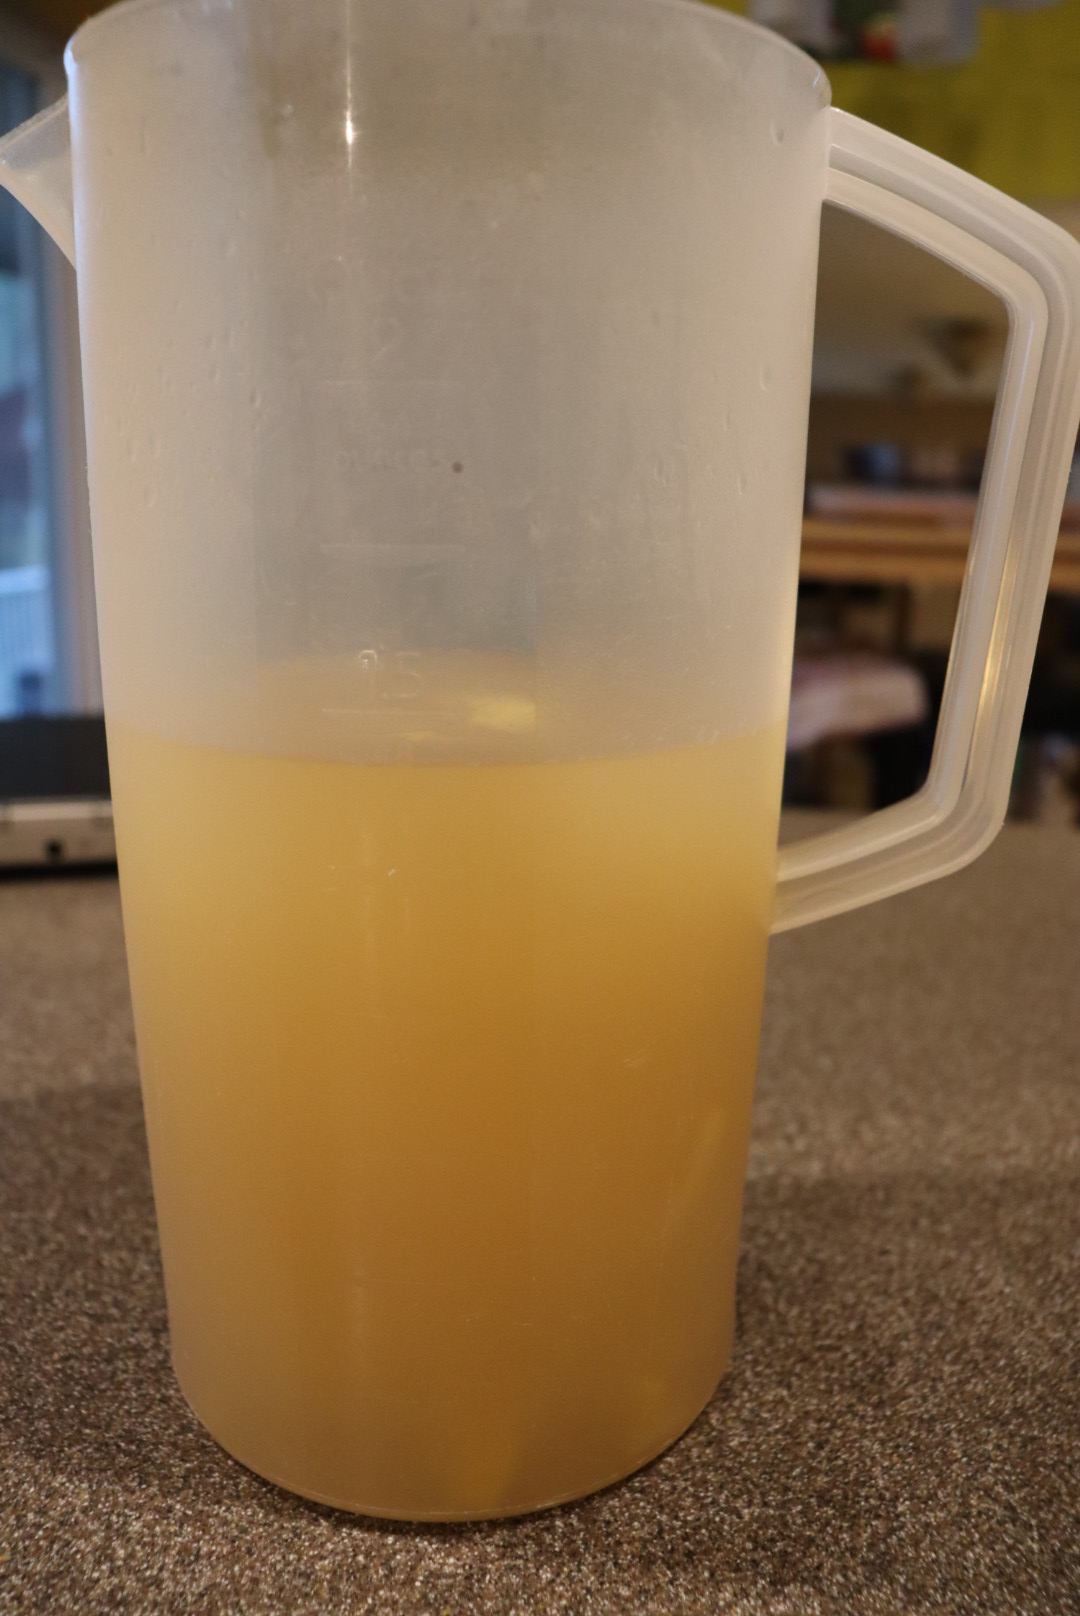
Thanksgiving morning, or late the night before (this is what I did), combine your brine with a gallon of heavily iced water in a five-gallon bucket.
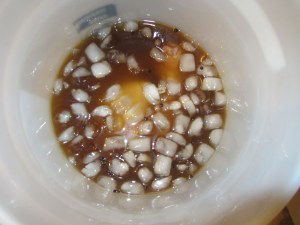
Brine plus ice water in a bucket.
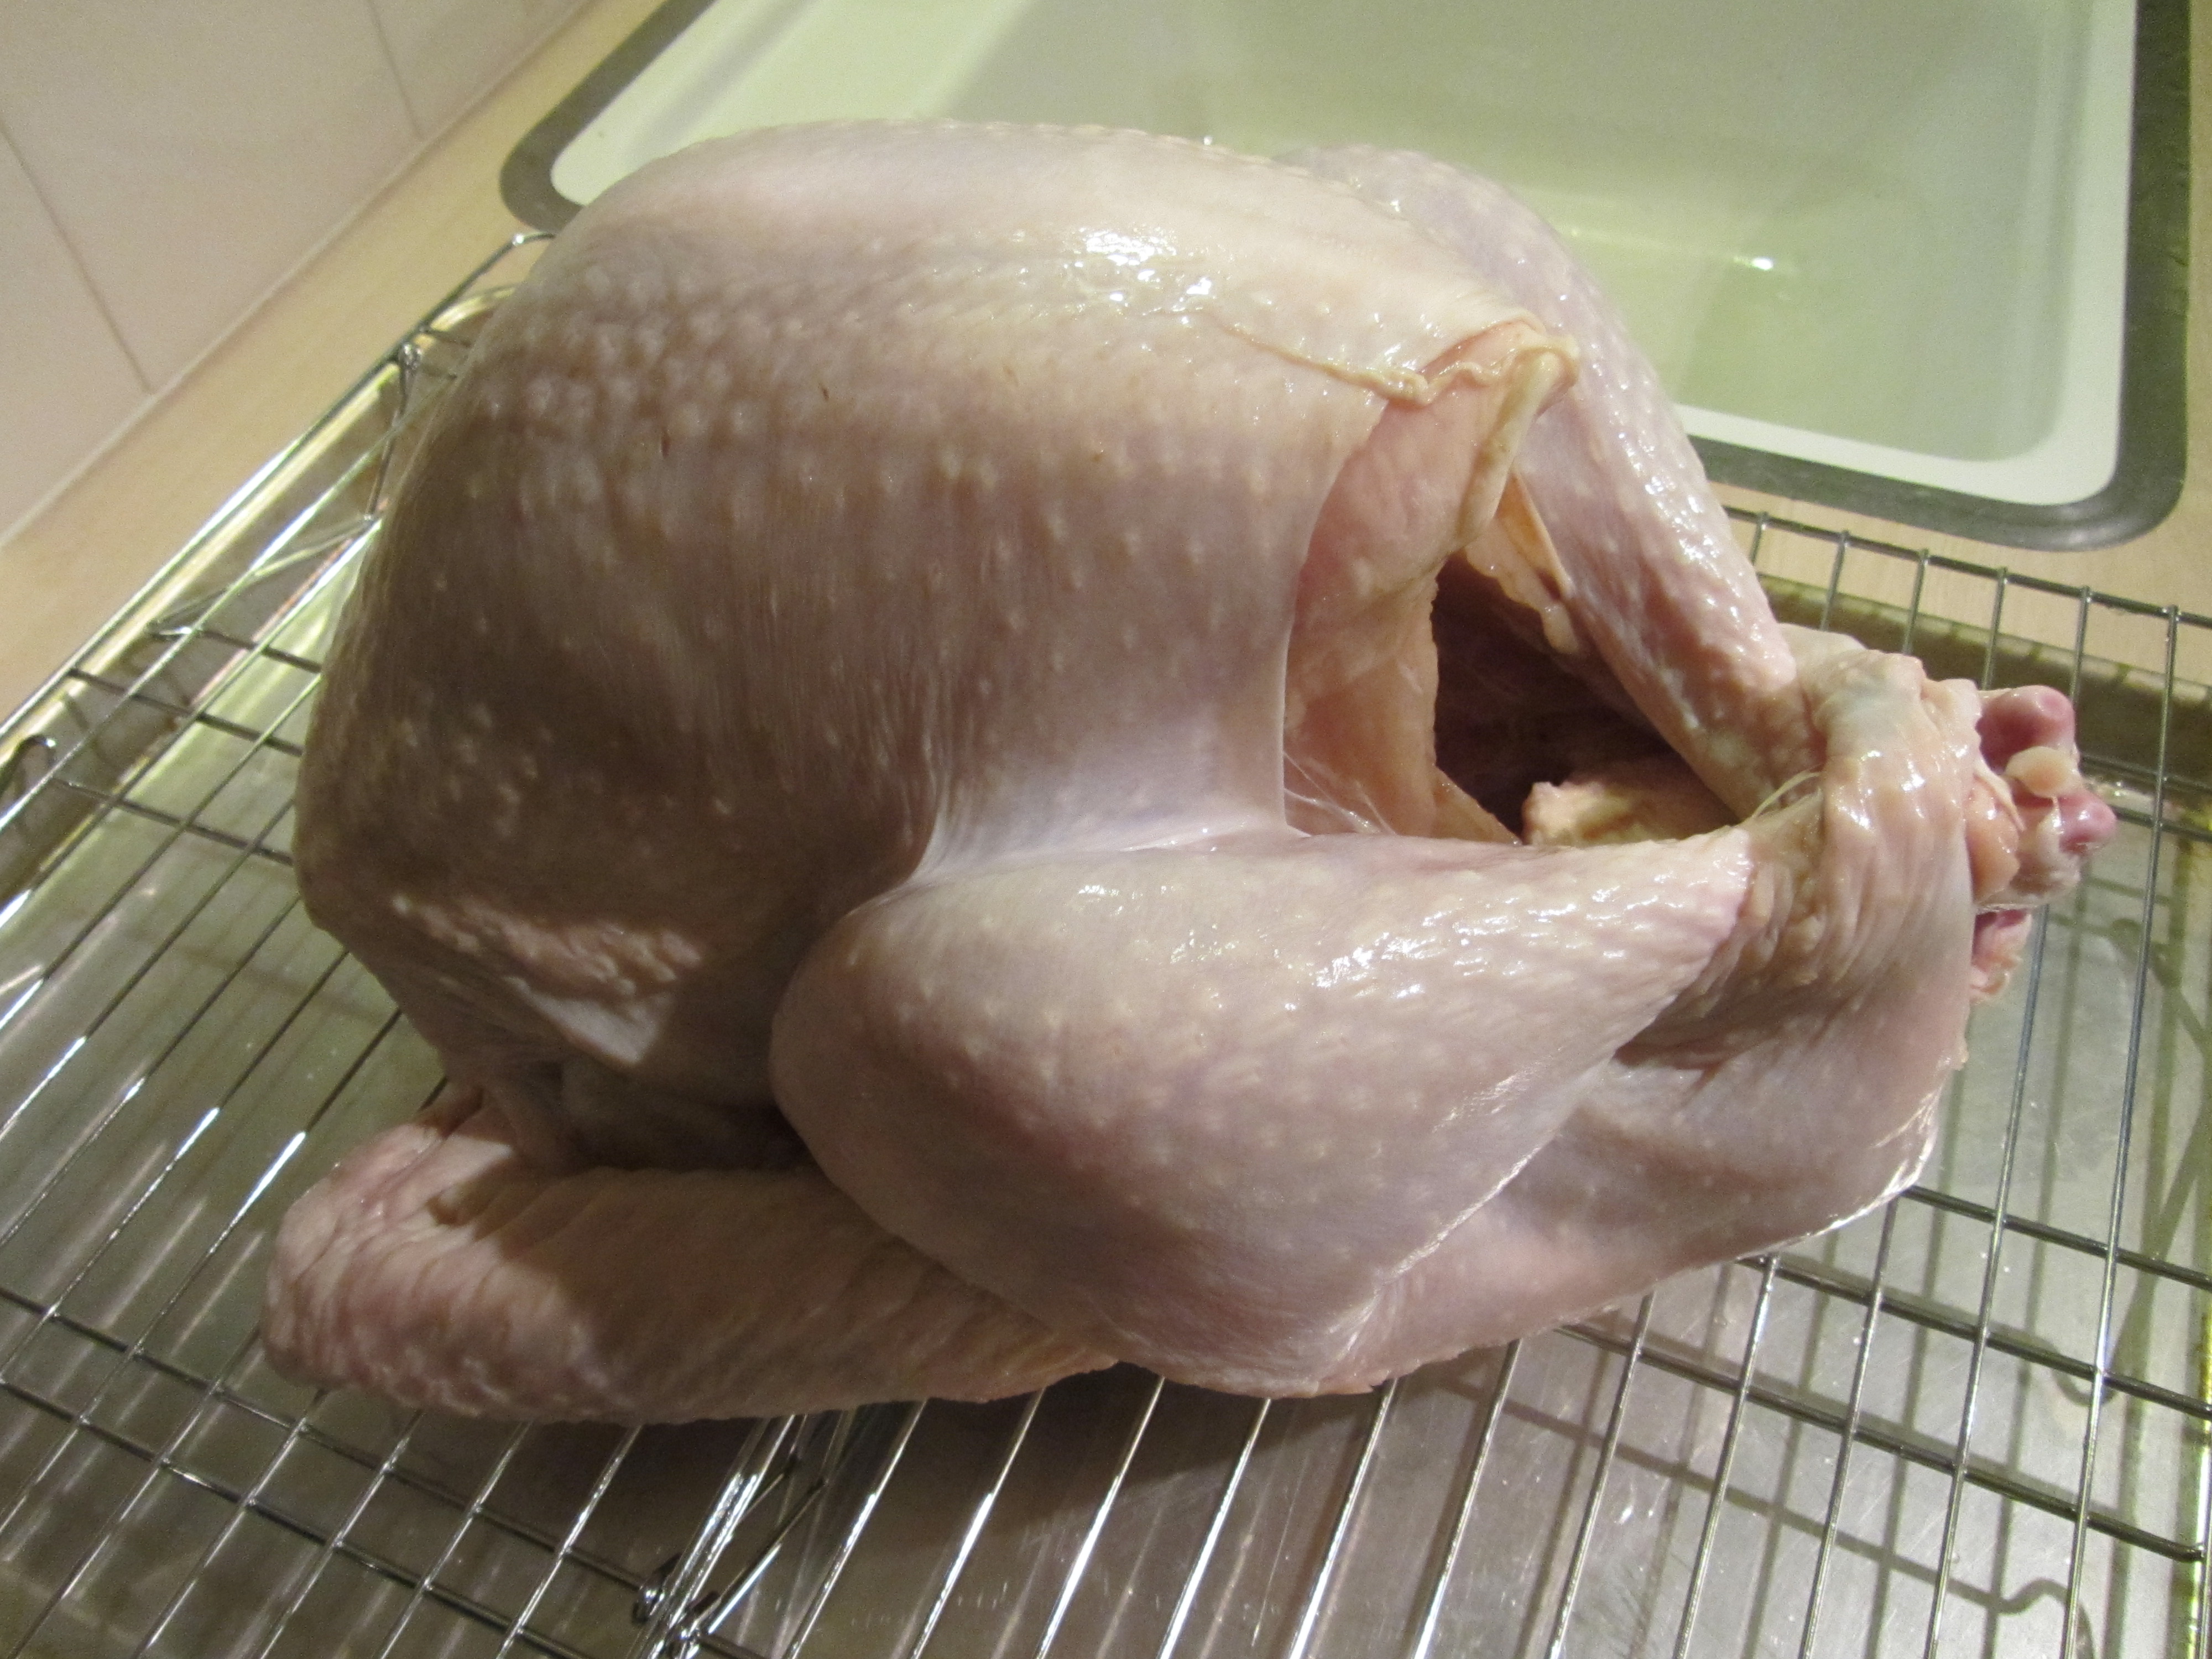
Remove the turkey’s guts, give him a rinse, and place him into the brine, breast down. You want to put the breast down since it tends to dry out the fastest. Alton tells you to leave your turkey in the brine for six to eight hours, though the online recipe says you can leave the bird in the brine for up to 16 hours. Since Alton tells you in the episode that you can begin the brining process late in the evening prior to your cooking day, I went with that. Regardless of how long you choose to brine your turkey, you want to flip it over once in the middle of the brining period. What about stuffing? Alton calls stuffing “evil” in this episode. Why? Not only is it potentially unsafe to cook stuffing in the bird because of possible foodborne illness, but it also causes your turkey to take longer to cook, which can result in a dry bird. Now, I grew up with parents who always stuffed the bird, and none of us have ever gotten sick because of it, so I am not overly frightened of stuffing. But, since the goal of my blog project is to cook all of the Good Eats recipes as closely to how Alton does them on the show, there was no stuffing in my bird yesterday. Instead, once I was ready to cook my turkey, I removed it from the brine, rinsed it off, and patted it dry, placing it on a rack over a sheet pan.

My 13 pounder.
I microwaved a sliced onion and a sliced red apple in some water for a minute on high. When you remove the apple and onion from the microwave, throw a cinnamon stick into the liquid to steep for a couple of minutes also.

Sliced apple and onion, microwaved with some water, and steeped with a cinnamon stick.
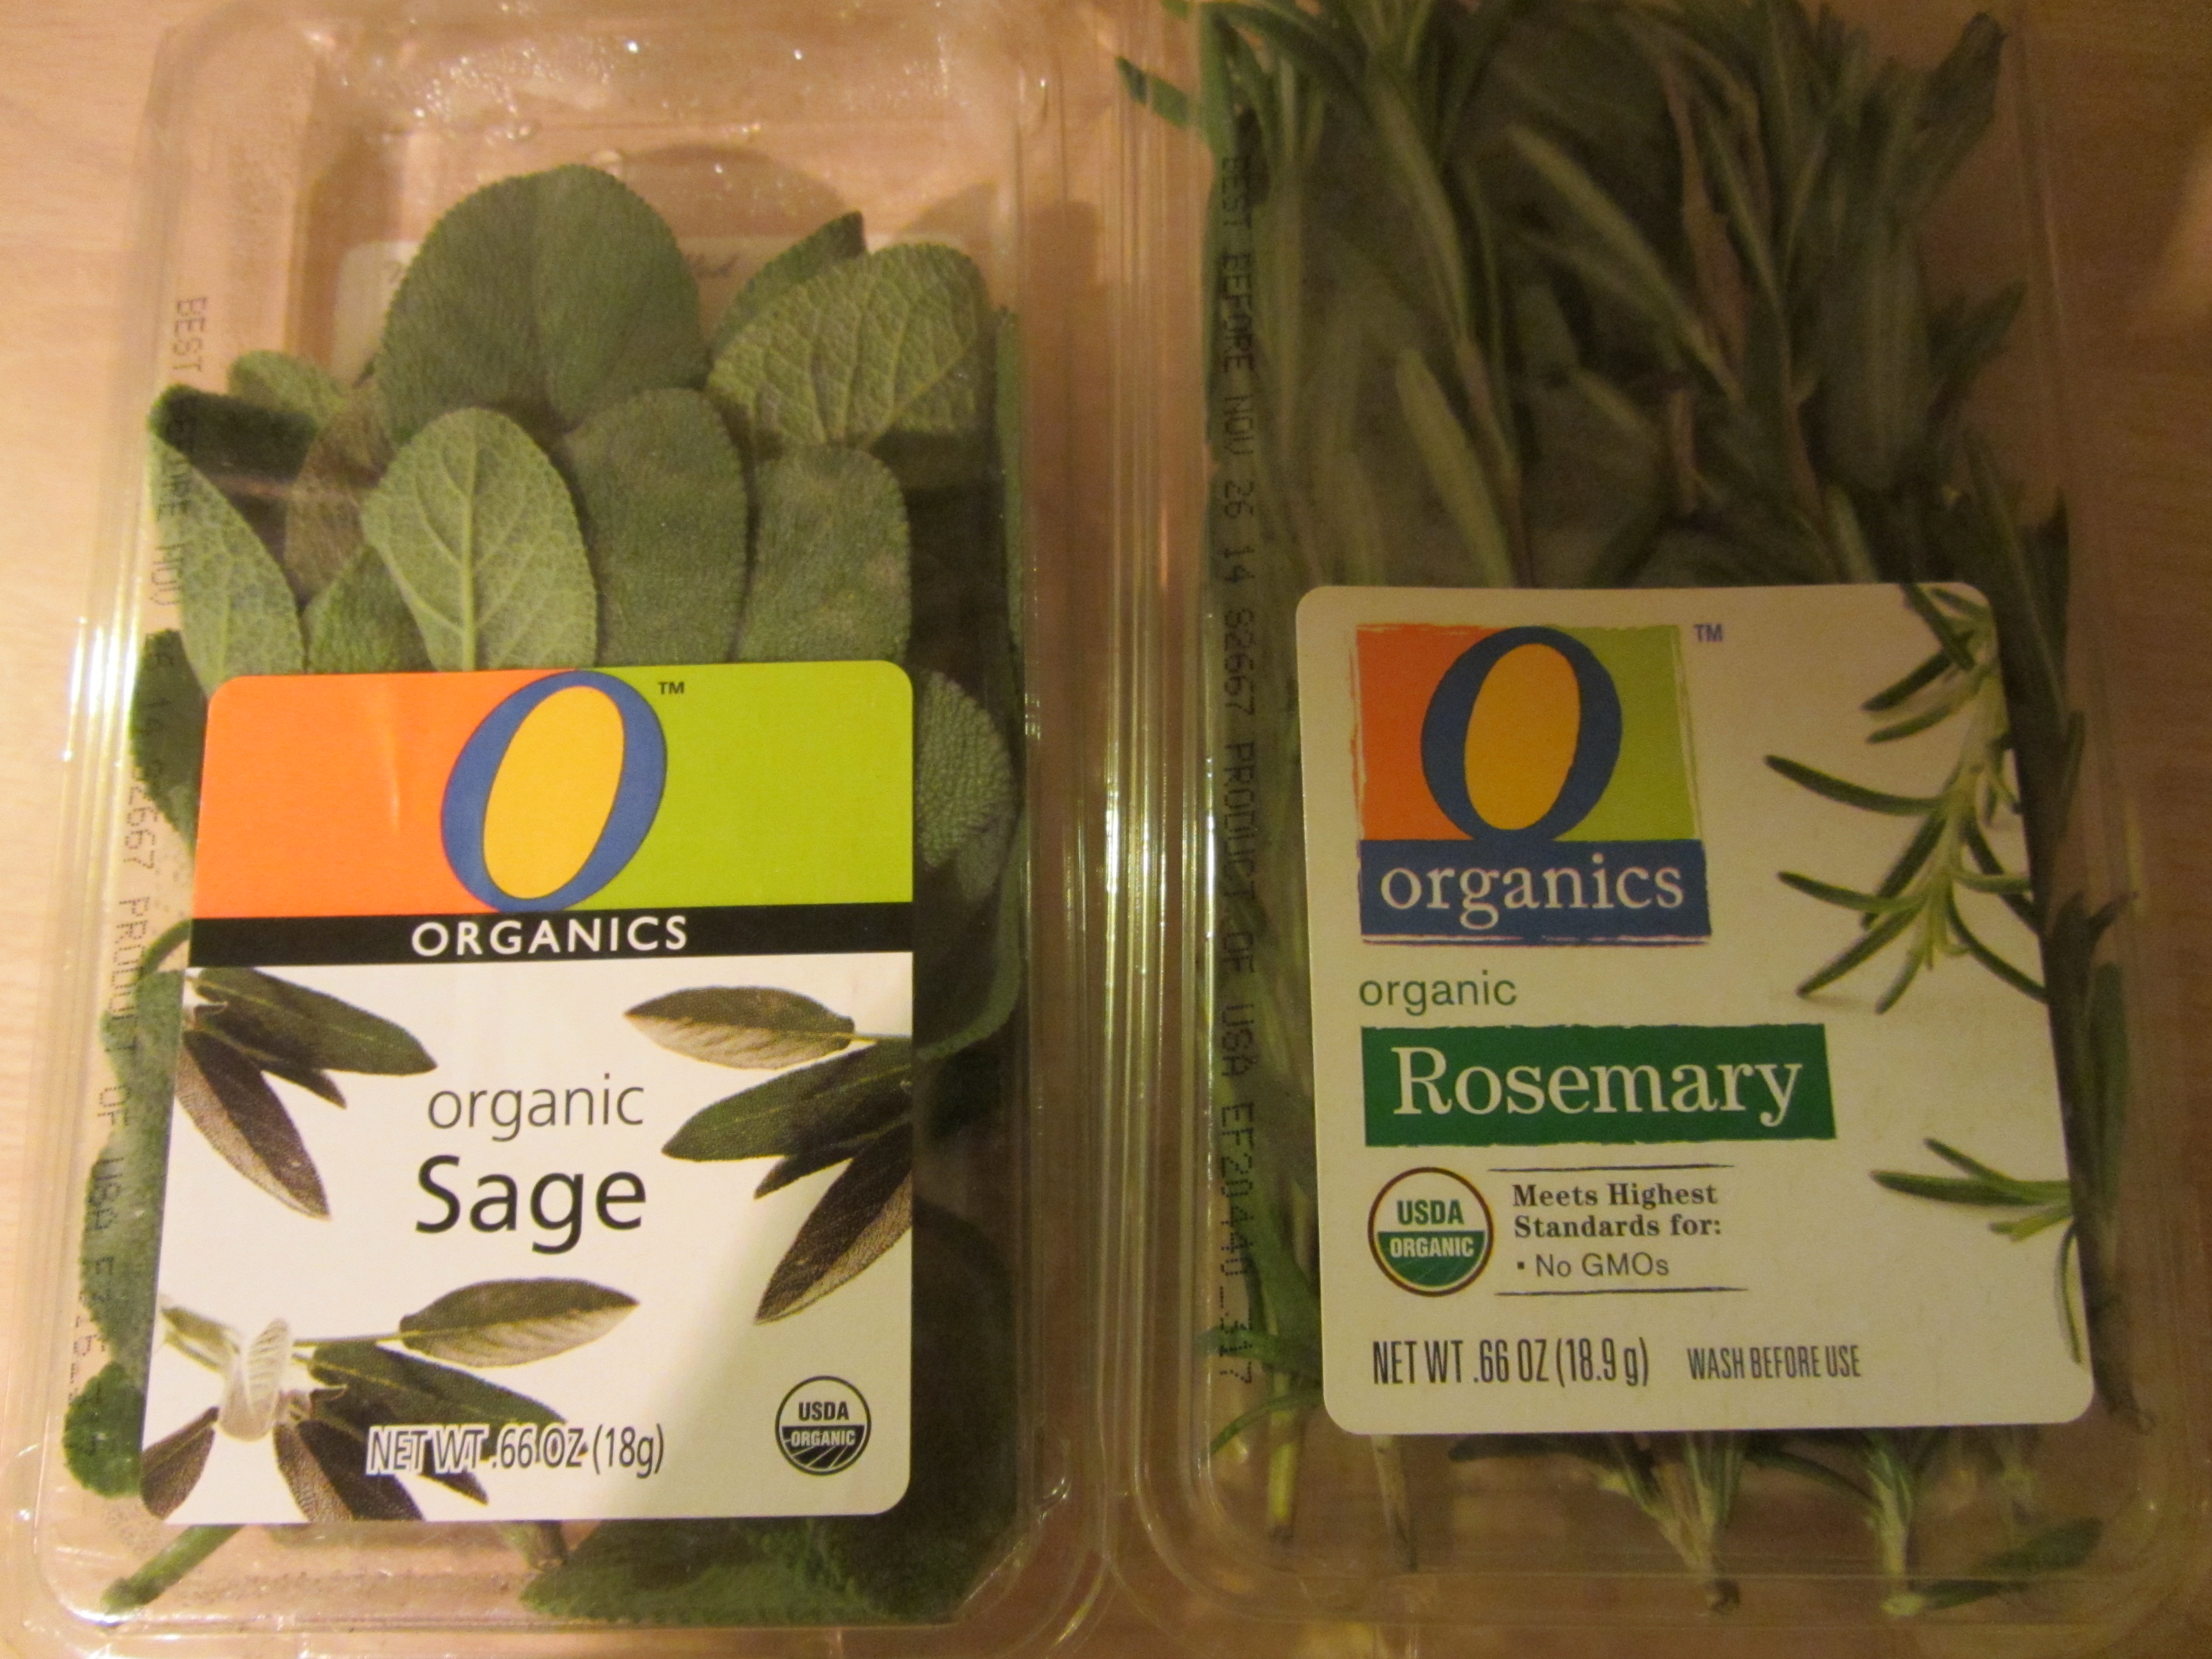
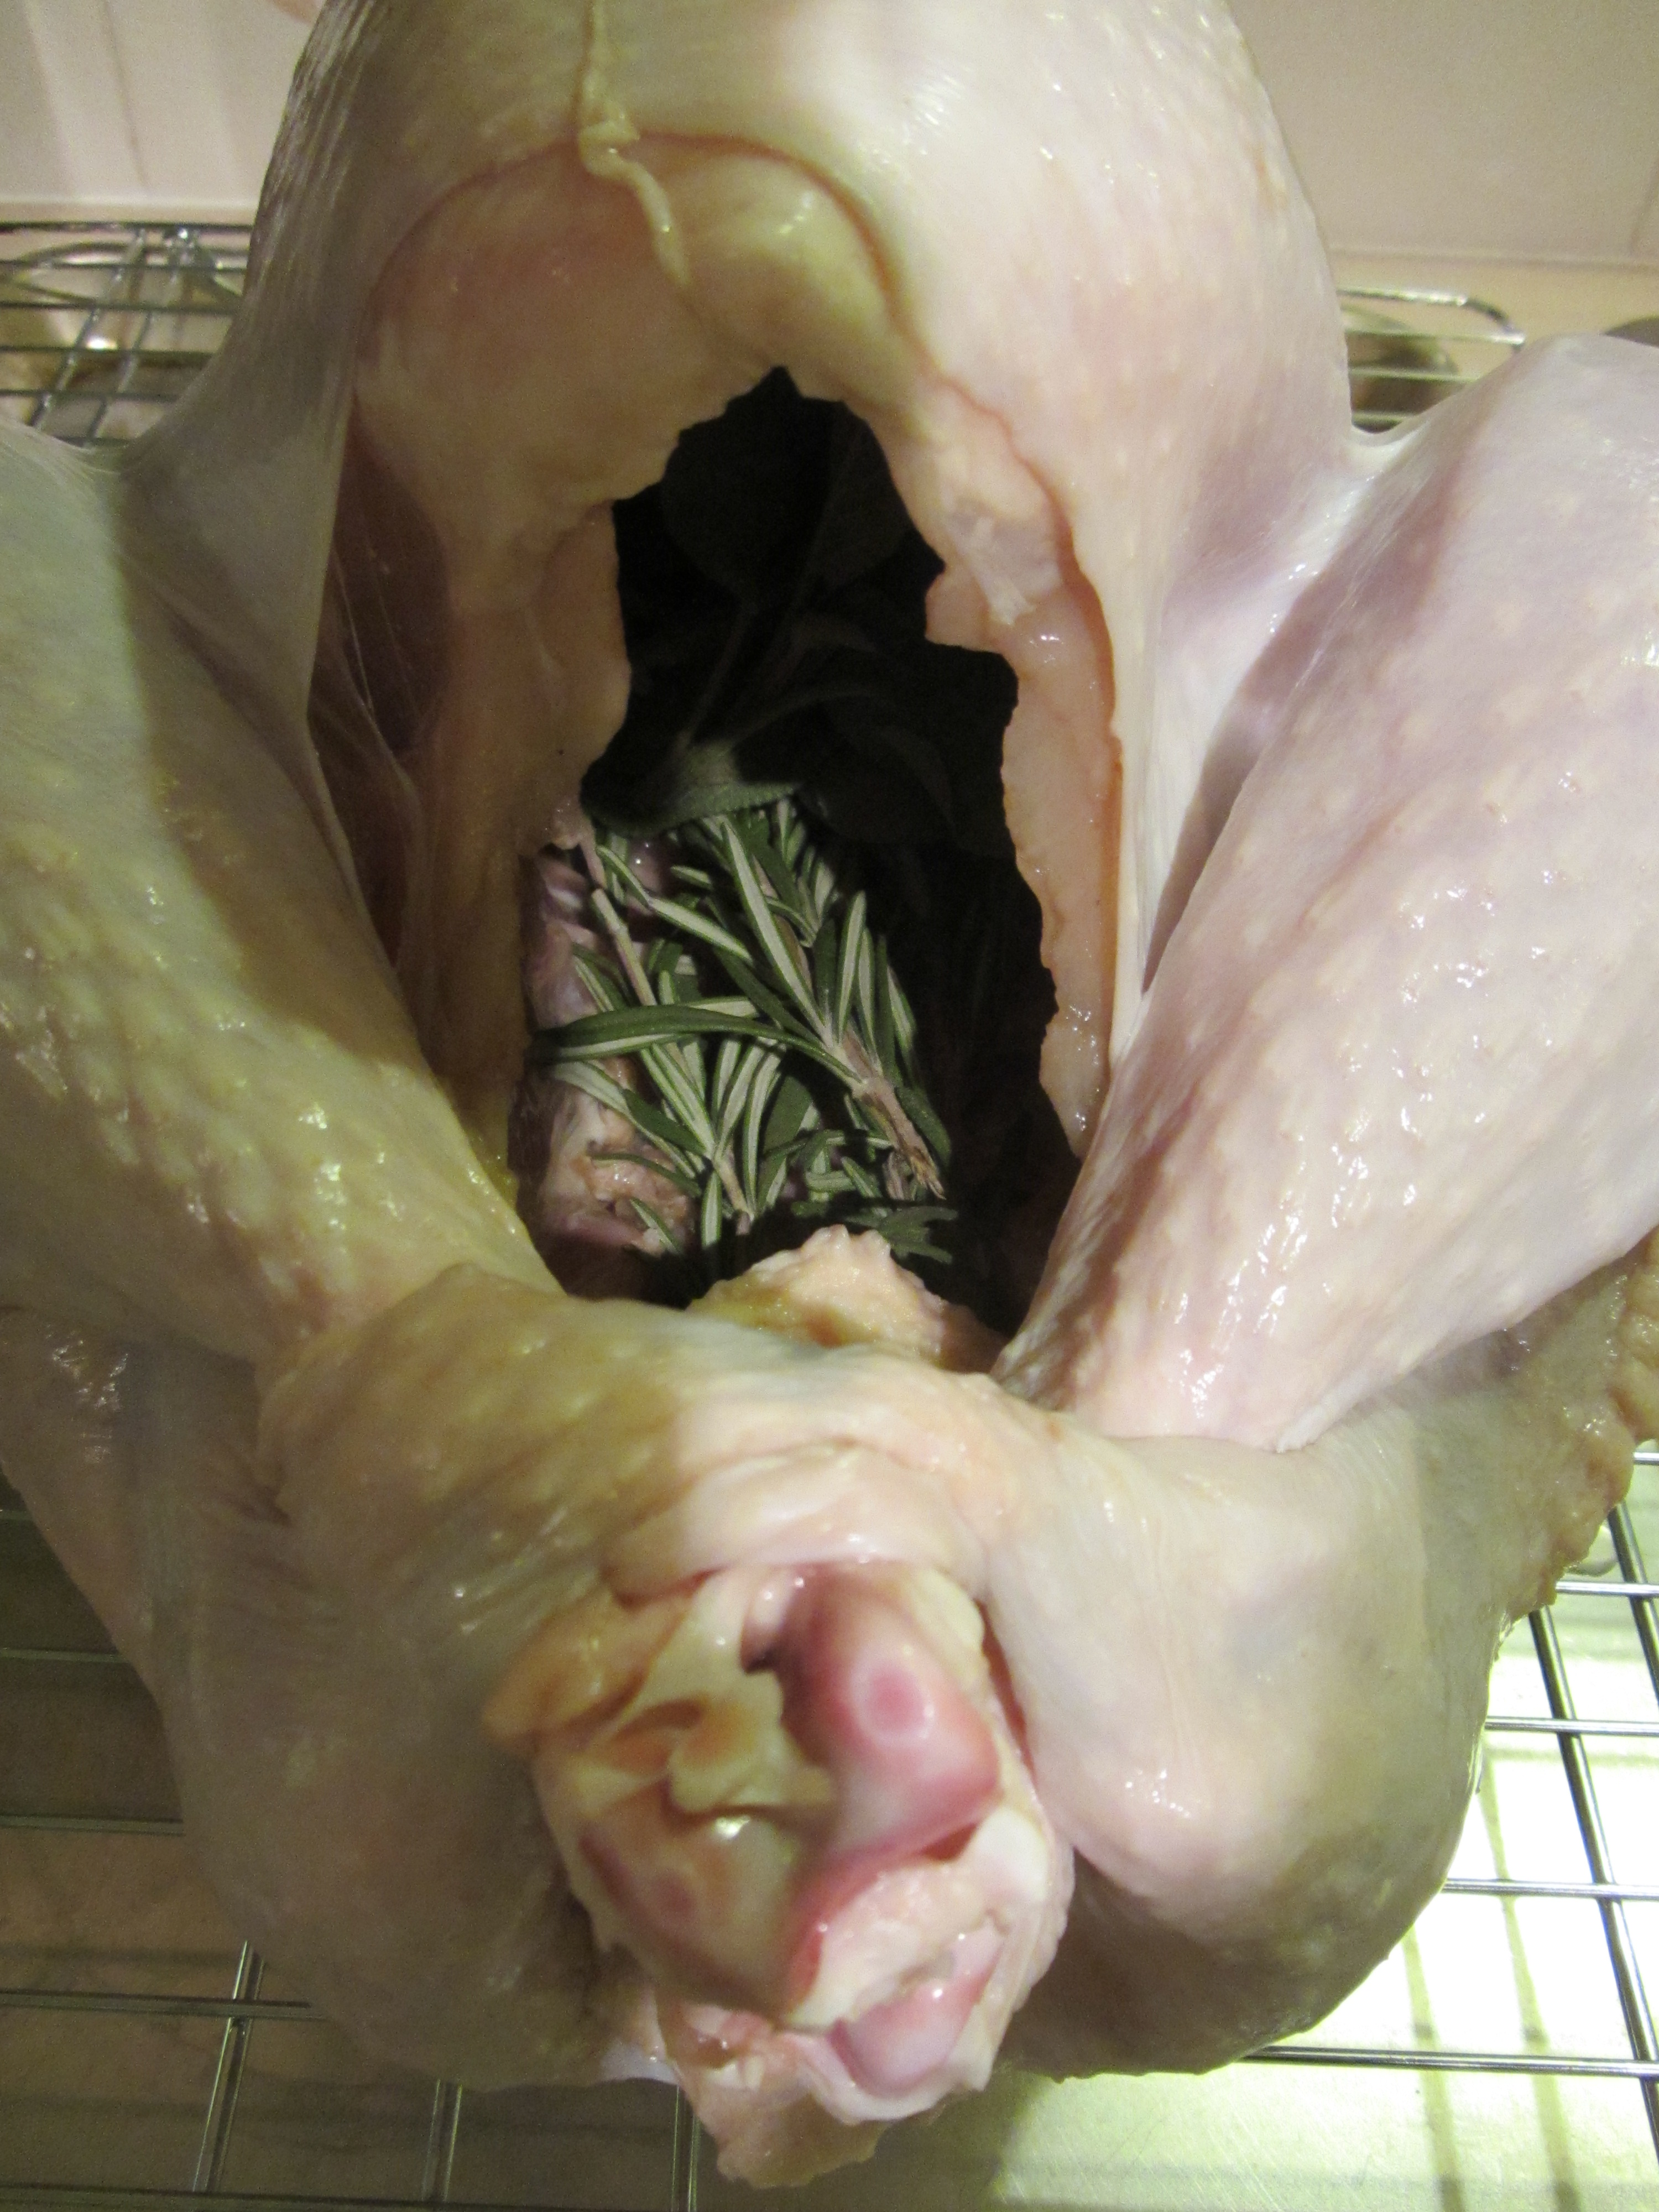
While this is steeping, put some fresh rosemary and sage into the cavity of the bird; I did two big sprigs of rosemary and one bunch of sage.

Sage and rosemary to go in turkey’s cavity.
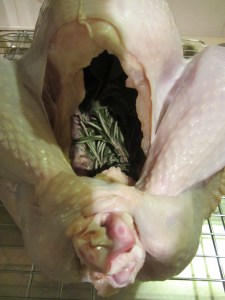
Rosemary and sage in the bird.
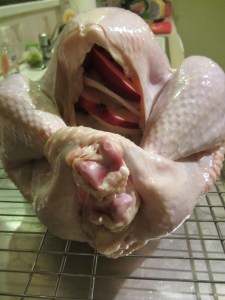
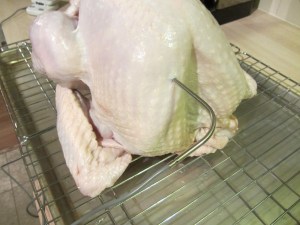
You want to tuck the turkey’s wings up under its body to prevent them from burning. If your bird has its legs tied, leave this on. My turkey did not have its legs tied, but I tucked them inside its skin, which held them in place nicely. After a few minutes of steeping, add the apple, onion, and cinnamon stick to the cavity of the bird. It is easiest to use tongs to do this. I crammed as much of these aromatics into the bird as I could fit.
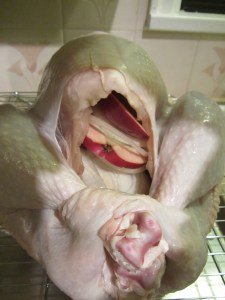
Apple, onion, and cinnamon stick placed in the bird.
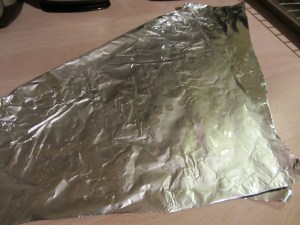
Leave the turkey popper thermometer in the bird, but ignore it. Here is where one of the biggest tricks of Alton’s recipe comes in, and this is not mentioned in the online recipe. You want to take a large piece of foil and fold it into a large triangle.

Turkey triangle.
Oil this “turkey triangle” and mold it so it covers the breast of the bird, and then set it aside for later.
Oiled turkey triangle.

Molding the turkey triangle to the breast.
What is the purpose of the turkey triangle? Dark meat is perfectly cooked at 180 degrees, while white meat is ready at 161 degrees. Since there is this discrepancy in temperature, you will use the triangle to protect the breast meat, while allowing the dark meat to cook more quickly. This will result in a bird that has perfectly cooked white AND dark meat. Now, coat the outside of your turkey with oil and insert your probe thermometer into the thickest part of the breast, ensuring that you do not hit any bones, as that can result in a false temperature reading.
Turkey, filled with aromatics and oiled up.
Probe inserted into deepest part of breast.
Set your alarm to go off when your turkey’s temperature hits 161 degrees.

Starting temperature of my turkey (42), and end goal temperature (161).
Now, the turkey is ready for the oven. Place it in a 500 degree oven for 30 minutes. When the 30 minutes are up, place the previously molded turkey triangle onto the bird, protecting the breast. I did not get a picture when I did this. Decrease the oven temperature to 350 degrees and wait for your alarm to sound. How easy is that? Alton recommends that you place the turkey in the oven legs first, but my turkey would only fit sideways. According to Alton, a 14 pound bird will take about two hours to cook, but my 13 pound bird took two hours and 45 minutes. Cooking time will depend on the starting temperature of your bird (mine was at 42 degrees), the size of your turkey, and your oven. When your bird is done cooking, remove it from the oven and let it rest for 15 minutes.

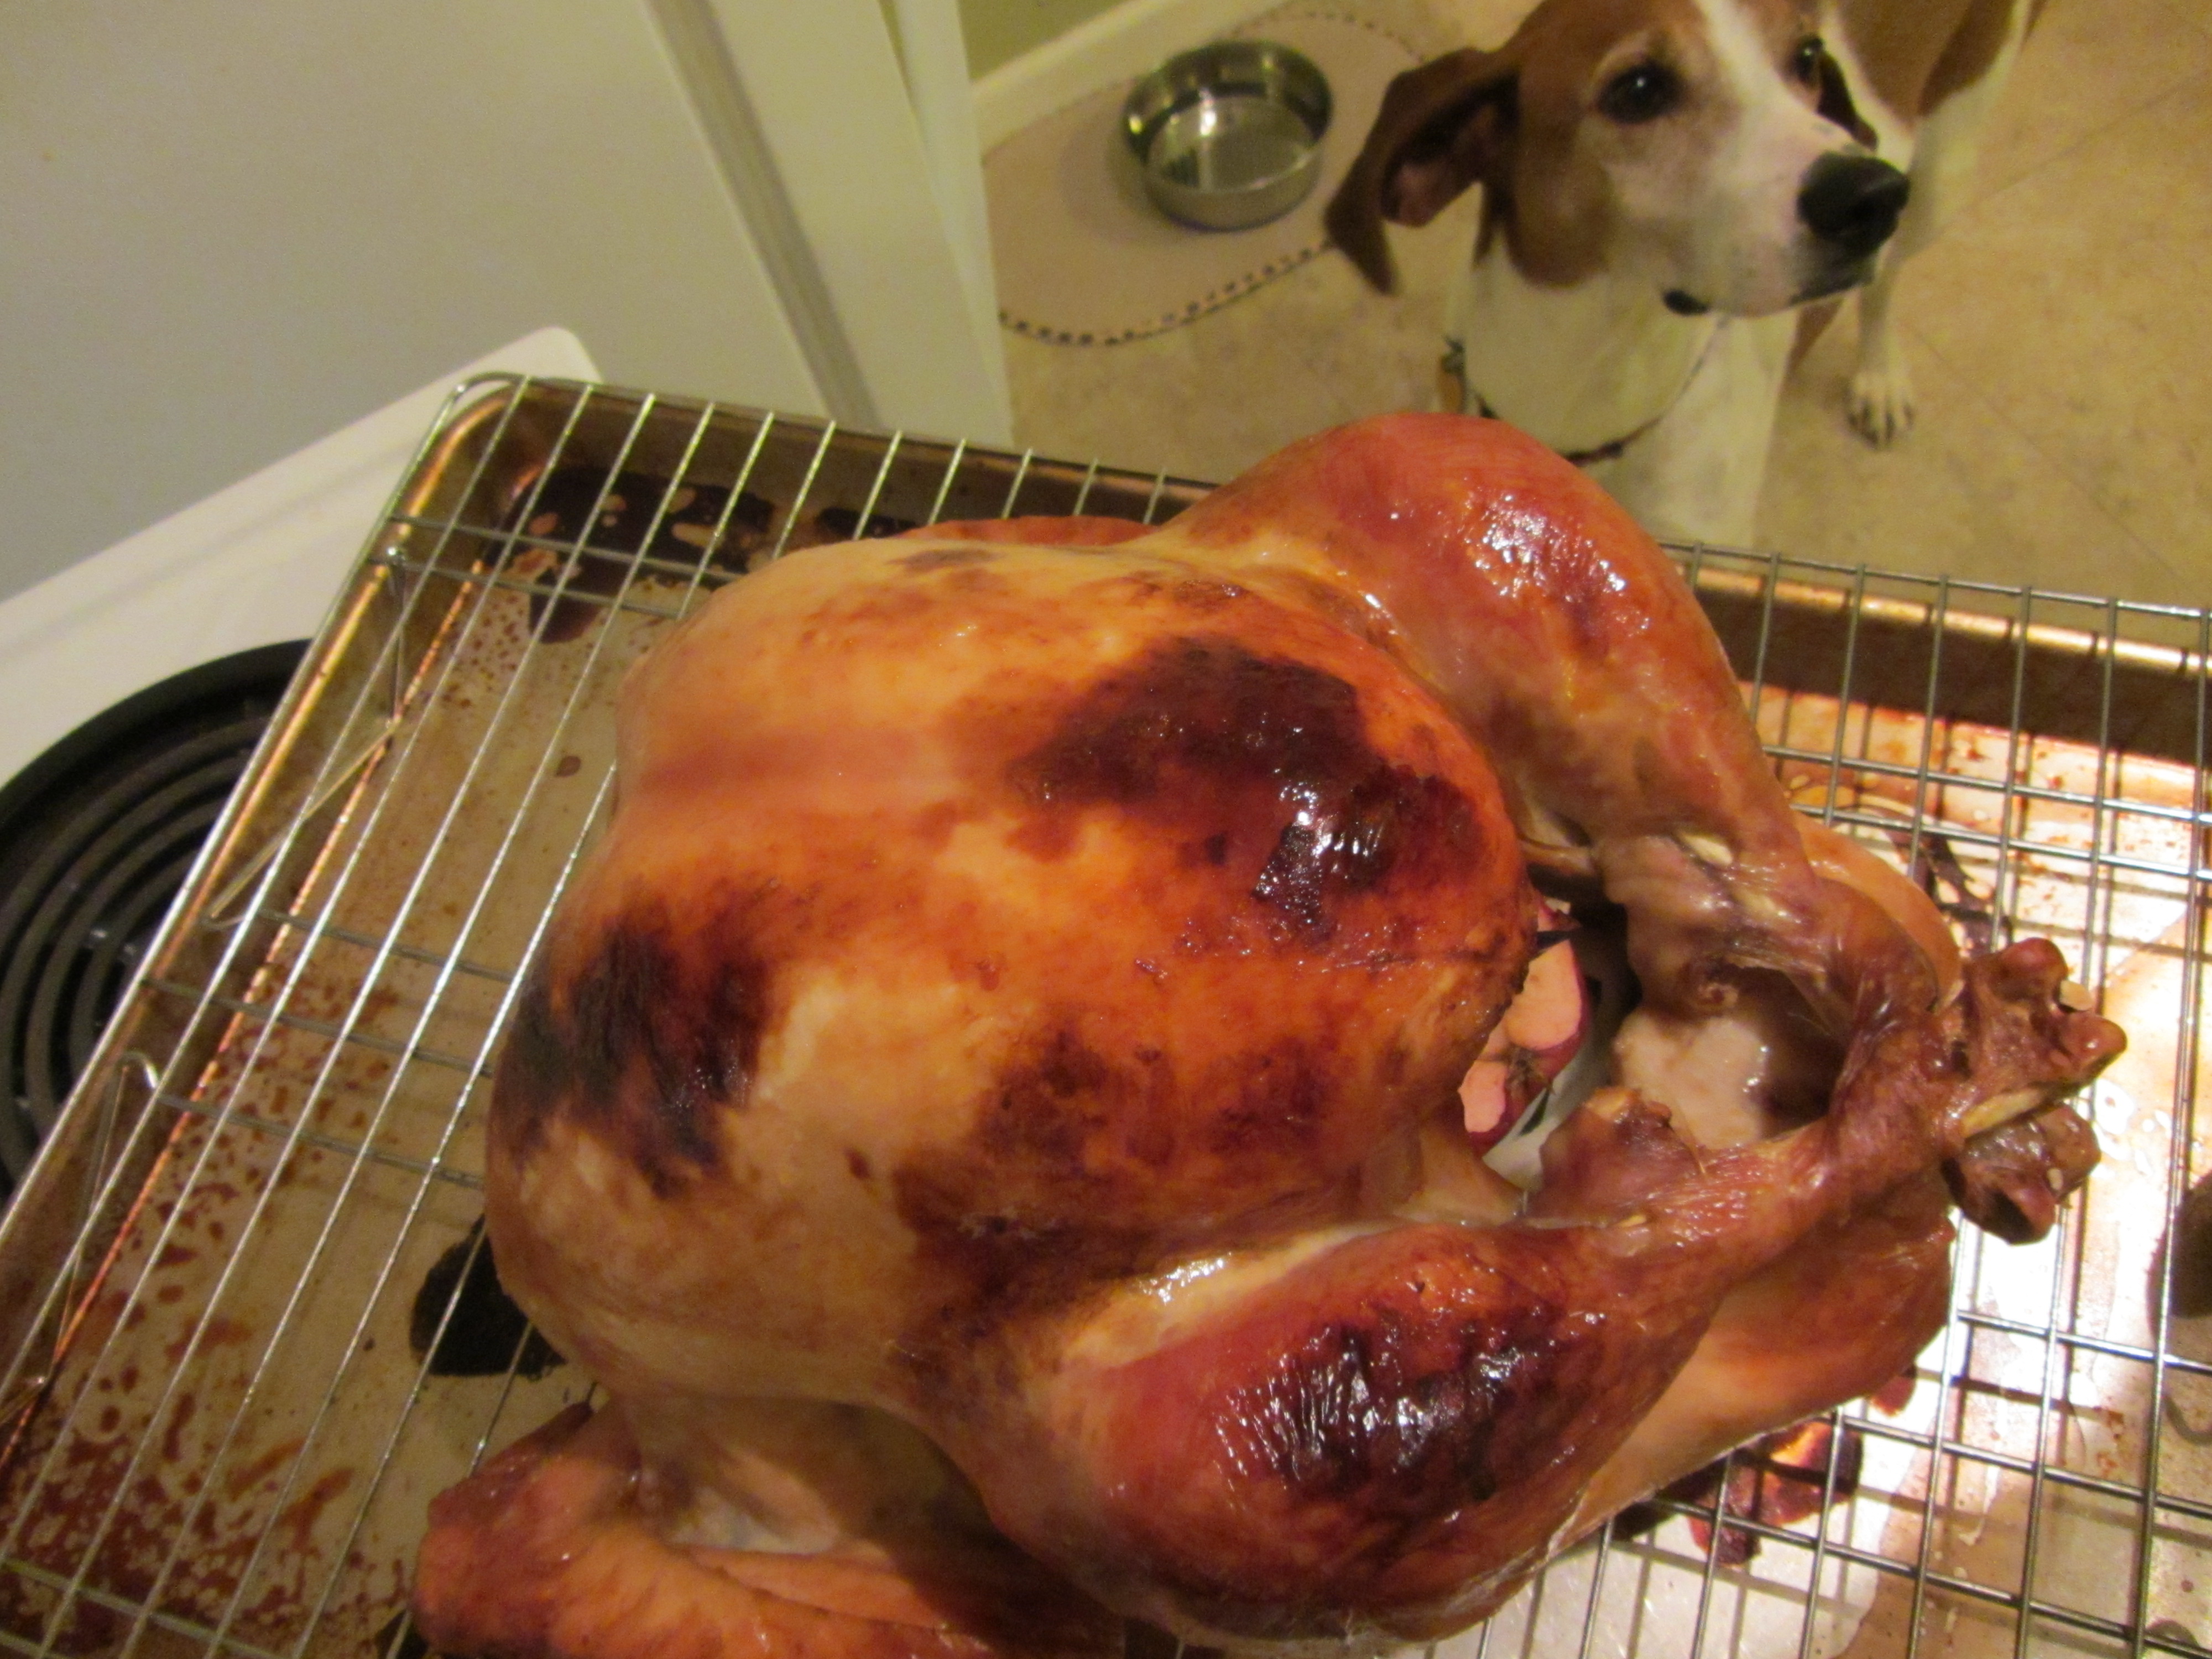
Turkey, photo bombed by the hound.

Turkey, fresh from the oven.
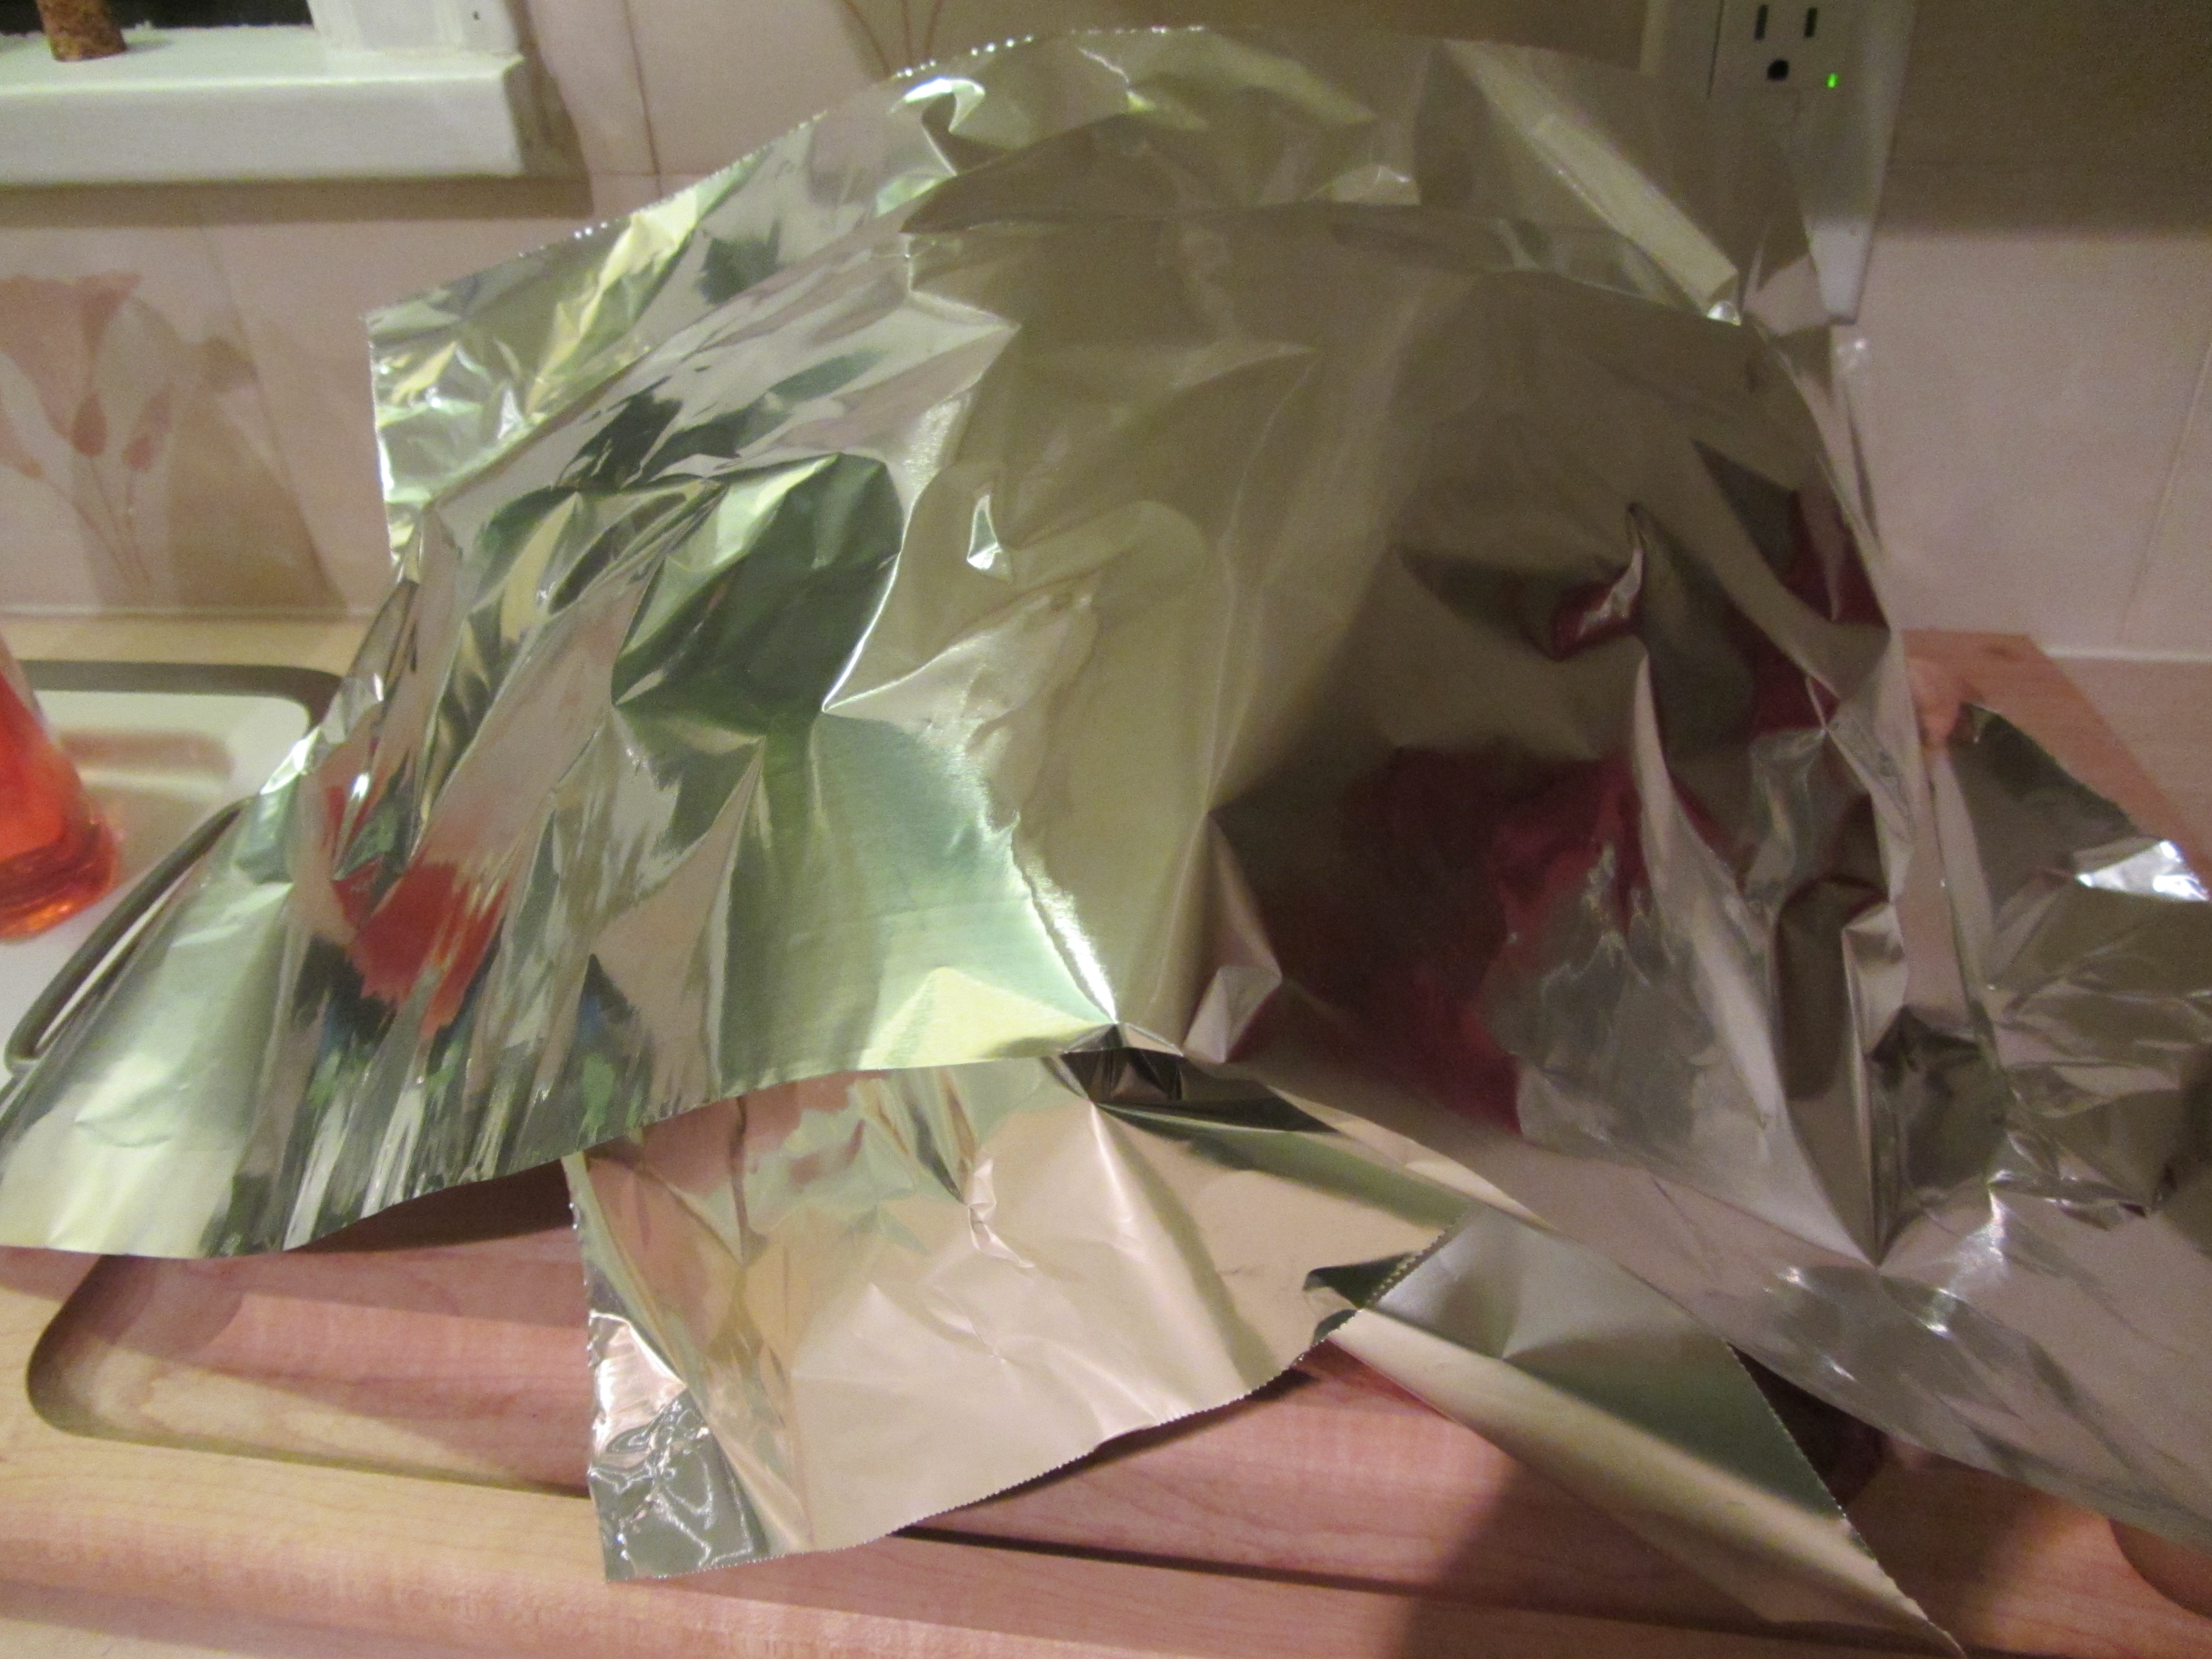
If you have a classic round charcoal grill, you can use the lid of your grill to cover your turkey while it rests. If not, foil will suffice.

Turkey resting under foil.
When ready to carve, use an electric knife. To best carve your turkey, carve between the legs and the body first, going down until you hit the joint. Press on the leg with your hand until it pops, and then use the knife to cut the rest of the way through. Next, to carve the breast, cut horizontally toward the center of the bird at the wing line, and then make slices perpendicularly down to the initial cut. This will result in perfect slices of white meat. My turkey could not have turned out any better. It was golden brown on the outside, while incredibly juicy and moist on the inside. The white meat, in particular, shocked everyone with how moist it was.
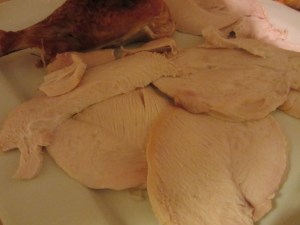
Moist, flavorful, perfectly cooked white AND dark meat.
The turkey was loaded with flavor, without being salty. We all agreed that it was great, including the Coonhounds, who howled while the turkey was carved and were all too willing to clean up the turkey juice trail that led from the kitchen to the garage; when you live with hounds, and an always-hungry cat, you must hide your Turkey in the garage while you eat your Thanksgiving dinner. Though this was my first turkey, I cannot imagine that I will ever prepare a turkey another way, but I do have to say that my dad has cooked some amazing turkeys with his basted, grilled method too. Oh, and if you have leftover turkey, Alton says it freezes very well – just be sure to wrap it in both foil and plastic before freezing. Seeing as Ted and I both just finished delectable leftover turkey sandwiches, I do not think our leftovers will need to be frozen! Long story short, if you do not yet have a turkey plan for Thanksgiving, try Alton’s turkey. It is wonderful.
Here is a synopsis of my turkey timeline to give you an idea of how this recipe plays out:
- Sunday afternoon – purchased turkey.
- Monday, 5:30 pm – began thawing turkey in cooler.
- Wednesday morning – made and chilled brine.
- Wednesday, 11:45 pm – put bird in brine.
- Thursday, 4:00 pm – took bird out of brine.
- Thursday, 4:30 pm – put bird in oven.
- Thursday, 7:15 pm – bird done when temperature reached 161 degrees.
- Thursday, 7:30 pm – carved bird.
Tart Cranberry Dipping Sauce
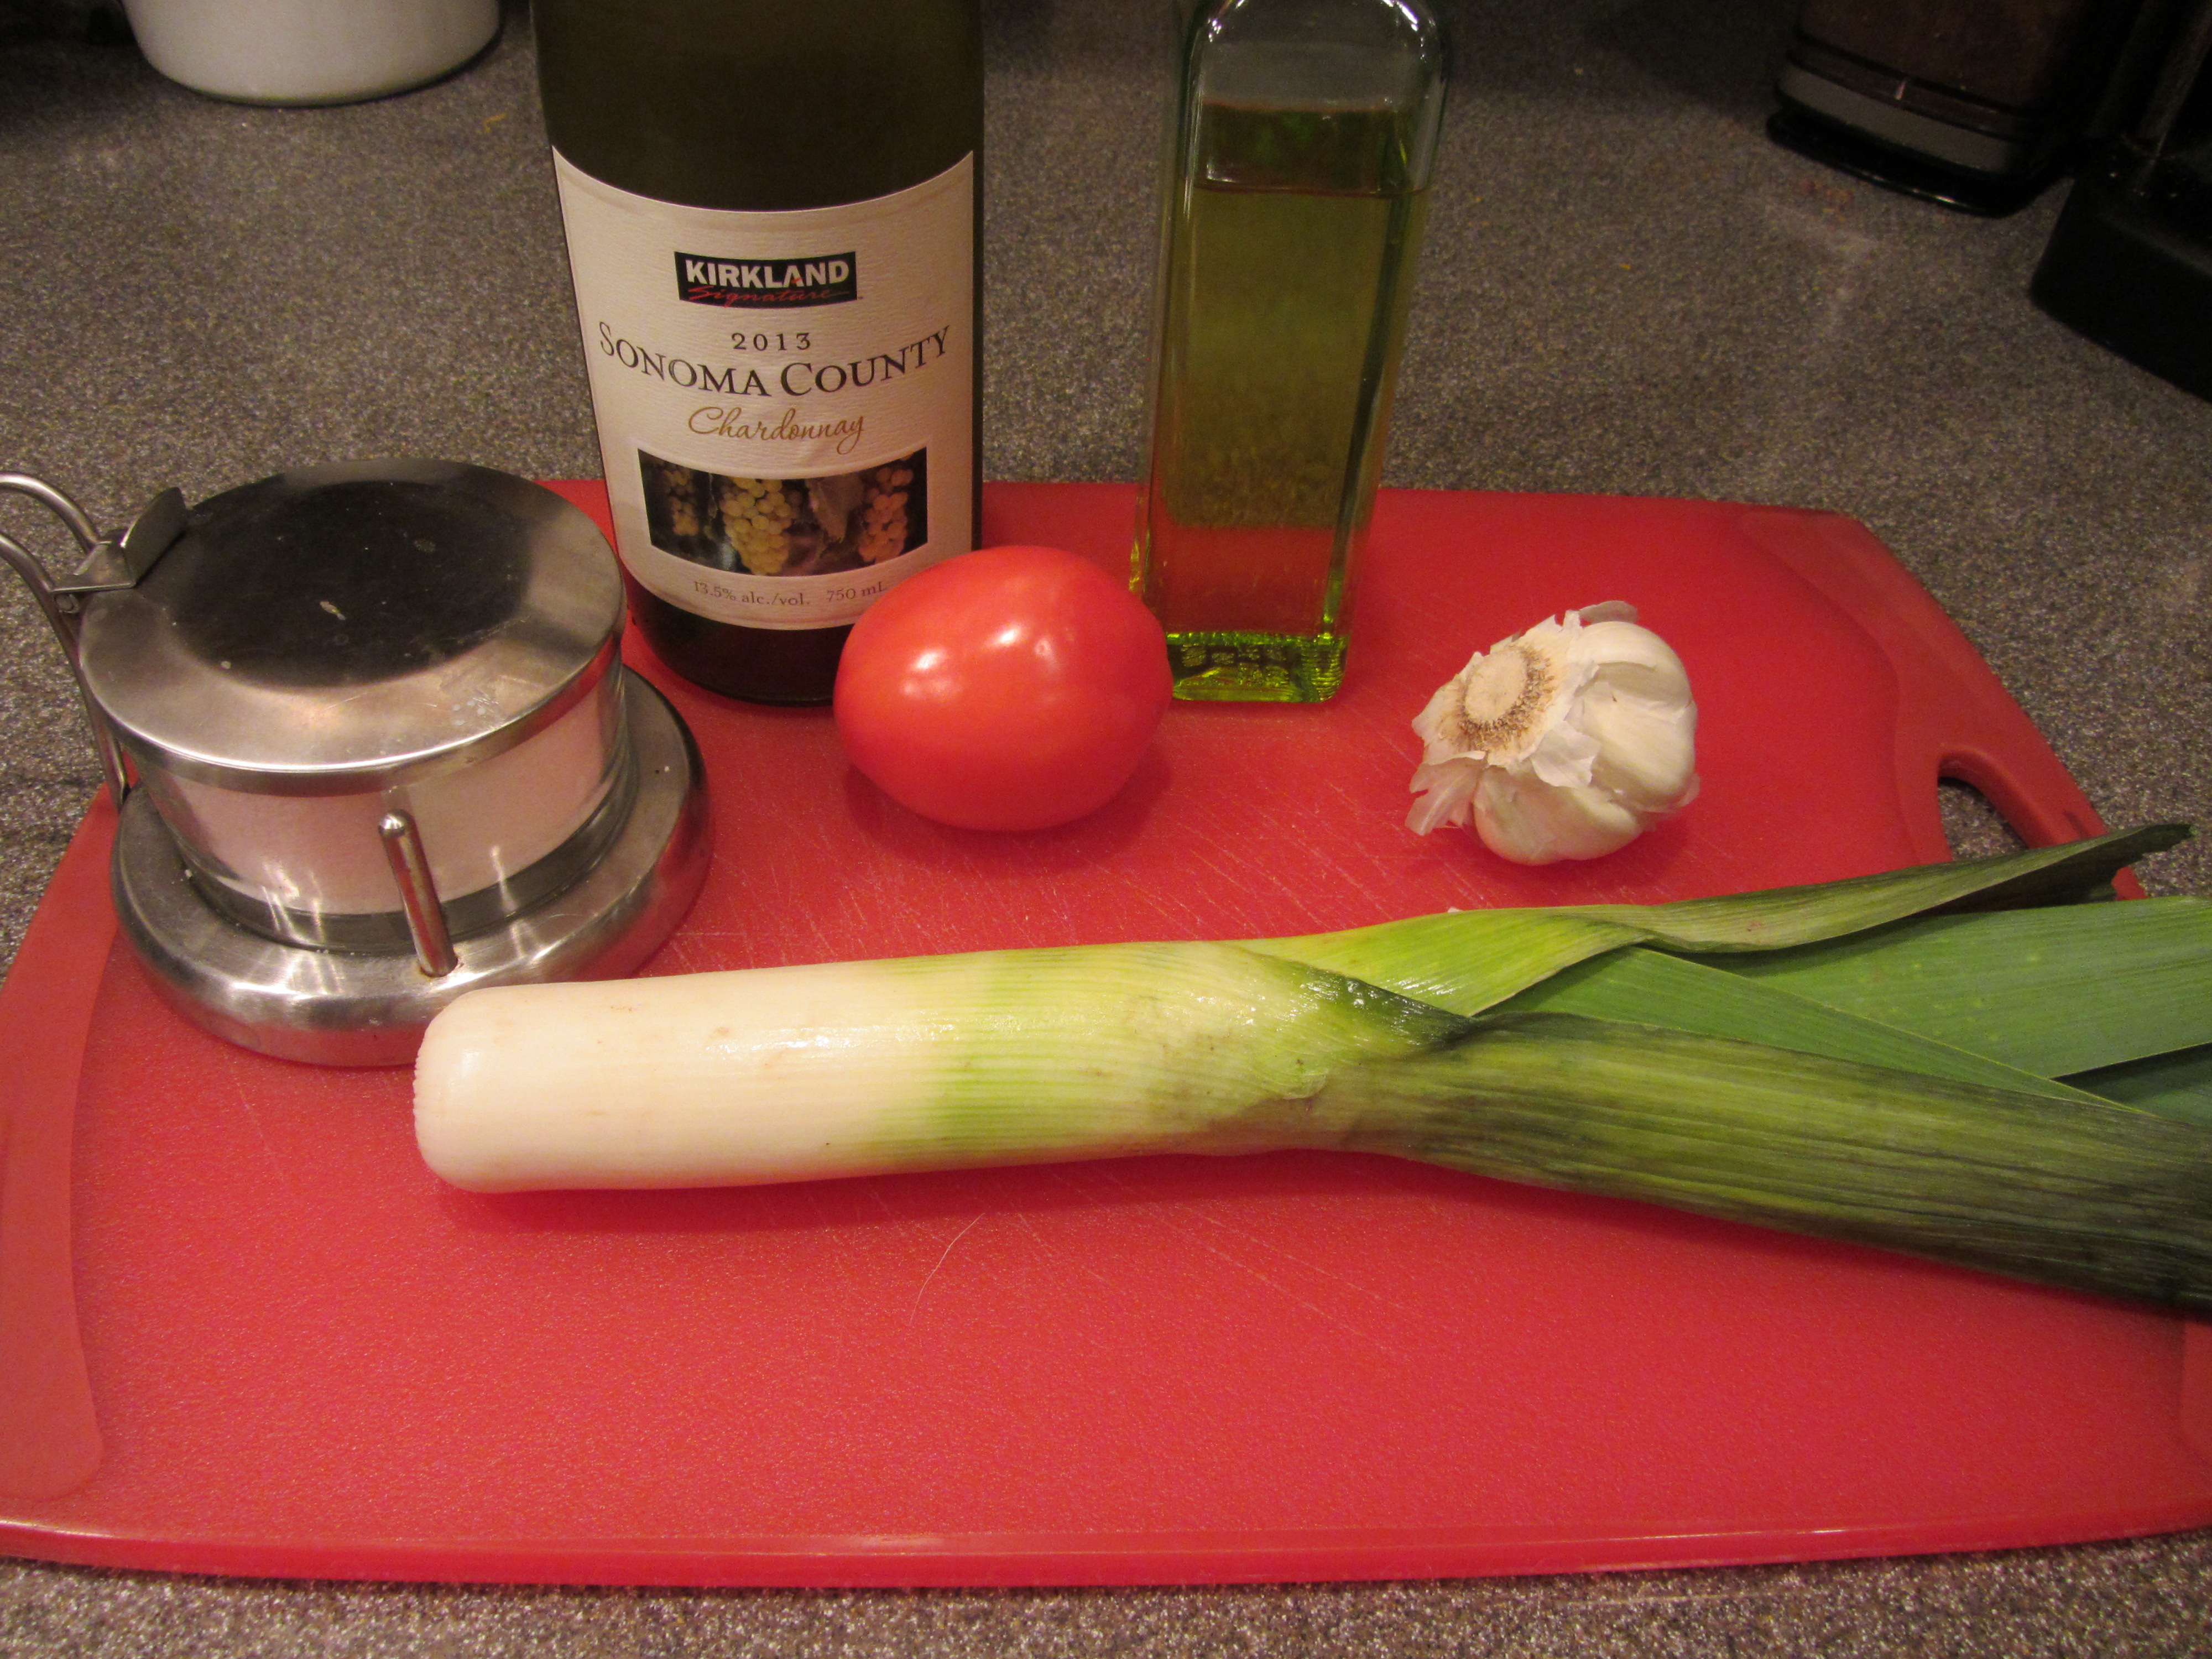
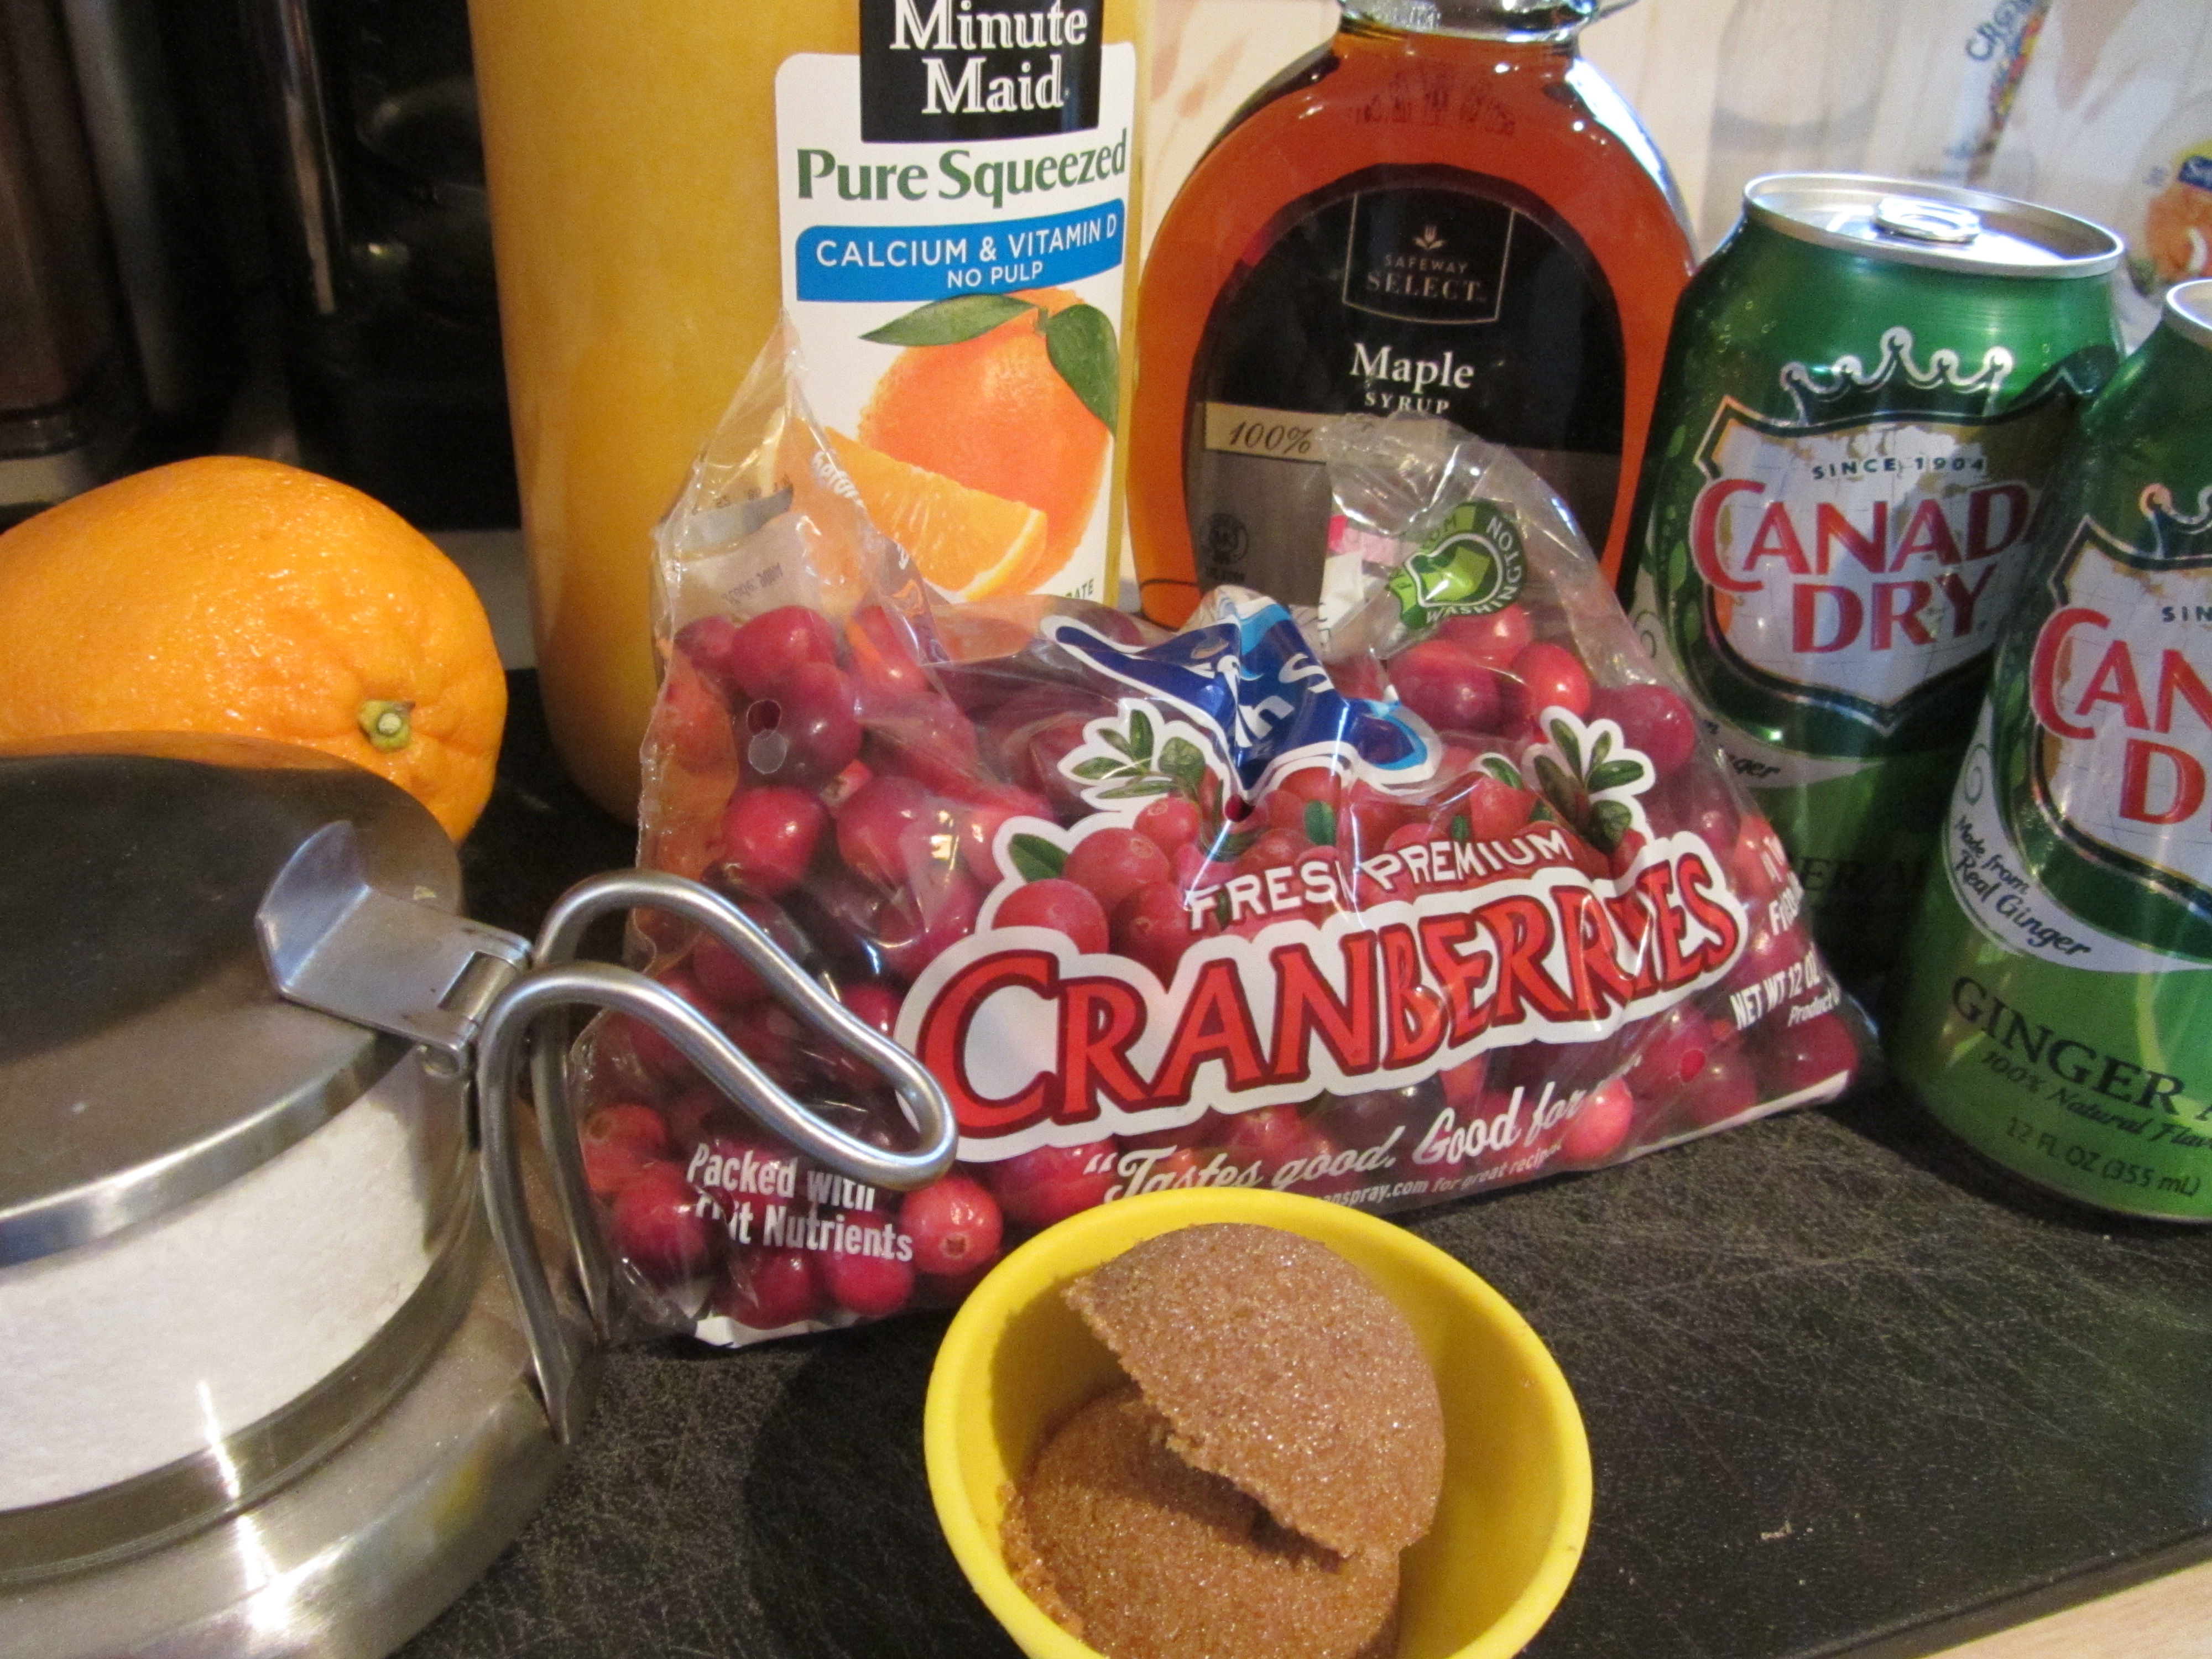
To go along with your perfect turkey, in the Thanksgiving special, Alton shows you how to make a cranberry dipping sauce. The recipe for this sauce can be found here, which for some reason shows up as under a different Good Eats episode. I happen to like the gelatinous cranberry sauce you can buy in a can, but it truly does not compare to a dish made with fresh cranberries. For Alton’s cranberry concoction, combine 12 ounces of frozen cranberries (the online recipe calls for a pound), orange juice, ginger ale, maple syrup, light brown sugar, the zest of an orange, and a pinch of Kosher salt in a saucepan. I could not find frozen cranberries, so I used fresh cranberries.

Sauce ingredients: cranberries, OJ, ginger ale, maple syrup, brown sugar, Kosher salt, and the zest of an orange.
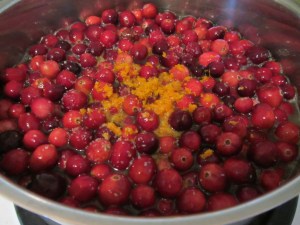
All of the ingredients in a saucepan.
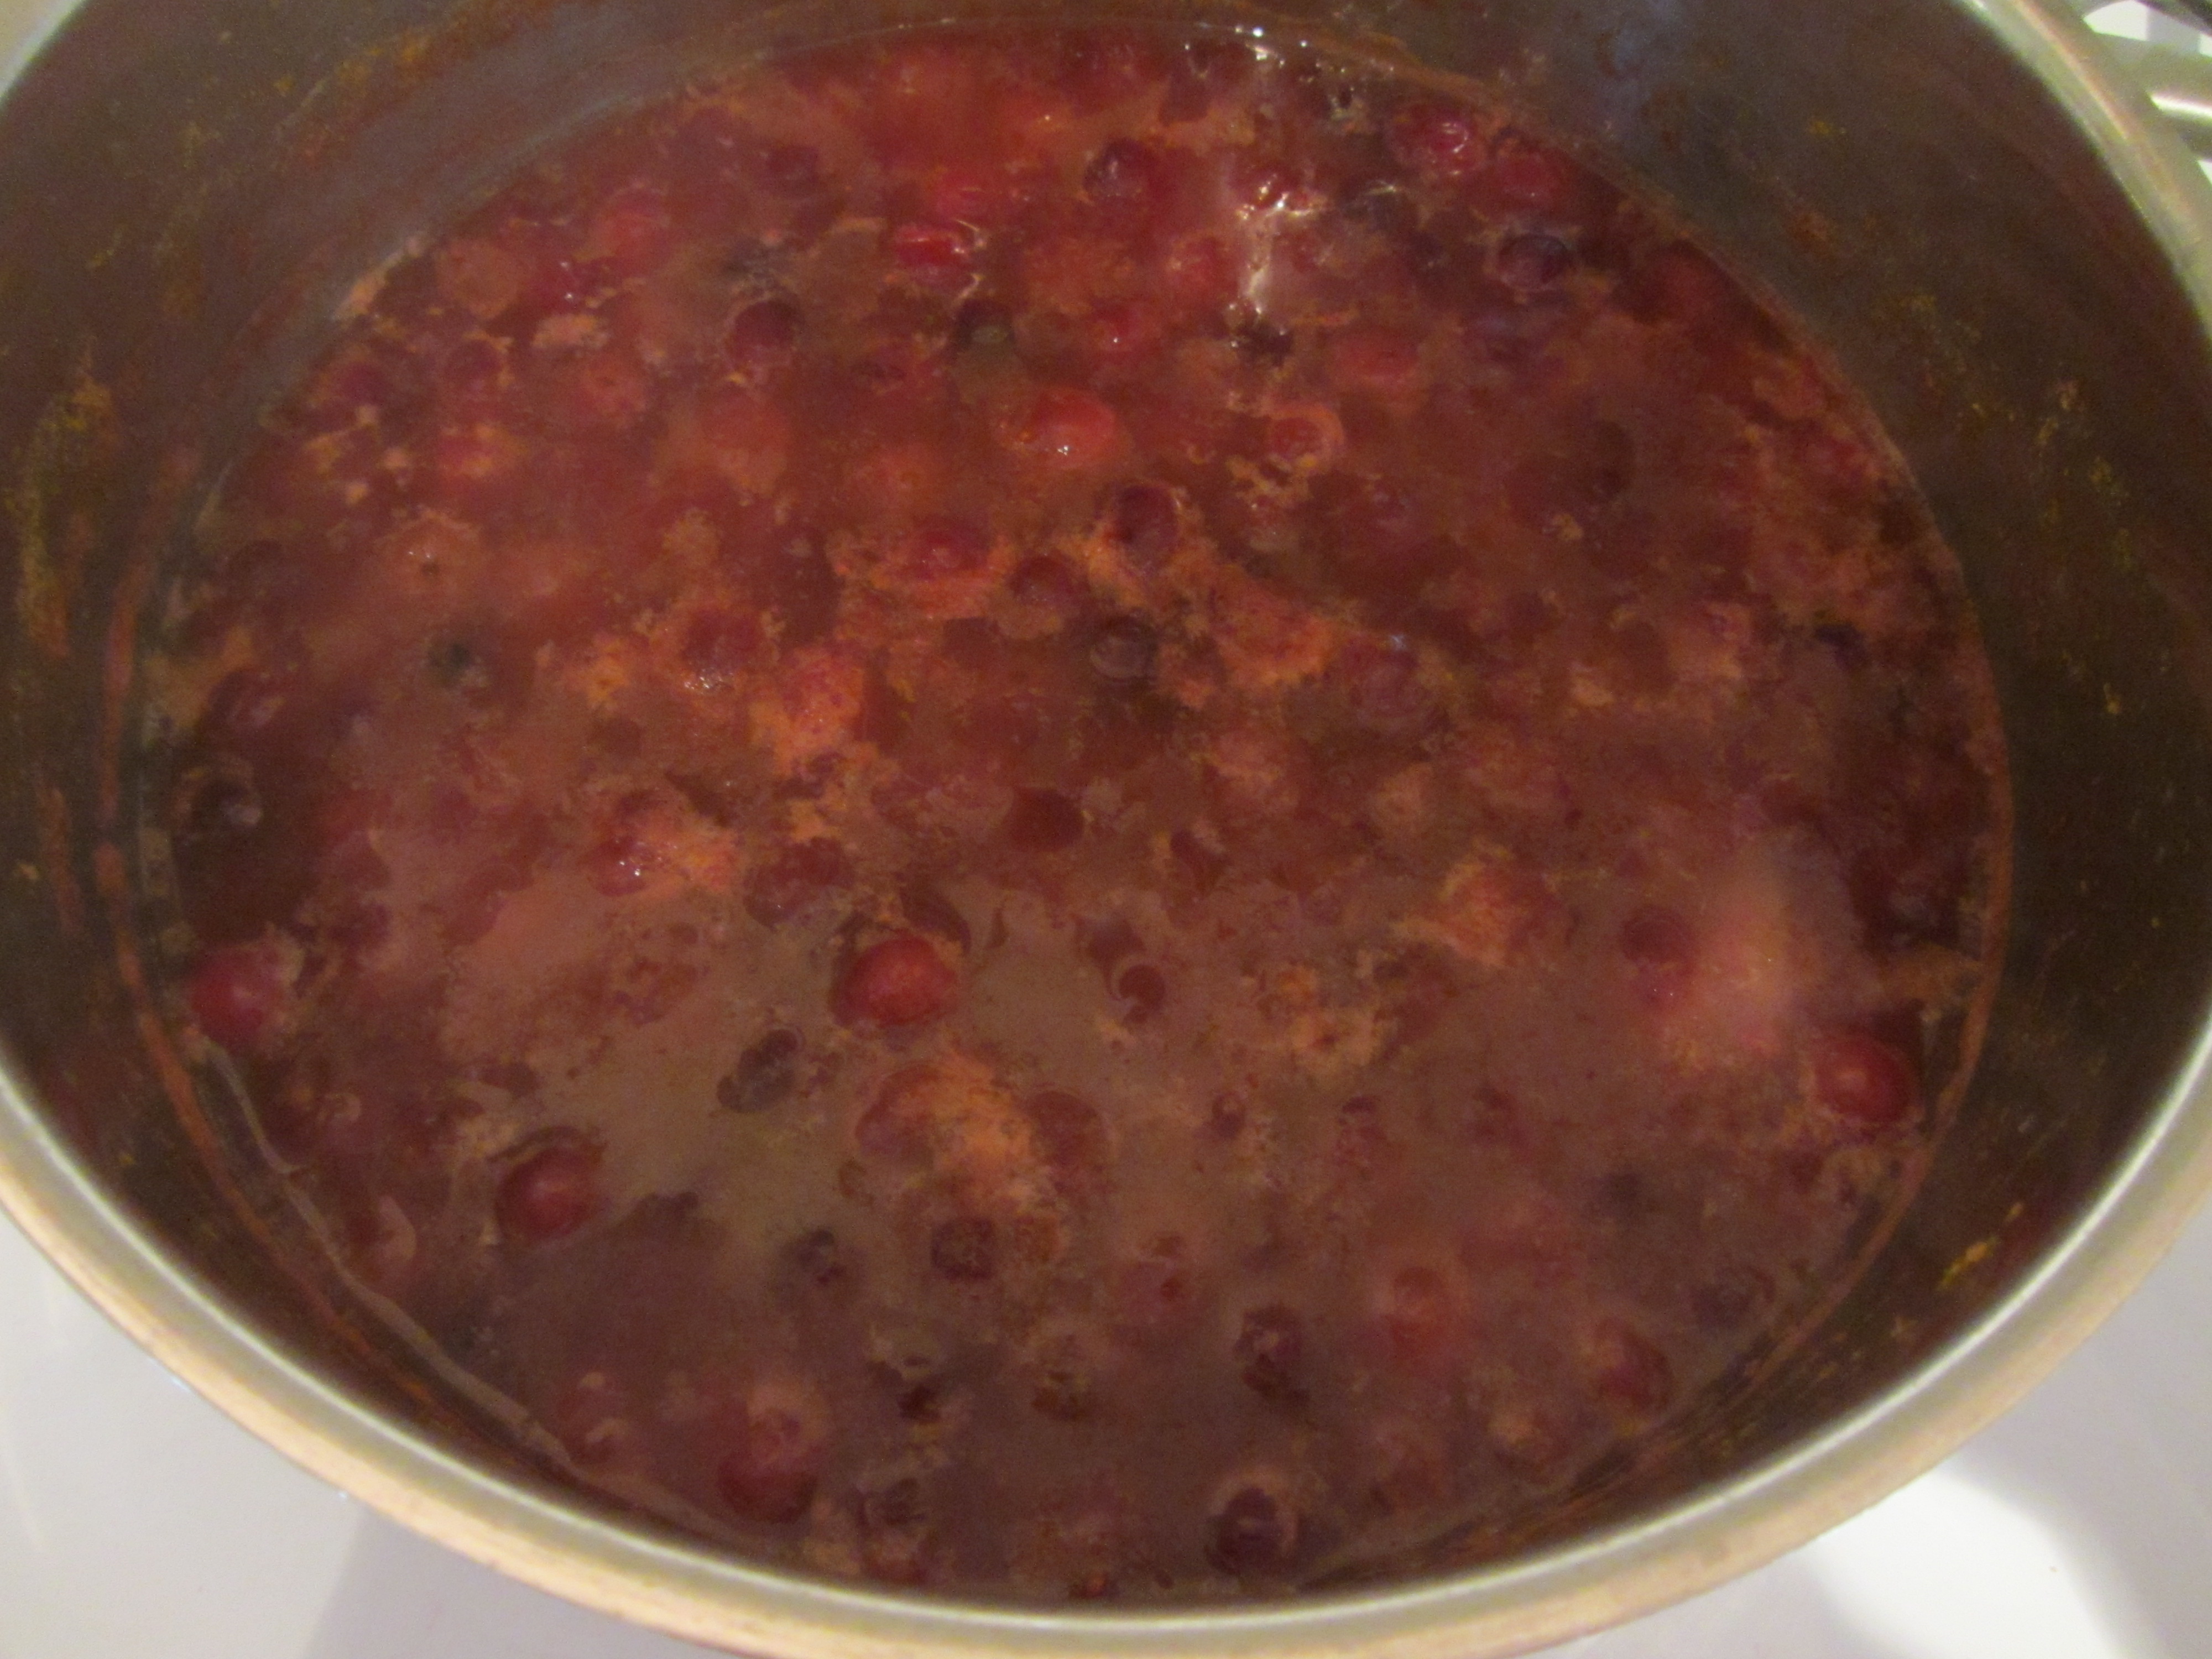
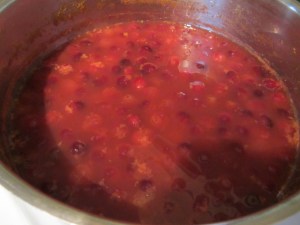
Bring this mixture to a boil, decrease the heat to medium, and cook it for 30 minutes. A skin will form on the surface of the sauce, so skim that off.

A skin formed after 30 minutes on the stove.
After skimming off the skin.
If you have an immersion blender, you can use that to blend the sauce. Our immersion blender is incapacitated, so I used a traditional blender to blend my sauce.
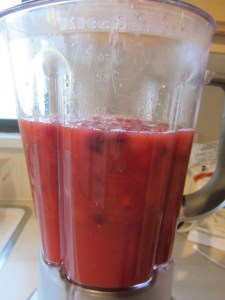
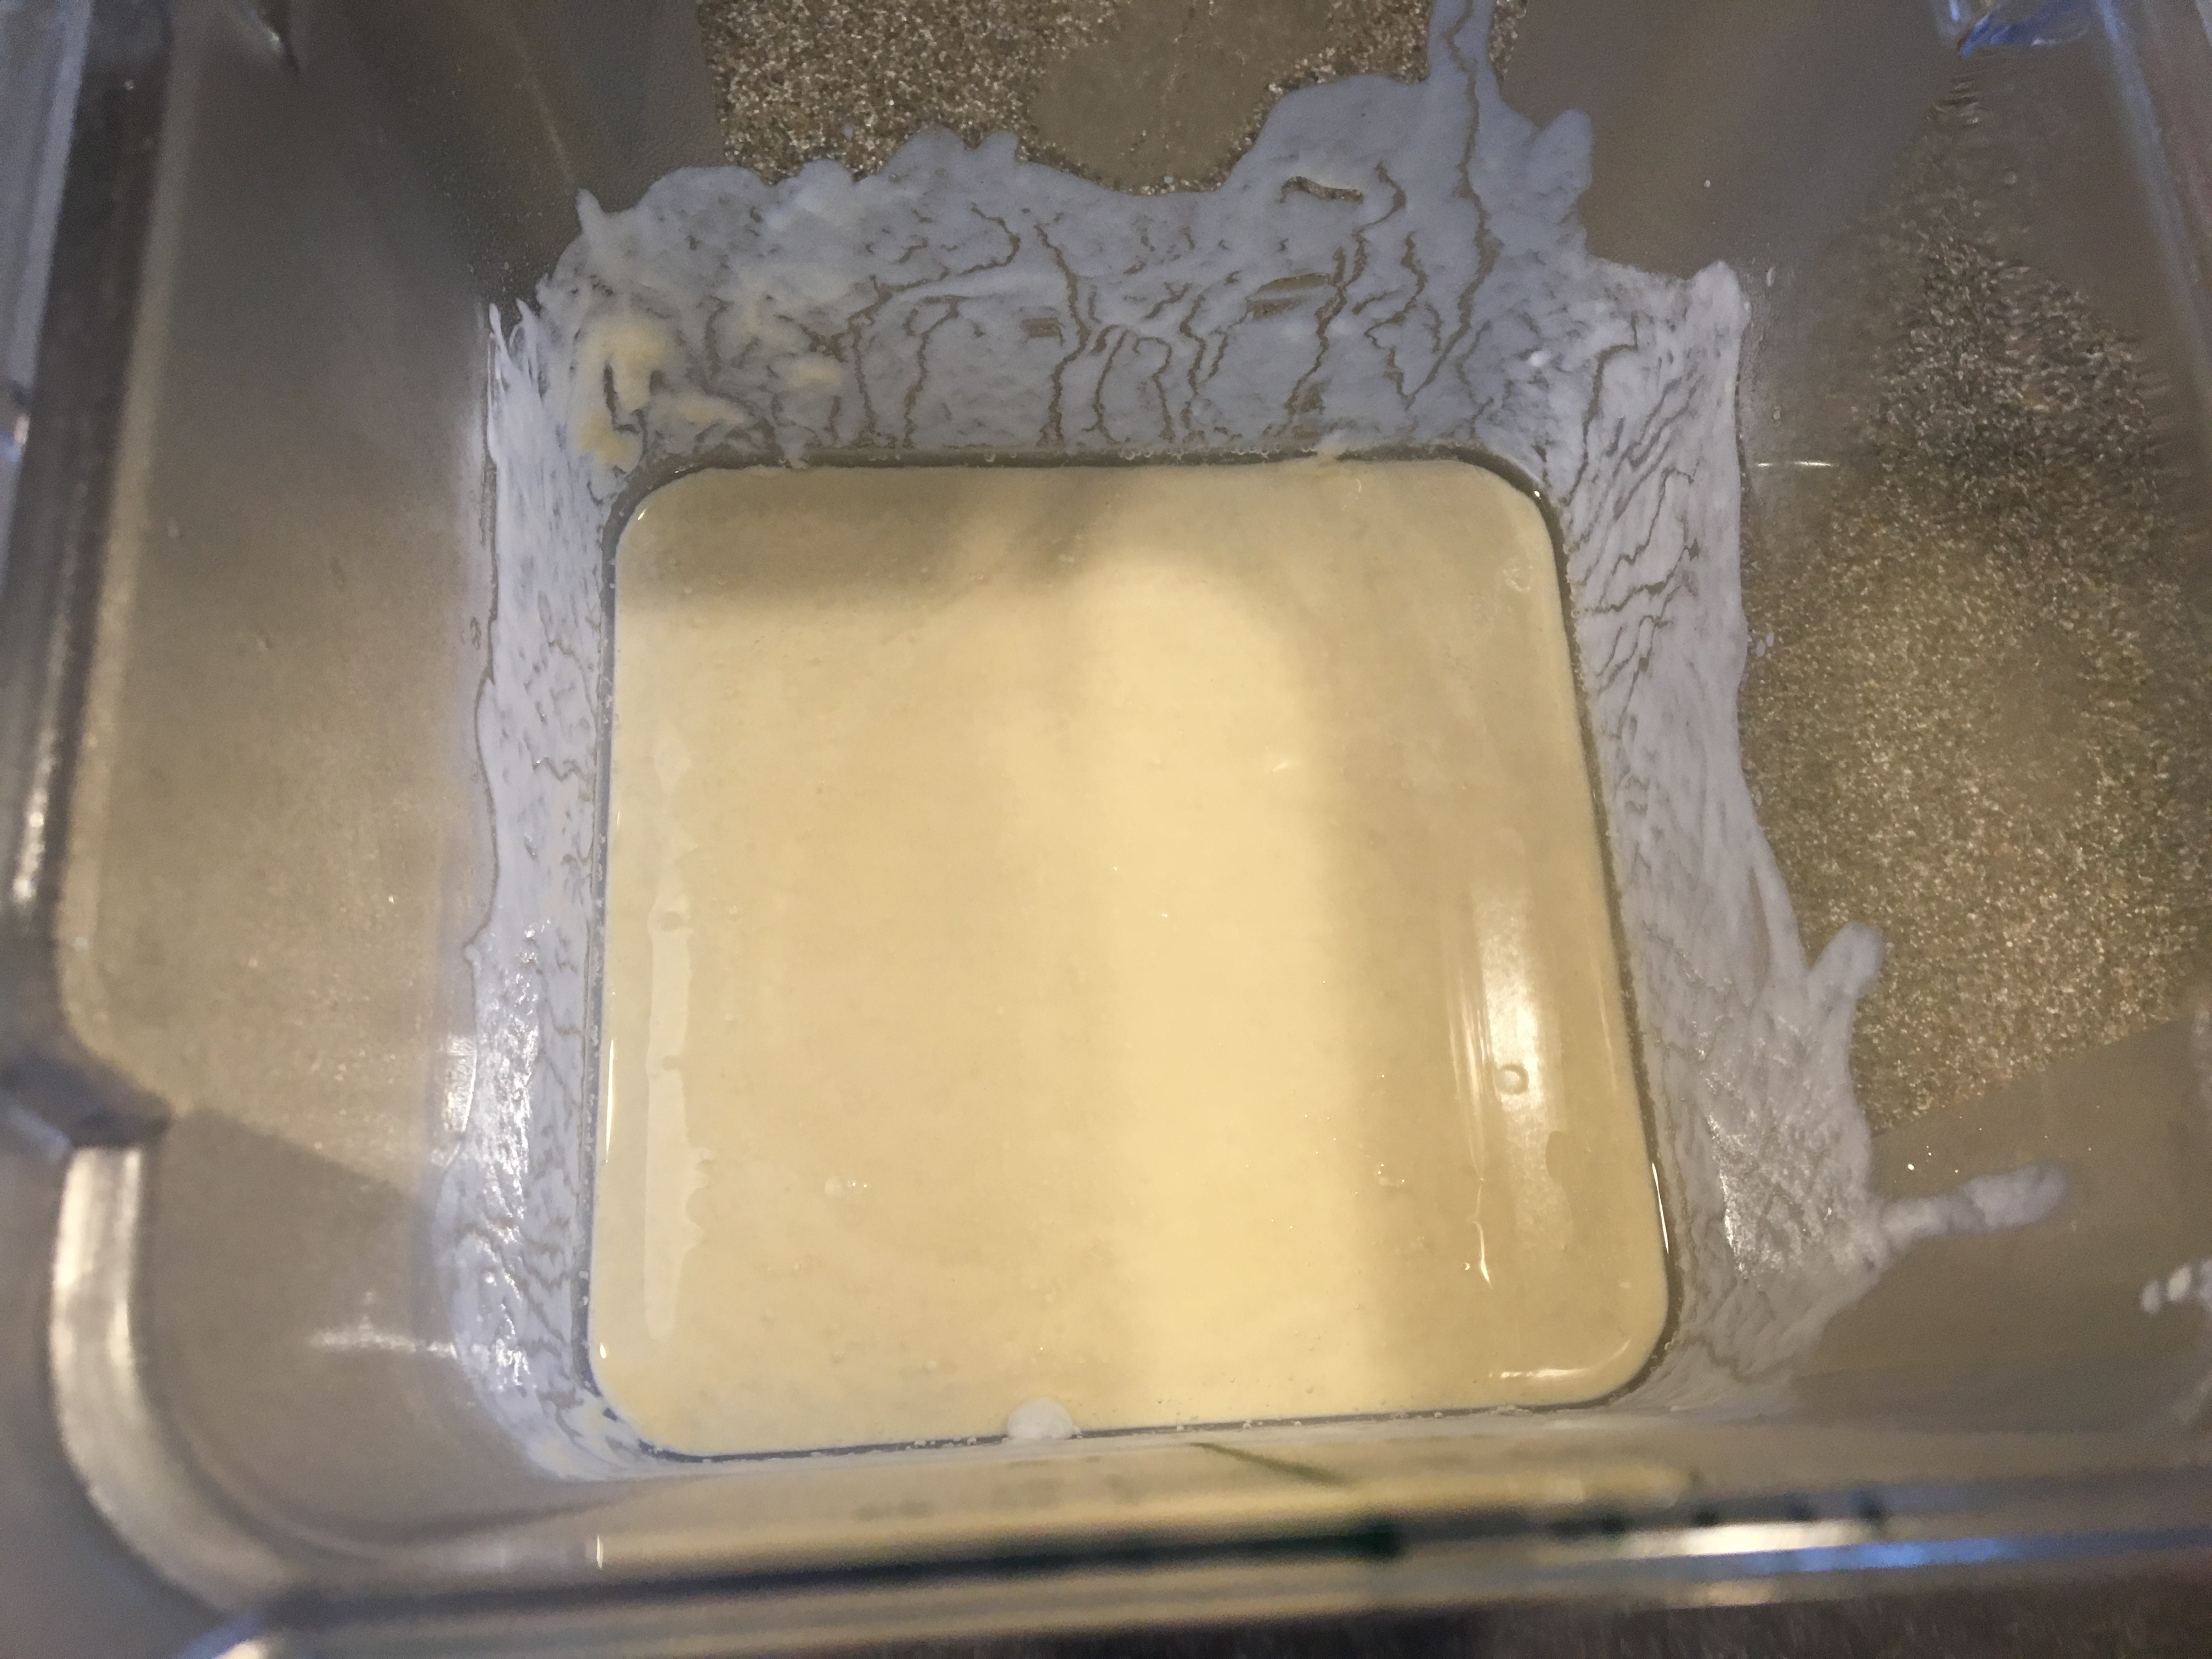
Into the blender.
Completed cranberry sauce.

Tart cranberry dipping sauce.
Serve this sauce in individual ramekins for each diner to dip their turkey in. This sauce really does pair nicely with turkey, as it is quite tart and contrasts nicely with the meat. It is loaded with cranberry and orange flavor, and is a brilliant cranberry red, which also adds a lot of color to the Thanksgiving table. Also, you can make this sauce ahead of time and reheat it while your turkey is resting. I would definitely make this again to pair with turkey. It does make quite a large volume of sauce, so I am already thinking of other ways to use it. Perhaps we will have to have this with some homemade pound cake and vanilla ice cream for dessert one night! If you are looking for a new way to incorporate cranberries into your Thanksgiving dinner, or an alternative to gravy, this is a fun (and easy!) one to try.
Sweet Corn Bread Pudding
The final recipe Alton prepares in “Romancing the Bird” is for his Sweet Corn Bread Pudding. I happen to love stuffing, especially my dad’s, at Thanksgiving, so I was happy to see that Alton made this bread pudding, as it is along the lines of stuffing. Again, this is a nice recipe for Thanksgiving, as you can make it early in the day and reheat it in the oven while your turkey is resting, which means you are not scrambling to make a bunch of things at the last second.
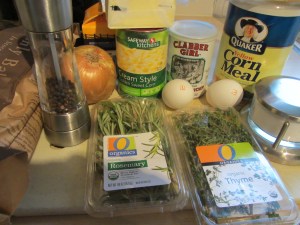
Ingredients for bread pudding: pepper, Kosher salt, onion, creamed corn, butter, cream, eggs, baking powder, cornmeal, rosemary, thyme, and Parmesan.
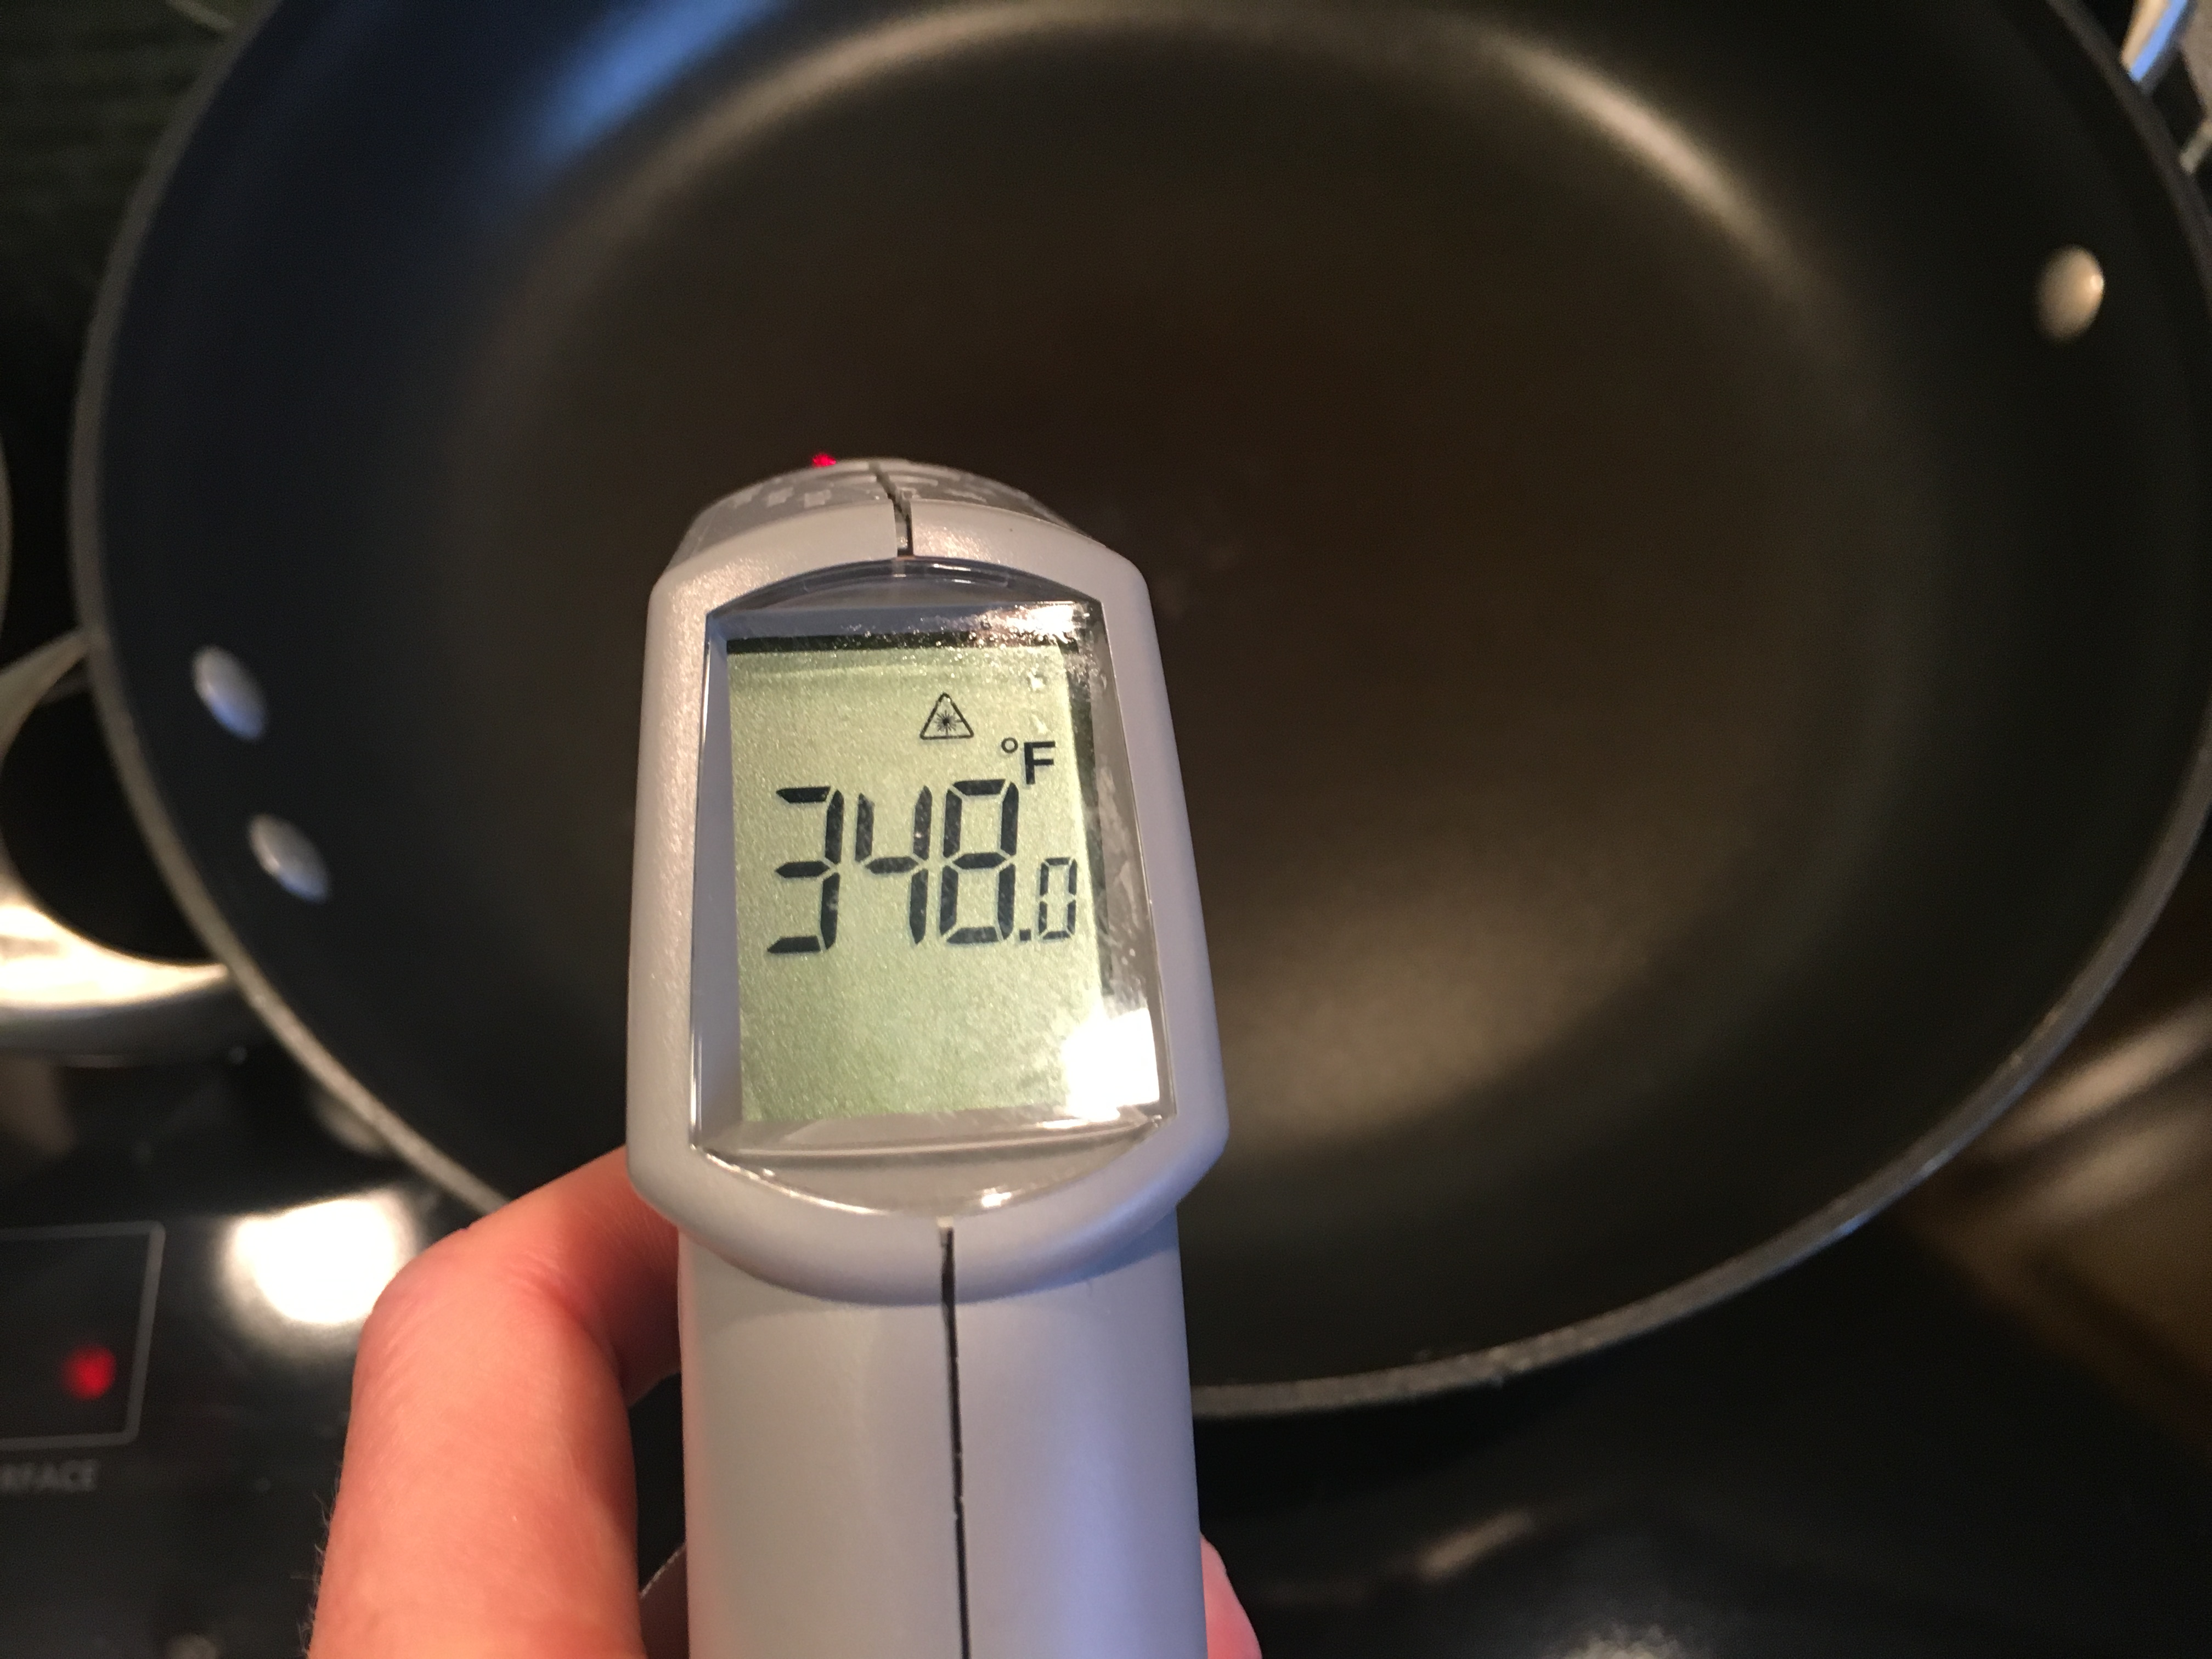
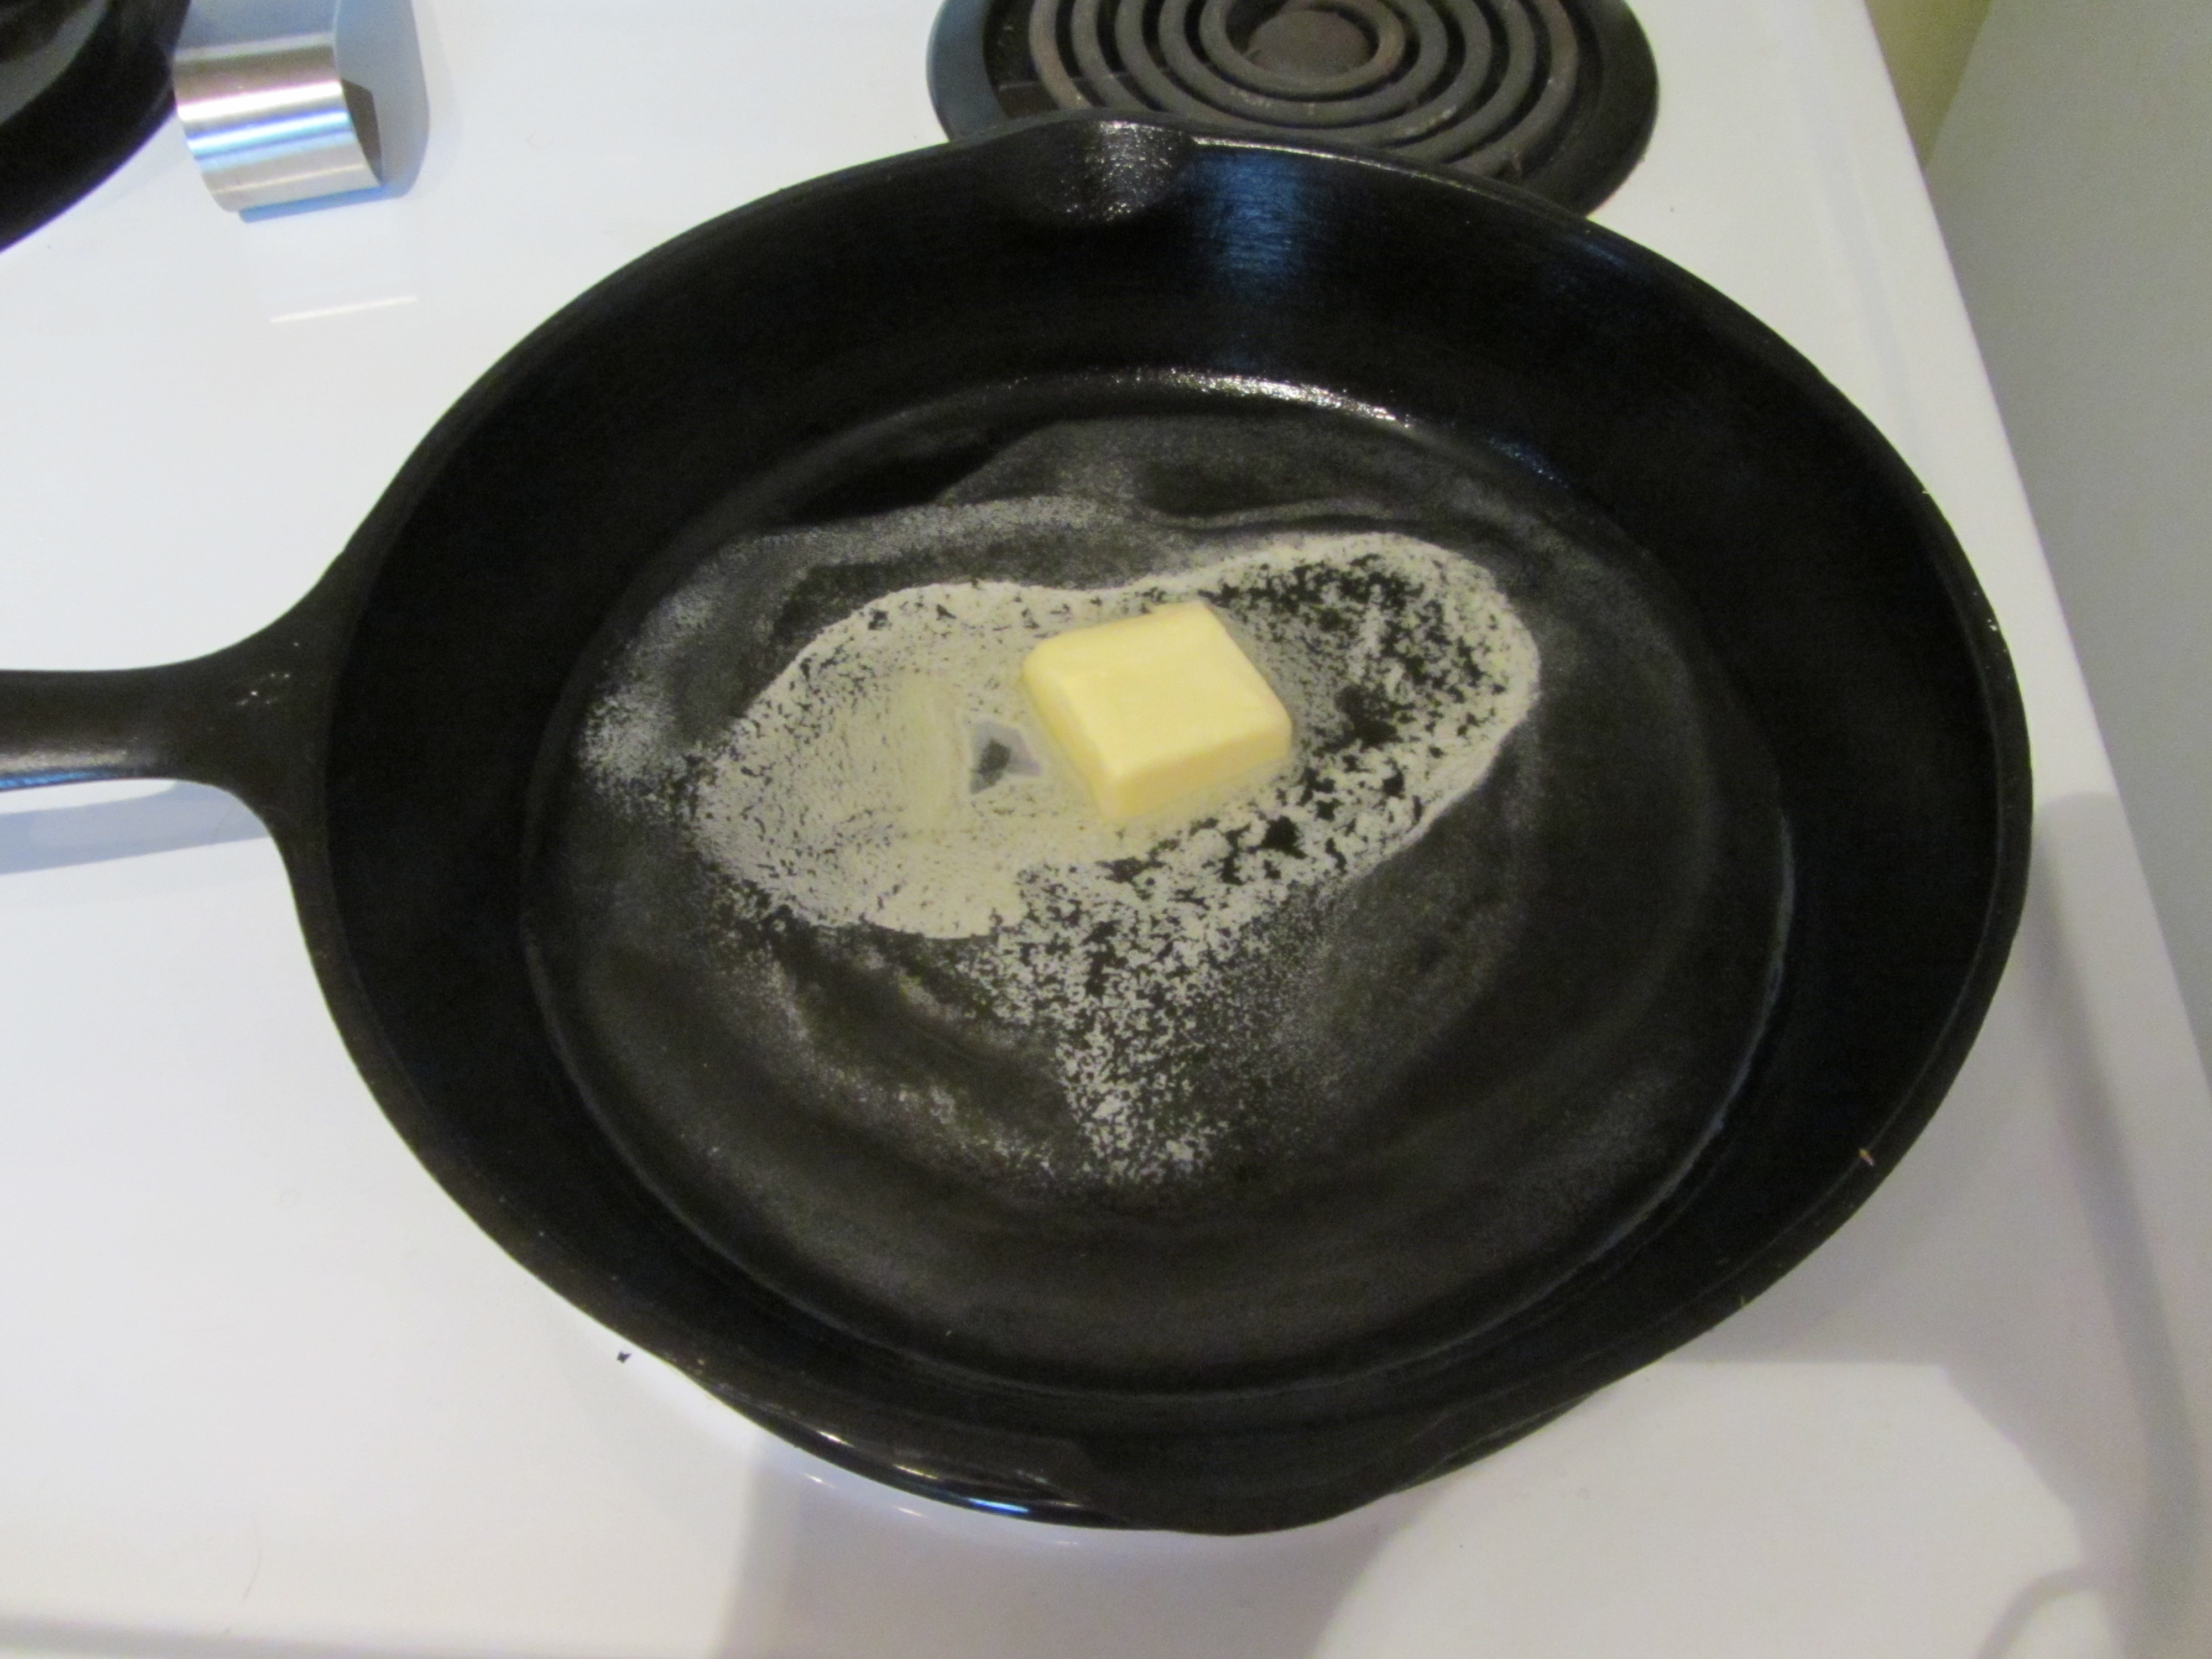
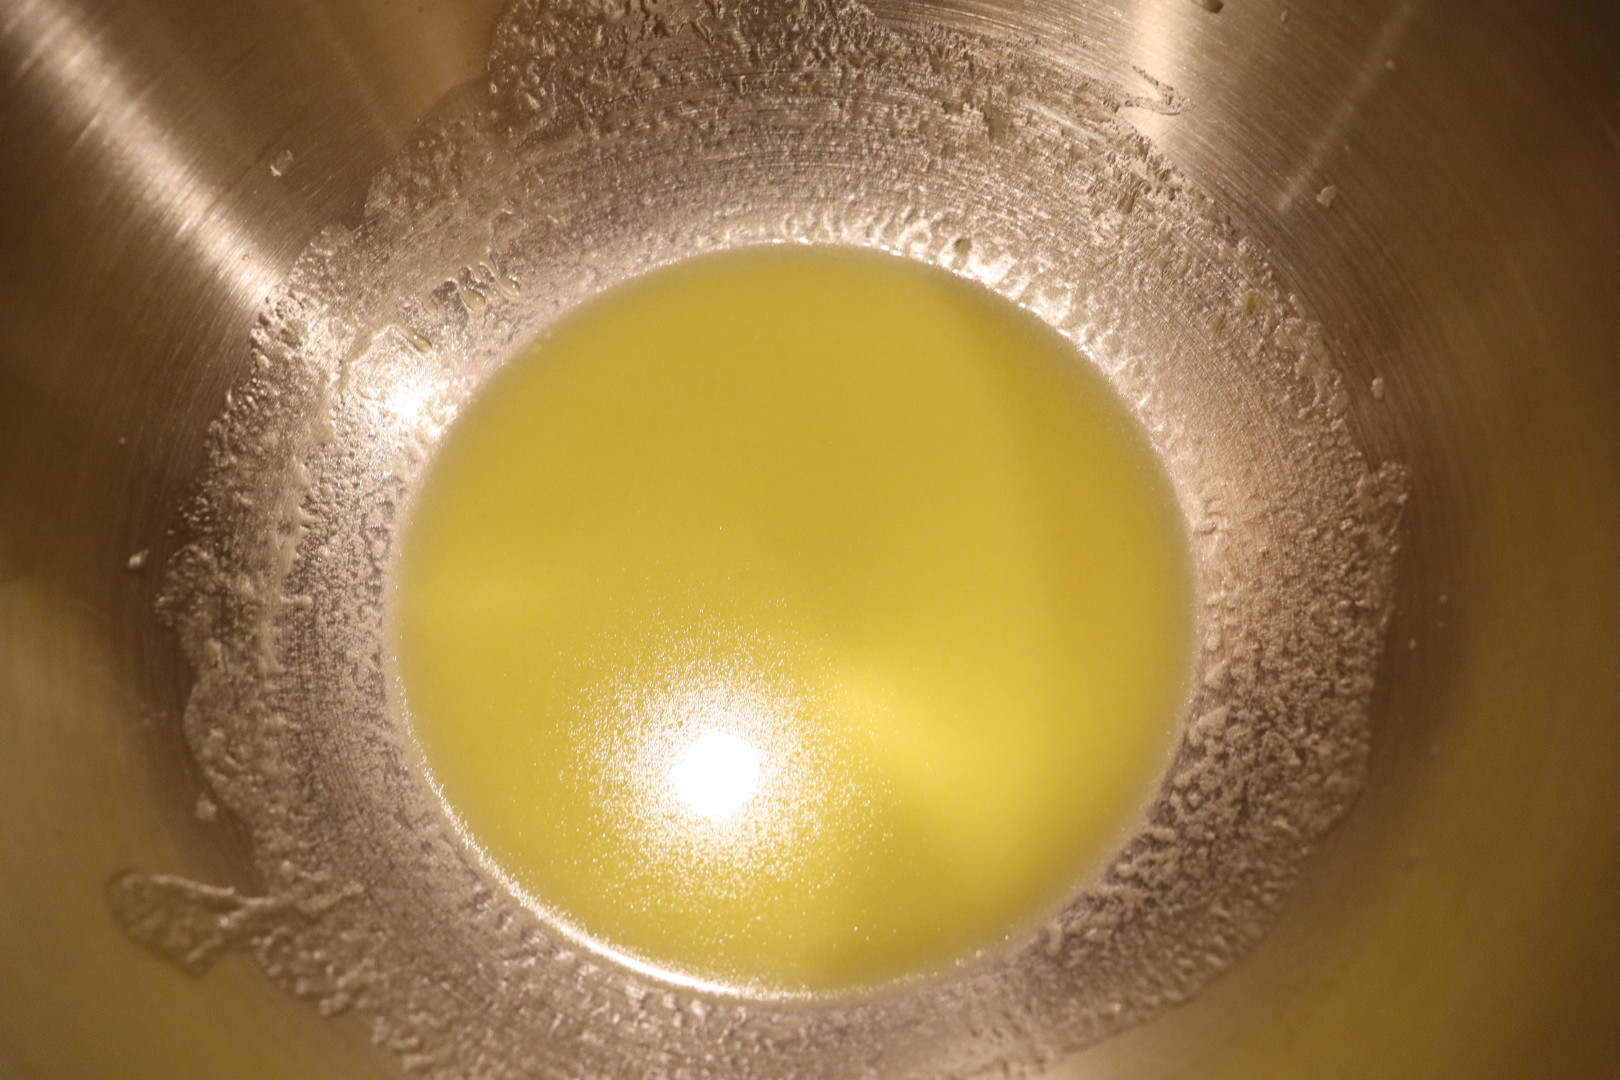
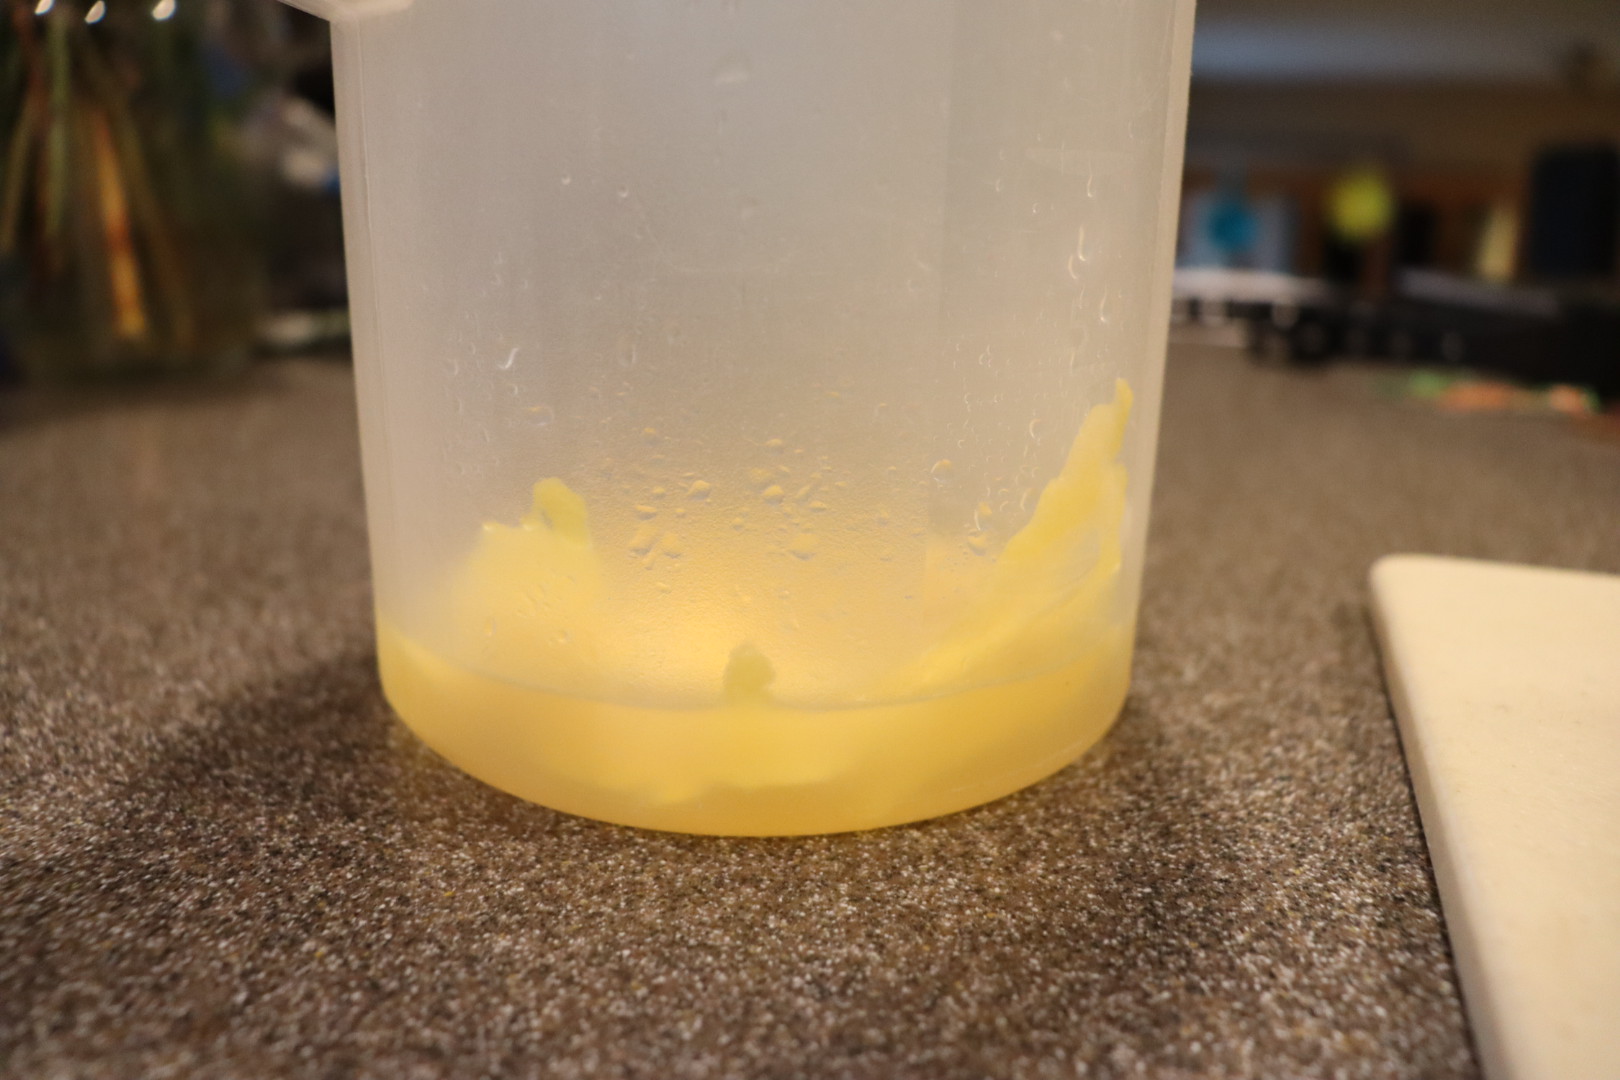
To begin, heat an iron skillet and melt some butter.
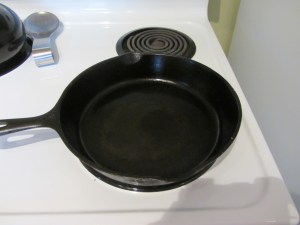
Preheating iron skillet.
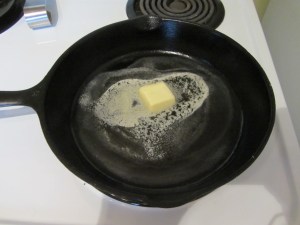
Melting butter.
Add a diced onion (the online recipe calls for half an onion, but Alton uses a whole onion in the show) and some chopped, fresh rosemary and thyme.
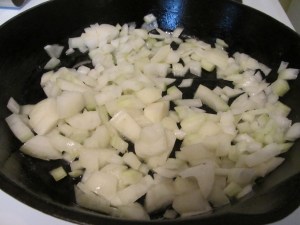
Onion sweating in butter.
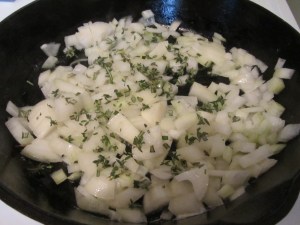
Onion, butter, rosemary, and thyme.
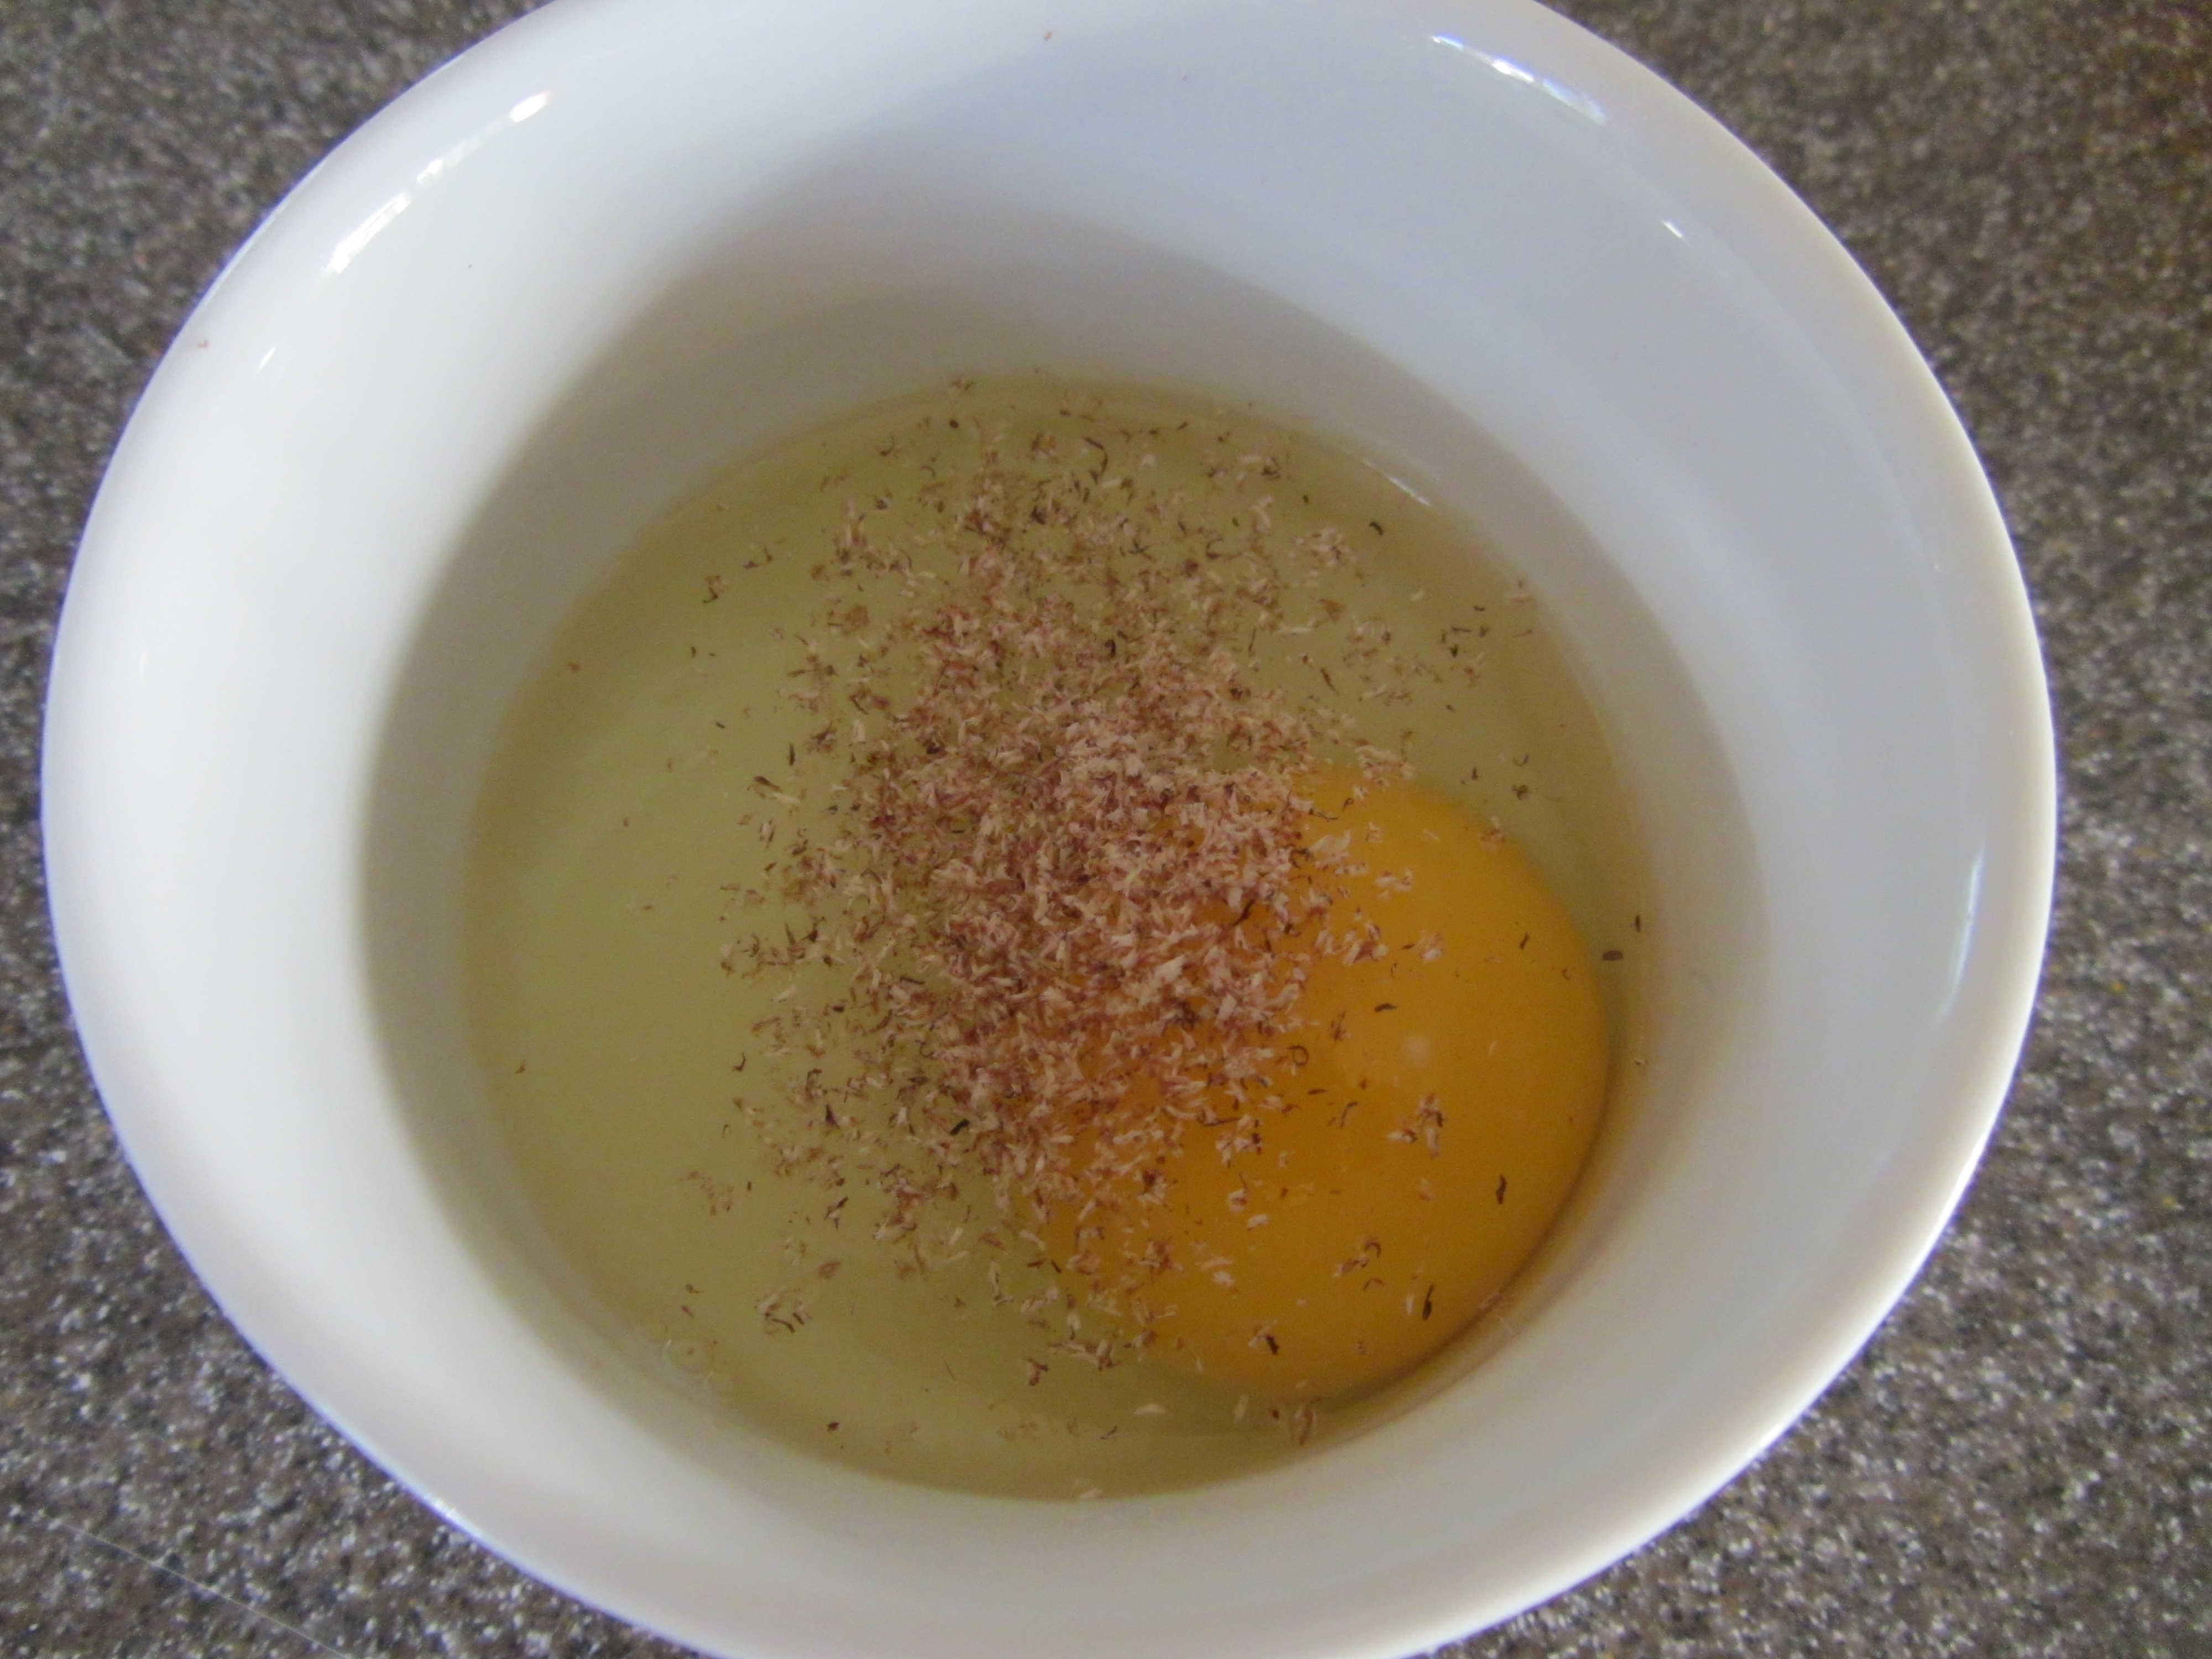
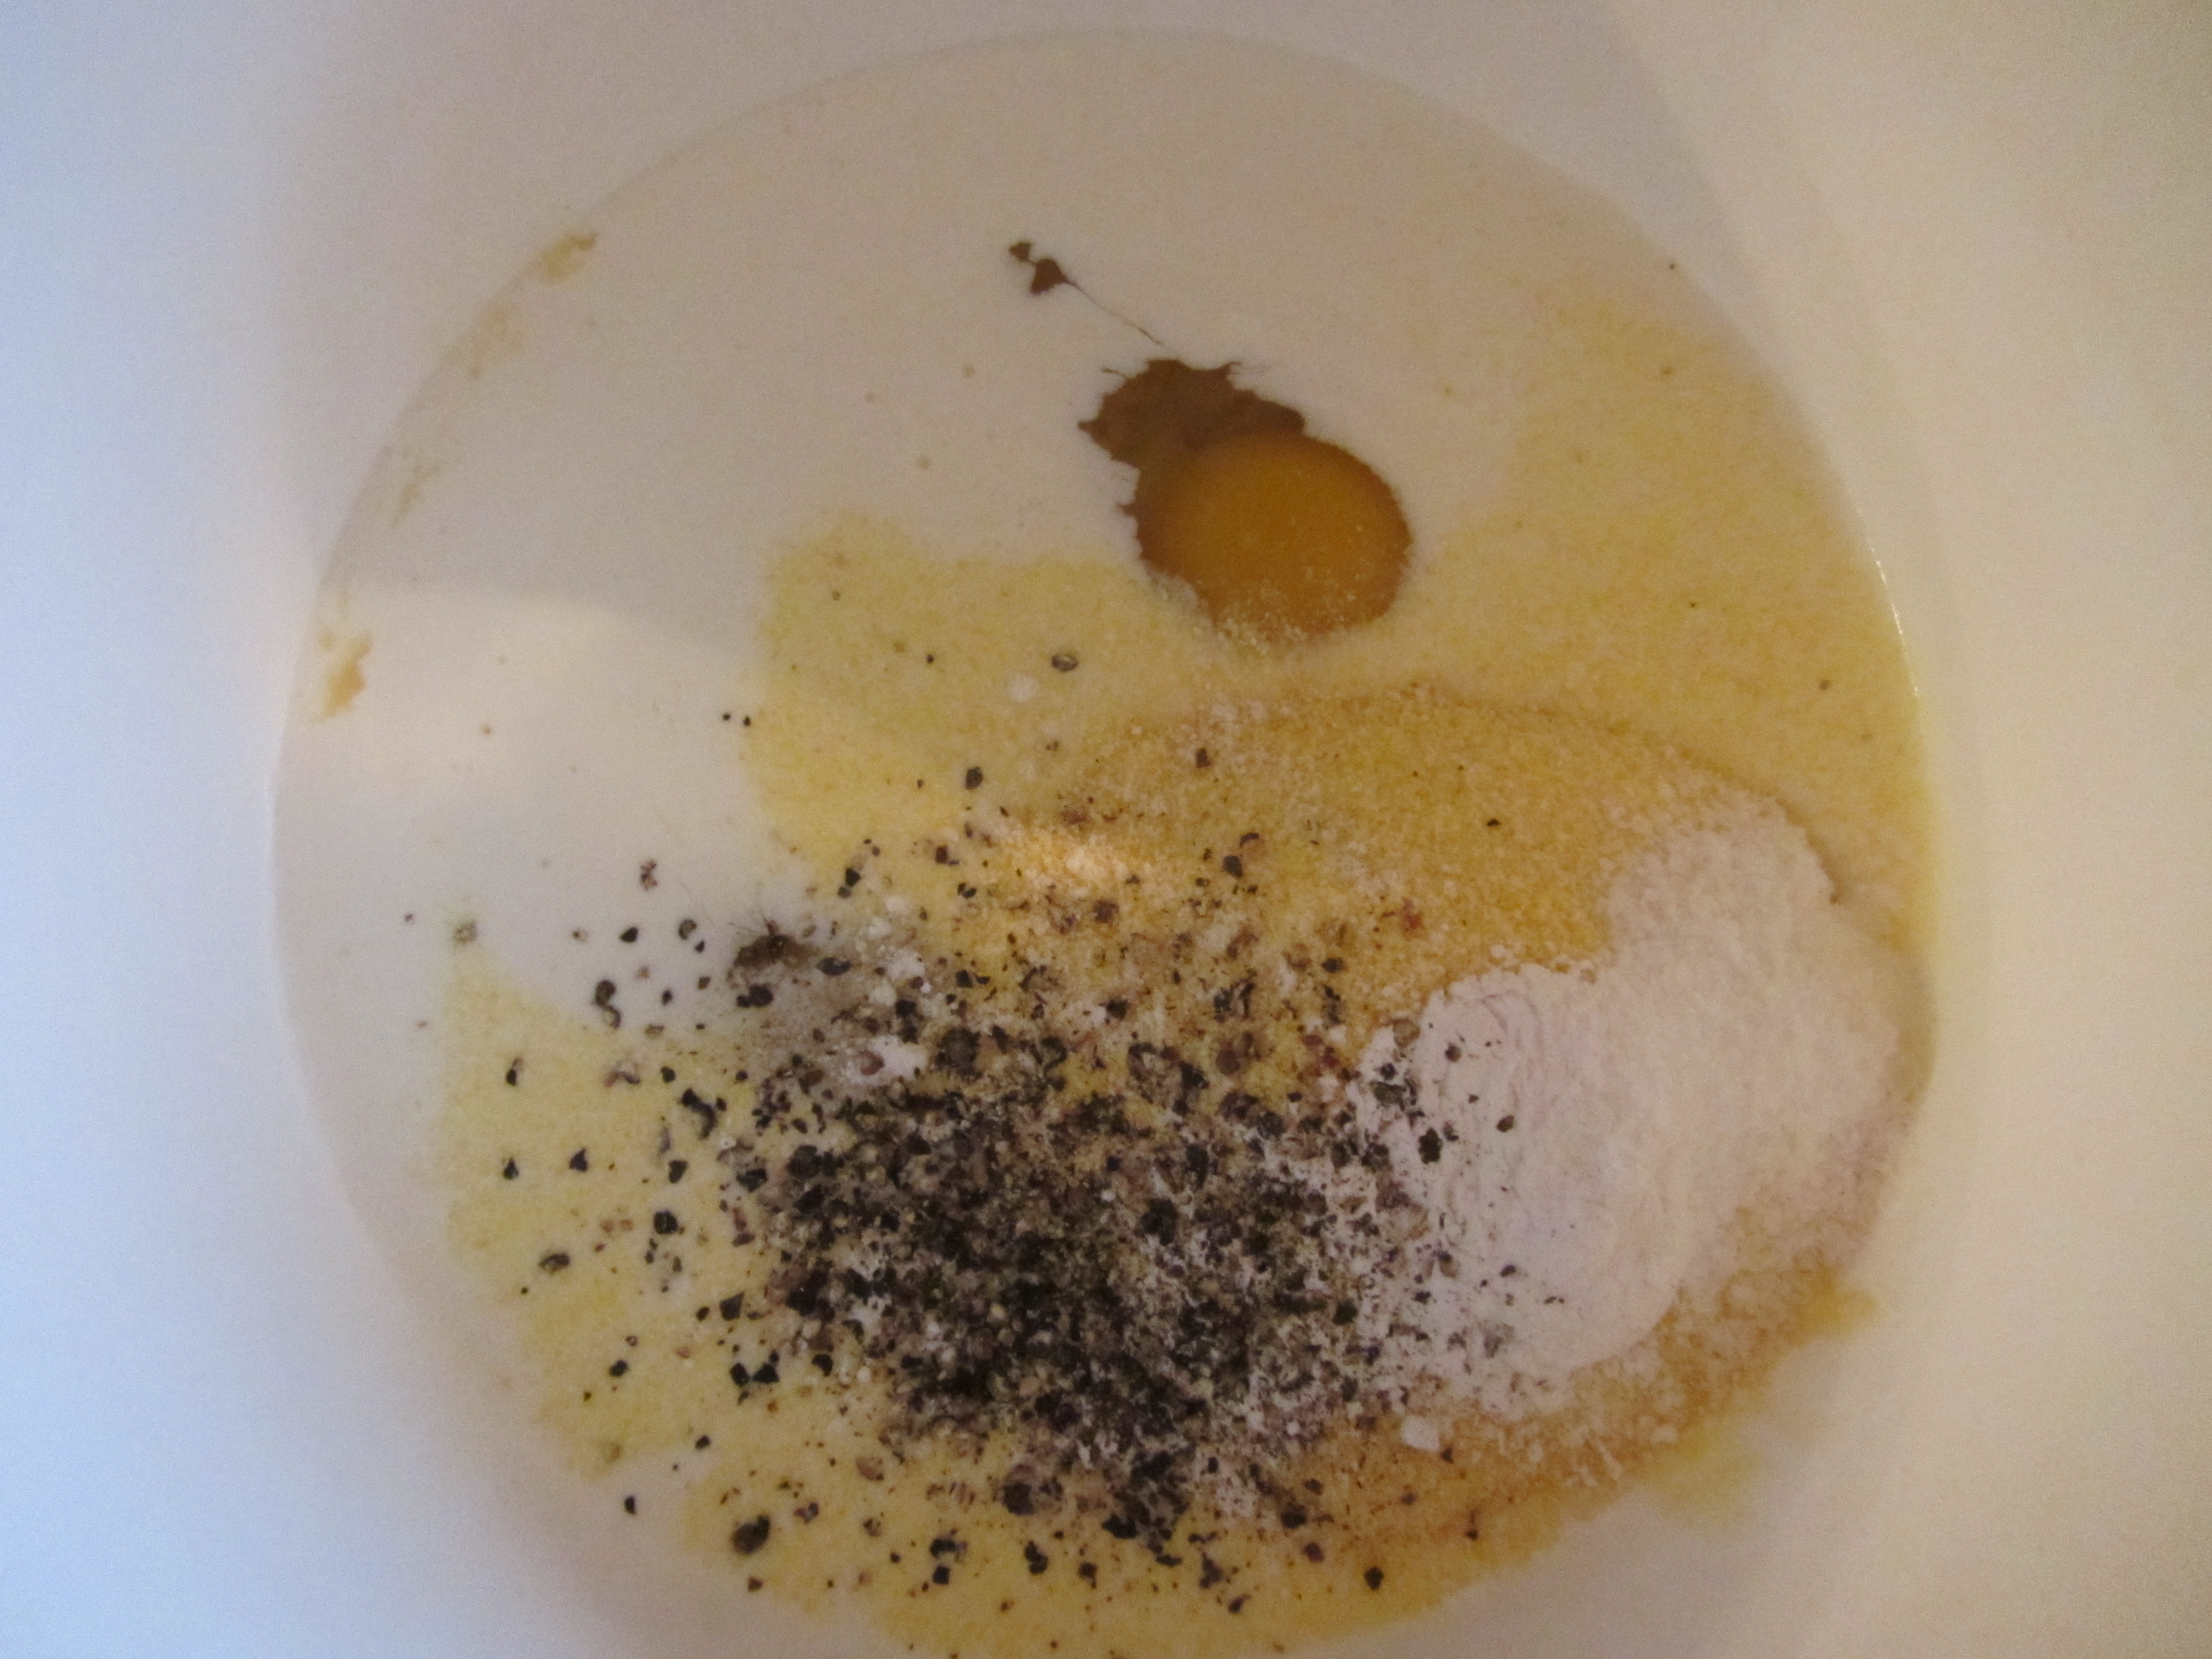
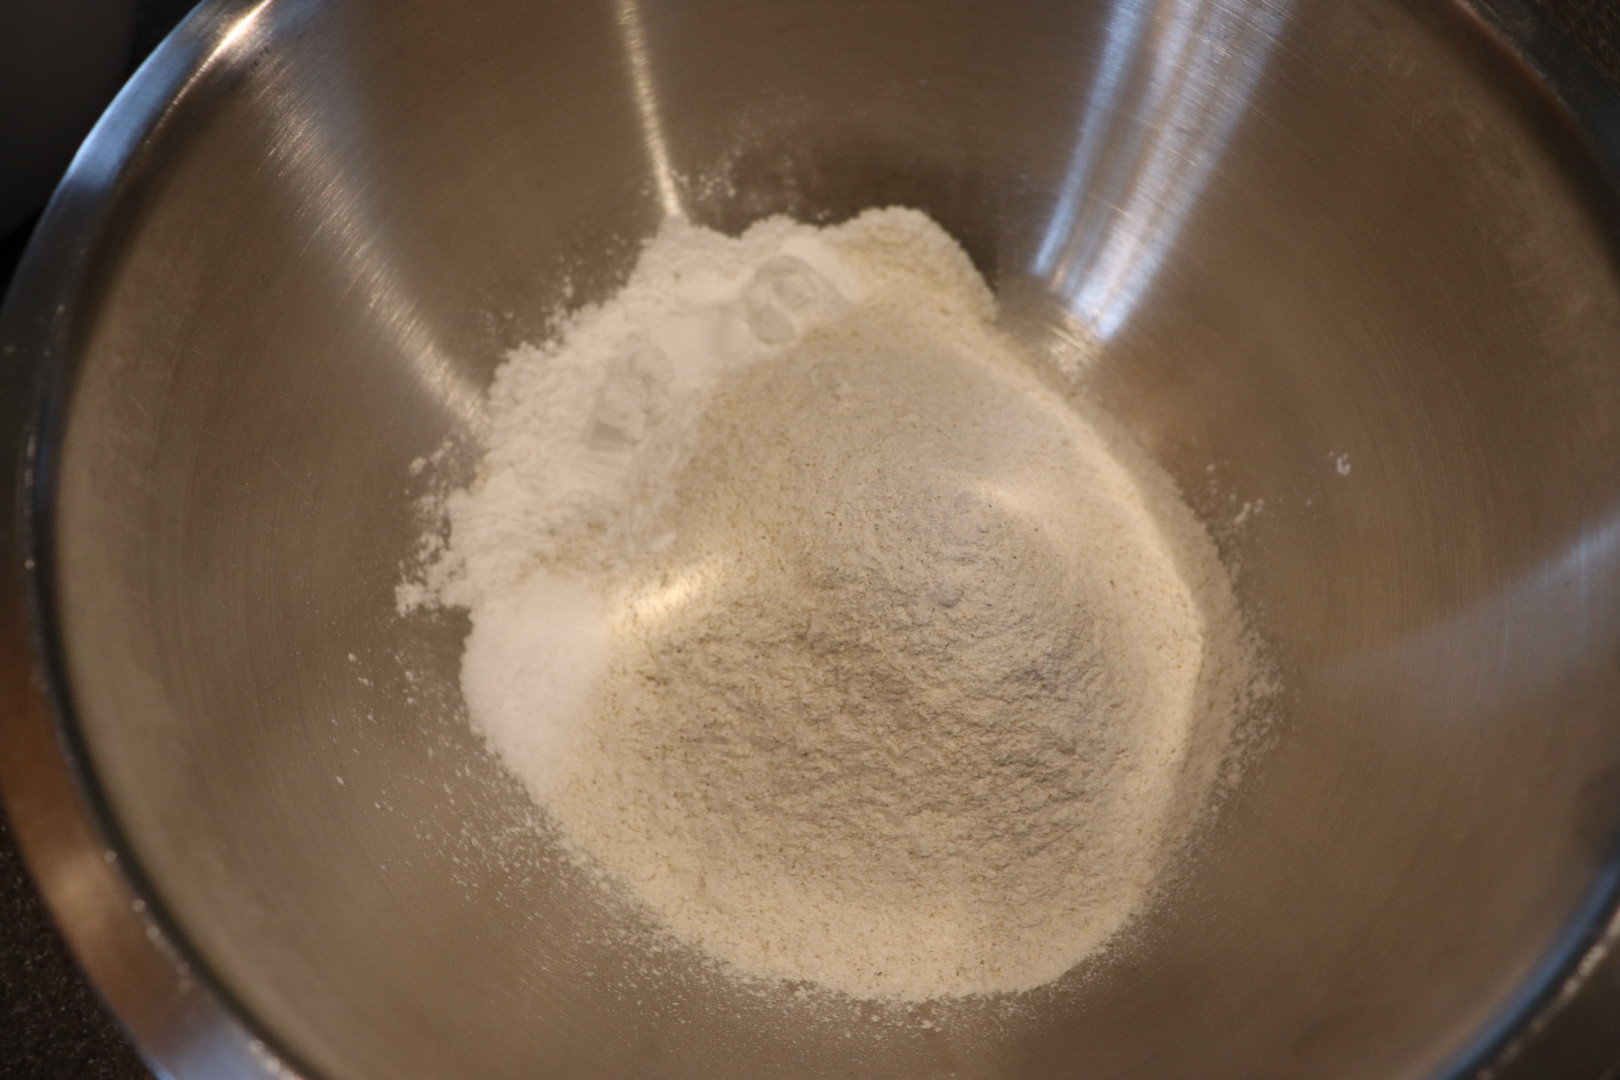
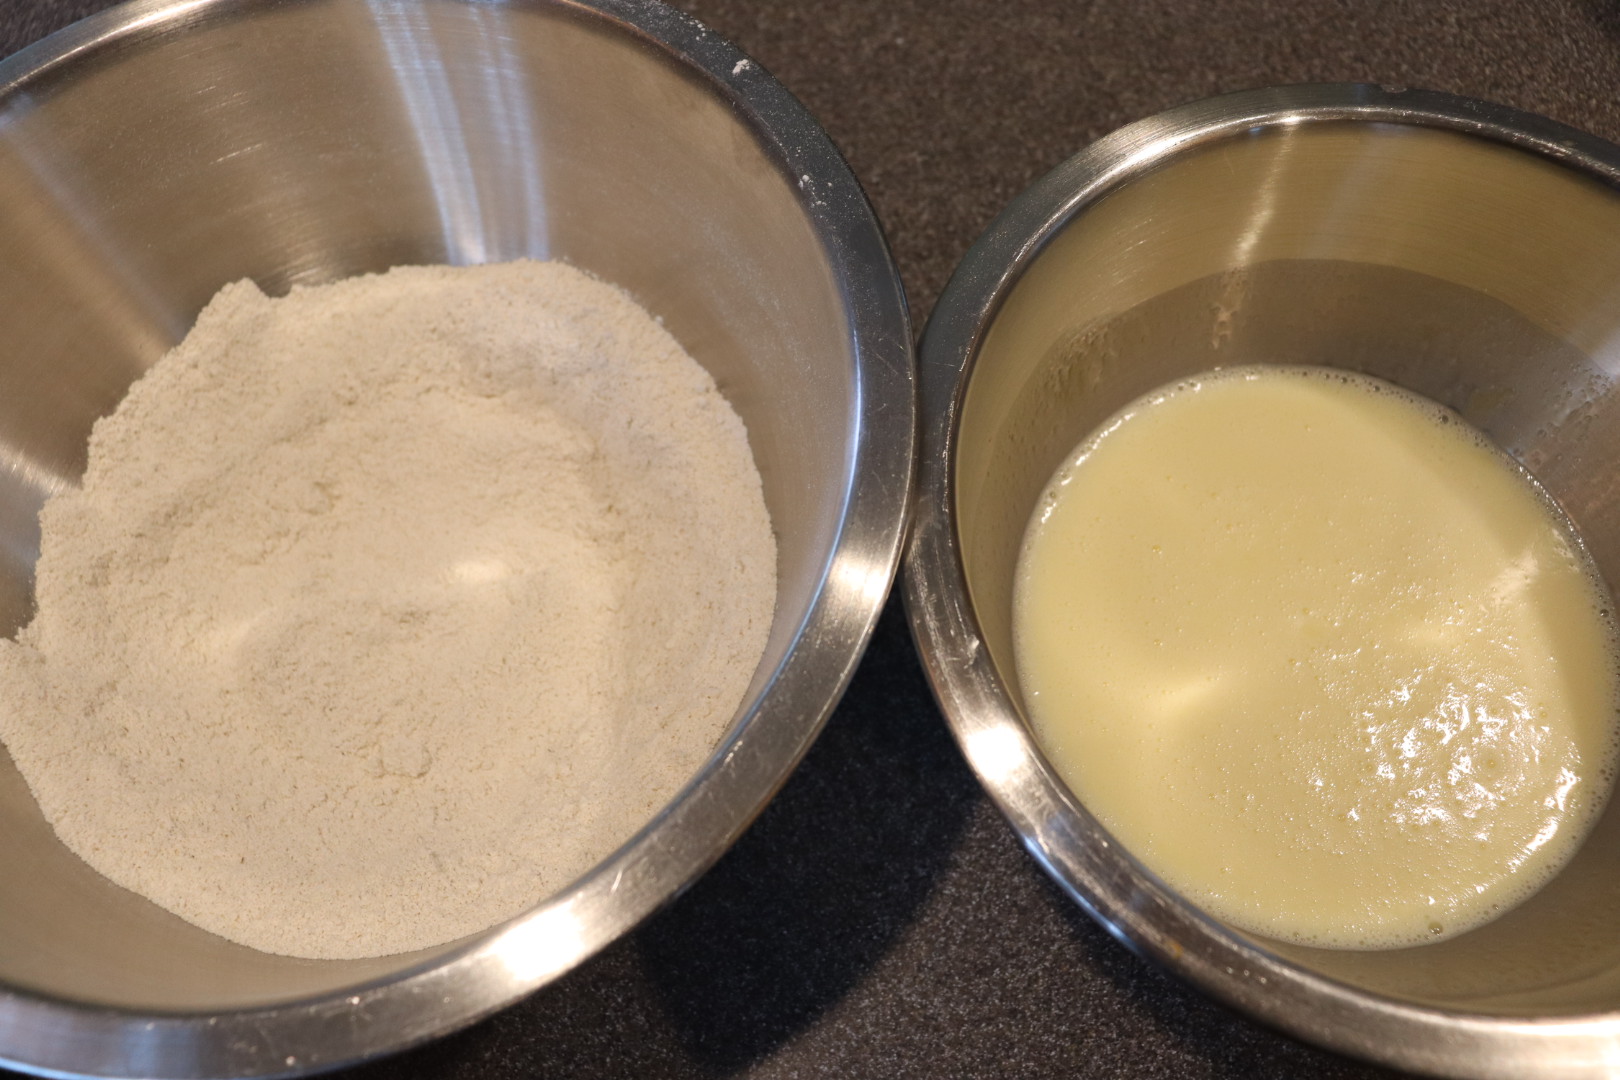
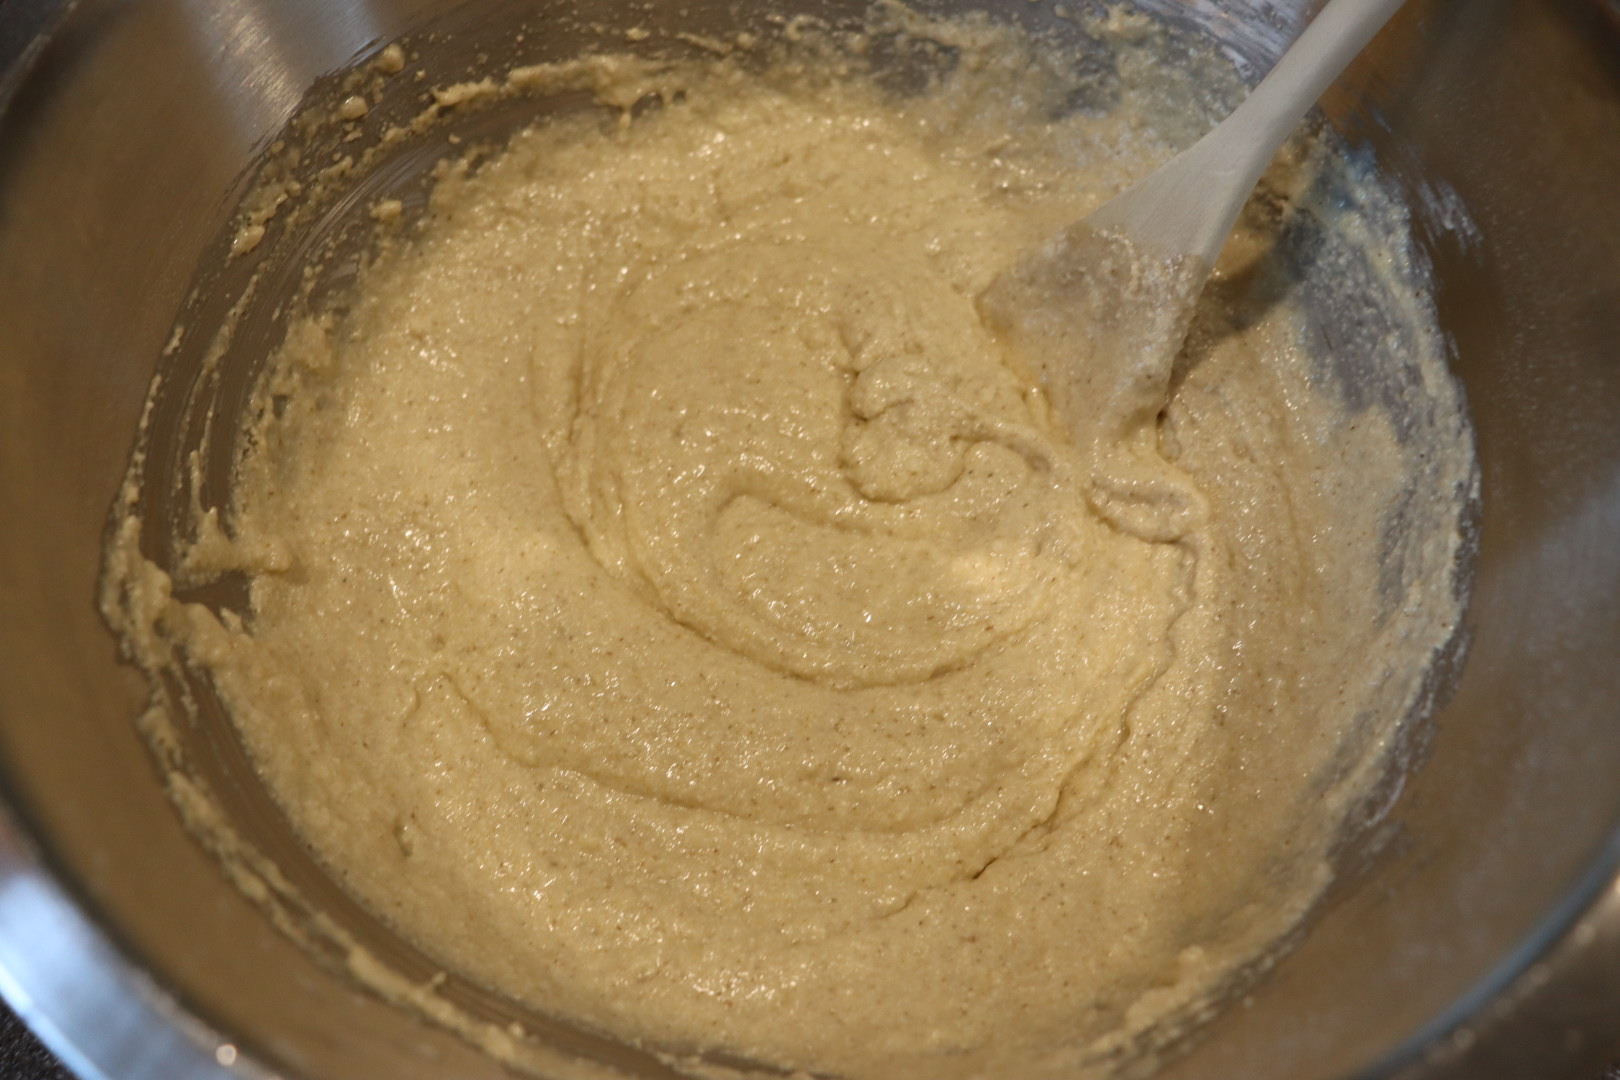
In the meantime, mix together, in a bowl, a can of creamed corn, heavy cream, two eggs, cornmeal, baking powder, Kosher salt, and some pepper.

Creamed corn, cream, eggs, cornmeal, baking powder, Kosher salt, and pepper.
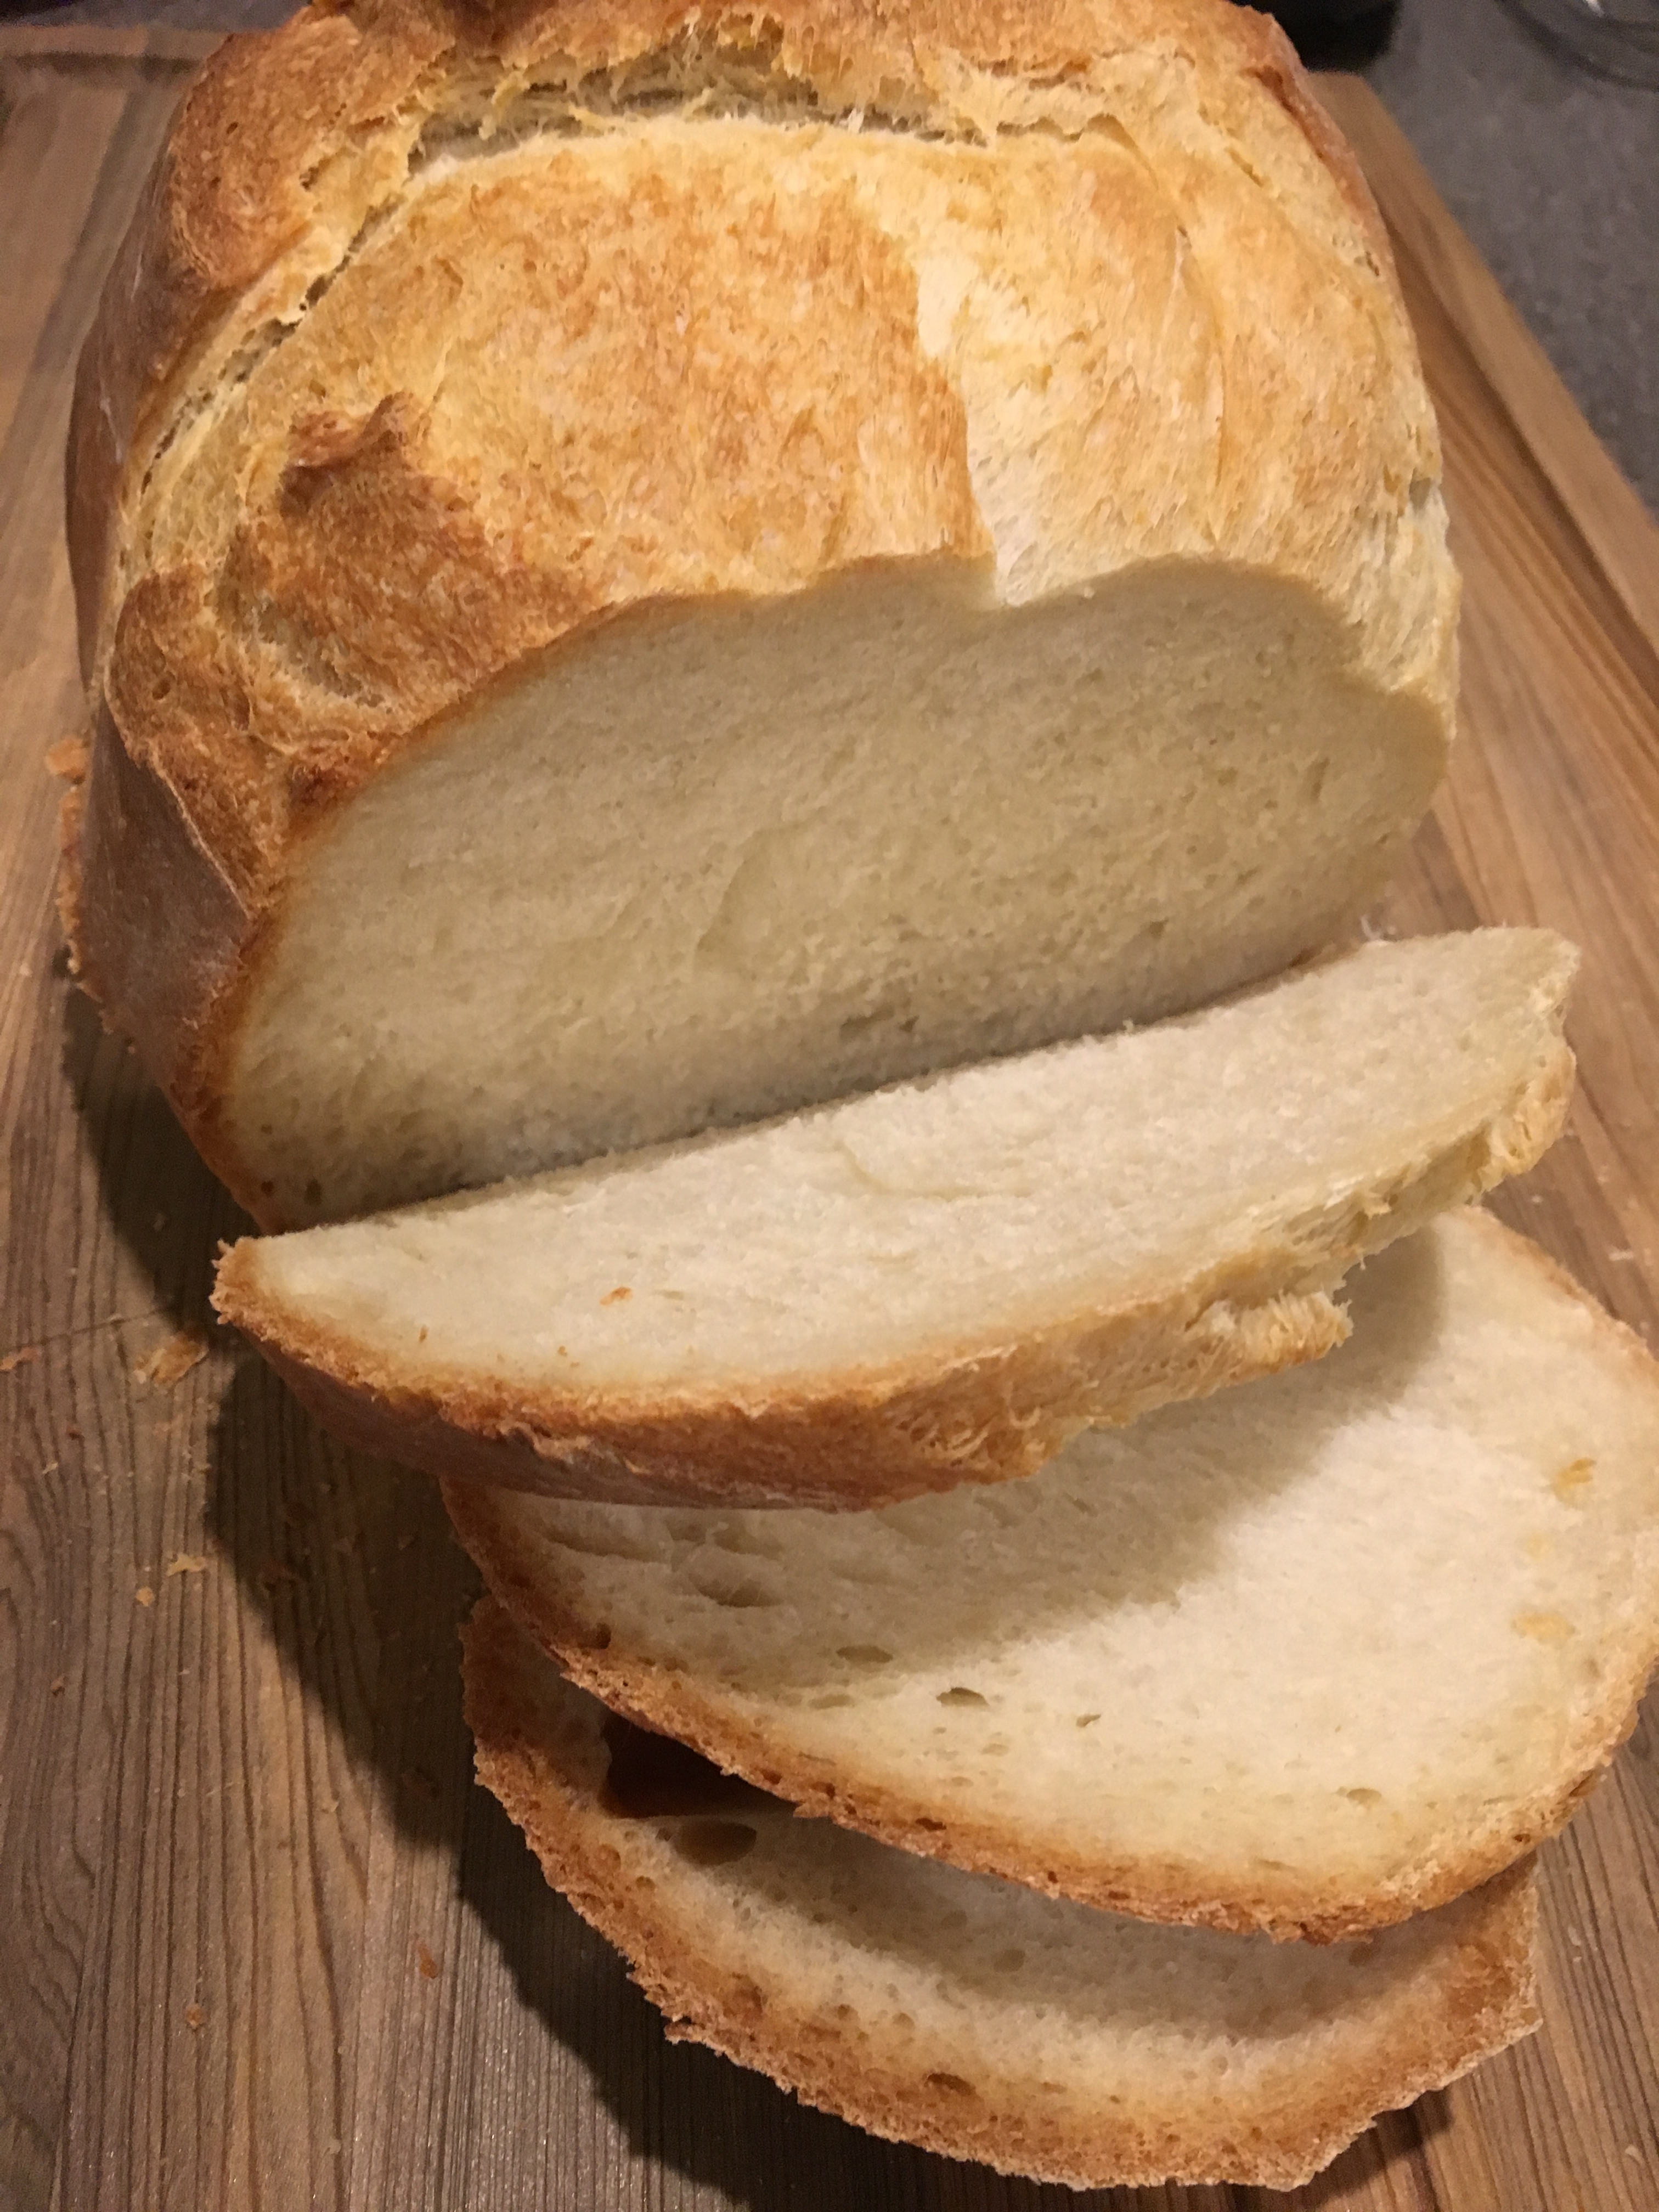
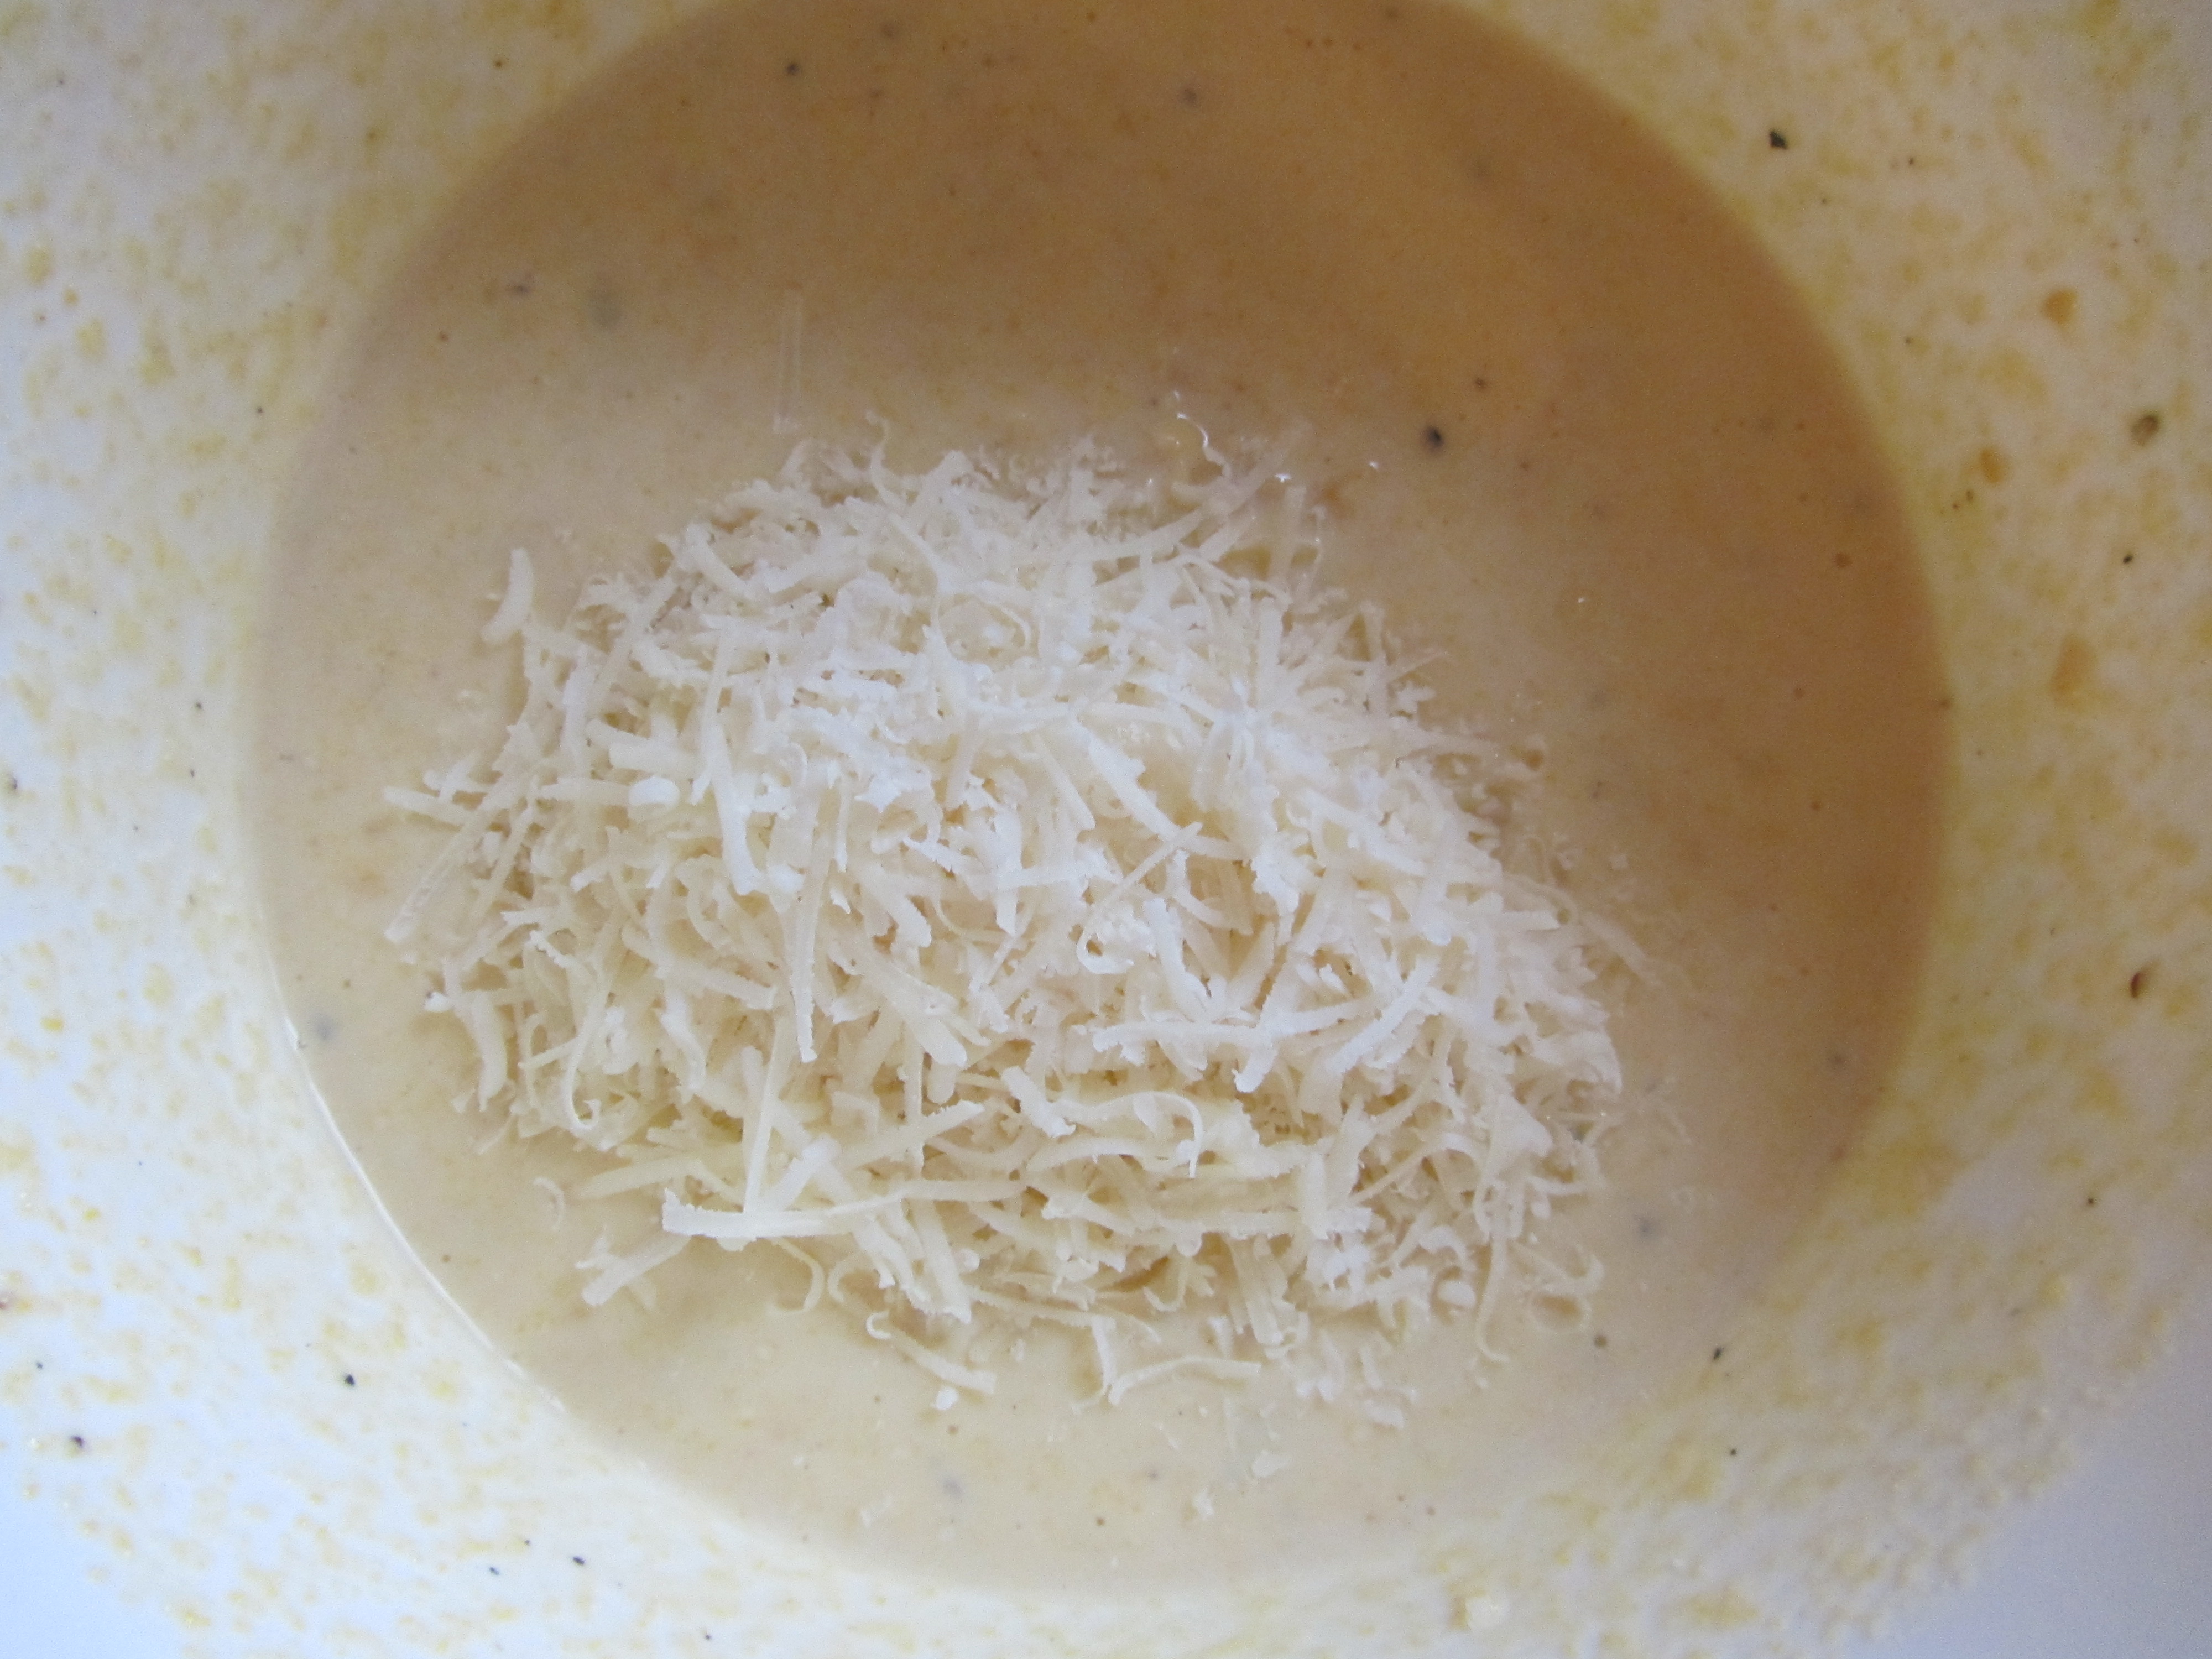
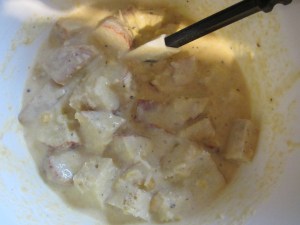
Once this is combined, fold in some shredded Parmesan cheese and cubed bread; the recipe calls for French bread and Alton uses Italian bread in the show.
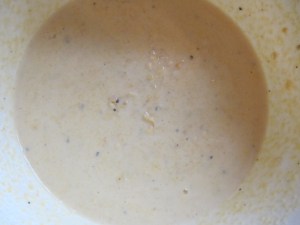
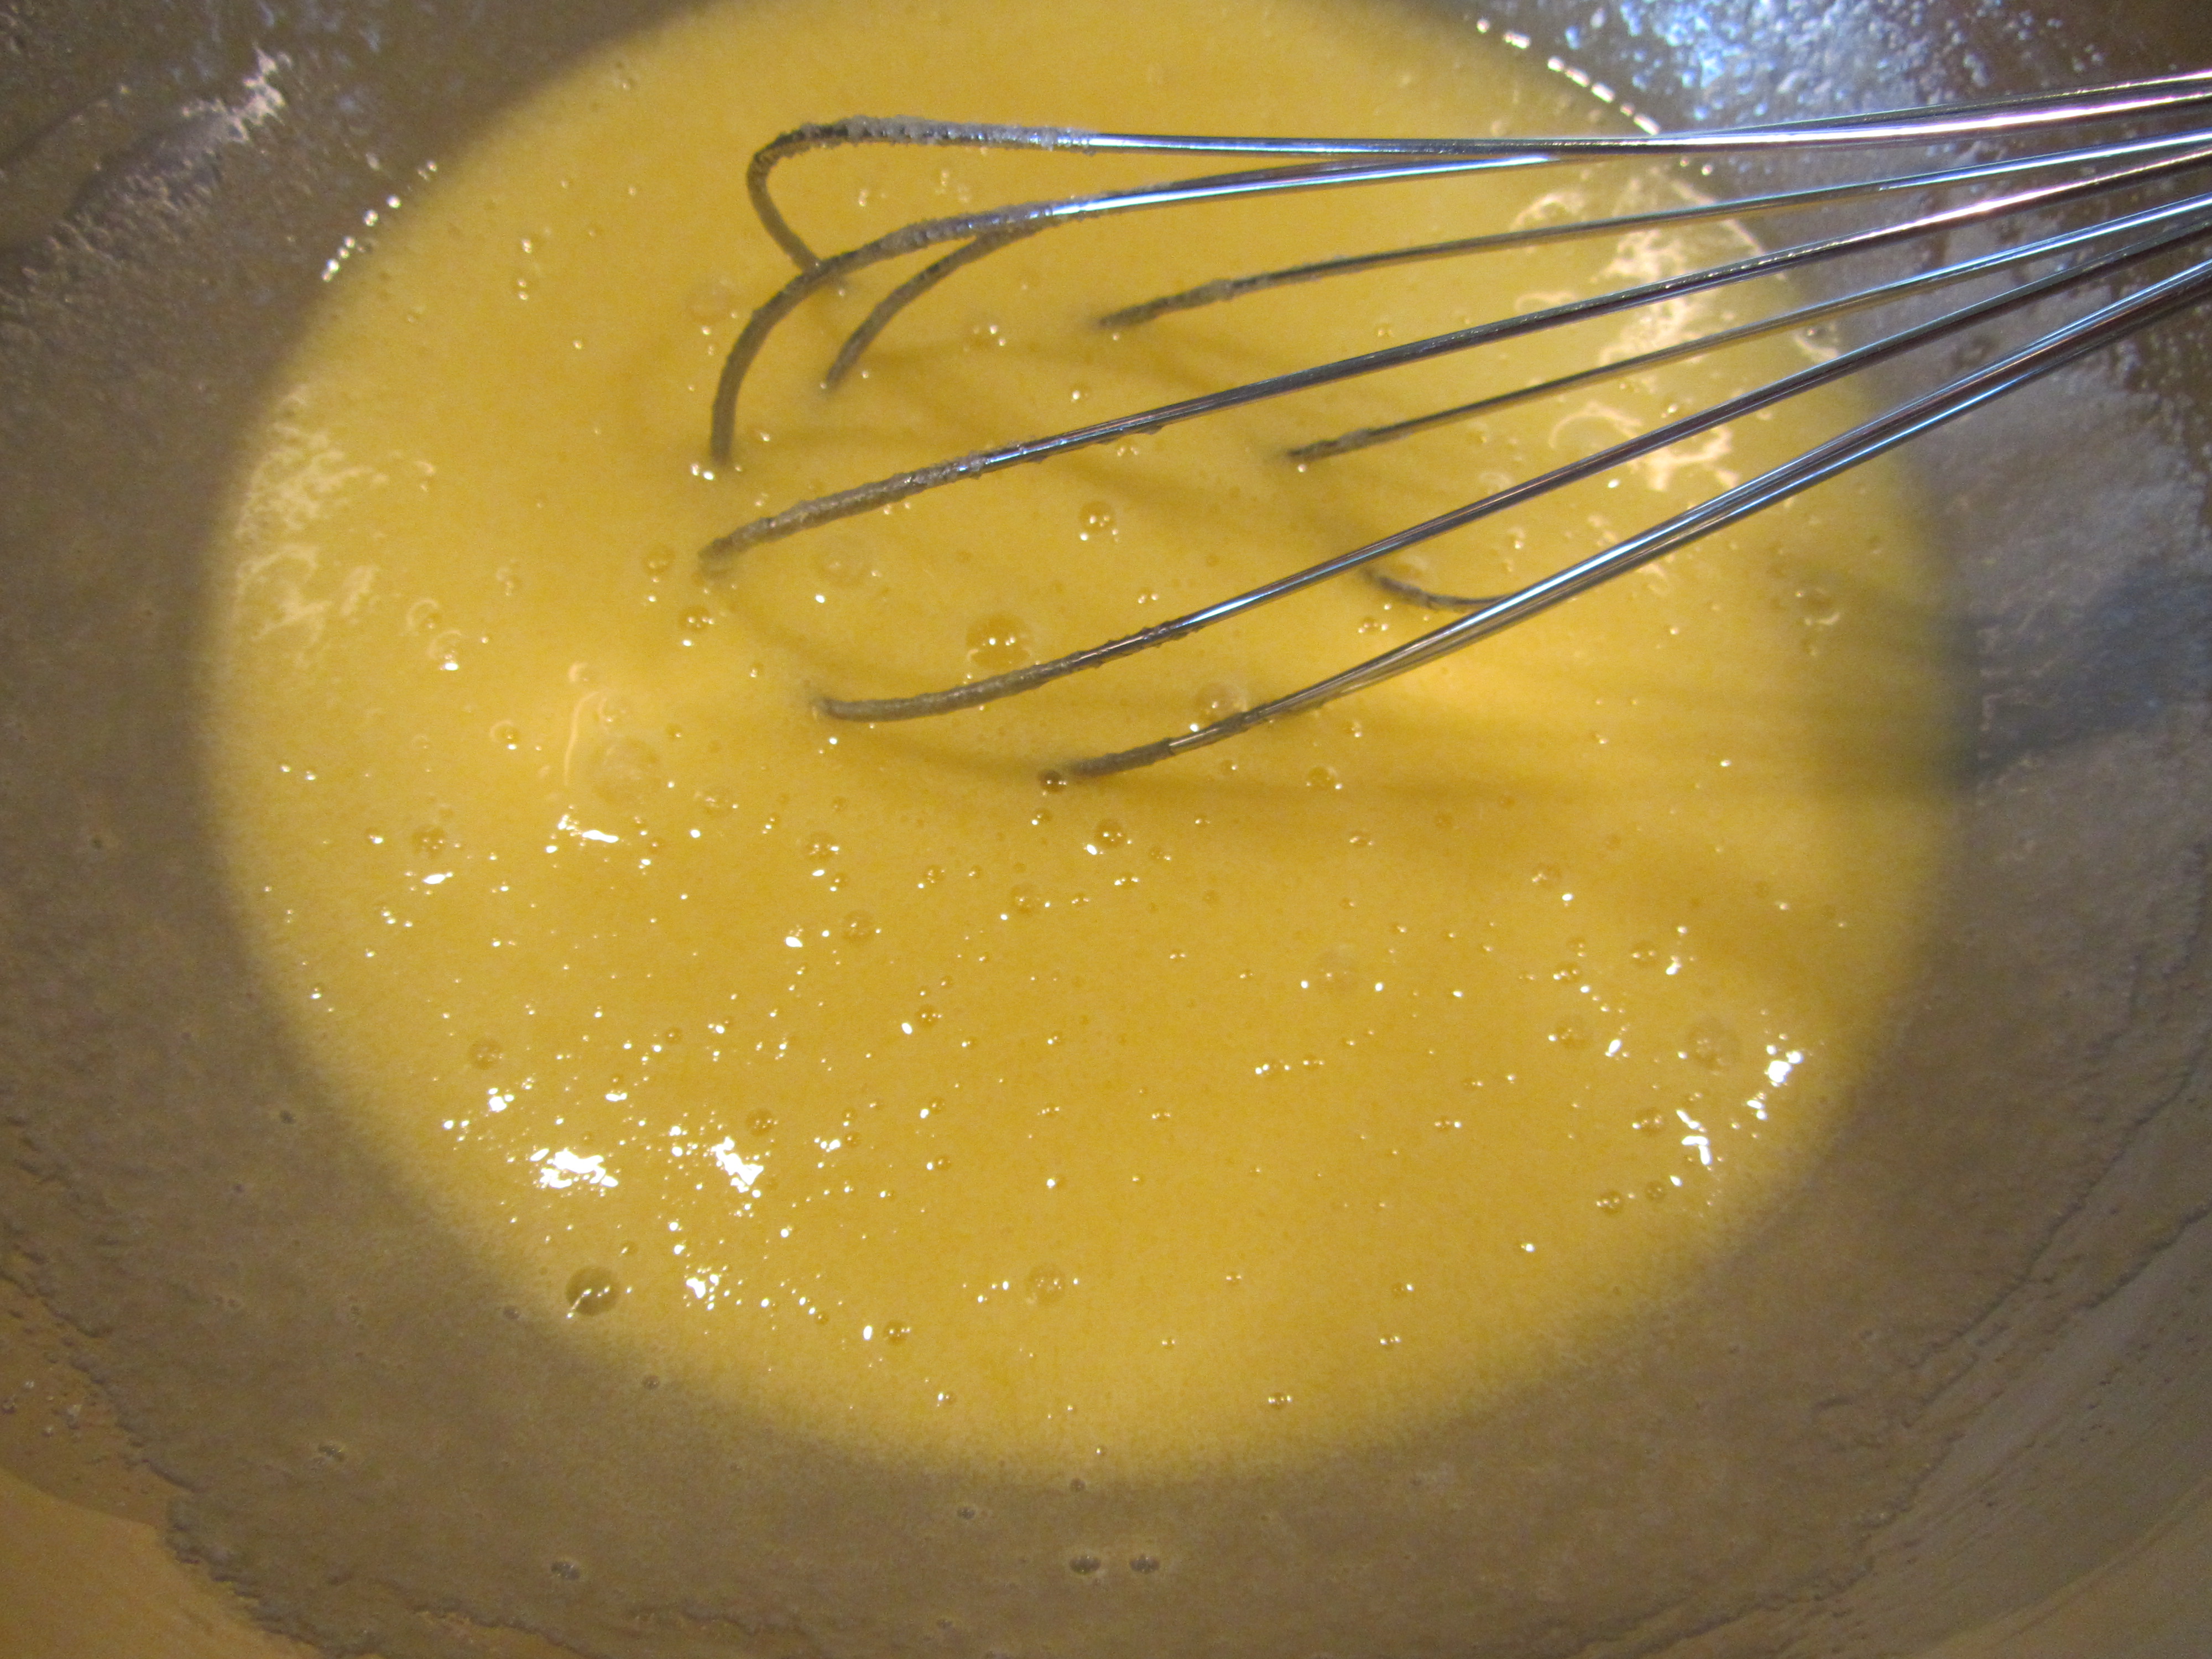
Whisked mixture.

Folding in Parmesan.
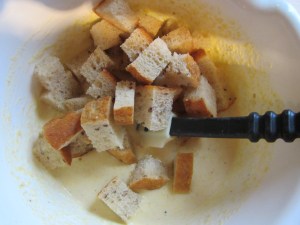
Folding in bread cubes.
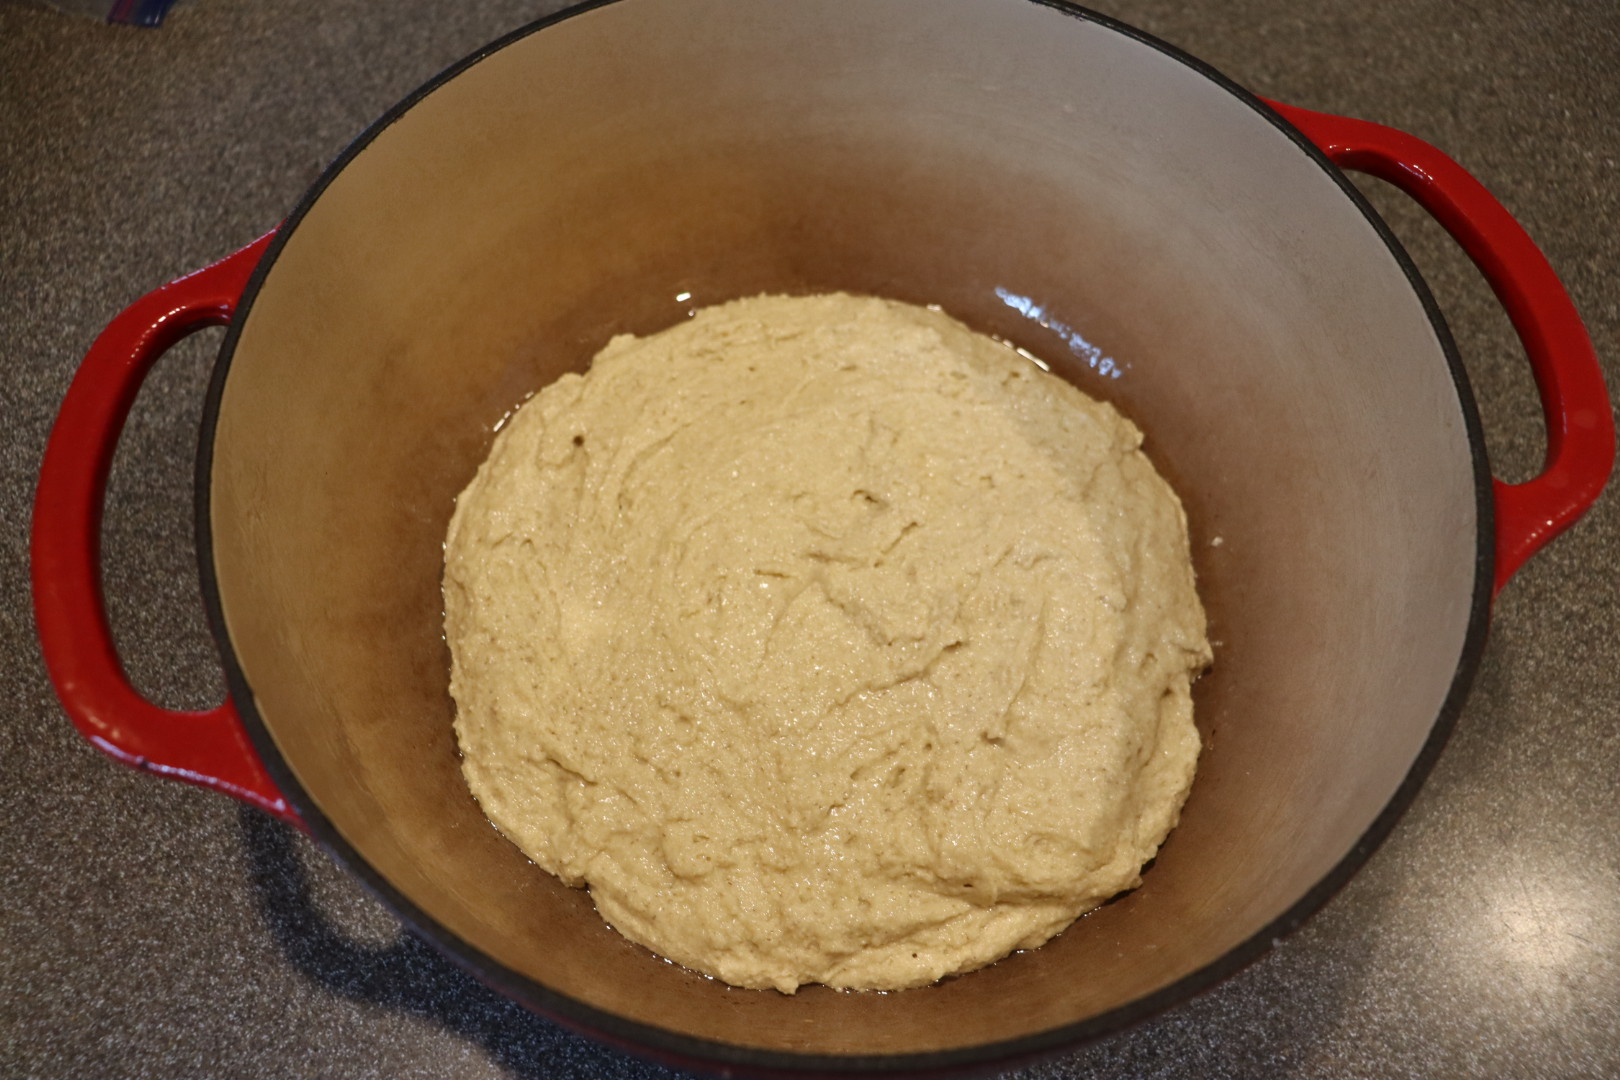
 Pour this over the onion, butter, and herbs in the iron skillet and put it in a 350 degree oven for 50 minutes.

Bread mixture added to skillet.
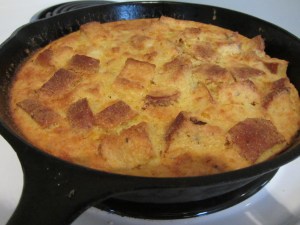
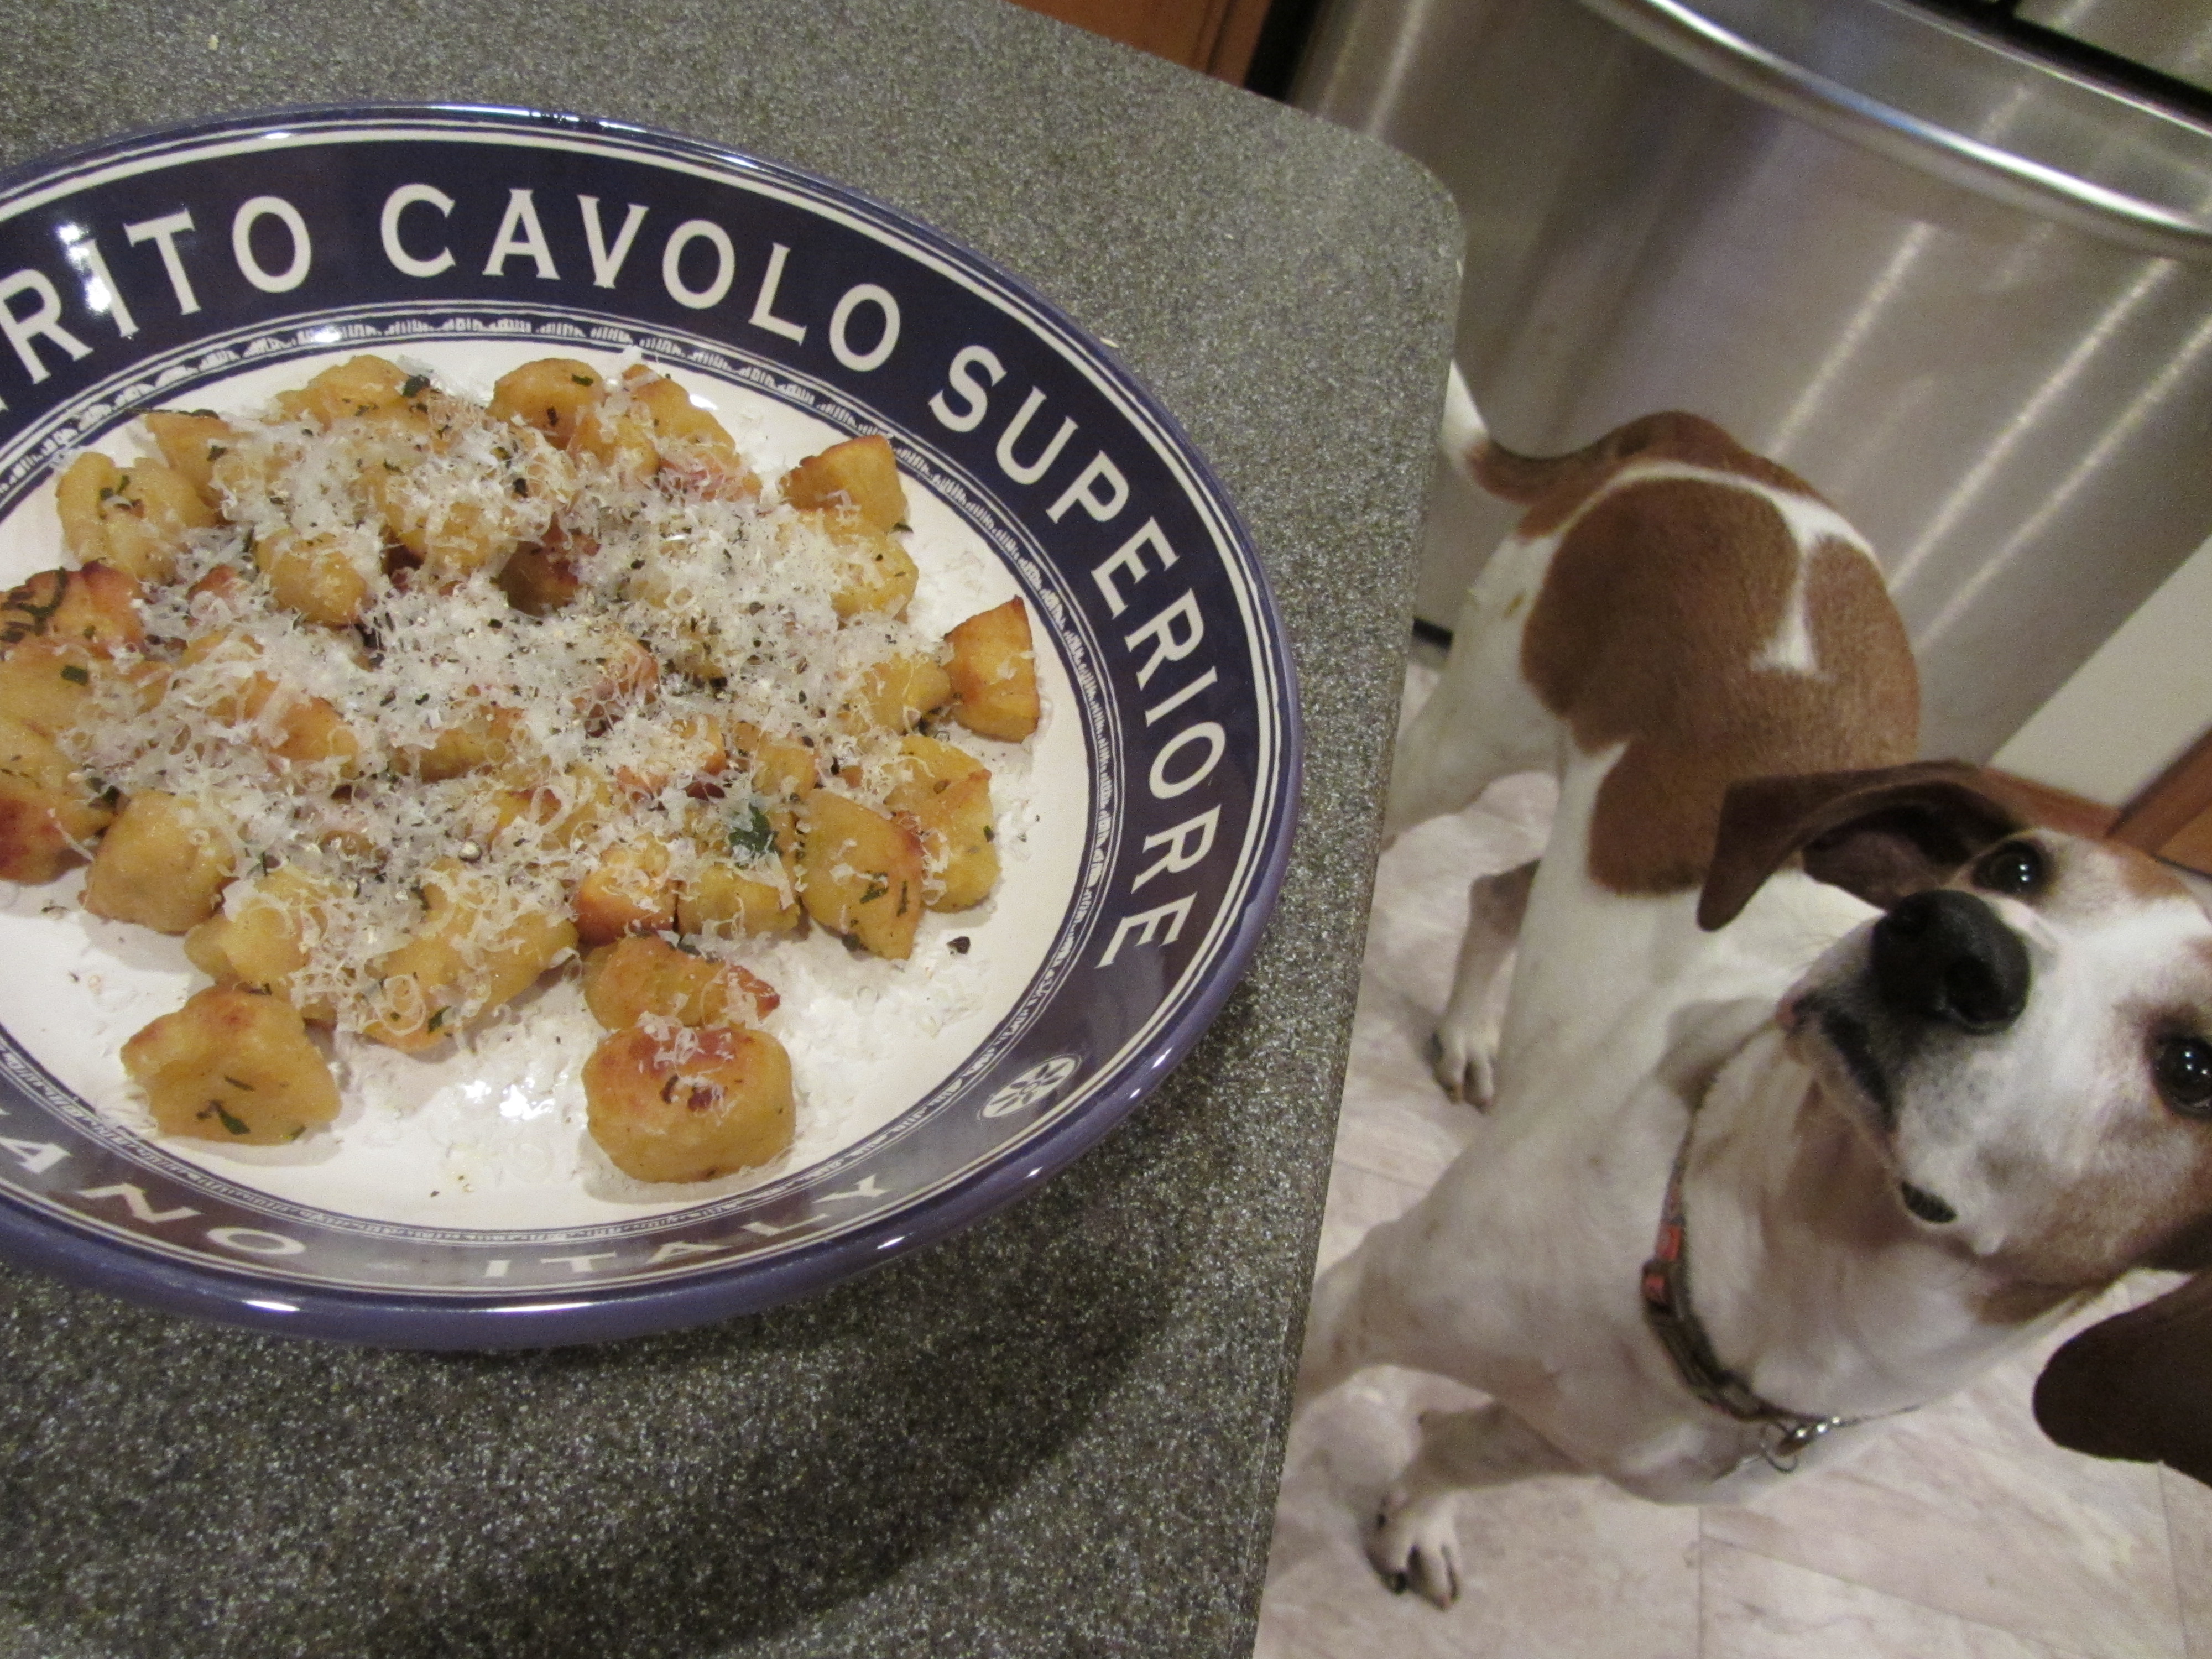
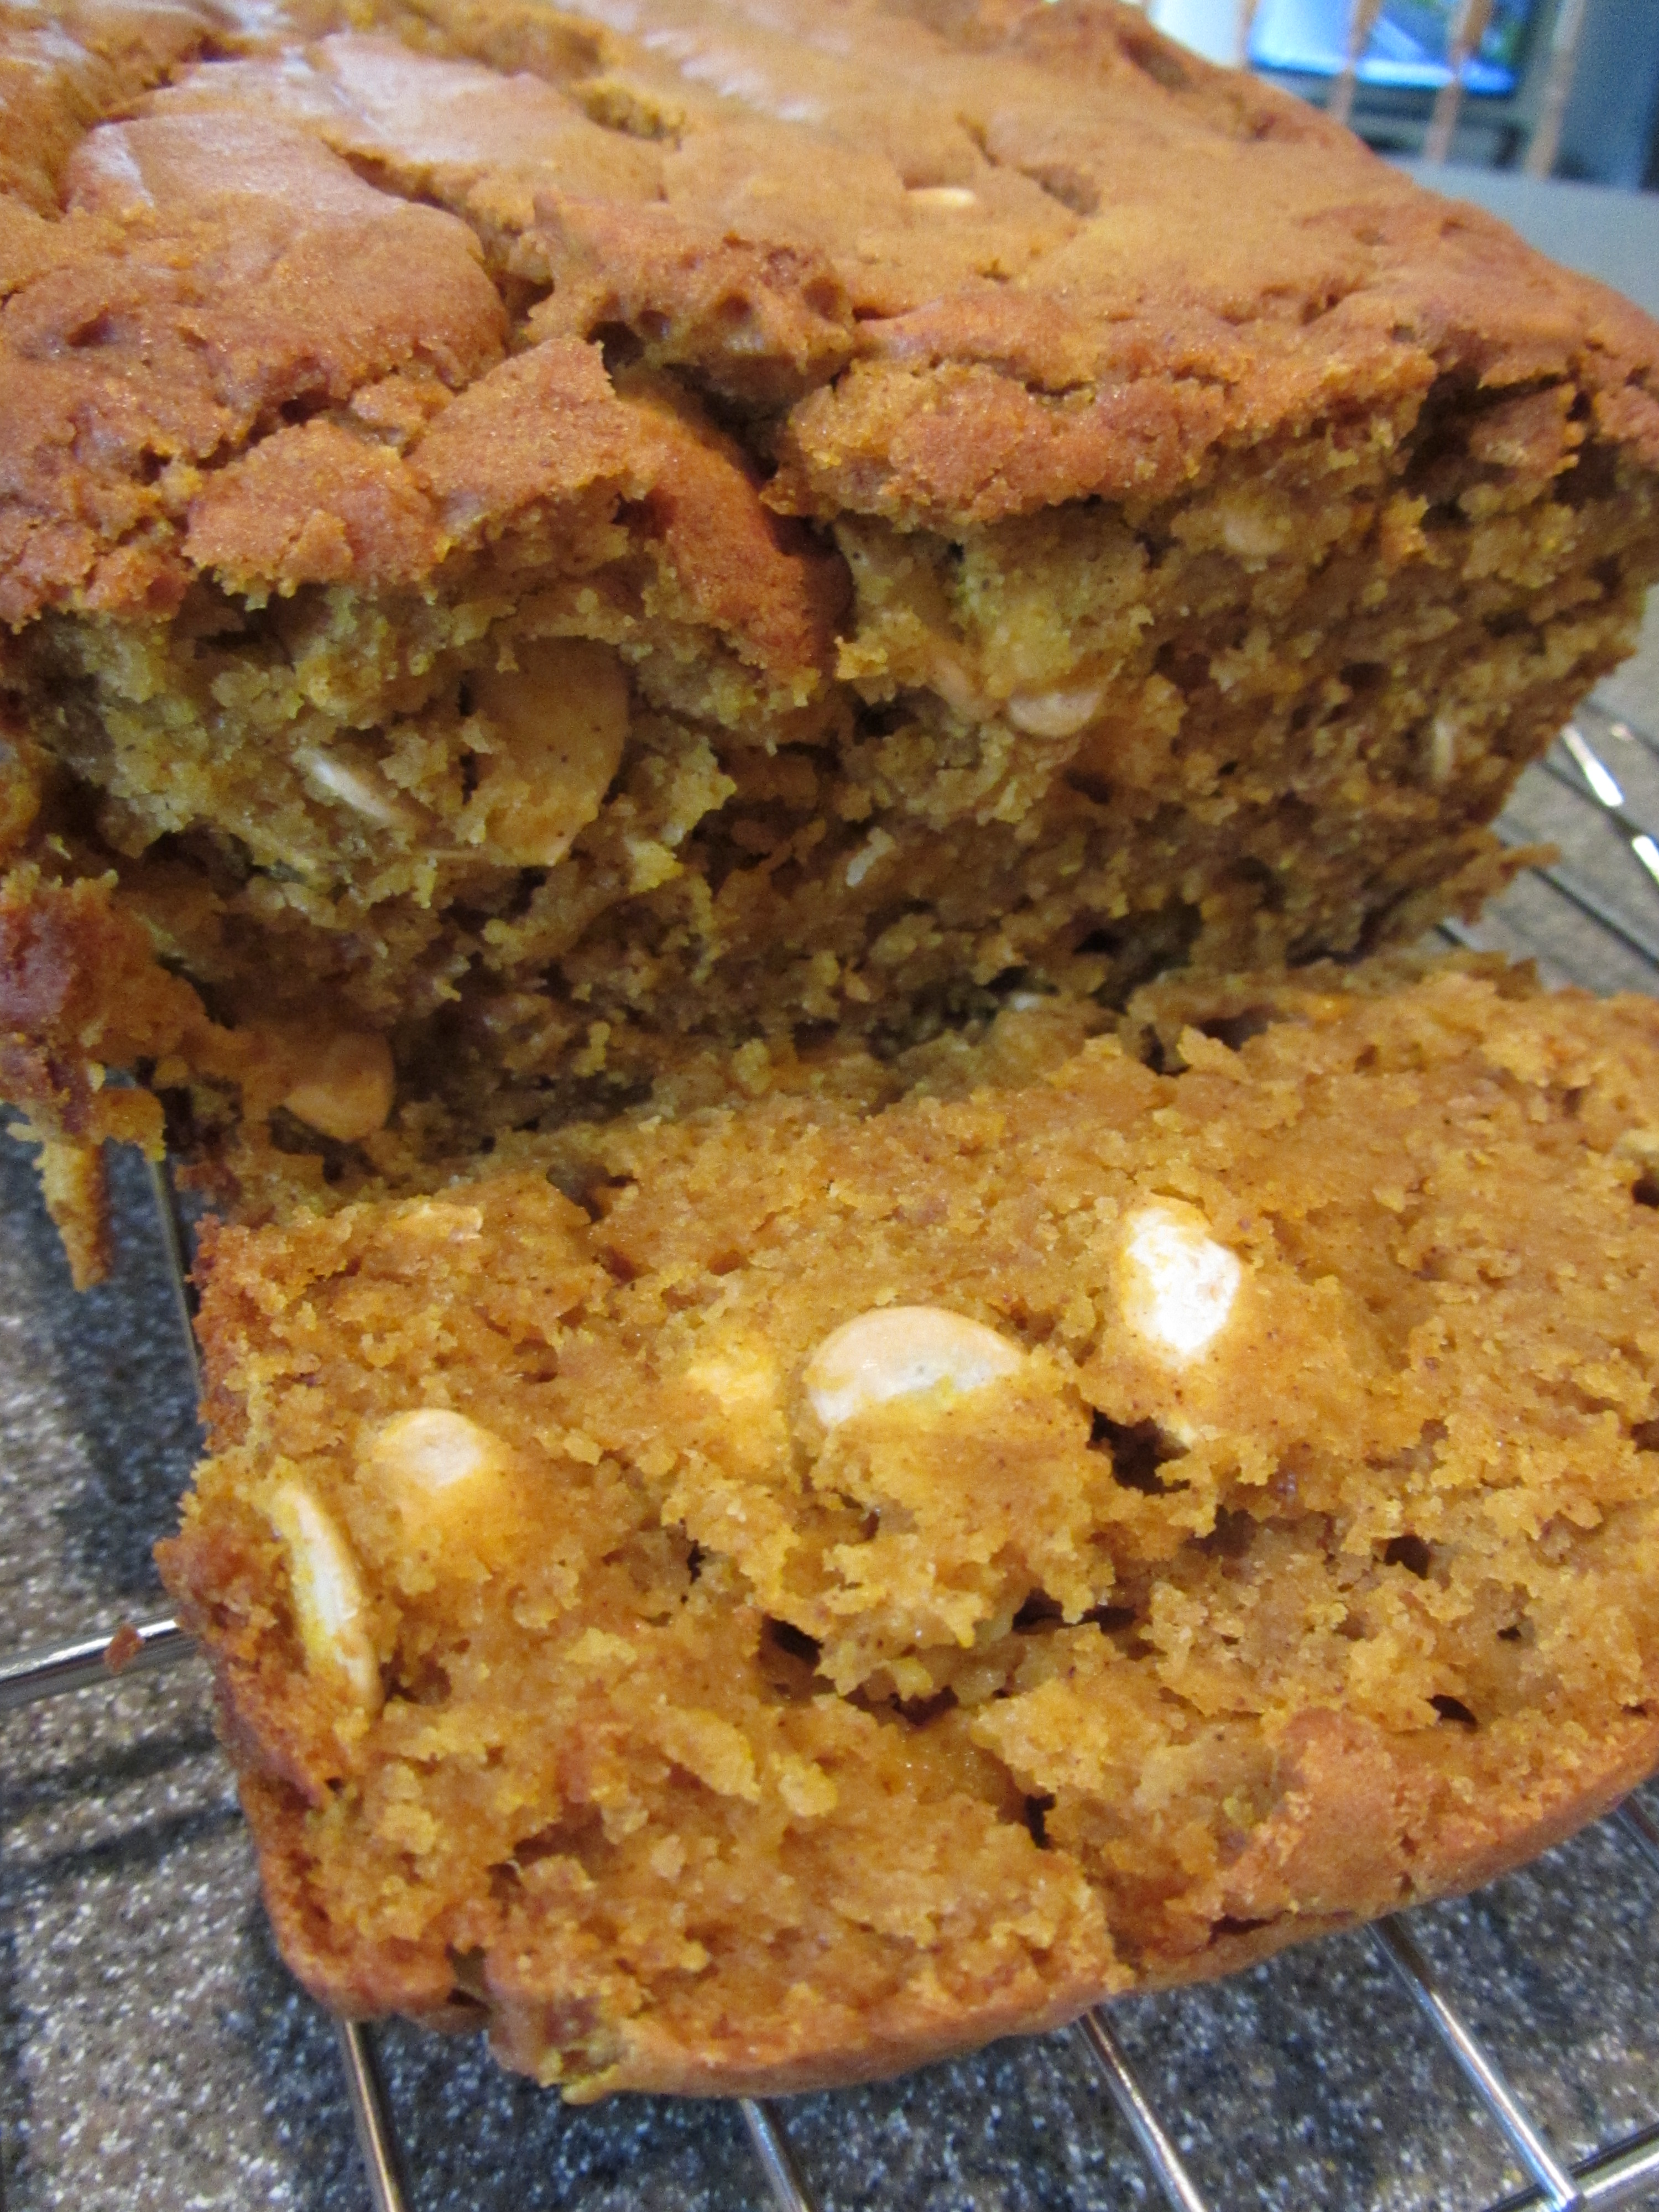
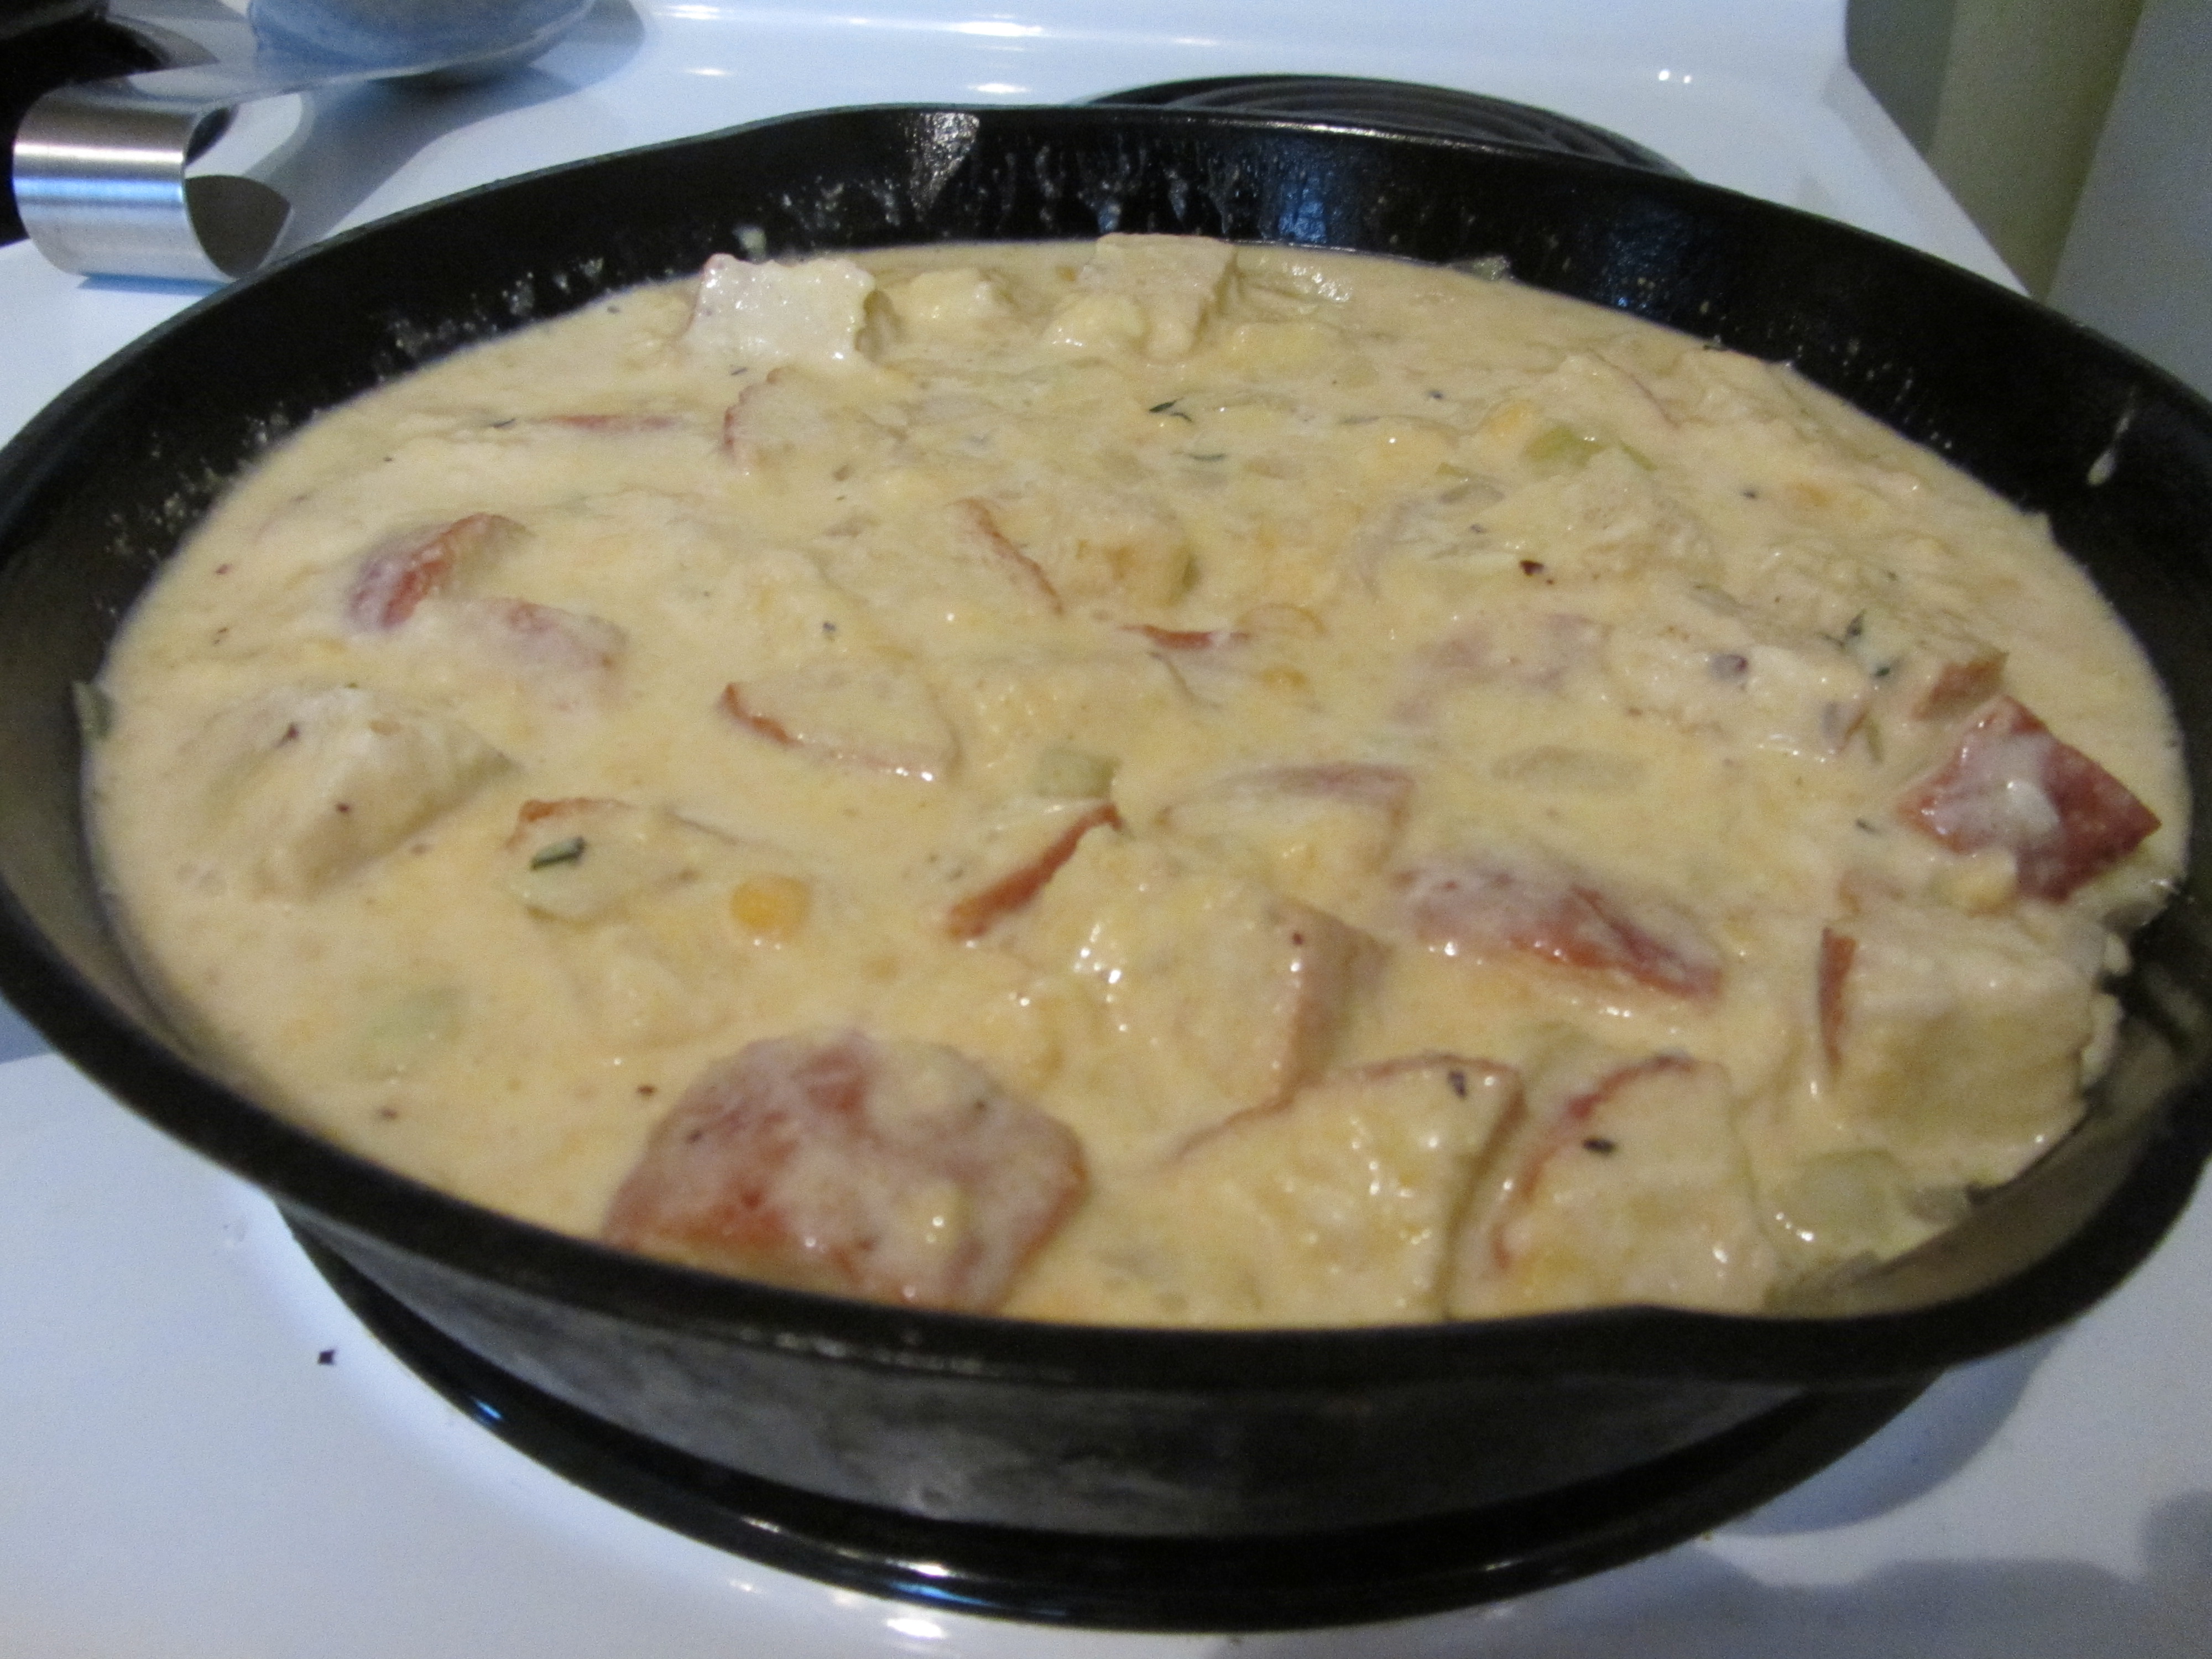
Corn bread pudding straight from the oven.
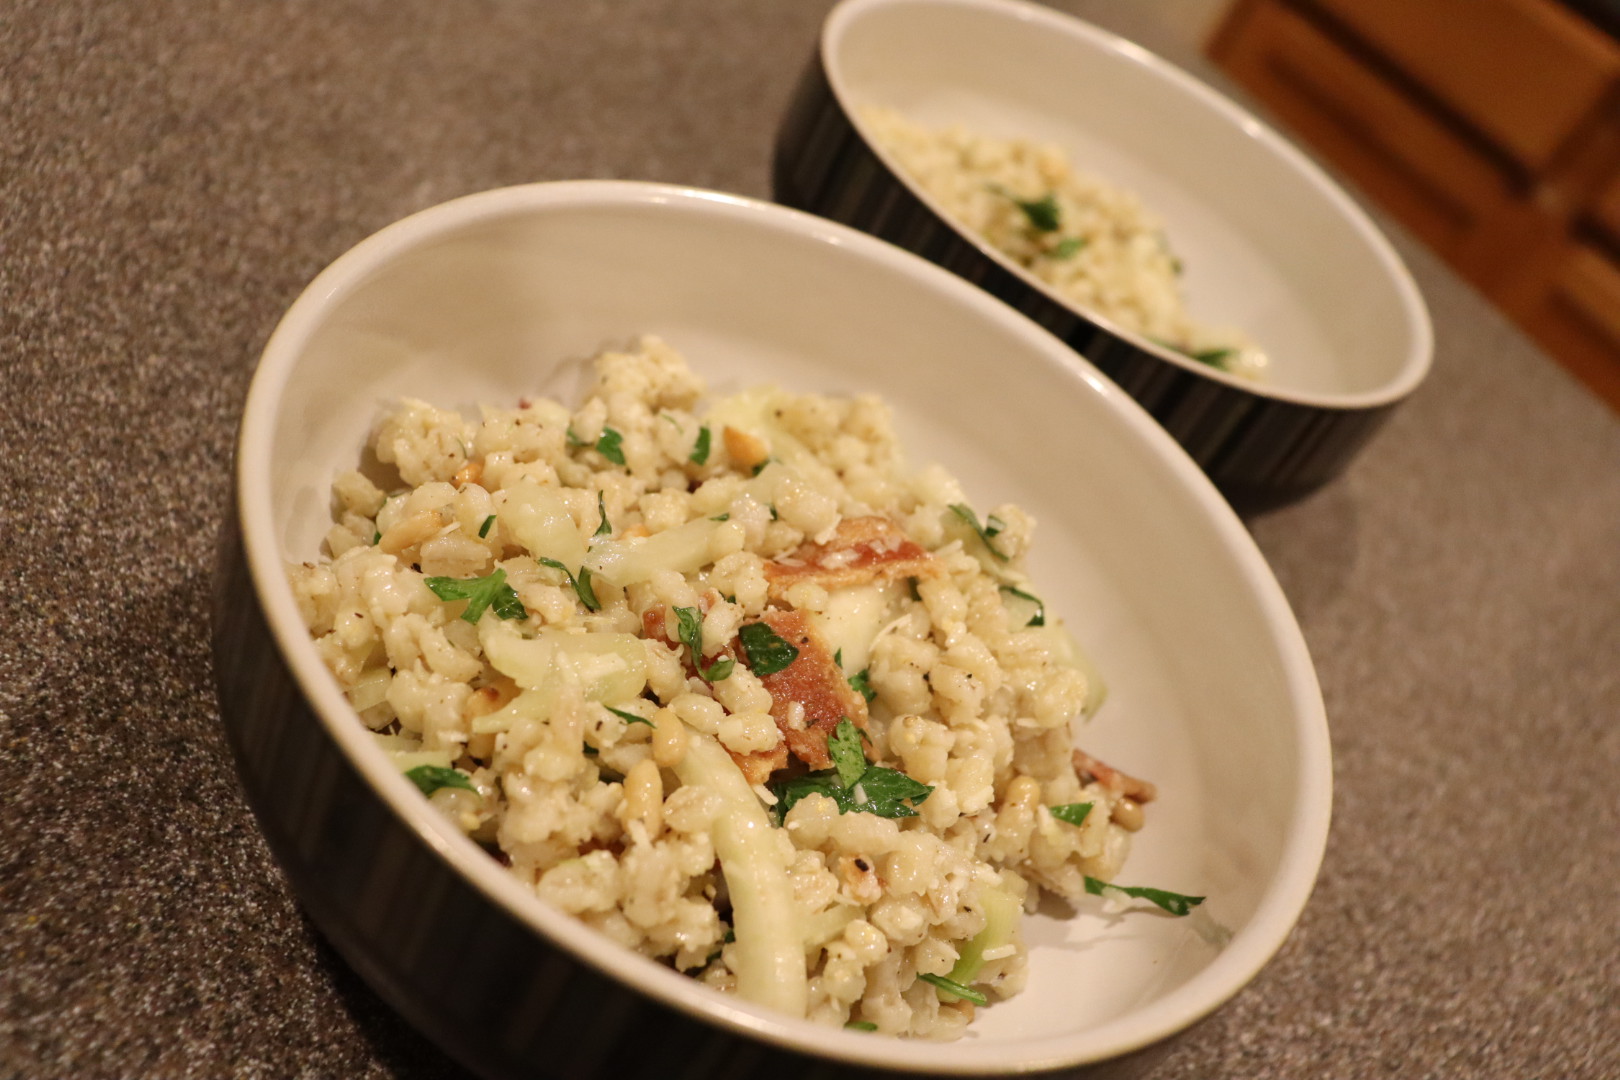
I have kind of a negative perception of bread pudding in general, as I have had some very soggy, wet bread puddings. This recipe, however, produced a pudding with the texture of a moist cornbread, which reminded me of the texture of my dad’s stuffing when it is cooked inside the turkey. The flavor of the herbs, especially the rosemary, really came through, along with the onion. You could also taste the Parmesan cheese, yet the pudding was hardly cheesy. I thought this was great, especially as a stuffing stand-in. And, again, it was super easy! I could see making this to serve with chili too. We all liked this too, and I foresee making it again in the future, though I would opt for Dad’s stuffing, if given the choice.
All in all, our Thanksgiving dinner was quite successful and delicious. We all liked all of the dishes and they will likely appear on our table again, especially the turkey. You cannot go wrong with any of Alton’s Thanksgiving recipes.

A decent Thanksgiving dinner, if I say so myself.


")
")
")