Thank goodness I was set to increase my Boston Marathon training last week, as the 33rd episode of Good Eats had me baking not one, not two, but THREE types of chocolate chip cookies. We have family coming to visit next week, so I figured I could always freeze some cookies for when they arrive. As I ate two cookies with my morning coffee today, I was shocked, and somewhat horrified, to realize that we have a mere handful of cookies remaining. How did THAT happen? So much for freezing. At least I can say that we sufficiently and thoroughly evaluated the three cookie recipes, so if you want the scoop on Alton’s three chocolate chip cookie recipes, read on.
The Thin
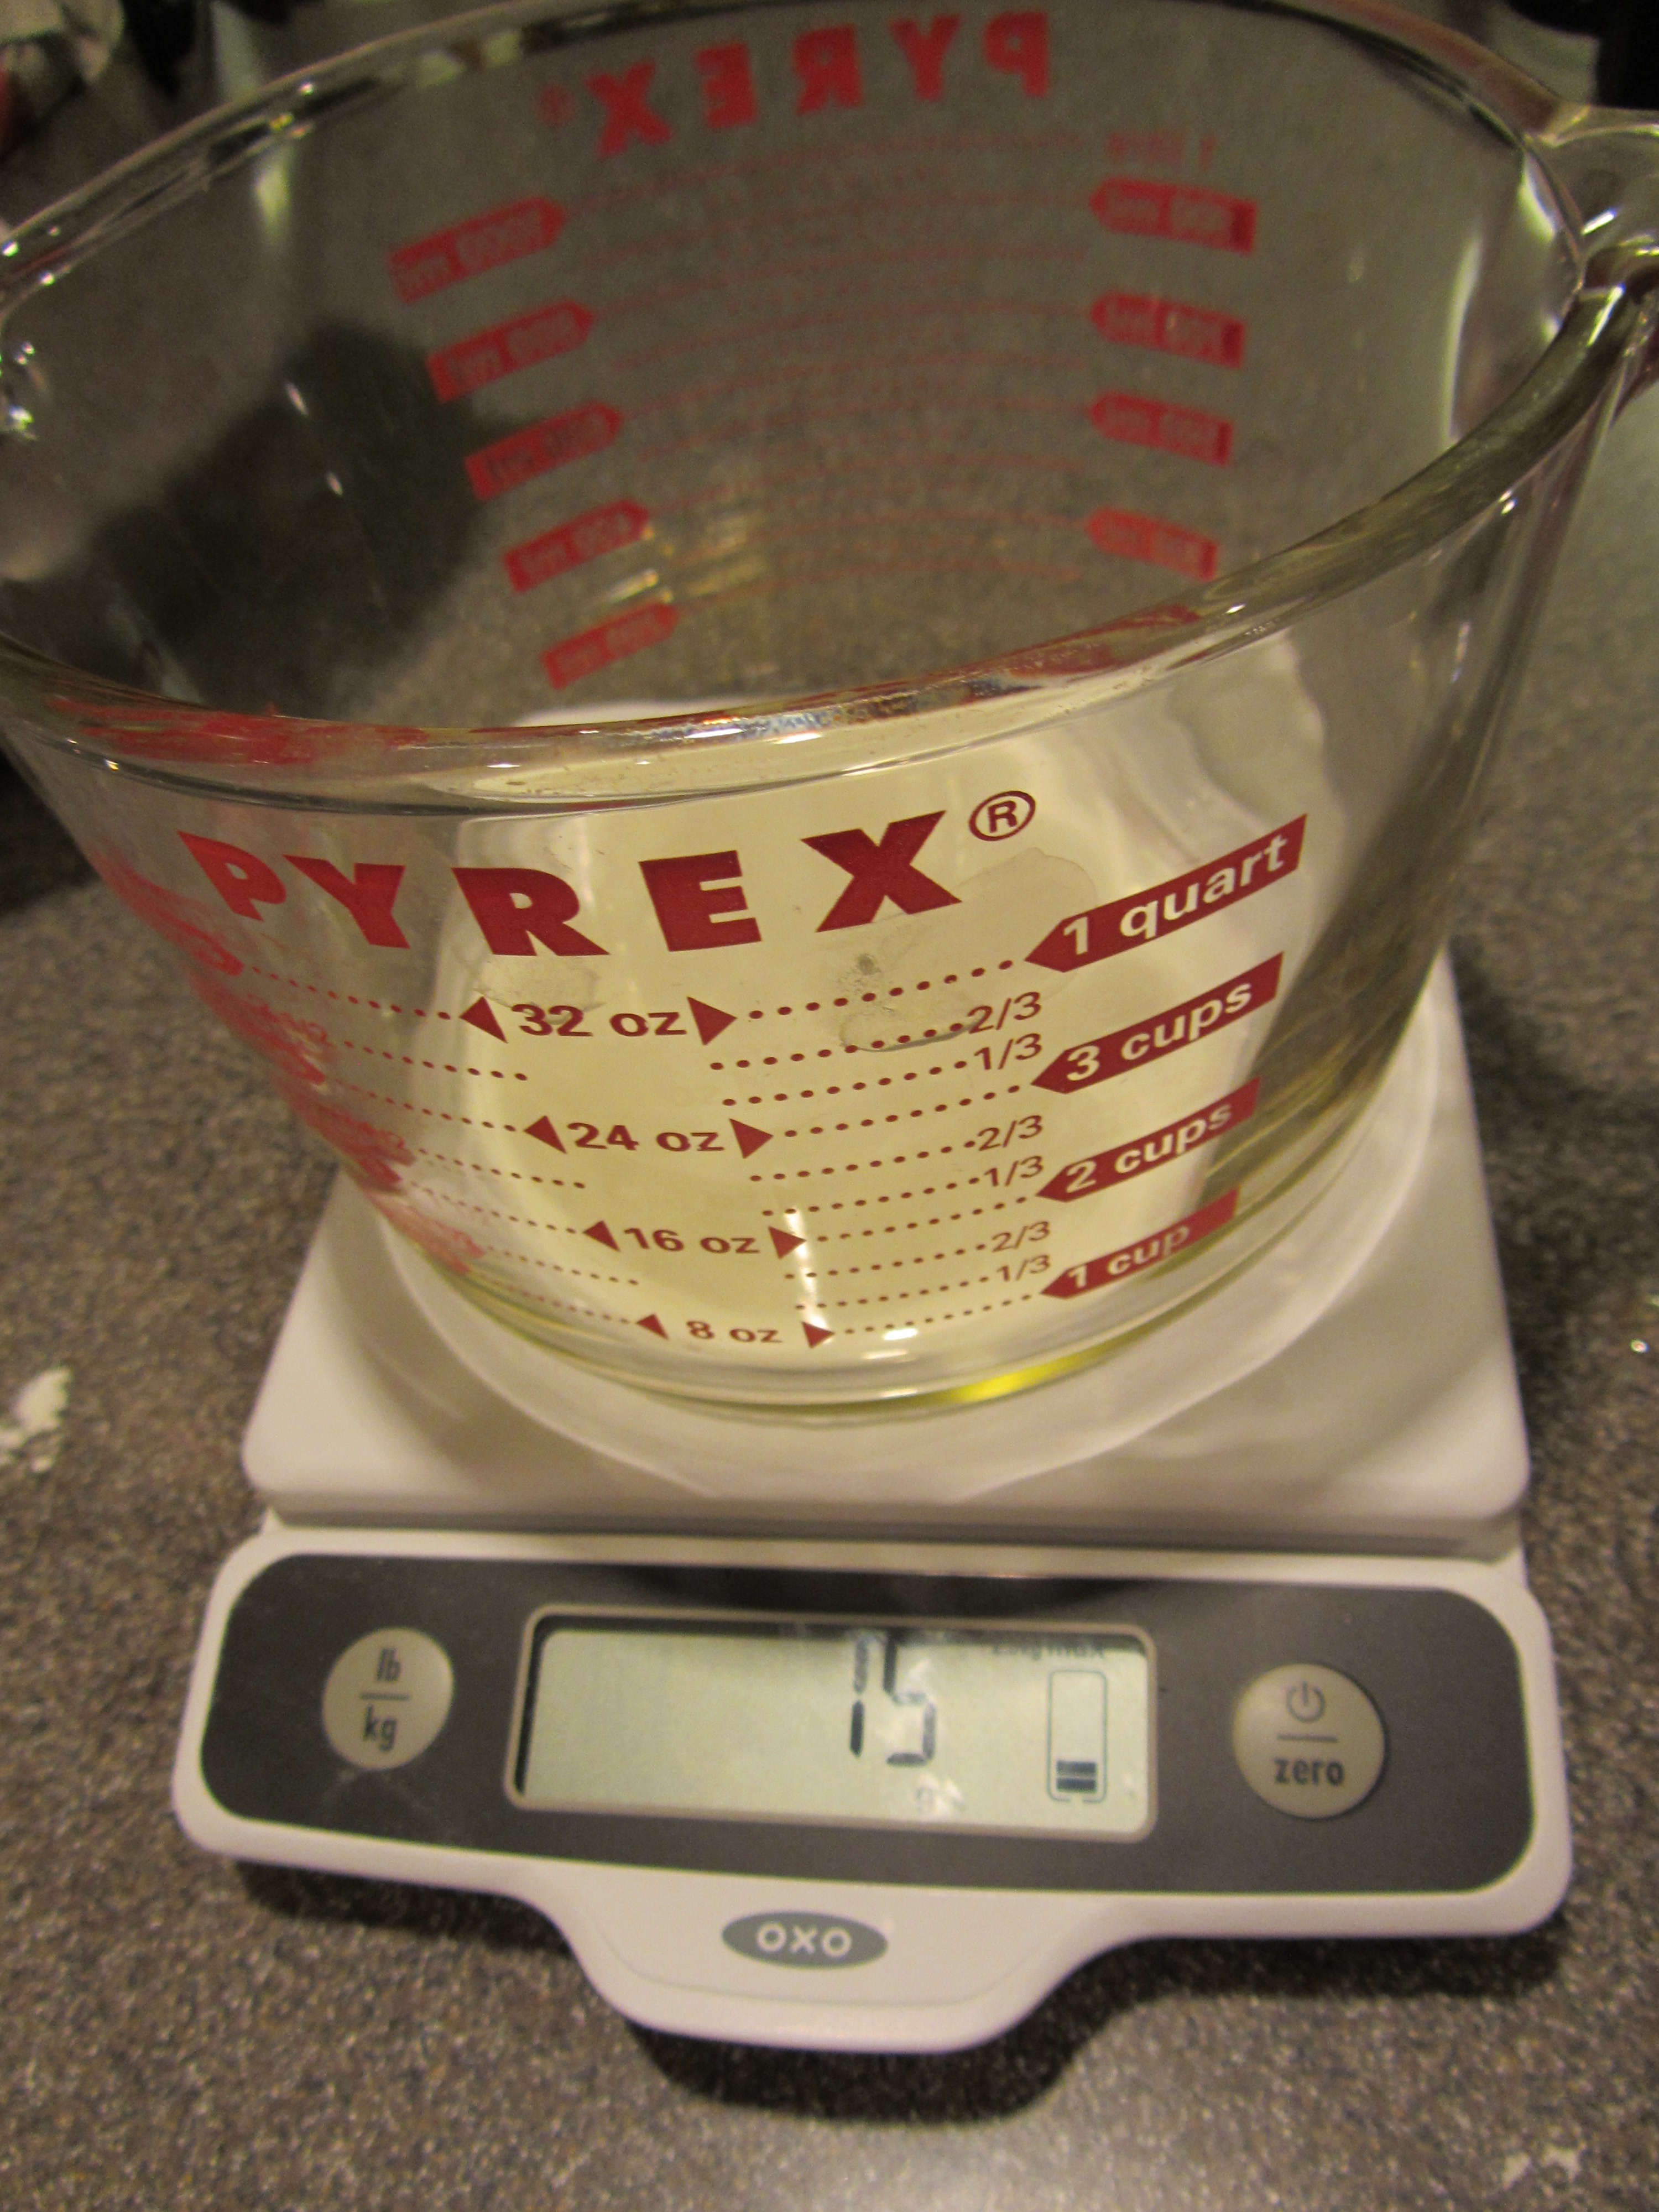
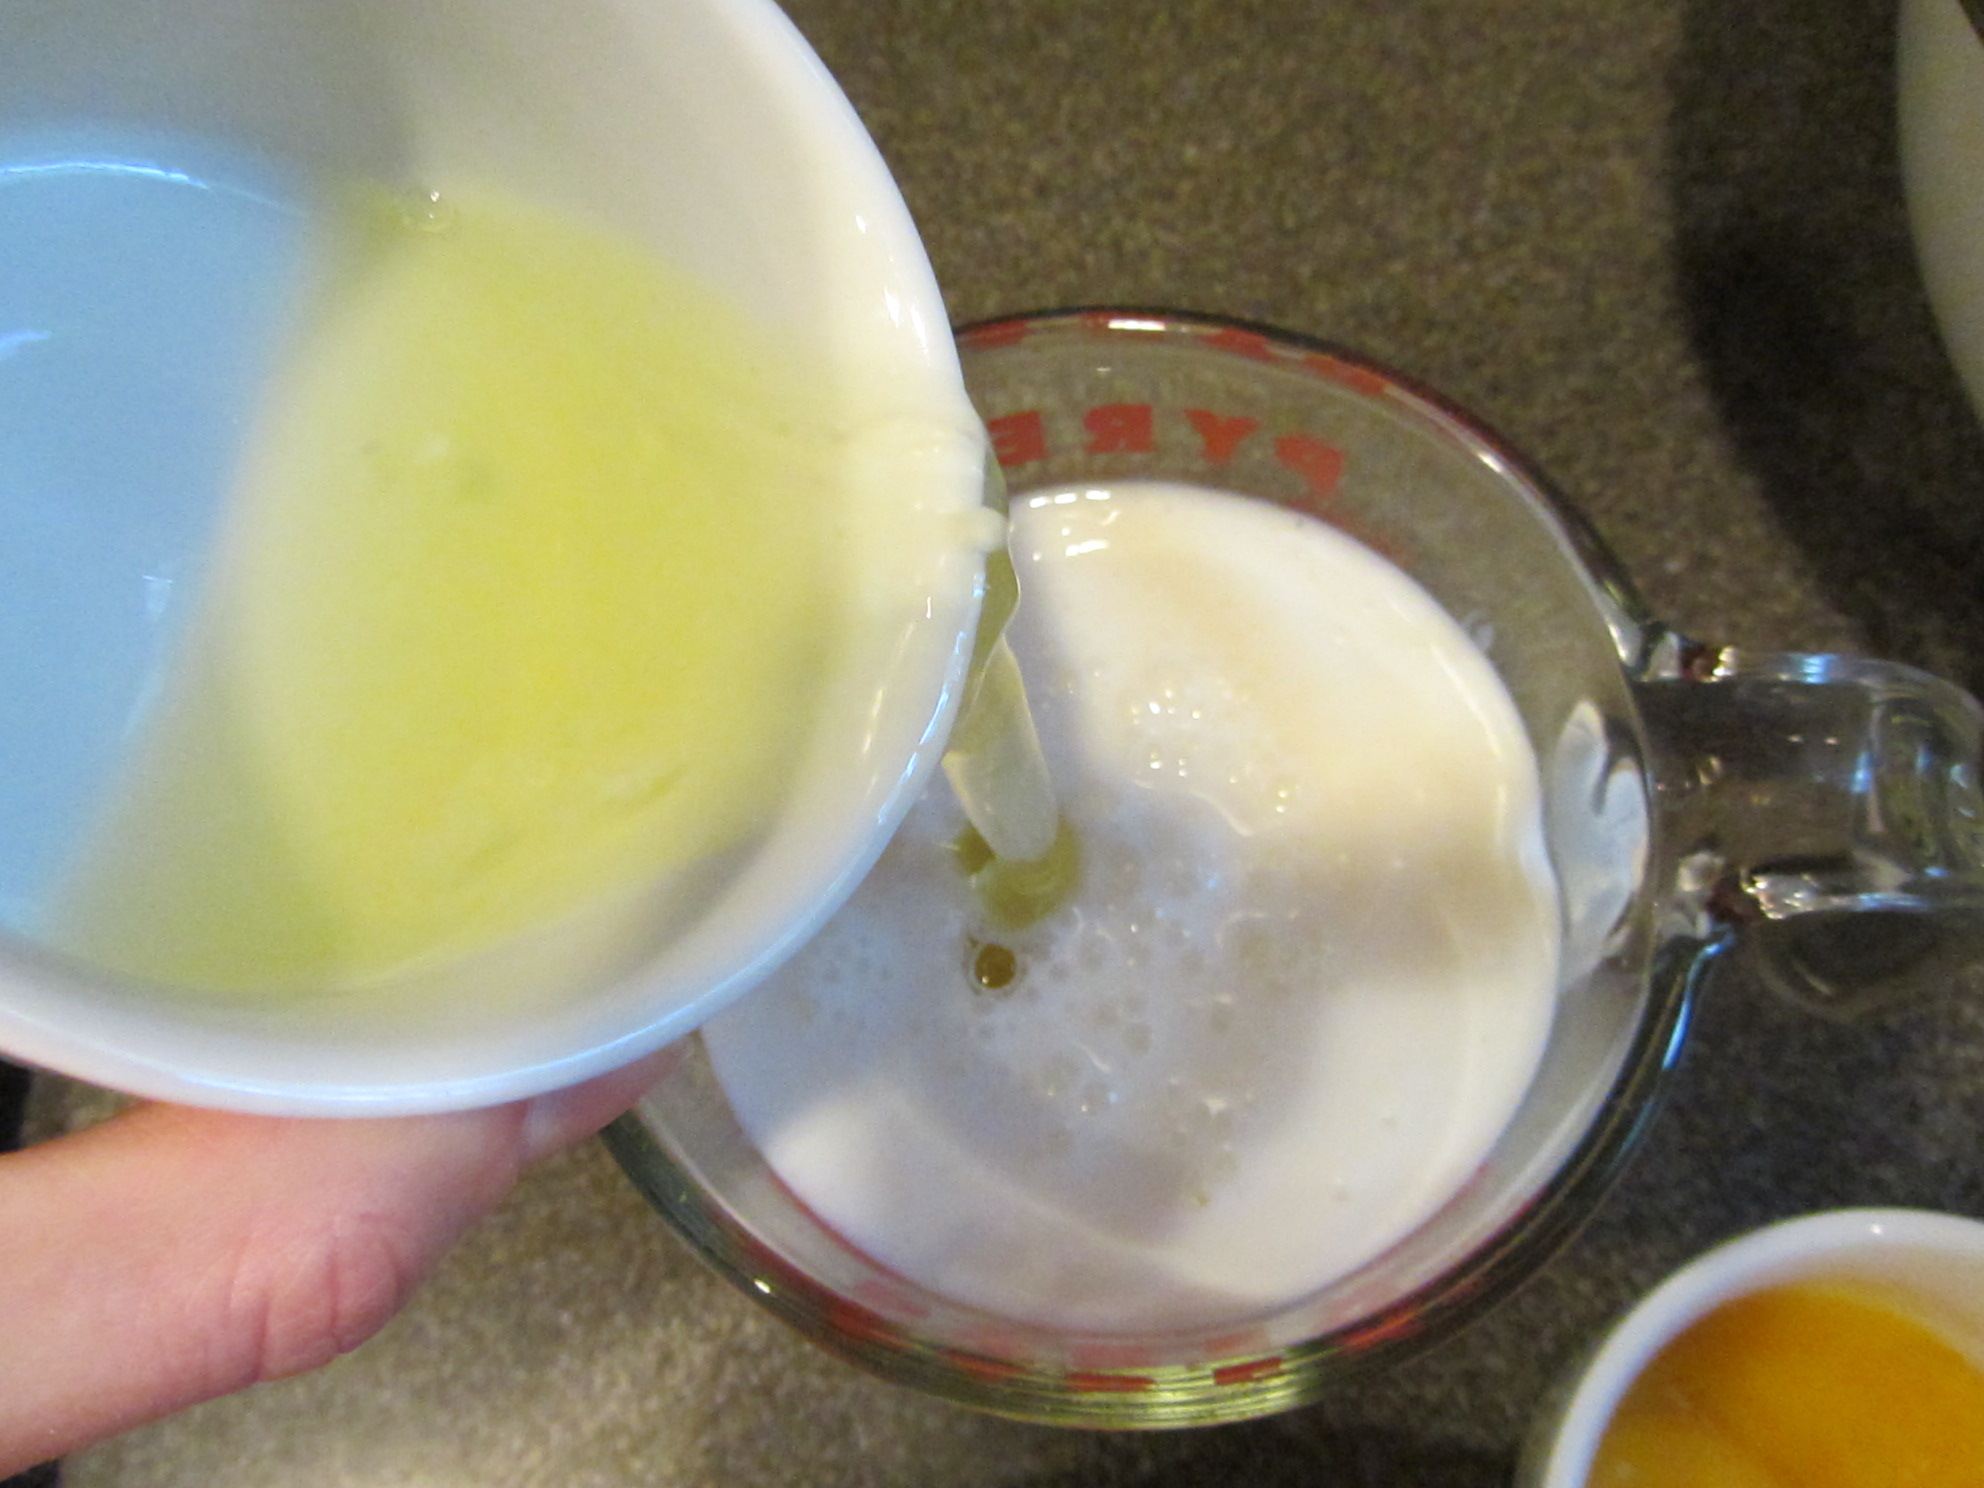
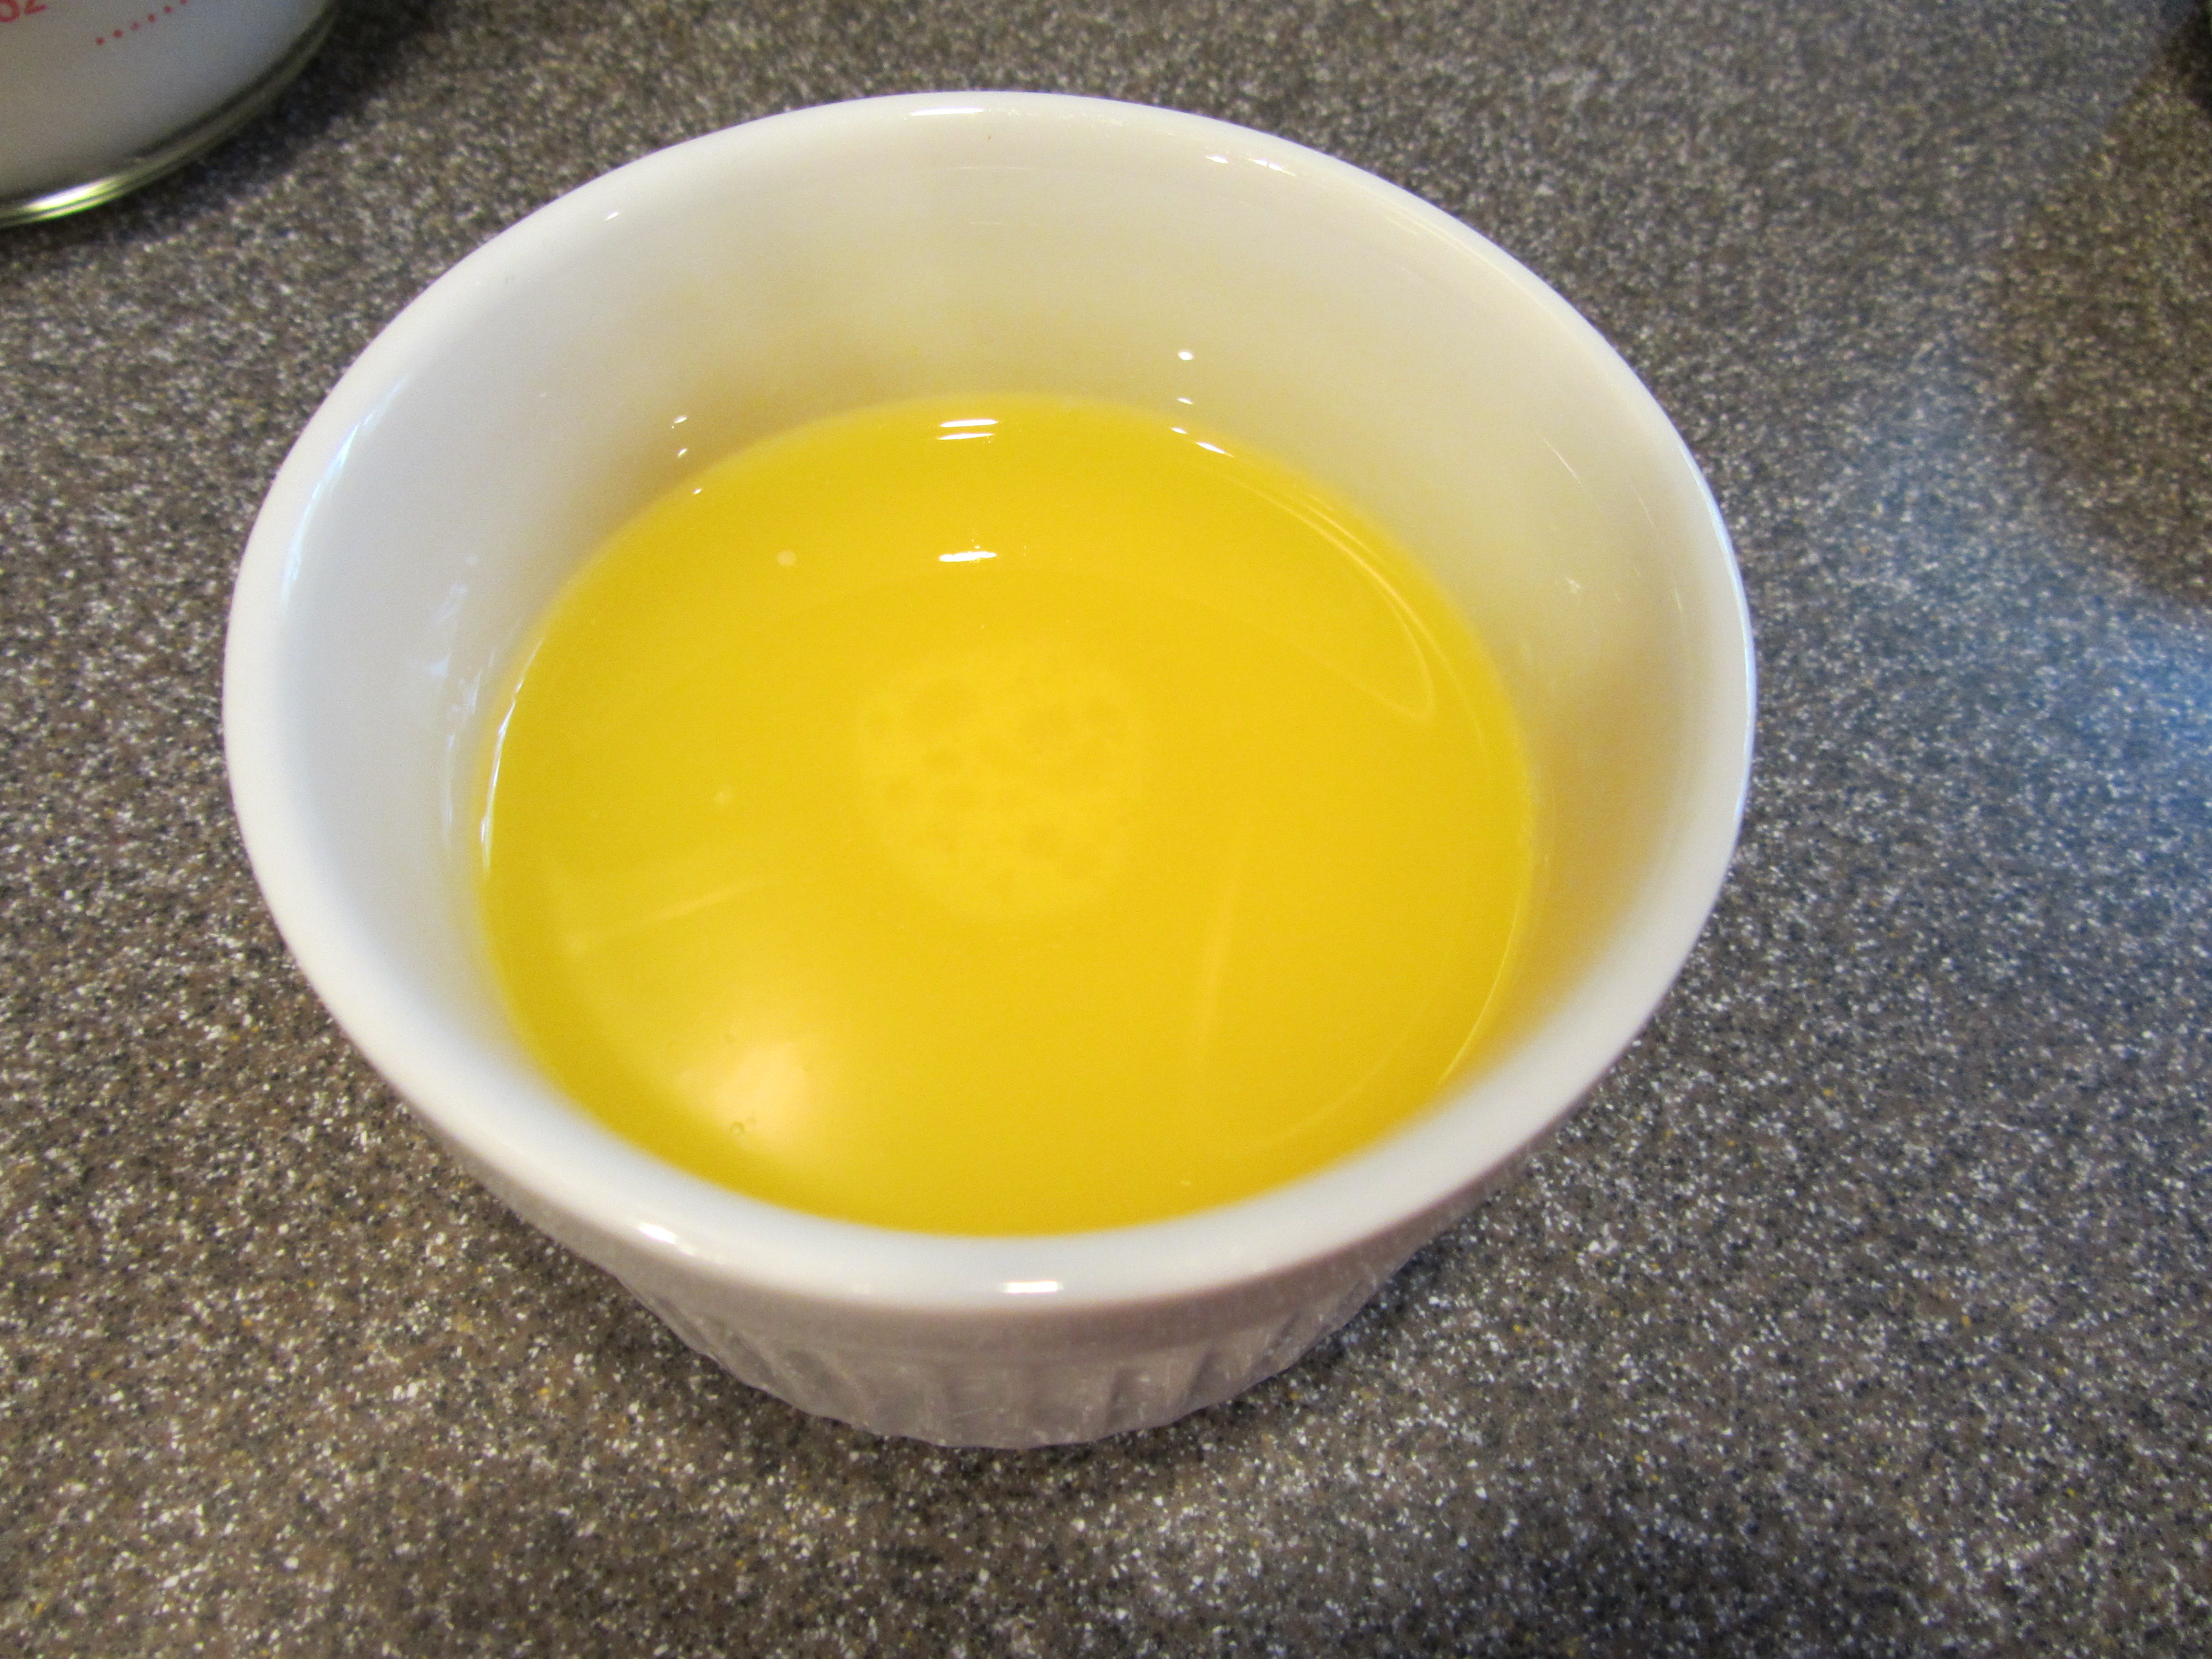
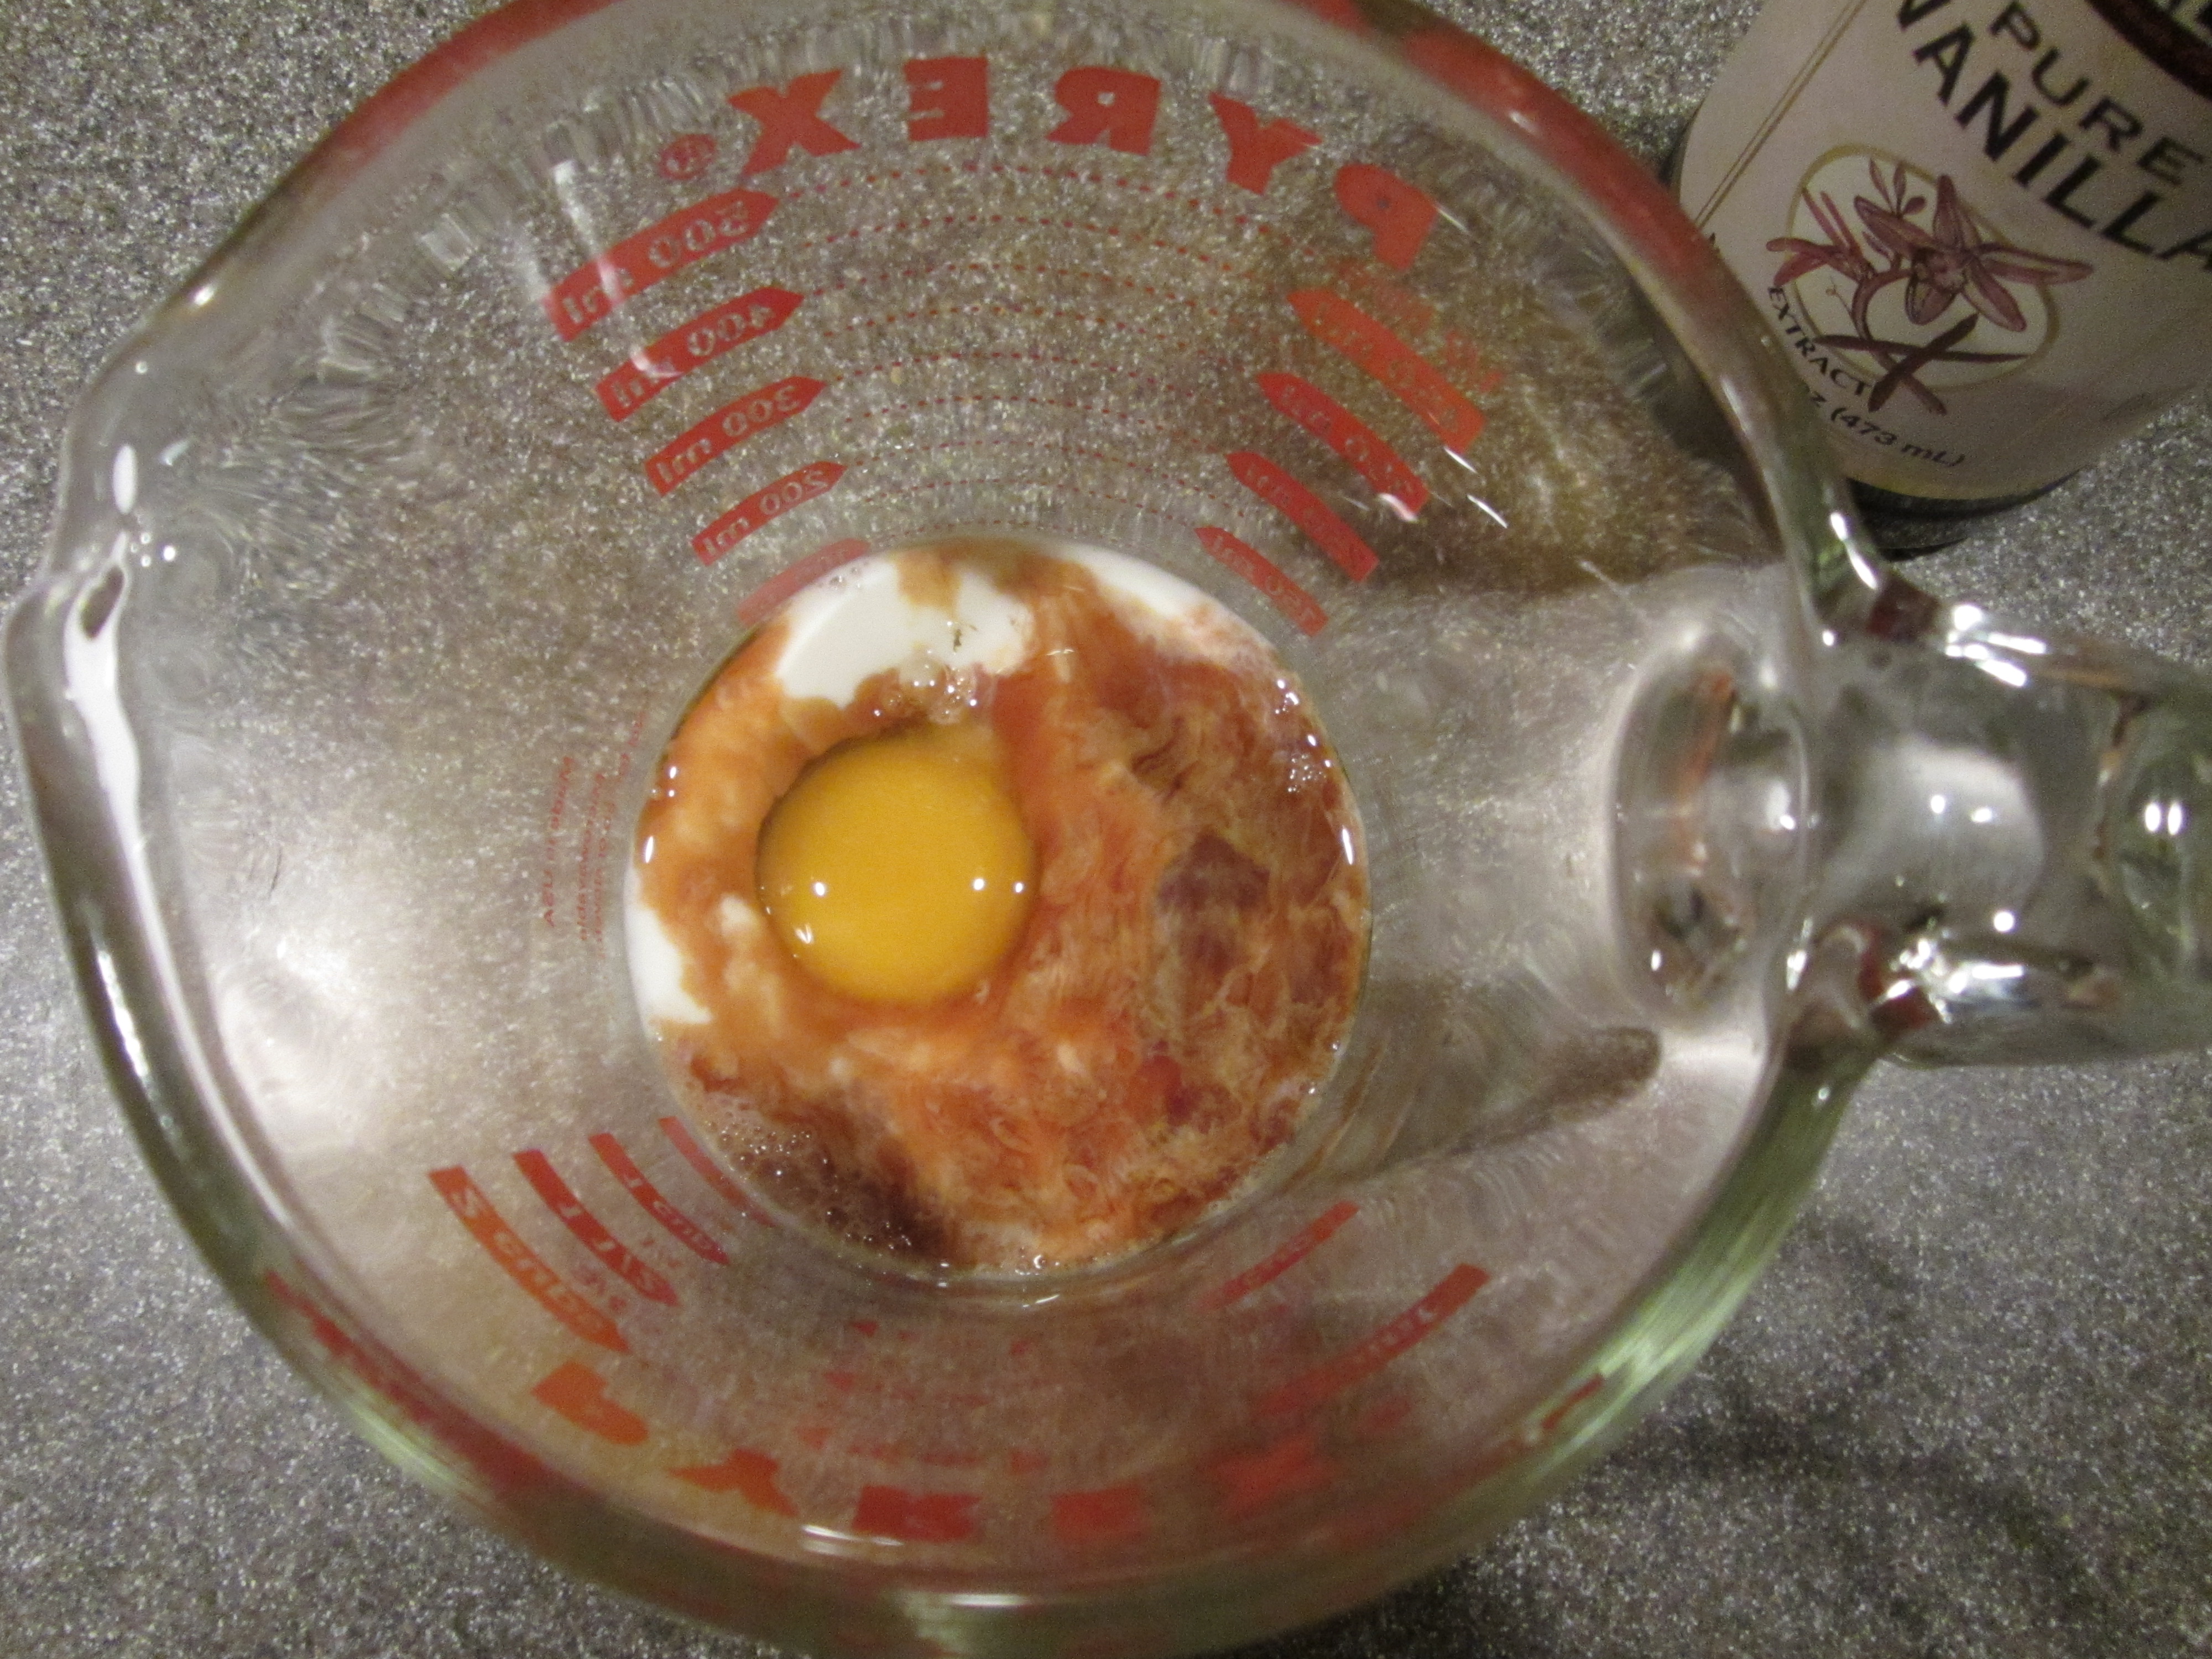
From title alone, I was least excited to make Alton’s thin chocolate chip cookies, as I think of myself as someone who generally prefers cookies on the chewy side. I set out last Tuesday evening to whip up a batch, figuring they would be the perfect thing to greet Ted when he returned home from his evening running group. To start these cookies, combine one egg, 2 oz. of whole milk, and 1.5 t of vanilla, and allow the liquid to come to room temperature.

Milk, egg, and vanilla.

Liquid ingredients, coming to room temperature.
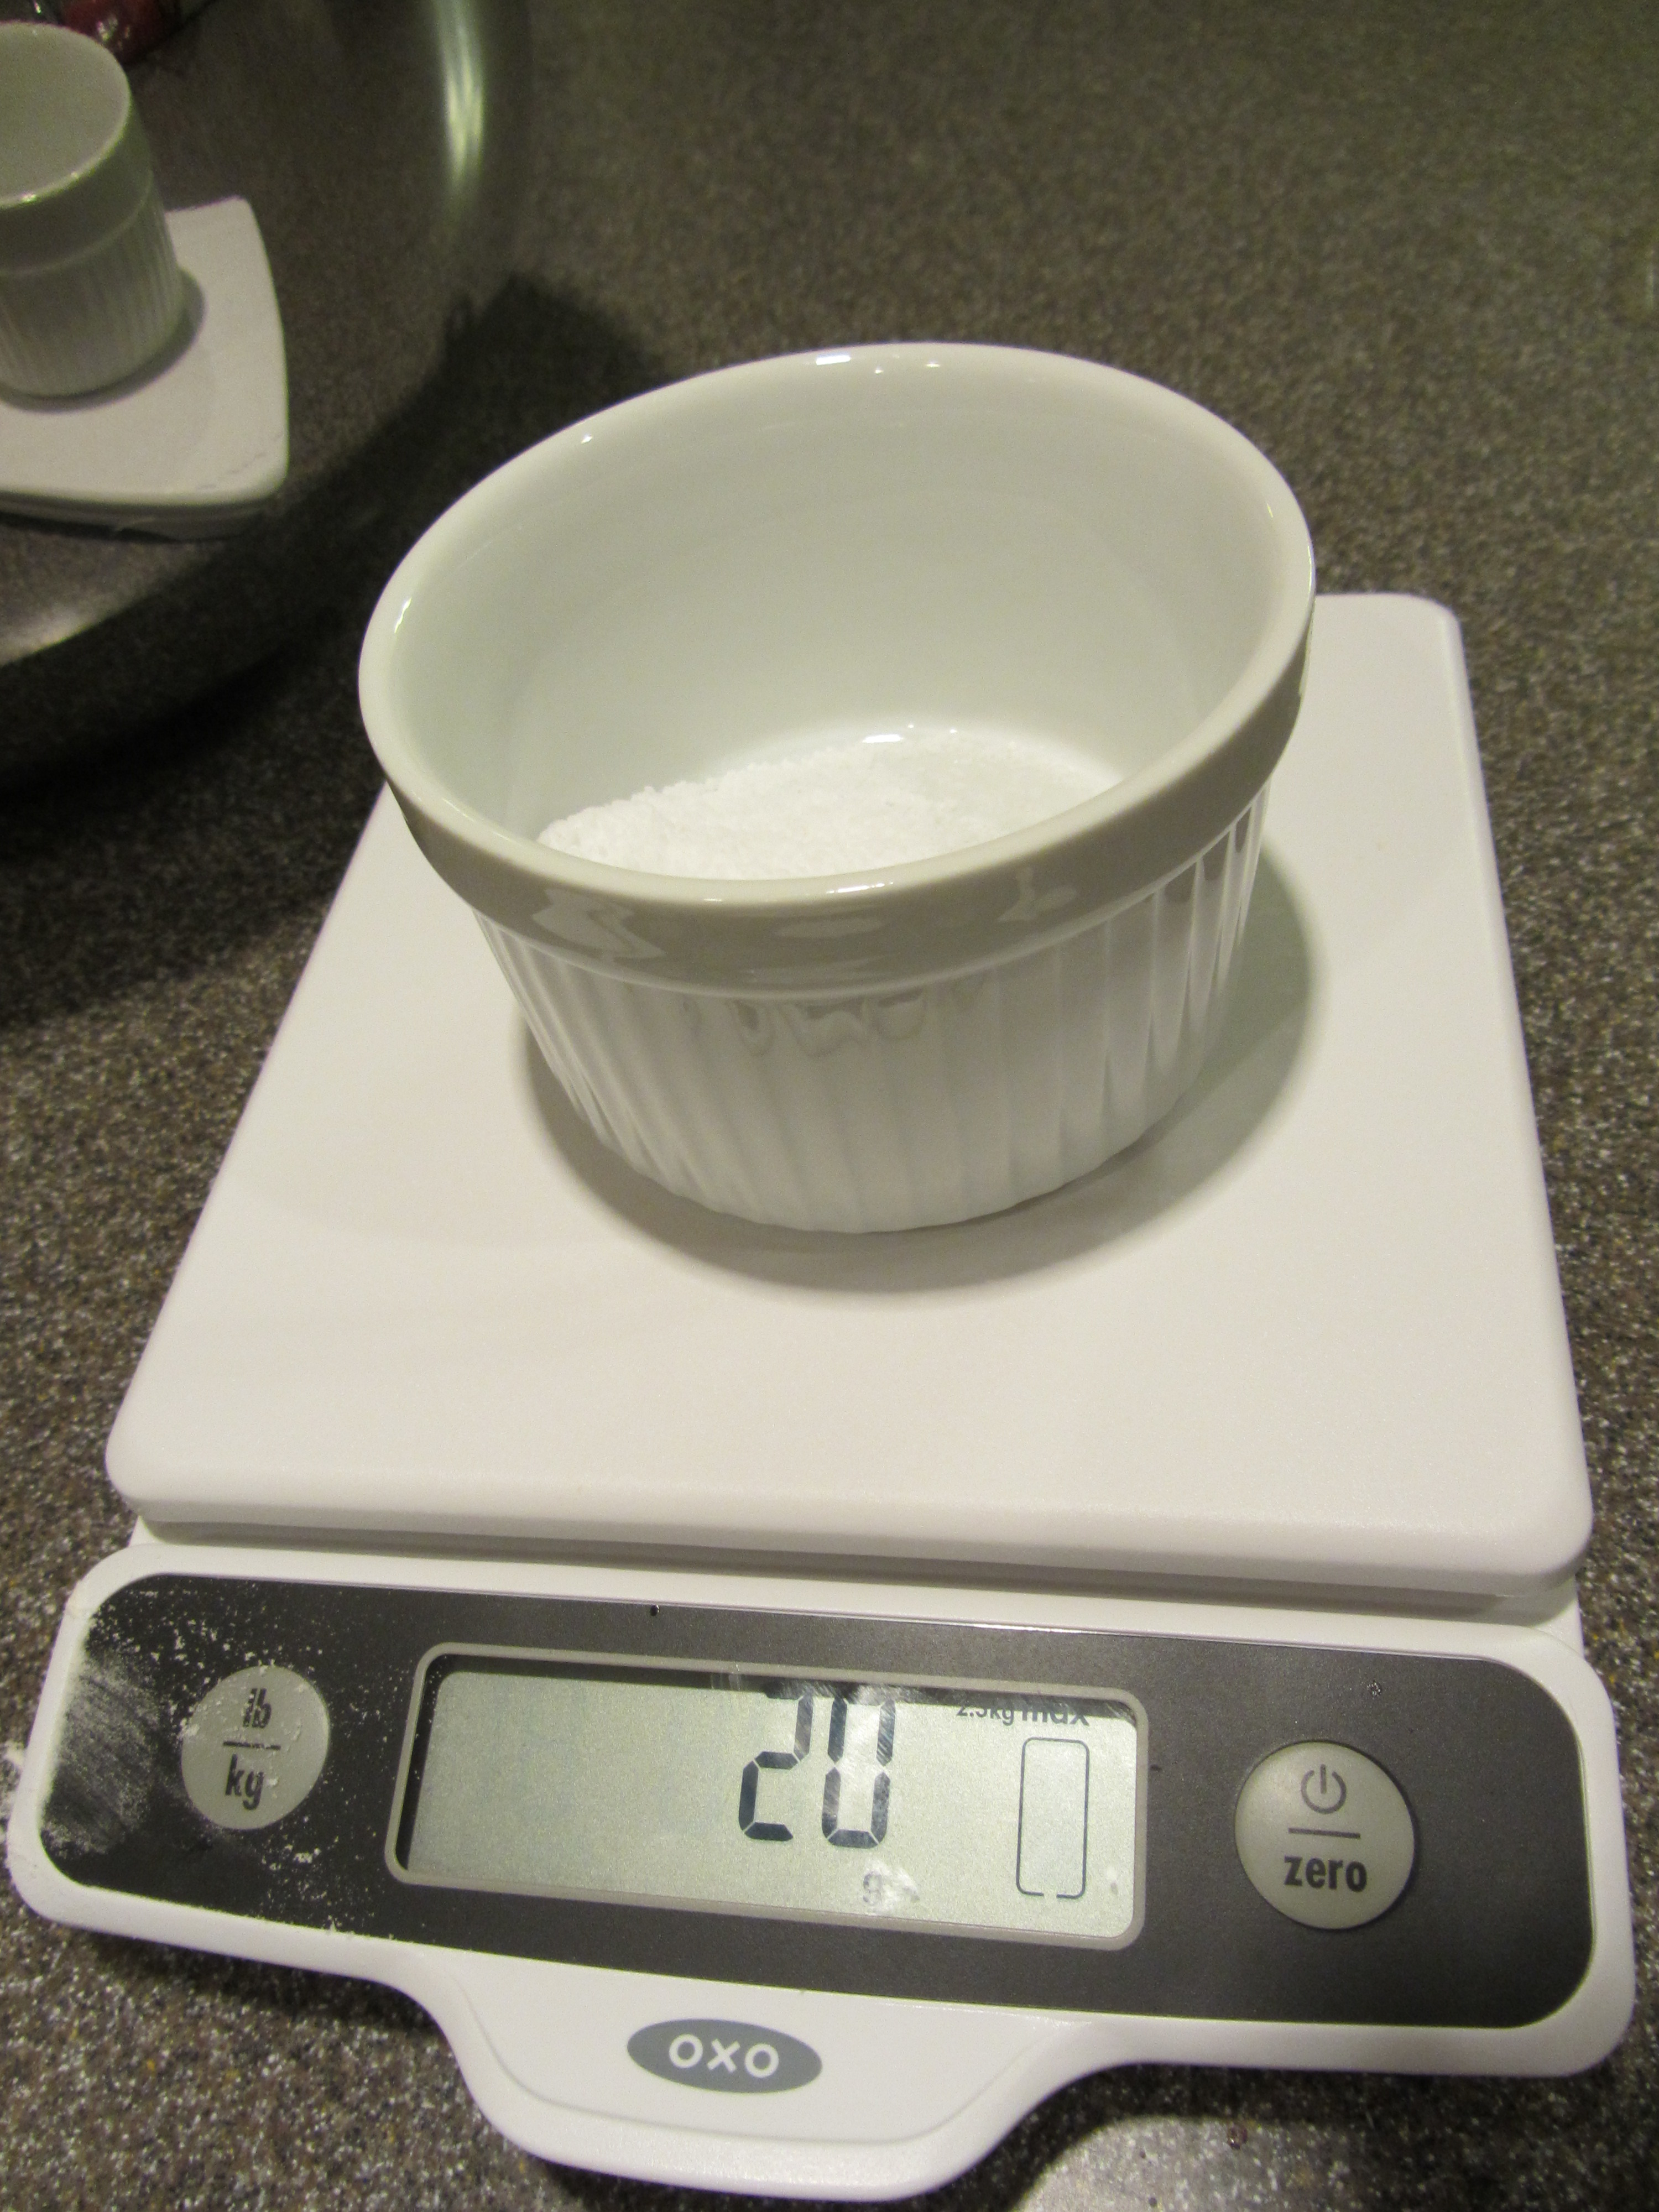
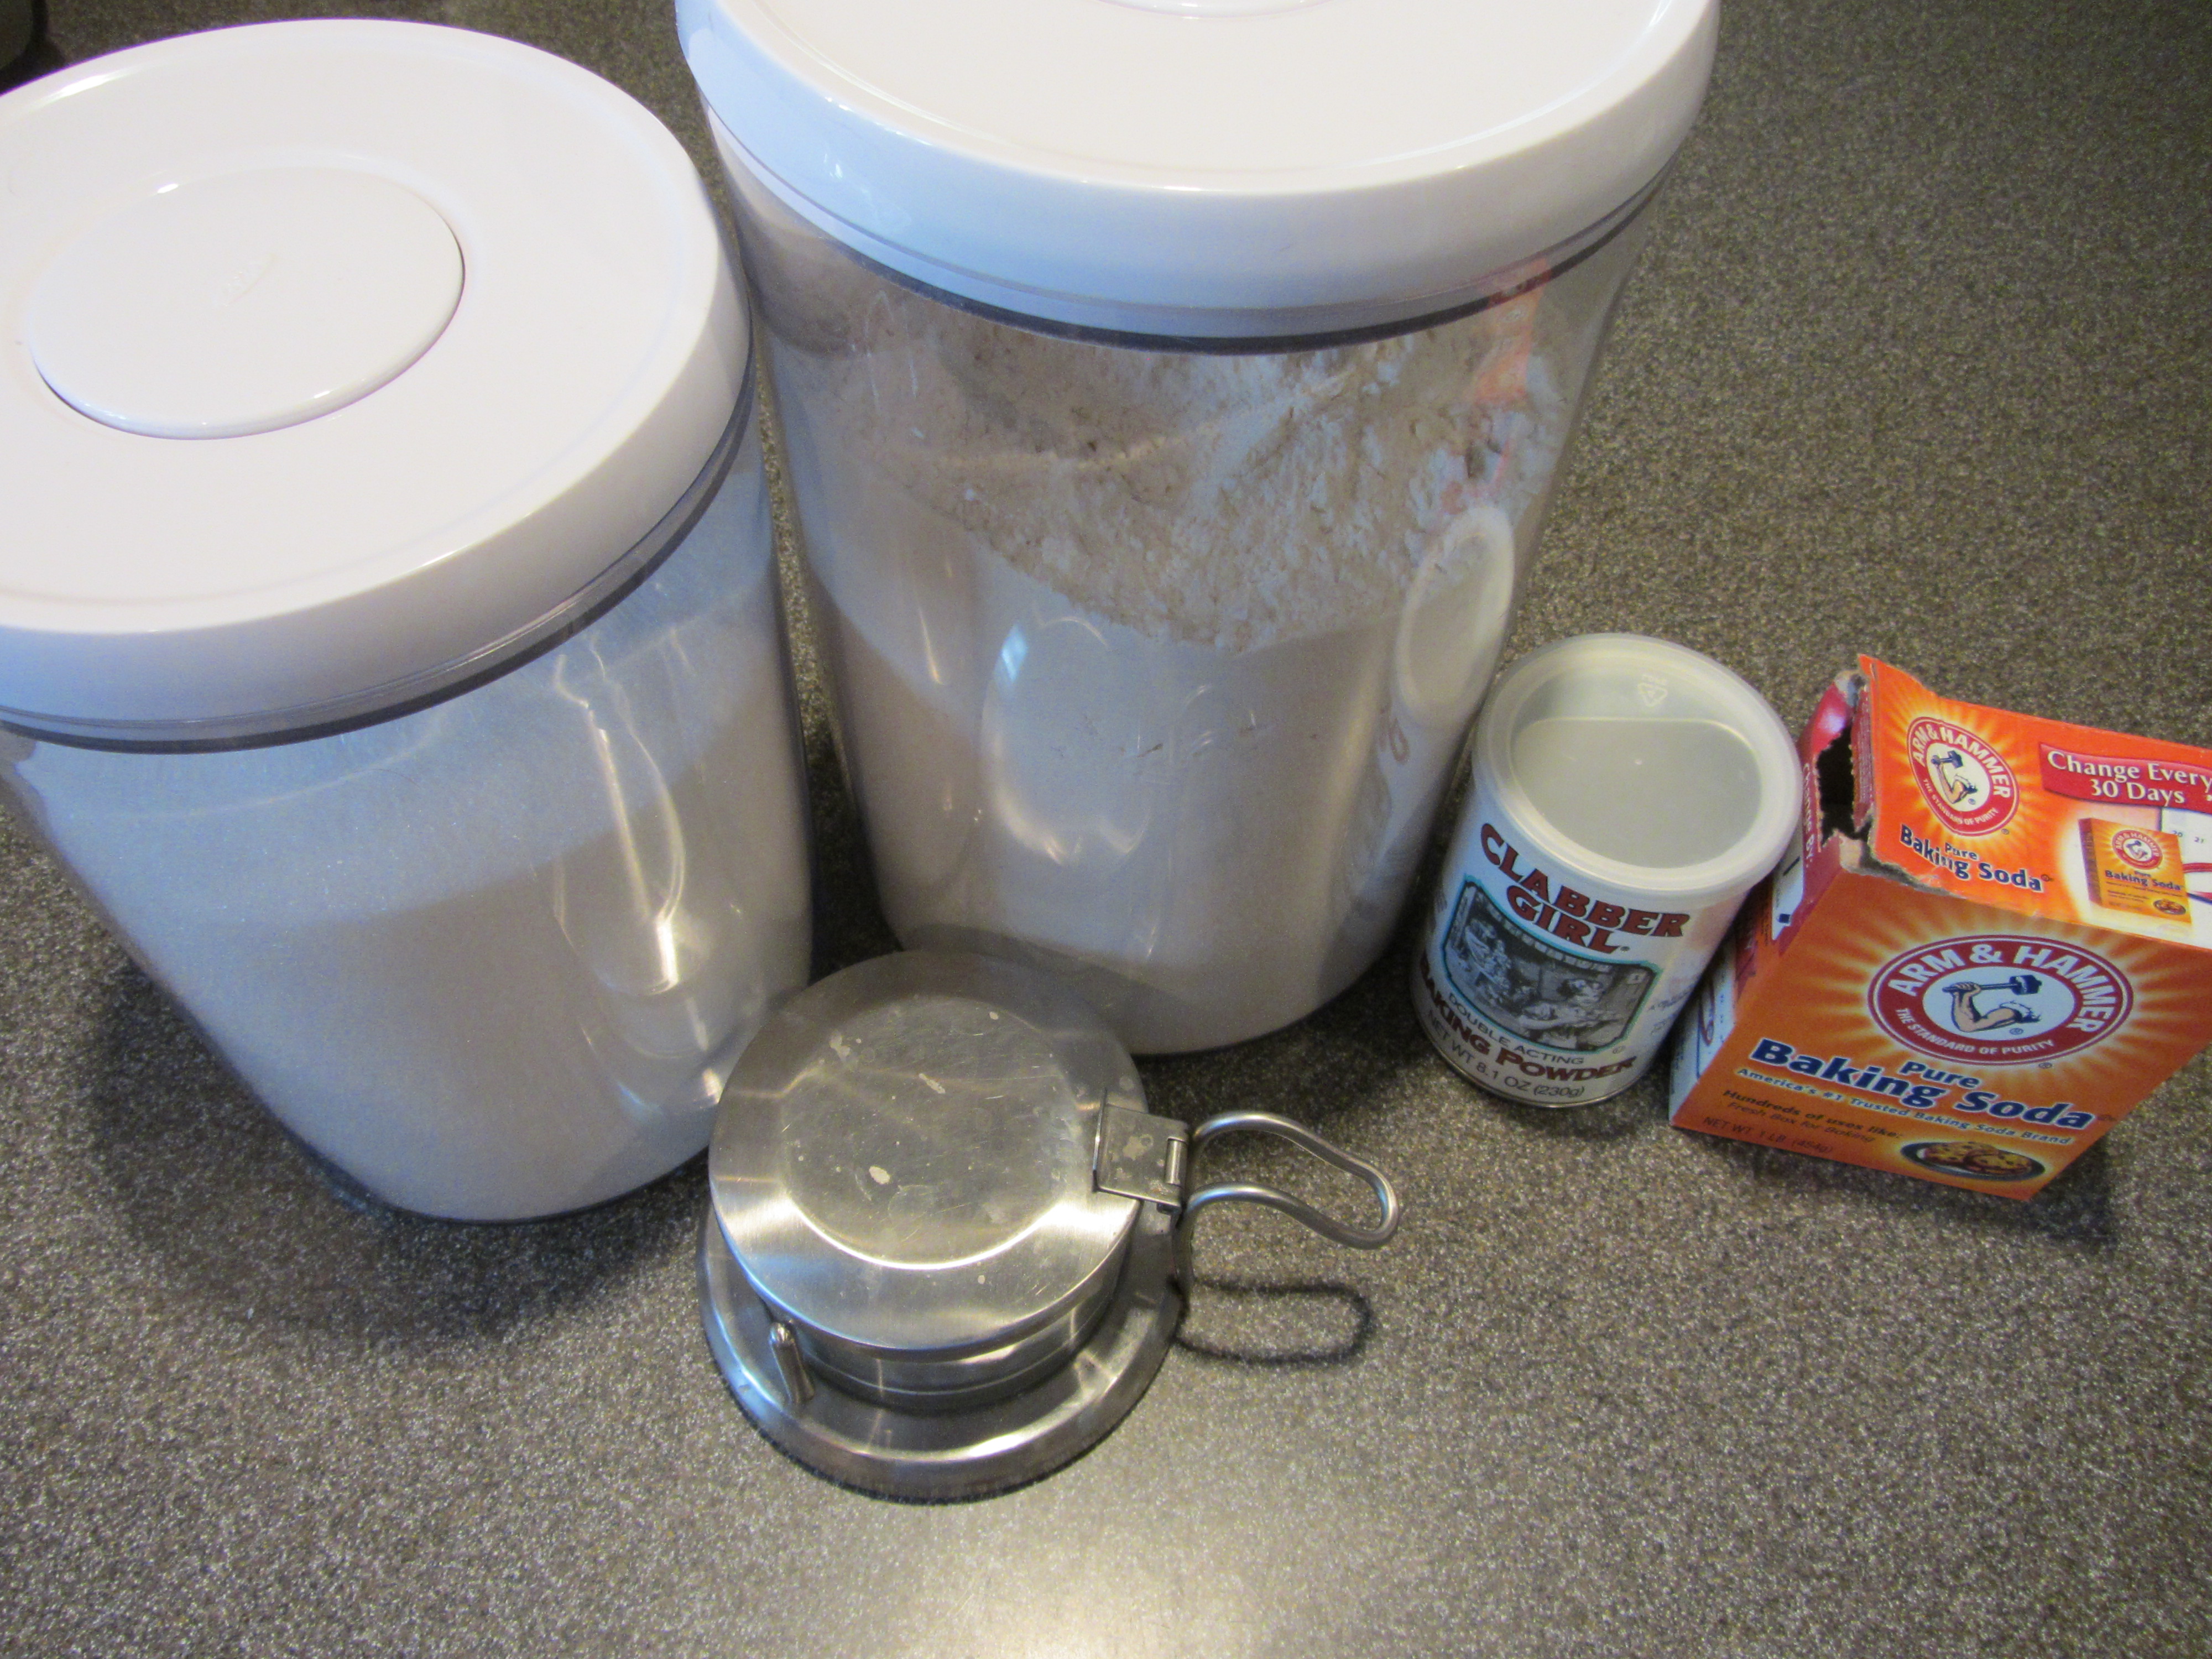
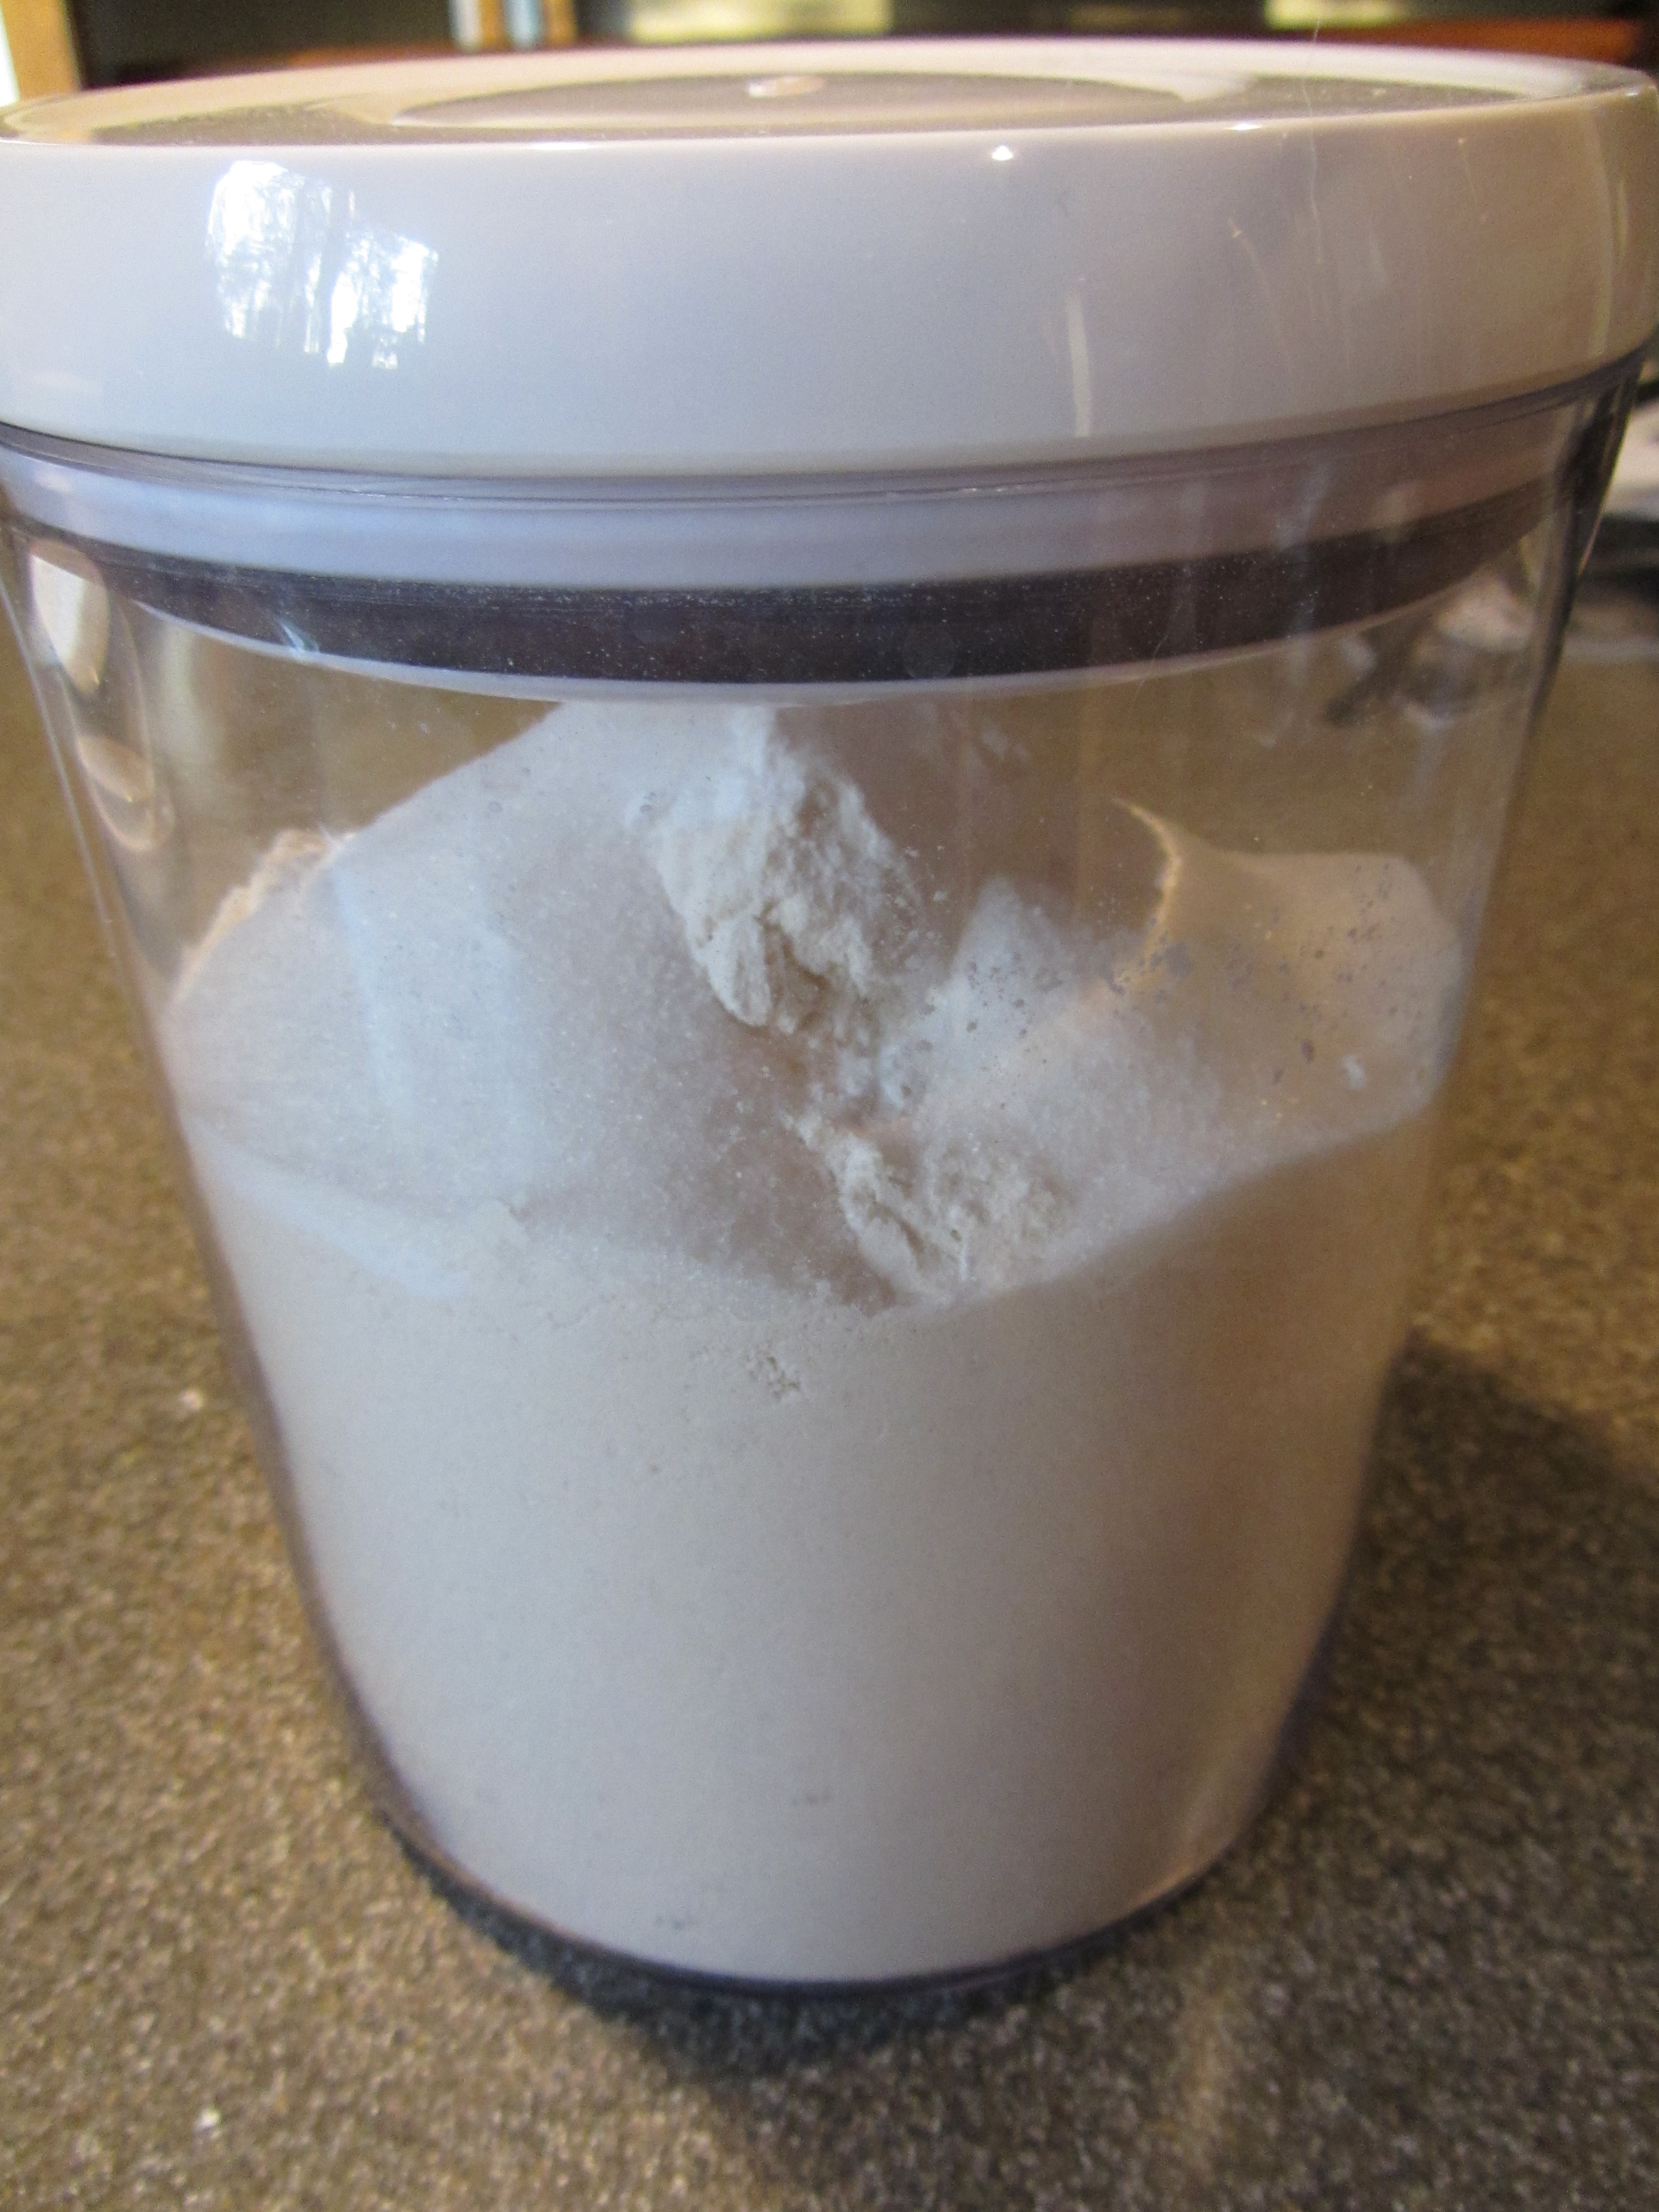
Meanwhile, sift together 2 1/4 C of bleached all-purpose flour, 1 t of salt, and 1 t (plus an extra pinch) of baking soda.

Bleached AP flour, salt, and baking soda.

Sifted dry ingredients.
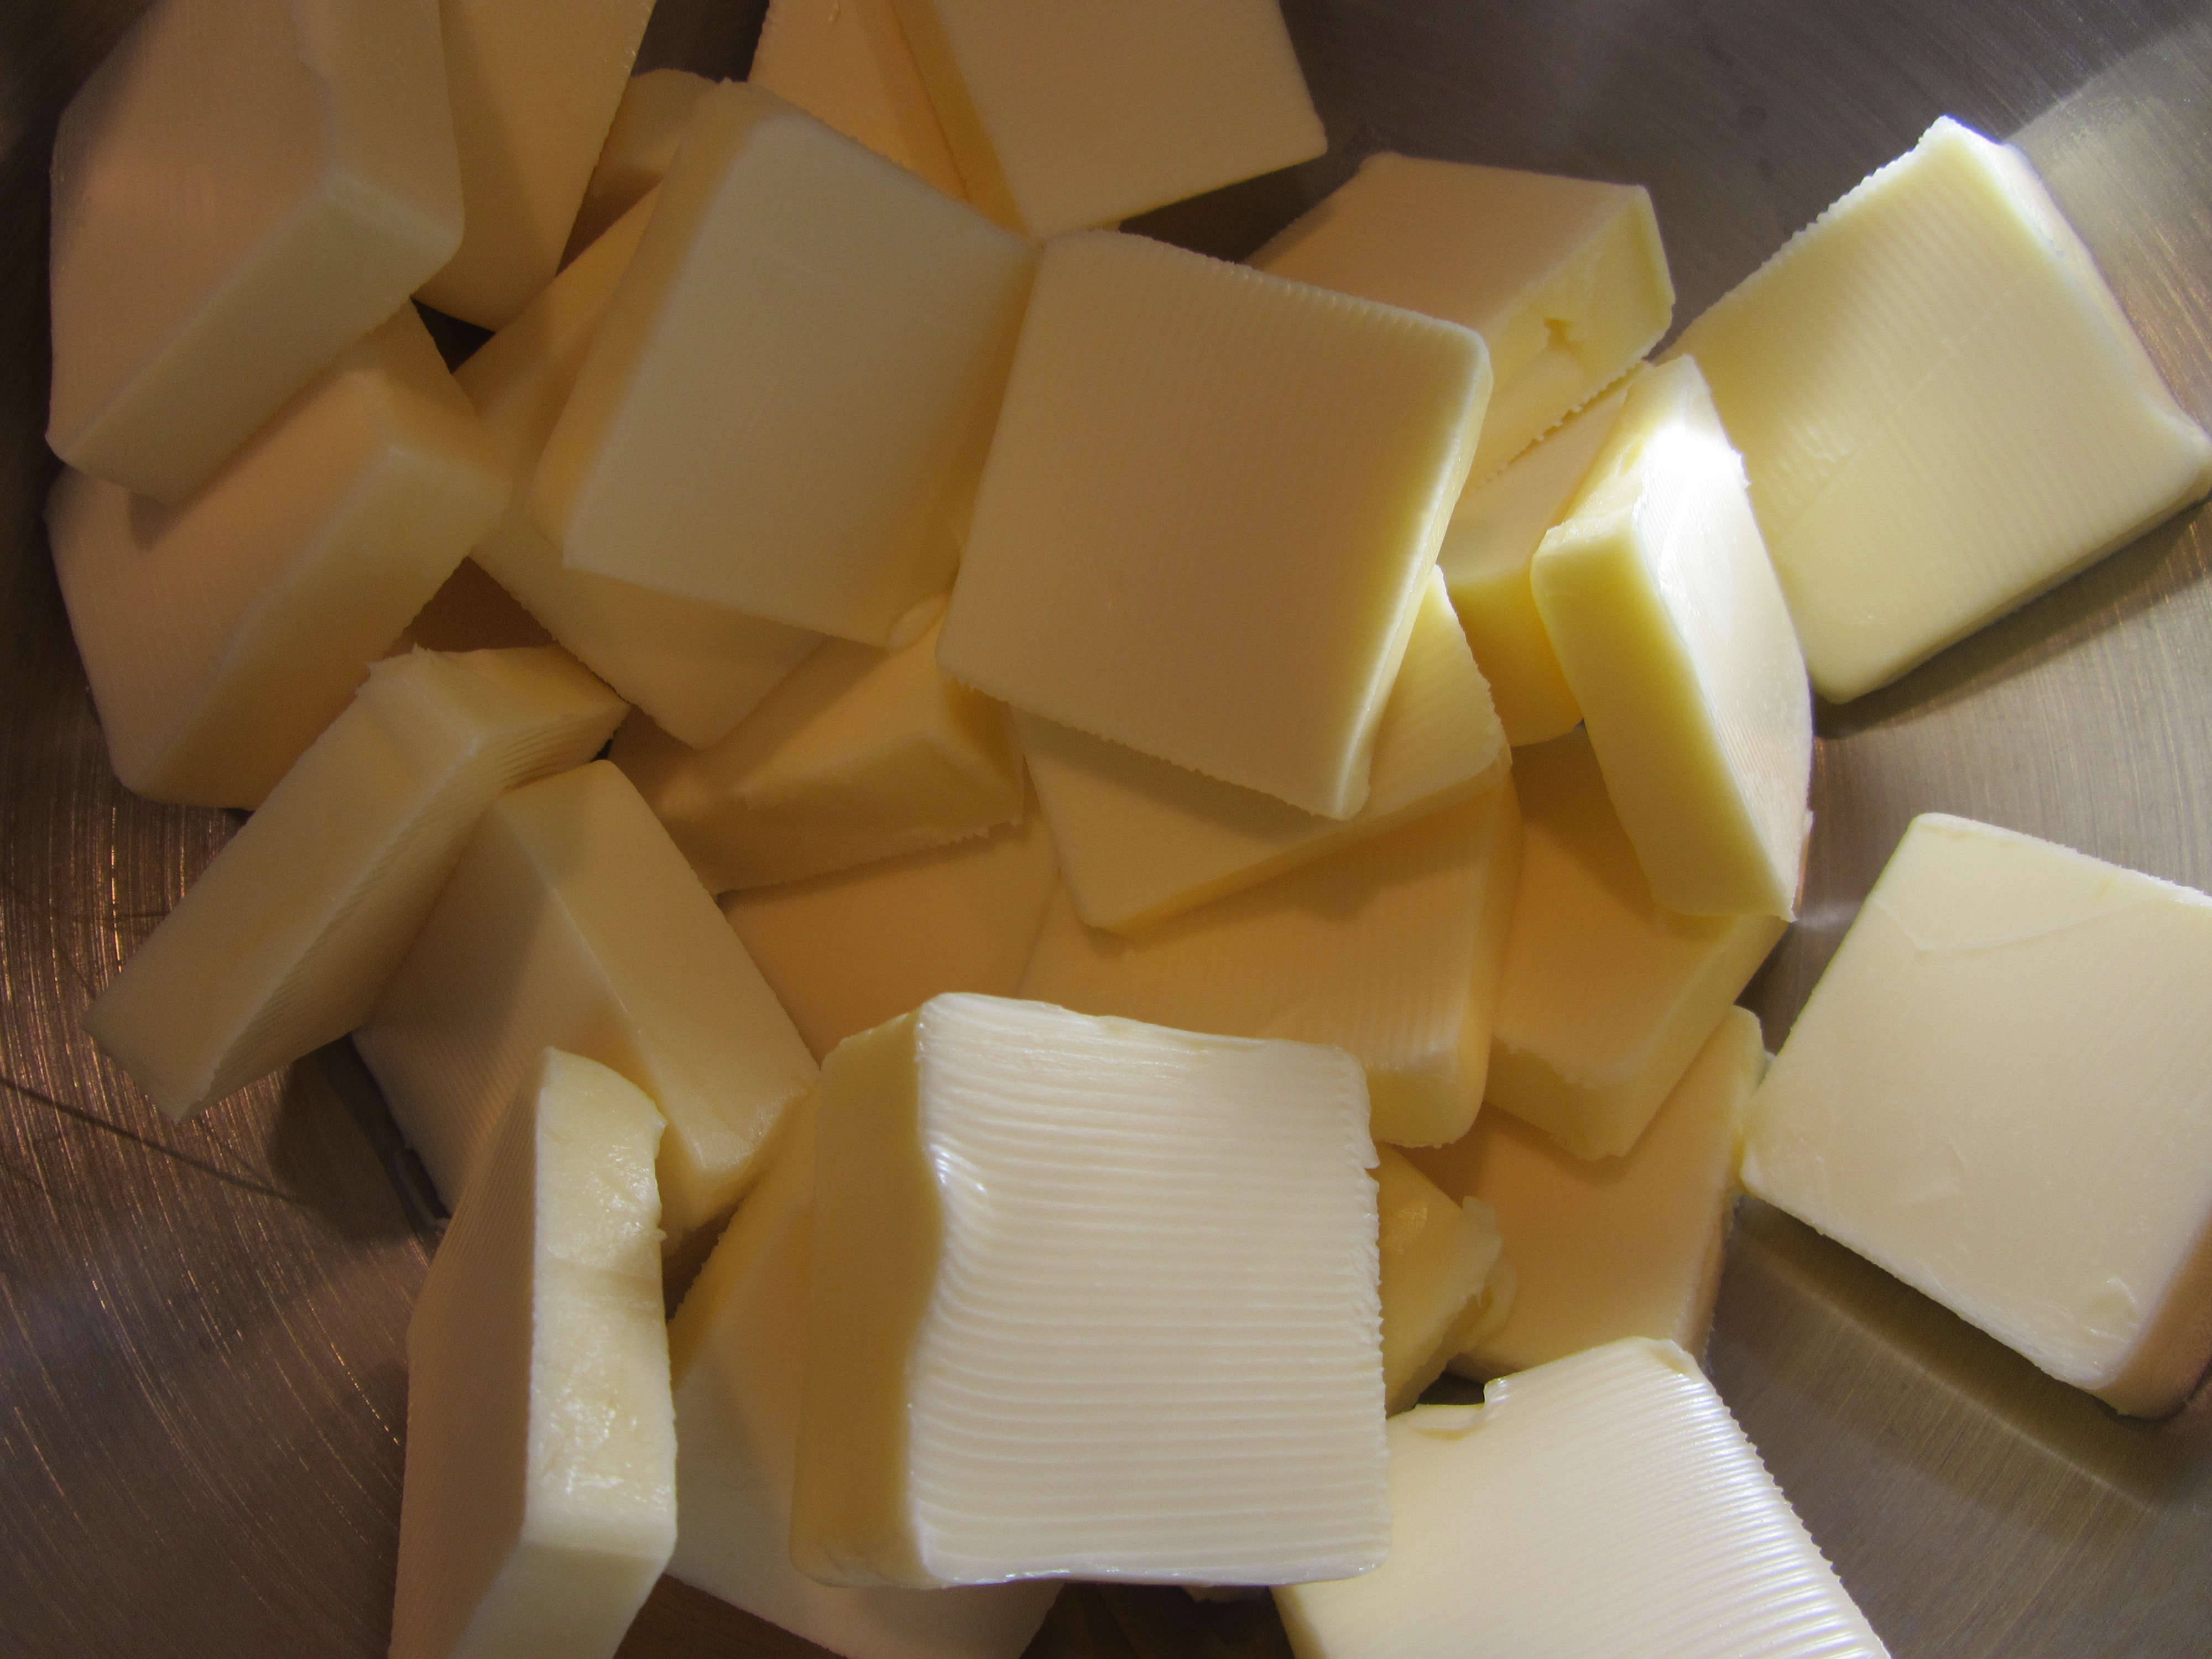
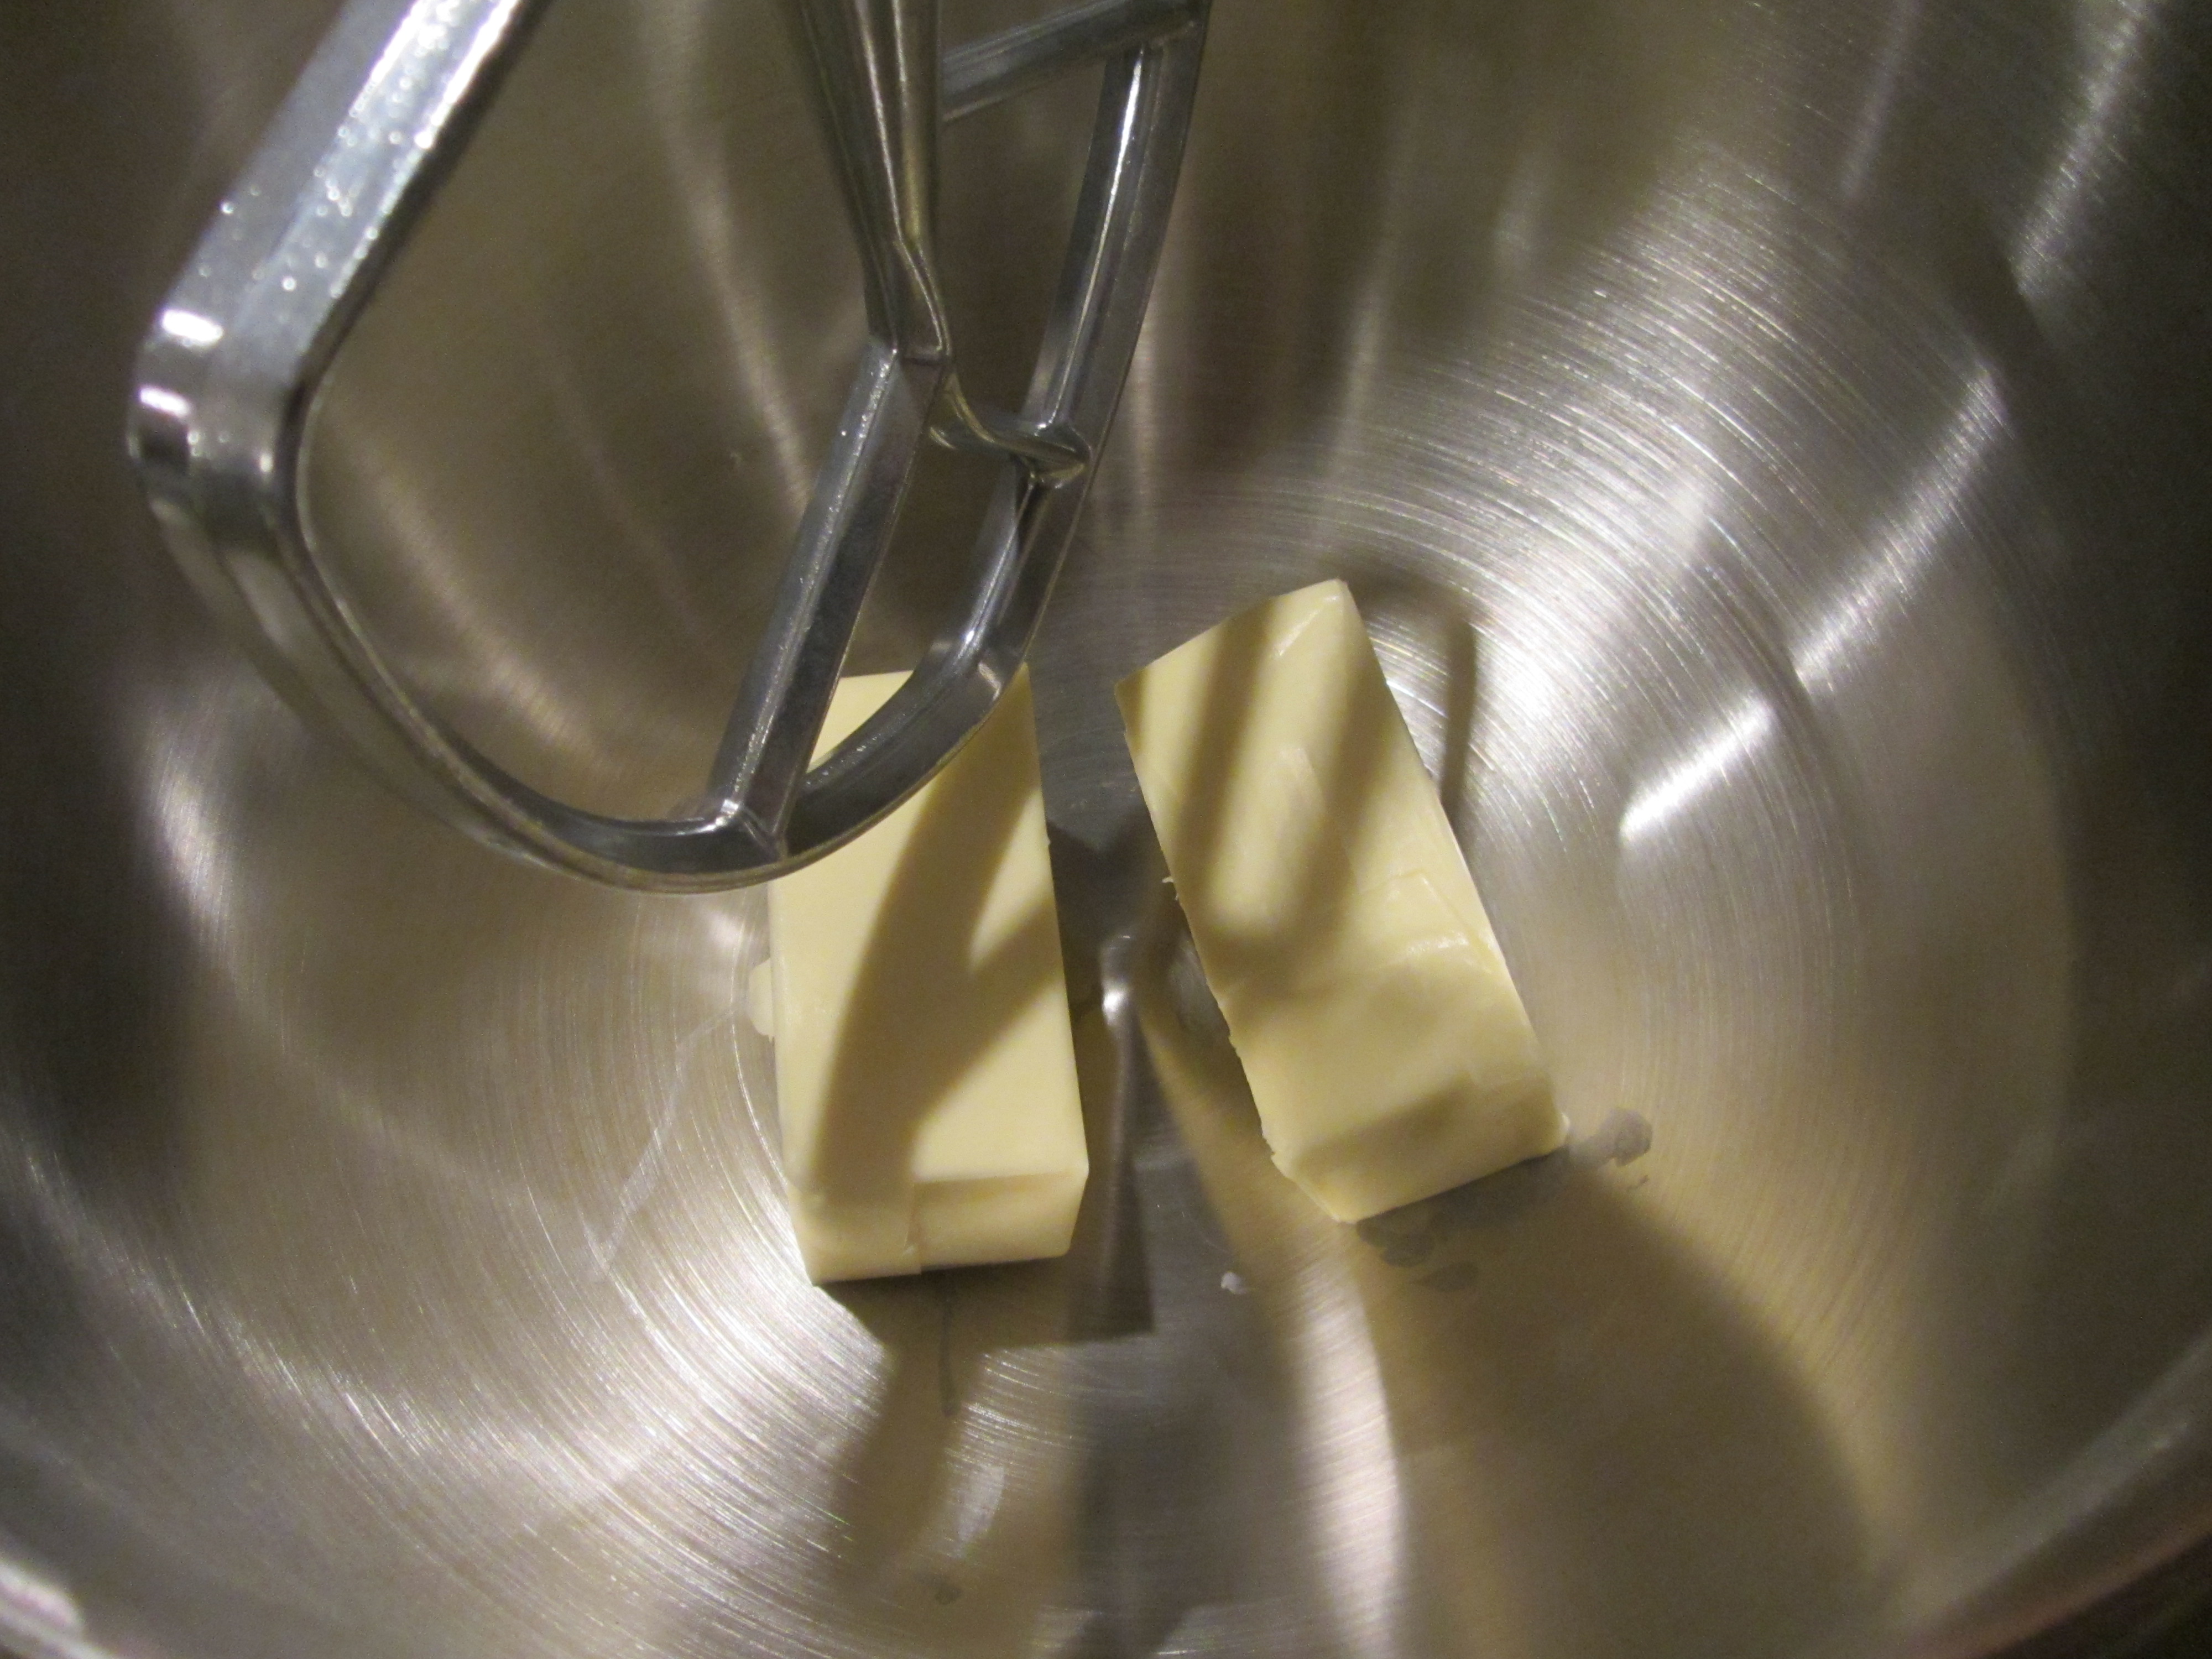
Why use bleached flour? Alton did not specify a reason in the episode, but bleached flour is apparently superior for baking because it has a lower protein content. Alton seems to use Kosher salt in nearly all of his recipes, but he did not specify that Kosher salt should be used in these cookies, so I used regular table salt. In a stand mixer, cream 2 sticks of cold butter, starting on low speed.

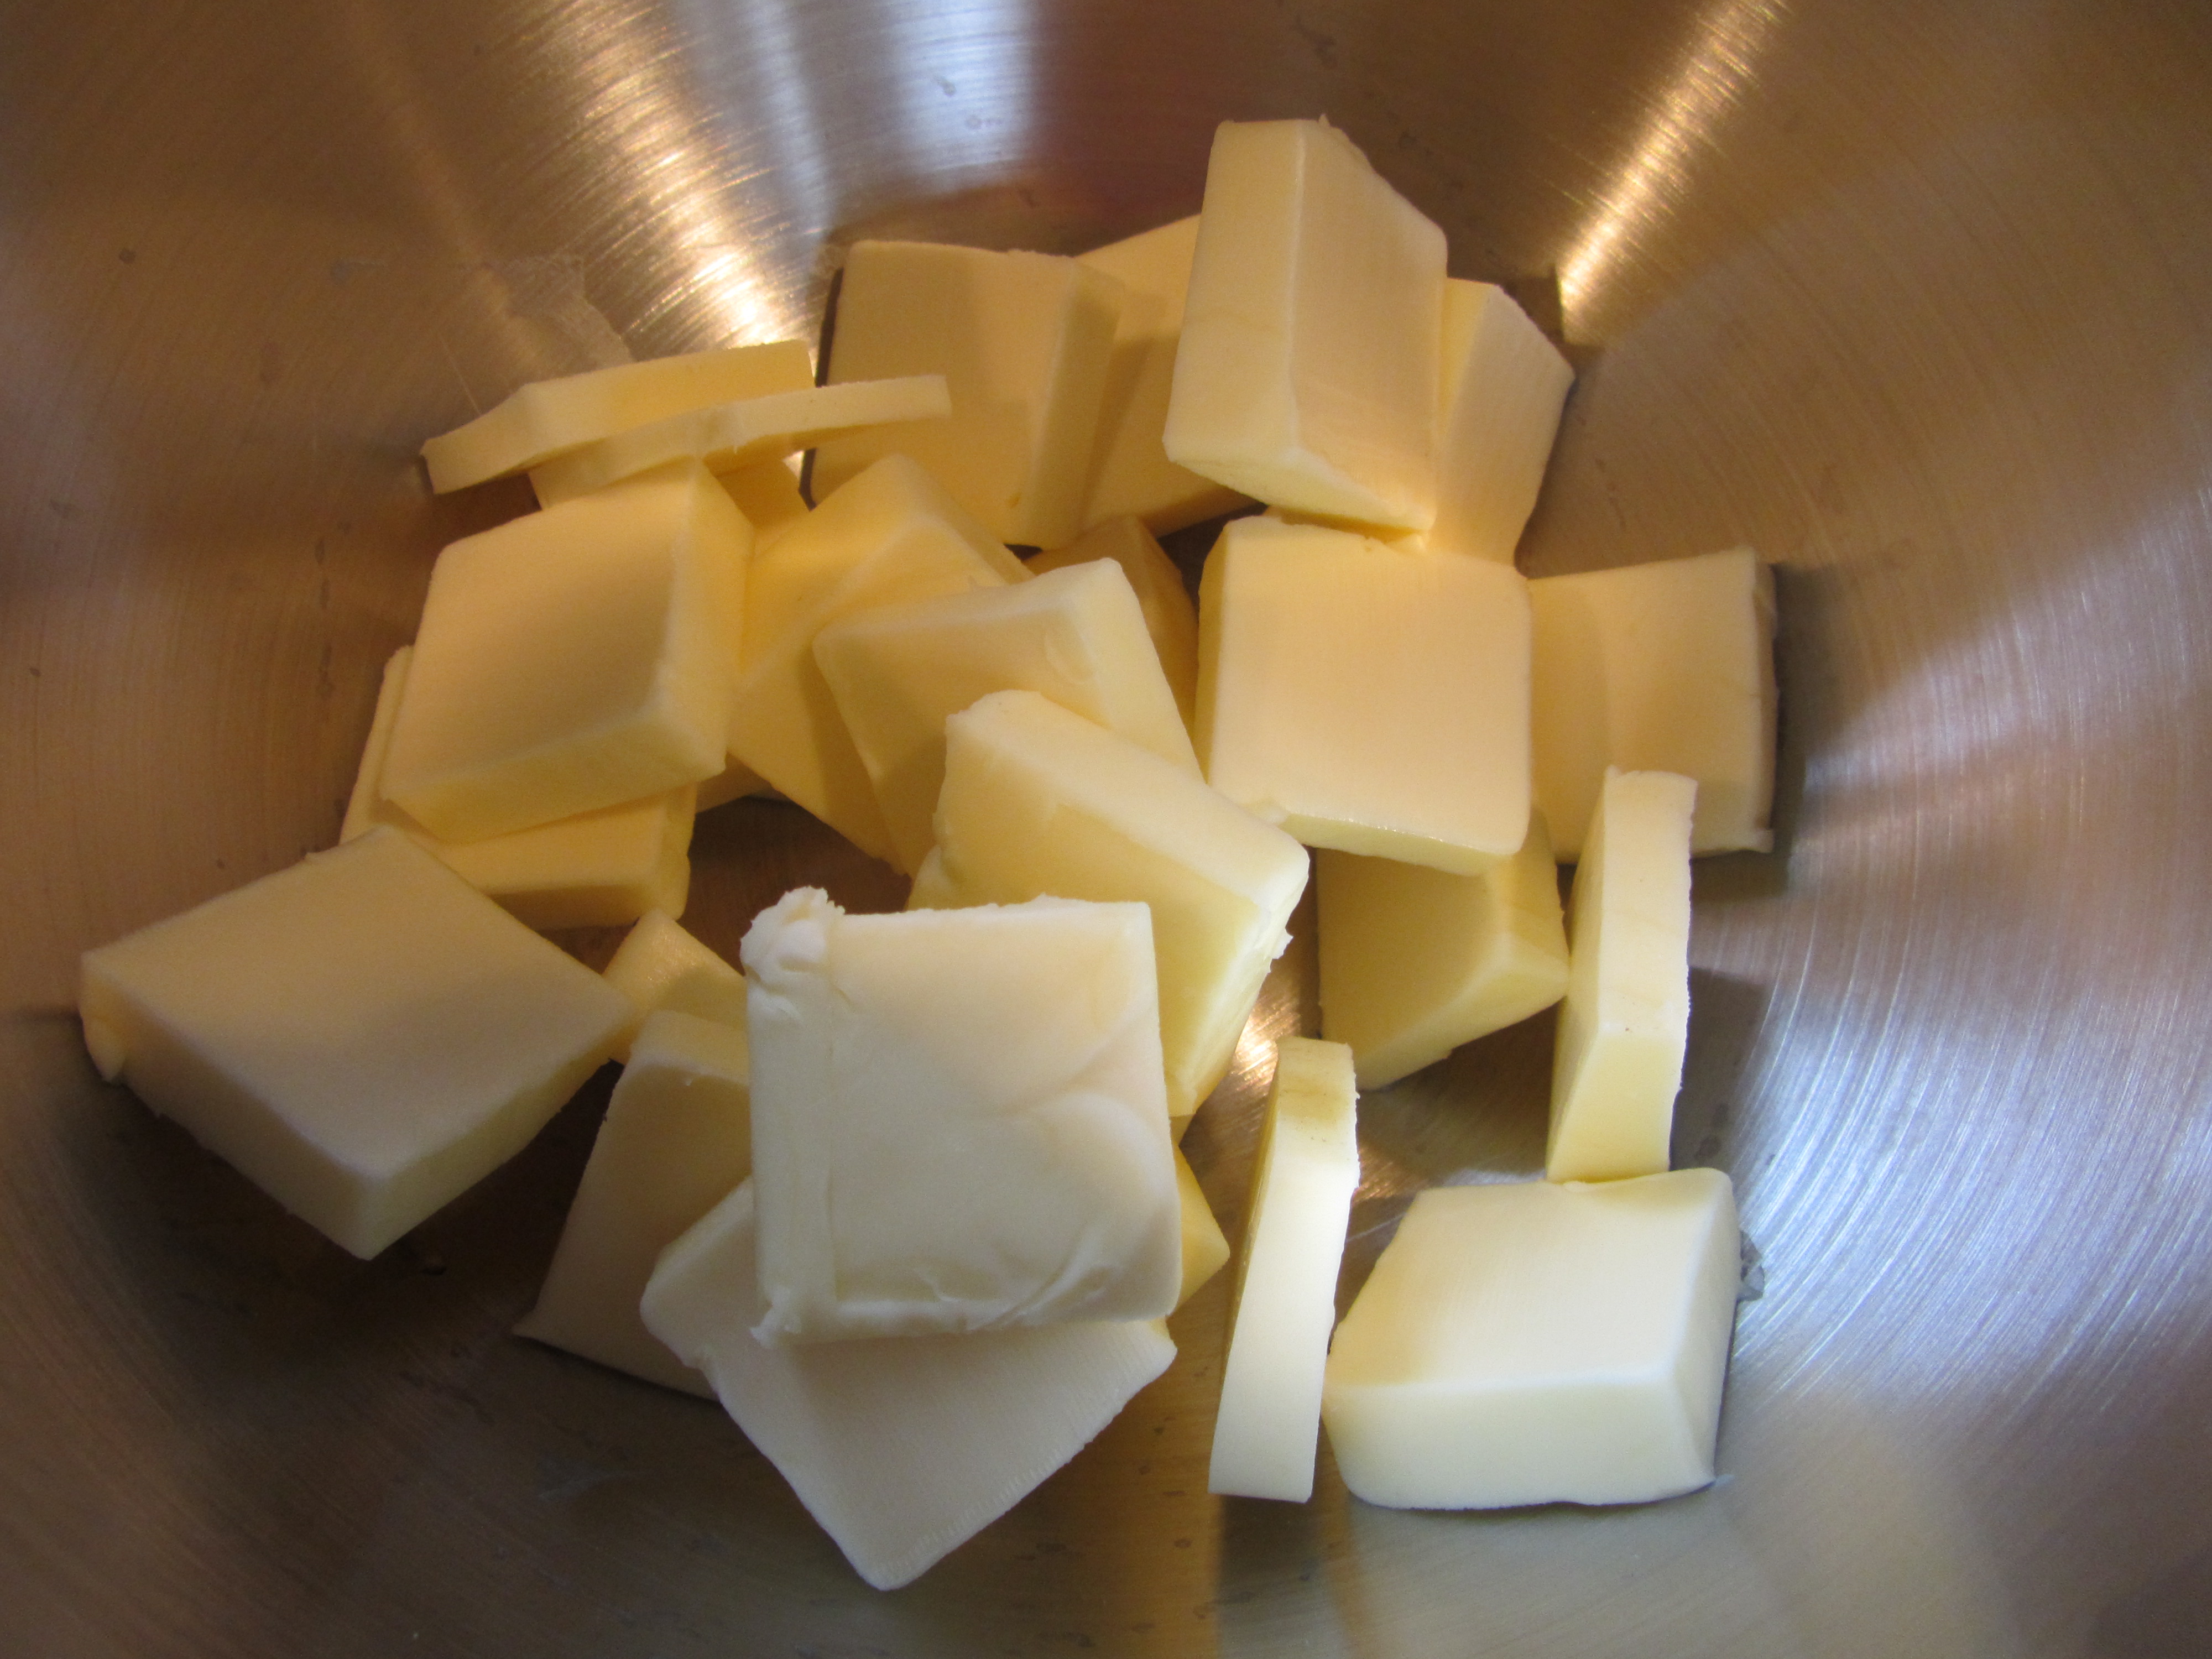
Cold butter in the mixer.
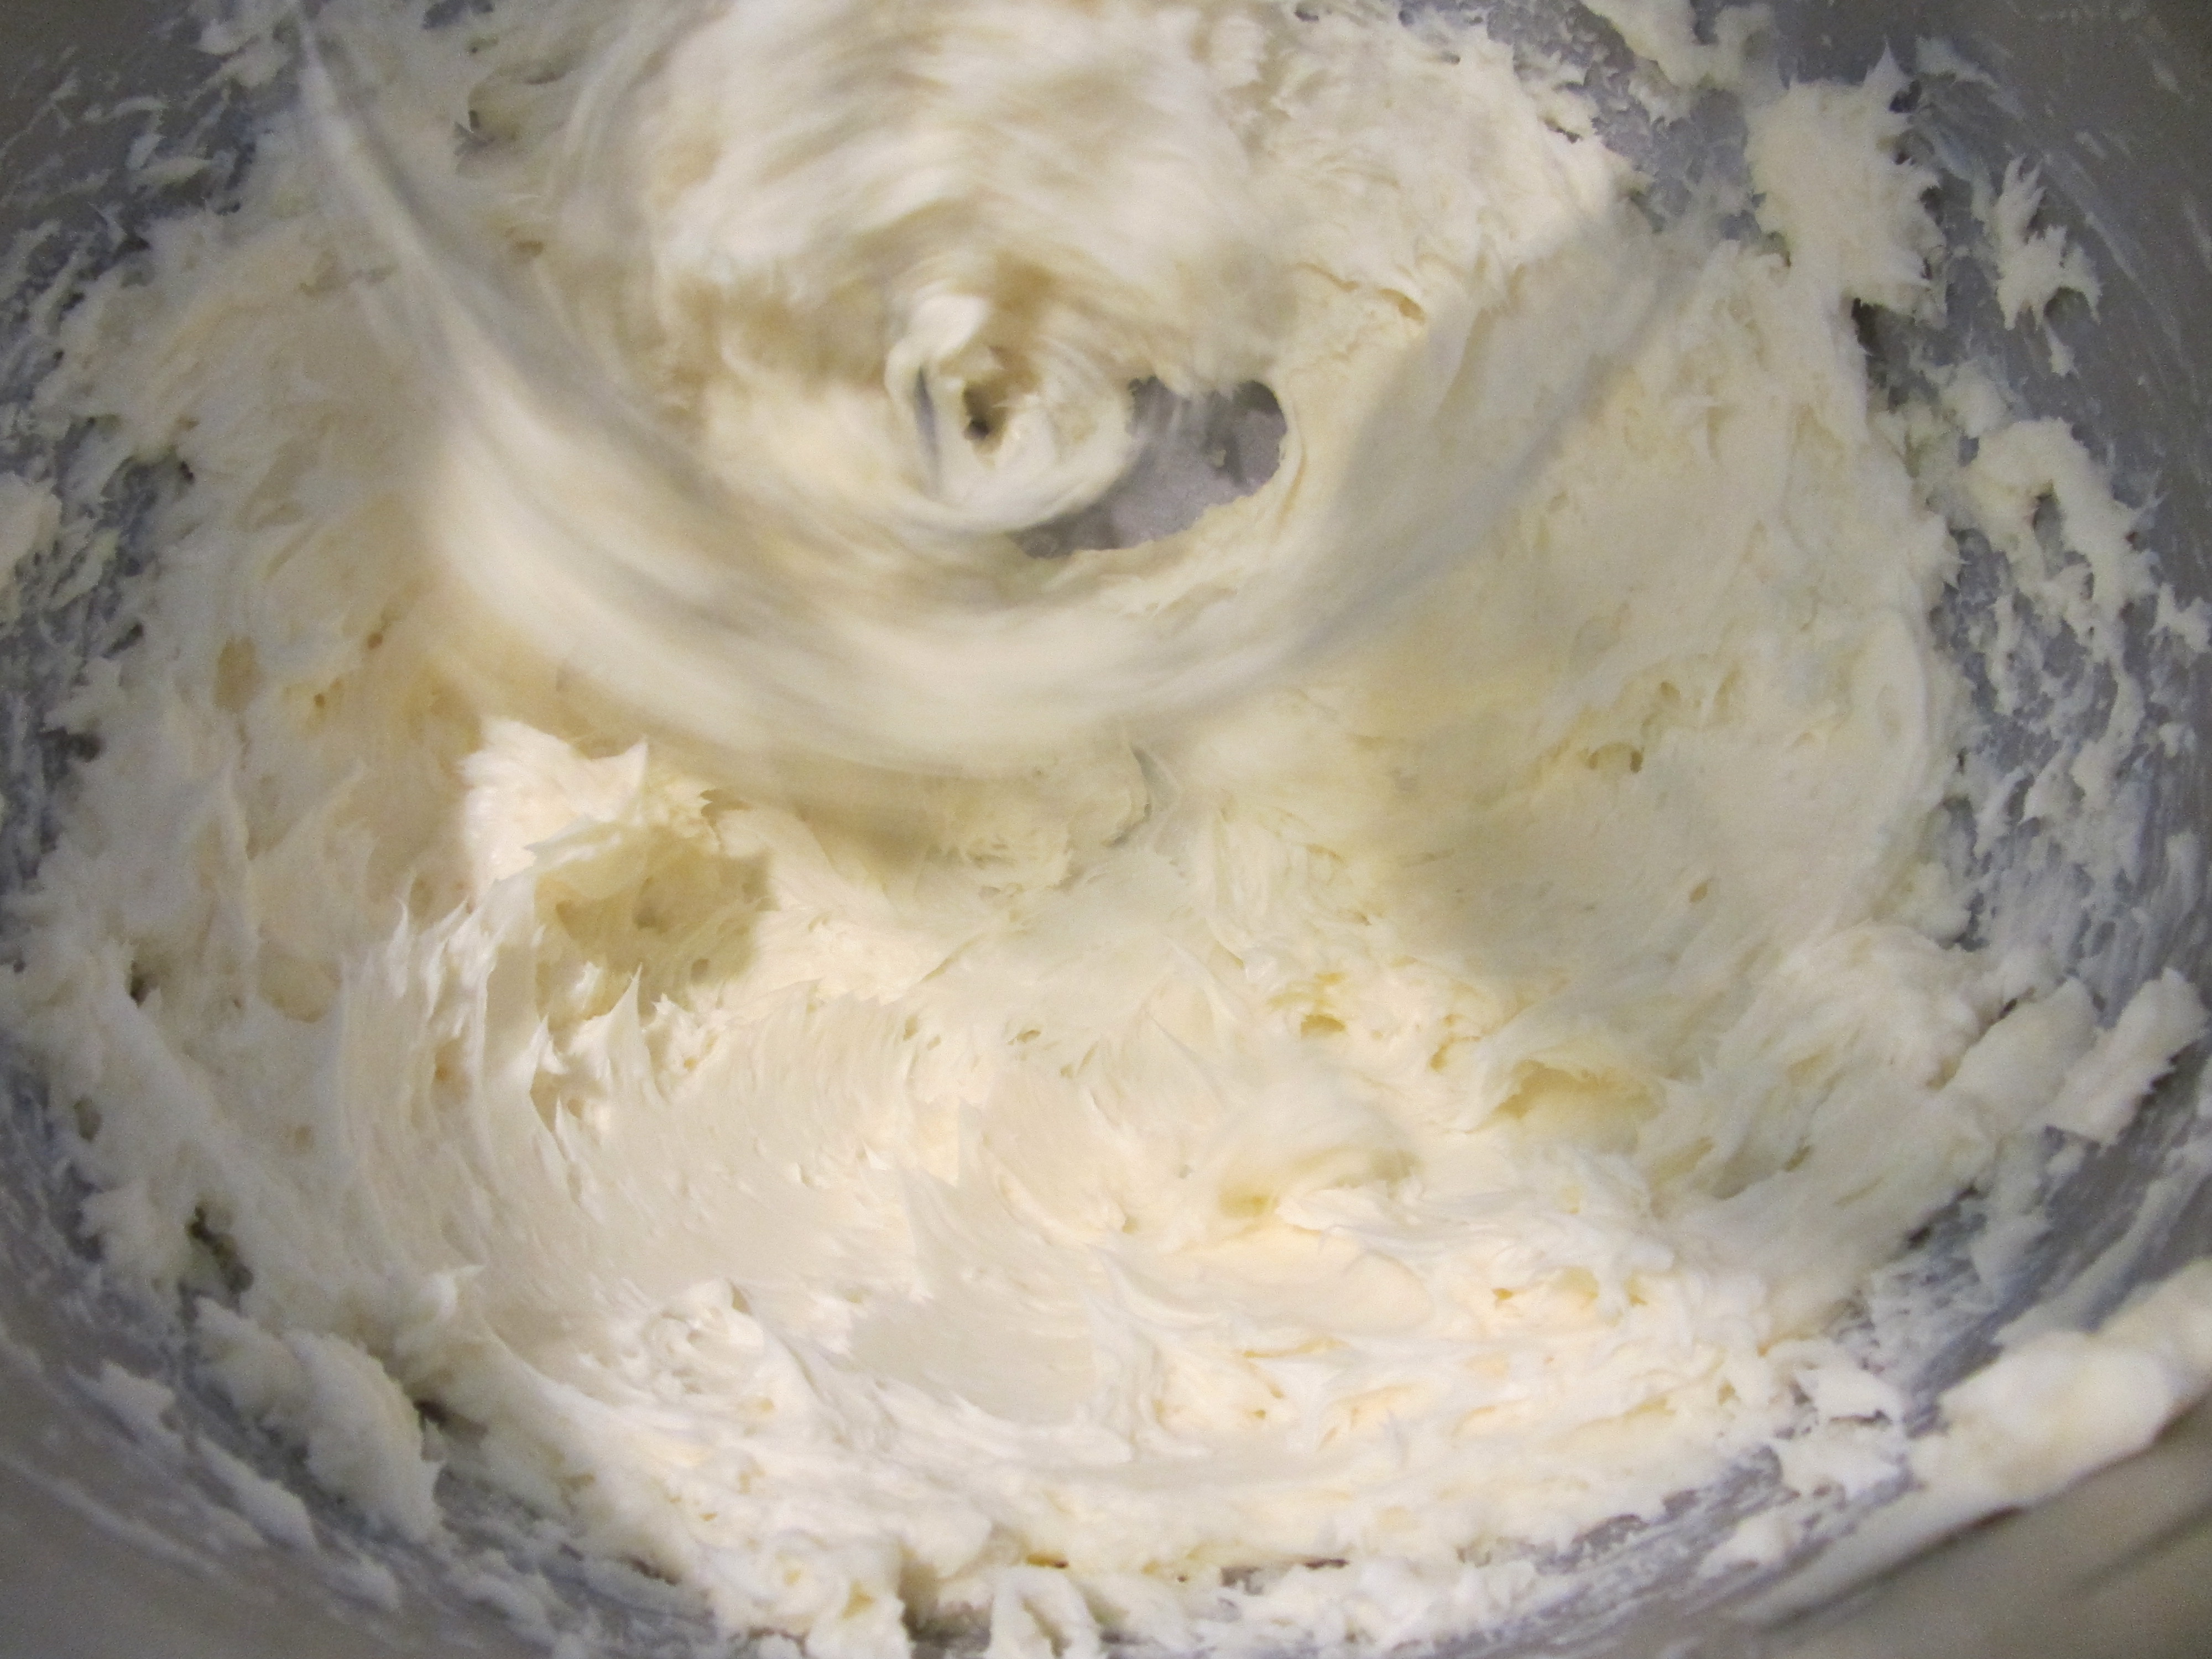
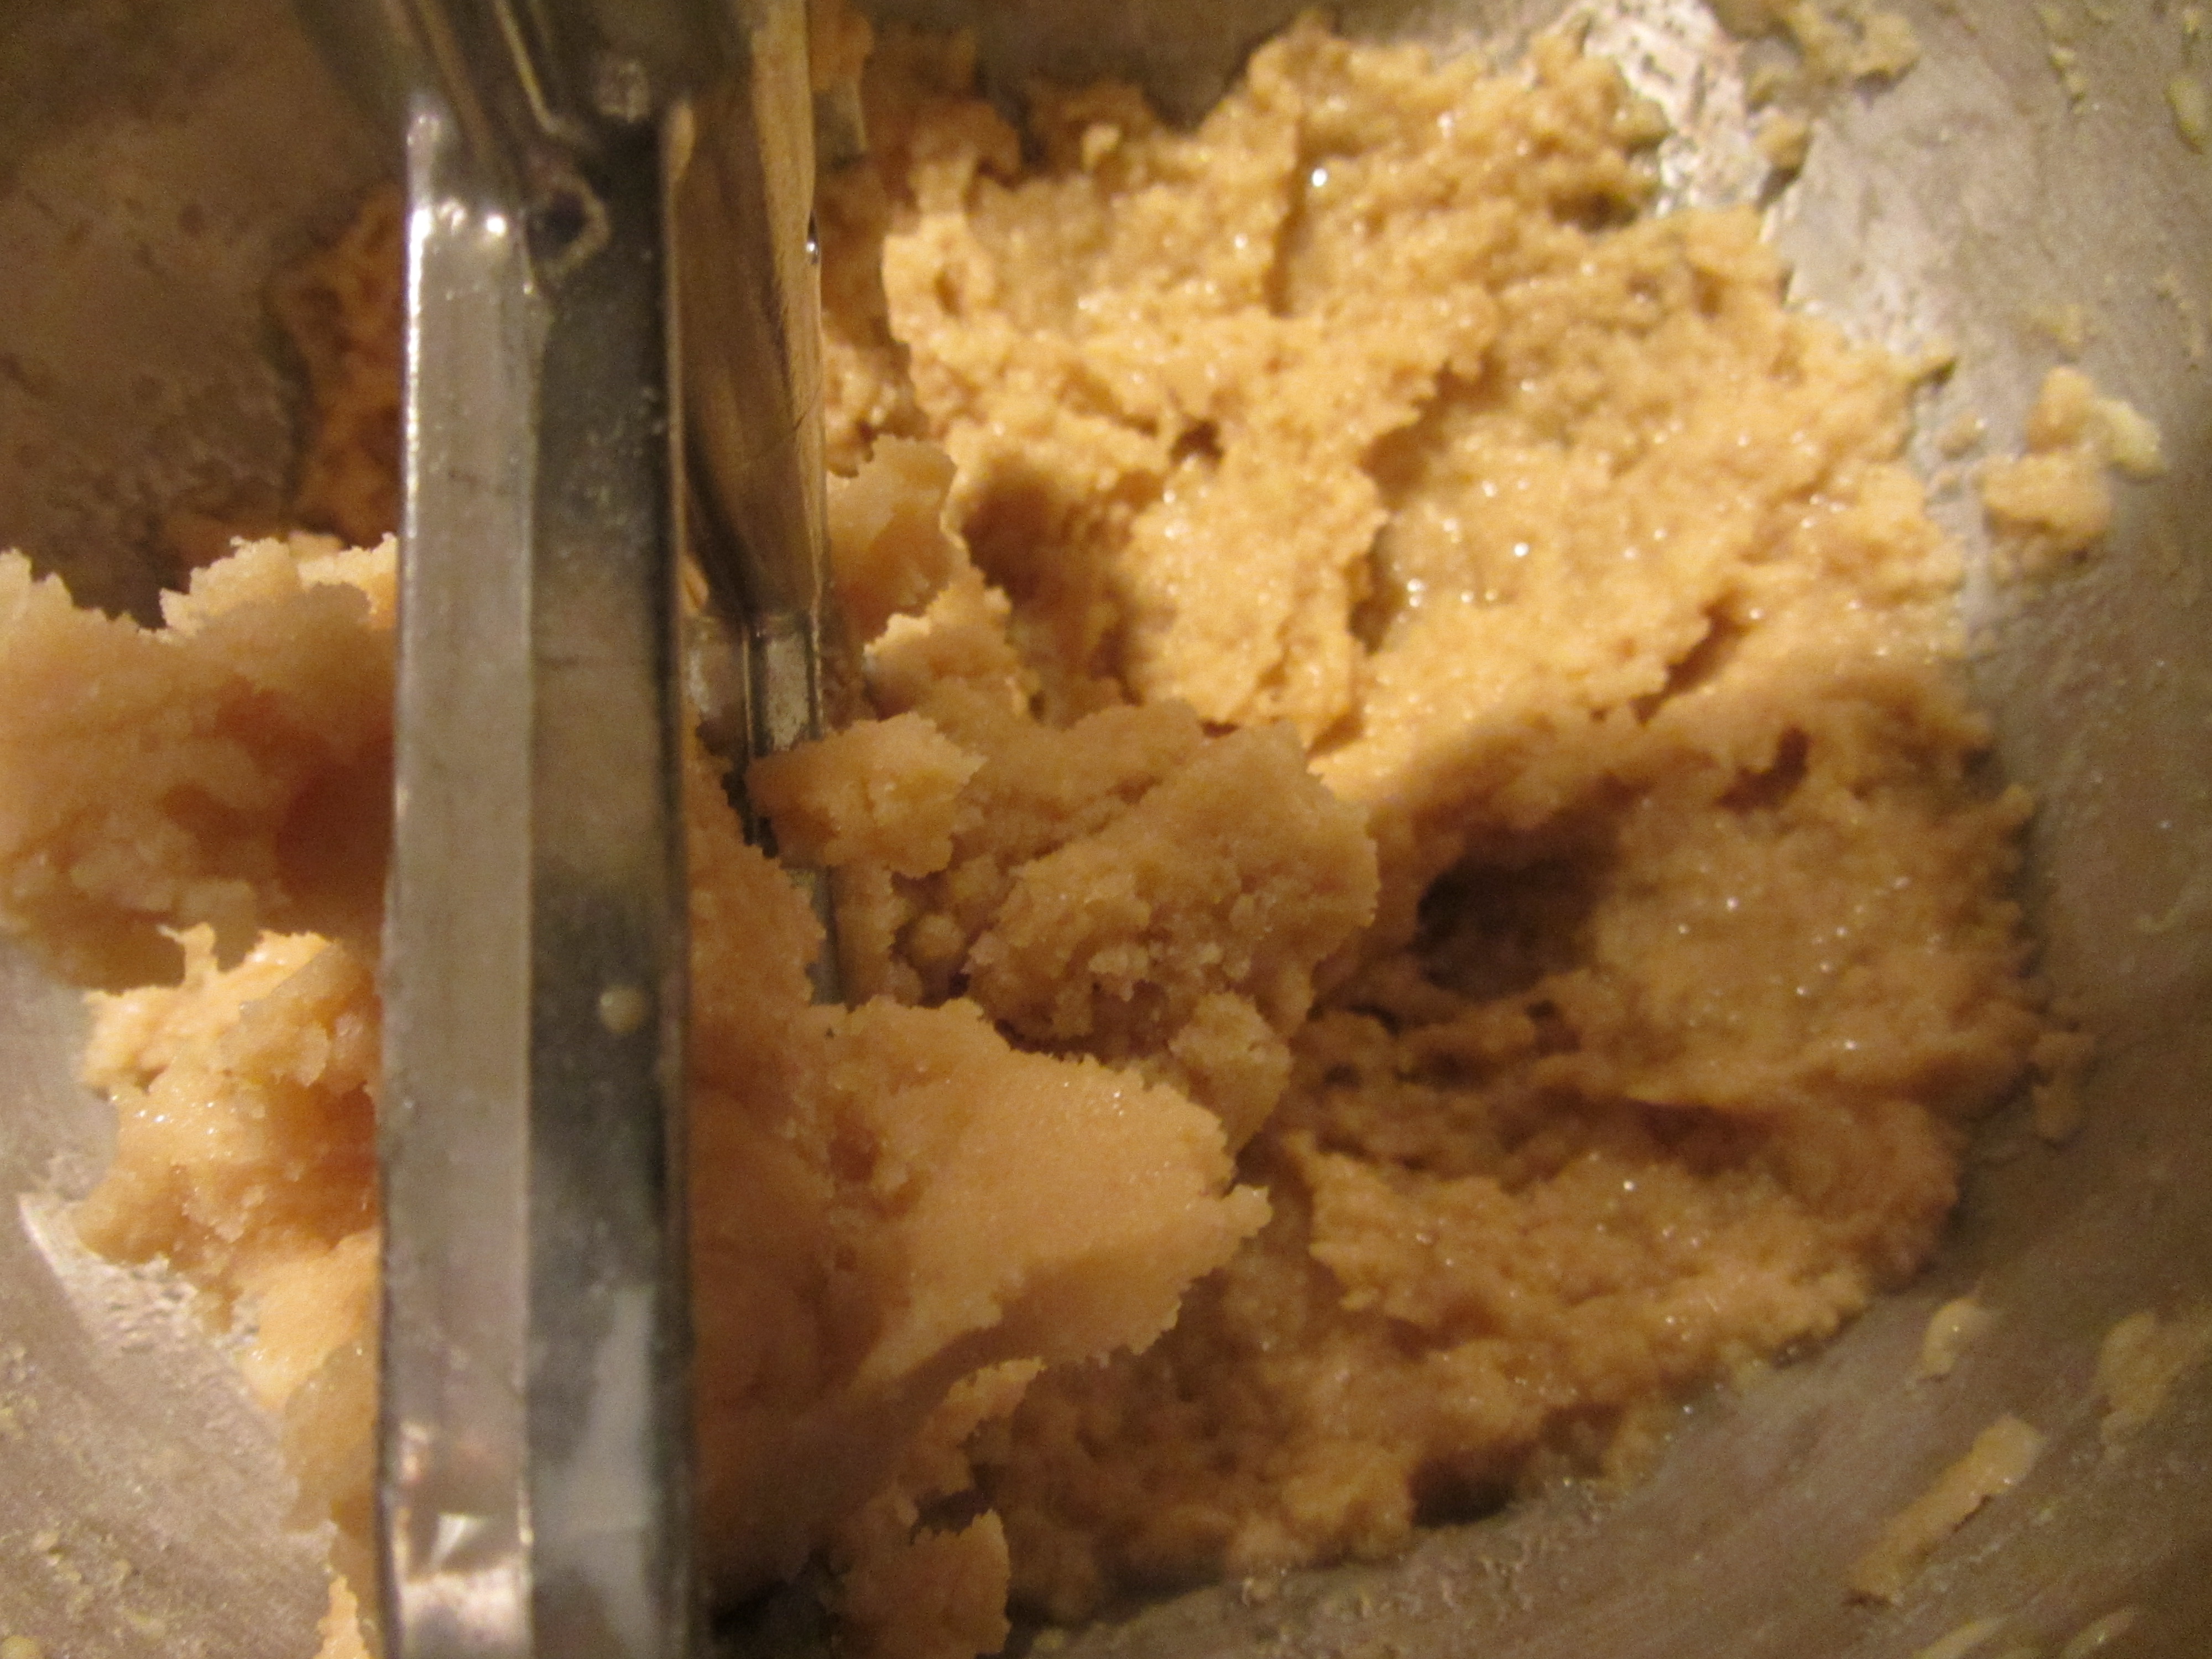
Add 1 C of sugar, 1/2 C of light brown sugar, increase the speed, and beat until fluffy.

Cold butter creamed with sugar.

Light brown sugar added.

Creamed until fluffy.
Once thoroughly mixed, decrease the speed and slowly add the liquid ingredients.

Liquid ingredients slowly added.
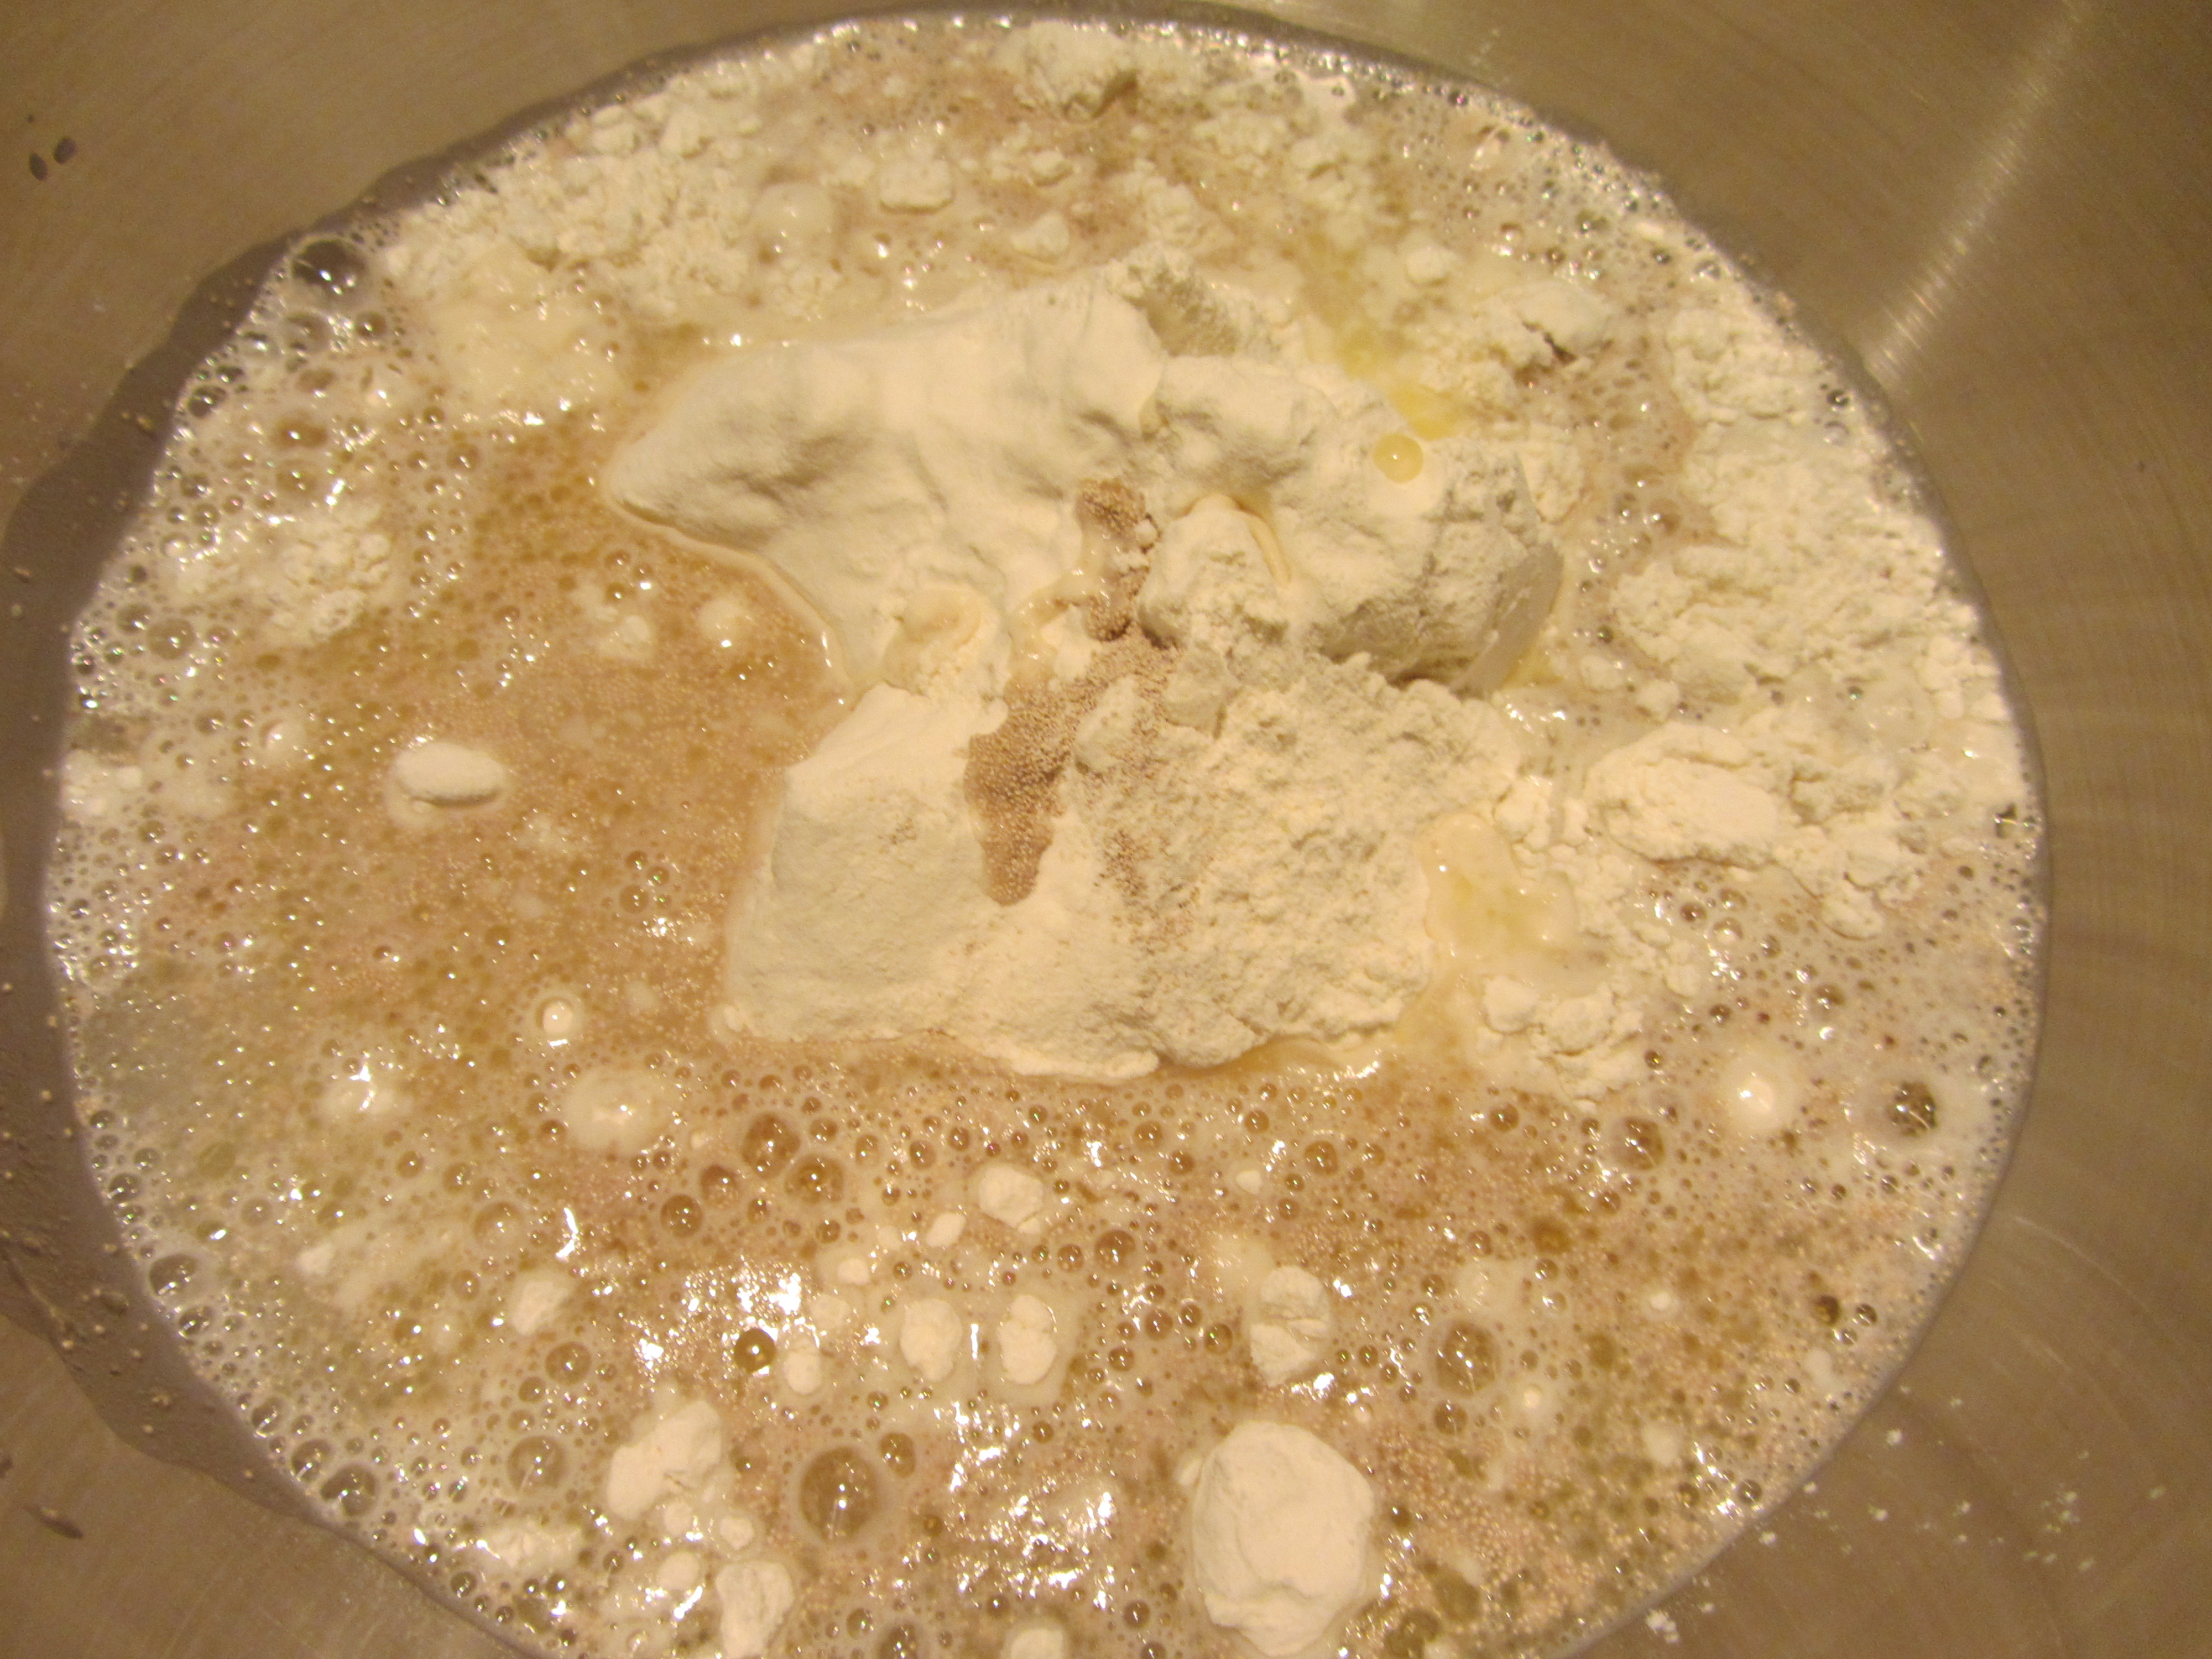
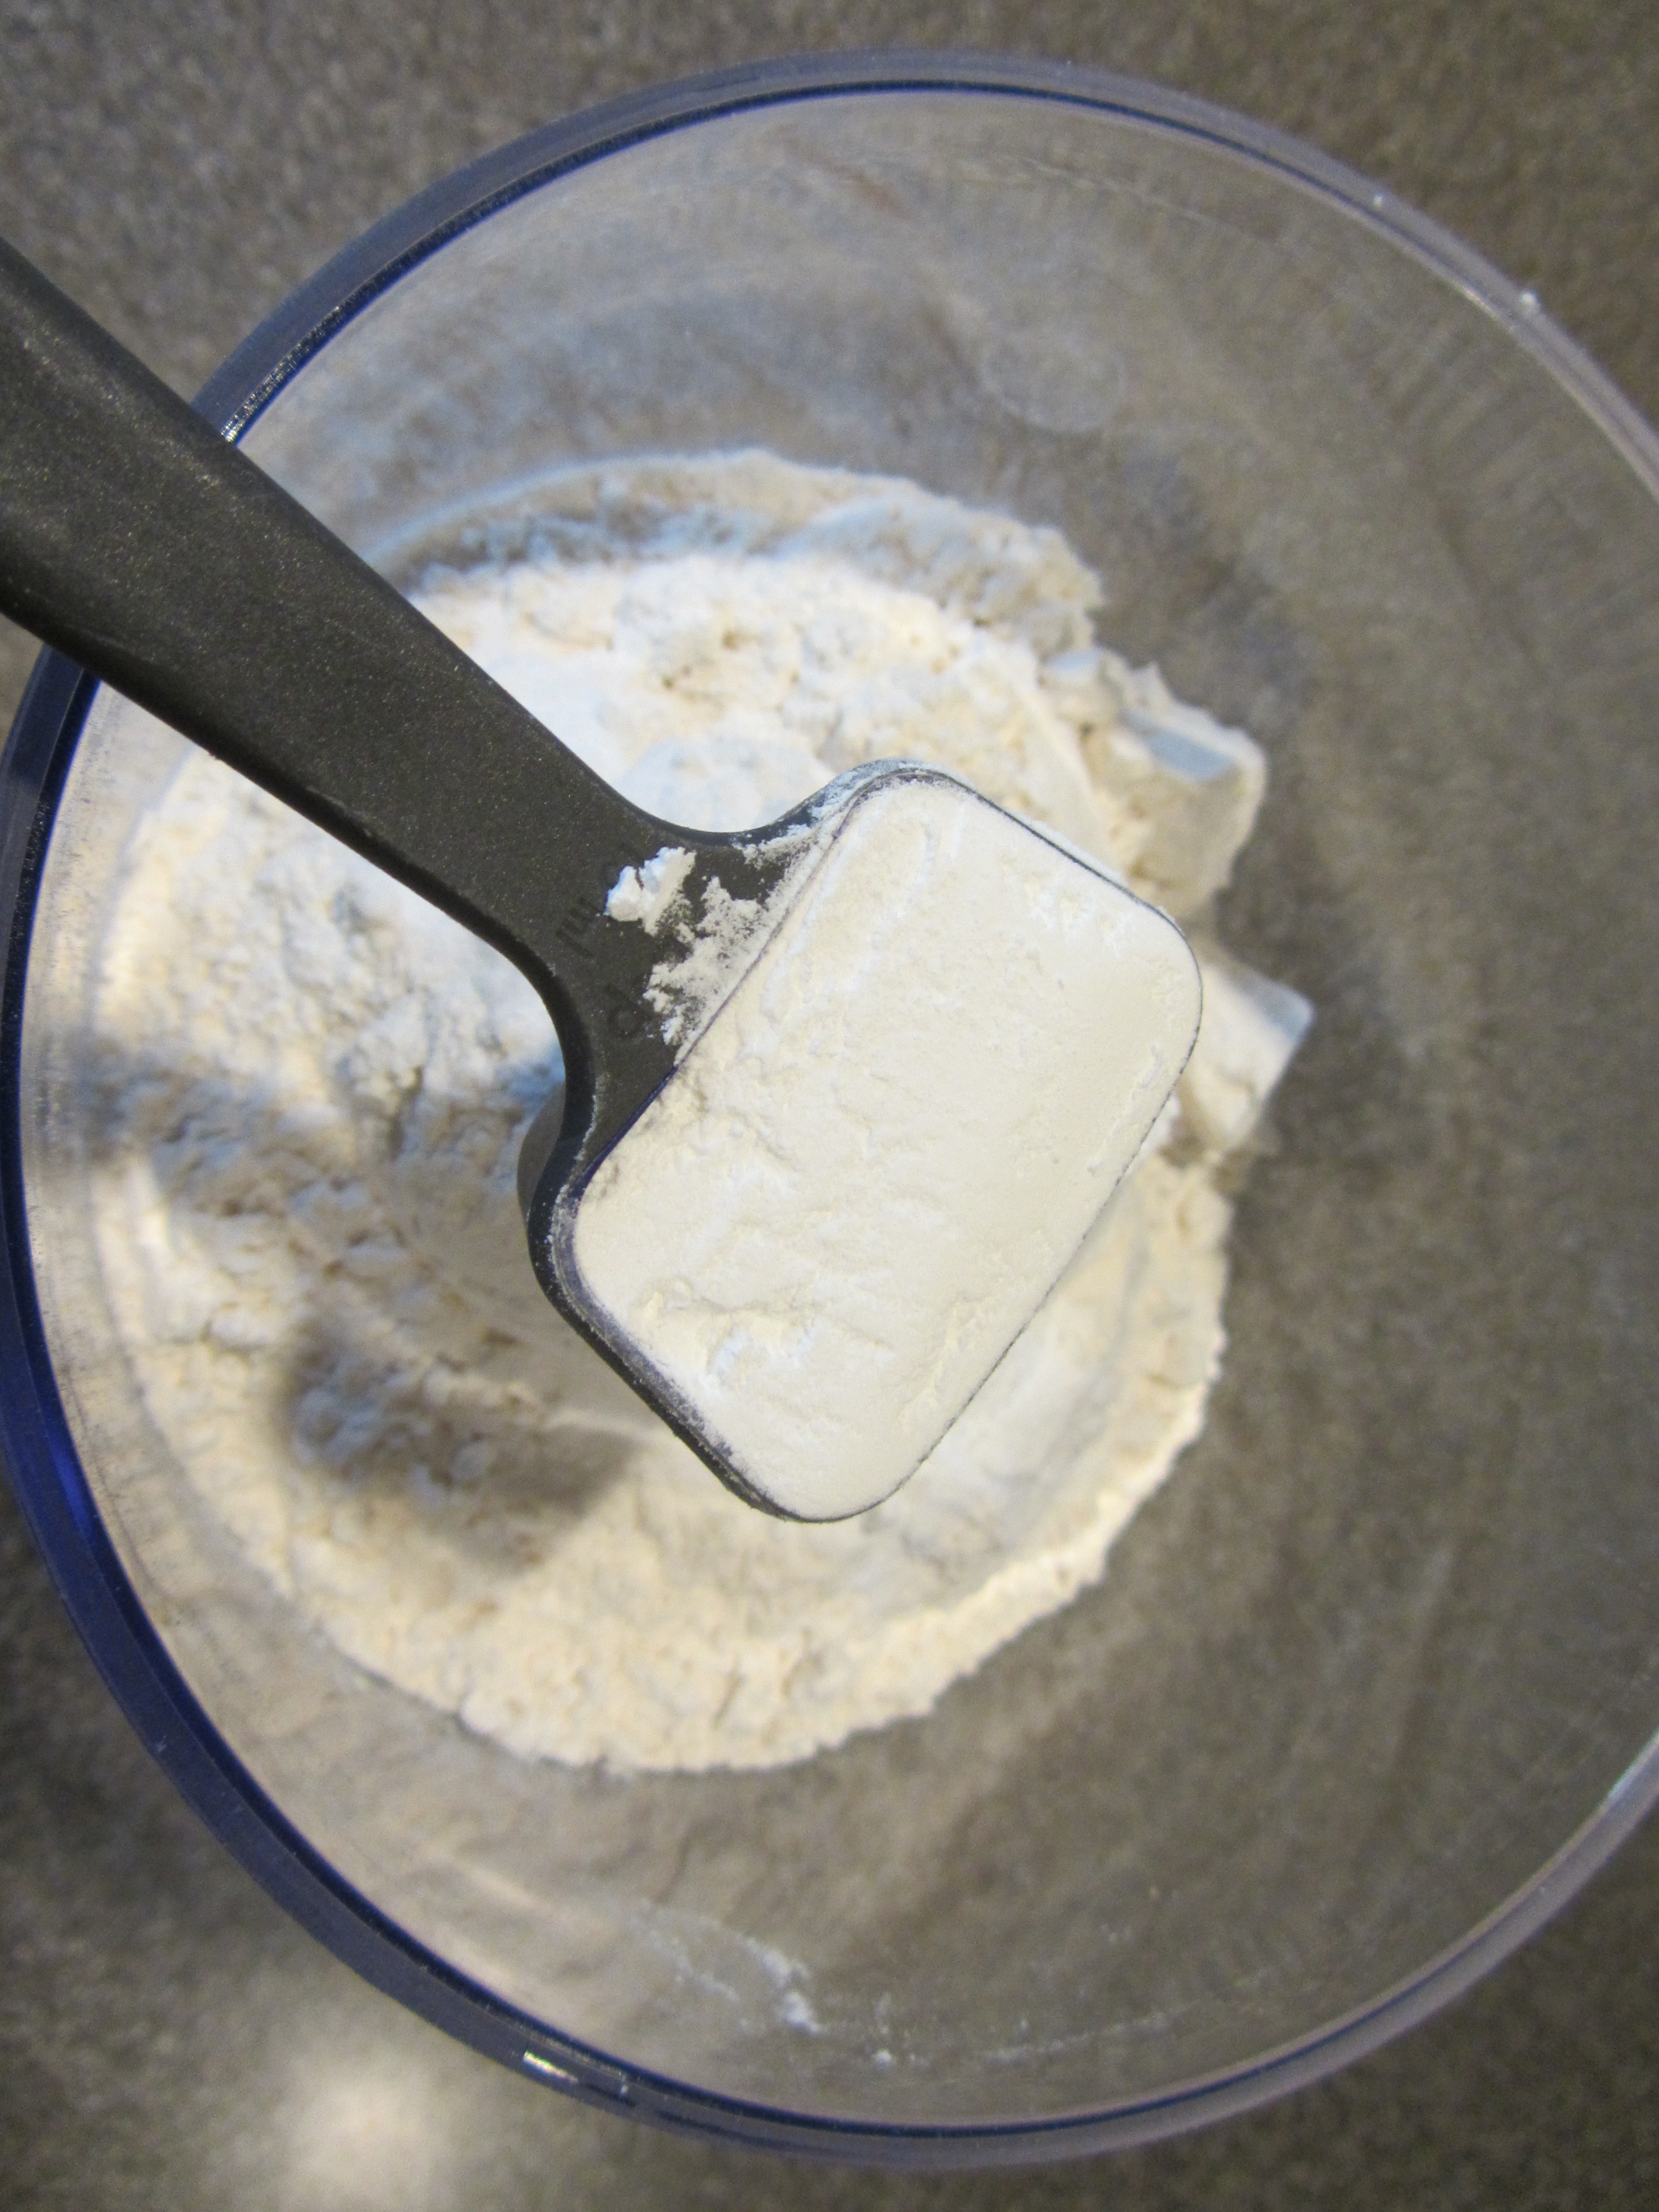
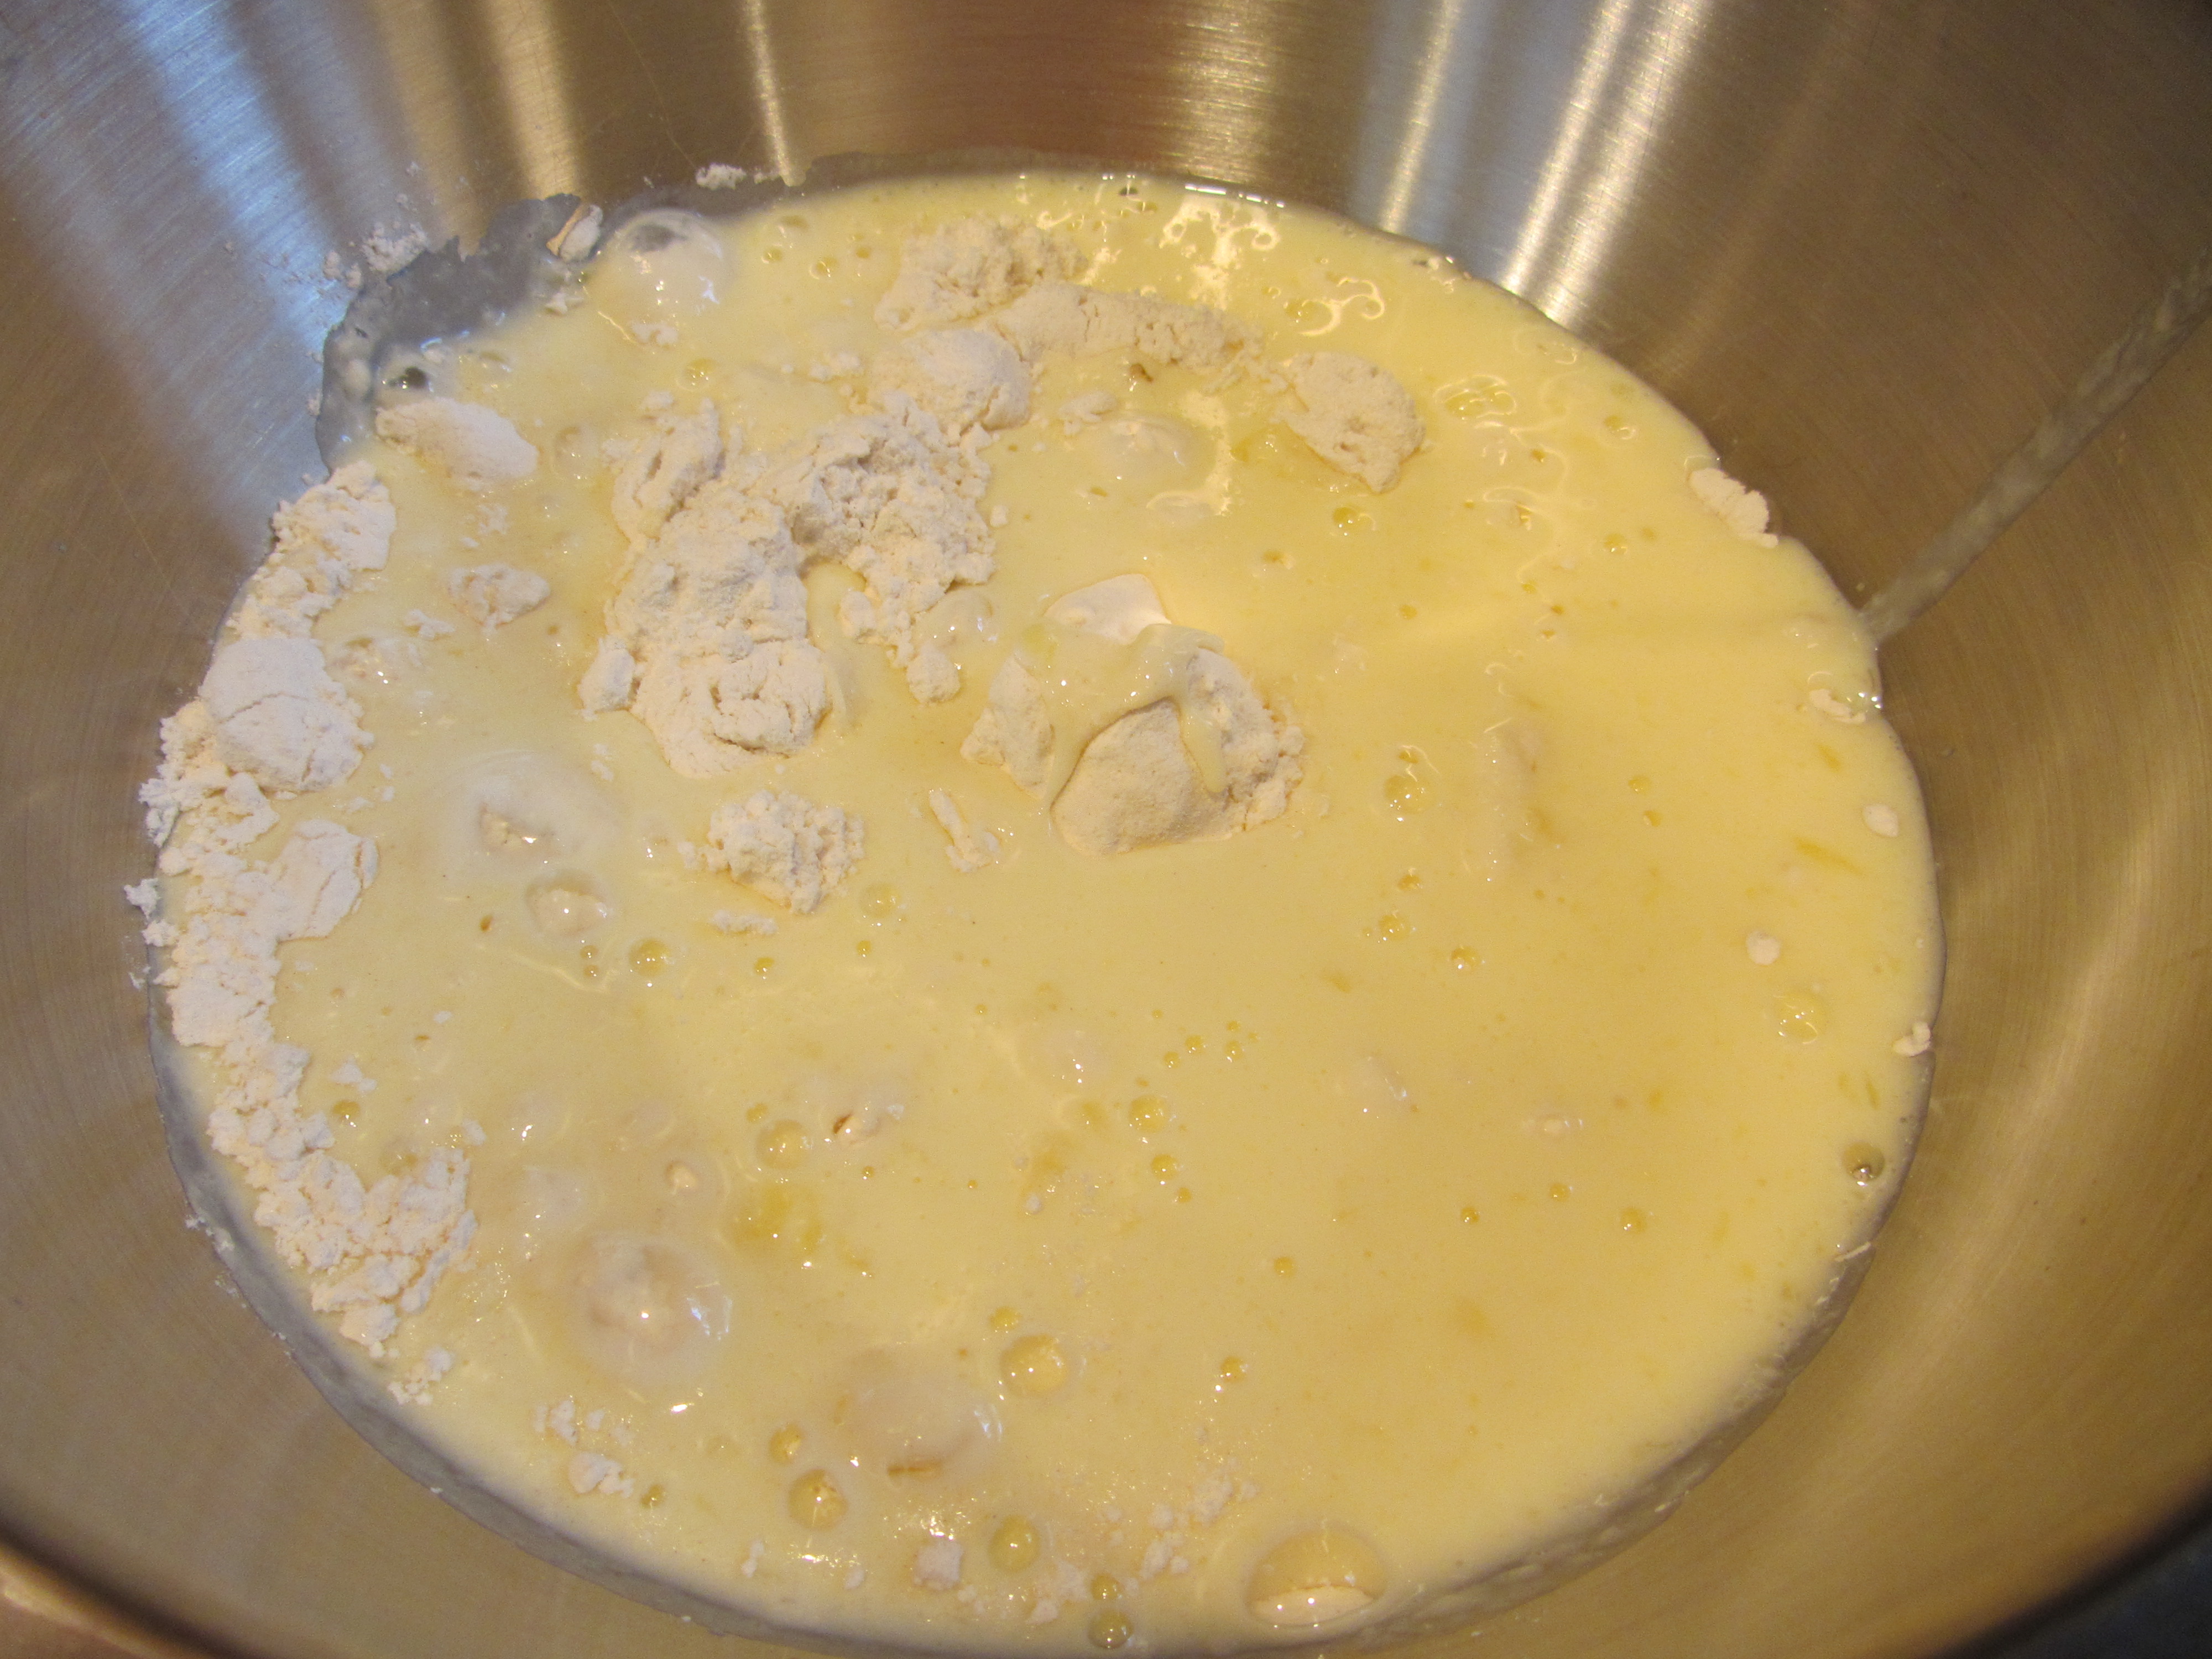
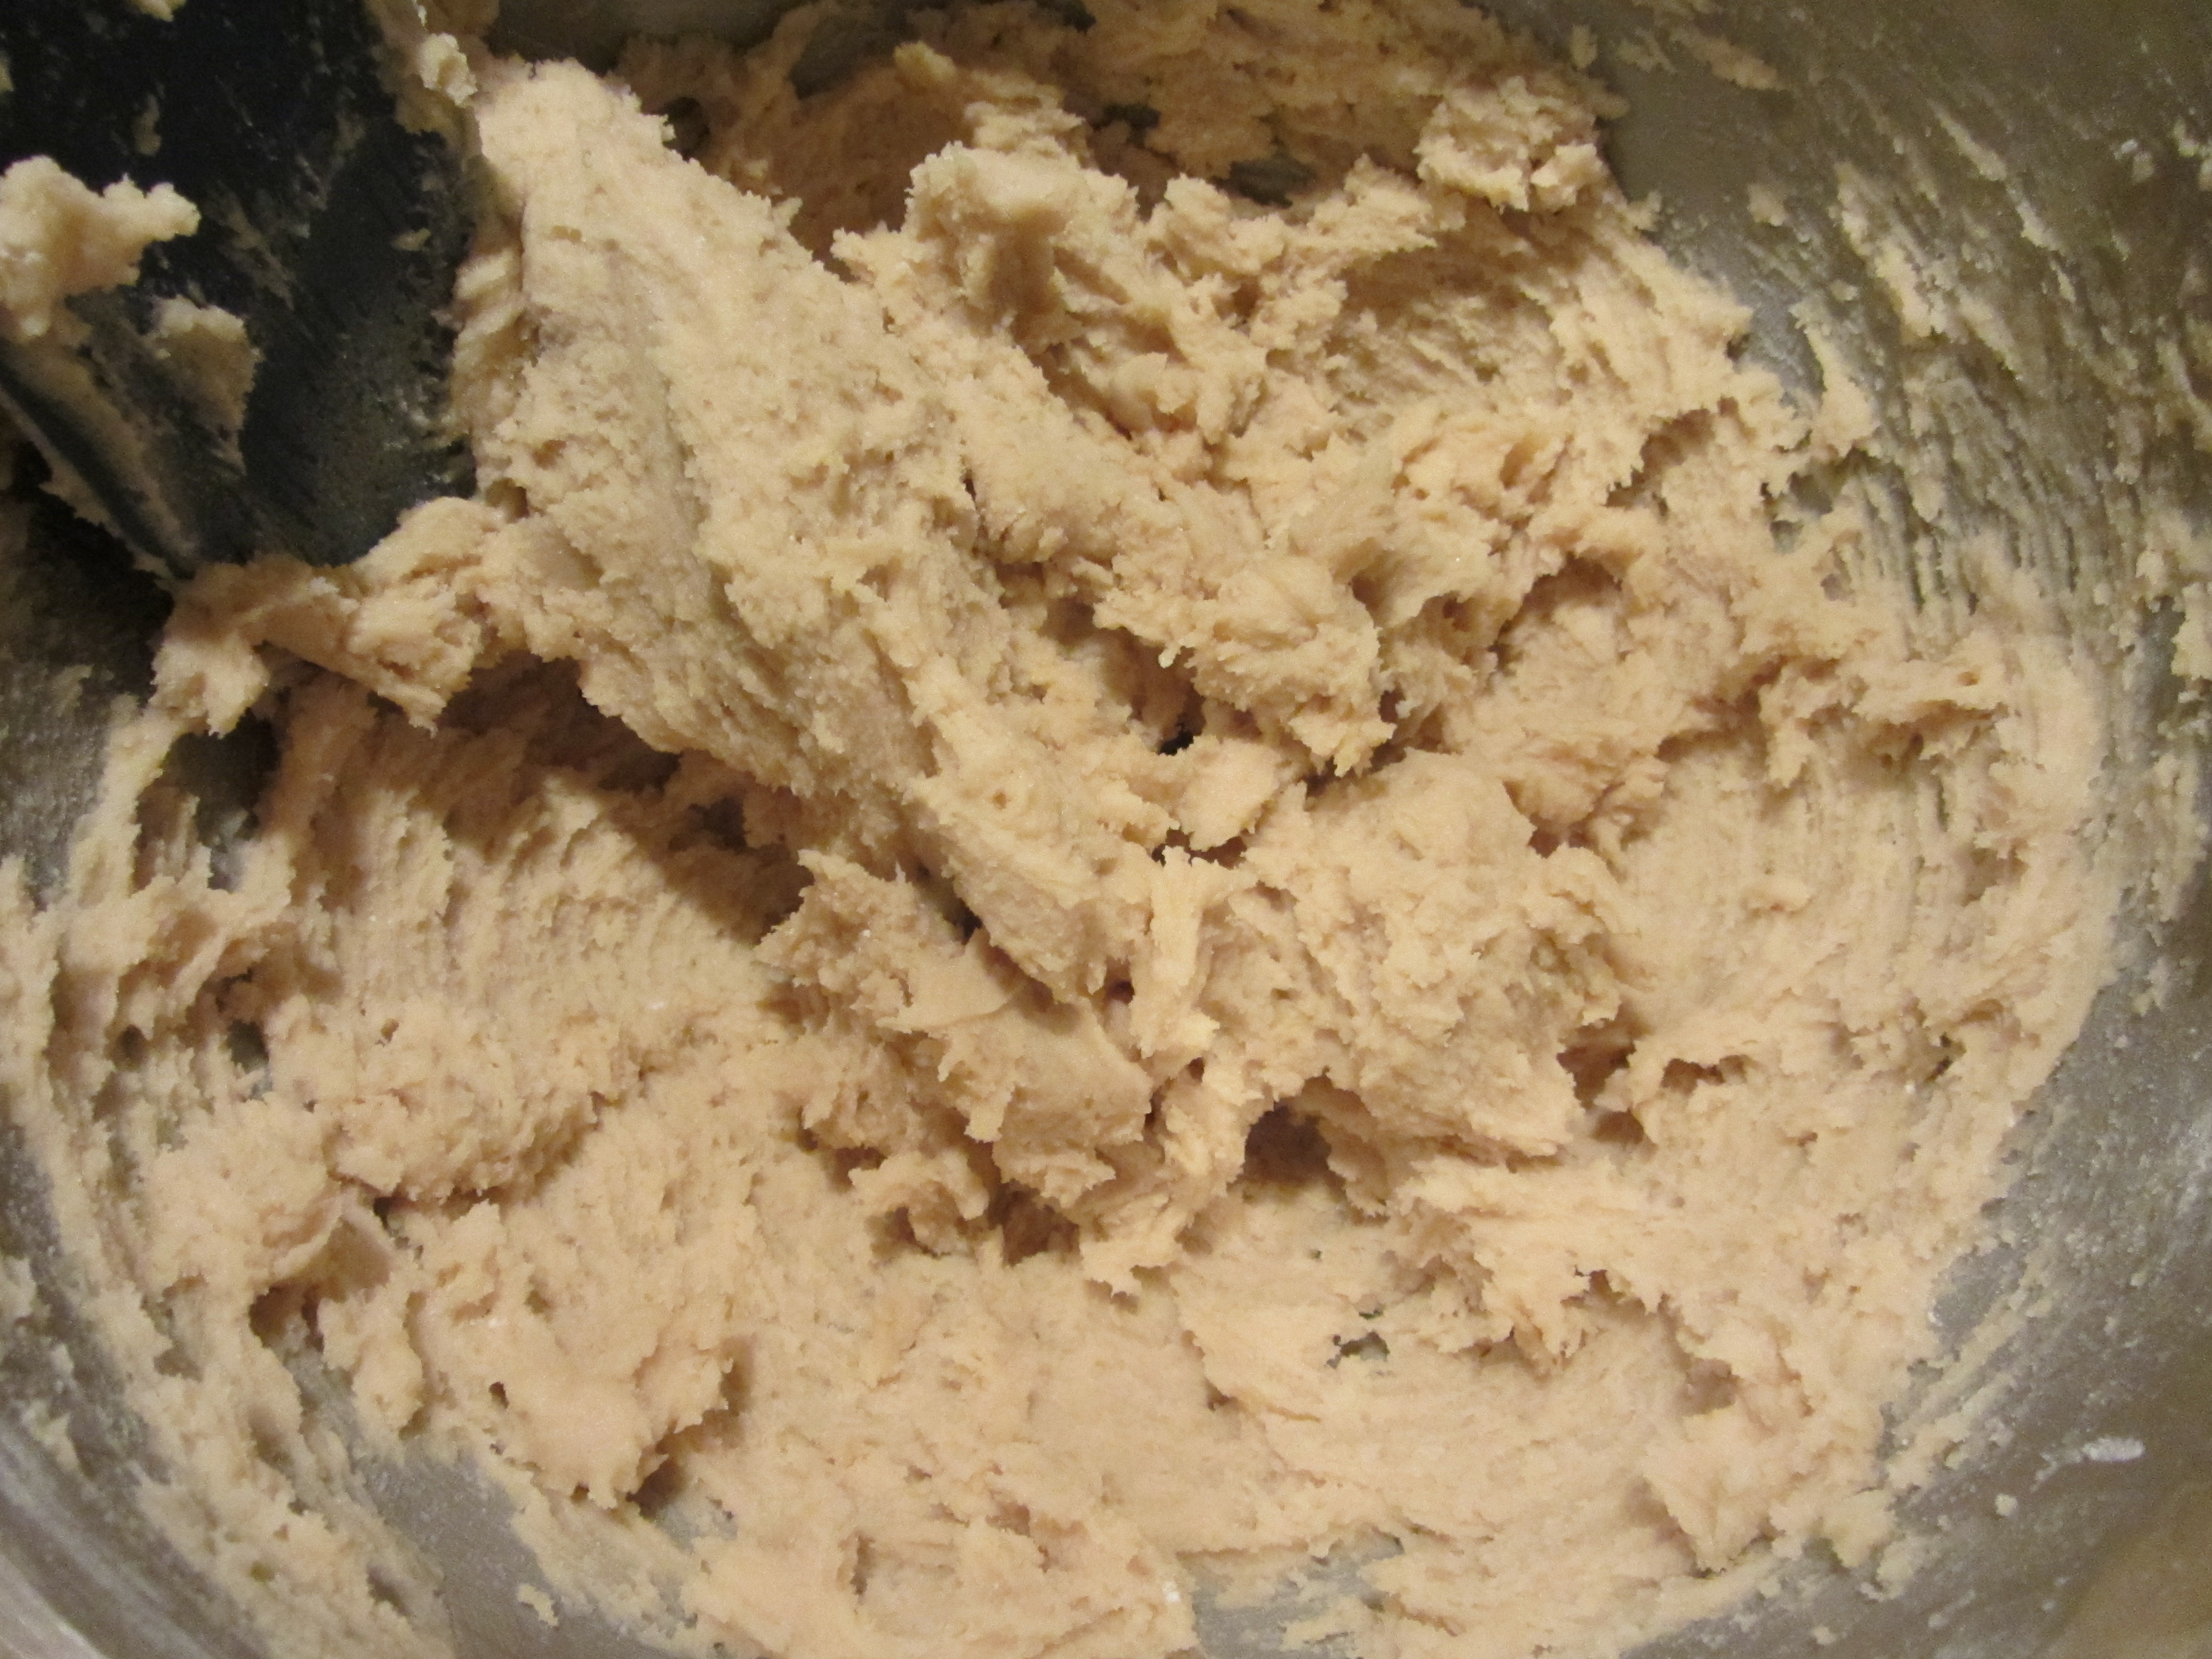
Next, on low speed, slowly add the dry ingredients, scraping the bowl between additions.

Dry ingredients added gradually.

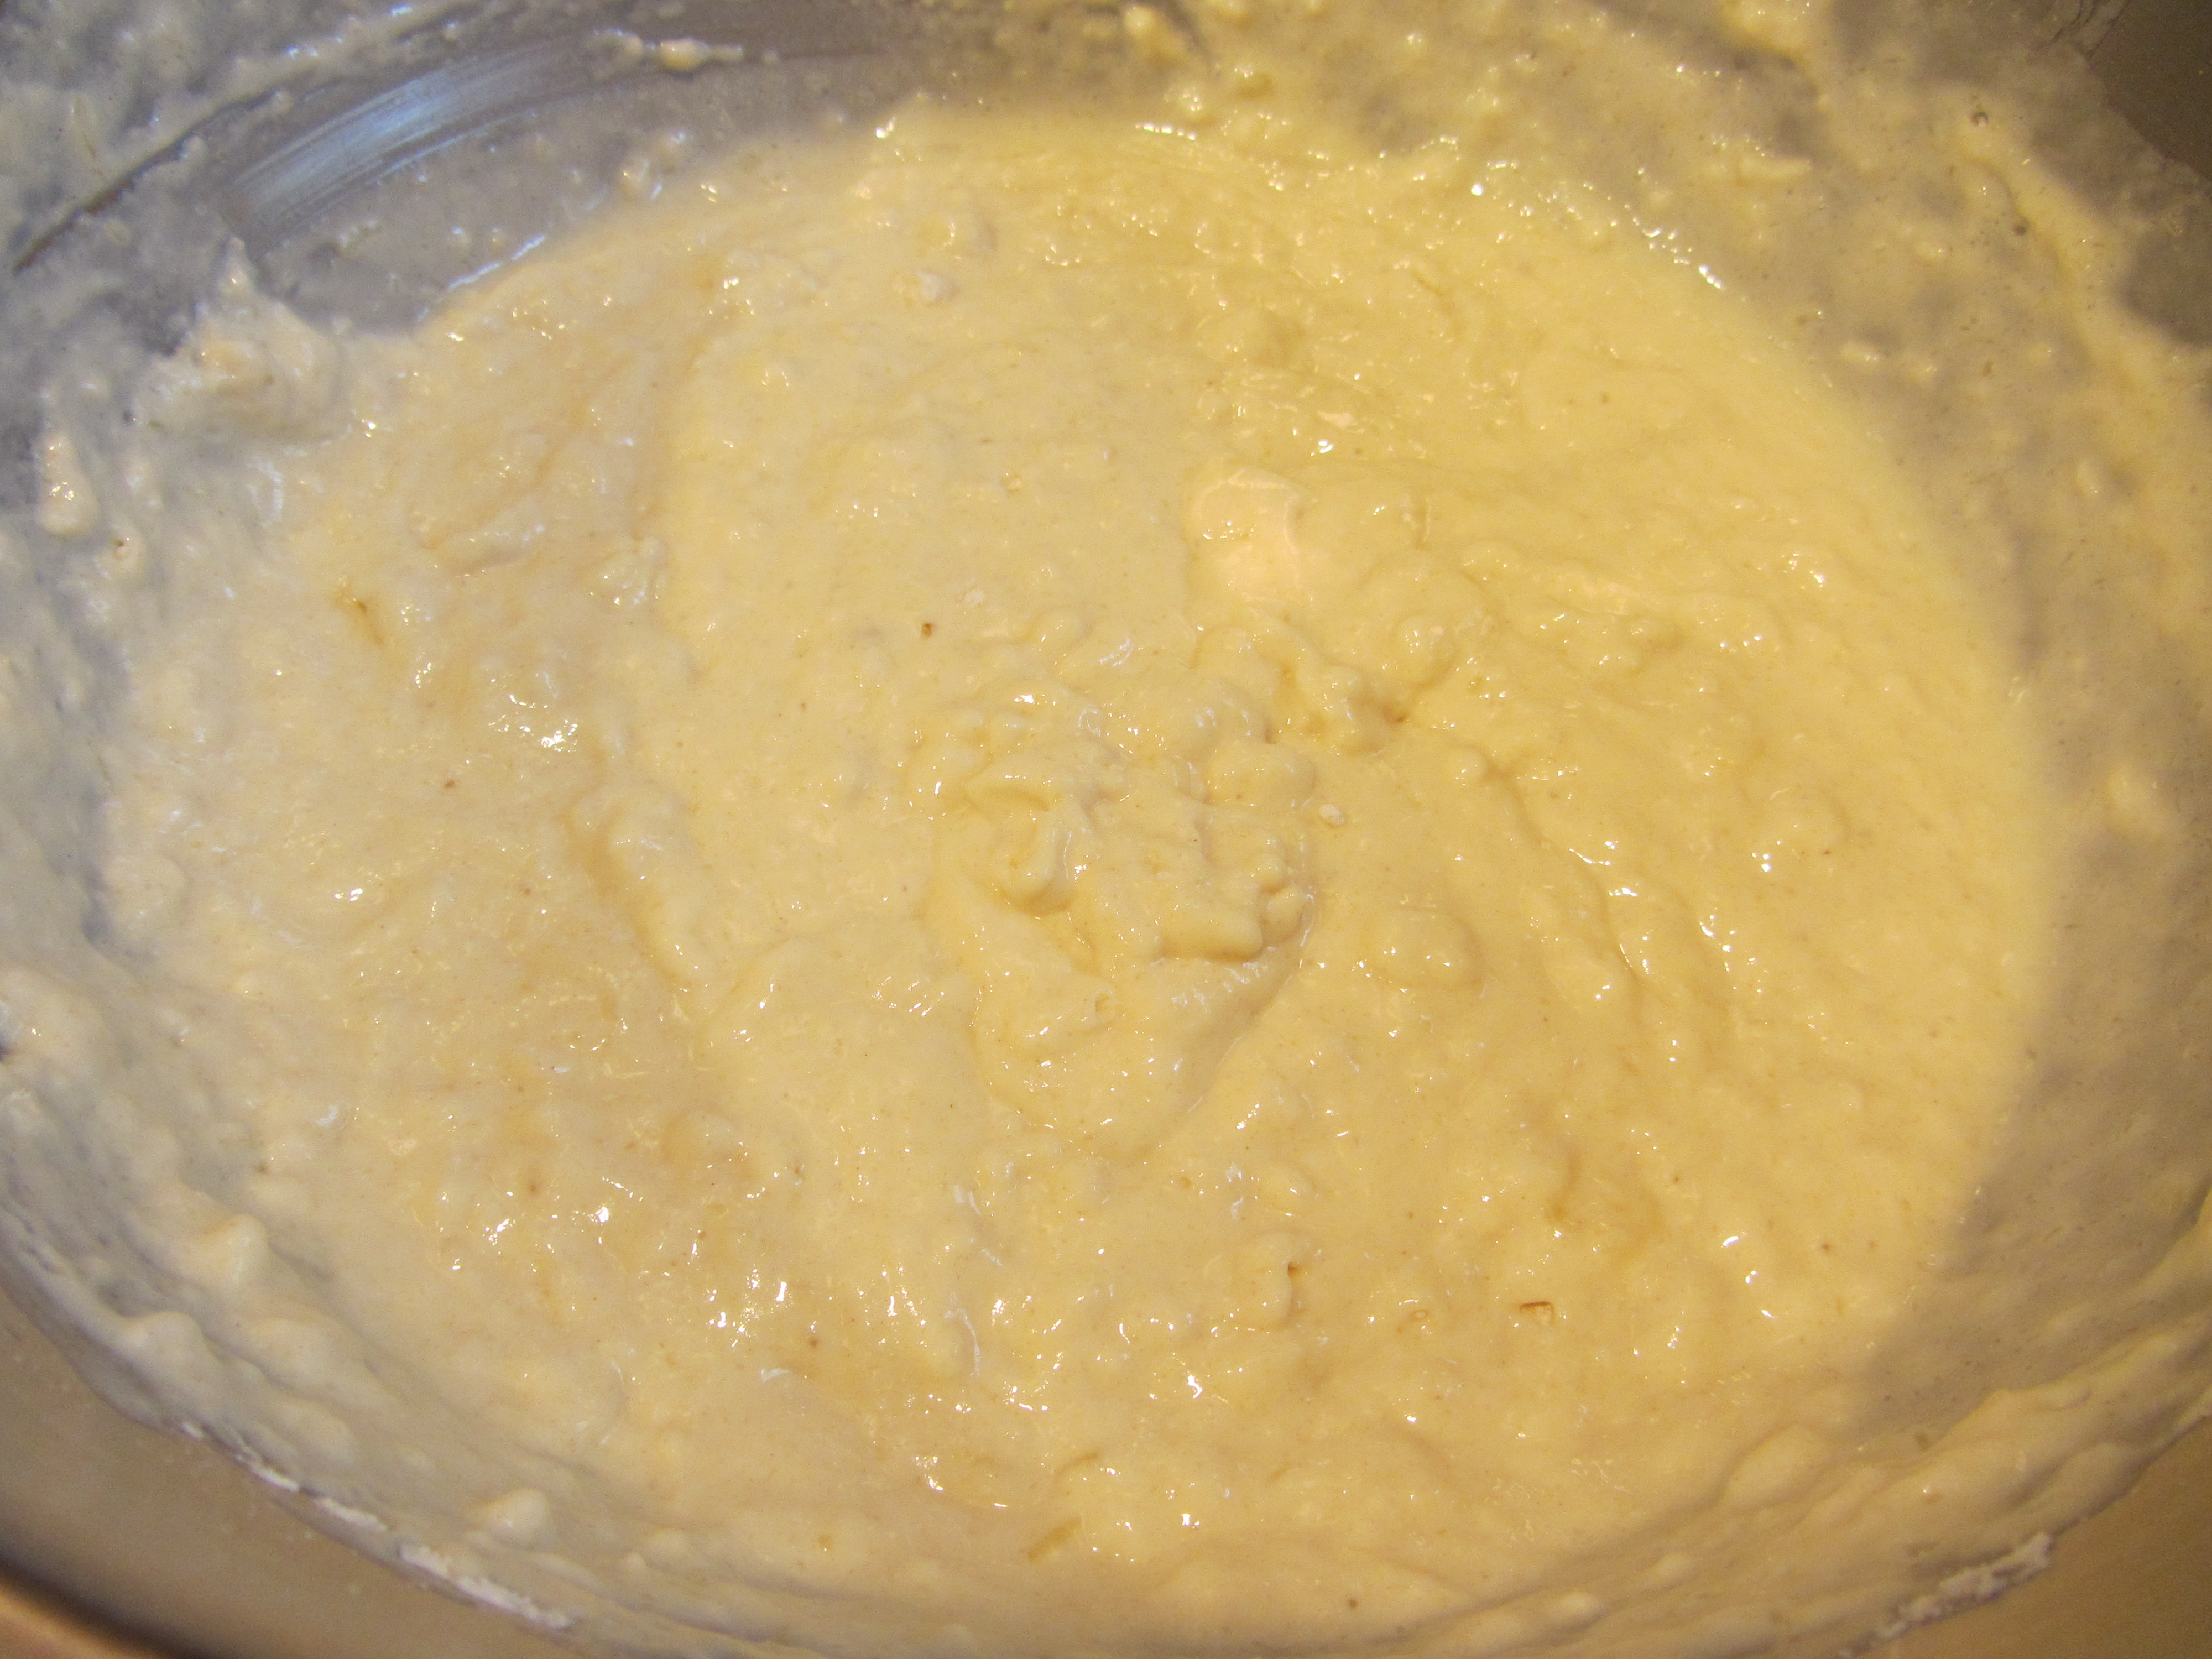
Dough after all flour incorporated.
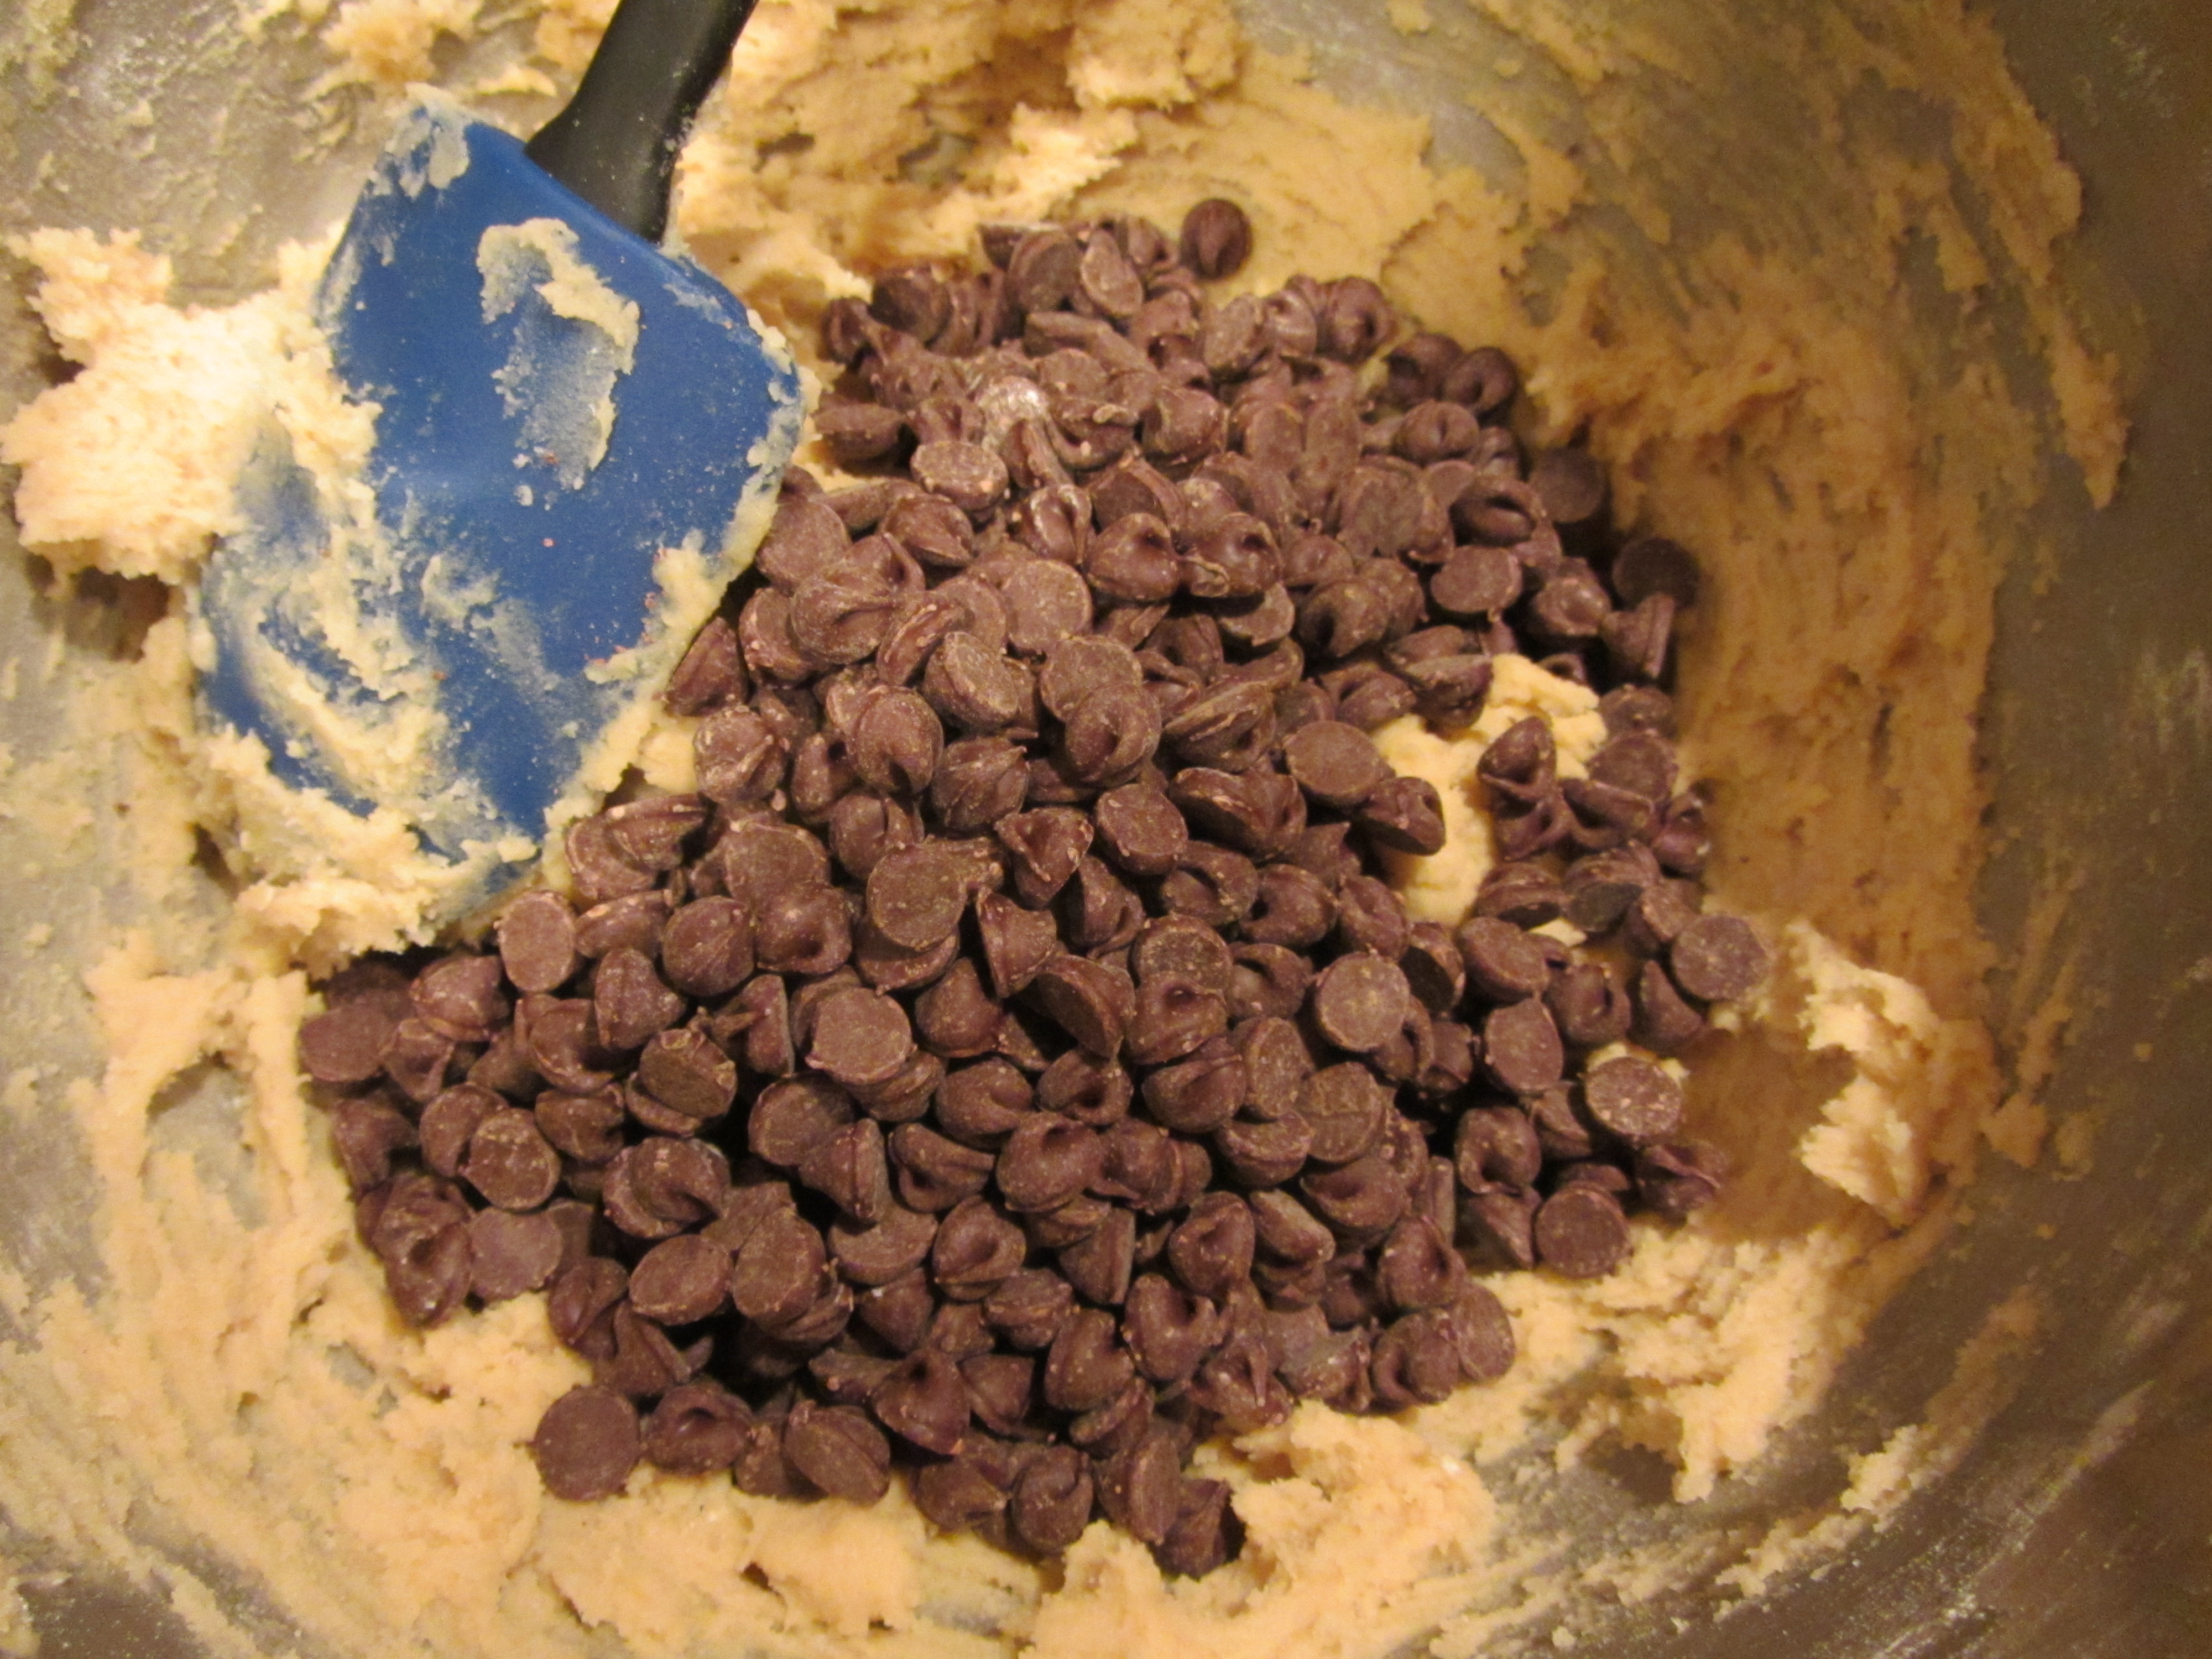
Once all of the flour is incorporated, stir in 2 C of semi-sweet chocolate chips.

Chocolate chips stirred in.

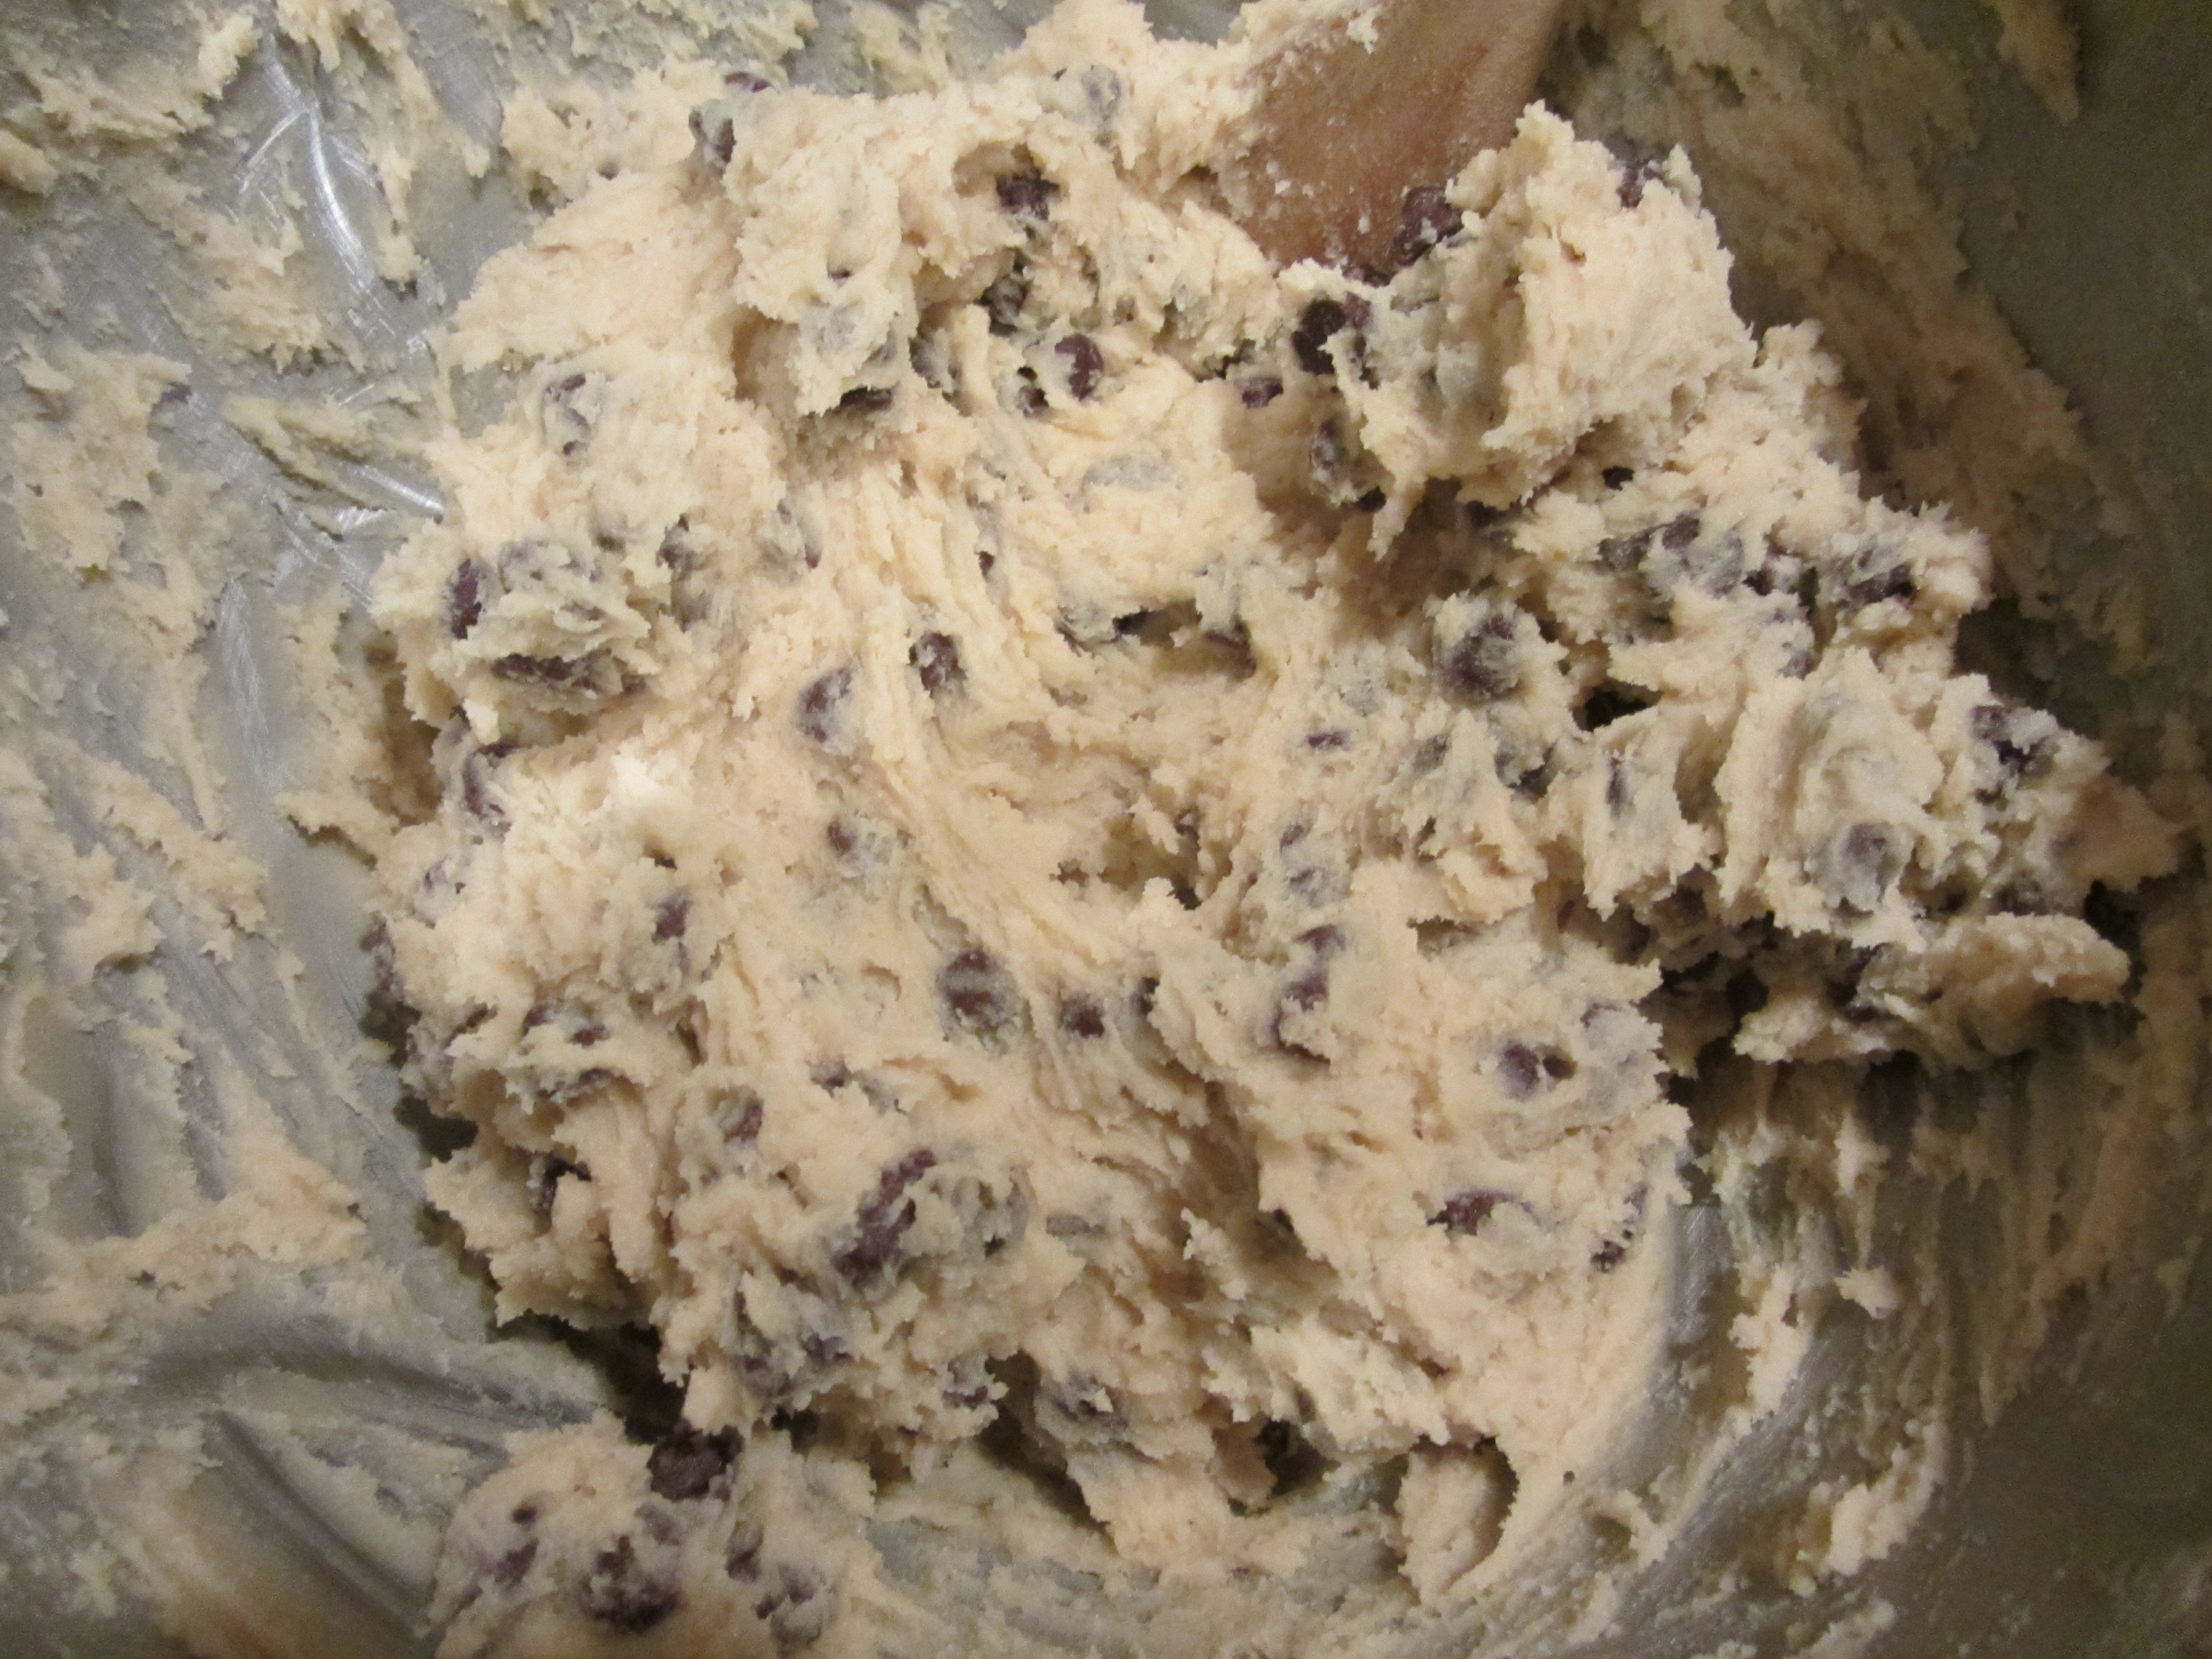
Final dough.
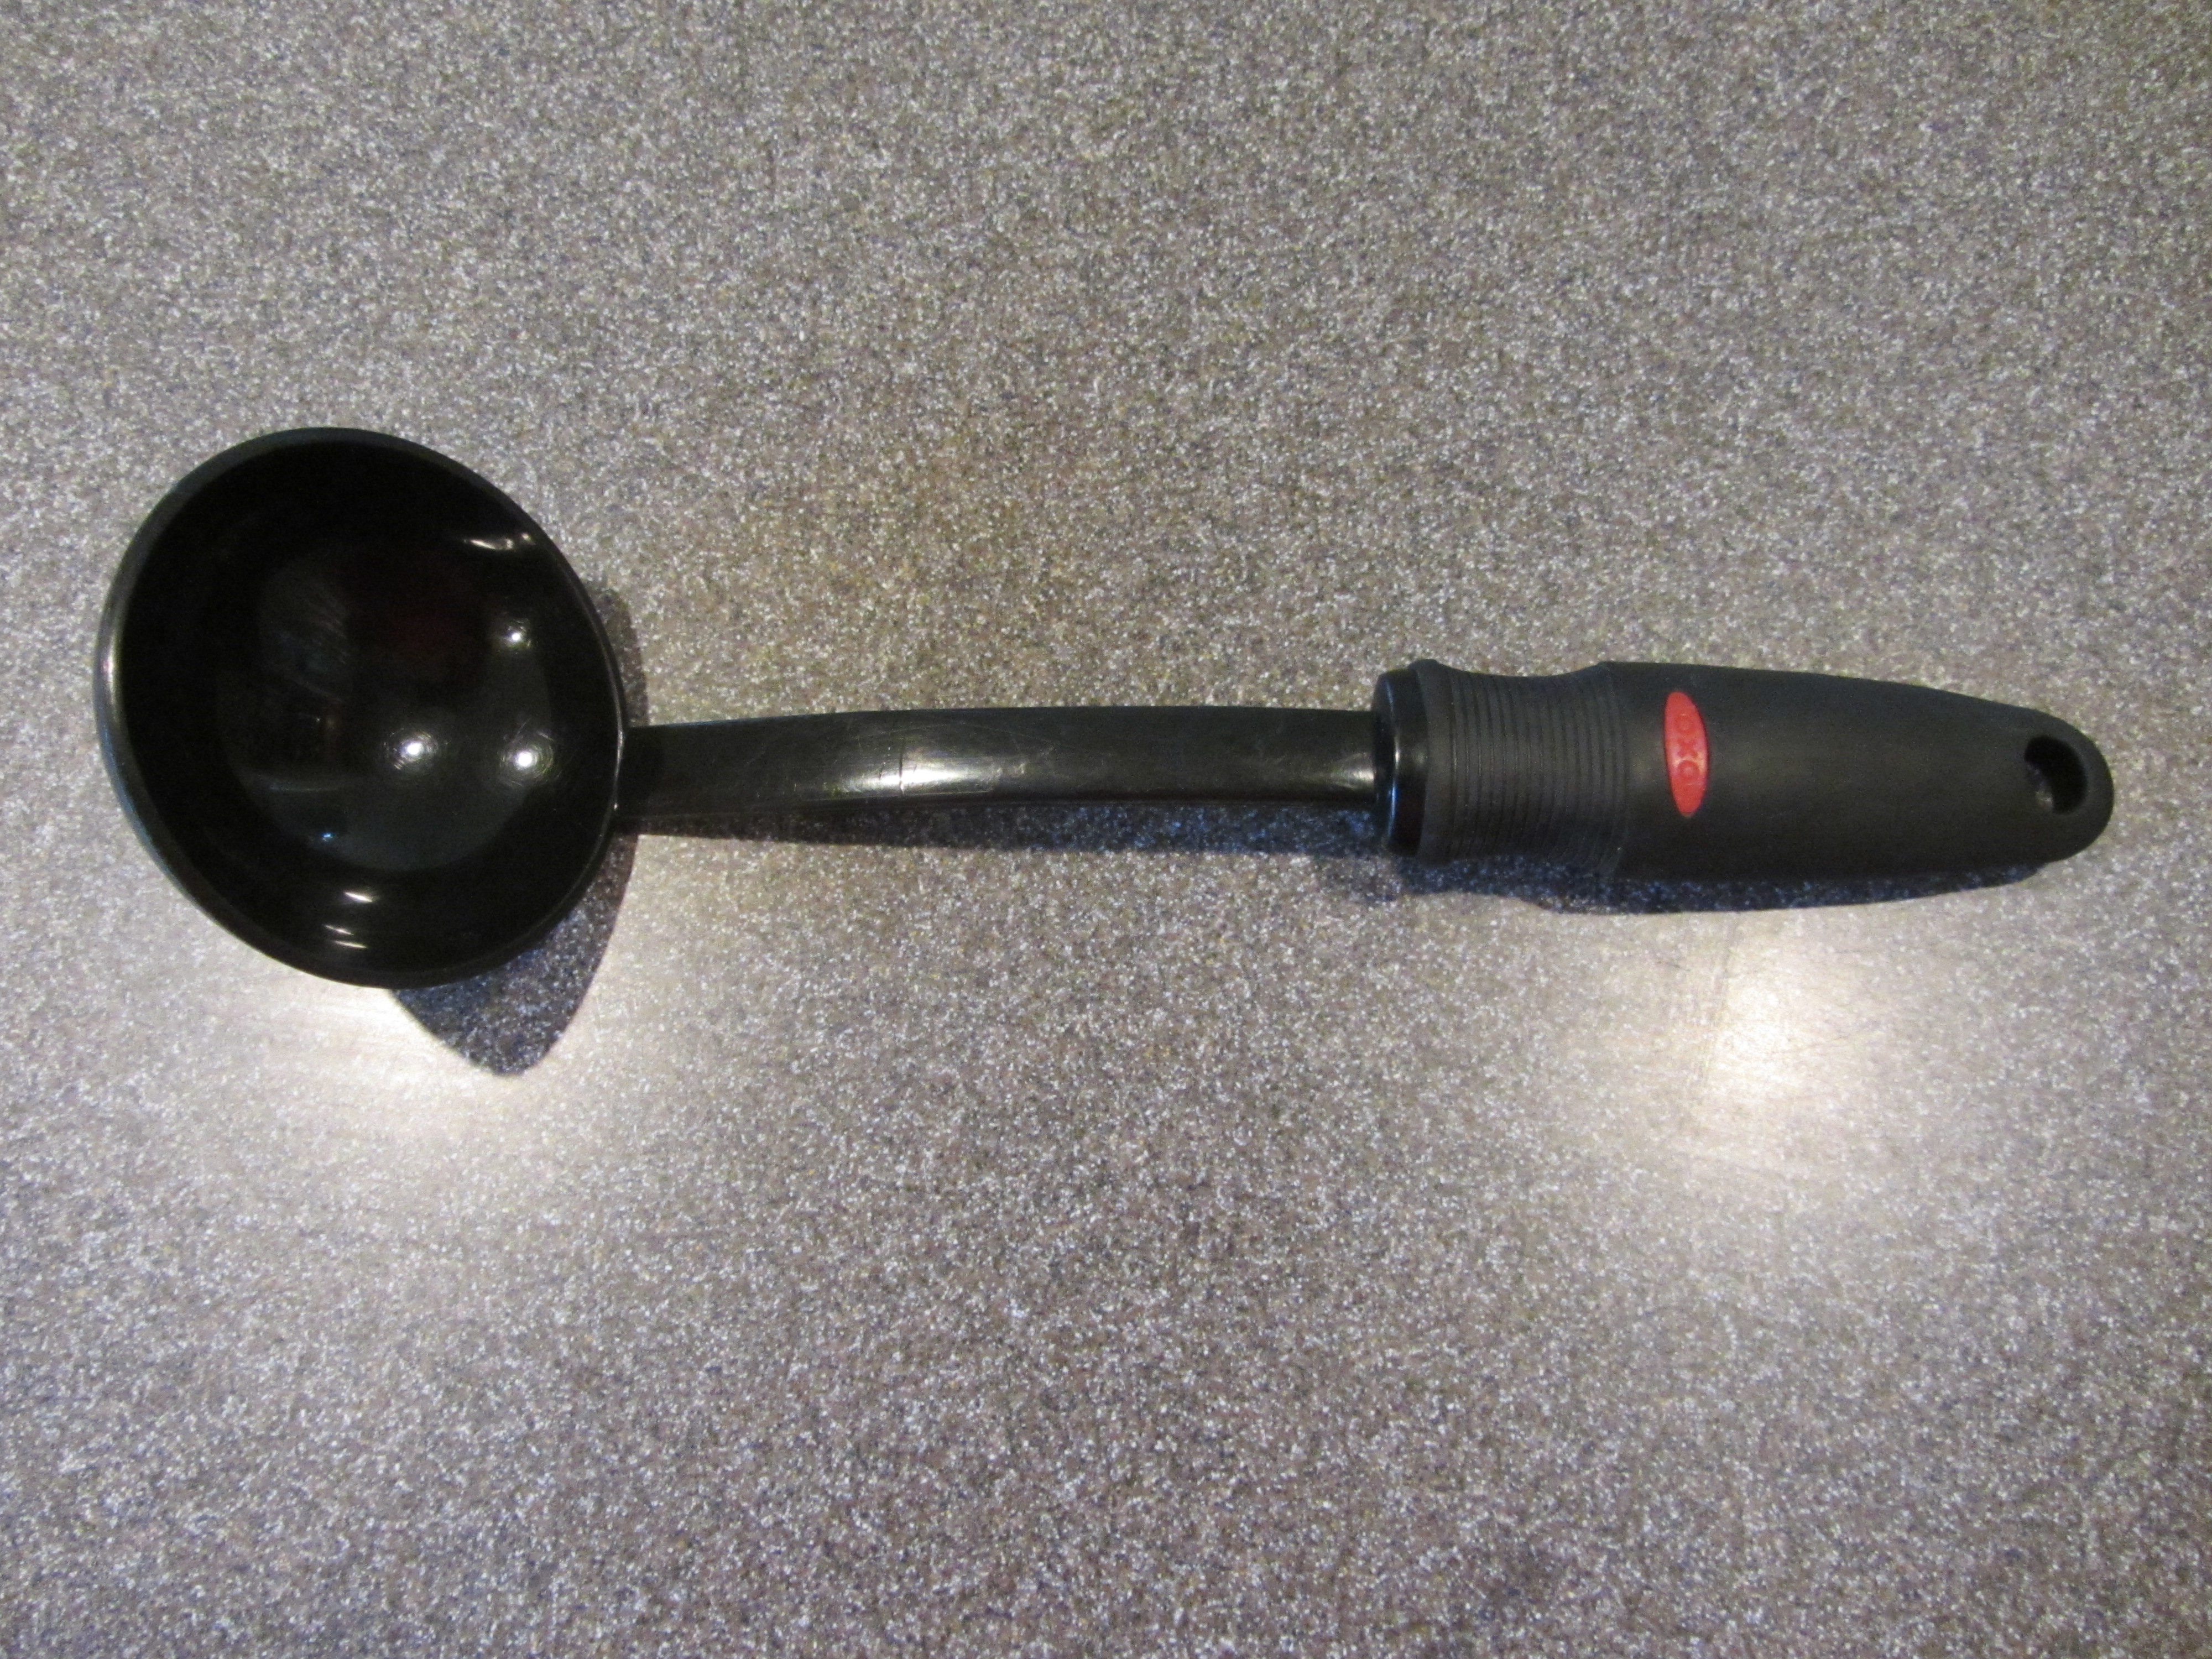
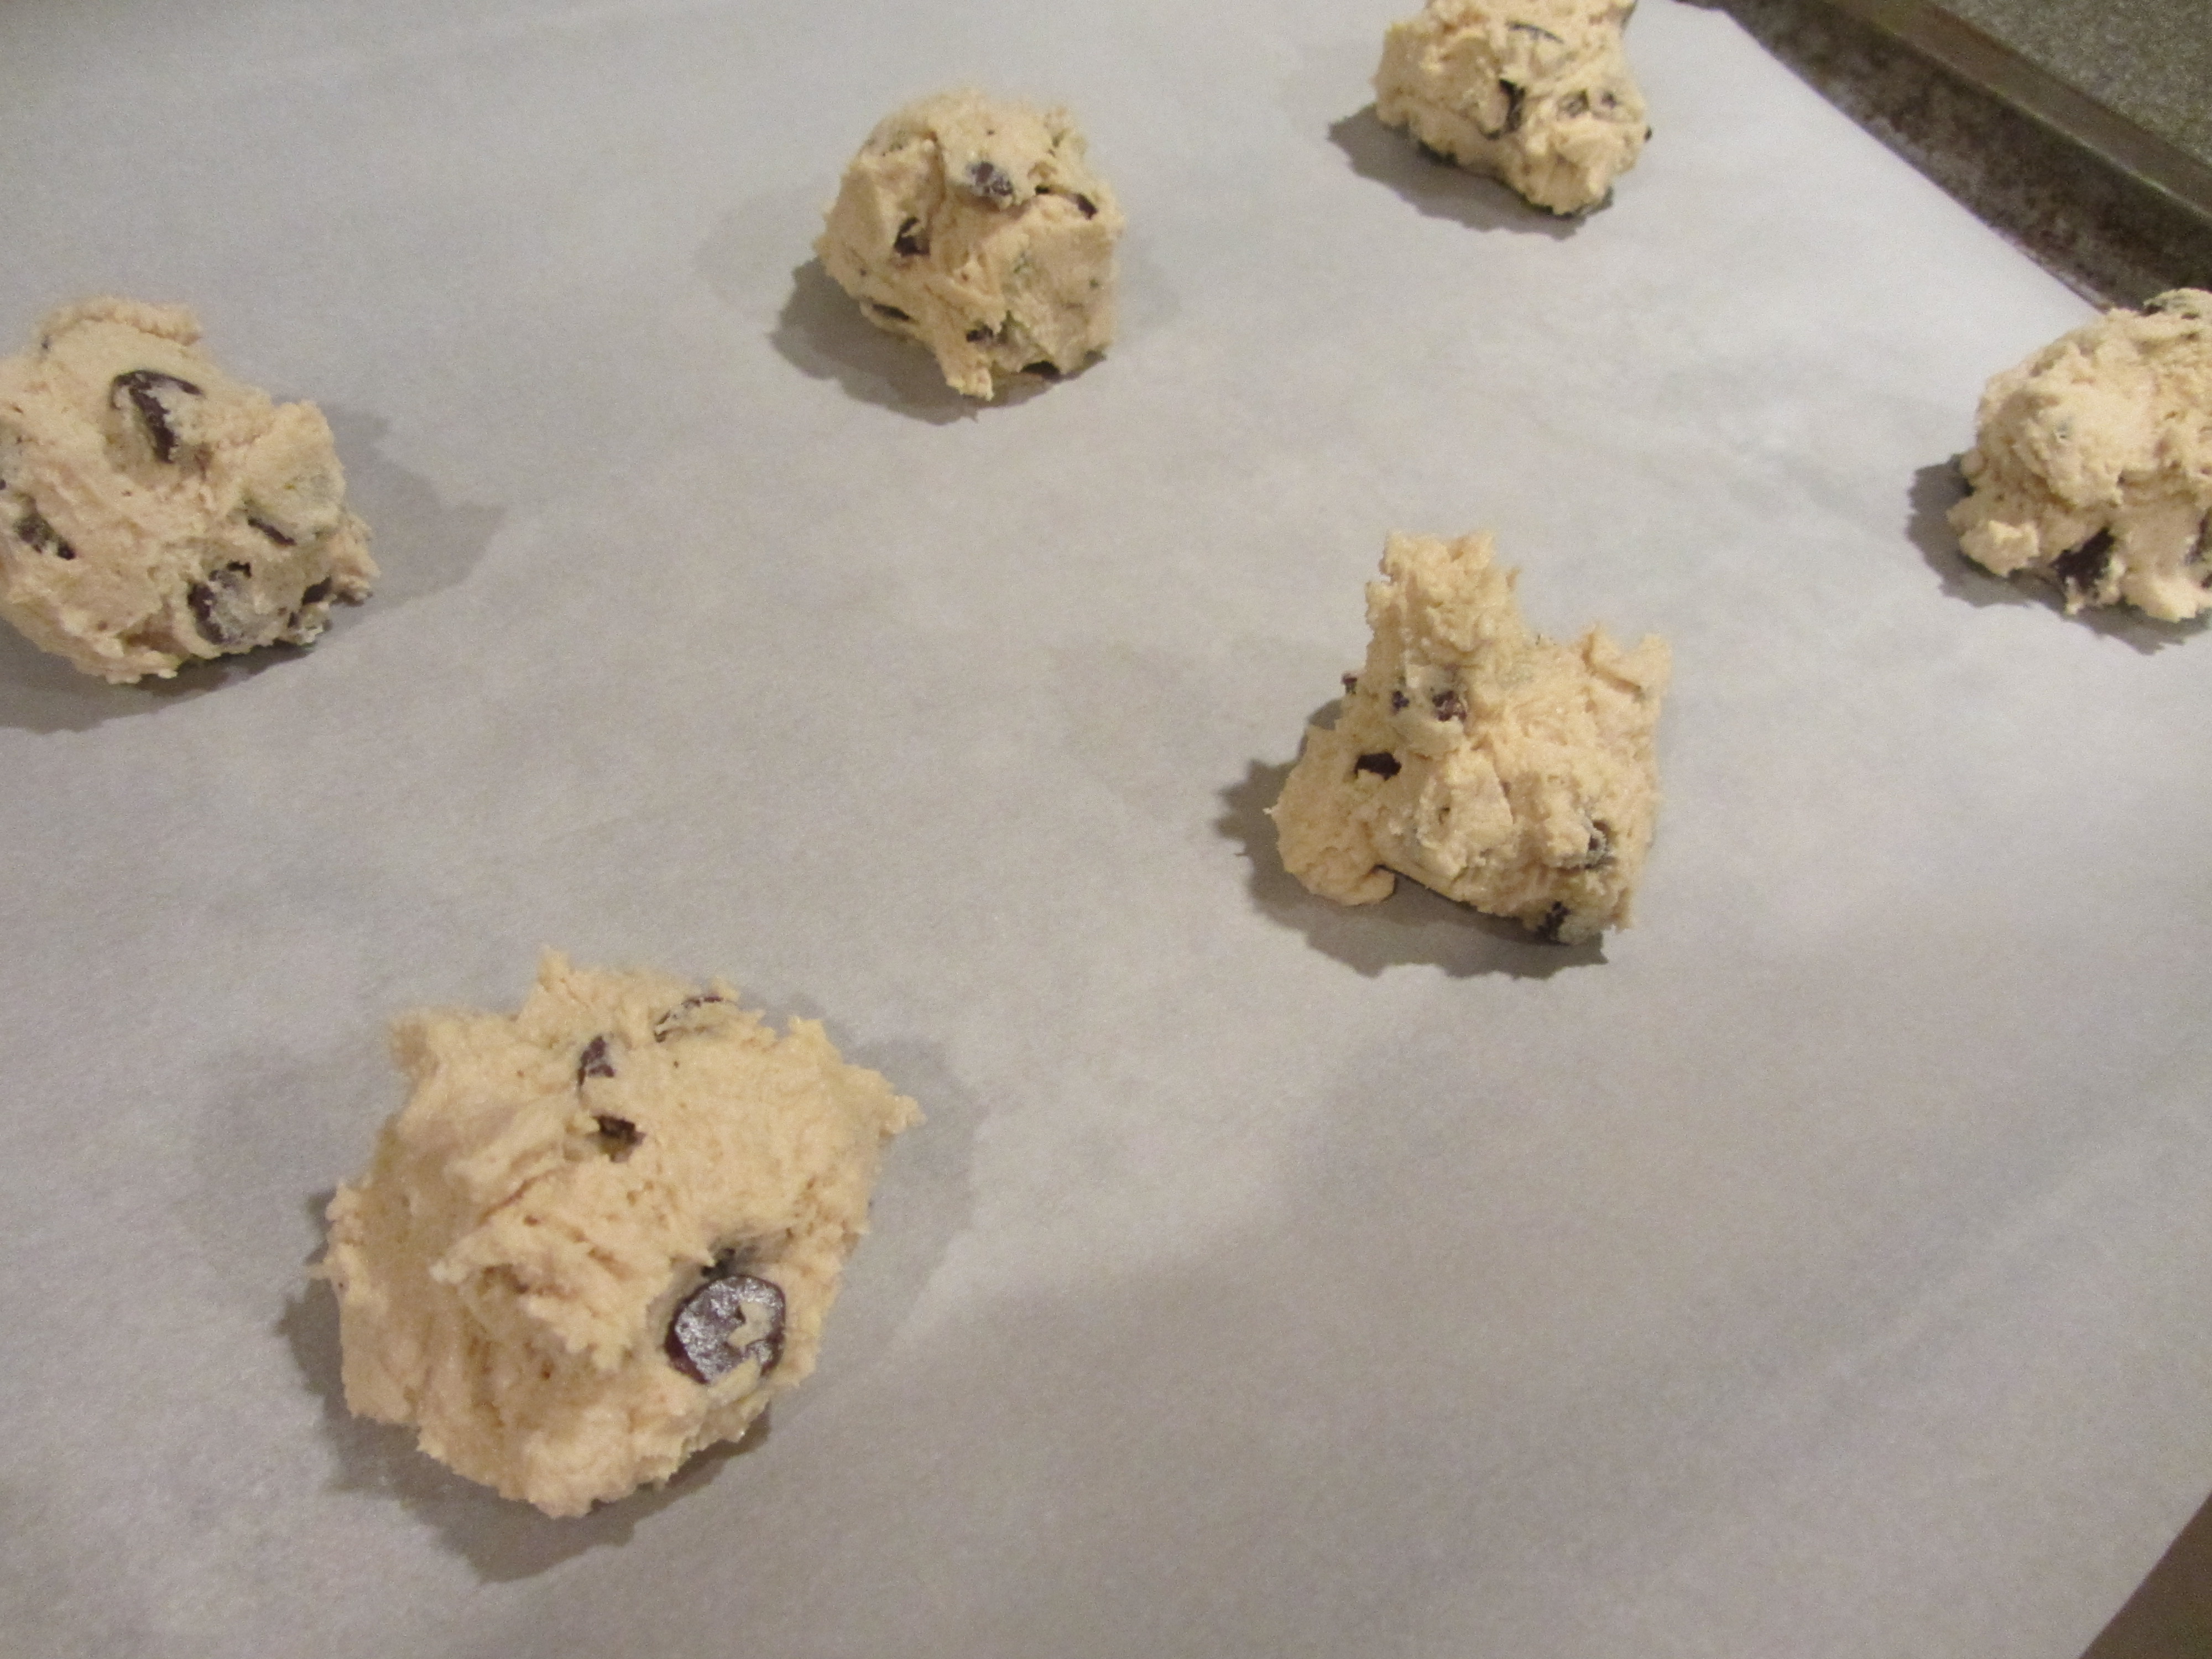
If you have one, use a #20 disher to spoon the dough onto parchment-lined baking sheets, with six cookies per sheet; I used an ice cream scoop, which resulted in pretty large cookies.

Ice cream scoop for dishing.
The cookies should take 13-15 minutes in the oven, and you want to remove them before they look like they are done. I used my oven’s convection setting to get more even baking.

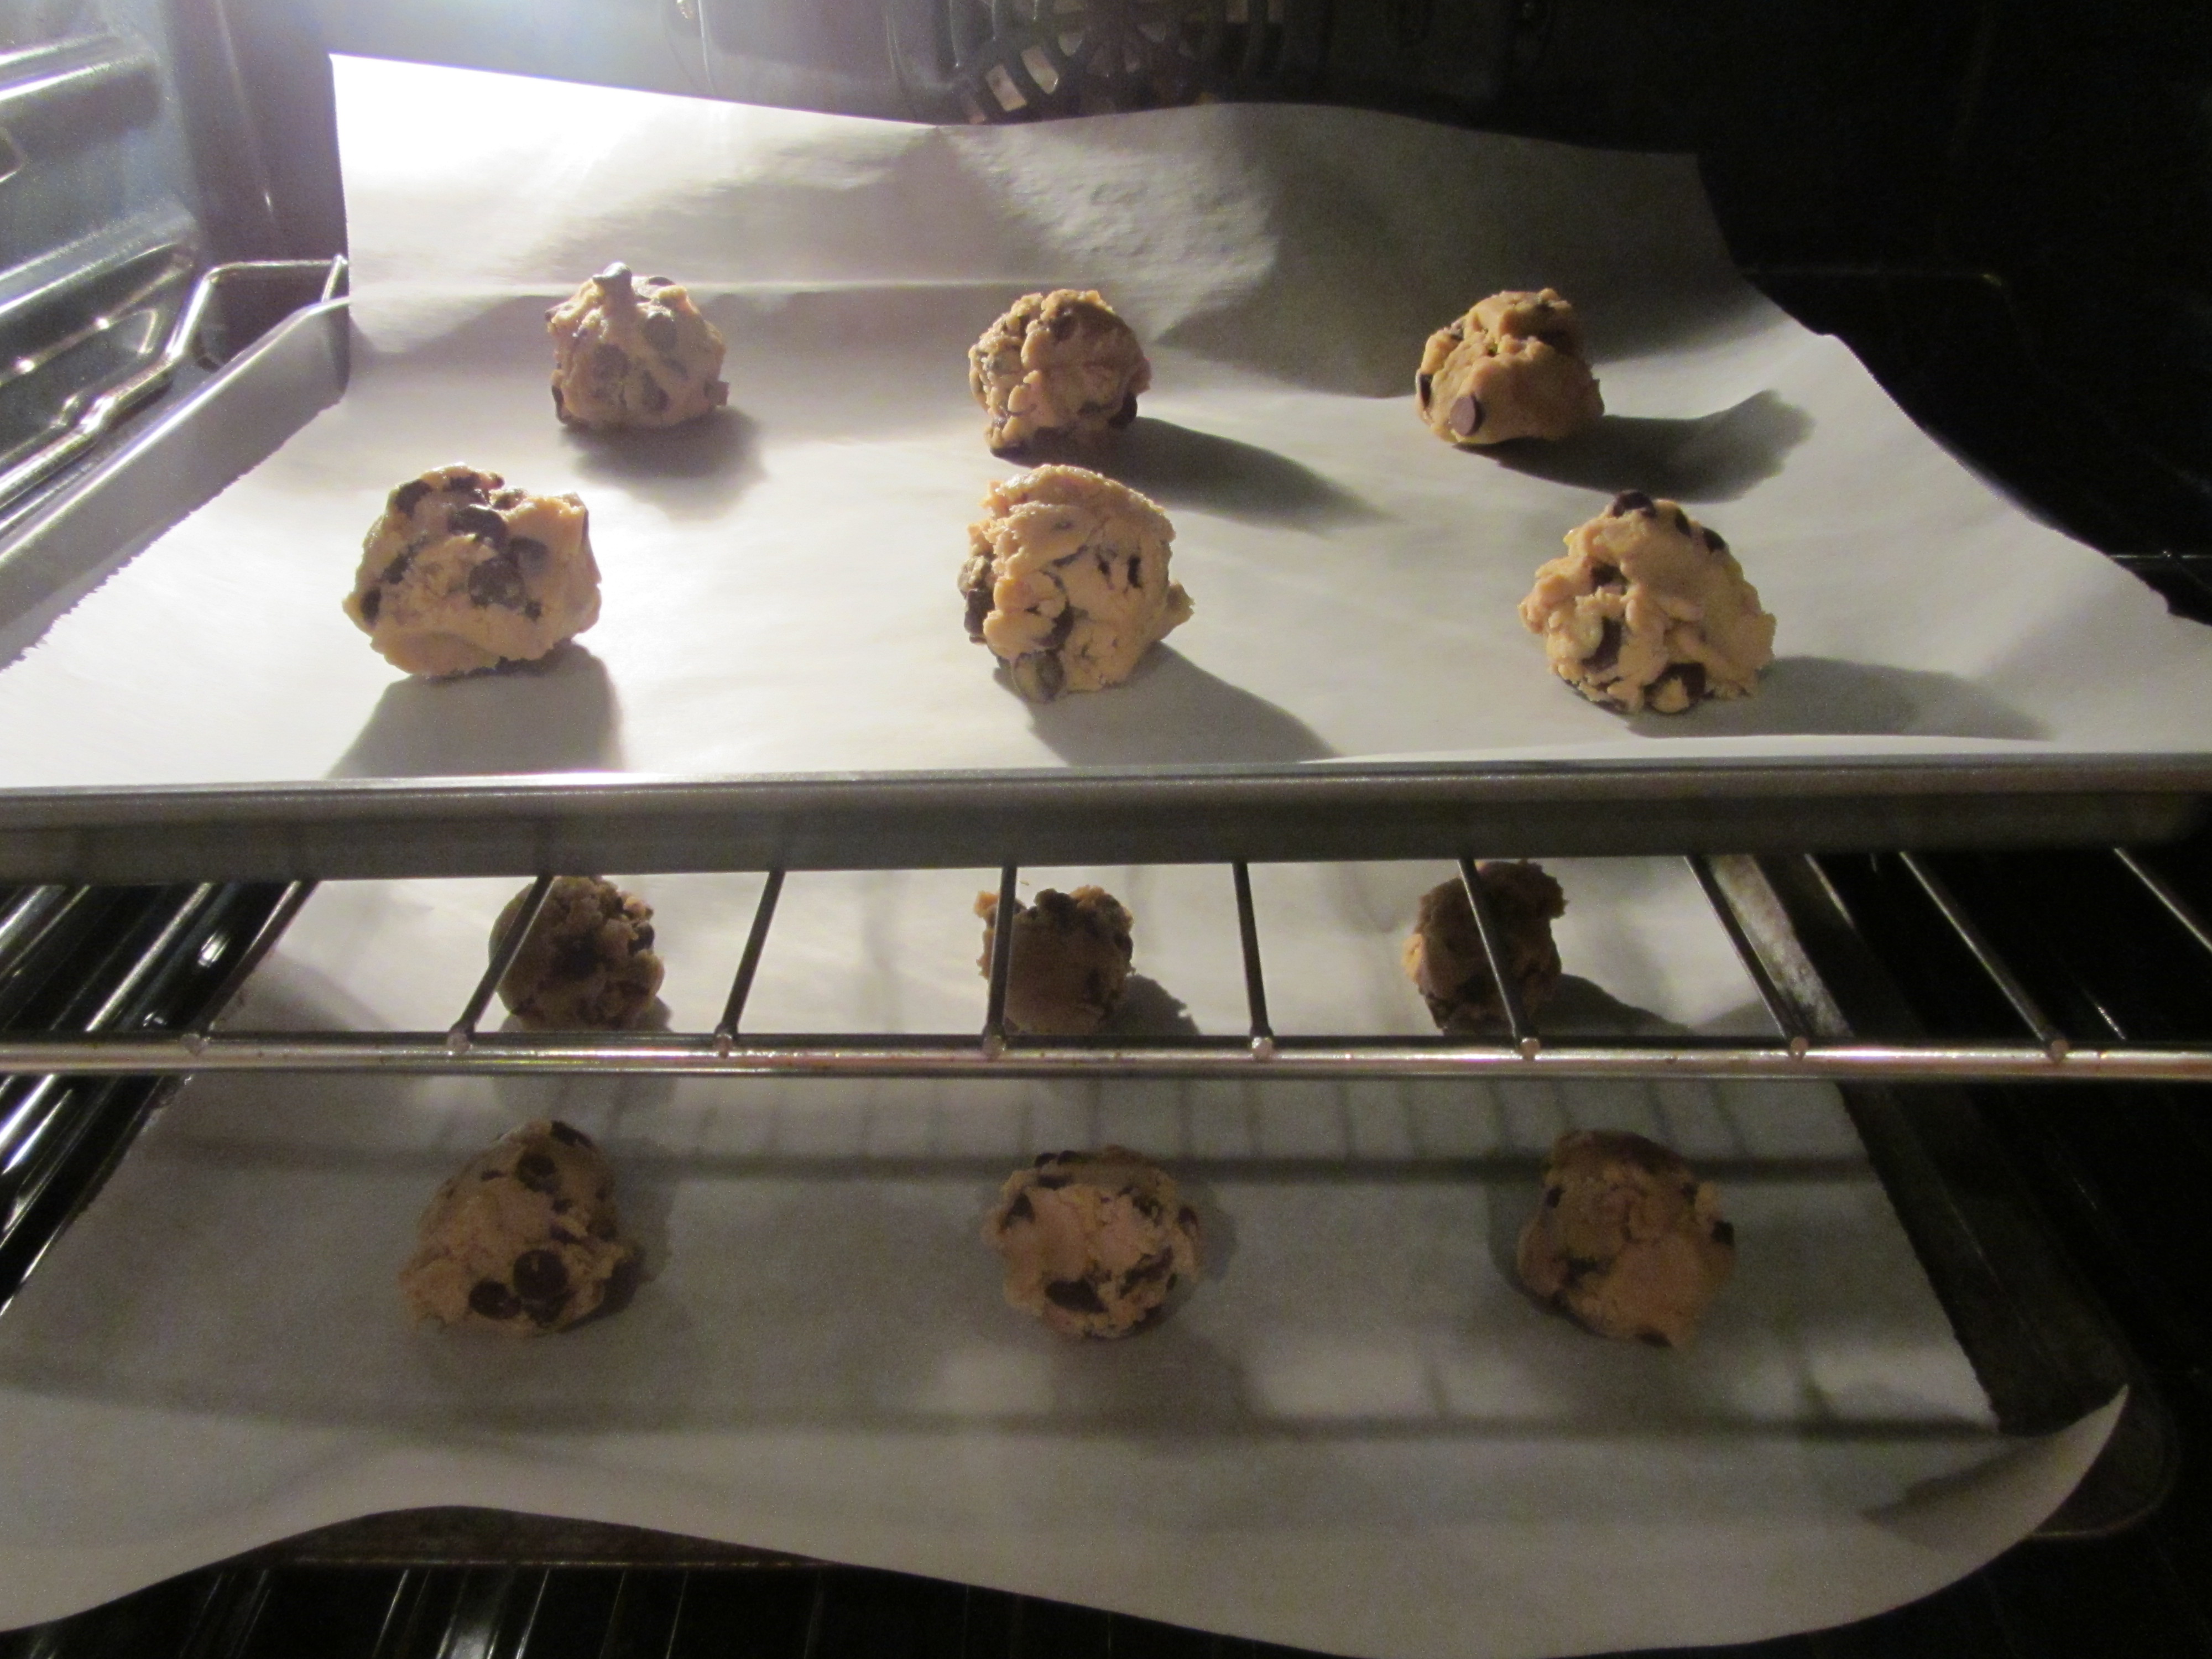
Six cookies per parchment-lined sheet.

In the oven.

After baking for 13 minutes with convection setting.
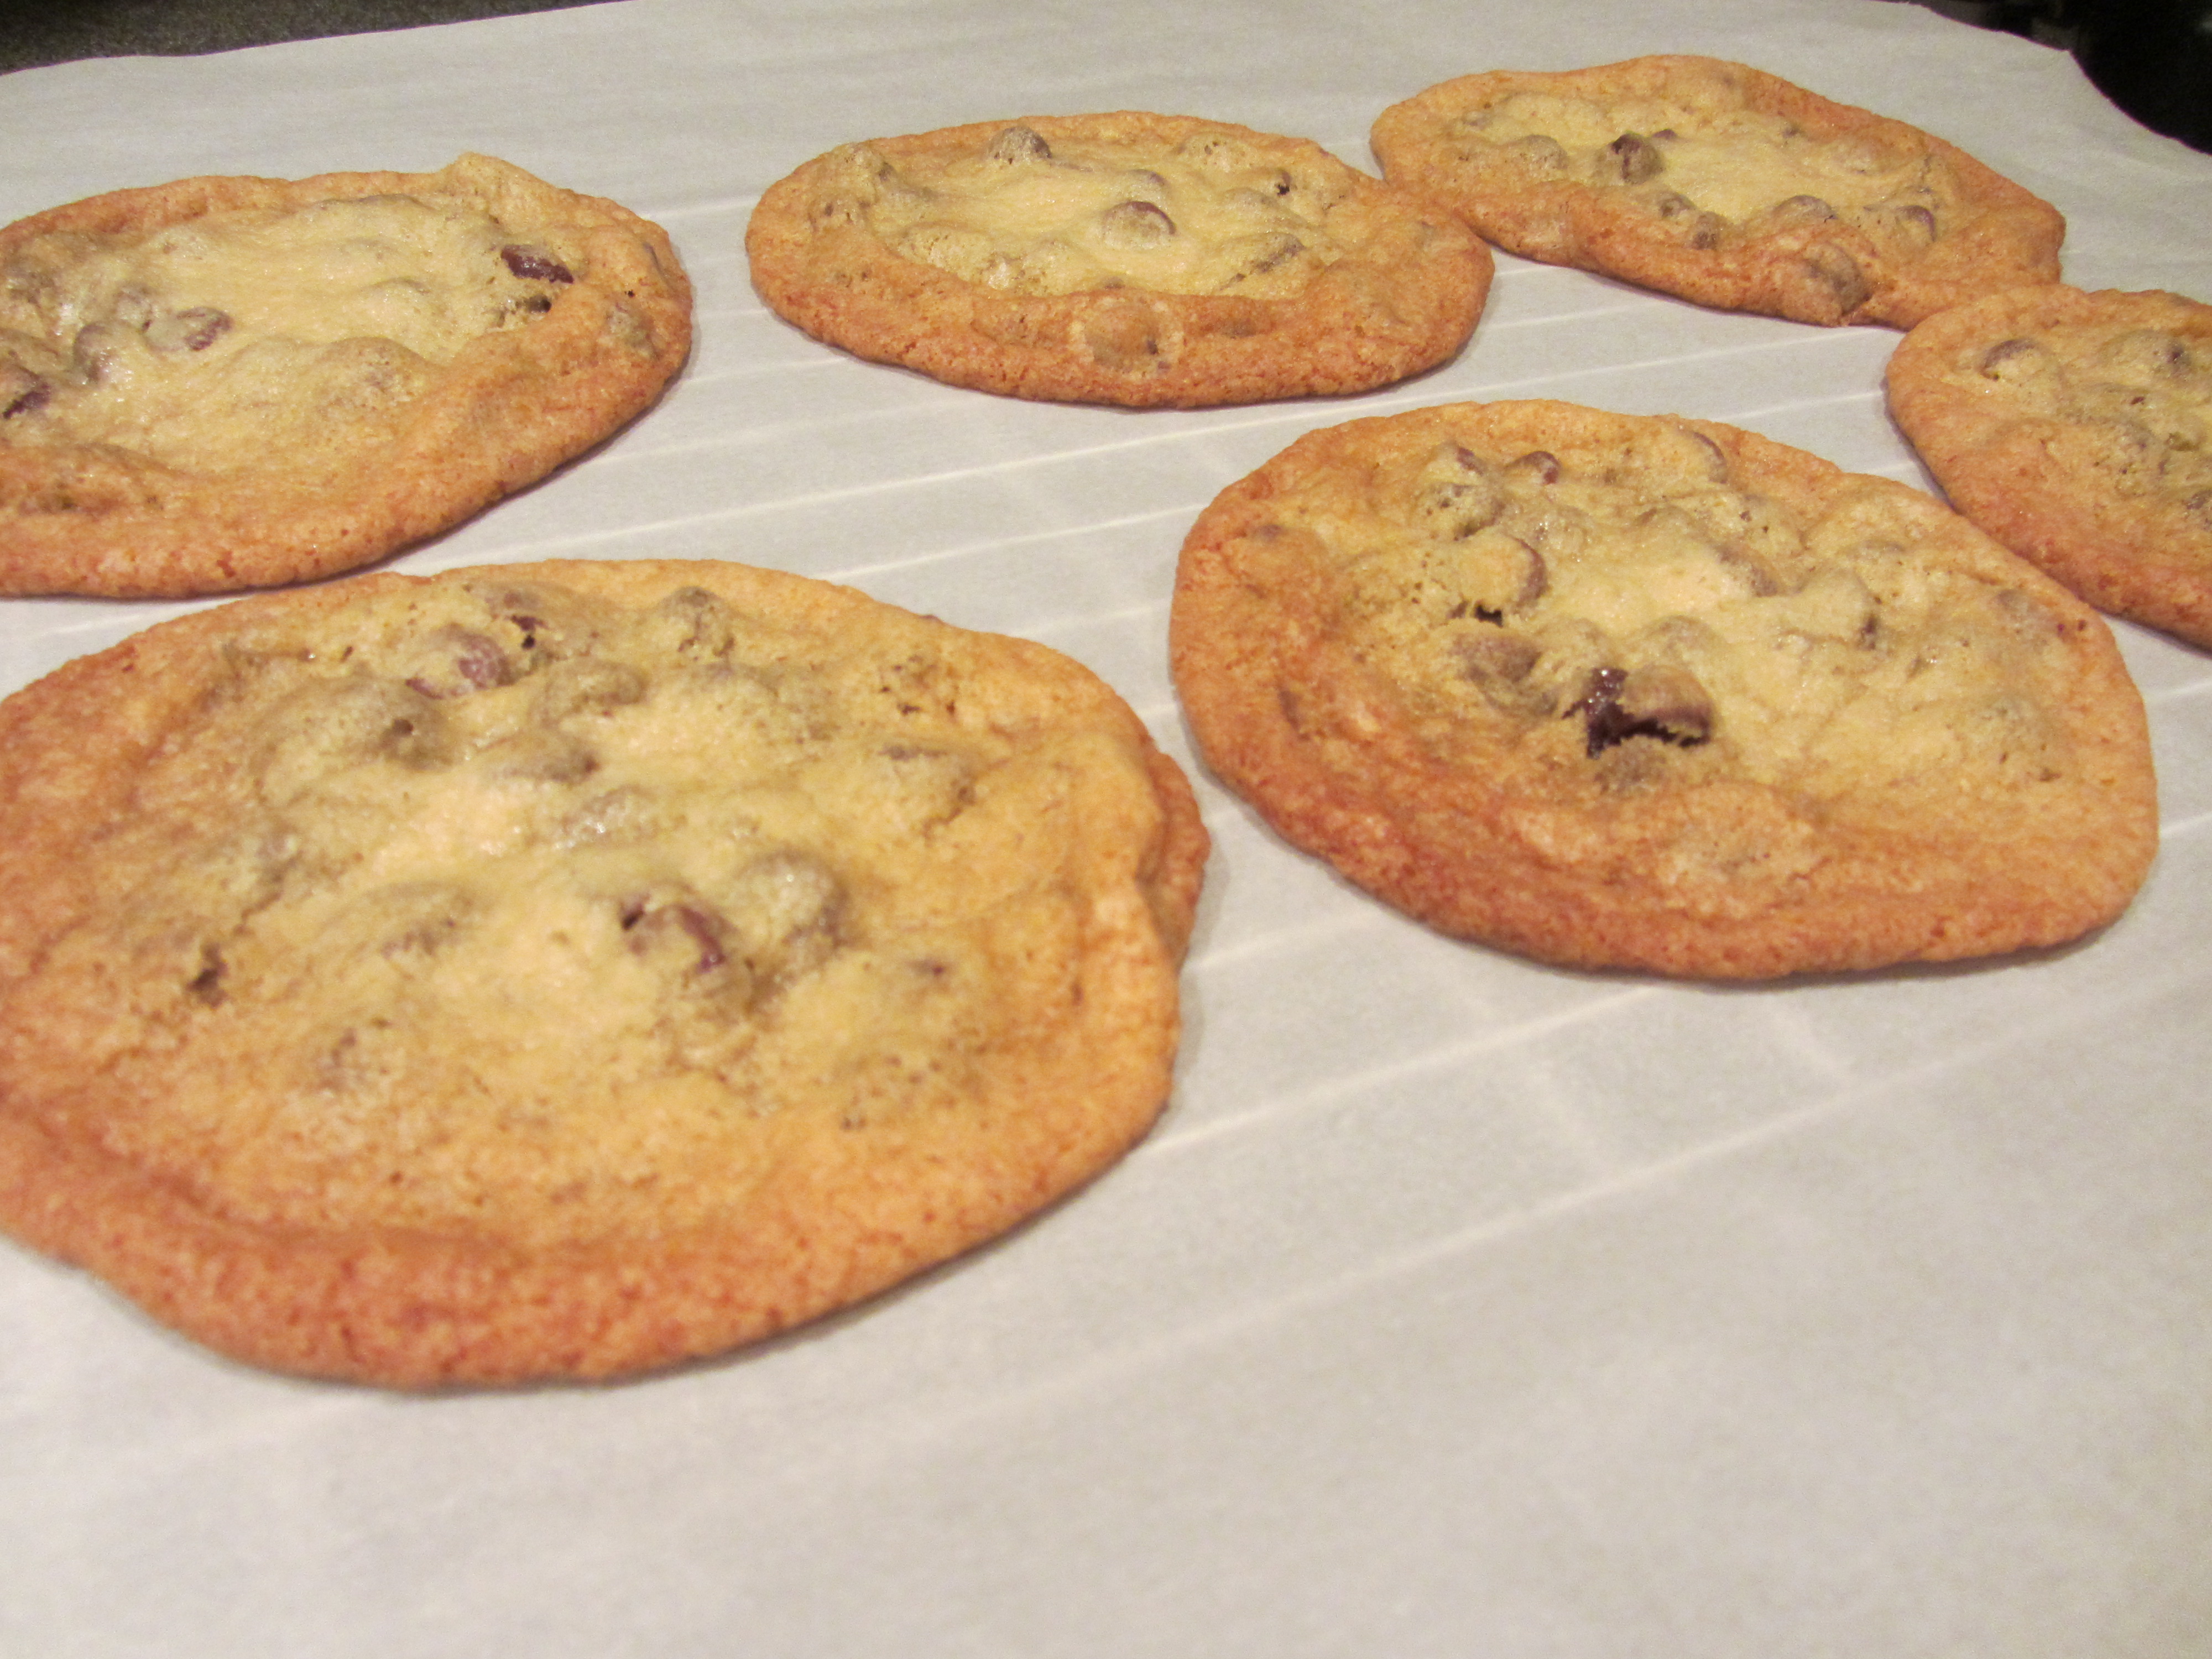
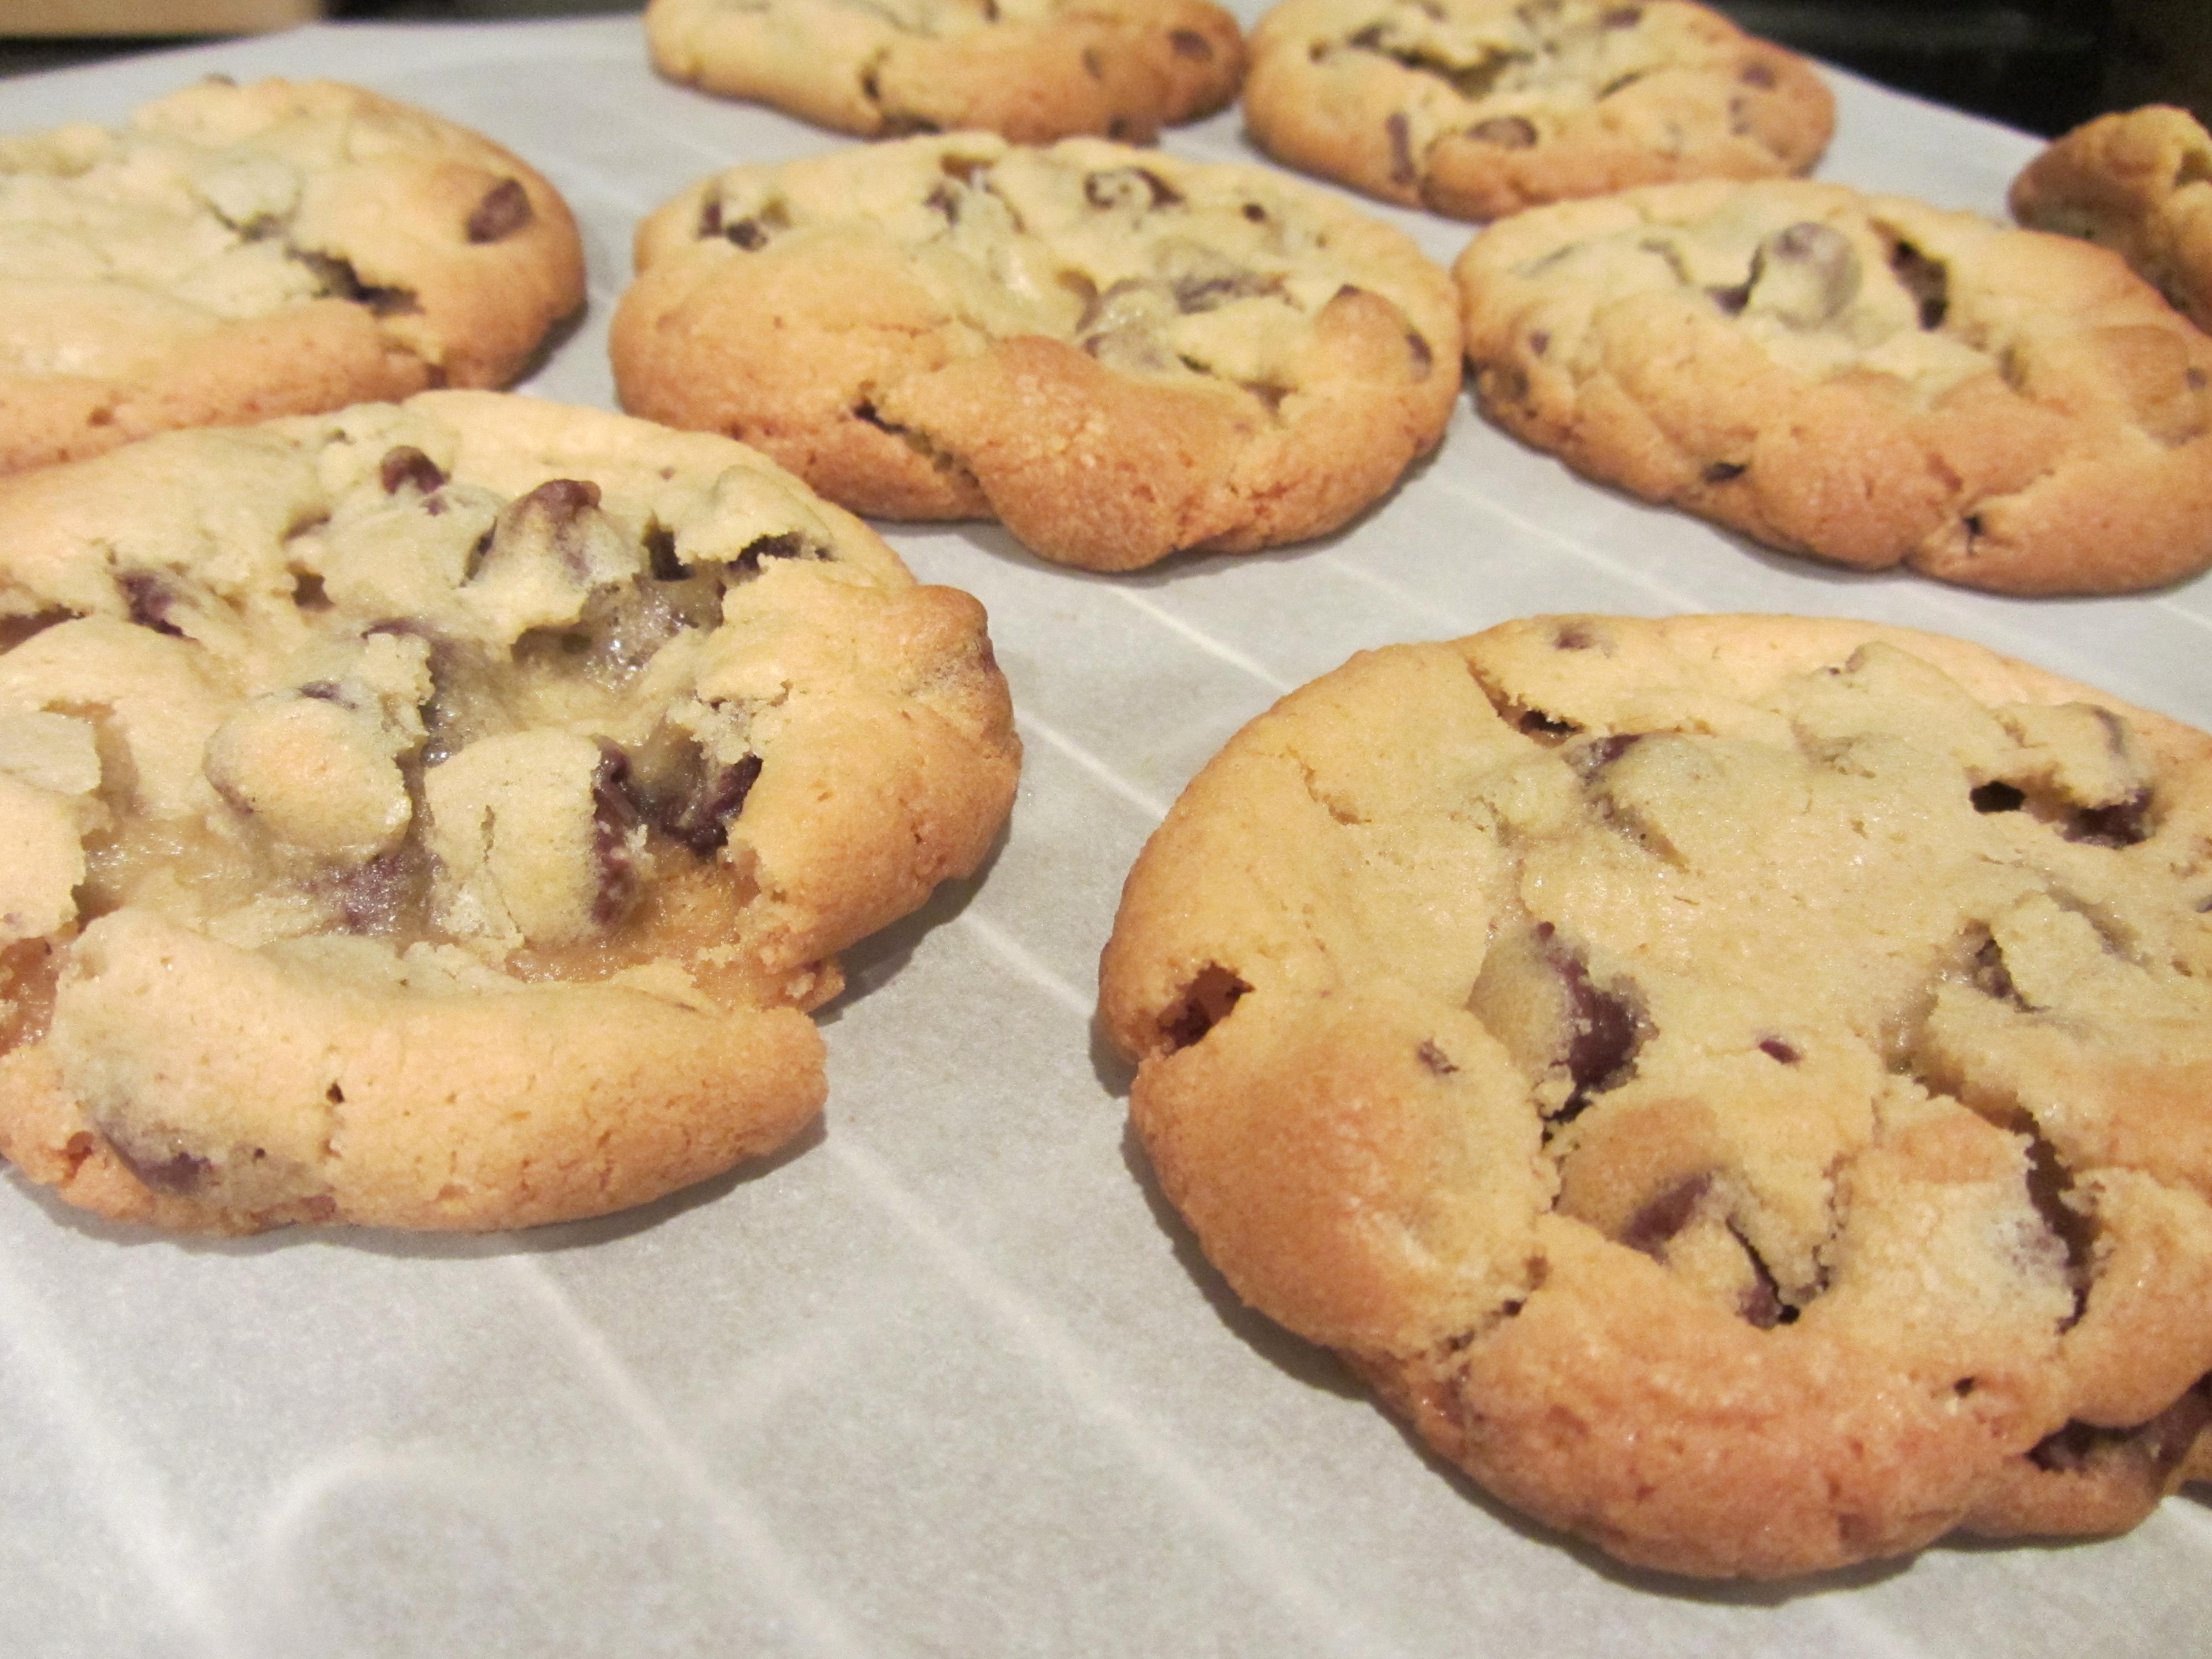
Remove them immediately from the pan to prevent further cooking. Once cool, store for a week at room temperature or freeze for up to three months.

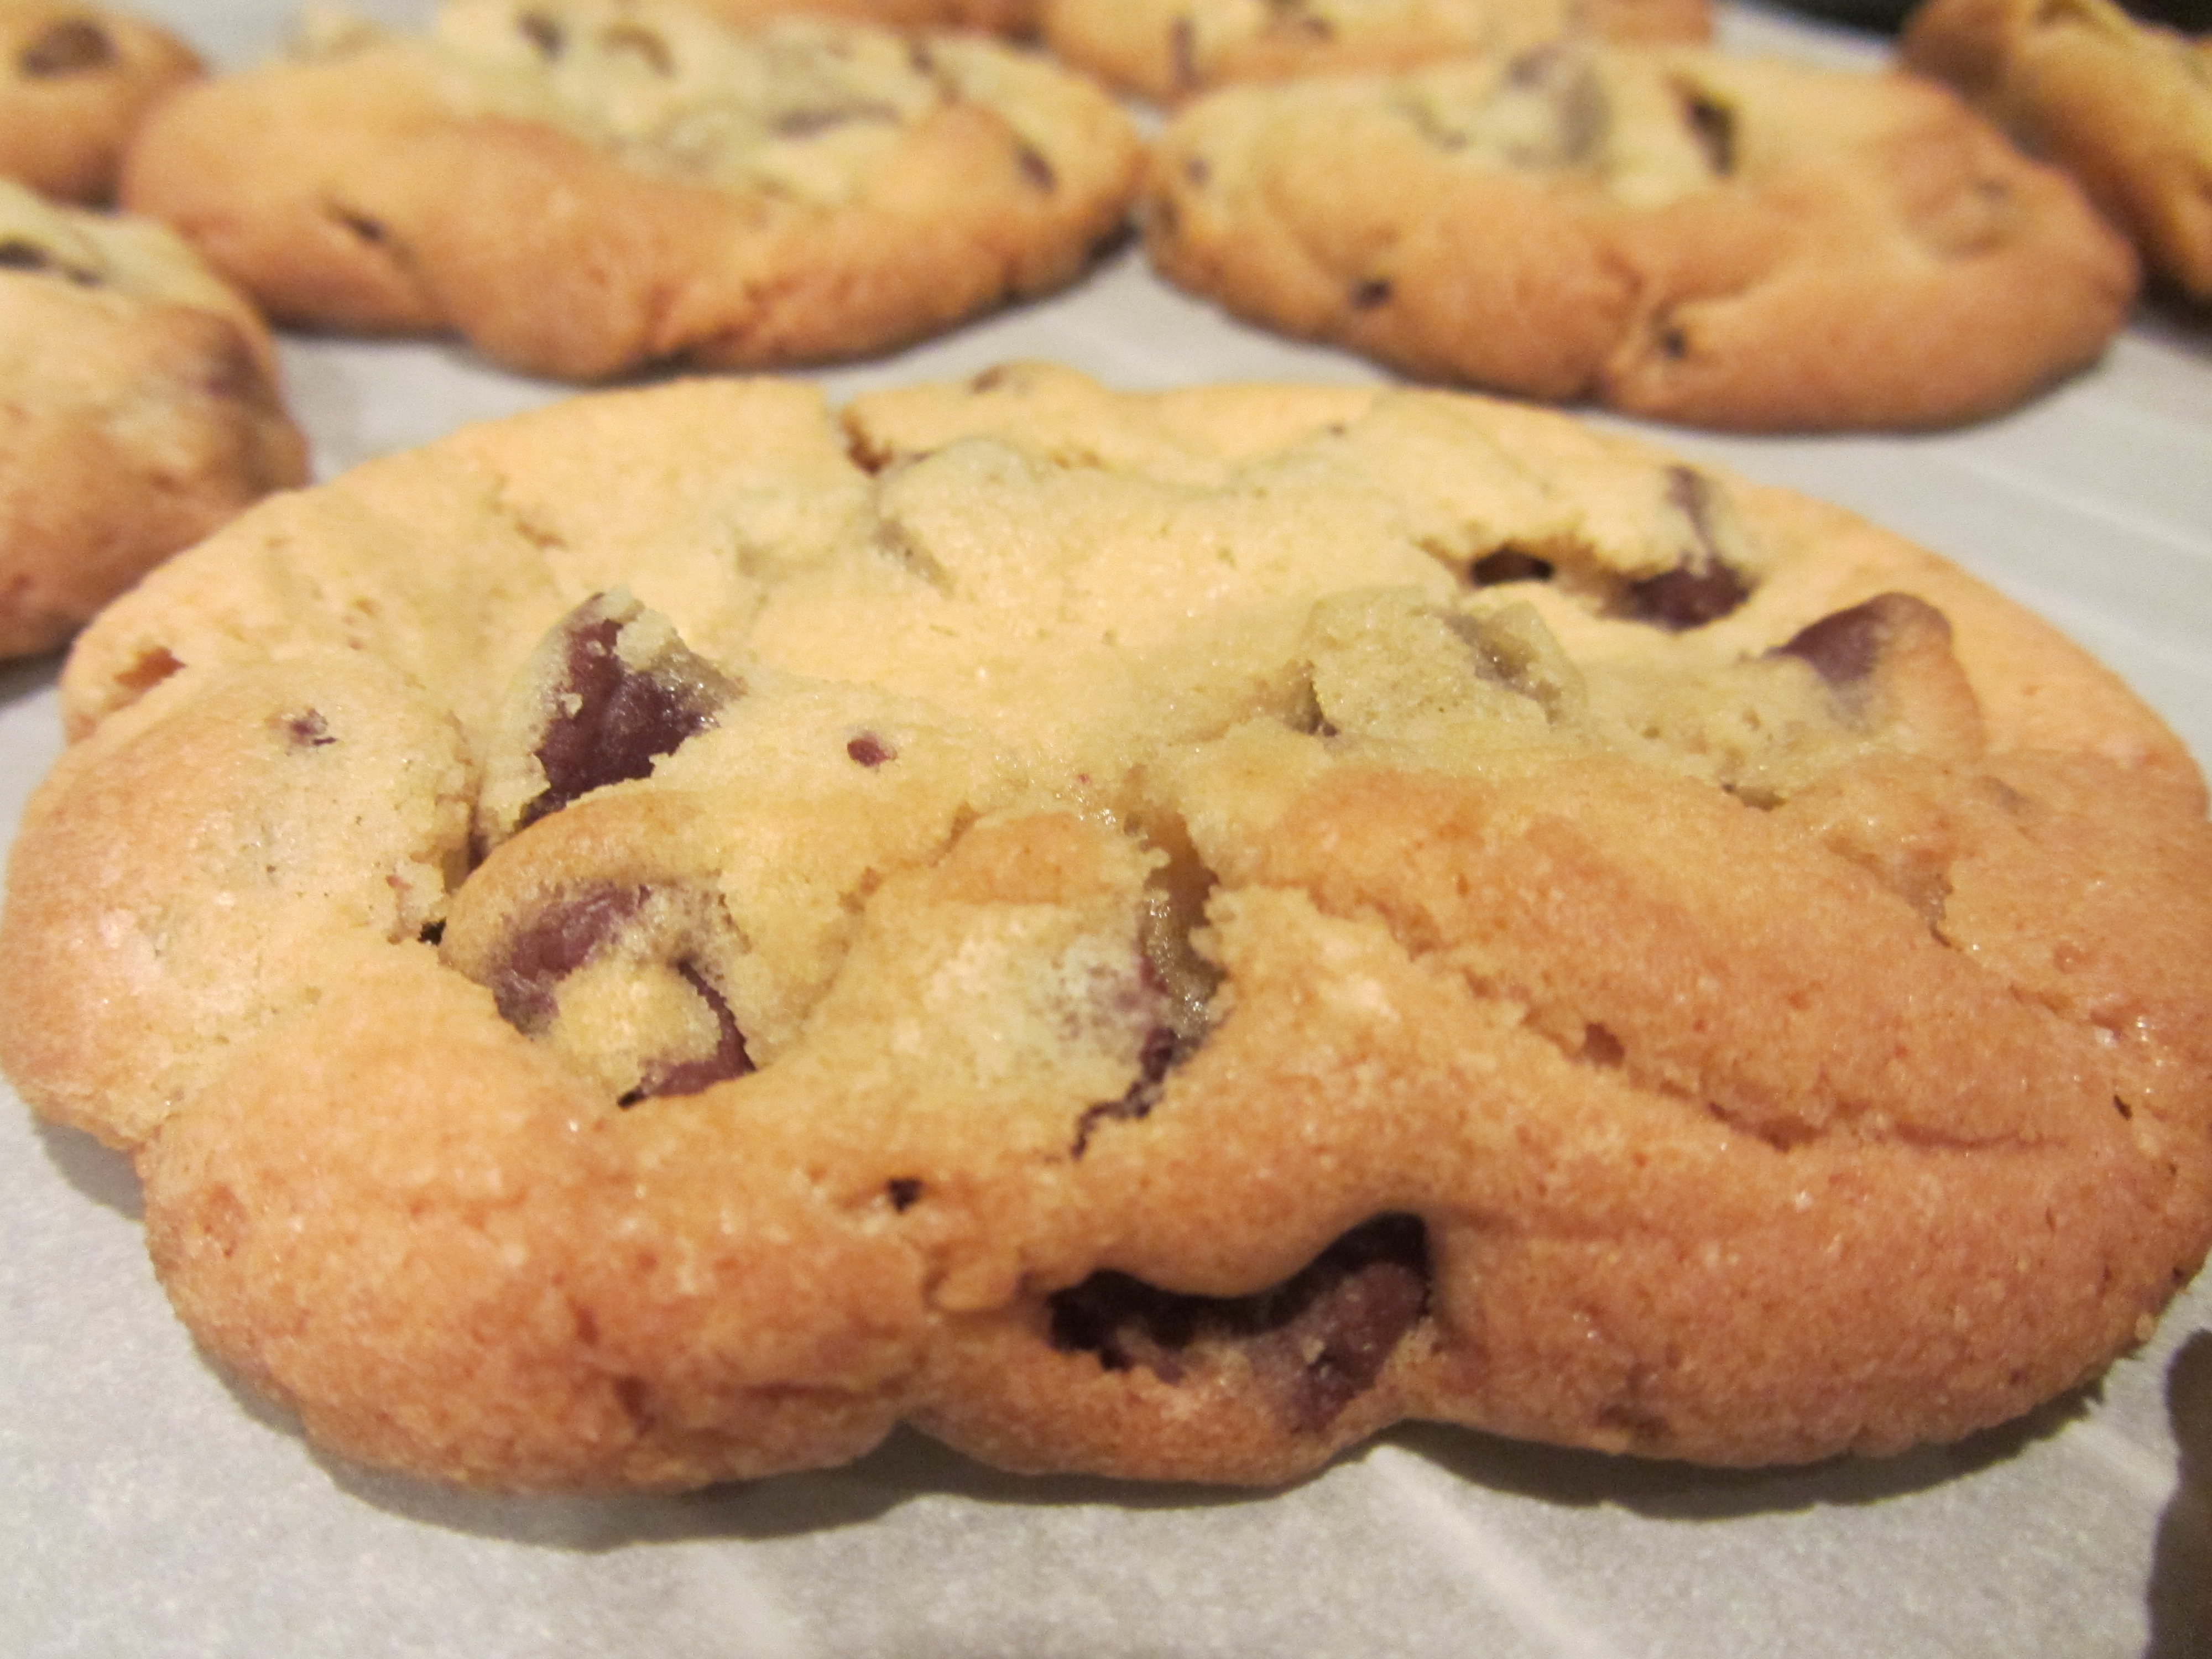
Alton’s thin chocolate chip cookie.
The science behind Alton’s thin recipe lies in the combination of ingredients used:
- Butter is the fat of choice for these cookies because it has a sharp melting point, which allows the batter to spread before setting.
- The butter is used cold because sugar crystals form bubbles in the butter by cutting into it. These bubbles help other ingredients to be better incorporated.
- Baking soda is the leavening agent used because it decreases the acidity of the batter, which increases the setting temperature of the cookies. For thinner cookies, increase the baking soda.
- A combination of one egg and 2 oz. of whole milk is used because eggs cause batters to puff and spread; replacing one egg with some milk results in thinner cookies.
- A higher ratio of white:brown sugar results in crisper cookies.
The Puffy
Seeing as we only had one type of chocolate chip cookie in the house, last Wednesday seemed to be another day for cookie baking. Next up was Alton’s puffy chocolate chip cookie.

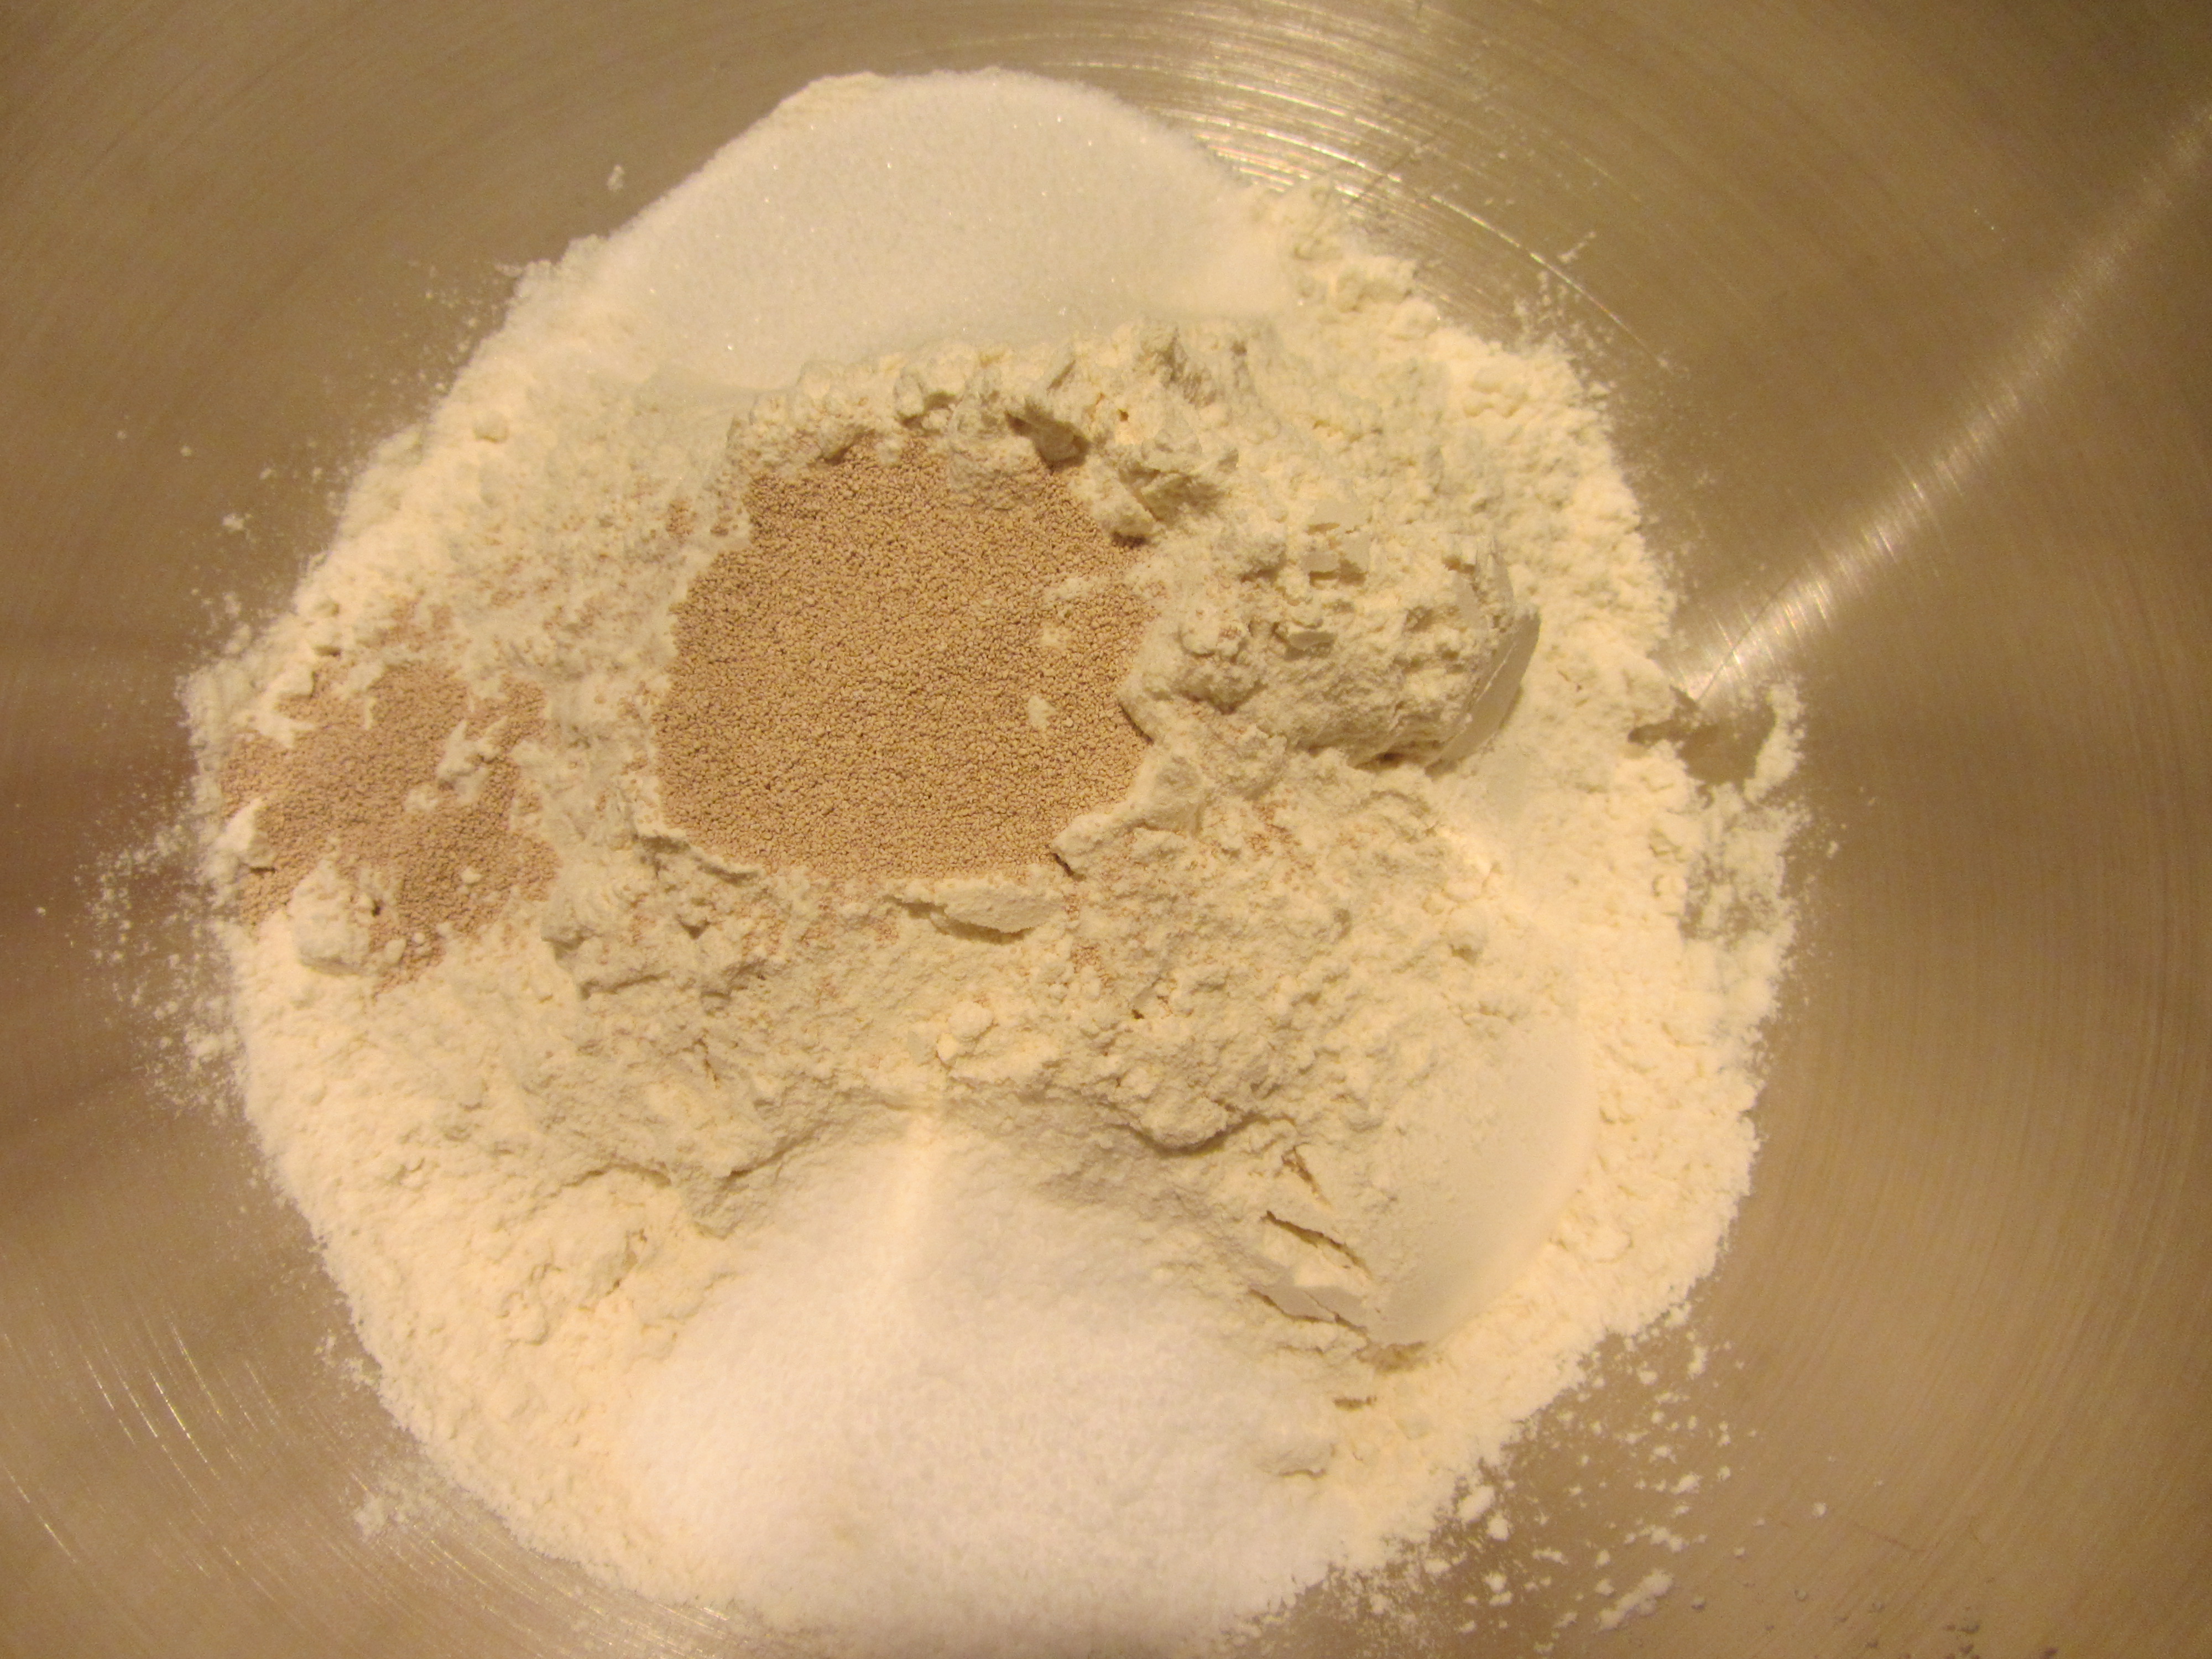
Ingredients for Alton’s puffy chocolate chip cookies: butter-flavored shortening, sugar, brown sugar, cake flour, salt, baking powder, eggs, vanilla, and semi-sweet chocolate chips.
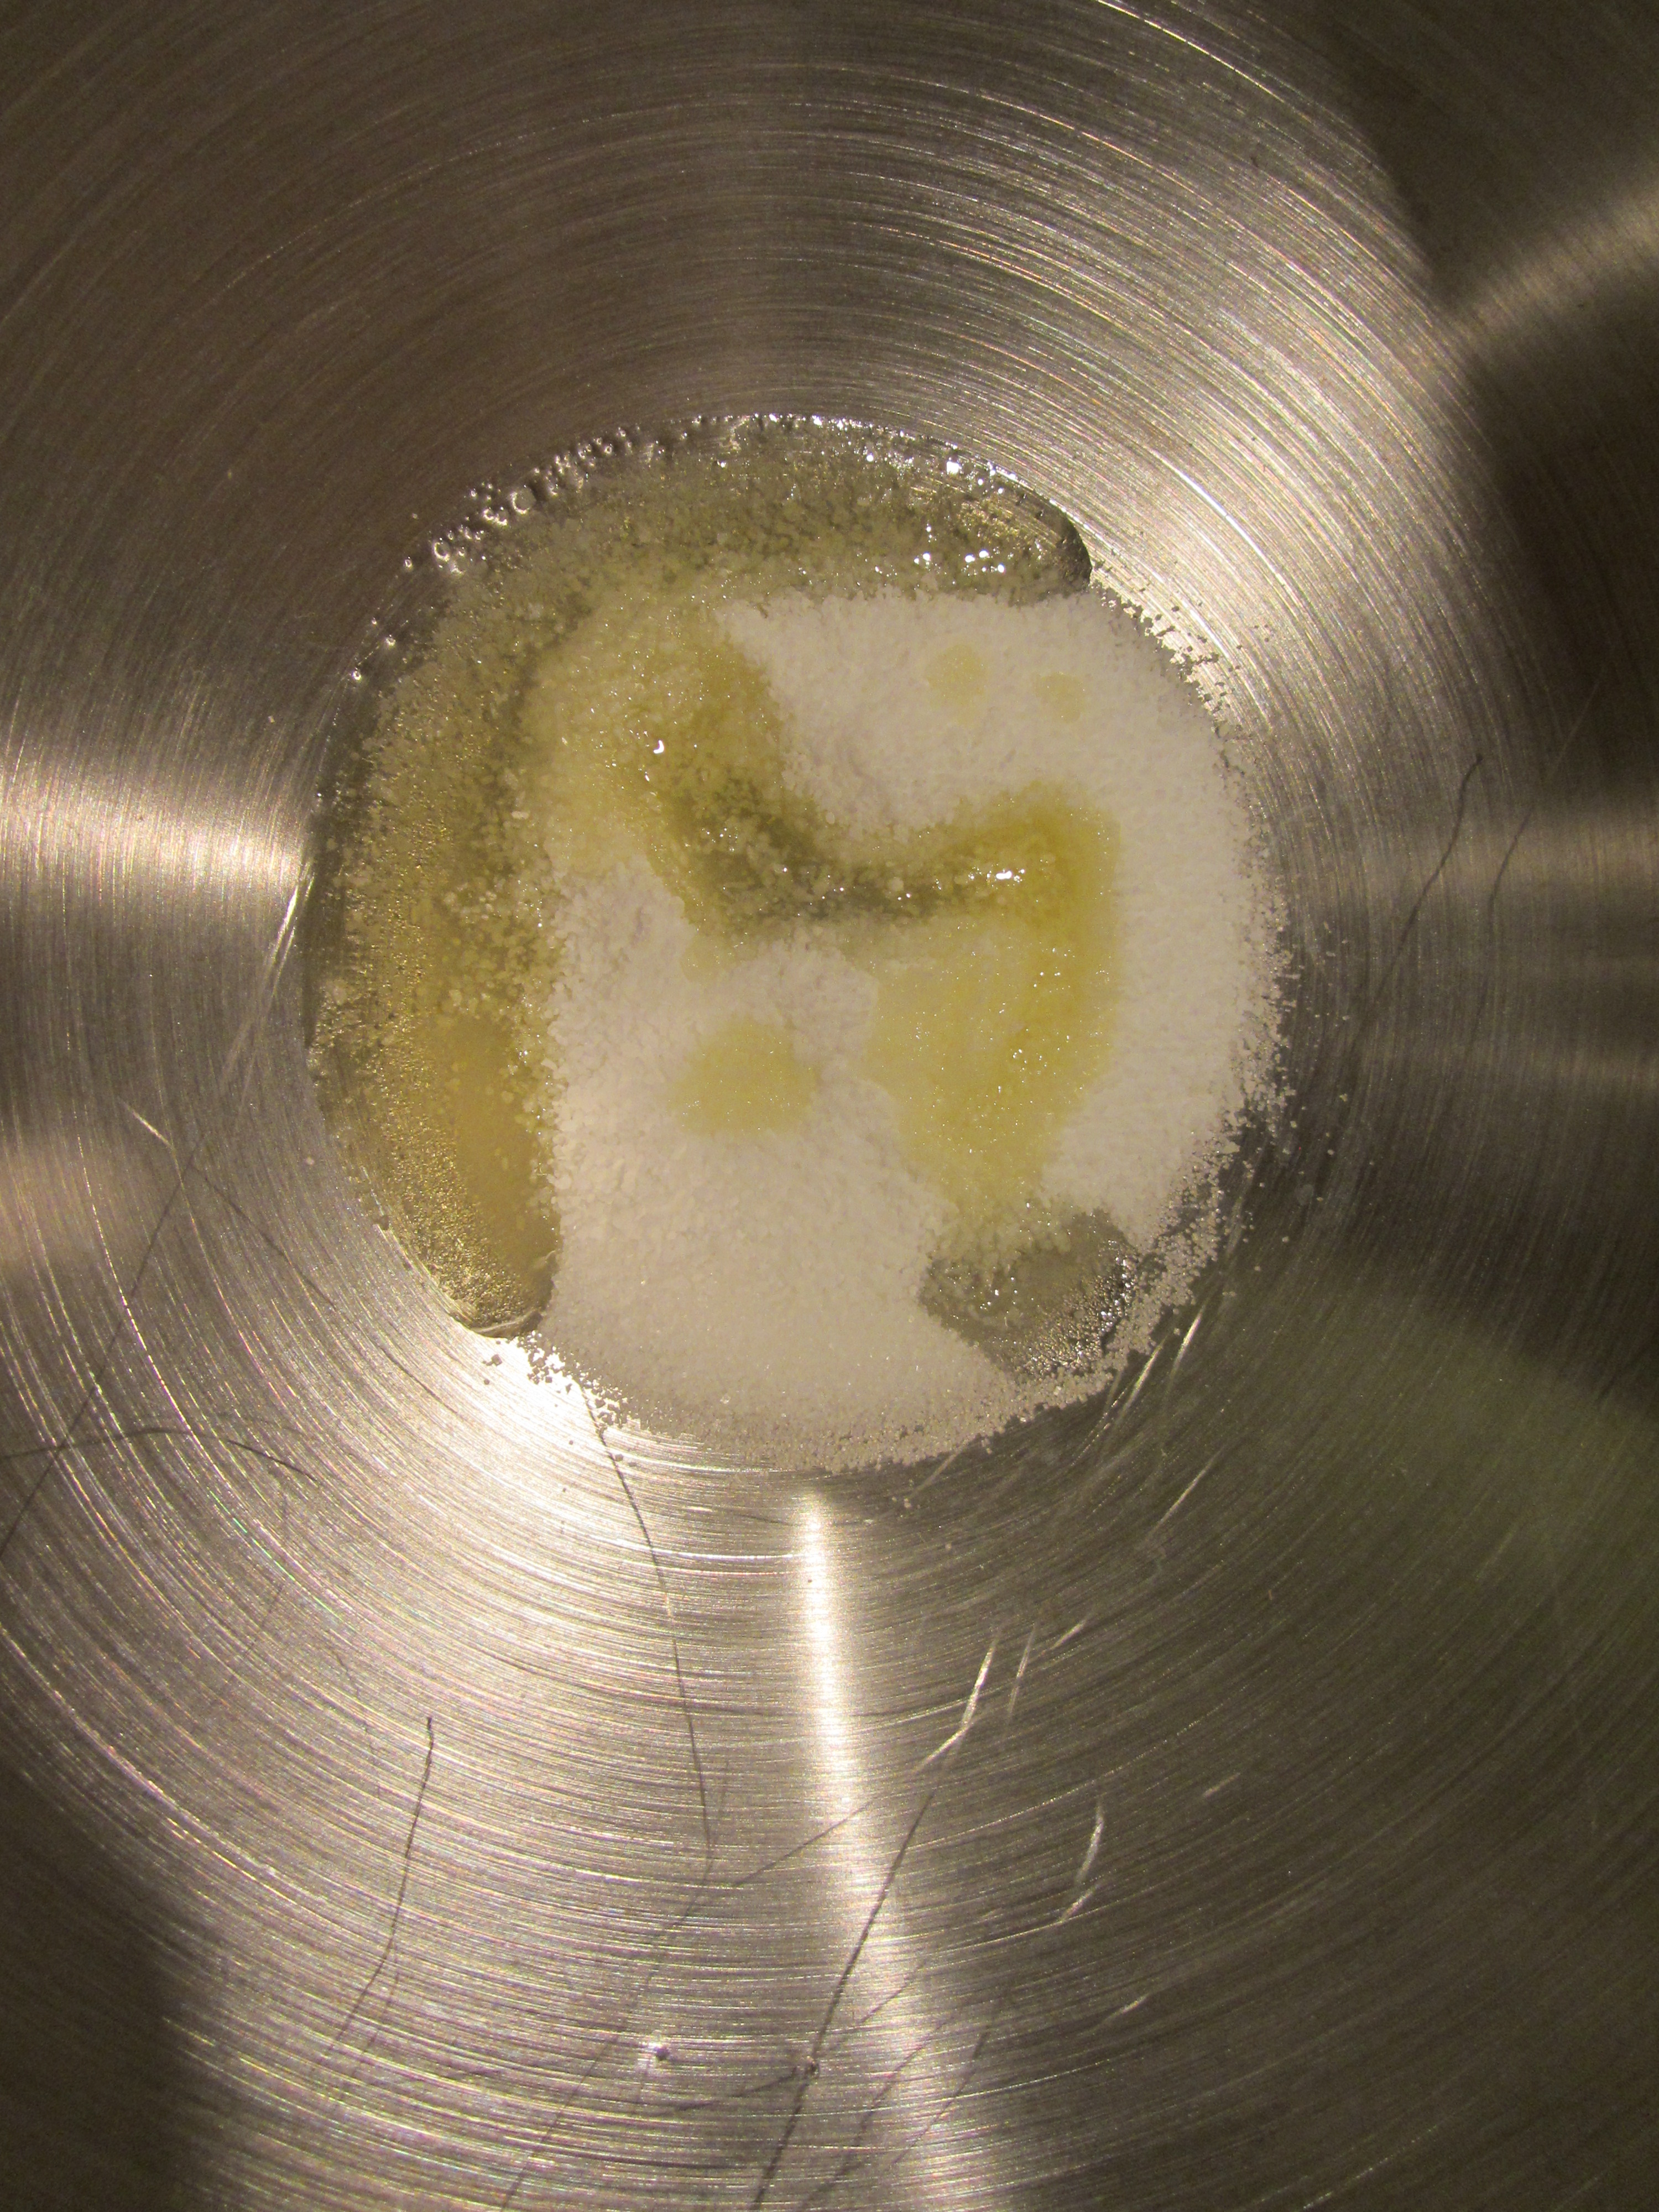
For these cookies, you begin by creaming together 1 C of butter-flavored shortening, 3/4 C of sugar, and 1 C of brown sugar (I used light brown sugar).

Butter-flavored shortening, sugar, and brown sugar in the mixer.

Creamed mixture.
Sift together 2 1/4 C of cake flour, 1 t of salt, and 1 1/2 t of baking powder. Again, I used regular salt, as Alton did not specify in the episode that Kosher salt should be used.

Cake flour, baking powder, and salt, ready to be sifted.

Sifted dry ingredients.
To the creamed mixture, add two eggs, one at a time, and 1.5 t of vanilla, and increase the speed.

Eggs and vanilla added.

Liquid ingredients incorporated.
Once blended, add the flour mixture slowly in three installments, starting on low speed and increasing to high.

Dry ingredients added in installments.

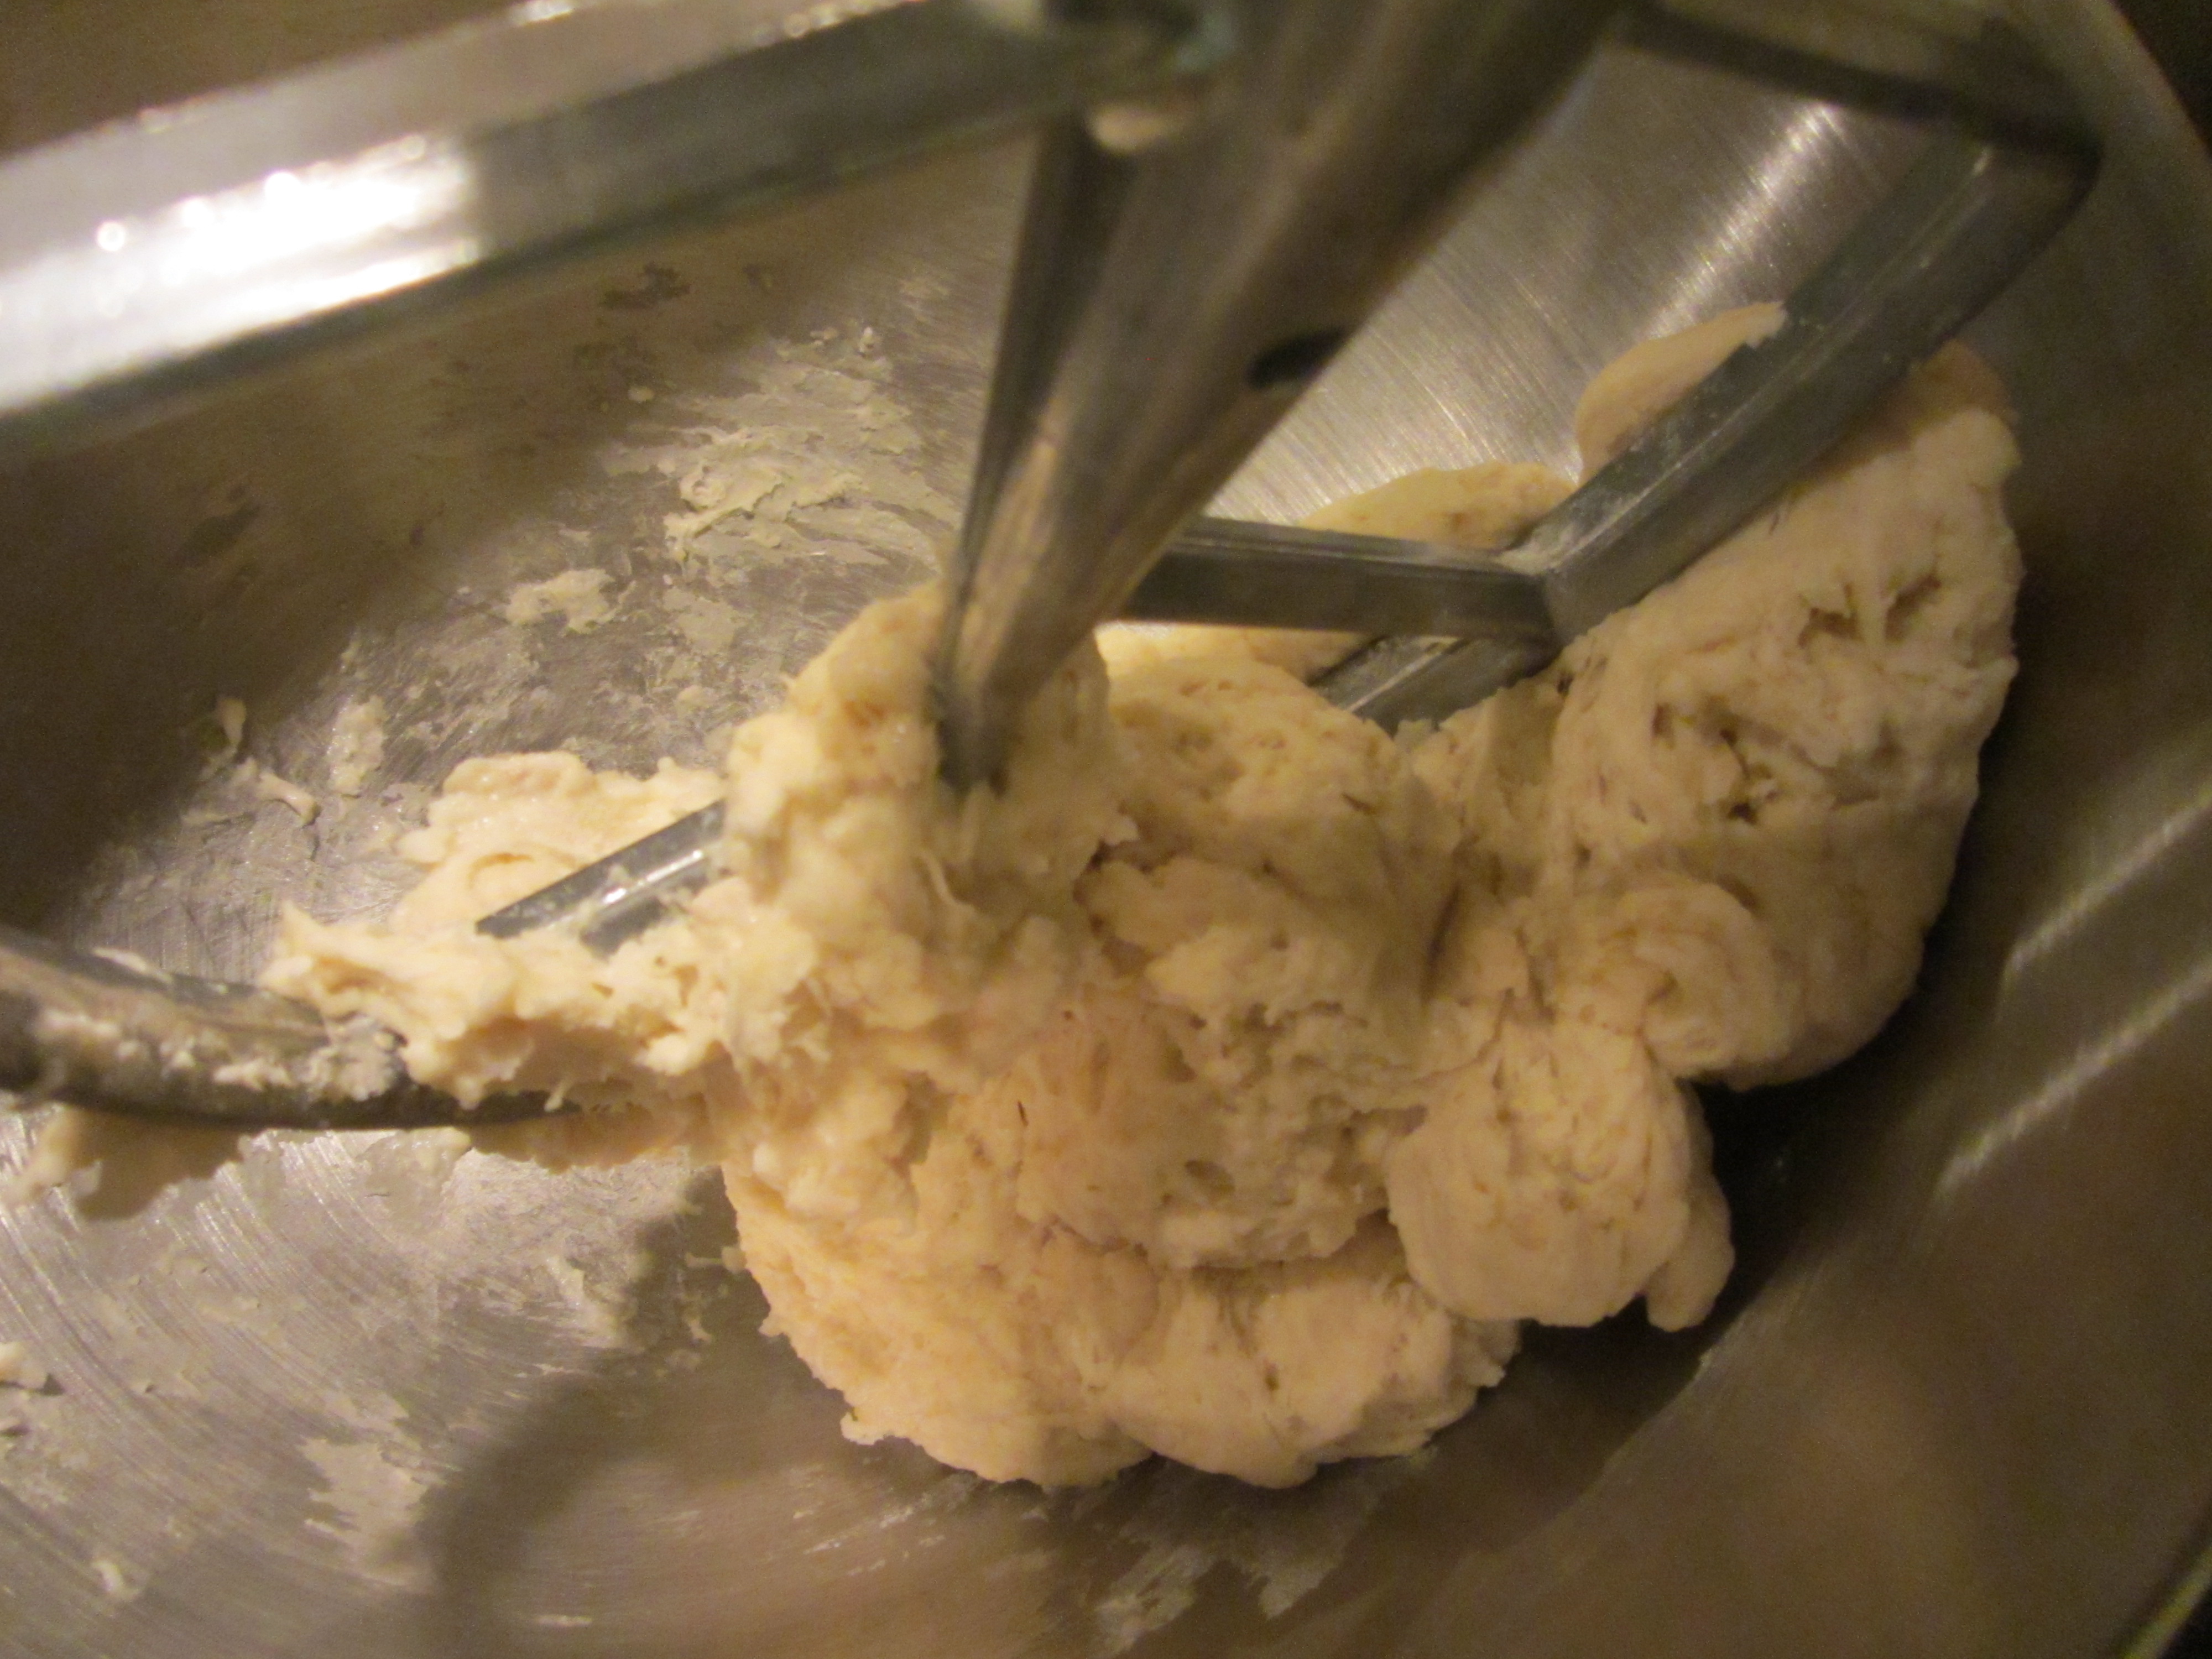
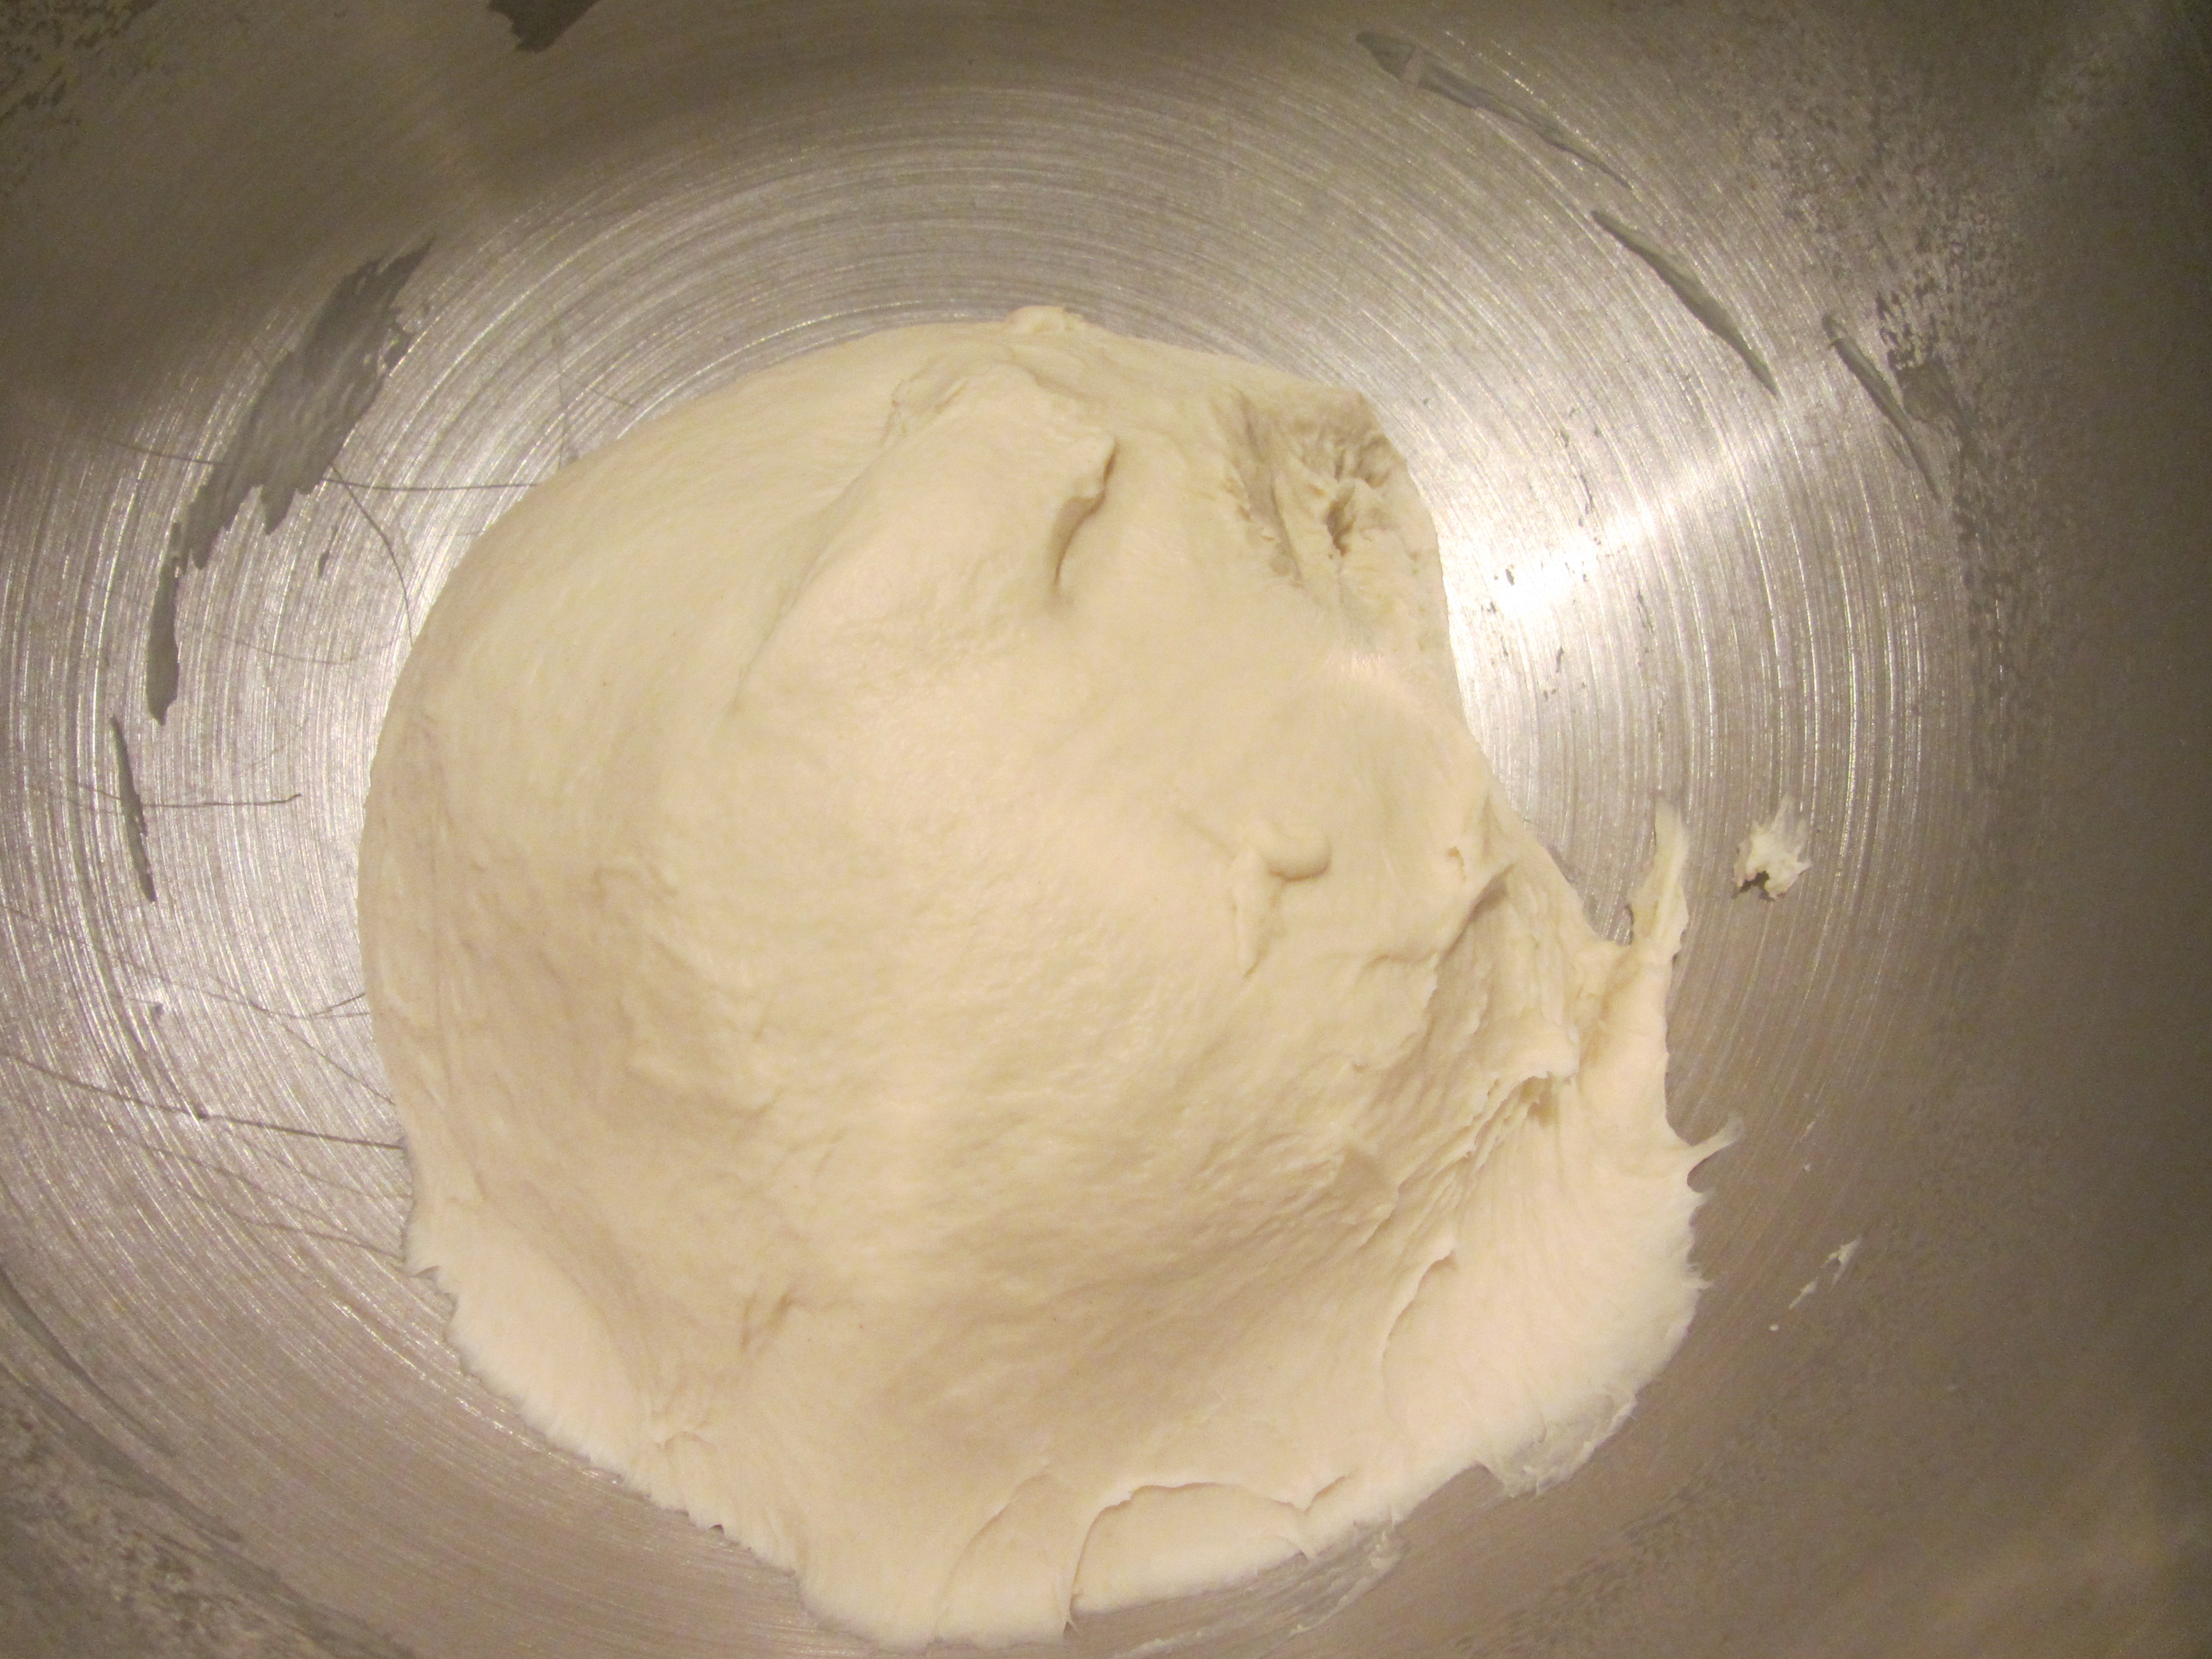
Dough after dry ingredients incorporated.
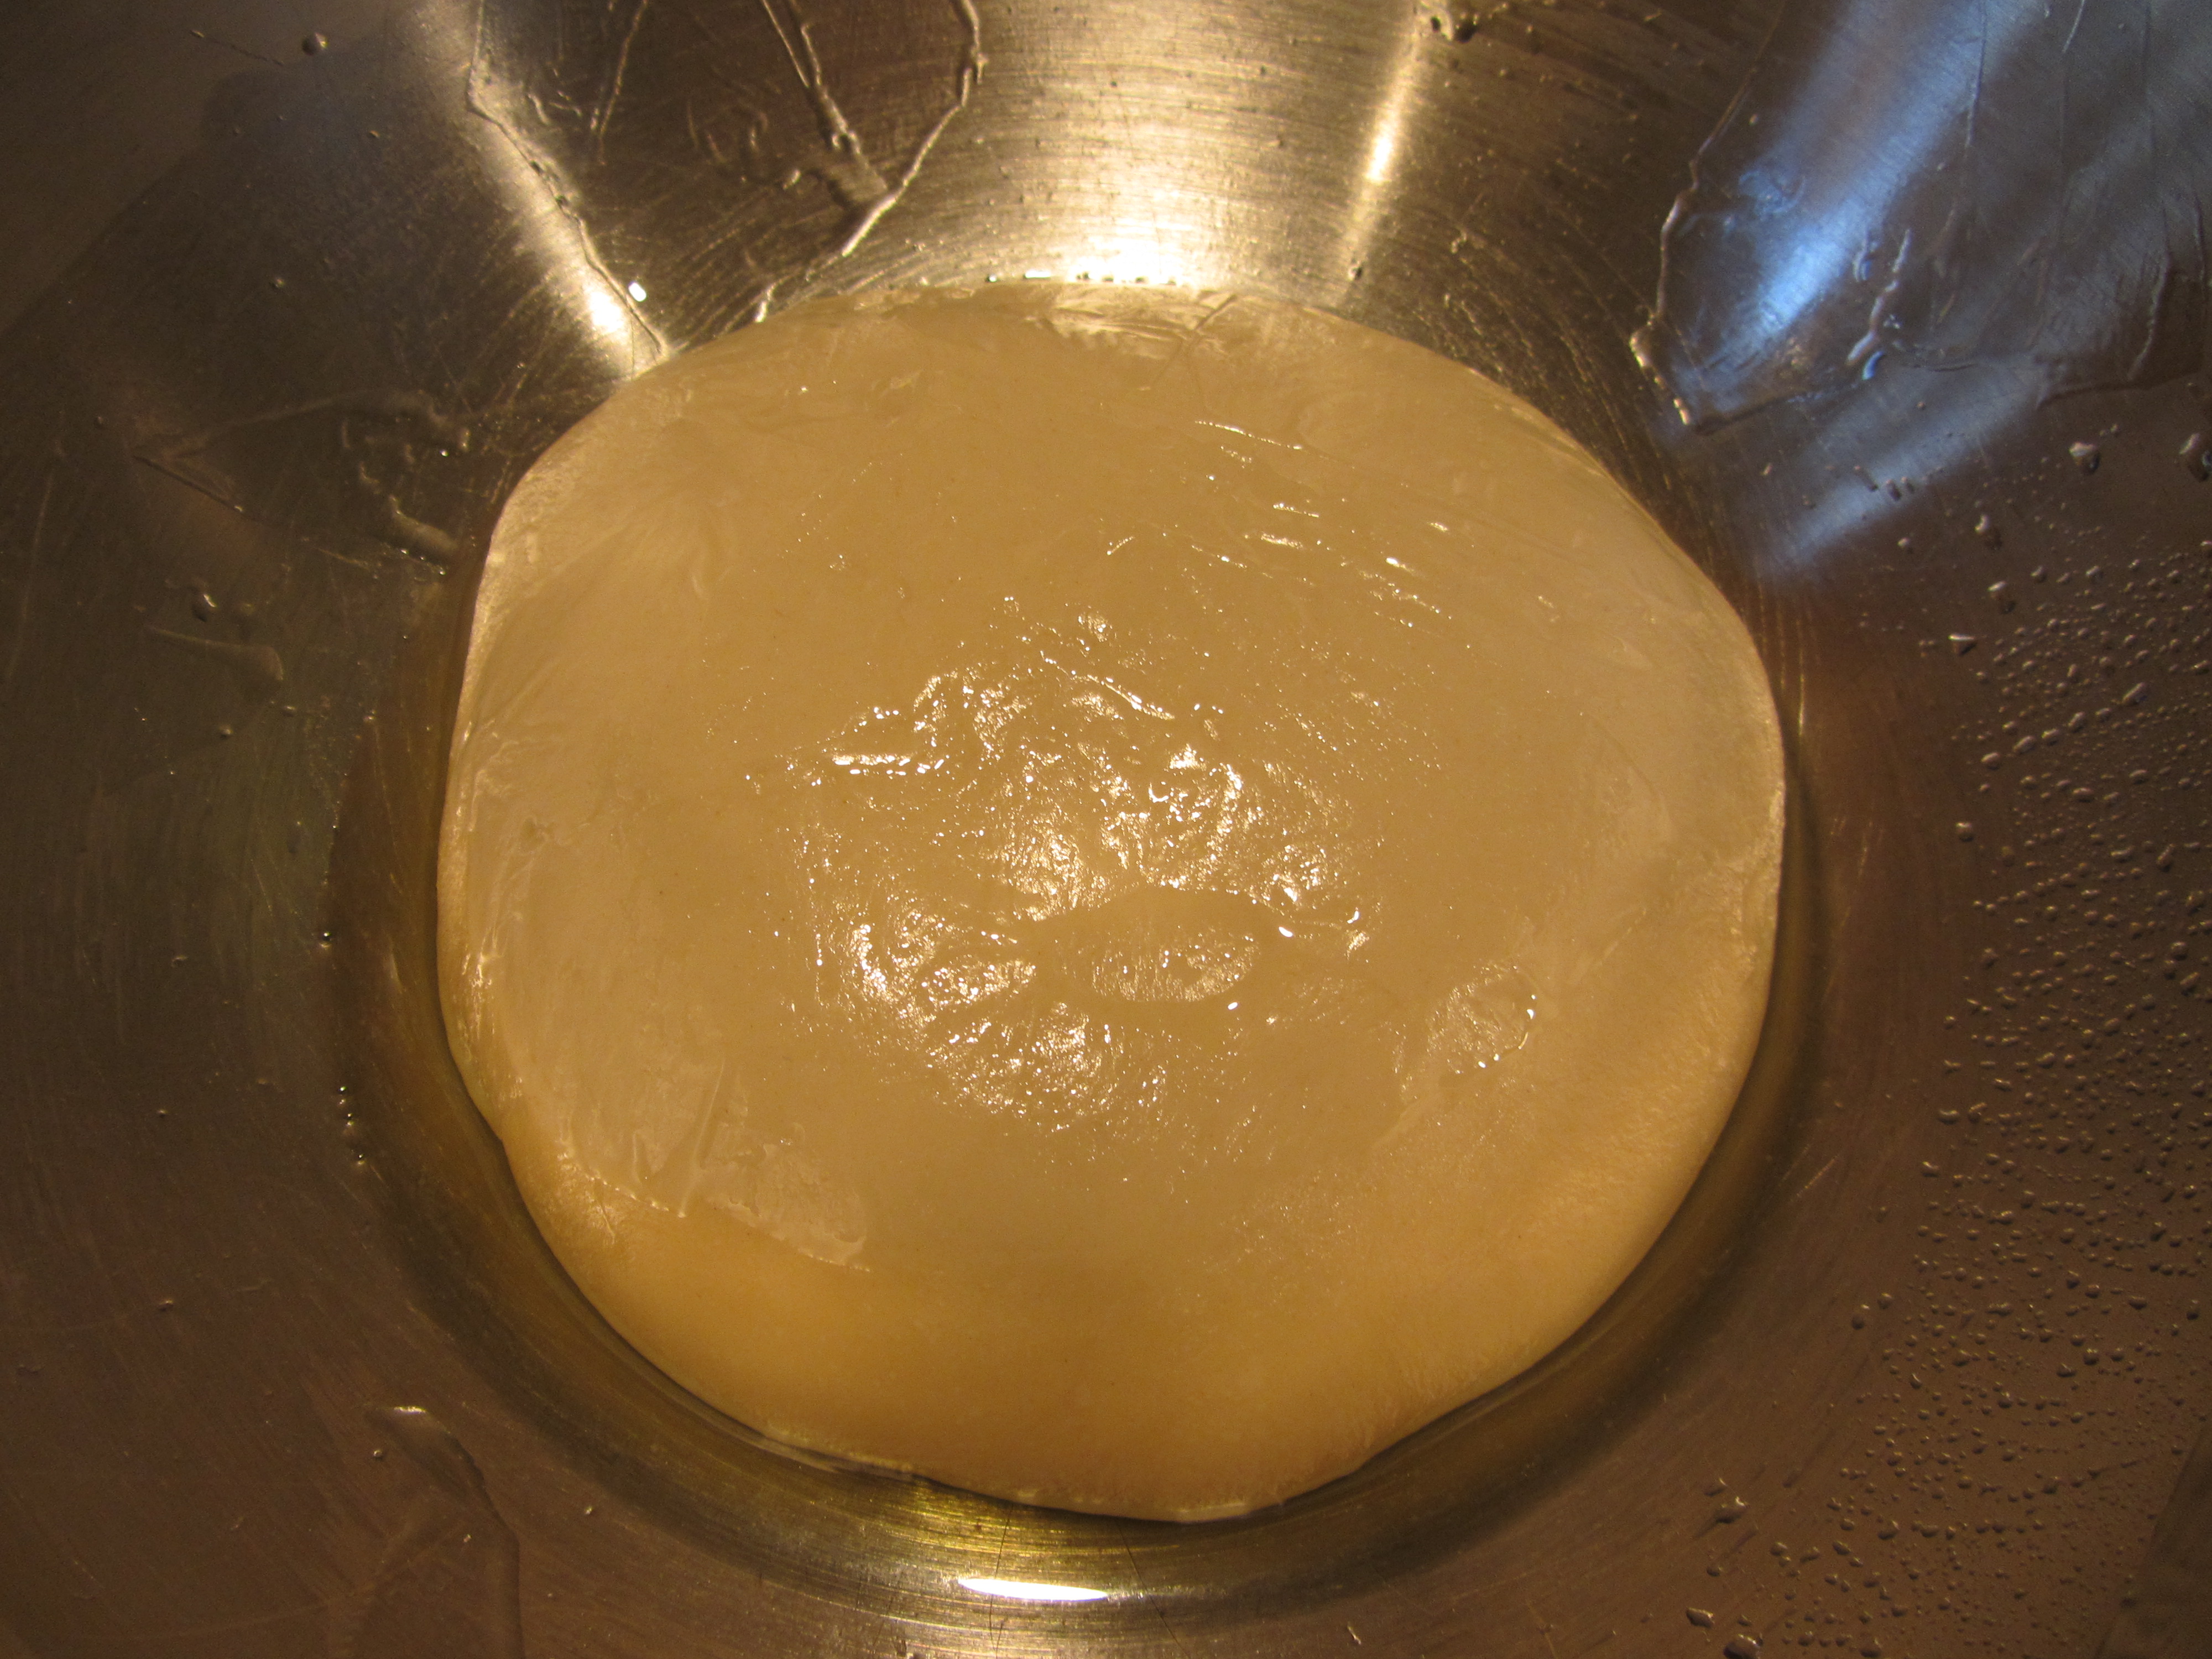
Once all of the dry ingredients are incorporated, stir in 2 C of semi-sweet chocolate chips and put the dough in the refrigerator until it is thoroughly chilled.

Chocolate chips being stirred in.

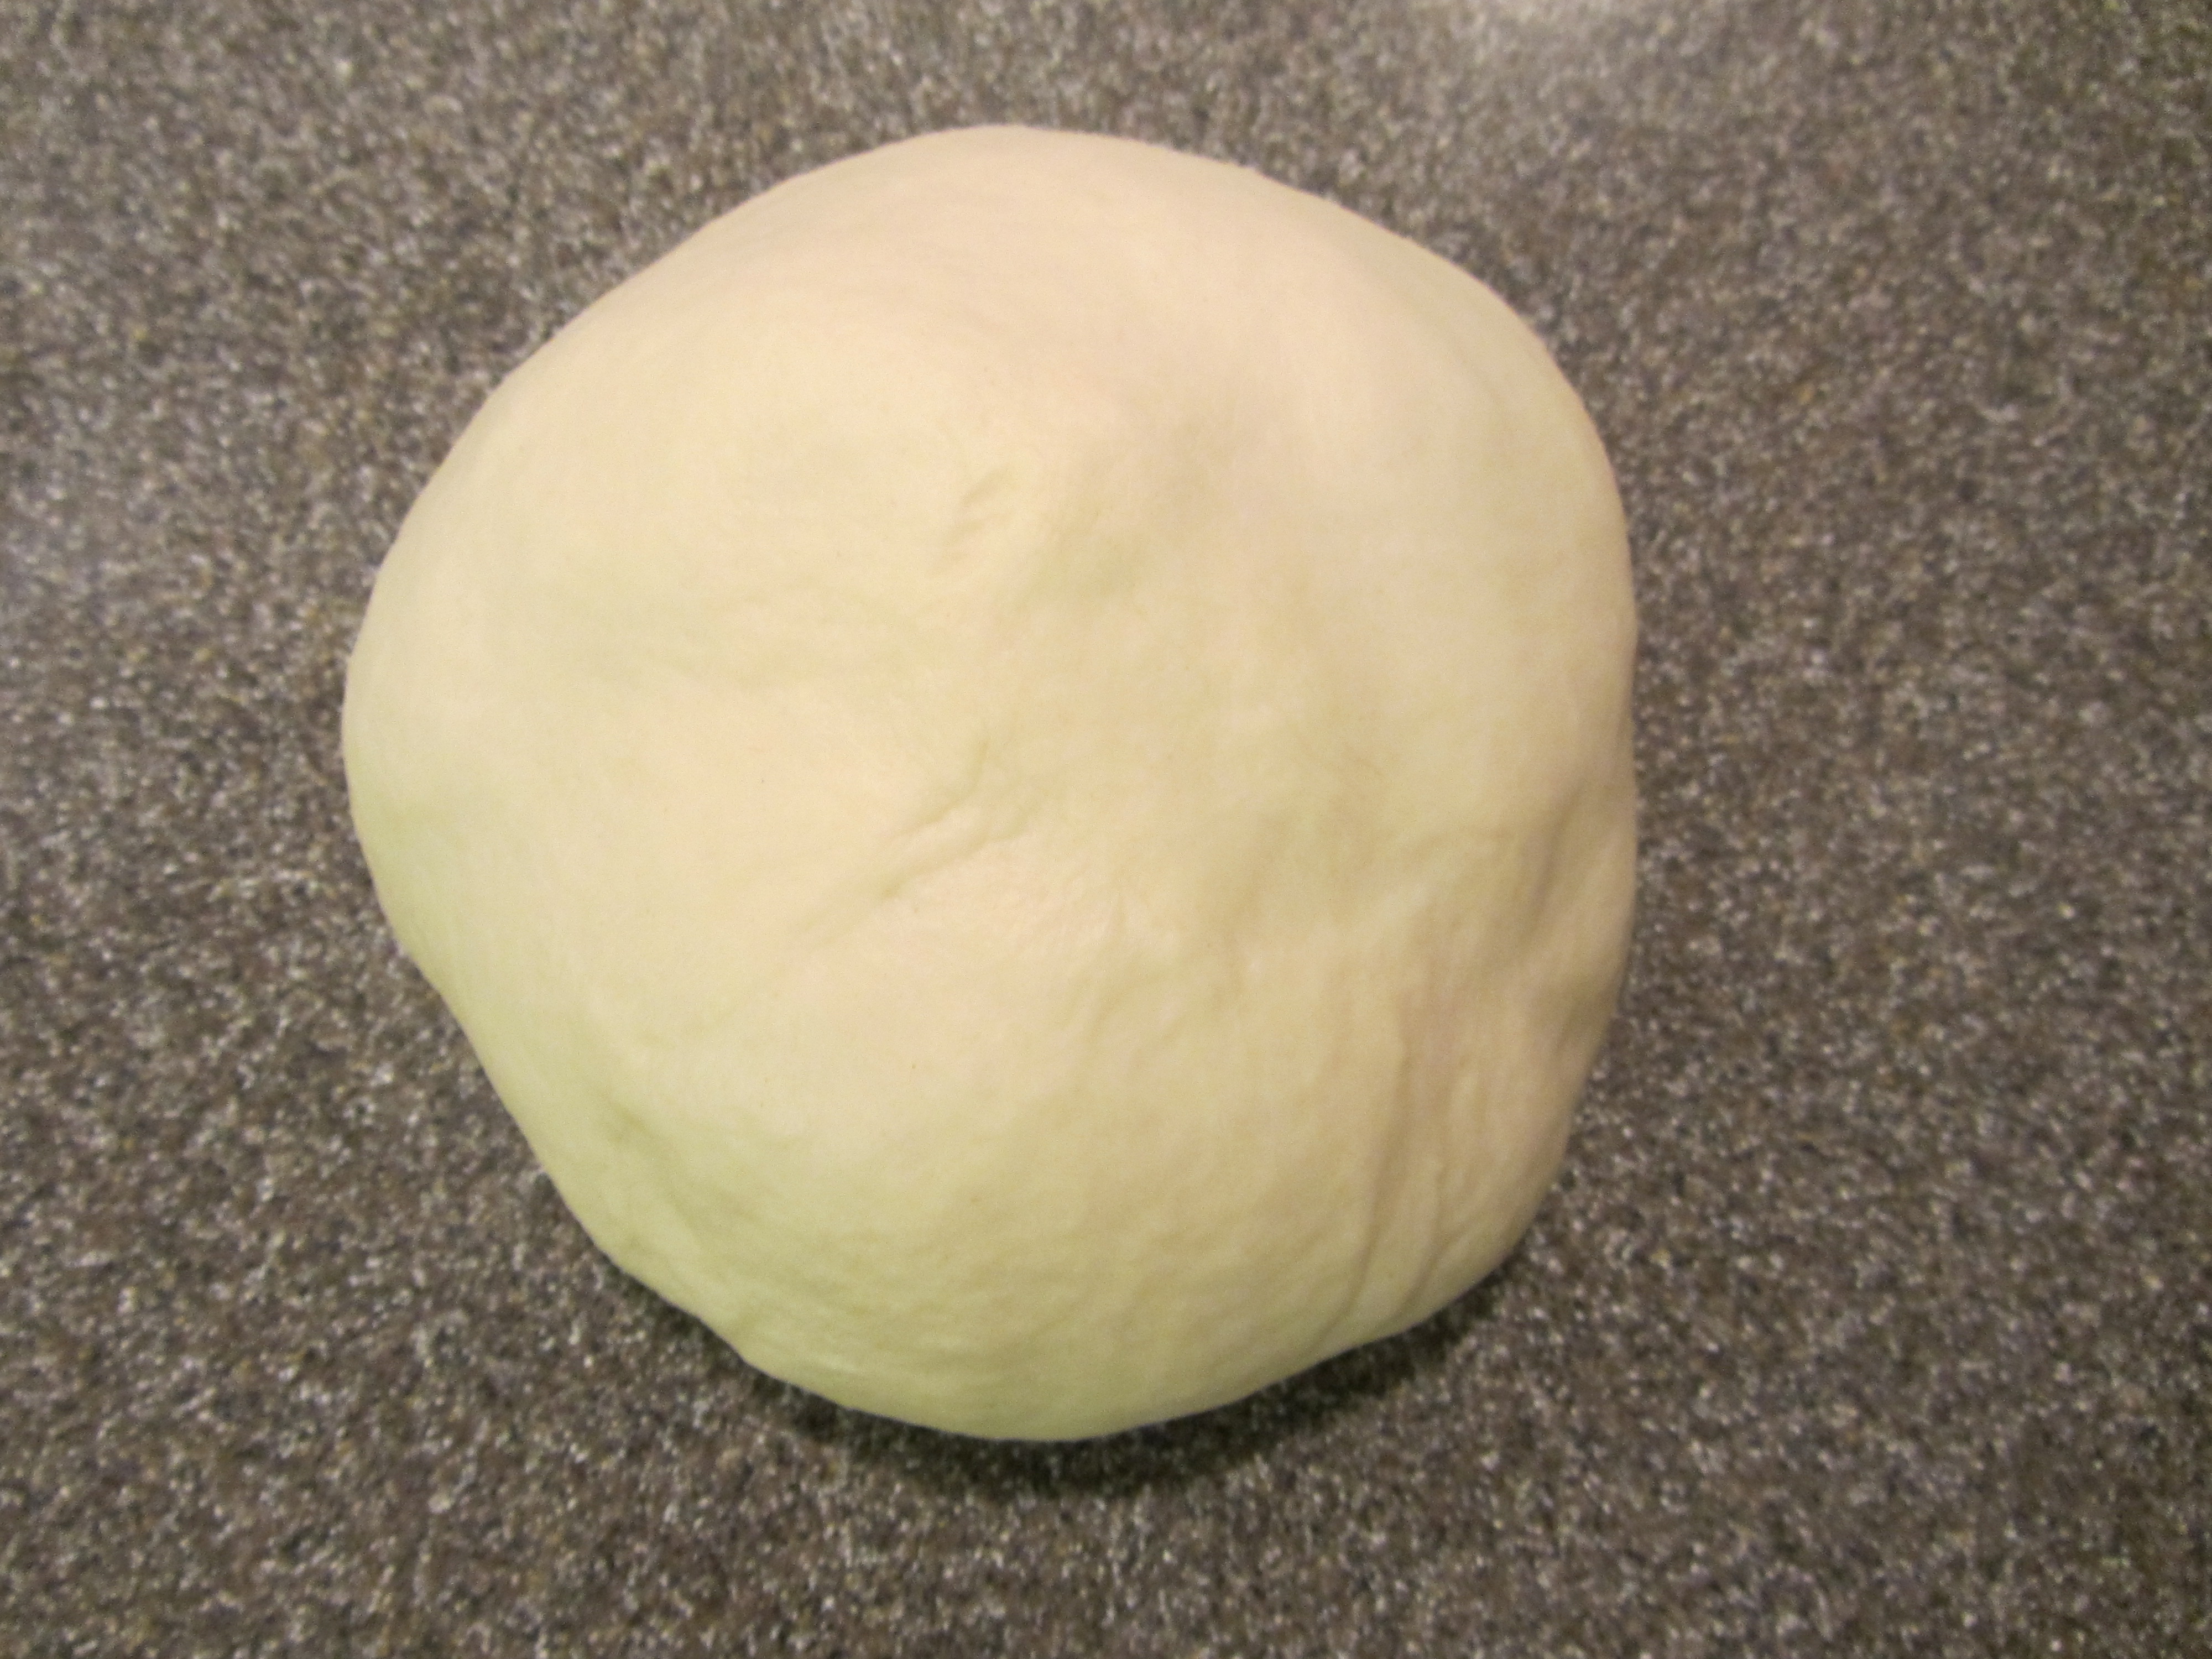
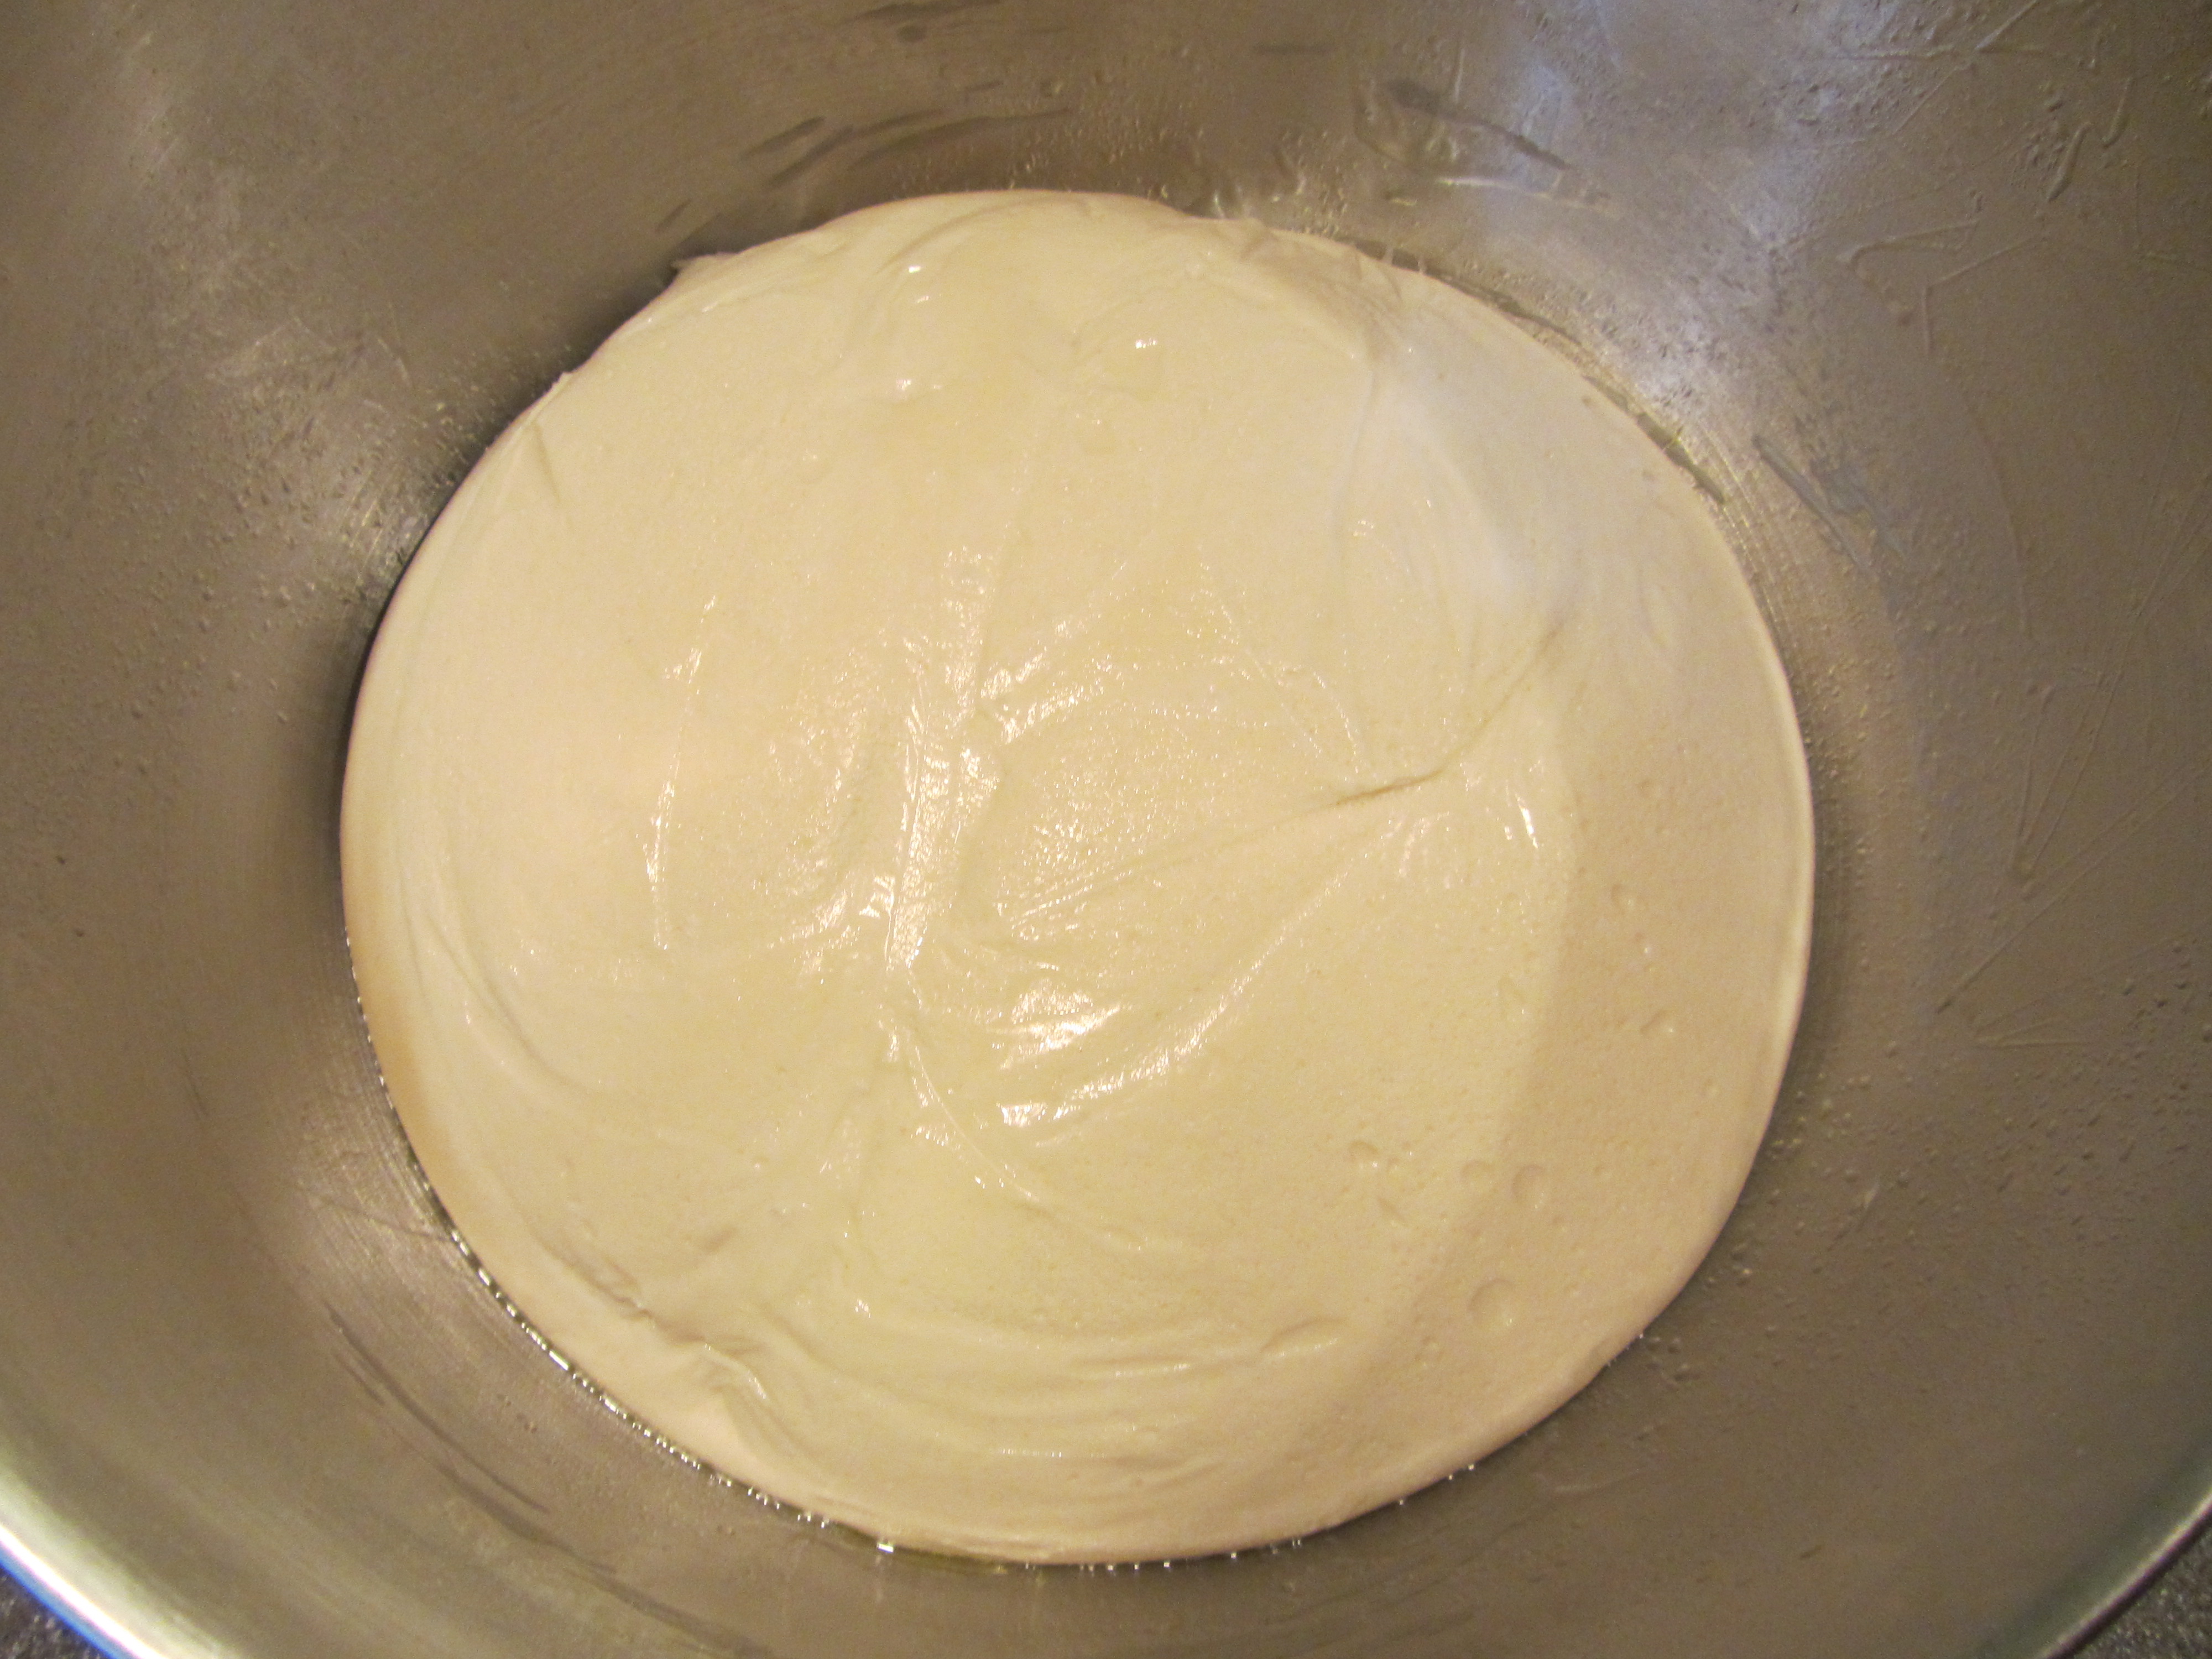
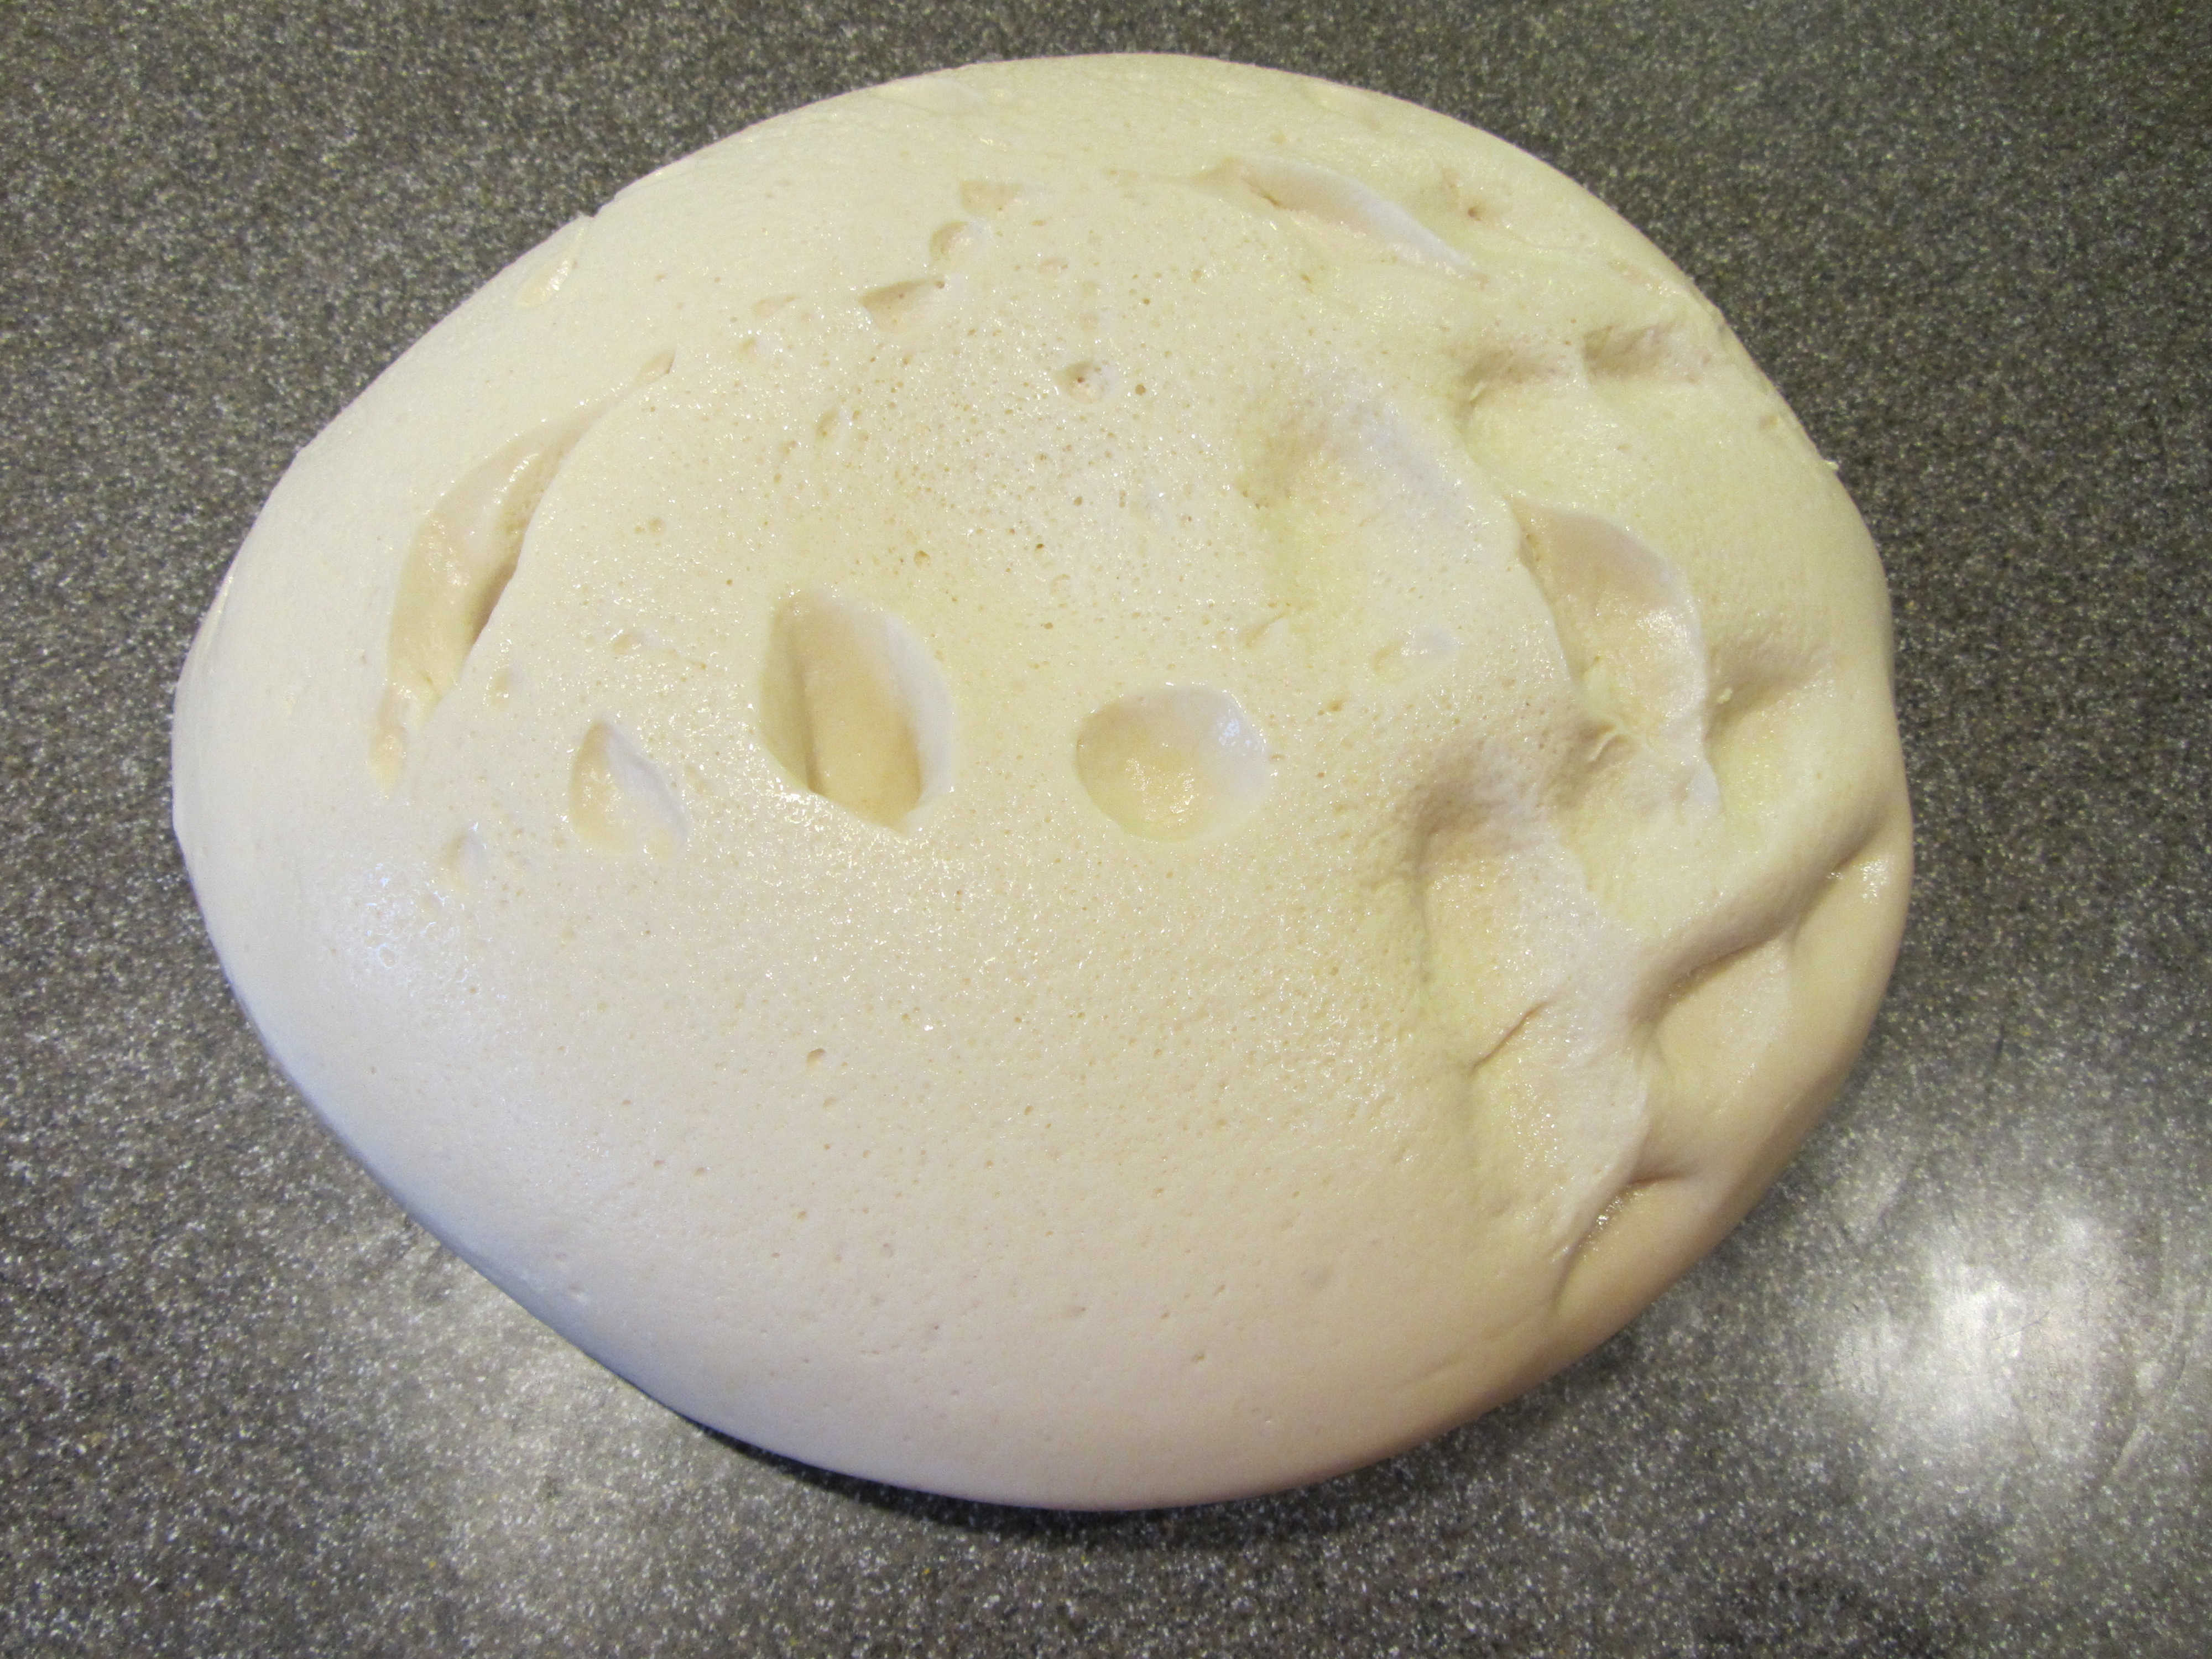
Finished puffy dough.

Dough in the refrigerator to chill.
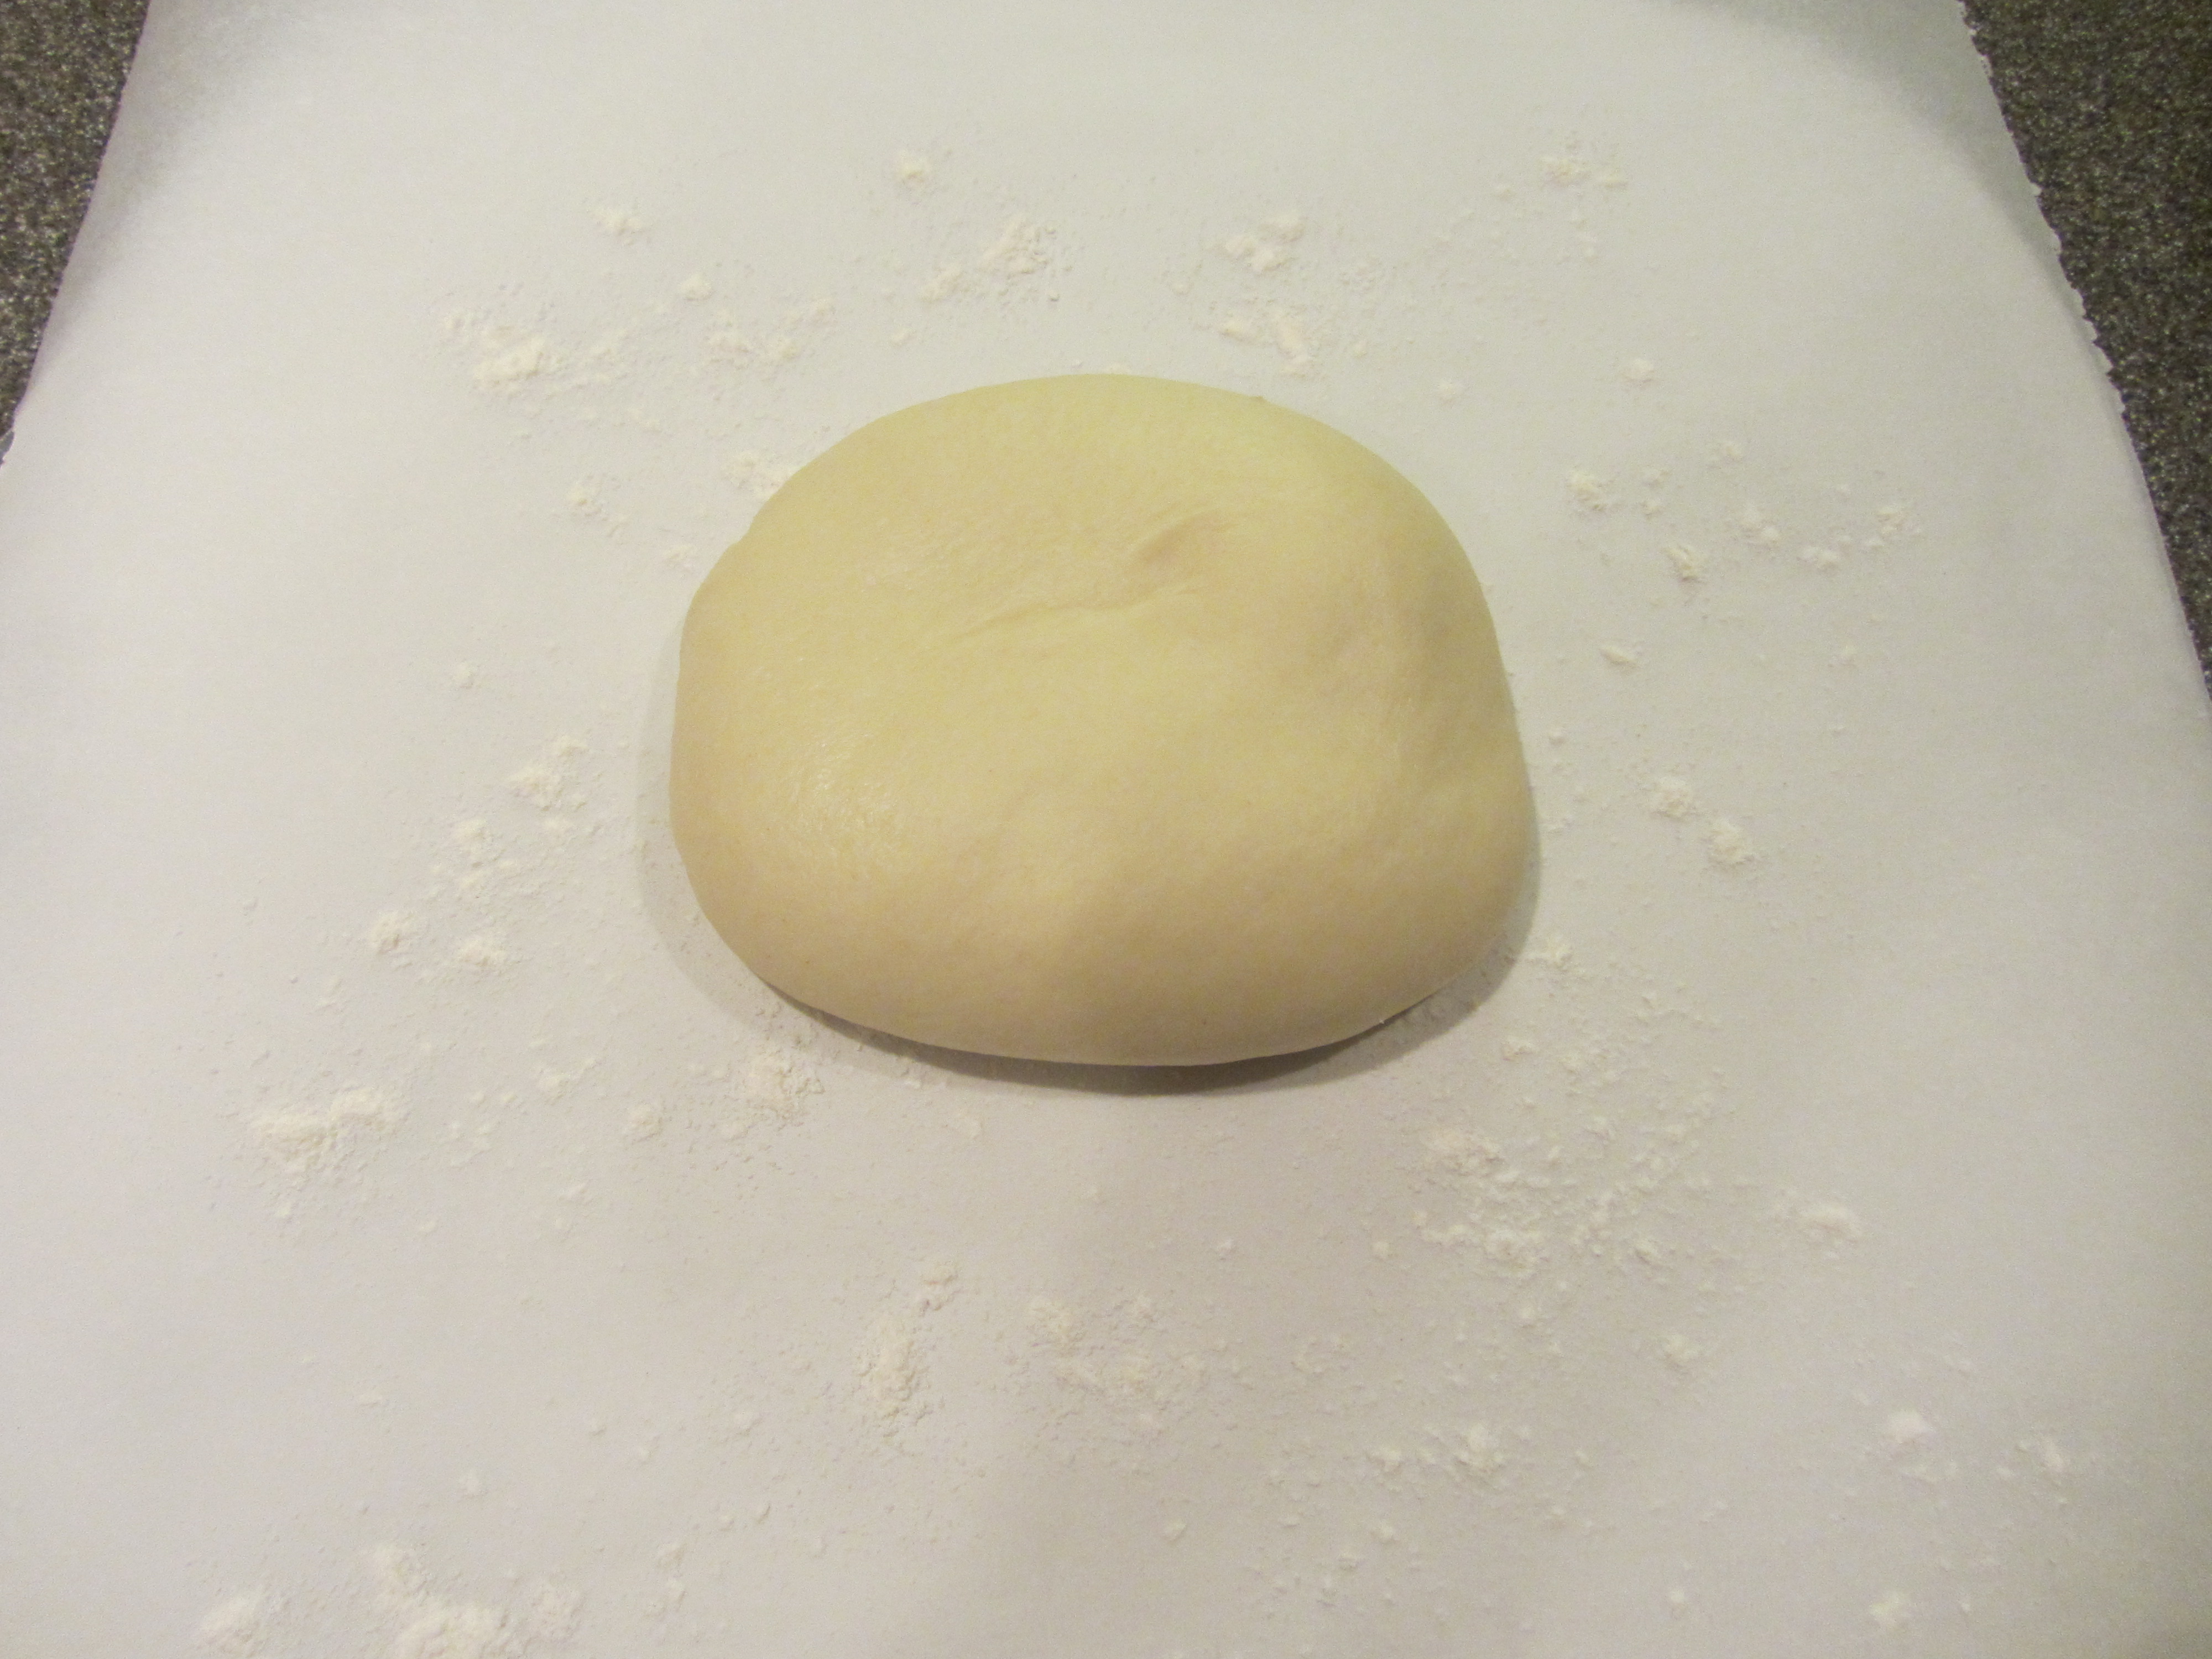
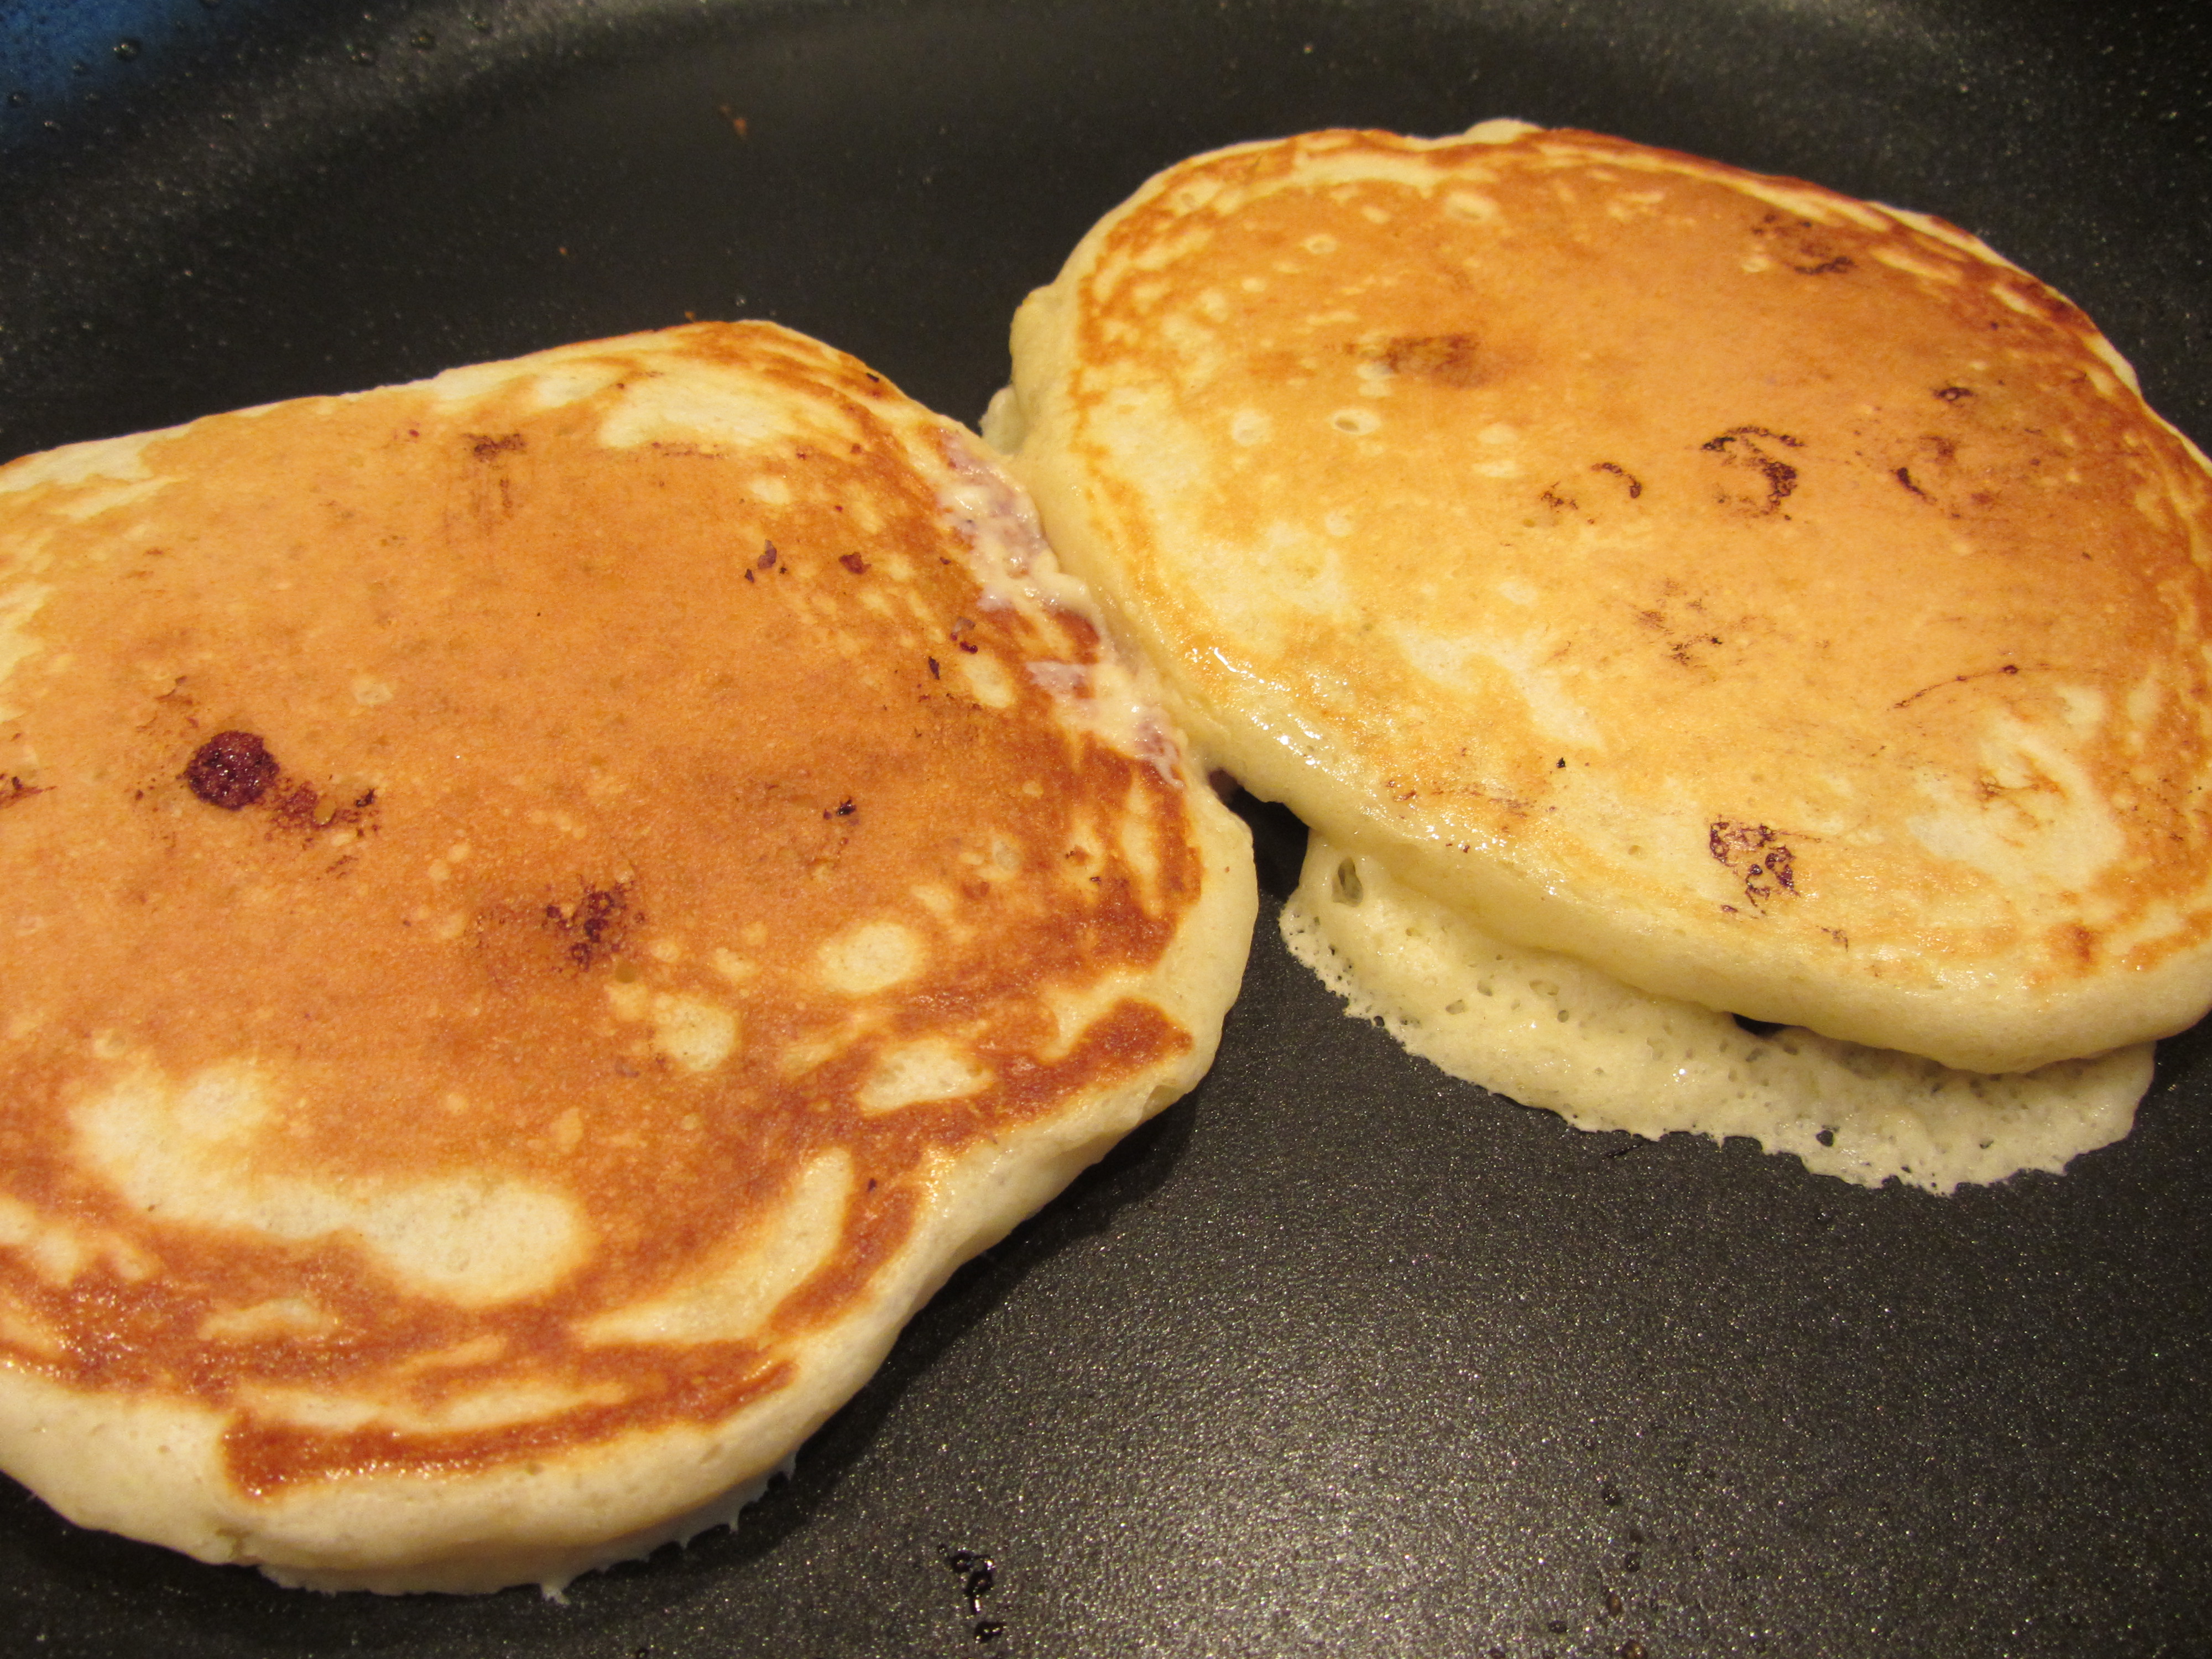
Again, scoop six cookies per parchment-lined sheet, and bake at 375 degrees for 13-15 minutes, or until they look to be almost done. For these cookies, Alton tells you to use a smaller scoop to get more puff. I used a smaller ice cream scoop.

Six cookies per parchment-lined sheet.
Remove the cookies from the pan ASAP to prevent further cooking, let them cool completely, and store at room temperature for a week, or frozen for up to 3 months.

Finished puffy cookies.

Alton’s puffy cookies.
 I literally was about to start baking these cookies when the doorbell rang; it was our cute neighbor girl, selling what else but chocolate chip cookies for school. If you have seen the ending of this episode of Good Eats, you know how ironic this is, as Alton sits on a park bench with a huge tin of cookies when a Girl Scout approaches him, asking him to buy cookies. Too funny. Of course, I had to buy some, so we have even more chocolate chip cookies heading our way in the near future.
And, for Alton’s science behind these cookies:
- Shortening is the fat used because it has a higher melting temperature, which allows the cookies puff before they spread.
- The leavening agent here is baking powder because it increases the batter’s acidity, which gives more rise and less spread.
- Cake flour is the flour of choice because it has lower protein content, so it soaks up less moisture in the batter; more moisture in the batter gives more steam, which increases puffiness.
- A higher ratio of brown:white sugar yields more tender cookies.
- Chilling the dough results in less spreading.
The Chewy
Alton’s final cookie recipe in this episode is for the chewy cookie. This is the cookie I was most highly anticipating. I was on a roll last week, so I followed up Tuesday and Wednesday’s cookie baking with another batch on Thursday. Why not? You can never have too many cookies. Right?

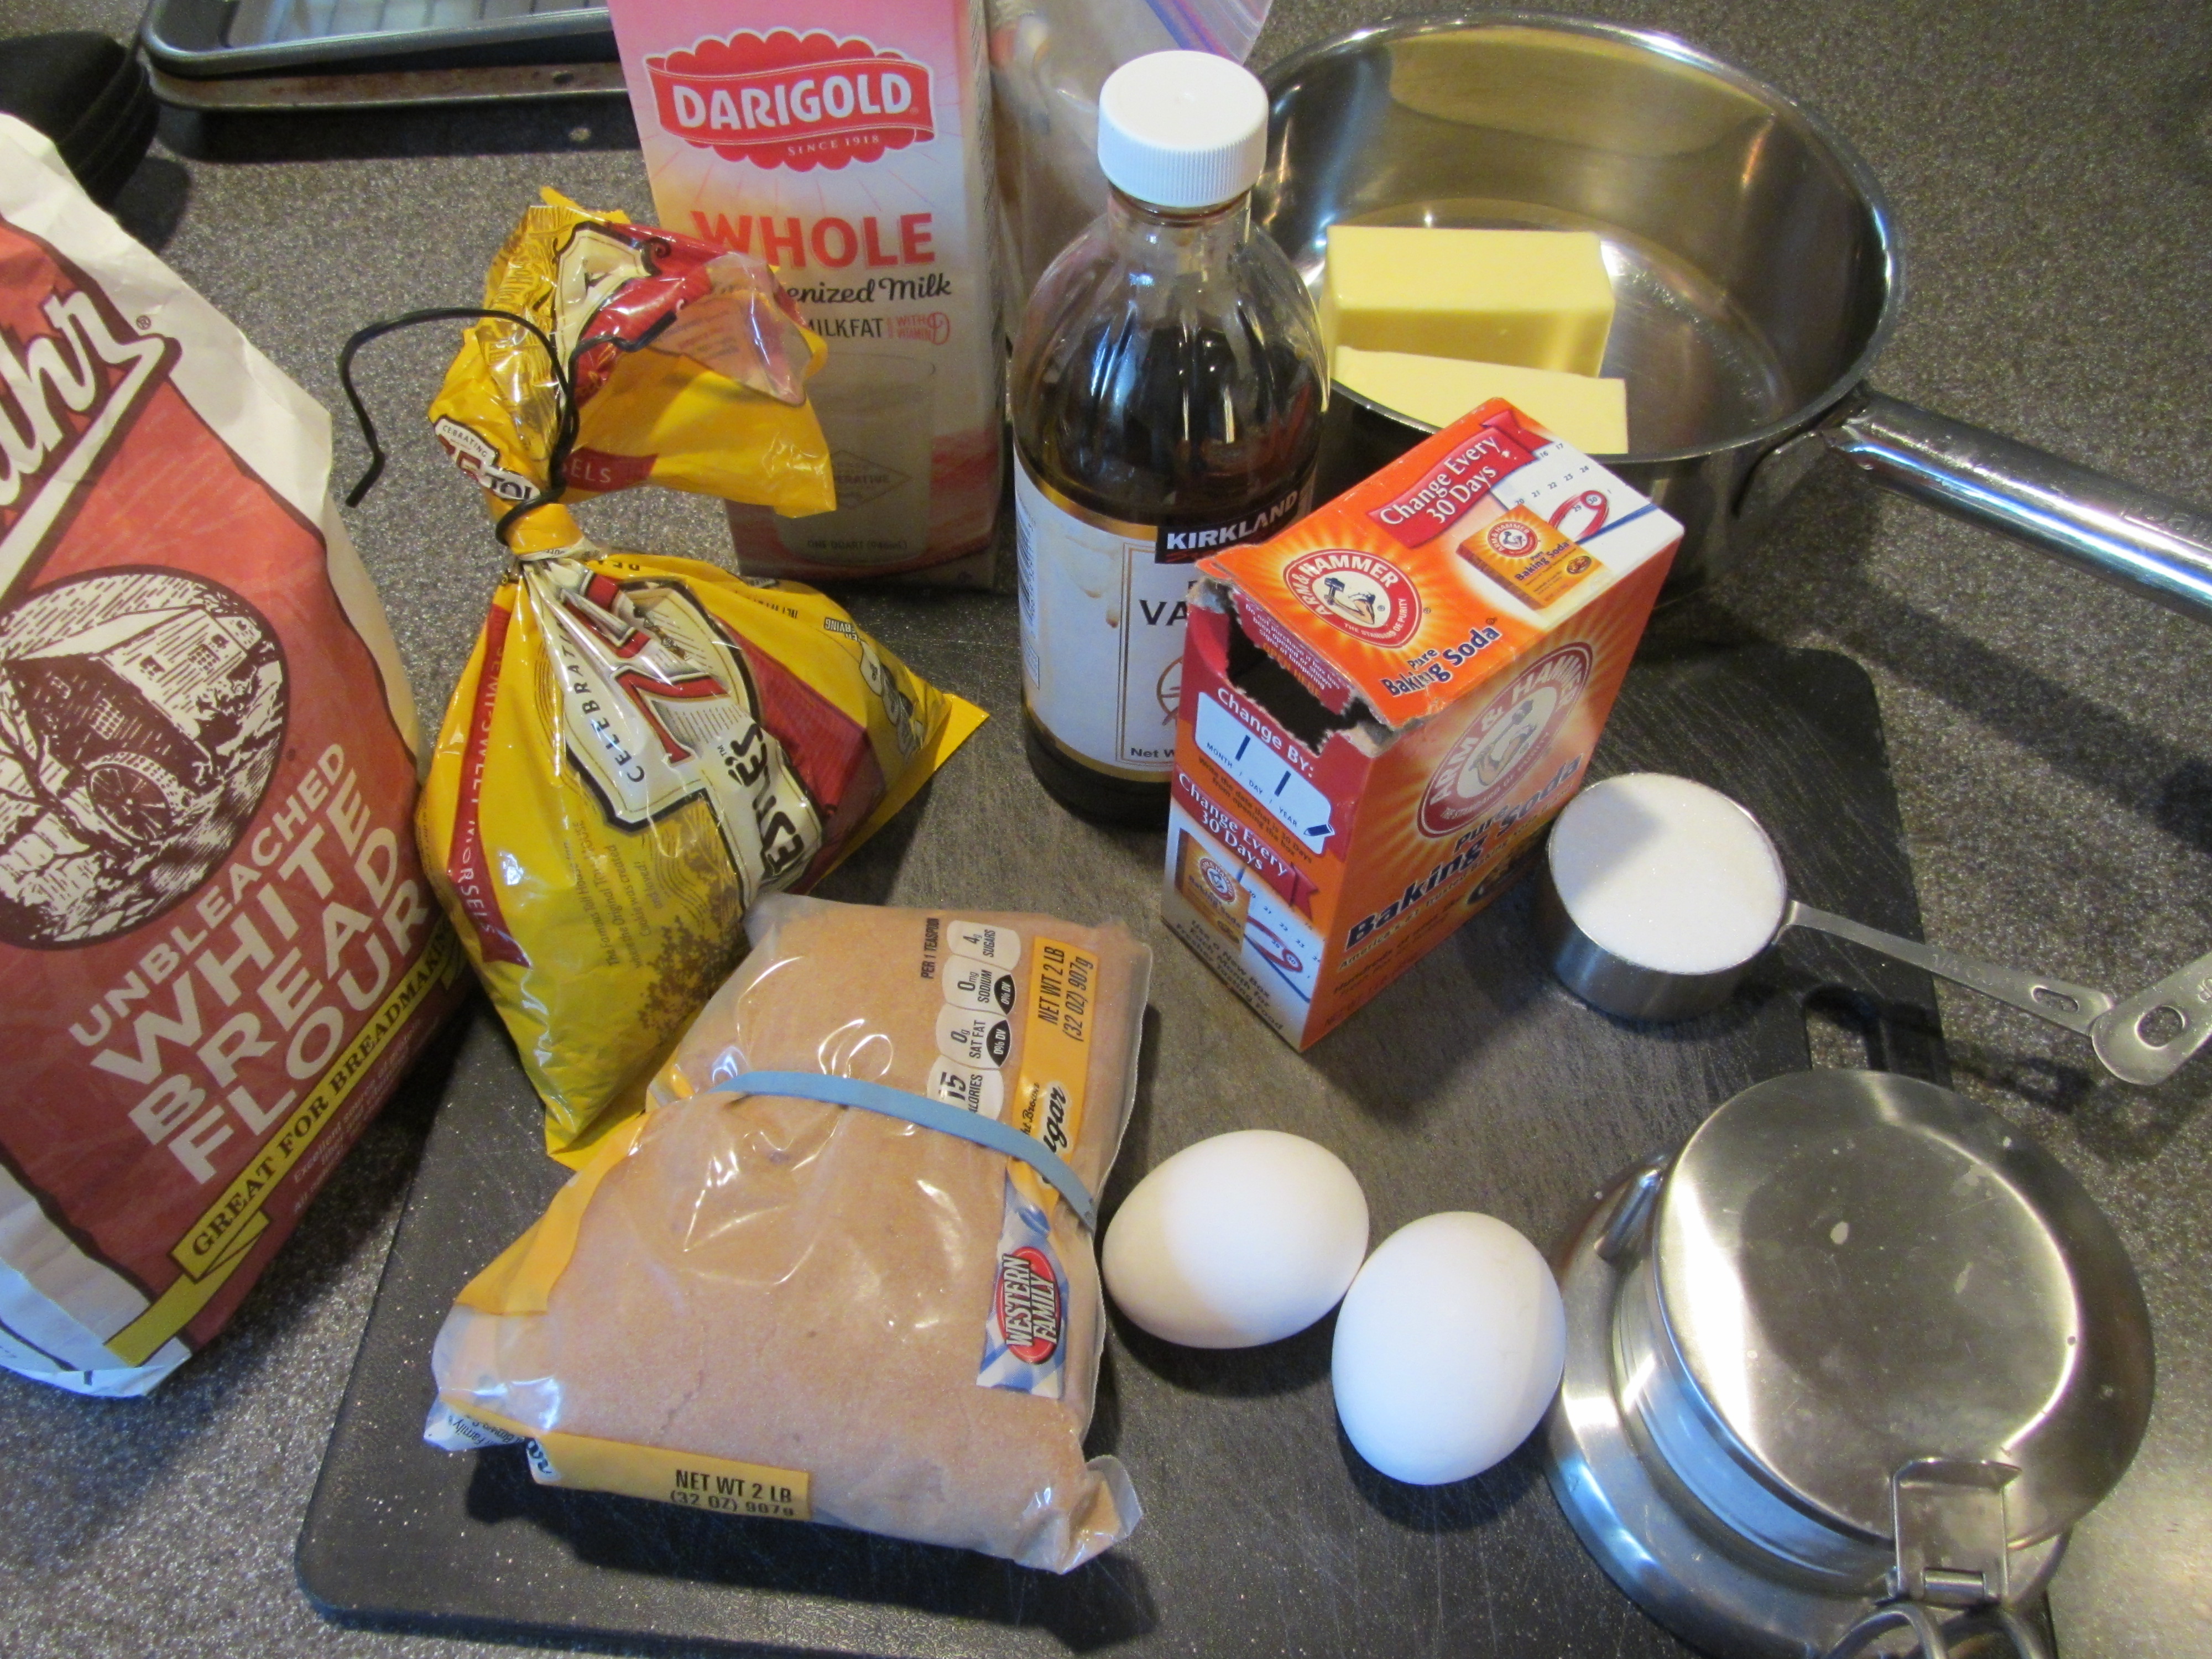
Chewy cookie ingredients: butter, bread flour, Kosher salt, baking soda, sugar, brown sugar, eggs, whole milk, vanilla, and chocolate chips.
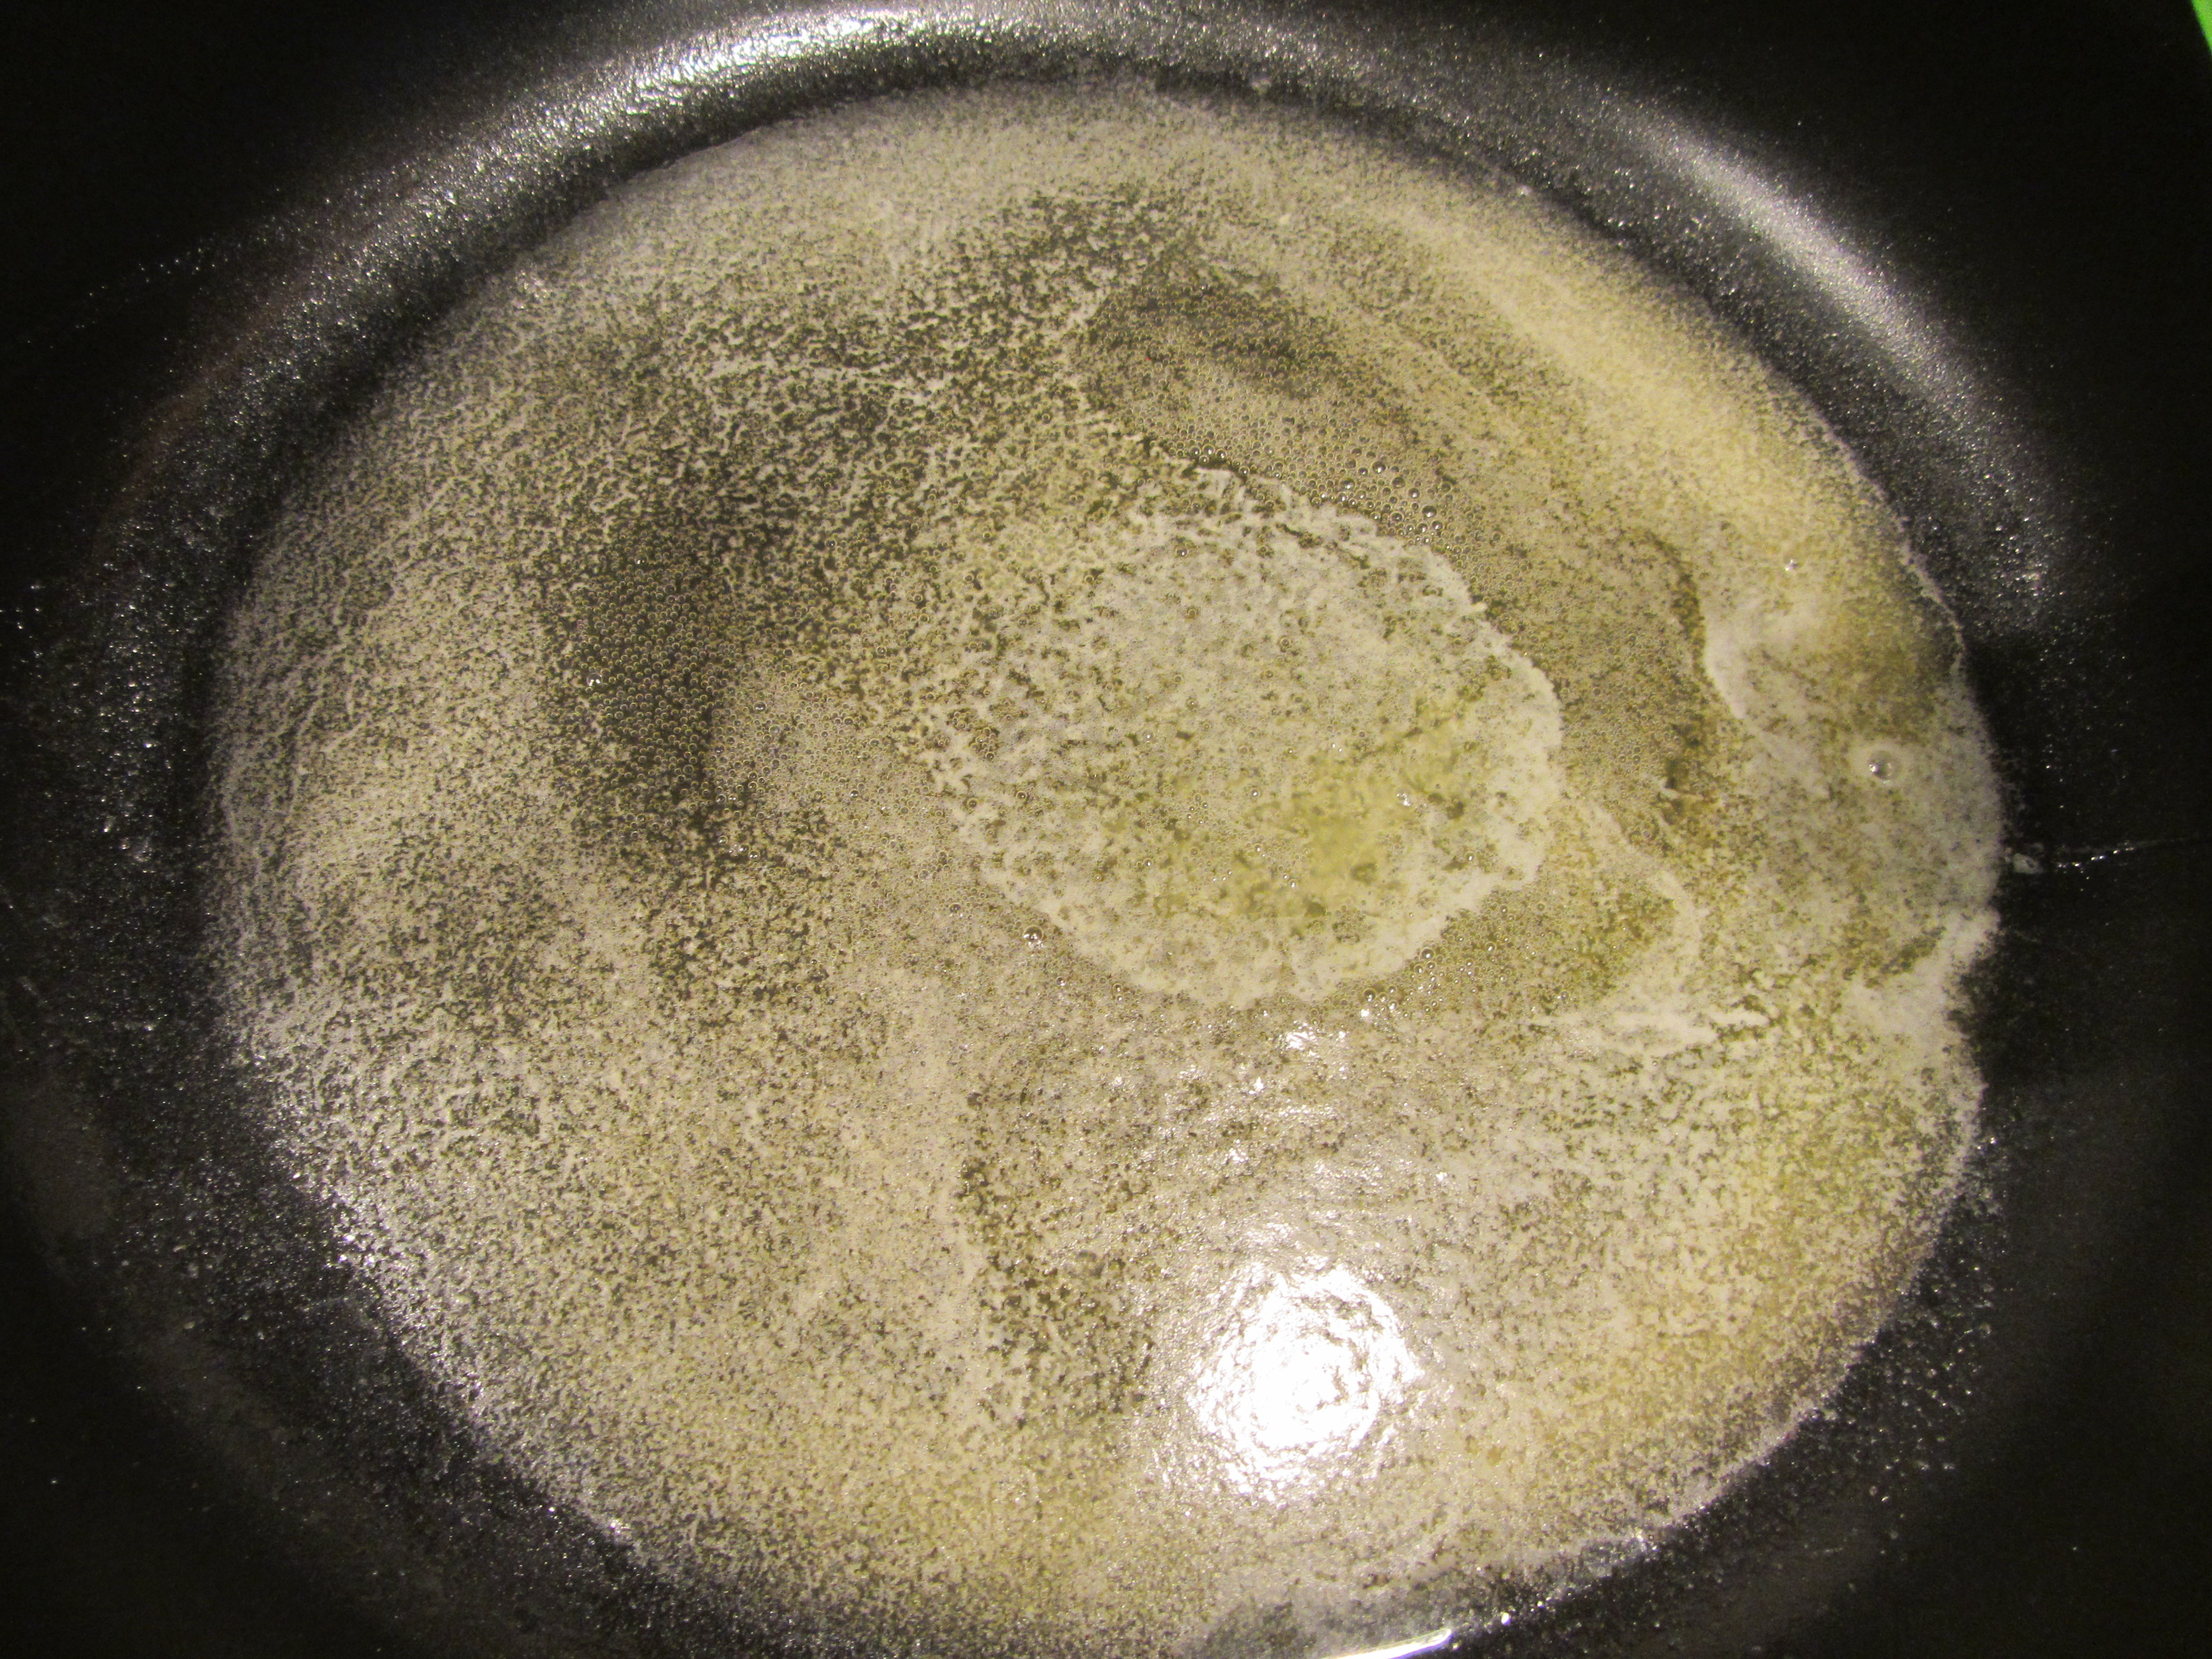
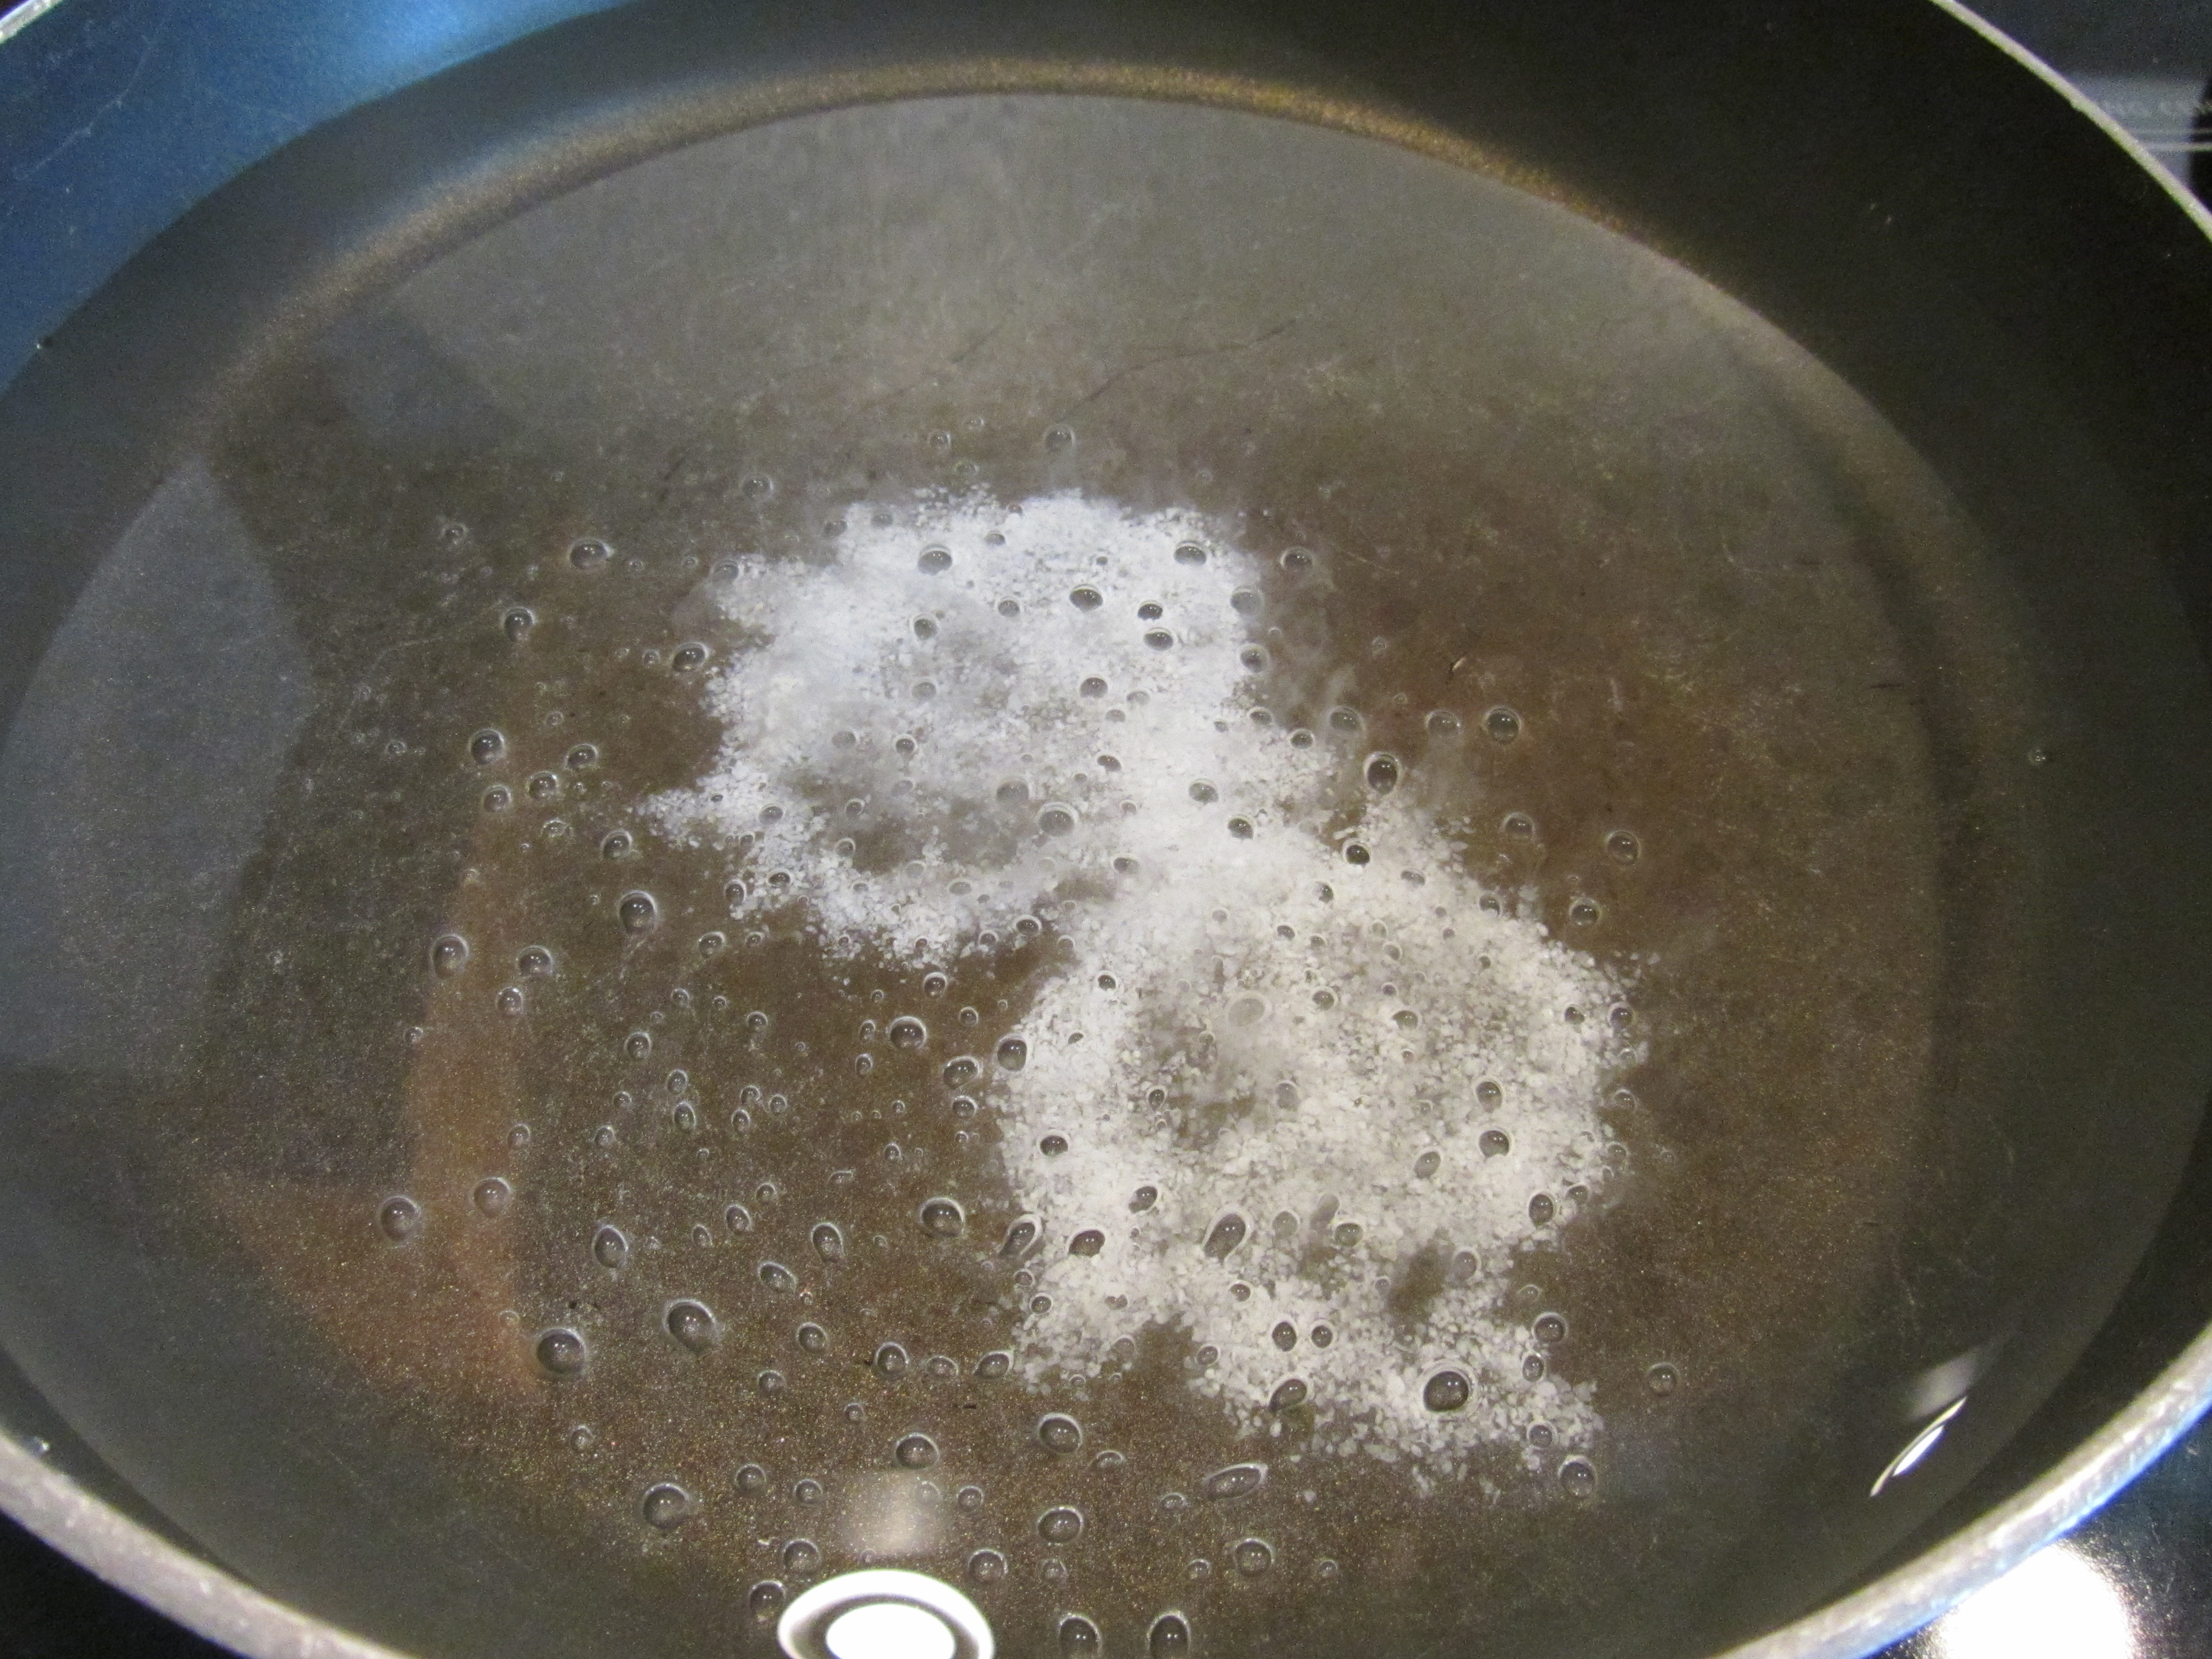
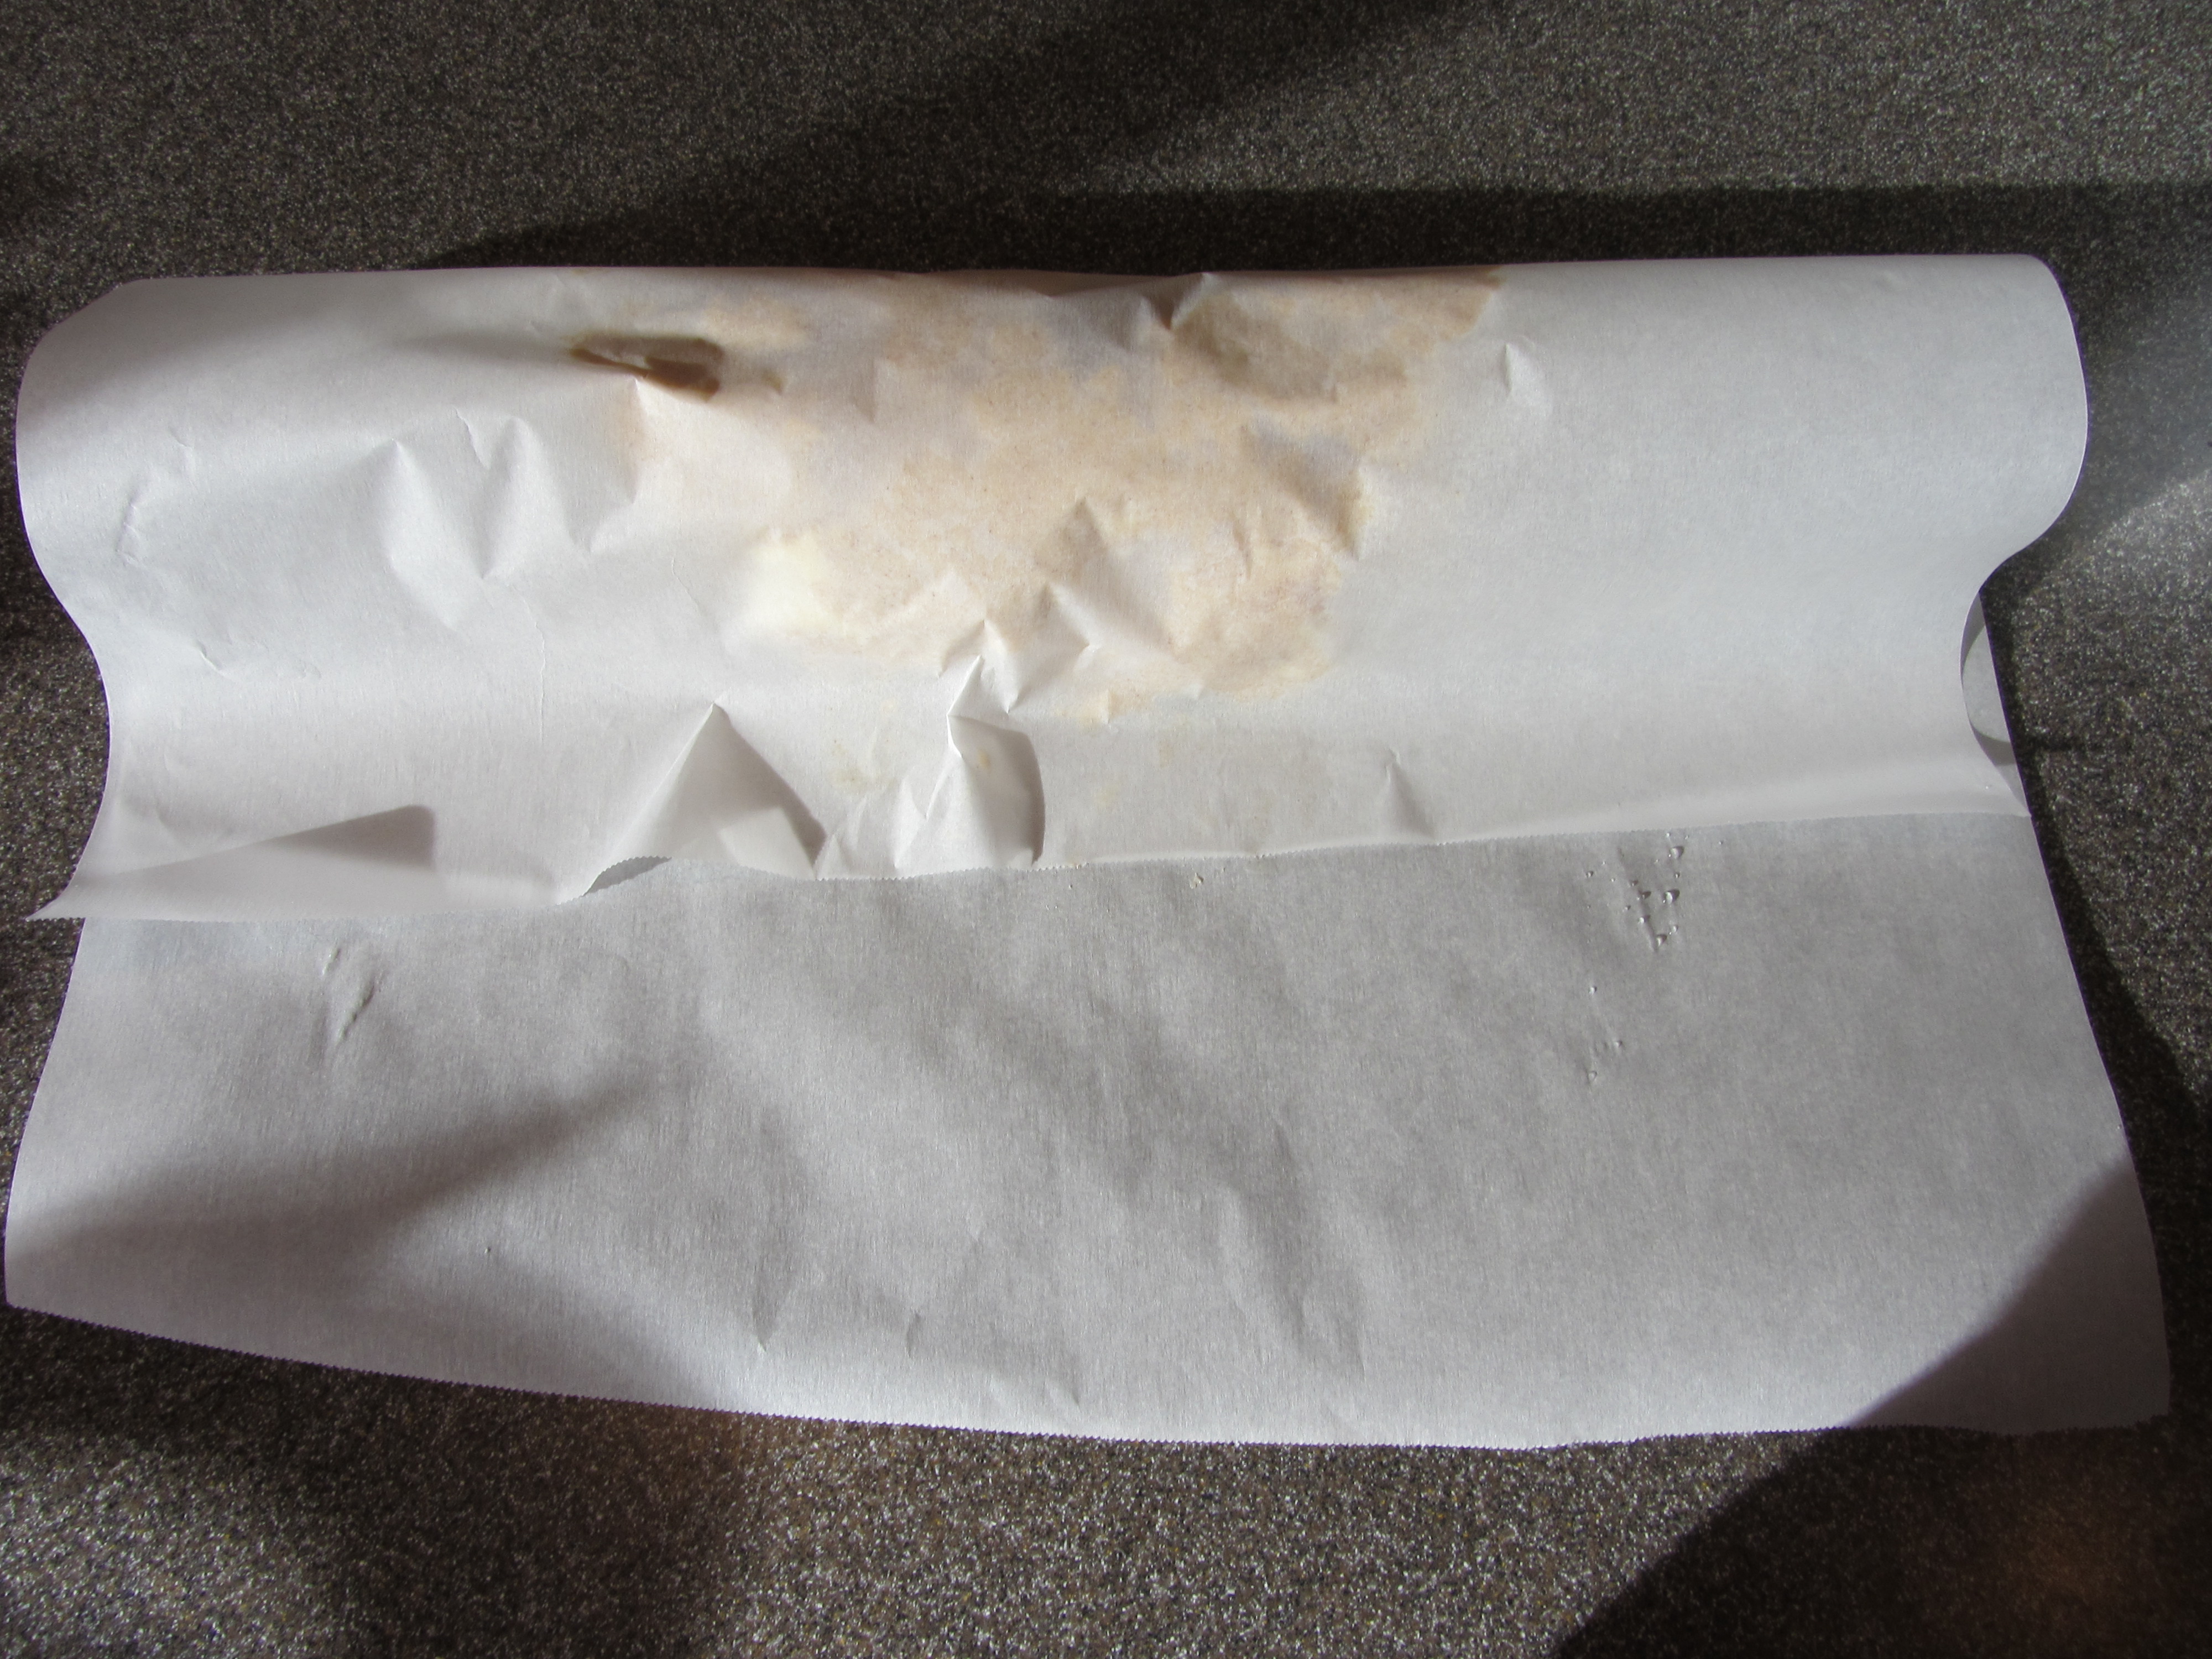
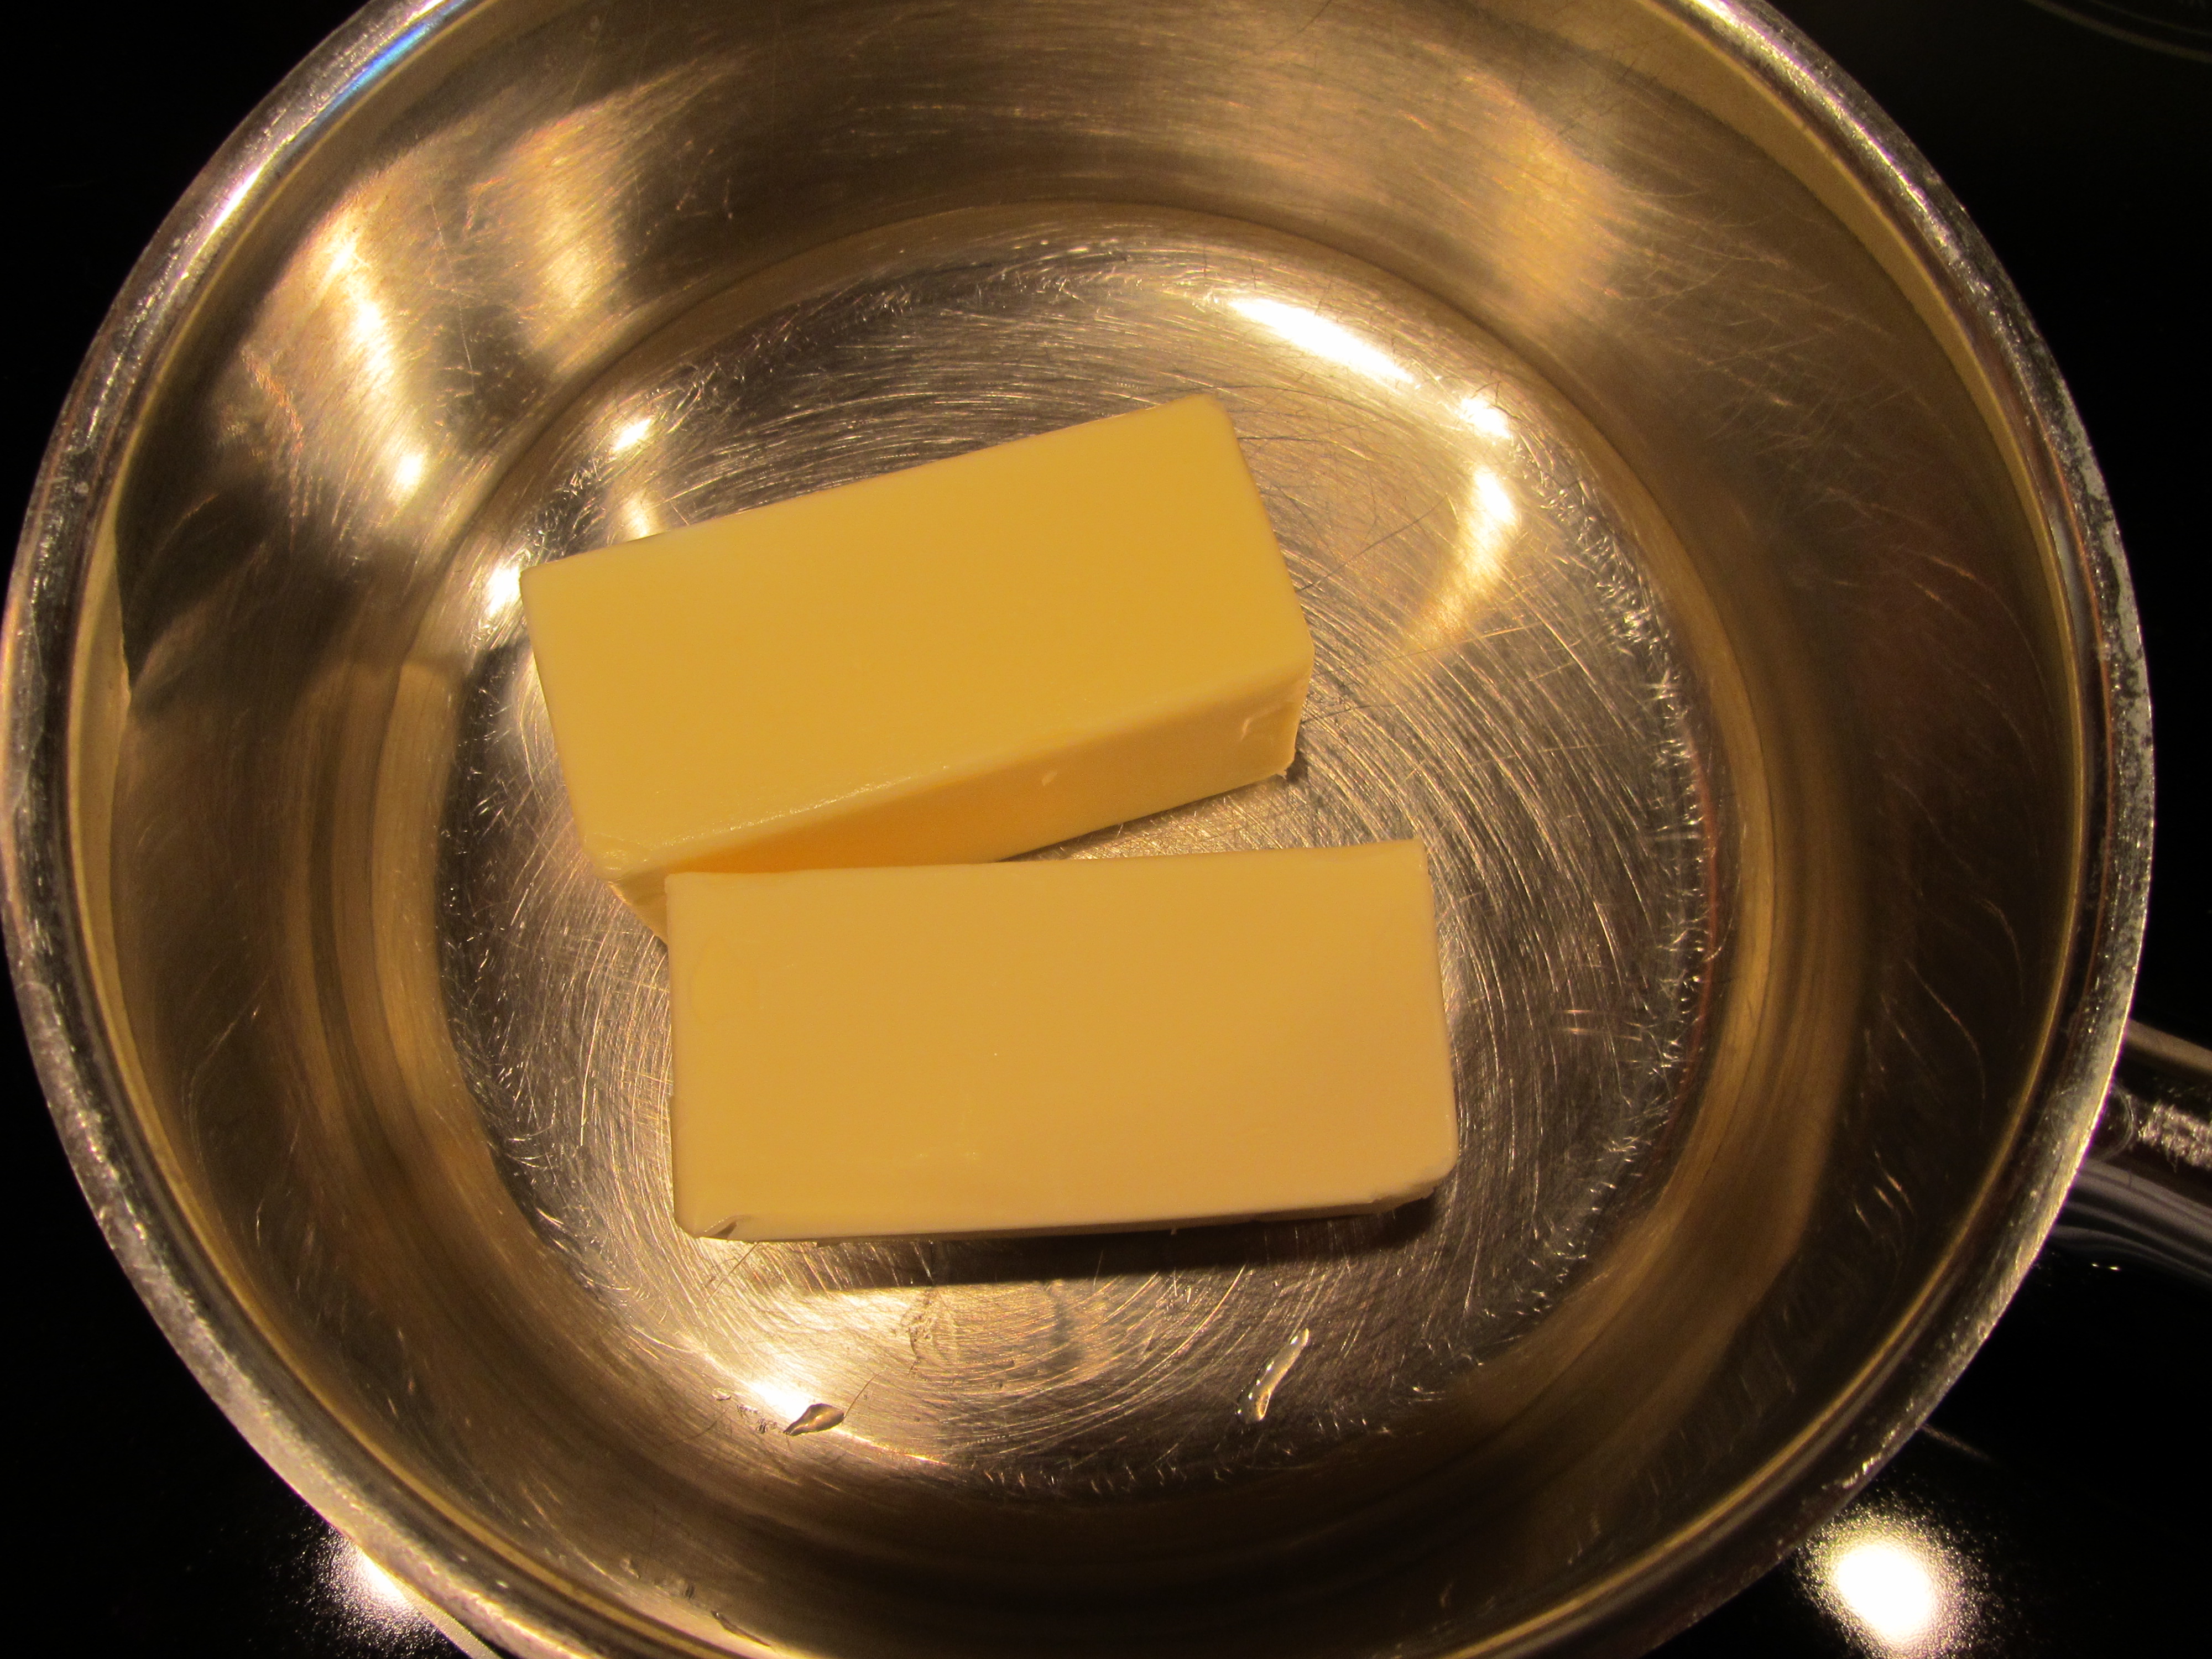
These cookies begin with melting two sticks of butter in a saucepan over low heat.

Melting butter in a saucepan over low heat.
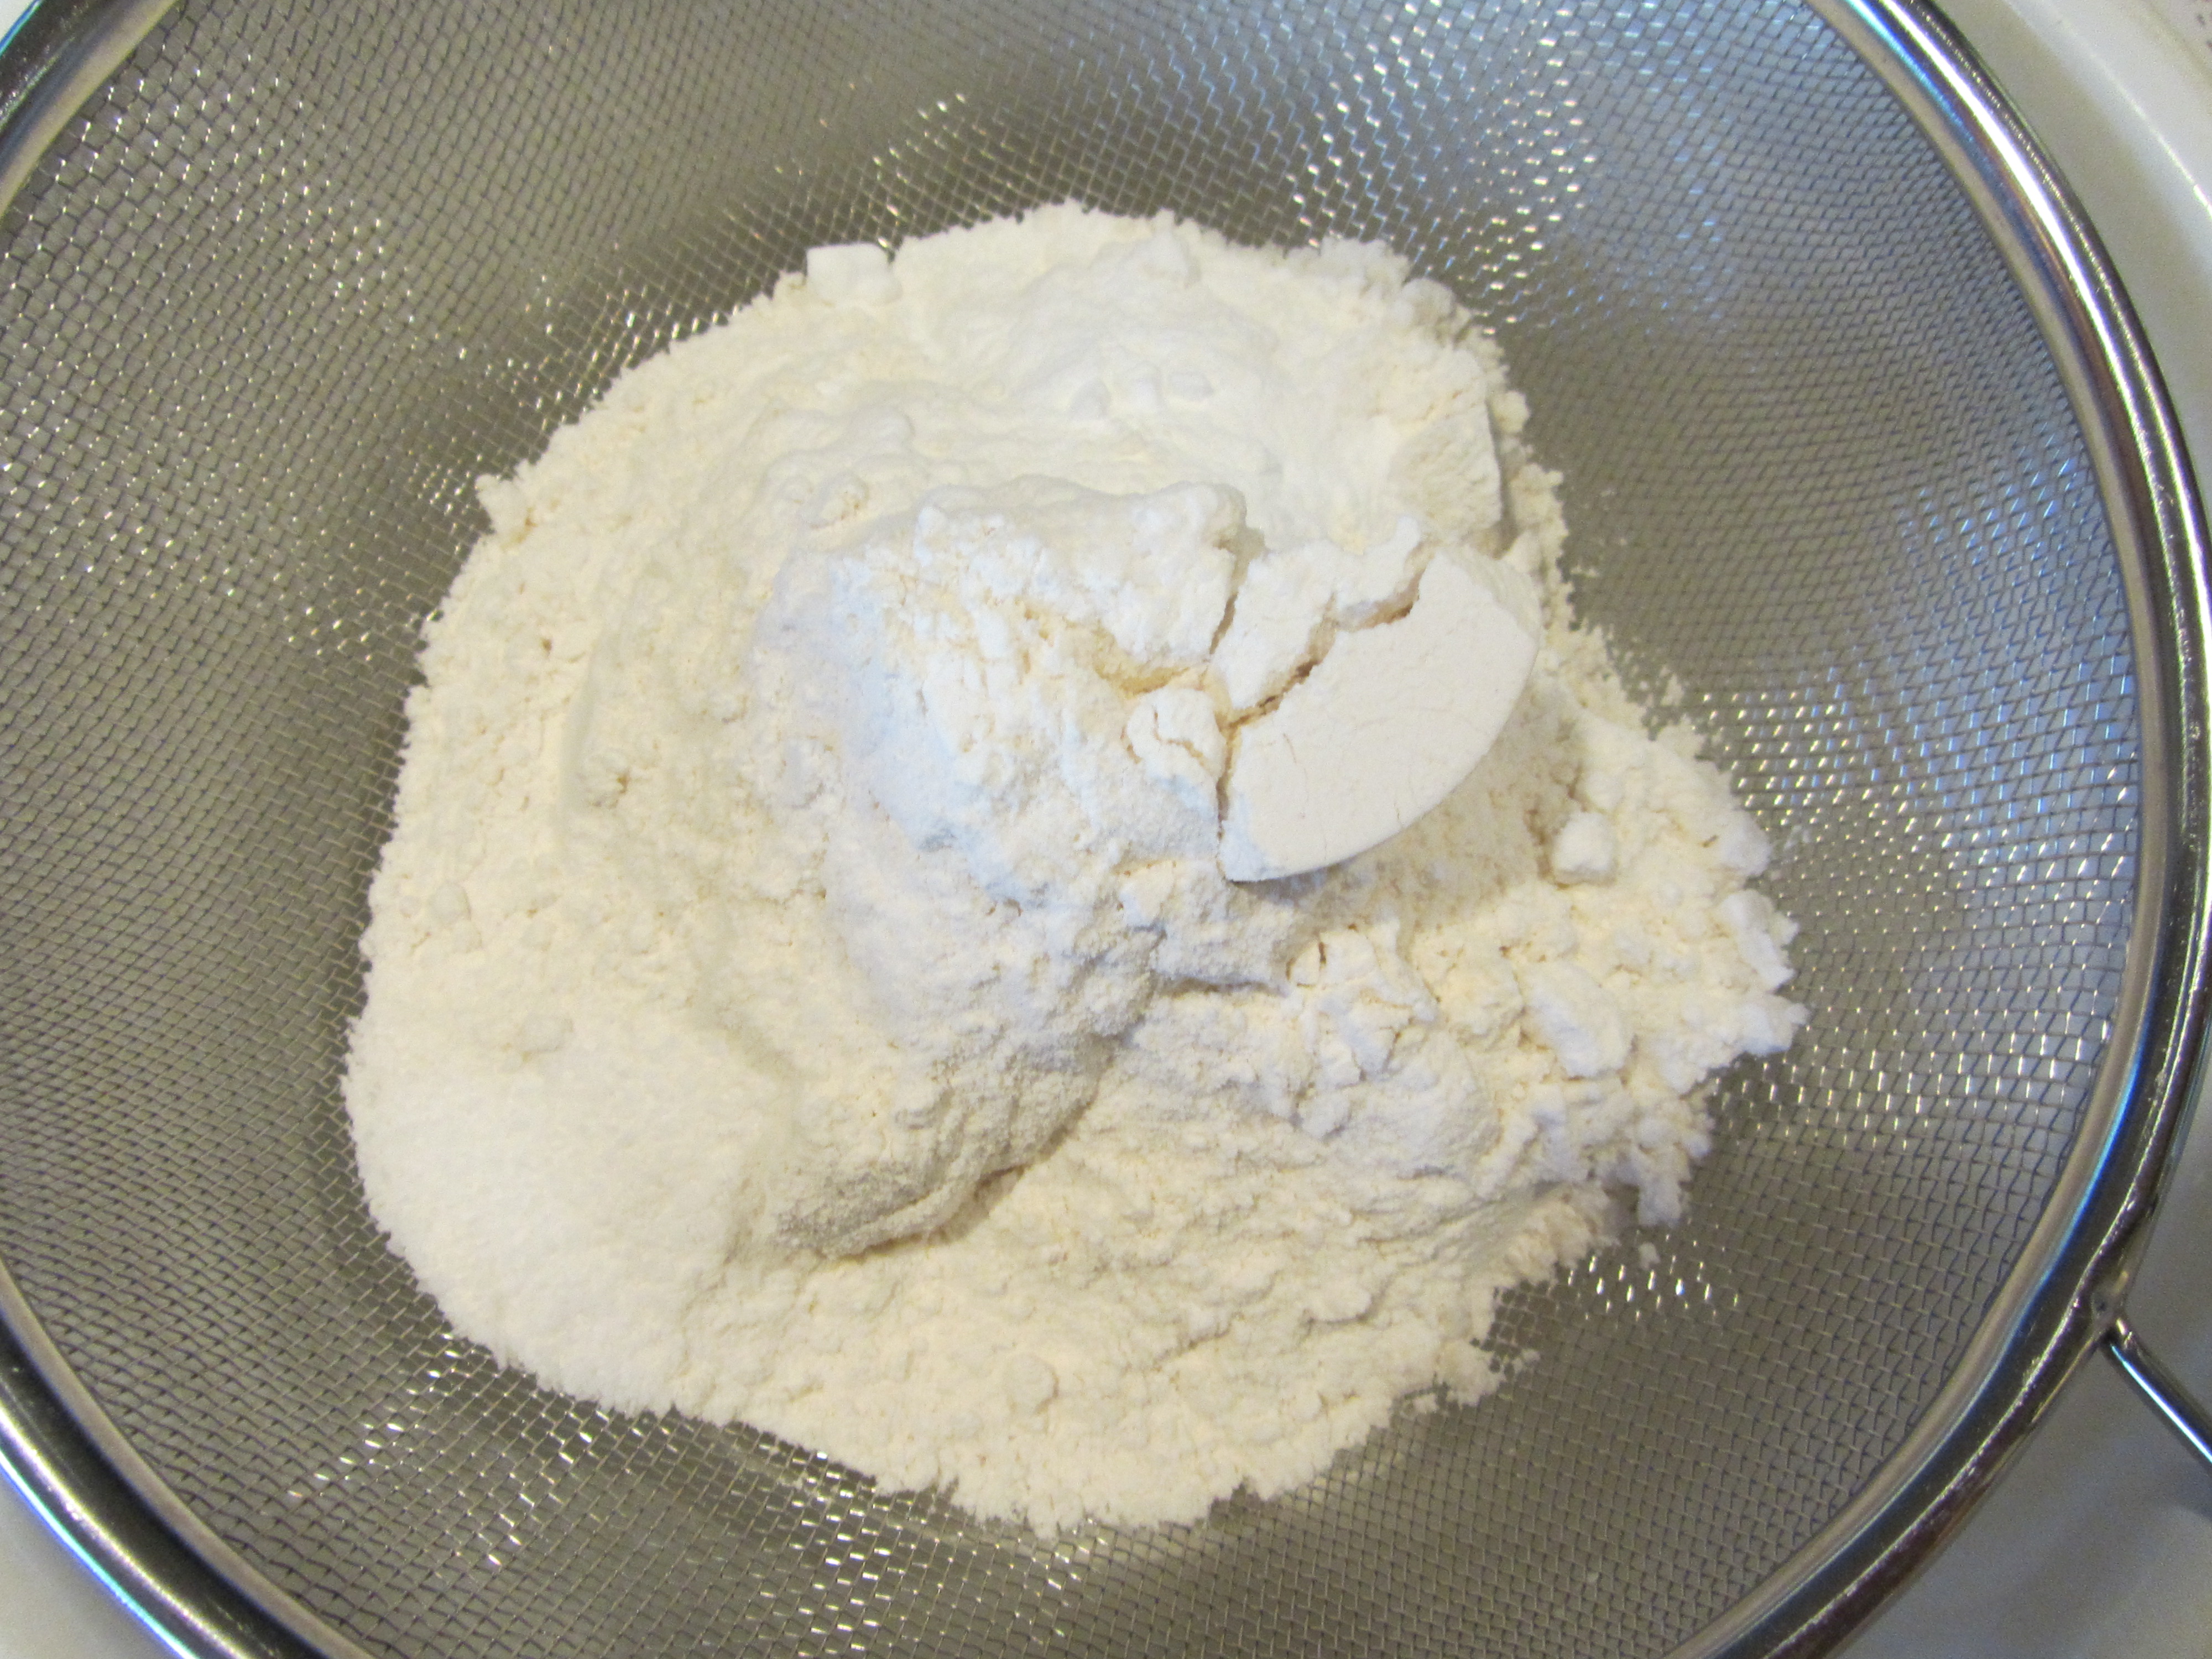
While the butter melts, sift together 2 1/4 C of bread flour, 1 t of Kosher salt, and 1 t of baking soda. Since Alton specified Kosher salt for this recipe, I used it here.

Bread flour, Kosher salt, and baking soda to be sifted.

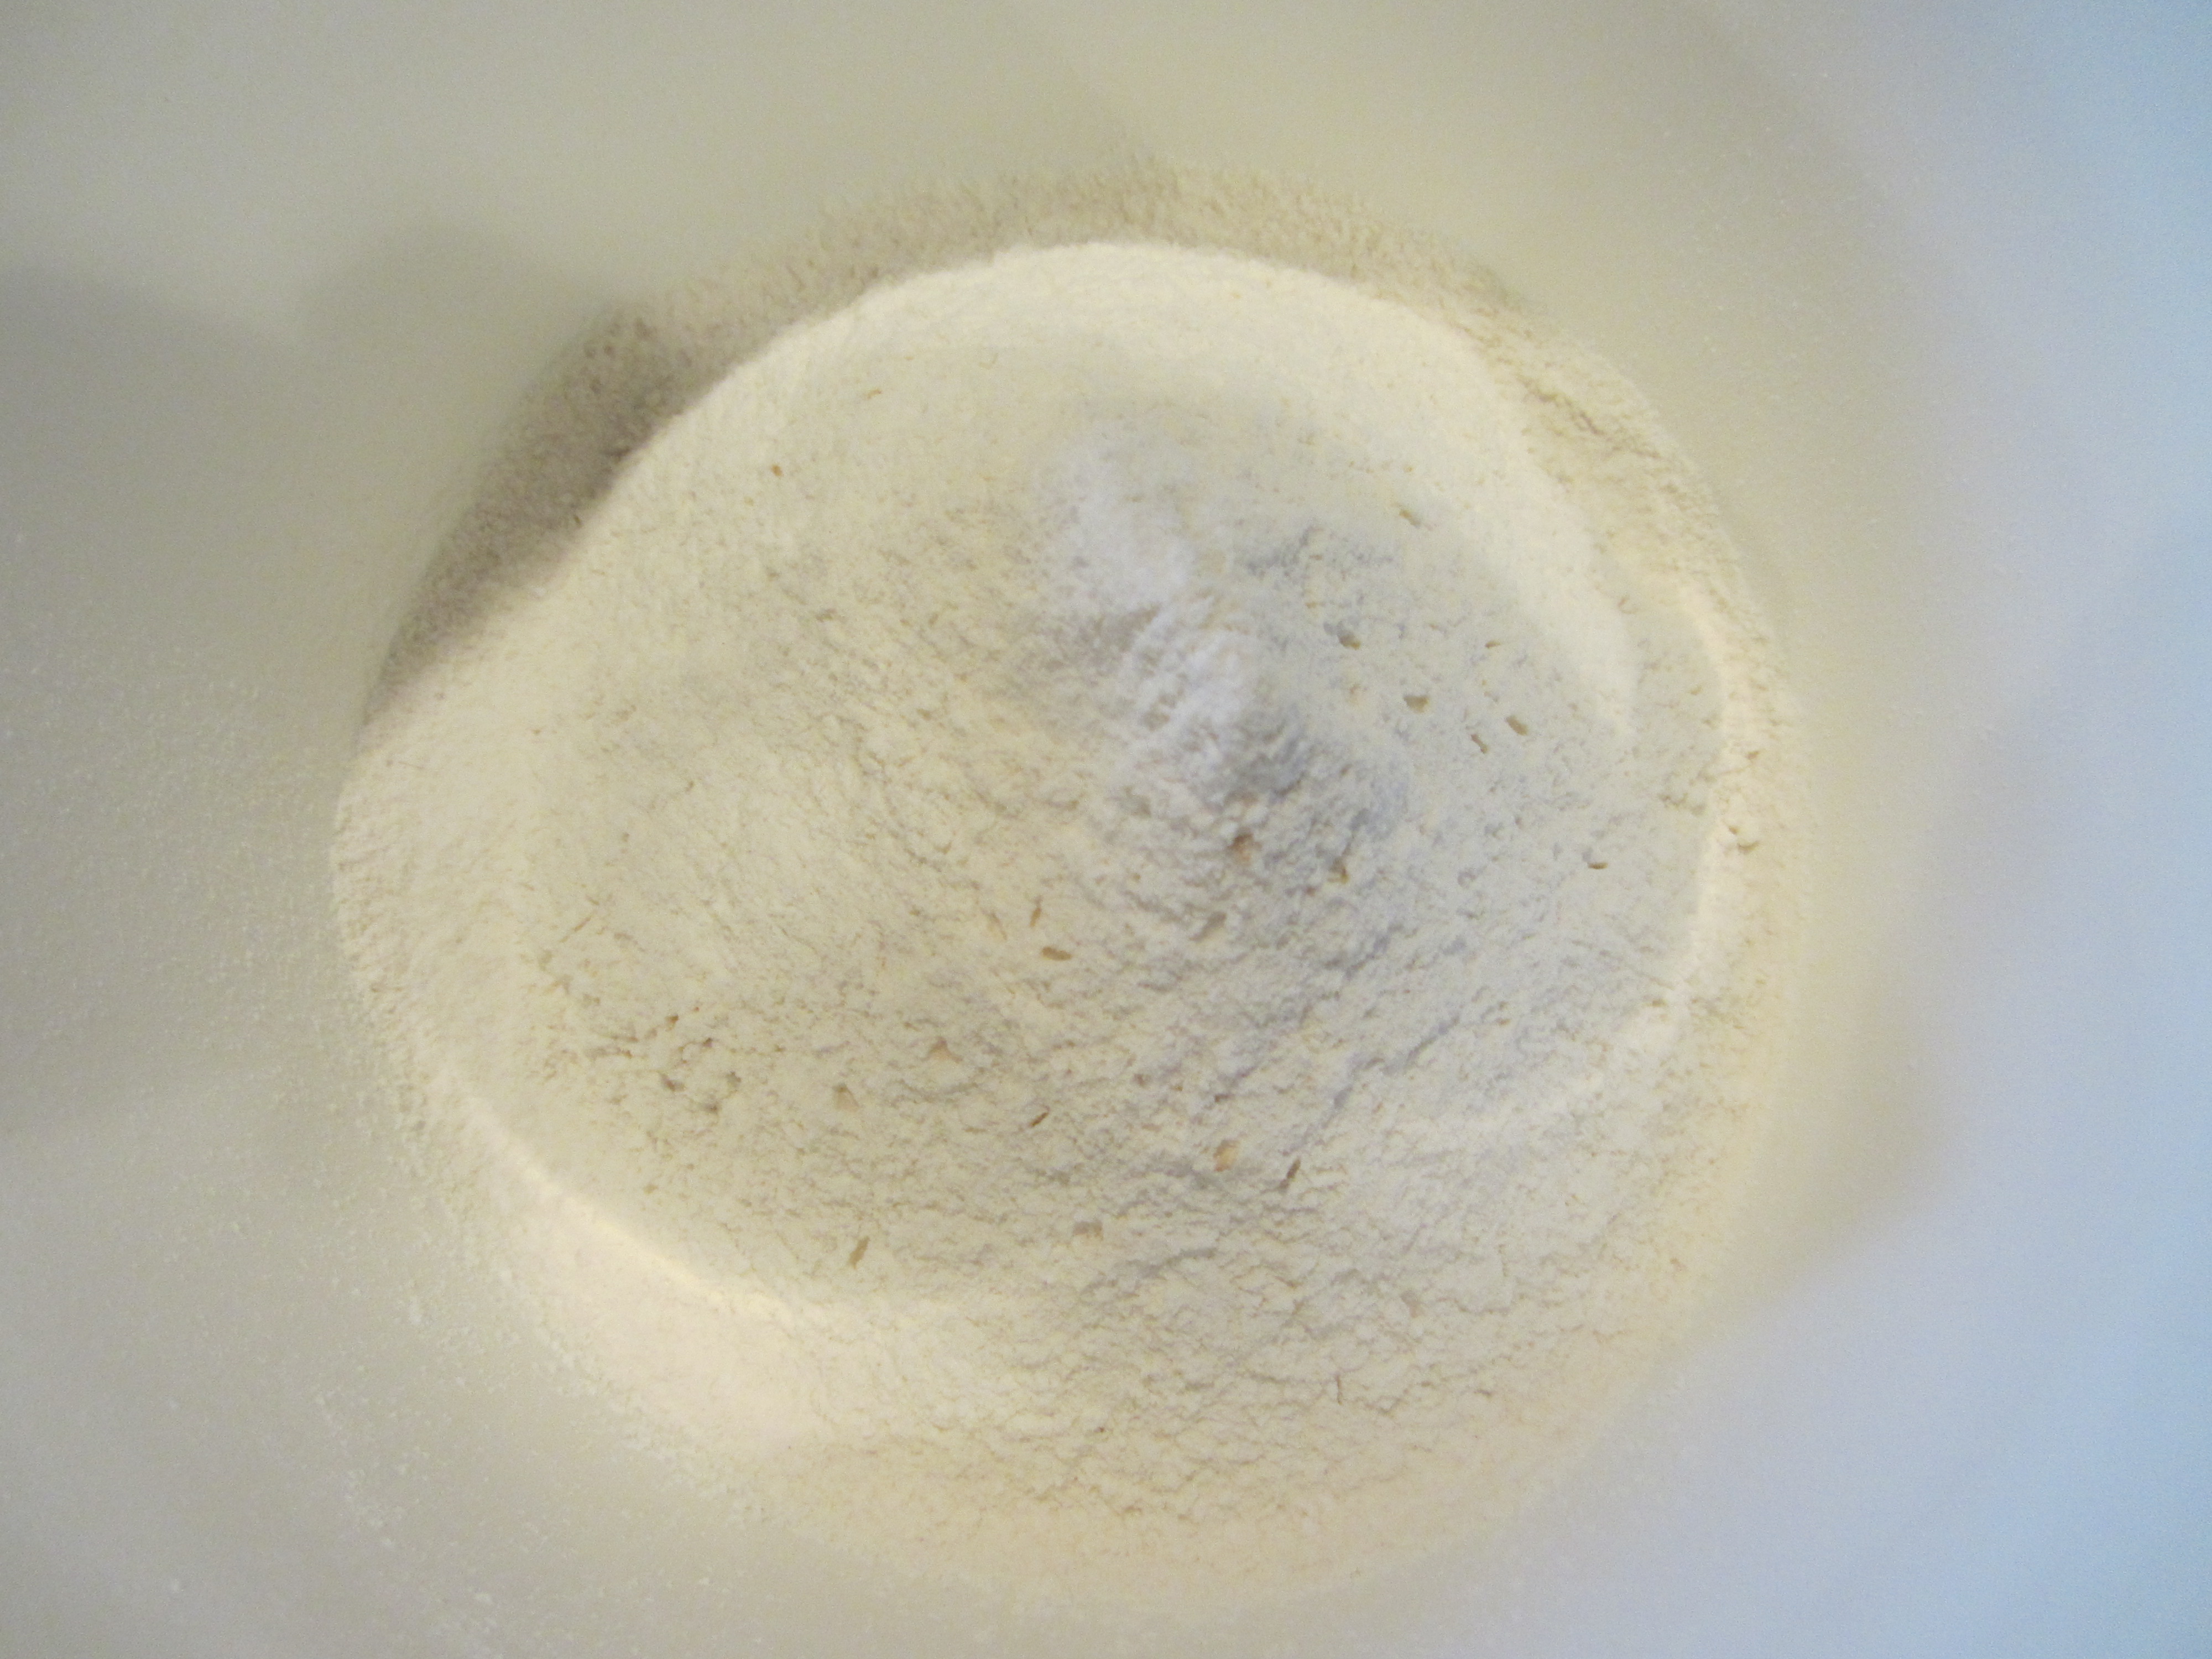
Sifted dry ingredients.
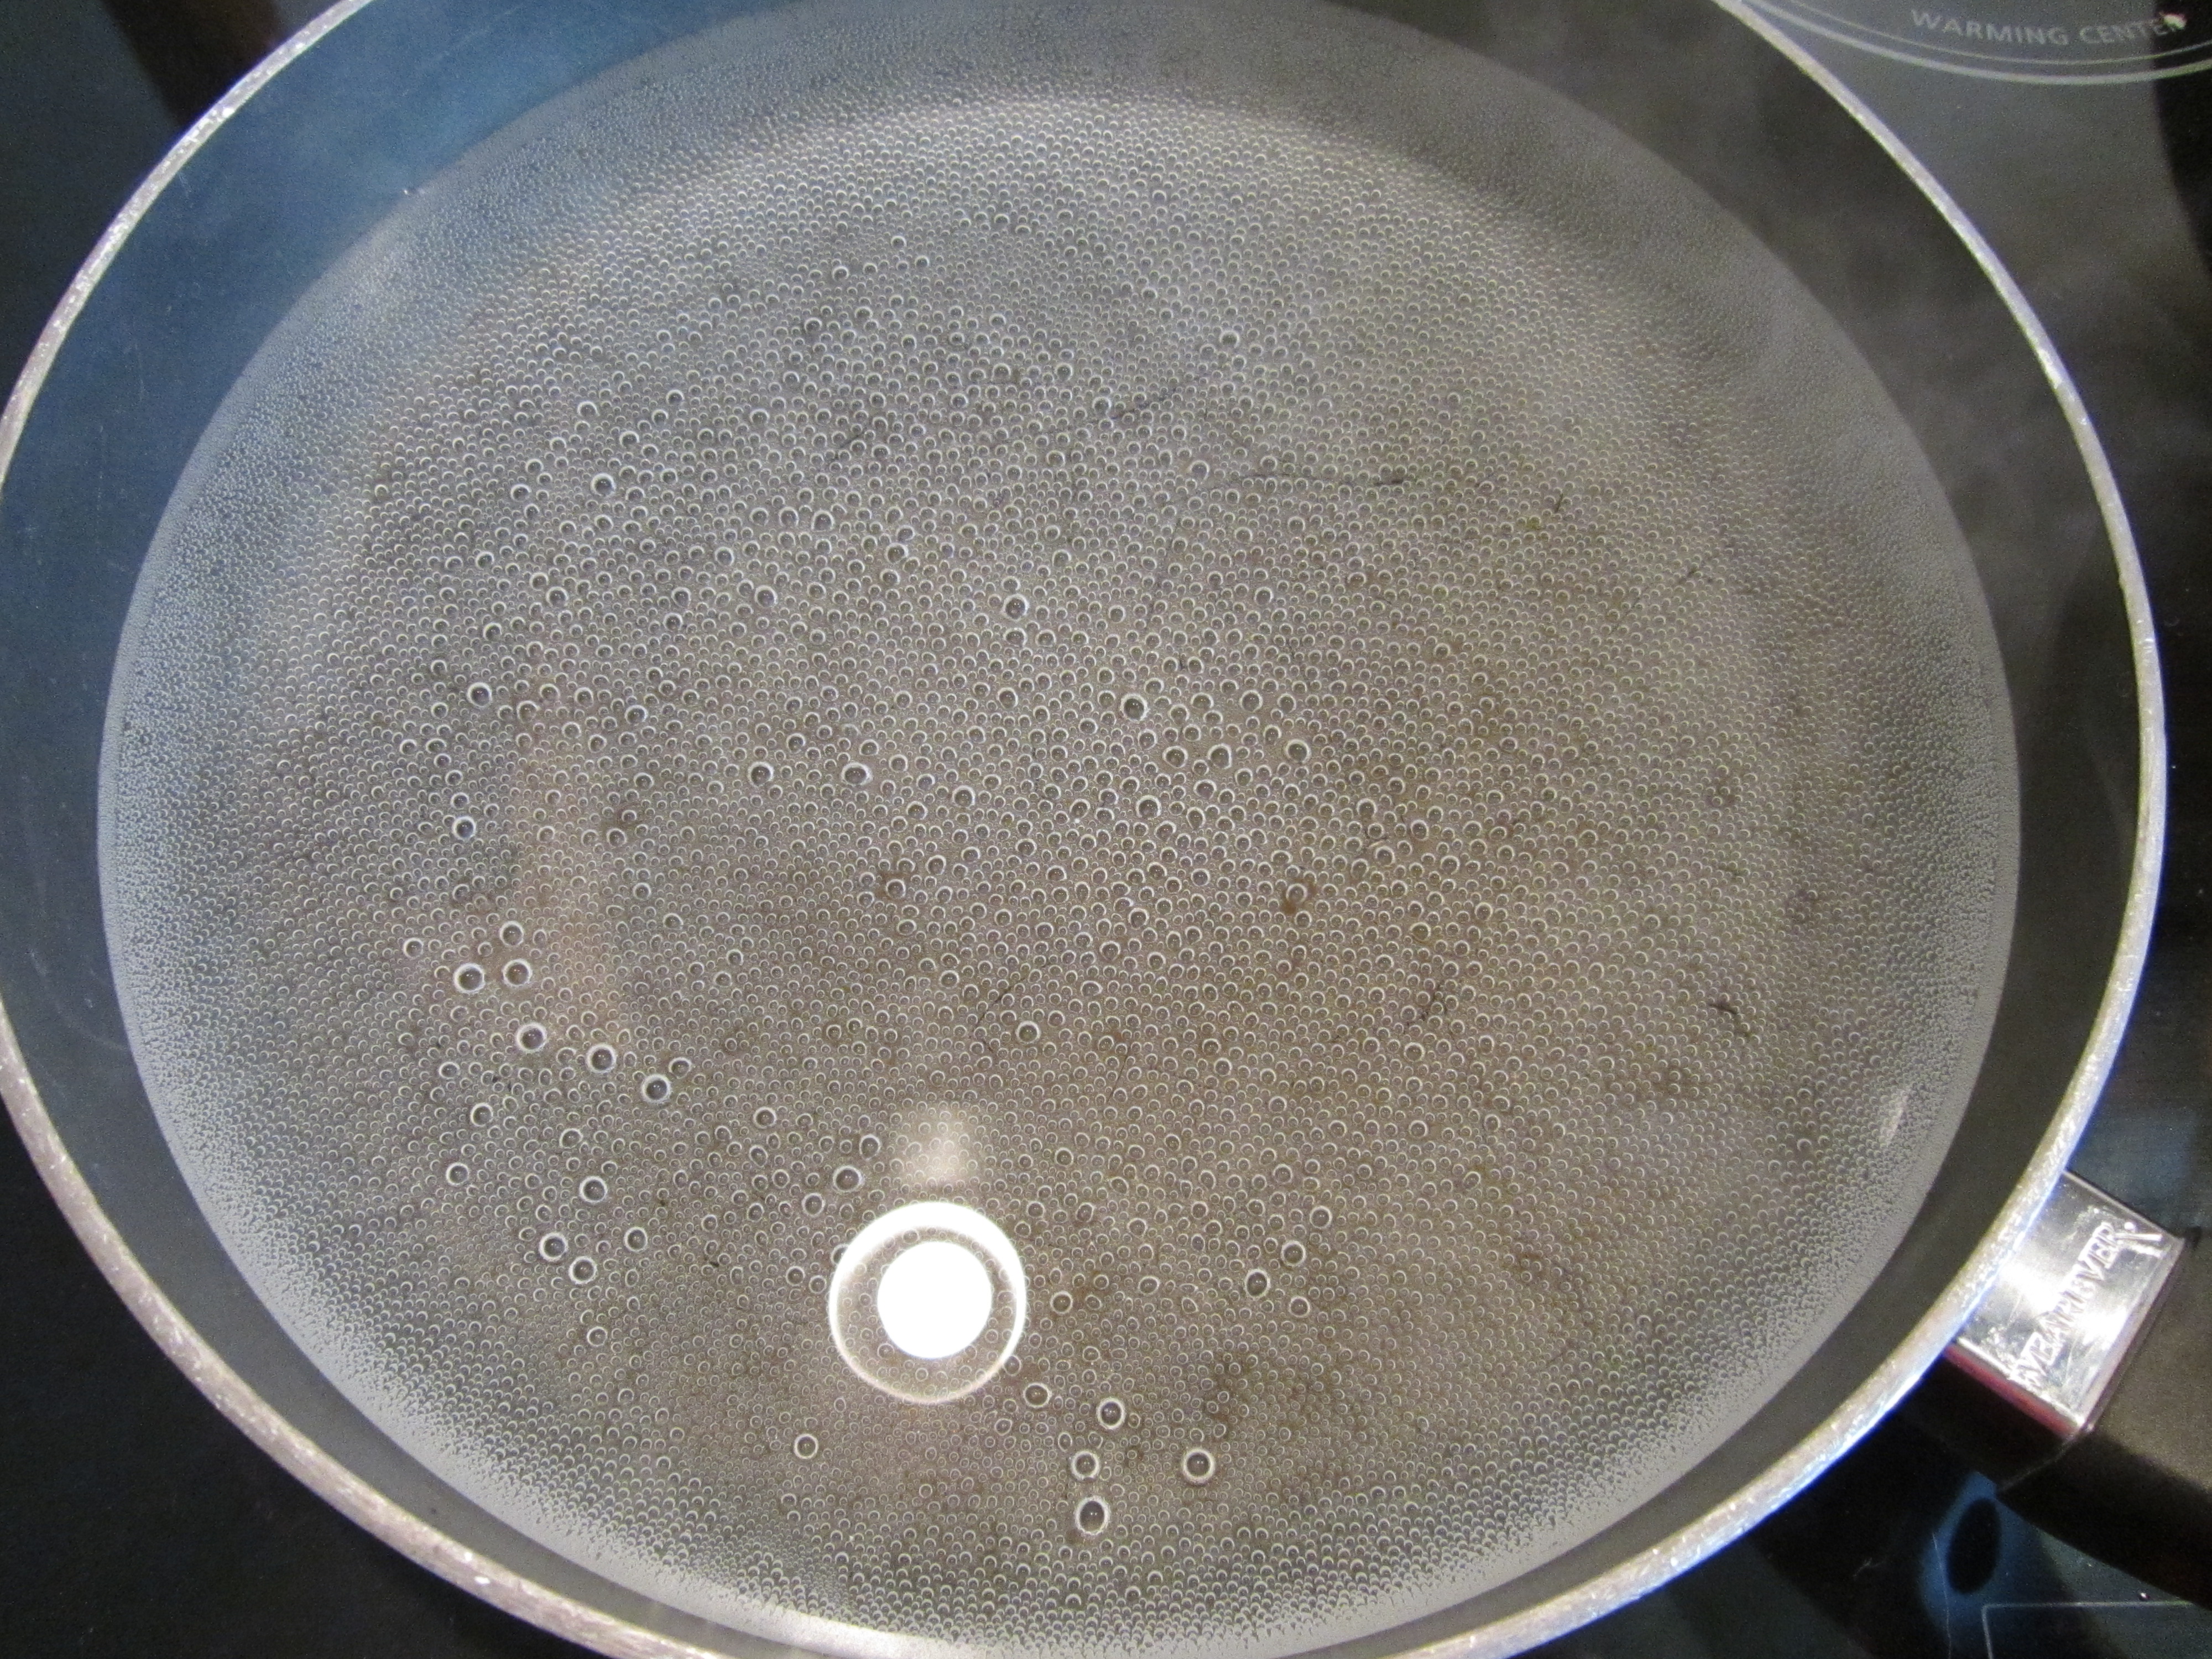
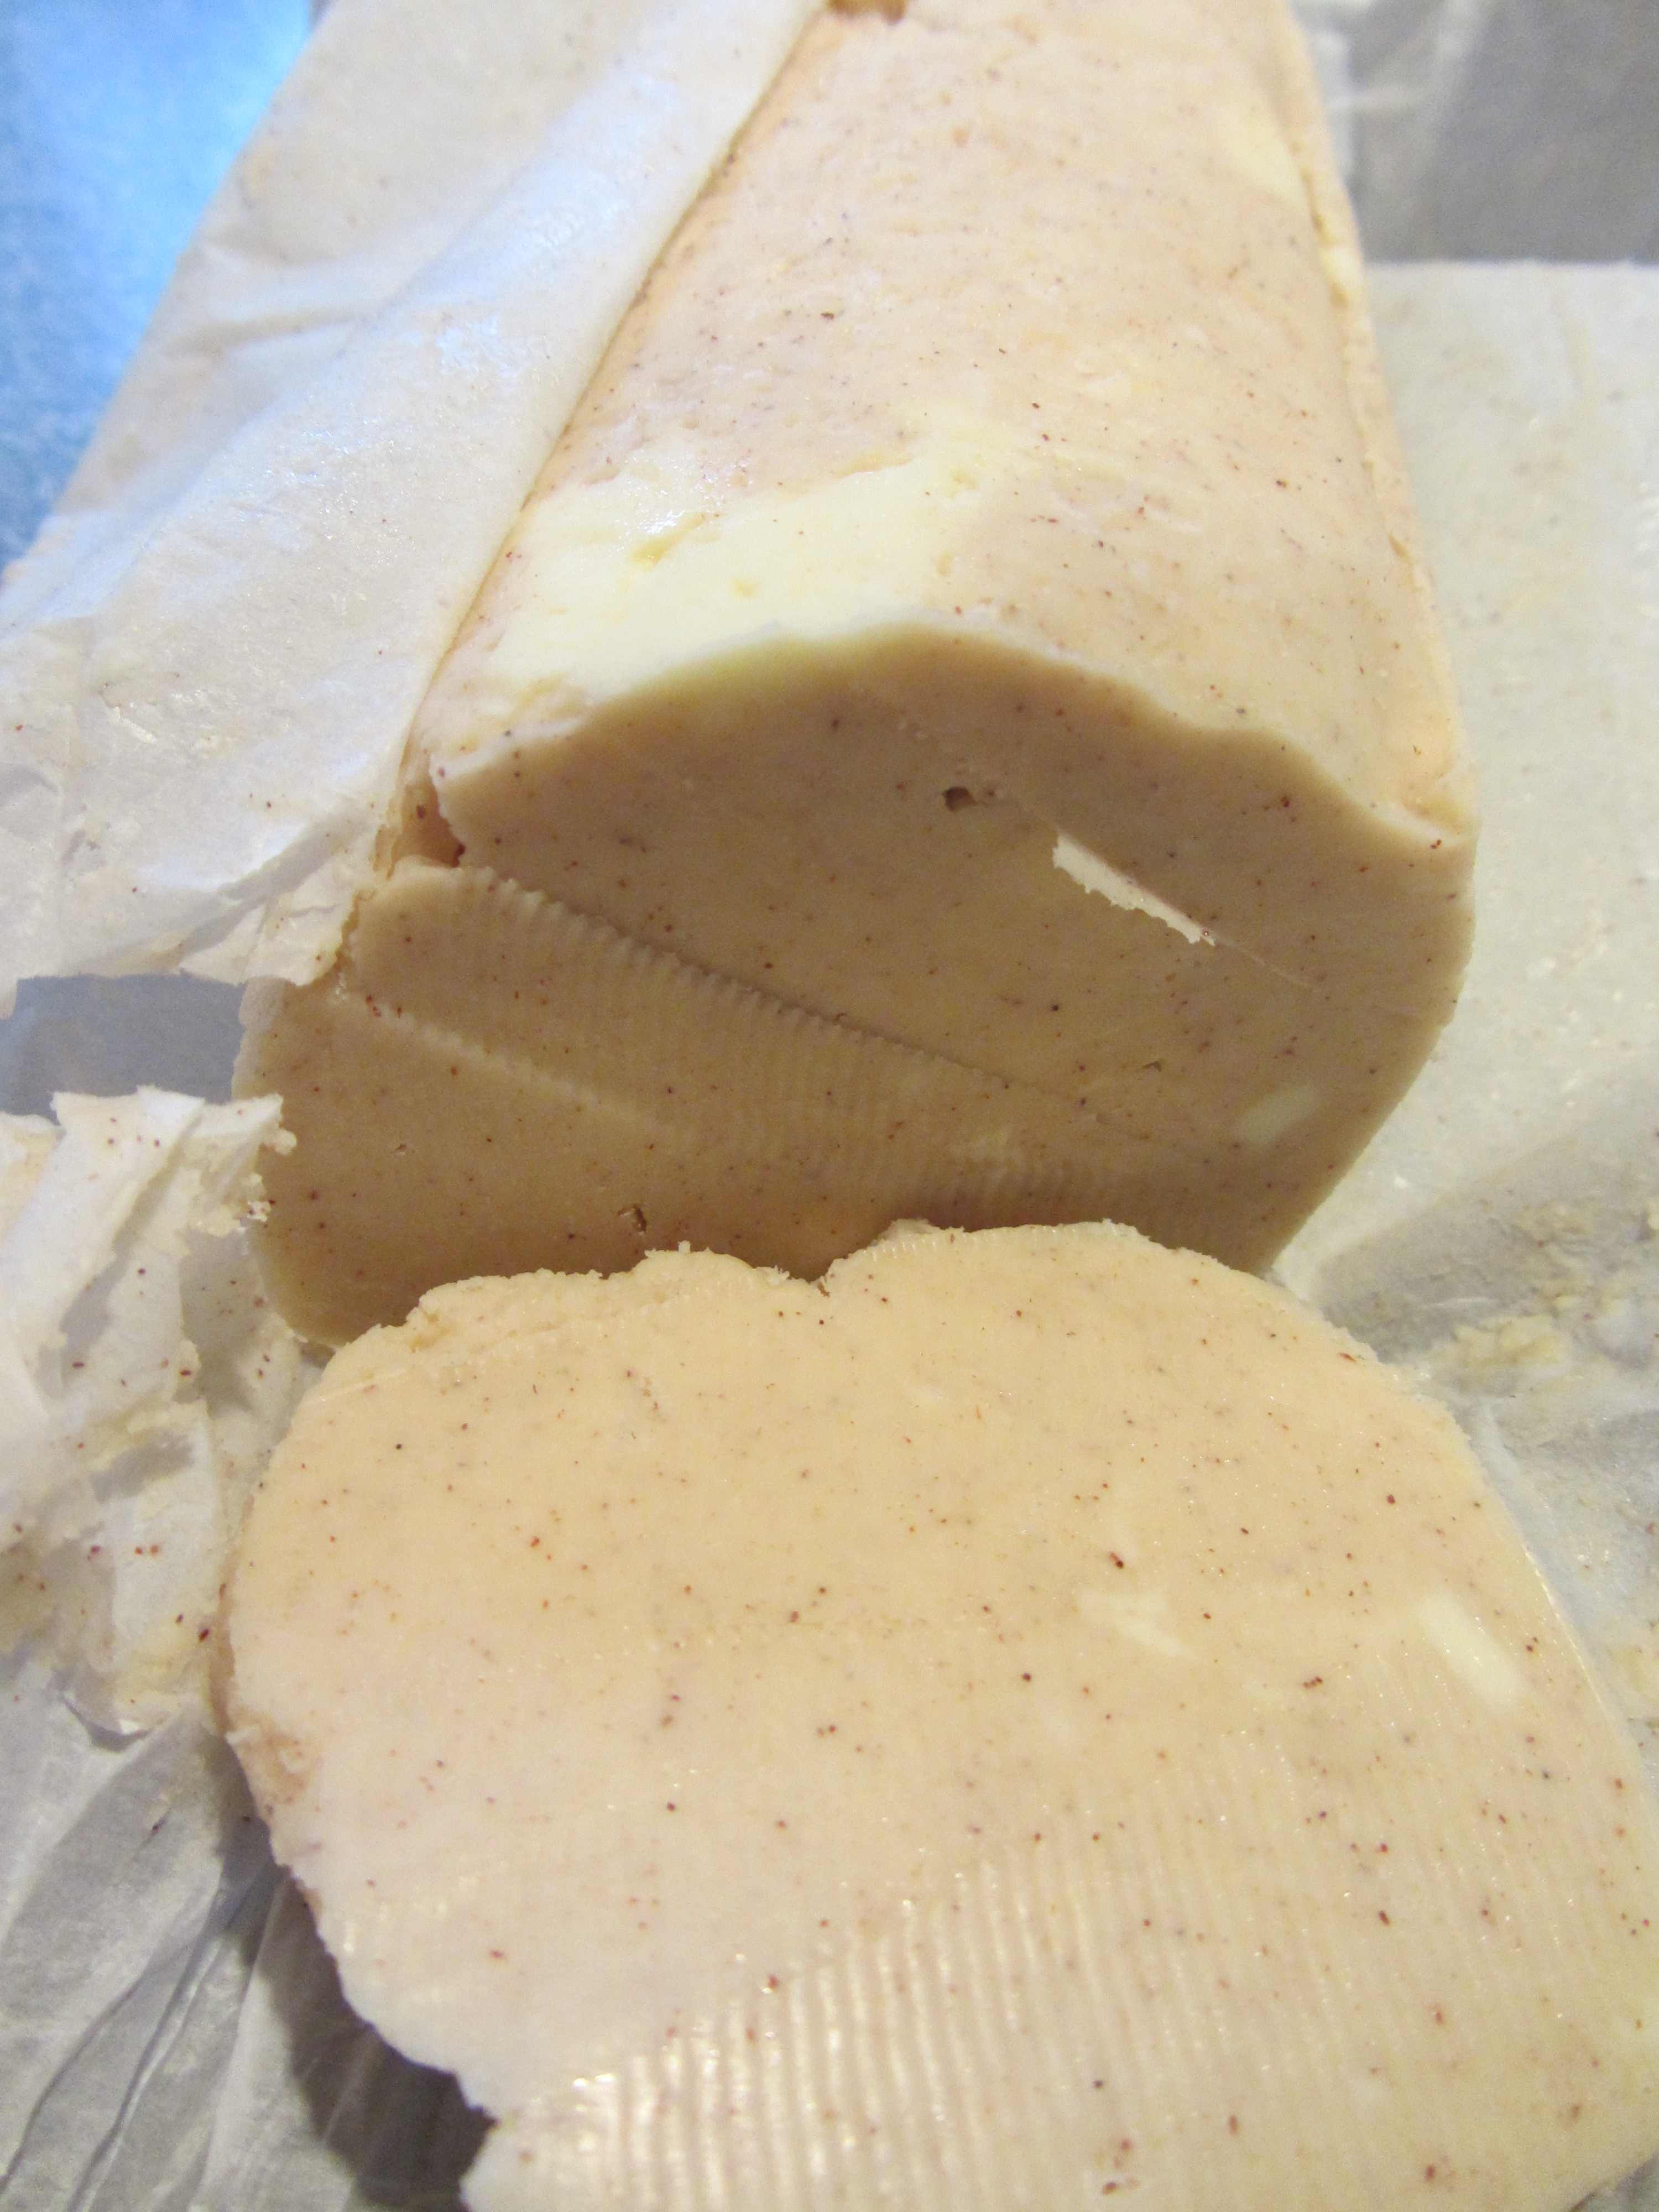
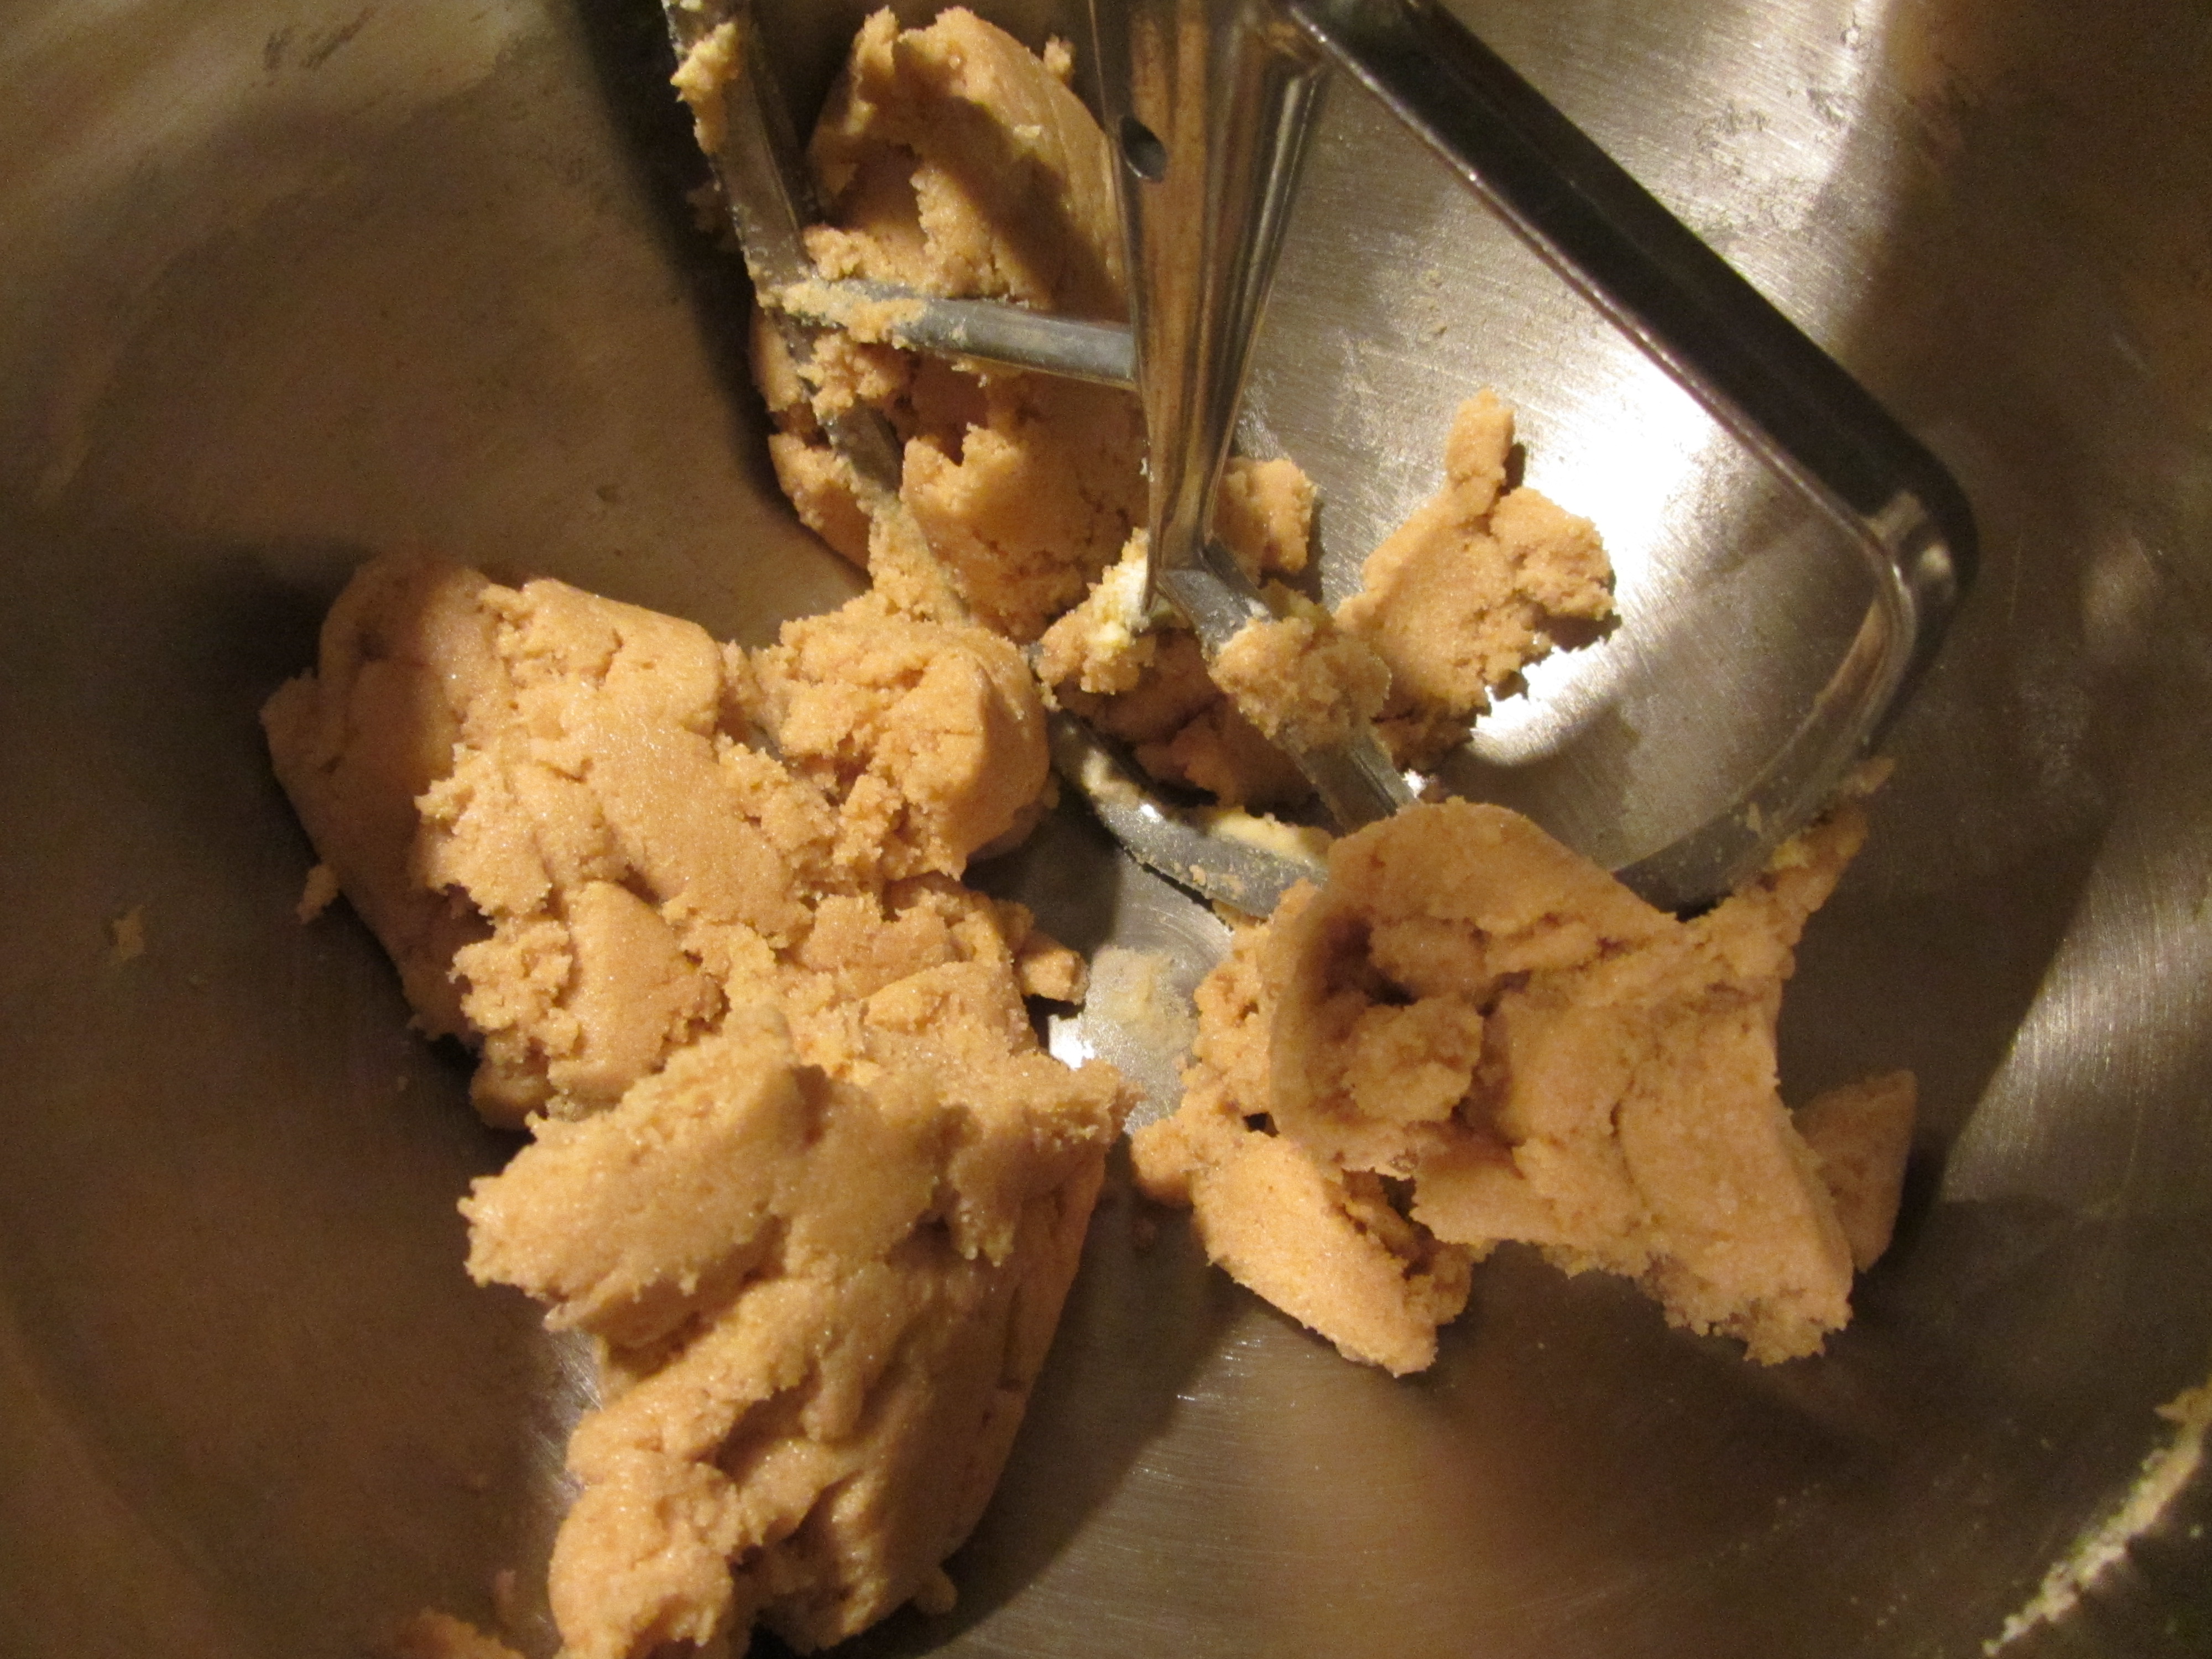
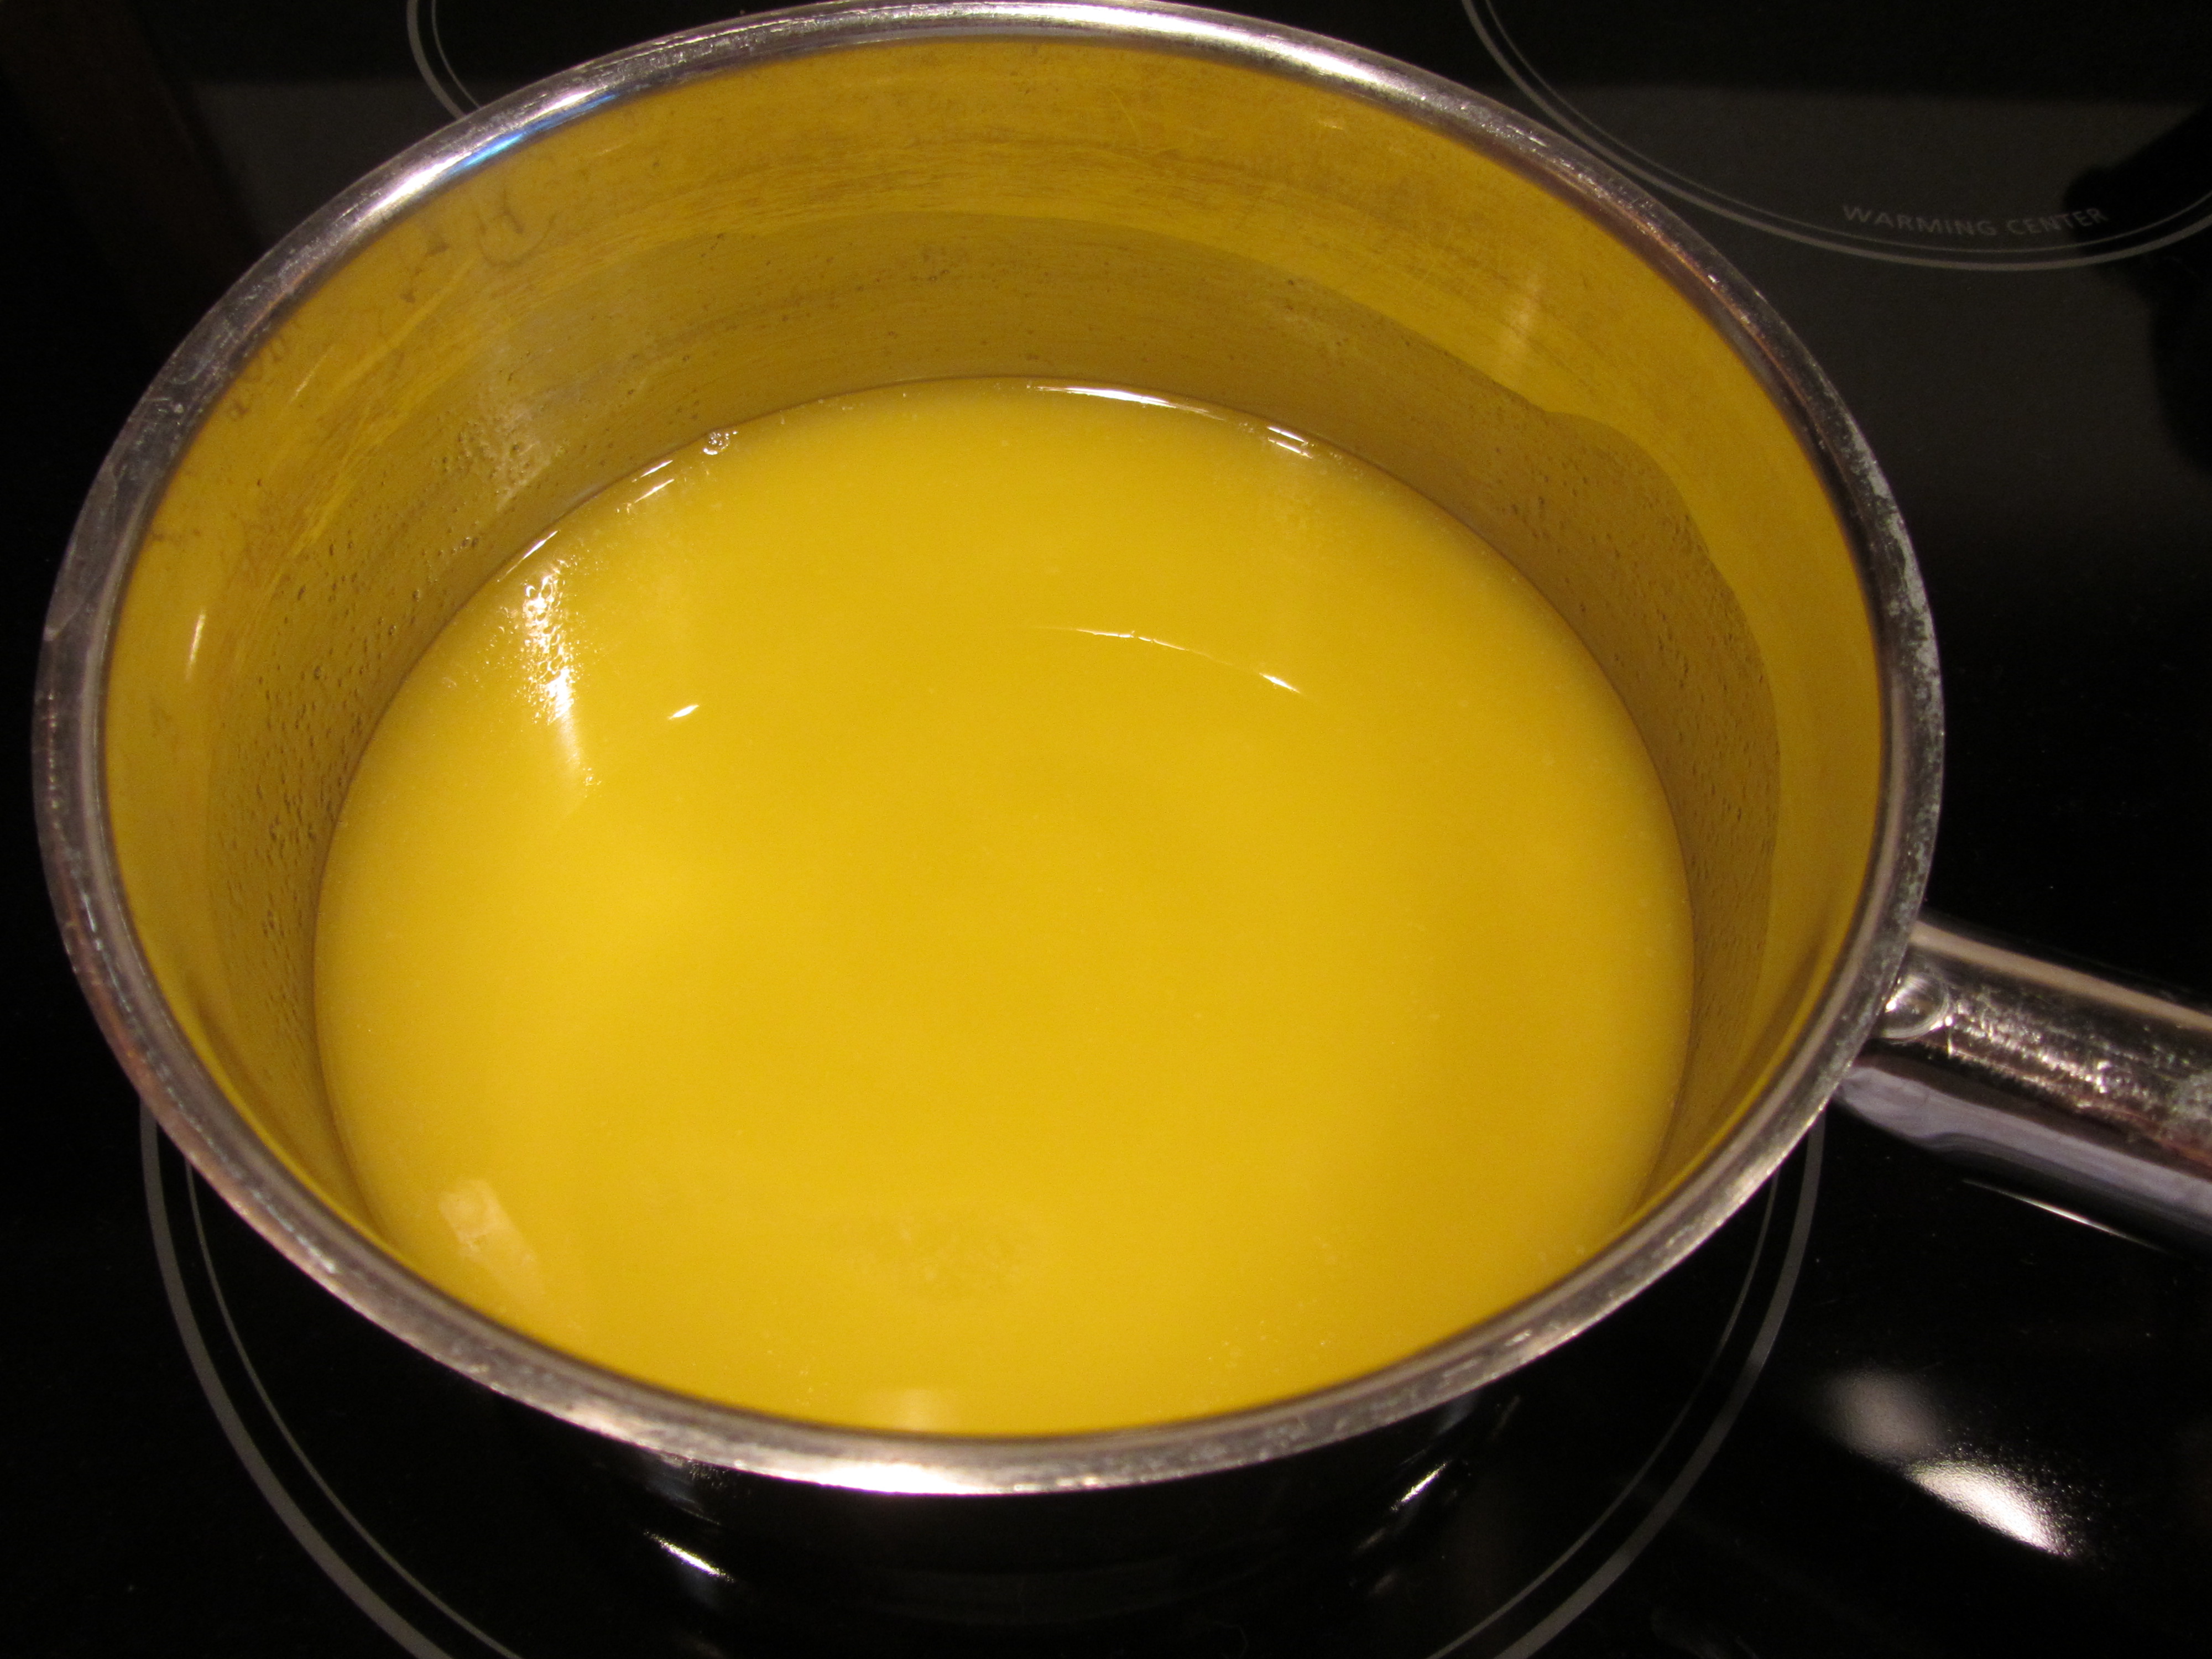
Once your butter is melted, combine it in your mixer with 1/4 C sugar and 1 1/4 C dark brown sugar.

Melted butter.

Melted butter, sugar, and brown sugar in the mixer.
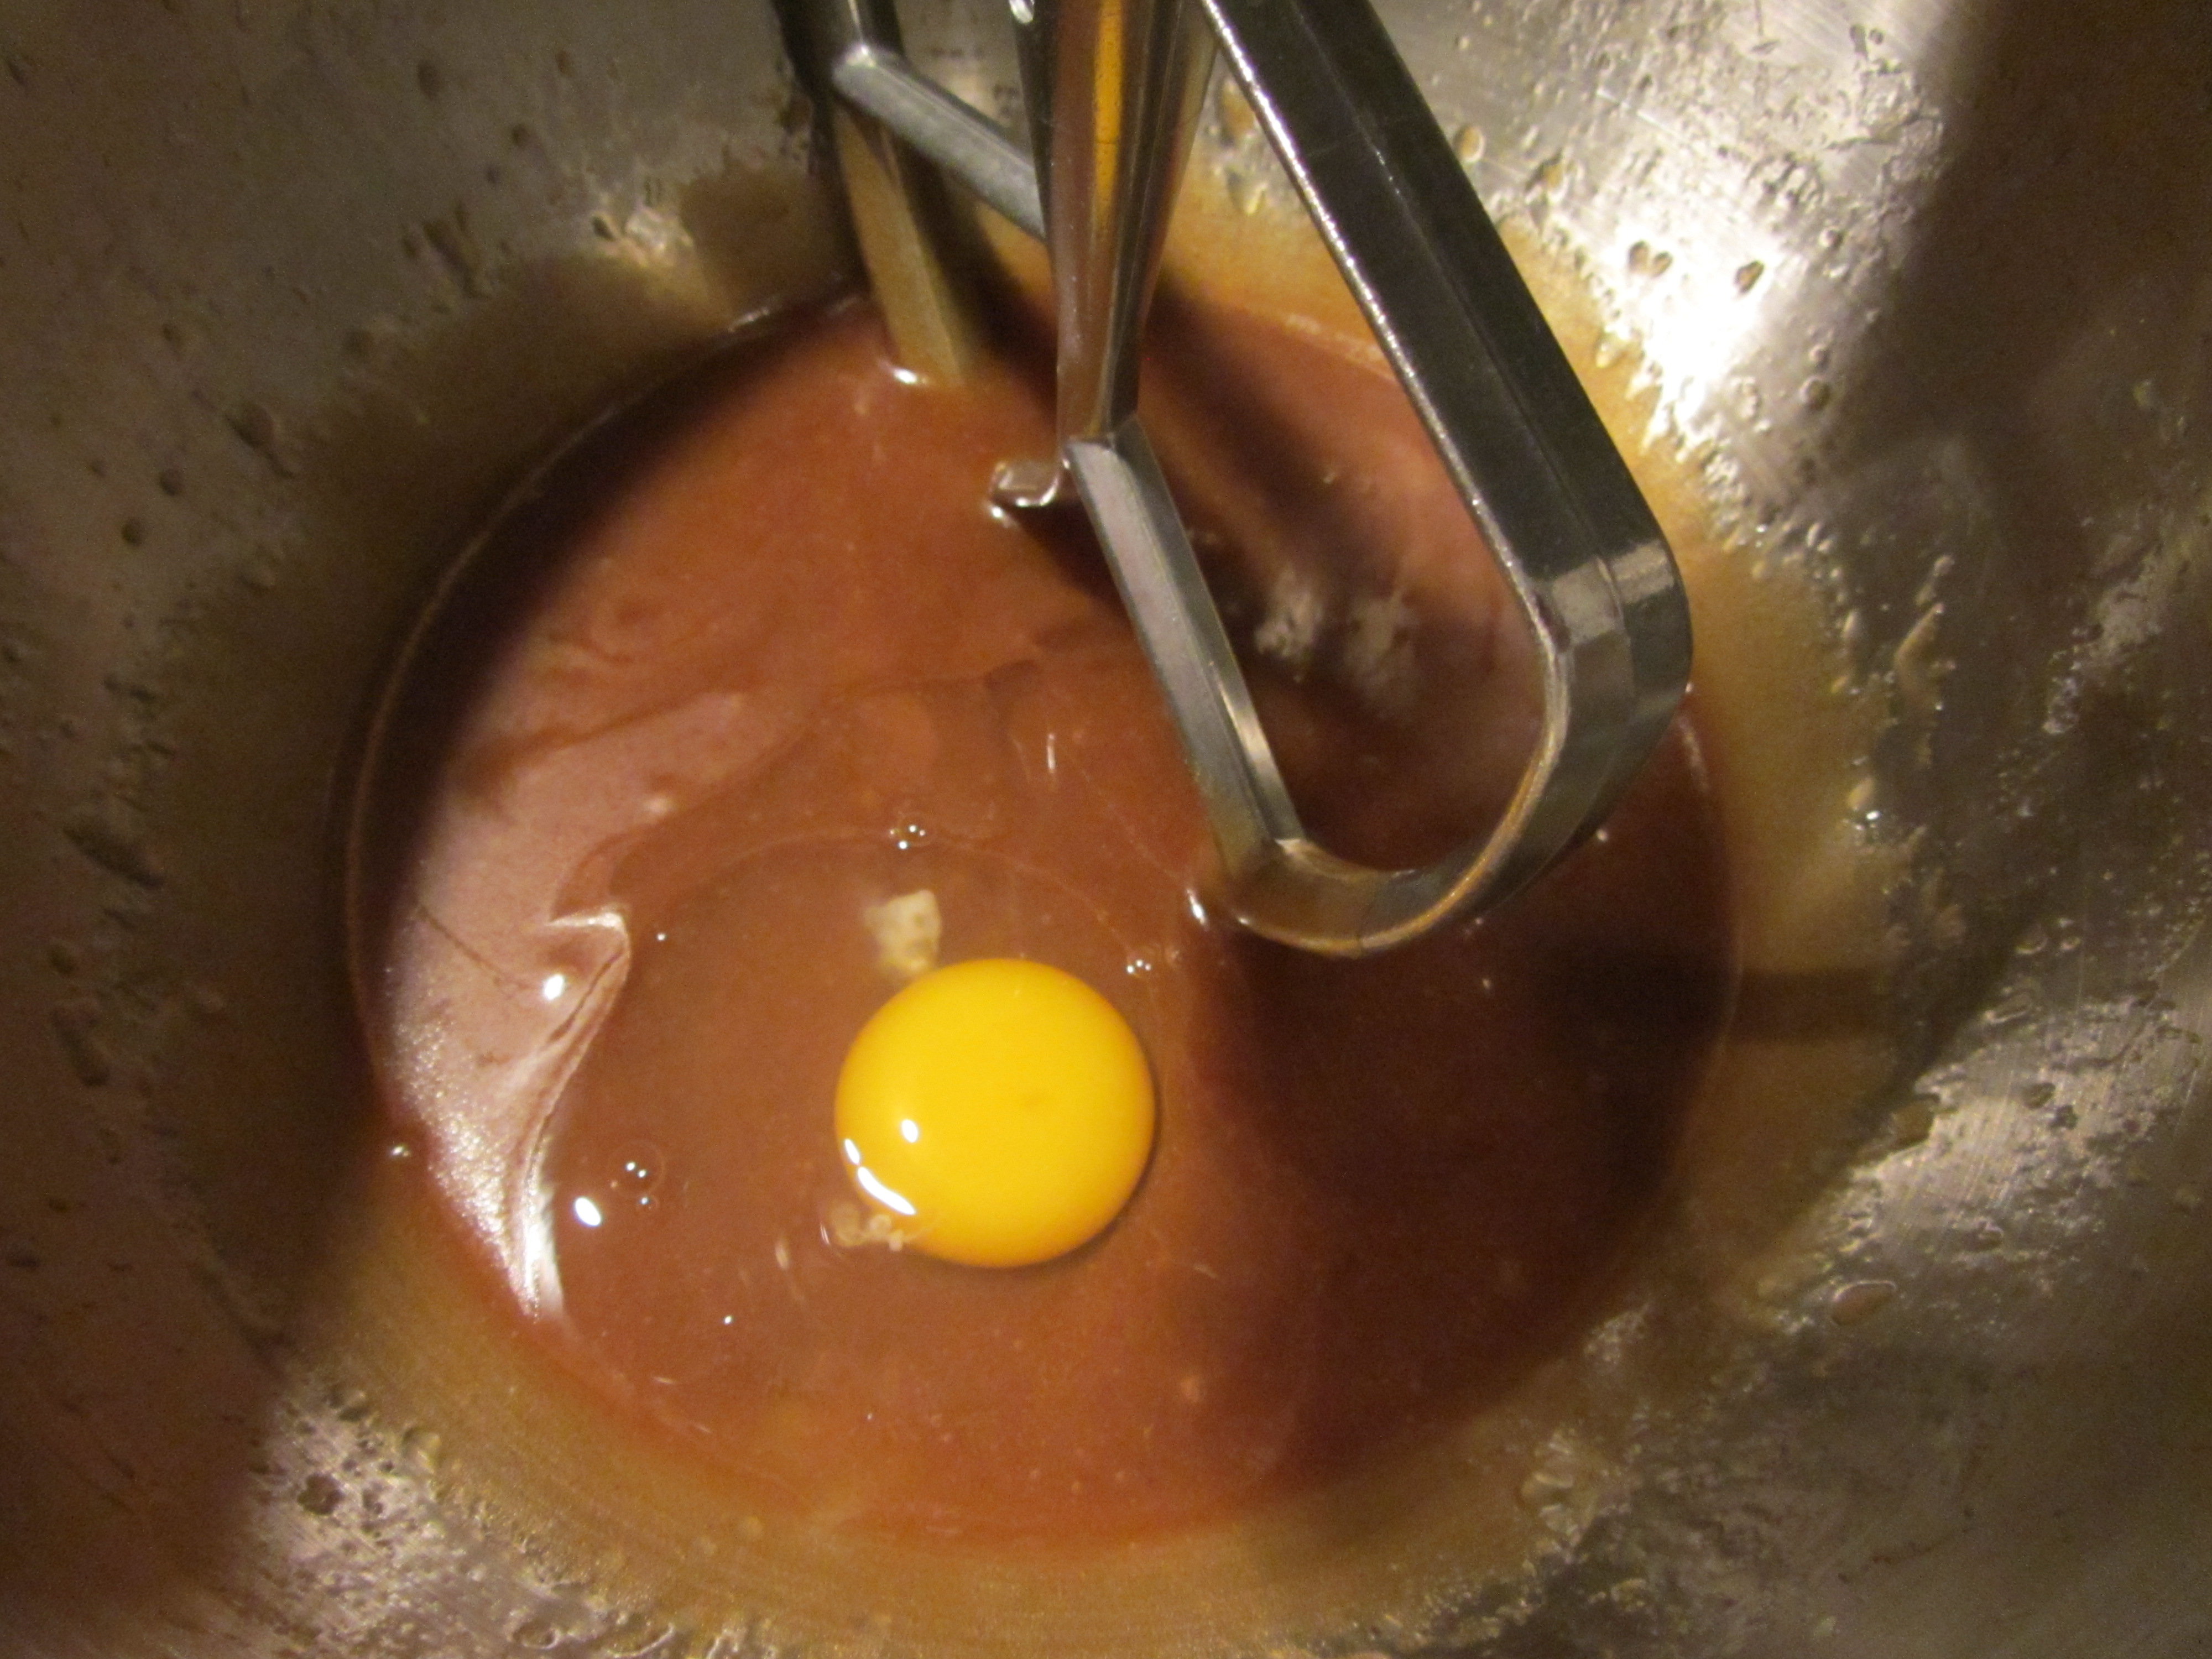
To this mixture add one egg, blending it in, and follow it up with an additional egg yolk.

One egg added to butter/sugar mixture.

An additional egg yolk.
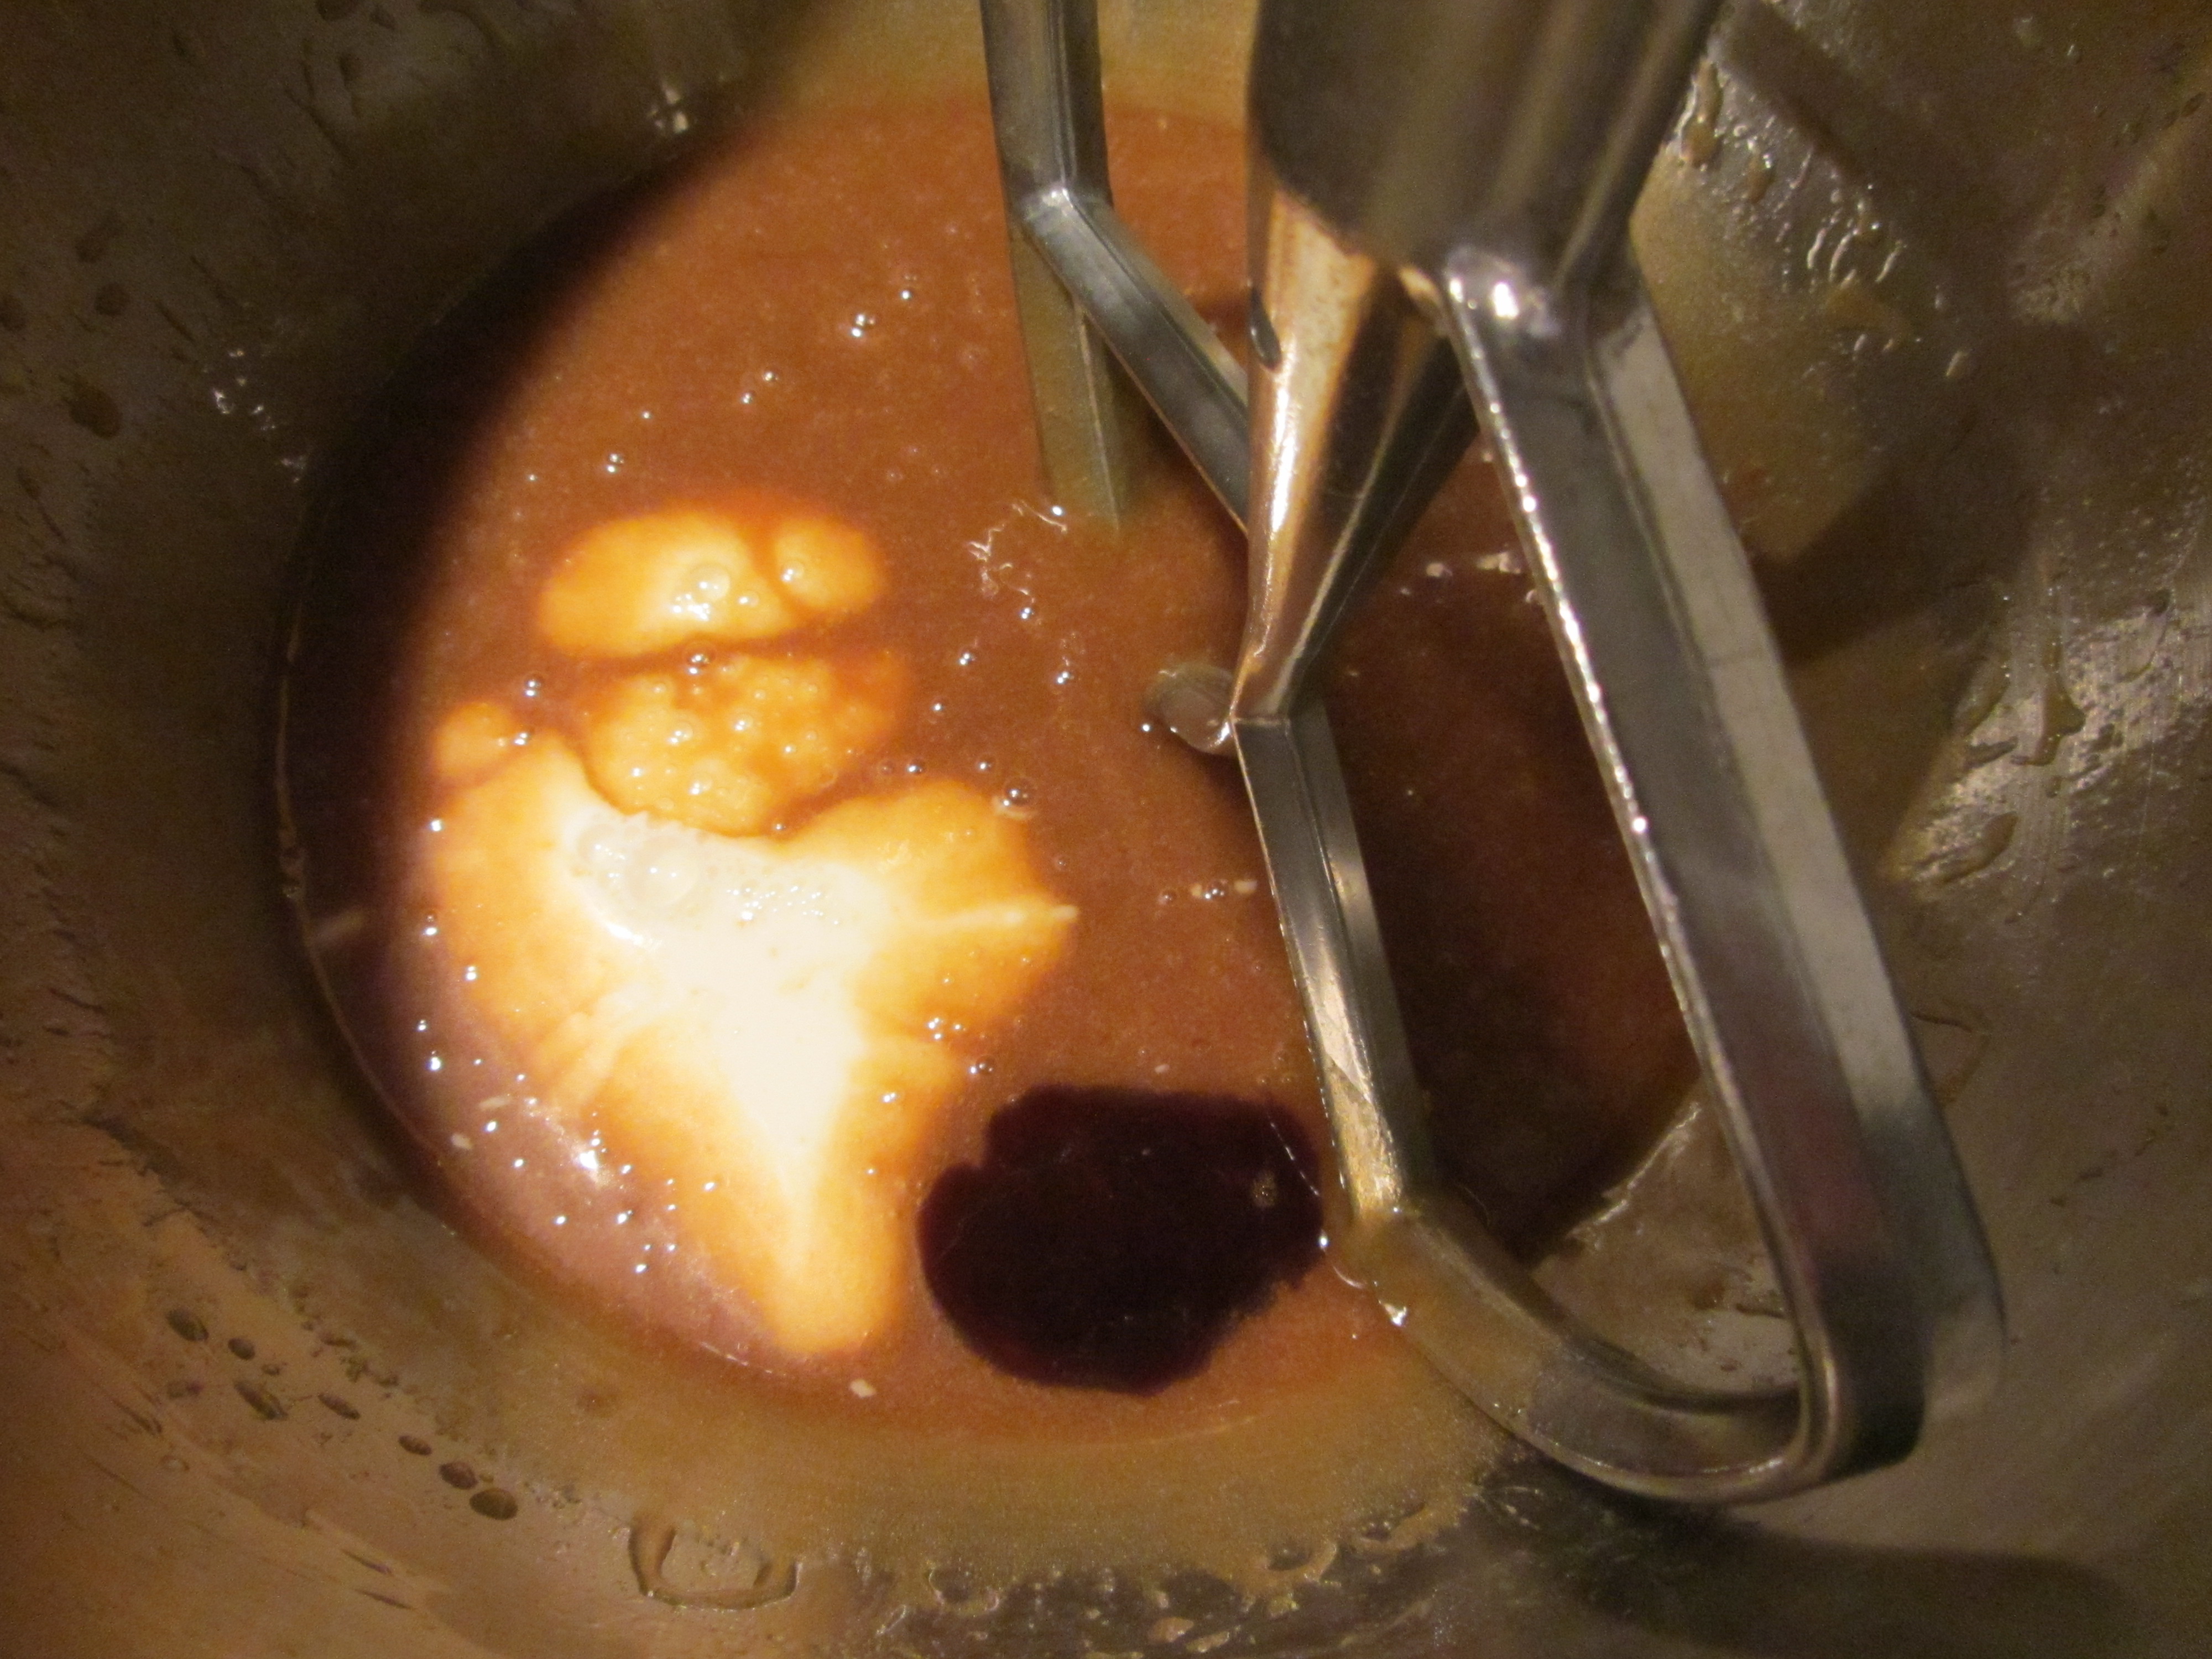
Also add 1 oz. of whole milk and 1 1/2 t of vanilla.

Whole milk and vanilla added.
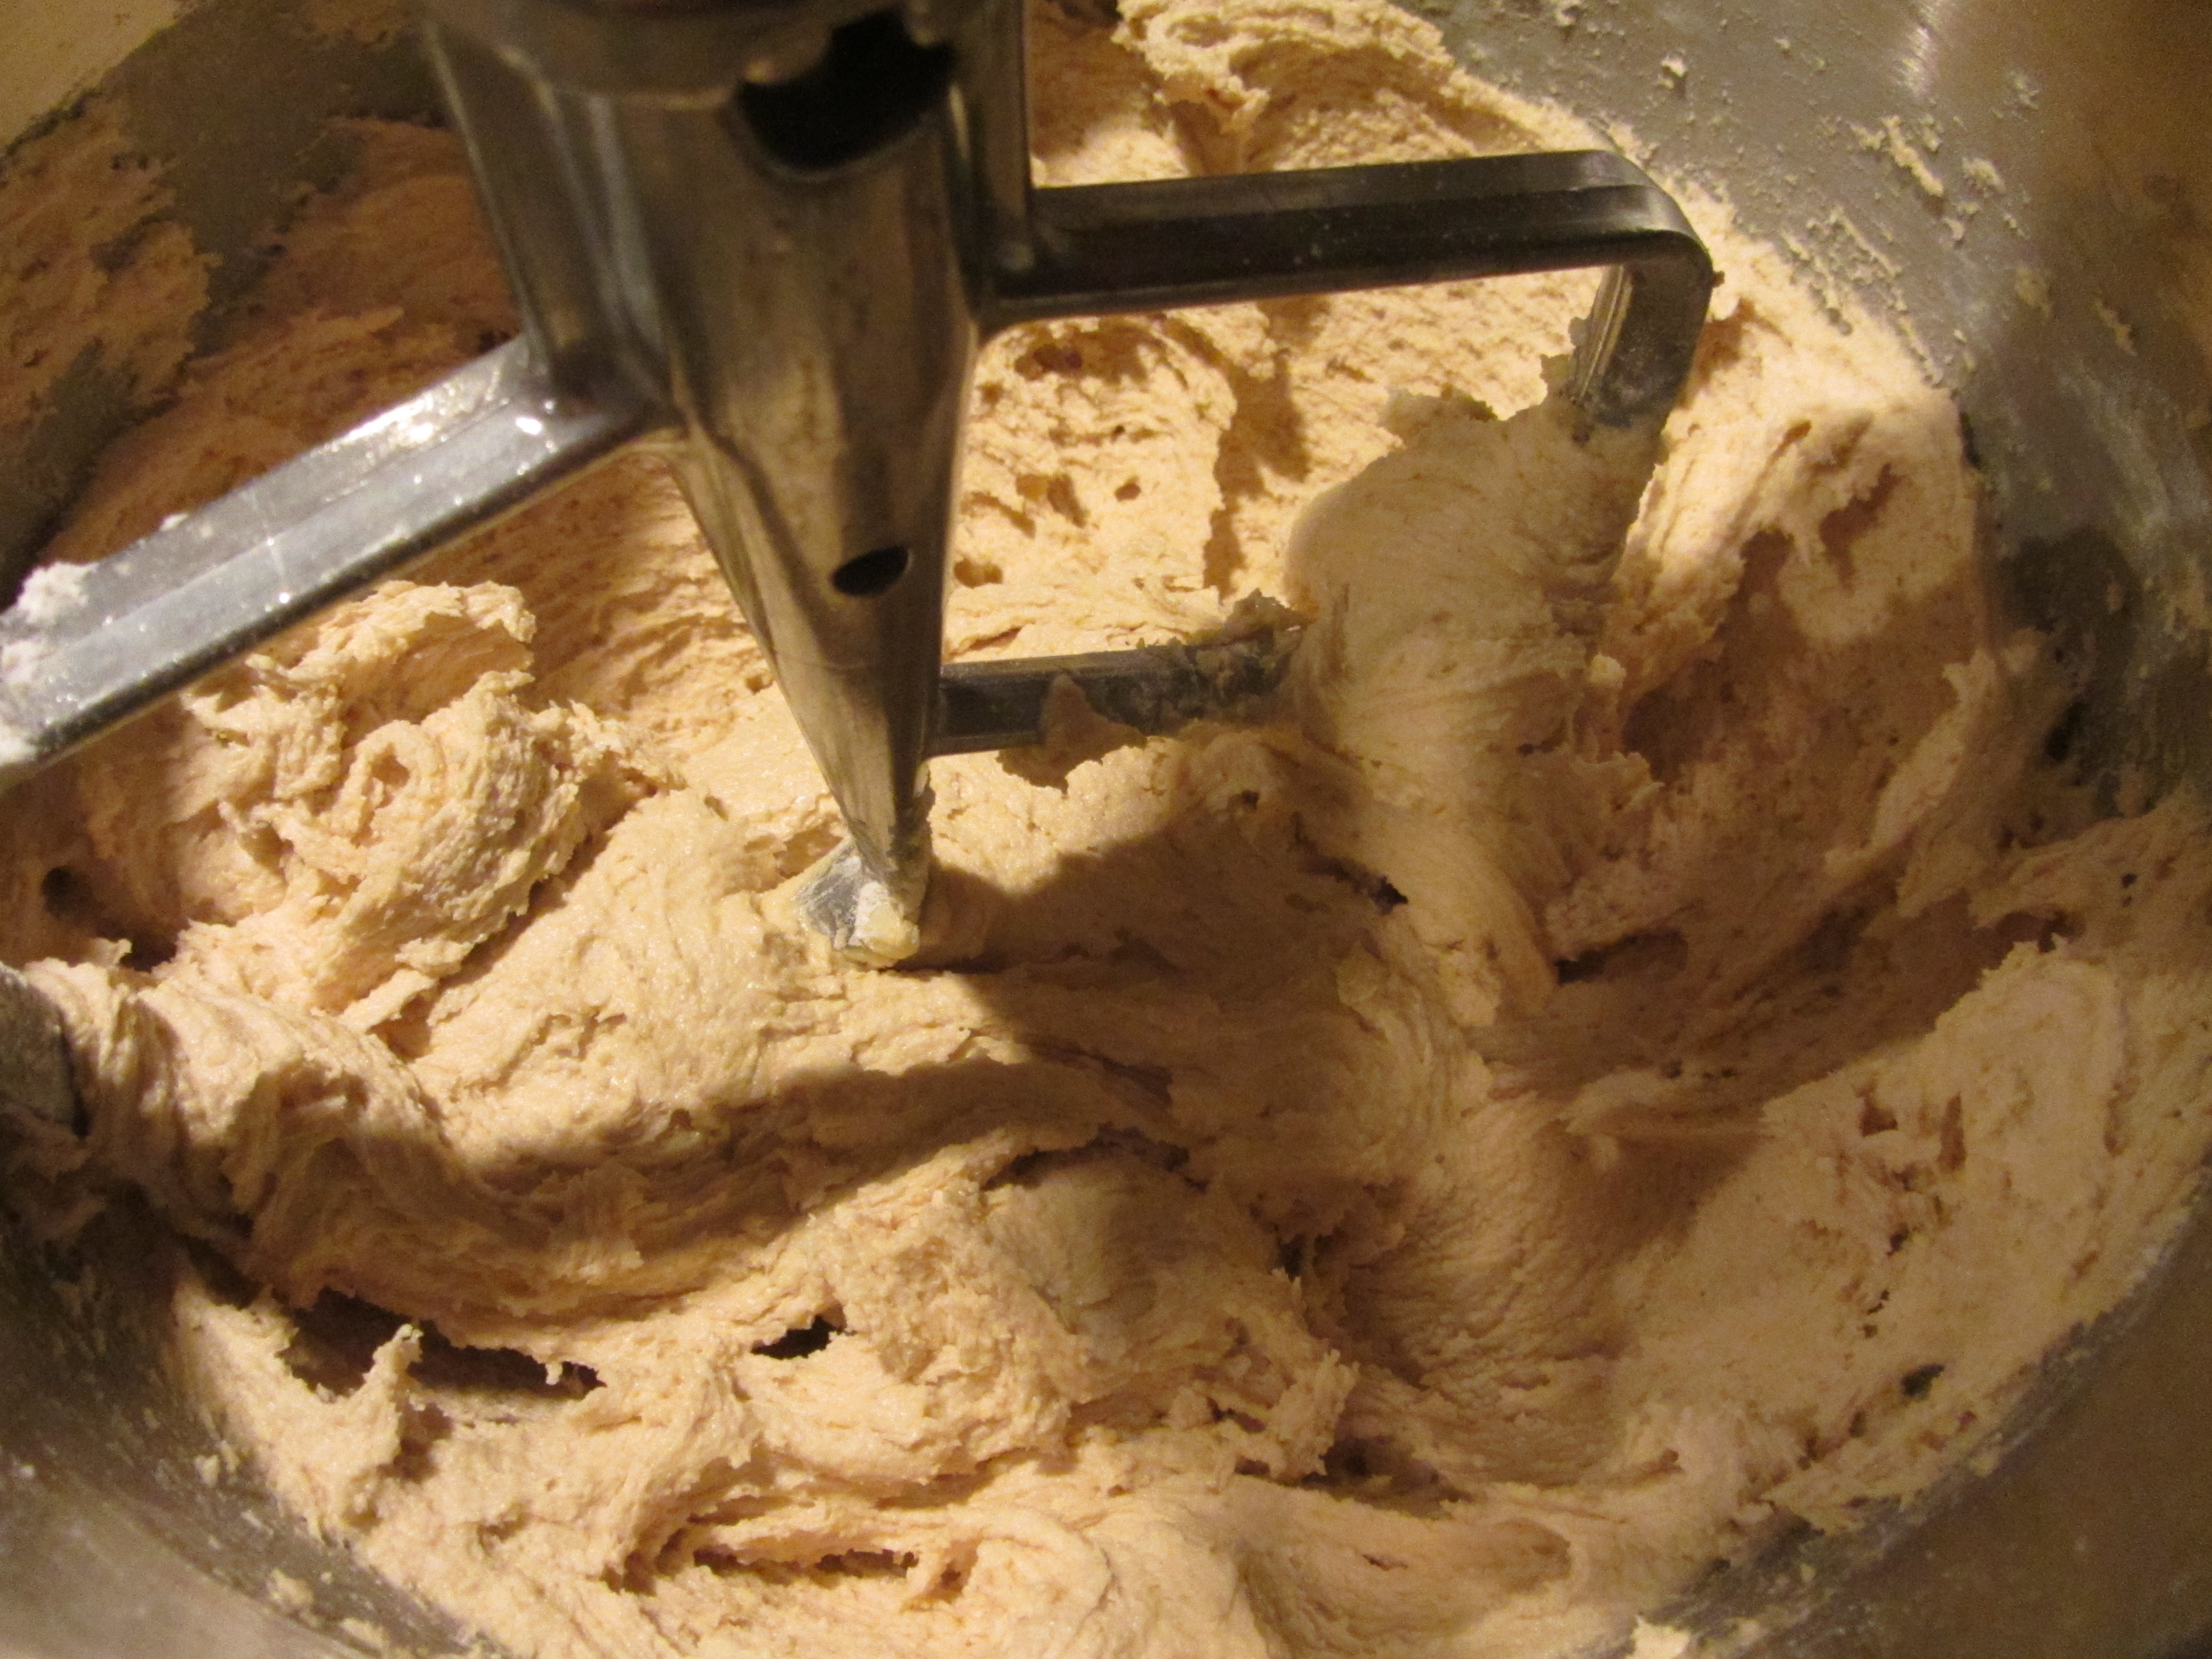
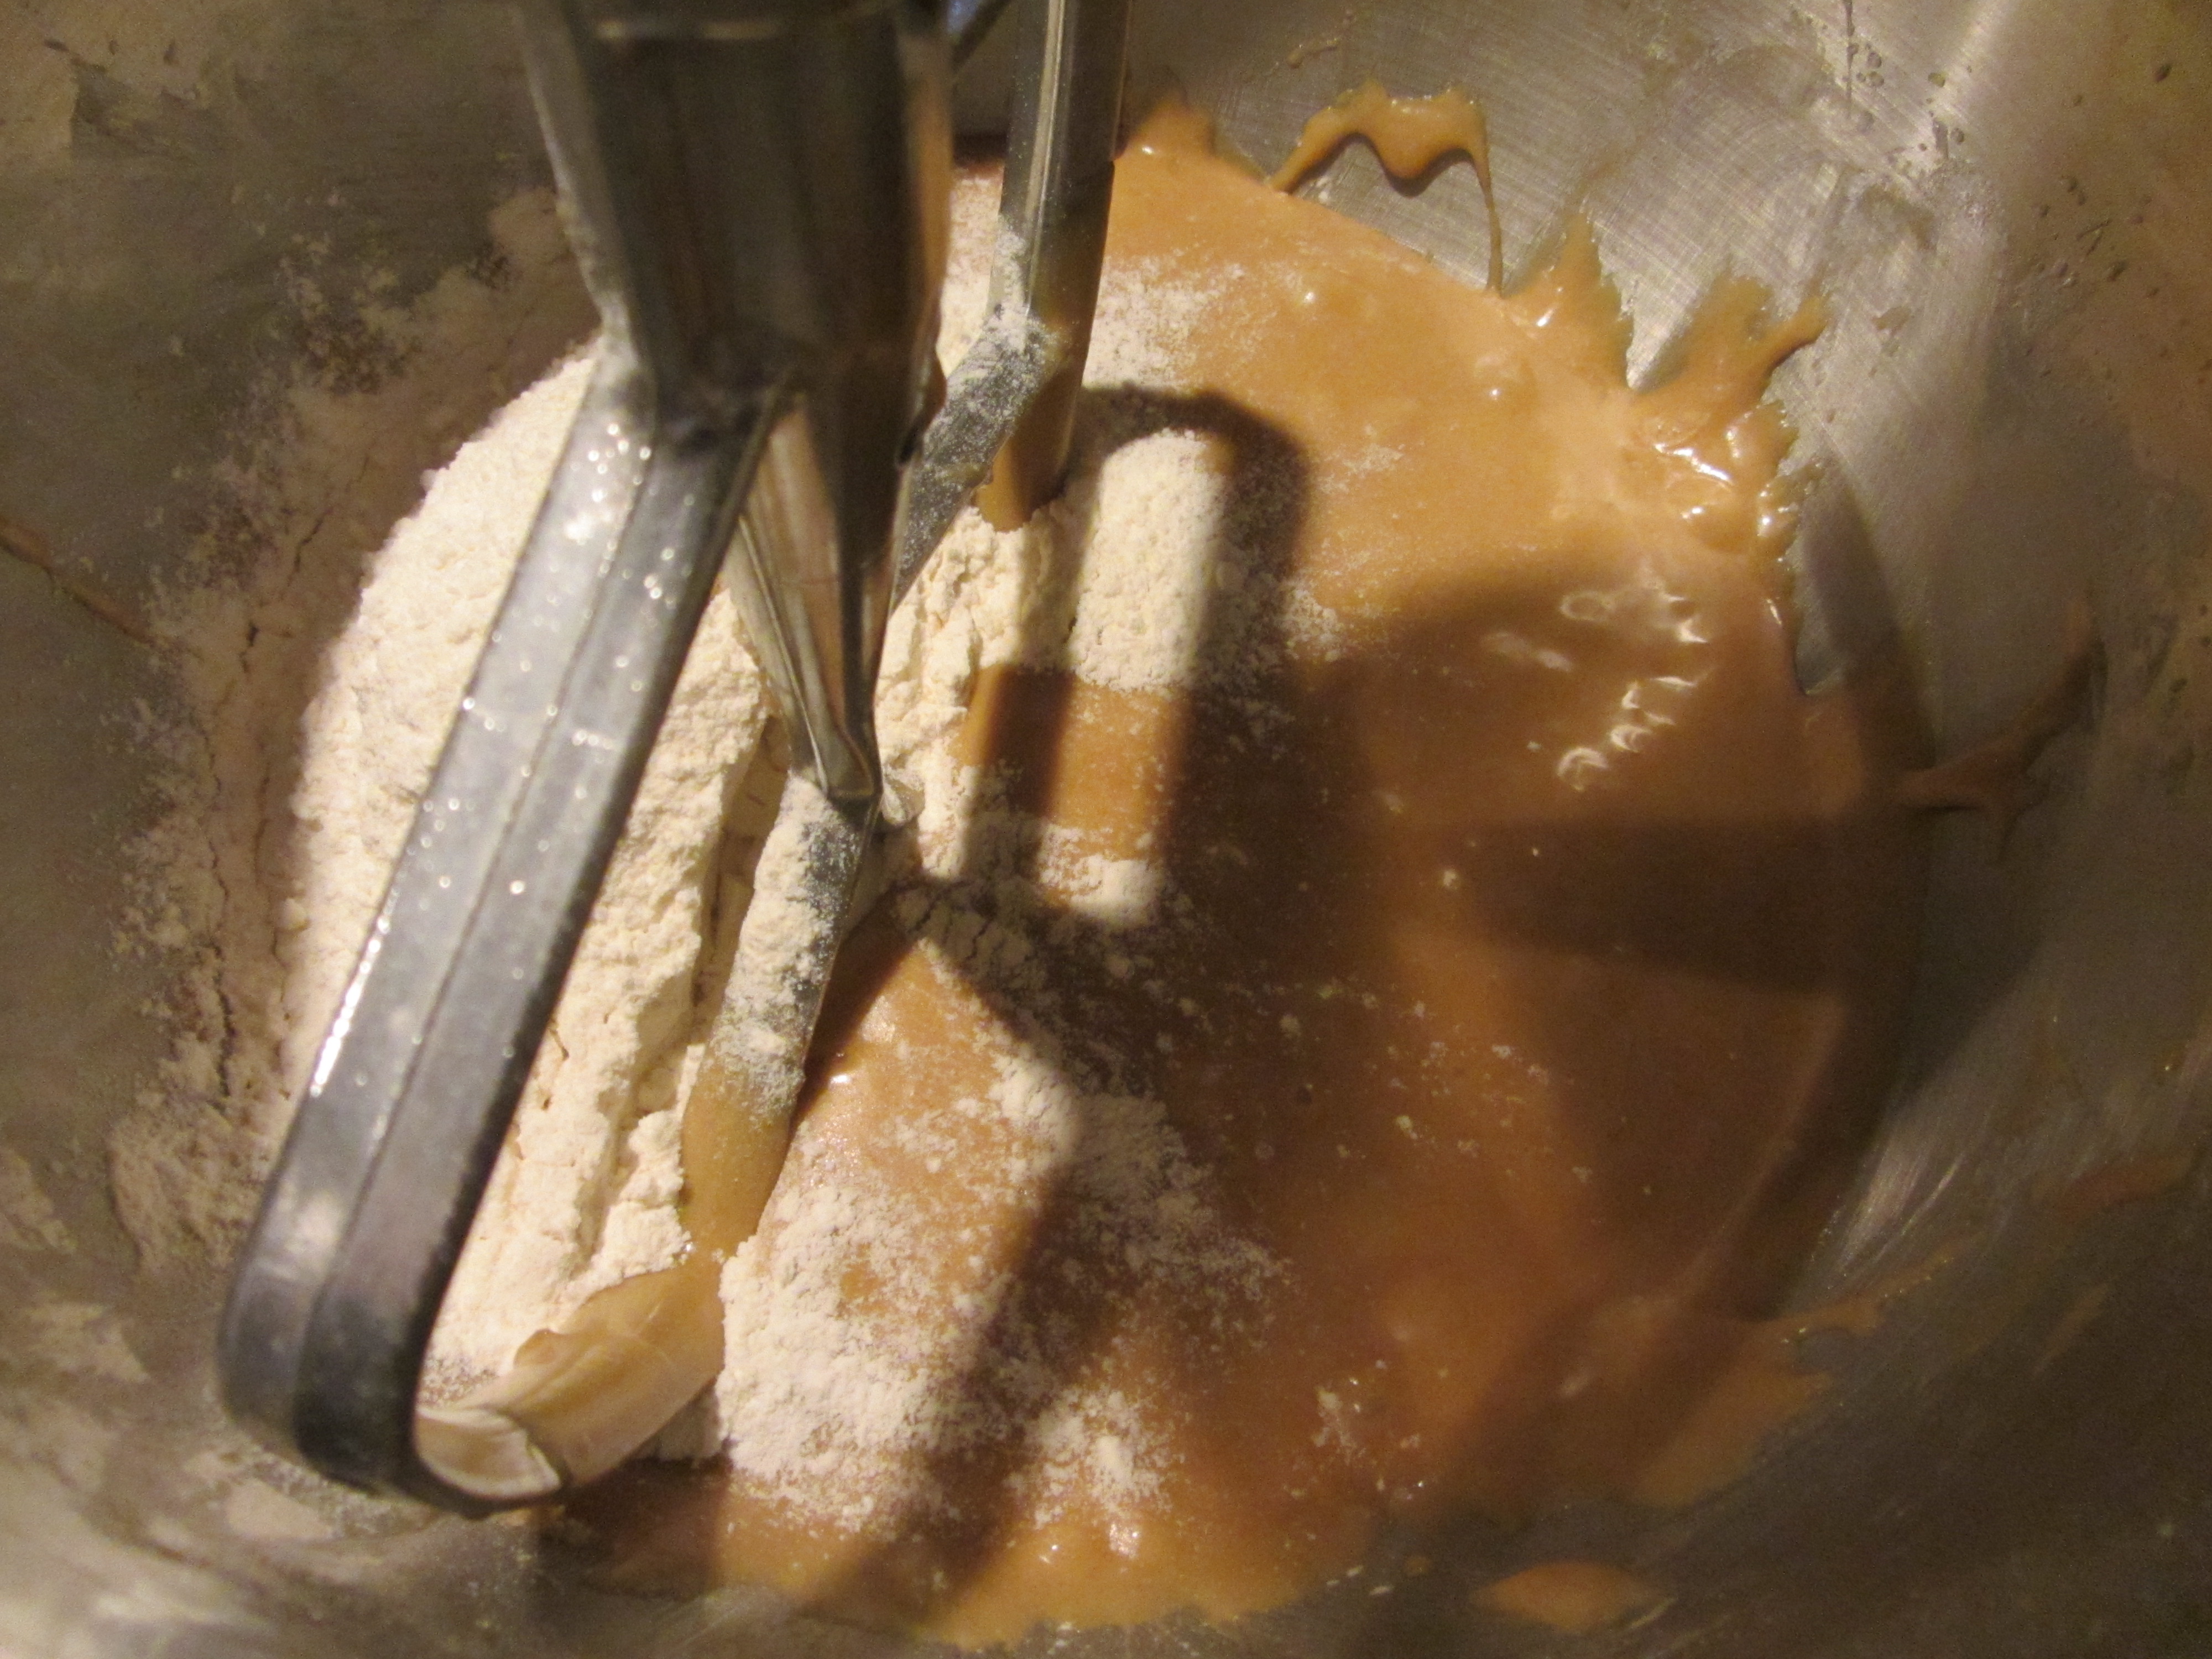
When all of the liquid ingredients are completely mixed, slowly add the dry ingredients, scraping the bowl between additions.

Wet ingredients after mixing.

Flour mixture added gradually.

Dry ingredients mixed in.
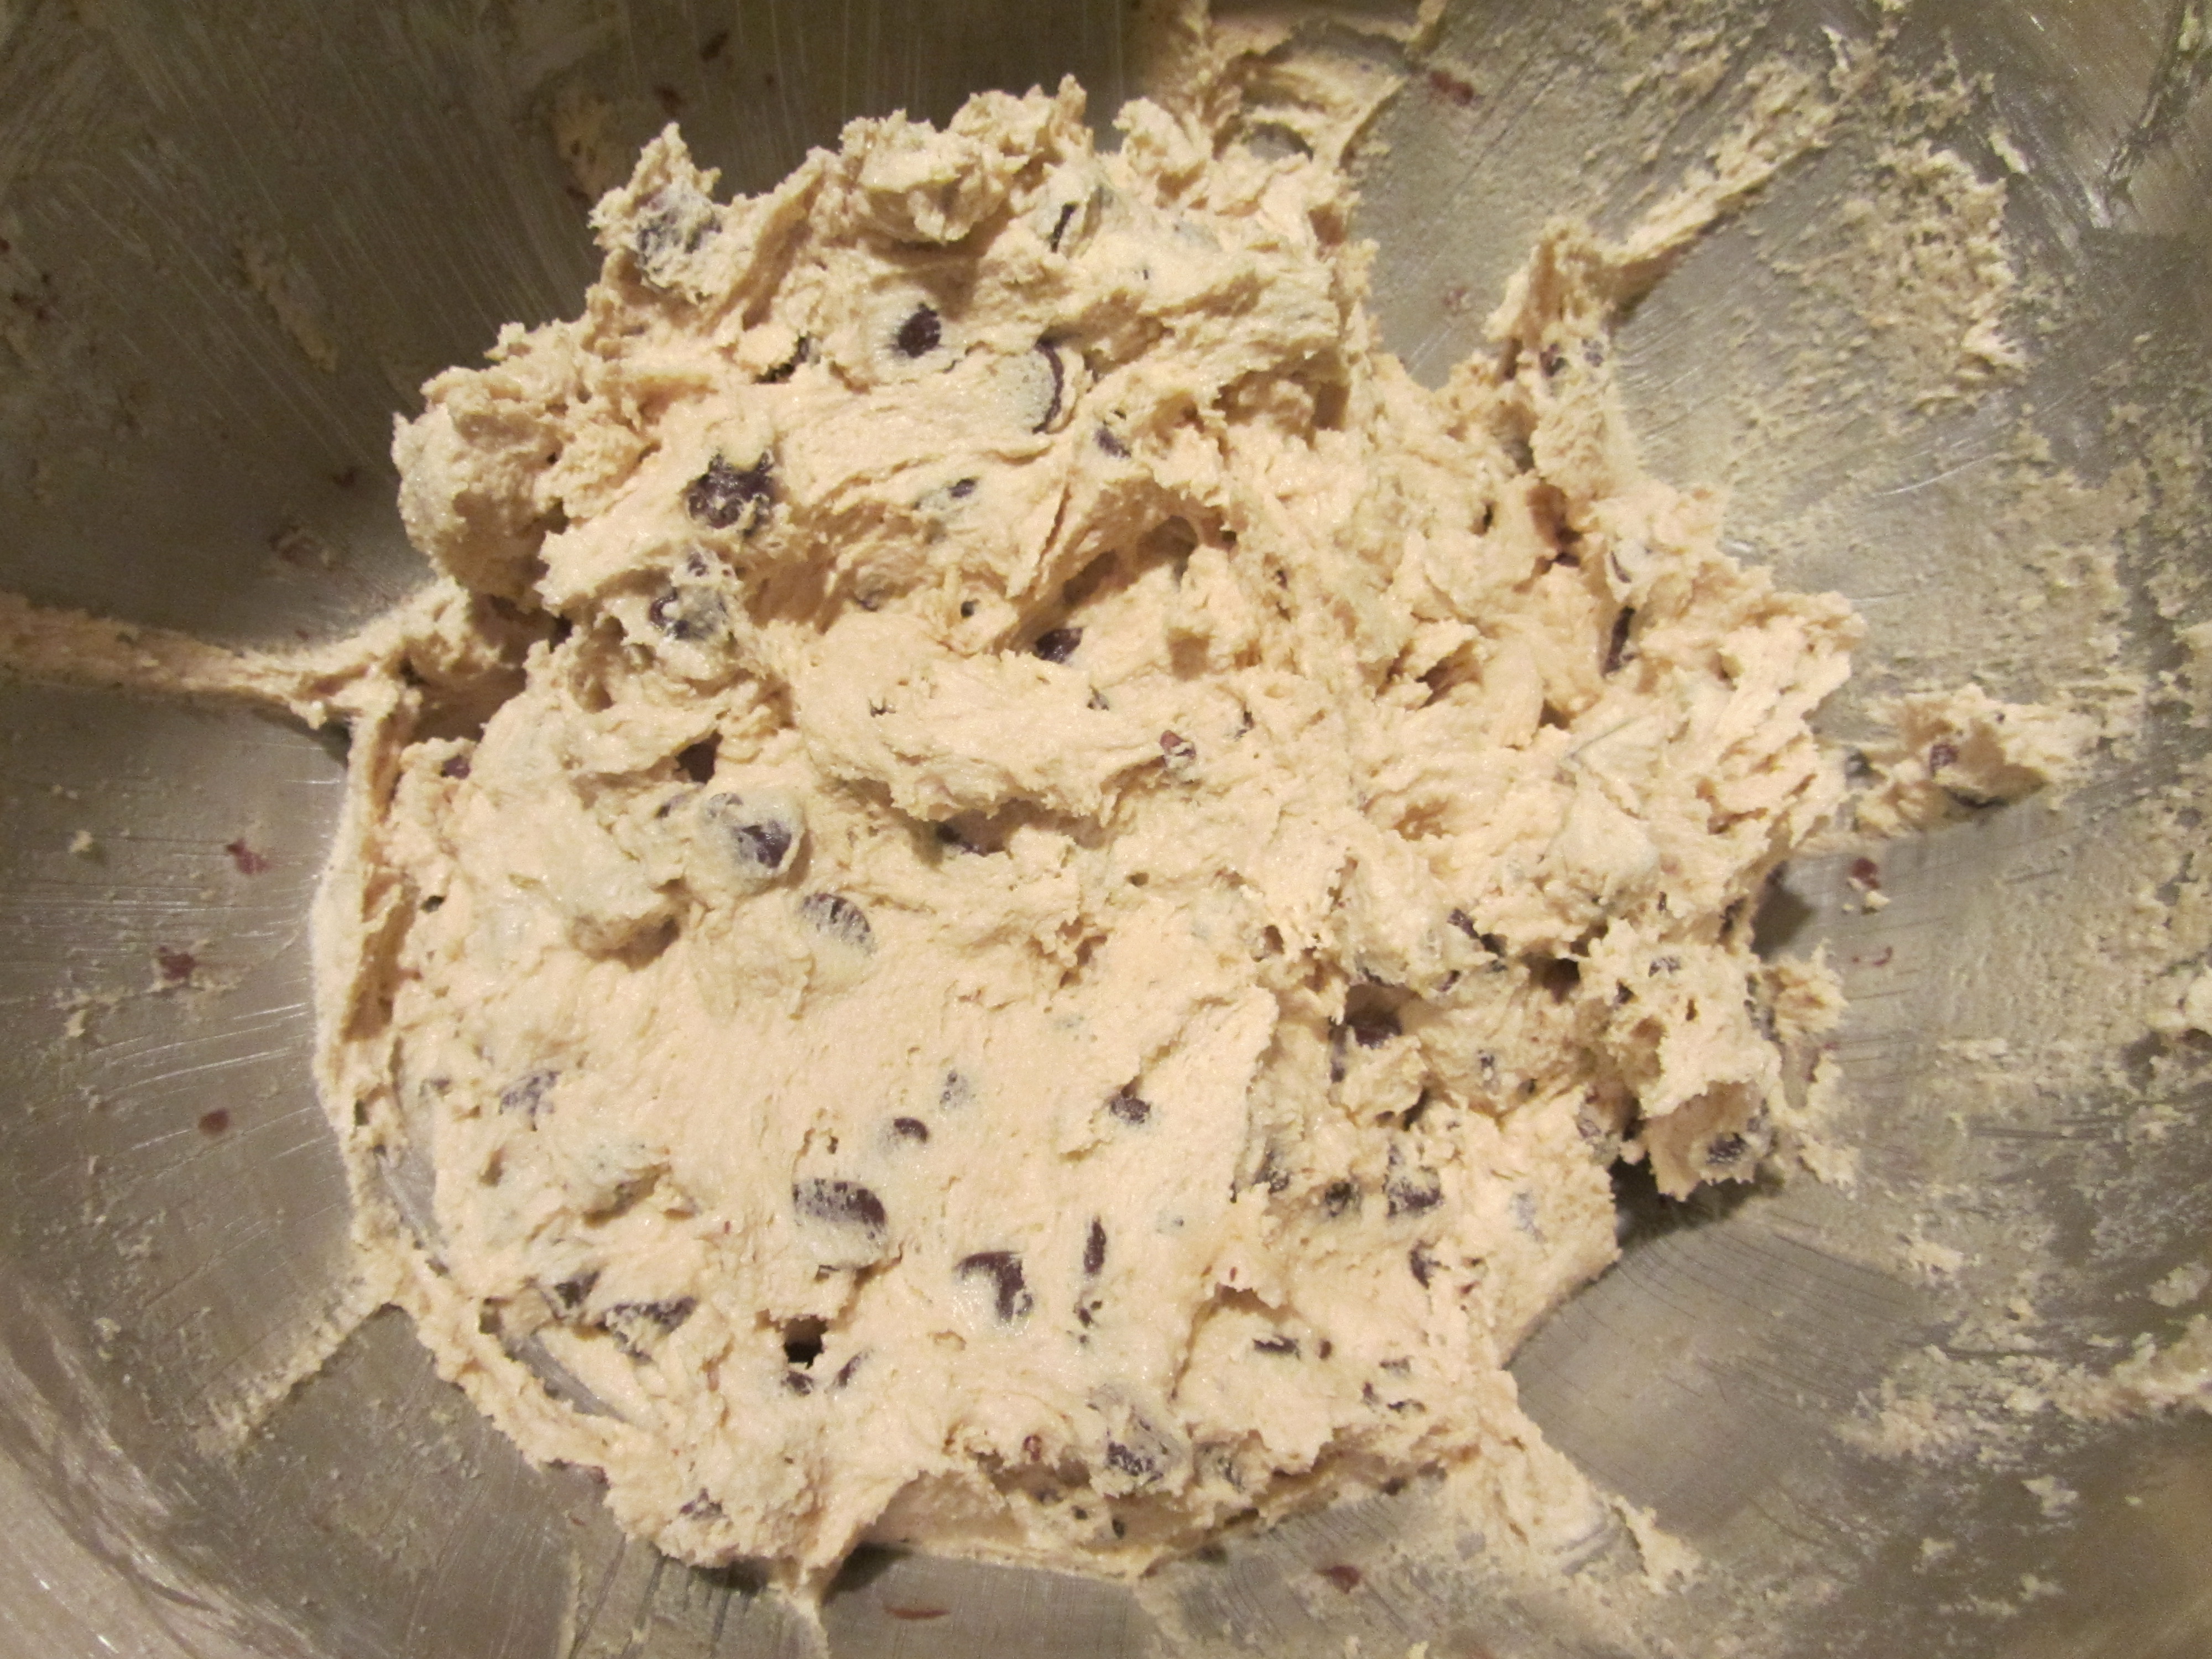
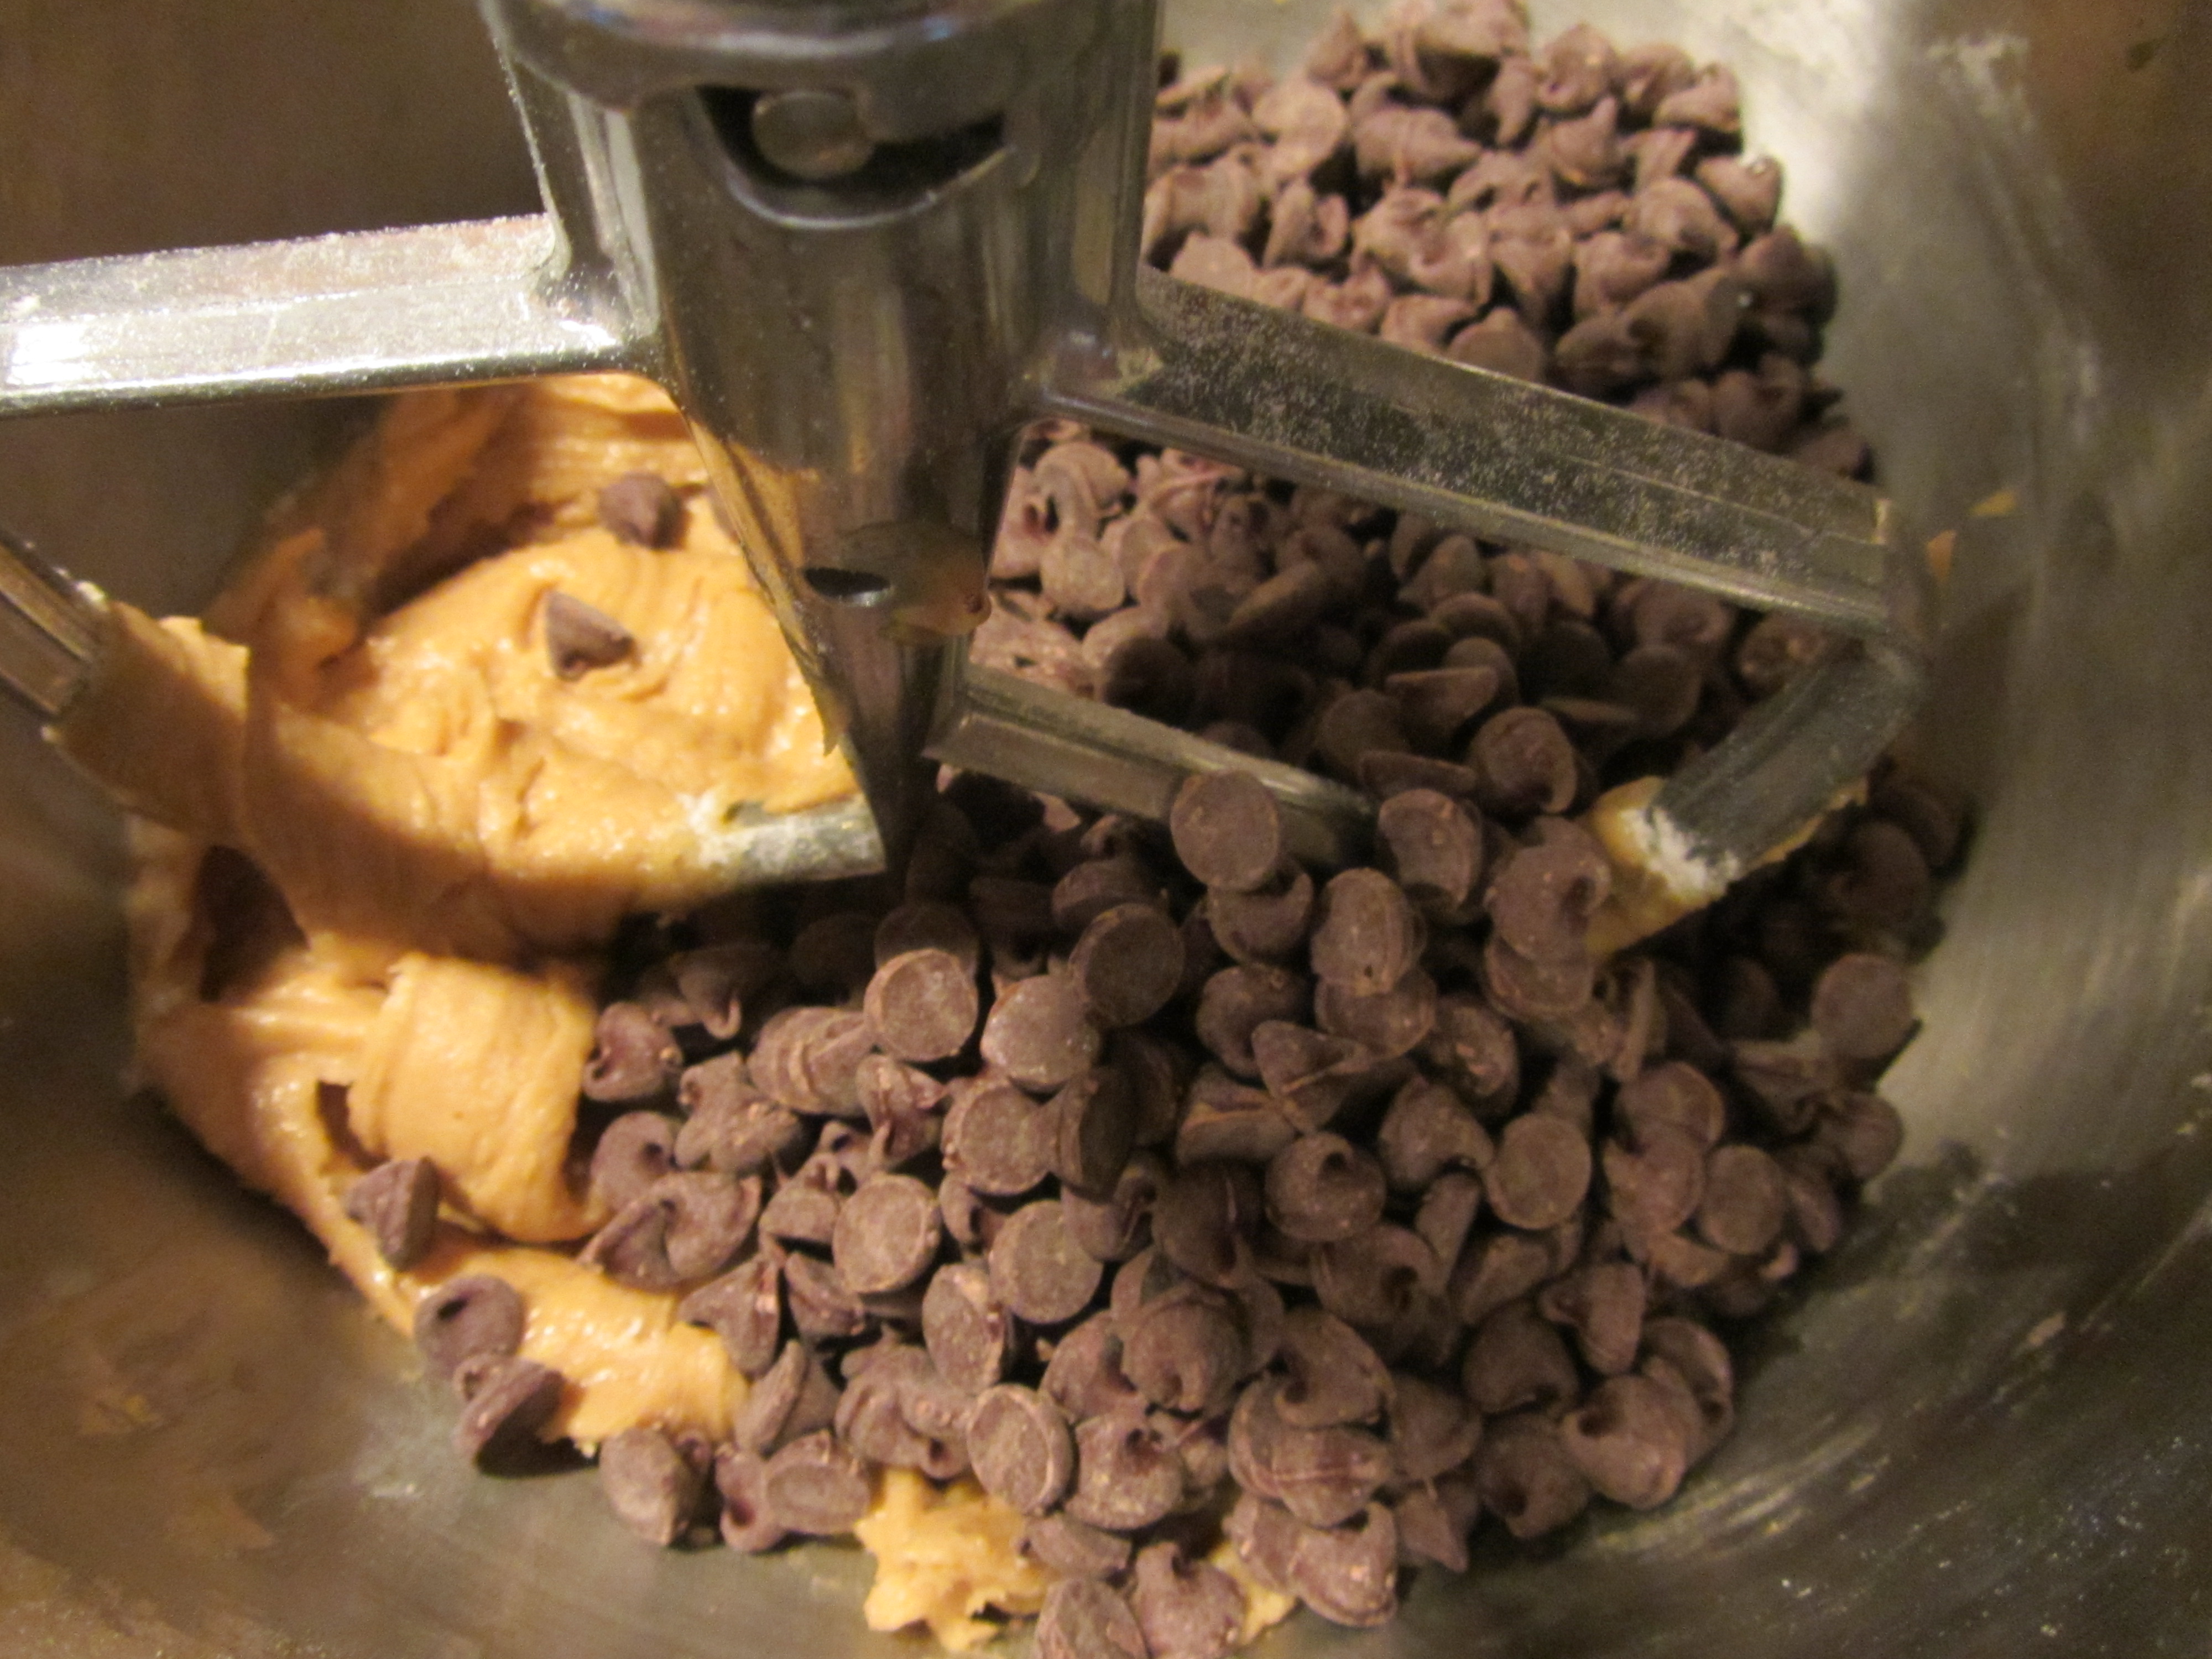
Stir in 2 C of semi-sweet chocolate chips and chill the dough thoroughly.

Chocolate chips added.

Final chewy dough.

Flour on the Coonhound nose.

Dough in the refrigerator to chill.
Once chilled, again scoop the dough onto parchment-lined sheets (six cookies per sheet), and bake at 375 degrees for 13-15 minutes. I again used my smaller ice cream scoop.

Cookies ready to bake.

Chewy cookies in the oven.
I found that these cookies took a little bit longer to bake than the others did. Again, pull them off of the baking sheets immediately and allow them to cool before storing at room temperature or freezing.

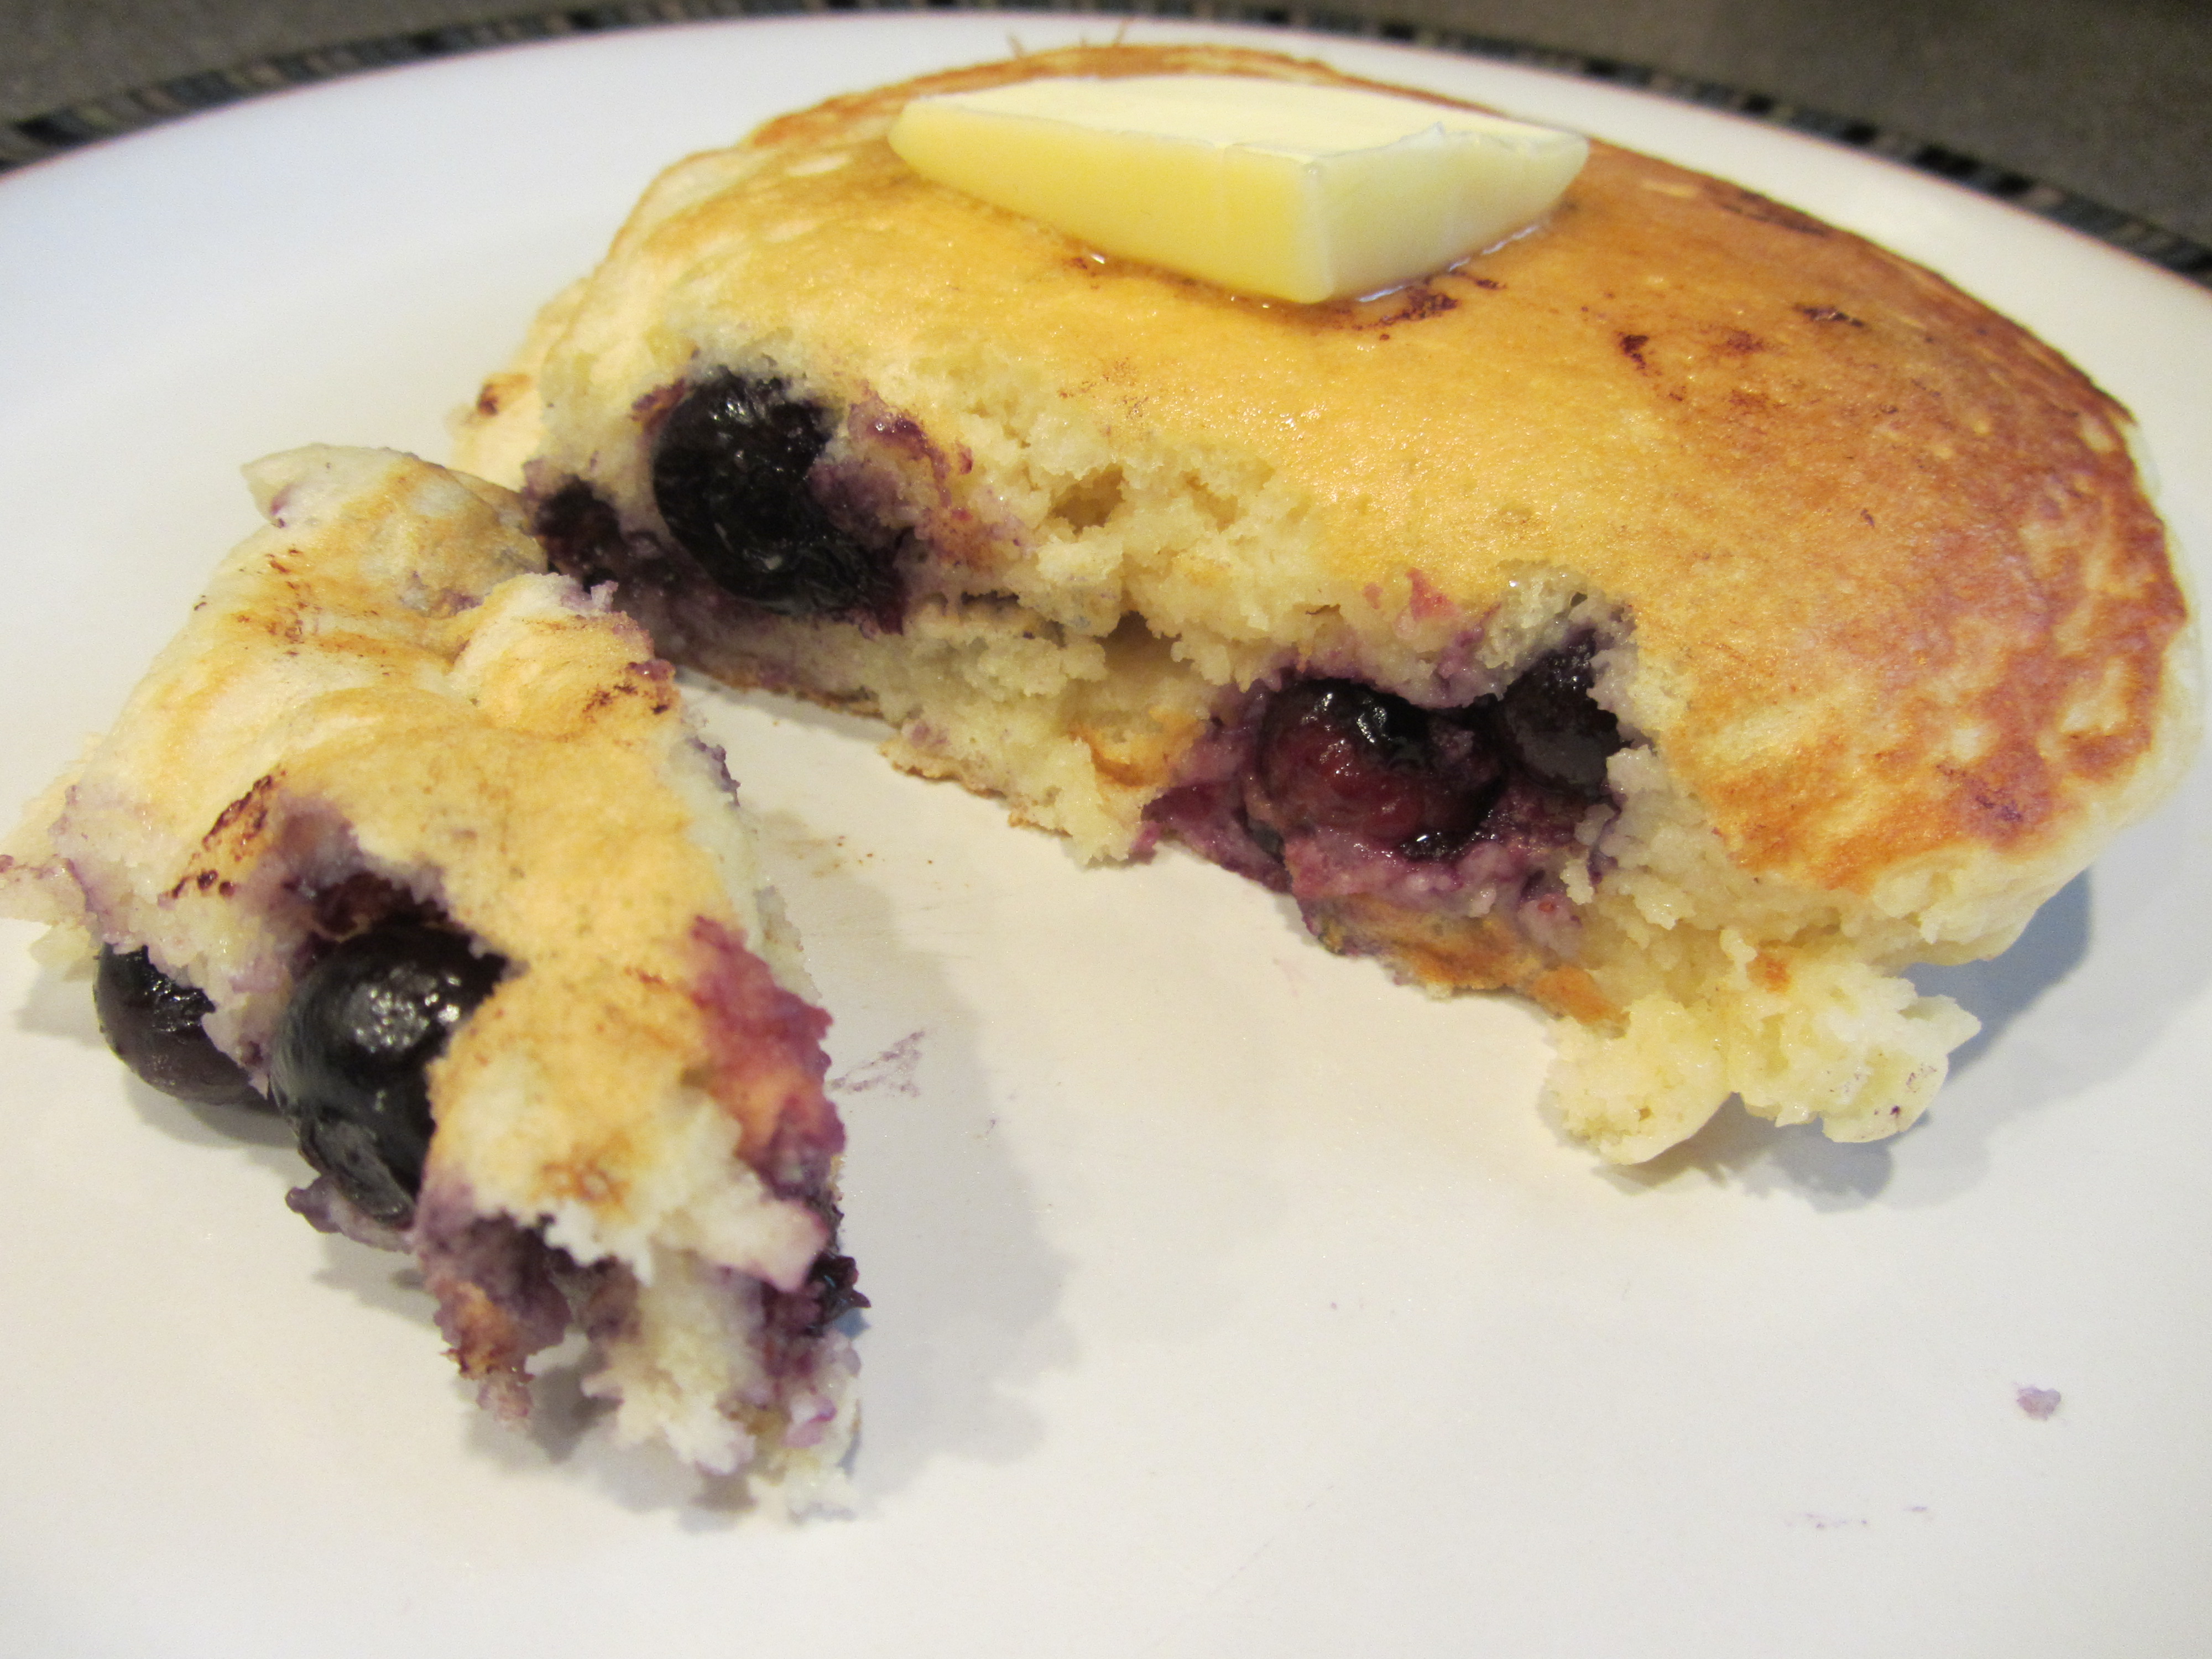
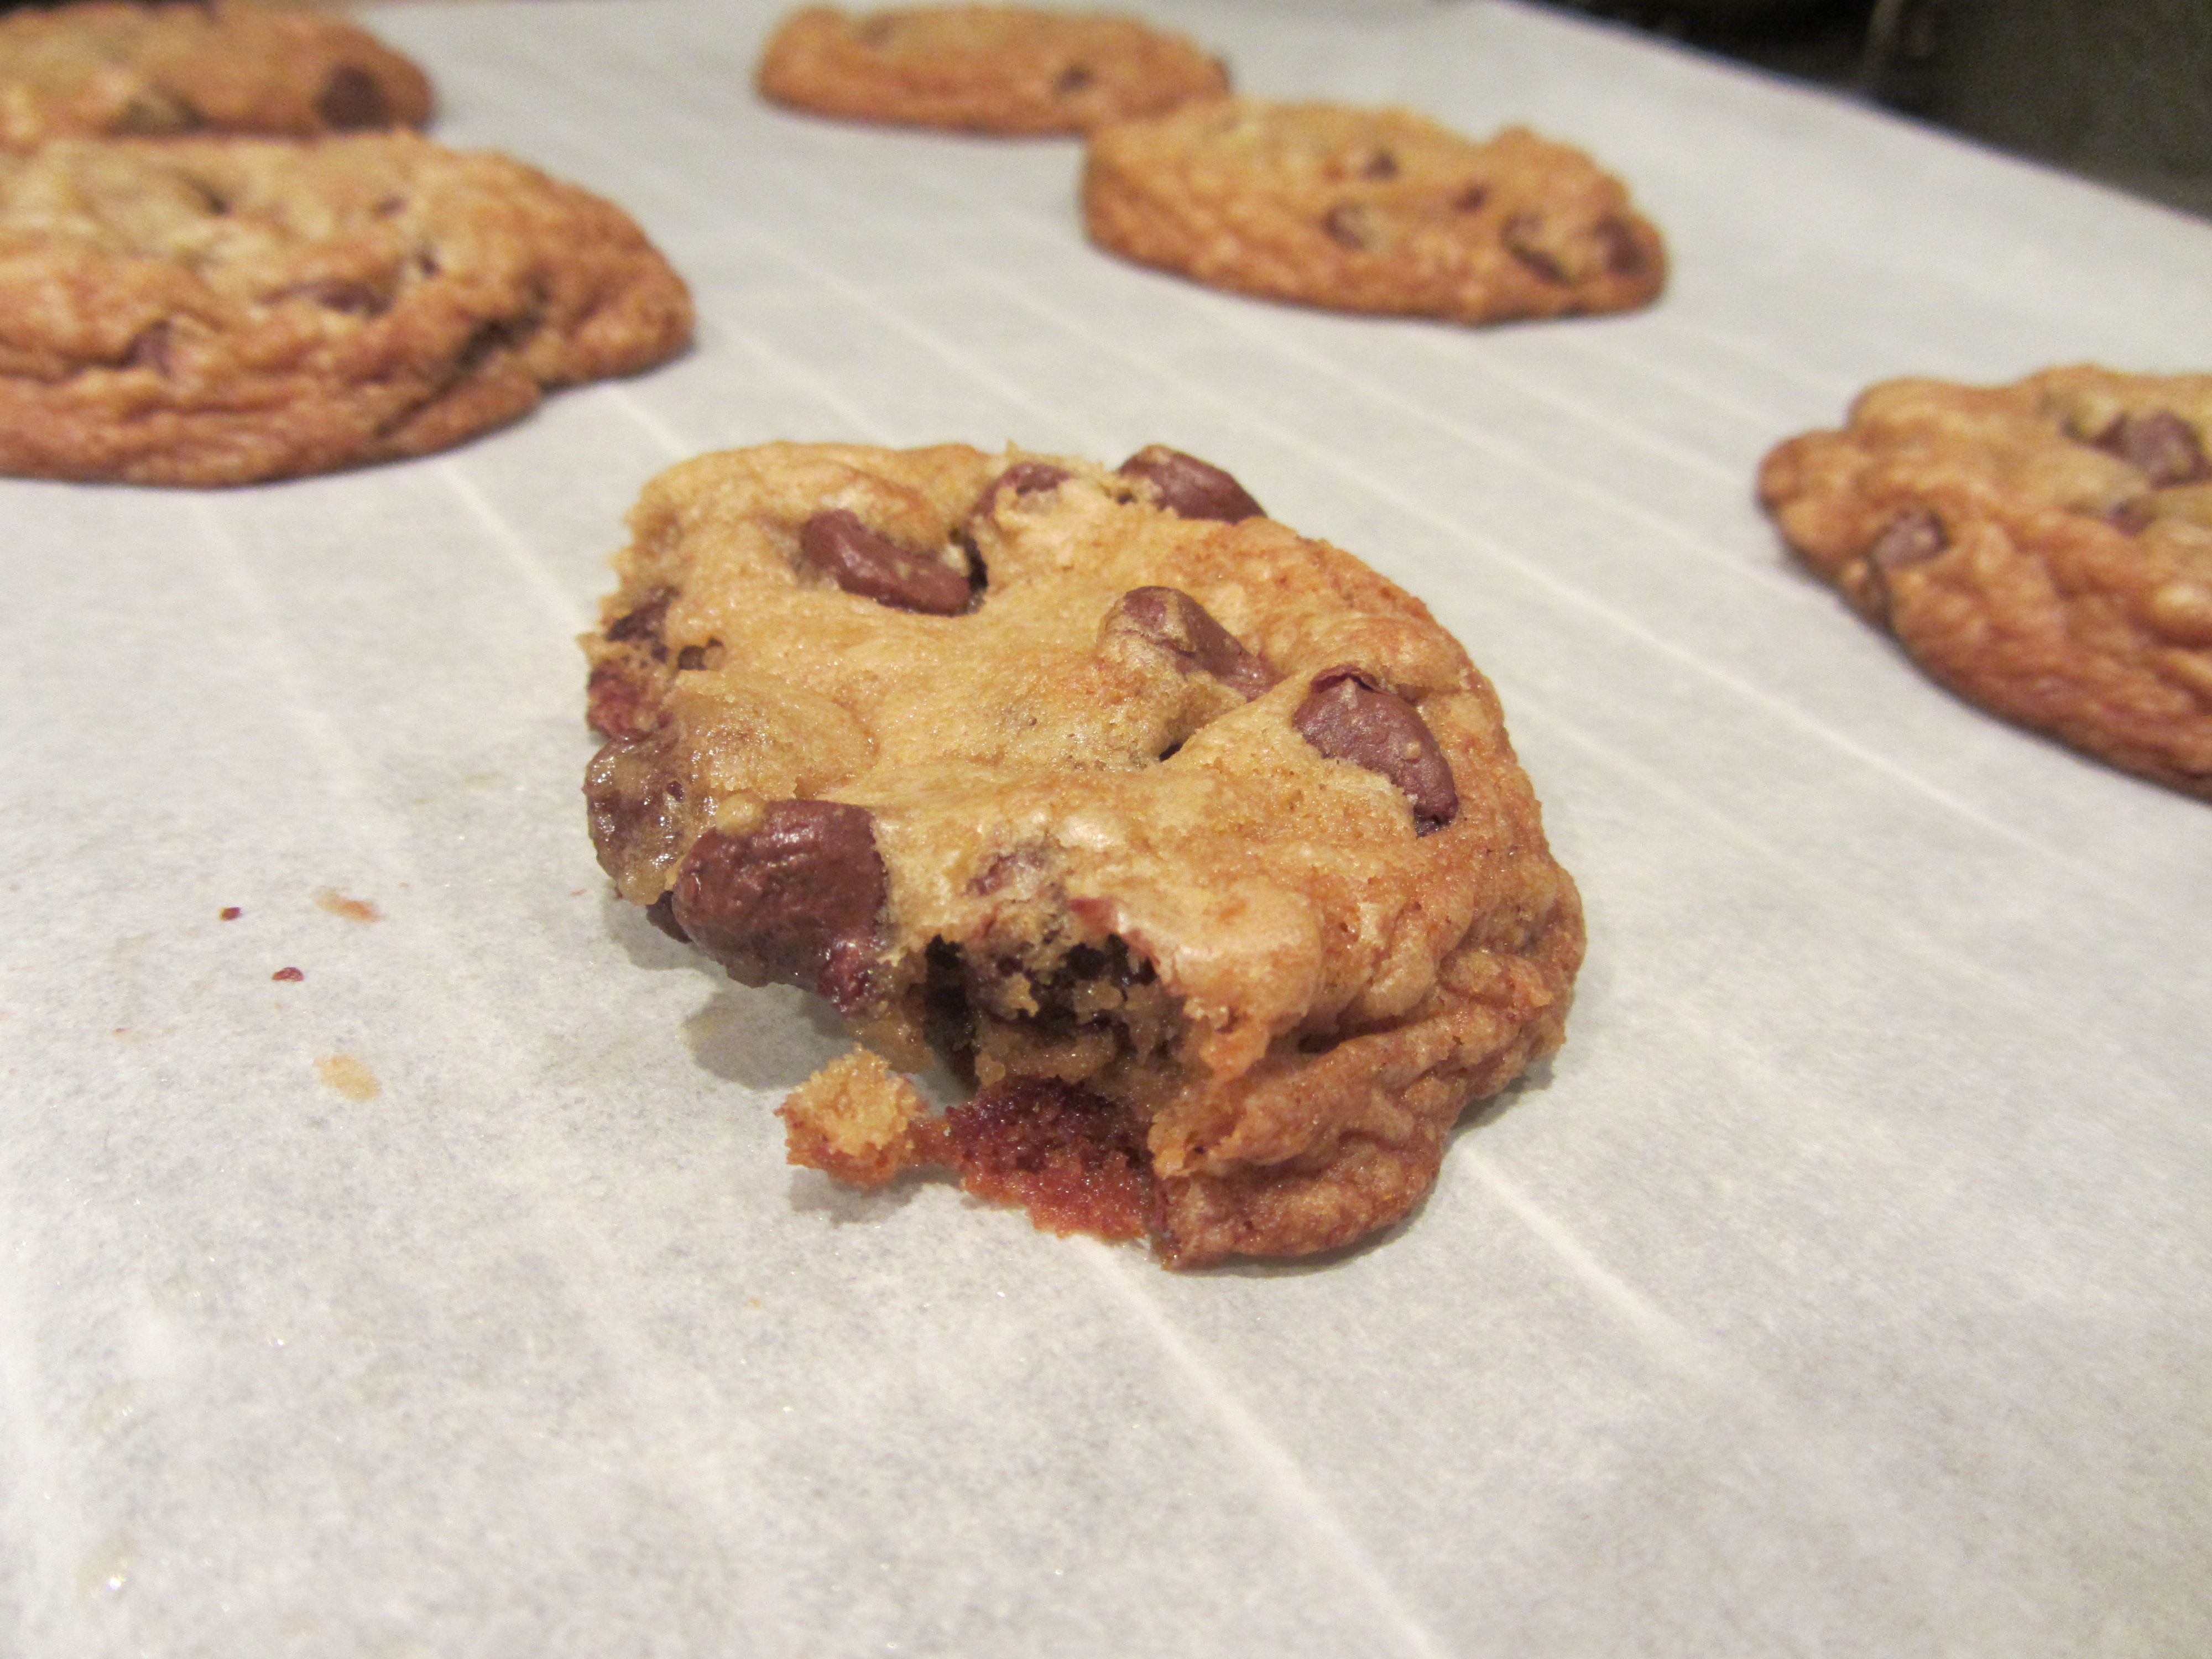
Finished chewy cookies.

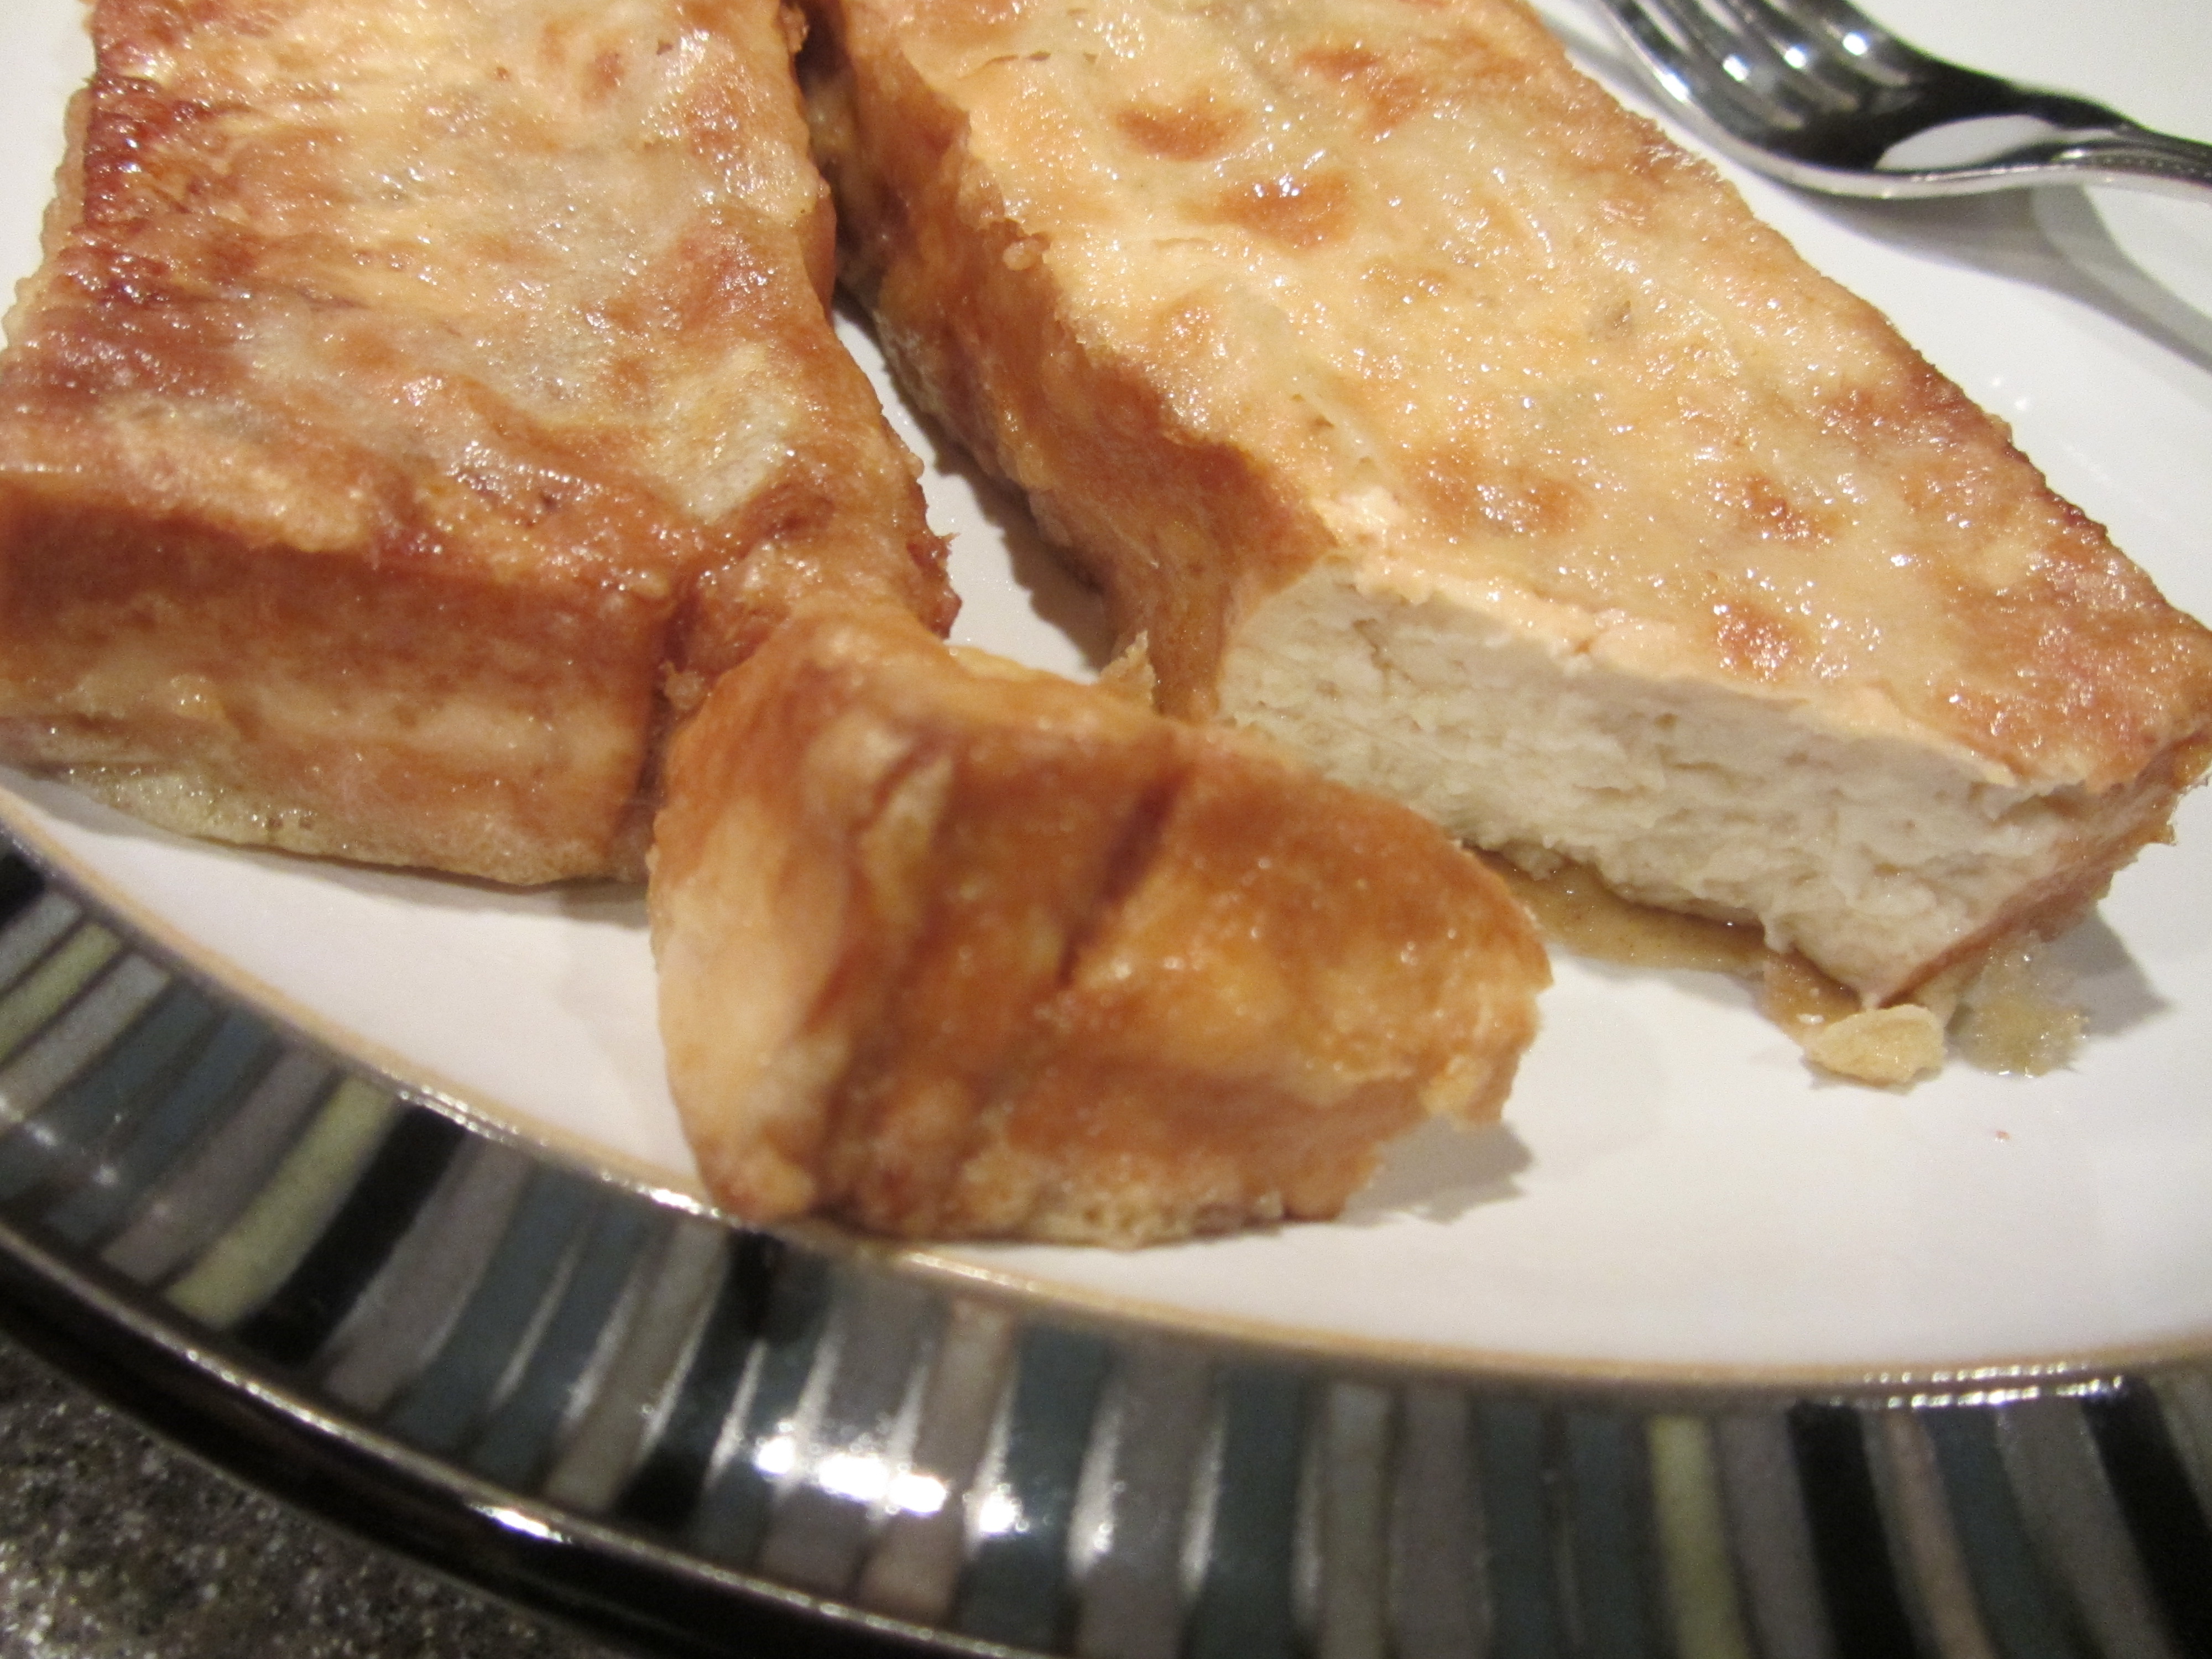
I had to sample part of a cookie that “broke” off.
Alton explains that these cookies are chewy because:
- The water from the melted butter combines with the protein of the bread flour, which produces gluten and makes the cookies chewy.
- Bread flour absorbs more moisture, which therefore increases the moisture in the cookies.
- Brown sugar is coated in molasses, which loves moisture. Increasing the brown sugar increases the cookies’ absorption of water from the air, which makes the cookies chewy.
- The egg yolk, rather than a whole second egg, is added because egg whites tend to dry out baked goods.
- Darker brown sugar leads to chewier cookies.
- Chilling the dough results in less spreading.
So, how did the cookies stack up against each other? We shared all three cookies with my parents, and the results were unanimous for the four of us.

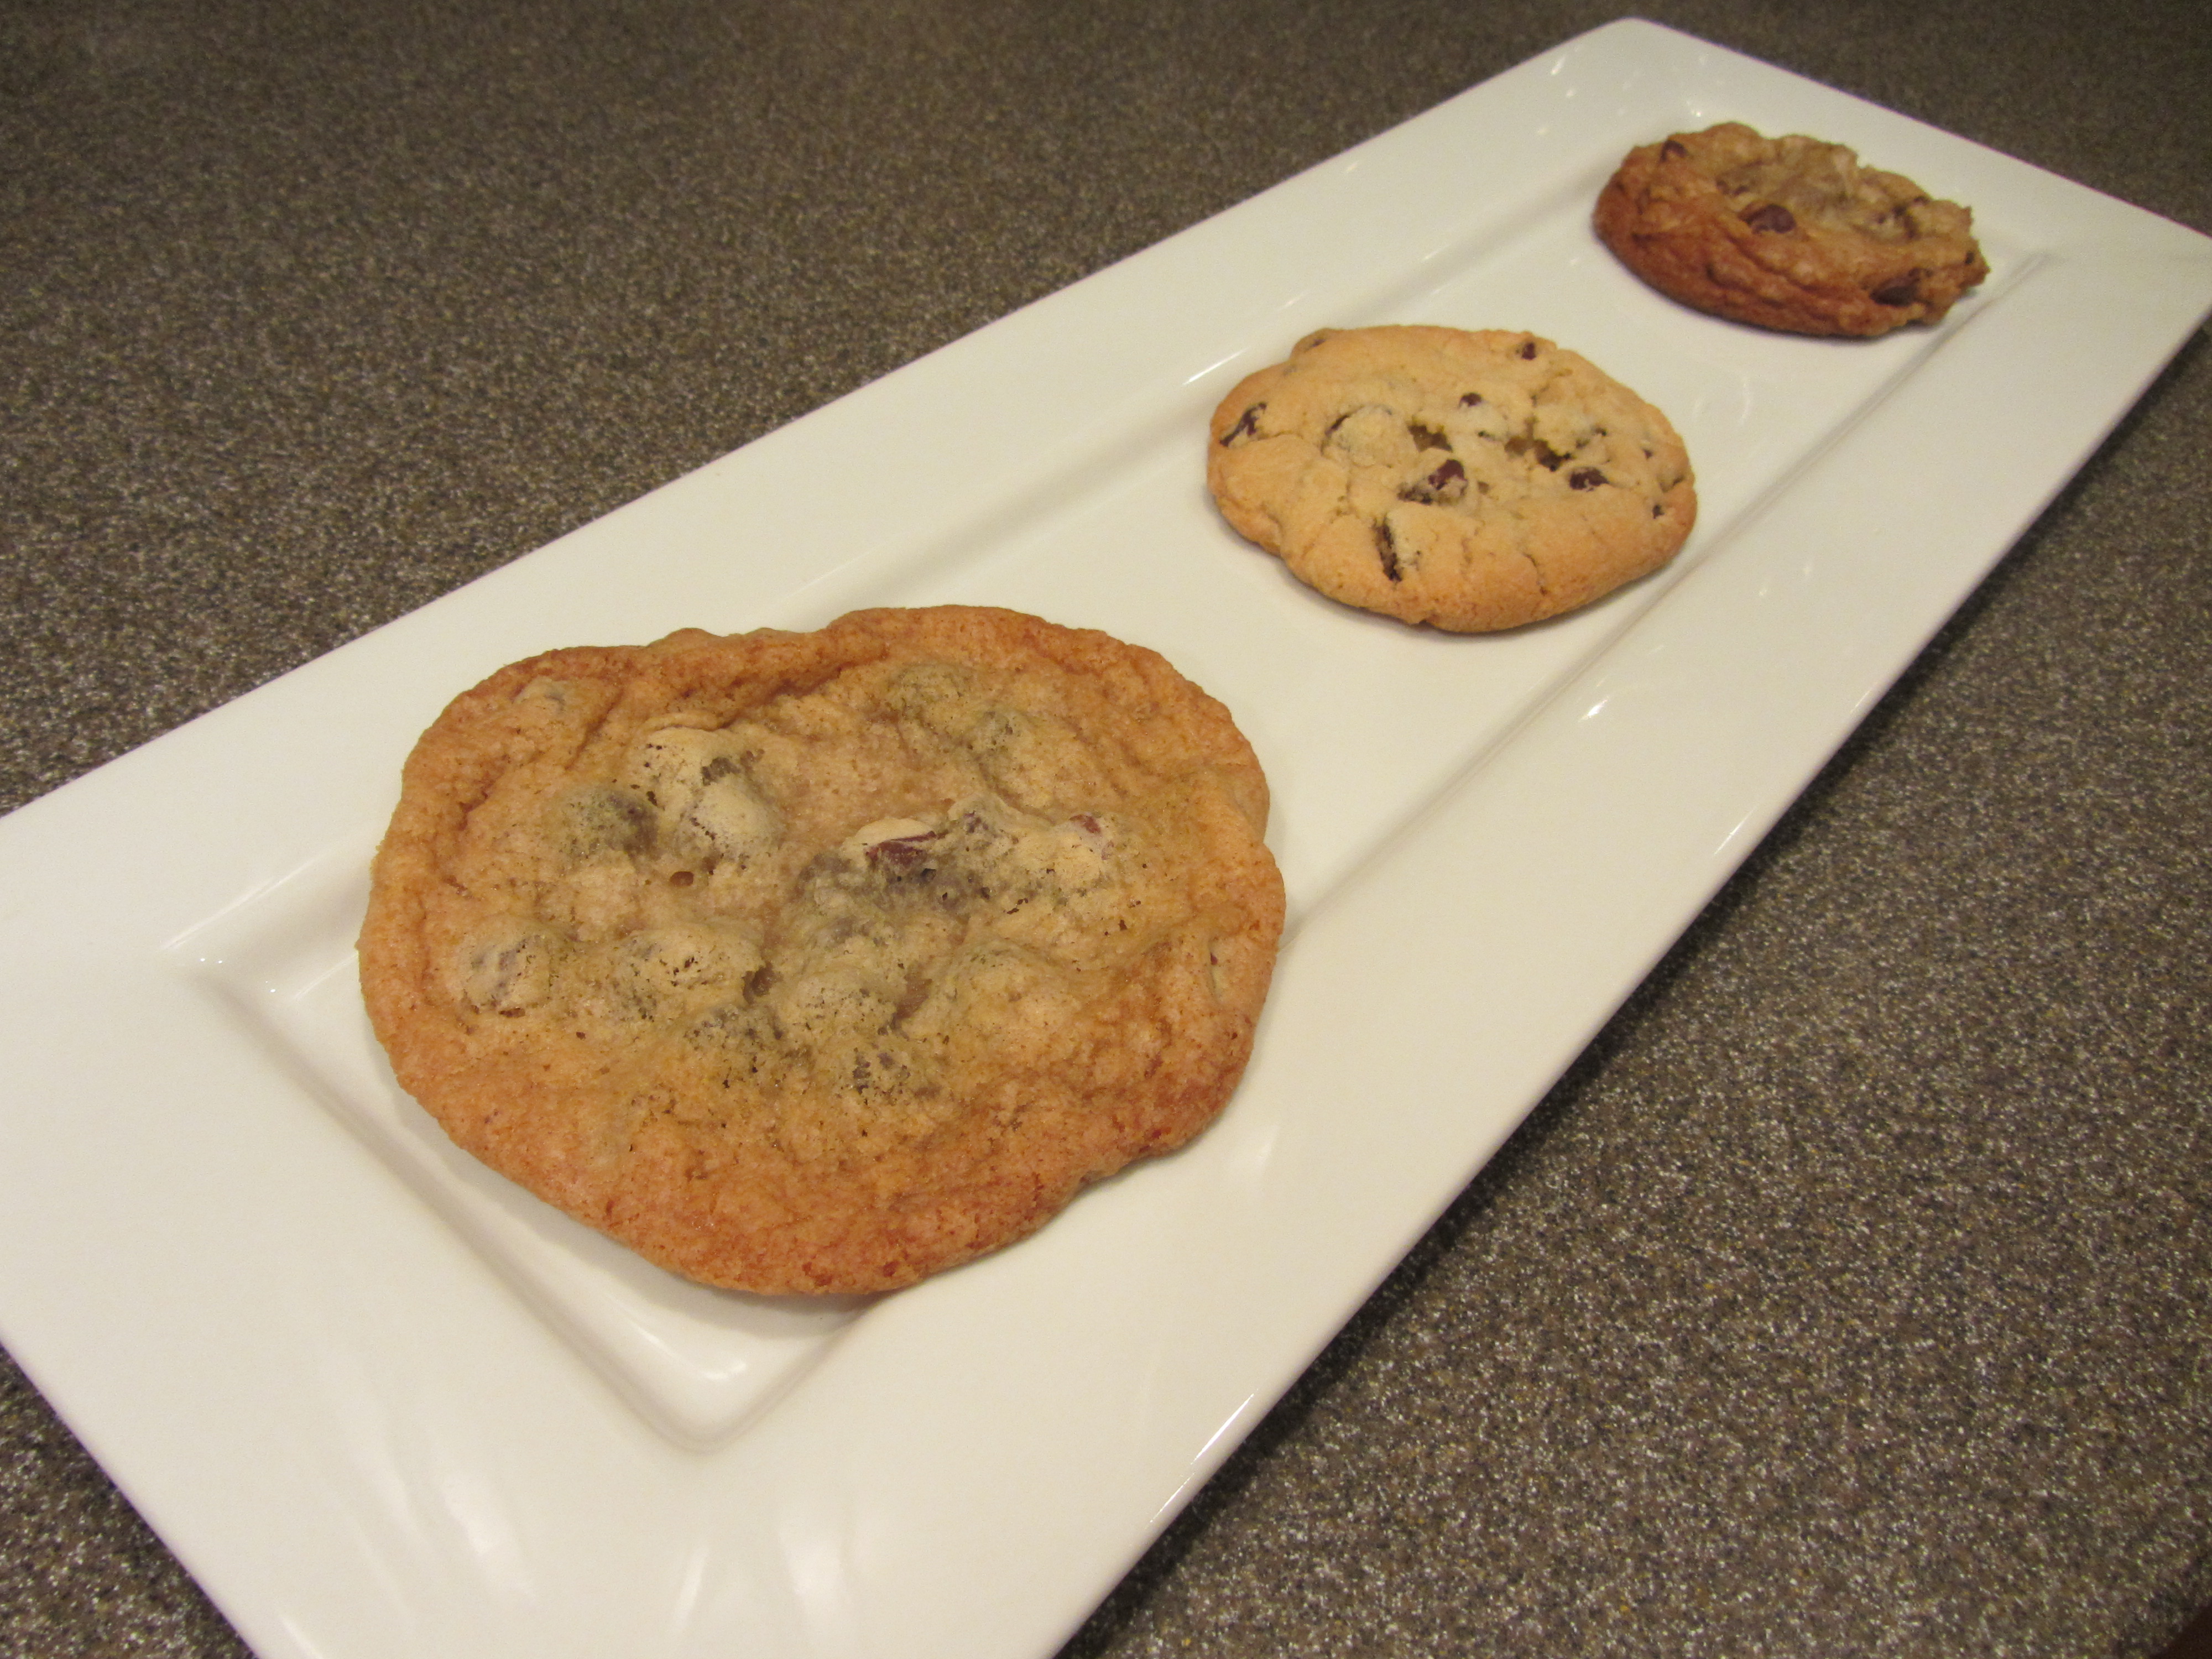
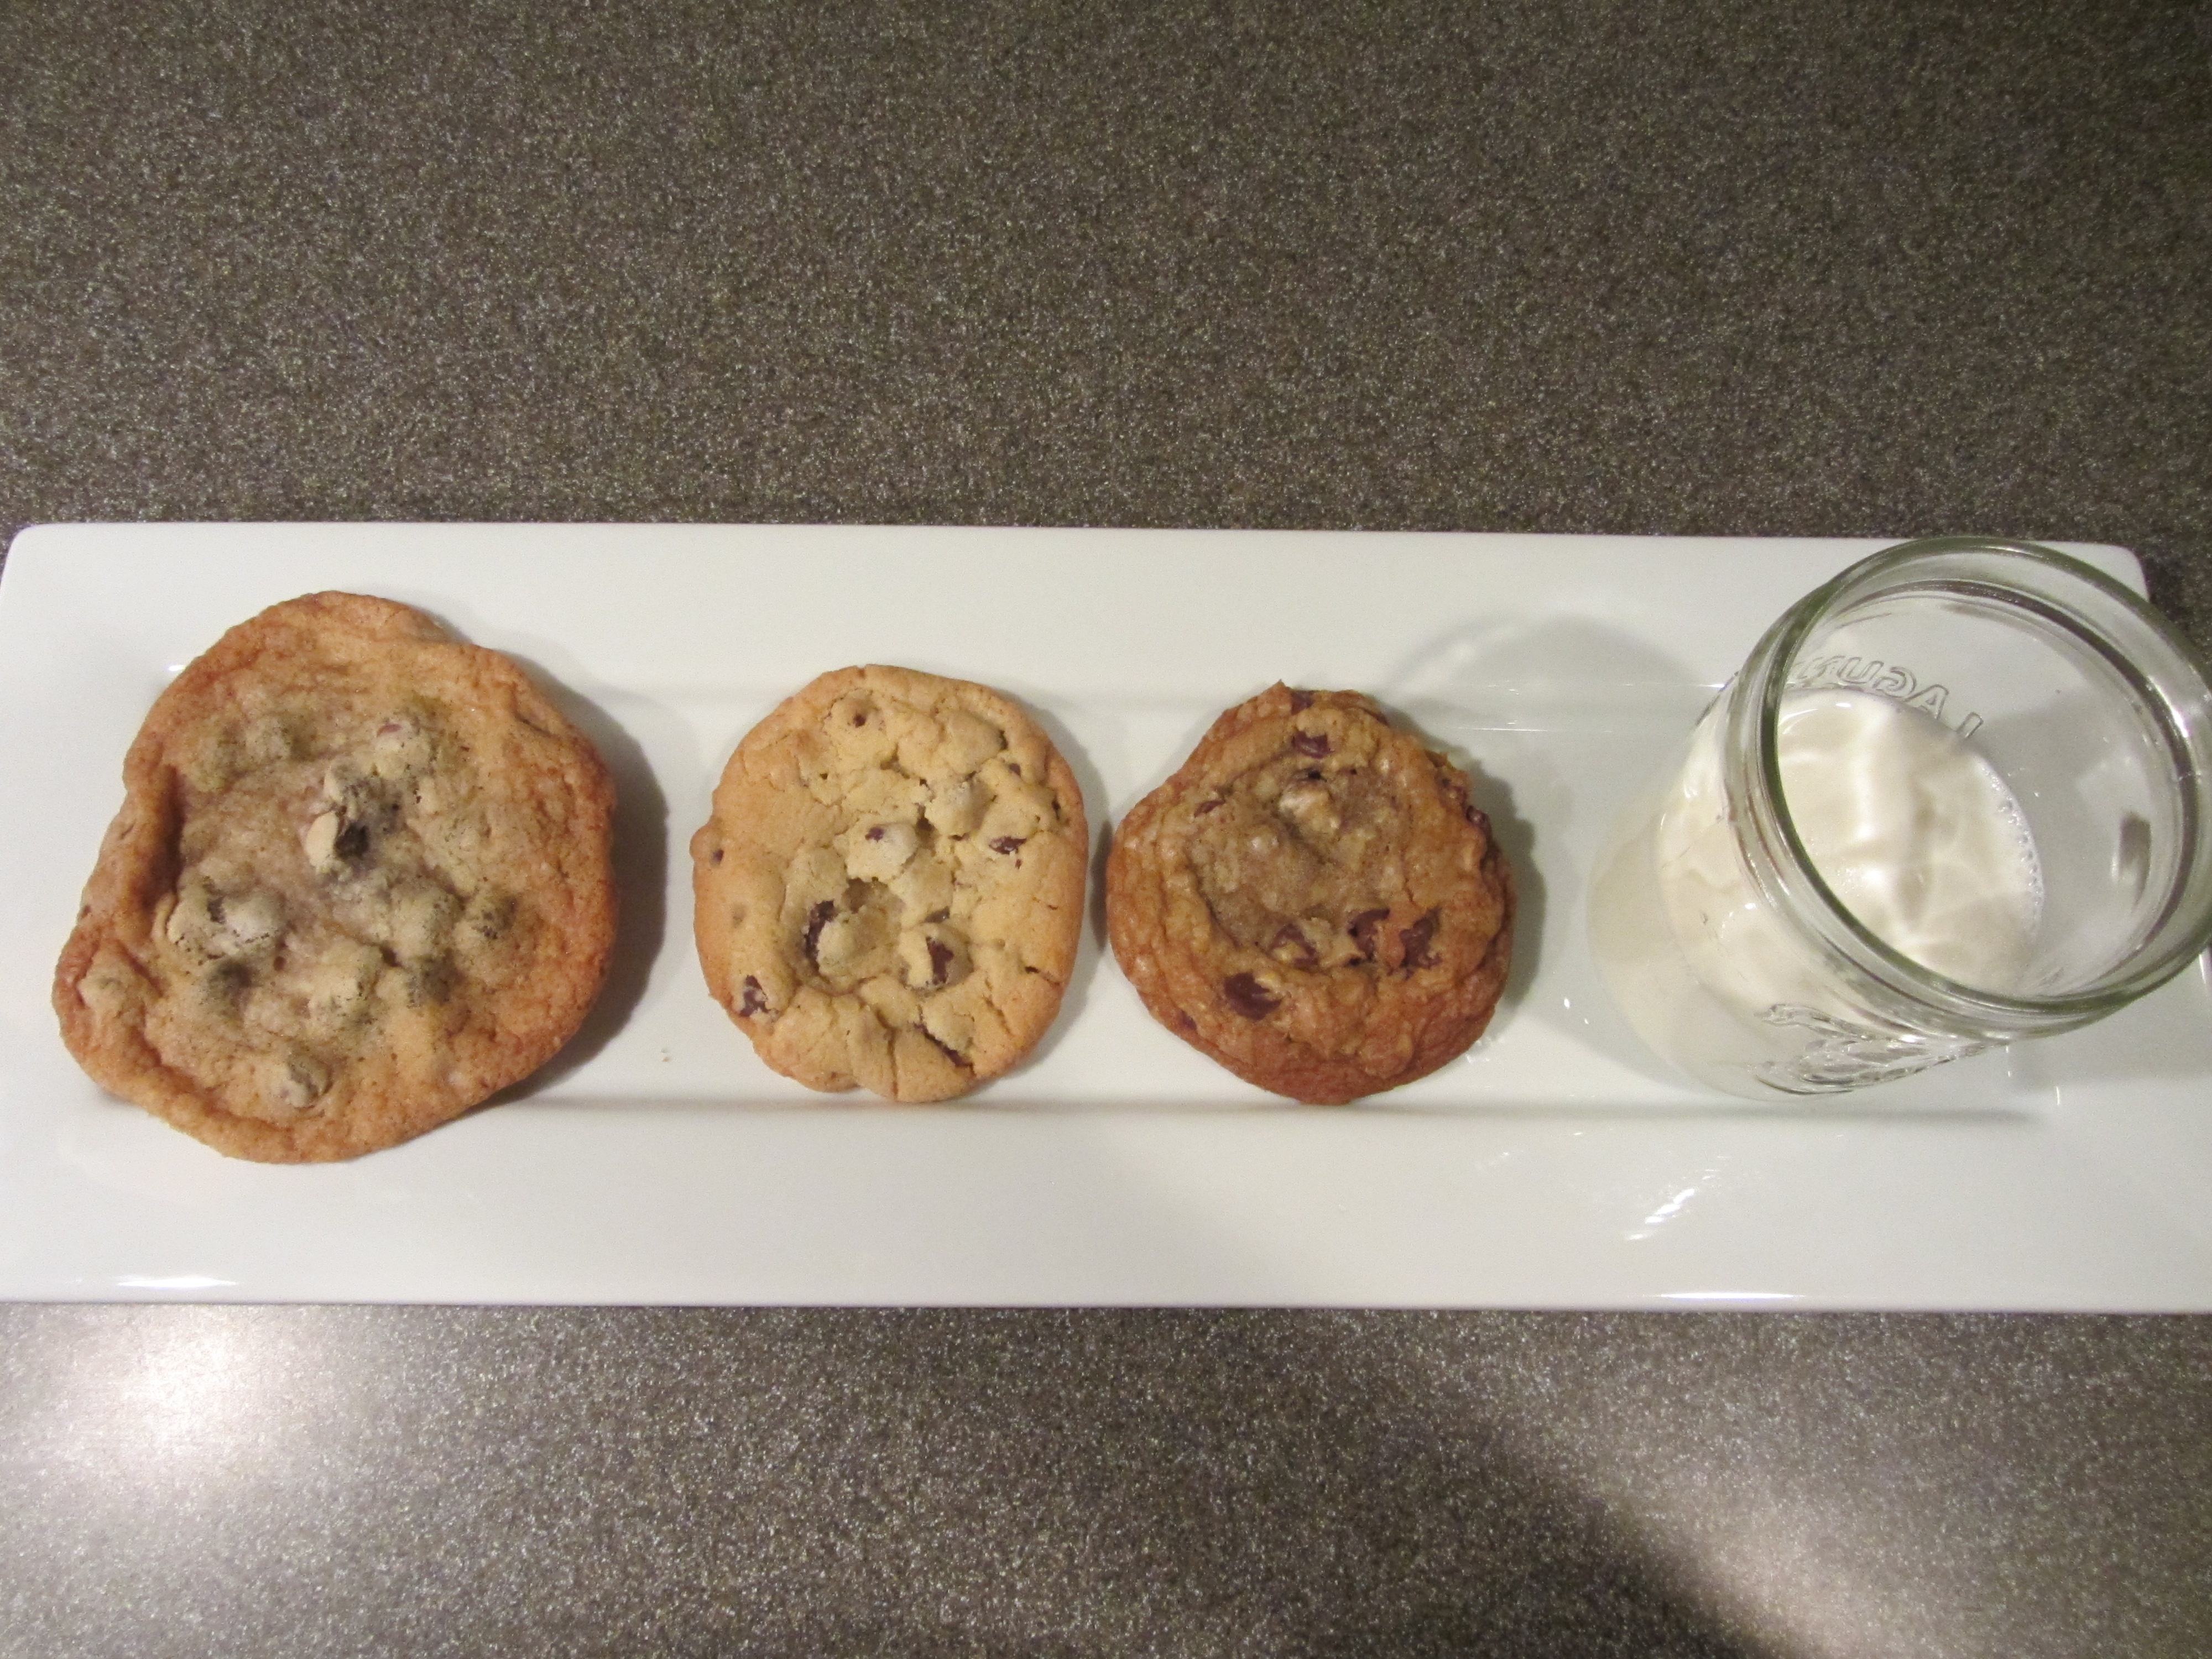
Left to right cookie comparison: thin, puffy, and chewy.

Left to right: Alton’s thin, puffy, and chewy chocolate chip cookies.
We all preferred the thin cookies the best, followed by the chewy cookies, and finally the puffy cookies. While all of the cookies were delicious, the thin cookies had the perfect combination of texture and flavor; they were thin and had crispy edges, while the centers were perfectly chewy. The chewy cookies were thicker, more dense, and had more of a caramelized flavor to them. Finally, the puffy cookies were lighter and more cake-like in texture and appearance. Aesthetically, the puffy cookies were by far my favorite, and that certainly does count for something. Beauty contest aside, though, the ones I will surely make again (ahem, probably next week for my family) will be the thin cookies.