My husband spent many years in DeKalb, Illinois, a.k.a. “Corn Country.” It also happens that our youngest “fur child” was coincidentally born in DeKalb (long story), and her name, Brixie Maize, is an homage to her origin among the corn fields. Her mother was actually found “knocked up” in Kentucky, but a nice Coonhound foster mom in DeKalb took her in. So, while a couple of my family members have strong ties to corn, I cannot say the same. I do, however, have very fond memories of the white sweet corn my mom would buy in the summer from some Mormons who set up a tent along good ol’ Thain Road. My dad would grill the corn for family dinners on the deck, and there really was nothing like a fresh ear of corn with butter, salt, and lots of black pepper, freshly ground, of course.
Better Than Grannie’s Creamed Corn
The 27th episode of Good Eats is about corn. I know, I know… I totally hit this episode at the wrong time of the year, as a truly fresh ear of corn is nowhere in sight. Sticking with my project, however, I felt that I had to proceed to the best of my ability. Alton’s first recipe in this episode is for creamed corn. For this recipe, ideally you want to use fresh ears of corn. I was able to find some corn at my grocery store, but it was from Mexico, so who knows how truly fresh it was?
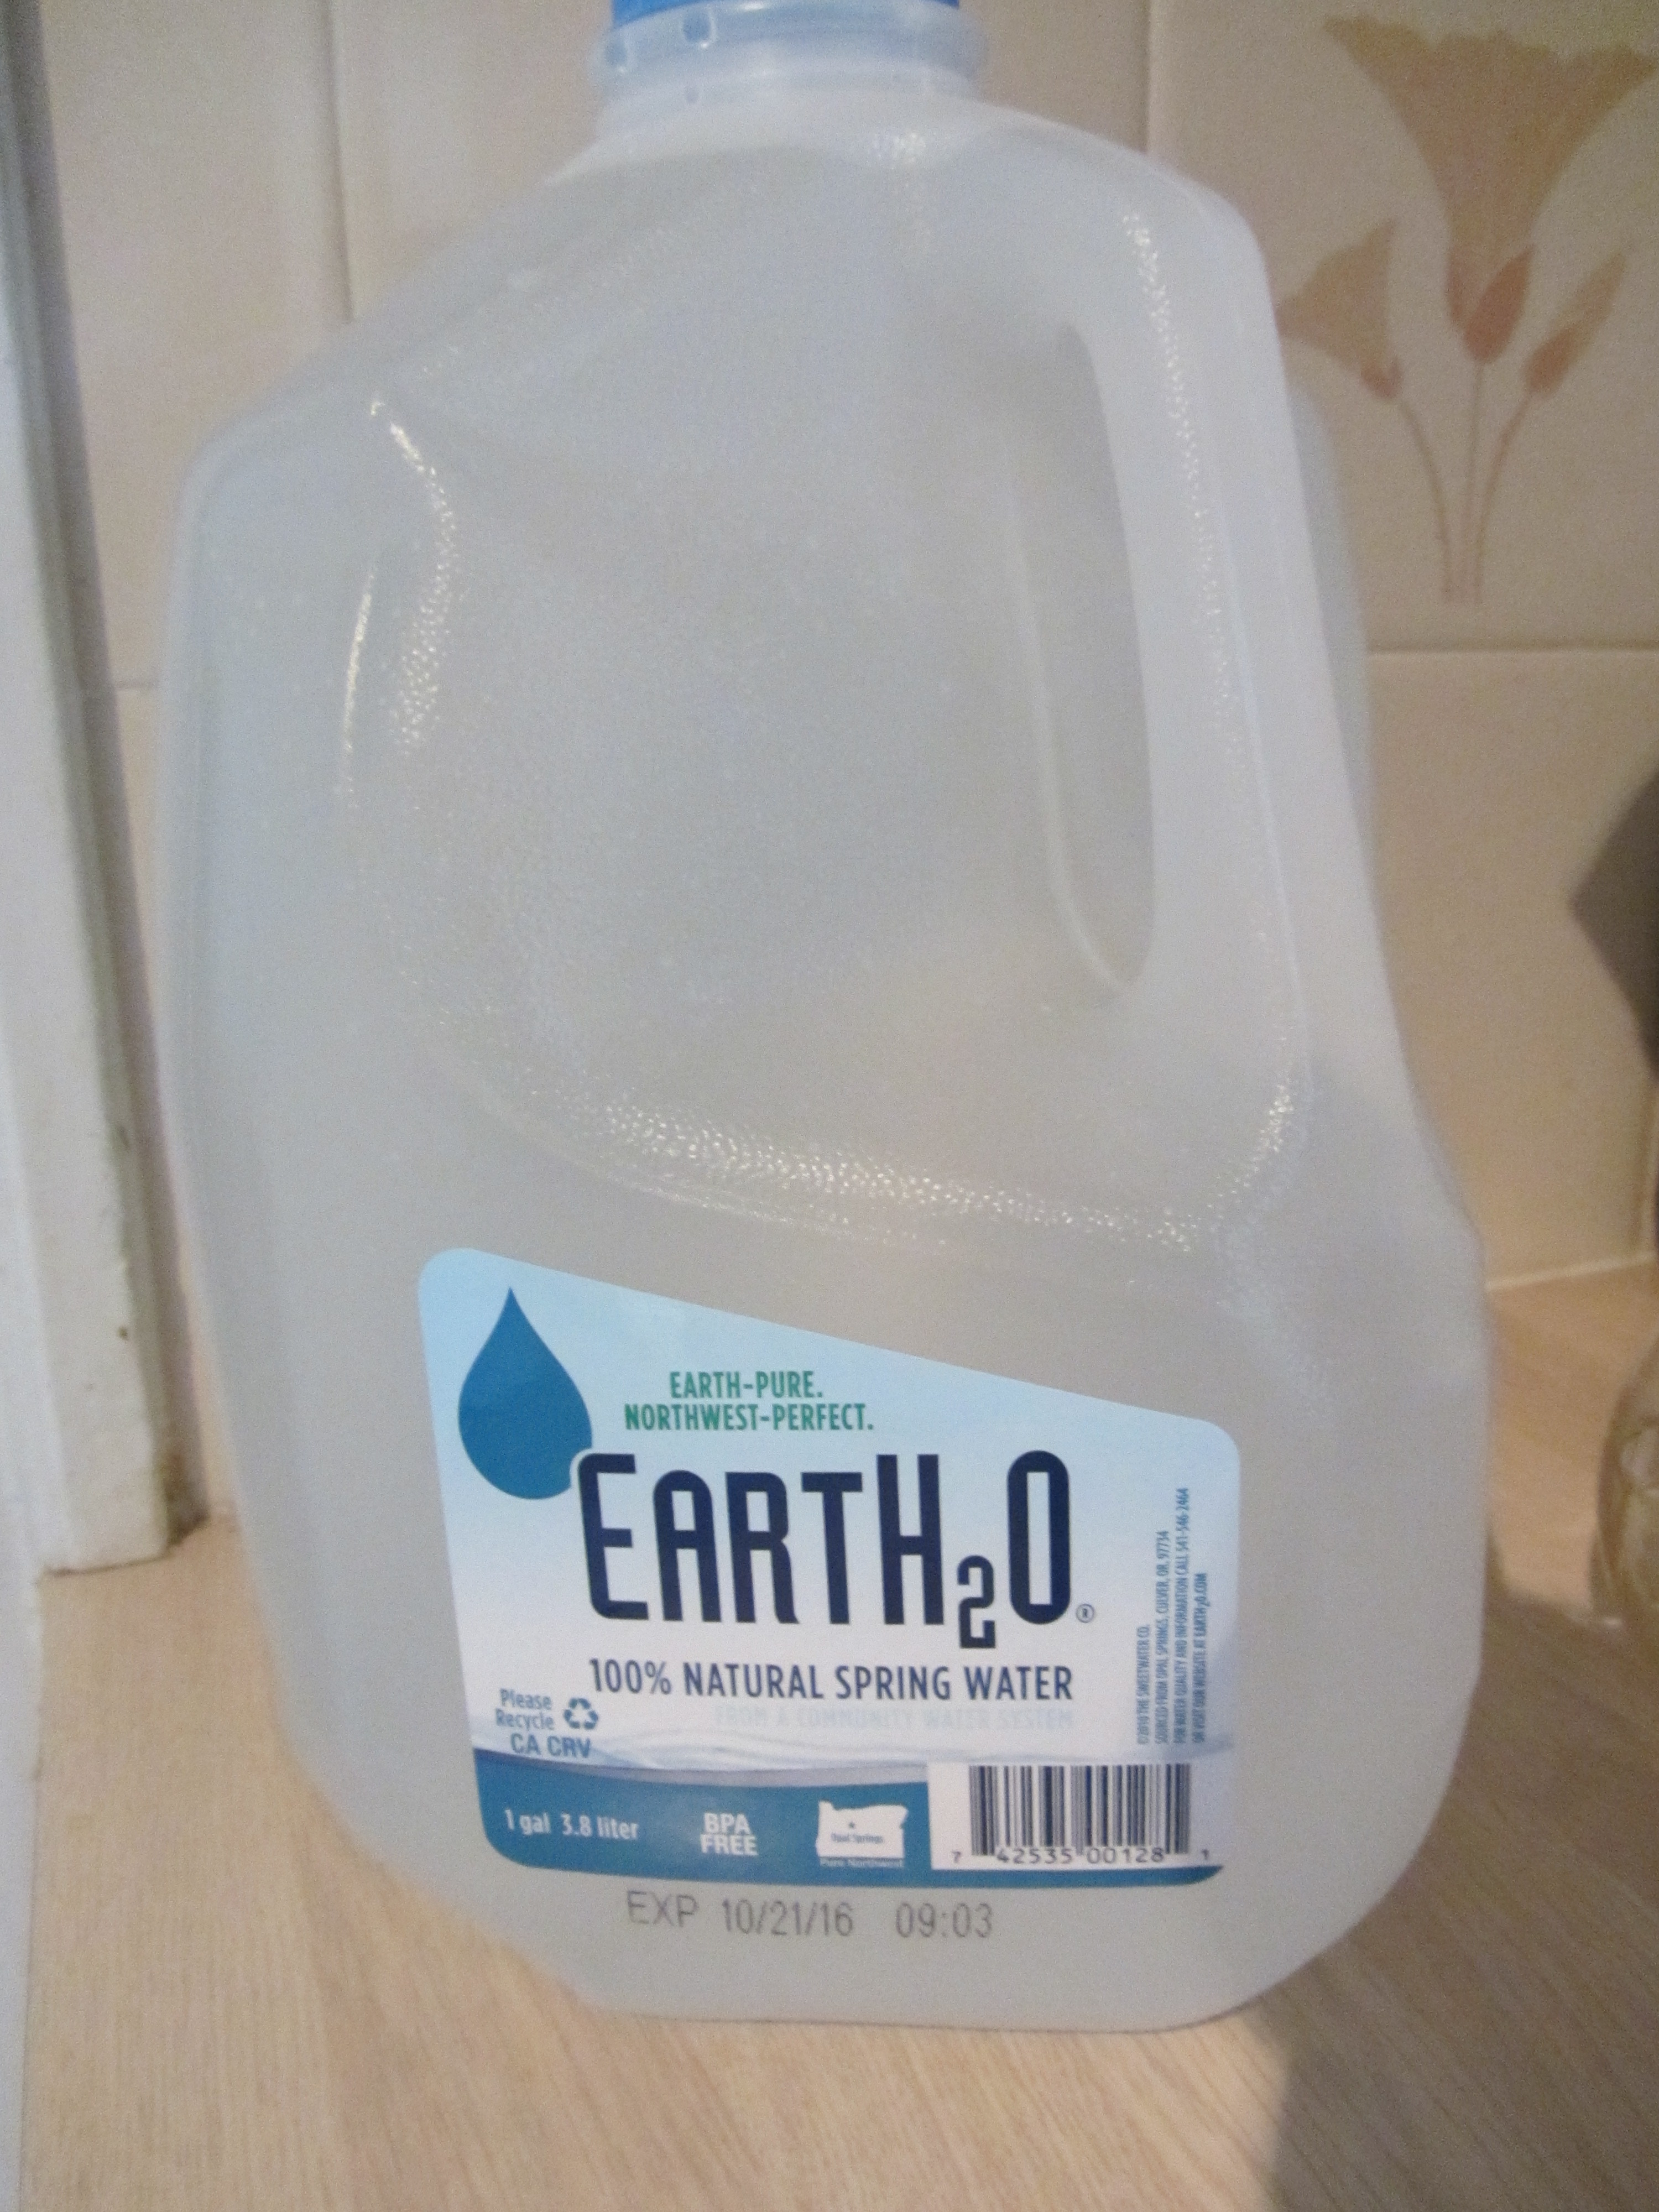
When selecting ears of corn, Alton recommends looking for ears that have moist husks, are firm, have a gold, sticky tassel, and sport no spots on their cut ends. You can store corn, wrapped in plastic, for a couple days in the refrigerator. I, for one, have been known to keep corn in the refrigerator far longer than a couple of days. Alton, of course, has a solution for longer storage too. To keep ears fresh for up to two weeks, shuck them and place them in an ice water bath for 15 minutes, along with one drop of lemon juice and two drops of Clorox bleach (per gallon of water). Wrap in plastic and refrigerate. The combination of the lemon juice and the bleach serves to decrease microbial and enzymatic reactions.
Back to the creamed corn. Sweat half an onion in some butter, along with Kosher salt and bruised Rosemary.
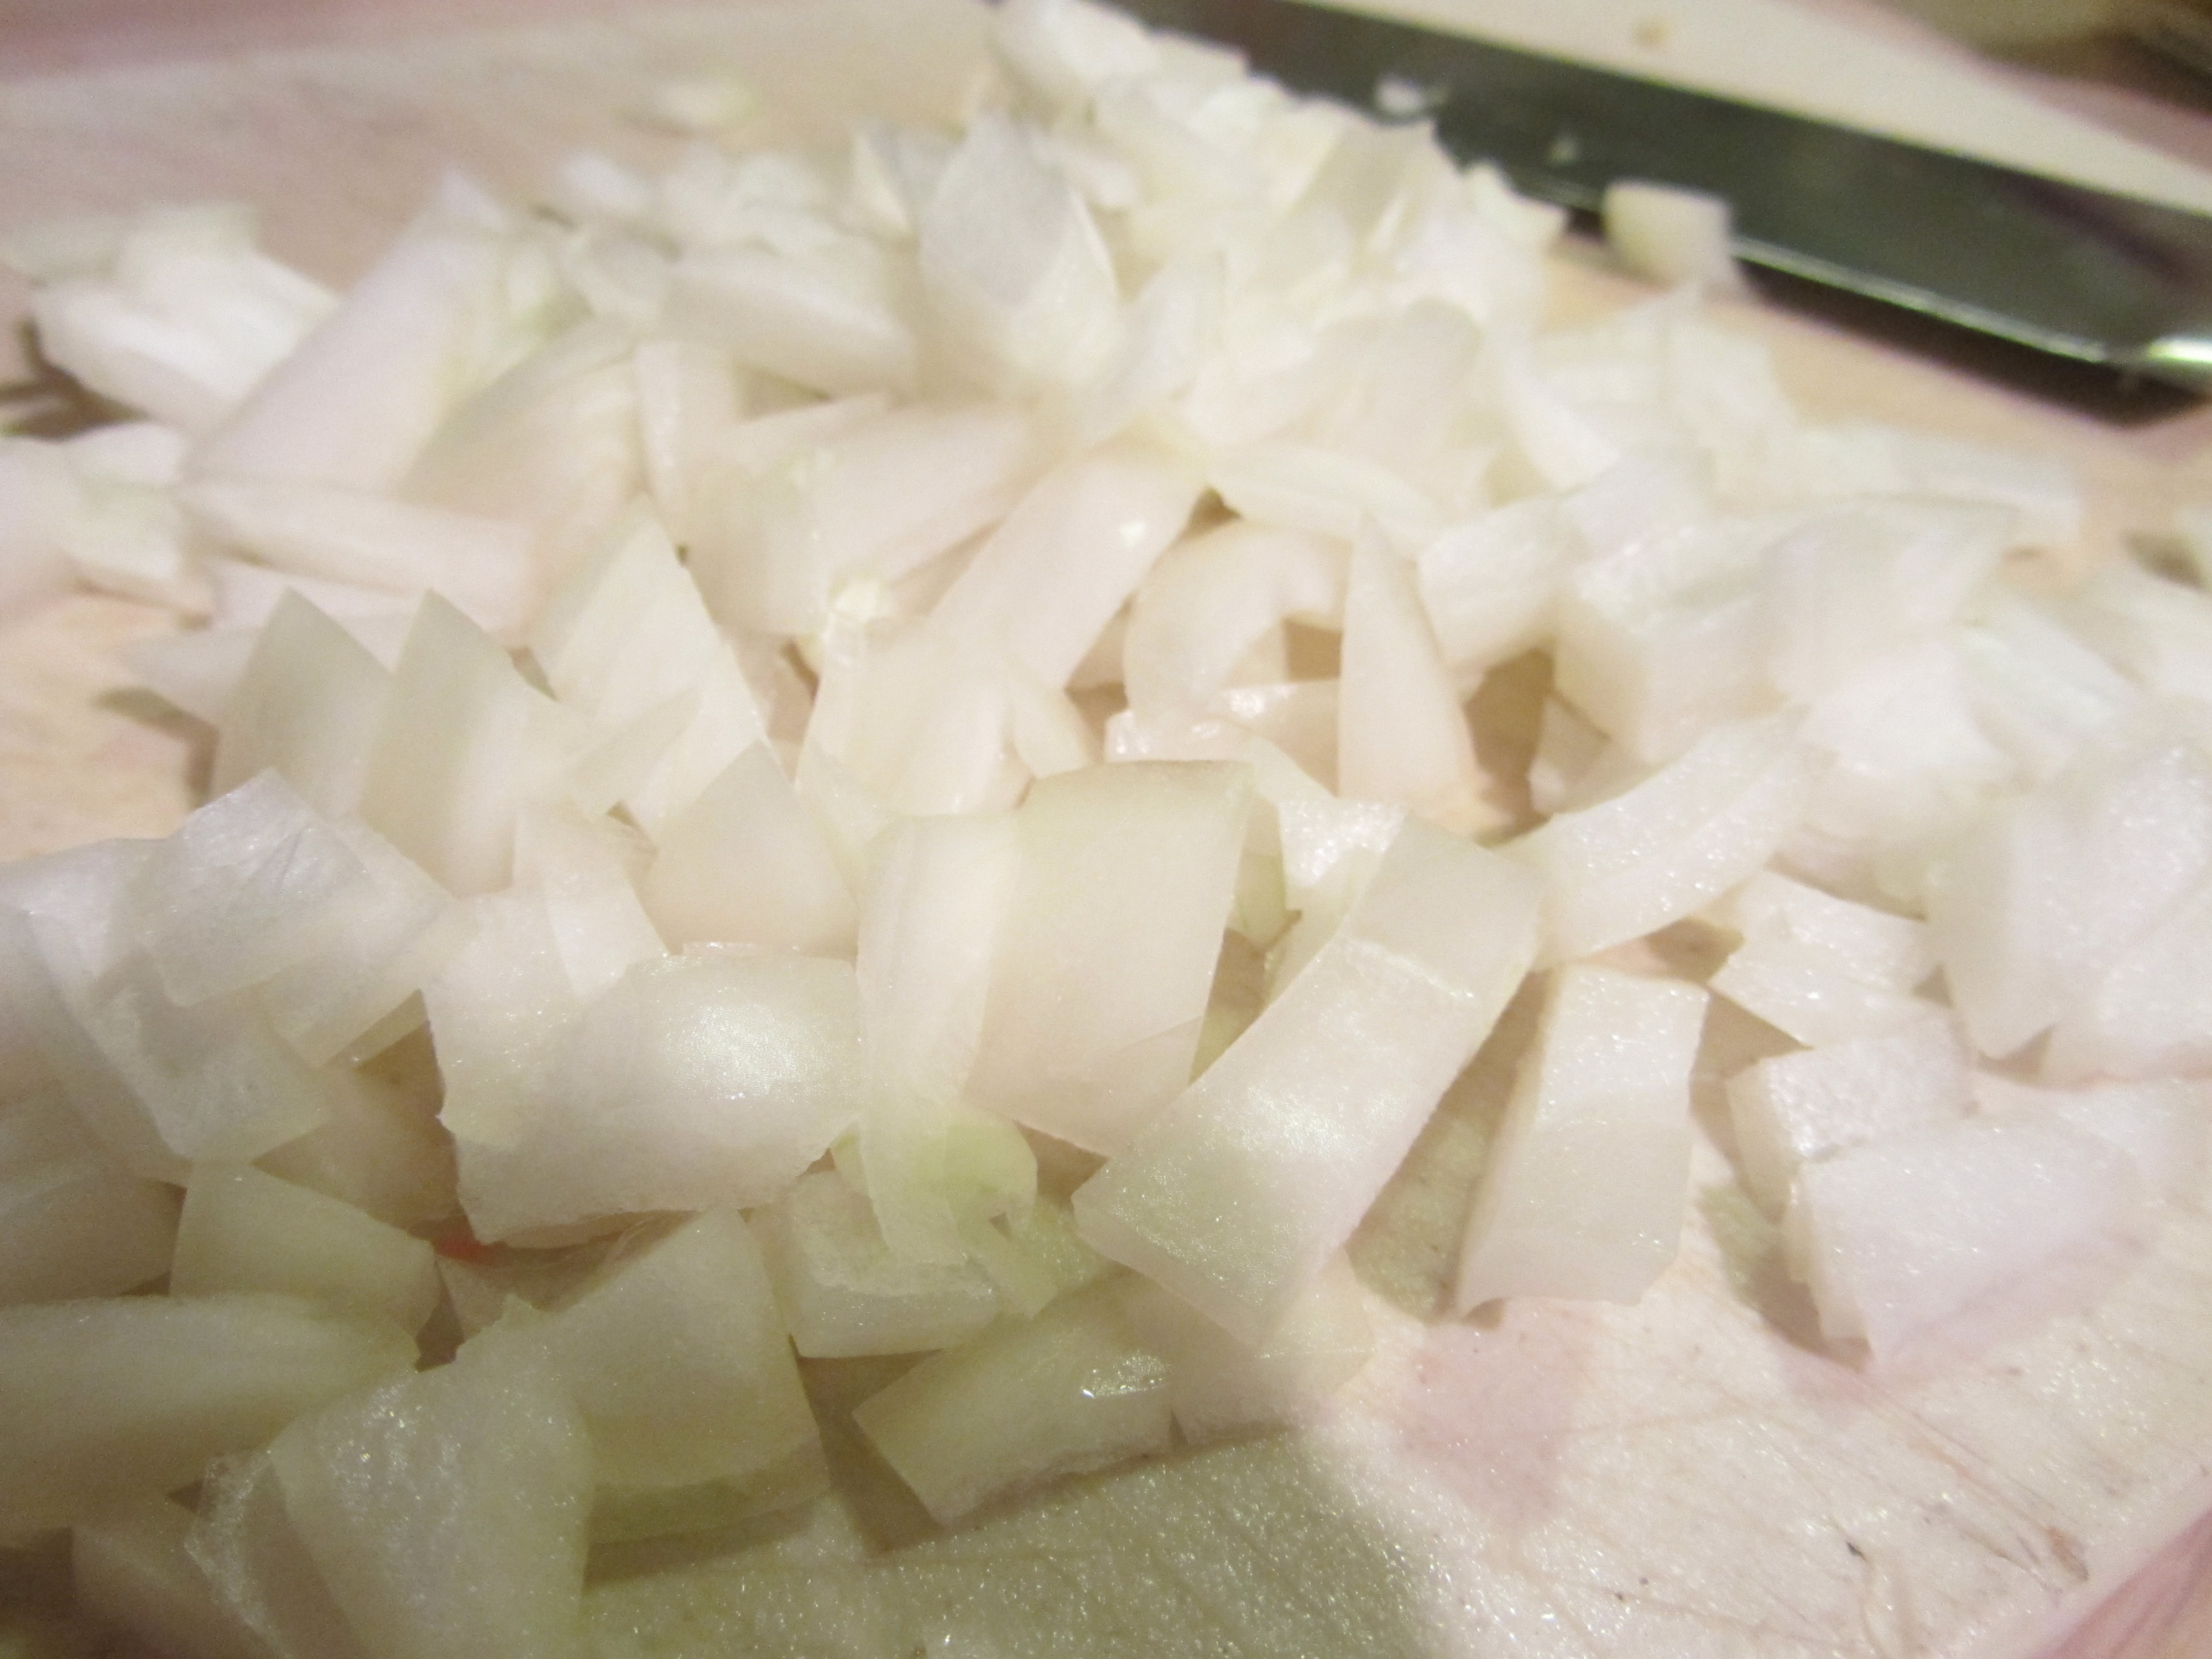
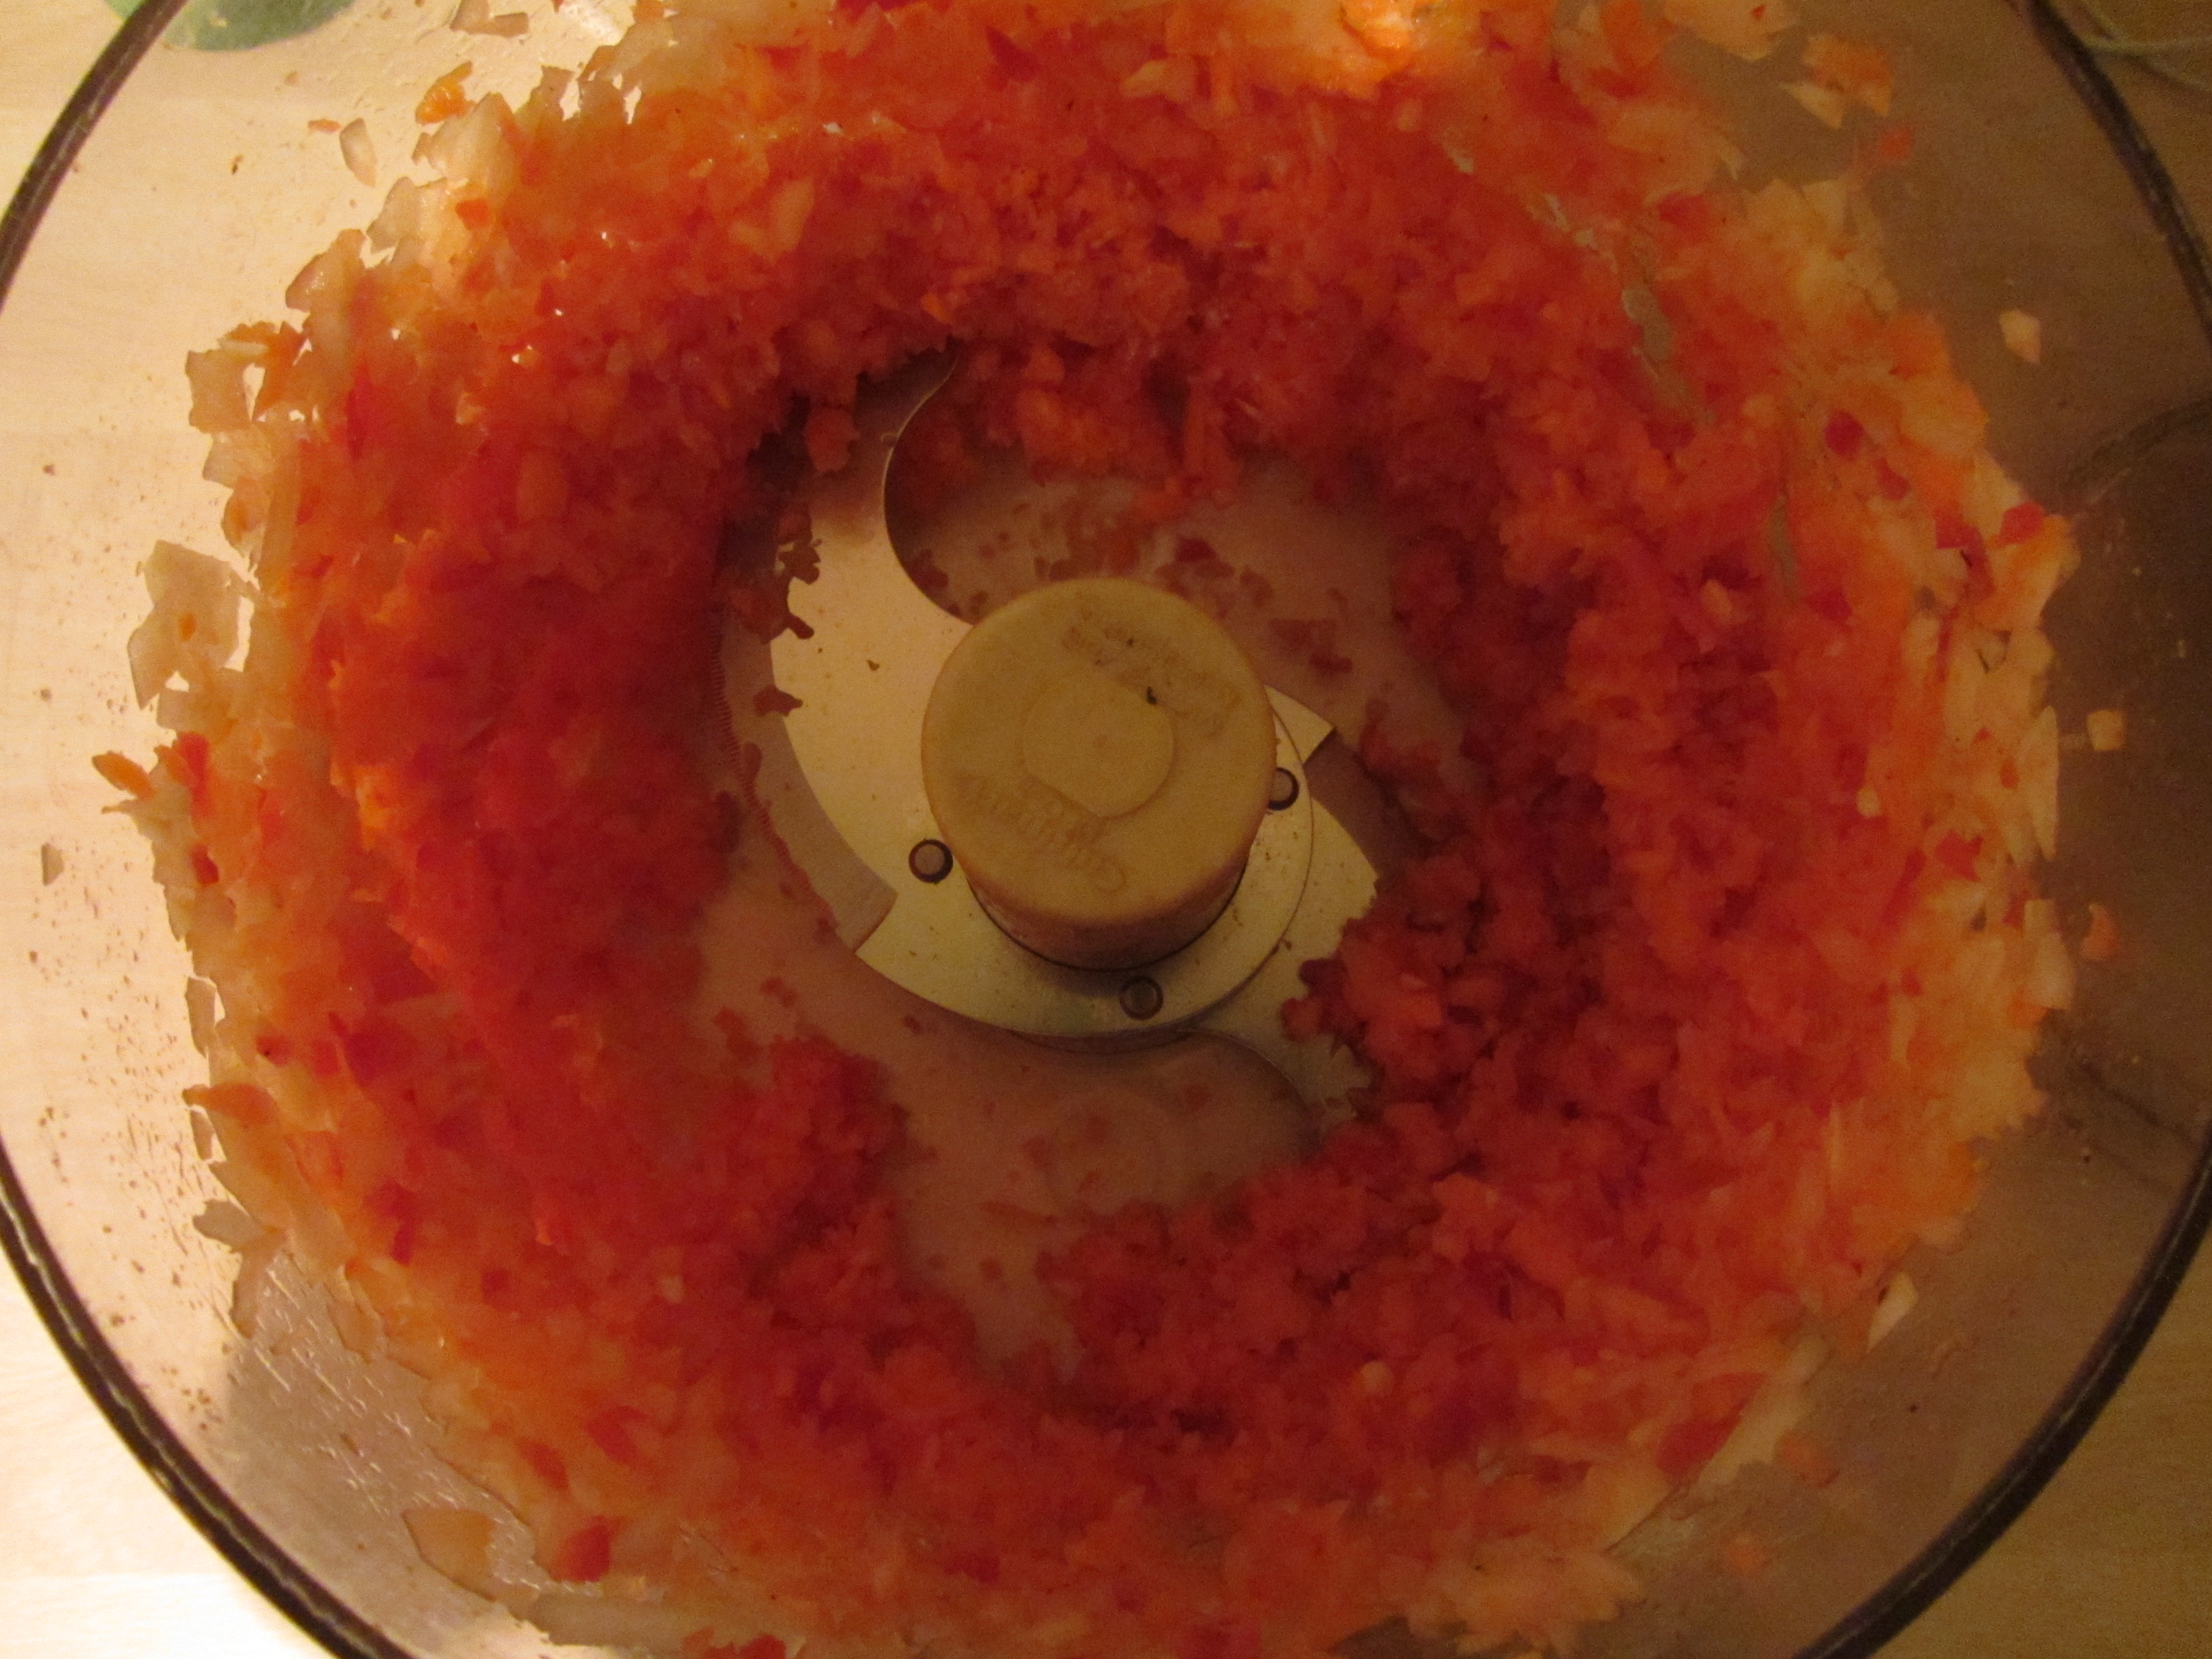
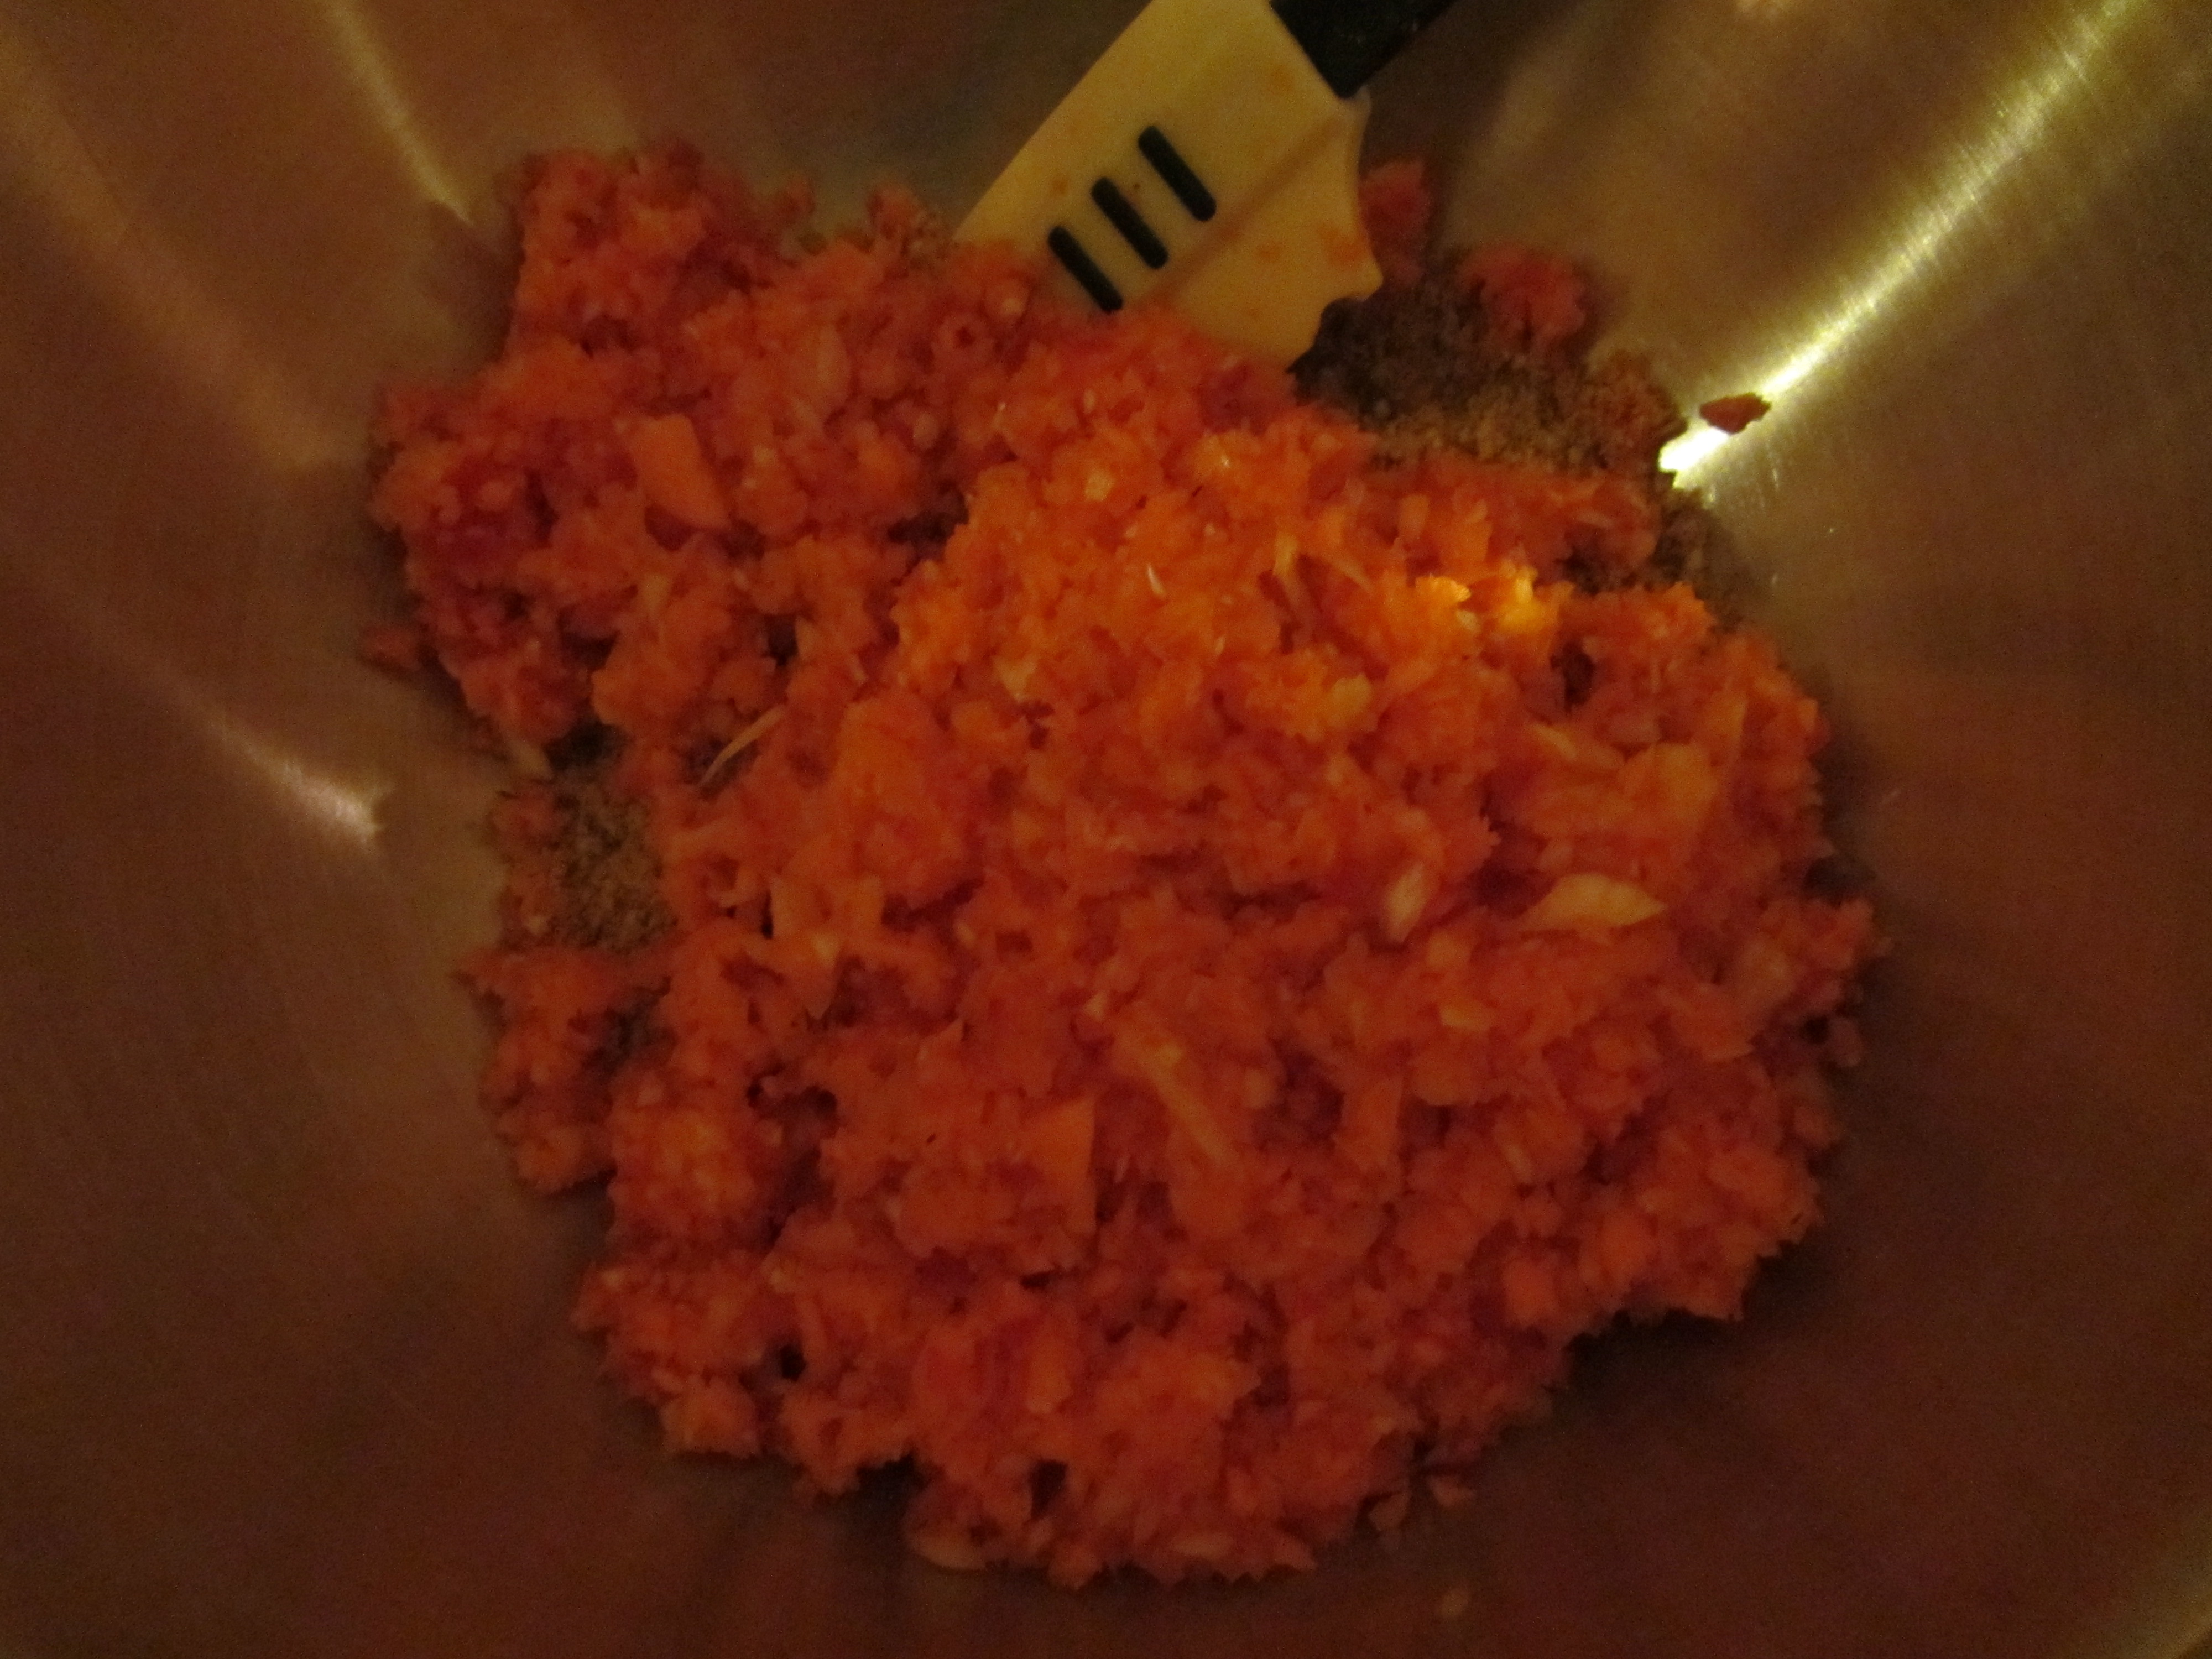
Chopped onion.

Butter in the pan.

Sweating onion with salt and Rosemary.
Meanwhile, shave the corn off of your corn cobs. The best way to do this is to place a paper bowl upside down in a wide, flat pan.
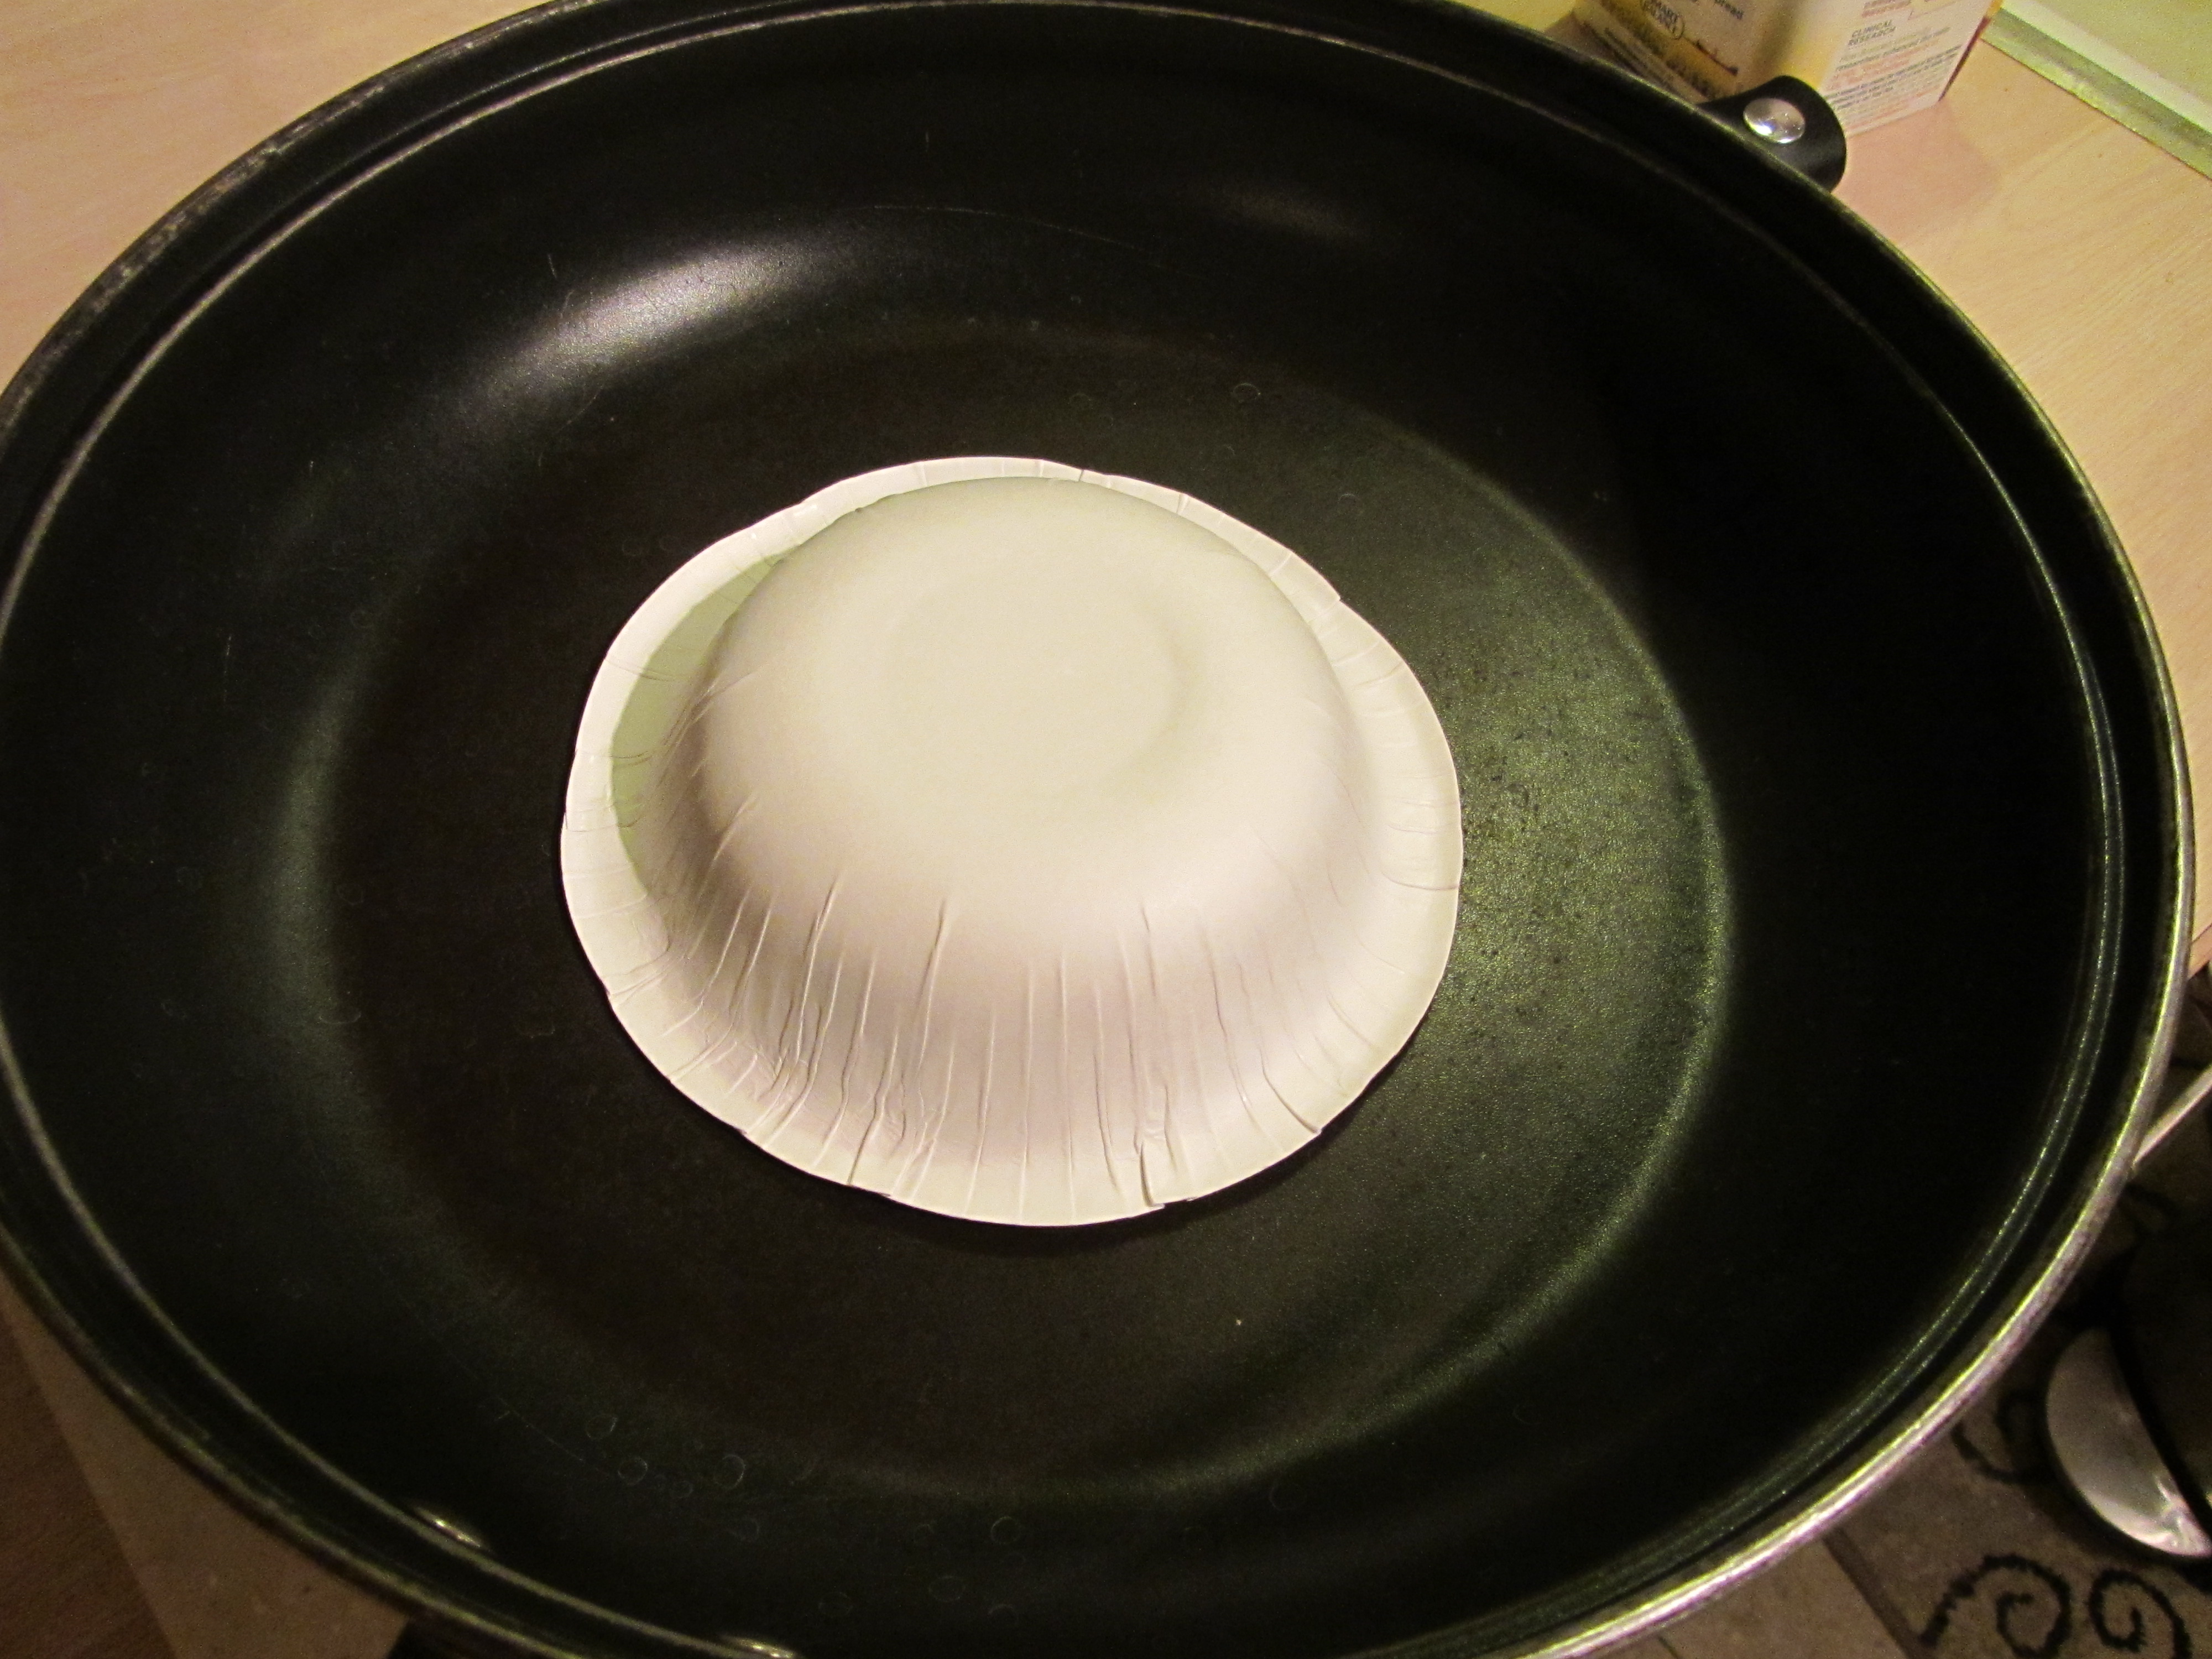
Overturned paper bowl in a wide, flat pan.
Standing the cobs on the overturned bowl, shave the corn off the cob, holding your knife parallel to the ear. Once the kernels are all removed, flip your knife over and scrape the milky fluid out of the kernel pockets (this fluid is the endosperm).

The freshest corn I could find.
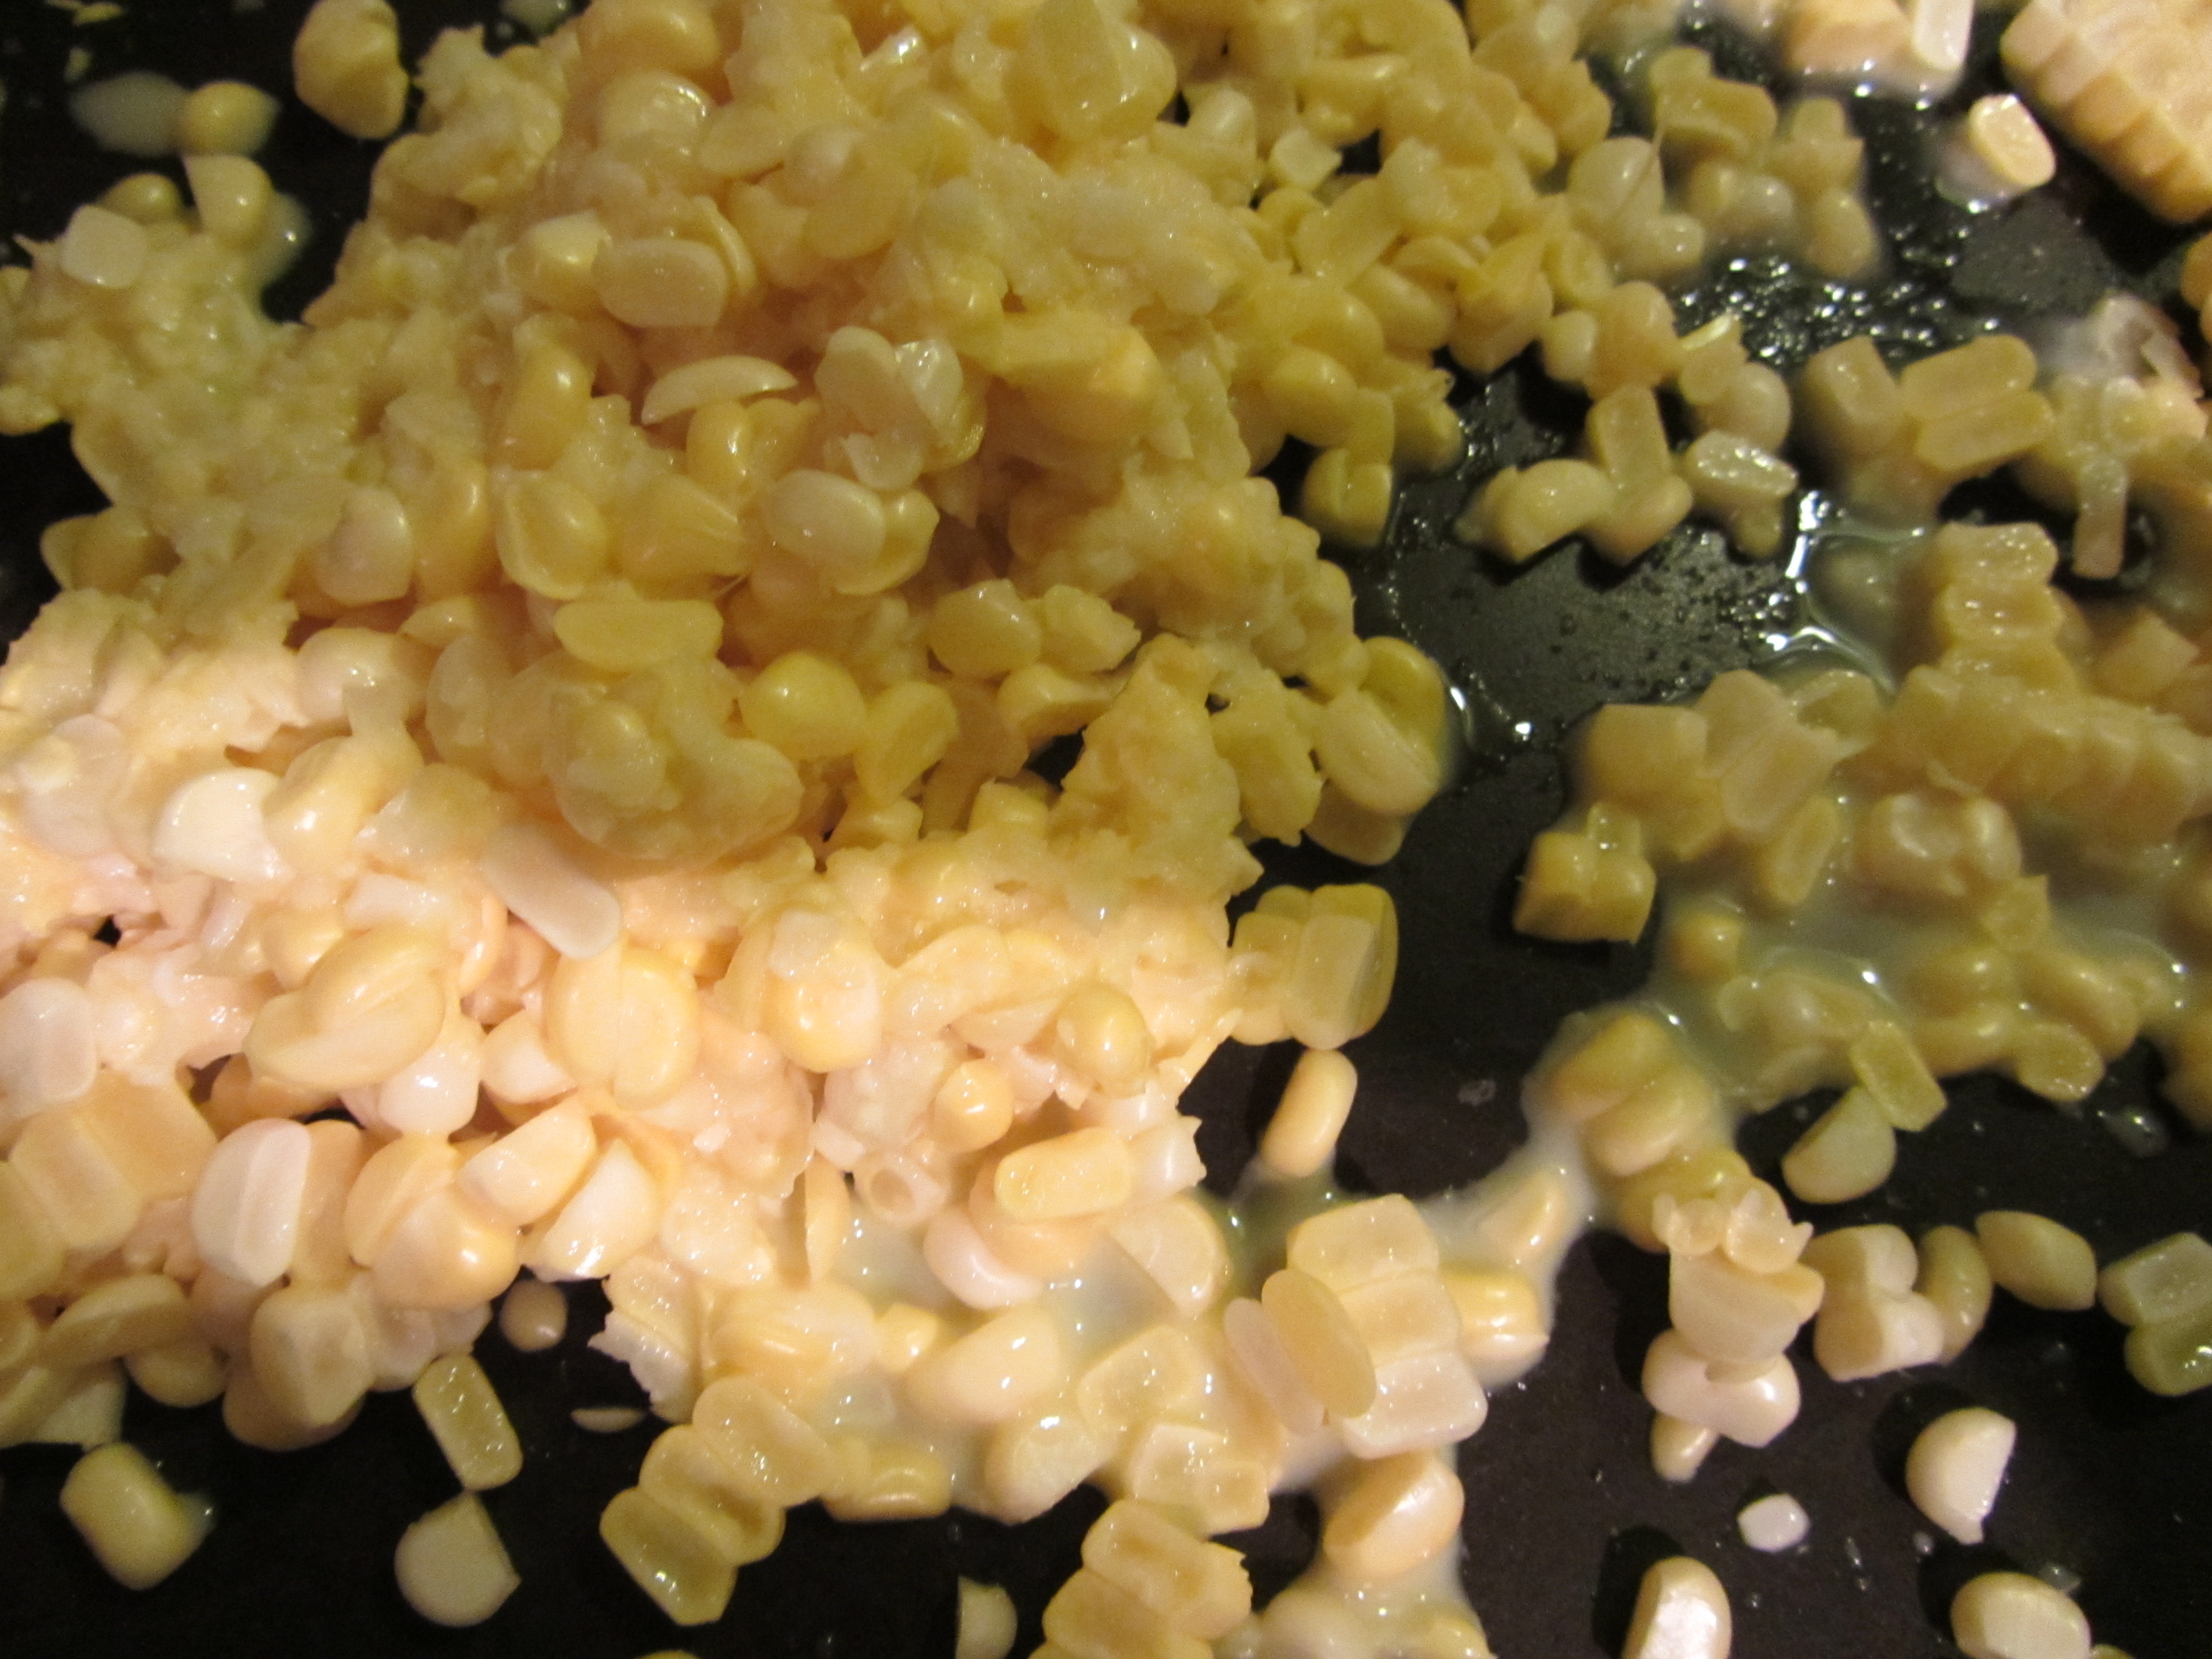
Corn cut off of the cobs.
FYI: you can freeze the cobs and use them in place of wood chips for smoking on your grill. Add the corn to the onion, increase the heat, and add sugar and turmeric.

Corn added to the onion.
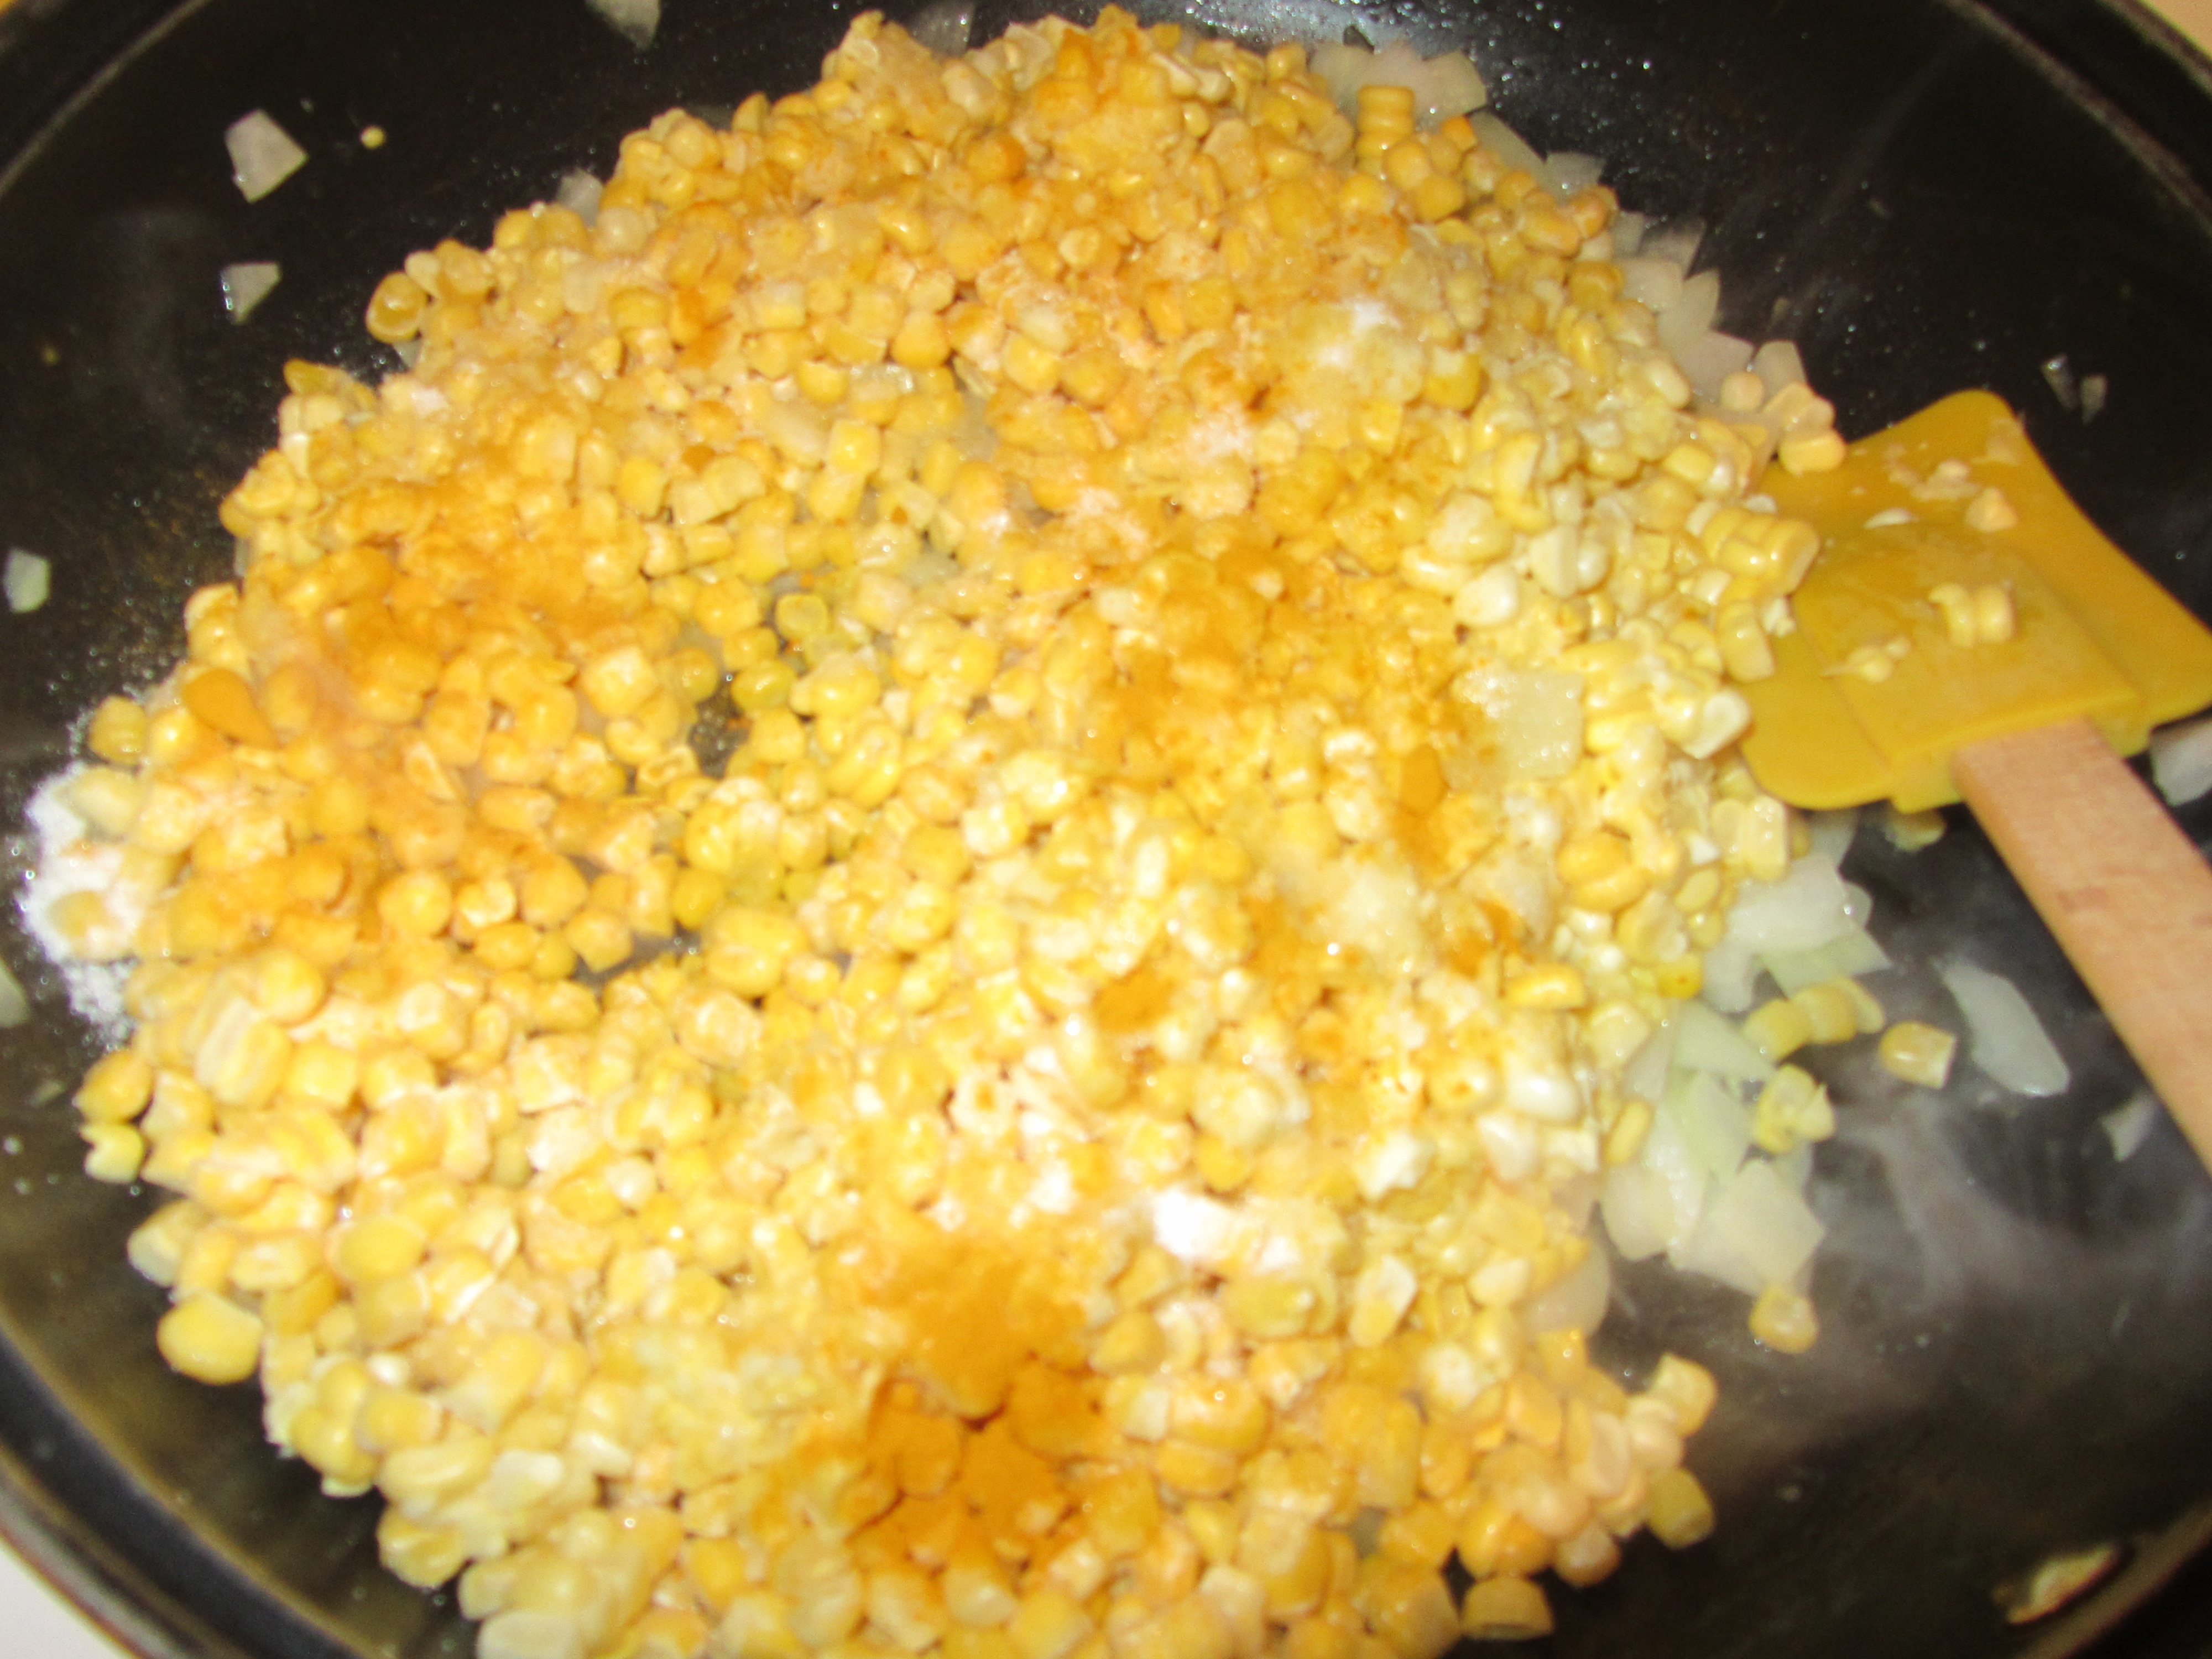
Turmeric and sugar added to corn.
You want to stir this mixture until there is no visible fluid in the bottom of the pan.

No visible liquid in bottom of pan.
Then, whick in some cornmeal, preferably stone ground, which will help to thicken the corn.

Cornmeal sprinkled in.
Add heavy cream, whisk, and cook for a couple of minutes. When your corn has a consistency that will stand up on a plate, remove the Rosemary and add freshly ground pepper.

Cream added to corn.

Cooked until thick enough to stand up on a plate. Freshly ground pepper added.
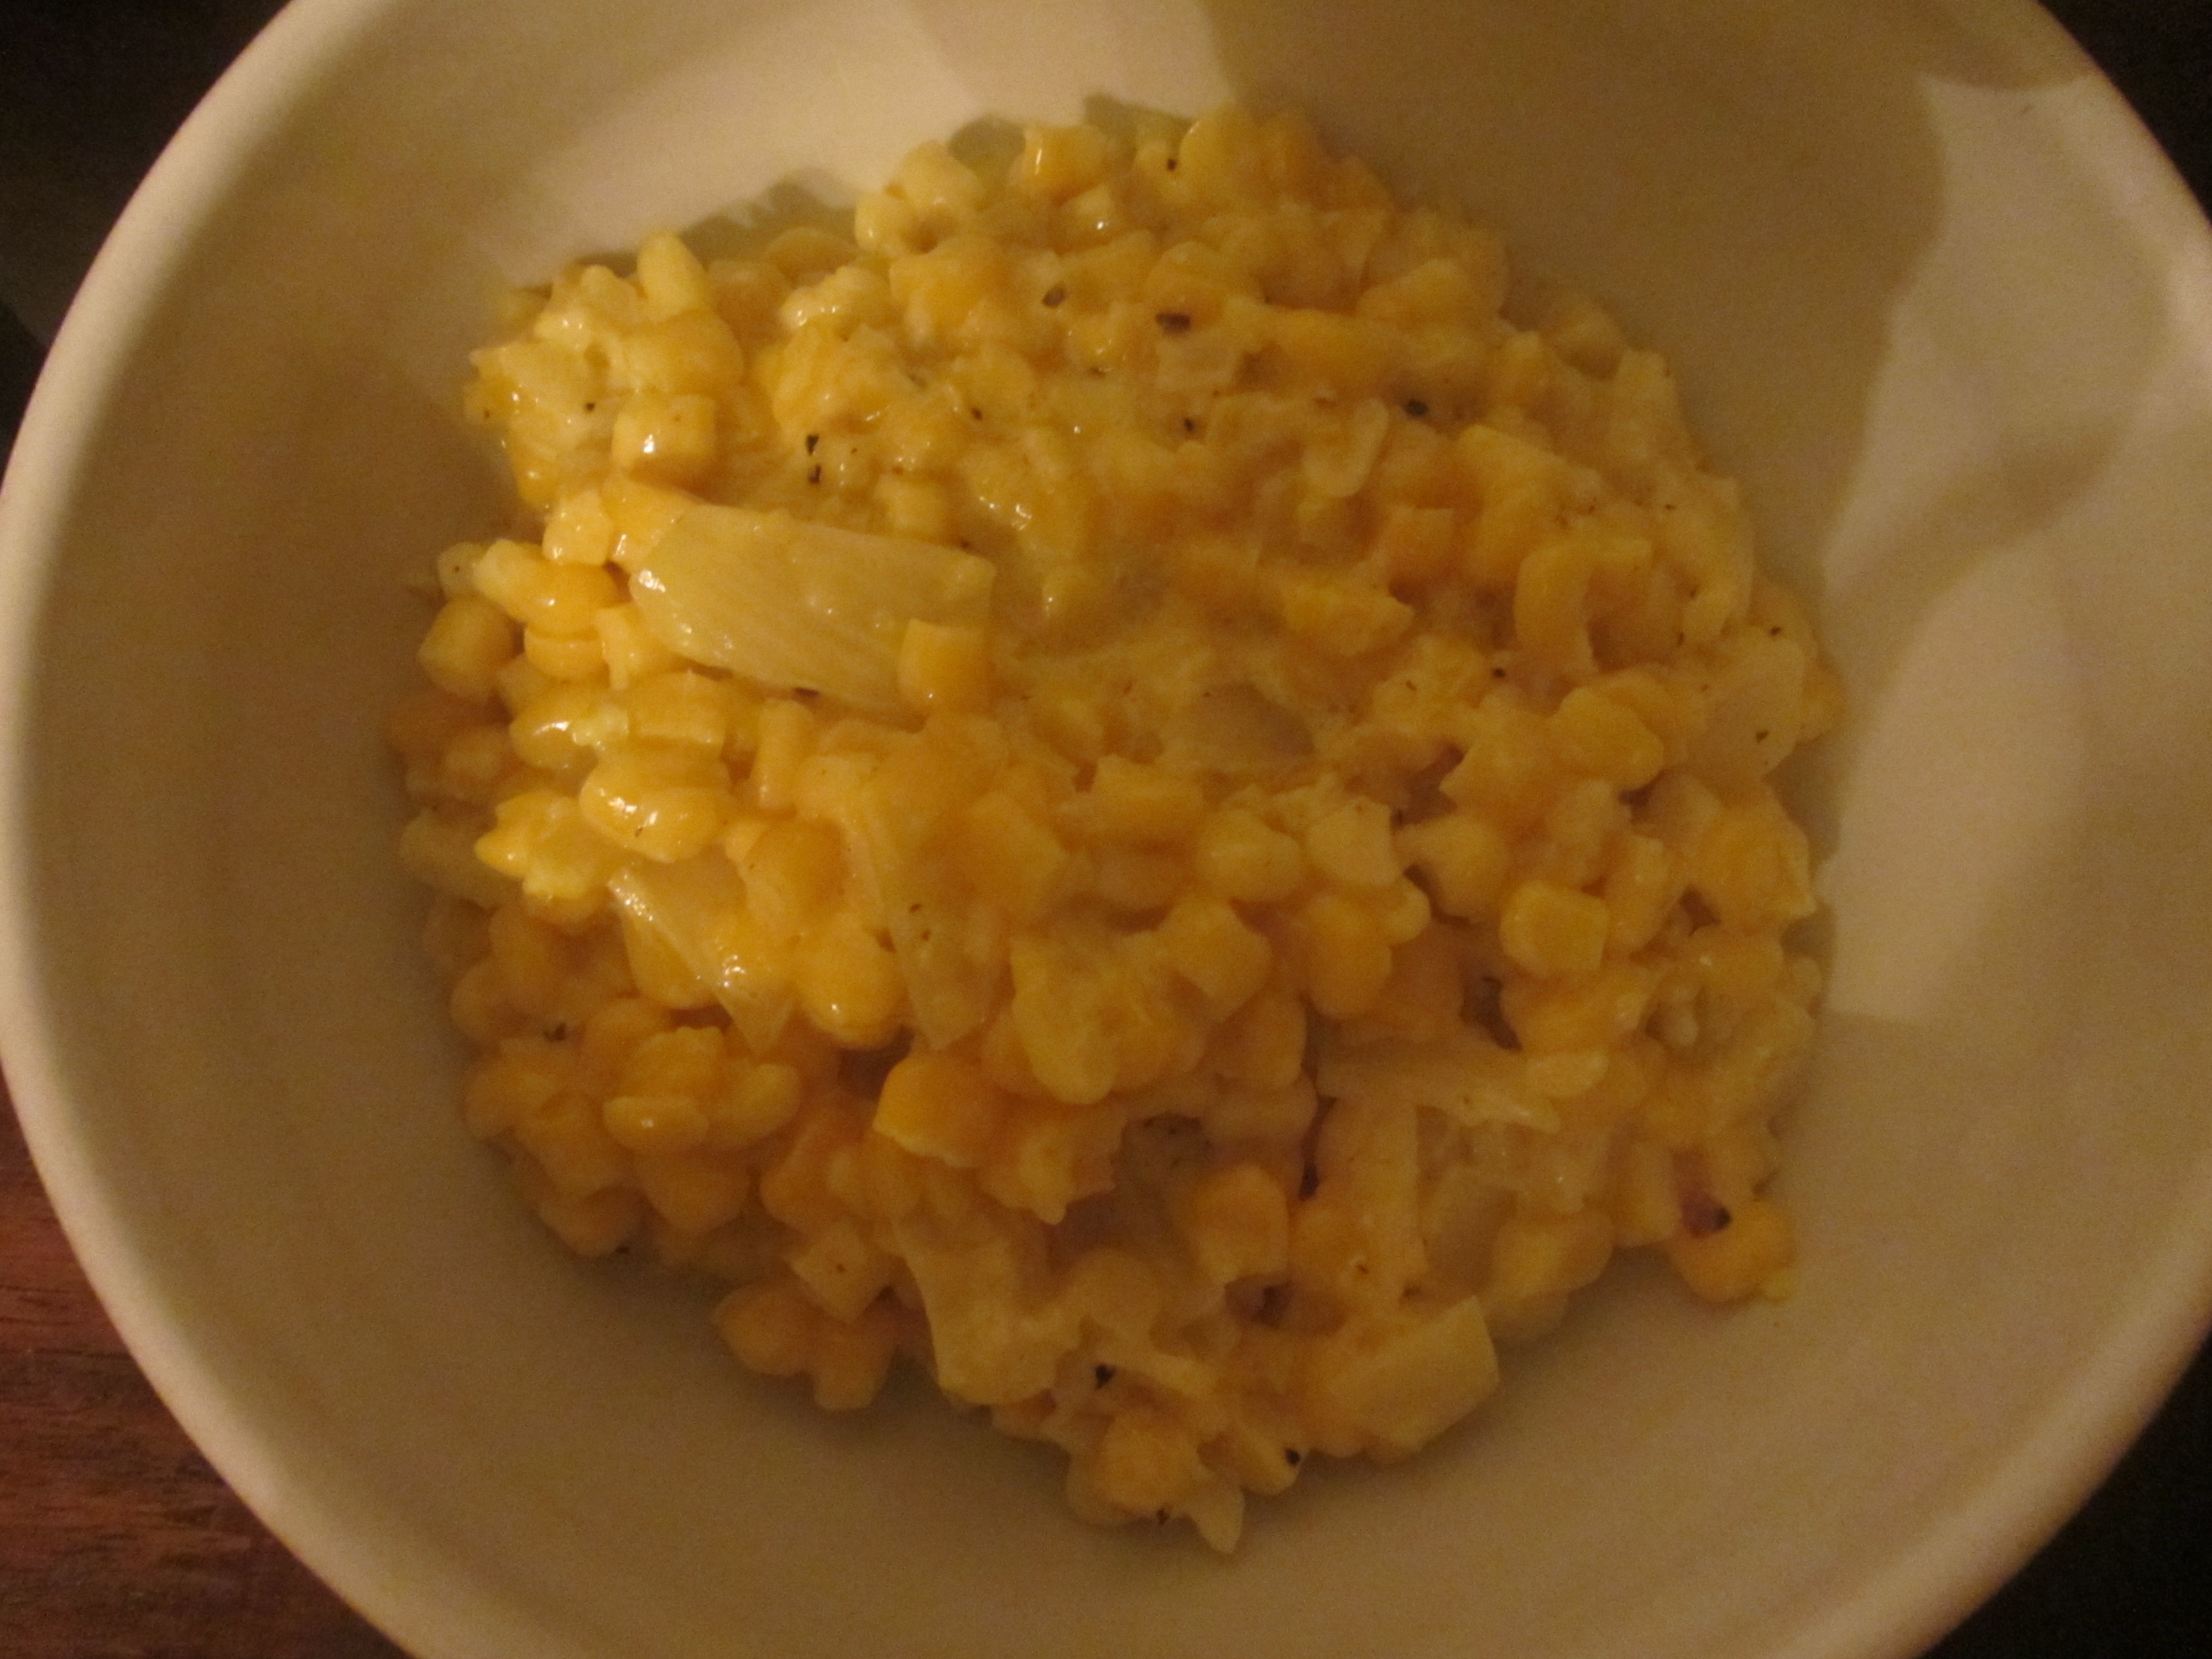
Finished creamed corn.

Creamed corn with lots of texture.
We had our creamed corn as a side dish, and we both thought it was great. I tend to think of creamed corn as overly sweet, yellow mush. Alton’s creamed corn, however, has just the right amount of sweetness that contrasts nicely with the heat of the black pepper. Hints of the Rosemary come through, and the texture is far from mushy. Instead, you really get the texture of the individual corn kernels. I will definitely make this one again, even if I have to use frozen corn. I look forward to trying it with truly fresh corn in a few months.
Creamed Corn Cornbread
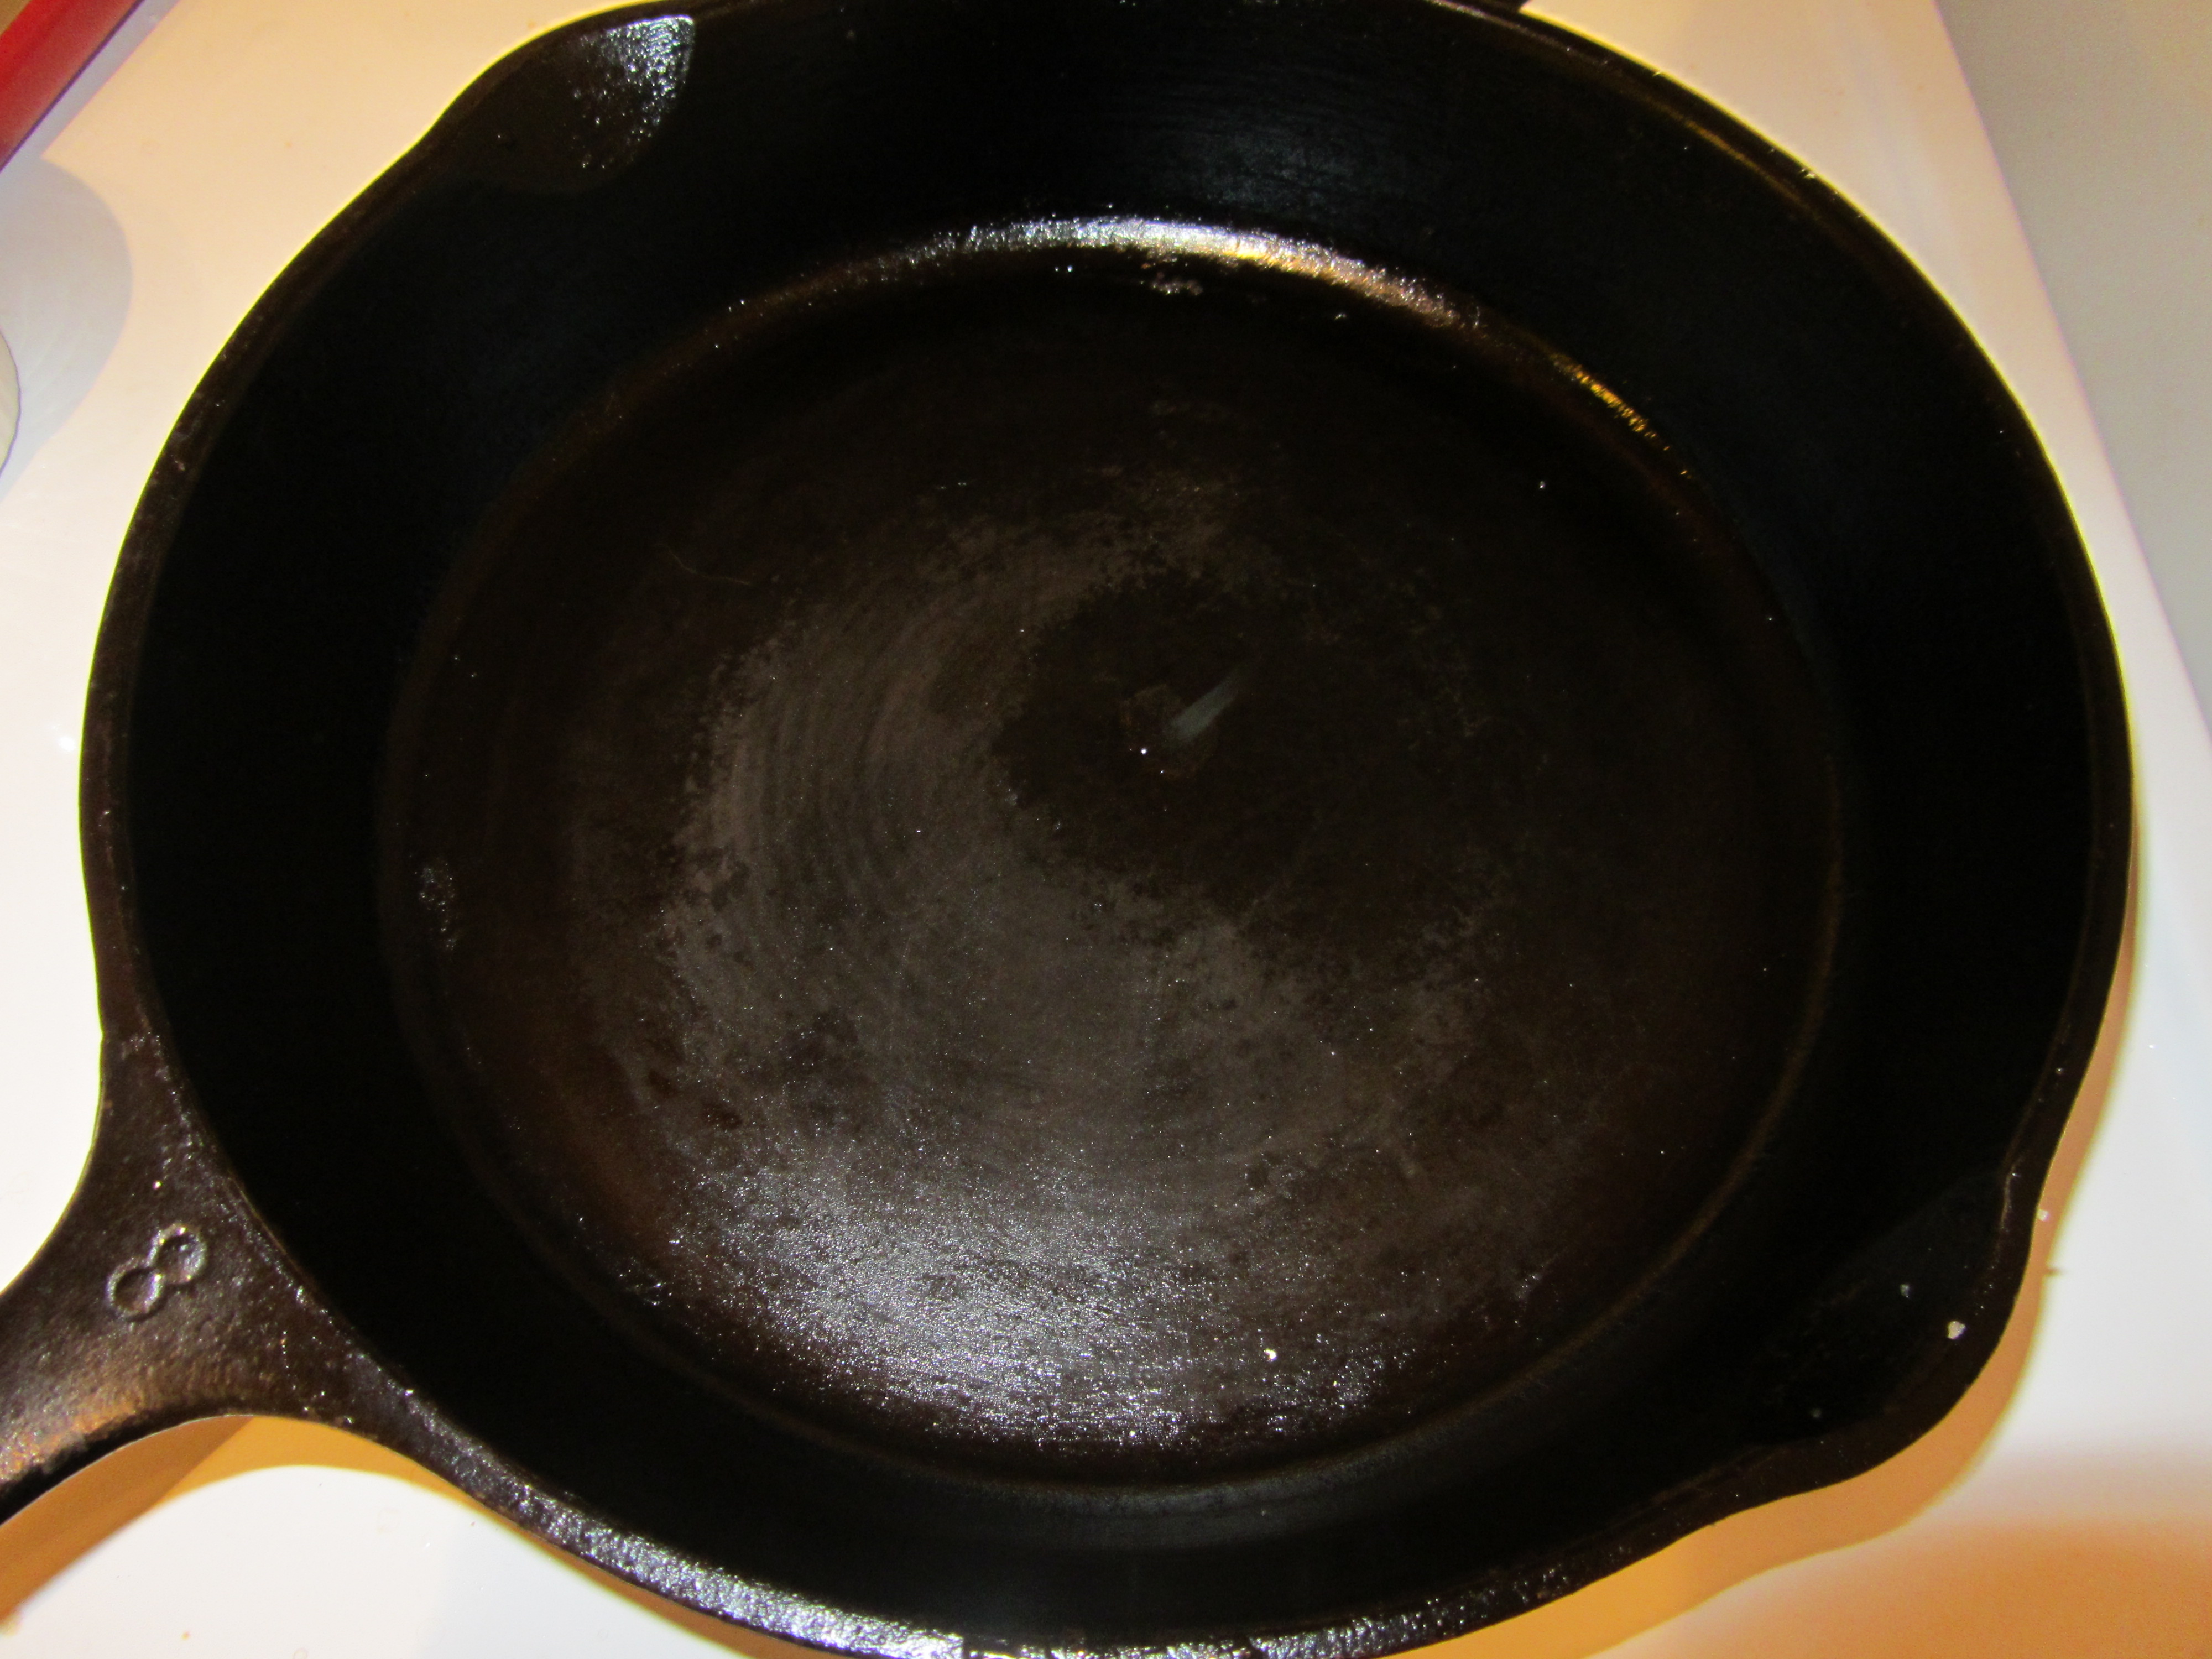
The second recipe in this episode is for cornbread, which happens to use some creamed corn. While you could use canned creamed corn, it is better to use homemade creamed corn. I saved some of my creamed corn from the first recipe to use in this one. To start, you heat a cast iron skillet in the oven.
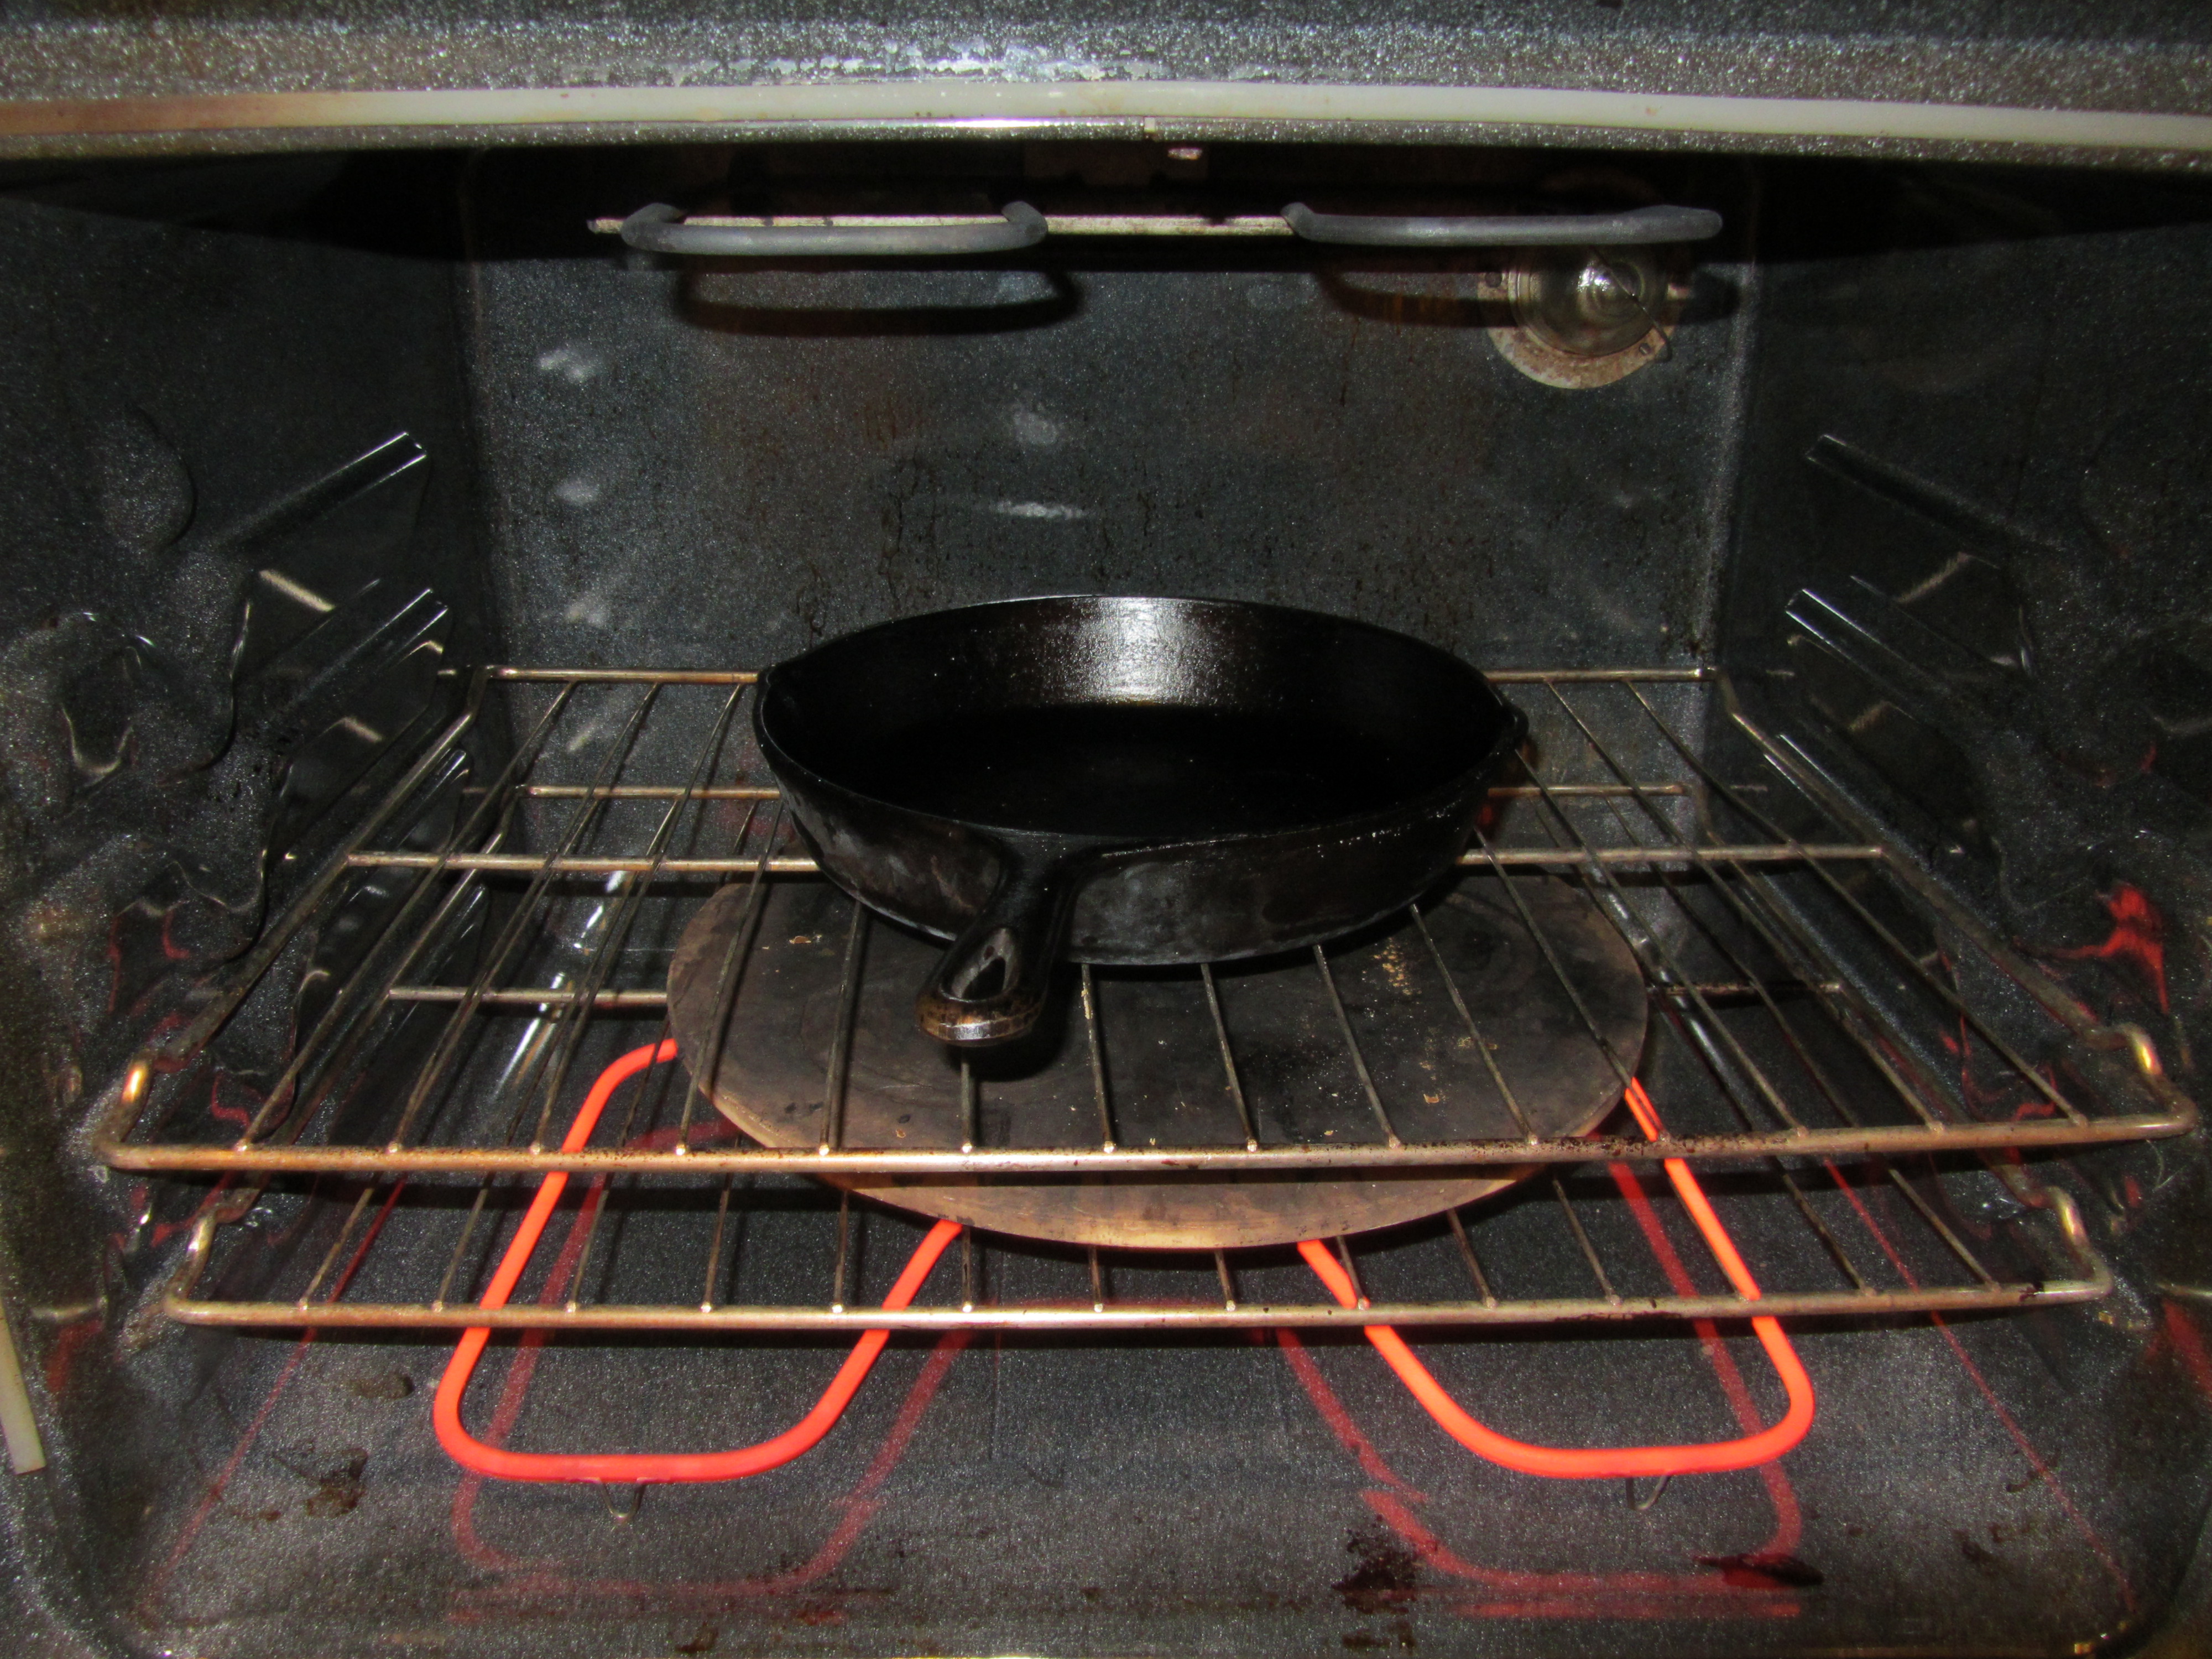
Cast iron skillet heating in the oven.
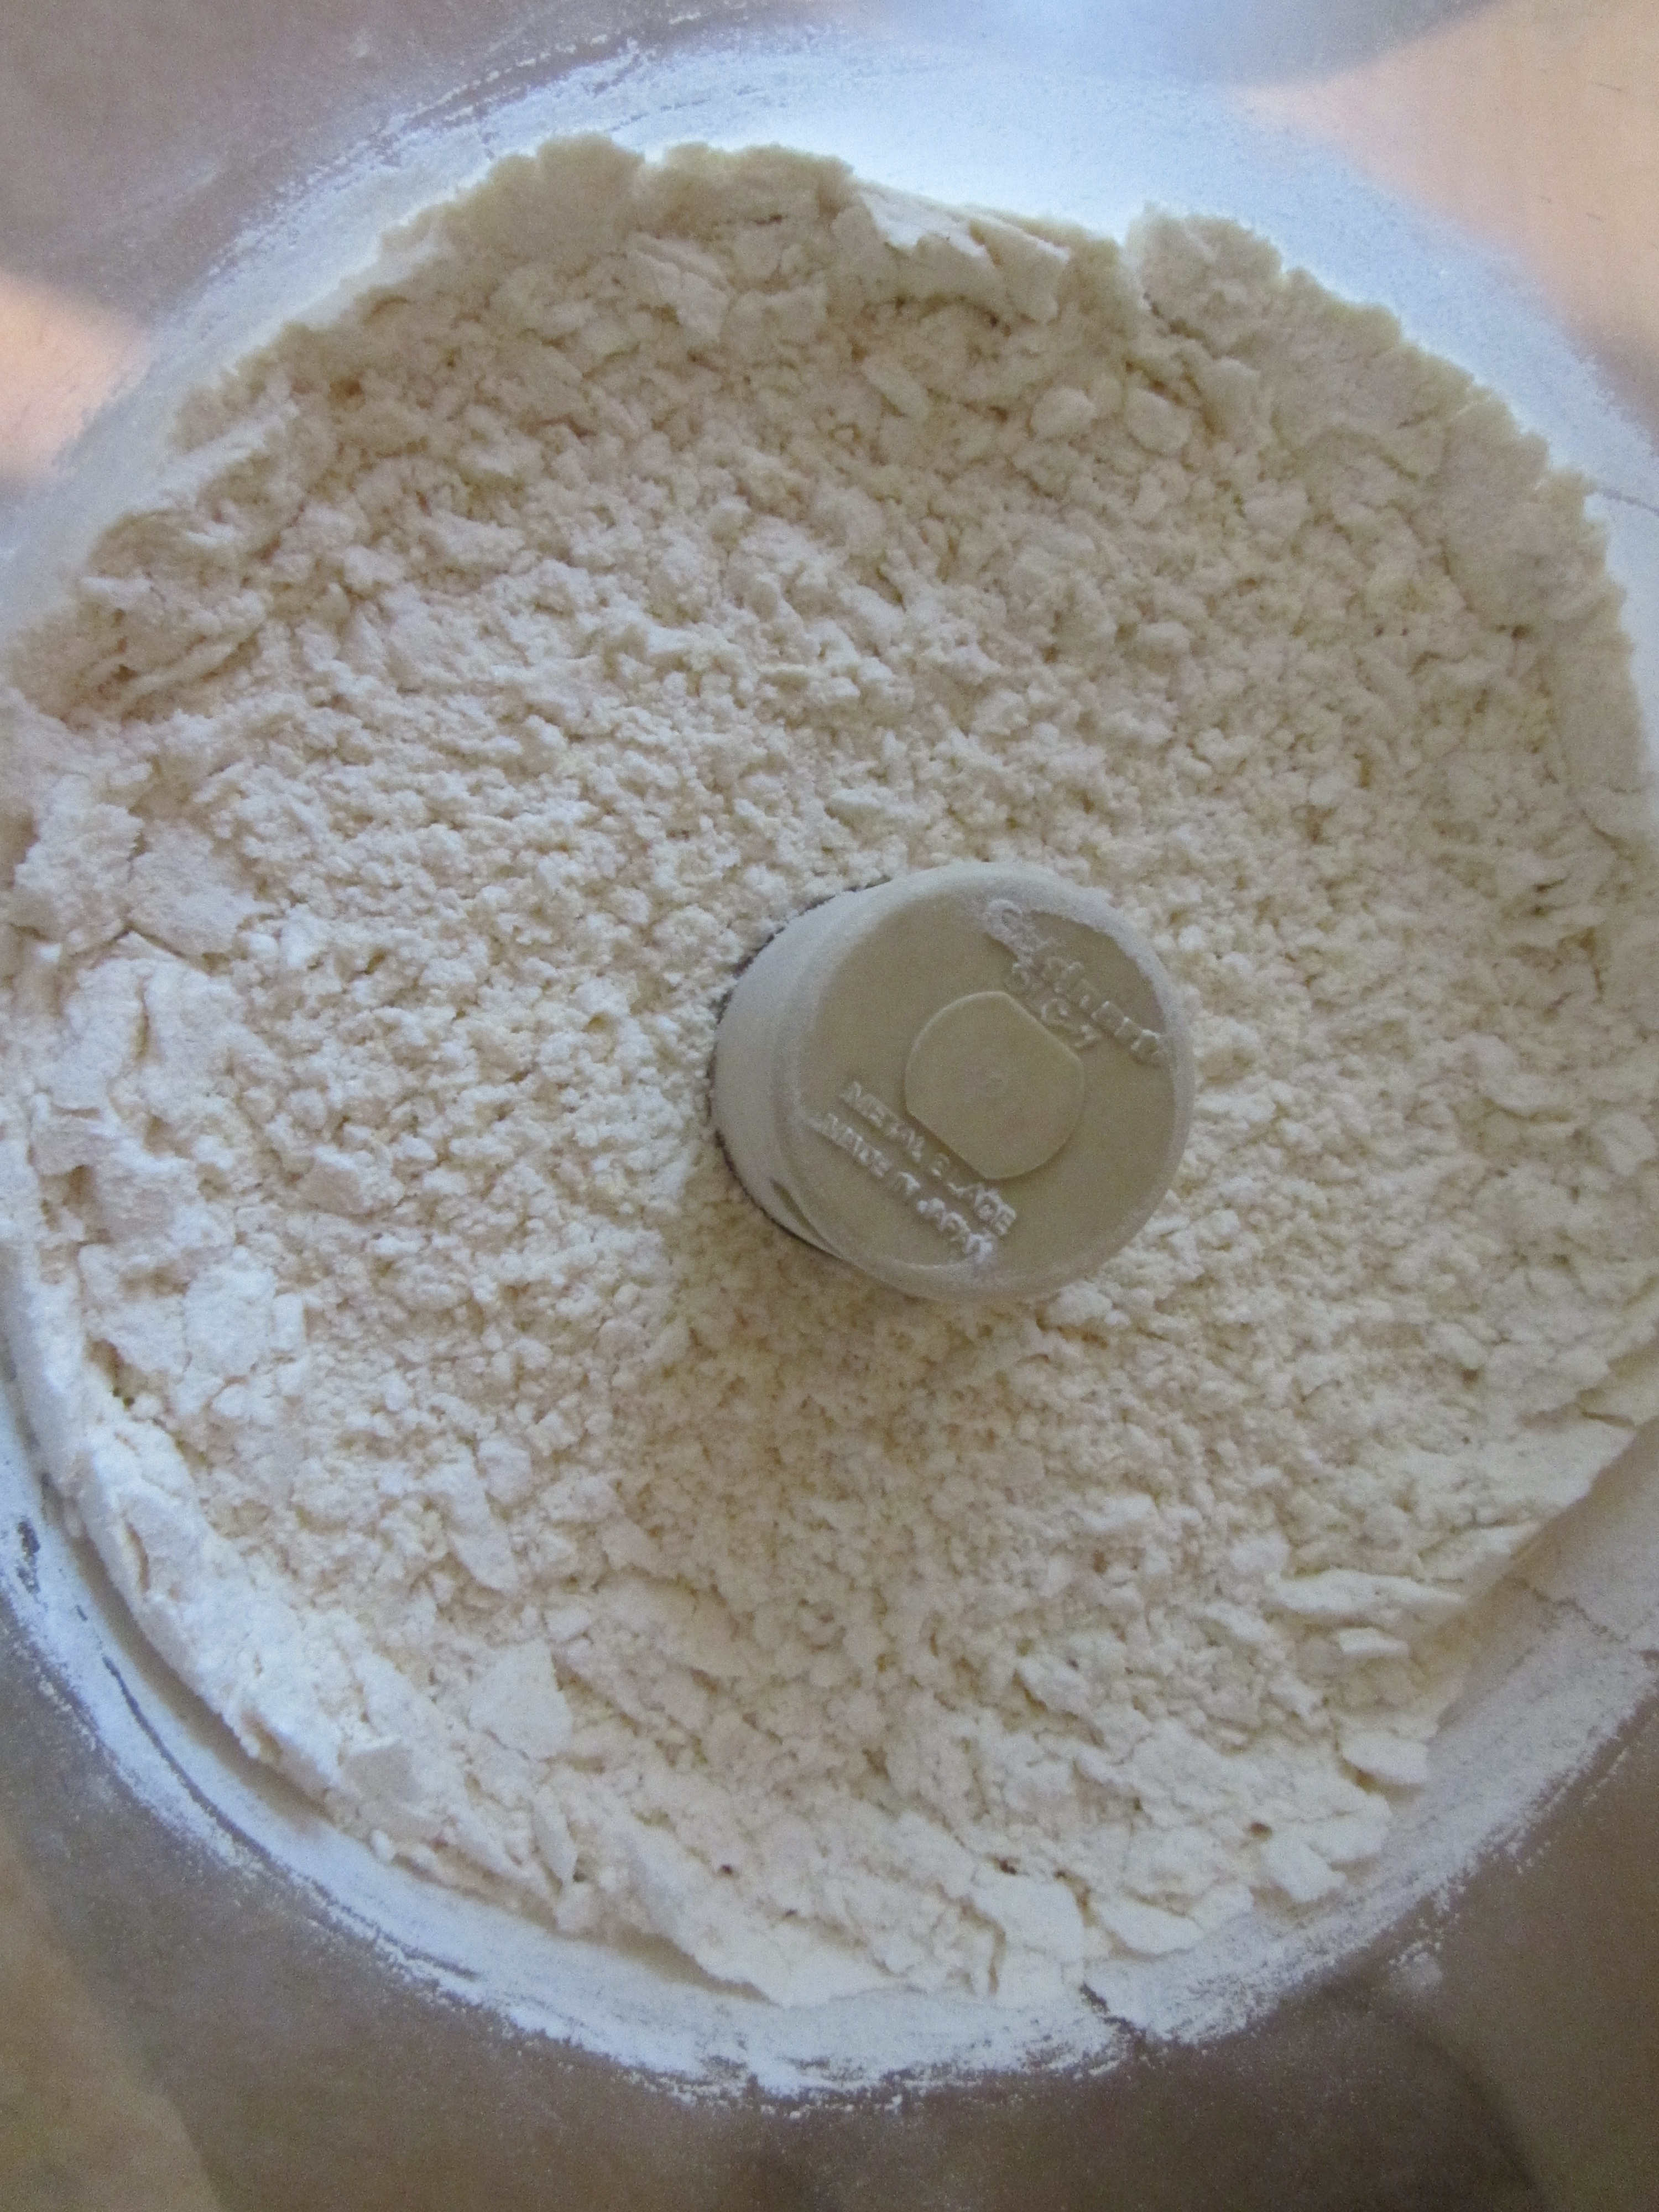
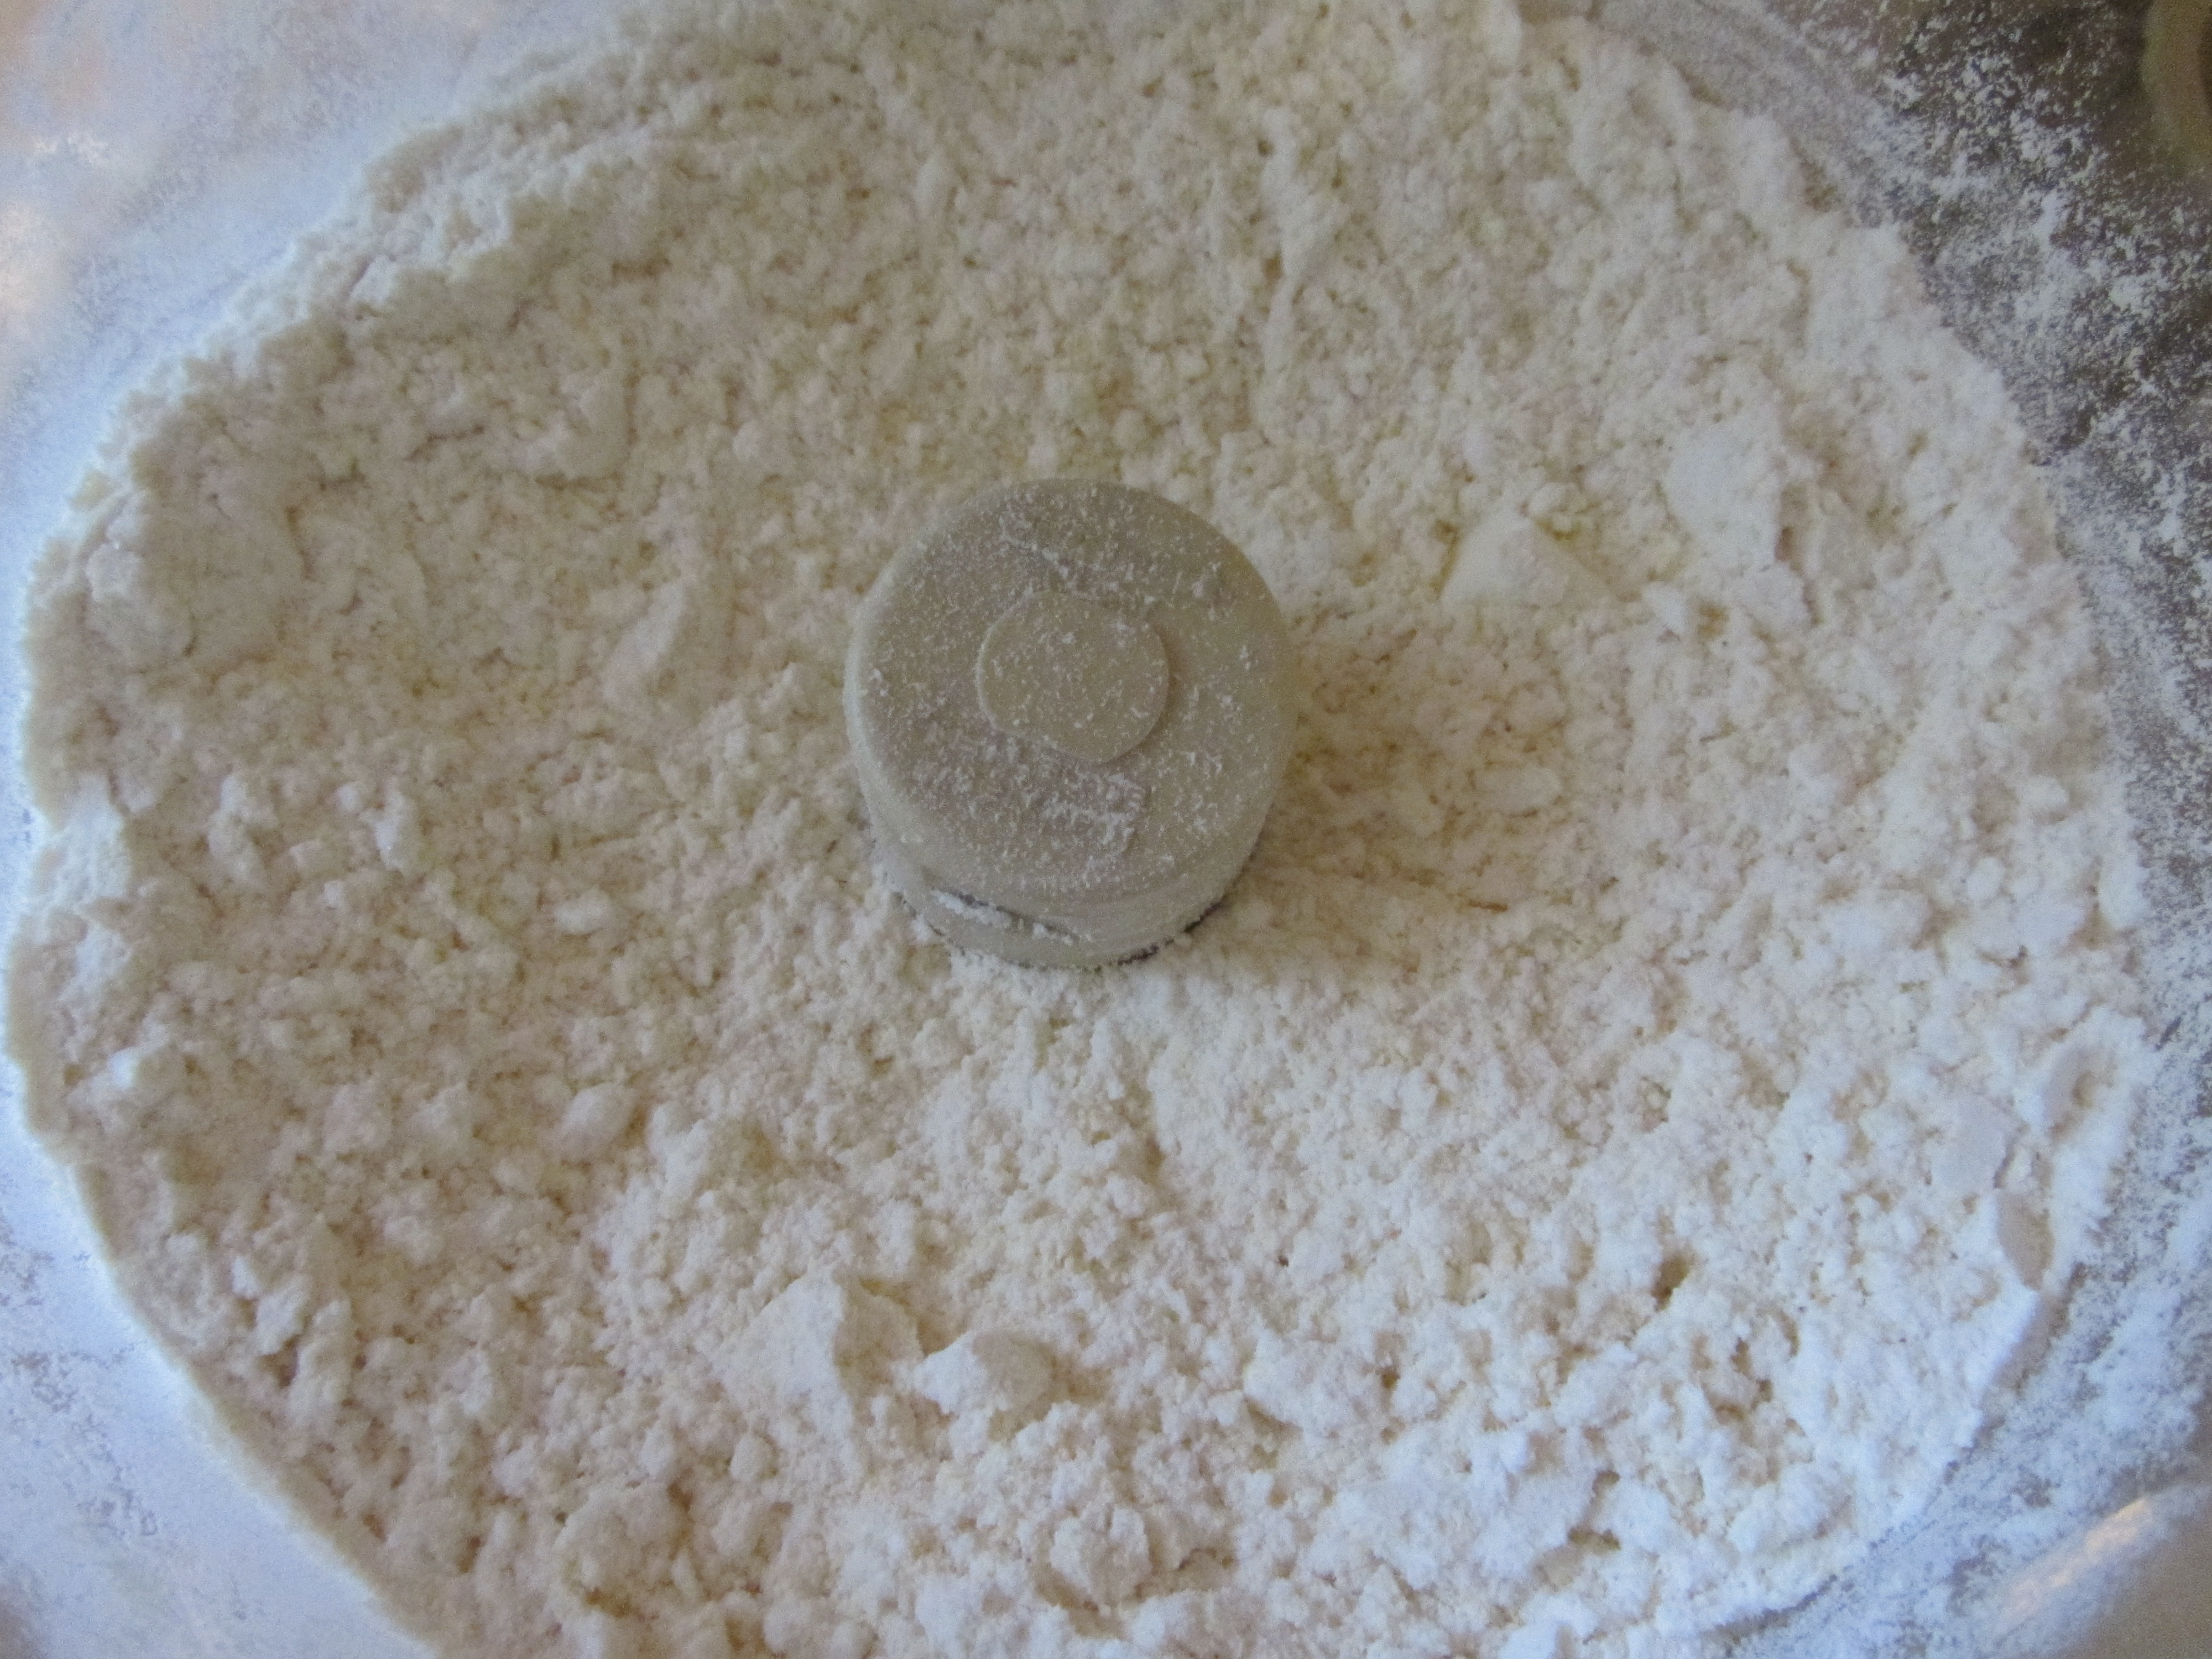
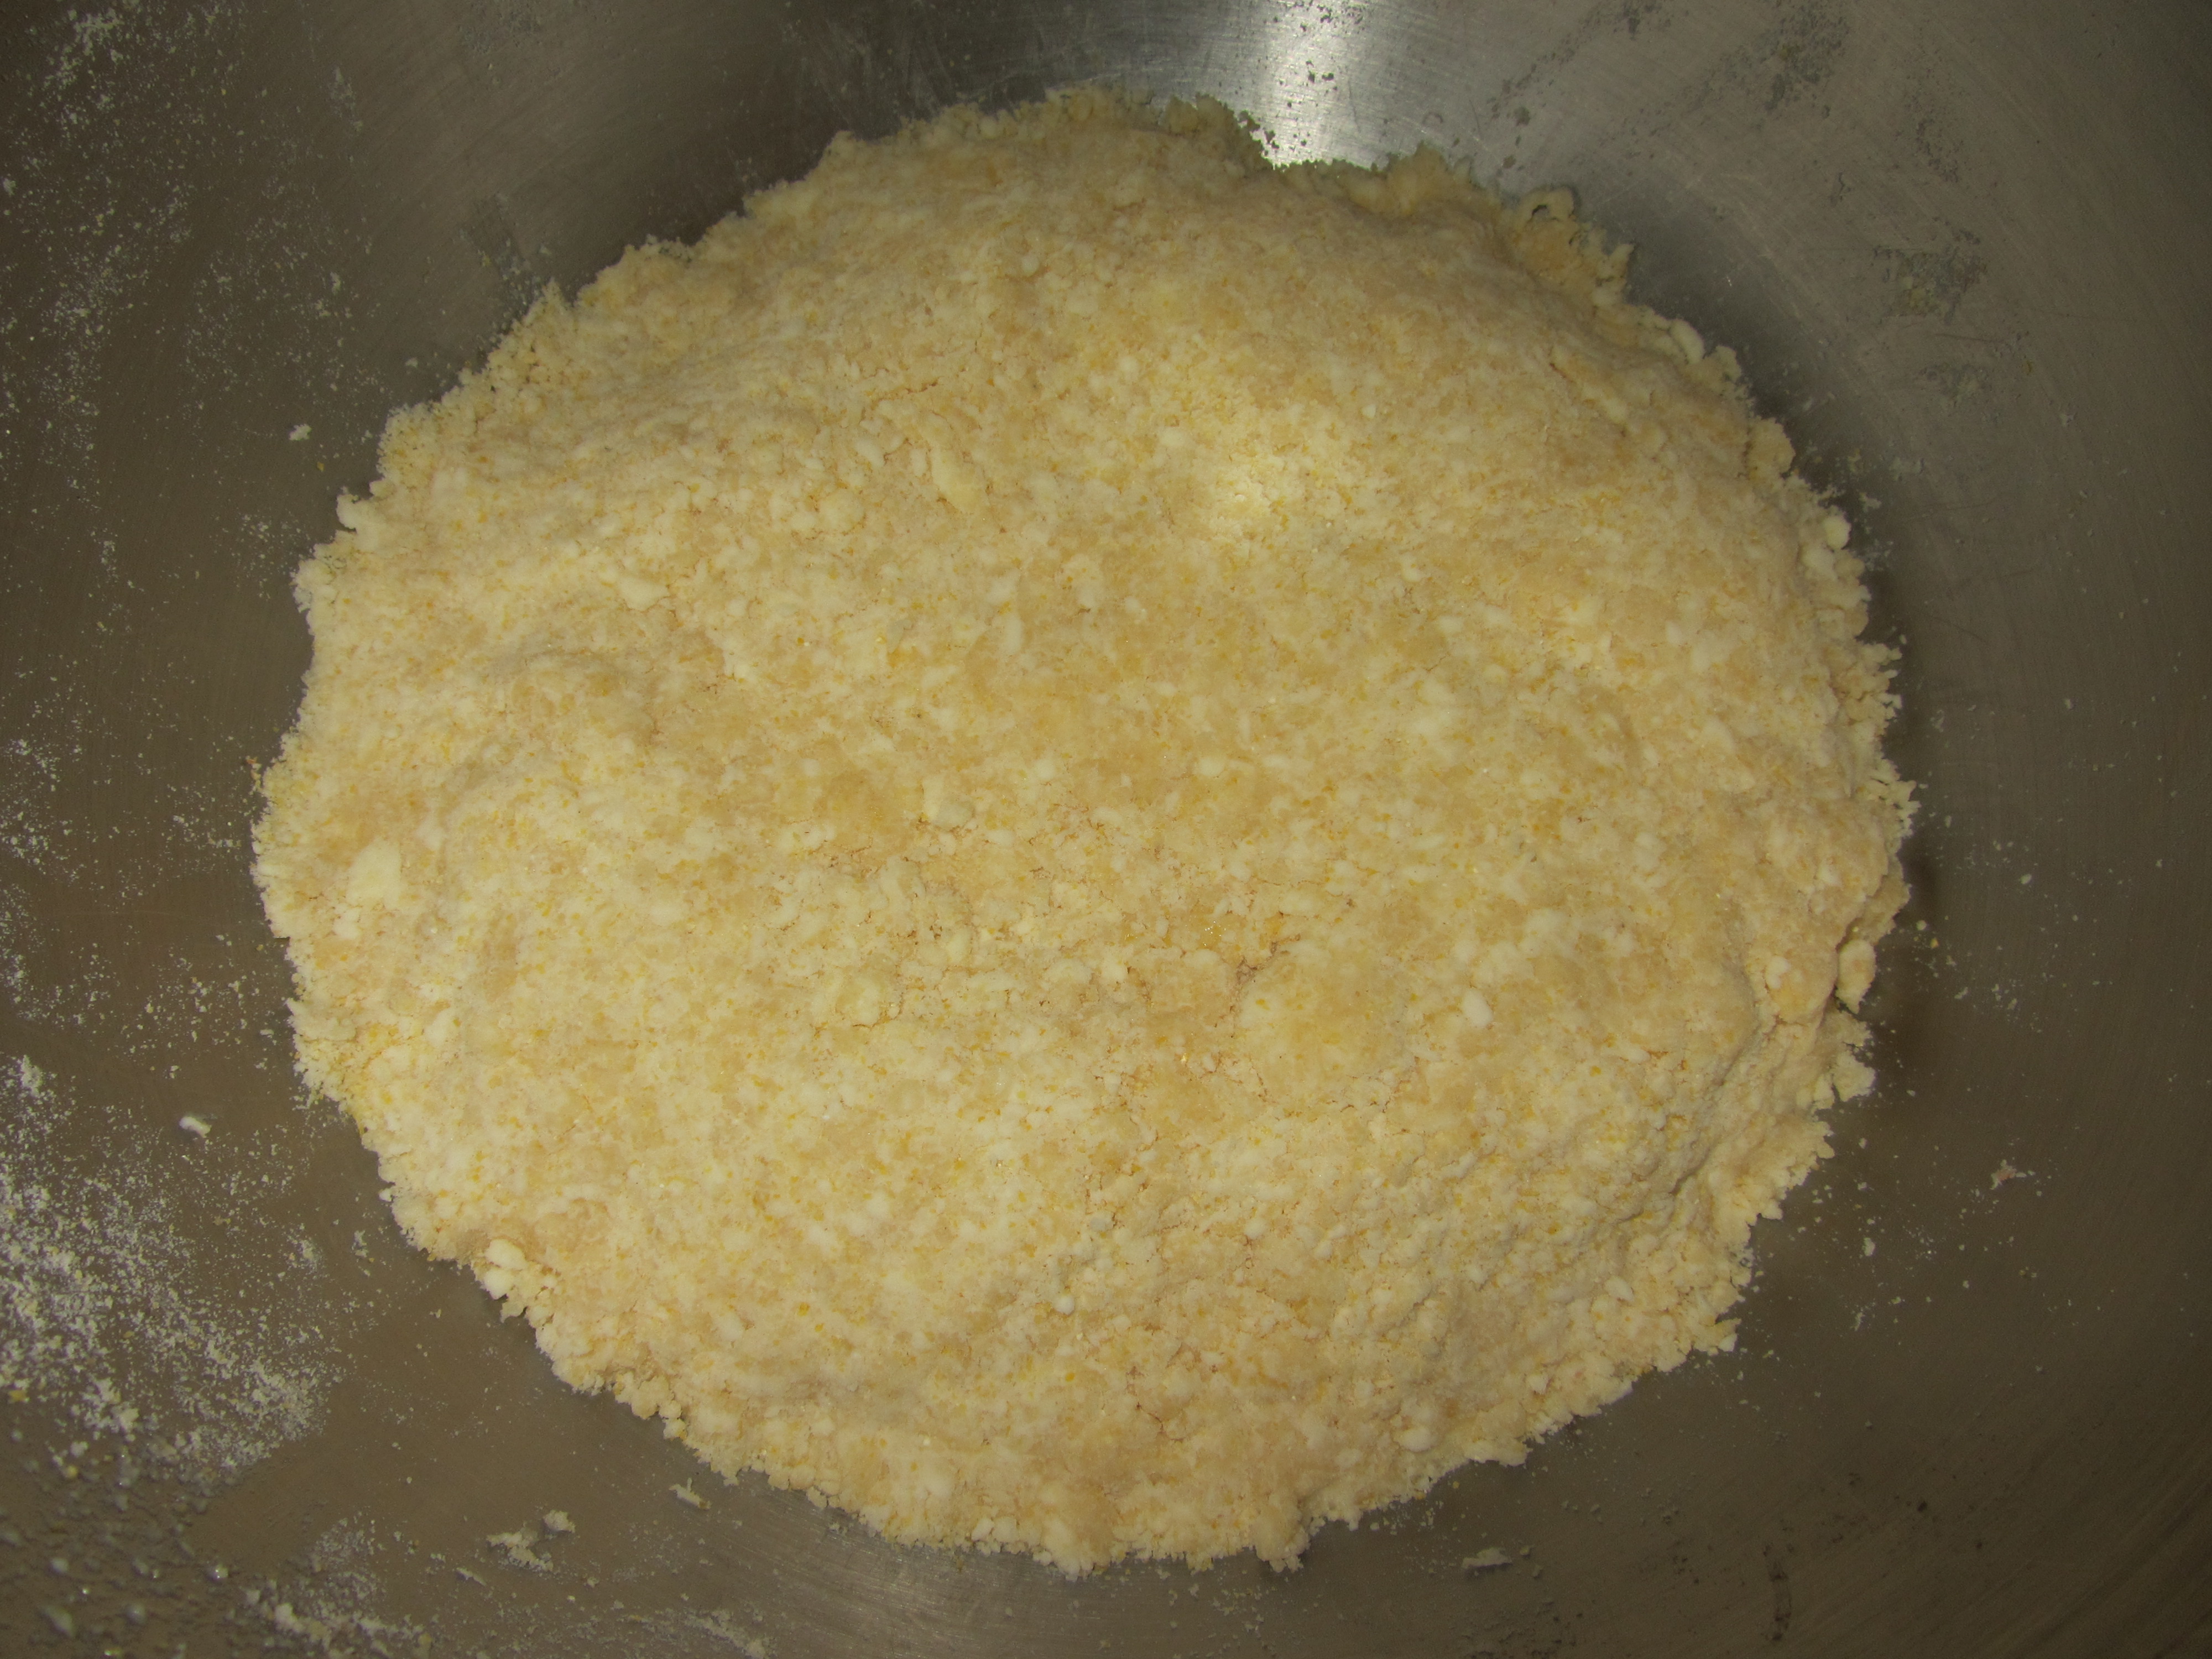
While the skillet heats, you whisk together stone ground cornmeal, Kosher salt, sugar, baking powder, and baking soda.

Dry ingredients: stone ground cornmeal, Kosher salt, sugar, baking powder, and baking soda.
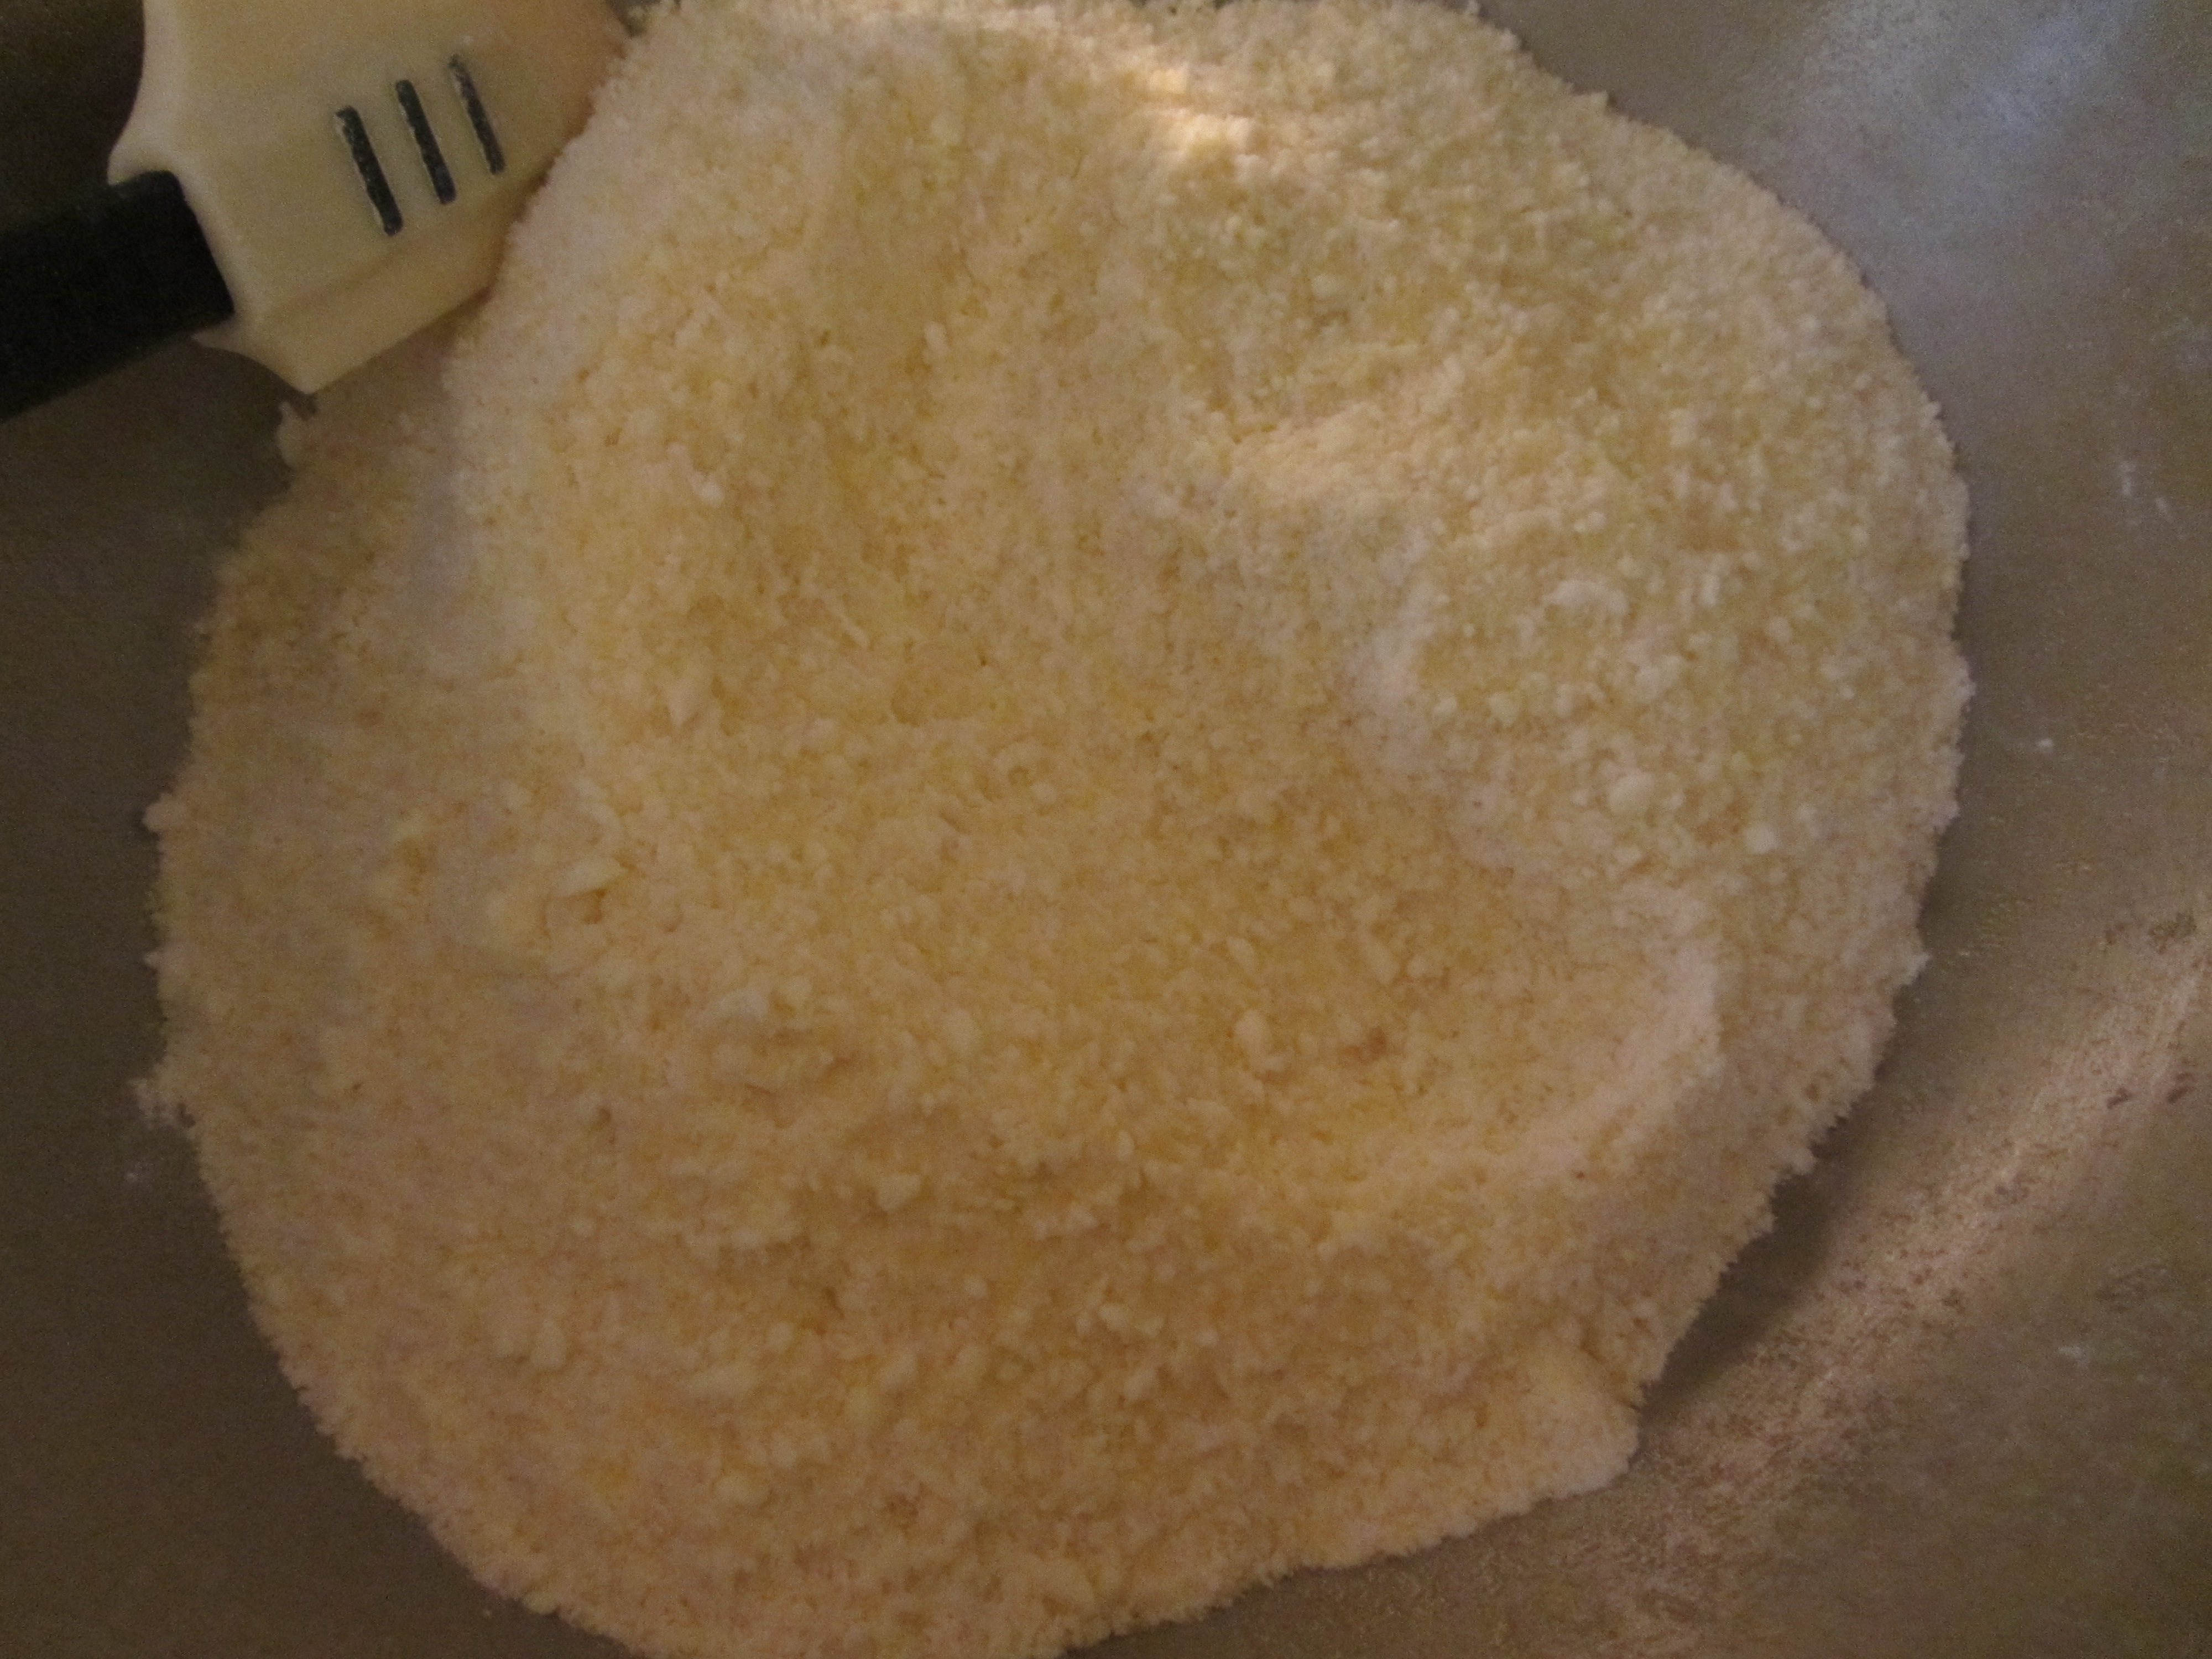
In a separate bowl, combine buttermilk, eggs, and creamed corn.

Wet ingredients: buttermilk, eggs, and creamed corn.
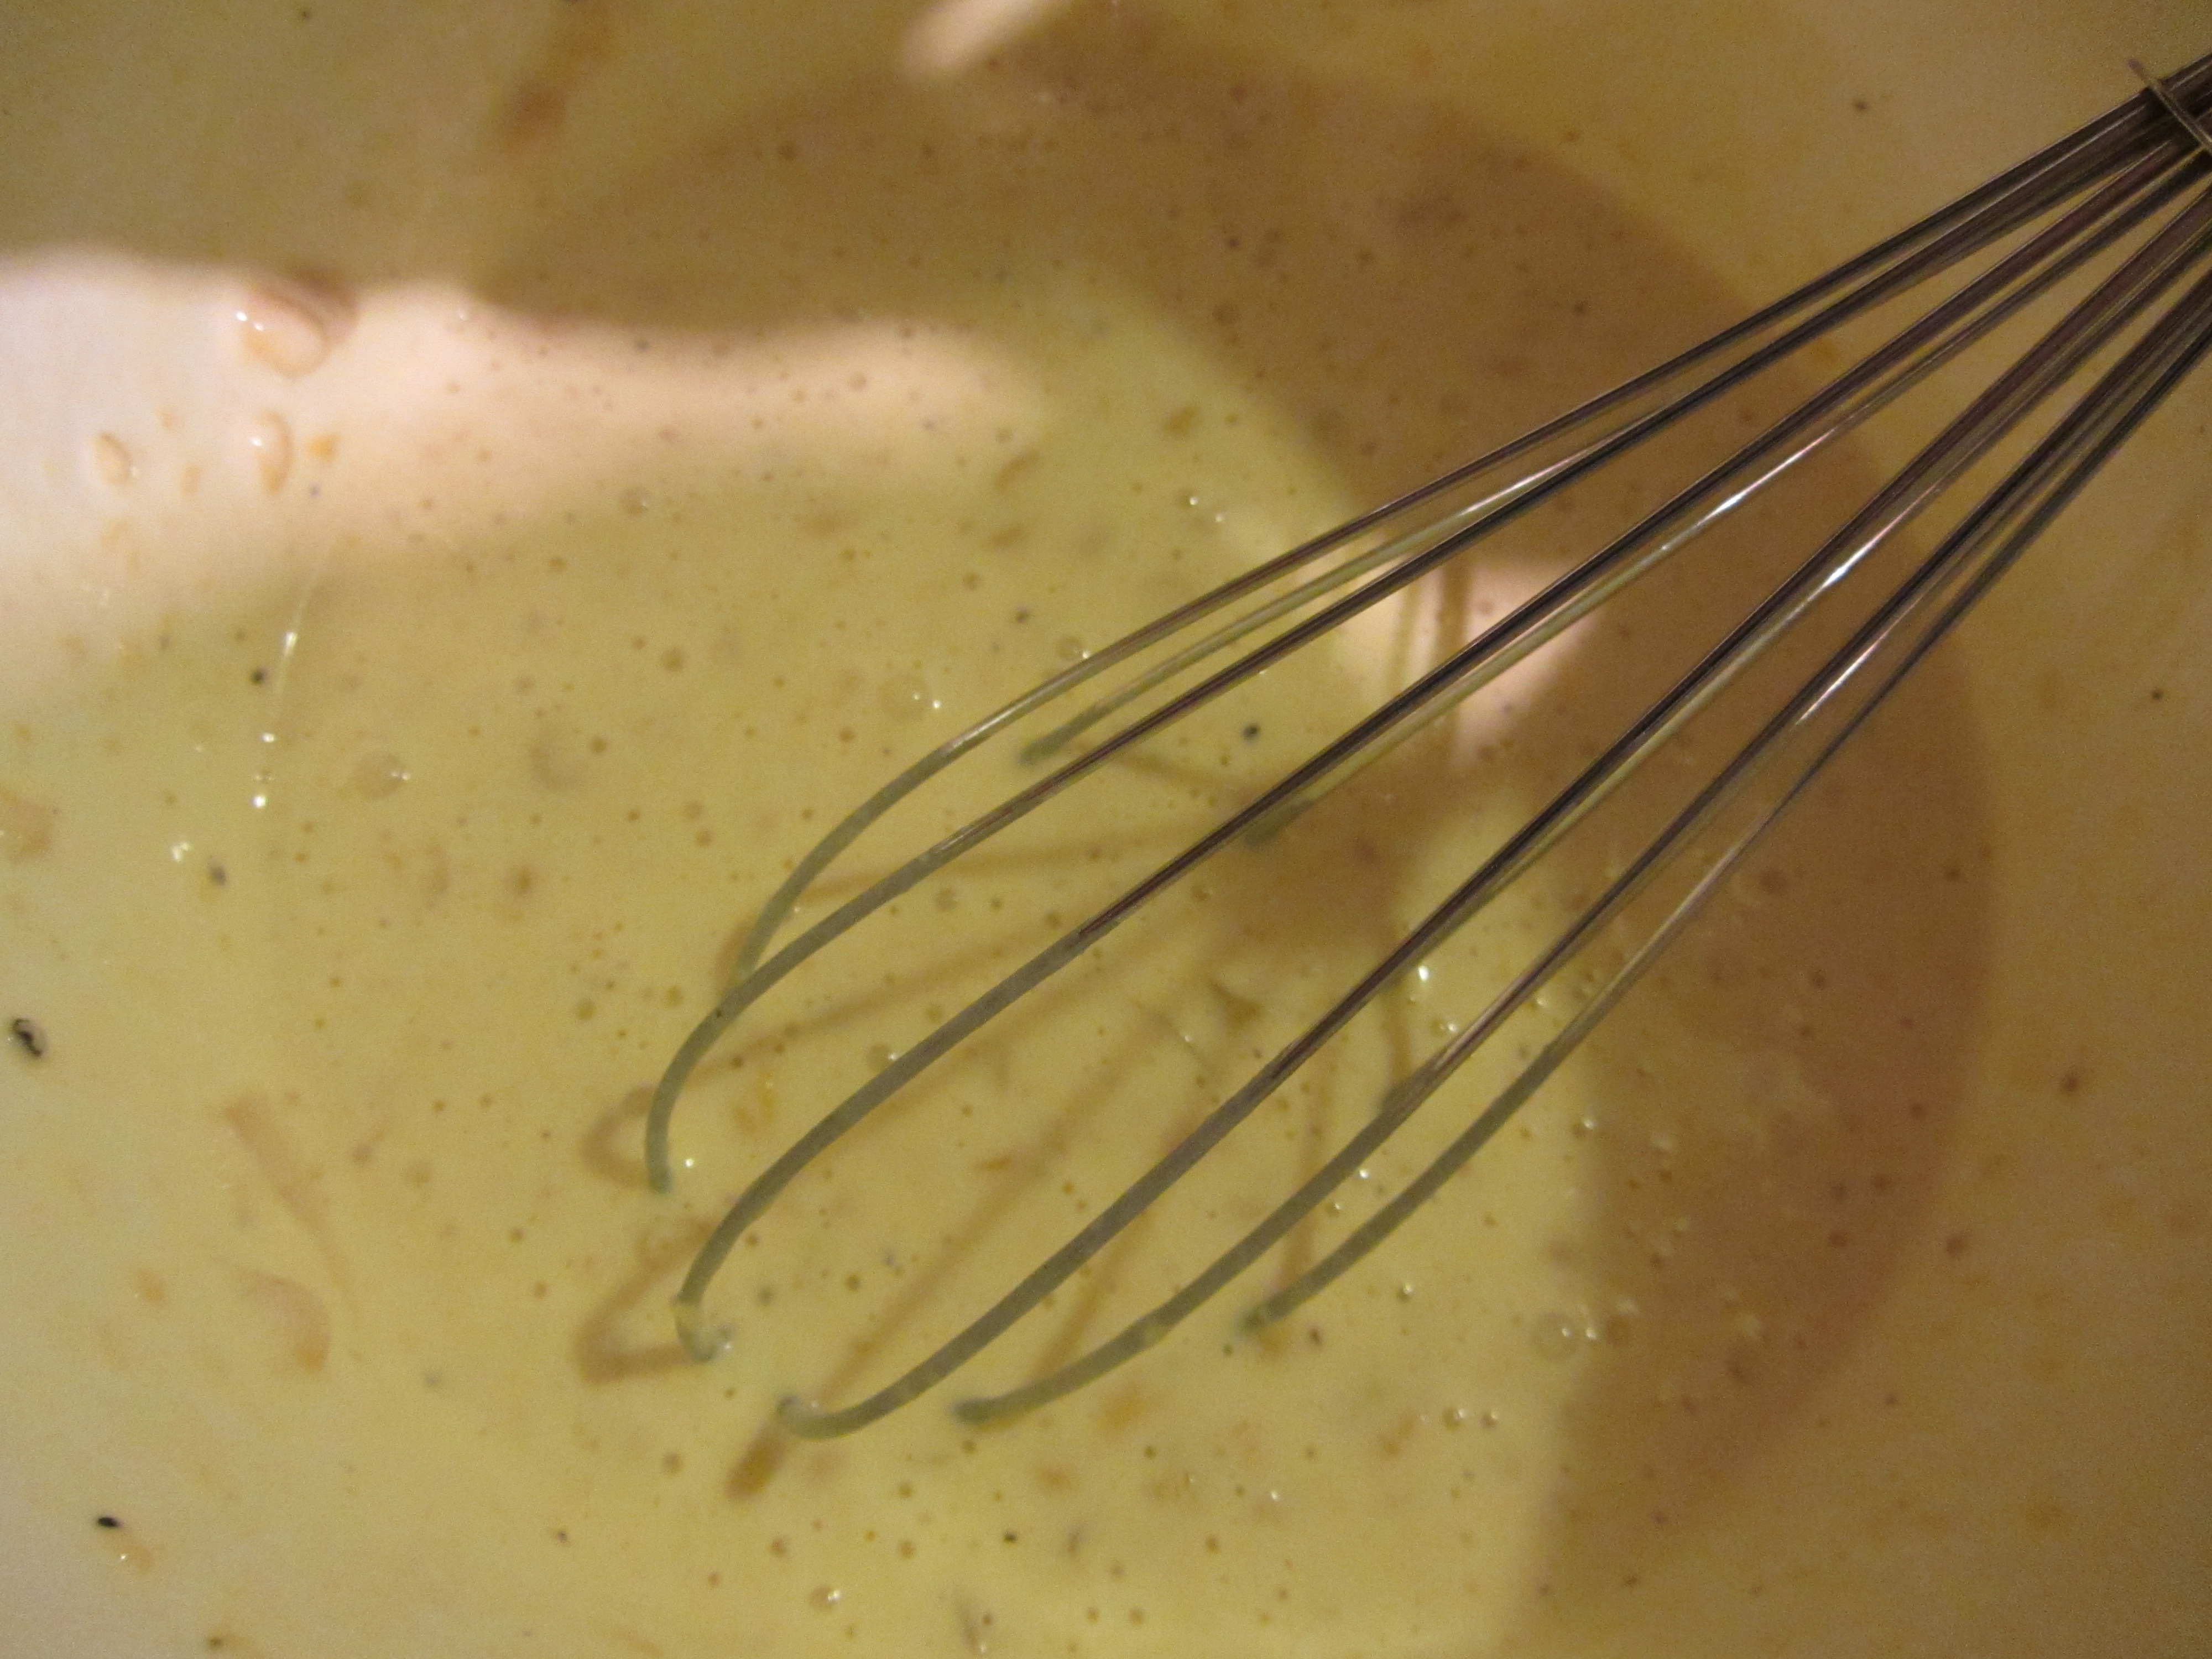
Combined wet ingredients.
Add the dry ingredients to the wet ingredients and mix until it is pourable. You may need to add more buttermilk if your mixture is not thin enough, but mine was good to go.

Adding dry ingredients to wet ingredients.

Cornbread batter.
Pour two tablespoons of canola oil into your hot skillet, dump in your batter, and bake for about 20 minutes, or until the top bounces back when gently pressed.
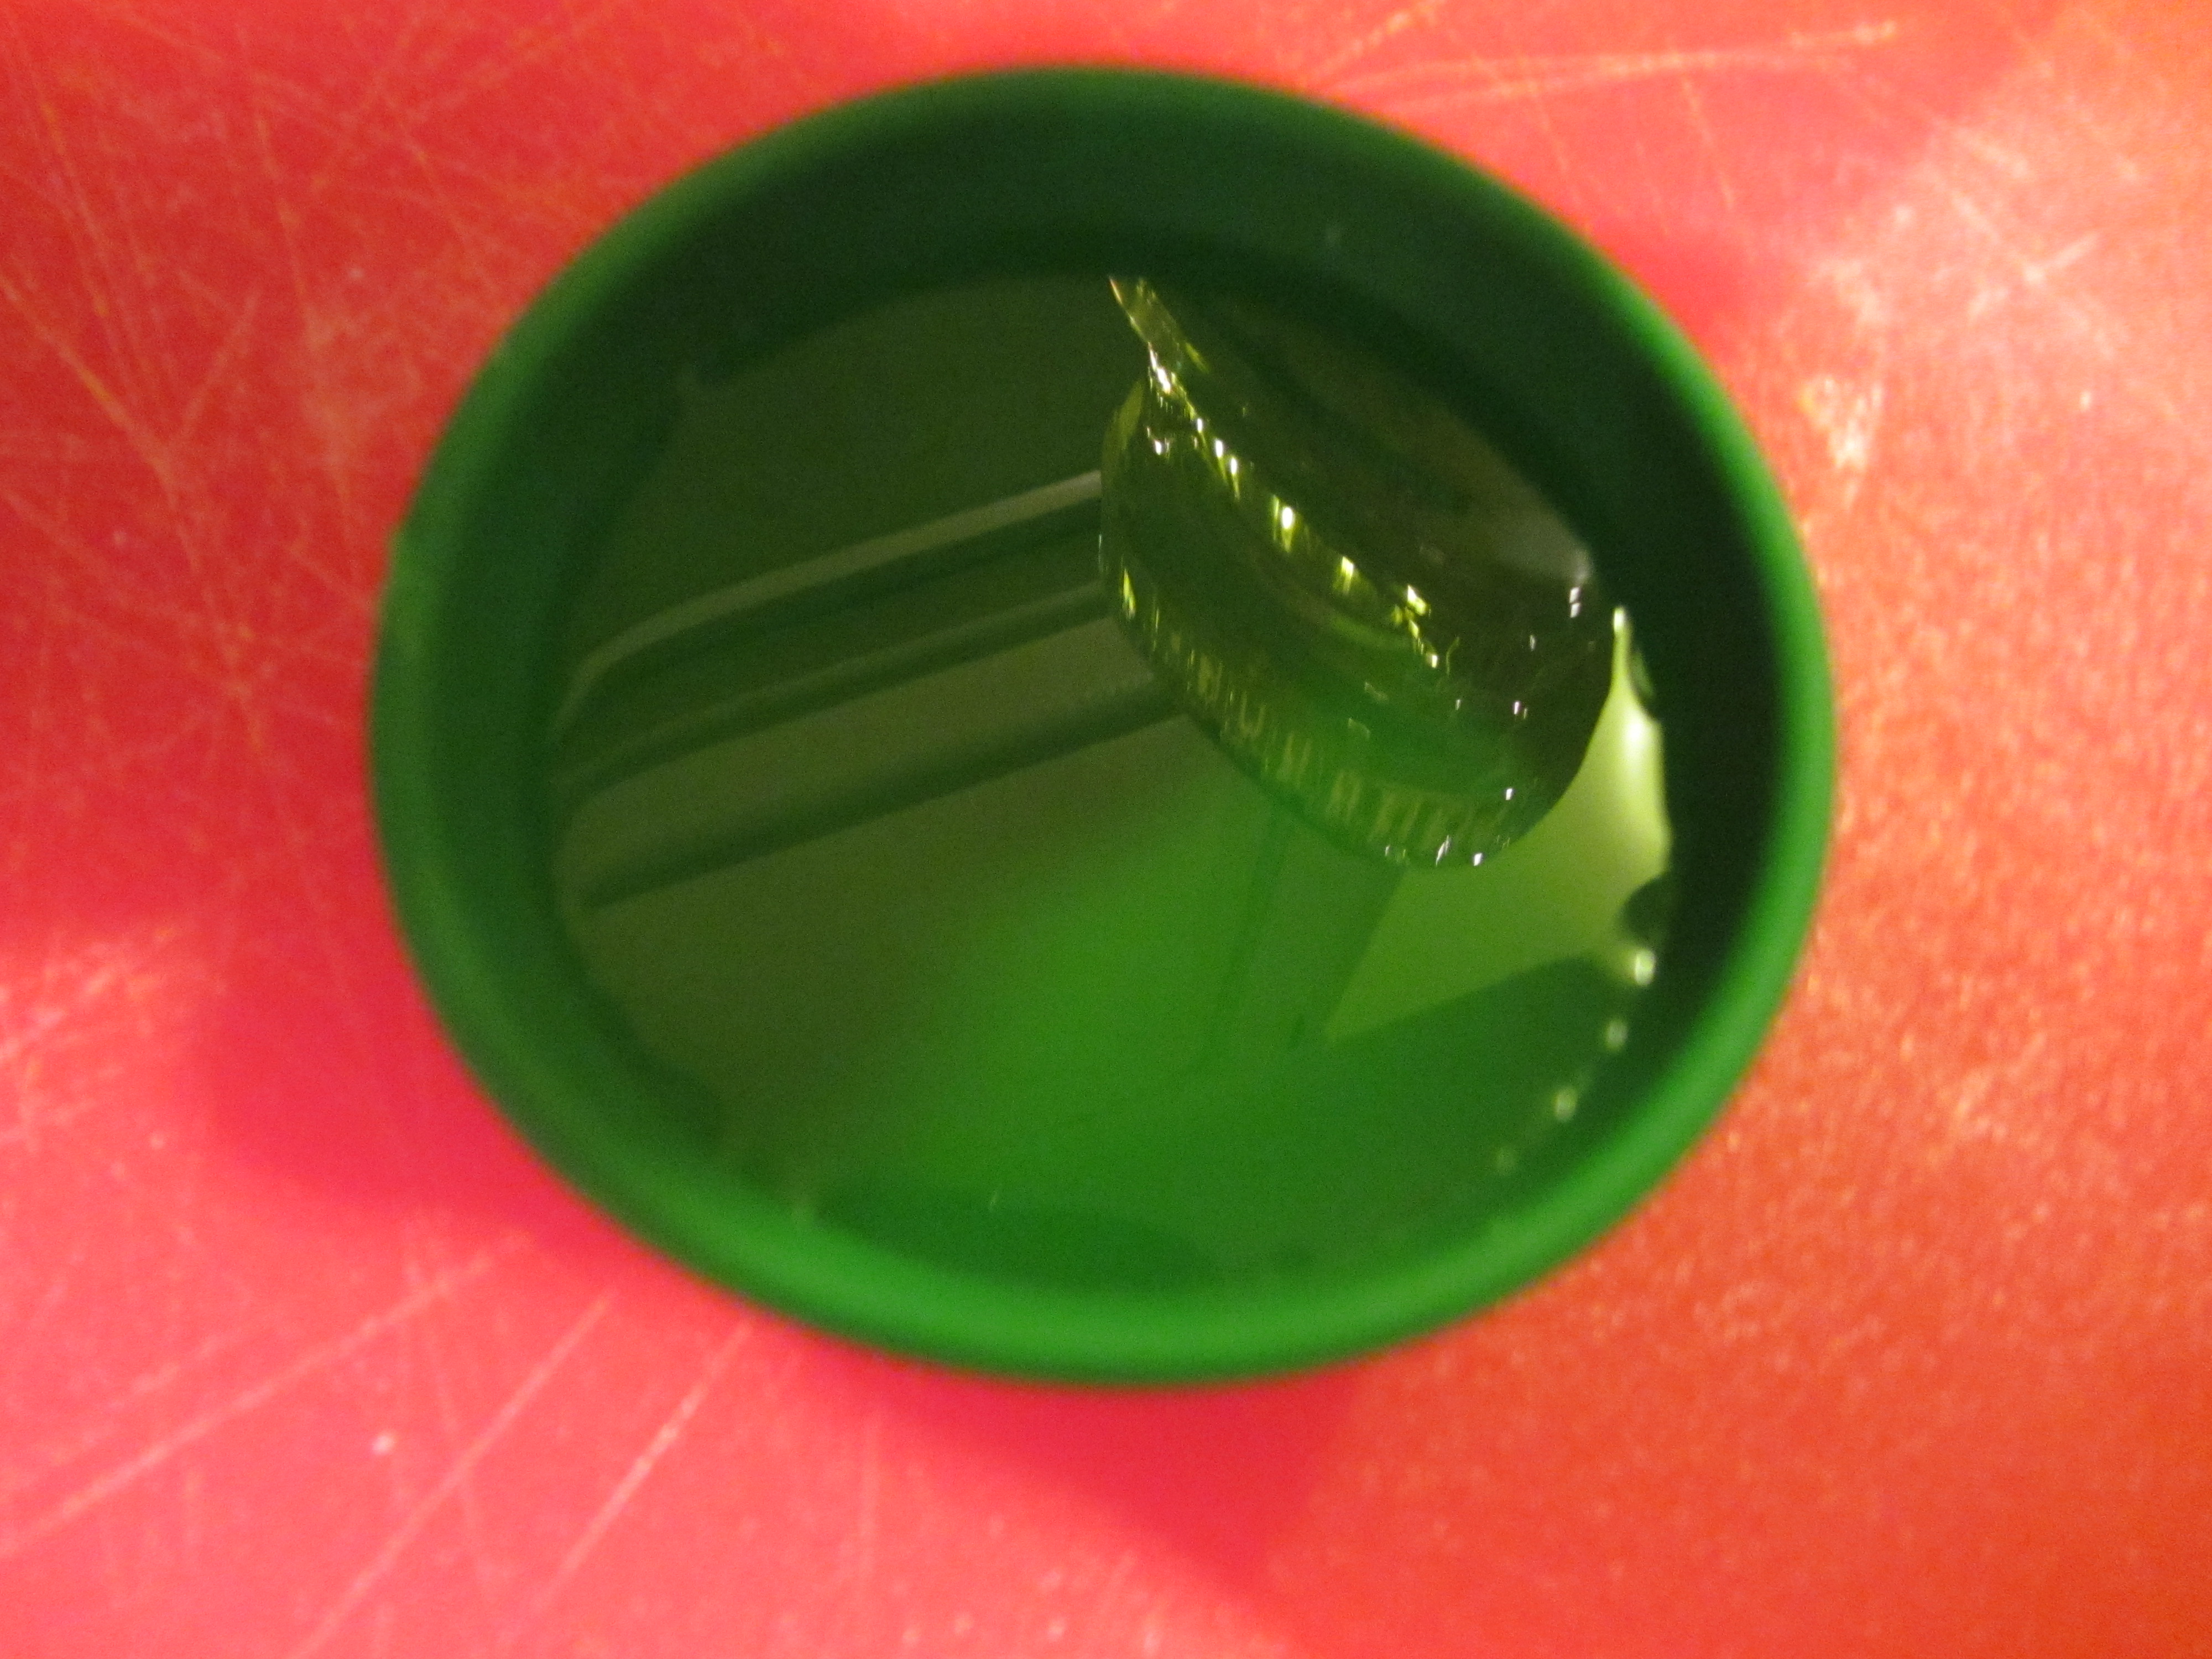
Canola oil for the hot skillet.

Batter in the hot pan.

Finished cornbread.
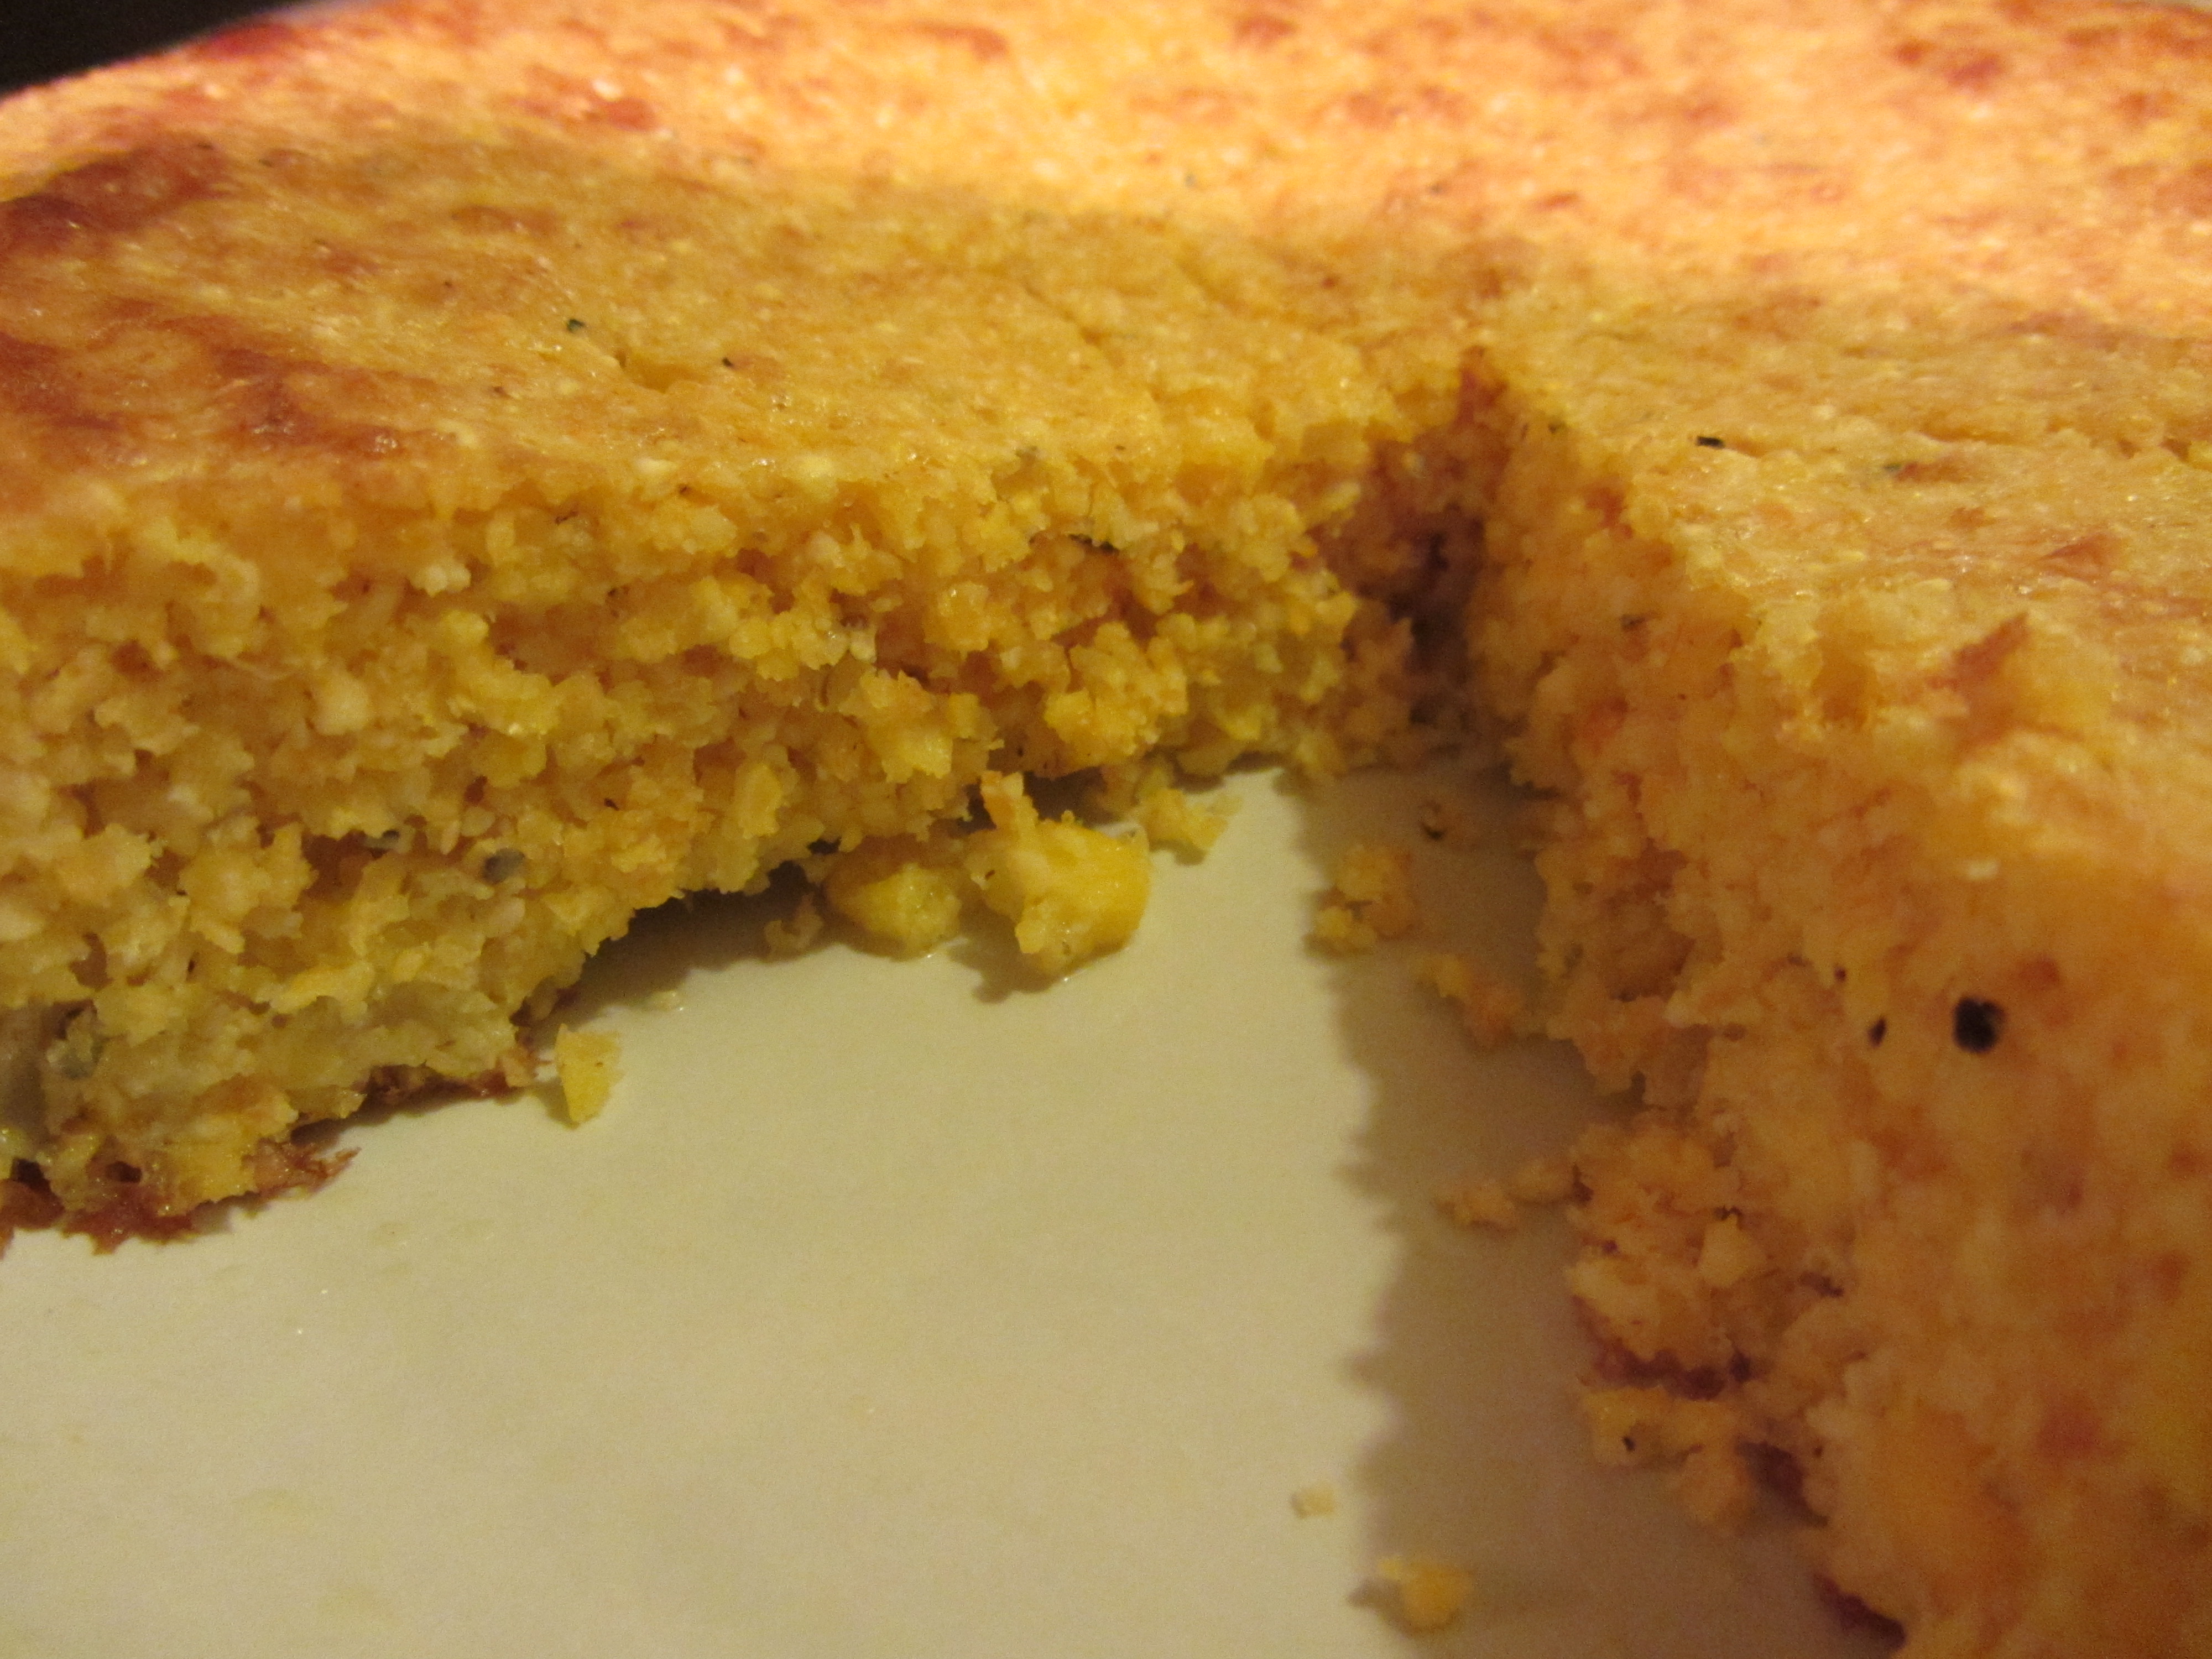
Cornbread with lots of texture.
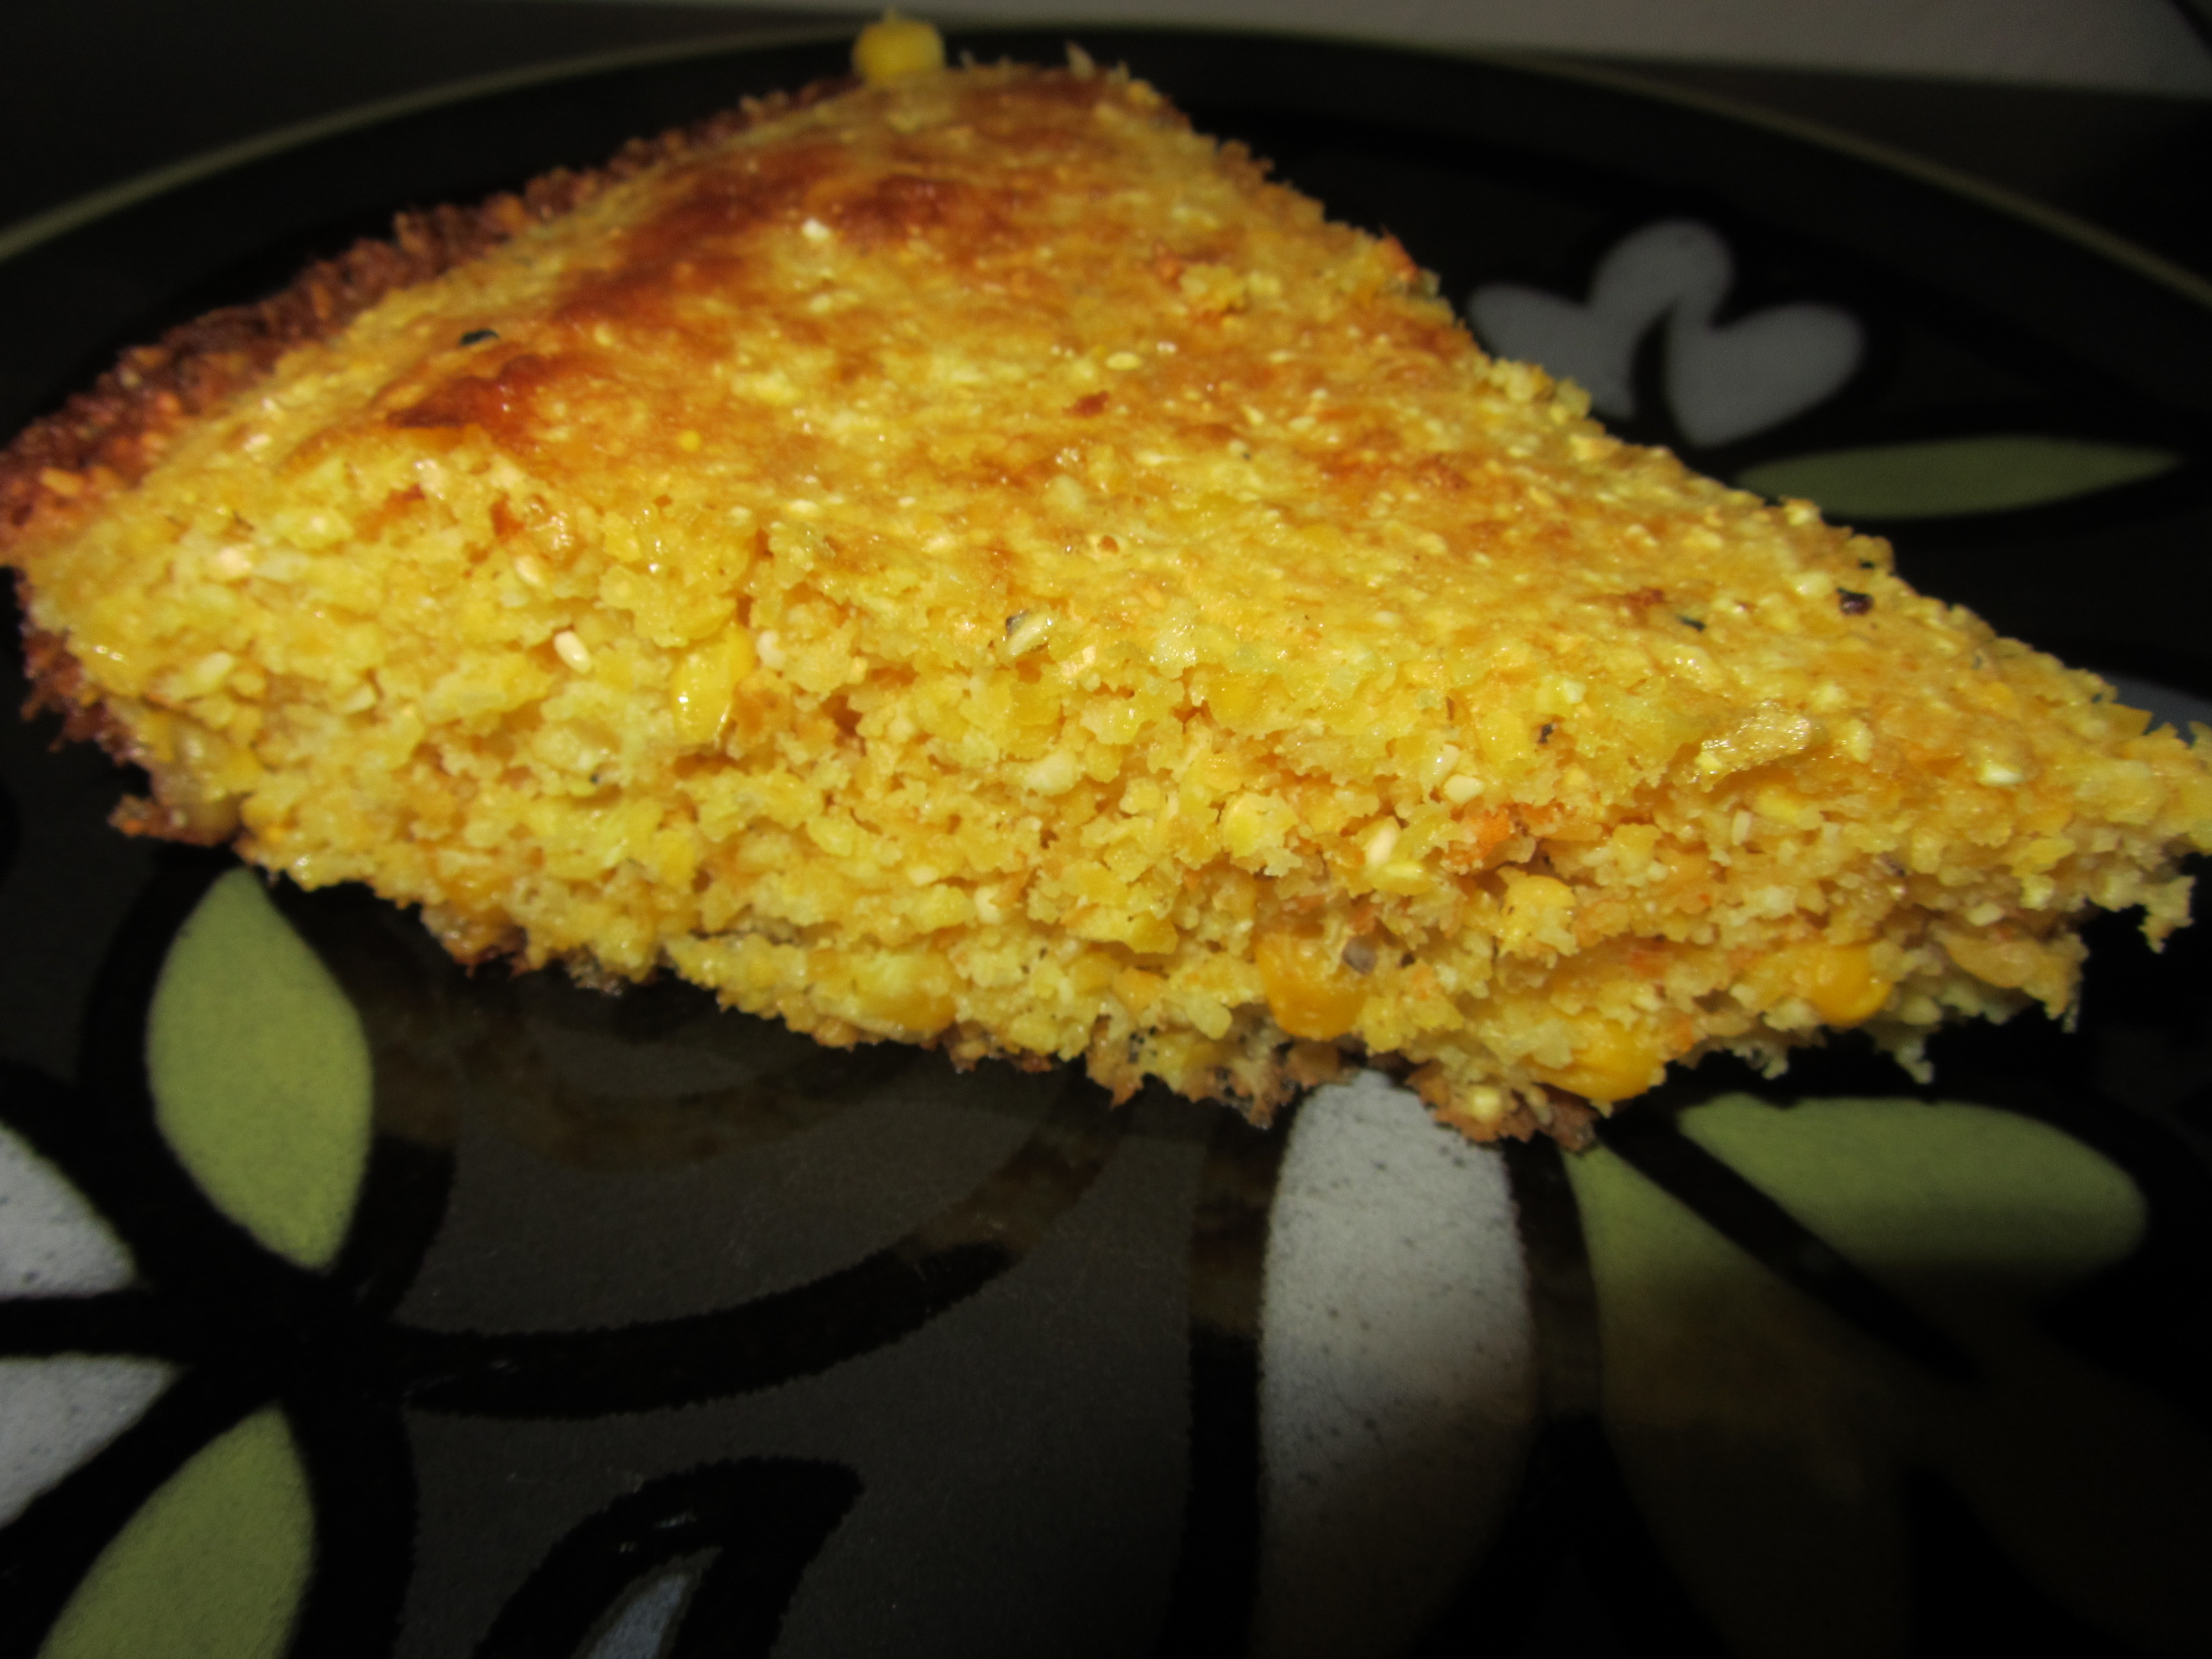
Cornbread wedge.
My cornbread was done in less than 20 minutes. We had the cornbread last night as a side dish to soup, and Ted ate it again for breakfast this morning. The bread is quite different from the sandy, overly sweet, fat-slathered cornbread I remember eating in Catholic elementary school. Conversely, this cornbread is a combination of sweet and savory, and has a variety of textures. It is slightly crumbly, crispy on the outside, moist on the inside, and has textures of both whole corn kernels and stone ground cornmeal. This is one we will be making again for sure, and it was so easy and fast. If you are stuck in a rut with Jiffy cornbread mix, try making this and you will not go back.
Microwave Popcorn
The last recipe in this episode is not found online, but it is for Alton’s version of microwave popcorn. We occasionally have microwave popcorn in our house, as Ted cannot say no to the Cub Scouts who sell it in the grocery store. It had never really occurred to me to attempt making my own microwave popcorn. To do it, put 1/4 C of popcorn kernels in a brown paper bag. Add 2 t of olive oil, a pinch of Kosher salt, and whatever seasoning you may prefer; I opted for a dill pickle popcorn seasoning I found here.

Popcorn in a brown bag.
Fold the top of the bag down and seal it with a couple staples.

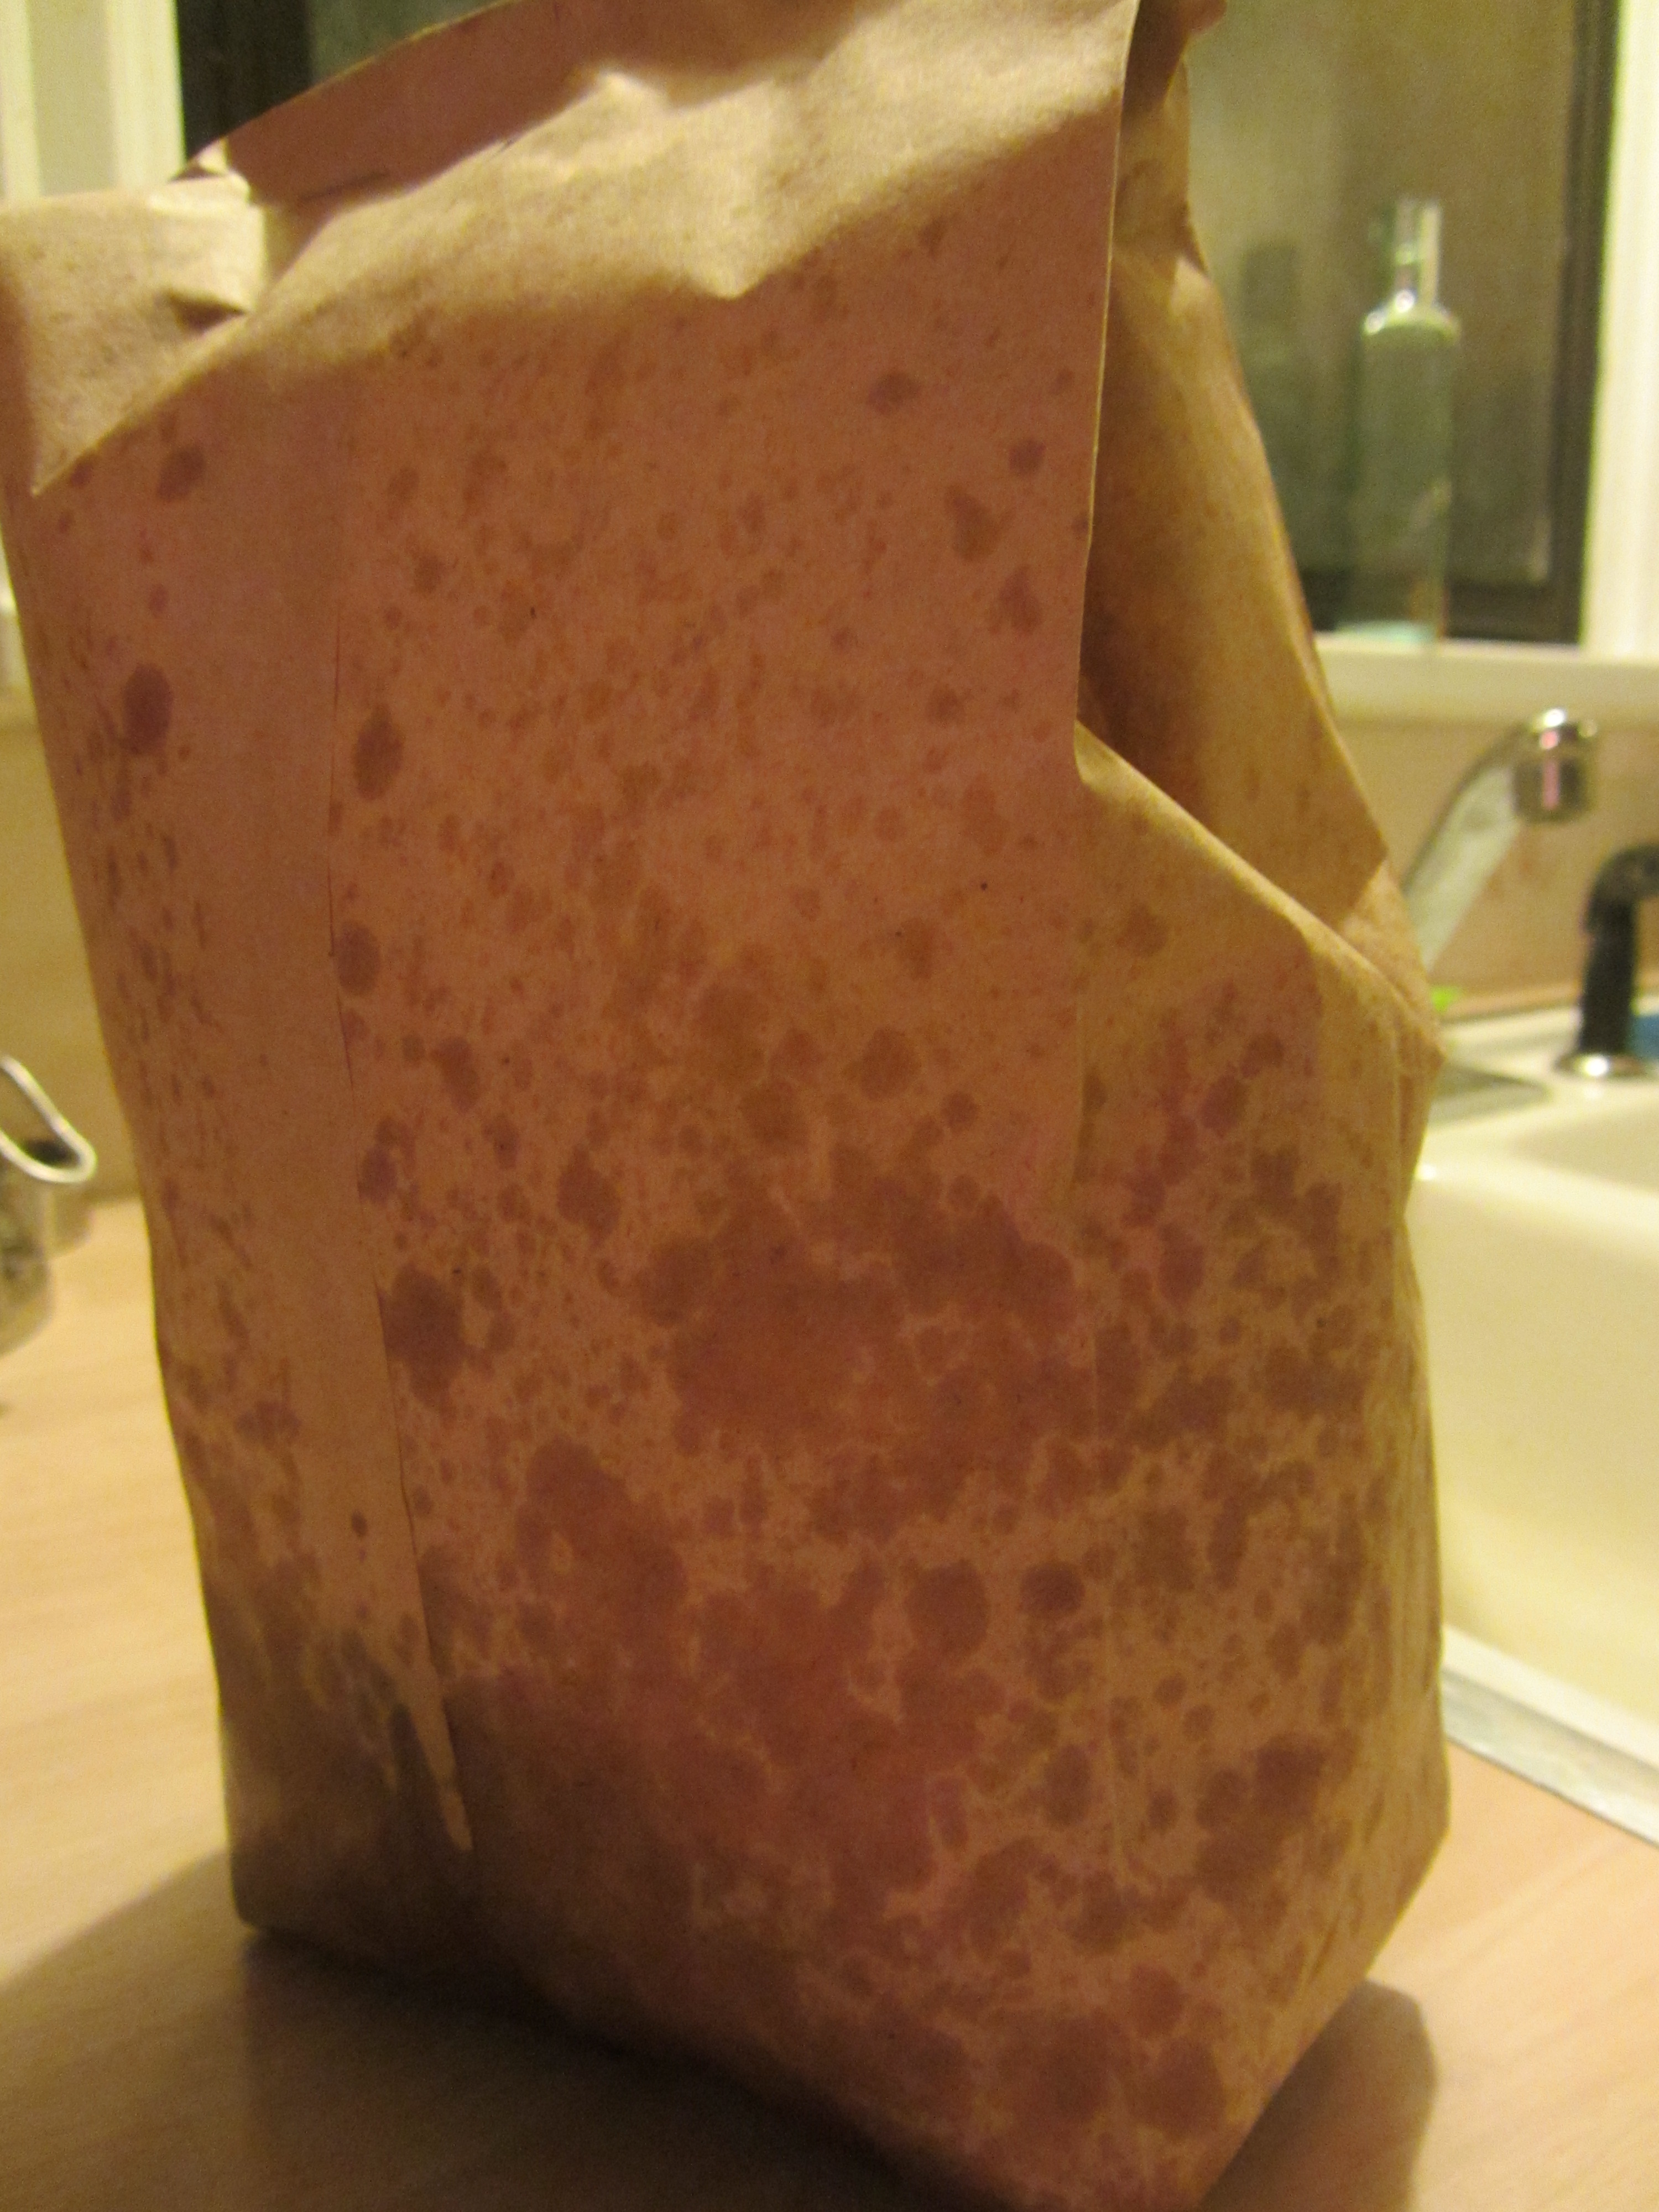
Bag sealed with staples.
Microwave on high for 2-3 minutes, or until there are ~5 seconds between pops.
Post-microwaving.
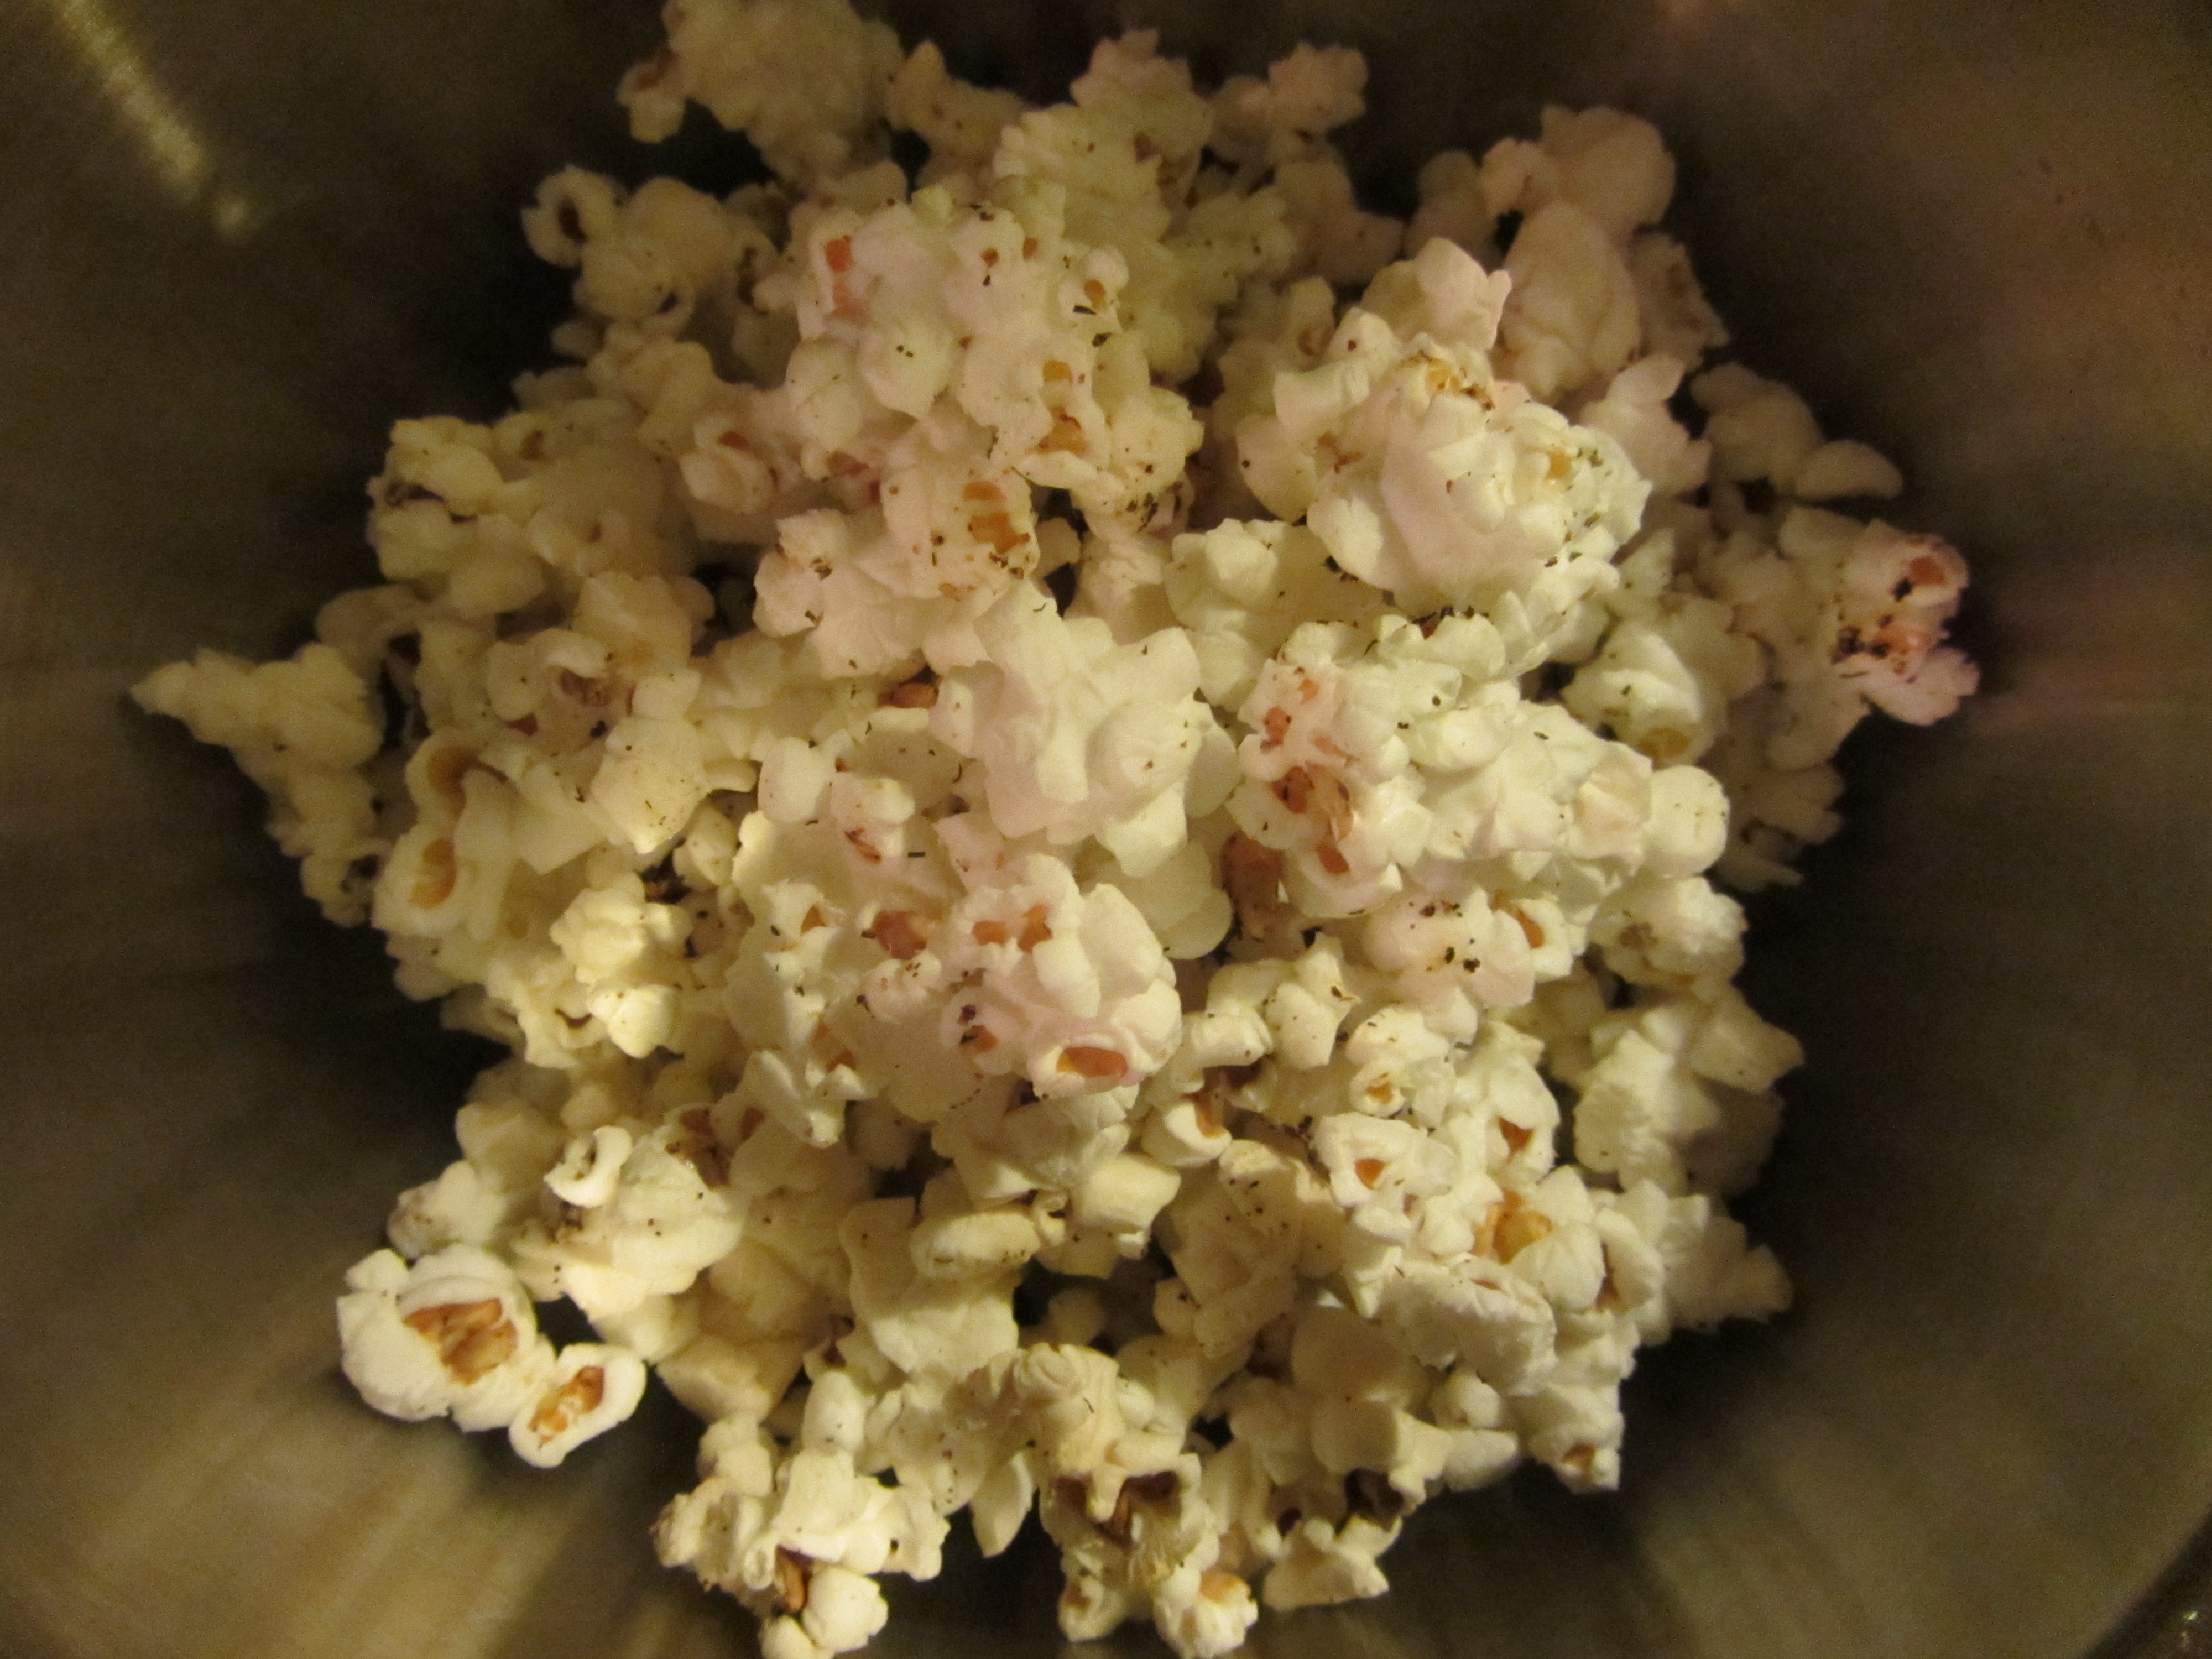
Homemade microwave popcorn.
I ended up cooking my popcorn for 3 minutes, and the insides of a few kernels were slightly charred. Next time, I will microwave it for a shorter time. I also wonder if a different oil might be better – one with a higher smoke point. Still, the result was perfectly good microwave popcorn. I will be trying this again, experimenting with different seasonings, oils, and cooking times.