The 21st episode of Good Eats features recipes on beef, specifically ground beef. What meat eater doesn’t like ground beef? The fun part about the recipes in this episode is that Alton shows you how to grind your own meat at home. When you buy ground beef at the grocery store, it is composed of all of the leftover meat trimmings, which means that the consumer is really not sure where their meat is coming from. Conversely, by grinding your own beef at home, you know exactly what part of the cow you are eating. Alton explains that there are really three good ways to grind your own meat; you can use a meat grinding attachment on a stand mixer, an old-fashioned hand grinder, or a food processor. For these recipes, Alton uses the latter. It had honestly never really occurred to me to grind my own meat, and especially not with my food processor, so this was a fun experiment for me to try.
Burger of the Gods
The first recipe Alton tackles is for a classic burger. For this recipe, you want half of your meat to be chuck and the other half to be sirloin.
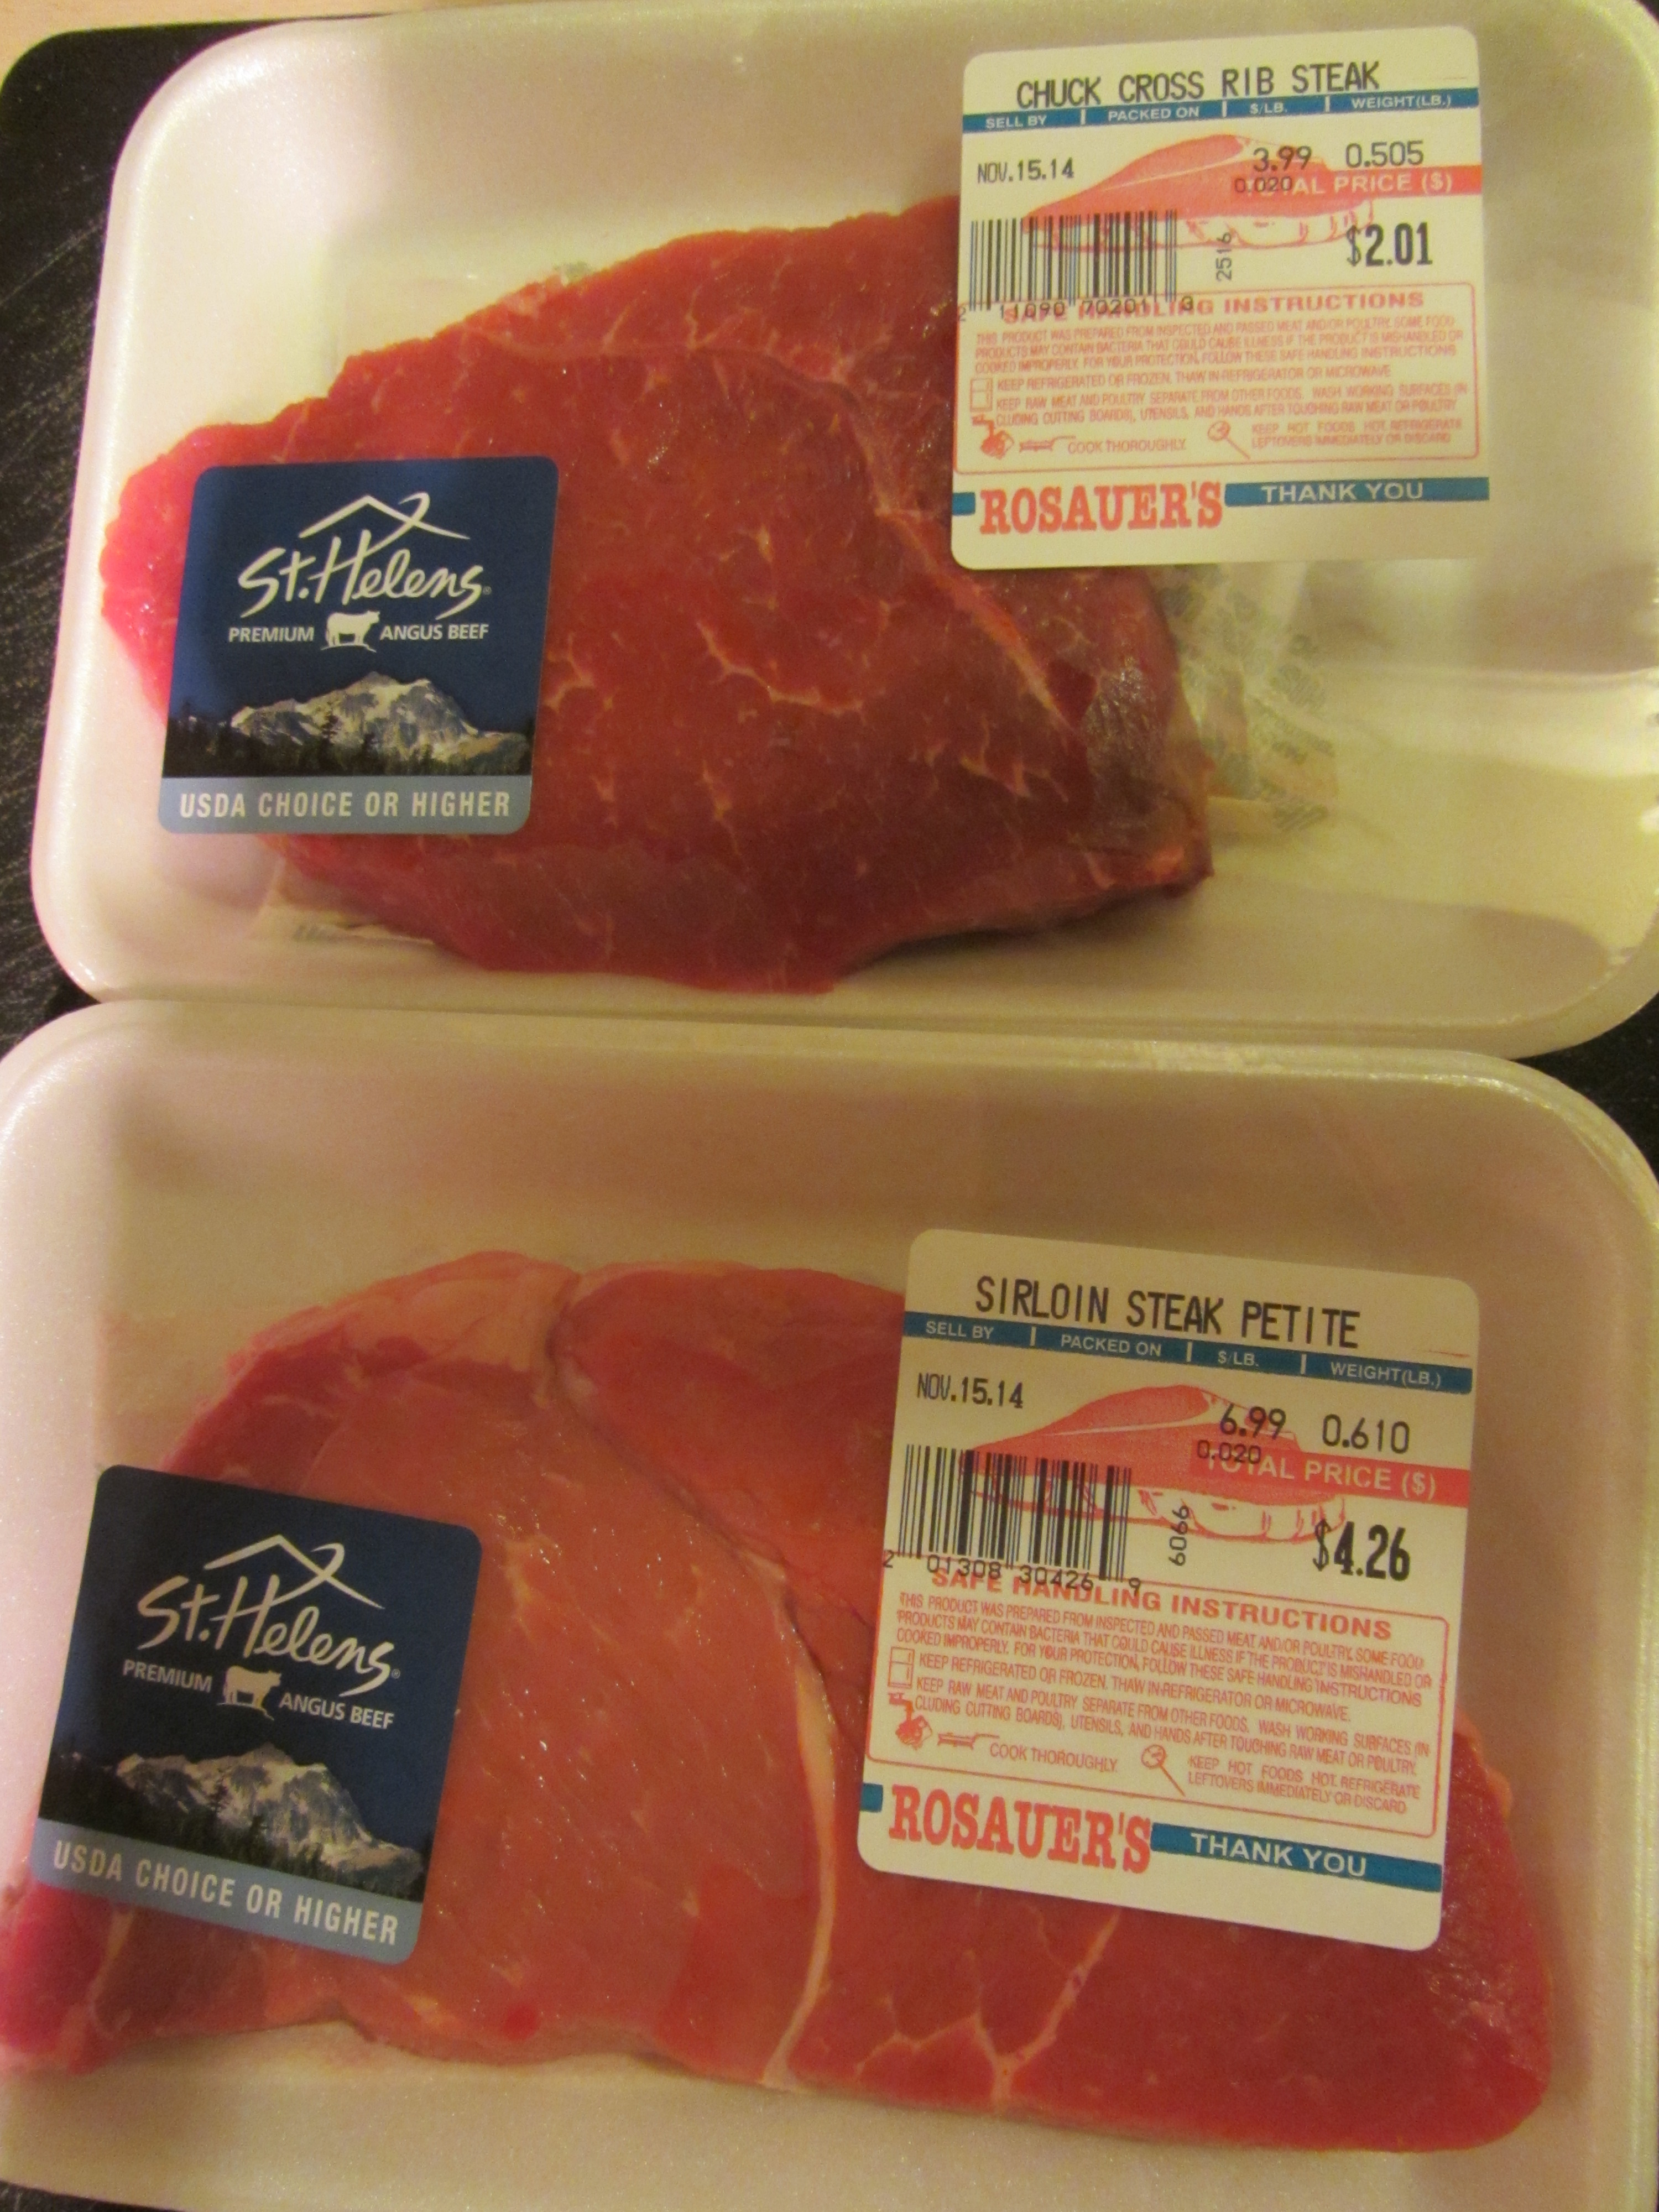
Sirlon and chuck, ready to grind at home.
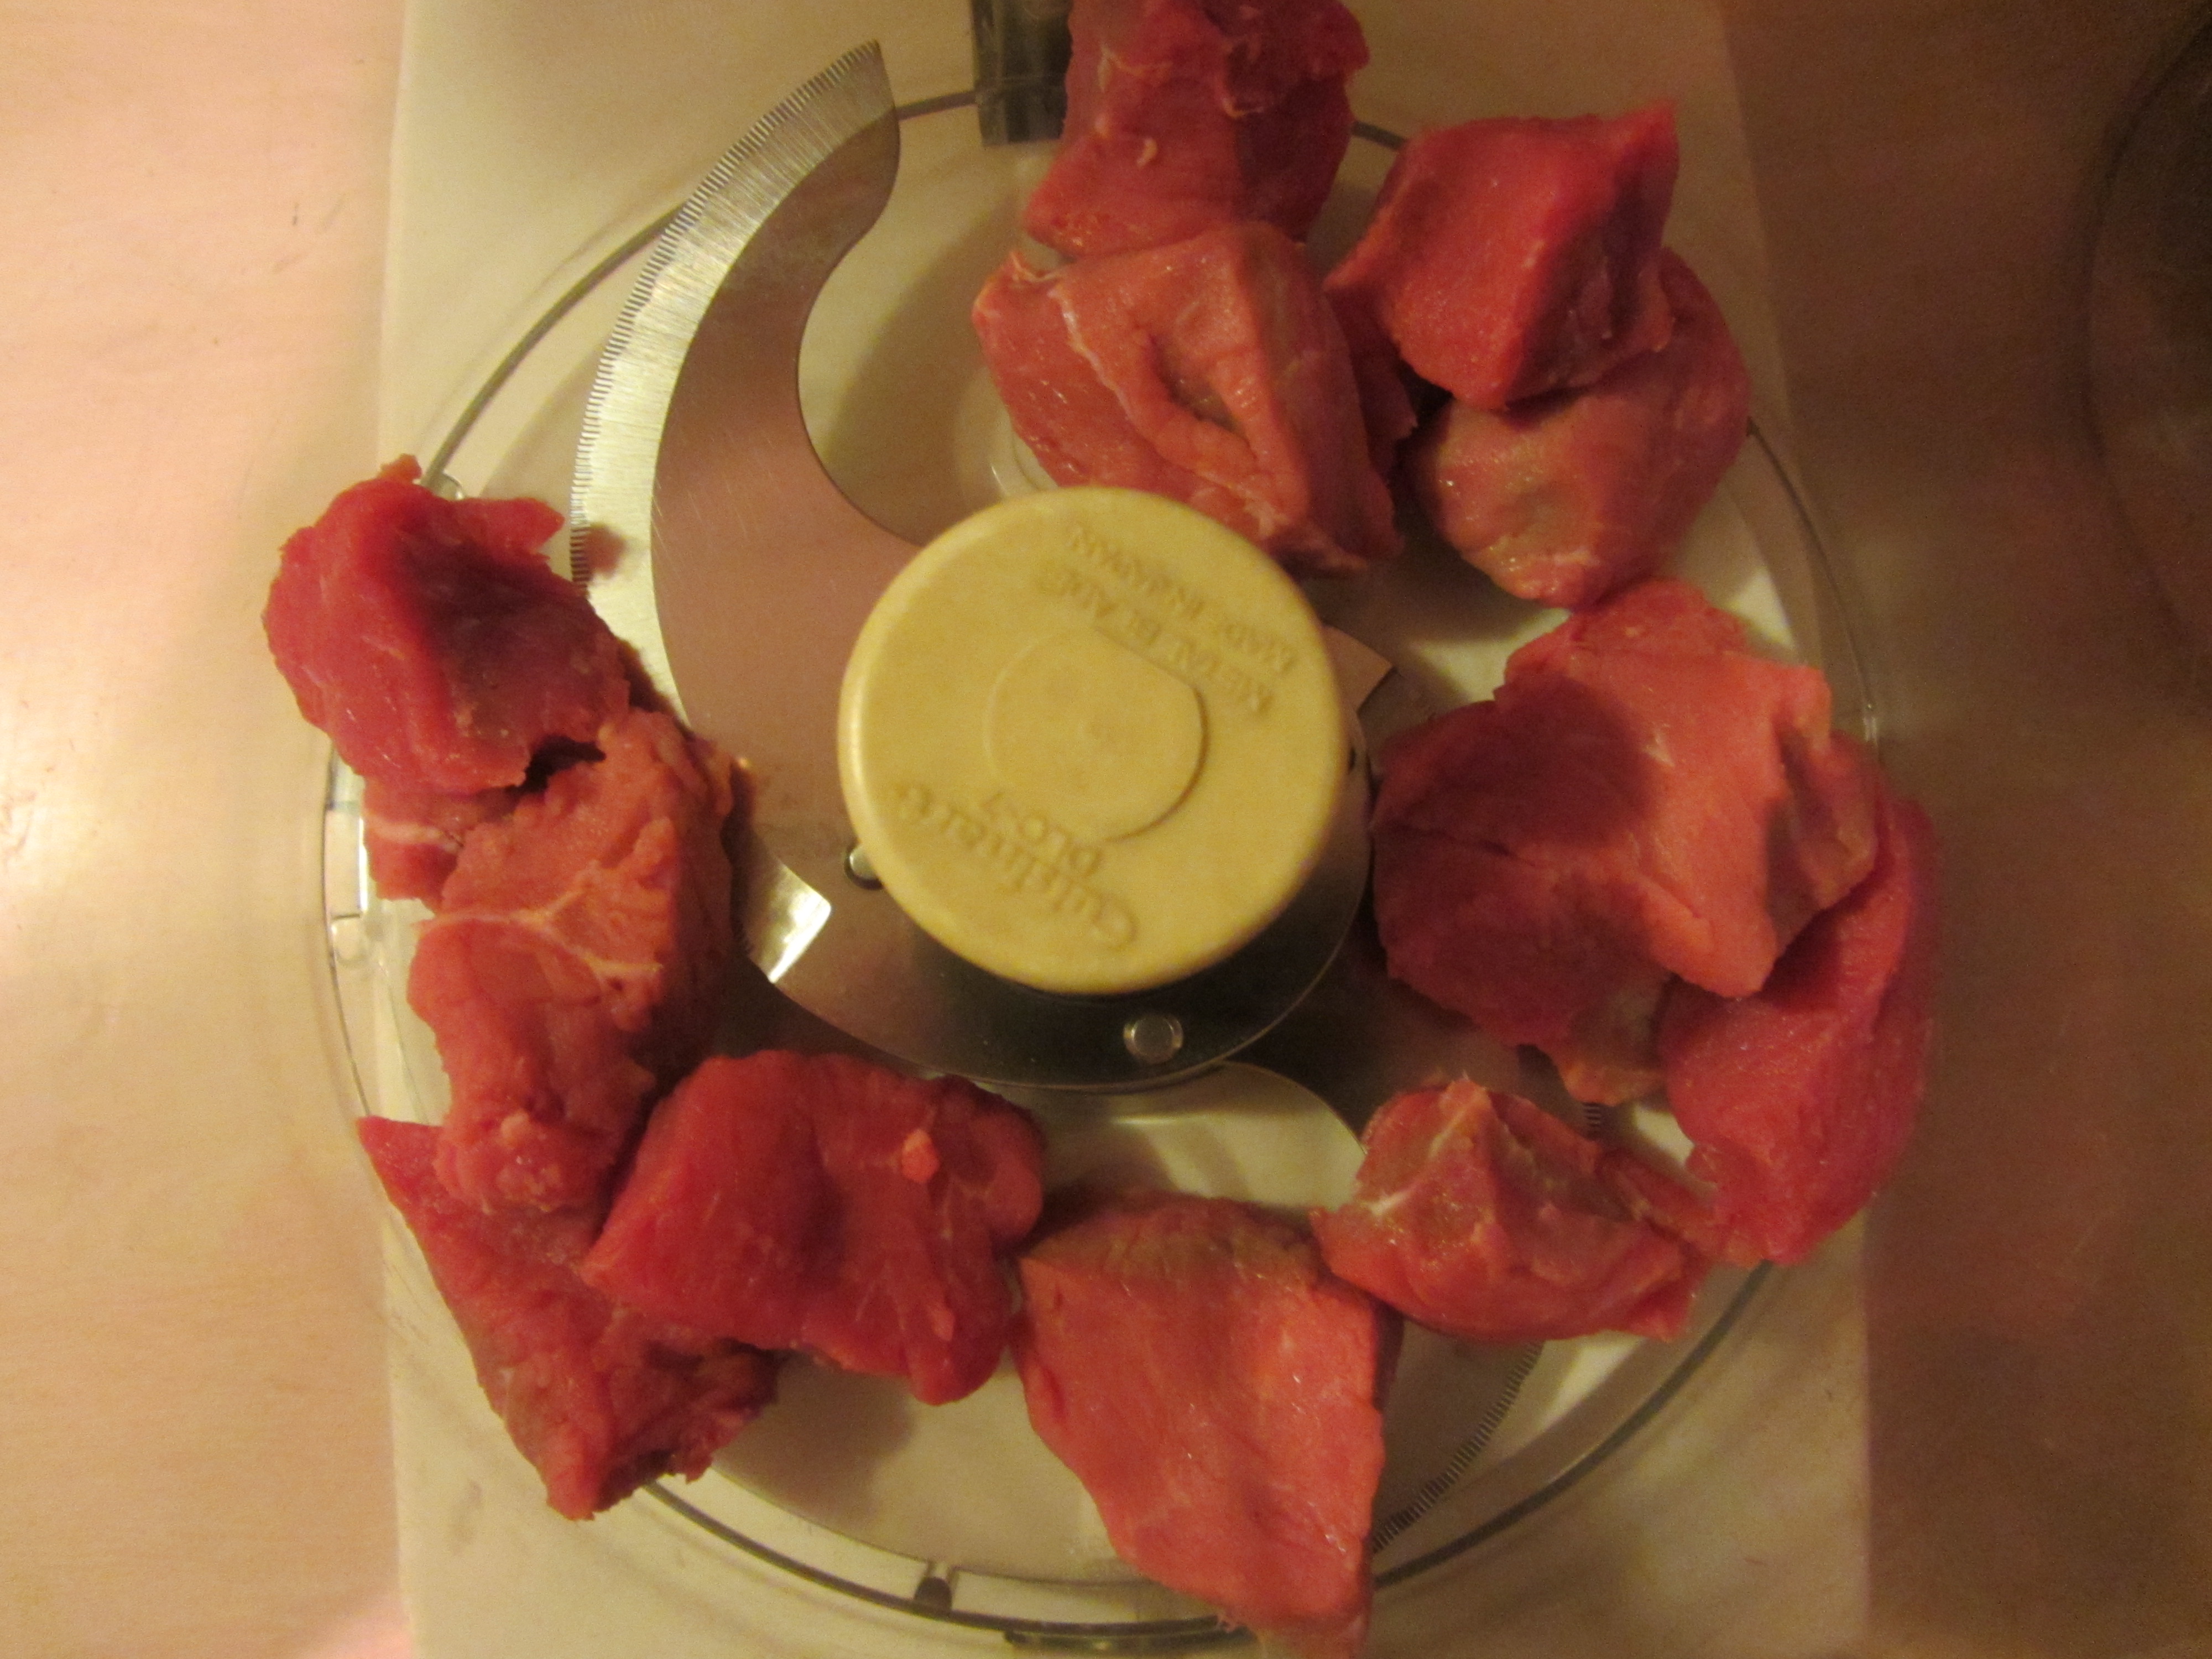
Since chuck is about 30% fat, it is ideal for blending with lean meats like sirloin. To begin, you want to trim your meat of any visible fat or tough connective tissue. My meat needed very little trimming. Once trimmed, you cut your meat into 1 1/2″ cubes. For grinding, you want your meat to be chilled. My meat was still cold after I trimmed it, so I began grinding right away. You want to process your meat in small batches, using short pulses. I found that putting eight ounces of trimmed meat into the processor was the perfect amount of meat for one batch, so I only had to do a total of two batches. Alton tells you to pulse the processor about 10 times for perfect burger meat. I ended up doing about 15 pulses for mine, and it seemed to be just about right. FYI Alton tells you to pulse meat about six times for perfect chili meat.
Sirlon in the food processor.

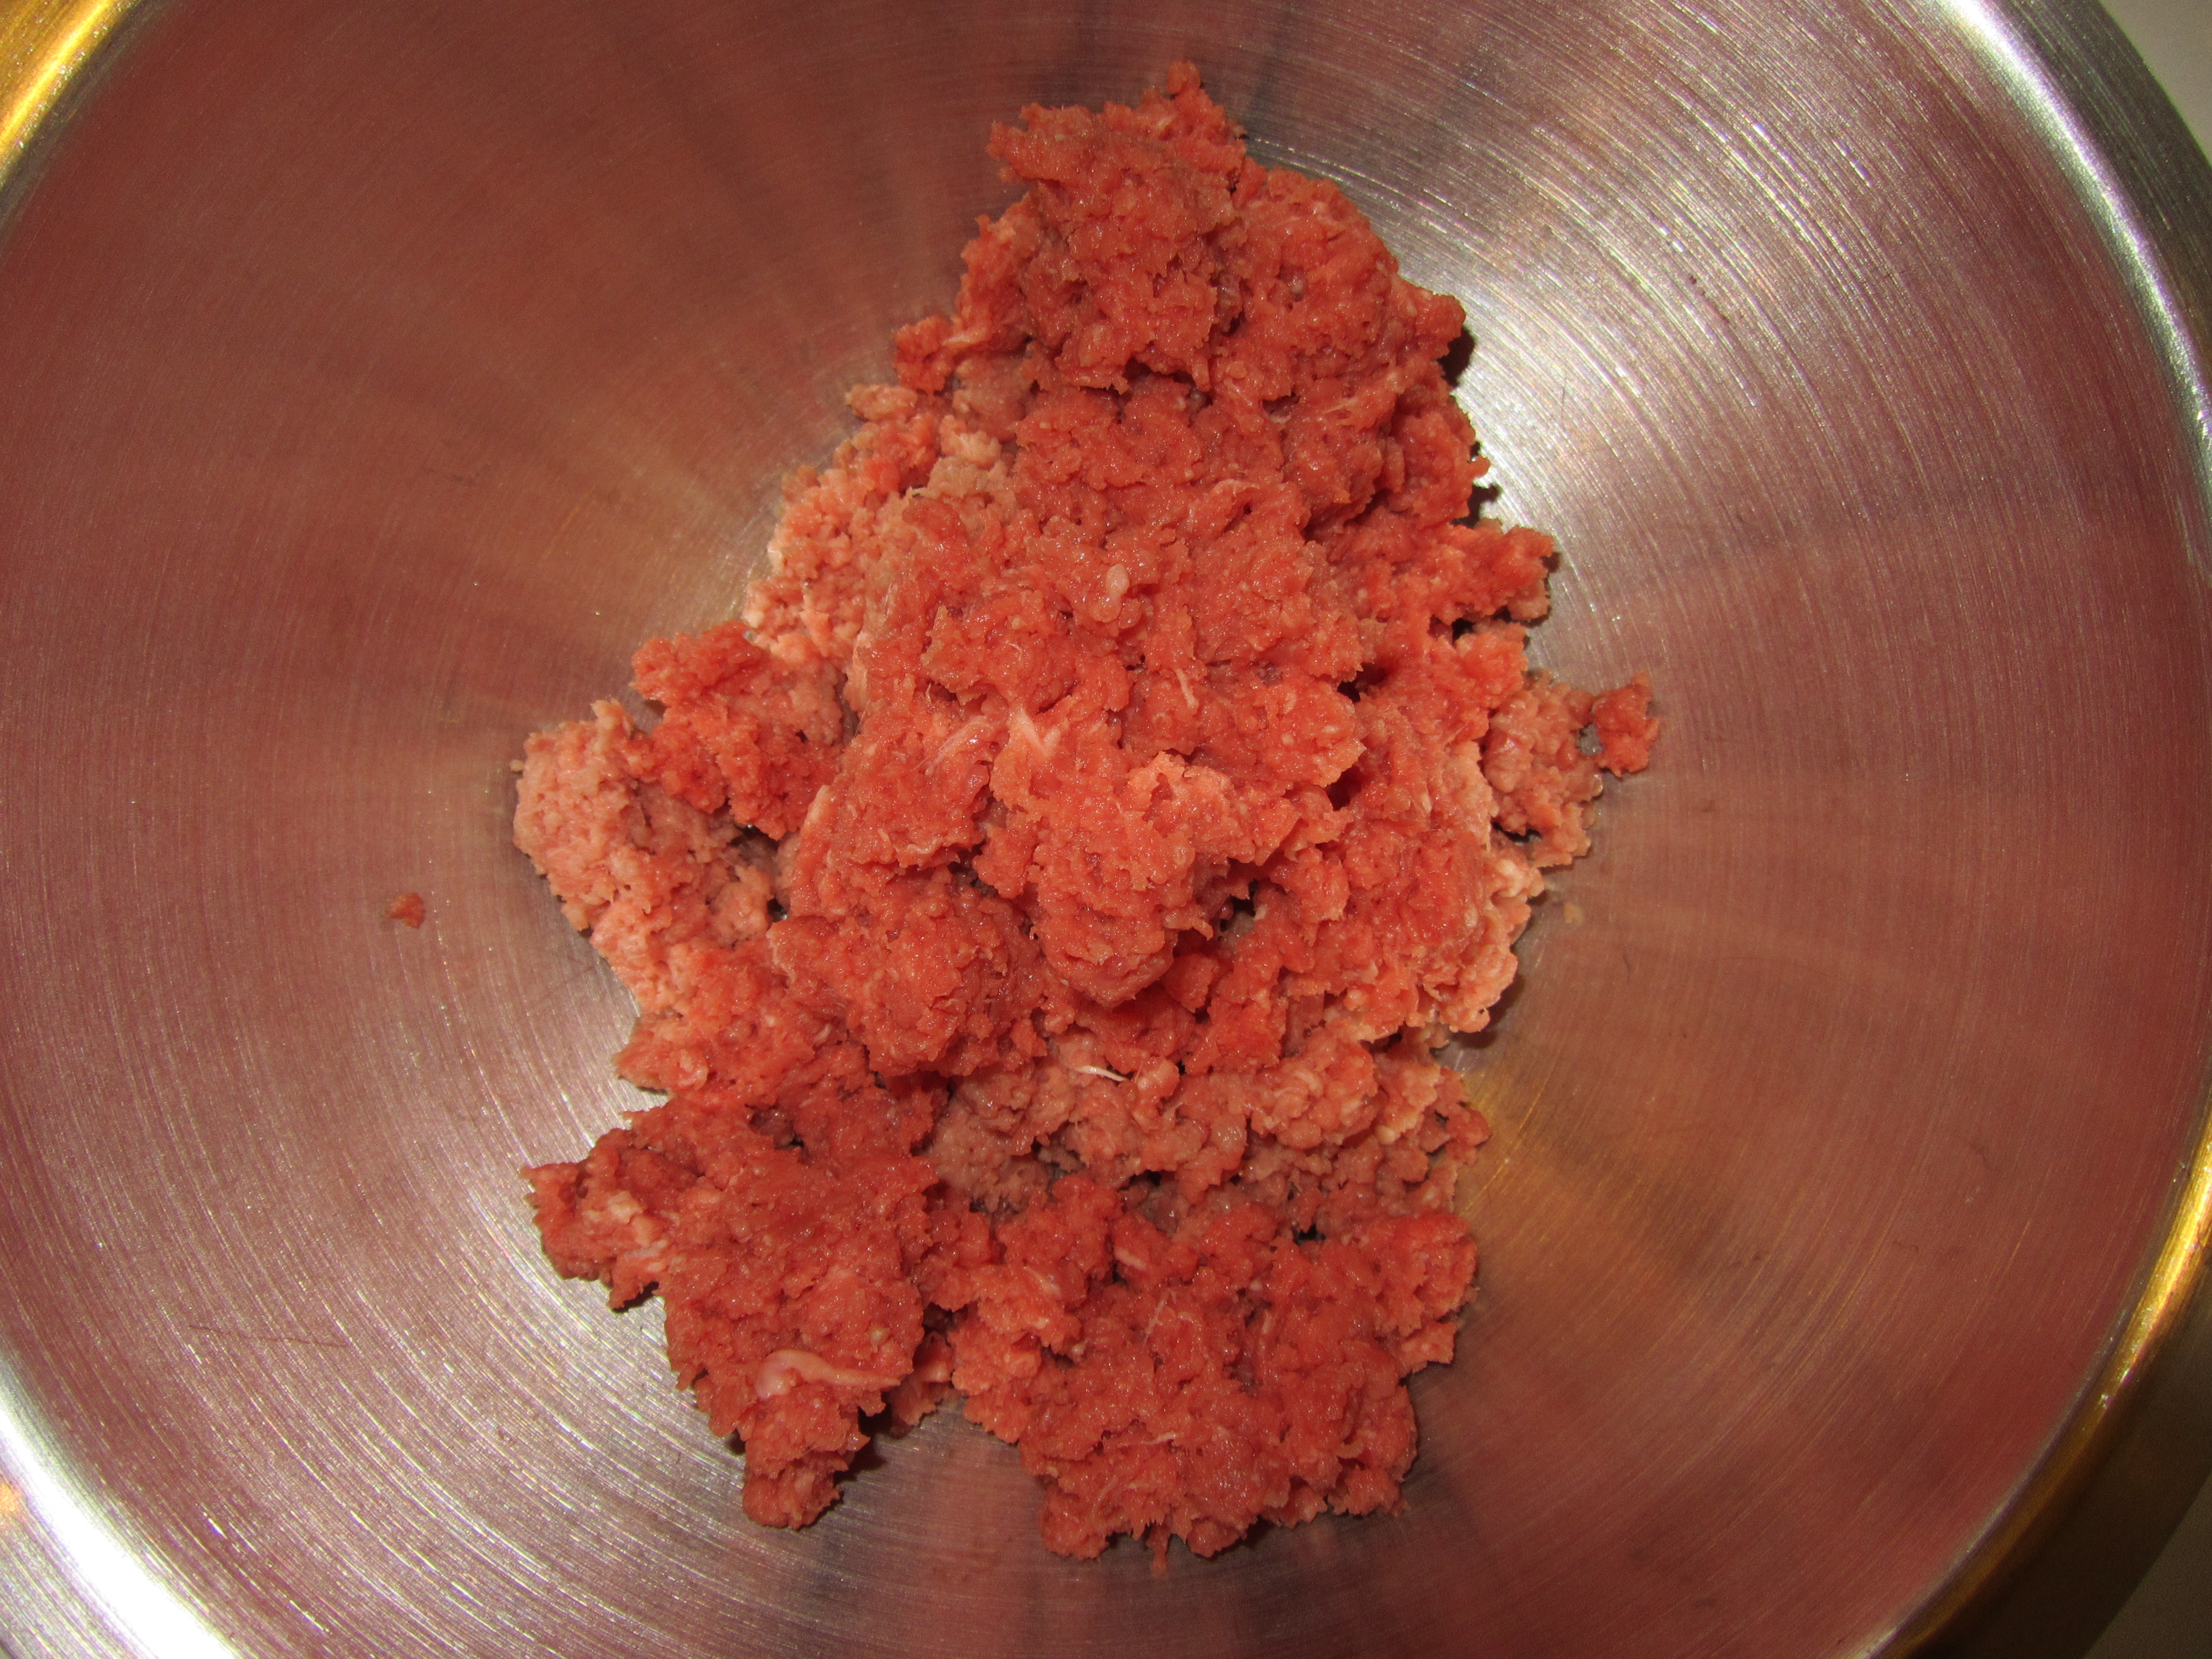
Ground sirloin, after ~15 pulses.
Ground sirloin.
Chuck, ready to be ground.

Ground chuck.
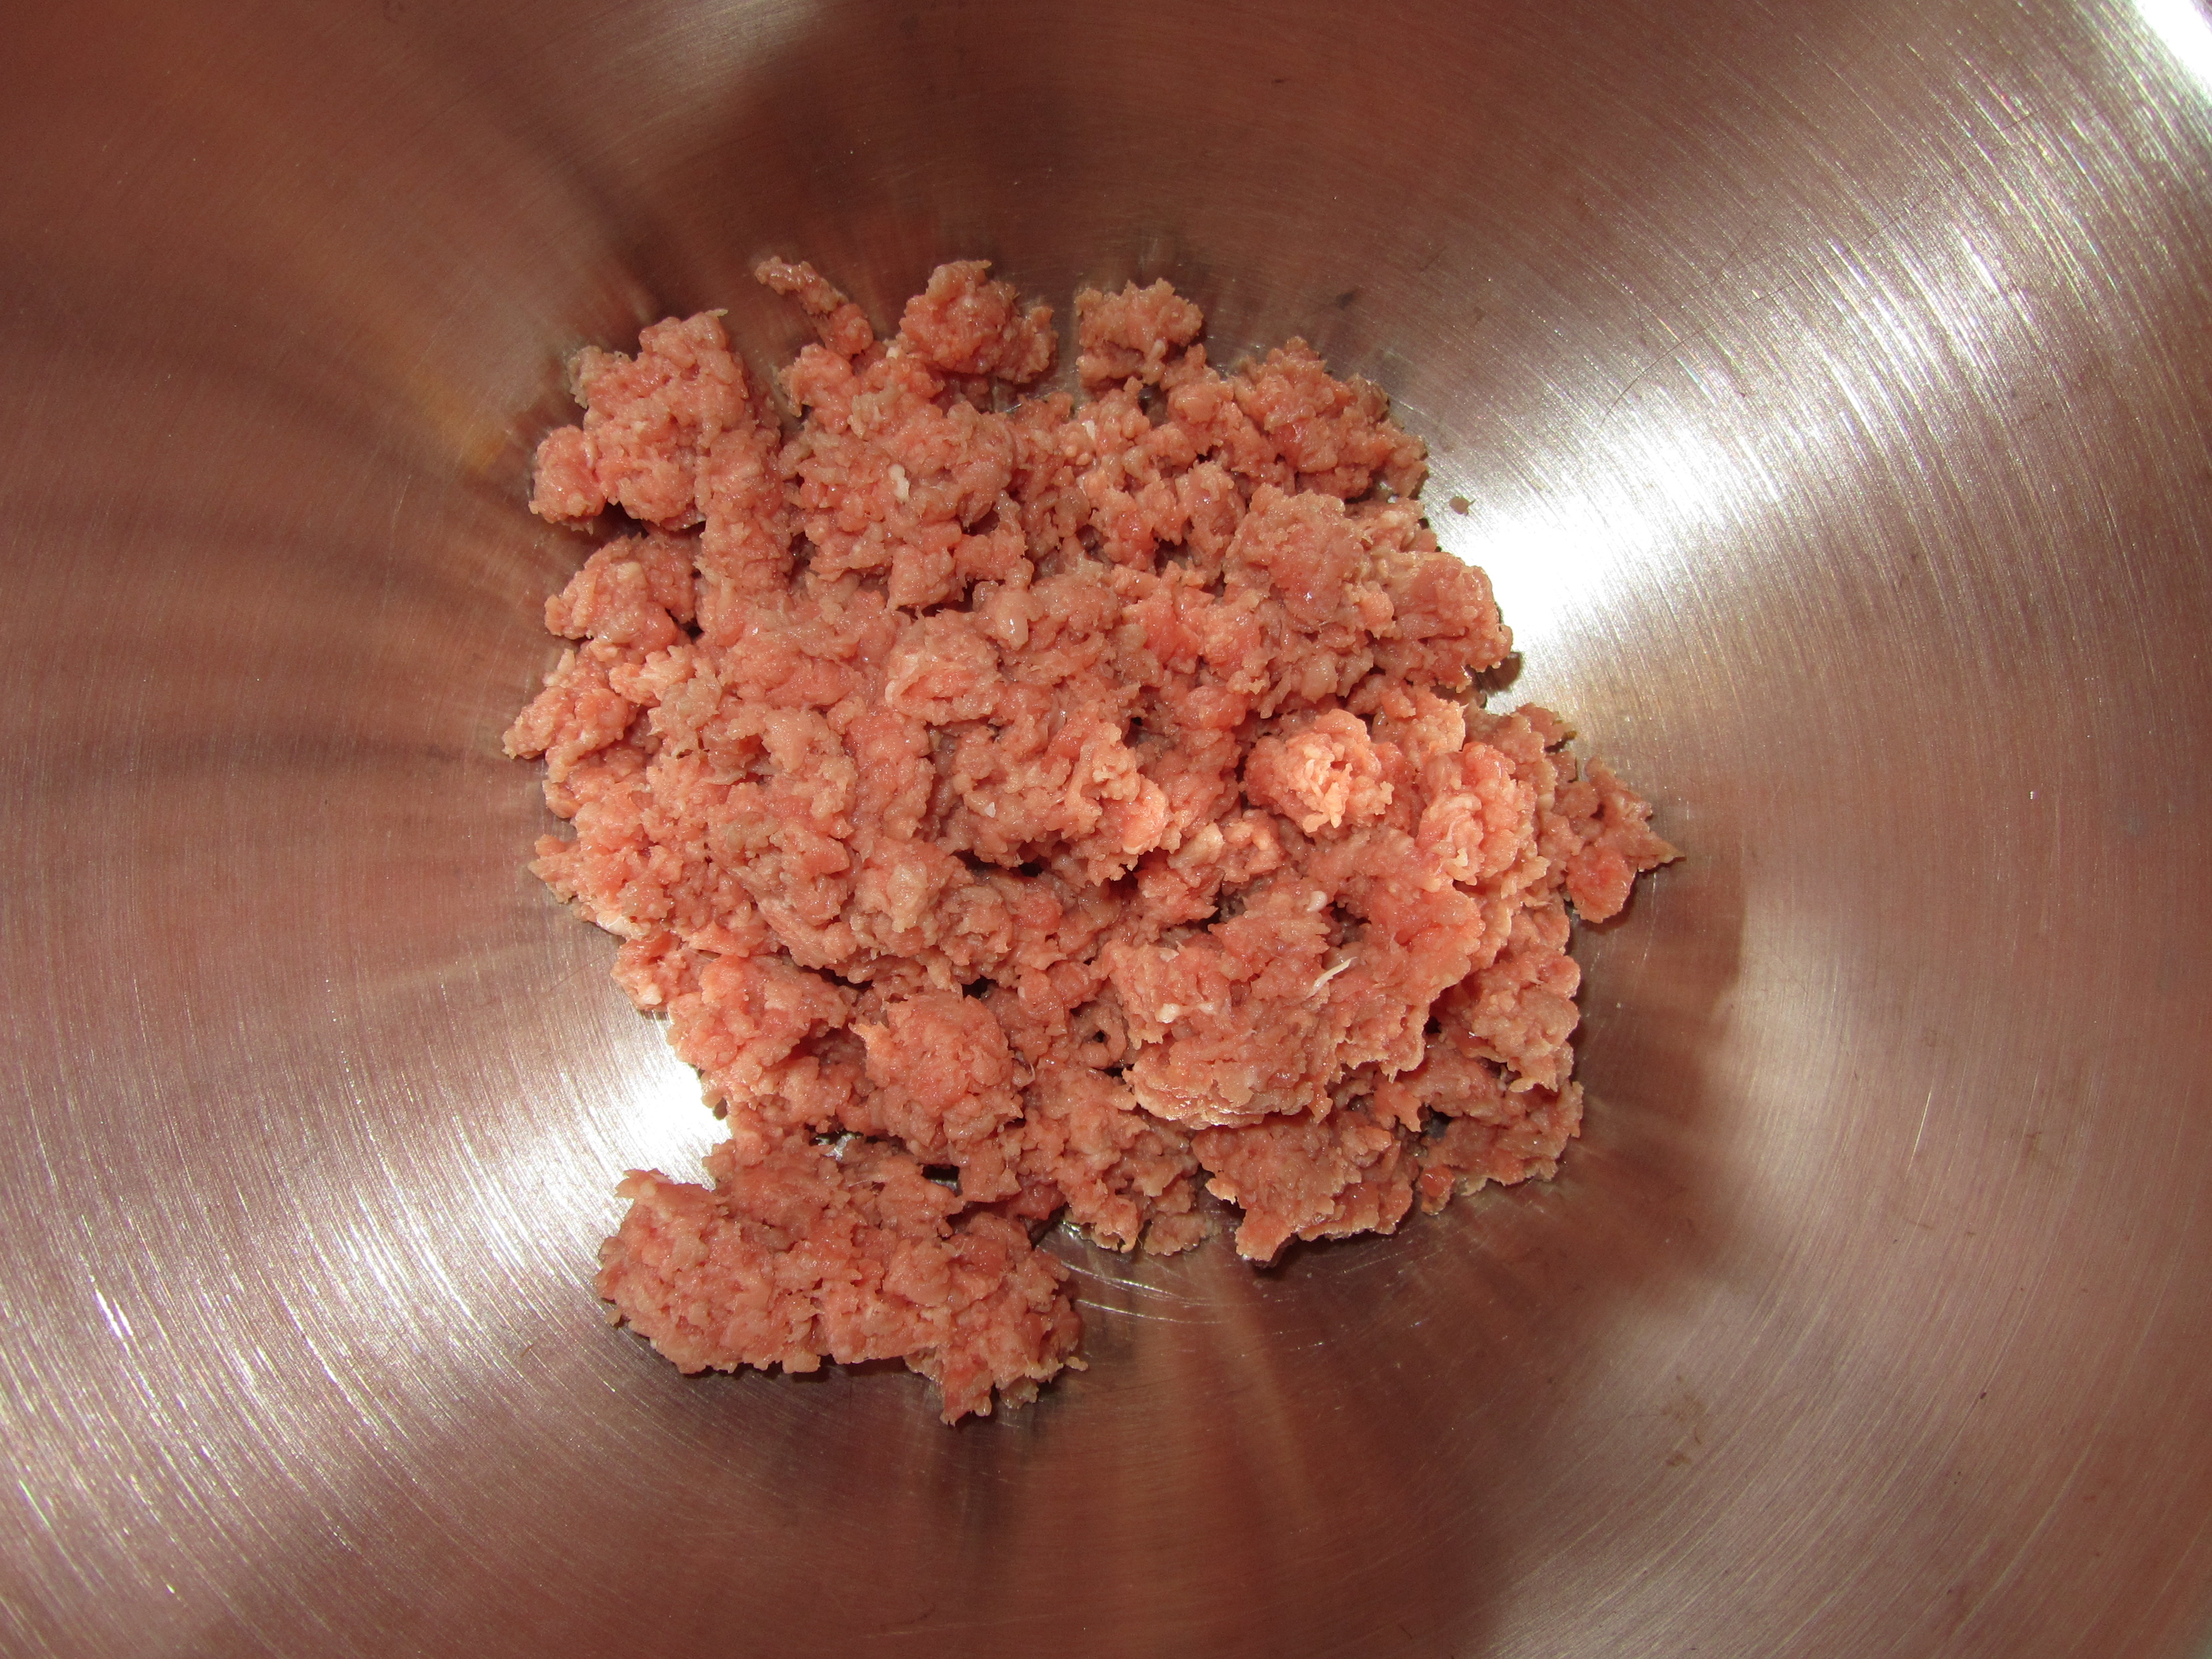
Once your meat is ground, you lightly mix it with your hands in a bowl. At this point, you can use the meat right away, or you can refrigerate it for a day or two.
Ground chuck and sirloin.
When ready to use your meat (I used mine right away), add some Kosher salt and mix it in gently with your hands. Alton stresses that salt is all the seasoning you need for a perfect burger.
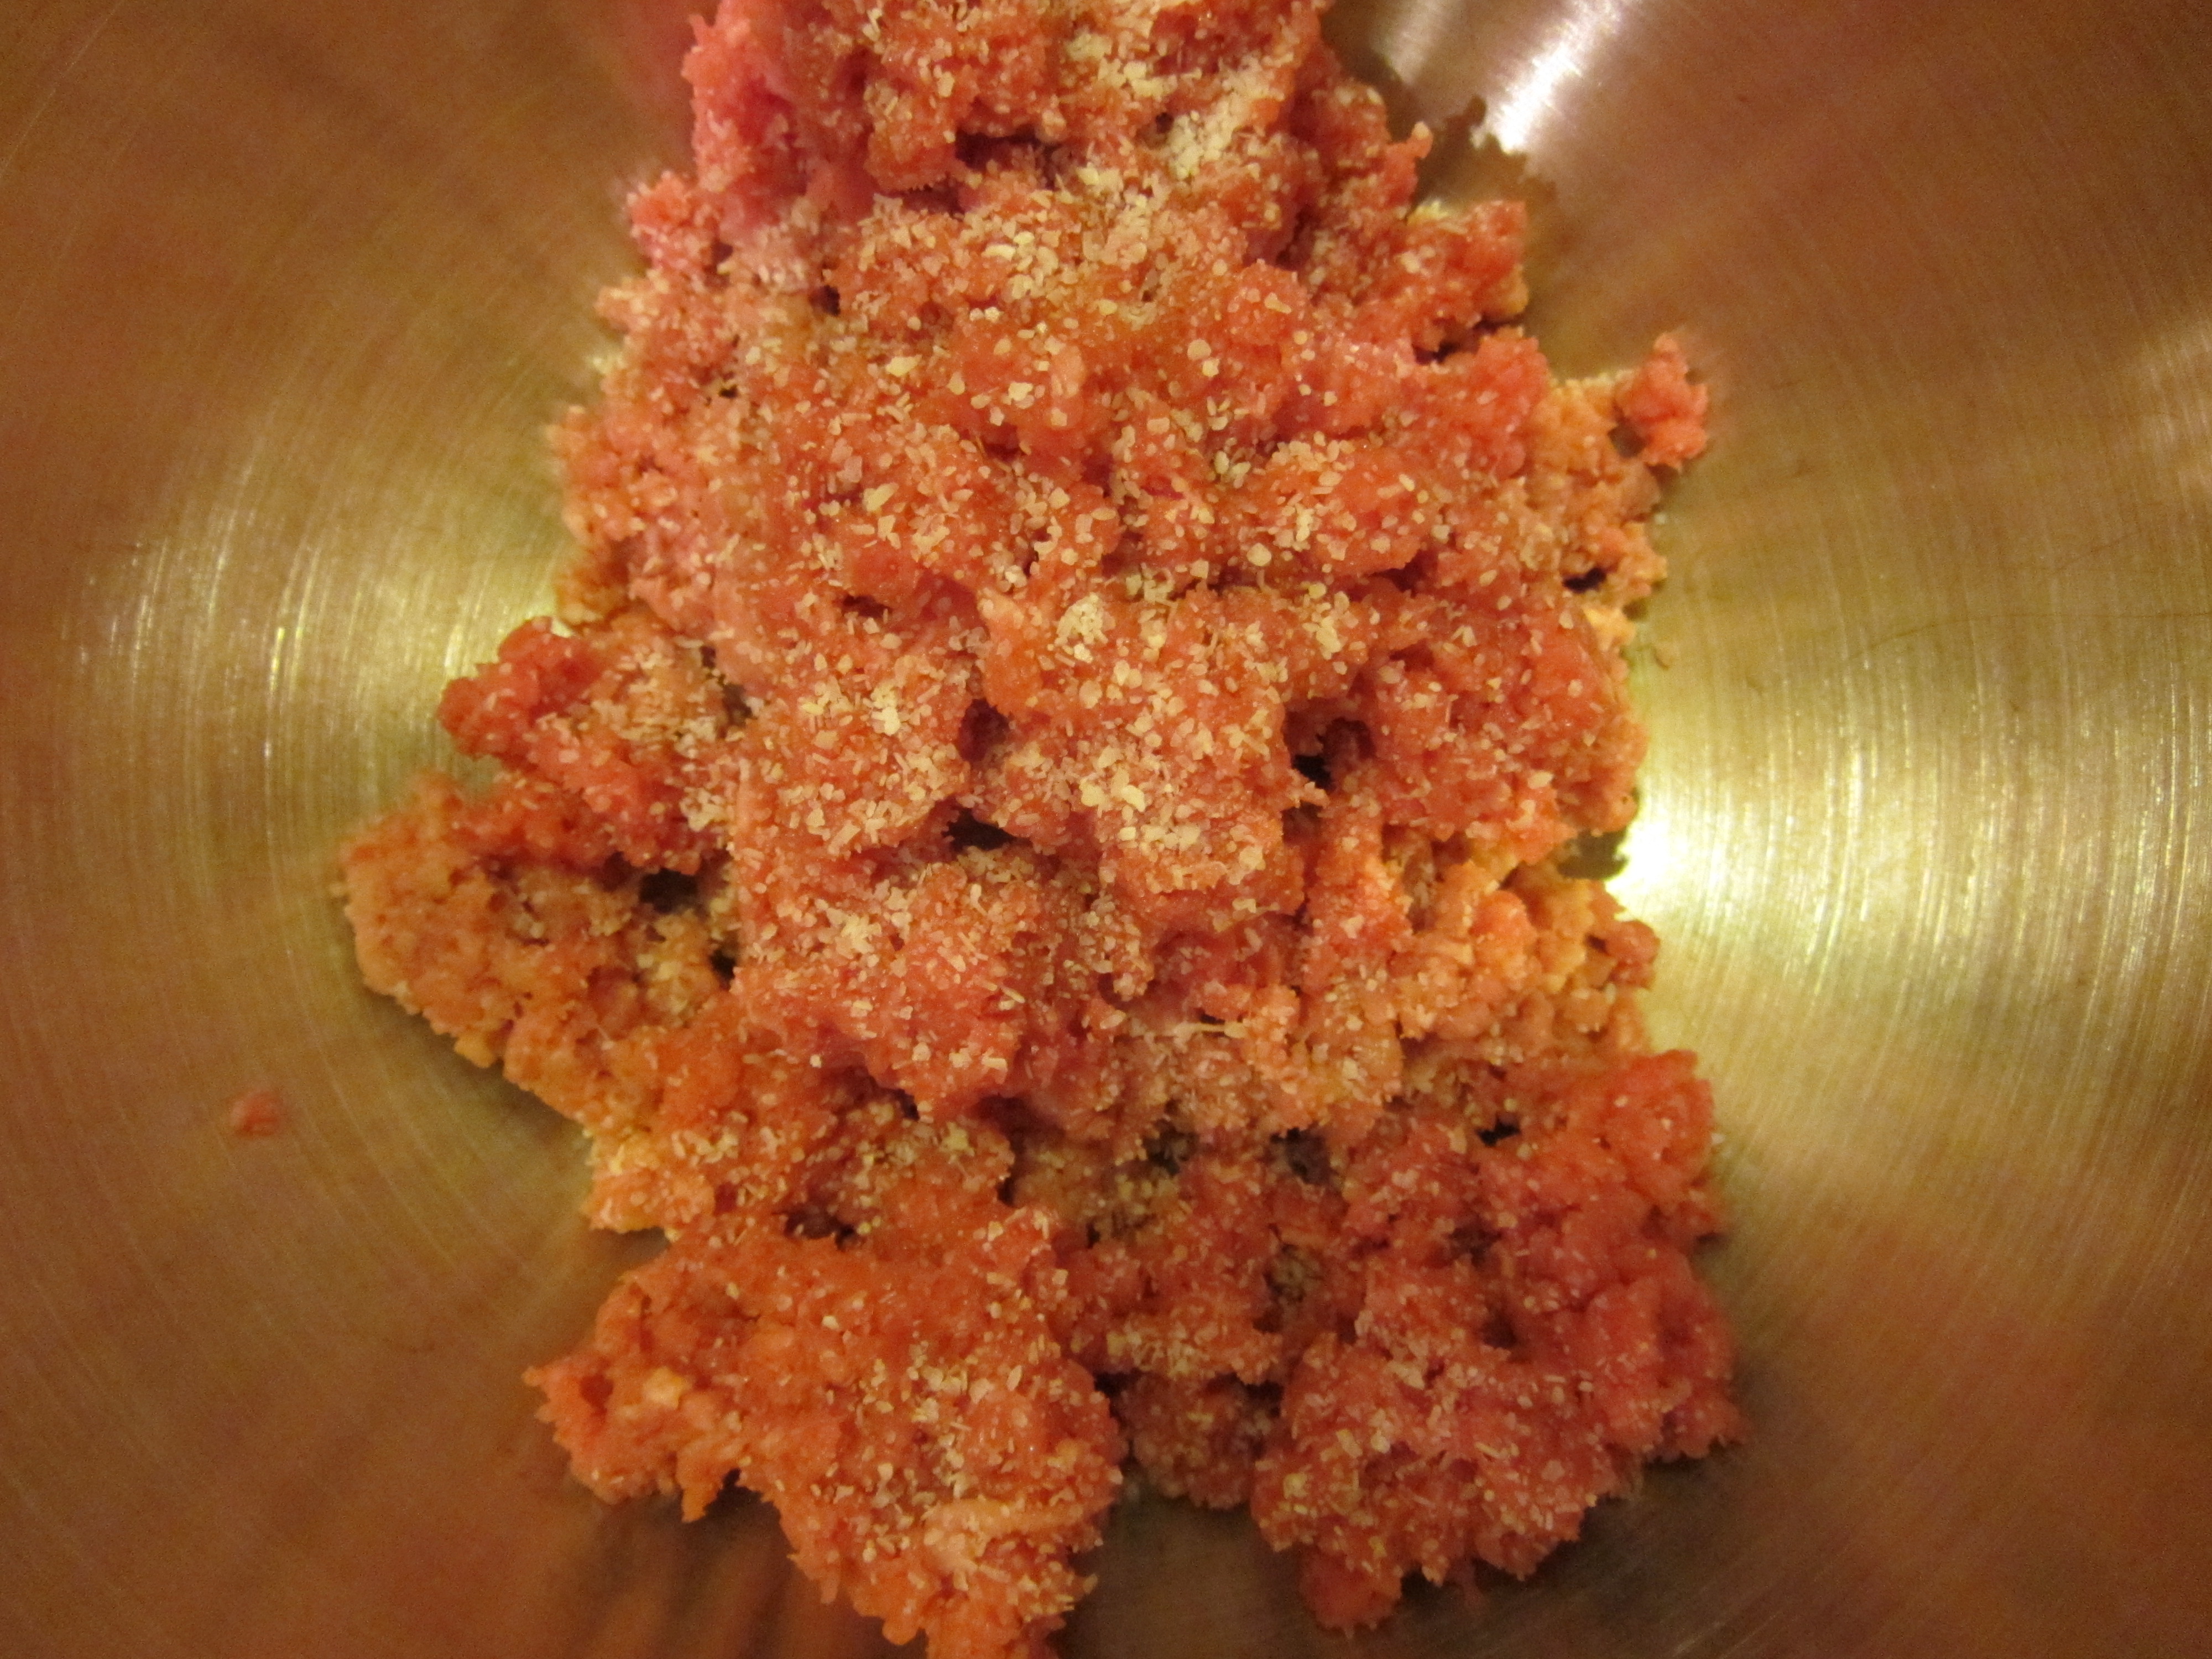
Ground meat, plus salt.
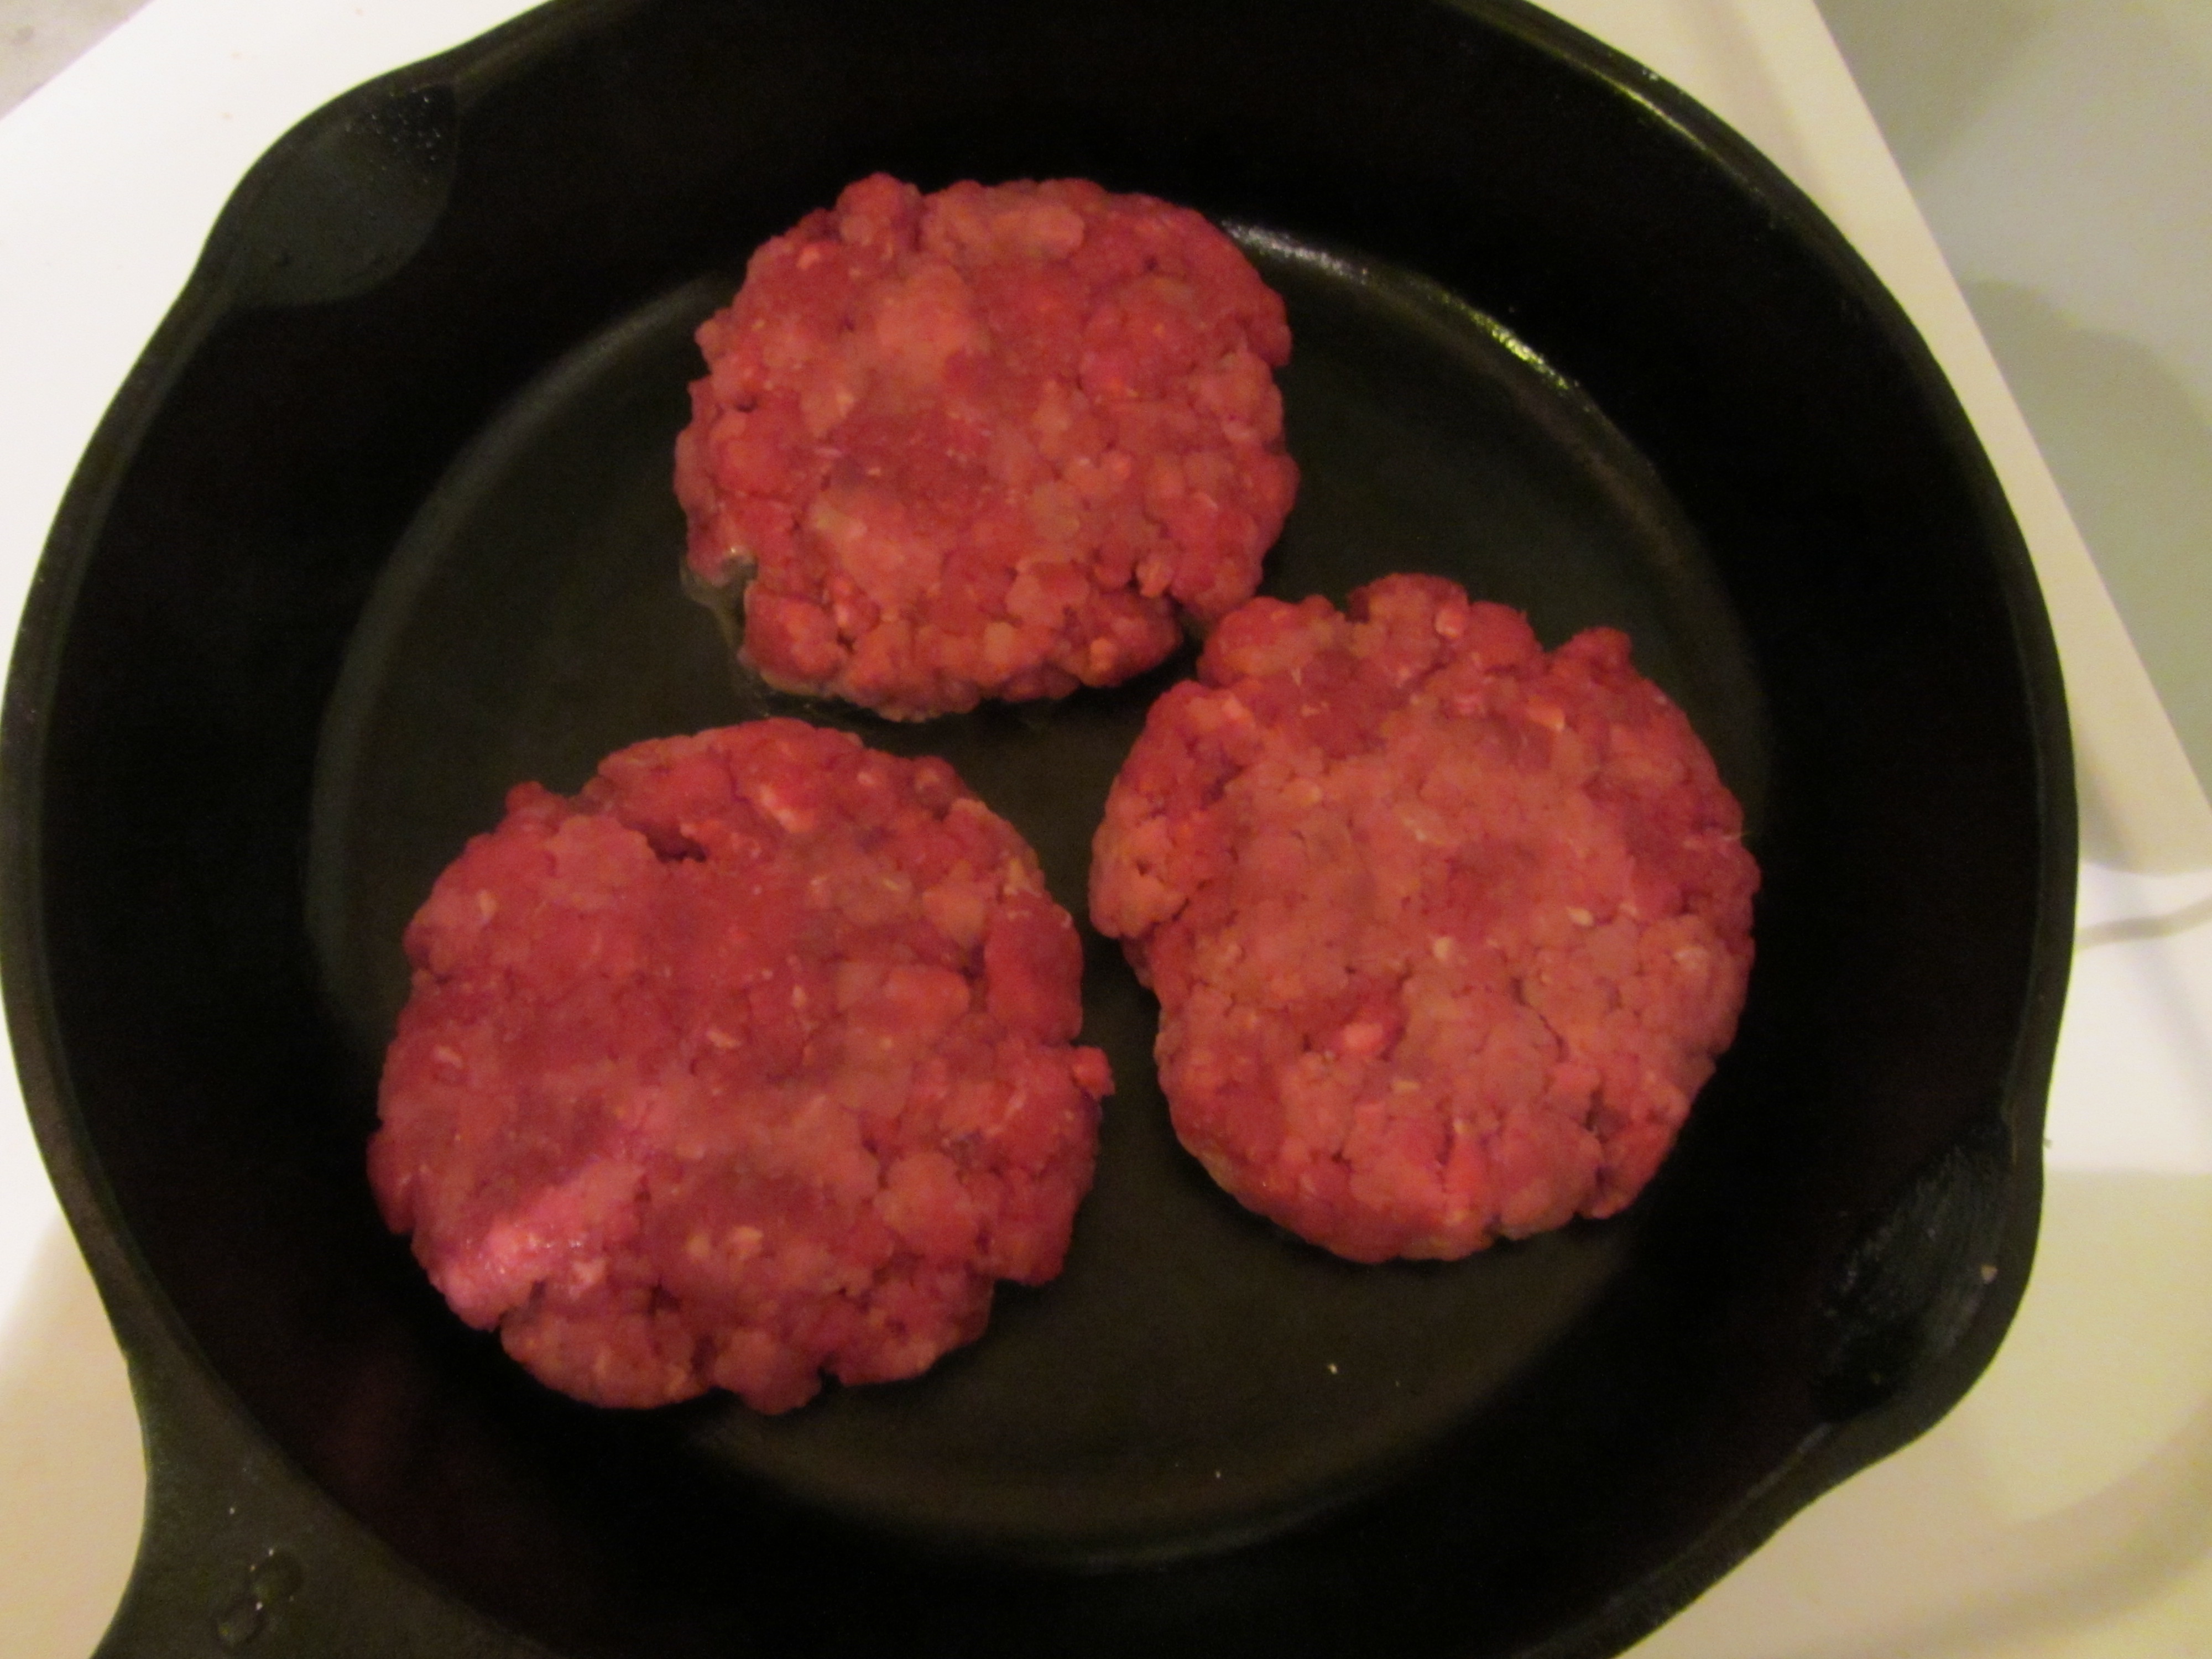
For a perfectly sized burger patty (4″ x 3/4″), weigh five ounces of meat. Lightly toss the meat between your two hands, forming it into a ball, and then flatten the meat into a patty. You do not want to compress the meat too much, as this will kill its texture.

Lightly formed patties.
When your patties are all formed, heat a cast iron skillet over medium-high heat until water sizzles and bubbles away, about two minutes.
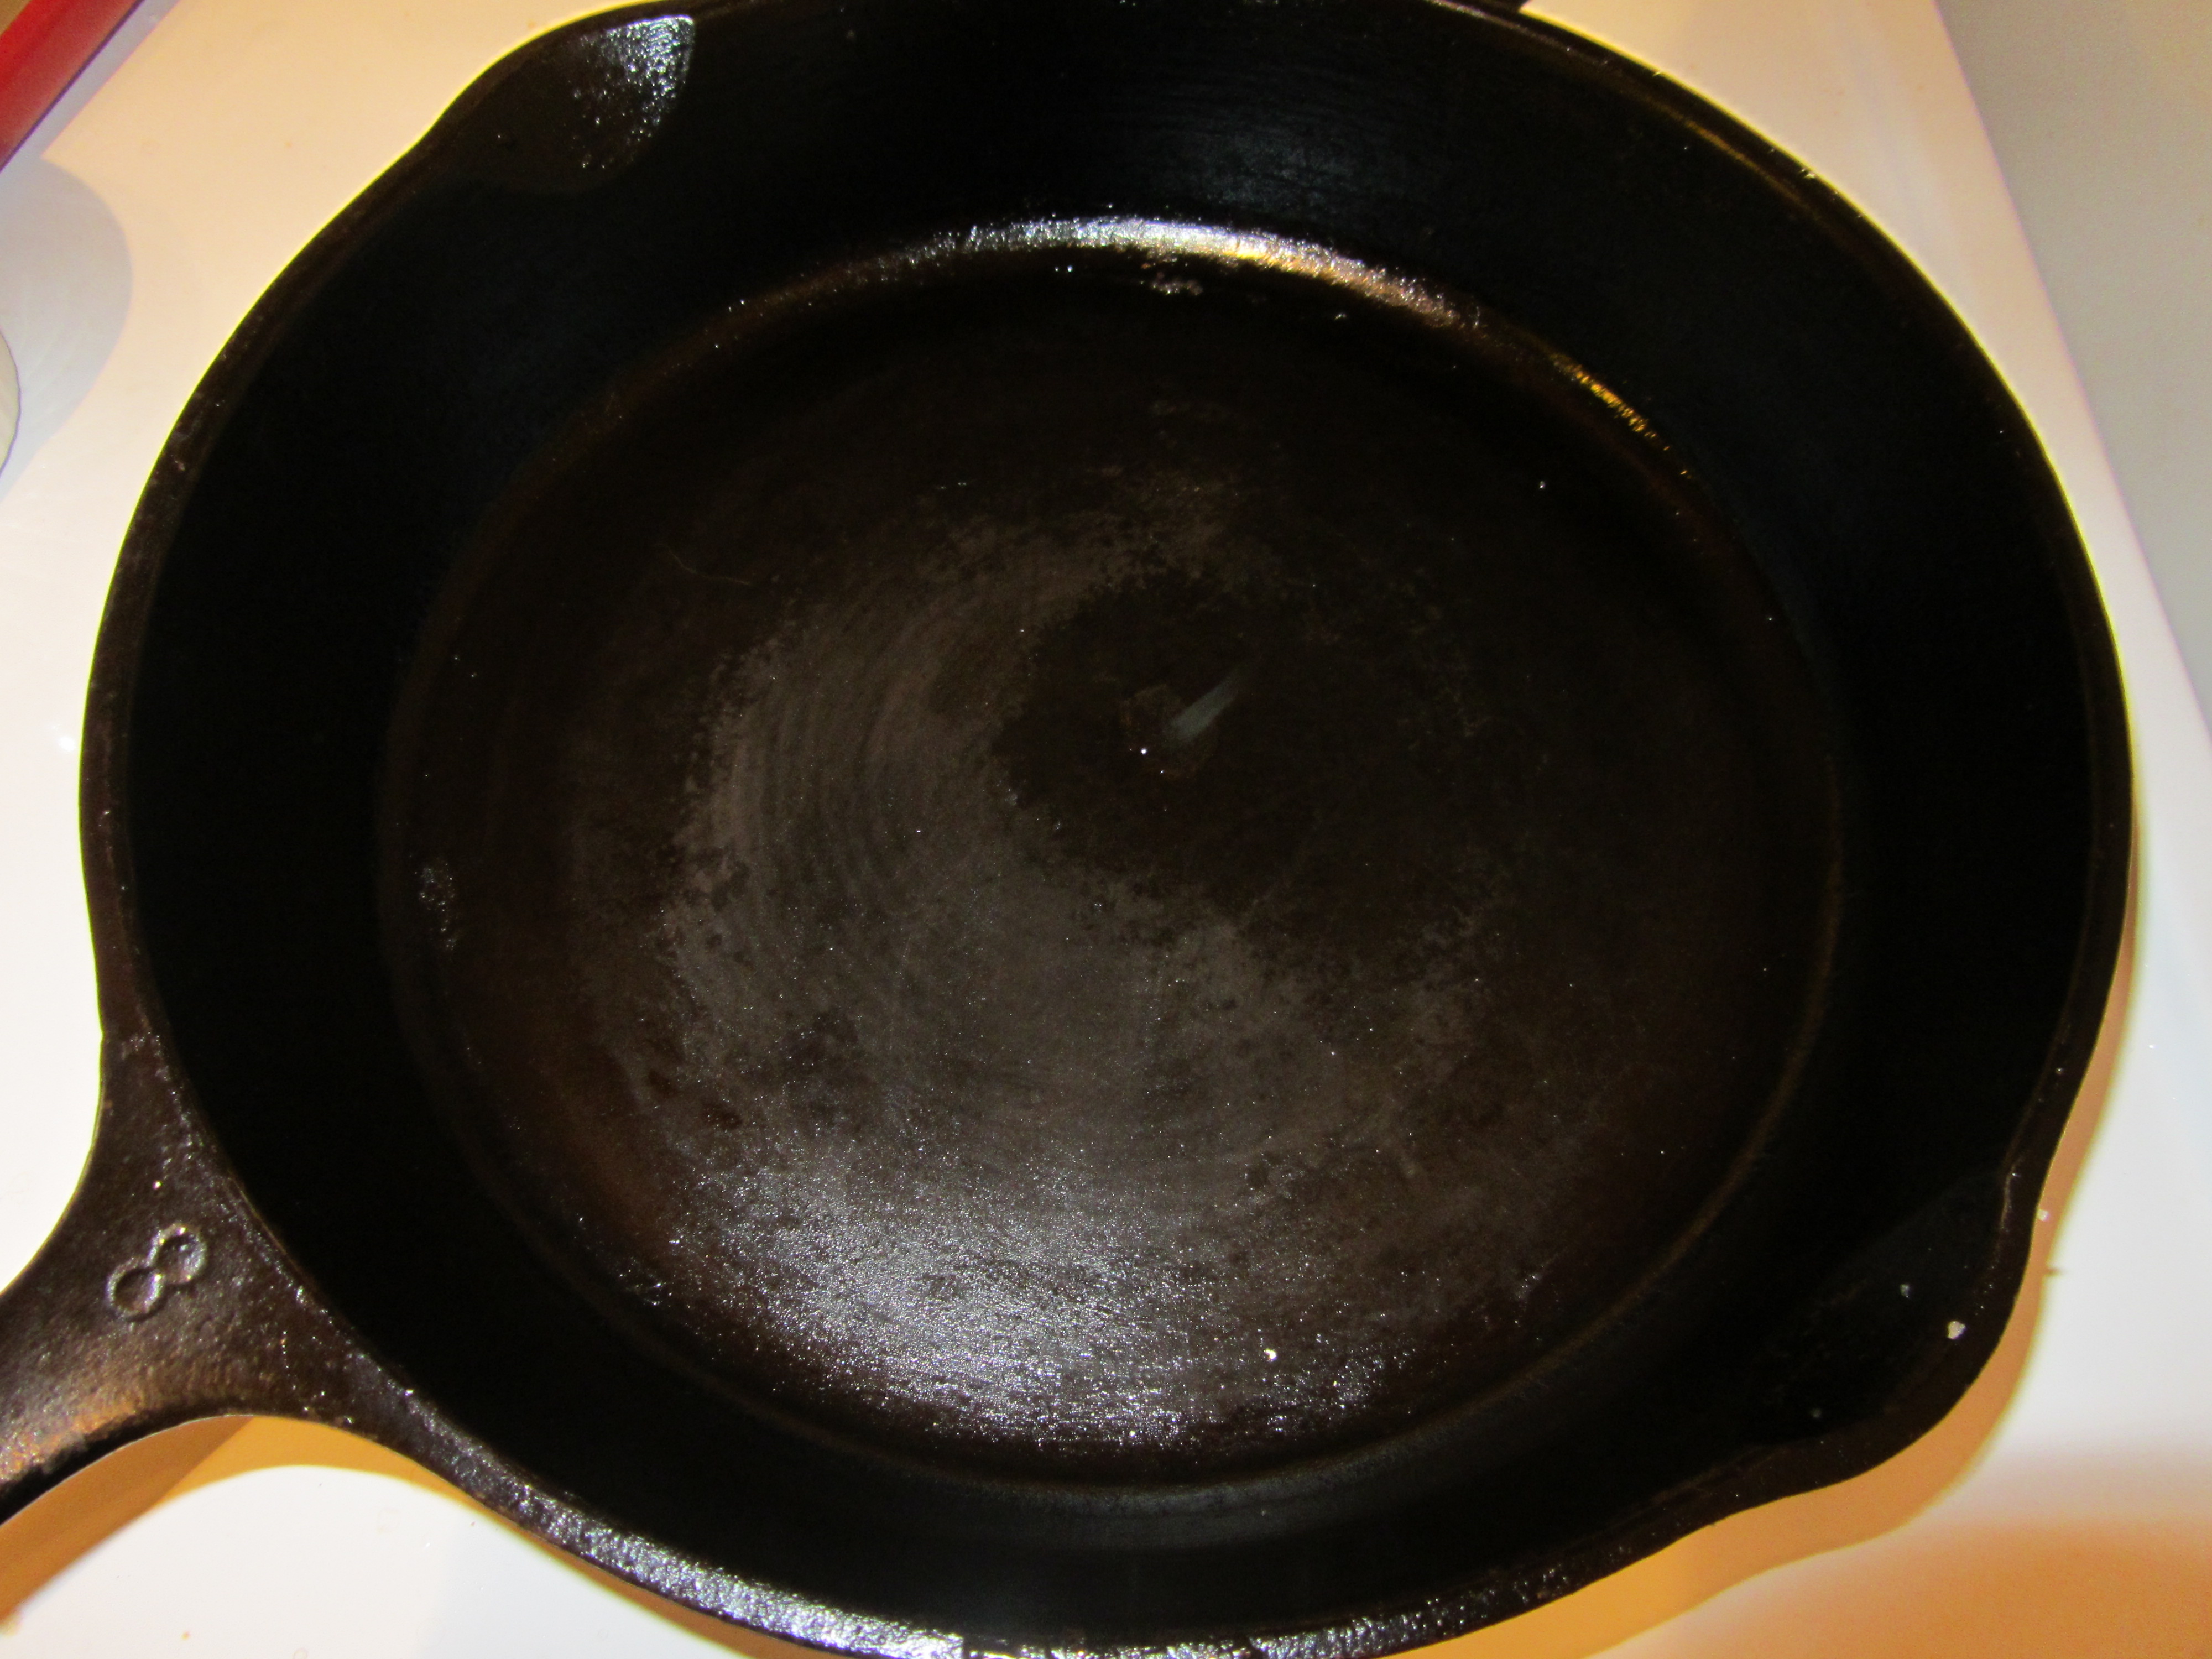
Cast iron skillet.
Cook your burgers for four minutes per side if you want a medium-rare burger. Cook for an additional minute per side to get a medium burger.
Burgers in the pan.
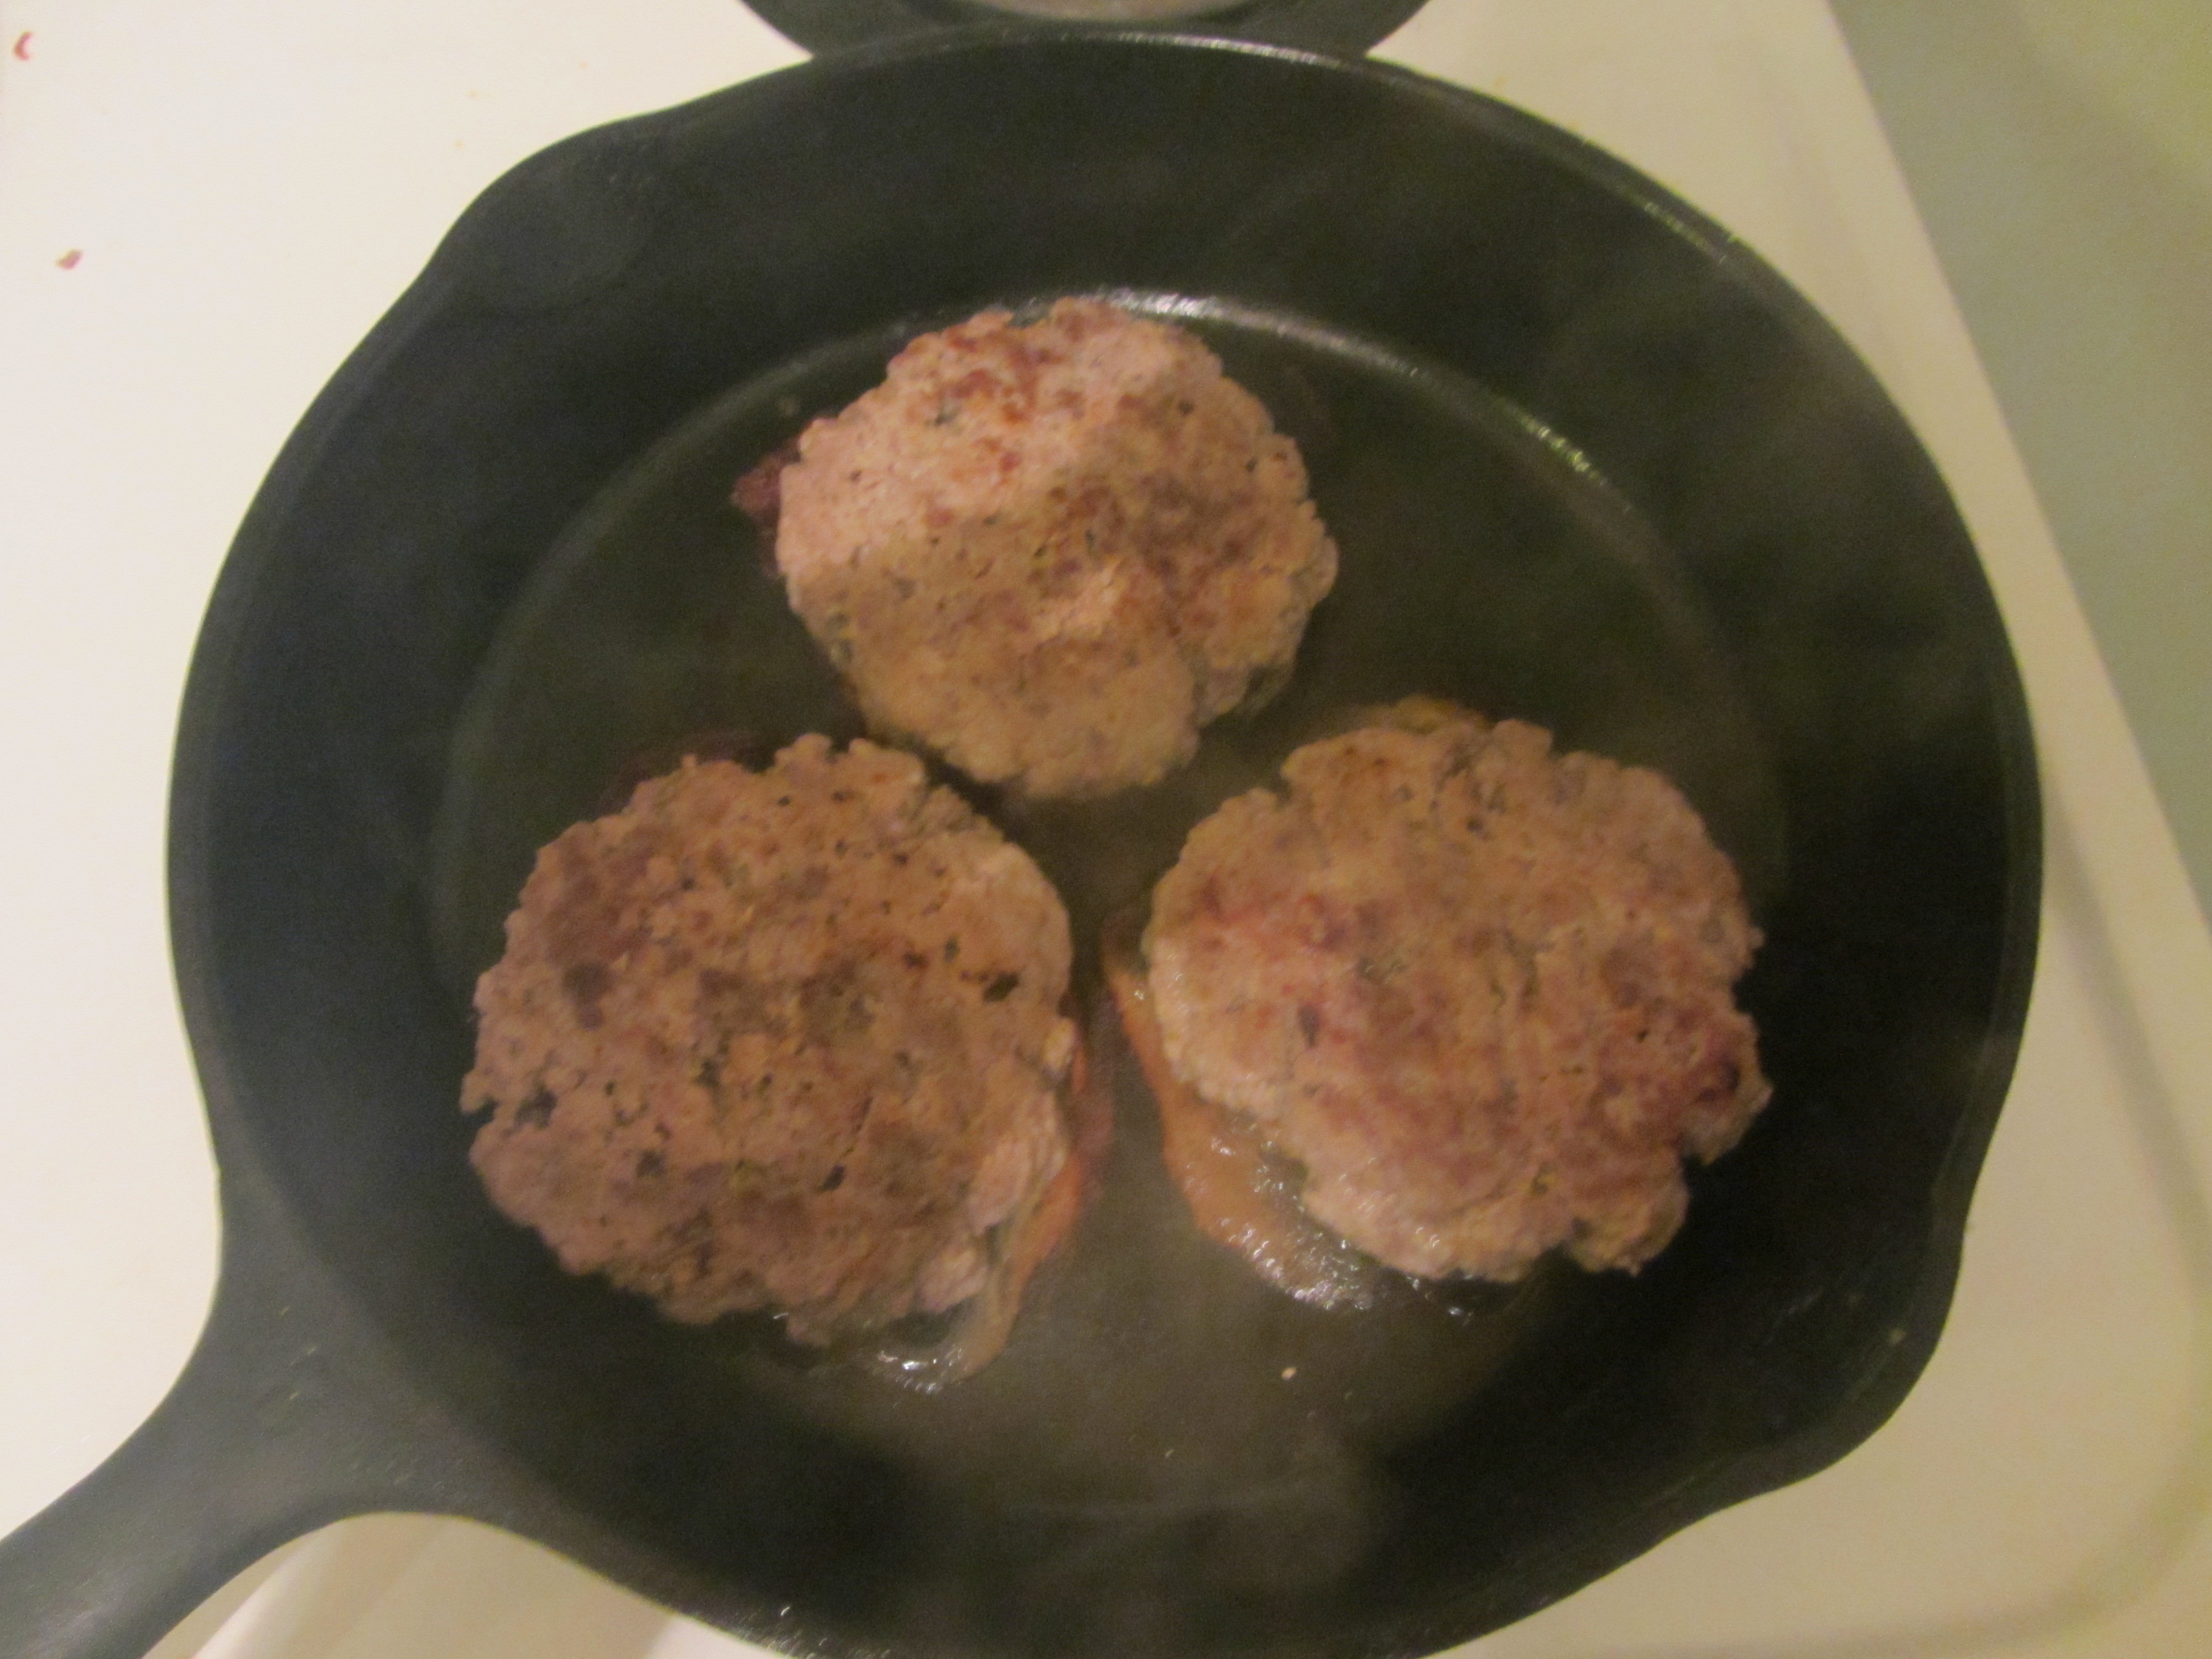
Burgers flipped after 4 minutes.
Though this may conflict with every burger you have ever seen being cooked in an American diner, Alton informs you that you should, under no circumstances, smash your patty with a spatula while it is cooking. Patty smashing only serves to get rid of the good juices you want in your burger. Alton’s other rule for burger cooking: flip burgers only one time. Once your burgers are cooked to your desired degree of doneness, let them rest for a minute or two before eating.

Resting burgers.
In the episode, Alton begs you to serve your burgers his way, which is on a toasted bun with only some mayonnaise and freshly ground pepper. I complied with his request.

Bun adorned the Alton way, with only mayo and pepper.
We ate our burgers with French fries on the side. The texture of the beef was great, as the burgers stayed moist and were not overly dense. Unfortunately, my burgers were a little overcooked, which I think was due to my burner being a little too hot from the French fries cooking simultaneously below.
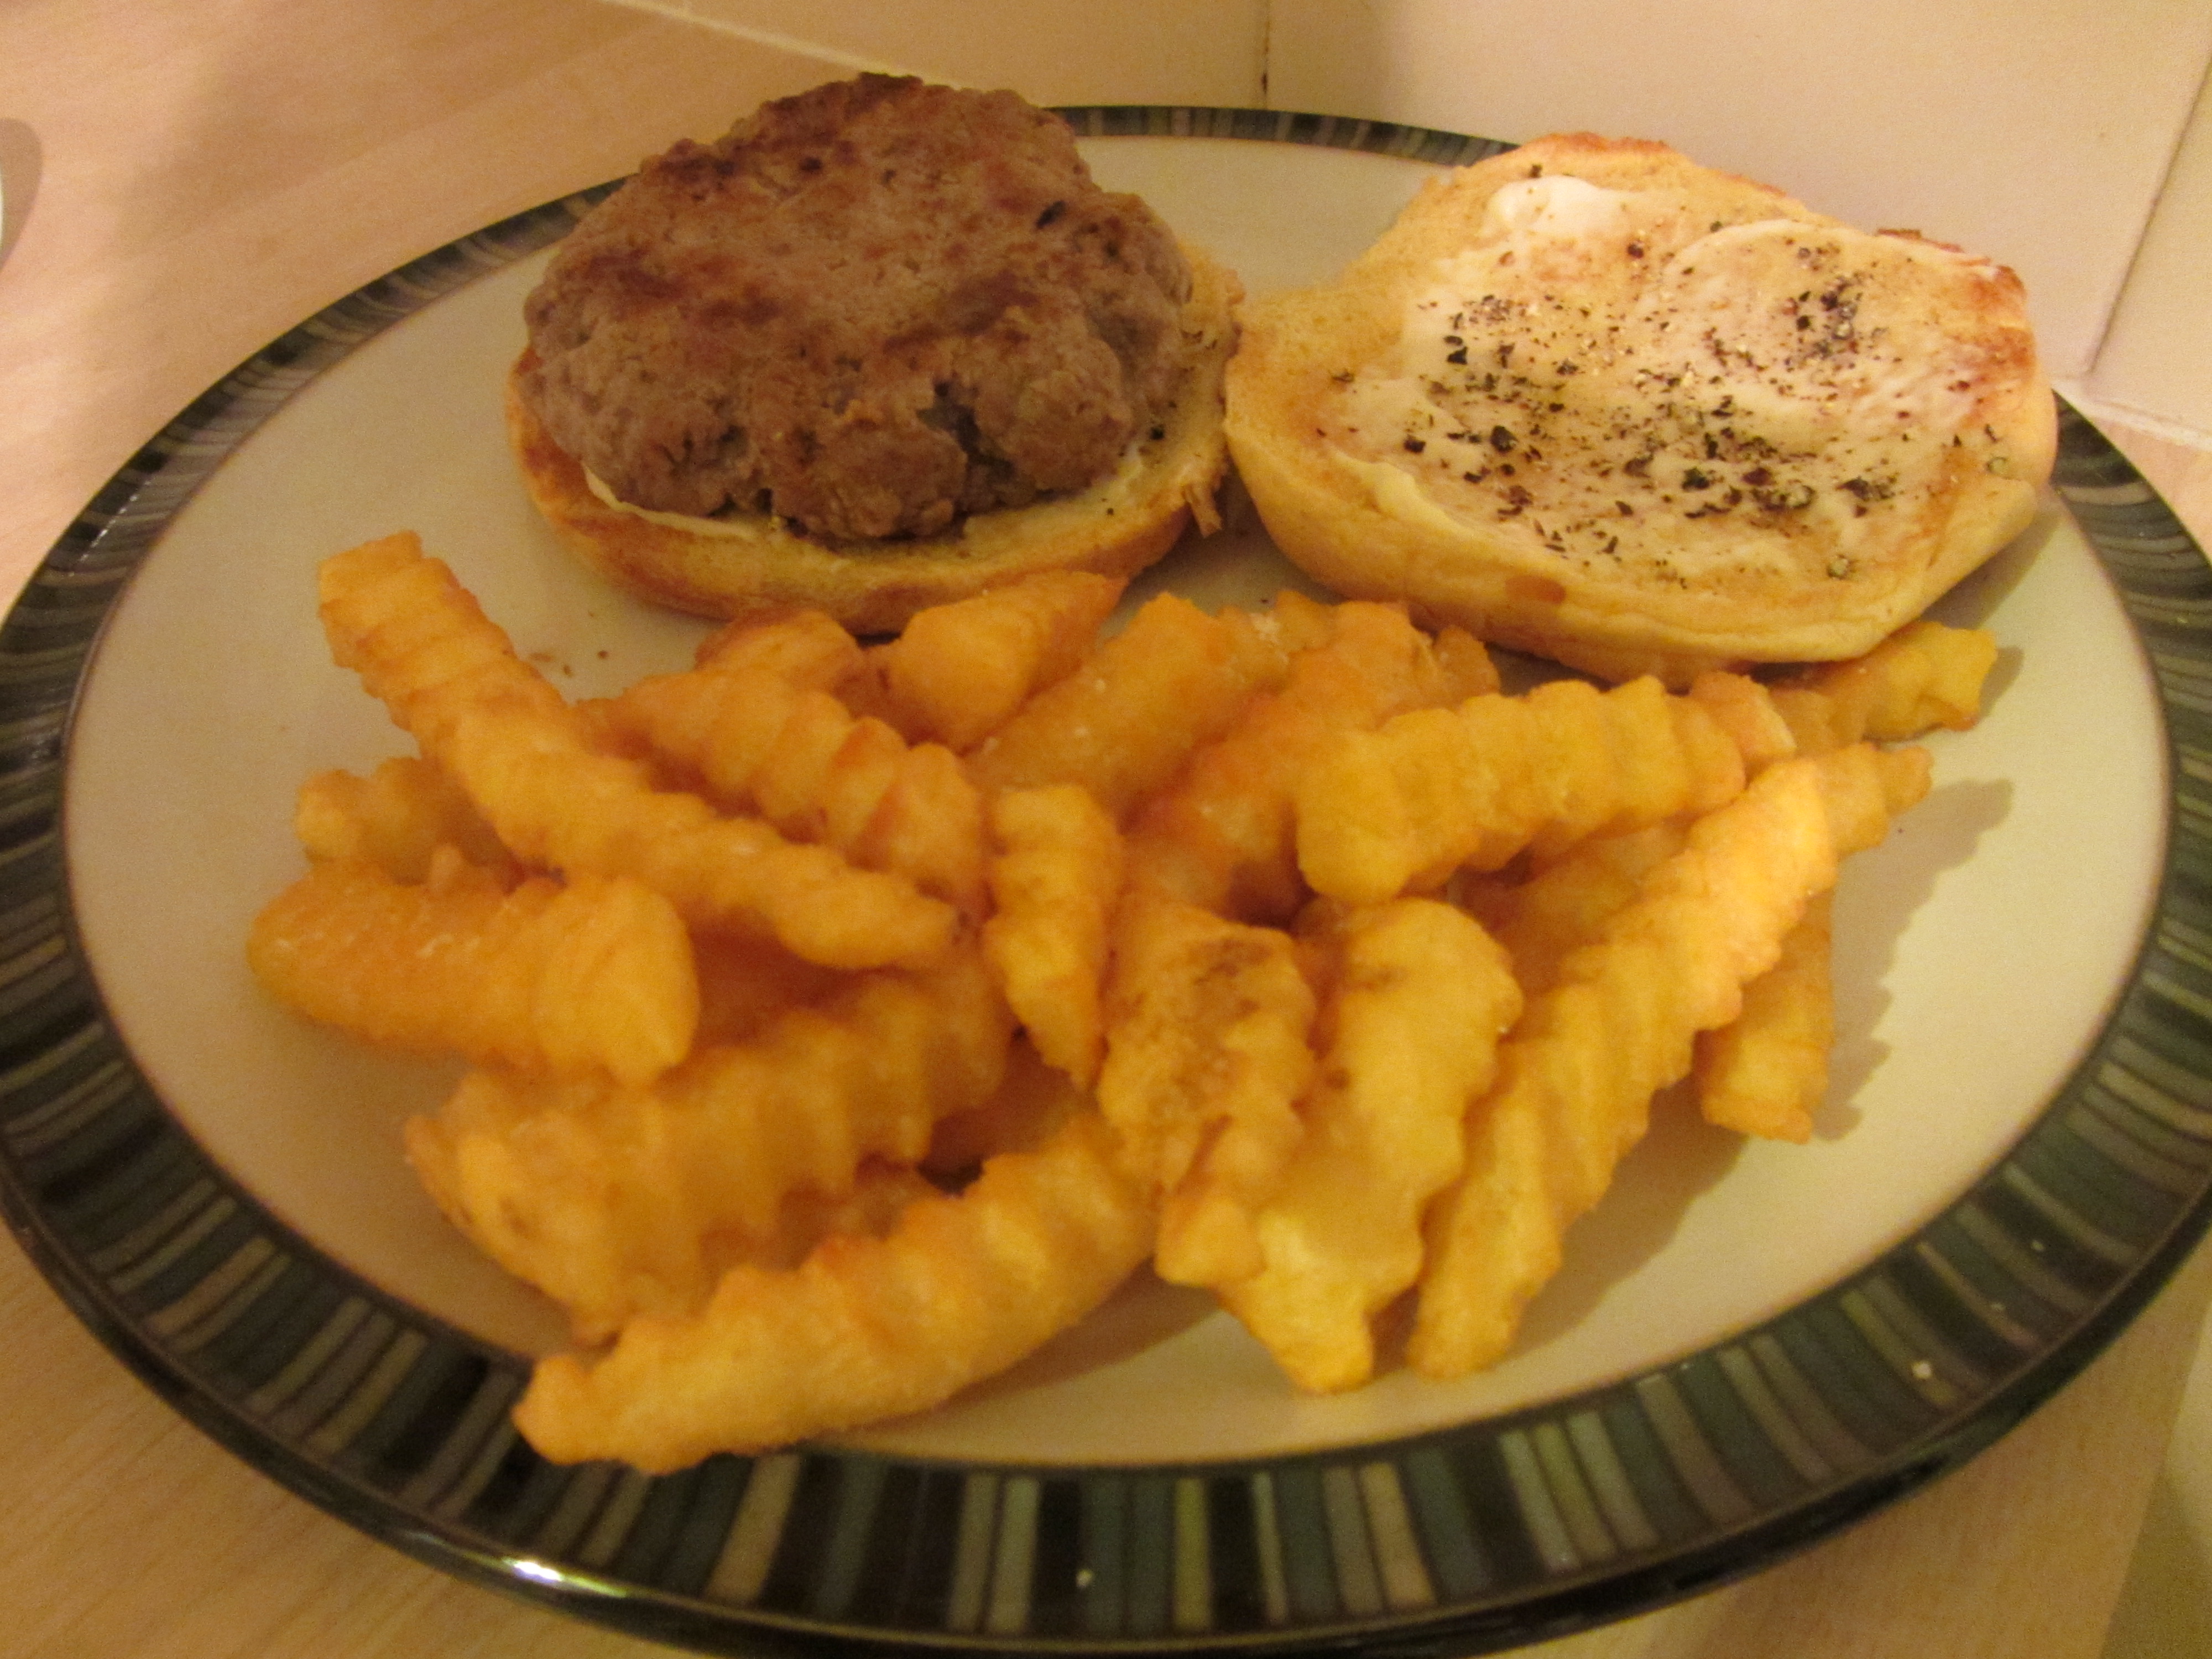
Burger with fries.
Still, though, the burgers were flavorful and juicy. I am not a huge fan of mayonnaise, so I was skeptical about eating my burger with only mayo and pepper. I do have to say that the meat flavor really stood out and was complimented by the spice of the pepper and creaminess of the mayo. I do think that we sometimes overwhelm the basic flavors of the meat itself by piling on a lot of condiments. Really, though, it’s just about what you like, right? This burger recipe was a winner. Grinding the meat at home really took very little extra time and effort, though it is a bit more expensive to do so. If you want to treat yourself to a good burger at home, it is worth the expense to grind your meat. Plus, you’ll know exactly what you are eating, which is a bonus.
Good Eats Meatloaf
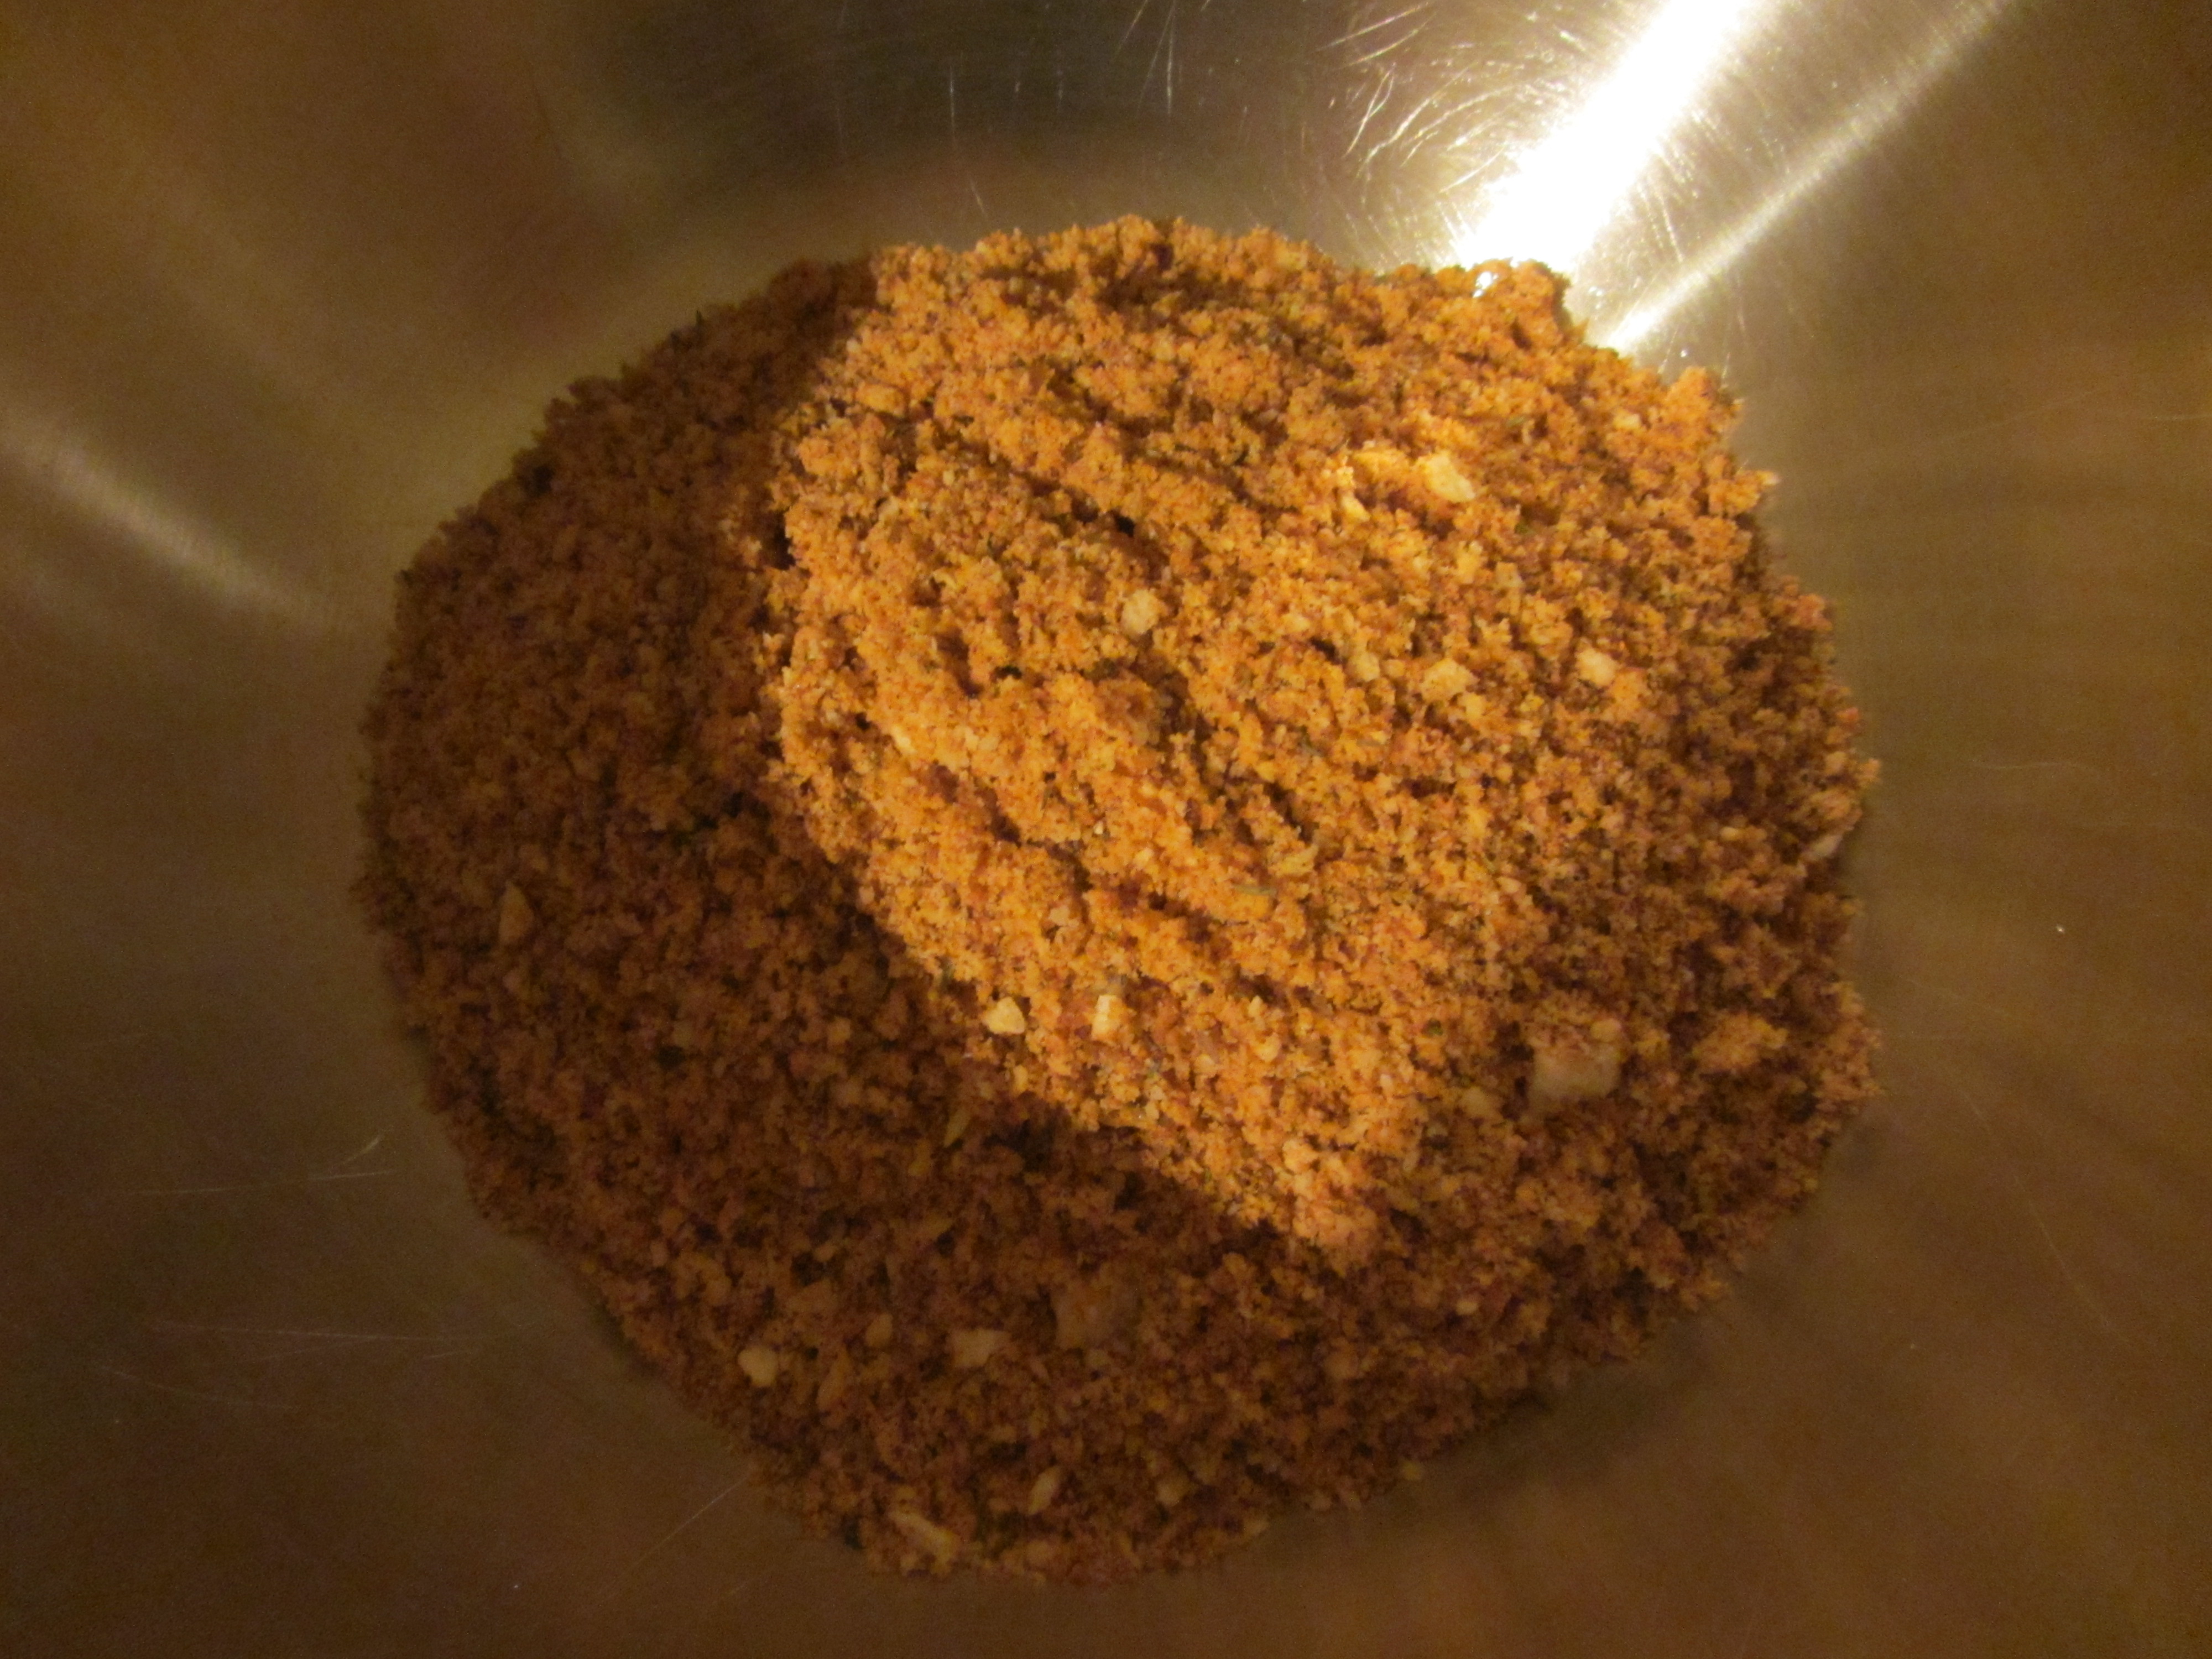
The second recipe in this episode is for meatloaf. I really like meatloaf, especially at this time of the year. Like the burger recipe, this recipe uses a food processor. The food processor I use belonged to my parents, and I’m fairly sure it was a wedding present to them in 1974. You do have to keep your hand pressing on the lid or it will stop running, but it otherwise works just fine. To begin, you combine garlic-flavored croutons, black pepper, cayenne, chili powder, and dried thyme in the processor.

Garlic croutons, pepper, cayenne, chili powder, and thyme
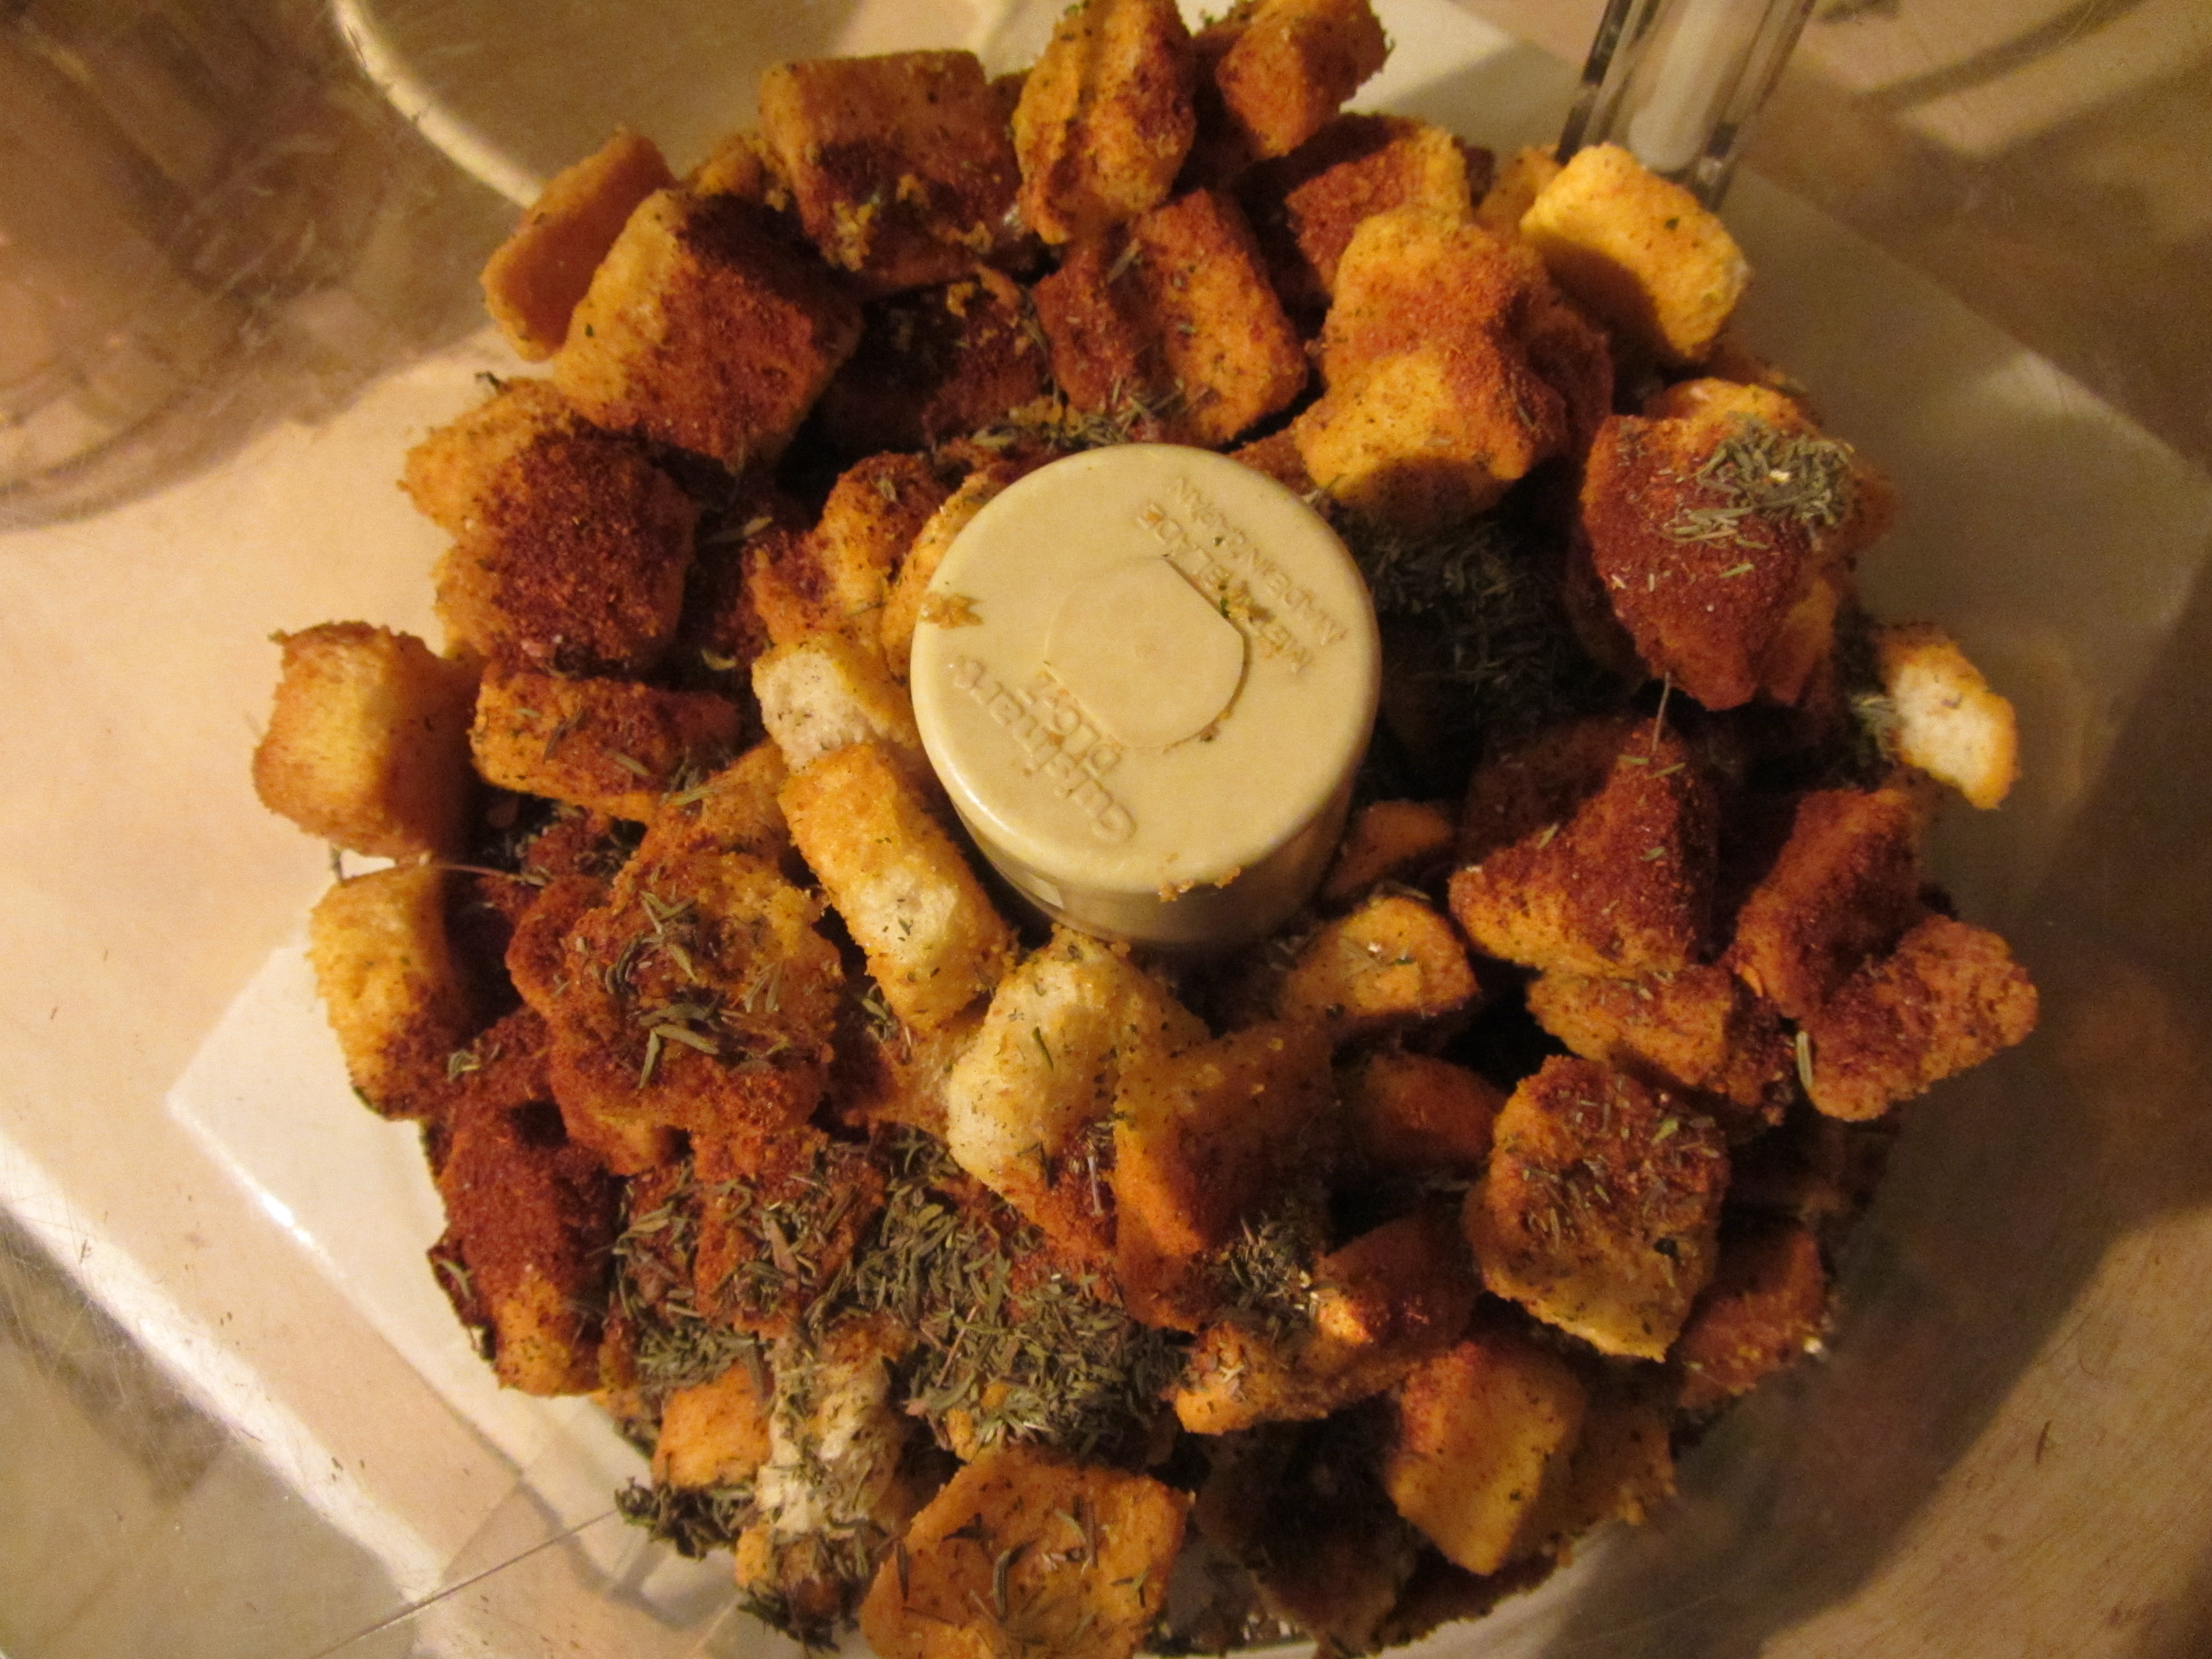
Grinding the crouton mixture in the food processor.
You want to process this until all of the visible crouton cubes are gone. This mixture then goes into a large mixing bowl.

The ground crouton mixture, and Coonhound cameo.
Ground crouton mixture in mixing bowl.
Next, again in your food processor, you combine onion, carrot (no need to peel), garlic, and bell pepper.
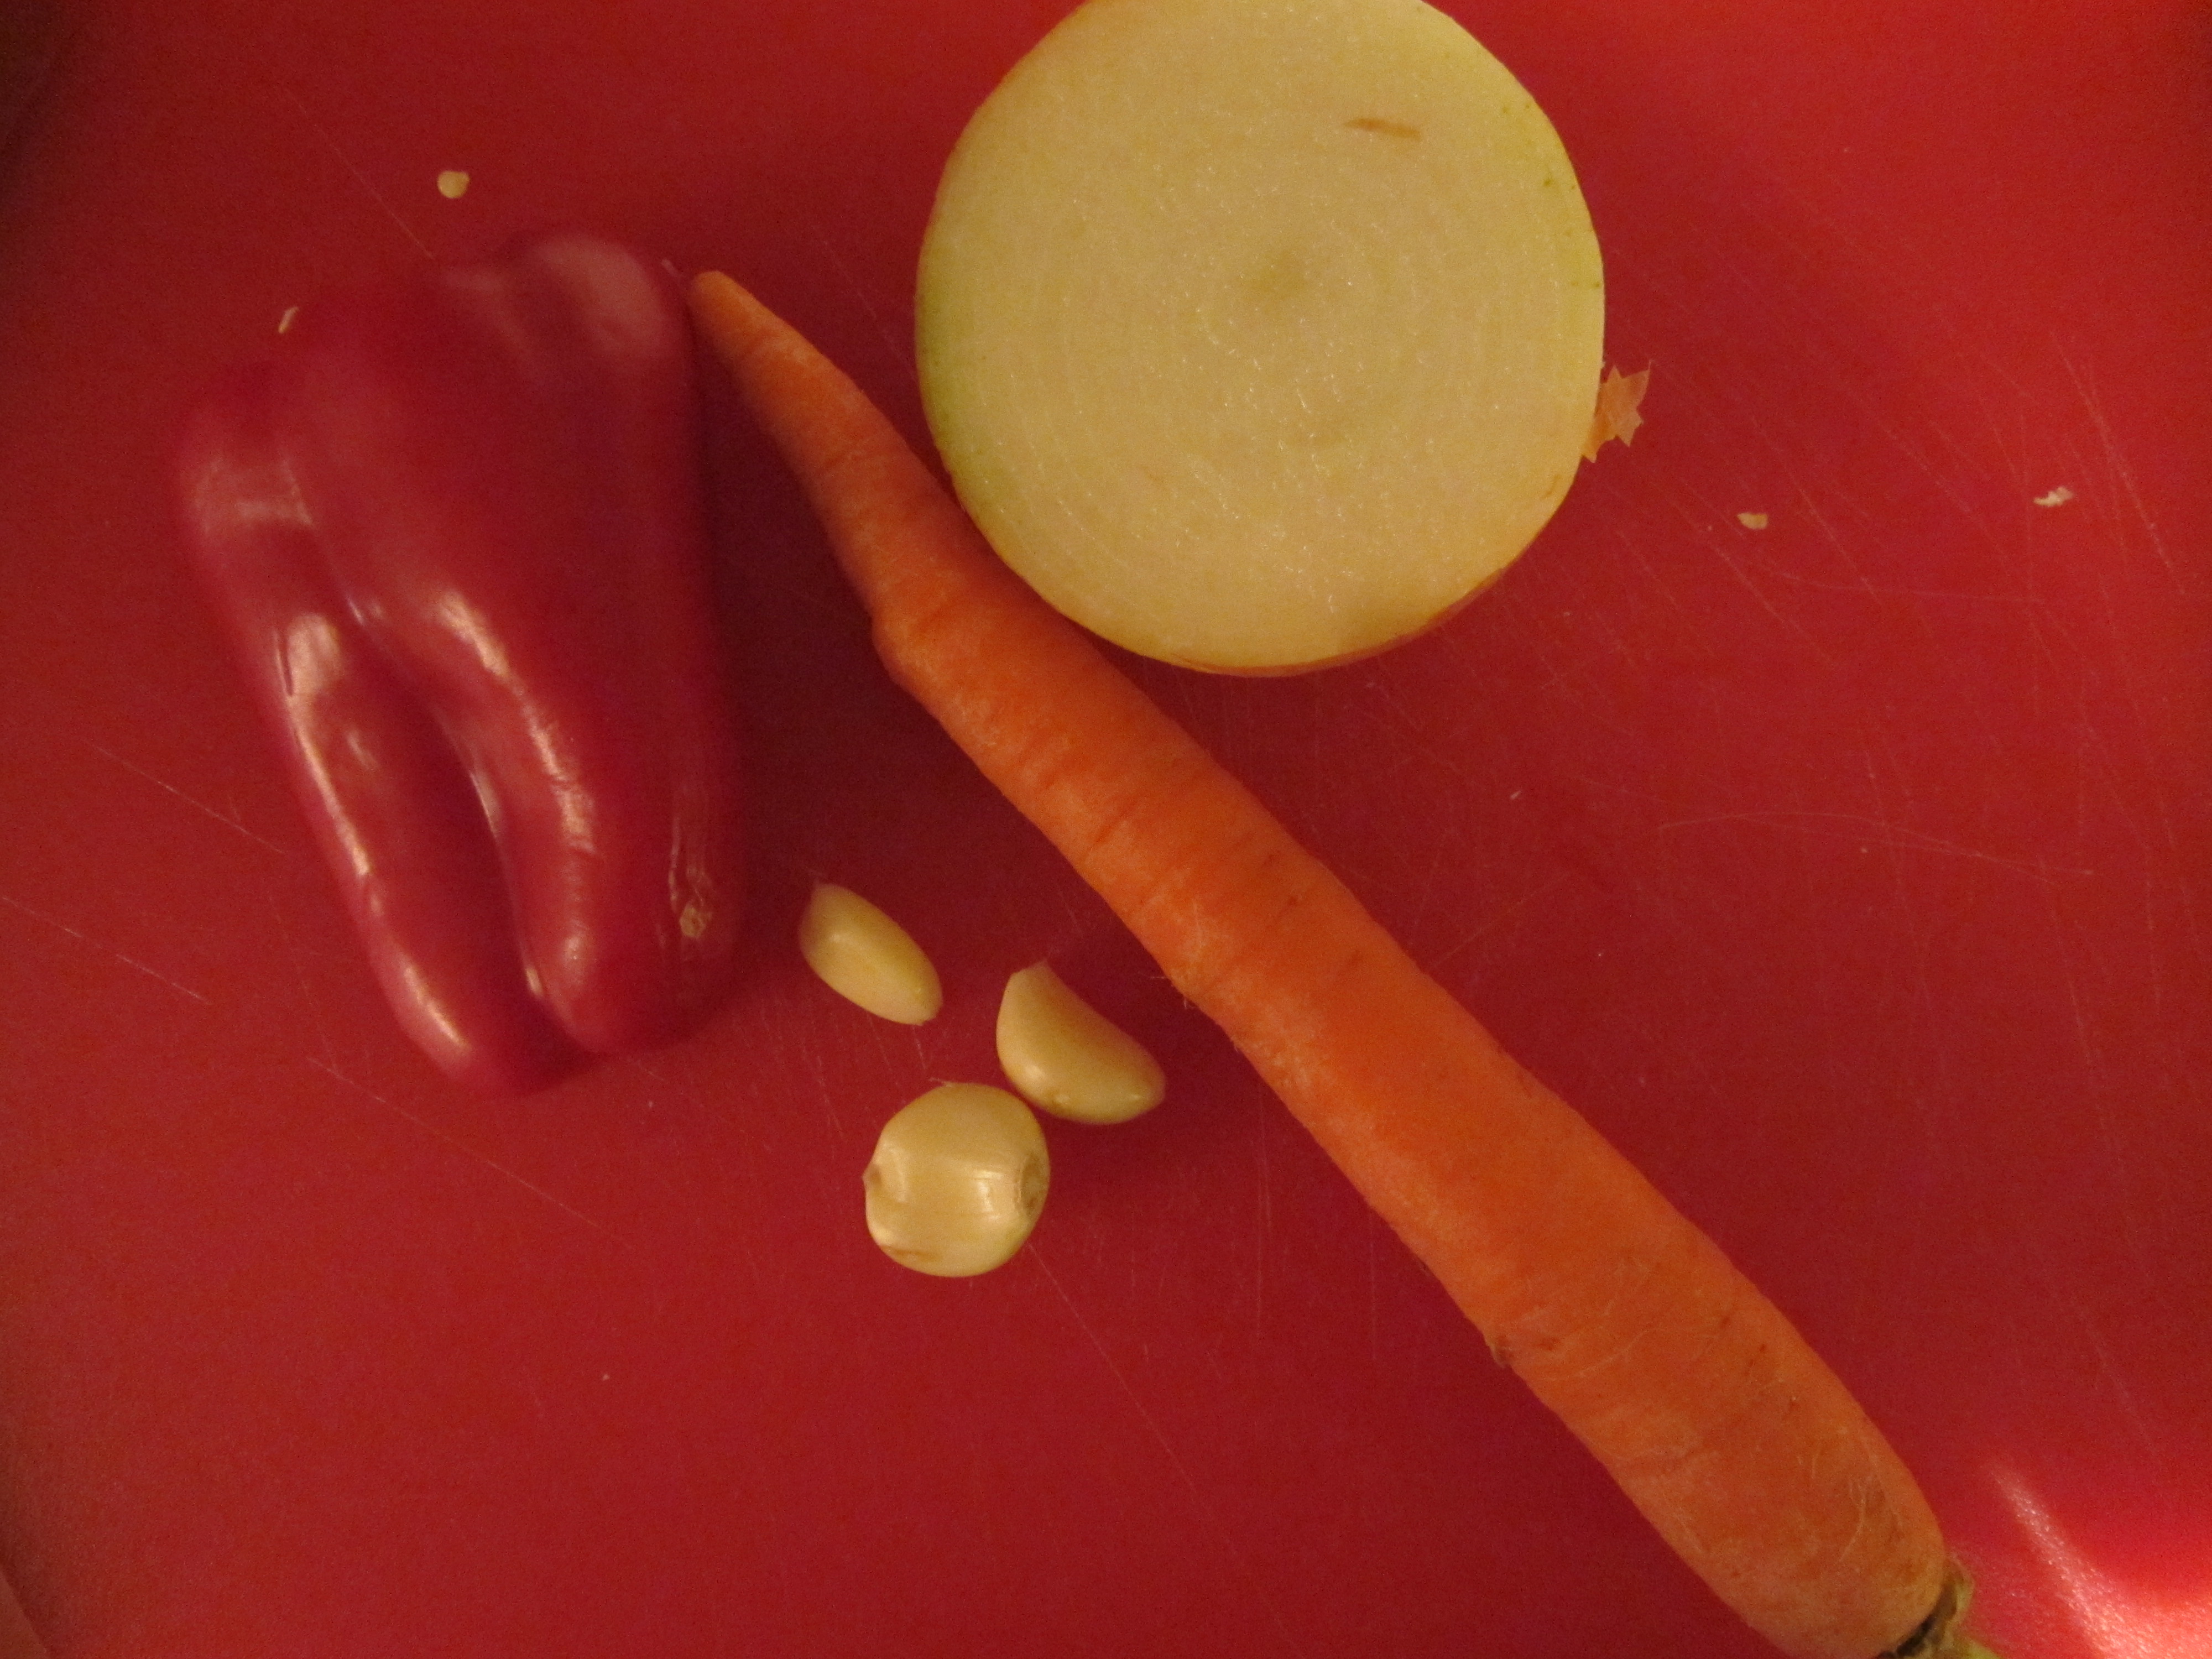
Bell pepper, carrot, onion, and garlic.

He is NUTS for carrots.

Catching his carrot piece.
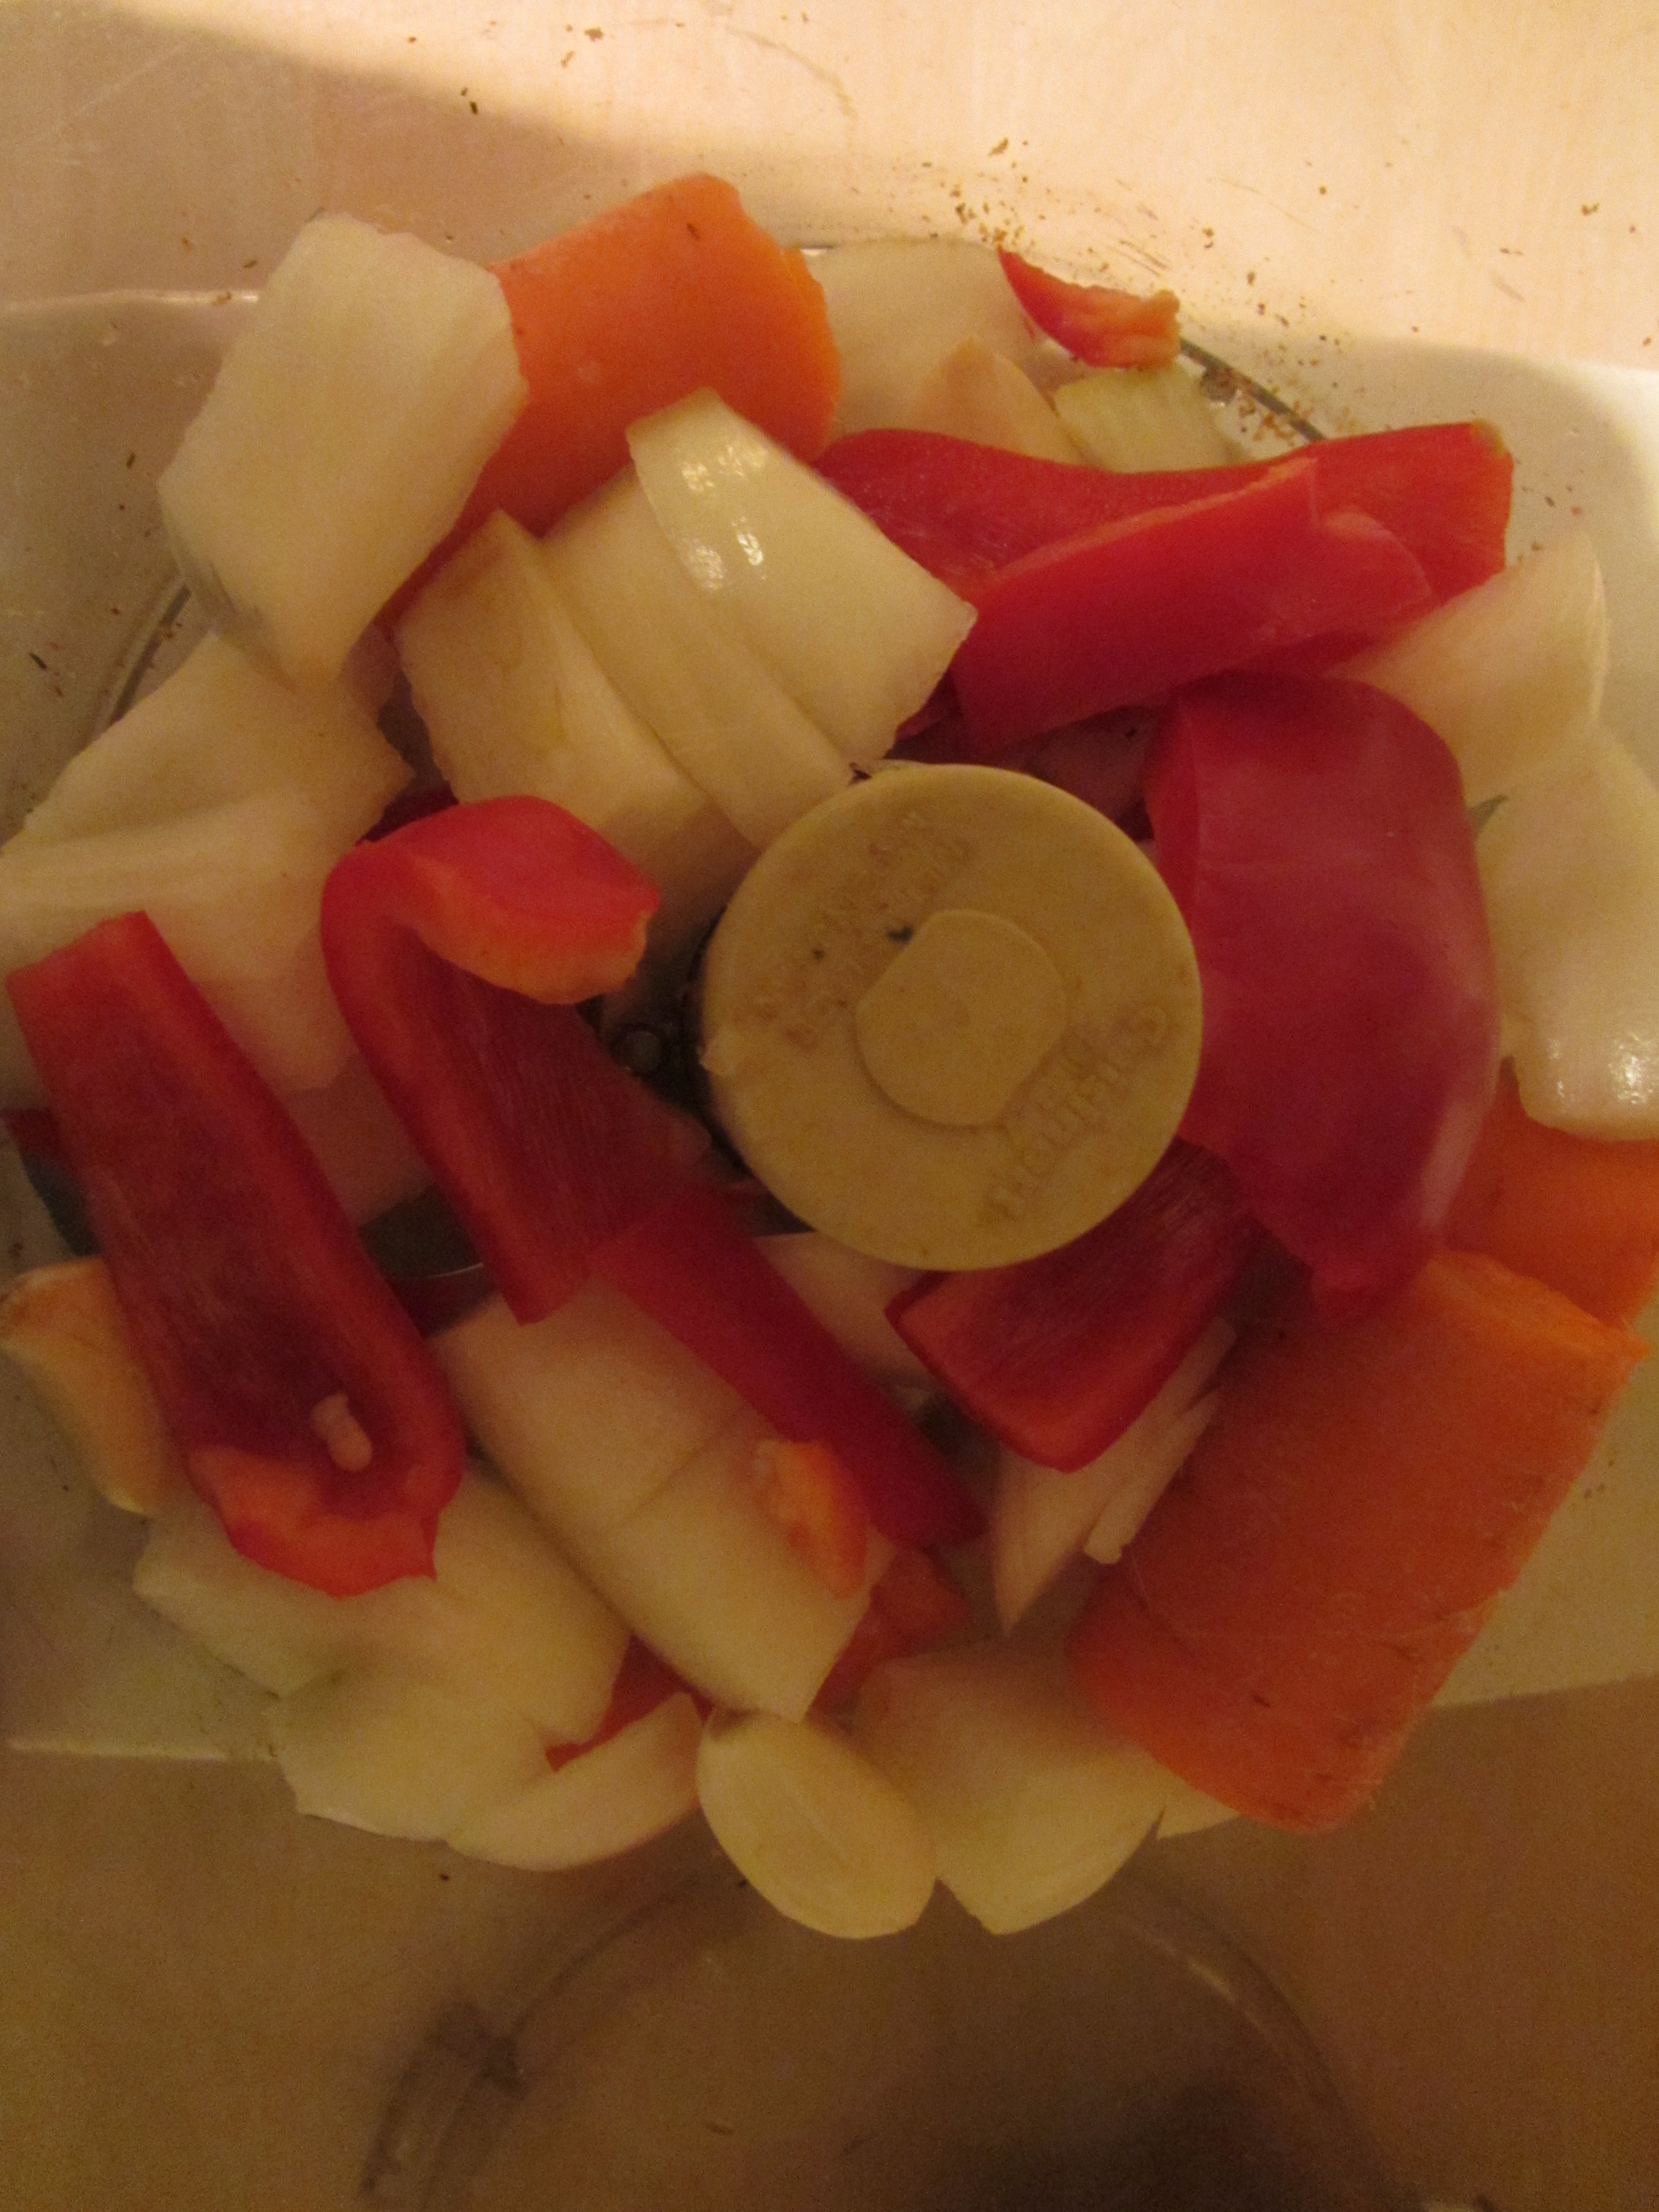
Veggies in the food processor.
You want to process the vegetables until they are finally chopped, but you do not want to puree them. Once chopped, the veggies go into the bowl with the crouton mixture.
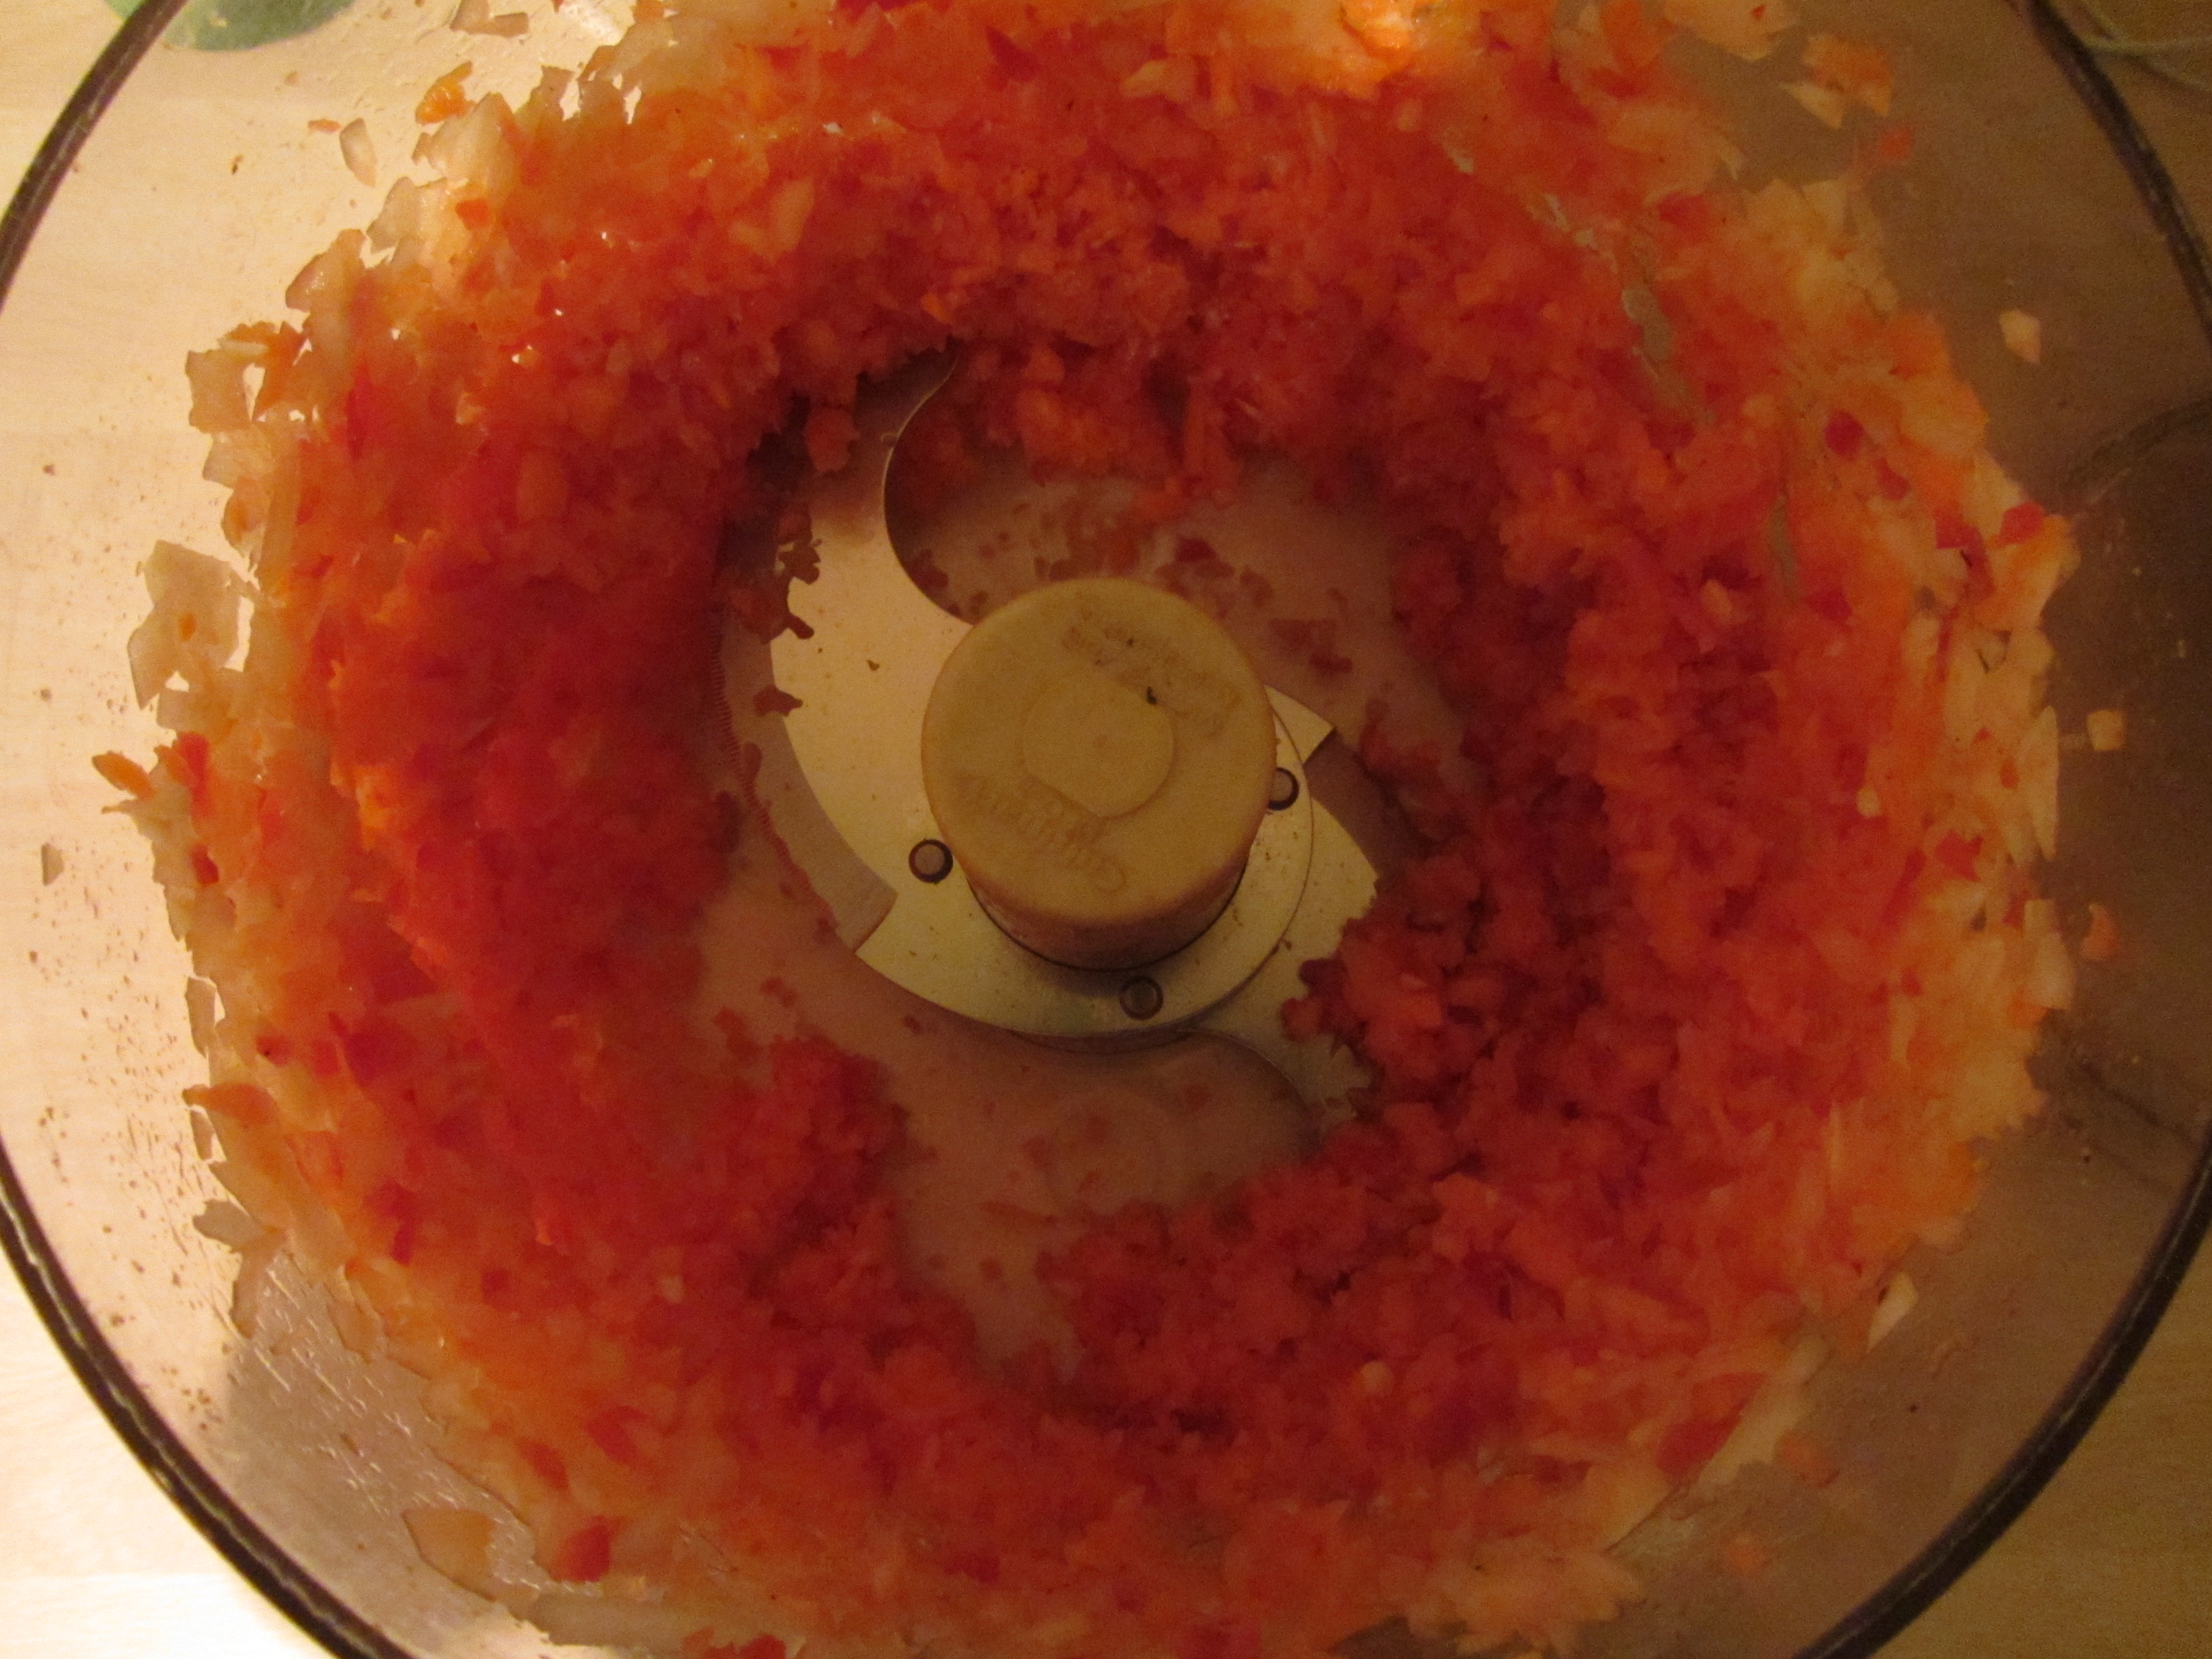
Chopped veggies.
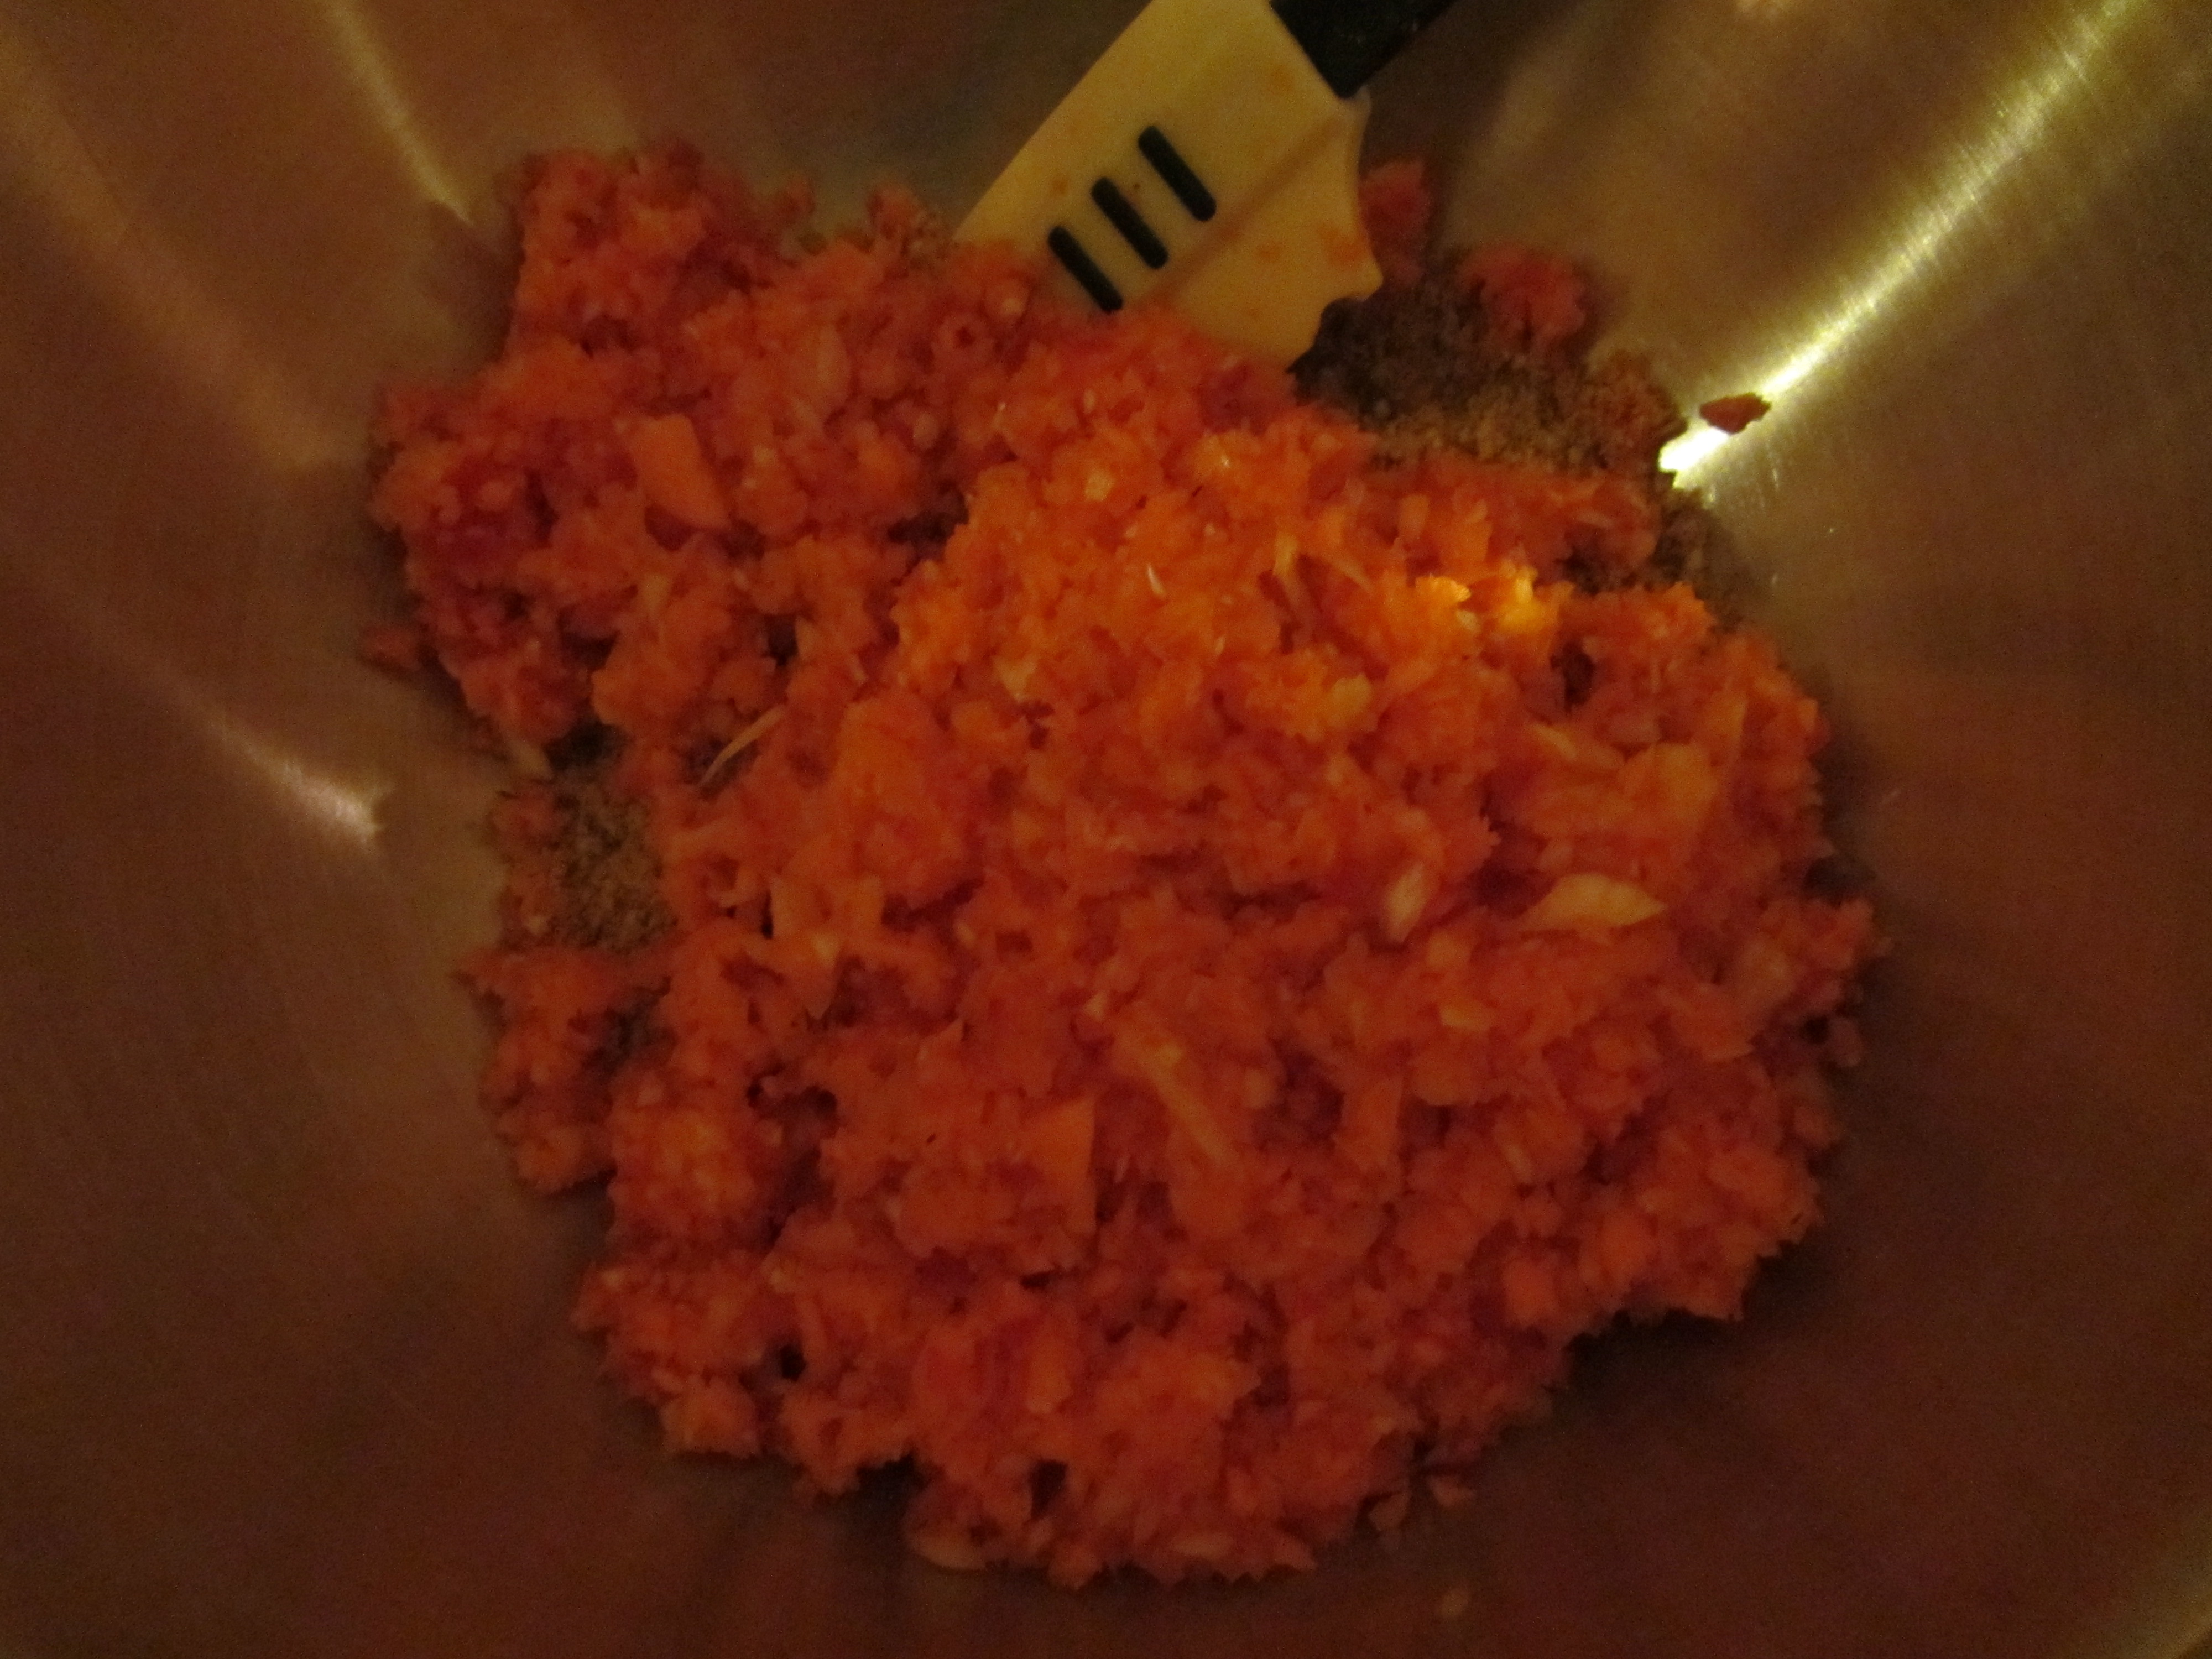
Veggies in the bowl with the croutons.
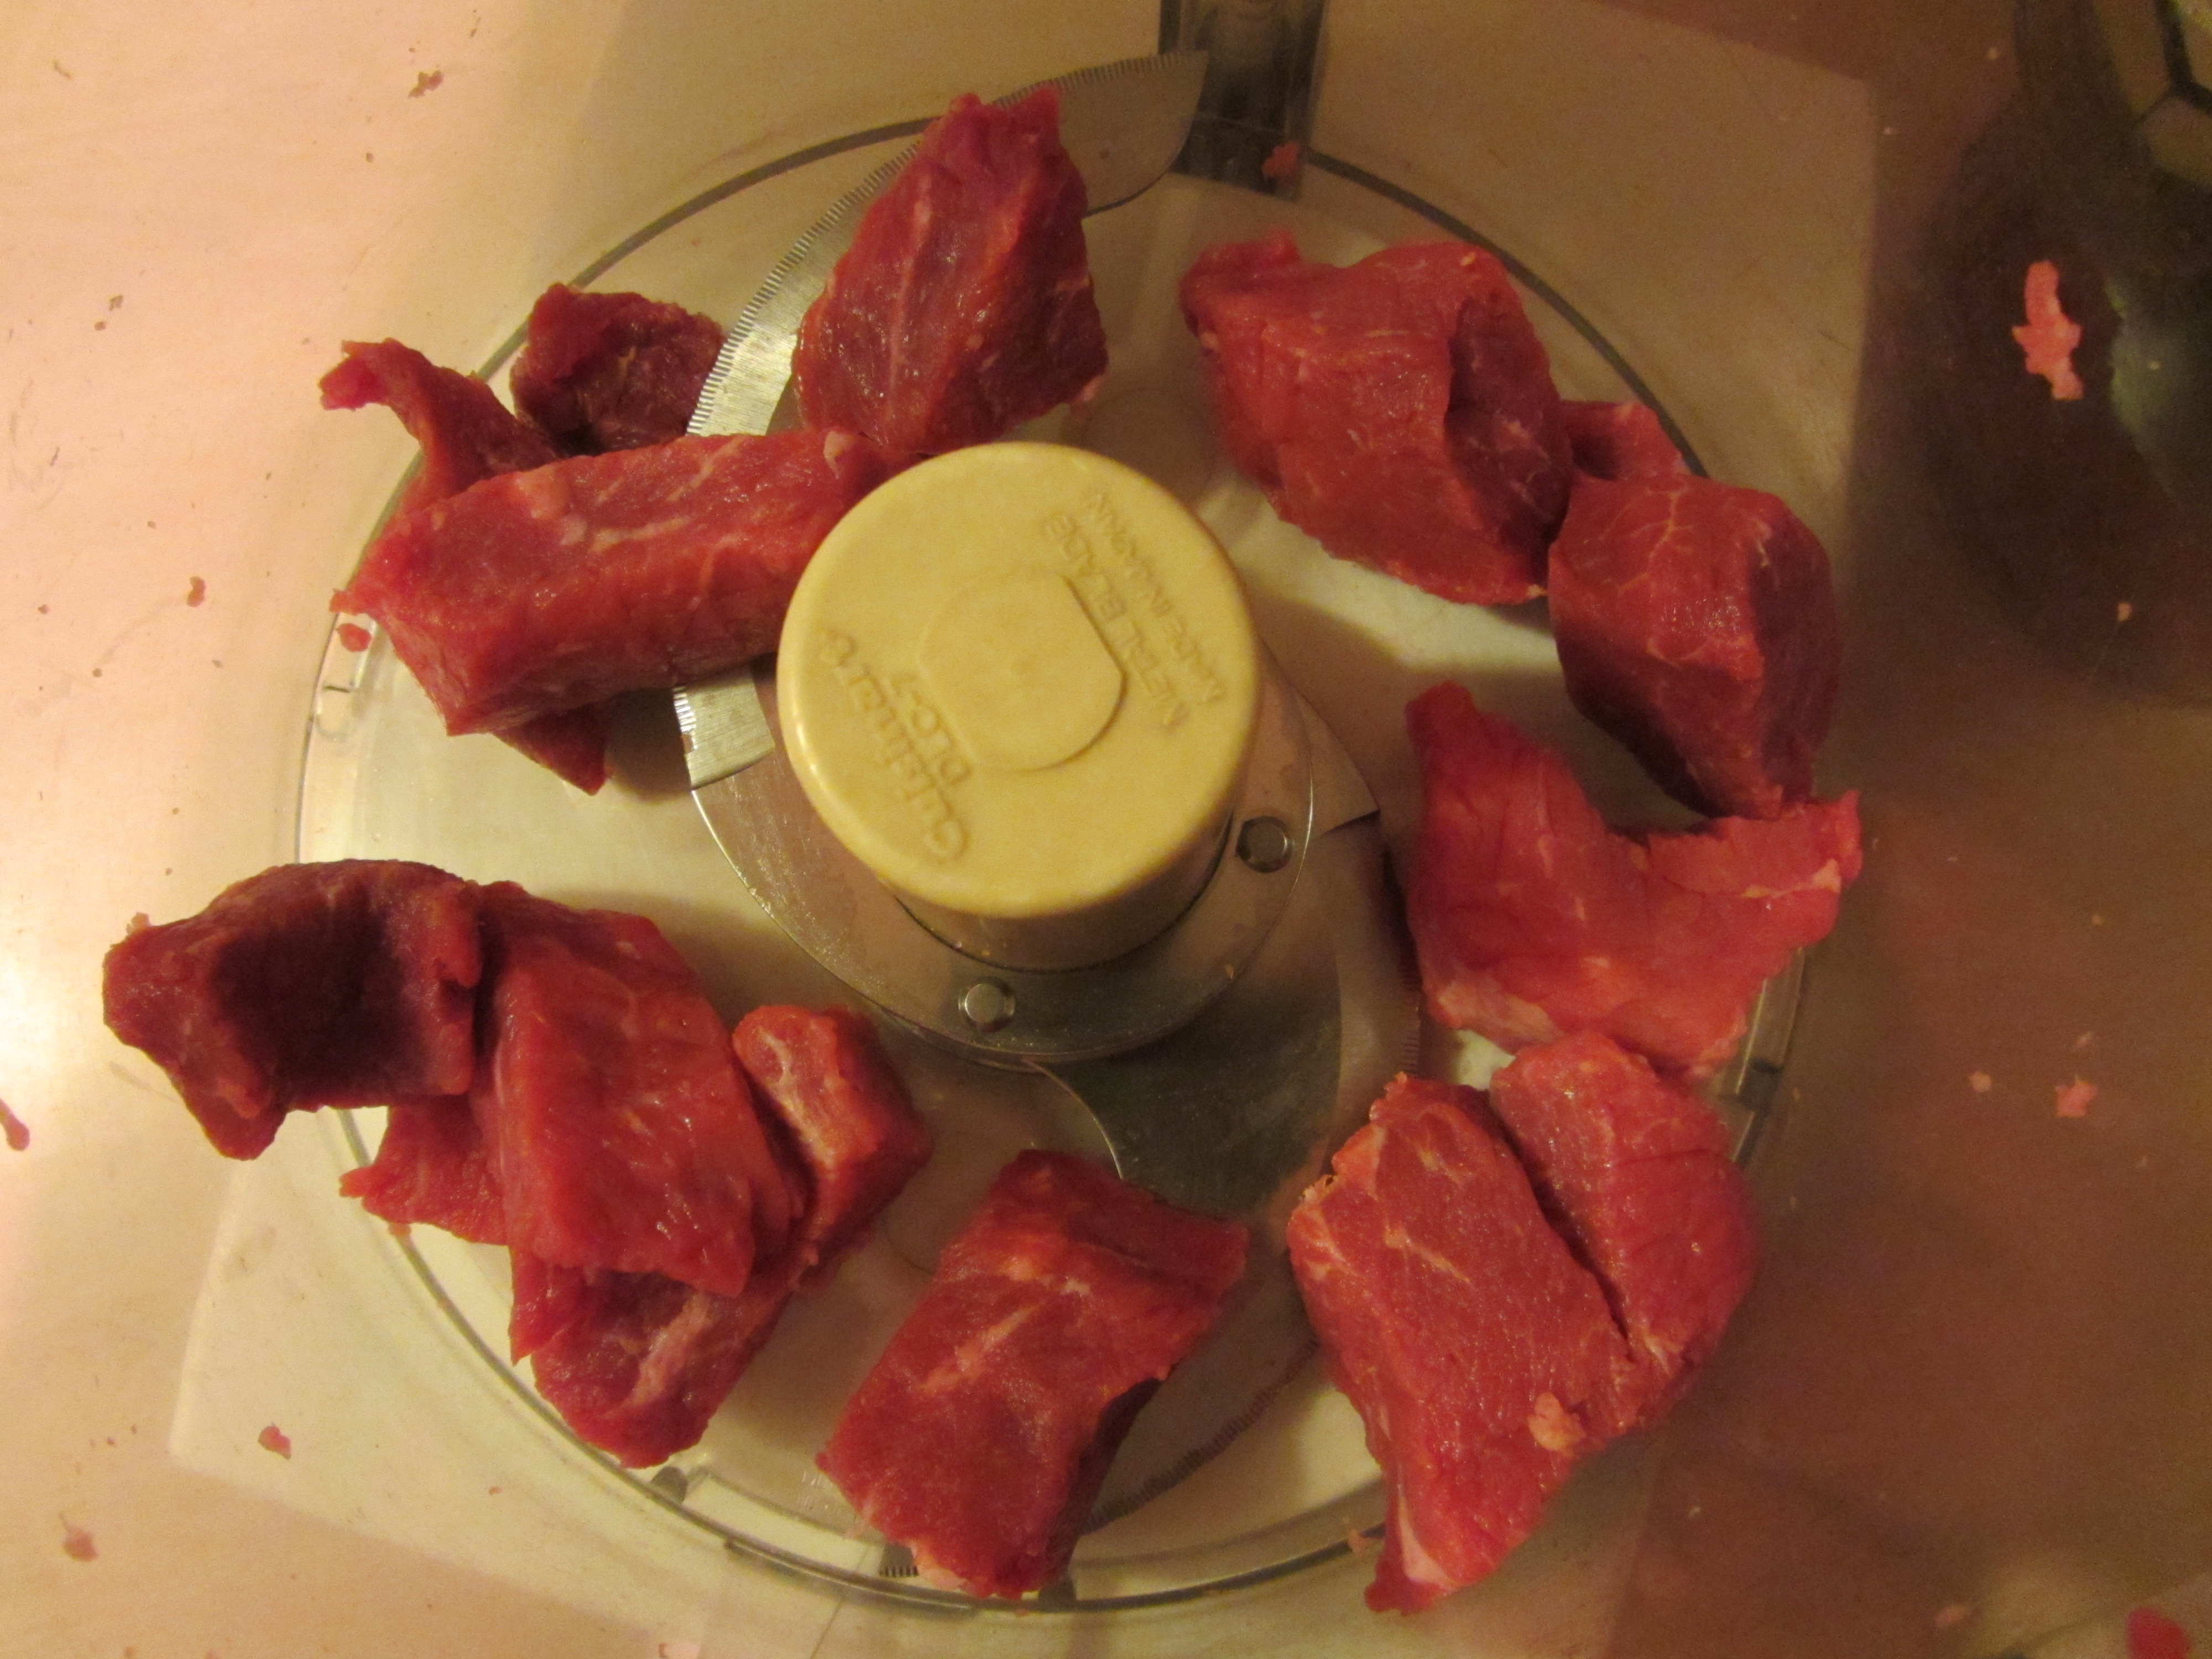
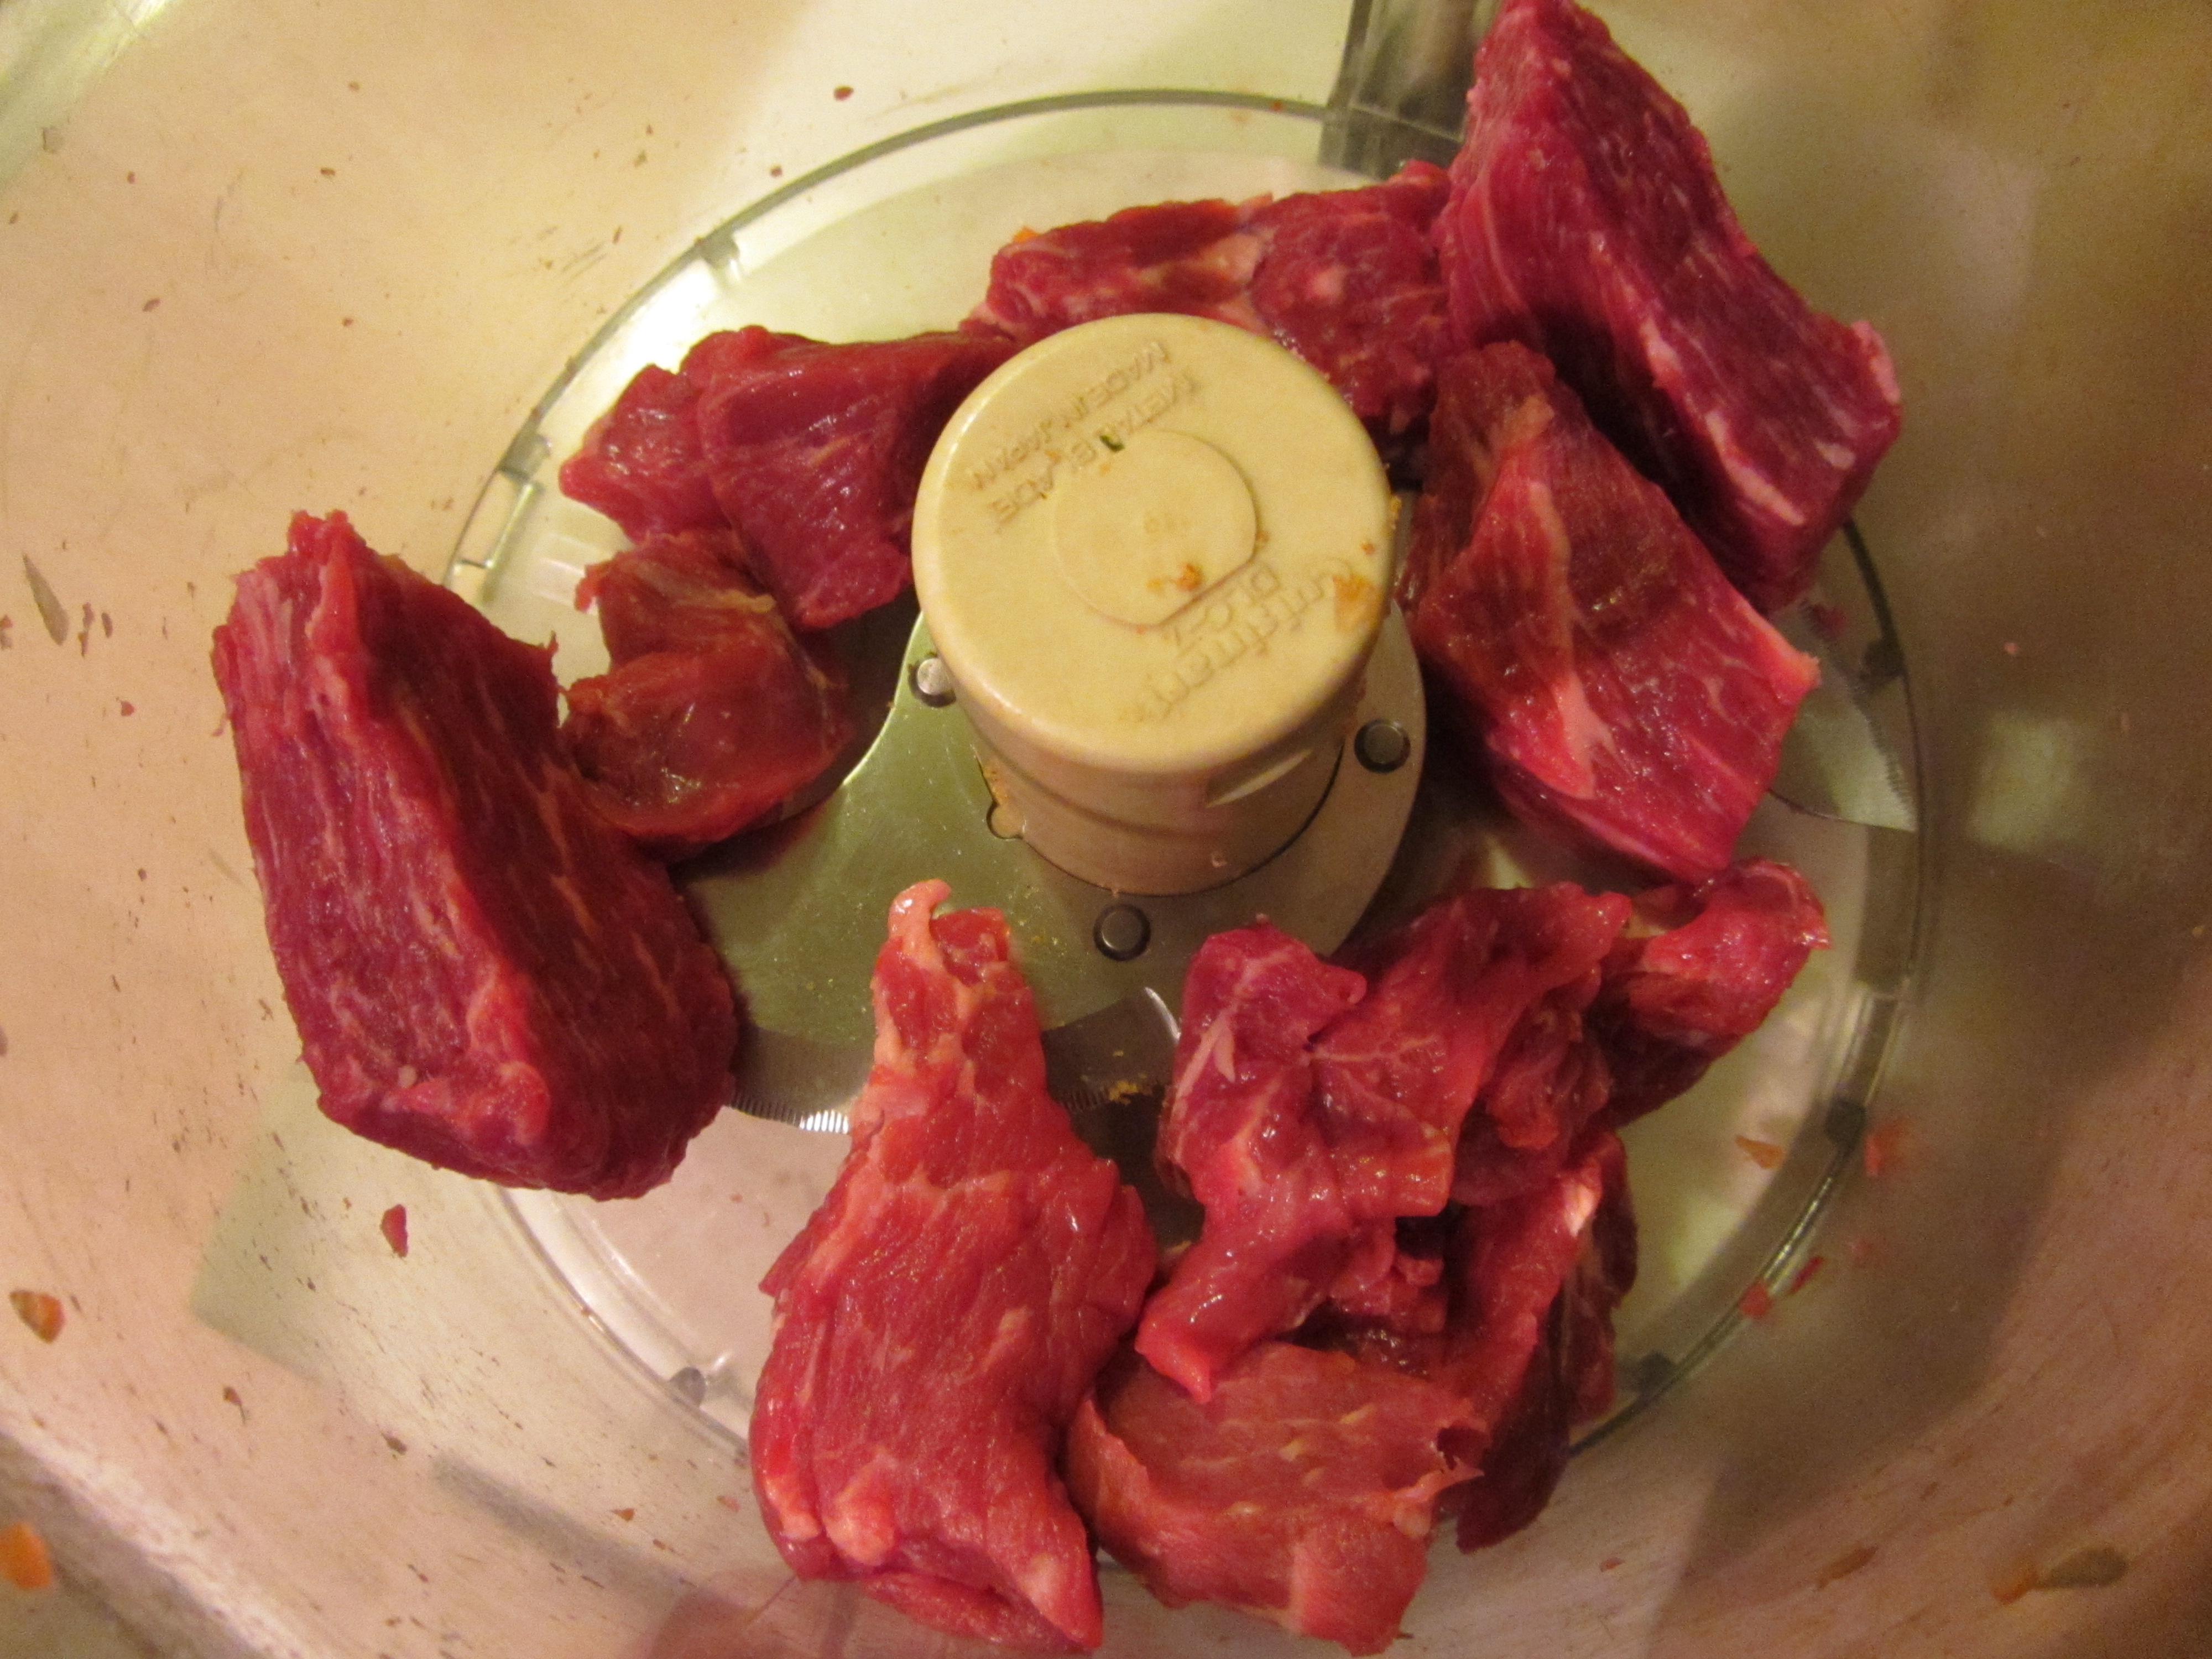
Next, into the food processor goes your meat. Just like with the burger recipe, you want to use 50% chuck and 50% sirloin that you have trimmed and cubed.

Sirloin and chuck to be trimmed and ground.
I had to do a bit more trimming with this meat than for the burgers, so it took slightly longer. I was still able to do my meat in two batches, pulsing about 15 times.

Sirloin in the food processor.

Sirloin after ~15 pulses.
Chuck in the food processor.
Once your meat is ground, you add it to the bowl with the other ingredients, along with some Kosher salt and one egg.

Both ground meats added to the veggies and croutons, along with salt and an egg.
You want to use your hands to gently toss this mixture. Alton tells you not to squeeze the meat. Once everything is suitably combined, pack the meat into a loaf pan, using a spatula.

The combined mixture after mixing with my hands.

Packed into a loaf pan.
Here is where Alton’s recipe differs from most meatloaf recipes, as you do not actually bake the meatloaf in the loaf pan. Instead, you turn the meatloaf out onto a parchment-lined baking sheet, using the loaf pan simply as a mold. Alternatively, you could just shape the meatloaf on the sheet pan with your hands. Why does Alton not have you bake in the loaf pan? Cooking the meatloaf on a sheet pan allows the fat to escape while the heat gets in.

Turned out onto a parchment-lined sheet pan.
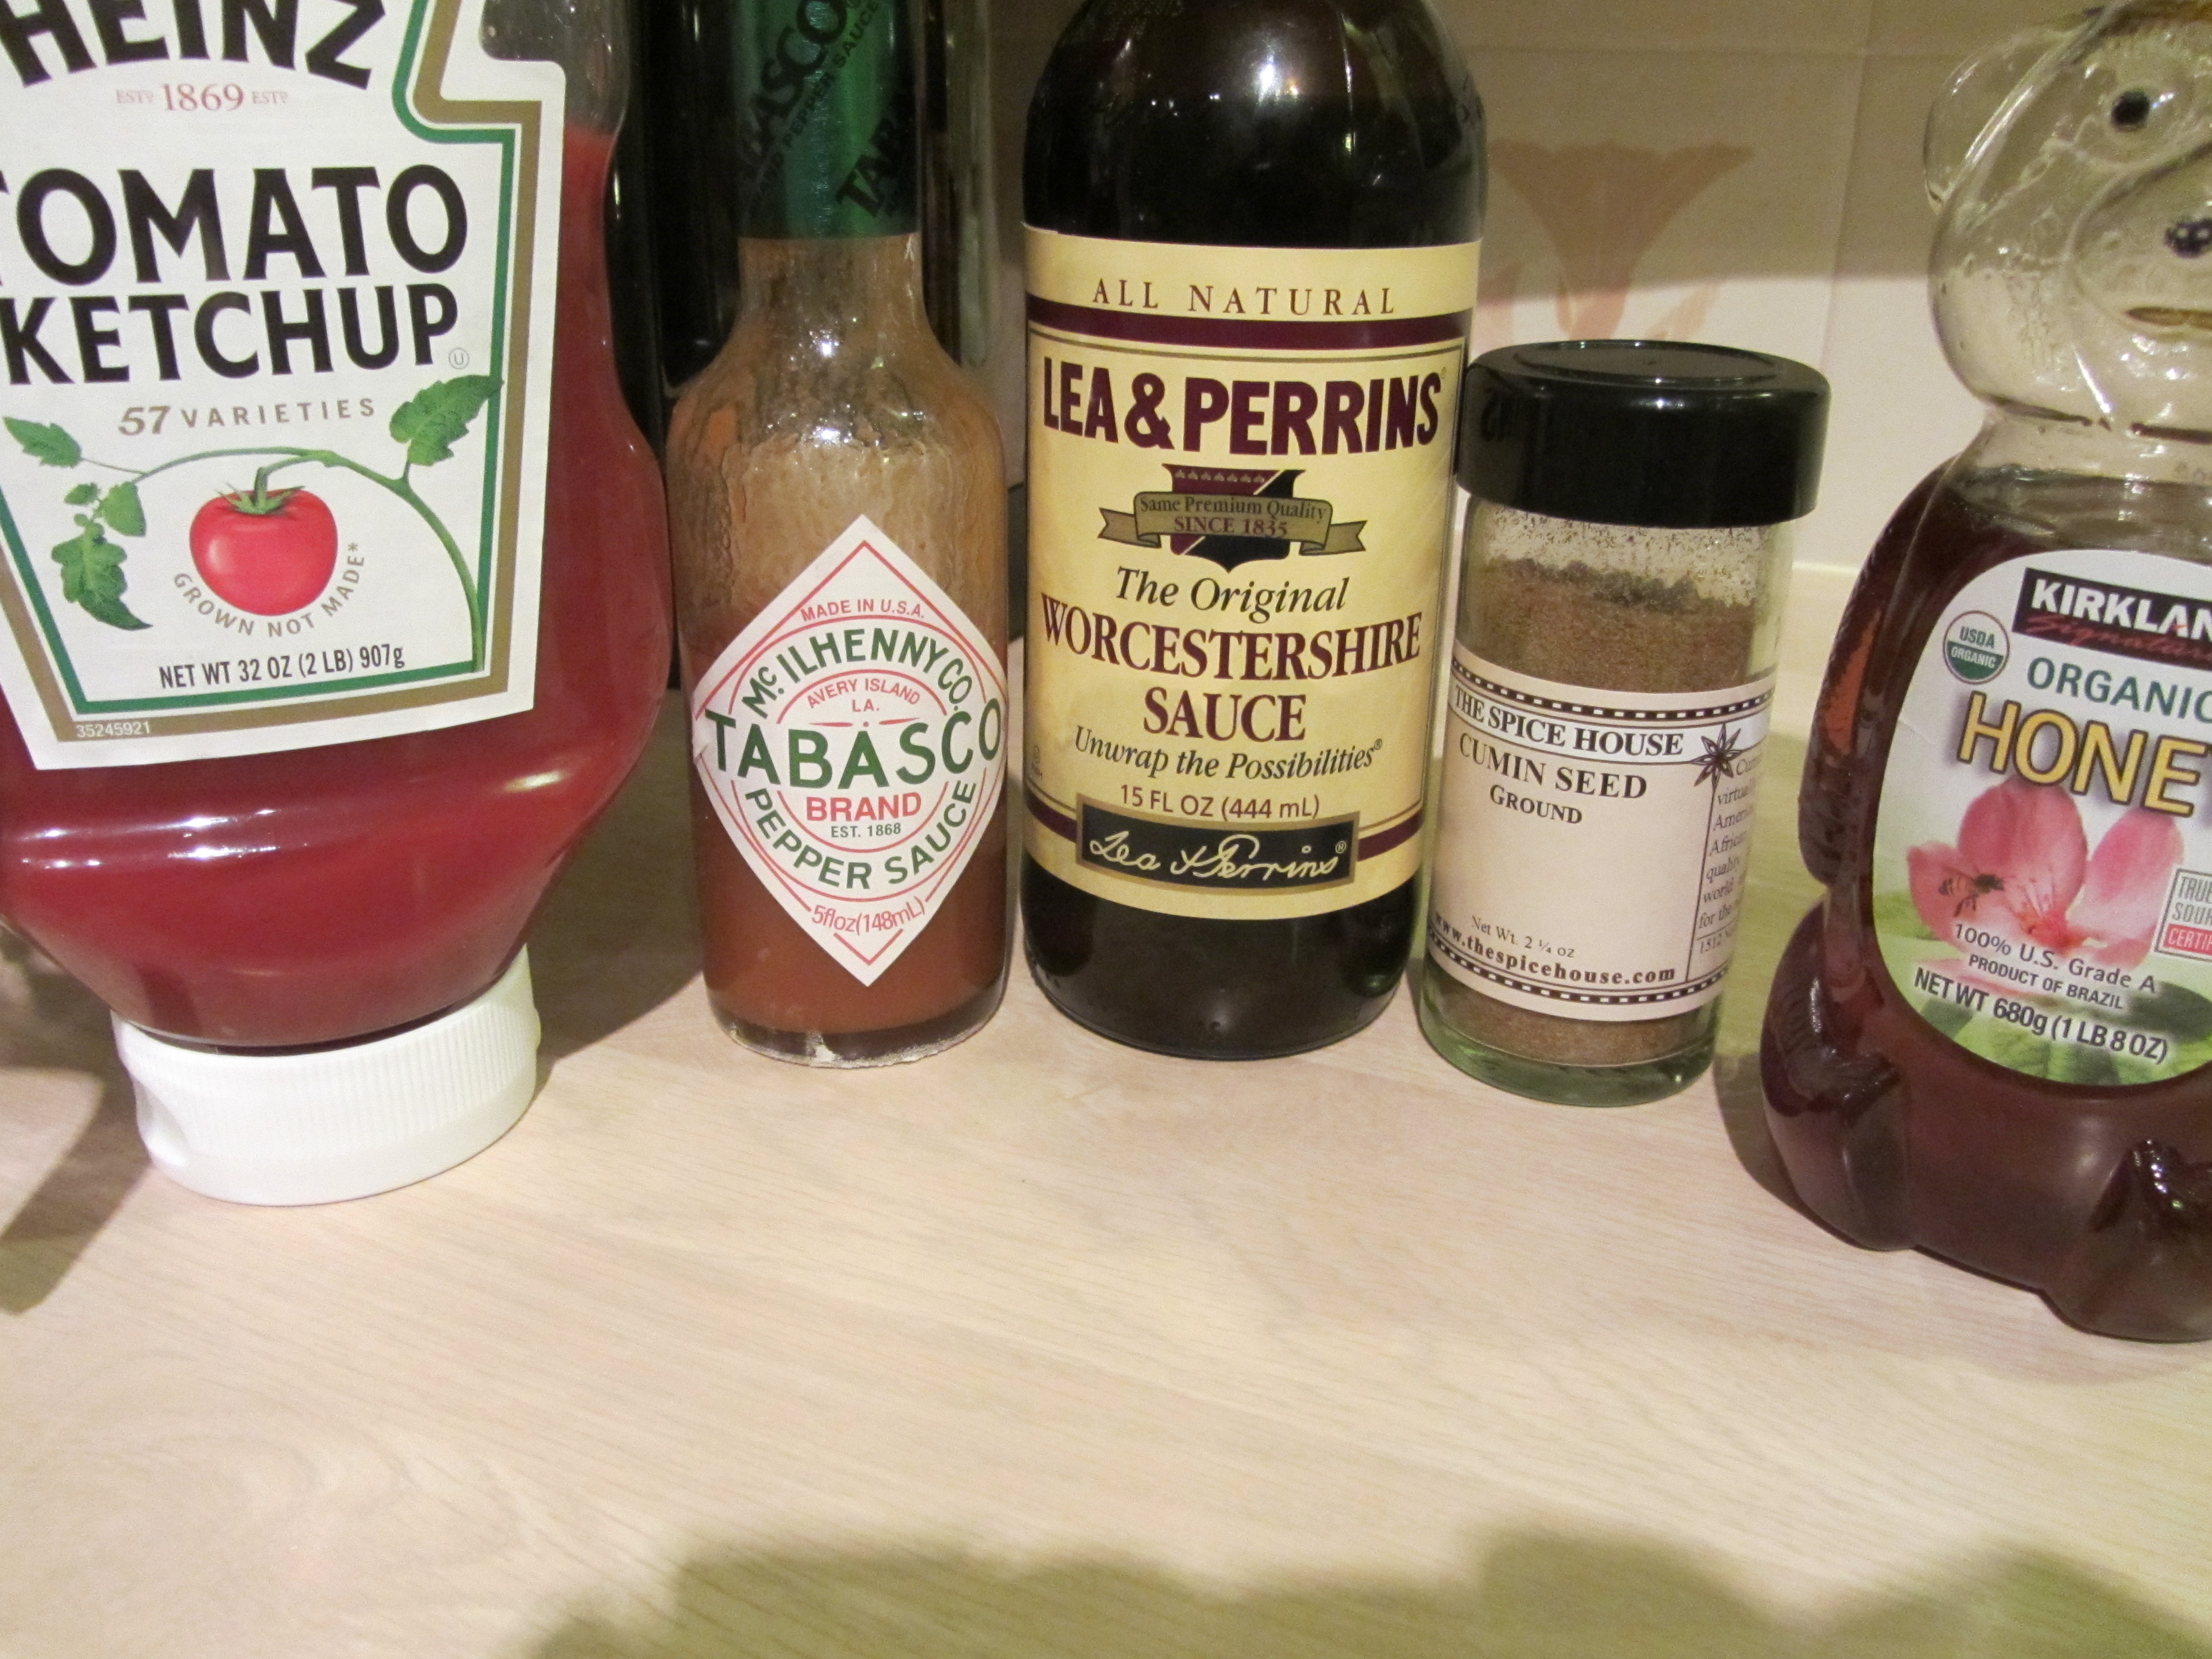
After baking for about 10-15 minutes, you want to brush a glaze onto your meatloaf. For the glaze, combine ketchup, cumin, Worcestershire sauce, hot sauce (I used Tabasco, as did Alton), and honey. In the online recipe, the glaze calls for a teaspoon of ground cumin, though Alton used a whole tablespoon of cumin in the episode. I, or course, went with what he did in the episode.
Glaze ingredients: ketchup, hot sauce, Worcestershire sauce, cumin, and honey.

Finished glaze.
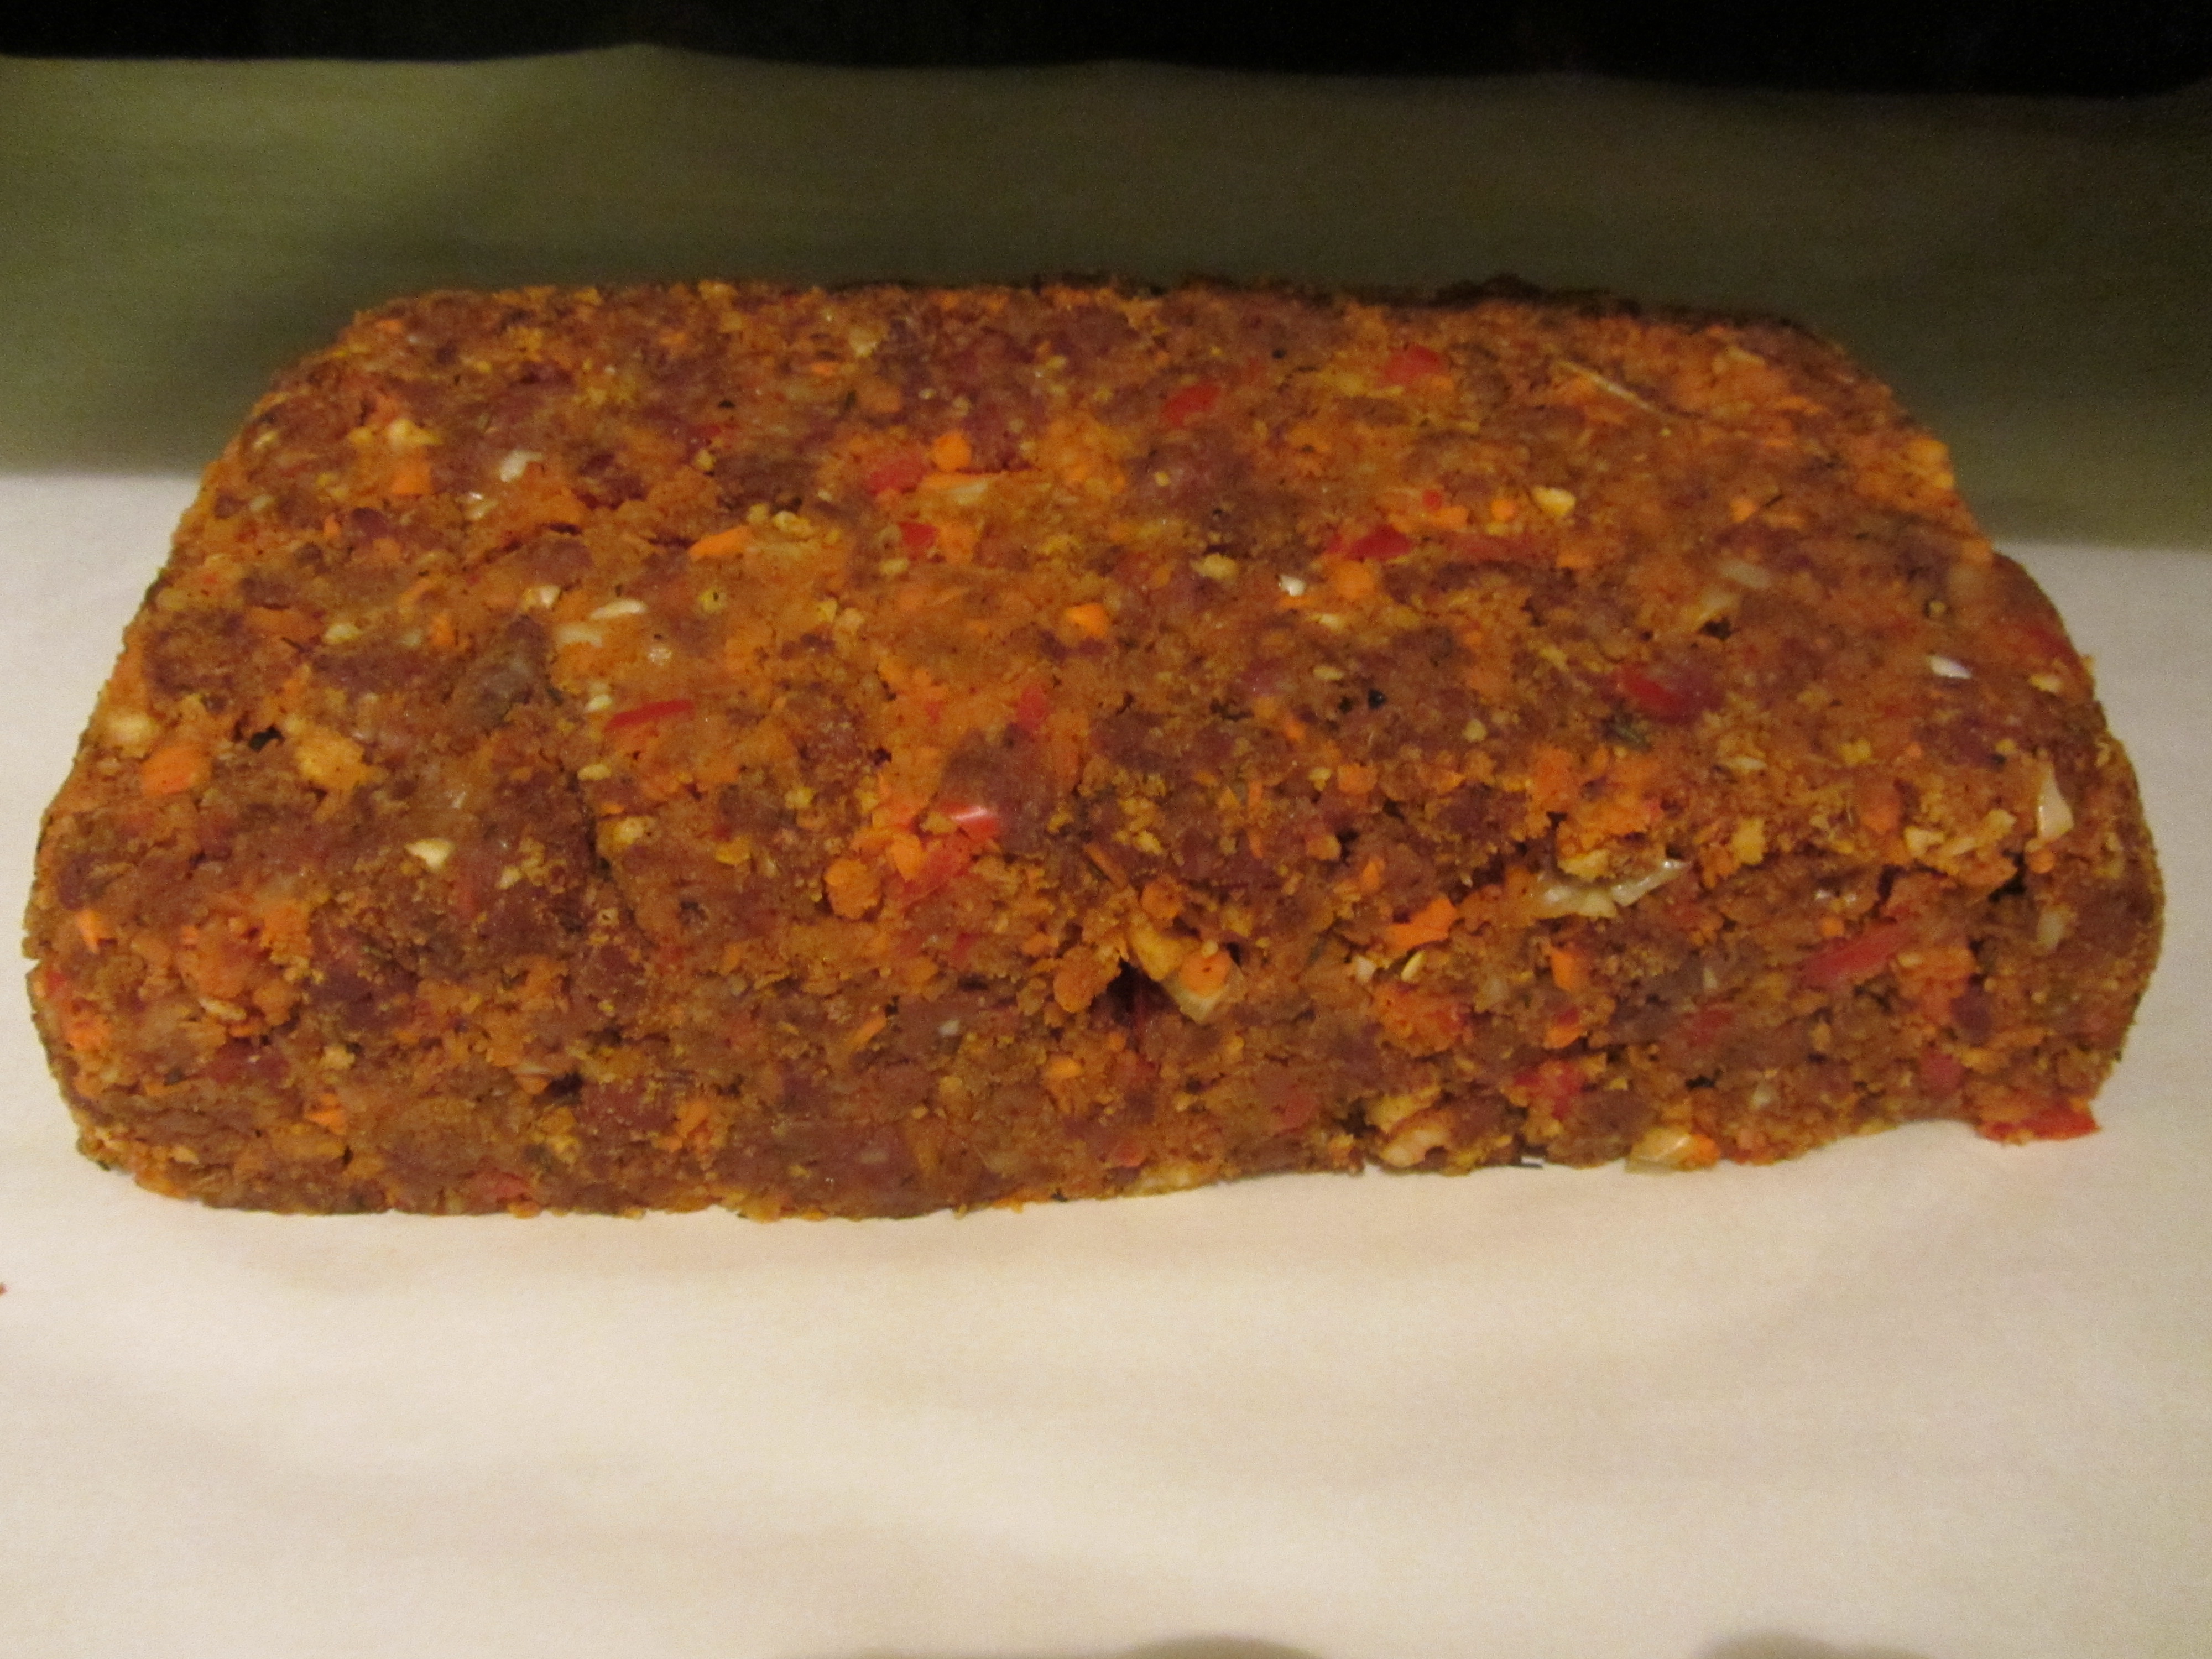
Meatloaf after 10-15 minutes in the oven.
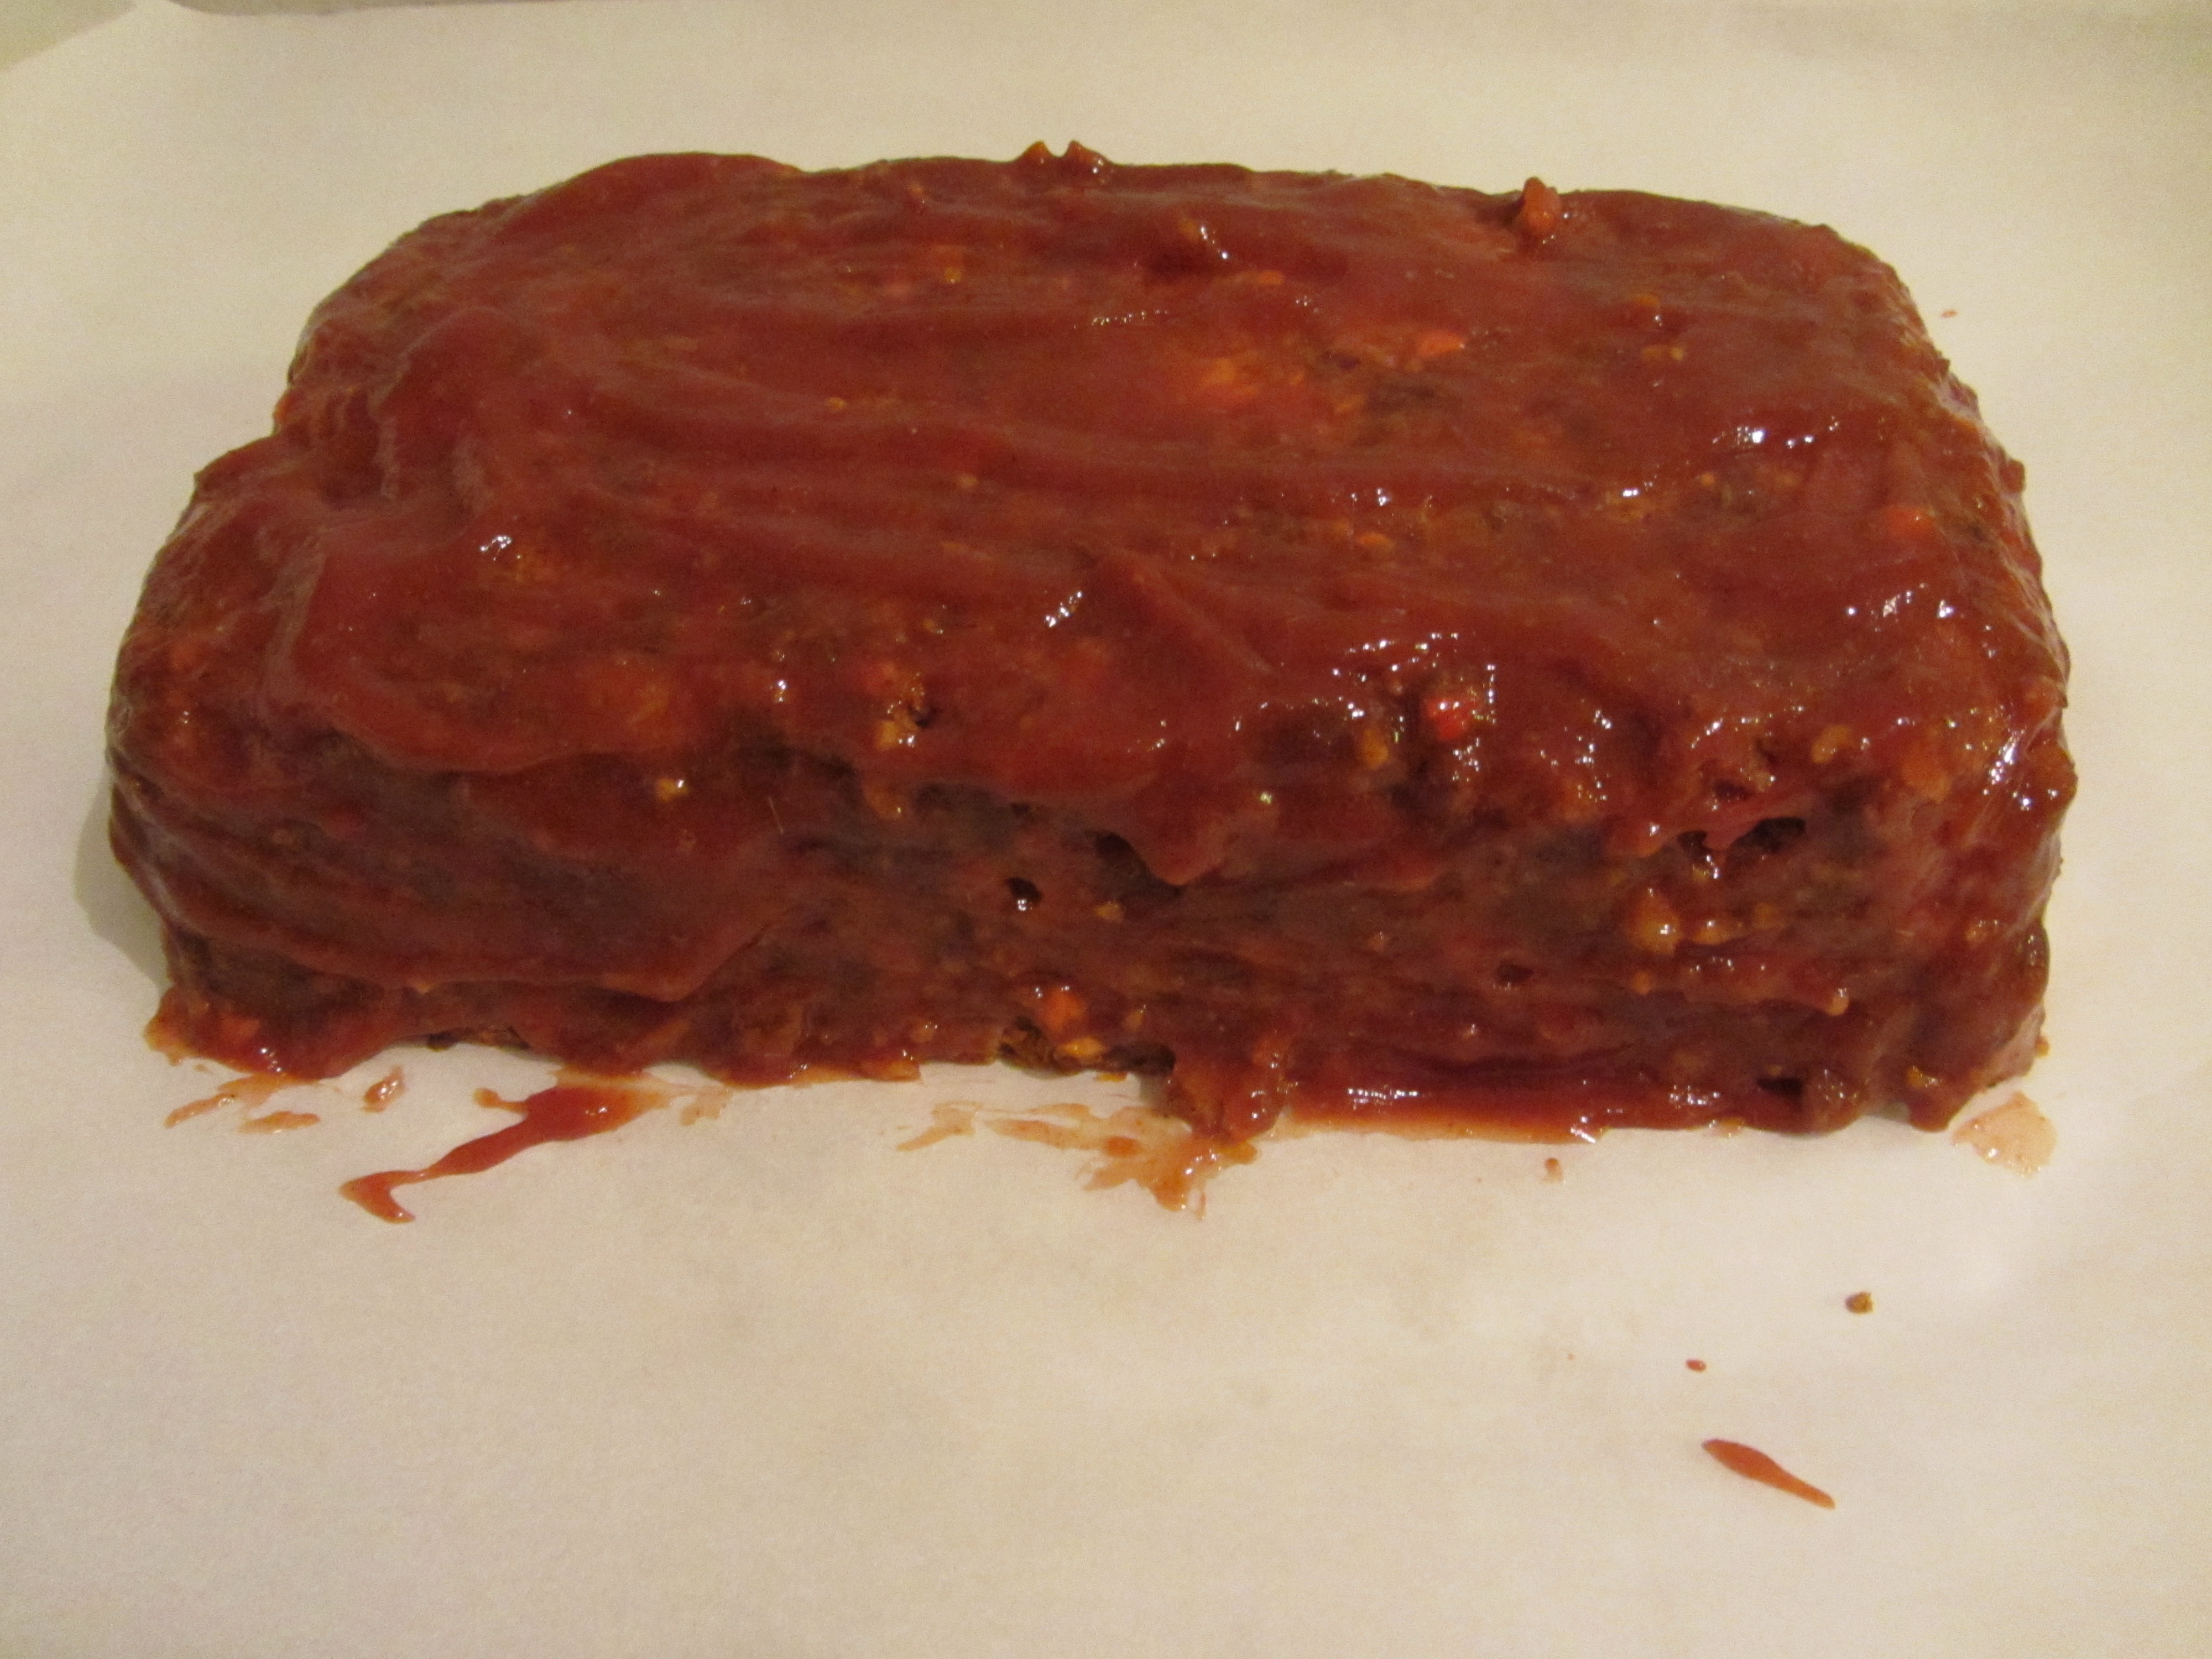
Glaze brushed on and back into the oven.
For his meatloaf, Alton uses a probe thermometer (set to 155 degrees), which he inserts into the center of the meatloaf at a 45 degree angle. I do not have a probe thermometer, so I simply checked the temperature of my meatloaf regularly until it reached 155 degrees. Confession: my meatloaf’s temperature was a bit higher than 155 degrees when I removed it from the oven. Once you remove your meatloaf from the oven, be sure to let it rest for about 10 minutes before slicing.
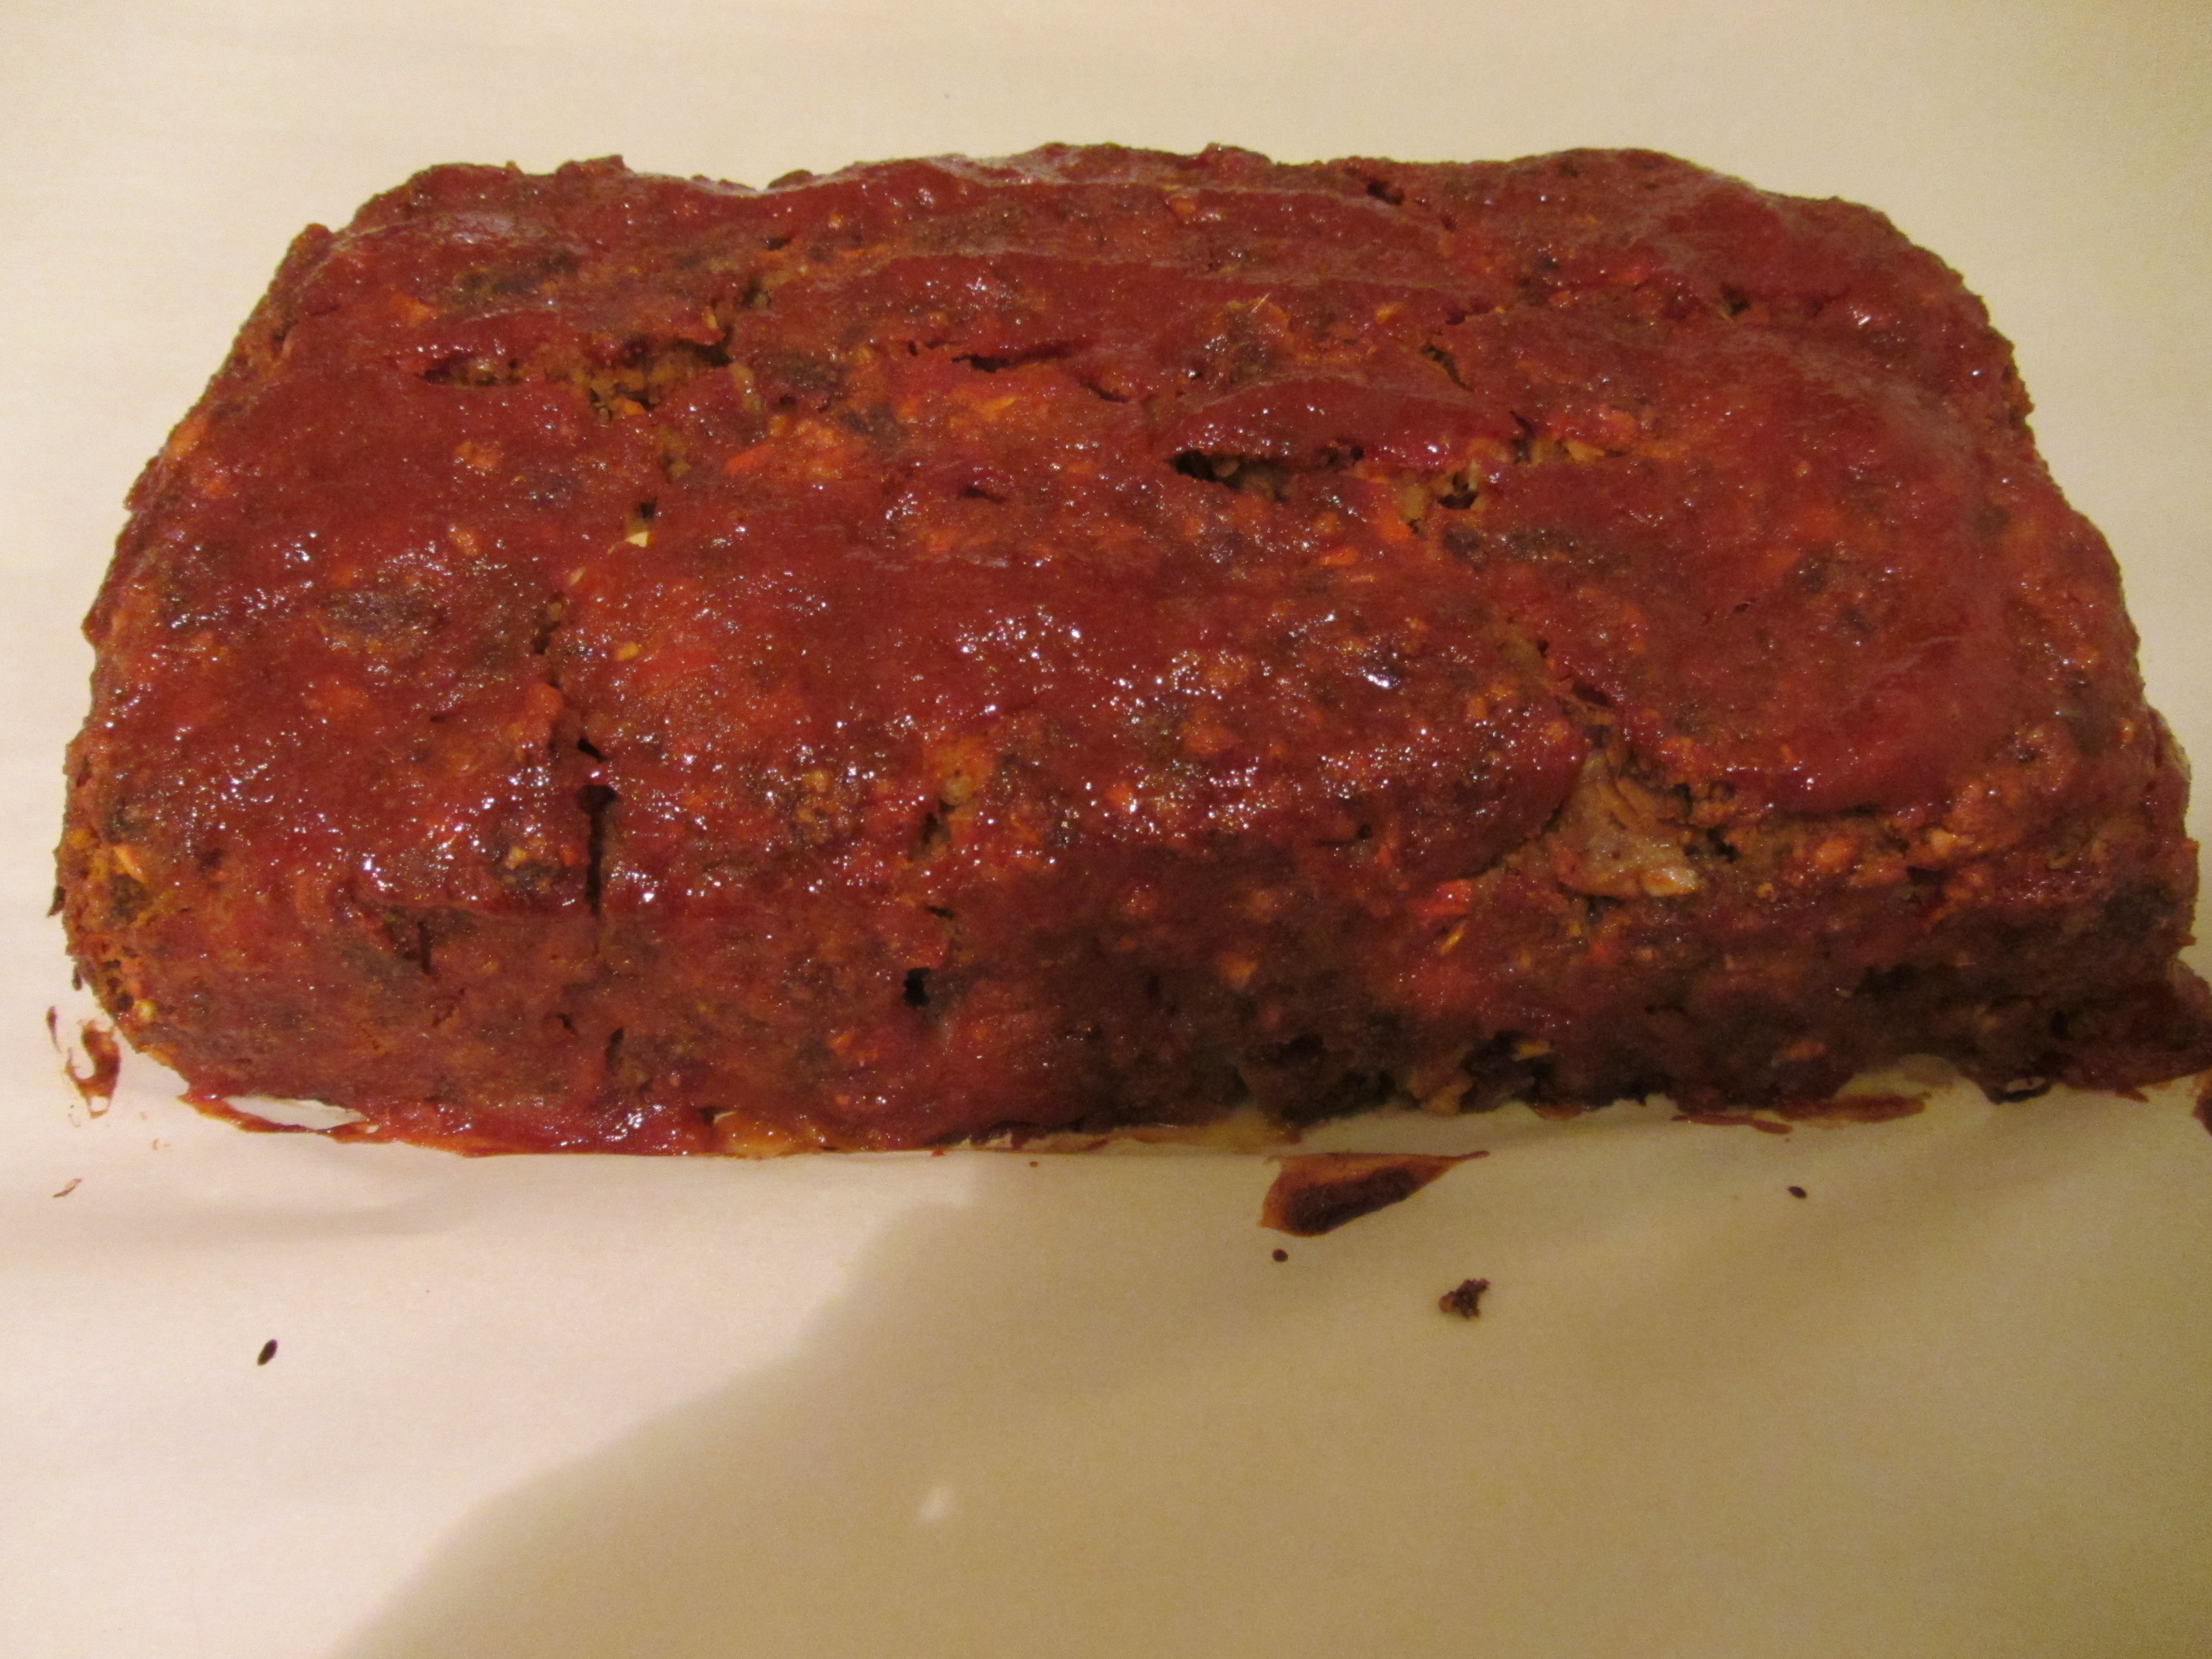
Meatloaf after baking to 155 degrees (+).
We ate our meatloaf last night, alongside some steamed, seasoned broccoli. The meatloaf did crumble a bit when it was sliced, but it was far from dry. In fact, it was very moist in the middle with a nice crust from the glaze on the outside.

Meatloaf after resting.
We both really liked the combination of spices used, and said we will likely use them again for any future meatloaf, even if we are not grinding our own meat. The cumin was the predominant spice, so those who do not like cumin may find this to be a bit overpowering. We, however, thought it was just right. The flavor was zesty, slightly spicy from the cayenne and hot chili powder, and sweet from the ketchup and honey. The meat flavor still came through, even with all of the spice, and the vegetables served to keep moisture in the meatloaf. If you are looking for a super flavorful, spicy meatloaf, give this one a try.
