Posts Tagged ‘sirloin’

Recent happenings have caused me to fall way behind on this blog, which actually provides a great distraction at times. After feeling “off” a couple weeks ago, I ended up having various tests done, which led to a diagnosis of pre-eclampsia last week, which can be a life-threatening pregnancy complication. I am currently 30 weeks pregnant, and I am being tested/monitored weekly, with a goal of taking the pregnancy to 37 weeks before delivery. It all depends on how my body handles things in the coming weeks, but I am unfortunately facing the reality that I will be delivering this baby early; it is just a question of how early.

I made the recipes in this episode quite a while ago actually, but am only now sitting down to finally write. My newest lab results should be in today or tomorrow, so I am trying to distract myself in the meantime. Since this is sort of a summery episode, I figured I’d better get on it while the warm weather is still here! The recipes from this episode are great to make on a hot evening because they are both grilling recipes and thus won’t heat up the house.

Spicy Beef Kebabs

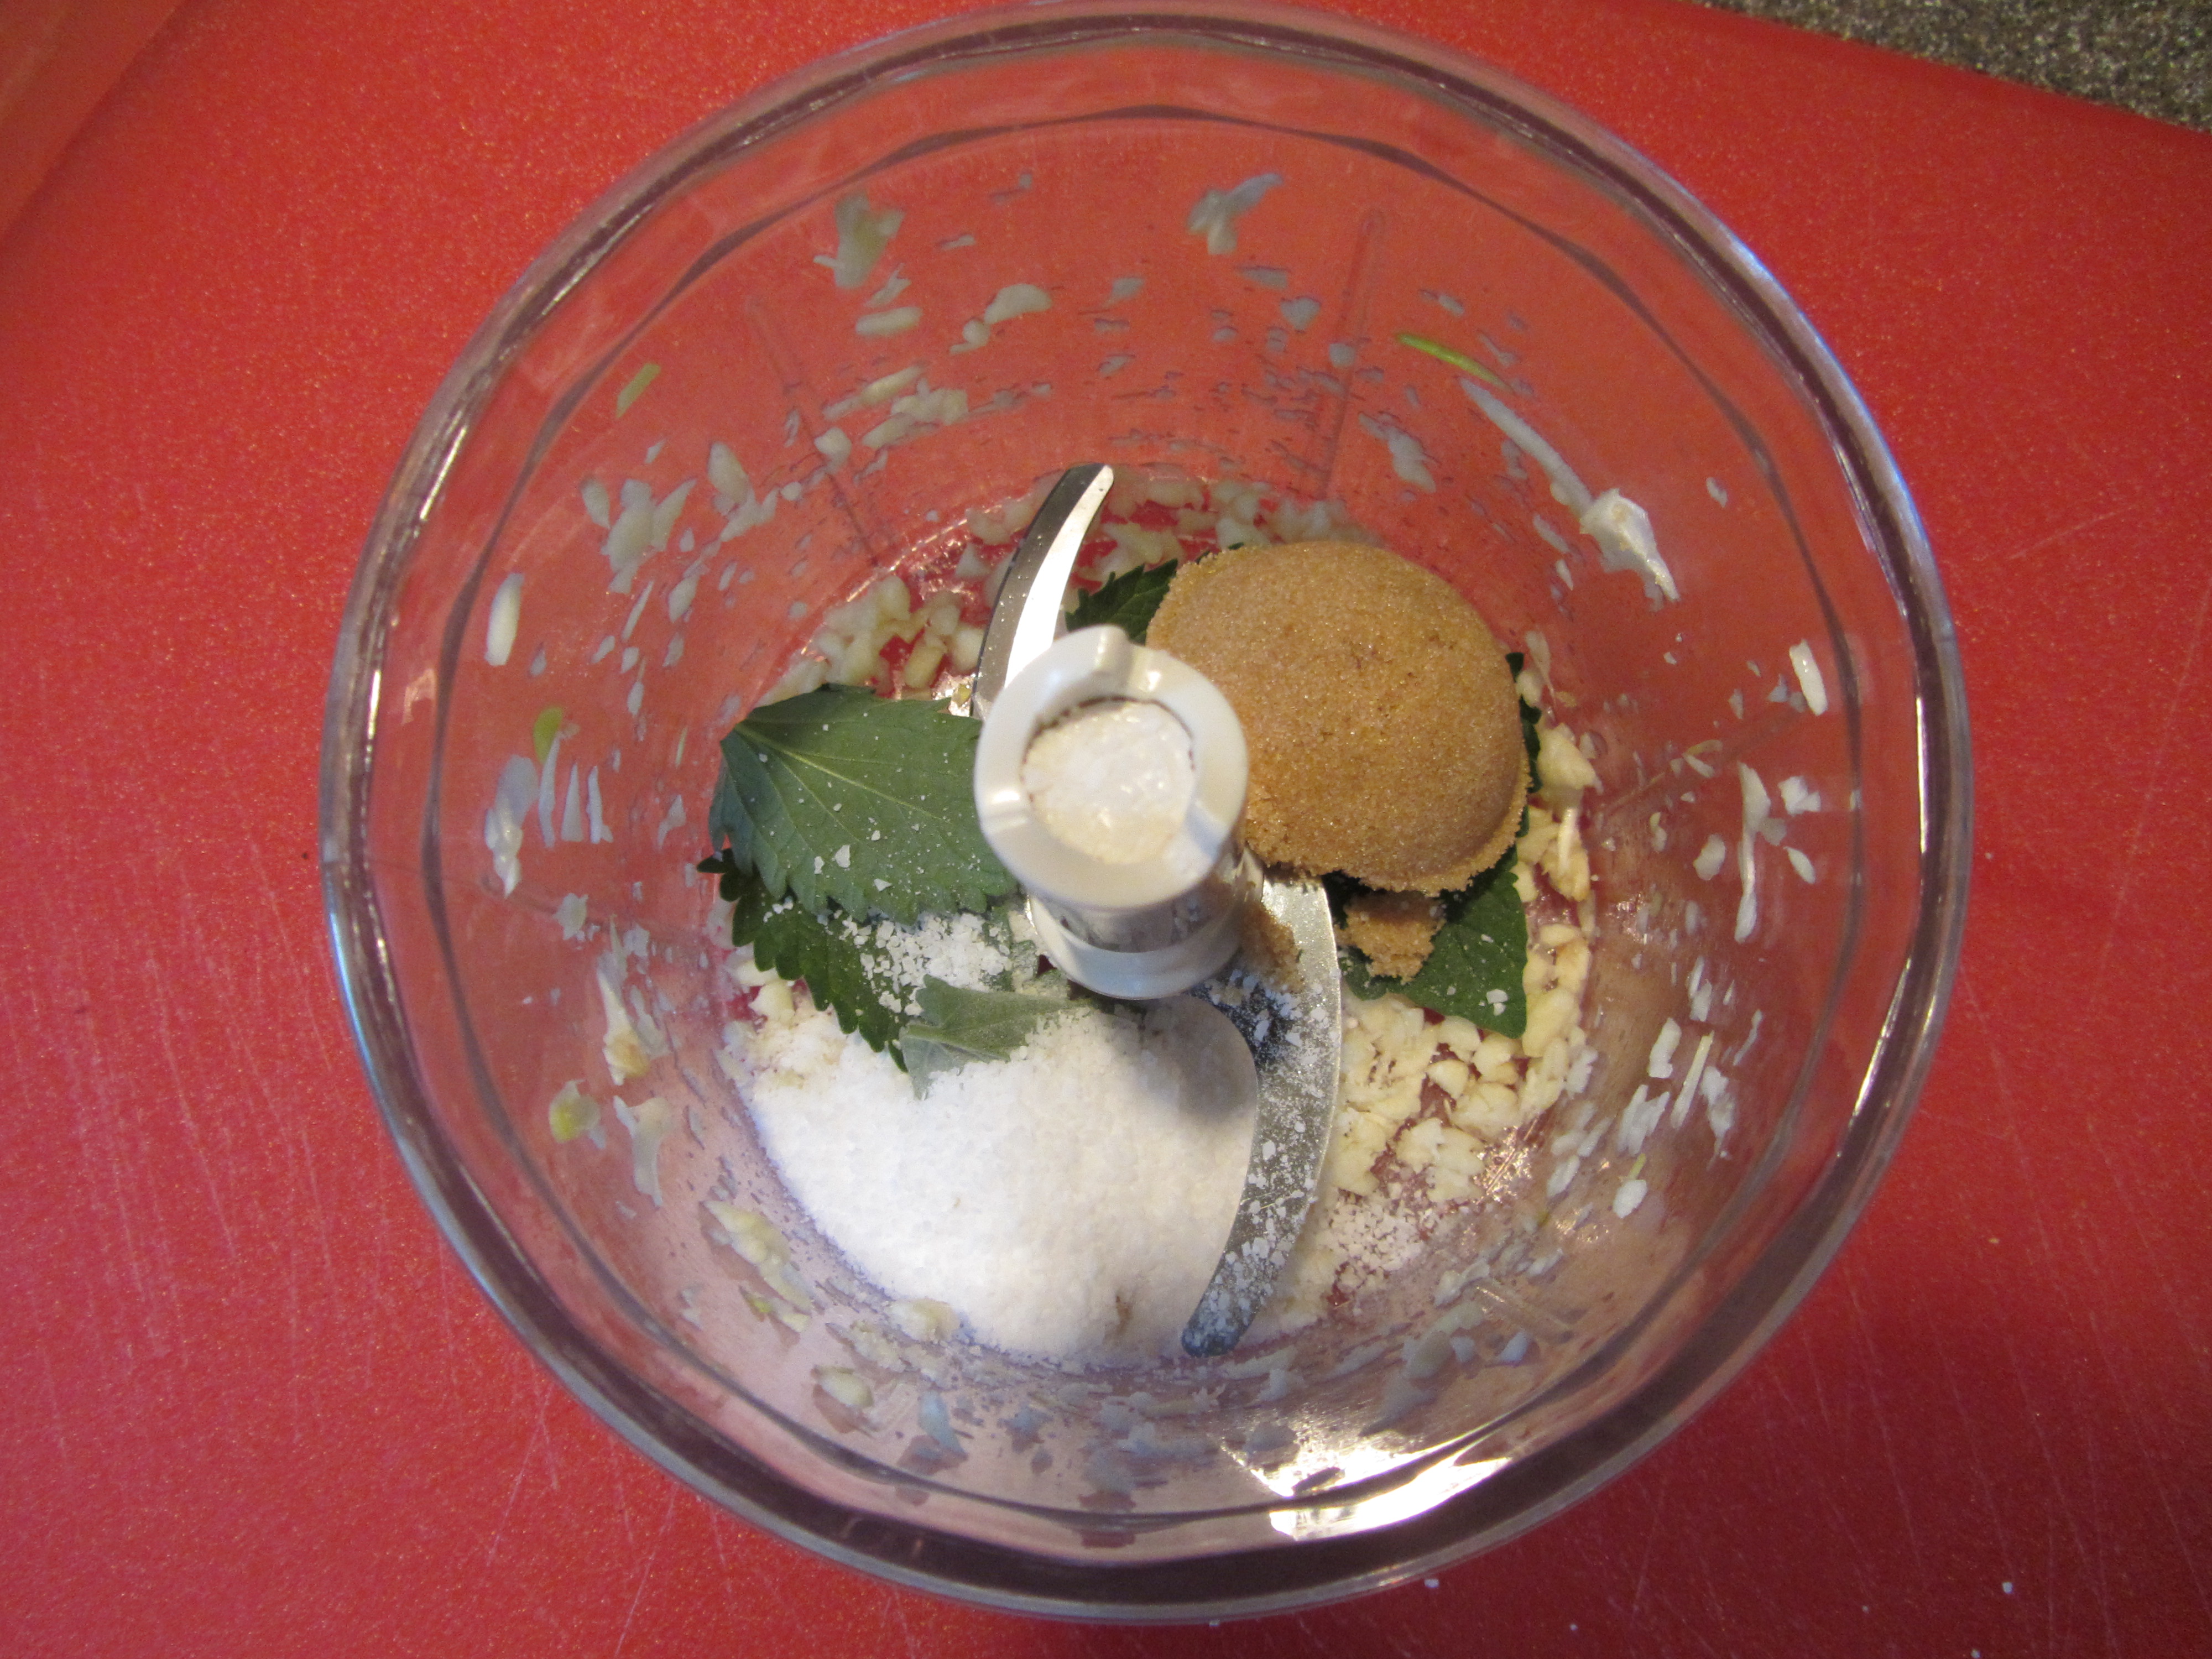
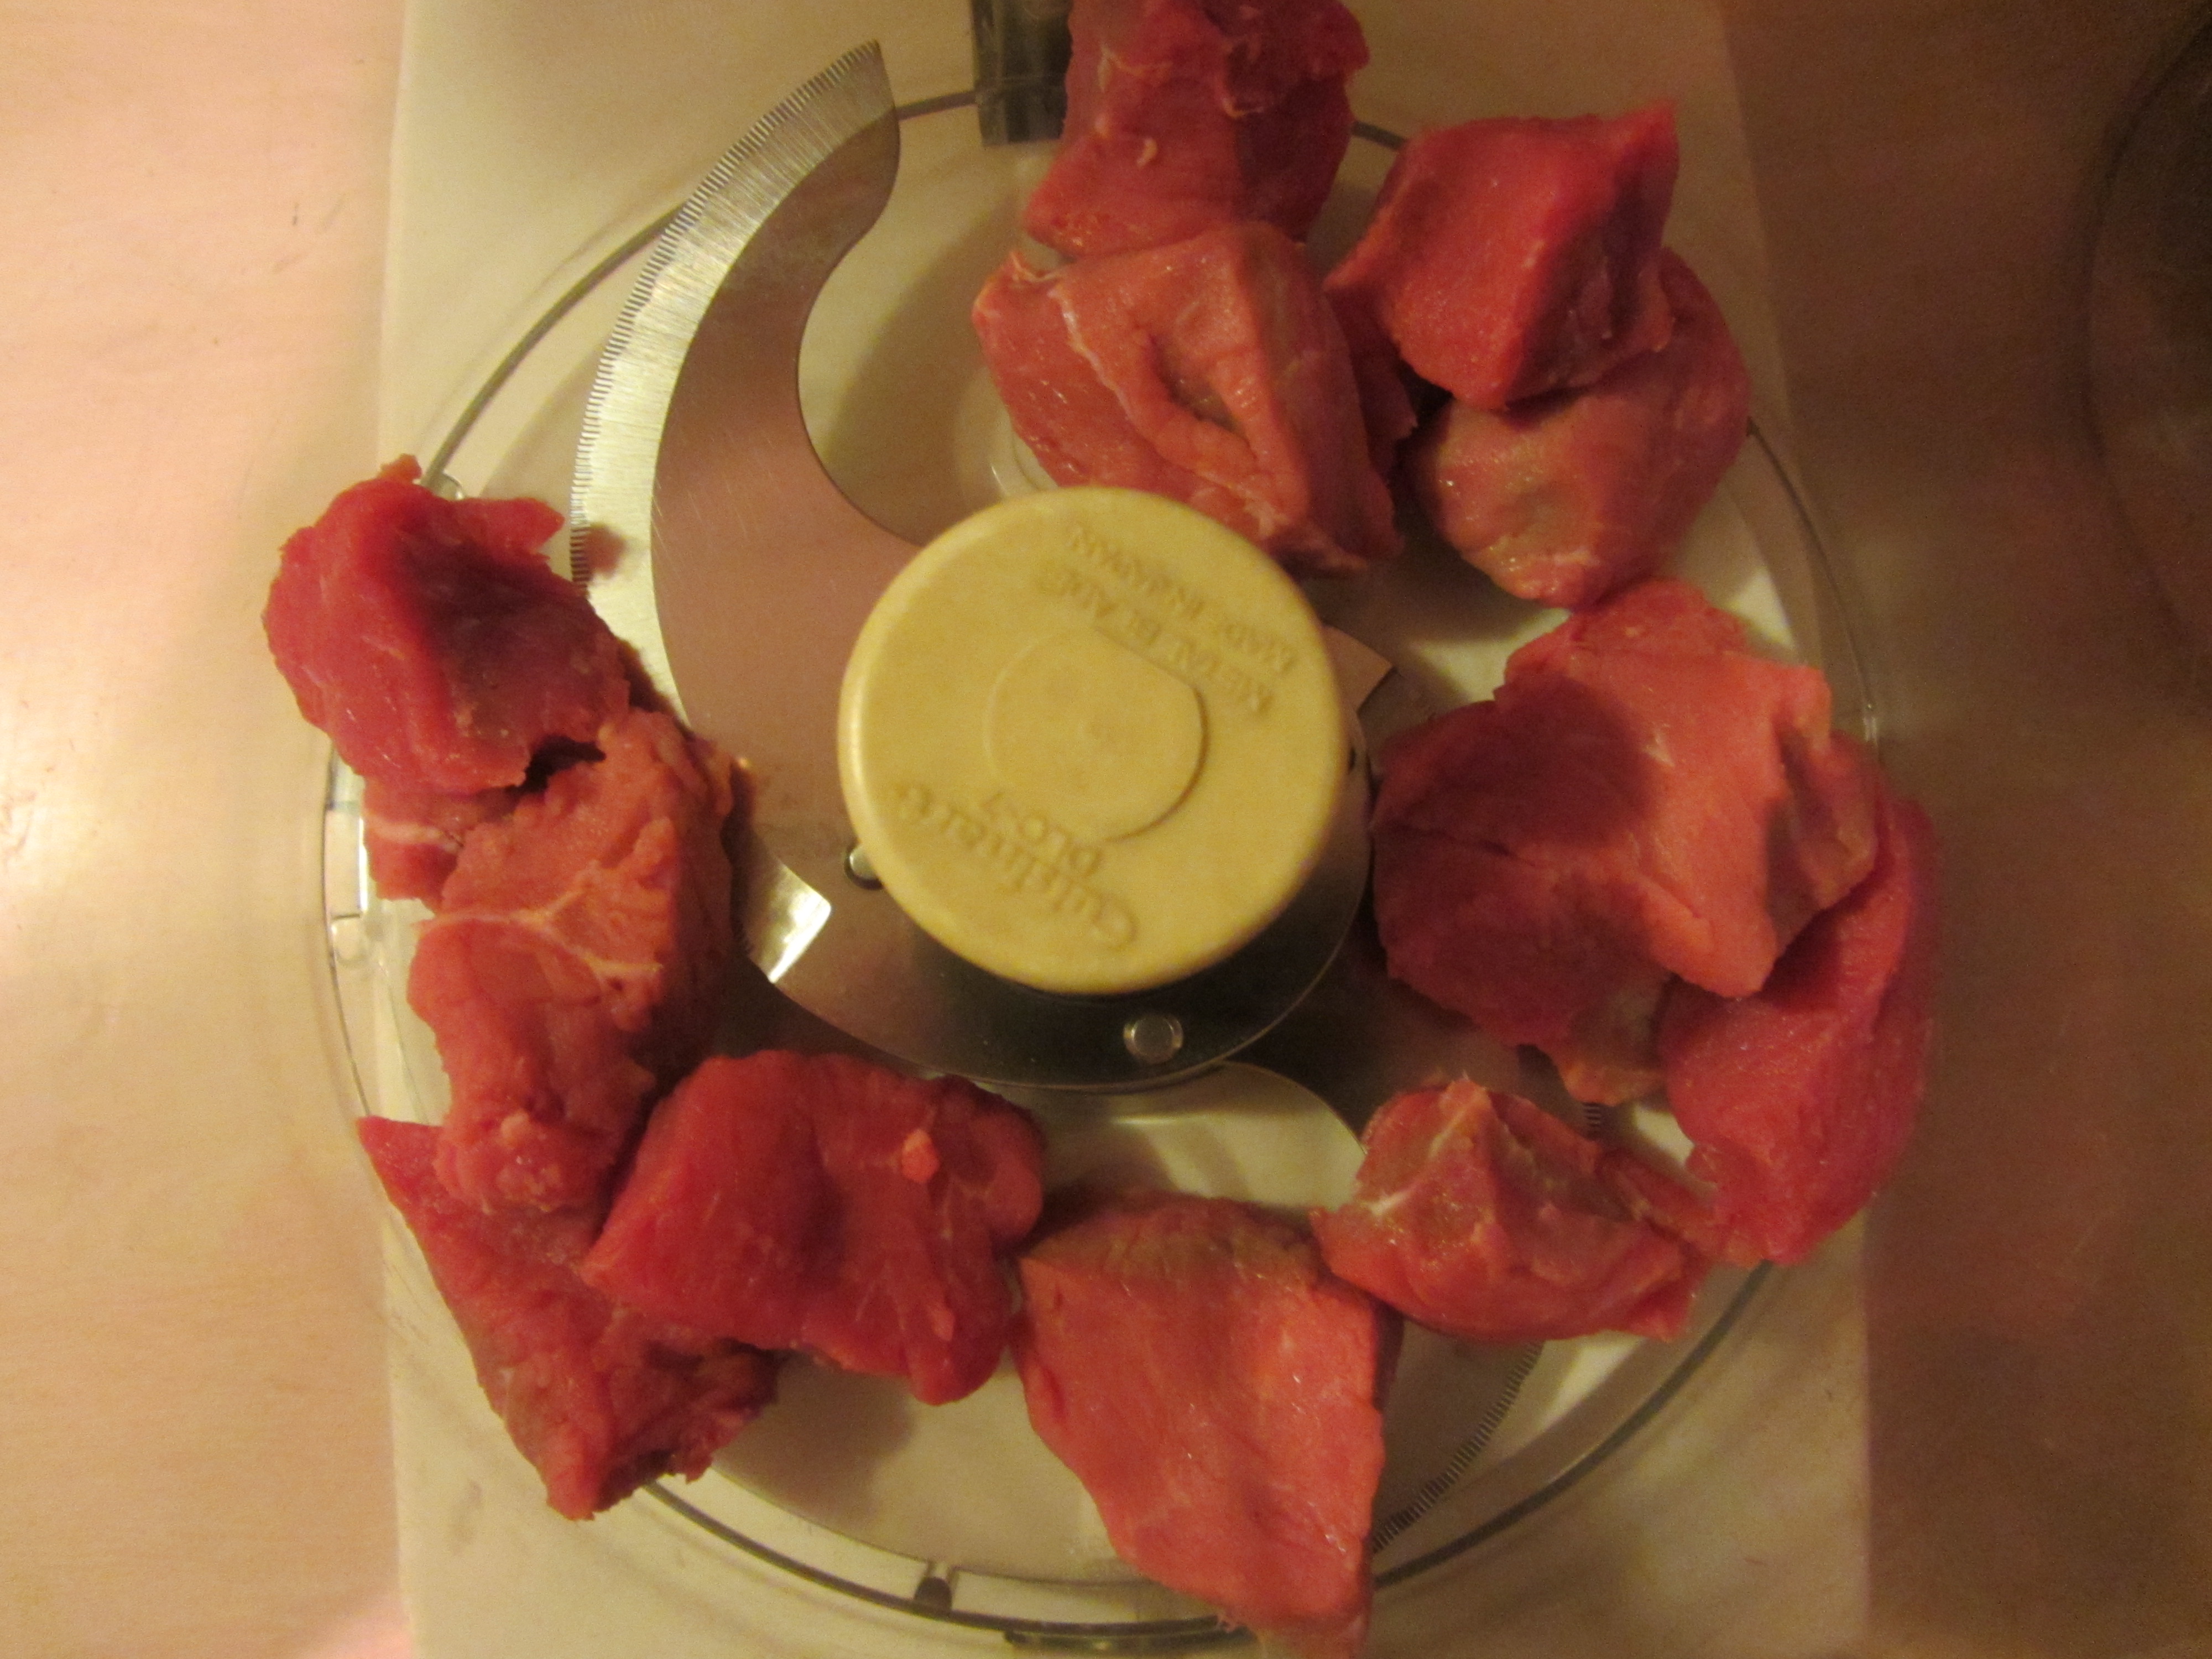
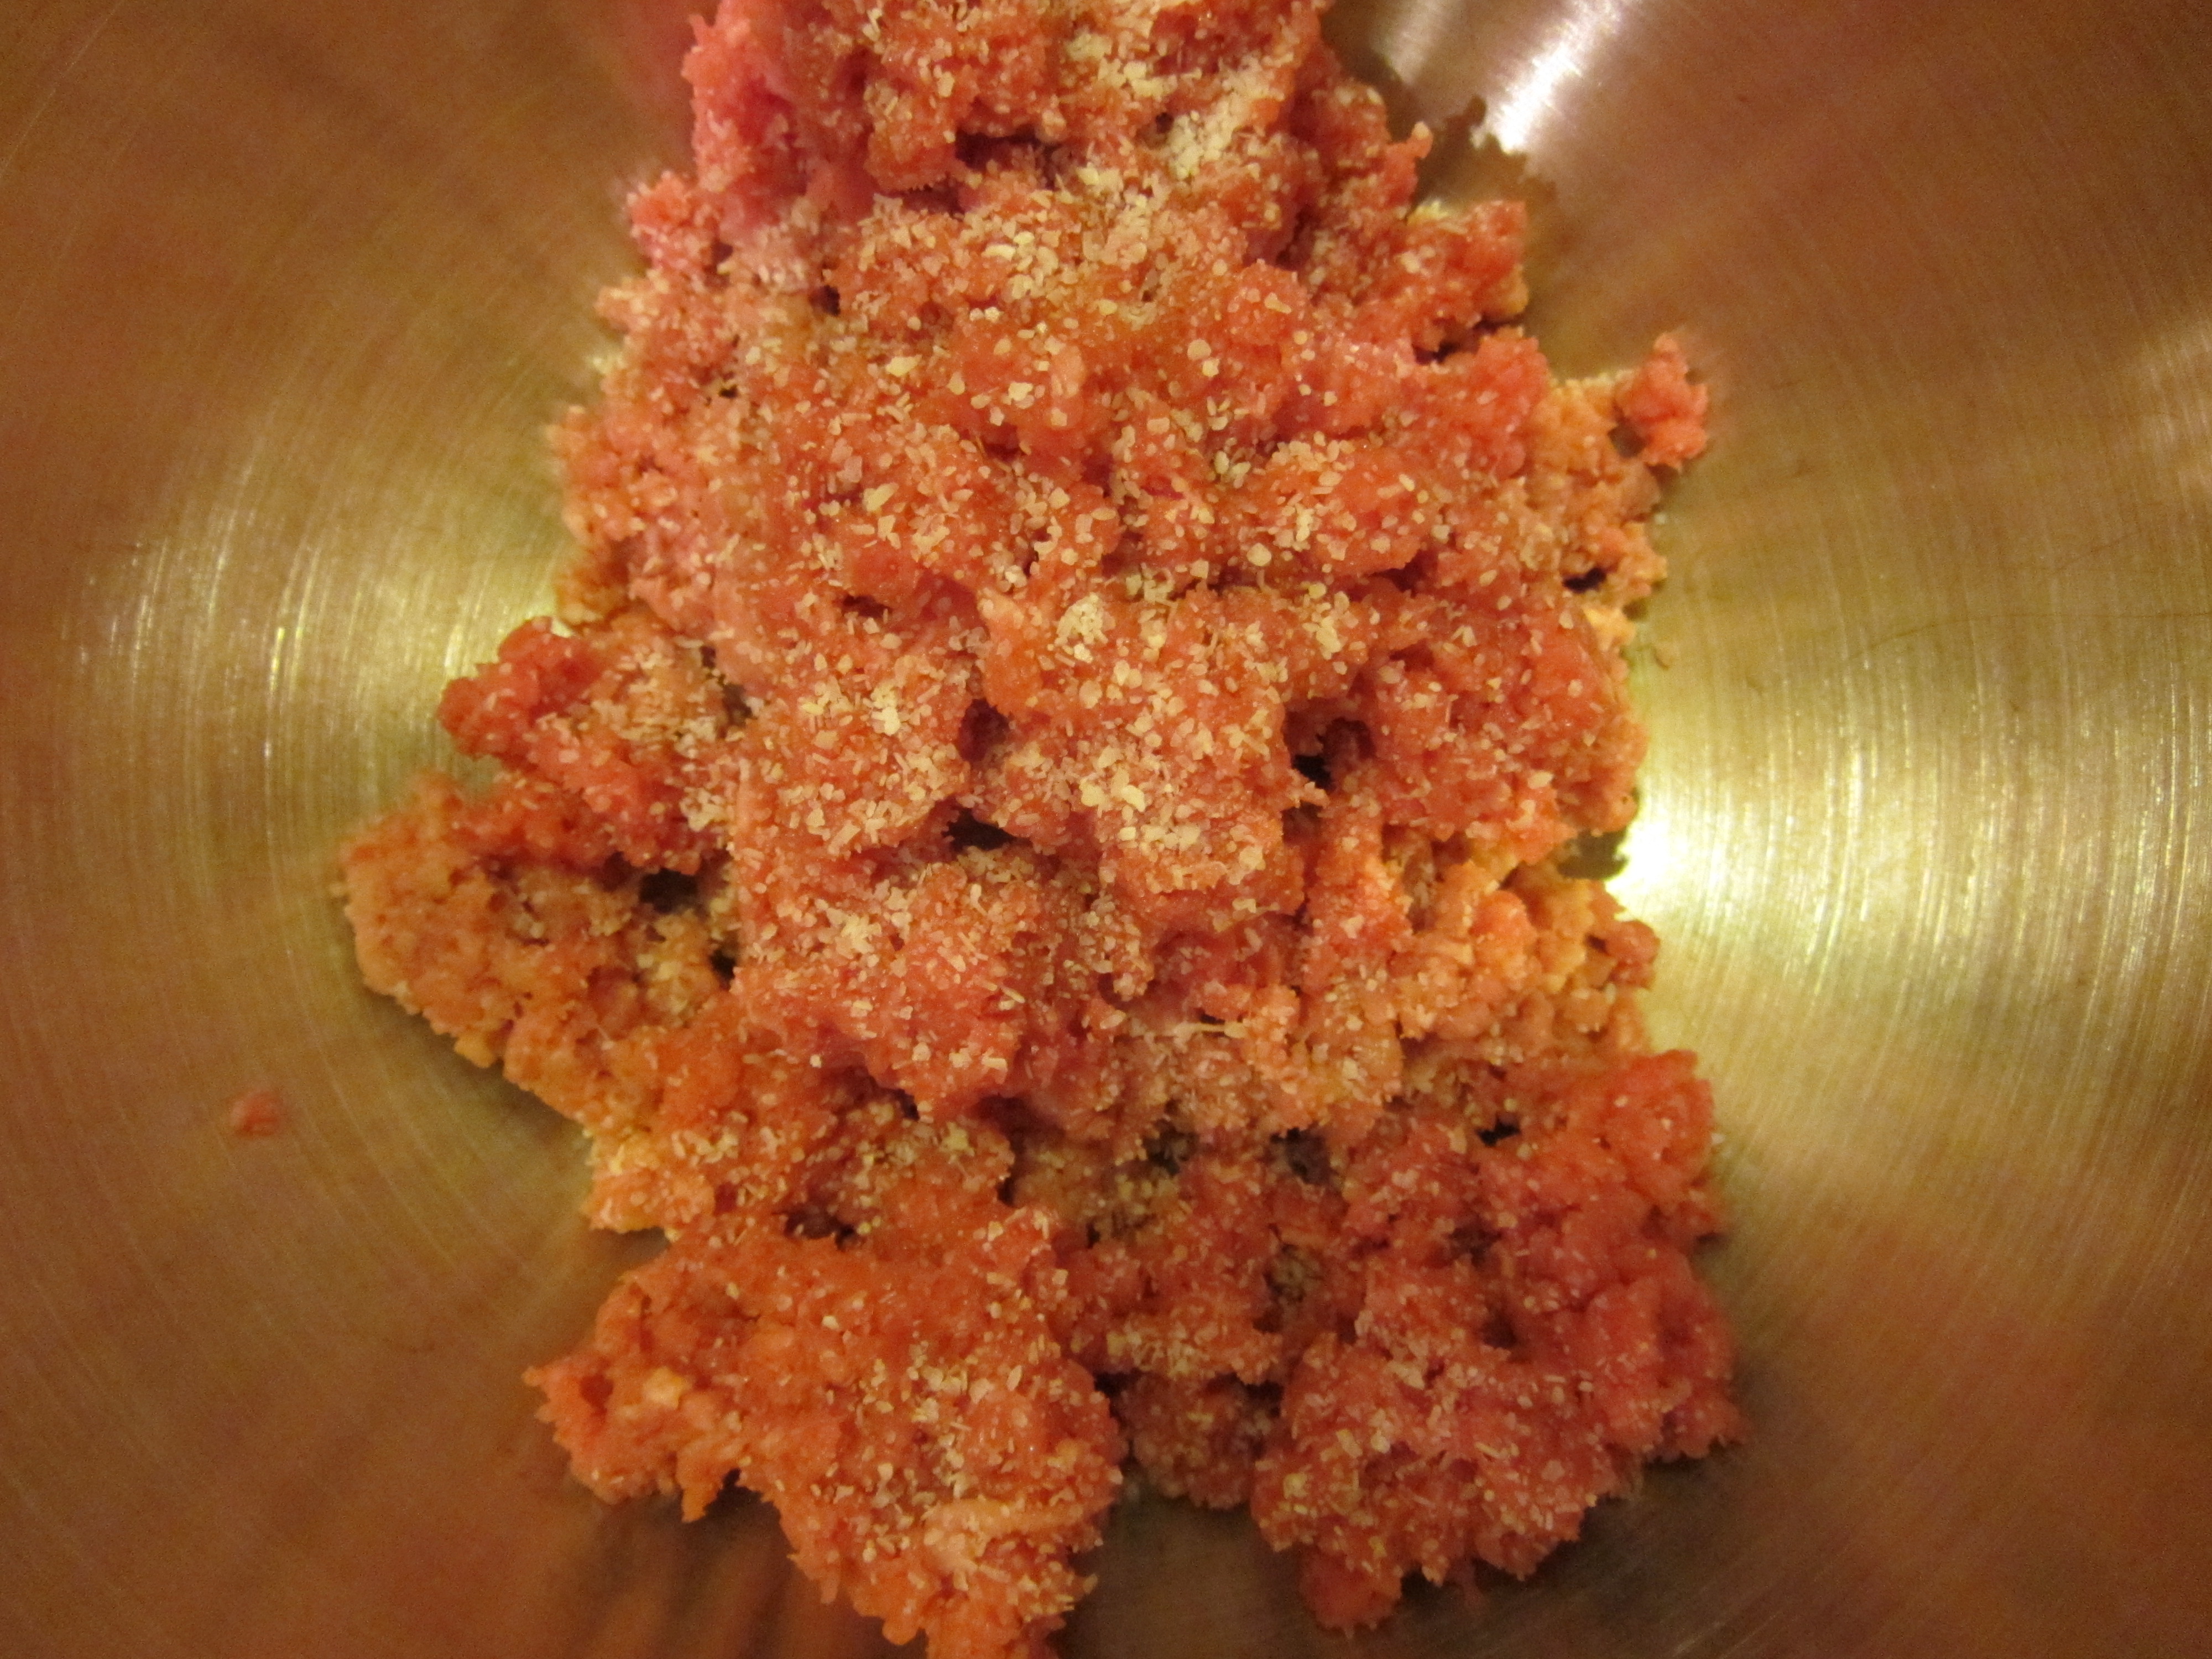
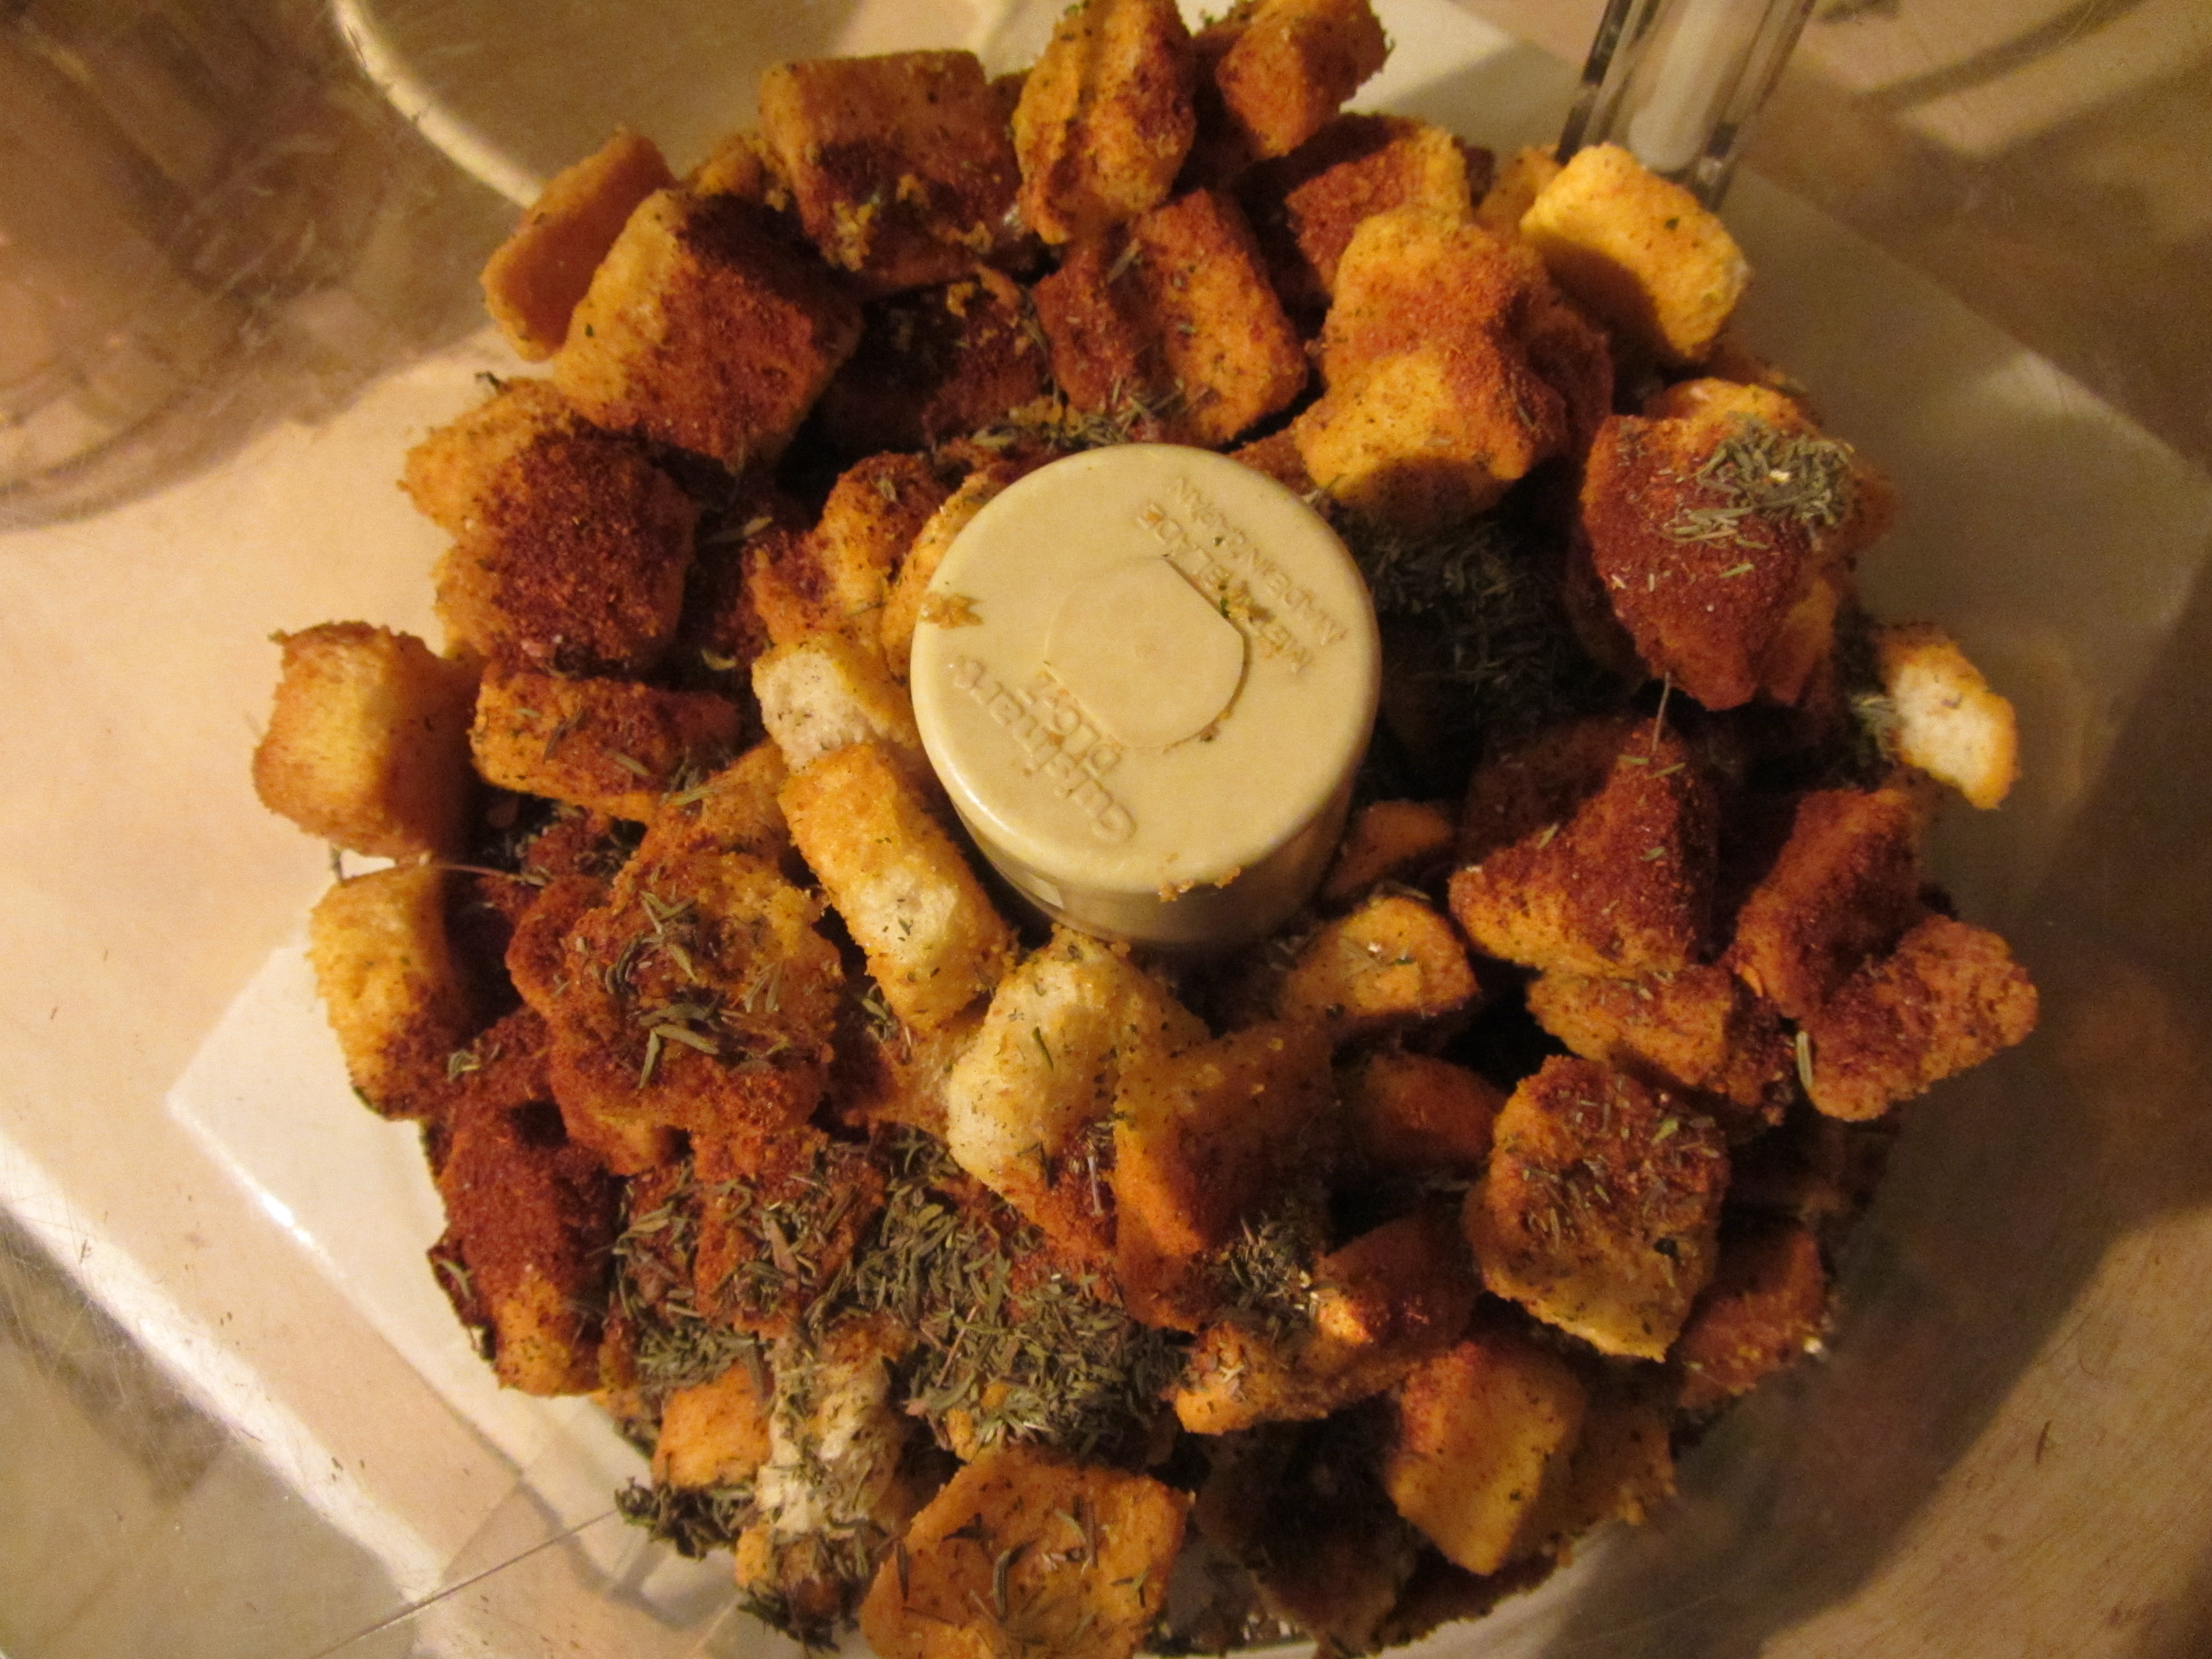
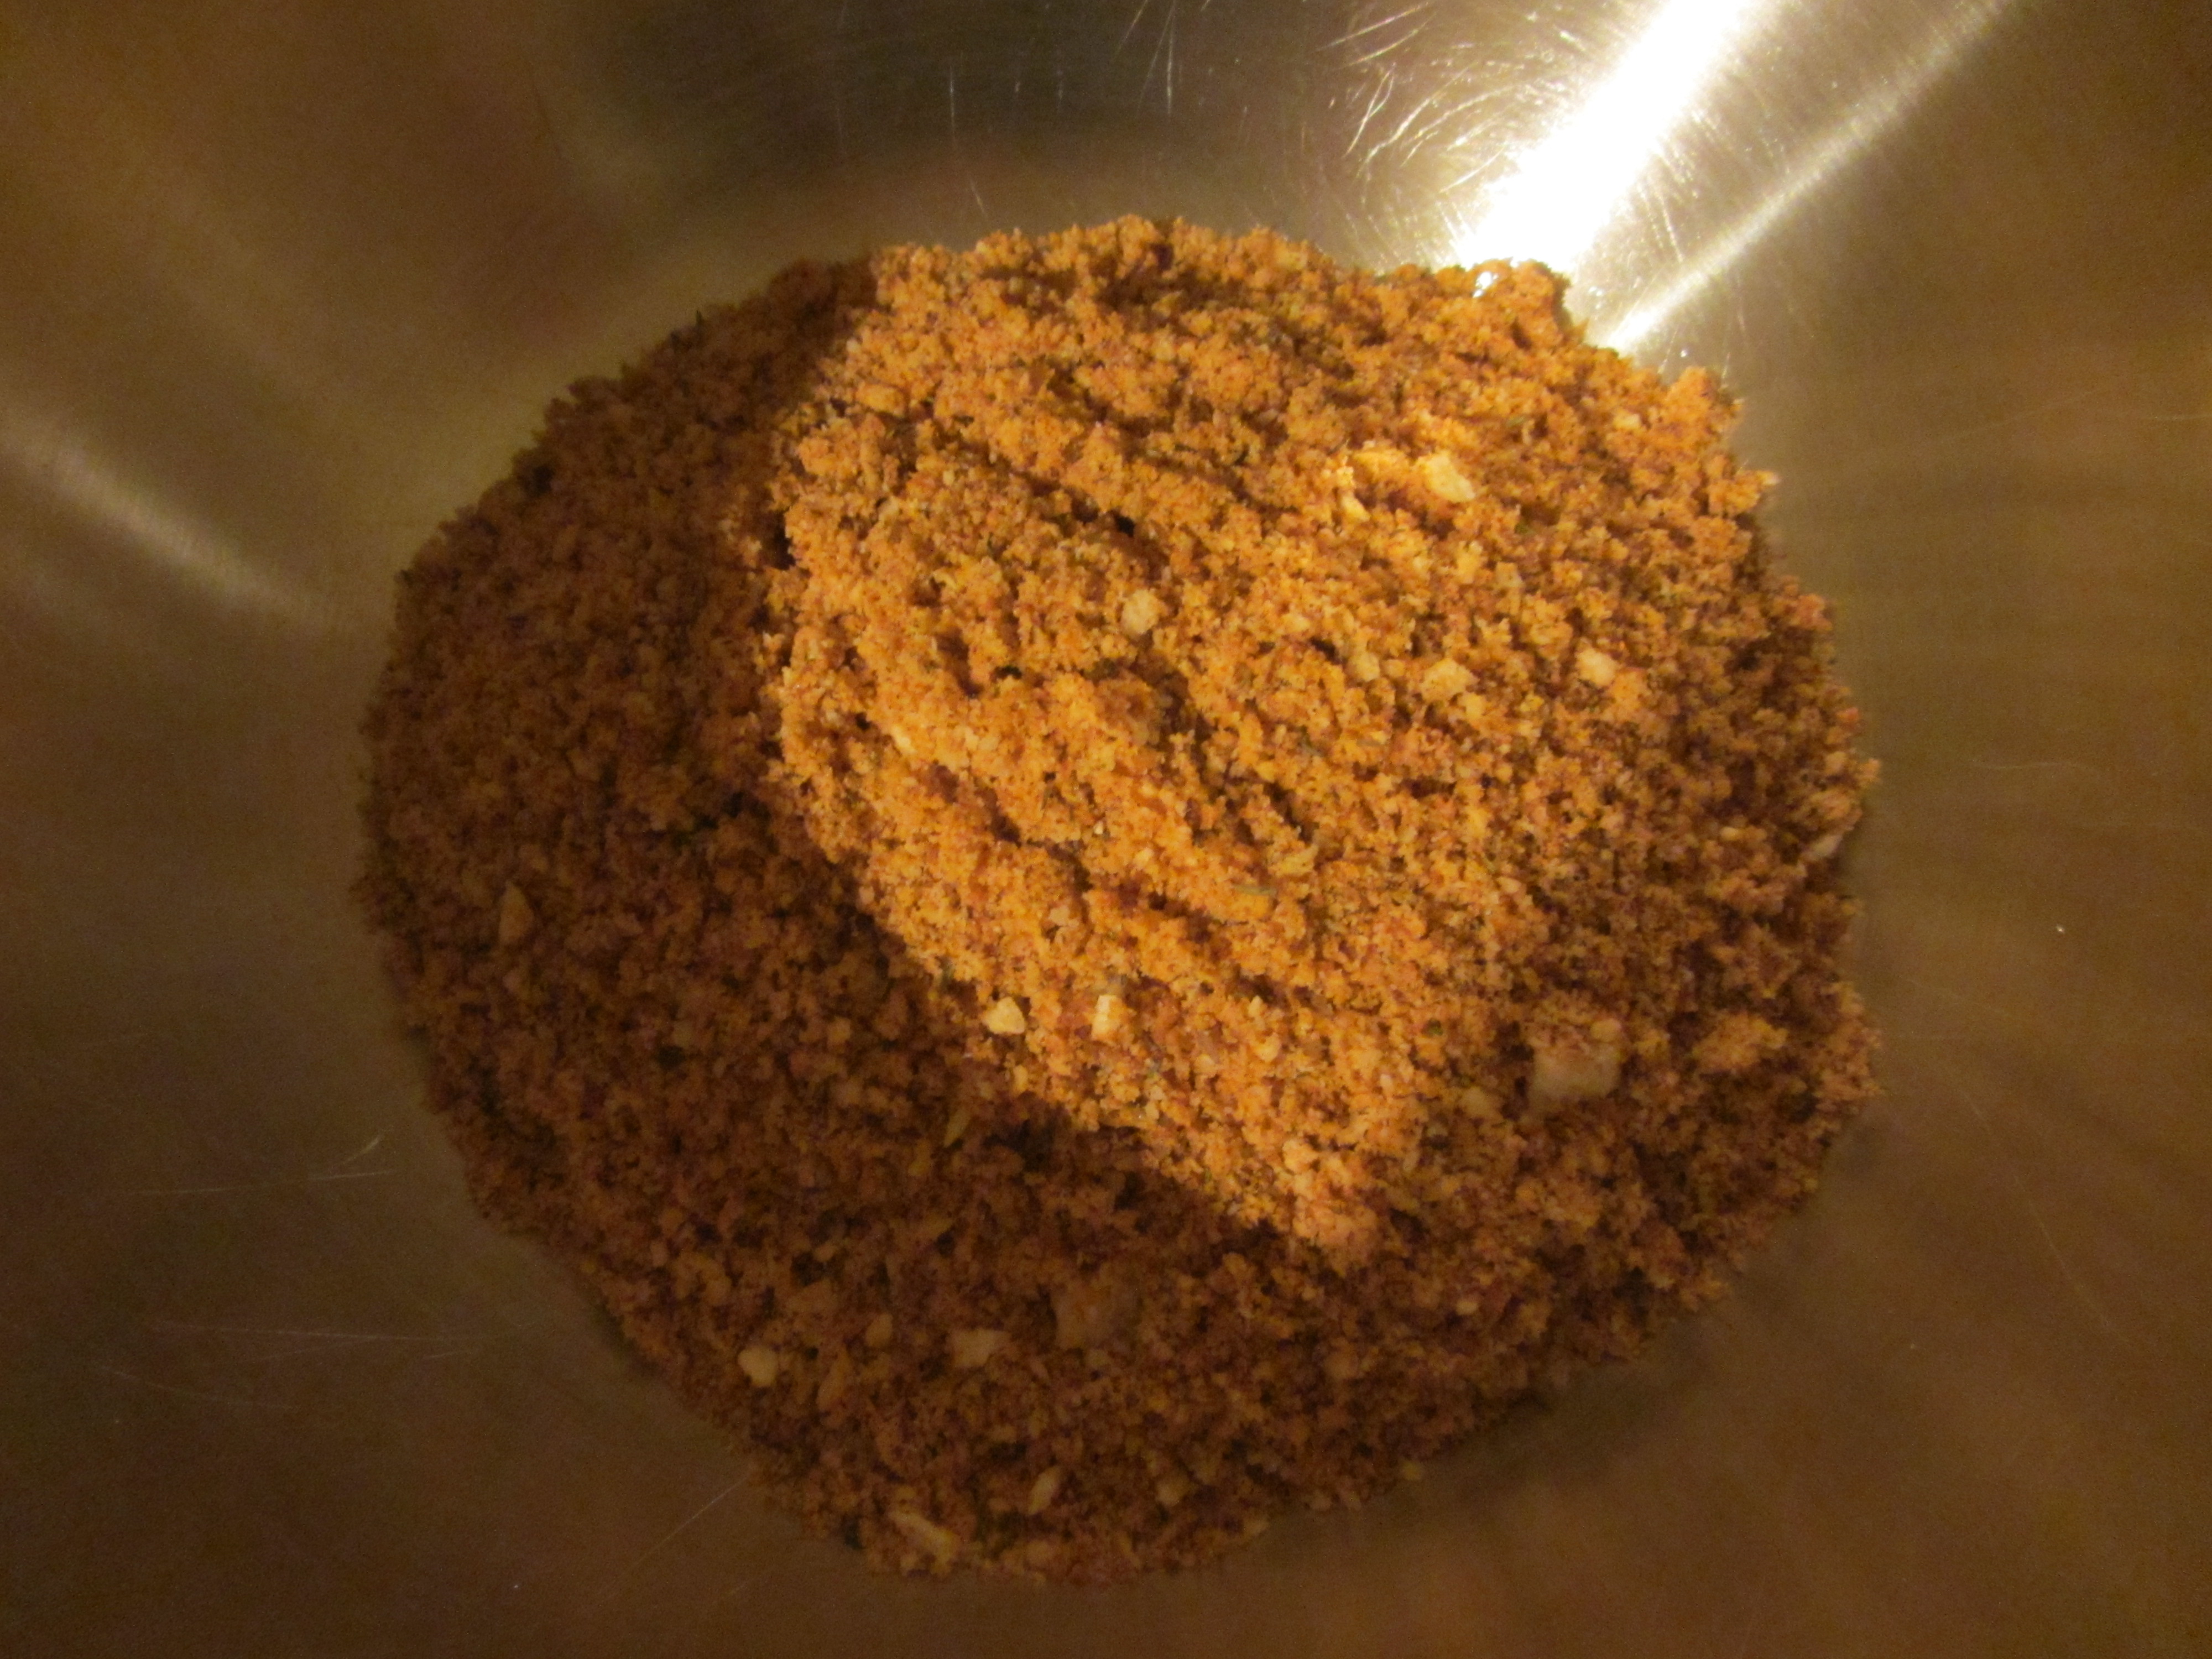
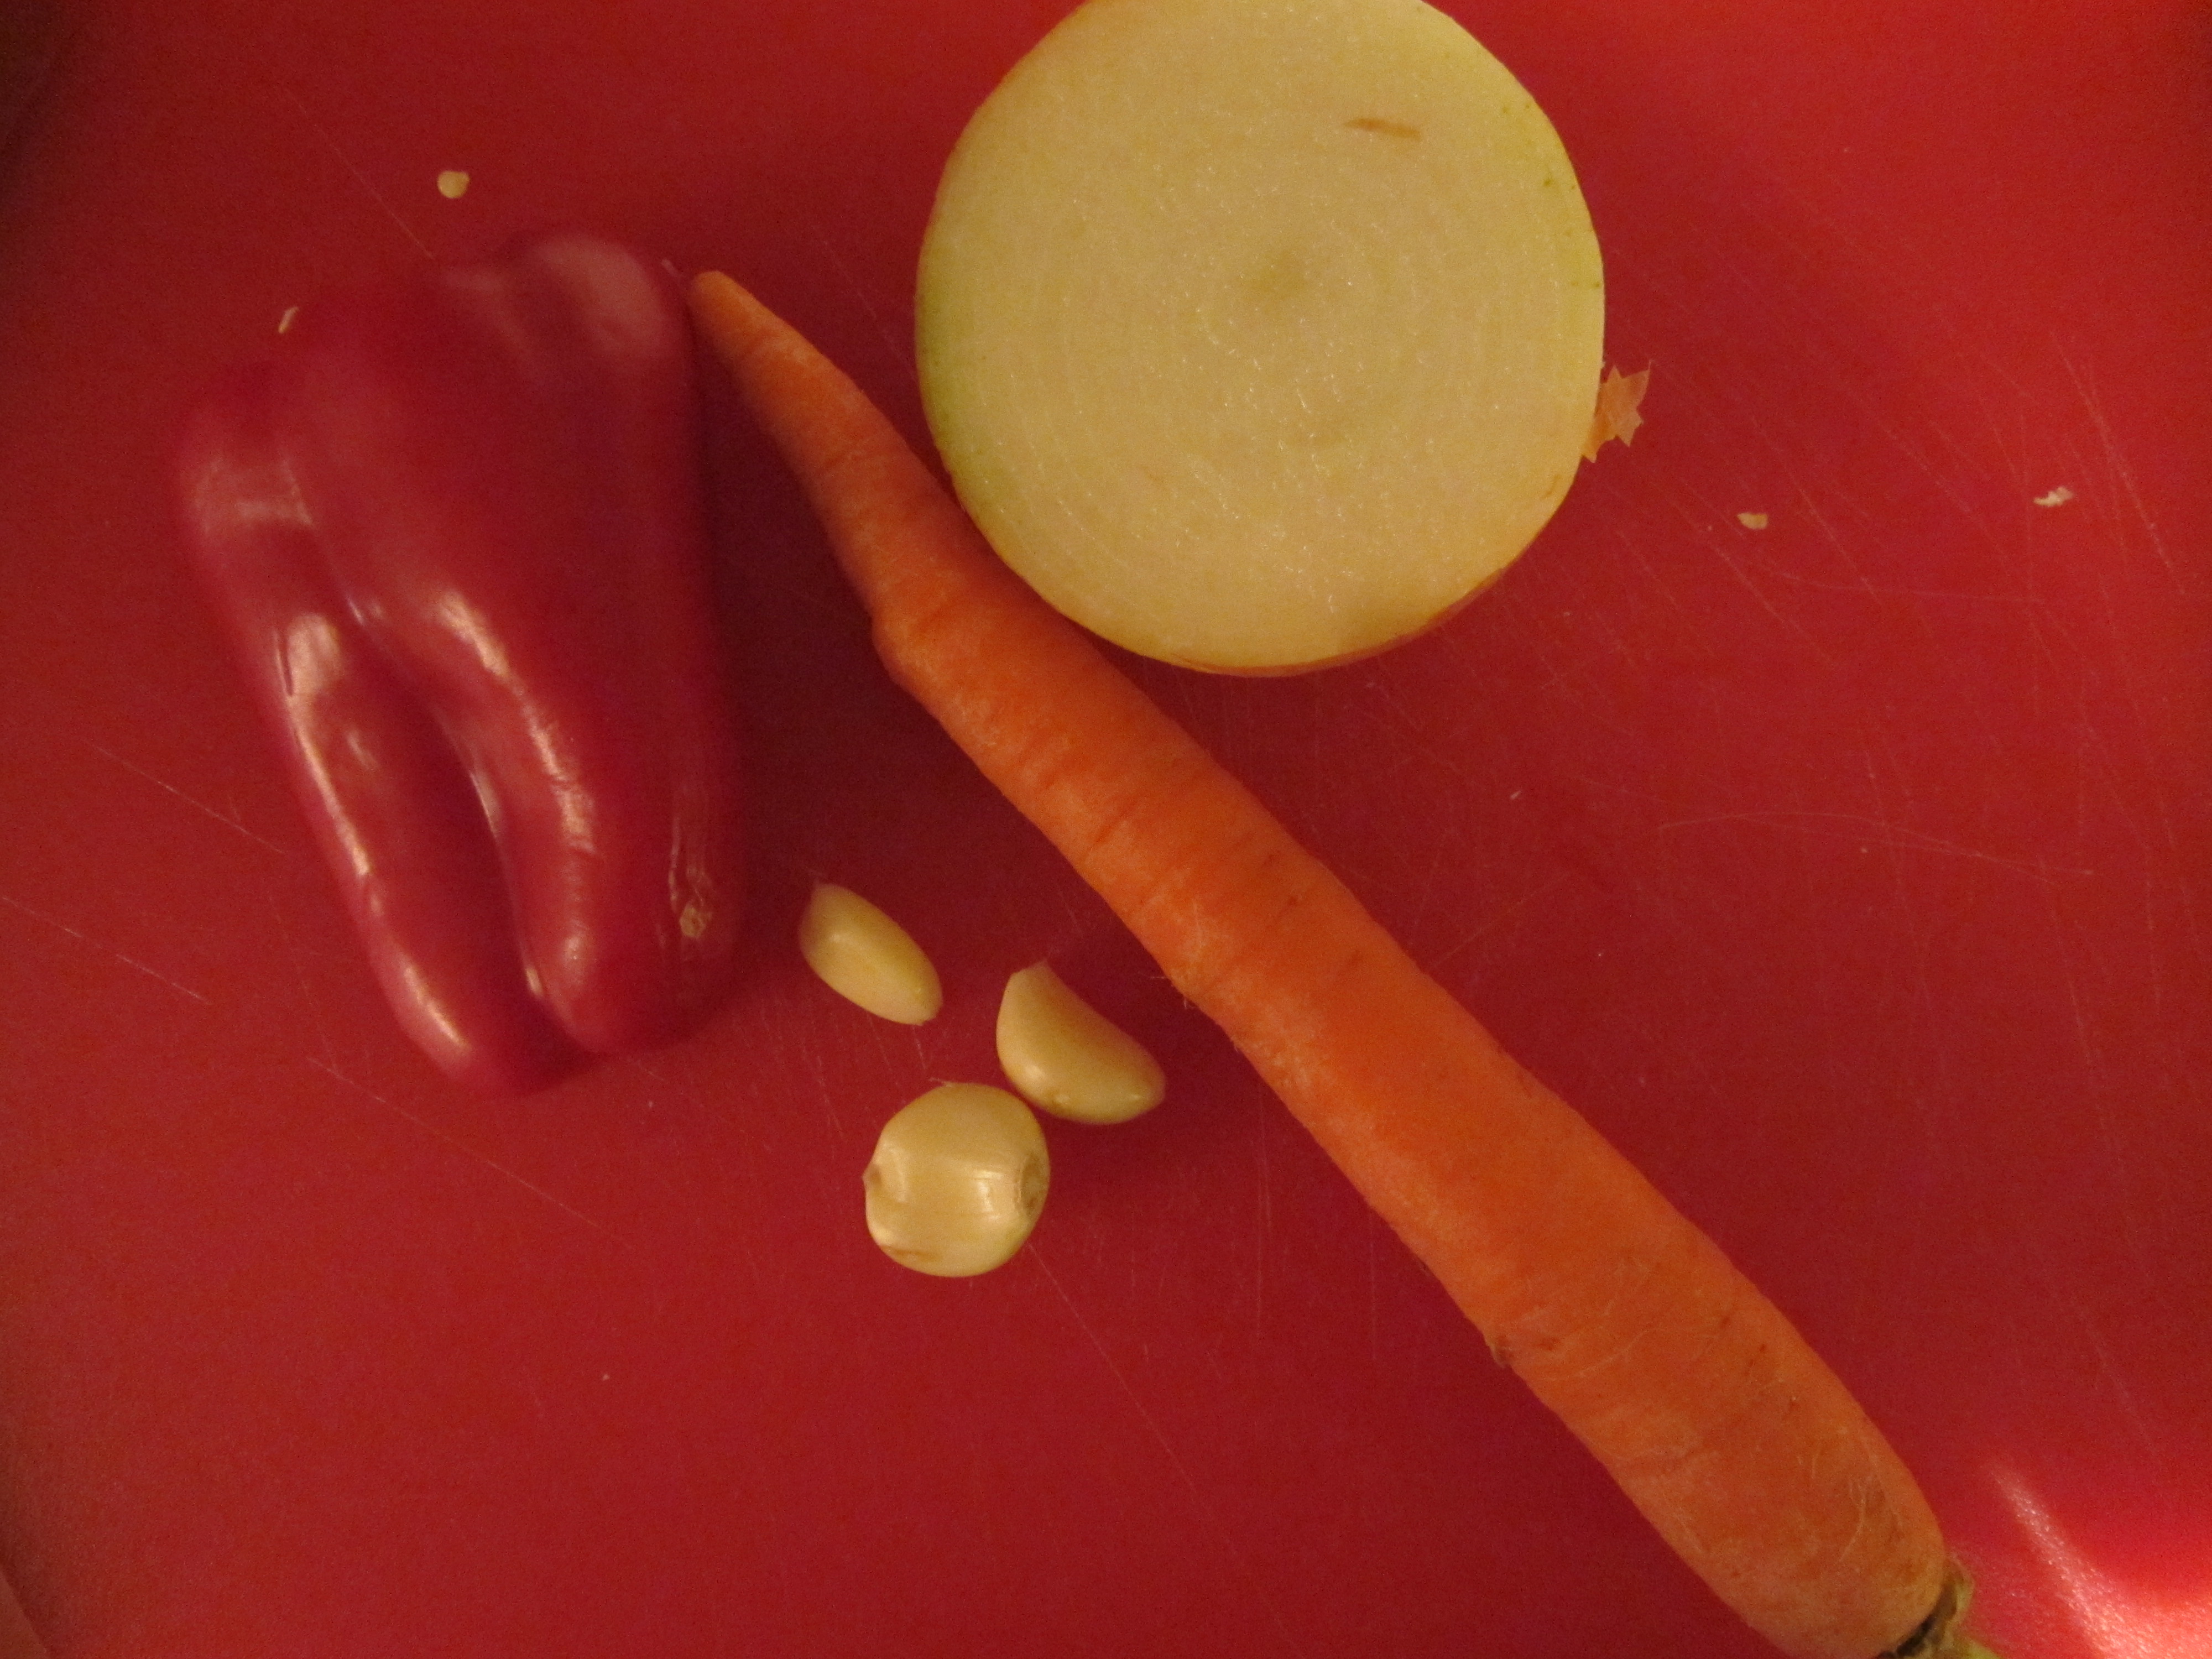
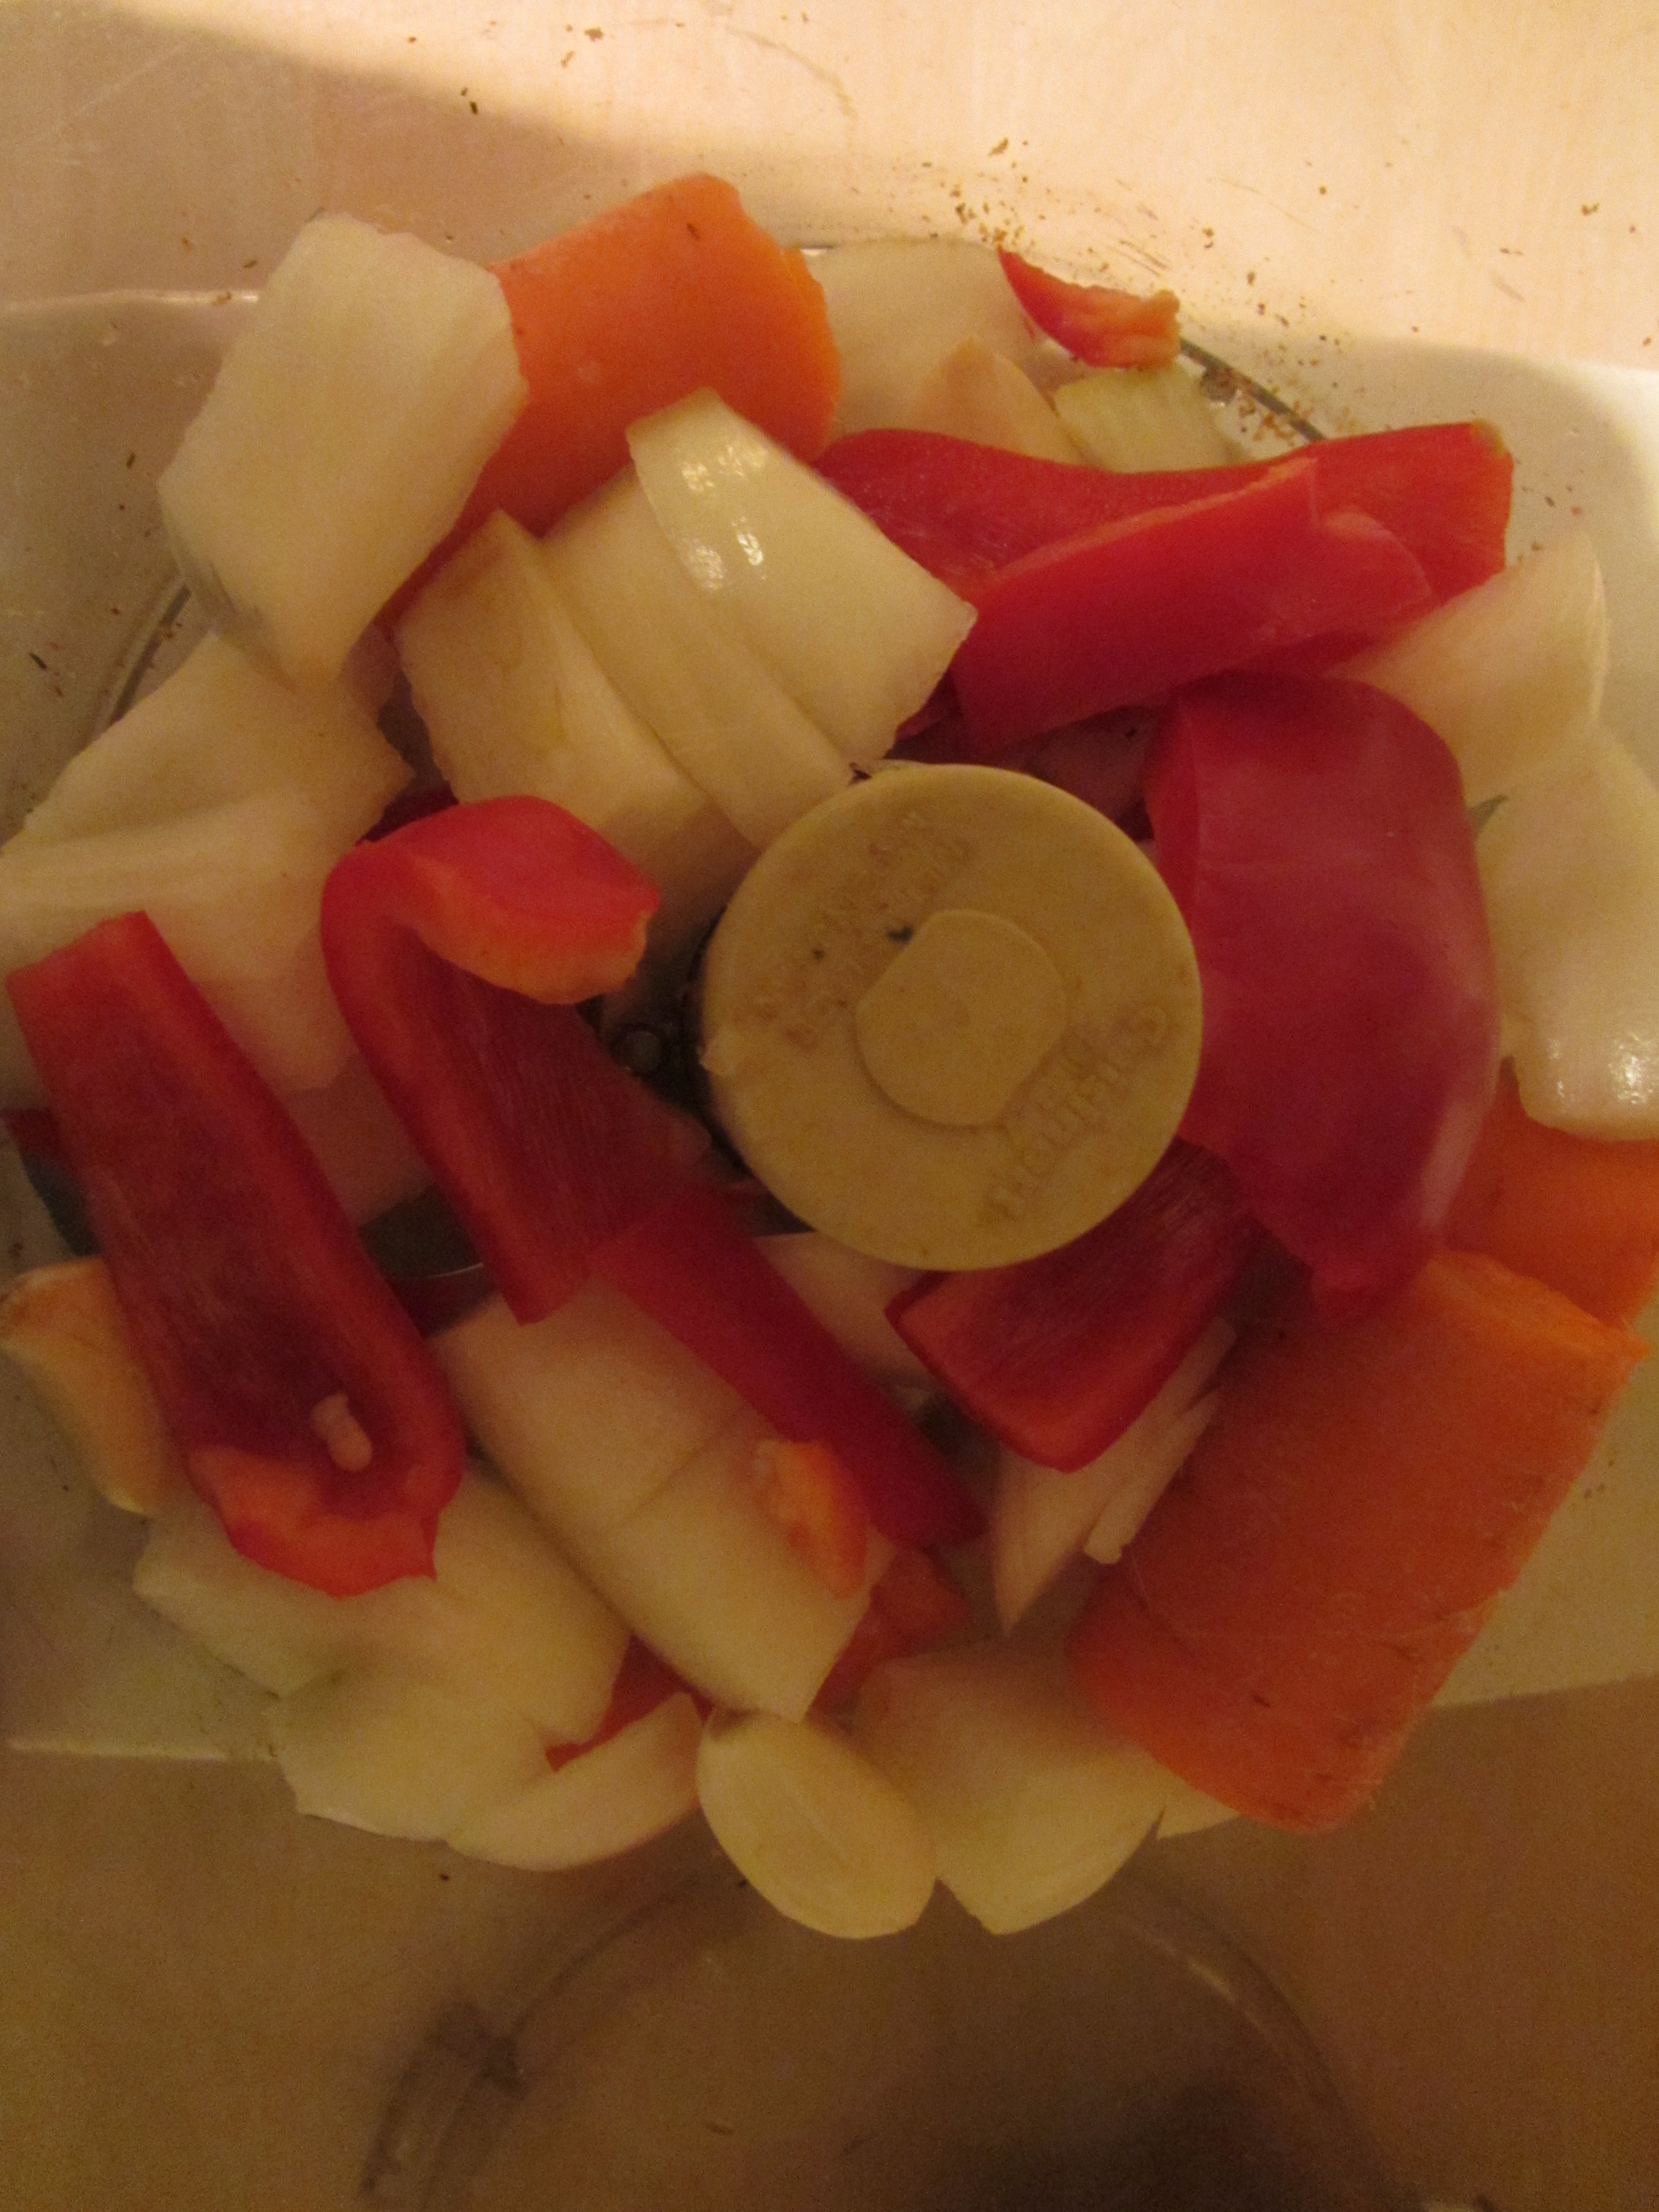
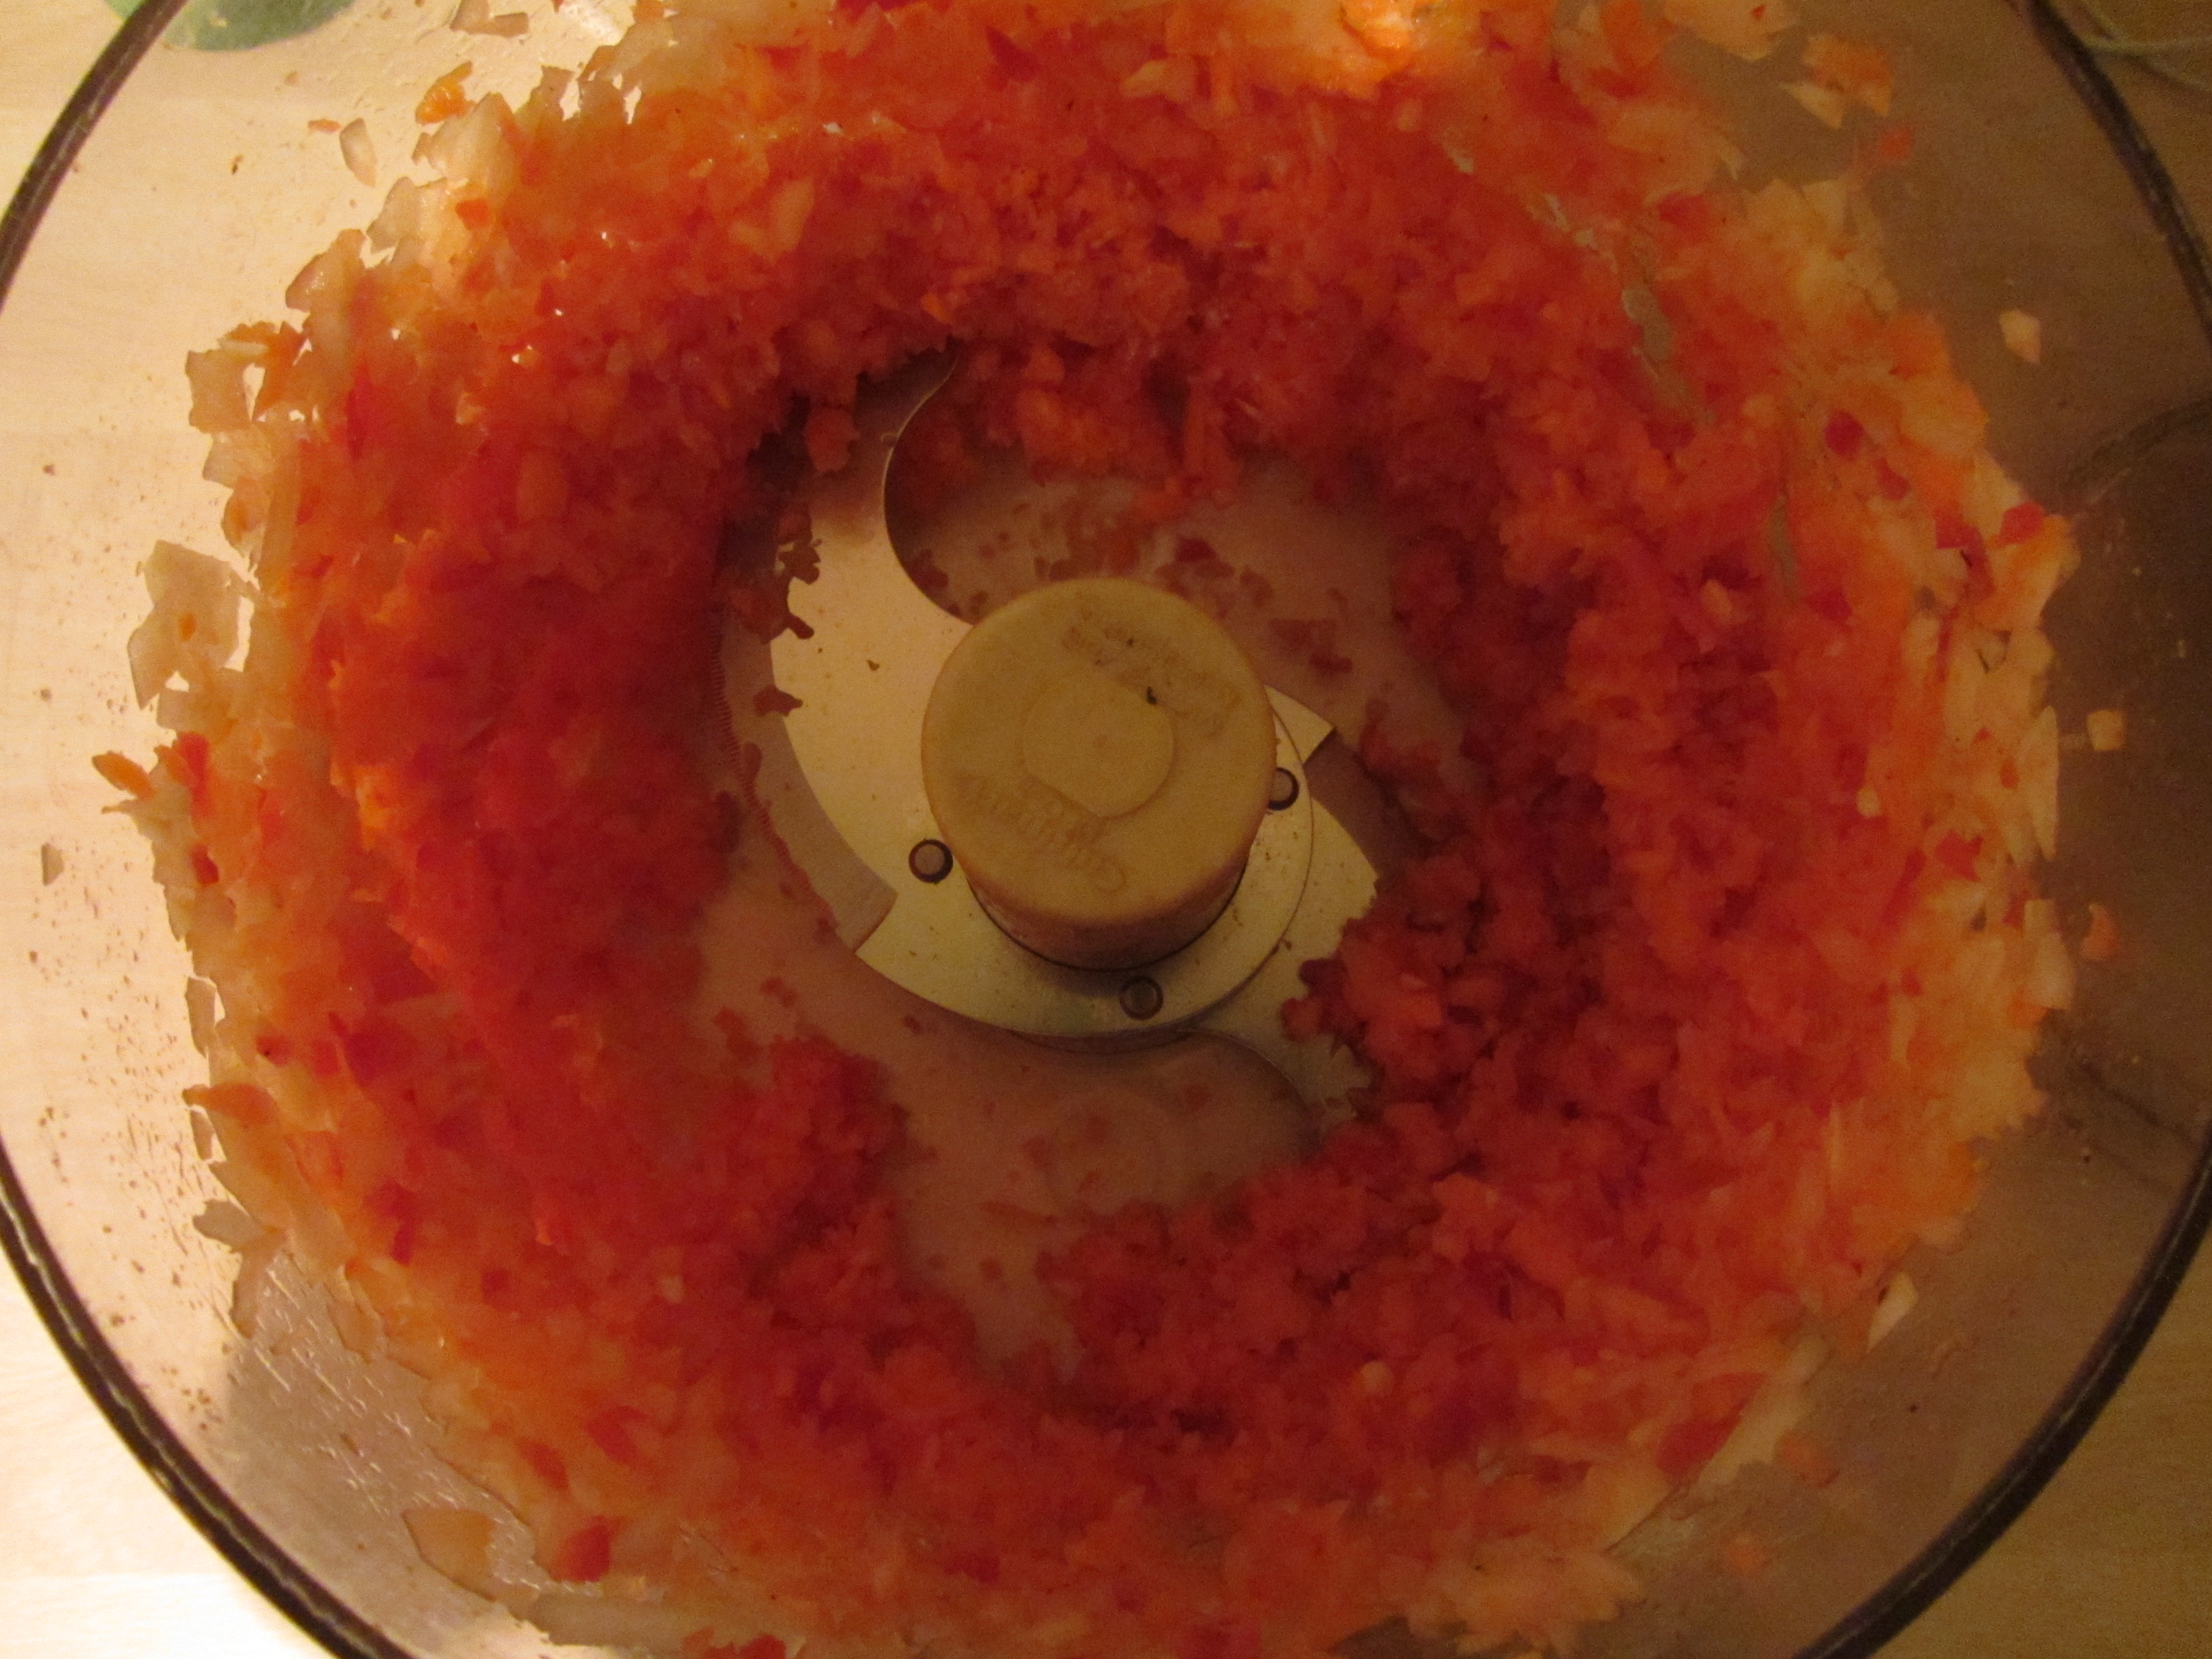
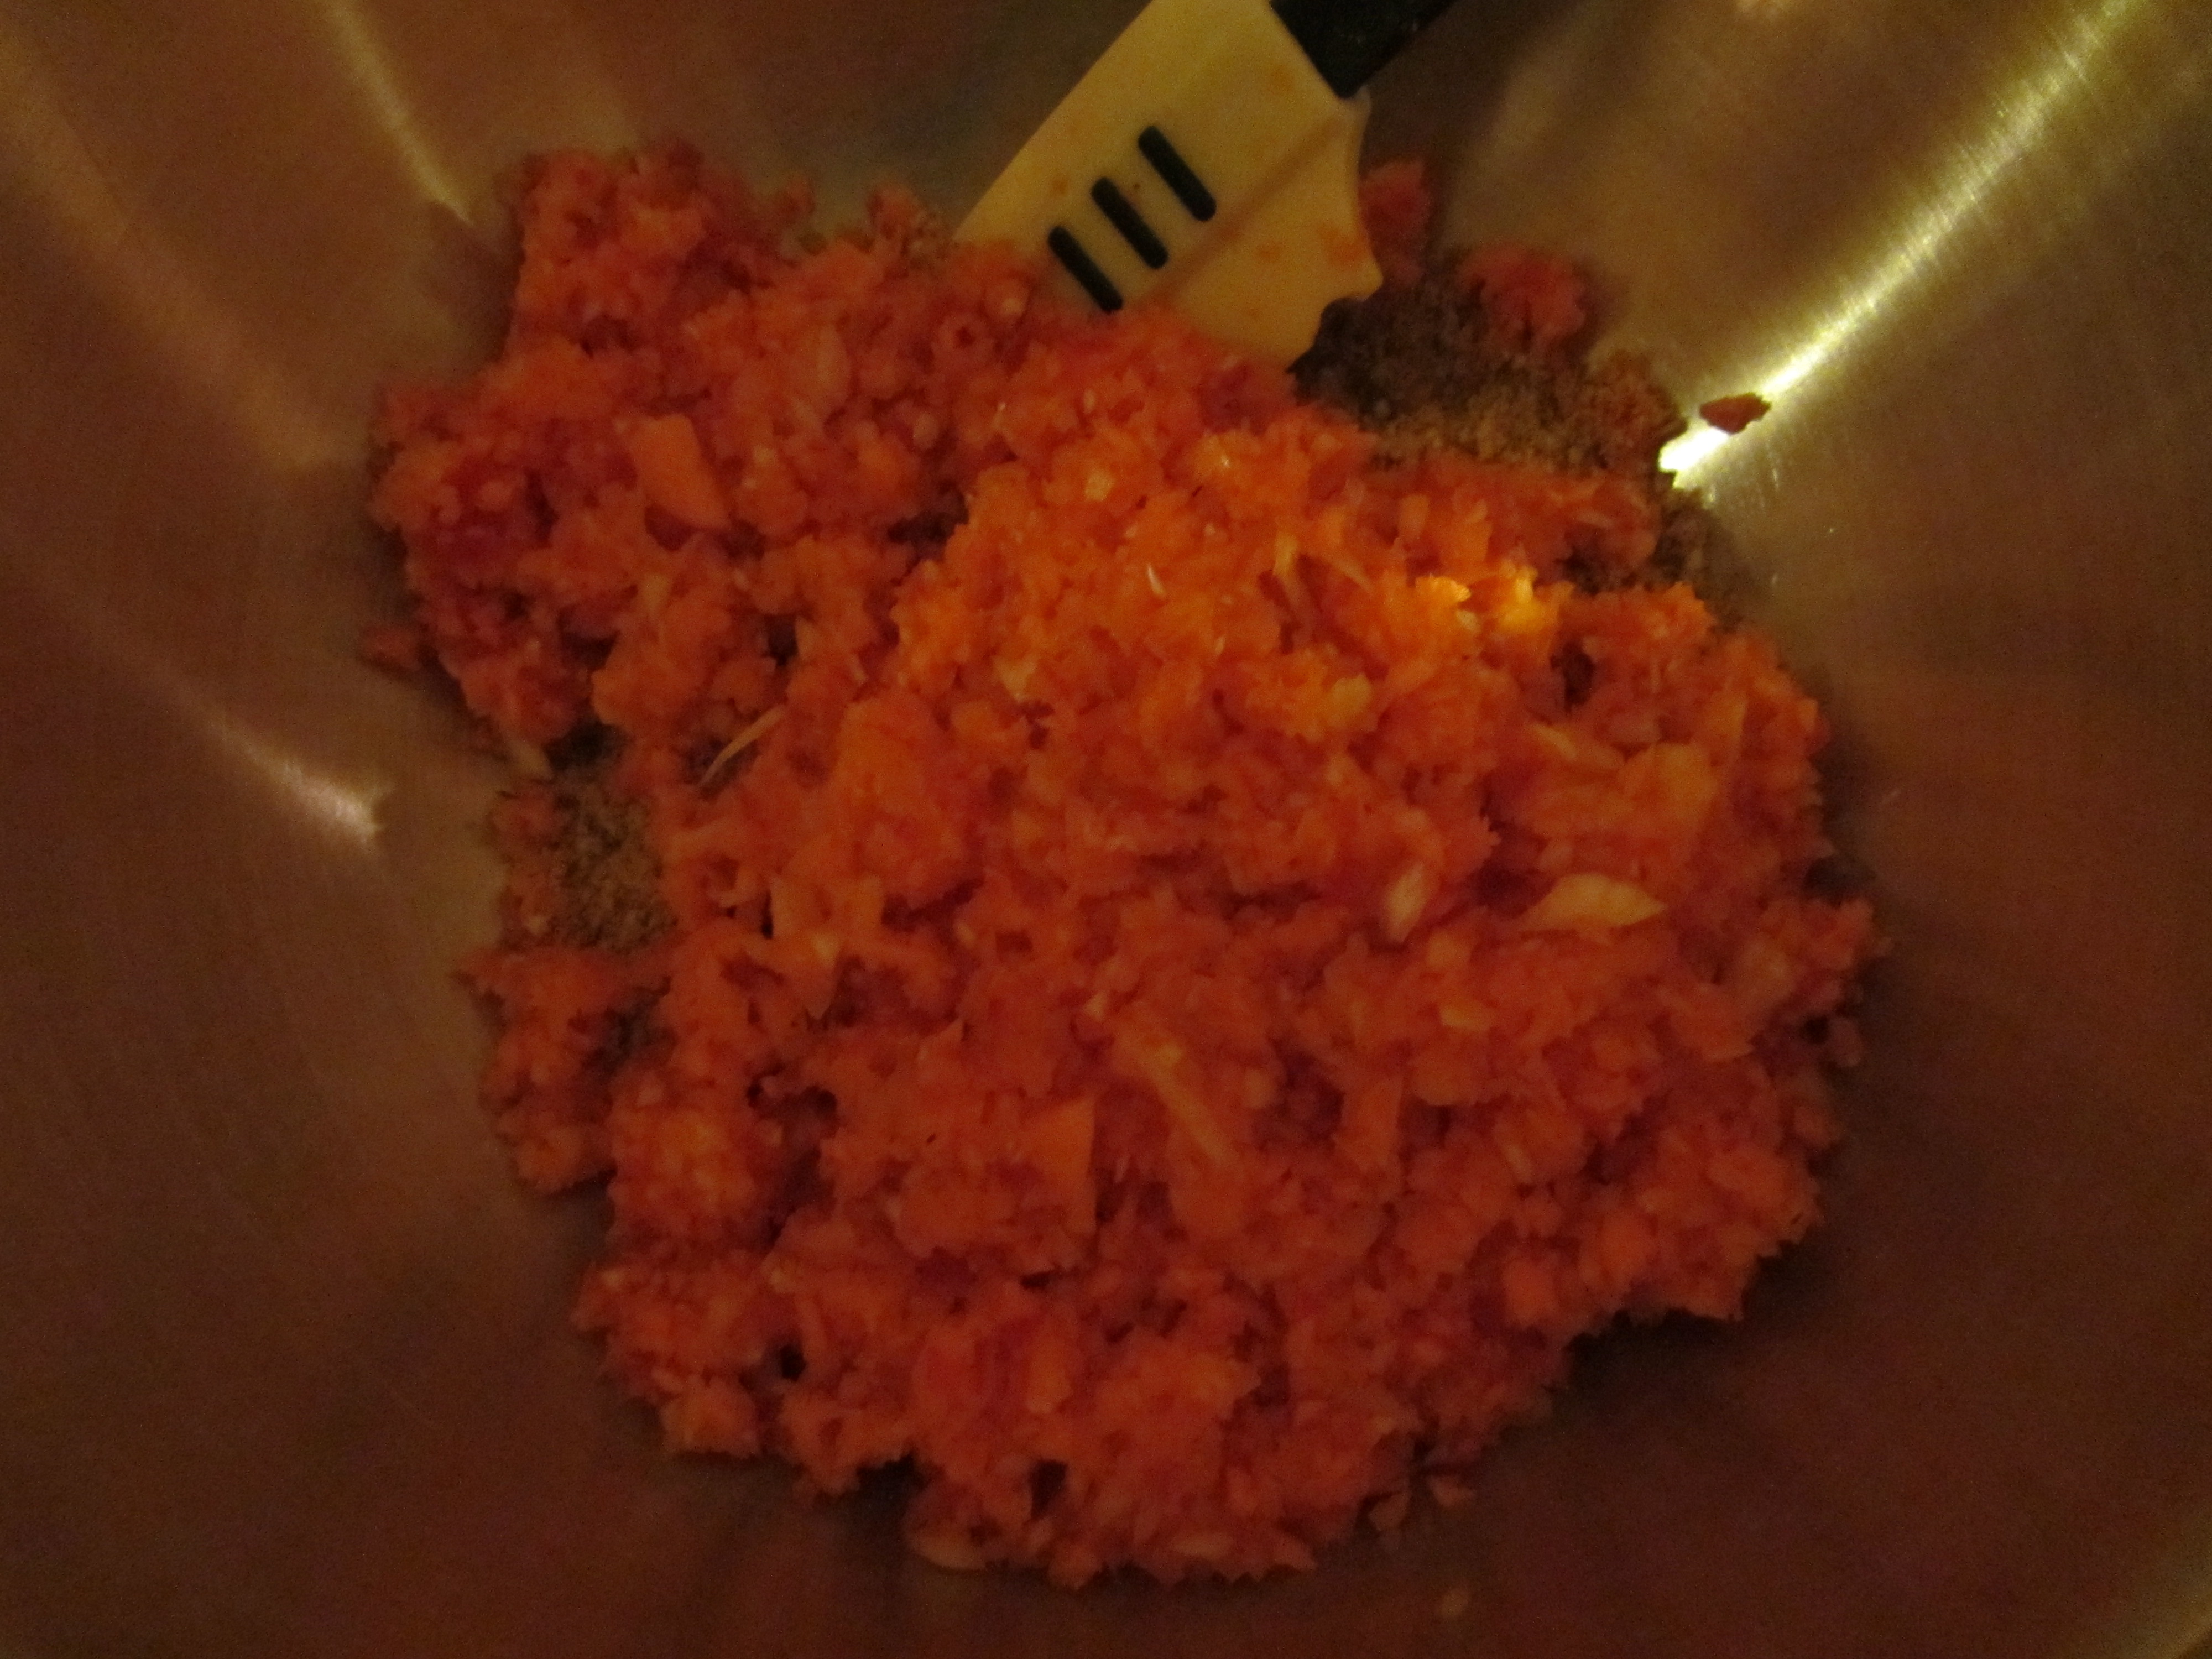
First up, Alton makes beef kebabs in this episode. You will want your meat to sit in the marinade for 2-4 hours before grilling, so be sure to allow adequate time for marination. To make the marinade, combine 3 cloves of garlic, 2 t smoked paprika, 1/2 t turmeric, 1 t cumin, 1 t Kosher, 1/2 t pepper, and 1/3 C red wine vinegar in the bowl of a food processor.

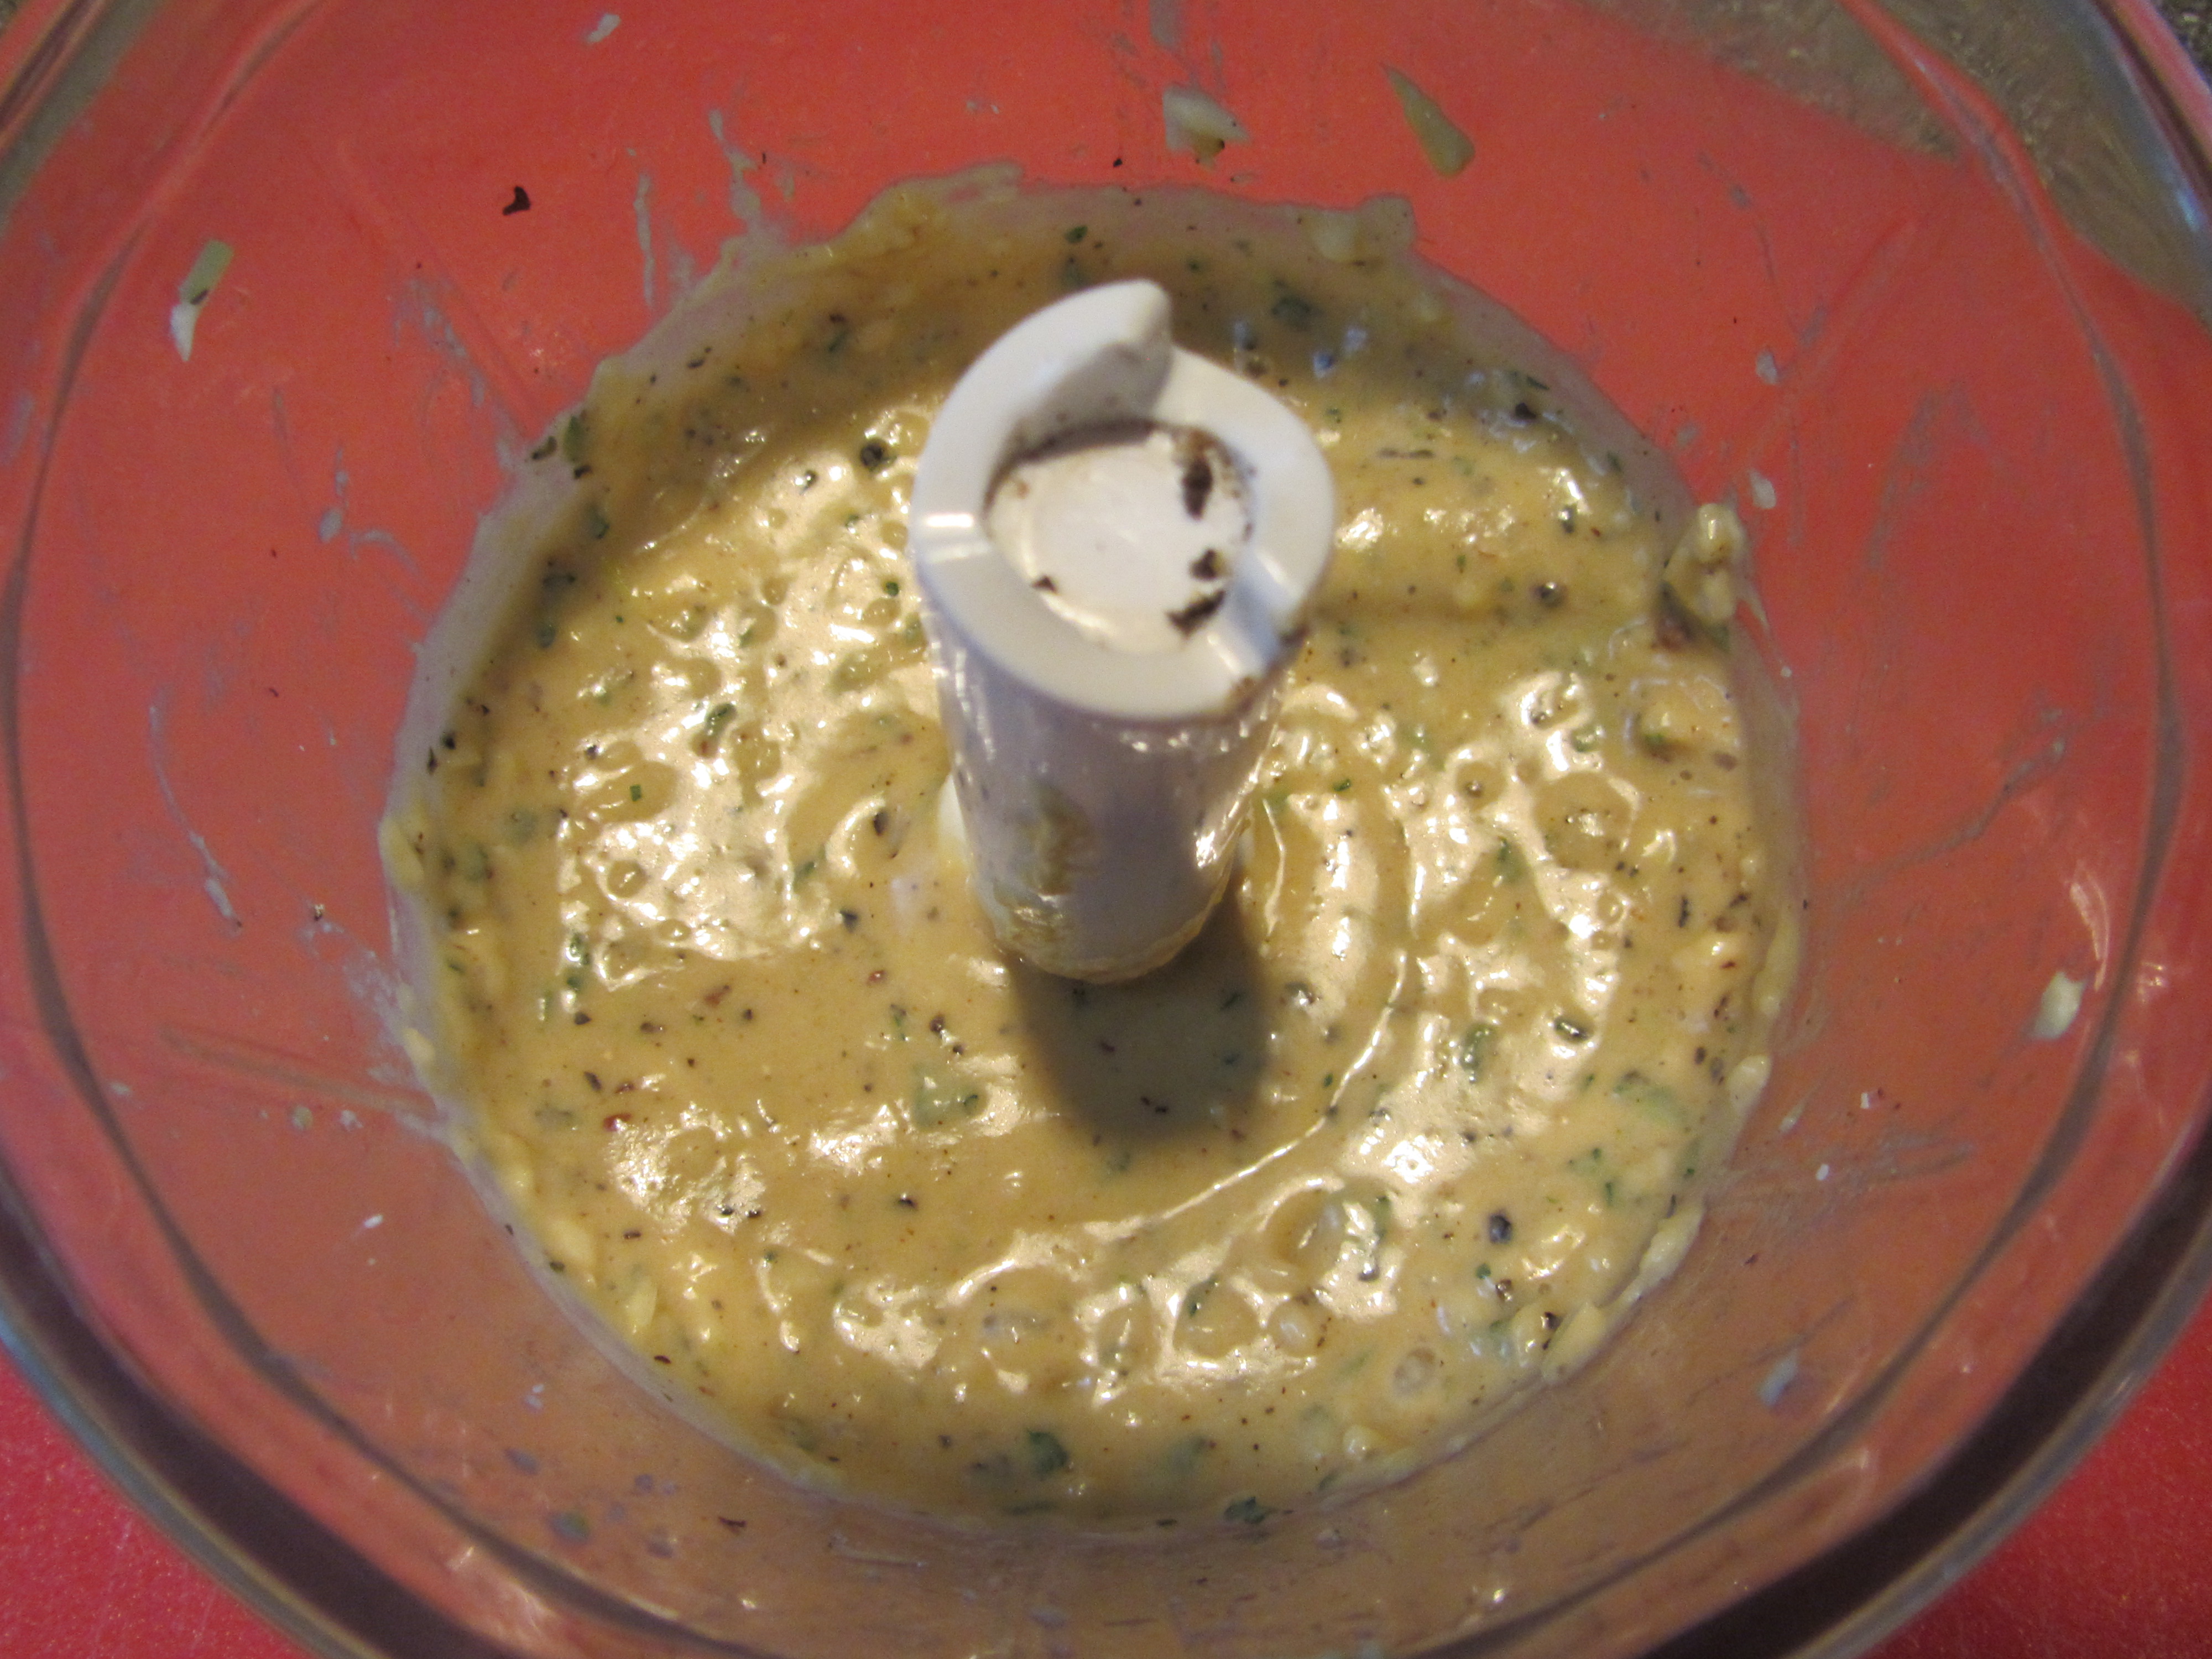
Process the marinade until smooth, and then drizzle in 1/2 C olive oil with the machine running.

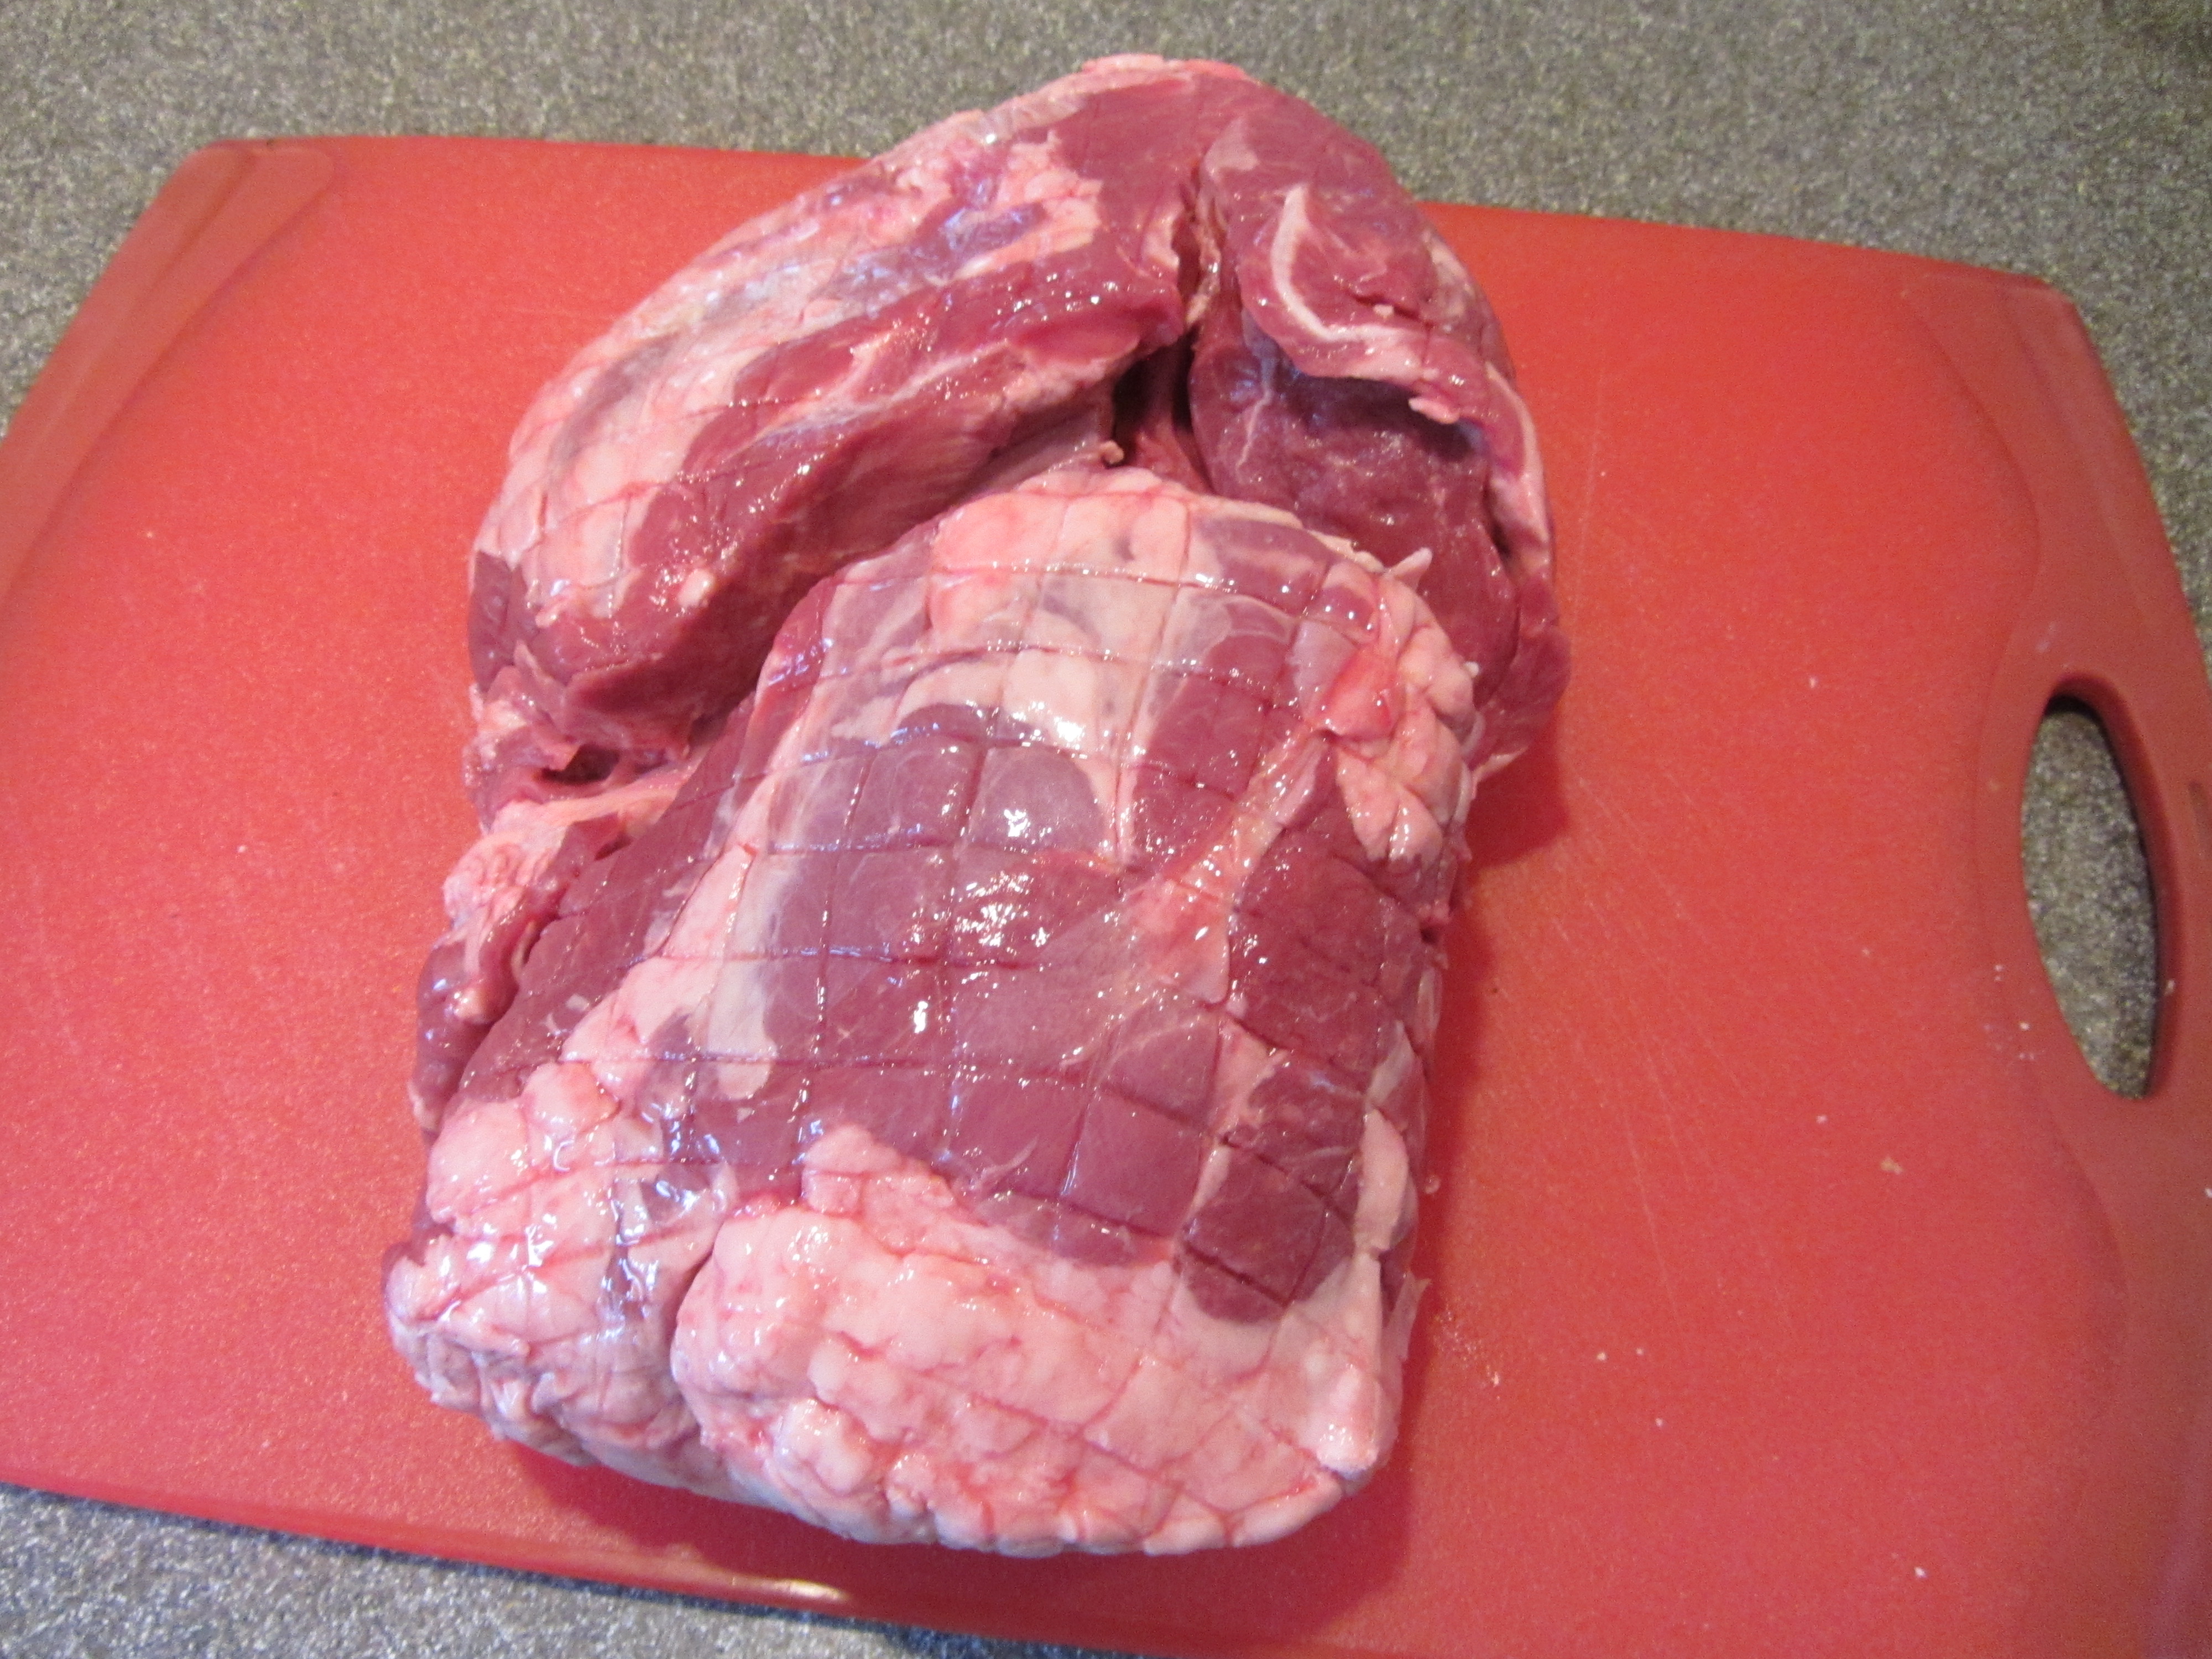
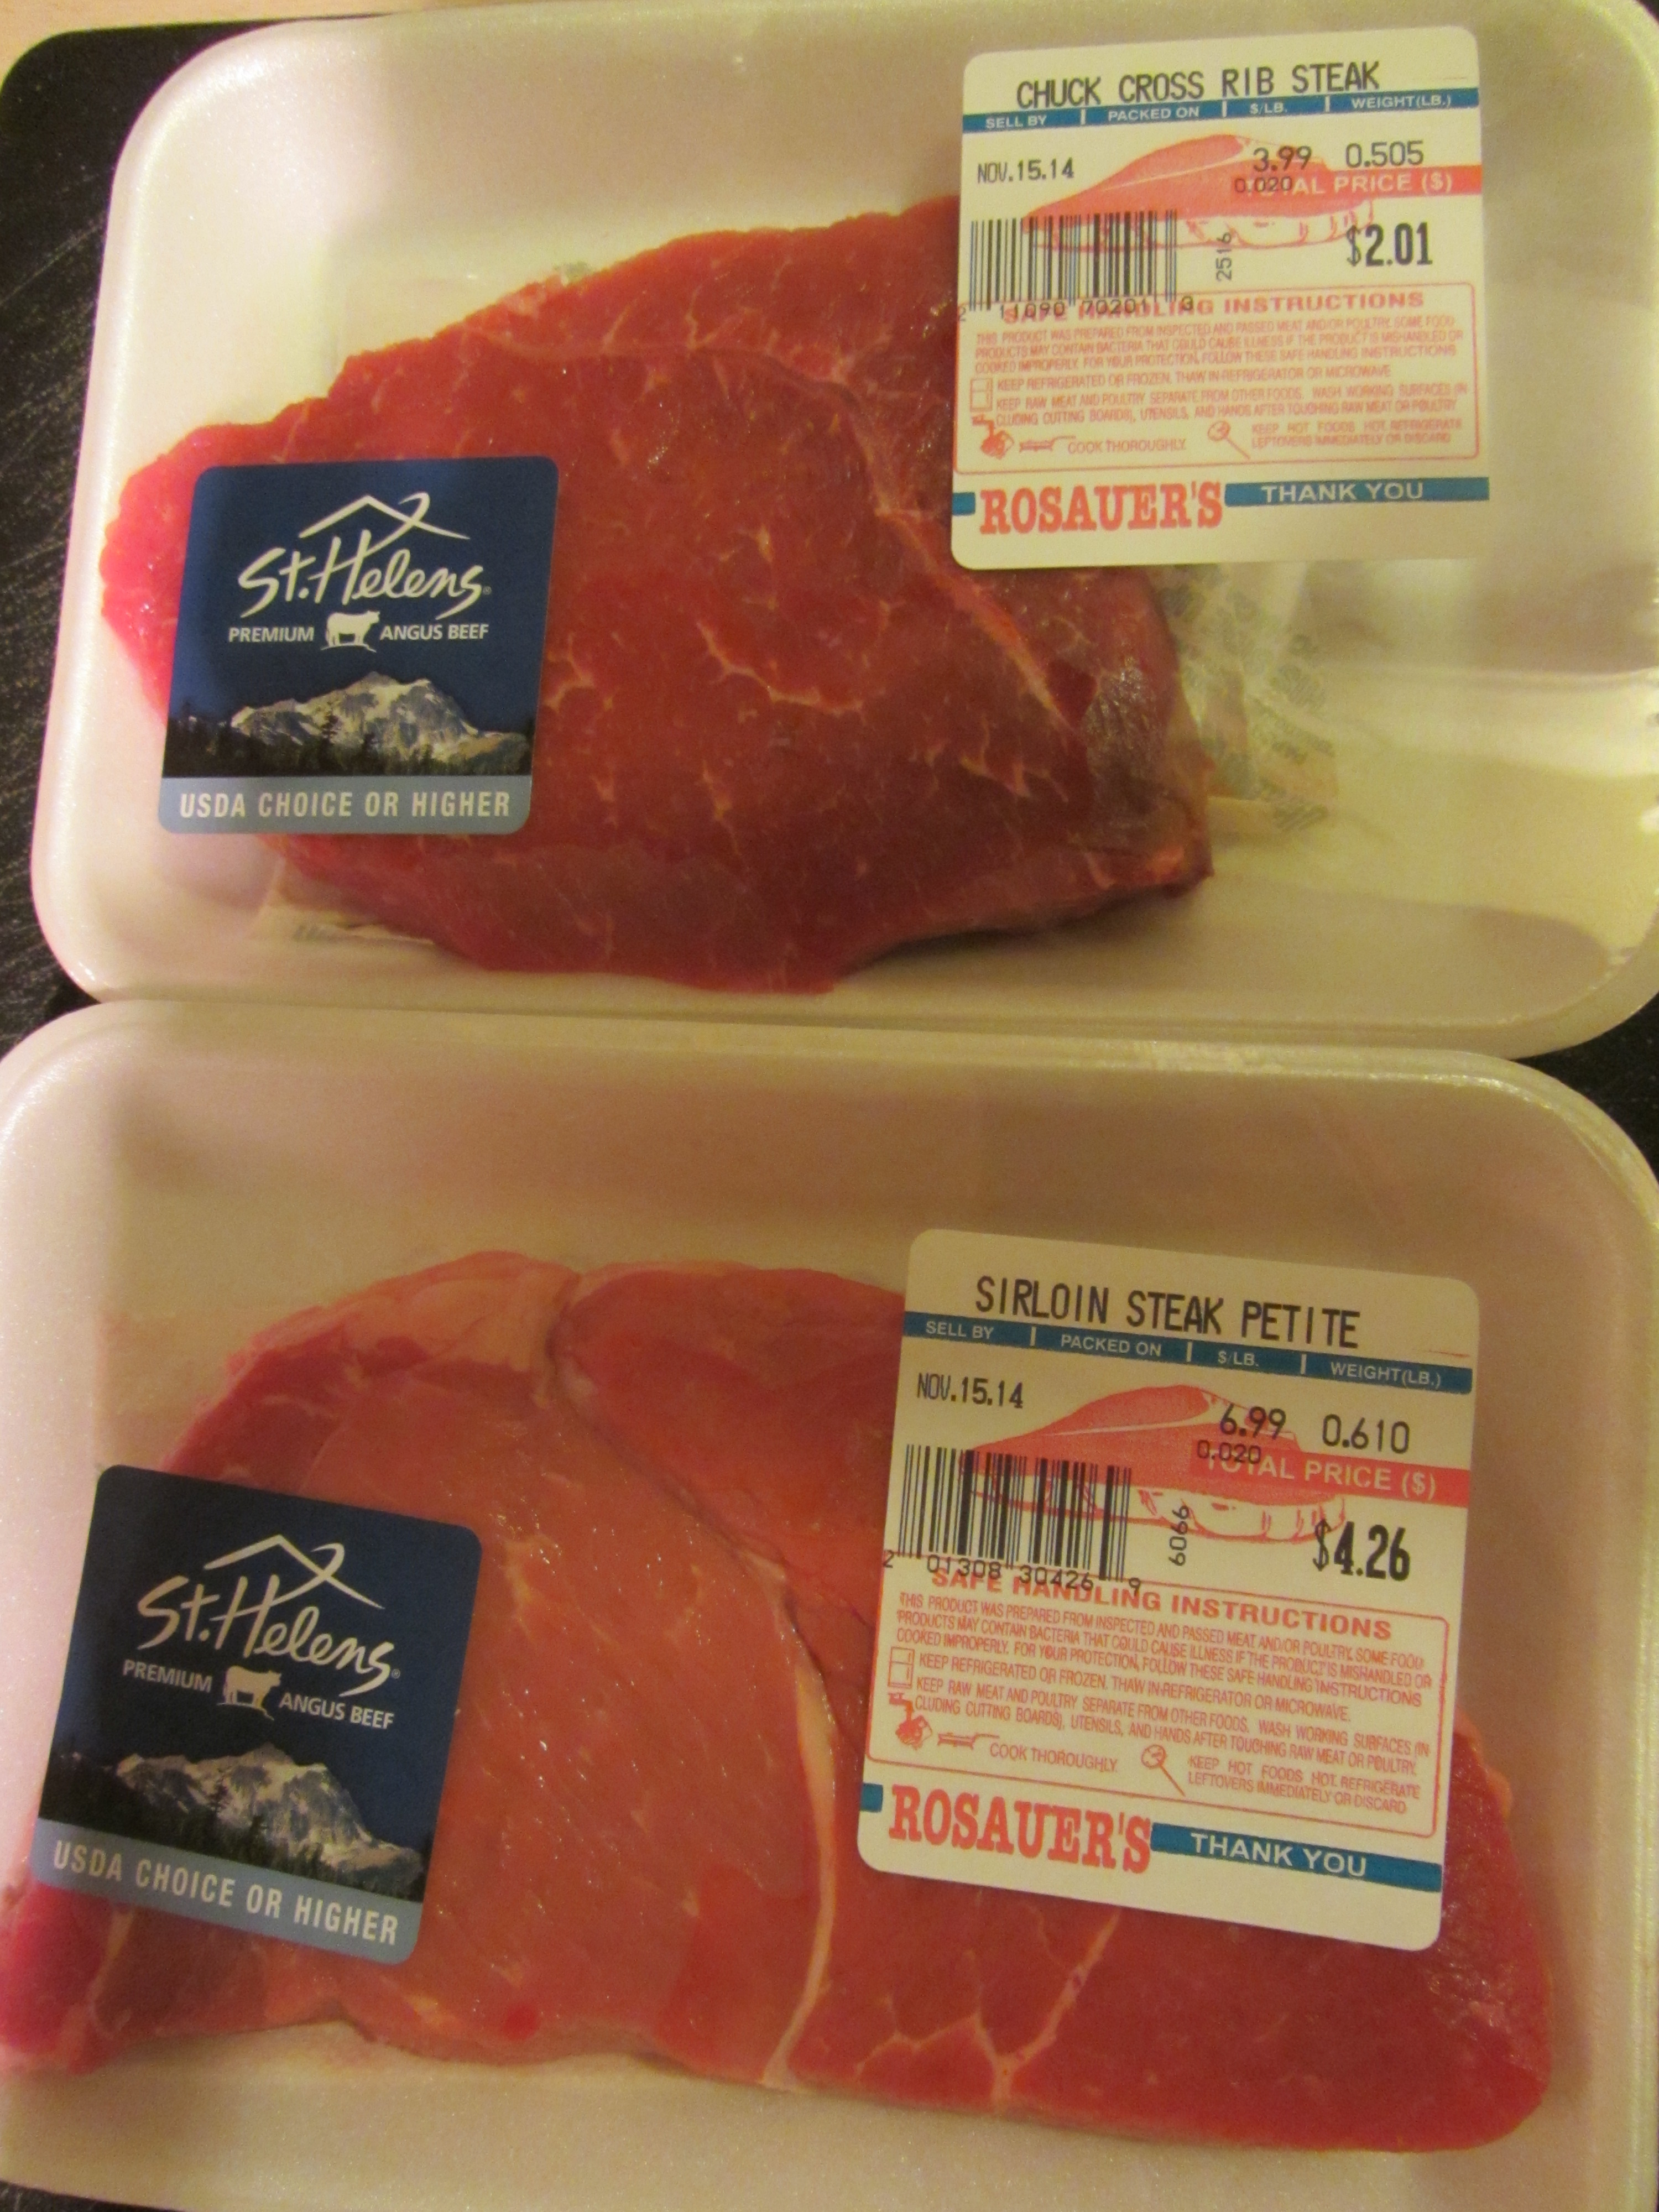
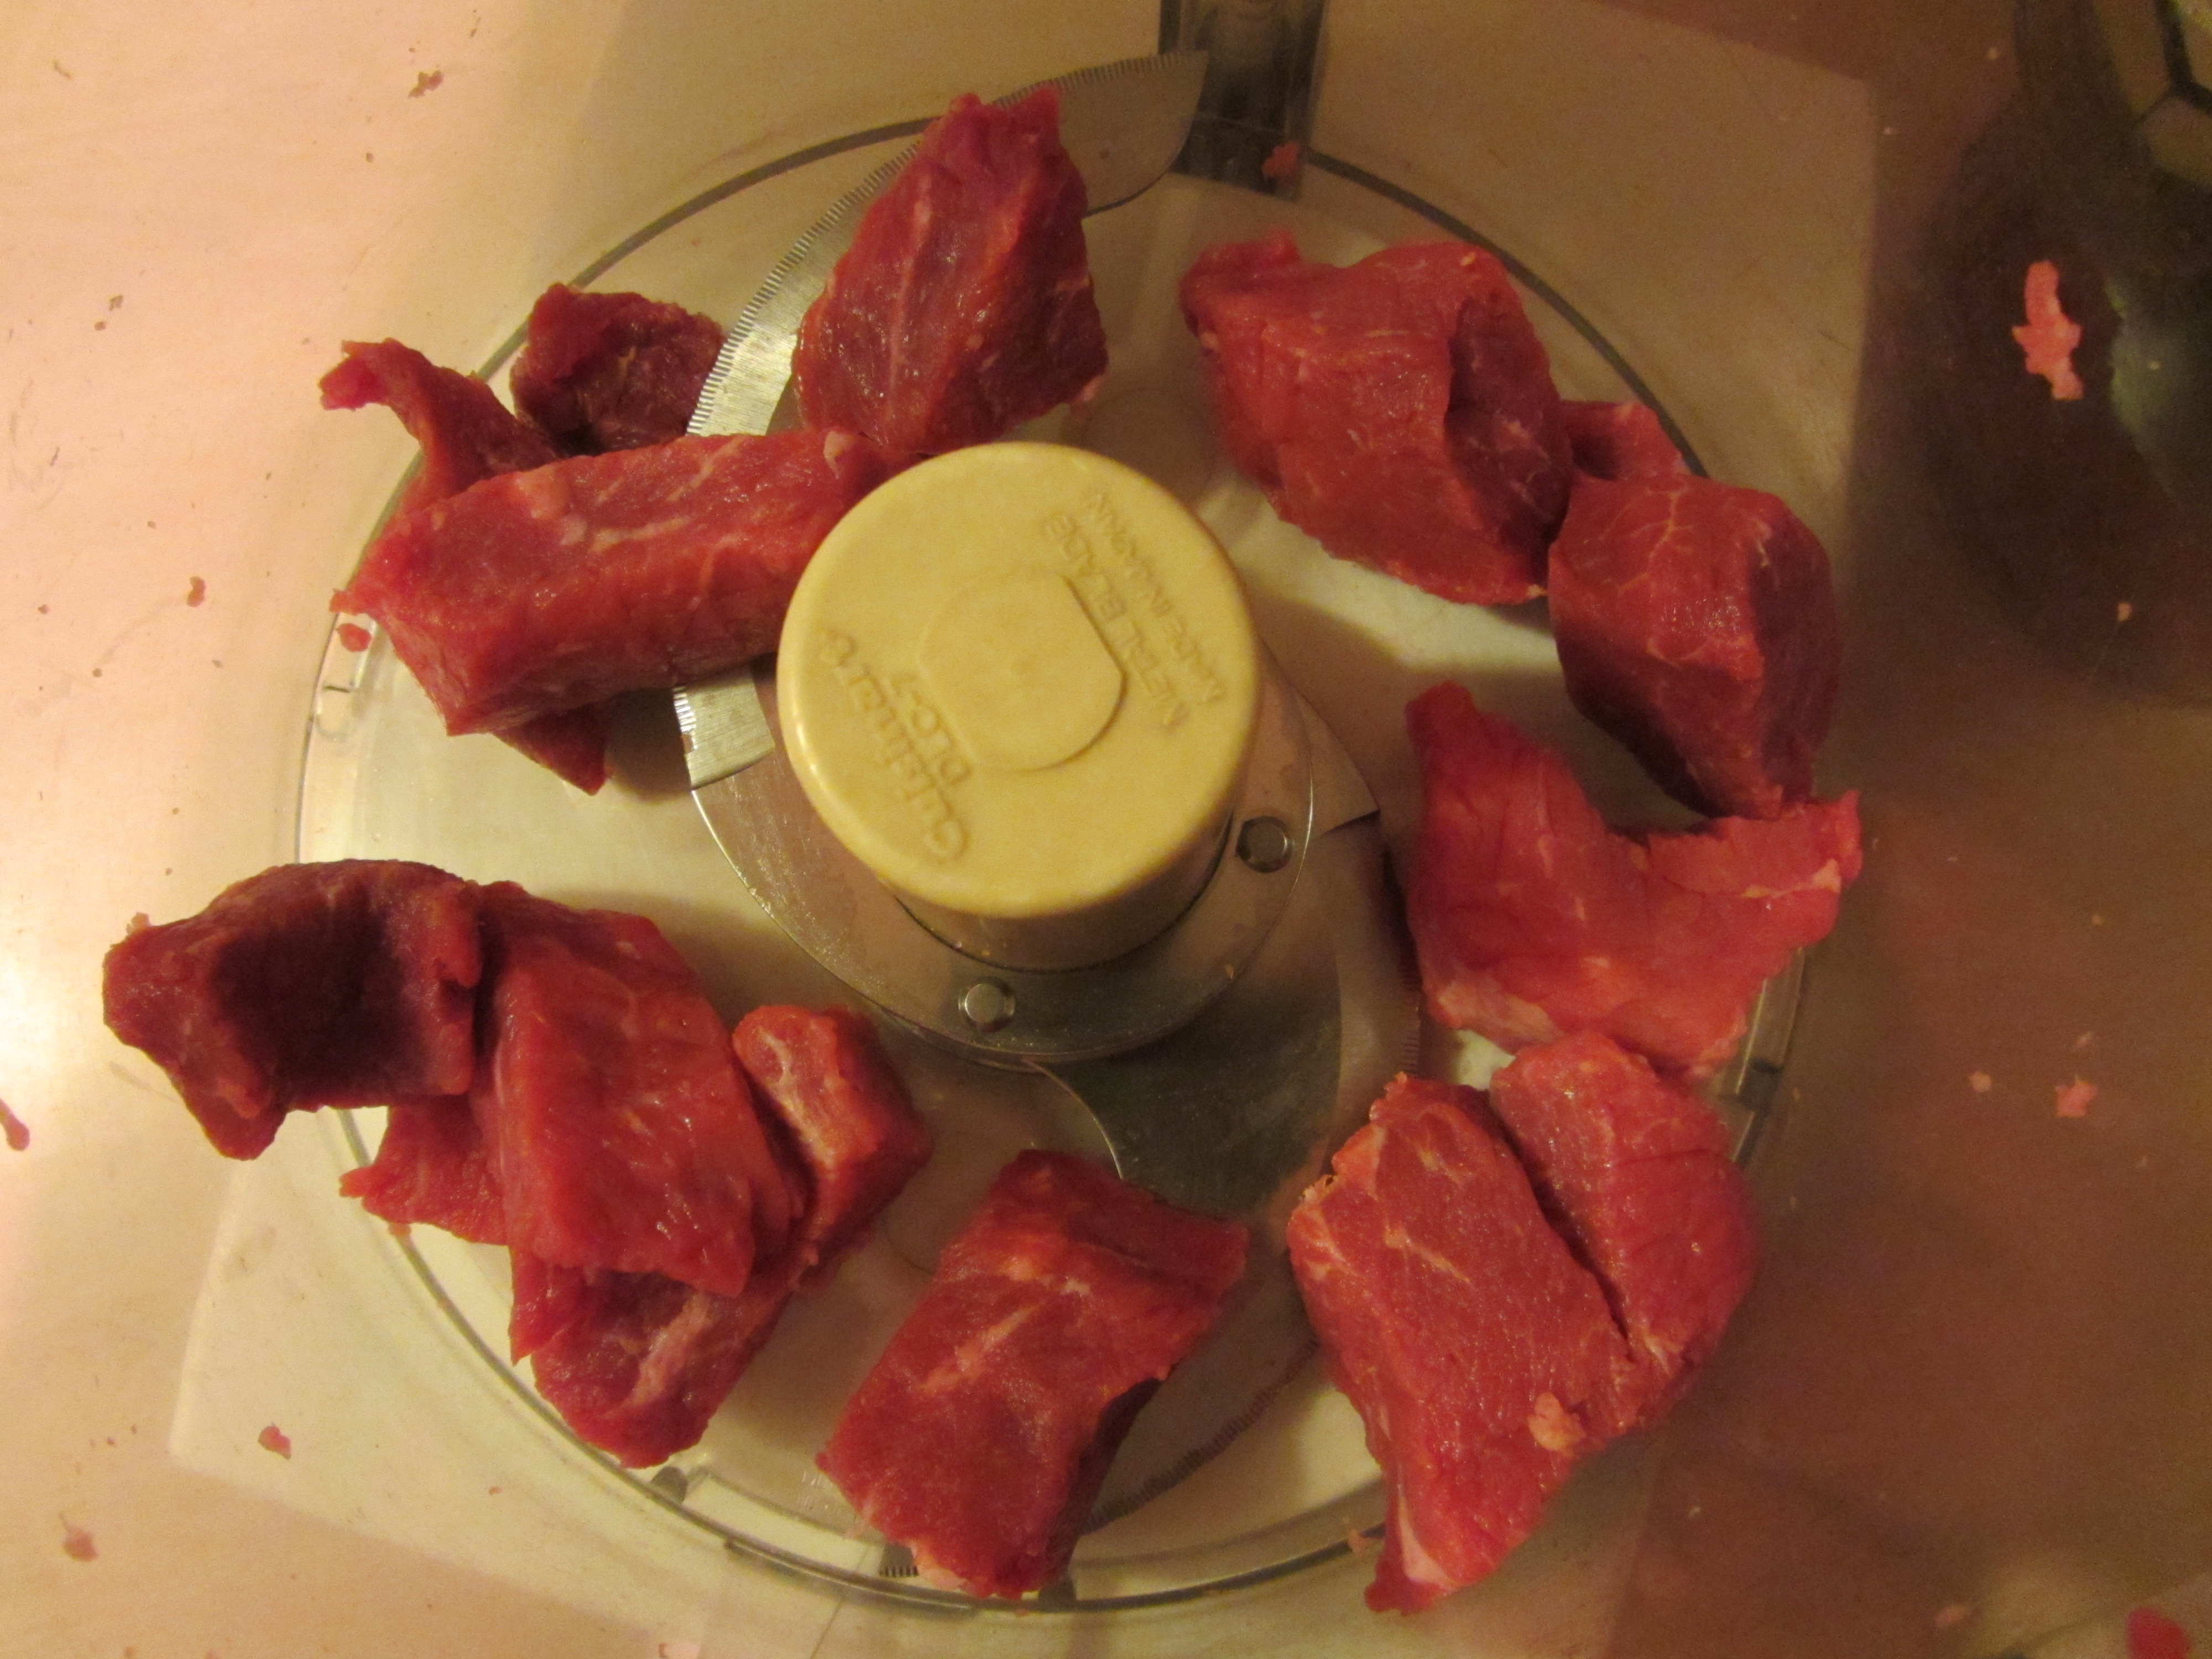
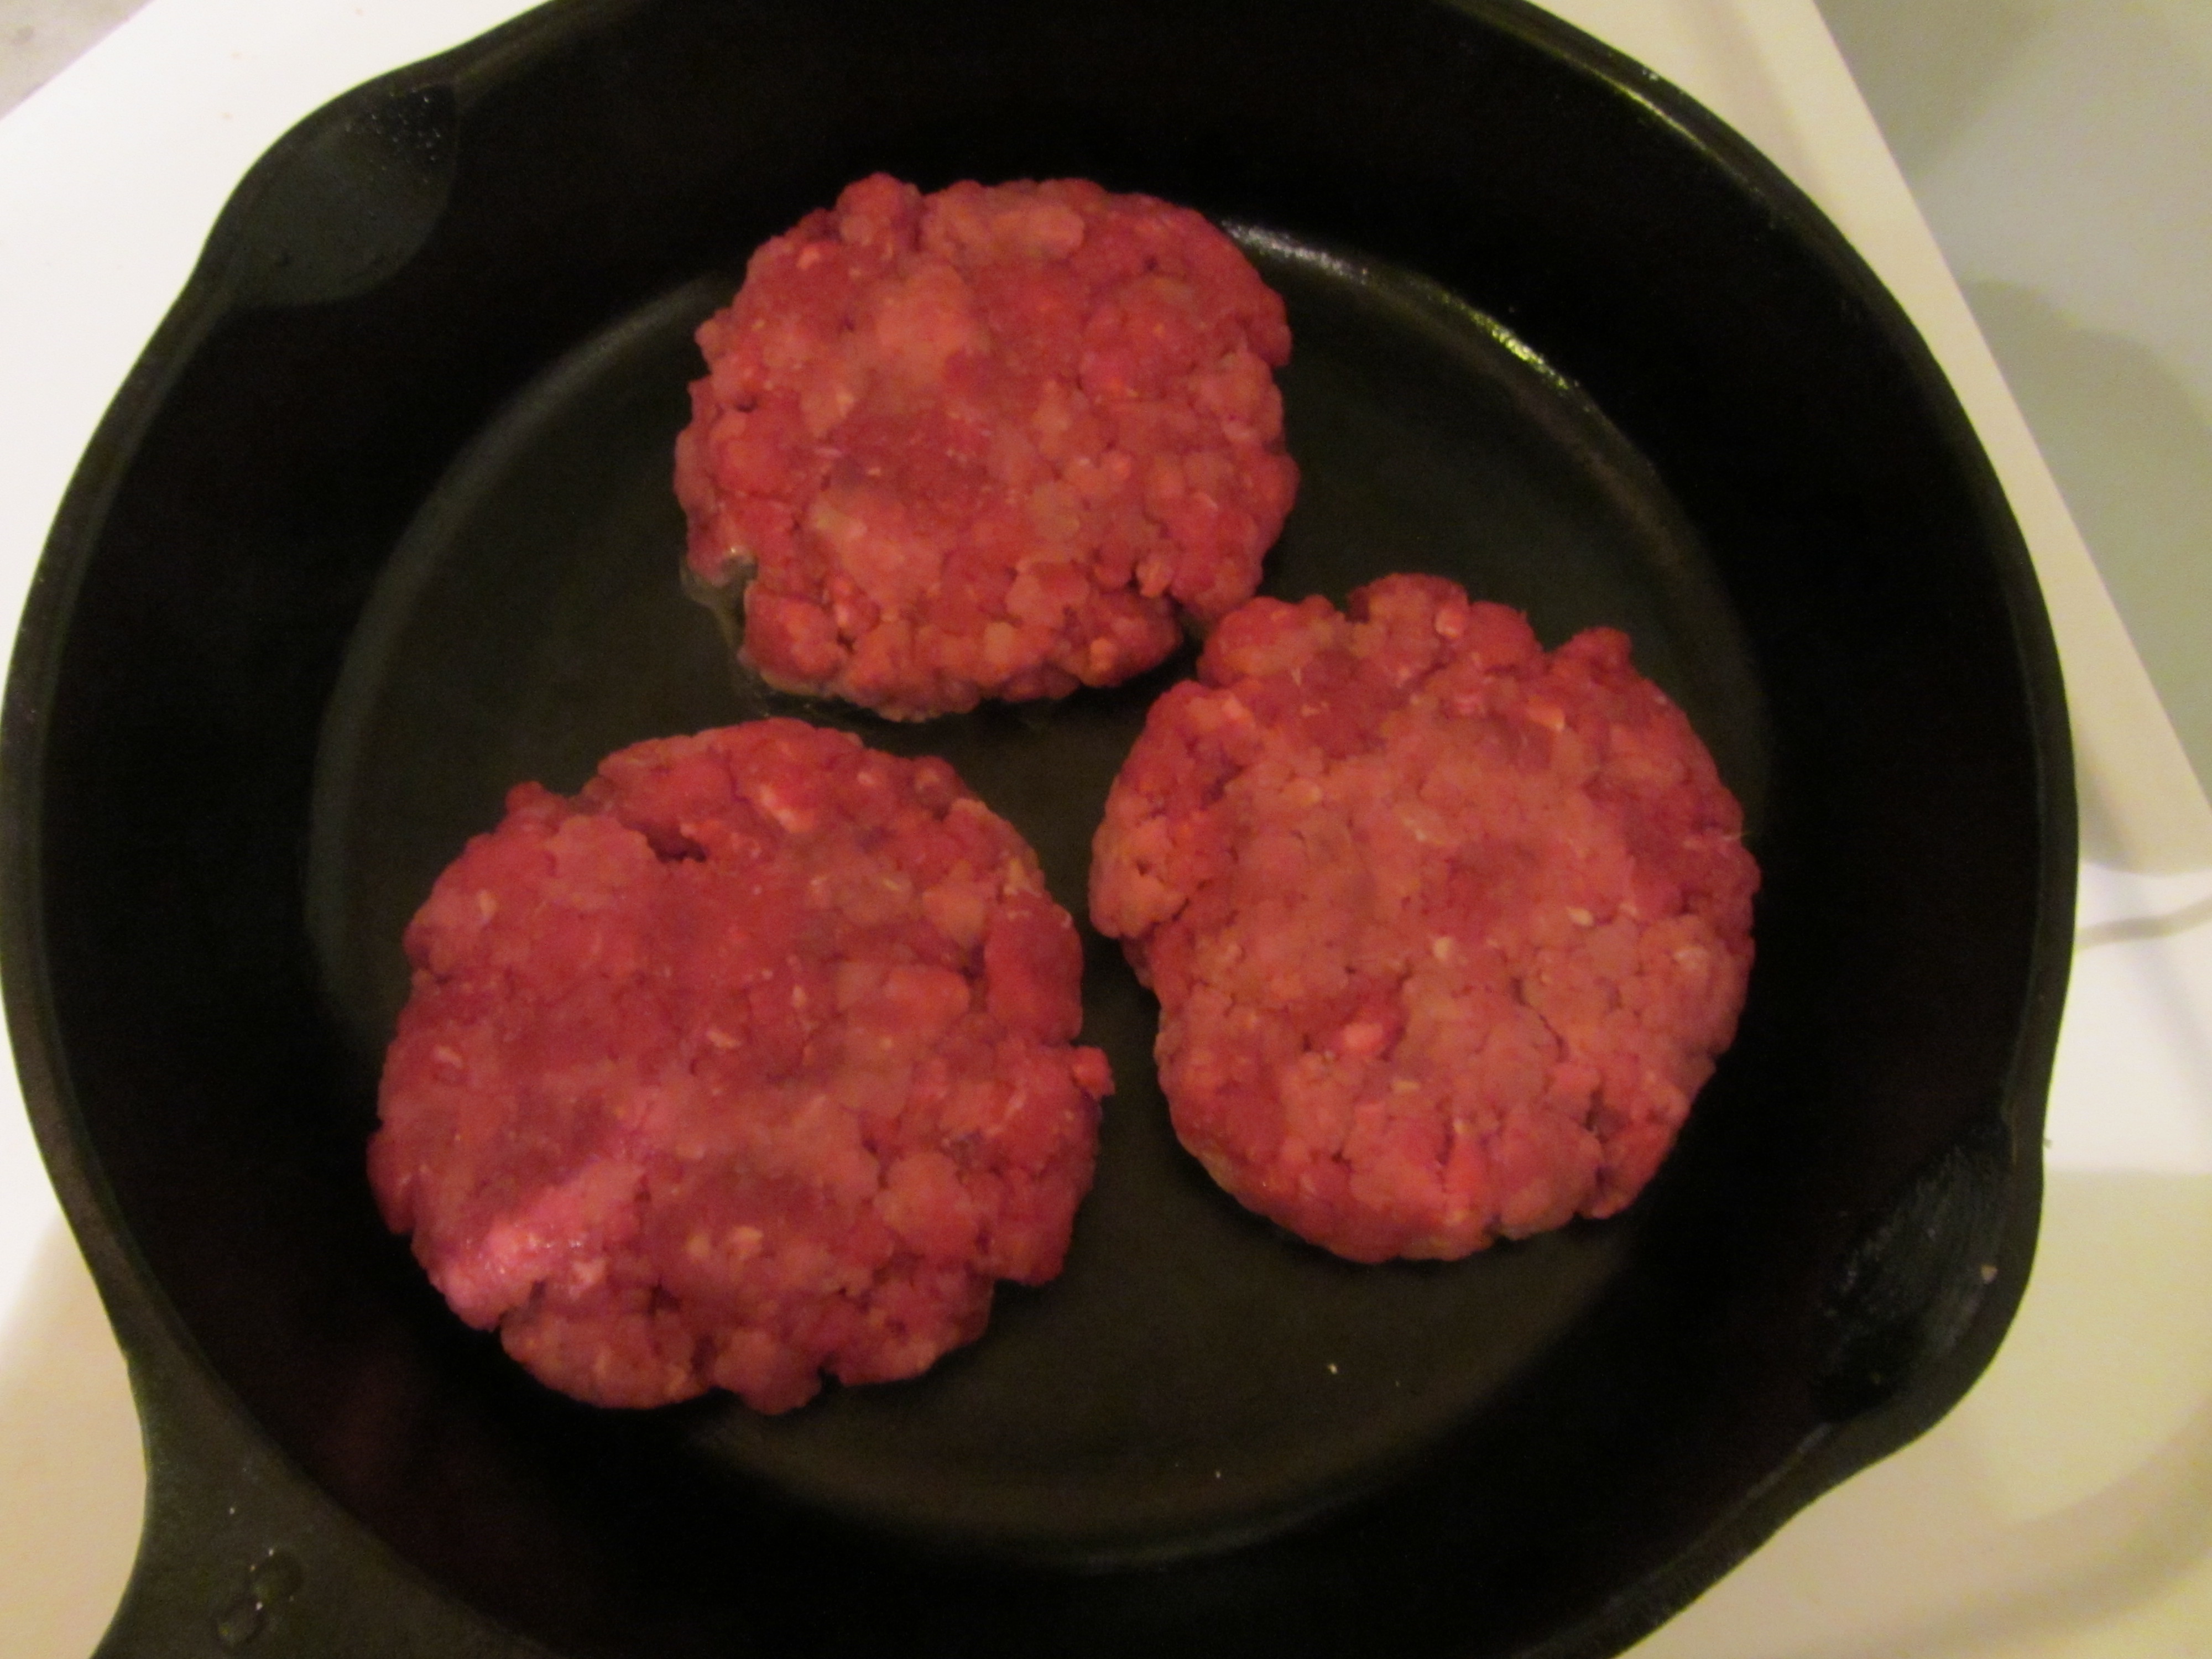
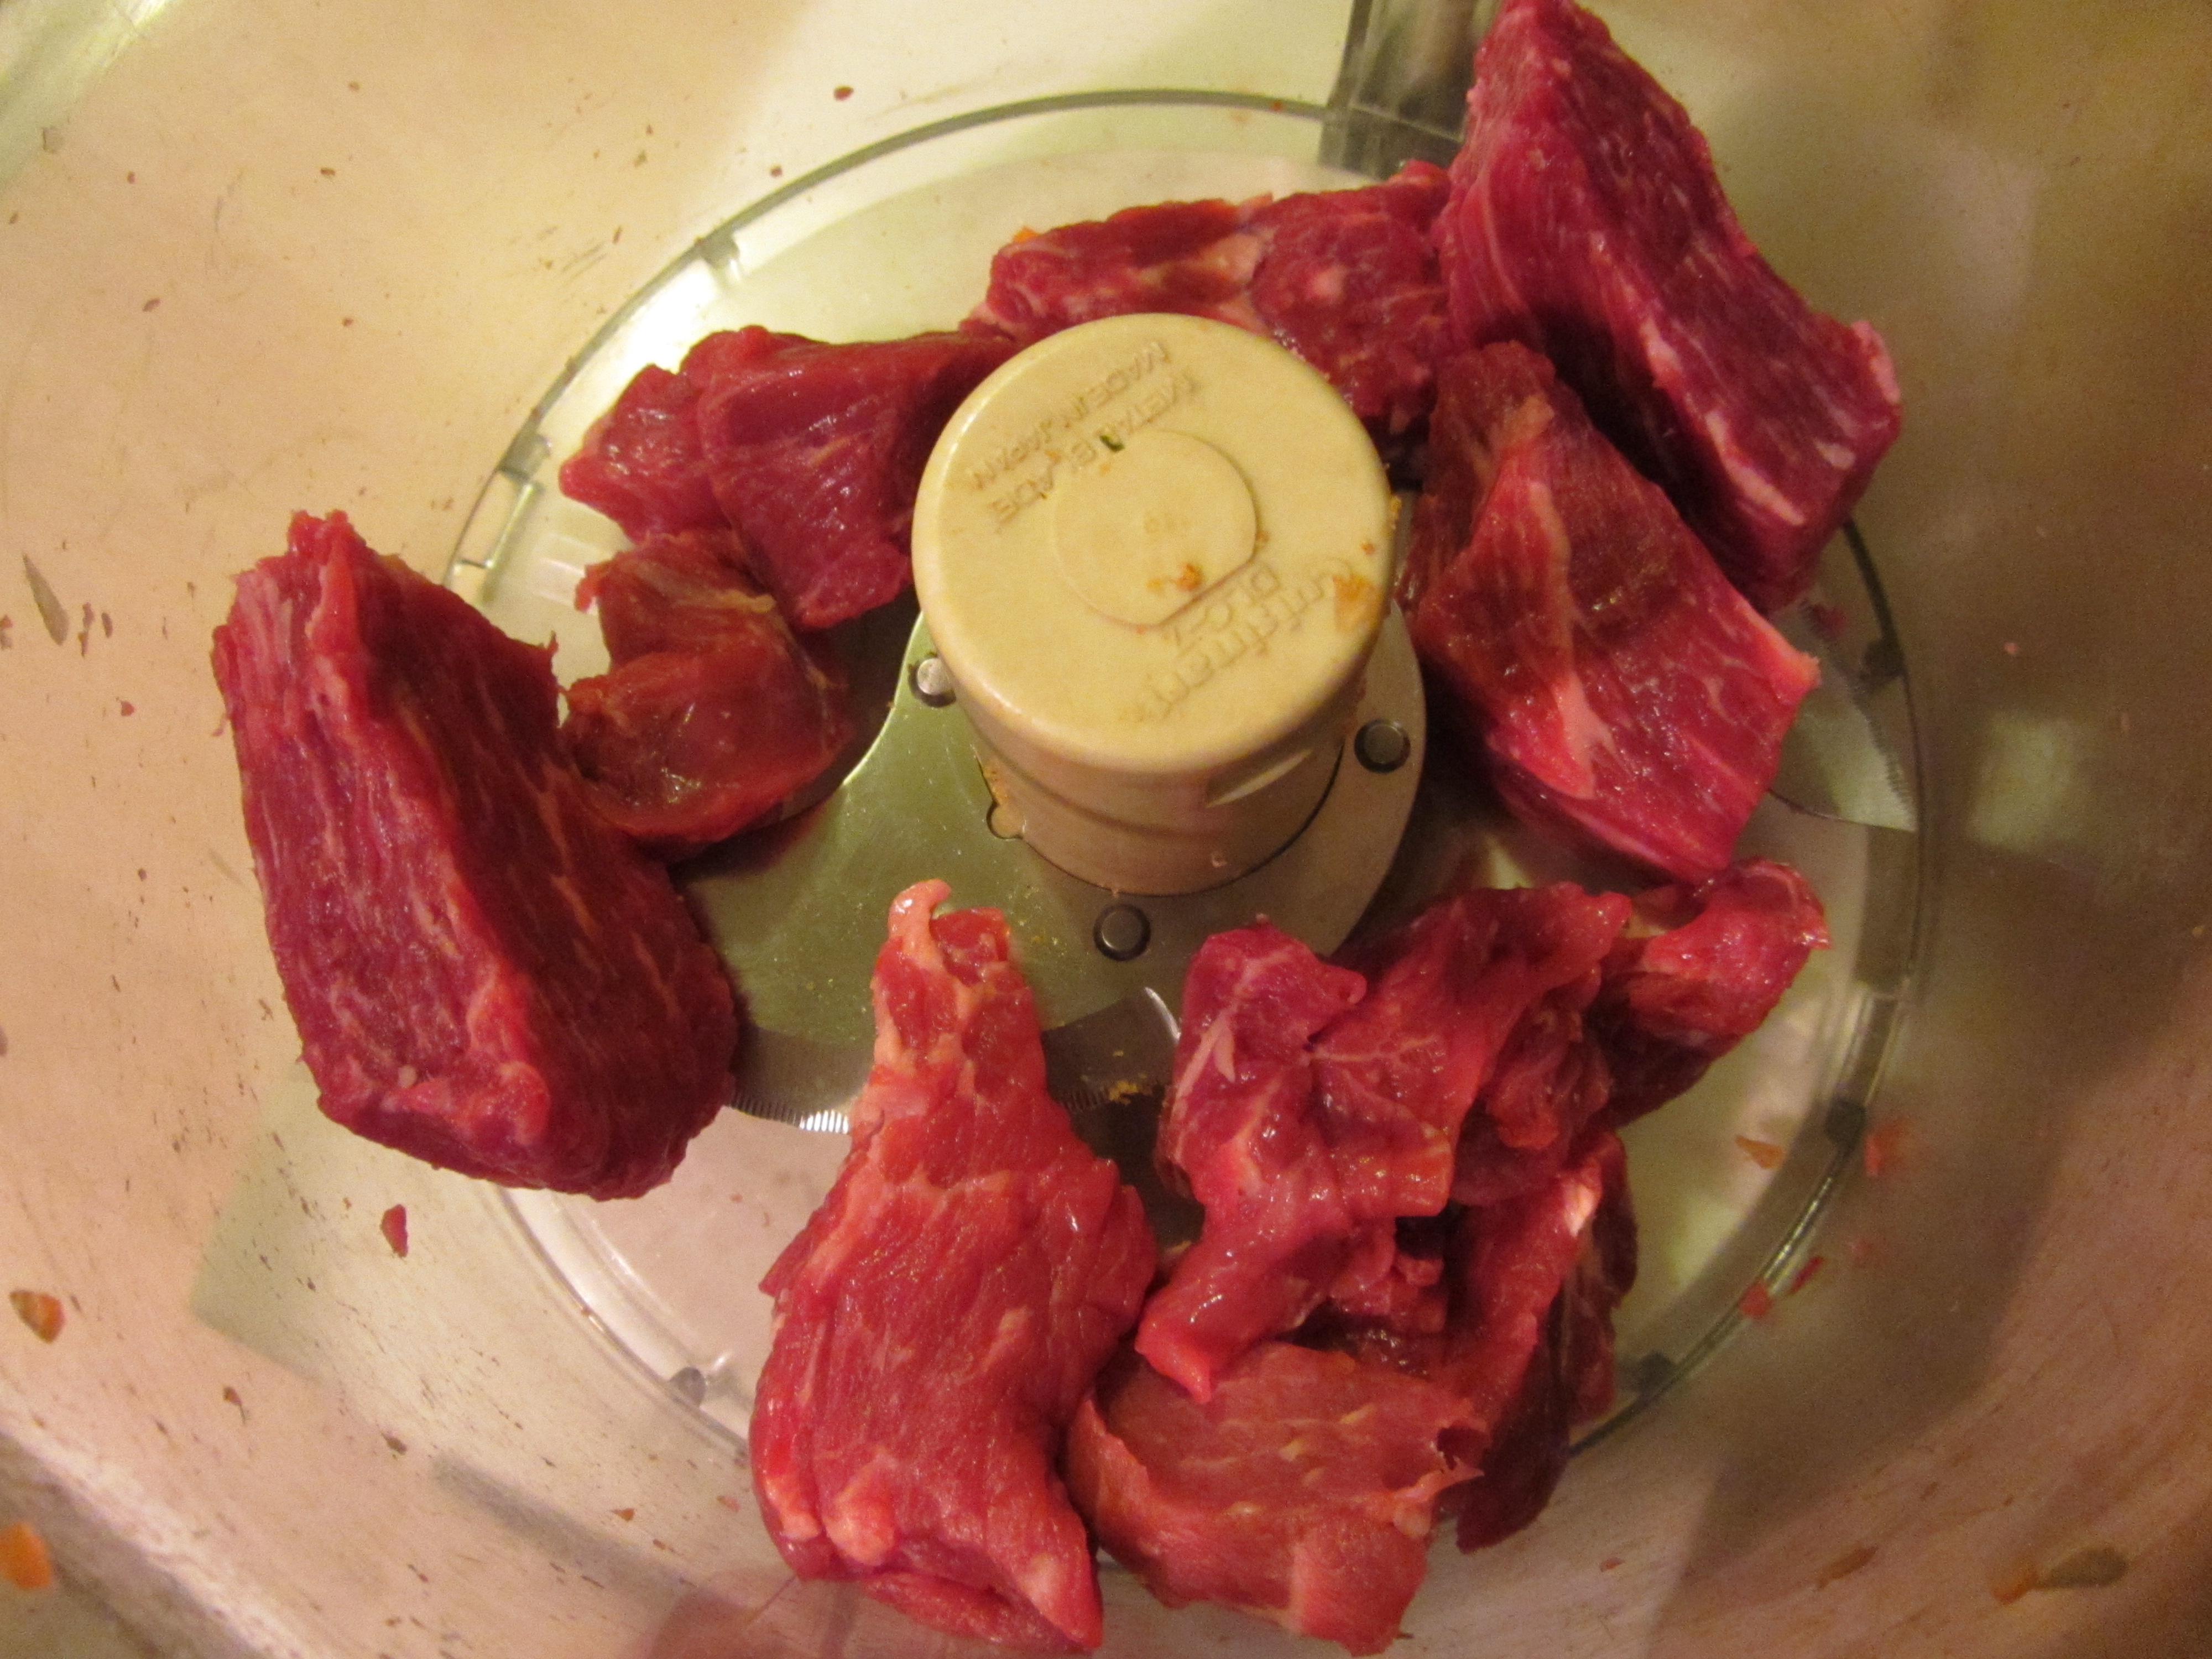
For these skewers, Alton recommends using boneless beef sirloin, of which you will need about 1.5 pounds.

IMG_2838

Boneless beef sirloin.

Cut the meat into two-inch cubes, place the cubes in a large plastic bag, and pour in the marinade. Seal the bag, removing as much air as possible, and toss the meat to coat thoroughly.

Place the meat in the refrigerator to marinate for 2-4 hours. Before threading his meat onto skewers, Alton likes to pre-arrange his meat on a sheet pan, placing cubes of similar sizes on the same skewers for even cooking.

IMG_2853

Beef after marinating for several hours. Pieces of meat arranged such that pieces of similar size go on the same skewer.

Once your meat is sorted, thread the meat onto metal grilling skewers, placing about five or six pieces on each skewer; leave about a half inch of space between the meat cubes.

IMG_2854

Beef cubes threaded onto metal skewers.

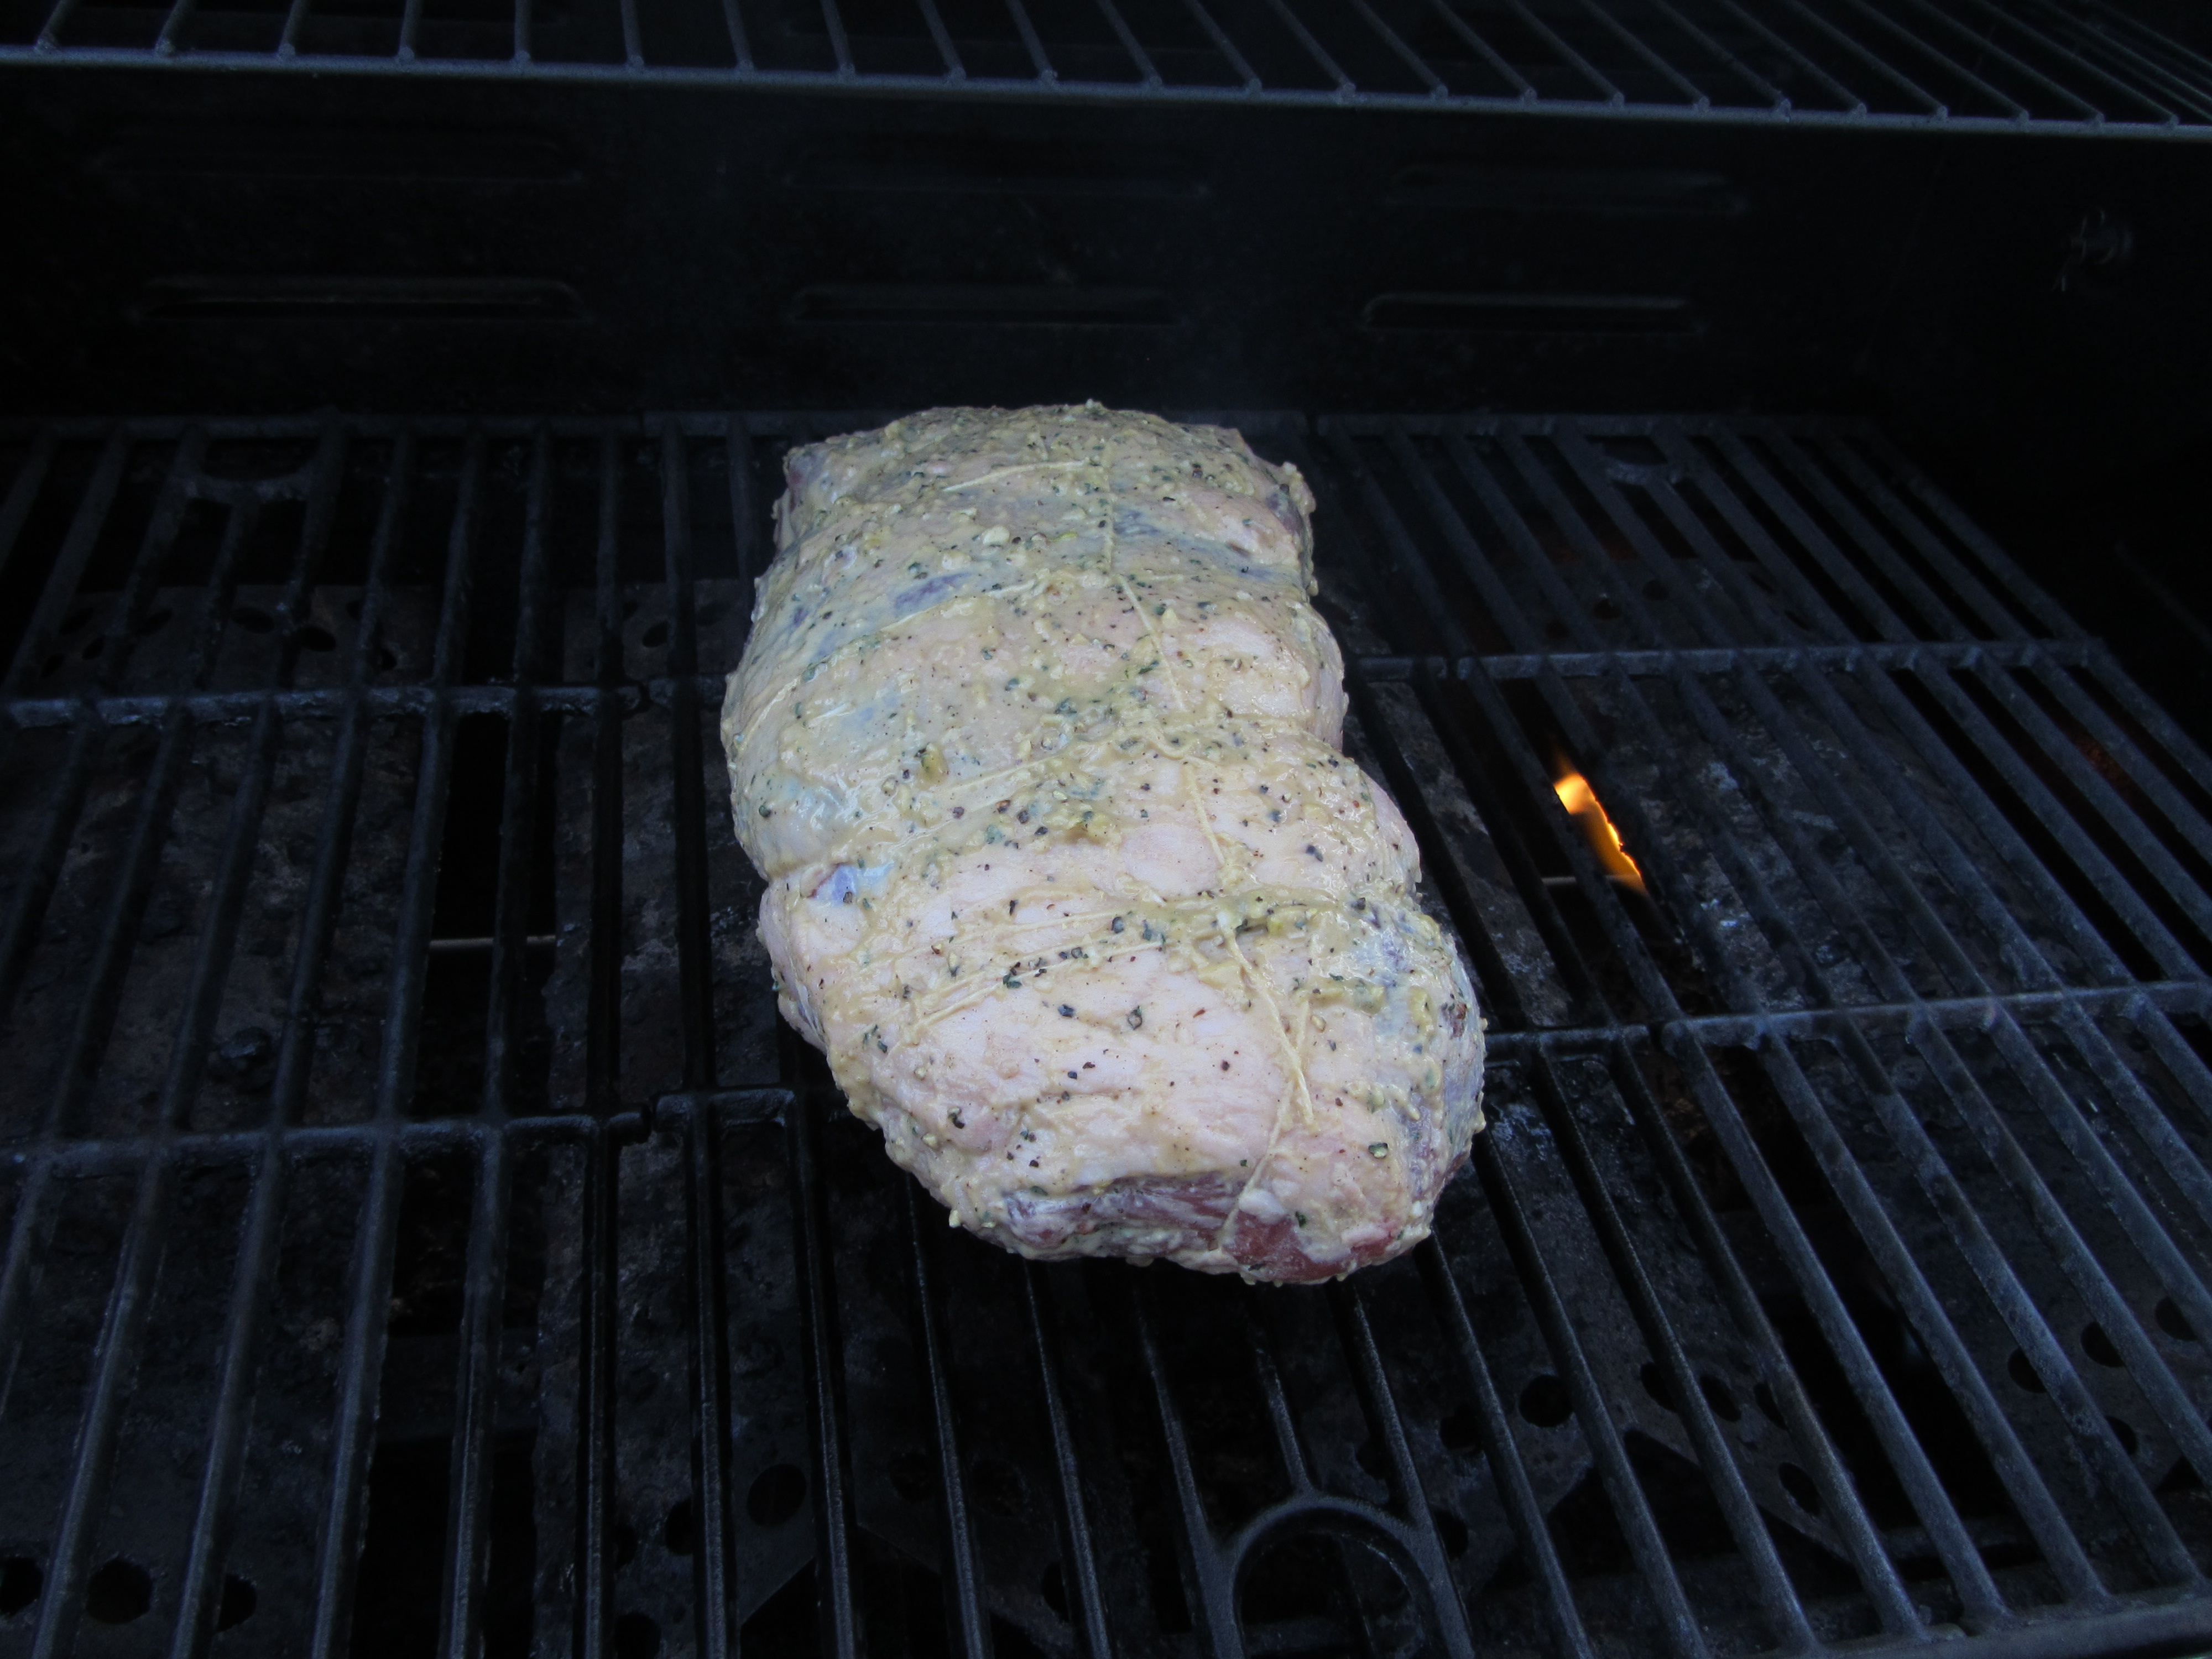
To grill the skewers, first be sure that your grill grates are pretty clean and preheat your gas grill to medium-high. Place the skewers on the grill, rotating them every two minutes for a total cook time of eight to 12 minutes. For this cut of beef, Alton prefers his meat to be cooked to medium doneness, which should take about 12 minutes.

IMG_2860

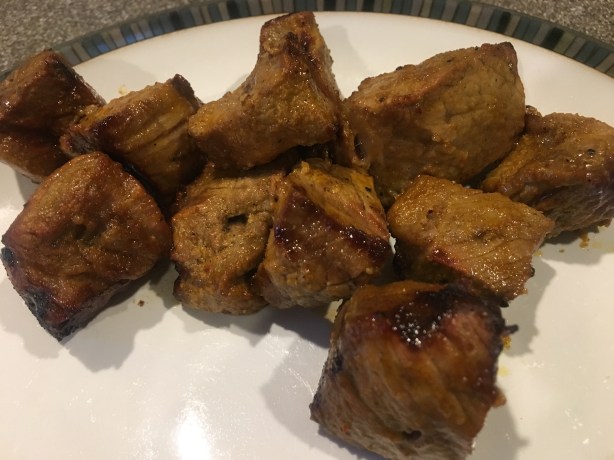
The beef from Alton’s skewers.

When done grilling, wrap the hot skewers in foil and let them rest for a few minutes before eating. To cook the skewers on a charcoal grill, remove the grate and place four bricks around the center mound of charcoal. Rest the skewers on the bricks, suspending the meat above the hot charcoal. I cooked my skewers for the full twelve minutes recommended by Alton, and I thought the meat was a tad bit chewy. The marinade for this recipe was excellent, however, and made the meat super flavorful. I could see using this marinade for a variety of meat preparations. This recipe made for a quick, easy, flavorful meal. My only gripe was that the meat was a little bit too chewy, so I might try cooking the meat a little less next time.

Vanilla Lime Pineapple Skewers

If you are looking for a side dish for your beef kebabs, or for a dessert to follow, Alton has you covered with his pineapple skewers. Begin by splitting a vanilla bean in half and scraping out the seeds/pulp. Reserve the bean. Place 1 C dark brown sugar, 1/2 C lime juice, a pinch of Kosher salt, and the vanilla pulp/pod in a medium saucepan over medium-high heat.

Whisk the mixture until the brown sugar dissolves. Once dissolved, remove the pan from the heat and allow the mixture to steep for two hours. After steeping, remove the vanilla pod and discard it.

Transfer the cooled syrup to a plastic squeeze bottle. Next, prepare your pineapple by cutting the top and bottom off of the fruit. Stand the fruit on one end and cut the pineapple into quarters. Lay the pineapple quarters down and cut them in half, creating eighths. Cut the core off of each eighth of pineapple, discarding it. Finally, use a sharp knife to fillet the pineapple off of its skin.

IMG_2862(1)

Pineapple cut into eighths.

Thread each eighth of pineapple onto a metal grilling skewer, squirt them with the vanilla syrup, and grill them for four minutes per side, for a total of 12 minutes. As you grill the fruit, squirt it occasionally with the vanilla syrup.

IMG_2871(1)

Alton’s grilled pineapple.

Serve the pineapple warm. This was a fun, summery dessert that was easy to prepare. The pineapple softened and became sweeter, and its flavor was complimented nicely by the flavors in the syrup. The lime juice added a nice tartness to an otherwise very sweet syrup. You could certainly use this syrup on other fruits also, or you could simply take Alton’s suggestion and eat the syrup over ice cream. Either way, the syrup is a multitasker!

Skirt Steak

The 91st episode of Good Eats strives to provide recipes that elevate lesser cuts of meat to higher levels, starting with skirt steak. When purchasing skirt steak, it is ideal to get an “inside skirt steak,” though I could not find a steak labeled this way. In fact, I had to visit three grocery stores to find any skirt steak.

IMG_5551

My skirt steak.

Since Alton uses his skirt steak to make fajitas (my grandma used to pronounce fajitas “fa-jy-tas,” which I always thought sounded like a venereal disease), a 2 1/2 pound steak will serve eight people. Skirt steak is ideal for marinades, and it really only needs to marinate for an hour or so. For Alton’s skirt steak marinade, combine in a blender 1/2 C olive oil, 1/3 C soy sauce, 4 scallions, 2 big cloves of garlic, the juice of two limes, 1/2 t red pepper flakes, 1/2 t cumin, and 3 T dark brown sugar.

Place your steak in a large ziplock bag and add the marinade, massaging it into the meat. Place the steak in the refrigerator for an hour.

IMG_5554

Steak and marinade in plastic bag for an hour.

To cook a skirt steak, Alton recommends using a charcoal grill, but the odd part of his cooking method is that he has you cook the steak directly on the charcoal for 60 seconds per side (he recommends using a hair dryer to blow off any ash prior to grilling). Once cooked, wrap your steak in a double layer of heavy foil and let it rest.

Meanwhile, place a cast iron skillet on your charcoal, allowing it to heat up.

IMG_5562

Cast iron skillet placed on coals to heat.

While your skillet heats, chop one red bell pepper, one green bell pepper, and one white onion, tossing them in vegetable oil. Add the oiled vegetables to the heated skillet, cooking them until soft and slightly charred.

IMG_5565

Sautéed veggies.

Next, slice your steak across the grain, as thinly as possible; skirt steak can be chewy and this will help to break up the meat fibers. Place the sliced meat back in the foil packet with its juices, tossing to coat.

IMG_5571

Steak after cooking more in the oven and resting again.

Finally, serve the sliced steak in warmed flour tortillas, along with the sautéed vegetables.

IMG_5572

Steak and veggies in tortillas for fajitas.

I have a few things to say about this recipe. First off, I cooked my steak directly on the charcoal for a minute on each side, and it was completely raw in the center, even after resting. I had to finish my steak in the oven.

IMG_5569

Steak after resting – RAW.

My second criticism is that a fair amount of ash stuck to my steak, which you could somewhat taste (and added a gritty texture). I will say that I did not use high-quality charcoal, which was probably part of the problem. If I did this again, I would use natural, high-quality charcoal. Finally, I still found my skirt steak to be extremely chewy, which was really disappointing. I’m not sure I would try this again, though I will say the marinade was fantastic, imparting the meat with really good flavor. Still, the raw steak, ashy flavor, and chewy meat outweigh the good marinade. Maybe I will try this marinade on a different cut of meat.

Sirloin Steak

After feeling like Alton’s skirt steak was sort of a flop, I was hopeful that his take on sirloin steak would be a bit better. When purchasing sirloin steak, look for cuts that are labeled as “top sirloin,” “top butt steak,” “center cut sirloin,” or “hip sirloin steak.” Essentially, as Alton puts it, the best sirloin steaks are the furthest away from the hooves and horns. For this recipe, you want a steak that is about 1 1/2 pounds. My steak actually came in two pieces.

IMG_5463

My sirloin steak. It came in two separate pieces.

The key with cooking sirloin steak is to start with low heat and finish with high heat. Begin by positioning two oven racks in the lowest two positions, placing a layer of foil, or a sheet pan, on the bottom rack to catch anything that drips. Preheat your broiler. As Alton says, a broiler is nothing but an upside-down grill. While your oven preheats, oil your steak and season it with salt and pepper.

IMG_5465

Steak, oiled and seasoned with salt and pepper.

Once your oven is hot, place your steak directly on the second lowest oven rack, and place a piece of foil in the oven door to keep it slightly ajar; this will keep the broiler from cycling off. Cook the steak for five minutes.

IMG_5466

Steaks, placed directly on second lowest rack for 5 minutes.

After five minutes, flip the steak, place the foil back in the door, and cook it for five more minutes.

IMG_5467

Steaks, flipped over after five minutes. Left to broil for 5 more minutes before moving up to second highest rack position.

Next, flip the steak again, moving its rack up to the second highest position (be sure to move the drip tray up also). Place the foil in the door and cook the steak for three minutes. After three minutes, flip the steak again, place the foil in the door, and cook the steak for a final three minutes. *I failed to get photos of my steak after I moved it to the second highest rack because my dog gets scared whenever the broiler is on, and especially when I open the oven door. Why? I have no idea. Anyway, remove the steak from the oven and let it rest for a few minutes.

IMG_5468

Finished steak, resting.

Slice the steak on the bias and serve.

IMG_5471

Finished steak, sliced on the bias.

I served my steak over a green salad and we were quite happy with this one.

IMG_5475

Finished steak, served over salad.

Alton’s cooking method for this is pretty spot-on, though you may need to adjust the cooking time slightly for your steak size and broiler. My resulting steak was pink in the center and tender. This is about as easy as it gets for cooking a decent, fairly inexpensive, weeknight steak. Alton redeemed himself with this one.

Growing up, my family had a variety of animals – dogs, cats, horses, rabbits, and lambs, among others. I had a bit of an obsession with the name Timothy, insisting on bestowing the name on each subsequent lamb. There may have even been a female Timothy in there somewhere! Though we had lambs as pets, we really did not eat much lamb when I was growing up, but I have come to really like it as an adult. My lamb consumption has been almost exclusively at restaurants, so I was excited to get to try cooking a leg of lamb to finish off the third season of my Good Eats project.

The recipe for Alton’s grilled leg of lamb can be found here. Unless you are cooking for 8-10 people, you will want to cook half a leg of lamb. The sirloin end of the leg (the end furthest from the hoof) is the portion you want to get, and you can often get your butcher to cut this portion for you. I went to good ol’ Costco to get my lamb, so mine came in a vacuum-sealed bag; Alton is not a big fan of this, as you end up paying partially for the liquid in the bag, but it was a convenient option for me. Once you get your lamb home, you want to unroll it into a flat slab.

Leg of lamb.

Leg of lamb.

Opened leg of lamb.

Opened leg of lamb.

Note that just because you get a “boned” leg of lamb, a portion of the joint may still be in place; if this is the case, you will want to remove the joint by cutting around it and pulling it out. My leg of lamb was truly boneless. Also trim off any huge chunks of fat or connective tissue, but you want to be careful not to over trim the meat, as the leg of lamb consists of several muscles held together by connective tissue. Flip the meat over so the skin side is up and trim off the fell, which is the impermeable membrane over the fat. The fell can be very tough, so you want to remove as much as possible, using the tip of your knife to get under the membrane.

Fell trimmed off.

Fell trimmed off.

Once your lamb is trimmed sufficiently, in a mini chopper combine 4 cloves of garlic, 8 mint leaves, 1 T brown sugar, 1 T Kosher salt, 2 t black pepper, 5 T Dijon mustard, and 2 T canola oil.

Ingredients for Alton's lamb:  Kosher salt, black pepper, Dijon mustard, mint, garlic, canola oil, and brown sugar.

Ingredients for Alton’s lamb: Kosher salt, black pepper, Dijon mustard, mint, garlic, canola oil, and brown sugar.

Four cloves of garlic in the chopper.

Four cloves of garlic in the chopper.

Chopped garlic.

Chopped garlic.

Eight mint leaves added to garlic.

Eight mint leaves added to garlic.

1 T brown sugar added.

1 T brown sugar added.

and 1 T Kosher salt.

and 1 T Kosher salt.

Plus 5 T Dijon mustard and 2 t black pepper.

Plus 5 T Dijon mustard and 2 t black pepper.

2 T canola oil added.

2 T canola oil added.

Mint/mustard mixture.

Mint/mustard mixture.

You will need to truss your meat, so cut five pieces of butcher’s twine that are 17-18 inches long. You will also need one longer piece of twine that is about 36 inches long. Flip the meat so the skin side is down and spread the mustard/mint mixture all over the meat, using all of the mixture.

Mint/mustard mixture spread over lamb.

Mint/mustard mixture spread over lamb.

Roll the lamb up into a neat tube shape and flip it so the skin side is facing up.

Lamb rolled into tube shape.

Lamb rolled into tube shape.

Starting in the middle of the meat, tie one of the shorter pieces of twine around the lamb, using a surgeon’s knot. You want to tie the twine tightly, but not overly so, as the meat will expand when it cooks.

Butcher's twine tied around the center of the lamb.

Butcher’s twine tied around the center of the lamb.

Continue tying the shorter pieces of twine around the meat, evenly spacing them.

Additional pieces of twine tied around lamb.

Additional pieces of twine tied around lamb.

Once all of shorter pieces of twine are tied, use the long piece of twine to tie the meat lengthwise, looping it around the shorter pieces of twine. Again, finish with a surgeon’s knot.

Longer piece of twine looped around the shorter pieces of twine.

Longer piece of twine looped around the shorter pieces of twine.

Alton used a charcoal grill to cook his lamb. We do not have a charcoal grill, so I used our gas grill. You will want to cook the lamb over indirect heat, and be sure to lube the grill grates with canola oil prior to putting the roast on the grill.

Lamb ready to go on the grill.

Lamb ready to go on the grill.

Place the lamb on the grill, skin side up, and throw some rosemary sprigs below the grates to act as a smoking agent.

Lamb on the grill.

Lamb on the grill.

Sprigs of rosemary added to the grill.

Sprigs of rosemary added to the grill.

Close the lid and allow the lamb to cook for 20 minutes. After 20 minutes, flip the meat and turn it 180 degrees.

Lamb flipped and rotated after 20 minutes.

Lamb flipped and rotated after 20 minutes.

Insert a probe thermometer at an angle and set it to beep when the meat hits 135 degrees. In the episode, Alton’s lamb took only an additional 25-30 minutes to reach 135 degrees, but my lamb took considerably longer to be done.

Lamb after reaching 135 degrees.

Lamb after reaching 135 degrees.

Once your lamb is done, remove the twine and allow it to rest under foil for at least 15 minutes before serving. We ate the lamb as our entrée, simply slicing it.

Lamb after resting 15 minutes under foil.

Lamb after resting 15 minutes under foil.

Alton's grilled leg of lamb.

Alton’s grilled leg of lamb.

We shared some leftover lamb with my parents who used the sliced lamb to make sandwiches, which they said were really good. I used the remaining leftover lamb to make my grandma’s curry. Alton’s lamb was really quite delicious and tender, and the mint mixture really flavored the meat well. If you are looking for something different to grill this summer, Alton’s lamb is a great choice, especially for a group.

The 21st episode of Good Eats features recipes on beef, specifically ground beef. What meat eater doesn’t like ground beef? The fun part about the recipes in this episode is that Alton shows you how to grind your own meat at home. When you buy ground beef at the grocery store, it is composed of all of the leftover meat trimmings, which means that the consumer is really not sure where their meat is coming from. Conversely, by grinding your own beef at home, you know exactly what part of the cow you are eating. Alton explains that there are really three good ways to grind your own meat; you can use a meat grinding attachment on a stand mixer, an old-fashioned hand grinder, or a food processor. For these recipes, Alton uses the latter. It had honestly never really occurred to me to grind my own meat, and especially not with my food processor, so this was a fun experiment for me to try.

Burger of the Gods

The first recipe Alton tackles is for a classic burger. For this recipe, you want half of your meat to be chuck and the other half to be sirloin.

Sirlon and chuck, ready to grind at home.

Sirlon and chuck, ready to grind at home.

Since chuck is about 30% fat, it is ideal for blending with lean meats like sirloin. To begin, you want to trim your meat of any visible fat or tough connective tissue. My meat needed very little trimming. Once trimmed, you cut your meat into 1 1/2″ cubes. For grinding, you want your meat to be chilled. My meat was still cold after I trimmed it, so I began grinding right away. You want to process your meat in small batches, using short pulses. I found that putting eight ounces of trimmed meat into the processor was the perfect amount of meat for one batch, so I only had to do a total of two batches. Alton tells you to pulse the processor about 10 times for perfect burger meat. I ended up doing about 15 pulses for mine, and it seemed to be just about right. FYI Alton tells you to pulse meat about six times for perfect chili meat.

Sirlon in the food processor.

Sirlon in the food processor.

Ground sirloin, after ~15 pulses.

Ground sirloin, after ~15 pulses.

Ground sirloin.

Ground sirloin.

Chuck, ready to be ground.

Chuck, ready to be ground.

Ground chuck.

Ground chuck.

Once your meat is ground, you lightly mix it with your hands in a bowl. At this point, you can use the meat right away, or you can refrigerate it for a day or two.

Ground chuck and sirloin.

Ground chuck and sirloin.

When ready to use your meat (I used mine right away), add some Kosher salt and mix it in gently with your hands. Alton stresses that salt is all the seasoning you need for a perfect burger.

Ground meat, plus salt.

Ground meat, plus salt.

For a perfectly sized burger patty (4″ x 3/4″), weigh five ounces of meat. Lightly toss the meat between your two hands, forming it into a ball, and then flatten the meat into a patty. You do not want to compress the meat too much, as this will kill its texture.

Lightly formed patties.

Lightly formed patties.

When your patties are all formed, heat a cast iron skillet over medium-high heat until water sizzles and bubbles away, about two minutes.

Cast iron skillet.

Cast iron skillet.

Cook your burgers for four minutes per side if you want a medium-rare burger. Cook for an additional minute per side to get a medium burger.

Burgers in the pan.

Burgers in the pan.

Burgers flipped after 4 minutes.

Burgers flipped after 4 minutes.

Though this may conflict with every burger you have ever seen being cooked in an American diner, Alton informs you that you should, under no circumstances, smash your patty with a spatula while it is cooking. Patty smashing only serves to get rid of the good juices you want in your burger. Alton’s other rule for burger cooking:  flip burgers only one time. Once your burgers are cooked to your desired degree of doneness, let them rest for a minute or two before eating.

Resting burgers.

Resting burgers.

In the episode, Alton begs you to serve your burgers his way, which is on a toasted bun with only some mayonnaise and freshly ground pepper. I complied with his request.

Bun adorned the Alton way, with only mayo and pepper.

Bun adorned the Alton way, with only mayo and pepper.

We ate our burgers with French fries on the side. The texture of the beef was great, as the burgers stayed moist and were not overly dense. Unfortunately, my burgers were a little overcooked, which I think was due to my burner being a little too hot from the French fries cooking simultaneously below.

Burger with fries.

Burger with fries.

Still, though, the burgers were flavorful and juicy. I am not a huge fan of mayonnaise, so I was skeptical about eating my burger with only mayo and pepper. I do have to say that the meat flavor really stood out and was complimented by the spice of the pepper and creaminess of the mayo. I do think that we sometimes overwhelm the basic flavors of the meat itself by piling on a lot of condiments. Really, though, it’s just about what you like, right? This burger recipe was a winner. Grinding the meat at home really took very little extra time and effort, though it is a bit more expensive to do so. If you want to treat yourself to a good burger at home, it is worth the expense to grind your meat. Plus, you’ll know exactly what you are eating, which is a bonus.

Good Eats Meatloaf

The second recipe in this episode is for meatloaf. I really like meatloaf, especially at this time of the year. Like the burger recipe, this recipe uses a food processor. The food processor I use belonged to my parents, and I’m fairly sure it was a wedding present to them in 1974. You do have to keep your hand pressing on the lid or it will stop running, but it otherwise works just fine. To begin, you combine garlic-flavored croutons, black pepper, cayenne, chili powder, and dried thyme in the processor.

Garlic croutons, pepper, cayenne, chili powder, and thyme

Garlic croutons, pepper, cayenne, chili powder, and thyme

Grinding the crouton mixture in the food processor.

Grinding the crouton mixture in the food processor.

You want to process this until all of the visible crouton cubes are gone. This mixture then goes into a large mixing bowl.

The ground crouton mixture.

The ground crouton mixture, and Coonhound cameo.

Ground crouton mixture in mixing bowl.

Ground crouton mixture in mixing bowl.

Next, again in your food processor, you combine onion, carrot (no need to peel), garlic, and bell pepper.

Bell pepper, carrot, onion, and garlic.

Bell pepper, carrot, onion, and garlic.

He is NUTS for carrots.

He is NUTS for carrots.

Catching his carrot piece.

Catching his carrot piece.

Veggies in the food processor.

Veggies in the food processor.

You want to process the vegetables until they are finally chopped, but you do not want to puree them. Once chopped, the veggies go into the bowl with the crouton mixture.

Chopped veggies.

Chopped veggies.

Veggies in the bowl with the croutons.

Veggies in the bowl with the croutons.

Next, into the food processor goes your meat. Just like with the burger recipe, you want to use 50% chuck and 50% sirloin that you have trimmed and cubed.

Sirloin and chuck to be trimmed and ground.

Sirloin and chuck to be trimmed and ground.

I had to do a bit more trimming with this meat than for the burgers, so it took slightly longer. I was still able to do my meat in two batches, pulsing about 15 times.

Sirloin in the food processor.

Sirloin in the food processor.

Sirloin after ~15 pulses.

Sirloin after ~15 pulses.

Chuck in the food processor.

Chuck in the food processor.

Once your meat is ground, you add it to the bowl with the other ingredients, along with some Kosher salt and one egg.

Both ground meats added to the veggies and croutons, along with salt and an egg.

Both ground meats added to the veggies and croutons, along with salt and an egg.

You want to use your hands to gently toss this mixture. Alton tells you not to squeeze the meat. Once everything is suitably combined, pack the meat into a loaf pan, using a spatula.

The combined mixture after mixing with my hands.

The combined mixture after mixing with my hands.

Packed into a loaf pan.

Packed into a loaf pan.

Here is where Alton’s recipe differs from most meatloaf recipes, as you do not actually bake the meatloaf in the loaf pan. Instead, you turn the meatloaf out onto a parchment-lined baking sheet, using the loaf pan simply as a mold. Alternatively, you could just shape the meatloaf on the sheet pan with your hands. Why does Alton not have you bake in the loaf pan? Cooking the meatloaf on a sheet pan allows the fat to escape while the heat gets in.

Turned out onto a parchment-lined sheet pan.

Turned out onto a parchment-lined sheet pan.

After baking for about 10-15 minutes, you want to brush a glaze onto your meatloaf. For the glaze, combine ketchup, cumin, Worcestershire sauce, hot sauce (I used Tabasco, as did Alton), and honey. In the online recipe, the glaze calls for a teaspoon of ground cumin, though Alton used a whole tablespoon of cumin in the episode. I, or course, went with what he did in the episode.

Glaze ingredients:  ketchup, hot sauce, Worcestershire sauce, cumin, and honey.

Glaze ingredients: ketchup, hot sauce, Worcestershire sauce, cumin, and honey.

Finished glaze.

Finished glaze.

Meatloaf after 10-15 minutes in the oven.

Meatloaf after 10-15 minutes in the oven.

Glaze brushed on and back into the oven.

Glaze brushed on and back into the oven.

For his meatloaf, Alton uses a probe thermometer (set to 155 degrees), which he inserts into the center of the meatloaf at a 45 degree angle. I do not have a probe thermometer, so I simply checked the temperature of my meatloaf regularly until it reached 155 degrees. Confession:  my meatloaf’s temperature was a bit higher than 155 degrees when I removed it from the oven. Once you remove your meatloaf from the oven, be sure to let it rest for about 10 minutes before slicing.

Meatloaf after baking to 155 degrees (+).

Meatloaf after baking to 155 degrees (+).

We ate our meatloaf last night, alongside some steamed, seasoned broccoli. The meatloaf did crumble a bit when it was sliced, but it was far from dry. In fact, it was very moist in the middle with a nice crust from the glaze on the outside.

Meatloaf after resting.

Meatloaf after resting.

We both really liked the combination of spices used, and said we will likely use them again for any future meatloaf, even if we are not grinding our own meat. The cumin was the predominant spice, so those who do not like cumin may find this to be a bit overpowering. We, however, thought it was just right. The flavor was zesty, slightly spicy from the cayenne and hot chili powder, and sweet from the ketchup and honey. The meat flavor still came through, even with all of the spice, and the vegetables served to keep moisture in the meatloaf. If you are looking for a super flavorful, spicy meatloaf, give this one a try.