Chocolate Mousse
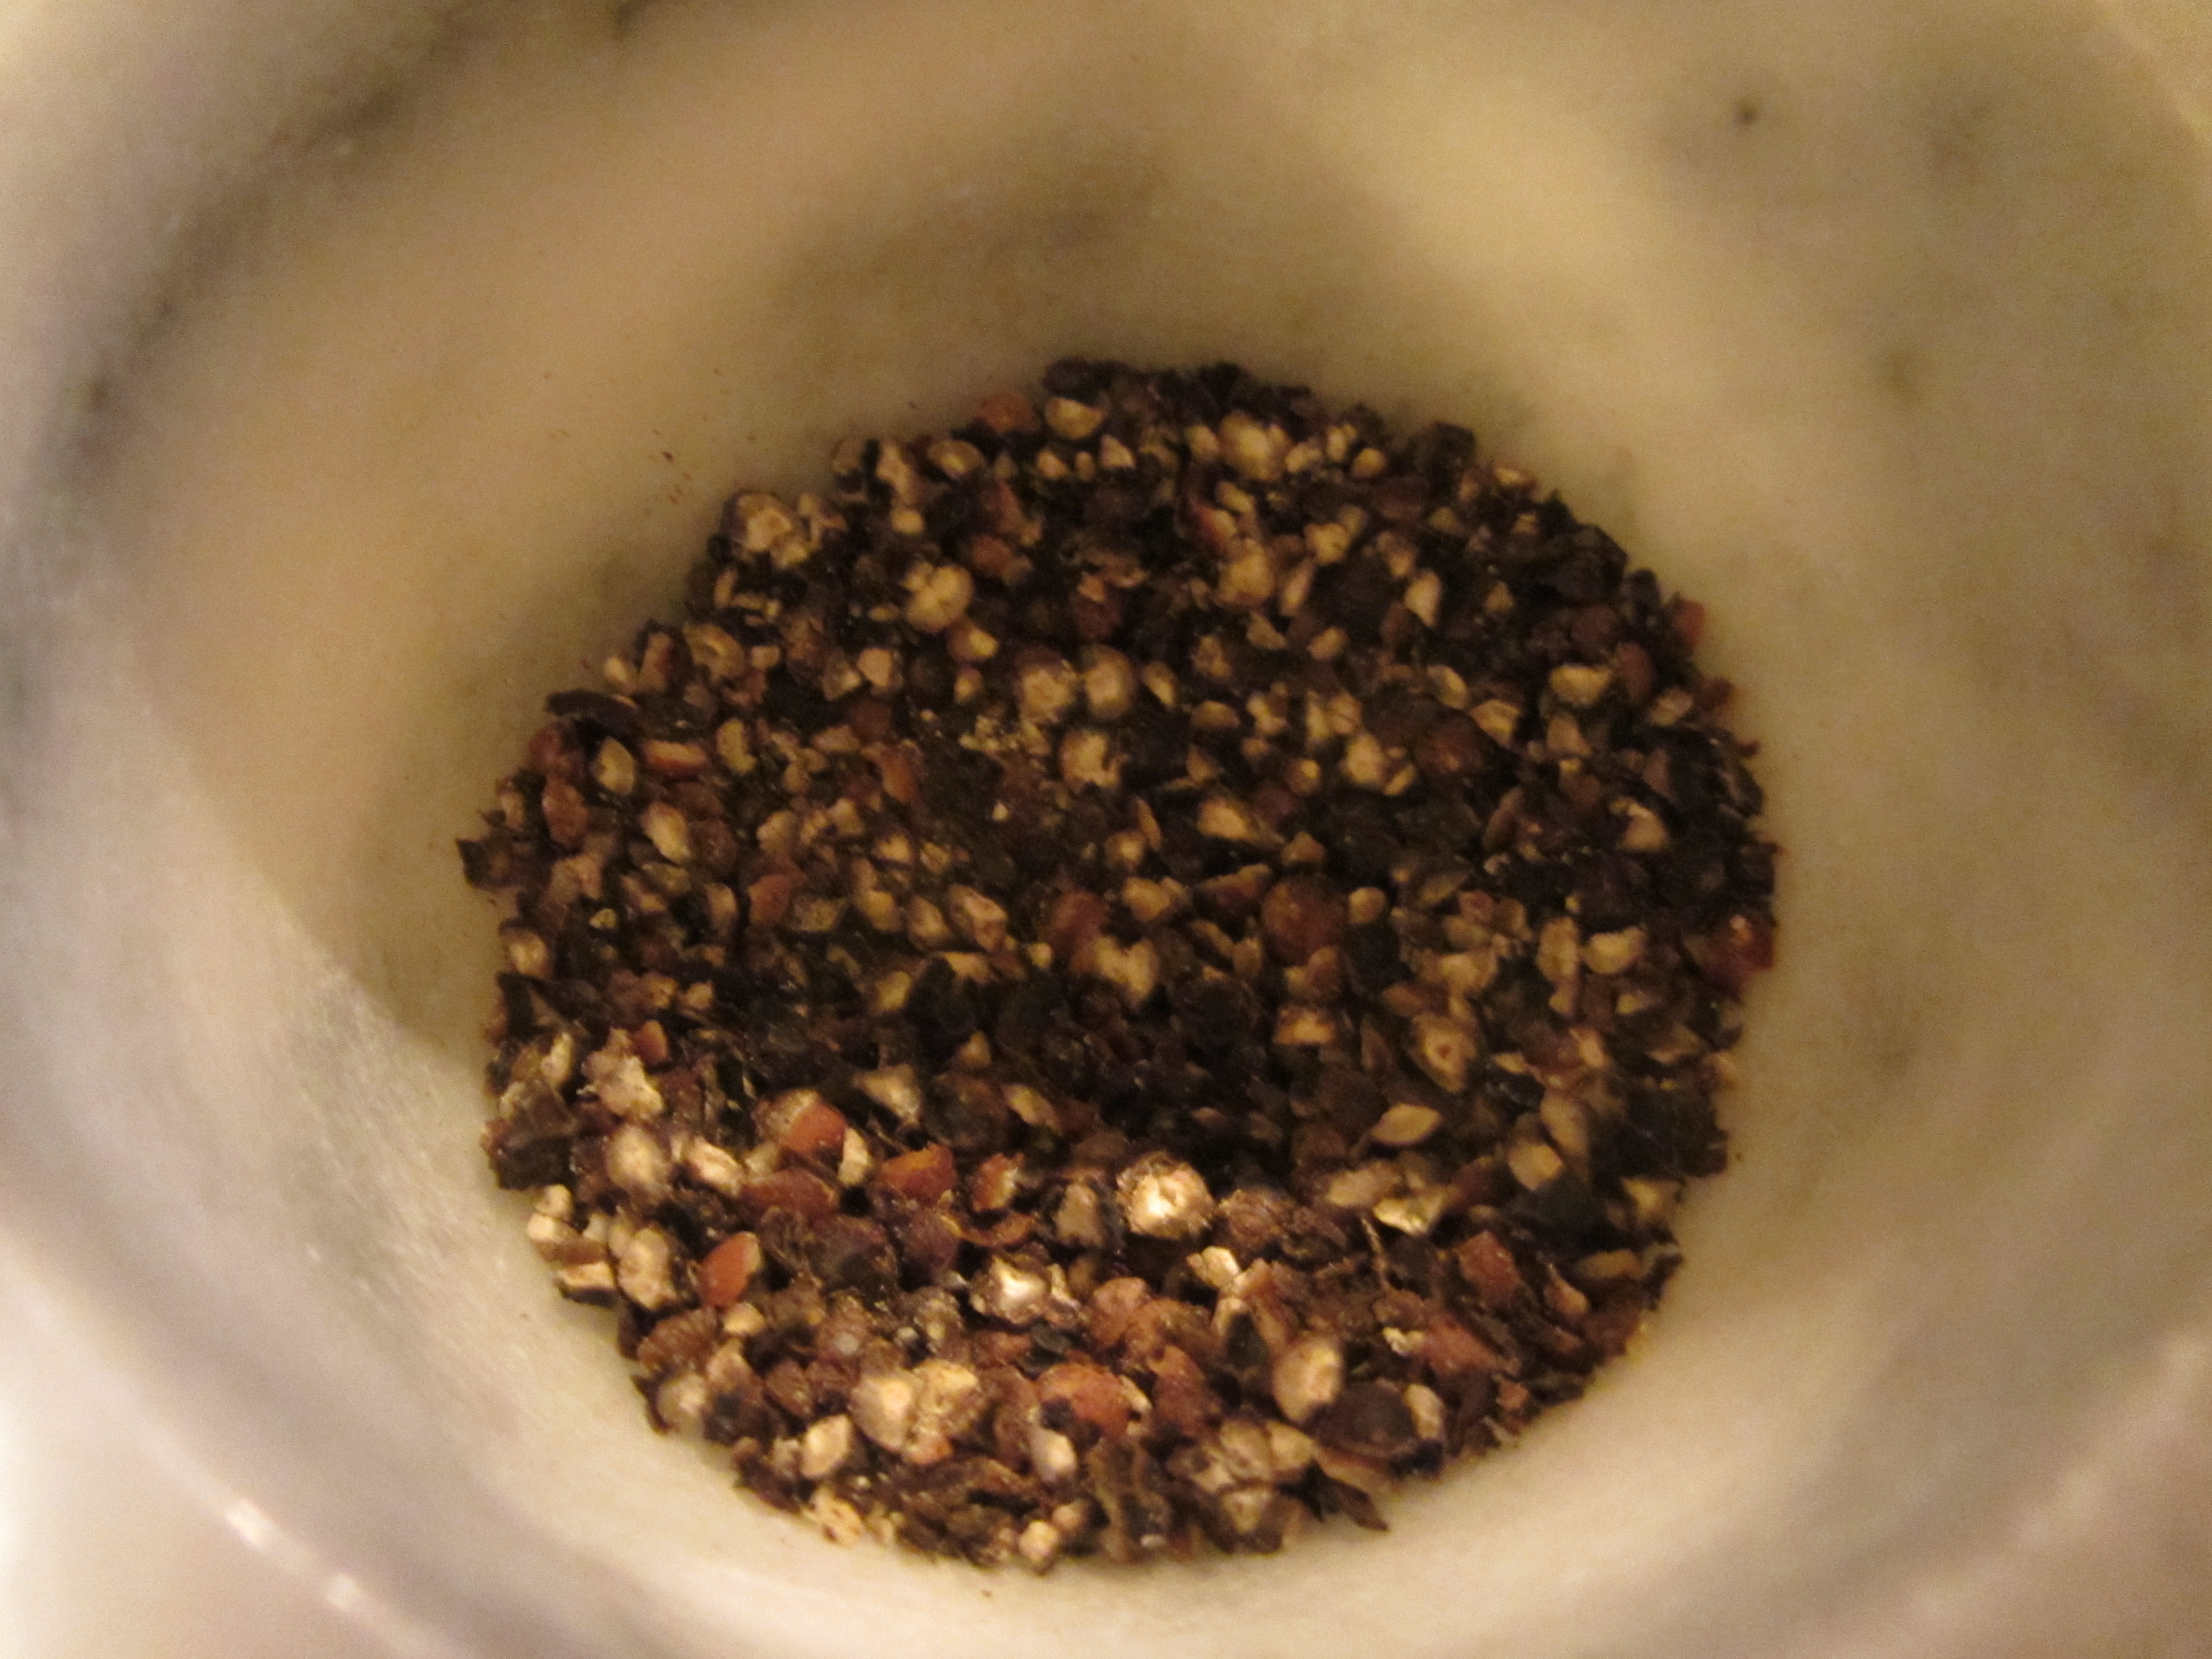
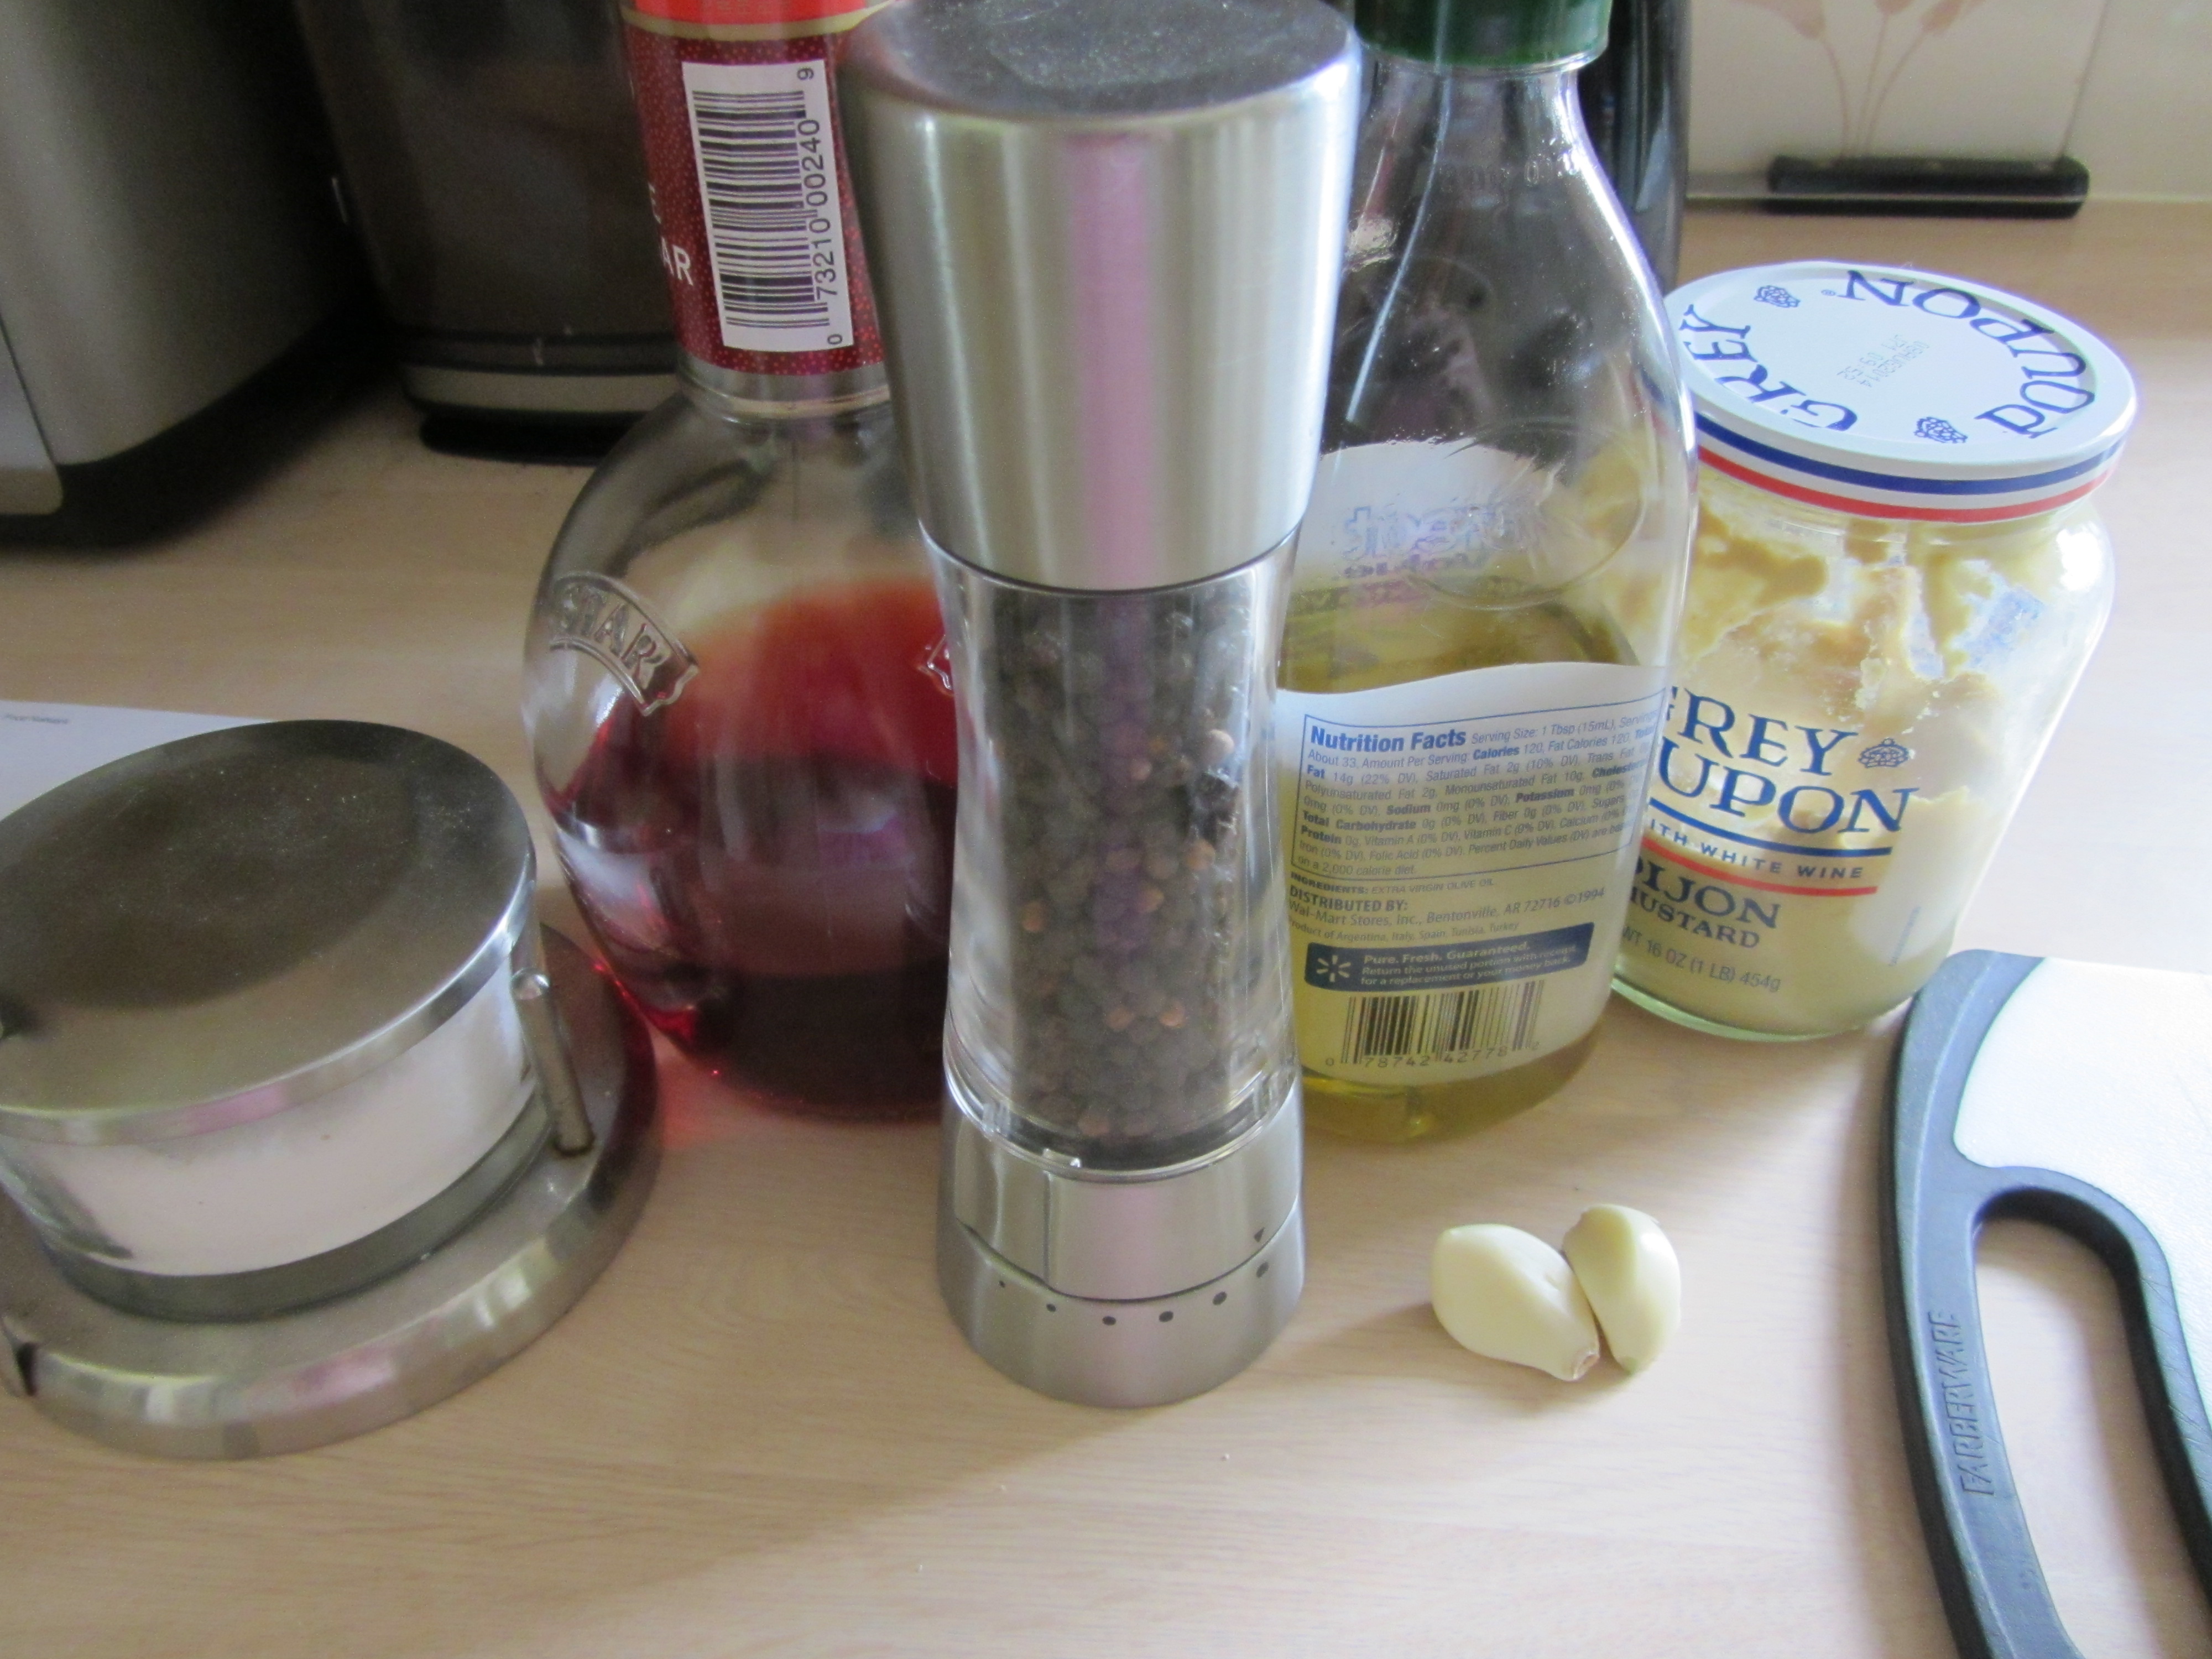
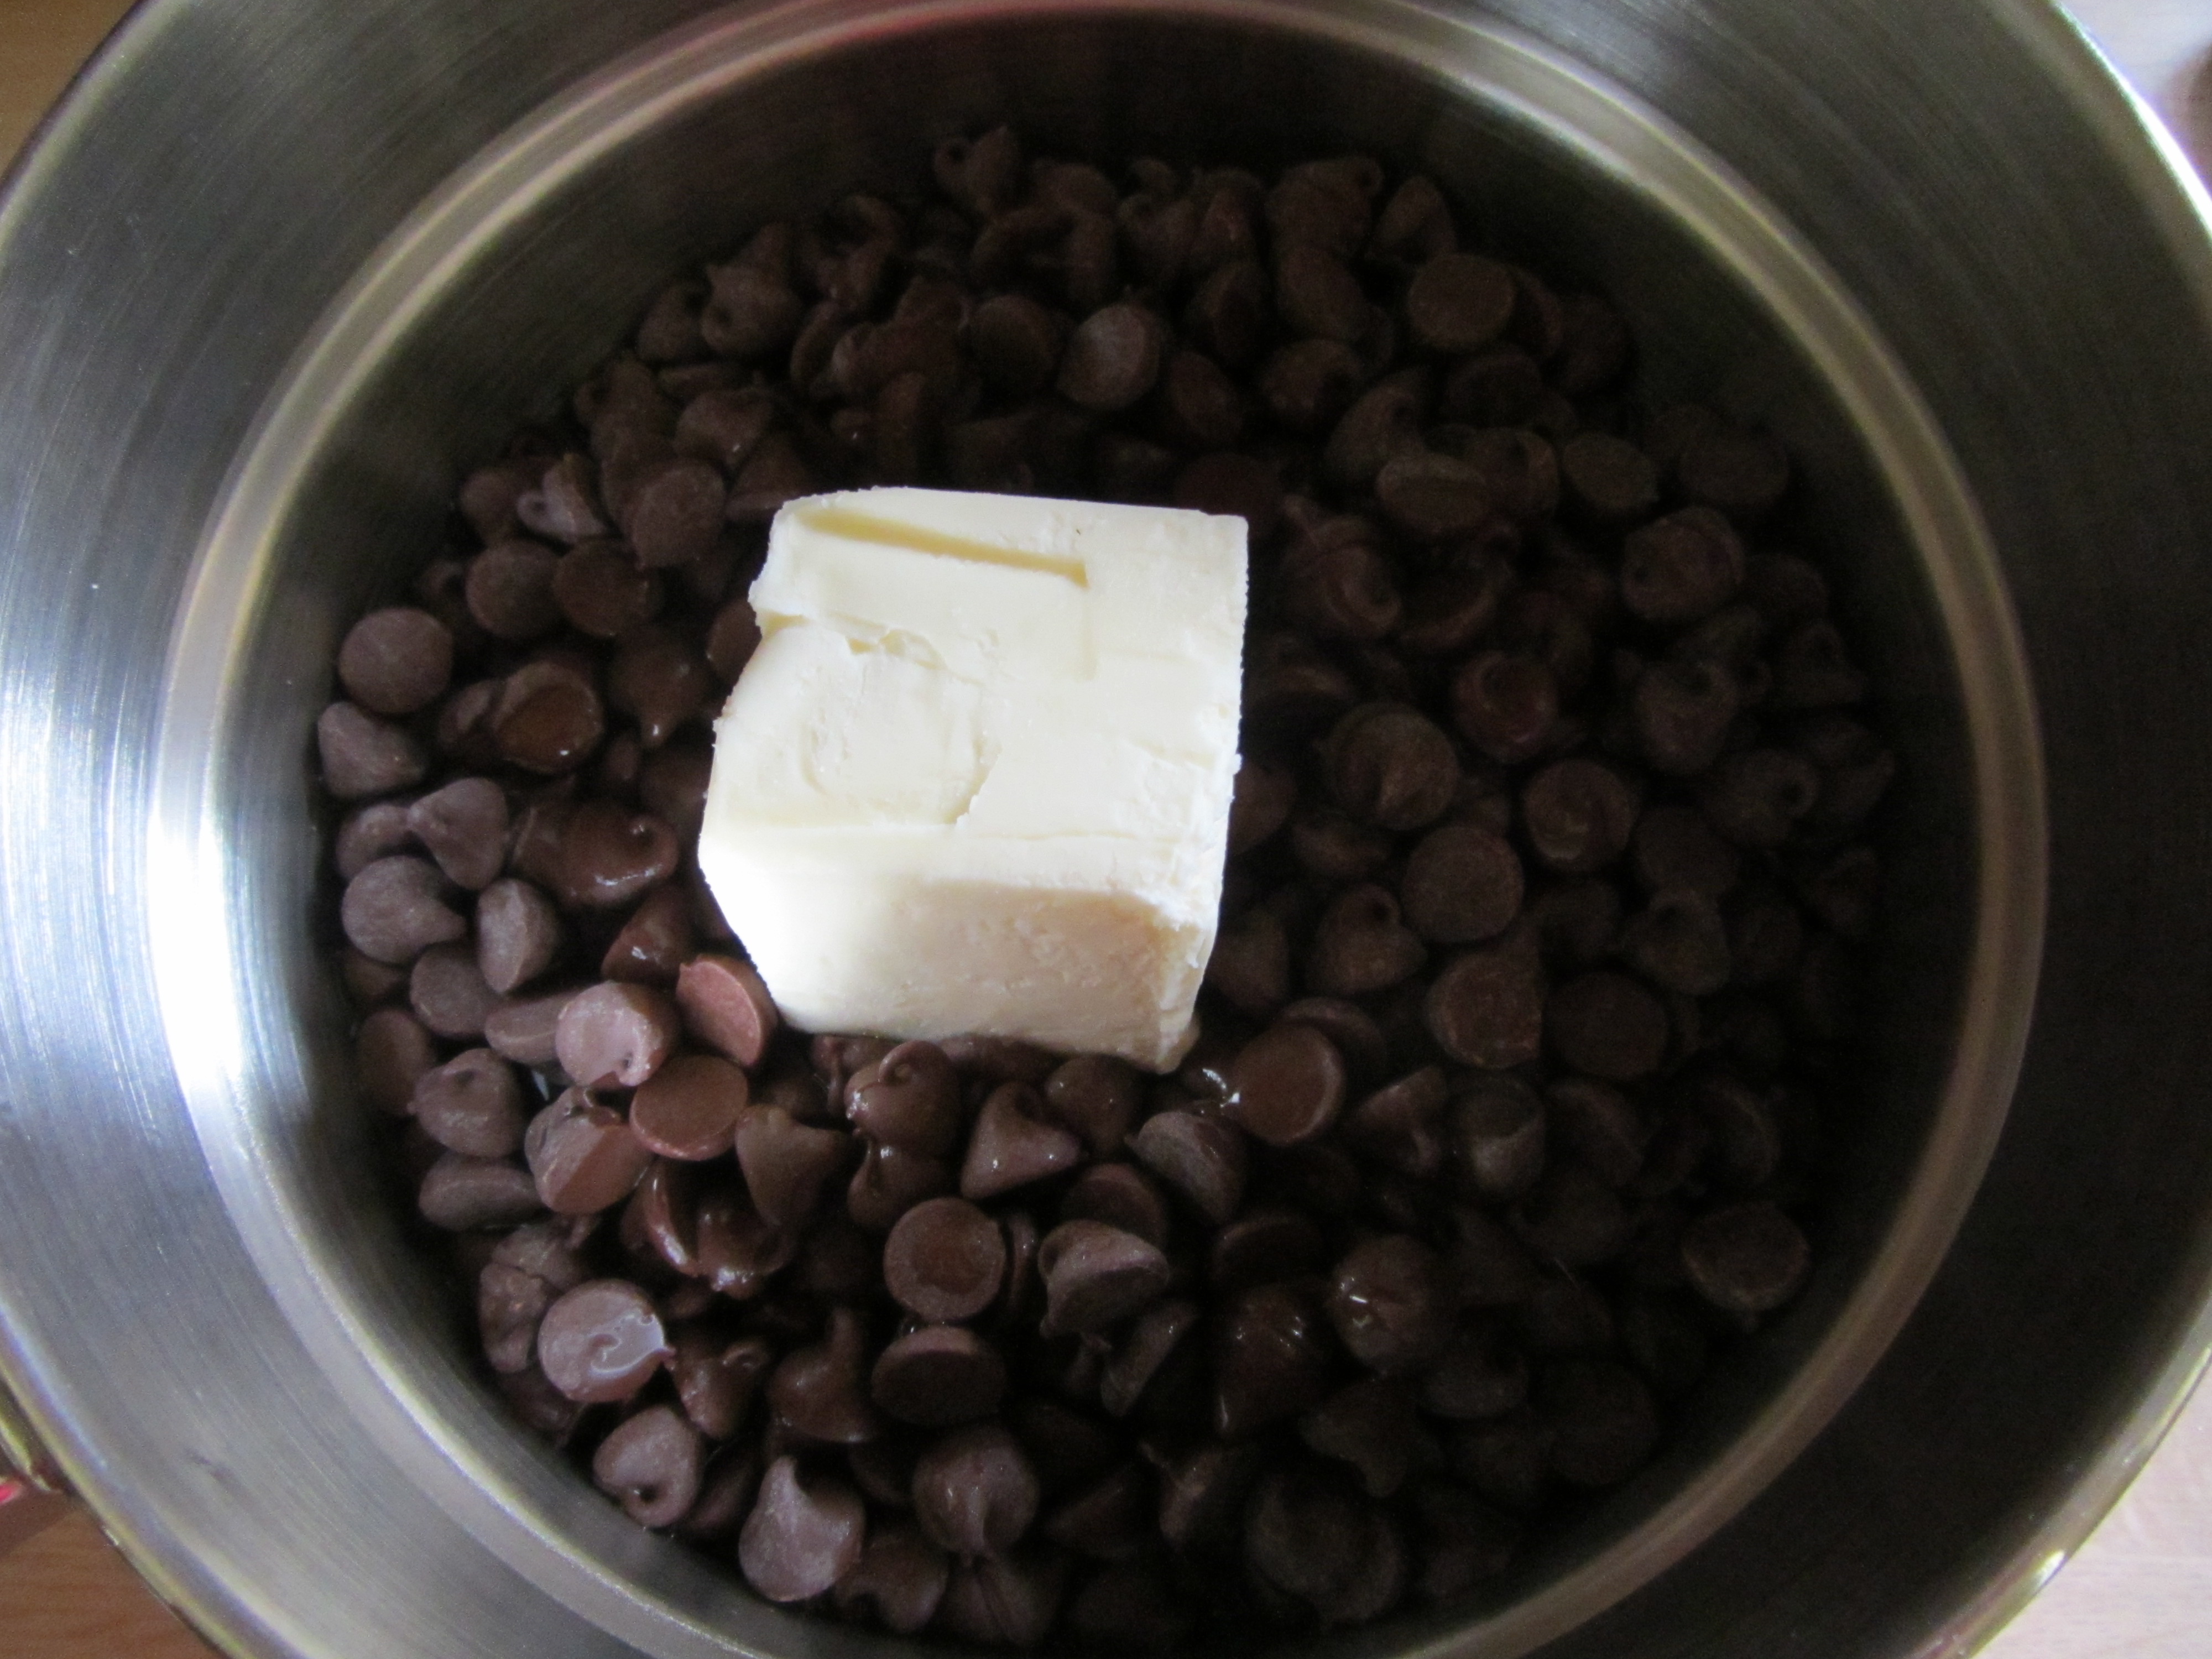
Because I am human, I could not help but be excited for the recipes in the 13th Good Eats episode. I mean, who doesn’t like chocolate? The first recipe Alton conquers in the episode is his Chocolate Mousse. With a short prep time, and only six ingredients, this is a dessert that is fit to be made anytime. You start by combining semi-sweet chocolate chips, a pinch of Kosher salt (guess this makes it seven ingredients), espresso, dark rum, and butter in a double boiler.
Chocolate chips, butter, salt, espresso, and rum.
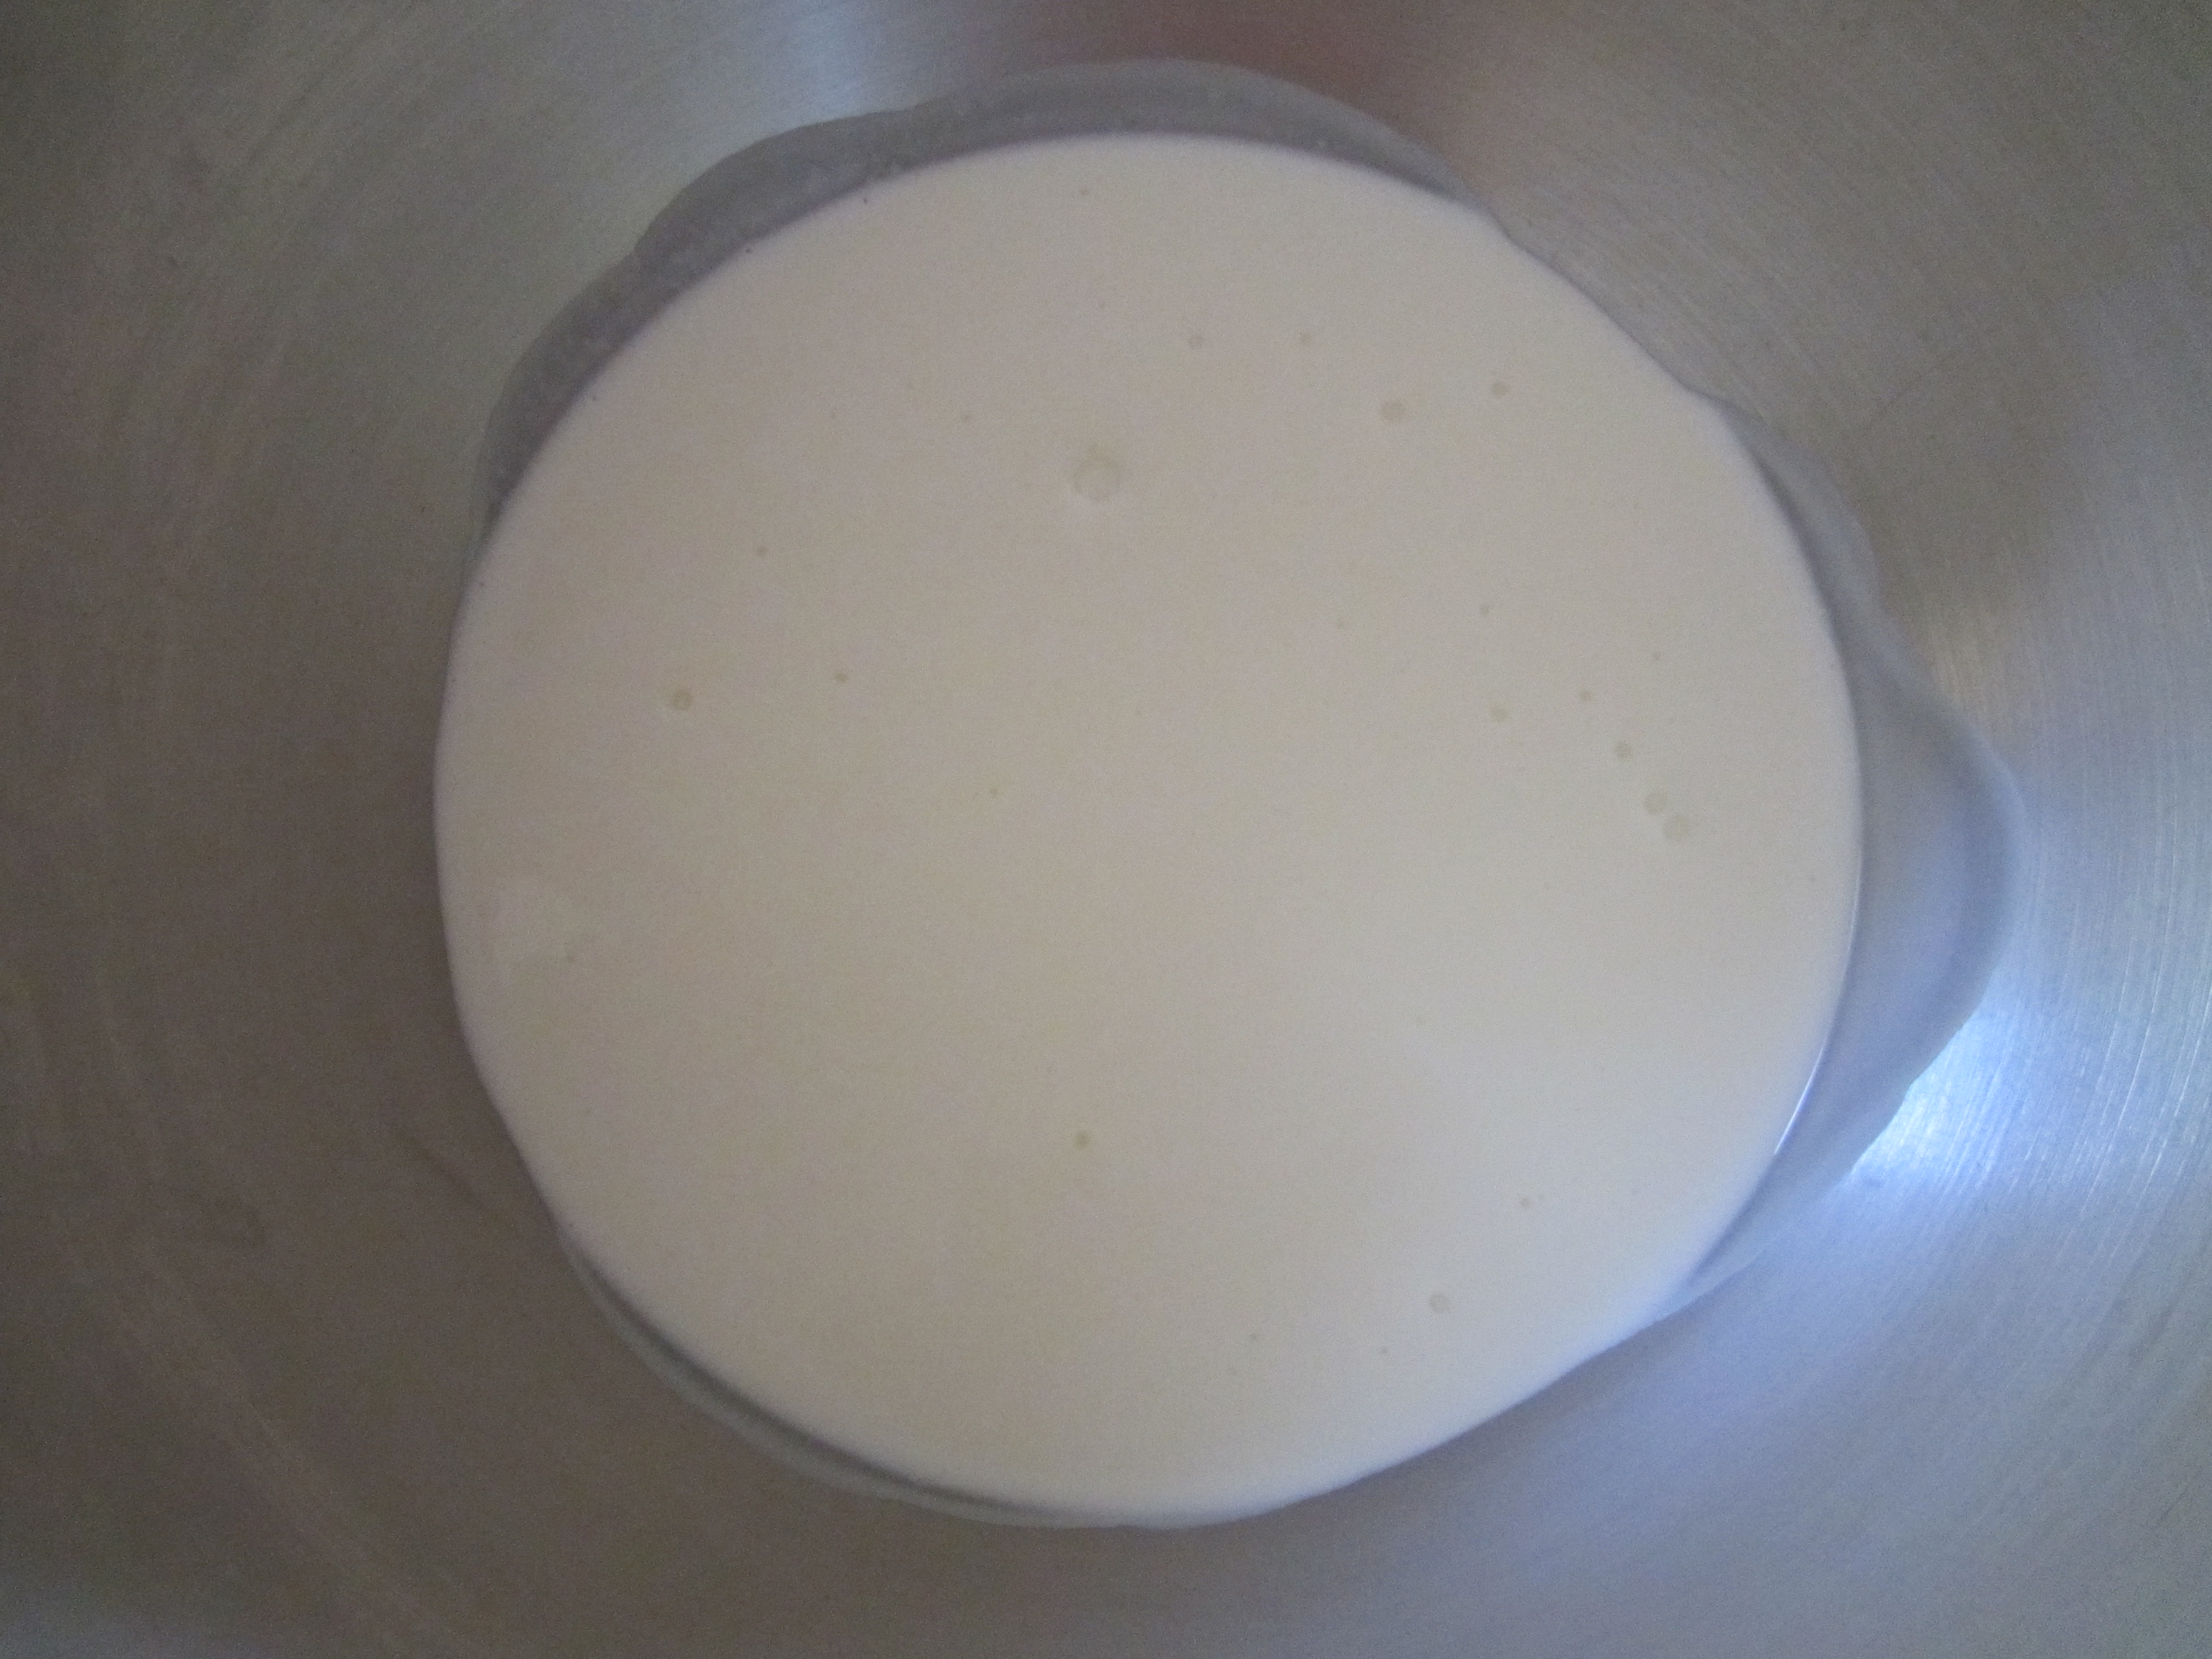
While the chocolate is melting, you measure 1 1/2 C of heavy cream in a liquid measuring cup, pouring a couple of ounces of this into a metal measuring cup. Note: The online recipe calls for a total of 1 3/4 C of cream, while Alton uses a total of 1 1/2 C in the episode. I went with the 1 1/2 C of cream, per the episode.
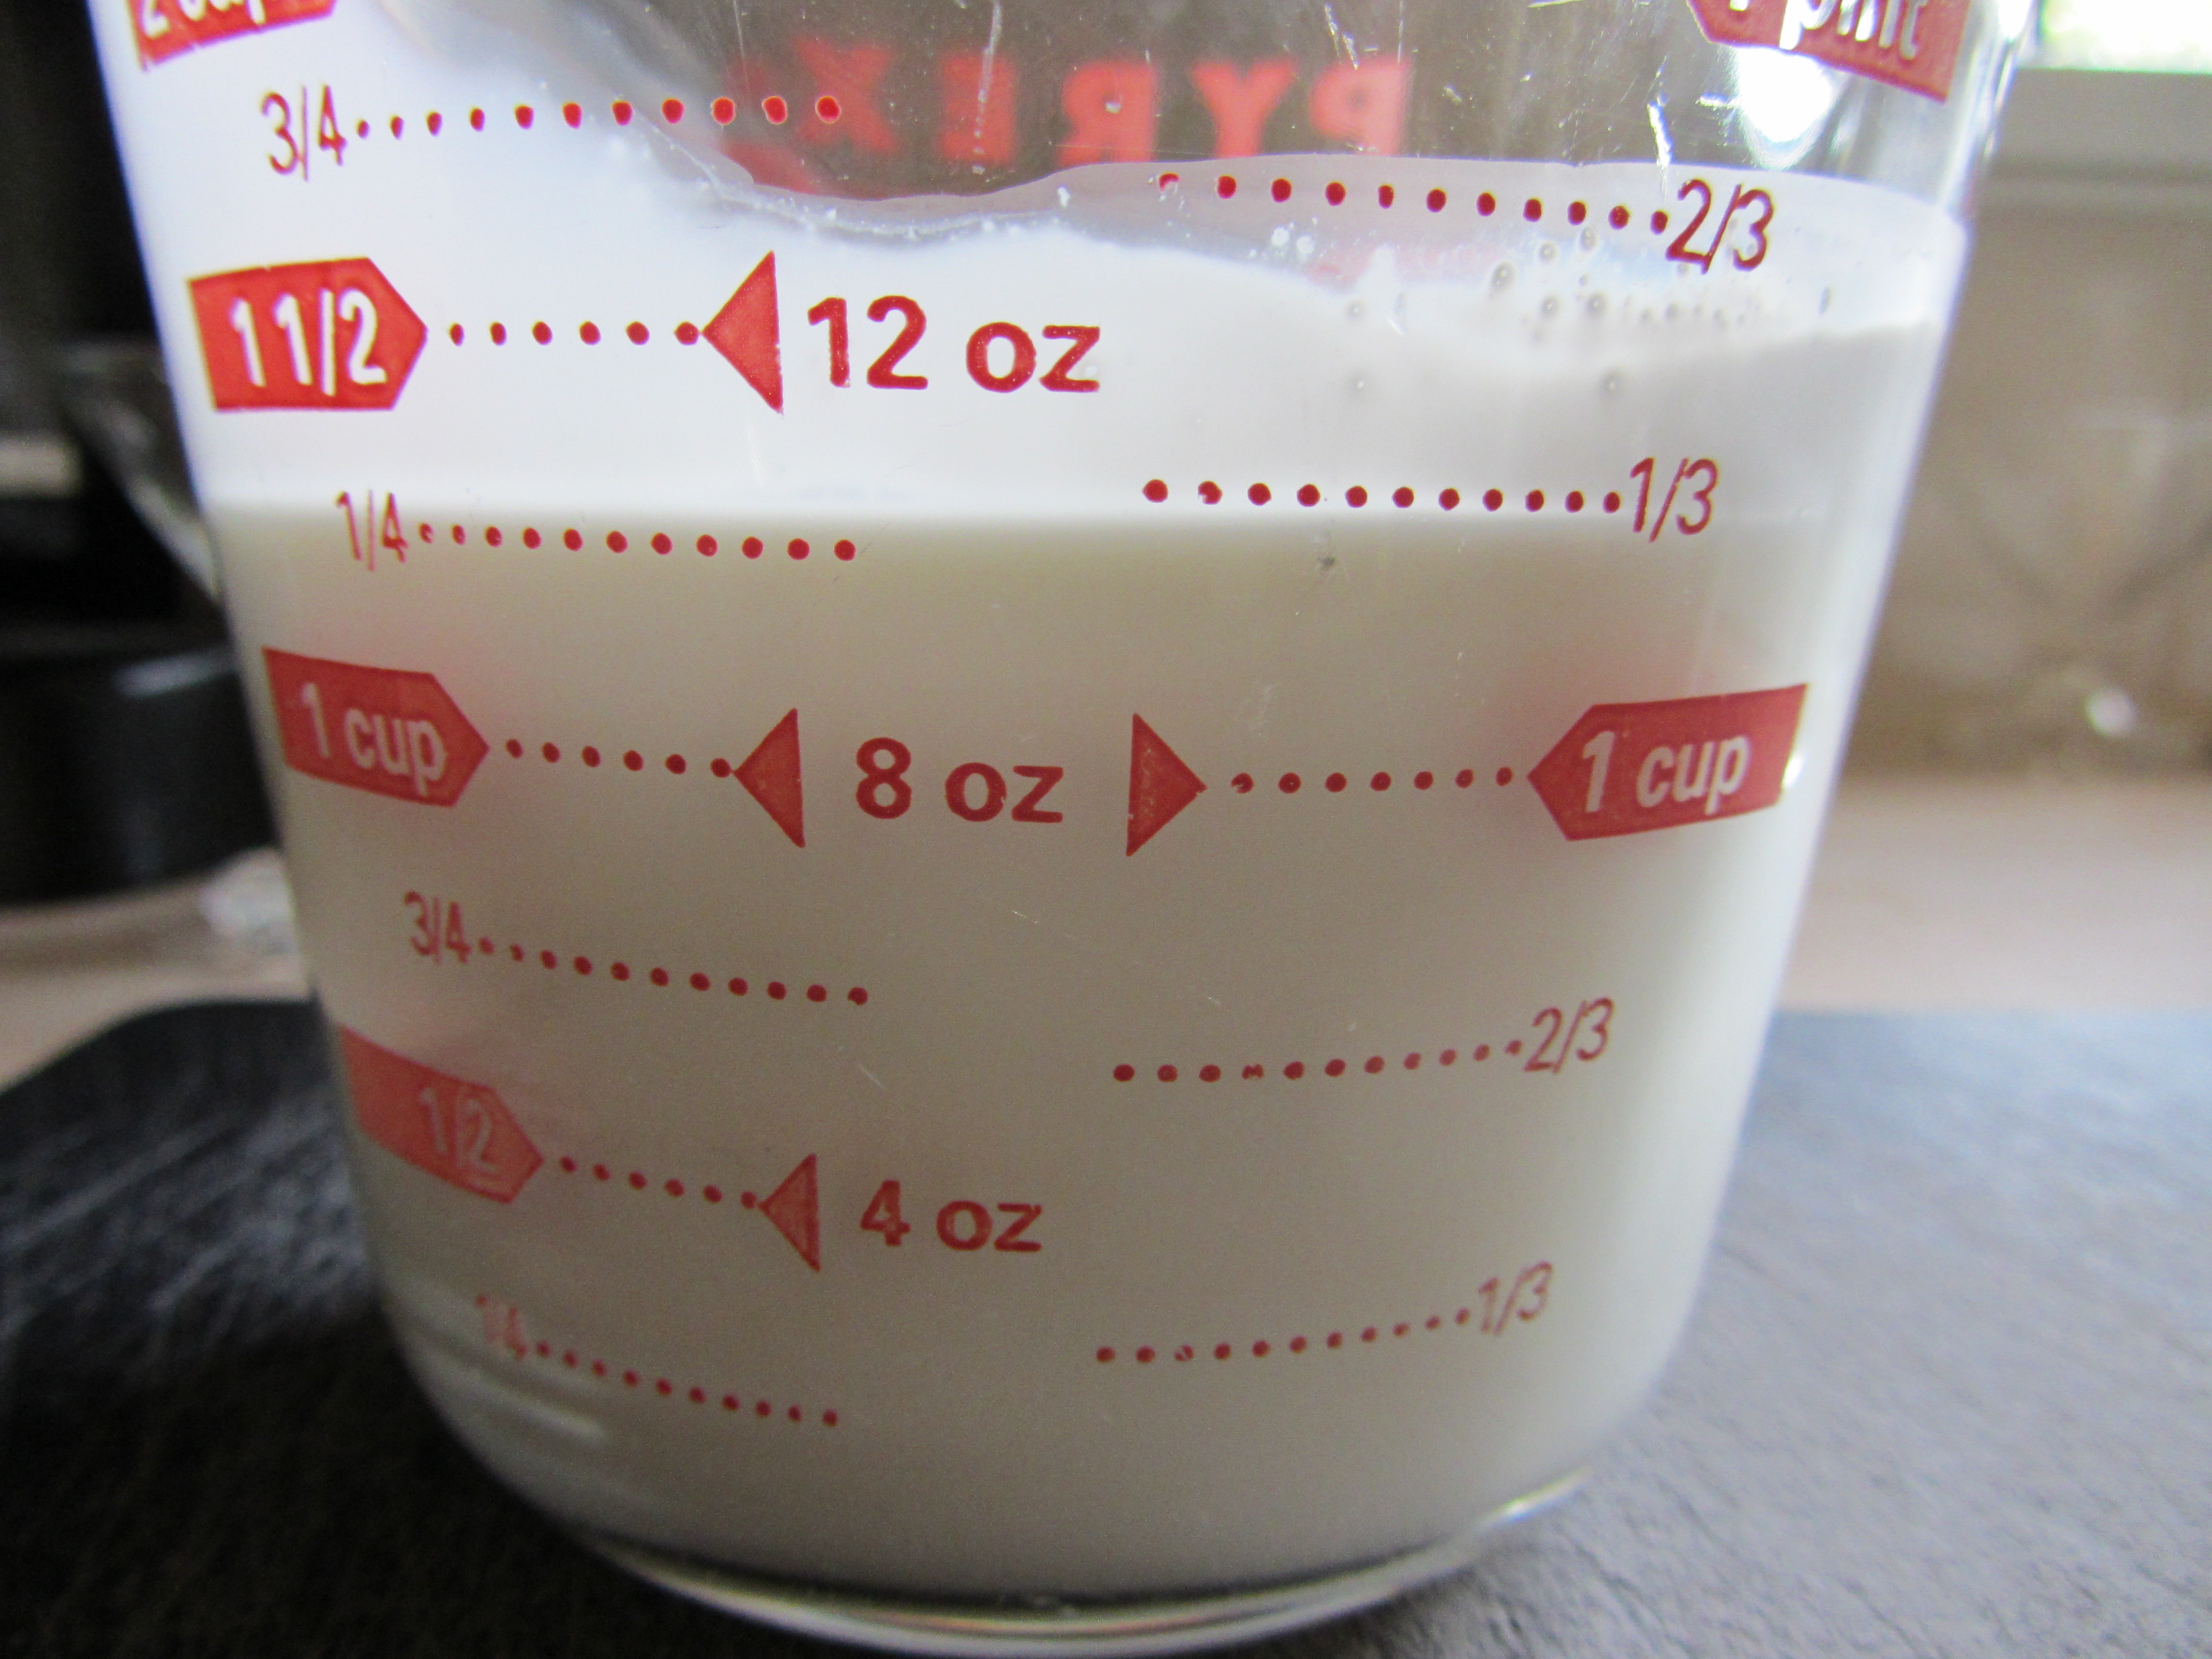
Heavy cream.
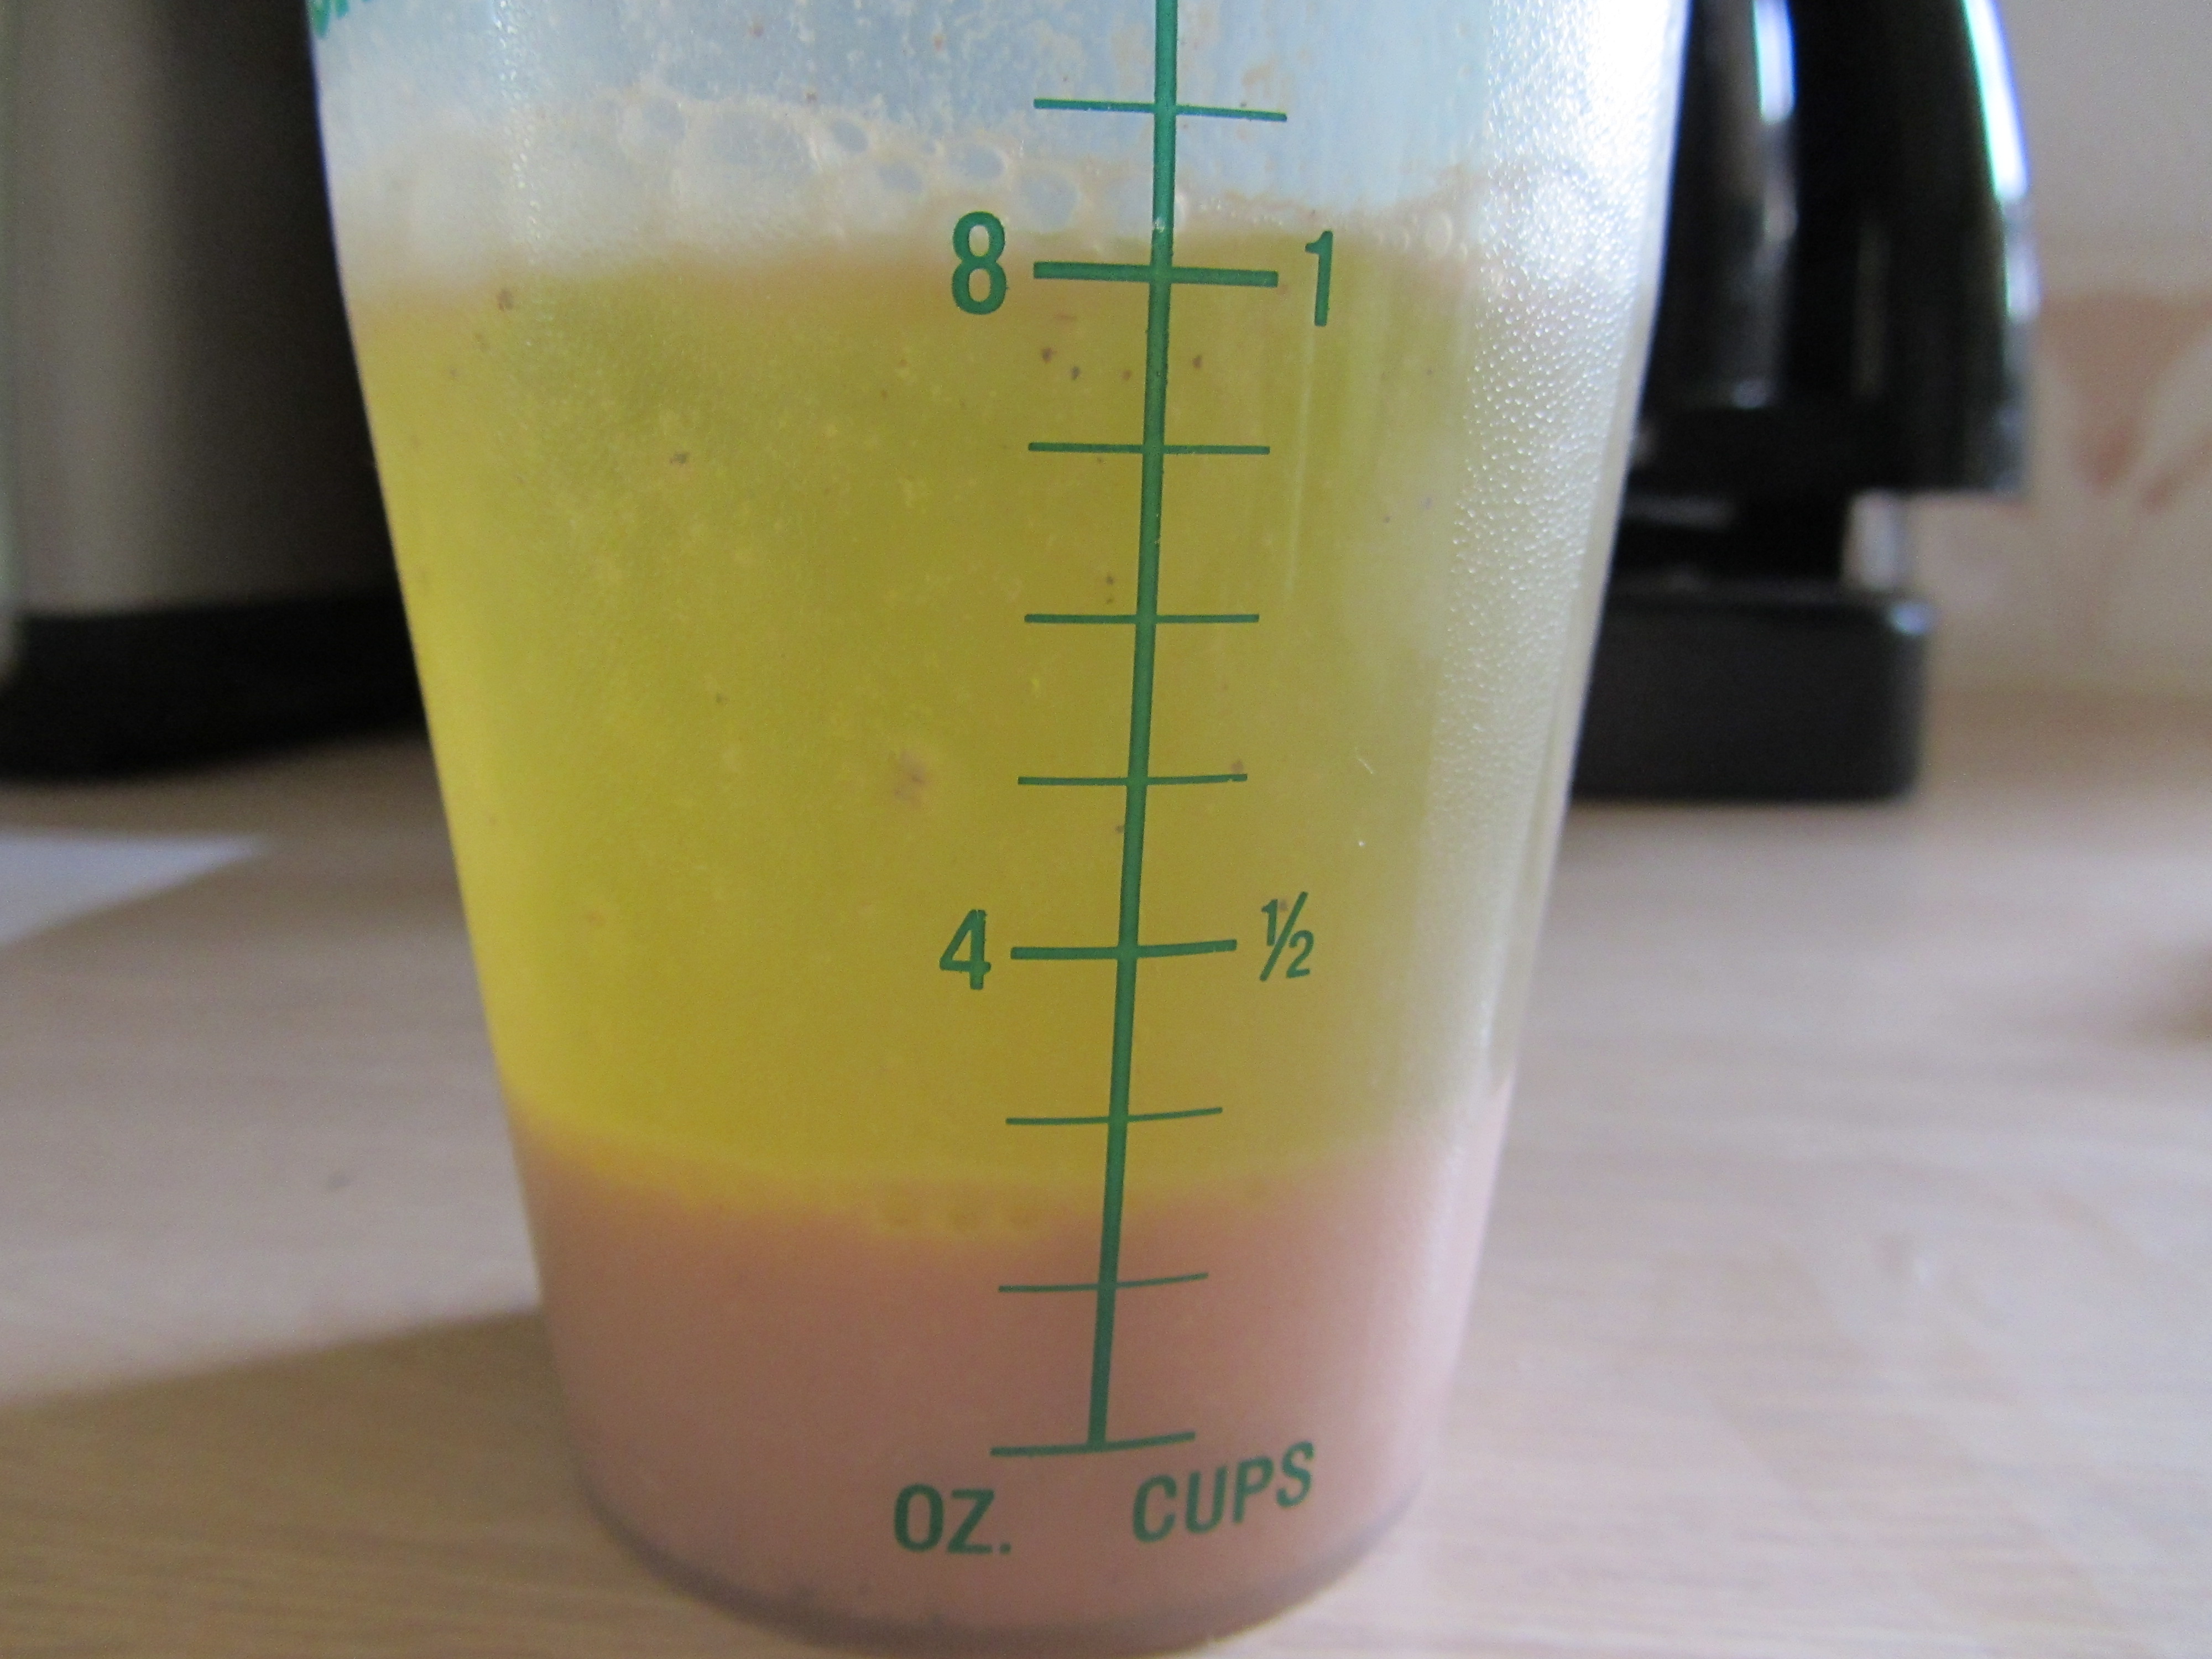
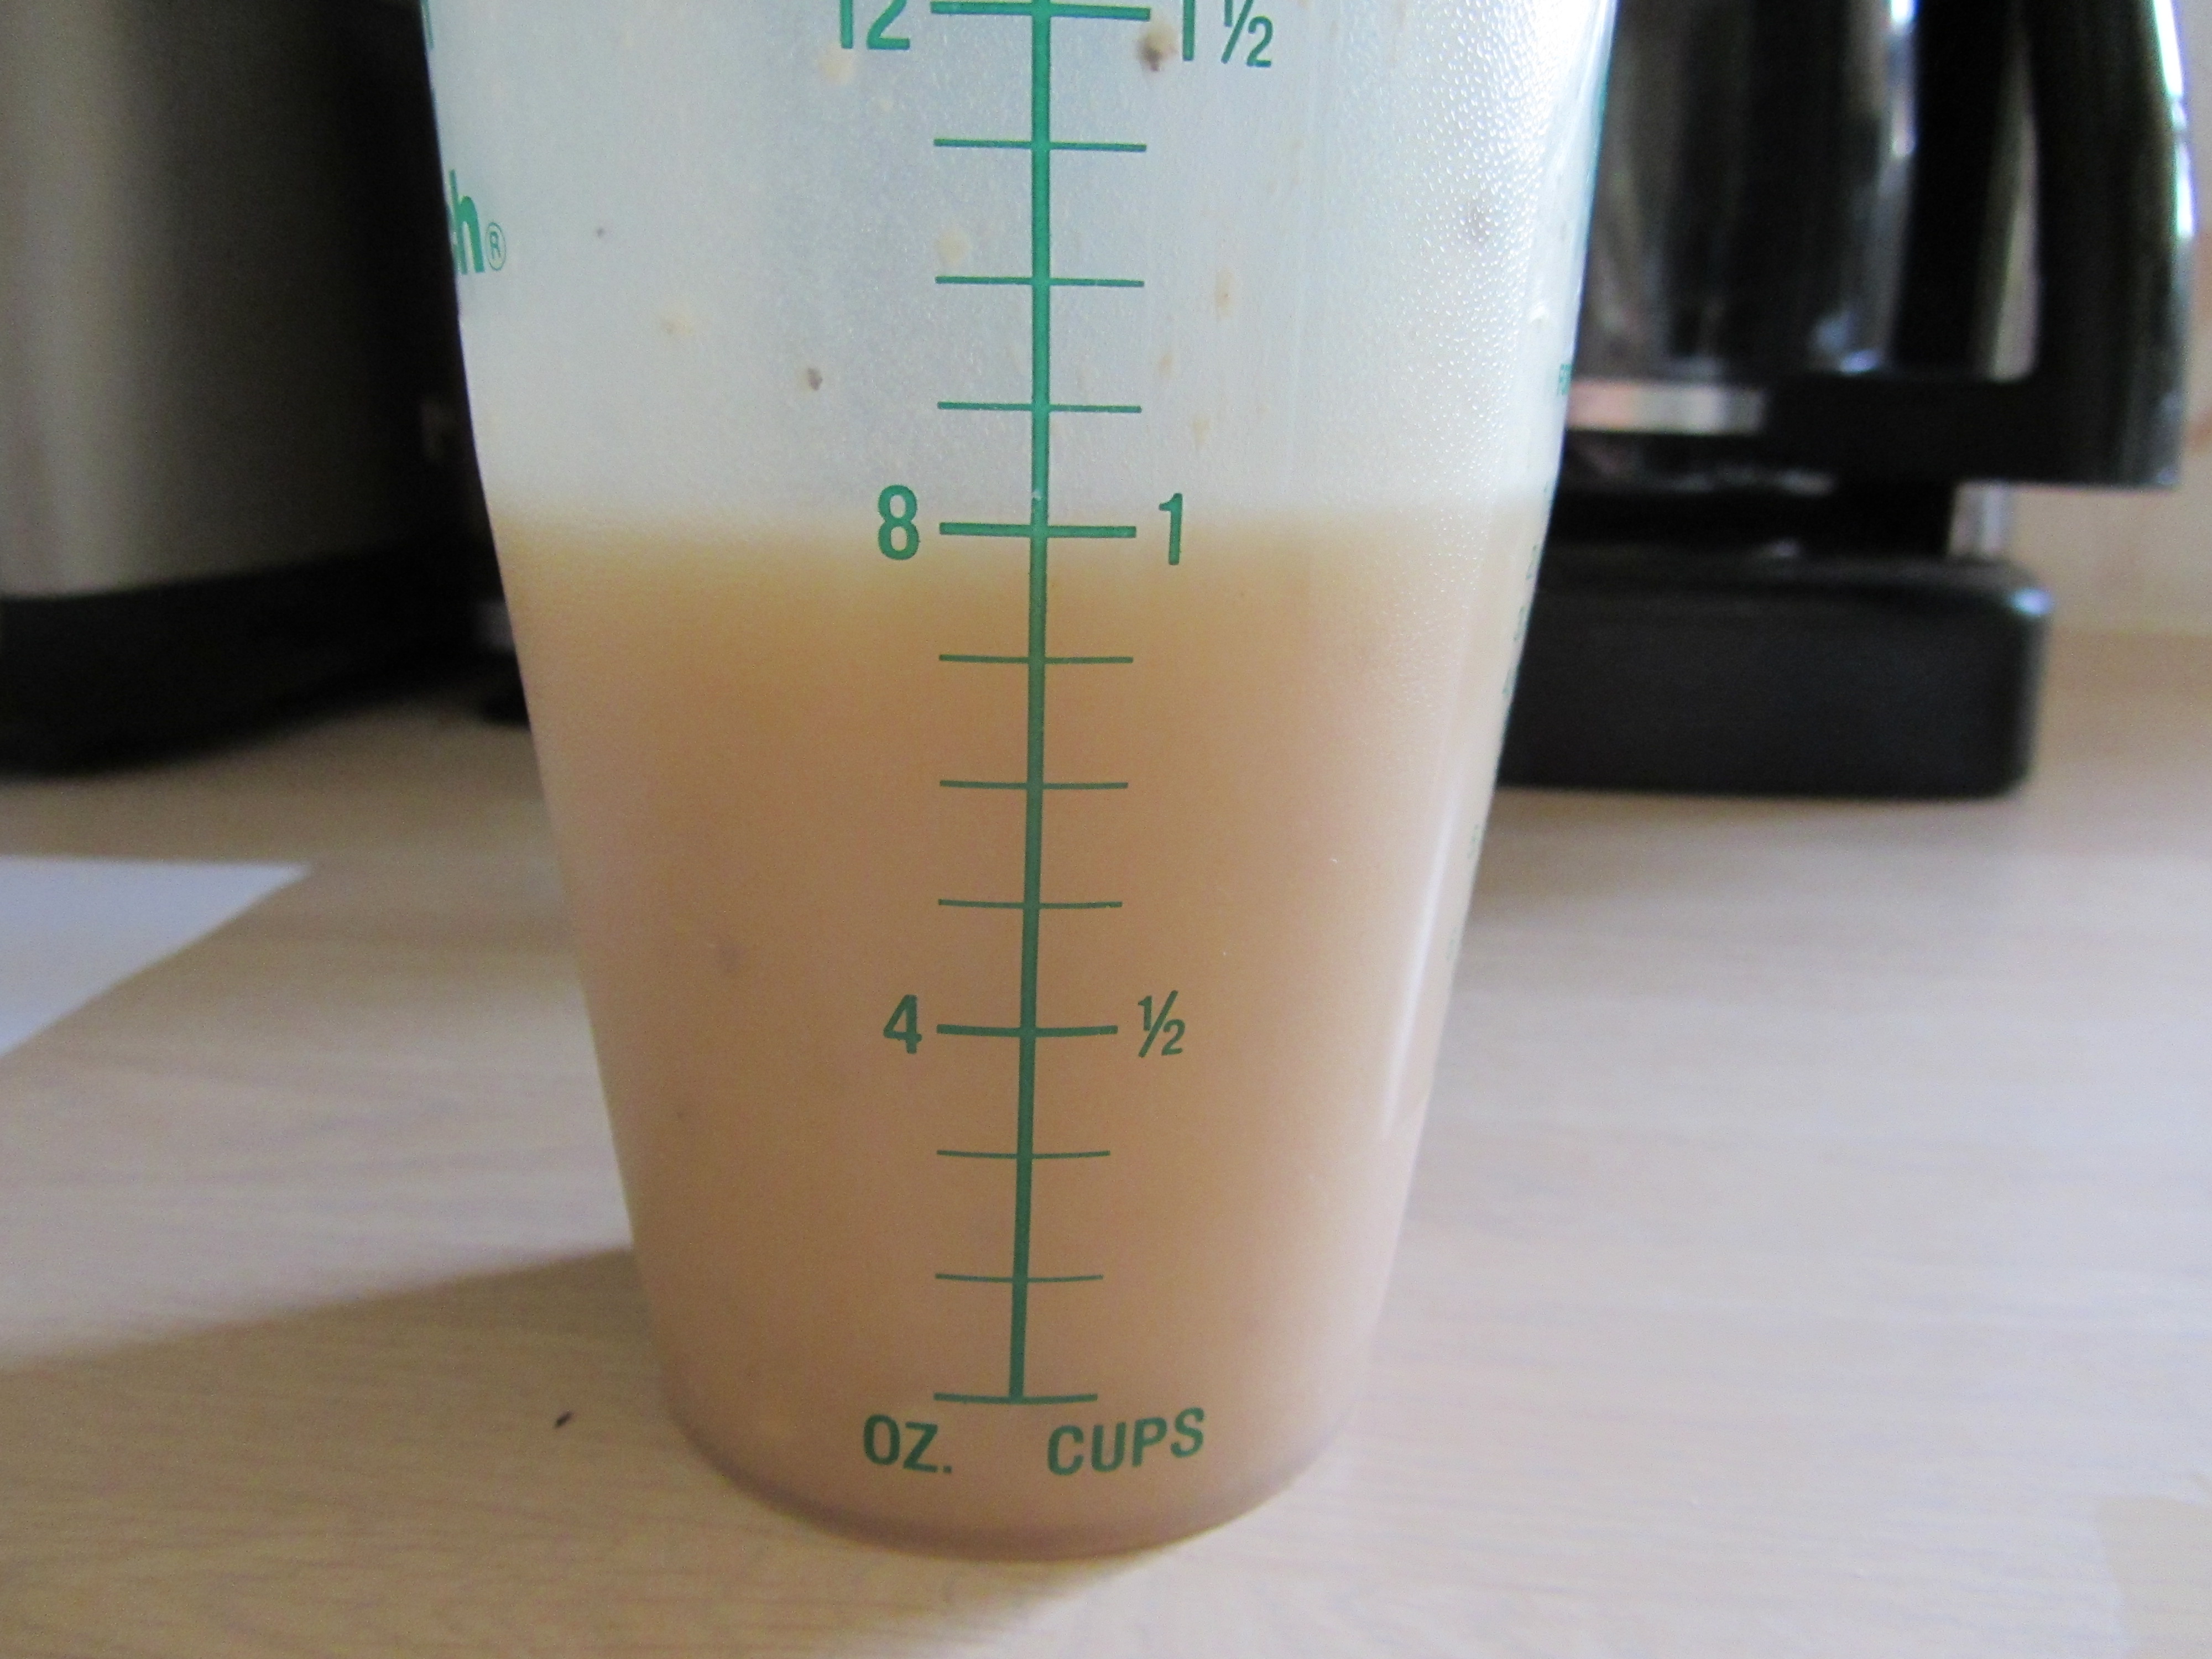
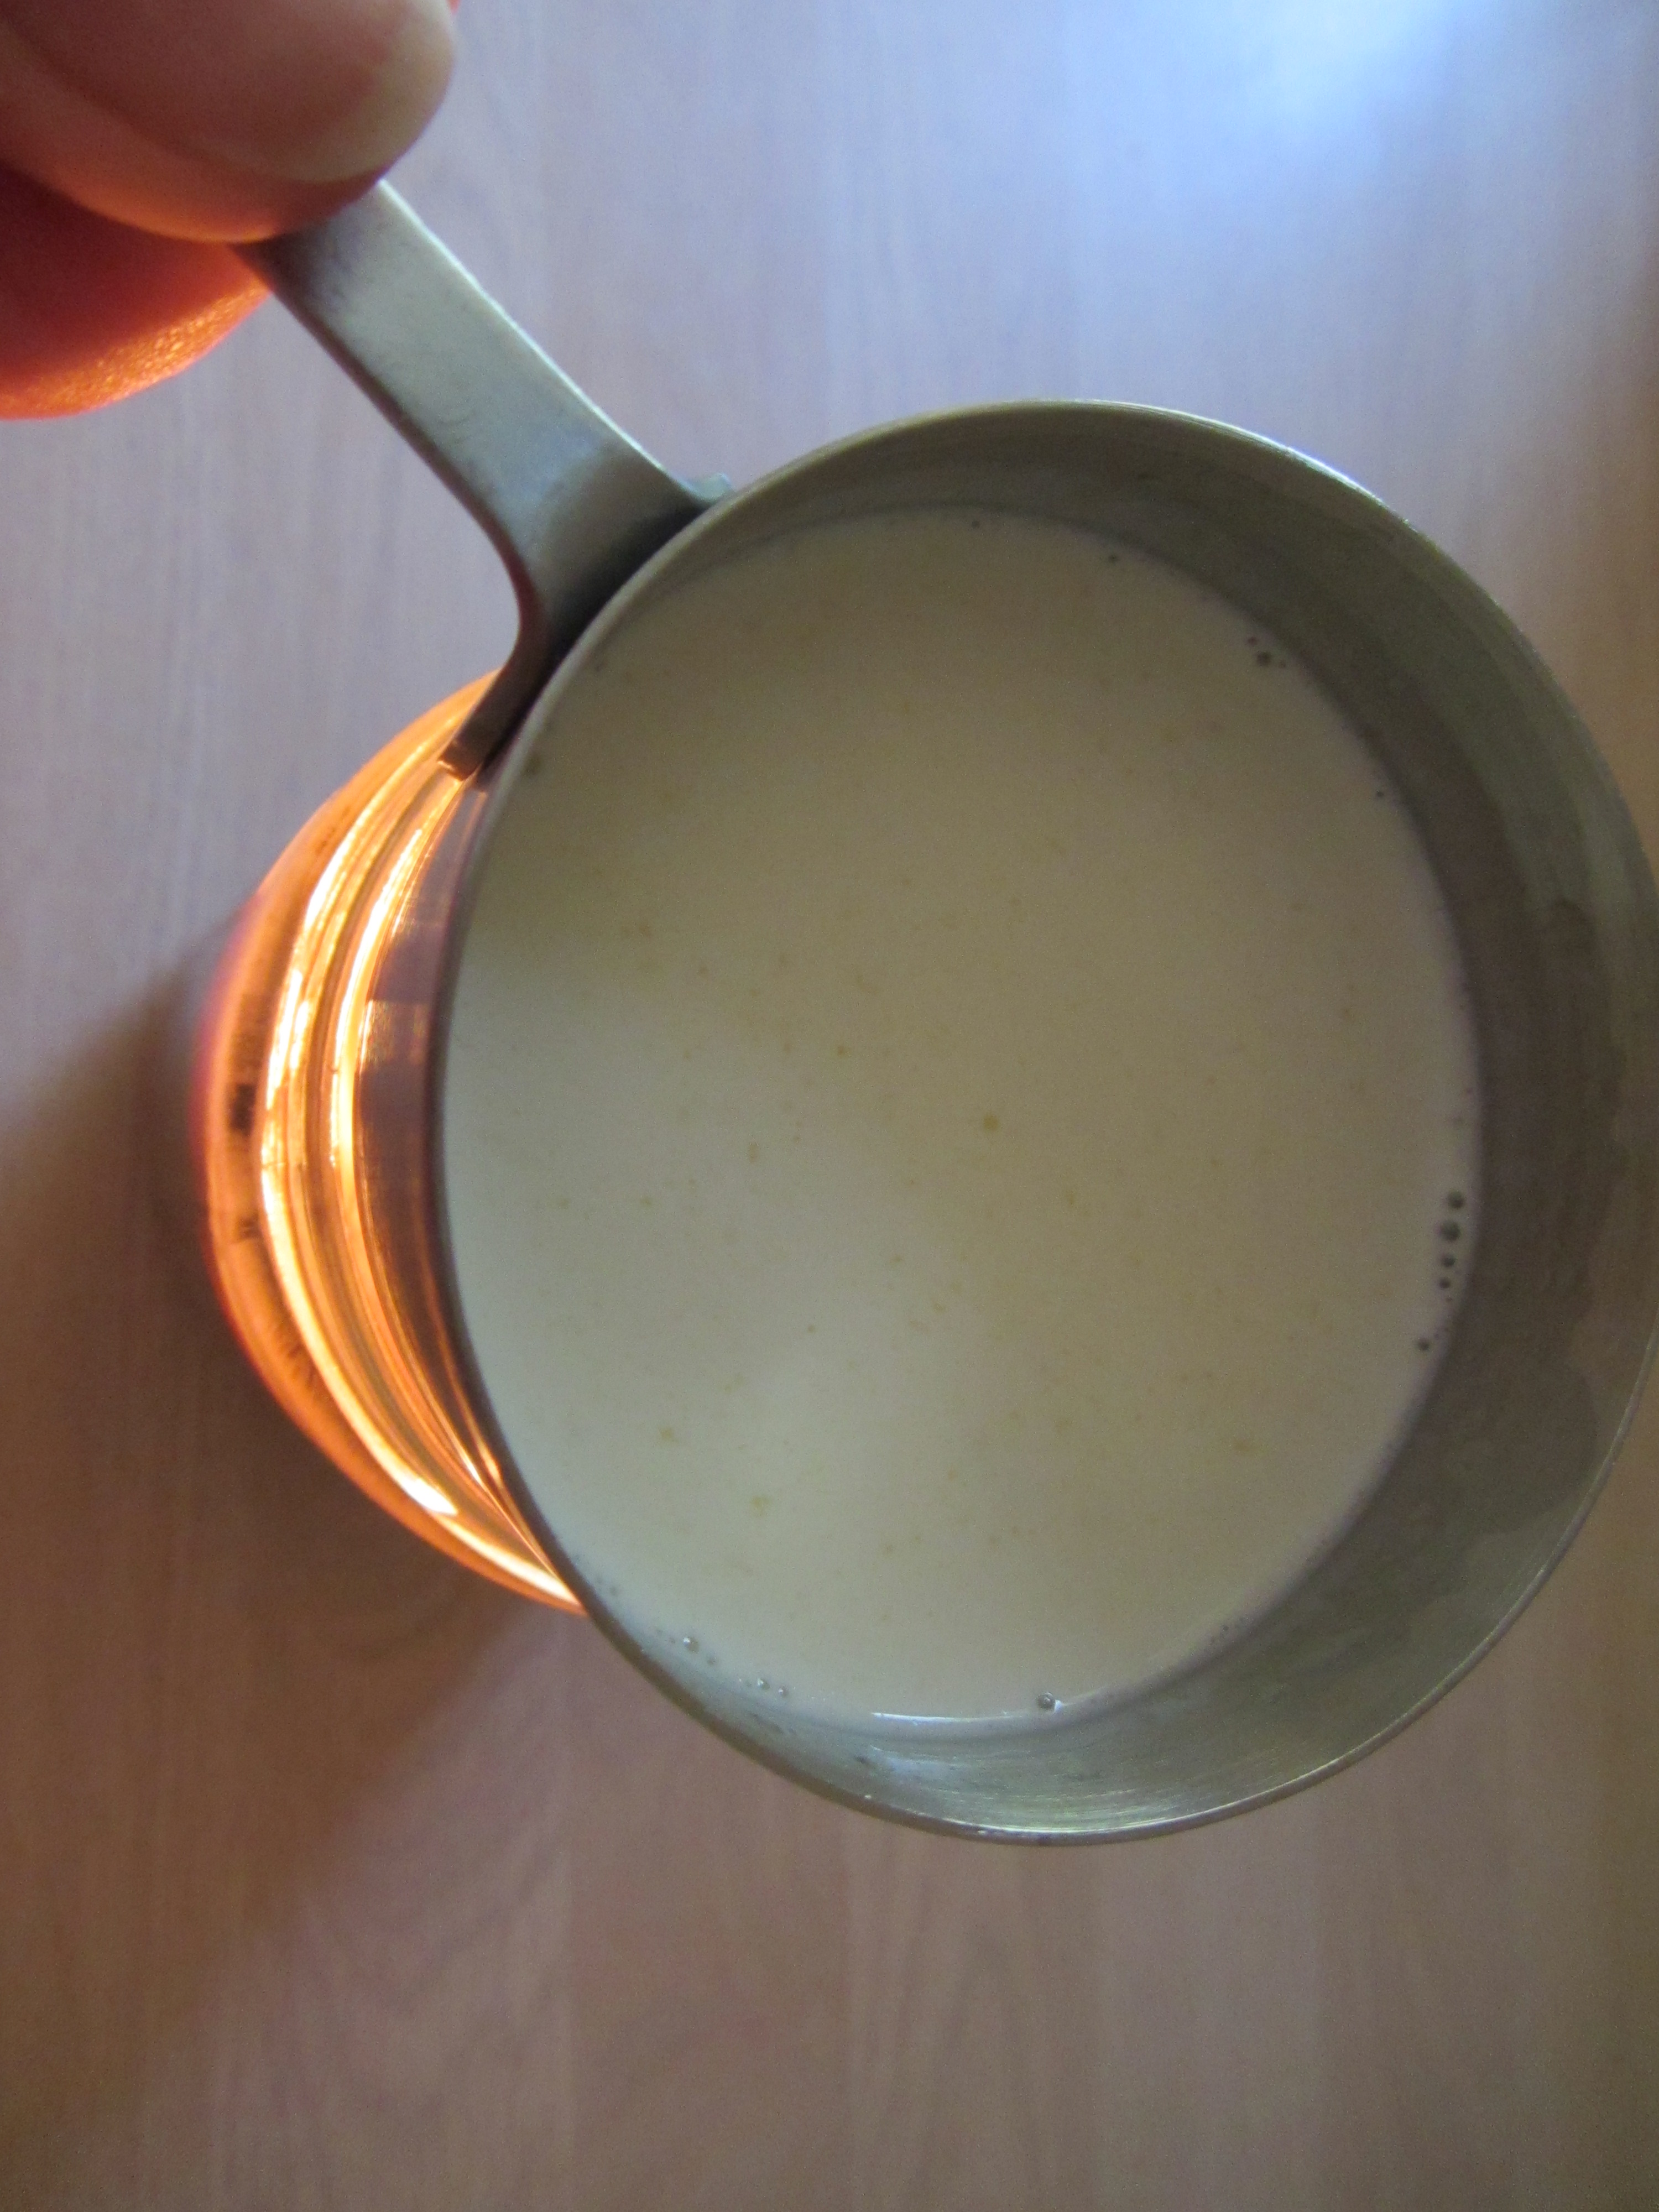
You want to keep the cream in the liquid measuring cup chilled. To the cream in the metal measuring cup, you add some gelatin, and allow it to sit at room temperature for about 10 minutes.
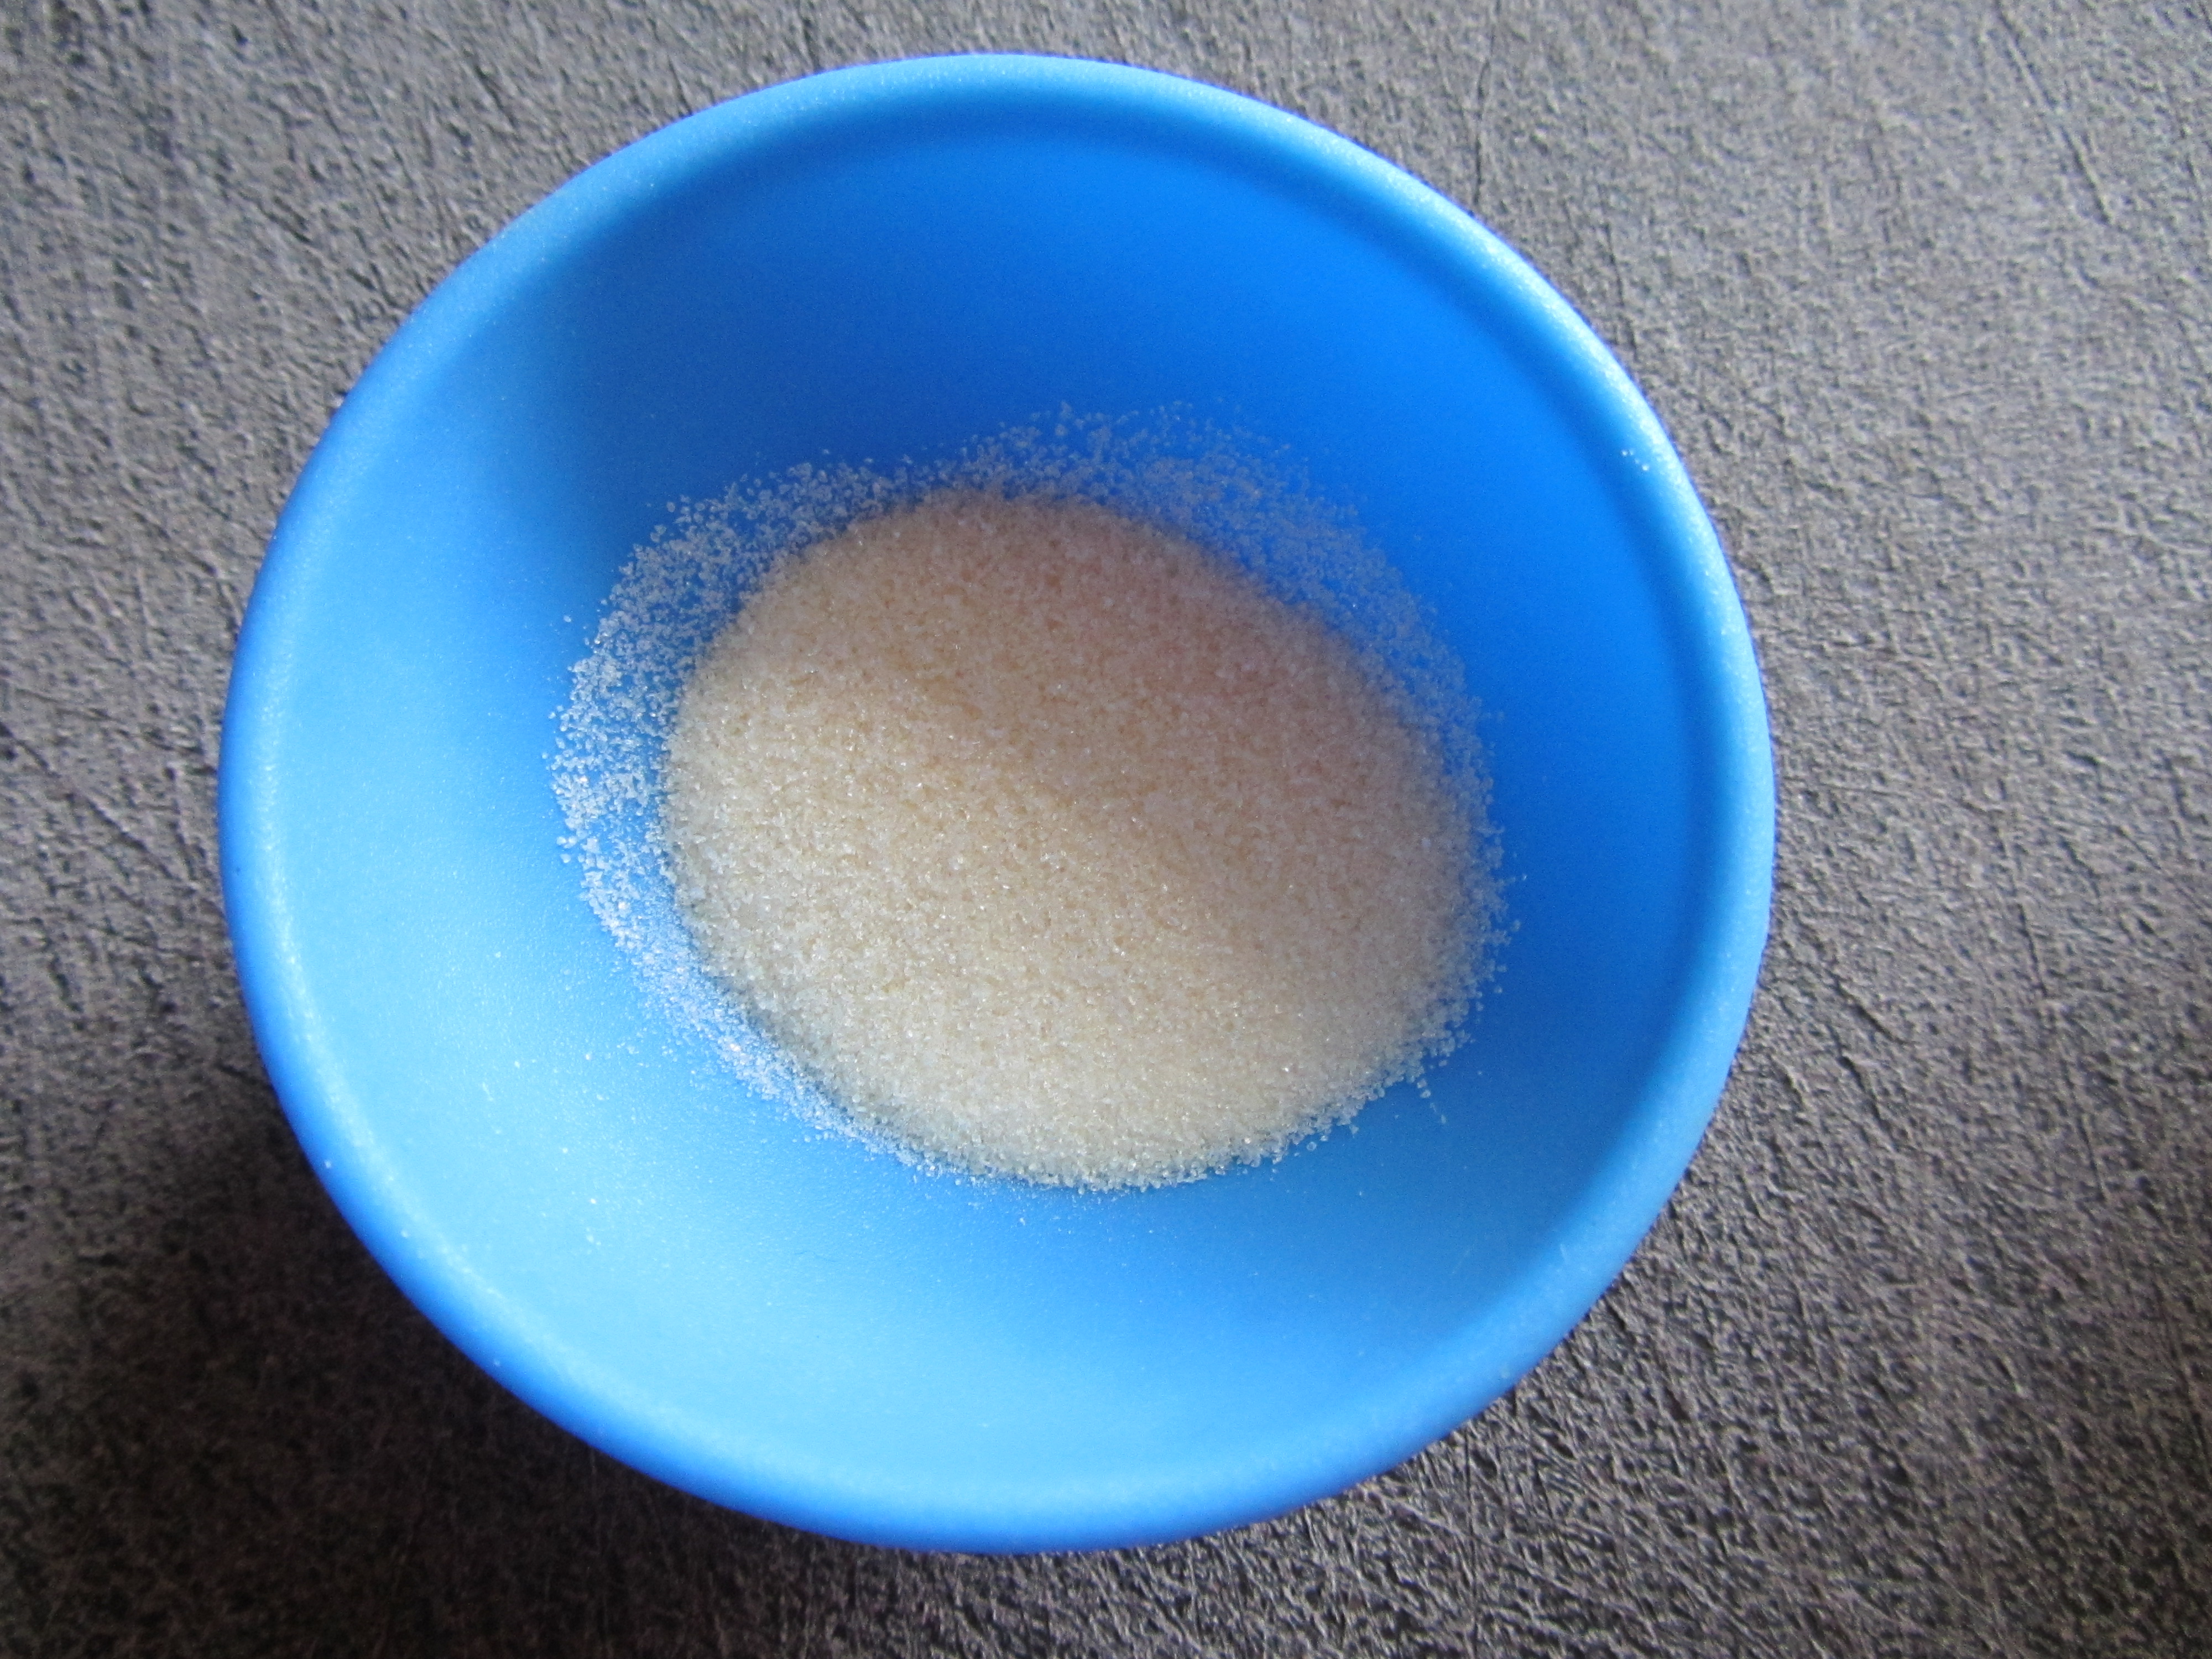
Gelatin.
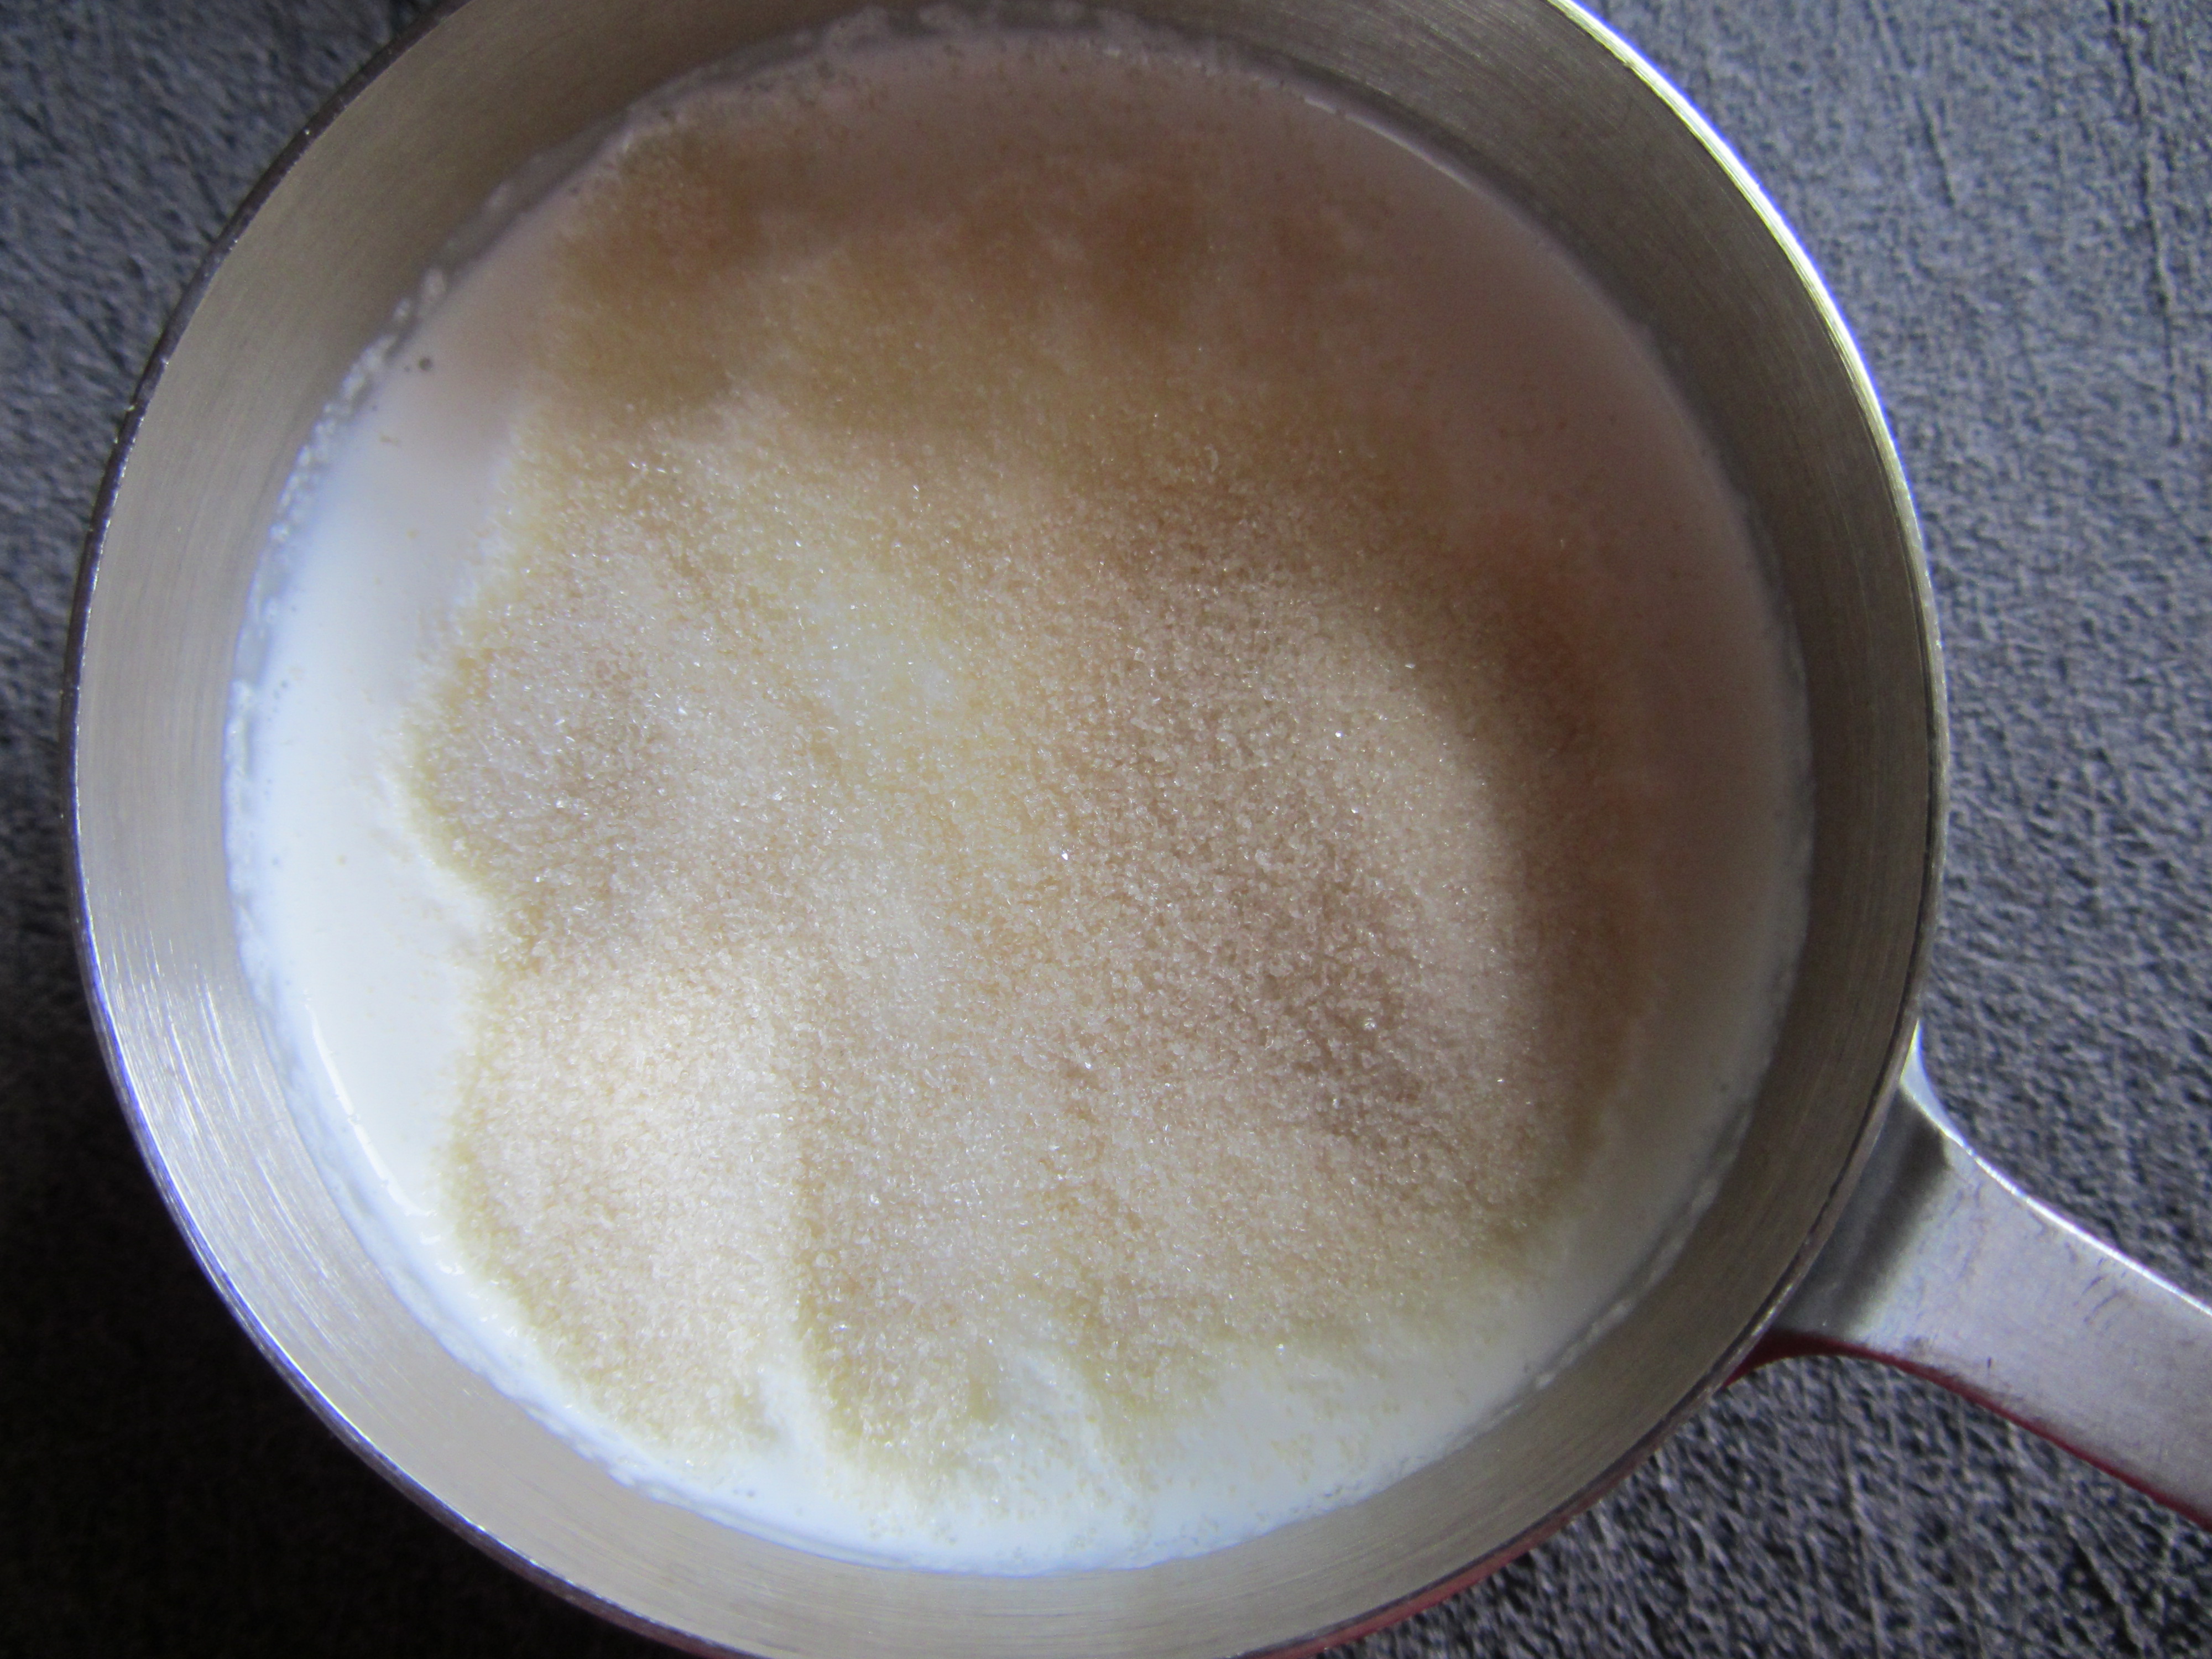
Gelatin blooming in some of the cream.
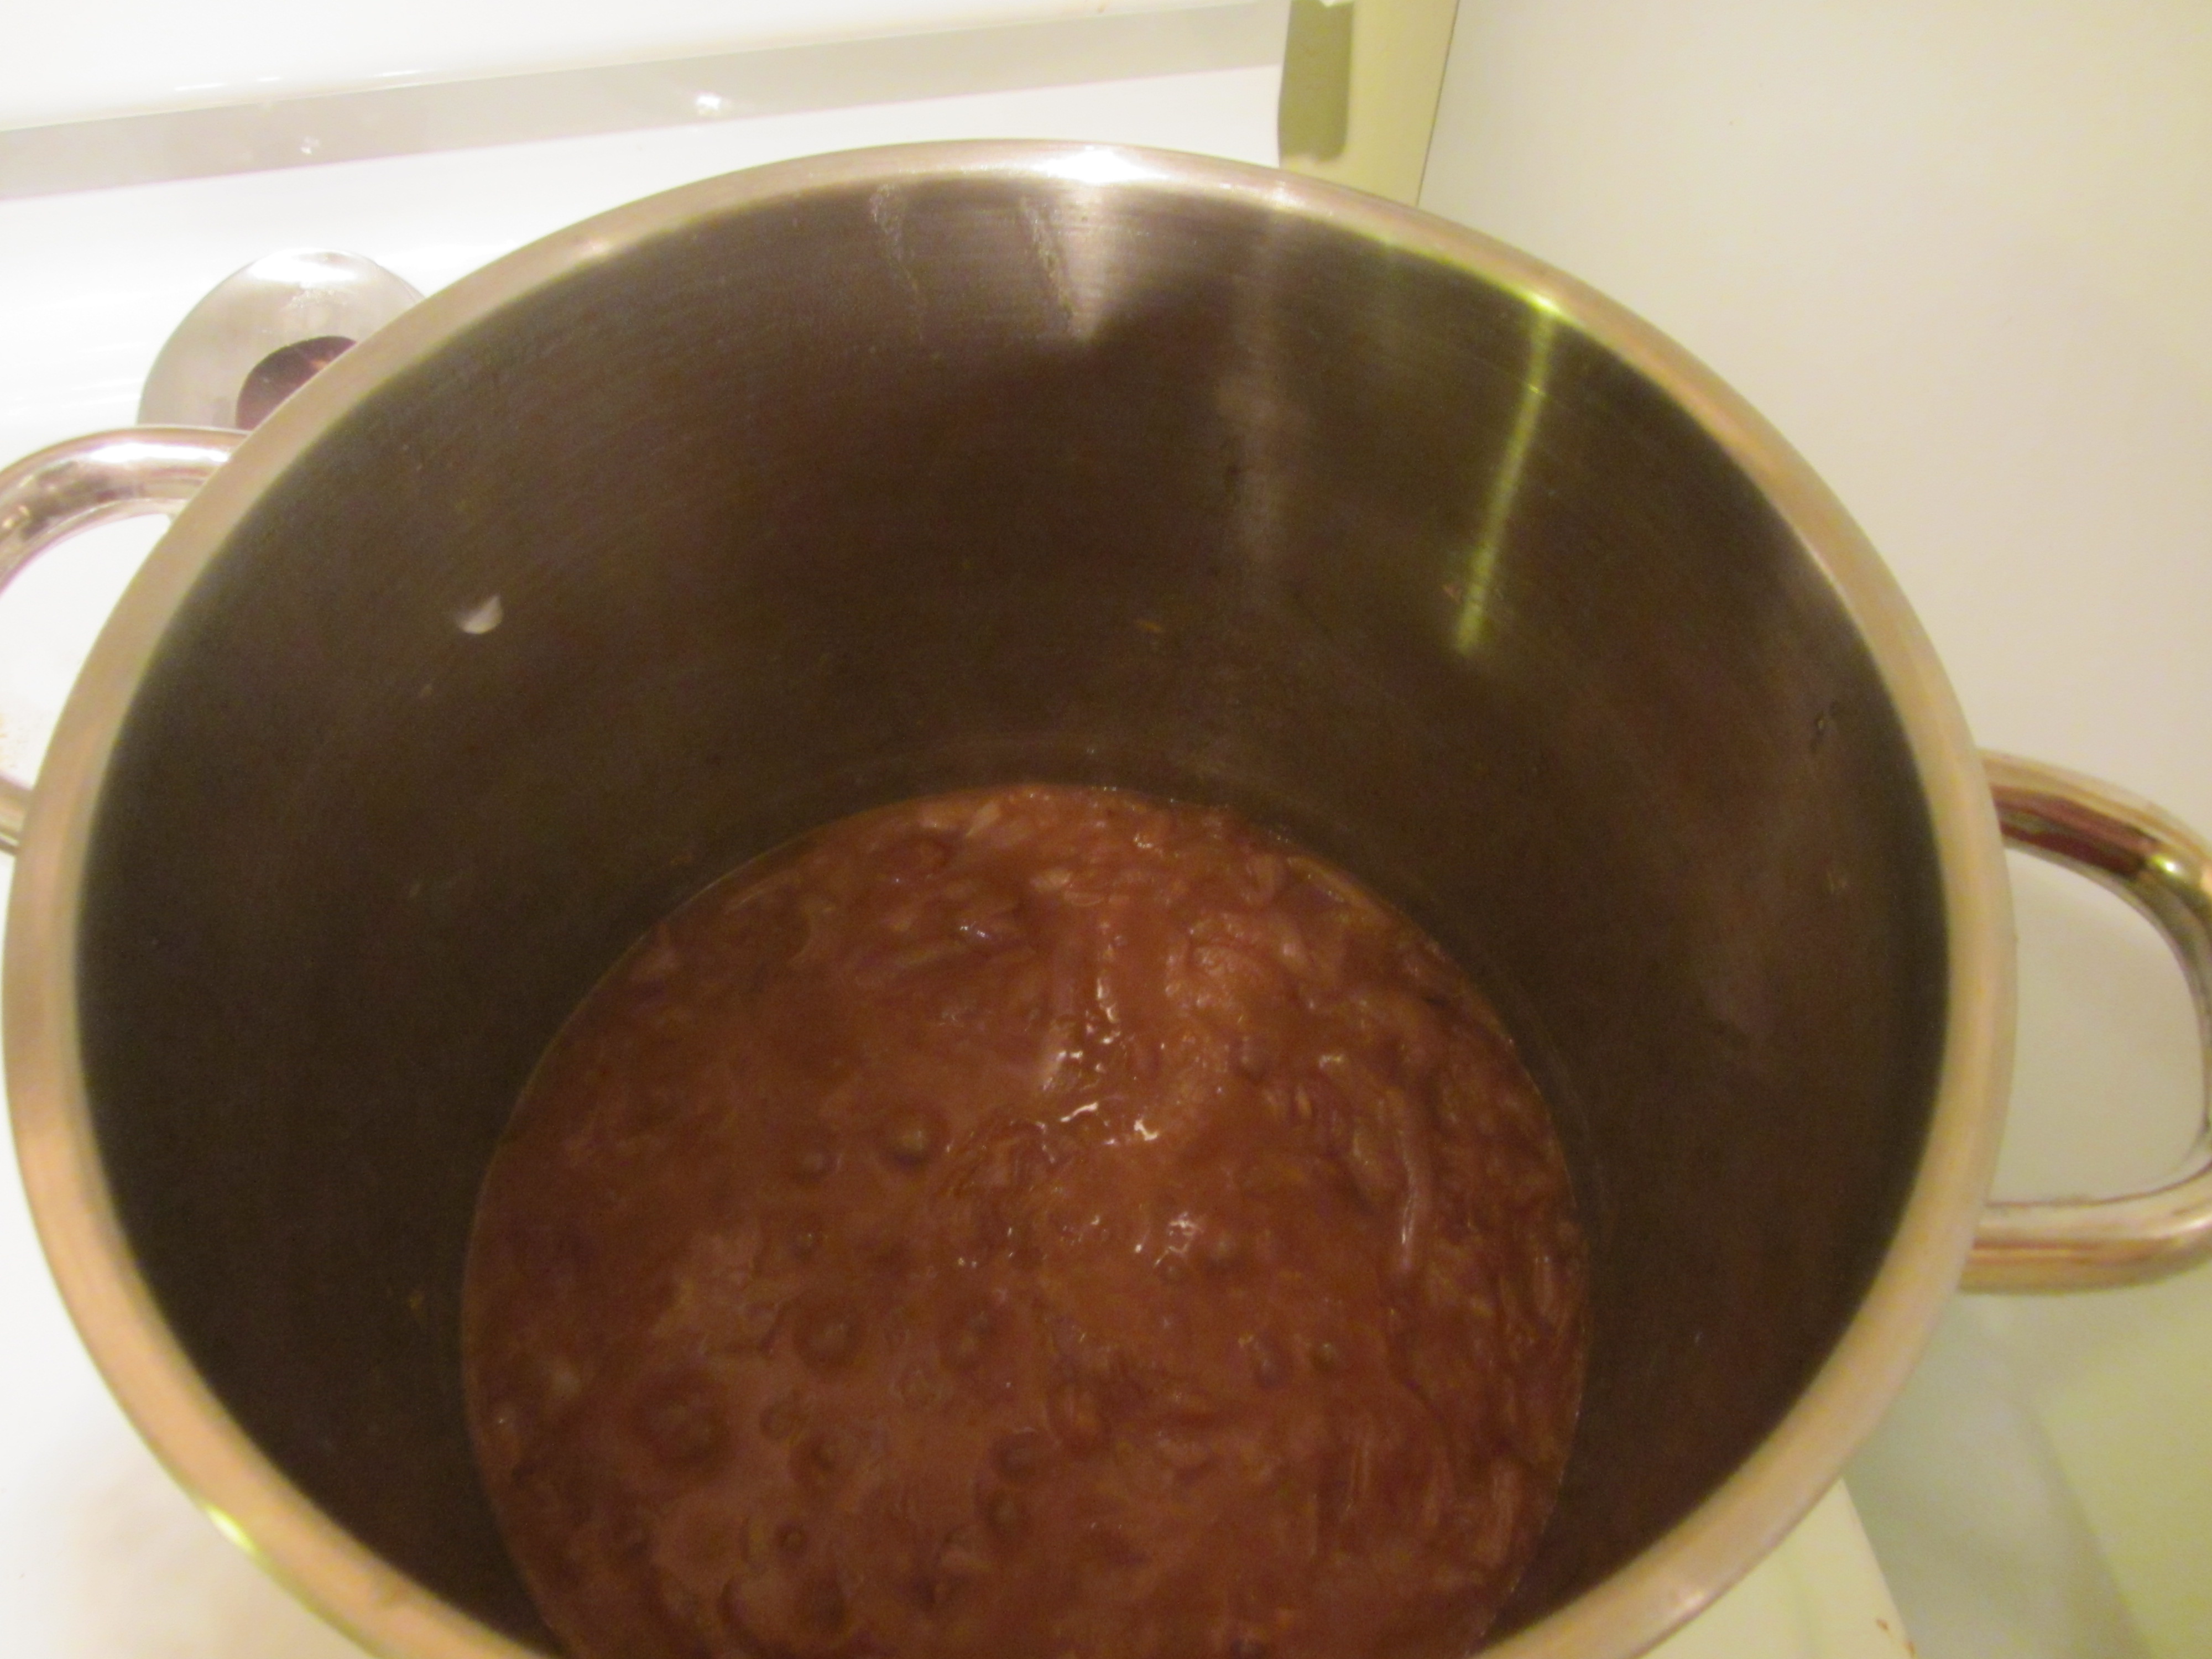
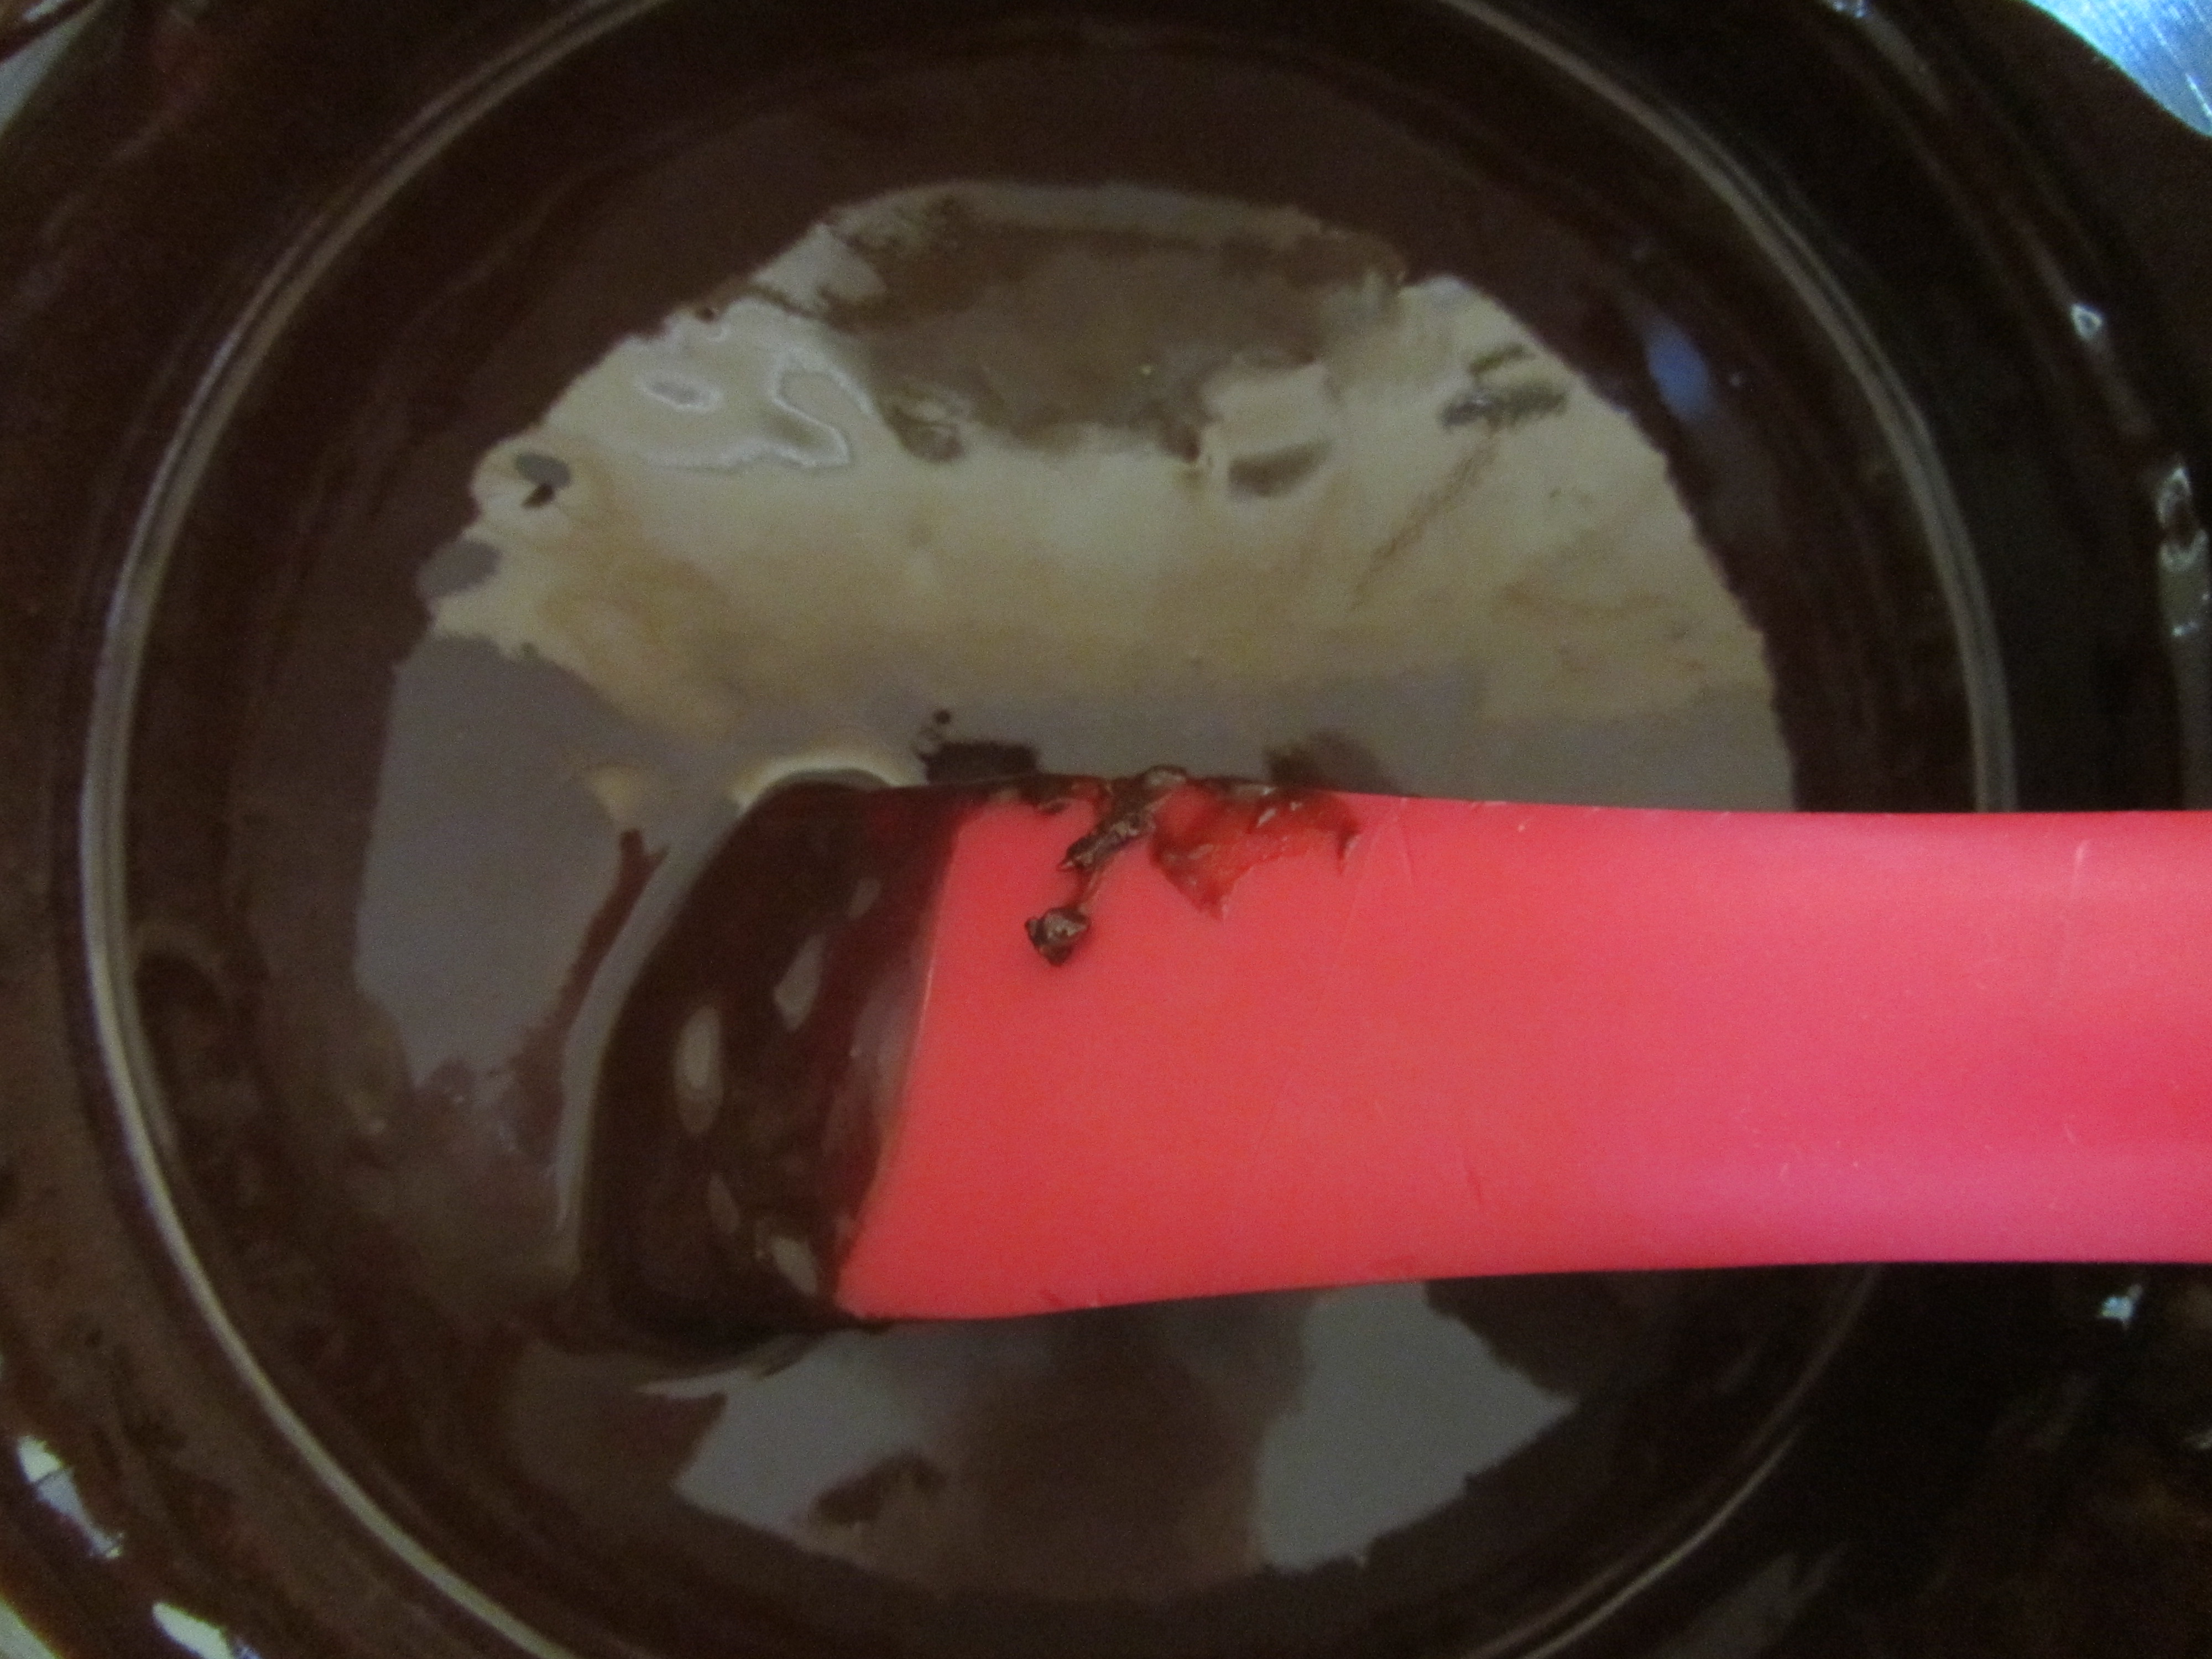
By this time, your chocolate mixture should be melted, and you want to remove it from the heat.
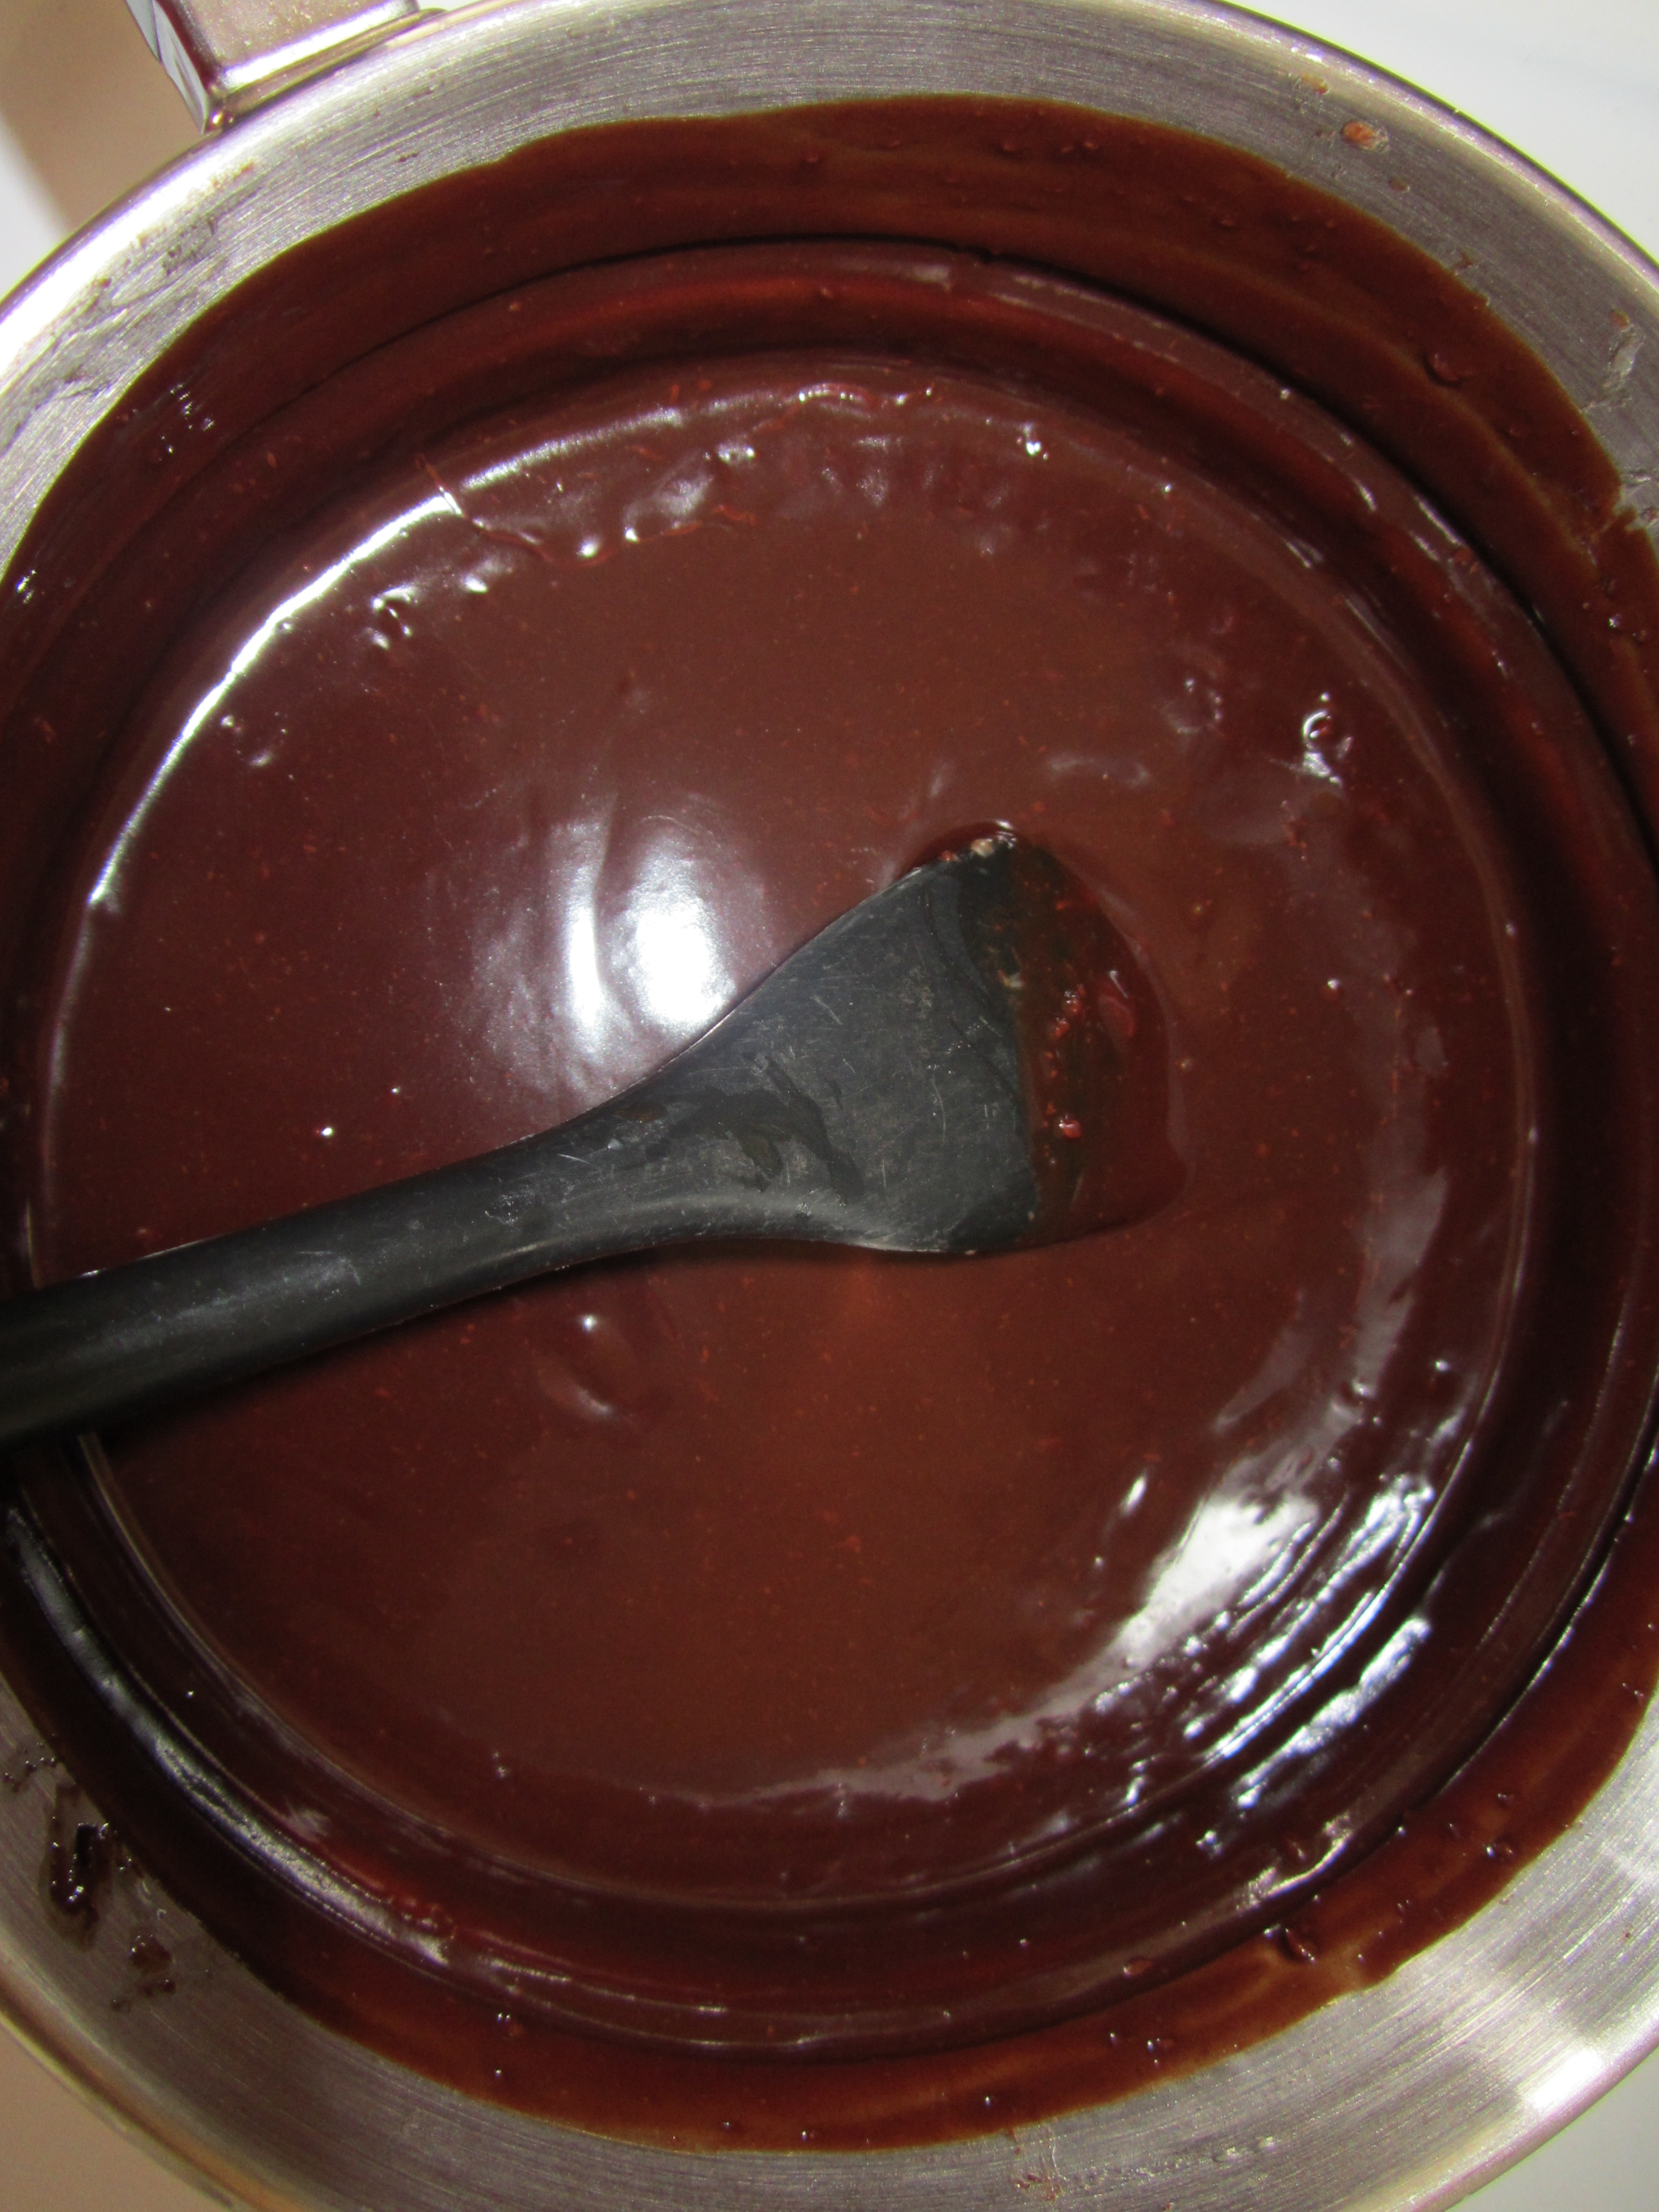
Melted chocolate mixture.
While your chocolate cools, you beat your cream in a chilled metal mixing bowl, using a chilled beater. You should beat your cream until you have medium peaks.
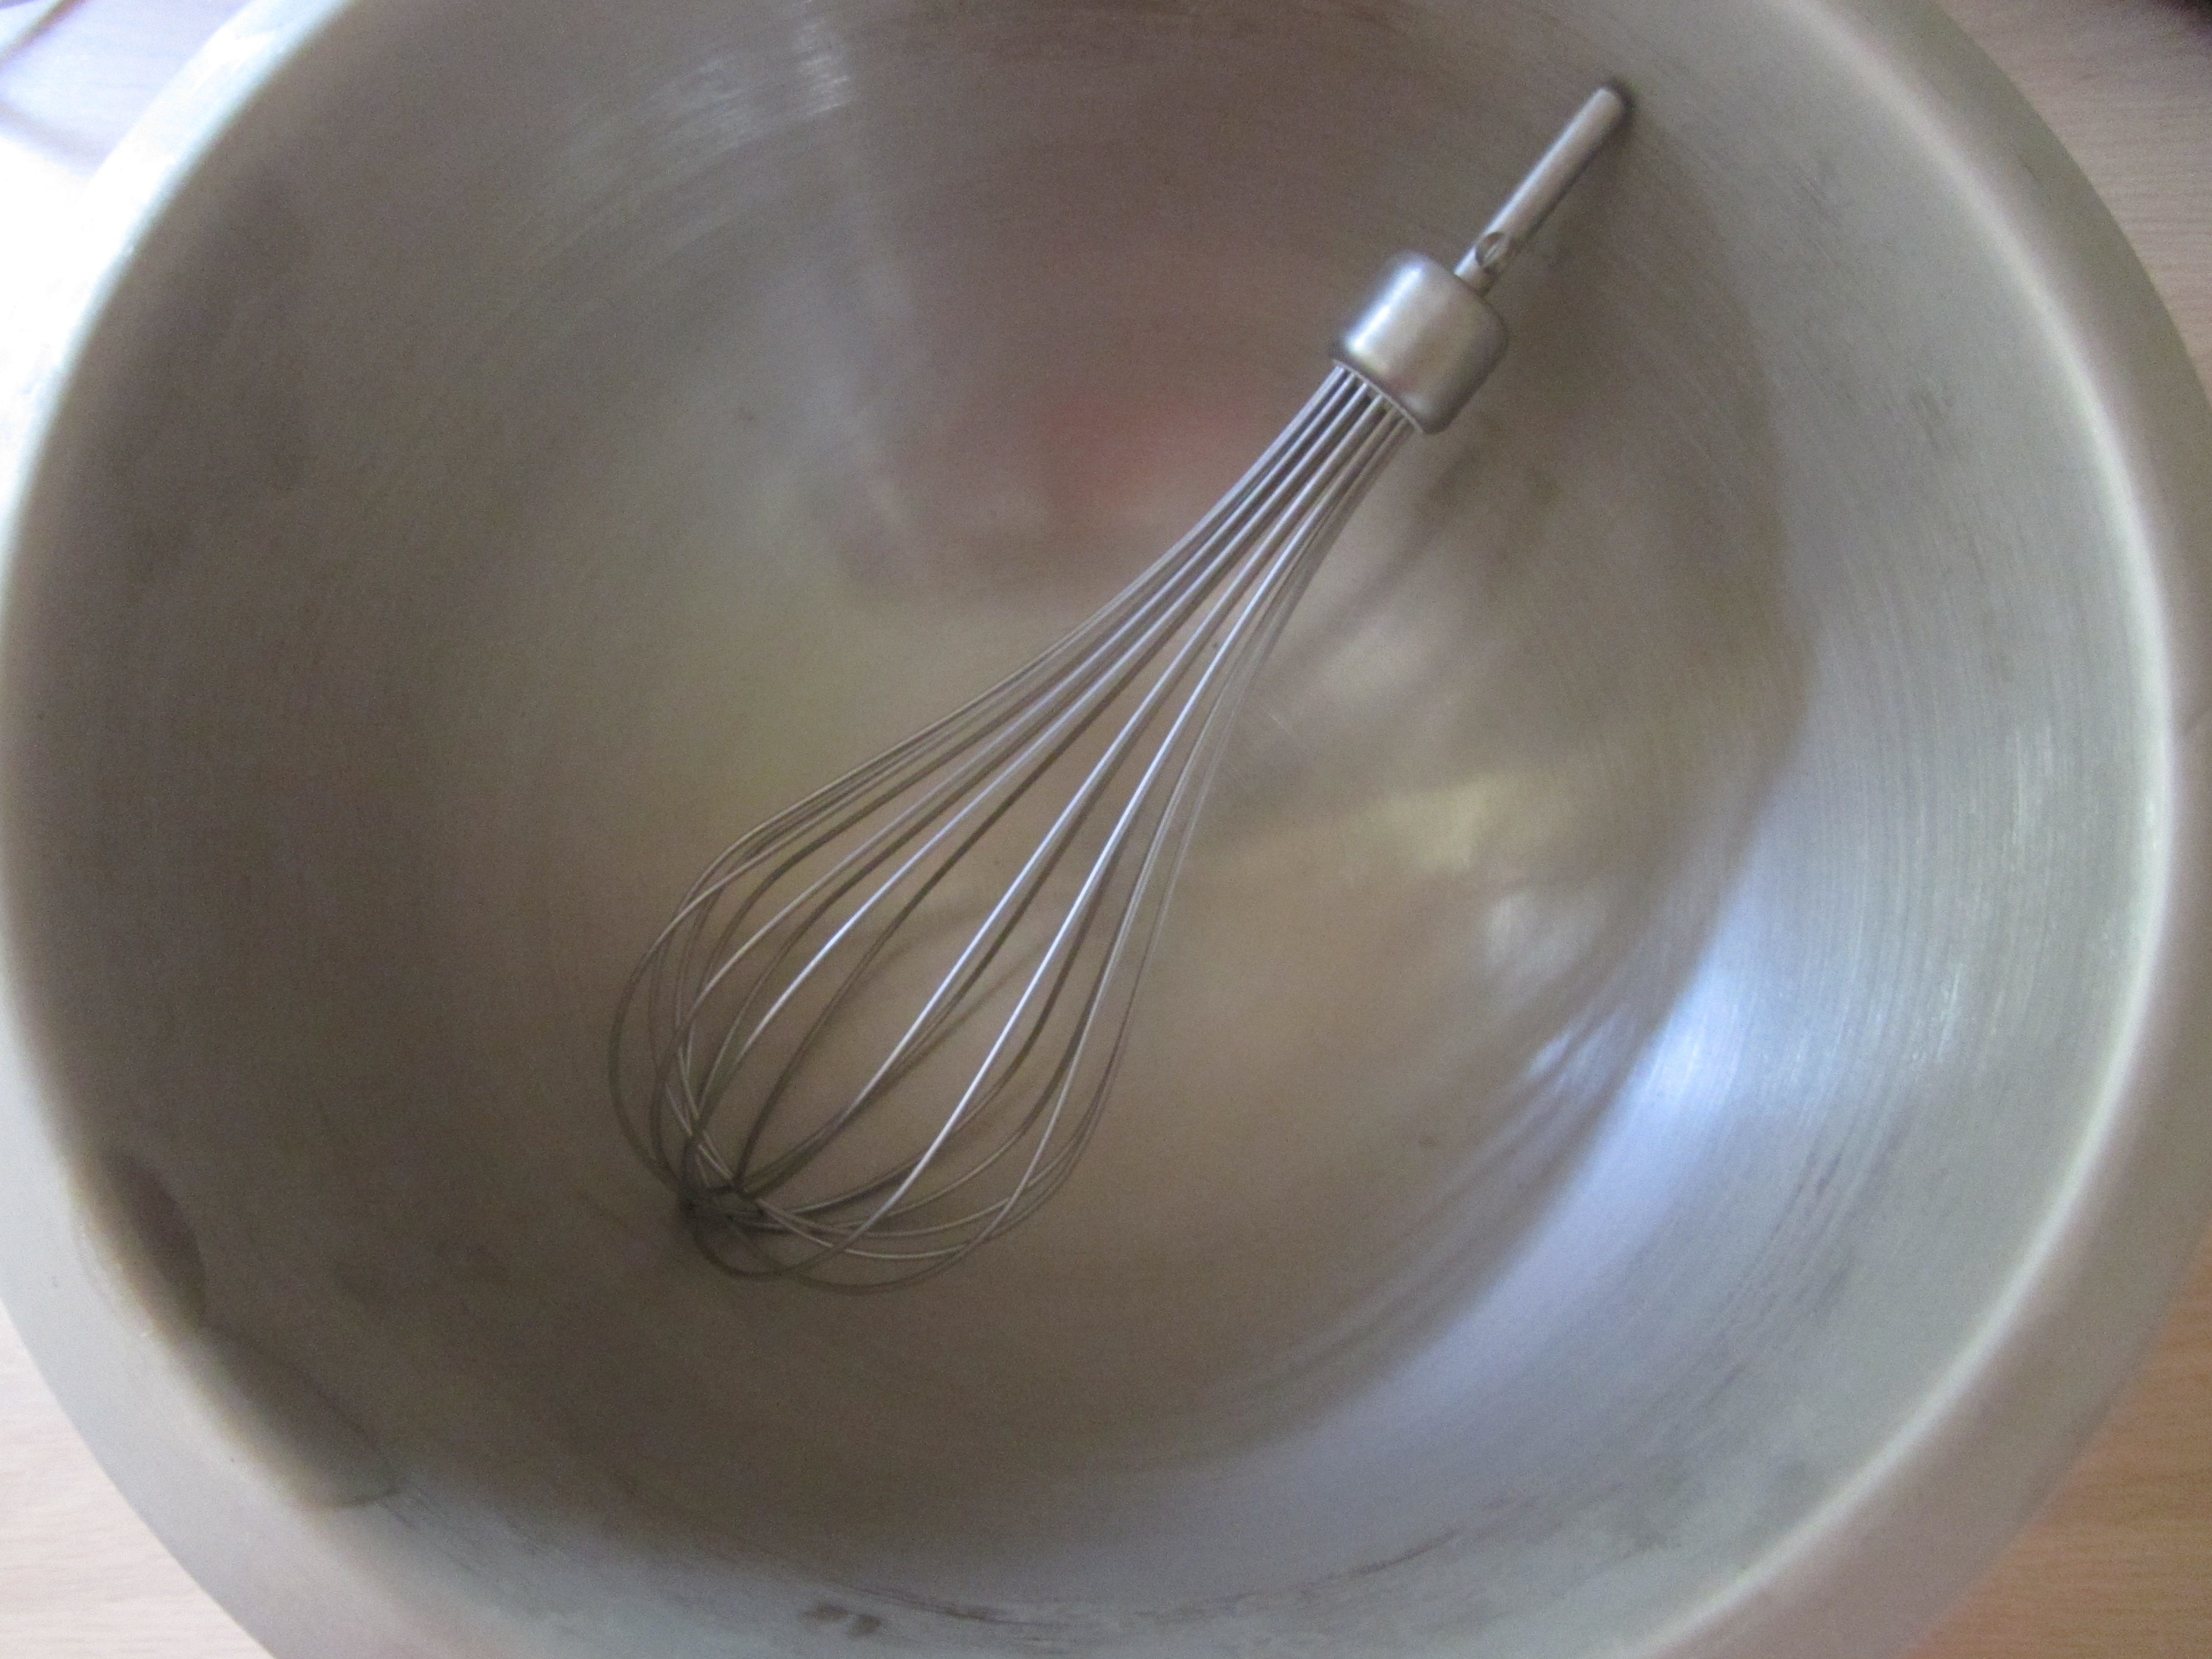
Chilled mixing bowl and beater.
Heavy cream, ready to be whipped into submission… or medium peaks.

A taste of the cream for “helper” #1.

And a taste for “helper” #2.
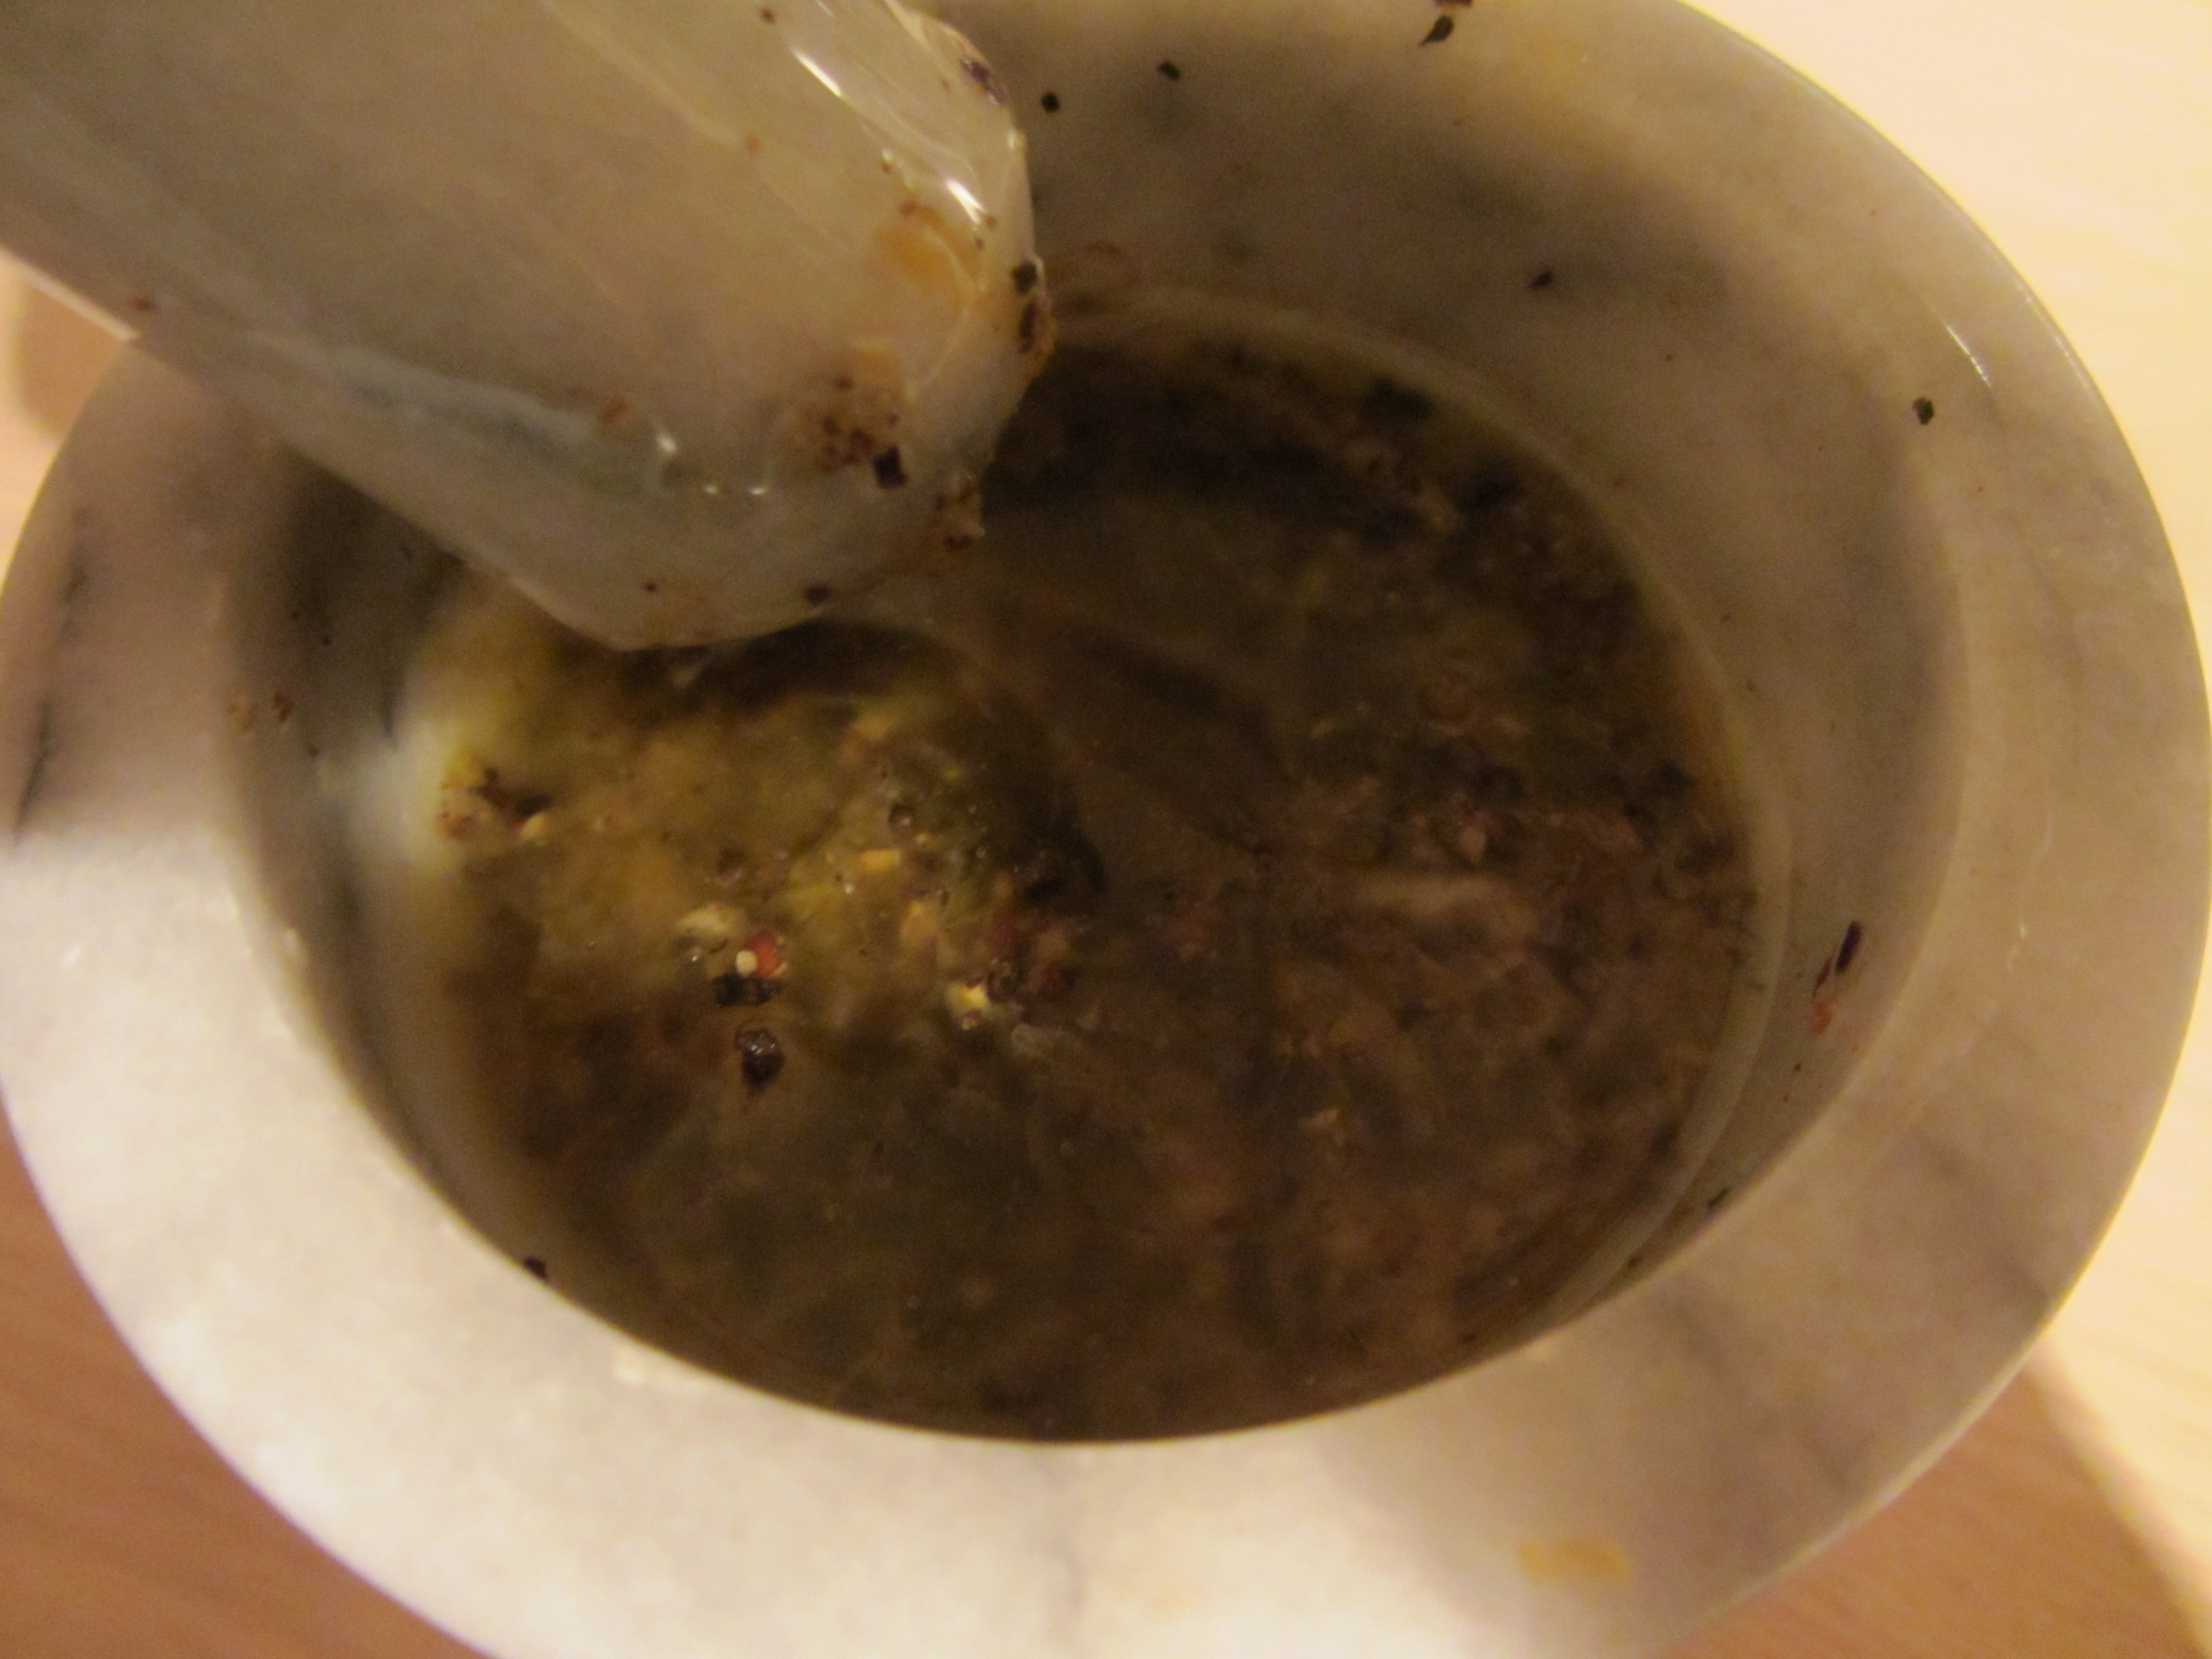
The gelatin/cream mixture gets heated over a gas burner or a candle until all of the gelatin granules are gone. You do not want to boil this liquid. Once the gelatin is dissolved, you add the cream/gelatin to the chocolate mixture, stirring to combine.
Heating the gelatin/cream mixture over a candle.
Adding the gelatin mixture to the chocolate.
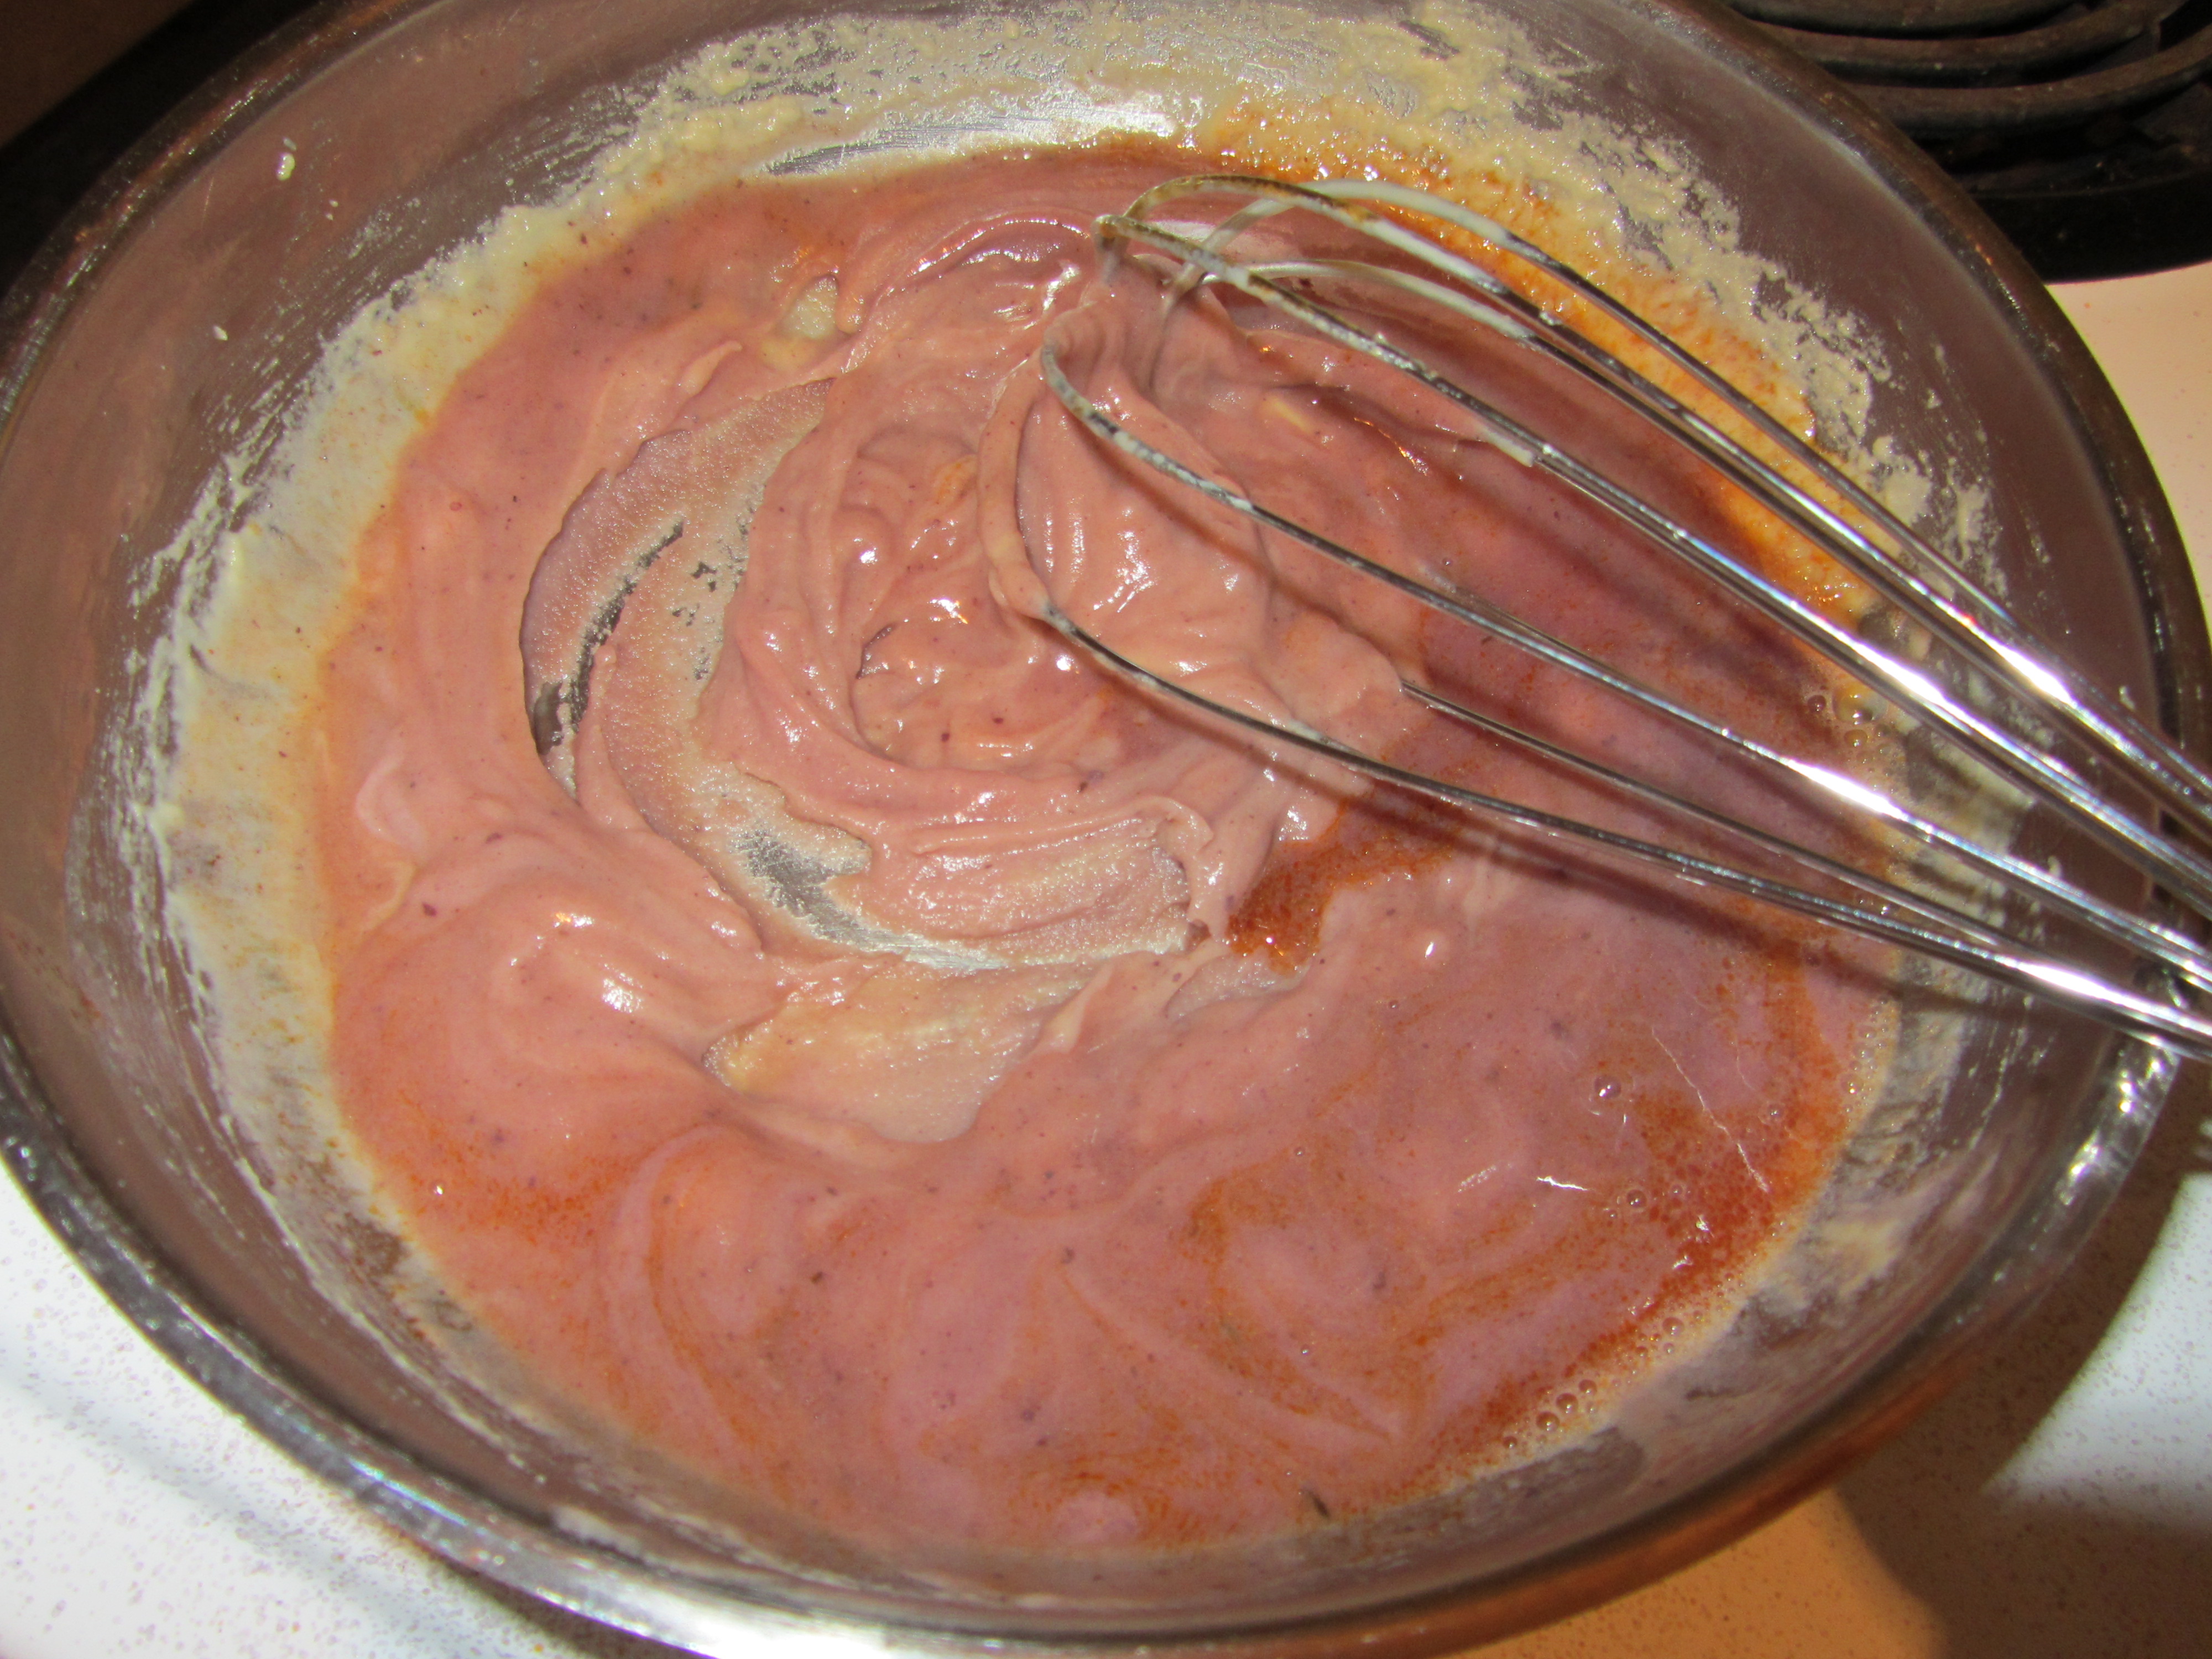
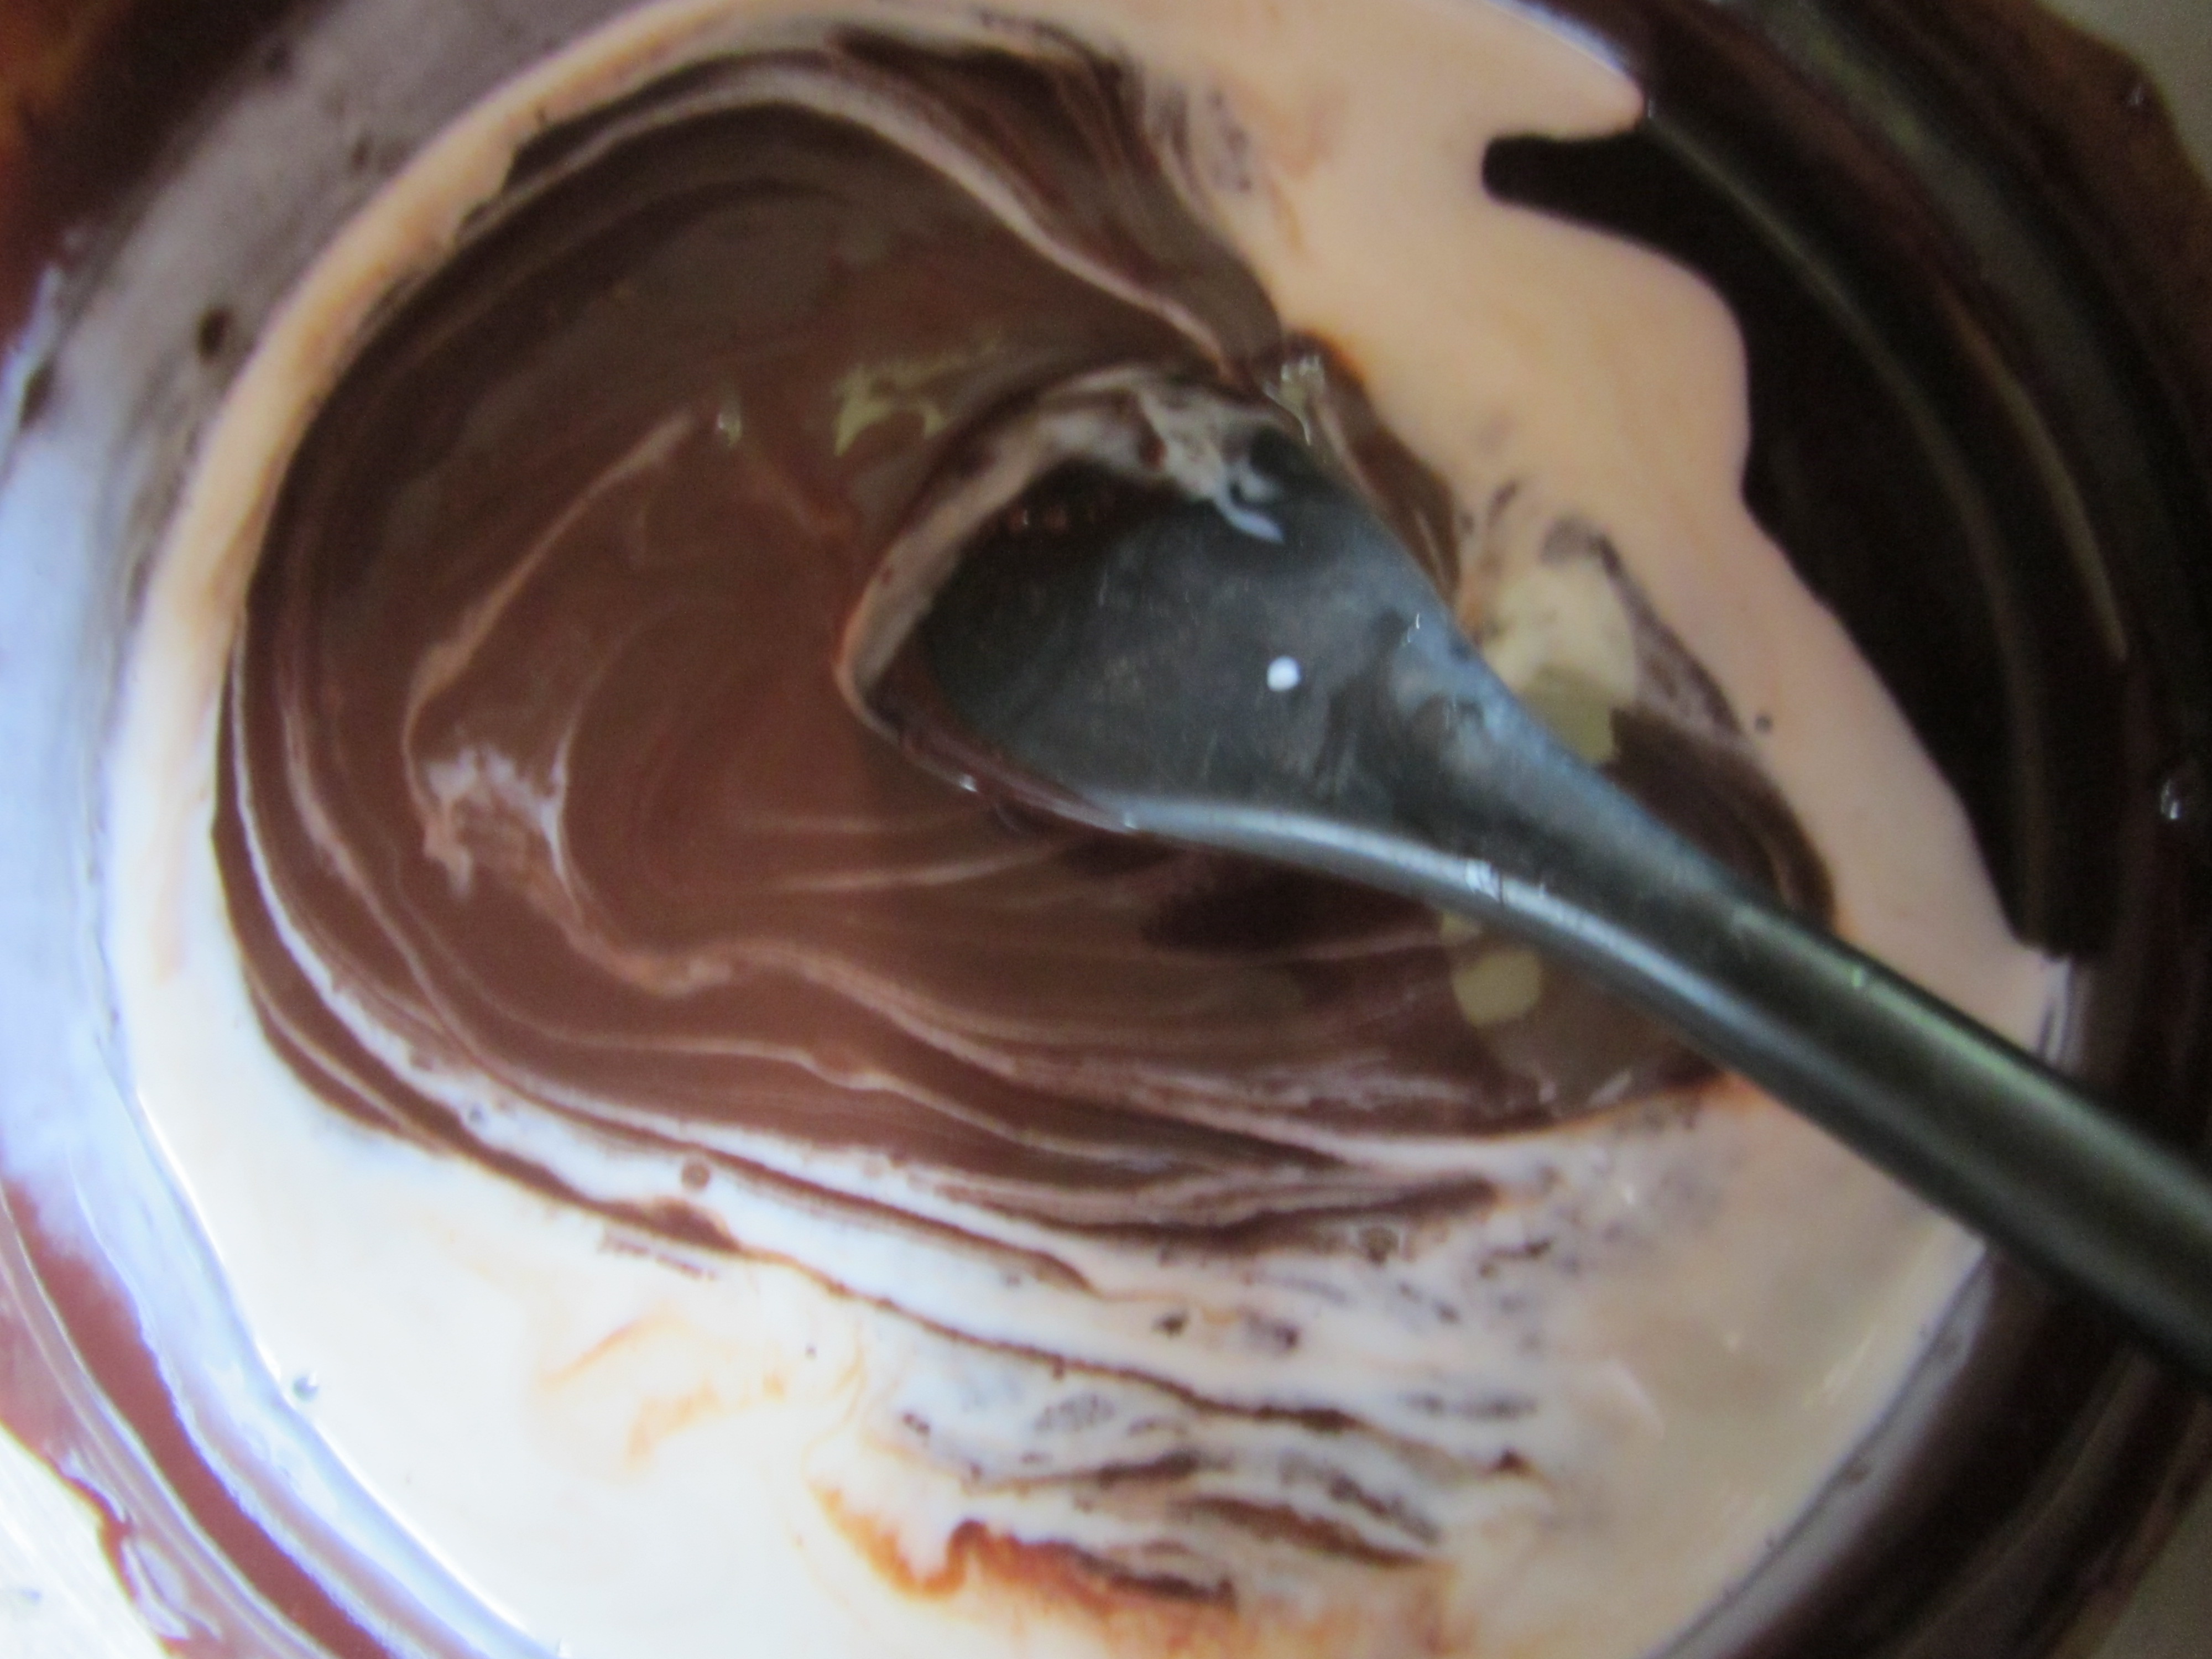
Now it is time to combine the chocolate with the whipped cream, but you want to do this gradually and gently, beginning by stirring 1/4 of the cream into the chocolate. Then you will gently fold the remaining cream into the chocolate in two additions.
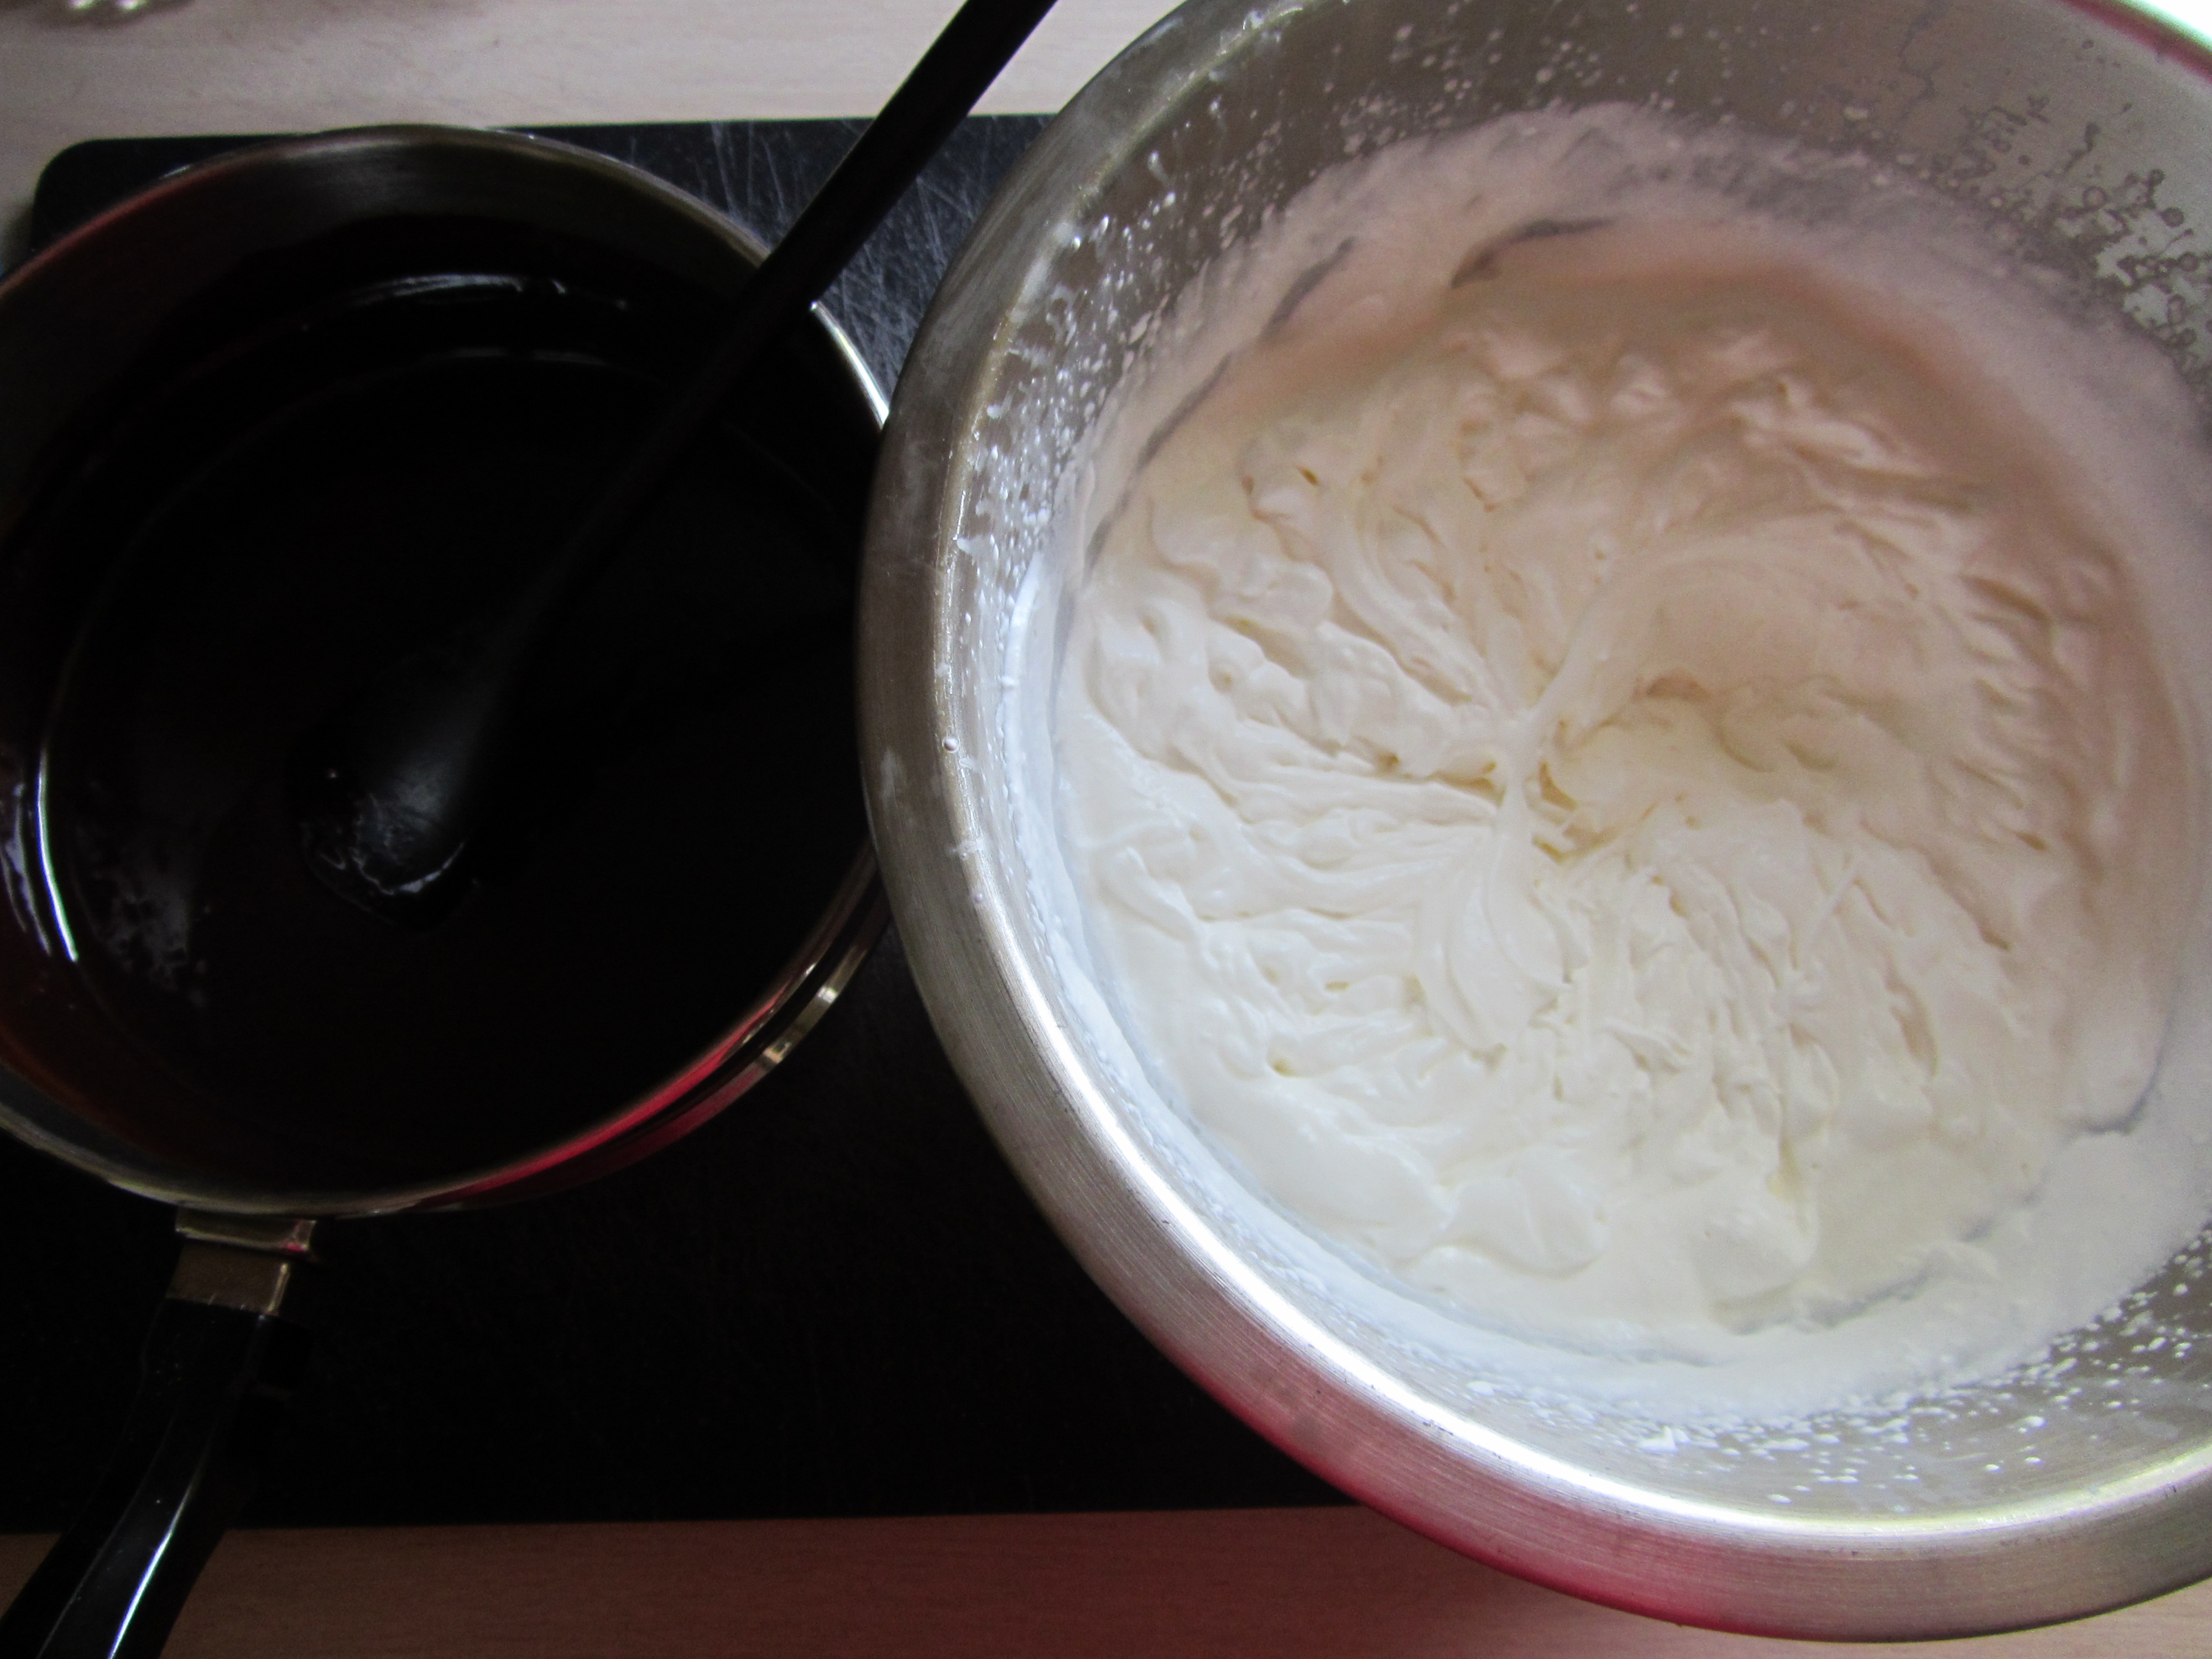
Side by side bowls of goodness, ready to be combined to make even greater goodness.

Stirring in about 1/4 of the whipped cream.
Alton stresses that it is okay to have streaks in your mousse. The important thing is to gently fold the cream into the chocolate, so as not to remove the air from the cream. I definitely had some streaks in my mousse.
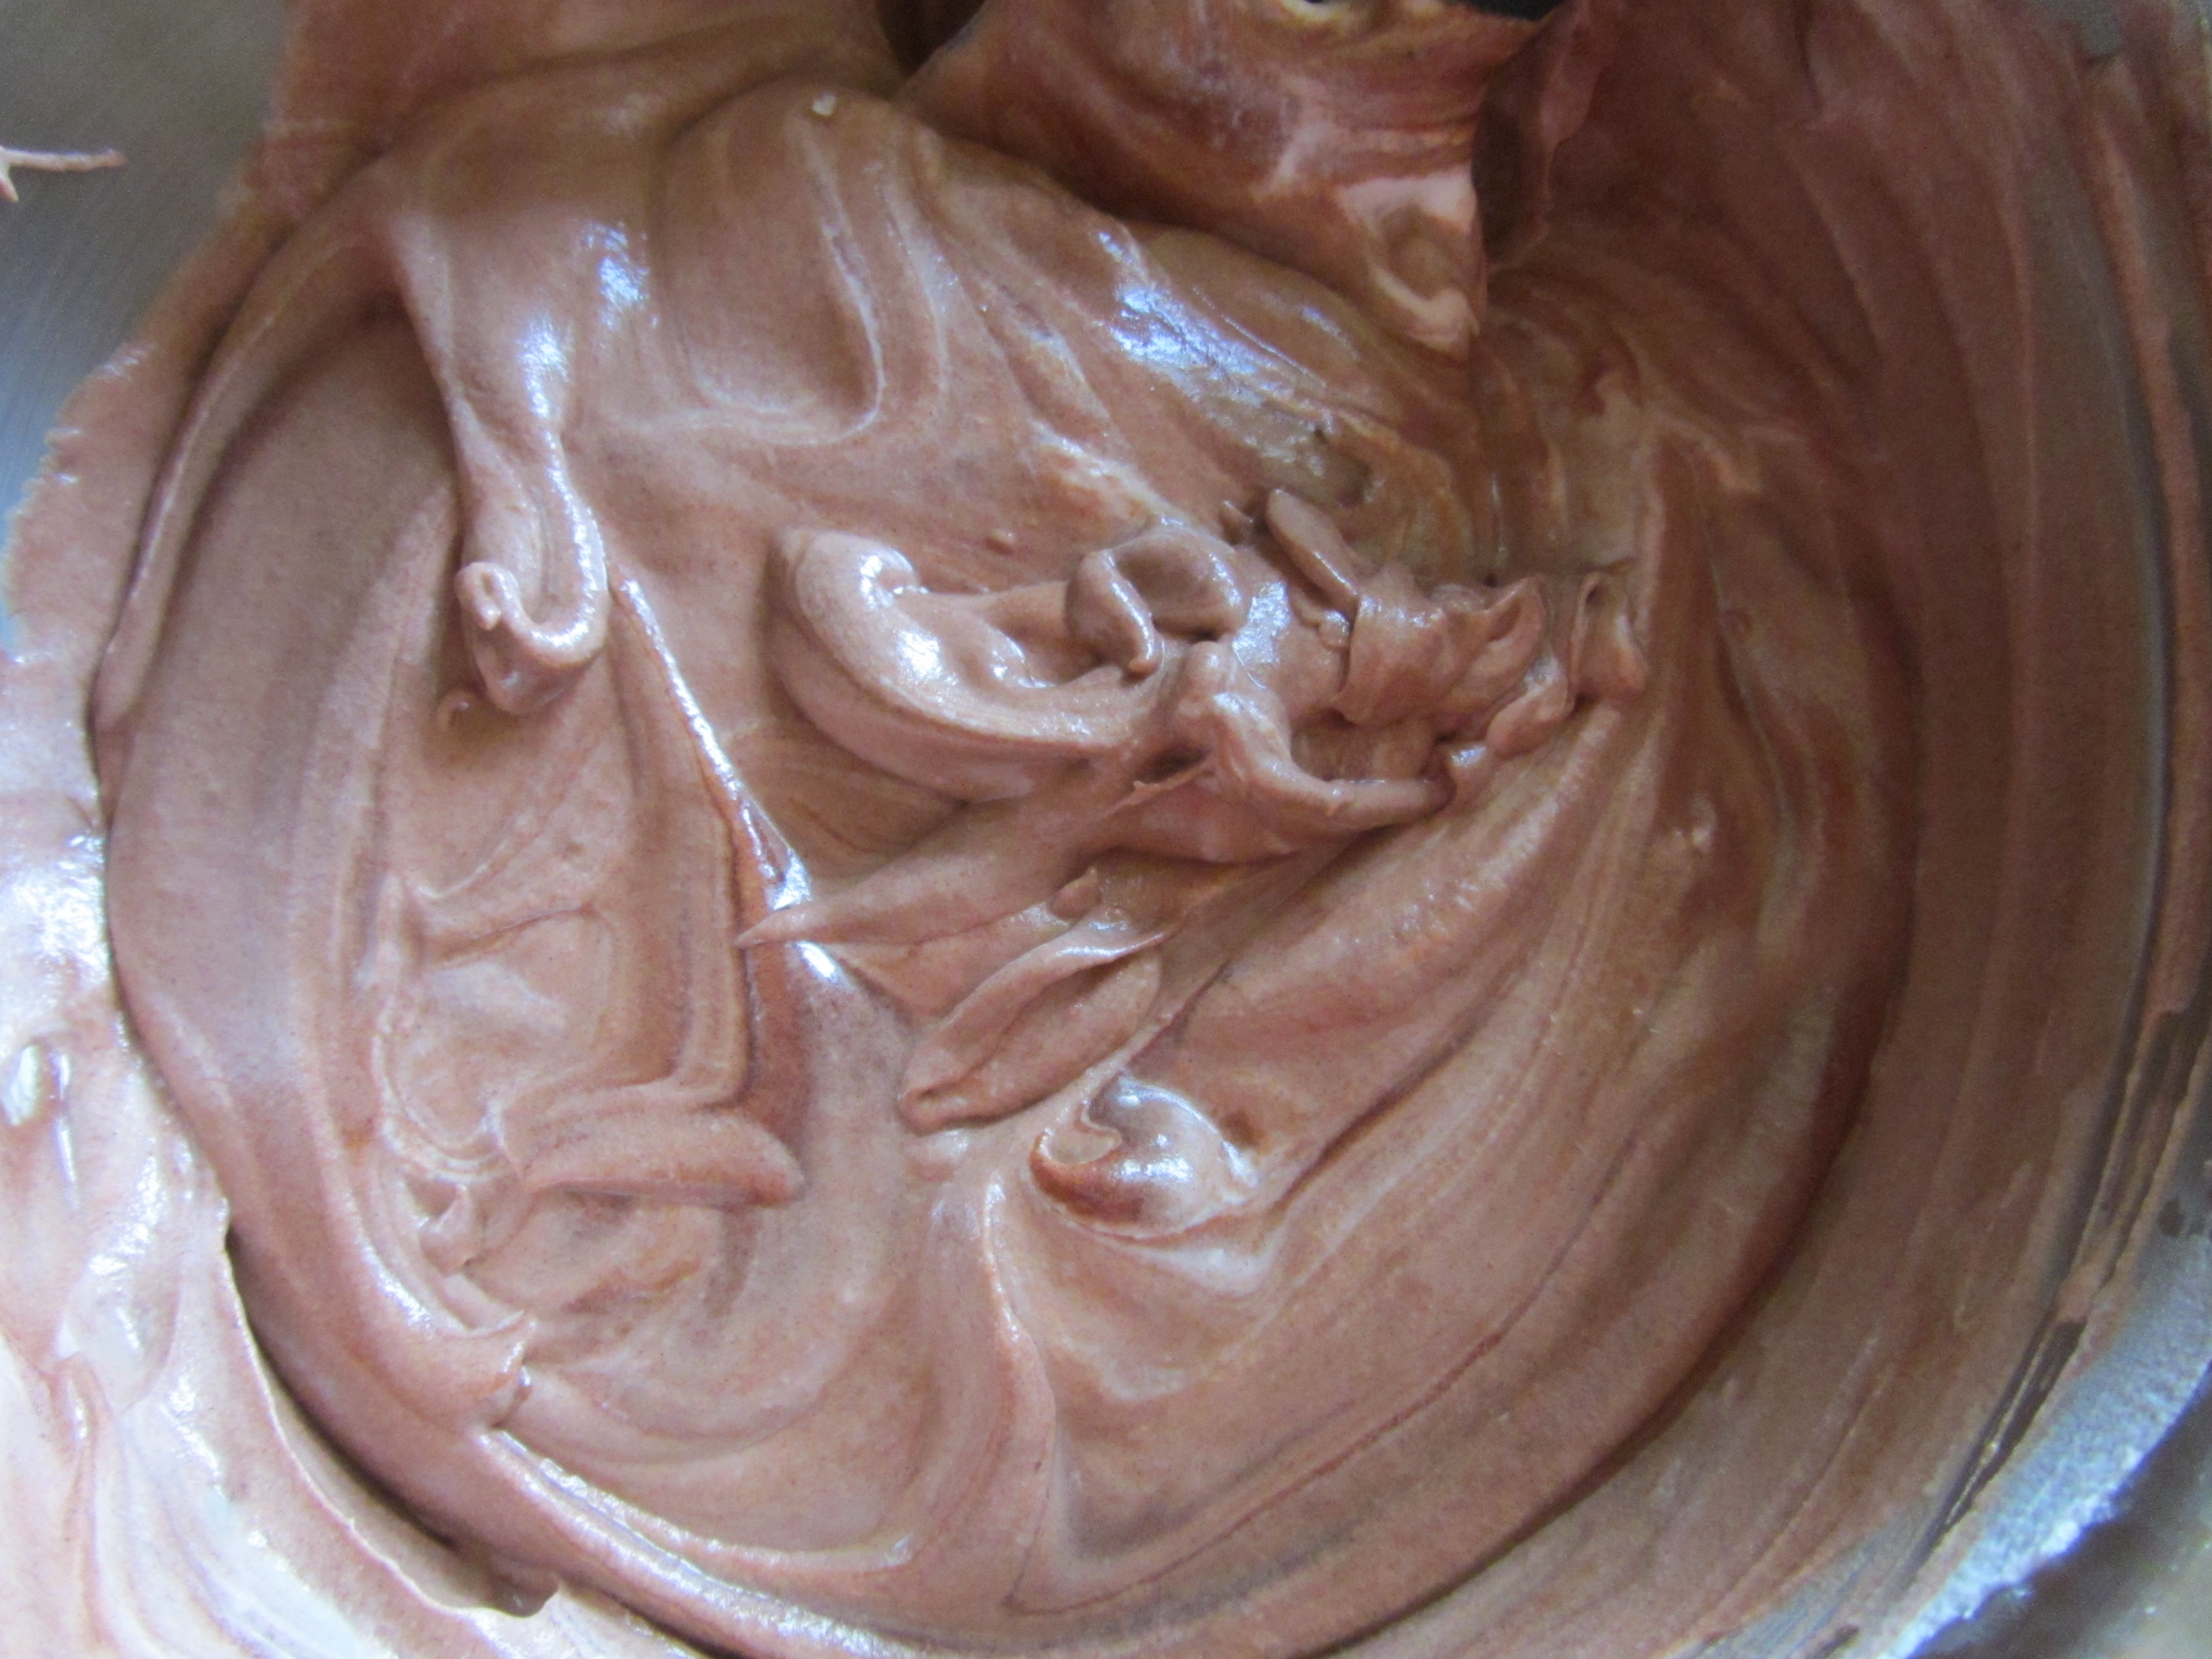
The final product, after folding in the remaining whipped cream.
You gently spoon the mousse into individual serving cups and refrigerate it for an hour before covering the cups with plastic wrap.
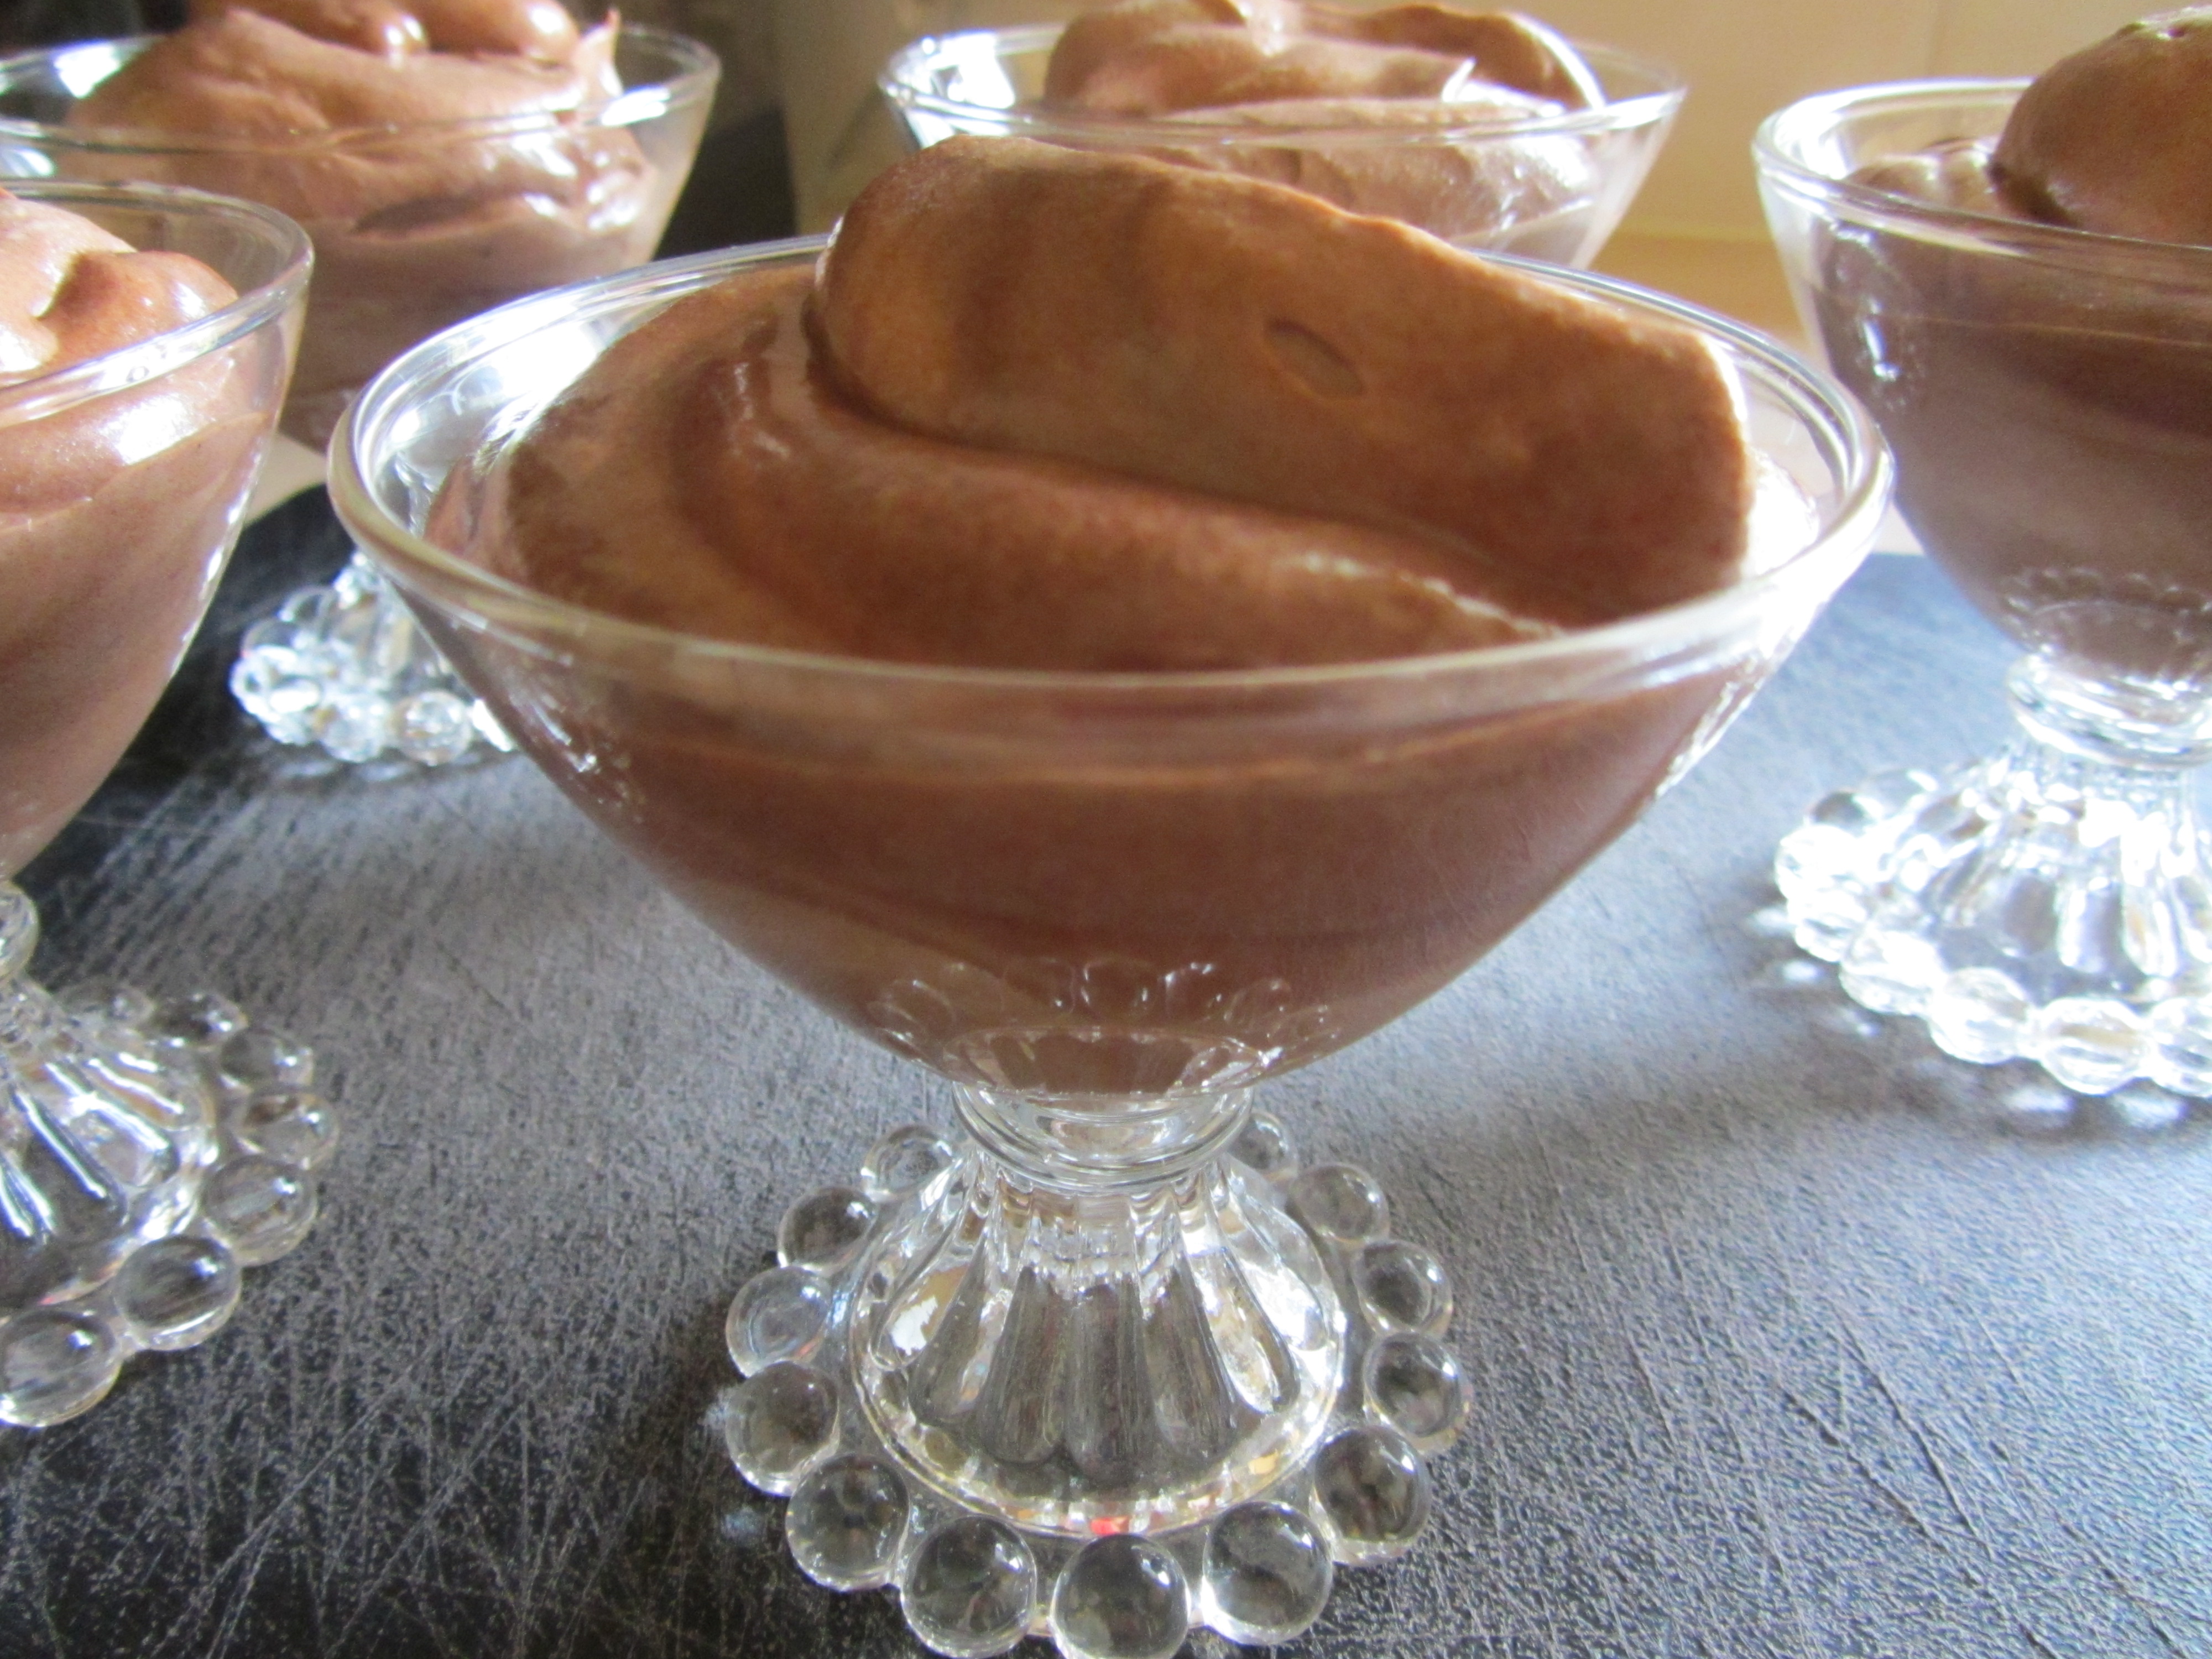
Yum. Chocolate mousse.
I made my mousse several hours in advance and we ate it for dessert three days in a row. I also shared some mousse with my parents. We all thought this mousse was delicious. It was light and fluffy, and mine had tiny bits of chocolate throughout, which I’m sure were not supposed to be there, but were actually a nice touch! The mousse was very rich without being heavy. There was a hint of rum in my mousse, but the espresso flavor was really not discernible. This is a recipe I will be making again because it is easy, fast, and delicious, and because my mom has already requested it!
Chocolate Lava Muffins
I will confess that I have made Alton’s Chocolate Lava Muffins a few times in years past, so this was not a new recipe to me. I still watched him prepare the recipe on the episode to ensure that I completed the recipe as prepared in the episode. When I made these in the past, I followed the online recipe, and as we know, there are usually differences between the online and episode recipes.
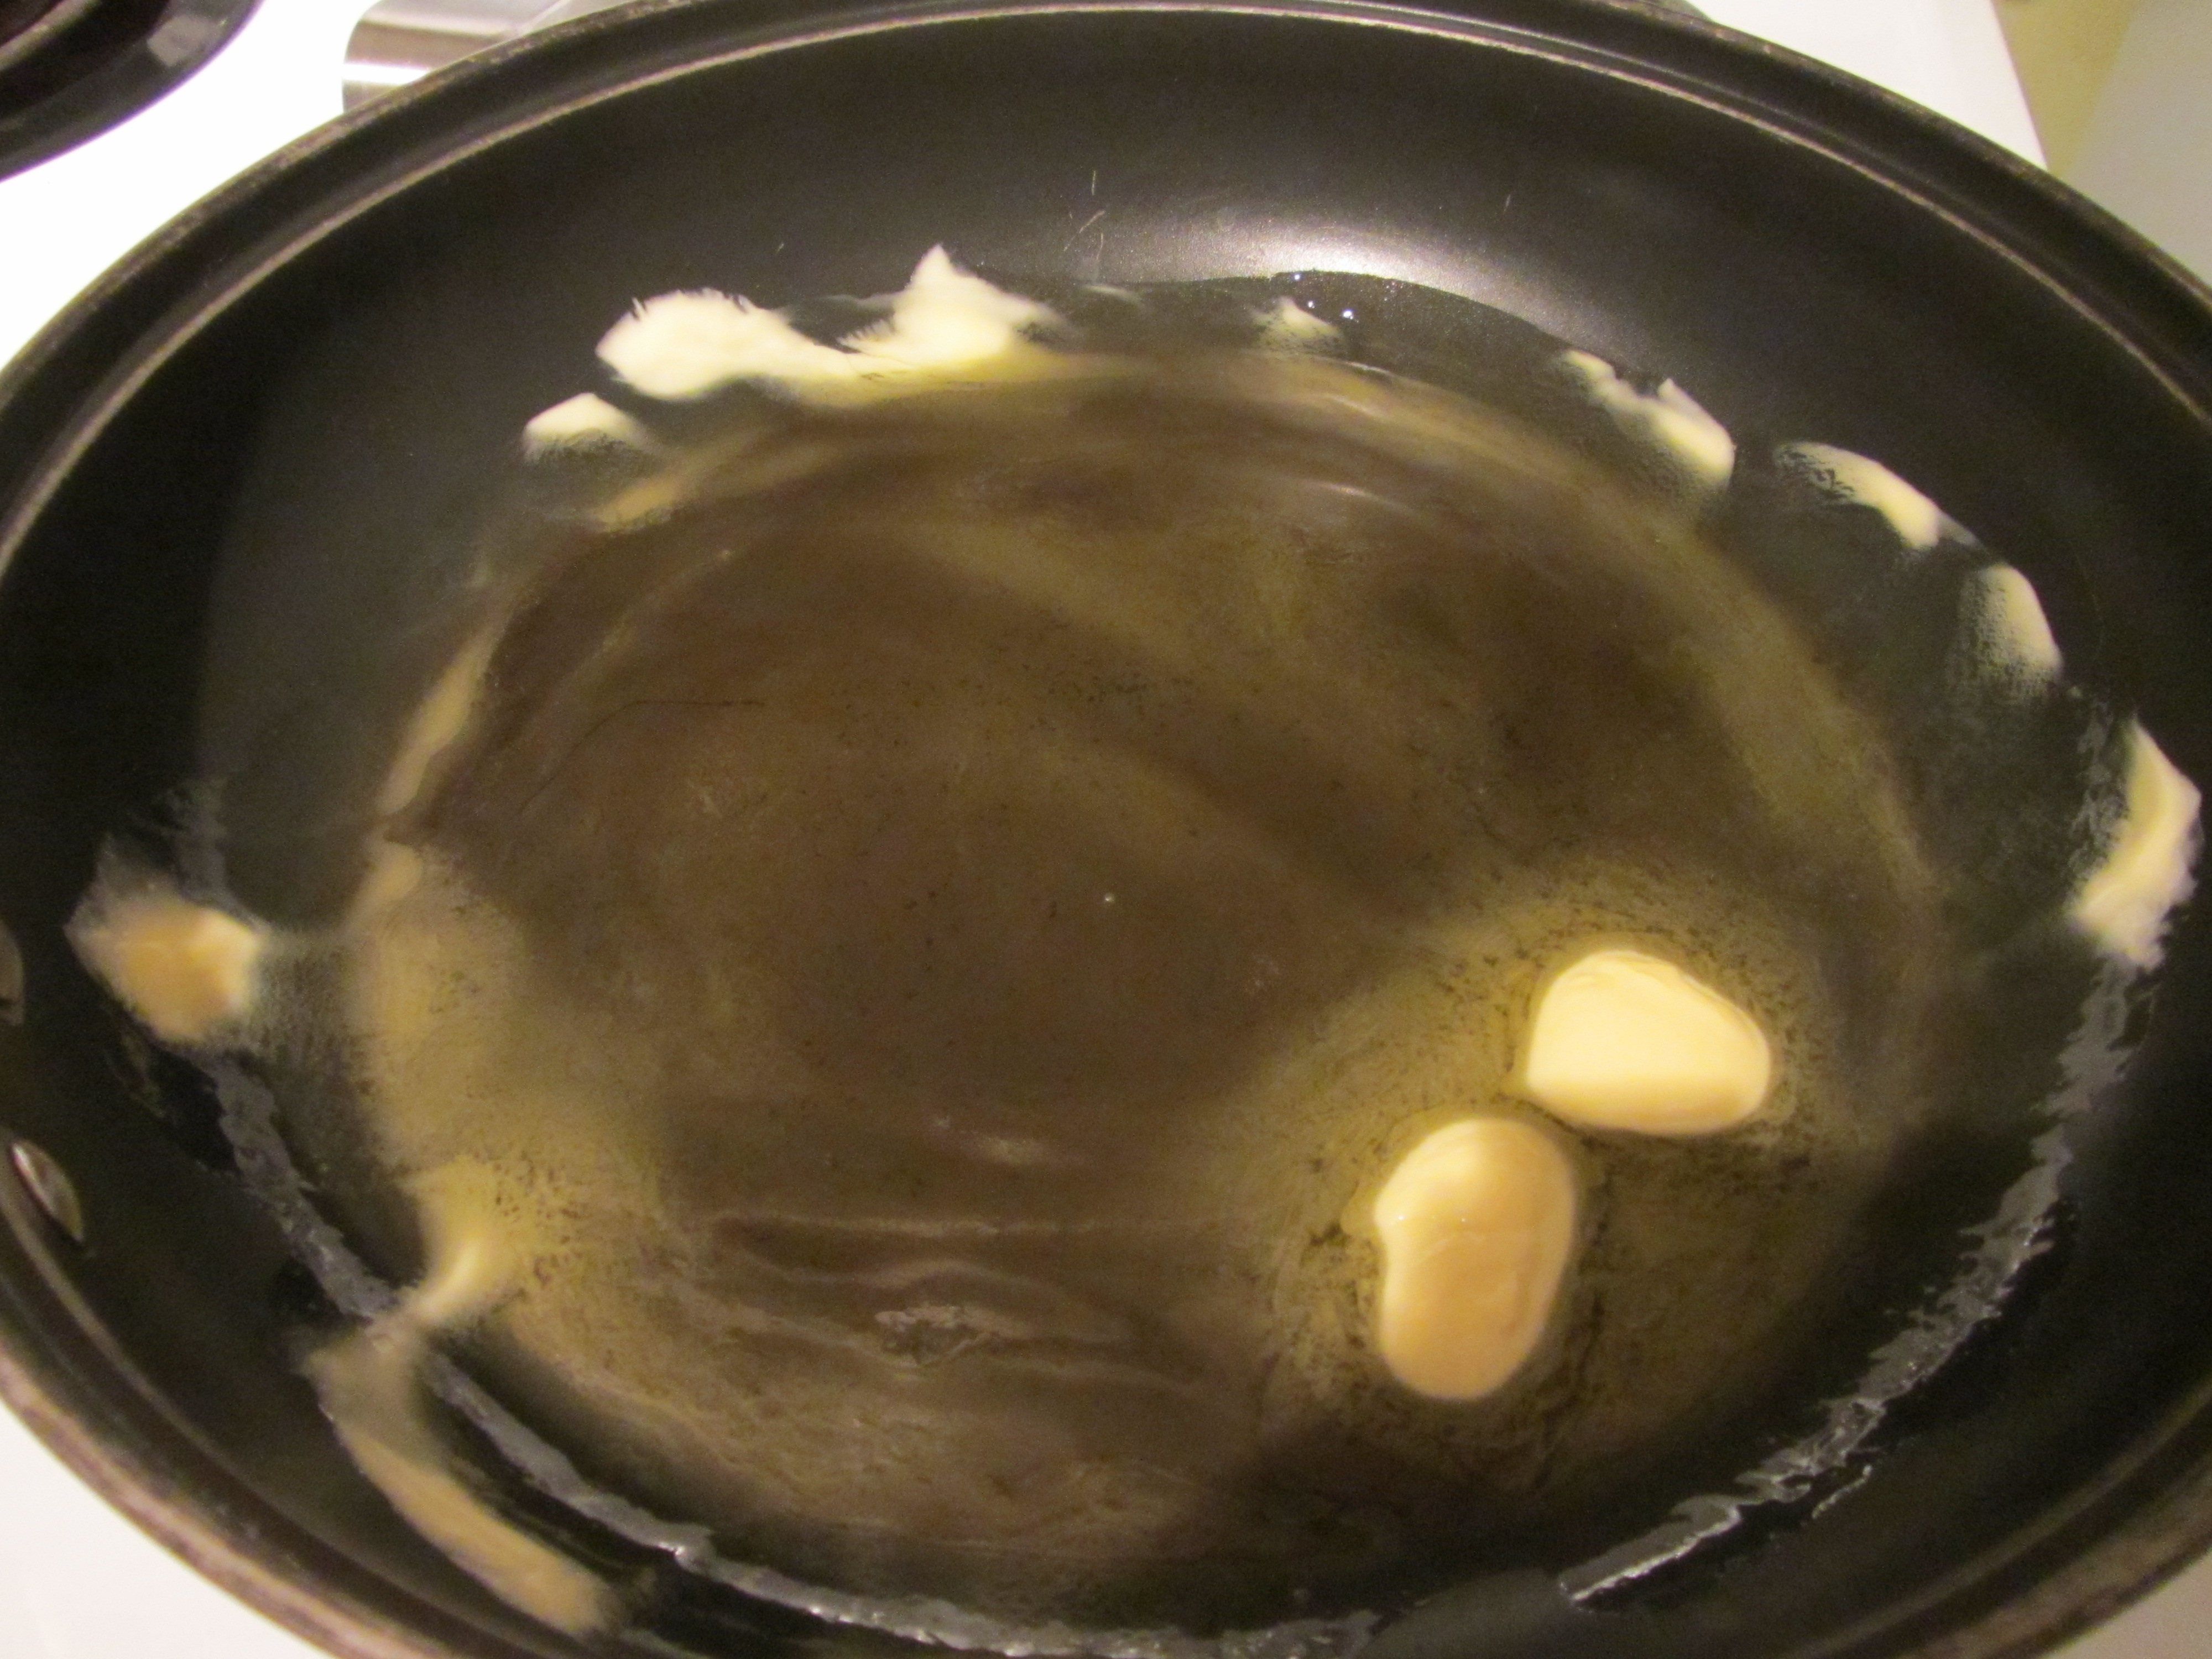
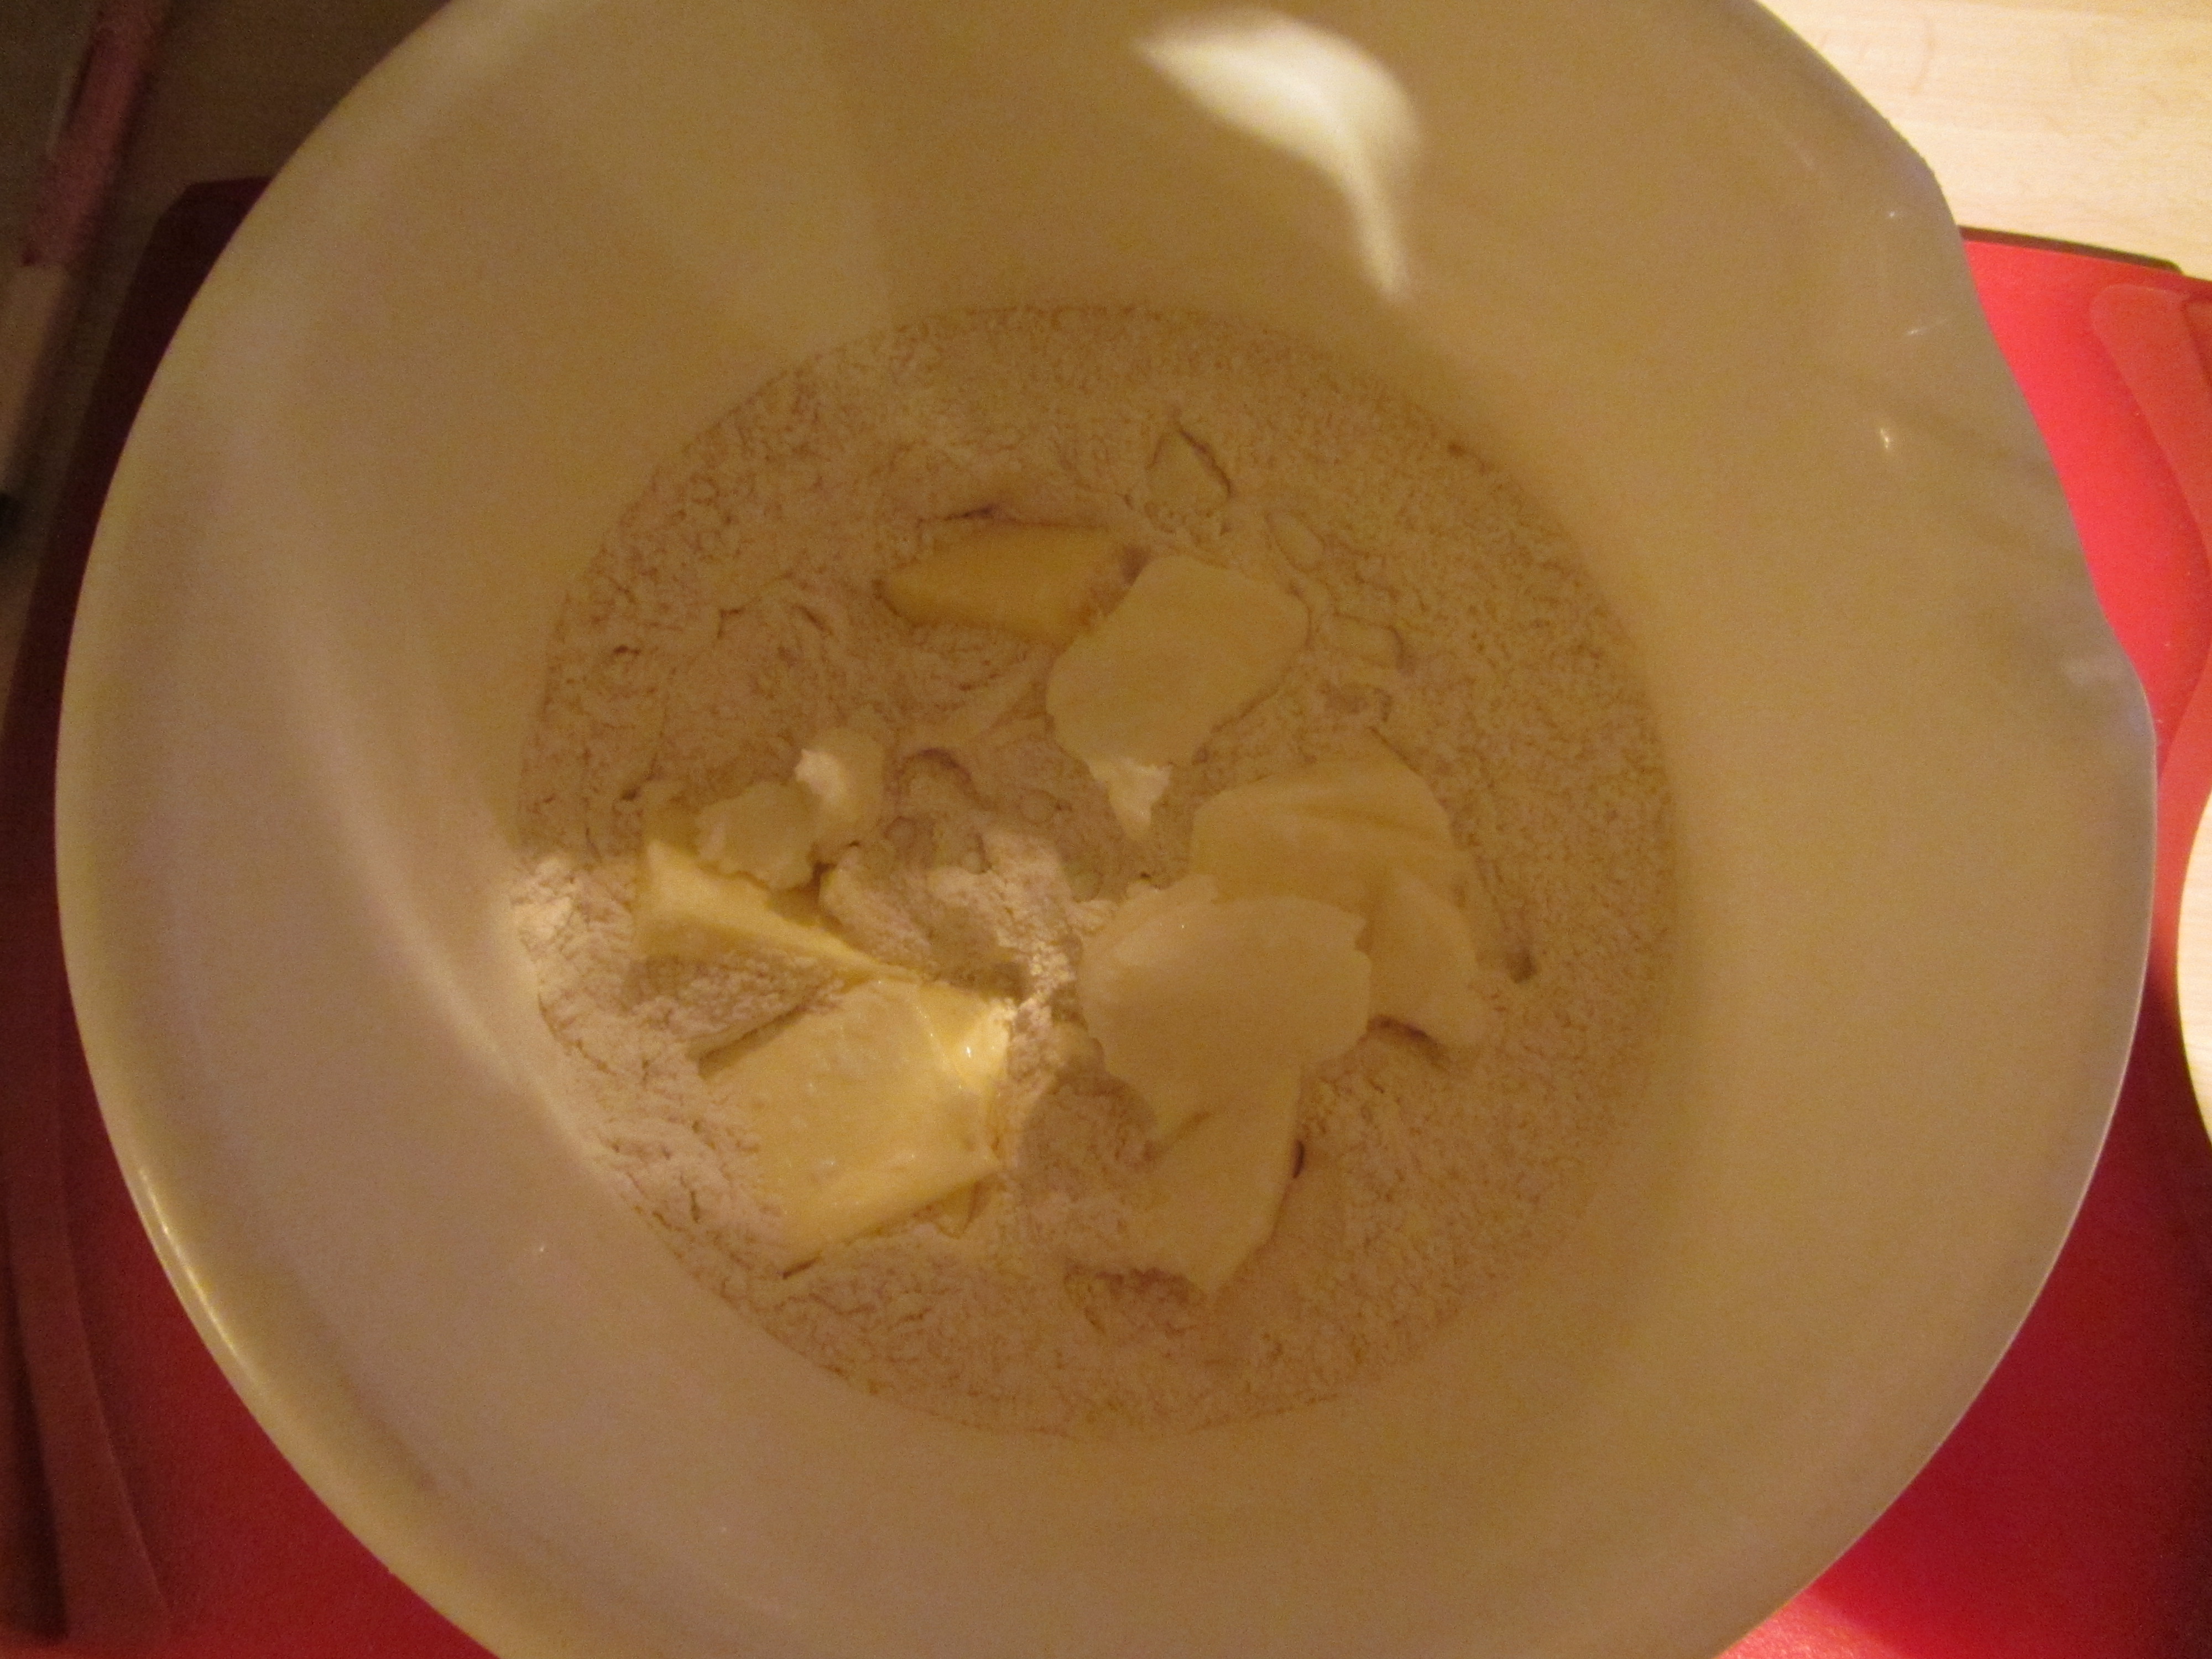
You start by melting chocolate chips with butter and vanilla extract.The online recipe calls for 1/2 t of vanilla, while Alton uses 1 t in the episode.

Melting chocolate chips with butter and vanilla.
Once melted, you beat the chocolate mixture. I used my handheld mixer, which was given to me by my grandma about 15 years ago (she became quite the QVC shopper in her later years). It sometimes gets warm and emits a funky electrical smell, but it’s still ticking, and I use it occasionally.
The melted chocolate mixture.
One by one, you beat in four eggs, until incorporated.
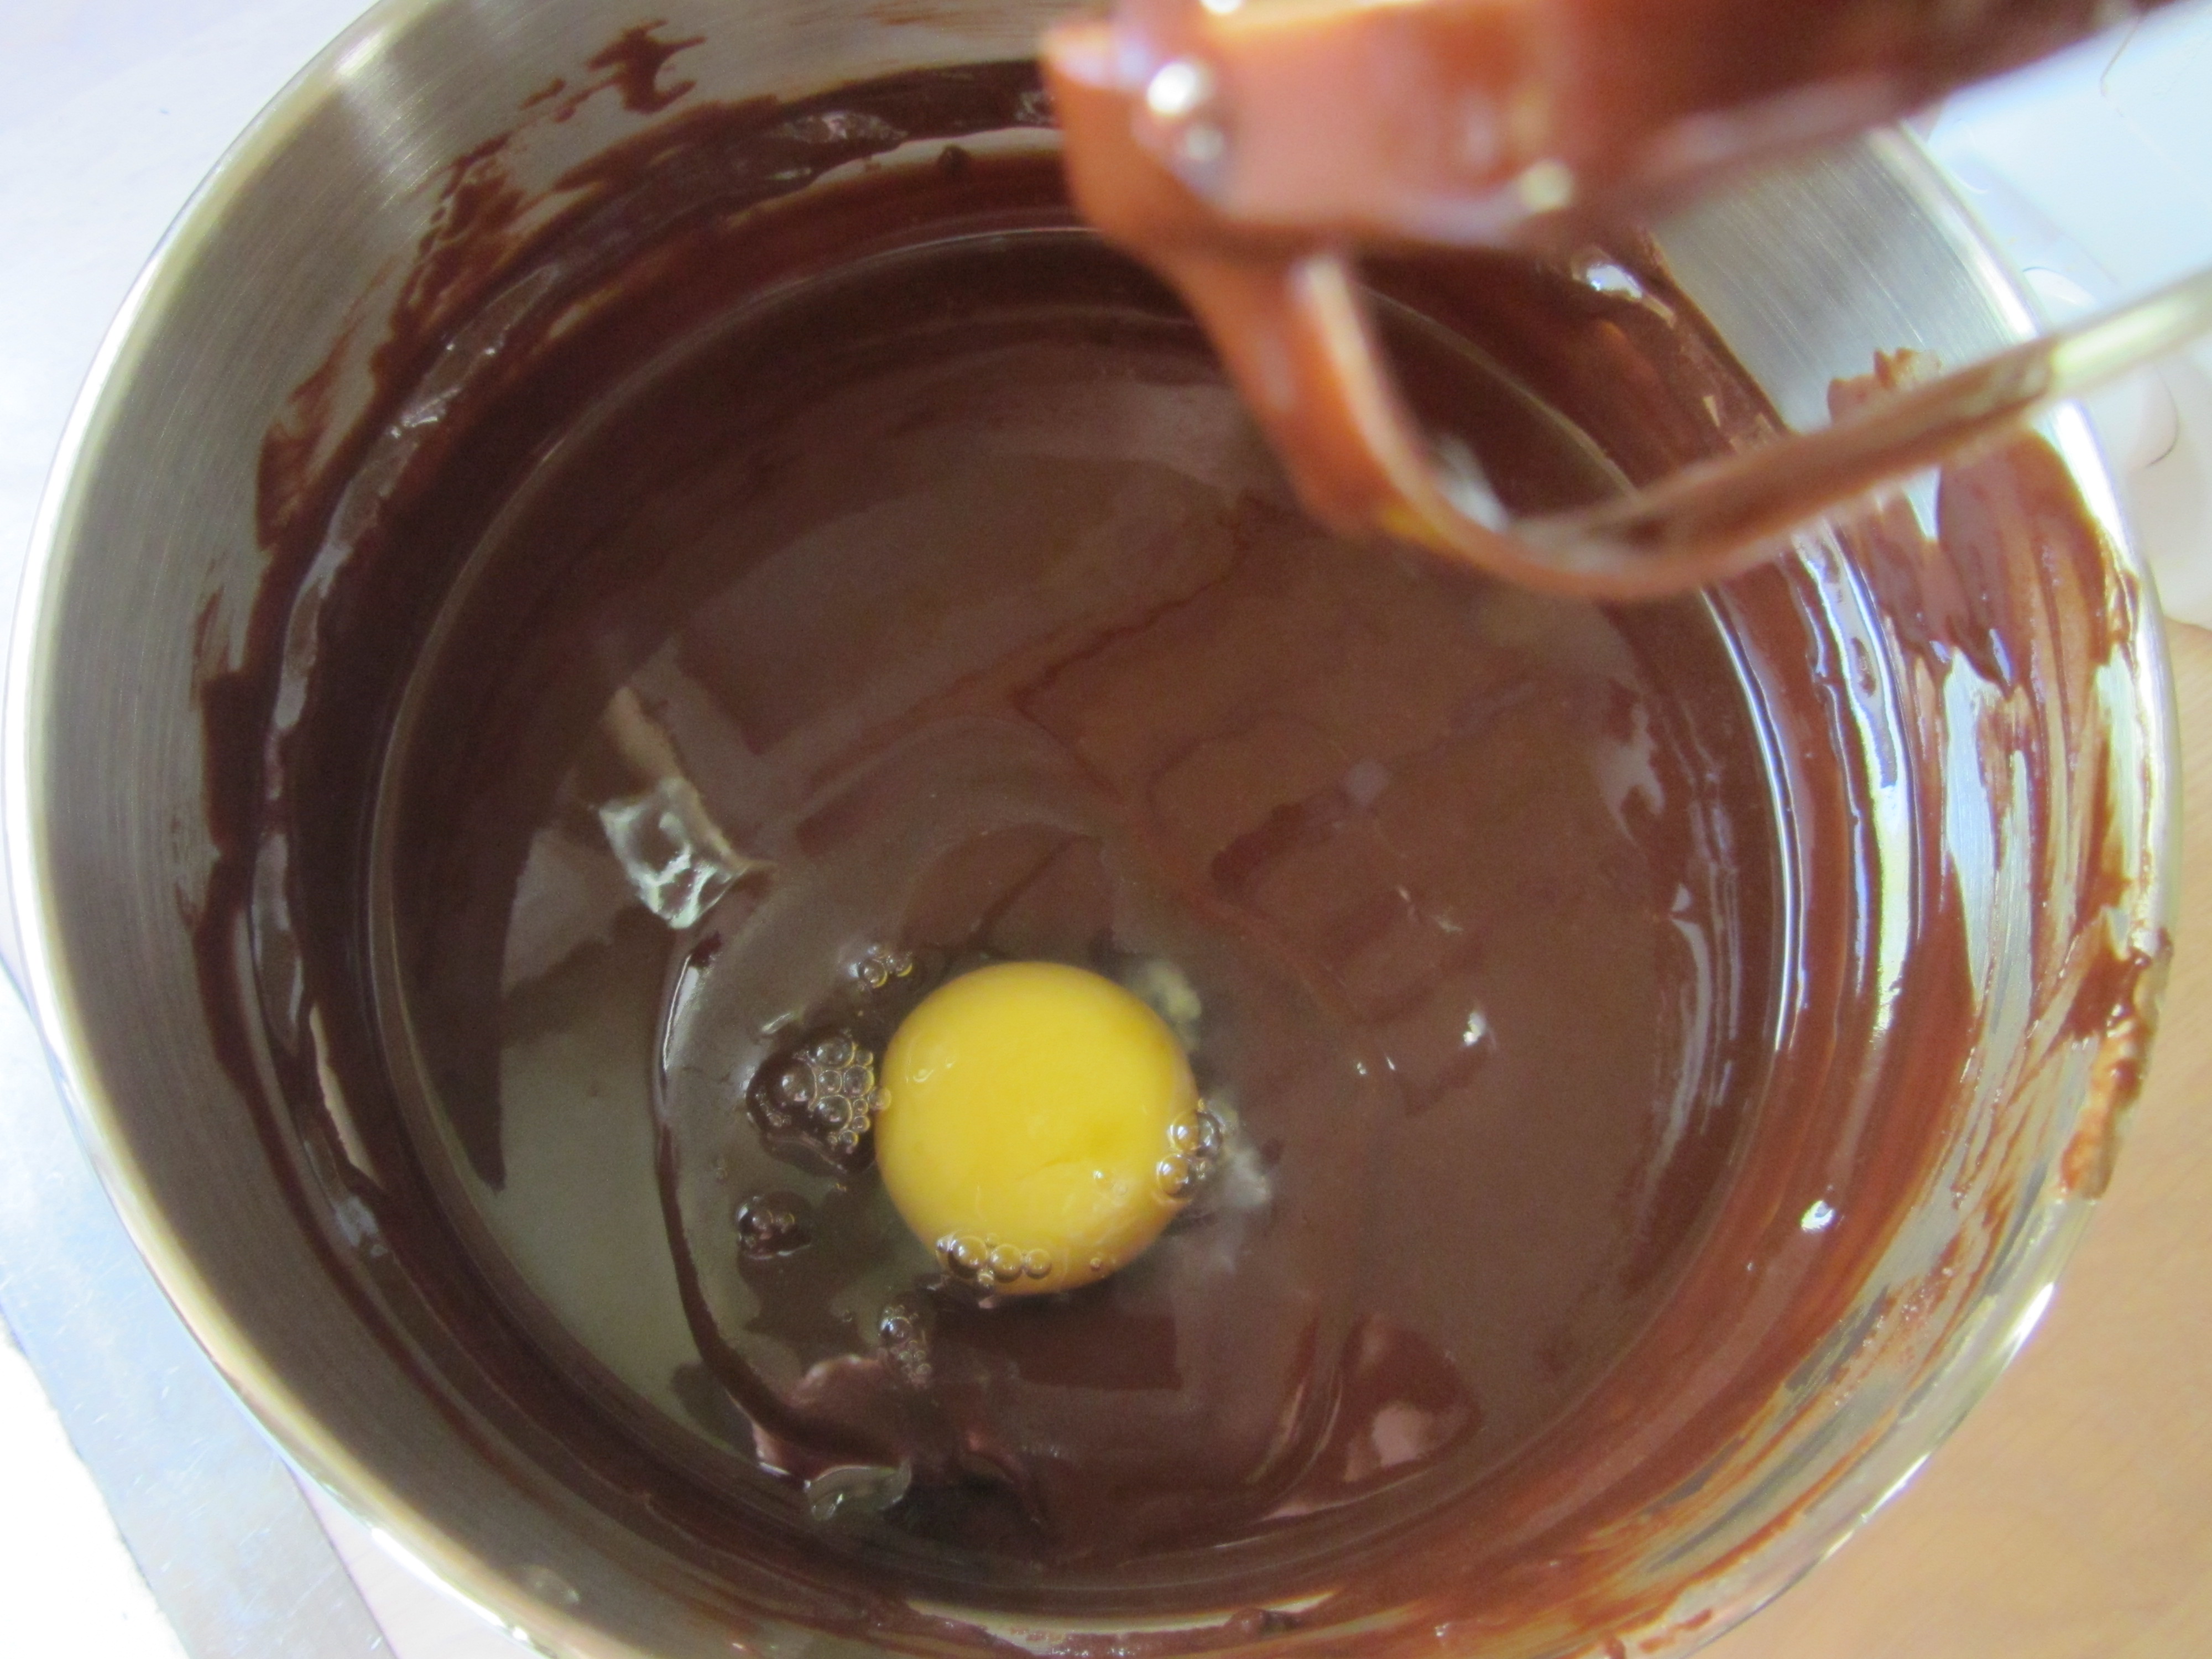
Beating in the eggs, one at a time.
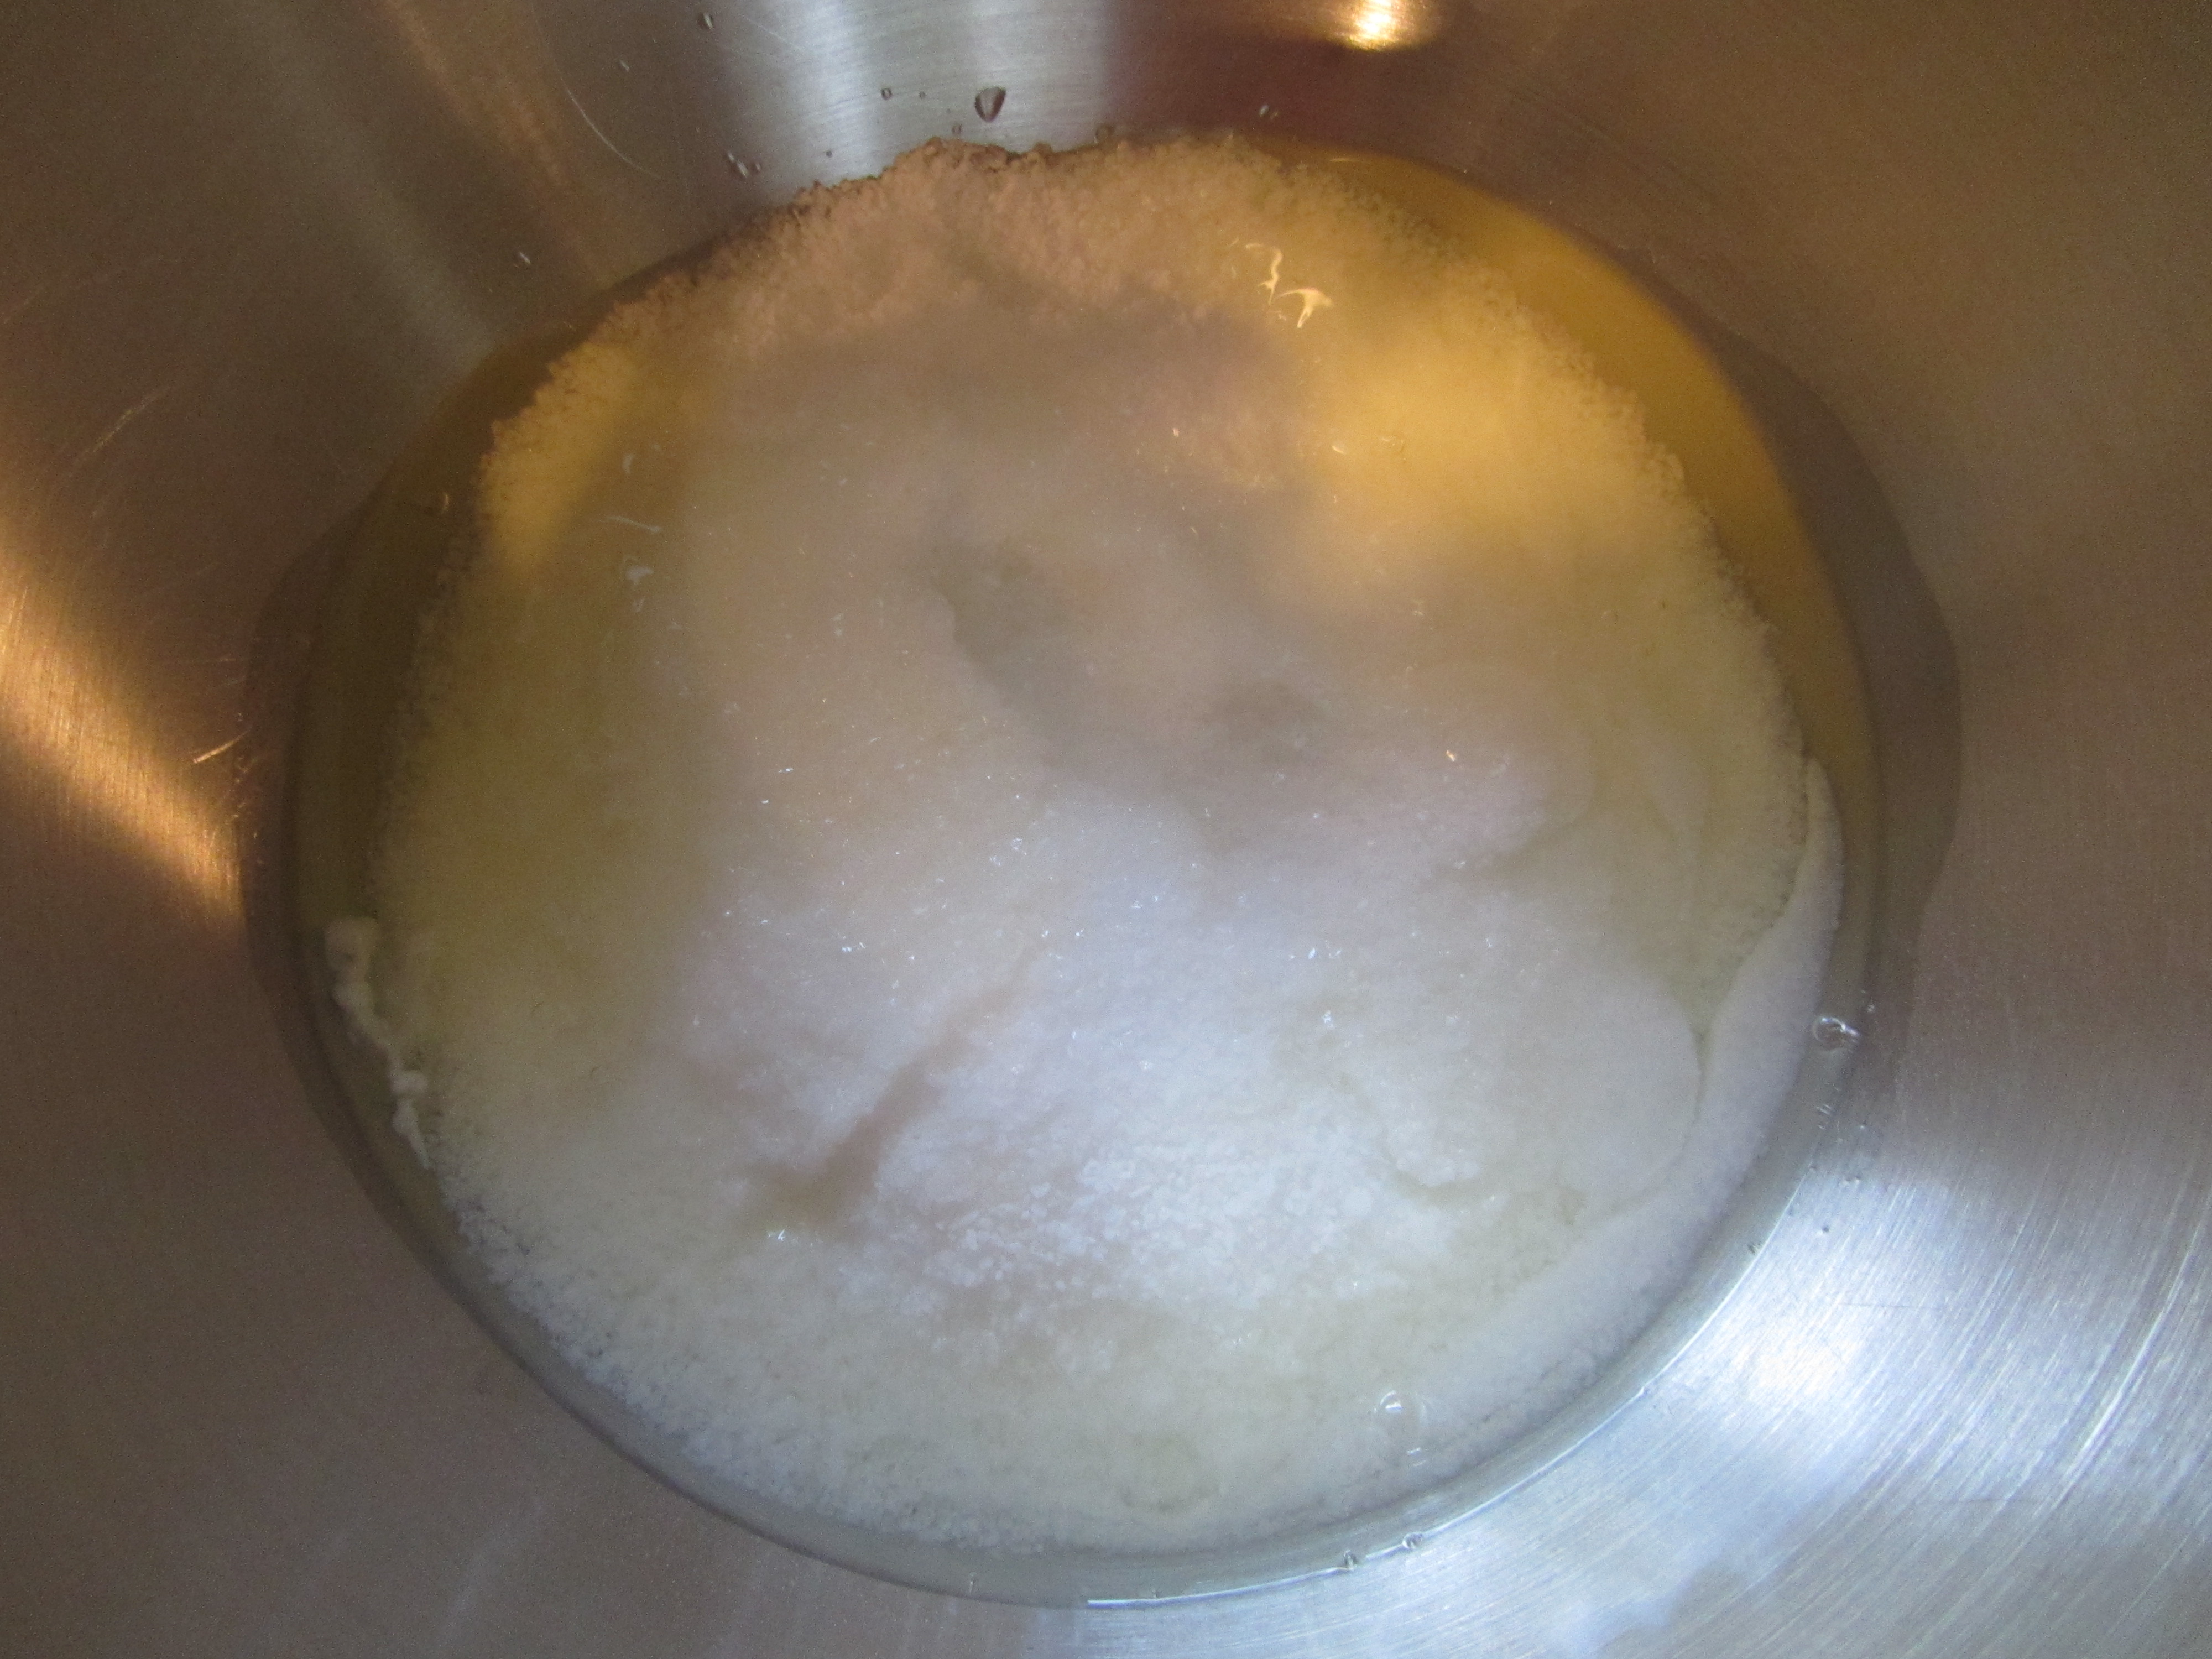
Then you sift in your dry ingredients (Alton uses 4 T of flour in the episode, rather than the 3 T in the online recipe), and beat the mixture for at least 5 minutes (that electrical smell was present after that!) until the batter is light and smooth.

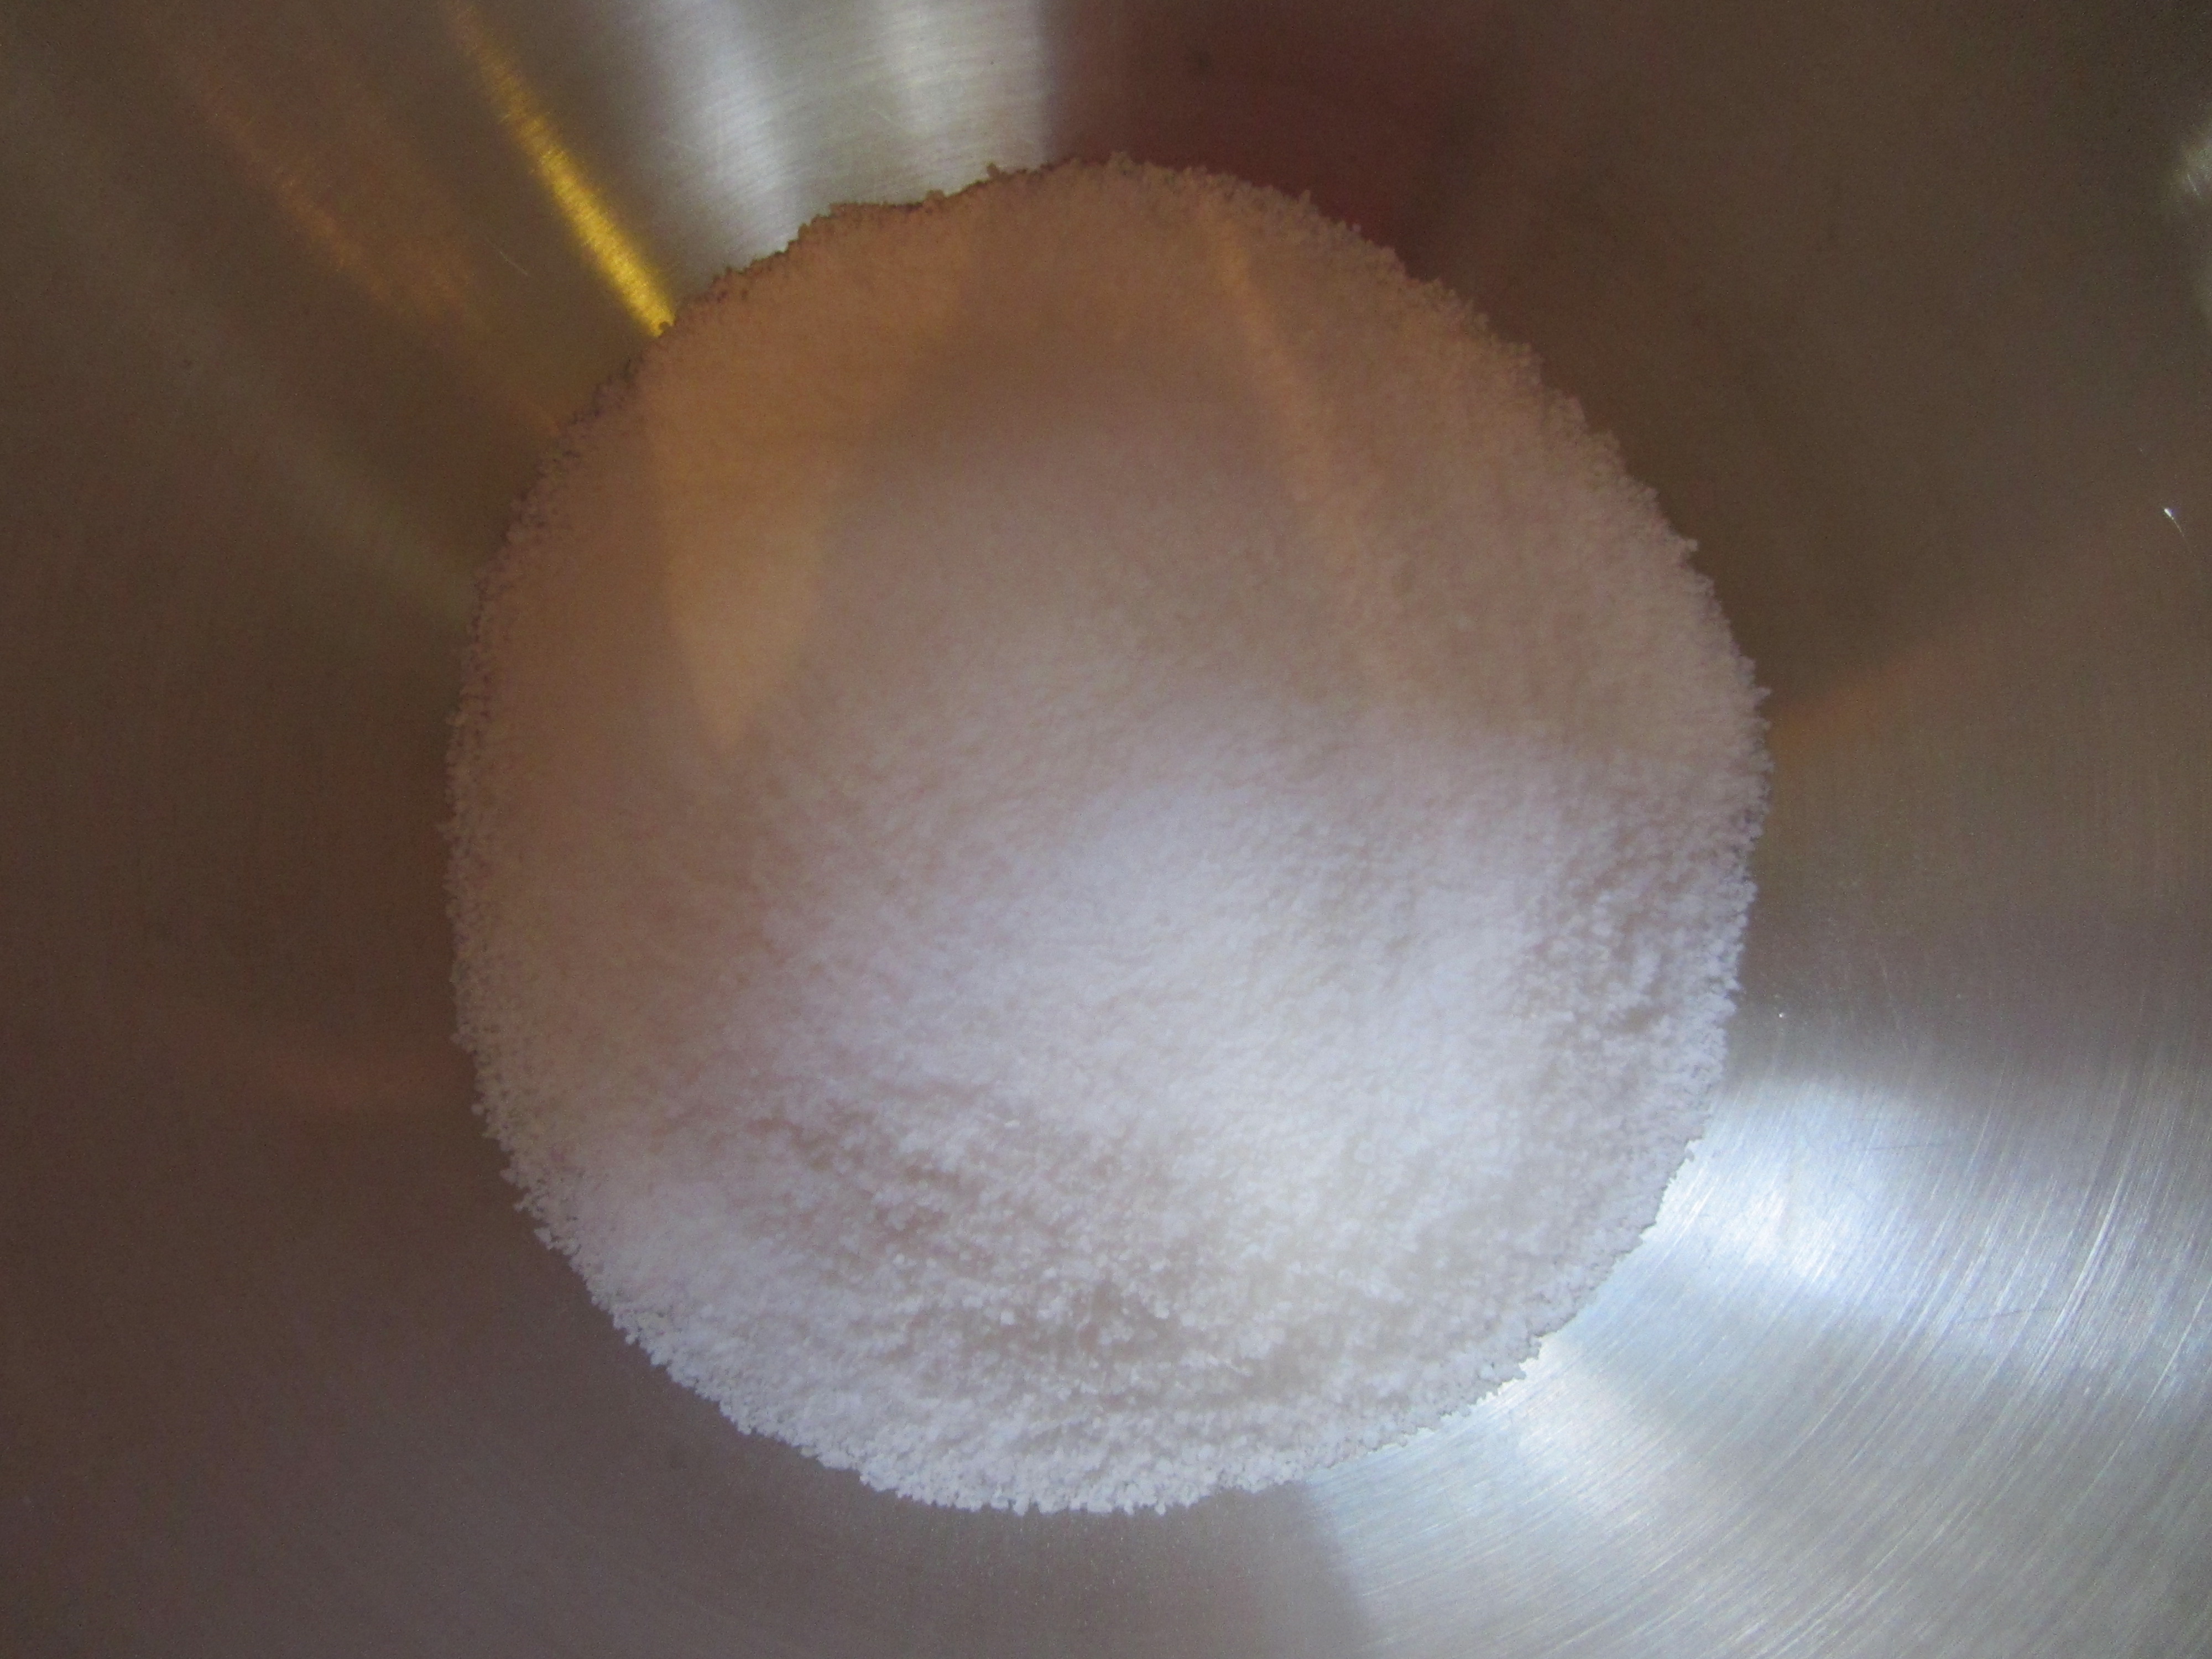
Sugar, flour, and salt.
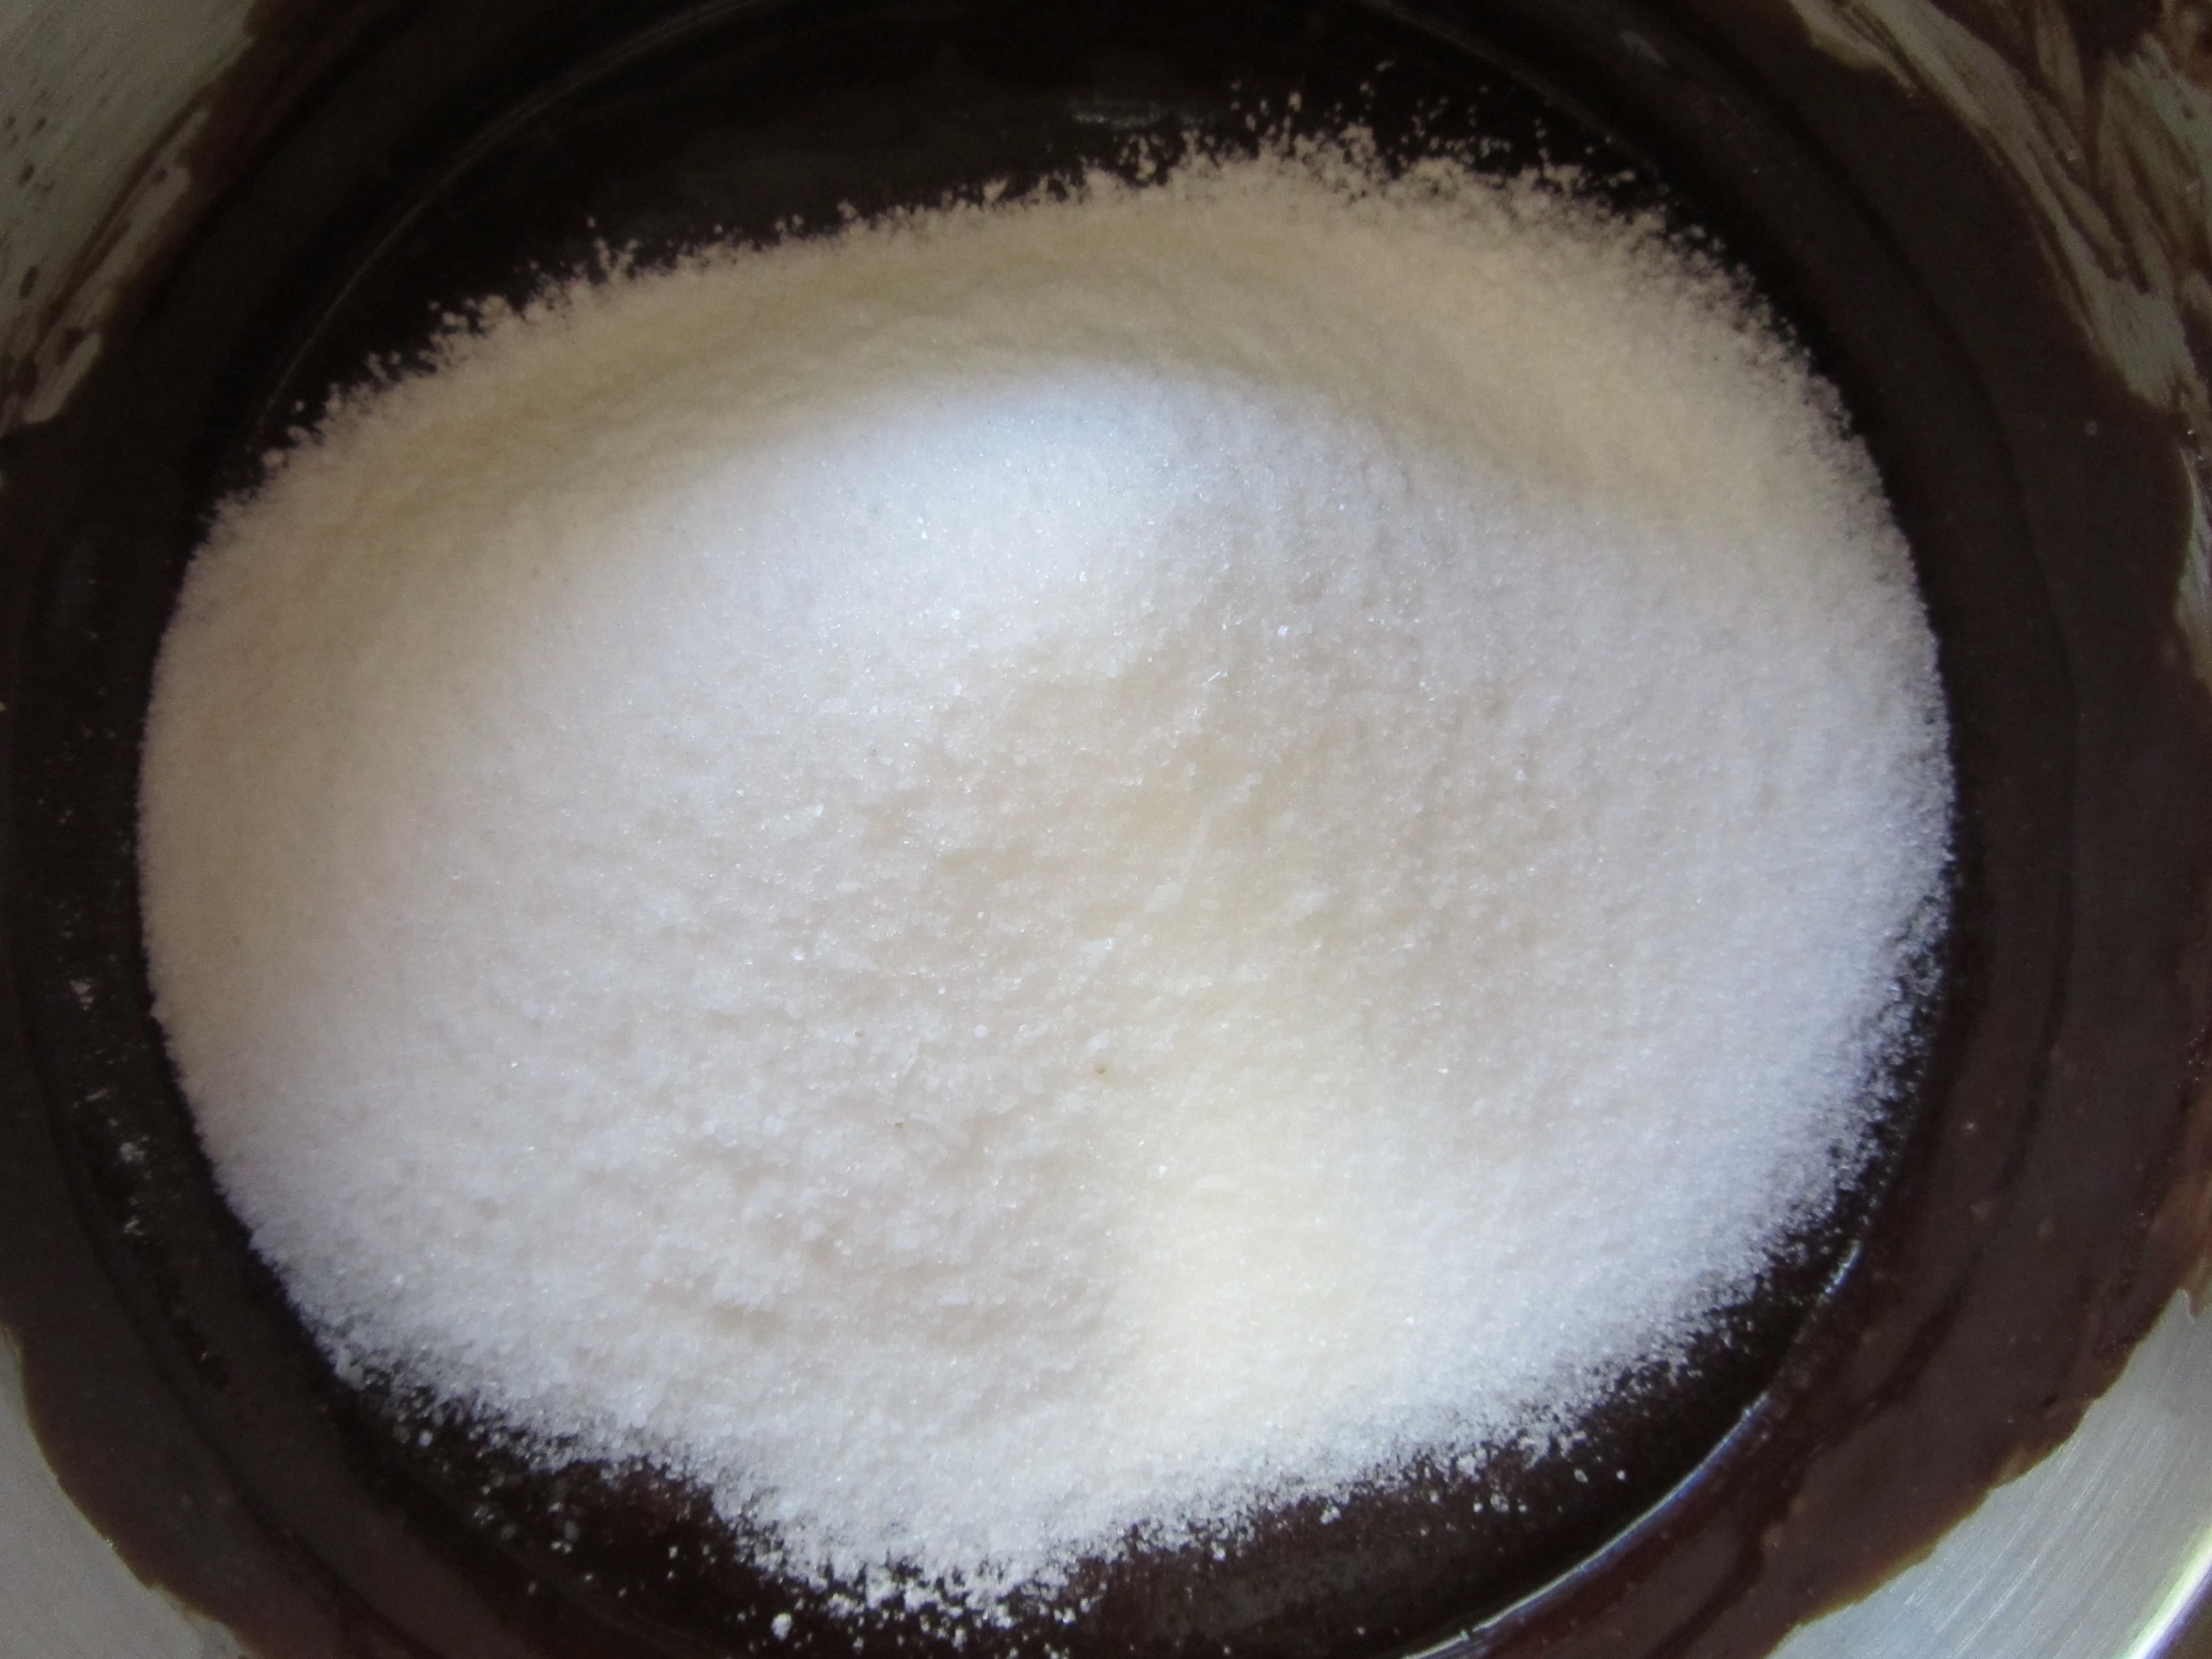
Adding the sifted dry ingredients to the chocolate.

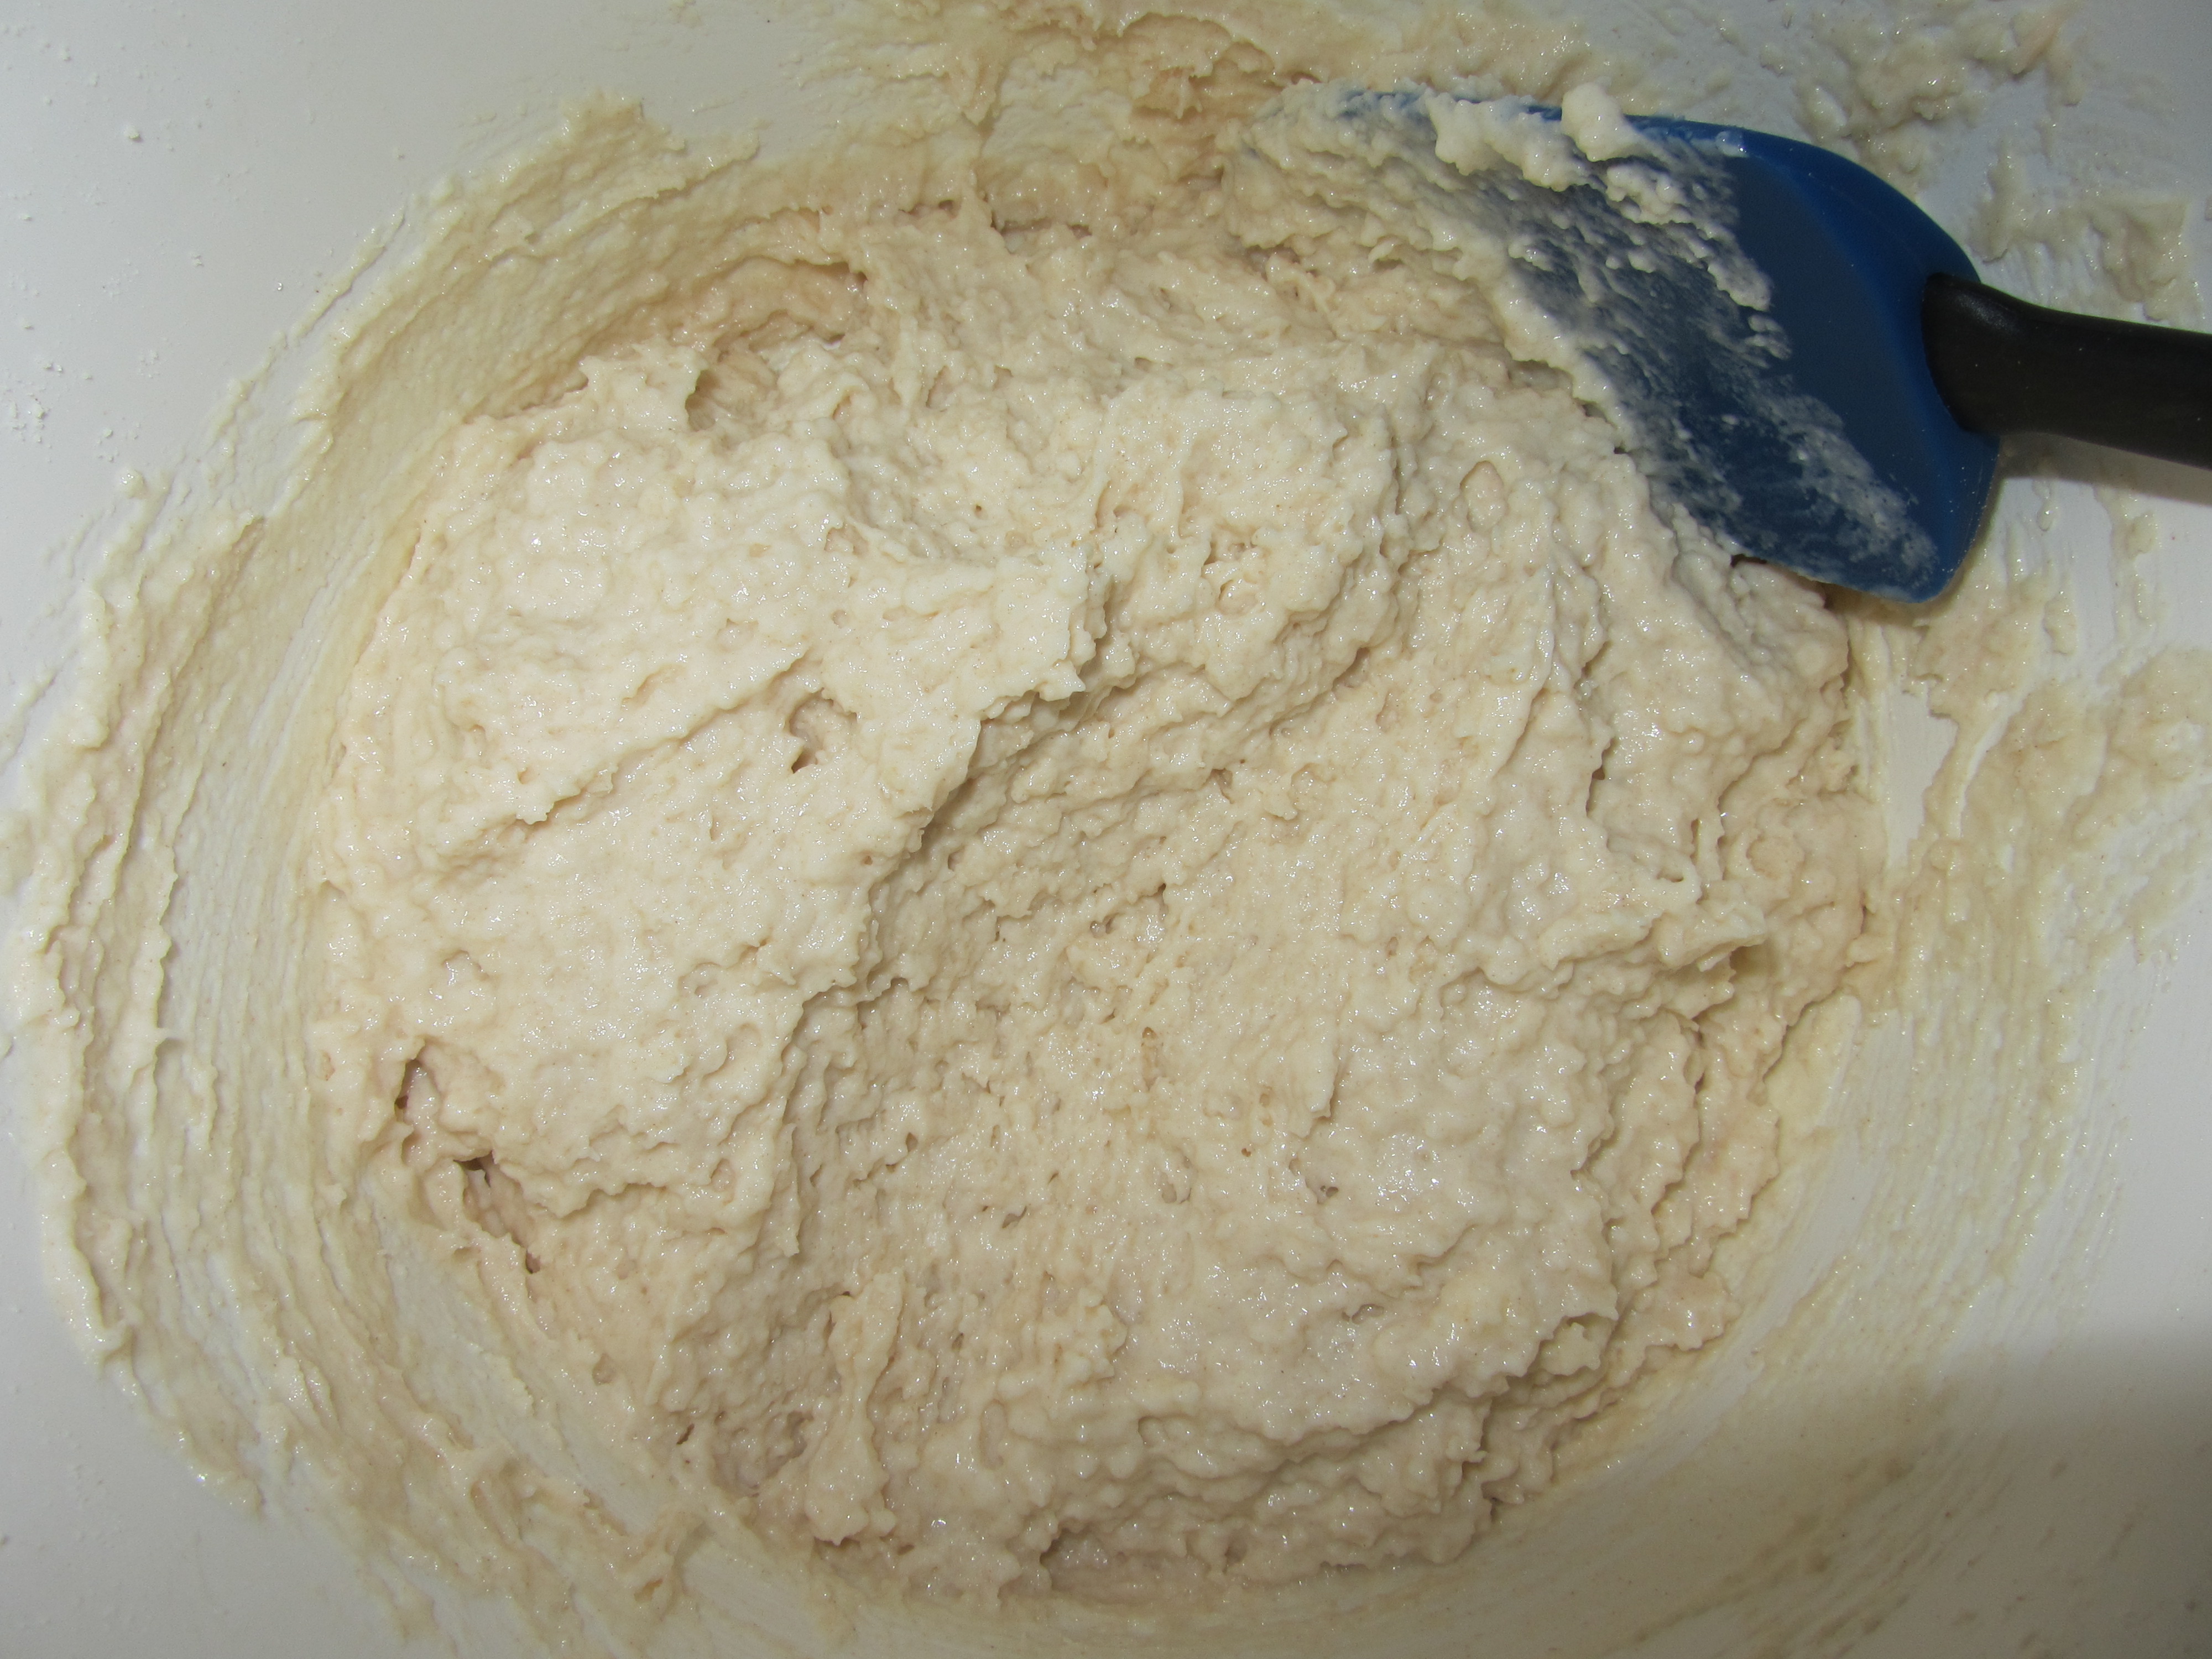
The completed batter, after beating for over 5 minutes.
You chill the mixture to let it set a little bit. How long? This is not specified in either the episode or the online recipe. I chilled my batter for about 20 minutes. While the mixture chills, you can grease your muffin tin, and coat the cups with some cocoa powder.

Muffin tin, greased and dusted with cocoa powder.
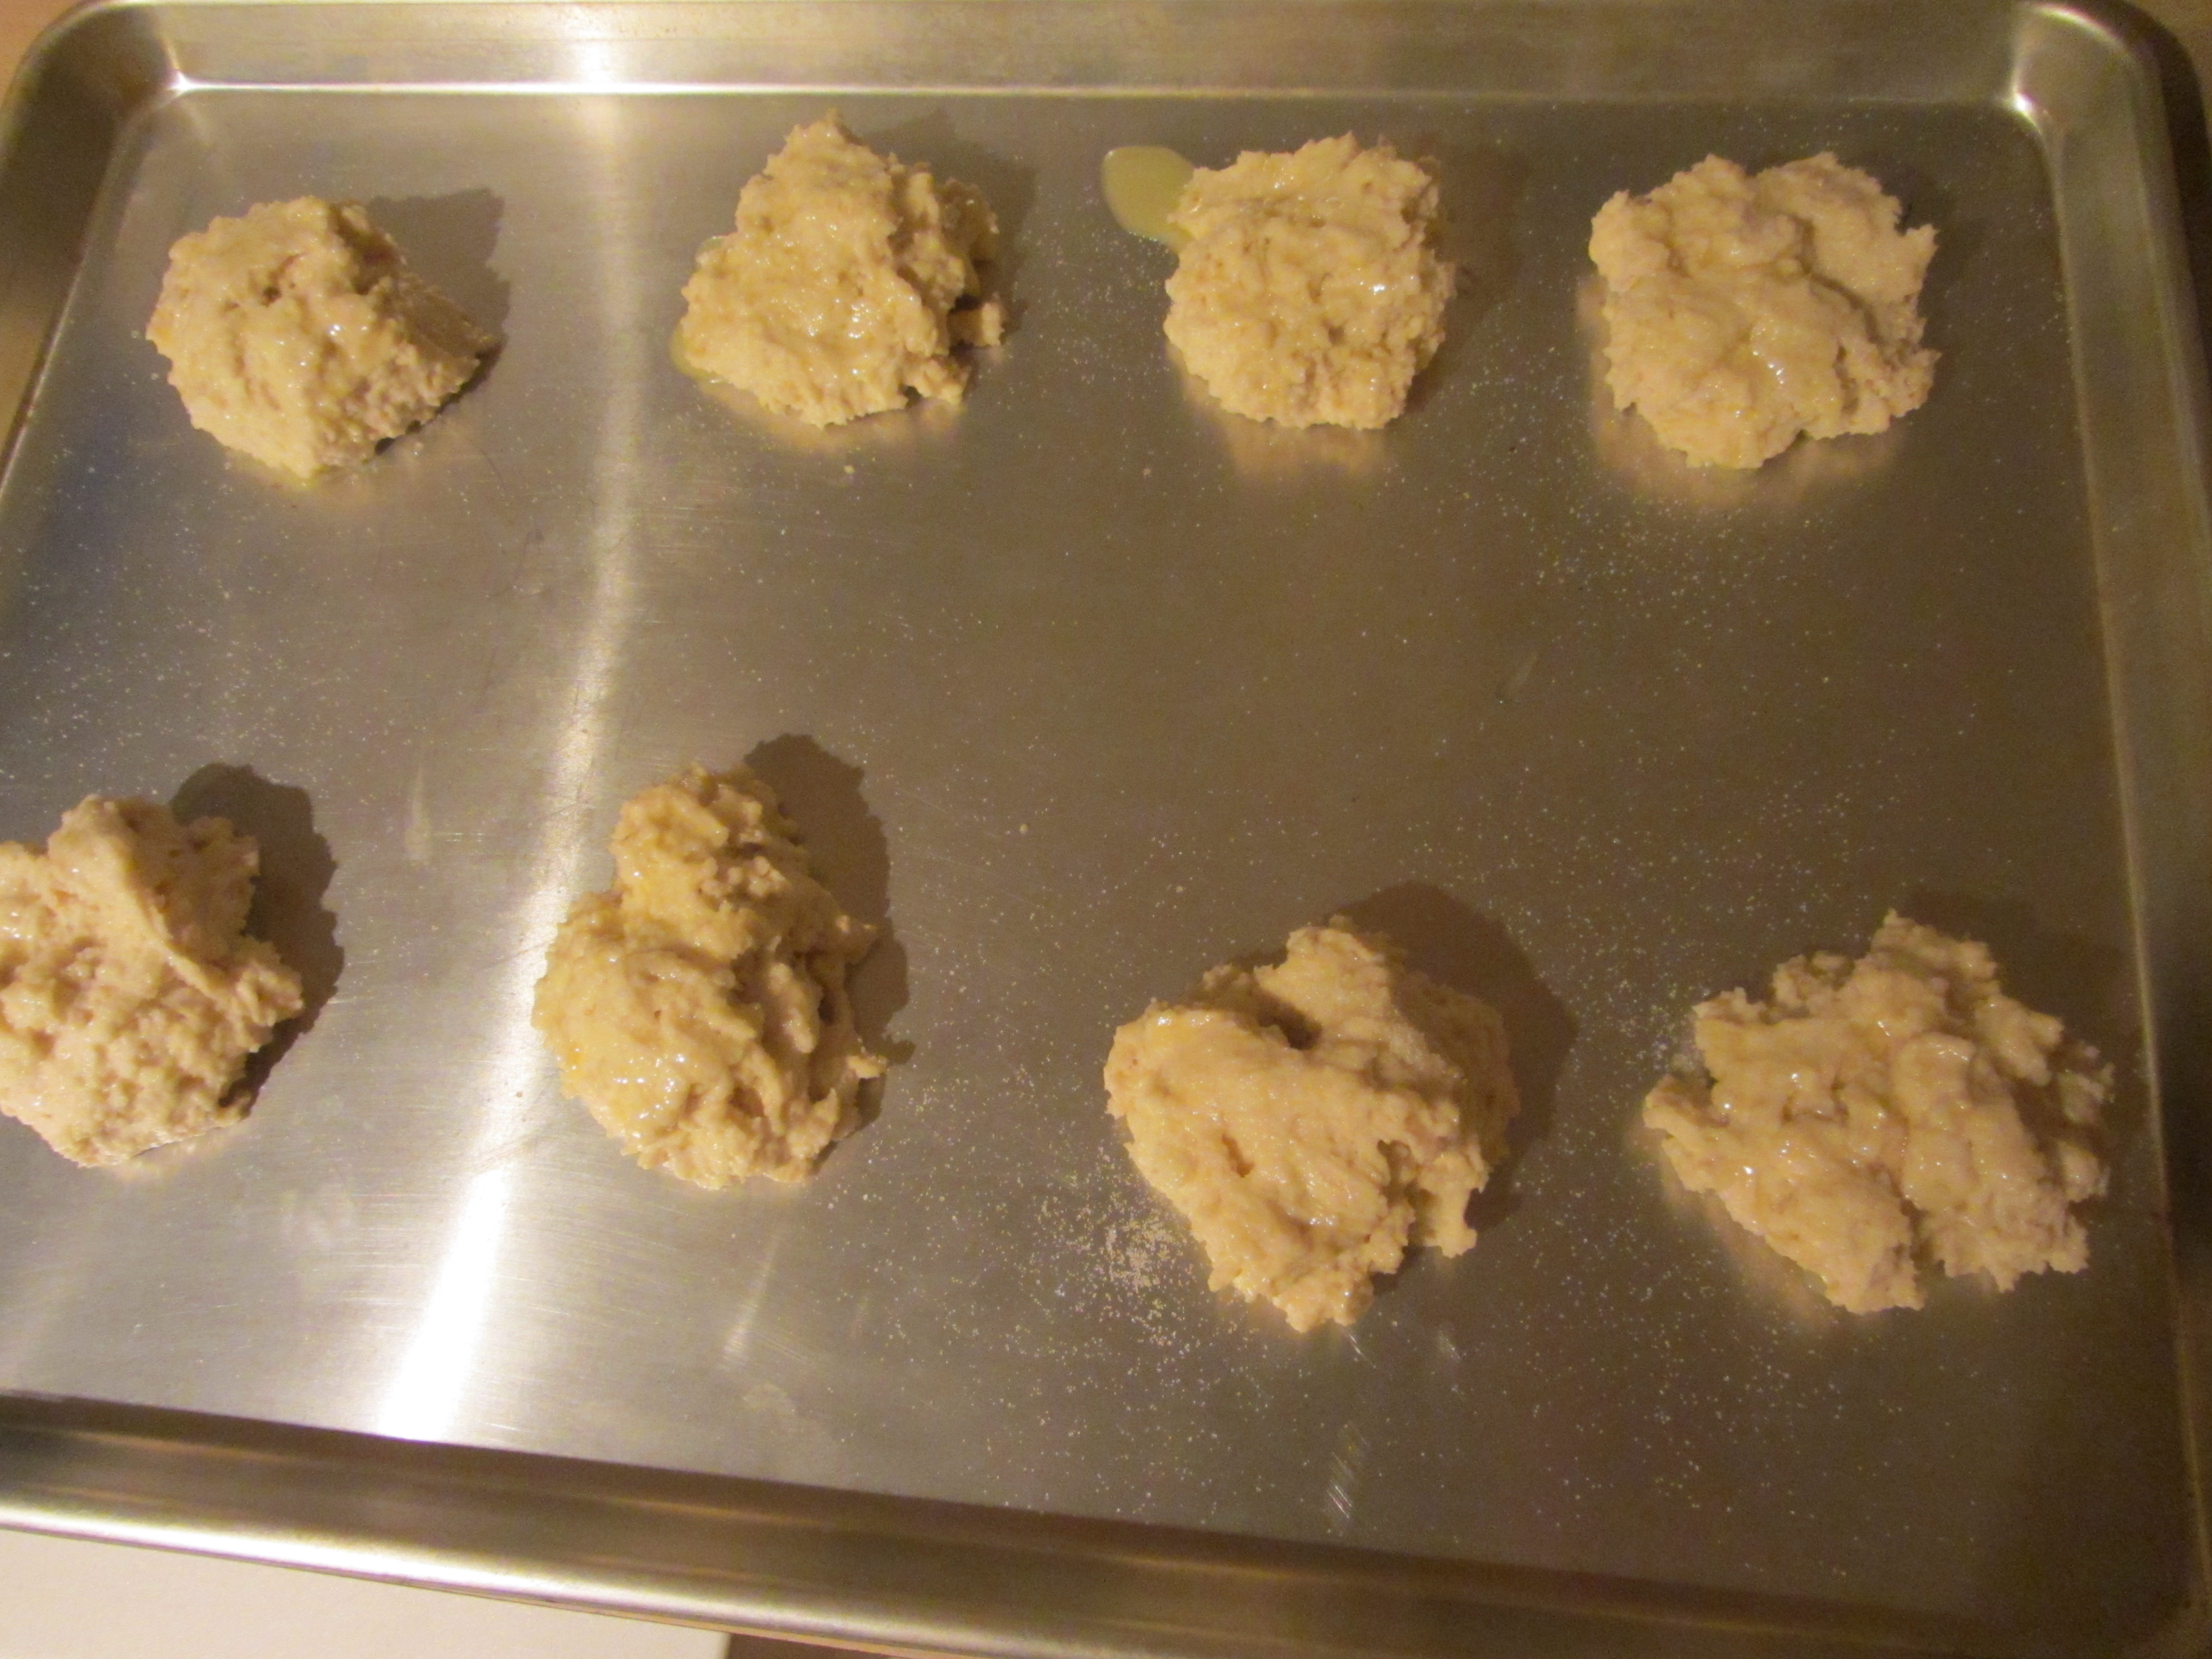
Alton then tells you to use a 4-ounce scoop for each muffin. I used a ladle (not sure what size), and simply filled my muffin cups until they were about 2/3 full. This filled all 12 of my cups, while many reviewers on the Food Network site said they ended up with 8 or 9 muffins.

Batter in the muffin cups.
Once your cups are full, you stick the muffins in the oven and bake them for about 10 minutes, or until the sides are set and the centers are still jiggly. I checked my muffins at 9 minutes, but they were not quite done. Ten minutes was perfect for my muffins.
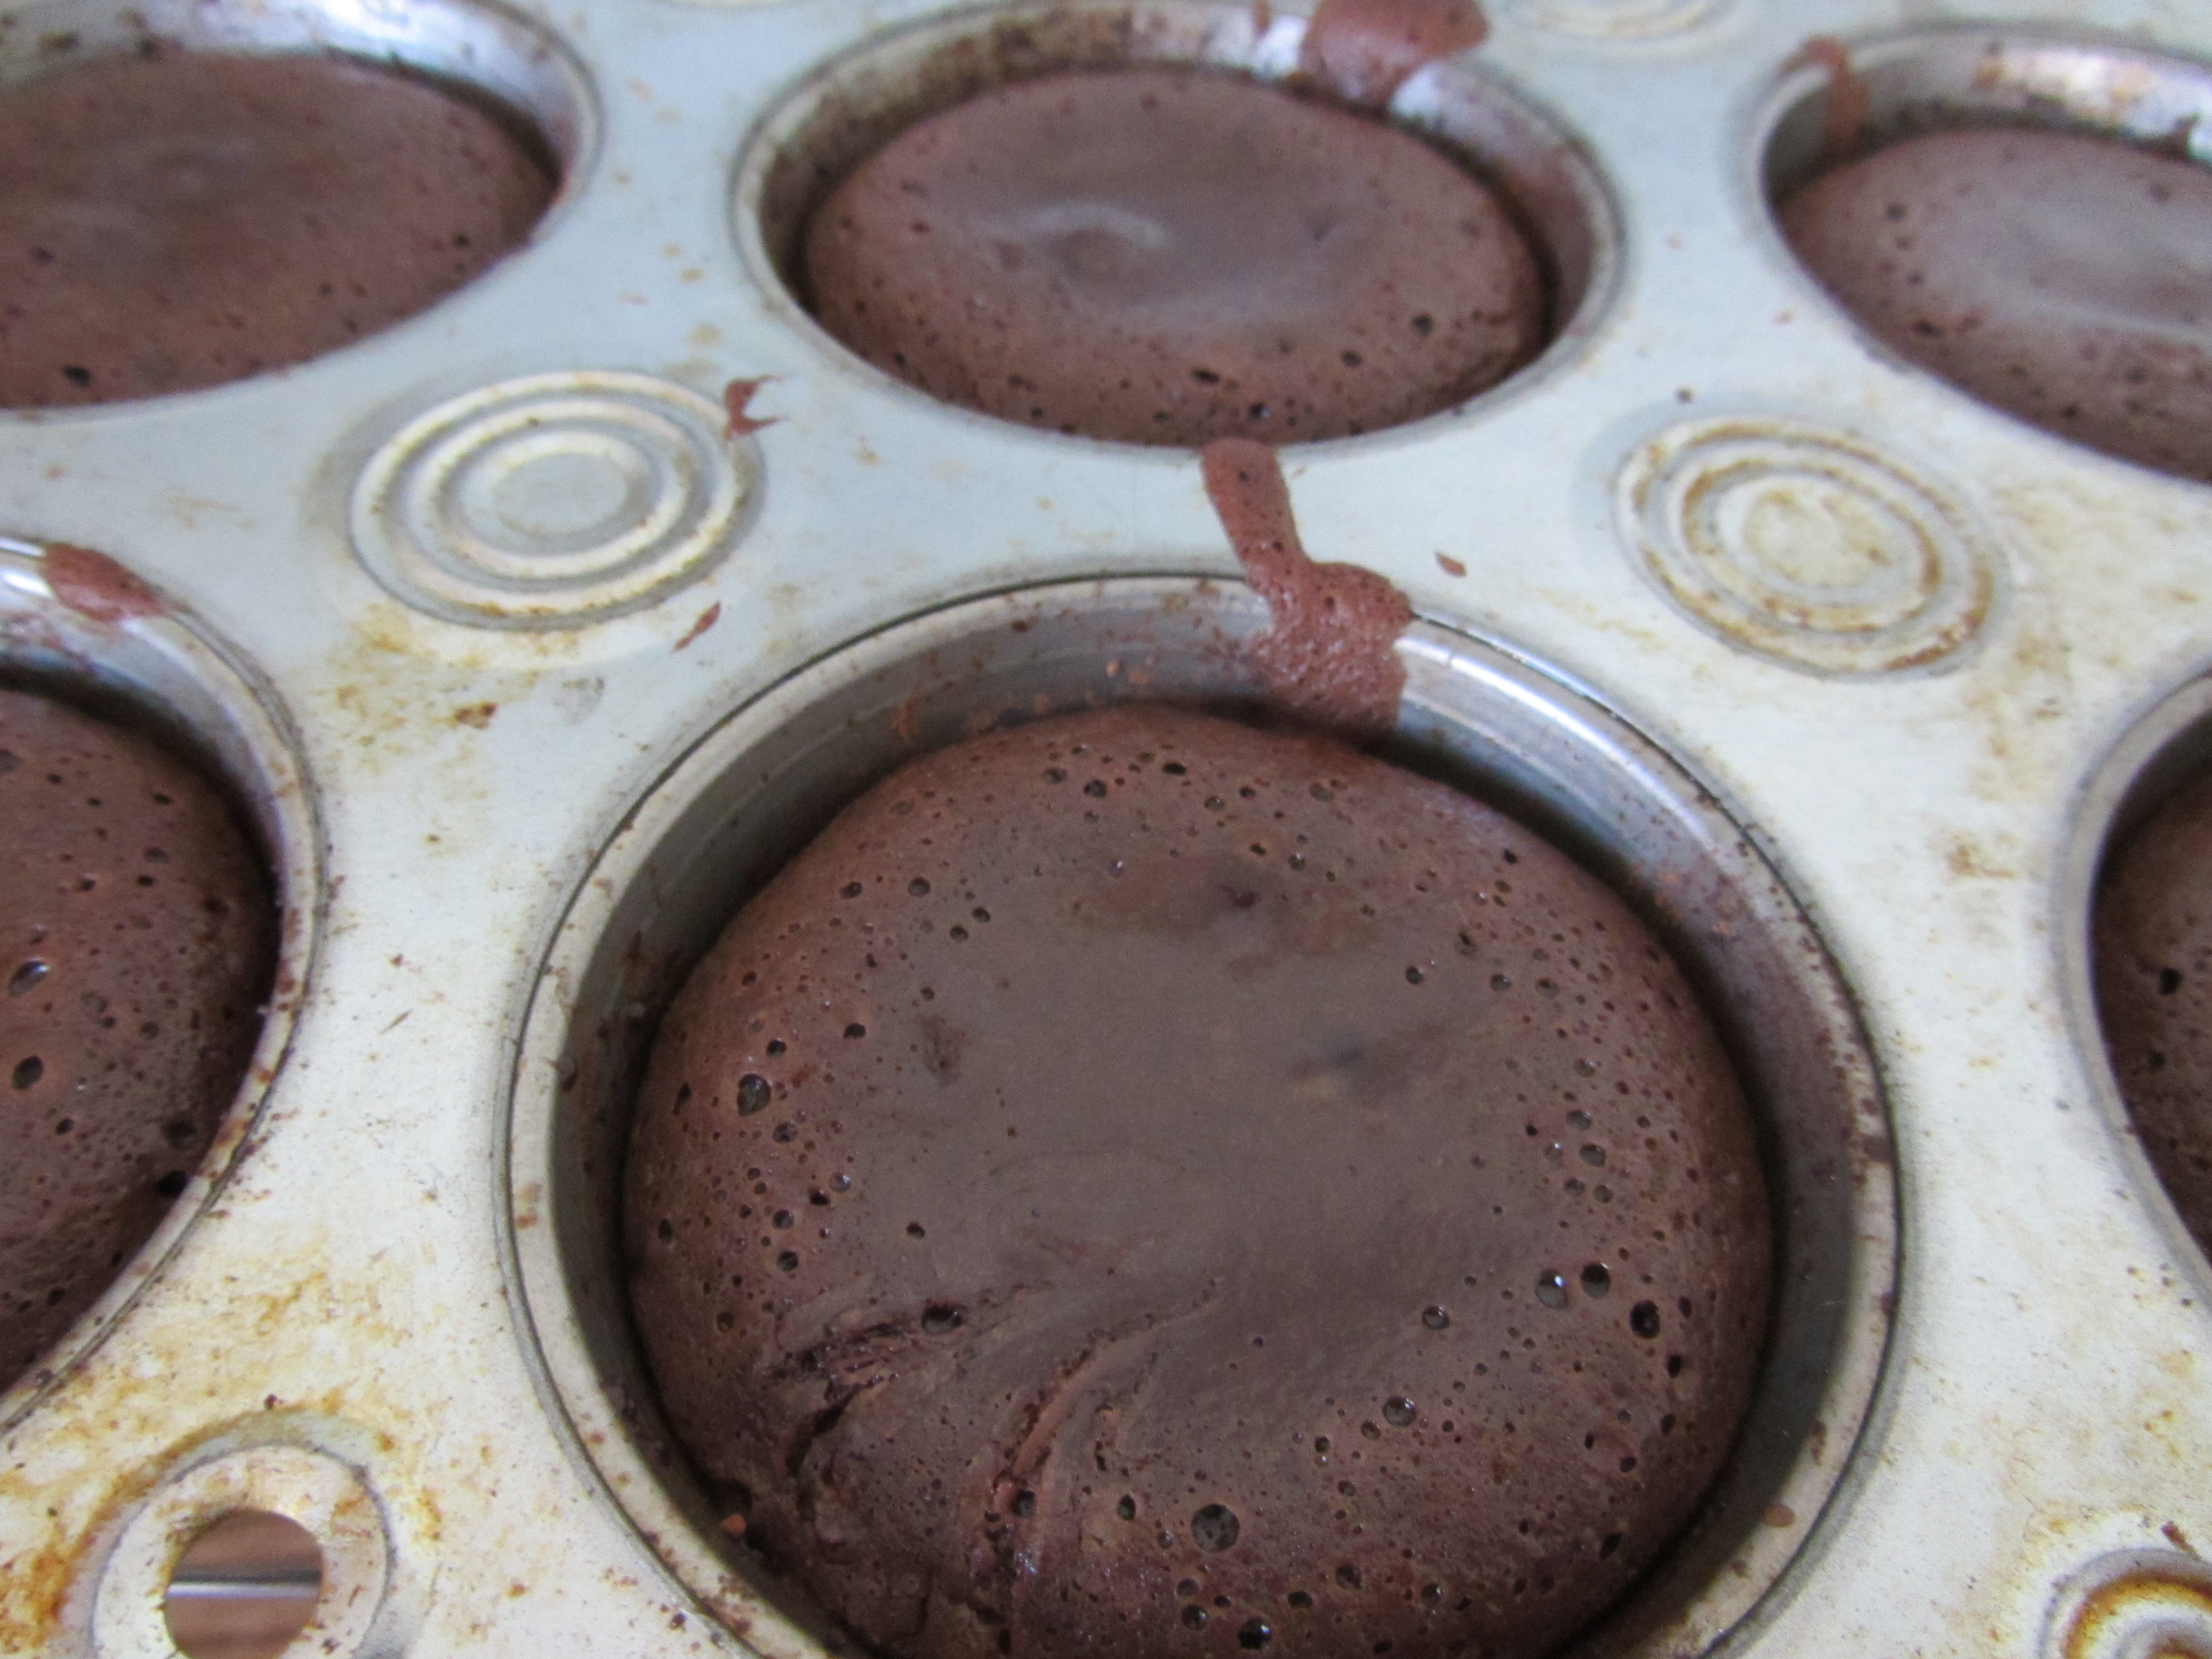
Baked lava muffins.
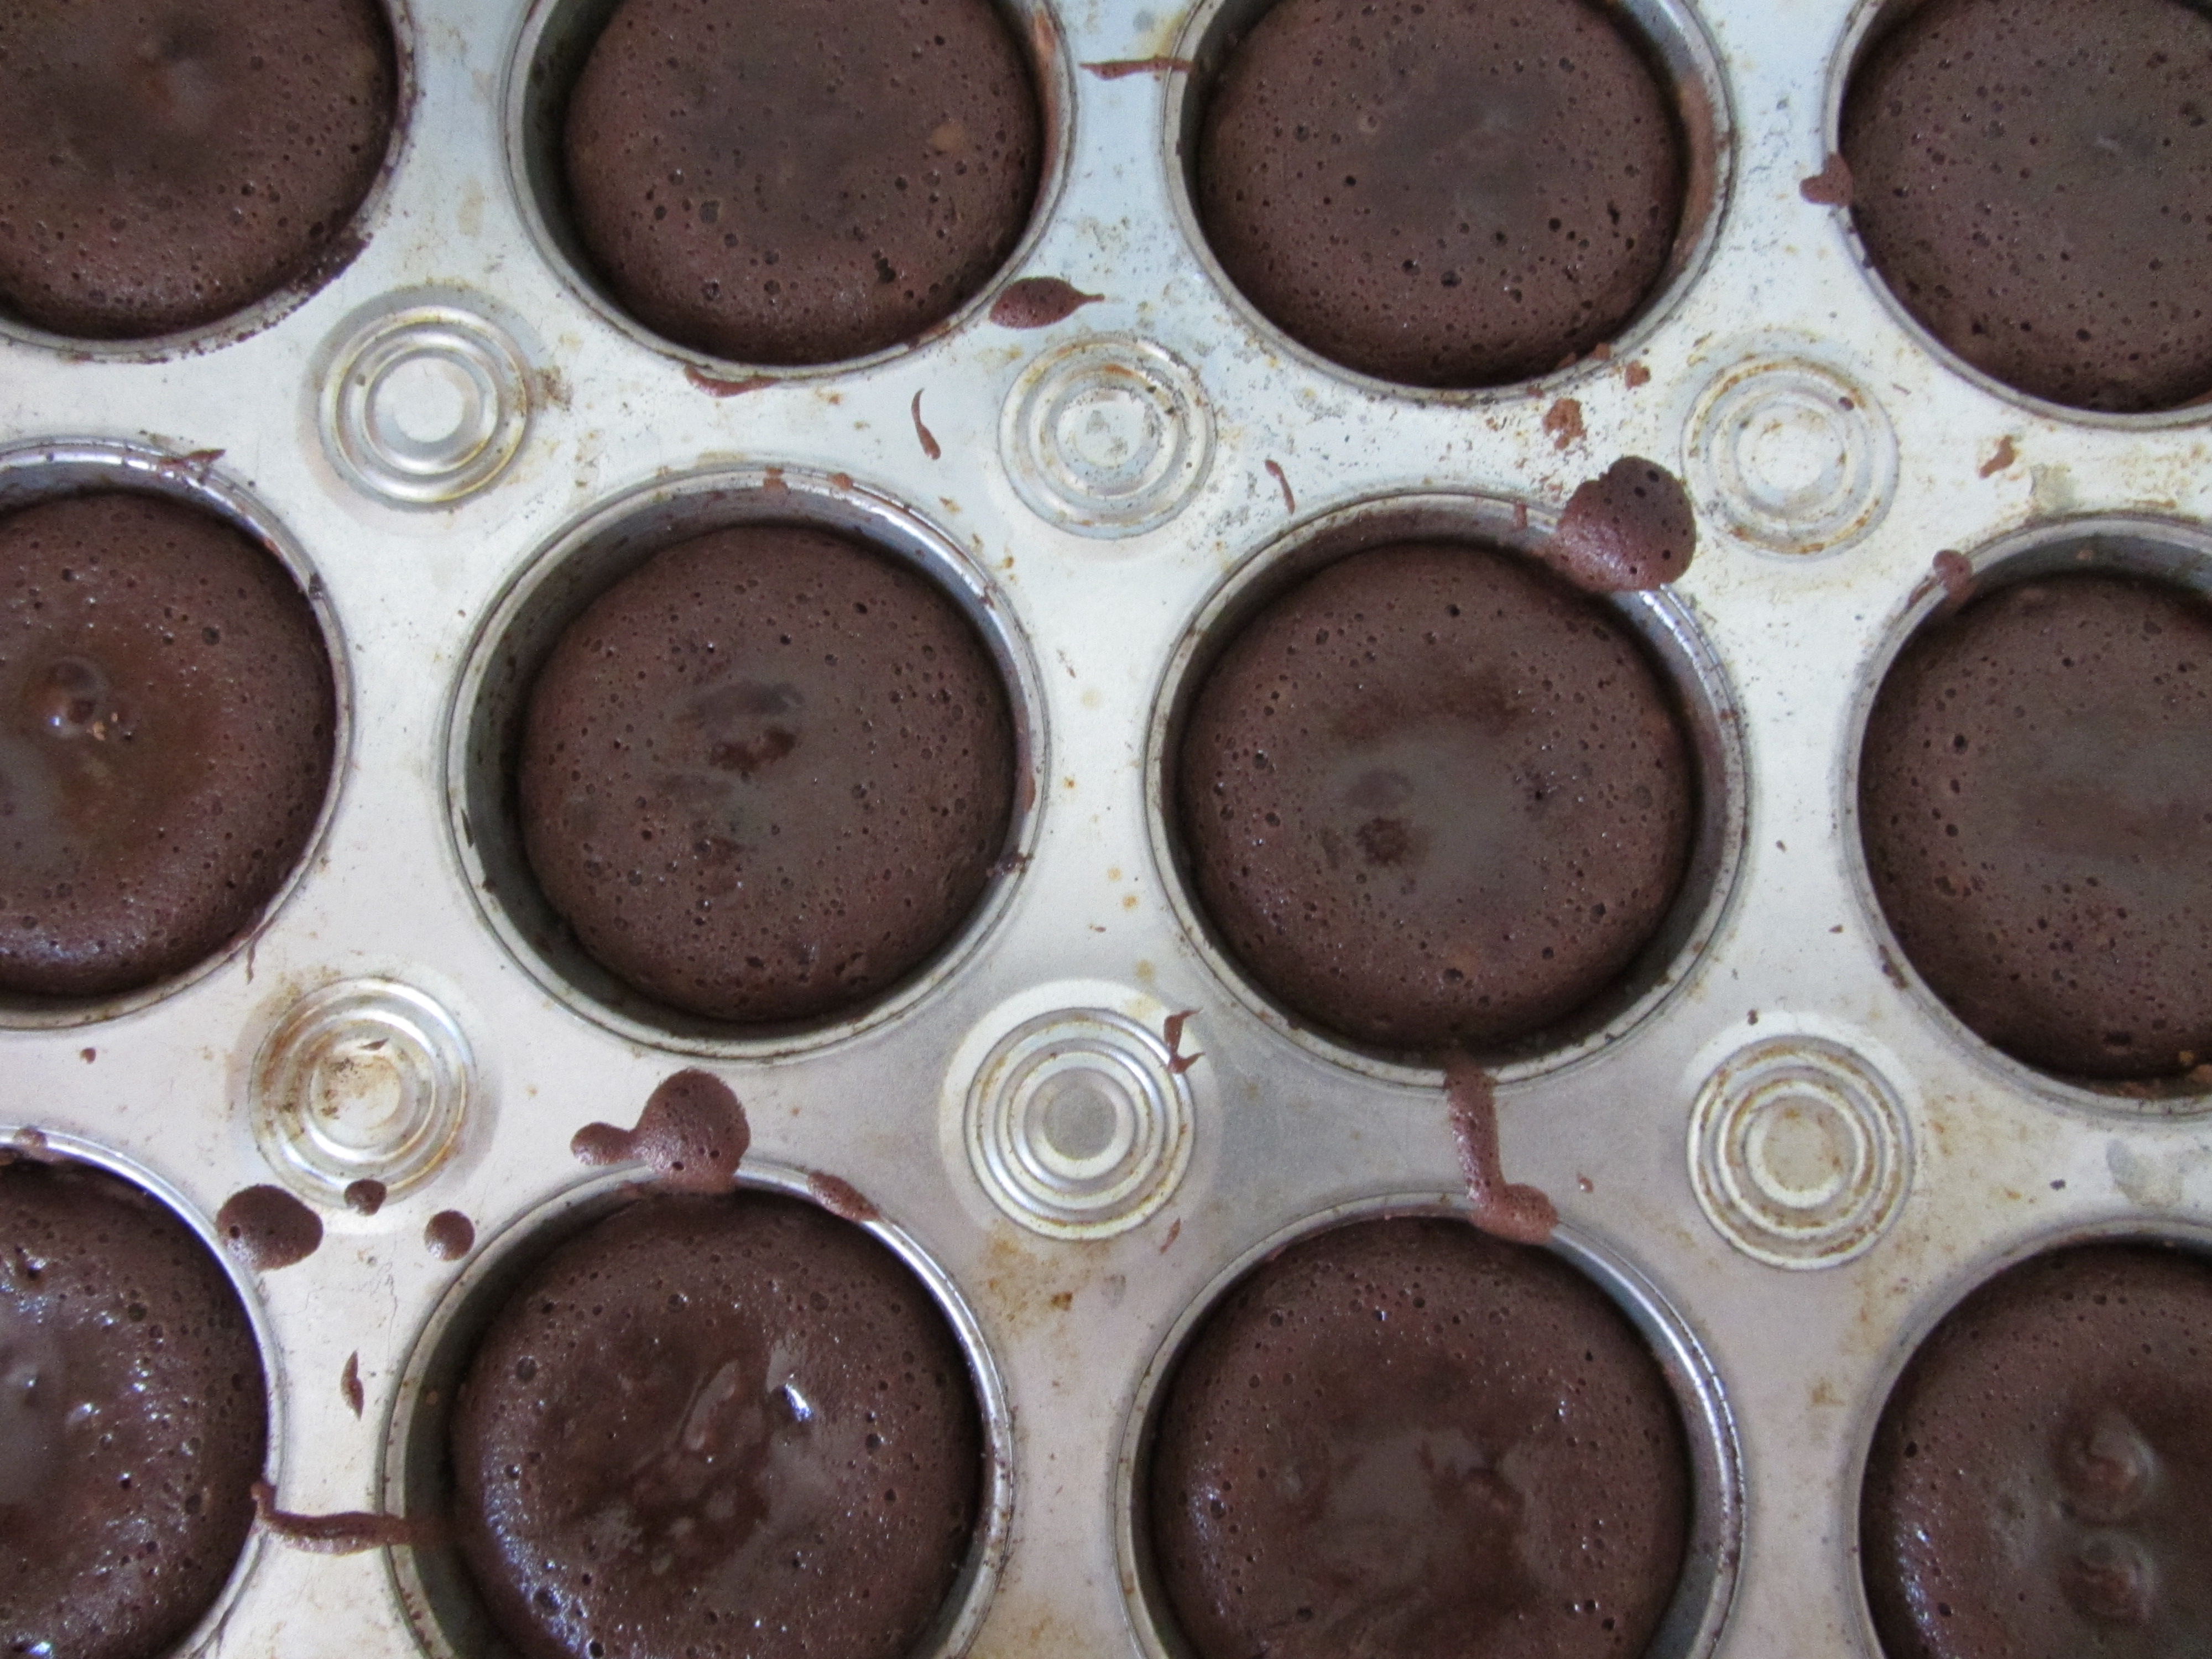
The baked muffins.
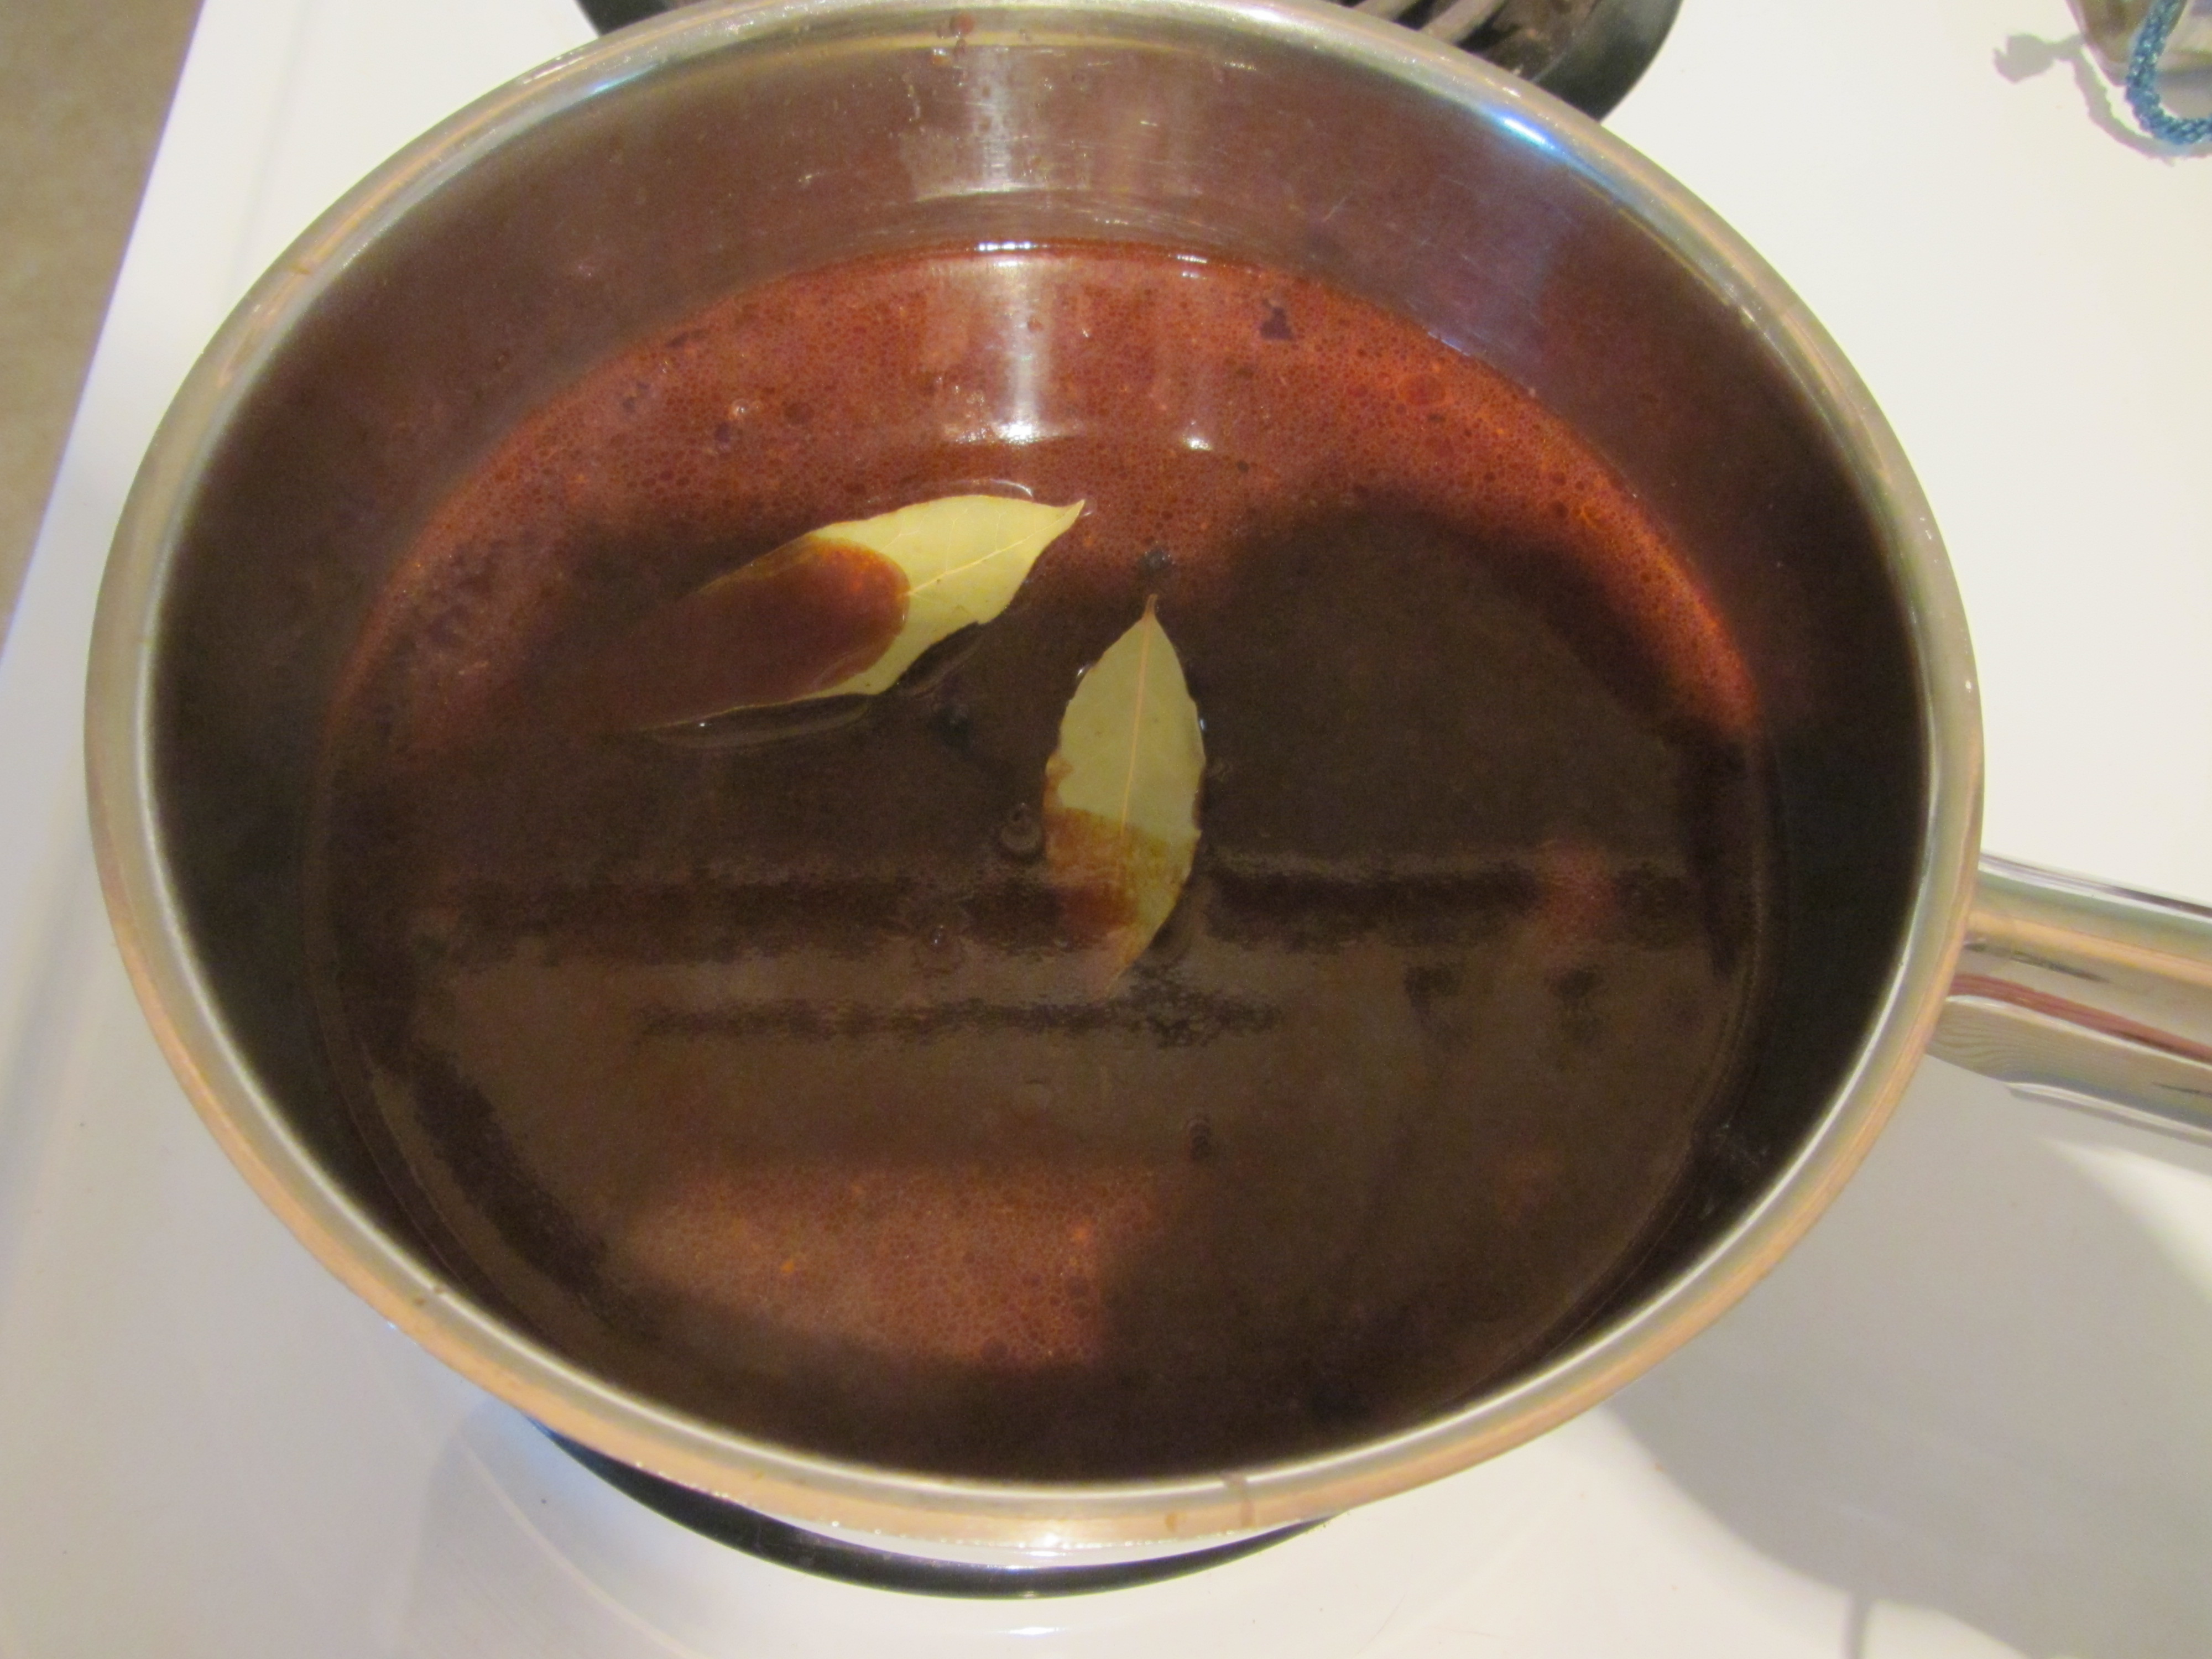
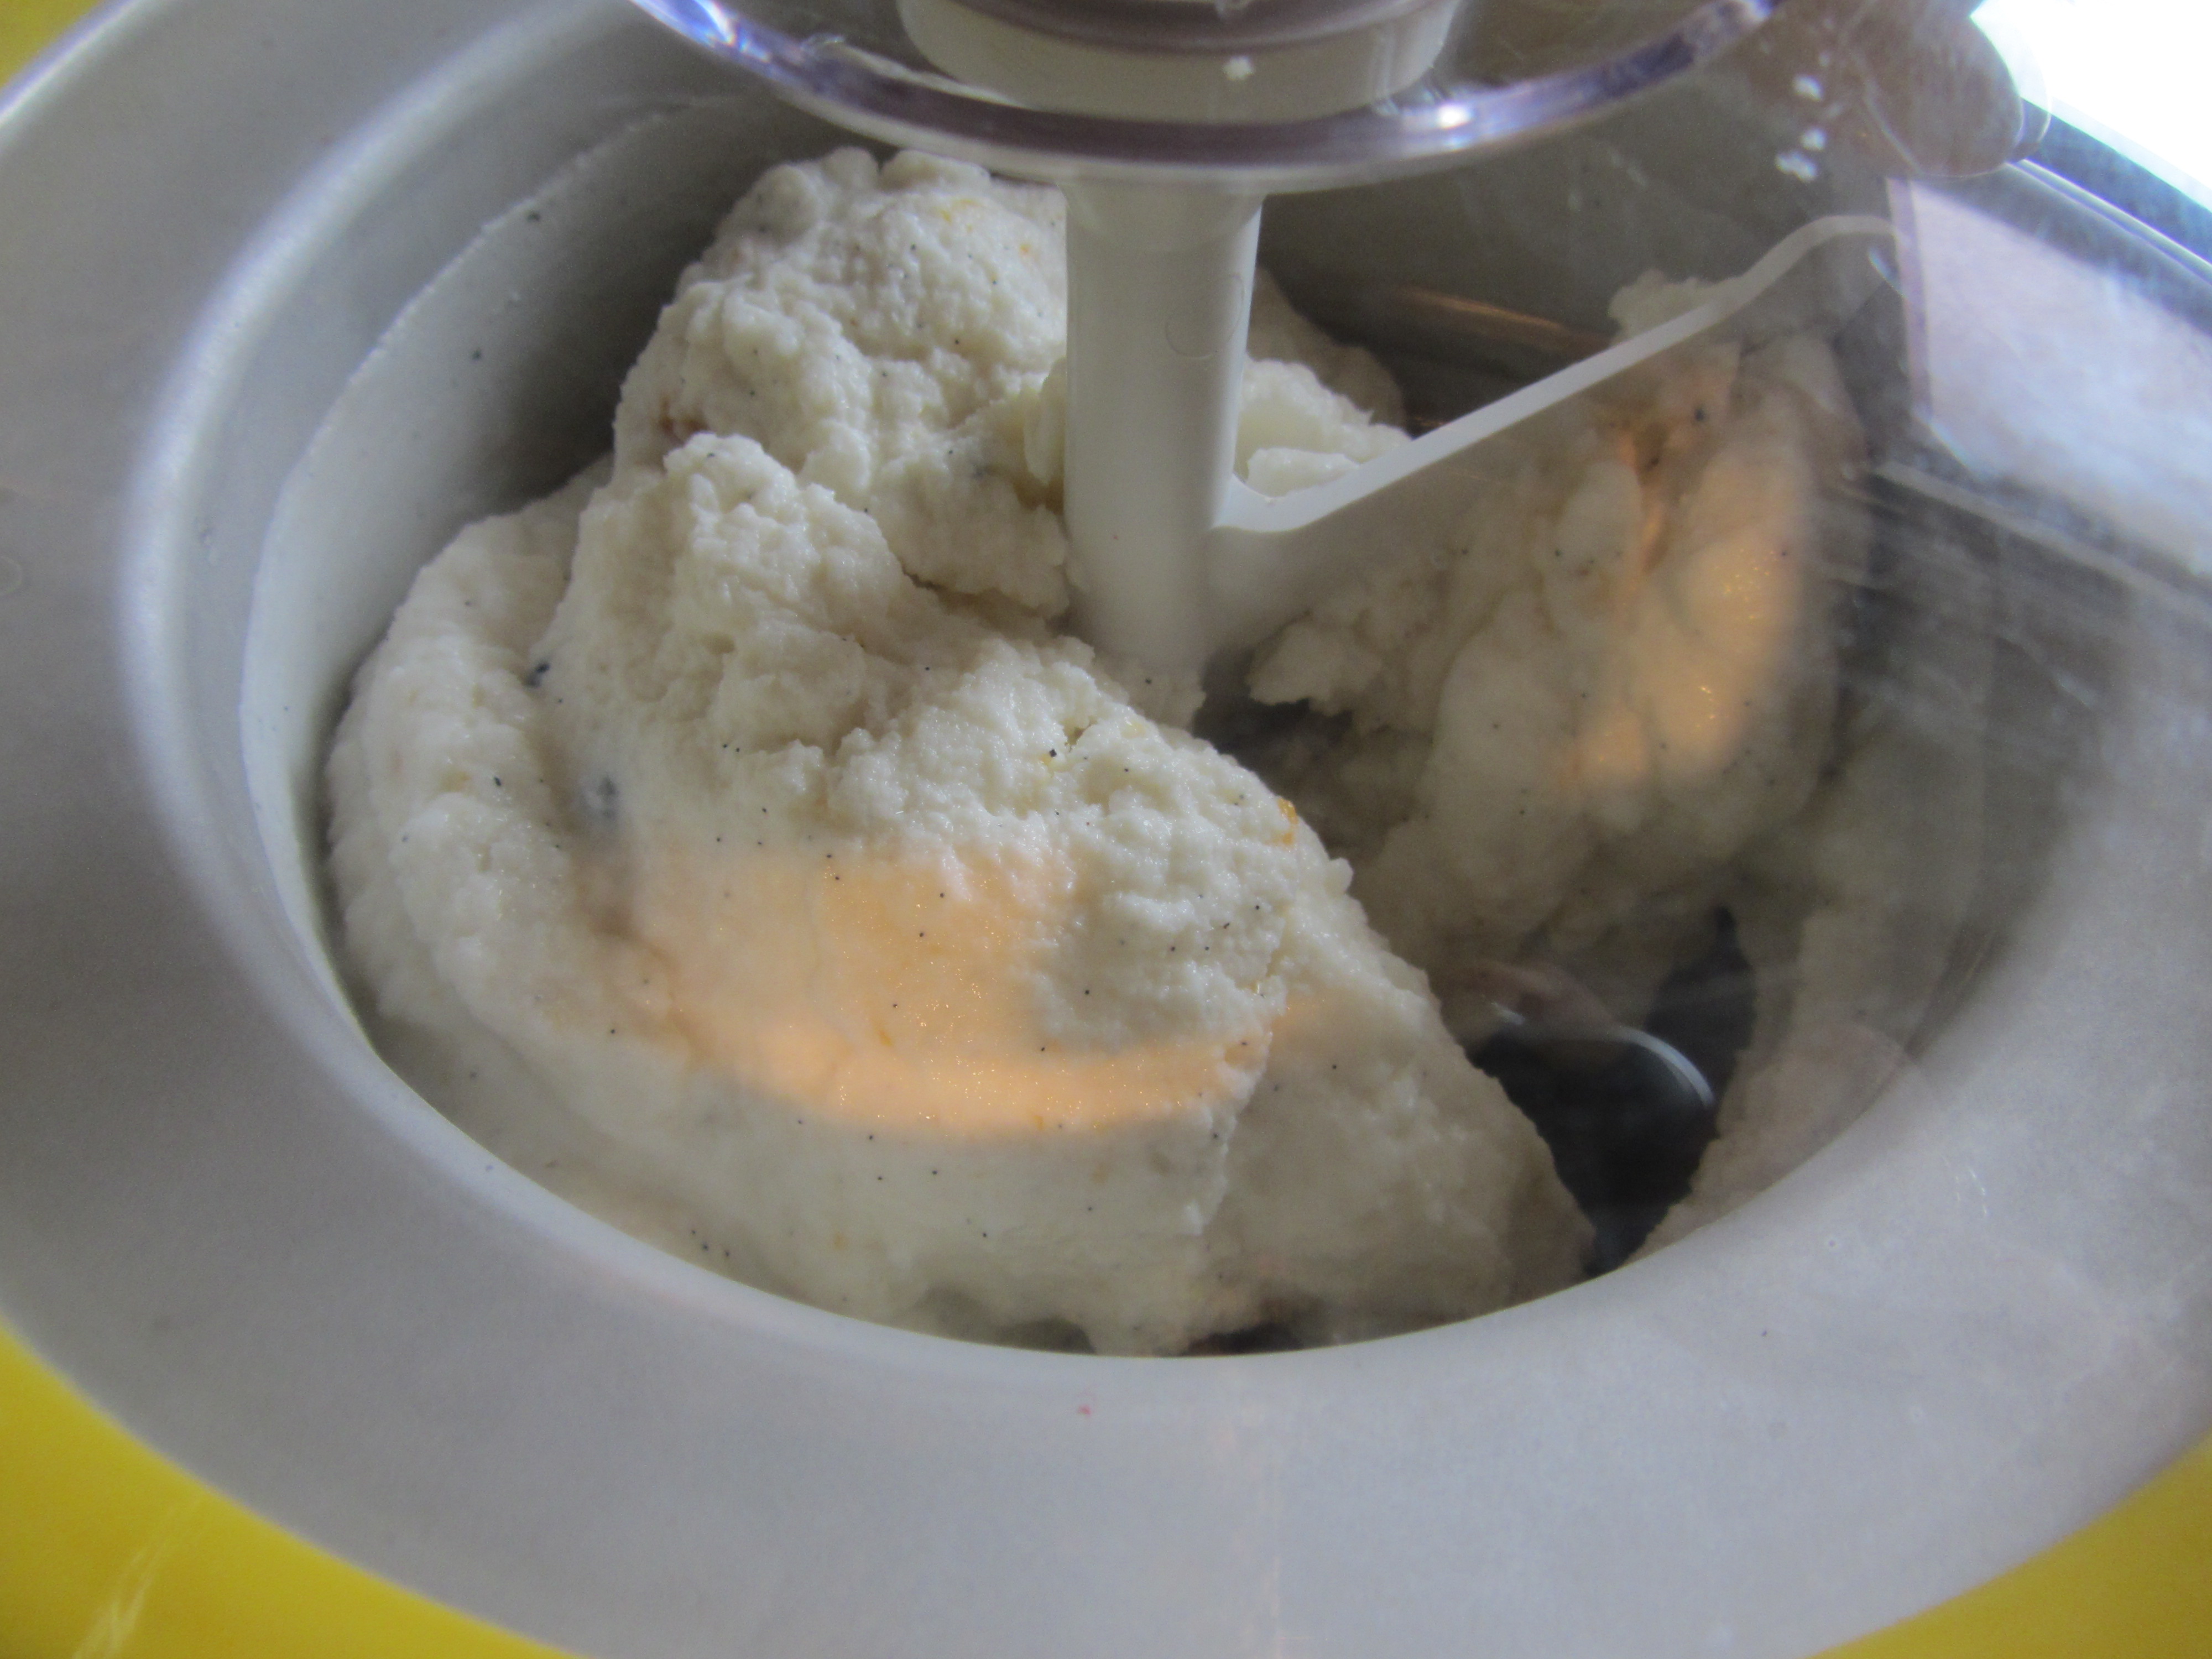
To serve the muffins, Alton makes a sauce by melting vanilla ice cream with espresso powder, and pours this over the top.
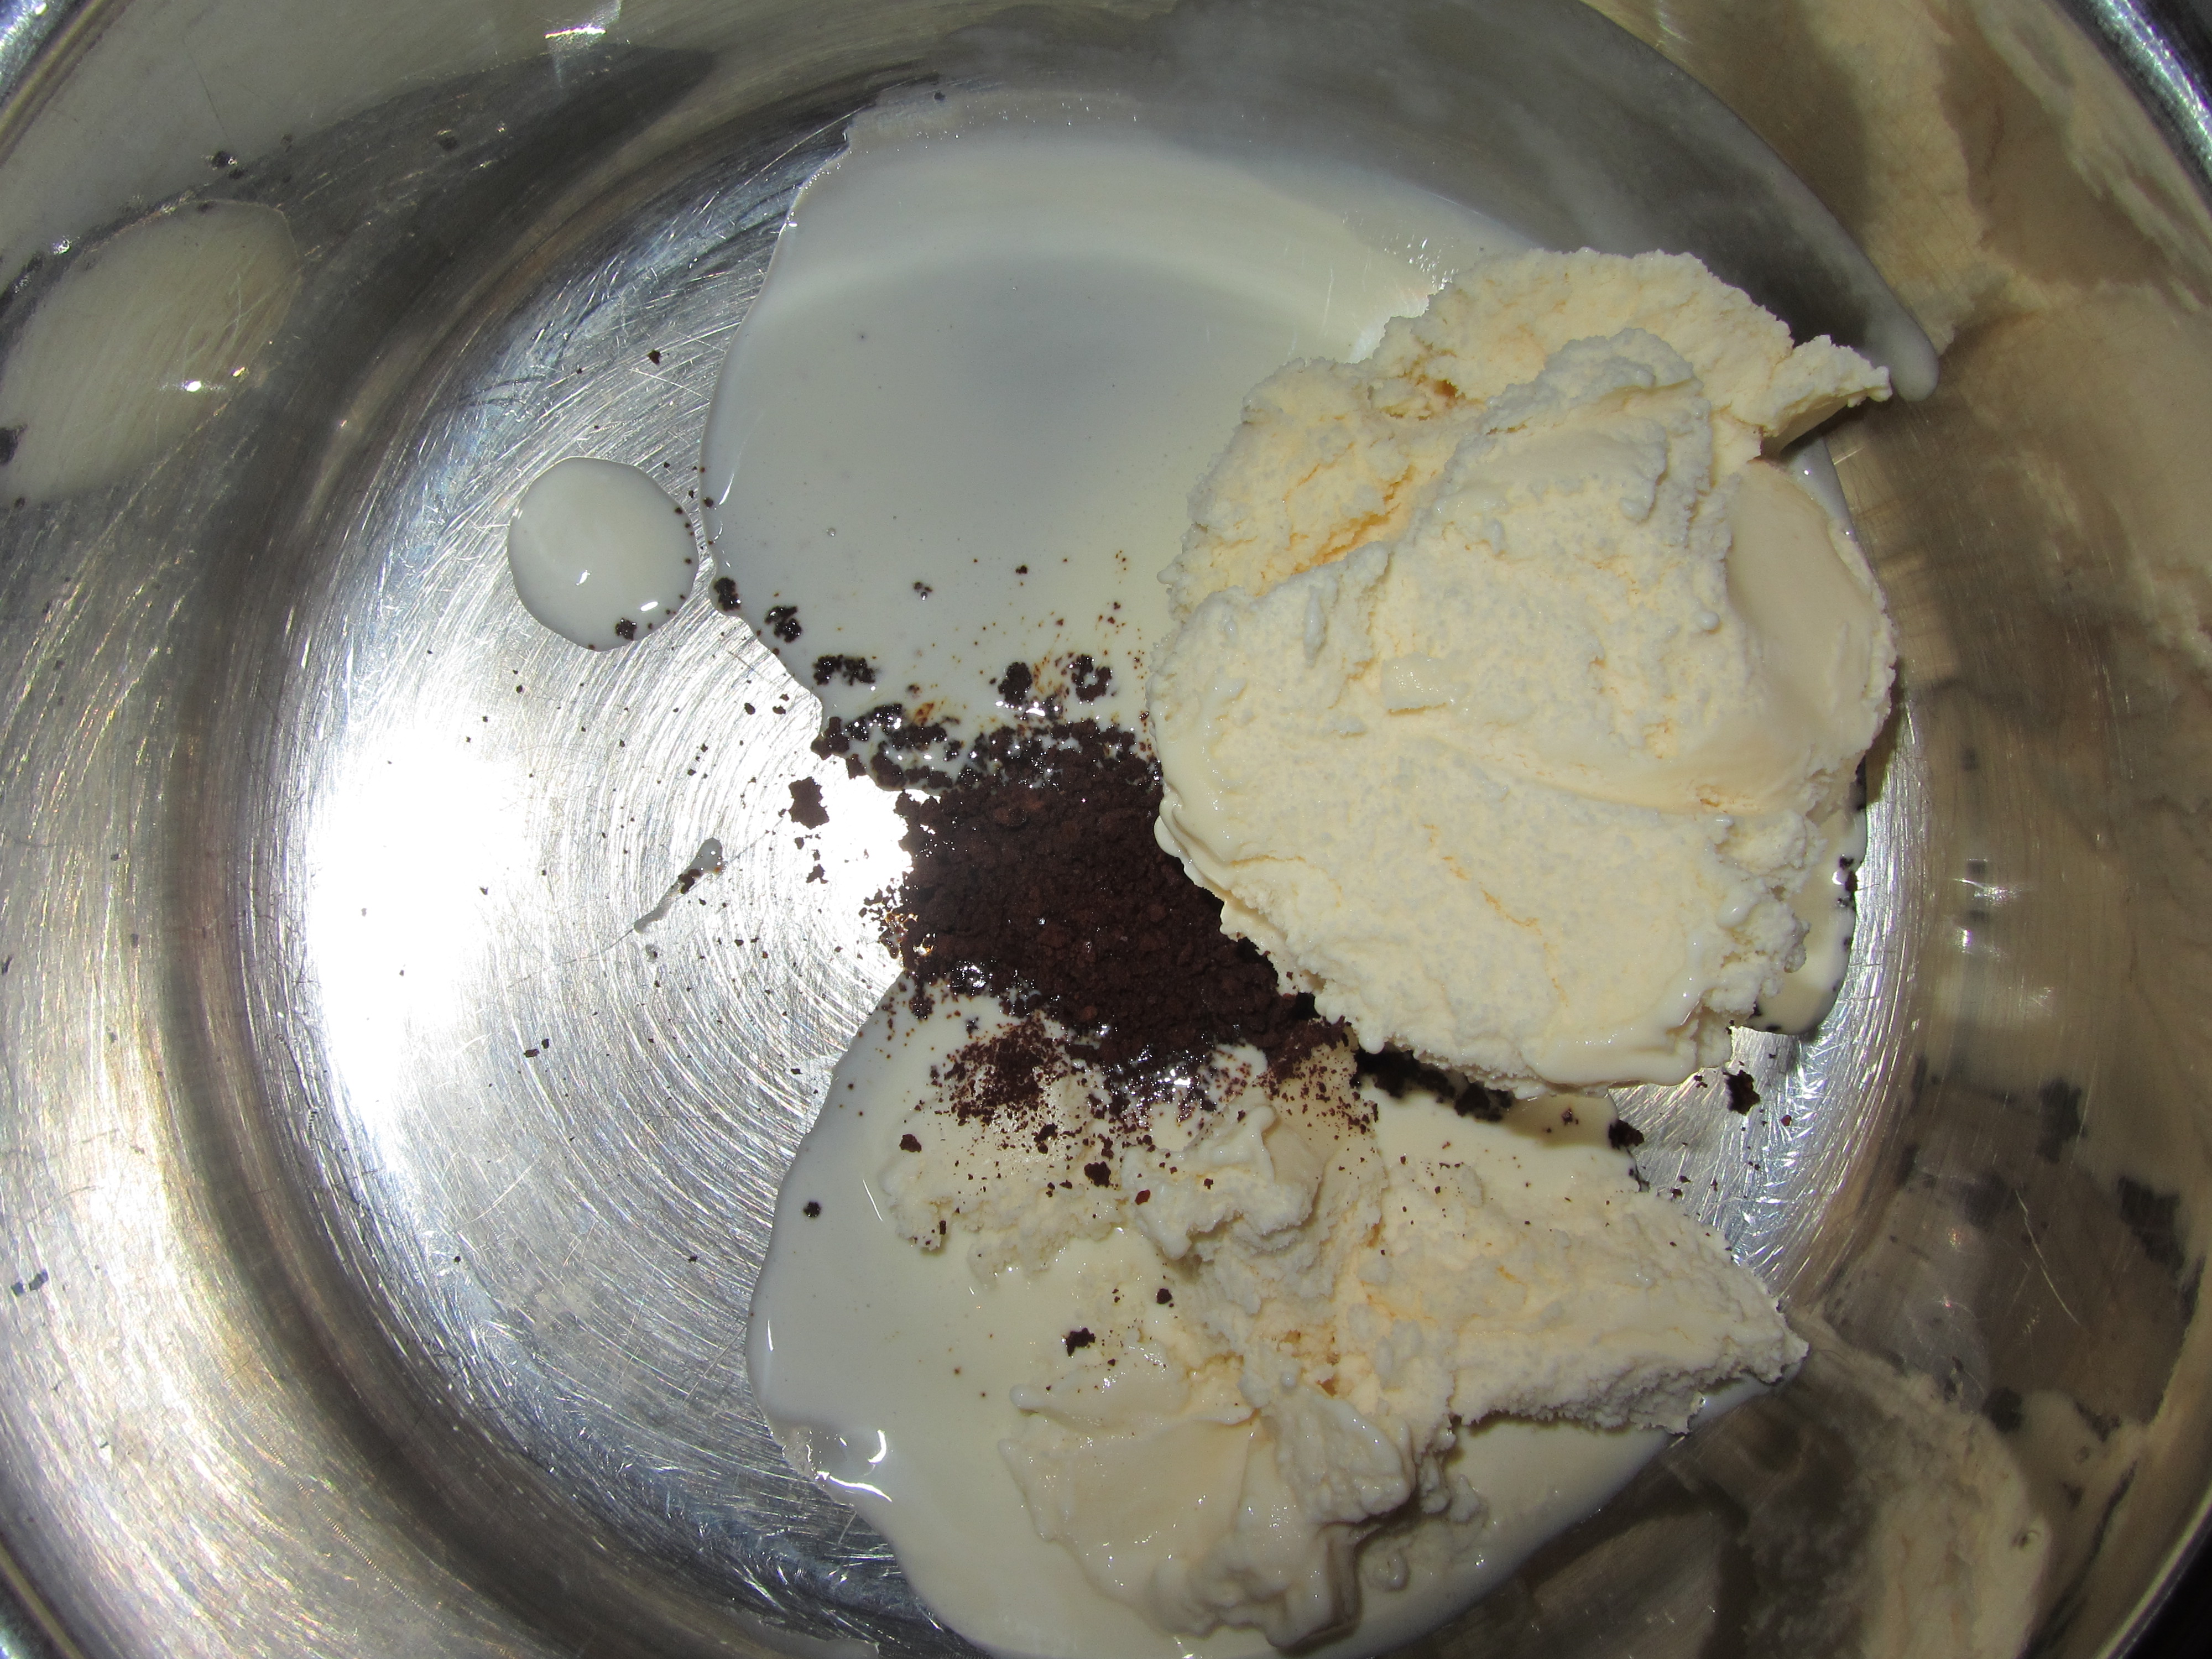
Melting vanilla ice cream with espresso powder.

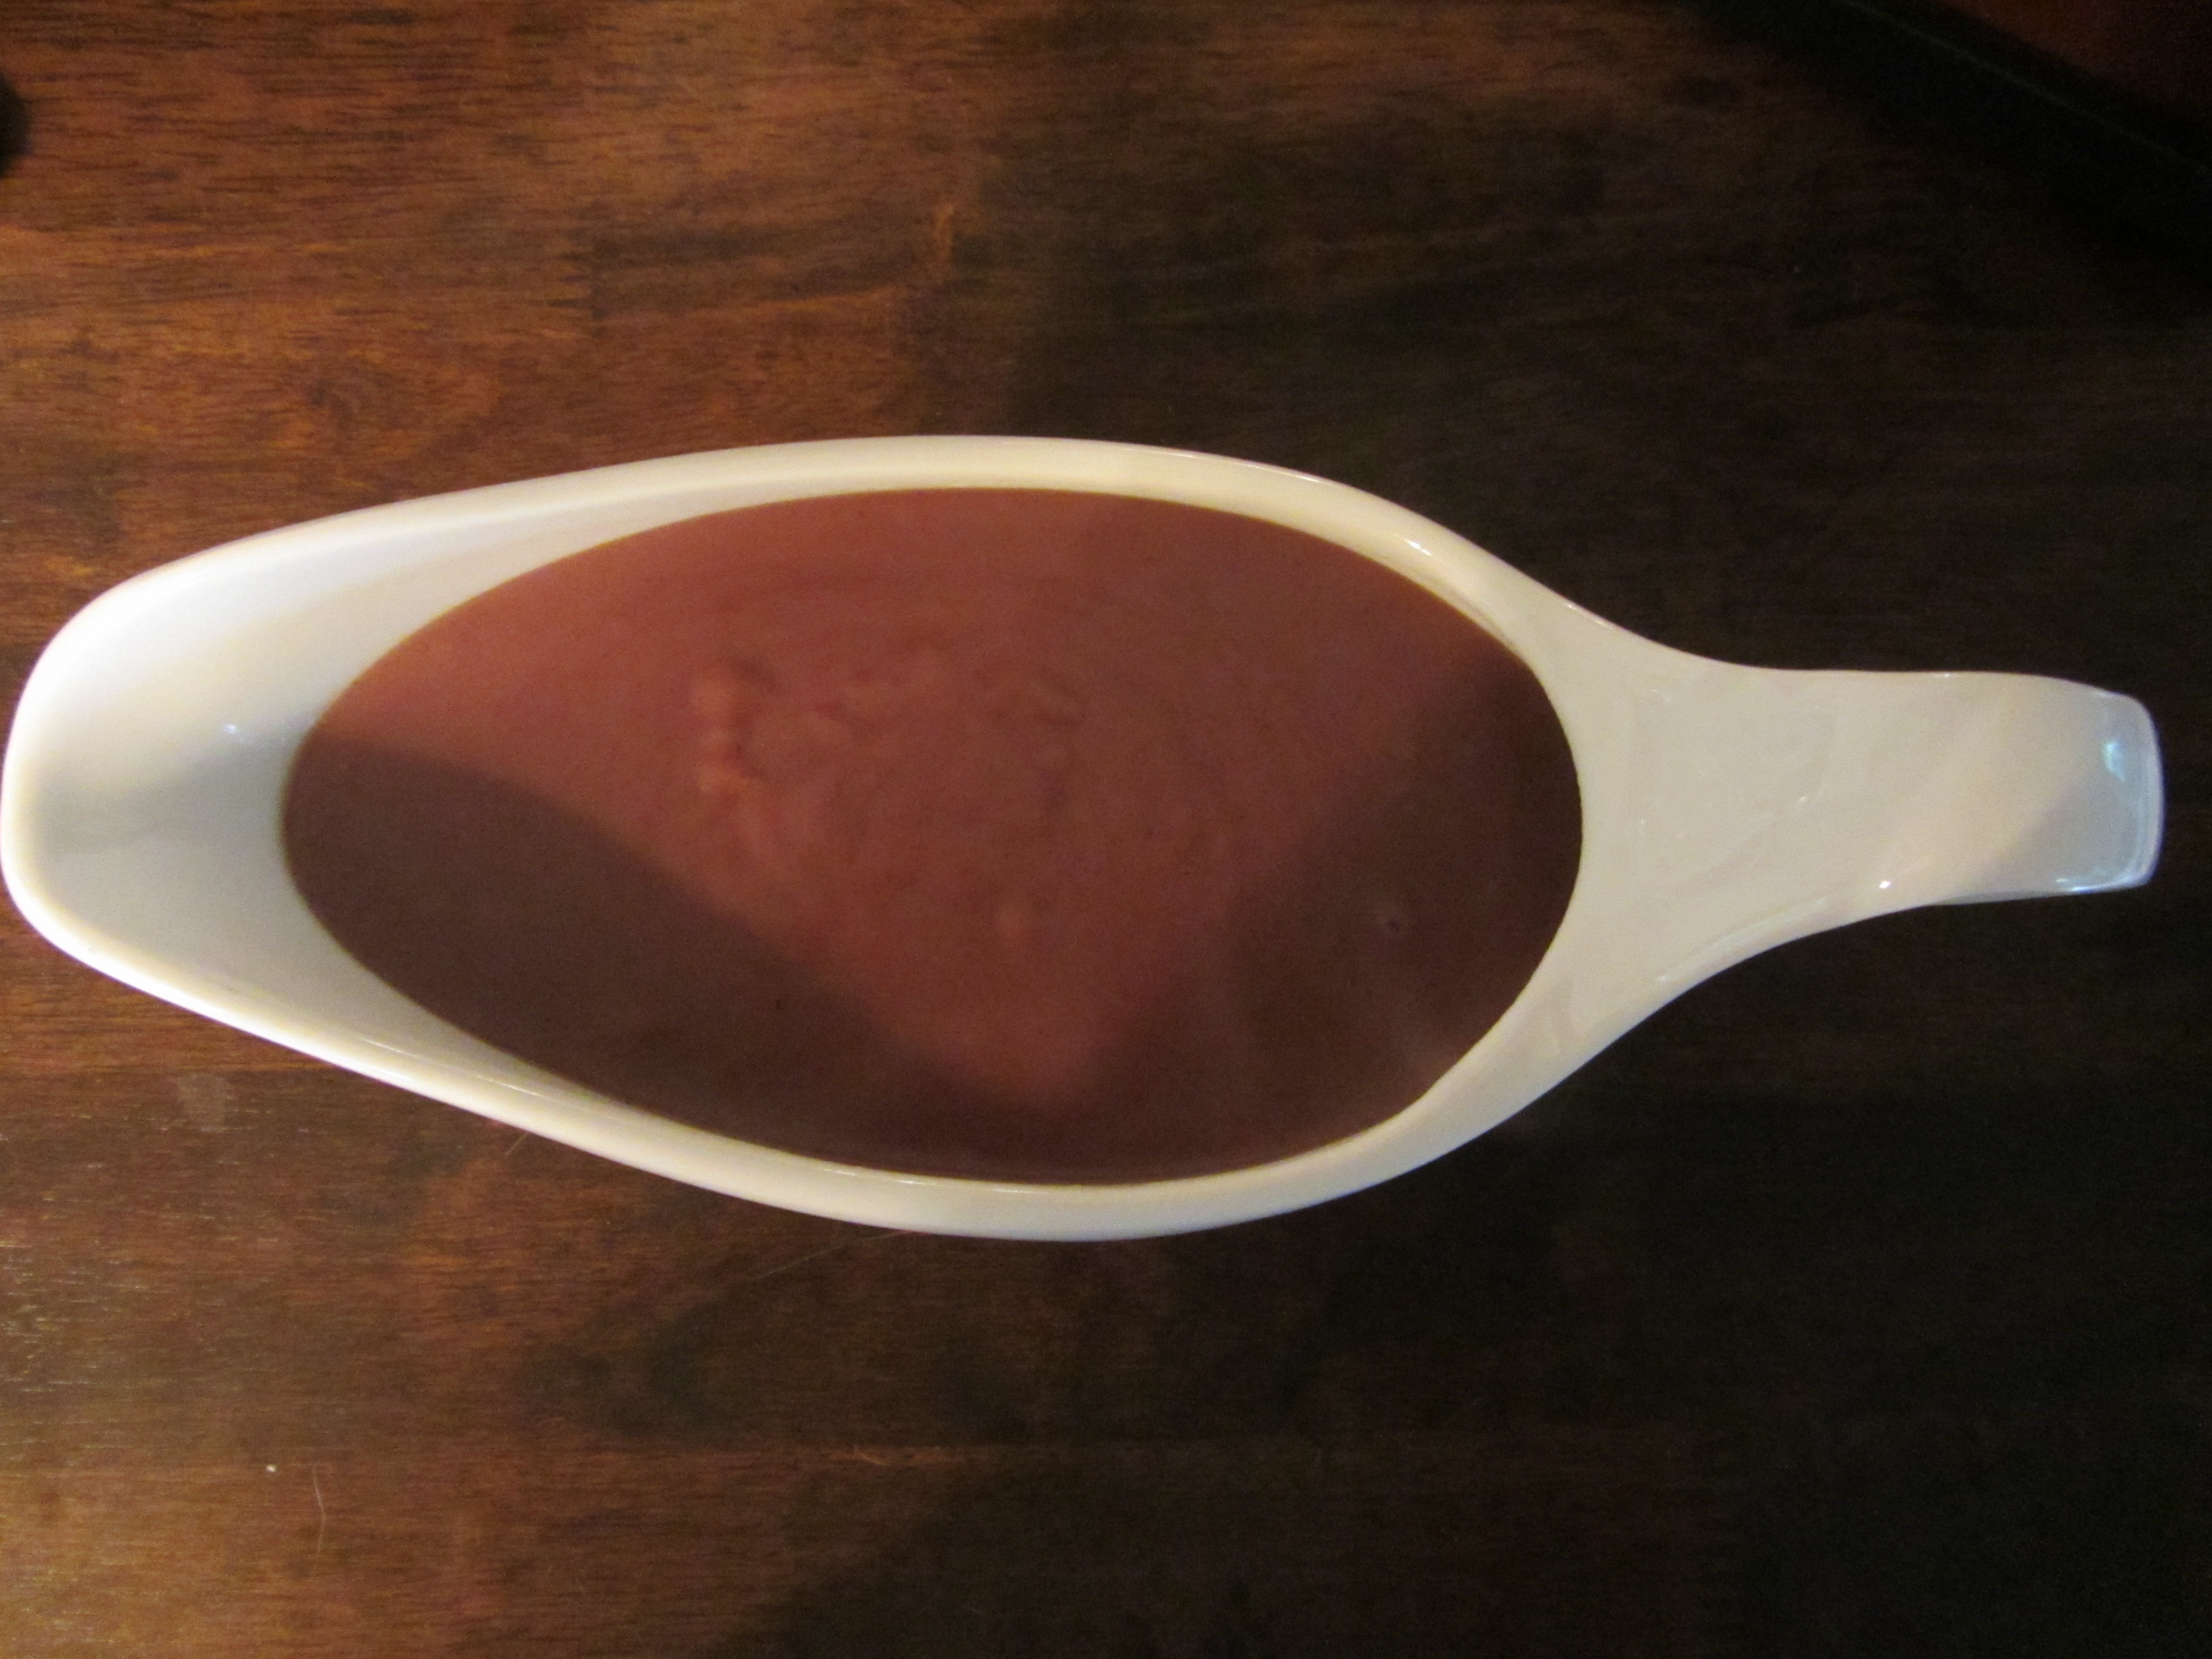
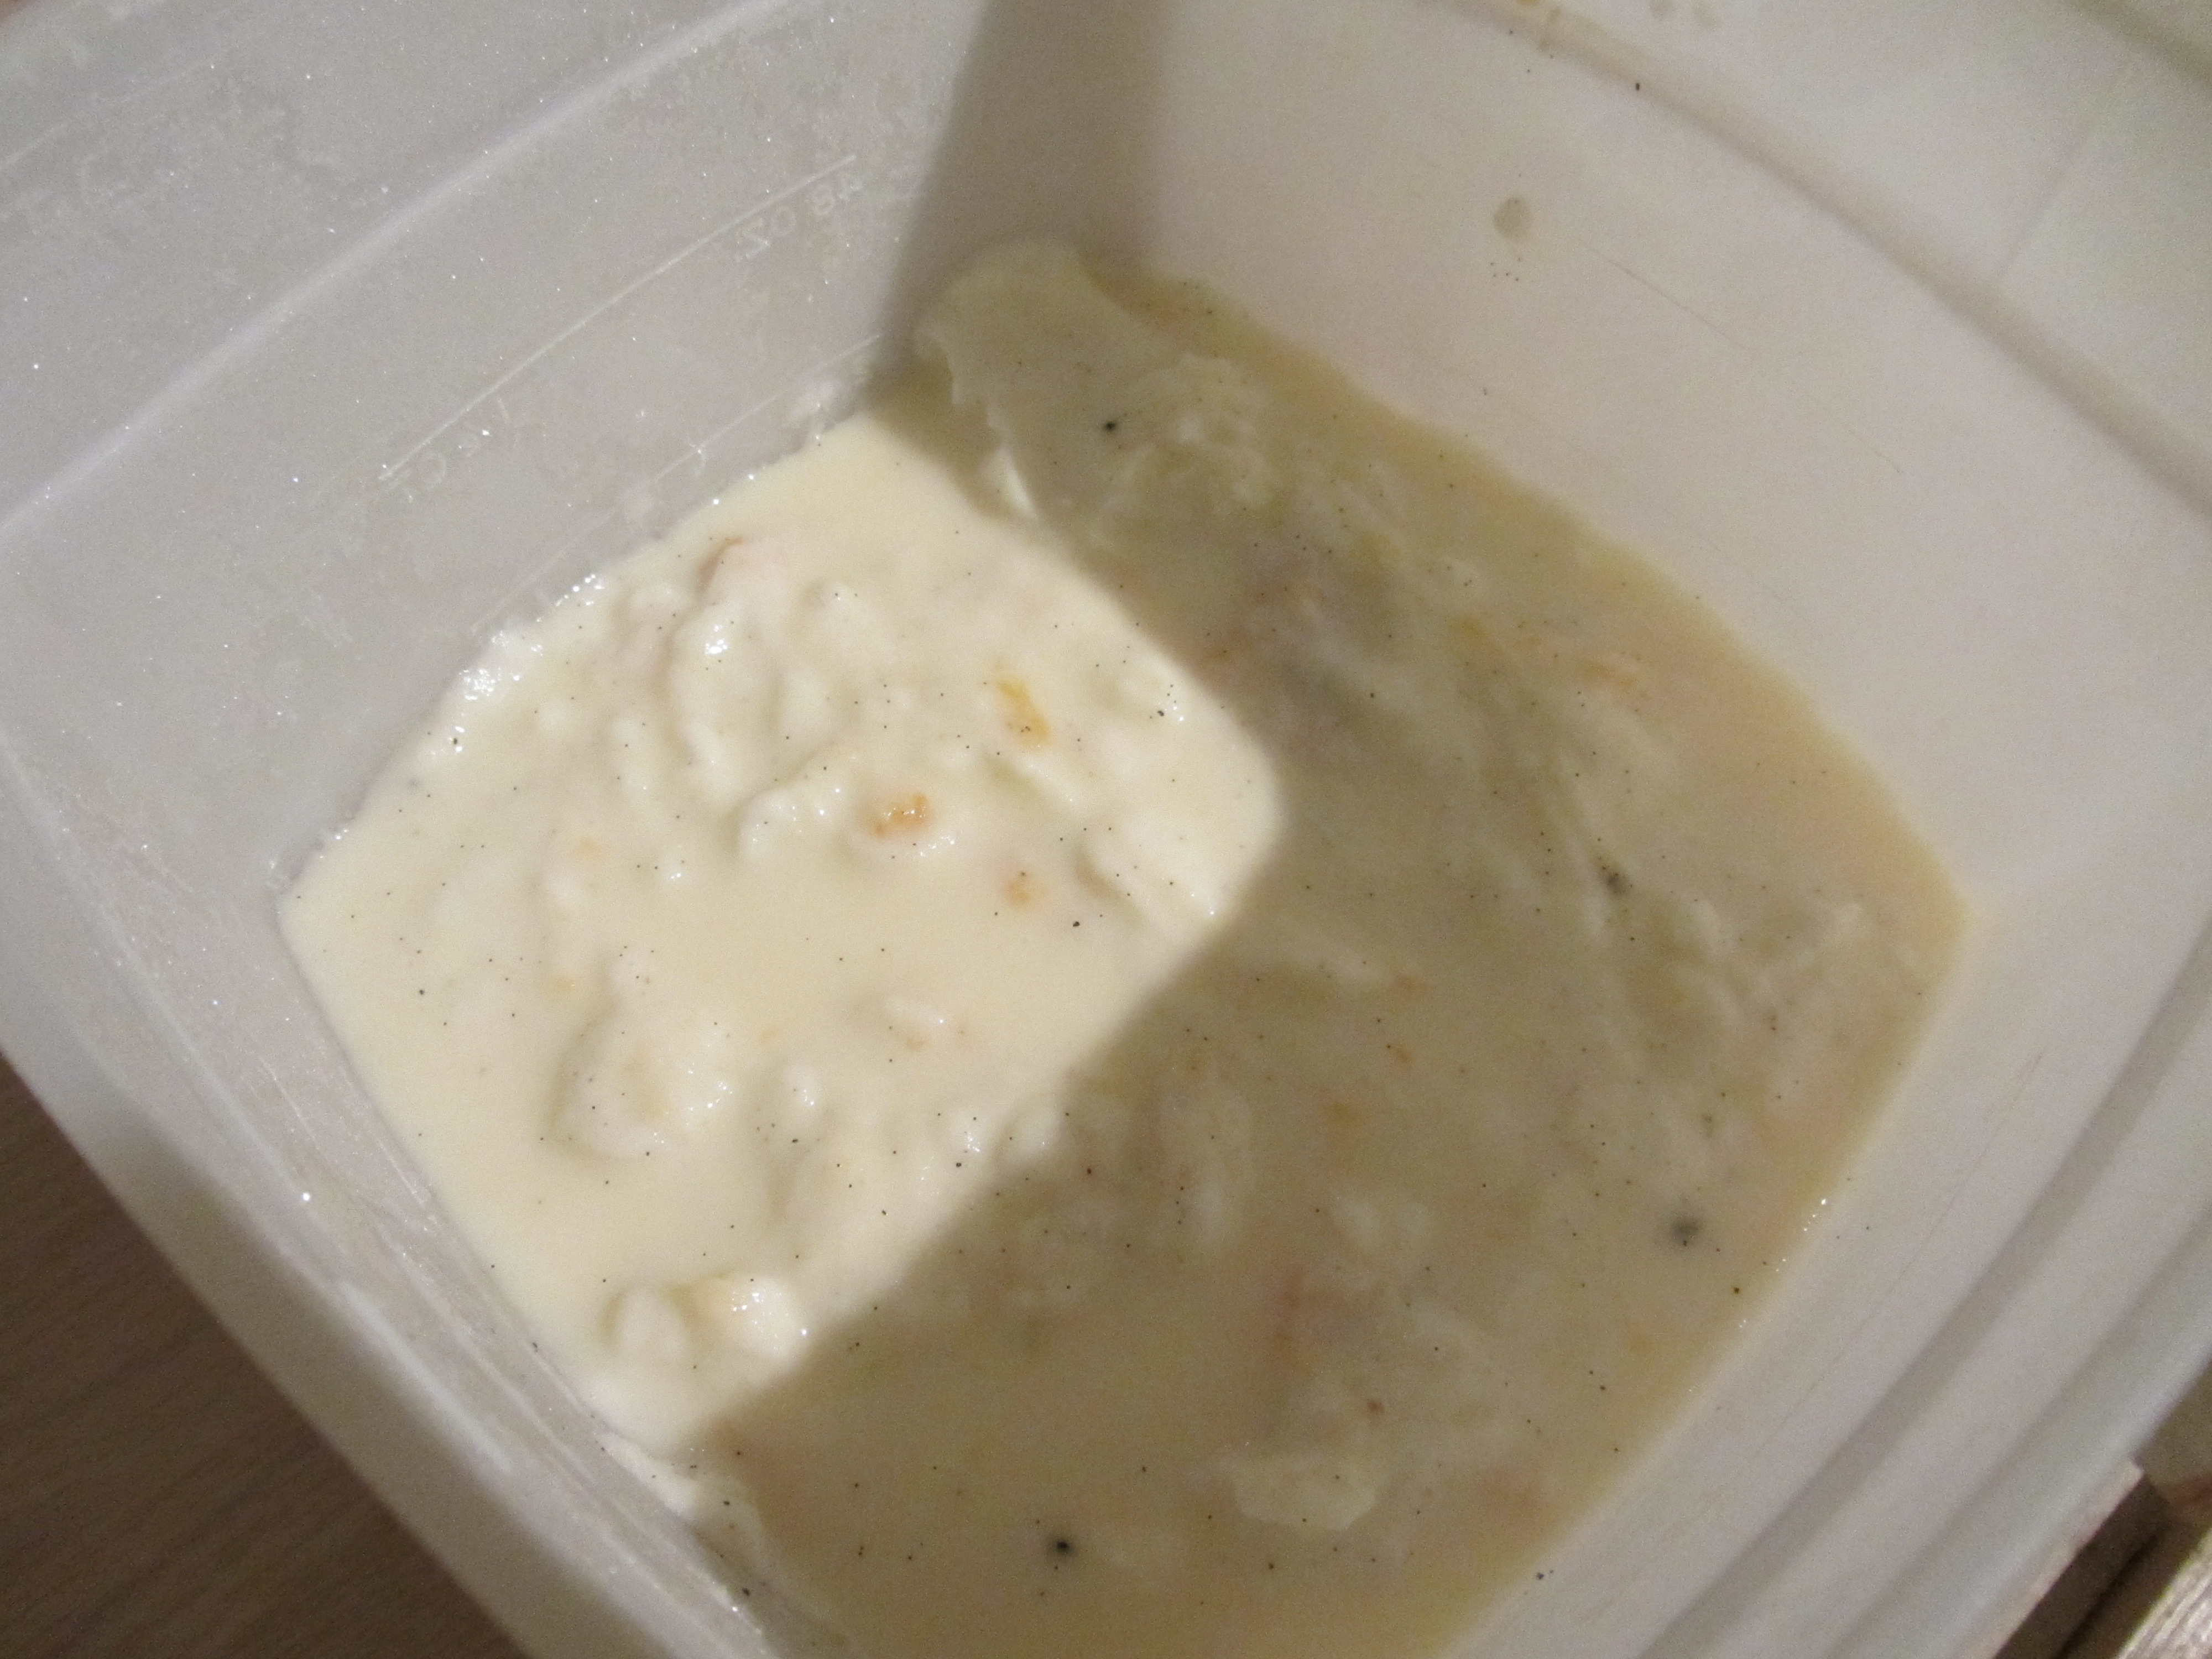
The completed sauce.
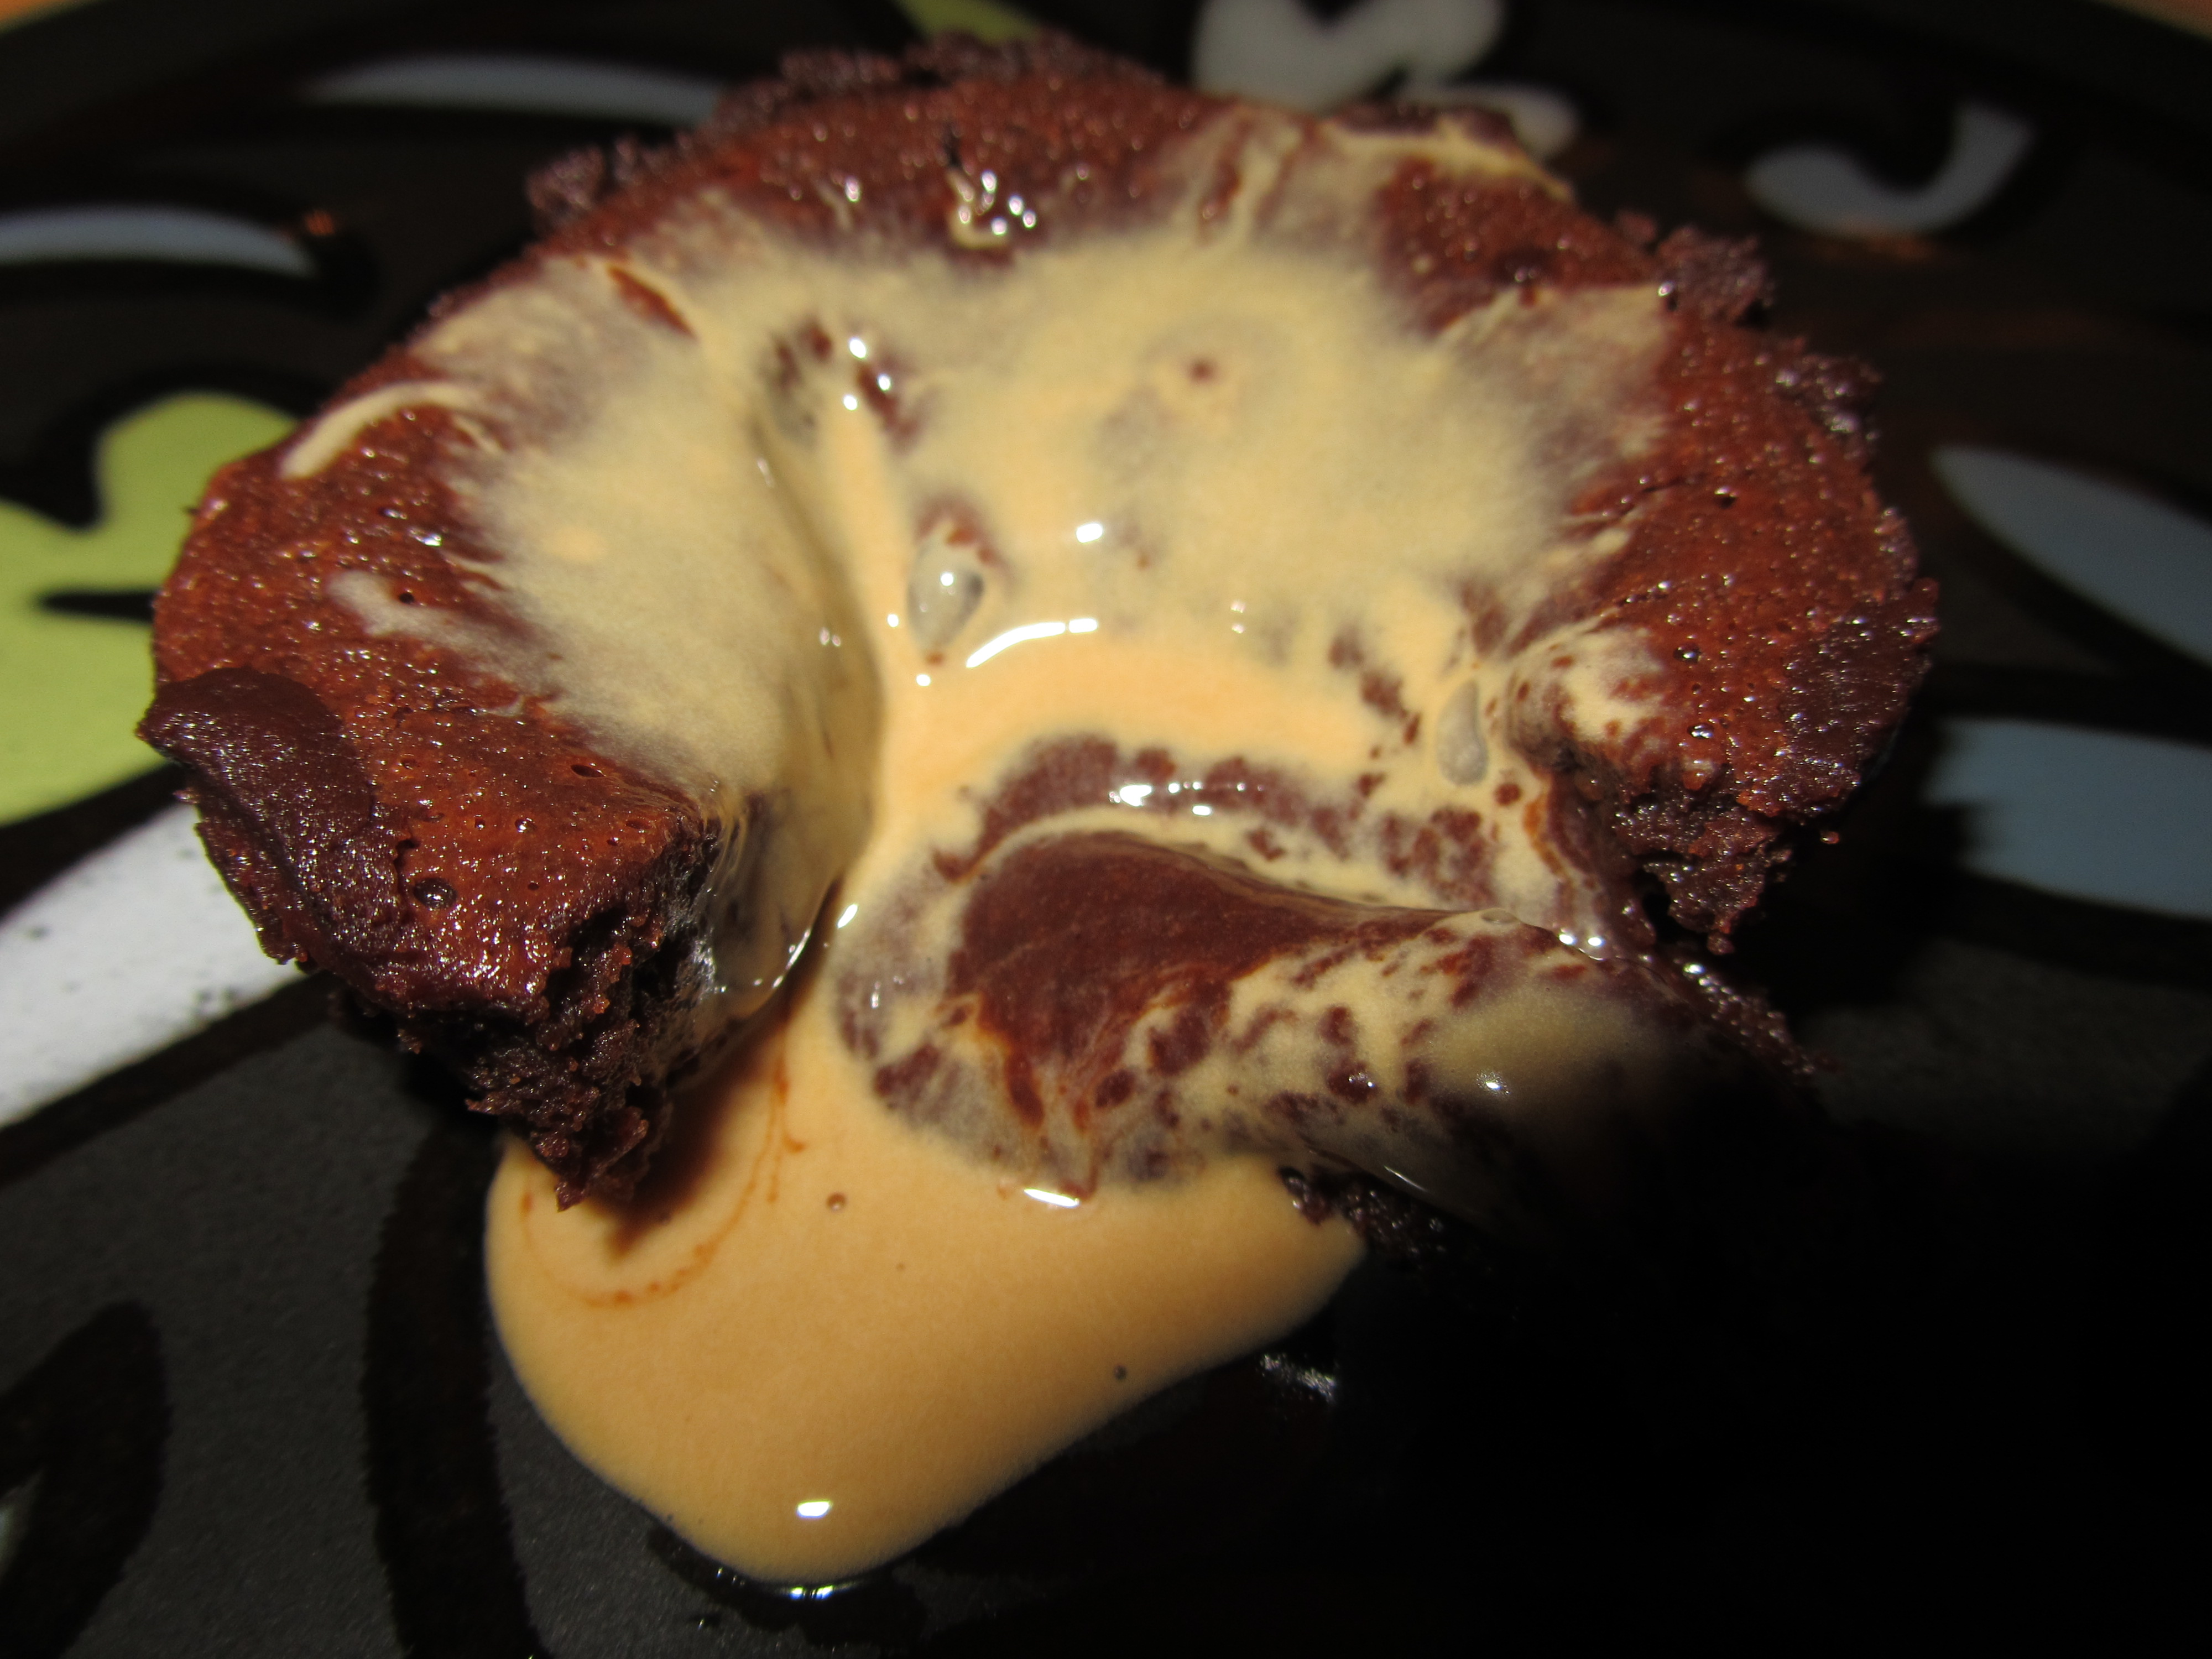
Lava muffin with sauce.
I have now made these muffins at least three times, so I guess that tells you that I like them. They kind of look like little chocolate hockey pucks. Perhaps filling the muffin cups a bit more results in more of a typical muffin shape, but I actually like the small size of these. They are very dense and rich, with an almost-liquid center and cake-like edges. I like them with the sauce, though I think they would maybe pair better with plain vanilla ice cream or barely sweetened whipped cream. The combo of the muffin with the sauce is just sweet on sweet. The muffins keep nicely for a couple of days, and while you can serve them warm, I think they are great at room temperature also.
With that, I complete Season 1 of Alton’s recipes on Good Eats.