Posts Tagged ‘salmon’

I fell behind a little bit in my project, as we went out of town a couple times and our 11-month-old has kept me pretty busy. She is crawling everywhere, standing, and into everything, so I can really only get things done when she is sleeping! Oh, and some days we only take one nap! I also wanted to make some of my favorite summer dishes (gazpacho, caprese, and risotto) before the season is over. Summer has gone by way too quickly for my liking.

This episode, featuring another “flat” food, showcases flounder. Alton claims that flounder is a readily available fish, which is probably true in some areas, but not where I live. I called our local markets and was told that they never have flounder, and that any flounder they would order would be frozen. My only option, it seemed, was to use frozen flounder fillets, so that’s what I did.

Baked Stuffed Flounder

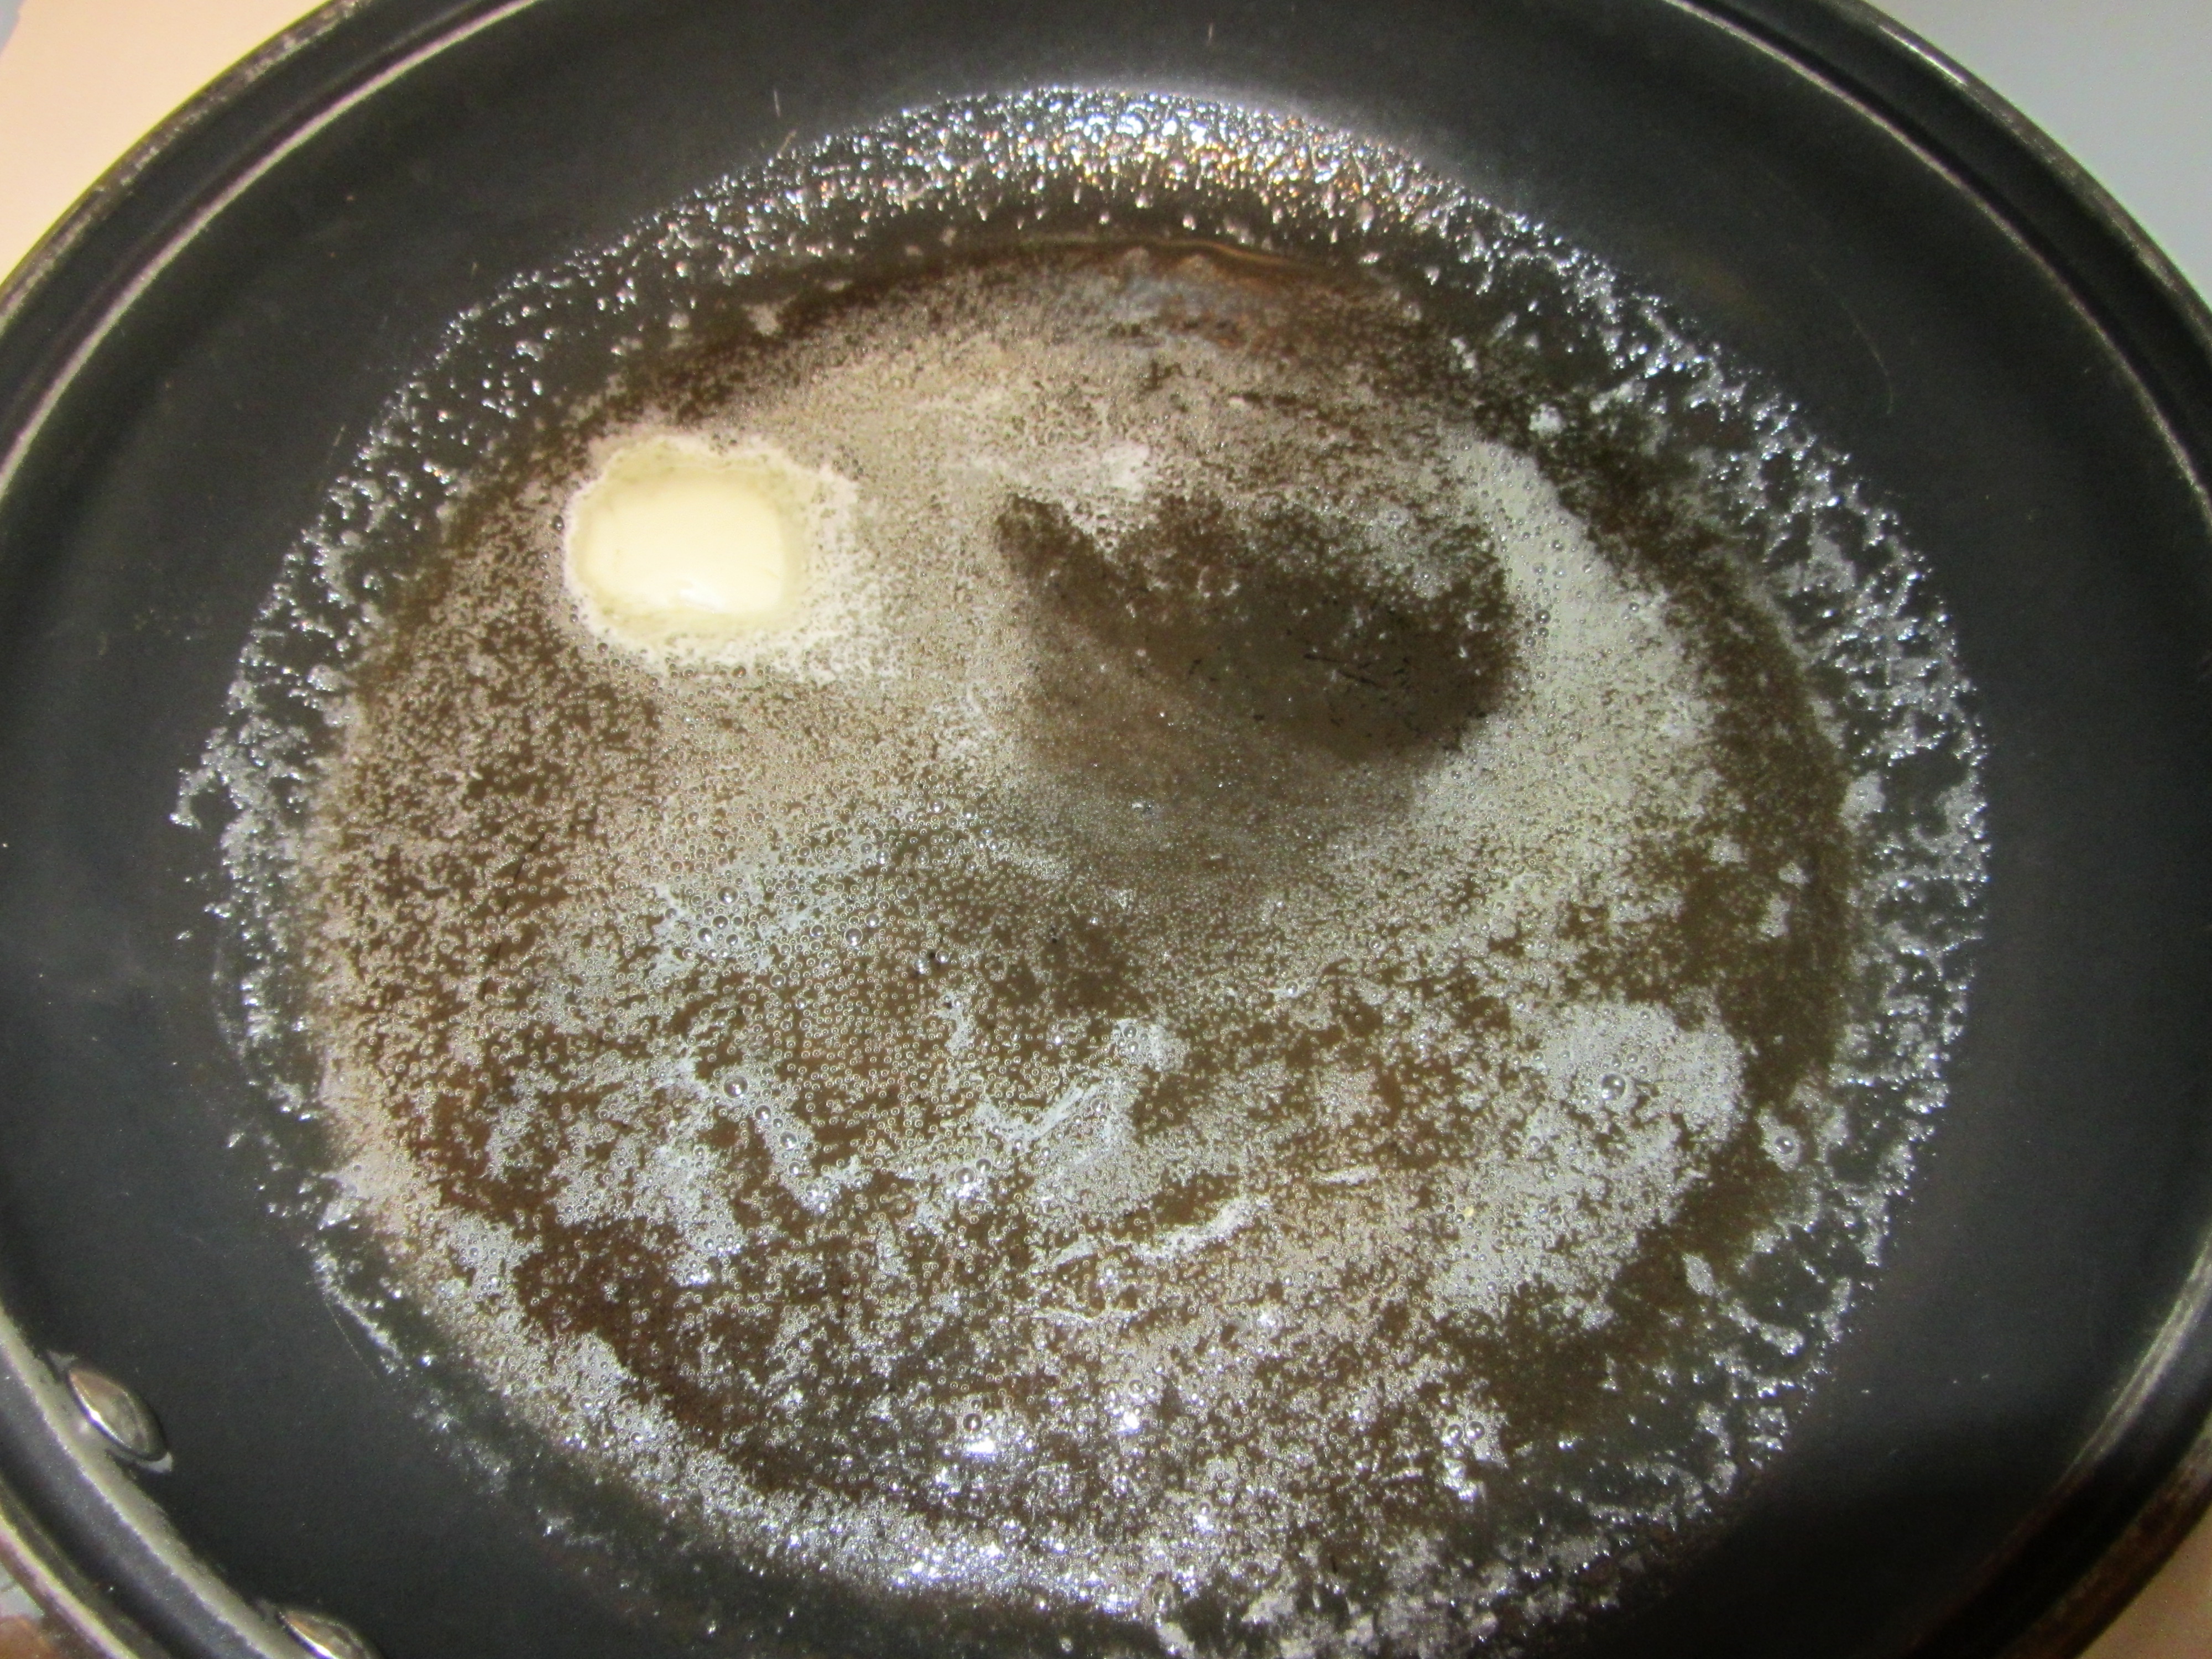
The first flounder recipe is for flounder fillets stuffed with a vegetable filling. This recipe, as written, makes enough for four to six people, so I halved it for us. To make the full recipe, you’ll first want to cook enough rice to yield three cups of cooked rice. You can set the rice aside until later. To start the filling, melt 2 T butter in a skillet over medium-low heat, adding a chopped medium onion and a pinch of Kosher salt.

IMG_2283(2)

Onion and Kosher salt in skillet with melted butter.

While the onion sweats, pour 1 C heavy cream and 1/4 C white wine into a saucier over medium heat, and whisk as you bring the mixture to a simmer.

IMG_2281(2)

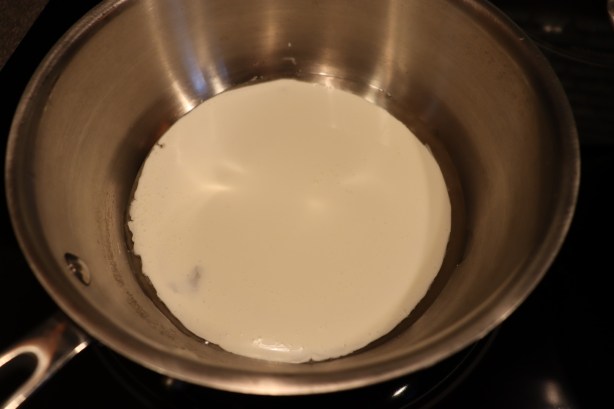
Heavy cream and white wine in saucier.

Meanwhile, add 1 minced clove of garlic to the onion and cook for a minute. Once the cream mixture is simmering, slowly whisk in 10 ounces of cheddar cheese, letting each addition of cheese melt before adding more. When all of the cheese is in and the sauce is smooth, remove it from the heat.

IMG_2284(1)

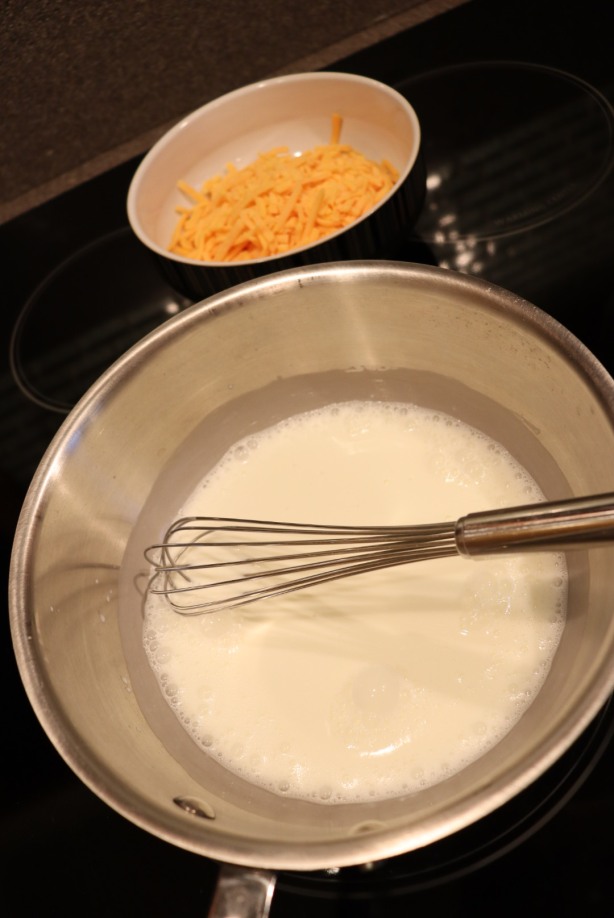
Cheese, ready to add to simmering cream/wine.

To finish the filling, add to the onion pan 10 ounces of chopped frozen spinach that has been thawed and drained, along with the zest of a lemon. Next, add 2 T chopped parsley, 1/2 t Kosher salt, and 1/4 t pepper. Remove the filling from the heat.

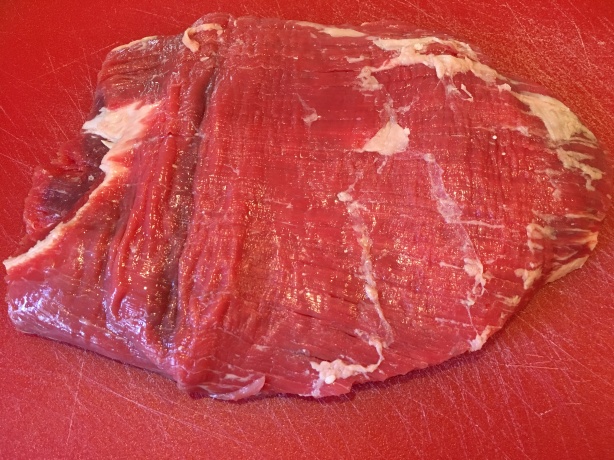
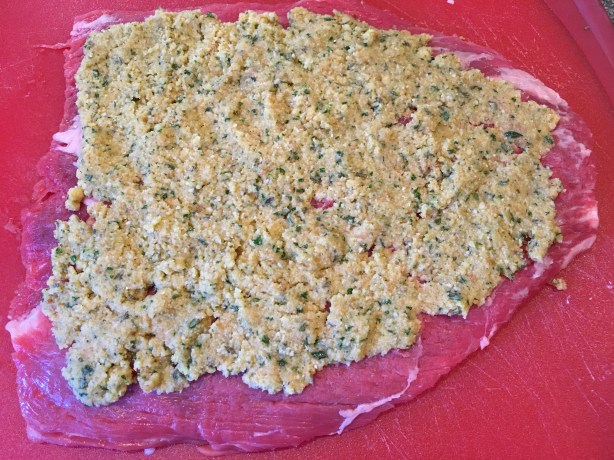
Stir the cheese sauce again before placing 1 1/2 to 2 pounds of flounder fillets on a sheet pan. Season the fish liberally with Kosher salt and pepper. Distribute the spinach filling among the fillets, placing a mound at the widest part of each filet.

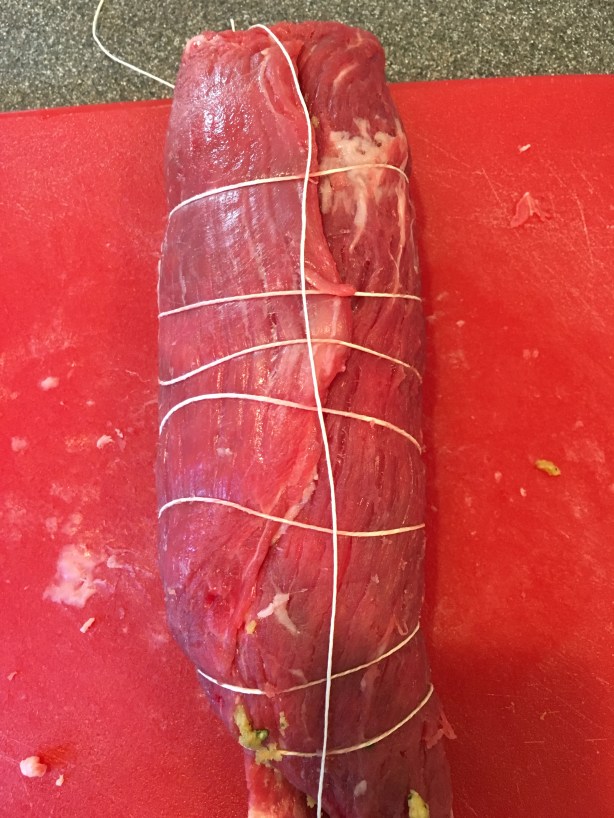
Roll the fish around the filling, bringing the tail end up over the filling and the head portion down, kind of twisting the fish around the filling. Place the fillets seam side down in a 1 1/2 to 2 quart casserole that has been filled with the 3 C of cooked rice from earlier.

IMG_2292(2)

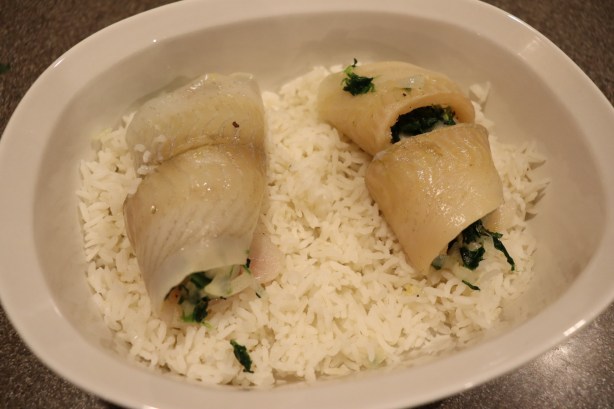
Fillets rolled around filling and placed on rice.

Pour the cheese sauce over the fish and rice and bake the fish for 25 minutes at 350 degrees. Let the fish rest for five minutes before serving.

IMG_2293(2)

Cheese sauce poured over fish and rice.

IMG_2295(2)

Fish after baking for 25 minutes.

IMG_2296(2)

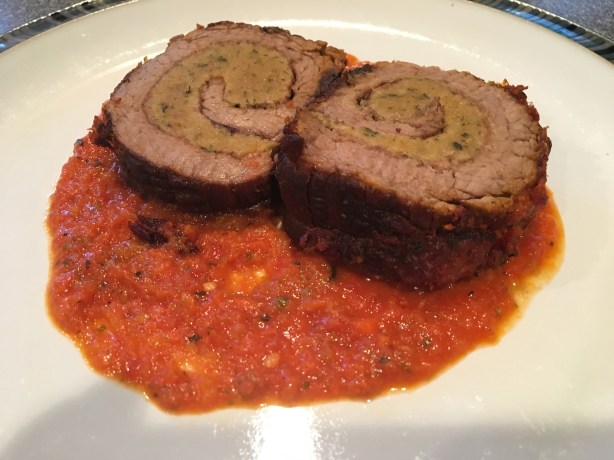
Alton’s stuffed flounder.

Okay, so I instantly cringed at the idea of fish and cheese together when I watched Alton prepare this dish. Cheese and seafood? Well, it turned out that the cheese wasn’t so much of the problem as was my fish. Is all flounder fishy? My flounder smelled super fishy when I opened it and maintained a fishy flavor after cooking. The fish also had a somewhat mushy texture, and we both found it really unappealing. In fact, I just ended up eating the rice with the filling and sauce. I would definitely not make this recipe again as it is written. Maybe this would be better with a different type of fish? Still… fish with cheese. Yeah, I’d recommend skipping this one.

Oil Poached Flounder

After making Alton’s first flounder dish, I decided to make the remaining to recipes with a different type of fish that I could get fresh locally – salmon. My flounder was just so bad that I could tell it would not taste good in any recipe. Yes, substituting ingredients (especially the main ingredient) goes against the premise of this project, but I chose to do it here in Alton’s oil poached flounder recipe. To poach fish in oil, heat 3 C of olive oil on the stove over low heat until it reaches 300-310 degrees.

IMG_2305(2)

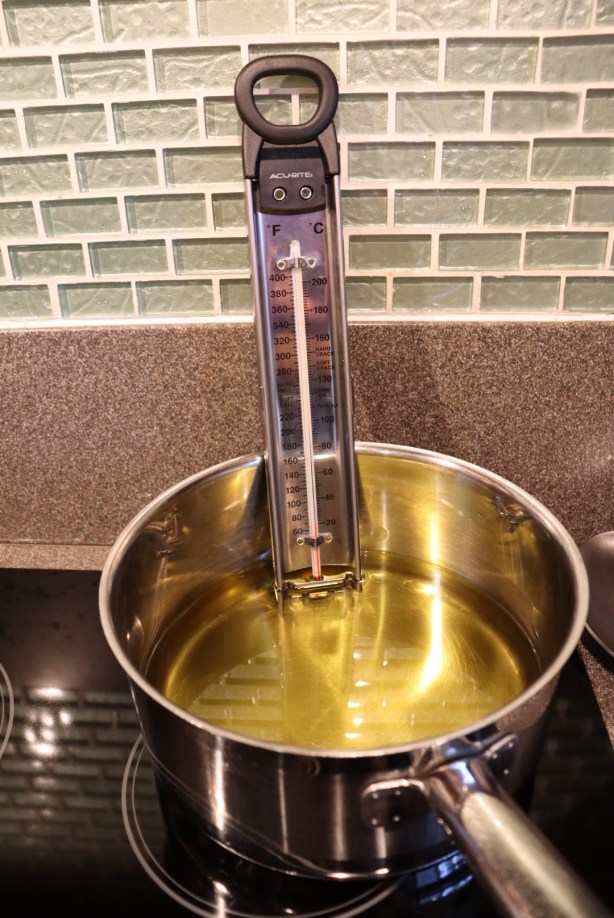
Olive oil heating to 300-310 degrees.

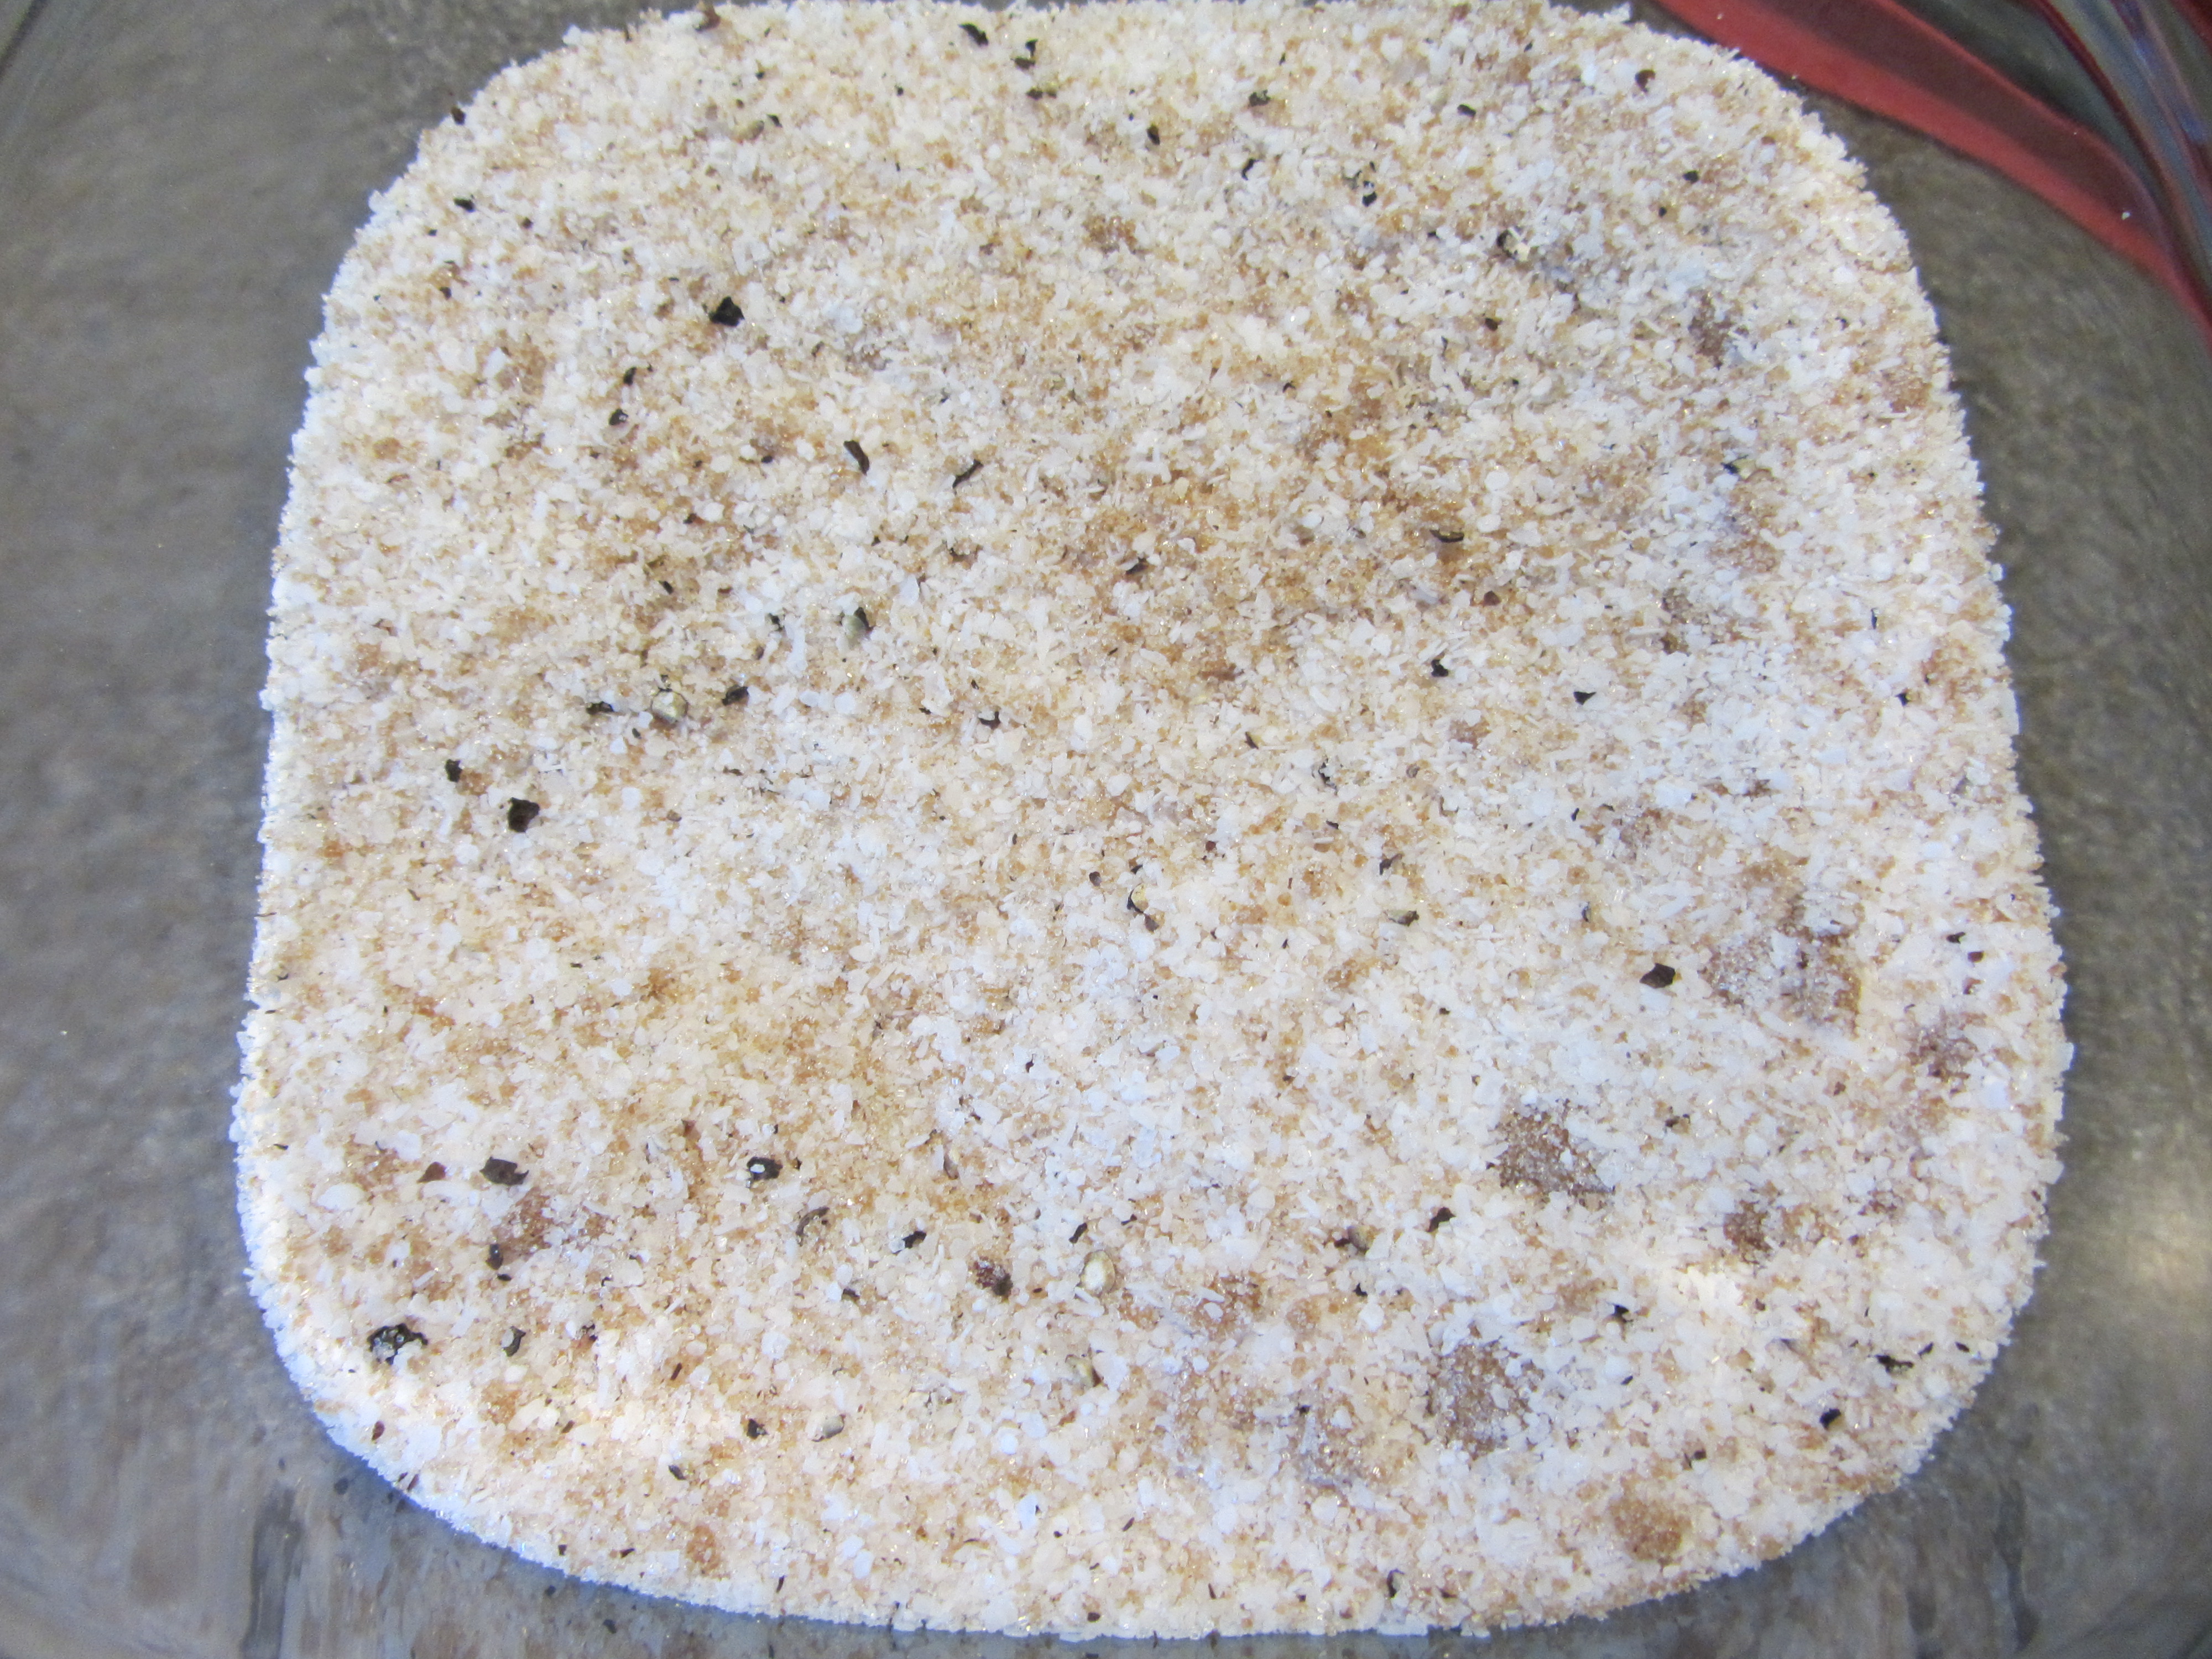
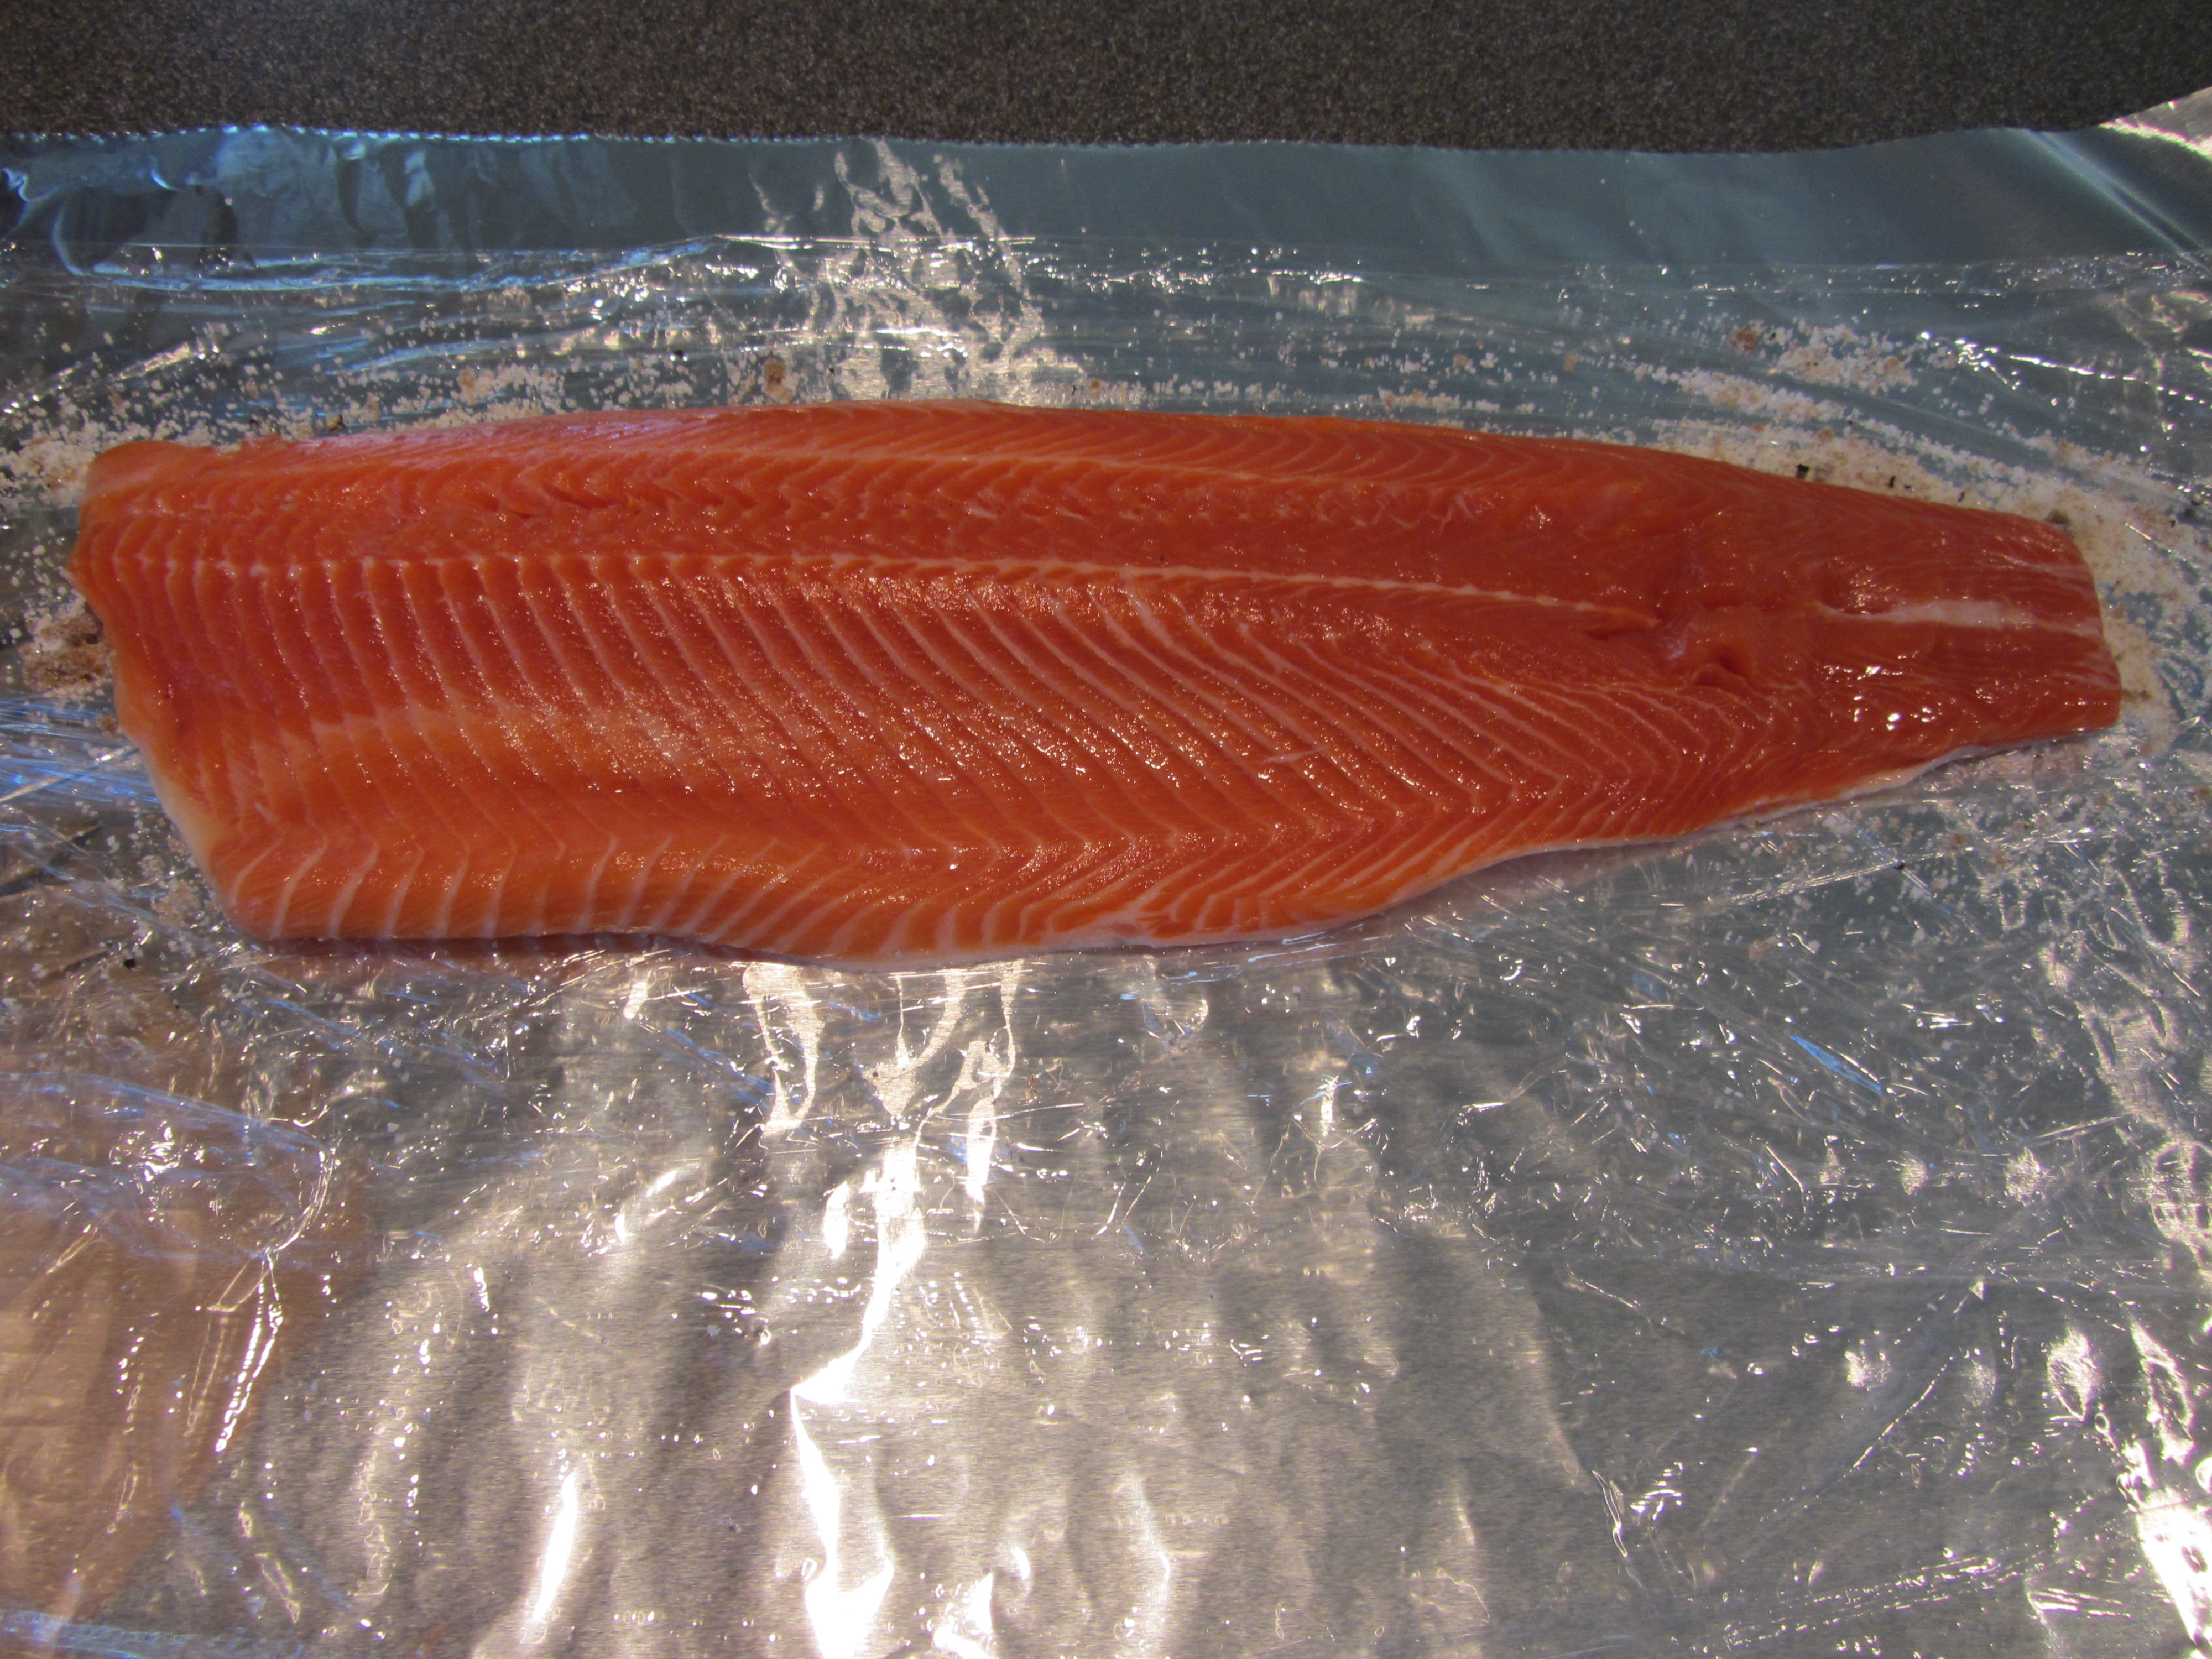
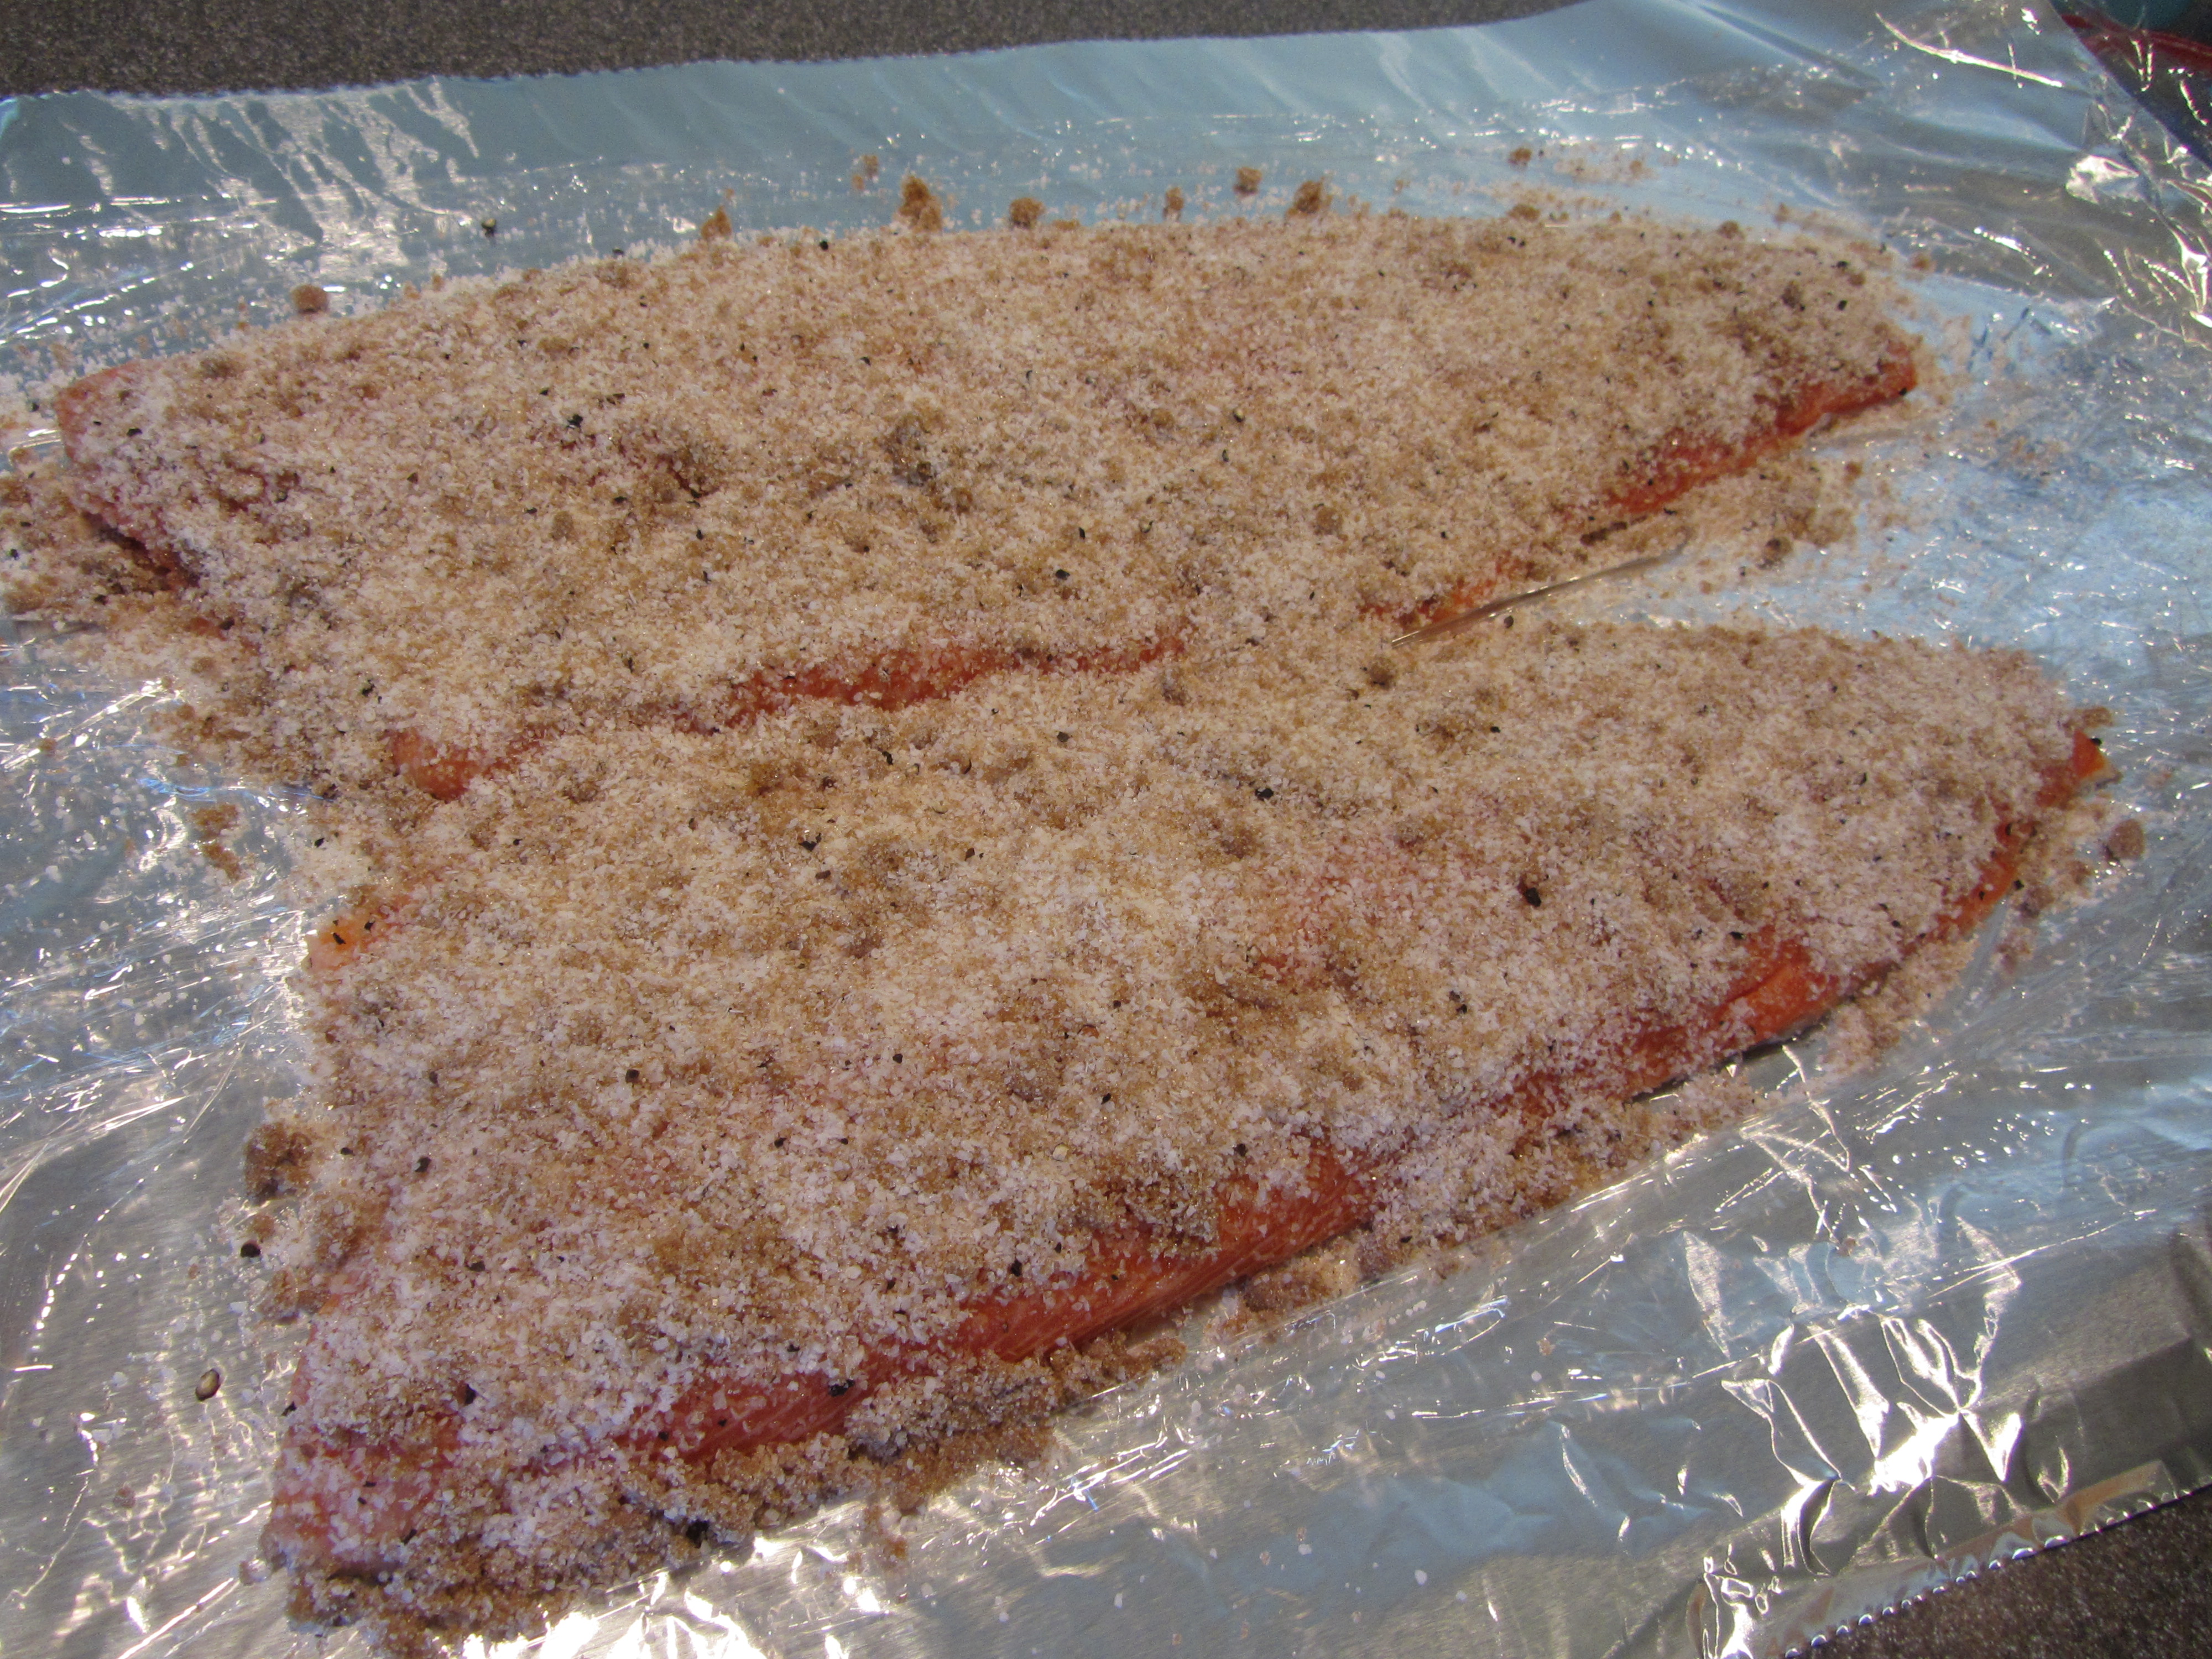
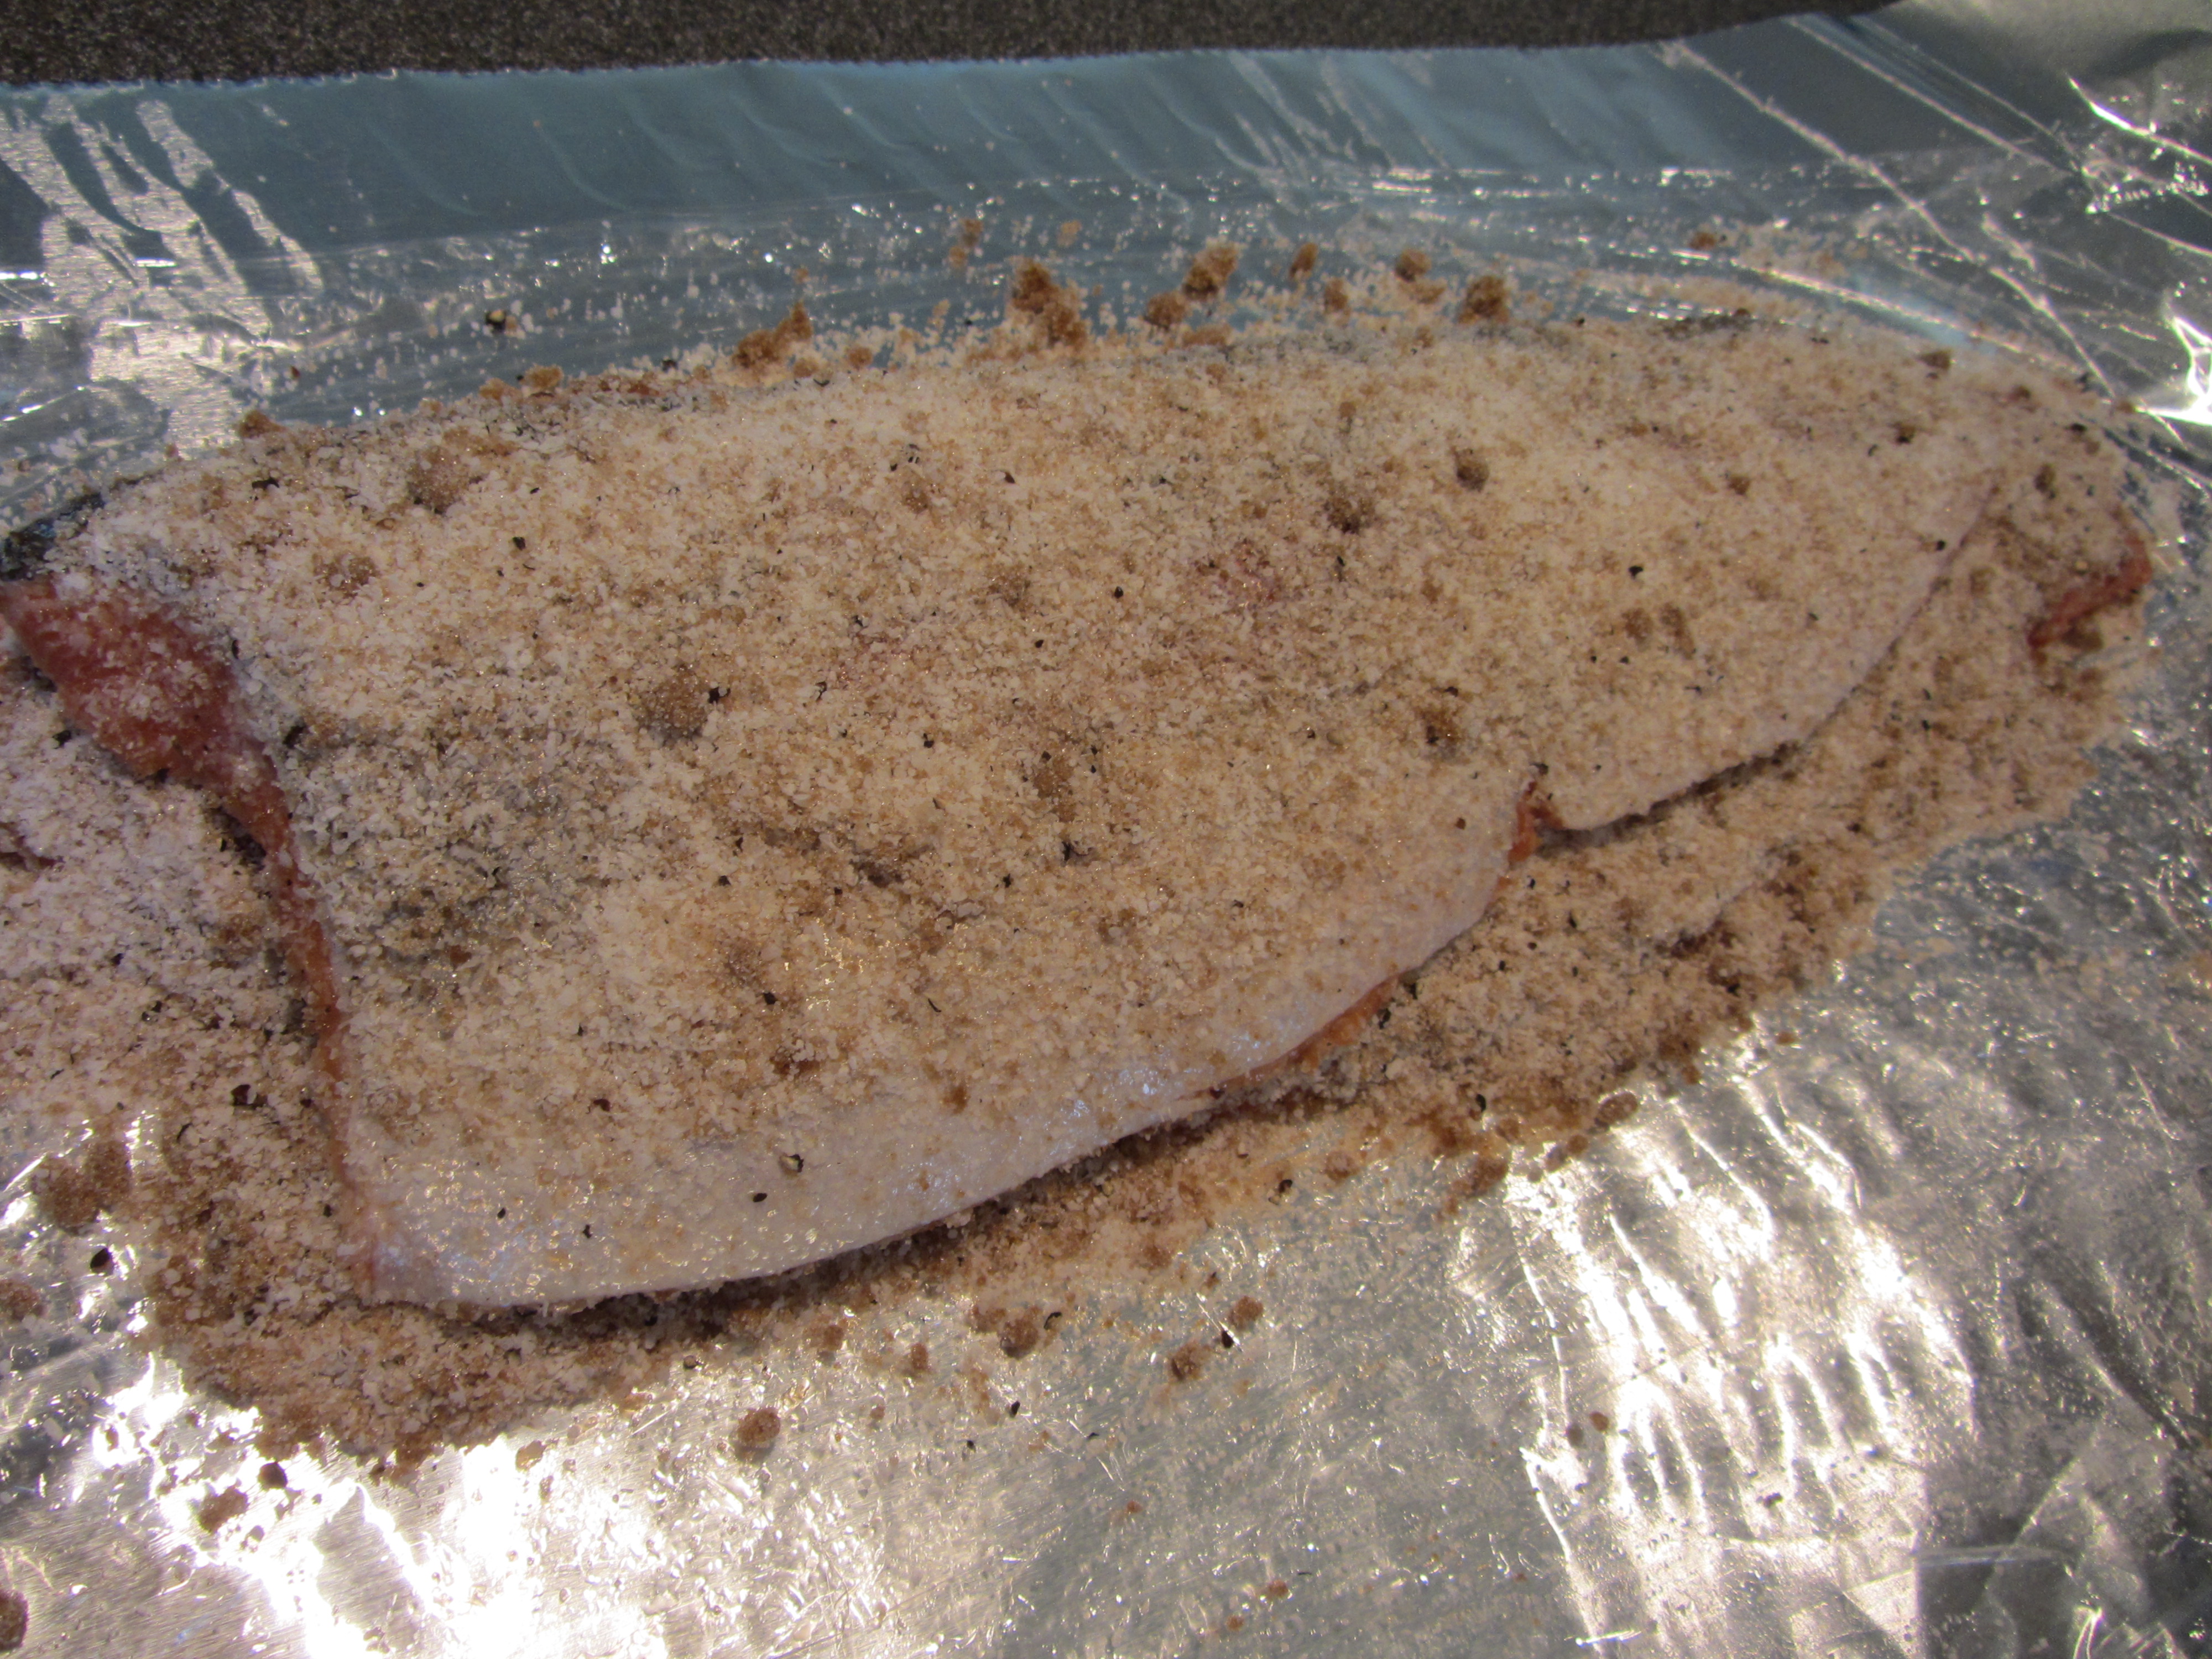
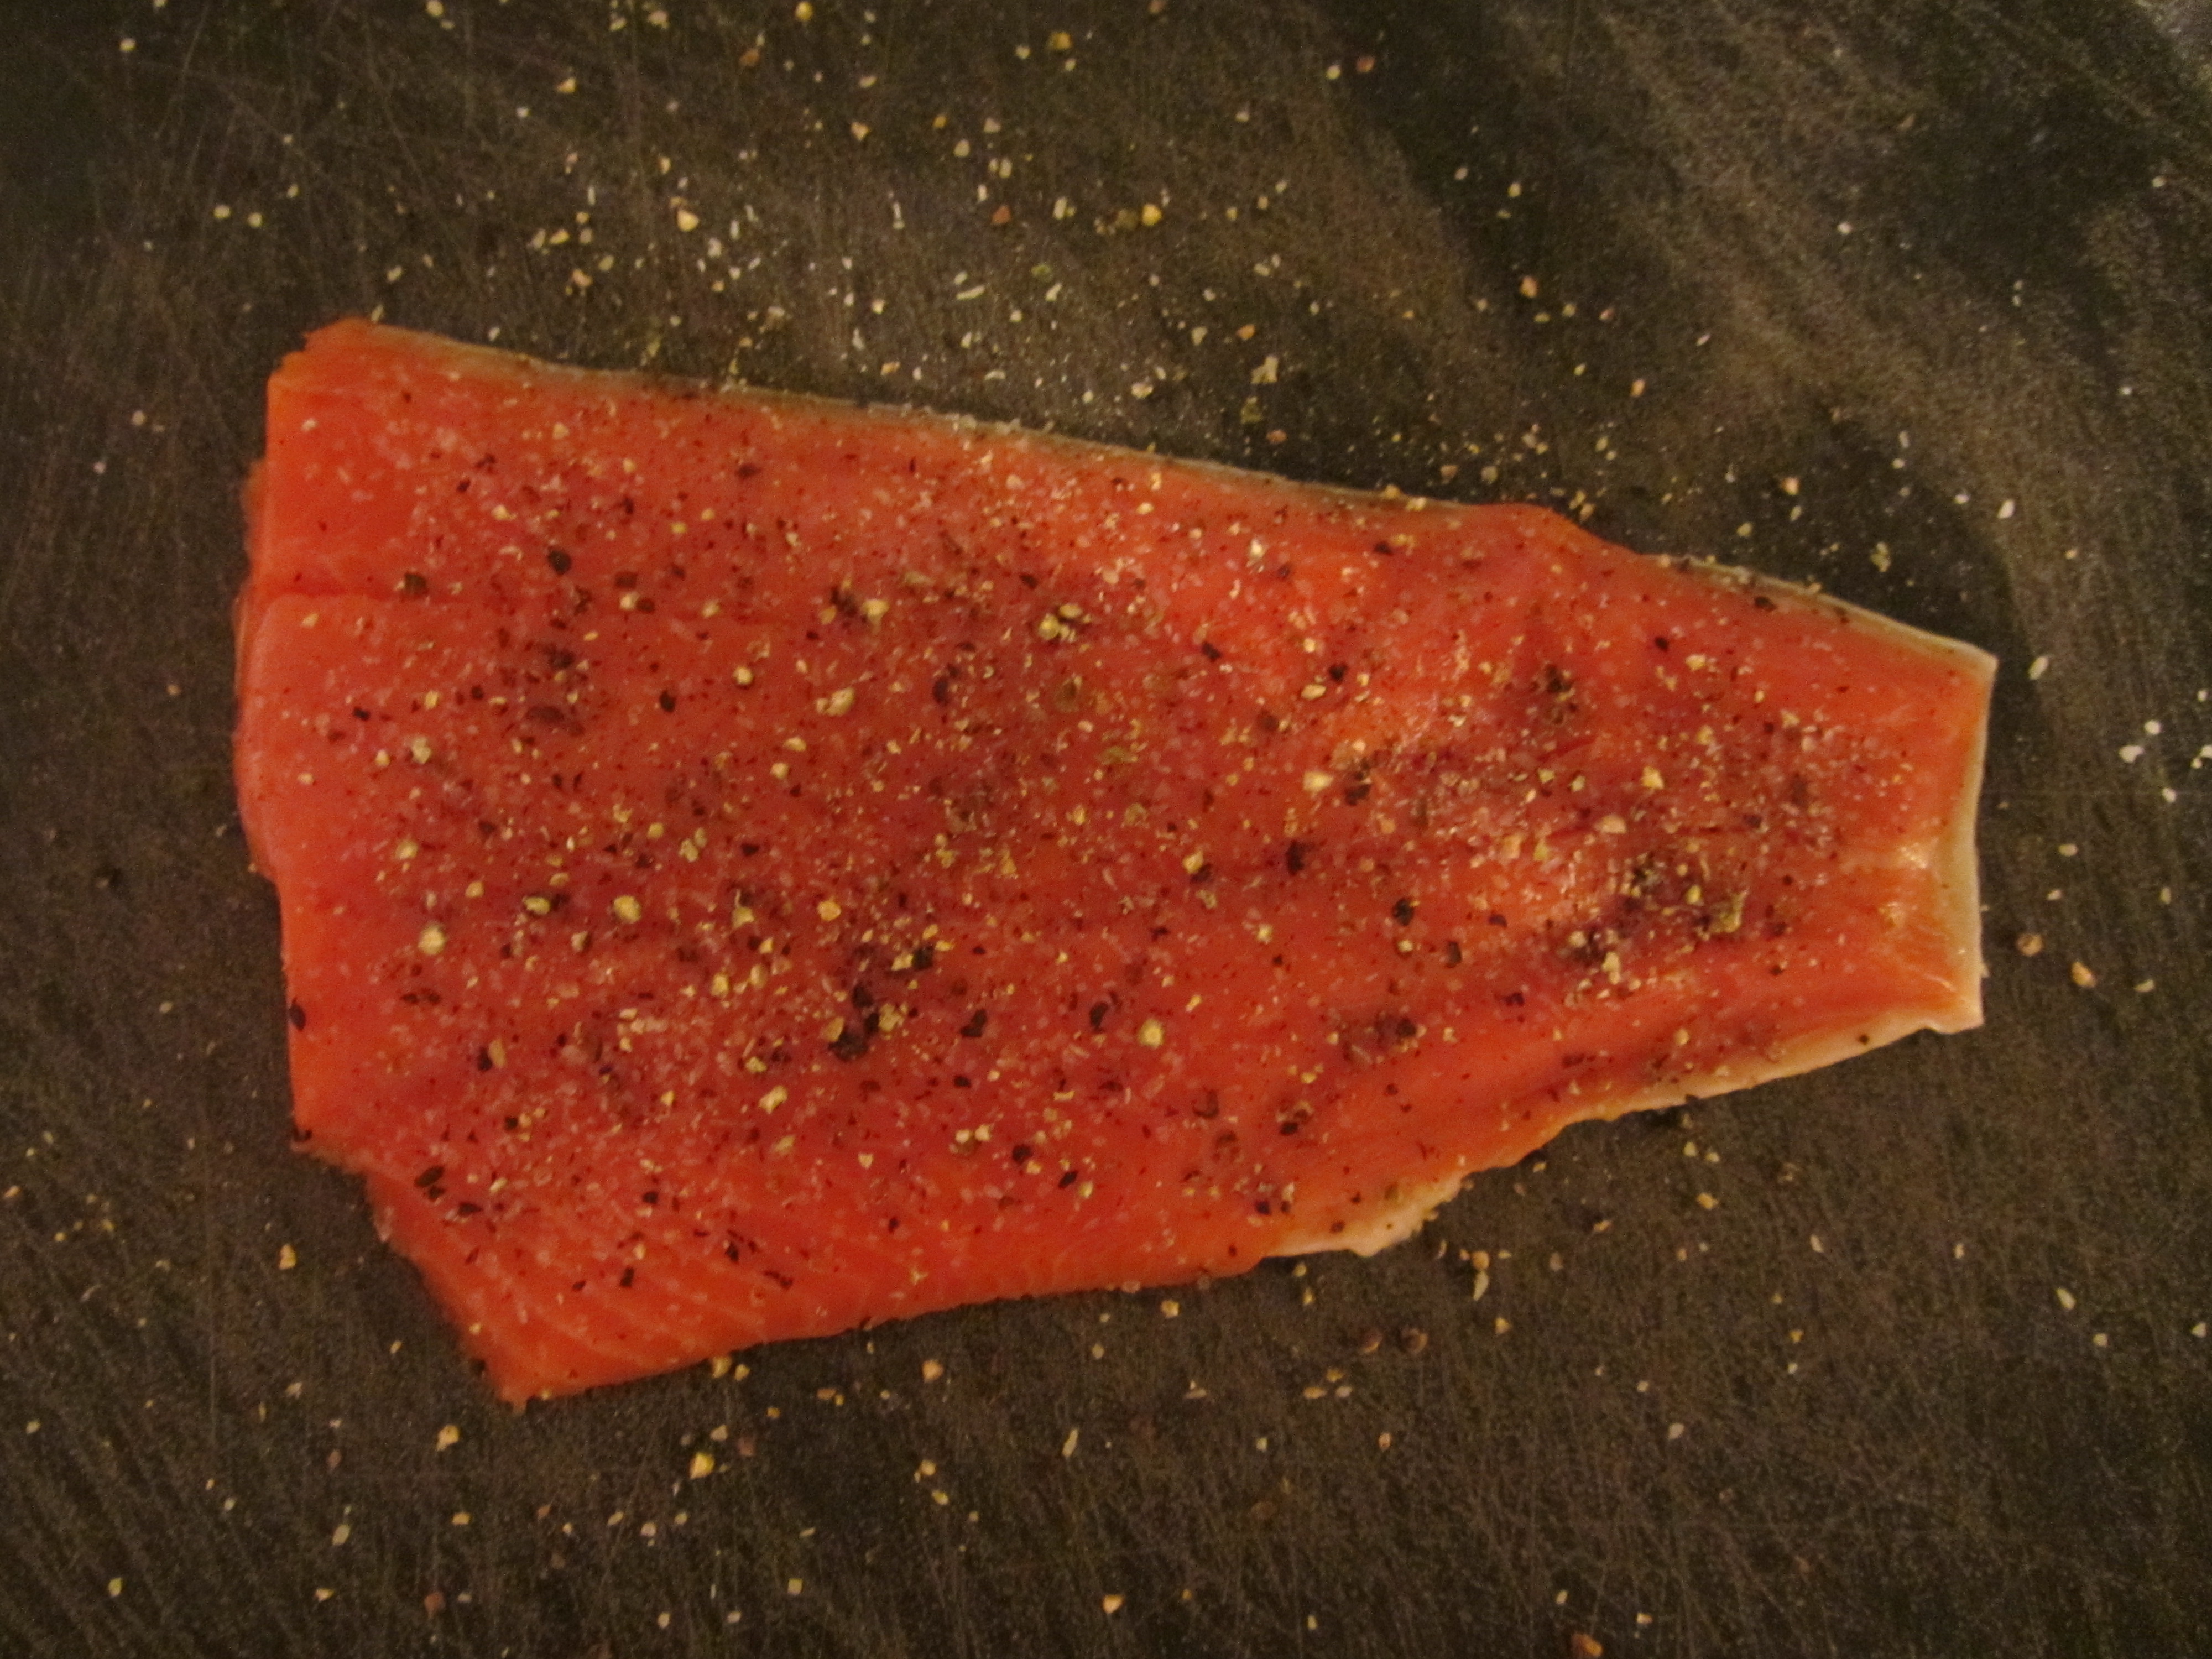
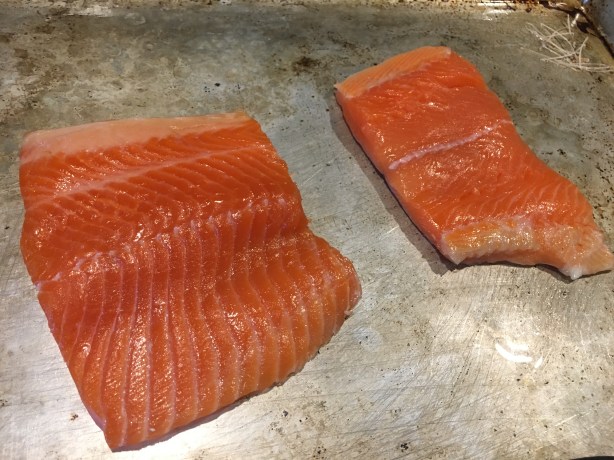
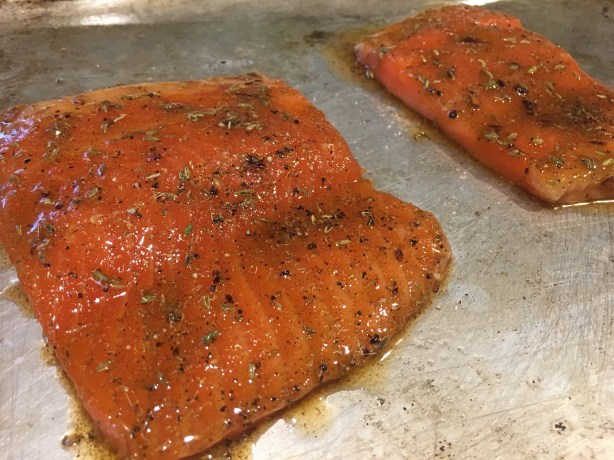
While the oil heats, heat the oven to 350 degrees and season 1 1/2 to 2 pounds of fish fillets with Kosher salt and pepper.

IMG_2307(2)

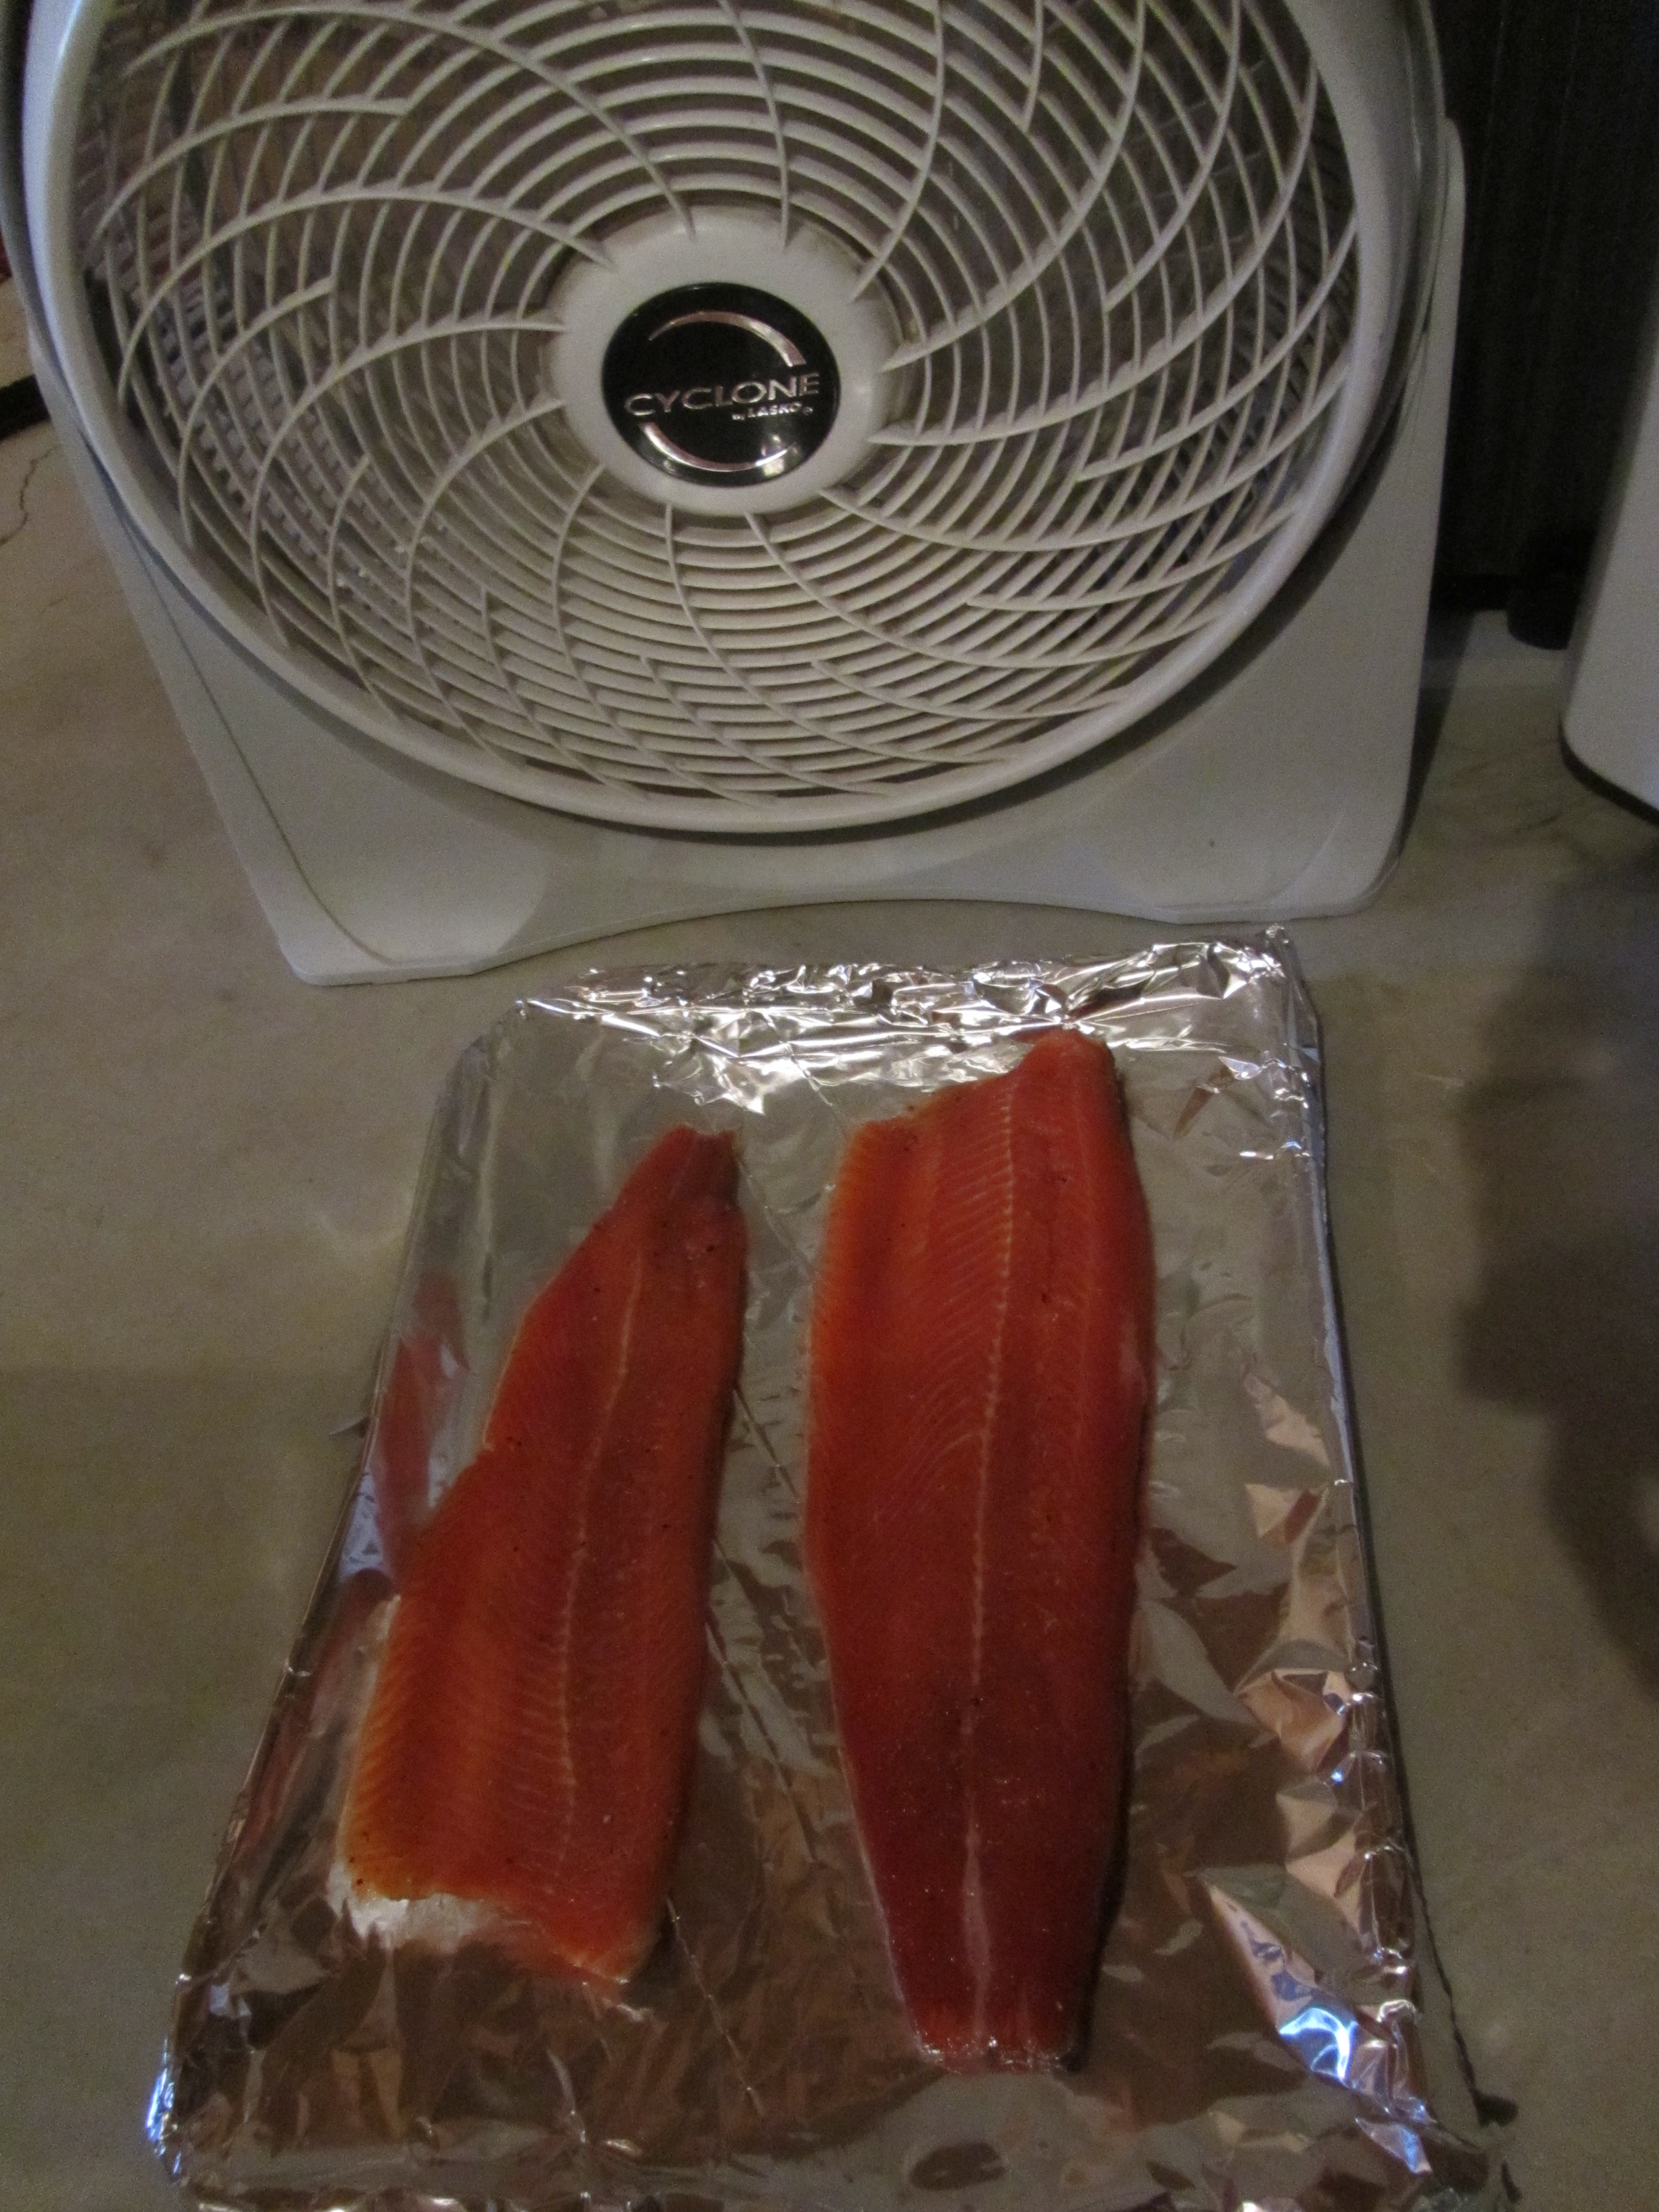
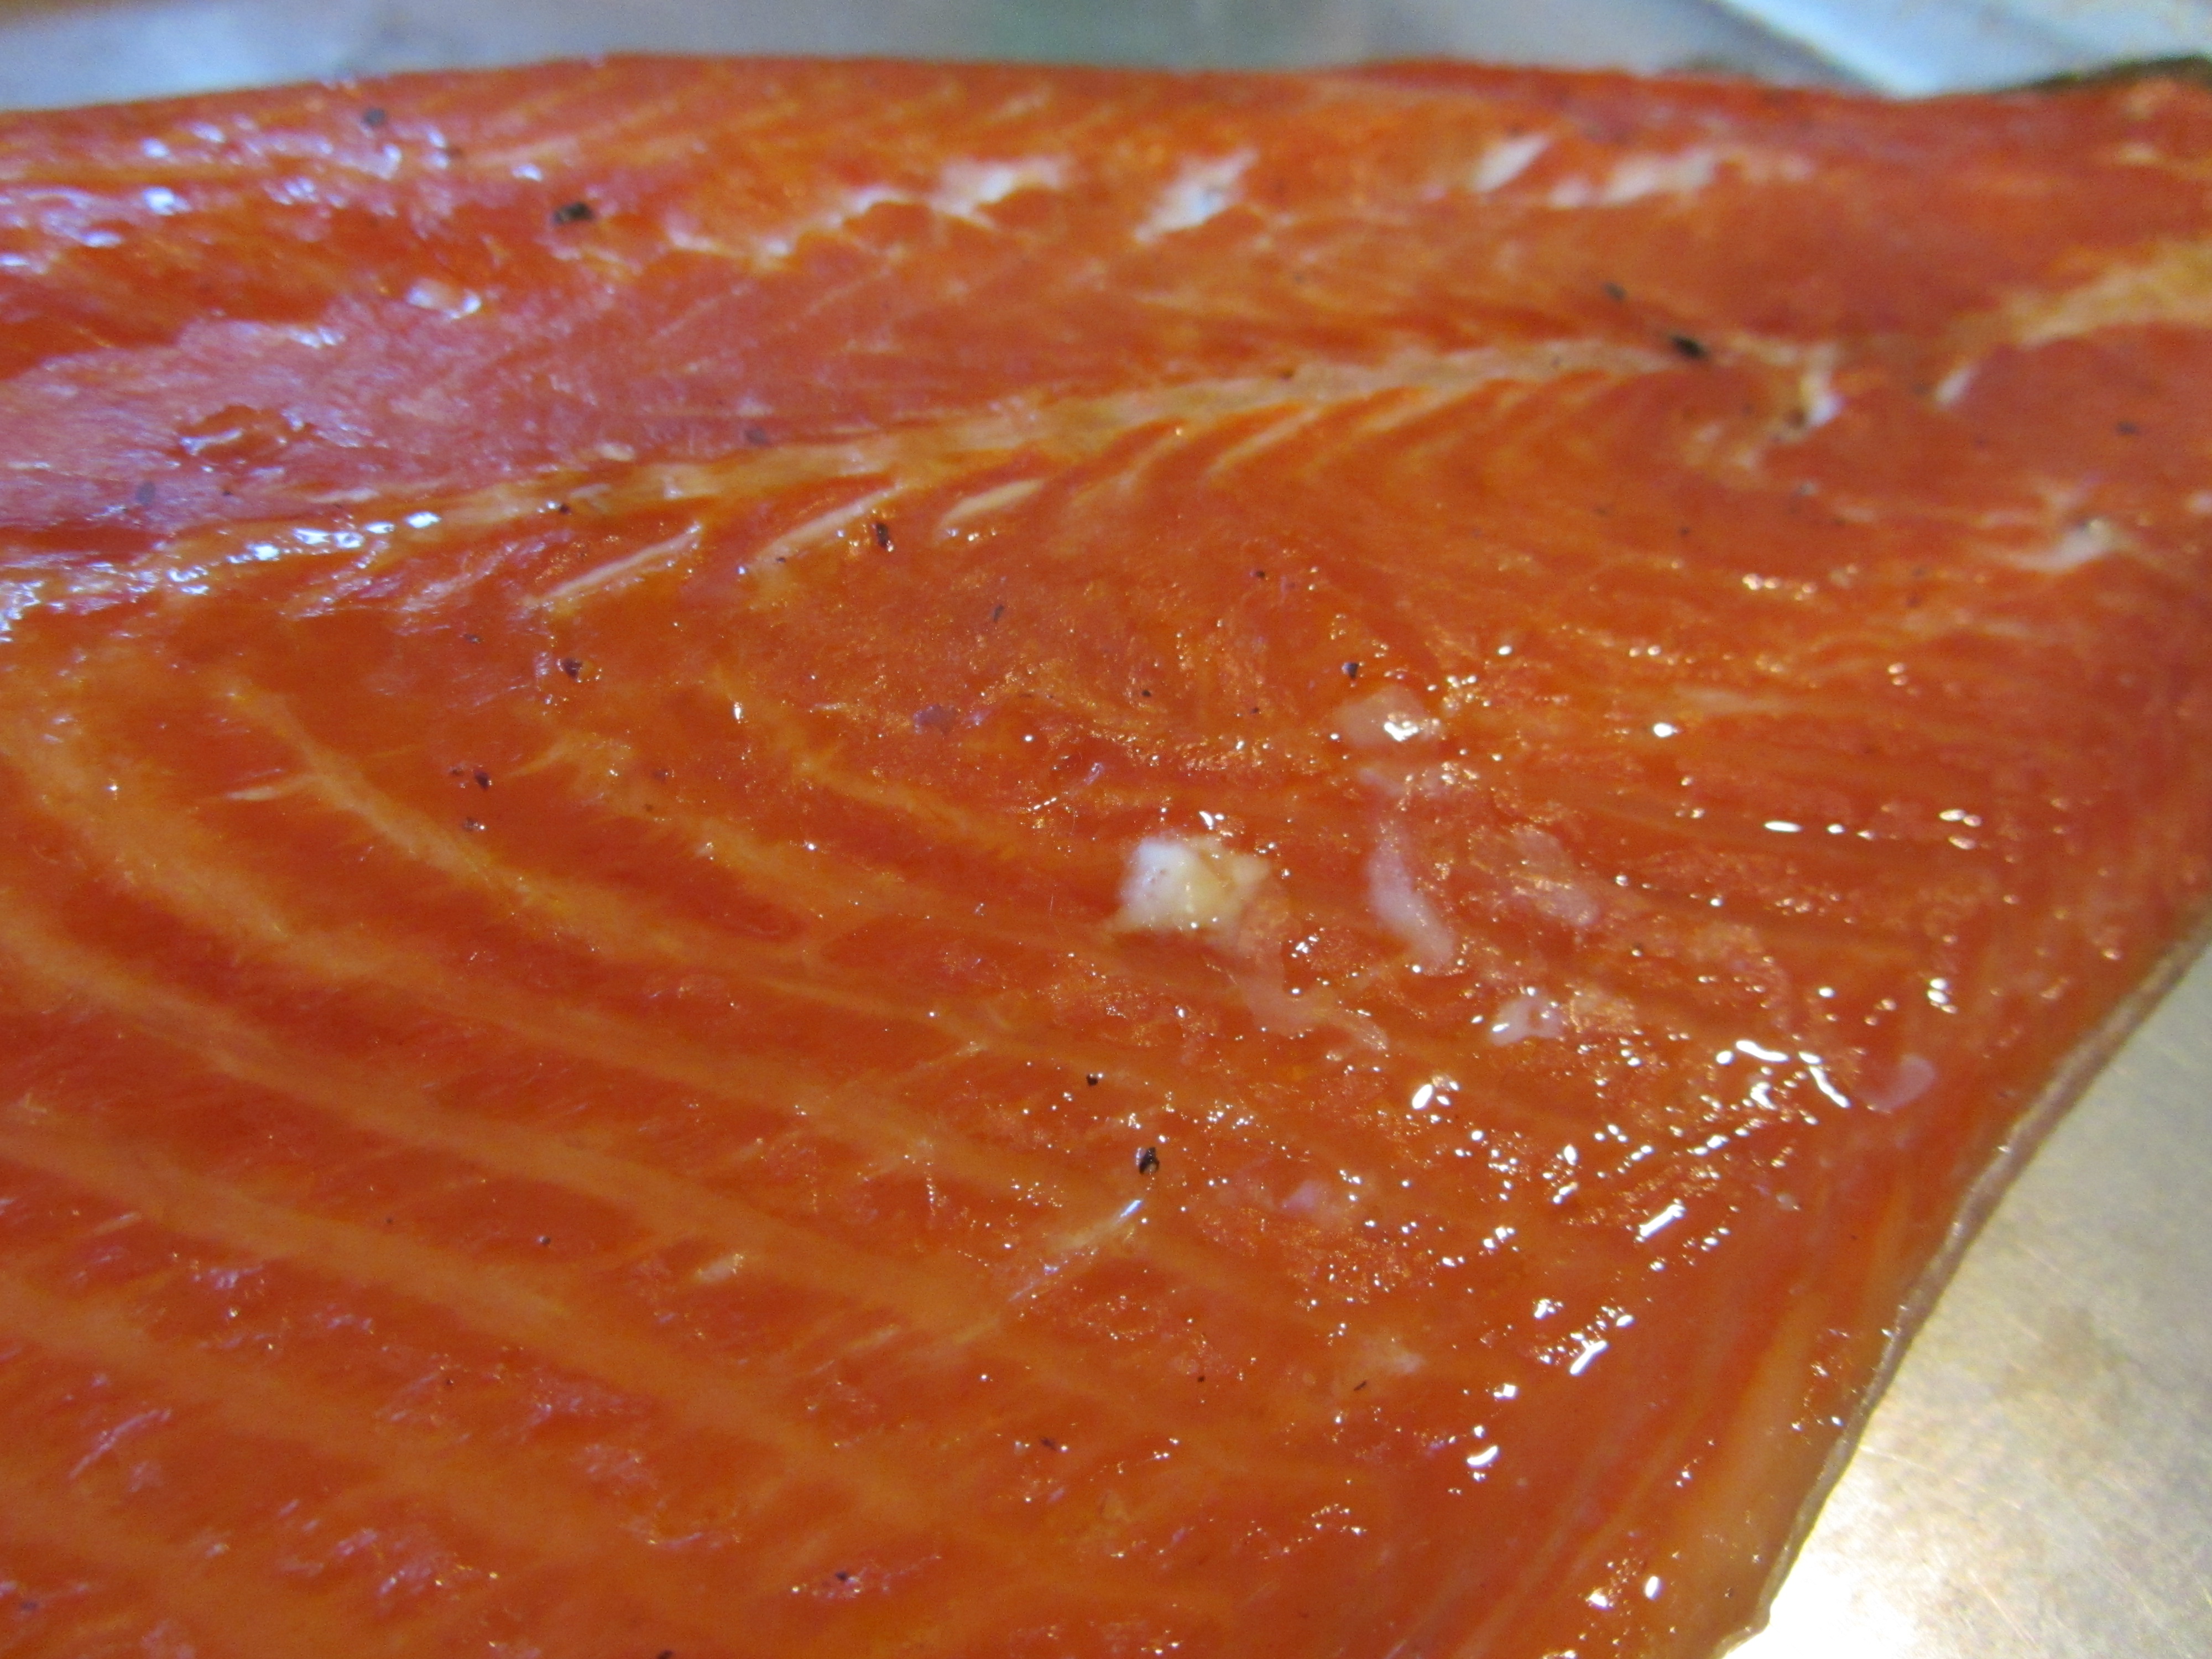
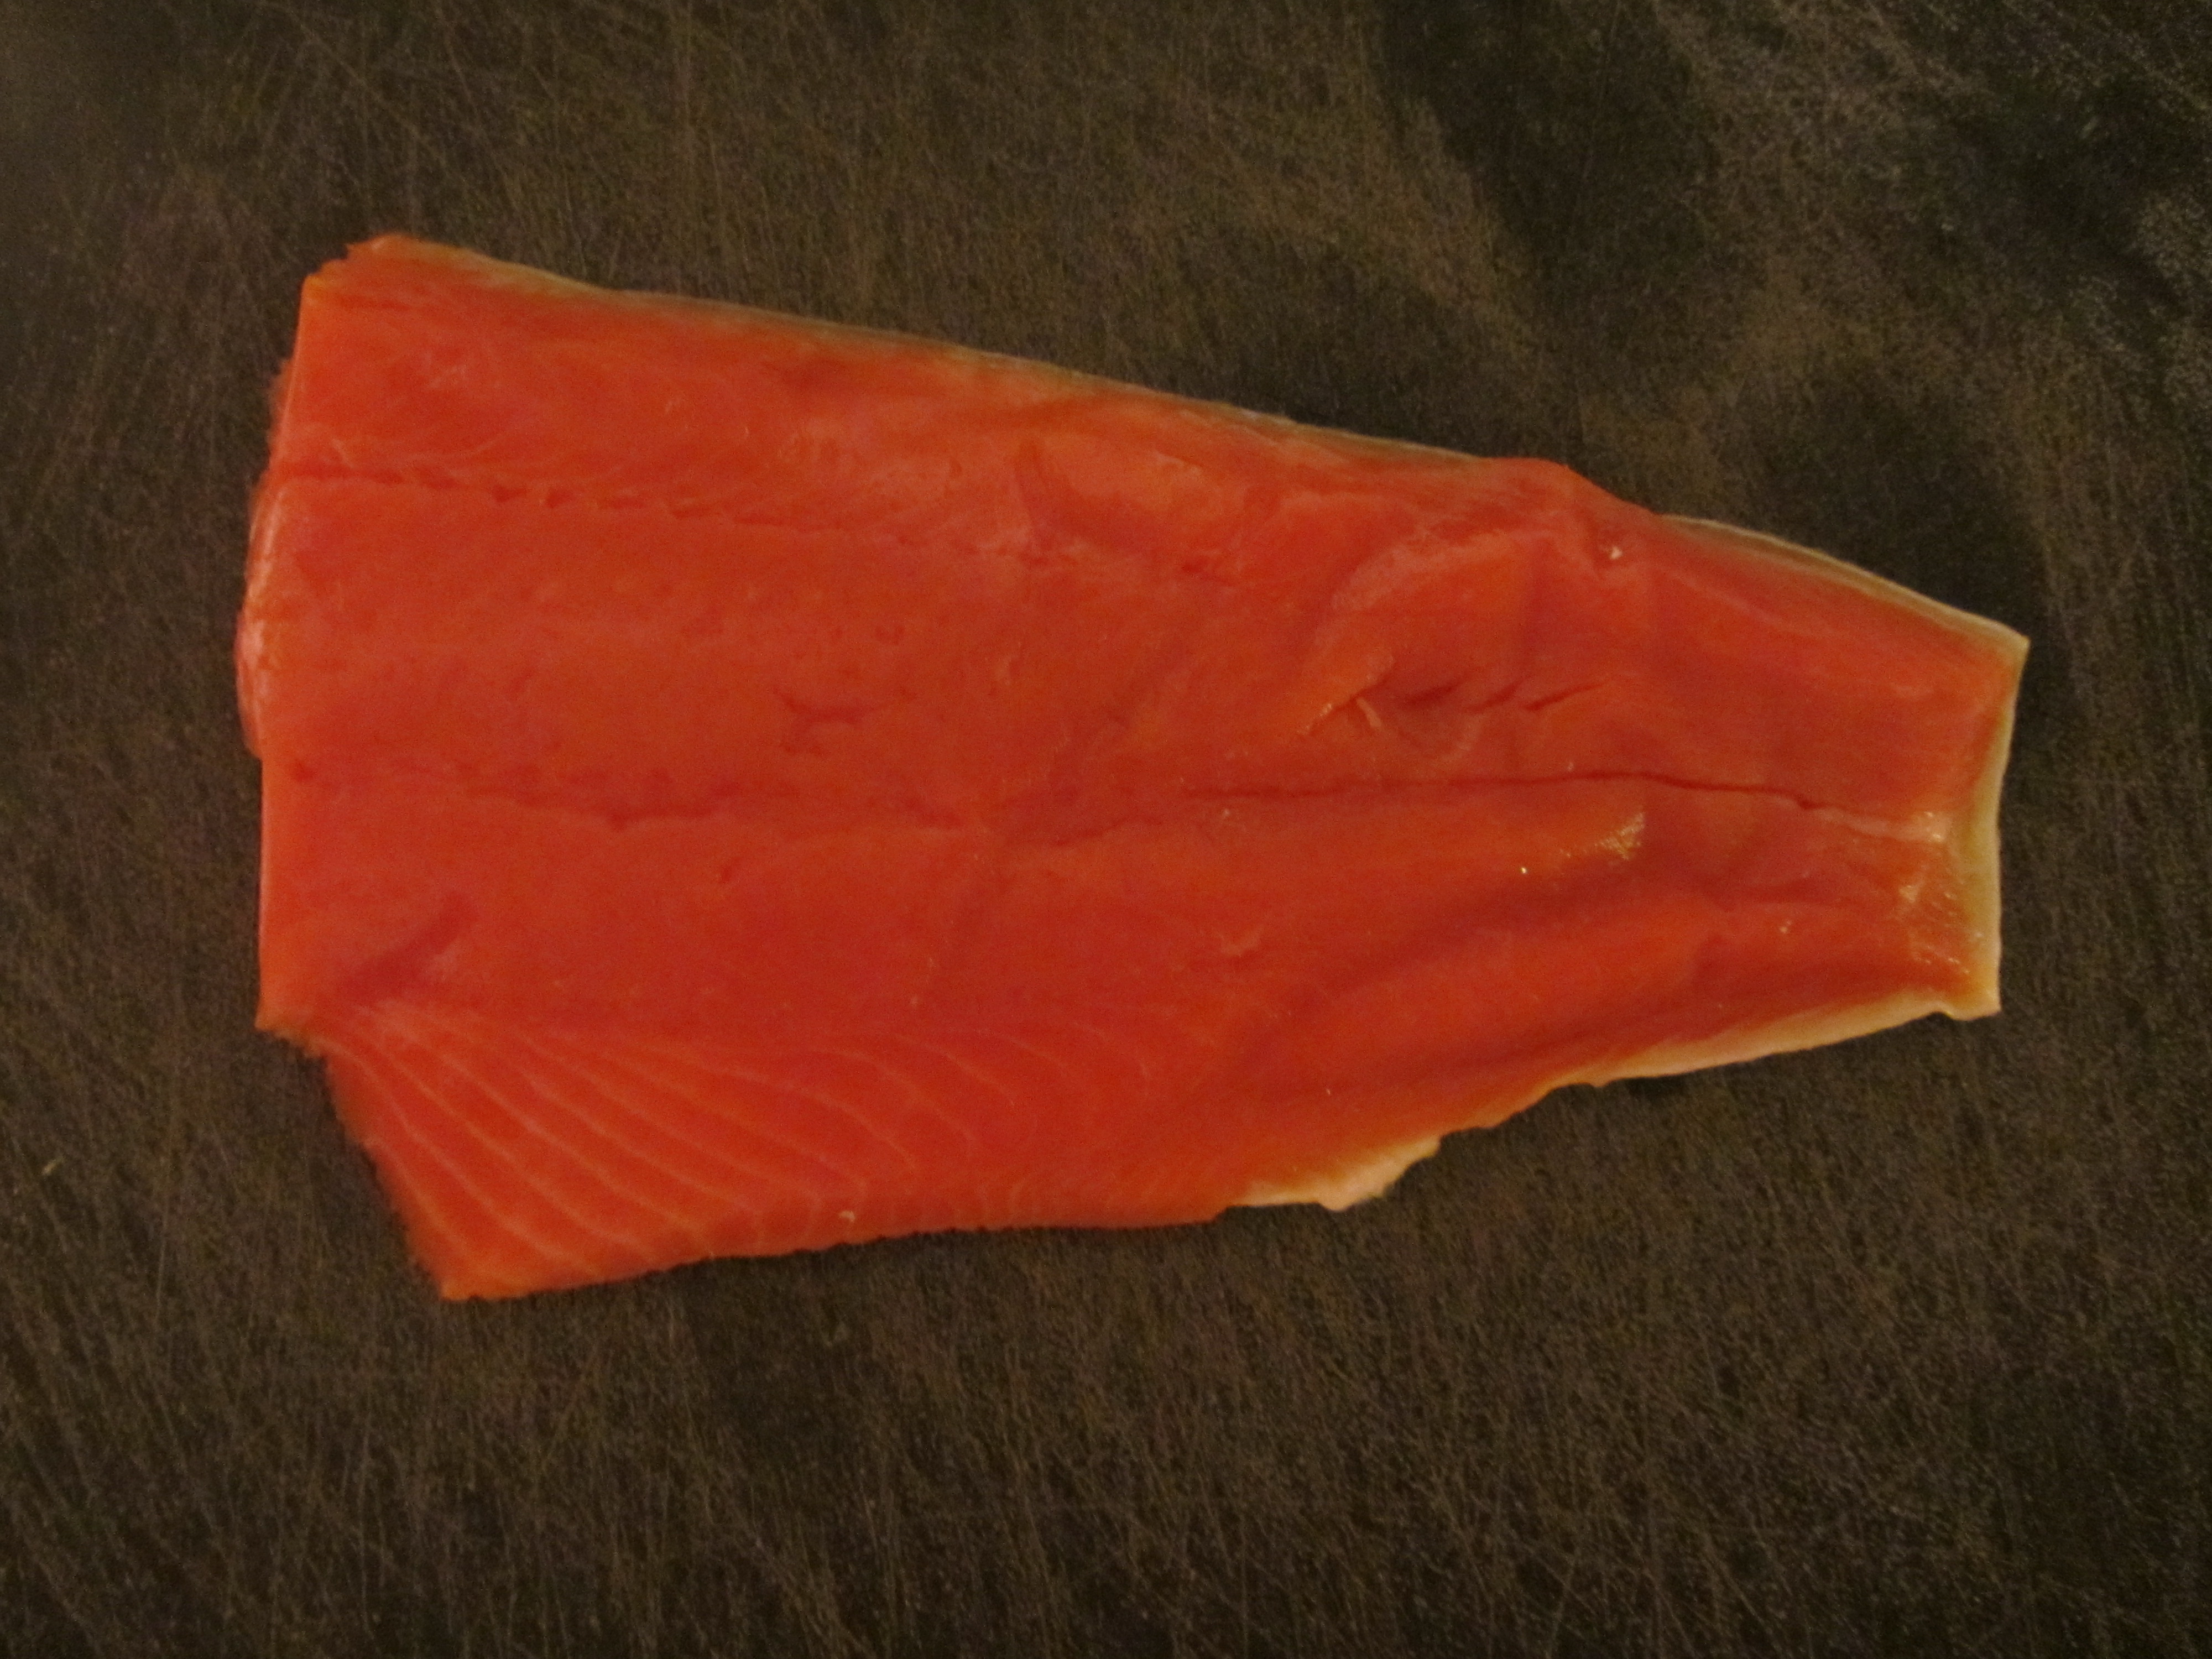
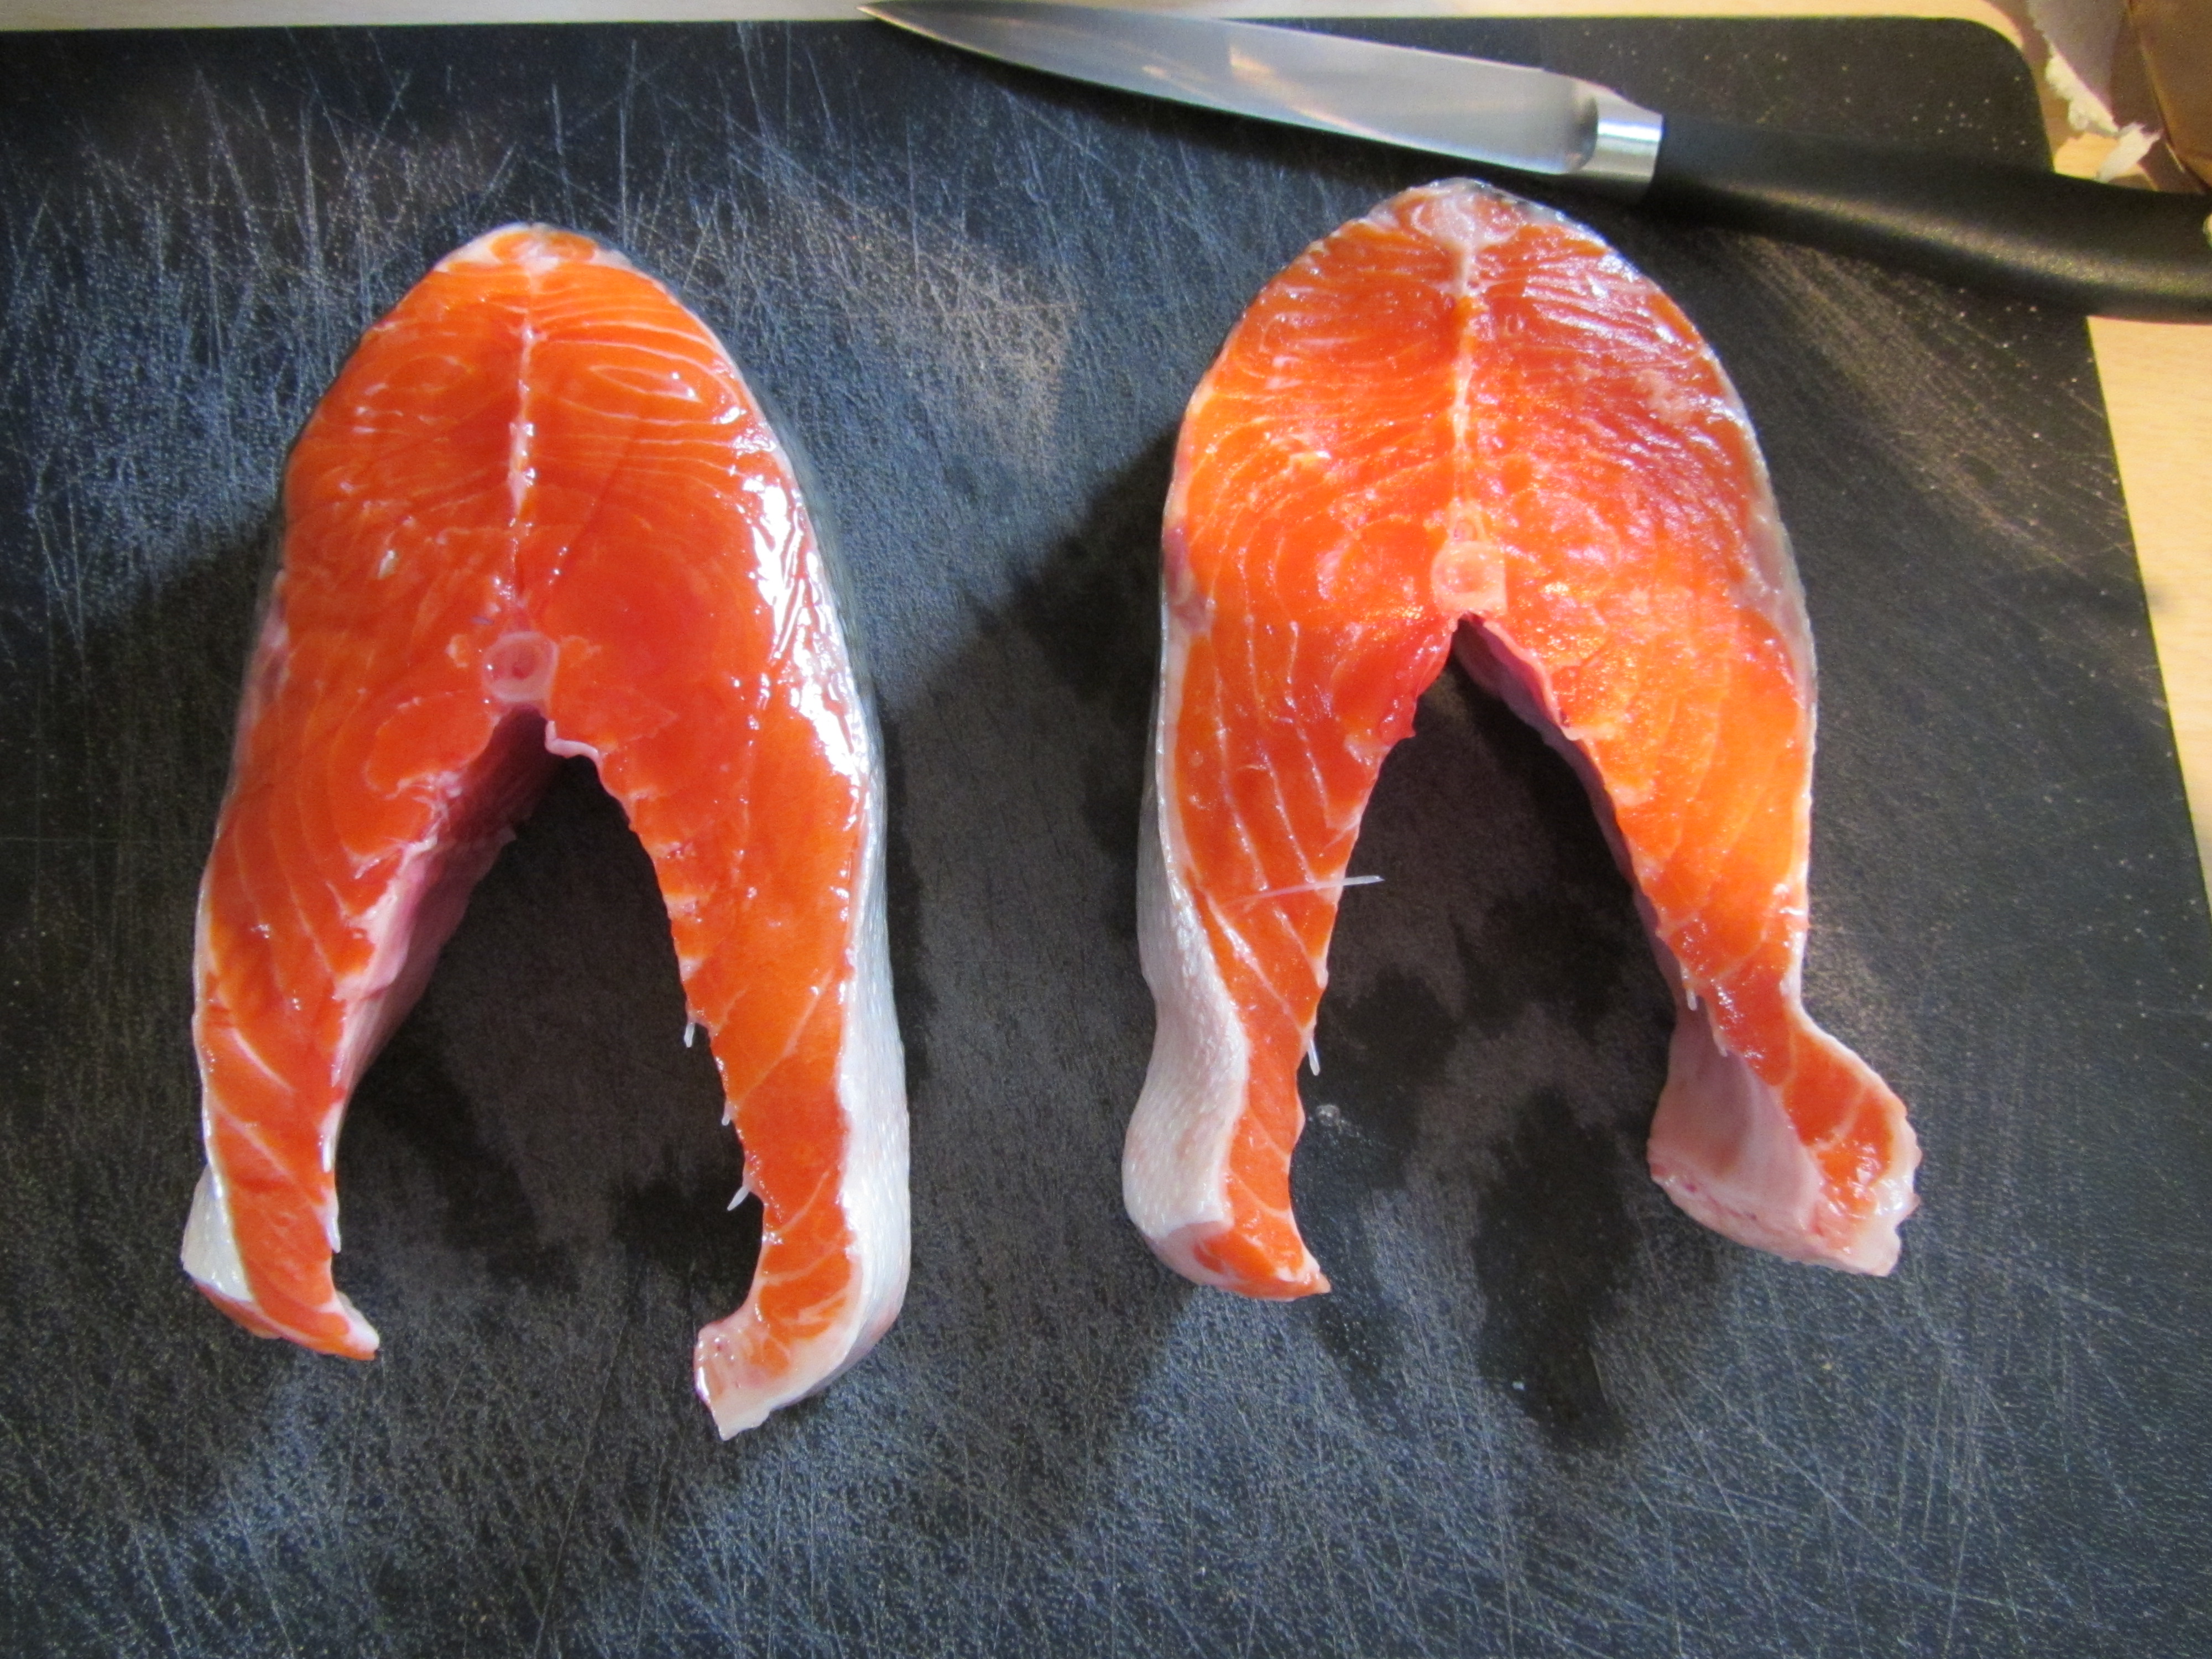
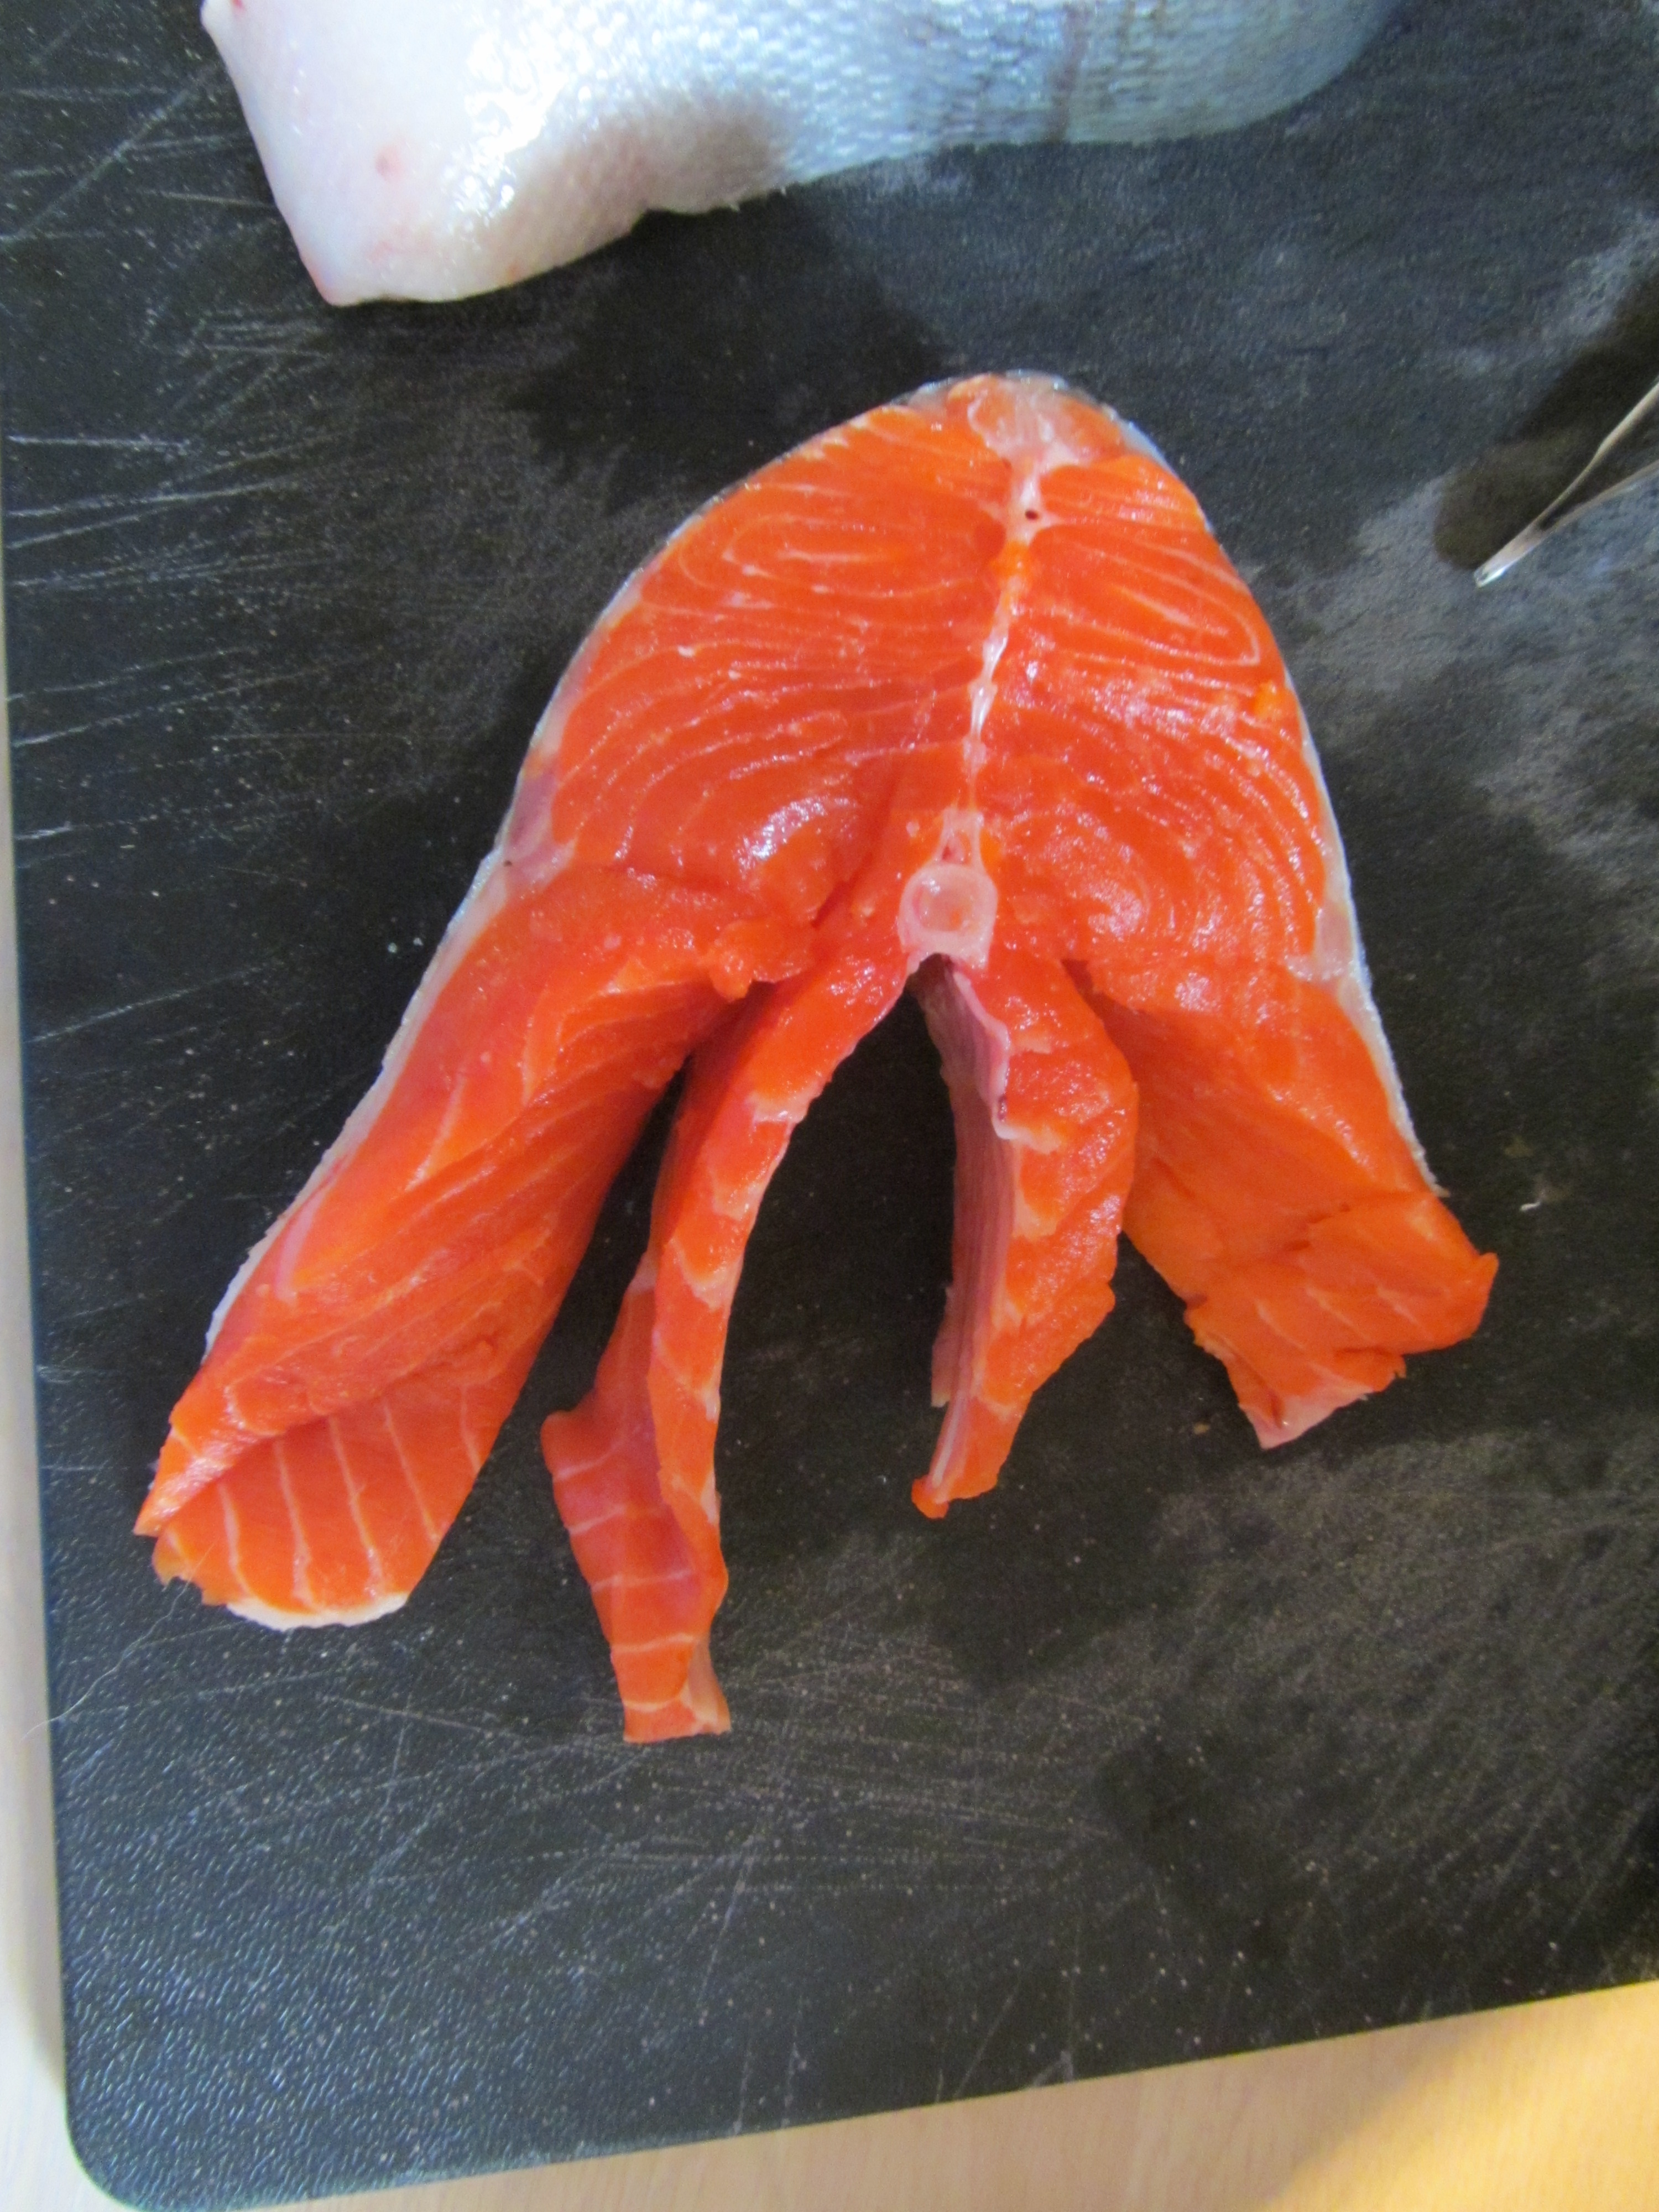
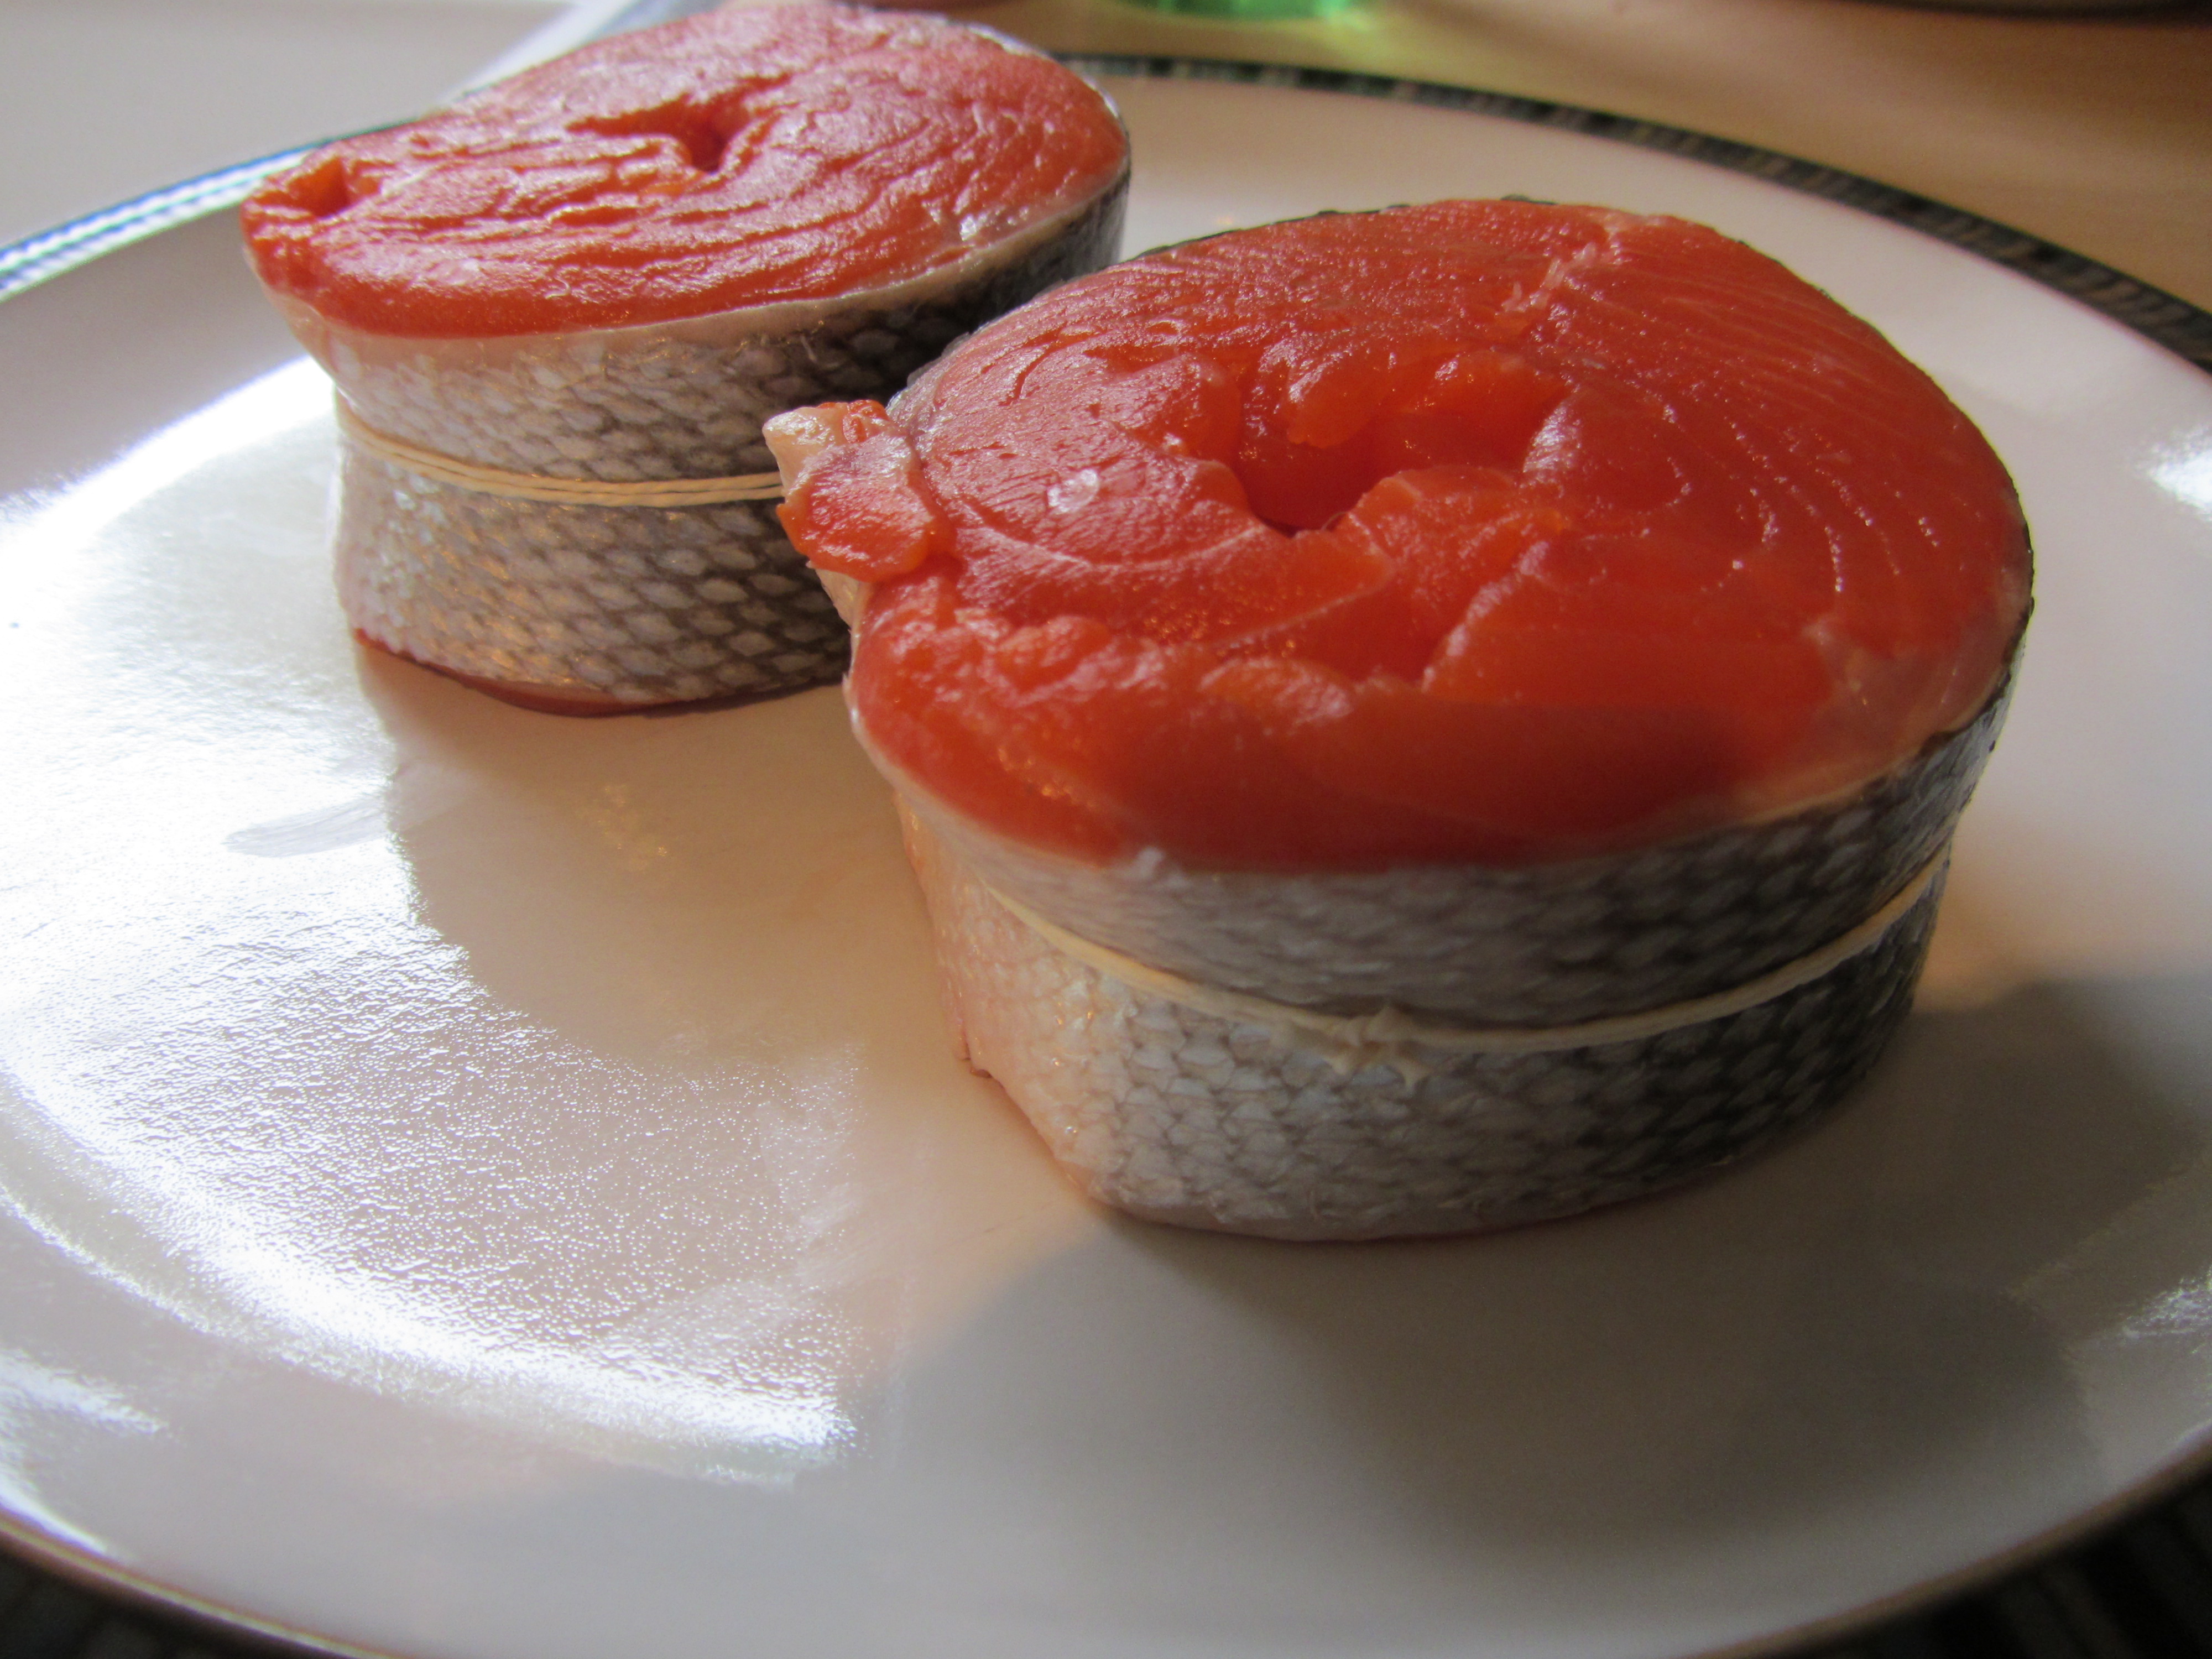
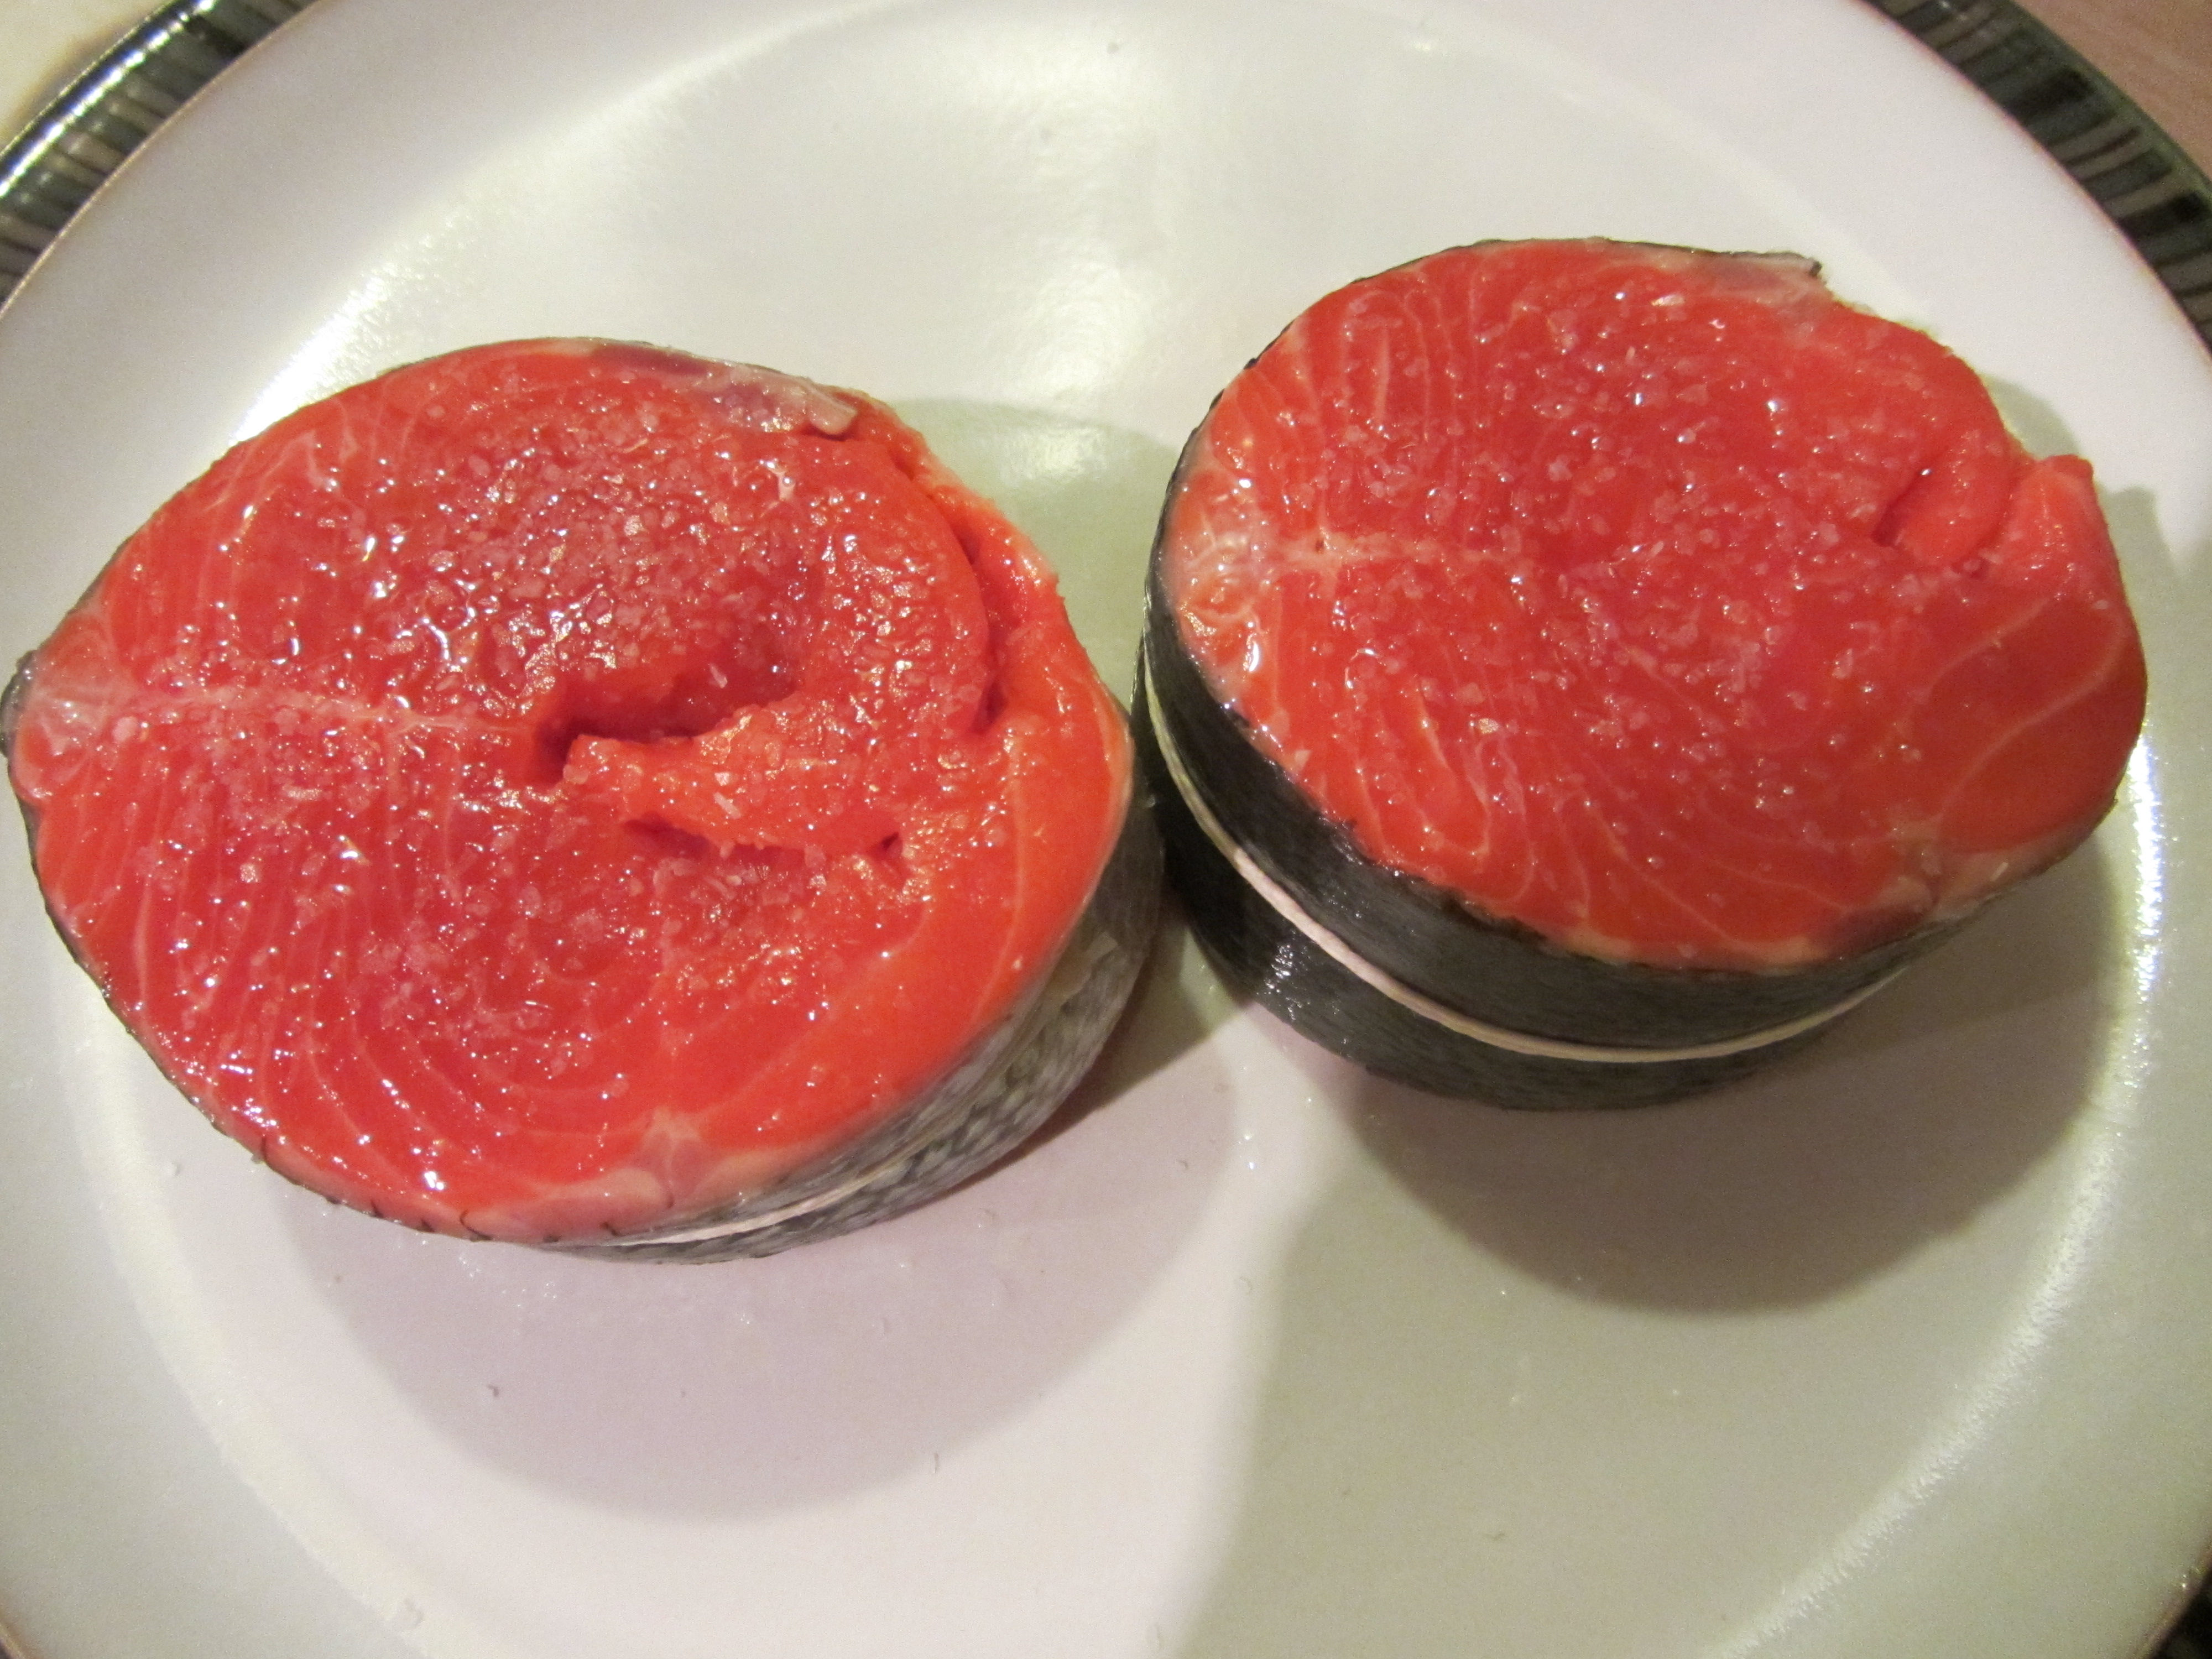
Salmon, seasoned with Kosher salt and pepper and cut into fillets.

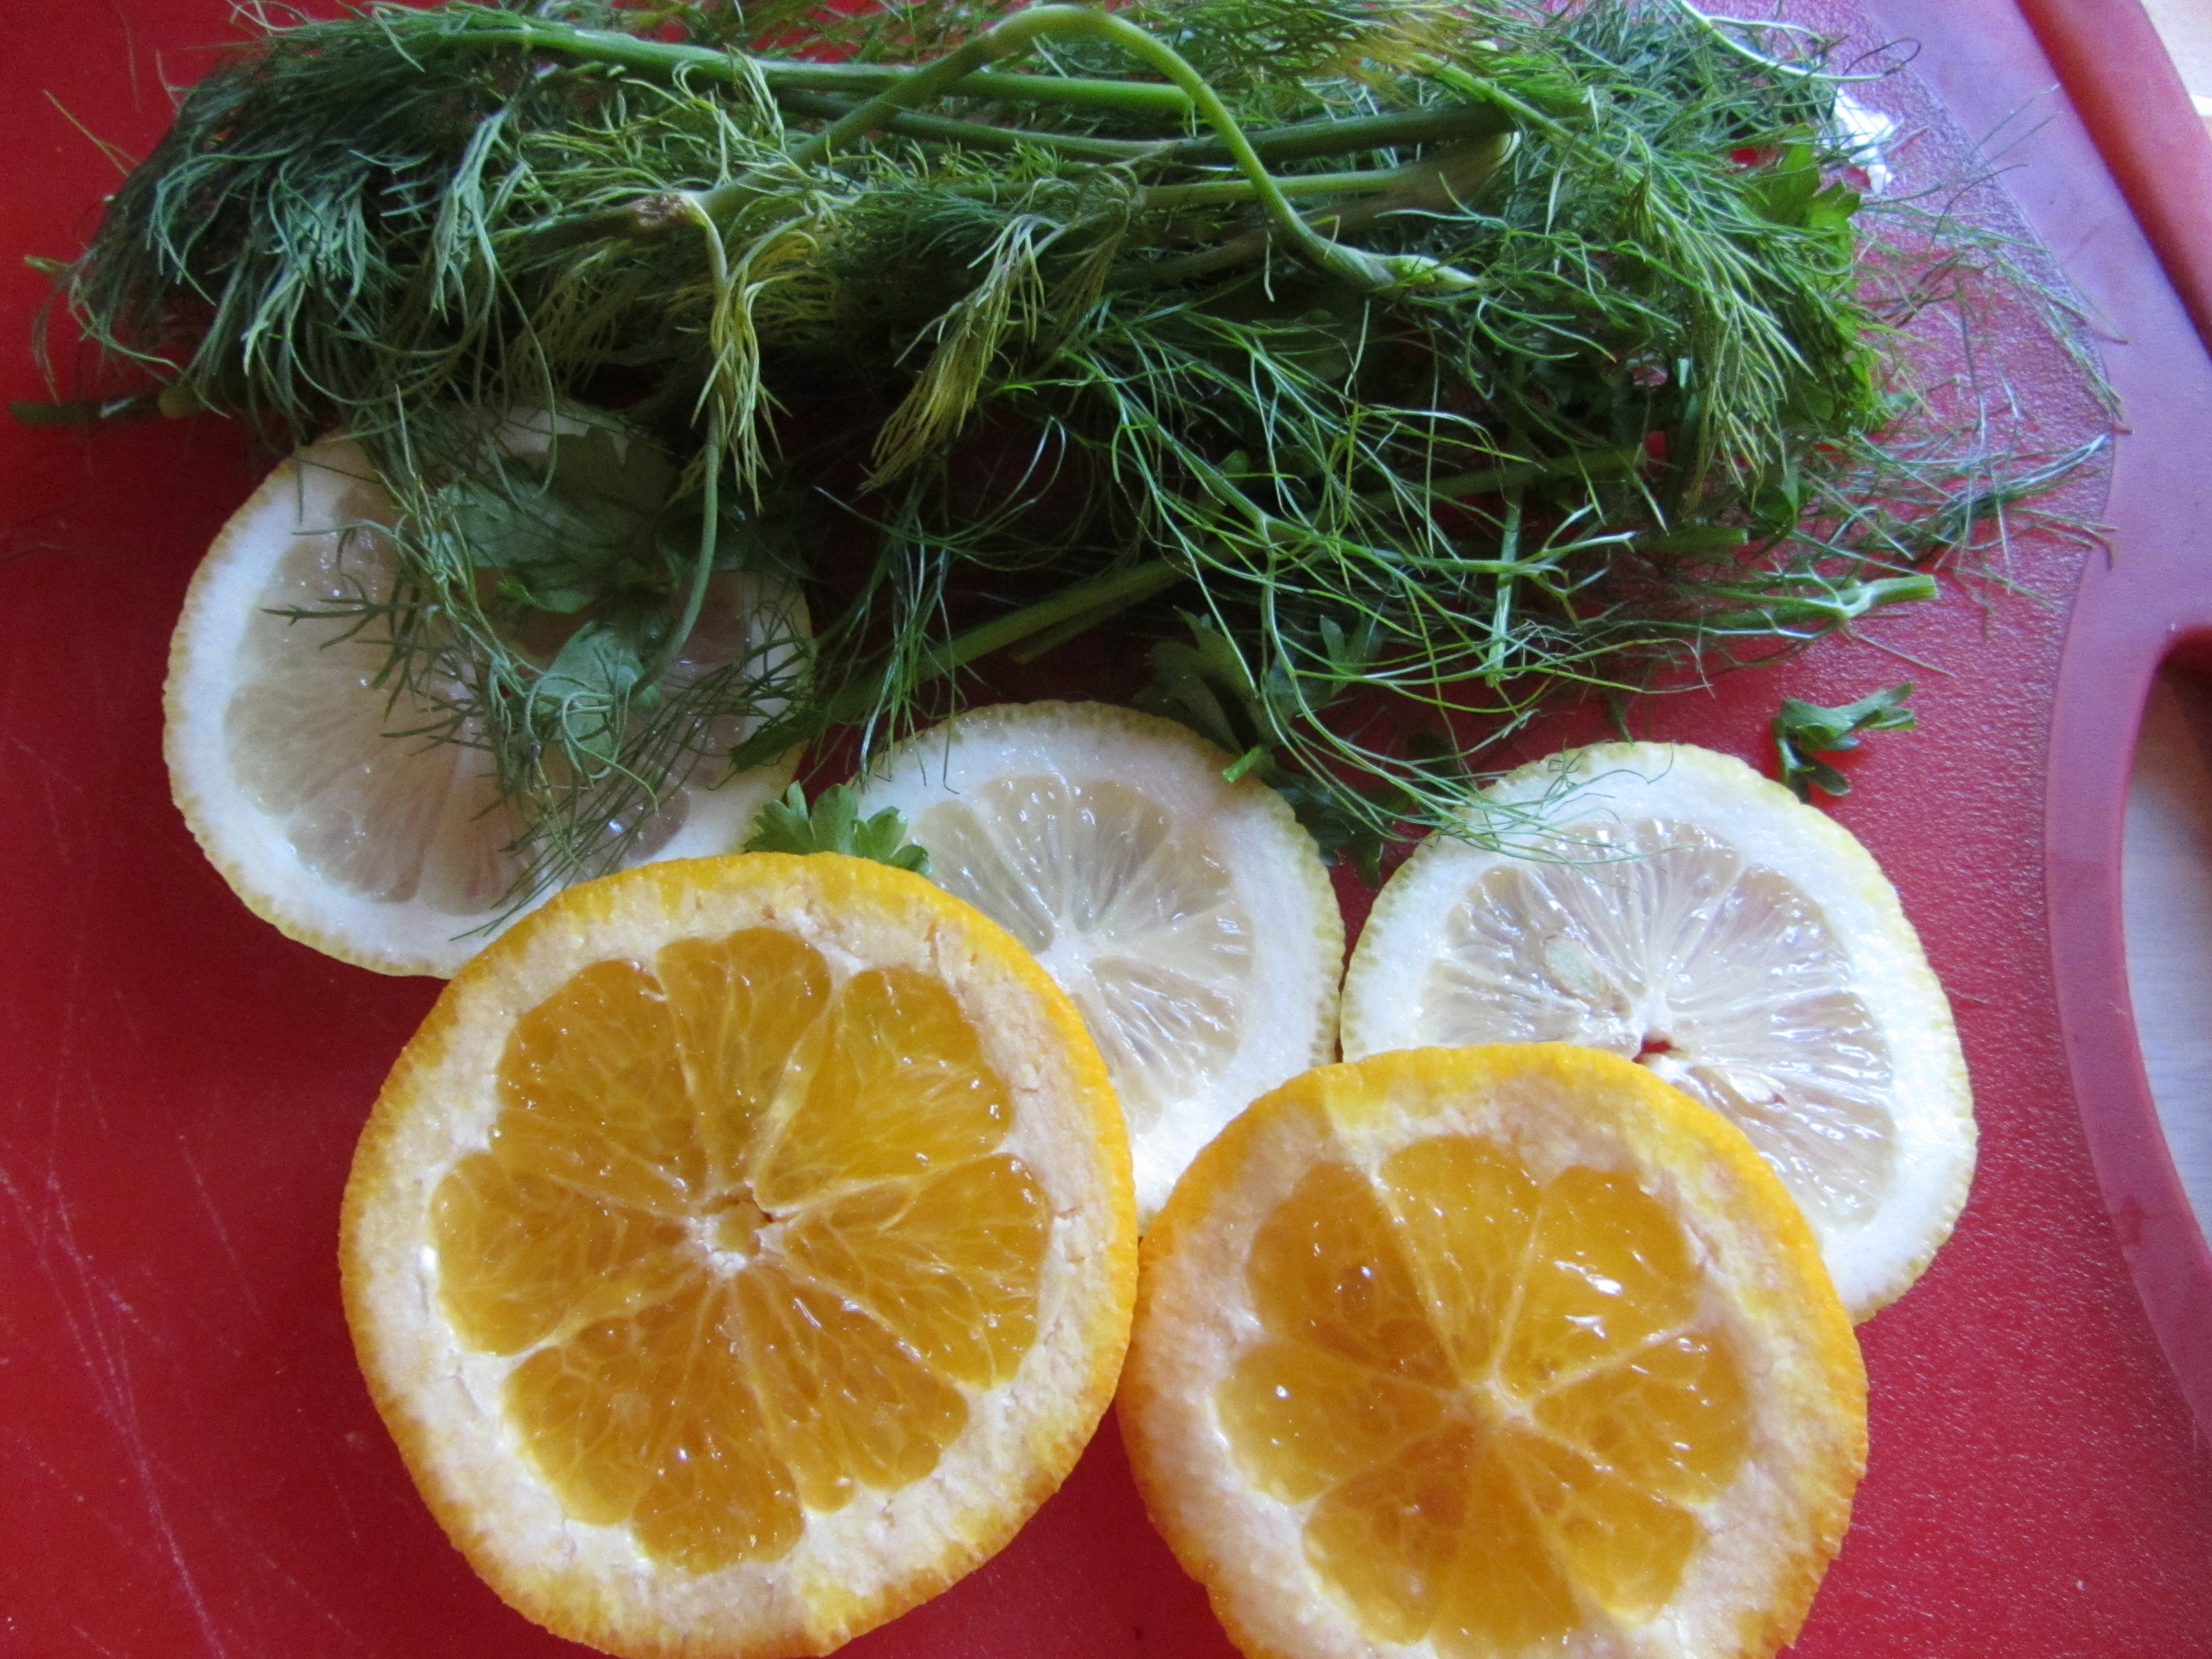
Thinly slice a lemon and line the bottom of a cast iron skillet with the lemon slices. Top the lemon slices with a few sprigs of fresh parsley.

IMG_2304(2)

A layer of lemon slices and parsley in a cast iron skillet.

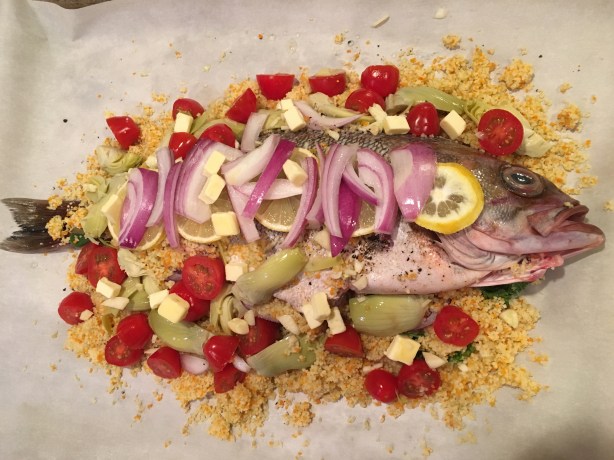
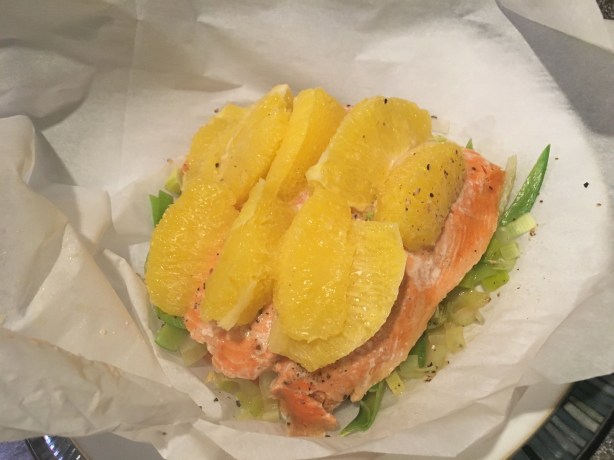
Place the fish fillets on top of the parsley and top the fish with another layer of thinly sliced lemon and a few more sprigs of parsley. Make sure your parsley is not wet.

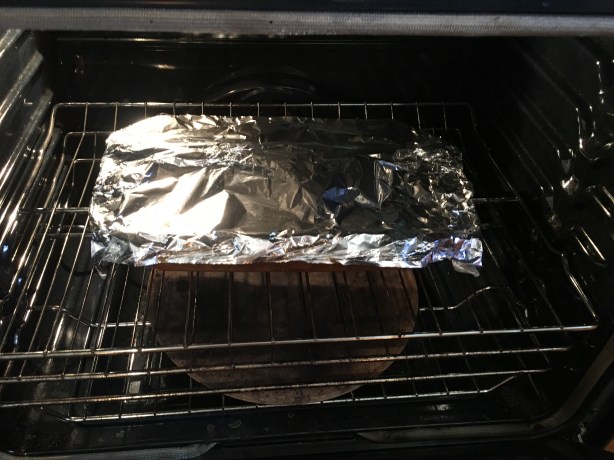
Place the skillet in the preheated oven and carefully pour the hot oil over the fish.

IMG_2318(1)

Skillet placed in oven and hot oil poured over.

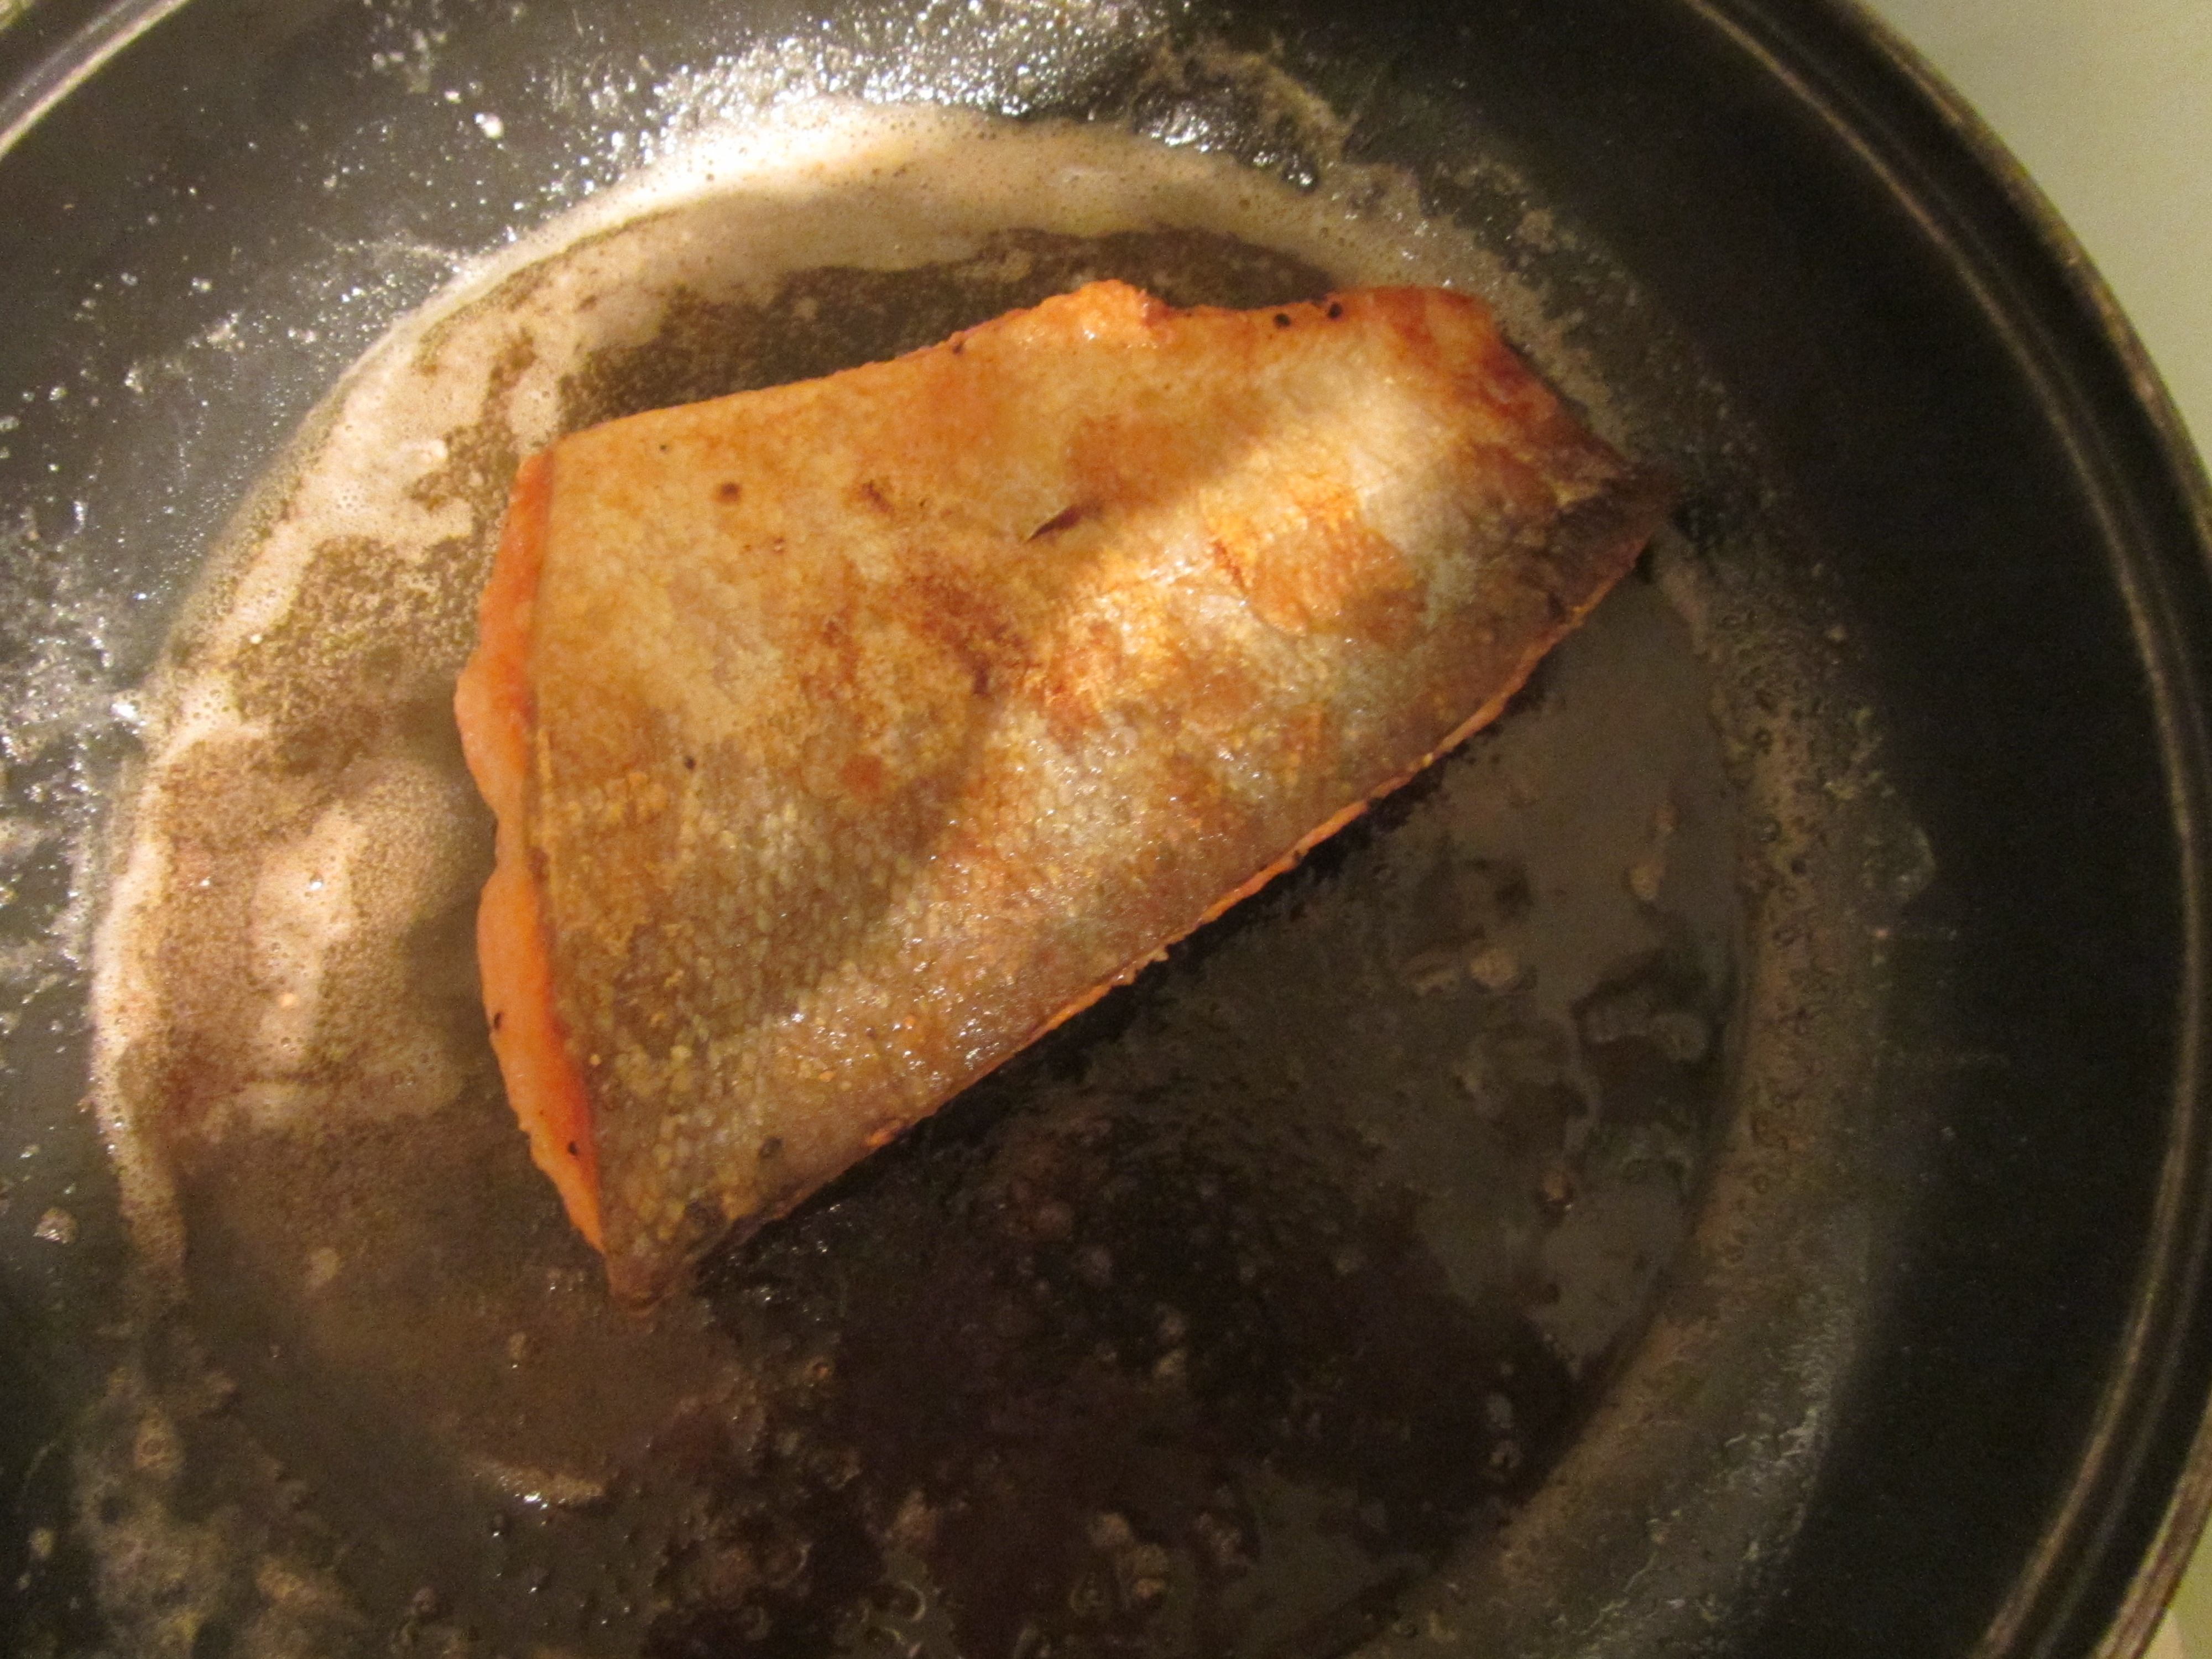
Let the fish cook for 10 minutes before removing it from the oven. Let the fish rest for five minutes before serving.

IMG_2321(1)

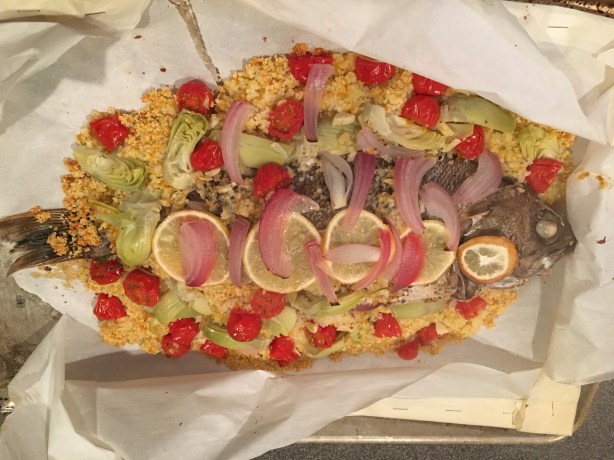
Fish after poaching for 10 minutes in the oven.

IMG_2322(1)

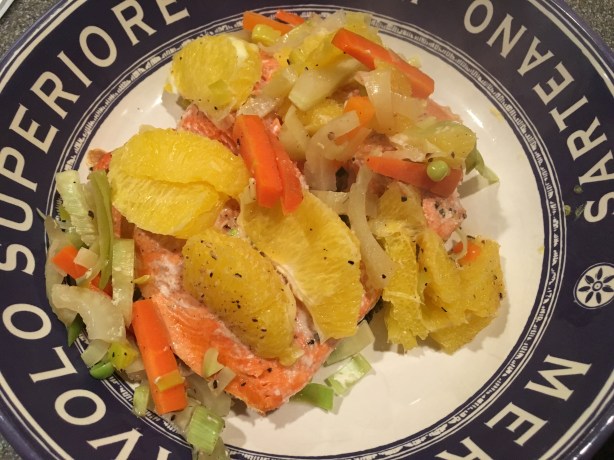
Alton’s oil poached fish.

You can strain and save the oil for later fish cooking. If you plan to make the next recipe, which uses leftovers from this recipe, be sure to save 1/2 C of the cooking oil and two of the lemon slices. My salmon turned out moist and flavorful, yet not greasy. I do think my fish was slightly overcooked, so I would be tempted next time to cut the cooking time by several minutes. I did like this method of cooking fish and I did save the oil, so I think I’ll try this again. I suppose you could always mix up the fresh herbs; since I used salmon, I think dill would pair well.

Flounder Fish Salad

Leftover fish is typically pretty gross, so I wasn’t sure what to think when I saw Alton making a leftover fish salad. To make this salad, whisk together in a bowl:  3 T white wine vinegar, 1 T lime juice, 1/2 t Kosher salt, 1/8 t pepper, and 8-10 drops of hot sauce.

IMG_2327(1)

White wine vinegar, lime juice, Kosher salt, pepper, and hot sauce.

Slowly whisk in 1/2 C of the strained leftover cooking oil from the previous recipe until you have an emulsion.

Fold a pound of leftover cooked fish from the previous recipe into the dressing.

IMG_2332(1)

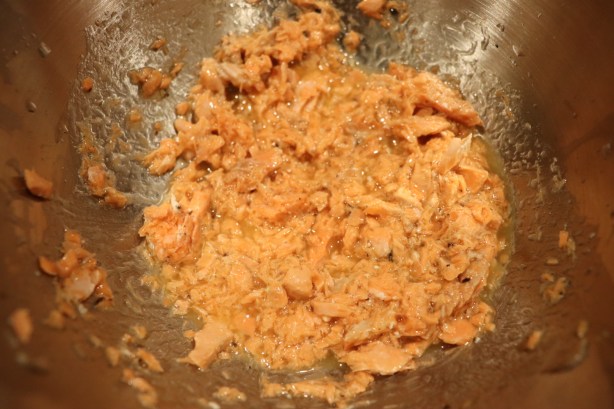
Leftover poached fish added to vinaigrette.

Finally, add two diced  leftover lemon slices from the previous recipe, 2 T parsley, and 2 T scallions. Serve the fish salad with crackers.

IMG_2333(1)

Diced lemon, parsley, and scallions added to fish.

IMG_2334(1)

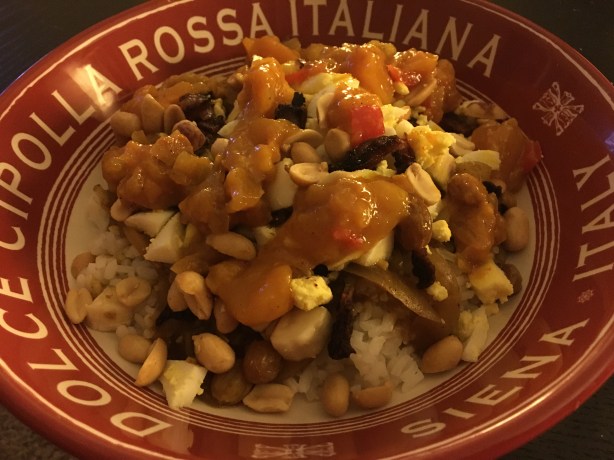
Alton’s fish salad on crackers.

I used my leftover salmon from the previous recipe and thought this turned out to be surprisingly good. We ate this as an appetizer on crackers. The fish didn’t taste fishy and the vinaigrette had a nice pep to it. The leftover diced lemon added both texture and a bit of tart citrus. I found this to be a very summery dish. While I never would have considered eating leftover fish before, I may make this salad again in the future if we have good leftover fish. I can assuredly say that this recipe would have been awful if I had used the frozen flounder that I used in the first recipe, so if you do decide to try this one, be certain that you are using good fish!

From herbs in the last episode, the Good Eats trail takes us to spices in episode 98. So, what is the difference between a spice and an herb? An herb is a leaf, while a spice is a different part of a plant. If you want to keep your spices fresh longer, it is ideal to purchase spices in their whole forms, grinding them in a spice-only coffee grinder just prior to use. I remember that my dad began grinding his spices after watching this episode when it aired in 2004. Read on for Alton’s spice-friendly recipes.

Dried Pear and Fig Compote

A fruit compote is the first thing Alton made in this episode.

IMG_6924

Ingredients for fruit compote: white wine, dried figs, dried pears, vanilla bean, lemon zest, star anise, cinnamon stick, cloves, Kosher salt, lemon juice, and honey.

To make his compote, place 4 ounces dried figs, 4 ounces dried pears, 2 T honey (Alton used orange blossom), 1/2 a vanilla bean, 1 C apple cider, 1 C white wine, a 1-inch strip of lemon zest, 1 T lemon juice, 6 whole cloves, 1 cinnamon stick, 1 star anise pod, and 1/2 t Kosher salt in a medium saucepan.

IMG_6926

All of the compote ingredients placed in a medium saucepan over medium heat.

Bring the mixture to a simmer over medium heat, decrease the heat to low, and continue to simmer the compote for 1 to 1 1/2 hours. I found that it took the full 1 1/2 hours of simmering for my compote to thicken as Alton’s had.

IMG_6928

The compote, brought to a simmer and left for 1 1/2 hours.

After simmering, remove the cloves, cinnamon, star anise, and lemon zest; good luck finding the cloves – we didn’t find some of them until we ate the compote!

IMG_6929

The compote after simmering.

Serve the compote warm over ice cream or you can refrigerate it for later use. We ate the compote over vanilla ice cream and it was very flavorful and spicy.IMG_6930

IMG_6934

Compote over ice cream.

All of the spices seemed to be well-balanced, though clove was perhaps the most dominant spice. The compote was pretty sticky in texture and had little pops of crunch from the dried fig seeds, which were quite prevalent. Due to the rich color of the compote, and its spices, the compote seems to me like a good dish to make in the fall. This would also be great over a pork tenderloin. This is a recipe that truly shows how spices can contribute to a sweet dish.

Vegetable Curry

For a weeknight vegetarian dinner, consider giving Alton’s vegetable curry a try.

IMG_6946

Spices for Alton’s vegetable curry: coriander, onion powder, turmeric, cinnamon, cumin seed, mustard seed, and fennel seed.

IMG_6947

Spices, divided for their addition in the recipe. Yellow bowl has cumin seed, fennel seed, and mustard seed. Red bowl has coriander, onion powder, cinnamon, and turmeric. Green bowl has Kosher salt, sugar, and pepper.

The recipe begins with poking holes in a frozen bag of mixed vegetables. Microwave the veggies on high for 2-3 minutes, or until thawed.

Next, heat a large skillet over medium-high heat, adding 2 T vegetable oil to coat the pan. To the oil, add 1 t cumin seed, 1/2 t mustard seed, and 1/2 t fennel seed. If you have a splatter guard, Alton recommends that you use it now.

IMG_6954

Cumin seed, mustard seed, and fennel seed added to hot oil in skillet.

Meanwhile, whisk together in a bowl 2/3 C plain yogurt and 1 t cornstarch, setting the bowl aside.

When the mustard seeds begin to pop in your skillet, add 1/2 t freshly ground coriander, 1/2 t onion powder, 1/8 t ground cinnamon, and 1 t ground turmeric.

IMG_6957

Coriander, onion powder, cinnamon, and turmeric added to skillet once mustard seeds began to pop.

It is also time now to add two crushed cloves of garlic and three dried red chilies with their stems and seeds removed.

Cook this mixture until the garlic begins to turn golden, but watch it very carefully as the spices could easily burn. When the garlic begins to brown, add the thawed bag of vegetables to the pan, along with 1/2 t Kosher salt, 1/4 t sugar, and black pepper to taste.

IMG_6959

Thawed frozen veggies, stirred in, along with Kosher salt, sugar, and pepper.

Stir the vegetables until they are heated through and coated with the spice mixture. Finally, quickly stir the vegetables into the bowl of yogurt.

IMG_6961

Spiced vegetables added to yogurt.

In the episode, Alton appeared to serve his vegetable curry as a side dish, but I opted to serve his curry over rice for a main course.

IMG_6966

Vegetable curry served over rice.

We thought this curry was pretty impressive, though the chilies really didn’t make it very hot. I would prefer to have more heat in my curry, but that is just personal preference. Otherwise, this curry had a nice combination of spices and came together in a matter of minutes. To get some protein, you could always add some tofu or meat. I would not say this recipe wowed me, but it is good for what it is – an easy weeknight vegetable dinner. And, it does have lots of spice flavor.

Broiled Salmon with AB’s Spice Pomade

Alton’s third spice recipe features salmon. It begins by placing an oven rack in the top third of the oven and preheating the broiler. Brush a sheet pan with canola oil, placing a skinless three-pound side of salmon on the pan; I opted for a smaller piece, or really two pieces, of salmon since there were only two of us eating.

IMG_6912

My salmon.

Sprinkle the fish all over with 1 to 1 1/2 t Kosher salt and with 1 t black pepper.

IMG_6913

My salmon, sprinkled with Kosher salt and pepper.

In a blender combine 2 t onion powder, 1 t garlic powder, 1/2 t cayenne pepper, 1 t whole cumin seed, 1 T whole fennel seed, 1 T whole coriander seed, and 1 star anise pod.

Blend all of the spices and pour in 1/3 C canola oil while the blender is running.

Brush this spice “pomade” all over the fish and let the fish sit at room temperature for 30 minutes.

IMG_6915

Salmon, brushed with pomade and left to sit for 30 minutes.

After resting, broil the fish for 15 minutes and check it for doneness. To check fish for doneness, look for three things:  1- the fish should be firm and bounce back when touched, 2 – the fish should flake easily when scraped with a fork, and 3 – the fish should be at 131 degrees in its thickest part.

IMG_6921Keep in mind that Alton’s cooking time is for three pounds of fish, so you will need to modify cooking time for a smaller piece of fish. My salmon was honestly overdone on the edges. To me, a good salmon recipe is one that does not overpower the fish, yet enhances it. I think this recipe does that. The fish is flavorful and moist, but has the added flavor pop from the combination of spices.

Curry Powder Blend

The last recipe in this episode is for Alton’s curry powder. I have a lidded tin in my basement that contains nothing but curry powders. For as long as I can remember, my parents used this tin to house their curry powders, and I inherited it a couple years ago. We have sweet curry powder, Thai curry powder, hot curry powder, and maharaja curry powder. Never, though, had I made my own curry powder… until now.

For Alton’s curry powder, in a lidded container combine 2 T cumin seed, 2 T cardamom seed (I had to use ground), 2 T coriander seed, 1/4 C ground turmeric, 1 T dry mustard, and 1 t cayenne pepper.

Shake the mixture to combine. Since Alton’s curry powder contains lots of whole spices, you can grind the curry powder just prior to use.

IMG_6999

Alton’s curry powder.

I never knew my paternal grandmother, but my dad began serving me her curry recipe when I was very young, and it has always been one of my favorite things. It is fun to alter the curry by mixing different curry powders each time. To really test Alton’s curry powder, I used it exclusively in Grandma’s curry and it passed the test very well.

IMG_0392

A bowl of my grandma’s curry made with Alton’s curry powder.

Alton’s curry powder is a mixture of sweetness, nuttiness, citrus, bitterness, and moderate heat. I would call this a very good all-around curry powder, and it has been added to the tin for future batches of curry goodness.

Red Snapper en Papillote

When watching all of these Good Eats episodes, certain recipes really jump out at me. In this episode, the recipe for snapper en papillote was the one that made me super enthusiastic. I really loved the red snapper in a salt dome that I made way back in episode 10, so another snapper recipe made me excited. Unfortunately, the seafood store where I previously found whole red snapper has closed, so I had to turn to the grocery store; the fish monger was unable to get a whole red snapper, so I wound up with some other type of snapper (honestly, I don’t know exactly what it was). My fish was also not cleaned, so I had to do that myself, with a little help from my husband. If you do happen to be shopping for a whole red snapper, be sure to check the eyes of the fish, as true red snappers will have red eyes. If, like me, you cannot find red snapper in your area, Alton says you can substitute whole trout, tilapia, arctic char, or tilefish in this recipe. Regardless of the type of fish you use, for this recipe, a 1-2 pound fish will work best. Start by rinsing 1 C of couscous in cold water; sprinkle it with Kosher salt and set it aside while you prep the fish.

Prep the fish by rinsing your whole fish under cold water, scraping it with a knife to remove any remaining scales. Trim off all fins, but leave the tail intact. Pat the fish dry, including inside the fish, and line a large sheet pan with parchment paper, leaving a long overhang (the parchment needs to be large enough to fold over the whole fish). Place the fish diagonally across the parchment, sprinkling it all over (including inside the cavity) with Kosher salt and black pepper.

IMG_5759

My whole fish, sprinkled with salt and pepper.

Place a handful of fresh oregano and parsley inside the fish, along with a few slices of lemon and red onion. You can stick anything extra under the fish.

IMG_5760

My fish, stuffed with fresh oregano, parsley, red onion, and lemon.

Sprinkle the rinsed couscous all around the fish, along with 1 C of drained/quartered artichoke hearts, 1 C halved cherry tomatoes, and 2 t garlic. Place lemon slices and sliced red onion along the top of the fish, and drizzle everything with 1/2 C white wine. Finally, dab 1 T of butter along the top of the fish.

IMG_5762

Couscous, artichoke hearts, tomatoes, garlic, lemon, red onion, wine, and butter added to fish.

Fold the parchment paper over the fish, creasing the three open sides of the packet. Staple the whole package shut, placing staples about every inch.

IMG_5765

Parchment folded and stapled over fish.

Place the fish in an oven preheated to 425 degrees for 30 minutes.

IMG_5766

Fish packet in 425-degree oven.

Once out of the oven, cut the parchment packet open and serve the fish.

IMG_5767

Fish after cooking for 30 minutes.

Unfortunately, this recipe didn’t wow me as much as I hoped it would, but some of that may have been due to my fish, which was kind of “blah.” I am open to trying this again with a different whole fish. I did like that this recipe is a one-pan dinner with built-in sides of couscous and vegetables, and the fish was nicely cooked. My couscous did end up being slightly gummy, but the combination of flavors in the dish was great, and I did like the presentation. If you can get whole red snapper where you live, I think this might be a great recipe to try.

Salmon Fillet en Papillote with Julienned Vegetables

The second recipe in this episode is super easy and is made in individual servings, making it easily adaptable for any number of guests. As with the snapper recipe above, parchment paper is used here to create a pouch, but this time there is one pouch per person. Start with a fairly large rectangle of parchment, folding it in half. Use scissors or a knife to cut a large half-heart shape from the creased side of the parchment. Unfold the parchment to reveal your full parchment heart. Ahhh… takes me right back to 3rd grade.

On the right side of the parchment heart place 1/3 C carrot strips, 1/3 C fennel strips, 1/3 C snow pea strips, and 1/3 C leek strips.

Place an 8-ounce salmon fillet (skin side down) on top of the vegetables and season everything with Kosher salt, pepper, and 1/8 t ground coriander.

IMG_5696

Salmon fillet placed on top of vegetables. Seasoned with salt, pepper, and coriander.

Place the wedges of a small peeled orange on top of the fish and sprinkle the whole mound with a “wee shot” of vermouth.

Fold the parchment over the fish, creasing the edge at the top of the heart, and folding the edge up. Go halfway down the length of the fold, make a crease, and fold again, sort of like sealing a calzone. Continue creasing and folding all the way around the heart, twisting the parchment tip and folding it under.

IMG_5700

Parchment folded over fish and sealed by creasing/folding all the way around.

Place the whole packet in the microwave and cook on high for 4 minutes, or cook for 12 minutes in a 425-degree oven. Since there were two of eating Alton’s salmon packets, I opted, for comparison’s sake, to cook one packet in the microwave and the other in the oven. My microwaved fish was moist and flaking easily after 4 minutes, but my oven fish needed several more minutes to be cooked.

IMG_5703

Fish after cooking in the microwave.

I found this to be a successful recipe, resulting (in the microwave case) in nicely cooked fish. The orange wedges paired nicely with the fish and contributed a lot of moisture, and the whole dish had just a hint of vermouth.

IMG_5711

Salmon en papillote with oranges and vegetables.

Once again, this was a nice one-packet meal, as each packet included the fish and accompanying veggies. Plus, you can have this on the table in less than 30 minutes and it is healthy.

Ramen Shrimp Pouch

The third recipe in Alton’s series of pouch recipes is for shrimp lovers and is definitely a quickie that could be prepped any day of the week. As with the salmon pouches above, you can make as few or as many of these packets as you need to suit your number of diners. To make this one, preheat the oven to 400 degrees and lay out a large square of foil for each diner. On the center of each foil square, layer in this order:  1/2 of a block of noodles from a ramen package, 2 T chopped dried mushrooms, 5 large shrimp that have been peeled and deveined, 2 T chopped onions, 2 T chopped scallions, a pinch of red pepper flakes, and a pinch of Kosher salt.

Ball the foil up around the top of the shrimp, leaving a small opening at the top. Use the opening in each foil packet to pour in 1 T vegetable broth, 1 T mirin, 2 t soy sauce, and 1 t sesame oil.

Crimp the foil closed tightly, leaving a tiny steam porthole in the top of each packet. Place the packets in the preheated oven for 15 minutes; you may want to place them on a baking sheet, just in case they leak.

IMG_5647

Shrimp packets in the oven.

IMG_5649

Shrimp packet after 15 minutes in the oven.

Though I am not a shrimp lover, I thought this was a very clever and tasty dish. The shrimp were perfectly cooked after 15 minutes and you could taste all of the flavors in the pouch. I will say that some of my noodles were a bit chewy, so I would suggest breaking the noodles up slightly before putting them on the foil, and maybe adding a bit more liquid directly over the noodles. With a little tweaking, I think this could be an outstanding weeknight shrimp recipe.

Stone Fruit Pouches

Alton finished up his pouch cookery with a dessert. For each person eating, lay out a large double layer square of foil. In the center of each square, place 1/2 C crumbled gingersnaps, 1 quartered plum, 1 sliced apricot (8 pieces), 2 t sugar, 1 t lime zest, a pinch of Kosher salt, and 1 T cubed butter. I had no choice but to adapt this recipe a little bit, as it was certainly not stone fruit season when I made them. I opted to use mango and quince in my pouches.

Fold up the foil, leaving an opening at the top, and pour in the juice of half a lime and a shot of brandy.

Seal up the packets, leaving a tiny porthole. These packets can be cooked in a 500-degree oven or on a grill. If using a grill, they should be done in 10 minutes, or after 15-20 minutes in the oven. Serve the warm fruit with vanilla ice cream.

IMG_5733

Warm fruit served with vanilla ice cream.

The gingersnaps almost caramelize, the fruit softens, and you taste hints of lime and brandy. I bet these pouches would be good with peaches or pineapple too, and they would make for a super easy prep-ahead dessert during grilling season. Yes, this is one to keep in your back pocket.

Braciole

When I married into Ted’s family I became privy to his family’s spaghetti recipe, a meal that epitomizes “comfort food.” Their family recipe is for a rich red sauce, flavored with meat and spices, that is served over spaghetti. Included in the red sauce are bracioles, which are miniature rolls of seasoned meat that become incredibly tender as they simmer in the red sauce. When I saw that the final Good Eats episode of the sixth season would involve making a braciole, I was incredibly curious to see how Alton’s version would compare with Ted’s family’s recipe.

For his braciole, Alton recommends using flank steak, purchasing the thinnest one you can find.

IMG_2913

Flank steak.

Laying the steak on a counter, spritz its surface with water and cover it with plastic wrap. Spritz the surface of the plastic wrap with water also; the water will allow the meat tenderizer to slide as it hits the meat. Using a meat tenderizer (Alton recommends one with a large, flat surface), pound the steak until it is thin.

Next, it is time to make the braciole filling by combining in a food processor 1 clove of garlic, 1 T chopped parsley, 1 T chopped fresh oregano, 1 t chopped rosemary, 1 t chopped thyme, 1/3 C grated Parmesan, 1 1/4 C flavored croutons, and 2 eggs.

Using a spatula (I found that my hands worked better), spread the filling over the surface of the flank steak, with the wide edge of the steak facing you. Do not go all the way to the edge of the meat, or the roll will not seal well.

IMG_2919

Flank steak topped with braciole filling.

Roll the meat toward you until you have a nice log, and turn the meat 90 degrees, so it is perpendicular to you.

IMG_2921

Flank steak rolled into a log.

Running cotton butcher’s twine under the far end of the meat, tie a surgeon’s knot near the top of the log by passing the string twice under itself, followed by two more passes the other direction. Be sure to leave at least eight inches of excess twine on the loose end.

Working toward you, twist the twine to form a large loop and wiggle it up the meat.

IMG_2924

A loop formed by twisting the twine and wiggling the loop up the meat.

Continue forming loops, sliding them up the meat until you have a ladder of twine running up the length of the meat.

IMG_2925

Continuous loops formed and wiggled up the meat to form a network of loops.

Flip the log over and bring the twine to the top of the log, crossing it once under the center loop of twine.

IMG_2926

The meat, flipped to its back side. Bringing the string up to the top, crossing it once under the center loop.

Bringing the two ends of twine together, cross them on the back side of the log and flip the meat back to its front, tying another surgeon’s knot and a slip knot to secure. Let the meat sit at room temperature for about 15 minutes. When ready to cook, coat the surface of the meat with canola or peanut oil and a sprinkle of Kosher salt.

IMG_2931

A surgeon’s knot tied on the front of the meat, bringing both ends of the twine together to secure. The meat is oiled and sprinkled with Kosher salt.

Heat a cast iron skillet (I used a large non-stick skillet because we have a glass cook top) on the stove until it is hot enough to sear the meat, and sear the meat on all sides until browned. Meanwhile, preheat your oven to 350 degrees, placing a 9×13″ pan inside with 3 C of tomato sauce (I used the Good Eats tomato sauce here).

IMG_2901

Three cups of tomato sauce to be heated in the oven.

Once the braciole is seared on all sides, place it in the hot tomato sauce, spooning the sauce over the meat.

Tenting the pan with foil, return it to the oven for at least 45 minutes. Alton says you really can cook this all day, if you choose, but my braciole seemed to be perfect after about two hours.

IMG_2940

Pan tented with foil and placed in the oven.

Slice the braciole and serve it over the tomato sauce.

IMG_2951

Alton’s finished braciole with tomato sauce.

I was happy with how this braciole turned out, though it was a bit different from the ones I am used to. Ted and I both really liked the flavor of the filling and how it paired with the meat, but I think it would have been even better if my steak had been thinner. This was really very easy to prepare and it makes for a nice presentation on the plate.

Fish Roll with Compound Butter

In addition to rolling meat, Alton used this episode to show that you can also make a seafood roll. For this seafood roll, you will need three types of seafood:  salmon fillets, flounder fillets, and sea scallops. Depending on where you live, you may need to do some substituting. I could not find flounder where I live, so I had to substitute sole. You will also want to get the thinnest fish fillets you can find. Note that Alton’s recipe makes quite a large roll, so you also may want to modify this if you are only serving a few people because leftover fish=yuck! I was only making this roll for two of us, so I downsized by cutting my fillets. To begin, place a sheet of parchment on your counter, topped with plastic wrap. For the full-sized roll, lay two salmon fillets on the plastic wrap, nearest you, with their tails away from you, and so they are slightly overlapping each other. Next, place three flounder fillets on top of the salmon with their tails facing toward you. The flounder fillets should overlap the salmon about midway.

IMG_3186

Salmon fillet with tail facing away. Sole fillet placed on top with tail facing toward me.

Place a metal skewer through eight sea scallops, being sure to go through their flat sides. Place this skewer at the far end of the flounder fillets. Season all of the fish with Kosher salt, pepper, fresh dill, and fresh parsley.

IMG_3187

Skewered scallops placed on far end of flounder. Fish seasoned with Kosher salt, pepper, fresh dill, and fresh parsley.

Grab the far end of the plastic and roll toward you keeping the skewer in the center of the roll, and avoiding rolling the plastic wrap into the fish roll.

IMG_3188

Pulling the plastic toward me to roll the fish around the scallops.

Once your fish is starting to roll, place the edge of a sheet pan against the fish (on top of the plastic), pressing with the pan as you pull the plastic toward you.

IMG_3189

Using the edge of a sheet pan to press on on the fish roll as I pull the plastic toward me.

Once your roll is complete, you should be able to just slip the plastic off, leaving the roll on the parchment.

IMG_3194

Fish after rolling.

Next, rolling away from you, roll the fish in the parchment, twisting the ends. Refrigerate the fish roll for two hours.

IMG_3195

Plastic removed and fish rolled in parchment. Into the refrigerator for 2 hours.

Once your fish roll has chilled, preheat your broiler and remove the skewer from the fish roll, keeping the fish rolled in parchment. Use a serrated knife to slice the roll into 3/4-1″ rounds. Place the rounds on a sprayed broiler pan and remove their parchment. Brush the fish rounds with canola oil and sprinkle them with Kosher salt.

IMG_3197

Sliced fish roll brushed with canola oil and sprinkled with Kosher salt.

Broil the fish six inches from the heat, checking after three minutes. Alton served his fish with herb butter, which he did not make in the show. I threw an herb butter together by mixing softened butter with the leftover dill and parsley from the fish roll, along with lemon zest and pepper.

IMG_3209

Broiled fish roll served with herb butter.

We thought this fish roll was great. The salmon, white fish, and scallops went very well together and the roll was really pretty. Herb butter is a great accompaniment to the seafood here too. Unfortunately, my fish roll got cold when I realized there was a fire behind our house, so I will have to make this again on a less stressful evening! This is a great recipe to make for an impressive presentation that takes very little effort.

With things finally settling down slightly for Ted’s health in December, I was able to devote a little more time to my Good Eats project. Already skinny, Ted had lost over 30 pounds after his second cancer surgery, bottoming out with only 131 pounds on his 6’1″ frame. Needless to say, weight gain became the goal in our household, and I cooked anything and everything that appealed to him, even remotely. Thankfully, some of the recipes from the last few episodes I was blogging about did have some appeal to Ted. Most recently, the recipes I tackled were all from Alton’s episode on puff pastry.

Puff pastry can be a tricky beast, but its difficult nature can be avoided by following Alton’s puff pastry rules and process.

IMG_3976

A box of frozen puff pastry.

Puff pastry is composed of numerous alternating layers of butter and pastry. The first rule of puff pastry is to avoid condensation during the thawing process. To do this, wrap your sheet(s) of puff pastry in a paper towel.

IMG_3981

Puff pastry sheet, thawing. Soon to be wrapped in a paper towel to avoid condensation.

Wait 15-20 minutes before gently trying to unfold the pastry sheet; if the sheet offers any resistance, give it more time to thaw. From this point, give the pastry a check every five minutes. Once you can unfold your pastry sheet, gently fold it into a triangle shape, and allow it to thaw for a few more minutes.

IMG_3984

Puff pastry, continuing to thaw in a triangle shape.

Once ready to go, unfold the sheet all the way, crimping the seams with your fingers.

Your puff pastry is now ready for use. It is always a good idea to place a sheet pan in the freezer (or outside, if it is cold enough). That way, if your pastry gets too warm, you can quickly cool it down.

IMG_3993

Chilling a sheet pan.

If your pastry gets too warm, you will know it, as it will begin to stick and get difficult to work with.

Fruit Tart

Alton’s first puff pastry recipe is for a fruit tart. To make two individual tarts, begin by thawing one sheet of purchased puff pastry as described above. Also, preheat your oven to 400 degrees. Once your pastry is ready, sprinkle sugar over both sides, and gently roll the pastry with a rolling pin to flatten the seams. Place two small saucers diagonally on the pastry and cut around them with a pizza cutter.

Note:  you will have some excess pastry to discard. Alton emphasizes that using a sharp tool is critical, as you do not want to damage the delicate layers of pastry. Once you have your two circles of pastry, place them on your already-cold sheet pan and put them in the refrigerator.

IMG_3994

My cut-out puff pastry circles.

Meanwhile, peel, core, and quarter a Granny Smith apple.

IMG_3996

Granny Smith.

Using a vegetable peeler, make wafer-thin slices of apple. To avoid browning, quickly place the apple slices in a mixture of 1 C water and 1 T lemon juice.

IMG_4000

Apple slices in water/lemon juice.

Once your apple is sliced (you will not need a whole apple), pull the pastry circles from the refrigerator and flip them over so the cut side is facing down; this will allow for maximum puff because the healthy edges are facing up. Prick the centers of each circle with a fork, avoiding the edges. “Docking” the center of each pastry circle will allow steam to escape from the centers, which will prevent them from puffing. This will give a nice puffy edge to each tart.

IMG_4003

Docked puff pastry circle.

Place a piece of parchment under your pastry circles and sprinkle them with sugar. Decorate the tops of each tart with your thin apple slices, positioning them in an interlocking spiral, and bake your tarts for 15-20 minutes.

IMG_4006

Thin apple slices arranged in an interlocking spiral on the puff pastry circle.

You want to bake them until they are golden and their edges are crispy.

IMG_4010

Apple tarts after baking – golden and with crispy edges.

While your tarts are still warm, microwave some apricot jam for ~30 seconds, or until just loosened up.

IMG_4013

Apricot jam, microwaved just until loose.

With a pastry brush, gently dab the jam all over your tarts, being careful to avoid disrupting your pretty apple slices. Let your tarts cool for at least four hours.

IMG_4017

Finished fruit tarts.

Alton prefers his tarts at room temperature, but I warmed ours up. Ted and I each ate a tart for breakfast. One tart was the perfect size for one person. Sure enough the tarts were pretty, not overly sweet, and they perfectly demonstrated the best of puff pastry. The puff pastry was flaky, buttery, crisp, and light. I could definitely see making these again. They were very easy and a great introduction to working with puff pastry, which I have had little experience with. For alternative fruit toppings, Alton recommended trying pears, mangoes, strawberries, or nectarines. I would like to try making these with nectarines in the summer.

Stacked Puff Pastry with Cherries

Next up in Alton’s puff pastry arsenal is his stacked puff pastry. When I watched this episode of Good Eats, this was the recipe I was most intrigued by. For Alton’s recipe, you’ll need two sheets of thawed puff pastry (see how to thaw above), one egg beaten with 2 T water, 1 can of drained pie cherries, and 1/2 C of bread or cake crumbs. You may want to slightly stagger the thawing of your puff pastry sheets, as you will work with one sheet prior to the other. Place your first thawed puff pastry on a parchment-lined baking sheet.

IMG_4030

Thawed puff pastry.

Using a ruler as a guide, cut a 1-inch wide strip off of each side of the pastry, reserving them for later; these will be your walls. Use a pizza cutter to cut your walls.

IMG_4032

1-inch strips cut from each side.

Dock the center of the remaining center square of pastry with a fork. Since this will be the floor of your pastry, you do not want it to rise. Brush the edges of the square floor with egg wash, but not within 1/4″ of the very edge.

IMG_4024

One egg beaten with 2 T water.

IMG_4035

Pastry floor, docked with a fork and edges brushed with egg wash, avoiding very edges.

Place two wall strips of pastry on opposing sides of the floor, cut side out. Dab egg wash on the corners and place the other two walls on top. Dab the corners with more egg wash, and fold the tabs over. This will give you a square-shaped floor with raised walls all around.

Place the floor and walls in the refrigerator while you get the second thawed sheet of puff pastry. You will need to cut a “roof” for your floor and walls, which should be approximately 7 x 7 inches. Again, do your cutting on parchment paper to avoid sticking. Fold your roof in half (over a piece of parchment) and use scissors to cut some slats.

IMG_4049

Slats cut in roof.

Place the roof in the refrigerator with your assembled floor. While your puff pastry cools off, preheat your oven to 400 degrees. Add your cake or bread crumbs to your drained can of cherries, and allow the mixture to sit for 10 minutes. The crumbs will absorb the excess moisture from the cherries.

IMG_4044

Pie cherries.

IMG_4051

Pie cherries and crumbs, sitting for 10 minutes to absorb excess moisture.

You are now ready to complete assembly of your stacked pastry. Spoon the cherry filling onto the pastry floor, avoiding the walls. You want to use more filling than you think you will need. Egg wash the walls, avoiding their very edges.

IMG_4055

Cherry filling spooned onto the floor. Use more than you think you need.

Place your roof on top of your floors/wall, cut side down to allow for maximum puff, gently pressing the edges. Egg wash the roof, avoiding the cut edges.

IMG_4061

Egg-washed roof.

Bake your pastry for 30 minutes before decreasing the temperature to 350 degrees for an additional 30 minutes. Alton’s stacked cherry pastry looked quite perfect, with a pretty lattice top. Mine looked a lot more like a puff pastry bouncy house.

IMG_4063

My stacked puff pastry looked a lot like a bouncy house.

I quickly realized that I had not put enough filling onto my floor, as there was a gap between the roof and the filling. Also, I thought the filling would be better if it were slightly sweeter. I would like to try this again, using cherry pie filling in place of the tart pie cherries, and adding a sprinkle of sugar on top of the egg-washed roof. Though my stacked pastry was far from perfect, I still found it fun to make, so I think I’ll have to give it another go. And, the puffy magic of puff pastry was certainly on display with this one!

Salmon Turnovers

I made the final recipe from this episode on Christmas Eve. Salmon turnovers seemed like a perfect thing to share with my parents, as we began our Christmas celebration. Alton’s recipe calls for 1 C cooked rice, 1/2 C sauteed mushrooms, 1-2 T dill pickle relish, 2-3 scallions, 1 T parsley, Kosher salt and pepper, 1 sheet of puff pastry, 1 egg beaten with 2 T water, and 1 can of boneless/skinless salmon. To make my dinnertime prep easier, I cooked my rice and sauteed some mushrooms early in the day; I sauteed my mushrooms with some olive oil, garlic, salt, pepper, and a splash of balsamic vinegar. To make the filling, combine the rice, mushrooms, relish, scallions, parsley, salt, pepper, and salmon in a bowl.

One sheet of puff pastry will yield four turnovers. Since we were having guests, I thawed two sheets. You will have excess filling, even with making eight turnovers.

IMG_4066

Two sheets of puff pastry.

Preheat your oven to 400 degrees. Thaw your pastry, as written above, and place it on a piece of parchment. Cut each sheet of pastry into four equal squares.

IMG_4075

Puff pastry sheet, cut into four even squares.

Place a generous spoonful of filling on the middle of each square and brush the edges with egg wash. Fold the pastry over the filling, forming a triangle, and use a fork to securely crimp the edges.

IMG_4076

Filling scooped in the center of each pastry square.

Use a paring knife to cut two slits in the top of each turnover, and brush the tops with egg wash.

IMG_4080

Vents cut in the top of each turnover, and tops brushed with egg wash.

Bake the turnovers for 30 minutes.

IMG_4081

I think the turnovers appeal to someone!

IMG_4082

The finished turnovers.

We all thought these turnovers were really good, and they would make a nice weeknight meal. The pastry was light and crispy, and the filling had a nice mixture of flavors. You really could use any filling you would like for these. I enjoyed Alton’s salmon concoction. According to the episode, Alton’s favorite turnover filling is a combo of Manwich mix and cheddar cheese. My brother and sister-in-law heated up leftover turnovers in the oven the following day, and said they reheated very nicely. The previous night, I had placed them in a paper bag in the refrigerator to allow the pastry to breathe. Alton’s turnover recipe has inspired me to make turnovers more often. They are so easy and really delicious. Puff pastry is really not difficult to work with if you follow Alton’s basic rules:  1) Keep it cool. 2) Use a sharp tool for cutting. 3) Dock the base. 4) Vent the top. 5) Always put the cut side down. 6) Rest before baking.


My Good Eats project has taken a bit of a back seat lately, but I plan to keep plugging away at it when I can. Ted was diagnosed with cancer at the end of May, which has turned our world a bit upside down. Still, we have found that keeping a bit of normalcy in life helps with everything. So, as we were awaiting test results last weekend, I decided to distract myself by cooking through the next episode of Good Eats, which happens to be the first episode in the fourth season.

Smoked Salmon

We live in Washington, which means smoked salmon is abundant. While I pretty much like all smoked salmon, my dad’s version reigns supreme. His has a somewhat dry, flaky texture, is slightly salty, and has loads of flavor. To make it even better, he serves it with an amazing aioli that our family calls “Dog Shit Sauce.” You see, this sauce is so good that a family friend once told my dad he’d eat dog shit if it was covered in the aioli.

My brother made Alton’s version of smoked salmon around Christmas last year. He made it straight from the online recipe, but did not watch the episode. I, of course, watched the episode and made the salmon exactly as Alton did in the show. If you do it Alton’s way, you also make your own smoker. More on that later.

To make Alton’s salmon, you will want to use two large salmon fillets. I purchased my fillets at Costco, and they were just the right size. Depending on where you get your fish, you may need to pull pin bones out of the fillets with pliers; my fish already had no pin bones. Alton uses a cure for his fish, which serves a few purposes. The cure seasons the fish, draws liquid out, and denatures proteins, which helps to keep the fish moist during smoking. The cure also creates a protein layer on the outside of the fish, called a pellicle, which aids in keeping the fish moist.

Ingredients for salmon cure:  sugar, Kosher salt, dark brown sugar, and black peppercorns.

Ingredients for salmon cure: sugar, Kosher salt, dark brown sugar, and black peppercorns.

To make the cure, in a lidded container combine 1 C Kosher salt, 1/2 C dark brown sugar, 1/2 C sugar, and 1-2 T crushed black peppercorns.

Kosher salt, sugar, dark brown sugar, and crushed black peppercorns combined.

Kosher salt, sugar, dark brown sugar, and crushed black peppercorns combined.

Shake this mixture until everything is evenly dispersed.

Cure after shaking ingredients together to combine.

Cure after shaking ingredients together to combine.

Place a large sheet of plastic wrap on top of a large piece of heavy foil. Sprinkle some cure on the foil, roughly in the shape/size of one of your fillets, and place the fillet on top, skin side down.

Small amount of cure sprinkled in fillet shape on plastic wrap.

Small amount of cure sprinkled in fillet shape on plastic wrap.

First salmon fillet placed on top of sprinkled cure.

First salmon fillet placed on top of sprinkled cure.

Generously sprinkle the cure over the flesh side of the fish, patting it gently with your hand. You will want to have a bit less cure at the tail end of the fillet since it is thinner.

Fillet #1 topped with cure.

Fillet #1 topped with cure.

Top the flesh side of the second fillet with cure and roll it on top of the first fillet, as if creating a whole fish.

Second fillet placed next to first fillet.

Second fillet placed next to first fillet.

Cure sprinkled on second fillet.

Cure sprinkled on second fillet.

Second fillet rolled onto first fillet, and skin side sprinkled with cure.

Second fillet rolled onto first fillet, and skin side sprinkled with cure.

Sprinkle the last of the cure on the skin side of this fillet. I used all of my cure, with the majority of it on the meat sides of the fish. Tightly roll the fillets in the plastic wrap, and then again in the foil, leaving the tail end of the fish open for liquid to drain.

Fillets wrapped tightly in plastic wrap.

Fillets wrapped tightly in plastic wrap.

Fillets wrapped in foil.

Fillets wrapped in foil.

Place the fish on a large sheet pan with a lip, and top with another sheet pan. Place cans or bricks on the top sheet pan to weigh it down, and place in a refrigerator for 12 hours.

Fish sandwiched between two sheet pans. Cans were later placed on top.

Fish sandwiched between two sheet pans. Cans were later placed on top.

After 12 hours, flip the fish, and let it continue to sit for 12 more hours. After curing, some liquid will have accumulated in the bottom sheet pan. Rinse the fish thoroughly with water, pat dry with paper towels, and place the fish in a cool place to air dry; a fan can speed up this process. I let my fish dry for about two hours.

Fish after being rinsed, which was after 24 hours of refrigeration.

Fish after being rinsed, which was after 24 hours of refrigeration.

Salmon drying by a fan for ~2 hours.

Salmon drying by a fan for ~2 hours.

If you plan to make an Alton Brown smoker, a good time to do it is while your fish dries. To make a smoker, you will need a large cardboard box, two 1/4″ dowel rods, an electric hot plate, a mini personal fan, and an extension cord. You will also need hardwood sawdust or soaked wood chips for smoking, along with something to put them in. Alton used a small cast iron skillet, topped with a perforated disposable pie plate. I used a small smoking box.

Soaked mesquite chips placed in smoking box.

Soaked mesquite chips placed in smoking box.

Filled smoking box.

Filled smoking box.

To make your smoker, first stick your two dowel rods through the sides of the box, so they are parallel to each other. Place a rack on top of the dowels to hold your fish. Next, cut a trap door in the bottom of one side of the box; it needs to be large enough to reach in and check your wood chip status. Place your electric hot plate in the center of the bottom of the box, and place your skillet or smoking box on top.

Smoke box placed on electric hot plate.

Smoke box placed on electric hot plate.

Plug your hot plate into your extension cord. Once your fish is dry, place it on the rack in the smoker, and insert a probe thermometer at an angle into the thickest portion of fish. Set the thermometer alarm to beep at 150 degrees. If you have a second probe thermometer, stick it through the side of the box to monitor the air temperature in the box, which you want to keep between 140 and 150 degrees. I did not have a second probe thermometer, so I did not worry about the air temperature much, only checking it occasionally with a Thermapen. Close the top of the box, turn the hot plate on to high, and set the mini fan in the box to circulate the air.

Salmon placed in DIY cardboard smoker, ready to be smoked.

Salmon placed in DIY cardboard smoker, ready to be smoked.

Mini fan added to box.

Mini fan added to box.

Close the trap door and let your fish smoke.

Smoker activated. Probe thermometer set for 150 degrees in thickest piece of fish.

Smoker activated. Probe thermometer set for 150 degrees in thickest piece of fish.

If you are using sawdust like Alton did, you will need to change your sawdust several times. Oh, and make sure your sawdust is not from pressure-treated wood, as pressure-treated wood contains toxins. I opted for mesquite wood chips, and I never needed to change them. My fish reached 150 degrees in under three hours, and it looked perfect. I let it cool to room temperature and we ate some for dinner.

Salmon after reaching 150 degrees.

Salmon after reaching 150 degrees.

Close-up of finished salmon.

Close-up of finished salmon.

I vacuum sealed the remaining salmon to eat at later dates.  The salmon was fantastic! It had a dry, flaky texture, which we really liked, and it had just the right amount of smokey flavor. I should have put a little less cure on the tail ends of my fillets, as the thinnest pieces are a tad too salty, but the salmon is perfect otherwise! I was very happy with how the cardboard smoker worked, and I cannot see ever buying a smoker when this method works so well. This is a fun, easy project that produces great smoked salmon. This is one I’m saving for future use.

Whole Fish

I live in the Northwest, where we tend to eat a lot of fish, so I was excited for the 10th episode of Good Eats. I printed out the two recipes posted online and sat down to watch the episode. To my surprise, there was an additional (third) recipe featured in the show. Why this recipe is not posted online I don’t know, but it is for a whole fish cooked in a salt dome. I had never cooked a whole fish before, so I was excited and nervous about this preparation. Alton uses a six pound Striped Bass when he makes this on the show, and I knew we were going to need a considerably smaller fish. Still, when I made this last week, we had my parents over to share in our two pound Red Snapper. I will confess that we had a frozen pizza on hand, just in case I botched the fish!

Alton tells you to use a pound of Kosher salt per pound of fish.

A pound of salt per pound of fish.

A pound of salt per pound of fish.

This is combined with egg whites and some water, and mixed by hand. For our two-pounder, I used two pounds of salt, two egg whites, and a bit less than 1/4 C of water.

Salt with egg whites and water.

Salt with egg whites and water.

Mixed to a mortar-like consistency.

Mixed to a mortar-like consistency.

You spread a 1/2″-thick layer of this salt mixture on your baking sheet as a bed for your fish.

Bed of salt for the fish to bake on.

Bed of salt for the fish to bake on.

Your fish is placed on top of the salt layer, and you fill his cavity with whatever aromatics you have on hand. For my fish, I used fennel, dill, lemon slices, and orange slices.

Dill, fennel, orange, and lemon.

Dill, fennel, orange, and lemon.

Red Snapper stuffed with aromatics.

Red Snapper stuffed with aromatics.

The remaining salt mixture is mounded over the fish’s body, forming a dome with only the head and tail visible. I had a little more salt than I needed, but I still had a healthy layer of salt all over my fish.

Fish in his salt dome, and ready for the oven.

Fish in his salt dome, and ready for the oven.

I baked my fish at 450 degrees, checking it after 20 minutes, and it happened to be done. You want to cook your fish to a temperature of about 130-135 degrees (you can take the temperature of the fish straight through the salt dome).

Post-baking.

Post-baking.

I let my fish rest for about 5 minutes before beginning to remove my salt dome. In the episode, Alton suggests using a mallet or hammer to crack your dome, but I simply used the serrated edge of my pie server (the tool Alton recommends to use for serving the fish) to form a crack along the front of the dome. I was nervous that my dome would shatter into a million messy pieces, but the lid lifted off in one beautiful piece, revealing a perfectly cooked Red Snapper inside.

Salt dome removal.

Salt dome removal.

At this point, you remove the skin from your fish and cut the meat from the top half of the fish. You grab the fish’s tail, give it a twist, and the bones should lift out in one big piece. This actually worked seamlessly for me, and, as a bonus, the head popped right off with the bones, which meant I no longer had that creepy eye looking at me. Once the bones are removed, you have access to the bottom half of the fish, which you can lift right off the skin for easy serving.

Bones came out in one easy twist.

Bones came out in one easy twist.

Completed fish, served with lemon.

Completed fish, served with lemon.

Ted, my parents, and I all thought this fish was a big success. The fish itself was moist, and the flavors of the various aromatics really came through. I particularly tasted the dill and fennel. Ted and my mom commented that they thought the fish had a hint of saltiness, but it was far from salty. Lemon wedges were the only adornment needed. I served the fish alongside couscous with currents and almonds, and a minted pea salad. This recipe intimidated me a bit at first, but it was super easy and delicious, and the presentation is fun. This is one I will be making again.

Pan Fried Fish

The second recipe in the 10th episode is for Pan Fried Fish. For this recipe, you use a fillet of fish, and we happened to have some frozen Copper River Salmon fillets on-hand.

Copper River Salmon fillet.

Copper River Salmon fillet.

You season your fillet with salt and pepper and dredge it in flour.

Fillet seasoned with salt and pepper.

Fillet seasoned with salt and pepper.

Fillet dredged in flour.

Fillet dredged in flour.

Meanwhile, you heat Canola oil in a skillet, along with some butter. Once the butter has ceased foaming, you put your fillet into the pan.

Butter and oil in the pan.

Butter and oil in the pan.

Fish in the pan.

Fish in the pan.

Alton emphasizes that you want to jiggle the pan for a few seconds to keep the fish from sticking. Once the fish is golden, you flip it to the other side, again jiggling the pan. 8-24-2014 021You want to cook the fish just until the muscles start to separate, and then remove it from the pan.

Fish after cooking.

Fish after cooking.

You pour out the fat, add additional butter to the pan, and fry some capers, which will visibly plump.

Caper and lemon sauce.

Caper and lemon sauce.

You remove the pan from the heat, add the juice of a lemon, and pour the caper sauce over the fillet.

Finished pan fried fillet.

Finished pan fried fillet.

Super easy, super fast, and super good! The fish paired with the briny capers and the tangy lemon makes an excellent combination. We tend to grill fish most of the time, but this is a great alternative.

Grilled Salmon Steaks

The final recipe from the 10th episode is for Grilled Salmon Steaks. I typically tend to prefer fillets to steaks simply because you do not have to deal with the bones when you have a nice boneless fillet. I recall a time when I was a freshman in college and I went to a party at a friend’s house. It was a BYOM (that’s Bring Your Own Meat) party. The grill would be fired up, but it was up to you to cook your meat at the party. I was not a huge red meat eater at this time, so I opted for salmon at the grocery store. I made the mistake of getting a salmon steak, rather than a fillet. Not knowing that I needed to prep the steak prior to grilling, I simply threw it on the grill as it was. I remember being very disappointed with the plethora of bones I encountered, and I made every effort to get fillets from there on out. Honestly, that may have been the last time I cooked a salmon steak prior to this recipe of Alton’s.

It was key to watch Alton’s preparation of the salmon steaks, as it was hard to visualize the technique from simply reading the online recipe. To begin, you run your fingers over the surface of the steaks, removing any pin bones with tweezers.

Salmon steaks.

Salmon steaks.

Now, some of these bones came out very easily for me, while others were real buggers. The next step is to trim the cavity sides of the steaks. You do this with a sharp knife, and then use scissors to cut out the bony center. At this point, Alton smoothly and seamlessly glides his blade down the stomach flaps, leaving one side without some skin and the other without some meat. This will allow the excess skin on the one flap to perfectly overlap the skinless meat on the other flap. This step was not quite so effortless for me, and I’m sure I hacked away more of the fish than I needed to, but I made it work.

Trimming the cavity side, and shortening the flaps.

Trimming the cavity side, and shortening the flaps.

After this trimming, you roll the two flaps up into the center of the steak, overlapping the longer flap over the shorter flap, and you secure the round with butcher’s twine. I was actually quite surprised that my steaks looked as good as they did after this step. Mine had a bigger “hole” in the center than Alton’s did, but they otherwise looked pretty good.

Rolled up and secured with twine.

Rolled up and secured with twine.

8-24-2014 005 Once your steaks are tied, you make a seasoning blend of cumin seed, coriander seed, fennel seed, and green peppercorns. This blend is toasted over the grill, just until fragrant.

Cumin, fennel, coriander, and green peppercorns.

Cumin, fennel, coriander, and green peppercorns.

Prior to grilling the steaks, you coat them with oil (along with the grill), sprinkle them with some Kosher salt, and then liberally sprinkle them with a ground blend of the toasted seasoning mix. We had an extra pepper grinder in our kitchen, so I used that to grind the spices.

Oiled and salted steaks.

Oiled and salted steaks.

Steaks with spice blend.

Steaks with spice blend.

Alton tells you to grill the steaks for approximately three minutes per side, but I found that my steaks took a few minutes longer than that. Once done grilling, you simply cut the twine with scissors, and the skin comes right off with the twine.

Steaks after grilling.

Steaks after grilling.

The skin came off easily with the twine.

The skin came off easily with the twine.

Grilled steak.

Grilled steak.

Ted and I were both surprised at how good we thought these steaks were. The fish was moist and the spice blend paired excellently with the salmon. There were almost no bones in either of our steaks. Though the recipe first appeared to be labor-intensive, it really was pretty easy to execute, and with further practice it could be a quick go-to for grilled salmon.