I am taking some liberties here and doing this special out of order, as this special episode was really the 7th one to air, but I’m writing it up as my third special. We wound up hosting Thanksgiving at our house this year, and the recipes from this episode composed a large portion of our Thanksgiving menu. Yes, I know Thanksgiving was quite a while ago, but it seems we’ve had non-stop things going on for the last several weeks. The premise of this special is that Alton intends to give you a solid, stress-free Thanksgiving menu, much of which can be prepared in advance. In the episode, he breaks down exactly when you need to complete each step of each recipe, so everything winds up on the table at the same time. I was slightly skeptical as to how well his schedule would actually work when put to the test. Without further ado, here are the recipes from Alton’s second Thanksgiving-specific special, along with his Thanksgiving schedule.
Butterflied, Dry Brined Roasted Turkey
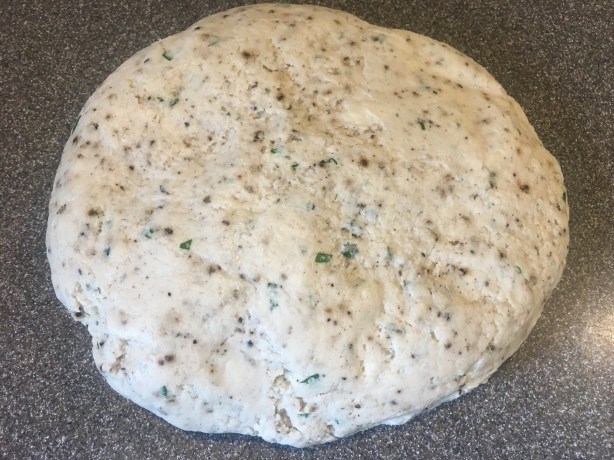
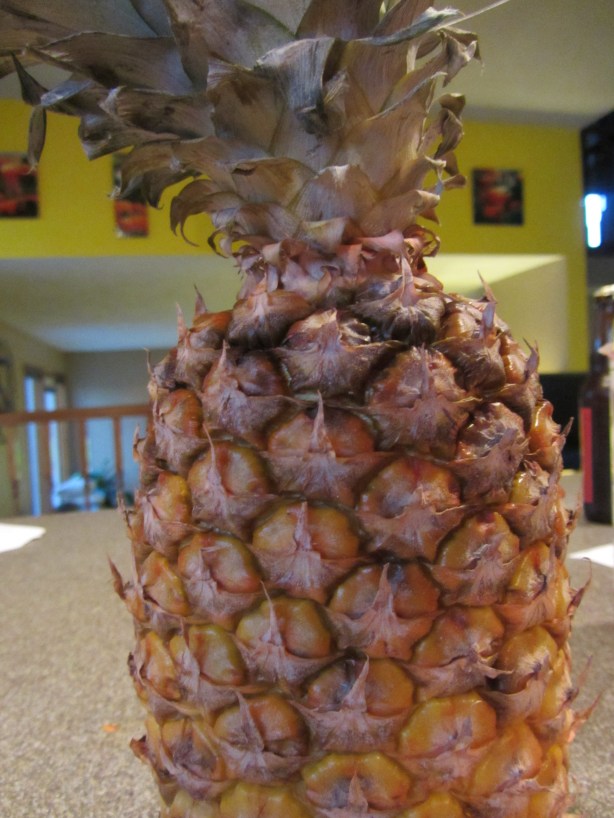
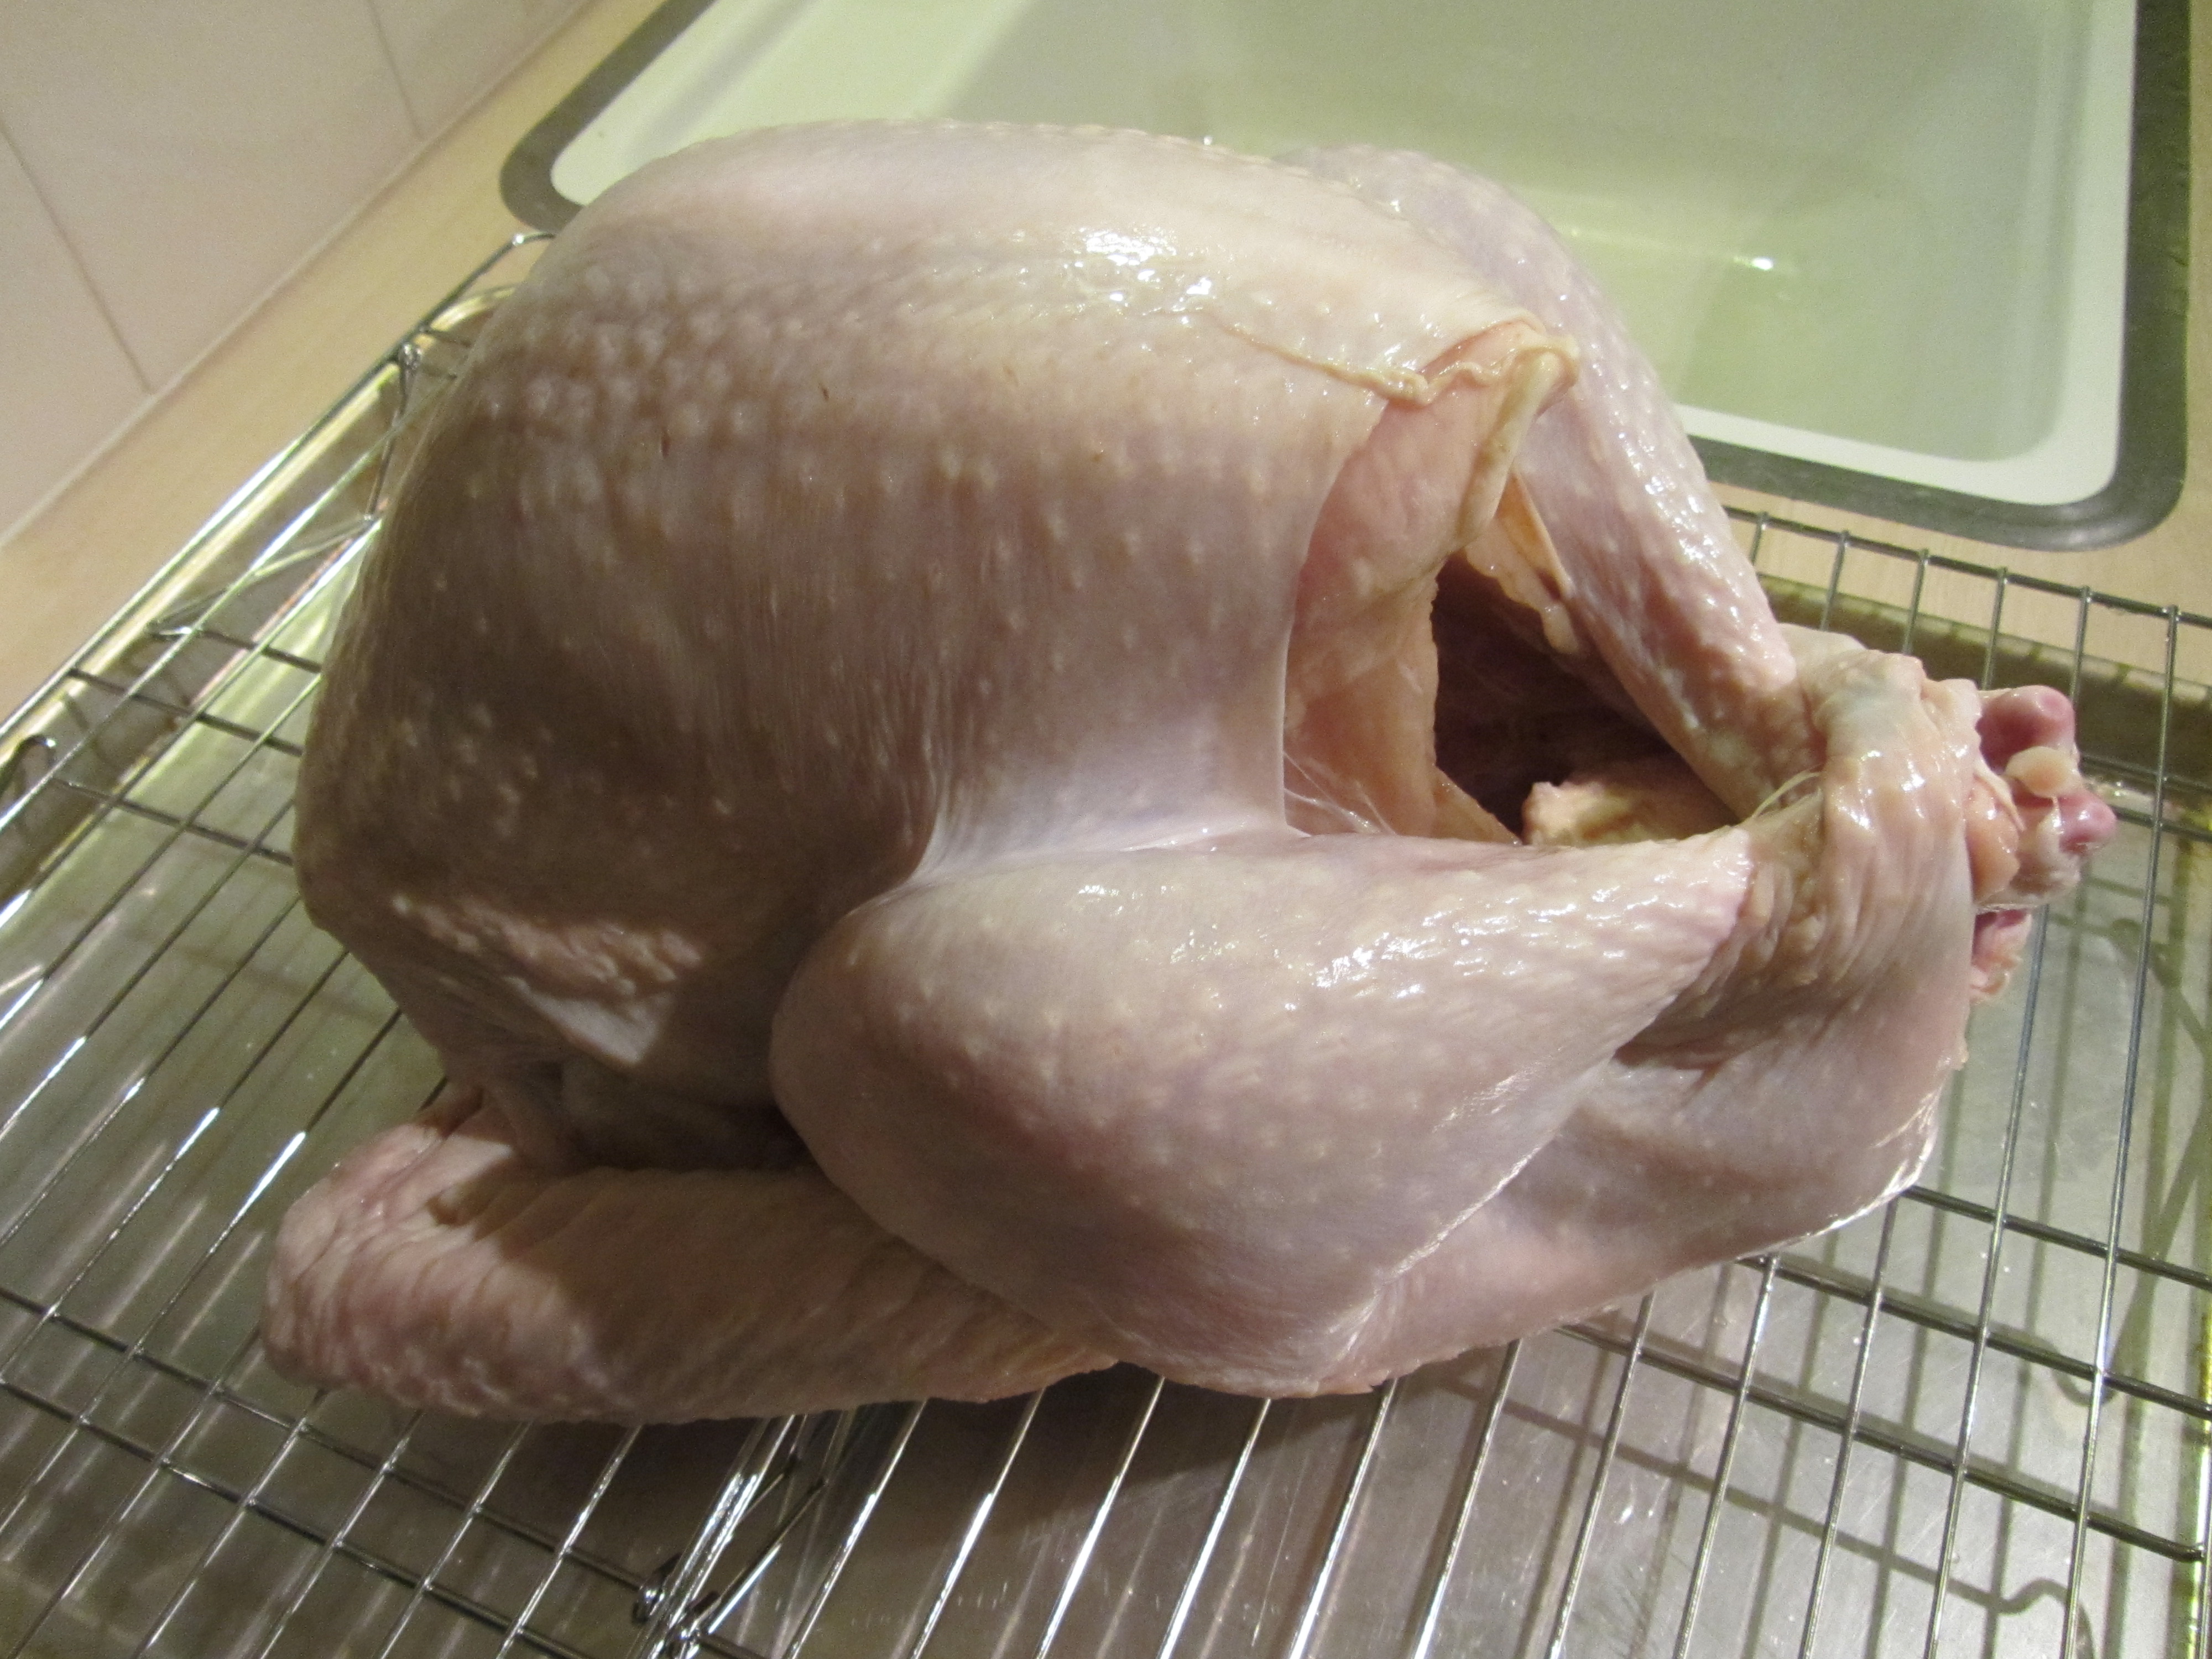
In the online recipe, the turkey and panzanella are written as one, but really you will begin prepping the turkey and two other menu items before you begin the panzanella, which I will write up separately below. Note that, for this recipe, you will need to have your bird thawed four days in advance. The ideal bird for this recipe is a 14-pound frozen turkey, which you can thaw, wrapped, in the refrigerator; allow one day for every four pounds.
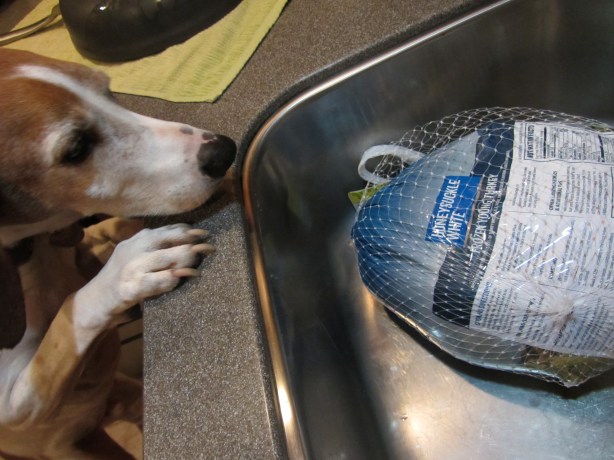
My 14-ish pound bird.
If you really want to get fast/fancy, you can purchase a pump and thaw your turkey in a cooler next to your sink, placing the pump in the sink and covering it with cold water. Run the pump tube up into the cooler with the bird. Meanwhile, open the drain spout on the cooler, allowing it to drain into the sink. Make sure you reach equilibrium if you try this method, or you could end up with water all over the floor. If the cooler is draining too quickly, you can partially plug the hole with some foil. I opted for a third method and thawed my bird in a bucket of cold water, changing the water every couple hours, which took about eight hours. Four days prior to serving, make a dry brine by grinding 3 1/2 T Kosher salt, 1 1/2 t dry thyme, 1 1/2 t rubbed sage, 1 1/4 t black peppercorns, and 1 1/2 t allspice berries in a spice grinder.

Ingredients for turkey dry rub: Kosher salt, dry thyme, rubbed sage, black peppercorns, and allspice berries.

Kosher salt, dry thyme, rubbed sage, black peppercorns, and allspice berries in spice grinder.

Alton’s turkey dry rub.
Remove the neck and giblets from the bird, reserving them if you plan to make Alton’s gravy. Placing your turkey breast side down, use kitchen shears to cut up one side of the turkey’s backbone. Flip the bird 180-degrees and cut up the other side of the backbone, holding onto the neck. Save the bones for Alton’s gravy.
-

-
My bird, breast side down.
-

-
Cutting out the backbone with kitchen shears.
-

-
Backbone removed, and reserving backbone for gravy later.
Flip your bird over, so it is breast side up and press the keel bone with the heels of your hands until it cracks and the bird flattens.

Bird flipped over.

Bird flattened by pressing on keel bone.
Sprinkle half of the dry brine on each side of the bird, patting it into the turkey. I know this sounds odd, but place your flattened bird, breast side up, on a parchment-lined sheet pan and let it age in your refrigerator for four days, uncovered.

Dry rub patted into both sides of bird, and bird ready to go into refrigerator for 4 days.

My turkey after aging in the refrigerator for 4 days.
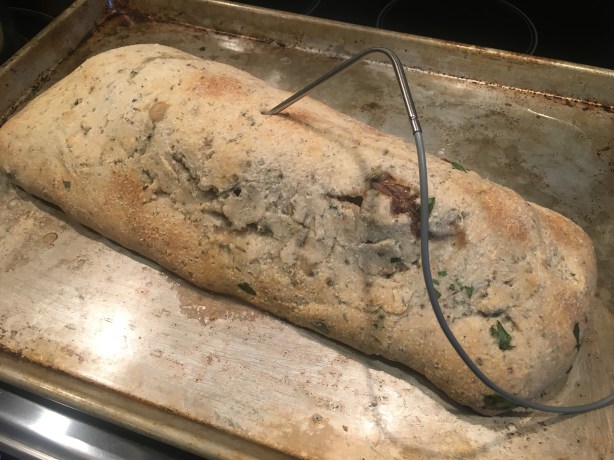
The day you plan to serve your turkey, remove it from the refrigerator 3:40:00 ahead of meal time. Place the turkey in a 425-degree oven 2:05:00 ahead of serving; if you are also making Alton’s panzanella, you will place the bird directly on an upper oven rack without a pan, allowing the turkey’s juices to drip into the panzanella below. Otherwise, yeah, you will probably want to use a pan! When you have 1:35:00 to dinner, decrease the oven temperature to 350. You will want to continue cooking your turkey until it reaches 155-degrees in the deepest part of the breast. I will confess that I cooked my turkey until it was ~160 degrees.

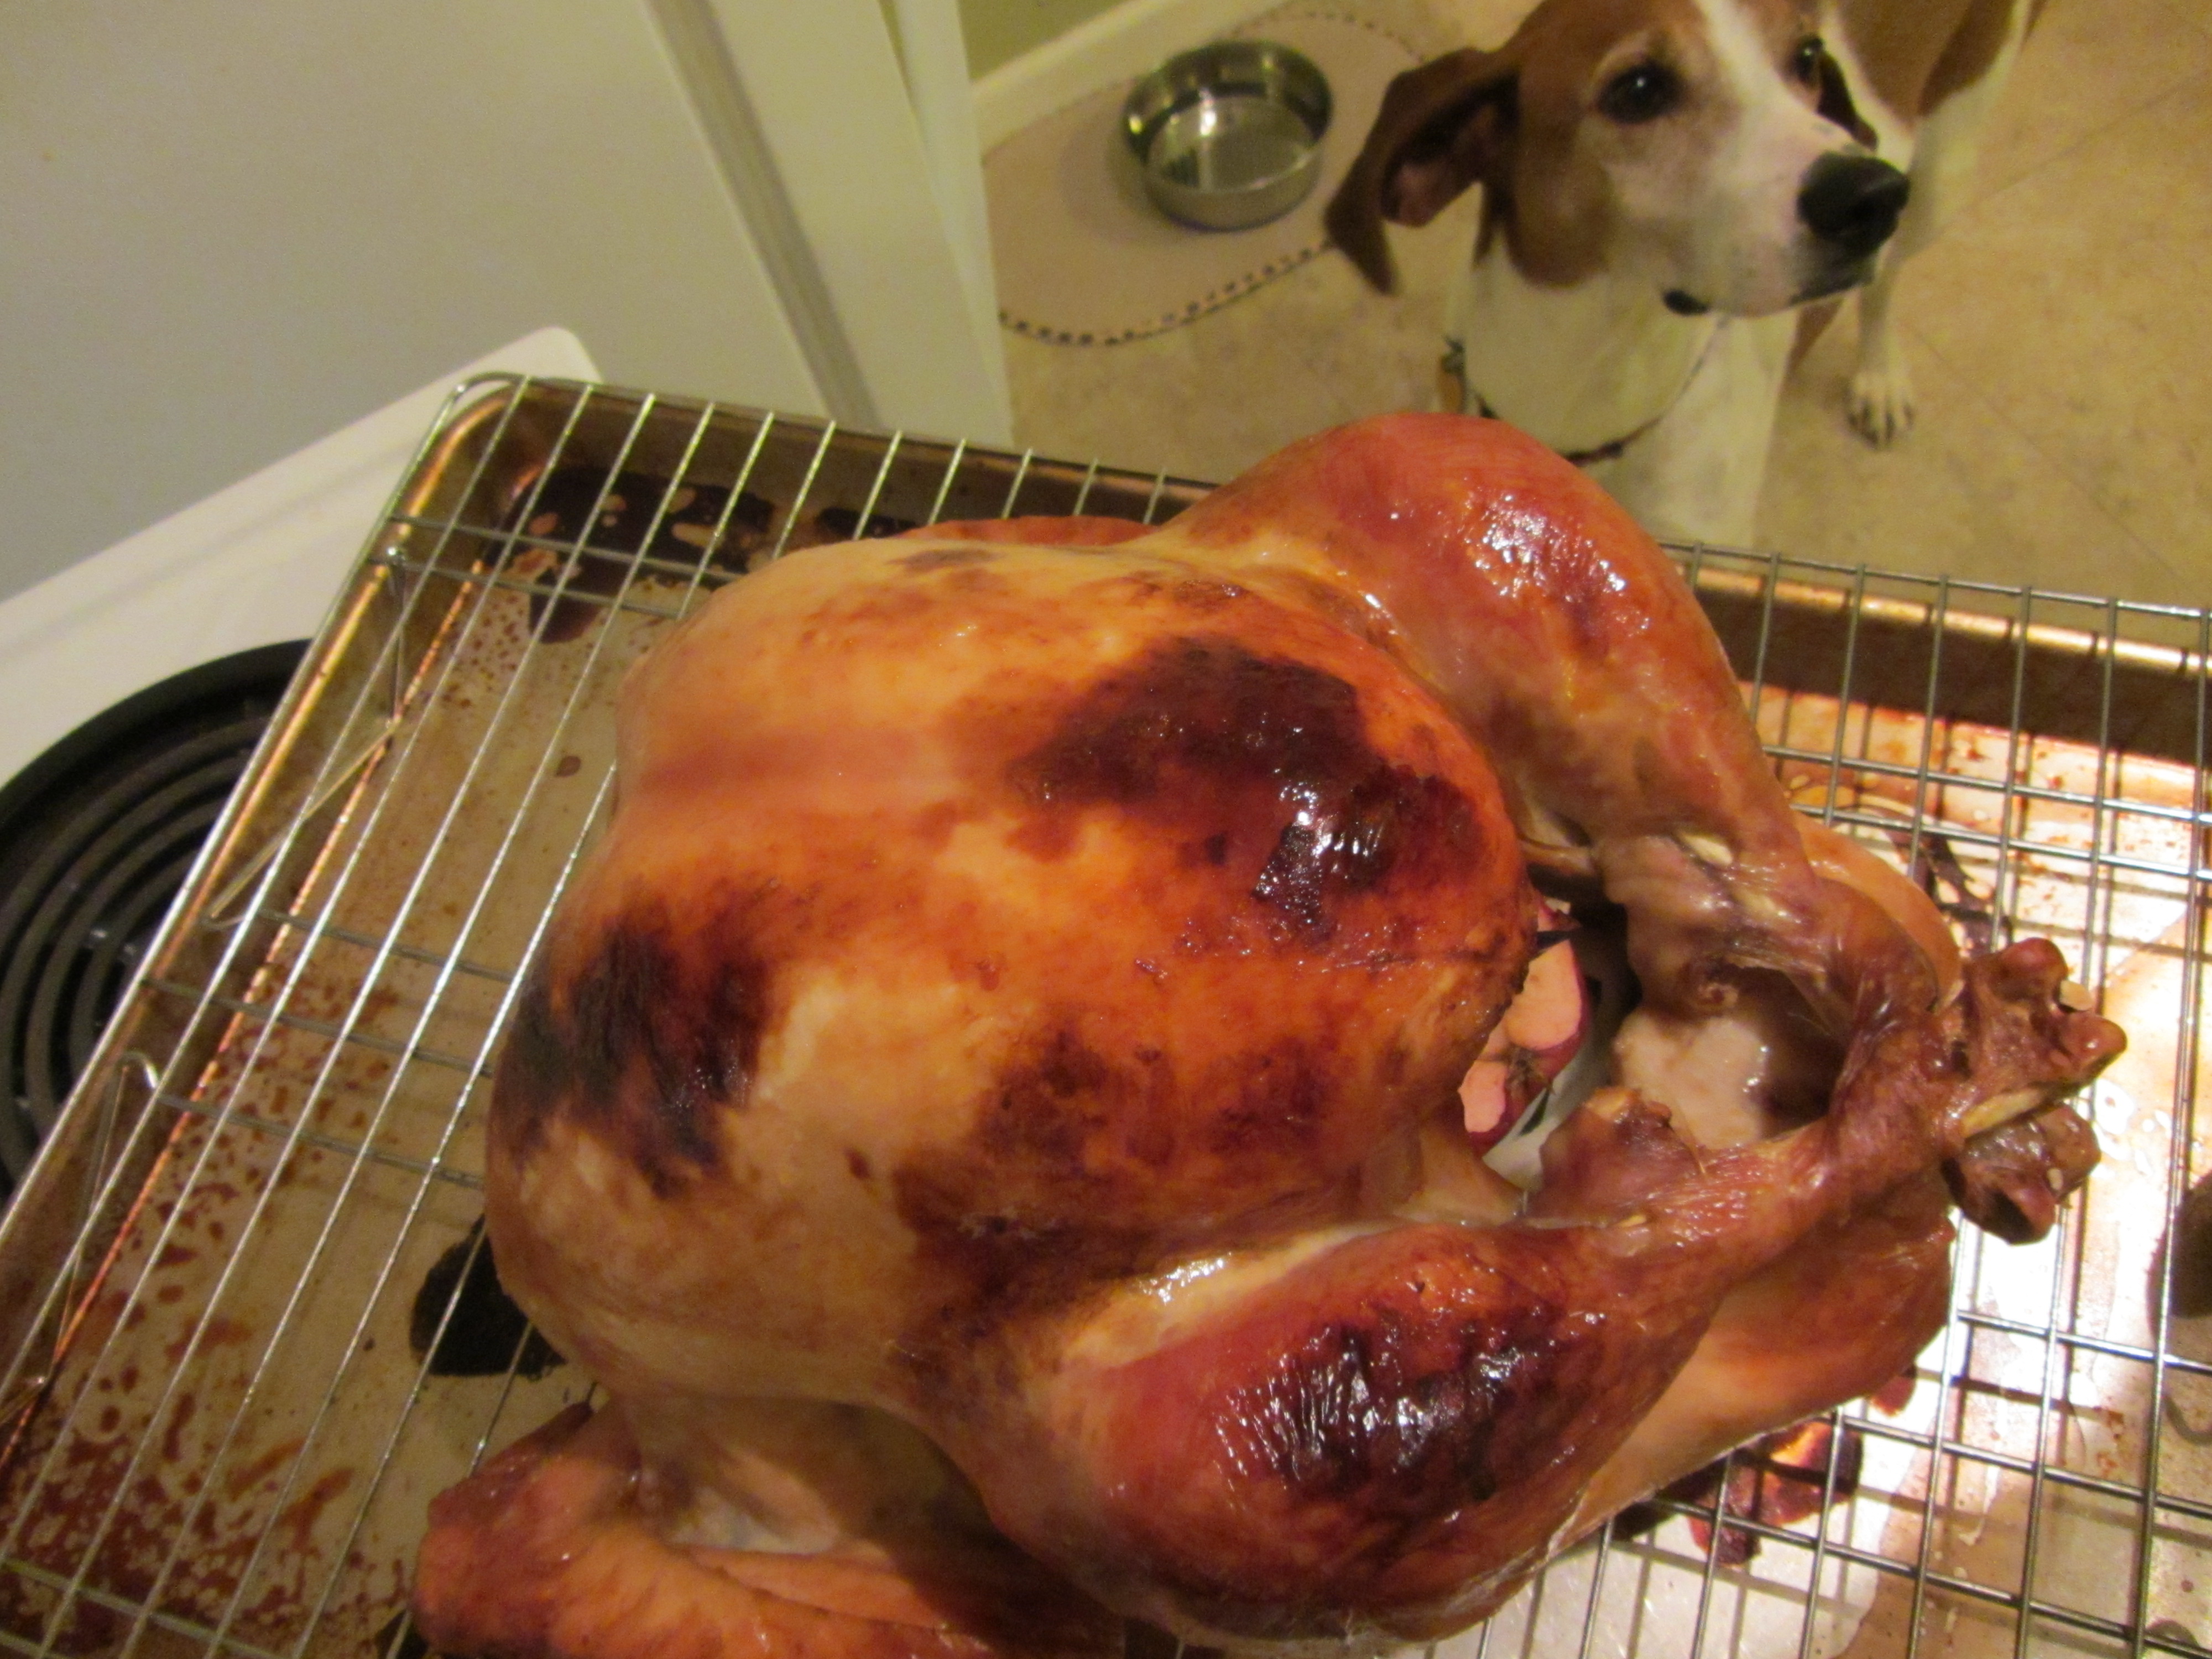
My completed turkey, after cooking to ~160 degrees.
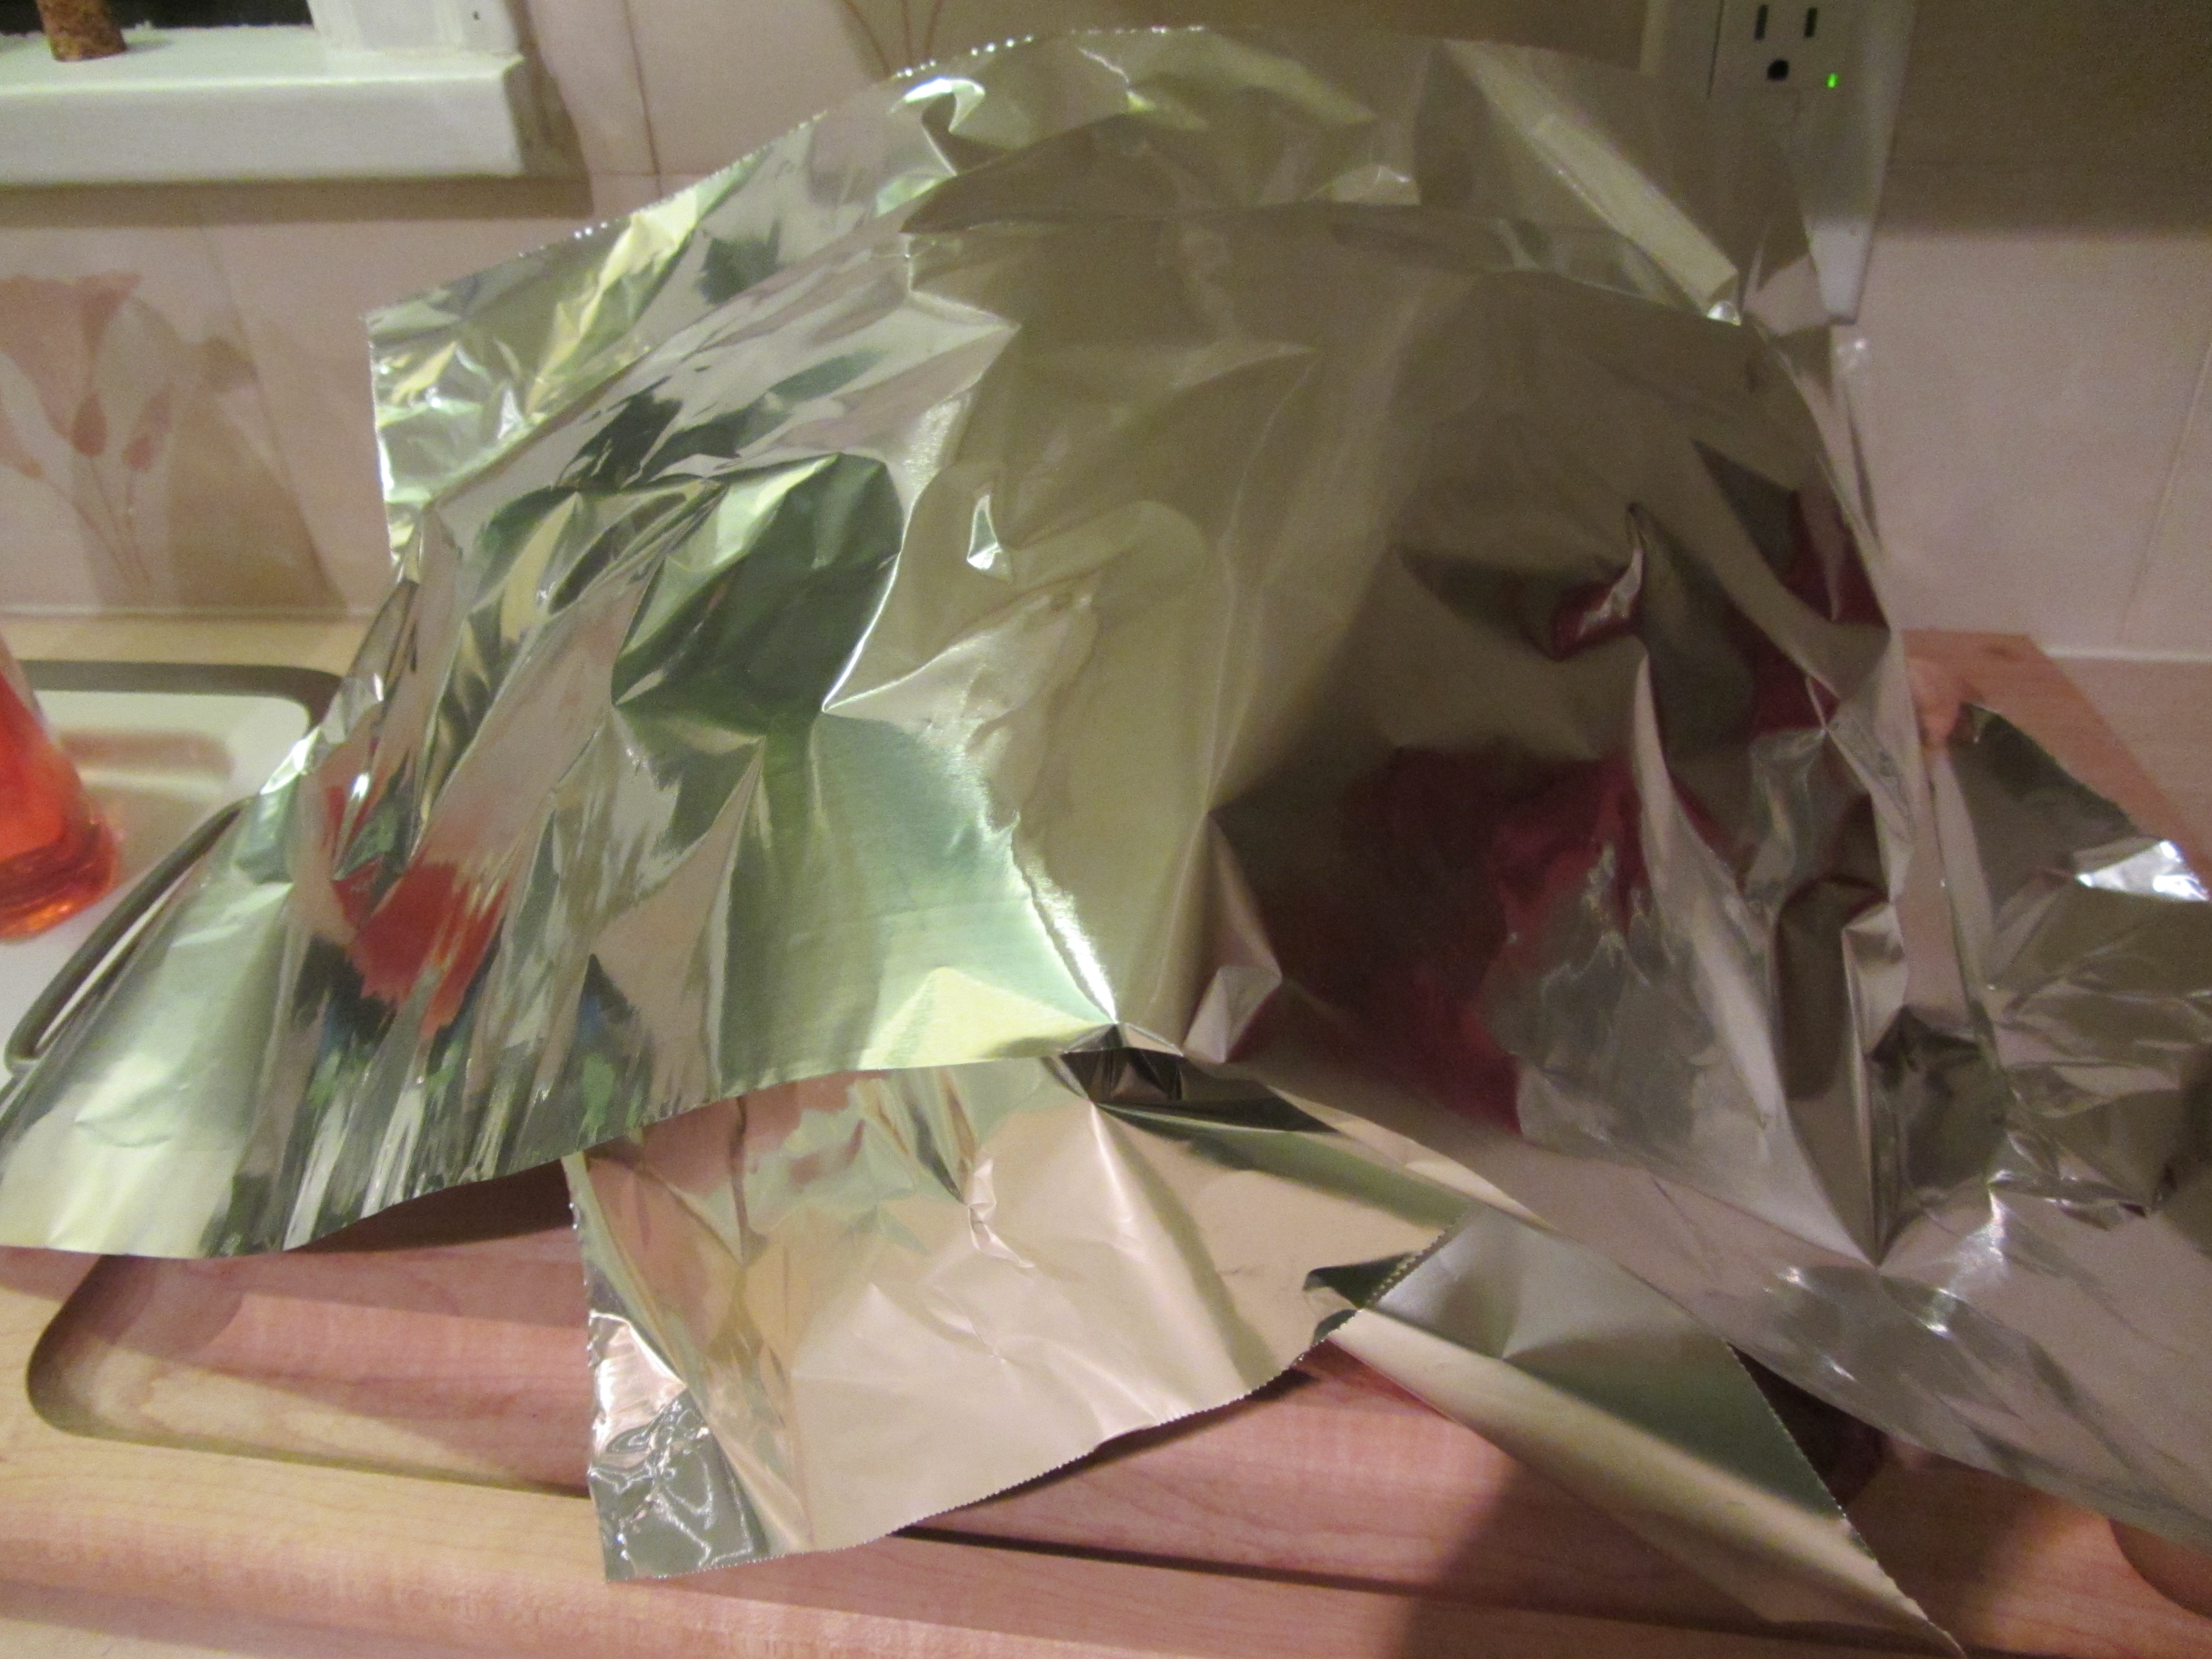
Remove the turkey from the oven and let it rest under foil. My bird was done pretty much on schedule, so it had plenty of time to rest while we finished up other things.

My completed turkey, after cooking to ~160 degrees… and a desperate dog.
Honestly, this is the easiest turkey you will ever make and it takes so little time. Also, we could not believe how much the spices from the dry brine (isn’t that really a cure?) had permeated the meat – so much flavor! This will be the turkey I make the next time I prep one. Yes, your oven does get slightly messy, but that is worth it. This is my new favorite turkey recipe.
Bourbon Pecan Pie
Okay, so this pecan pie recipe is awesome because you can make it up to two weeks ahead of time. I actually made this for us to eat the week after Thanksgiving, as we already had enough dessert contributions for our Thanksgiving meal (including a pecan pie!). The first step for Alton’s pie is to make his spiced pecans. Oddly, he did not actually demonstrate this recipe in the episode, though he did mention that you need the spiced pecans in your pie. So, I simply followed the online recipe for the spiced pecans, making a half pound of them.
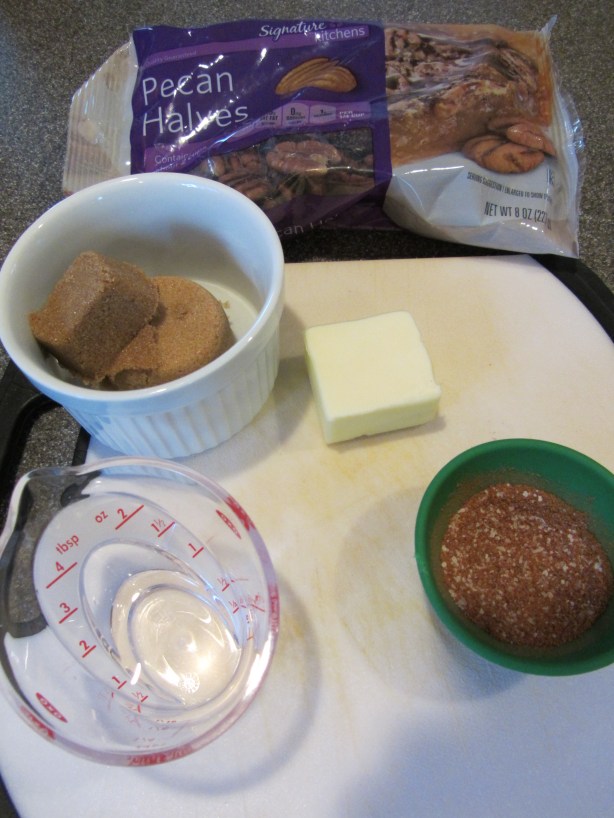
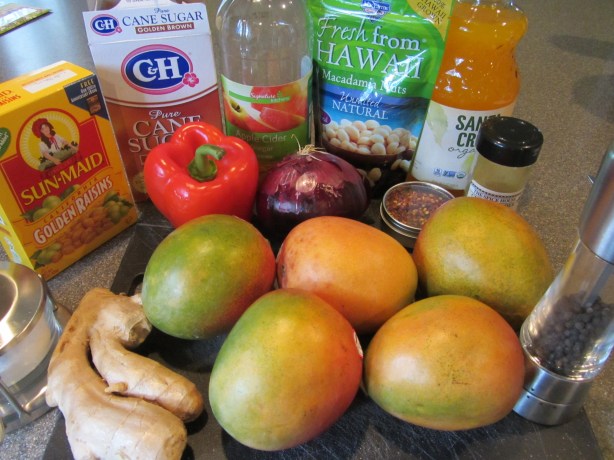
Ingredients for spiced pecans: pecan halves, light and dark brown sugar, butter, water, and spice blend.
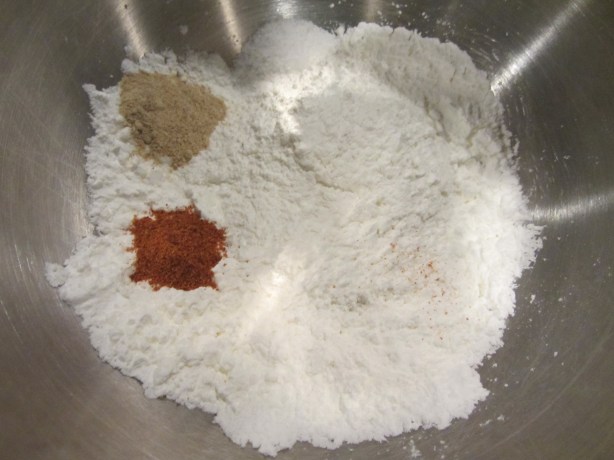
To make a half pound of spiced pecans, combine in a bowl 1/2 t Kosher salt, 1/4 t cumin, 1/4 t cayenne, 1/4 t cinnamon, and 1/4 t dried orange peel (I didn’t have this, so left it out).

Kosher salt + cumin

Kosher salt + cumin + cayenne

Kosher salt + cumin + cayenne + cinnamon

The completed spice mixture for spiced pecans.
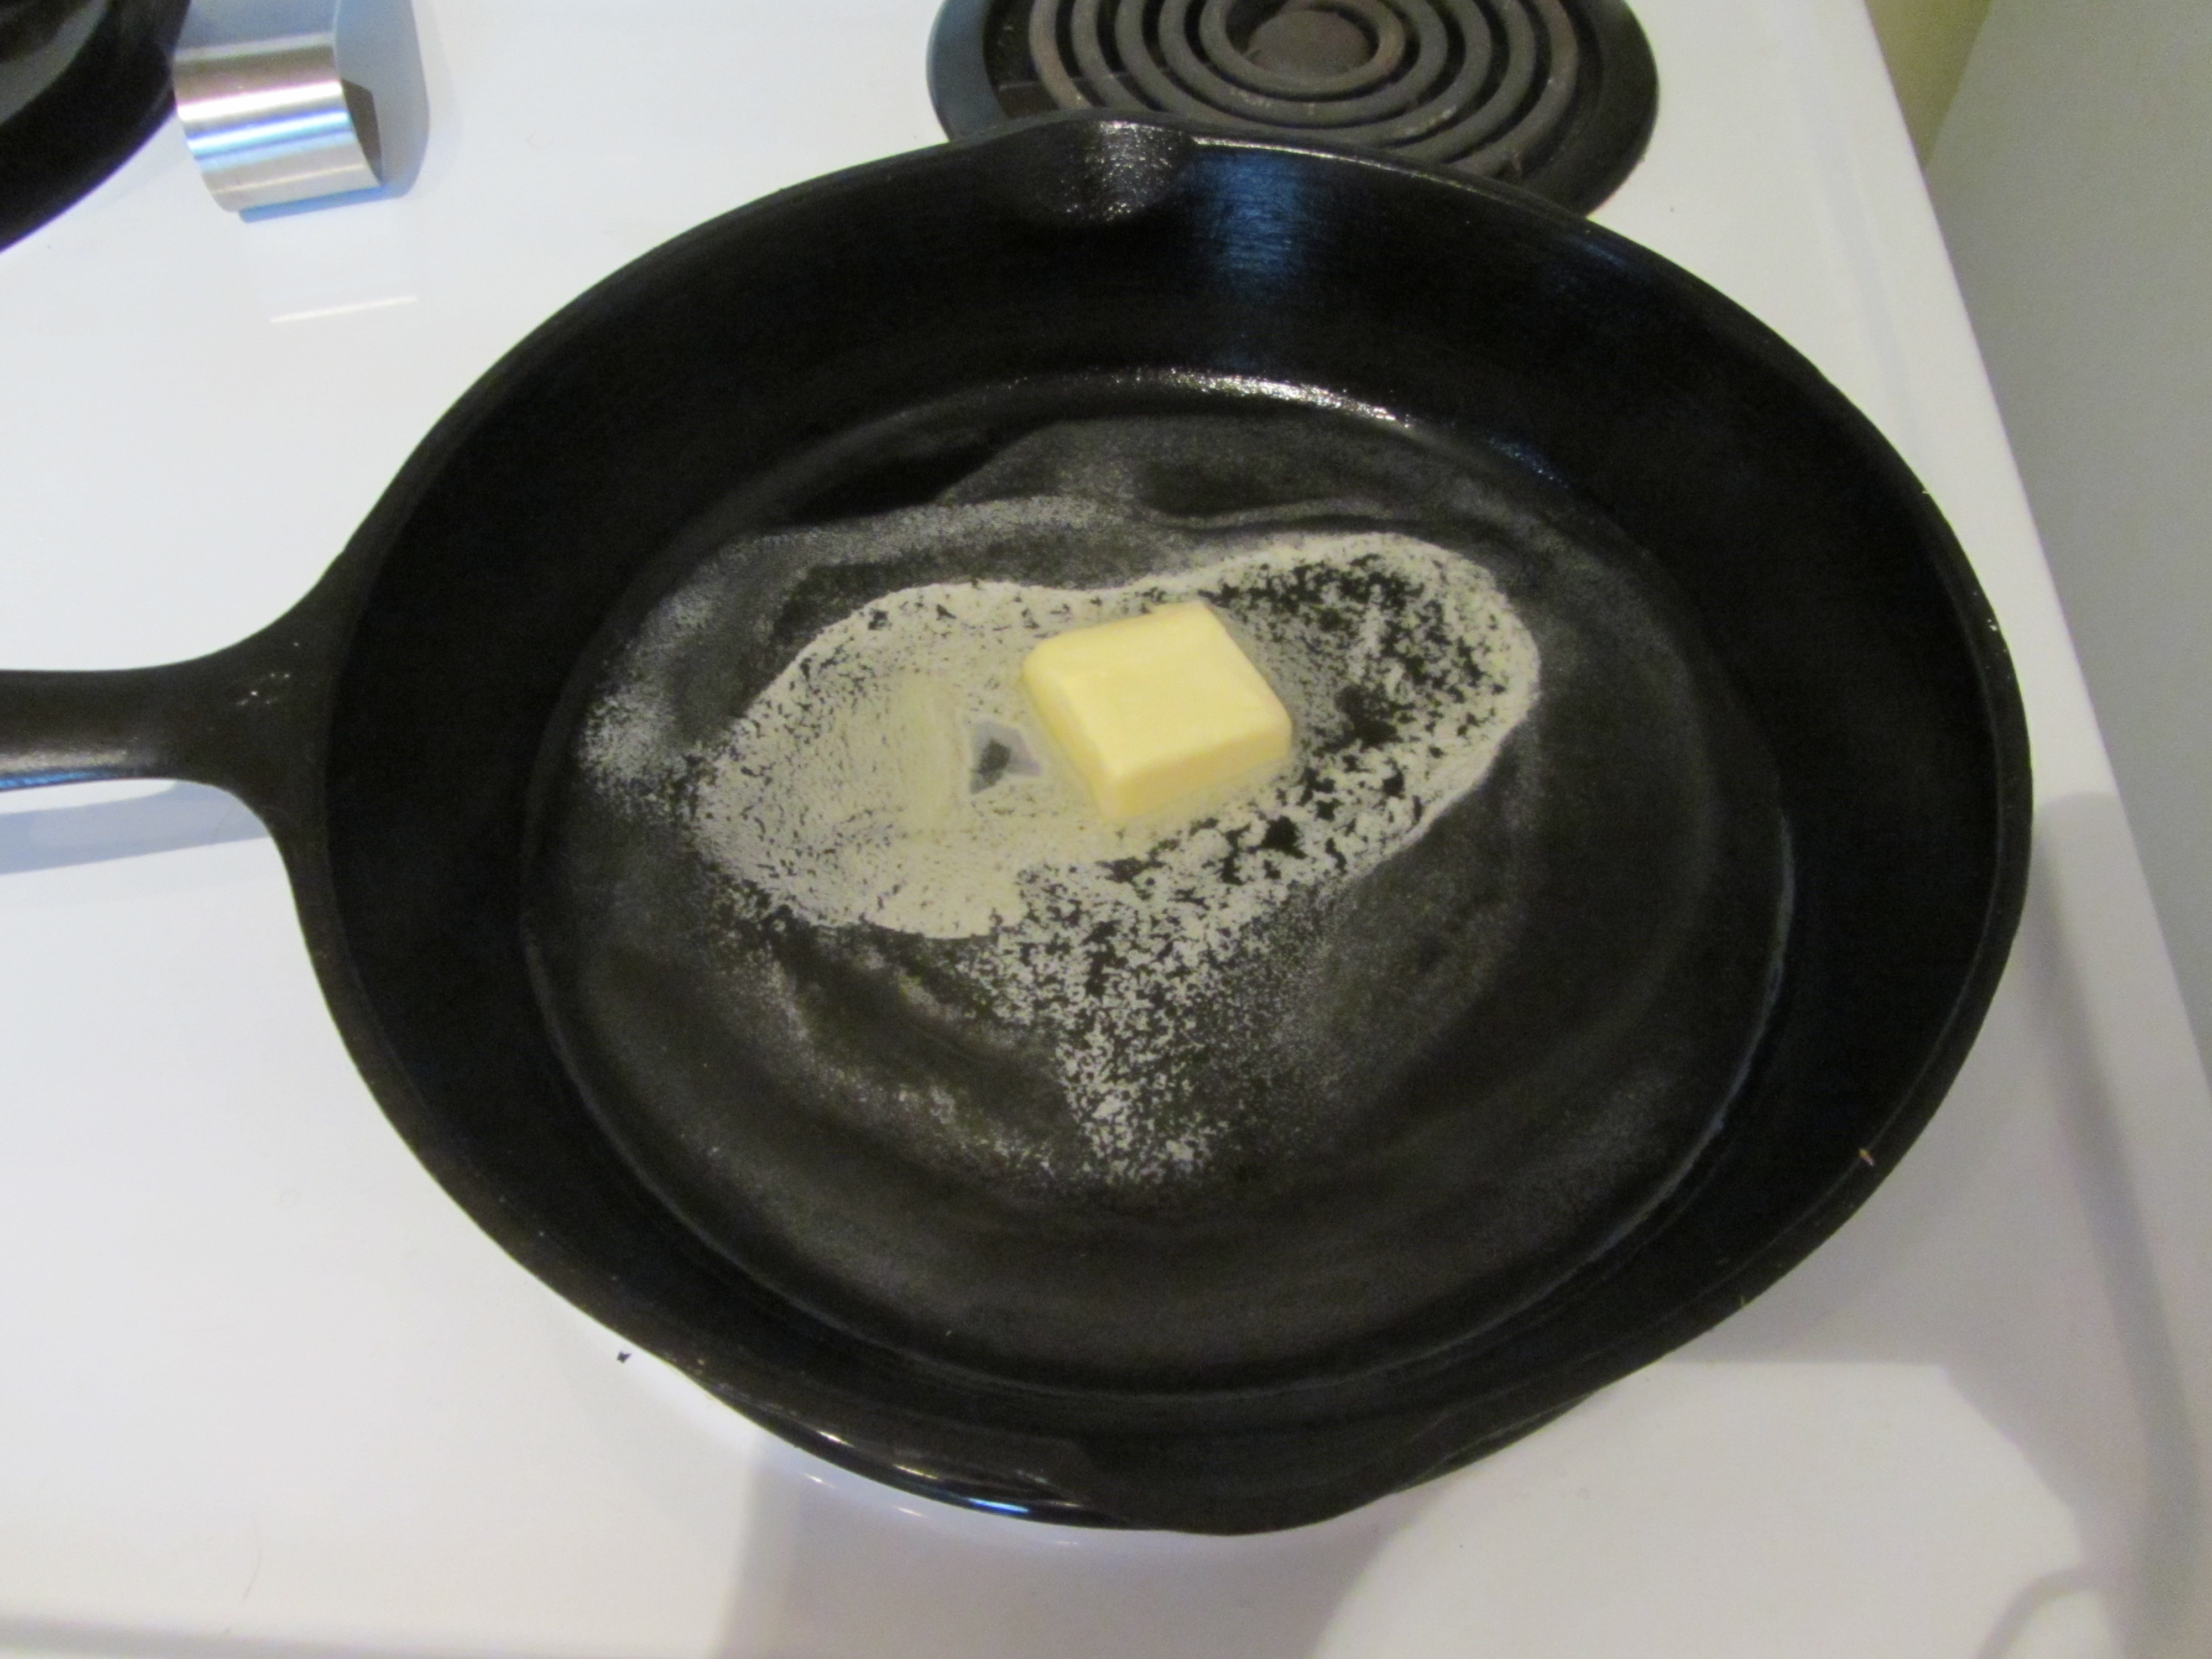
Toast the pecan halves in a pan over medium heat until they smell toasted, and stir in 2 T butter.

Pecans, toasting in a pan until fragrant.

Butter added to pecans.
Once the butter has melted, stir in the spice mixture.

Spice mix added to buttered pecans.
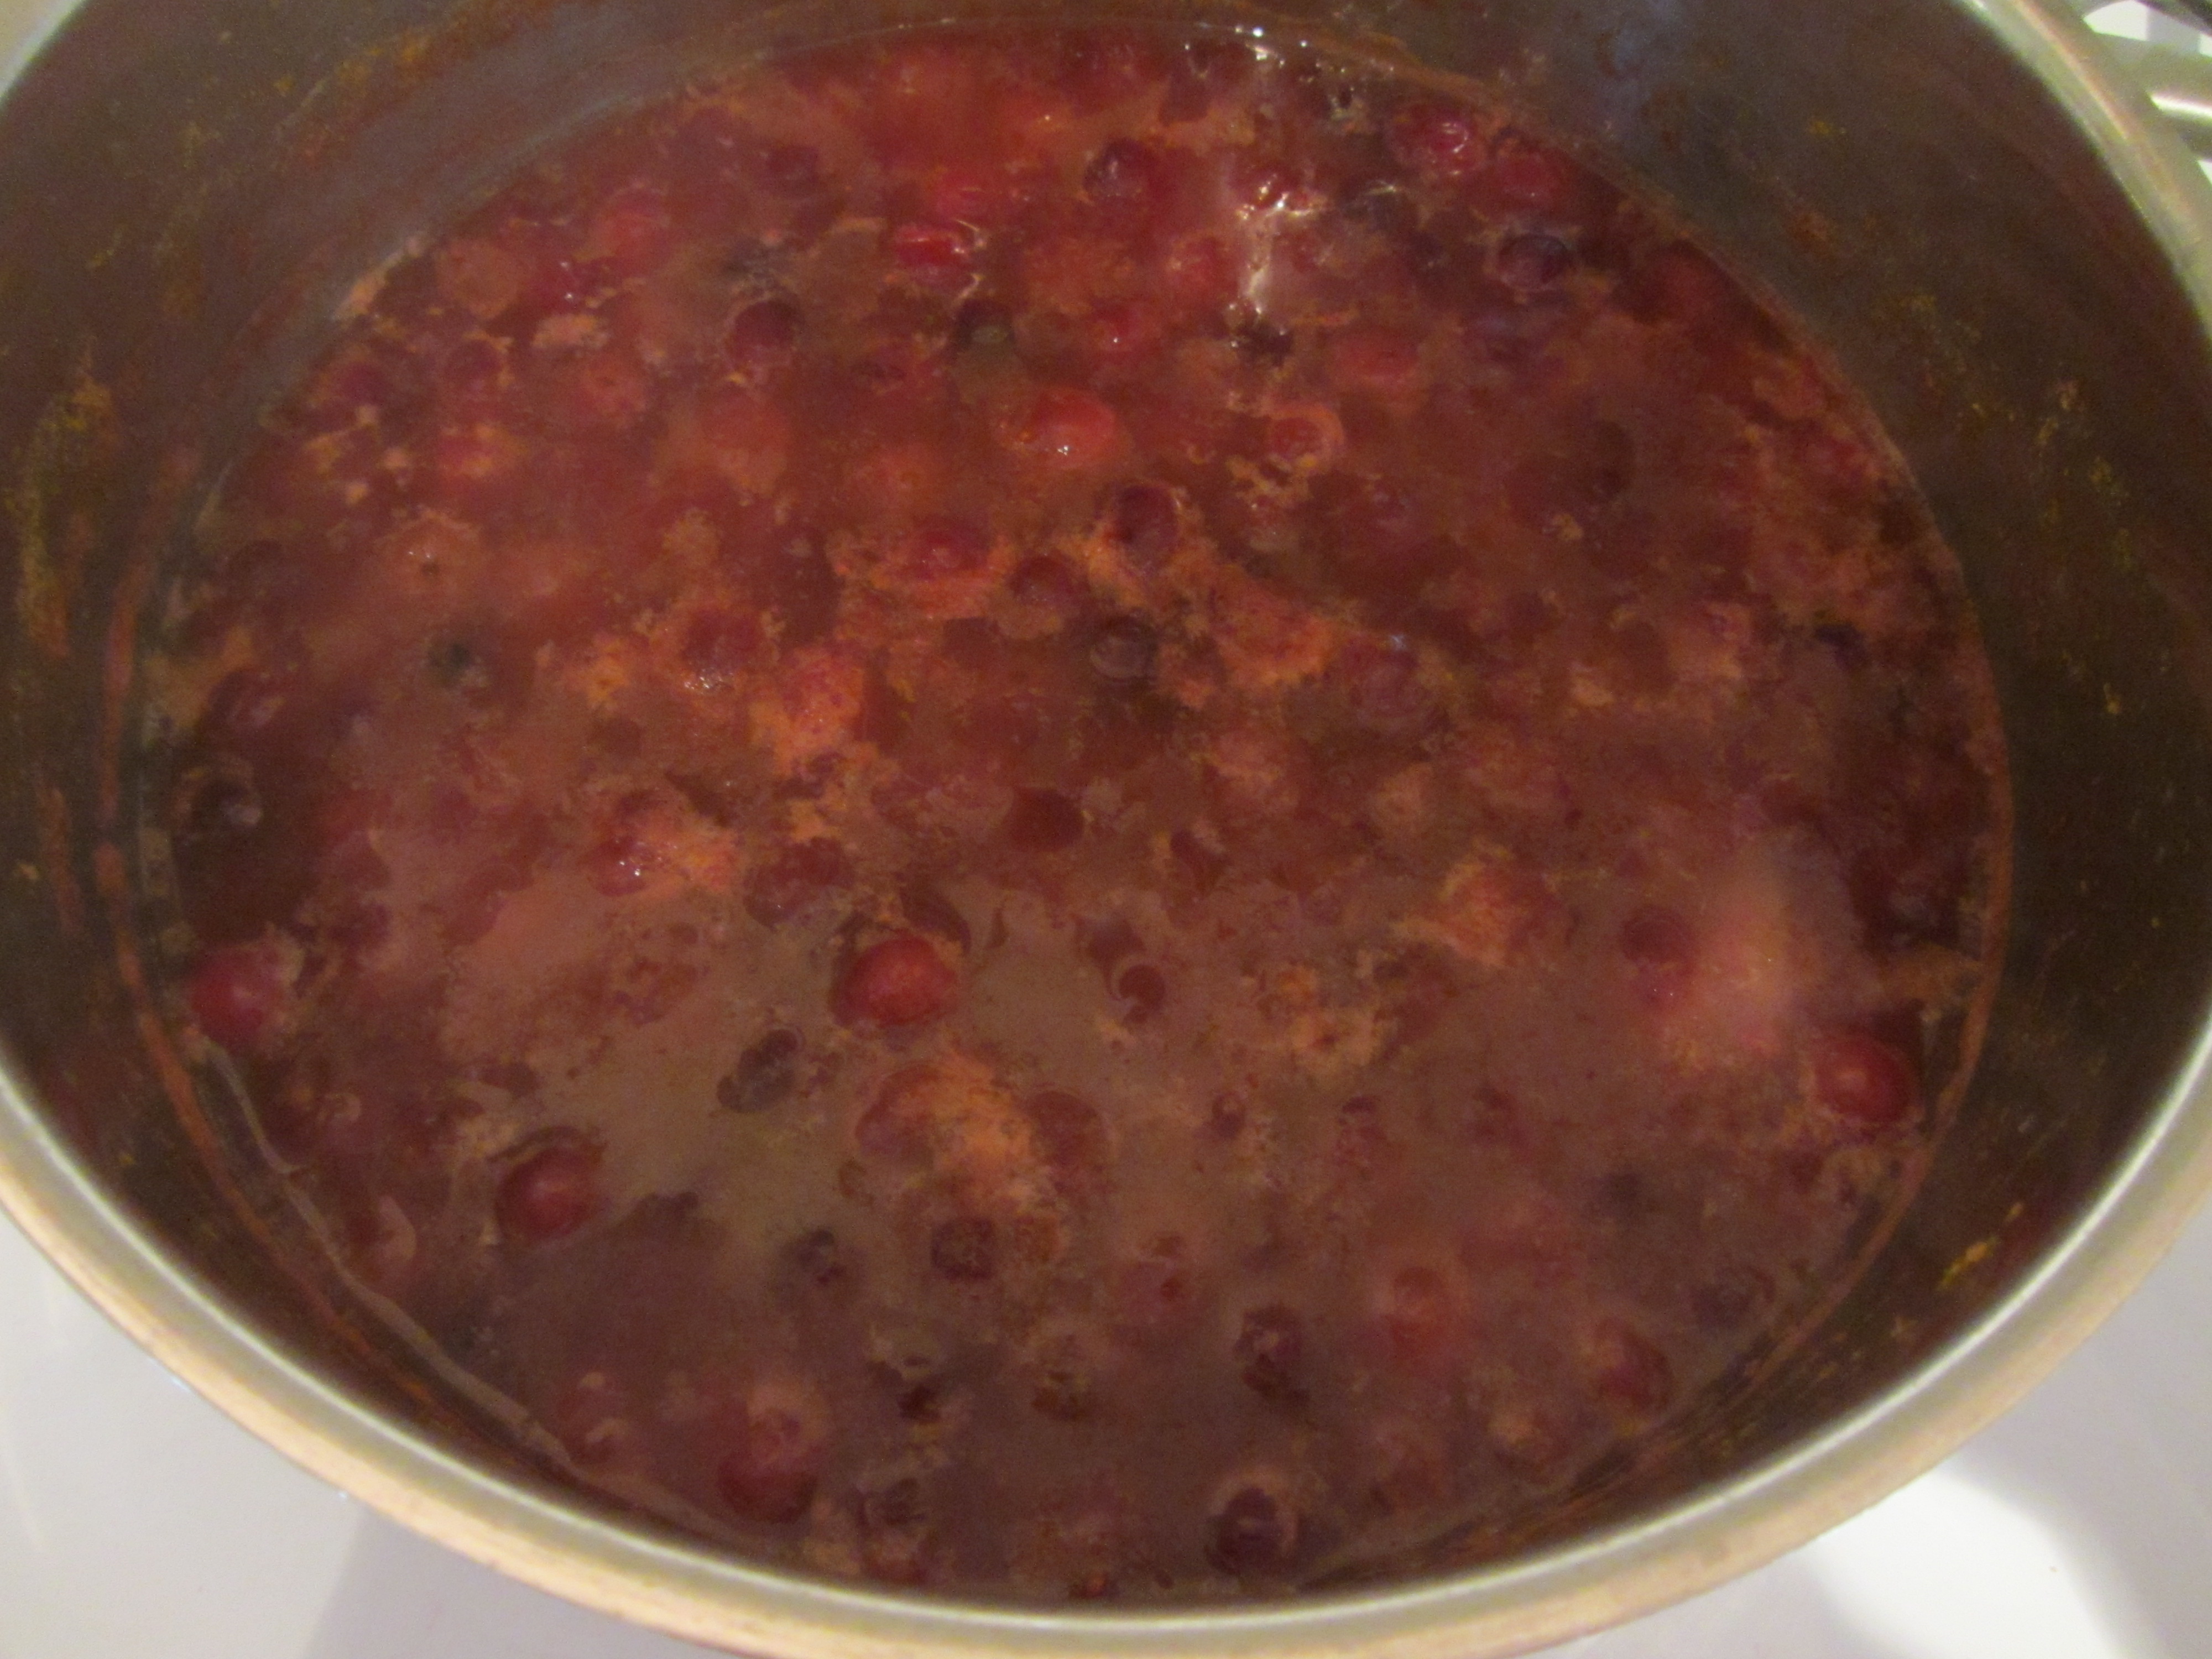
Finally, add 1 T water, 1 T dark brown sugar, and 1/8 C light brown sugar. Stir until the nuts are coated evenly and spread them on a parchment-lined sheet pan to cool, breaking up any clusters.

Water and sugars added to pan.

Coated nuts spread on parchment to cool.
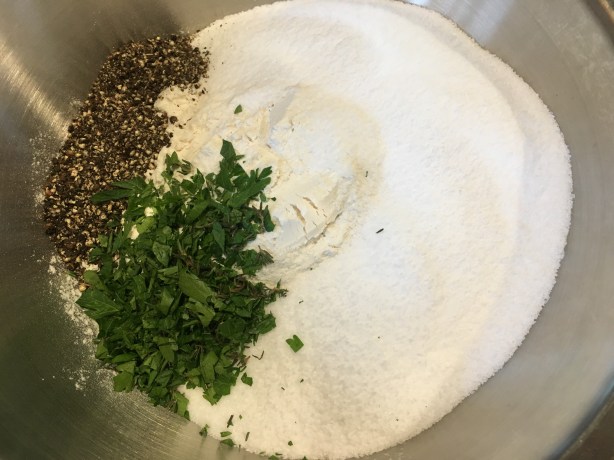
Once your spiced pecans are complete, you are ready to make the rest of your pie, beginning, of course, with the crust. In a food processor, pulse 3 1/2 ounces plain pecan halves until fine. To your pecans add 6 oz flour, 4 T cold butter, 1/2 t Kosher salt, 2 T ice water, and 2 T bourbon, pulsing after each ingredient is added, and avoiding over-processing.

Pecans pulsed in food processor, plus flour.

Cold butter, cut into cubes. Plus, a dog lamp.

Cold butter cubes added to food processor.

Kosher salt, to be pulsed in.

Bourbon and ice water added to crust mixture.

Finished crush mixture – just holds together when pinched.
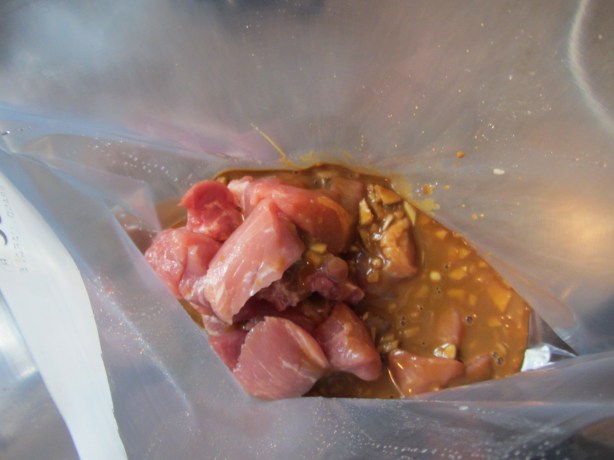
Flatten the dough into a disc and place it in a ziplock bag, refrigerating for 30 minutes.

Dough flattened in a disc, and placed in a ziplock bag to cool.
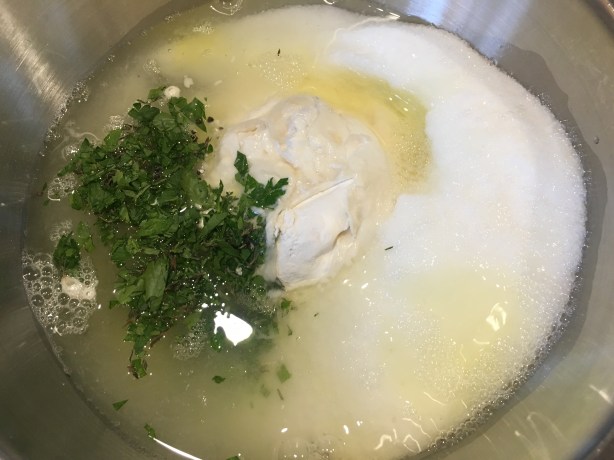
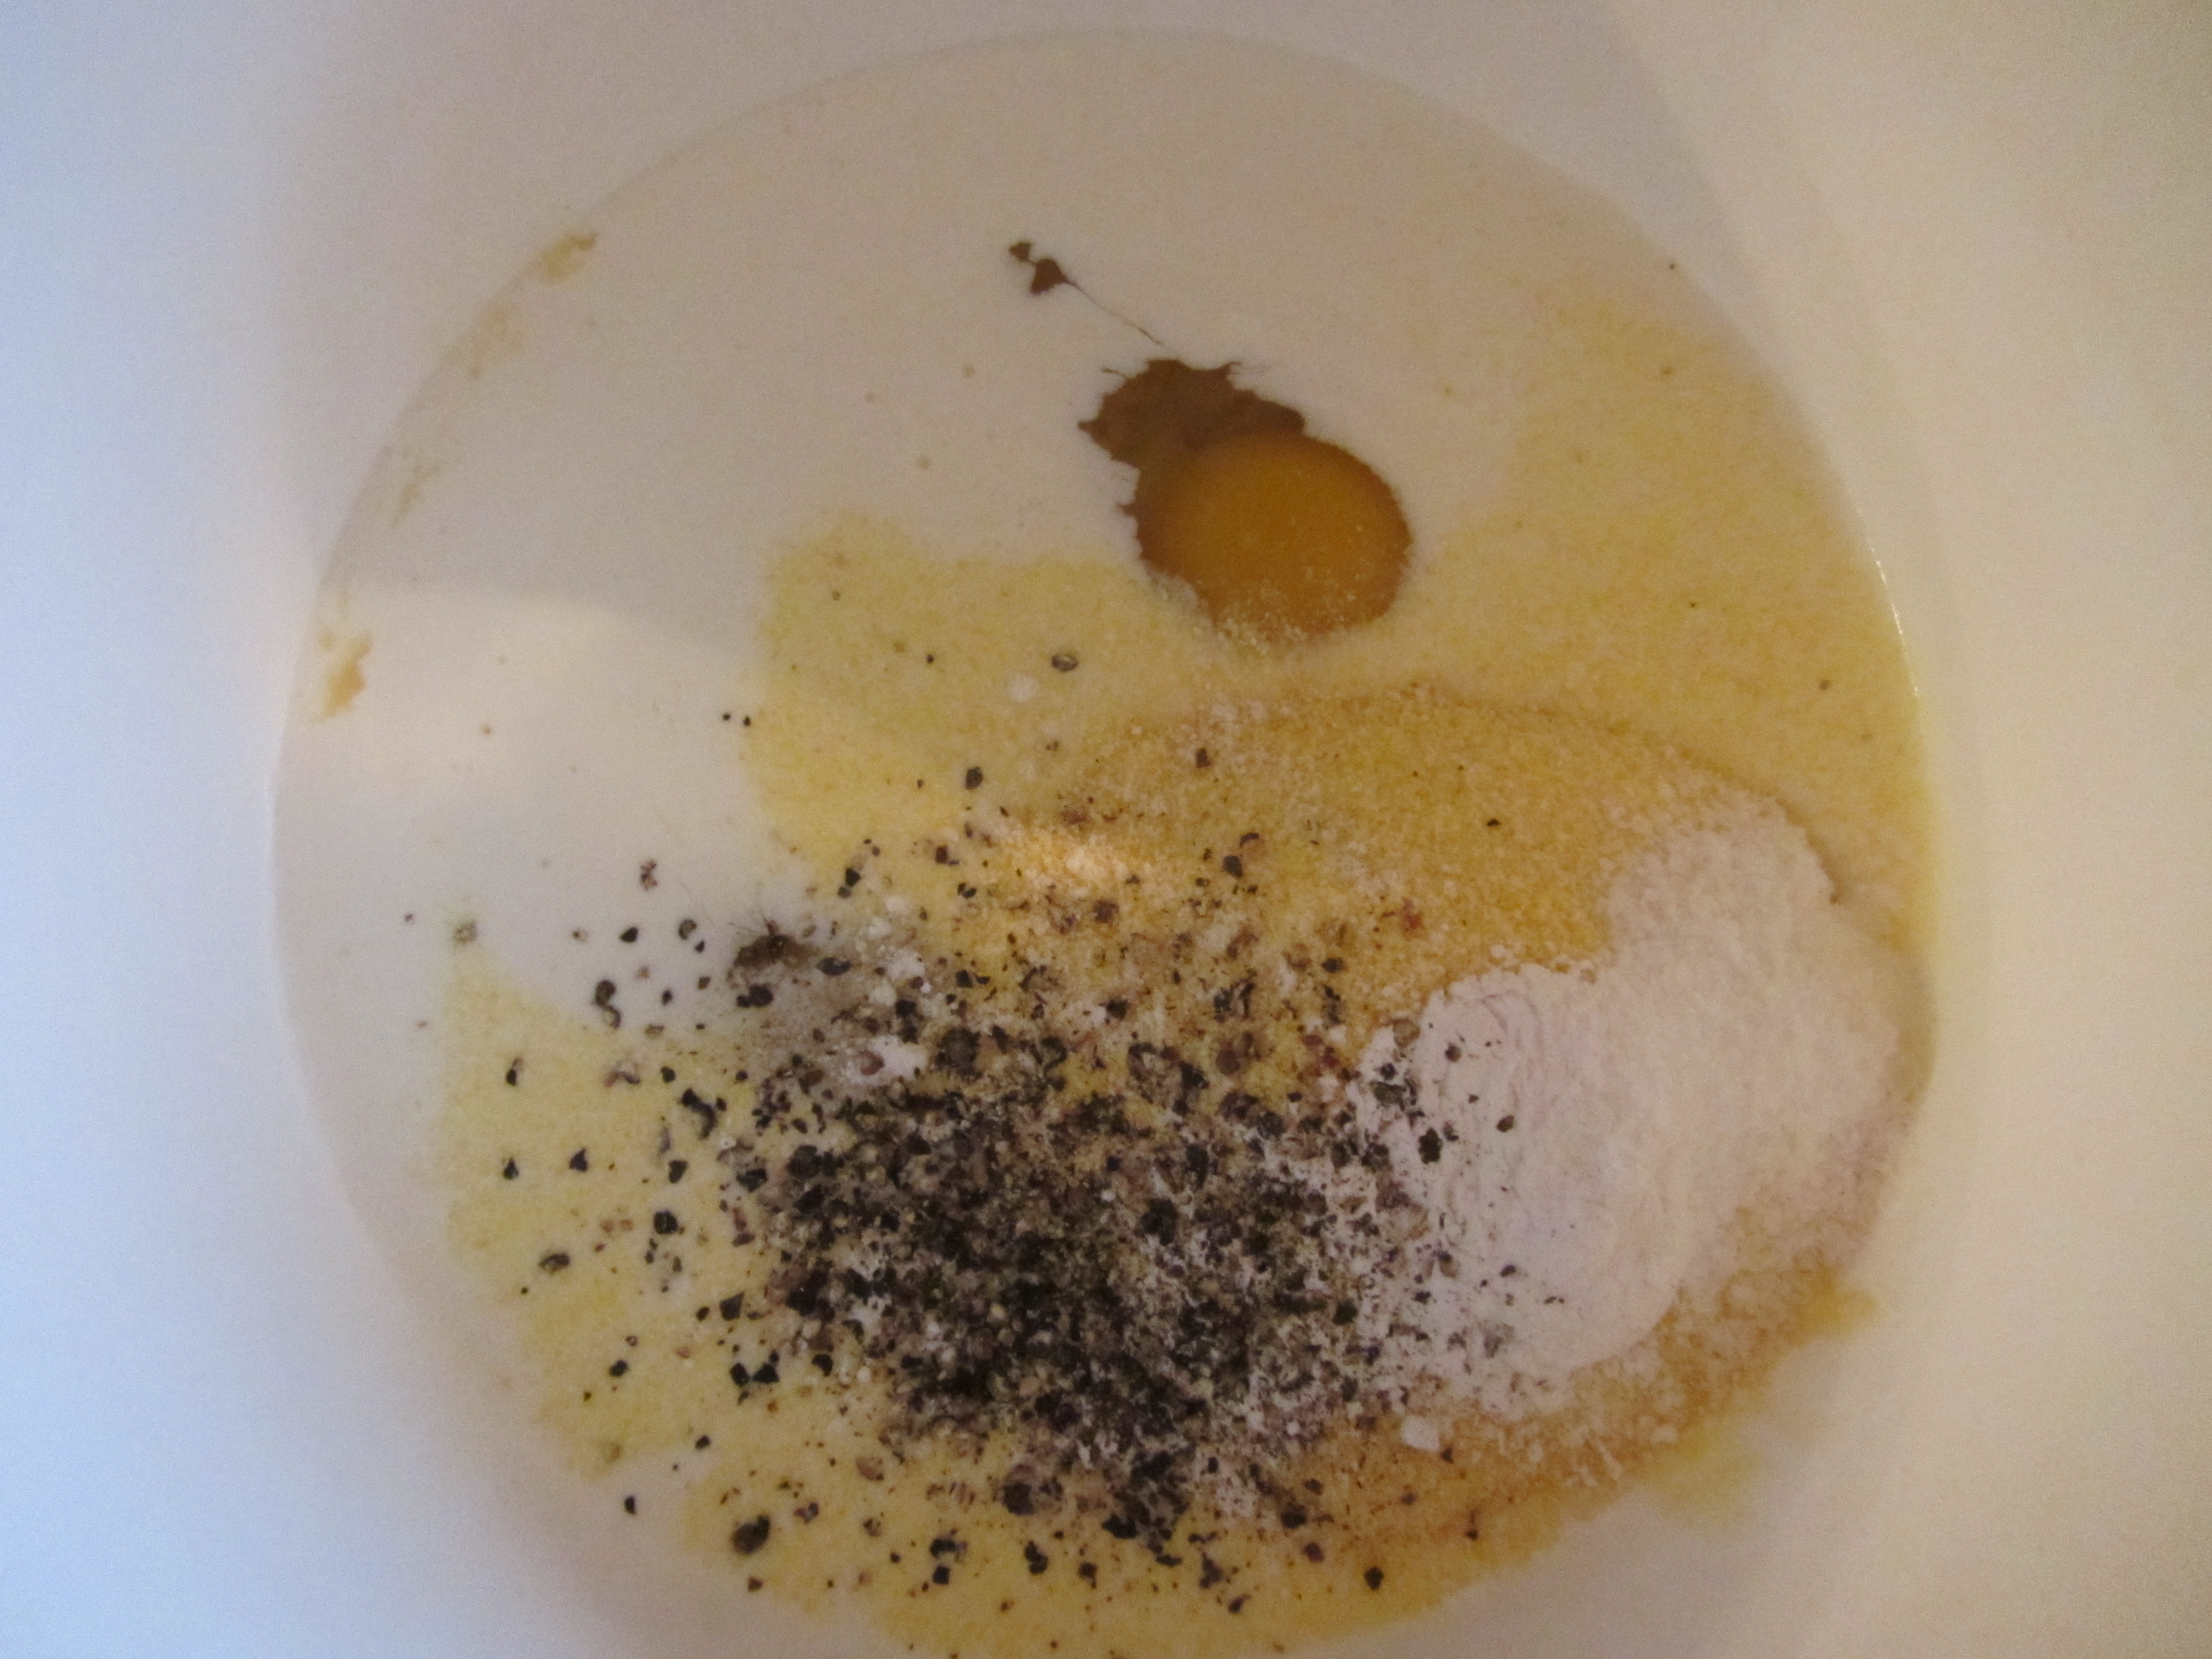
Meanwhile, heat the oven to 350 degrees. Make the filling by melting 4 T butter. In a bowl, whisk together 3 eggs, 1/2 C sugar, 1/4 t Kosher salt, 1 t vanilla, 1 T bourbon, the 4 T of butter you melted before, and 6 ounces (by weight) of golden syrup; golden syrup can be tricky to find, so I ordered it online.

Eggs, sugar, Kosher salt, vanilla, bourbon, golden syrup, and melted butter.

Golden Syrup

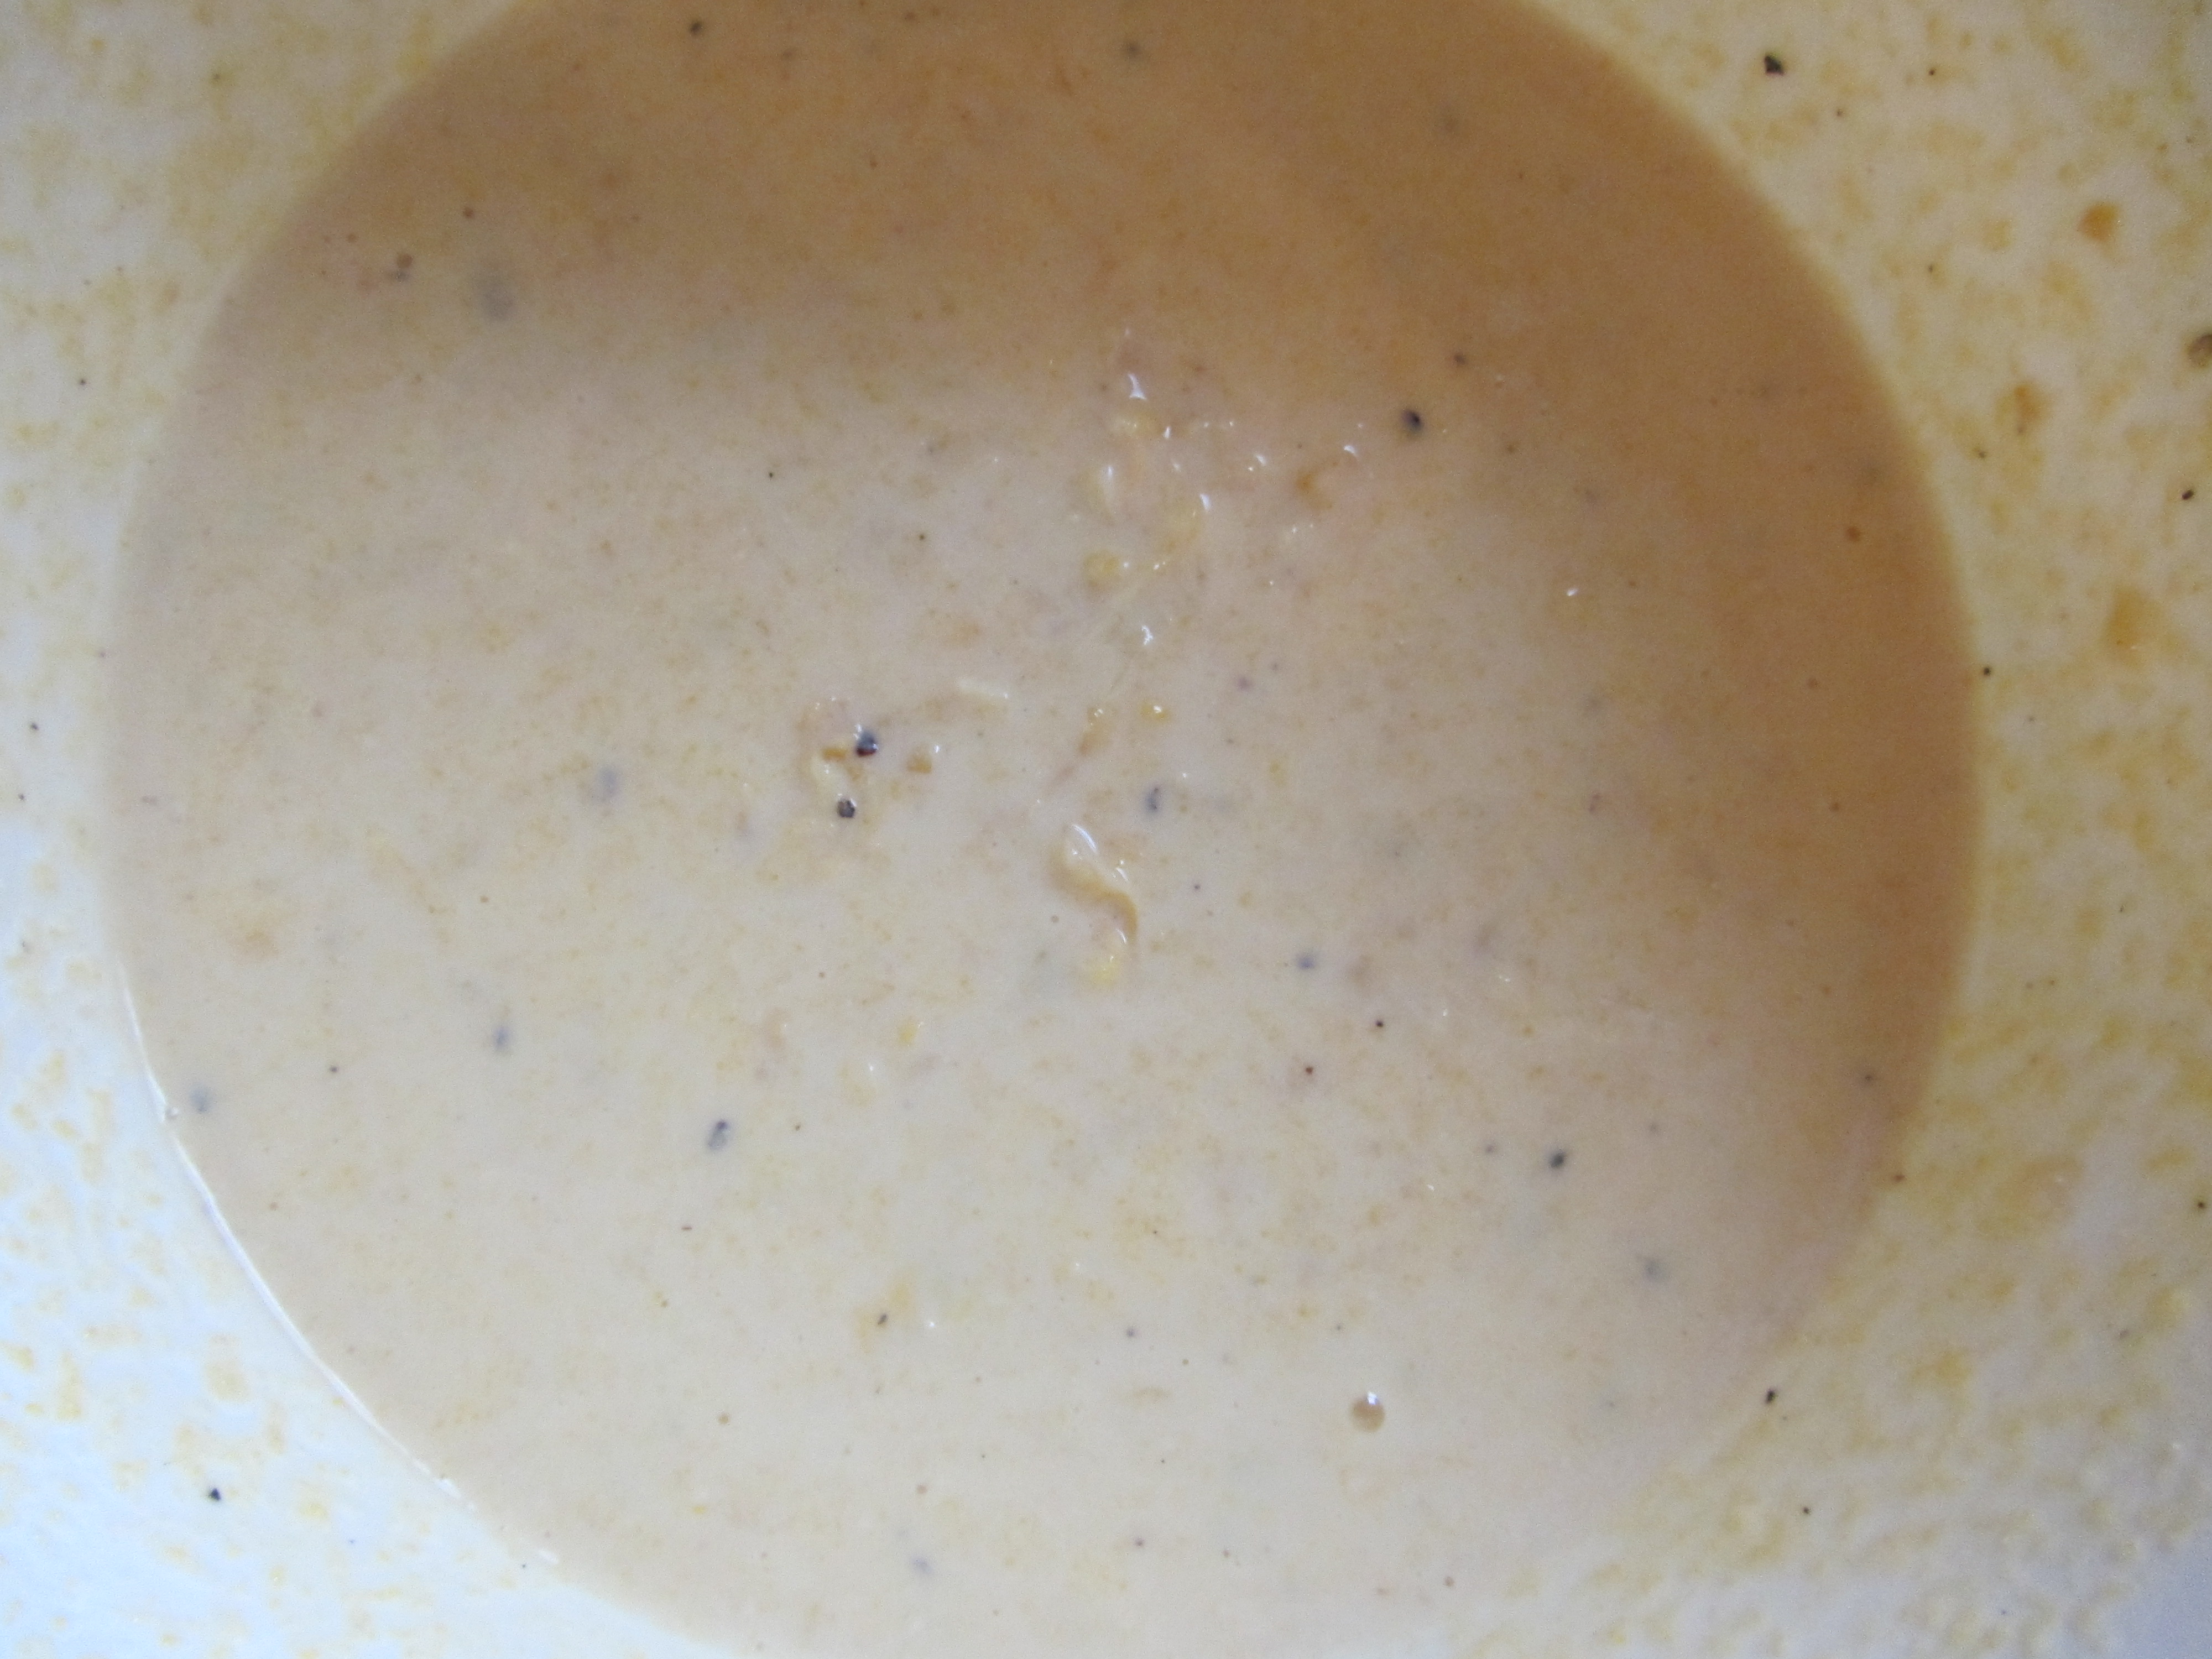
Whisked filling mixture.
When your dough has chilled, cut the two opposing side seams of your ziplock with scissors. Open the bag and sprinkle both sides of the dough disk with flour. Cover the dough with the bag again and roll it into an 11-inch circle.

Cooled crust dough, sprinkled with flour before being rolled out.

Crust dough rolled out inside ziplock.
Alton recommends using a 9.5-inch fluted tart pan with a removable bottom, as you can simply place your dough circle onto the bottom of the pan, folding up the excess dough. When you place the bottom of the pan into the edges, you can simply unfold the excess dough, pressing it into the flutes. I, however, do not have a tart pan of that size, so I opted for a regular pie plate, transferring my dough circle by rolling it around a rolling pin. This dough is slightly sticky, so you do need to use flour.

Crust, transferred to pie plate.
Regardless of which pan you use, press the dough into the pan before adding 6 ounces of your spiced pecans, chopped. Pour the filling mixture over the pecans and jiggle the pan to evenly distribute the nuts.

Chopped spiced pecans added to crust.

Filling poured over spiced nuts.
Bake the pie for 20 minutes. At this time, remove your pie from the oven, placing it on a rack. Decorate the top of your pie by placing spiced pecan halves around the edge of your pie – you will need about two ounces of spiced pecans for this.

Pie after baking for 20 minutes.

Pie, adorned with spiced pecans, and placed back into the oven.
Stick your pie back in the oven and bake it until the internal temperature is 200 degrees, which Alton says should take about 10 more minutes. If your oven is like mine, however, it will take 15-20 minutes of additional baking. Remove your pie from the oven and let it cool.

Pie after baking to internal temp of 200.
If you are making it in advance, cover your cooled pie with plastic wrap and place it in the freezer for eight hours to two weeks. When you are approaching your serving time, remove your frozen pie from its pan and slice it; you can place it back in the pan. Refrigerate your pie until ready to serve. Alton guarantees that this pie will not seep or weep, and I can vouch for that. I never froze my pie, as we simply ate it once it had cooled down. Still, unlike many pecan pies, this one had a filling that maintained its shape and form.

A slice of Alton’s pecan pie.
To boot, we really liked the bourbon flavor in this pie, which paired well with the spices from the pecans. The golden syrup also seemed to give more of a caramelized flavor versus using corn syrup. The crust in this recipe is crispy, light, and pretty savory, which we thought contrasted greatly with the super sweet filling. I will make this pecan pie again for sure, as it is probably the best pecan pie I have had.
Whipped Potatoes
Thanksgiving just wouldn’t be complete without some form of potato, right? This special episode featured Alton’s recipe for whipped potatoes. Like the other recipes in this episode, this is one for which much of the prep can be completed in advance. A full 24 hours ahead of serving time, you will want to peel four pounds of Yukon Gold potatoes, and slice them as thinly as possible; a mandolin makes this much faster, if you have one.

Four pounds of Yukon Gold potatoes, peeled.

Slicing peeled potatoes into thin slices on a mandolin.

Thin potato slices.
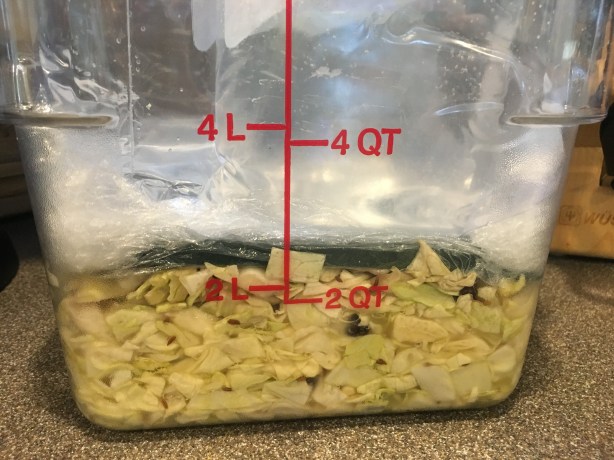
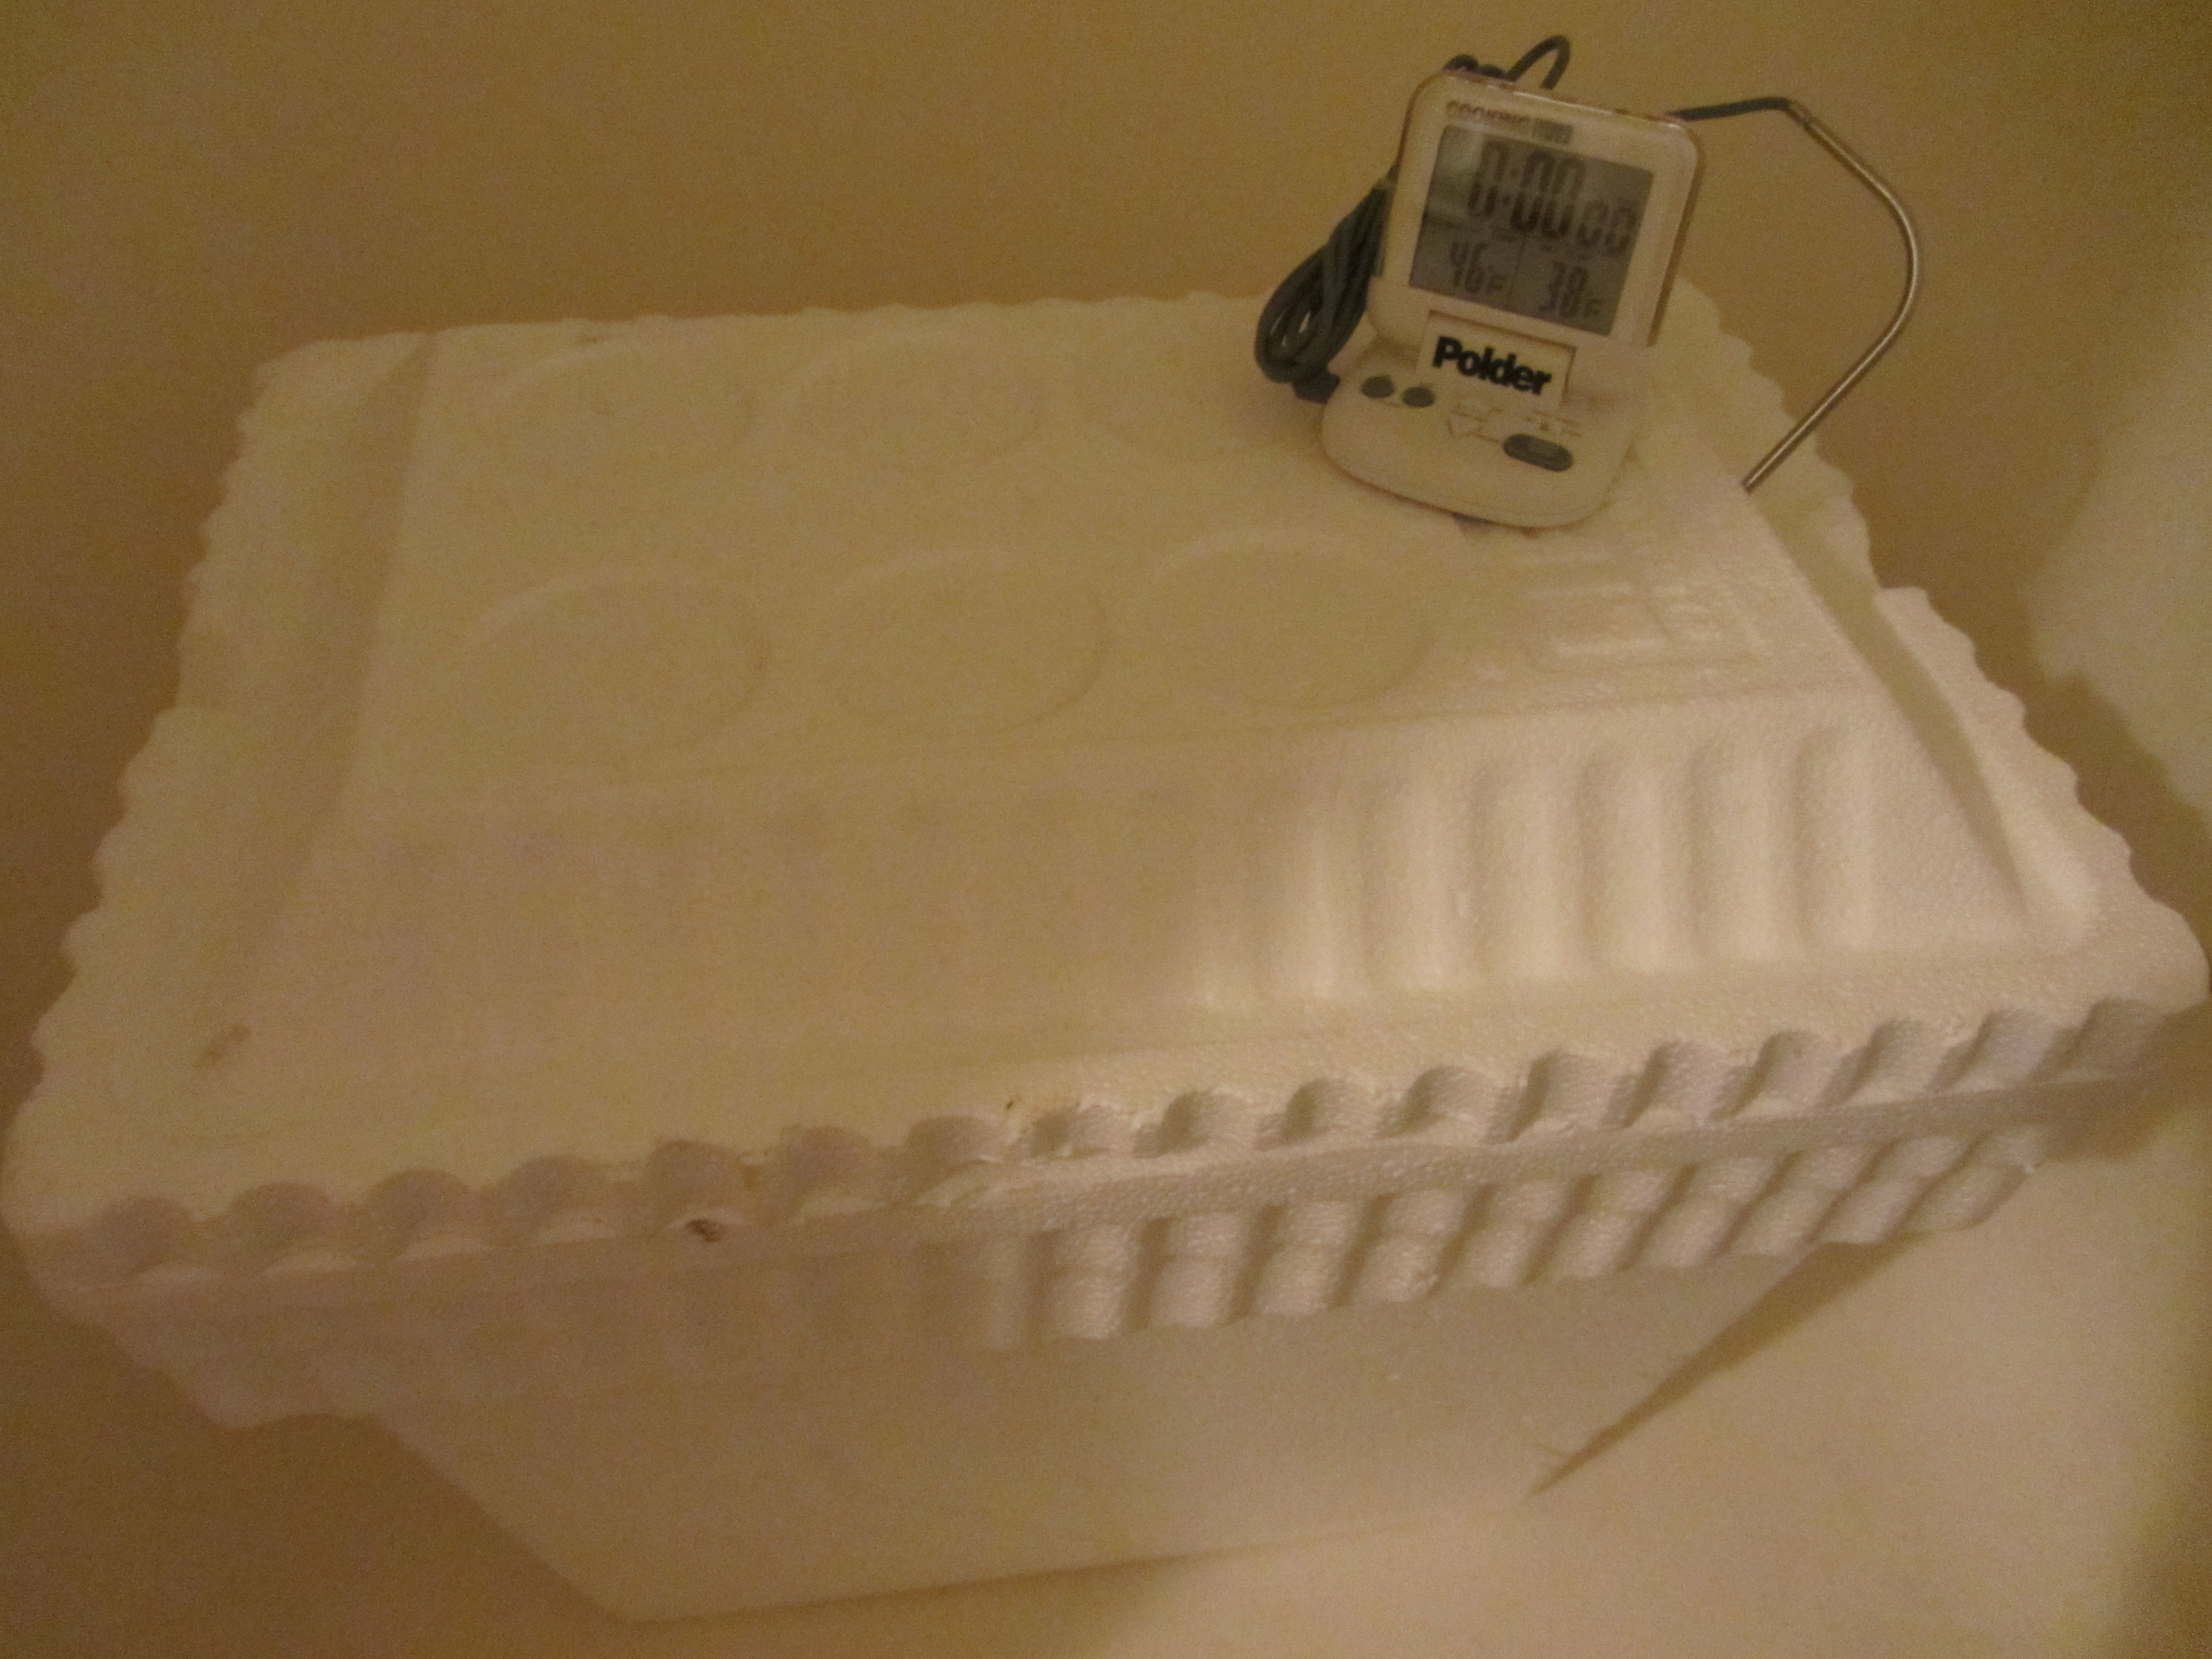
Place the potato slices in an 8-quart container, covering them with a gallon of cold water. Let the potato slices sit overnight, allowing the water to remove any excess starch.

Potato slices in a large pot.

Potato slices in a large pot, covered by cold water.
You will not need to touch your potatoes again until 1:30:00 before serving time, which is when you will place your potatoes into a strainer (resist the urge to dump the potatoes into the strainer, as you want to avoid transferring all of that starchy water). Rinse your potato slices with clean water and spin them in a salad spinner to dry.

Potatoes after soaking overnight in cold water to remove excess starch.

Potatoes, placed in salad spinner to rinse/drain.
Transfer the potatoes to a large pot, covering them with a gallon of whole milk, and placing them on a burner over medium-high heat.
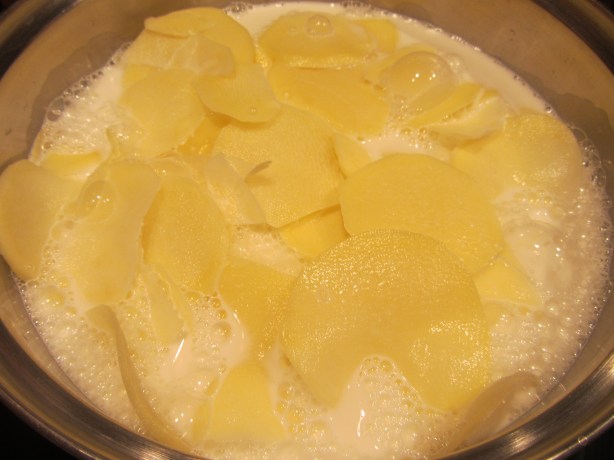
Potatoes and a gallon of whole milk, placed on the stove.
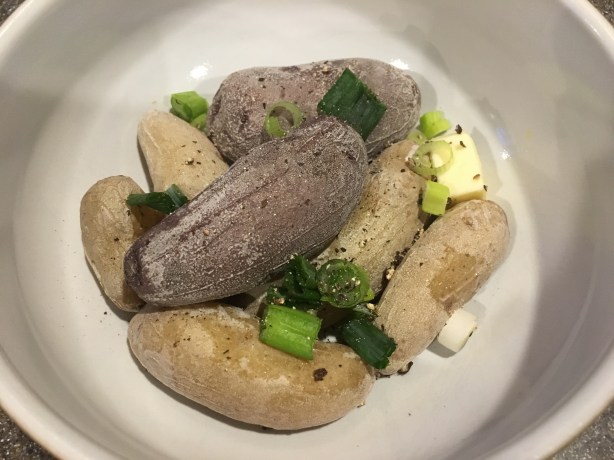
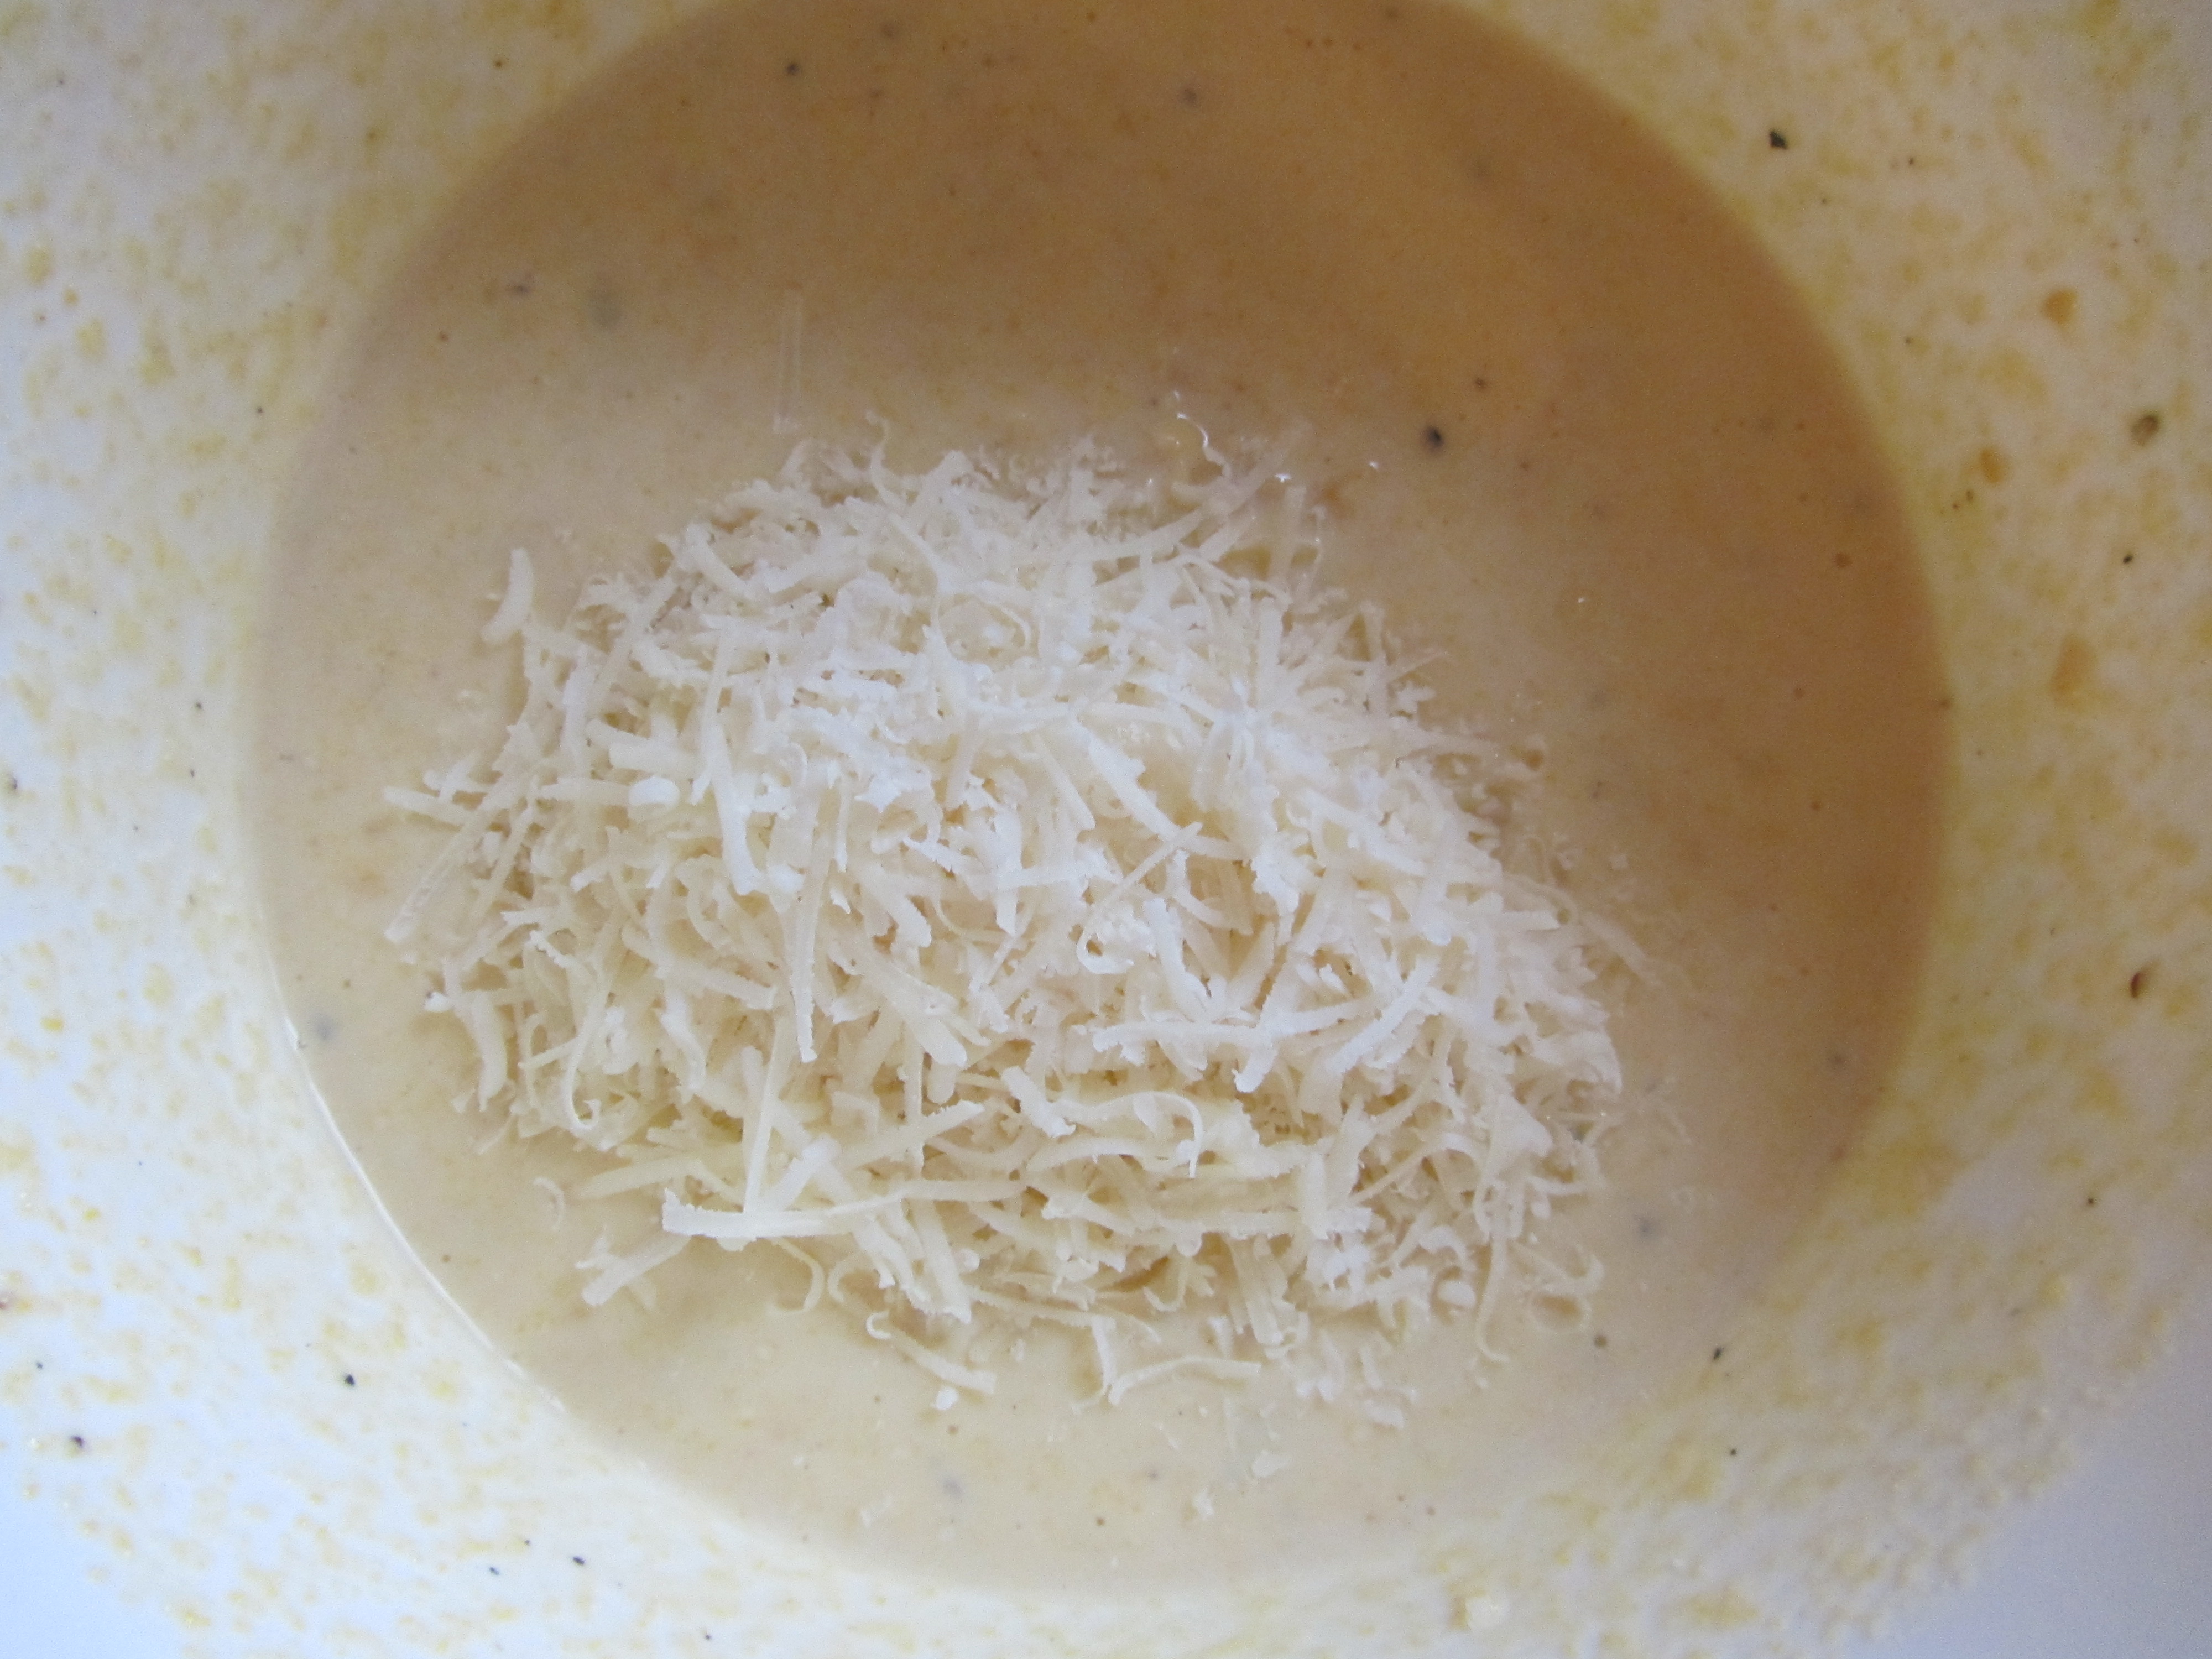
Twenty-five minutes before your meal, drain your potatoes, reserving the milk. Press the potatoes through a ricer into your serving bowl, adding 4 ounces butter, 1 C of the reserved milk (you can use the rest of the milk for something like potato soup), and 1 T Kosher salt. Whip the potatoes with a hand mixer for 15 seconds. Yes, seriously, 15 seconds will do it. Resist the urge to blend the potatoes further, as they will become gummy. Sadly, because I was scrambling around on Thanksgiving, I forgot to take photos of my potatoes as I riced/whipped them, so I have no photos of my finished product. These potatoes seemed to be very popular around our Thanksgiving table, and I have to say that this is now my favorite mashed potato recipe. The potatoes were super light and fluffy, and had just the right amounts of butter and salt. Cooking the potatoes in milk gave them a very creamy mouthfeel and flavor. I highly recommend this recipe, and it will be the one I use when I next make mashed potatoes.
Roasted Root Vegetable Panzanella
As I mentioned above, this panzanella is designed to go along with (and cook with) Alton’s dry brined roasted turkey. While you begin prepping the turkey four days in advance, this panzanella only needs to be prepped 24 hours ahead of your dinner, so Alton covered this as the fourth recipe in the episode. So, 24 hours ahead, cut eight ounces of hearty multigrain or sourdough bread into 1/2″ cubes, leaving them on a sheet pan in a cold oven to dry out overnight.

8 ounces of homemade sourdough bread.

8 ounces of homemade sourdough bread, cut into cubes.
At this time you will also want to mince two cloves of garlic, chop a red onion, and shred eight ounces of Brussels sprouts (this is super fast with the shredding blade in a food processor).

2 cloves of garlic, minced.

1 red onion, chopped.

8 ounces of shredded Brussels sprouts.
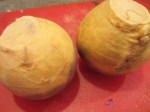
Place these prepped items into separate containers and refrigerate. Finally, peel 1 1/2 pounds each of parsnips and rutabagas, cutting them into chunks. Combine the parsnips and rutabagas in a container and place them in the refrigerator.
-
-
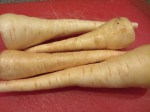
1 1/2 pounds of parsnips.
-

-
1 1/2 pounds of parsnips, peeled.
-
-
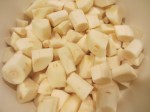
1 1/2 pounds of parsnips, peeled, and chopped.
-
-
1 1/2 pounds of rutabagas.
-
-
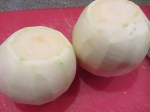
1 1/2 pounds of rutabagas, peeled.
-

-
1 1/2 pounds of rutabagas, peeled, and chopped.
The following day, you will begin your panzanella when you pull your turkey out of the refrigerator, which will be 3:40:00 ahead of dinner. At this time, dump your rutabaga/parsnip combo into a large roasting pan, along with 2 t vegetable oil.

Rutabagas and parsnips placed in roasting pan with vegetable oil.
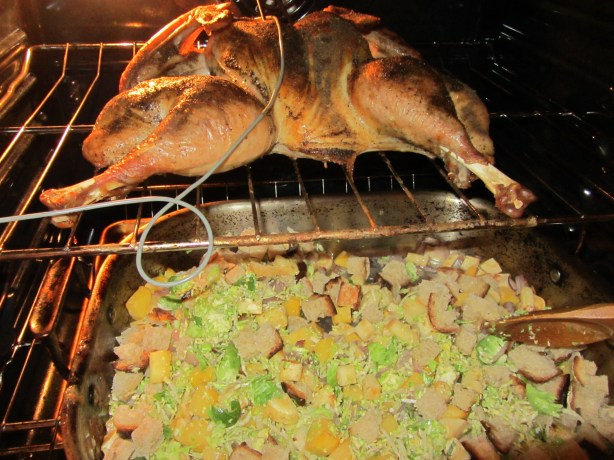
When you place your turkey in the 425-degree oven (2:05:00 ahead), also place your roasting pan into the oven, directly beneath your turkey; this will allow the turkey’s juices to drip into the vegetables. Once you have 1:35:00 to your planned dinner time, add the diced red onion to your roasting pan, tossing, and decrease the oven to 350 degrees.

Red onion added to roasting pan.
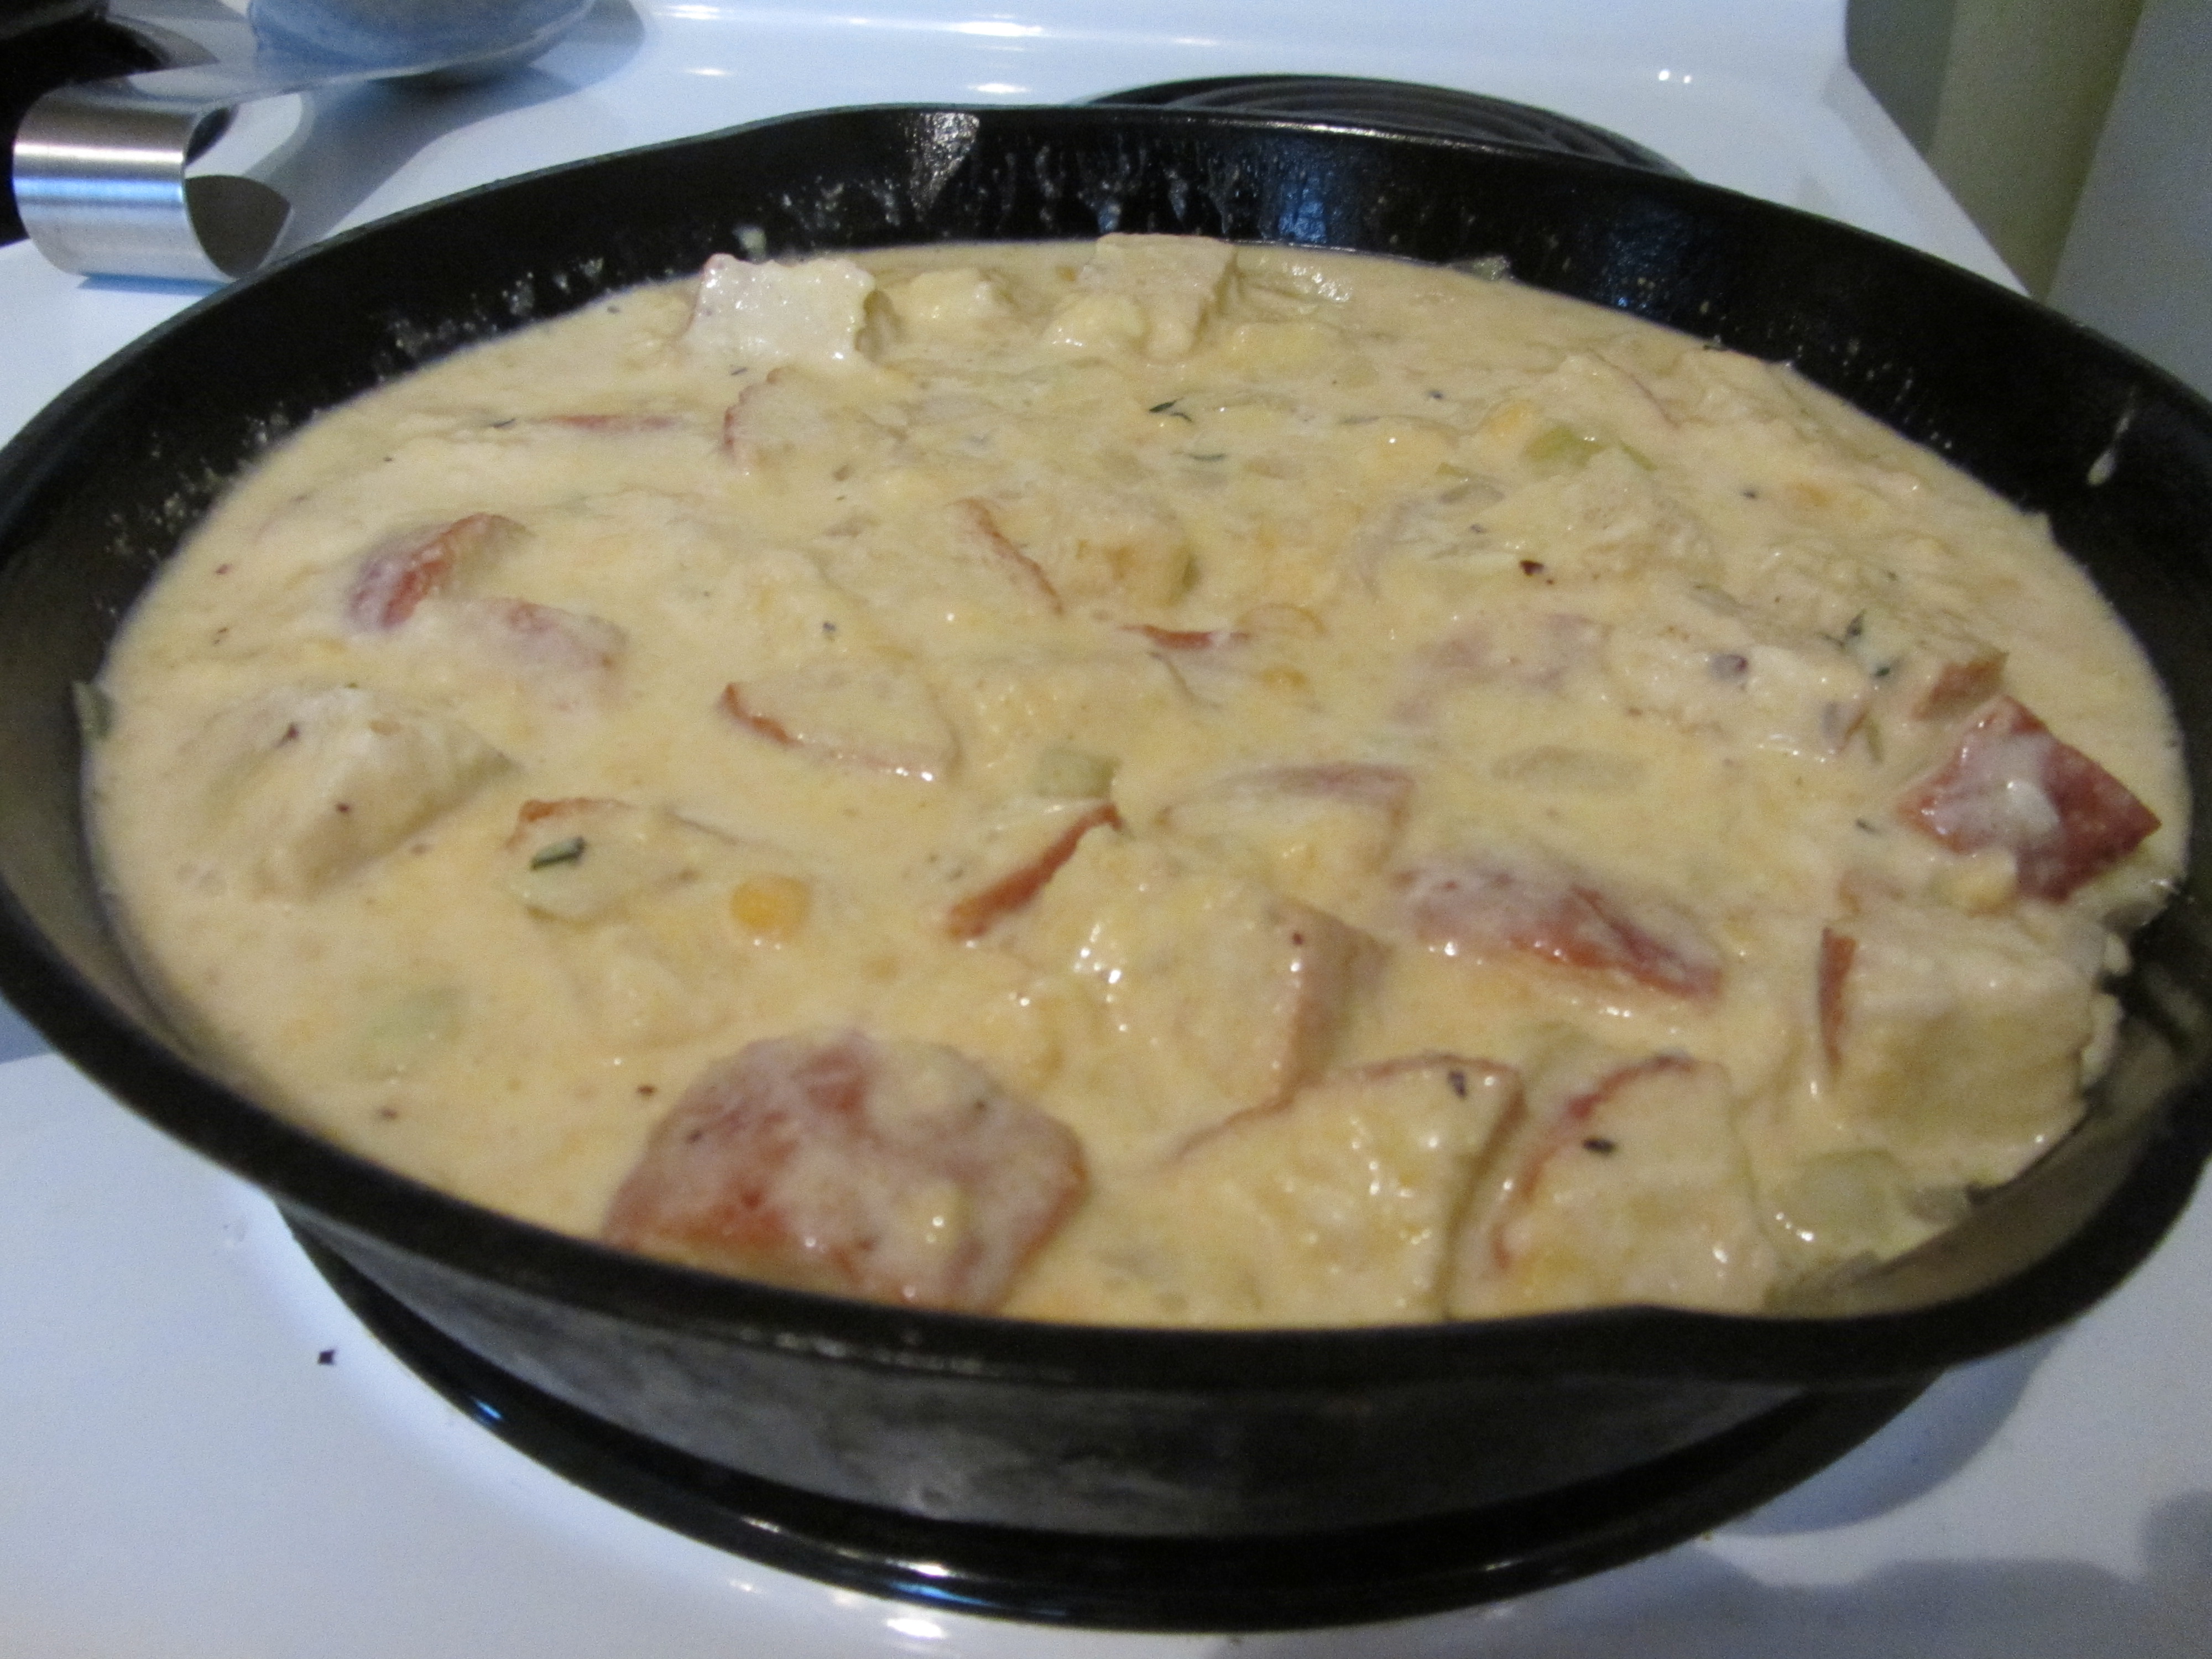
Forty-five minutes ahead, add your bread cubes, shredded Brussels sprouts, and garlic to your panzanella, tossing.
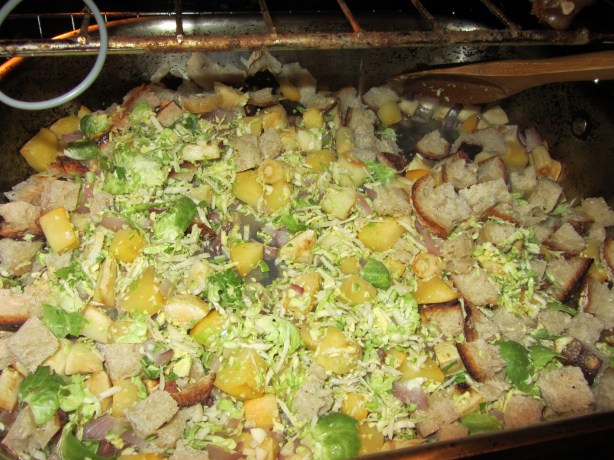
Bread, sprouts, and garlic added to panzanella.
Thirty minutes before dinner, remove the roasting pan from the oven and add 1/4 C cider vinegar, 2 t fresh thyme, a pinch of Kosher salt, and some black pepper to the roasting pan.
Cider vinegar, fresh thyme, salt, and pepper added to finish panzanella.
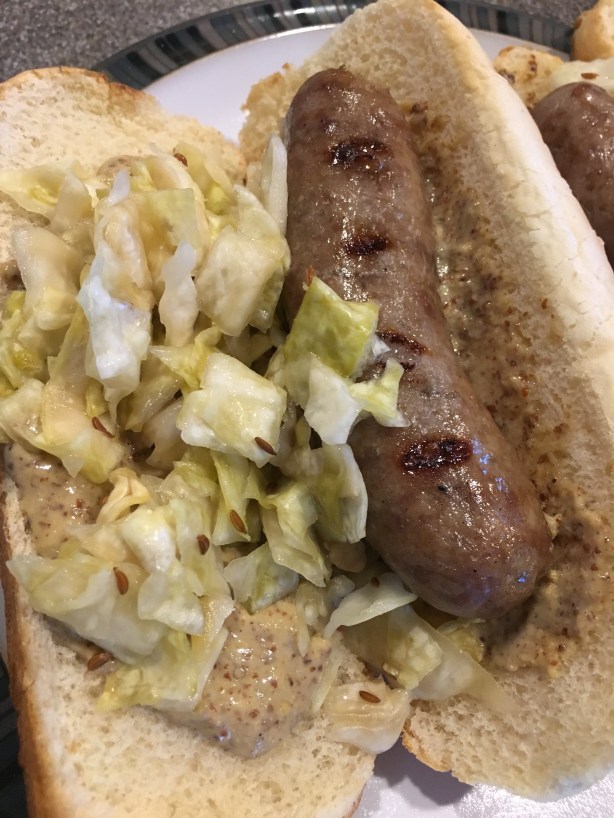
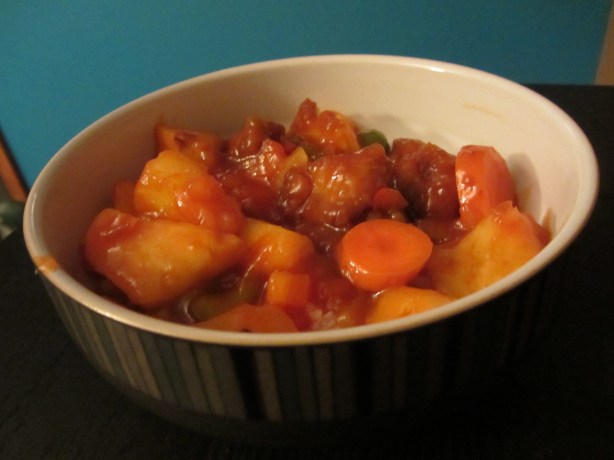
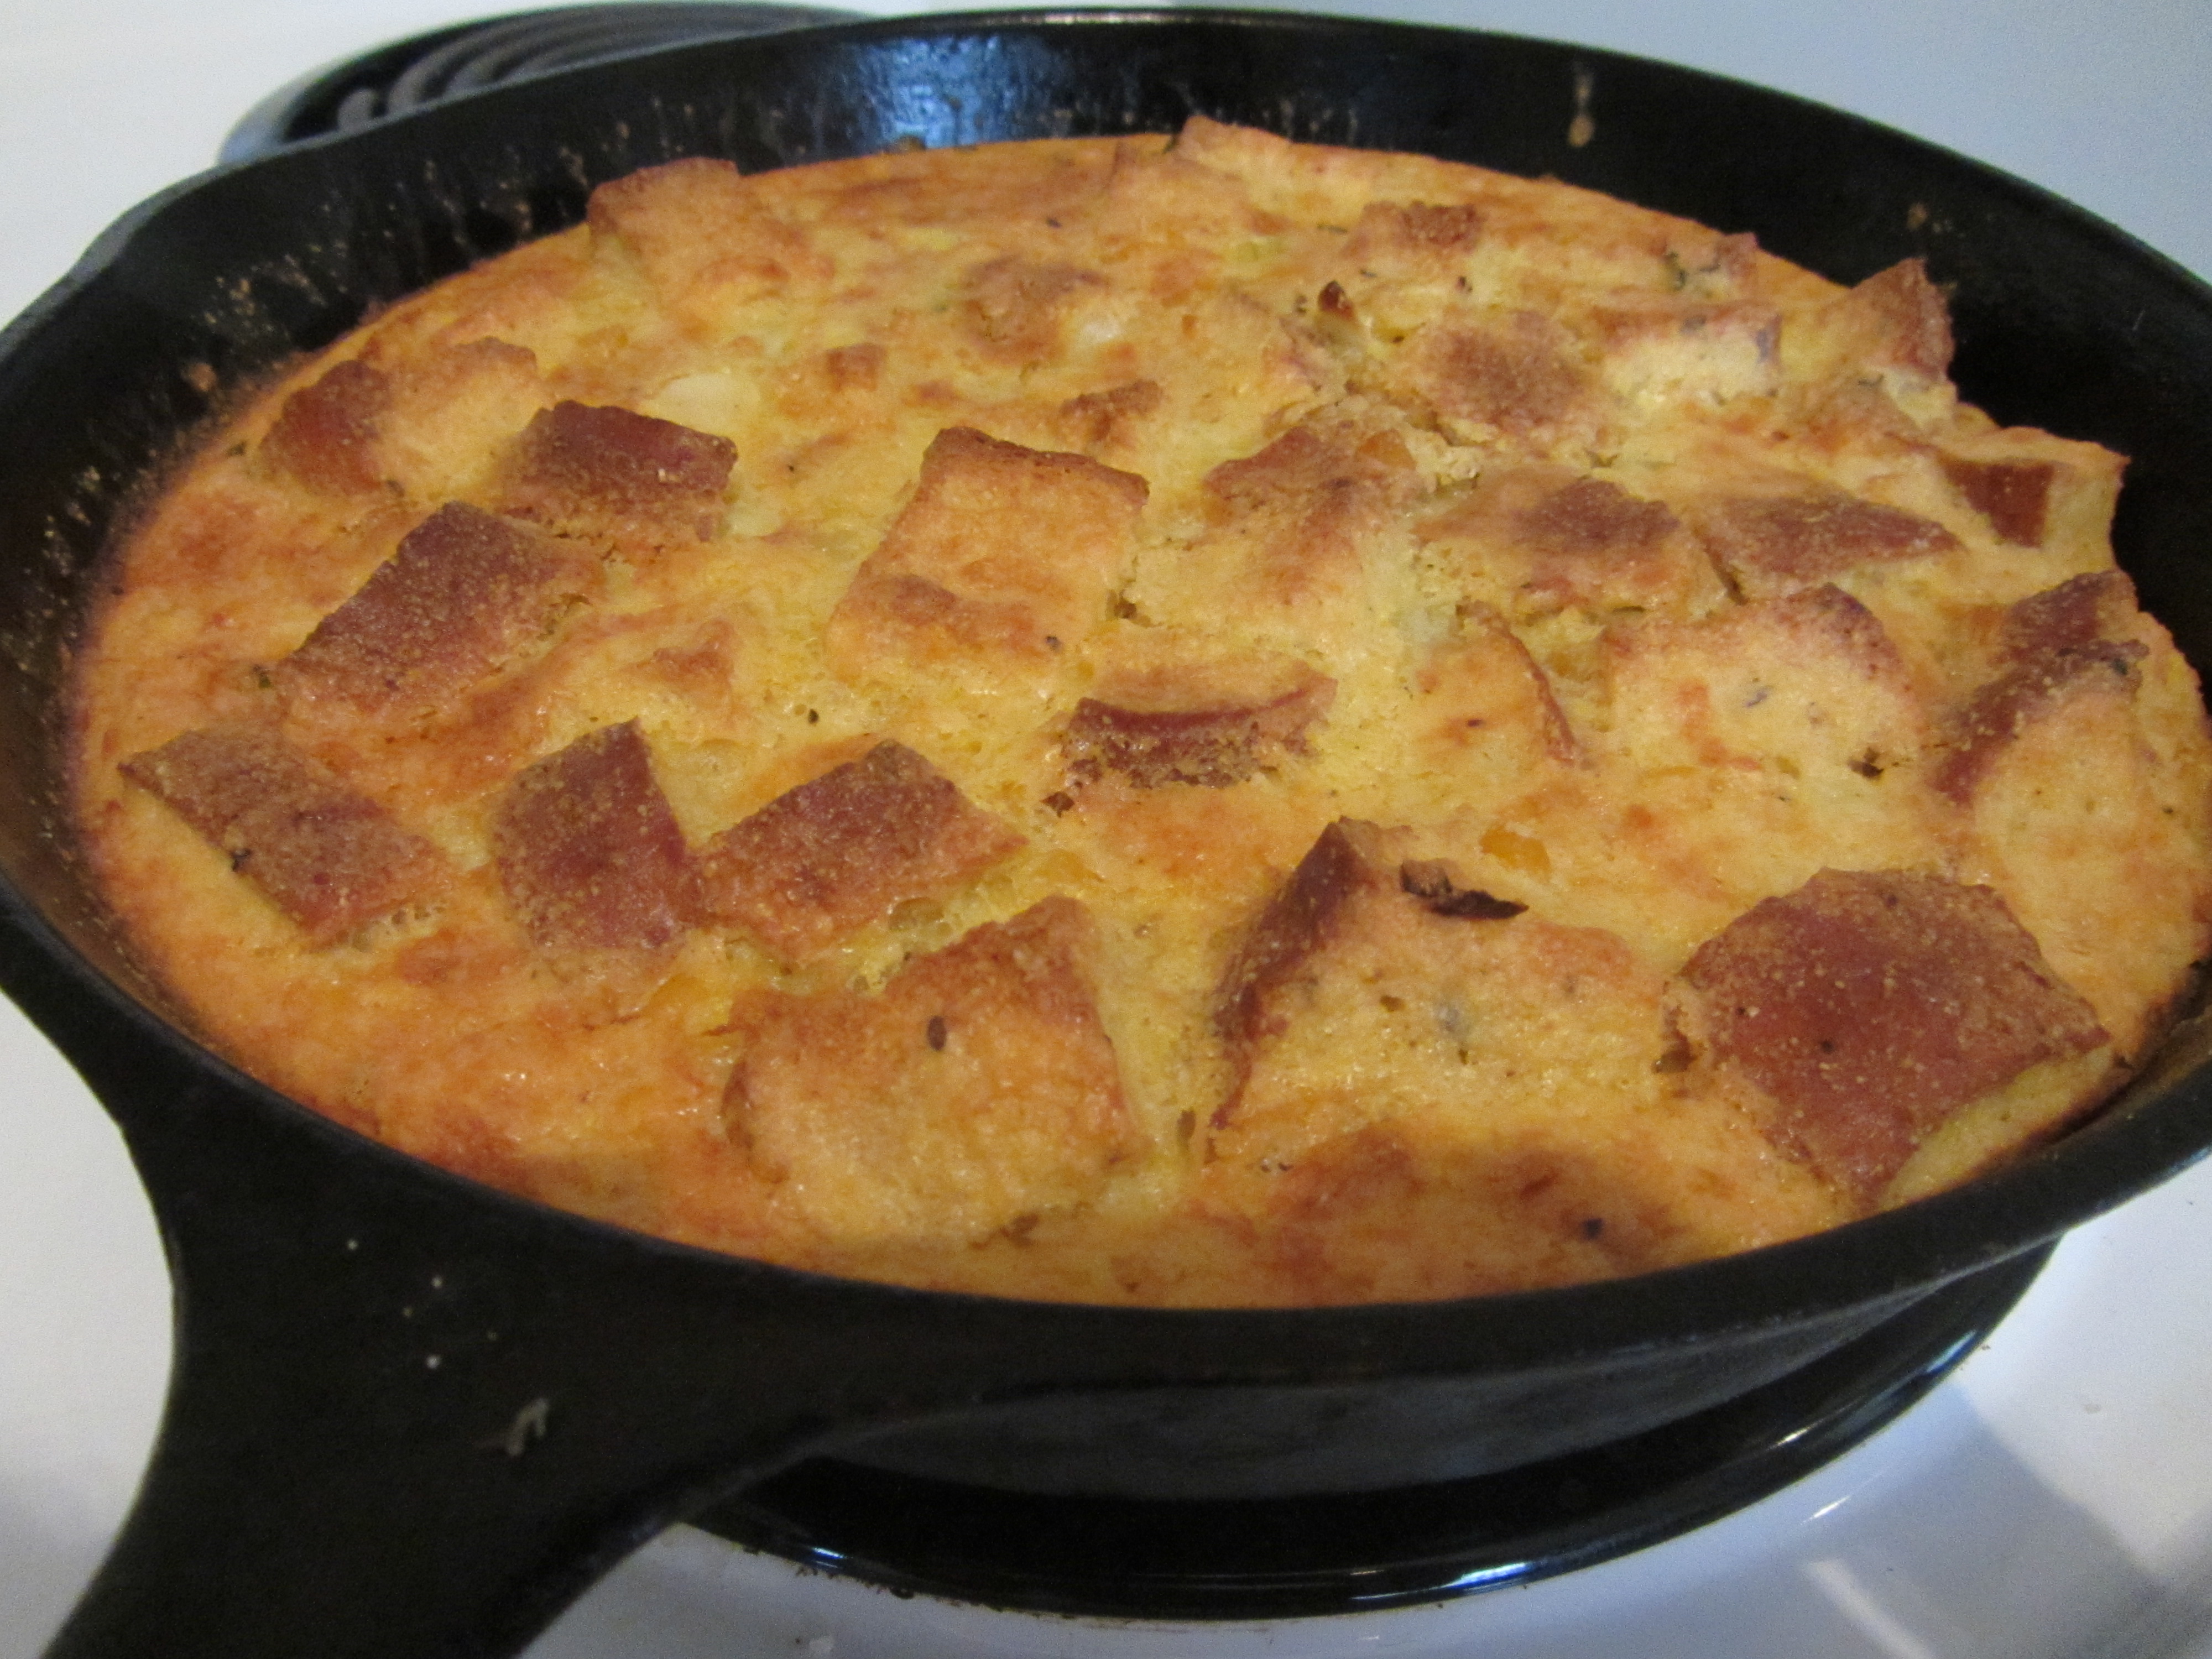
Toss everything around and transfer the panzanella to a serving bowl. The flavors in this panzanella were fantastic, but I was highly disappointed in the texture of the bread cubes. To me, a panzanella should have super crunchy bread cubes, but this bread was kind of soggy. I do intend to make this again, but I plan to toast my bread cubes in advance, and I will add them to the salad right before serving. Aside from the bread, the sweetness of the root vegetables was great with the slight tang of vinegar and bite of garlic/onion. I’m sure the turkey juices didn’t hurt the flavor at all either! Again, this is a delicious recipe, but it does need some help in the texture department. Cooking this with the turkey makes everything super easy, which is a huge bonus.
Turkey Giblet Gravy
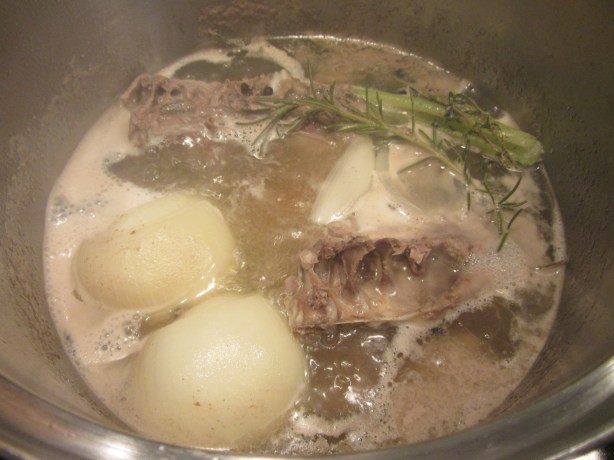
Last, but not least, Alton had to include a recipe for gravy in his second Thanksgiving special, no? Remember the turkey neck and backbone that we saved from prepping Alton’s turkey four days before Thanksgiving? Well, we’re going to use them here, along with the giblets. Four hours before dinner heat 1 T canola oil in a pot over medium heat, adding the turkey neck and backbone.

Turkey neck and backbone, cooking in vegetable oil.
Brown the bones, turning them often for about 5-6 minutes.

Turkey neck and backbone, cooking in vegetable oil, turning often.
Once the bones are browned, add the giblets, a small onion, a carrot, a stalk of celery, and a heavy pinch of Kosher salt to the pan.

Onion, carrot, giblets, celery, and Kosher salt added to bones.
Cook all of the vegetables until they are tender, which should take about five minutes. Next, add 1 t black peppercorns, 1 bay leaf, 1 sprig of fresh rosemary, 2 sprigs of fresh thyme, and 6 C of water.

Peppercorns, bay leaf, fresh rosemary, fresh thyme, and water added to make stock.
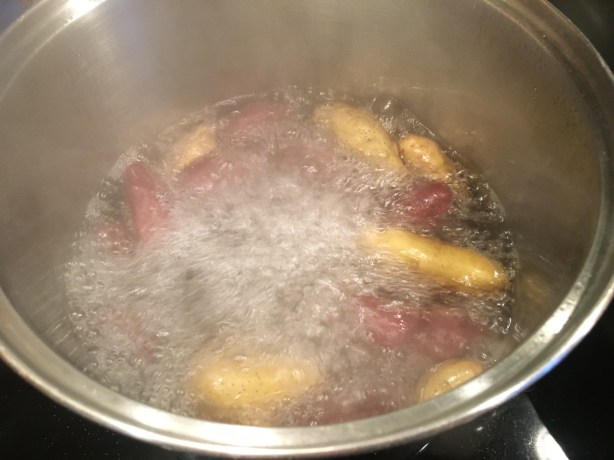
Cover the pot, bringing it to a boil. Once boiling, remove the lid and decrease the heat, leaving the pot to simmer for 1 1/2 hours.
Stock, after being brought to a boil.
Two hours prior to dinner, strain the stock, saving the giblets. You can discard the rest of the solids.

Solids from drained stock.

Drained stock.

Reserved giblets from drained stock.
Once the giblets are cool, chop them finely. When you have 1:30:00 to dinner, pour 2 C of your stock into a saucier over medium heat. At this same time, pour 1/2 C of additional stock into a lidded container, along with 1 T flour, shaking to make a slurry.

Two cups of stock.

Stock plus flour combined in shaking container.
Slowly whisk this slurry into the warm stock in the saucier.

Stock/flour slurry added to stock.

Stock after adding slurry.
Again, in your shaking container, combine another 1/2 C of cooled stock with 1 T potato starch, shaking.

Potato flour, used for second slurry.

Second slurry of stock and potato flour.
Turn the burner off under your pan and allow your gravy to cool to below 190 degrees. Once below 190 degrees (which should be about 1:20:00 before your meal), turn the heat to low and whisk in the potato slurry. I had some trouble with this, as my slurry appeared to be quite lumpy, so I had to add some additional hot stock and re-shake my slurry. Once your slurry is incorporated, also add 1 t chopped fresh sage, 1 t fresh thyme, 1 t fresh rosemary, 1 t Kosher salt, and 1/4 t pepper.
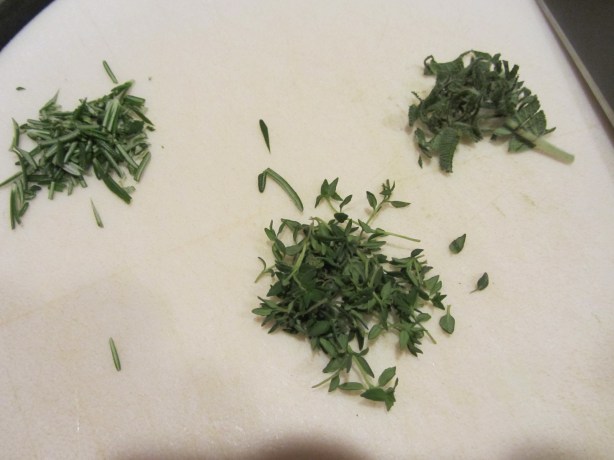
Fresh rosemary, thyme, and sage to finish gravy, along with chopped giblets.
When your gravy has reached a simmer, stir in the chopped giblets and turn off the heat. When heated through, you can transfer your gravy to a thermos to keep it warm until you are ready to serve. I failed to get a final photo of my gravy, unfortunately. I am not a huge gravy person, but this one got some rave reviews at our house. The gravy seemed like it was going to be way too thin, but it did thicken up some. Flavor-wise, the gravy fans here really seemed to enjoy it.
So, to sum up Alton’s second Thanksgiving special, I have to say that I was quite pleased with all of the recipes, how they worked together, and his timeline was pretty spot on. If you follow his directions, you can have a pretty stress-free, well-timed Thanksgiving dinner with his five recipes here. While all of the recipes were honestly very good, I would absolutely not skip the turkey, potatoes, or pie. Below is a breakdown of my Thanksgiving Day Alton-based schedule, aiming for a 5:00 pm dinner. Honestly, it worked pretty darn well, and we were seated right around 5 o’clock.
1:00 PM – Start gravy stock.
1:20 PM – 1) Bird out of refrigerator. 2) Rutabagas and parsnips in roasting pan.
2:55 PM – Bird and vegetables in oven at 425 degrees.
3:00 PM – Strain gravy stock and cool giblets.
3:25 PM – 1) Add red onion to vegetables. 2) Decrease oven temp to 350.
3:30 PM – 1) Strain/spin potatoes. 2) Put potatoes in pot with milk. 3) Make gravy and transfer to thermos.
4:15 PM – 1) Add bread, sprouts, and garlic to vegetables. 2) Remove bird when it hits 160.
4:30 PM – 1) Add cider vinegar and seasonings to vegetables. 2) Rice potatoes and whip.