Now seemed like a good time for me to do another Good Eats special episode. The second special episode, “Down and Out in Paradise,” has a tropical theme, so I wanted to prep all of its recipes while it is still summer. This is an episode that I clearly remember watching when it originally aired, watching it along with my dad. With a whopping eight recipes, this episode took a little time to complete, but it was a fun one.
Coconut Shrimp with Peanut Sauce
First up, a shipwrecked Alton prepared coconut shrimp in his island abode. While you could use shredded coconut from the grocery store for this recipe, if you really want to make it Alton’s way, you will roast and shred your own fresh coconut. To do this, place a whole coconut in a 350-degree oven for 30 minutes, which should cause the shell to crack. Wrap the cooked coconut in a towel and whack it on a hard surface to fully crack the shell.

Whole coconut, ready to roast for 30 minutes at 350.

Coconut after roasting.

Fresh coconut, cracked open after roasting.
Using a sharp knife, score the coconut flesh in quarters and remove it from the shell; it is okay if the brown membrane remains. I found that it was difficult to remove the coconut from the shell, while Alton made it look super easy. Once you have all of your fresh coconut meat, you can grate it by hand or in a food processor, or you can store the meat for a week in the refrigerator, covered with cold water.
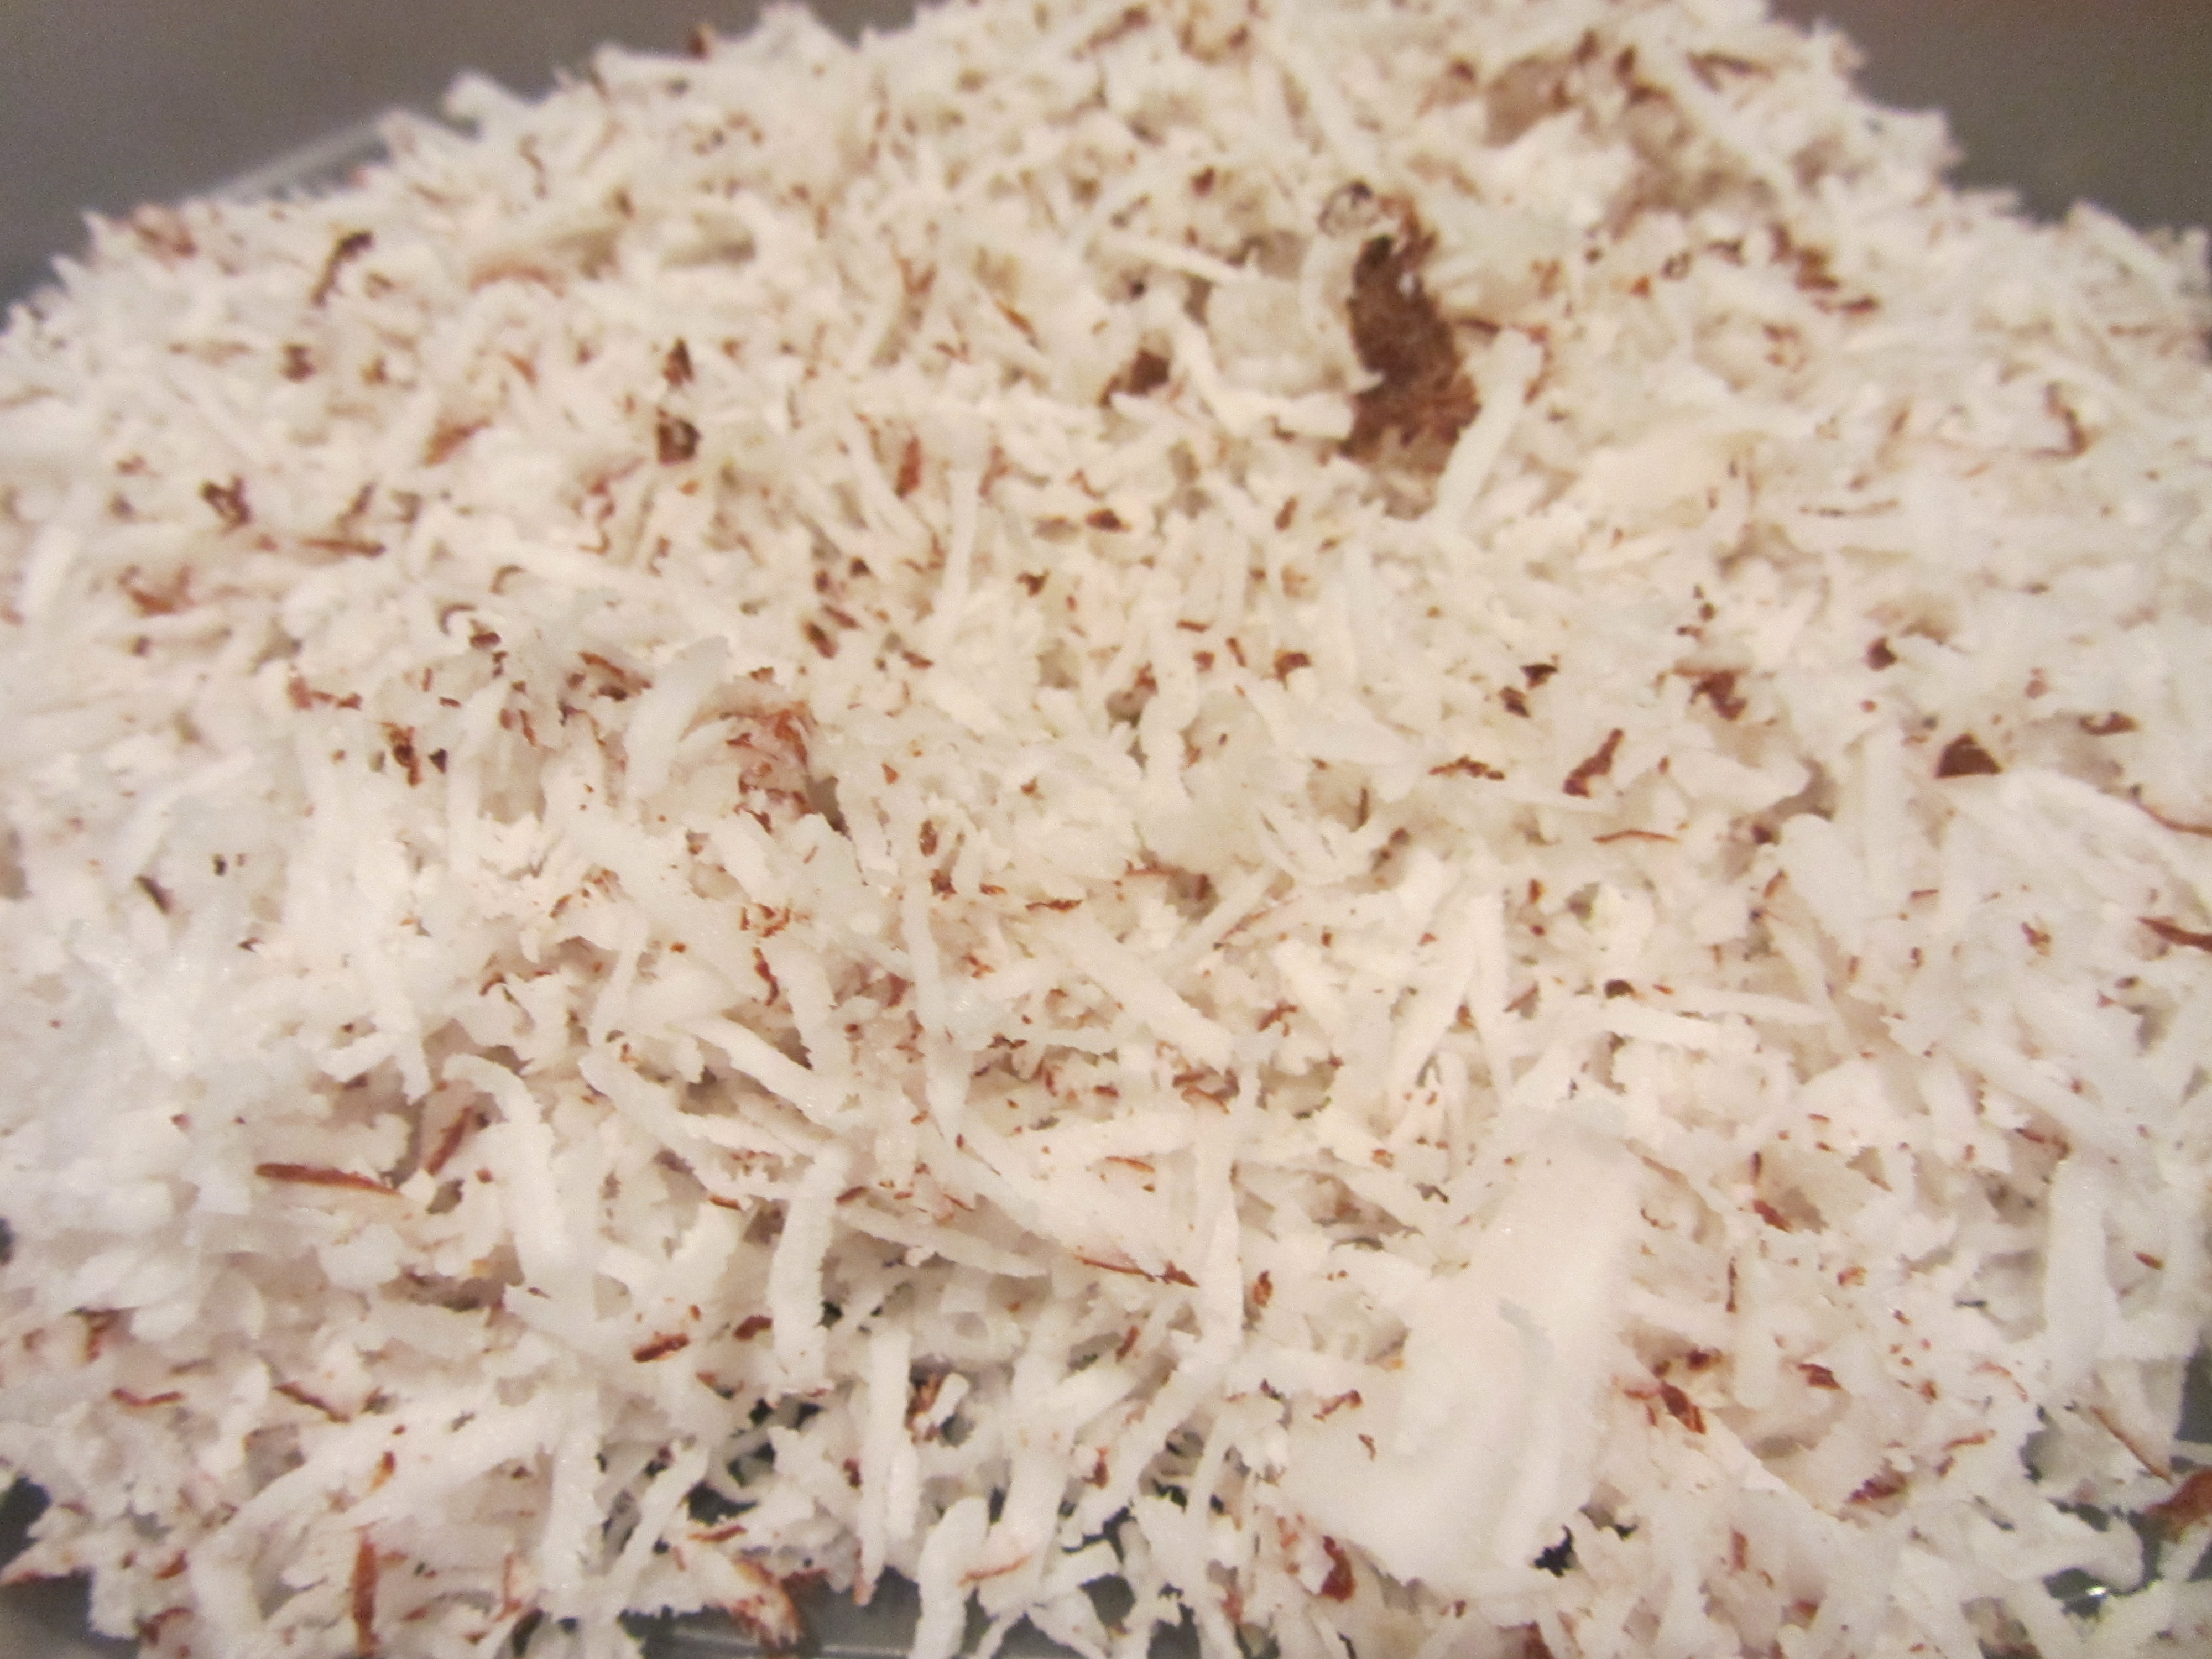
Shredded fresh coconut.
Additionally, for this recipe you will need 15-20 count shrimp (cleaned and de-veined), cornstarch, Kosher salt, white pepper, cayenne pepper, egg whites, and peanut oil. Begin by combining 1/2 C cornstarch, 1/4t Kosher salt, 1/4 t white pepper, and 1/4 t cayenne pepper in a bowl.
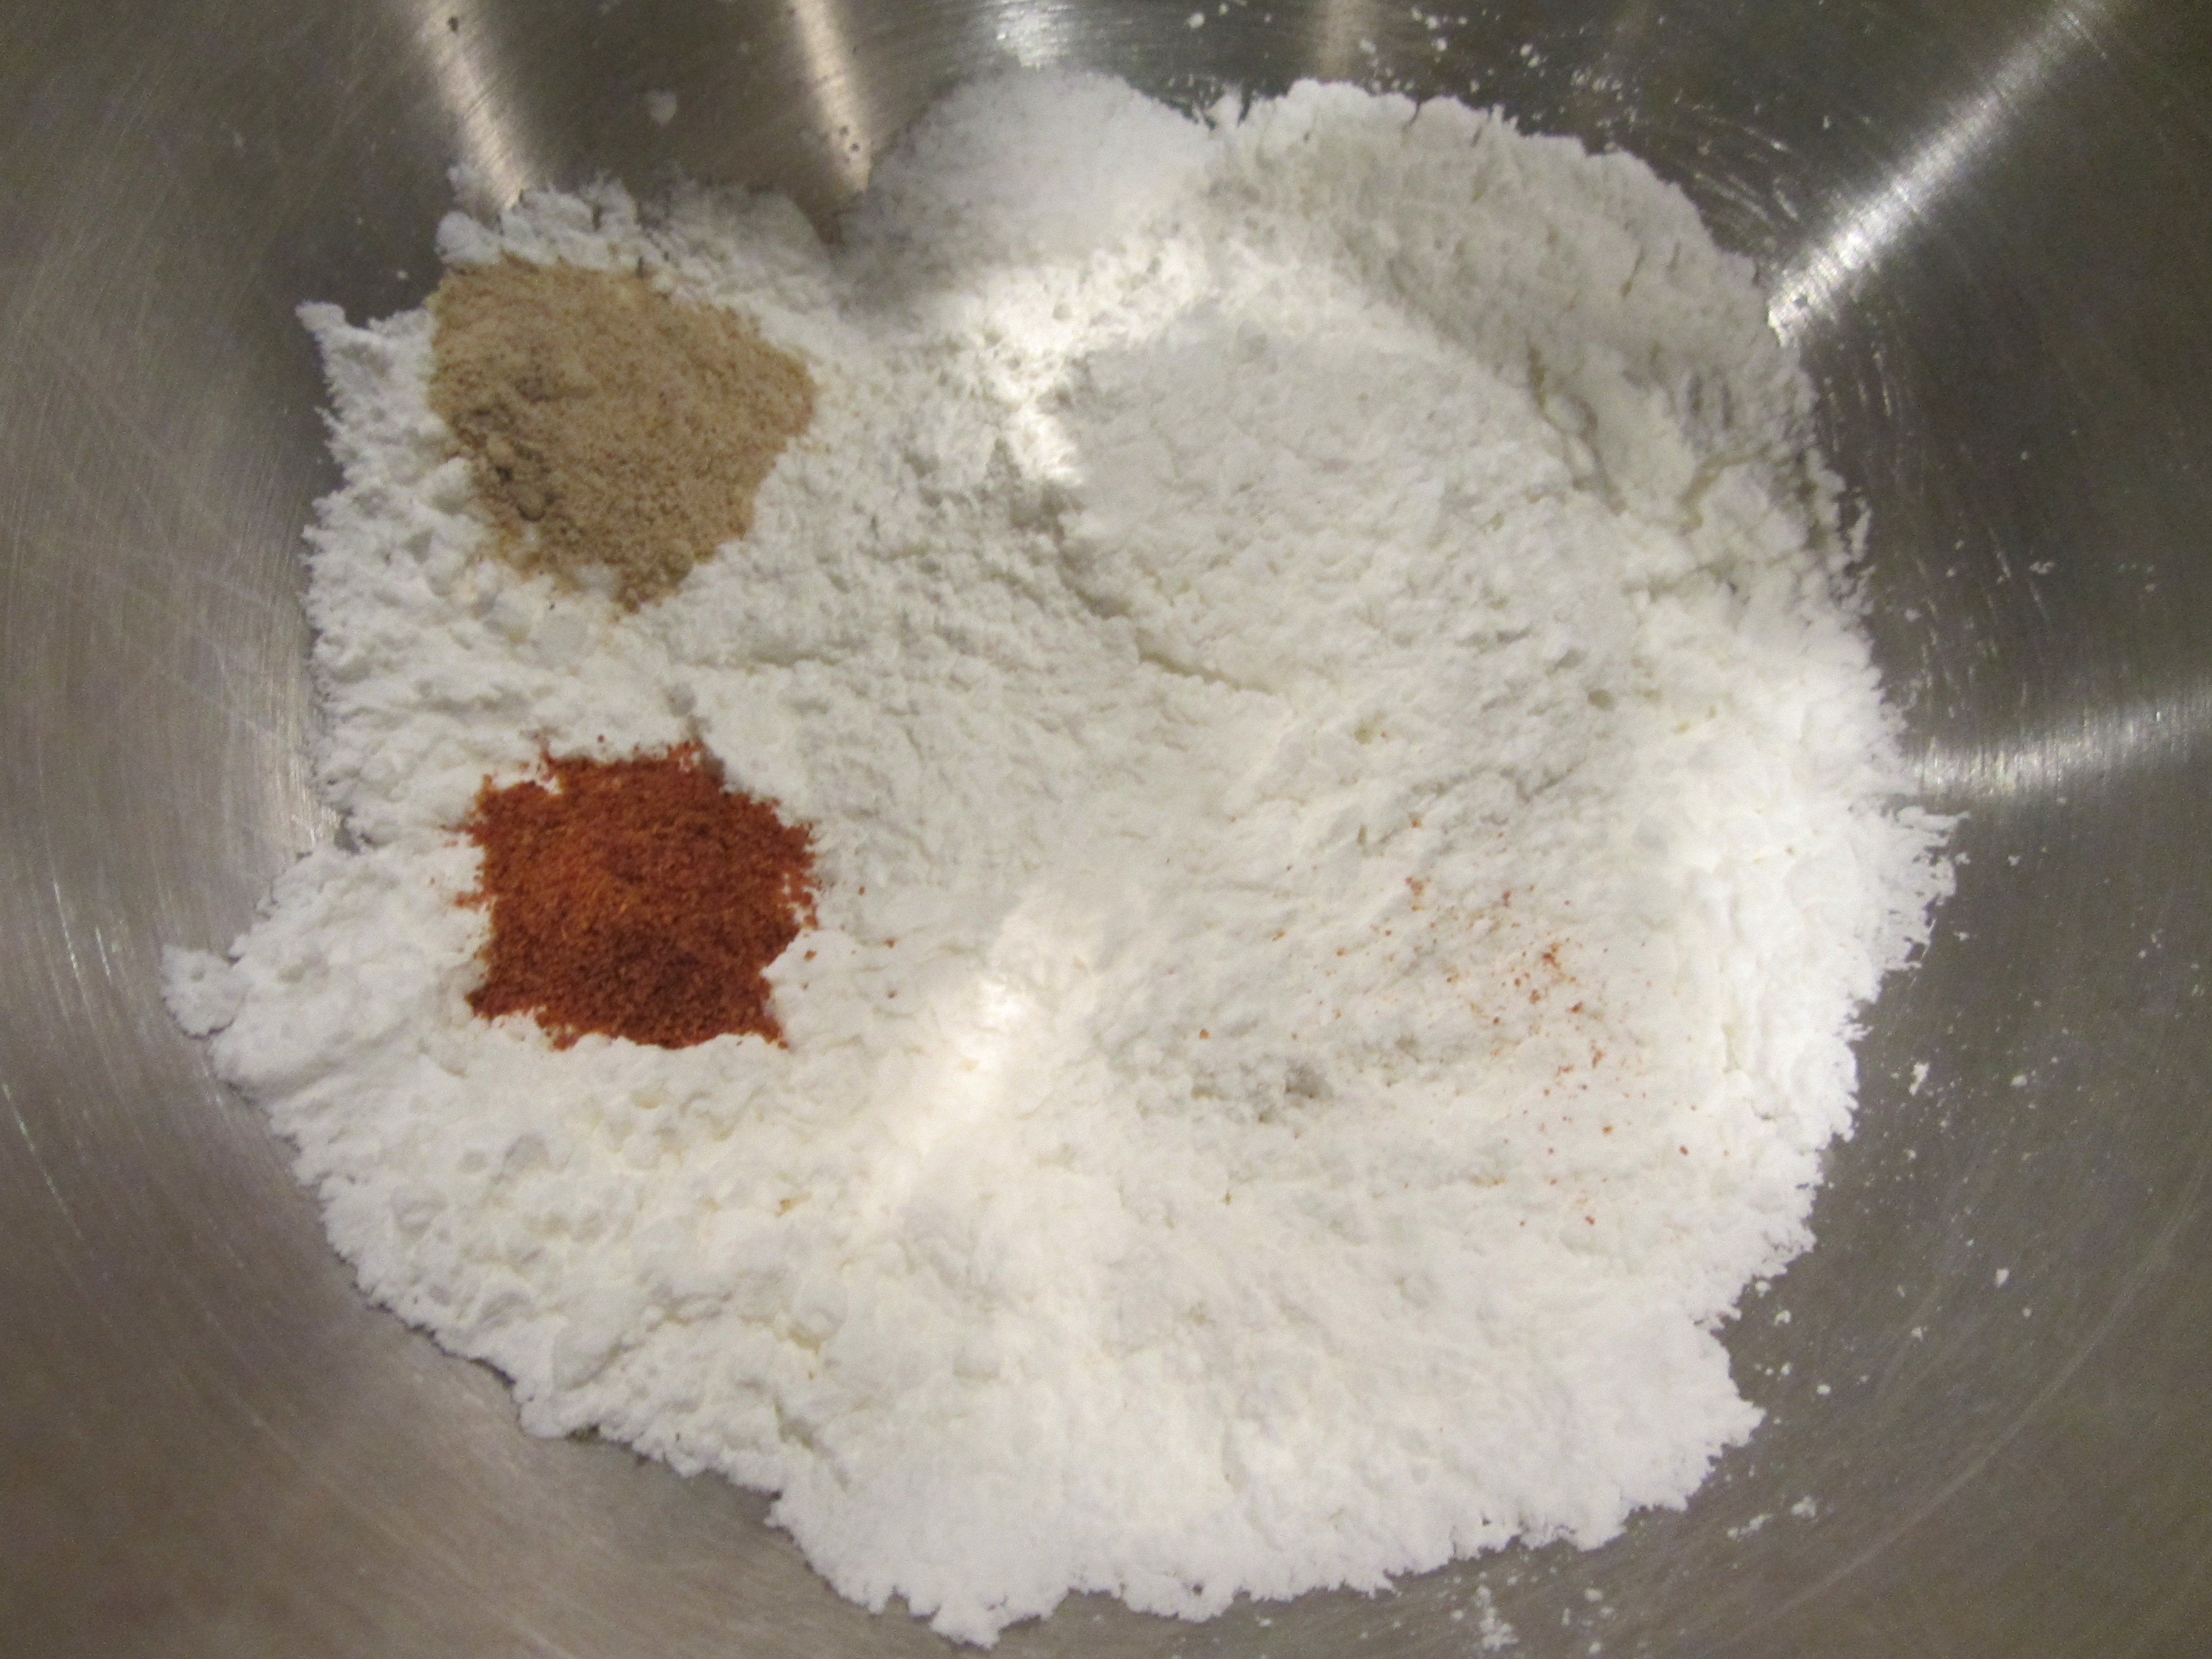
Cornstarch, Kosher salt, white pepper, and cayenne.
In a separate container, lightly beat 4 egg whites. While you heat peanut oil to 350 degrees on the stove, you can prep your shrimp for frying by coating them in the cornstarch mix, dipping them in egg whites, and subsequently dipping them in your shredded coconut.

Three containers for coating shrimp: cornstarch mixture, egg whites, and coconut.

Shrimp in cornstarch mixture.

Shrimp in coconut, after being dipped in cornstarch and egg whites.

Coated shrimp, ready to fry.
Fry the shrimp in the peanut oil for about three minutes, or until golden brown.

Frying shrimp in peanut oil.

Alton’s coconut shrimp.
Serve the shrimp with Alton’s peanut sauce and lime wedges.
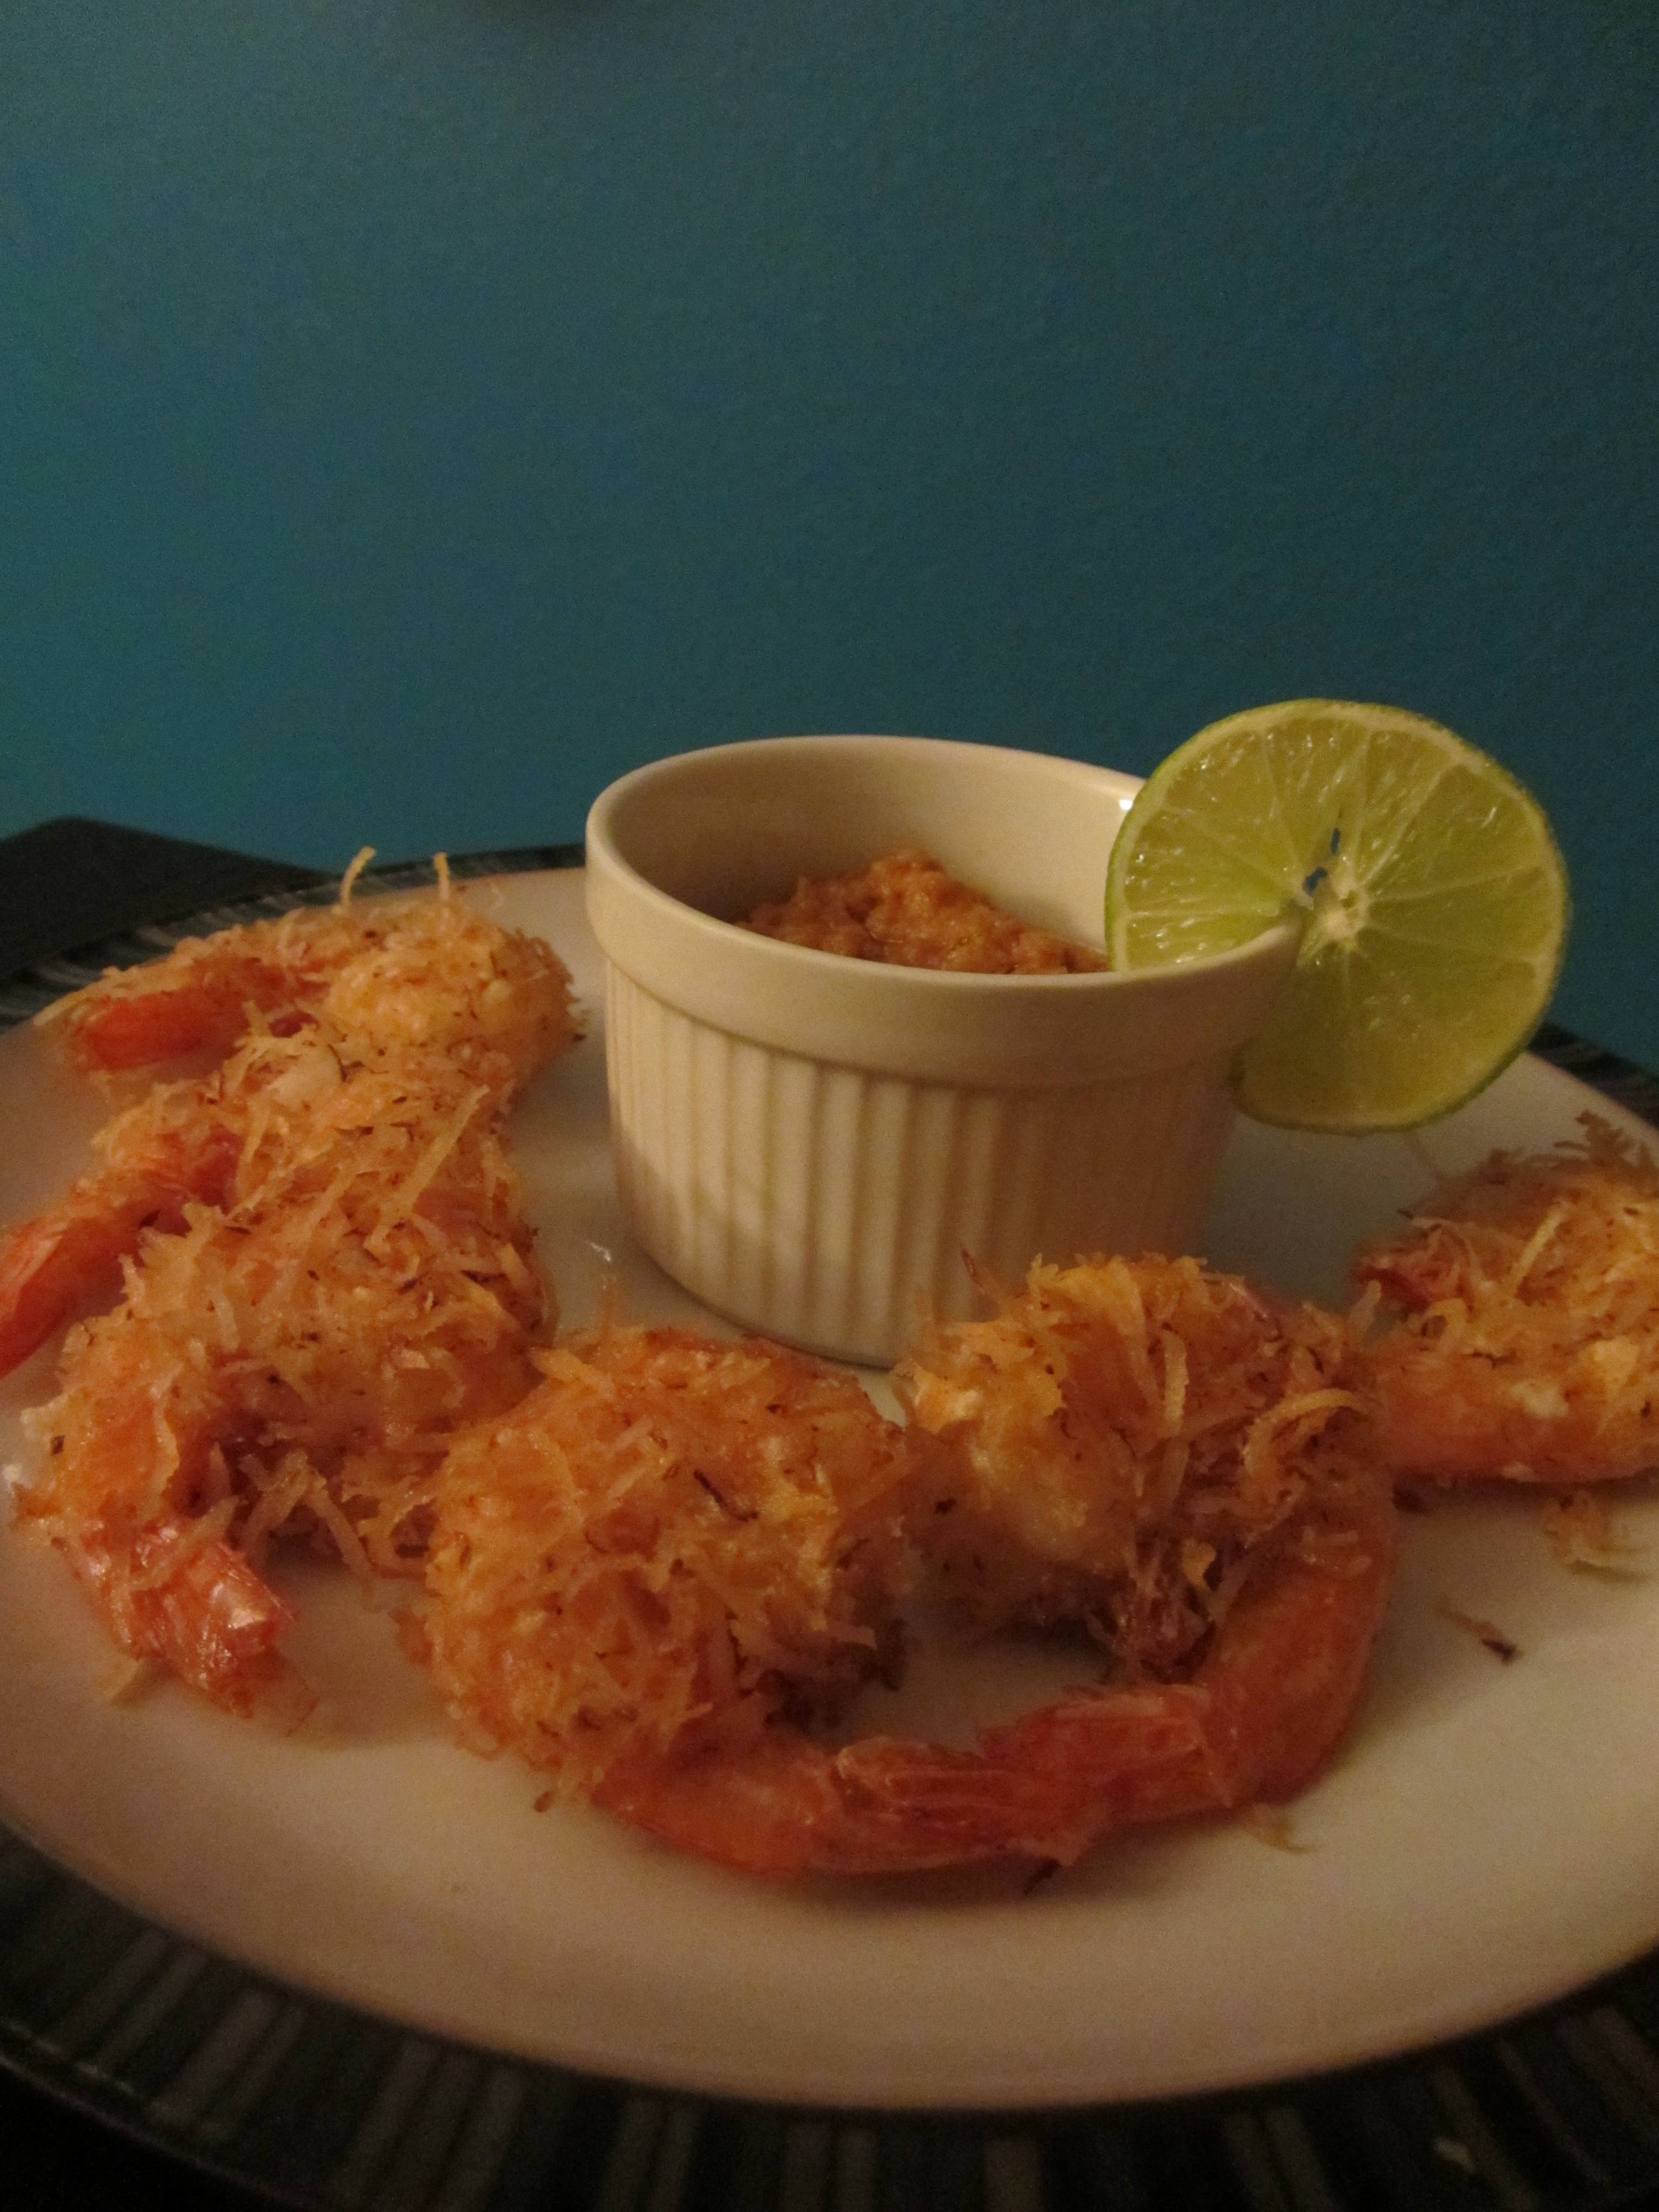
Coconut shrimp with peanut dipping sauce.
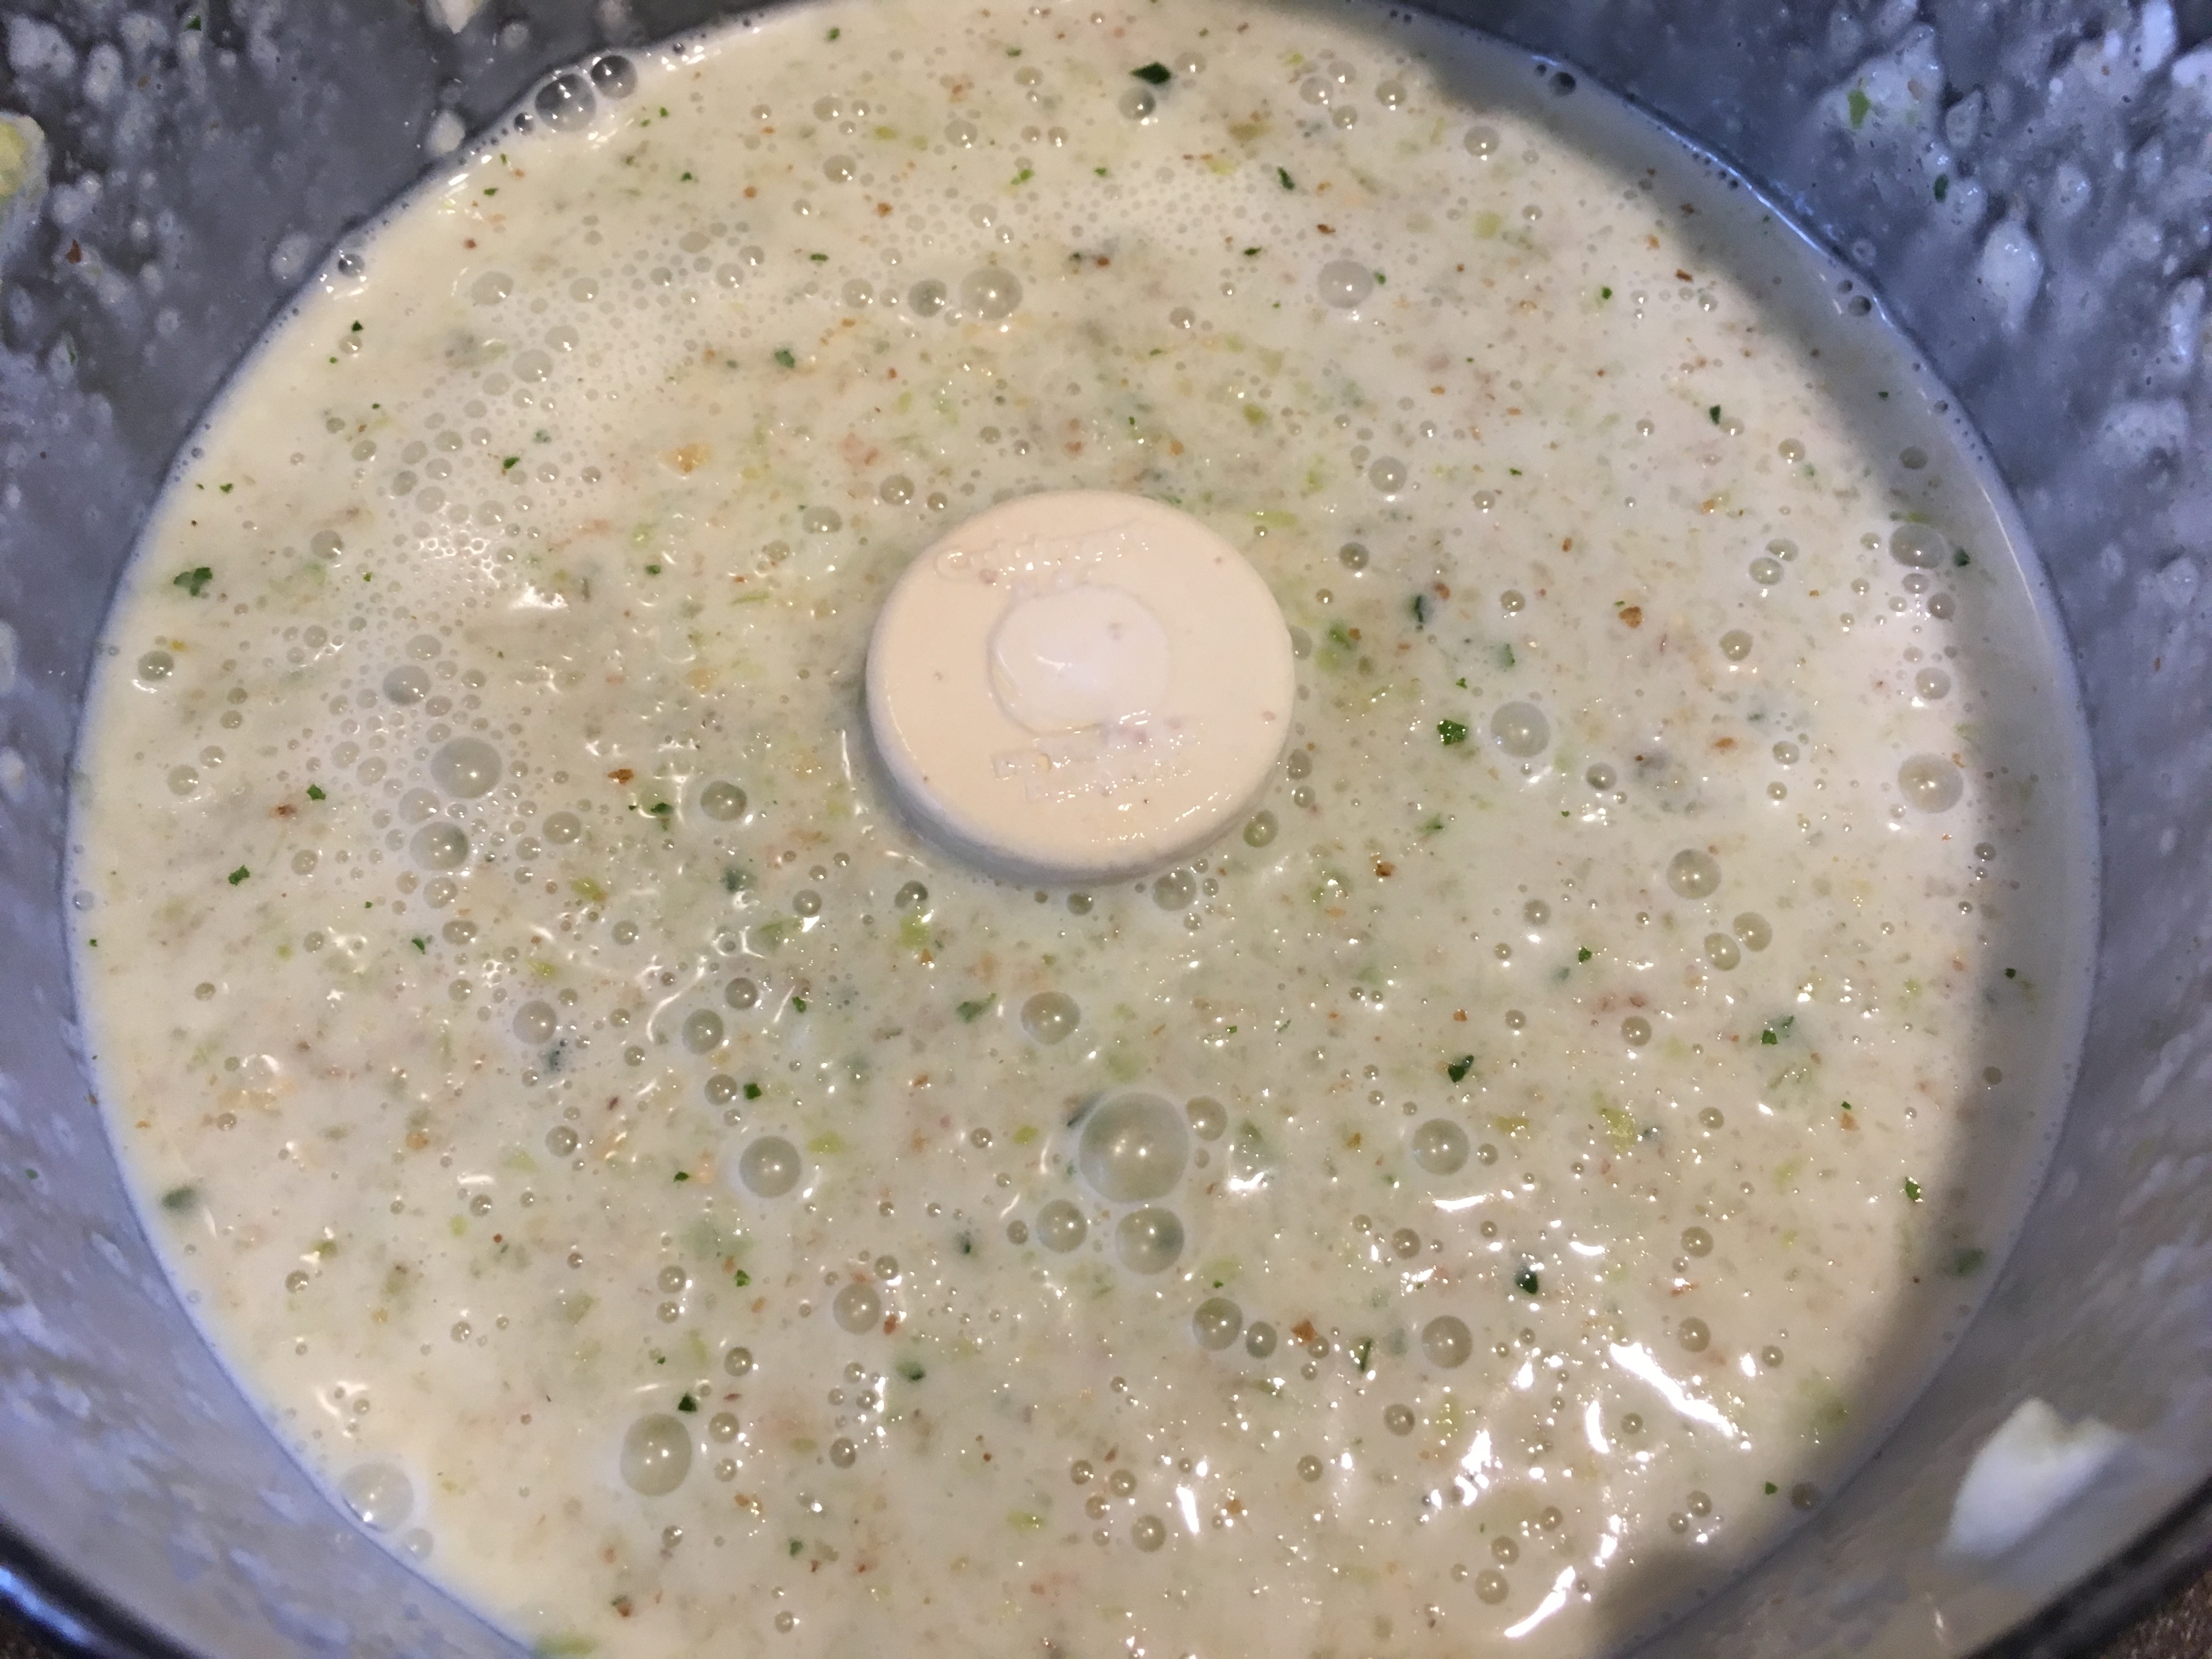
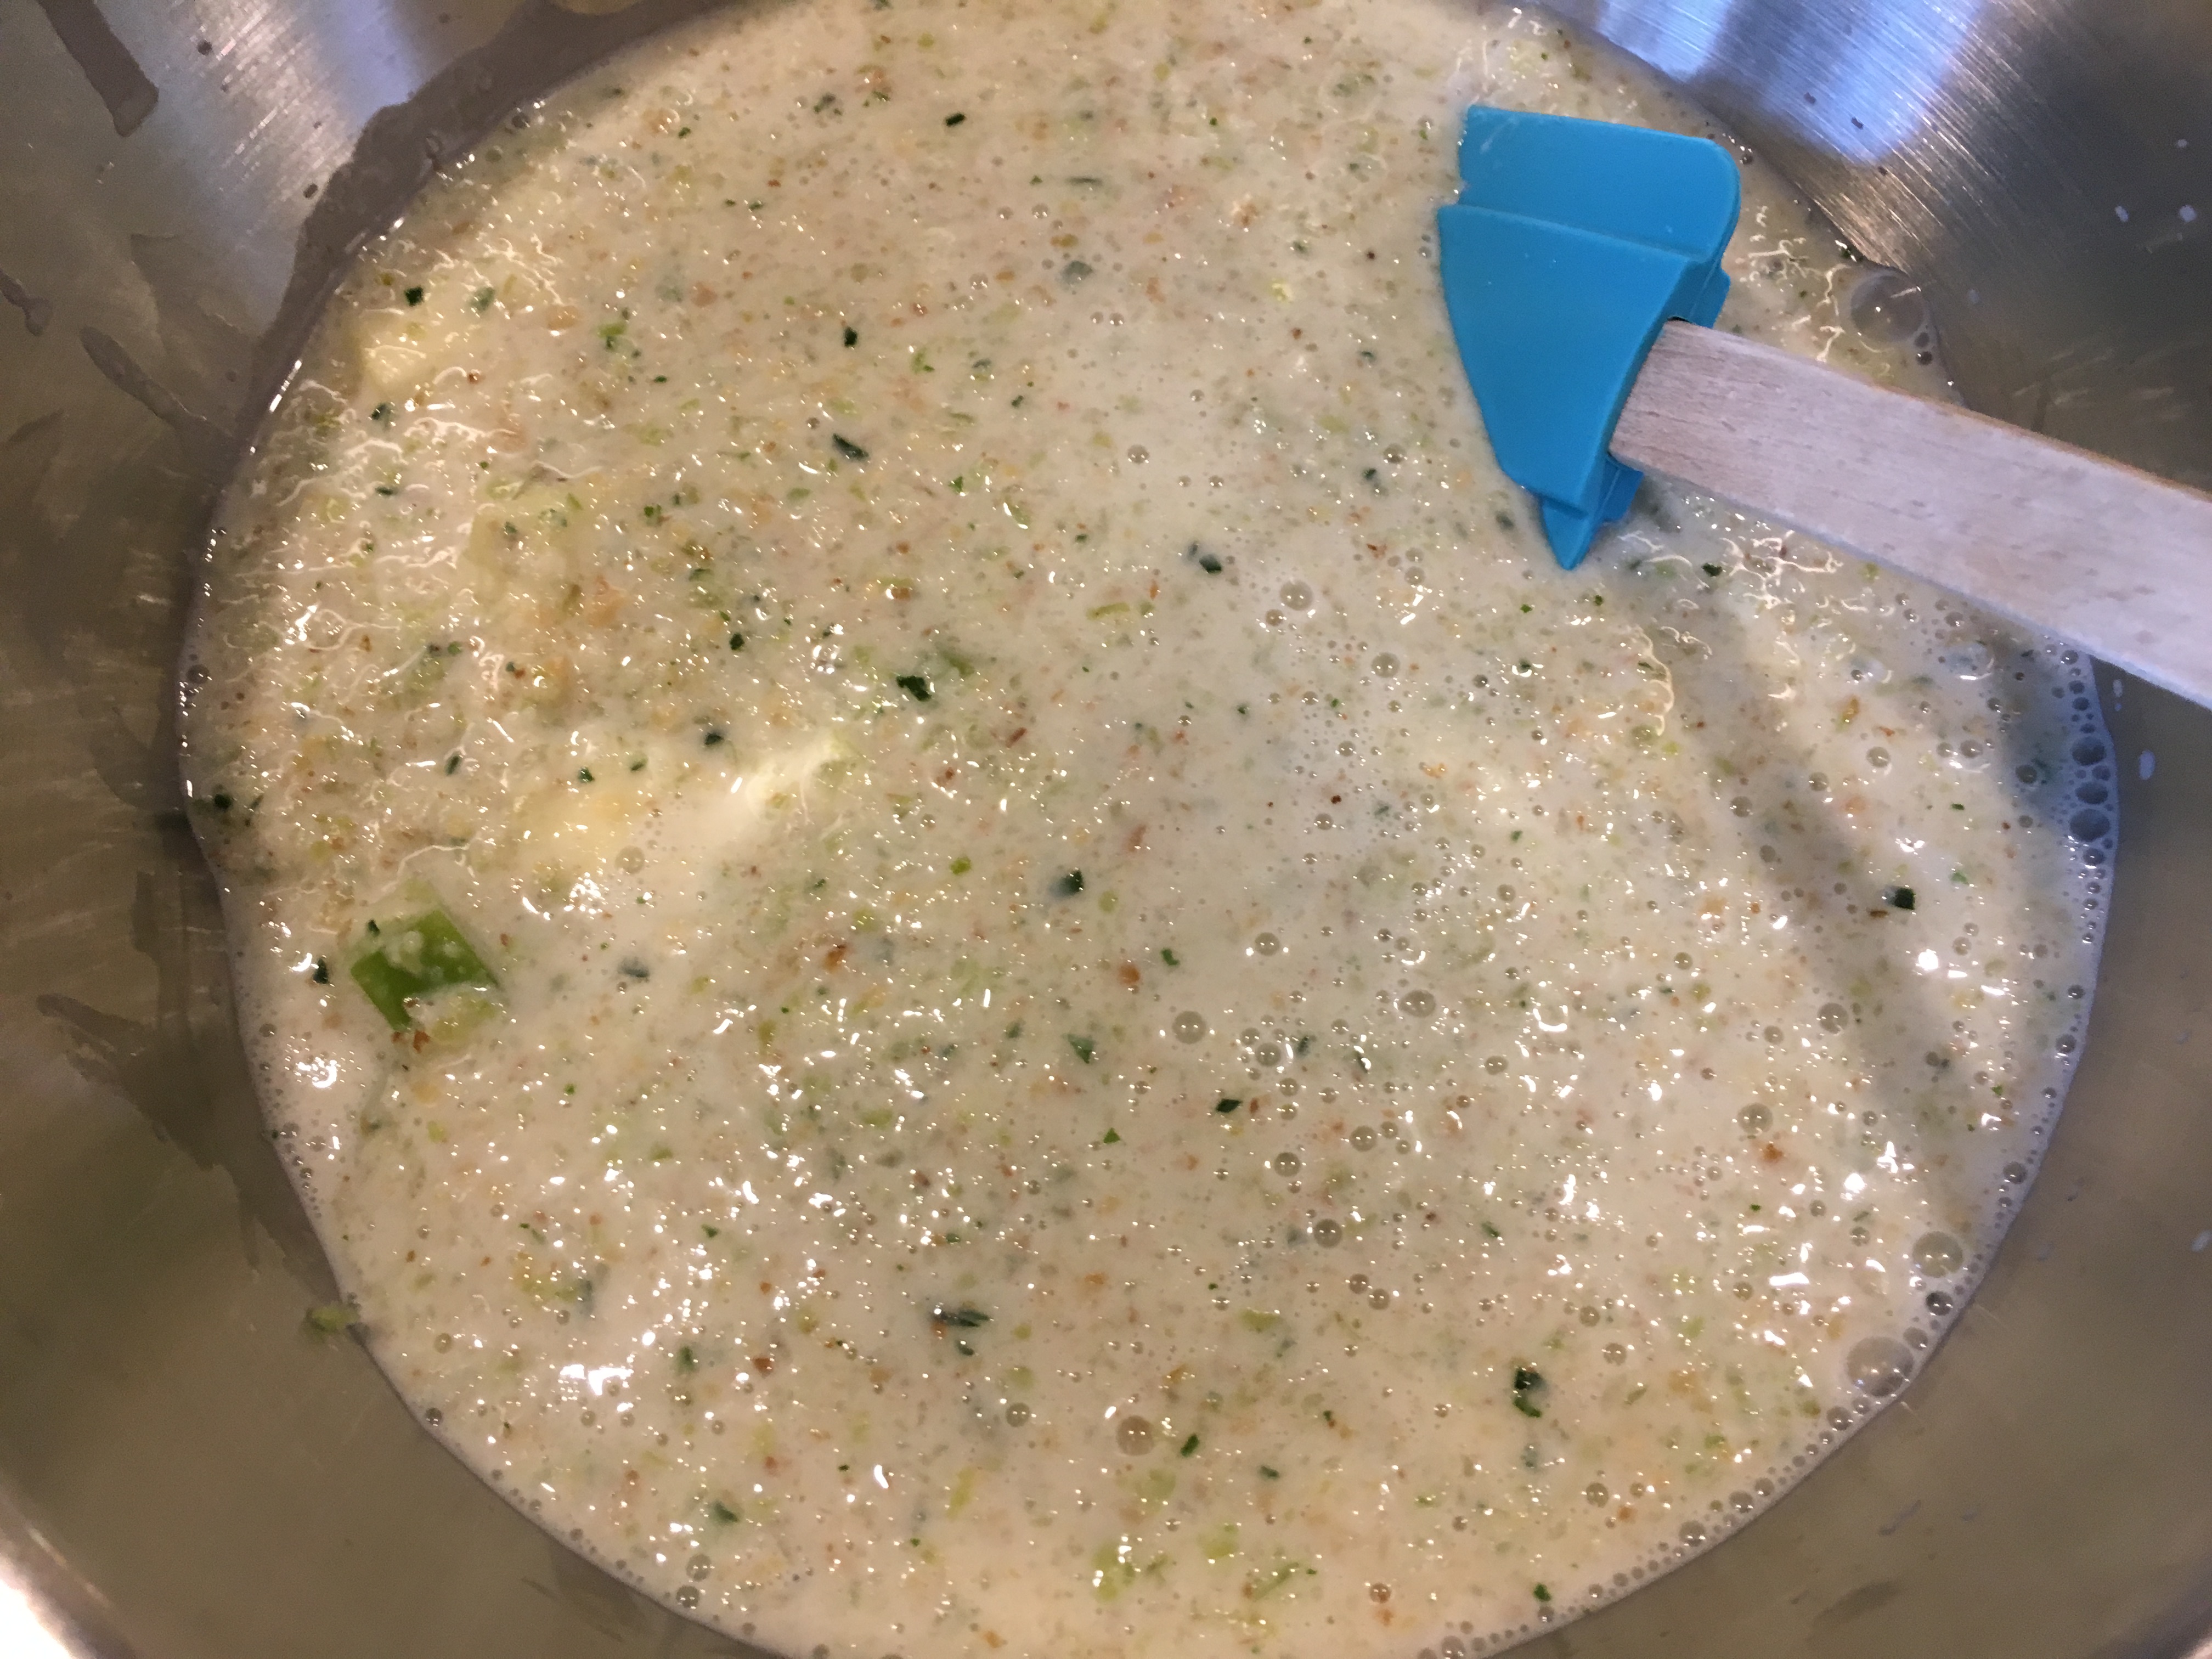
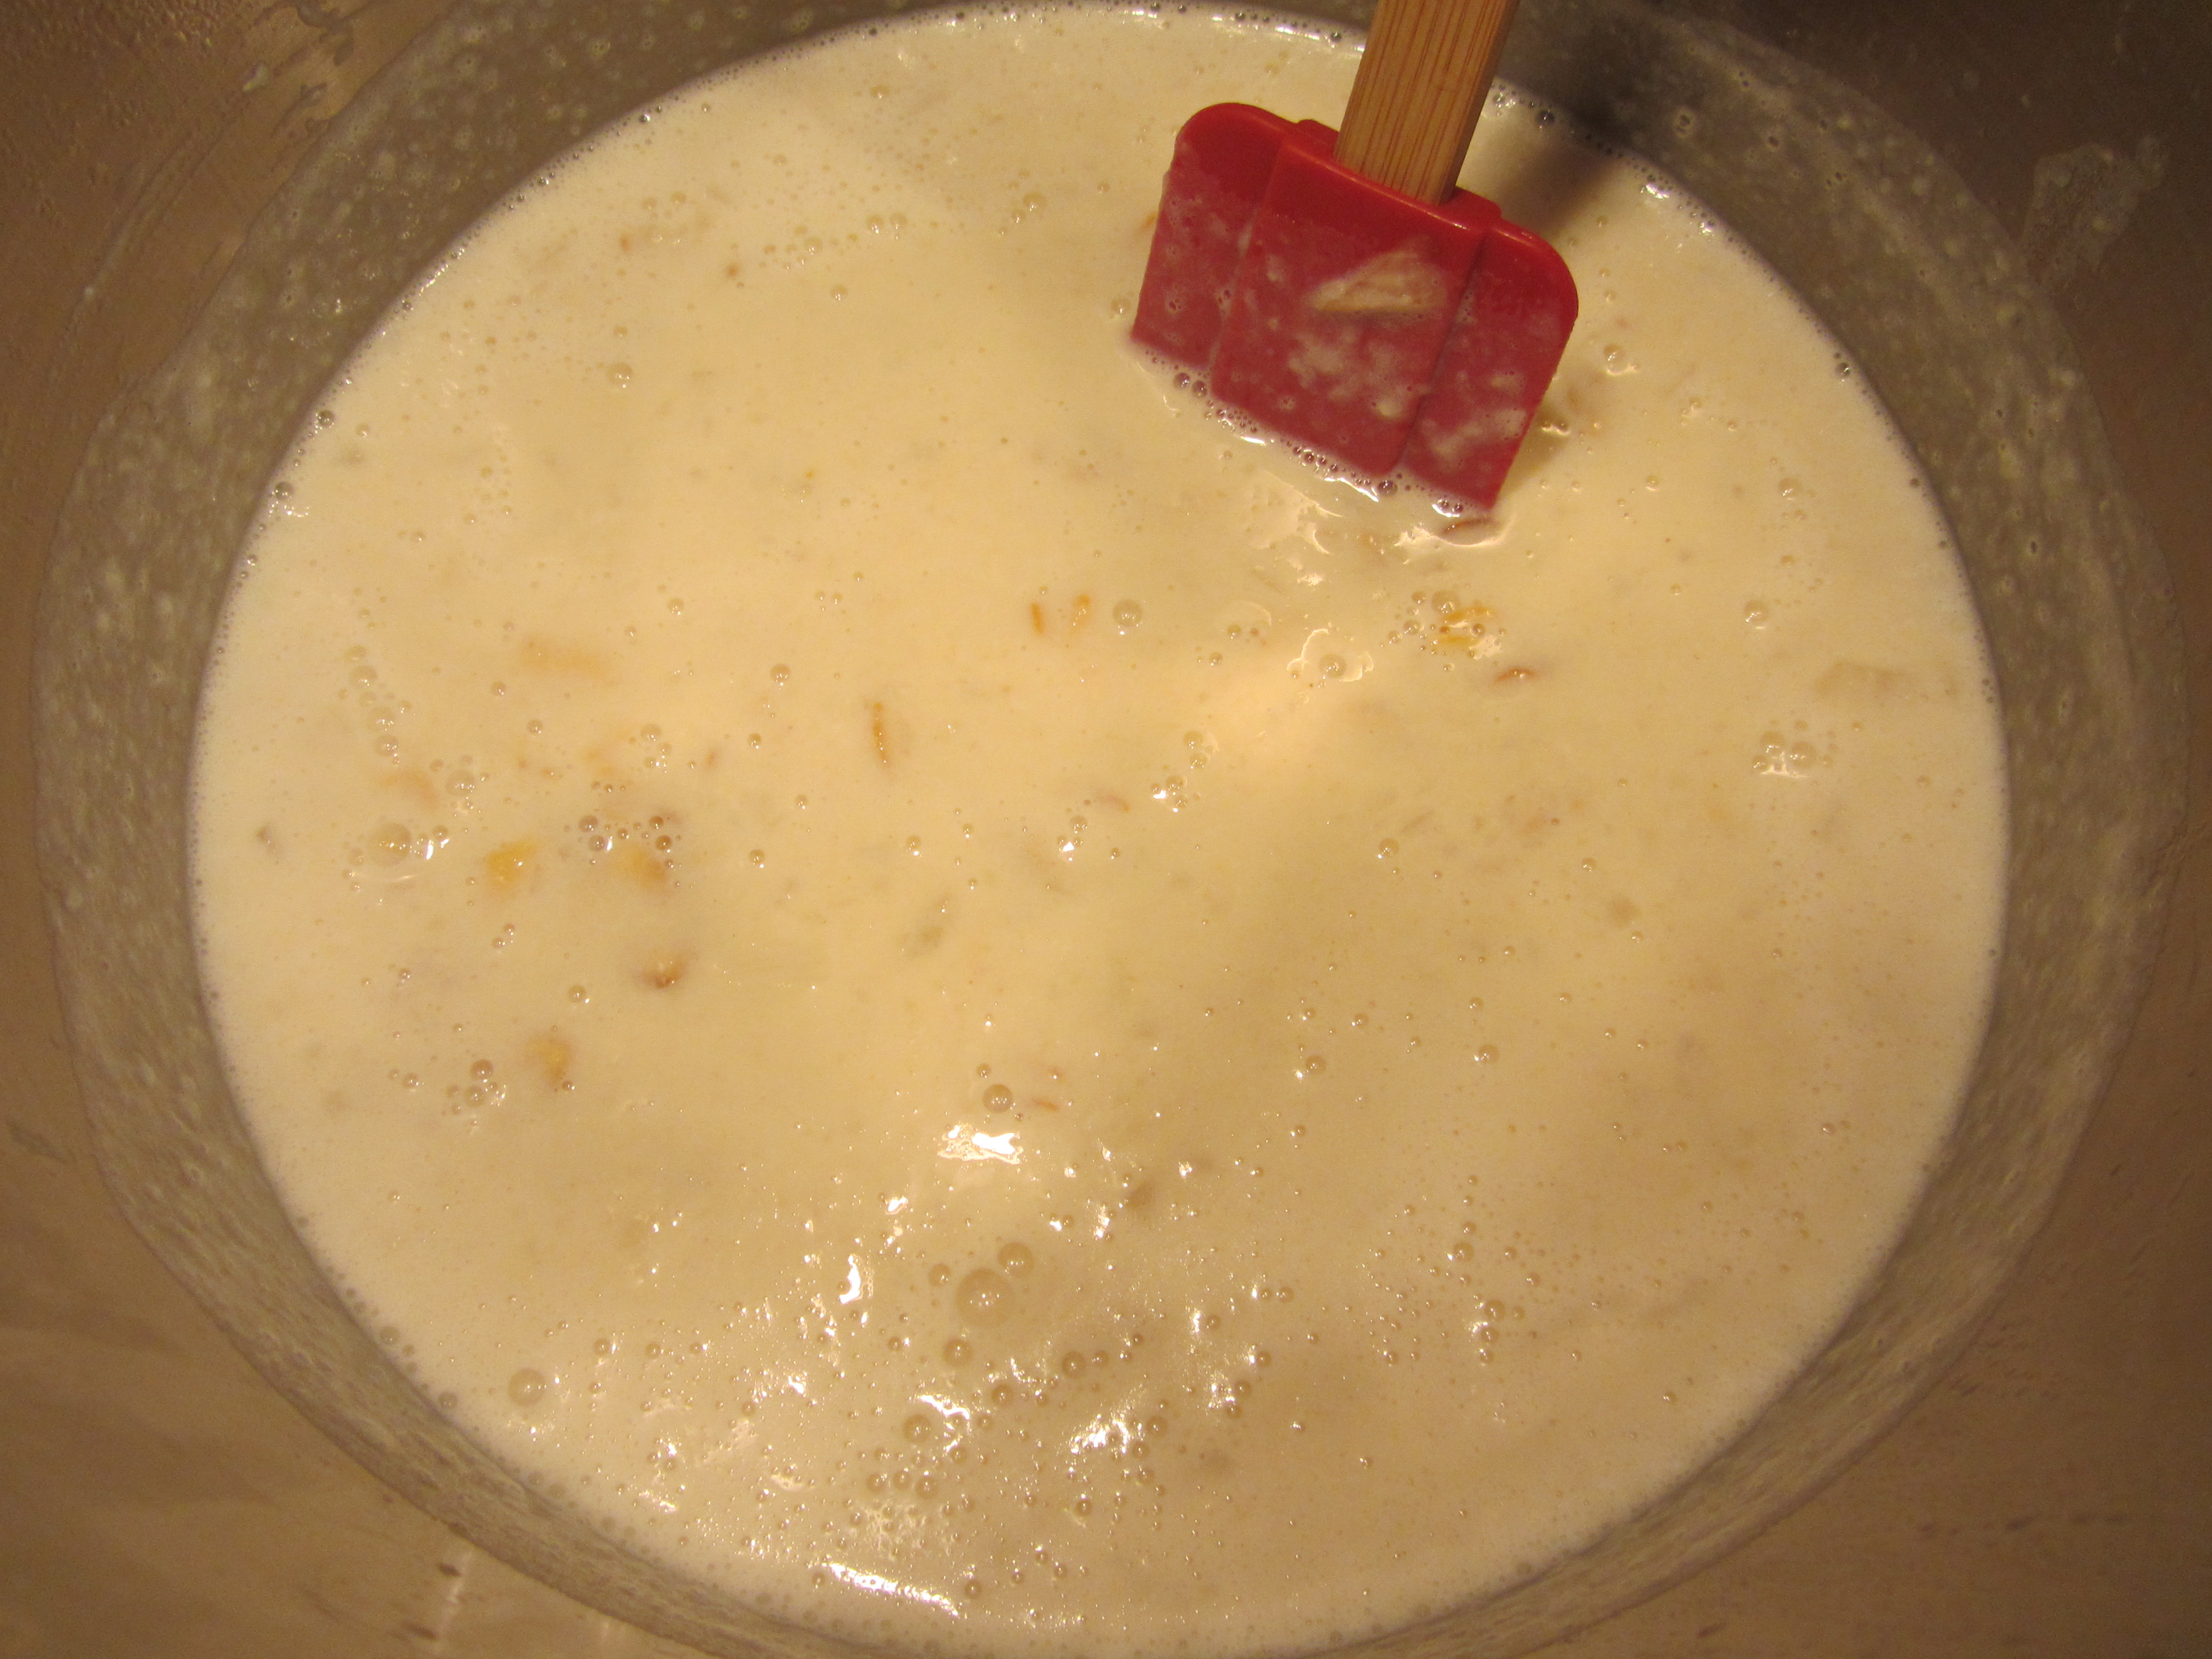
Alton did not prepare the peanut sauce in the episode, but the recipe can be found with the shrimp recipe. To make the peanut sauce, combine in a food processor 1/4 c chicken stock, 3 ounces coconut milk, 1 ounce lime juice, 1 ounce soy sauce, 1 T fish sauce, 1 T hot sauce, 2 T chopped garlic, 1 T chopped ginger, 1 1/2 C peanut butter, and 1/4 C chopped cilantro.

Chicken stock, coconut milk, lime juice, soy sauce, fish sauce, hot sauce, garlic, ginger, and peanut butter in food processor.

Alton’s peanut sauce.
I am not the biggest shrimp fan, but I thought this recipe was pretty fantastic. The coconut coating was super crispy and light, while the shrimp were tender, and the peanut sauce was spicy, tangy, and a great accompaniment. I plan to make this one again for sure.
Chocolate Coconut Balls
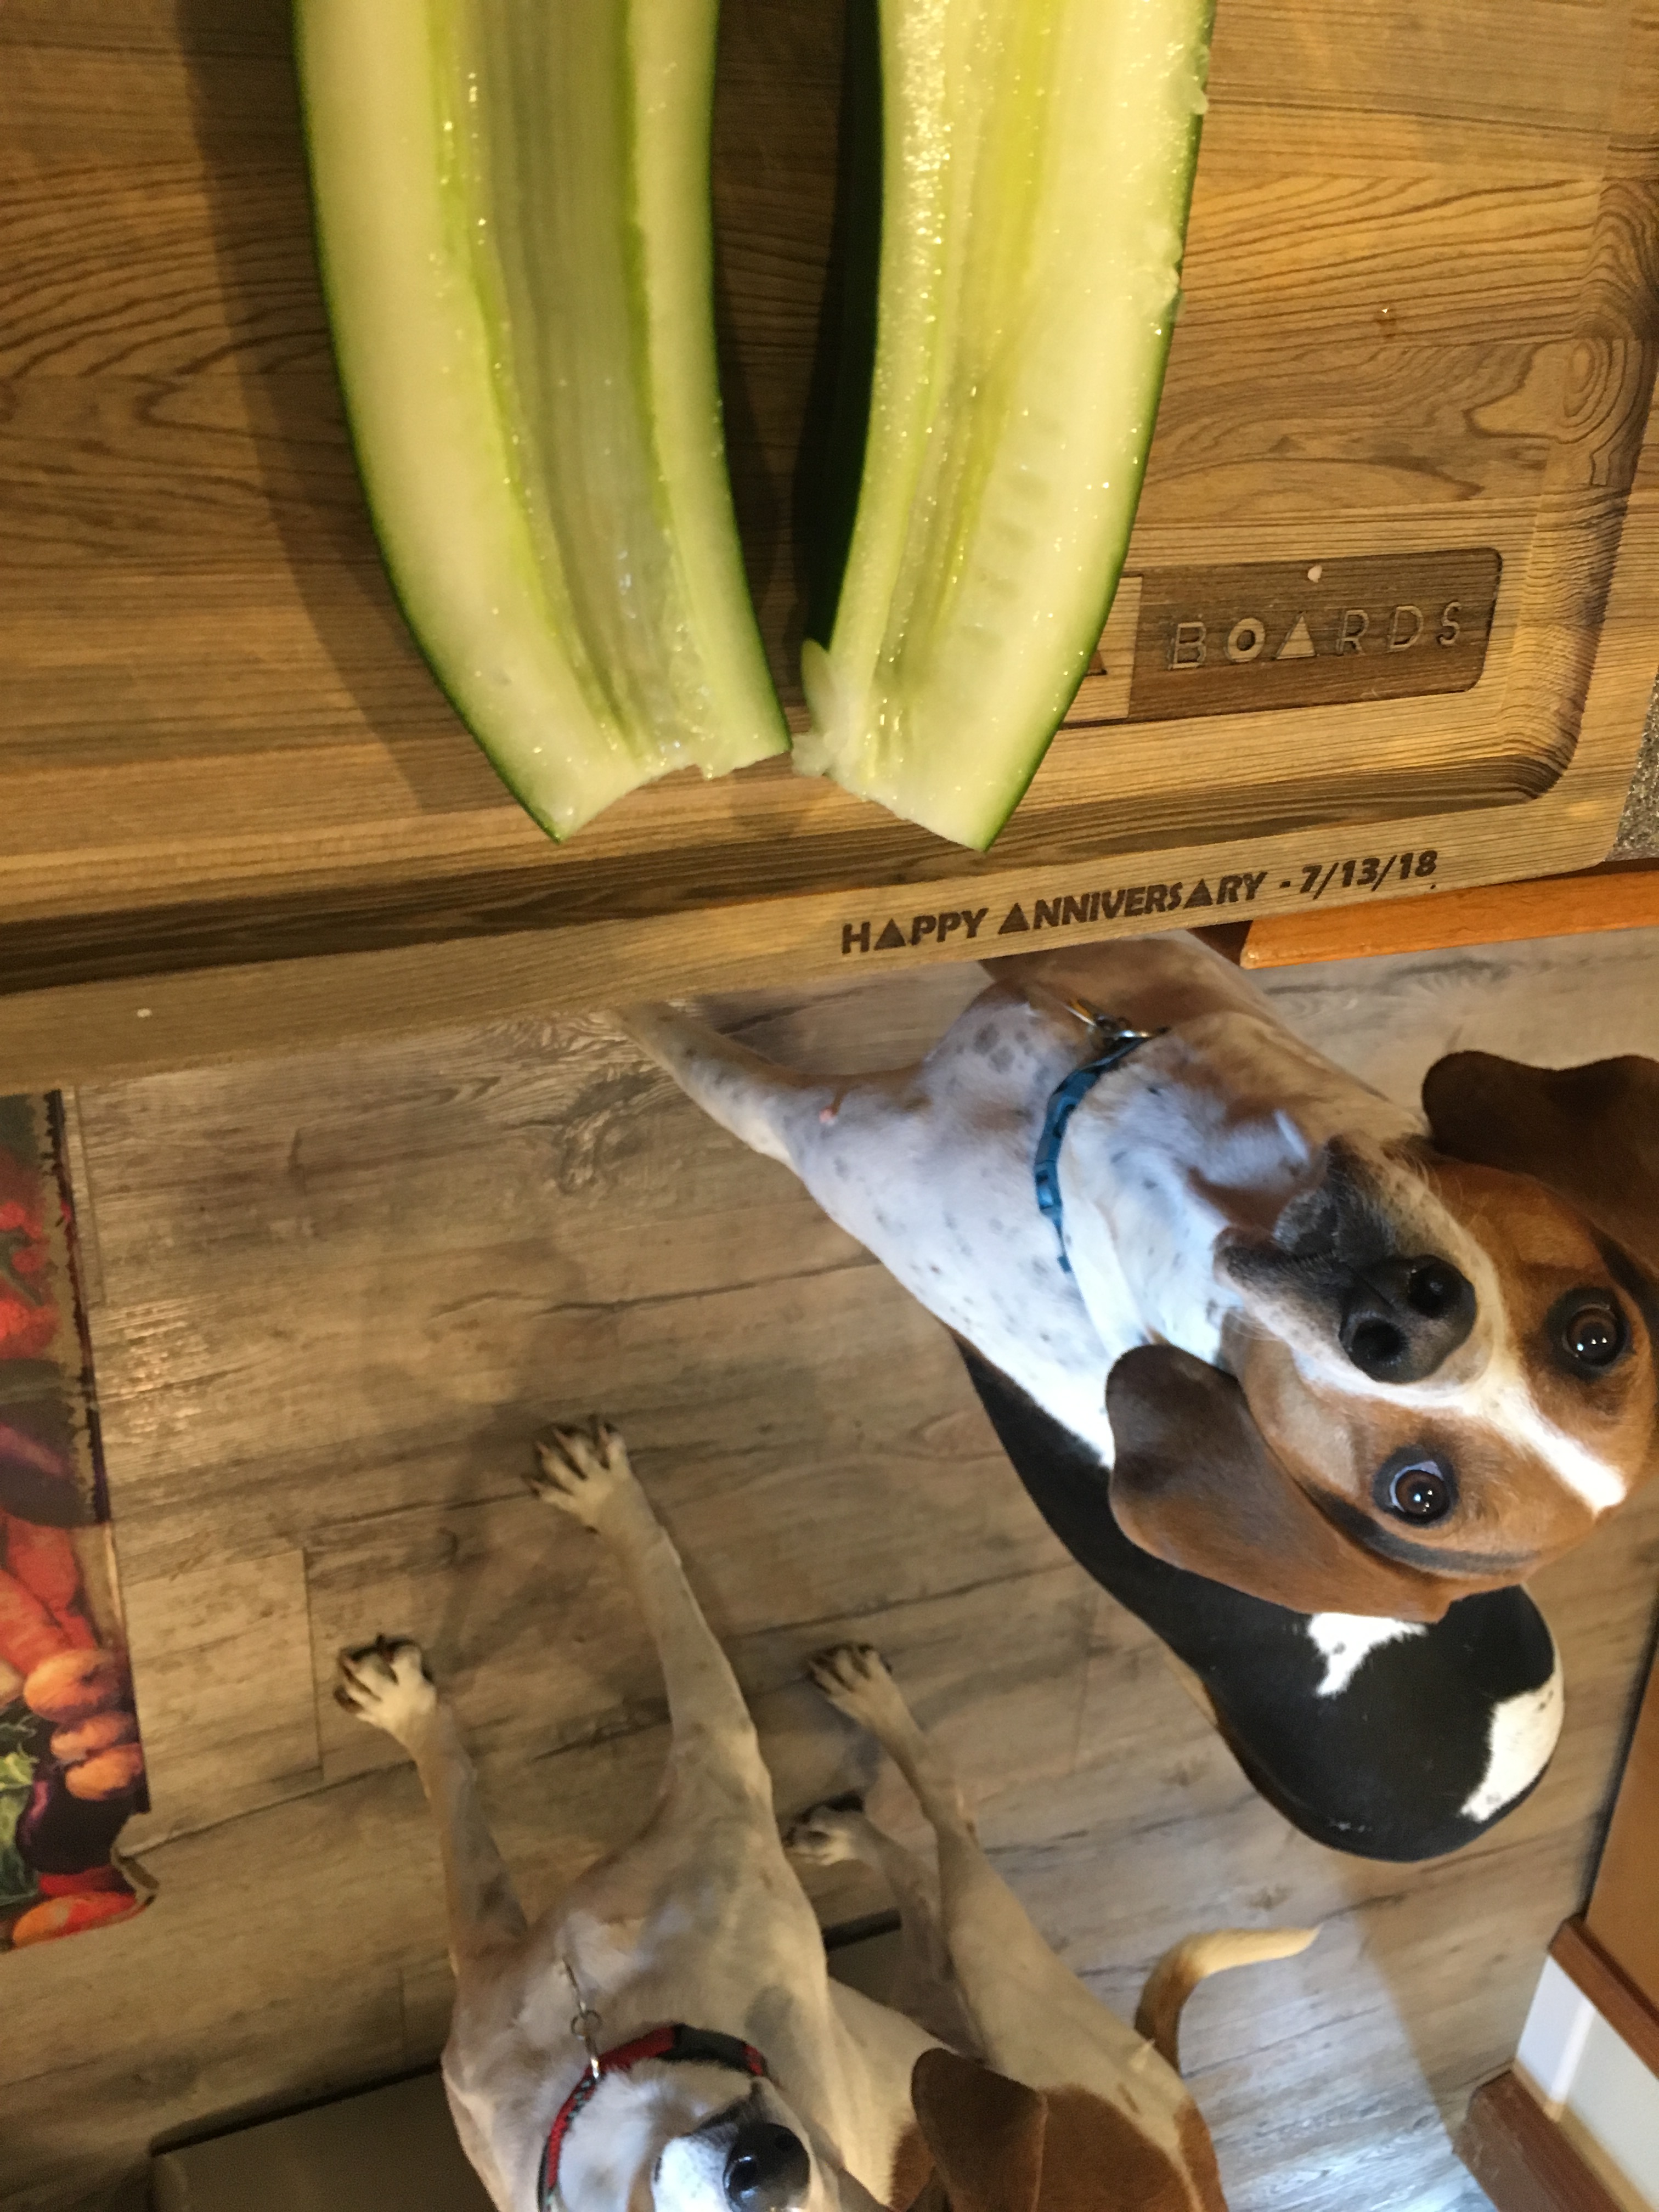
Keeping with the coconut theme, the second recipe in this special episode was for chocolate coconut balls. Coconut-wise, Alton did not specify that you use fresh coconut in this recipe. I happened to have some leftover fresh coconut from the coconut shrimp recipe, so I used the rest of that, along with some store bought shredded coconut. You will also need toasted macadamia nuts, which you can toast in a 325-degree oven for about 10 minutes, or until golden brown. In case you do not already know, macadamia nuts are toxic to dogs, so be sure to keep these away from your pups.

Macadamia nuts, after toasting in the oven.
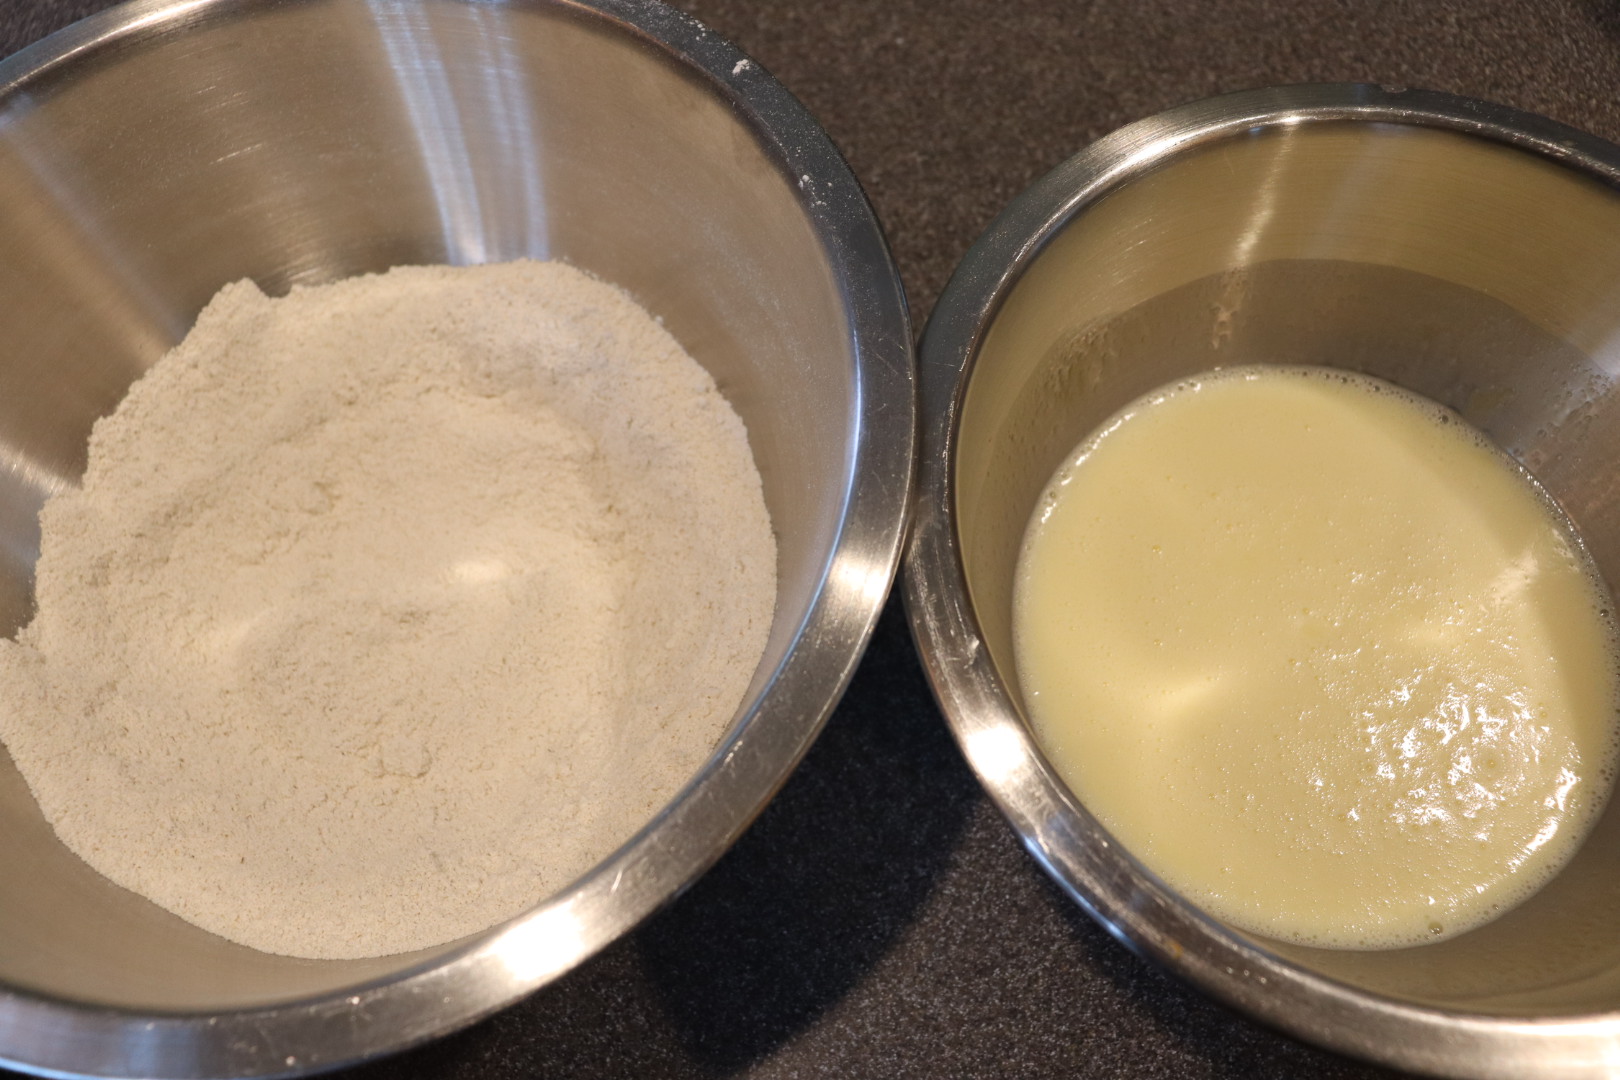
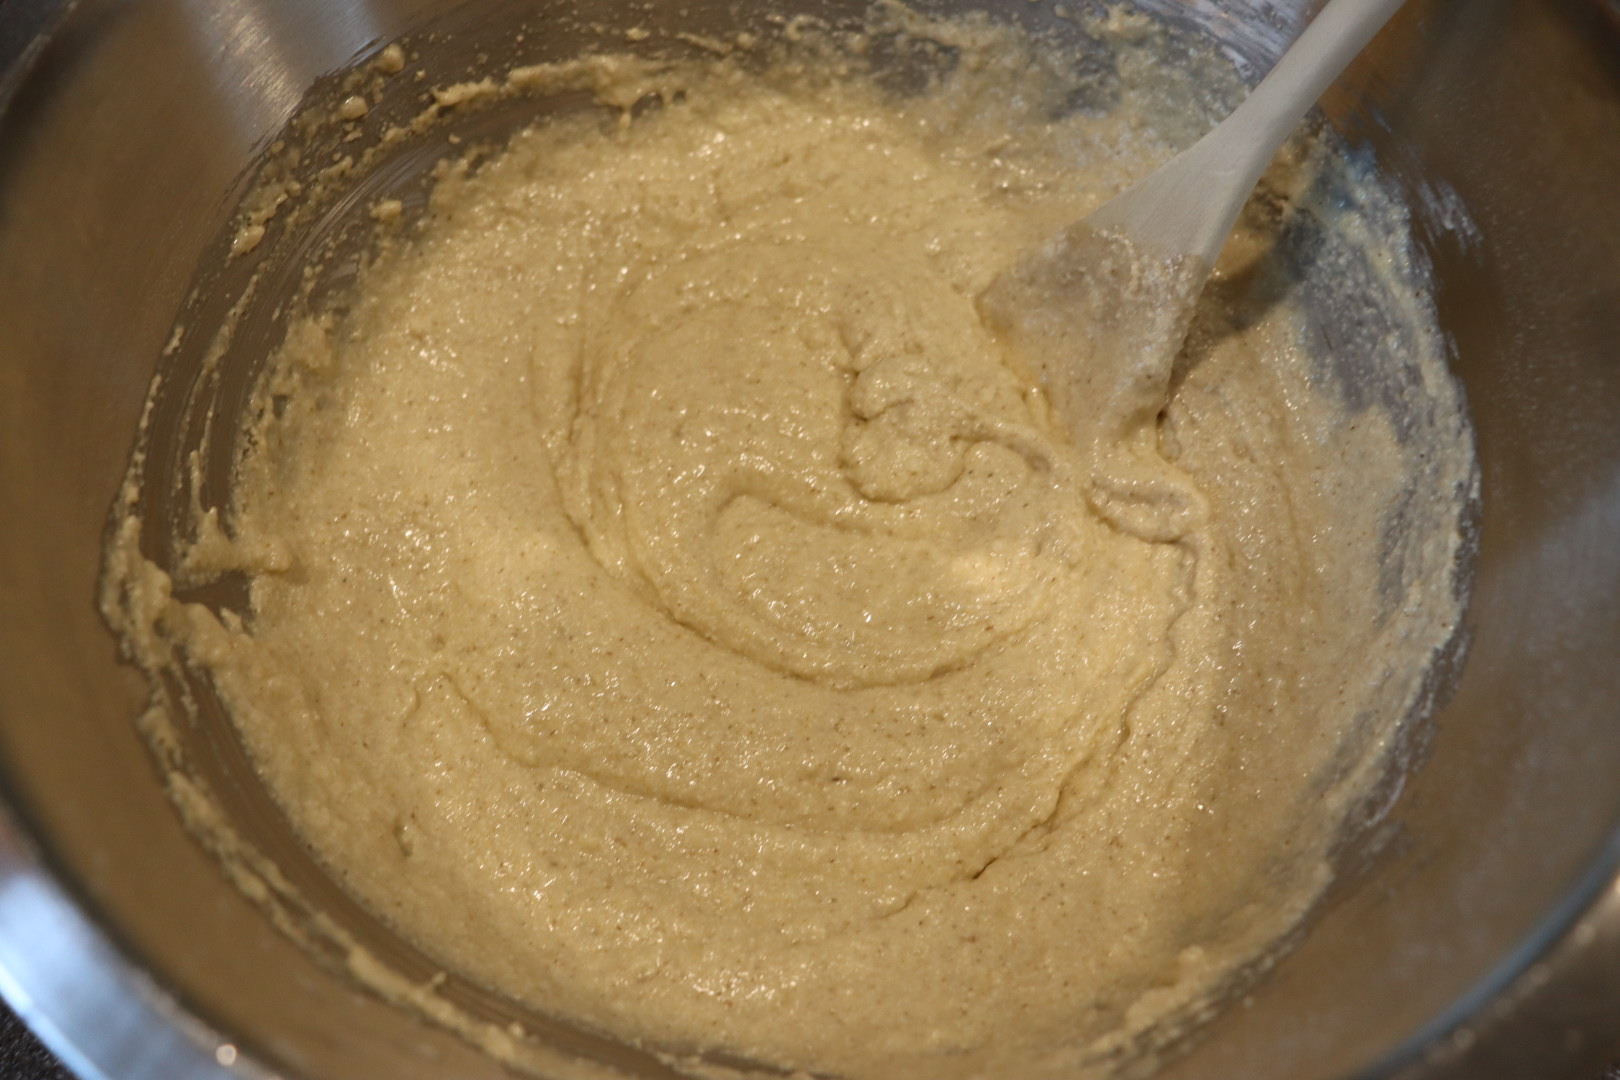
Dump 1/2 pound shredded coconut in a bowl, along with 1 C toasted macadamia nuts, chopped. Add 1 C sweetened condensed milk and 1 1/2 t almond extract. Using your hands, mix everything really well and form the coconut mixture into 3/4″ balls, setting them on a foil-lined baking sheet. This mixture is quite sticky and you really need to compress it to form it into balls.

Shredded coconut, macadamia nuts, sweetened condensed milk, and almond extract.

Coconut mixture after being combined by hand.
Let the formed coconut balls sit at room temperature for four hours to dry out.

Coconut formed into balls.
Once dry, dip the balls in 12 ounces of semisweet morsels melted with 1 T shortening.

Semisweet chocolate chips and shortening.

Melted chocolate and shortening.
Let the balls sit until the chocolate has set up.

Dipped coconut balls.

The inside of a chocolate coconut ball.
These are quite a tasty treat, tasting a lot like a Mounds candy bar. The macadamia nuts add a nice crunch, though I don’t know that I could discern what type of nut is in these. The coconut stays fairly moist and the chocolate sets up fairly well. My mom has a huge sweet tooth and recently had back surgery, so I took a couple of these balls to her yesterday to cheer her up. She dove right in and seemed to like them quite a lot. This is an easy recipe for a fun treat.
Island Ceviche with Pickled Onions
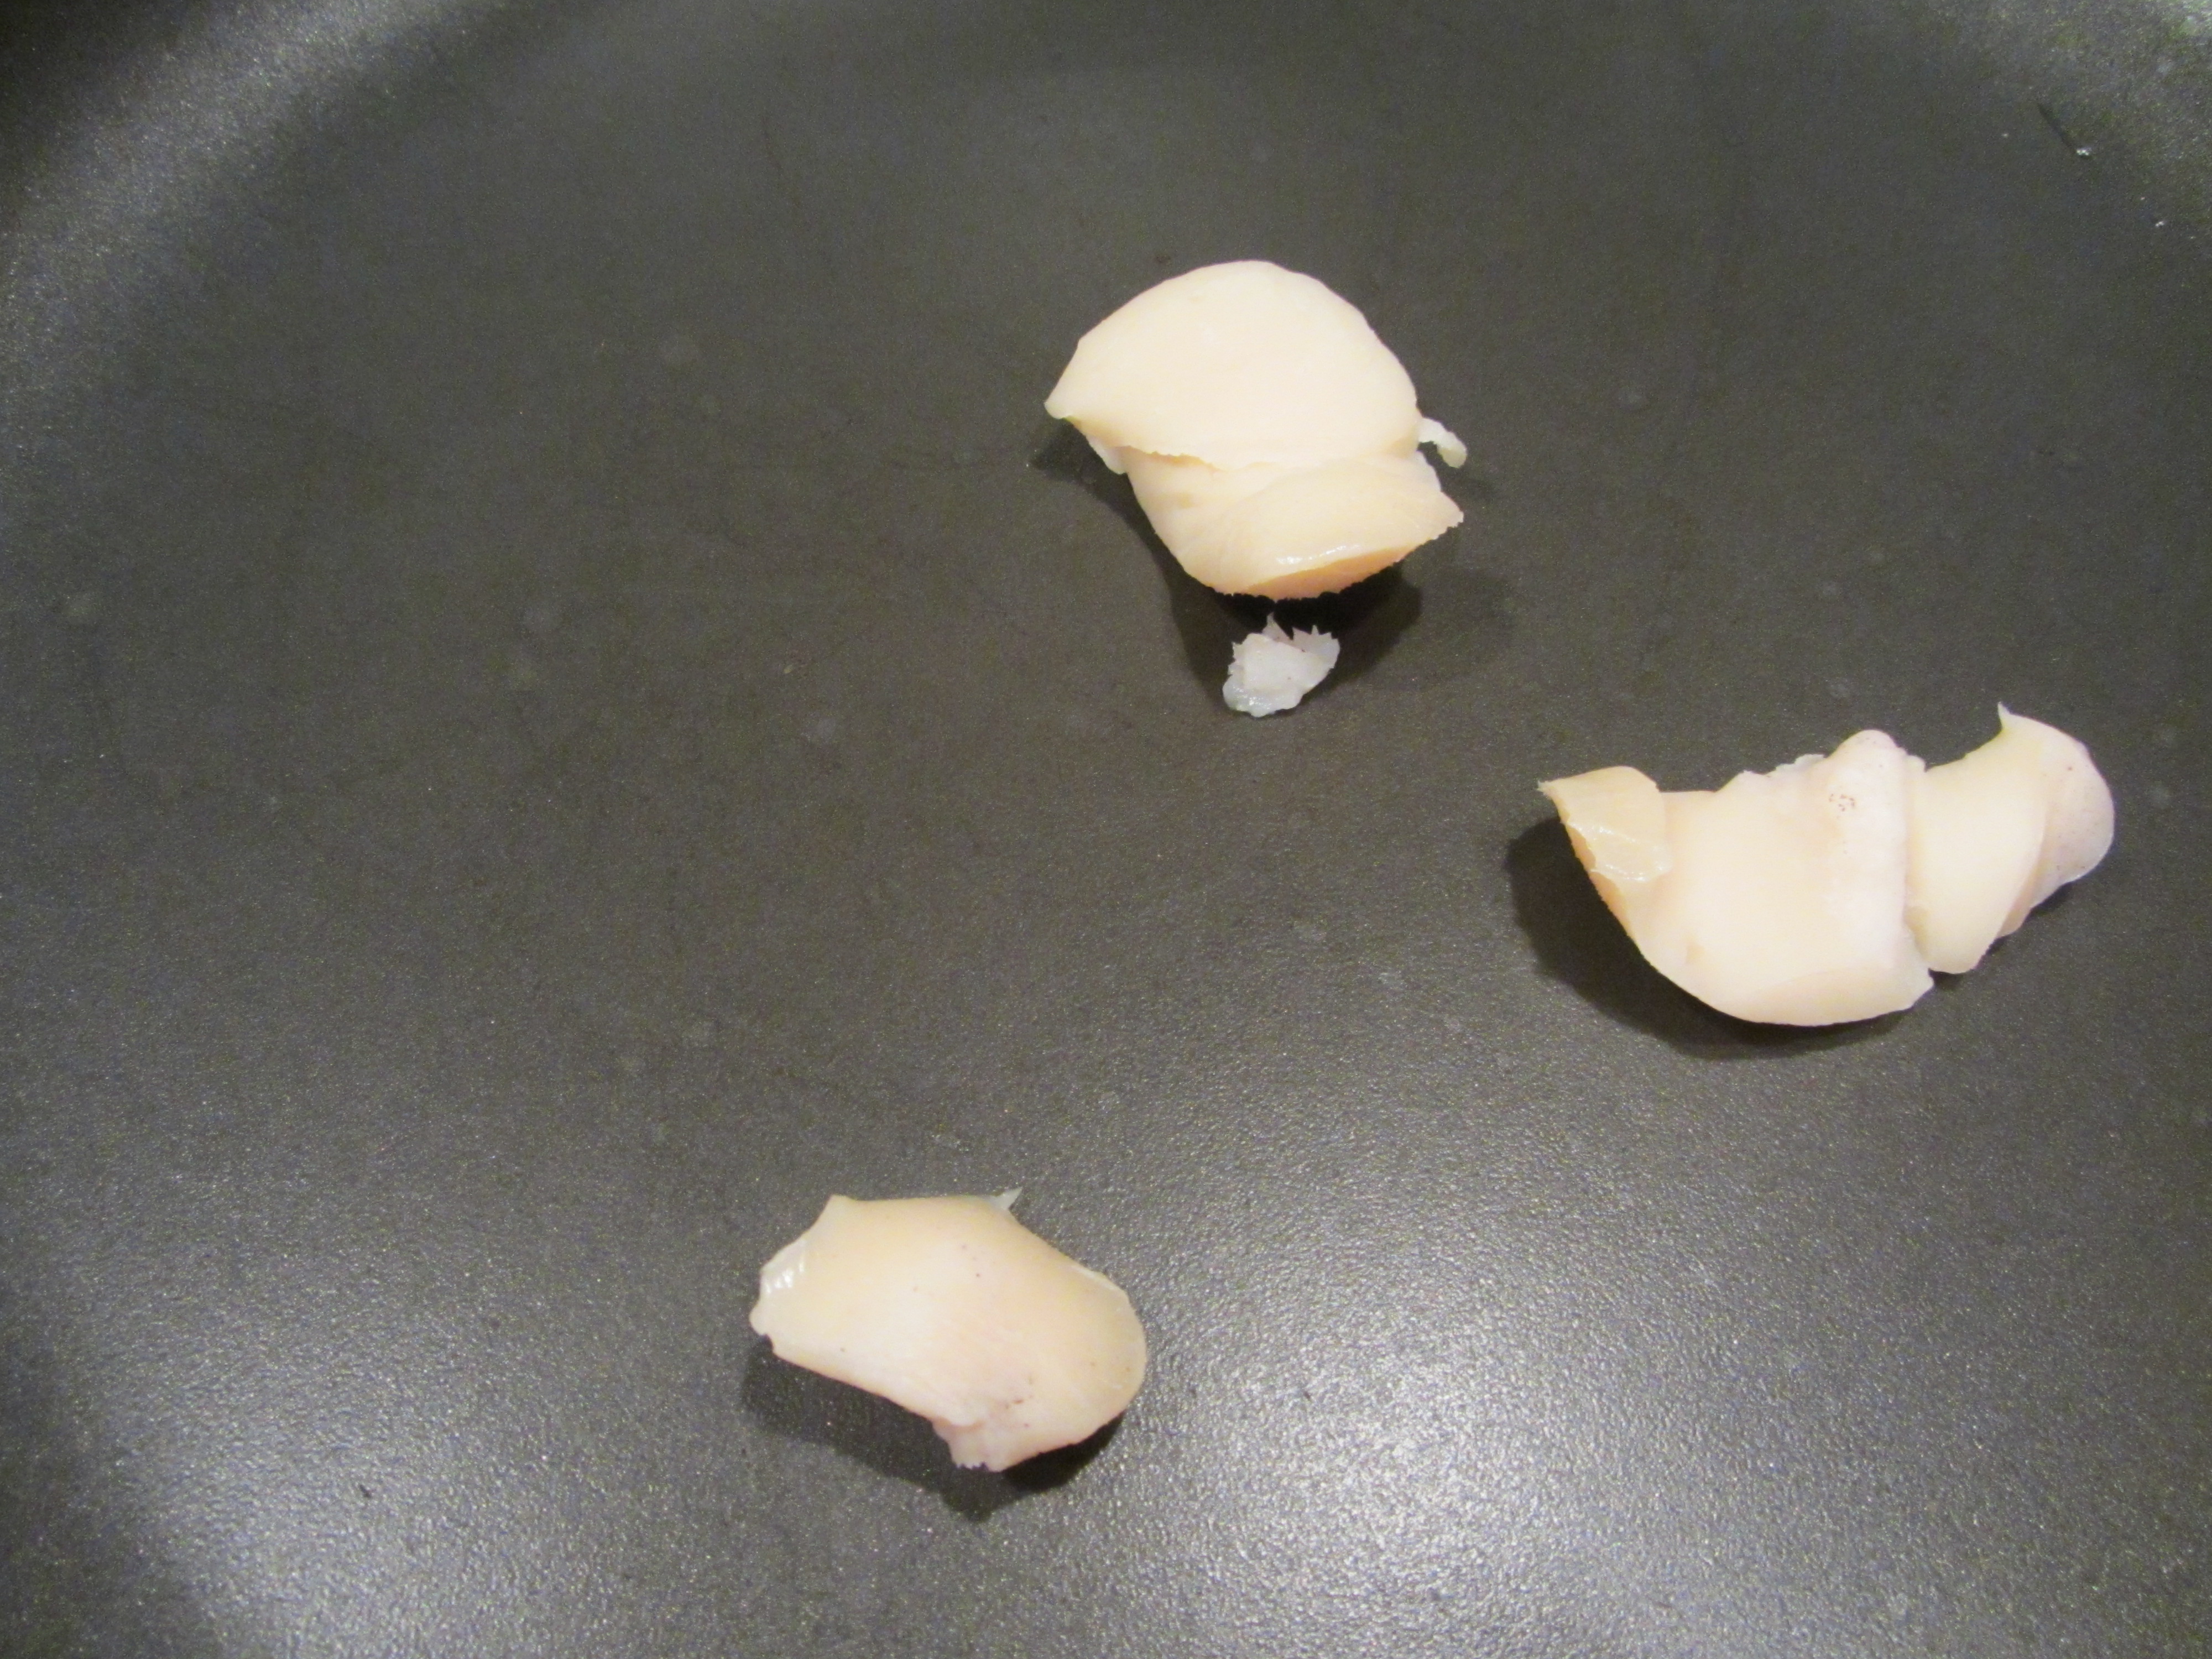
Of all the recipes in this episode, the ceviche recipe was definitely the one I was most excited to try. I absolutely love ceviche, first having it years ago with my dad at a restaurant called Aqua in San Francisco; I was amazed at the light, bright flavors in ceviche, instantly becoming a fan. We are very lucky now because we have an excellent ceviche restaurant in our town, which was opened just a few months ago by Chad White, a chef who competed on the last season of Top Chef. I was seriously excited to try my own hand at ceviche in my own kitchen, and Alton’s recipe seemed like a good place to start. To start, cut 1/2 pound of firm white fish into bite-sized pieces. Place the fish, along with 1/2 pound of bay scallops into a bowl with 6 ounces of fresh lime juice. Toss the fish to coat and refrigerate overnight. The online recipe tells you to sear the fish in a pan, but Alton did not do that in the episode.

Lots of fresh limes.

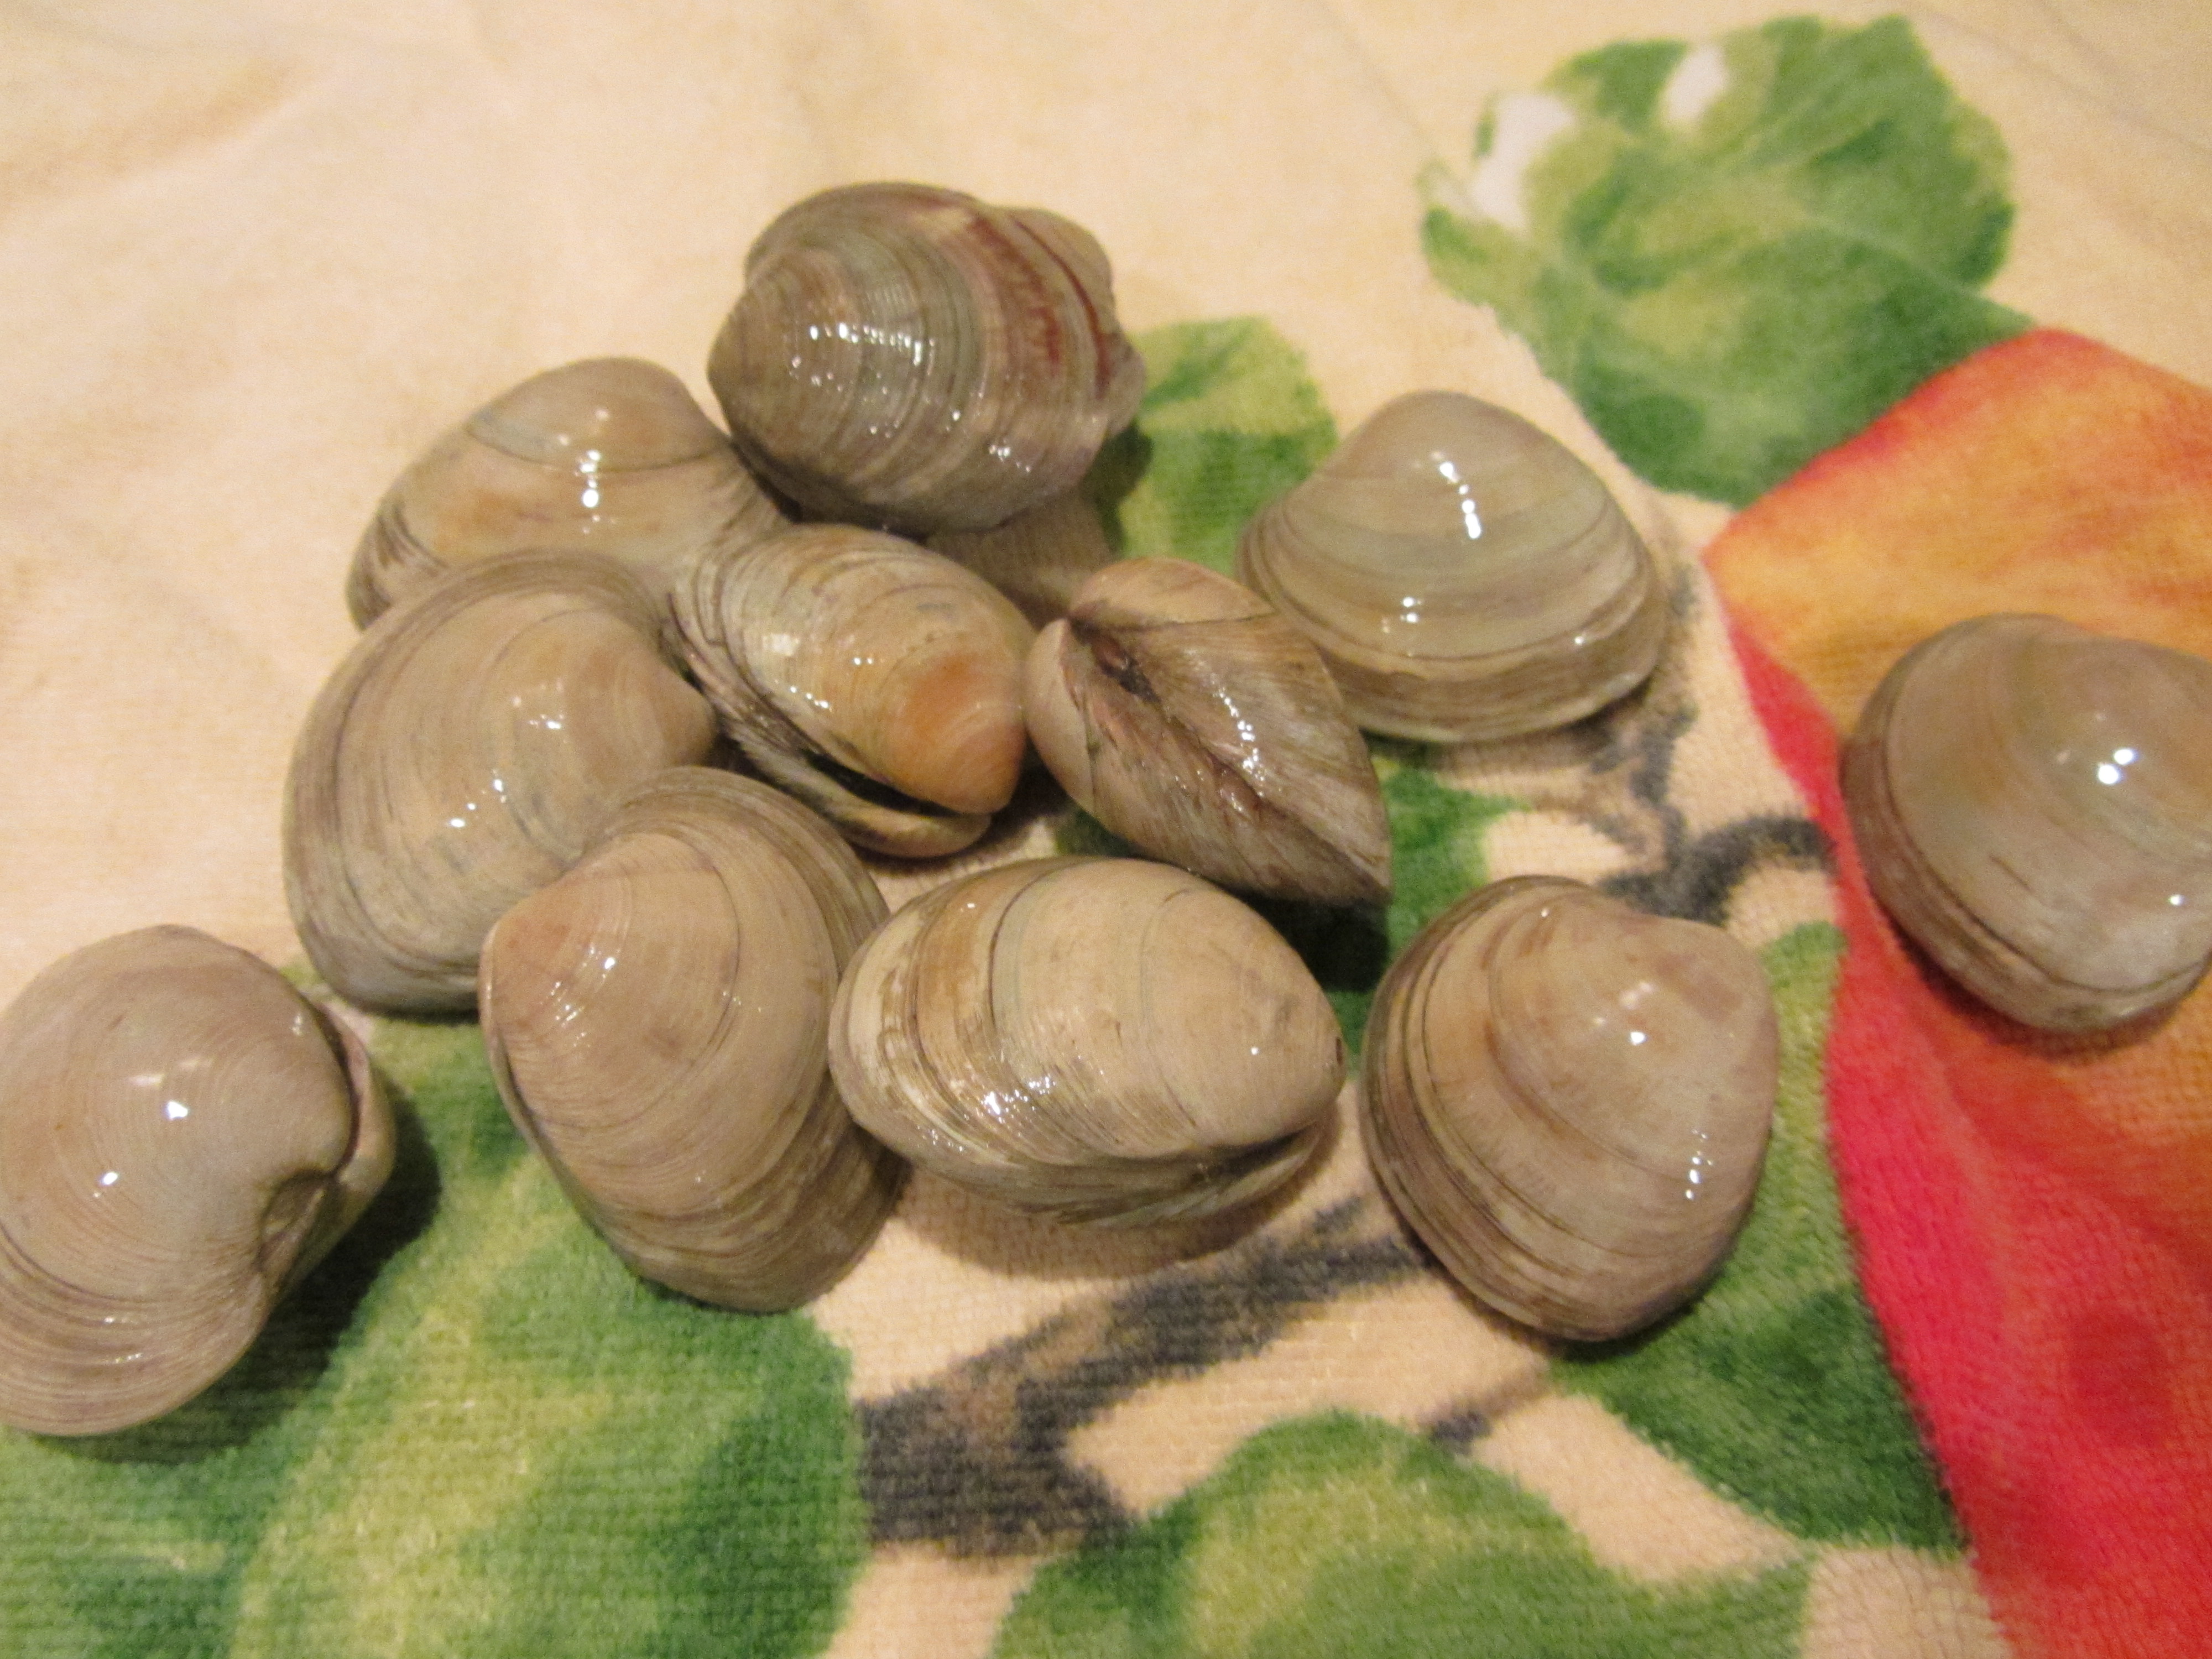
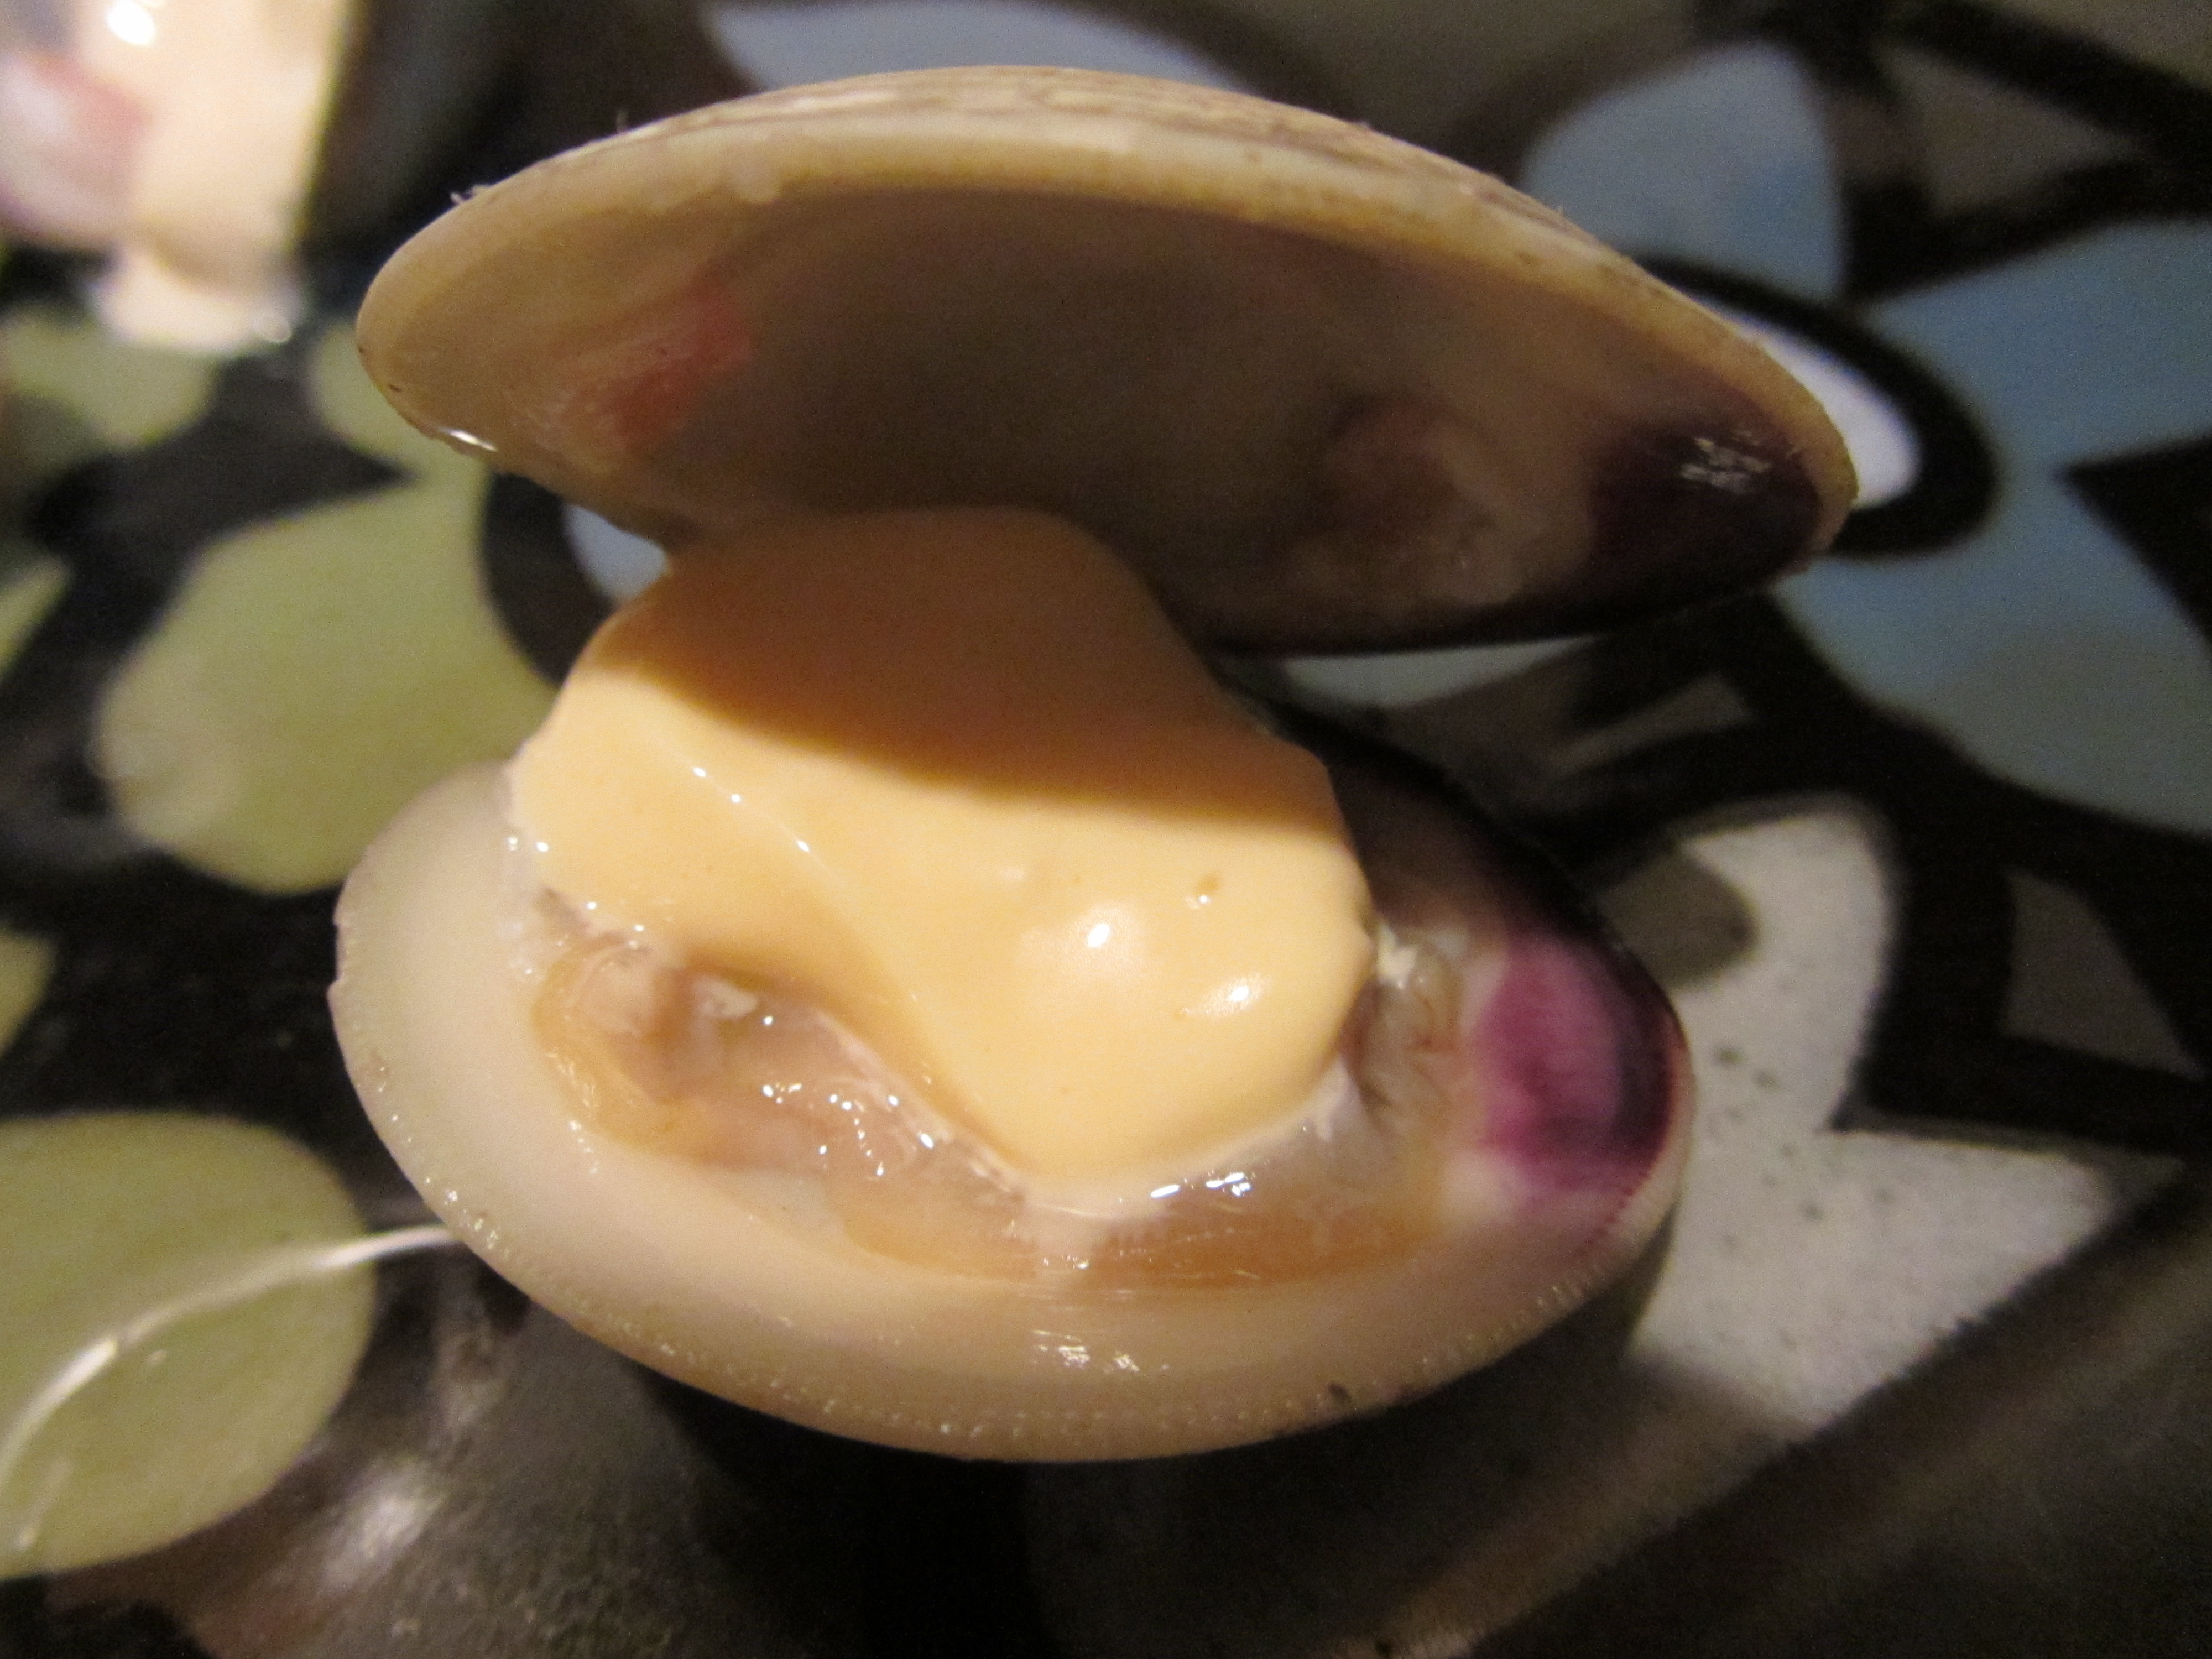
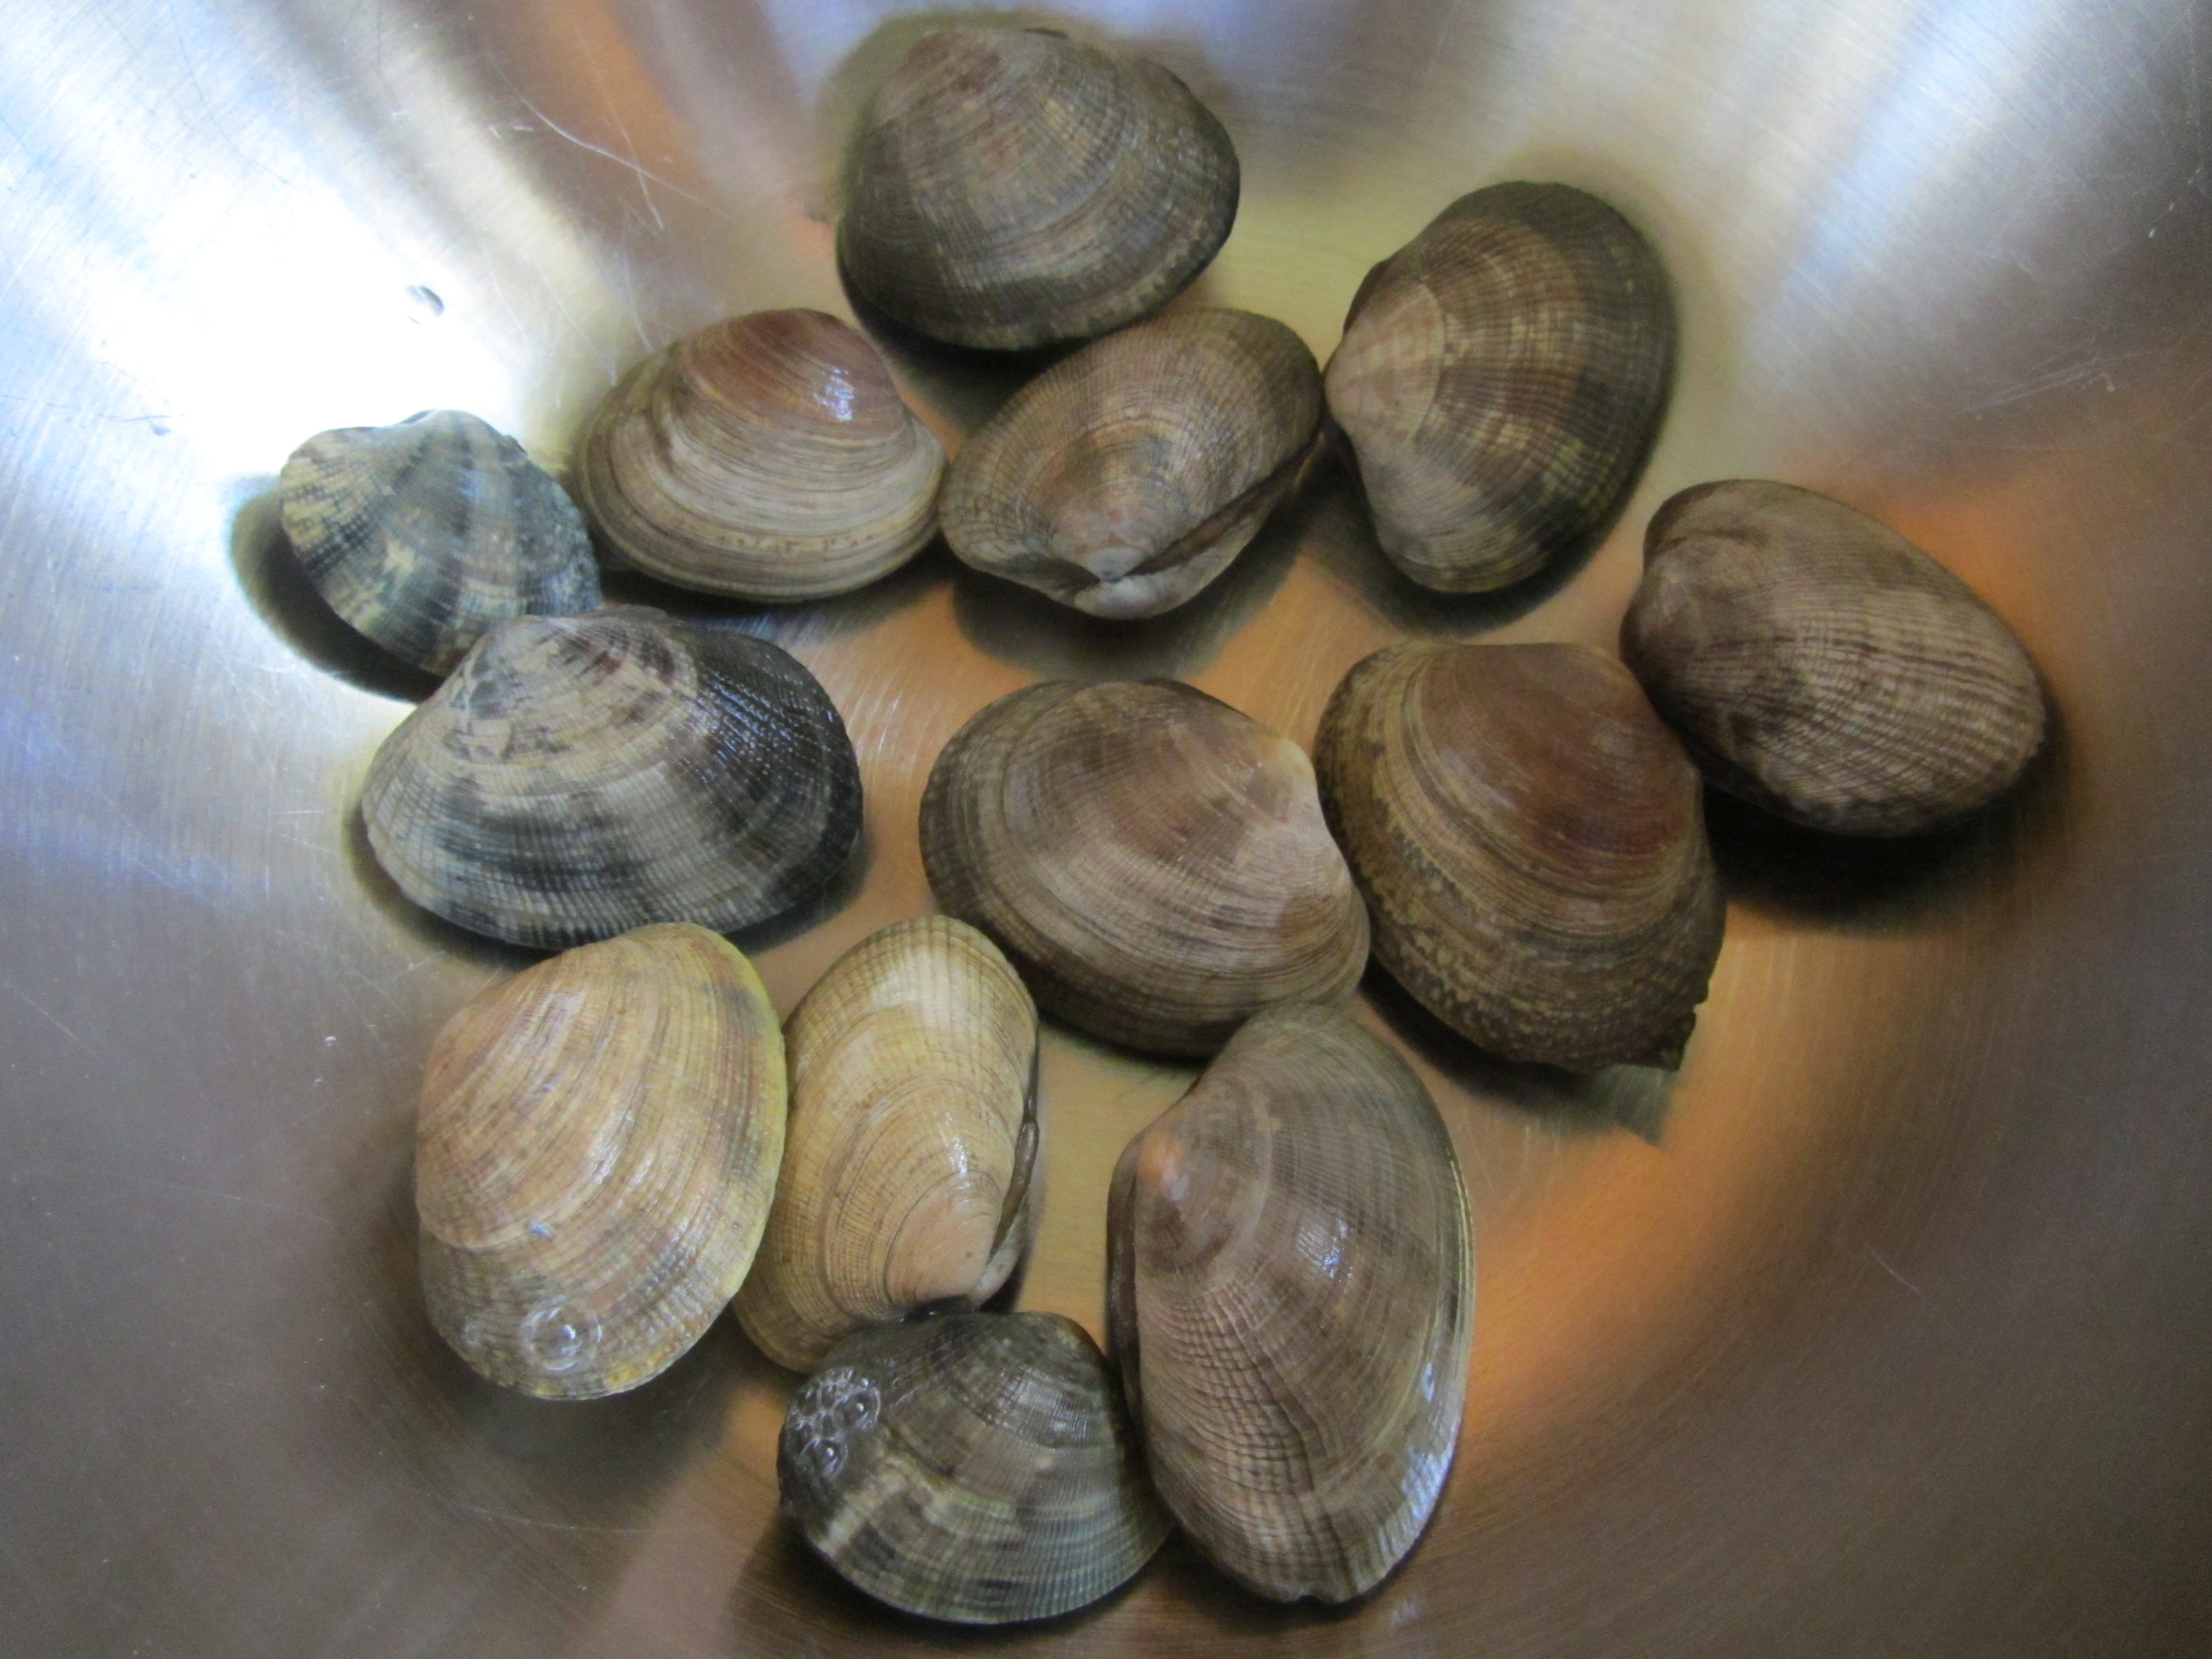
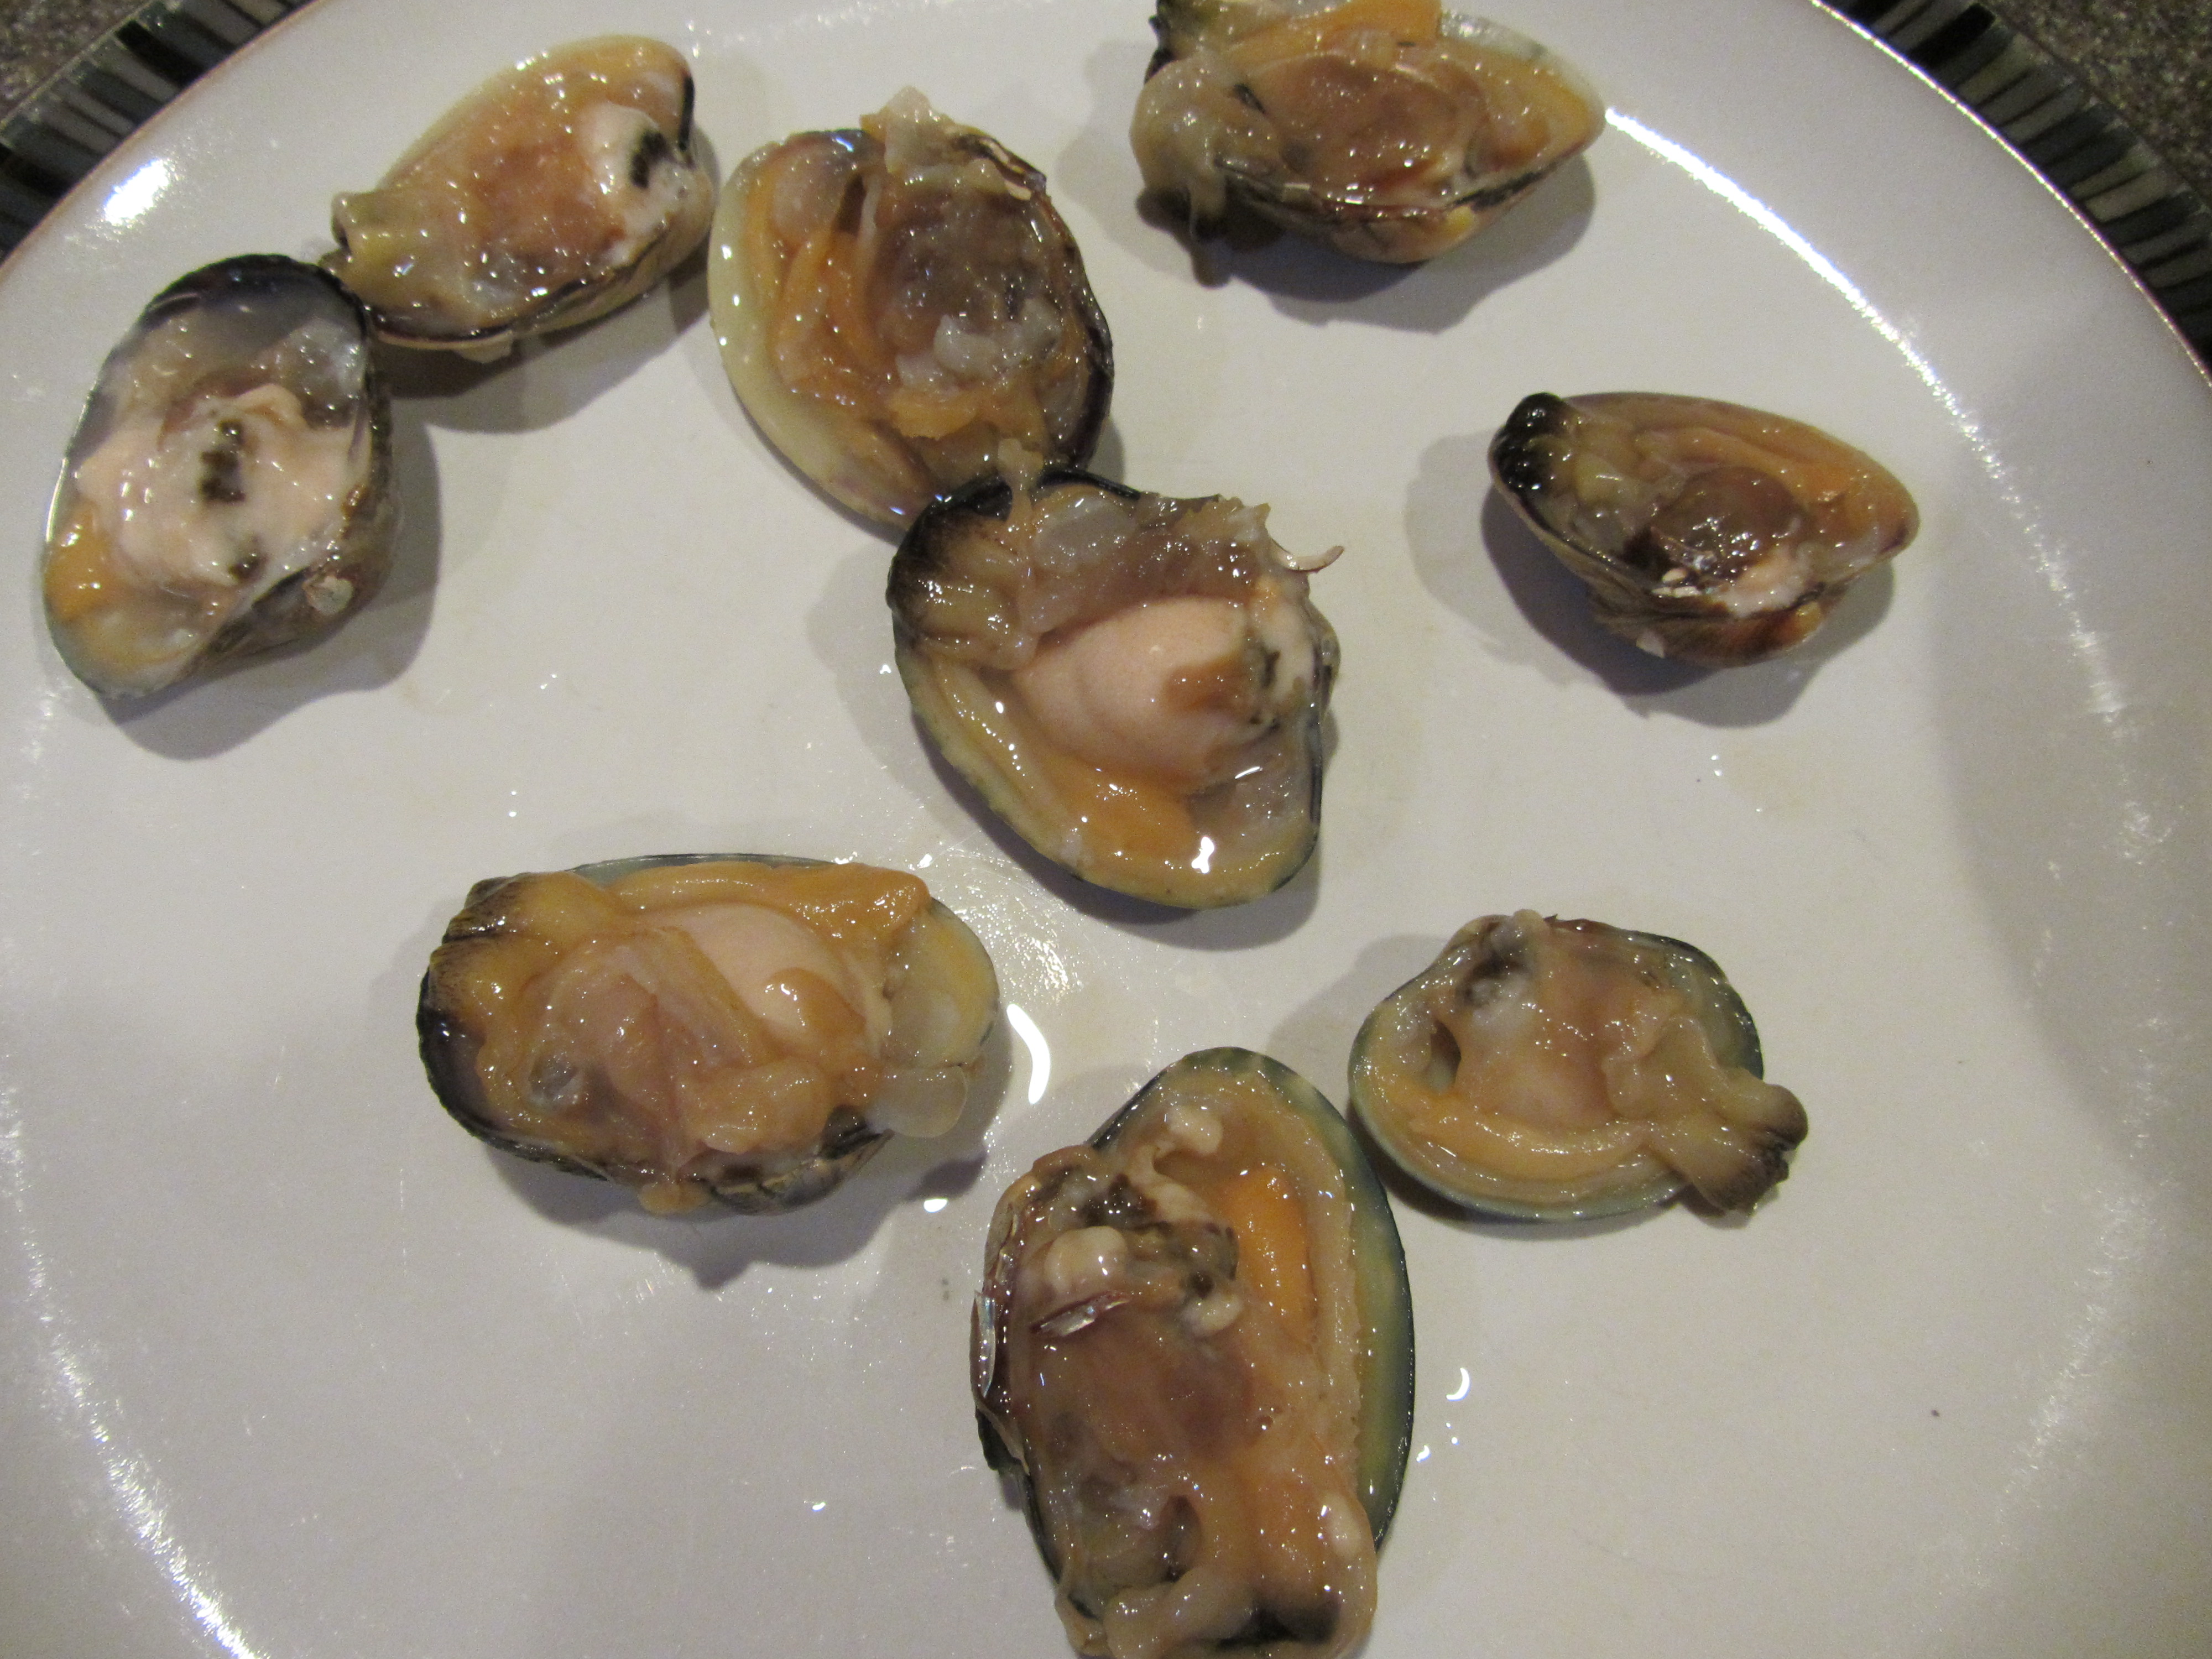
Bay scallops.

Cod, cut into pieces.

Fish and scallops, marinating in lime juice.
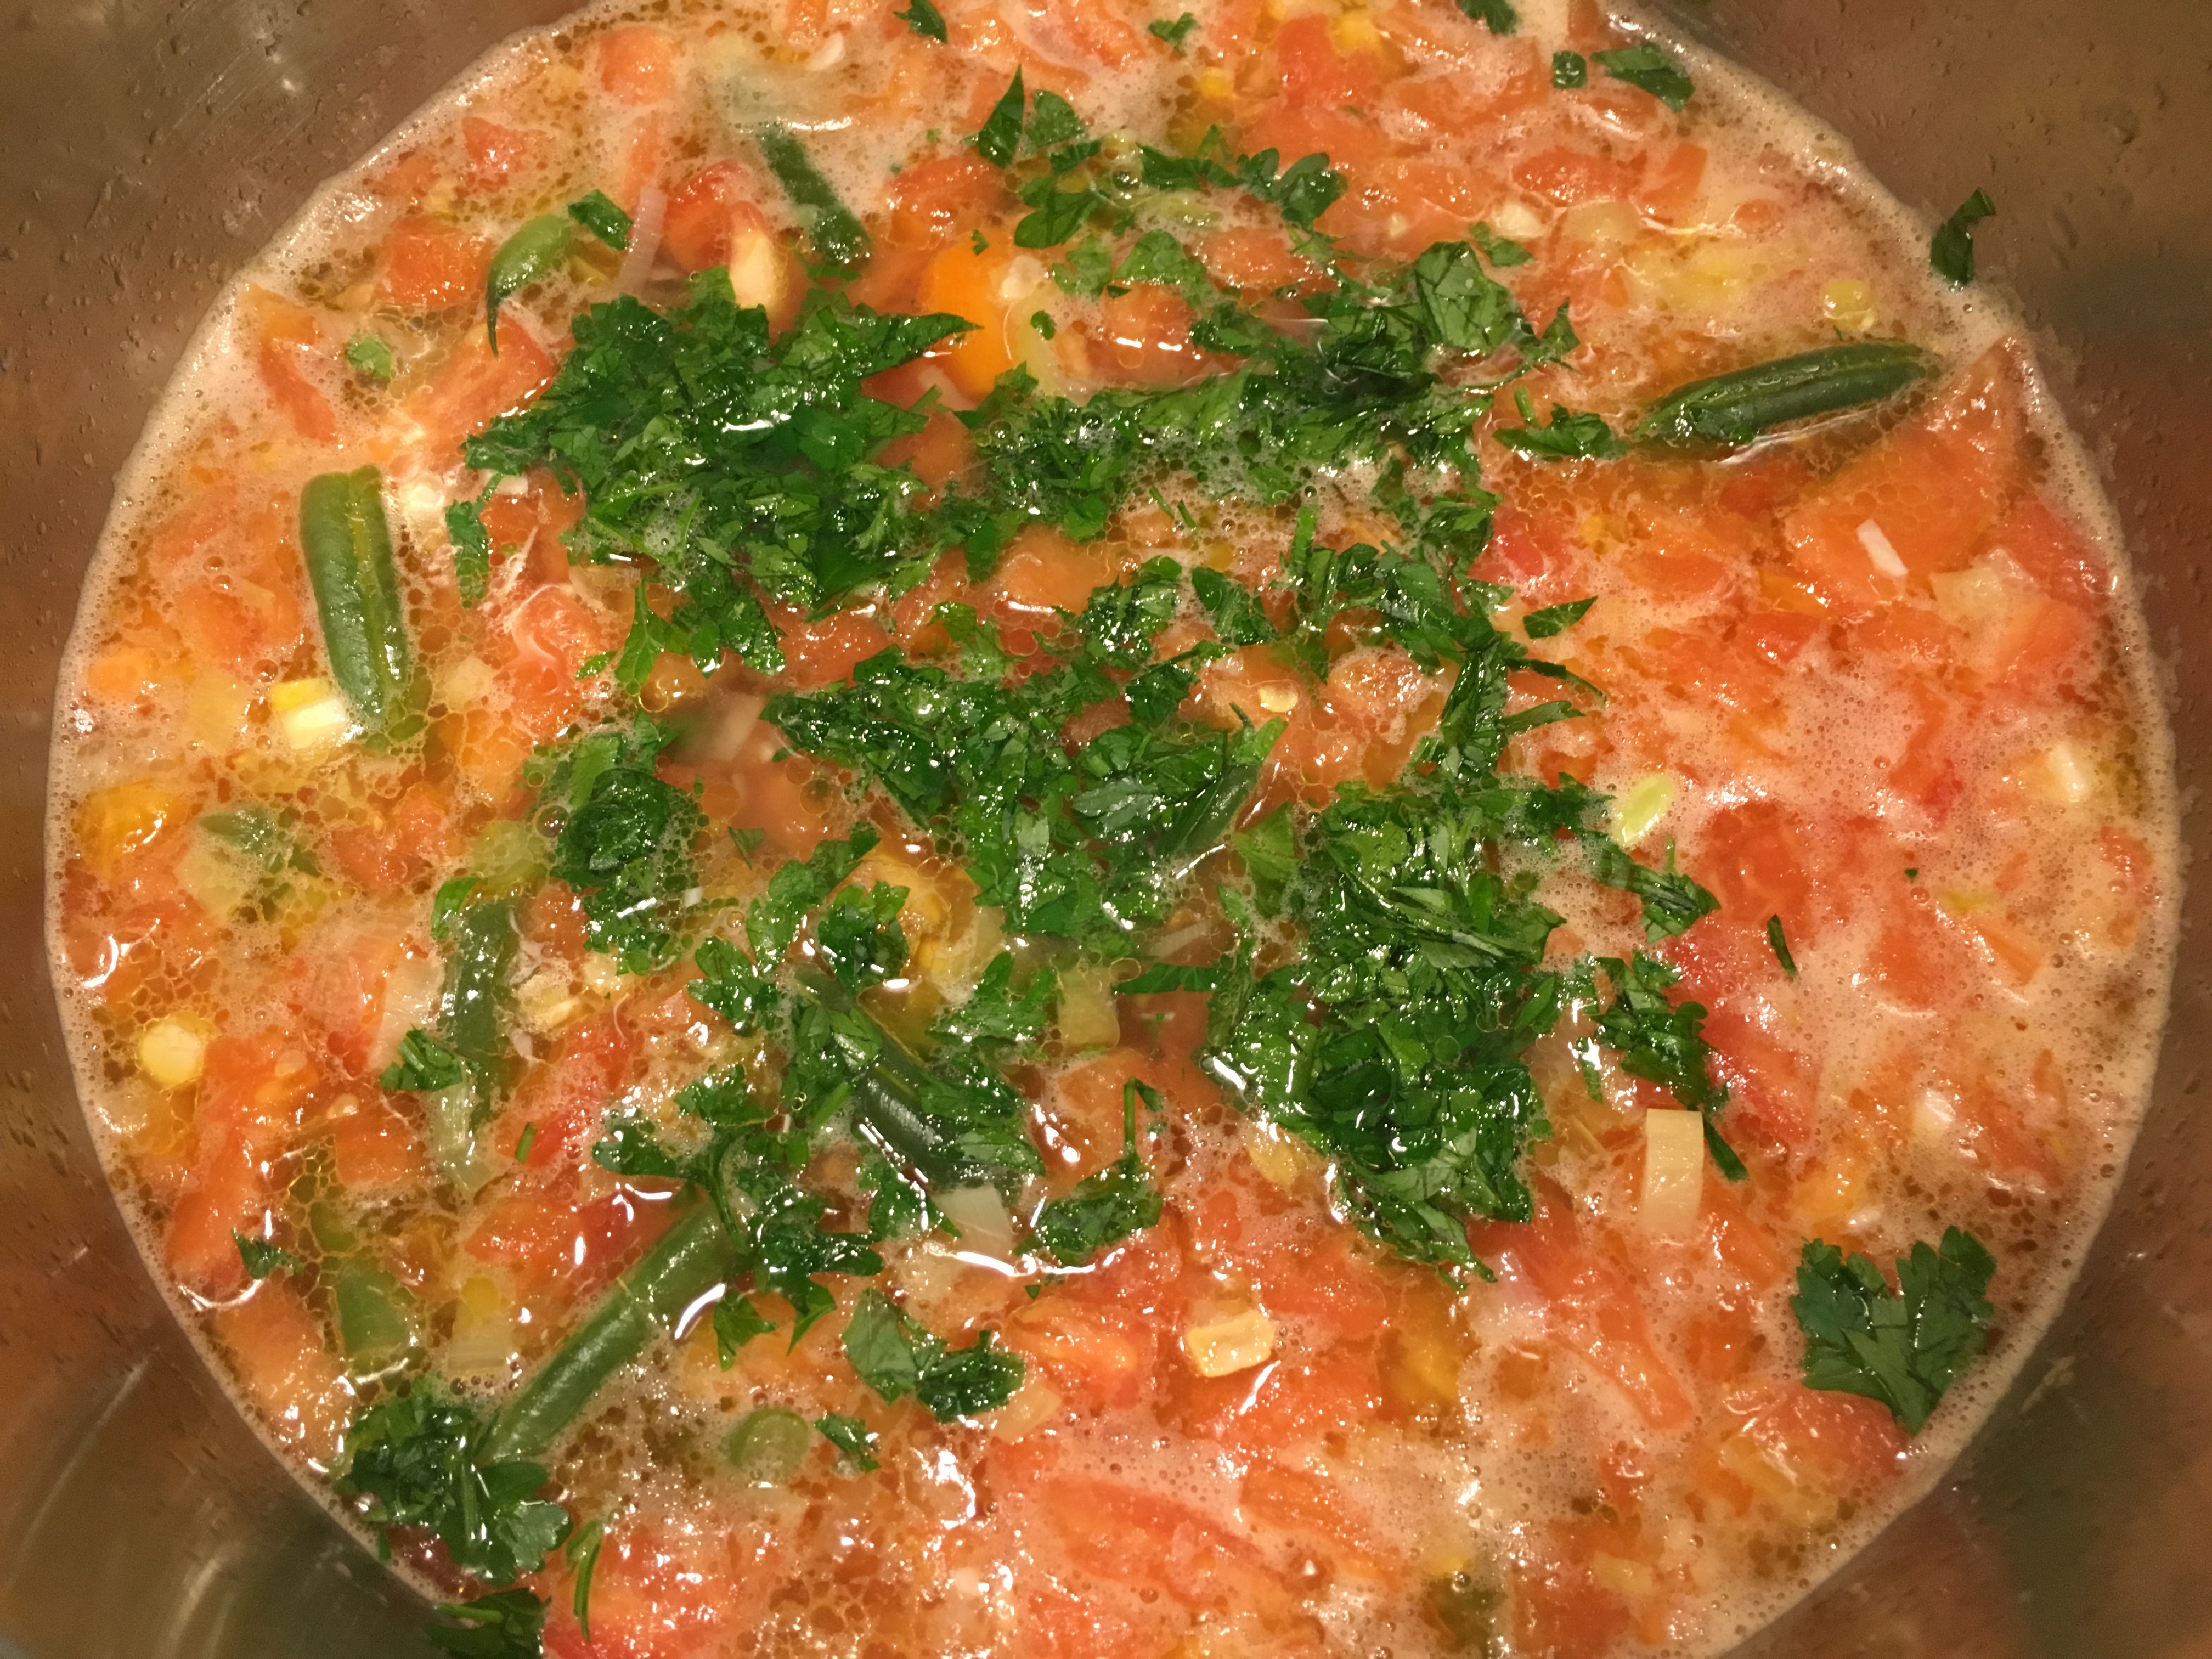
When I went to finish prepping my ceviche, some of my scallops still looked raw in the middle, so I left my fish in the lime juice longer. Once your fish is ready, drain the lime juice from the fish and add 1 medium papaya, peeled, seeded, and diced. Also add 2 seeded and diced plum tomatoes, 4 seeded and diced serrano peppers, 1 C diced sweet onion, 1/2 C chopped cilantro, and 1 seeded and diced jalapeno. Toss to combine.

Chopped serranos, jalapenos, cilantro, onion, and tomatoes.

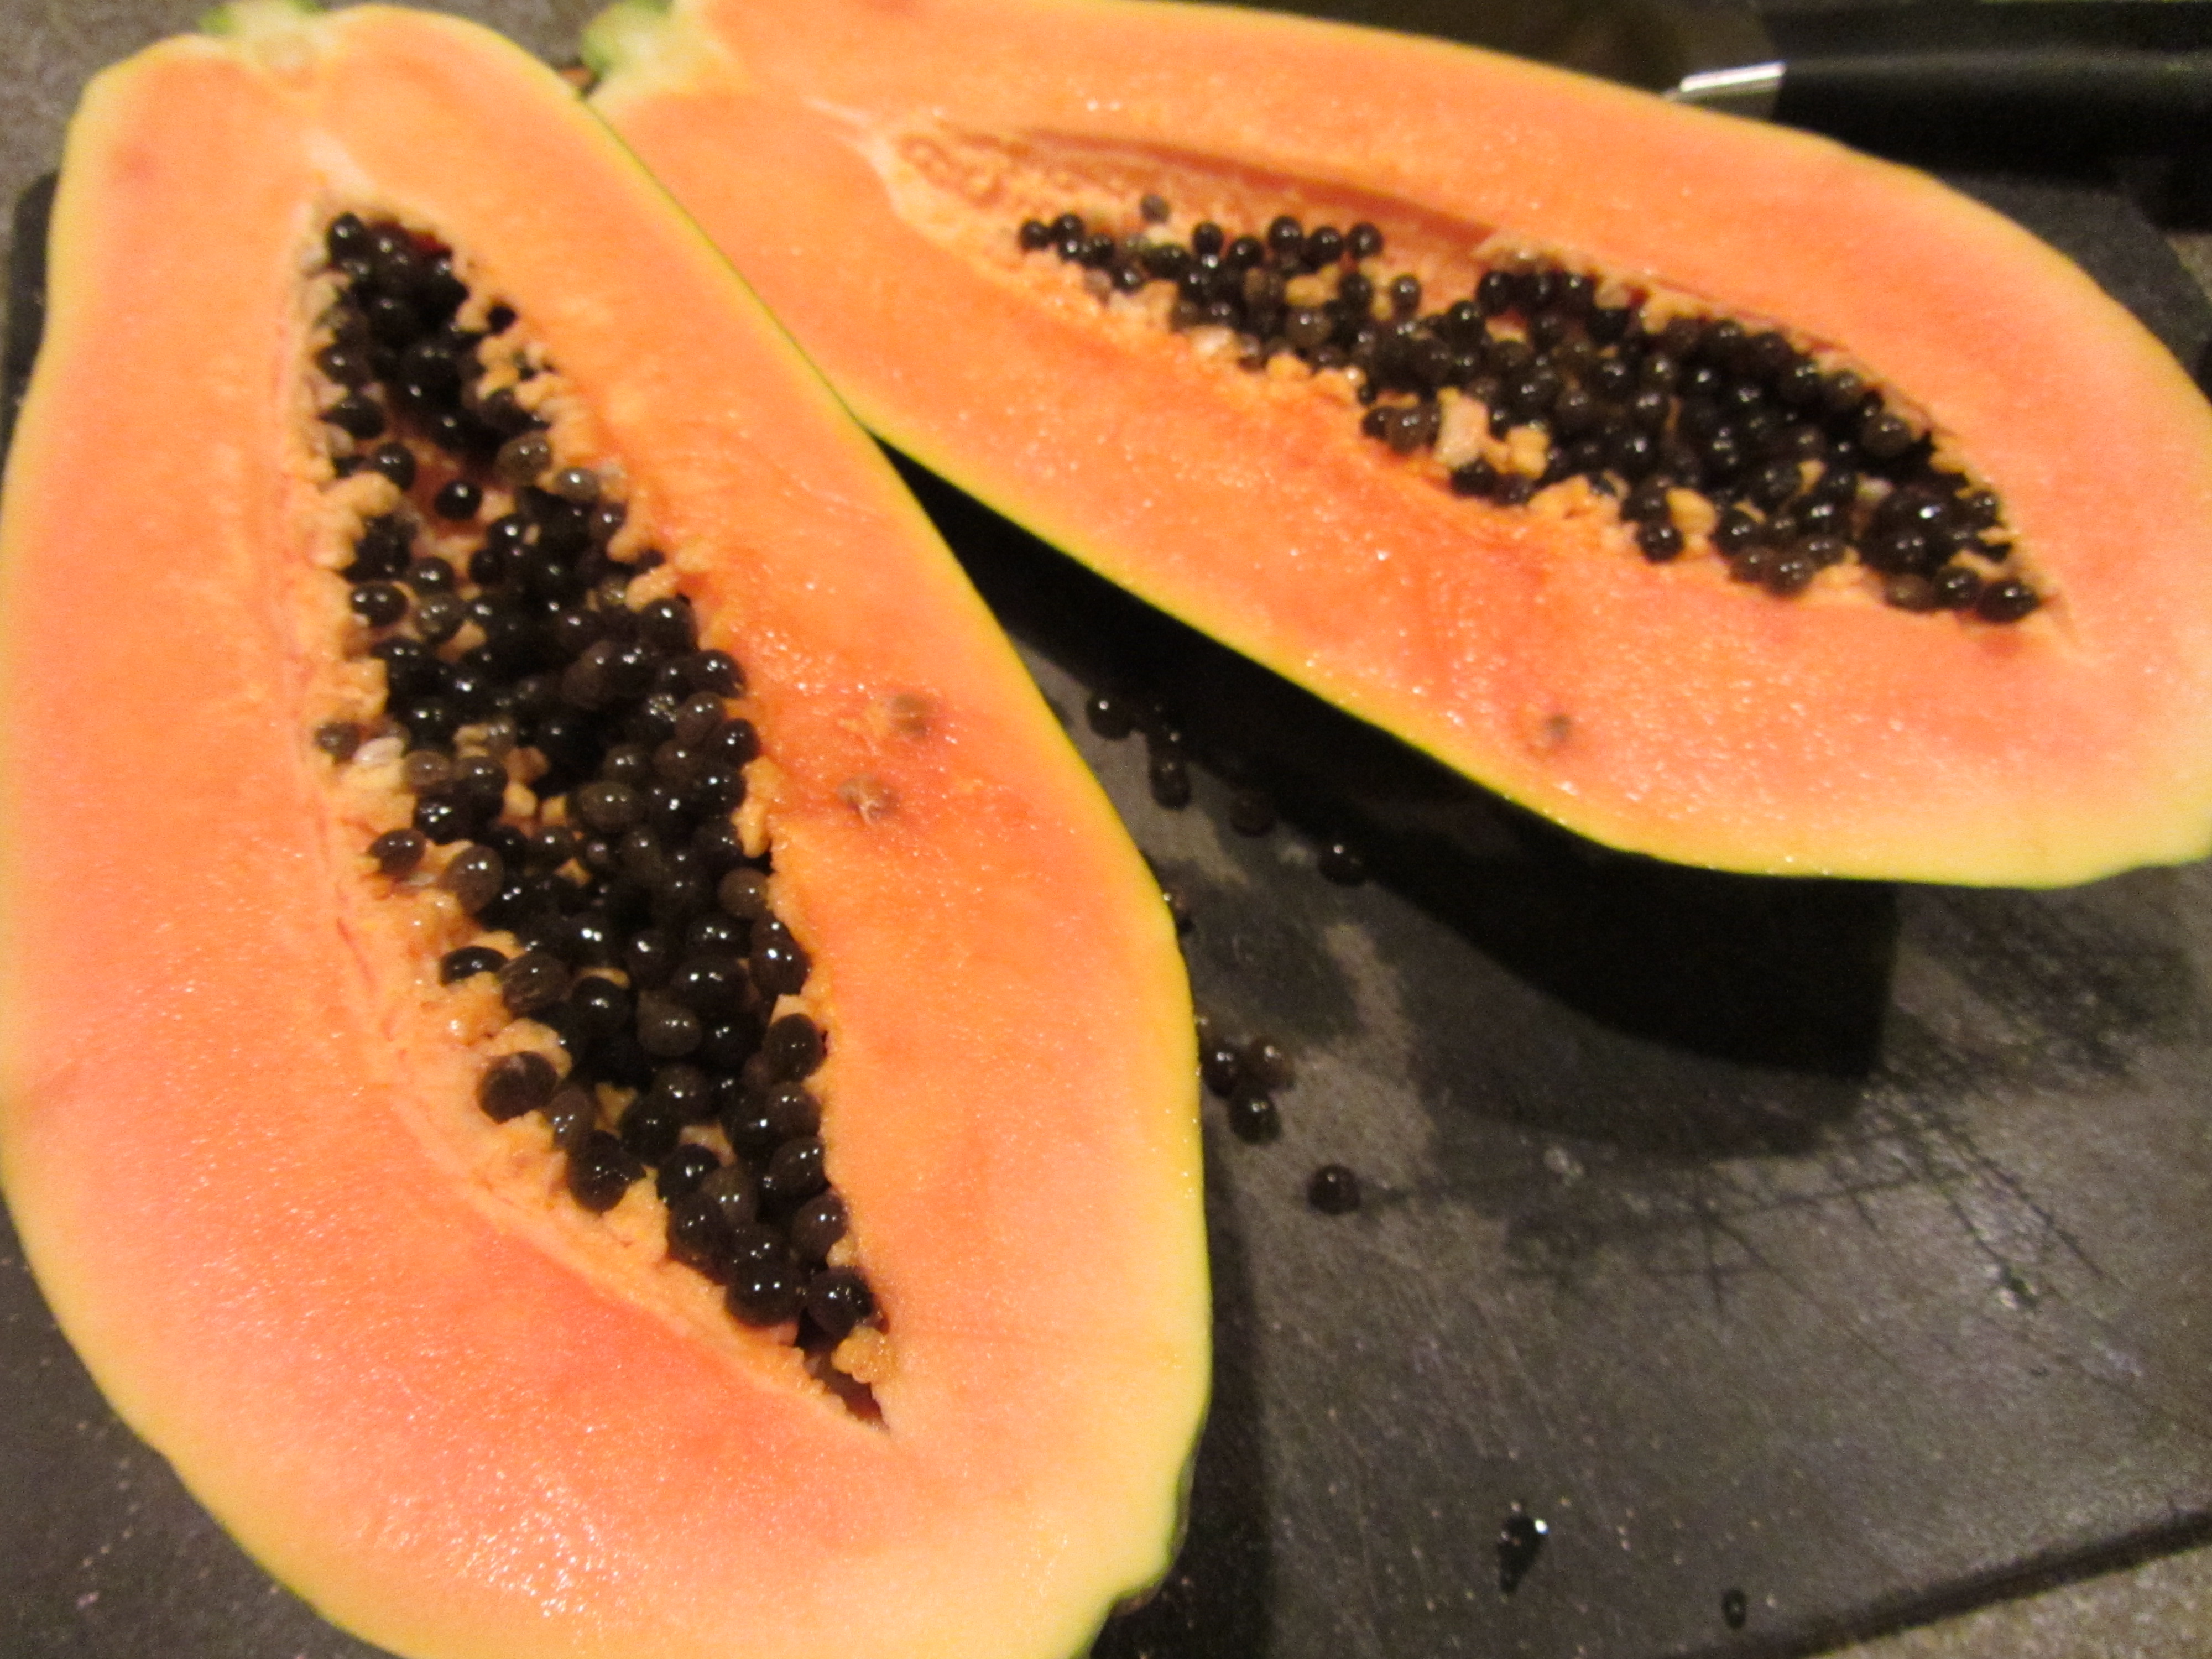
Fresh papaya.

Diced papaya.

Fish and scallops, after marinating and being drained.

Papaya, tomatoes, serranos, onion, cilantro, and jalapeno added to fish.

Fish and veggies, tossed to combine.
Add 1 T white wine Worcestershire (this is now sold as a marinade for chicken), 1 T Mexican hot sauce, and 2 oz tomato juice.

White wine Worcestershire is now labeled as this.

Tapatio hot sauce.

Spicy V8, instead of tomato sauce.

White wine Worcestershire, hot sauce, and tomato juice, added to ceviche.
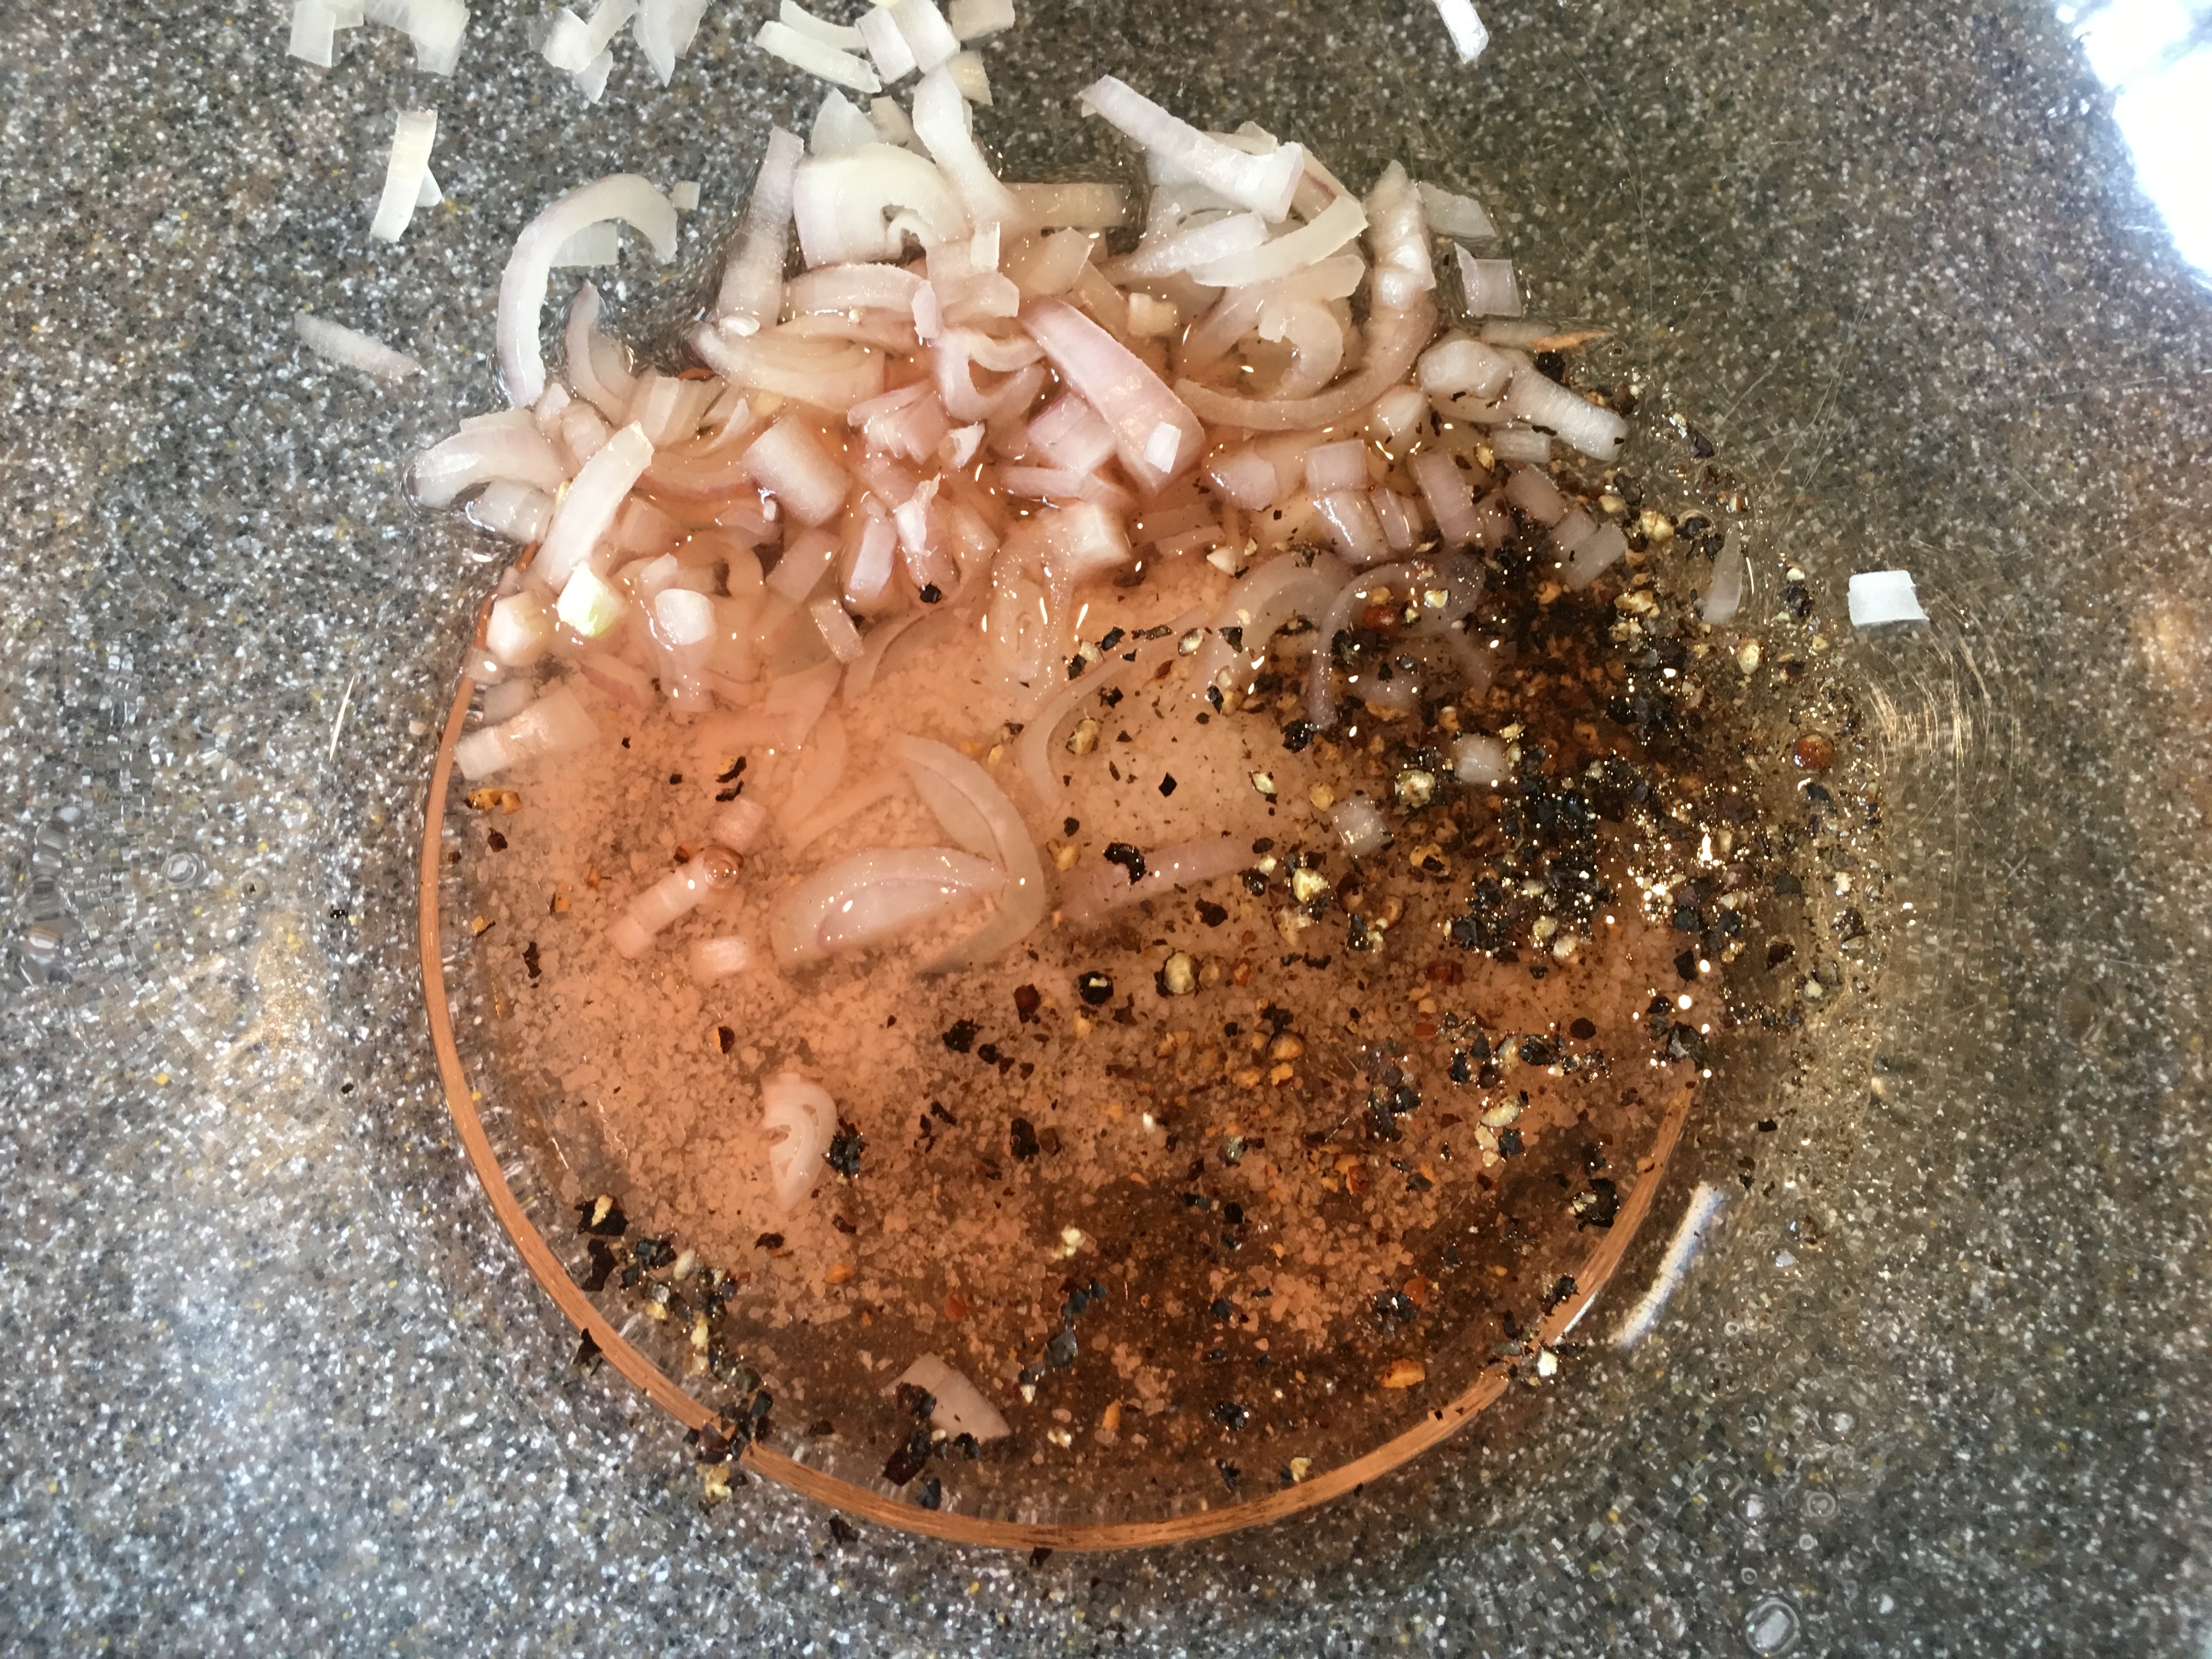
Serve the ceviche in empty papaya skins, along with pickled red onions. Though Alton did not make the pickled onions in the episode, his recipe is included with the fish recipe. For his onions, bring 8 oz champagne vinegar to a boil, along with 1/2 C sugar and 2 seeded serrano peppers.

Serranos, sugar, and champagne vinegar.
Pour the hot vinegar over 2 sliced red onions.

Hot vinegar mixture, poured over red onions.

Pickled onions.
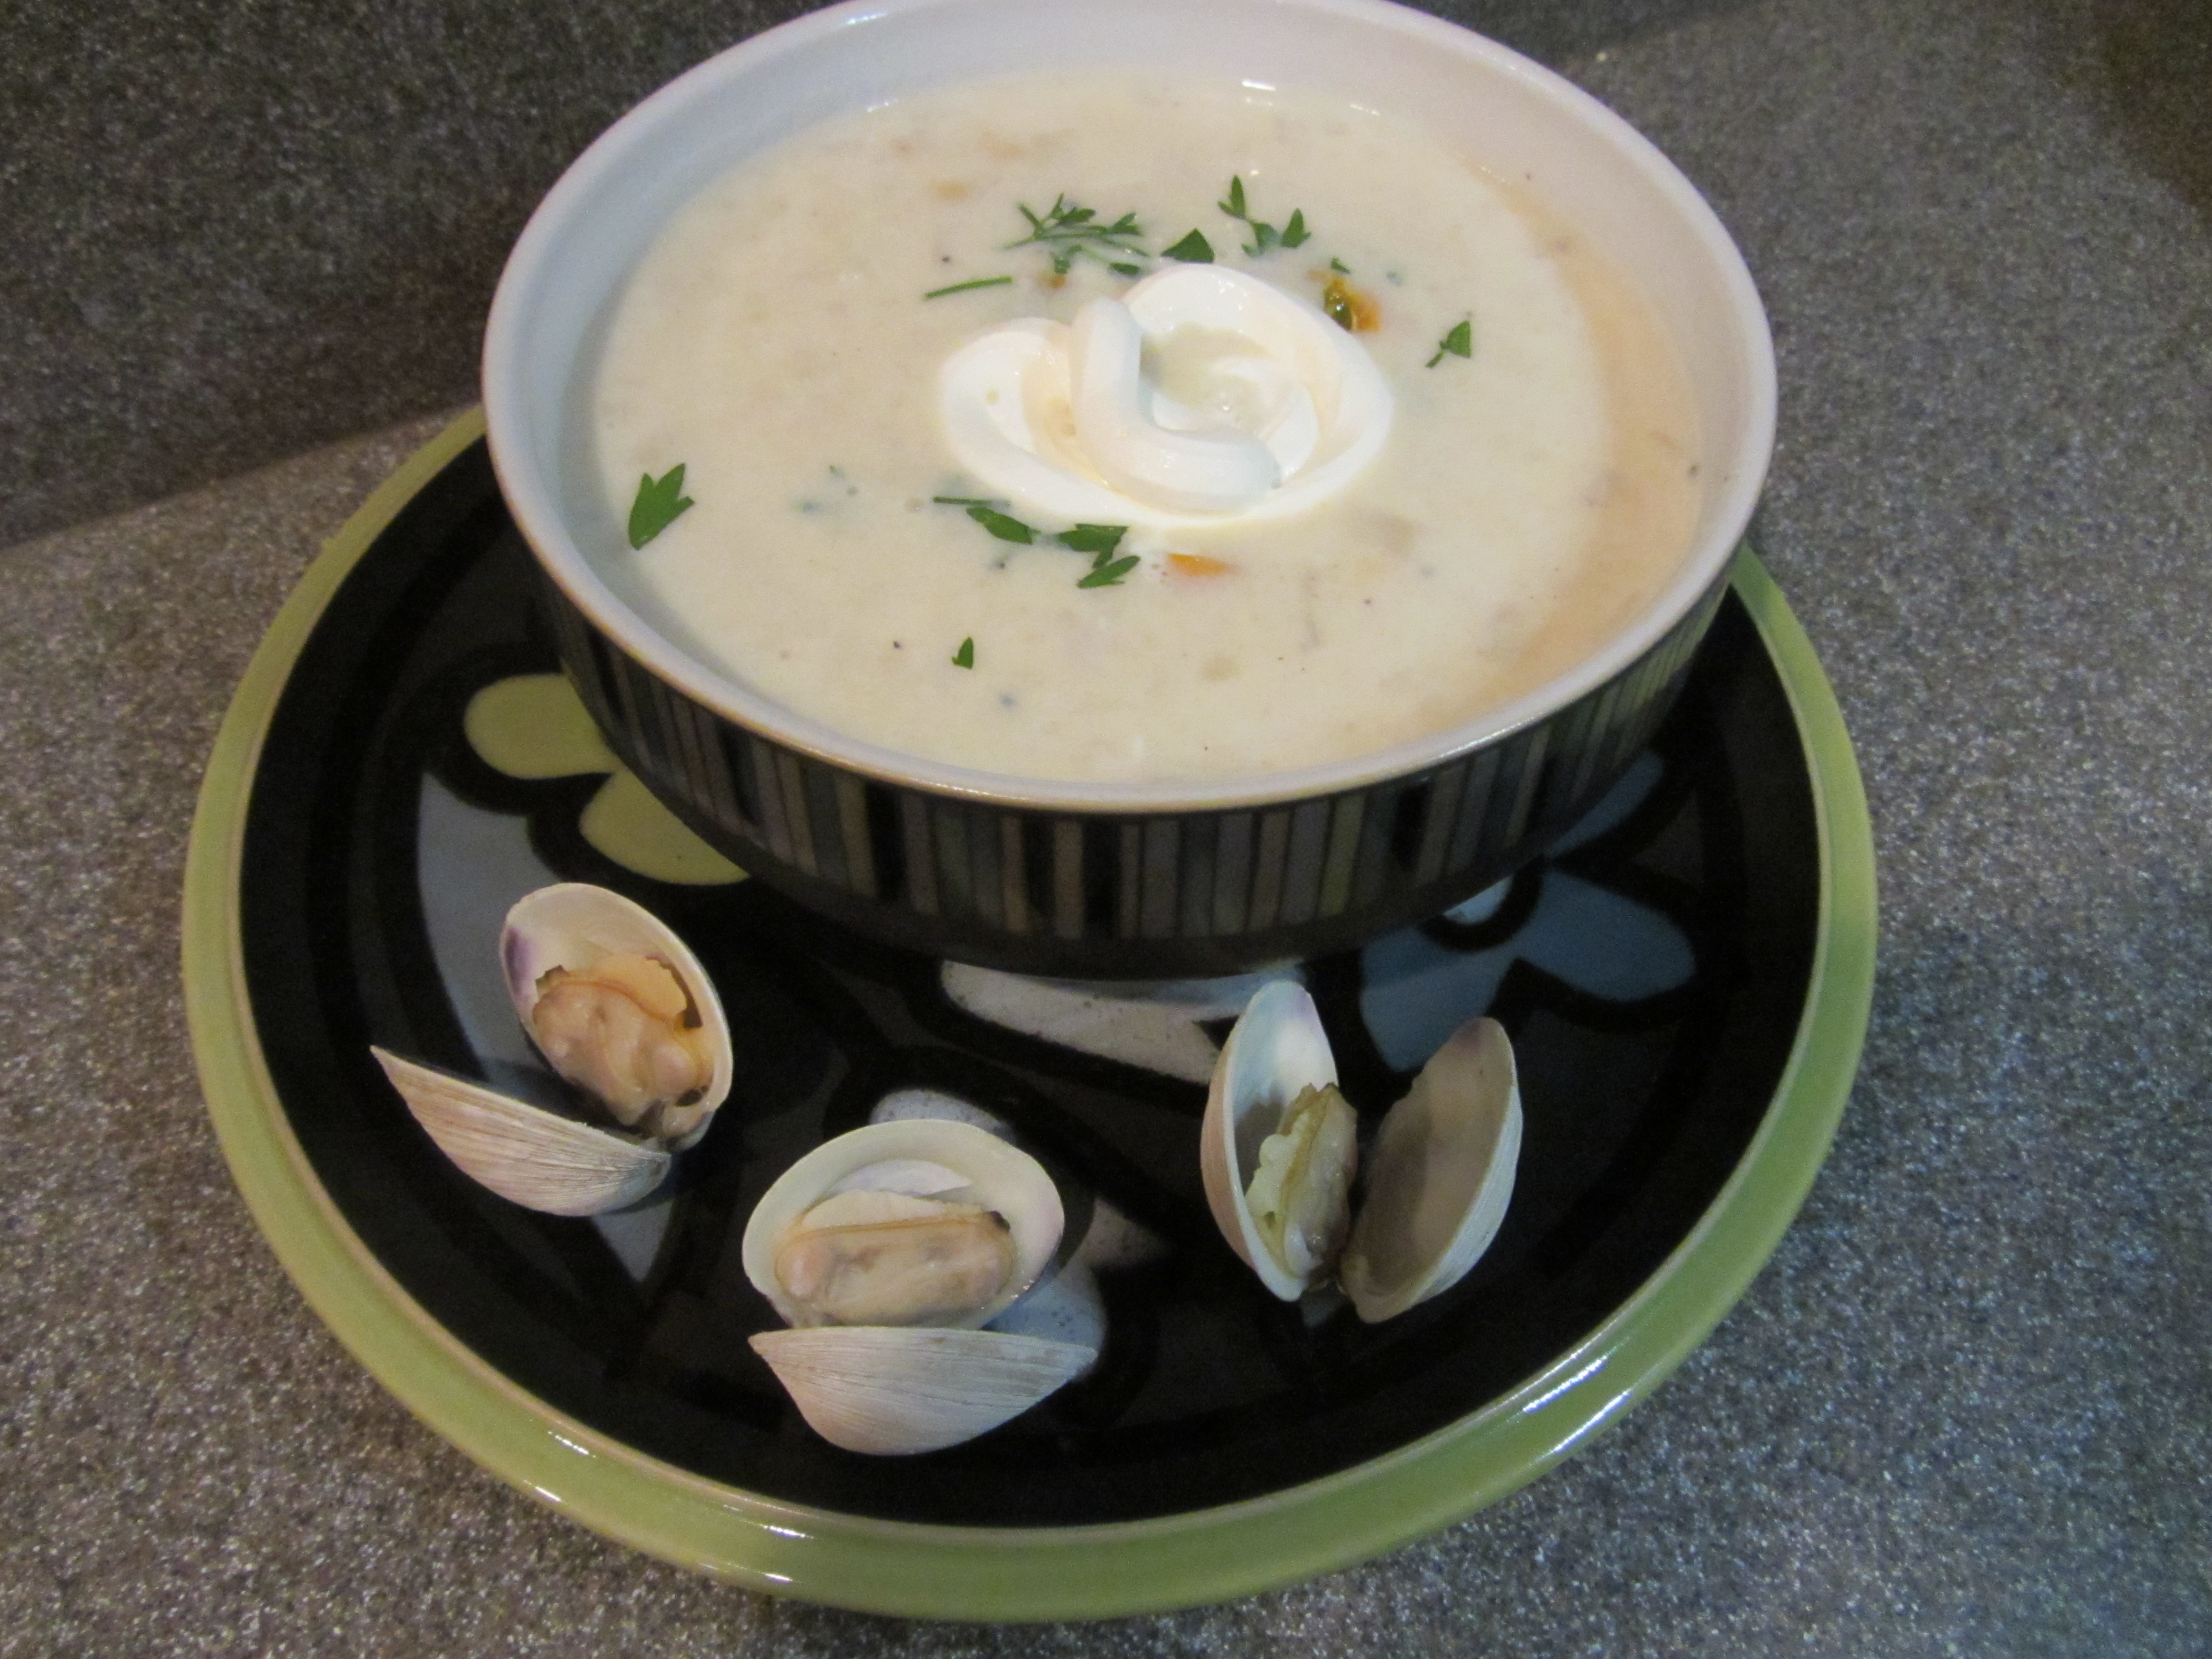
When I served our ceviche, I skipped using the papaya skins as bowls, and served tortilla chips on the side.

A bowl of Alton’s ceviche with pickled onions and tortilla chips.
We really liked the overall flavors in this ceviche, though we should have purchased higher quality fish. While the scallops were nice and mild, our fish was slightly “fishy.” I would like to try this again with high quality fish. Definitely do not skimp on the quality of fish if you choose to make this. I liked the inclusion of the papaya in this recipe and the pickled onions are a great garnish. With all of the peppers in this, it does have a decent amount of heat, but it is not overpowering. I think this recipe is probably amazing, but I just couldn’t get past my fishy fish.
Papaya Soup
You can’t really have an island-themed episode without including some recipes that center around tropical fruit. Enter: papaya soup. When watching Alton prepare this recipe, I was not quite sure what I would think of it. I opted to prep it as a side dish for us. When purchasing papayas, look for fruit that is about 80% yellow and without large discolorations or bruises. If you plan to let your papayas ripen on the counter at home, set them stem side down for even ripening. For this soup, you will need 4 papayas (I opted for two since I was only prepping two servings), fresh mint, 3 limes, 2 lemons, fresh berries, fresh ginger, sugar, and water.

Ingredients for papaya soup: papayas, lemons, limes, fresh mint, berries, and ginger. Not pictured: sugar and water.
Begin by peeling, seeding, and dicing your papayas, dividing the fruit evenly in your serving dishes. Add 2 T chopped mint.
Fresh papaya.
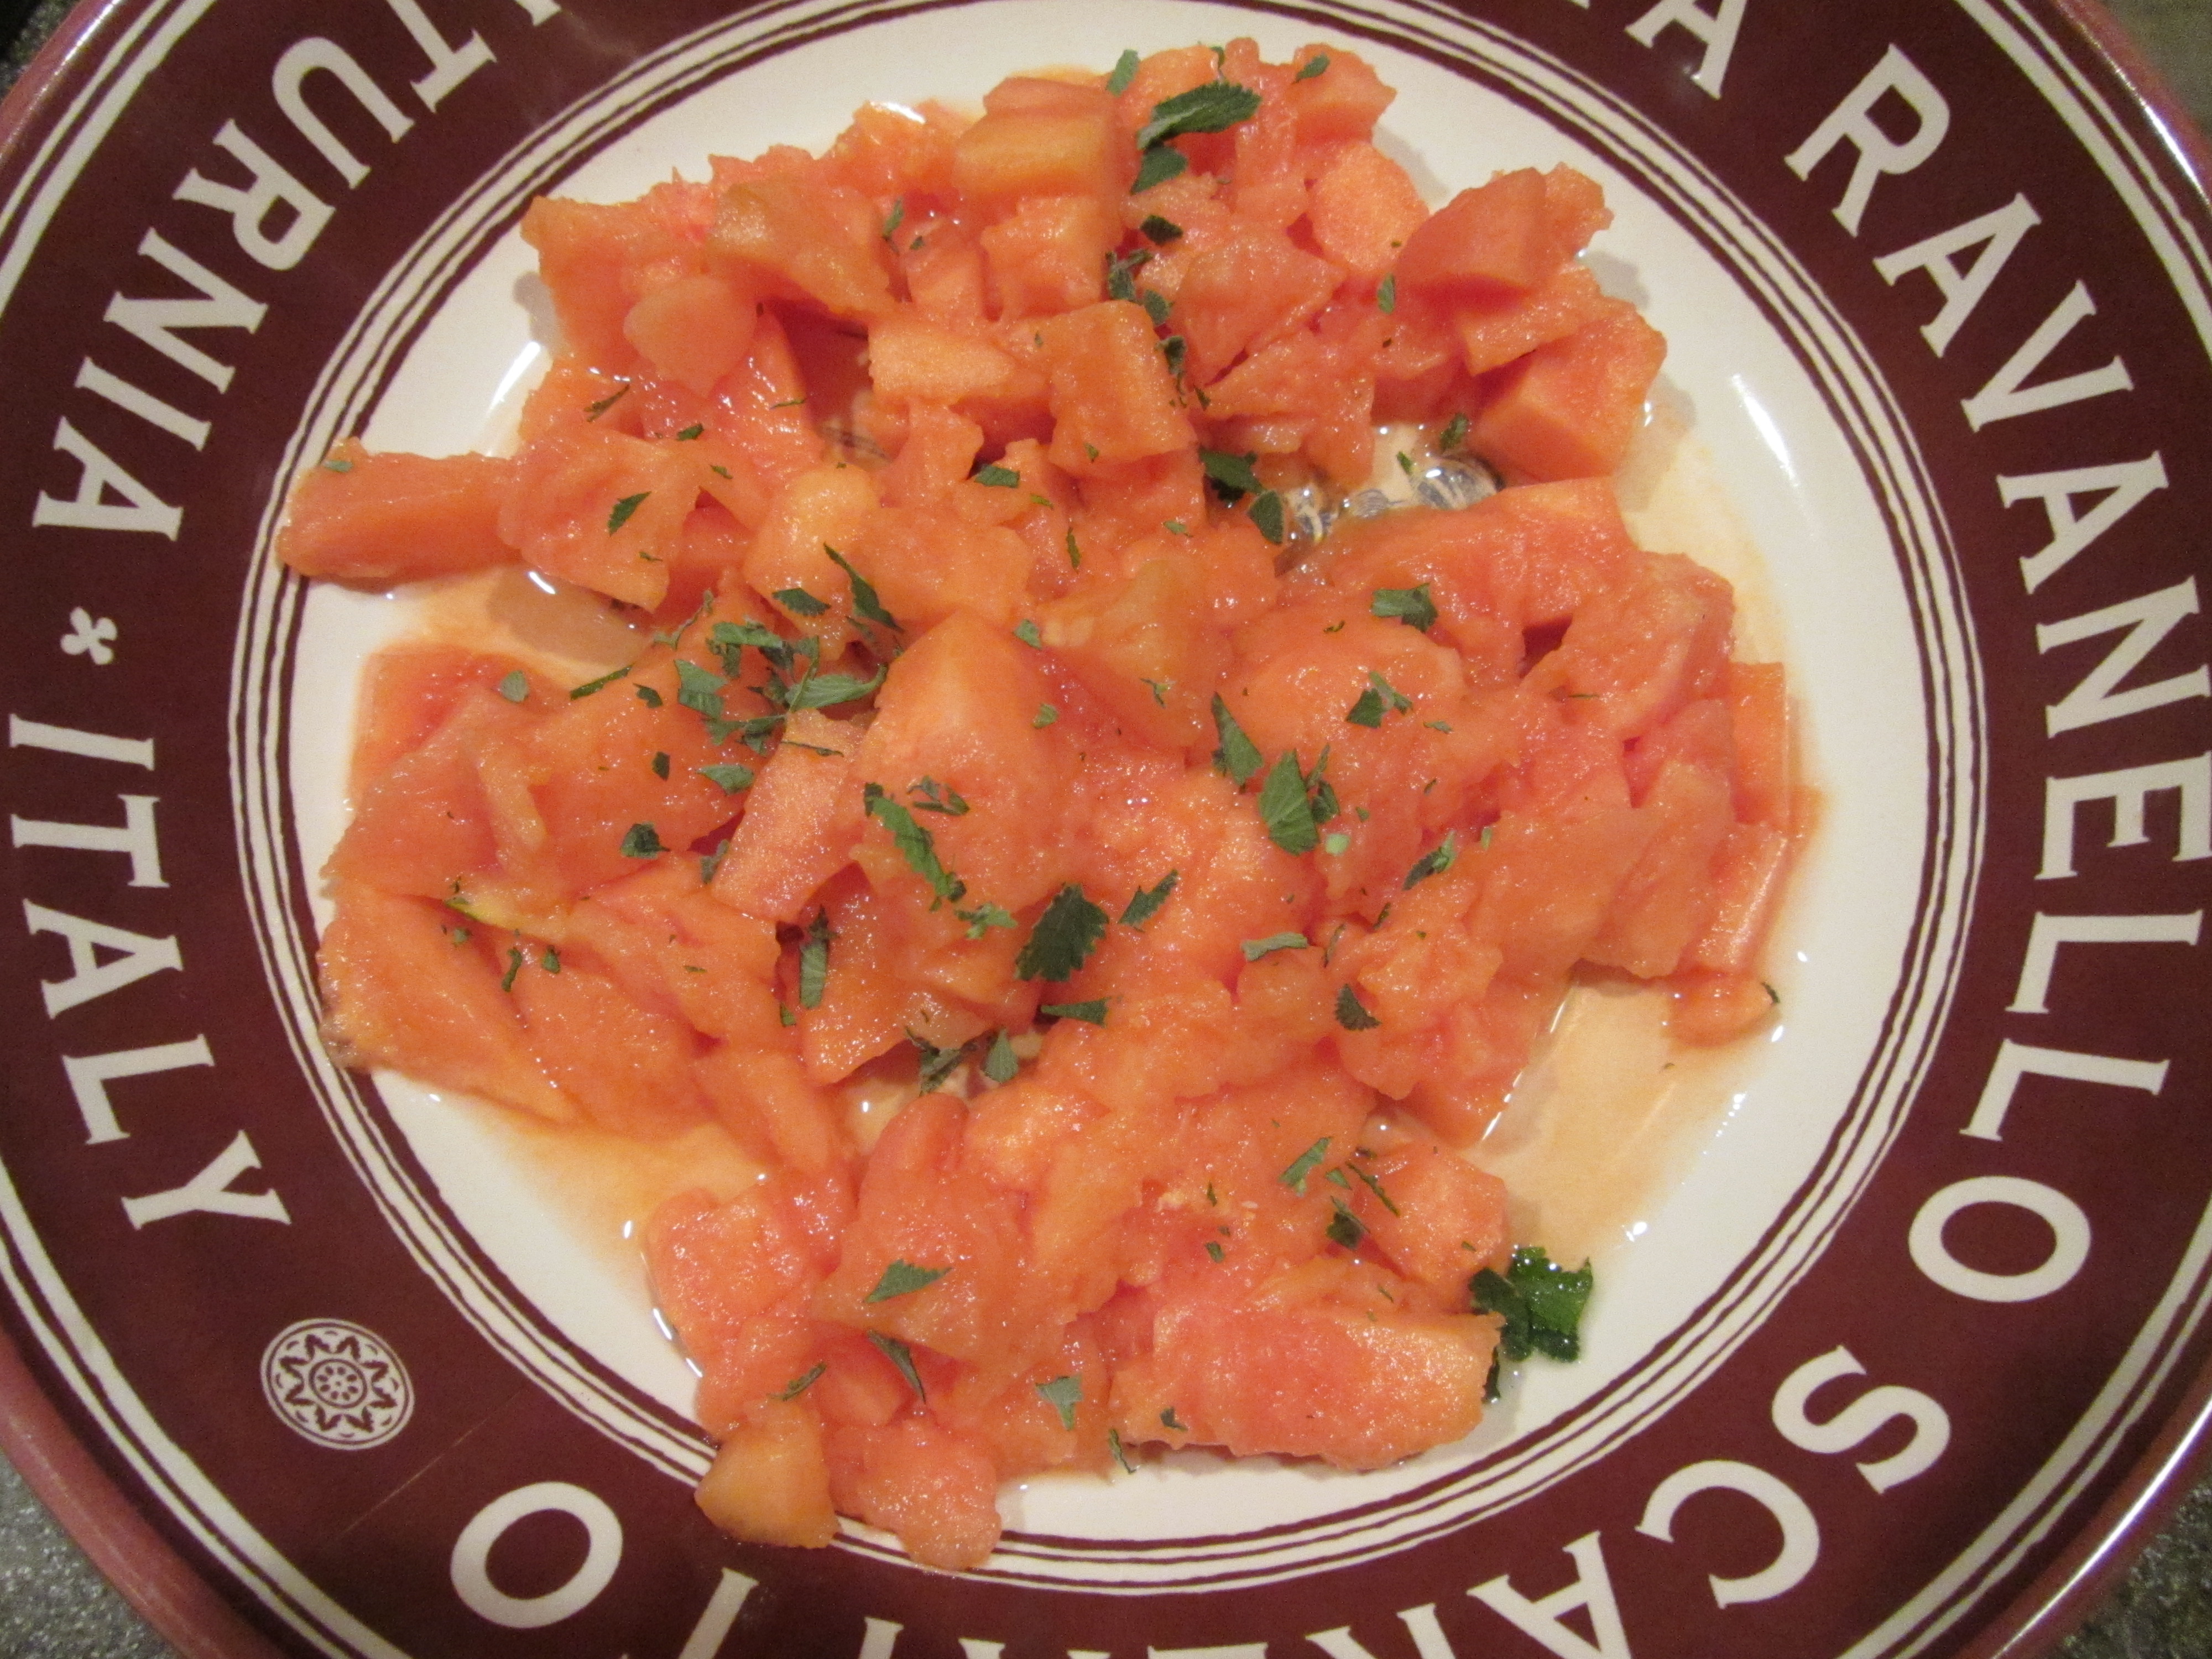
Fresh papaya and mint.
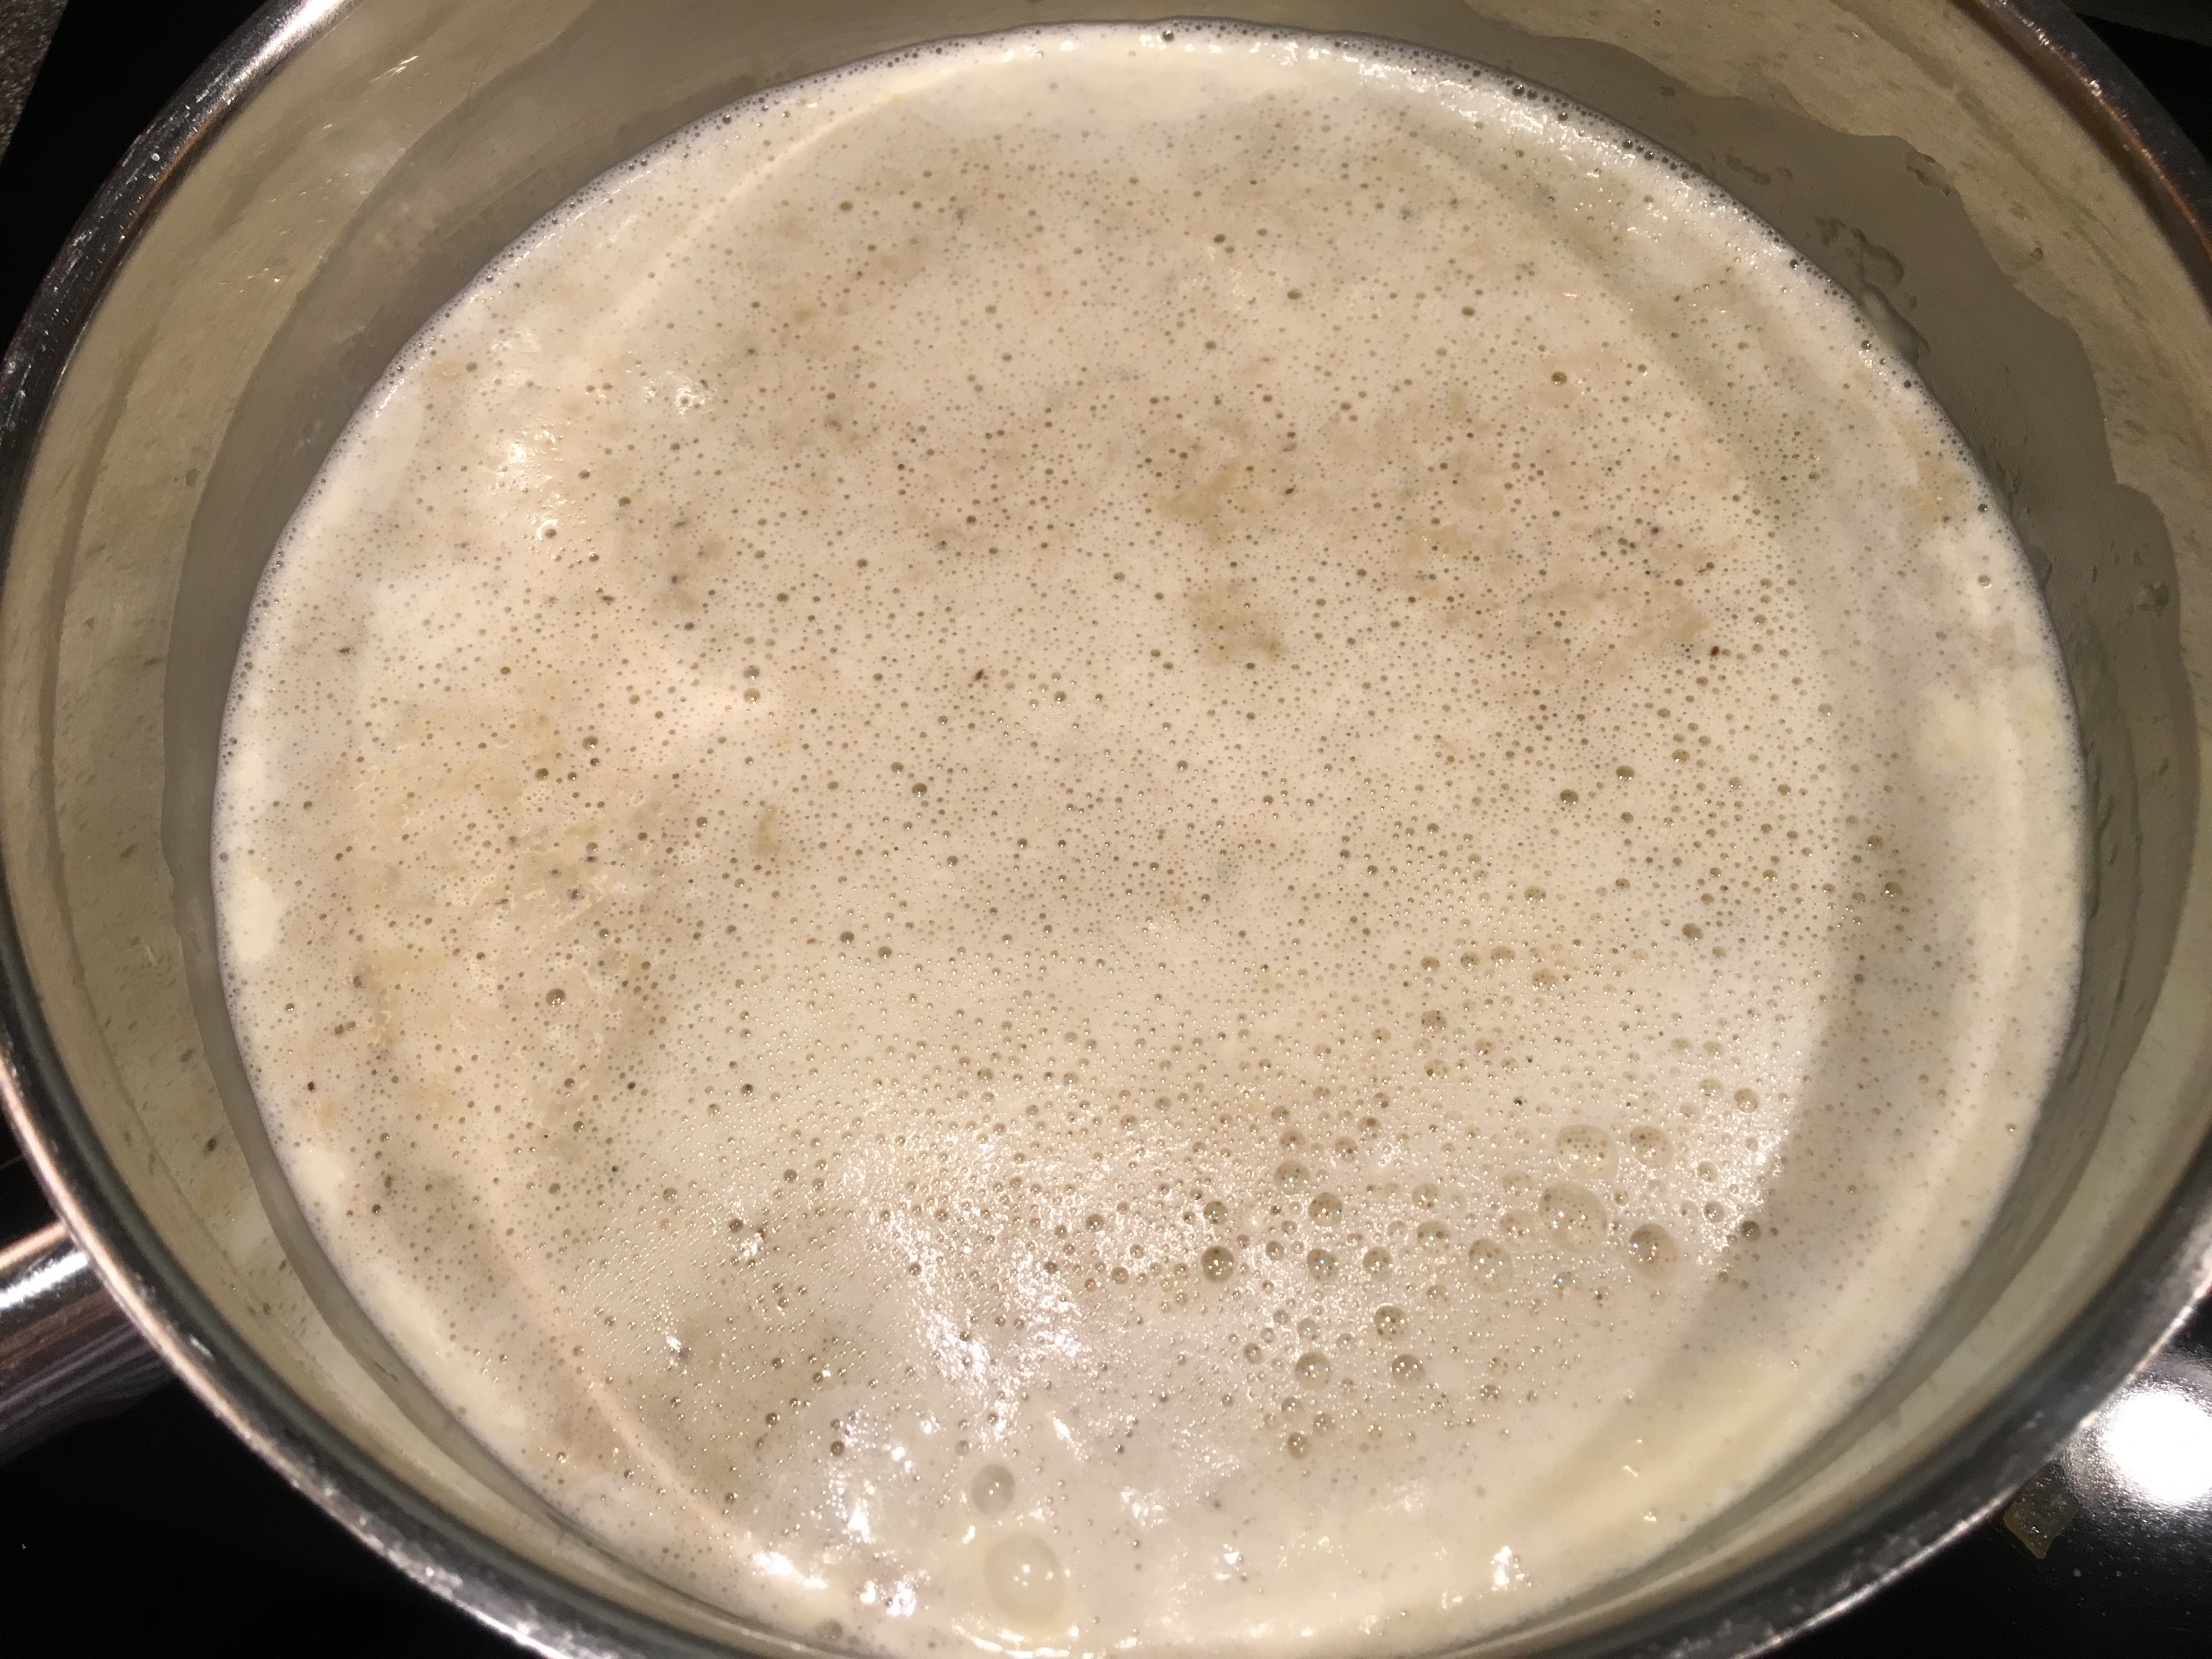
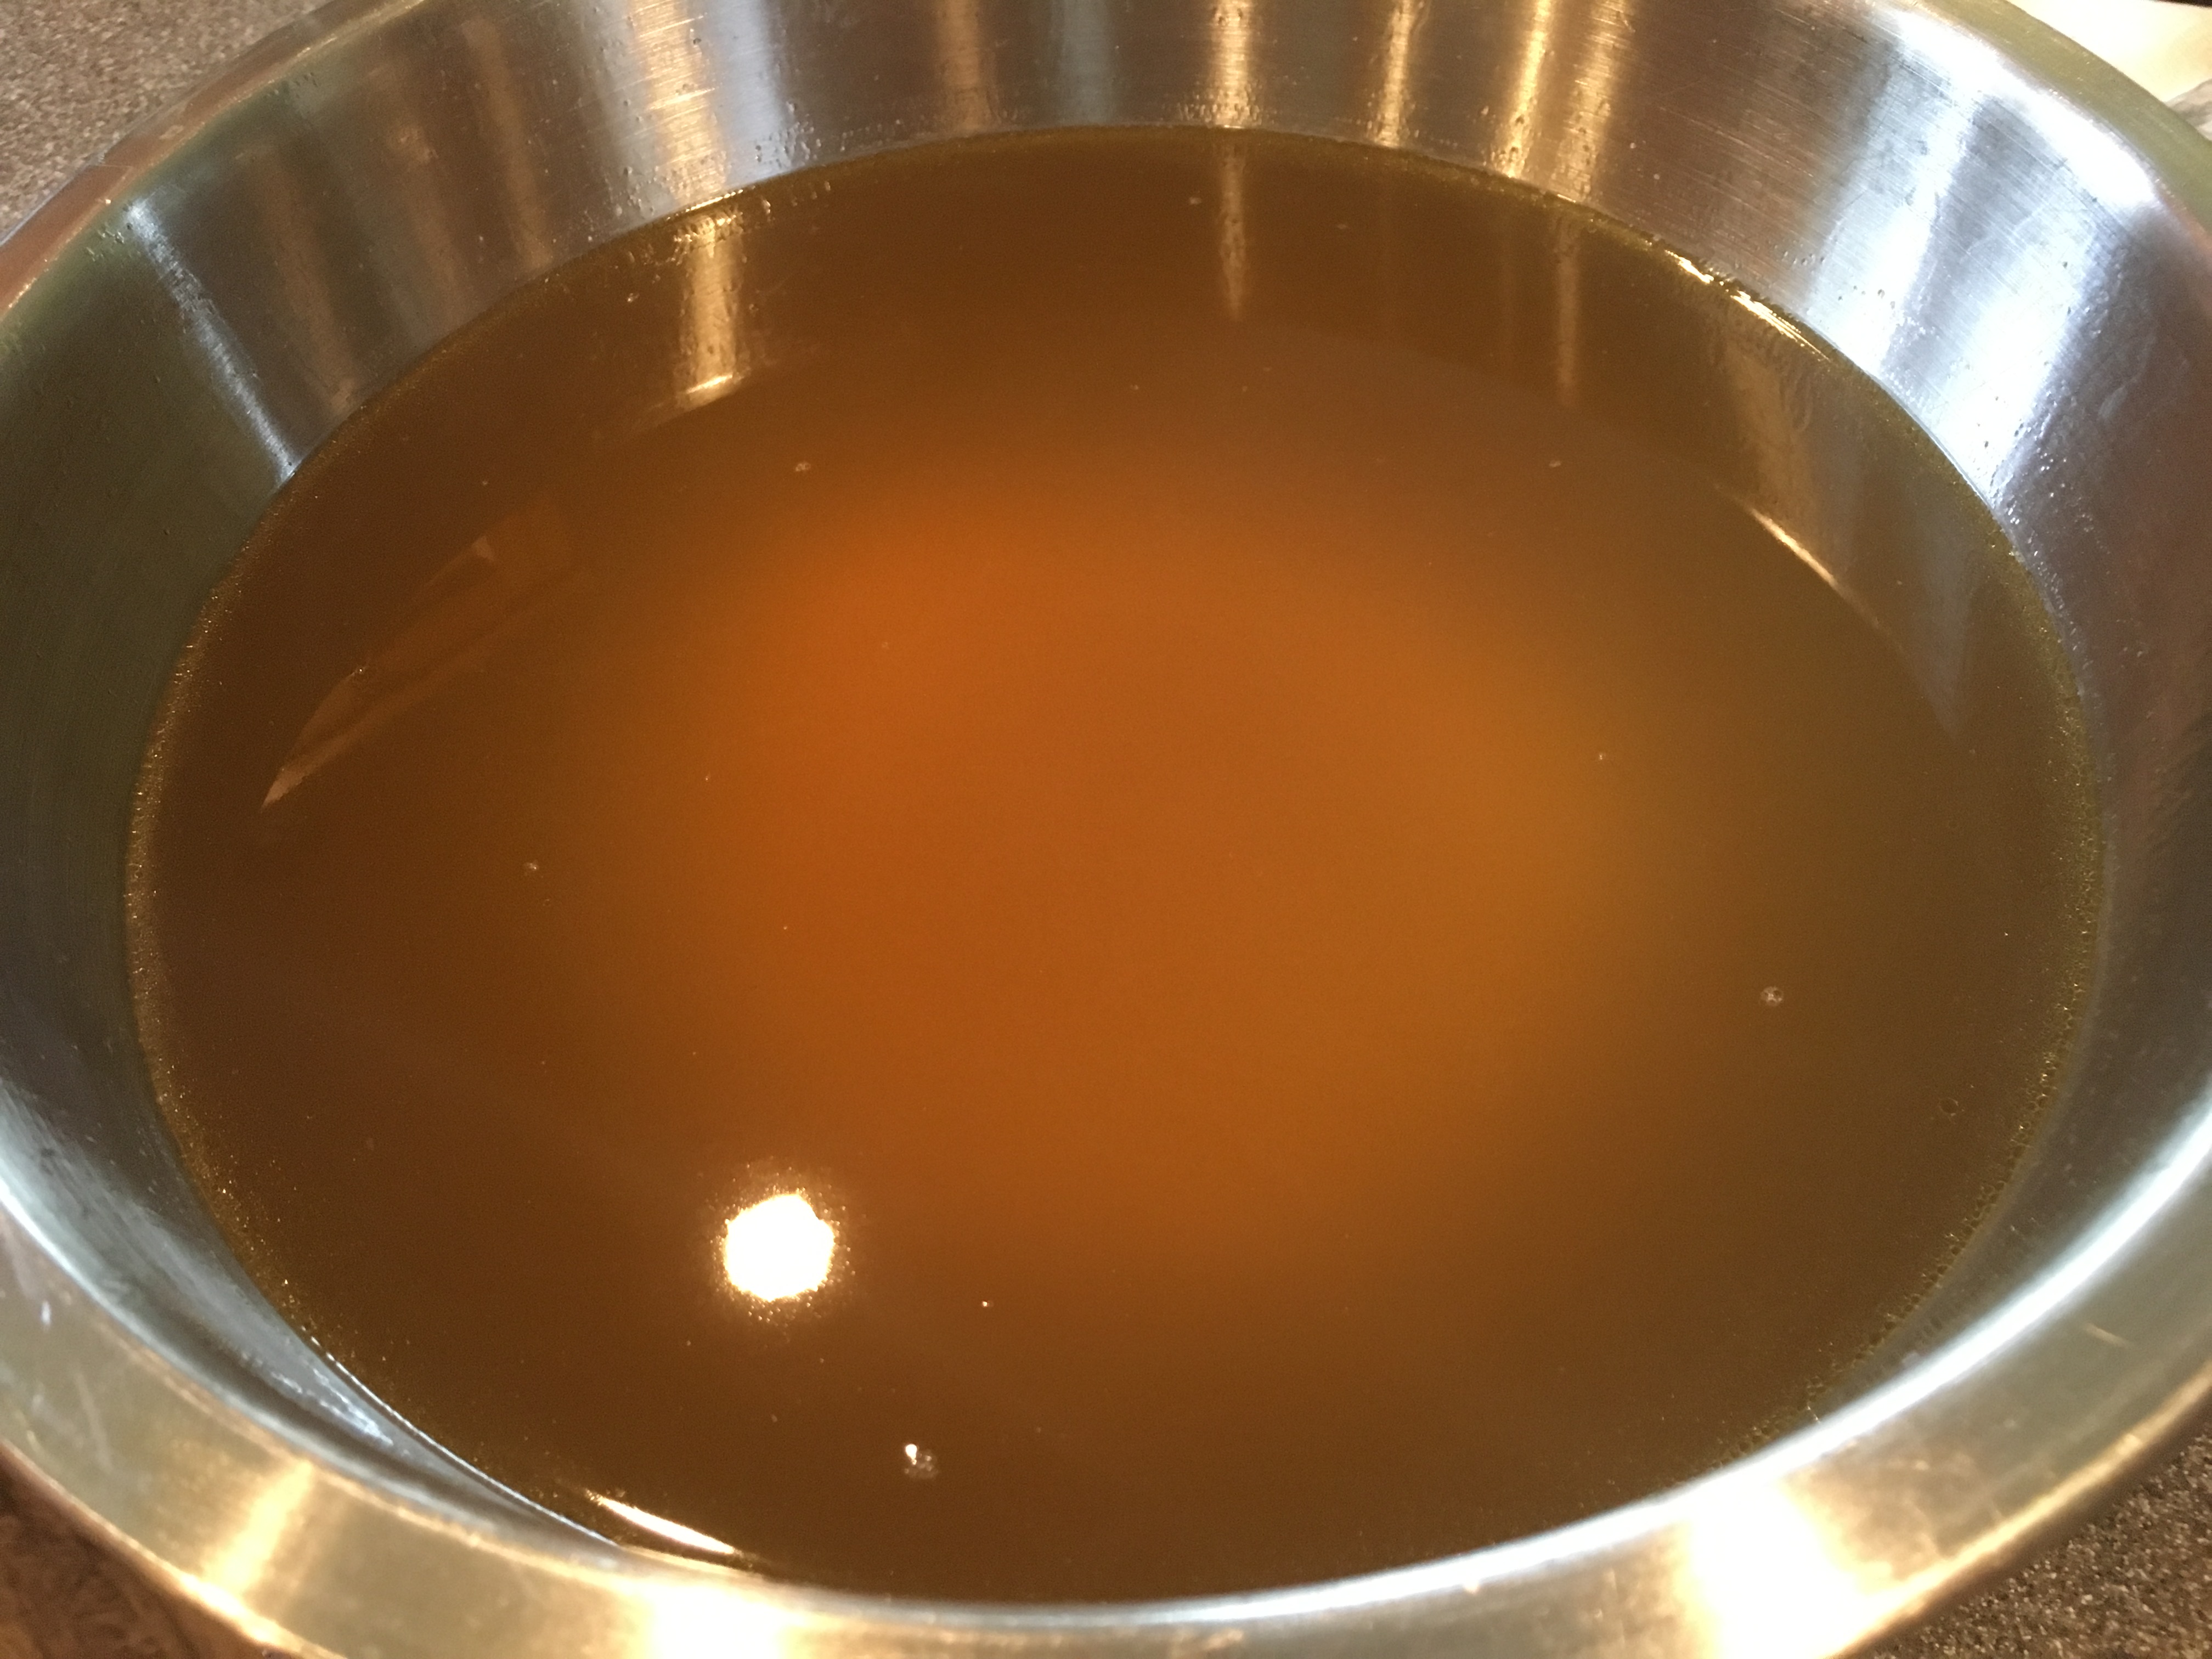
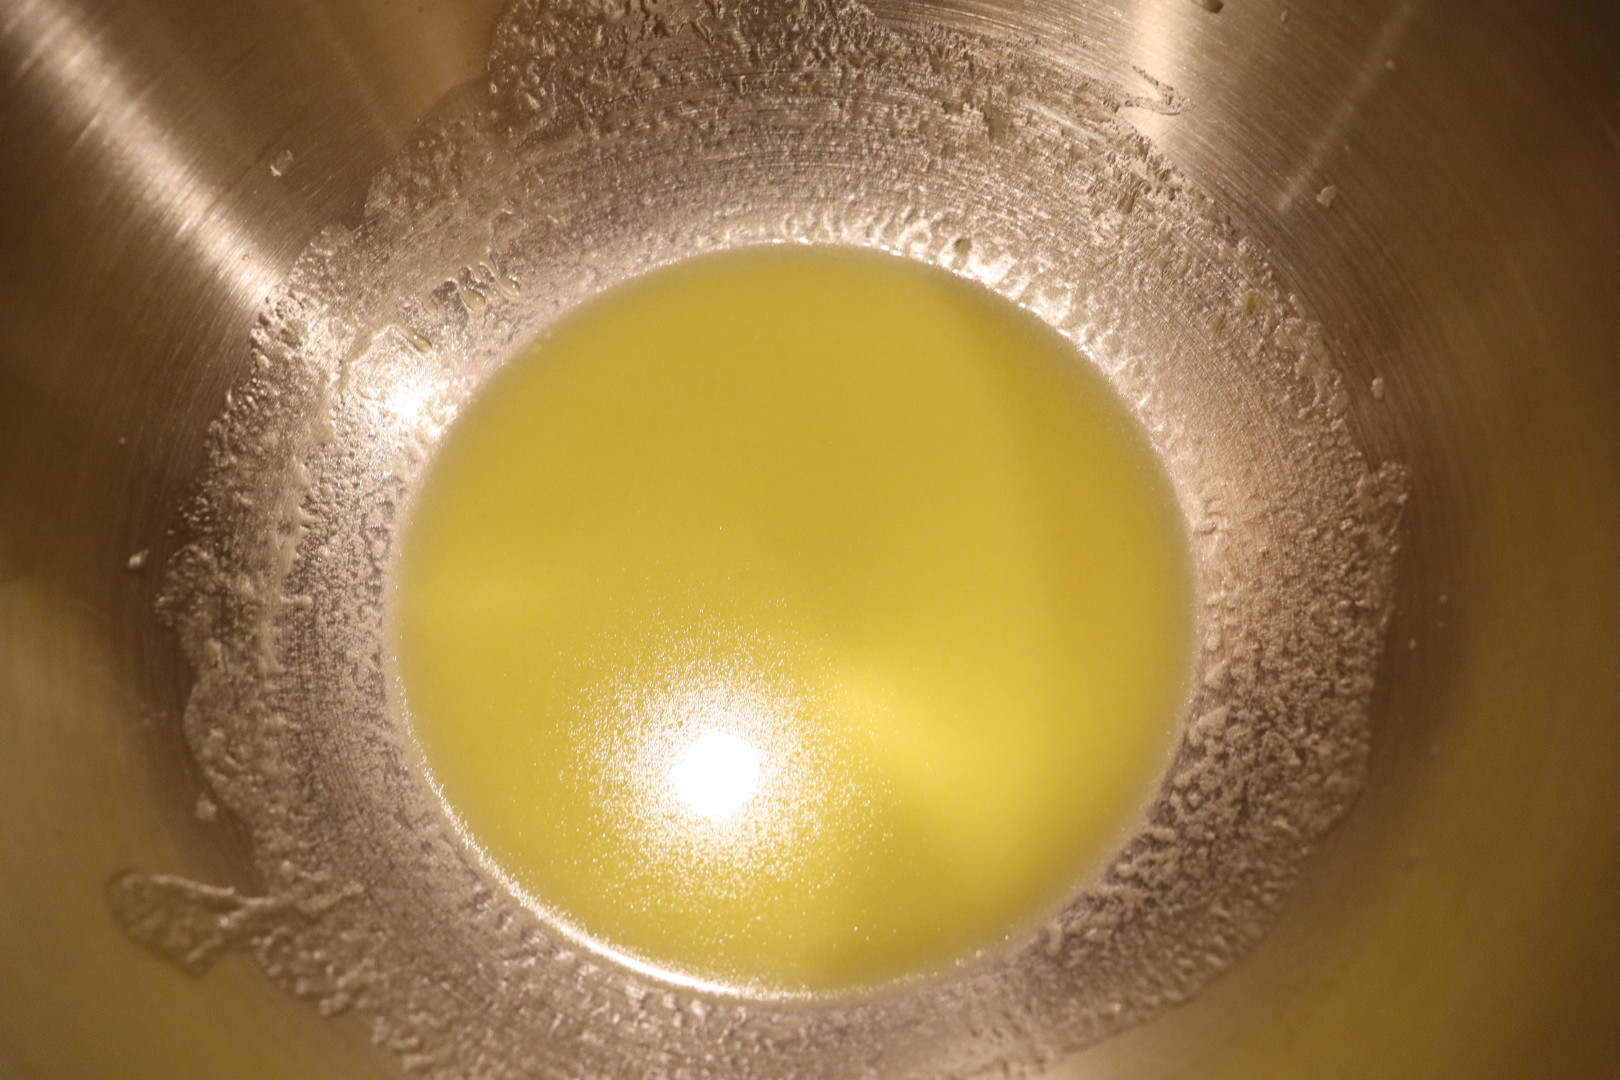
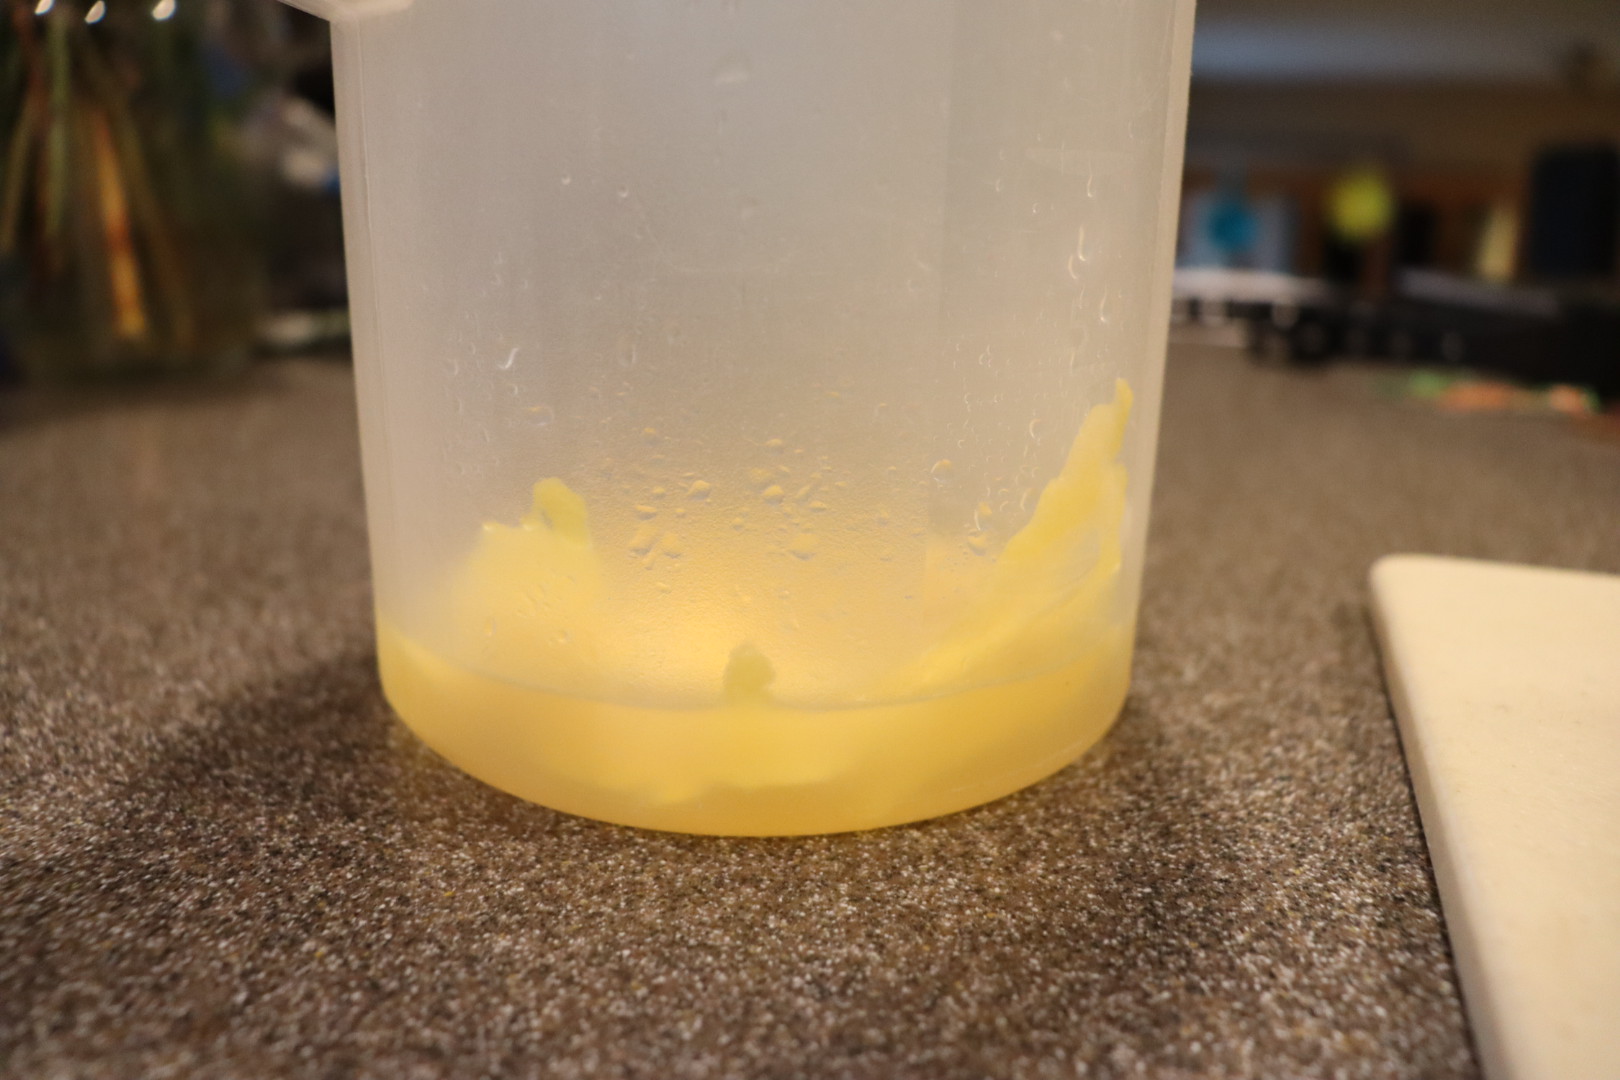
Meanwhile, dissolve 1 C sugar in 1 C boiling water. Once the sugar is dissolved, add the juice of 3 limes and 2 lemons.

Juice from 3 limes and 2 lemons.

Sugar dissolving in boiling water.

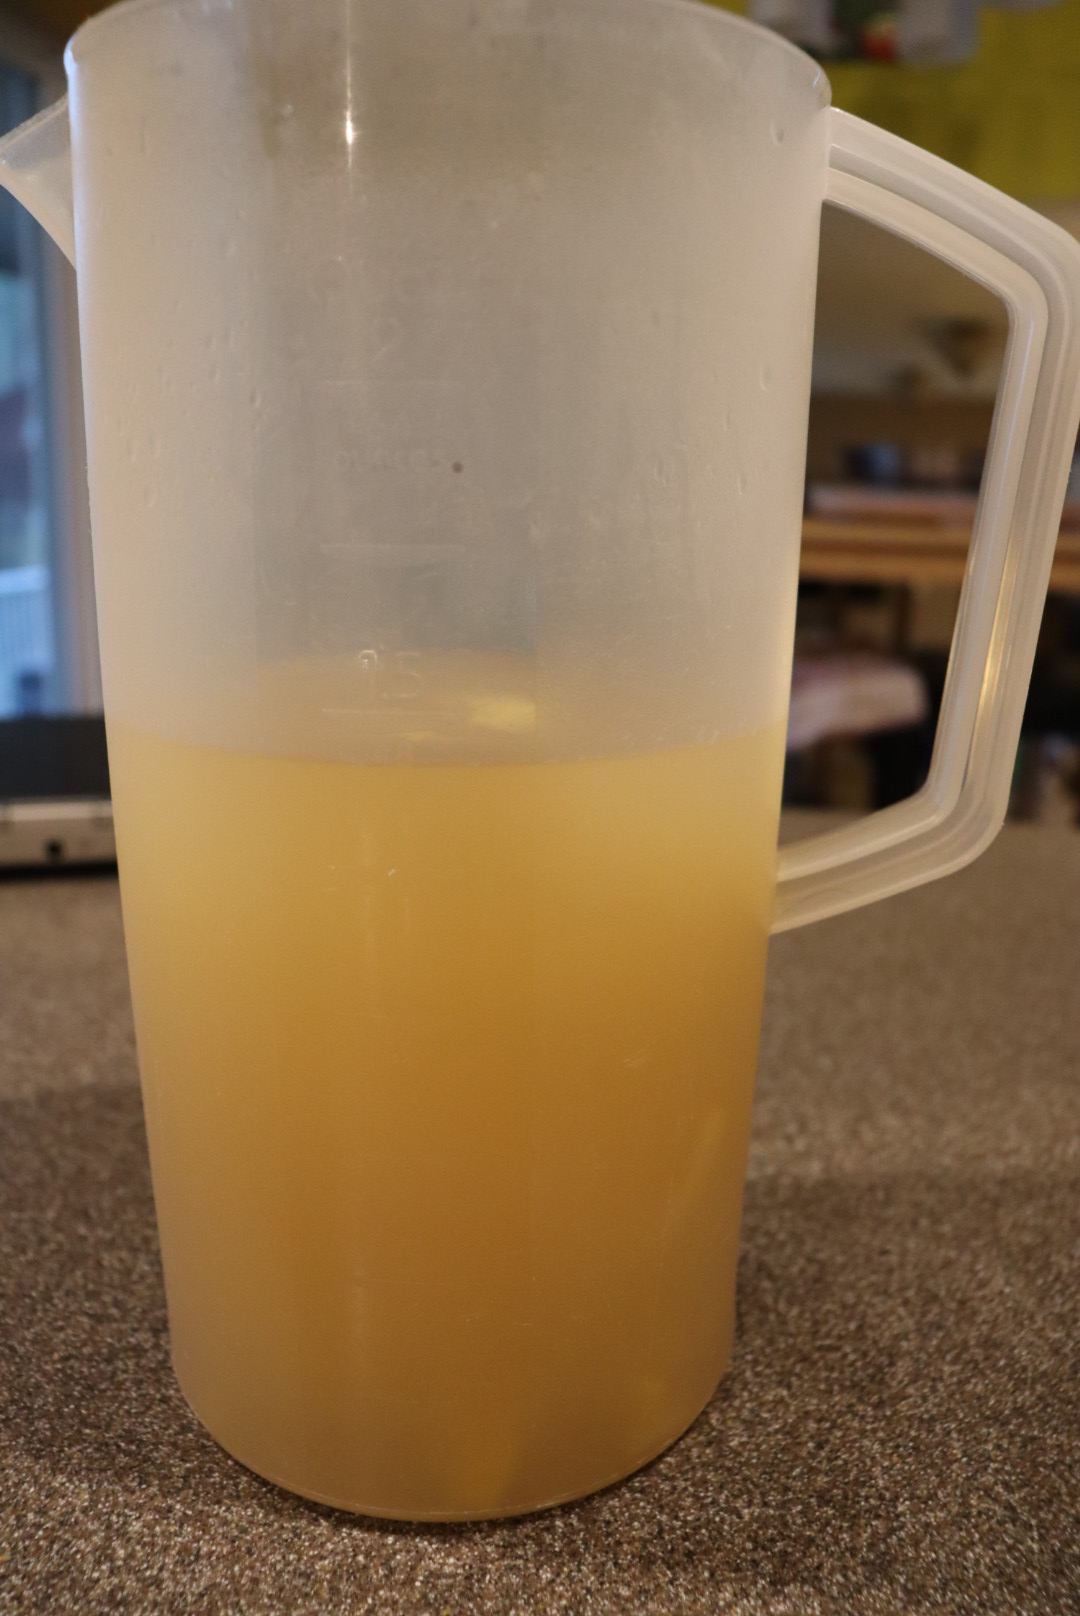
Hot sugar/water added to lime and lemon juice.
Pour the hot sugar/citrus liquid over the fruit and mint; I opted not to use all of the liquid, as it just seemed like too much for the amount of fruit I had. Add some fresh berries and chopped ginger for garnish, and serve.
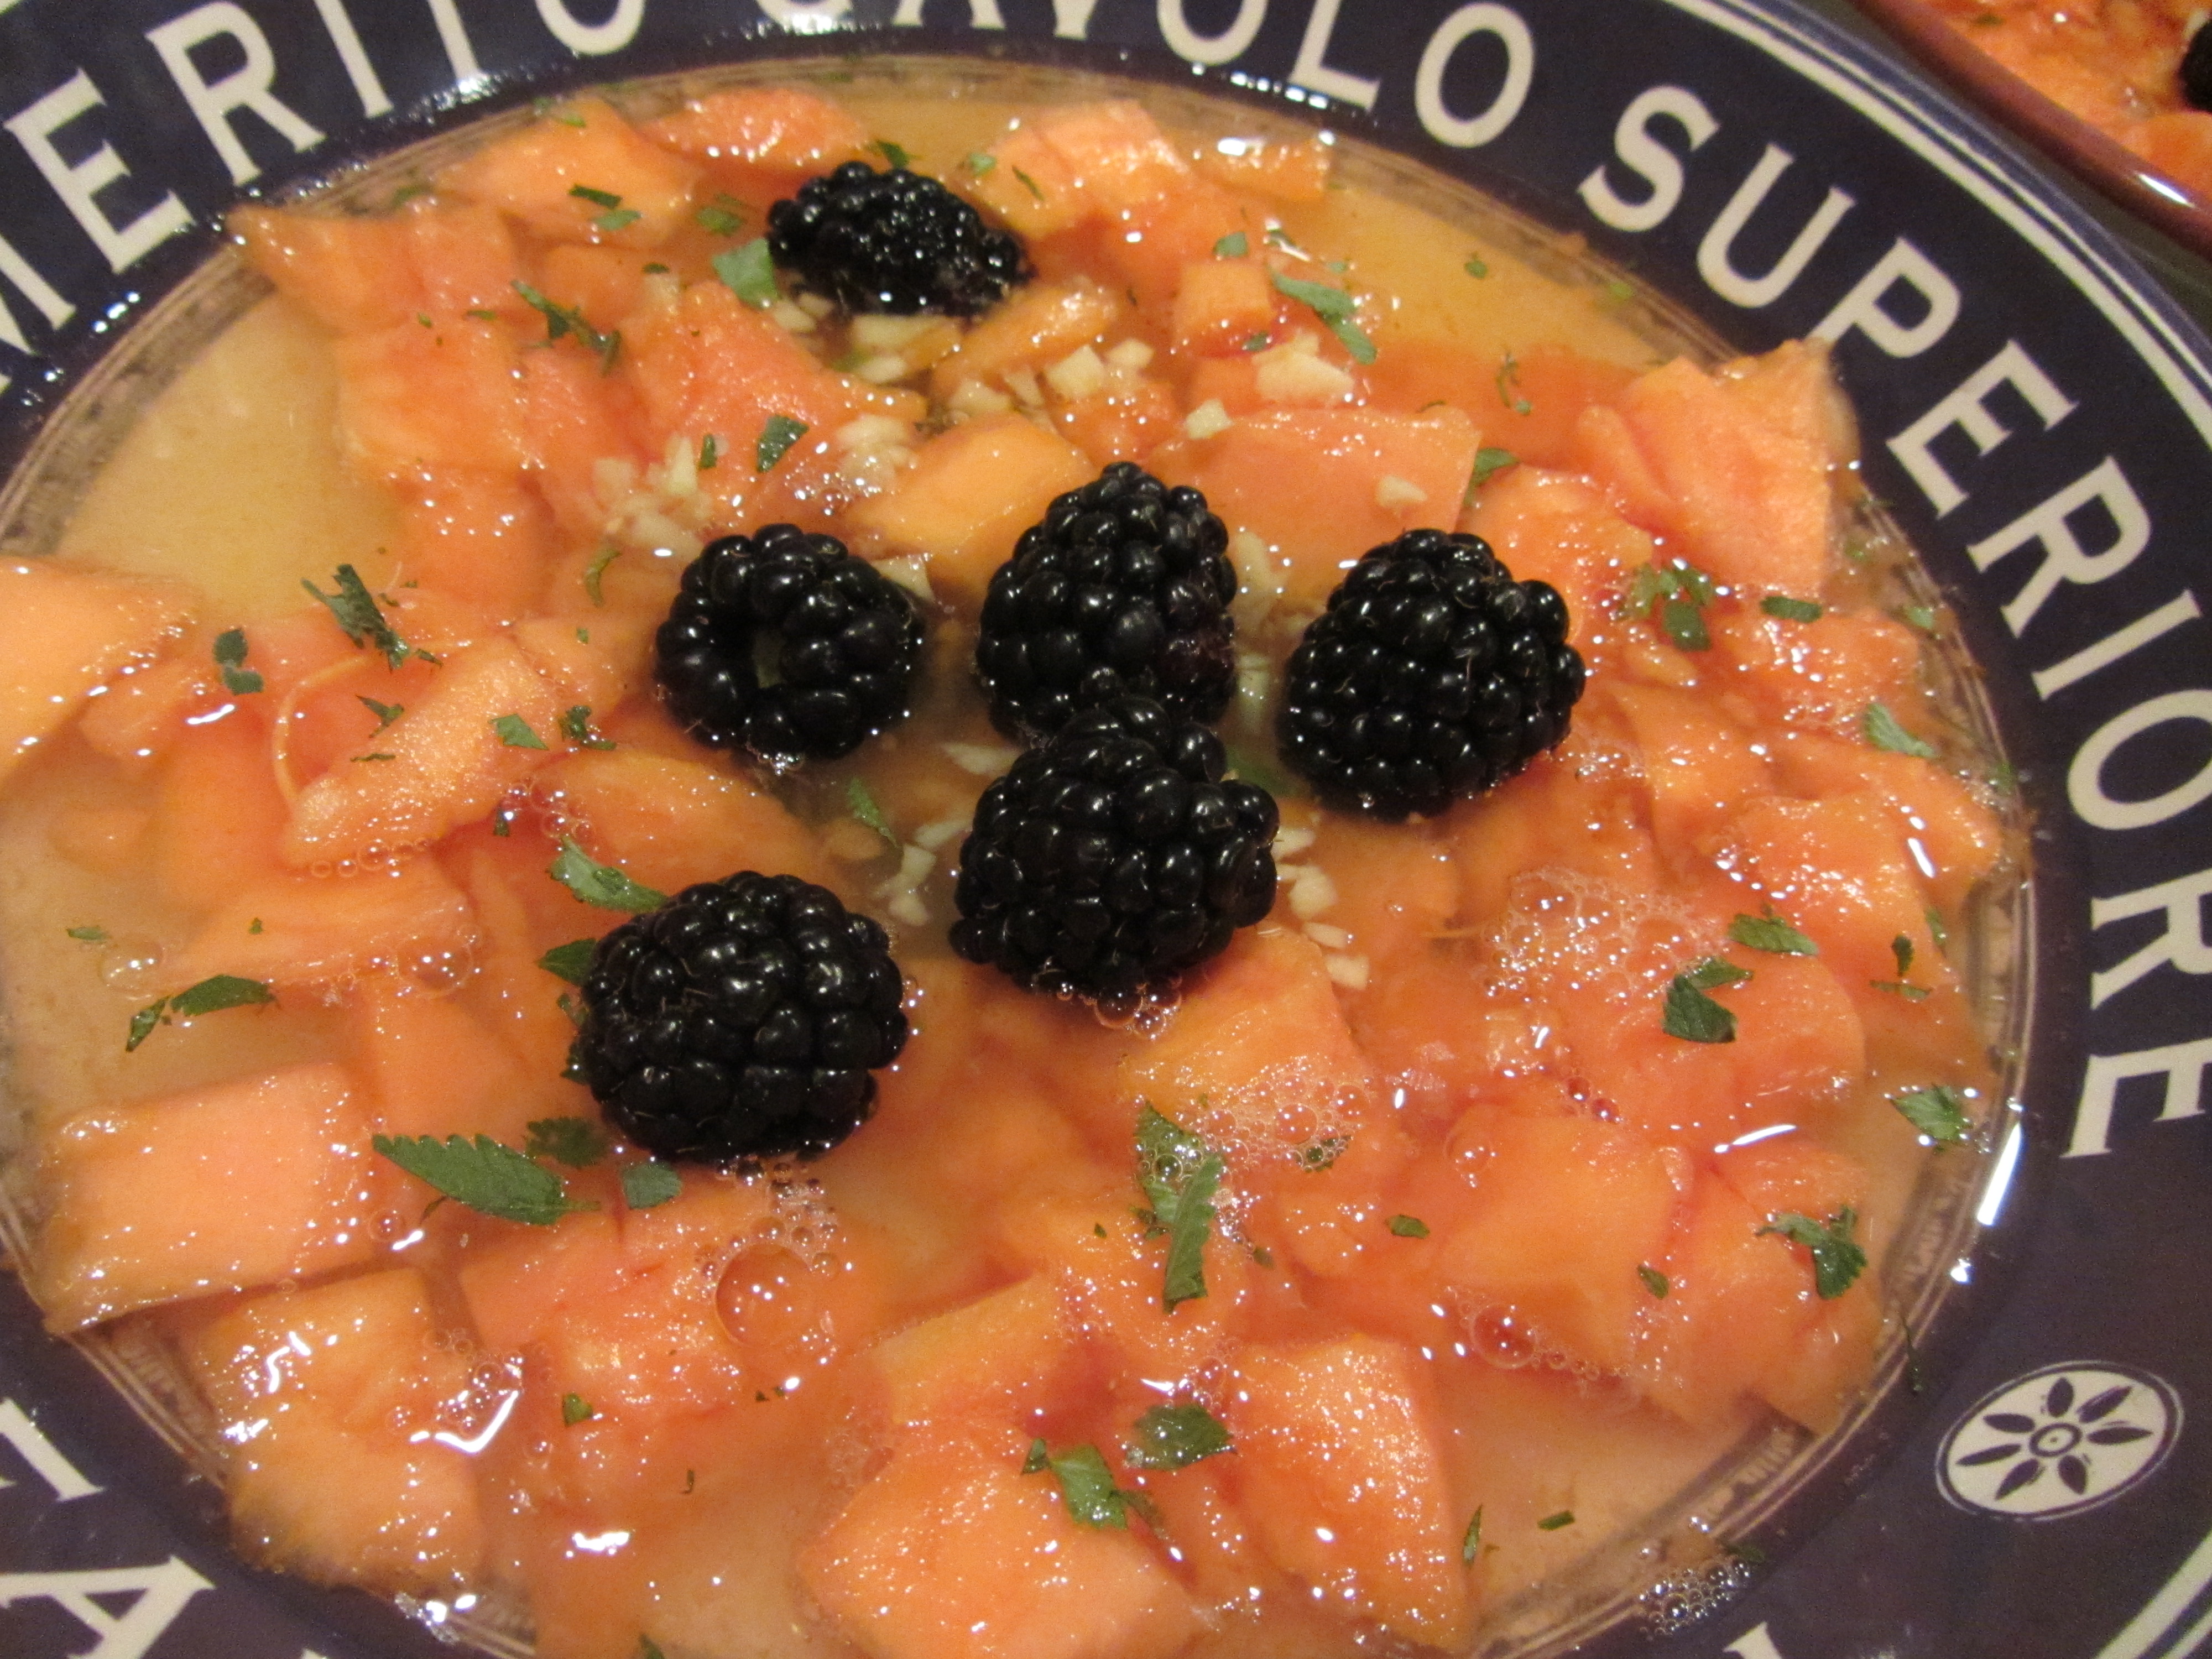
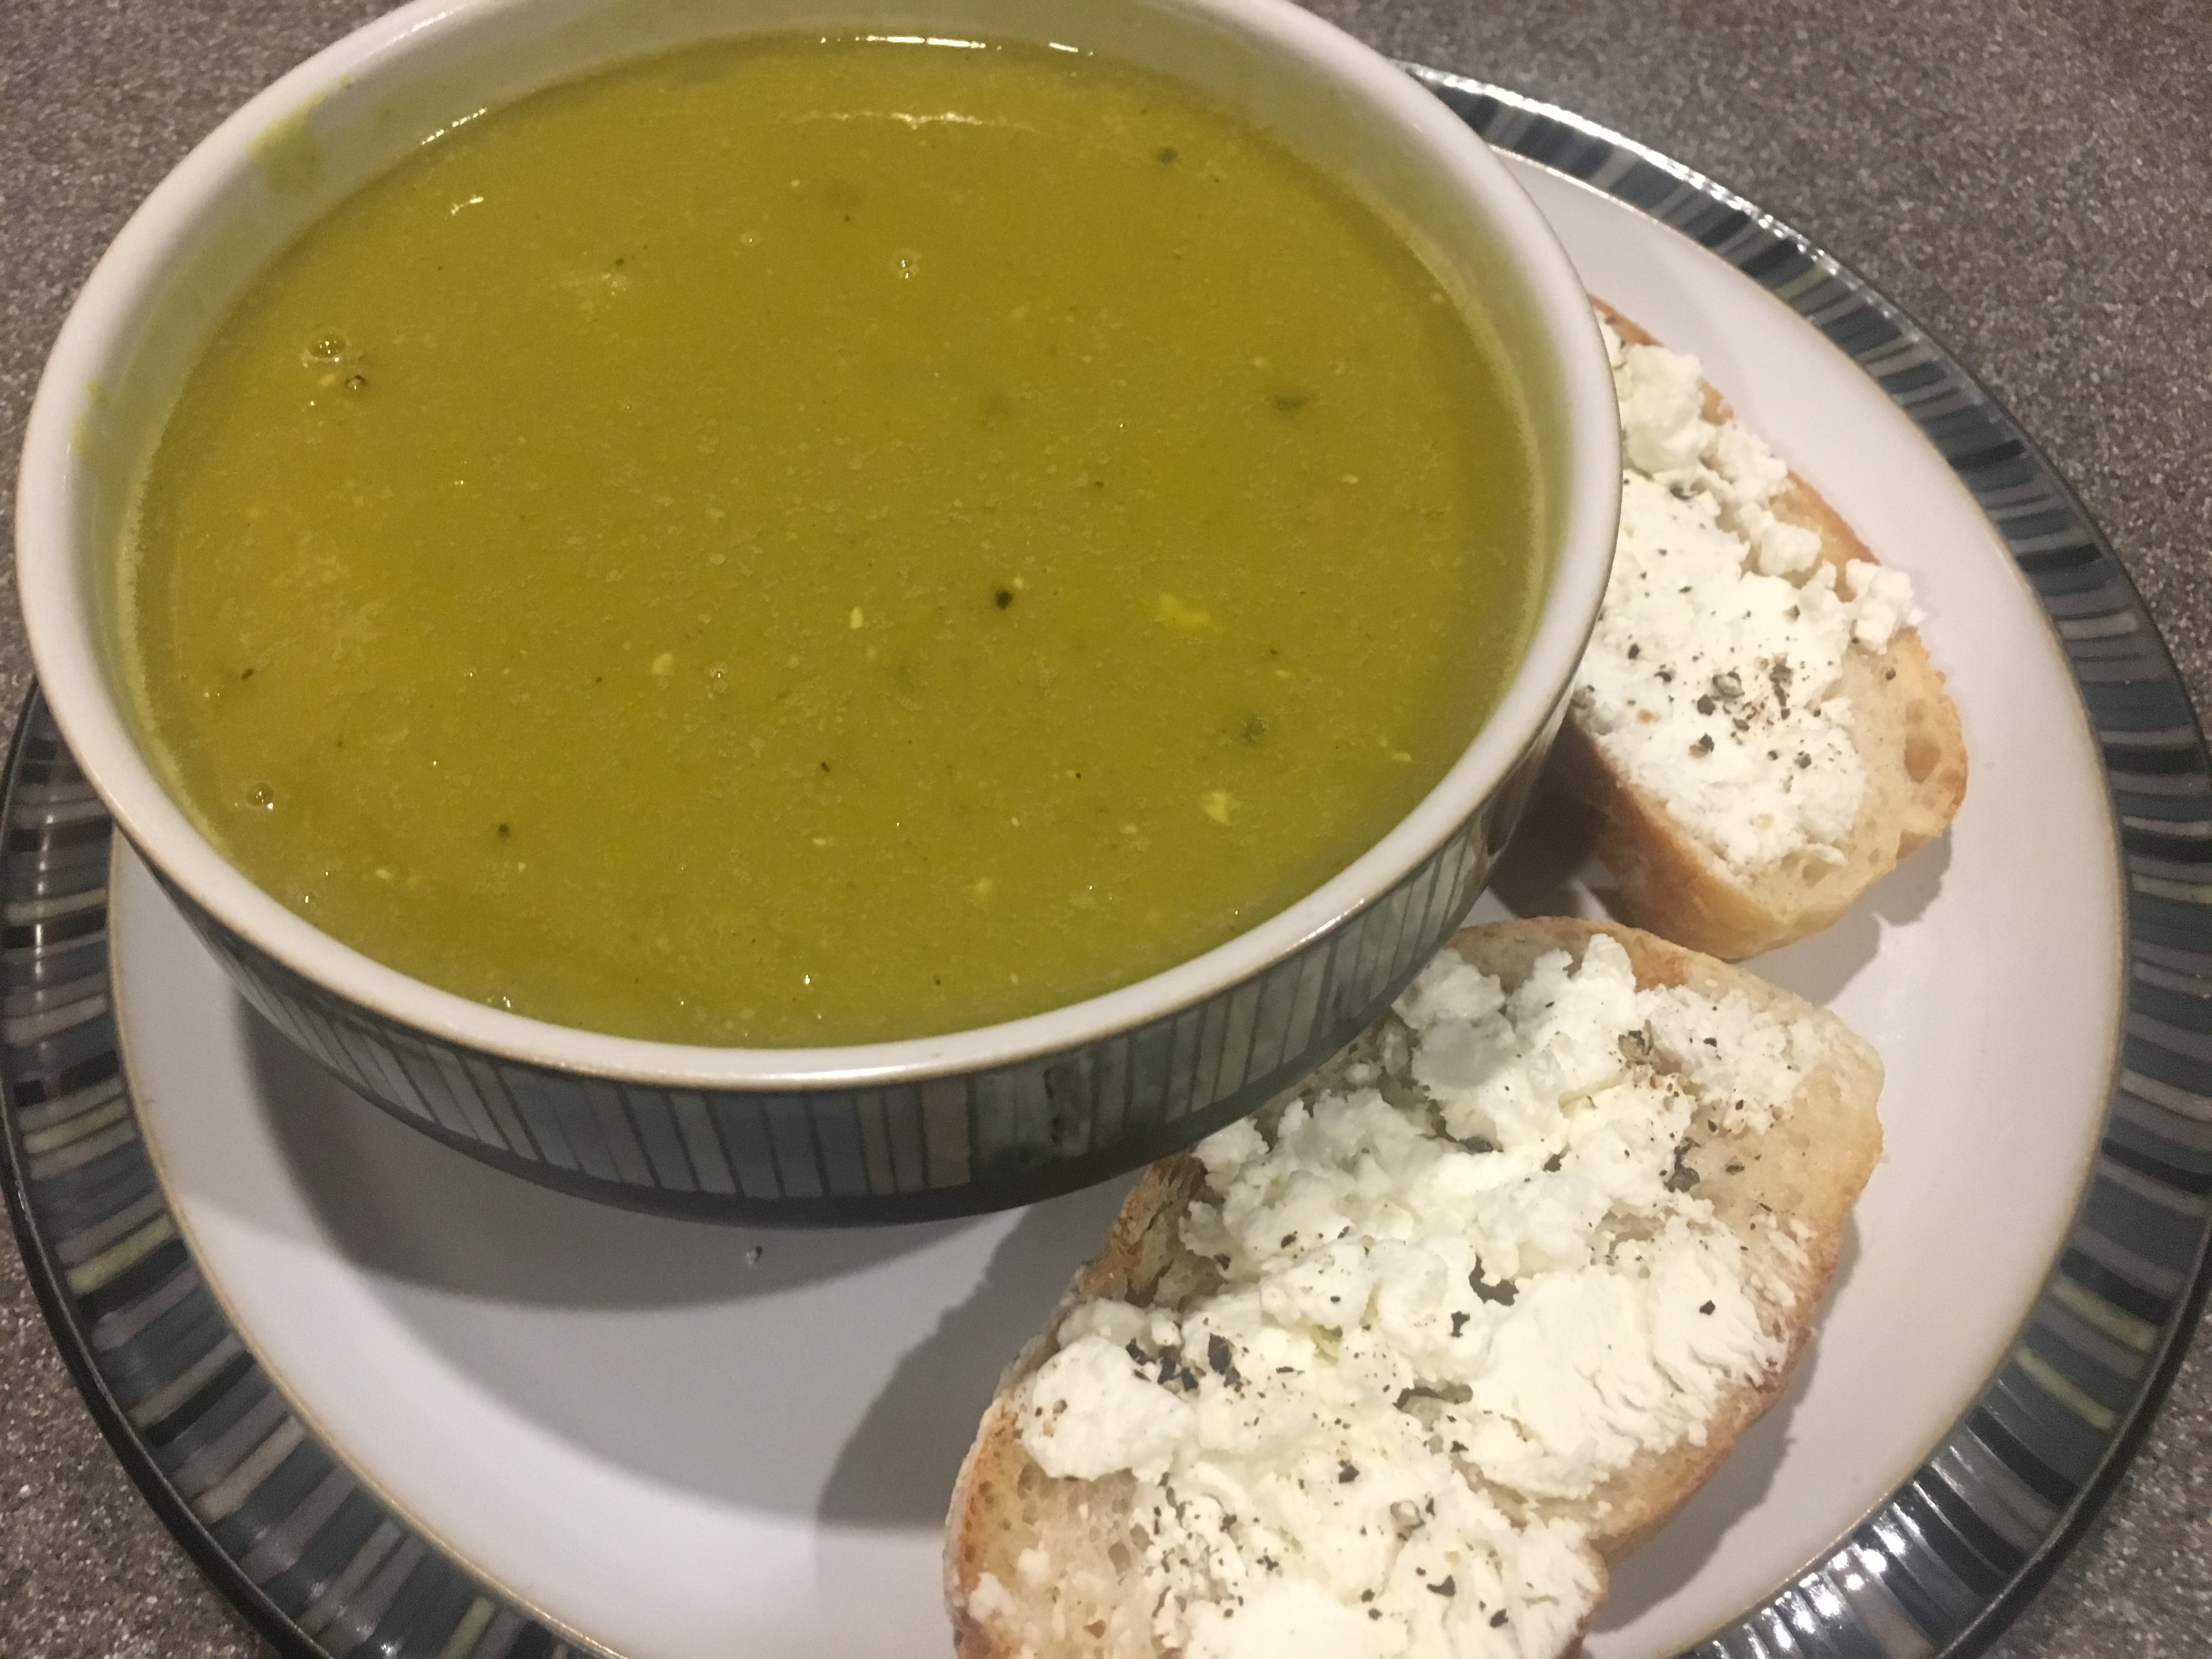
Alton’s papaya soup, garnished with berries and fresh ginger.
We both were pleasantly surprised by this dish. Though this was sweet, the sweetness was nicely balanced with the tang from the lemons and limes. The fresh ginger also really helped to cut the sweetness. Having not cooked much with papaya, I really liked the fruit in this dish. Honestly, you could serve this as a light dessert in the summer also. This is definitely an unusual dish that is pretty, interesting, and comes together in a matter of minutes.
Mango Salad
There is no online link for this next recipe, but I’ll write it up as Alton made it in the episode. I am an absolute mango freak, so I knew I’d really like this one. Toss together 2 diced mangoes, 1 sliced red onion, the juice of 1-2 Key limes (I used bottled juice), 1 T fresh mint or basil (basil for me), black pepper (a fair amount), and some feta cheese.

Sliced red onion.

Cubed mango.

Key lime juice.

Basil and pepper added to salad.
Let sit at room temperature for 1 hour before serving. This was a great salad, which we ate alongside the coconut shrimp.

Completed salad with feta.
This salad has the sweetness of mango, the bite of red onion, the tang of lime, the saltiness of feta, and the spice from pepper. In a nutshell, it has a little bit of everything. Super tasty.
Mango Chutney
I grew up eating chutney, as a condiment on my grandma’s curry. Though I never knew my grandmother, my parents served her curry recipe to me from an early age, and it has been a favorite meal of mine for years. A blend of spices, onions, raisins, and apples, this wonderful curry is served over rice with bacon, hard-boiled egg, banana, peanuts, bean sprouts, and chutney as condiments. I do not recall ever eating homemade chutney when having curry, so I was really stoked to see how homemade chutney would pair with Grandma’s classic. So, last week I whipped up a batch of Alton’s chutney. The ingredients needed for Alton’s chutney are vegetable oil, chile flakes, red bell pepper, red onion, mangoes, fresh ginger, brown sugar, curry powder, mango juice, cider vinegar, macadamia nuts, golden raisins, white pepper, and Kosher salt.
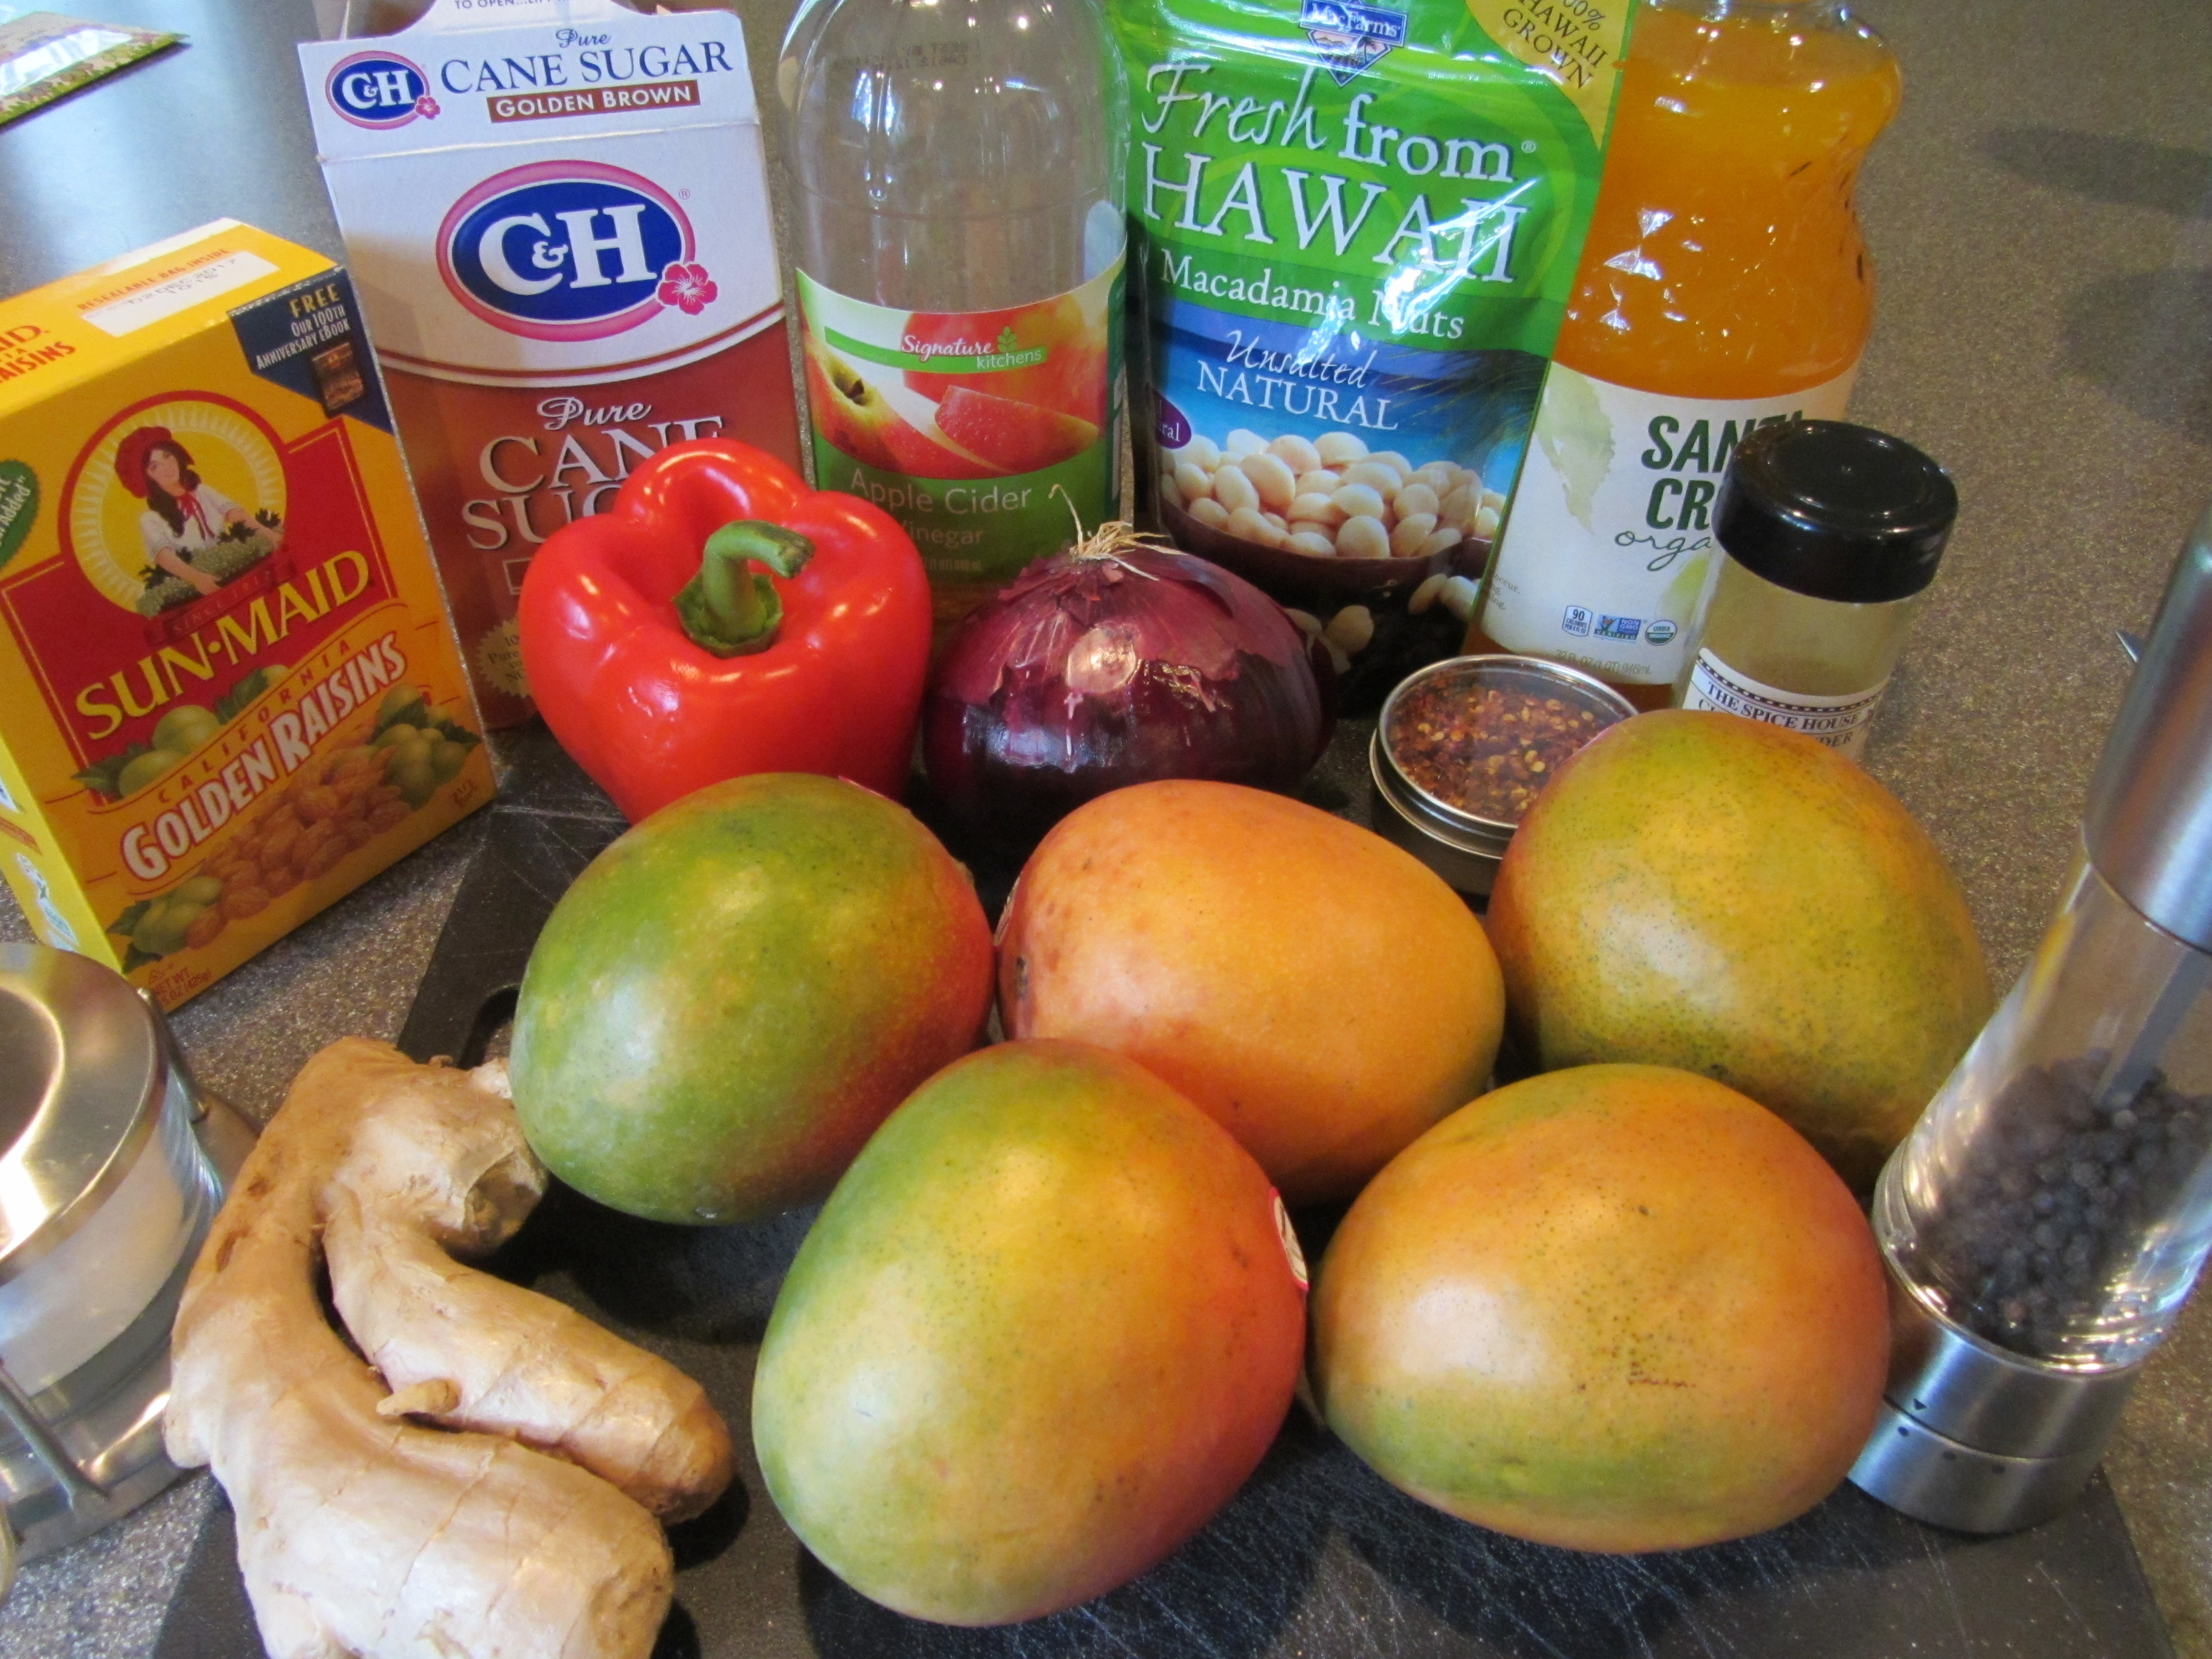
Ingredients for chutney: Kosher salt, golden raisins, ginger, brown sugar, red bell pepper, cider vinegar, red onion, macadamia nuts, chile flakes, mango juice, curry powder, pepper, and mangoes.
First, heat 3 T vegetable oil in a pan and add 1/2 t chile flakes, cooking until fragrant.
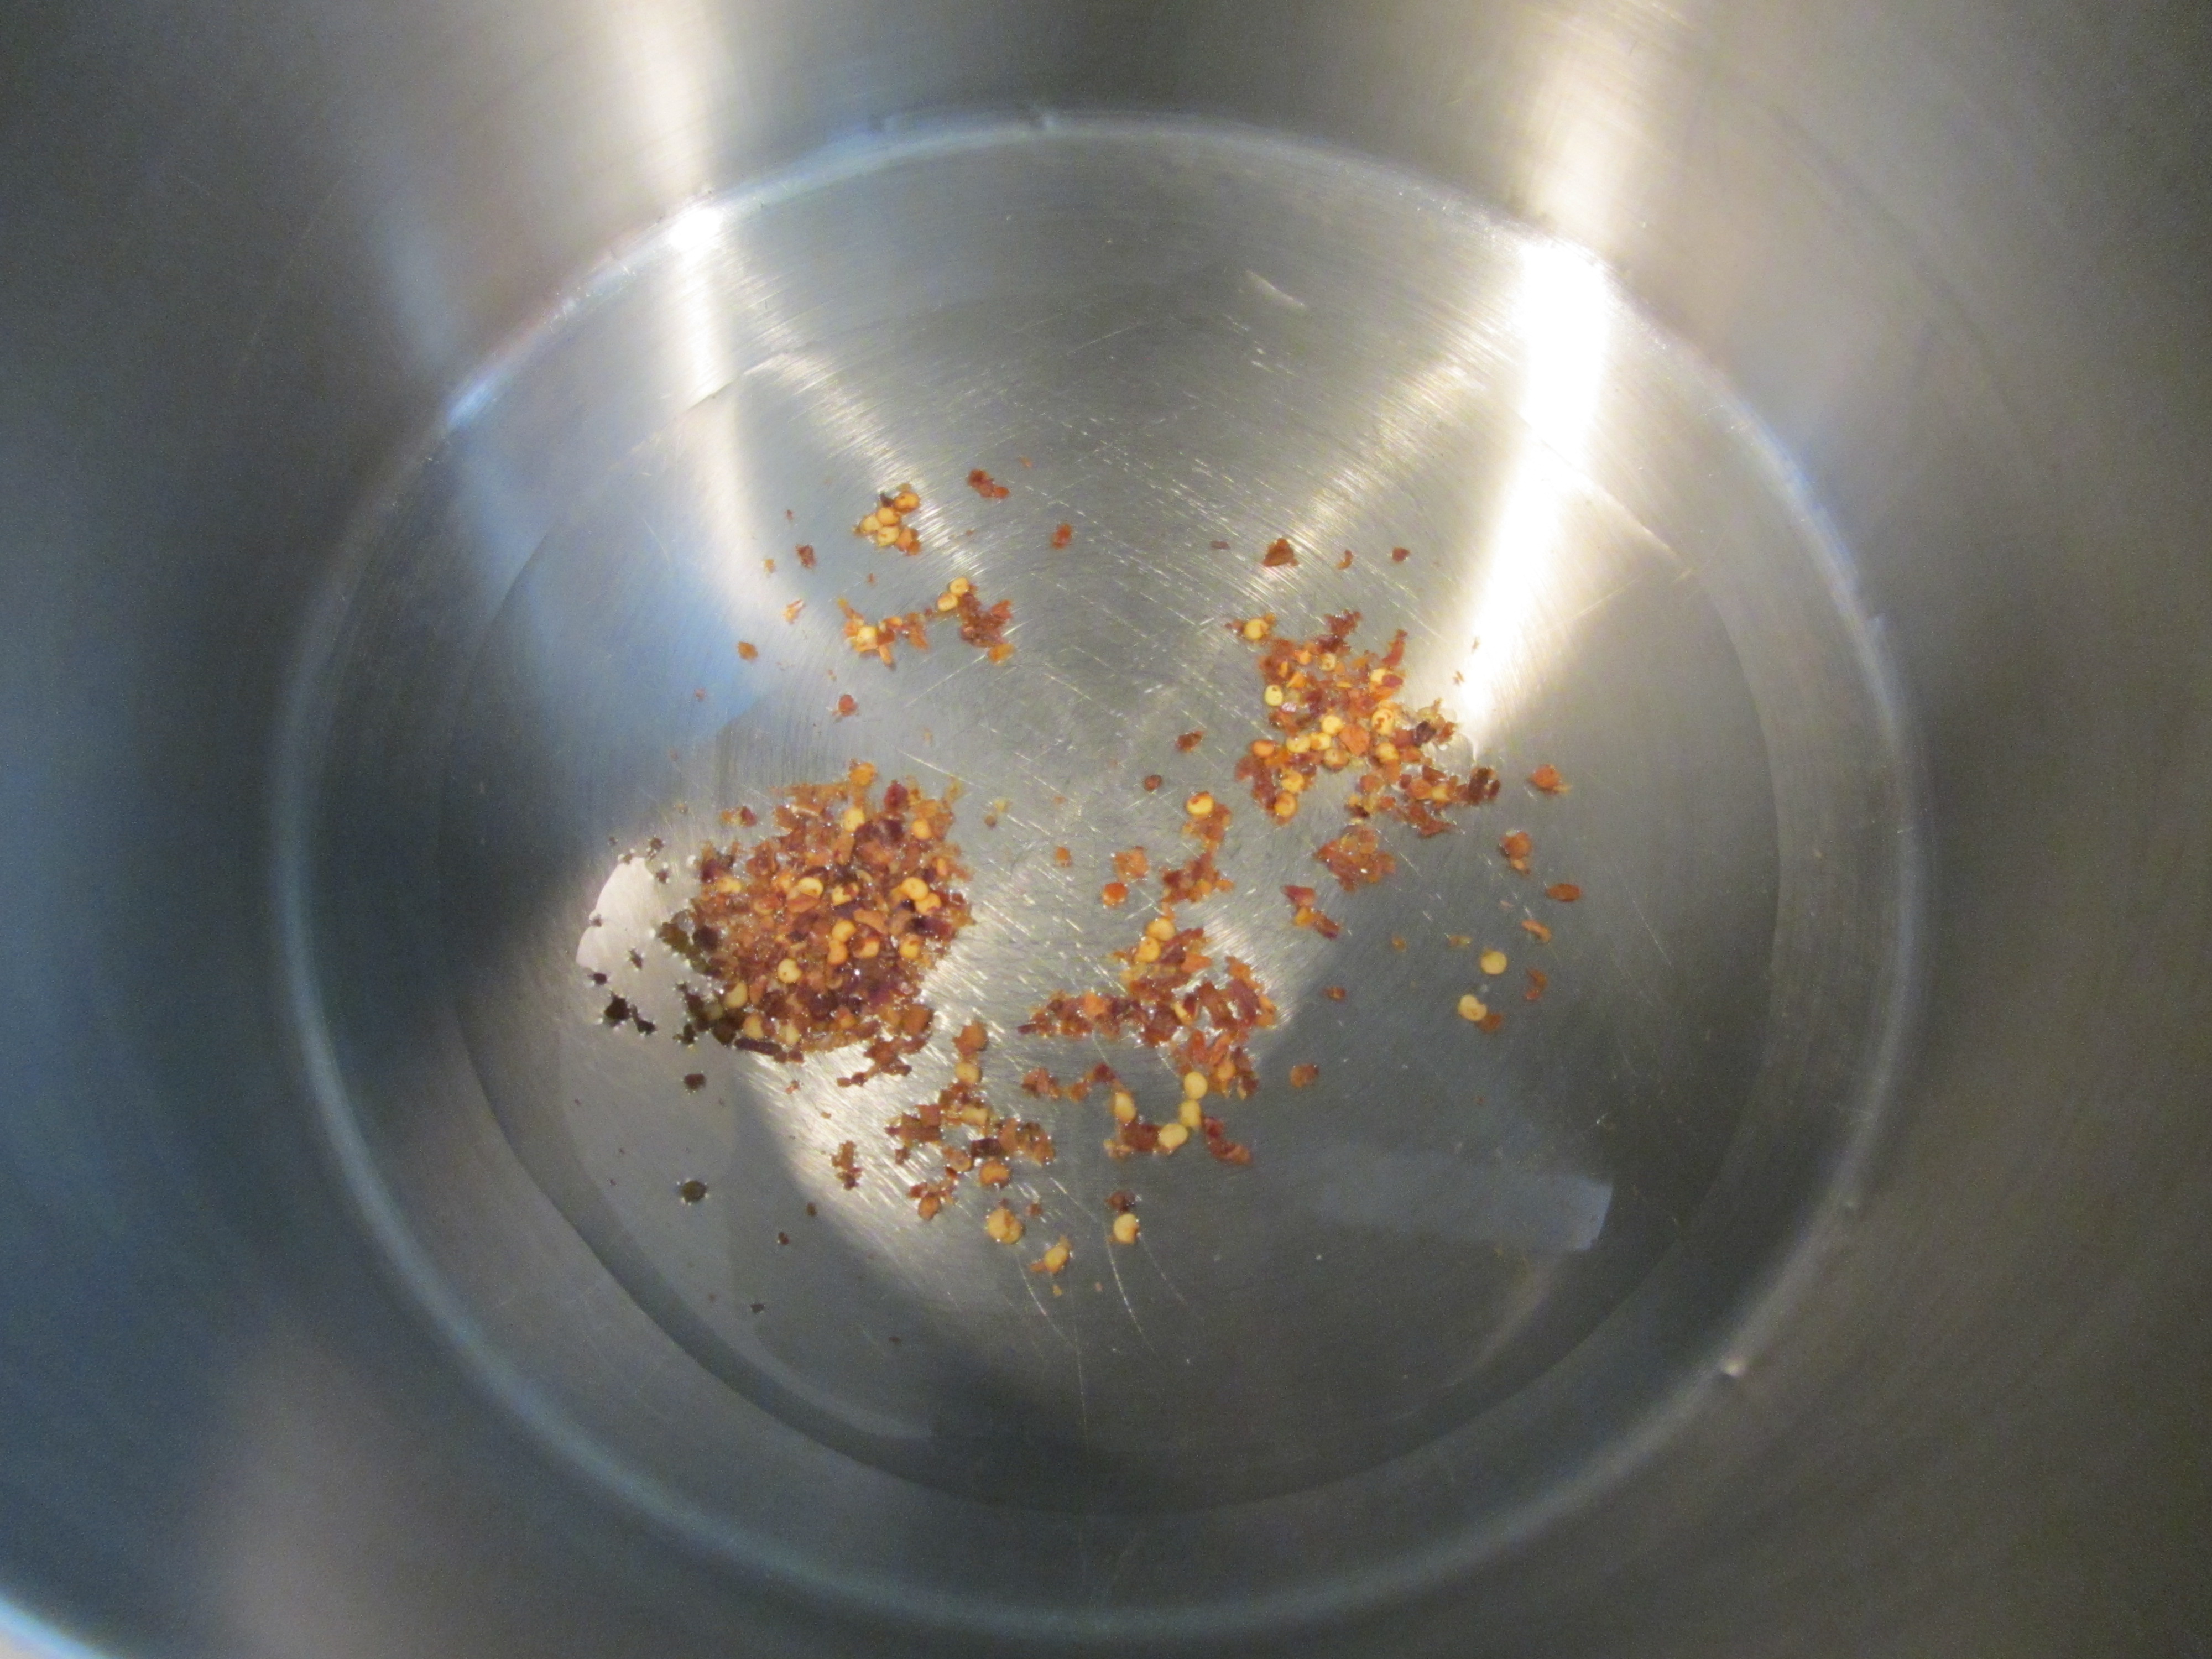
Chile flakes heating in oil.
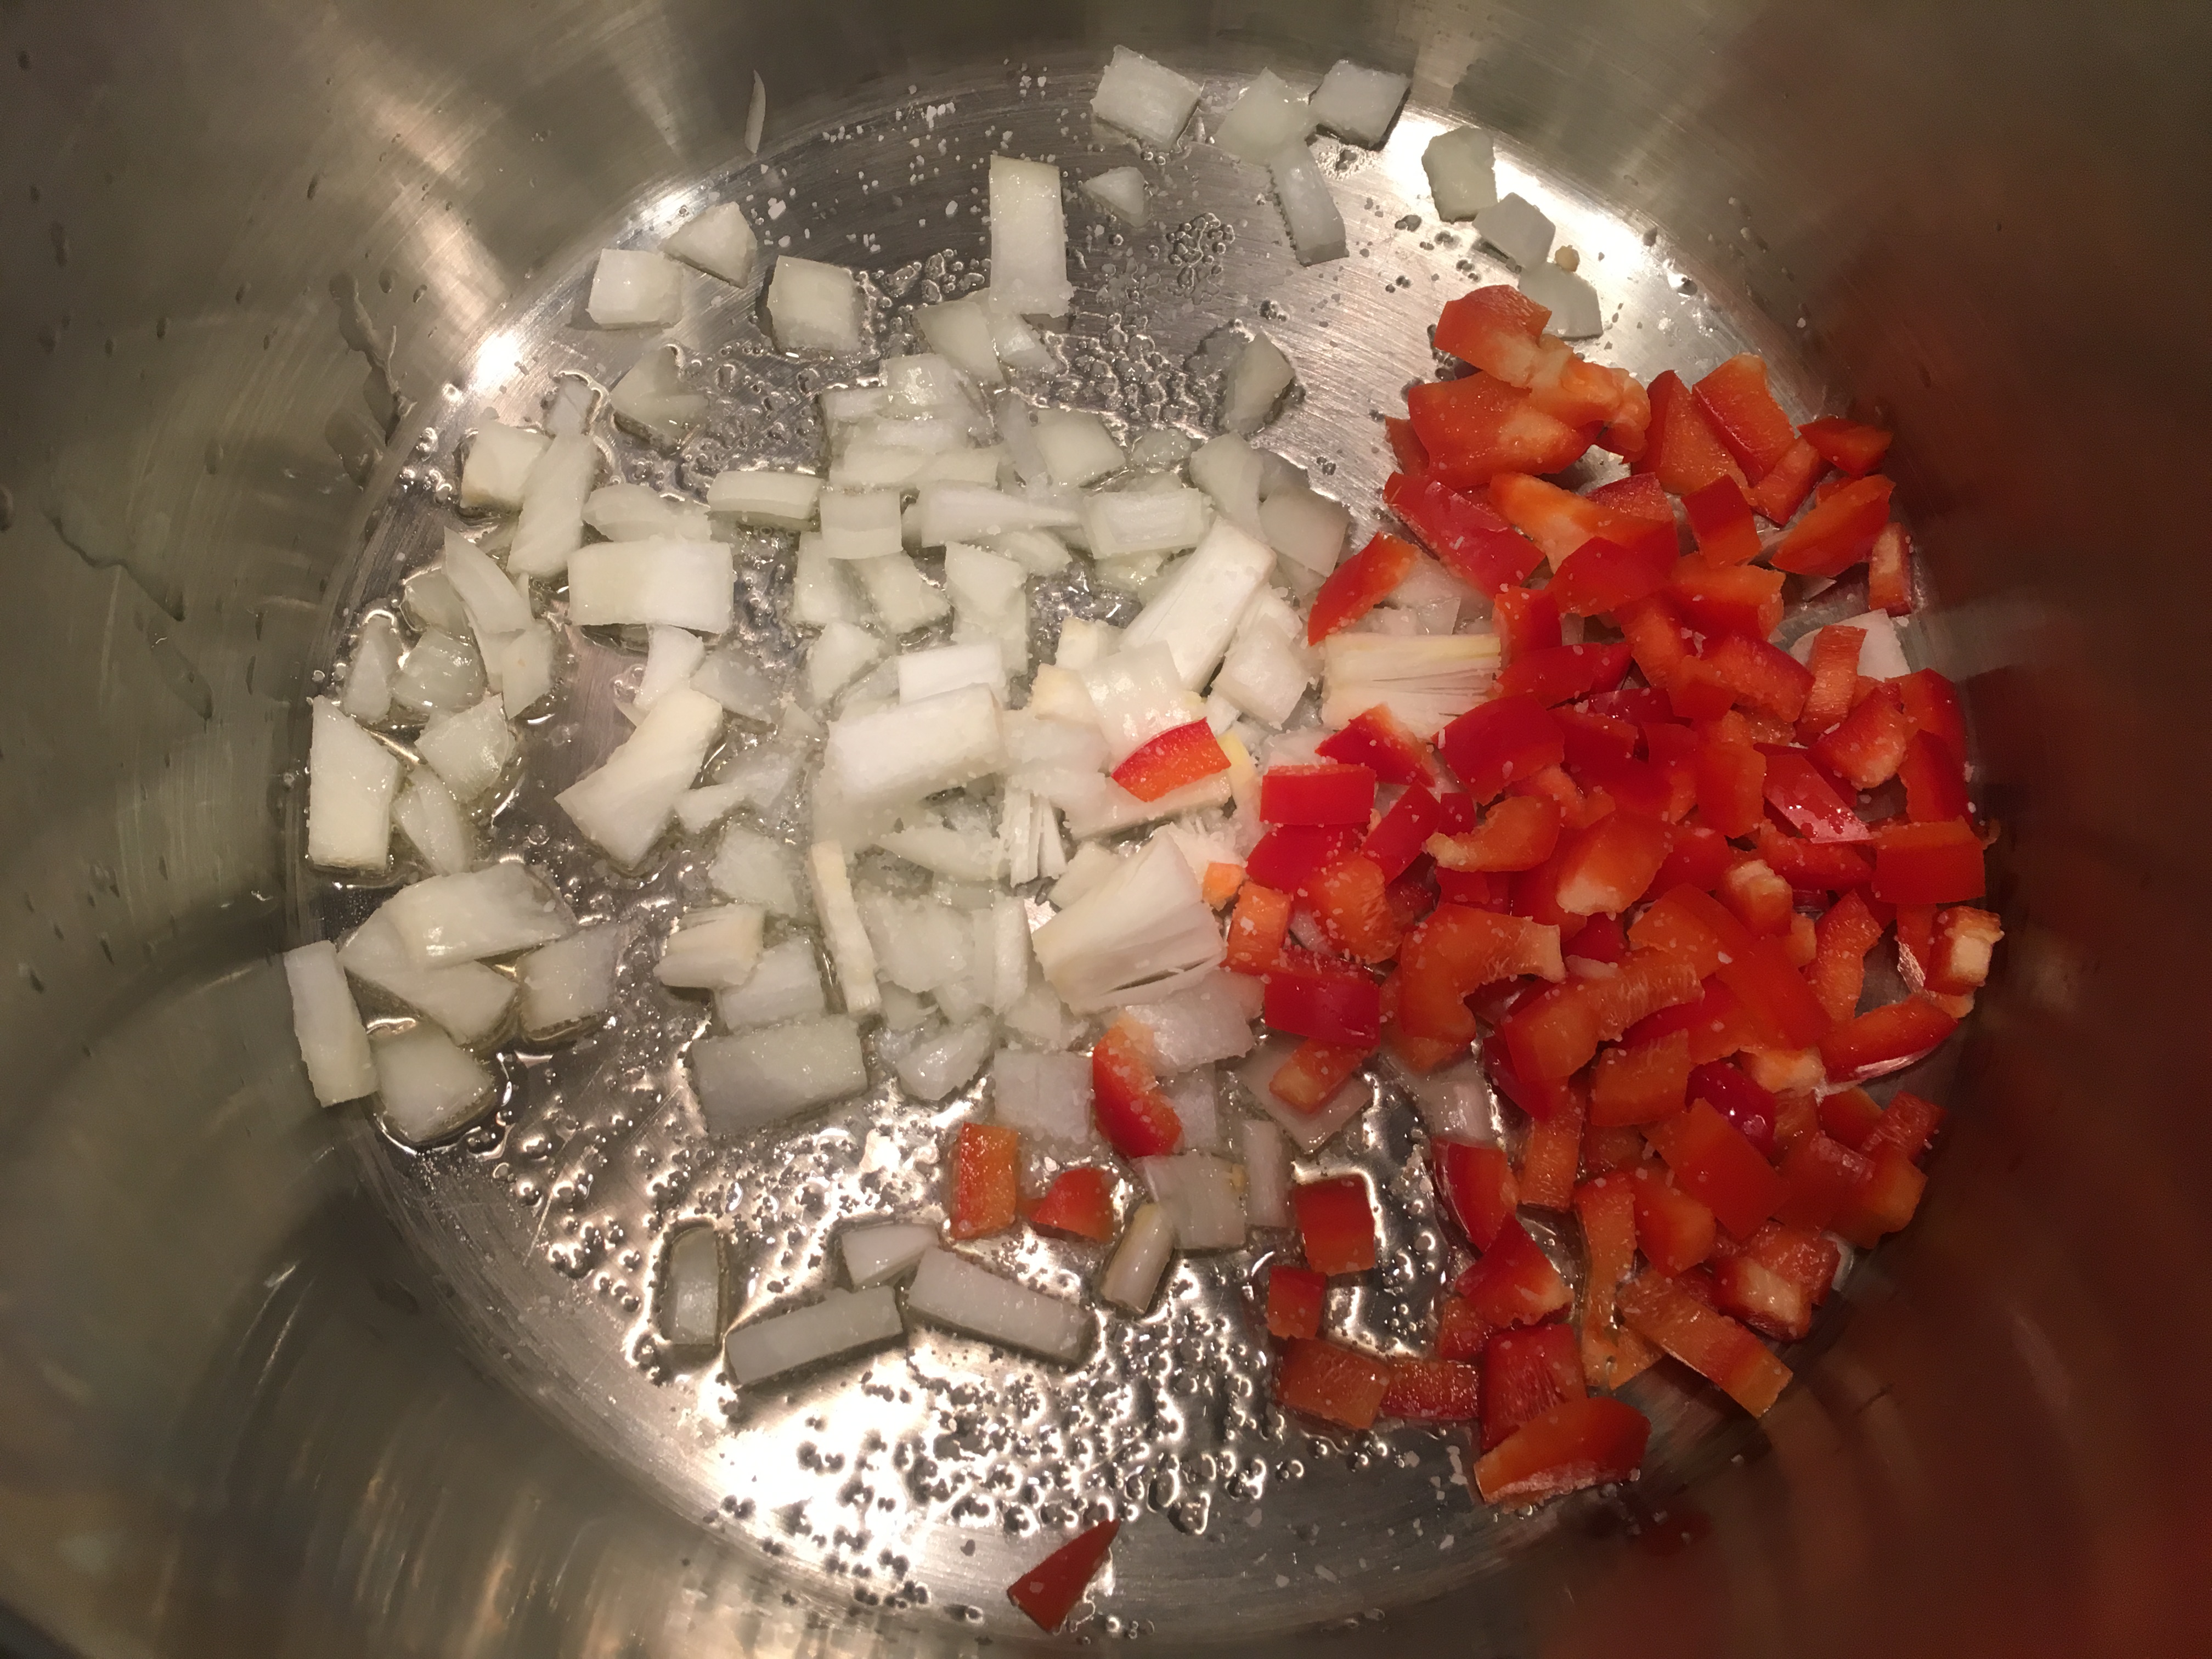
Add 1 C diced red bell pepper and 2 C diced red onion, and sweat over low heat for about 5 minutes.

Red onion and red bell pepper added to pan.

Softened onion and pepper.
Next, add 4 pounds mangoes, diced, along with 1/4 C minced ginger. Cover the chutney and allow it to cook for three minutes, or until the mangoes soften.

Mangoes and ginger added to chutney.

Mangoes, beginning to soften.
Stir in 1/2 C brown sugar, 1 T curry powder, 8 ounces mango juice (I used a mango lemonade), and 4 ounces cider vinegar. Simmer the chutney for 30 minutes, stirring occasionally.

Brown sugar, curry powder, mango juice, and cider vinegar in the pot.

Chutney after simmering 30 minutes.
Finally, add 1/2 C golden raisins and 1/2 C toasted/chopped macadamia nuts (you can toast them at 325 degrees for about 10 minutes). Season the chutney to taste with white pepper and Kosher salt.

Raisins and macadamia nuts stirred into chutney.
This recipe makes a fairly large batch of chutney, so I opted to divide mine among small jars to freeze. Of course, I had to try the chutney over Grandma’s curry.
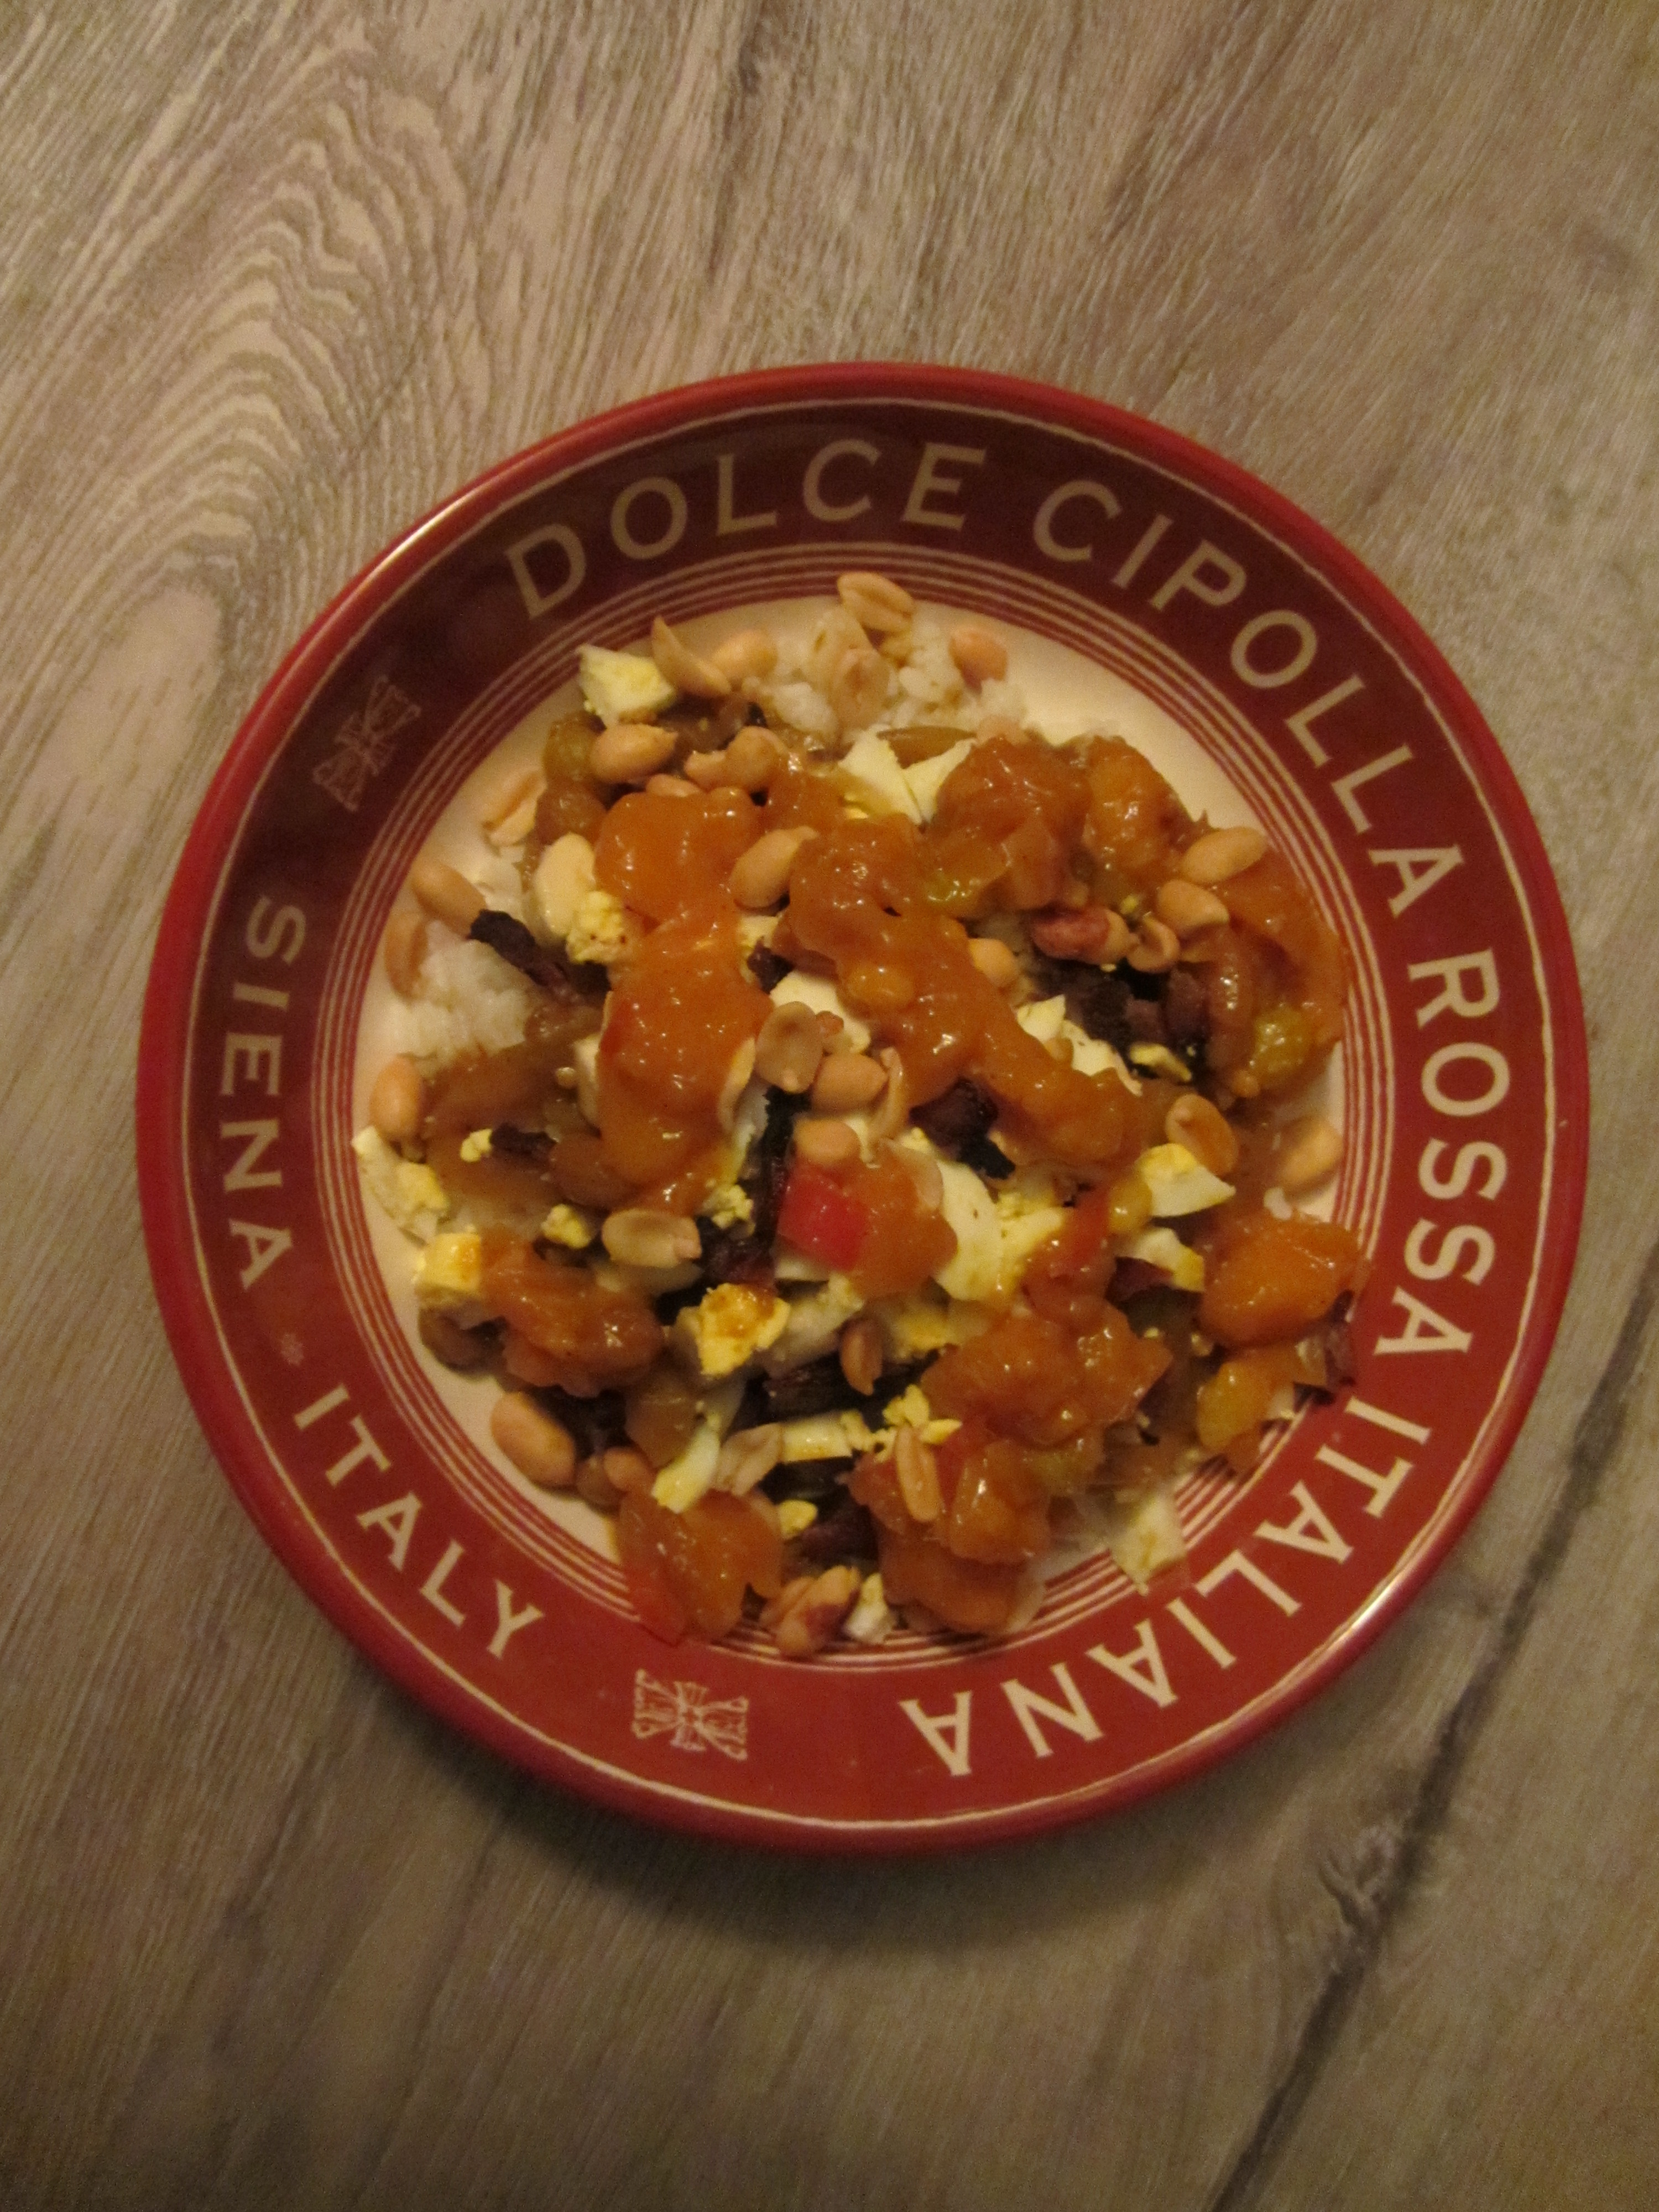
Alton’s chutney over my grandma’s curry.
Let me tell you, this chutney is fantastic. It is sweet, tangy, tart, and bright, with a faint hint of heat. Honestly, I think it makes my grandma’s curry better than ever. I am anxious to share it with my parents to see what they think. You really could use this curry in a variety of ways – using it anywhere you would use other condiments. I will absolutely make this again.
Spicy Pineapple Slices
Recipes don’t come much easier than this one. Simply peel, core, and slice pineapple, sprinkling it evenly with Kosher salt, pepper, and chili powder.

Pineapple slices.

Chili powder, pepper, and Kosher salt sprinkled on pineapple slices.
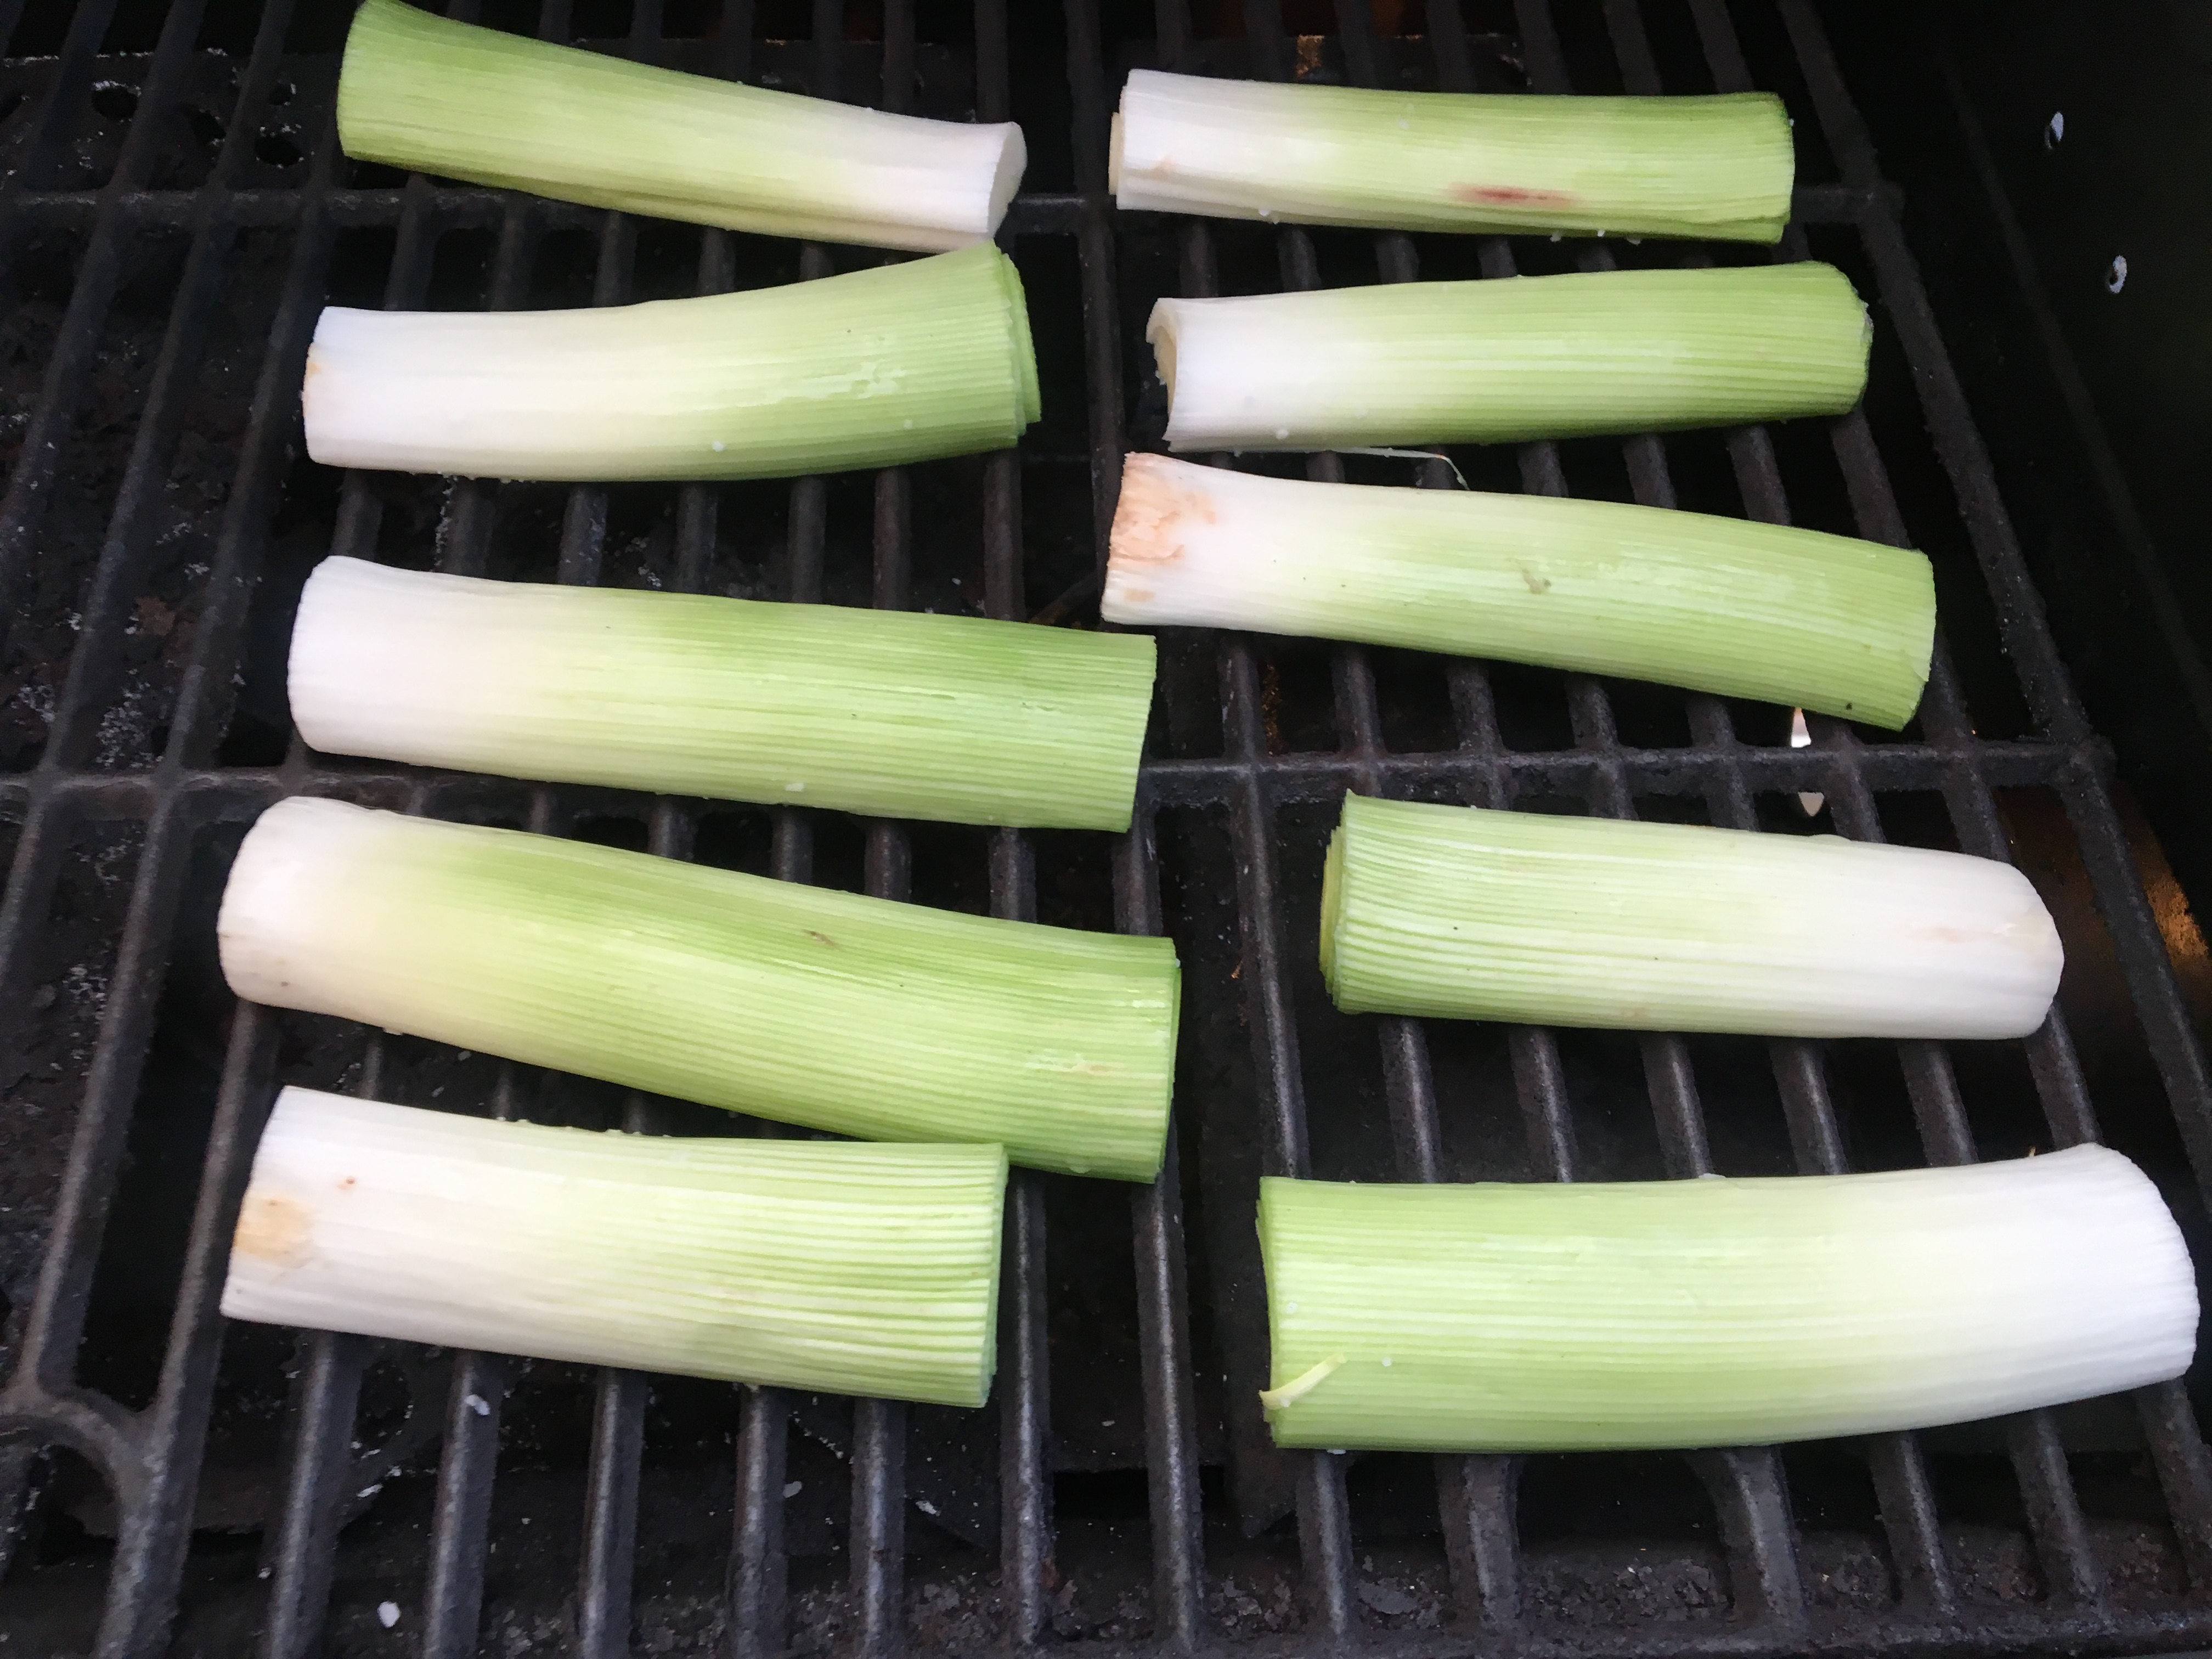
Grill the slices until tender and warm.

Pineapple slices on the grill.
We ate this as a side dish, alongside sandwiches, and we both thought it was great.
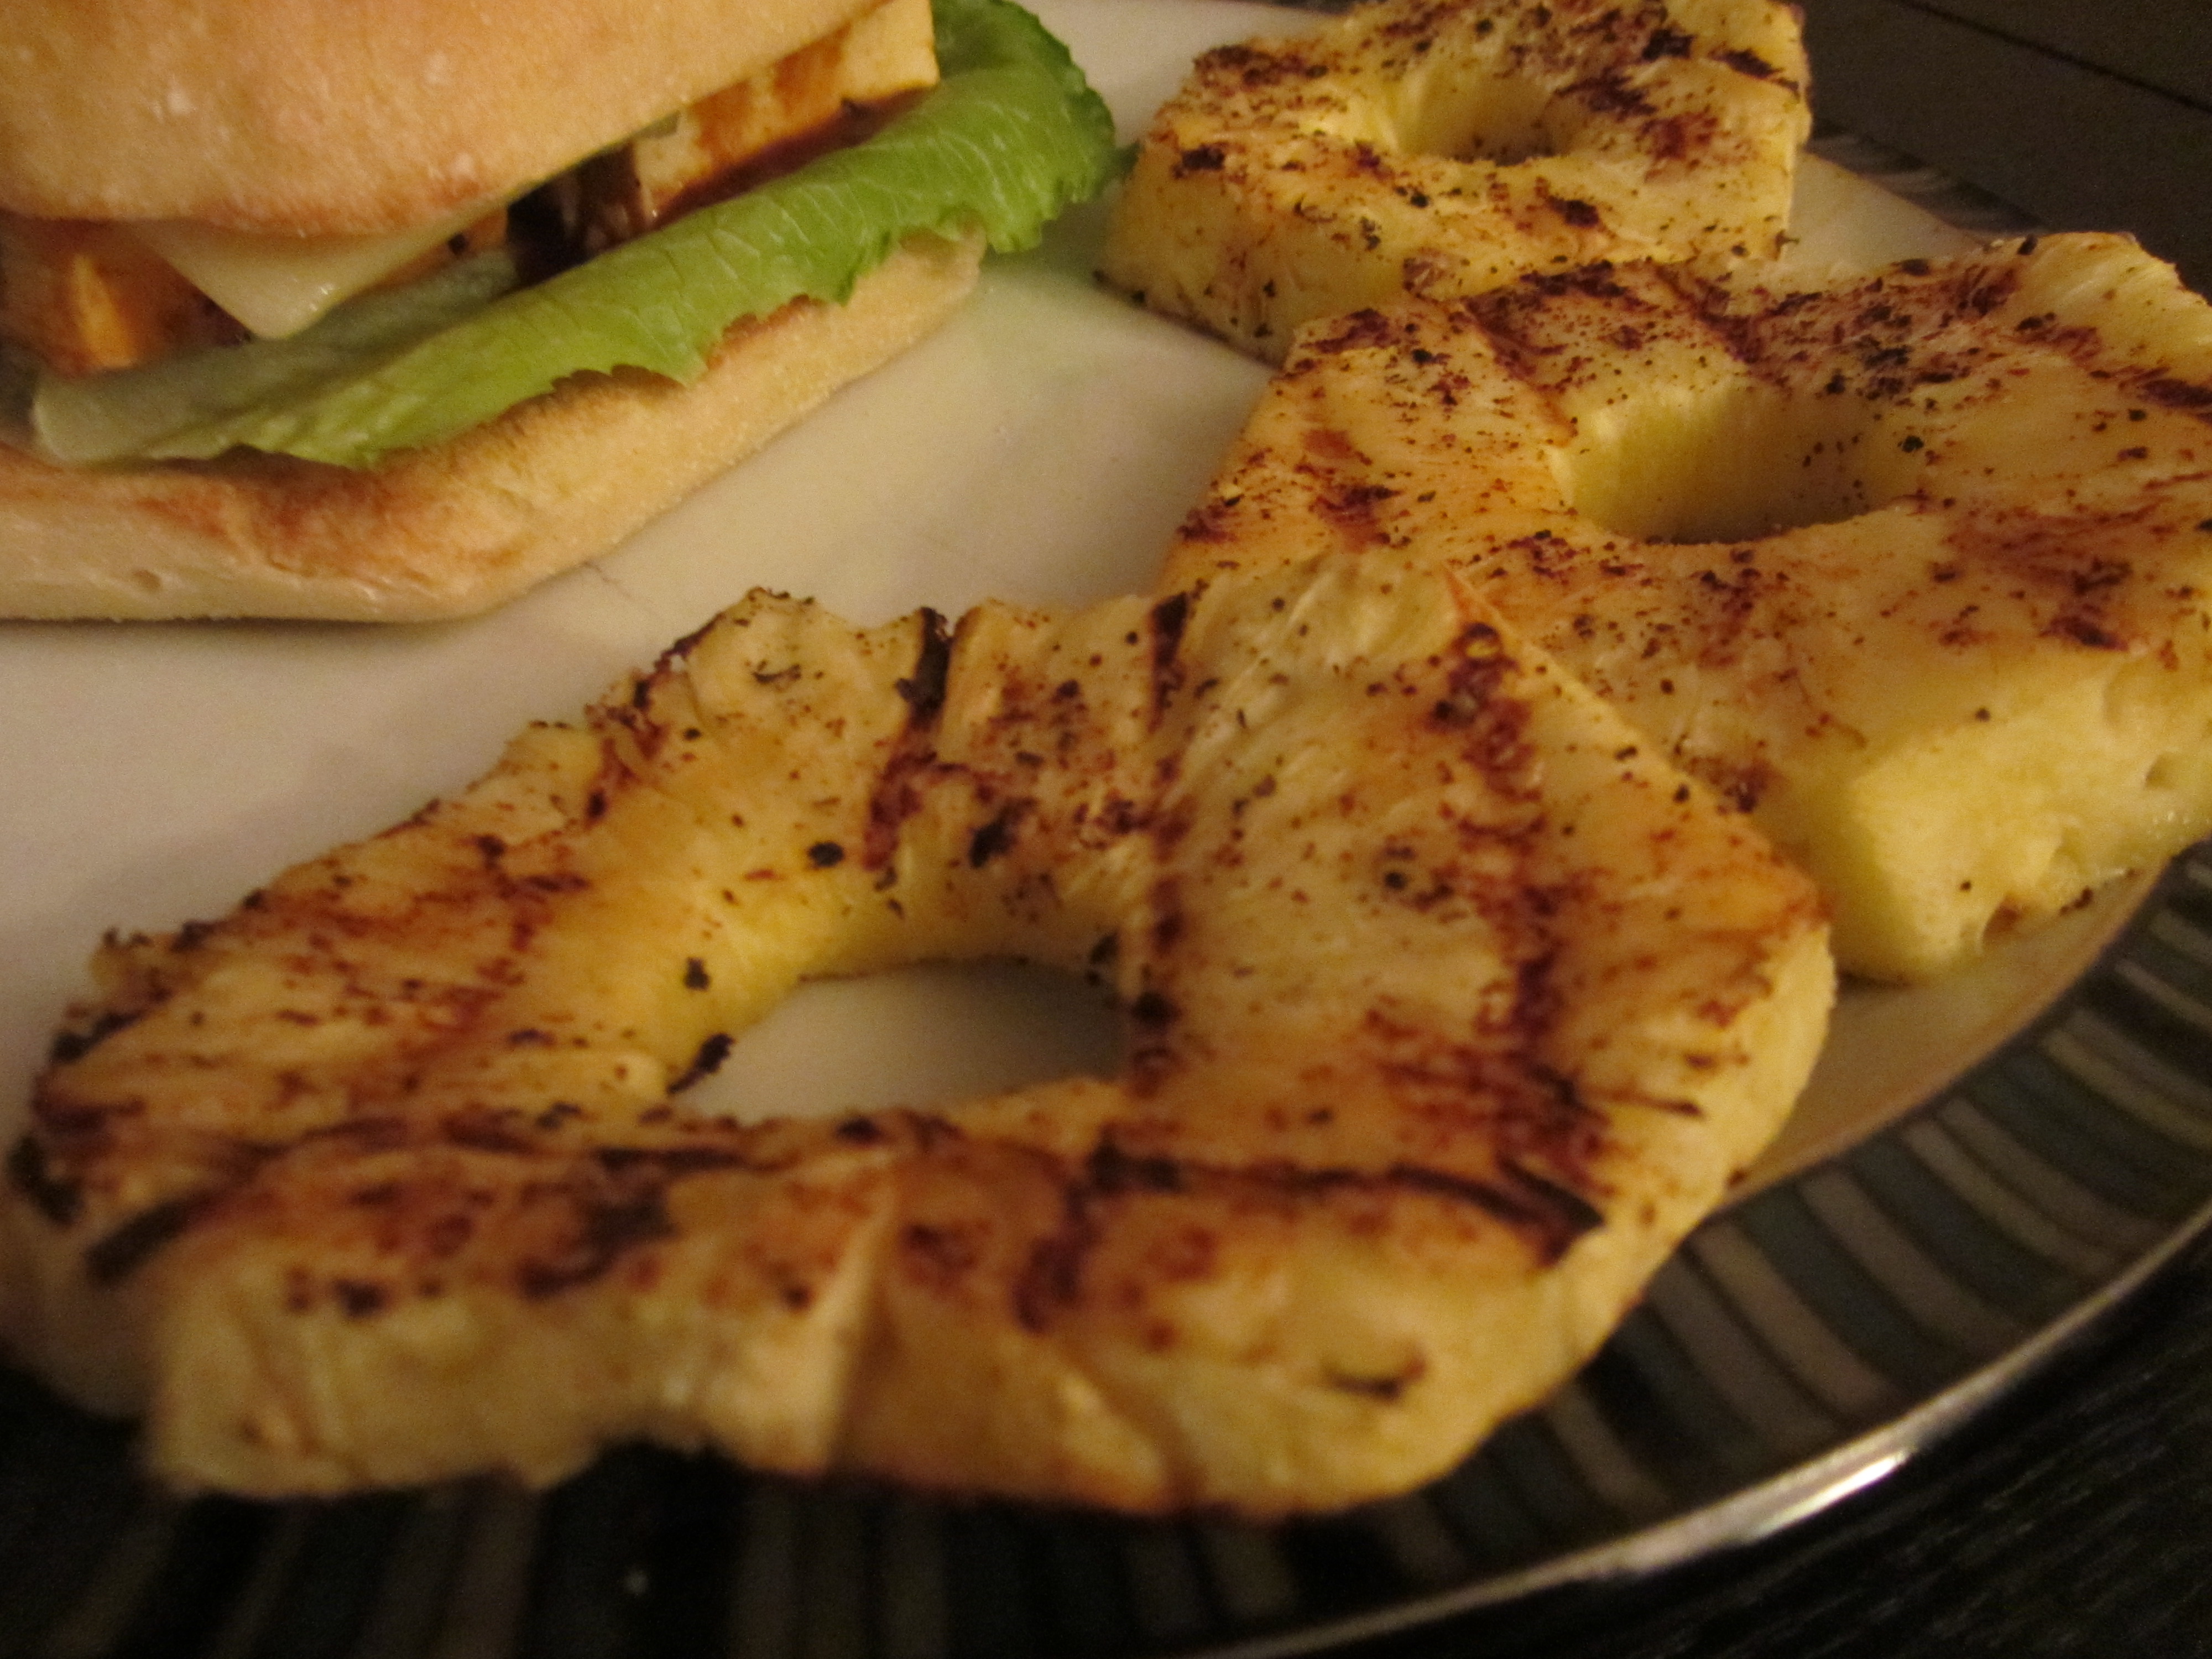
Delicious grilled pineapple.
The heat of the chili powder is fantastic with the sweetness of the fruit. What are Alton’s tips for selecting pineapples? First, pick fruit that sounds solid when you thump it. Also, look for large fruit that is about 50% yellow and 50% green, as pineapples do not ripen further post-harvest. Small crowns are desirable because large crowns indicate that a pineapple has used up its sugars.

Large pineapple, small crown. About 50/50 yellow/green.
Sweet and Sour Pork
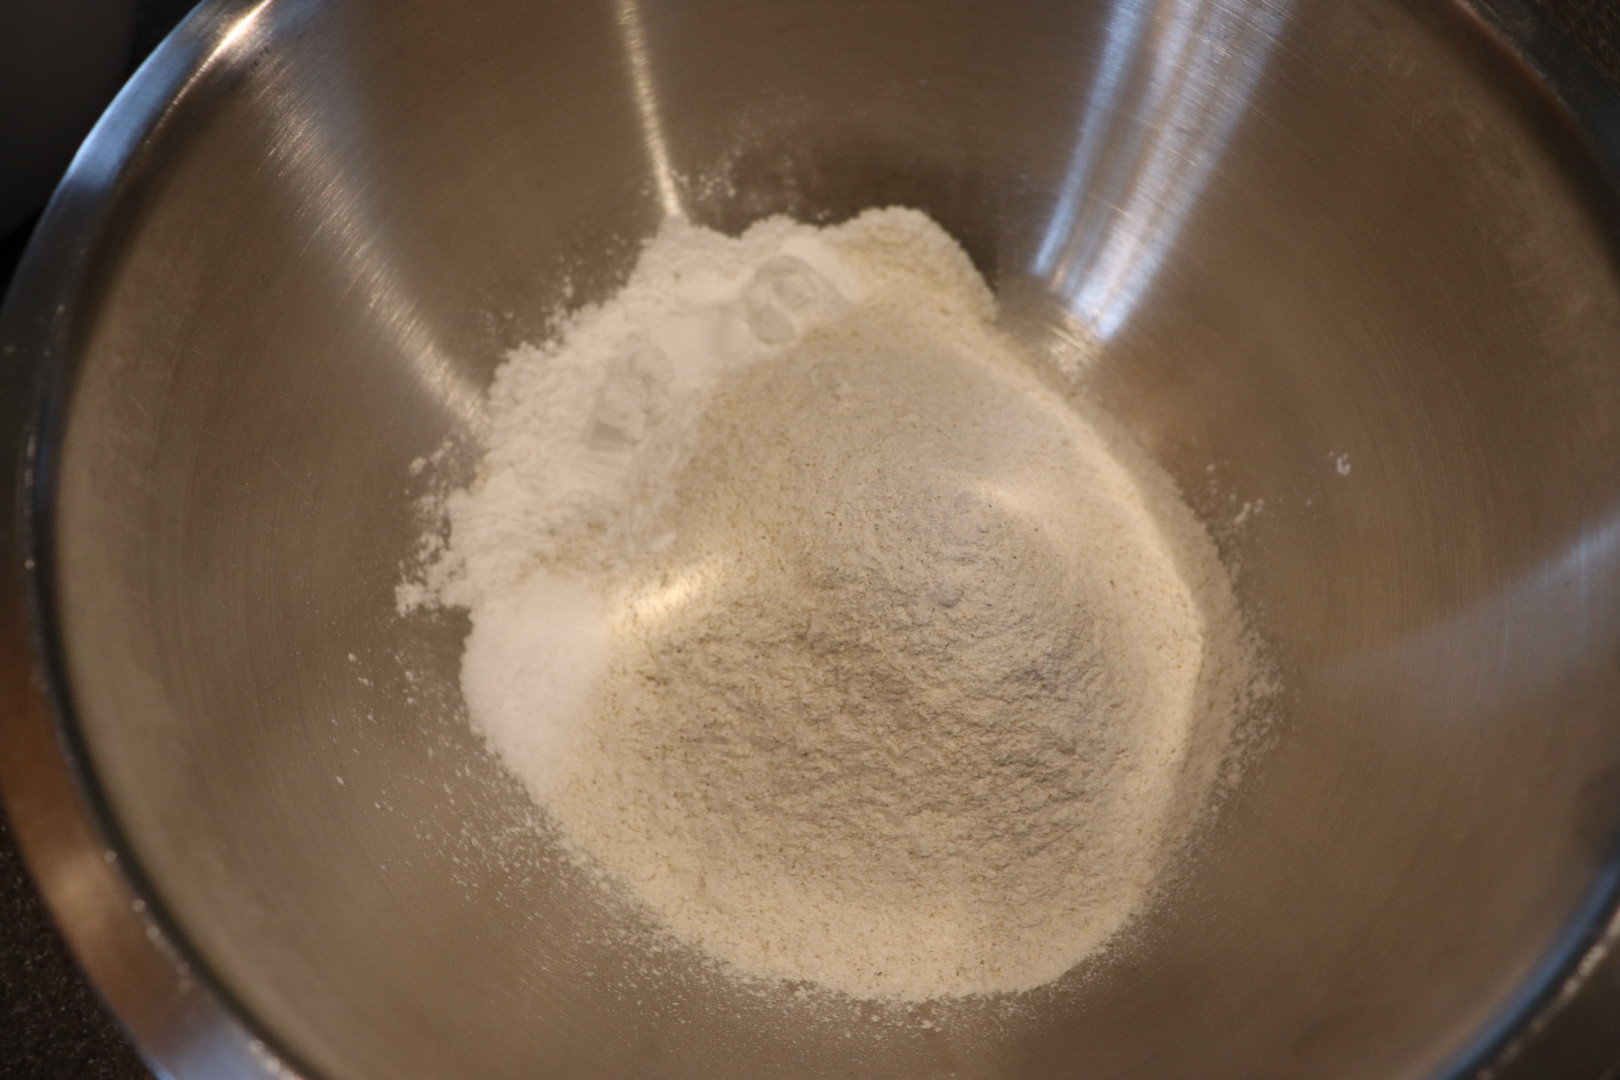
Last, but not least, Alton’s sweet and sour pork finished out this episode. Note that there is another recipe online for coconut macaroons, but Alton did not make those in the episode, so I did not make them either. You will have to start Alton’s sweet and sour pork the night before you plan to serve it. Start by making a marinade of 2 t minced garlic, 1 T minced ginger, 2/3 C soy sauce, 1/4 C flour, and 1/4 C cornstarch.
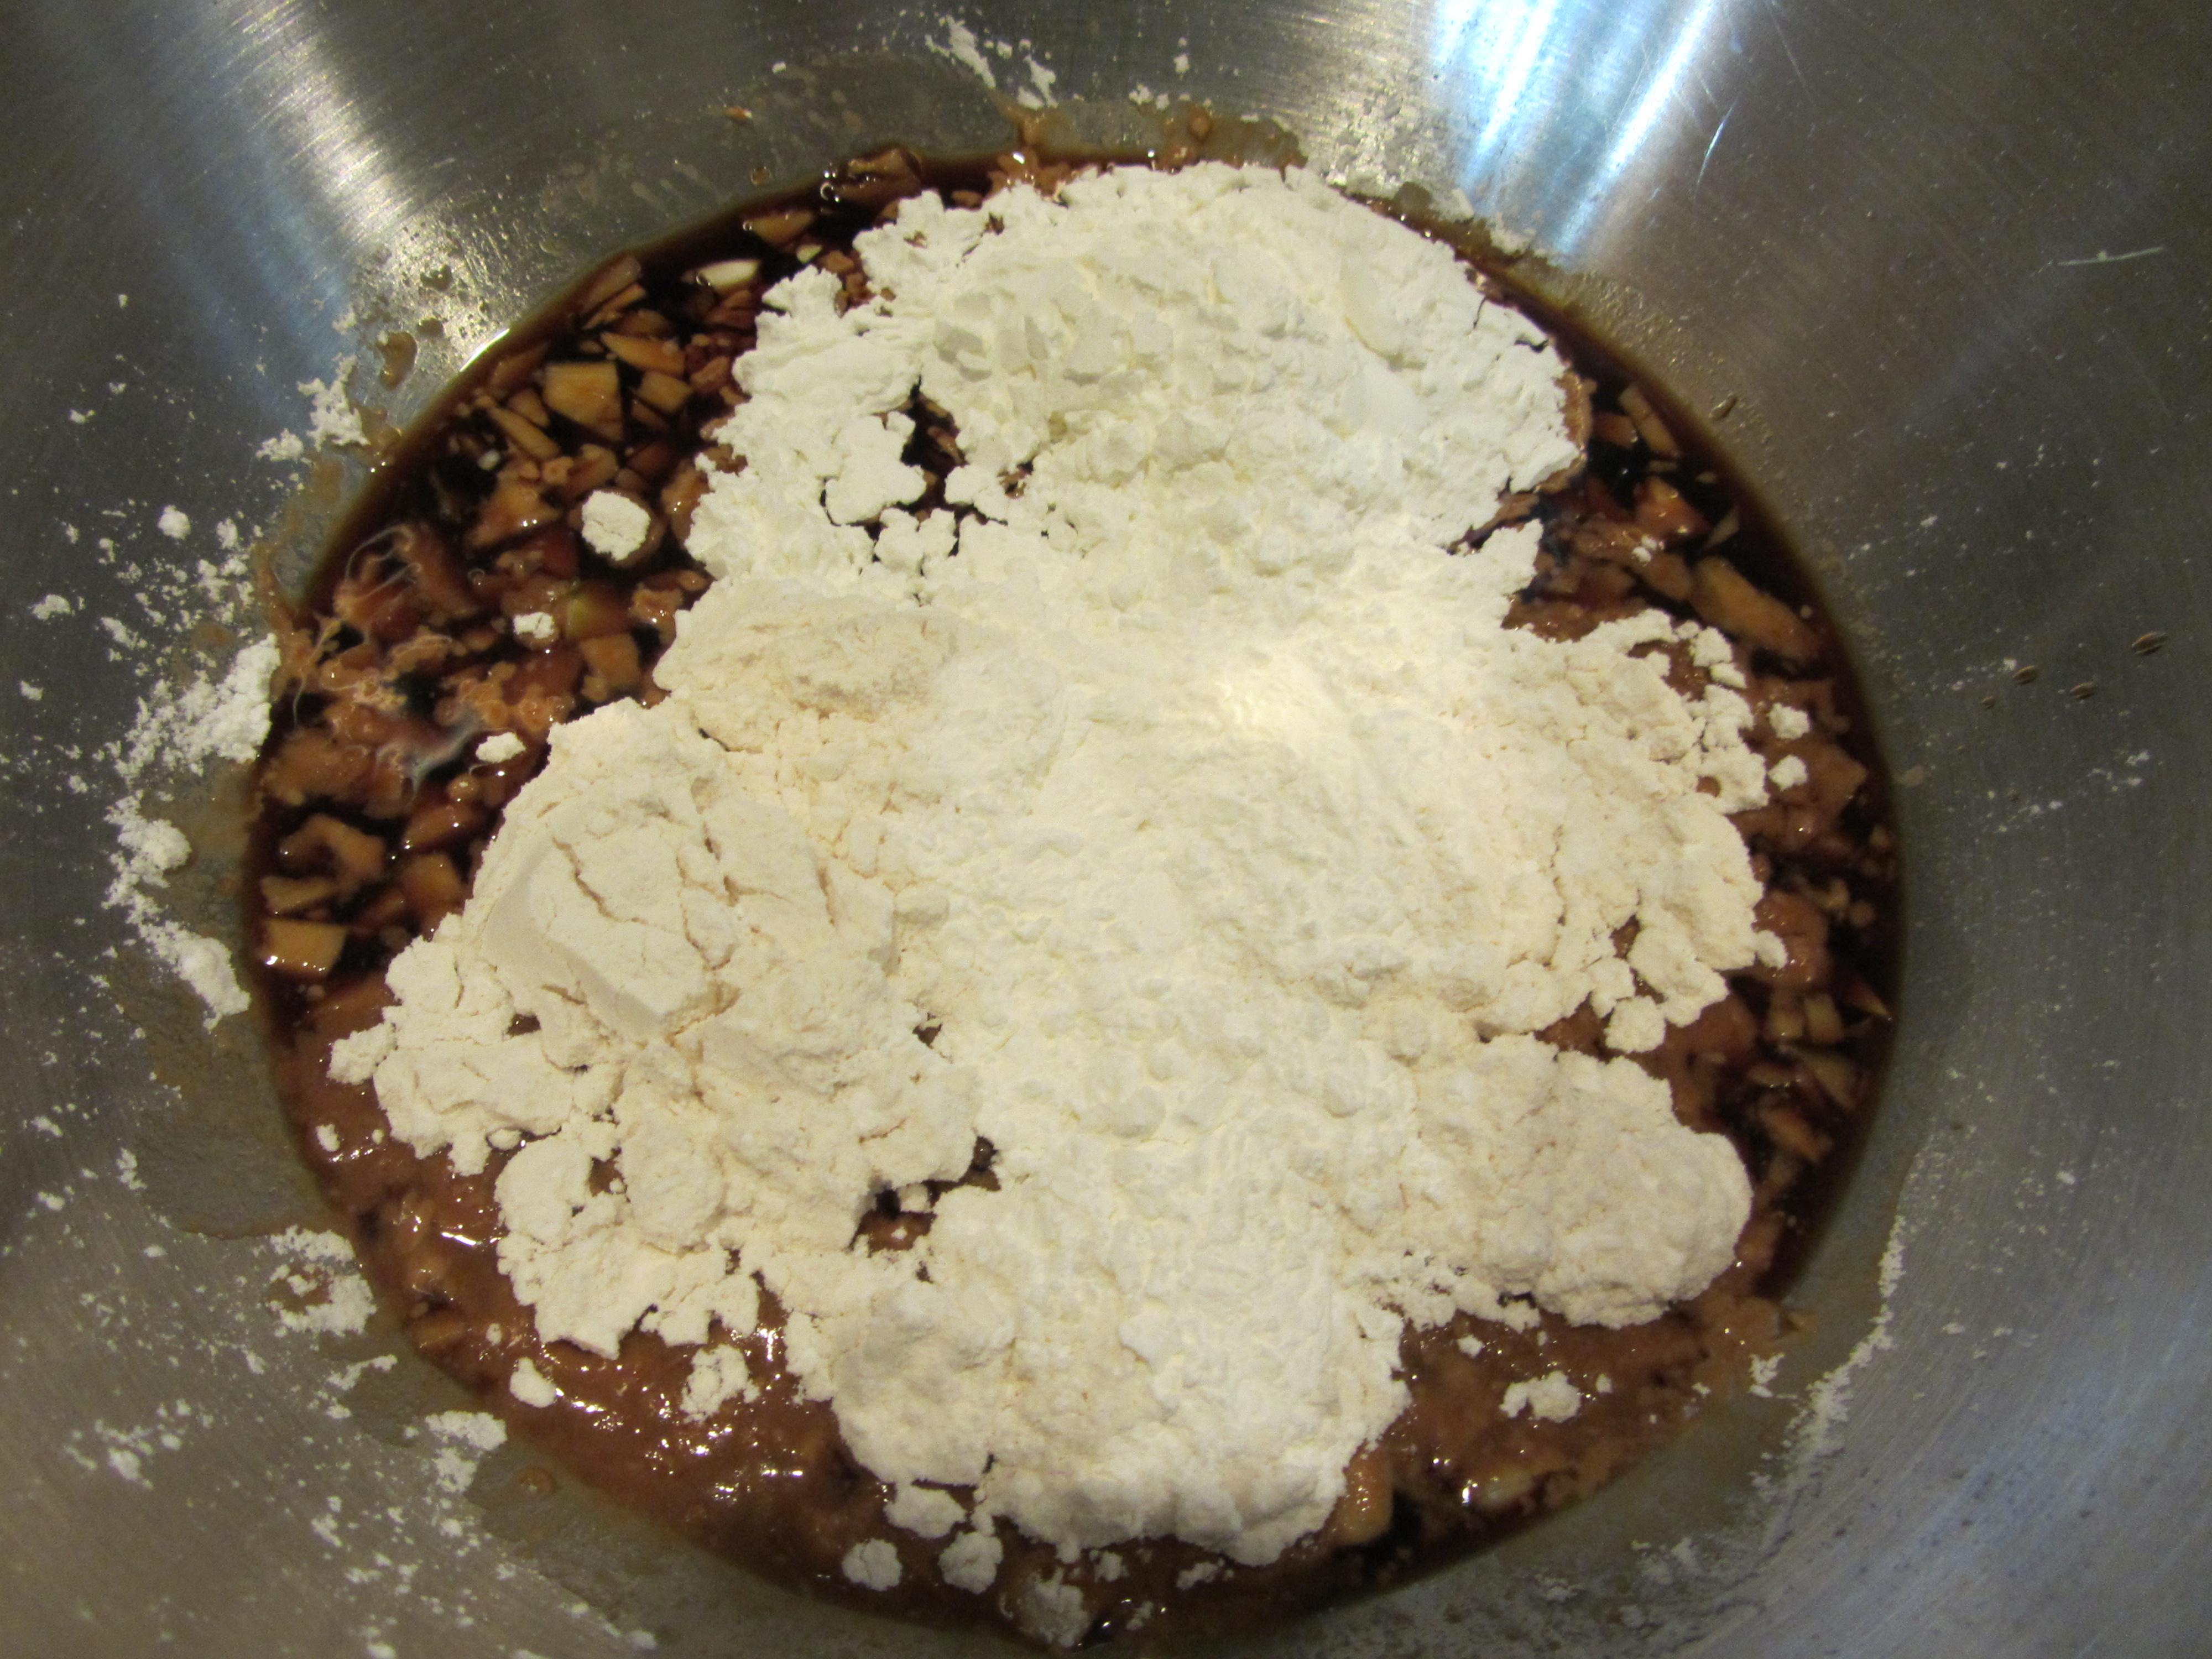
Garlic, ginger, soy sauce, flour, and cornstarch combined for marinade.
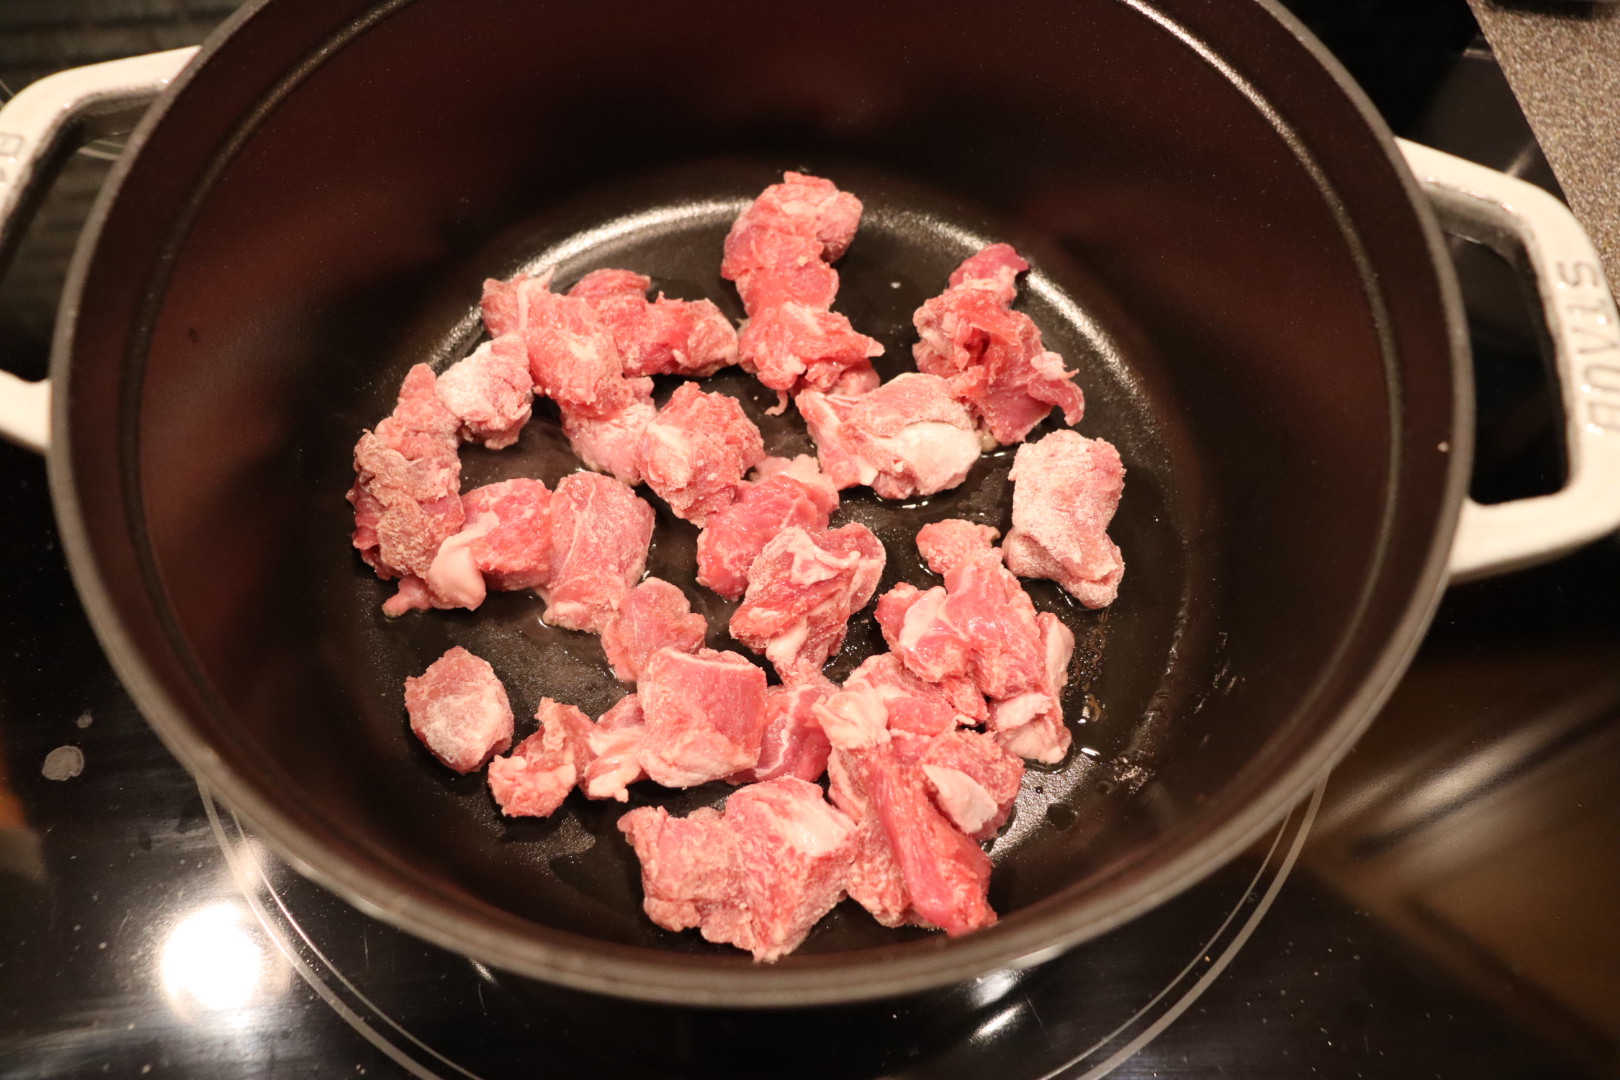
To the marinade, add 1 pound of cubed pork that has been seasoned with Kosher salt, and allow the meat to marinade overnight.
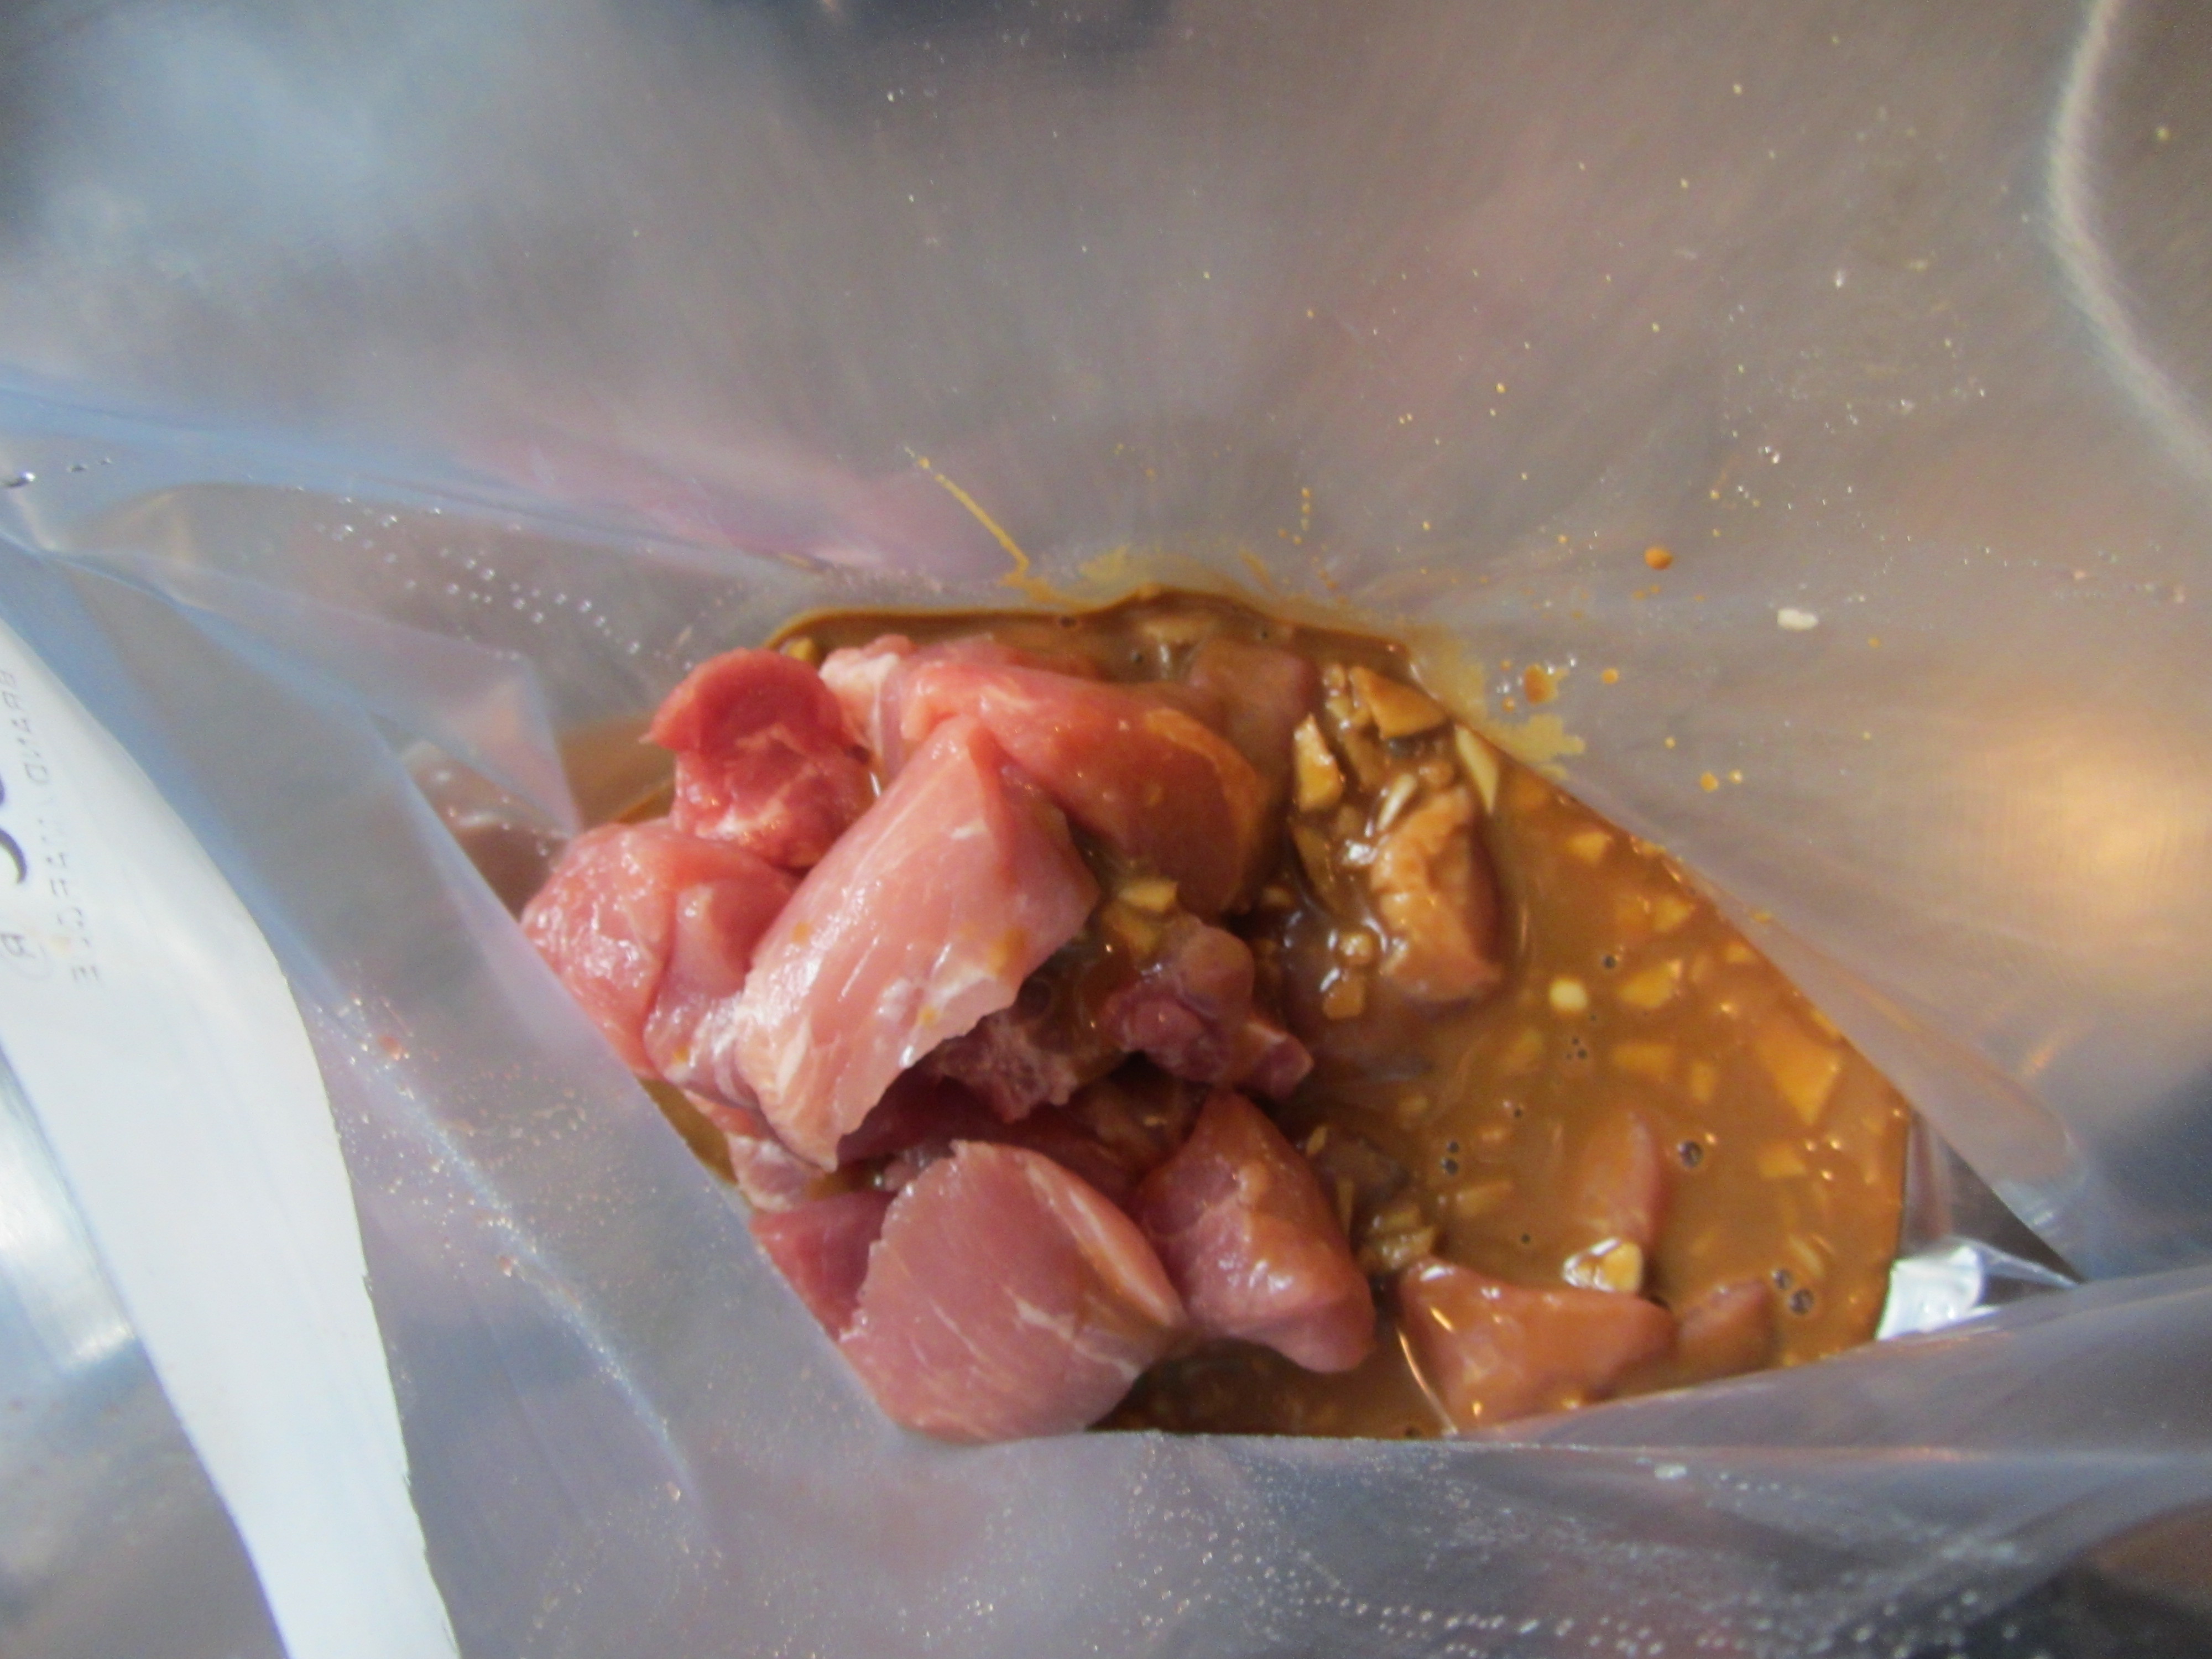
Pork in marinade overnight.
The following day, drain the marinade from the pork and dredge the pork cubes in flour that has been seasoned with salt and pepper.

Flour seasoned with salt and pepper.

Pork cubes dredged in seasoned flour.
Fry the pork in 375-degree peanut oil until golden brown, and set aside.

Pork cubes, frying in peanut oil.

Fried pork cubes.
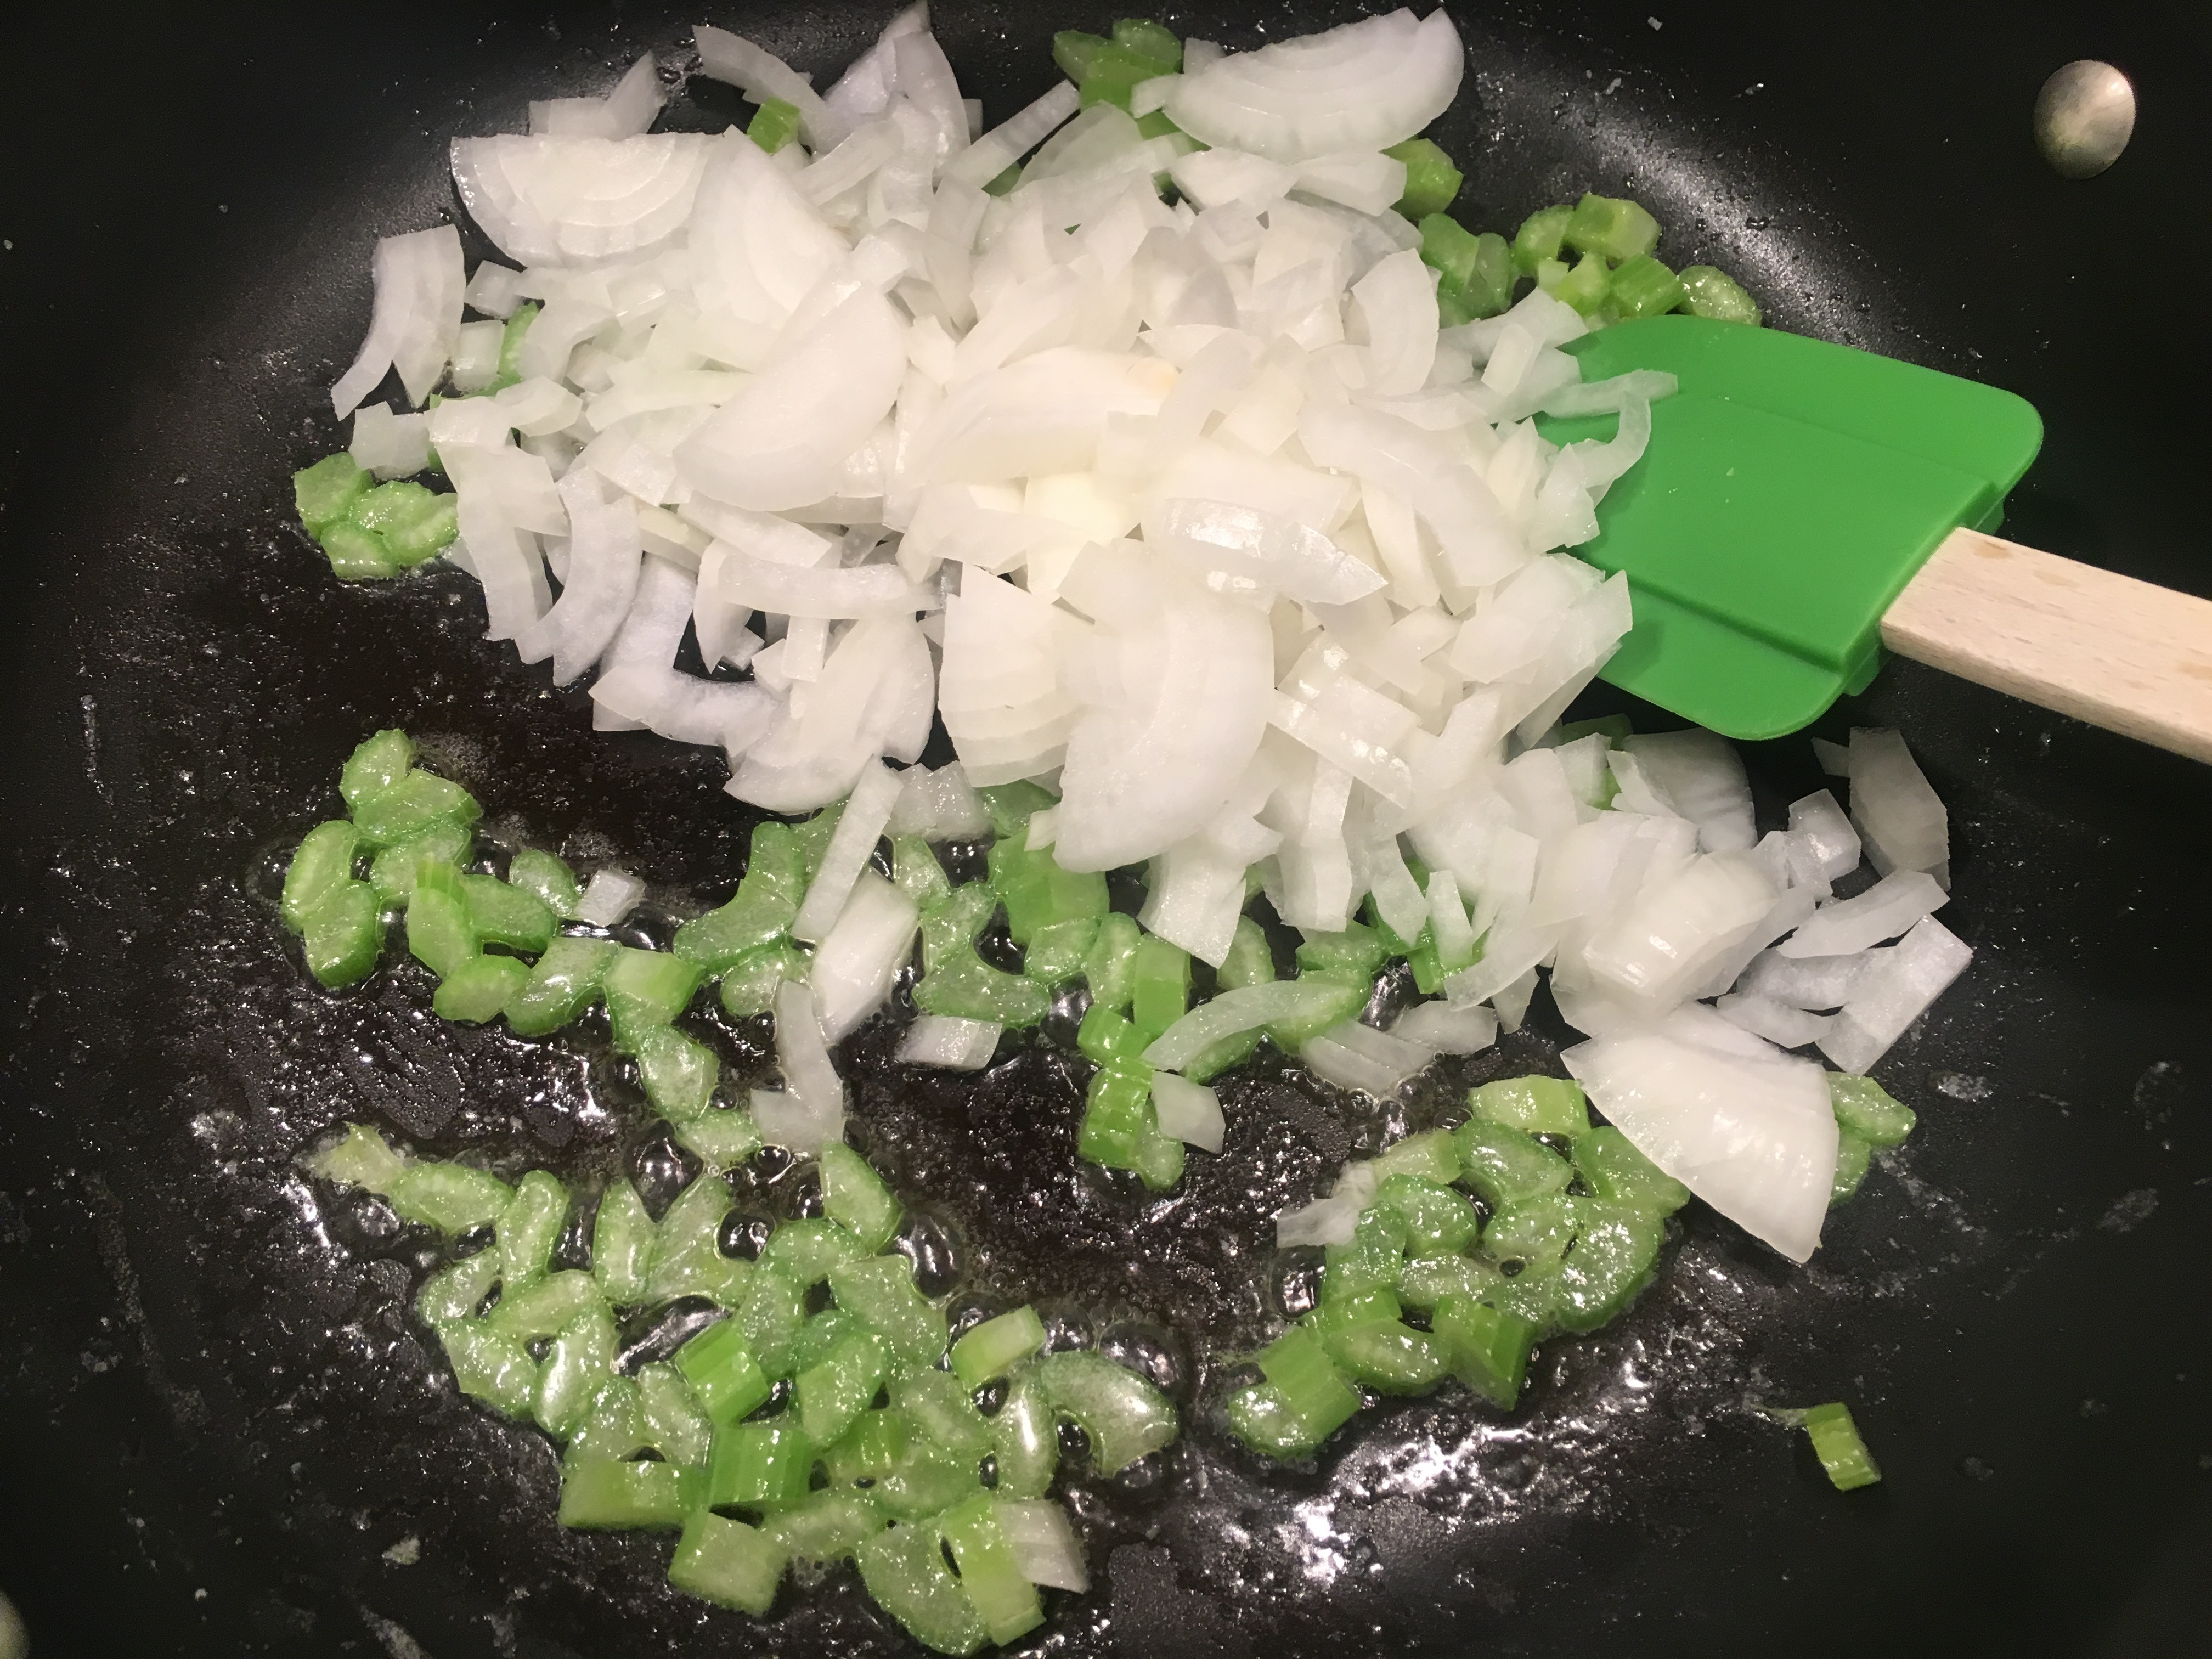
In a skillet, heat 1 T peanut oil with 2 t sesame oil. Add 1/3 C each of diagonally sliced carrot, diced onion, and diced celery.
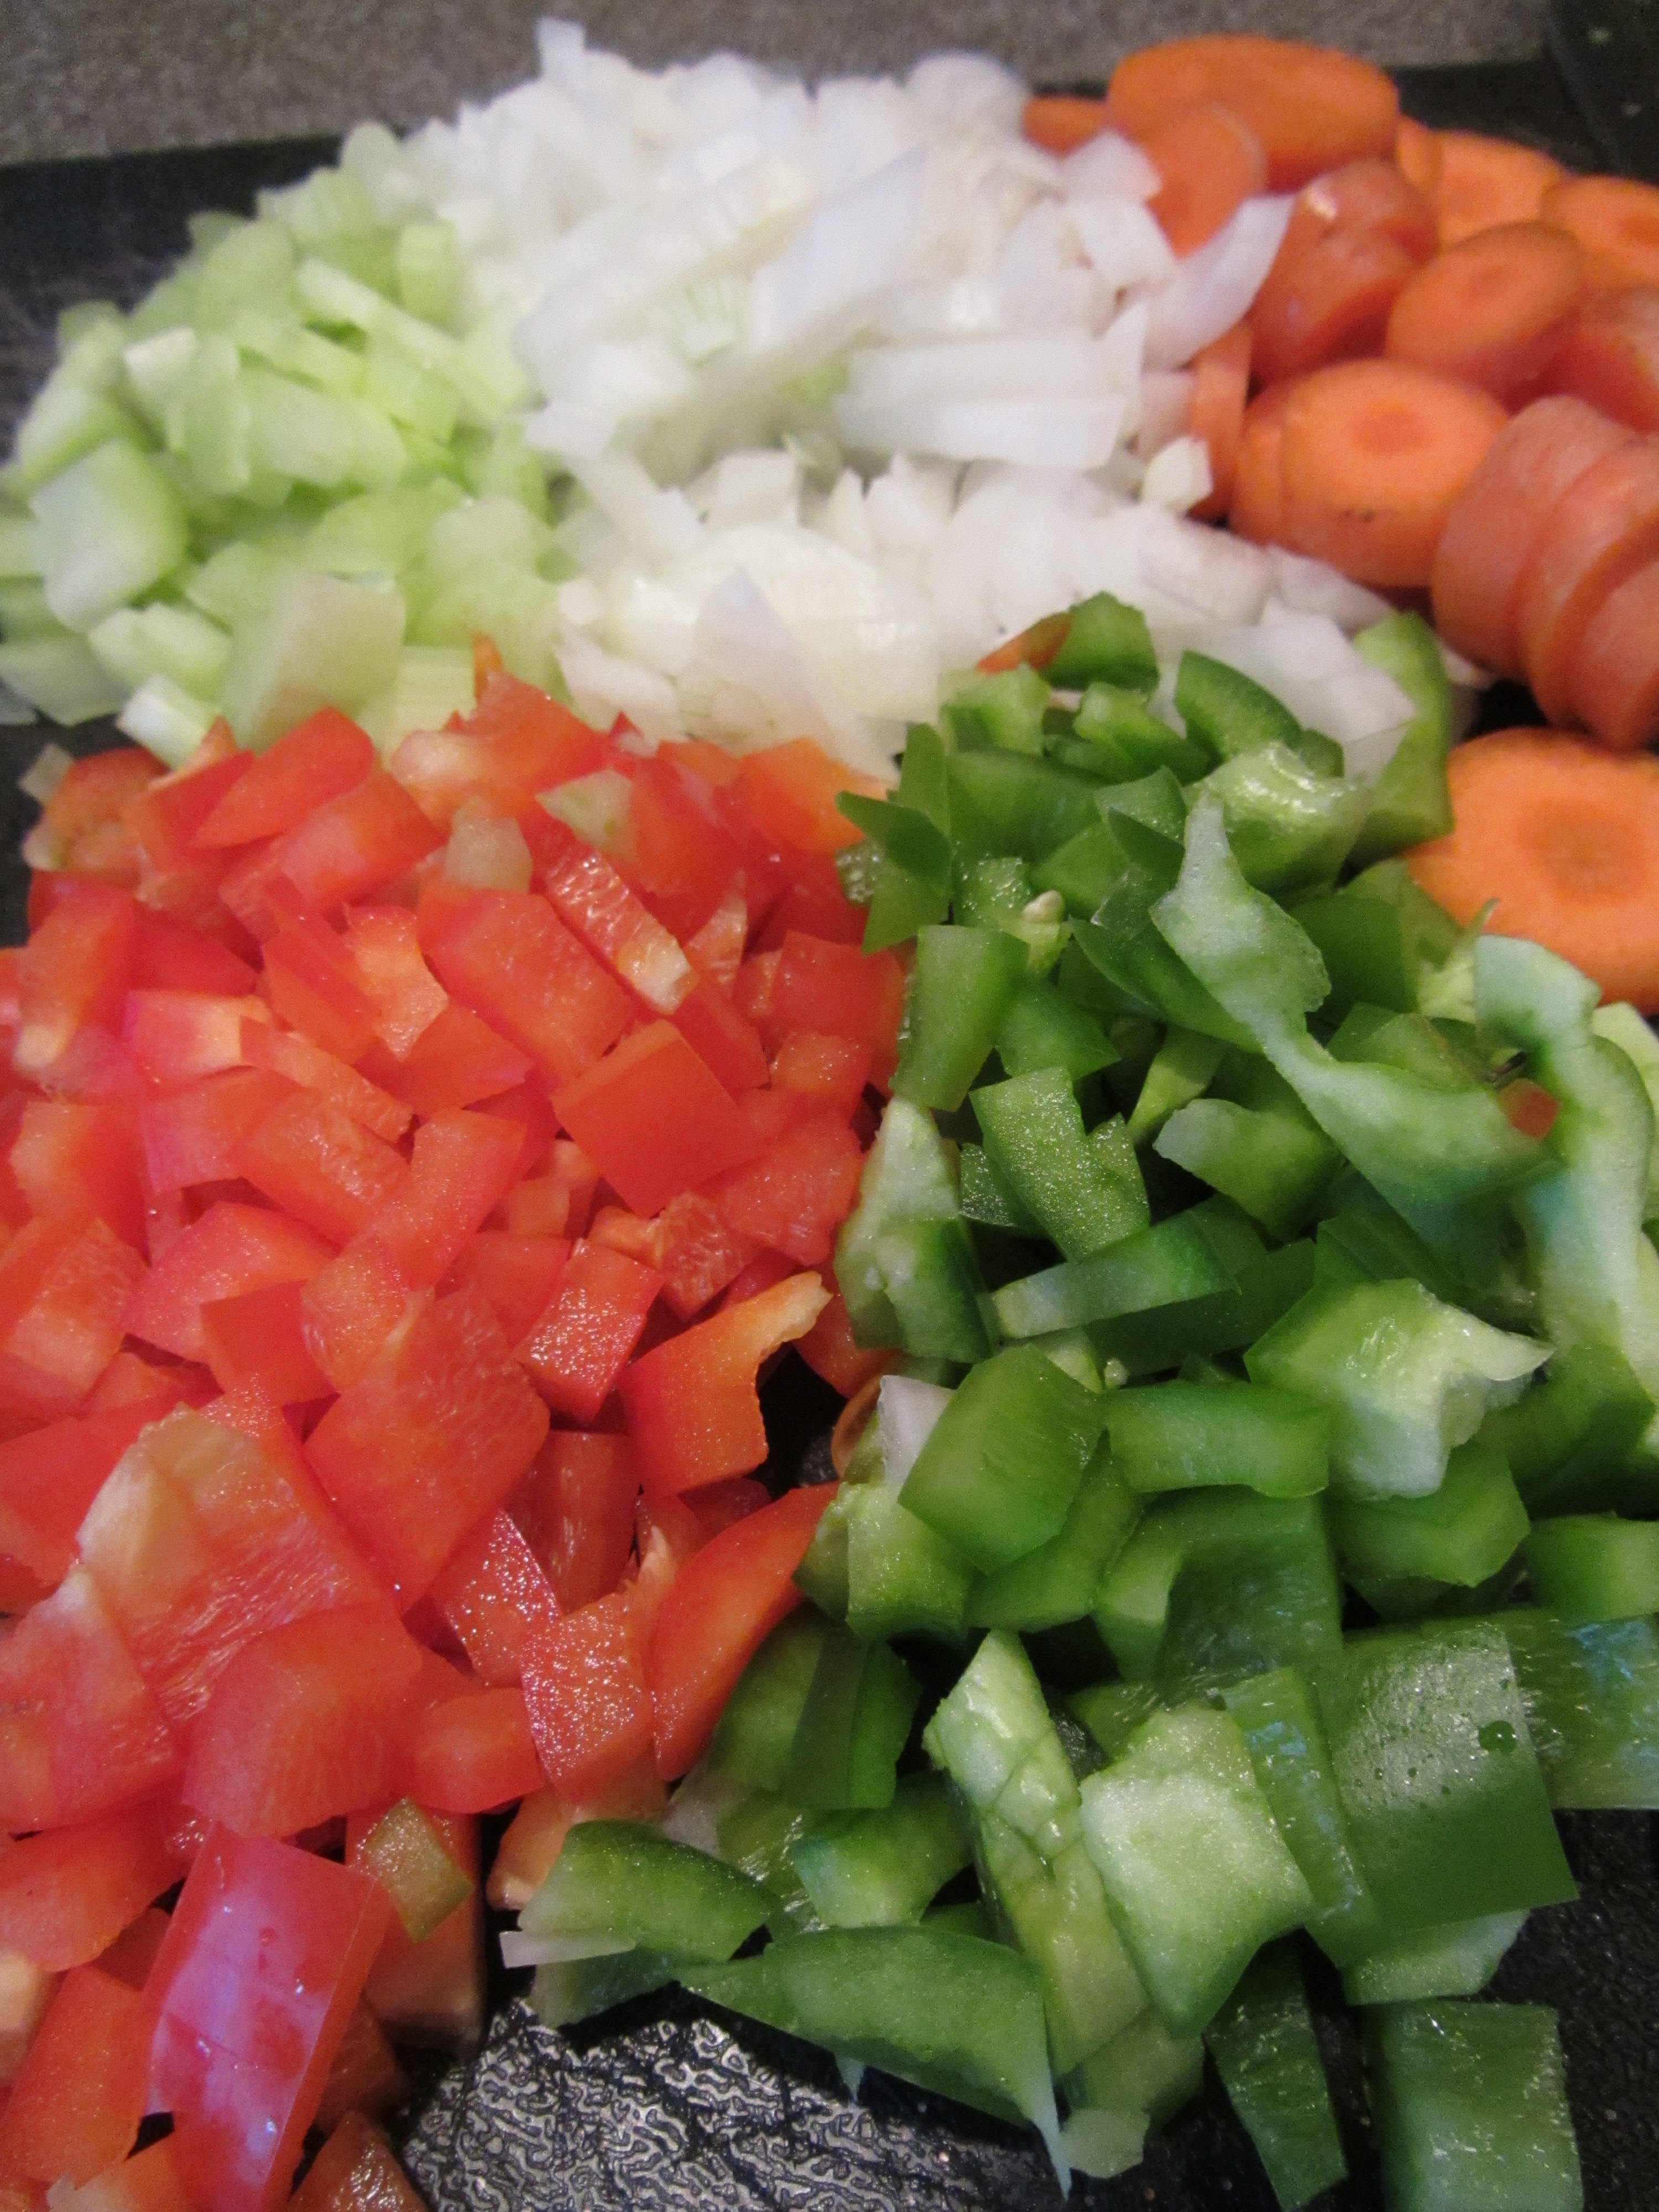
Celery, onion, carrot, red bell pepper, and green bell pepper.
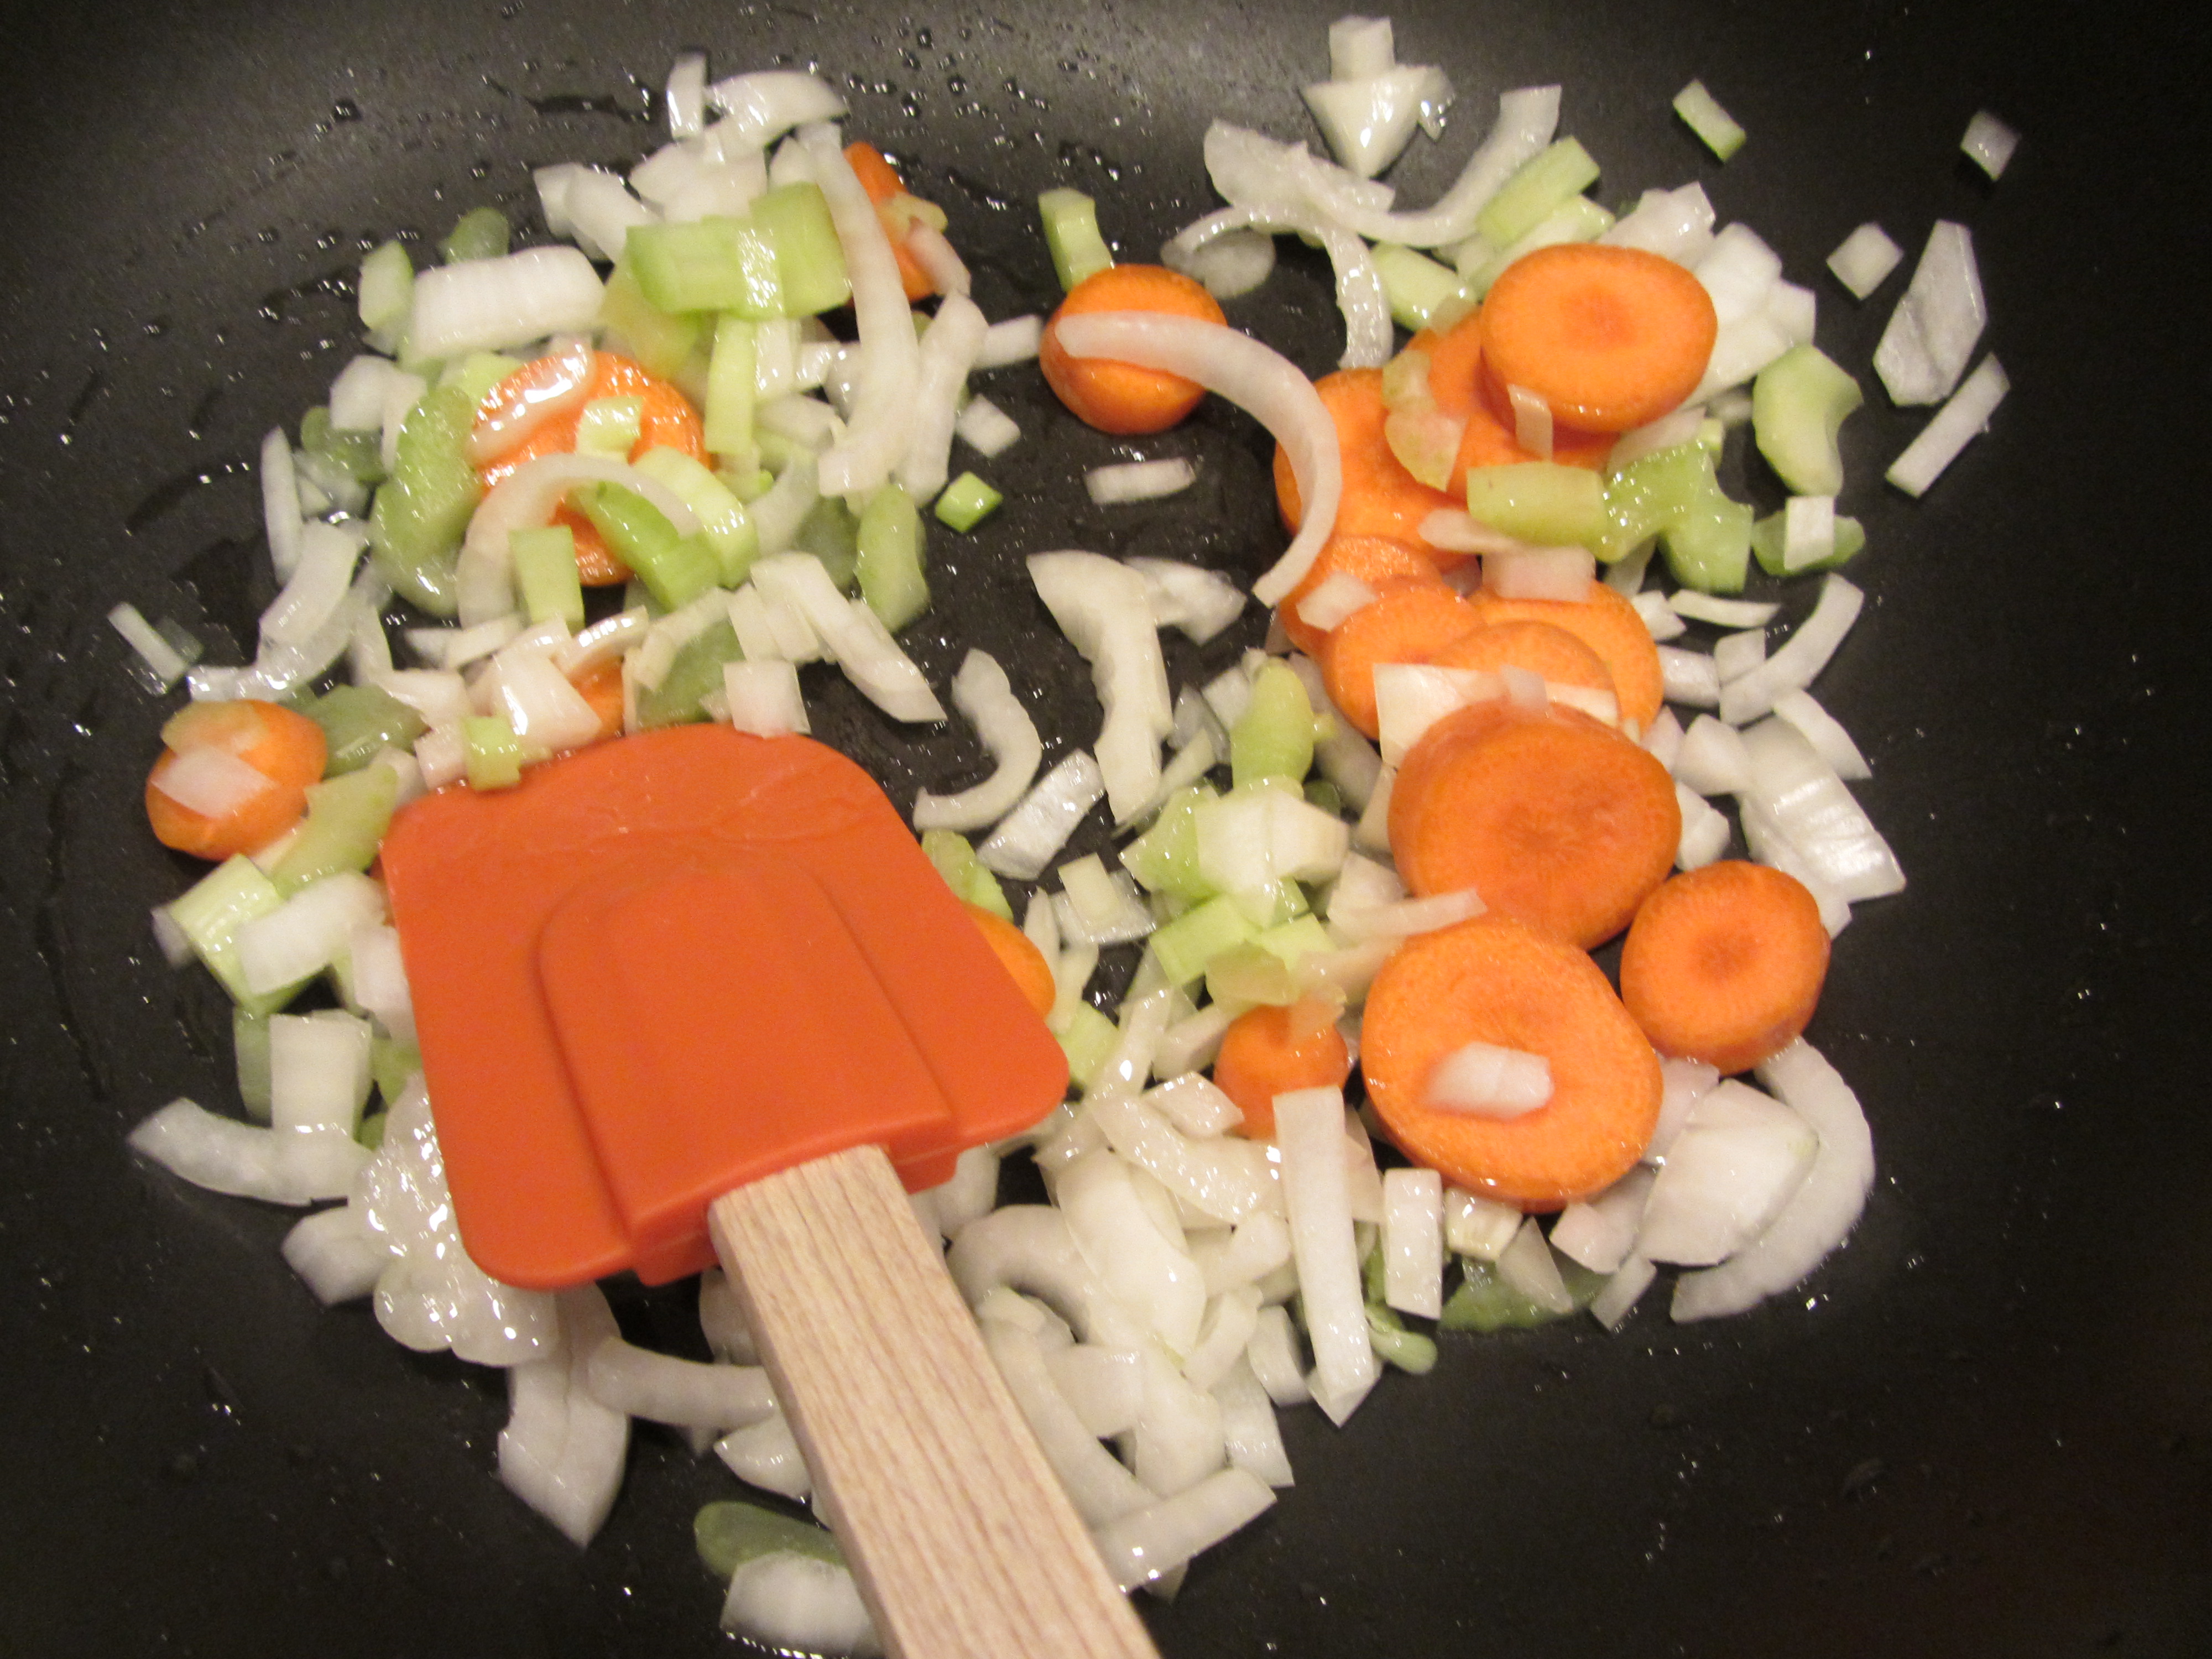
Onion, celery, and carrot, sauteeing in oil.
Cook the vegetables until they are translucent. Add 1/3 C diced red bell pepper, 1/3 C diced green bell pepper, and 1 C chopped pineapple.
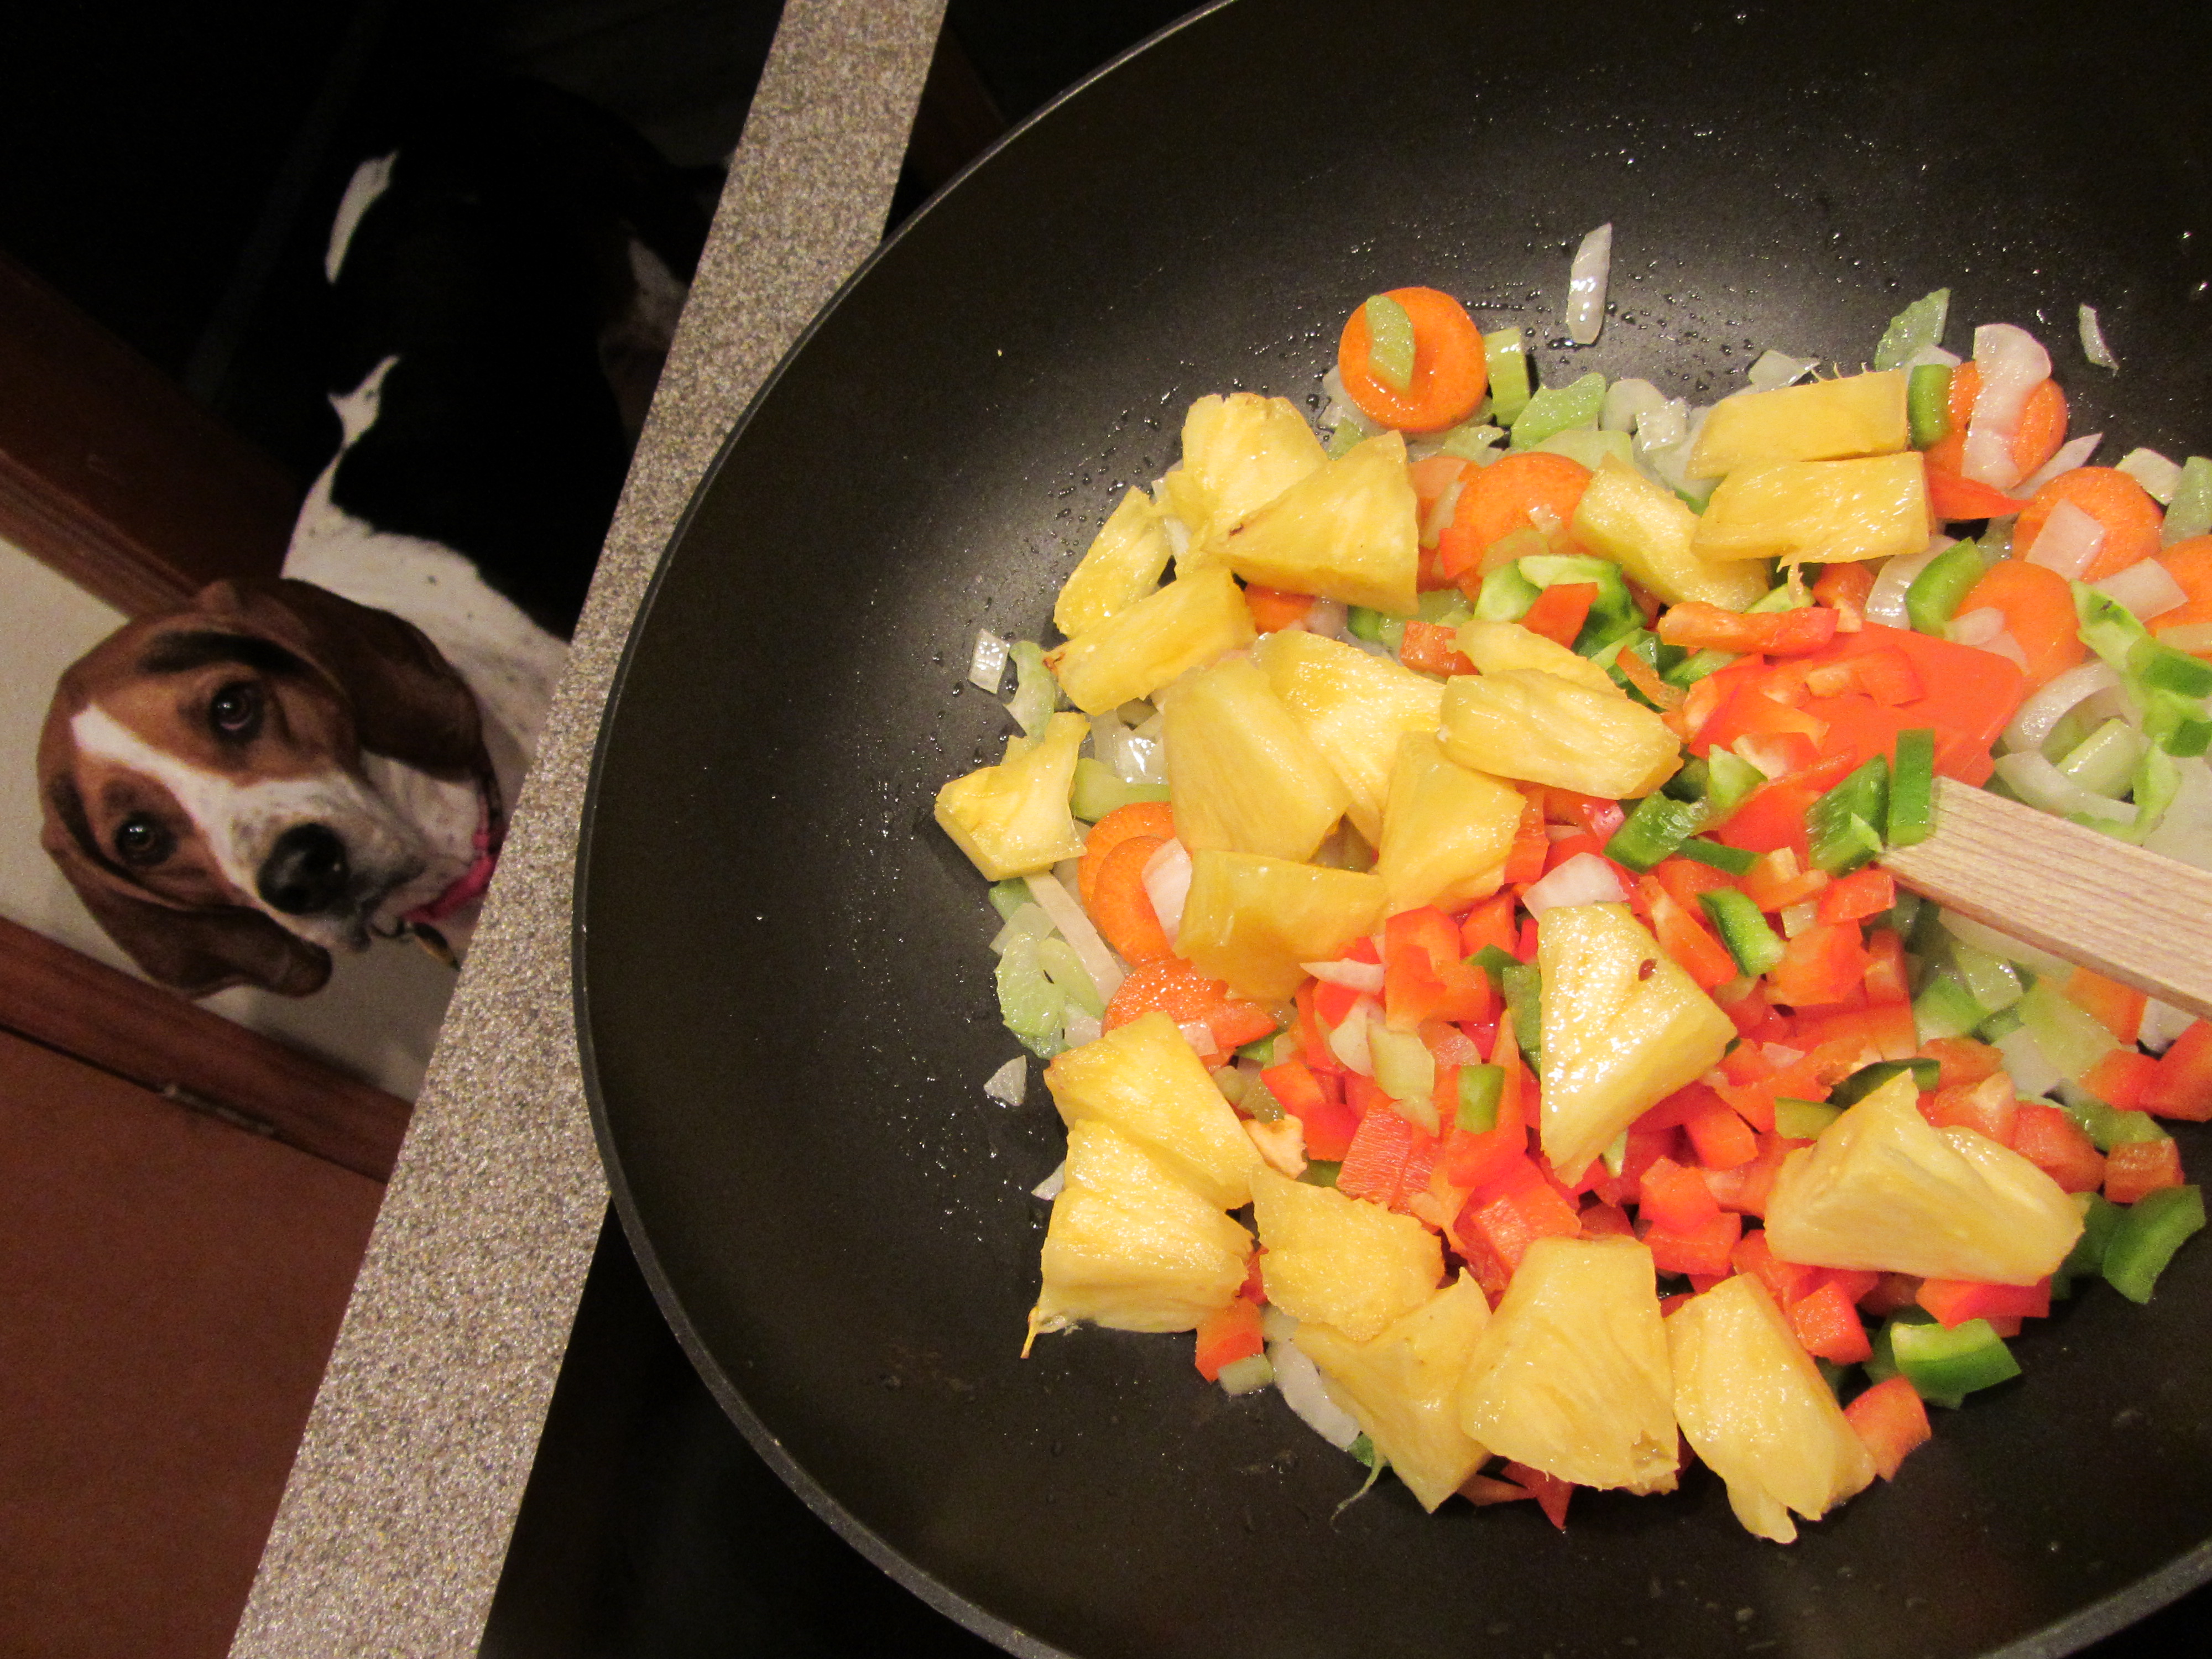
Bell peppers and pineapple added to pan.
Next, add the fried pork to the pan, along with a mixture of 1 C ketchup, 1/4 C red wine vinegar, 1/4 C sugar, and 1 1/2 ounces honey.
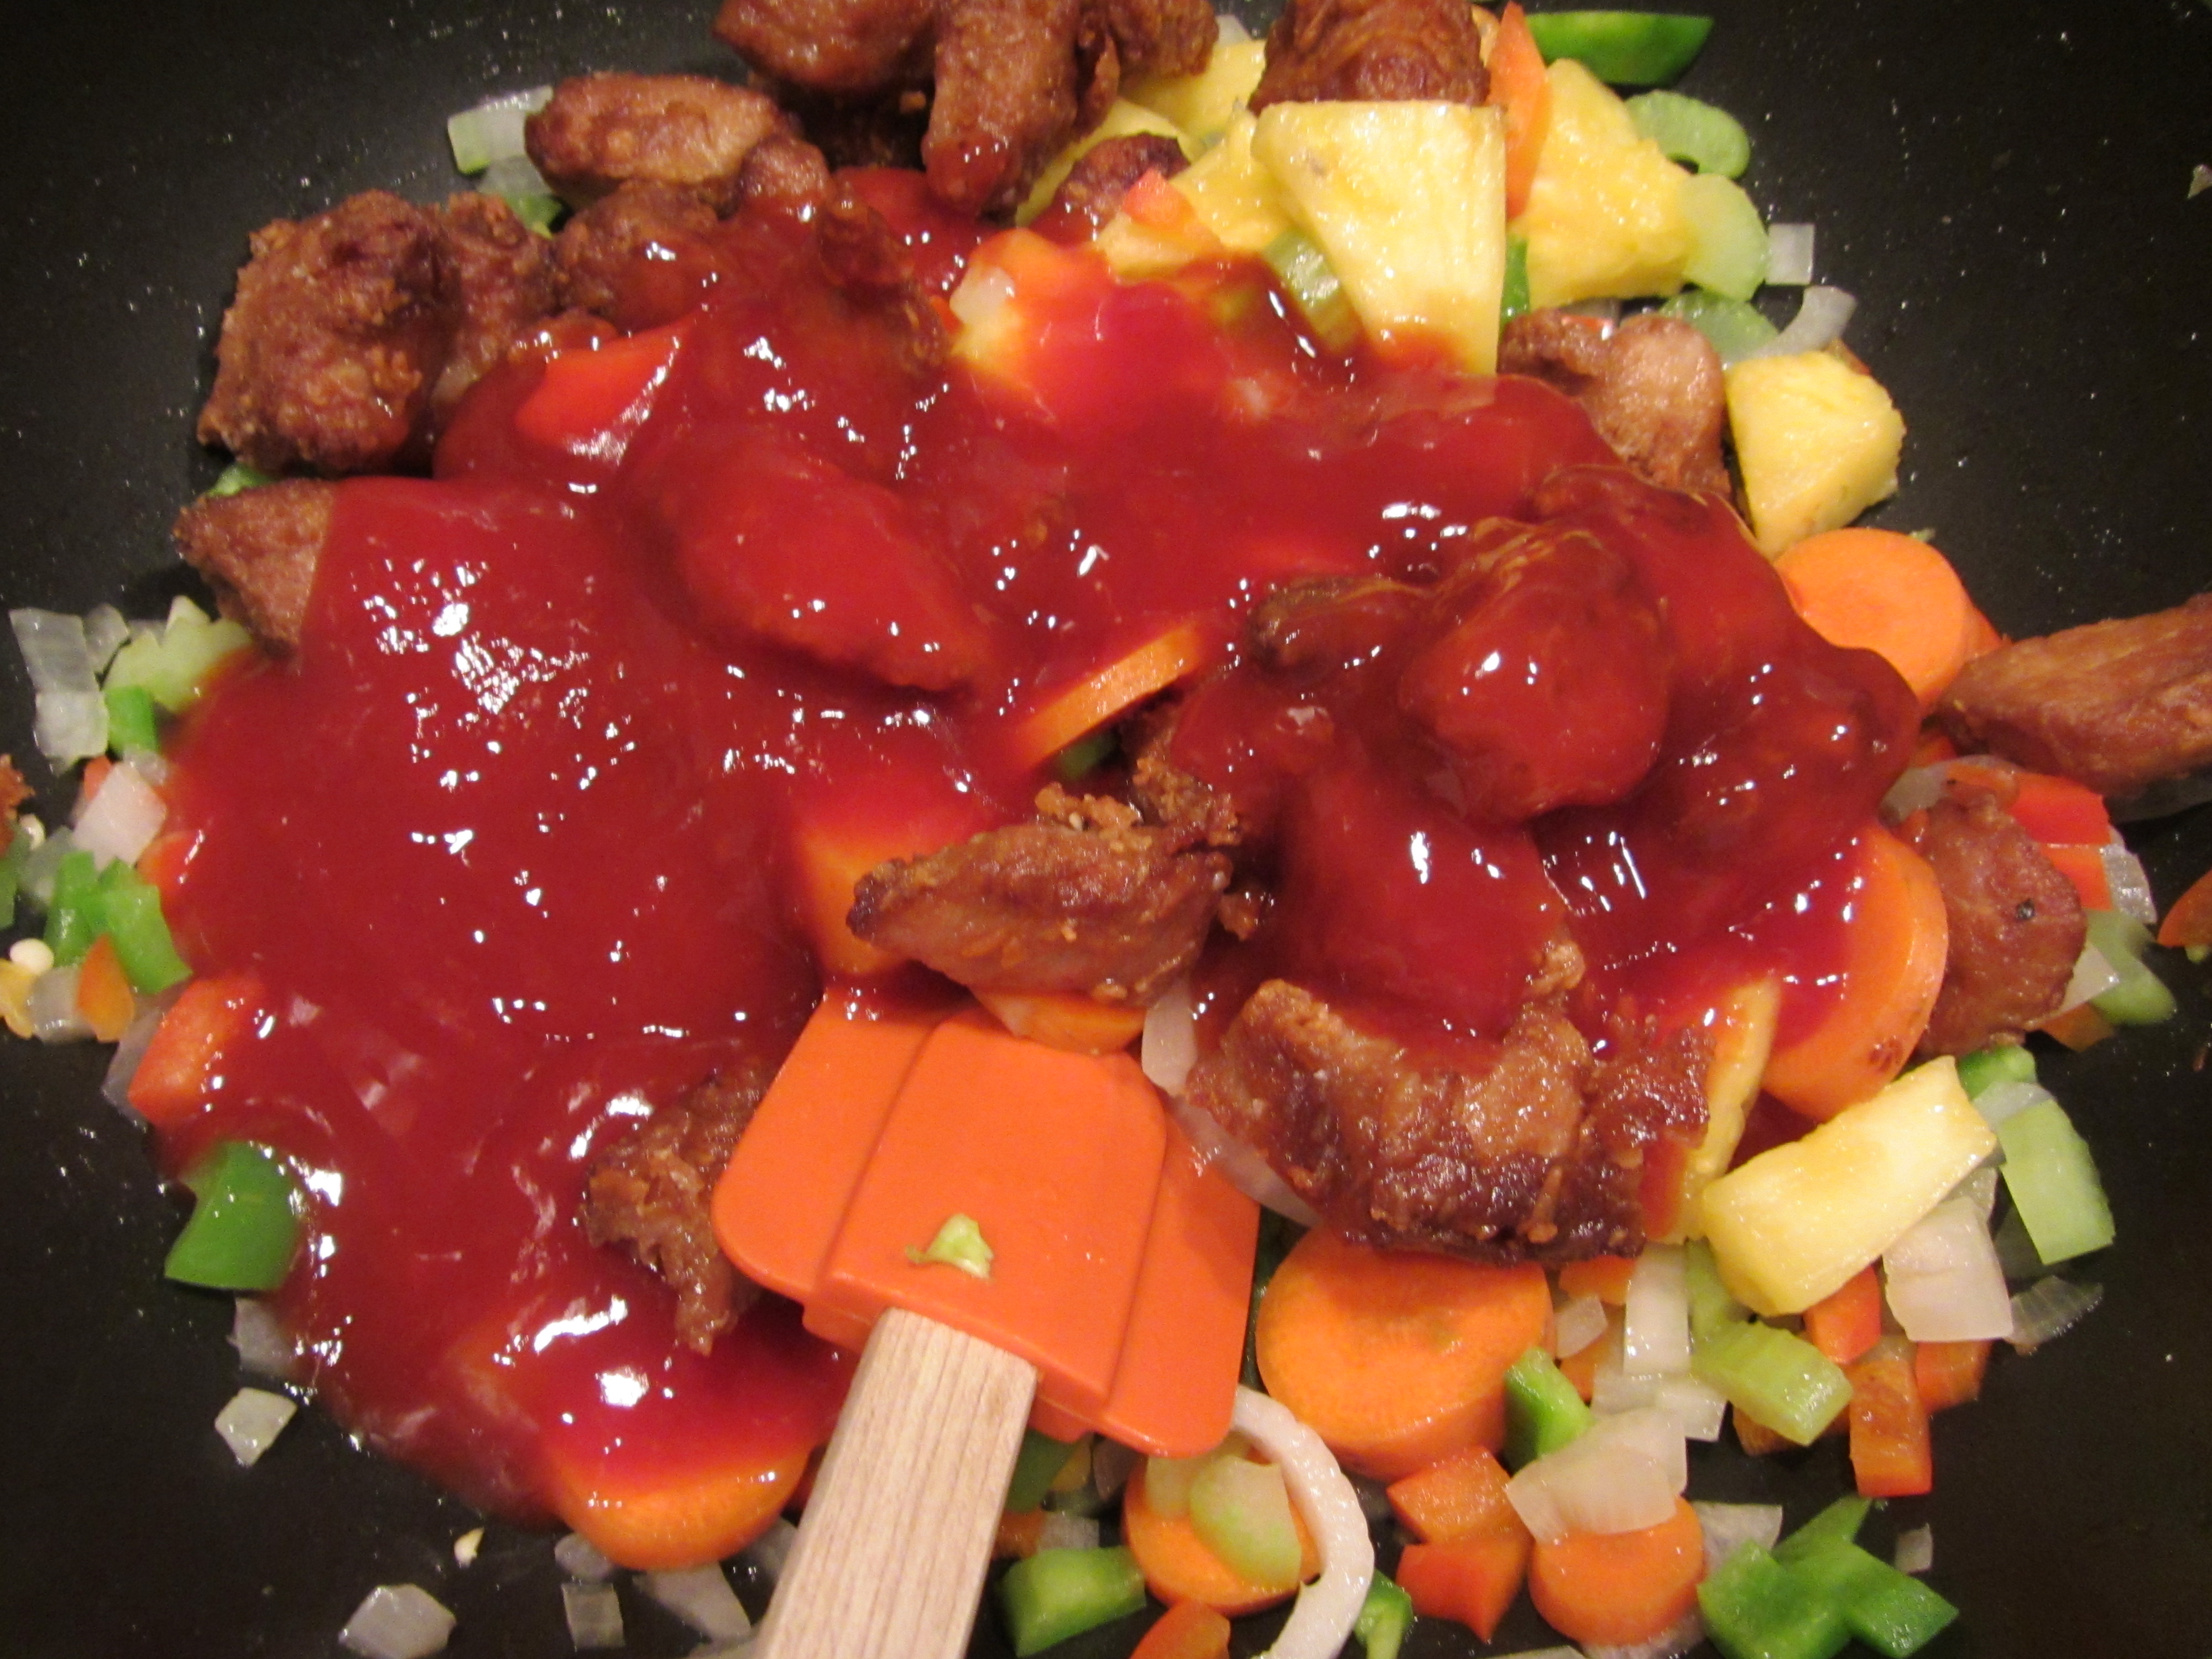
Sauce and pork added to pan.
Cook over low heat until the pork is tender and heated through.
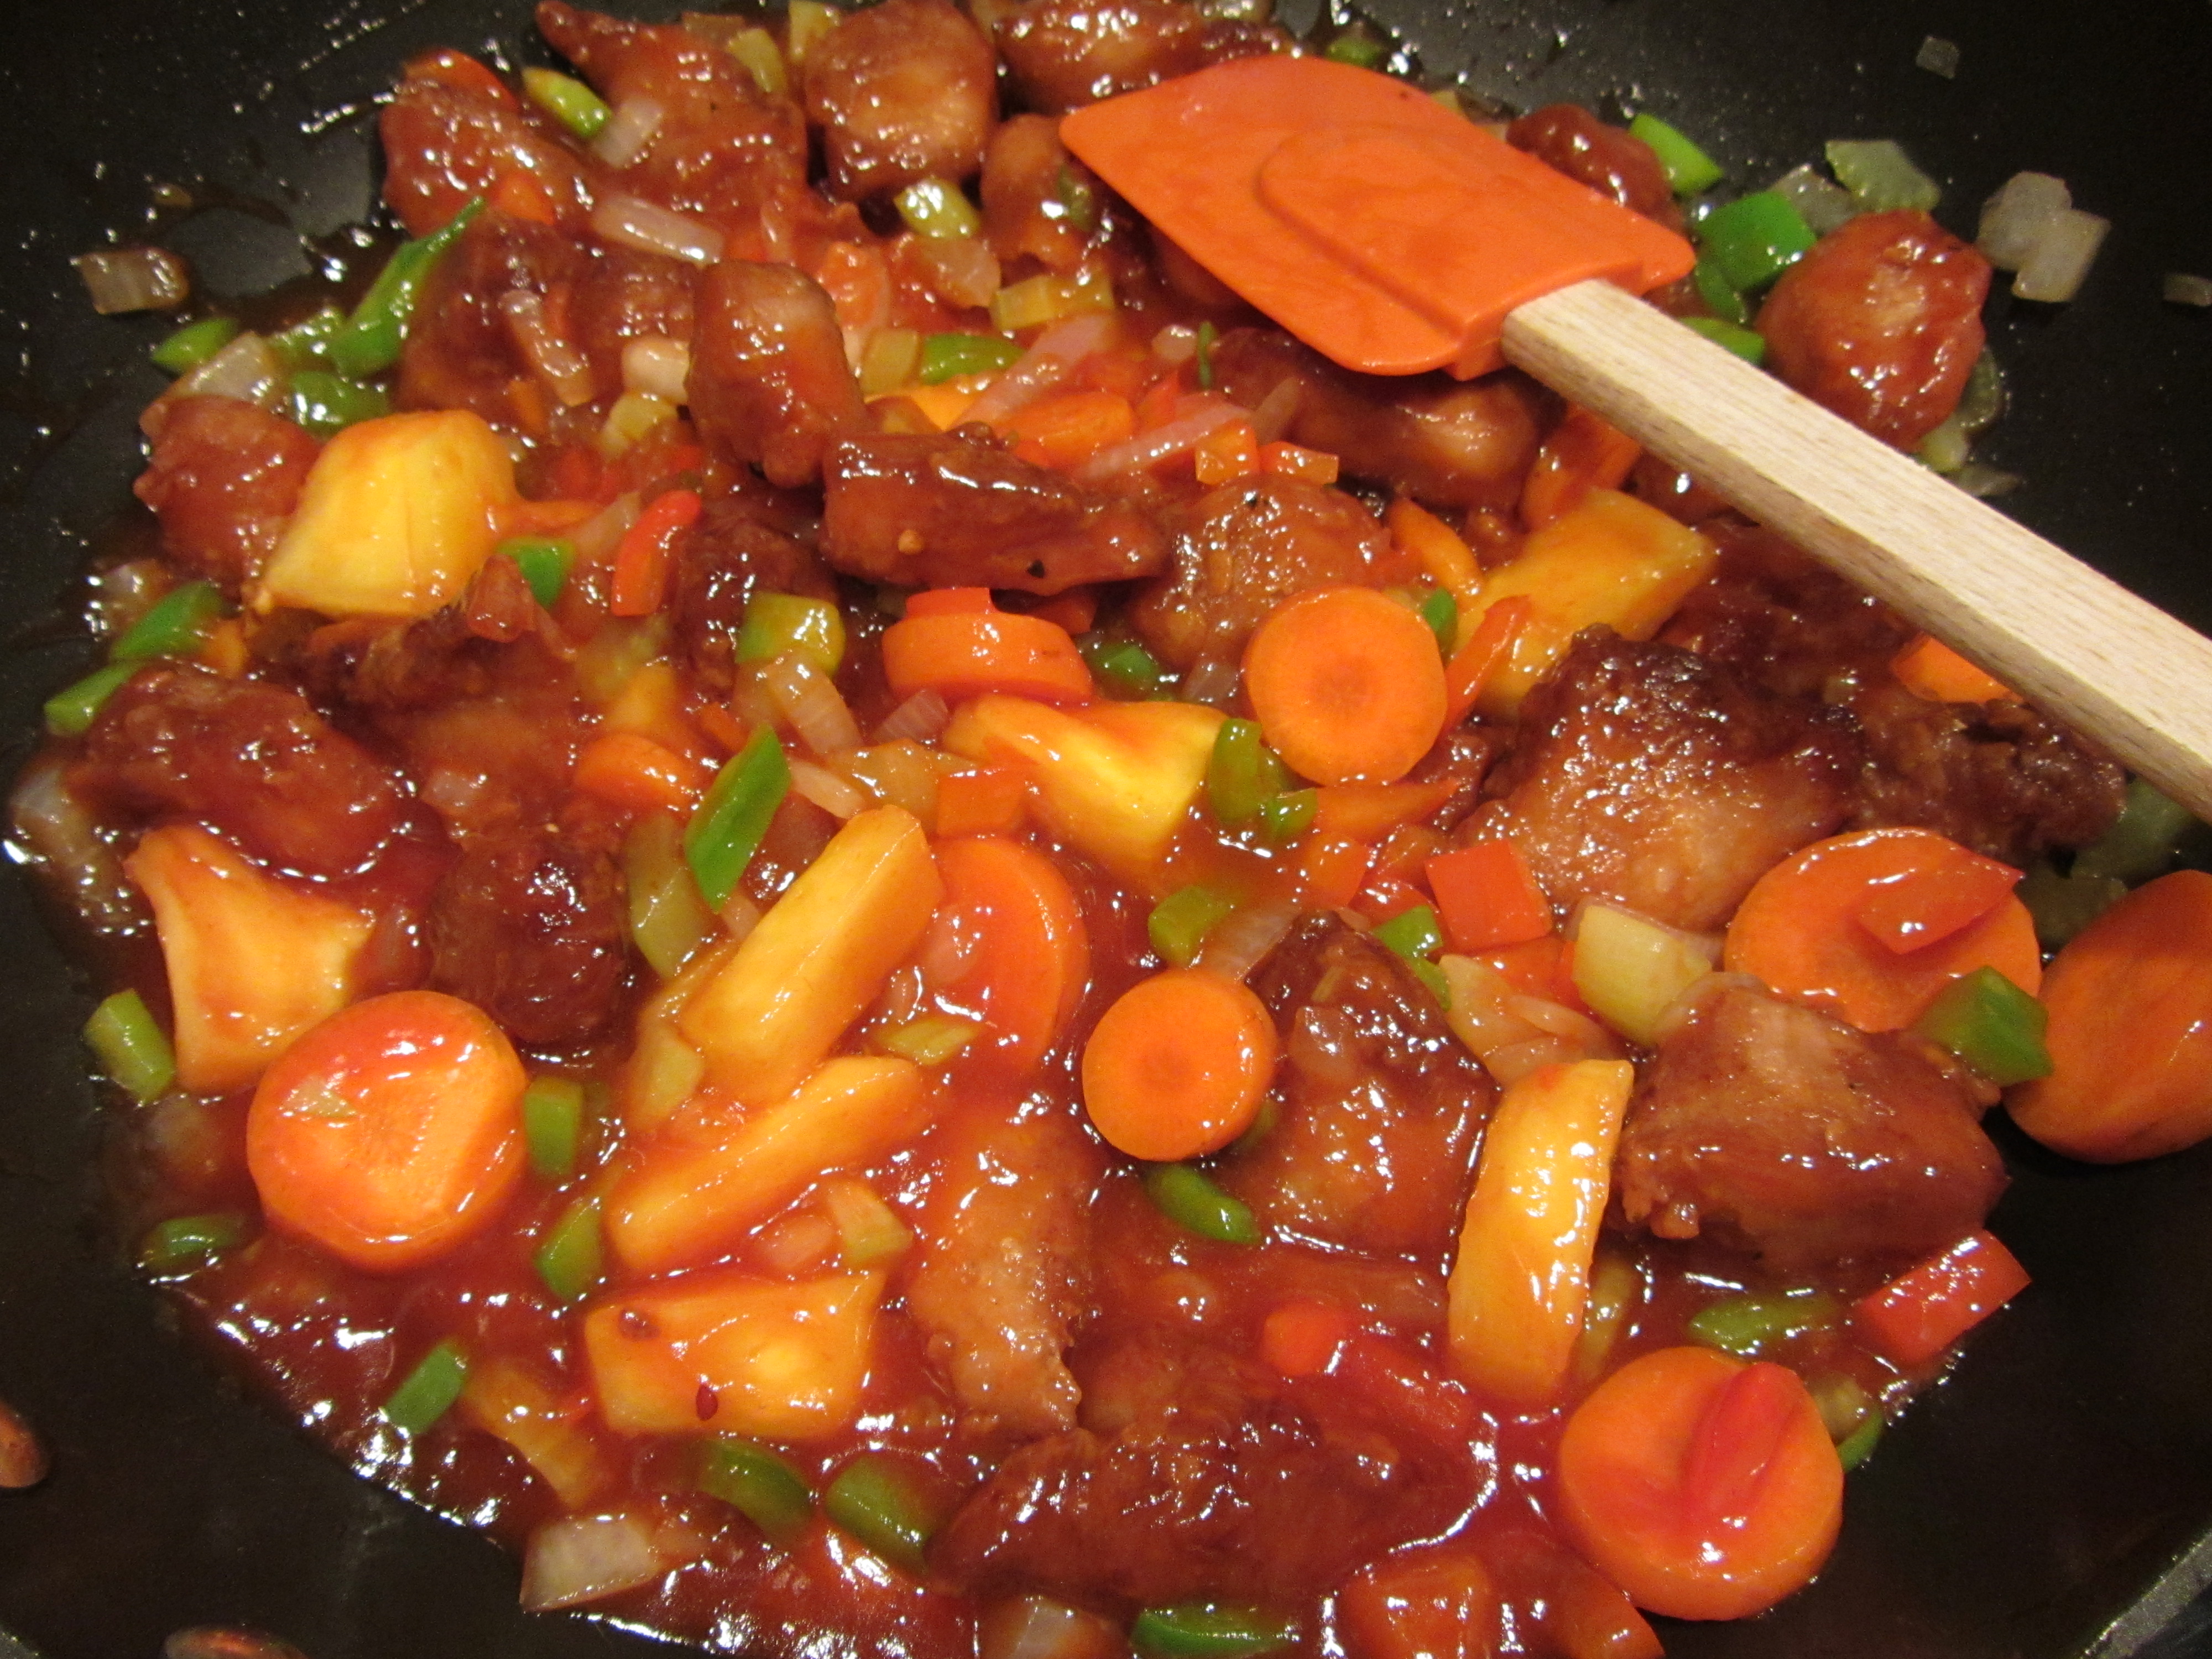
Cooked until pork was heated through.
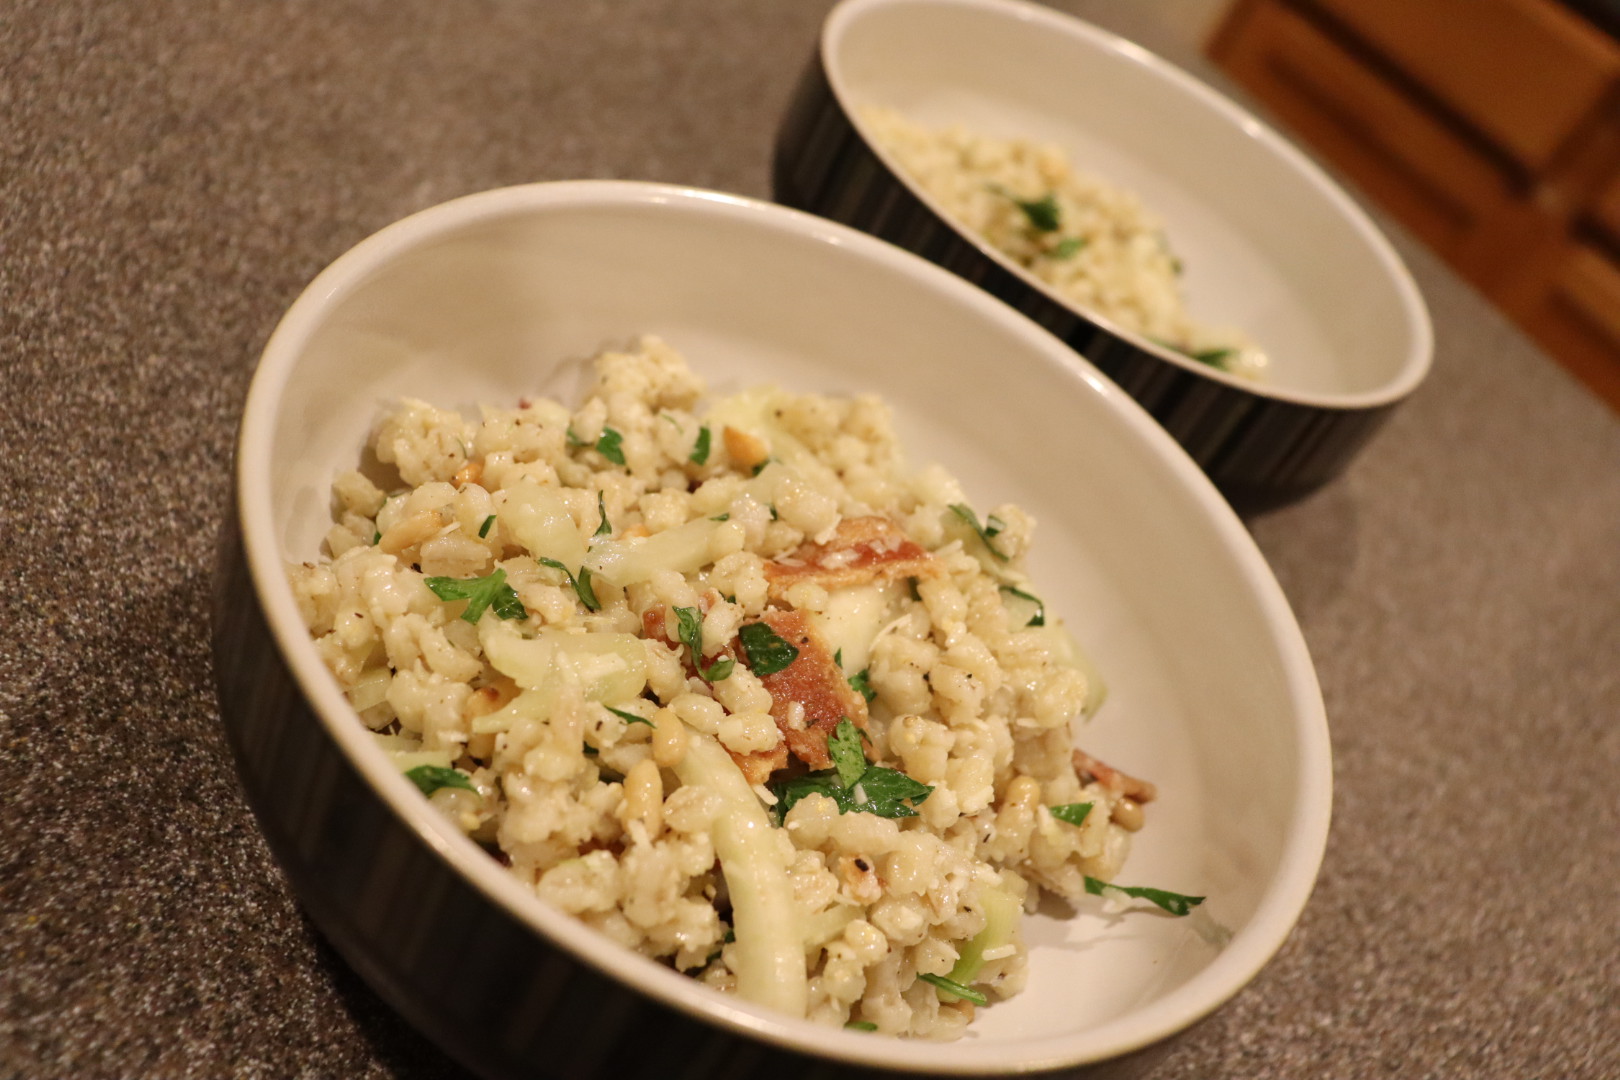
I served Alton’s sweet and sour pork over rice and we thought it was really good.

Alton’s sweet and sour pork over rice.
The pork was tender inside and slightly crispy on the outside, but far from greasy. The sauce was a perfect blend of sweet and sour flavors. Alton’s version of this classic is a good one.


")
")
")
")
")
")

")
")

")
")
")
")
")
")
")
")
")


")
")
")
")
")
")
")
")
")
")
")
")