Posts Tagged ‘burger’

With episode 127, I have officially begun the 9th season of Good Eats. It’s crazy to think how much has transpired since I started this project and how many recipes/methods I have attempted. In case you have not heard, Alton is bringing Good Eats back to TV with new episodes starting in August, so that is definitely something to look forward to. By the way, I have read online (It must be true then, right?) that this episode was the only Good Eats episode that was actually filmed in Alton’s home kitchen, so there’s a random fact for you! With that, onto peas!

Curried Split Pea Soup

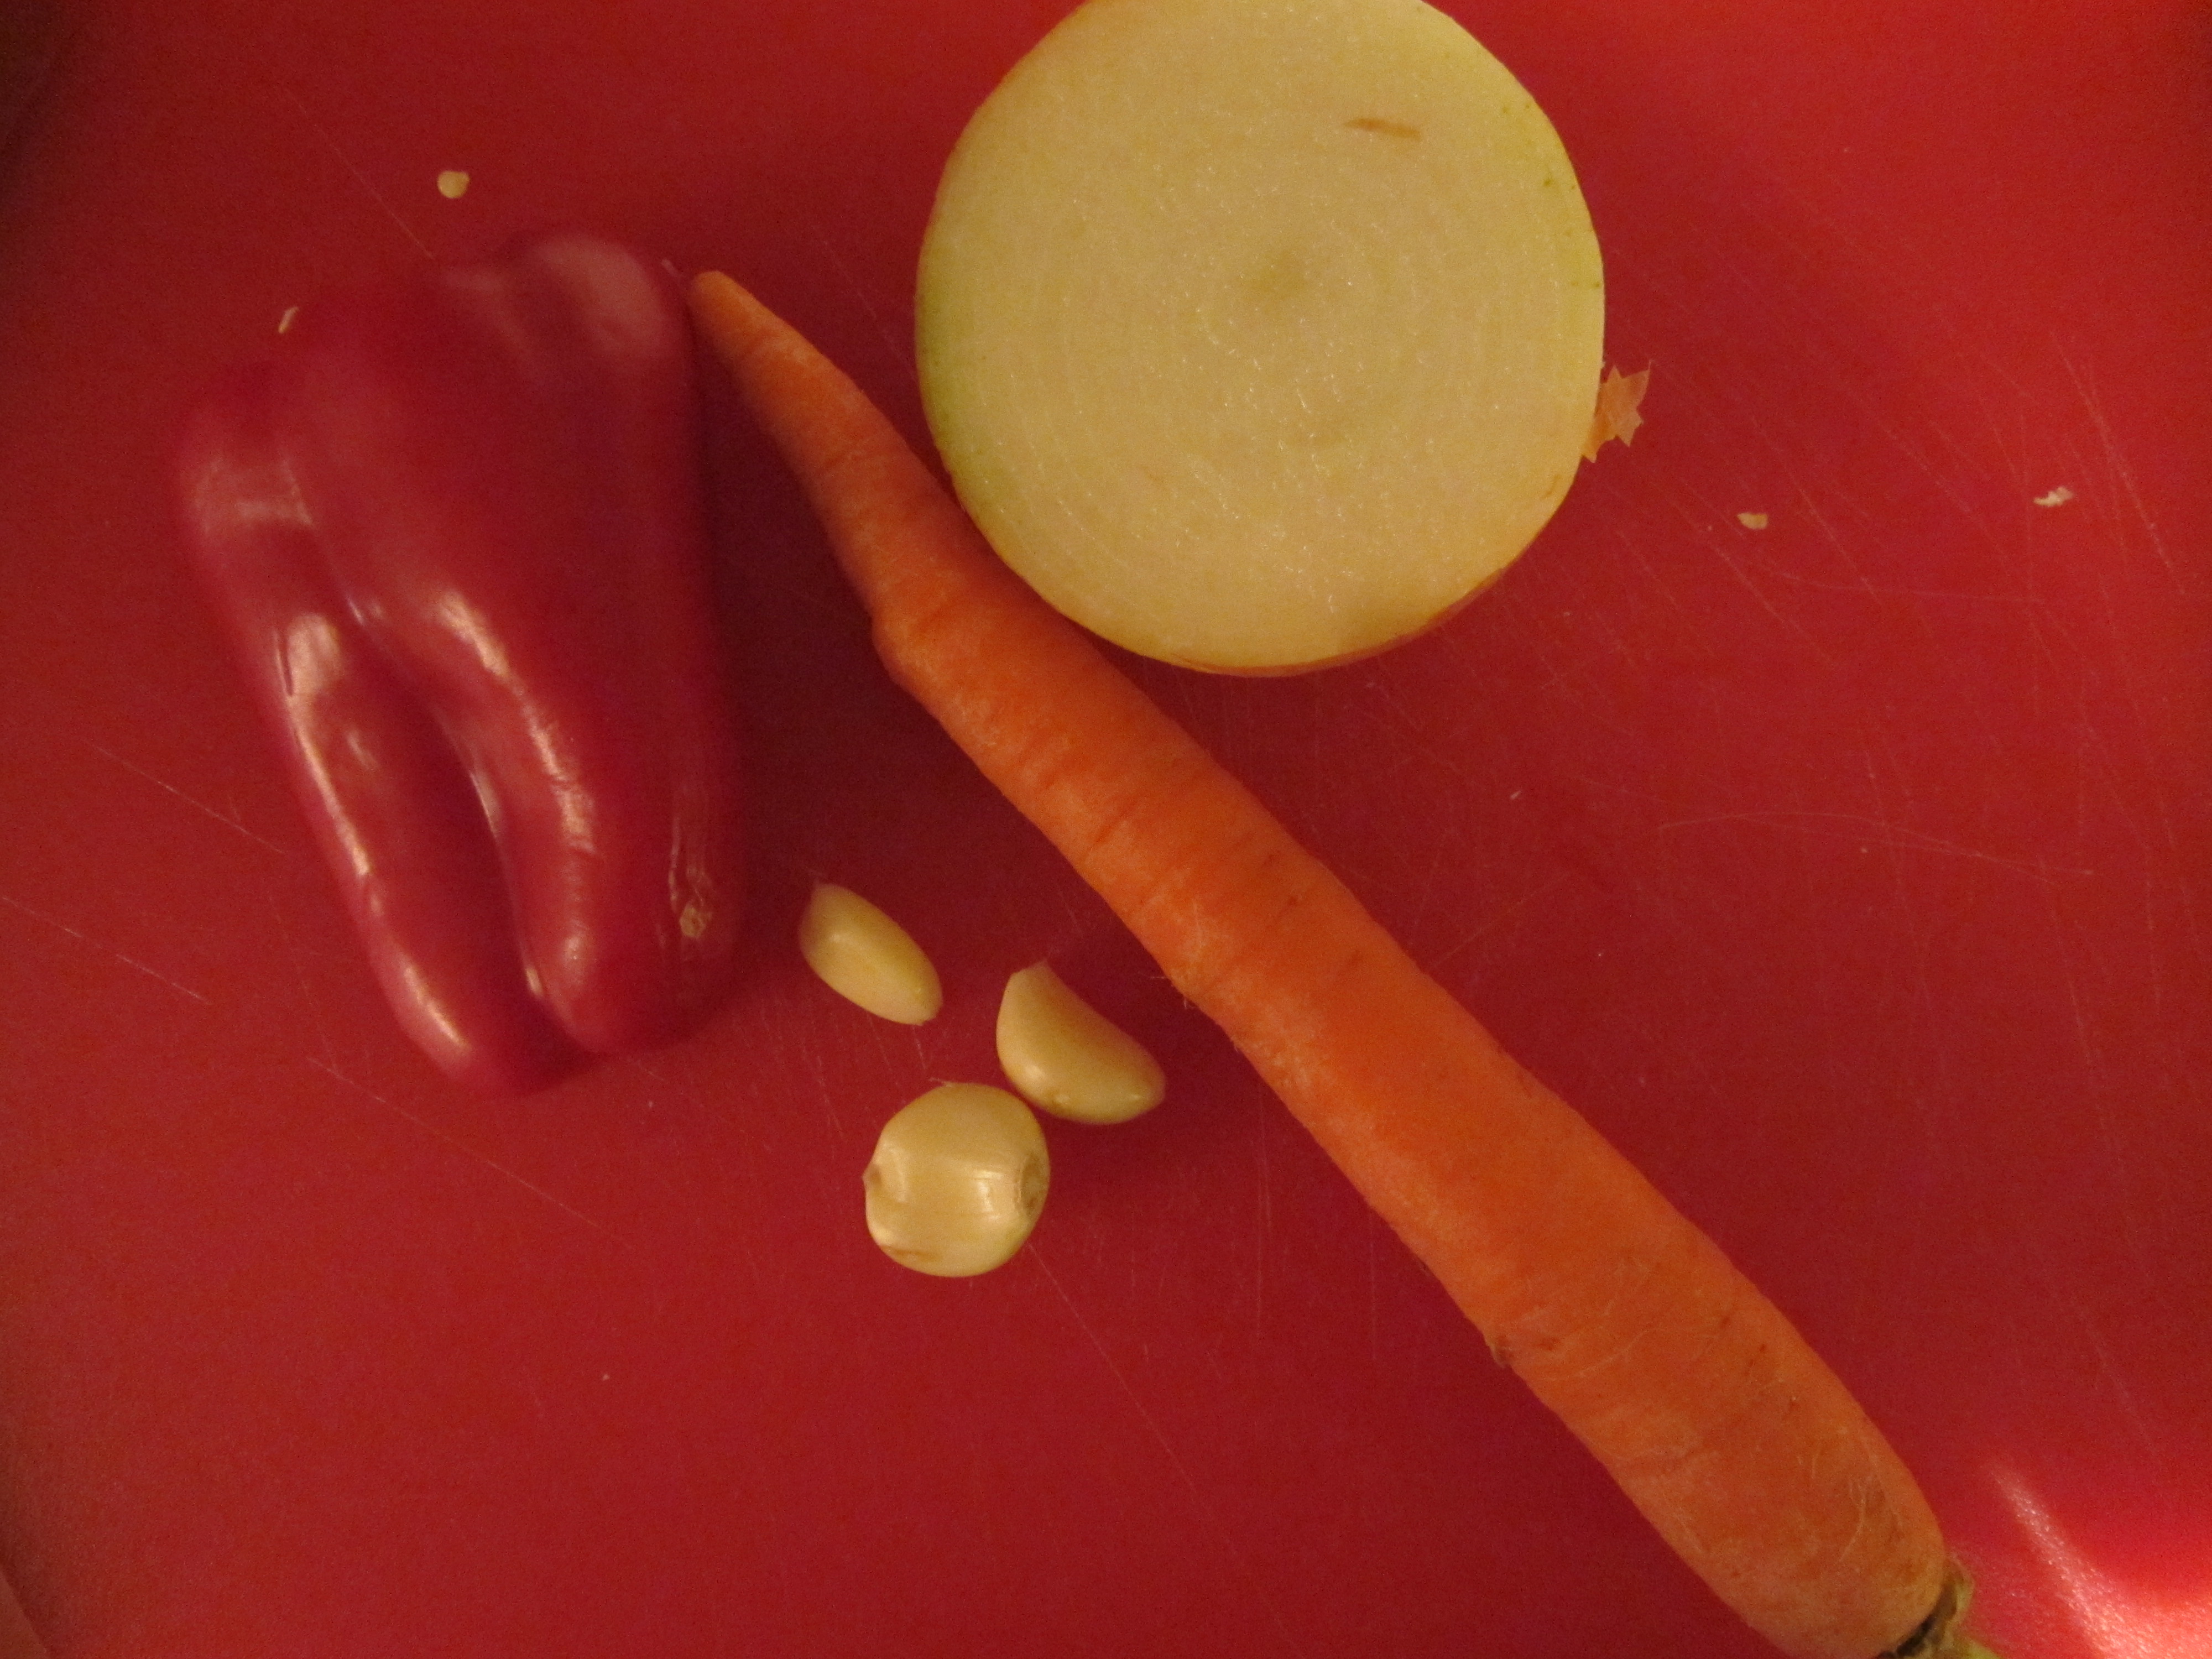
To first showcase the mighty pea, Alton begins this episode with a recipe for split pea soup. Requiring less than 10 ingredients, this soup is one that can easily be whipped up on a weeknight. To start, rinse 12 ounces of dry split peas under cool water and place a large saucepan over medium-low heat.

IMG_2592

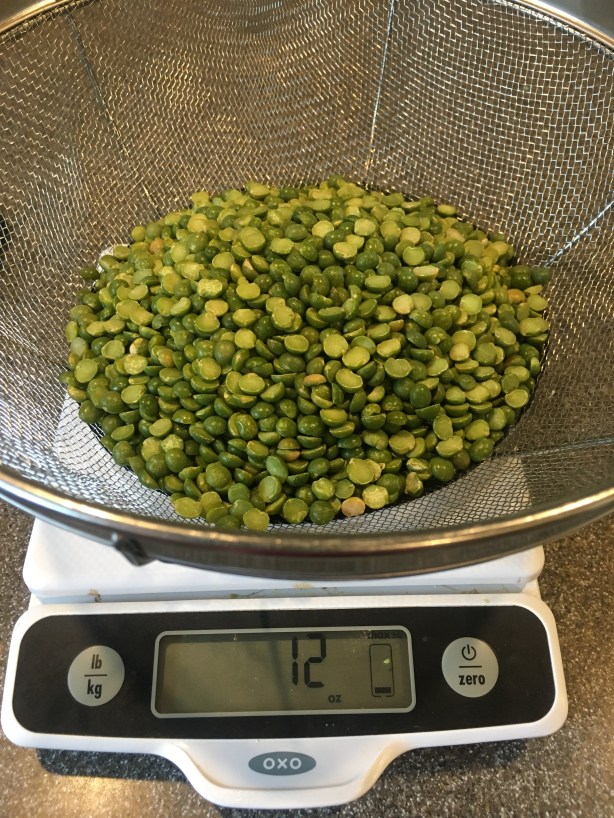
T Twelve ounces of dried split peas.

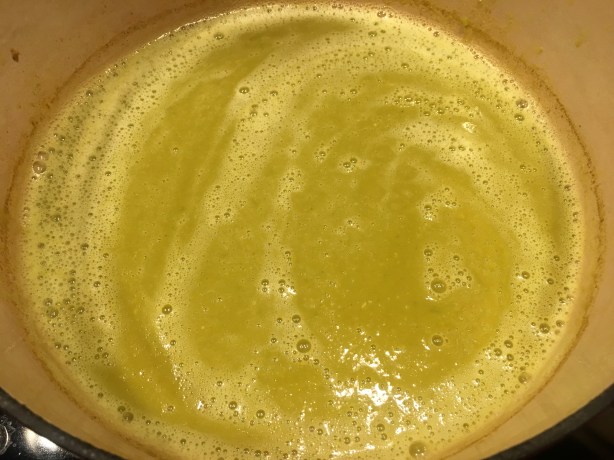
Add 2 T butter to the pan and, once the butter has begun to melt, add 1 C chopped onion and a pinch of Kosher salt. Let the onion cook for a couple minutes or until softened.

IMG_2595

Onion and Kosher salt added to melting butter.

Next, add 1 T minced garlic and let the garlic cook for a minute or two.

IMG_2596

Garlic added to the pan.

Add 1 T curry powder to the pan, increase the heat to high, and pour in 5 C chicken broth. At this time, also add the rinsed split peas.

Bring the liquid to a boil, decrease the heat to low, and cover the pot. Let the soup cook for 45 minutes, or until the peas are falling apart. Taste the soup and adjust the seasoning with Kosher salt and freshly ground pepper.

IMG_2602

Soup after cooking for 45 minutes.

Finally, puree the soup with an immersion blender.

IMG_2603

Pureed split pea soup.

IMG_2605

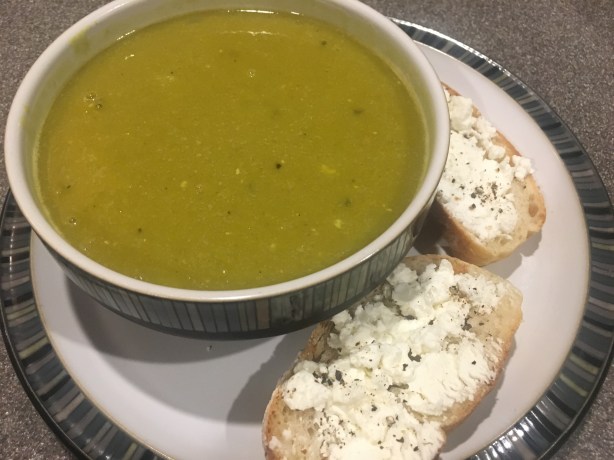
Alton’s curried split pea soup.

I served this soup with goat cheese toast for a light dinner and we both thought it was pretty tasty. I opted for a Madras curry powder in my soup, which resulted in a medium level of spice. The curry flavor was definitely prominent, so you really won’t care for this if you do not care for curry. I found this dish to be comforting home fare, and it is certainly healthy. Split peas are packed with protein and fiber, and you could easily make this soup vegetarian by using vegetable broth in place of the chicken broth. This is just a good, simple, everyday soup recipe.

Split Pea Burgers

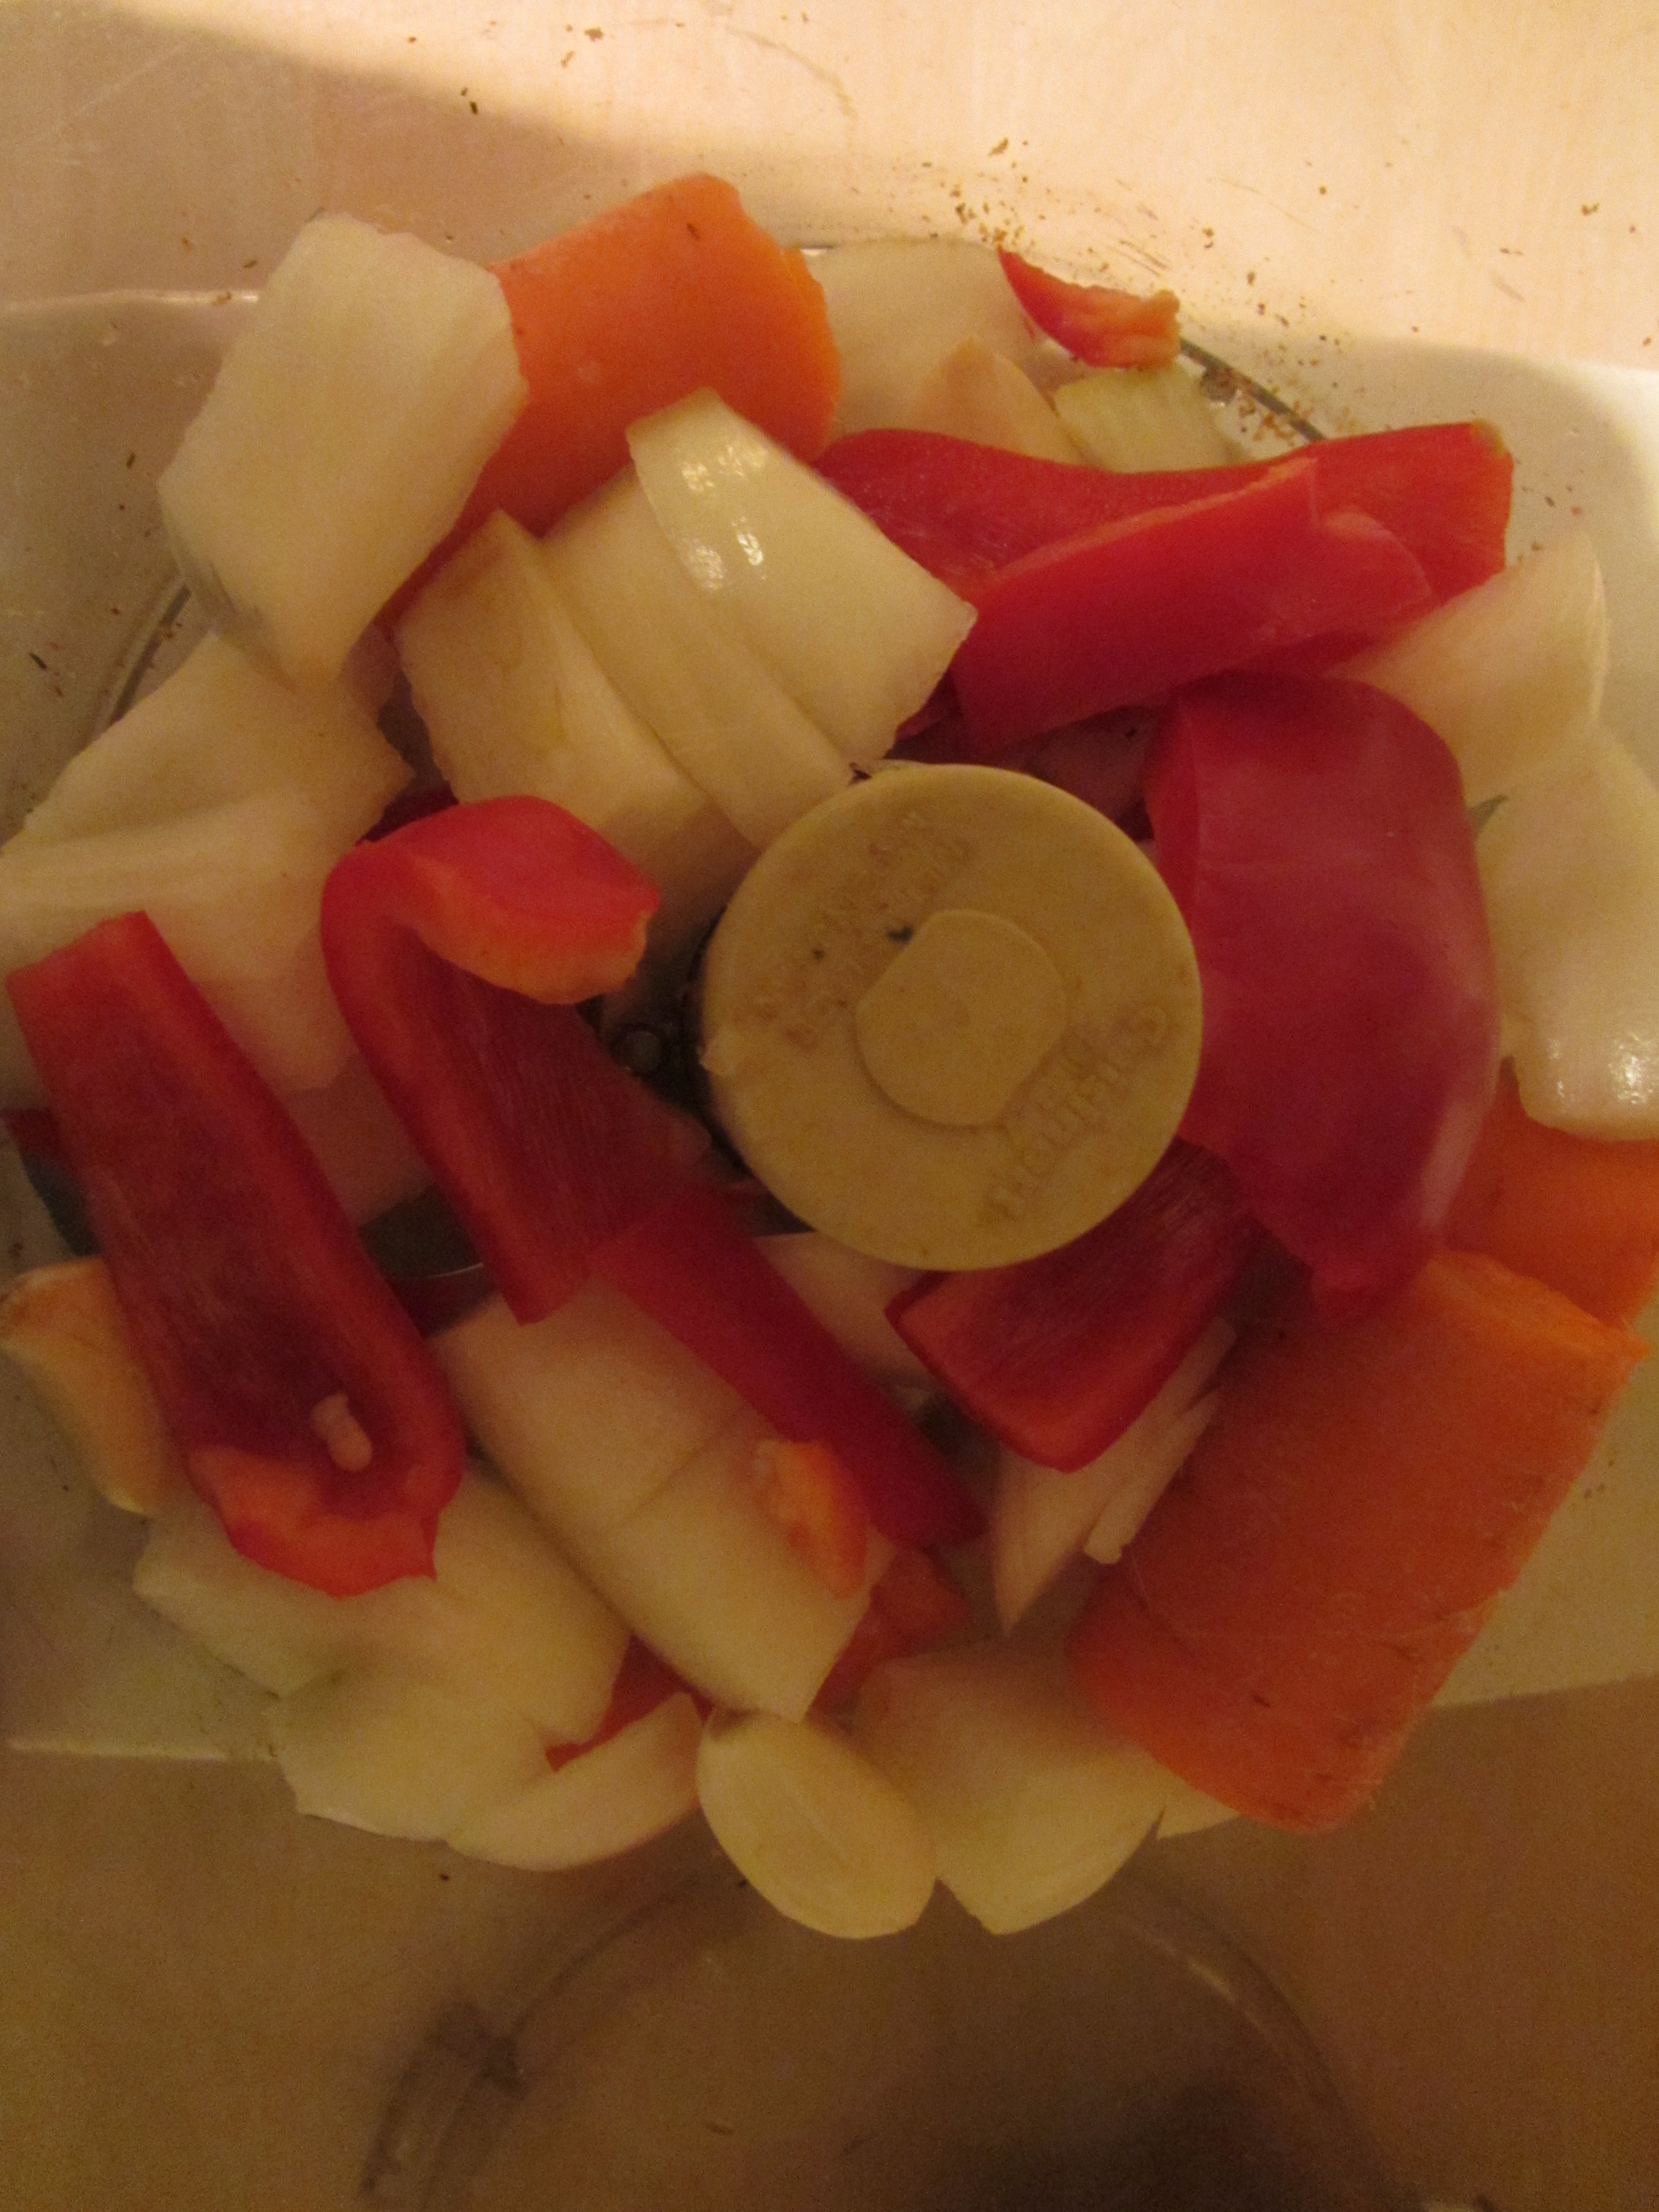
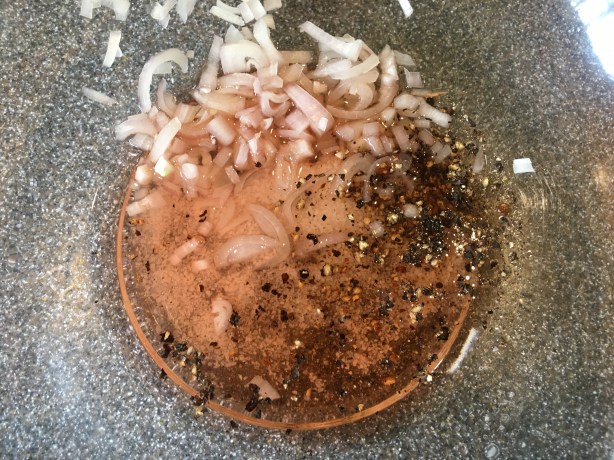
Speaking of vegetarian recipes, Alton’s split pea burgers are a protein-packed vegetarian entree. Veggie burgers are not something I make regularly, so it was funny that this recipe happened to pop up right after I had made some other veggie burgers the week prior. At least this was good for comparison’s sake! For Alton’s burgers, heat a medium saucepan over medium heat, adding 1 T olive oil, 1/2 C chopped onion, 1/2 C chopped red or green bell pepper, and a big pinch of Kosher salt.

IMG_2470

Onion, bell pepper, and Kosher salt added to olive oil.

Stir the vegetables until they have softened and add 2 t minced garlic and 4 ounces of sliced mushrooms. Cook the mushrooms for four minutes.

IMG_2473

Mushrooms and garlic added to softened veggies.

Next, add 1 C dry split peas, 1/2 C uncooked brown rice, 1 t ground coriander, 1 t cumin, and 3 C vegetable broth.

Increase the heat to high and bring the broth to a boil. Once boiling, decrease the heat to low, place a lid on the pan, and simmer the mixture for one hour.

IMG_2477

Mixture after simmering for an hour.

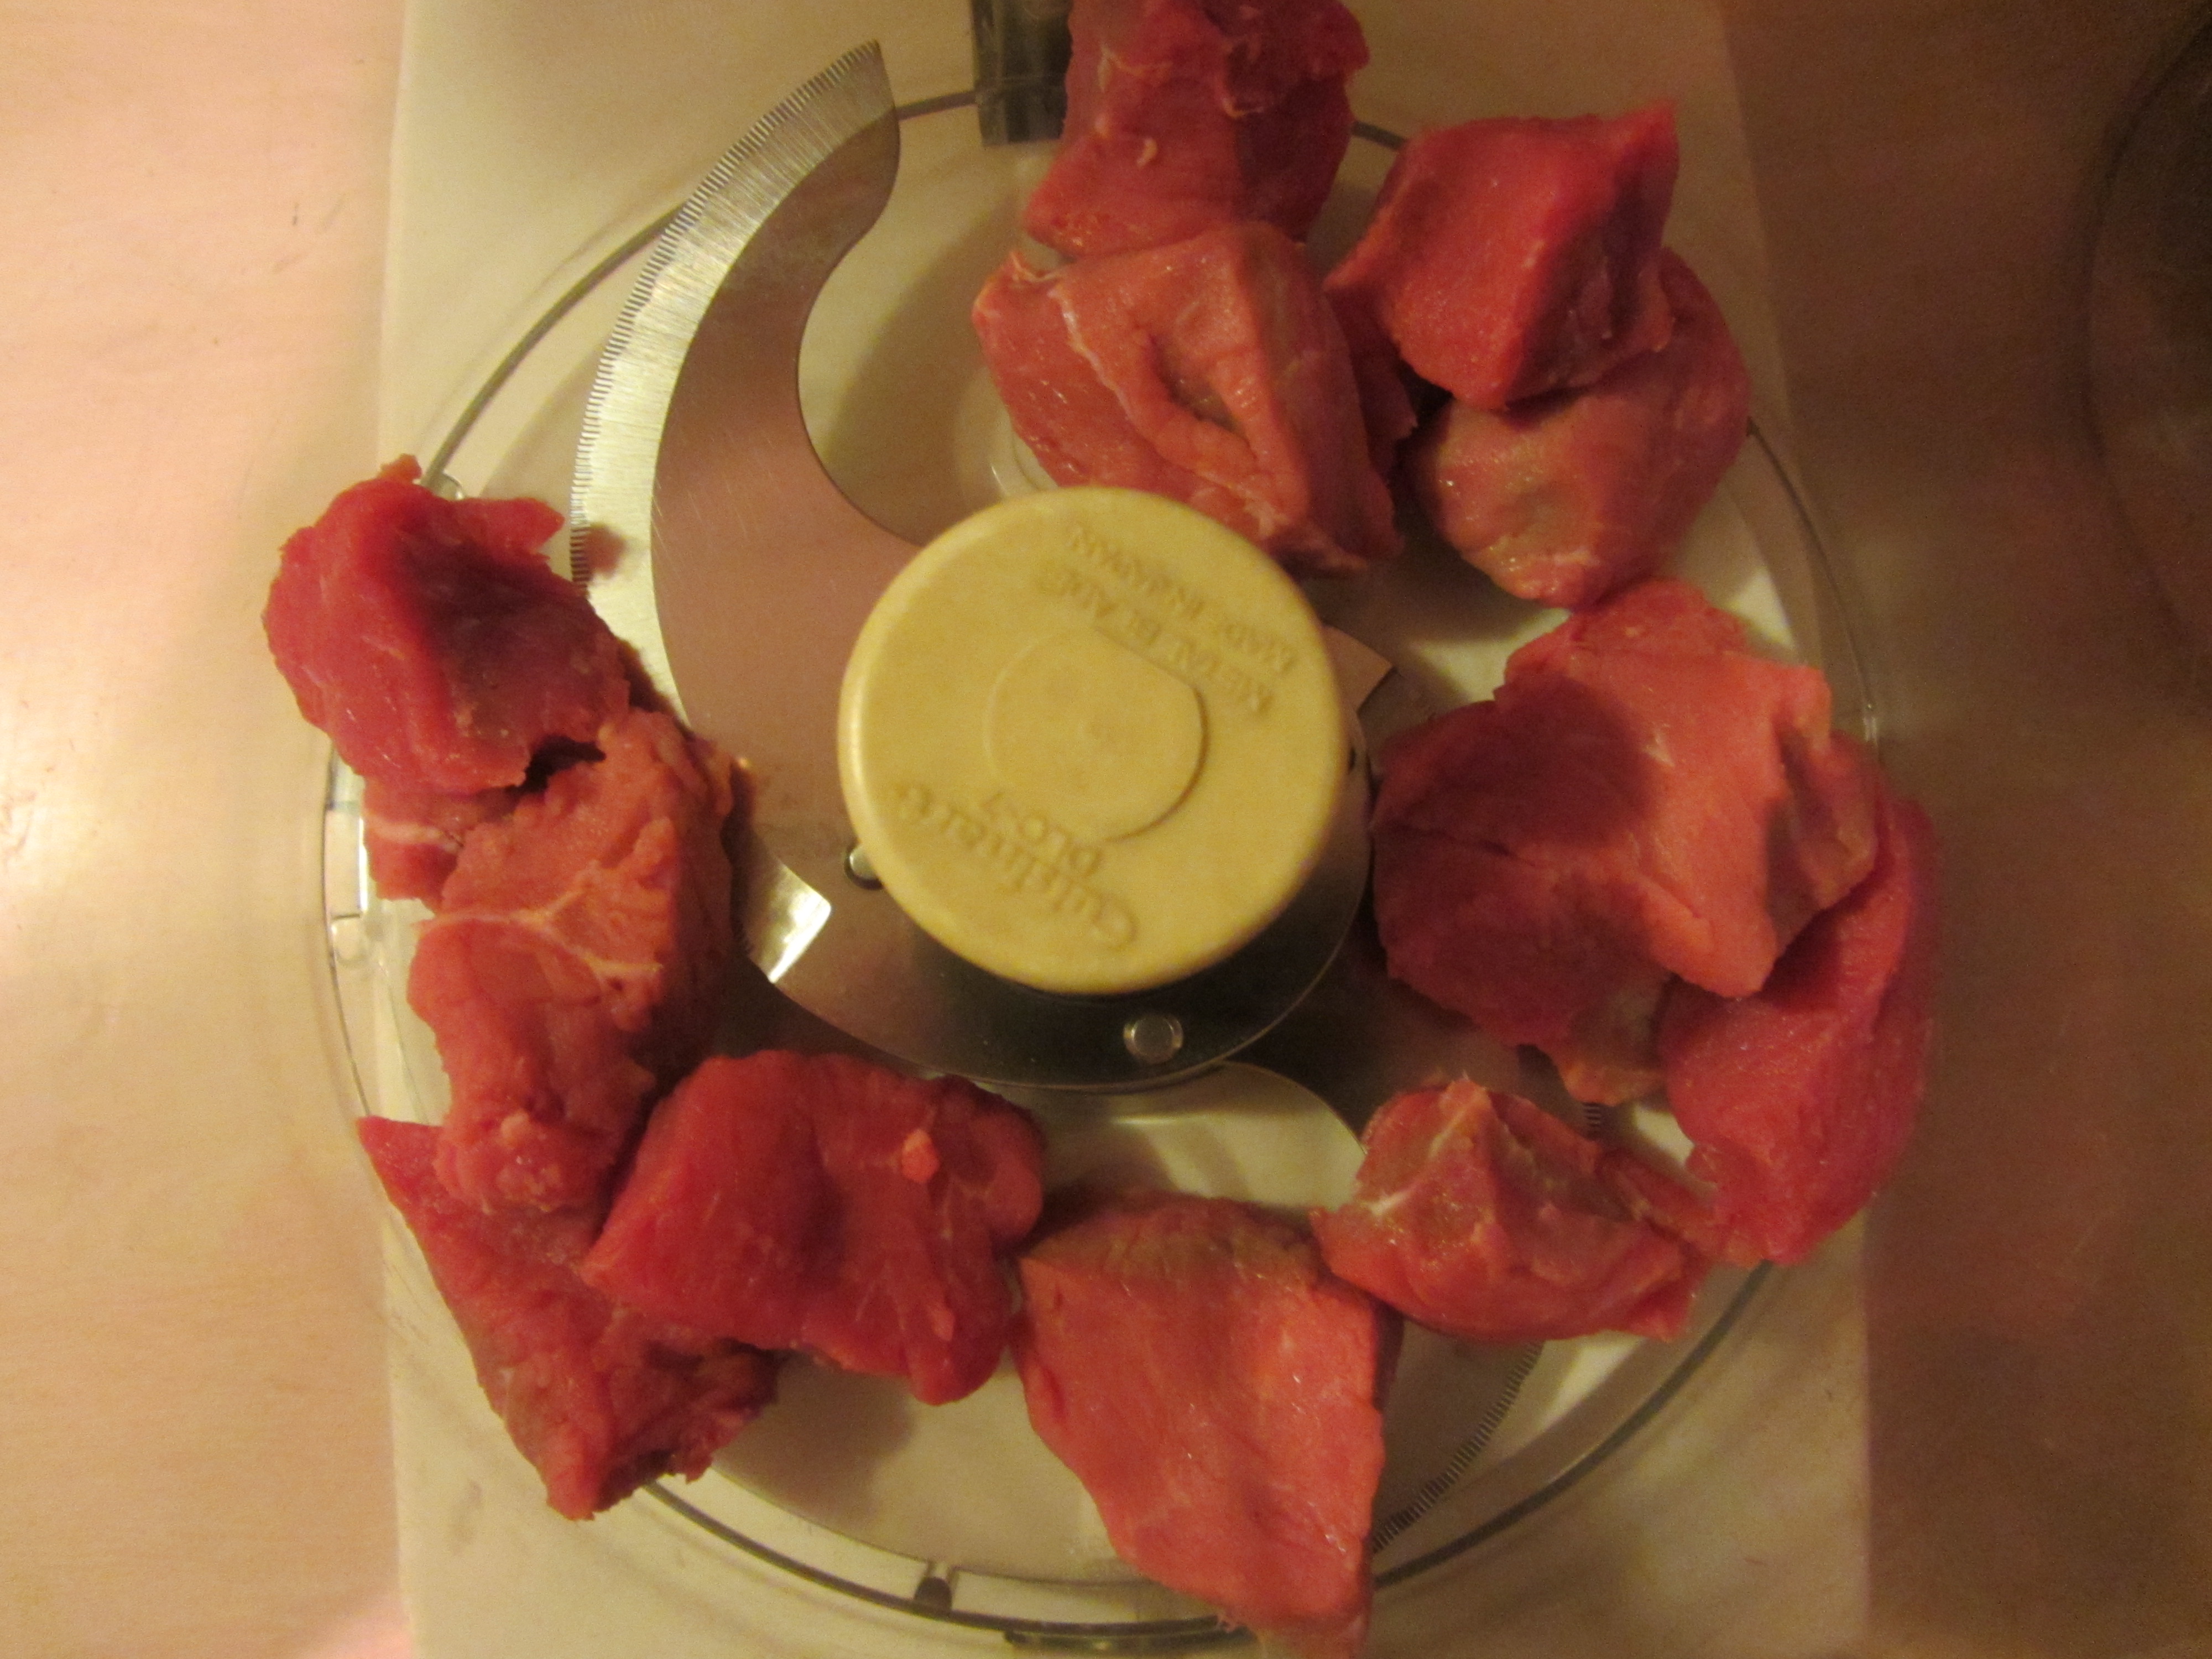
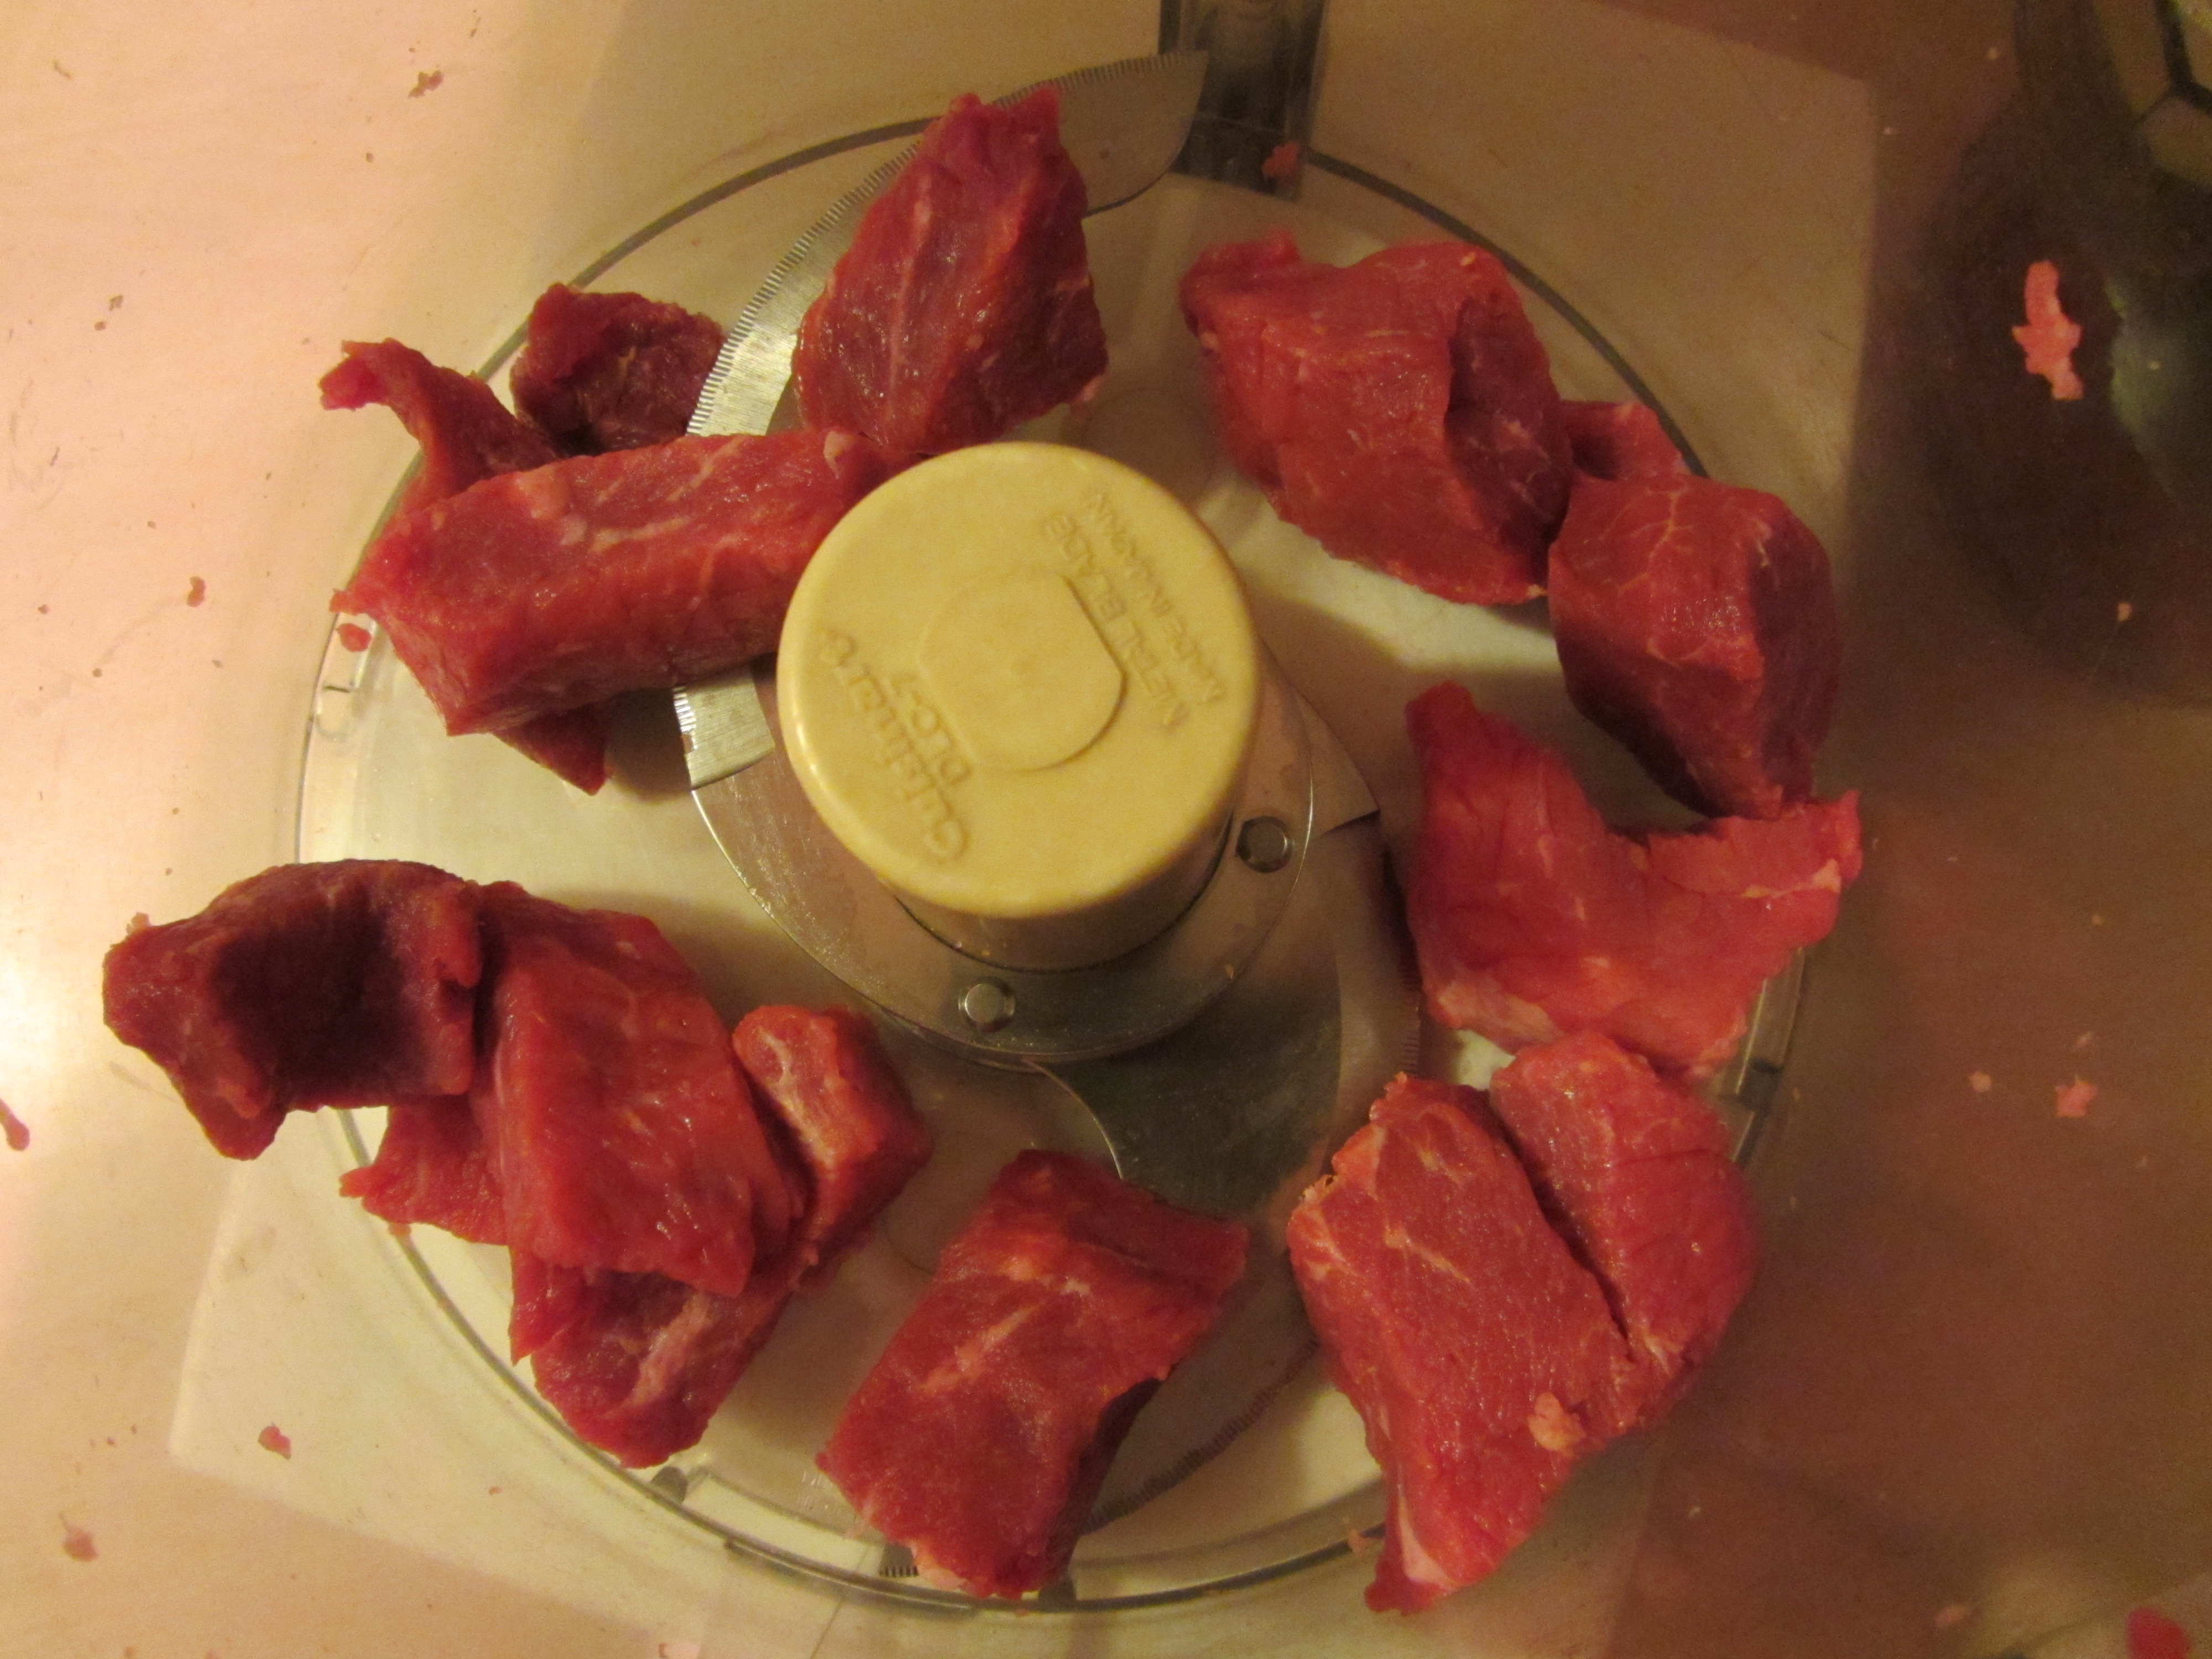
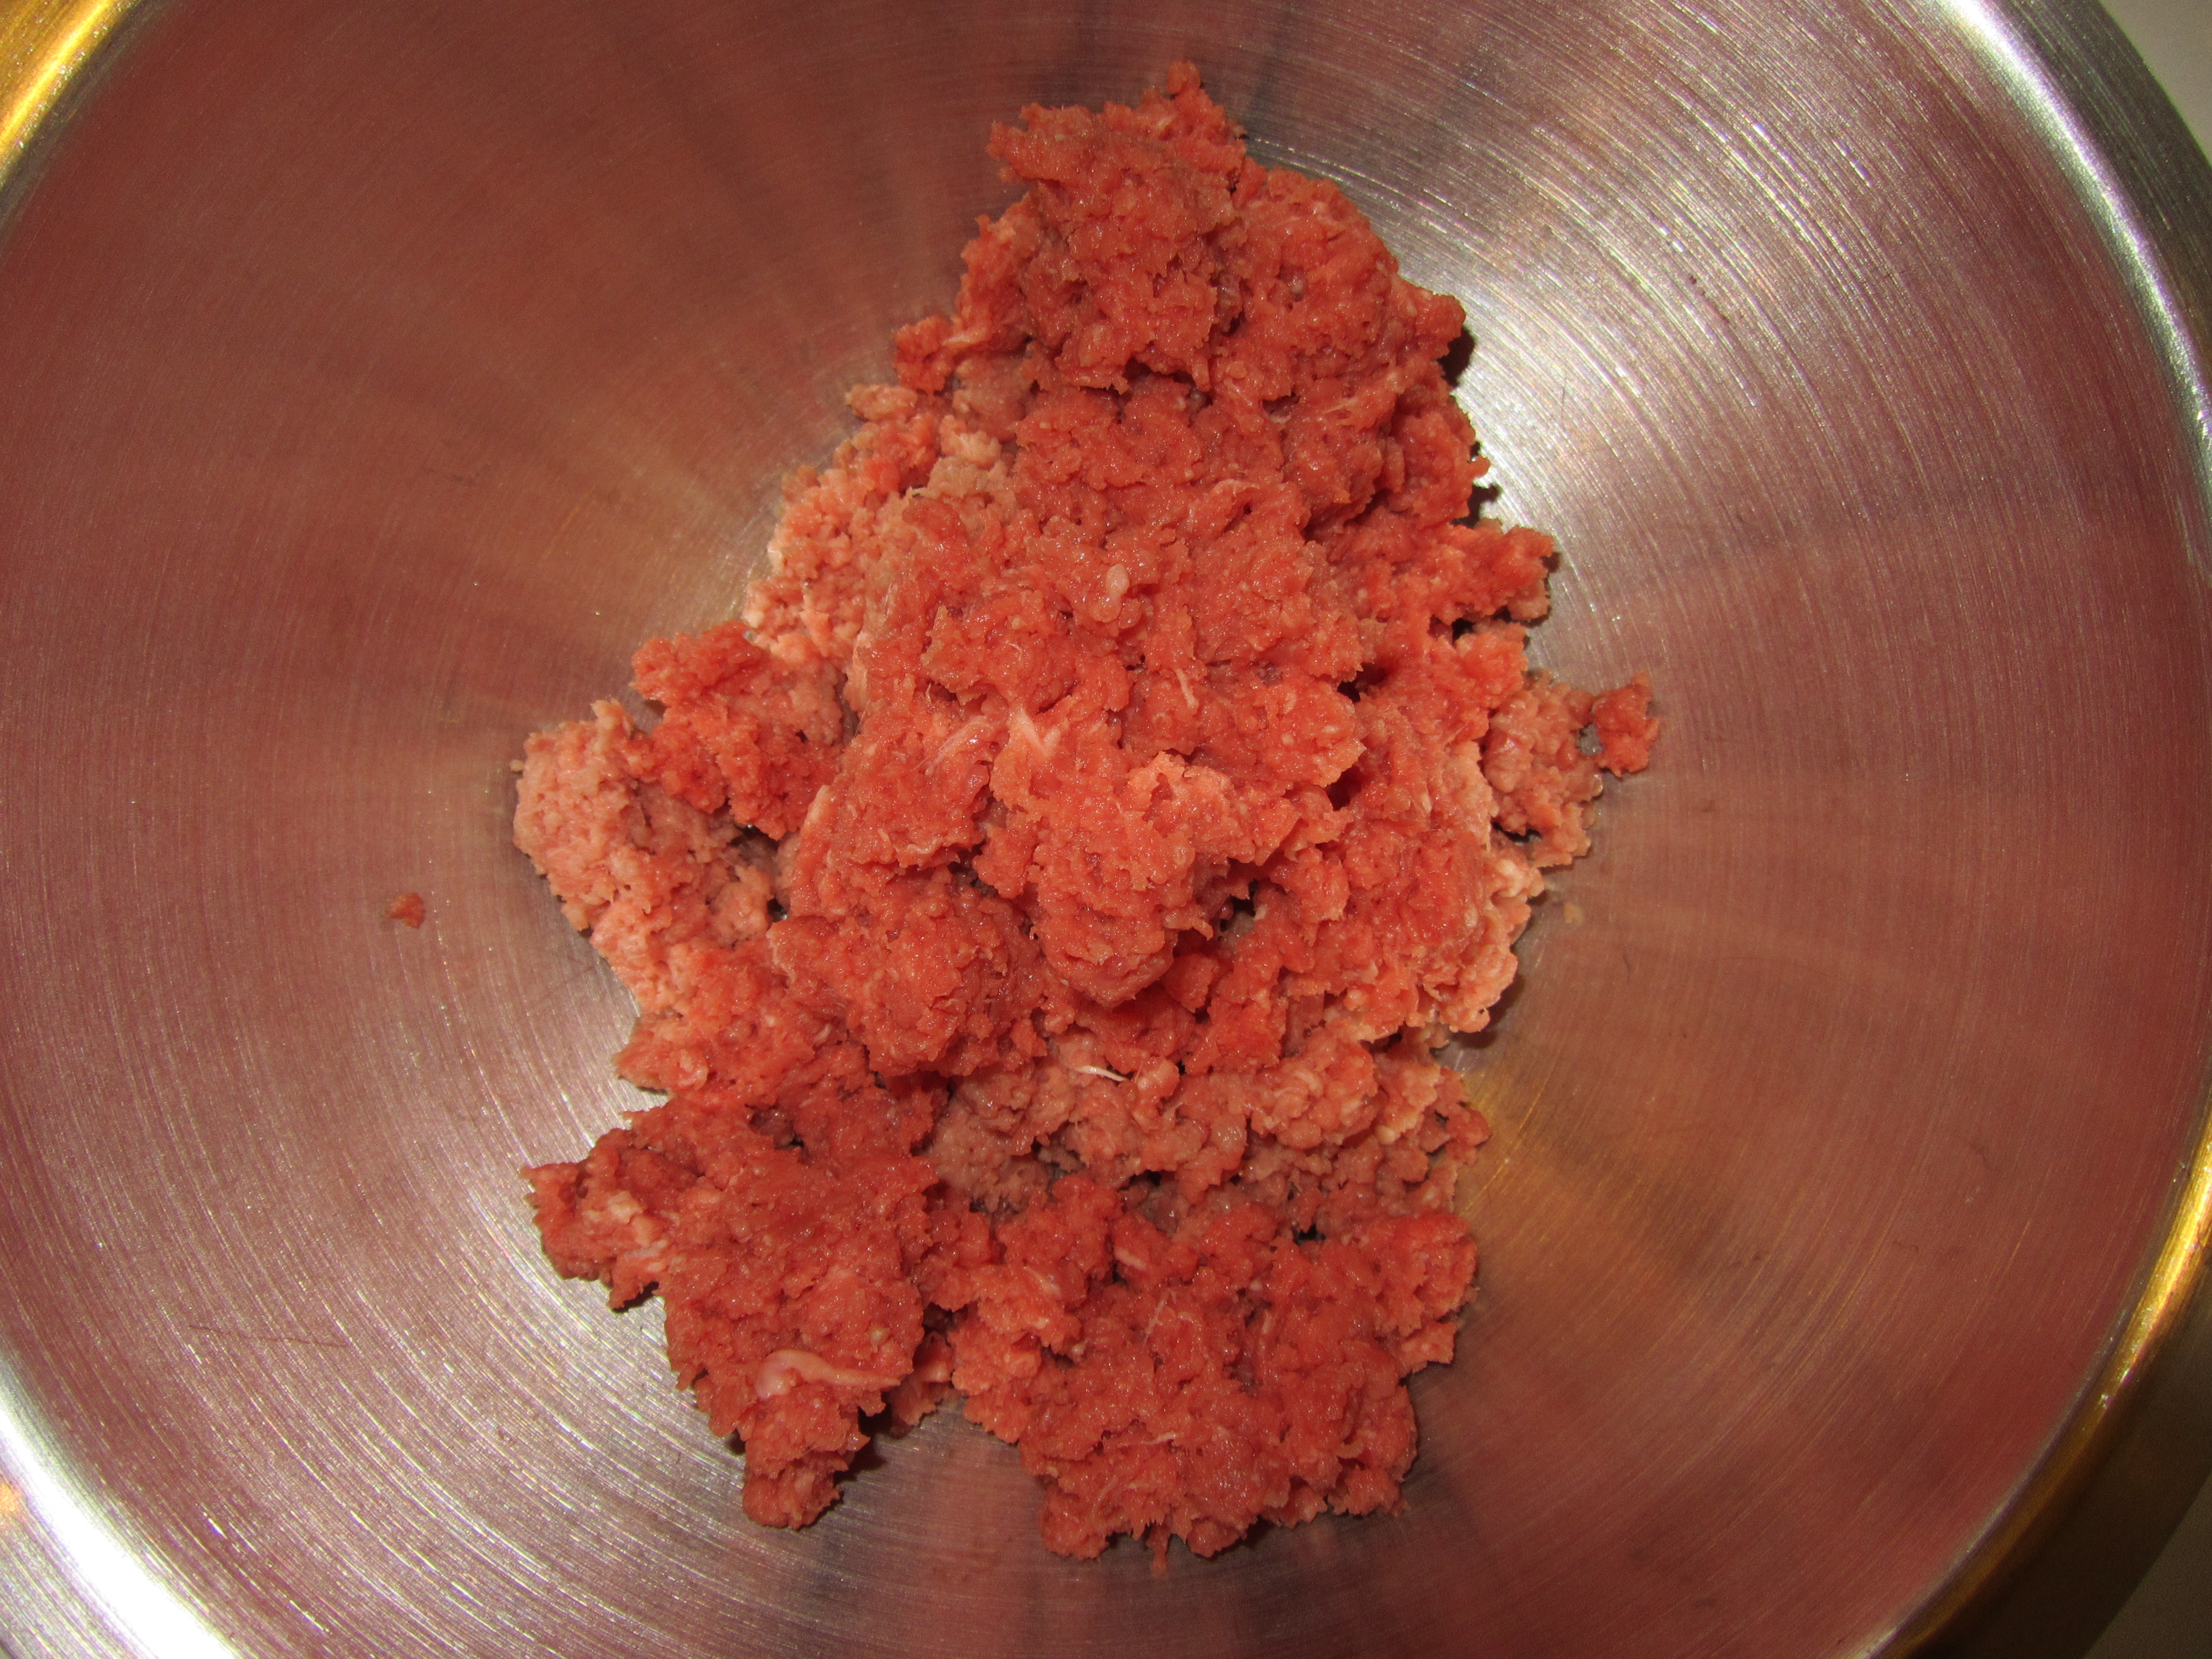
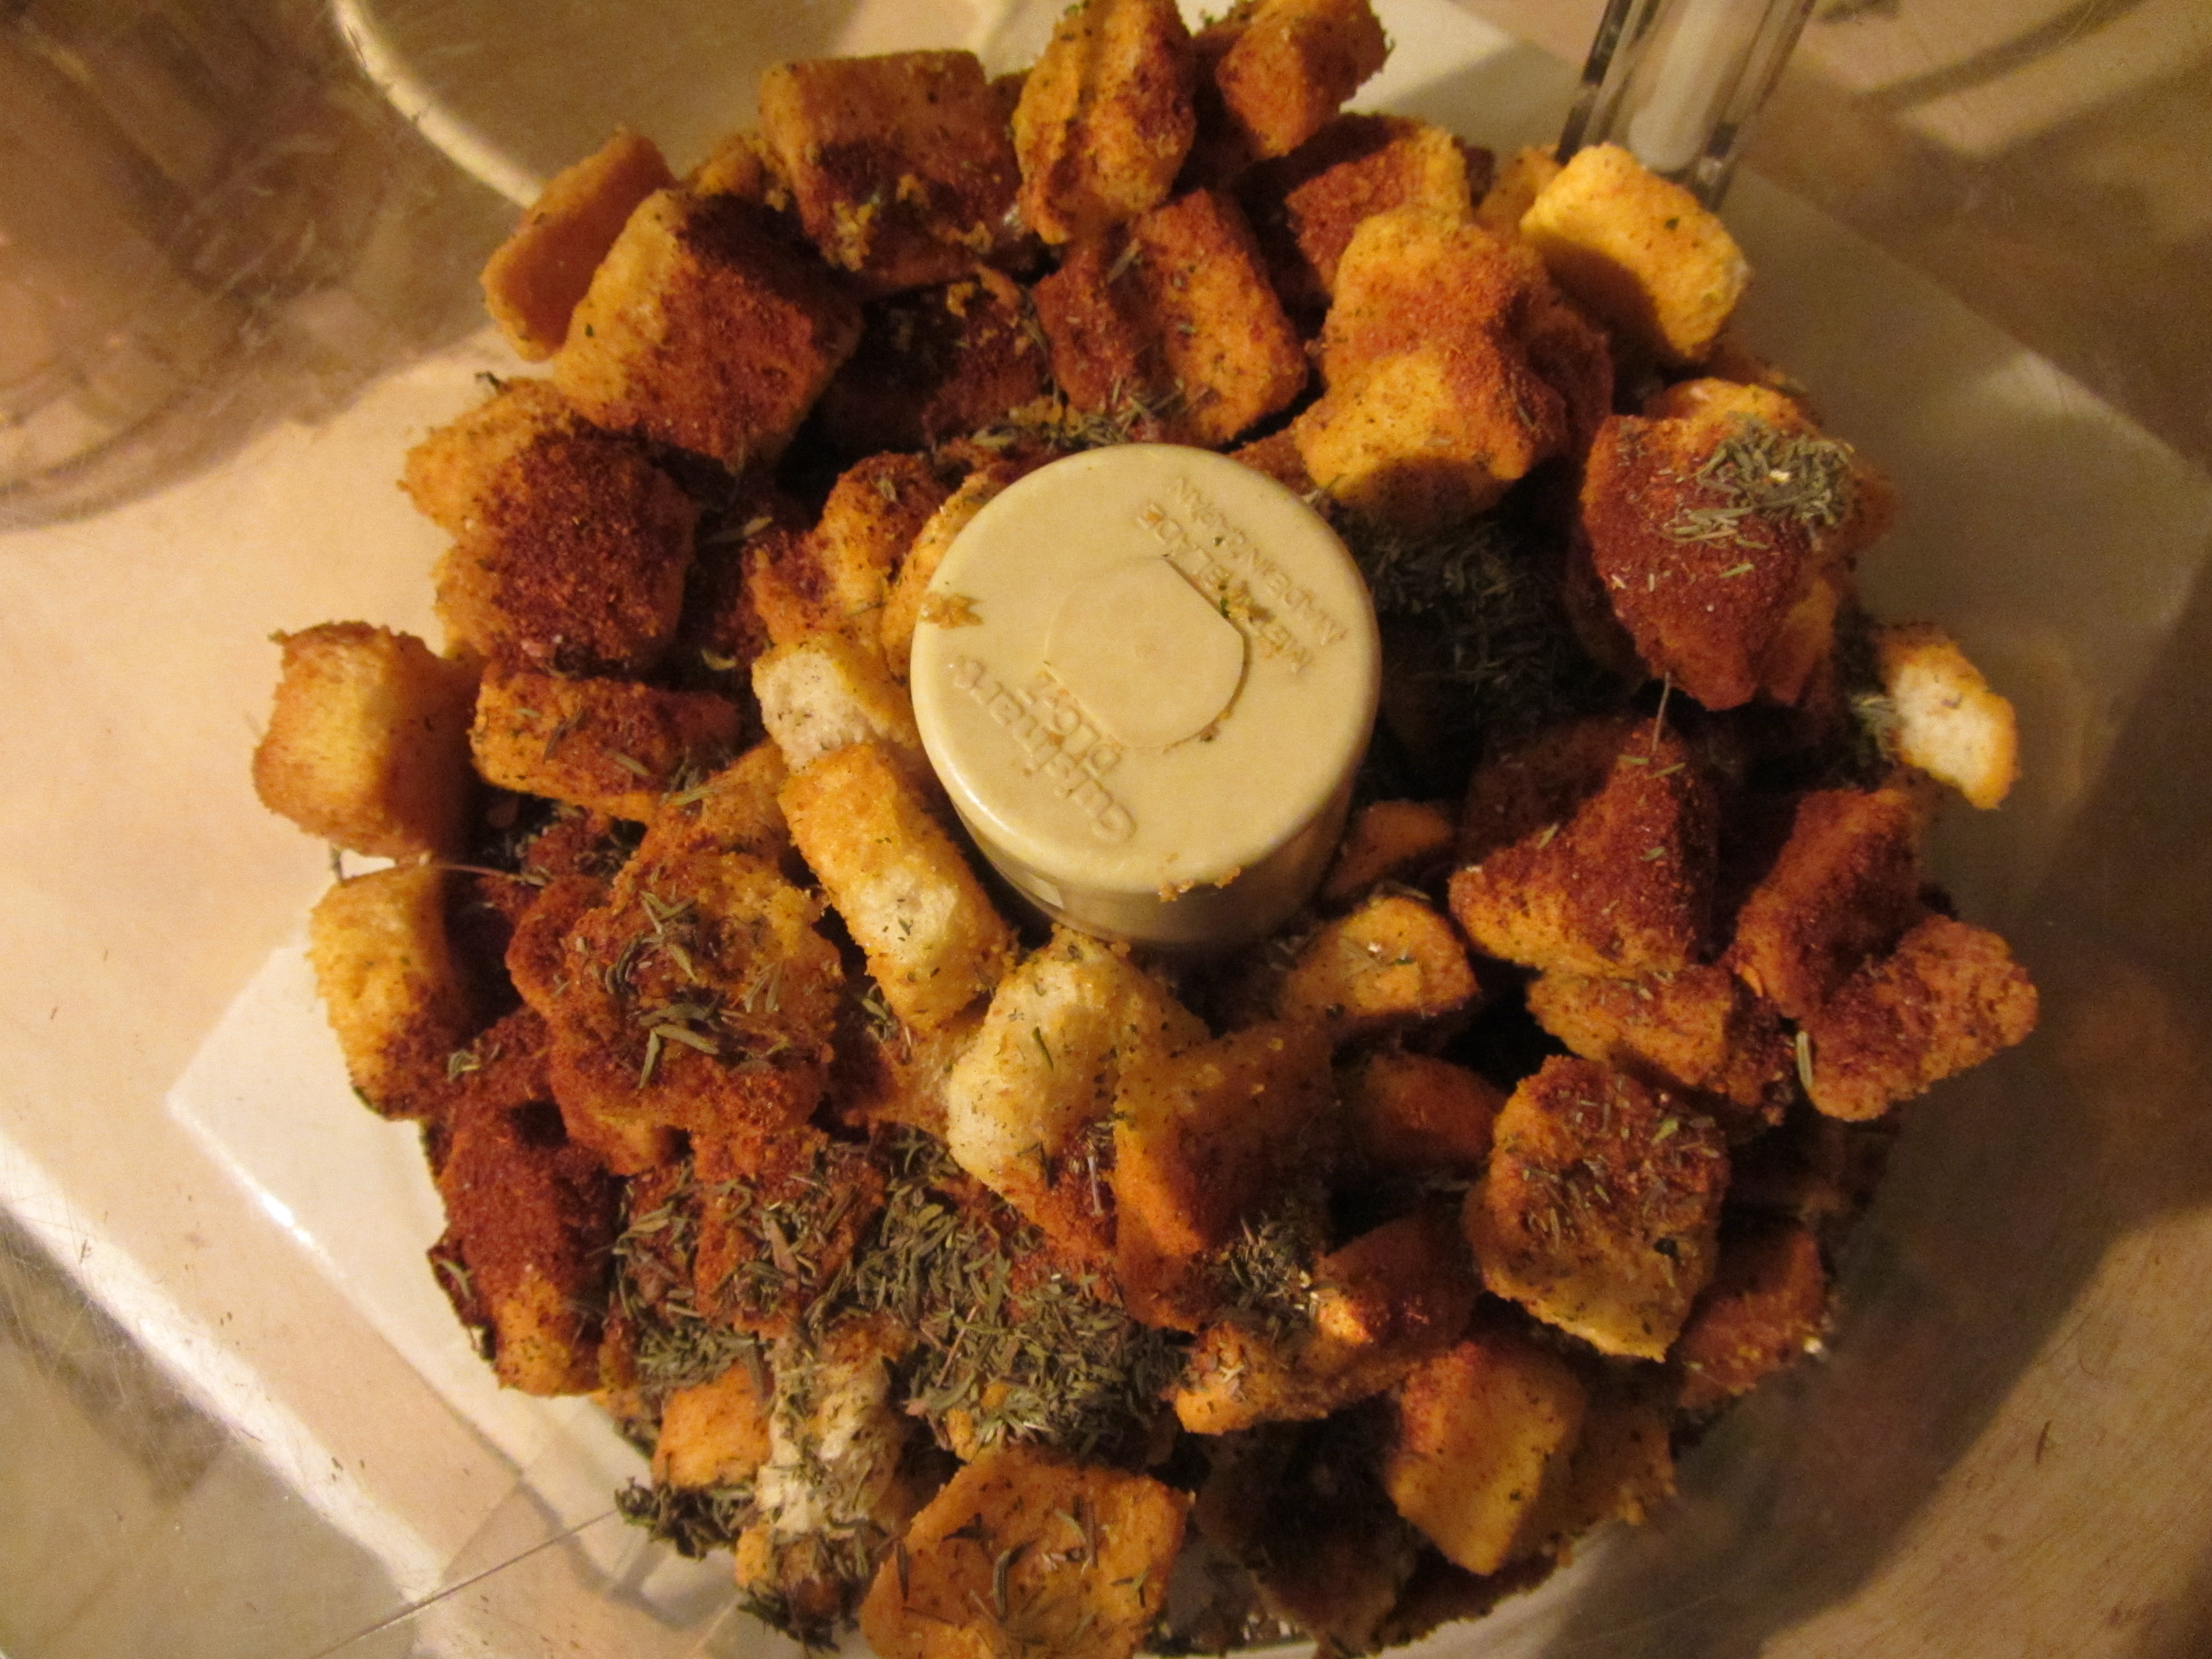
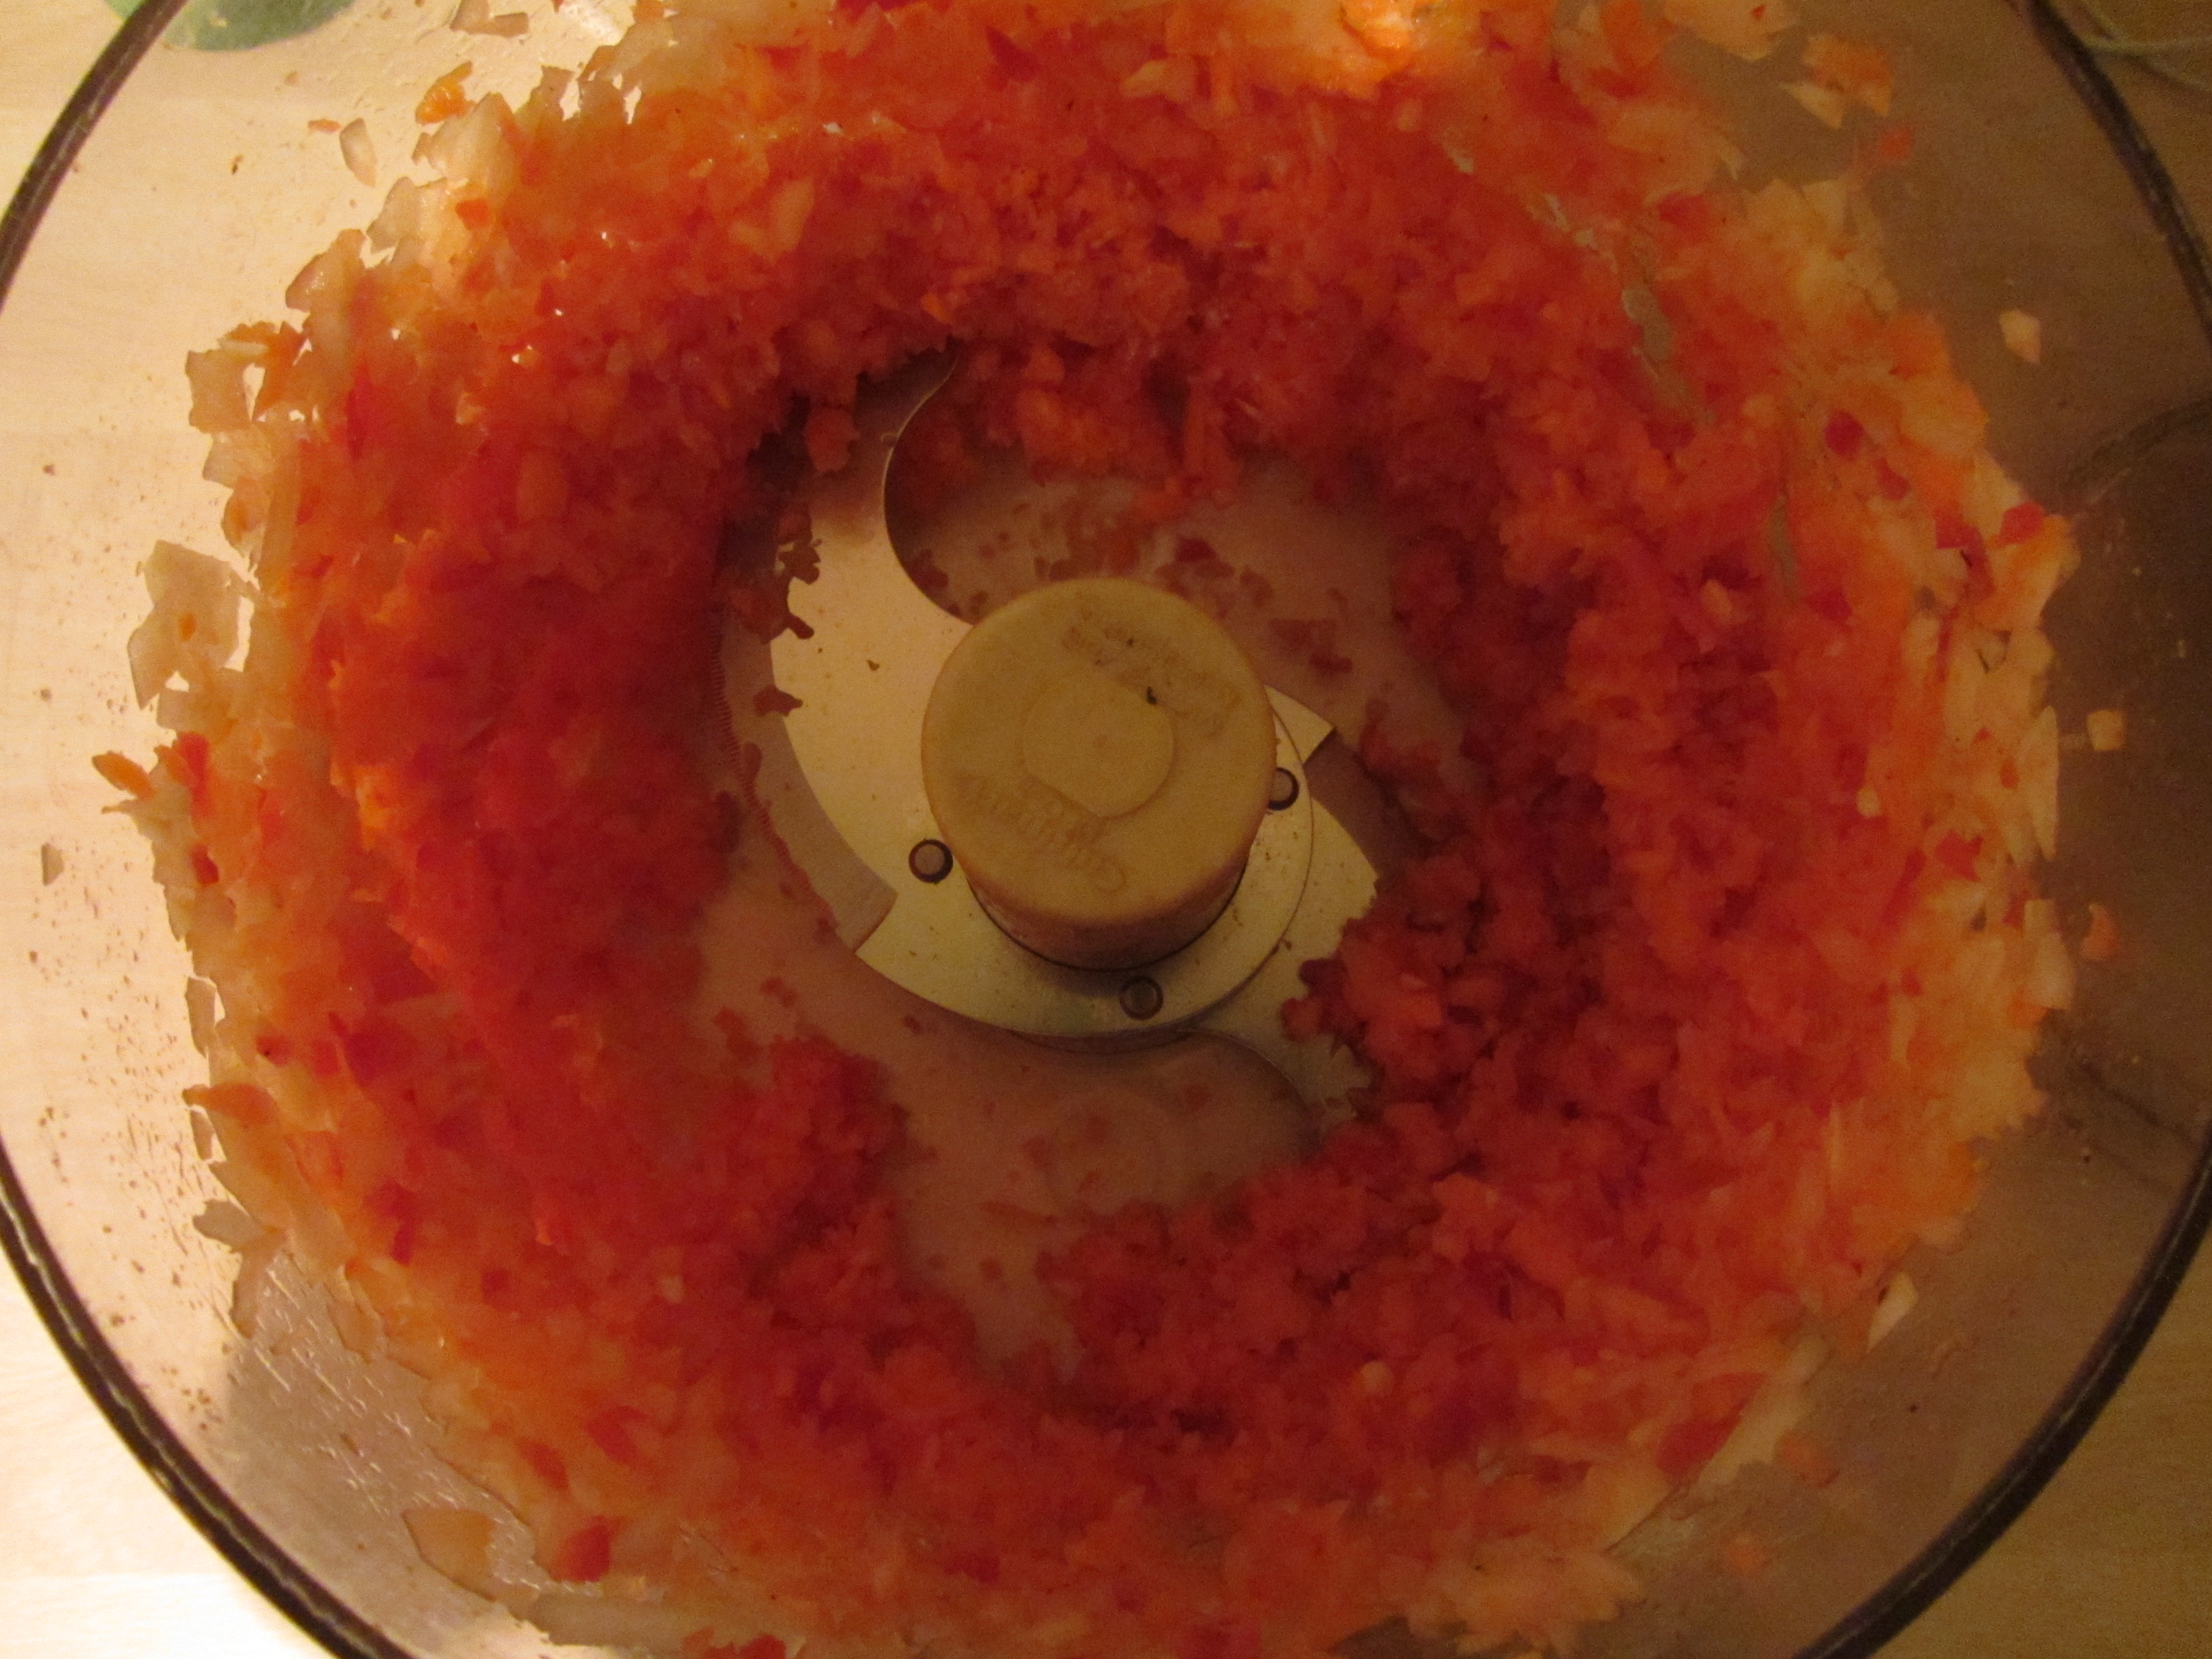
After simmering, transfer the contents of the pot to a food processor and pulse the mixture 5-6 times or until combined; you do not want to puree the mixture, as you want to retain some texture.

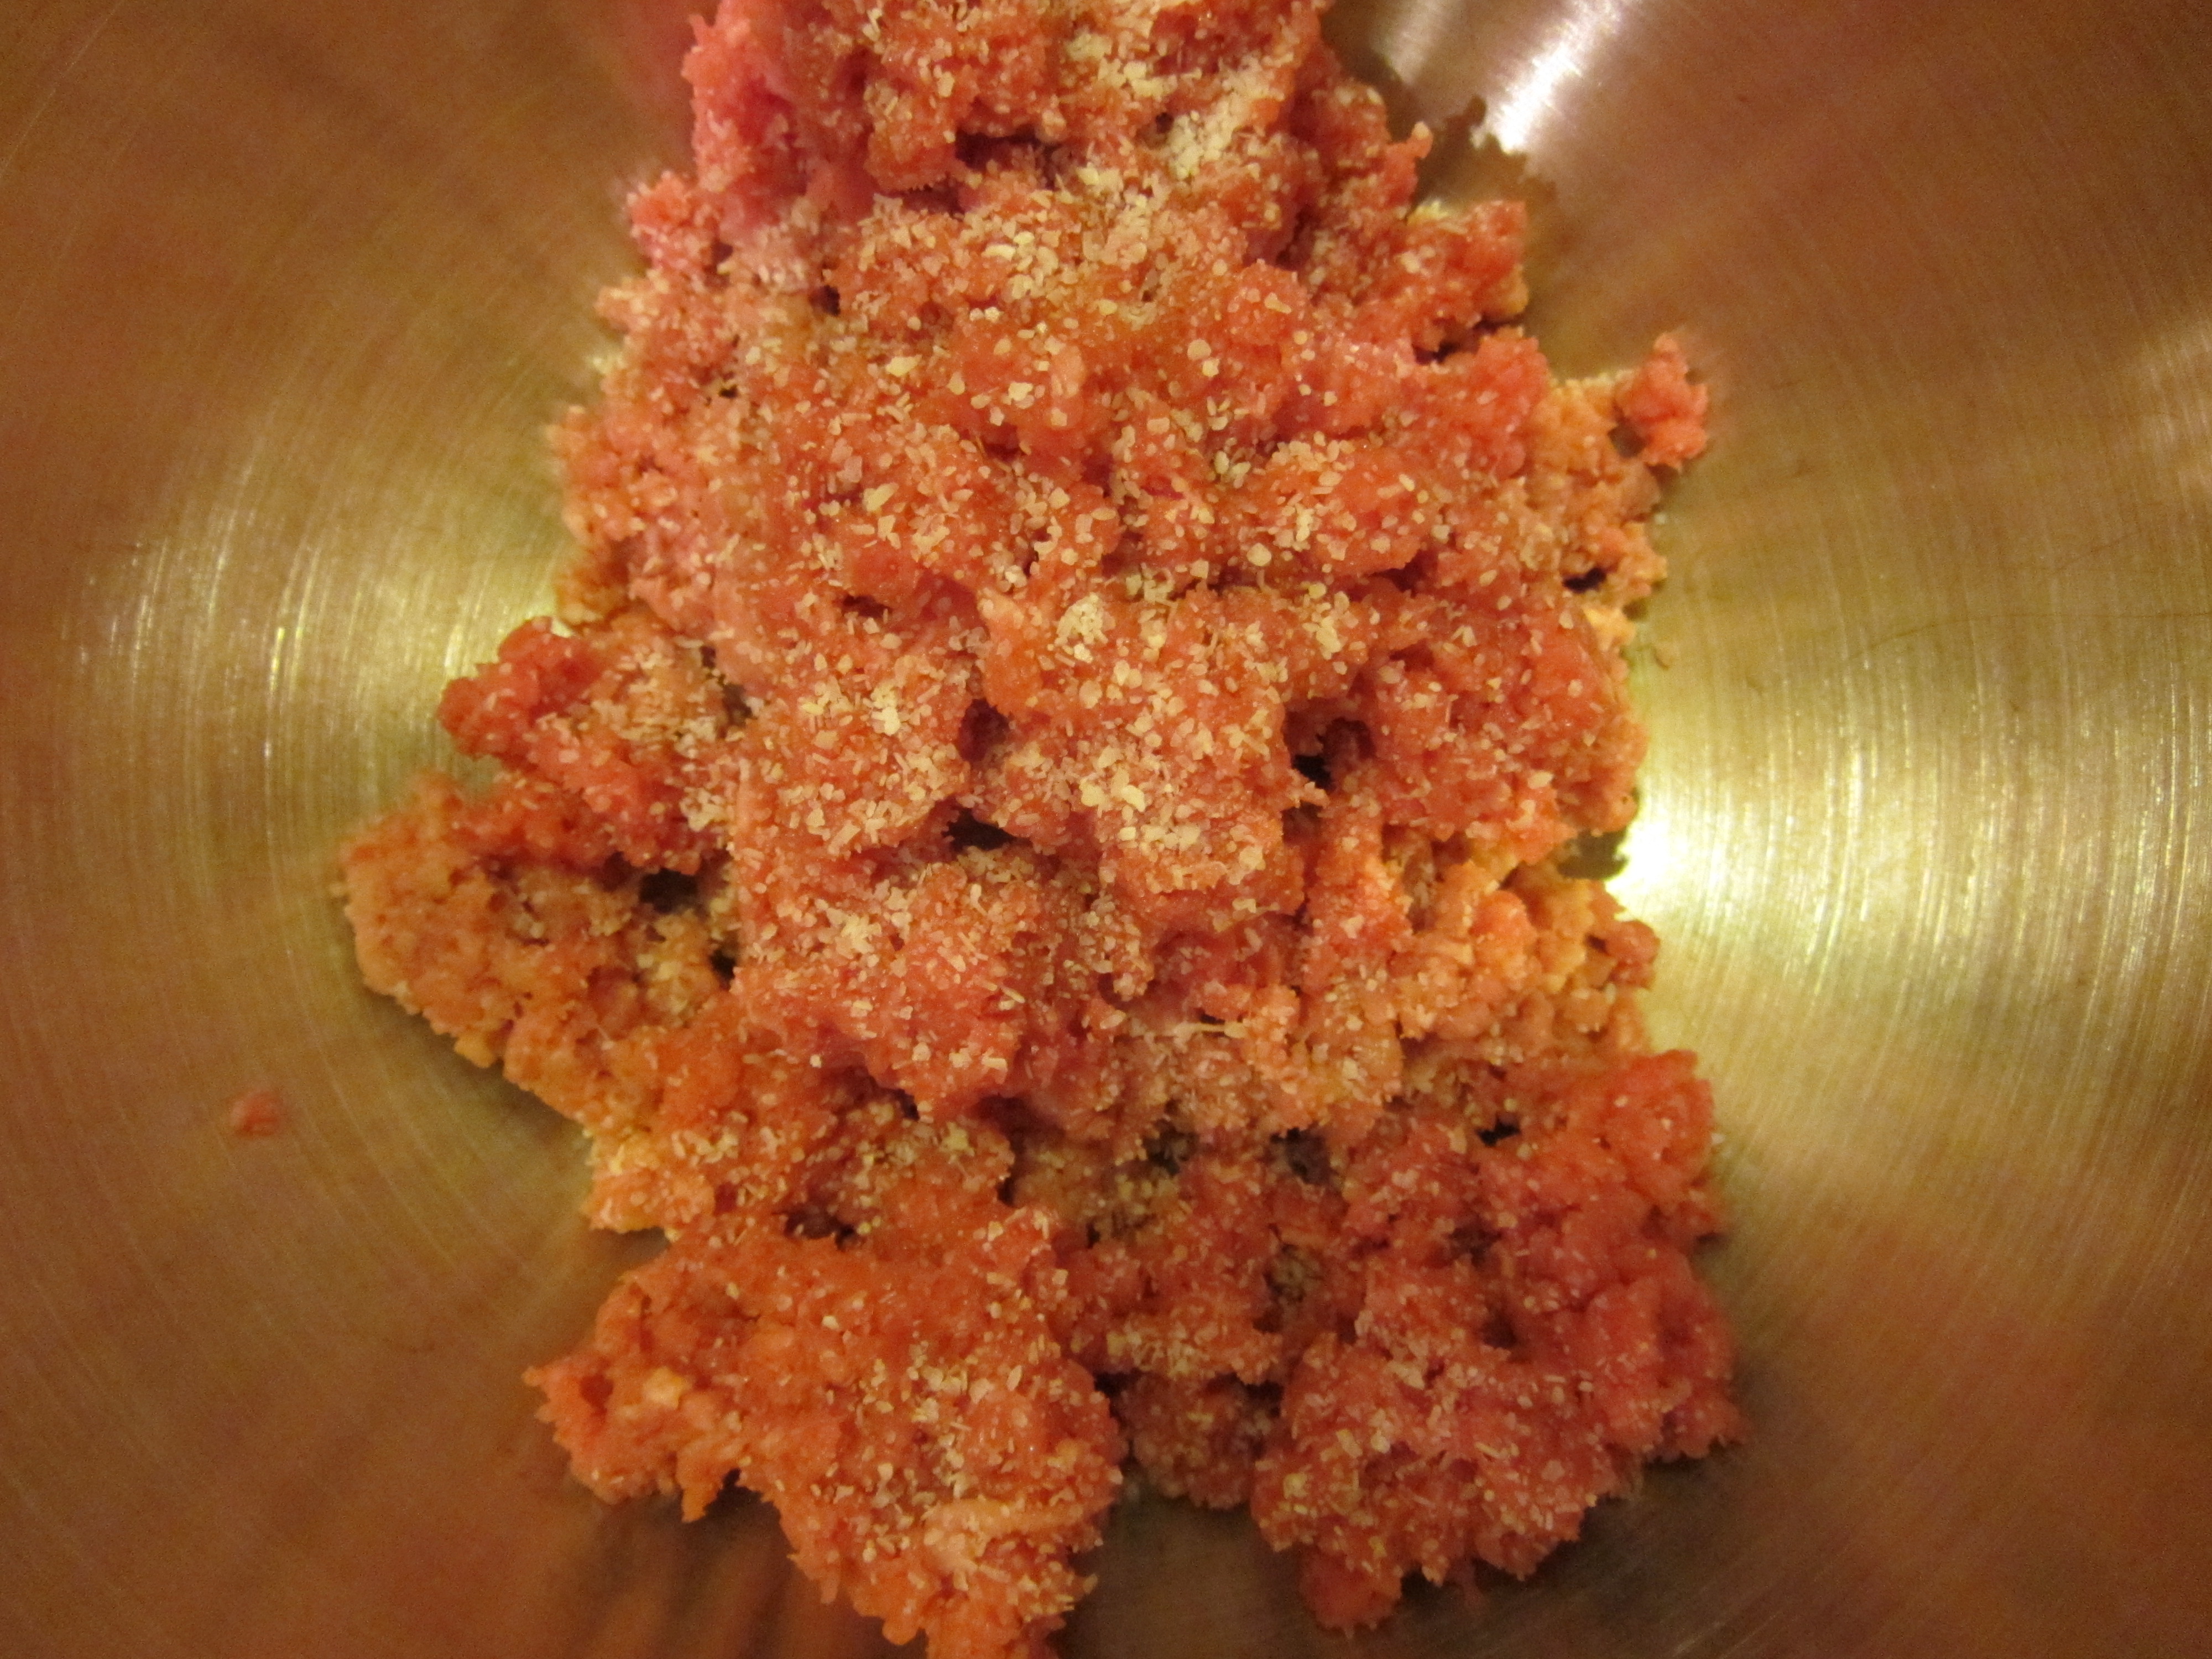
Transfer the pea mixture to a bowl and add 3/4 C bread crumbs, and Kosher salt and pepper to taste.

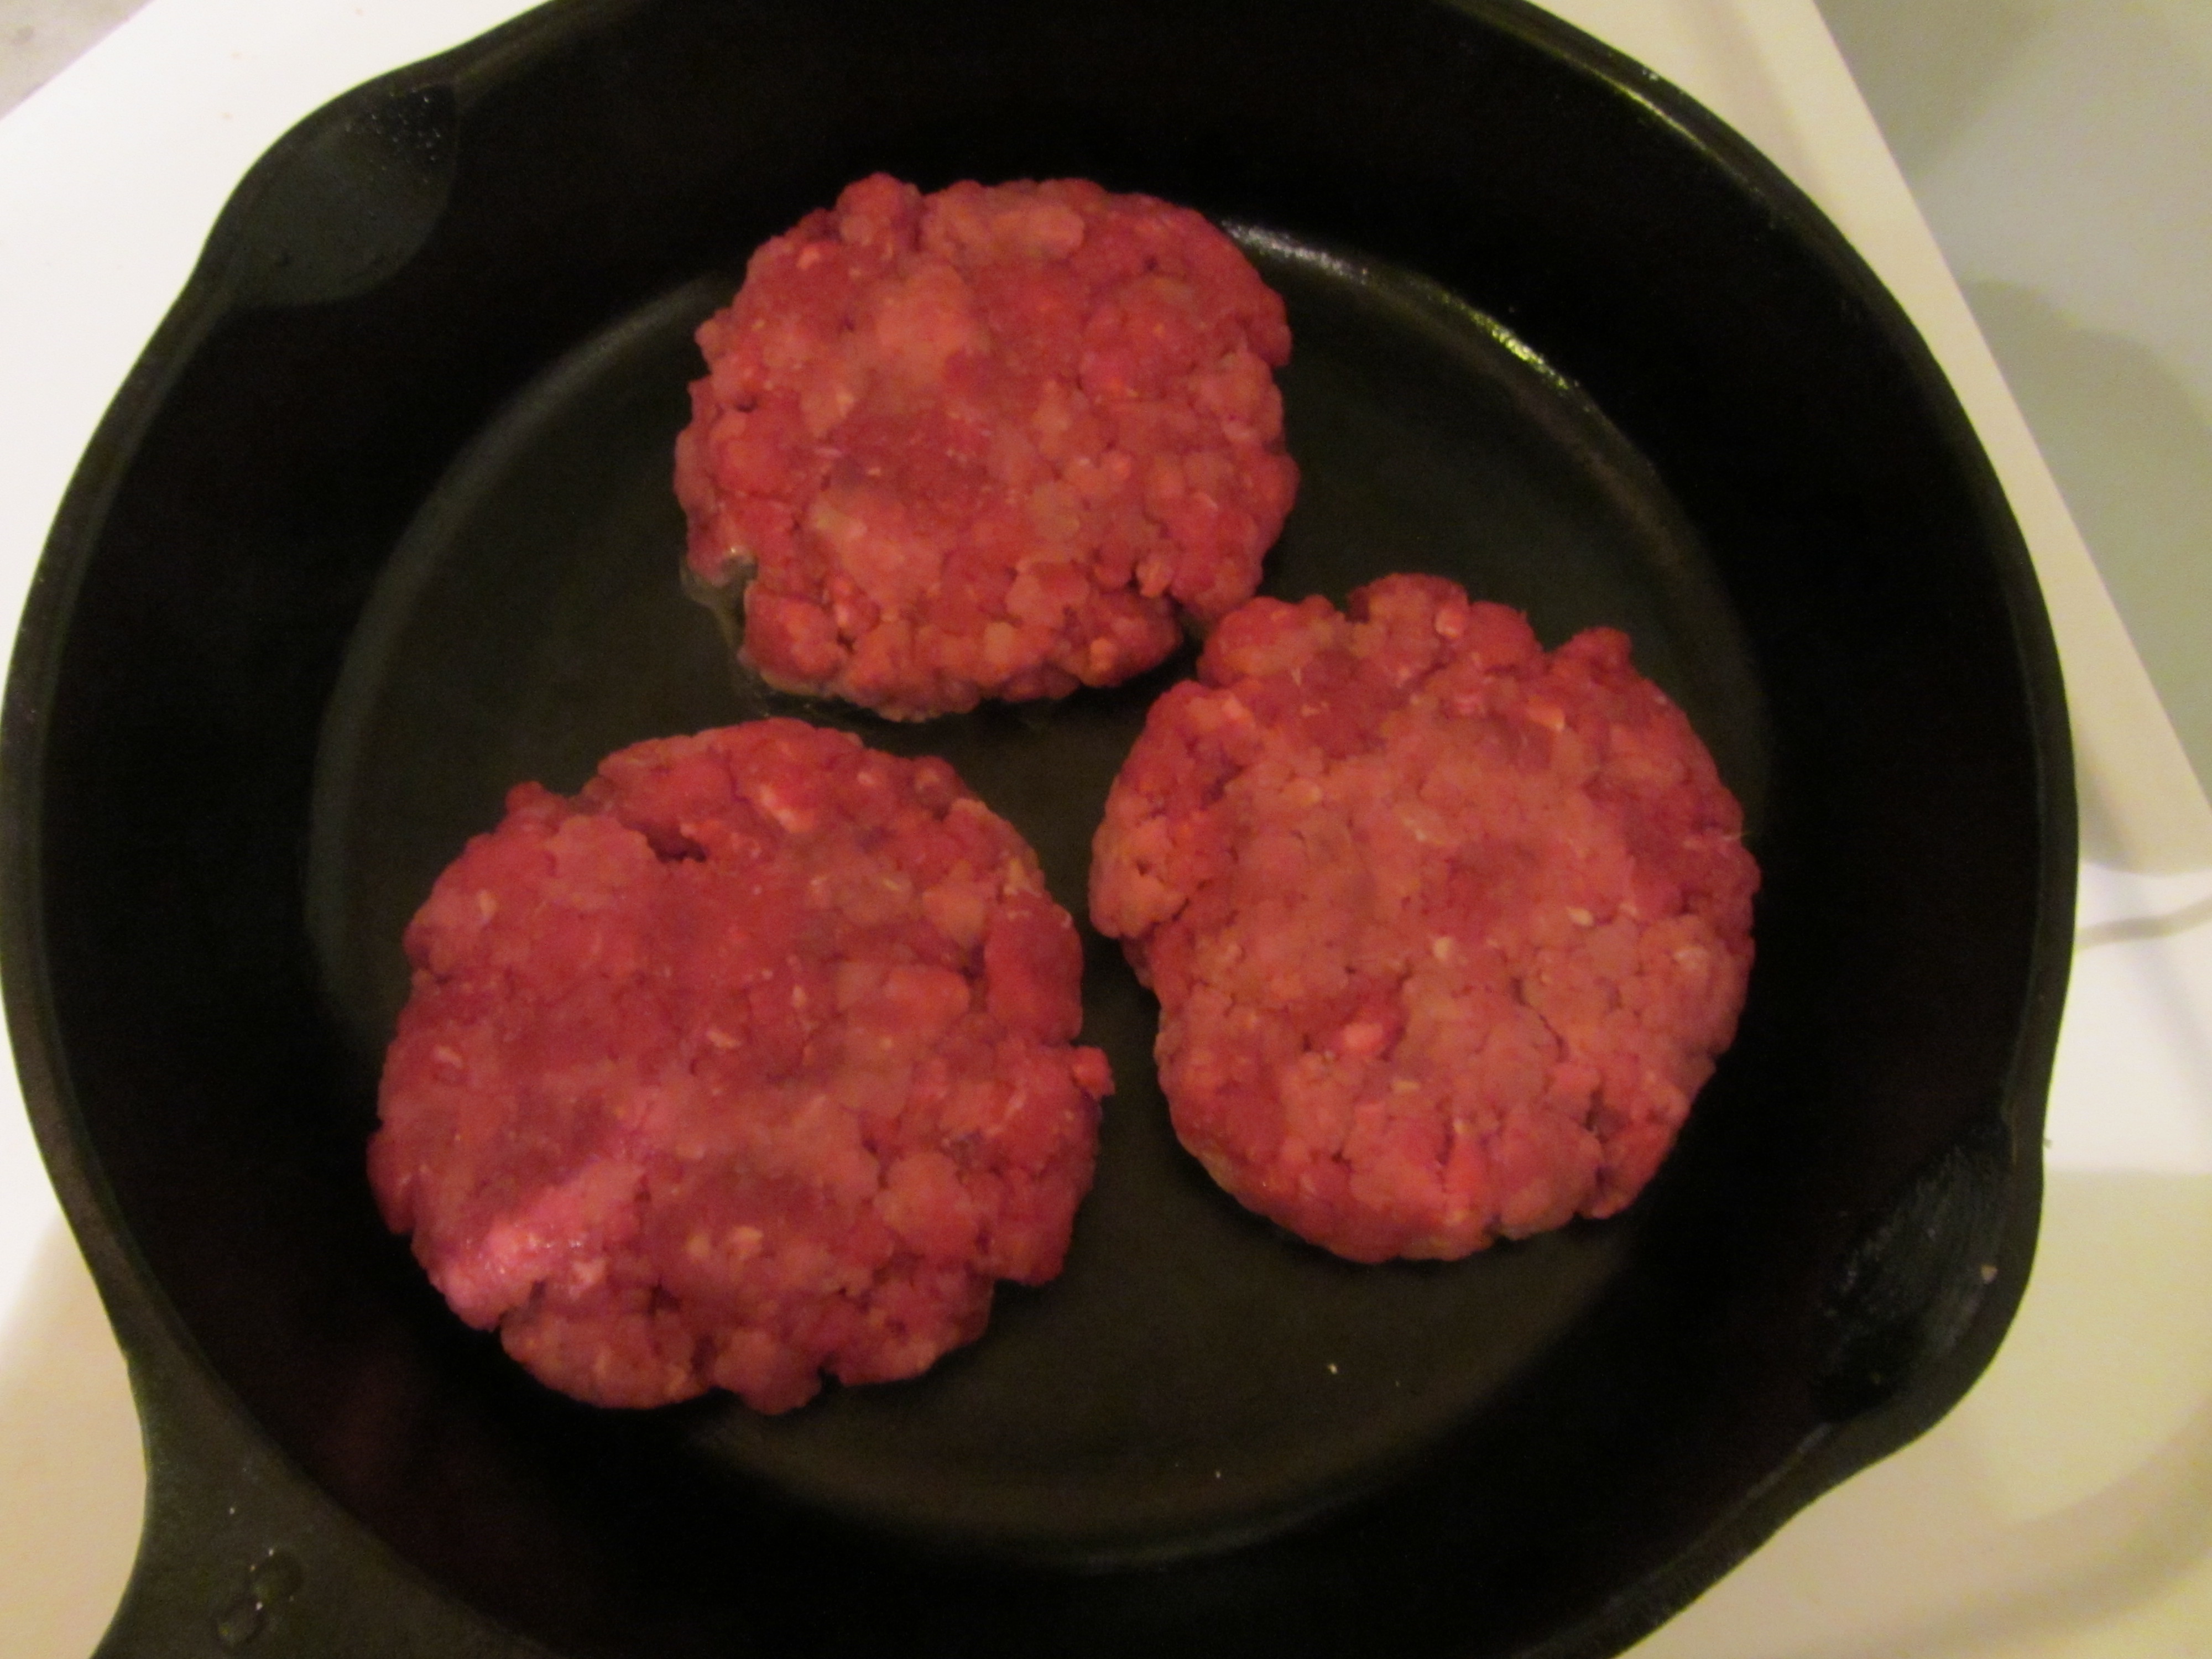
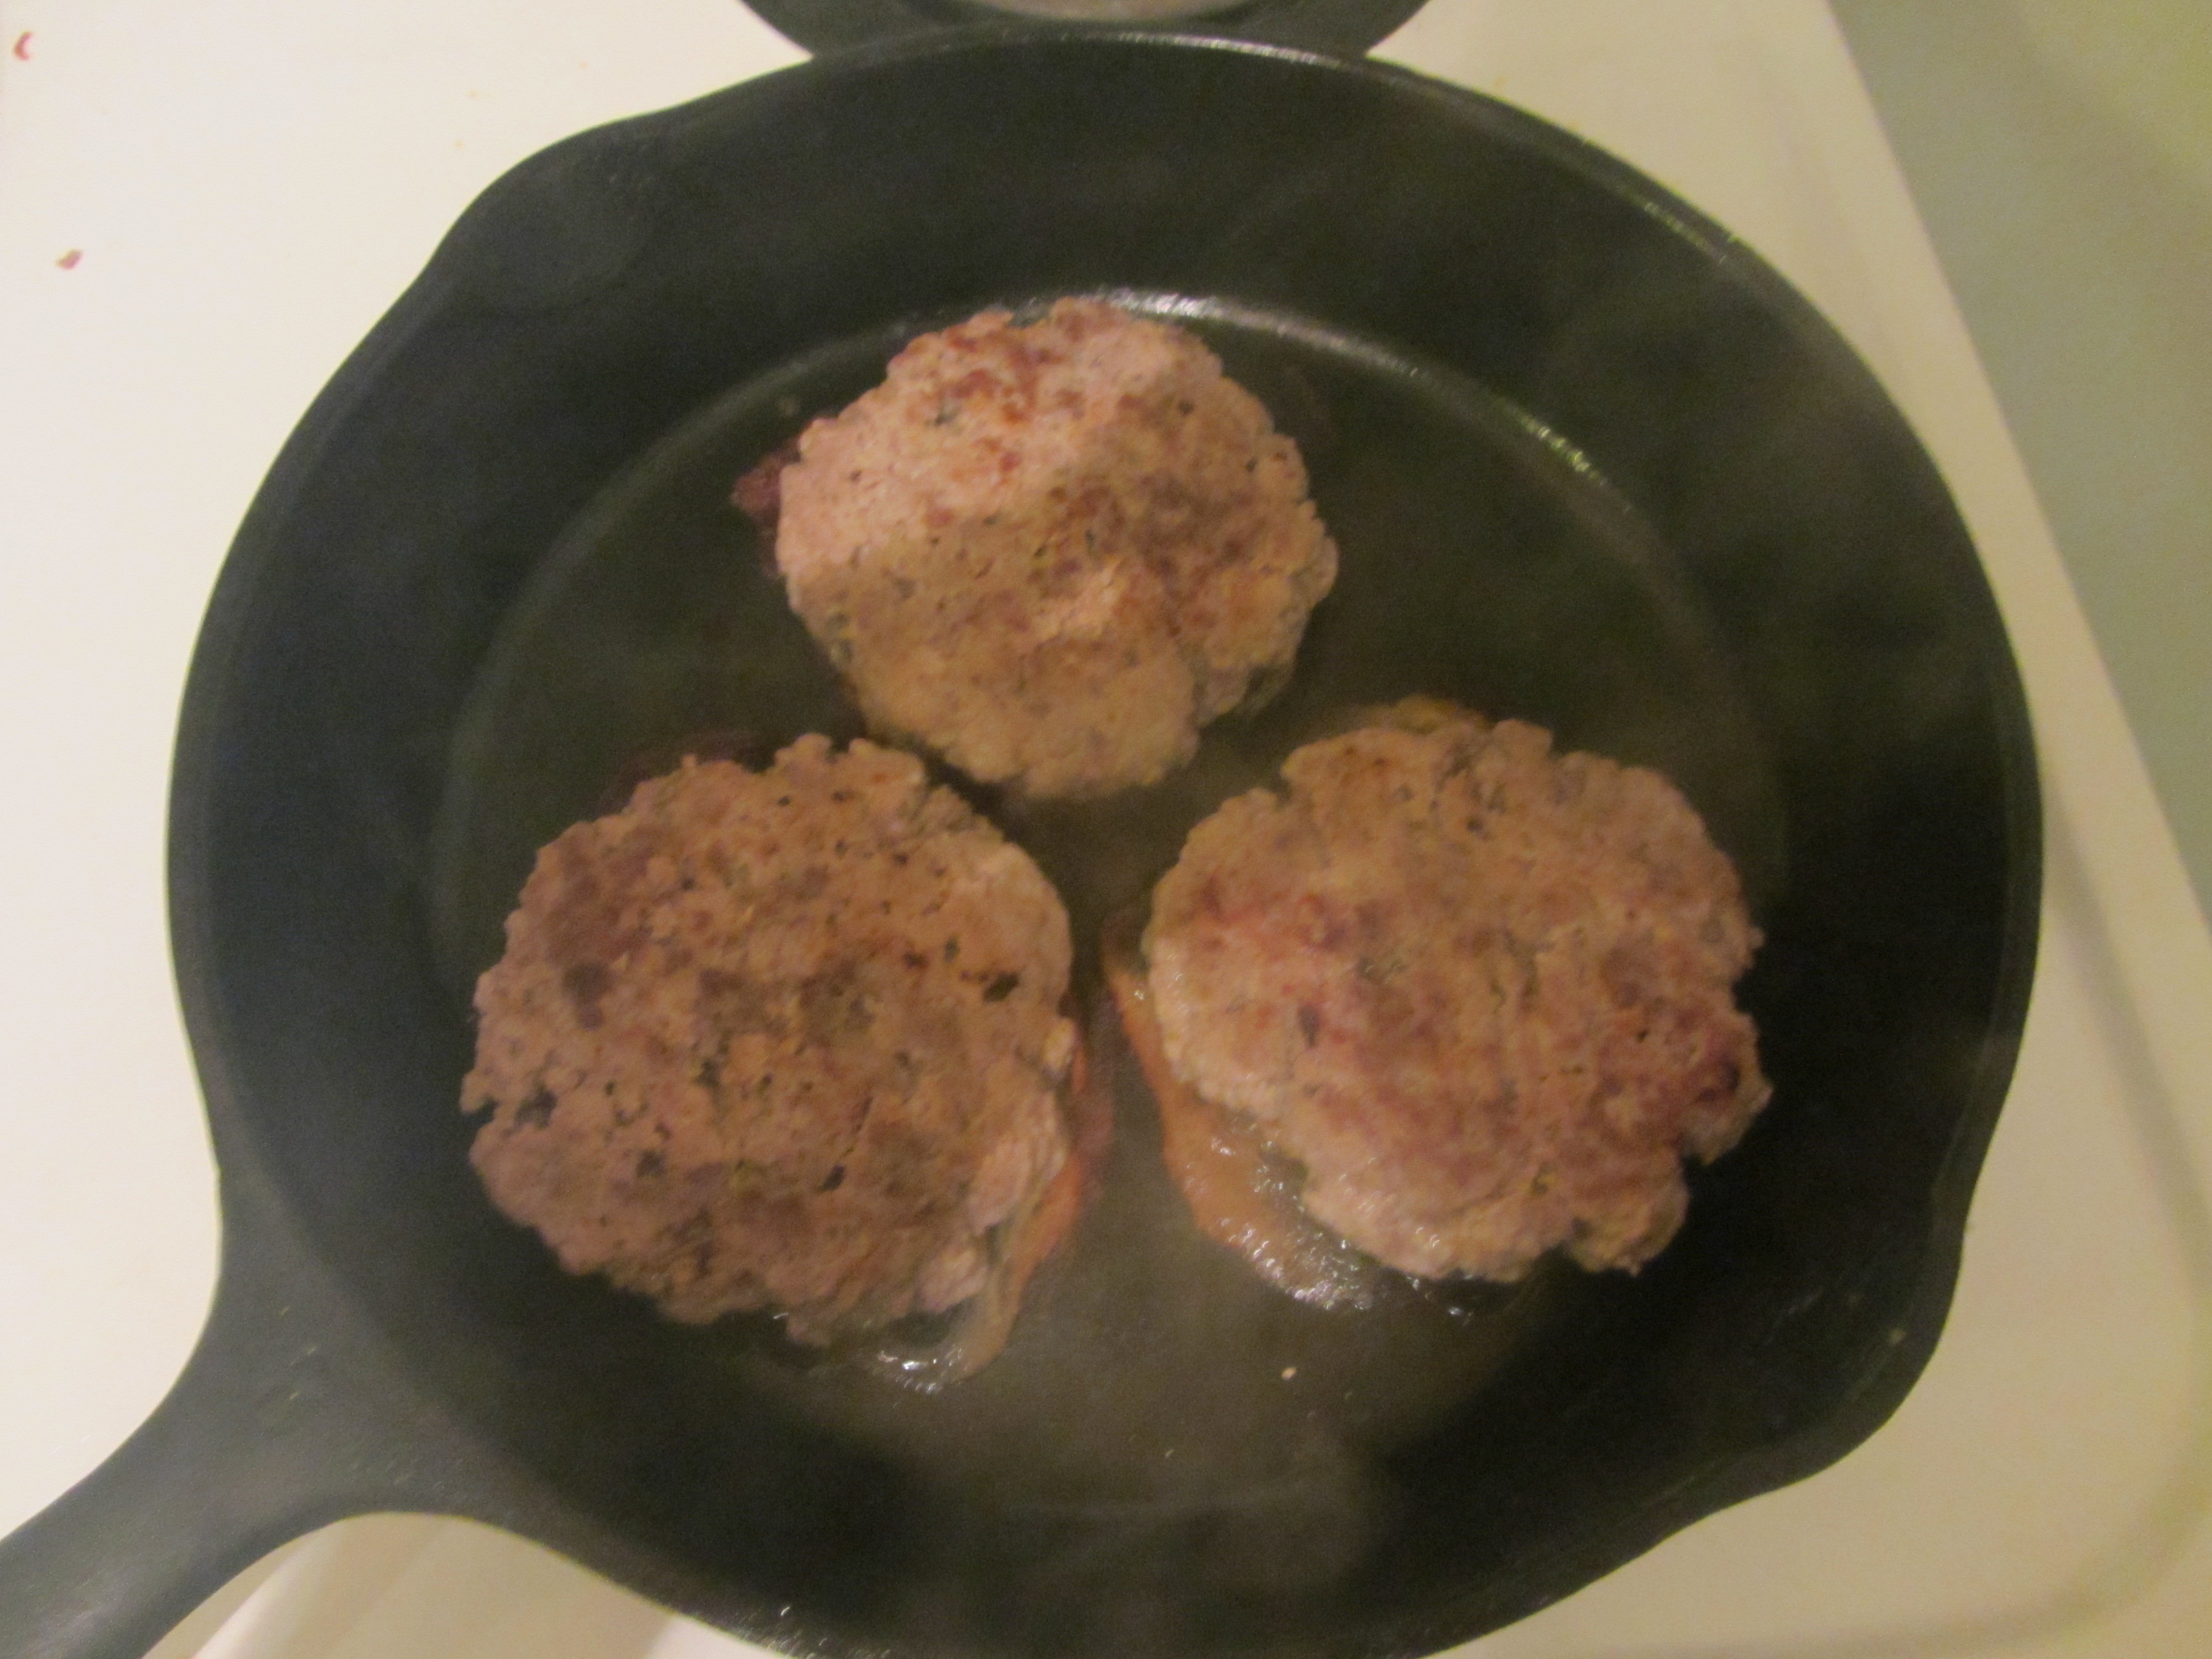
Chill the mixture for at least 30 minutes. To cook the burgers, divide the pea mixture into five ounce portions, flattening them and lightly dredging them in bread crumbs. Cook the patties for 3-4 minutes per side in a nonstick skillet over medium heat that has been lubed with olive oil.

IMG_2539

Veggie patties cooking in oiled skillet.

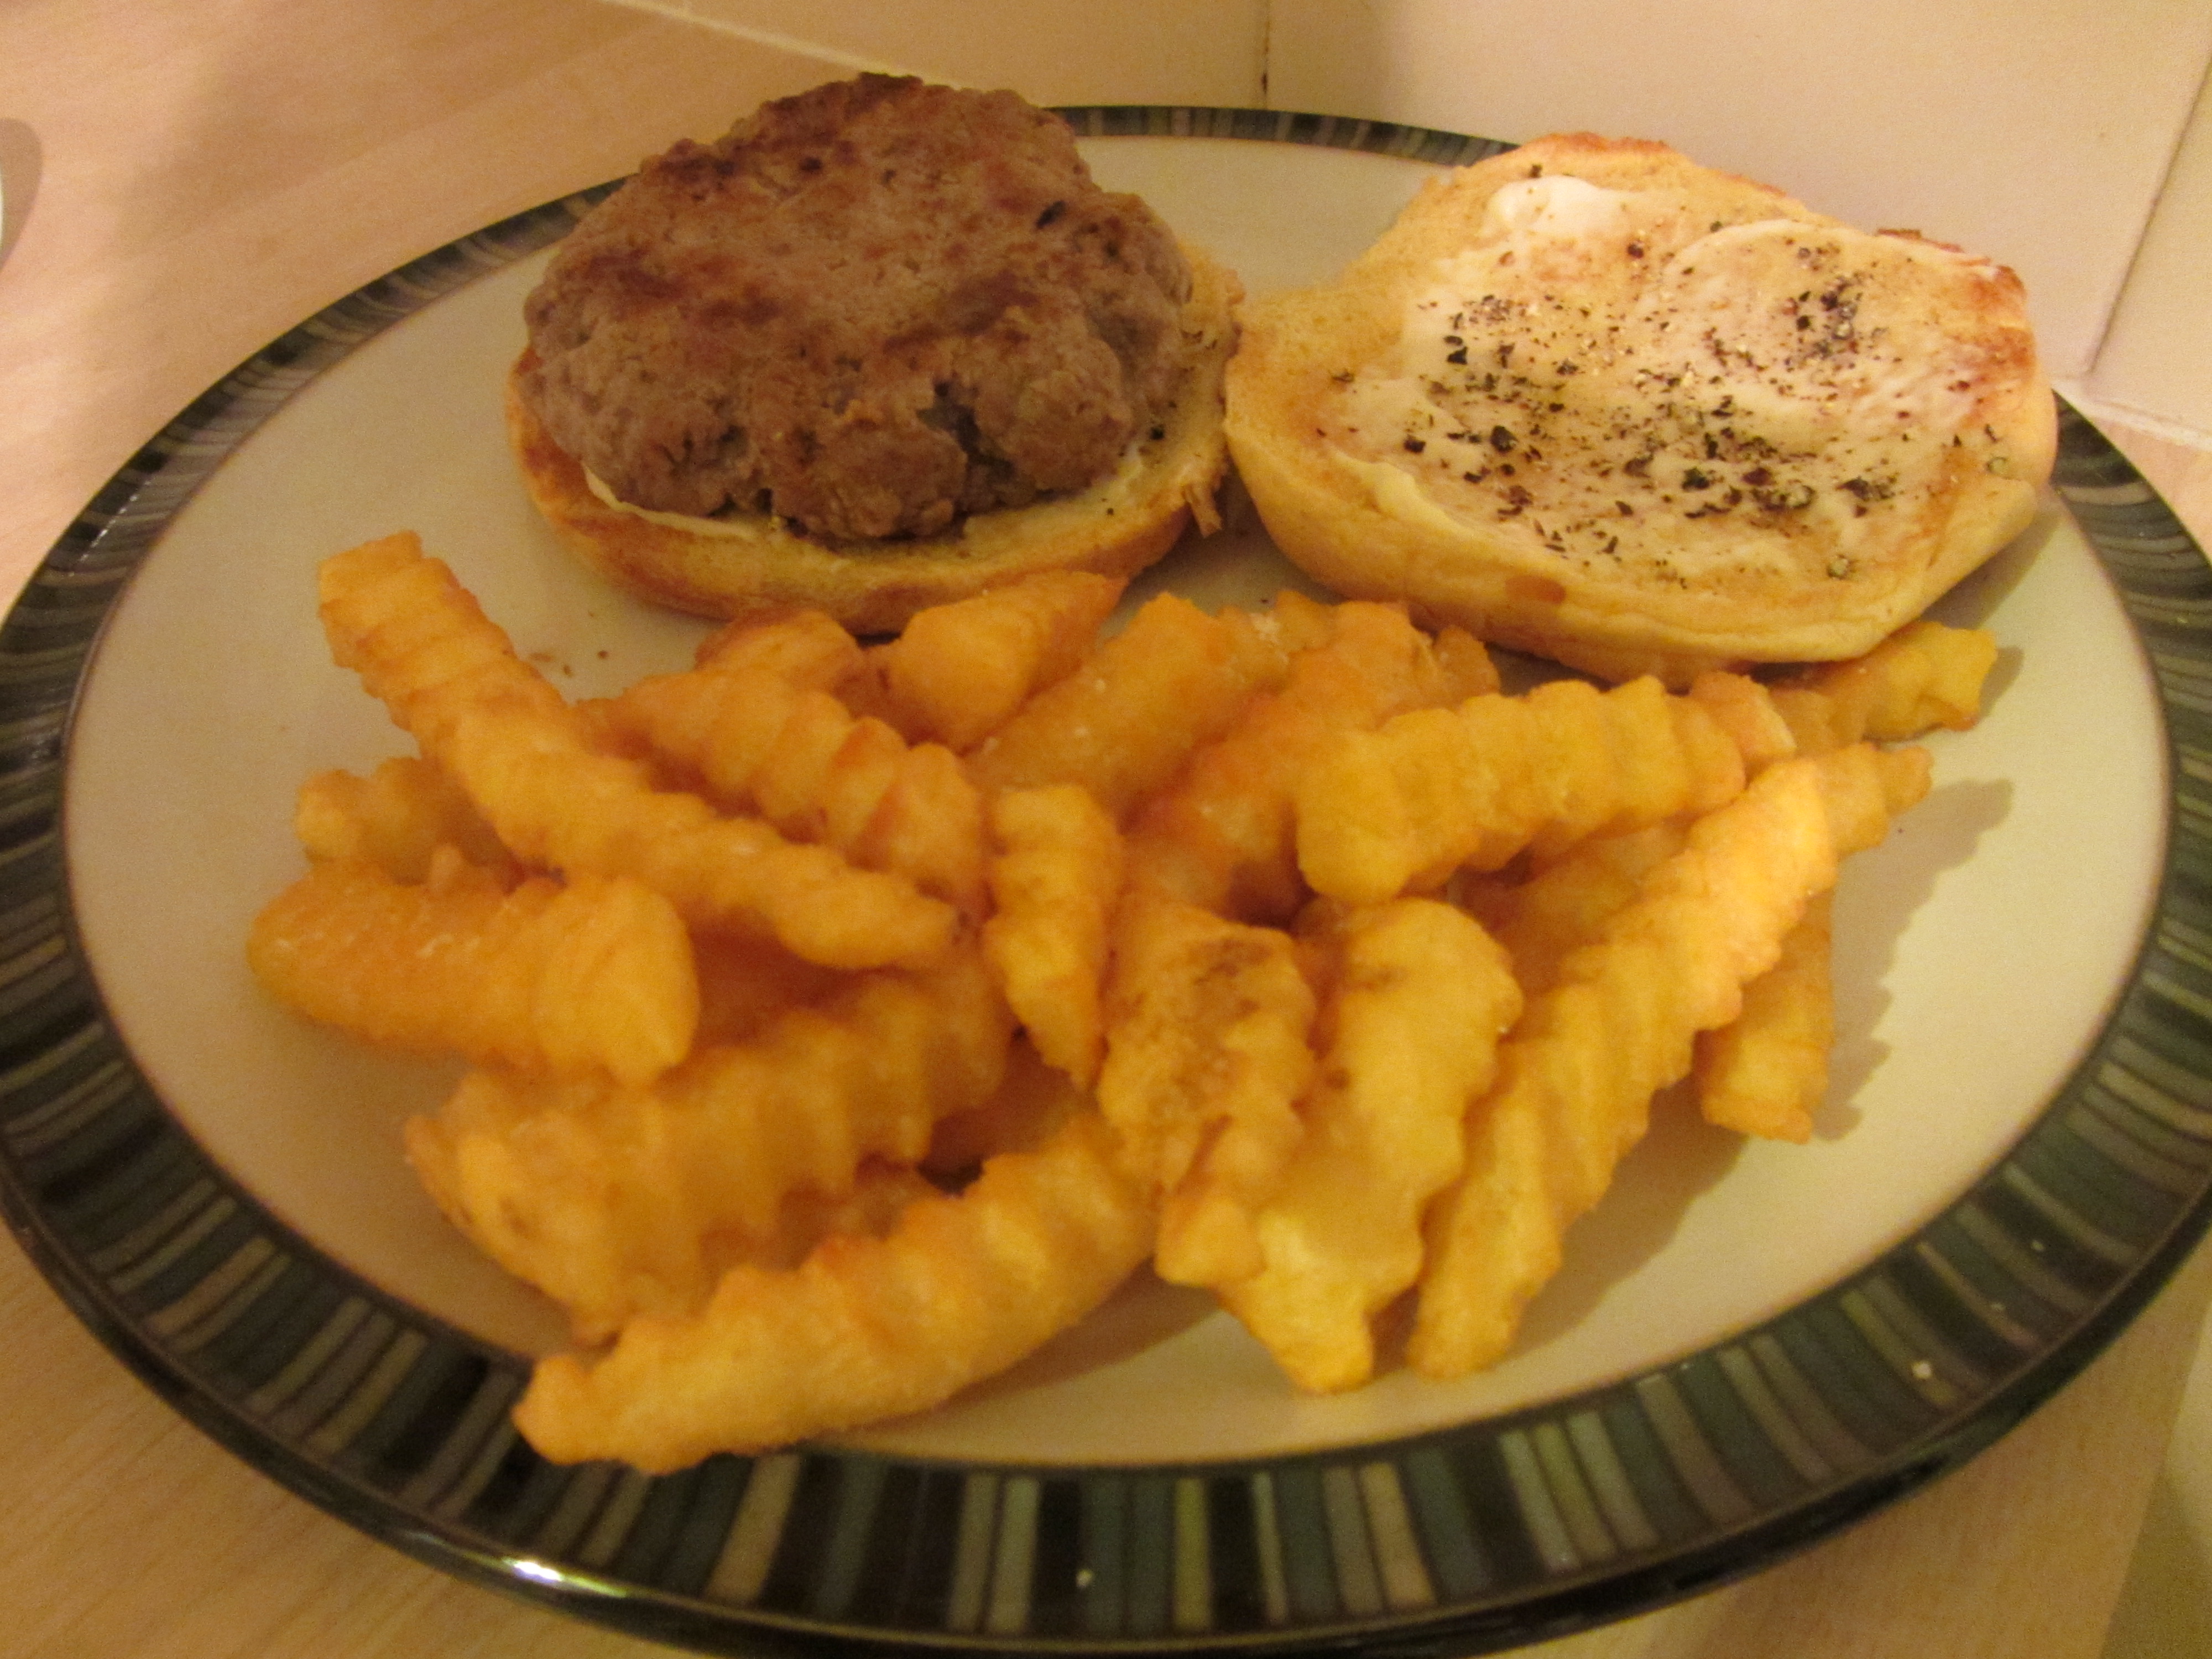
Serve the burgers on buns with your desired accompaniments.

IMG_2541

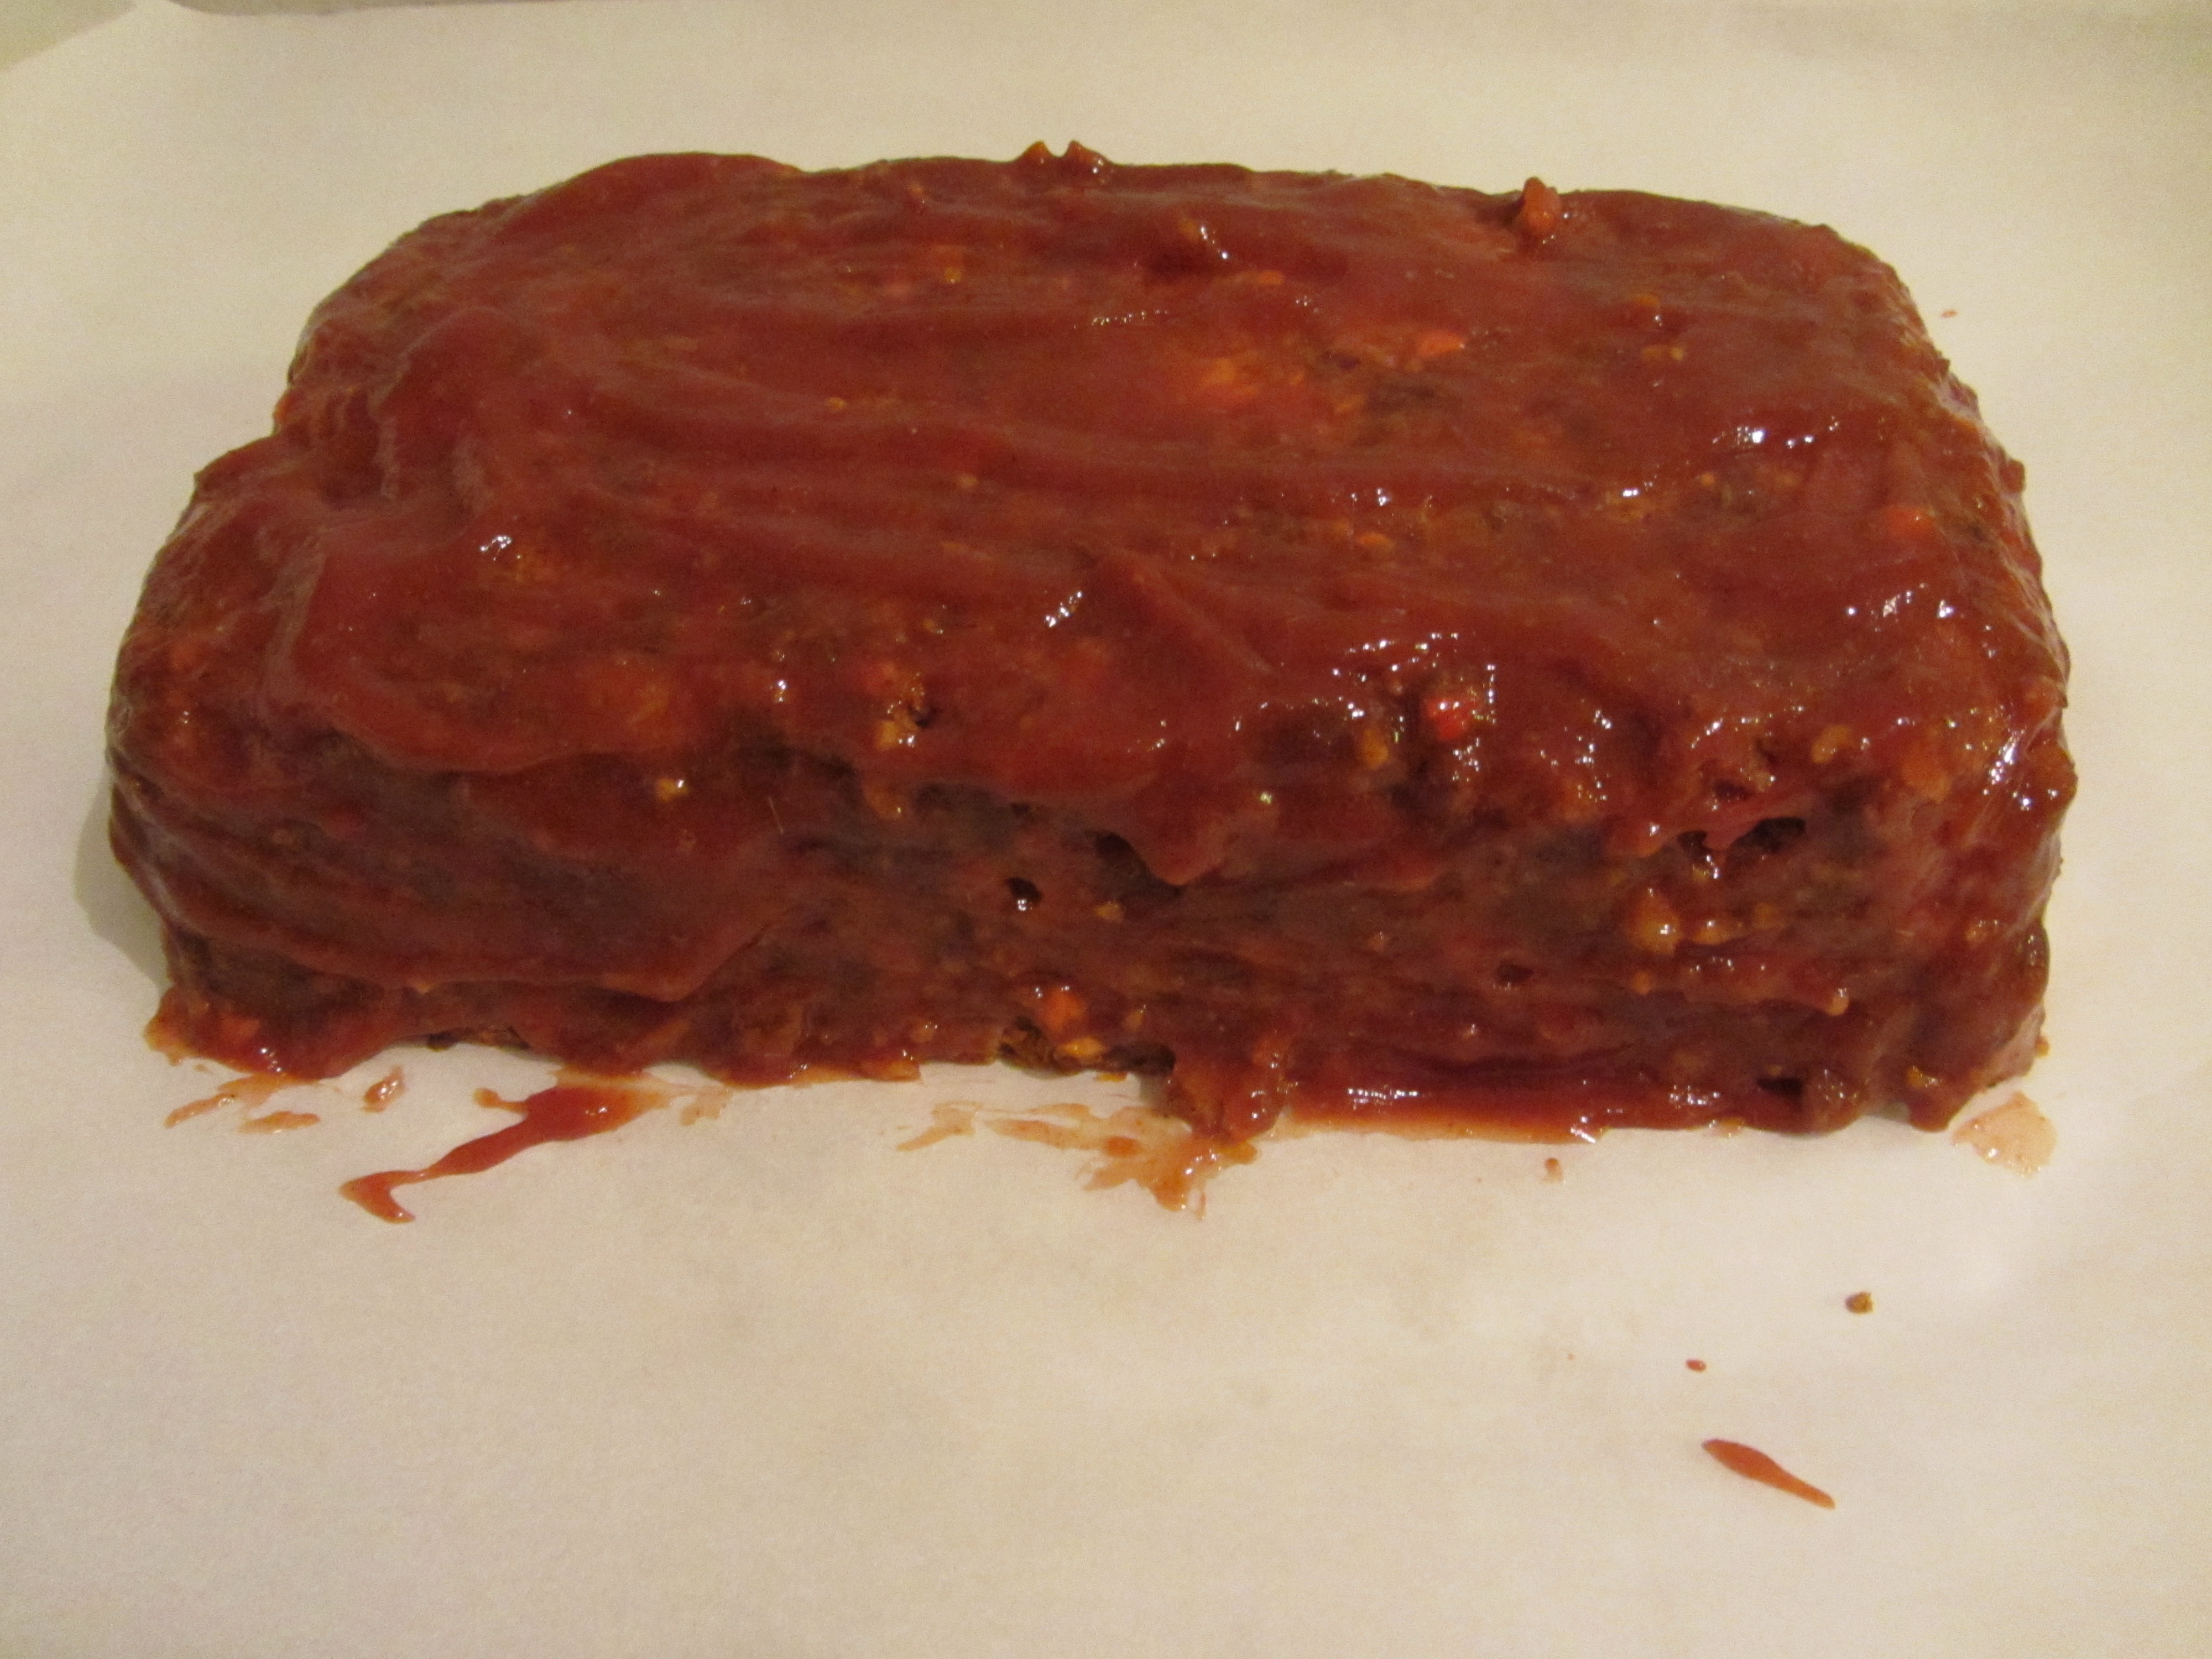
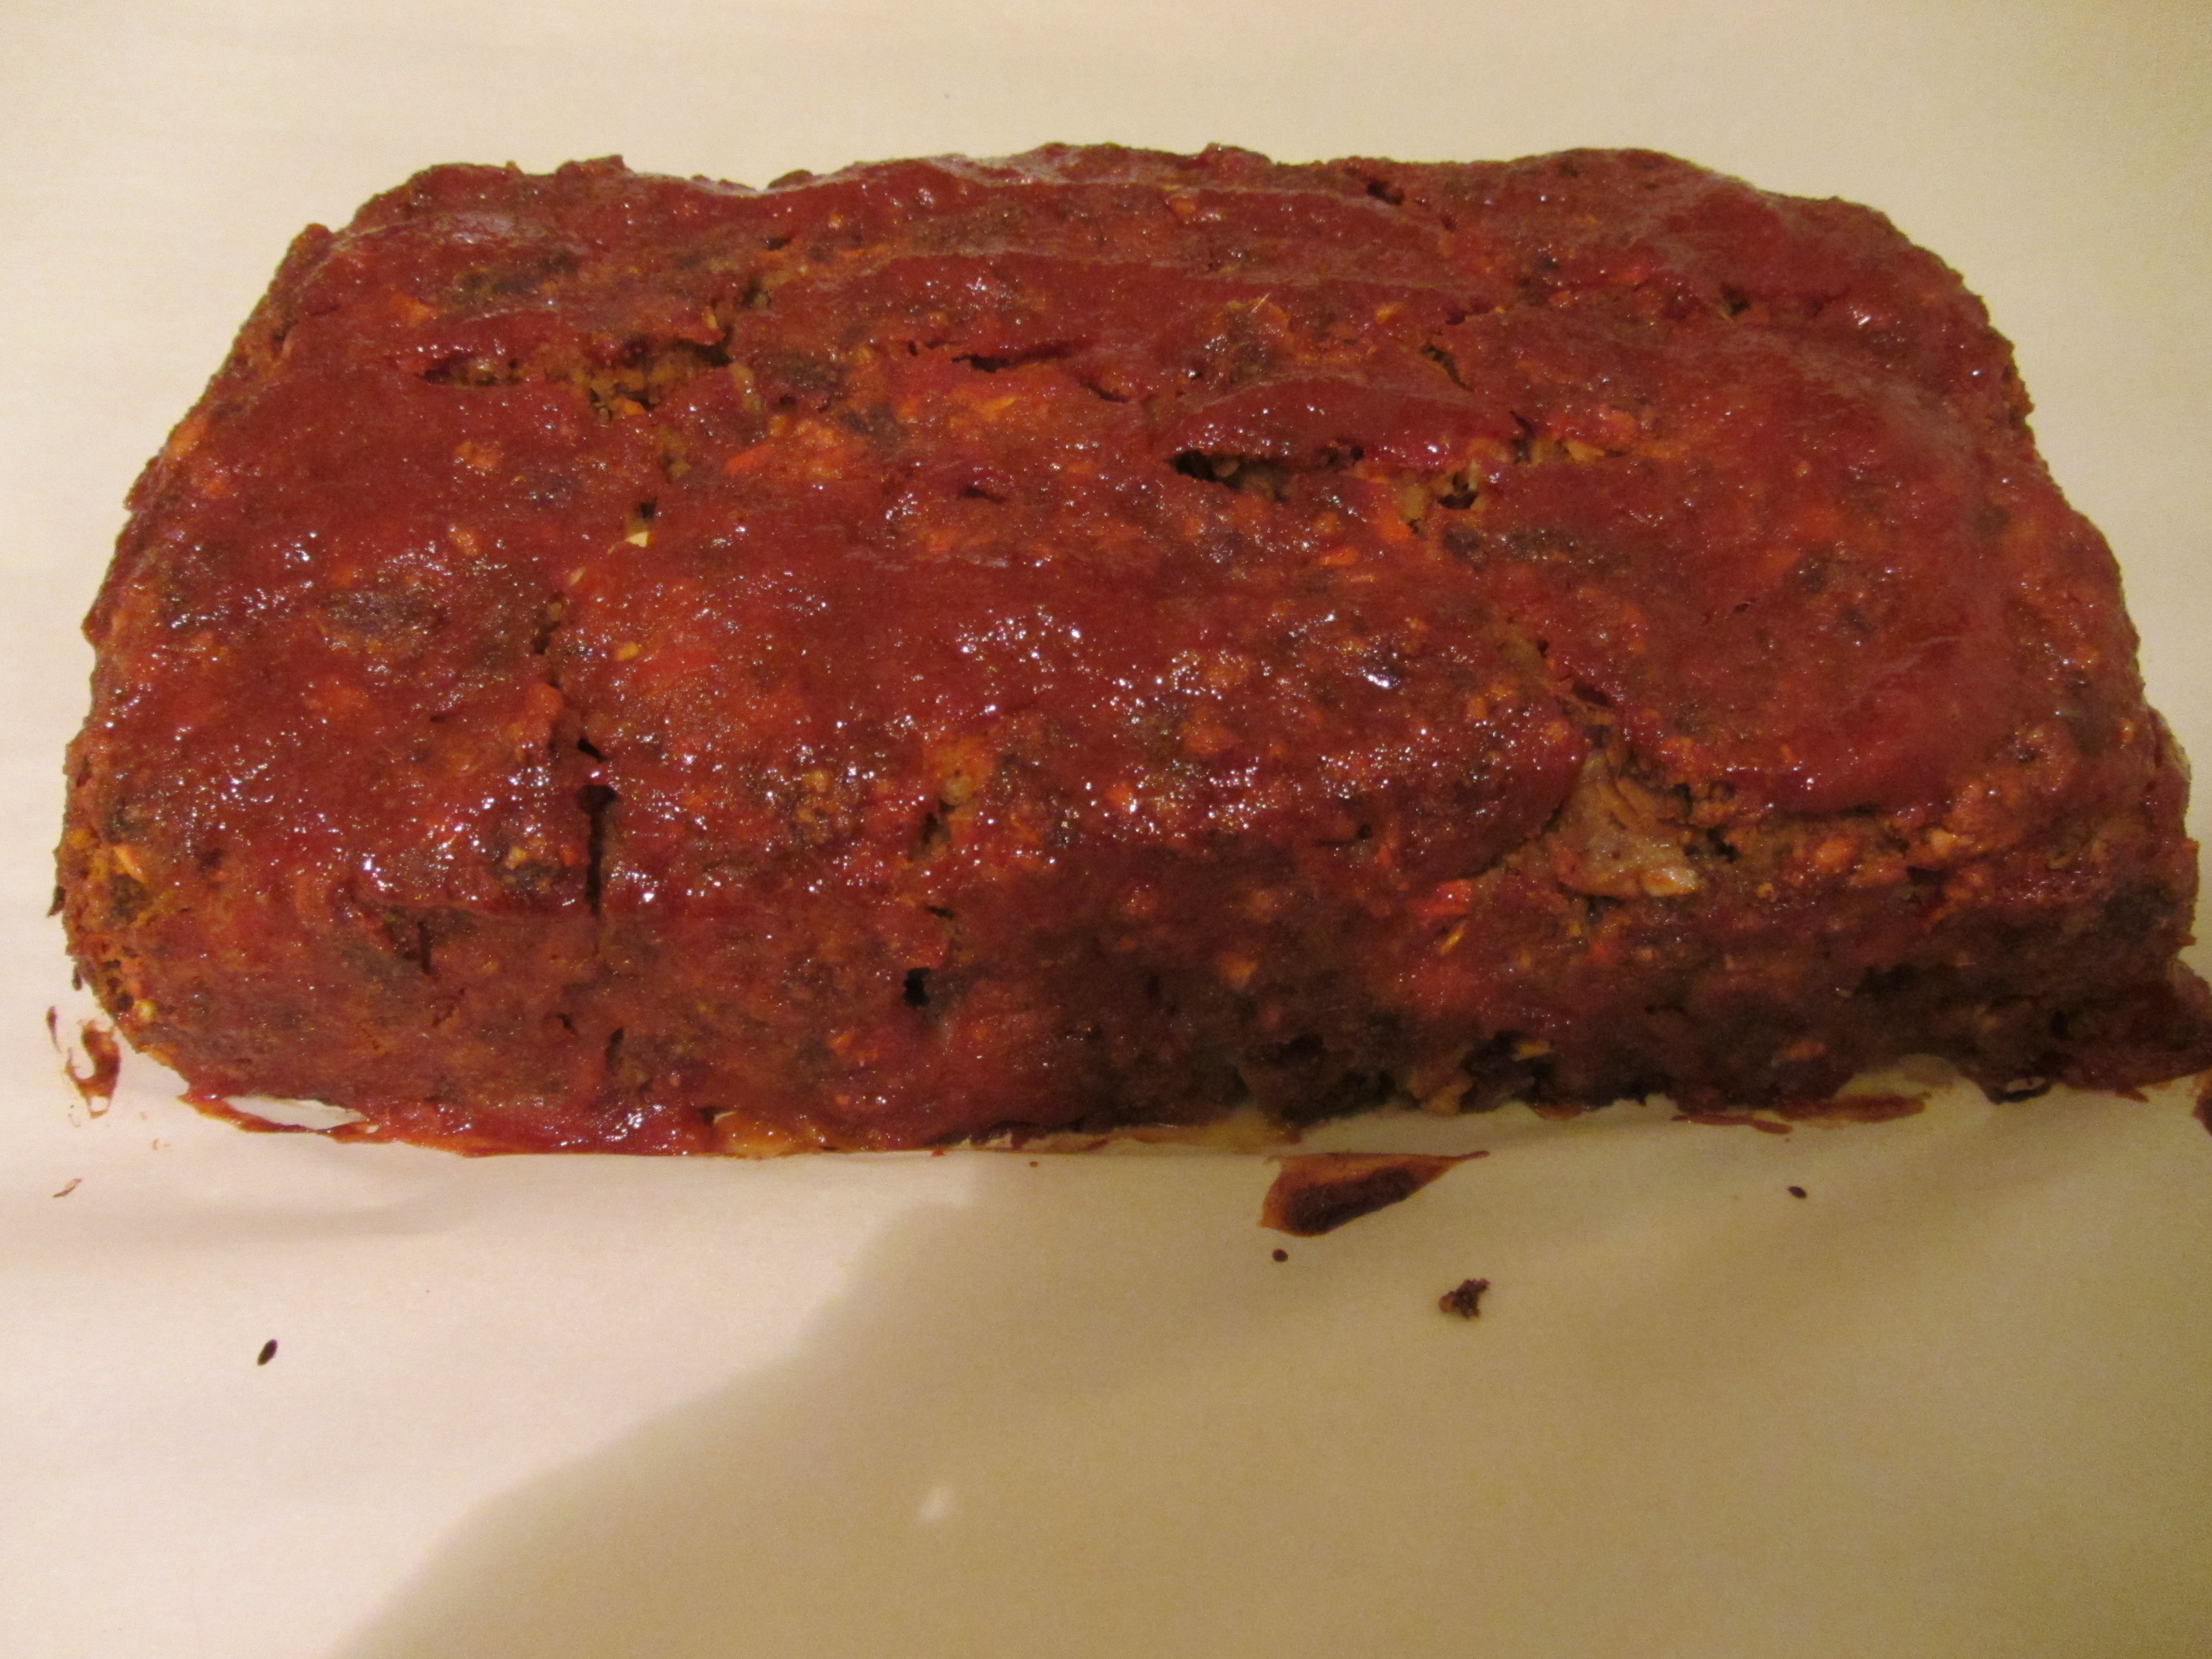
Alton’s split pea burgers.

These burgers weren’t the best veggie burgers I have ever had, but they were decent. I found their texture to be a little one-note, but they were pretty flavorful. We ate our burgers with some spinach, tomato, pickles, and mustard, and they were pretty good. If you happen to have a vegetarian in your family, these are probably worthy of a try. Otherwise, they are just kind of okay. You can freeze the portioned patties for later use, which does make them super convenient for a fast meal.

Green Peas with Cheese and Herbs

And now, for my favorite recipe of this episode:  peas with cheese and herbs. For this recipe you will need a pound of shelled fresh or frozen peas; I chose to go with frozen peas, as it takes a lot more time to shell fresh peas. Regardless of whether you are using fresh or frozen peas, boil three quarts of salted water and add your peas.

IMG_2563

A pound of peas added to salted boiling water.

If you are using fresh peas, cook them for three minutes, while you will only want to cook frozen peas for one minute. Dump your cooked peas into a colander and set the colander in ice water to cool the peas quickly; I actually just ran my peas under very cold tap water until they were cool.

IMG_2564

Peas, running under cold water after cooking.

To make the dressing for the peas, mix 2 T red wine vinegar, 1 t Kosher salt, 1 T minced shallots, and 1/2 t pepper in a medium bowl.

IMG_2565

Red wine vinegar, Kosher salt, shallot, and black pepper to make the dressing.

Once combined, drizzle in 3 T olive oil as you whisk the mixture to emulsify.

IMG_2567

Olive oil, ready to whisk into dressing.

Add 2 t chopped mint and 2 t chopped parsley, along with four ounces of cubed Ricotta Salata, Fontina, or Swiss cheese. I had a shaved mixture of Parmesan and Fontina, so I used that. Last but not least, fold in the peas.

Cover the salad with plastic and place it in the refrigerator for at least 20 minutes.

IMG_2575

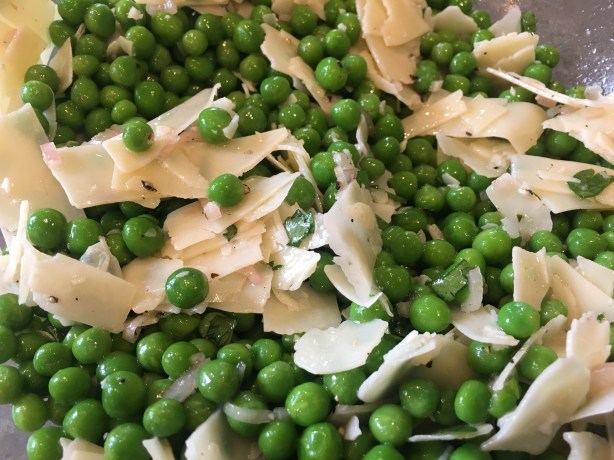
Alton’s peas with herbs and cheese.

This was a delightful salad to have as a side dish, though we both felt it could use more mint. I will make this salad again, but I will be sure to double the mint next time. The sweetness of the peas pairs fantastically with the salty richness of the cheese, and the vinaigrette adds a pop of acid and brightens the whole salad up. Add a touch more mint and this one is a keeper!

In this episode of Good Eats, Alton tackles a couple of “man food” recipes. What exactly is man food? Well, judging from the two recipes in this episode, I take it that man food is either composed of meat, deep-fried, or both. This girl was certainly happy to give Alton’s manly recipes a try.

Corn Dogs

While I can truly appreciate a good hot dog (especially a Chicago dog), corn dogs have never really done much for me; it comes down to the corn batter. Typical corn dog batter is chewy, dense, and overly sweet. I was hopeful that Alton could improve upon the carnival classic with his recipe. To make his corn dogs, pour a gallon of peanut oil in a deep fryer (or in a Dutch oven if you are like me and don’t have a deep fryer), heating it to 375 degrees.

IMG_7276

Peanut oil, heating to 375.

While the oil heats, combine the dry ingredients for the batter in a large bowl:  1 C cornmeal, 1/4 t baking soda, 1 t baking powder, 1/2 t cayenne pepper, 2 t Kosher salt, and 1 C flour.

In a second bowl, whisk together the wet ingredients:  2 T minced/seeded jalapeno, 1/3 C grated onion, 8.5 ounces of canned creamed corn, and 1 1/2 C buttermilk.

Note #1:  This recipe makes a lot of batter. I halved the recipe, made five corn dogs, and still had a lot of batter remaining. Note #2:  You can complete the recipe through this step ahead of time, but you cannot move onto the next step until you are ready to cook.

IMG_7272

Dry ingredients on the left and wet ingredients on the right, waiting to be combined once ready to cook.

Once ready to cook, add the wet ingredients to the dry ingredients, stirring just until combined. Pour the batter into a pint glass and set it aside for 10 minutes.

IMG_7283

Corn dog batter, poured in a pint glass and left to sit for 10 minutes.

While the batter rests, you can prepare your hot dogs (Alton prefers all-beef hot dogs). To prep the dogs, insert unseparated chopsticks or thick wooden skewers into your hot dogs, and roll the hot dogs in cornstarch, using your hand to remove any excess; you want a very thin coating of cornstarch.

Dip each hot dog into the pint glass of batter and then into the hot oil.

Alton says it will take four to five minutes to fry the corn dogs, but I found that my dogs were golden and crispy in about two minutes. Remove the corn dogs and place them on a rack. Serve the corn dogs with mustard and/or ketchup.

IMG_7300

Alton’s corn dogs.

These corn dogs were absolutely the best corn dogs I have ever had, and I will make them again. The batter was light, crispy, and slightly spicy, and the hot dogs remained juicy. The batter really reminded me of Alton’s batter for fish and chips, which I also loved. I highly recommend these, as they are very easy to prepare and take very little time, aside from heating the oil. Whether you already love corn dogs, or are skeptical that you could love corn dogs, these will be the best corn dogs of your life.

Mini Man Burgers

Since my husband is from the midwest, I’ve long heard how White Castle is the classic place to get sliders, and I have even visited a White Castle once or twice. I was interested to see what Ted would think of Alton’s take on sliders. To make proper sliders, Alton recommends using an electric griddle. We don’t have a true electric griddle, but we do have a panini press that has griddle plates, so I used that. Set your griddle temperature to 350 degrees and preheat your oven to 250 degrees. Wrap your slider buns in foil and place them in the warm oven while you prep the meat.

IMG_7113

Slider buns to heat in the oven.

Line a half sheet pan with parchment paper, placing a pound of ground chuck (20% fat) on top.

IMG_7102

Meat placed on parchment-lined pan.

Top the meat with a layer of plastic wrap and use a bottle to roll the meat until it fills the bottom of the pan.

To season the meat, combine 1/2 t onion powder, 1/2 t garlic powder, 1/2 t black pepper, and 1/2 t Kosher salt, and sprinkle it all over the surface of the meat.

Next, use the parchment paper to fold the meat in half onto itself, pressing it together with your fingers.

Using a pizza cutter, cut the meat into eight equal rectangles, and cook the patties on the preheated griddle for two to three minutes per side.

IMG_7112

Meat, cut into 8 rectangles.

While the meat cooks, spread a thin layer of mayonnaise on your warm burger buns, as this will keep the buns from getting soggy.

IMG_7116

Heated bun spread with mayo.

Transfer the cooked burgers to the buns and serve with condiments. We ate our sliders with oven fries on the side, and I opted to put cheese and mustard on mine.

IMG_7122

An Alton slider with fries.

IMG_7147

An Alton slider with cheese and mustard.

Alton’s sliders were pretty darn tasty, with the patties being very well-seasoned, juicy, and flavorful. There’s also something kind of fun about eating sliders since they’re so small, don’t you think? Ted thought these sliders were a good representation of the real midwestern thing. Would he have them again? You betcha.

The 21st episode of Good Eats features recipes on beef, specifically ground beef. What meat eater doesn’t like ground beef? The fun part about the recipes in this episode is that Alton shows you how to grind your own meat at home. When you buy ground beef at the grocery store, it is composed of all of the leftover meat trimmings, which means that the consumer is really not sure where their meat is coming from. Conversely, by grinding your own beef at home, you know exactly what part of the cow you are eating. Alton explains that there are really three good ways to grind your own meat; you can use a meat grinding attachment on a stand mixer, an old-fashioned hand grinder, or a food processor. For these recipes, Alton uses the latter. It had honestly never really occurred to me to grind my own meat, and especially not with my food processor, so this was a fun experiment for me to try.

Burger of the Gods

The first recipe Alton tackles is for a classic burger. For this recipe, you want half of your meat to be chuck and the other half to be sirloin.

Sirlon and chuck, ready to grind at home.

Sirlon and chuck, ready to grind at home.

Since chuck is about 30% fat, it is ideal for blending with lean meats like sirloin. To begin, you want to trim your meat of any visible fat or tough connective tissue. My meat needed very little trimming. Once trimmed, you cut your meat into 1 1/2″ cubes. For grinding, you want your meat to be chilled. My meat was still cold after I trimmed it, so I began grinding right away. You want to process your meat in small batches, using short pulses. I found that putting eight ounces of trimmed meat into the processor was the perfect amount of meat for one batch, so I only had to do a total of two batches. Alton tells you to pulse the processor about 10 times for perfect burger meat. I ended up doing about 15 pulses for mine, and it seemed to be just about right. FYI Alton tells you to pulse meat about six times for perfect chili meat.

Sirlon in the food processor.

Sirlon in the food processor.

Ground sirloin, after ~15 pulses.

Ground sirloin, after ~15 pulses.

Ground sirloin.

Ground sirloin.

Chuck, ready to be ground.

Chuck, ready to be ground.

Ground chuck.

Ground chuck.

Once your meat is ground, you lightly mix it with your hands in a bowl. At this point, you can use the meat right away, or you can refrigerate it for a day or two.

Ground chuck and sirloin.

Ground chuck and sirloin.

When ready to use your meat (I used mine right away), add some Kosher salt and mix it in gently with your hands. Alton stresses that salt is all the seasoning you need for a perfect burger.

Ground meat, plus salt.

Ground meat, plus salt.

For a perfectly sized burger patty (4″ x 3/4″), weigh five ounces of meat. Lightly toss the meat between your two hands, forming it into a ball, and then flatten the meat into a patty. You do not want to compress the meat too much, as this will kill its texture.

Lightly formed patties.

Lightly formed patties.

When your patties are all formed, heat a cast iron skillet over medium-high heat until water sizzles and bubbles away, about two minutes.

Cast iron skillet.

Cast iron skillet.

Cook your burgers for four minutes per side if you want a medium-rare burger. Cook for an additional minute per side to get a medium burger.

Burgers in the pan.

Burgers in the pan.

Burgers flipped after 4 minutes.

Burgers flipped after 4 minutes.

Though this may conflict with every burger you have ever seen being cooked in an American diner, Alton informs you that you should, under no circumstances, smash your patty with a spatula while it is cooking. Patty smashing only serves to get rid of the good juices you want in your burger. Alton’s other rule for burger cooking:  flip burgers only one time. Once your burgers are cooked to your desired degree of doneness, let them rest for a minute or two before eating.

Resting burgers.

Resting burgers.

In the episode, Alton begs you to serve your burgers his way, which is on a toasted bun with only some mayonnaise and freshly ground pepper. I complied with his request.

Bun adorned the Alton way, with only mayo and pepper.

Bun adorned the Alton way, with only mayo and pepper.

We ate our burgers with French fries on the side. The texture of the beef was great, as the burgers stayed moist and were not overly dense. Unfortunately, my burgers were a little overcooked, which I think was due to my burner being a little too hot from the French fries cooking simultaneously below.

Burger with fries.

Burger with fries.

Still, though, the burgers were flavorful and juicy. I am not a huge fan of mayonnaise, so I was skeptical about eating my burger with only mayo and pepper. I do have to say that the meat flavor really stood out and was complimented by the spice of the pepper and creaminess of the mayo. I do think that we sometimes overwhelm the basic flavors of the meat itself by piling on a lot of condiments. Really, though, it’s just about what you like, right? This burger recipe was a winner. Grinding the meat at home really took very little extra time and effort, though it is a bit more expensive to do so. If you want to treat yourself to a good burger at home, it is worth the expense to grind your meat. Plus, you’ll know exactly what you are eating, which is a bonus.

Good Eats Meatloaf

The second recipe in this episode is for meatloaf. I really like meatloaf, especially at this time of the year. Like the burger recipe, this recipe uses a food processor. The food processor I use belonged to my parents, and I’m fairly sure it was a wedding present to them in 1974. You do have to keep your hand pressing on the lid or it will stop running, but it otherwise works just fine. To begin, you combine garlic-flavored croutons, black pepper, cayenne, chili powder, and dried thyme in the processor.

Garlic croutons, pepper, cayenne, chili powder, and thyme

Garlic croutons, pepper, cayenne, chili powder, and thyme

Grinding the crouton mixture in the food processor.

Grinding the crouton mixture in the food processor.

You want to process this until all of the visible crouton cubes are gone. This mixture then goes into a large mixing bowl.

The ground crouton mixture.

The ground crouton mixture, and Coonhound cameo.

Ground crouton mixture in mixing bowl.

Ground crouton mixture in mixing bowl.

Next, again in your food processor, you combine onion, carrot (no need to peel), garlic, and bell pepper.

Bell pepper, carrot, onion, and garlic.

Bell pepper, carrot, onion, and garlic.

He is NUTS for carrots.

He is NUTS for carrots.

Catching his carrot piece.

Catching his carrot piece.

Veggies in the food processor.

Veggies in the food processor.

You want to process the vegetables until they are finally chopped, but you do not want to puree them. Once chopped, the veggies go into the bowl with the crouton mixture.

Chopped veggies.

Chopped veggies.

Veggies in the bowl with the croutons.

Veggies in the bowl with the croutons.

Next, into the food processor goes your meat. Just like with the burger recipe, you want to use 50% chuck and 50% sirloin that you have trimmed and cubed.

Sirloin and chuck to be trimmed and ground.

Sirloin and chuck to be trimmed and ground.

I had to do a bit more trimming with this meat than for the burgers, so it took slightly longer. I was still able to do my meat in two batches, pulsing about 15 times.

Sirloin in the food processor.

Sirloin in the food processor.

Sirloin after ~15 pulses.

Sirloin after ~15 pulses.

Chuck in the food processor.

Chuck in the food processor.

Once your meat is ground, you add it to the bowl with the other ingredients, along with some Kosher salt and one egg.

Both ground meats added to the veggies and croutons, along with salt and an egg.

Both ground meats added to the veggies and croutons, along with salt and an egg.

You want to use your hands to gently toss this mixture. Alton tells you not to squeeze the meat. Once everything is suitably combined, pack the meat into a loaf pan, using a spatula.

The combined mixture after mixing with my hands.

The combined mixture after mixing with my hands.

Packed into a loaf pan.

Packed into a loaf pan.

Here is where Alton’s recipe differs from most meatloaf recipes, as you do not actually bake the meatloaf in the loaf pan. Instead, you turn the meatloaf out onto a parchment-lined baking sheet, using the loaf pan simply as a mold. Alternatively, you could just shape the meatloaf on the sheet pan with your hands. Why does Alton not have you bake in the loaf pan? Cooking the meatloaf on a sheet pan allows the fat to escape while the heat gets in.

Turned out onto a parchment-lined sheet pan.

Turned out onto a parchment-lined sheet pan.

After baking for about 10-15 minutes, you want to brush a glaze onto your meatloaf. For the glaze, combine ketchup, cumin, Worcestershire sauce, hot sauce (I used Tabasco, as did Alton), and honey. In the online recipe, the glaze calls for a teaspoon of ground cumin, though Alton used a whole tablespoon of cumin in the episode. I, or course, went with what he did in the episode.

Glaze ingredients:  ketchup, hot sauce, Worcestershire sauce, cumin, and honey.

Glaze ingredients: ketchup, hot sauce, Worcestershire sauce, cumin, and honey.

Finished glaze.

Finished glaze.

Meatloaf after 10-15 minutes in the oven.

Meatloaf after 10-15 minutes in the oven.

Glaze brushed on and back into the oven.

Glaze brushed on and back into the oven.

For his meatloaf, Alton uses a probe thermometer (set to 155 degrees), which he inserts into the center of the meatloaf at a 45 degree angle. I do not have a probe thermometer, so I simply checked the temperature of my meatloaf regularly until it reached 155 degrees. Confession:  my meatloaf’s temperature was a bit higher than 155 degrees when I removed it from the oven. Once you remove your meatloaf from the oven, be sure to let it rest for about 10 minutes before slicing.

Meatloaf after baking to 155 degrees (+).

Meatloaf after baking to 155 degrees (+).

We ate our meatloaf last night, alongside some steamed, seasoned broccoli. The meatloaf did crumble a bit when it was sliced, but it was far from dry. In fact, it was very moist in the middle with a nice crust from the glaze on the outside.

Meatloaf after resting.

Meatloaf after resting.

We both really liked the combination of spices used, and said we will likely use them again for any future meatloaf, even if we are not grinding our own meat. The cumin was the predominant spice, so those who do not like cumin may find this to be a bit overpowering. We, however, thought it was just right. The flavor was zesty, slightly spicy from the cayenne and hot chili powder, and sweet from the ketchup and honey. The meat flavor still came through, even with all of the spice, and the vegetables served to keep moisture in the meatloaf. If you are looking for a super flavorful, spicy meatloaf, give this one a try.