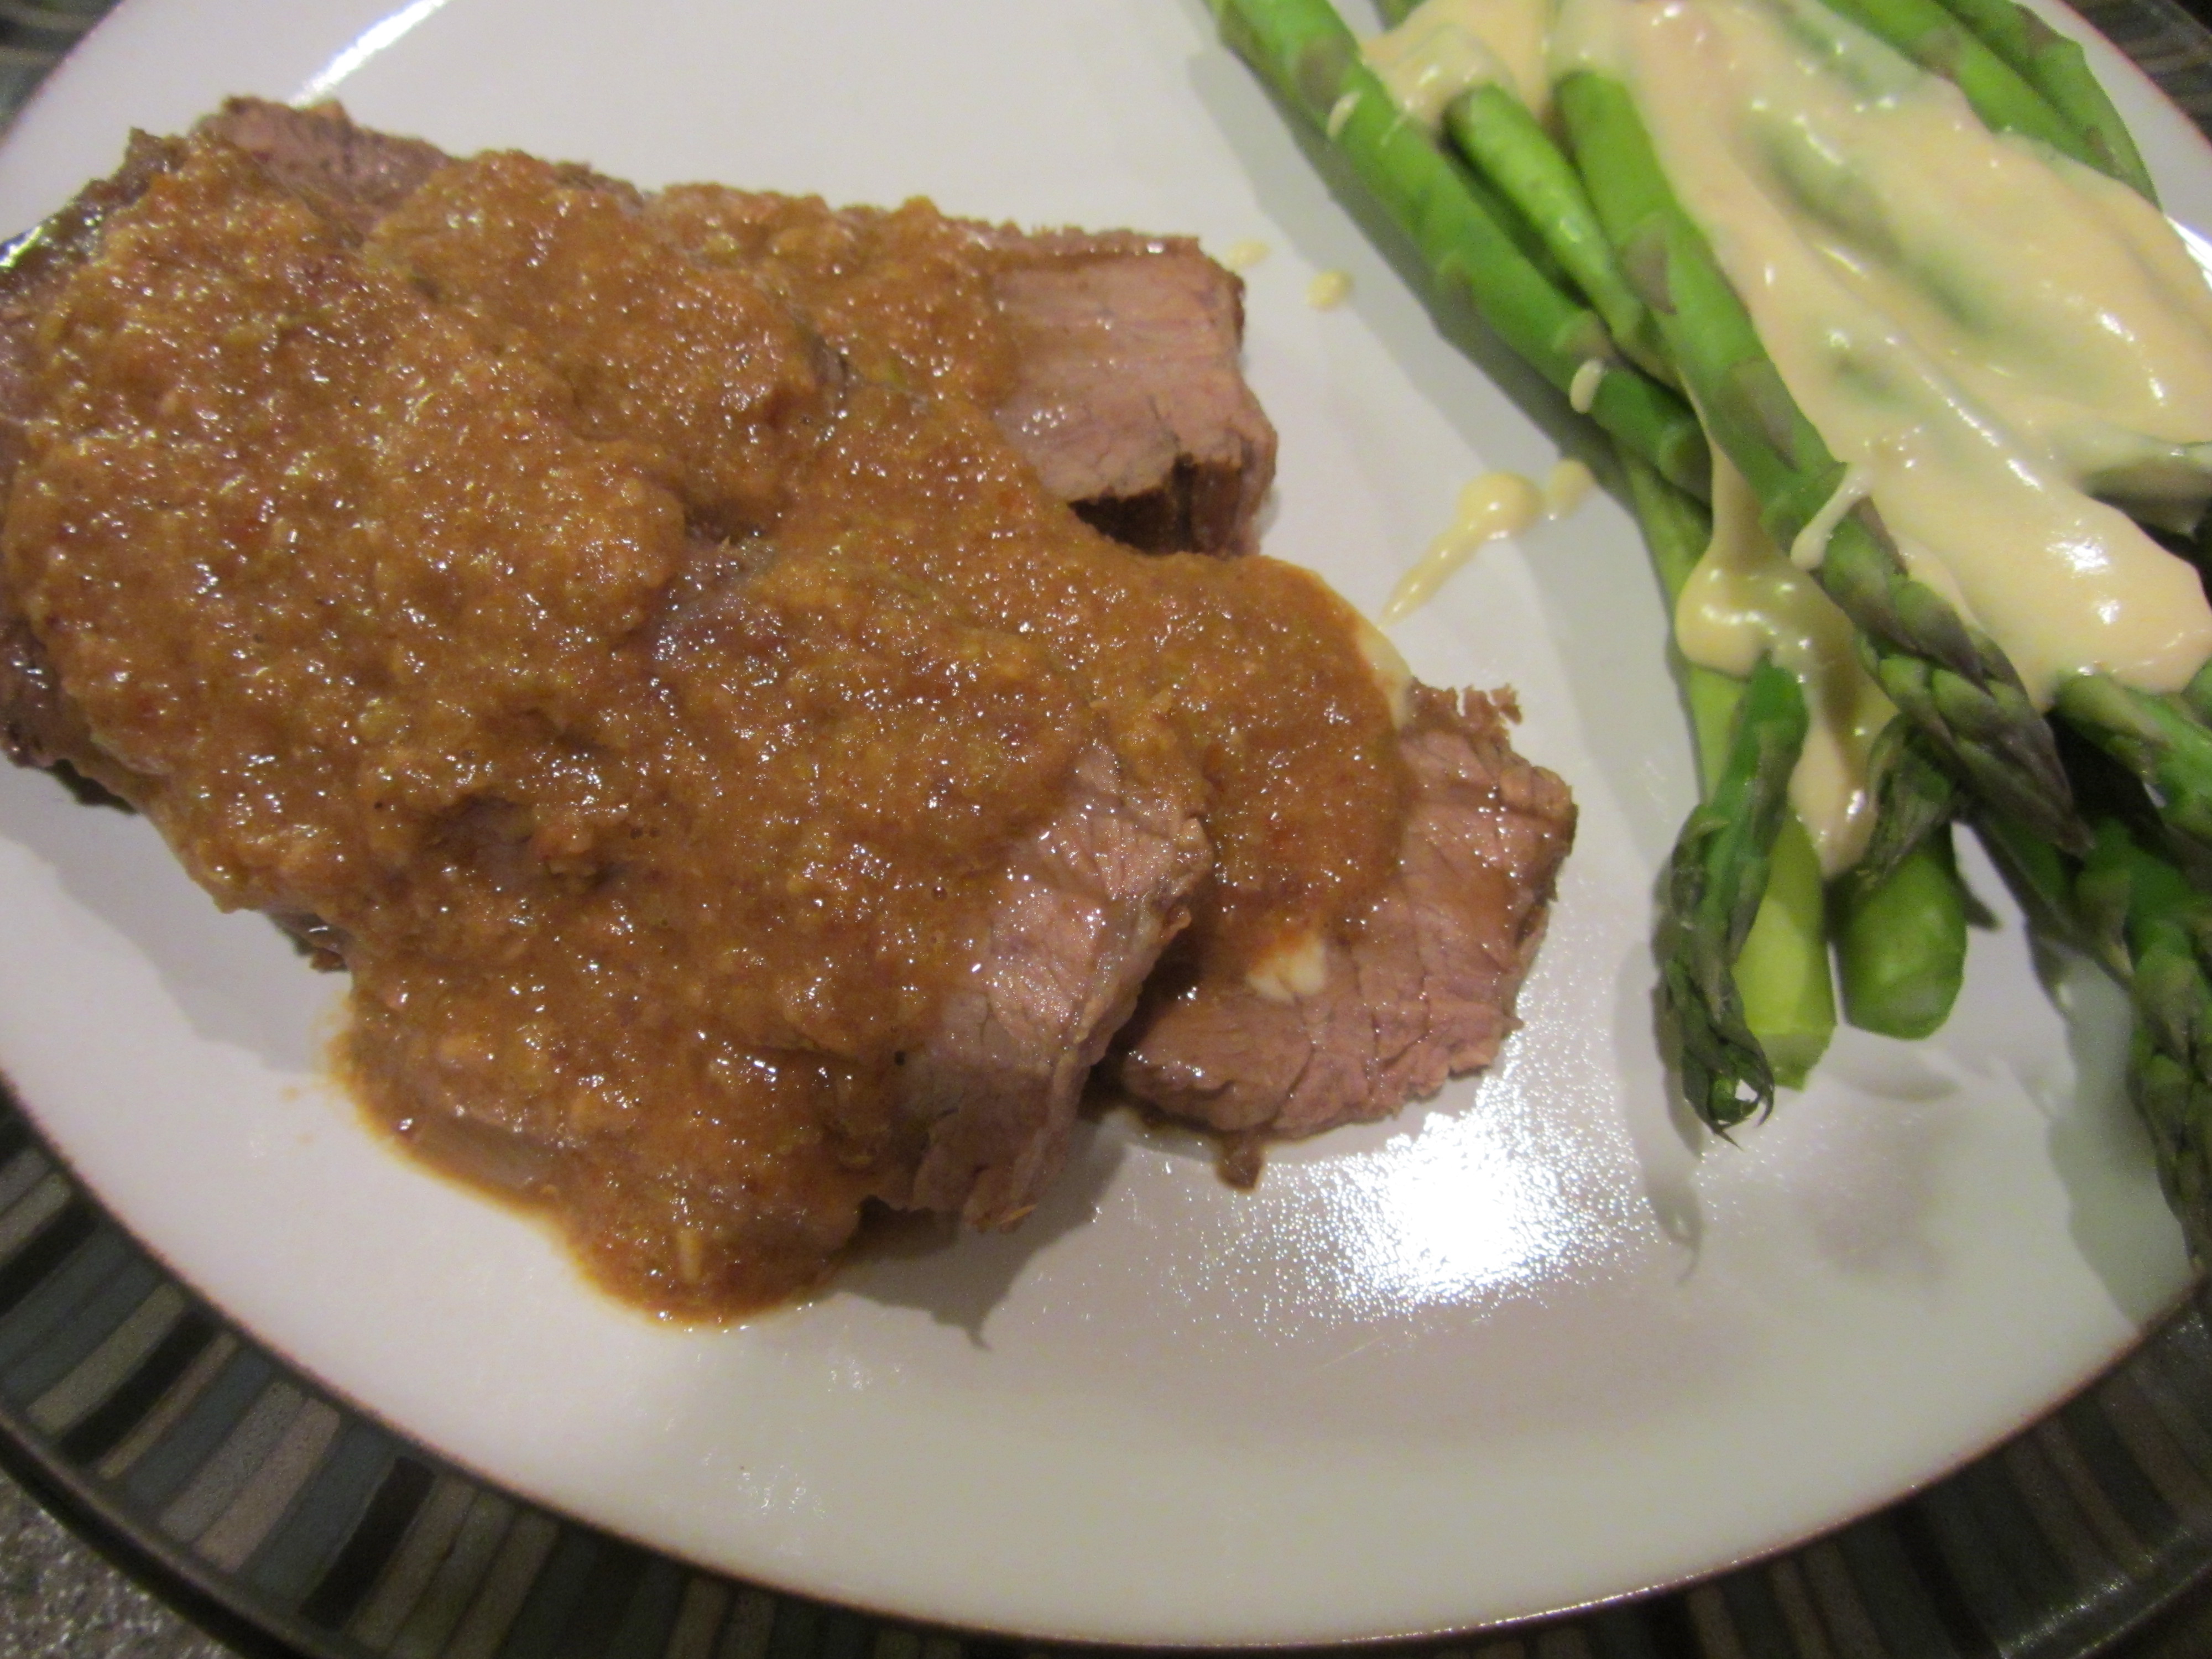
It is hard to believe that this post will mark the end of the 4th season of my Good Eats project. Only 10 seasons to go, plus some special episodes! It is also hard to fathom all that has happened since I started this blog 19 months ago. In addition to moving to a new house, Ted was diagnosed with cancer and underwent 5.5 weeks of chemo/radiation, along with two major operations. Thankfully, he just began (what should be) the final phase of his treatment: 12 rounds of chemo that should finish up at the end of June. One down… 11 to go, and boy are we counting down. This project has served to be a great distraction for me when I have had the opportunity to put time into it. Here’s to hoping that the next several months fly by!
Salsa
I love spicy food, and thankfully I have a relatively high tolerance for it. The final episode of season four was all about chile peppers and the Scoville unit of measurement for their heat levels. Always remember the general chile heat rules that smaller peppers are hotter than larger peppers, longer peppers are hotter than short ones, and green peppers tend to be hotter than other colors. To demonstrate the variations of heat and flavor among different chile peppers, Alton whipped up a batch of his salsa. To make Alton’s salsa, you will need 6 Roma tomatoes, 4 cloves of garlic, 1/2 a red onion, 1/2 a red bell pepper, 1 T olive oil, the juice of one lime, chili powder, Kosher salt, black pepper, 4 jalapeno peppers, 1 dried New Mexico chile, and something green (scallions, cilantro, and/or parsley). Note: the online recipe calls for dried ancho chiles, but Alton used a New Mexico chile in the episode.

Ingredients for Alton’s salsa: red bell pepper, Roma tomatoes, scallions, garlic, jalapenos, red onion, lime, olive oil, chili powder, Kosher salt, and pepper. Not pictured: dried New Mexico chile.
You will need to roast two of your jalapeno peppers. If you have a gas range, you can do this right over the burner, rotating the pepper over the burner until blistered on all sides. Alton placed his jalapenos on a collapsible stainless vegetable steamer to do this. We do not have a gas range, so I roasted my two chiles on a baking sheet under the broiler, turning them until all sides were roasted.
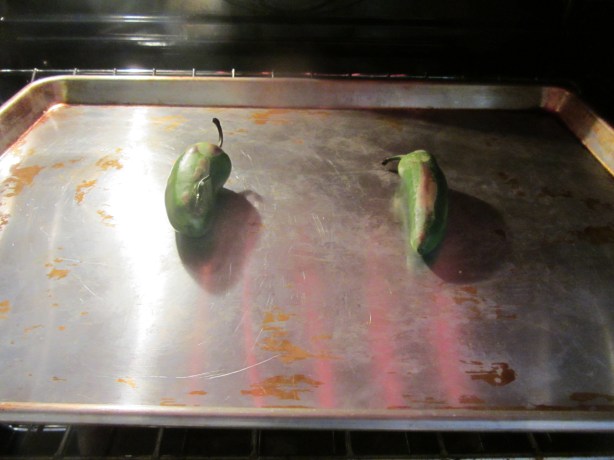
Roasting jalapenos under the broiler.
Whichever method you use, watch your peppers carefully! Once your peppers are roasted, place them in a plastic wrap-covered bowl or in a paper bag for a few minutes; this will steam the peppers, allowing their skin to come off easily. While your peppers steam, place your chopped tomatoes, minced garlic, chopped red onion, diced bell pepper, olive oil, lime juice, and chopped scallions (or parsley/cilantro) in a bowl.
-

- Chopped Roma tomatoes.
-
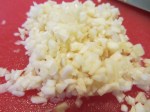
- Minced garlic.
-
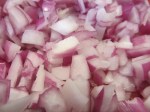
- Chopped red onion.
-

- Diced red bell pepper.
-
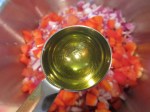
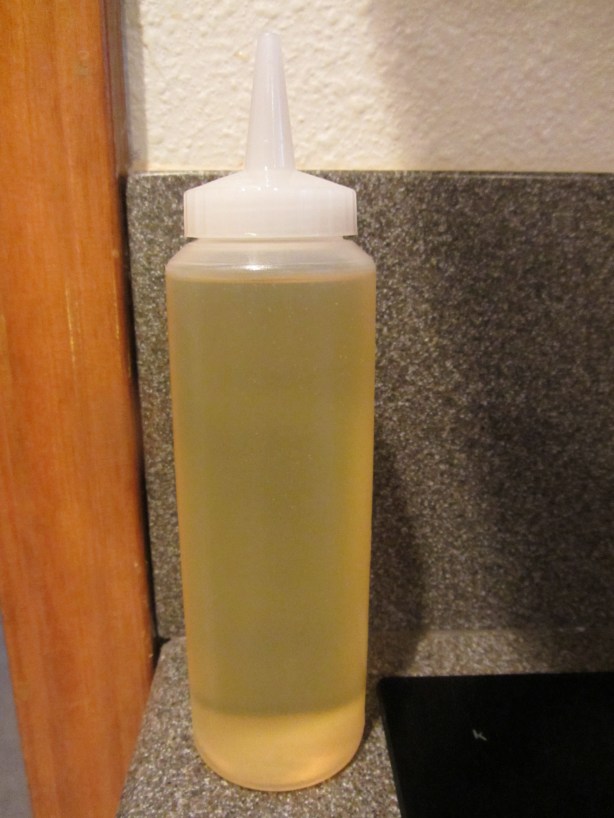
- Olive oil added to salsa.
-
- The juice of one lime.
-

- Chopped scallions.
As for the two raw jalapeno peppers, seed them both, as the seeds are not digestible. Finely chop one raw jalapeno, leaving its white membrane in place; the membrane will add more heat. Remove the white membrane from the second raw jalapeno and chop it into slightly larger pieces. The second jalapeno will serve to add more fruity notes to the salsa. Add both jalapenos to the bowl.
Season the salsa to taste with chili powder, Kosher salt, and pepper.
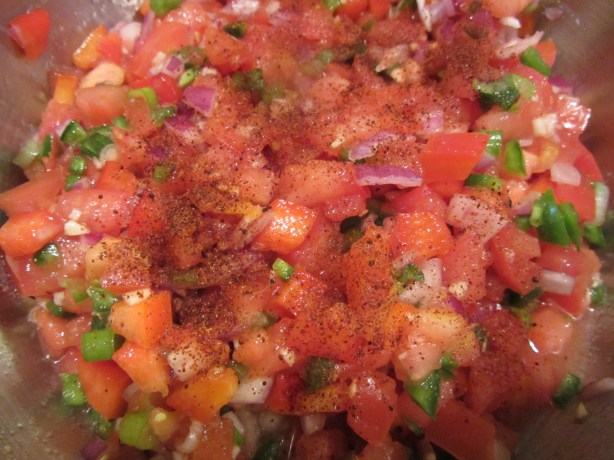
Salsa seasoned with chili powder, Kosher salt, and pepper.
Next, cut the end off of your dried New Mexico chile, and shake it to remove the seeds. Using scissors, cut the dried chile into strips, and then fine pieces. Mix the dried chile pieces thoroughly into the salsa. They will initially be chewy, but will hydrate from the liquid in the salsa.

Dried New Mexico chile, snipped into small pieces with scissors.
Finally, remove the skins from your roasted jalapenos by rinsing and rubbing them under running water. At this time, open the peppers up and pull out the seeds. Roughly chop the roasted peppers and add them to the bowl. They will add a sweetness to the salsa.


Taste the salsa again, adjusting the seasoning if needed. Cover and refrigerate the salsa for at least an hour before eating, so the flavors can blend and the dried chile can hydrate.
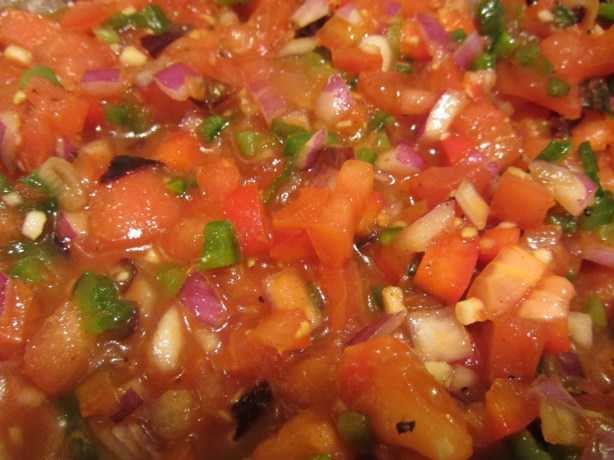
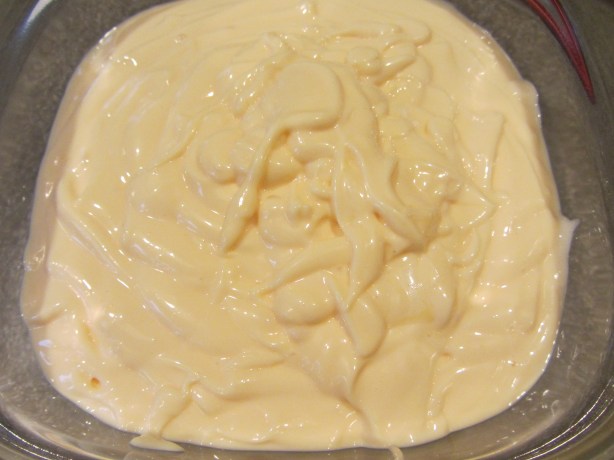
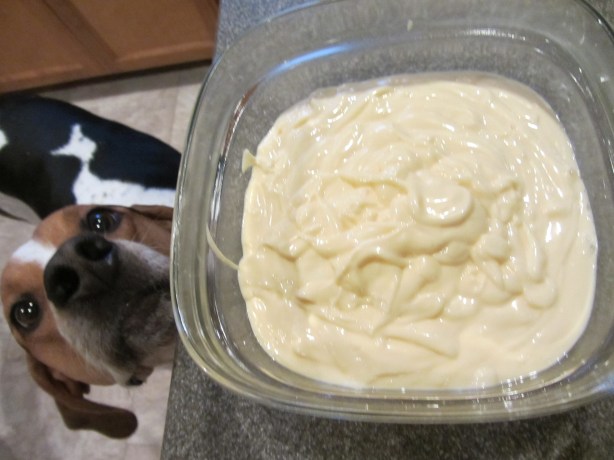
Alton’s finished salsa.
I made this salsa early in the day, and we had it as an appetizer (with tortilla chips, of course). We actually ate it two nights in a row, and it was just as good the second night, though Ted insisted it was less hot the second night.
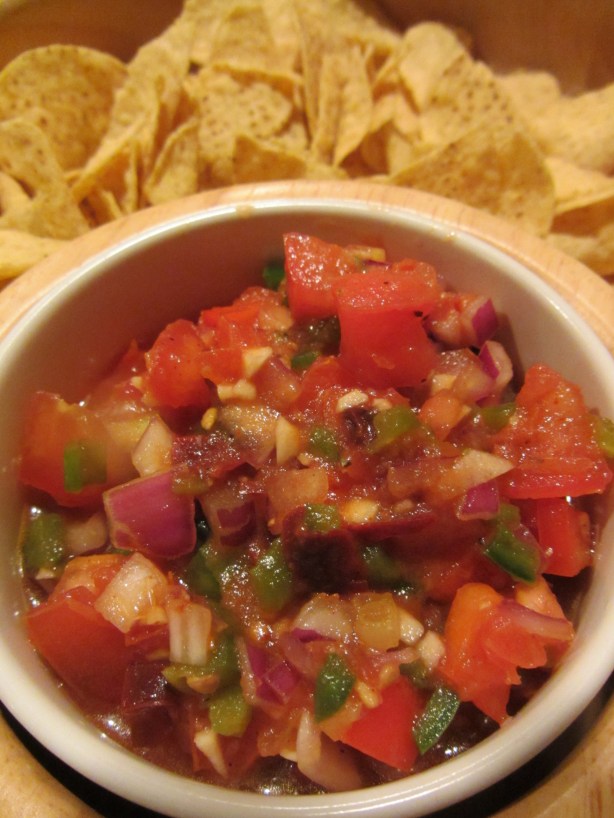
A perfect bowl of Alton’s salsa with tortilla chips.
We like homemade salsas in general, though we do not make them enough, and this recipe ranked right up there with some of our favorites. Though this salsa has a lot of chiles in it, it really only has a moderate heat level, which really allows all of the varying flavors to shine. While I like really hot salsas, sometimes hot salsa is only that – hot. This salsa is a perfect balance of heat, freshness, and acidity, and really does showcase the ways chile peppers can be used to create different effects. Plus, it’s super colorful. I mean, really, salsa is a cheery food. This one is a keeper.
Spicy Pineapple Sauce
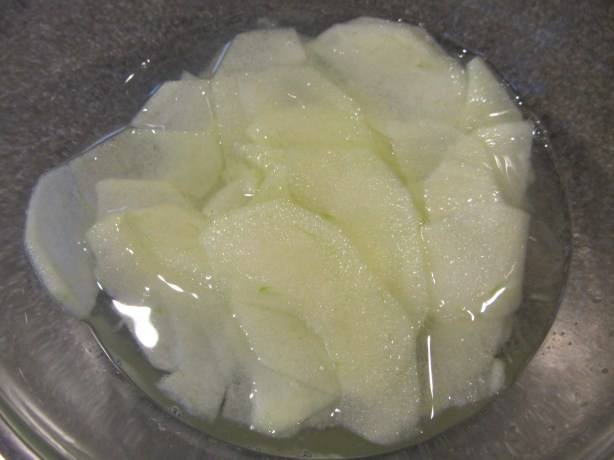
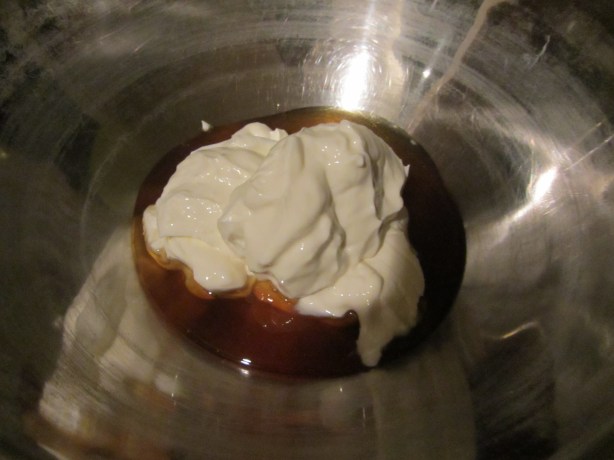
The second, and final, recipe in this episode is for a pineapple sauce with habanero pepper. To make the sauce itself you will only need three things: a can of pineapple tidbits, a habanero pepper, and 2-3 sprigs of mint, bruised.
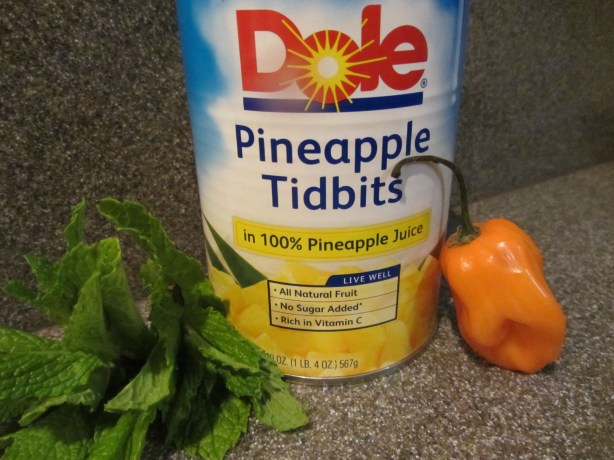
Ingredients for Alton’s pineapple sauce: 1 can of pineapple tidbits, fresh mint, and a habanero pepper.
The online recipe calls for pineapple chunks and for you to cut your mint into chiffonade, but I prepared the recipe as done in the episode. Simmer the pineapple, habanero, and mint together in a saucepan for five minutes.


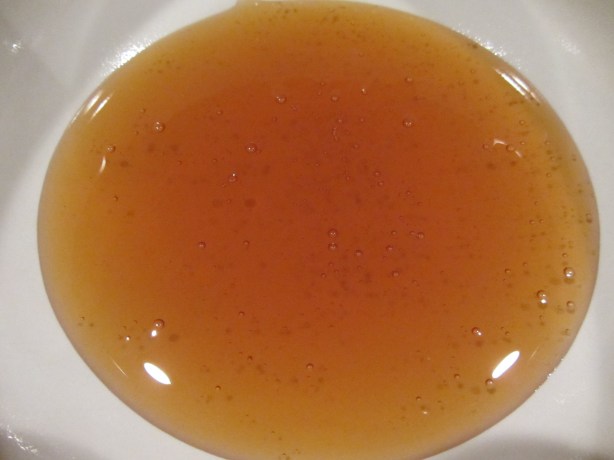
Cool the mixture to room temperature and remove the mint.
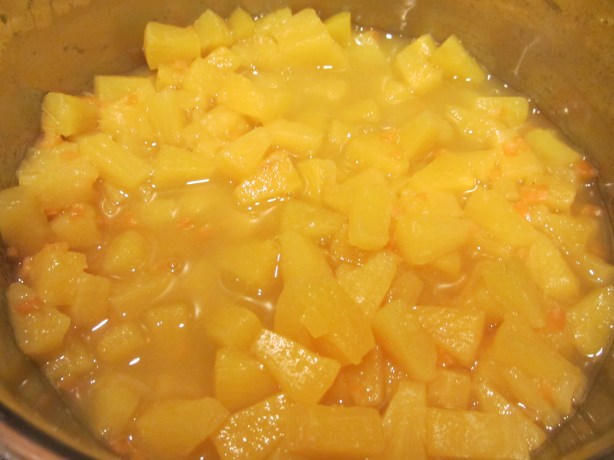
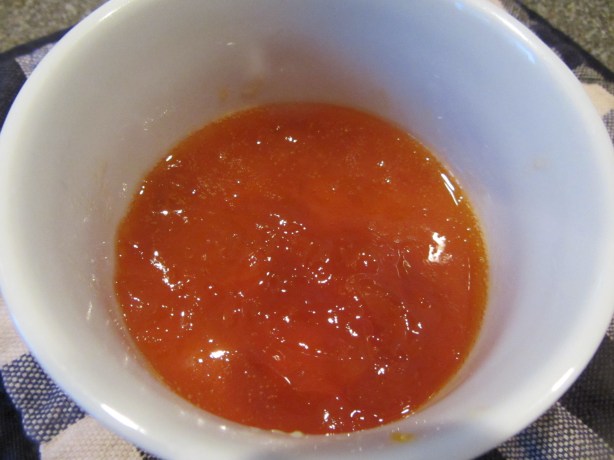
The sauce, after removing the mint.
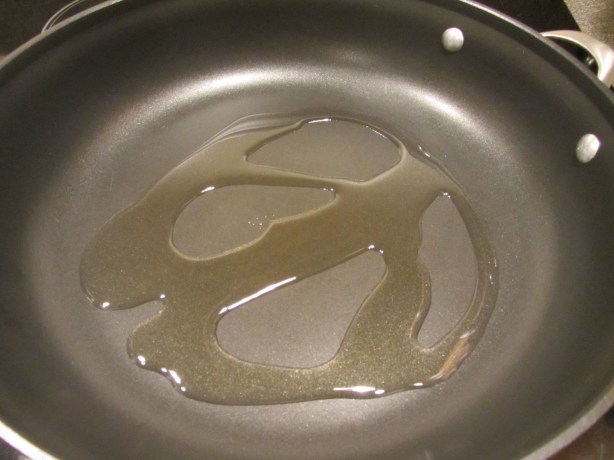
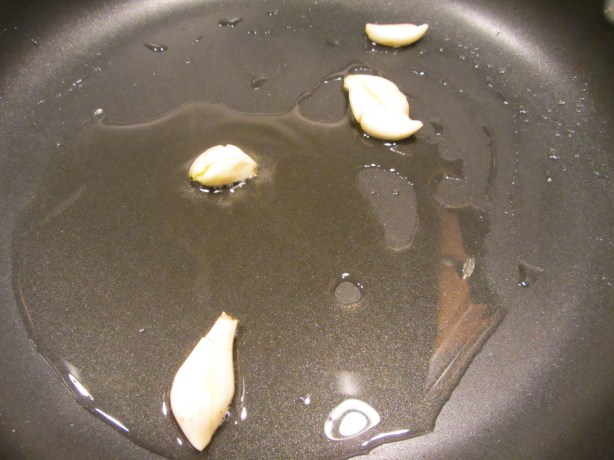
As a serving recommendation, Alton recommends frying some corn tortilla wedges in corn oil, dusting them with sugar while they are still warm; though there is cinnamon in the online recipe, Alton did not use cinnamon in the episode.


Serve the pineapple sauce and warm, sugared tortilla chips with vanilla ice cream.
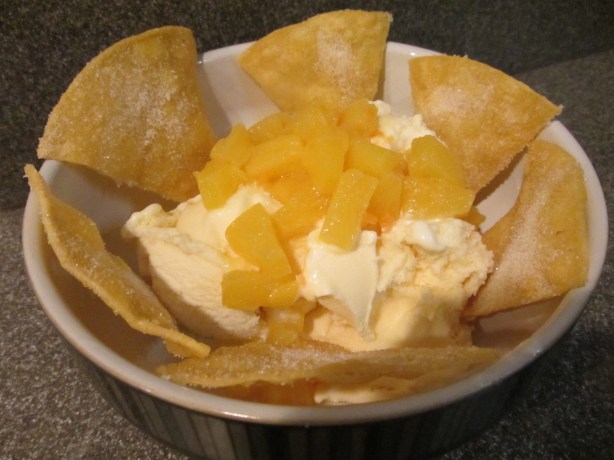
A fun and tasty dessert.
We ate this two nights in a row for dessert and both thought it was great. The sauce packs a good punch of heat, but is also sweet from pineapple. Honestly, the mint really did not come through much for me. The sauce on its own would be quite hot, but the ice cream really cools it down, and the chips add a completely different textural component. This is a fantastic combo and I think I will make this again. This is a fun, easy, and unusual dessert.