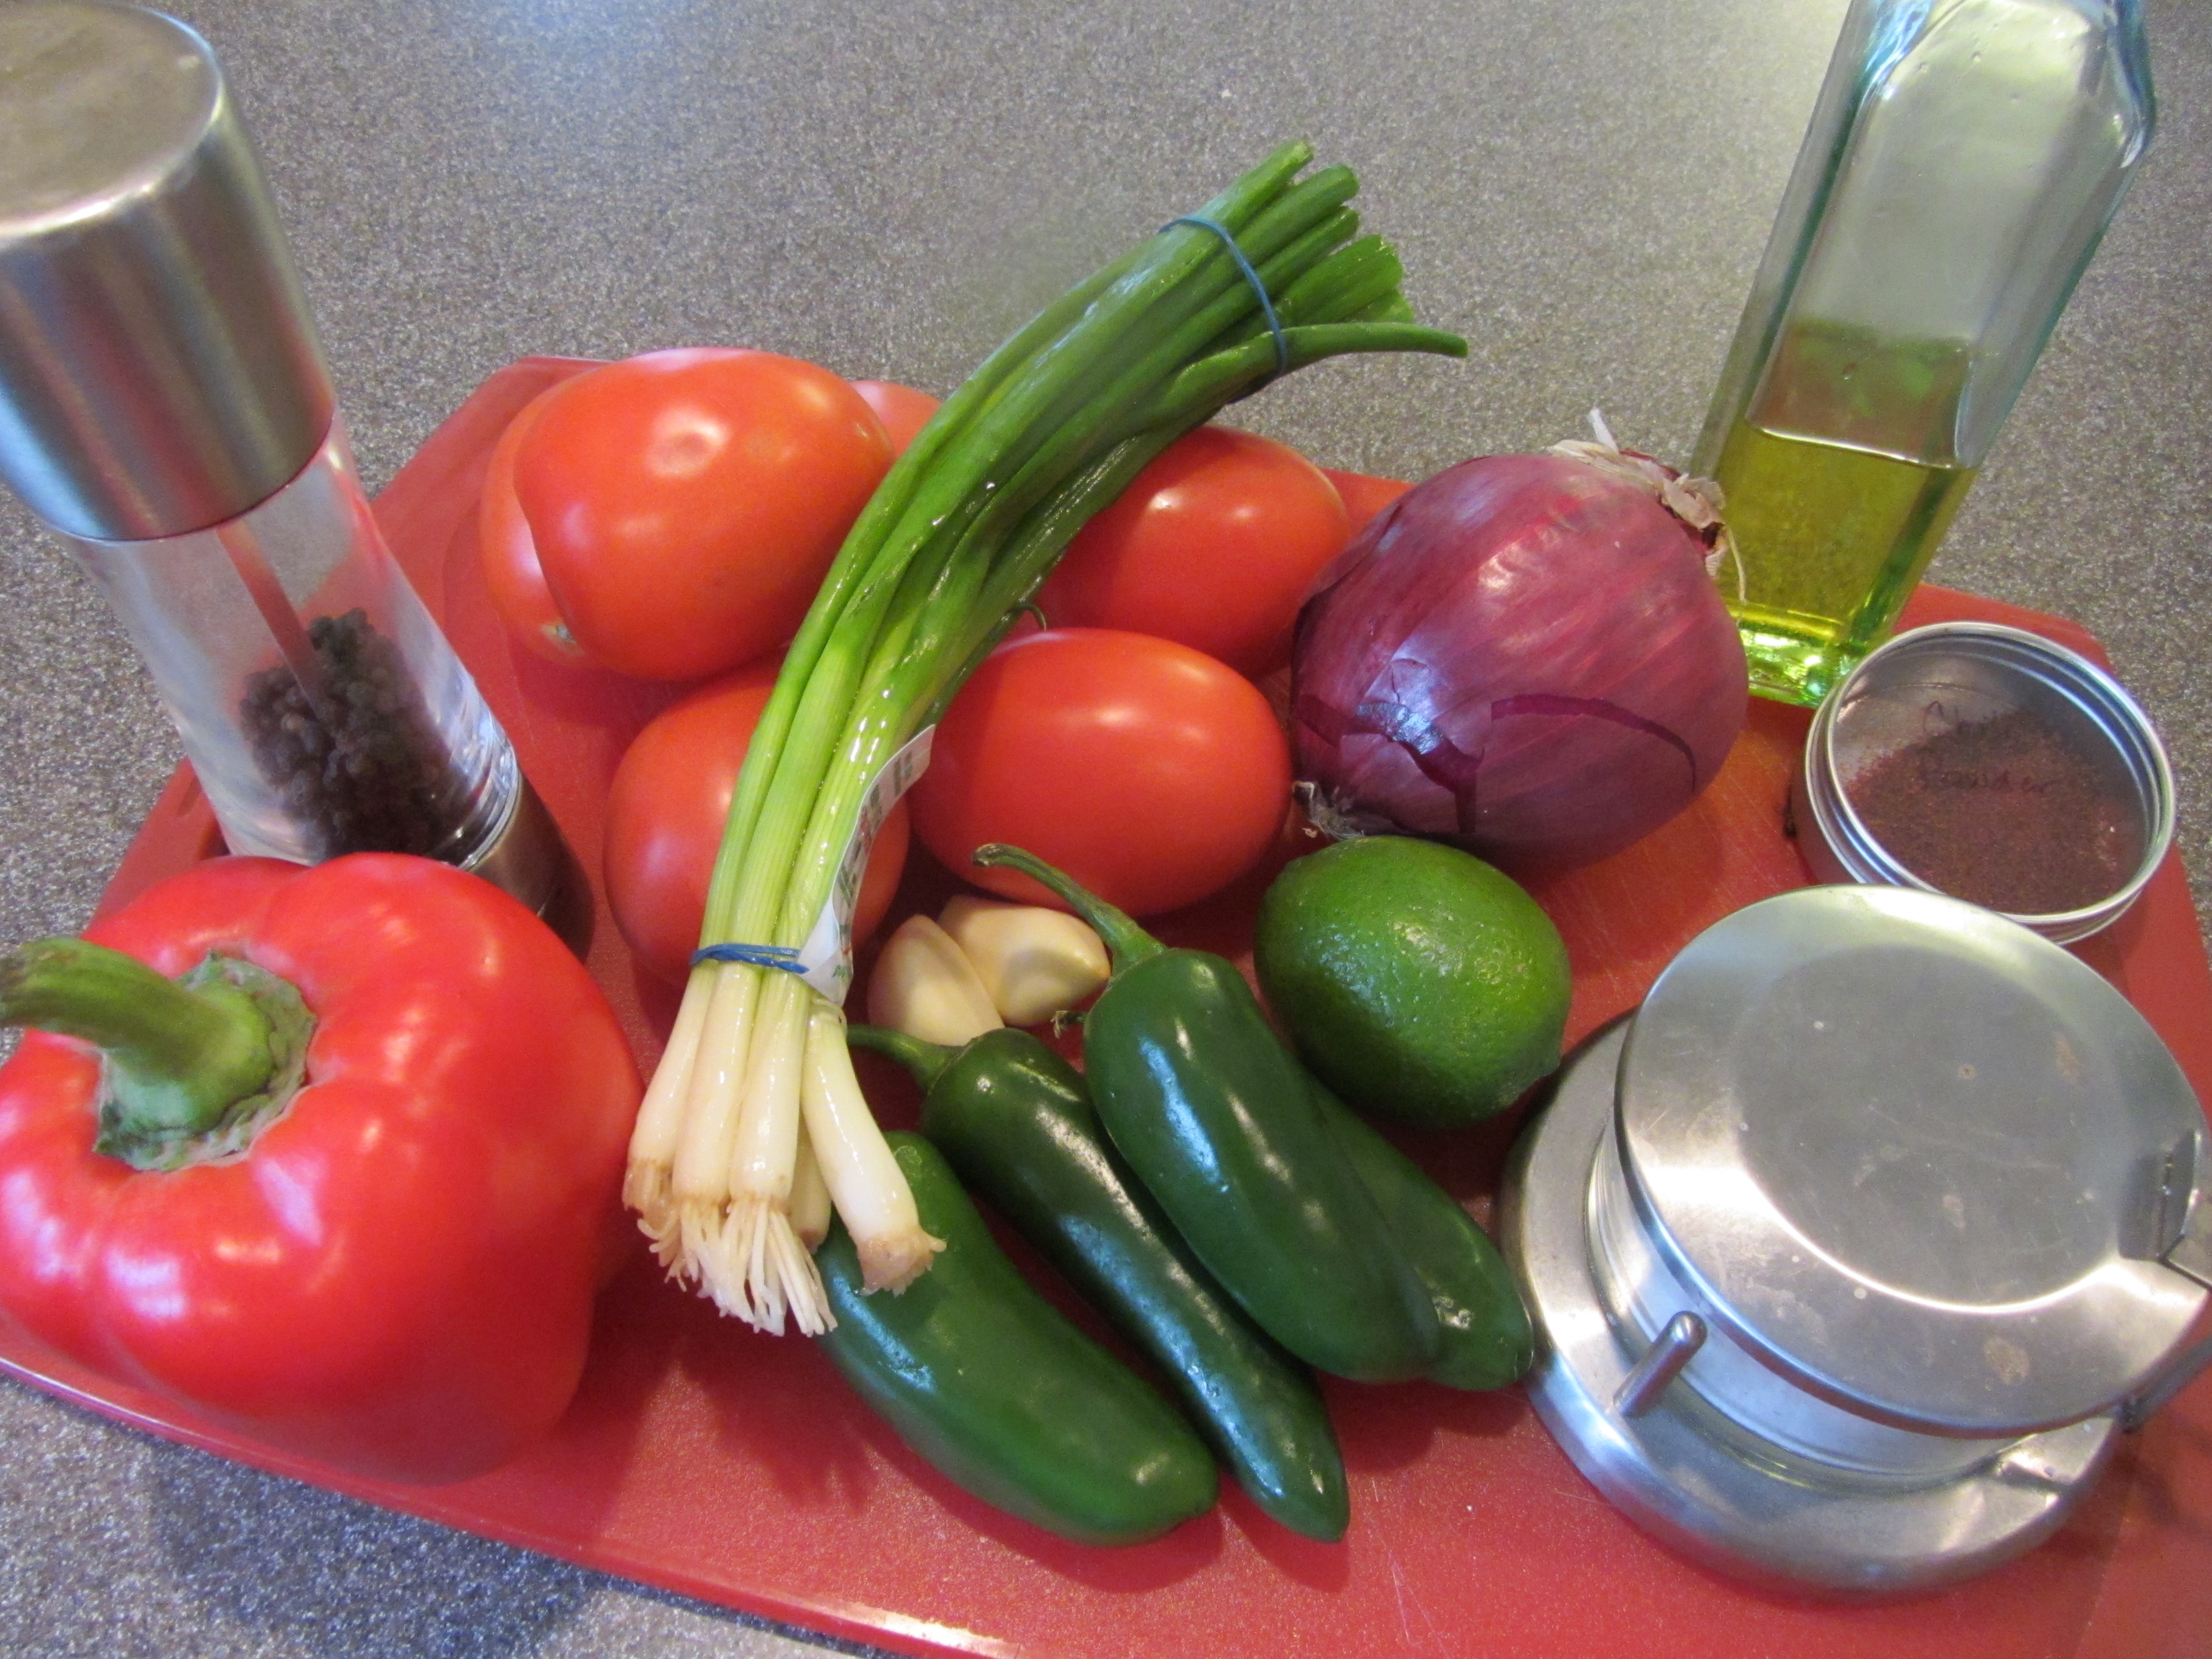
Some episodes of Good Eats end up being easier than others. This particular episode turned out to be a bit of a pain. Although there were only two recipes in this episode, I had to make the first recipe several times, so it ended up taking me a few weeks to complete the cooking portion. Anyway, I tried the recipes therein, and here’s how they worked for me.
Corn Tortillas
When I have had the opportunity to taste fresh, homemade tortillas, I have always found there to be a huge difference between them and the ones you can buy at the grocery store. I had never, however, attempted to make tortillas myself. Once again, I found this project to be pushing me to make a new food item at home. To make Alton’s corn tortillas, you’ll need dried field or flint corn, calcium hydroxide, and a tortilla press; I purchased all of these items through Amazon. The tortilla-making process takes two days, so you’ll also need to start this recipe the night before you plan to eat the tortillas.
To begin, rinse a pound of dried field or flint corn under cool water.
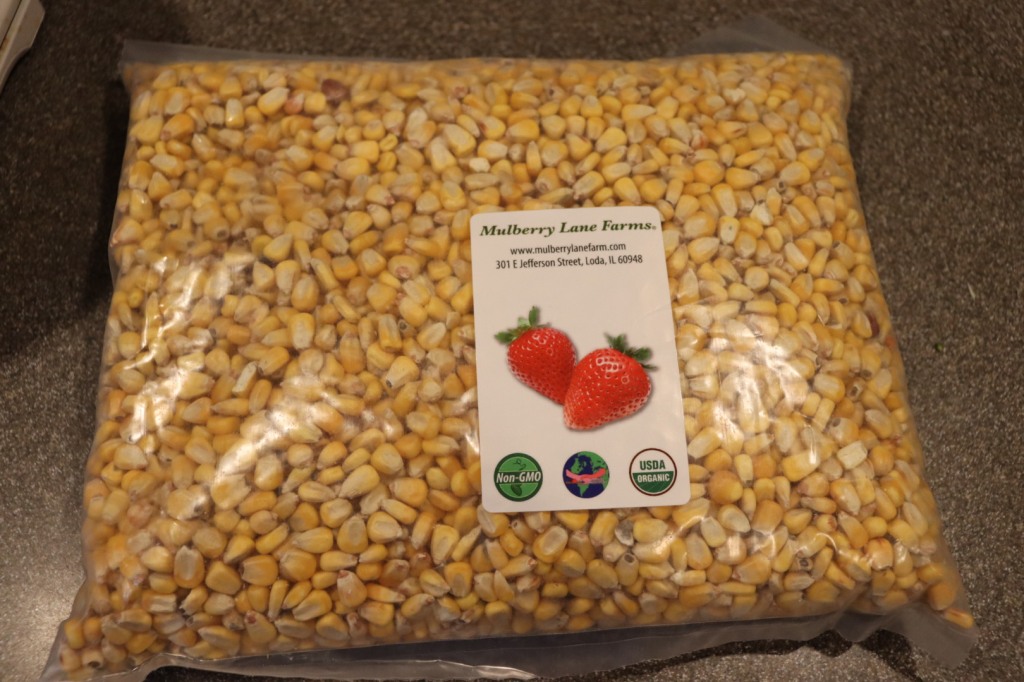
Field corn. 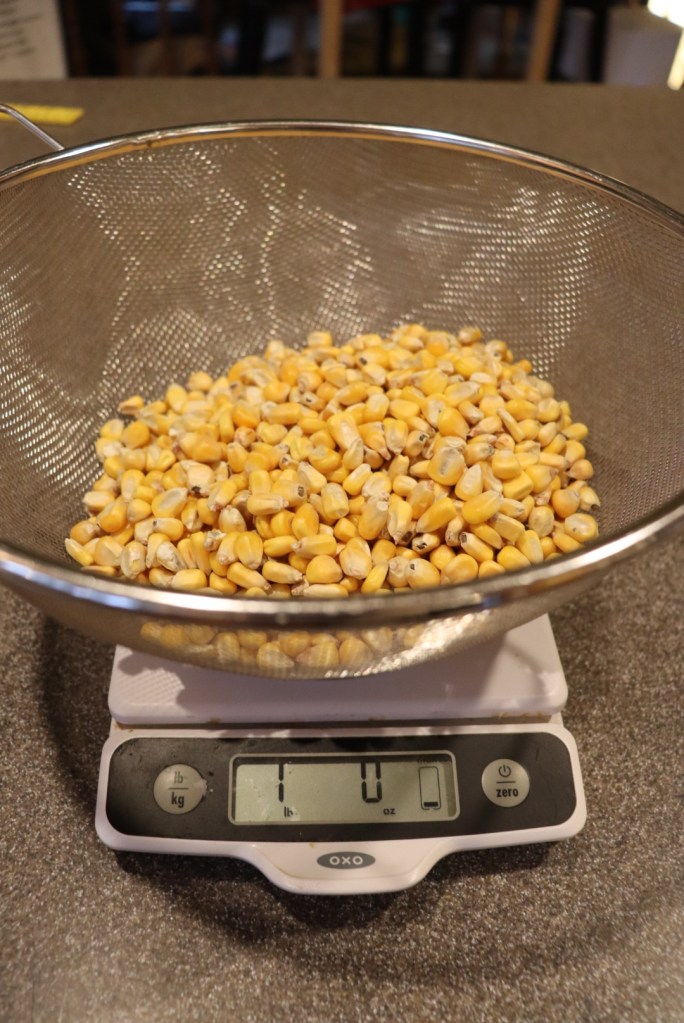
A pound of field corn. 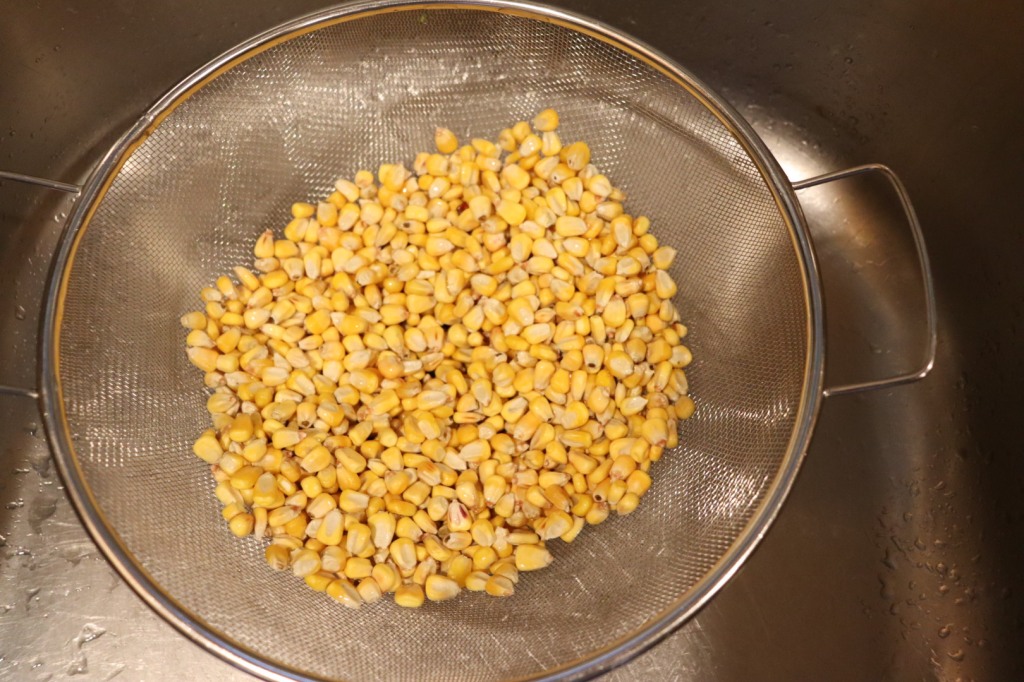
One pound of field corn, rinsed.
Place the drained corn in a stainless steel pot, along with 6 C water and 1/2 ounce of calcium hydroxide. Calcium hydroxide (which is alkaline), otherwise known as slaked lime/pickling lime/cal is used to cause the corn to undergo nixtamalization, which removes the hulls from the corn and releases its nutrients and amino acids. After combining the corn with the water and cal, slowly (over 30-40 minutes) bring the solution to a boil. Be sure to use a stainless steel pot and utensils when working with cal, as it can bleach wood and discolor other metal.
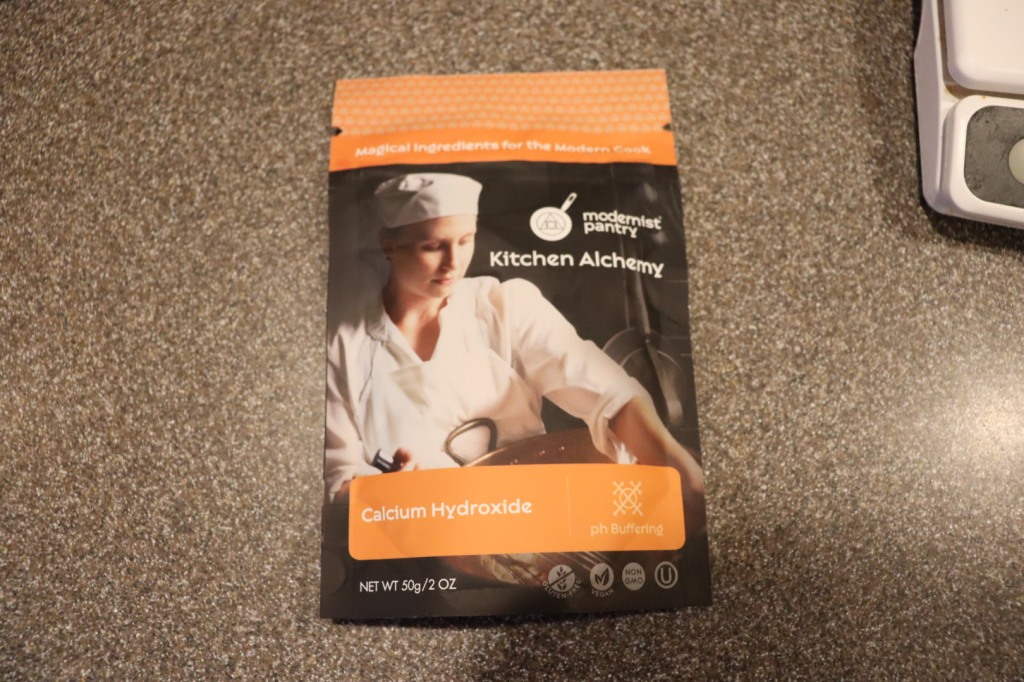
Calcium hydroxide. 
Corn in pot with water and calcium hydroxide. 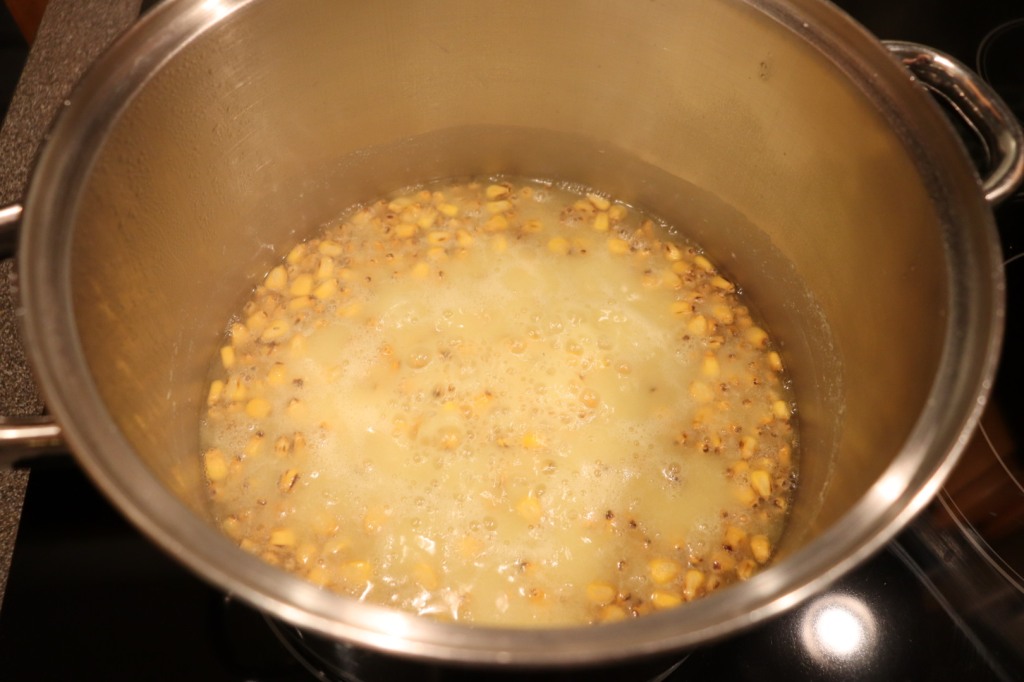
Cal solution being brought to a boil.
Once the solution has reached a boil, place a lid on the pot, remove it from the heat, and allow it to sit at room temperature overnight; it is crucial not to refrigerate the mixture, as cold will halt the desired chemical reaction. The following day, rinse the corn under lukewarm water for 5-6 minutes, rubbing the corn between your fingers to remove the hulls.

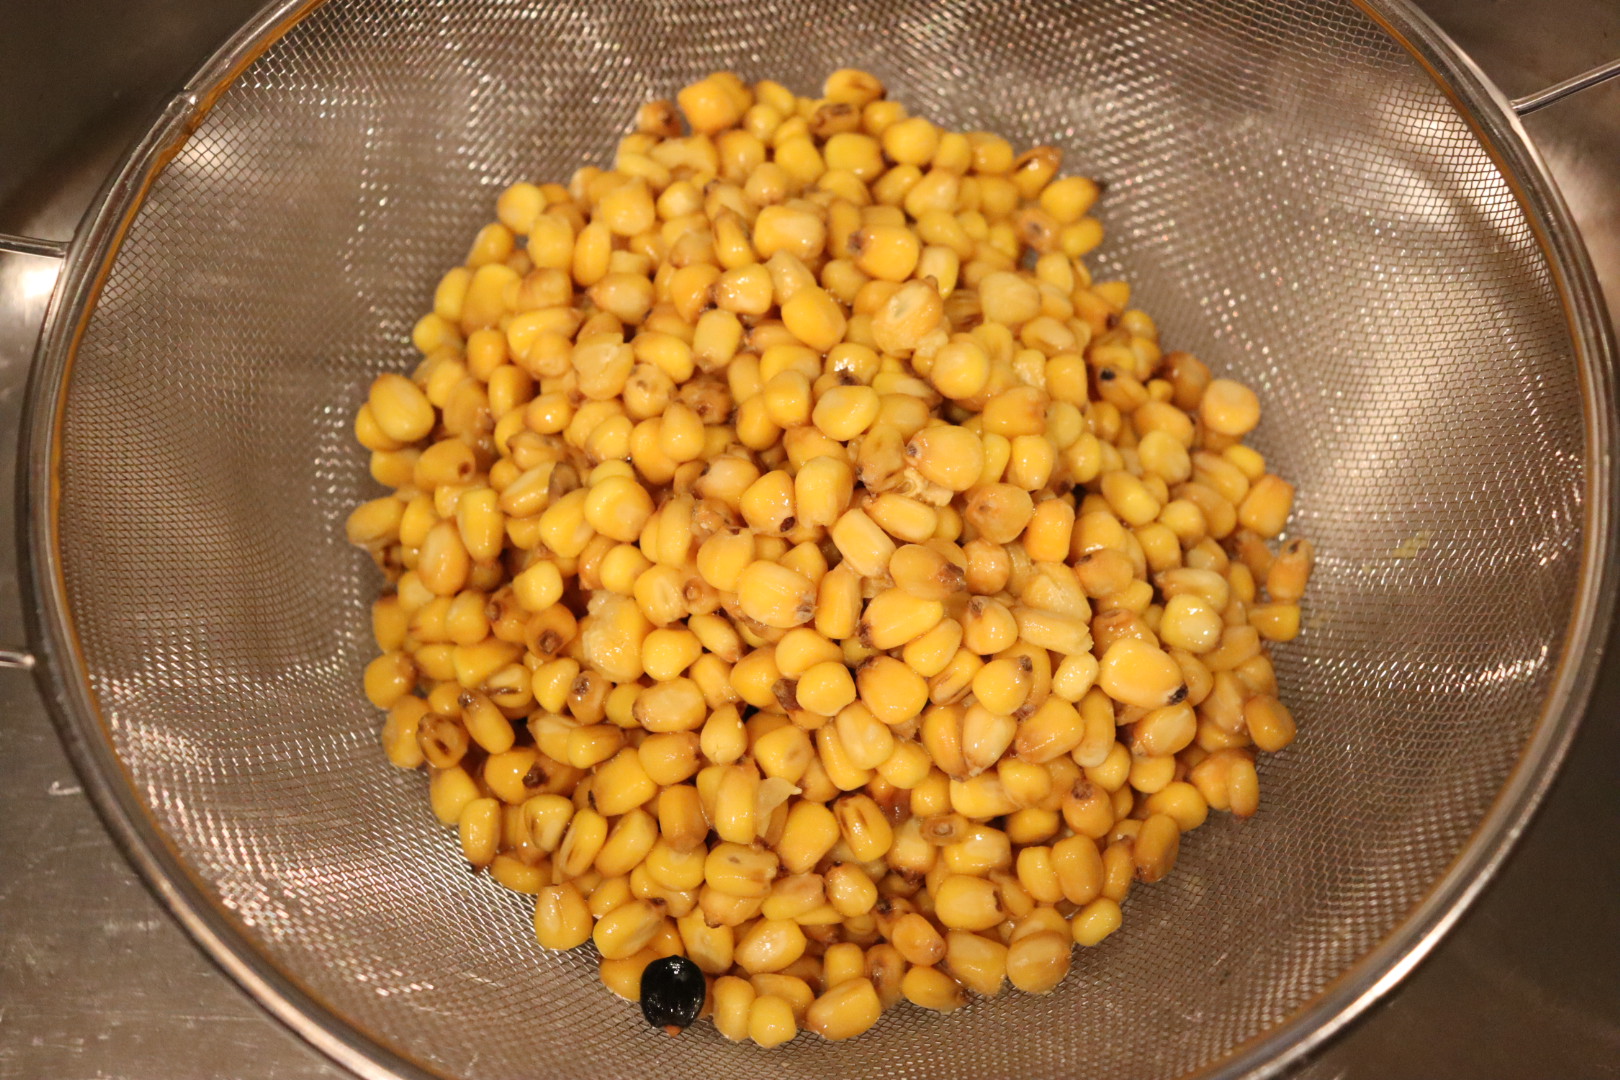

Next, soak the corn for two minutes in cold water. Drain the corn and soak it for an additional two minutes. I wore latex gloves when I handled the corn and I found it helpful to use a slotted spoon to remove the corn from the soaking water, as this left more of the hull pieces behind. The resulting corn you have now is called “nixtamal.”


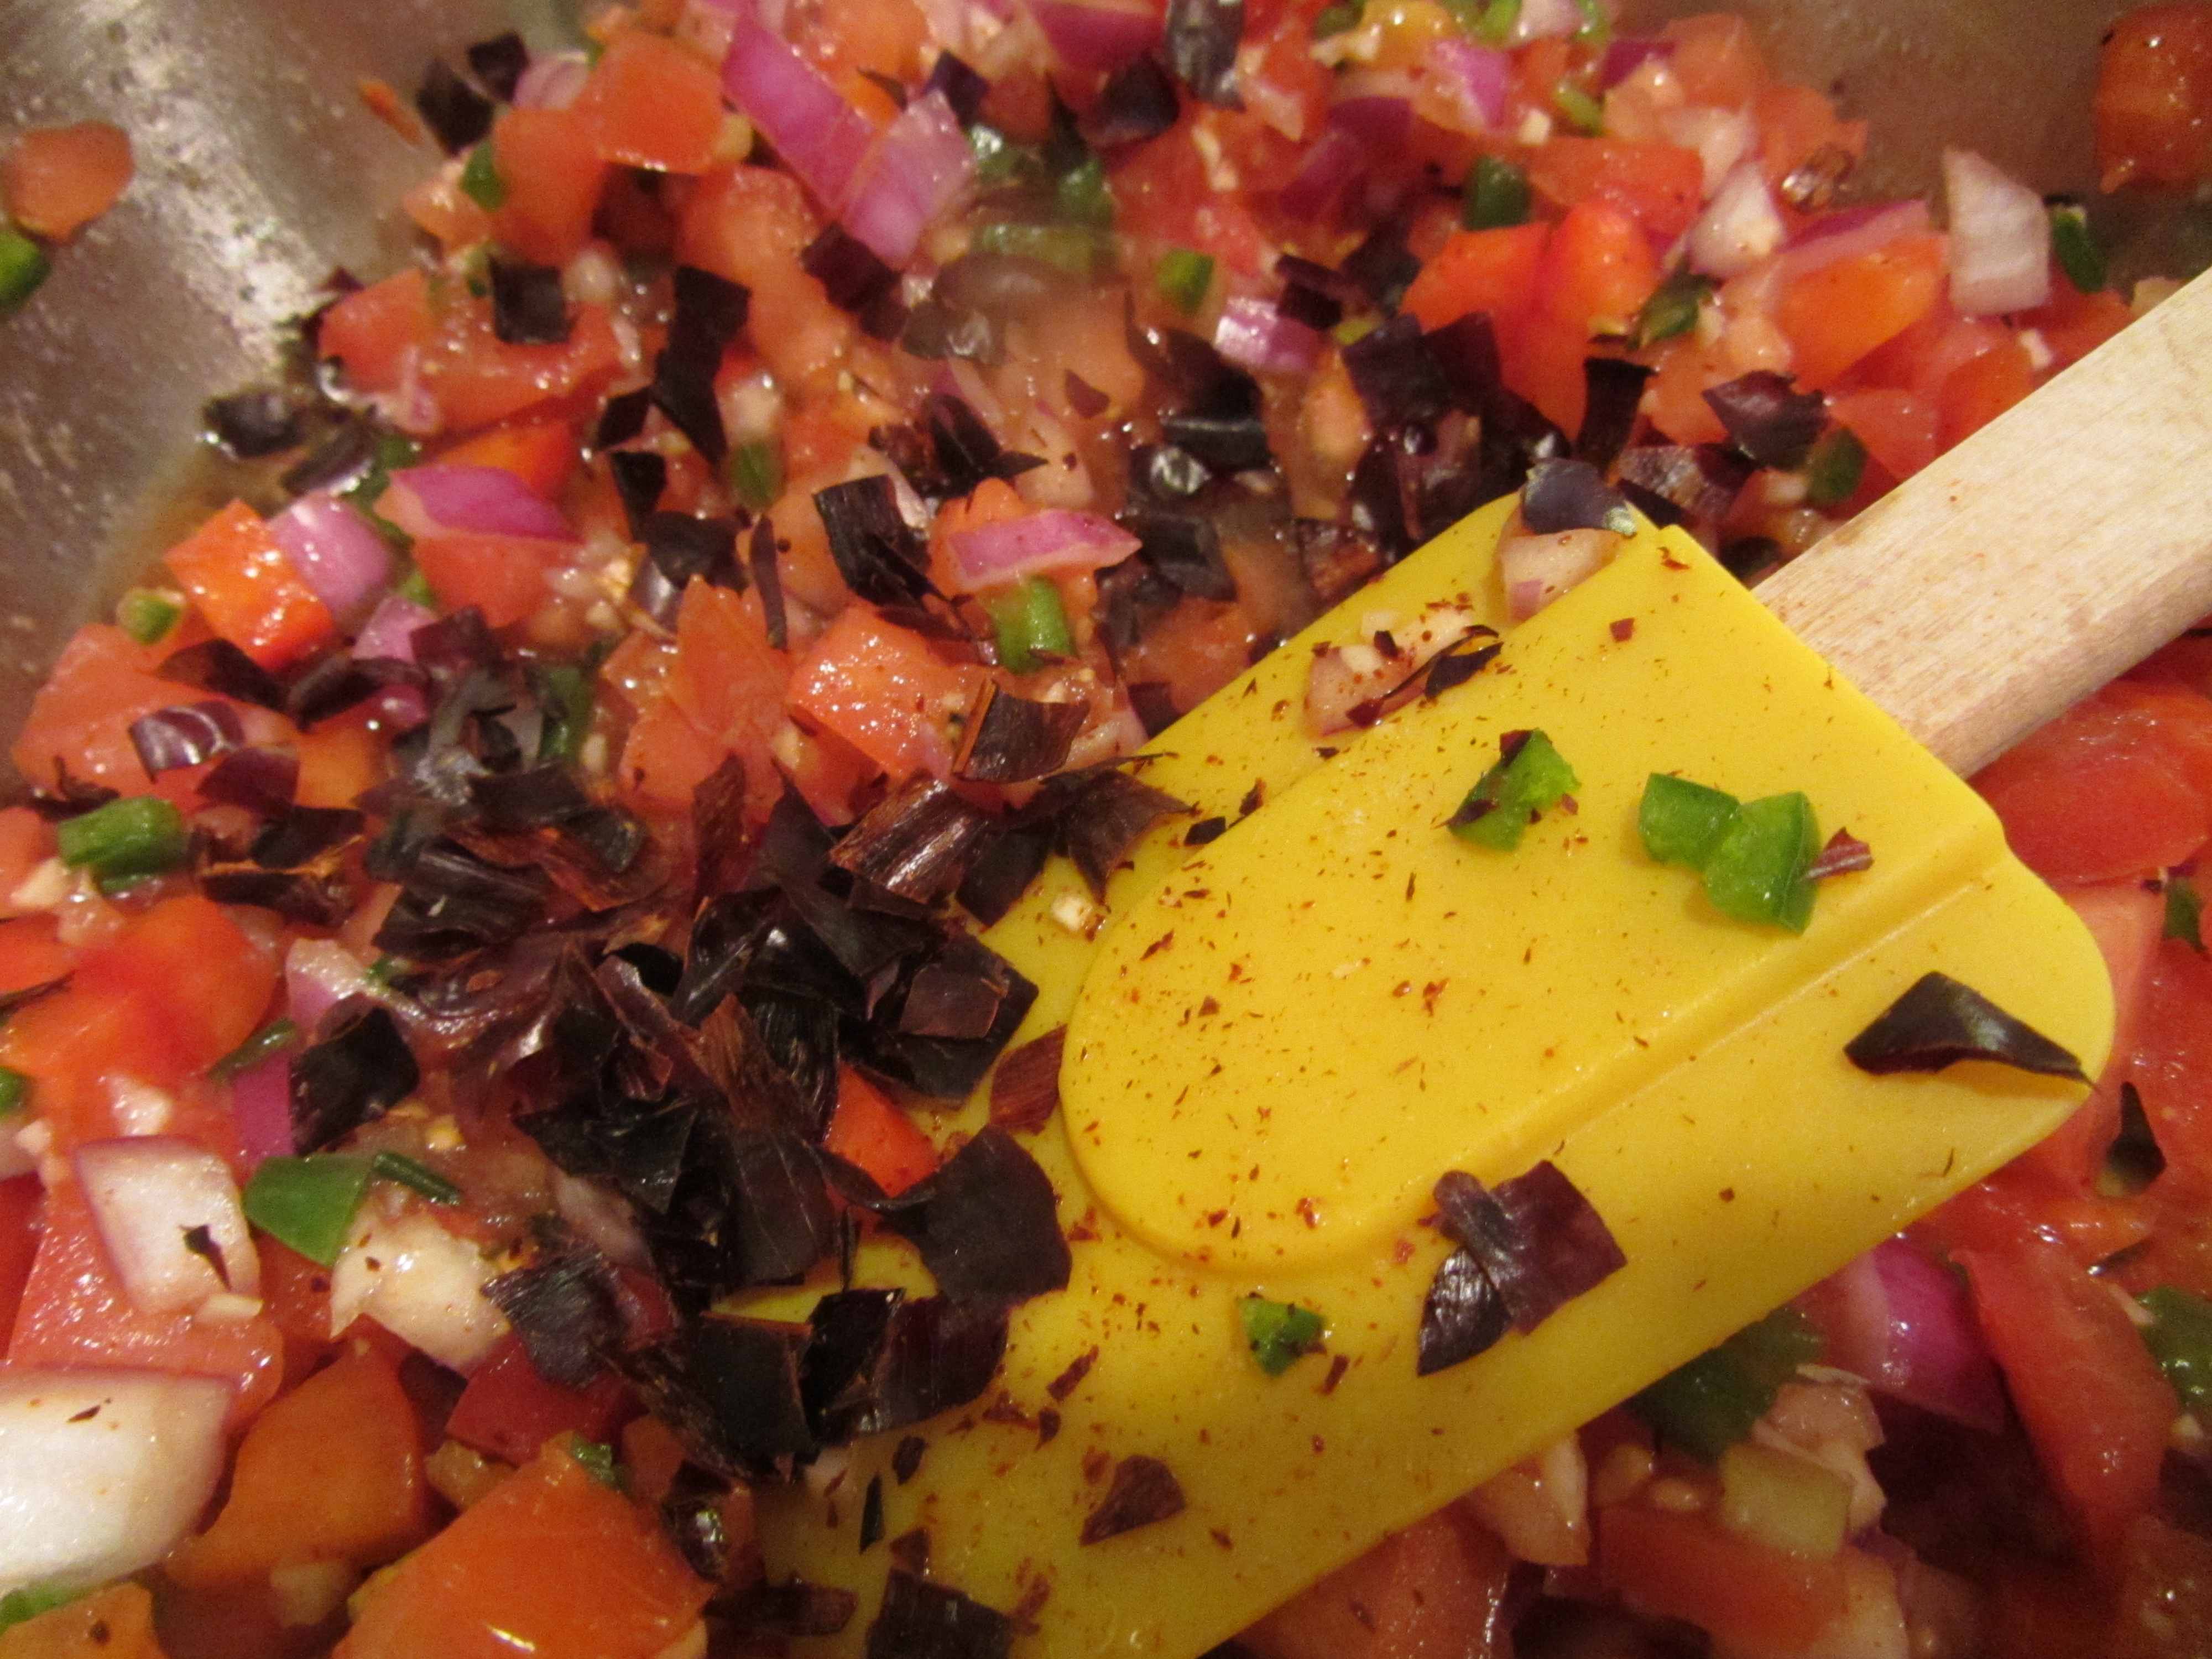
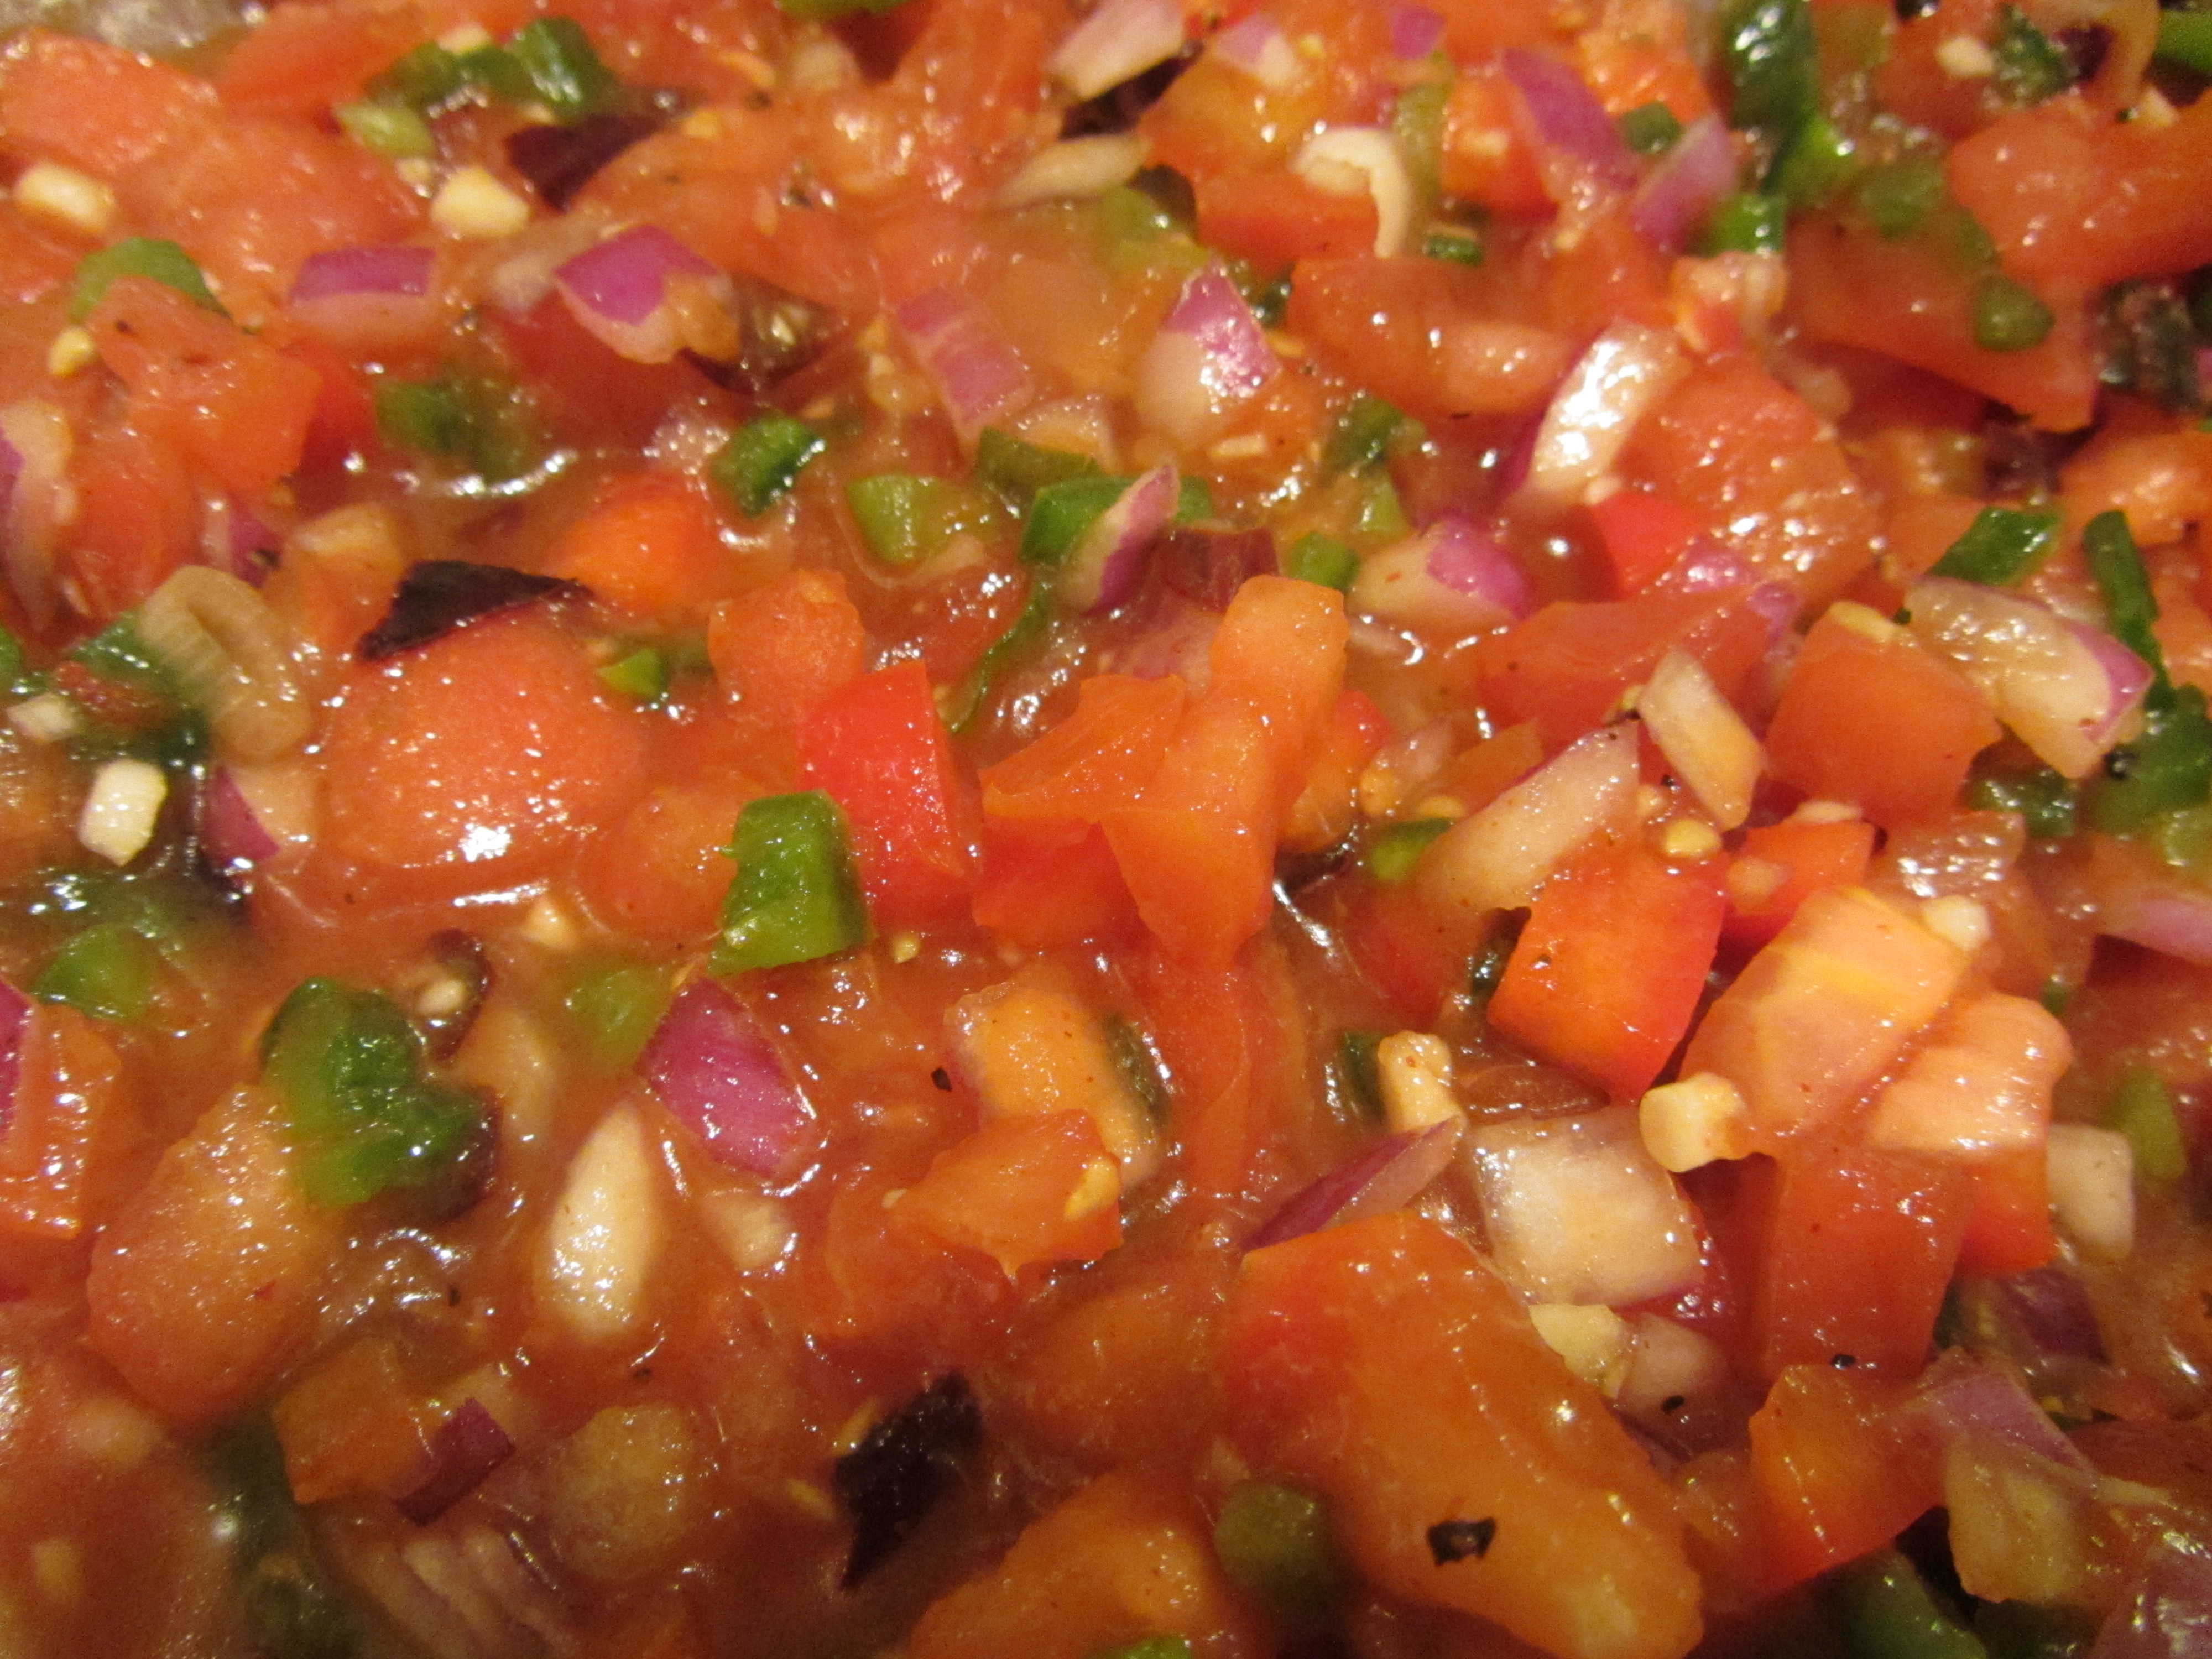
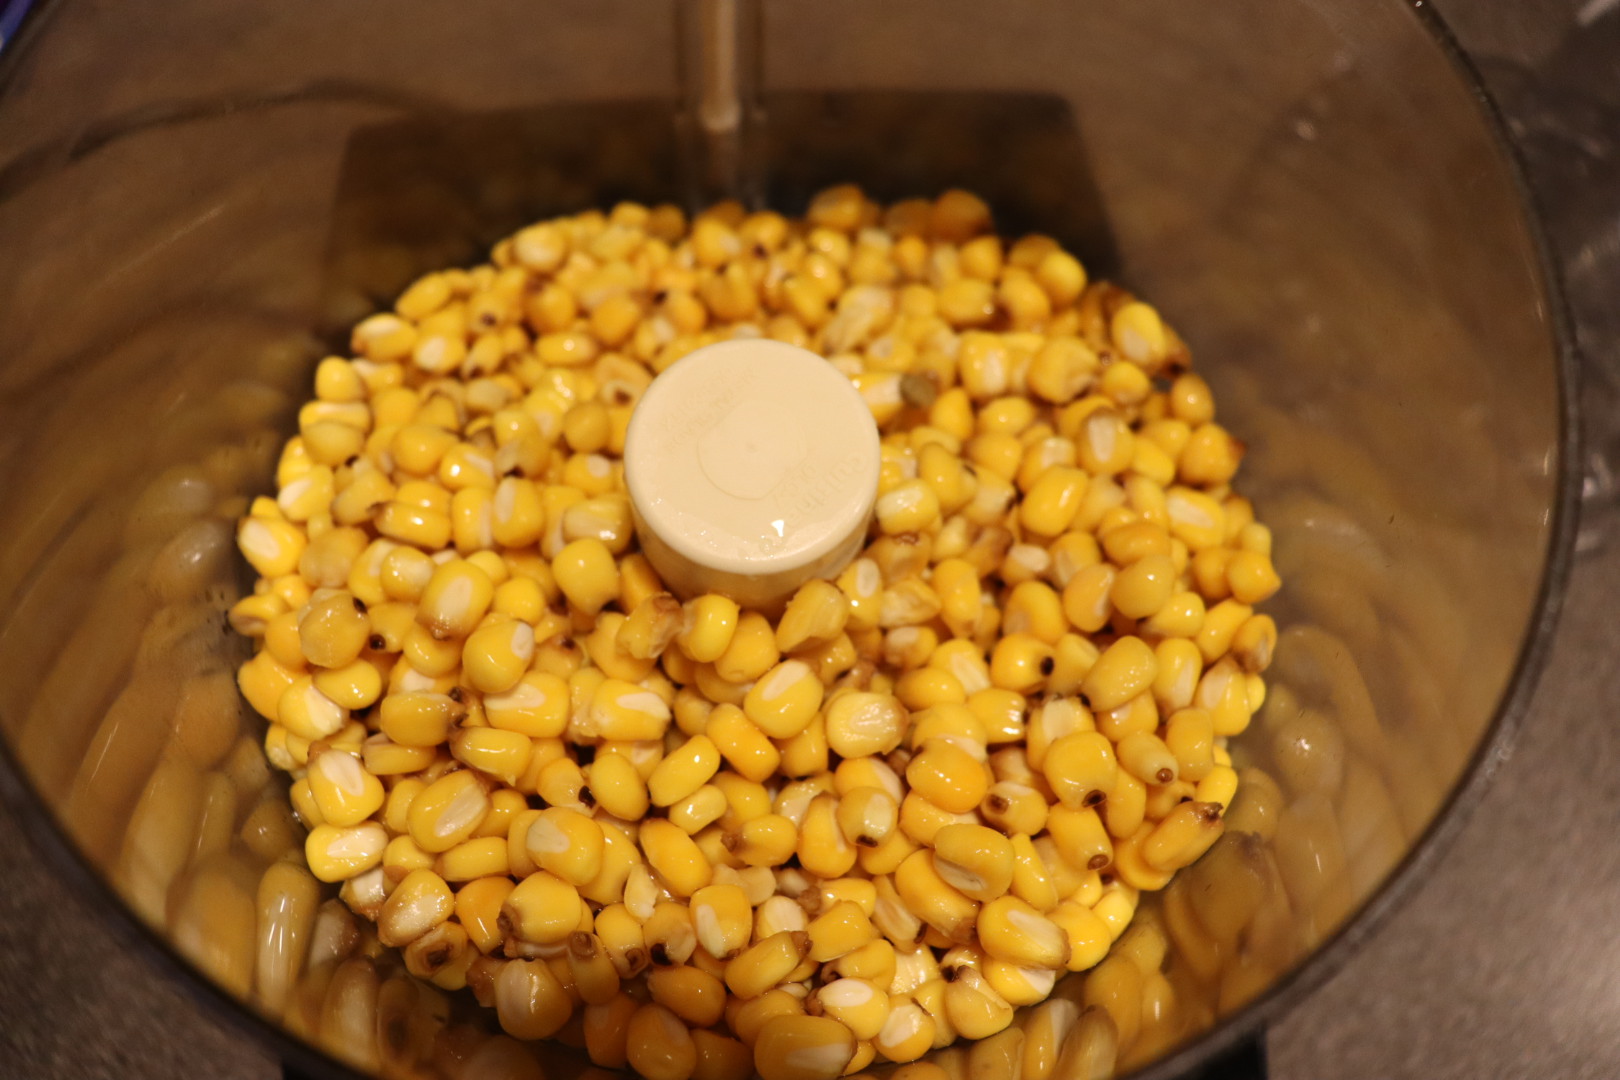
Place the nixtamal in the bowl of a food processor and pulse it 10-15 times. Scrape the bowl with a spatula, add 2 T water, and pulse 8-10 more times. Add 2 T water and 1 t Kosher salt and pulse until the dough clumps together when squeezed, adding more water if necessary.

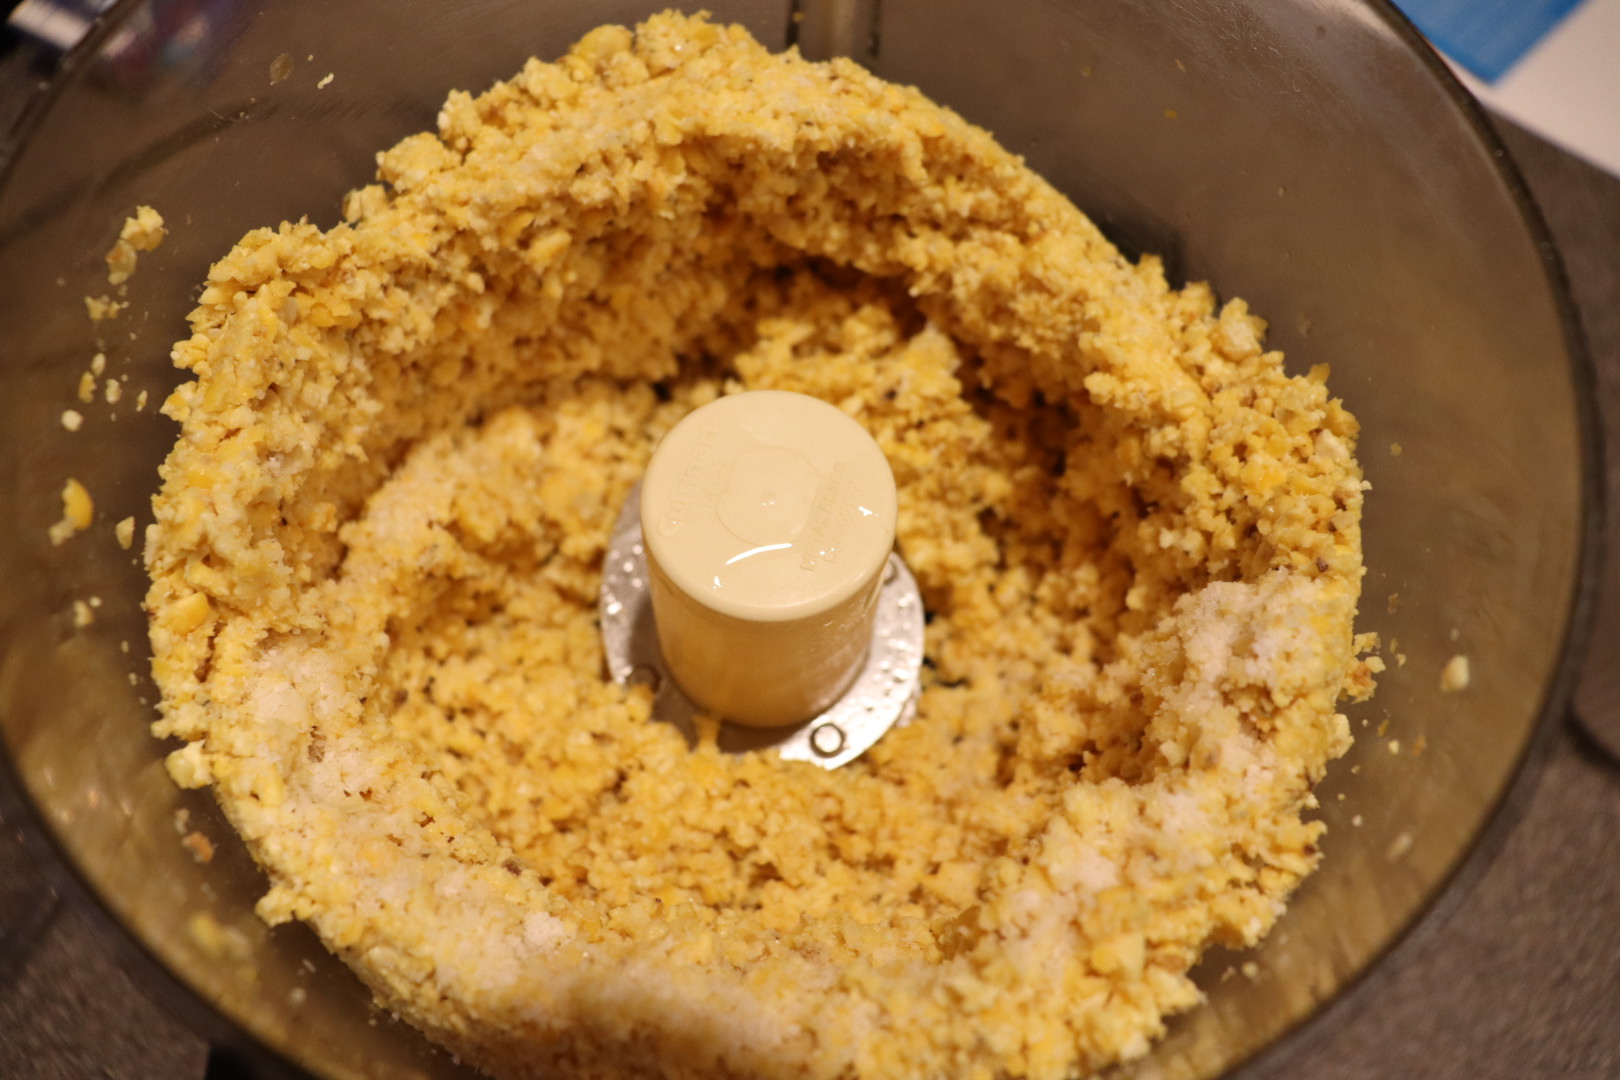

Form the dough into a ball, wrap it in plastic, and let it rest for 30 minutes at room temperature.

Next, portion the dough into balls, placing them under a damp towel; Alton said he did 1.5 ounce portions, but I found the balls to be too small for my tortilla press. I opted for two ounce portions. Alton used a griddle to cook his tortillas, but I just used a large sauté pan. Either way, you want your cooking vessel to be around 400 degrees, which is approximately when drops of water sizzle and dance away. If you want to keep your tortillas warm, you can place a tea towel on a heating pad. When ready to cook, use scissors to remove the sides and zipper of a Ziplock bag, and use the trimmed bag to line both sides of your tortilla press. Place a ball of dough slightly off-center in the press (toward the hinge side), press the ball with your hand to flatten gently, and then press completely with the tortilla press.

Dough ball placed off-center in bag-lined tortilla press. 
Tortilla after pressing in trimmed plastic bag.
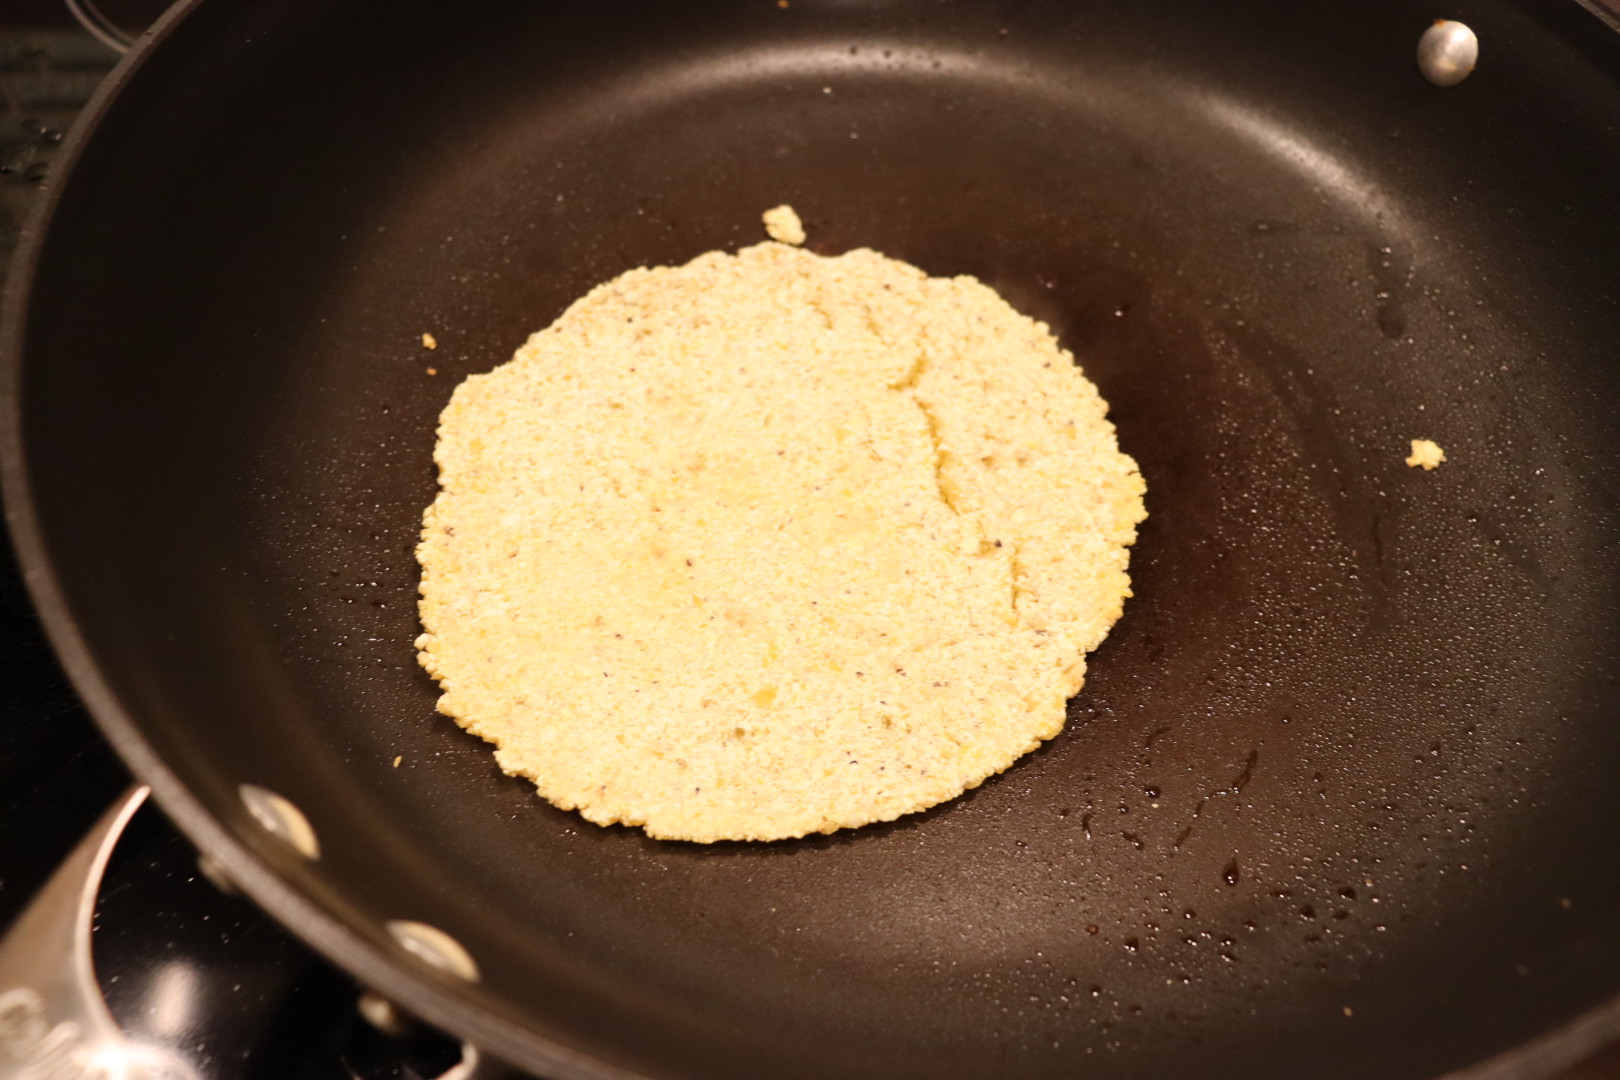
The tortilla may stick to the bag a bit, so flip the tortilla over and peel the bag off of the tortilla. Cook tortillas in the hot pan for about a minute per side. If big cracks form in your tortillas, you can try kneading more water into the dough, and then try again after another 30 minute dough rest. To refresh tortillas for later eating, spritz them with water, stack them in foil, and heat them for a few minutes in a 300 degree oven.
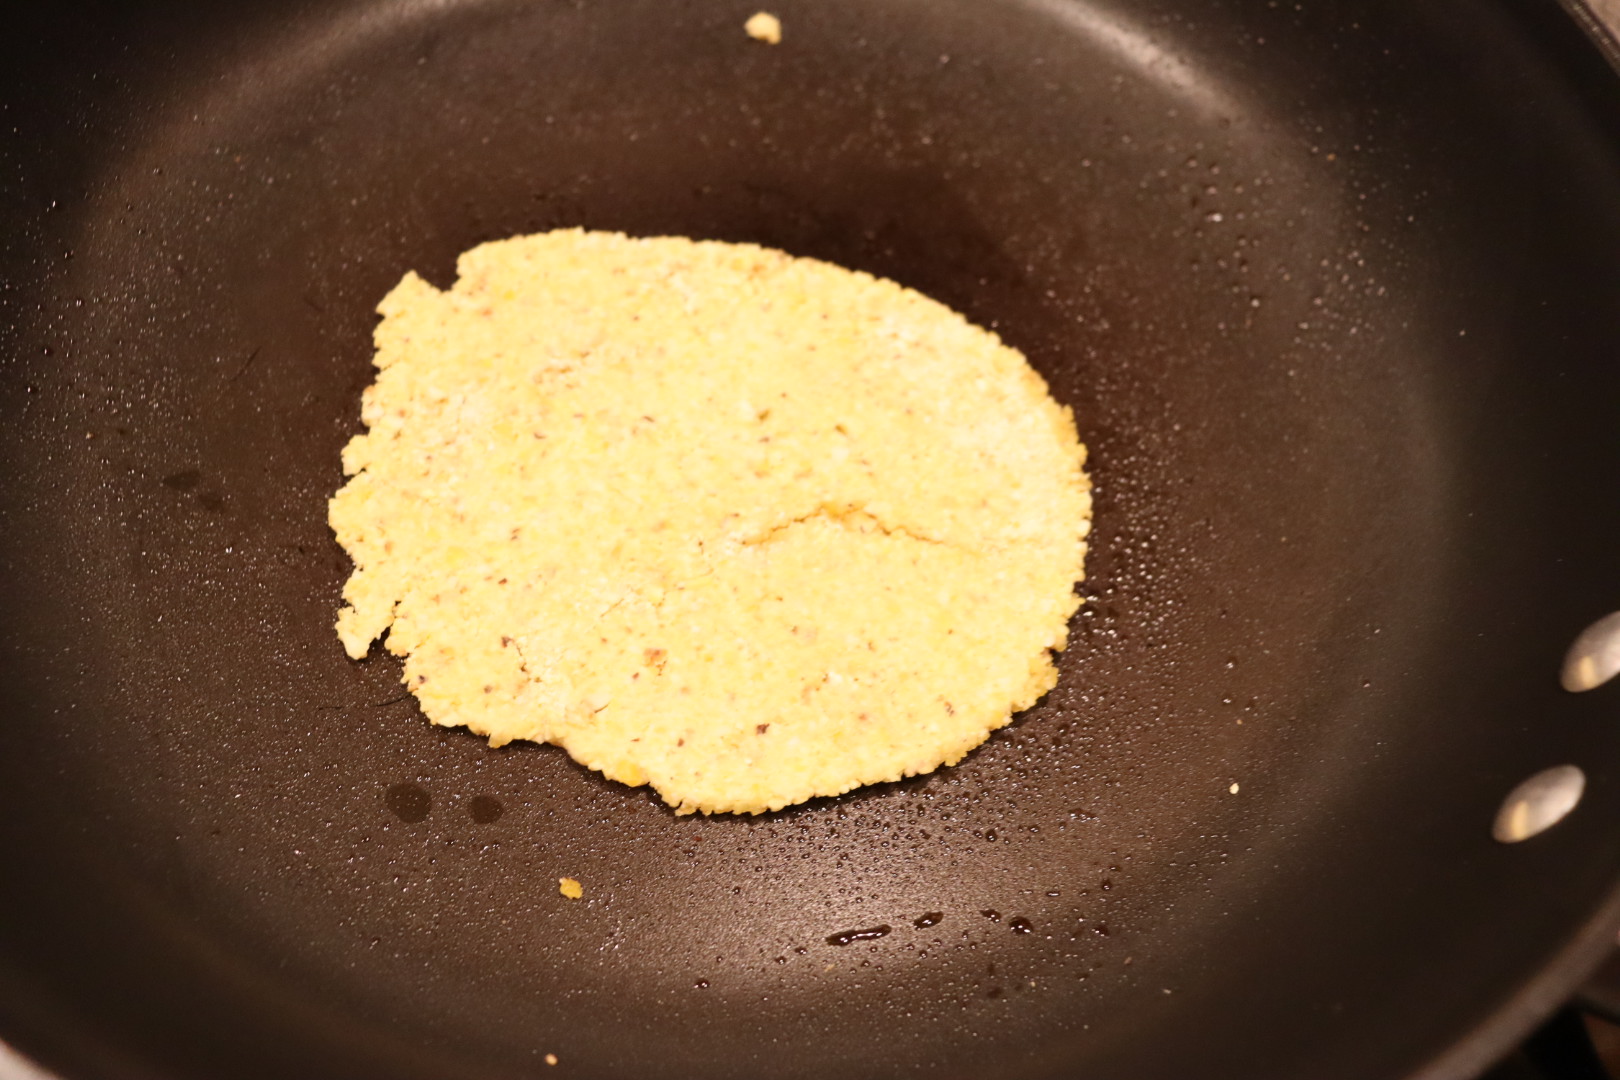
Okay, okay, so I wanted to like this recipe, but it was a complete dud for me. The first time I made the dough, my dough seemed crumbly in the food processor, so I added additional water. Yeah, that was a poor decision, as my dough became overly wet and sticky, and was impossible to work with. Into the trash, the dough went, and I had to start all over again several days later. The second time I made the dough, I did not add any additional water during the food processor portion of the recipe. The dough was still incredibly difficult to work with. I found that the dough stuck horribly to the plastic bag, so I tried spraying the bag with non-stick spray. That didn’t work. I also tried lining my press with both parchment and wax papers. Still, the dough stuck. Eventually, the system that seemed to work the best was to line the press with two pieces of parchment, pulling one sheet off and then flipping the tortilla into the pan, parchment side up. I would then try to gently peel the top piece of parchment off of the top of the tortilla, which almost always resulted in breaking the tortilla. If I was lucky, I would occasionally end up with a somewhat round tortilla.

The corn aroma that filled our kitchen was wonderful and we used the tortillas from the second batch of dough to make tacos for dinner one night. The tortillas had rich corn flavor, but I did find them to be a bit too thick/chewy.

When all was said and done, the effort:reward ratio just was too skewed with this recipe. Now that I have a tortilla press, I do plan to make homemade tortillas again, but I plan to try them next with storebought masa harina. Oh, and I did make a third batch of these tortillas to continue on to the second recipe of the episode, which was for:
Lime Tortilla Chips
Making Alton’s tortillas was such a pain but I still maintained high hopes for the lime tortilla chips Alton made on the show. To make a full batch of the chips, stack 10 fresh corn tortillas and cut them into quarters.

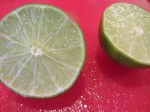
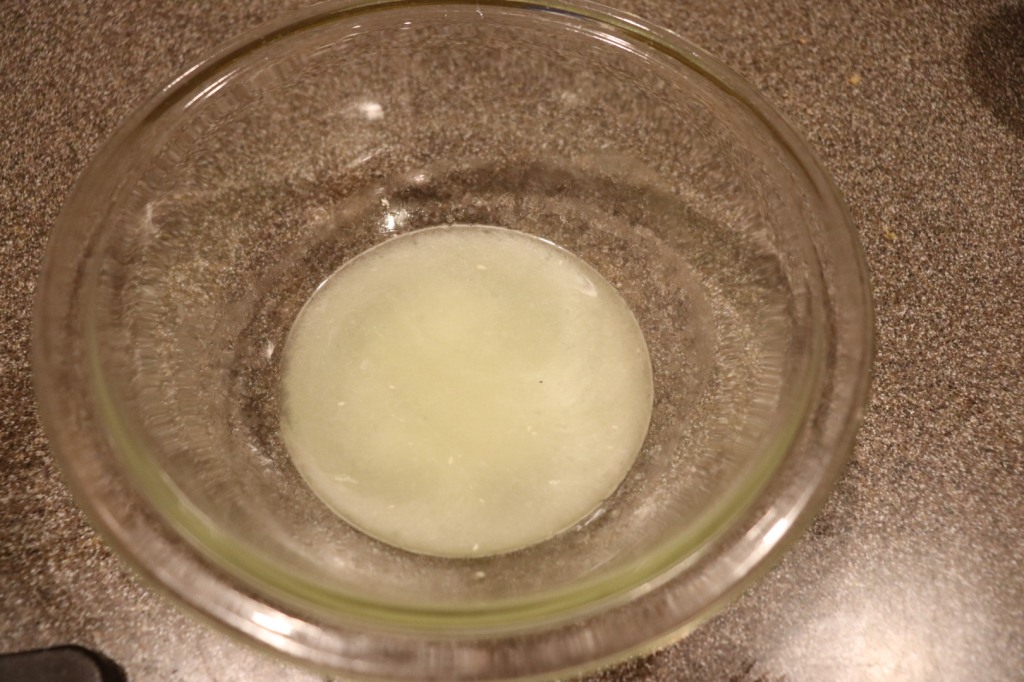
In a bowl, whisk together 1/4 C lime juice and 2 t Kosher salt. Dip both sides of each tortilla triangle into the lime/salt mixture and set the triangles on a rack to dry for one hour.
Lime juice mixed with Kosher salt. 
Tortilla triangles being dipped in lime juice and salt. 
Dipped tortilla triangles on rack for an hour.
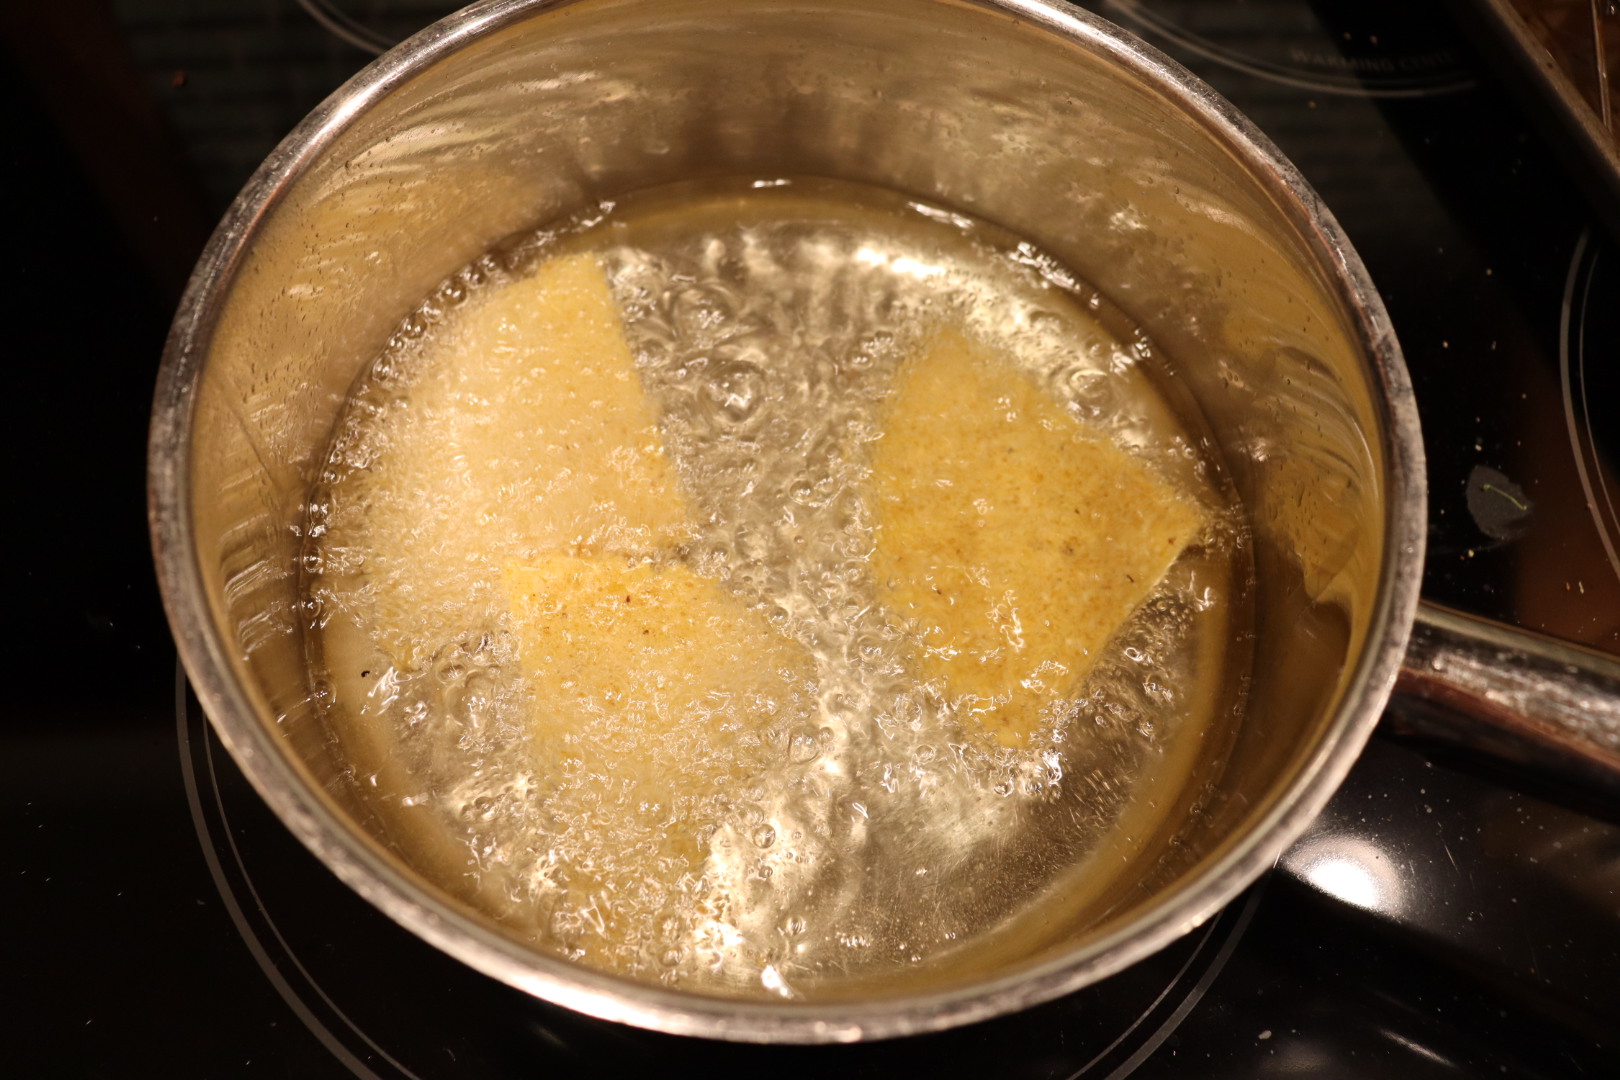
After an hour, fry the triangles in two quarts of peanut oil at 365-375 degrees. The tortillas will need to fry for 20-30 seconds or until they float. Transfer the chips to a rack to drain/cool.

We found these chips to be nearly inedible, as they were incredibly dense and hard. They were difficult to bite/chew and I just threw my portion of nachos away.

I was honestly afraid I would chip a tooth! I would just simply not make these again, or at least not with Alton’s corn tortillas. As I mentioned previously, I found Alton’s tortilla recipe to result in fairly thick, chewy tortillas, and that just really translated into the chips. I think I would enjoy the lime/salt flavor of these chips if it were possible to make them light and crispy, and maybe that would be possible with thinner, less dense tortillas. Here’s hoping to better recipes in the next episode!