Posts Tagged ‘fried food’

Some episodes of Good Eats end up being easier than others. This particular episode turned out to be a bit of a pain. Although there were only two recipes in this episode, I had to make the first recipe several times, so it ended up taking me a few weeks to complete the cooking portion. Anyway, I tried the recipes therein, and here’s how they worked for me.

Corn Tortillas

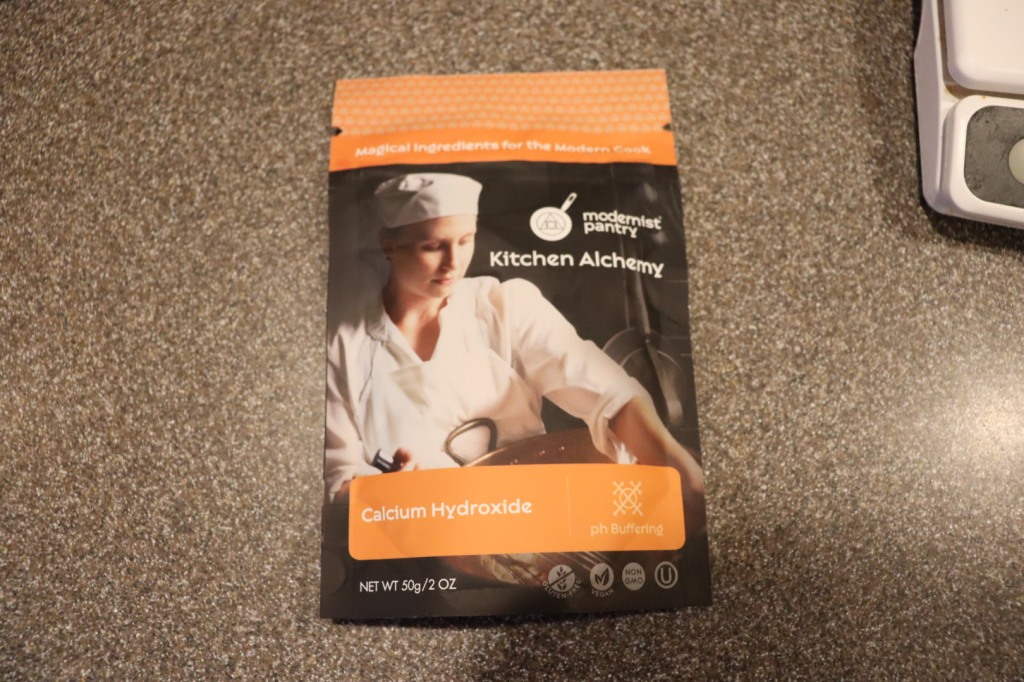
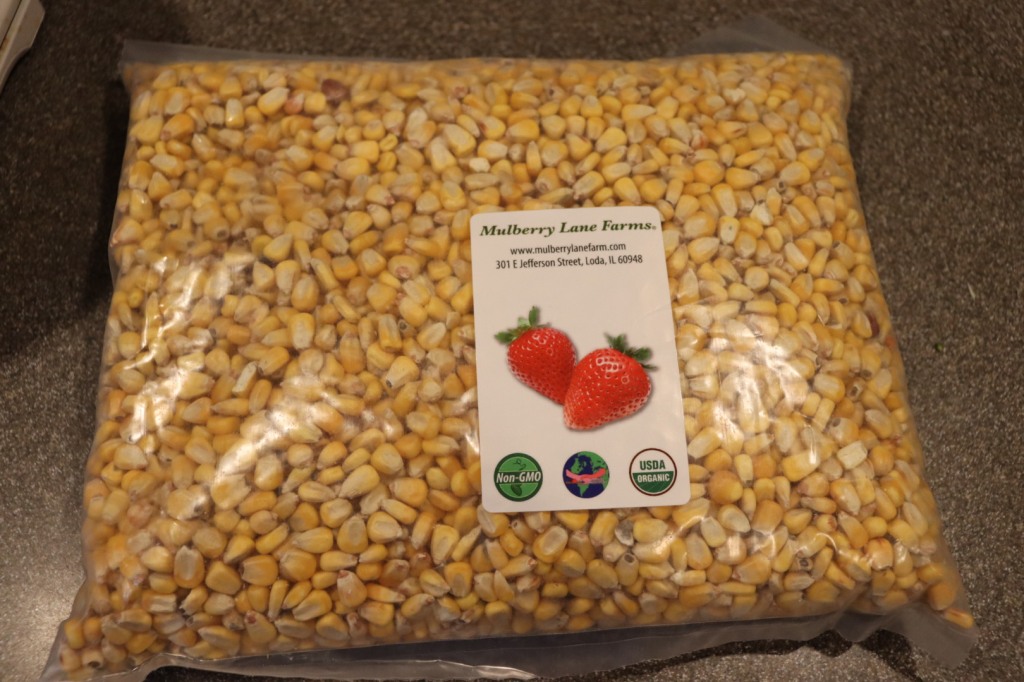
When I have had the opportunity to taste fresh, homemade tortillas, I have always found there to be a huge difference between them and the ones you can buy at the grocery store. I had never, however, attempted to make tortillas myself. Once again, I found this project to be pushing me to make a new food item at home. To make Alton’s corn tortillas, you’ll need dried field or flint corn, calcium hydroxide, and a tortilla press; I purchased all of these items through Amazon. The tortilla-making process takes two days, so you’ll also need to start this recipe the night before you plan to eat the tortillas.

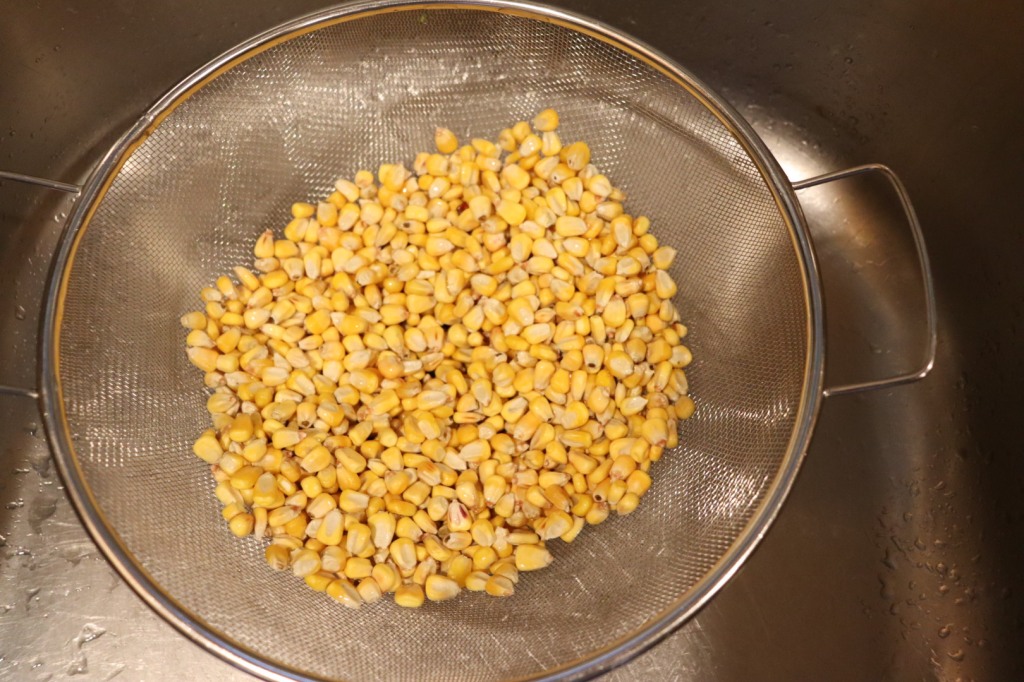
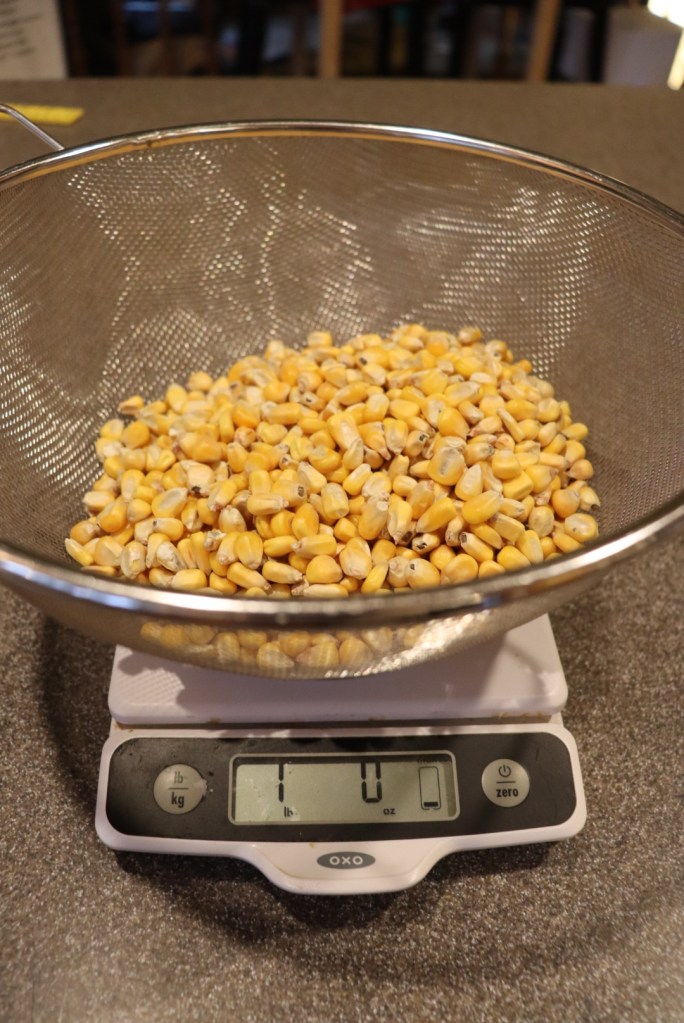
To begin, rinse a pound of dried field or flint corn under cool water.

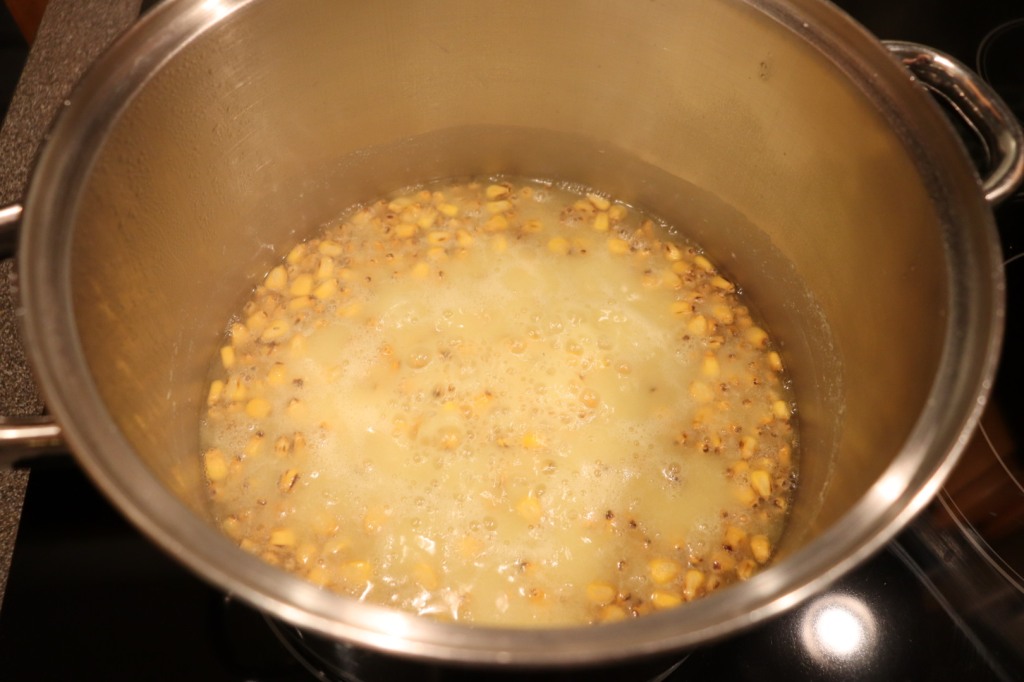
Place the drained corn in a stainless steel pot, along with 6 C water and 1/2 ounce of calcium hydroxide. Calcium hydroxide (which is alkaline), otherwise known as slaked lime/pickling lime/cal is used to cause the corn to undergo nixtamalization, which removes the hulls from the corn and releases its nutrients and amino acids. After combining the corn with the water and cal, slowly (over 30-40 minutes) bring the solution to a boil. Be sure to use a stainless steel pot and utensils when working with cal, as it can bleach wood and discolor other metal.

Once the solution has reached a boil, place a lid on the pot, remove it from the heat, and allow it to sit at room temperature overnight; it is crucial not to refrigerate the mixture, as cold will halt the desired chemical reaction. The following day, rinse the corn under lukewarm water for 5-6 minutes, rubbing the corn between your fingers to remove the hulls.

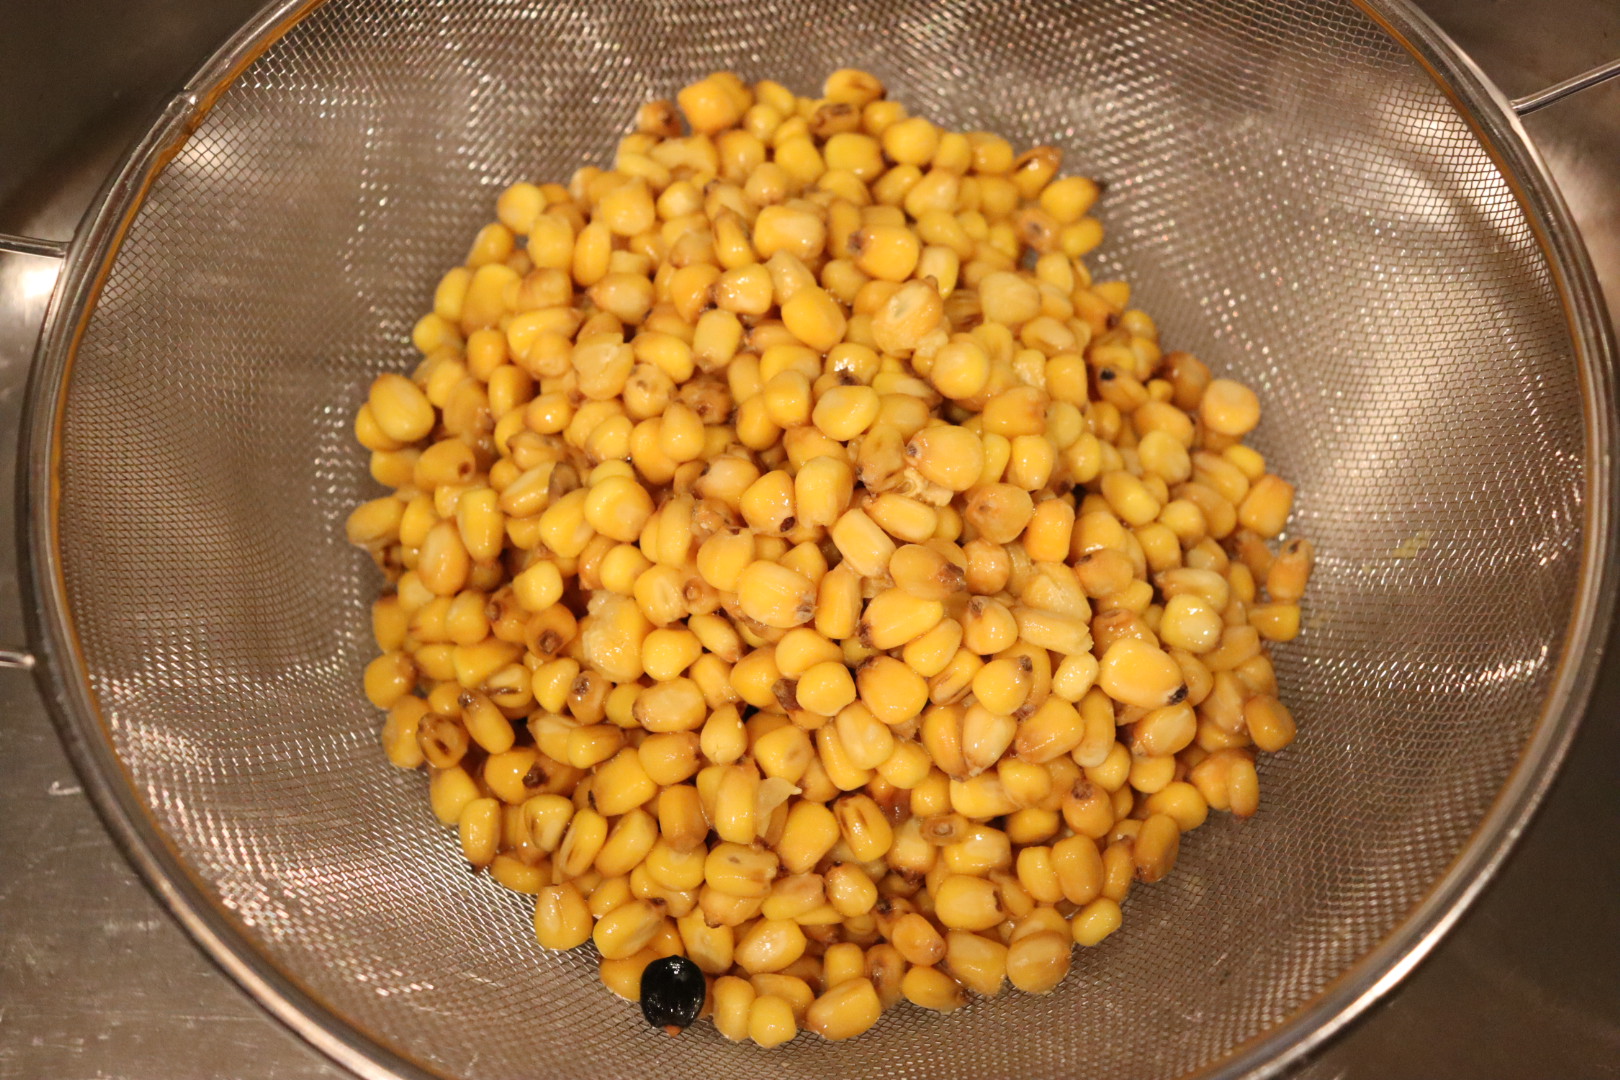
Next, soak the corn for two minutes in cold water. Drain the corn and soak it for an additional two minutes. I wore latex gloves when I handled the corn and I found it helpful to use a slotted spoon to remove the corn from the soaking water, as this left more of the hull pieces behind. The resulting corn you have now is called “nixtamal.”

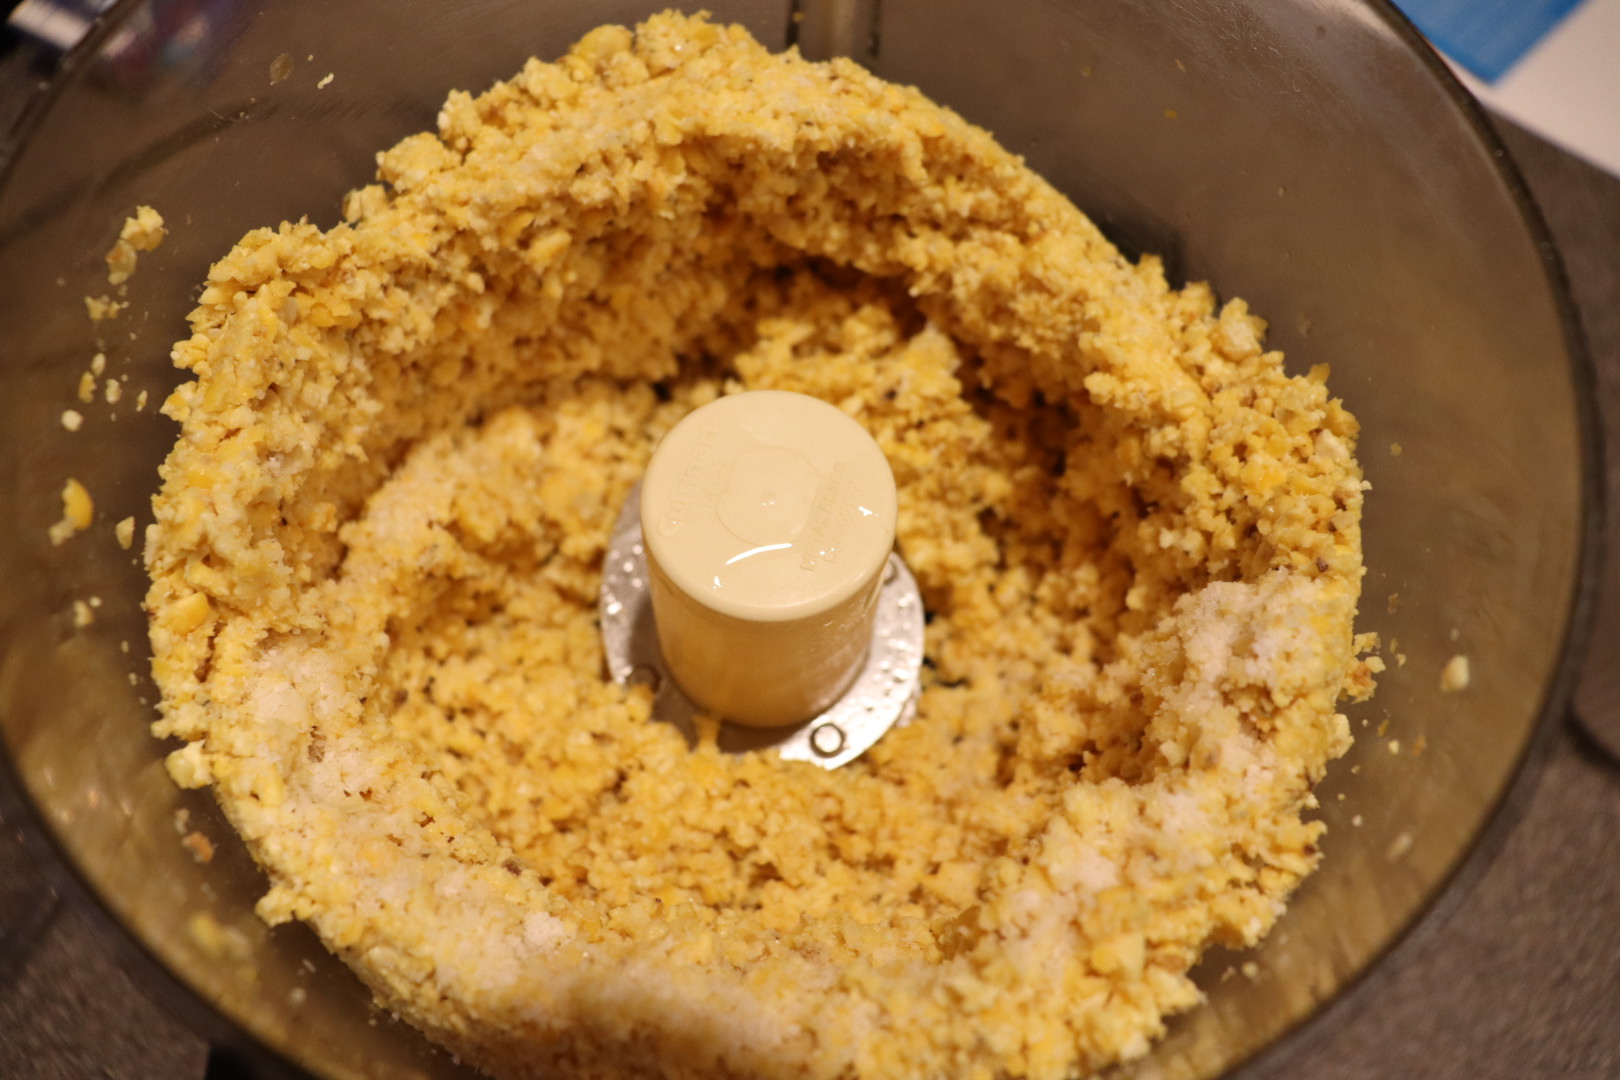
Place the nixtamal in the bowl of a food processor and pulse it 10-15 times. Scrape the bowl with a spatula, add 2 T water, and pulse 8-10 more times. Add 2 T water and 1 t Kosher salt and pulse until the dough clumps together when squeezed, adding more water if necessary.
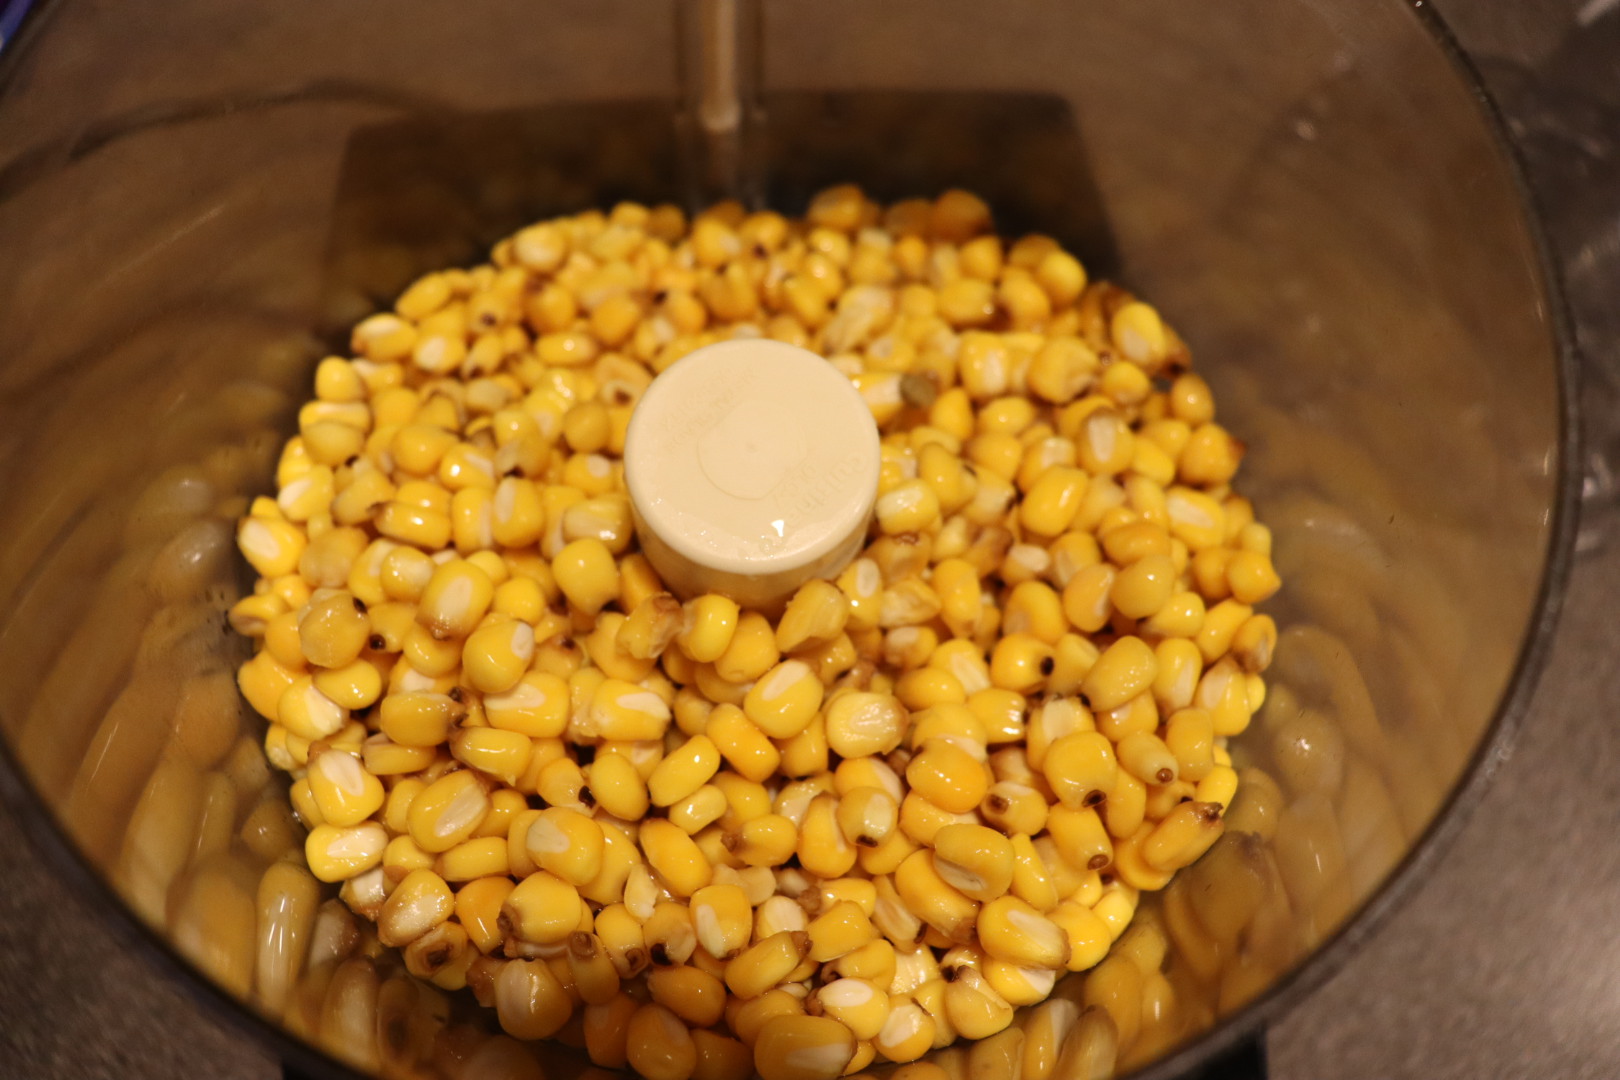
Form the dough into a ball, wrap it in plastic, and let it rest for 30 minutes at room temperature.
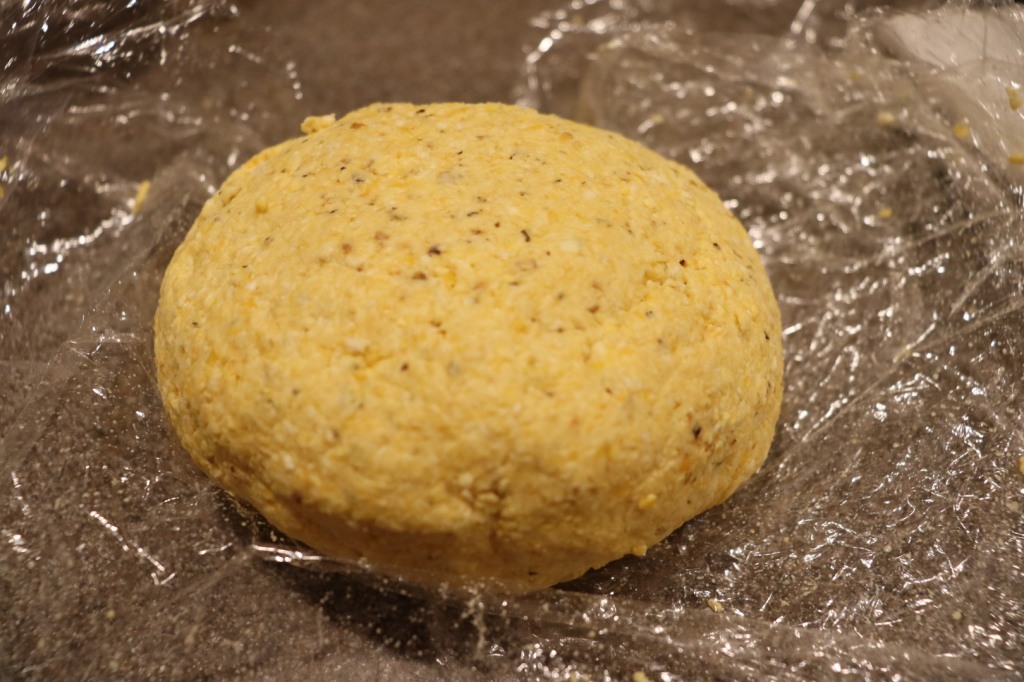
Dough after resting.

Next, portion the dough into balls, placing them under a damp towel; Alton said he did 1.5 ounce portions, but I found the balls to be too small for my tortilla press. I opted for two ounce portions. Alton used a griddle to cook his tortillas, but I just used a large sauté pan. Either way, you want your cooking vessel to be around 400 degrees, which is approximately when drops of water sizzle and dance away. If you want to keep your tortillas warm, you can place a tea towel on a heating pad. When ready to cook, use scissors to remove the sides and zipper of a Ziplock bag, and use the trimmed bag to line both sides of your tortilla press. Place a ball of dough slightly off-center in the press (toward the hinge side), press the ball with your hand to flatten gently, and then press completely with the tortilla press.

The tortilla may stick to the bag a bit, so flip the tortilla over and peel the bag off of the tortilla. Cook tortillas in the hot pan for about a minute per side. If big cracks form in your tortillas, you can try kneading more water into the dough, and then try again after another 30 minute dough rest. To refresh tortillas for later eating, spritz them with water, stack them in foil, and heat them for a few minutes in a 300 degree oven.
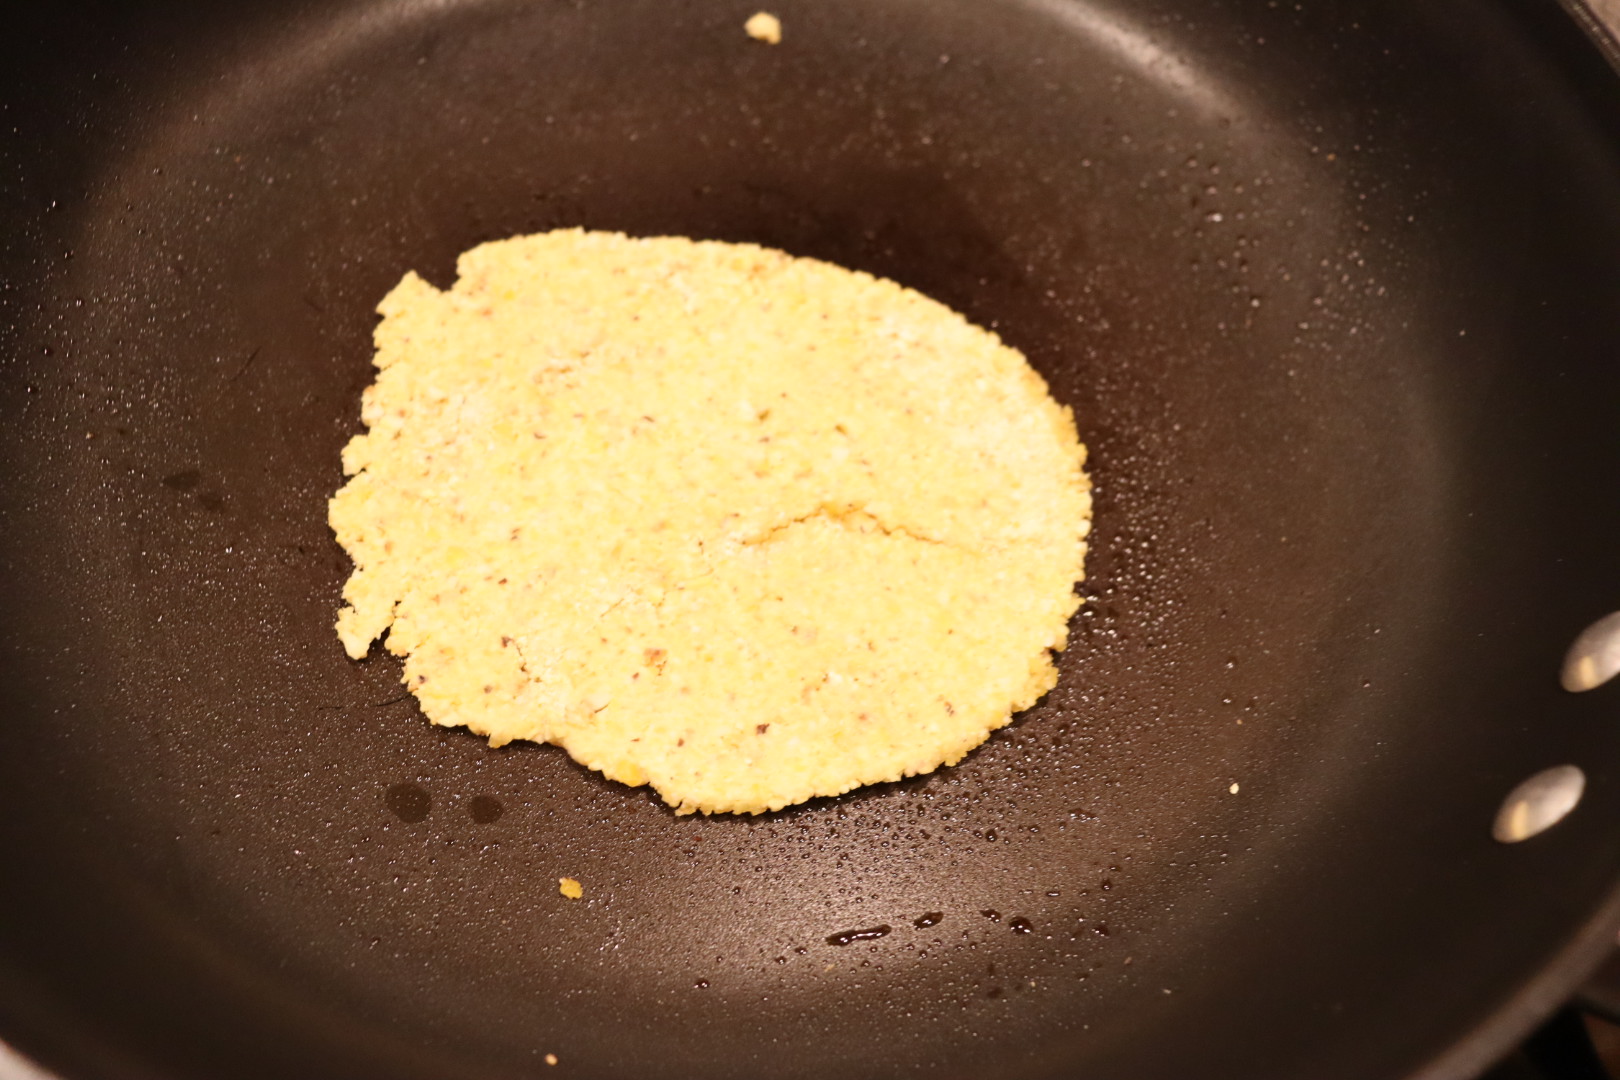
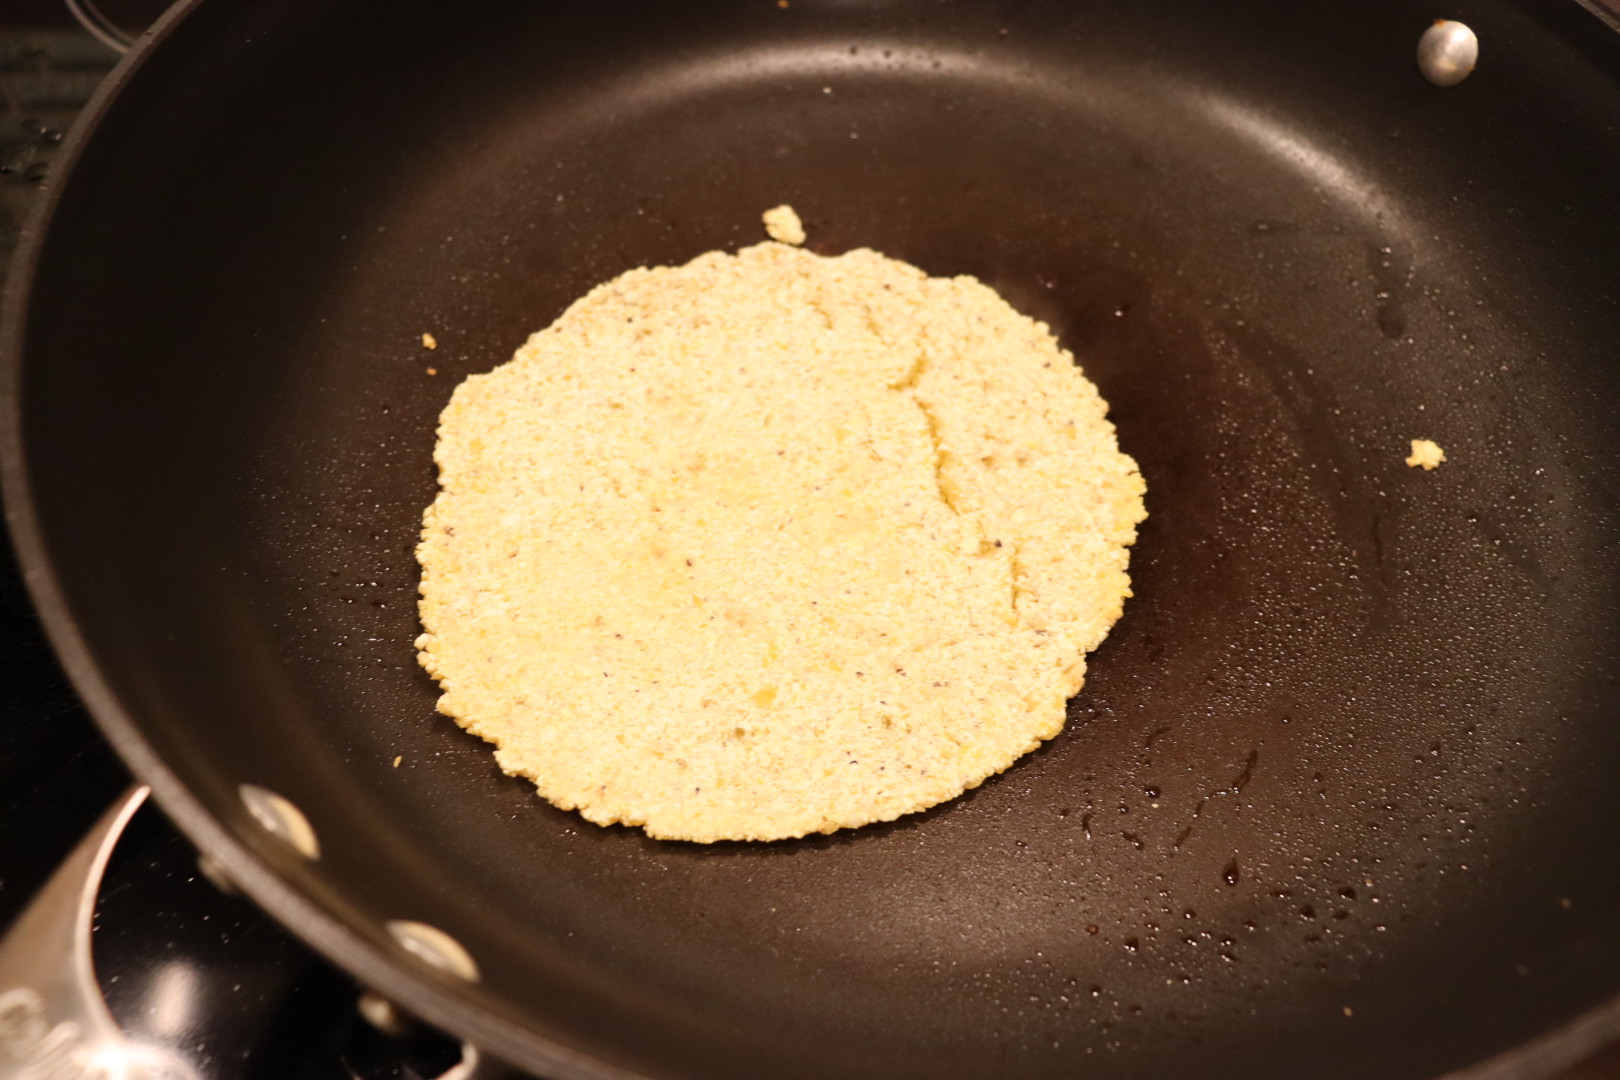
Okay, okay, so I wanted to like this recipe, but it was a complete dud for me. The first time I made the dough, my dough seemed crumbly in the food processor, so I added additional water. Yeah, that was a poor decision, as my dough became overly wet and sticky, and was impossible to work with. Into the trash, the dough went, and I had to start all over again several days later. The second time I made the dough, I did not add any additional water during the food processor portion of the recipe. The dough was still incredibly difficult to work with. I found that the dough stuck horribly to the plastic bag, so I tried spraying the bag with non-stick spray. That didn’t work. I also tried lining my press with both parchment and wax papers. Still, the dough stuck. Eventually, the system that seemed to work the best was to line the press with two pieces of parchment, pulling one sheet off and then flipping the tortilla into the pan, parchment side up. I would then try to gently peel the top piece of parchment off of the top of the tortilla, which almost always resulted in breaking the tortilla. If I was lucky, I would occasionally end up with a somewhat round tortilla.

Tortilla after pressing between parchment layers.

The corn aroma that filled our kitchen was wonderful and we used the tortillas from the second batch of dough to make tacos for dinner one night. The tortillas had rich corn flavor, but I did find them to be a bit too thick/chewy.

Tacos made with homemade tortillas.

When all was said and done, the effort:reward ratio just was too skewed with this recipe. Now that I have a tortilla press, I do plan to make homemade tortillas again, but I plan to try them next with storebought masa harina. Oh, and I did make a third batch of these tortillas to continue on to the second recipe of the episode, which was for:

Lime Tortilla Chips

Making Alton’s tortillas was such a pain but I still maintained high hopes for the lime tortilla chips Alton made on the show. To make a full batch of the chips, stack 10 fresh corn tortillas and cut them into quarters.
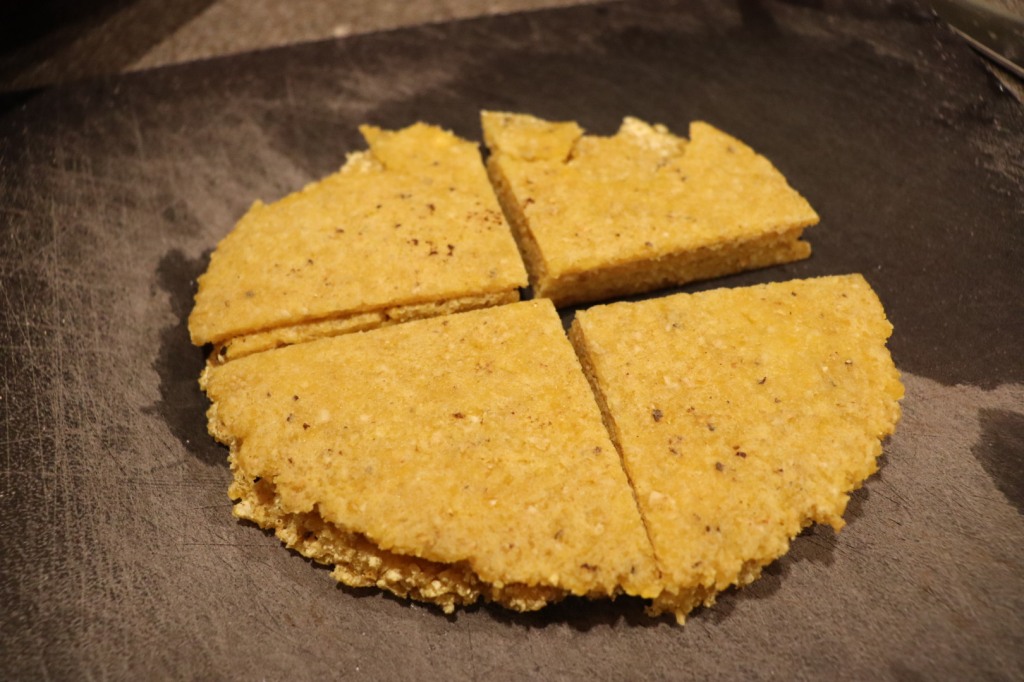
Tortillas cut into triangles for chips.

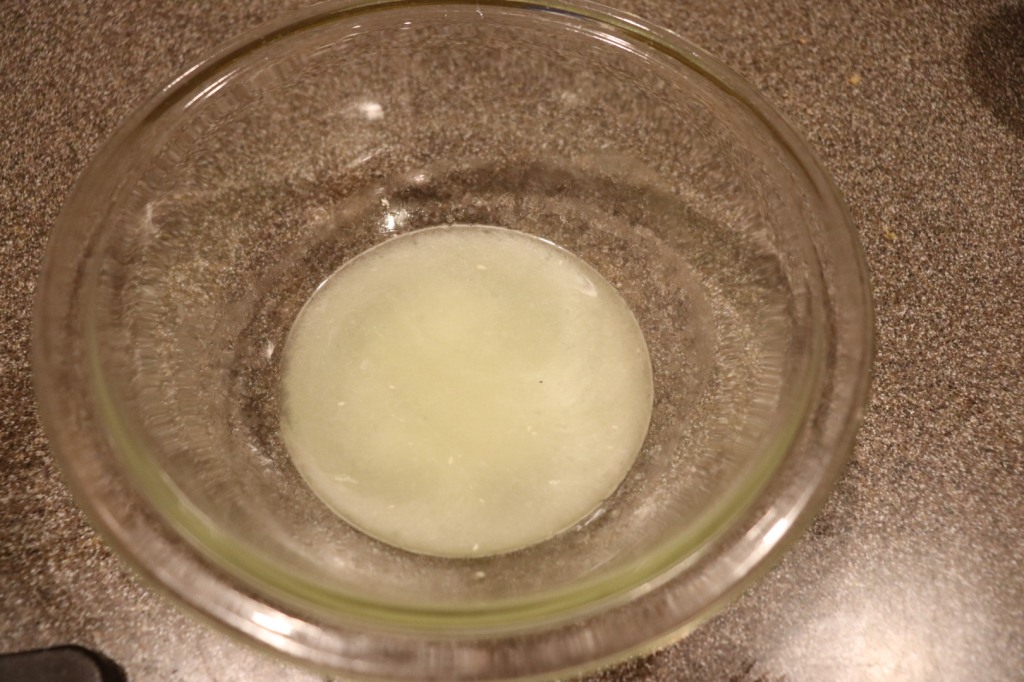
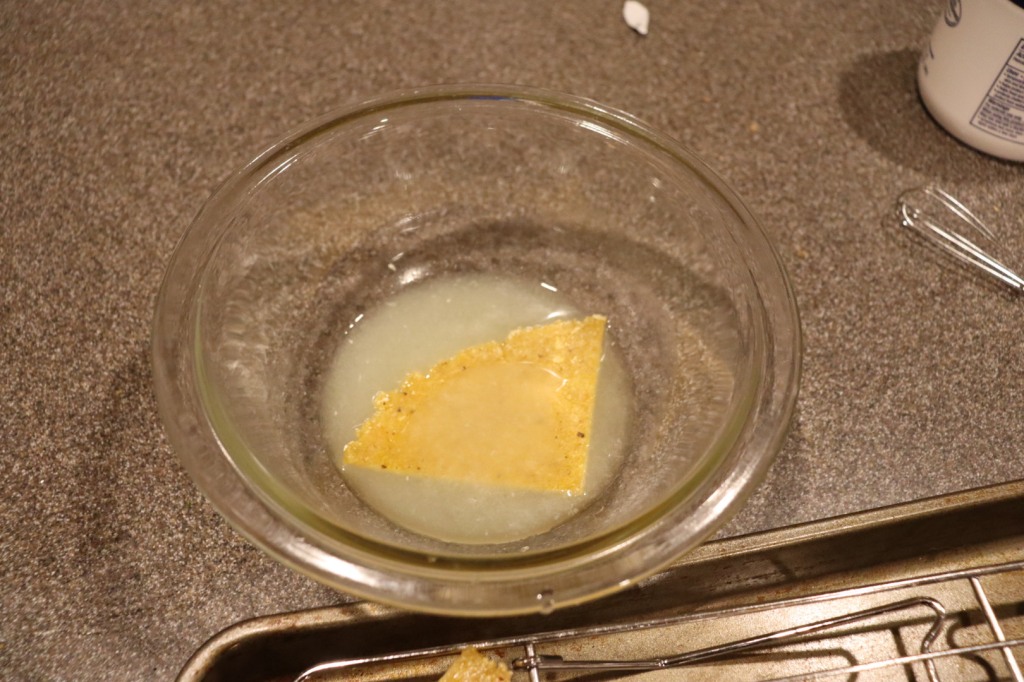
In a bowl, whisk together 1/4 C lime juice and 2 t Kosher salt. Dip both sides of each tortilla triangle into the lime/salt mixture and set the triangles on a rack to dry for one hour.

After an hour, fry the triangles in two quarts of peanut oil at 365-375 degrees. The tortillas will need to fry for 20-30 seconds or until they float. Transfer the chips to a rack to drain/cool.
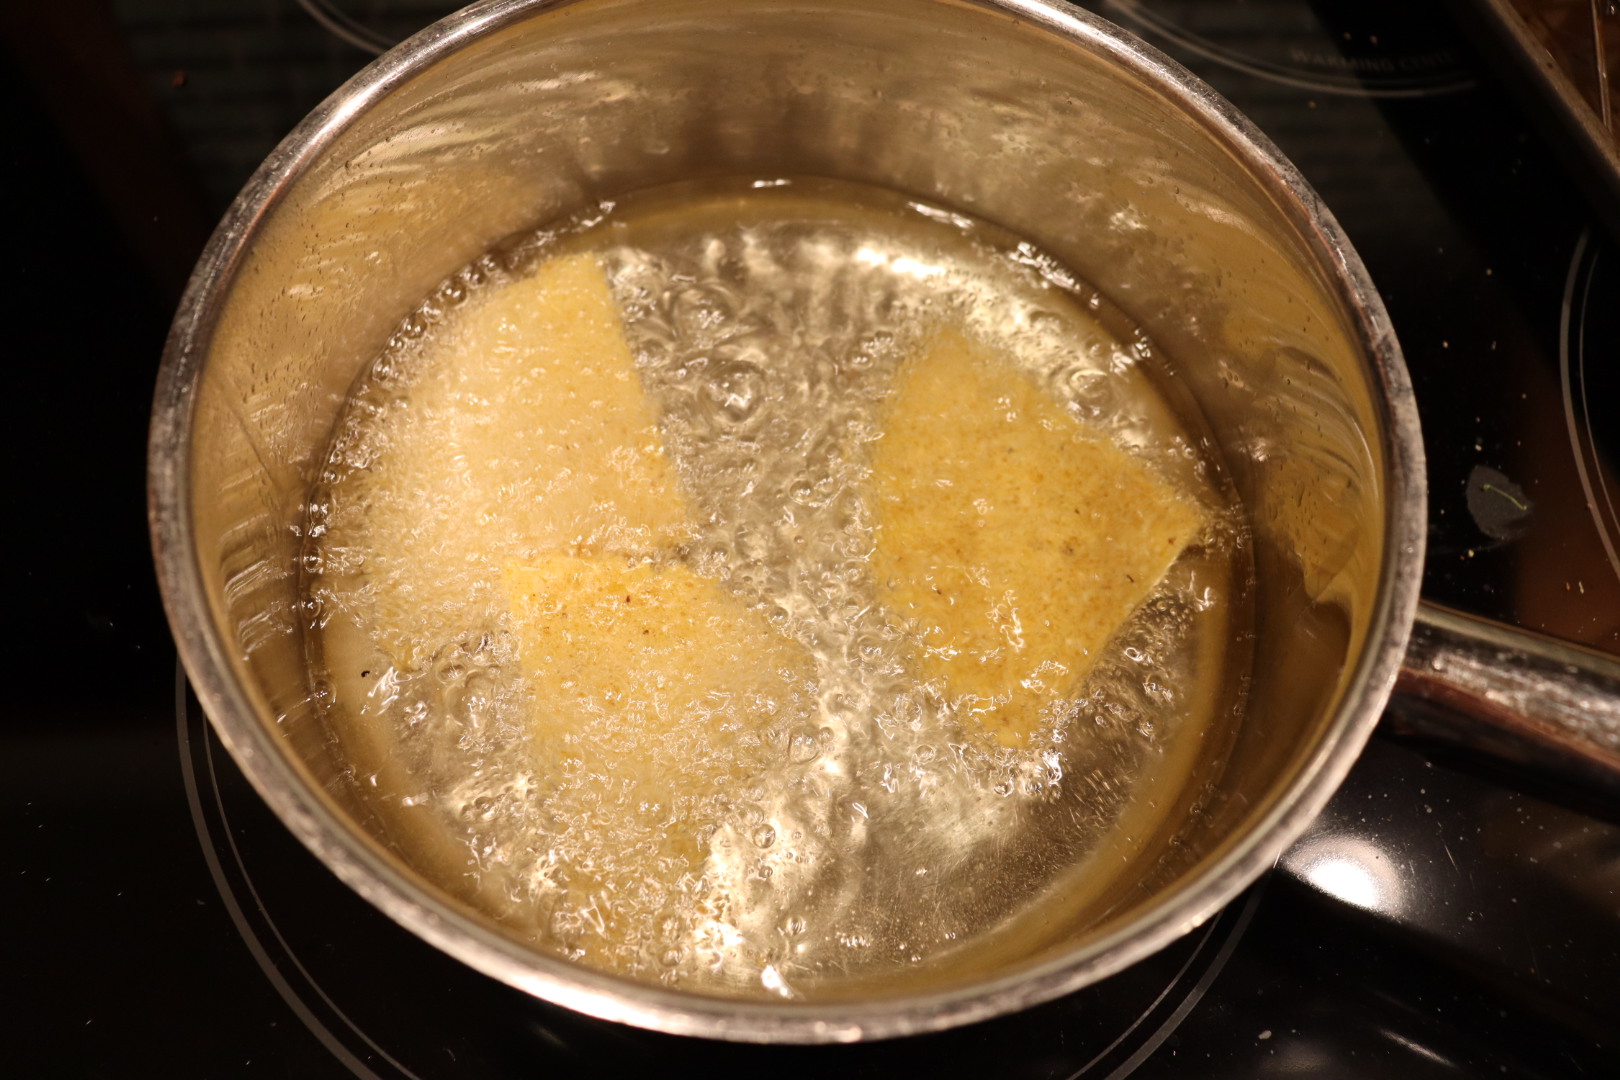
We found these chips to be nearly inedible, as they were incredibly dense and hard. They were difficult to bite/chew and I just threw my portion of nachos away.

Even served as nachos, Alton’s tortilla chips were inedible.

I was honestly afraid I would chip a tooth! I would just simply not make these again, or at least not with Alton’s corn tortillas. As I mentioned previously, I found Alton’s tortilla recipe to result in fairly thick, chewy tortillas, and that just really translated into the chips. I think I would enjoy the lime/salt flavor of these chips if it were possible to make them light and crispy, and maybe that would be possible with thinner, less dense tortillas. Here’s hoping to better recipes in the next episode!
Since it appears that spring has officially sprung, this leek episode seems super appropriate, both for the ingredient and for the episode title. I have used leeks in many recipes in the past, but they have typically assumed more of a back-up role to other ingredients. In these recipes, however, the leek takes center stage.

Grilled Braised Leeks

This recipe is (or, at least was) Alton’s favorite leek preparation. If you have ever worked with leeks before, you will know that it is crucial to clean them thoroughly, unless you enjoy sand and grit in your teeth. To clean leeks as Alton does, barely cut off the white root tip of each leek, discarding the tips. Next, cut off the dark green leaves of the leeks and discard them.

IMG_8115(1)

Trimmed leeks.

Place a leek on a cutting board such that the center oval inside the leek is perpendicular to the cutting board.

IMG_8116(1)

Leek, placed so its oval is perpendicular to the cutting board.

Use a sharp knife to cut straight down through the top of the oval, slicing the leek in half lengthwise, while keeping the leek layers together.

IMG_8118(1)

Leeks split in half.

To rinse the leeks, hold onto their white ends as you dip/swirl them in a large bowl of water; any grit should fall to the bottom of the bowl.

IMG_8120(1)

Leeks, swirling in water to clean.

To store cleaned leeks, wrap them in a layer of damp paper towels, followed by a layer of plastic. This recipe uses a grill, so preheat your grill such that one end of the grill is hot and the other is cool. While the grill heats, brush the cut sides of eight leek halves (prepped as above) with bacon drippings. We happen to keep a jar of bacon drippings in our refrigerator, so I just melted some of the drippings in the microwave. After brushing the leeks with bacon fat, sprinkle them liberally with Kosher salt.

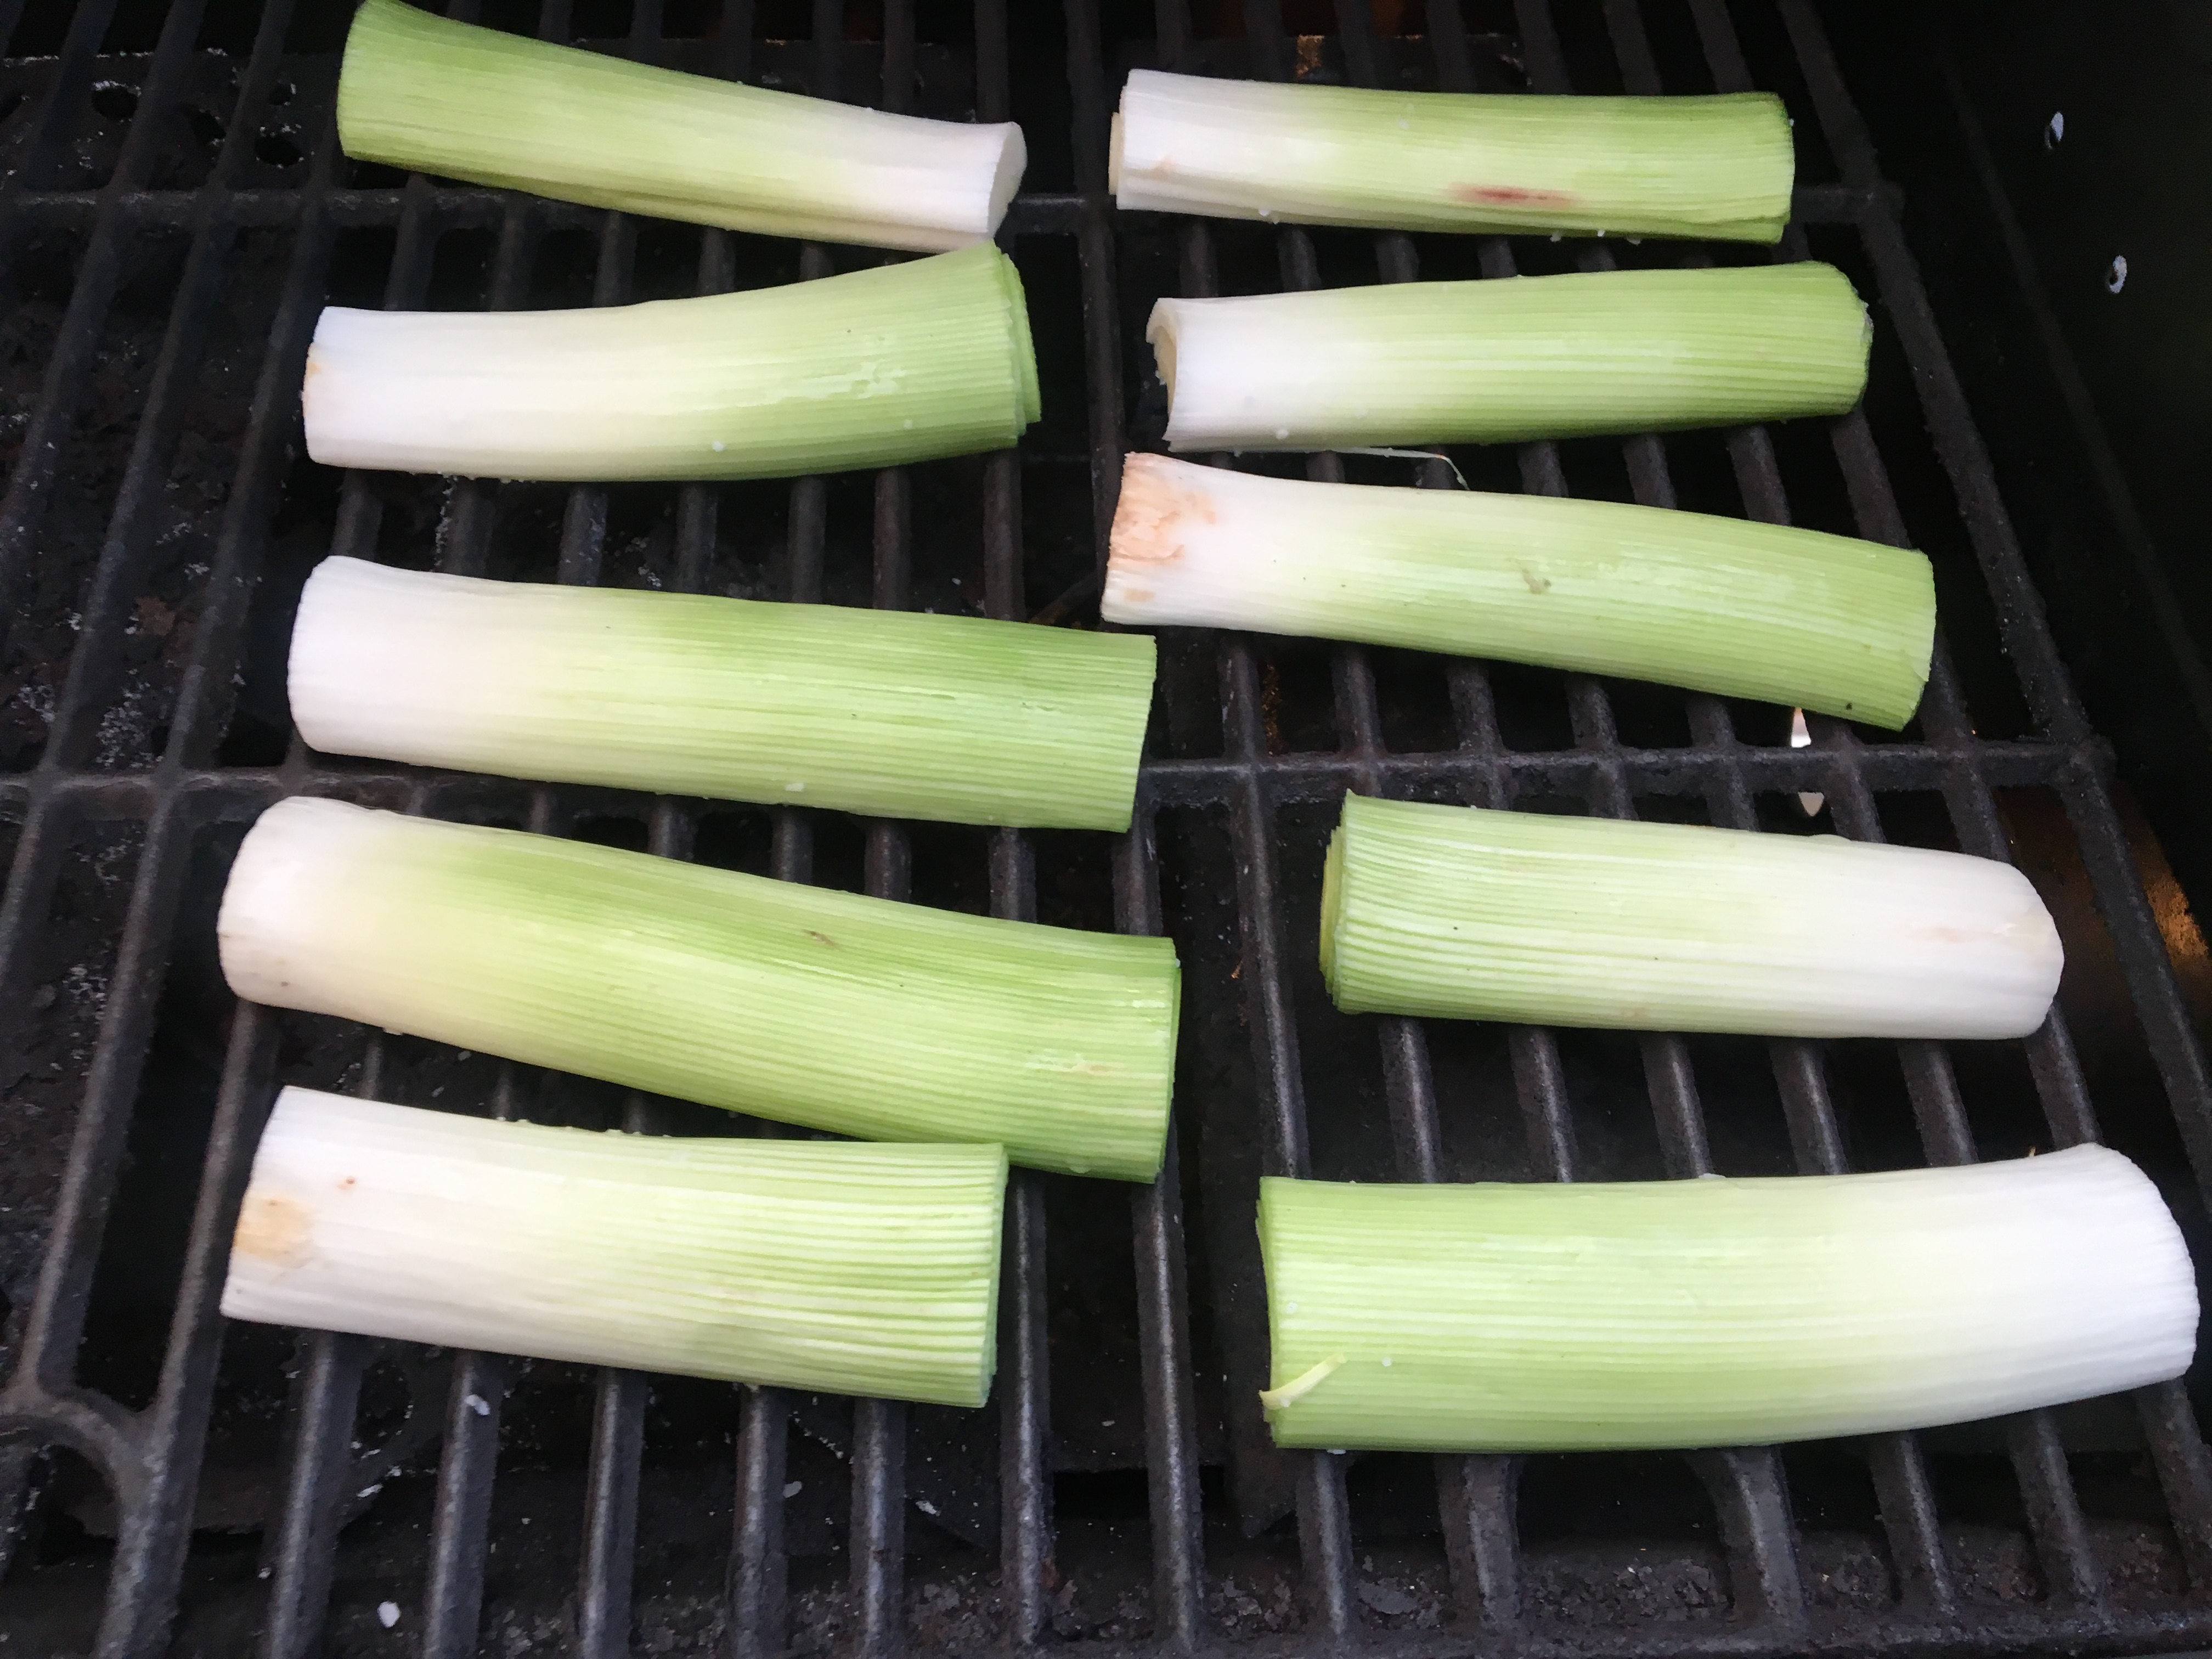
Place the leeks, cut side down, on the hot side of the grill, and check them after three minutes of grilling.

IMG_8125(1)

Leeks placed, cut side down, on the grill.

You want your leeks to have grill marks, but you do not want them to get charred. My leeks were ready after three minutes. When your leeks have grill marks, transfer them to a large piece of foil and brush on some balsamic vinegar; Alton said he used about 1 T of balsamic vinegar, but he appeared to use more than that in the episode.

Reassemble the leeks by placing two matching halves together and fold the foil closed to make a tight pouch. Place the foil packet over indirect heat and grill for 10-12 more minutes, or until the leeks are tender.

Serve the grilled leeks with any combination of black pepper, goat cheese, artichokes, and greens. This leek recipe really showcases the leek. I served my leeks with pepper, marinated artichoke hearts, and goat cheese, and it was a fantastic combination of flavors.

IMG_8133(1)

Grilled braised leeks served with pepper, goat cheese, and marinated artichoke hearts.

I do think my leeks could have used more time on the grill, as the outer layers of the leeks were pretty chewy and had a strong onion-like bite to them. The inner layers, however, were tender and had the sweetness of cooked onions. I definitely want to make these again, but I think I will let them sit on indirect heat for at least a good half hour. Next time, I will also purchase the smallest leeks I can find, as the larger leeks seemed to have much tougher outer leaves. These would be a perfect accompaniment to any summer (or spring) barbecue.

Leek Rings

For a twist on onion rings, Alton turns here to the leek. This recipe uses 12 ounces of leeks, and you’ll first want to remove their root tips and their dark green leaves. Next, slice the leeks into half-inch rings, separating the layers to form rings.

IMG_7825(1)

Leek layers separated into rings.

To set up the breading stations for this recipe, combine 2 C flour with 2 t Kosher salt and divide the mixture between two containers. For the third station, combine 1 1/2 C milk with a beaten egg in a third container, and place the liquid container between the two flour containers.

Preheat three quarts of oil (vegetable, safflower, or canola) in a large Dutch oven to 375 degrees. While the oil heats, you can bread your leek rings by using your left hand to place a handful of rings into the first flour container, tossing them to coat.

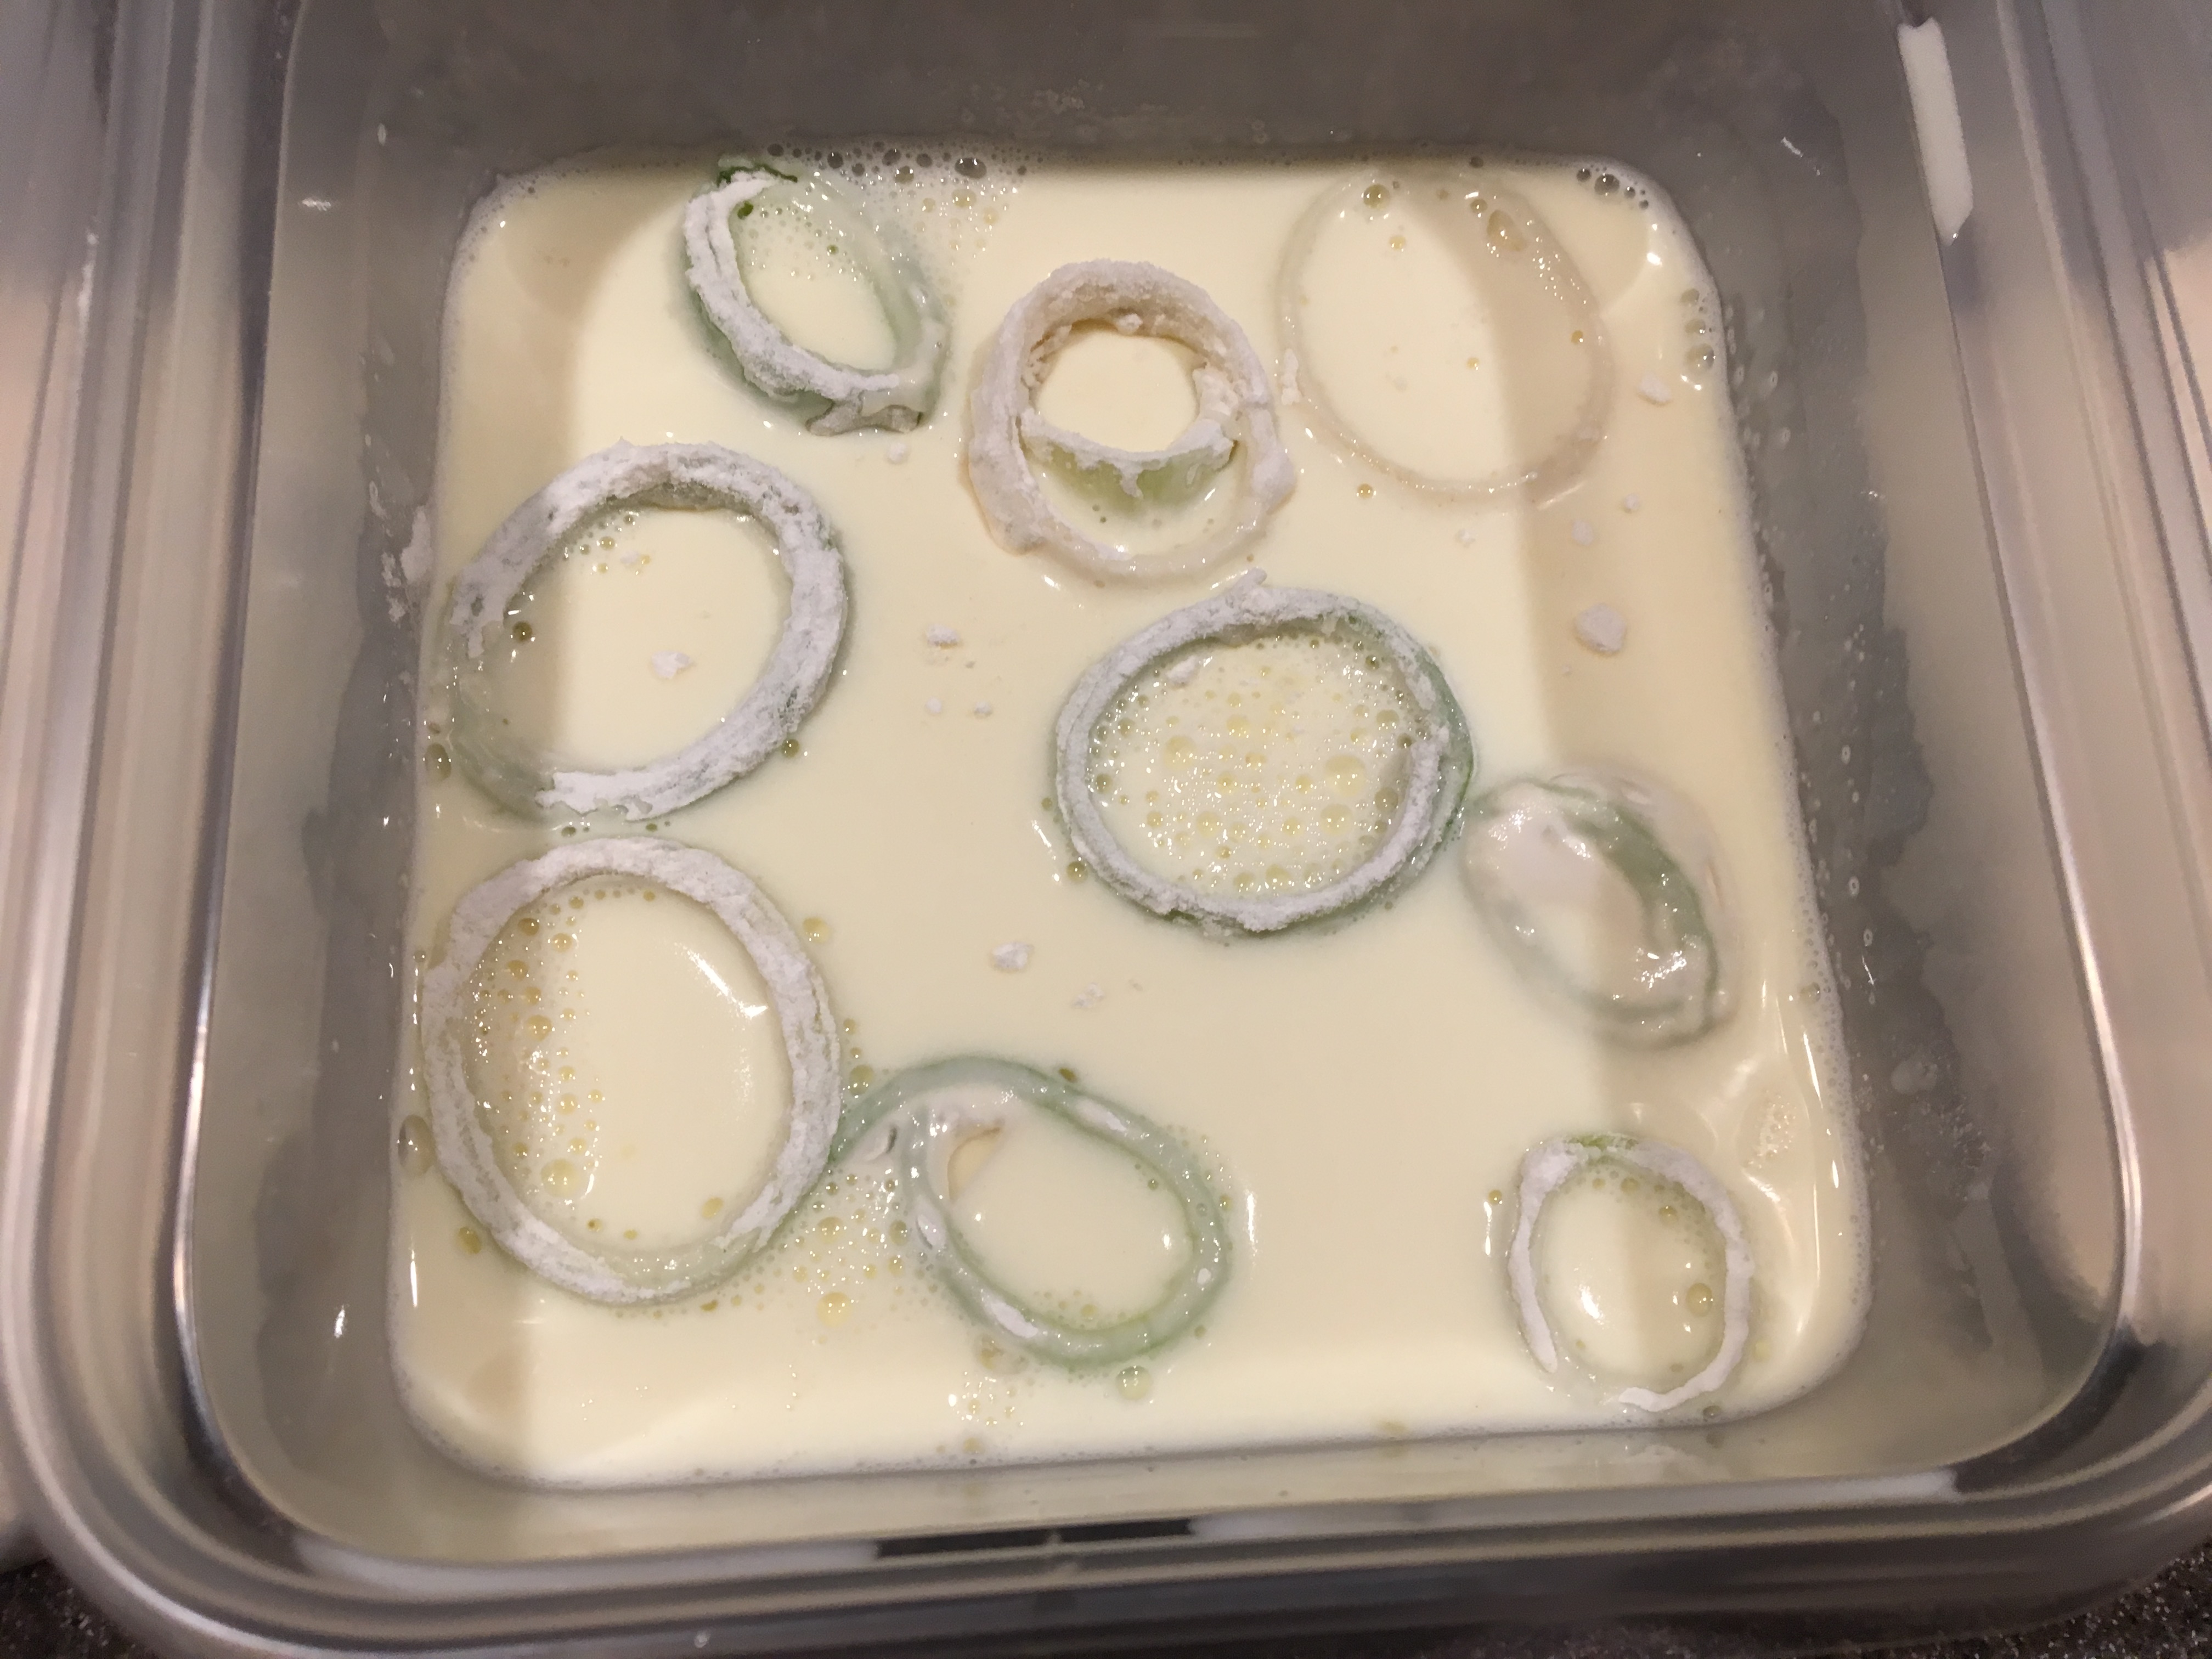
Next, with the left hand, move the floured rings to the milk and toss the rings with your right hand.

IMG_7834(1)

Rings into the milk station.

Also with the right hand, move the milked leeks to the second flour container and use a fork to toss.

Remove the breaded leeks with your left hand, transferring them to a spyder or to a plate. Use the spyder to gently drop the leeks into the hot oil, frying them for 30-90 seconds, or until golden brown.

Transfer the fried leeks to a rack over a sheet pan to drain.

IMG_7845(1)

Fried leek rings.

We ate these a side with dinner one night and they were pretty fun. We thought they looked a lot like calamari rings. The nice thing about these was that they stayed pretty crispy, while onion rings can sometimes get a bit soggy. Before eating these, I wondered if they would need some sort of dipping sauce, but a little extra Kosher salt was all these needed for me. They have a slightly sweet onion-like flavor and a crispy outer shell. It was a little tedious to separate the leek layers and to bread them, but these were a fun thing to do for something different.

Leek Potato Soup

Alton’s take on Vichyssoise soup is the final recipe in this episode. It starts with melting 3 T butter in a lidded six quart pot over medium heat.

IMG_7787(1)

Butter in large pot.

While the butter melts, prep a pound of leeks, as done above for grilling (trim, cut in half through the oval, wash). Slice the leek halves into thirds lengthwise, and then chop them.

Add the chopped leeks to the melted butter, along with a large pinch of Kosher salt. Turn the heat to medium-low and let the leeks sweat for 20-25 minutes.

Once the leeks are tender, add 14 ounces of Yukon gold potatoes, peeled and chopped, along with a quart of vegetable broth.

Increase the heat to medium-high and bring the liquid to a boil. Once boiling, decrease the heat to a simmer, put a lid on the pot, and cook the soup for 45 minutes.

After 45 minutes, use an immersion blender, or a regular blender, to puree the soup to a smooth consistency.

Combine a cup of heavy cream with a cup of buttermilk and stir the dairy into the soup; combining the dairy prior to adding it to the soup will help to prevent curdling.

IMG_7809(1)

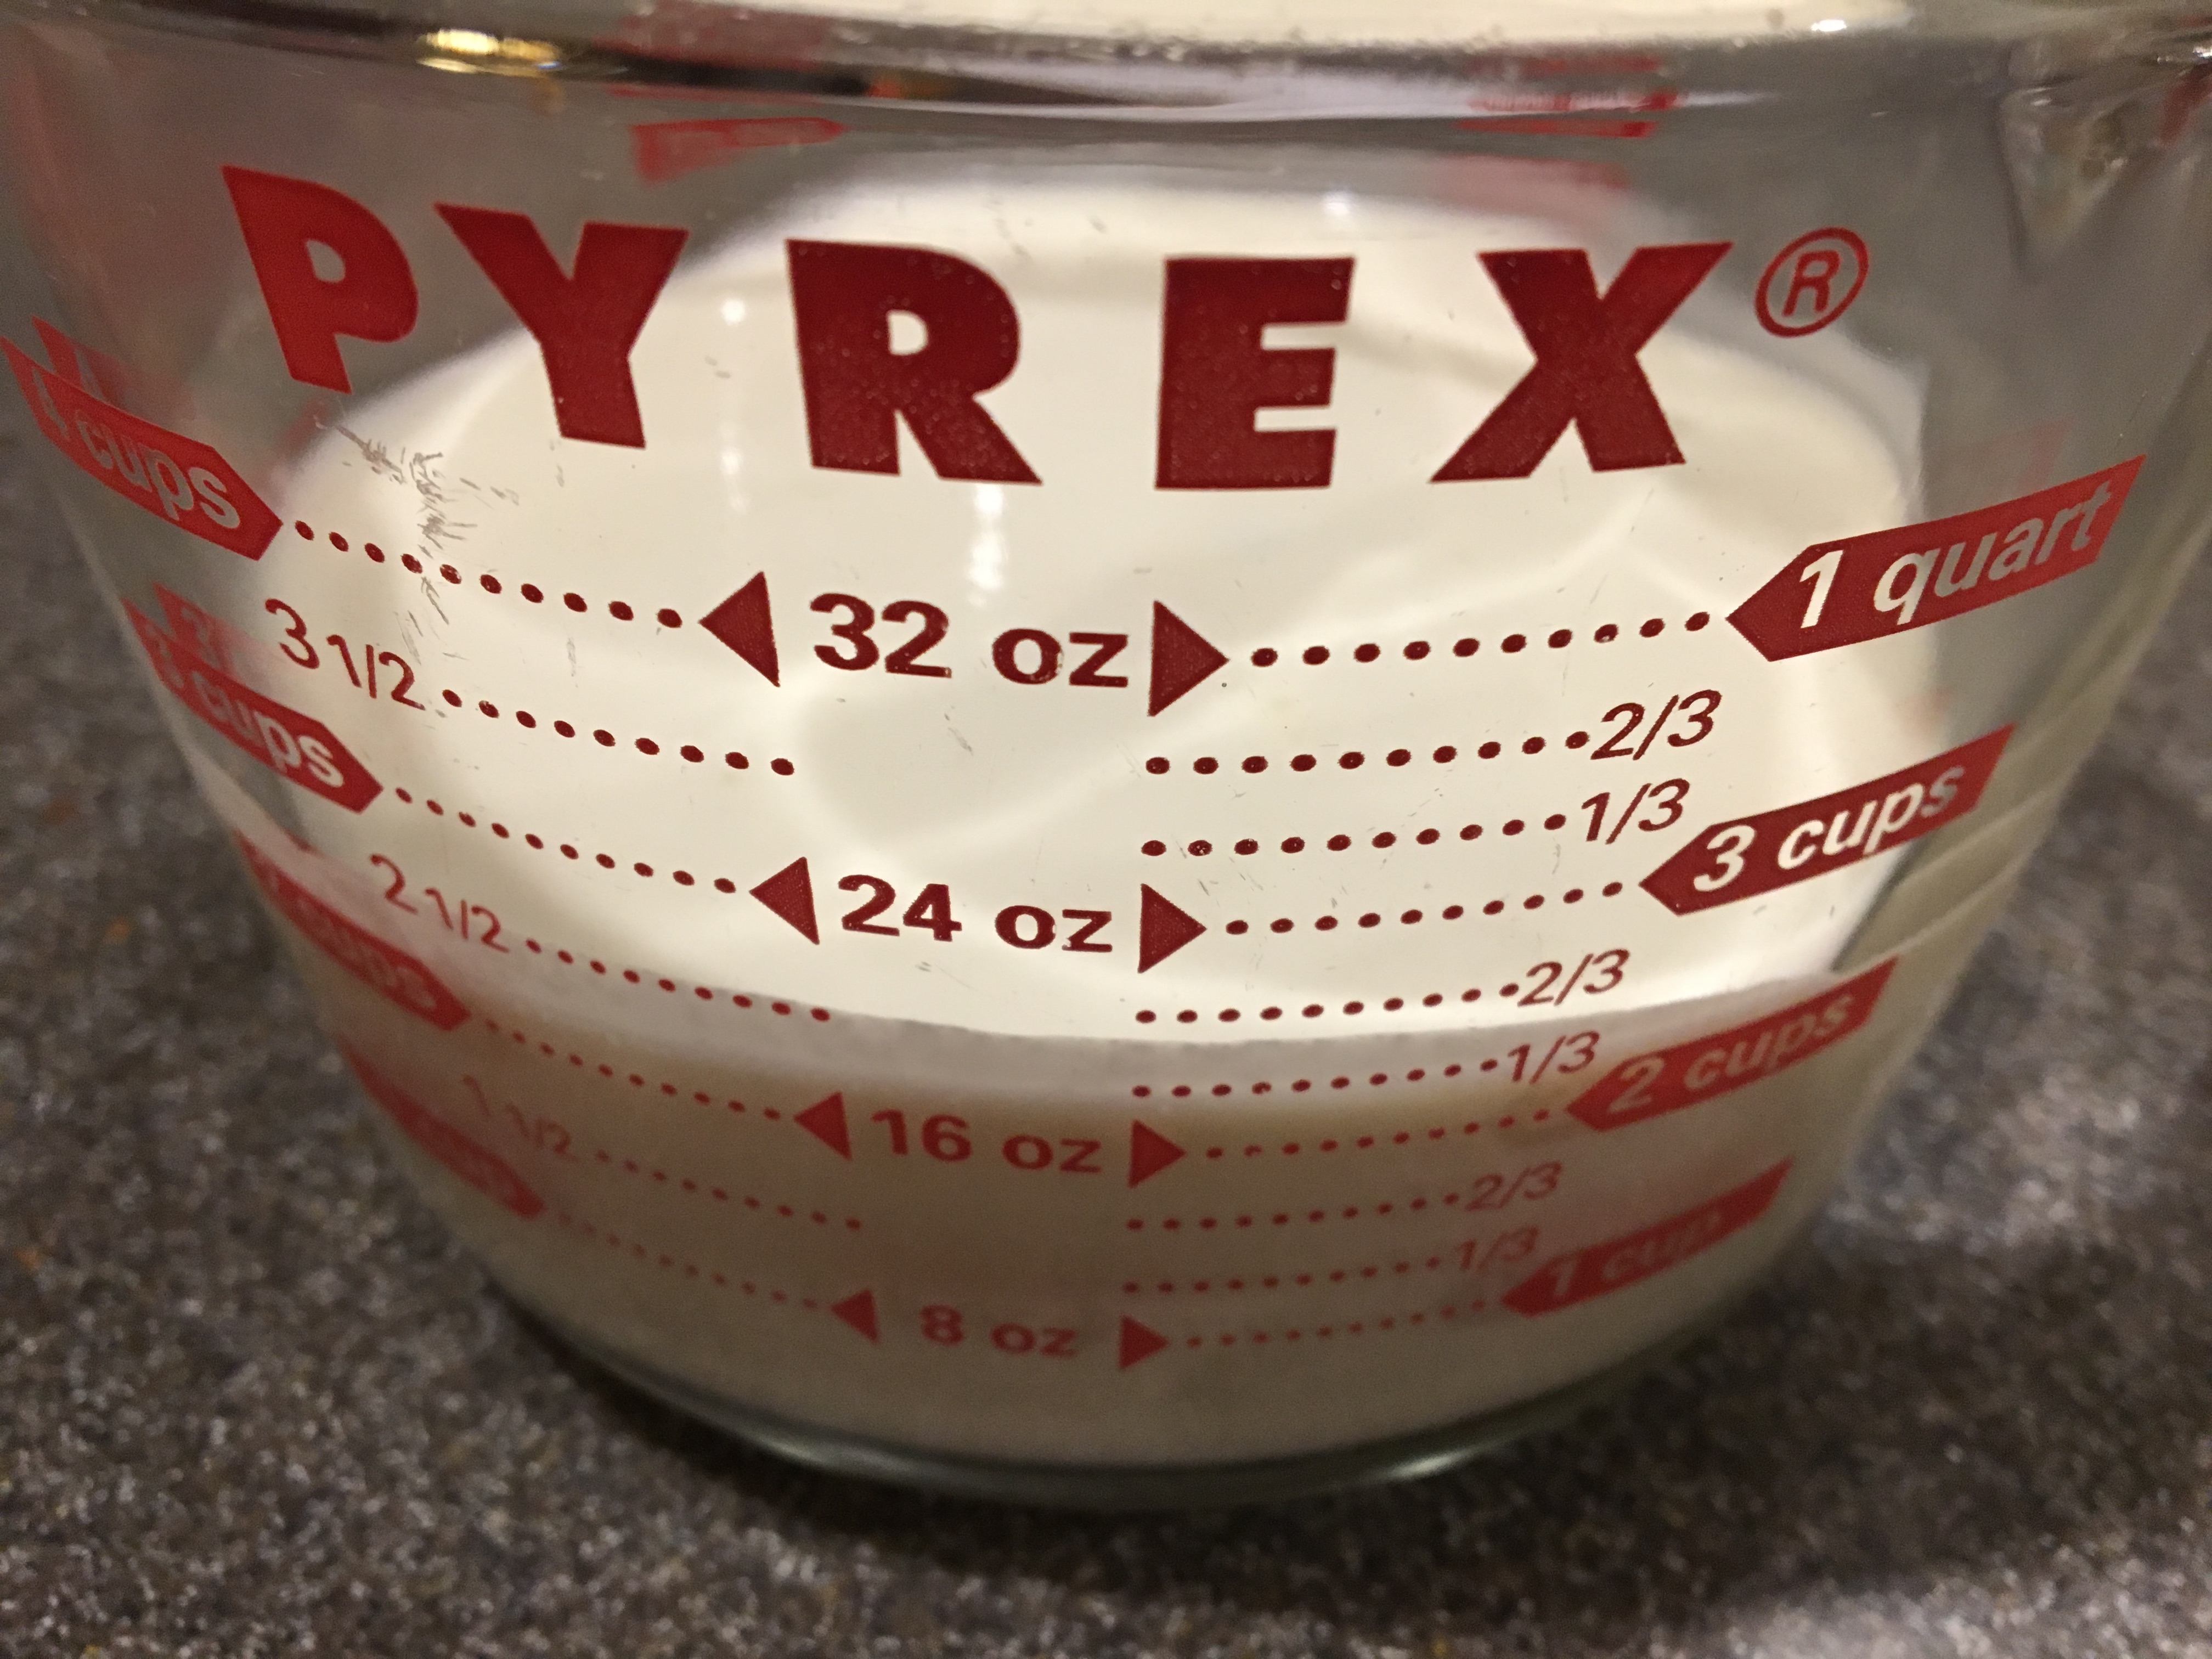
A cup of cream and a cup of buttermilk.

Finally, stir in a teaspoon of white pepper.

IMG_7813(1)

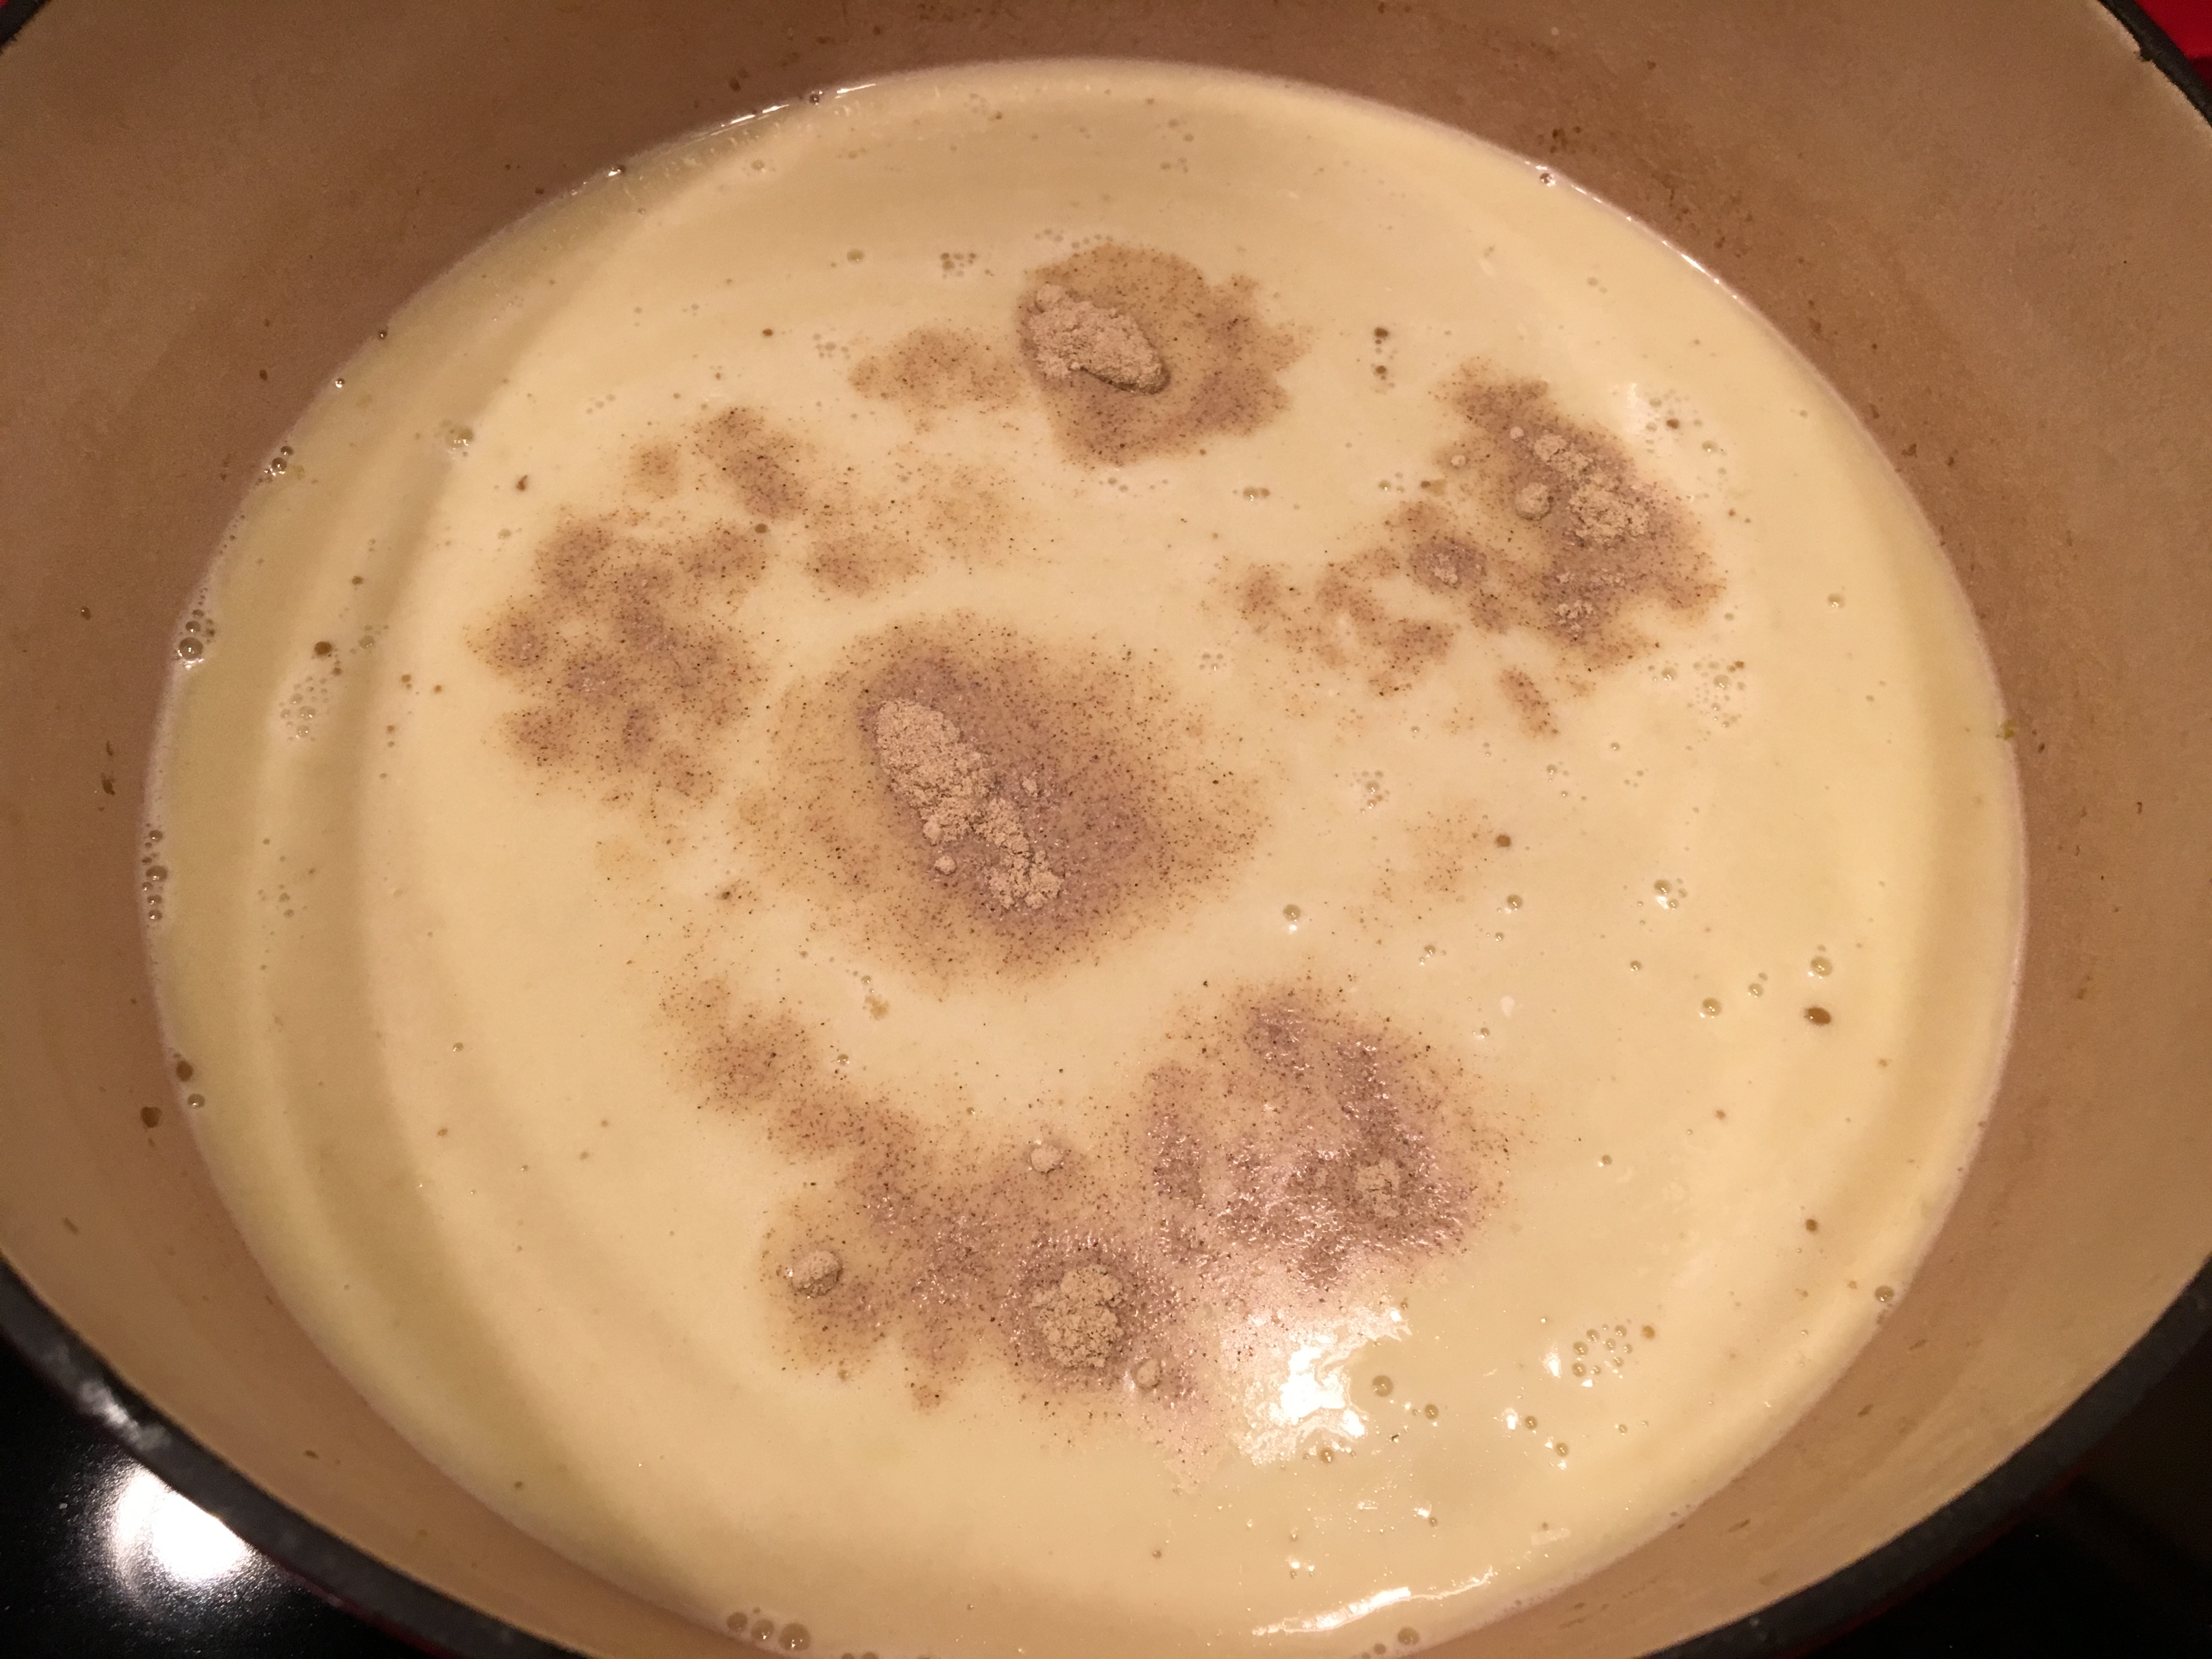
Dairy and white pepper added to soup.

Serve the soup topped with chopped chives.

IMG_7818(1)

Leek potato soup

This was a really delicious and simple soup. It was rich, without being heavy, and the leeks contributed a sweet flavor and aroma. This is a soup that could be eaten year-round, as you could serve it hot in colder seasons or cold in warmer weather. It is also a great vegetarian option, and it really highlights the flavor of leeks.

In this episode of Good Eats, Alton tackles a couple of “man food” recipes. What exactly is man food? Well, judging from the two recipes in this episode, I take it that man food is either composed of meat, deep-fried, or both. This girl was certainly happy to give Alton’s manly recipes a try.

Corn Dogs

While I can truly appreciate a good hot dog (especially a Chicago dog), corn dogs have never really done much for me; it comes down to the corn batter. Typical corn dog batter is chewy, dense, and overly sweet. I was hopeful that Alton could improve upon the carnival classic with his recipe. To make his corn dogs, pour a gallon of peanut oil in a deep fryer (or in a Dutch oven if you are like me and don’t have a deep fryer), heating it to 375 degrees.

IMG_7276

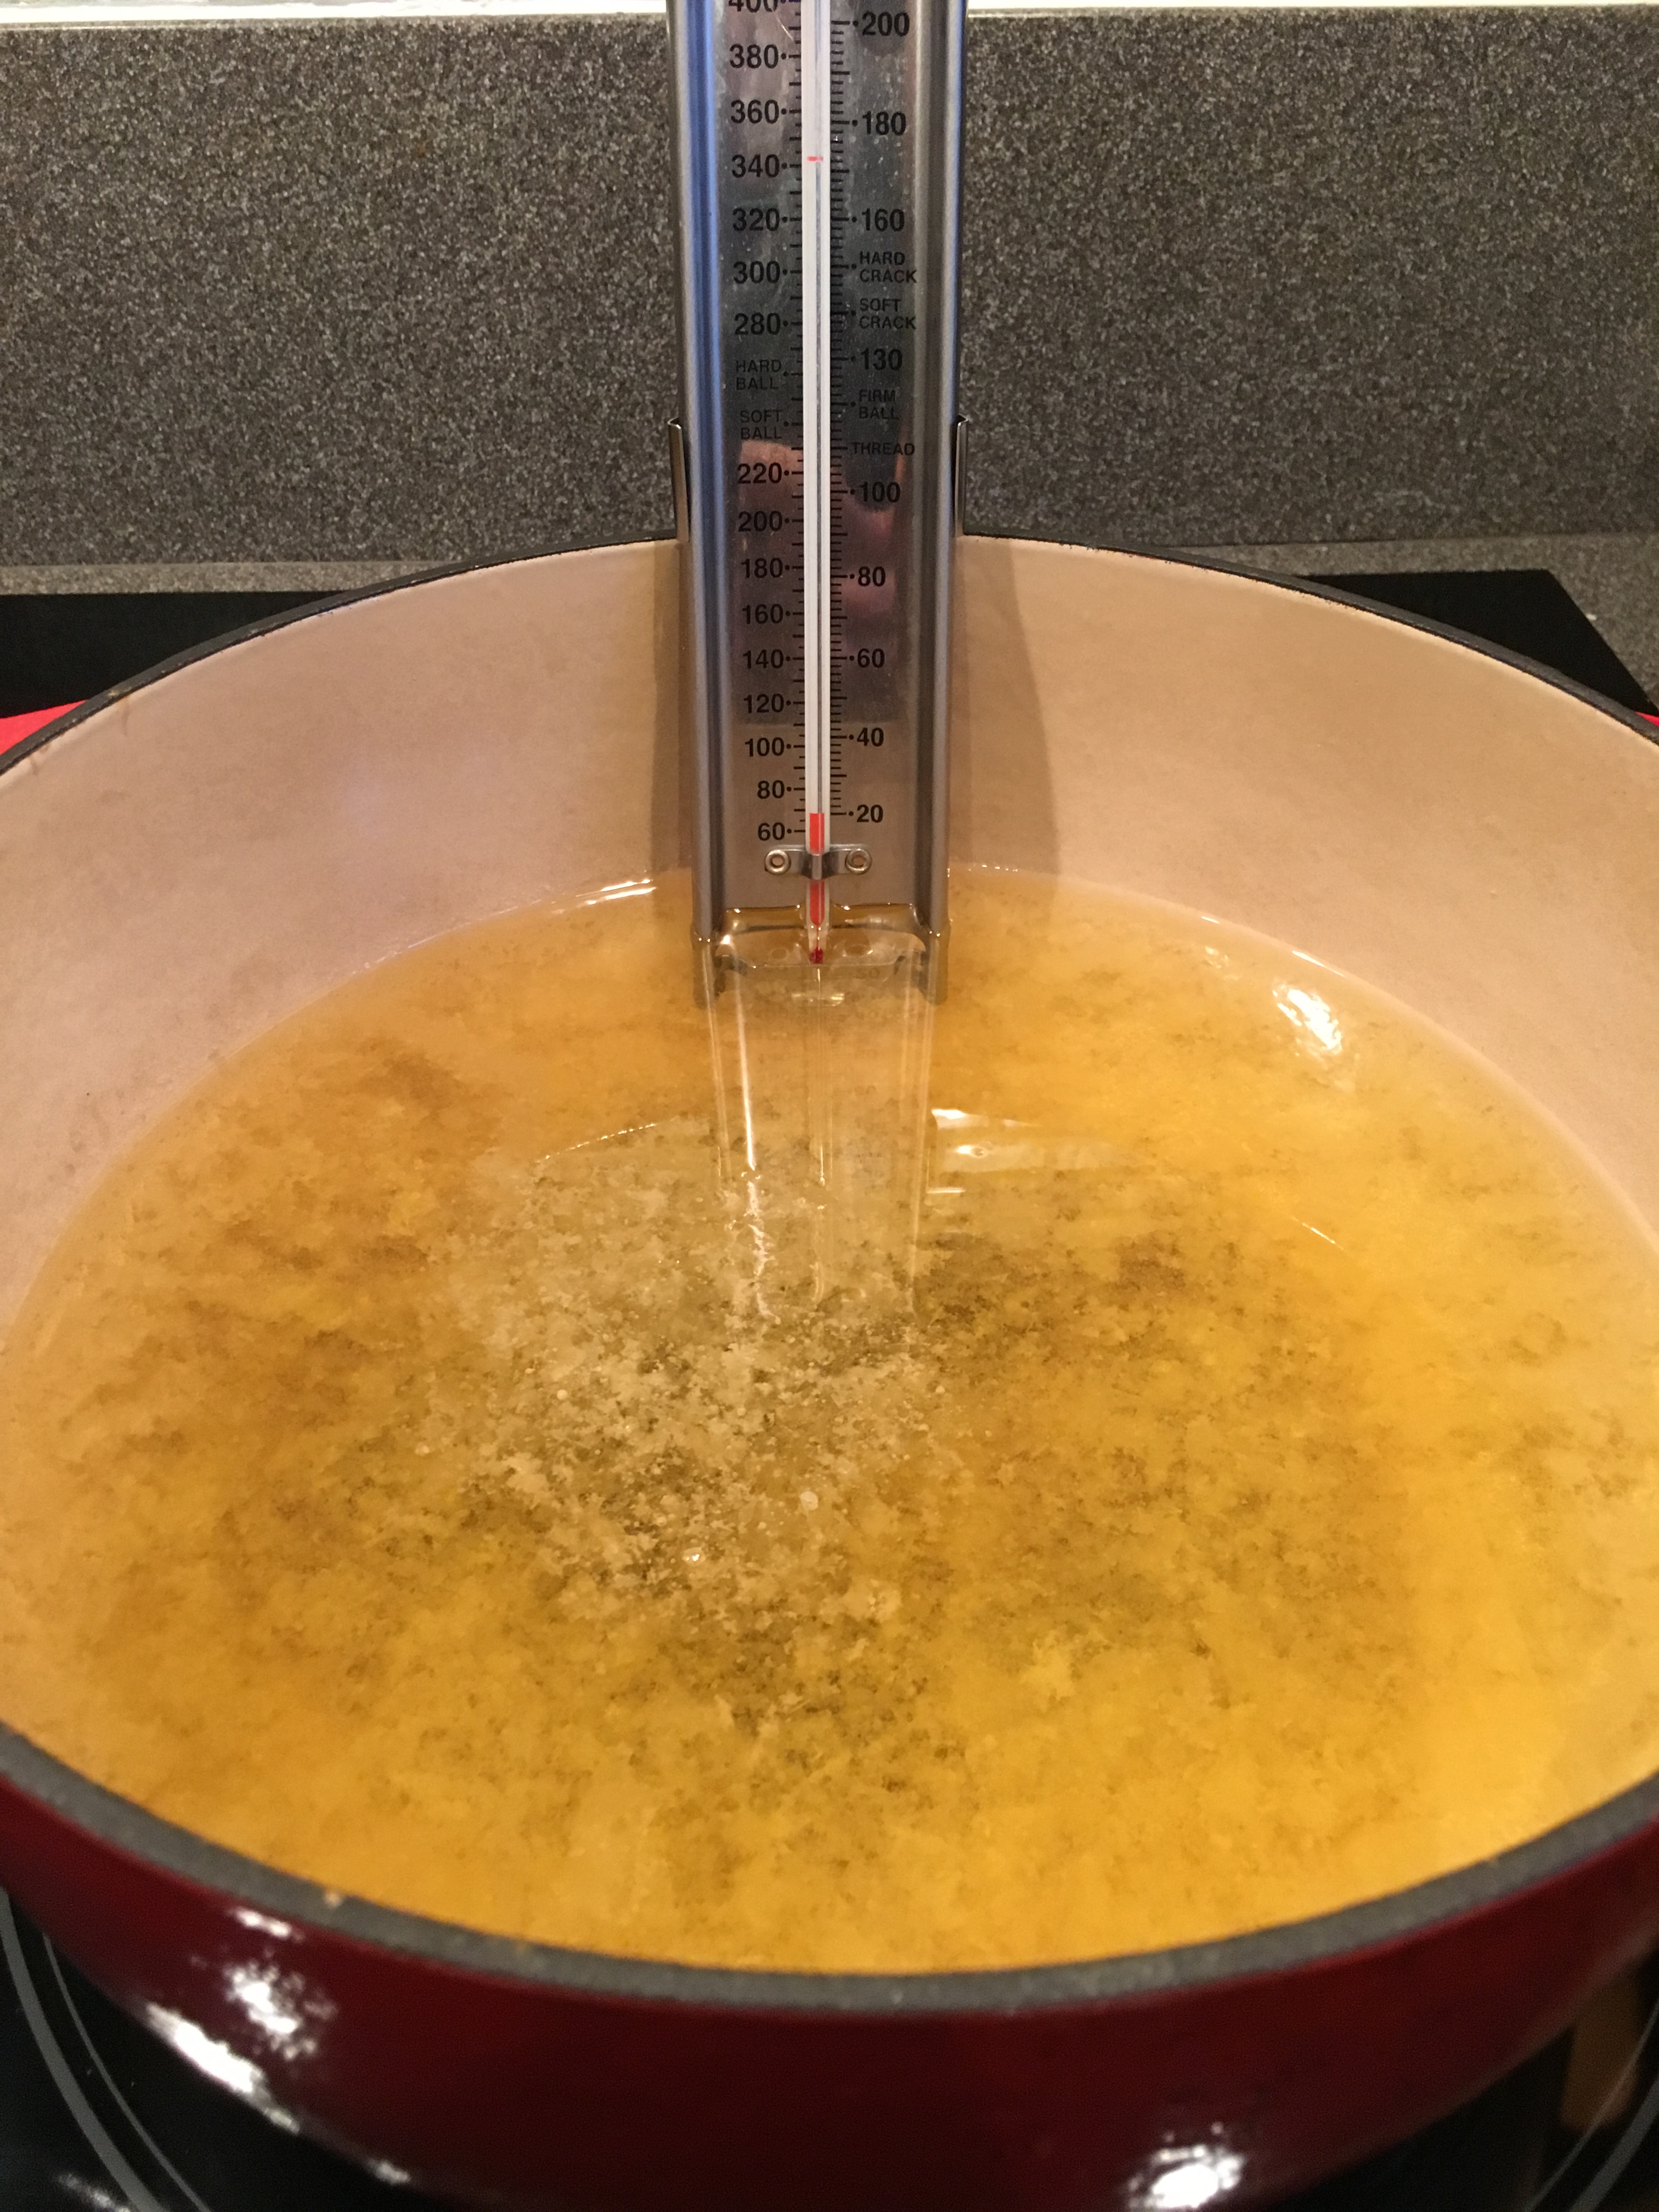
Peanut oil, heating to 375.

While the oil heats, combine the dry ingredients for the batter in a large bowl:  1 C cornmeal, 1/4 t baking soda, 1 t baking powder, 1/2 t cayenne pepper, 2 t Kosher salt, and 1 C flour.

In a second bowl, whisk together the wet ingredients:  2 T minced/seeded jalapeno, 1/3 C grated onion, 8.5 ounces of canned creamed corn, and 1 1/2 C buttermilk.

Note #1:  This recipe makes a lot of batter. I halved the recipe, made five corn dogs, and still had a lot of batter remaining. Note #2:  You can complete the recipe through this step ahead of time, but you cannot move onto the next step until you are ready to cook.

IMG_7272

Dry ingredients on the left and wet ingredients on the right, waiting to be combined once ready to cook.

Once ready to cook, add the wet ingredients to the dry ingredients, stirring just until combined. Pour the batter into a pint glass and set it aside for 10 minutes.

IMG_7283

Corn dog batter, poured in a pint glass and left to sit for 10 minutes.

While the batter rests, you can prepare your hot dogs (Alton prefers all-beef hot dogs). To prep the dogs, insert unseparated chopsticks or thick wooden skewers into your hot dogs, and roll the hot dogs in cornstarch, using your hand to remove any excess; you want a very thin coating of cornstarch.

Dip each hot dog into the pint glass of batter and then into the hot oil.

Alton says it will take four to five minutes to fry the corn dogs, but I found that my dogs were golden and crispy in about two minutes. Remove the corn dogs and place them on a rack. Serve the corn dogs with mustard and/or ketchup.

IMG_7300

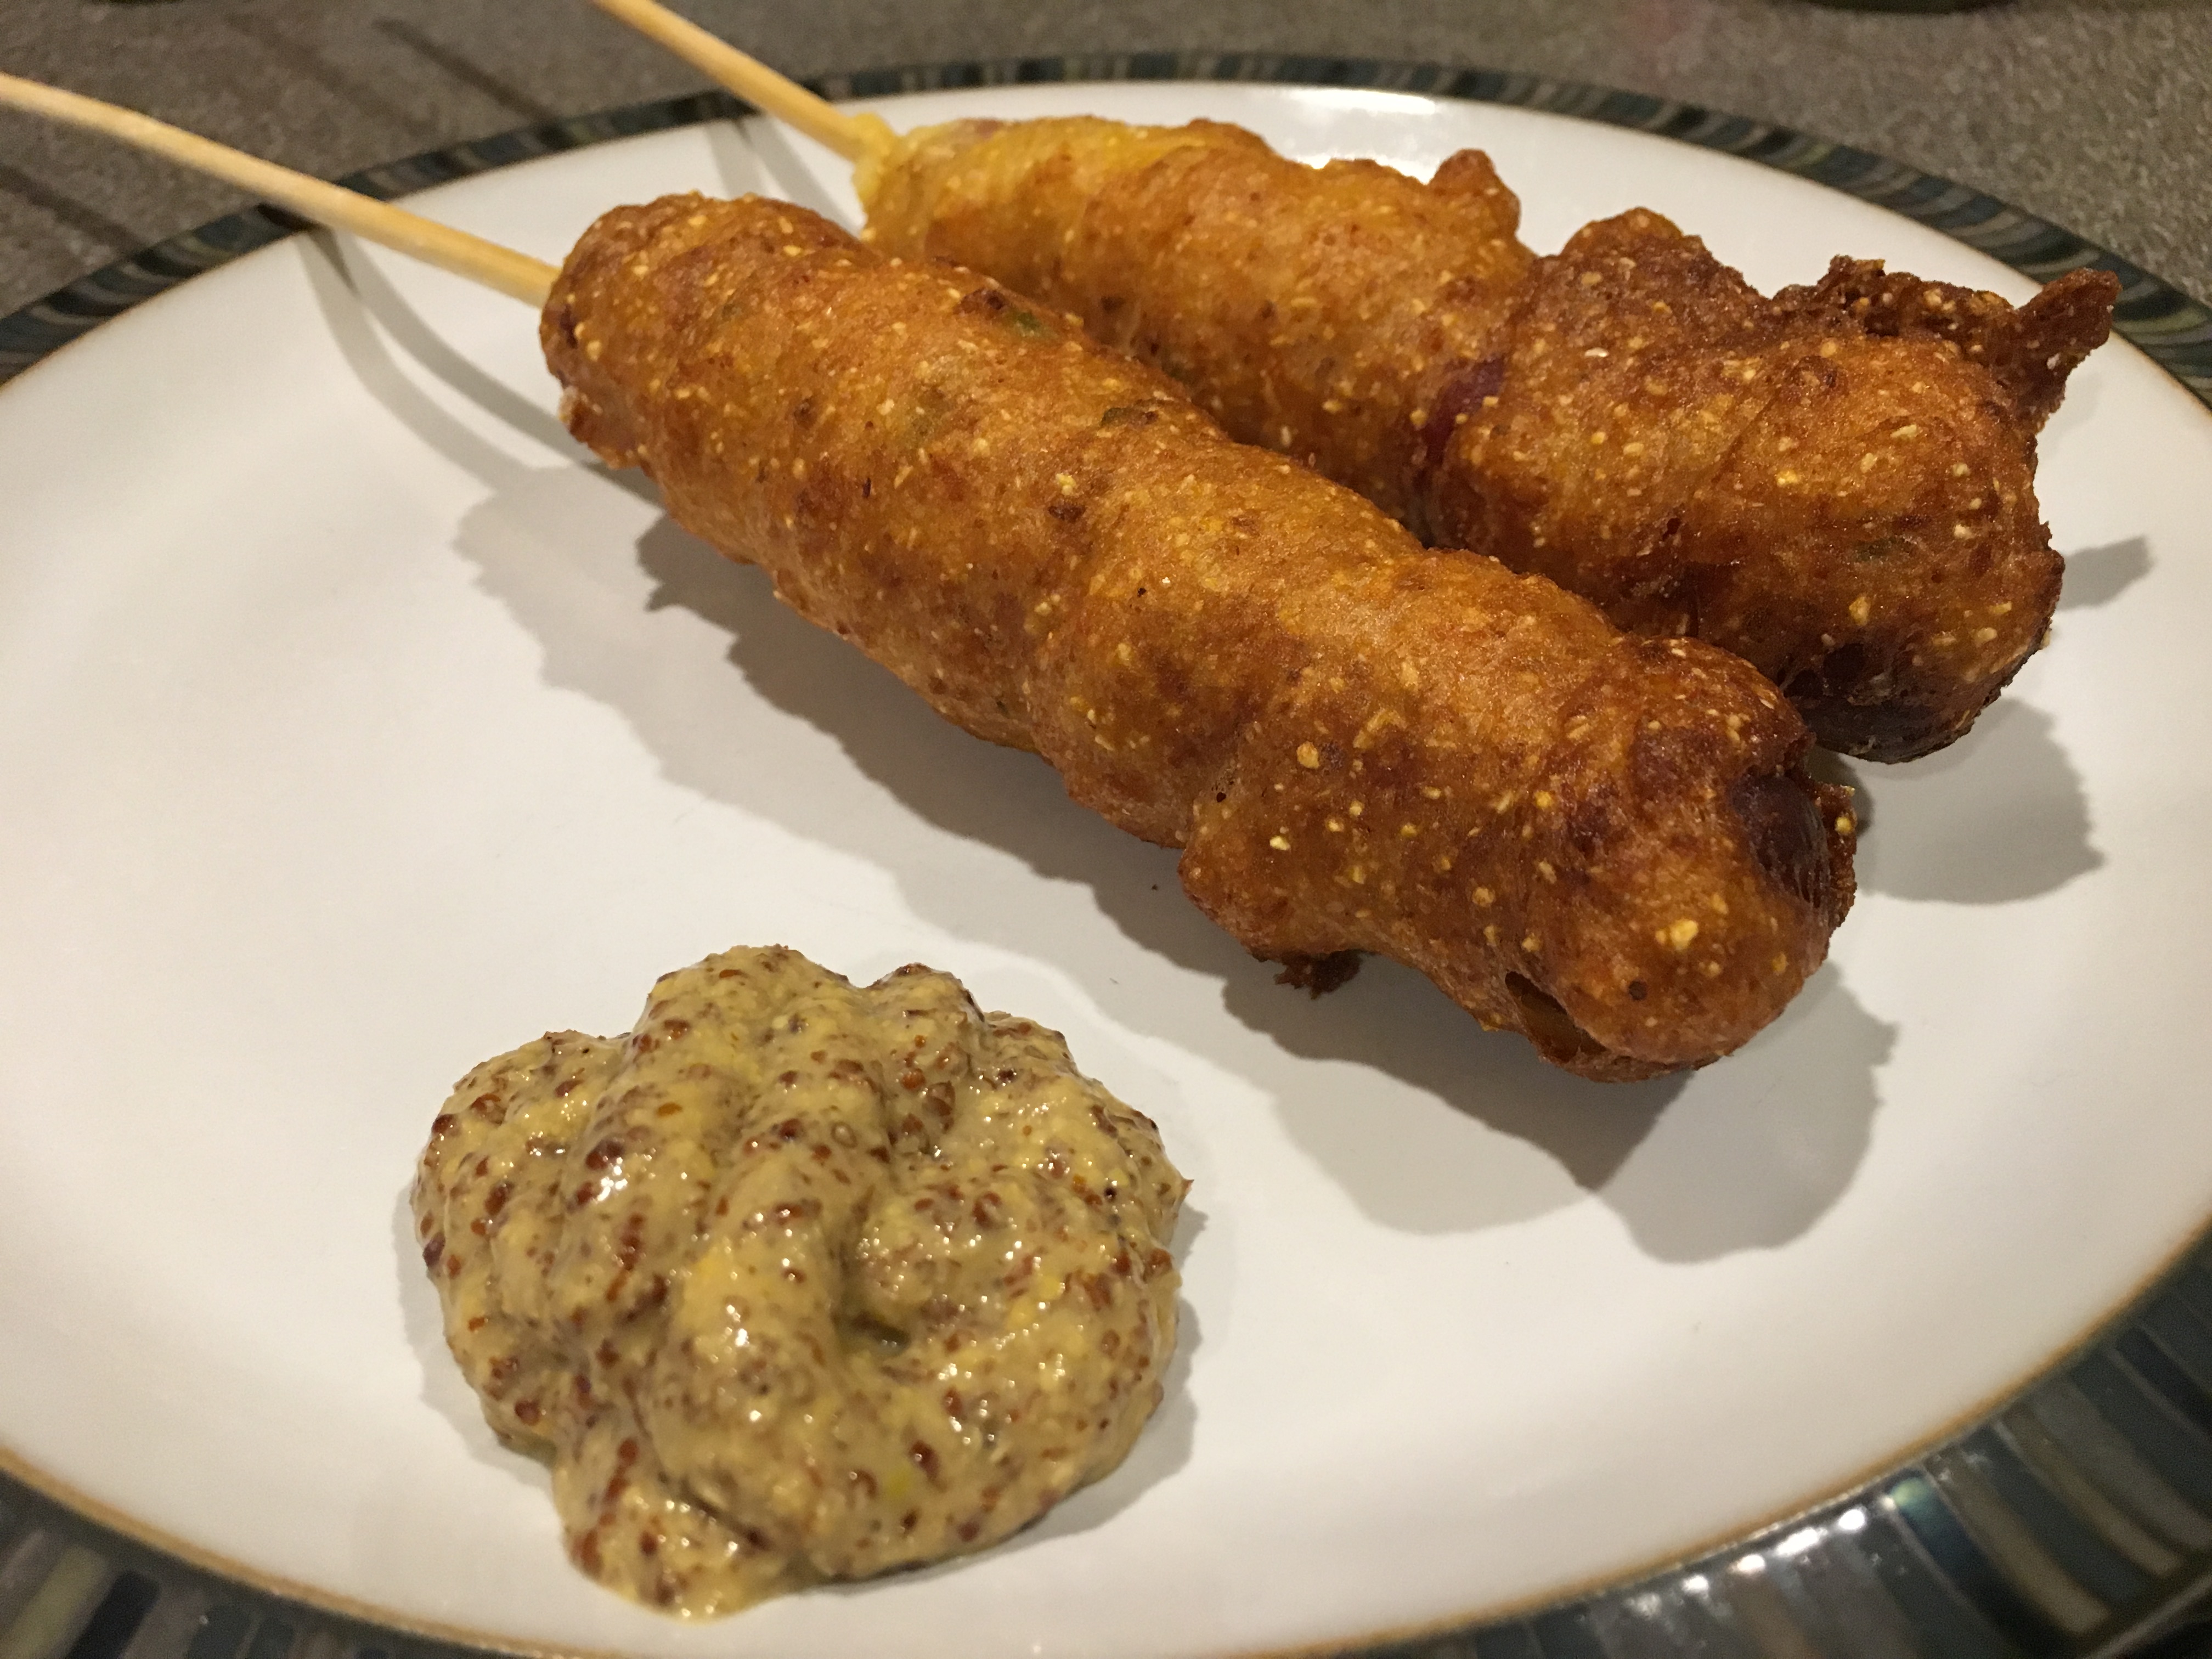
Alton’s corn dogs.

These corn dogs were absolutely the best corn dogs I have ever had, and I will make them again. The batter was light, crispy, and slightly spicy, and the hot dogs remained juicy. The batter really reminded me of Alton’s batter for fish and chips, which I also loved. I highly recommend these, as they are very easy to prepare and take very little time, aside from heating the oil. Whether you already love corn dogs, or are skeptical that you could love corn dogs, these will be the best corn dogs of your life.

Mini Man Burgers

Since my husband is from the midwest, I’ve long heard how White Castle is the classic place to get sliders, and I have even visited a White Castle once or twice. I was interested to see what Ted would think of Alton’s take on sliders. To make proper sliders, Alton recommends using an electric griddle. We don’t have a true electric griddle, but we do have a panini press that has griddle plates, so I used that. Set your griddle temperature to 350 degrees and preheat your oven to 250 degrees. Wrap your slider buns in foil and place them in the warm oven while you prep the meat.

IMG_7113

Slider buns to heat in the oven.

Line a half sheet pan with parchment paper, placing a pound of ground chuck (20% fat) on top.

IMG_7102

Meat placed on parchment-lined pan.

Top the meat with a layer of plastic wrap and use a bottle to roll the meat until it fills the bottom of the pan.

To season the meat, combine 1/2 t onion powder, 1/2 t garlic powder, 1/2 t black pepper, and 1/2 t Kosher salt, and sprinkle it all over the surface of the meat.

Next, use the parchment paper to fold the meat in half onto itself, pressing it together with your fingers.

Using a pizza cutter, cut the meat into eight equal rectangles, and cook the patties on the preheated griddle for two to three minutes per side.

IMG_7112

Meat, cut into 8 rectangles.

While the meat cooks, spread a thin layer of mayonnaise on your warm burger buns, as this will keep the buns from getting soggy.

IMG_7116

Heated bun spread with mayo.

Transfer the cooked burgers to the buns and serve with condiments. We ate our sliders with oven fries on the side, and I opted to put cheese and mustard on mine.

IMG_7122

An Alton slider with fries.

IMG_7147

An Alton slider with cheese and mustard.

Alton’s sliders were pretty darn tasty, with the patties being very well-seasoned, juicy, and flavorful. There’s also something kind of fun about eating sliders since they’re so small, don’t you think? Ted thought these sliders were a good representation of the real midwestern thing. Would he have them again? You betcha.

Sweet or Savory Pâte à Choux

When I was in elementary school, a different kid in my class was tasked with bringing snacks for the class each week. No-bake cookies with chocolate and oats were in regular rotation because they were easy to make and most of the kids liked them. My mom usually sent me with cupcakes or other (baked) cookies. One girl’s mother scored massive points with all of the kids (and probably made all the other parents feel like slouches), as she always made homemade cream puffs.

Personally, I have never made cream puffs or eclairs… until now. Baking and pastry are definitely two of my favorite things, so I eagerly whipped up a batch of Alton’s Pâte à Choux yesterday. Pâte à Choux is a pastry dough that is designed to make pastries that can be filled; therefore, when you bake the dough, it is supposed to only form one or two large bubbles, as opposed to the numerous bubbles desired in certain breads and such. In order to create these large bubbles in the pastry, steam needs to be created. Bread flour, and especially bread flour for bread machines, is ideal for Pâte à Choux because it has the highest protein content of all flours, which allows it to absorb more liquid; more liquid equals more steam production. To make Alton’s Pâte à Choux, combine a cup of water and 6 T butter in a pan. If you are making savory dough, also add 1 t Kosher salt. Or, if you are making a sweet dough, as Alton did in the episode, add just a pinch of Kosher salt and 1 T sugar.

Bring this water/butter mixture to a boil over high heat. Meanwhile, weigh out  5 3/4 ounces of bread flour. I did not have bread flour for bread machines, so just used bread flour.

When the butter has completely melted and your liquid is boiling, add all of the flour, at once, to the pan.

IMG_5968

Flour added to boiling butter/water.

Stir the flour into the liquid with a spatula until a paste forms. Decrease the heat to low and continue to stir the dough until all of the flour is incorporated and the dough is no longer sticky. Turn off the heat and transfer the dough to the bowl of a standing mixer, setting it aside until it is cool enough to touch.

While the dough cools, place four eggs and two egg whites in a measuring cup; the egg yolks will act as an emulsifier in the dough, while the whites will give the dough structure.

When the dough has sufficiently cooled, slowly add the eggs to the dough, keeping the mixer running. You want to continue adding egg until the dough hangs from the paddle attachment in a ‘V’ shape; for me, this required all of my eggs.

IMG_5978

Dough after adding all of the eggs. A perfect ‘V’ shape off of the paddle.

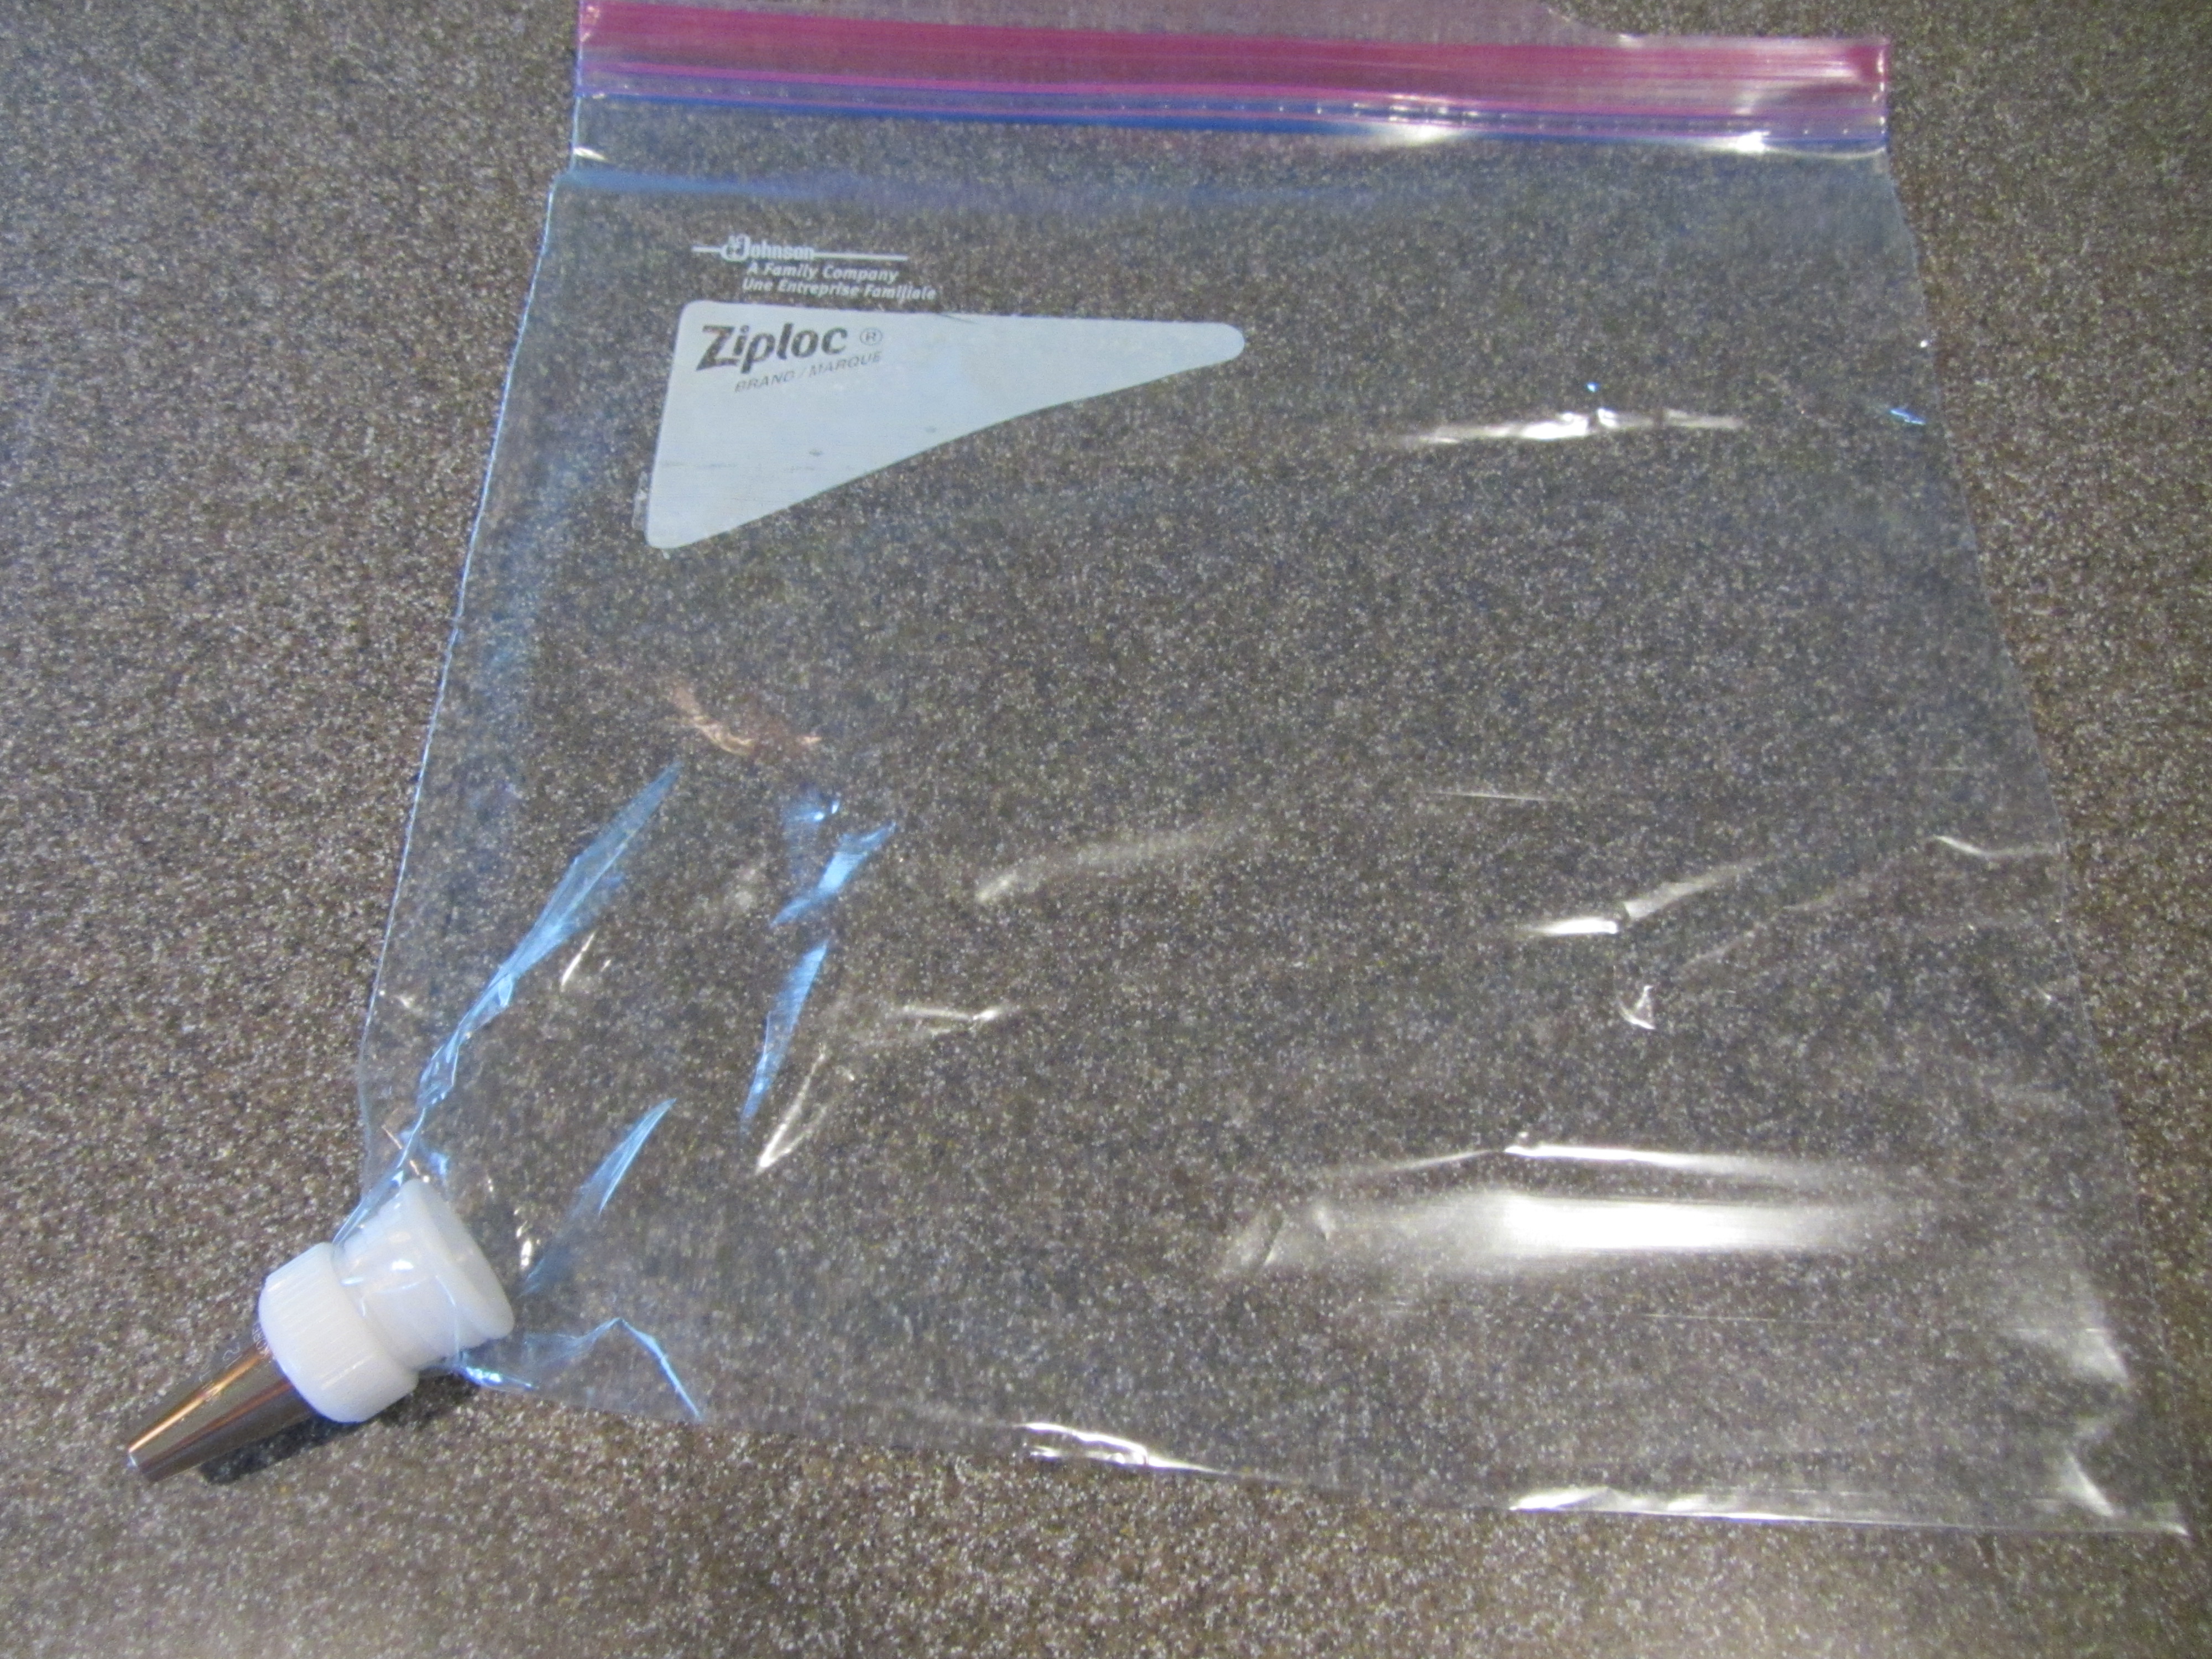
At this point, you can use your dough immediately, or you can let it rest at room temperature for a couple hours before using. When you are ready to use your dough, prepare a piping bag with a piping tip; Alton did not specify which tip to use, but I used one that was about 3/8″ in diameter and it worked fine. Large Ziploc bags work well for piping too – just snip off one corner, insert the inside part of the coupler, place your desired tip on top, and screw on the coupler ring.

IMG_5966

Ziploc bag turned into piping bag.

Preheat your oven to 375 degrees and line a sheet pan with parchment paper. If your parchment is sliding around, you can pipe a dollop of dough on each corner of your sheet pan, pressing the parchment down in the dough to keep it from sliding.

To make eclairs, pipe the dough into ‘S’ shapes, with the tail of each ‘S’ facing up toward you. With a wet finger, pat down the tails.

Alternatively, you can make cream puffs by piping the dough in concentric circle patterns, finishing in the center. Again, pat down any points with a wet finger.

IMG_5985

Dough, piped into concentric circles for cream puffs.

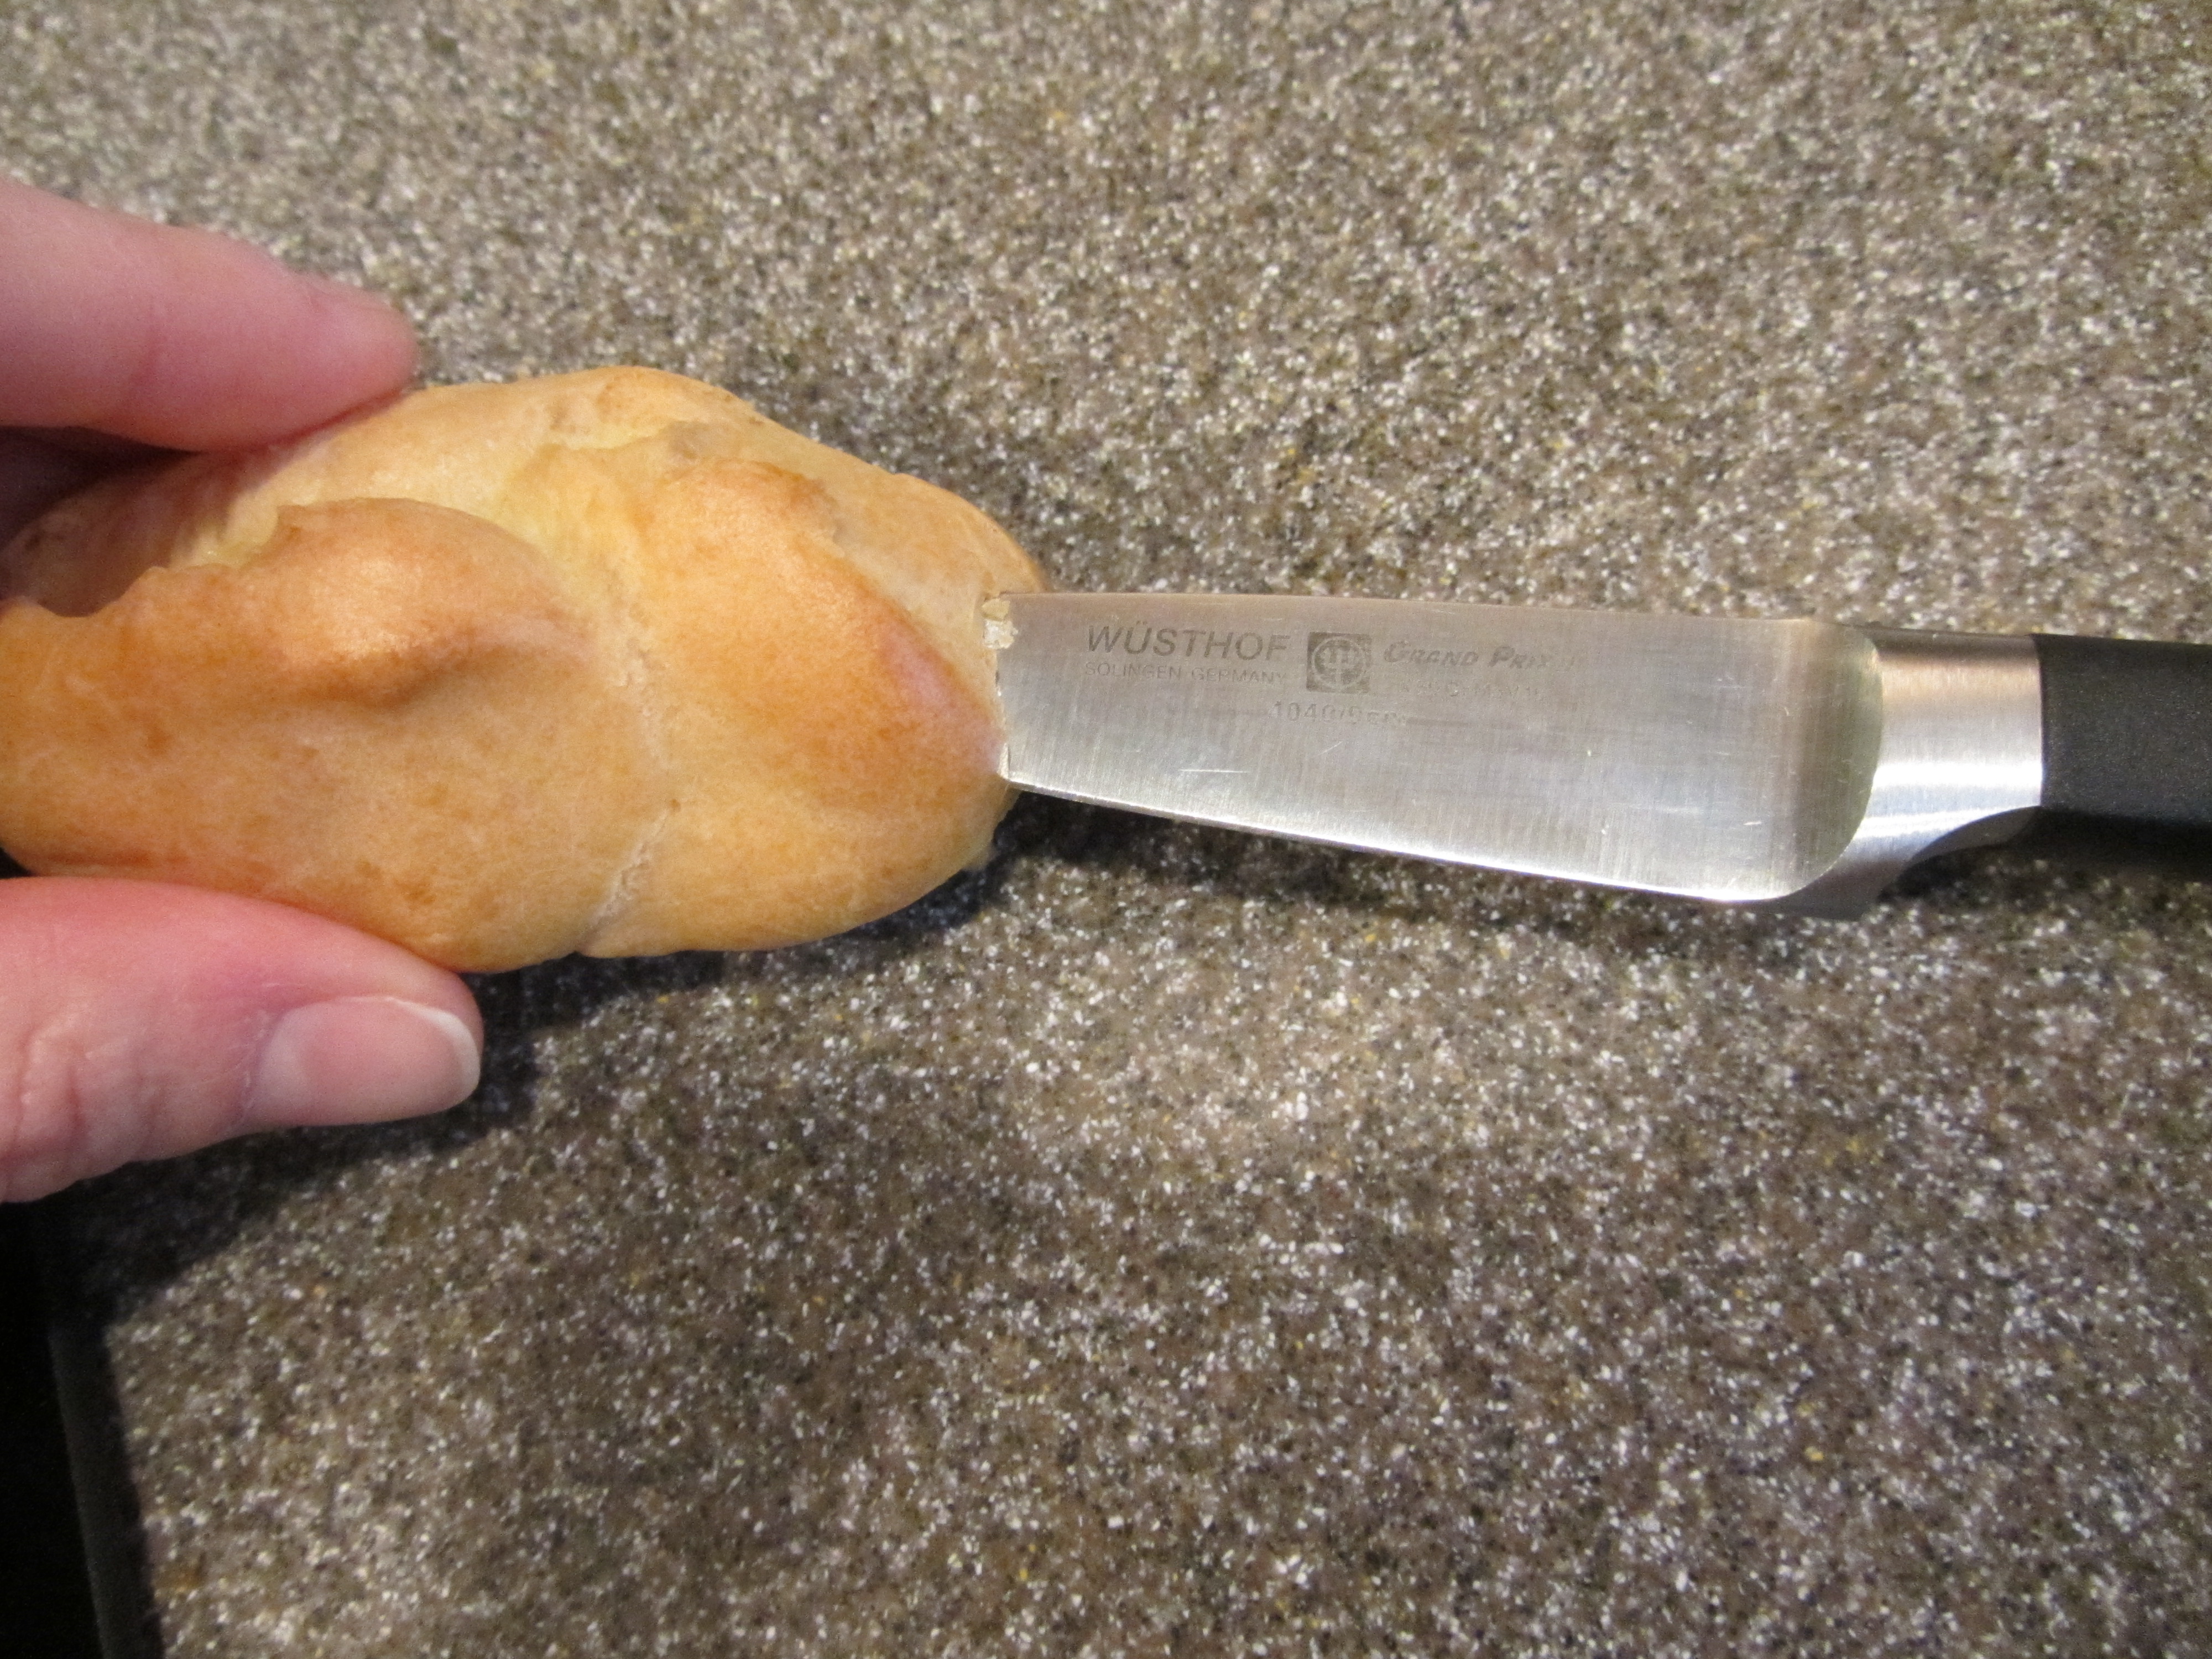
Place the eclairs (or cream puffs) in the center of the oven, increasing the temperature to 425 degrees, and setting the timer for 15 minutes. After 15 minutes, decrease the oven temperature to 350 degrees, and bake the eclairs for an additional 10 minutes. As soon as your eclairs/cream puffs are cool enough to handle, pierce them with a sharp paring knife to release excess steam.

IMG_5988

Piercing a hot eclair to release steam.

Cool the pastries completely.

At this point, you can bag and freeze the pastry shells for up to a month, bag and store them at room temperature for a week, or you can fill them with a filling of your choice. To do as Alton did in this episode of Good Eats, make vanilla pudding, using only 3/4 of the recommended liquid.

Then, using a small star tip and a piping bag, poke a hole in each eclair/cream puff, filling them with the pudding until the pudding starts to come out the end. Chill the filled pastries.

To bedazzle your eclairs/cream puffs with chocolate, melt 1 C chocolate chips with 1 t vegetable oil in a double boiler. Dip each pastry into the chocolate mixture. Or, you can pour your chocolate into a squeeze bottle and decorate them that way. I opted for the dipping method.

If you do not plan to eat your eclairs right away, keep them refrigerated. I made a mixture of eclairs and cream puffs, ending up with 17 eclairs and 6 cream puffs. I stuck most of my pastries in the freezer for later use, but filled several yesterday.

IMG_6003

Chocolate dipped eclairs.

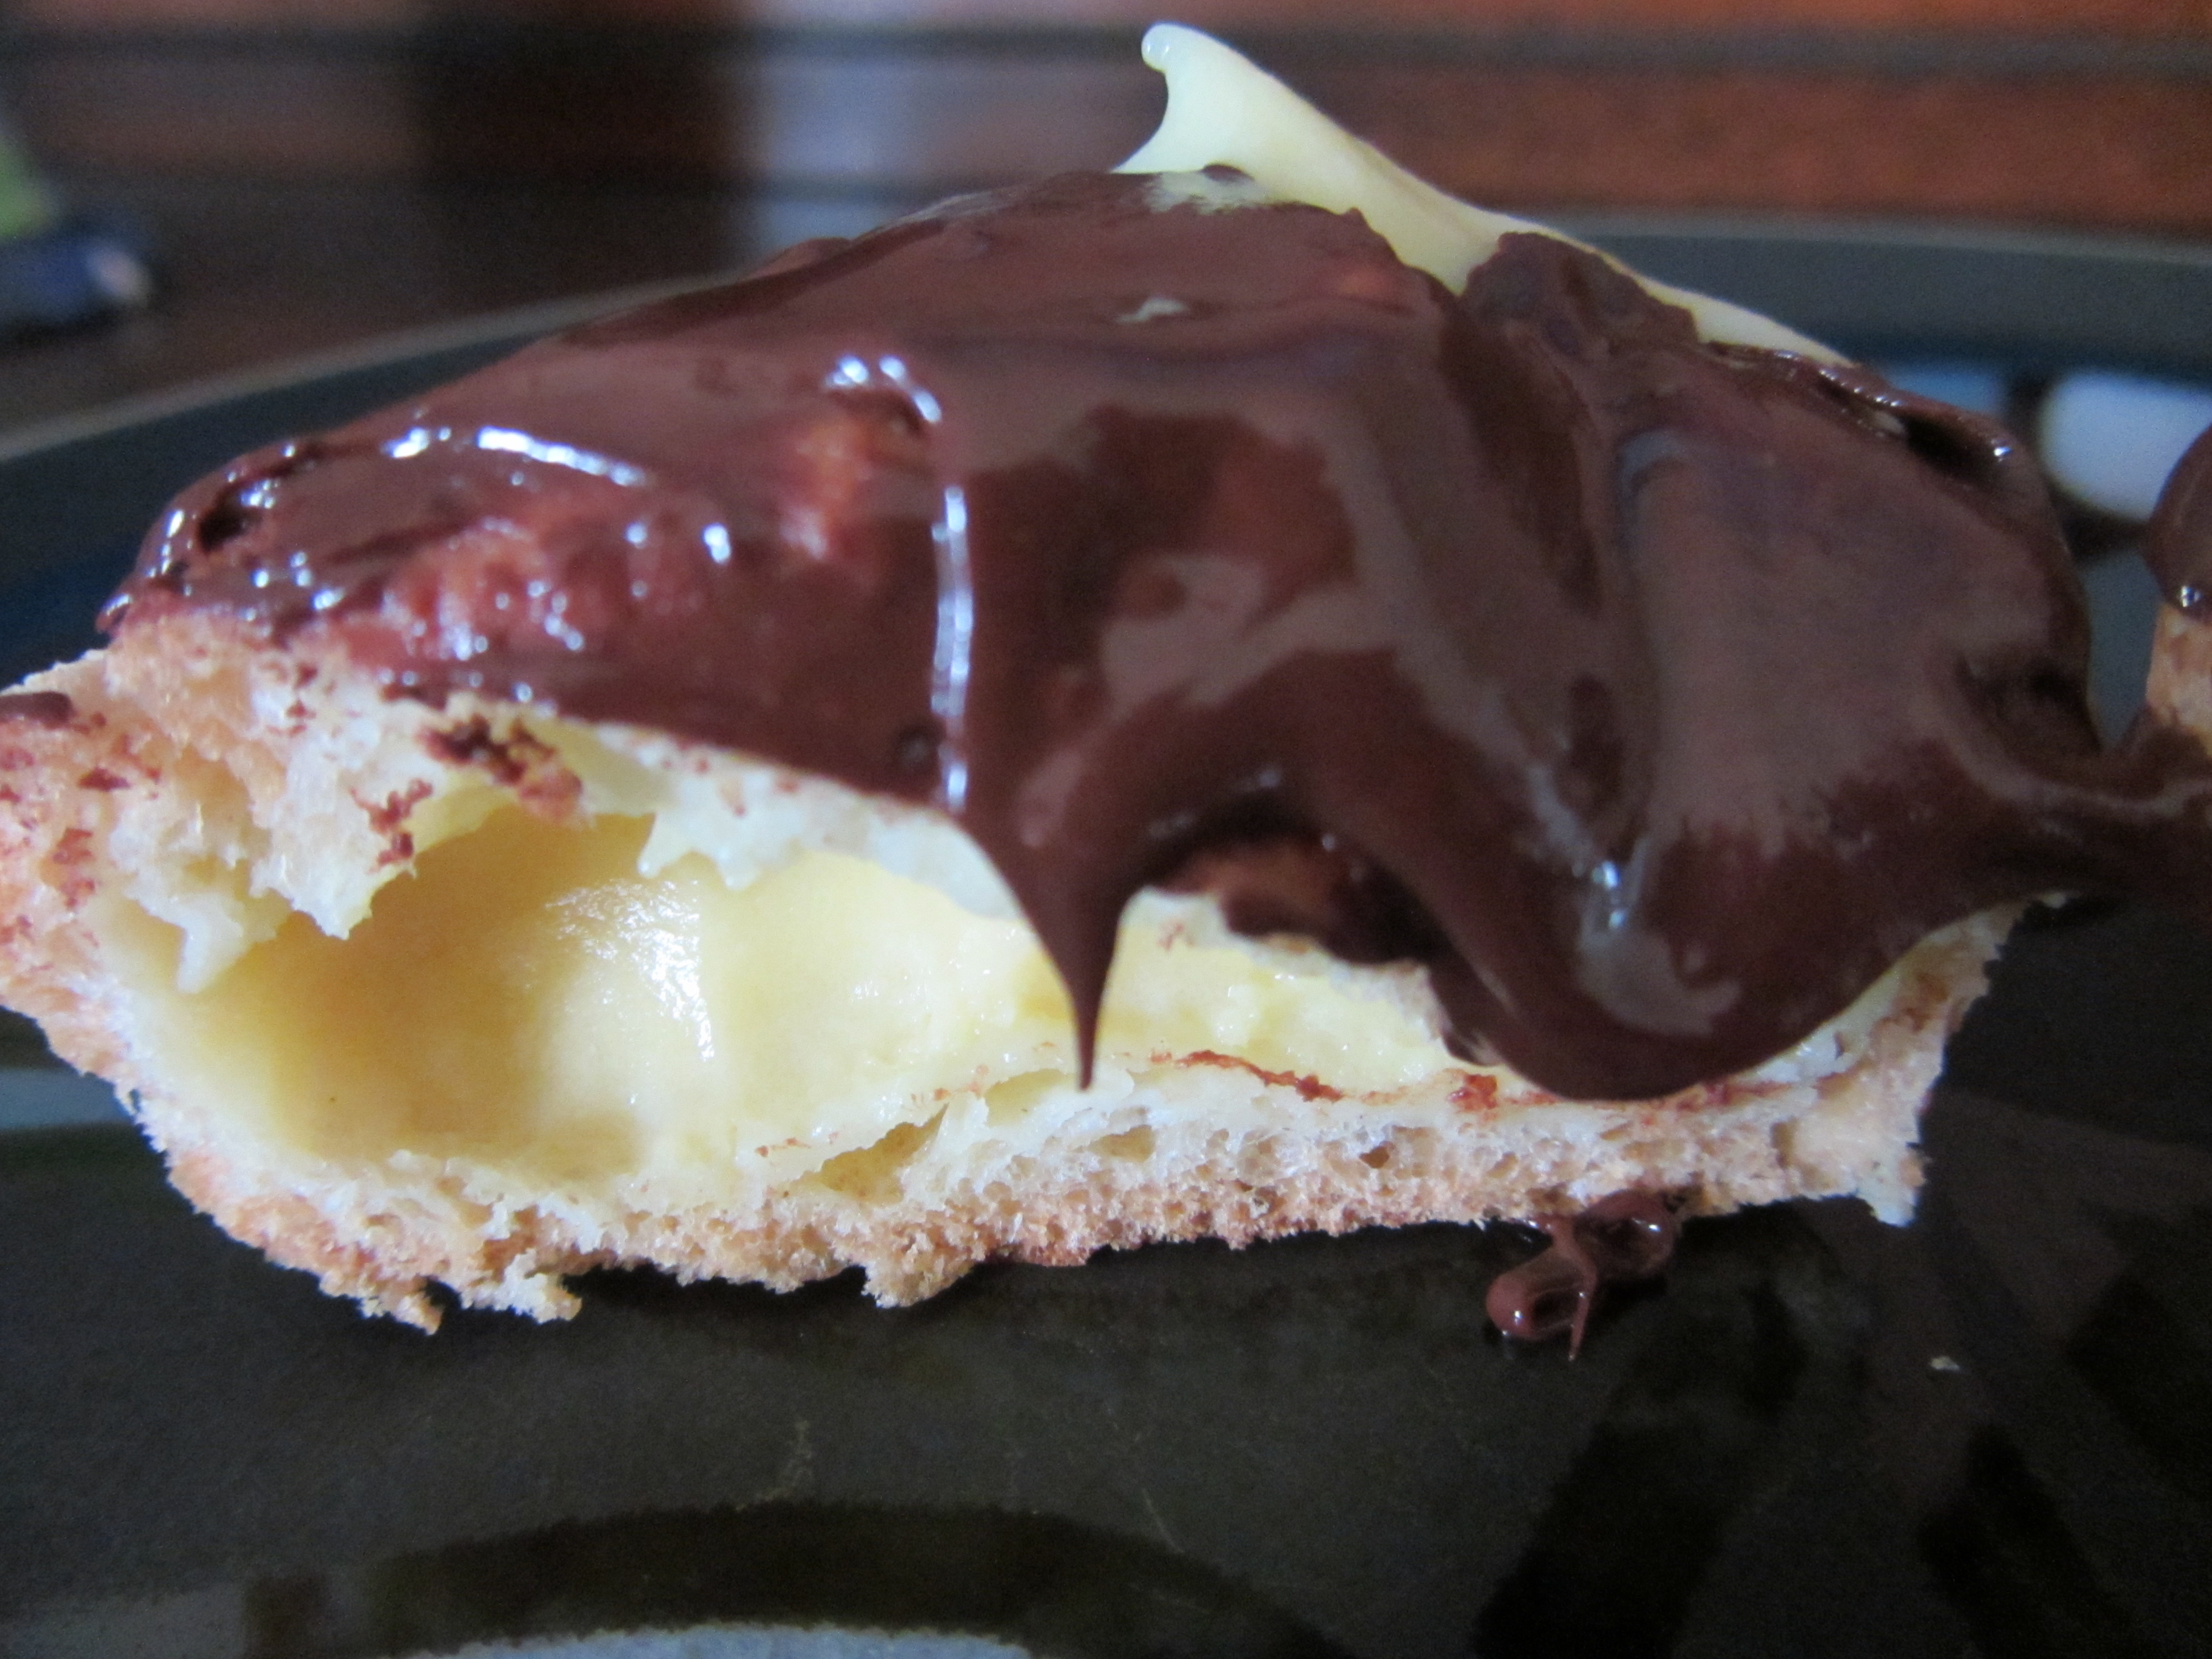
I have to say that this is a great recipe. Not only are these delicious, but they are really super easy. My pastries turned out light, airy, and slightly crispy on the outside. The pastry itself was barely sweetened and each pastry had a perfect cavity inside for filling. The vanilla pudding was a super easy filling option, and the chocolate set up into a slightly crispy shell. This one is a keeper. For a different option, you could make ice cream sandwiches with cream puffs, splitting them in half. Or, you could make Alton’s savory Pâte à Choux, filling split puffs with a savory salad.

IMG_6007

A cream puff, cut in half.

Funnel Cake

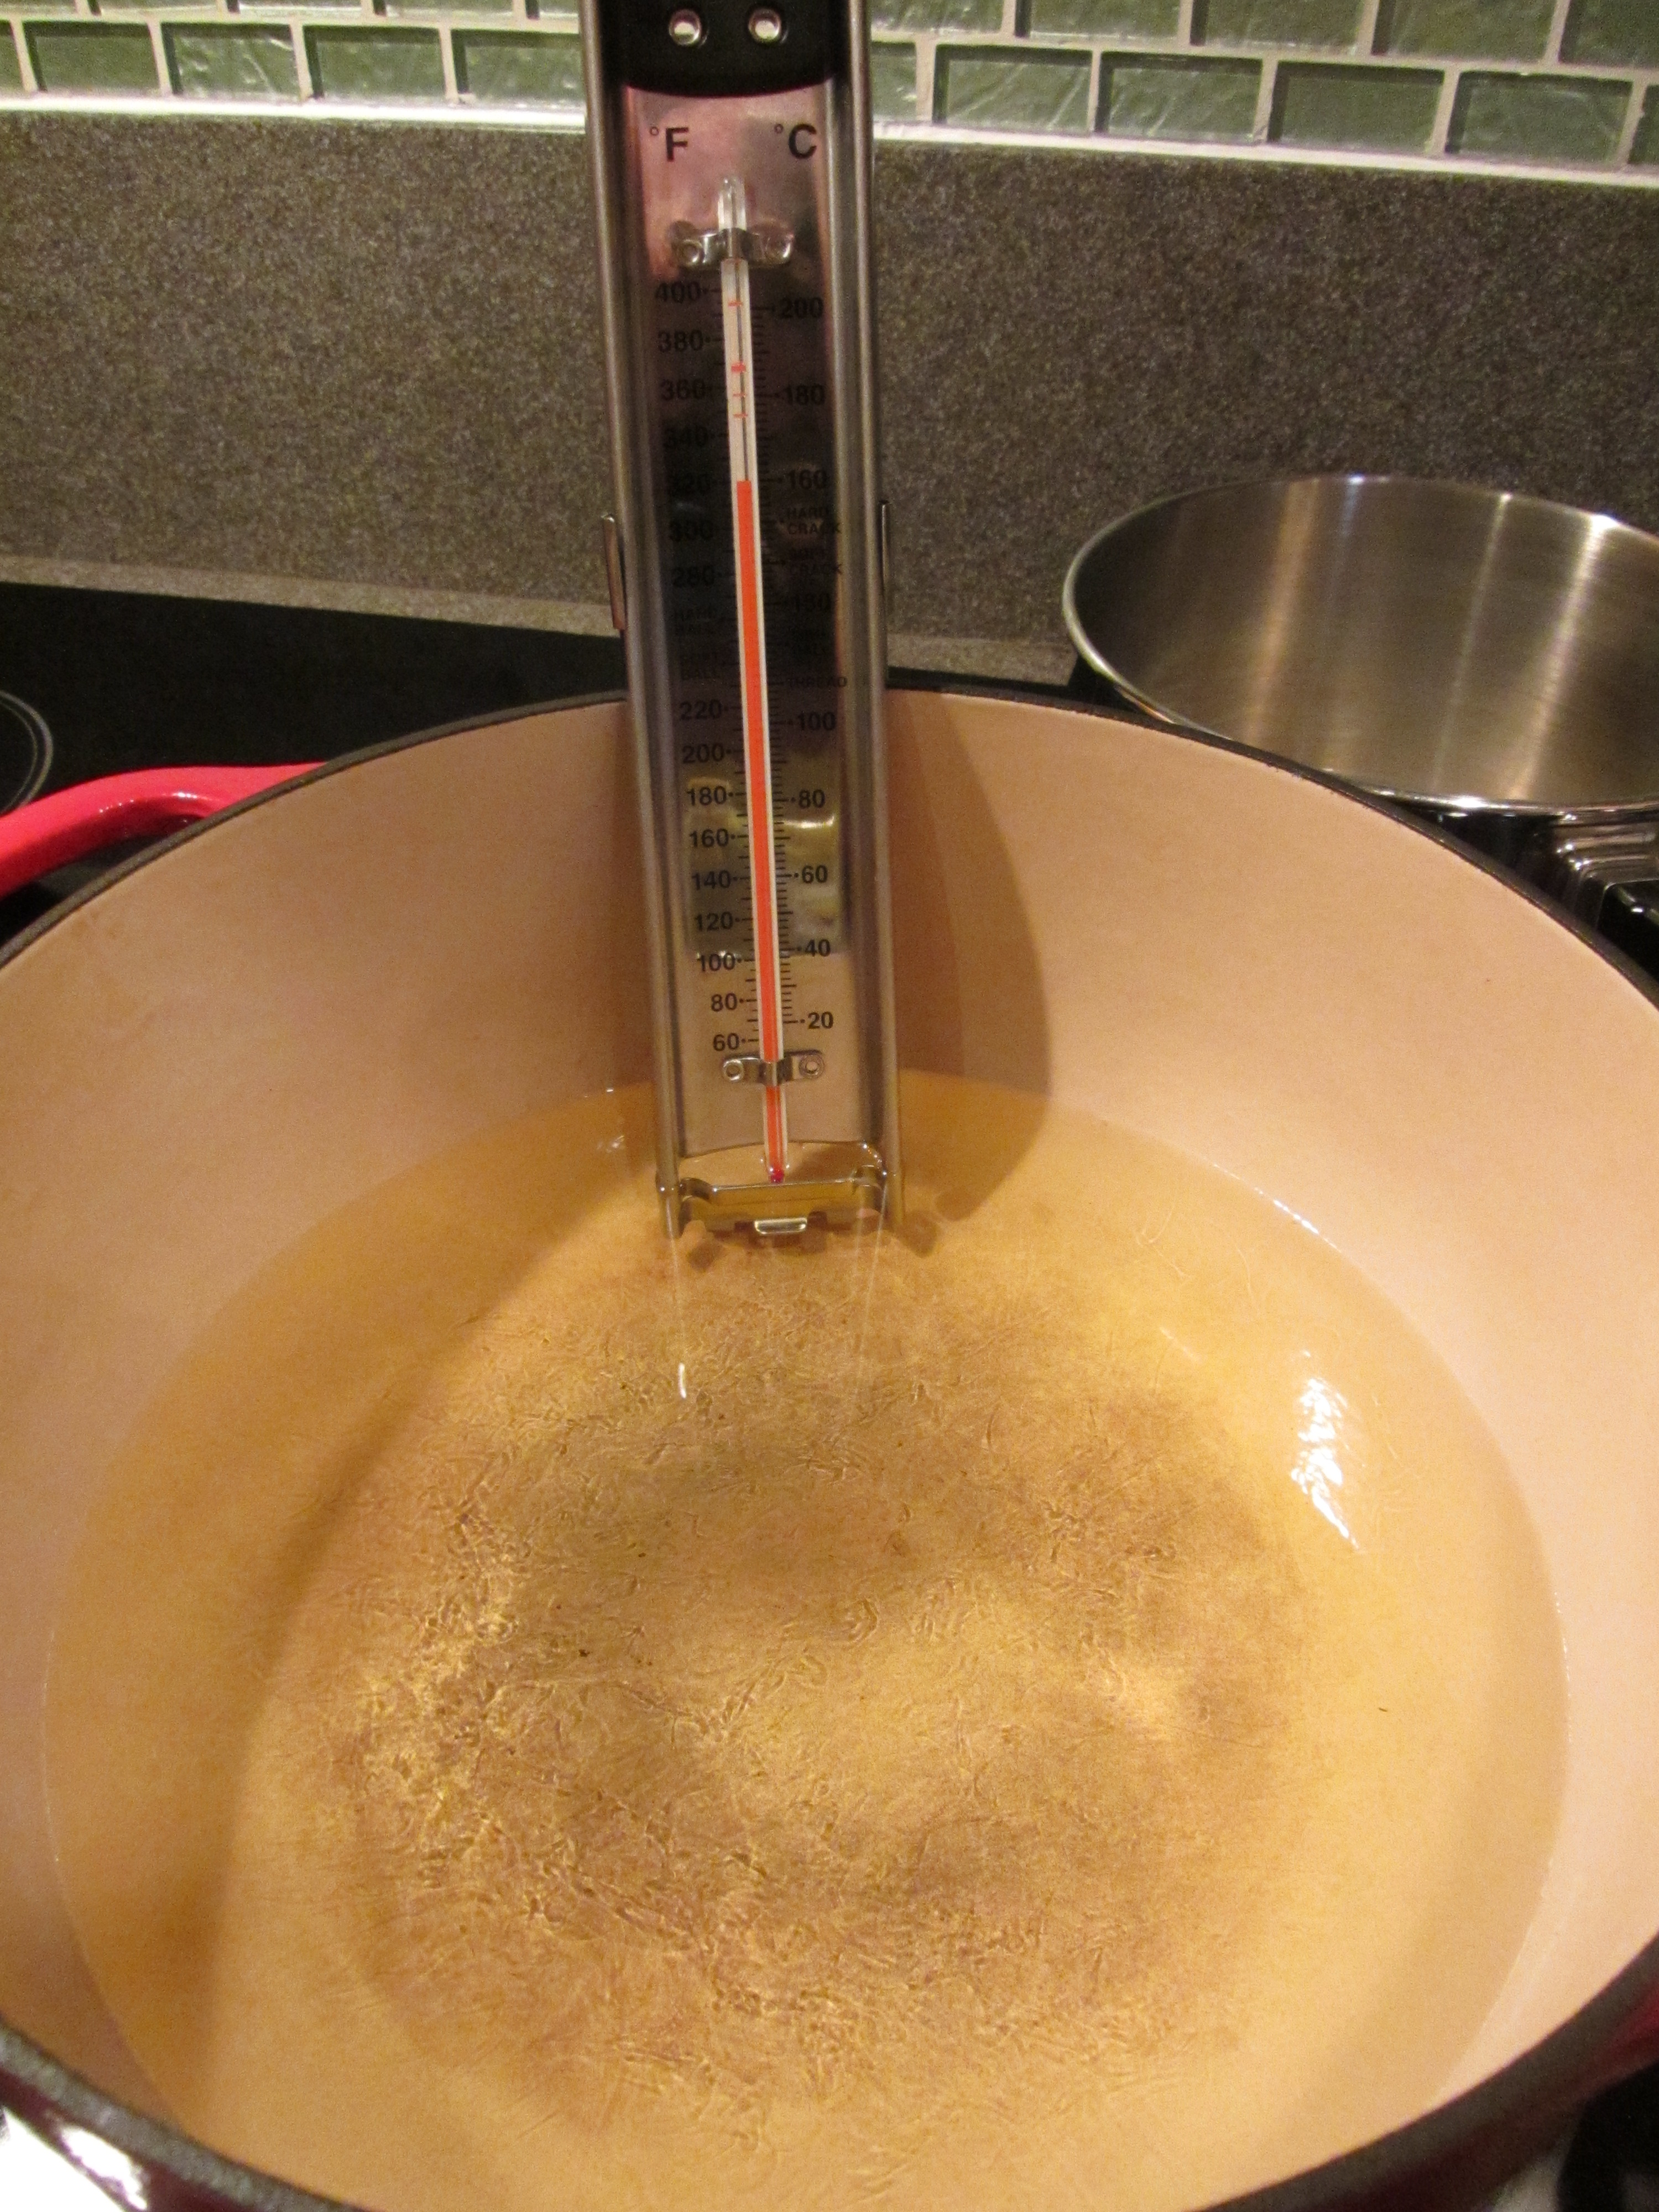
So, what else can you do with Pâte à Choux? Well, you always opt for funnel cake! To make this classic carnival/fair favorite, heat ~1 inch of vegetable oil to 375 degrees.

IMG_6011

Oil, heating to 375 degrees.

Using a #12 piping tip, pipe Pâte à Choux into the hot oil in a circular pattern. Cook the pastry until it is golden brown, flip it over, and cook until the second side is golden.

Remove the pastries to a rack over a sheet pan and dust them liberally with powdered sugar.

My funnel “cakes” turned out more like funnel “straws,” but they were still quite delicious.IMG_6018 I found that the pastry was too thick for the #12 tip, though I had set my dough aside for a while. Still, my pastries were like eating little fried pillows with powdered sugar. These were definitely tasty, though not as pretty as they should be.
Baked Macaroni and Cheese

Next up in my blog project was Alton’s recipe for baked macaroni and cheese. Last fall, Alton posted an updated version of this recipe on his web page, and I went ahead and made it, despite knowing it would be coming up later in my project. Yes, I usually try to wait to make the Good Eats recipes until their time arrives in sequence, but last fall was a rough time and I was searching for the highest calorie recipes I could find. Ted had lost 35 pounds from his skinny runner/cyclist frame, due to complications from cancer treatment, so I was on a mission to fatten him up. When Alton’s baked macaroni and cheese showed up in my Facebook feed, it was just perfect timing. Knowing this recipe was good, I was excited to make it again – this time for my blog.

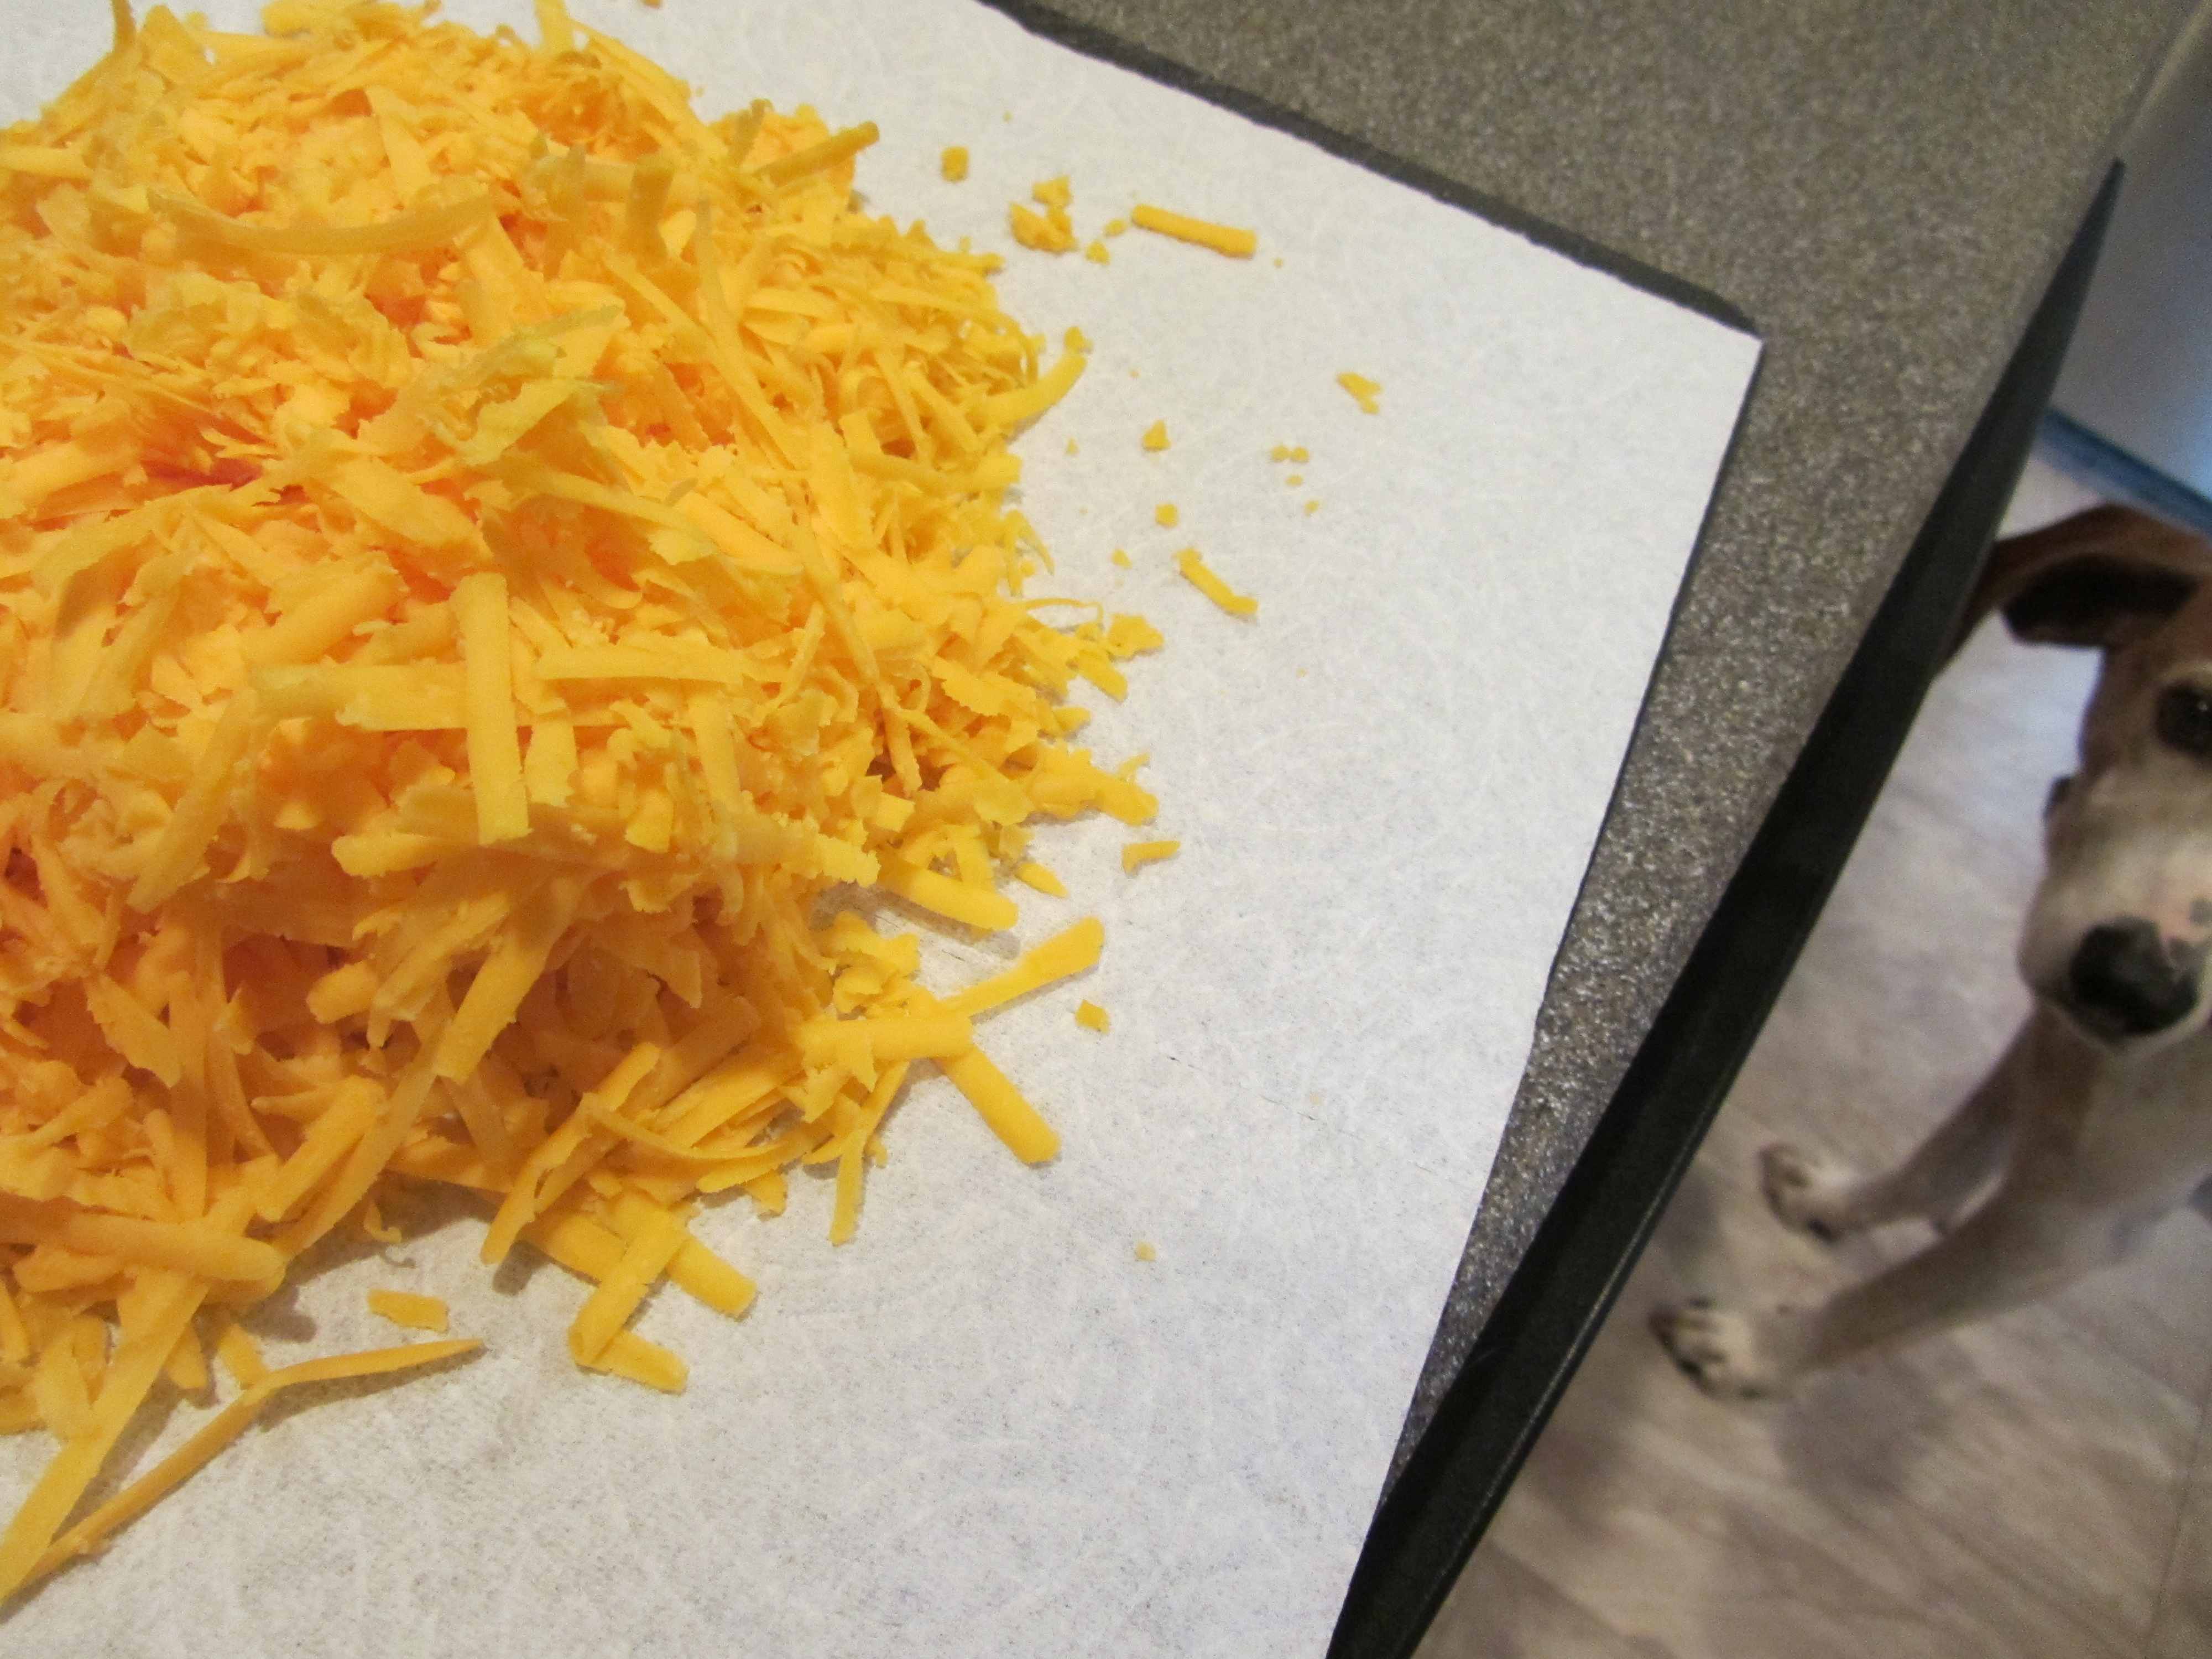
Cheese-wise, you will need 12 ounces of grated cheddar cheese for Alton’s recipe.

IMG_4950

12 ounces of grated cheddar.

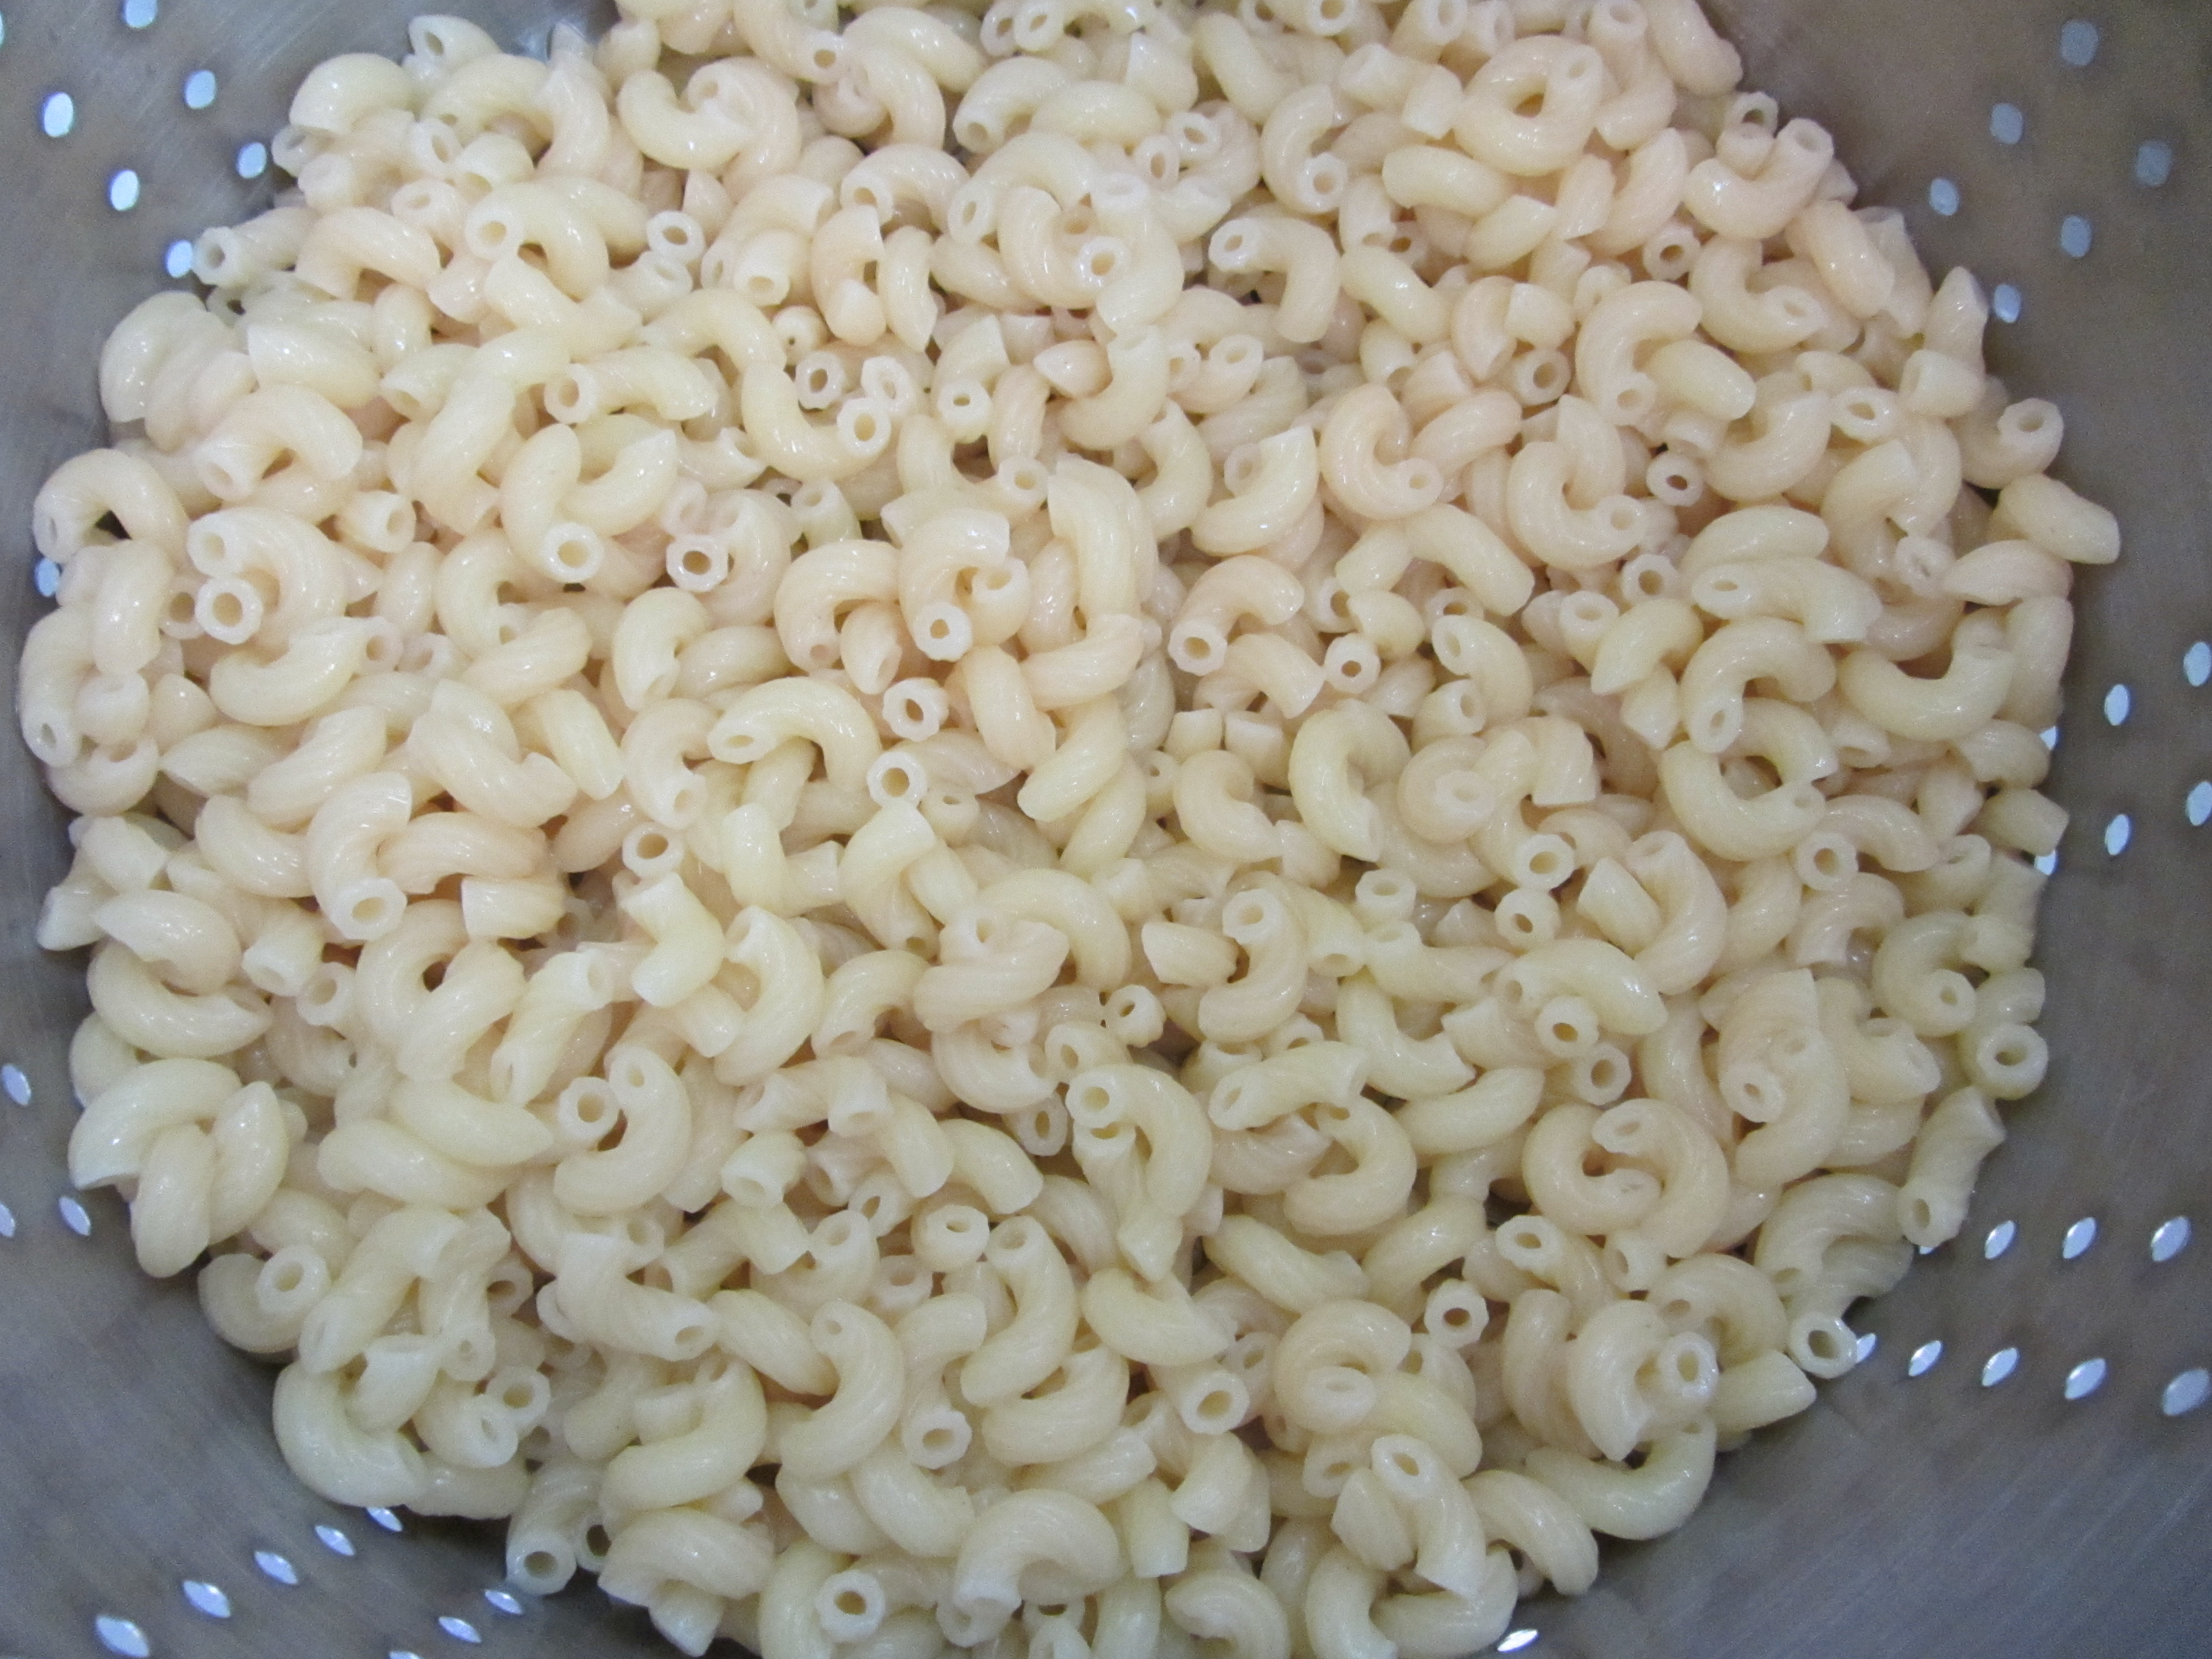
Begin by cooking 1/2 pound of elbow macaroni in salted water for six minutes. Drain the pasta and rinse it with cold water to halt the cooking process.

IMG_4953

1/2 pound of elbow macaroni, cooked for 6 minutes and rinsed under cold water.

Next, melt 3 T butter in a pan over medium heat, and whisk in 3 T flour. Cook this mixture until it is sandy in color.

Add 1 T powdered mustard, 1/2 t paprika (I used hot, smoked paprika), 1/2 C chopped onion, 1 bay leaf, and 1 t Kosher salt, whisking to incorporate.

Slowly add in 3 C whole milk, whisking until thickened, which will take several minutes.

Discard bay leaf. In a small bowl, lightly beat one egg. Temper the egg by whisking in 2 T of the hot milk sauce. You can now add the egg to the pan of hot sauce and it will not curdle.

Whisk in 3/4 of the grated cheese until melted.

IMG_4967

3/4 of cheese being added to sauce.

Fold the cooked noodles into the cheese sauce and pour into a 2-quart casserole dish. Sprinkle the remaining grated cheese over the top of the casserole.

Finally, combine 1 C panko bread crumbs with 4 T melted butter, and sprinkle the buttered crumbs evenly over the surface of the casserole.

Bake the macaroni and cheese at 350 degrees for 30 minutes. Let the macaroni and cheese sit for a few minutes before serving.

IMG_4988

Alton’s baked mac and cheese.

As I said before, this macaroni and cheese is not low-cal, but it is quite delicious. While the noodles remain “toothsome,” the sauce is rich and cheesy with a little bite from the powdered mustard and paprika. The crispy panko topping is the icing on the… mac and cheese? For mac and cheese fans, this is a sure hit.

Stove Top Mac-n-Cheese

As if one great macaroni and cheese recipe weren’t enough, Alton also has a stove top version of America’s greatest casserole. For this recipe, you will need eggs, evaporated milk, hot sauce, powdered mustard, Kosher salt, pepper, elbow macaroni, butter, and cheddar cheese.

IMG_4928

Ingredients for Alton’s stove top mac and cheese: pepper, hot sauce, powdered mustard, butter, eggs, cheddar cheese, elbow macaroni, evaporated milk, and Kosher salt.

Begin by grating 10 ounces of cheddar cheese.

IMG_4929

10 ounces of grated cheddar cheese.

Next, whisk 2 eggs in a bowl and add 6 ounces of evaporated milk. Add 1/2 t hot sauce, 3/4 t powdered mustard, 1 t Kosher salt, and some pepper.

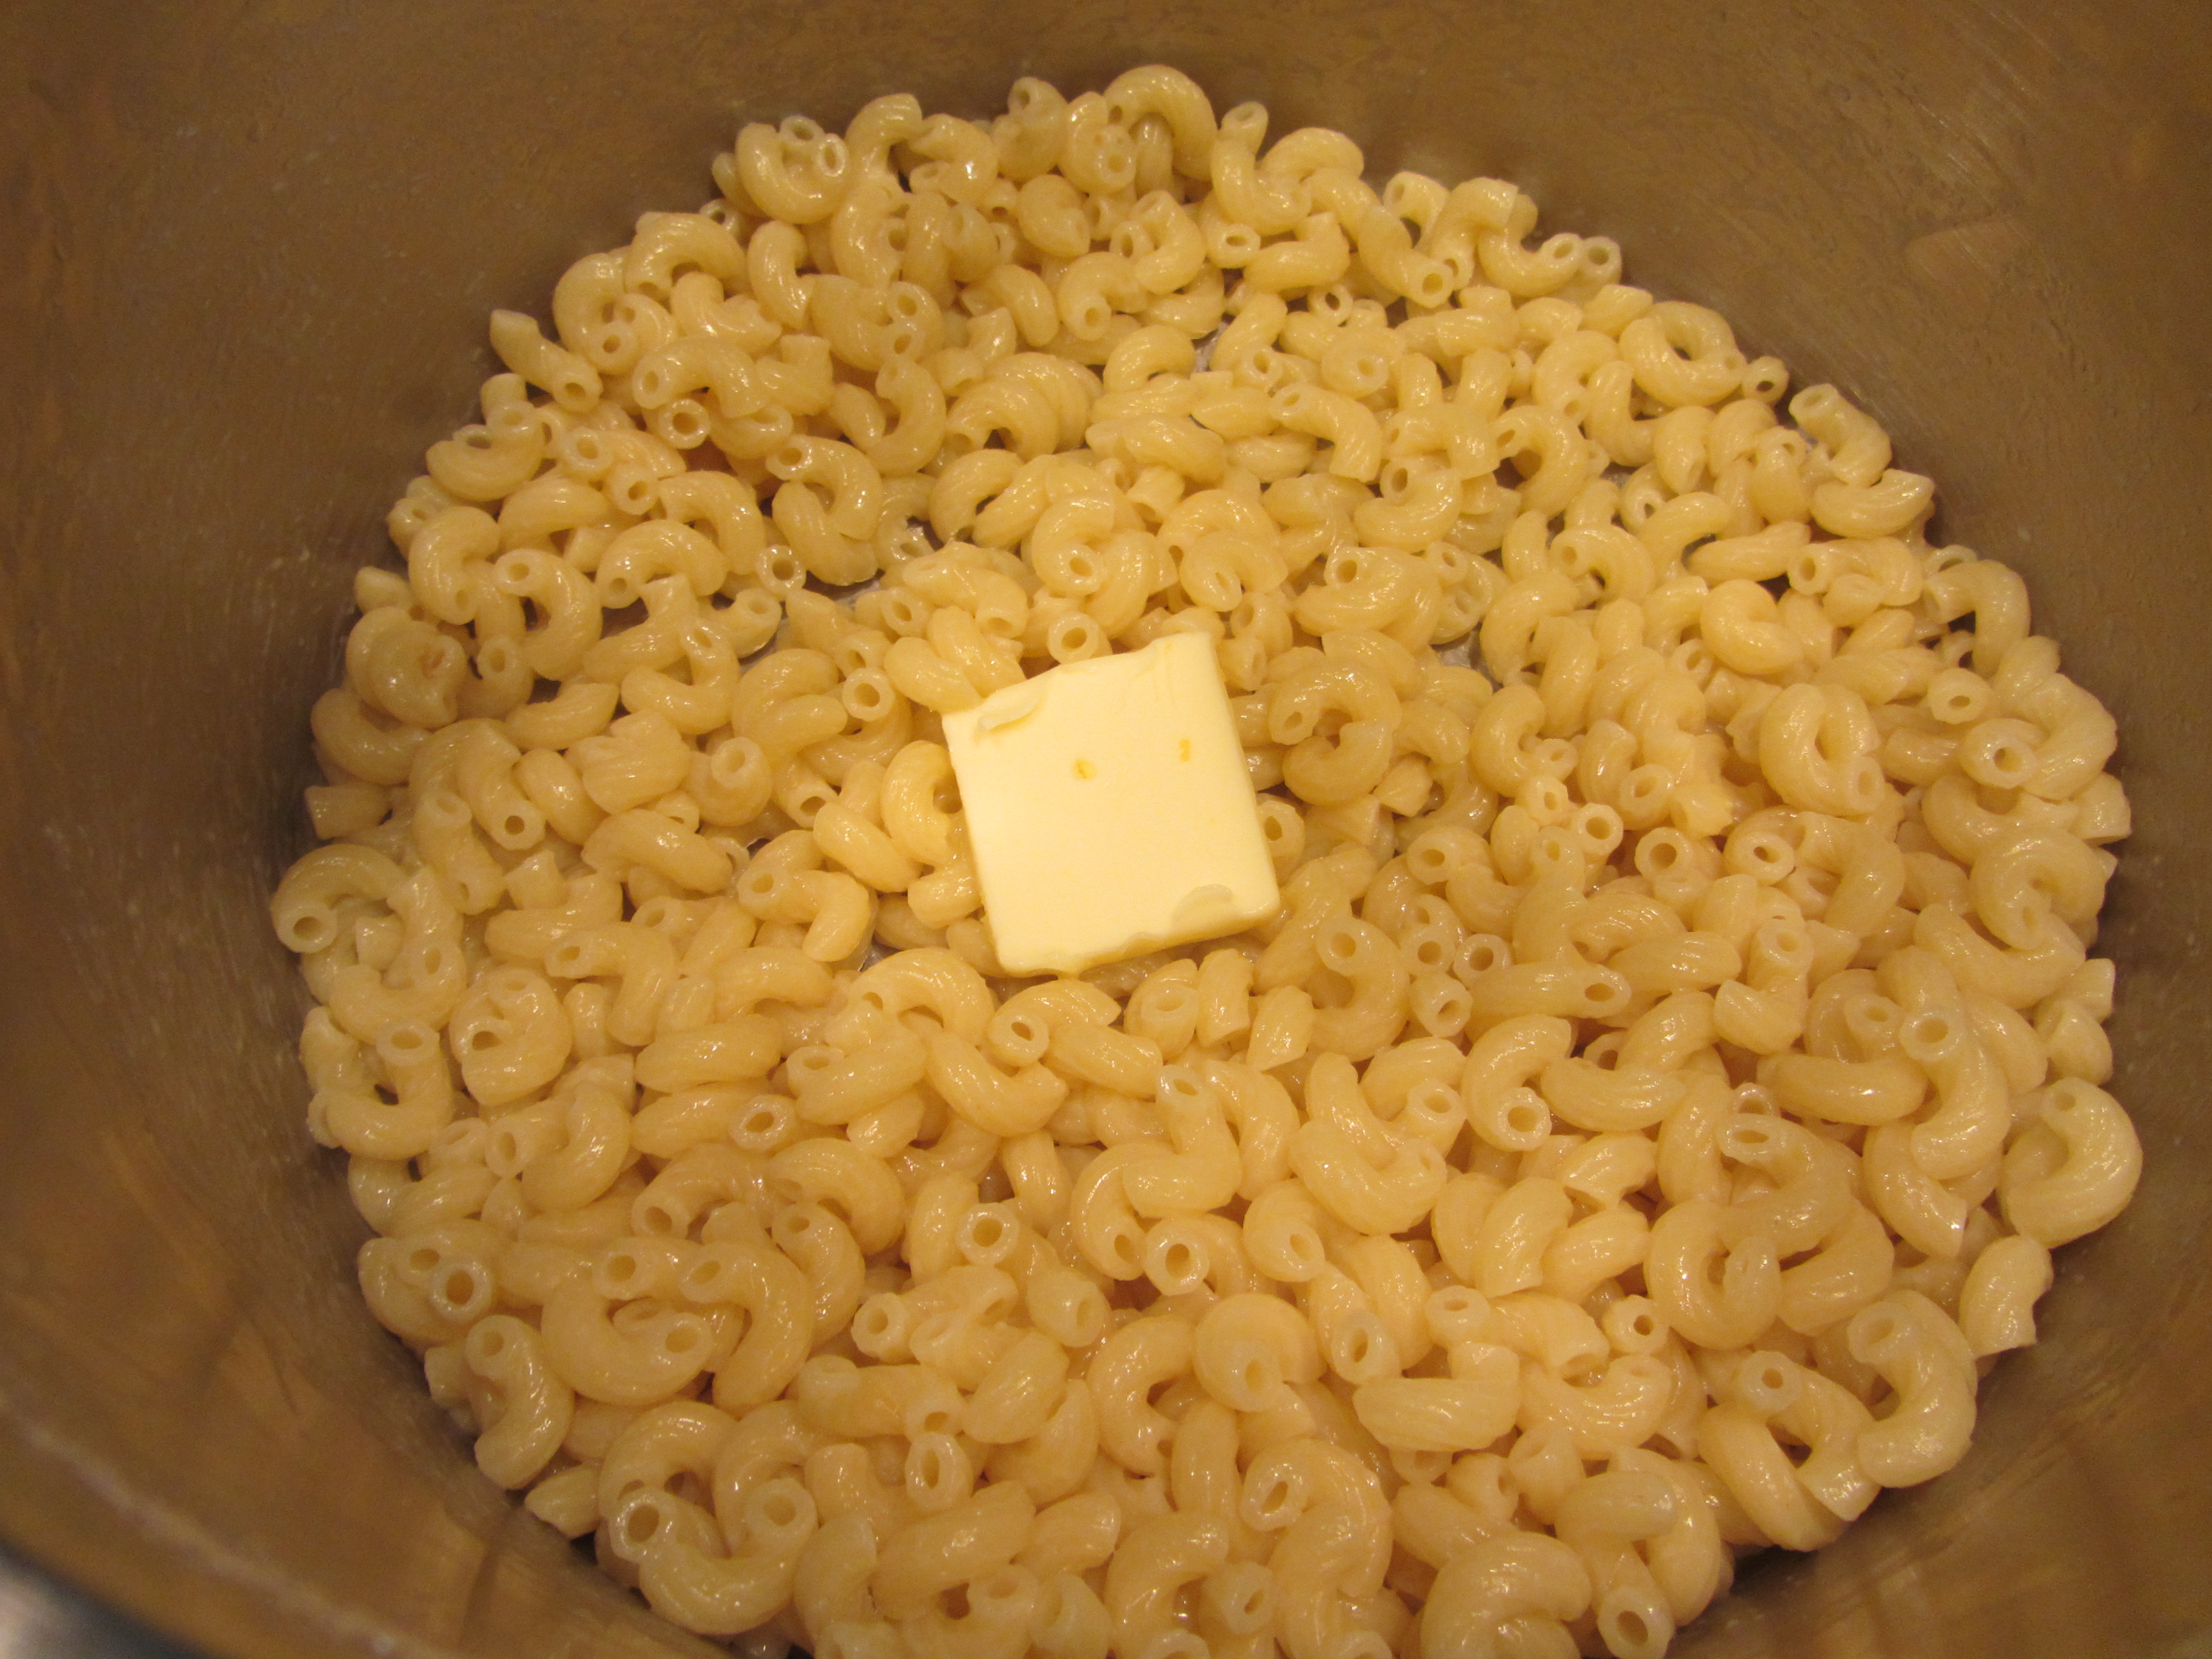
Set the sauce aside while you cook 1/2 pound of elbow macaroni in salted water until al dente. Drain the pasta and place it immediately back in the pan, stirring in 4 T butter until melted.

IMG_4940

Butter added to hot elbow macaroni.

On a low burner, add the egg mixture to the noodles, along with the grated cheddar cheese. Cook and stir until the sauce is smooth.

IMG_4949

Alton’s stove top mac and cheese.

Honestly, we thought this mac and cheese was great, especially for the time and effort required. I actually thought this recipe had stronger cheese flavor than Alton’s baked version. I did, however, miss the crispy panko topping. Next time I make mac and cheese, I think I will opt for this version because it is easier, faster, and on par with Alton’s baked recipe – I just might add some buttered, toasted panko to the top. I will be making this again for sure.

Next Day Mac and Cheese “Toast”

In case macaroni and cheese was not sinful enough, Alton decided to make it that much richer with this recipe for fried macaroni and cheese. I made this with leftovers from Alton’s baked macaroni and cheese. Begin by combining 1 C flour, 1 t salt, and 1 t cayenne pepper.

IMG_4990

Flour, salt, and cayenne.

Slice your cold leftover macaroni and cheese into individual servings and coat each piece in the flour mixture. Next, dunk each piece in beaten egg. Finally, dip each slice in panko bread crumbs.

While you are preparing your macaroni and cheese, heat peanut oil to 375 degrees on the stove.

IMG_4995

Peanut oil, heating to 375.

When the oil has reached its temperature, fry the macaroni and cheese slices until golden brown and crispy.

Sprinkle the slices with Kosher salt and hot sauce before serving.

IMG_5006

Alton’s fried macaroni and cheese.

This was delicious. The already wonderful, cheesy, rich macaroni and cheese was enhanced with a golden, crispy fried crust all around. If you have leftover macaroni and cheese, frying it makes an extra special treat, and who couldn’t use a treat now and then?

Chips and Fish

I was excited to see that I would be making Alton’s fish and chips after watching the 22nd episode of Good Eats. I love fish and chips, but had never made it before. We do not really do any deep frying at home, so this was to be a new experience for me. My parents fried food when I was a kid, so I have memories of them making French fries, onion rings, etc. For most of their frying, I remember them using a deep fryer. For this recipe, Alton uses a Dutch oven to fry his potatoes and fish. Our only Dutch oven is cast iron, and Alton explains that one should not fry in cast iron because the iron oxide from the metal can cause your oil to turn rancid. I, however, could not justify the purchase of a new Dutch oven simply for this recipe, and figured I could toss the oil after frying, should it appear rancid. Prior to commencing frying, I sliced my Russet potatoes (one per person) on a mandolin into perfect French fries. As soon as your potatoes are cut, you want to submerge them in cold water, which serves to remove excess starch; excess starch prevents steam from escaping during cooking and also causes the potatoes to brown. The potatoes can sit in the cold water for up to 10 hours. My potatoes sat in the water for a couple hours.

Potatoes soaking in cold water to remove starch.

Potatoes soaking in cold water to remove starch.

Once I was ready to fry, into my Dutch went my gallon of Safflower oil, after my husband, Ted, kindly made an extra trip to the store to purchase more oil (we had not initially purchased enough). Safflower oil has a high smoke point of 510 degrees, making it an ideal oil for frying. Alton tells you to fill your Dutch oven to within 1.5 inches of the top. A gallon of oil in a five-quart Dutch oven is perfect for this level. I used a candy/frying thermometer to monitor my oil’s temperature, as this is what Alton had done in the episode.

Safflower oil for frying.

Safflower oil for frying.

A gallon of oil in a five quart Dutch oven.

A gallon of oil in a five quart Dutch oven.

Once your oil is in the pan, you want to heat it over high heat. Meanwhile, you want to prep a rack over a sheet pan, as this is where your food will drain after frying.

Rack over a sheet pan for draining fried food.

Rack over a sheet pan for draining fried food.

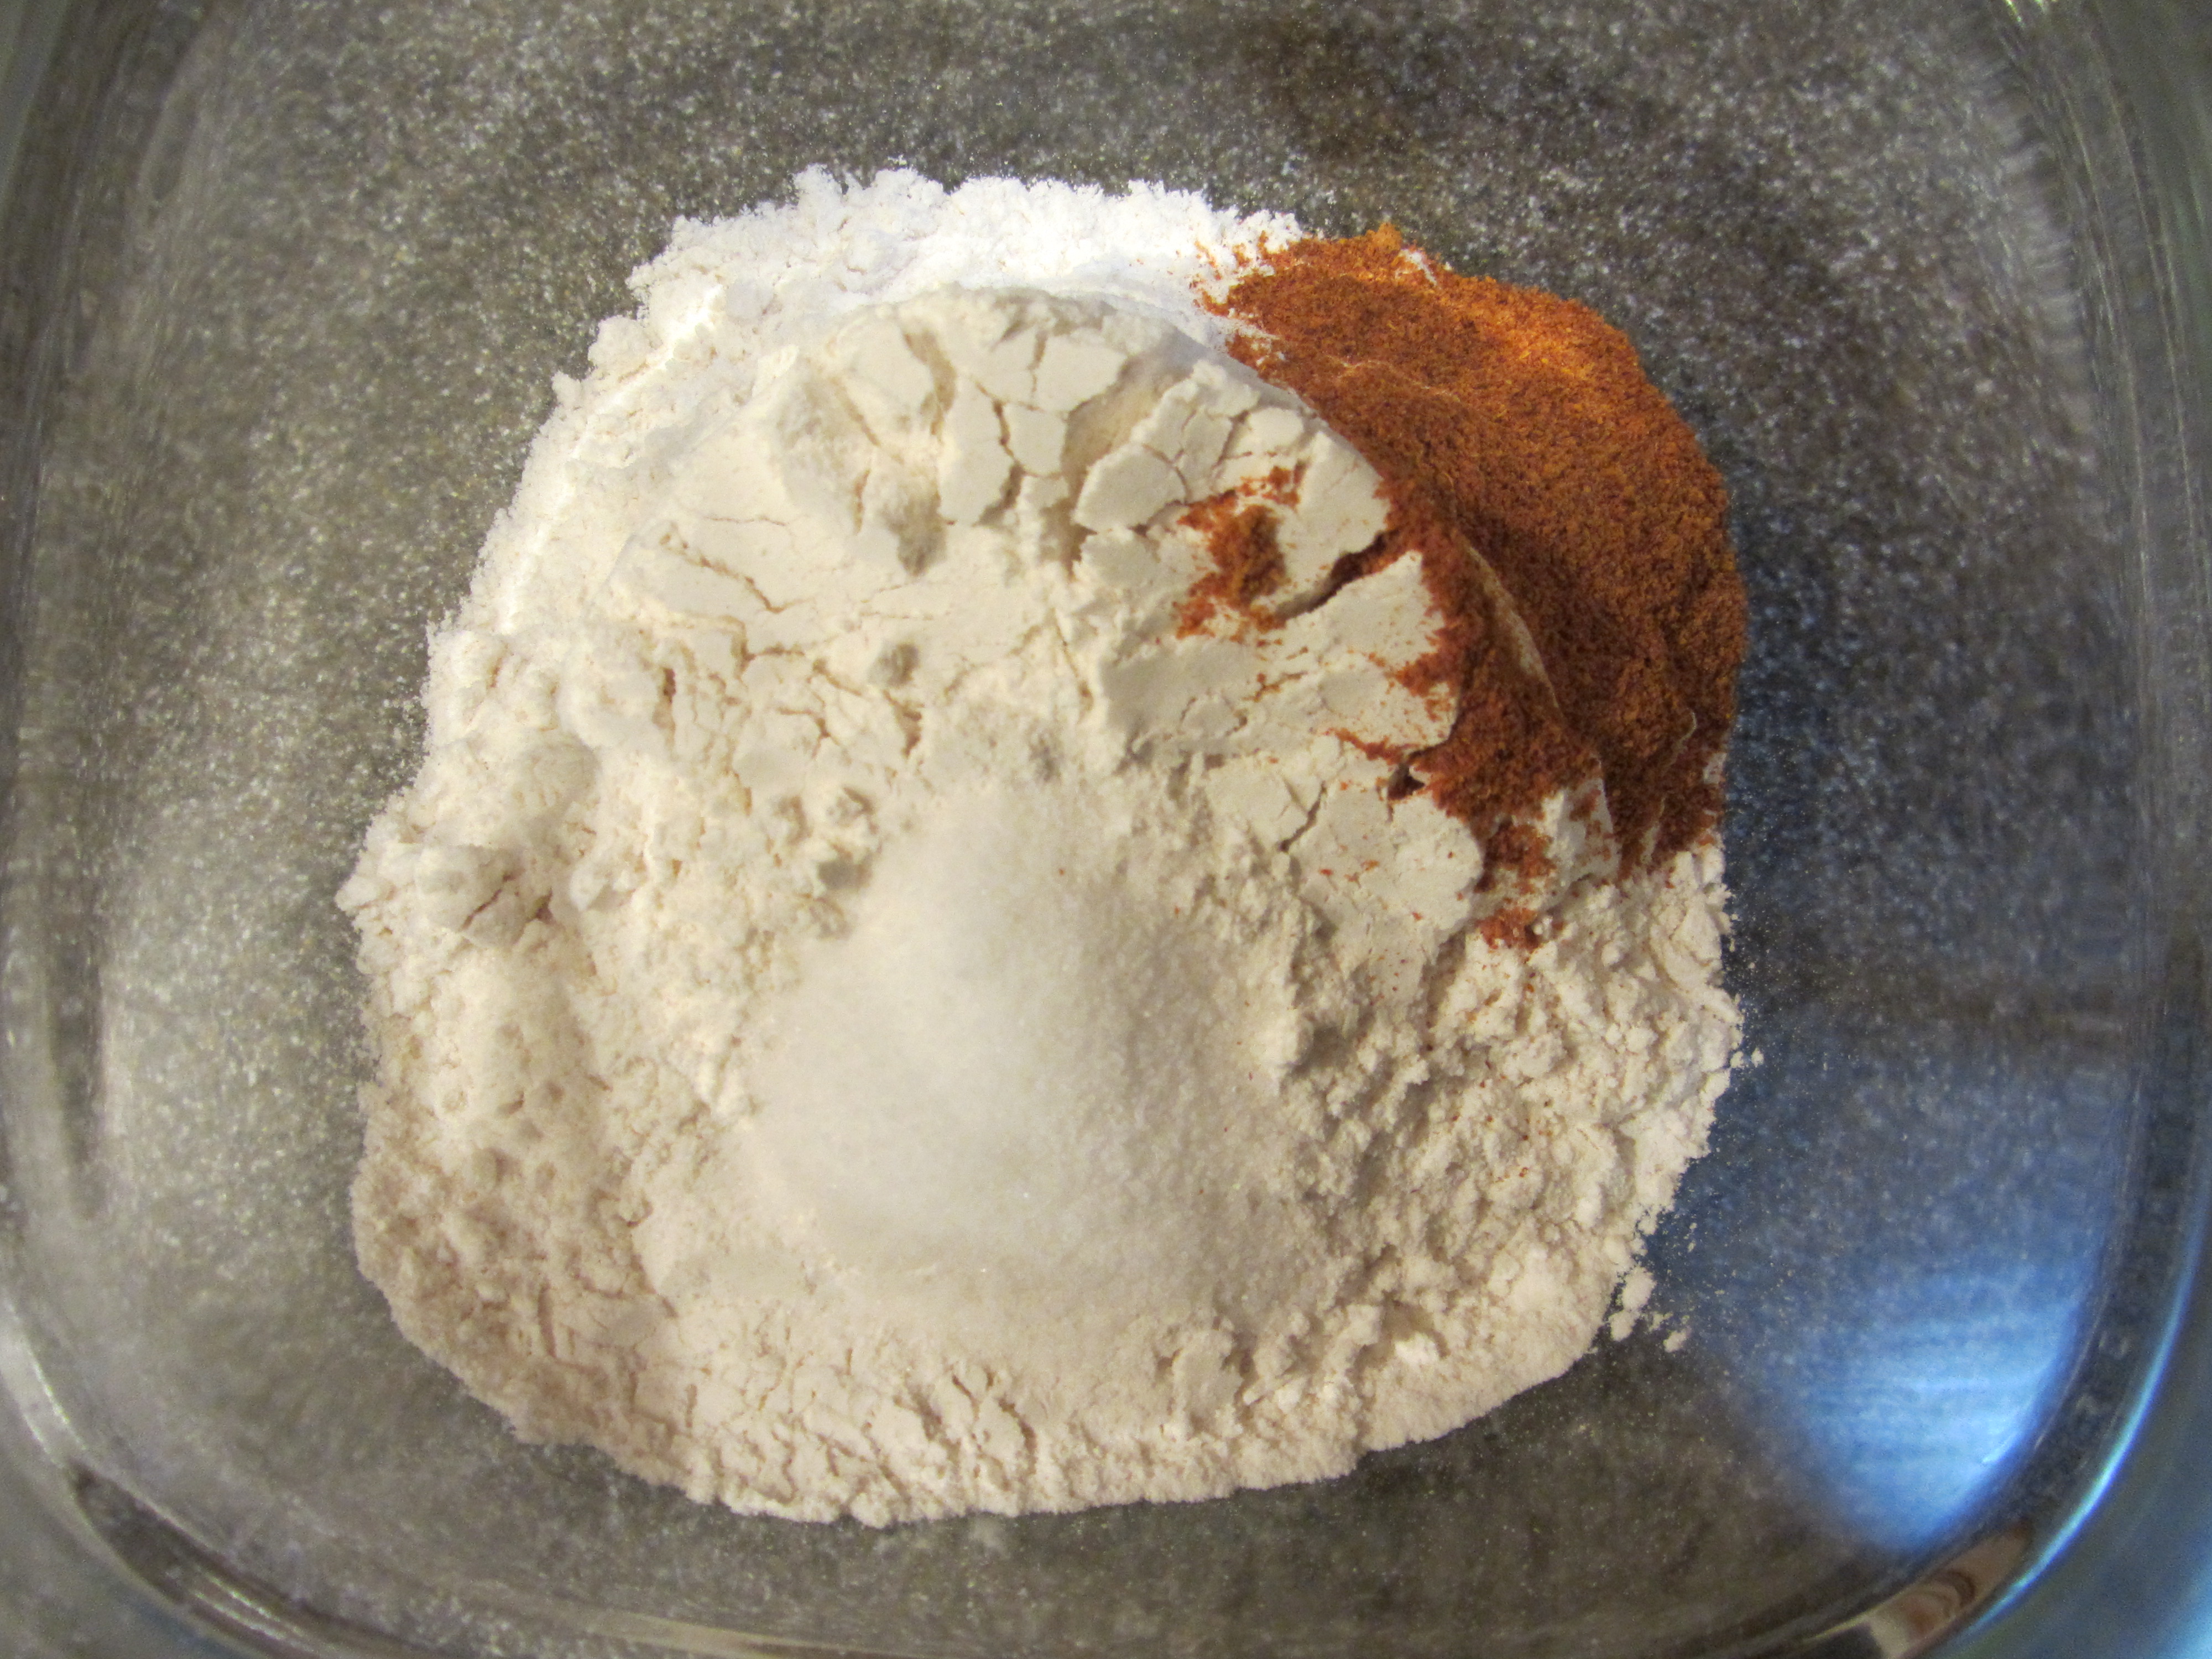
Fifteen to 60 minutes prior to frying your fish, you want to mix up your batter. For the batter, you combine flour, baking powder, Kosher salt, cayenne pepper, Old Bay Seasoning, and a cold bottle of beer. Making the batter much further in advance will cause the beer in the batter to lose its bubbles. The batter goes into the refrigerator to chill while you fry your potatoes.

Flour, baking powder, Kosher salt, cayenne pepper, and Old Bay Seasoning.

Flour, baking powder, Kosher salt, cayenne pepper, and Old Bay Seasoning.

Dry batter ingredients plus a beer.

Dry batter ingredients plus a beer.

Completed batter.

Completed batter.

Prior to frying, it is necessary to drain your potatoes very thoroughly. Alton uses a salad spinner for this step, but as we do not have a salad spinner, I used kitchen towels to roll up and pat my potatoes dry.

Drained potatoes, drying on towels.

Drained potatoes, drying on towels.

When your oil reaches 320 degrees, you are ready to begin frying your potatoes in batches (fry ~one potato at a time). Since our potatoes were very large, I fried mine in three batches. The French fries are fried two times – first at a lower temperature and then at a higher temperature. For the first frying, you just want to fry your potatoes until they are translucent and starting to get floppy, which takes two-three minutes. Cool the potatoes to room temperature.

Potatoes draining on racks after first frying.

Potatoes draining on racks after first frying.

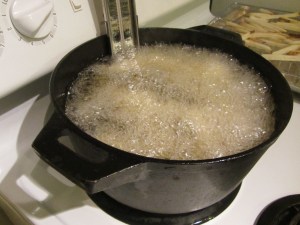
As my potatoes were taking their first dip into the oil, I noticed that my oil was really bubbling aggressively, and some oil even spilled over the edge of the Dutch oven.

Hot, bubbling oil.

Hot, bubbling oil.

Ted and I noticed that there appeared to be some smoke coming from the burner, and I contemplated removing the pan from the heat. Ted convinced me not to worry (Safflower oil does, after all, have a very high smoke point). By this point, the kitchen was getting quite smokey, one Coonhound had fled to the basement for cover, all of the windows were open (it was about 22 degrees outside), and the other Coonhound was observing us from behind the blockade of chairs we put around the perimeter of the kitchen. It was about this time that we heard a “whoosh” sound as flames ignited under the pot. Fantastic. We turned the burner off immediately and Ted carried the Dutch oven out to the driveway. Meanwhile, the burner was still on fire and the fire extinguisher made an appearance.

Never good when this makes an appearance.

Never good when this makes an appearance.

As Ted attempted to put out the six-inch flames with a kitchen towel, I grabbed a sheet pan and placed it over the burner to suffocate the flames. I guess all those years of watching crappy cooking shows like Hell’s Kitchen paid off, as images of Gordon Ramsay smothering flames danced in my head. After a couple of hectic moments, we were good to go, albeit with completely blackened burner drip pans, a scorched kitchen towel, a house full of smoke, and two very confused dogs. I somehow failed to get pictures of this whole series of events. Go figure. I was less than enthused about continuing with the recipe. Ted, however, insisted that I continue, transferring the oil to a deeper pot (and a clean burner). Once my oil was back to temperature, I completed the first frying of my potatoes. For the potatoes’ second swim, you want to increase the oil temperature to 375 degrees and heat your oven to 200 degrees. Again, frying the potatoes in batches, you want to fry them until they are a nice golden brown. While they are still hot, season them generously with Kosher salt, and stick them in the oven to keep them warm. When the potatoes are all done, it is time to fry the fish. For this recipe, Alton suggests using tilapia, and he says he purchases frozen fillets. Since only two of us would be eating, I used 3/4 of a pound of tilapia, which I thawed and cut into one-inch strips.

Tilapia fillets.

Tilapia fillets.

Tilapia cut into 1" strips.

Tilapia cut into 1″ strips.

Prior to dipping your fish strips into the batter, you want to dredge them lightly in cornstarch, tapping off any excess.

Dredging fish in cornstarch.

Dredging fish in cornstarch.

Then, into the batter they go. The batter has a tendency not to coat the patches of fish where there is more batter, so you may have to dip them twice. The batter is quite thick, but clings well to the fish. You want to fry the fish until it is golden brown, turning it over several times while frying.

Fish frying in new, deeper pot on clean burner.

Fish frying in new, deeper pot on clean burner.

Frying fish.

Frying fish.

My fish took about three minutes to fry. Again, you want to drain your fish on a rack to get rid of excess oil.

Fried tilapia, draining on racks.

Fried tilapia, draining on racks.

Golden brown fish.

Golden brown fish.

Alton recommends that you break one of your fish strips in half to make sure the fish is cooked through; if not, you can finish the fish in a 350 degree oven for about 10 minutes. Oh, and be sure to serve your fish and chips with malt vinegar.

Fish and chips, served with malt vinegar.

Fish and chips, served with malt vinegar.

I love malt vinegar on French fries, and I fondly remember going to the boardwalk near my aunt’s house in Delaware to get a newspaper cone filled with malt vinegar-sprinkled French fries, but I digress. Though I had a bit of a “frytastrophe” in making Alton’s fish and chips, Ted and I both found the resulting product to be very good. The French fries were light and fairly crispy, though I would have preferred mine a little bit crispier. The Fish was golden brown and had a light, super crispy shell, while the fish inside remained very moist. One of my pet peeves when ordering fish and chips at a restaurant is that the batter often slides off of the fish, but the batter in this recipe clung to the fish beautifully. The fried coating was flavorful, though I could not identify the Old Bay Seasoning. All in all, this was delicious, though it ended up being too much food for us. I would do a half pound of fish for two people, if I were to make this again… and I probably will make this again. Next time, however, I will use a deeper pot for frying, and I will try to use a salad spinner to dry my fries, as I think my potatoes may have been a little too damp when they went into the oil, causing my oil to bubble over. It is safe to say that this episode goes down as the most disastrous in my little project. Let’s just hope it stays that way.