Posts Tagged ‘snack’

Some episodes of Good Eats end up being easier than others. This particular episode turned out to be a bit of a pain. Although there were only two recipes in this episode, I had to make the first recipe several times, so it ended up taking me a few weeks to complete the cooking portion. Anyway, I tried the recipes therein, and here’s how they worked for me.

Corn Tortillas

When I have had the opportunity to taste fresh, homemade tortillas, I have always found there to be a huge difference between them and the ones you can buy at the grocery store. I had never, however, attempted to make tortillas myself. Once again, I found this project to be pushing me to make a new food item at home. To make Alton’s corn tortillas, you’ll need dried field or flint corn, calcium hydroxide, and a tortilla press; I purchased all of these items through Amazon. The tortilla-making process takes two days, so you’ll also need to start this recipe the night before you plan to eat the tortillas.

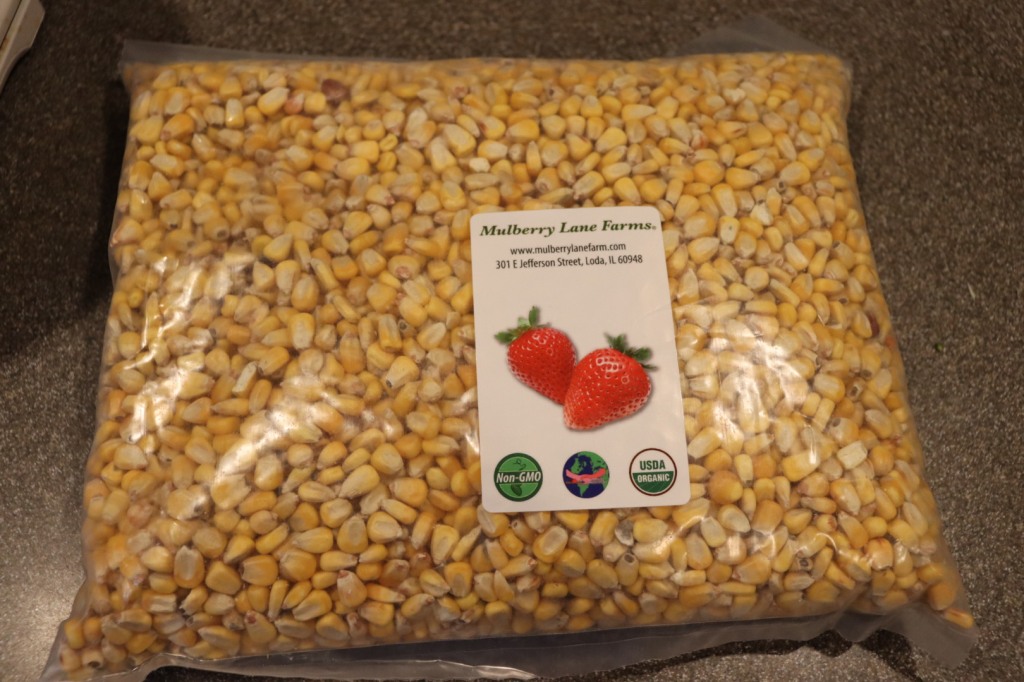
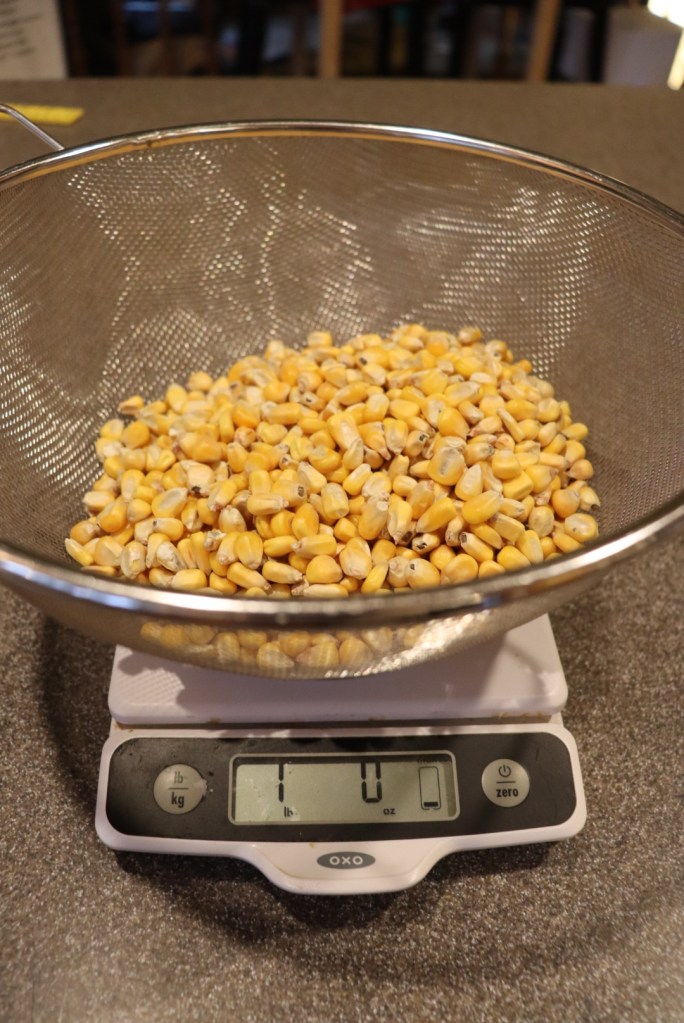
To begin, rinse a pound of dried field or flint corn under cool water.

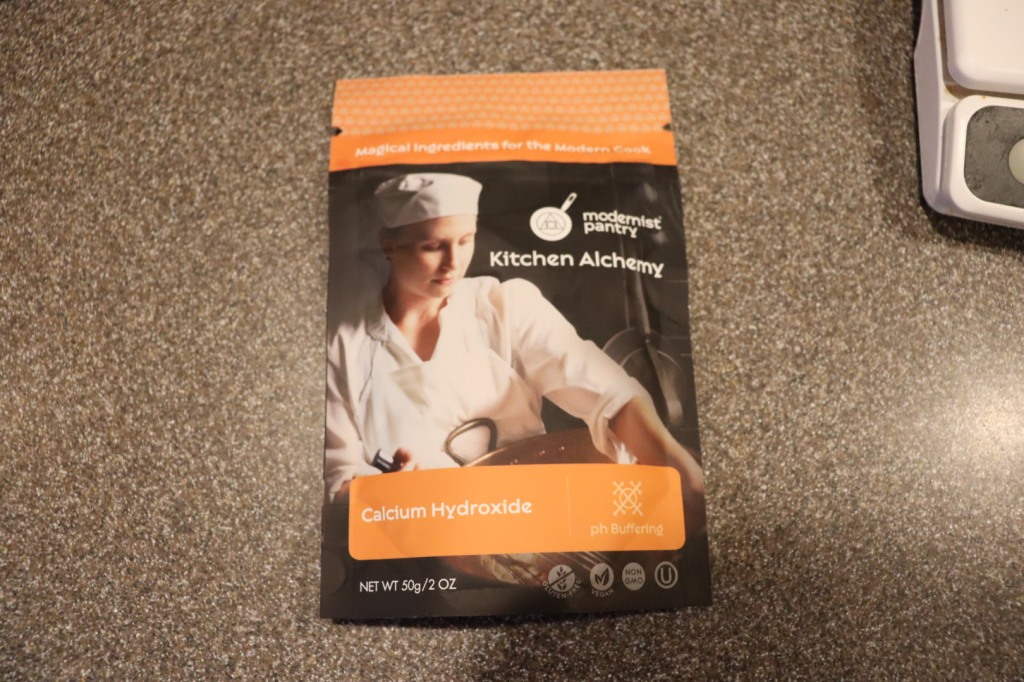
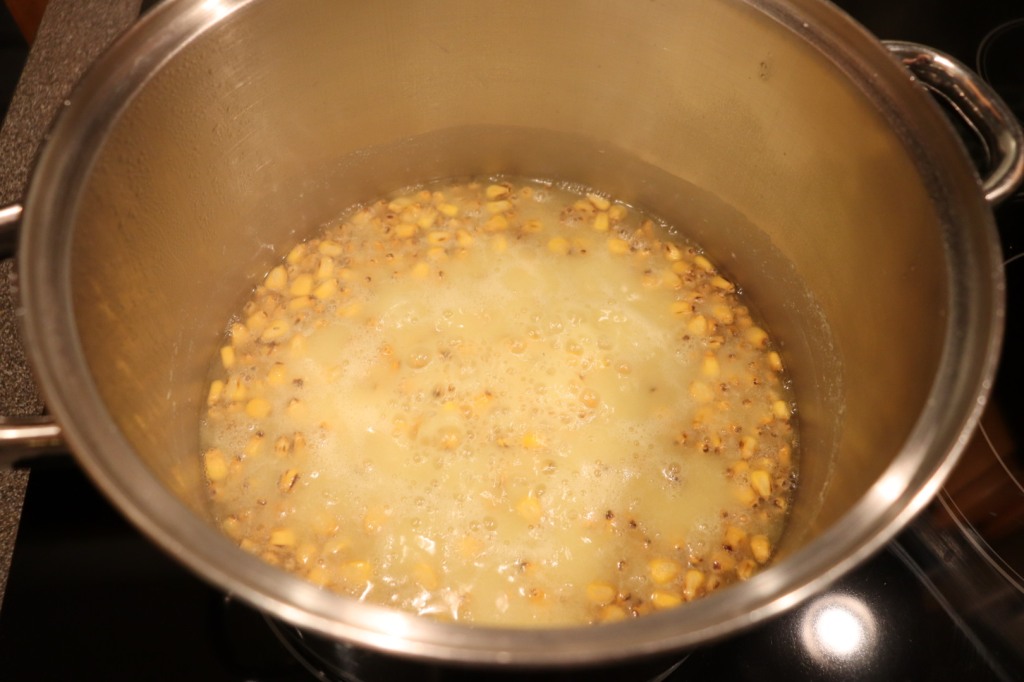
Place the drained corn in a stainless steel pot, along with 6 C water and 1/2 ounce of calcium hydroxide. Calcium hydroxide (which is alkaline), otherwise known as slaked lime/pickling lime/cal is used to cause the corn to undergo nixtamalization, which removes the hulls from the corn and releases its nutrients and amino acids. After combining the corn with the water and cal, slowly (over 30-40 minutes) bring the solution to a boil. Be sure to use a stainless steel pot and utensils when working with cal, as it can bleach wood and discolor other metal.

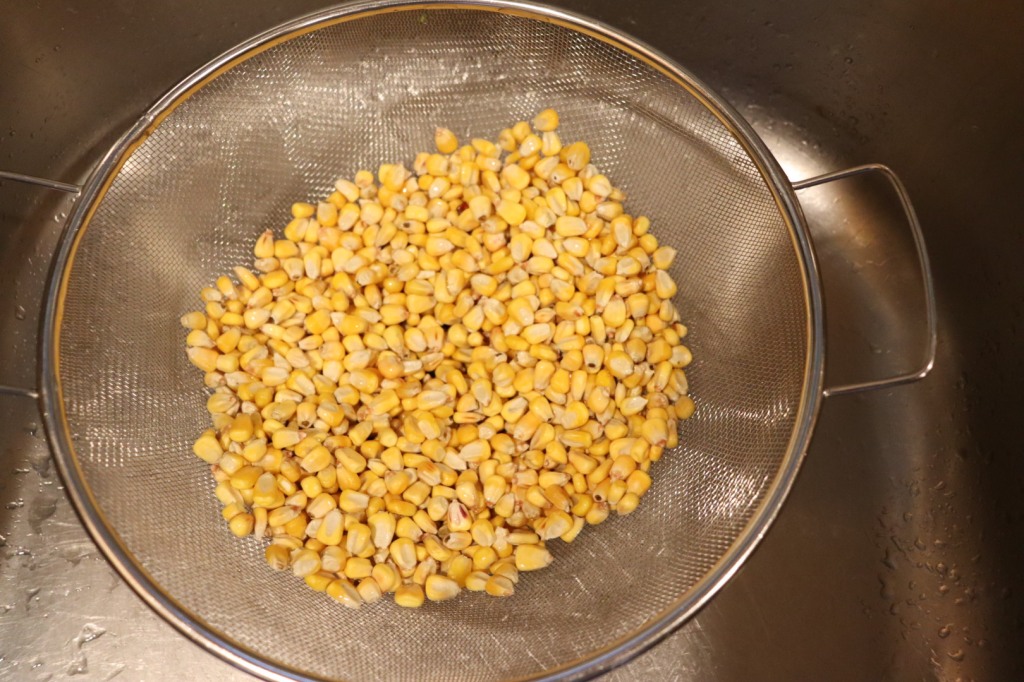
Once the solution has reached a boil, place a lid on the pot, remove it from the heat, and allow it to sit at room temperature overnight; it is crucial not to refrigerate the mixture, as cold will halt the desired chemical reaction. The following day, rinse the corn under lukewarm water for 5-6 minutes, rubbing the corn between your fingers to remove the hulls.

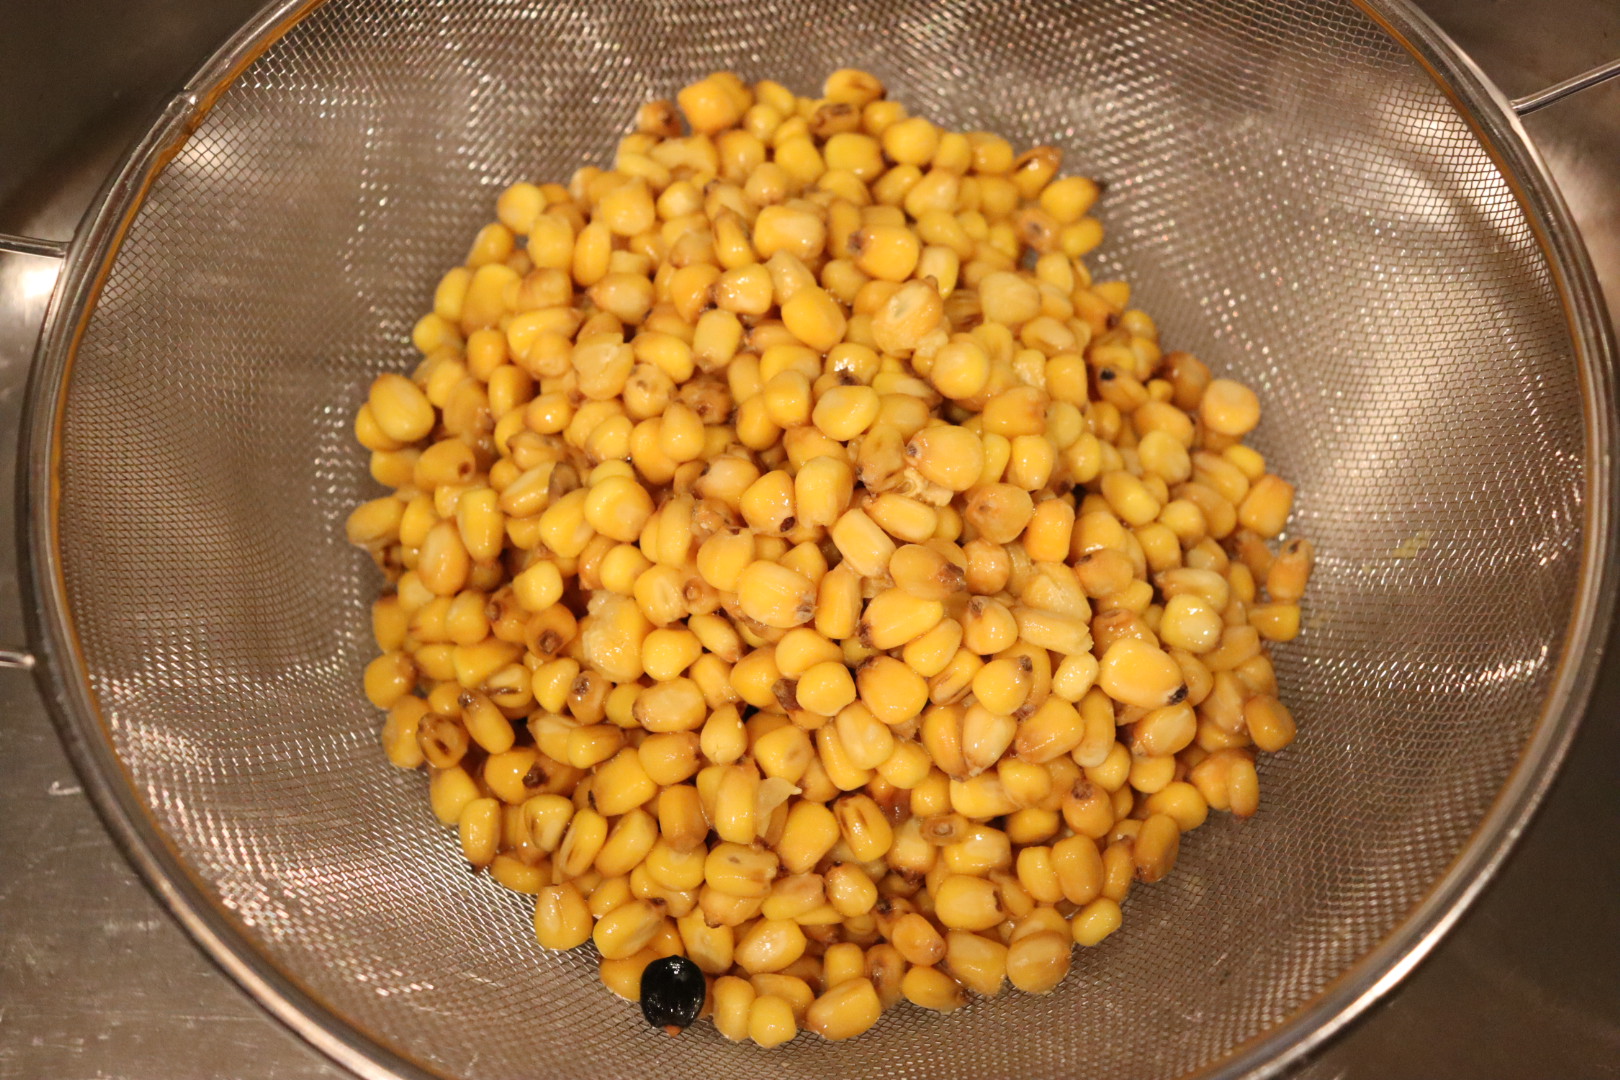
Next, soak the corn for two minutes in cold water. Drain the corn and soak it for an additional two minutes. I wore latex gloves when I handled the corn and I found it helpful to use a slotted spoon to remove the corn from the soaking water, as this left more of the hull pieces behind. The resulting corn you have now is called “nixtamal.”

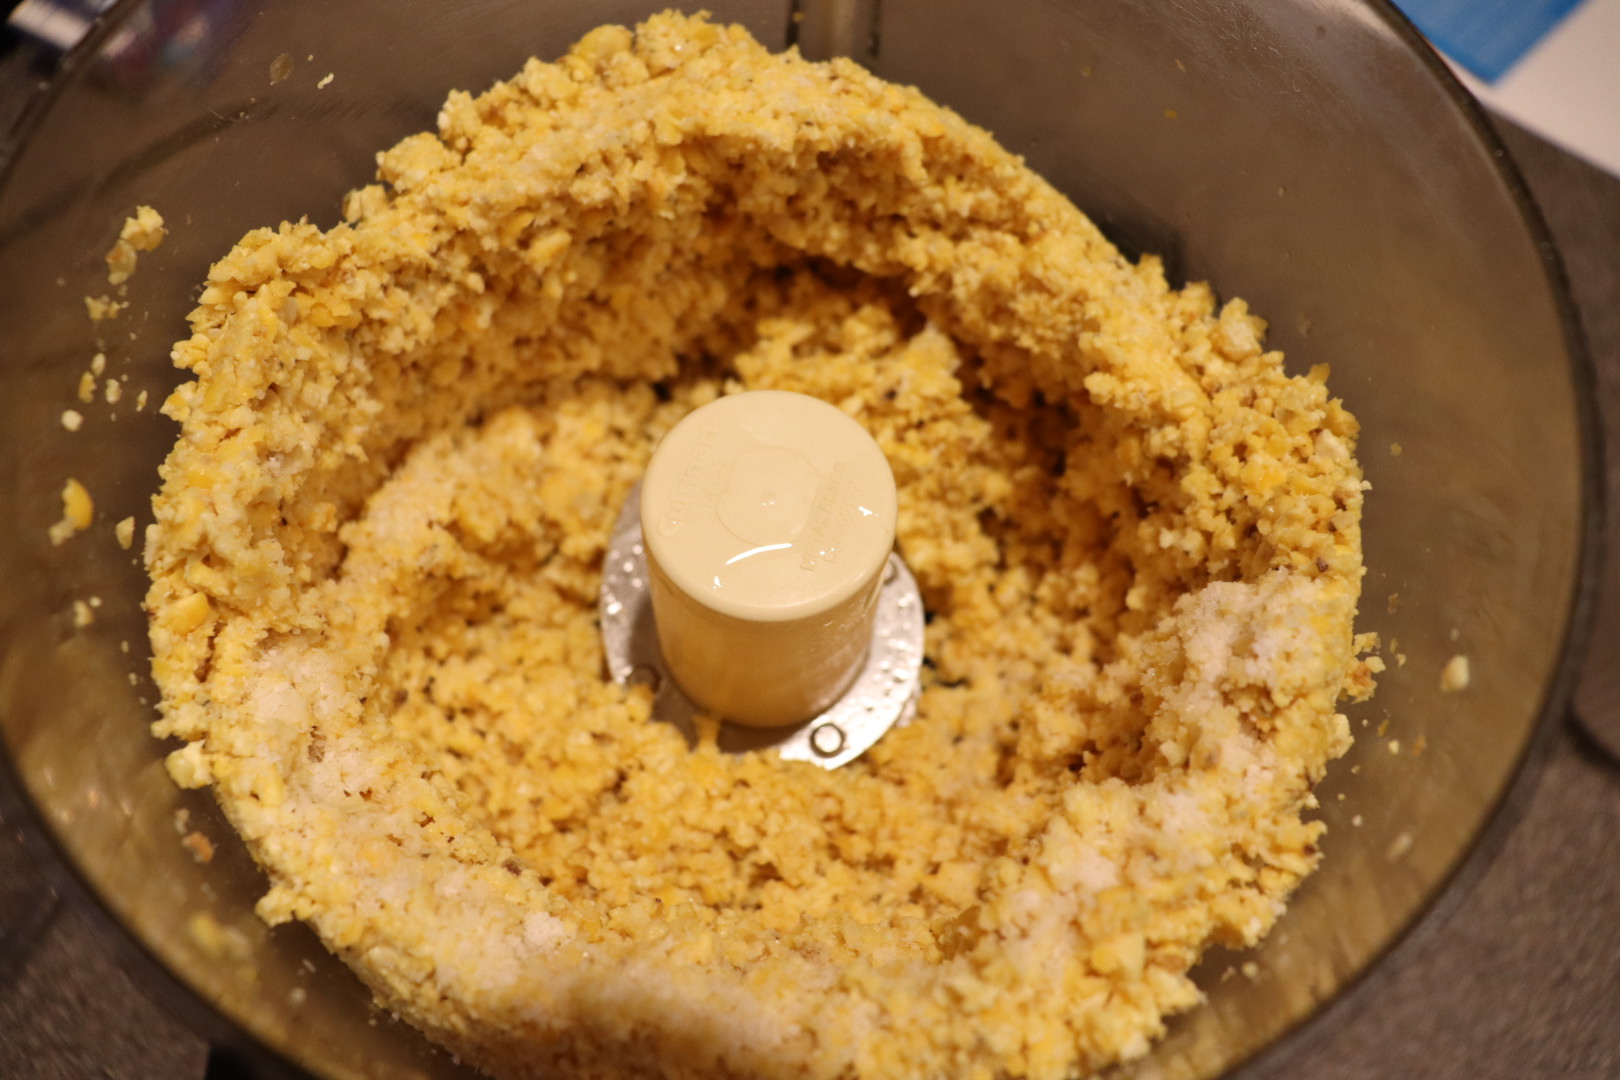
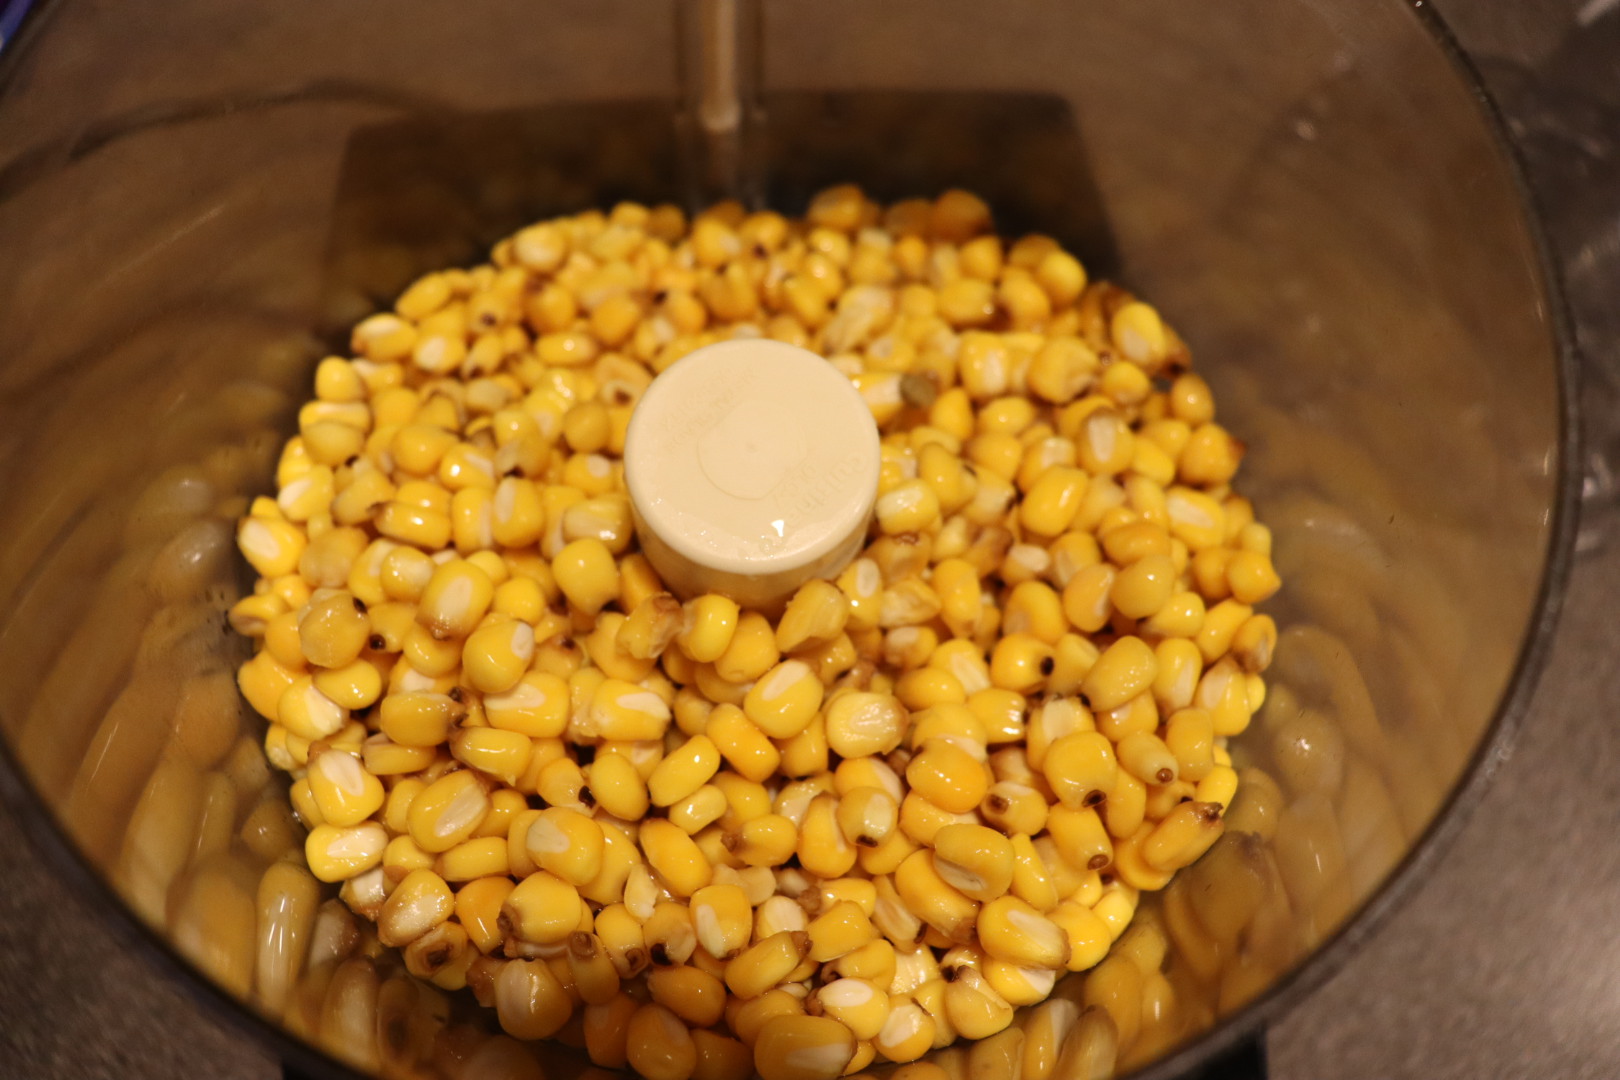
Place the nixtamal in the bowl of a food processor and pulse it 10-15 times. Scrape the bowl with a spatula, add 2 T water, and pulse 8-10 more times. Add 2 T water and 1 t Kosher salt and pulse until the dough clumps together when squeezed, adding more water if necessary.
Form the dough into a ball, wrap it in plastic, and let it rest for 30 minutes at room temperature.
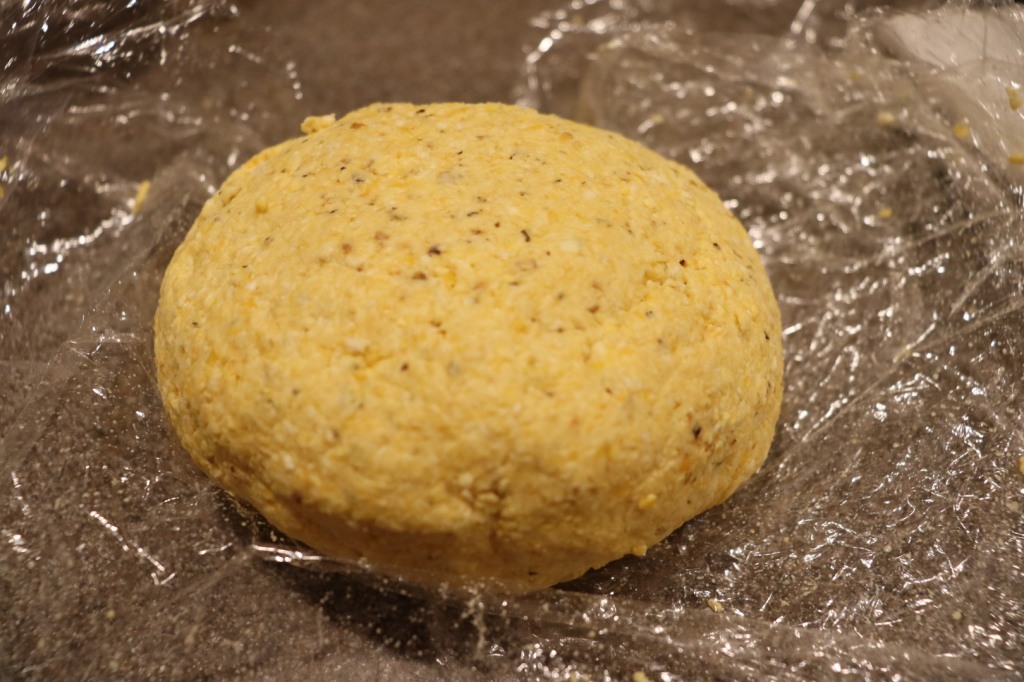
Dough after resting.

Next, portion the dough into balls, placing them under a damp towel; Alton said he did 1.5 ounce portions, but I found the balls to be too small for my tortilla press. I opted for two ounce portions. Alton used a griddle to cook his tortillas, but I just used a large sauté pan. Either way, you want your cooking vessel to be around 400 degrees, which is approximately when drops of water sizzle and dance away. If you want to keep your tortillas warm, you can place a tea towel on a heating pad. When ready to cook, use scissors to remove the sides and zipper of a Ziplock bag, and use the trimmed bag to line both sides of your tortilla press. Place a ball of dough slightly off-center in the press (toward the hinge side), press the ball with your hand to flatten gently, and then press completely with the tortilla press.

The tortilla may stick to the bag a bit, so flip the tortilla over and peel the bag off of the tortilla. Cook tortillas in the hot pan for about a minute per side. If big cracks form in your tortillas, you can try kneading more water into the dough, and then try again after another 30 minute dough rest. To refresh tortillas for later eating, spritz them with water, stack them in foil, and heat them for a few minutes in a 300 degree oven.
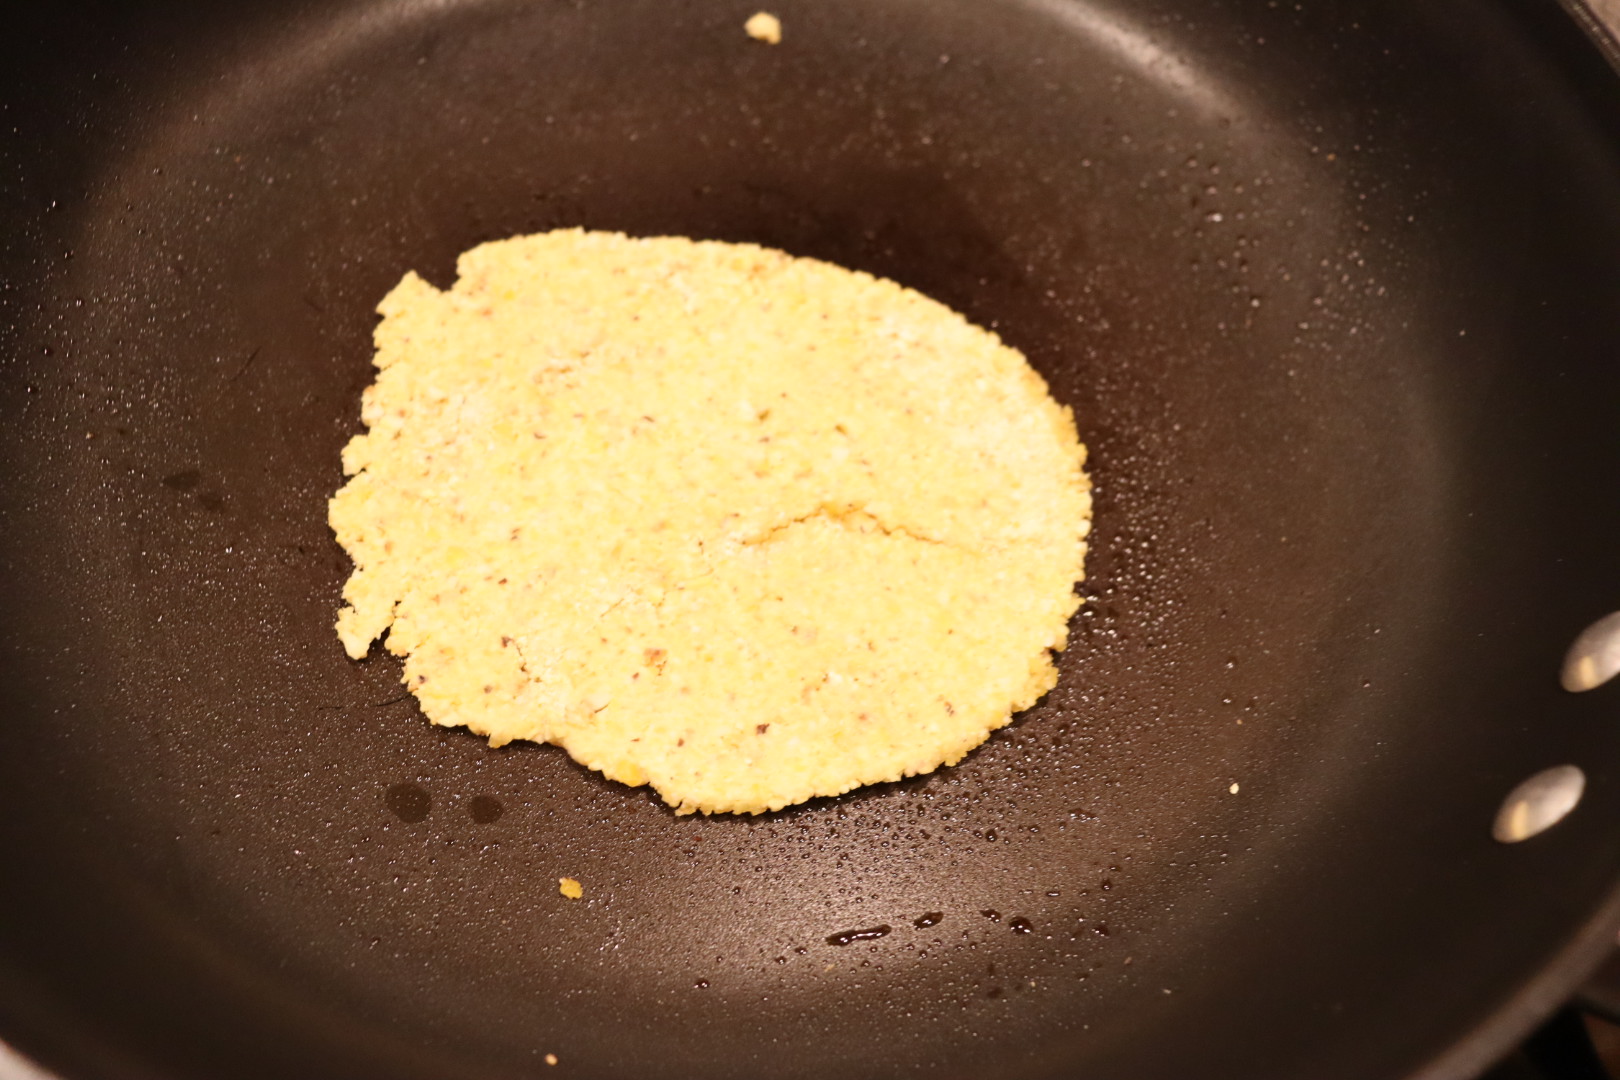
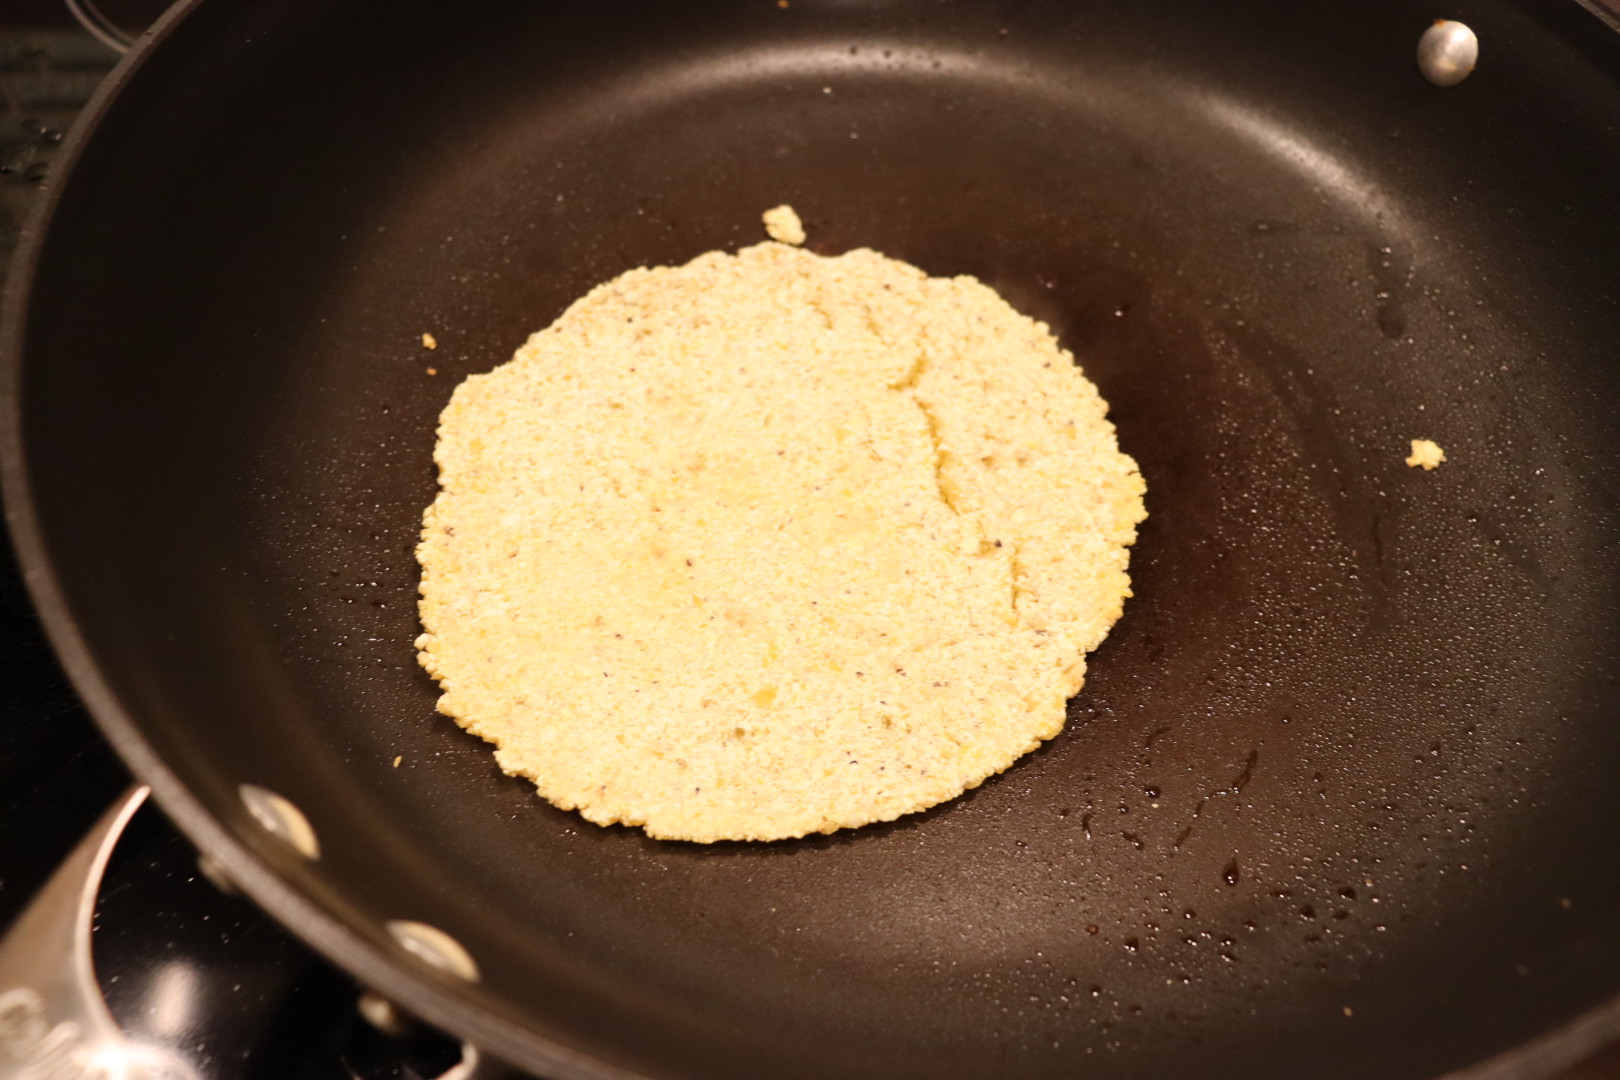
Okay, okay, so I wanted to like this recipe, but it was a complete dud for me. The first time I made the dough, my dough seemed crumbly in the food processor, so I added additional water. Yeah, that was a poor decision, as my dough became overly wet and sticky, and was impossible to work with. Into the trash, the dough went, and I had to start all over again several days later. The second time I made the dough, I did not add any additional water during the food processor portion of the recipe. The dough was still incredibly difficult to work with. I found that the dough stuck horribly to the plastic bag, so I tried spraying the bag with non-stick spray. That didn’t work. I also tried lining my press with both parchment and wax papers. Still, the dough stuck. Eventually, the system that seemed to work the best was to line the press with two pieces of parchment, pulling one sheet off and then flipping the tortilla into the pan, parchment side up. I would then try to gently peel the top piece of parchment off of the top of the tortilla, which almost always resulted in breaking the tortilla. If I was lucky, I would occasionally end up with a somewhat round tortilla.

Tortilla after pressing between parchment layers.

The corn aroma that filled our kitchen was wonderful and we used the tortillas from the second batch of dough to make tacos for dinner one night. The tortillas had rich corn flavor, but I did find them to be a bit too thick/chewy.

Tacos made with homemade tortillas.

When all was said and done, the effort:reward ratio just was too skewed with this recipe. Now that I have a tortilla press, I do plan to make homemade tortillas again, but I plan to try them next with storebought masa harina. Oh, and I did make a third batch of these tortillas to continue on to the second recipe of the episode, which was for:

Lime Tortilla Chips

Making Alton’s tortillas was such a pain but I still maintained high hopes for the lime tortilla chips Alton made on the show. To make a full batch of the chips, stack 10 fresh corn tortillas and cut them into quarters.
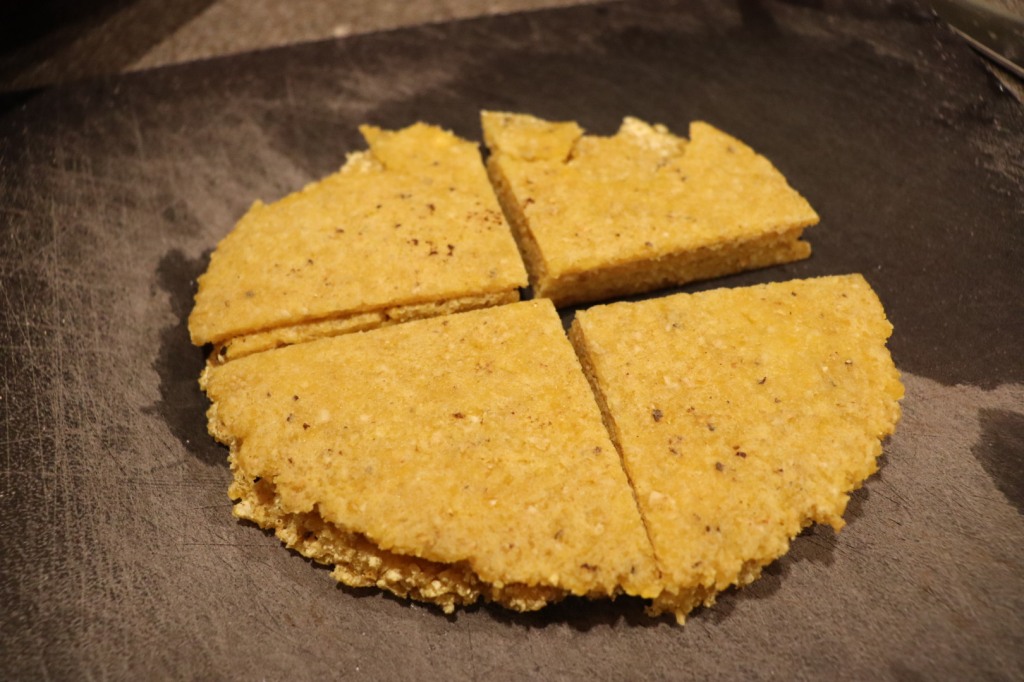
Tortillas cut into triangles for chips.

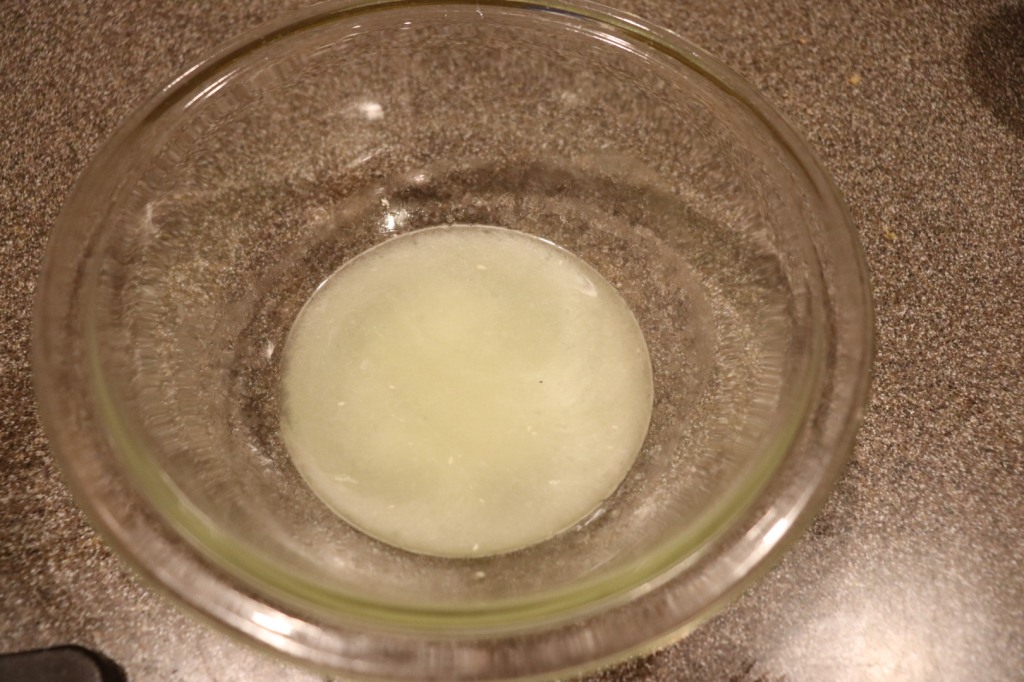
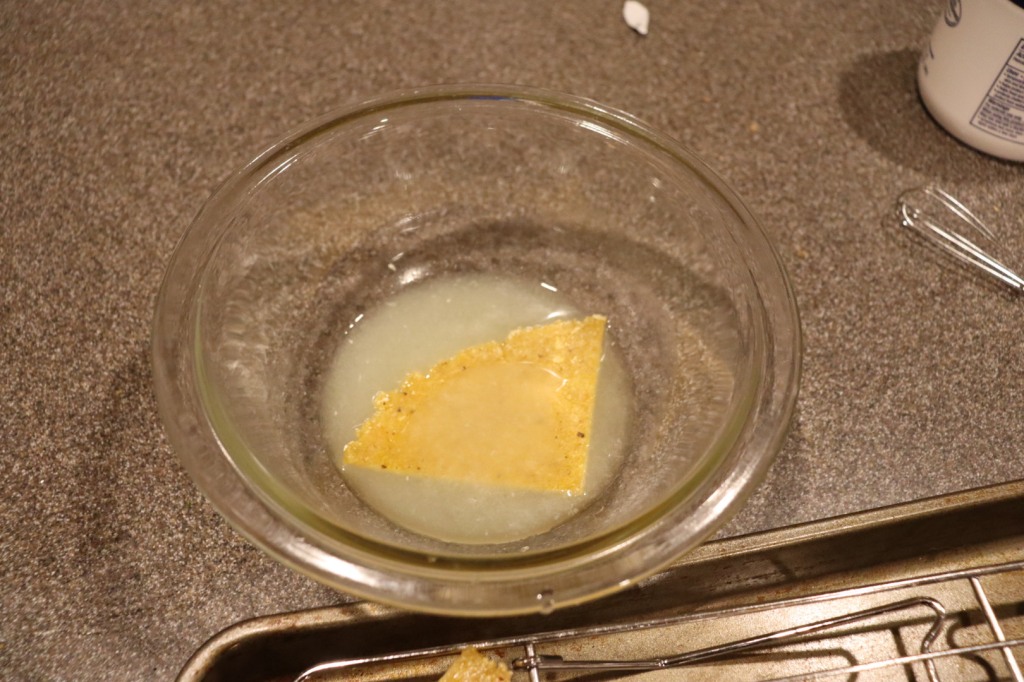
In a bowl, whisk together 1/4 C lime juice and 2 t Kosher salt. Dip both sides of each tortilla triangle into the lime/salt mixture and set the triangles on a rack to dry for one hour.

After an hour, fry the triangles in two quarts of peanut oil at 365-375 degrees. The tortillas will need to fry for 20-30 seconds or until they float. Transfer the chips to a rack to drain/cool.
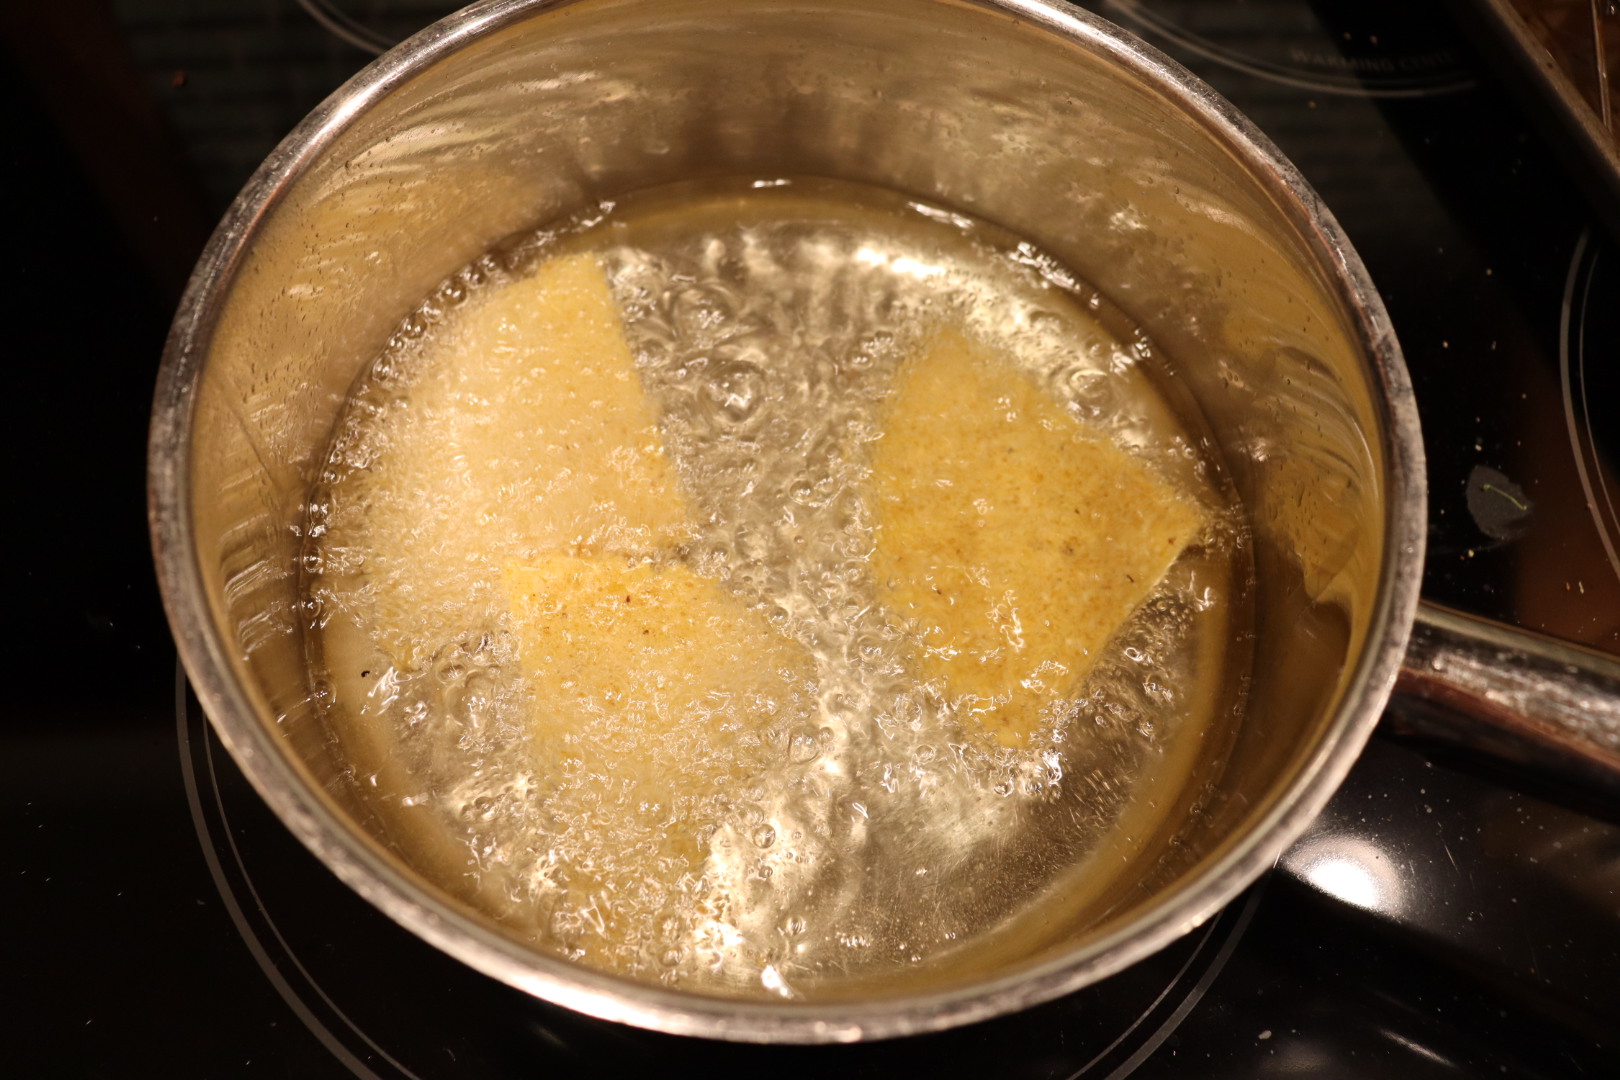
We found these chips to be nearly inedible, as they were incredibly dense and hard. They were difficult to bite/chew and I just threw my portion of nachos away.

Even served as nachos, Alton’s tortilla chips were inedible.

I was honestly afraid I would chip a tooth! I would just simply not make these again, or at least not with Alton’s corn tortillas. As I mentioned previously, I found Alton’s tortilla recipe to result in fairly thick, chewy tortillas, and that just really translated into the chips. I think I would enjoy the lime/salt flavor of these chips if it were possible to make them light and crispy, and maybe that would be possible with thinner, less dense tortillas. Here’s hoping to better recipes in the next episode!
It may seem as though I have given up on this blog, but I truly have not. The days just seem to fly by with me having the best intentions of taking time to write, but not actually finding the time to do so. Or, maybe I just need to prioritize differently. I believe this episode will close out the recipes for season nine, as there is only one more episode from this season, and it is a behind-the-scenes look at the making of Good Eats. The recipes from this episode feature olives, which I adore, so I knew this one would be fun for me.

According to Alton, olive quality is mostly dependent upon the method of their production. Raw (green) olives are very bitter, so require a soak in lye prior to brining. Ripe (black) olives do not require a lye soak and can go straight to an oil cure or a salt brine. When you have a jar of olives at home, be sure to always keep the olives submerged in their brine; if you need to top off the brine, you can always add a mixture of 1 T salt dissolved in a pint of water.

Citrus Marinated Olives

Marinated olives are first in this episode. To make these, you’ll first need a pound of green olives with pits. Rinse your olives in water and then submerge them in water for at least five minutes, and up to five hours; five hours is best.

When your olives are done soaking, combine the following ingredients in a lidded plastic tub: 1 minced clove of garlic, 1/2 C extra-virgin olive oil, 1 T red wine vinegar, the zest and juice of a medium lemon, 1/2 t red pepper flakes, 1/2 t dried tarragon, and 1/4 t curry powder.

Marinade ingredients: garlic, extra-virgin olive oil, red wine vinegar, lemon juice, lemon zest, red pepper flakes, dried tarragon, and curry powder.

Drain the soaked olives and add them to the container, giving them a good shake to coat them in the marinade. Let the olives sit at room temperature for a day, and then refrigerate for a couple more days before serving.

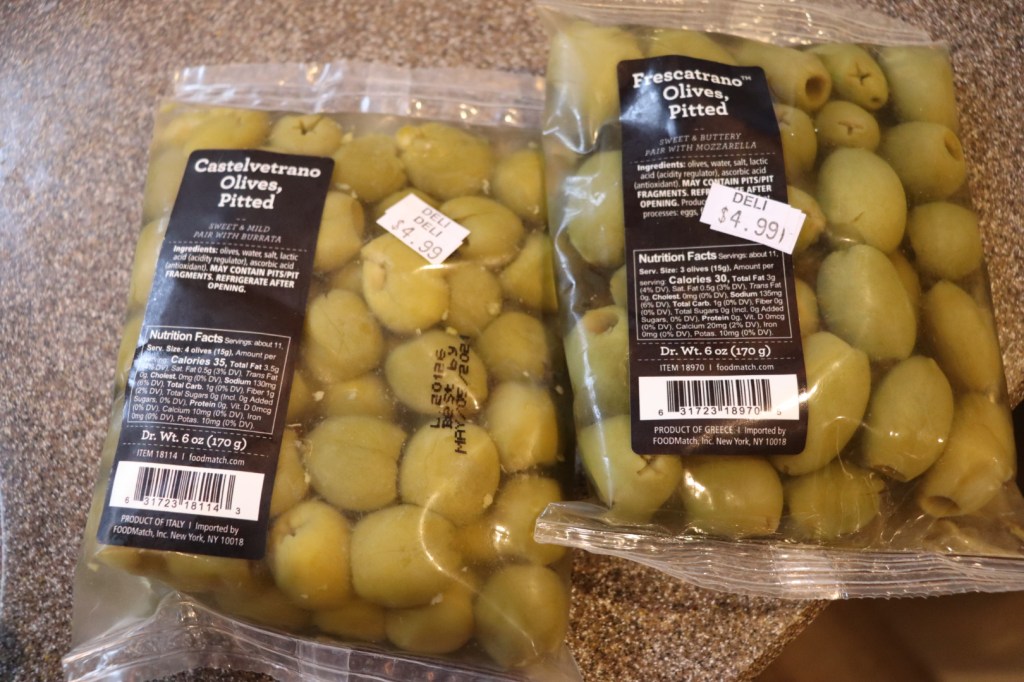
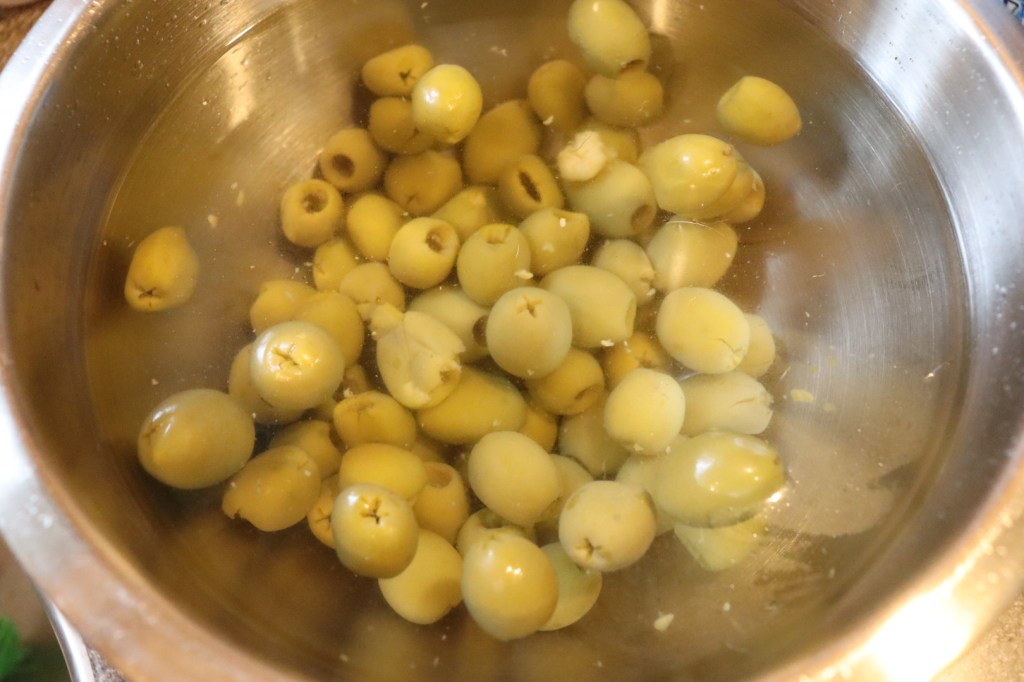
We snacked on Alton’s olives as an appetizer before dinner. I found that I needed to remove them from the refrigerator a bit in advance because the marinade is quite oil-heavy and would sort of congeal when chilled. I recommend serving these olives with napkins handy since they are quite oily. These olives pack a citrus punch and have just a little heat from the red pepper flakes. My problem with these olives was that I felt they lacked some salt. Obviously, the purpose of soaking the olives in water was to remove their salt before marinating, so I’m guessing they would retain some salinity if soaked for a shorter period; I soaked mine for the full five hours. I think I personally would prefer a little more salt to these guys, so I would like to try them again with a shorter water soak. I also found that my olives were a little less firm than I would prefer, but I’m going to blame that on the olives I used. Many of the grocery stores near me typically have olive bars, where you can mix and match a variety of olives to purchase, but all of these olive bars disappeared with Covid. The selection of olives I could find that were not already marinated was extremely limited, so I had to settle for some green olives without pits, while Alton’s recipe specifically calls for olives with pits. I’m guessing olives with pits would have a firmer texture.

Tapenade

An olive tapenade is the second recipe of this episode. To make Alton’s tapenade, place the following ingredients in the bowl of a food processor: 1/2 pound mixed/pitted/rinsed olives, 2 T extra-virgin olive oil, 1 T lemon juice, 1 small minced clove of garlic, 2 T capers, 2-3 fresh basil leaves, and 2 anchovy fillets (rinsed if salt-soaked).

Process the olive mixture for about a minute, scraping down the sides of the bowl as needed.

Tapenade after processing for a minute.

Transfer the tapenade to a bowl and serve with bread or crackers. We ate Alton’s tapenade as an appetizer with crackers, cheese, and meat.

Alton’s olive tapenade.

This is a really flavorful tapenade that comes together in mere minutes. If you are leery of the anchovies, I can say that you would not know they are in the tapenade unless someone told you, but I think you would sure miss them if they weren’t there. That being said, if you’re a vegetarian, you could always omit them. This would be a super easy appetizer to make to serve to guests, and you could even make it in advance, which is always a bonus! Now, if you want to go on to make Alton’s final olive recipe from this episode, you can reserve 1/3 C of your tapenade to make his…

Olive Loaf

Yep, in the episode, Alton uses some of his homemade tapenade to make his olive bread. Or, you could always just use a purchased tapenade, though it probably wouldn’t taste as good. To make the bread, place 17 ounces of flour in the bowl of a food processor with 1 T baking powder and pulse to combine.

Flour and baking powder in food processor.

Add 1/3 C of olive tapenade and pulse four times.

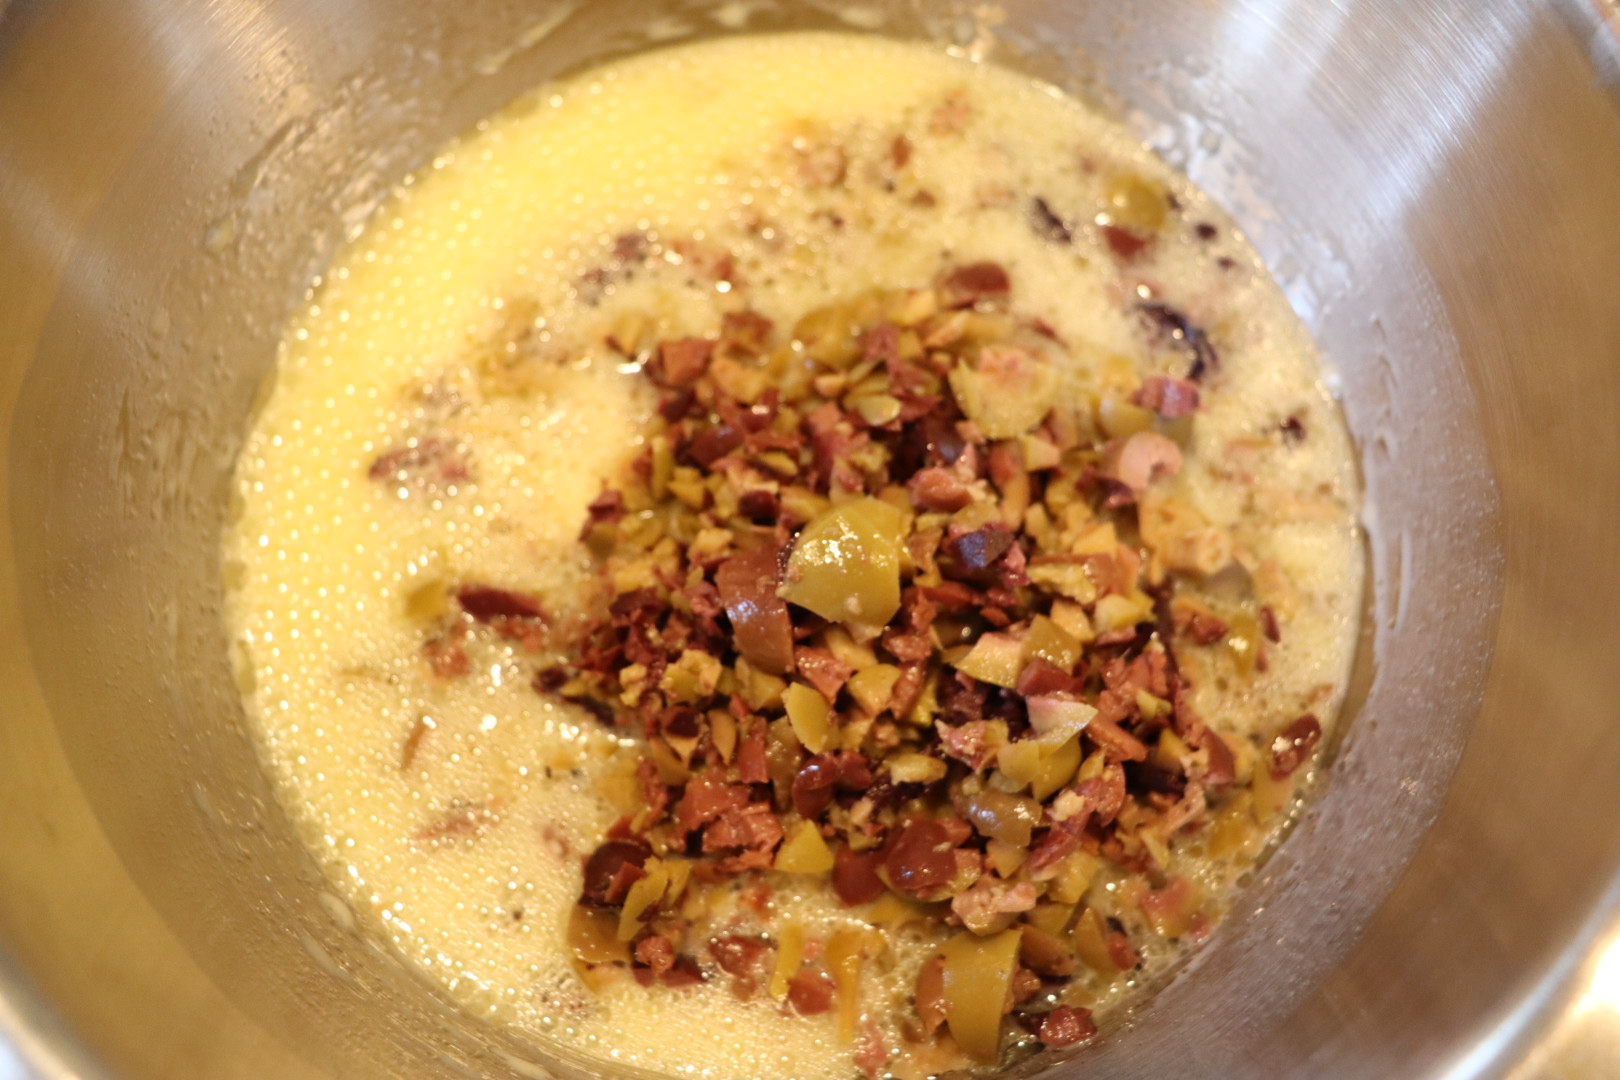
Using a whisk, combine 1 1/4 t Kosher salt, 1/2 C olive oil, 1 C milk, 2 beaten eggs, and 1 T honey in a large bowl. Stir in 12 ounces of rinsed/pitted/chopped olives.

12 ounces of rinsed/pitted olives.

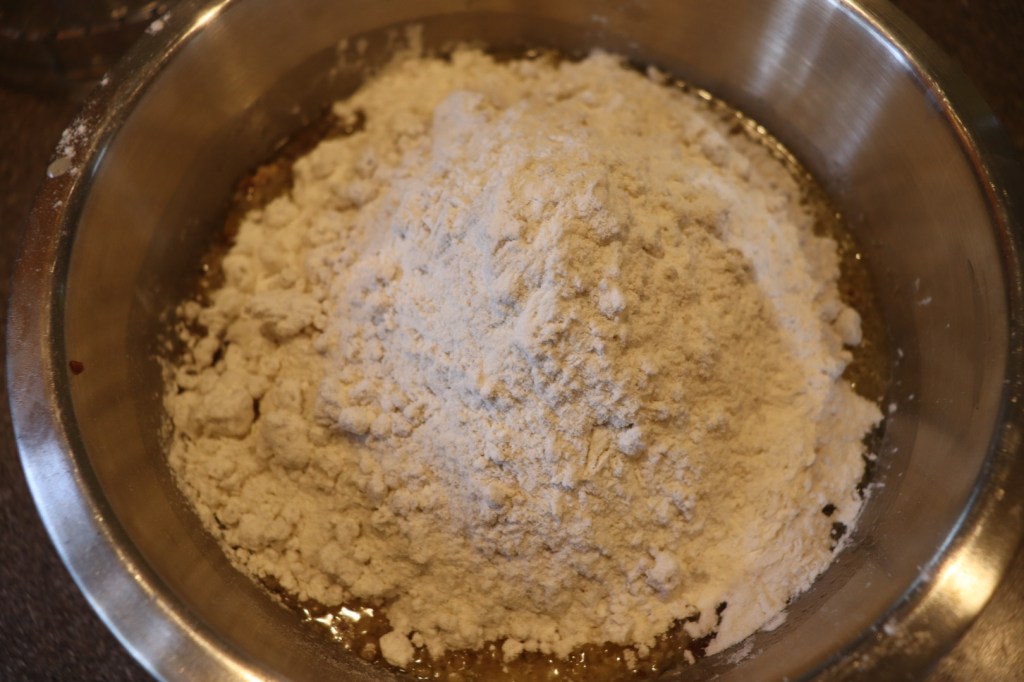
Add the dry ingredients to the wet ingredients, mixing until wet.

Dry ingredients added to wet ingredients.

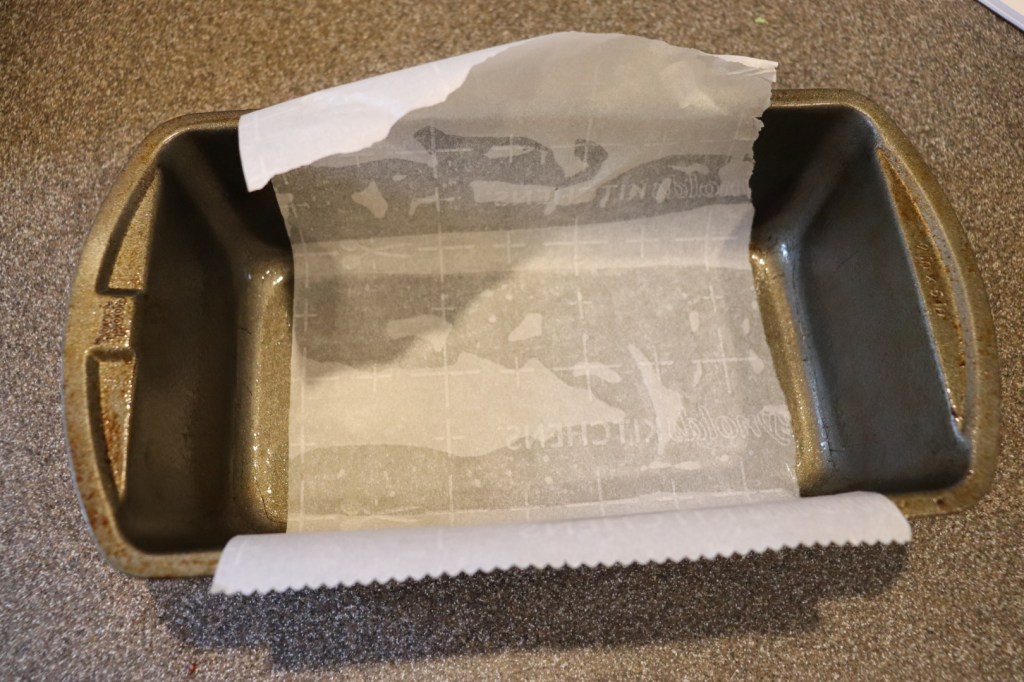
Spray a loaf pan with oil and line it with a parchment “sling.”

Loaf pan lined with parchment sling.

Pour the batter into the prepared pan and bake at 375 degrees for 75 to 80 minutes, or until the bread has an internal temperature of 210 degrees.

Bread dough placed in prepared pan.

Remove the bread from the pan and allow it to cool before slicing.

Alton’s olive loaf after baking.
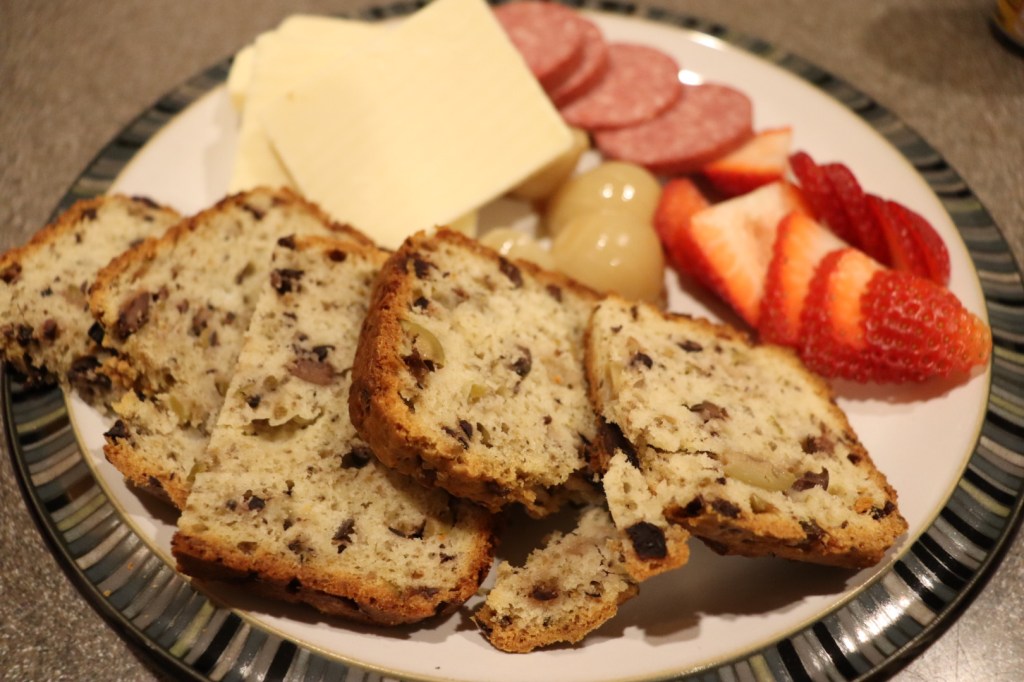
Sliced olive loaf.

We thoroughly enjoyed this bread. It came out moist and loaded with olives. Some reviewers claimed this bread was too salty, but we did not find that to be the case at all. I would definitely make this bread again, especially if you are an olive lover like I am.

I have to share that I am super excited because I discovered a few days ago that Alton will be touring later this year, and I was able to purchase tickets. If you have not seen his live show, it is a lot of fun!

My quest appears now be to complete a blog post during nap time. Will it happen this time? I’m guessing not, but we’ll give it a shot. We’re all still in isolation as we wait for this pandemic to be deemed as safely past. Since we can’t go out to eat, we may as well cook, right? We have been trying to support some of our local restaurants by getting takeout here and there, but I’m also cooking as much as I can with a six month old baby. Lately, I’ve been futzing with sourdough, as I have my mom’s old starter and a new one I picked up from a local eatery. This episode has nothing to do with sourdough, though. Instead, it deals with pocket pies. The recipes from this episode are all contained in one link, which is here.

Well, I did not successfully finish a blog post during nap time. In fact, it’s now nap time again two days later! Let’s give this another go.

Alton’s pocket pies have numerous iterations, so you can play with fillings, cooking methods, etc. The online link contains recipes for his pocket pie dough and for two fillings. To make the dough, pulse together in a food processor:  2 t baking powder, 3/4 t Kosher salt, and 9.5 ounces flour; this will “sift” and aerate the flour.

IMG_1837(1)

“Sifting” flour, Kosher salt, and baking powder in the food processor.

Place 2.5 ounces of shortening in ice water to chill for a few minutes. Once chilled, remove the shortening from the water and place it in a large bowl.

Add the flour mixture to the shortening and use your fingertips to work the shortening into the flour. Make a well in the center of the flour and pour in 3/4 C milk, stirring well (you want gluten development here).

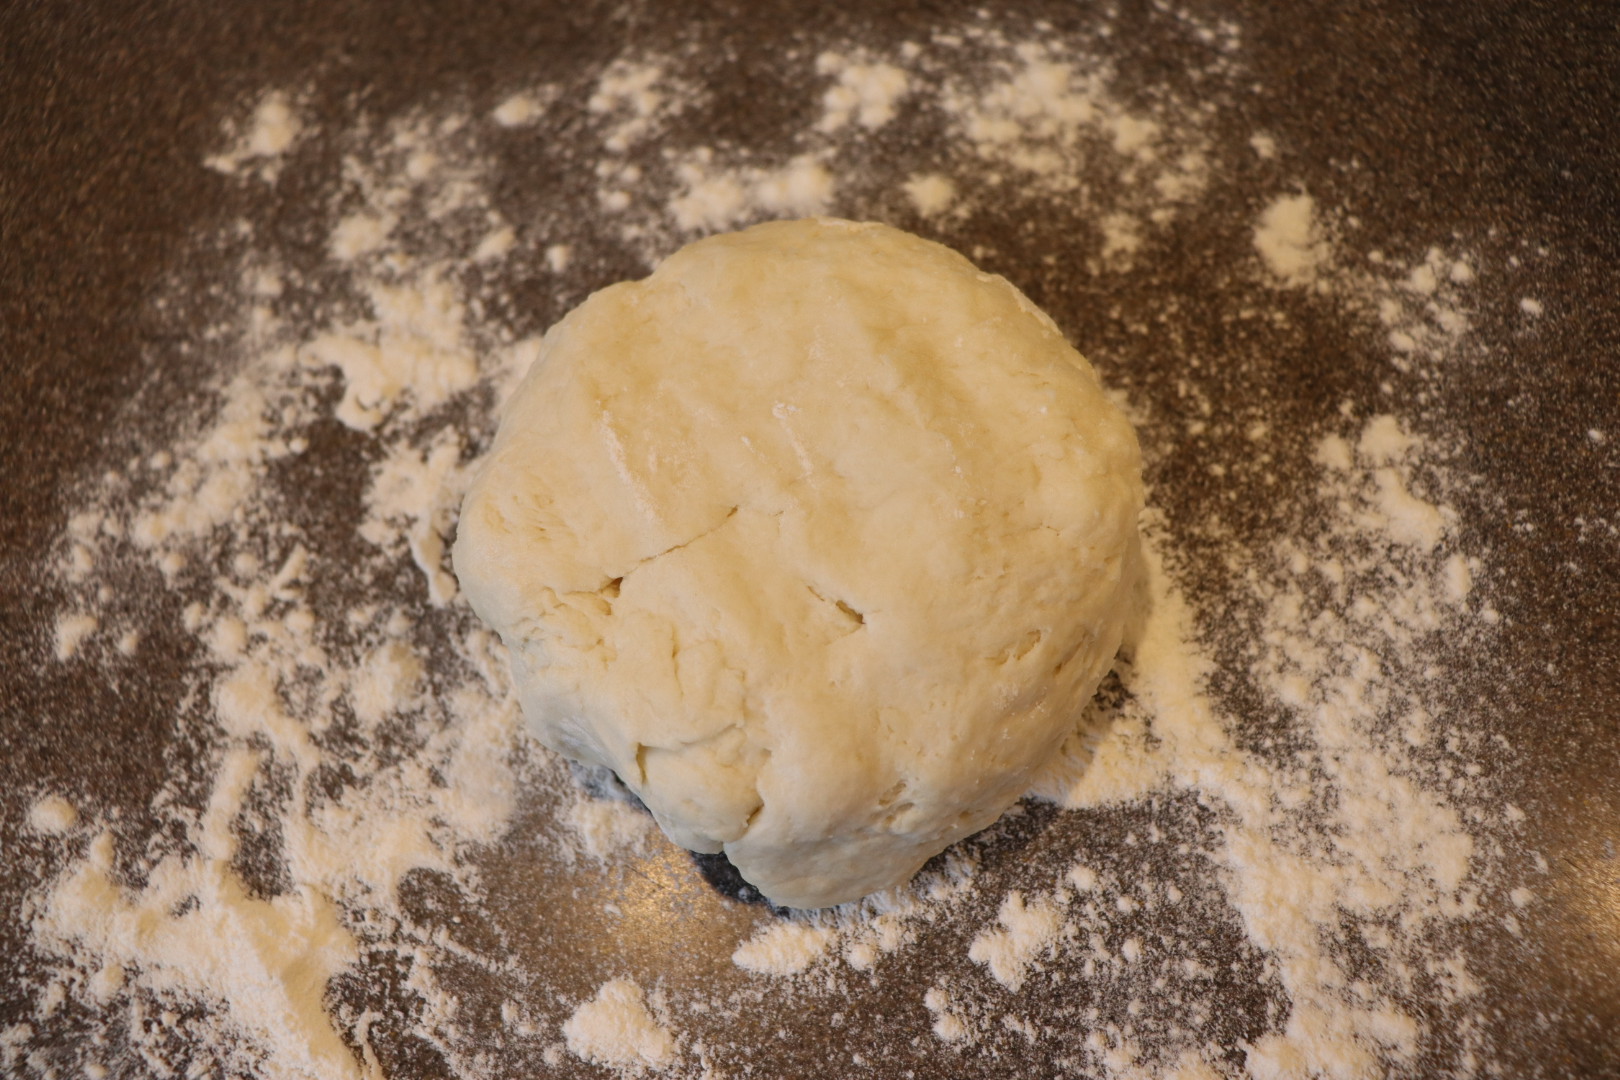
Turn the dough onto a counter and knead it 10-20 times with your hands.

IMG_1846(1)

Finished dough after kneading.

Roll the dough until it is 1/2″ thick and cut rounds with a 2.5 inch circular cutter. Roll each round until it is a thin disc measuring 5-6 inches in diameter. Place the dough rounds between sheets of wax paper and let them chill in the refrigerator for 1-2 hours before forming pies.

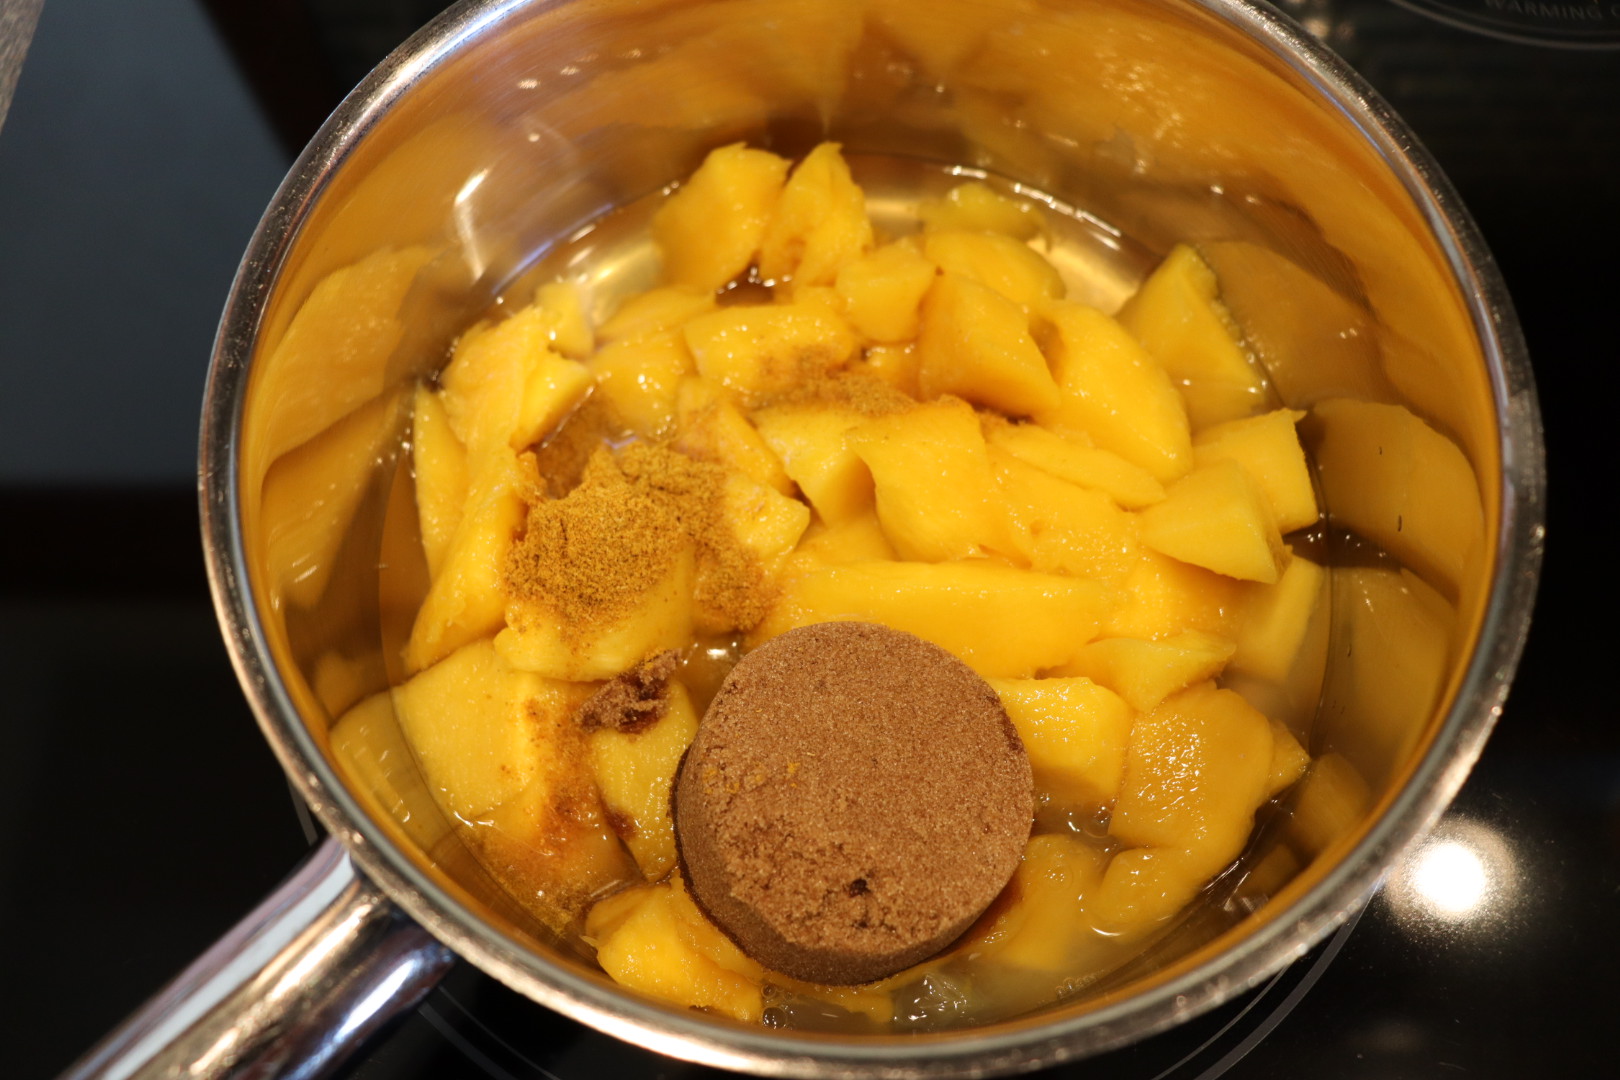
Alton’s favorite fruit filling for hand pies is a curried mango filling. You want this filling to be chilled before you use it, so you’ll want to make it several hours ahead. Peel and dice four mangoes, and place them in a large saucepan. Add 1/2 C brown sugar, 1/2 C cider vinegar, 2 t curry powder, and 1/4 C fresh lime juice to the pan.

IMG_1830

Mangoes, brown sugar, cider vinegar, curry powder, and lime juice in a large saucepan.

Bring the mixture to a boil over high heat, place a lid on the pan, and decrease the heat to a simmer. Let the filling simmer for 30 minutes.

Cool the filling at room temperature for an hour, and then place it in the refrigerator for 3-4 hours; a metal bowl will speed up the chilling.

Alternatively, for dessert pies, you can make Alton’s favorite chocolate filling. To do this, put 10 ounces of softened butter in a large ziplock bag. Add 2 1/2 C sugar, 1/4 C + 1 T cocoa powder, and a pinch of Kosher salt.

IMG_1851(1)

Chocolate filling ingredients in a large plastic bag: butter, sugar, cocoa powder, and Kosher salt.

Seal the bag and mash the filling with your hands until it is combined. When you are ready to fill pies, you can simply snip one of the bottom corners off of the bag and pipe the filling directly onto the dough.

Although there are no real recipes for other fillings in this episode, Alton did mention some other filling possibilities. For example, you could use leftover beef stew as a pie filling. Or, you could make mini pizza pies by filling the dough with pizza sauce, cheese, and toppings.

Regardless of which fillings you utilize, to form the pies place a large spoon of filling on one side of each chilled dough circle. Rub the edges of the circle with egg wash (1 egg plus 2 t water). Fold the dough over the filling to form a half moon, and press any air out with your fingers. Press the edges together with your fingers to seal them well, and use a fork to crimp the edges together. Place the sealed pies on a parchment-lined sheet pan and cut three small steam vents in the top of each pie with kitchen shears. Doh! Nap time appears to be over again!

Fast forward to another nap time a day later, and here we are. Now, back to baking the hand pies. Bake the pies at 350 for 25-30 minutes, or until golden brown. Let the pies cool for several minutes before eating. I baked some mango pies and some chocolate pies, and some of them leaked a little bit, especially the chocolate ones.

The crust here was very pie-like, though I think the crust would have been better if it had a little more flakiness to its texture. The mango filling was sweet, but not overly so, so you could easily eat these for breakfast or a snack. I had to use a slotted spoon when I placed the mango filling on the dough, as the filling was pretty thin and seemed to run all over the dough. The curry flavor was definitely evident, but it wasn’t completely overpowering.

Pan frying is another option for cooking hand pies. To do this, heat a heavy skillet over medium-low heat, adding a pat of butter. Once the butter has melted, place two hand pies in the pan, jiggling the pan to be sure the pies do not stick.

Flip the pies once they are golden brown. I pan fried some chocolate hand pies for dessert and they leaked less than the baked chocolate pies. The pies came out looking a little flat – like pressed sandwiches, but I liked the richness of cooking the pies in butter.

These pies seemed much more indulgent than the baked ones. The chocolate filling was very rich and had a slight grittiness to its mouthfeel from all of the sugar. I’m sure the grittiness could be remedied by making the filling in a mixer, but it’s certainly more fun to mash it together in a plastic bag!

If you want to get super indulgent, you could always try deep frying your hand pies. To do this, heat two quarts of canola oil to 375 degrees in a Dutch oven. For hand pies that will be deep fried, do not cut steam vents in the tops, but rather use a fork to dock the dough a few times. Fry the pies, a few at a time, until they float and are golden brown. Transfer the fried pies to an inverted cooling rack on newspaper, and allow them to cool for at least five minutes before eating. I did not end up deep frying any of my hand pies, as I just ran out of time to try this application. I imagine that these would be the crispiest pies.

You can store cooked fruit or chocolate pies at room temperature for up to a week. Pies with meat fillings can be refrigerated/reheated for up to a week. You can also freeze uncooked pies on a baking sheet, throwing them in a 350-degree oven for 30 minutes when you are ready to eat them.

In addition to his baked, pan-fried, and deep-fried pies, Alton also made homemade toaster pastries in this episode. Yep, you can make pop-tarts at home. To make these, make a full batch of dough as for the hand pies above, but divide the dough in half after kneading. Roll each of the two dough pieces into a 12″ x 10″ rectangle, using a knife to trim the edges. Divide each dough rectangle into six 4″ x 5″ rectangles, cutting them with a pizza cutter.

IMG_1883(1)

Half of the dough rolled into a 12″ x 10″ rectangle and cut into six 4″ x 5″ rectangles.

Rub egg wash (1 egg plus 2 t water) all around the edges of six of the 12 smaller rectangles. Spoon a couple tablespoons of your desired filling (Alton used fruit preserves) onto the center of each egg-washed rectangle, spreading it with a spoon.

IMG_1887(1)

Egg wash rubbed around edges and filling spooned onto rectangles.

Use a fork to dock the remaining six dough rectangles and place these rectangles on top of the filled/egg-washed rectangles. Use your fingers to press any air out of the pastries and to seal the edges tightly.

Crimp the edges with a fork and bake the finished pastries for 20 minutes at 350 degrees.

IMG_1892(1)

Crimped pastries placed on parchment-lined sheet pan.

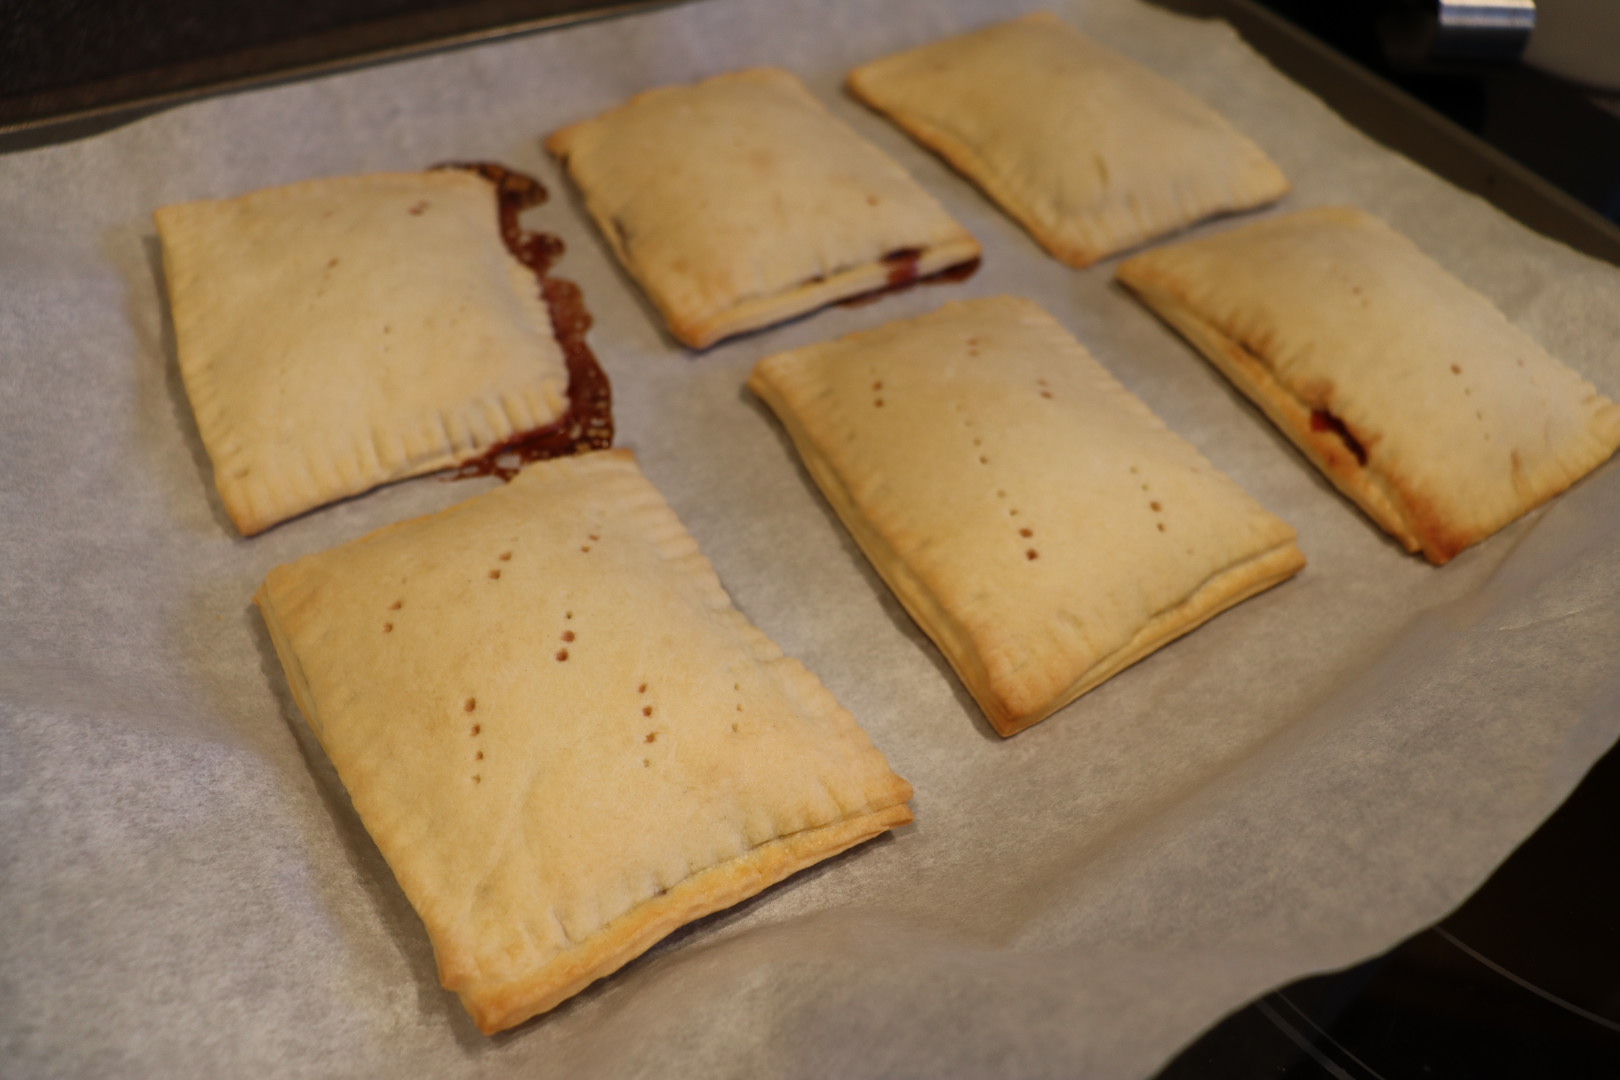
IMG_1893(1)

Toaster pastries after baking for 20 minutes.

Cool the pastries, storing them in plastic for a week or freeze for a month. Reheat the pastries by toasting them in a toaster on the lowest setting.

IMG_1902(1)

One of Alton’s toaster pastries.

These were fun and easy to make, and were my favorites of all of Alton’s hand pies. Kids would really enjoy eating these, and you could fill them with any number of fillings. The resulting dough was crispy at the edges and tender in the center.

I have made many empanadas and hand pies (usually savory) over the years. I do have a dough recipe that I overall prefer over Alton’s, as it is easier to work with and results in a very flaky crust, but Alton’s crust is pretty good too. For dessert, I’d opt for pan-fried chocolate pies and for breakfast I’d certainly make Alton’s toaster pastries. Regardless of how you cook them or which fillings you choose, hand pies are equally fun to make and eat.


Quite a lot has transpired since I last posted on the day I was scheduled to be induced for labor. I had a long induction, beginning September 18th and finally resulting in the birth of our daughter on September 21st. My preeclampsia worsened after giving birth, so I ended up in the hospital for an additional four days. In addition, our daughter was small at birth, so she ended up in the NICU for 11 days. We finally were all home together on October 1st, and we began settling into our new life.

Unfortunately, my father-in-law became very sick a couple weeks later, spending some time in the ICU. He eventually died on October 22nd. We were all in shock; actually, I think we still are.

Granola Bars

I really have not been doing much cooking at all since I had my baby, though I have managed to crank out the three recipes from this episode of Good Eats. Thankfully, this episode was composed of easy recipes that are not time-consuming, as I am strictly working on someone else’s unpredictable schedule now. Still, I was able to find time to whip up Alton’s granola bars. Begin by preheating your oven to 350, and spread the following ingredients on a sheet pan:  8 oz old-fashioned oats, 1.5 oz raw (unshelled) sunflower seeds, 3 oz sliced almonds, and 1.5 oz wheat germ.

IMG_0561(1)

Old-fashioned oats, raw sunflower seeds, sliced almonds, and wheat germ on a sheet pan.

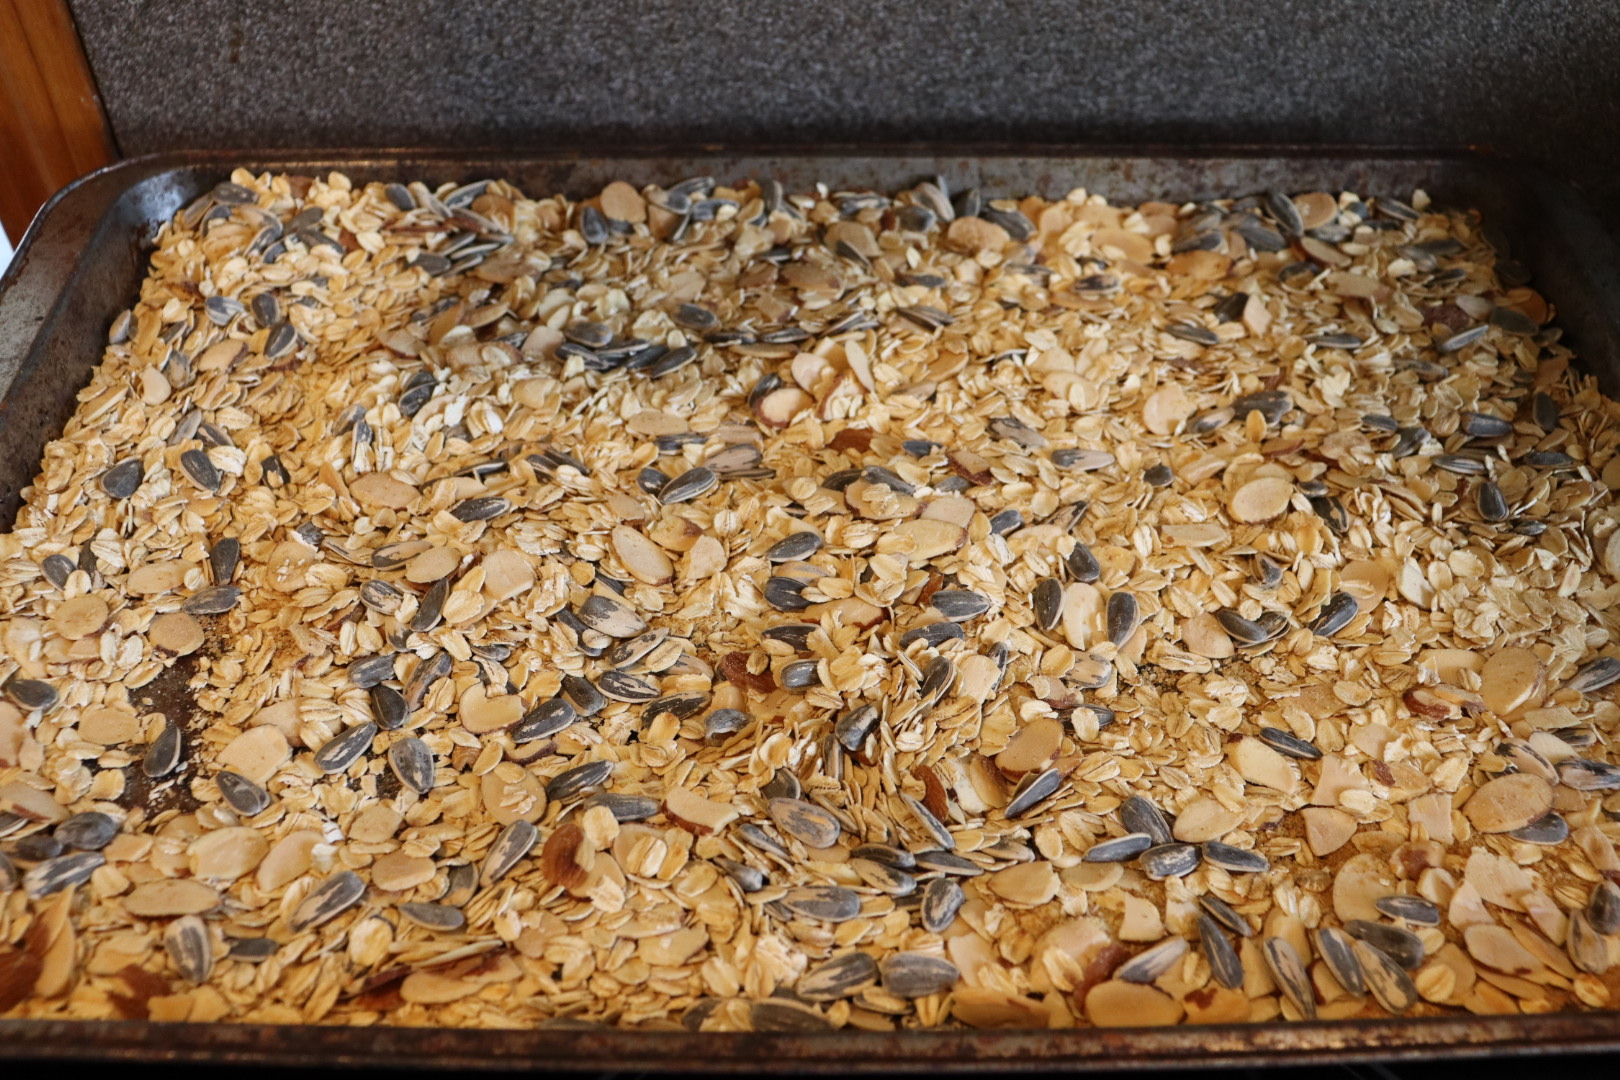
Place the sheet pan in the preheated oven for 15 minutes, stirring the dry ingredients every five minutes. When you remove the sheet pan from the oven, decrease the oven temperature to 300.

IMG_0568(1)

Old-fashioned oats, raw sunflower seeds, sliced almonds, and wheat germ after toasting.

Next it is time to prep the wet ingredients by placing 6 oz honey in a medium saucepan with 1 3/4 oz dark brown sugar, 1 oz unsalted butter, 2 t vanilla, and 1/2 t Kosher salt. Set the saucepan over medium heat and stir until the sugar has completely dissolved.

IMG_0570(1)

Honey, dark brown sugar, unsalted butter, vanilla, and Kosher salt.

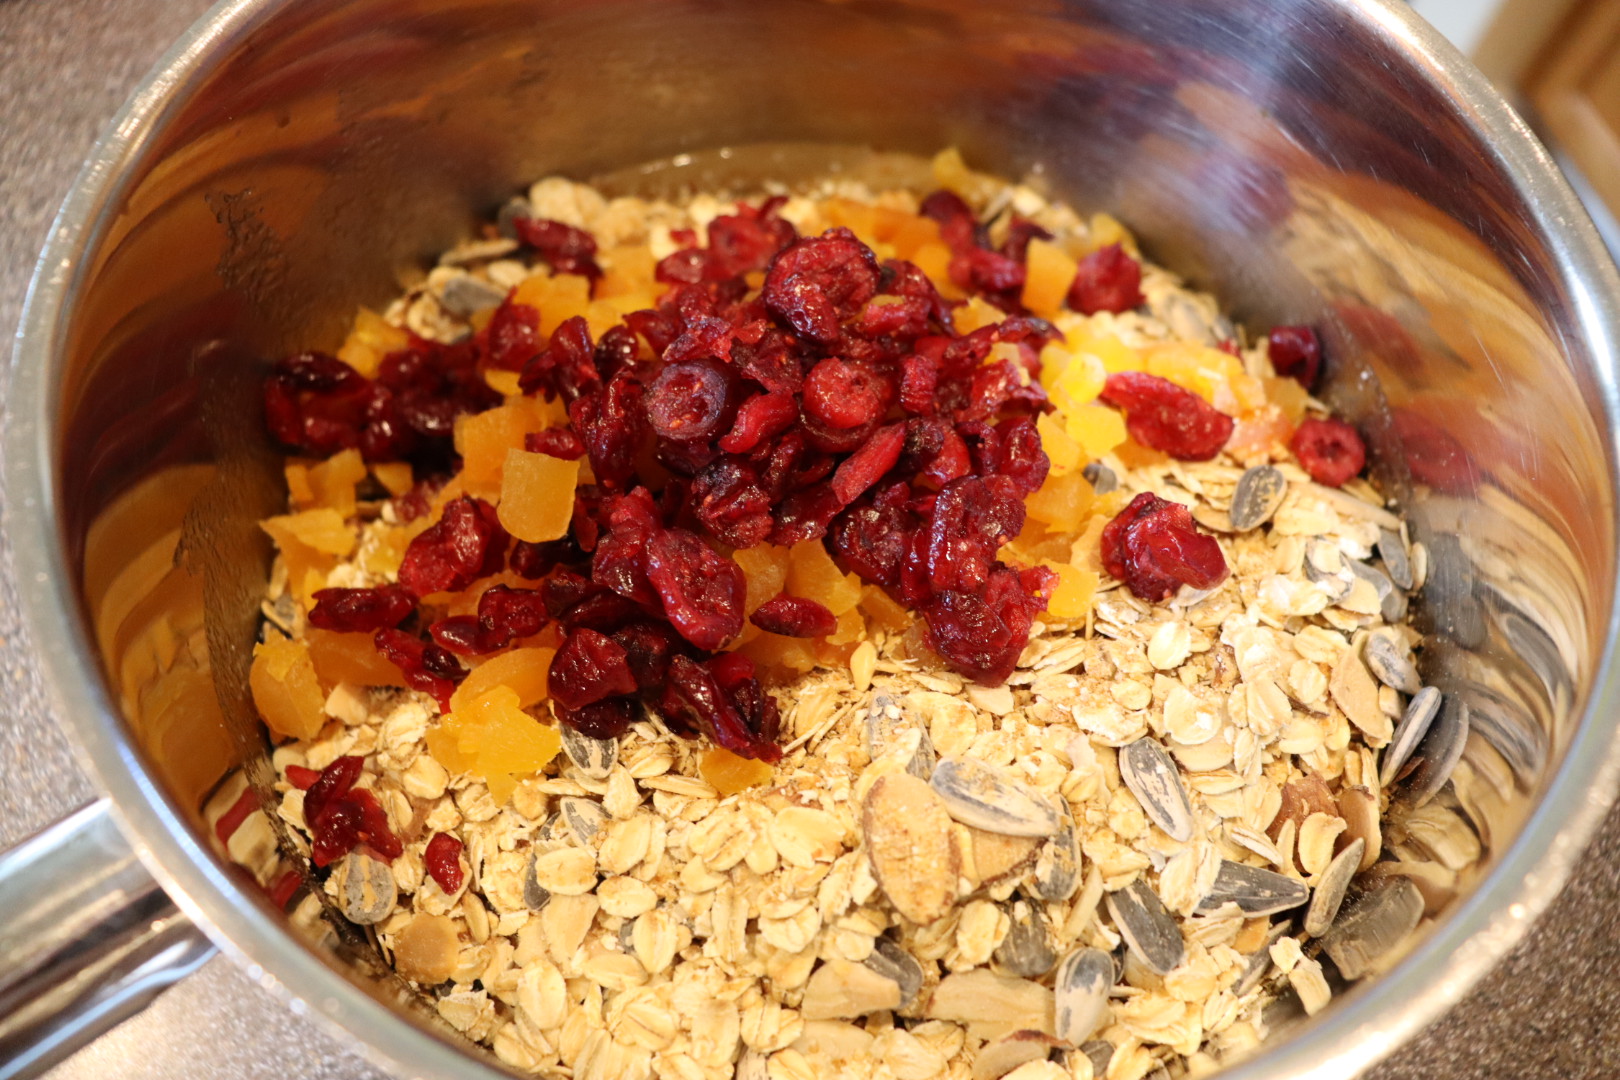
Add the oat mix to the liquid mixture, along with 6.5 oz of chopped dried fruit (I used apricots and cranberries). Toss to mix the ingredients thoroughly.

IMG_0573(1)

Oat mixture and dried fruit added to liquid ingredients.

Place the oat mixture in an oiled 9×9 pan, pressing it down with your hands.

IMG_0575(1)

Granola mixture pressed into square pan.

Bake the bars at 300 degrees for 25 minutes.

IMG_0576(1)

Granola mixture after baking.

Let the bars cool completely on a wire rack before turning them out onto a board, and cut the bars into 16 squares.

IMG_0578(1)

Cooled granola bars turned onto a board.

IMG_0580(1)

An Alton granola bar.

The nutrition in each granola bar is:

  • 193 calories
  • 30.5 g carbohydrates
  • 4.5 g protein
  • 6.8 g fat
  • 3.66 g fiber
  • 61.3 mg sodium

My bars crumbled a bit when I cut them, but they tasted really great. They were crunchy and chewy, and had a subtle hint of salt to compliment the sweetness of the fruit. I found myself reaching for these bars as an afternoon snack, and I ate some of the crumbly bits with yogurt for breakfast. This was my favorite recipe of this episode.

Protein Bars

If you’ve ever eaten a protein bar, you know they tend to taste less than stellar. With this recipe, Alton claims to have created the best tasting protein bar you can find anywhere. These bars start with preheating your oven to 350. While the oven heats, combine 4 oz soy protein powder, 2 1/4 oz oat bran, 2 3/4 oz whole wheat flour, 3/4 oz wheat germ, and 1/2 t Kosher salt in a bowl. I could not find soy protein powder even at my local health food store, so I finally ended up subbing whey protein powder.

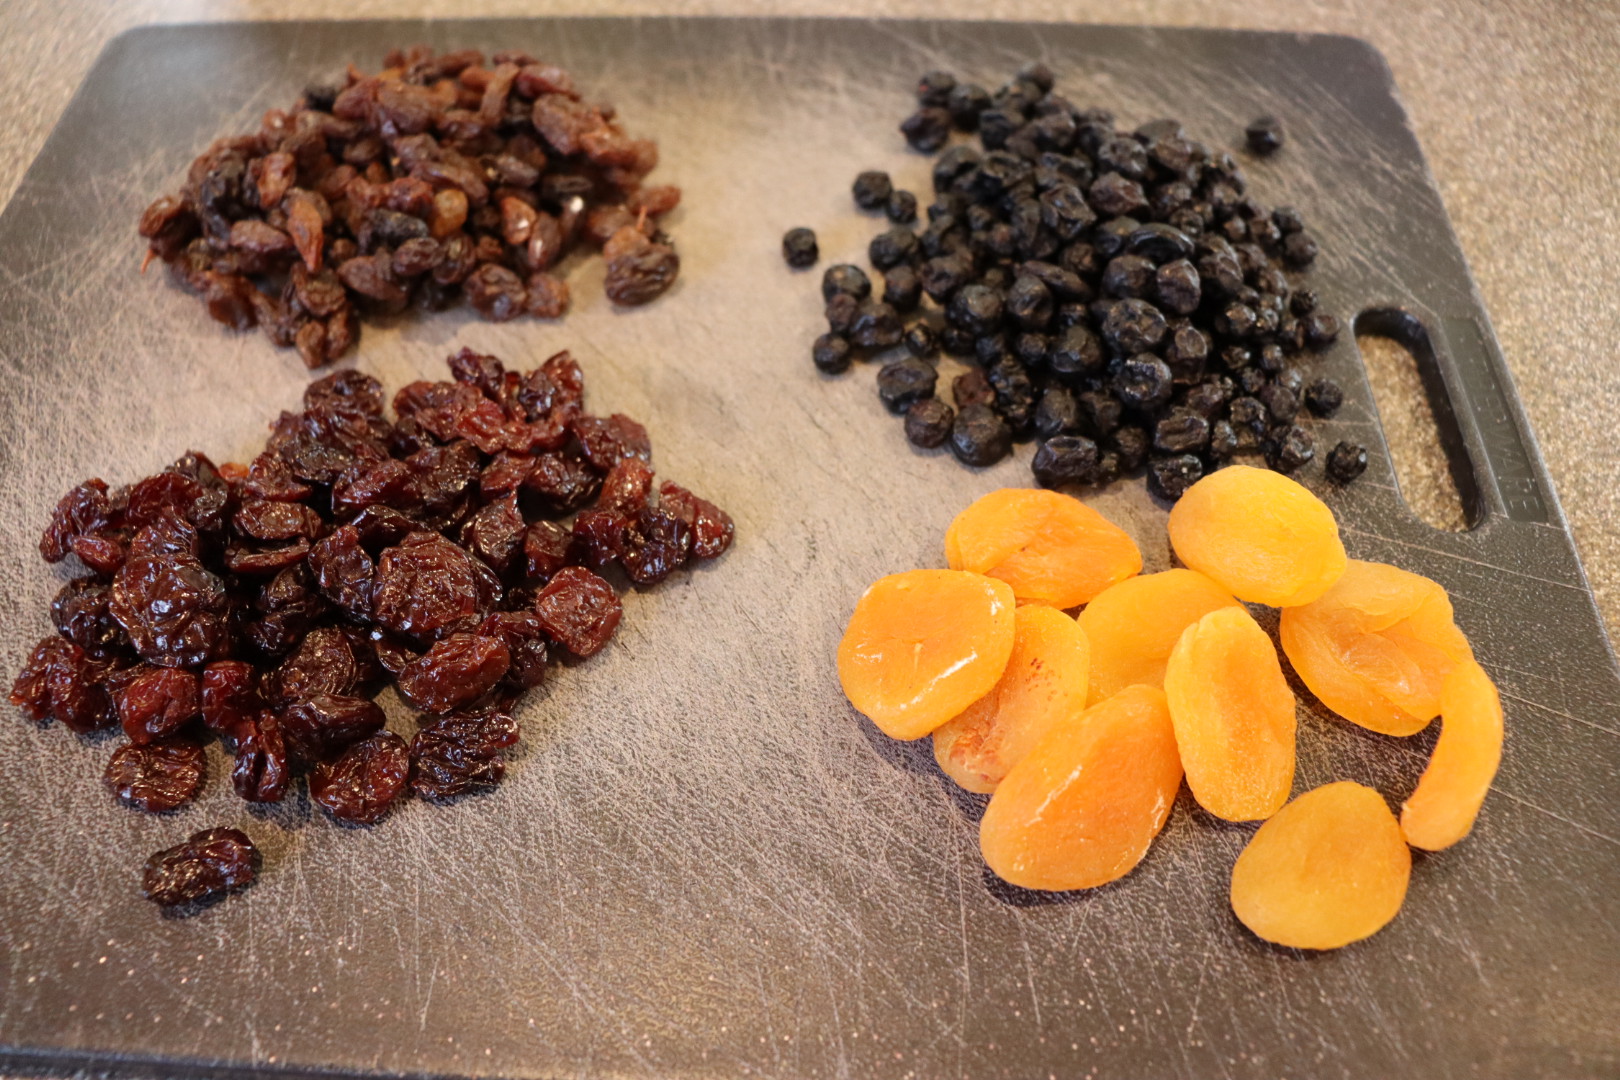
Next, chop 3 oz each of raisins and dried blueberries, along with 2 1/2 oz each dried cherries and dried apricots.

IMG_0640(1)

Raisins, dried blueberries, dried apricots, and dried cherries.

In a second bowl, whisk together a 12.3 oz package of silken tofu, 4 oz dark brown sugar, 2 eggs, 1/2 C unfiltered apple juice, and 2/3 C natural peanut butter. For those who have peanut allergies, you can substitute almond or cashew butter.

IMG_0646(1)

Silken tofu, dark brown sugar, eggs, and apple juice.

IMG_0647(1)

Silken tofu, dark brown sugar, eggs, apple juice, and peanut butter.

Add the wet ingredients to the dry ingredients, followed by the chopped dried fruit.

Use your hands to thoroughly mix the batter, and pour/press the finished batter into a 9×13″ pan that has been lined with oiled parchment paper.

Bake the bars at 350 for 35 minutes, or until they have an internal temperature of 205 degrees.

IMG_0654(1)

Bars after baking to an internal temperature of 205.

Cool the bars completely on a wire rack before turning them out onto a board, and cut with a pizza wheel into 24 bars.

IMG_0676(1)

Bars, cut into 24 pieces.

IMG_0674(1)

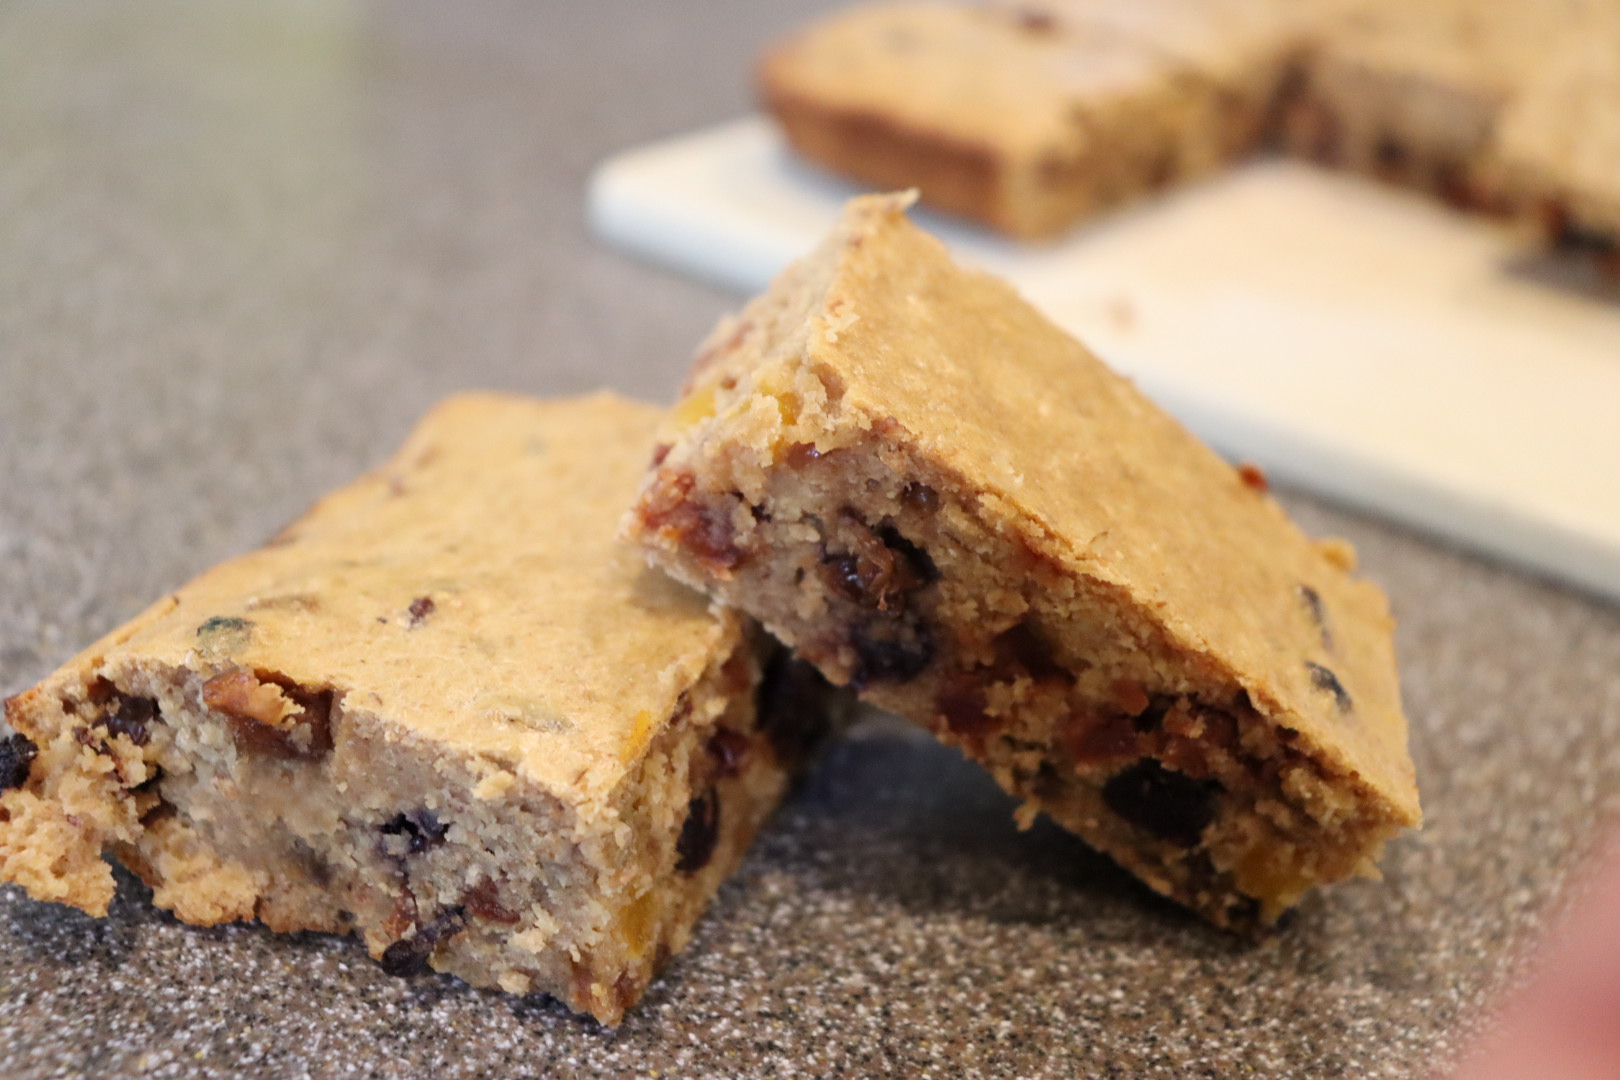
Alton’s protein bars.

These bars can be stored in the refrigerator for a week or in the freezer for up to three months. These bars are dense and cakey, and I really like the flavor/moisture from the dried fruit. They do have a fairly strong peanut butter flavor, so I’d opt for a different nut butter if you do not care for peanut butter. While I wouldn’t say these are a treat, they are pretty tasty for what they are, and I have grabbed them for a quick snack when I haven’t had time to eat. The nutritional breakdown for these bars is:

  • 154 calories
  • 21.1 g carbohydrates
  • 8.4 g protein
  • 4.8 g fat
  • 2.1 g fiber
  • 91.9 mg sodium
  • 17.7 mg cholesterol

Brown Rice Crispy Bar

The last bar Alton tackles in this episode is his take on the classic Rice Krispies treat. For his bars, Alton brings a pot of water to a bare simmer, placing a large metal mixing bowl over the top (my mixing bowls are insulated, so I used a large pot).

IMG_0698(1)

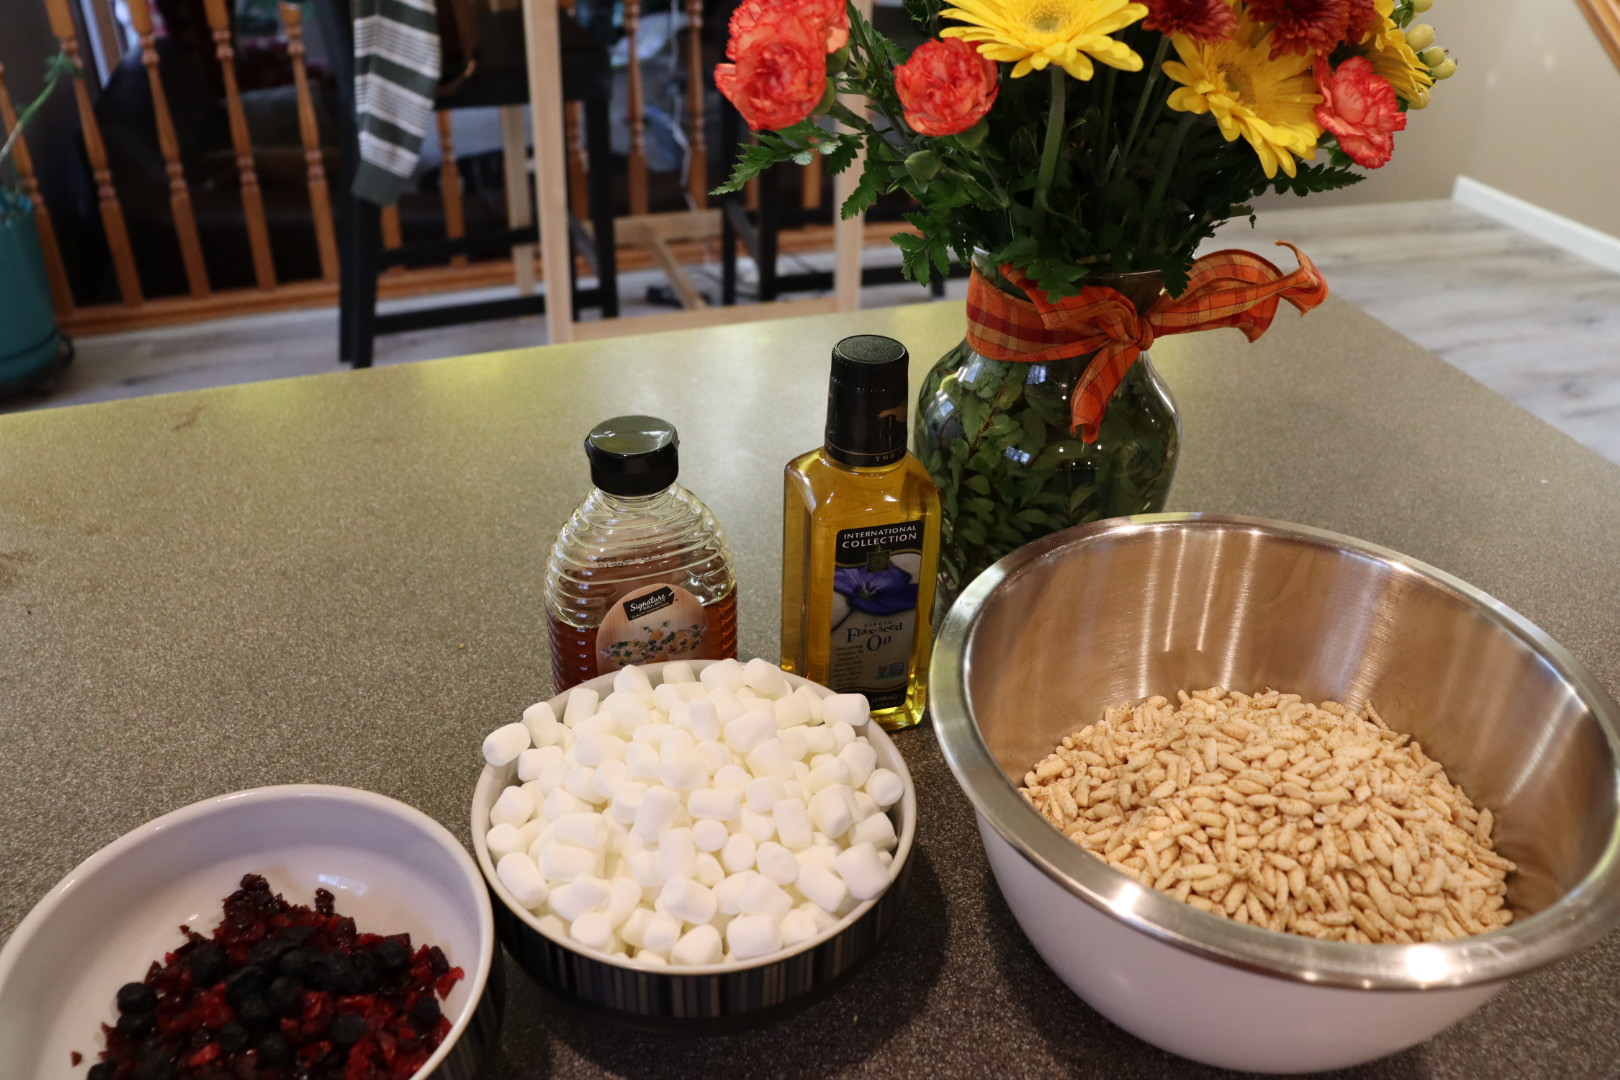
Ingredients for bars: dried fruit, mini marshmallows, honey, flax seed oil, and puffed brown rice. Not pictured: toasted slivered almonds.

To the bowl he adds 1 T honey, 3 T flax seed oil, and 7 oz miniature marshmallows. He stirs the mixture until it is melted and smooth.

Once melted, he turns the heat off, but keeps the marshmallow mixture over the warm water. To this he adds 3 oz puffed brown rice, 3 oz toasted slivered almonds (I toasted my almonds in a skillet), 1 1/2 oz chopped dried cranberries, 1 1/2 oz chopped dried cherries, and 1 oz dried blueberries.

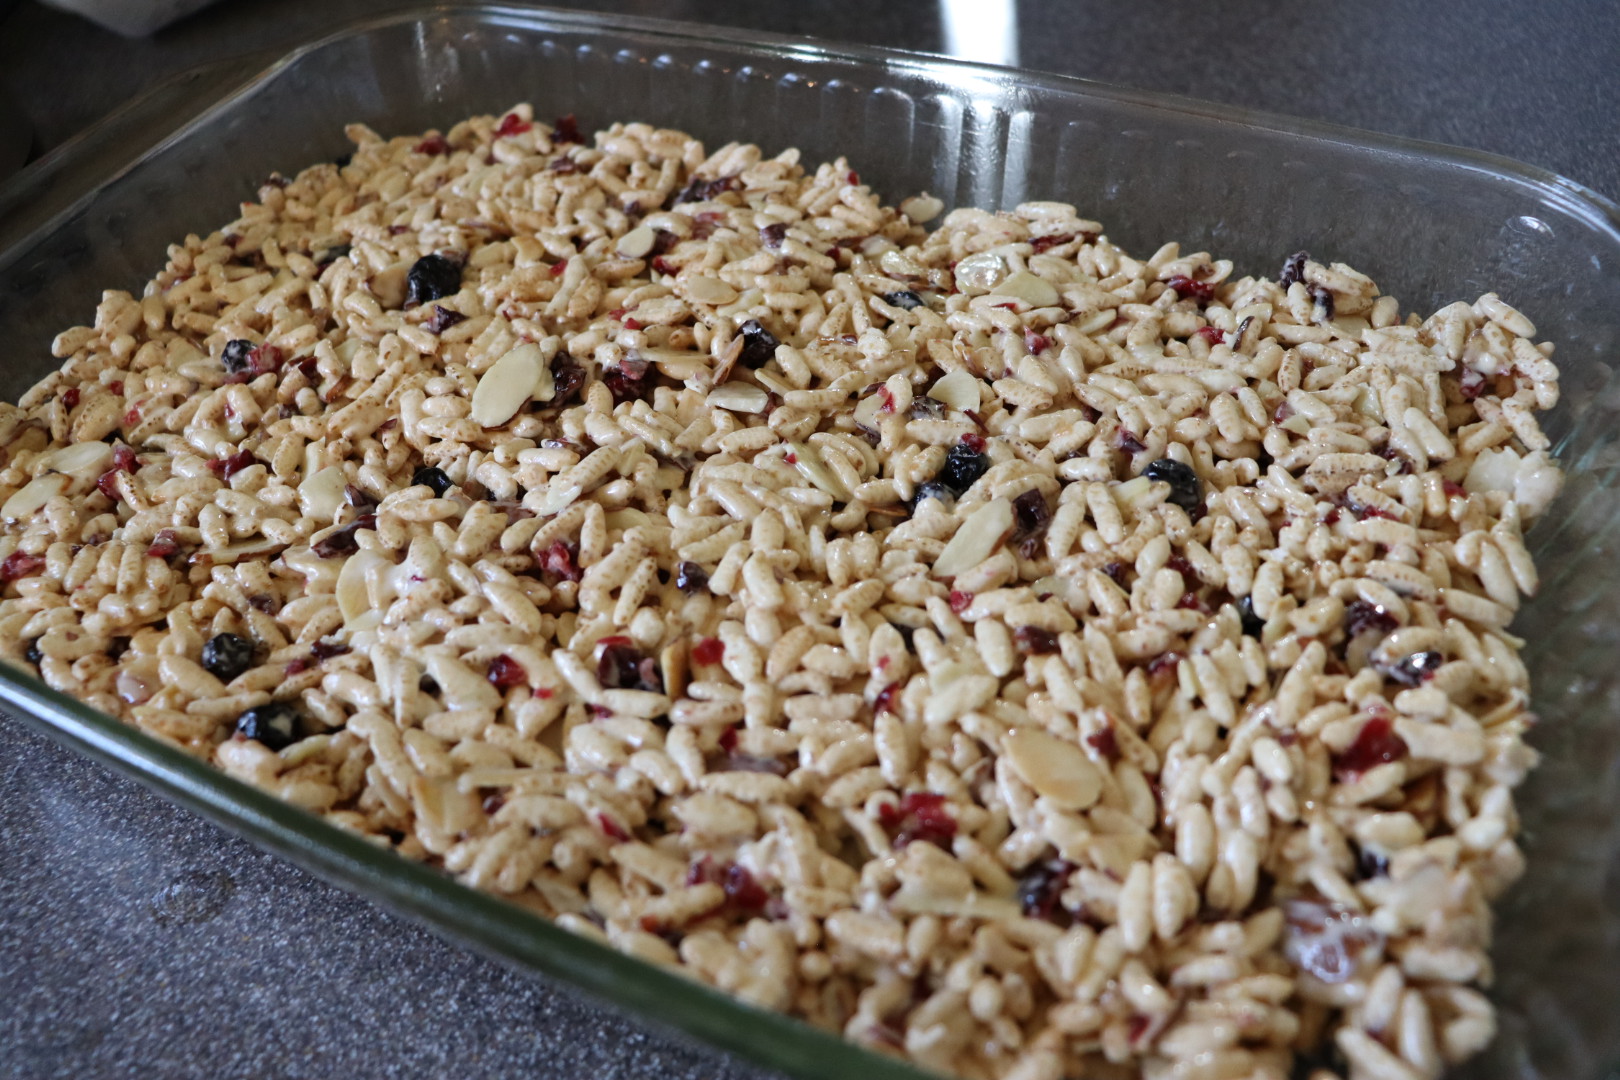
After stirring everything together, he dumps the mixture into a 9×13″ pan (metal is best) that has been oiled with vegetable or canola oil. With oiled hands (I find that using damp hands works just as well) he presses the mixture down into the pan and allows the pan to cool completely before cutting into 24 bars.

IMG_0720(1)

Bar mixture placed in oiled pan.

IMG_0721(1)

Alton’s rice crispy bars.

I had really high hopes for these bars because I am a fan of Rice Krispies treats, but these were super disappointing to me. My biggest grievance with these bars was their texture, which resembled stale cereal. After reading the online reviews of this recipe, I also saw that some people complained of the flax seed flavor, but that didn’t really bother me too much. Honestly, I tried to like these, but just couldn’t get past their unappealing texture. I did, however, like the dried fruit in these, so maybe I’ll add some dried fruit when I next make Rice Krispies treats. Nutrition-wise, these bars have:

  • 93.8 calories
  • 15.1 g carbohydrates
  • 1.16 g protein
  • 3.7 g fat
  • 1 g fiber
  • 4.3 mg sodium

We sat down last night and watched the first two new episodes of Good Eats:  The Return. I was really happy with the episodes, as they seemed to maintain the original character of the show, while in a more modern setting. It was a little hard for me to watch the new episodes since my dad is no longer here; he was super excited when I told him last year that new episodes were on the horizon. We surely would have been chatting on the phone today about Alton’s newest recipes.

I have realized that I think I sometimes put off writing for this project because it does always remind me that my dad is not here. I shared my love of Good Eats, and food in general, more with him than with anyone else. I think, though, that it is time for me to alter my mindset, and view each part of this project as an ode to Dad. He would have wanted me to continue on with vigor, so it’s time to hold myself to it.

In other news, I am officially 34 weeks pregnant, and things will soon be very busy and different in our house. I feel much of the time like a beached whale, so I am fast approaching the point of being ready for the baby to be out. A few more weeks of baking are good though, I know. Speaking of baking, onto the food…

Beef Jerky

I love when this project leads me to make things I have never attempted before, and this episode’s beef jerky was just that. Alton’s jerky uses 1.5-2 pounds of flank steak, which you will want to place in a plastic bag in the freezer until it is almost solid.

IMG_2951(1)

Flank steak before freezing.

Once the beef is nearly solid, use a Santoku or chef’s knife to cut the meat into thin strips along the grain; don’t worry if some of the strips are larger than others – just follow the natural grain of the meat.

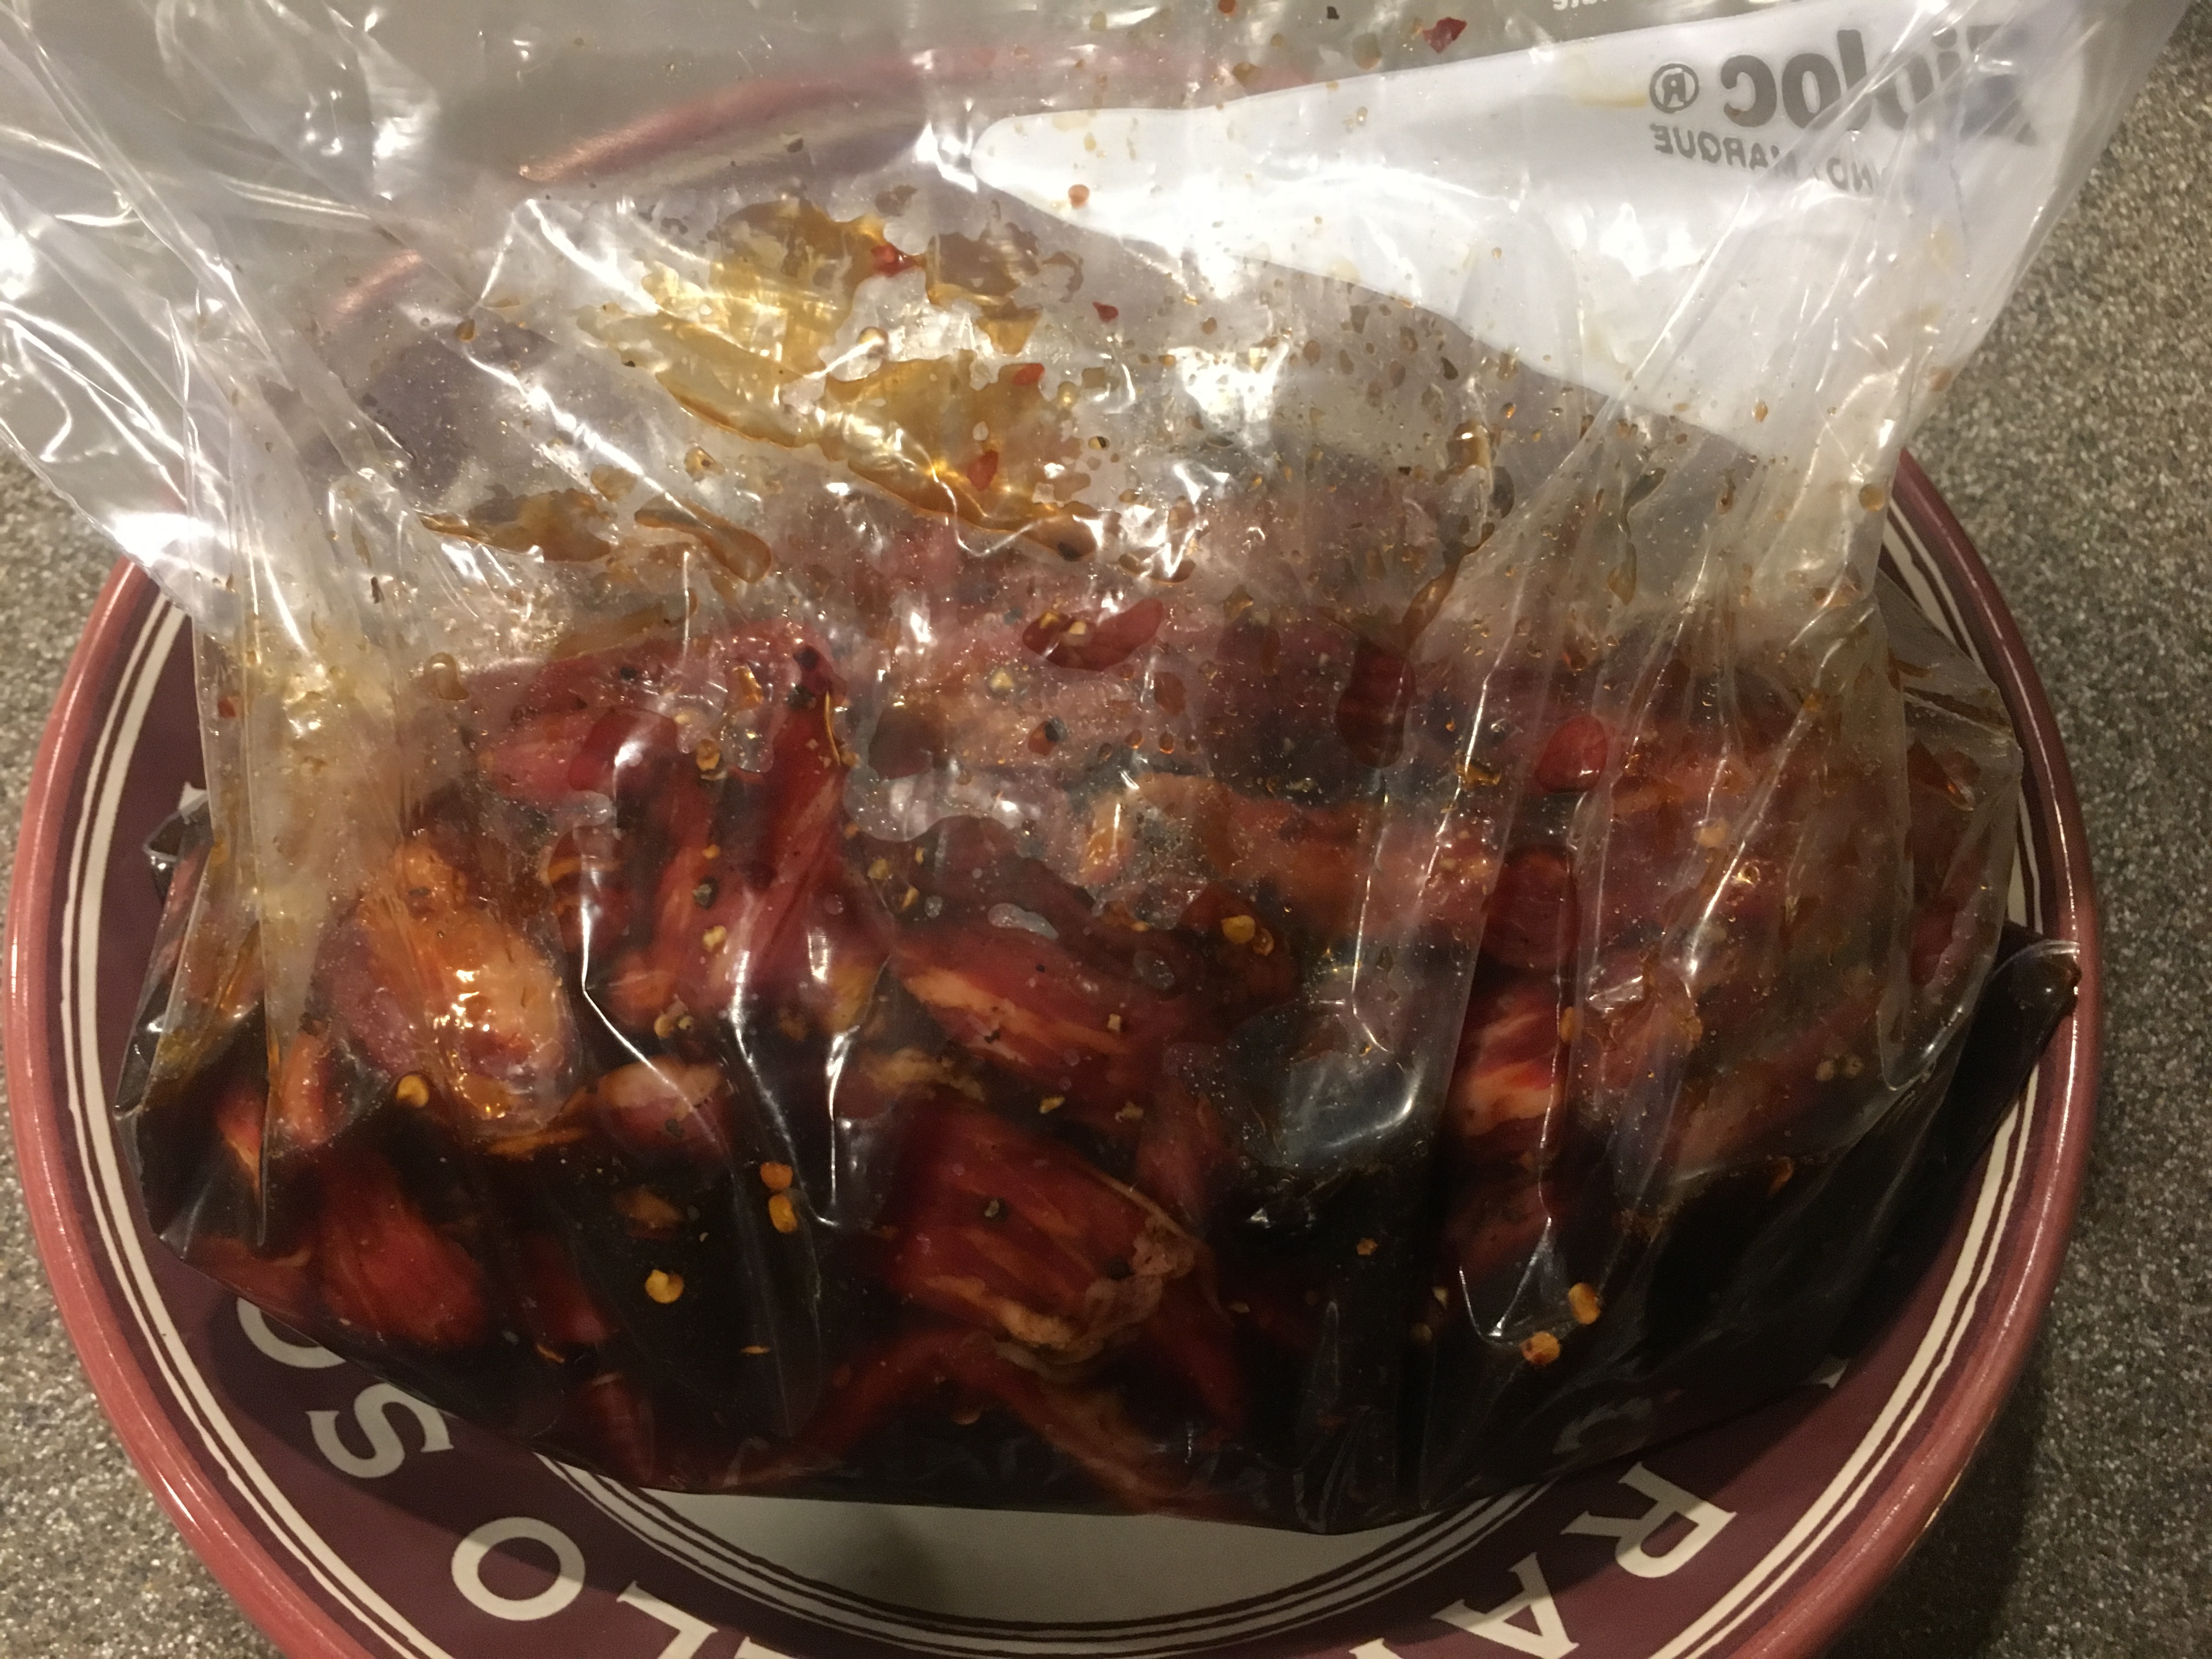
Place the meat strips in a large plastic bag and add the following ingredients:  2/3 C soy sauce, 2/3 C Worcestershire sauce, 1 T honey, 2 t black pepper, 2 t onion powder, 1 t red pepper flakes, and 1 t liquid smoke (I combined my marinade ingredients in a liquid measuring cup first).

Seal the bag, and massage the bag with your hands, working the marinade thoroughly into the meat. Place the meat in the refrigerator for three to six hours.

IMG_2963(1)

Marinade massaged into beef, and placed in the refrigerator for 3-6 hours.

After marinating, drain the meat, discarding the excess marinade.

Pat the meat dry with paper towels.

IMG_2968(1)

Beef patted dry.

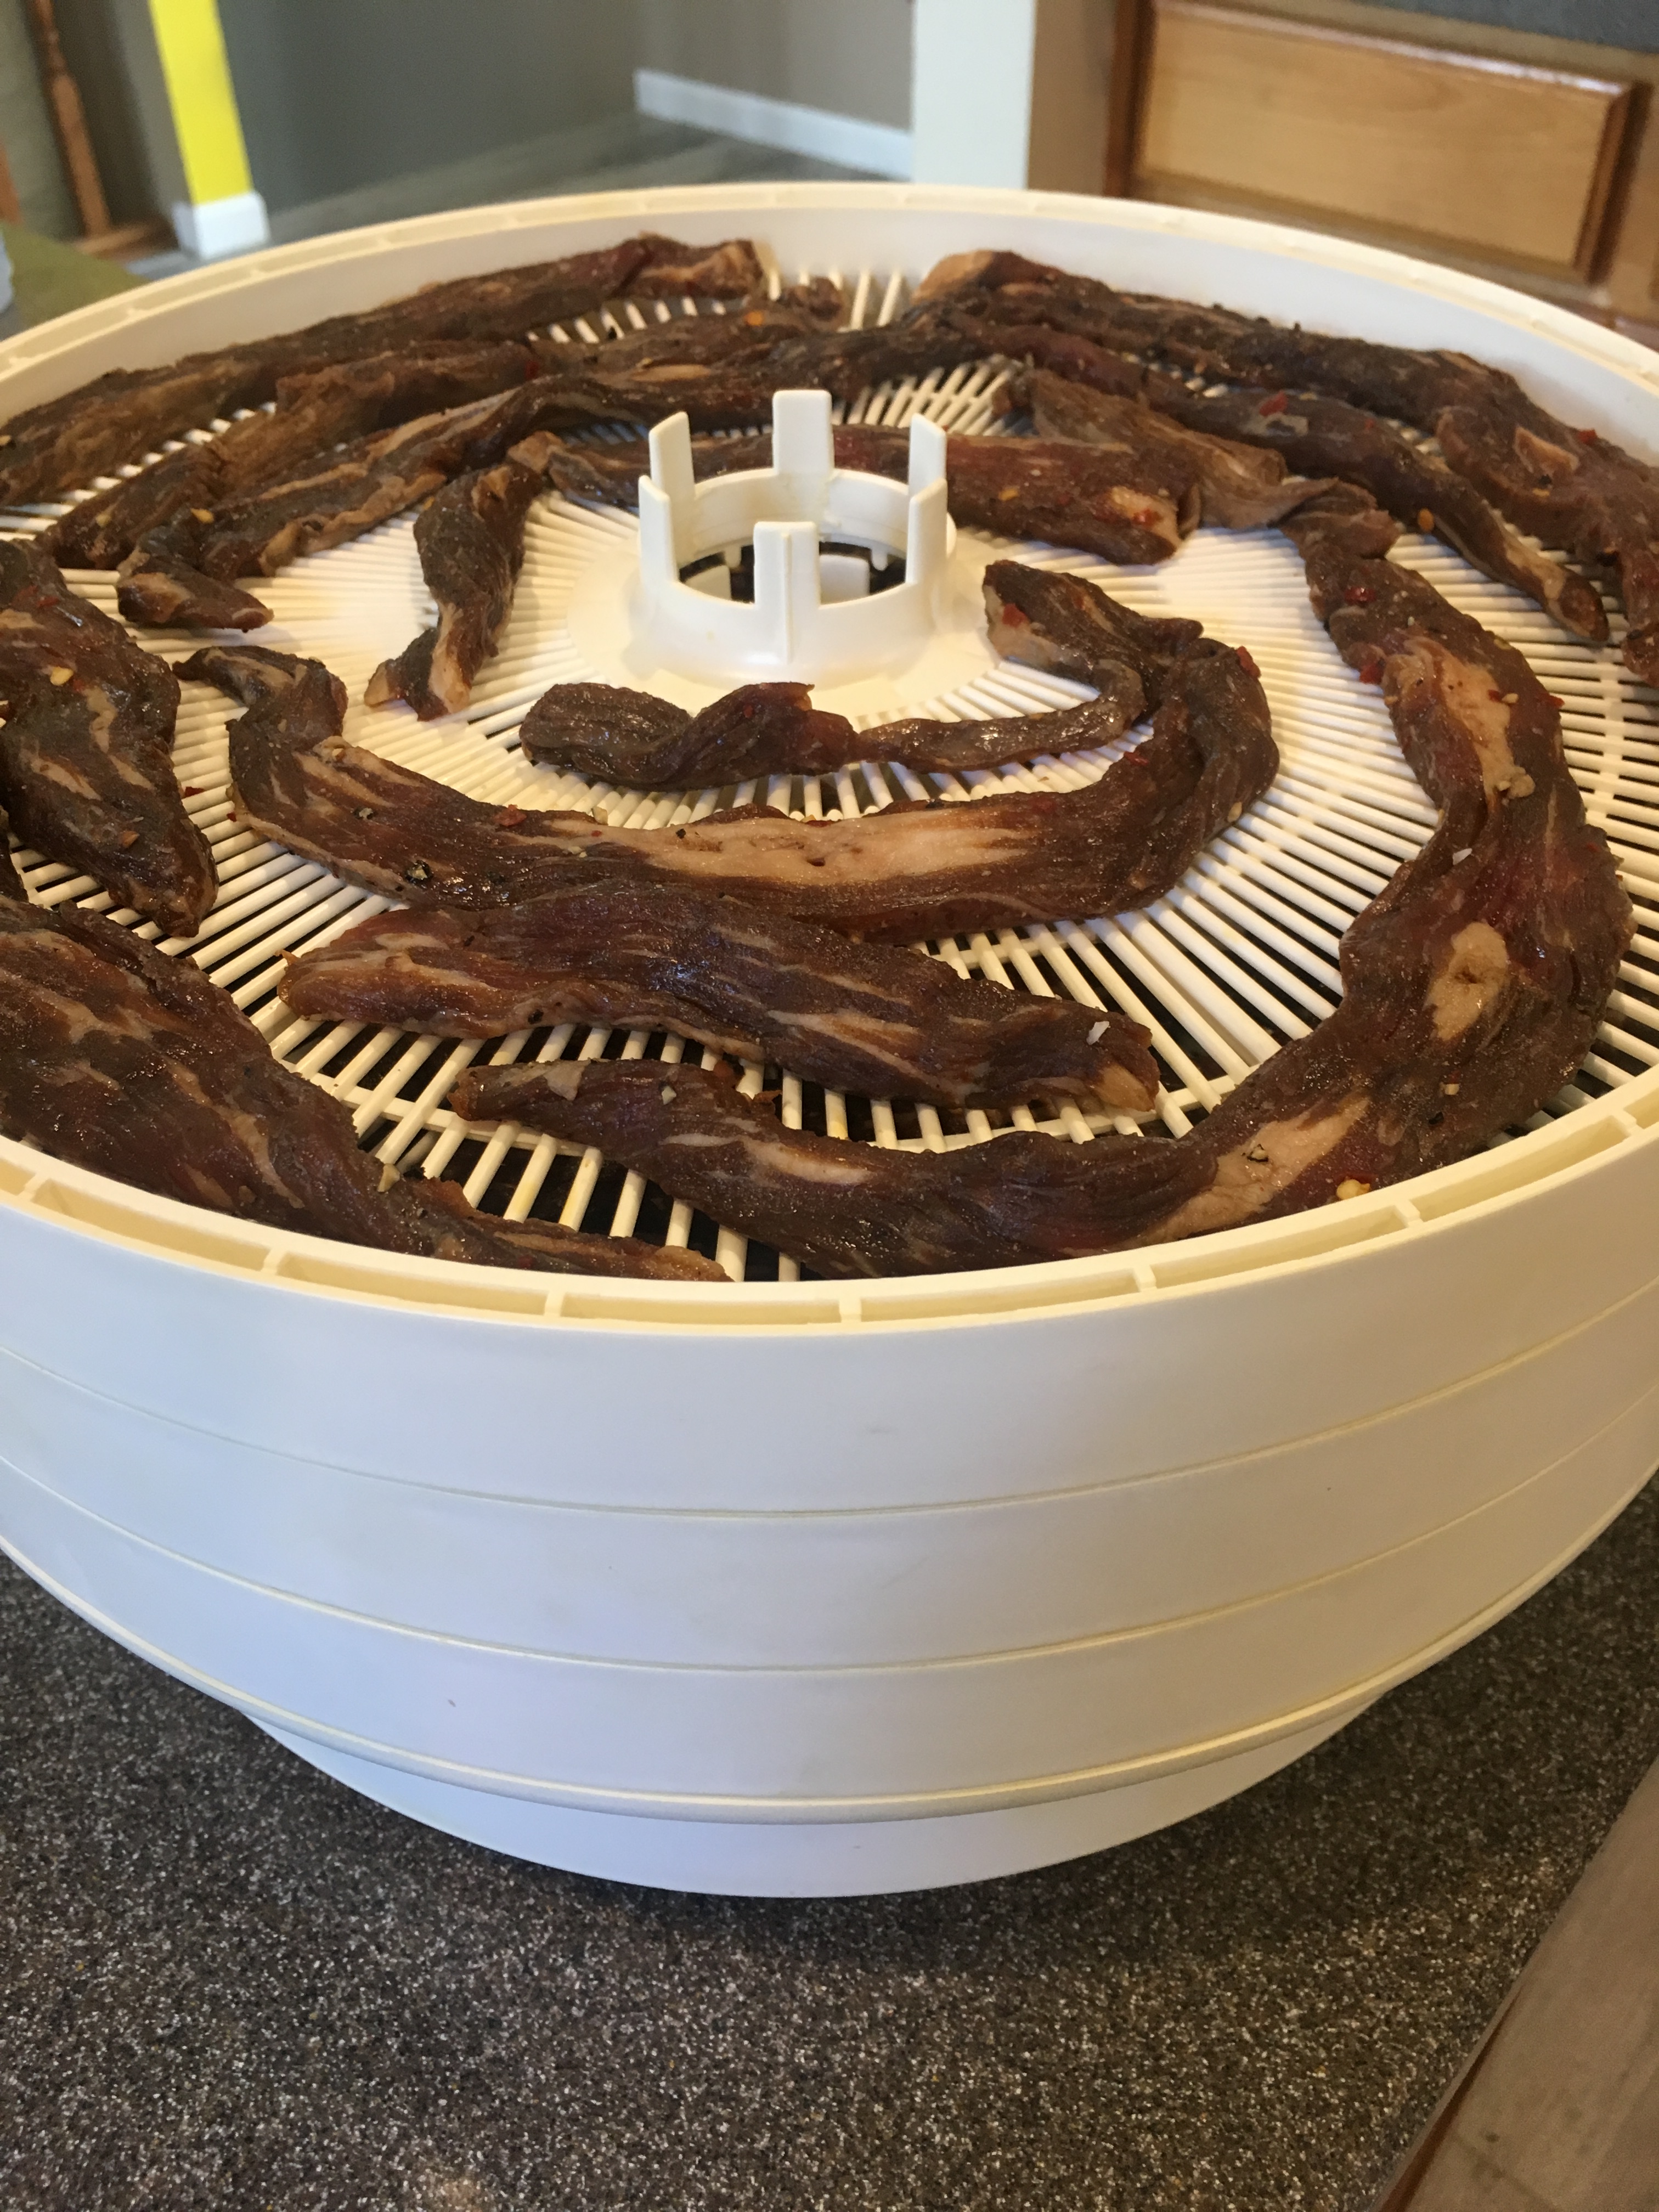
Now it is time to dry the beef. To dry the beef Alton’s way, place the meat strips on the ridges of clean furnace filters, stacking the filters on top of each other, and placing a final clean filter on top. Using a bungee cord, strap the filters to a box fan. Turn the fan on, and allow the meat to dry until jerky-like, which Alton says should take 8-12 hours. Rather than buying a bunch of new supplies, I opted to use my mom’s old food dehydrator, following the manufacturer’s instructions for jerky.

IMG_2970(1)

Beef strips placed in dehydrator.

I found that my jerky was done after about 13 hours of drying, and that was with a temperature of 145 degrees, so I have to imagine that Alton’s cool air method of drying would take considerably longer.

IMG_3052(2)

Alton’s beef jerky.

The marinade for this jerky is amazing, and produced maybe the most flavor-packed jerky I have ever tasted. Some of the jerky strips that had more fat were a little more on the chewy side, so I liked the leaner ones better. With being pregnant, they tell you that you should avoid eating dried meat, so I only tasted the jerky (this is probably overkill). I do plan to make more of this jerky once I am not pregnant, as we both really liked it and it is much cheaper than purchasing commercial jerky. I recommend this recipe for sure.

Jerky Tomato Sauce

Aside from snacking on jerky, you can also use it as an ingredient, as Alton did in his tomato sauce. Jerky was, afterall, made originally as a means of preservation. Alton made his sauce on a camping stove in a tent, and you surely could make this in camping circumstances, but I made it for a regular weeknight meal. To make his sauce, use kitchen shears to cut 3-4 ounces of your homemade jerky into small pieces.

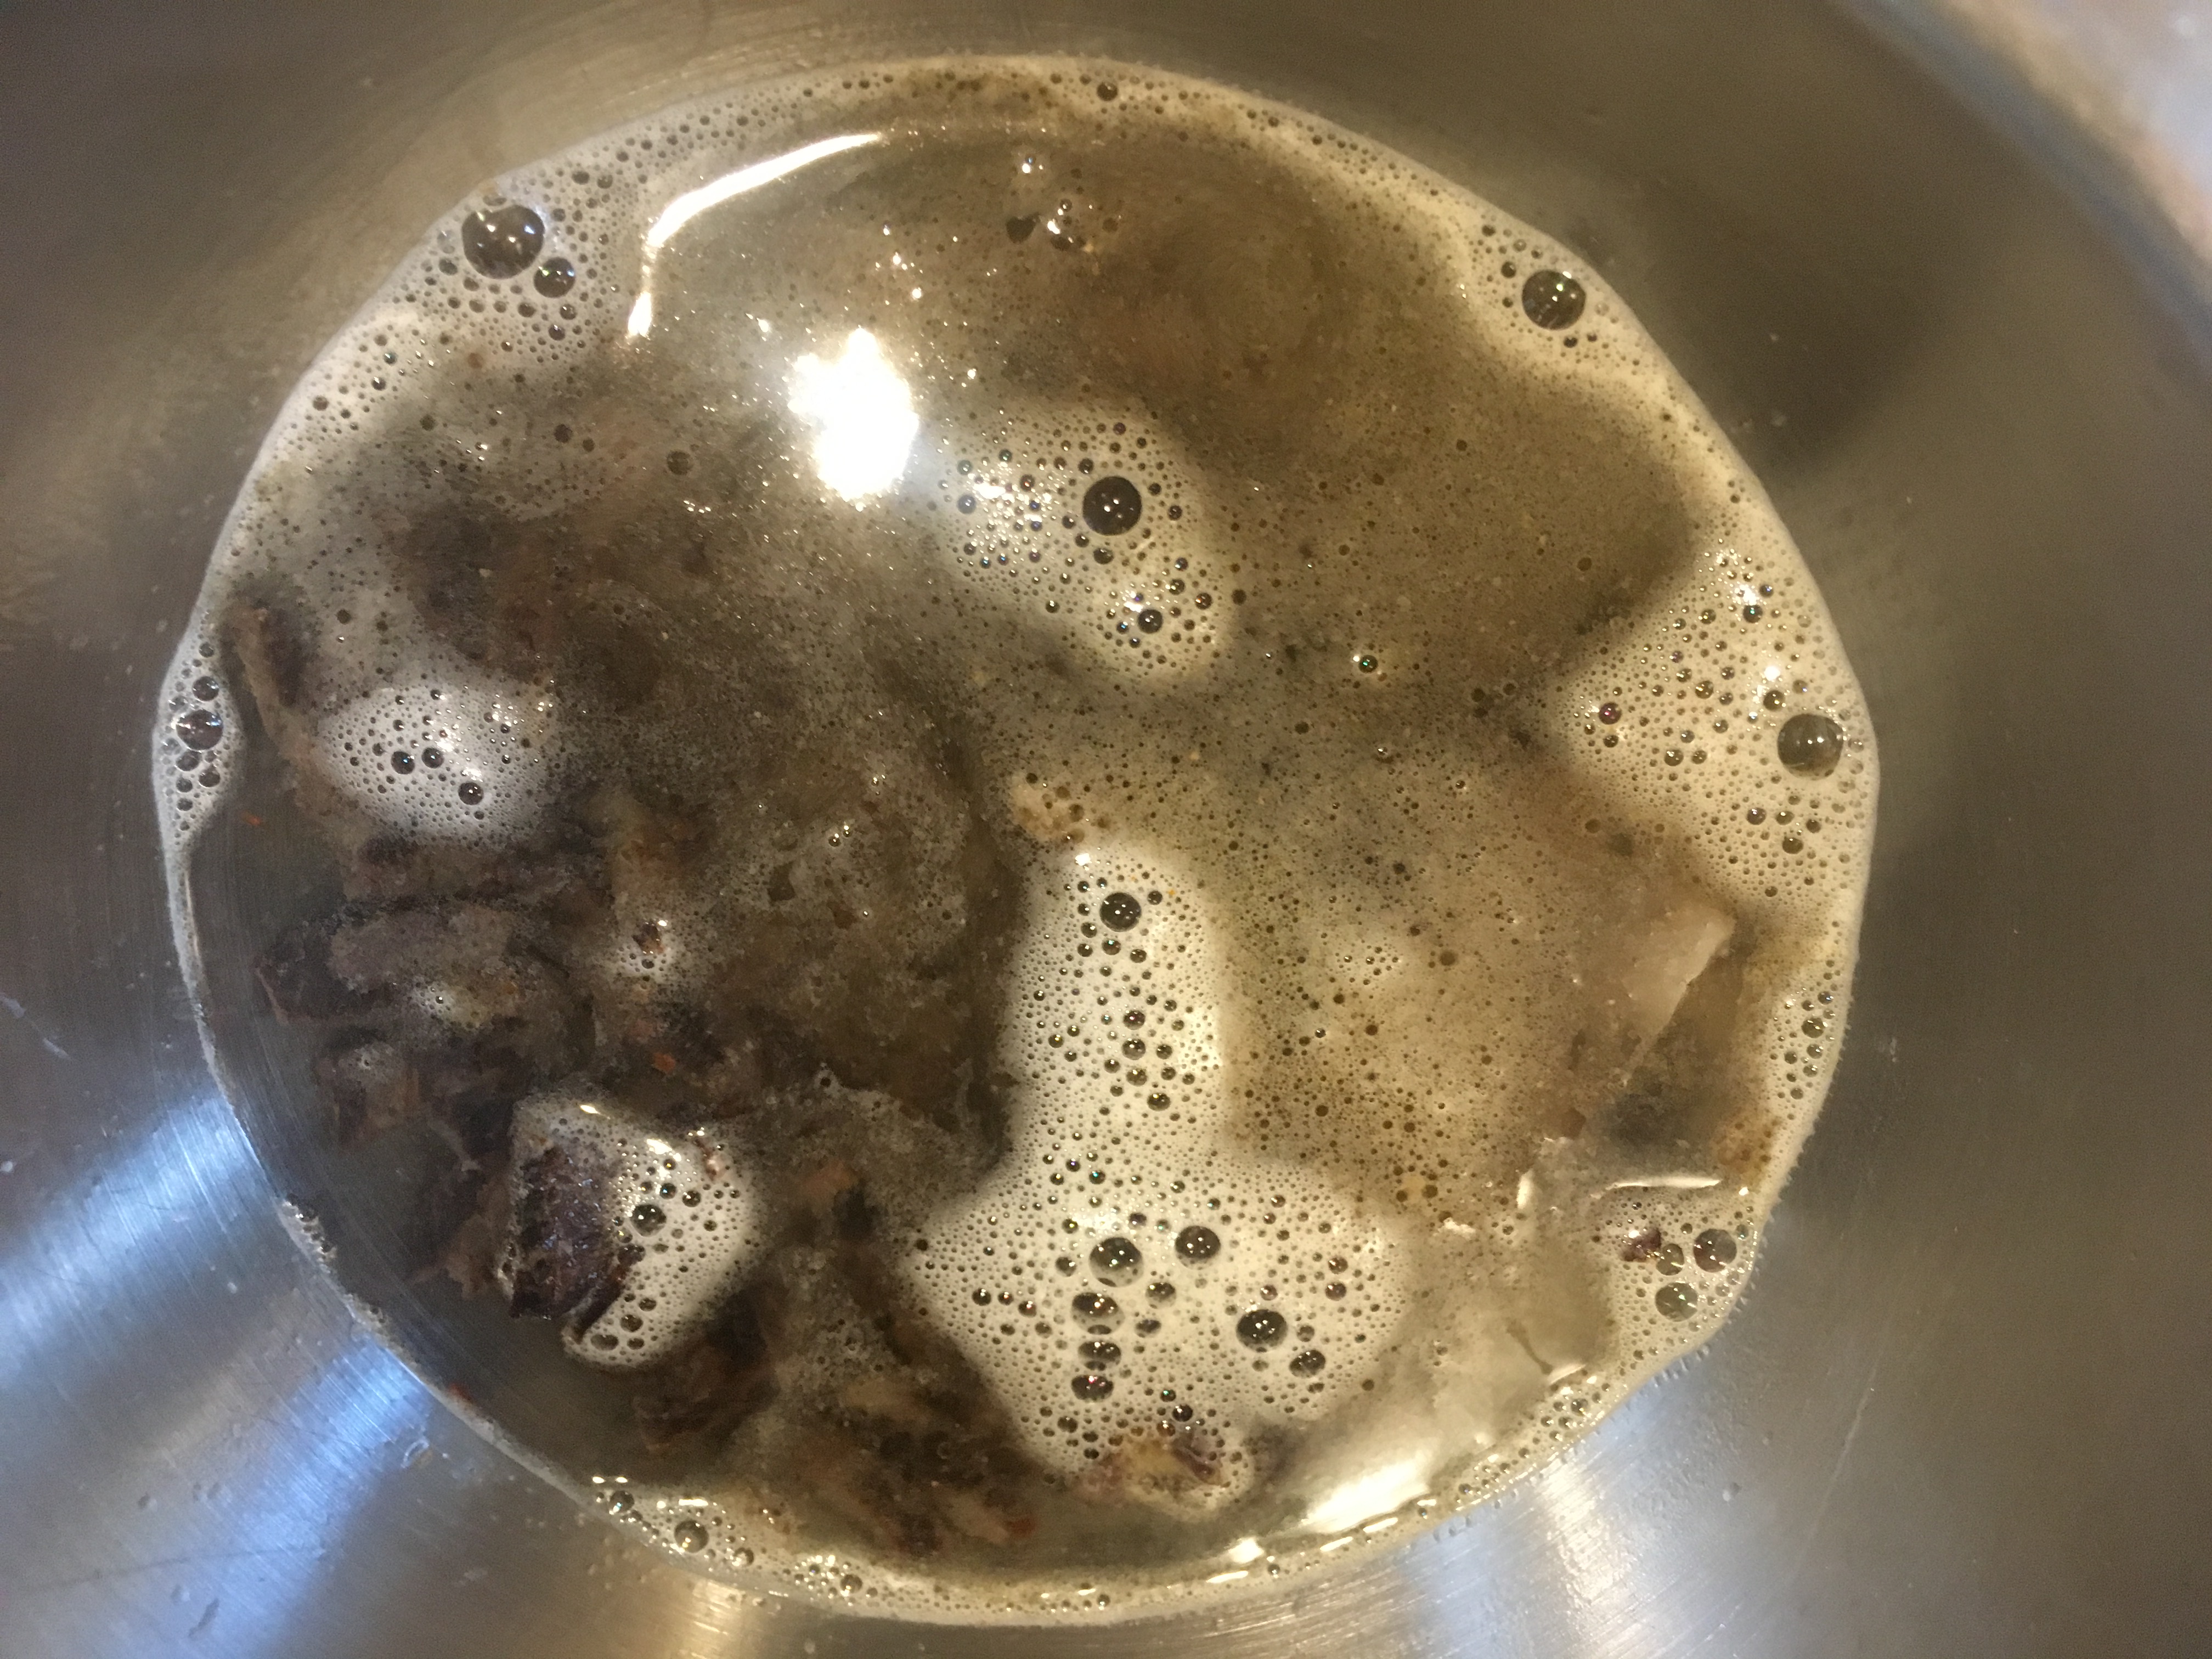
Place the jerky pieces in a bowl and pour 1+ C of boiling water over them, setting the jerky aside.

IMG_3055(2)

Boiling water poured over chopped jerky.

Next, heat a medium saucier or skillet over medium heat, adding 1 T vegetable oil, 1/2 C chopped onion, 1/2 C chopped green bell pepper, and a pinch of Kosher salt. Let the vegetables sweat for 4-5 minutes, or until soft.

IMG_3057(2)

Vegetable oil, onion, green bell pepper, and Kosher salt in a medium saucier.

Add two cloves of minced garlic to the pan, cooking for two more minutes.

IMG_3058(2)

Two cloves of garlic added to the softened veggies.

Add the jerky and its soaking liquid, a 14.5 ounce can of chopped tomatoes, and 1/4 C heavy cream.

Increase the heat to high and bring the mixture to a boil, stirring. Sprinkle in some dried parsley (I used fresh), and simmer the sauce until it has reduced to your desired consistency.

Serve the jerky sauce over pasta, rice, or biscuits. I served Alton’s jerky sauce over pasta, adding some freshly grated Parmesan.

IMG_3065(2)

Reduced sauce served over pasta.

We liked this sauce more than I thought we would, to be honest. I initially thought this would be just another tomato sauce, but the jerky really did add a lot of flavor, making a sauce that was fairly interesting and with some added meaty flavor. I still don’t know that I would go out of my way to make this again, but for a convenience meal it was really quite good. Should you happen to find yourself with some extra jerky lying around, this is certainly a good use for it.