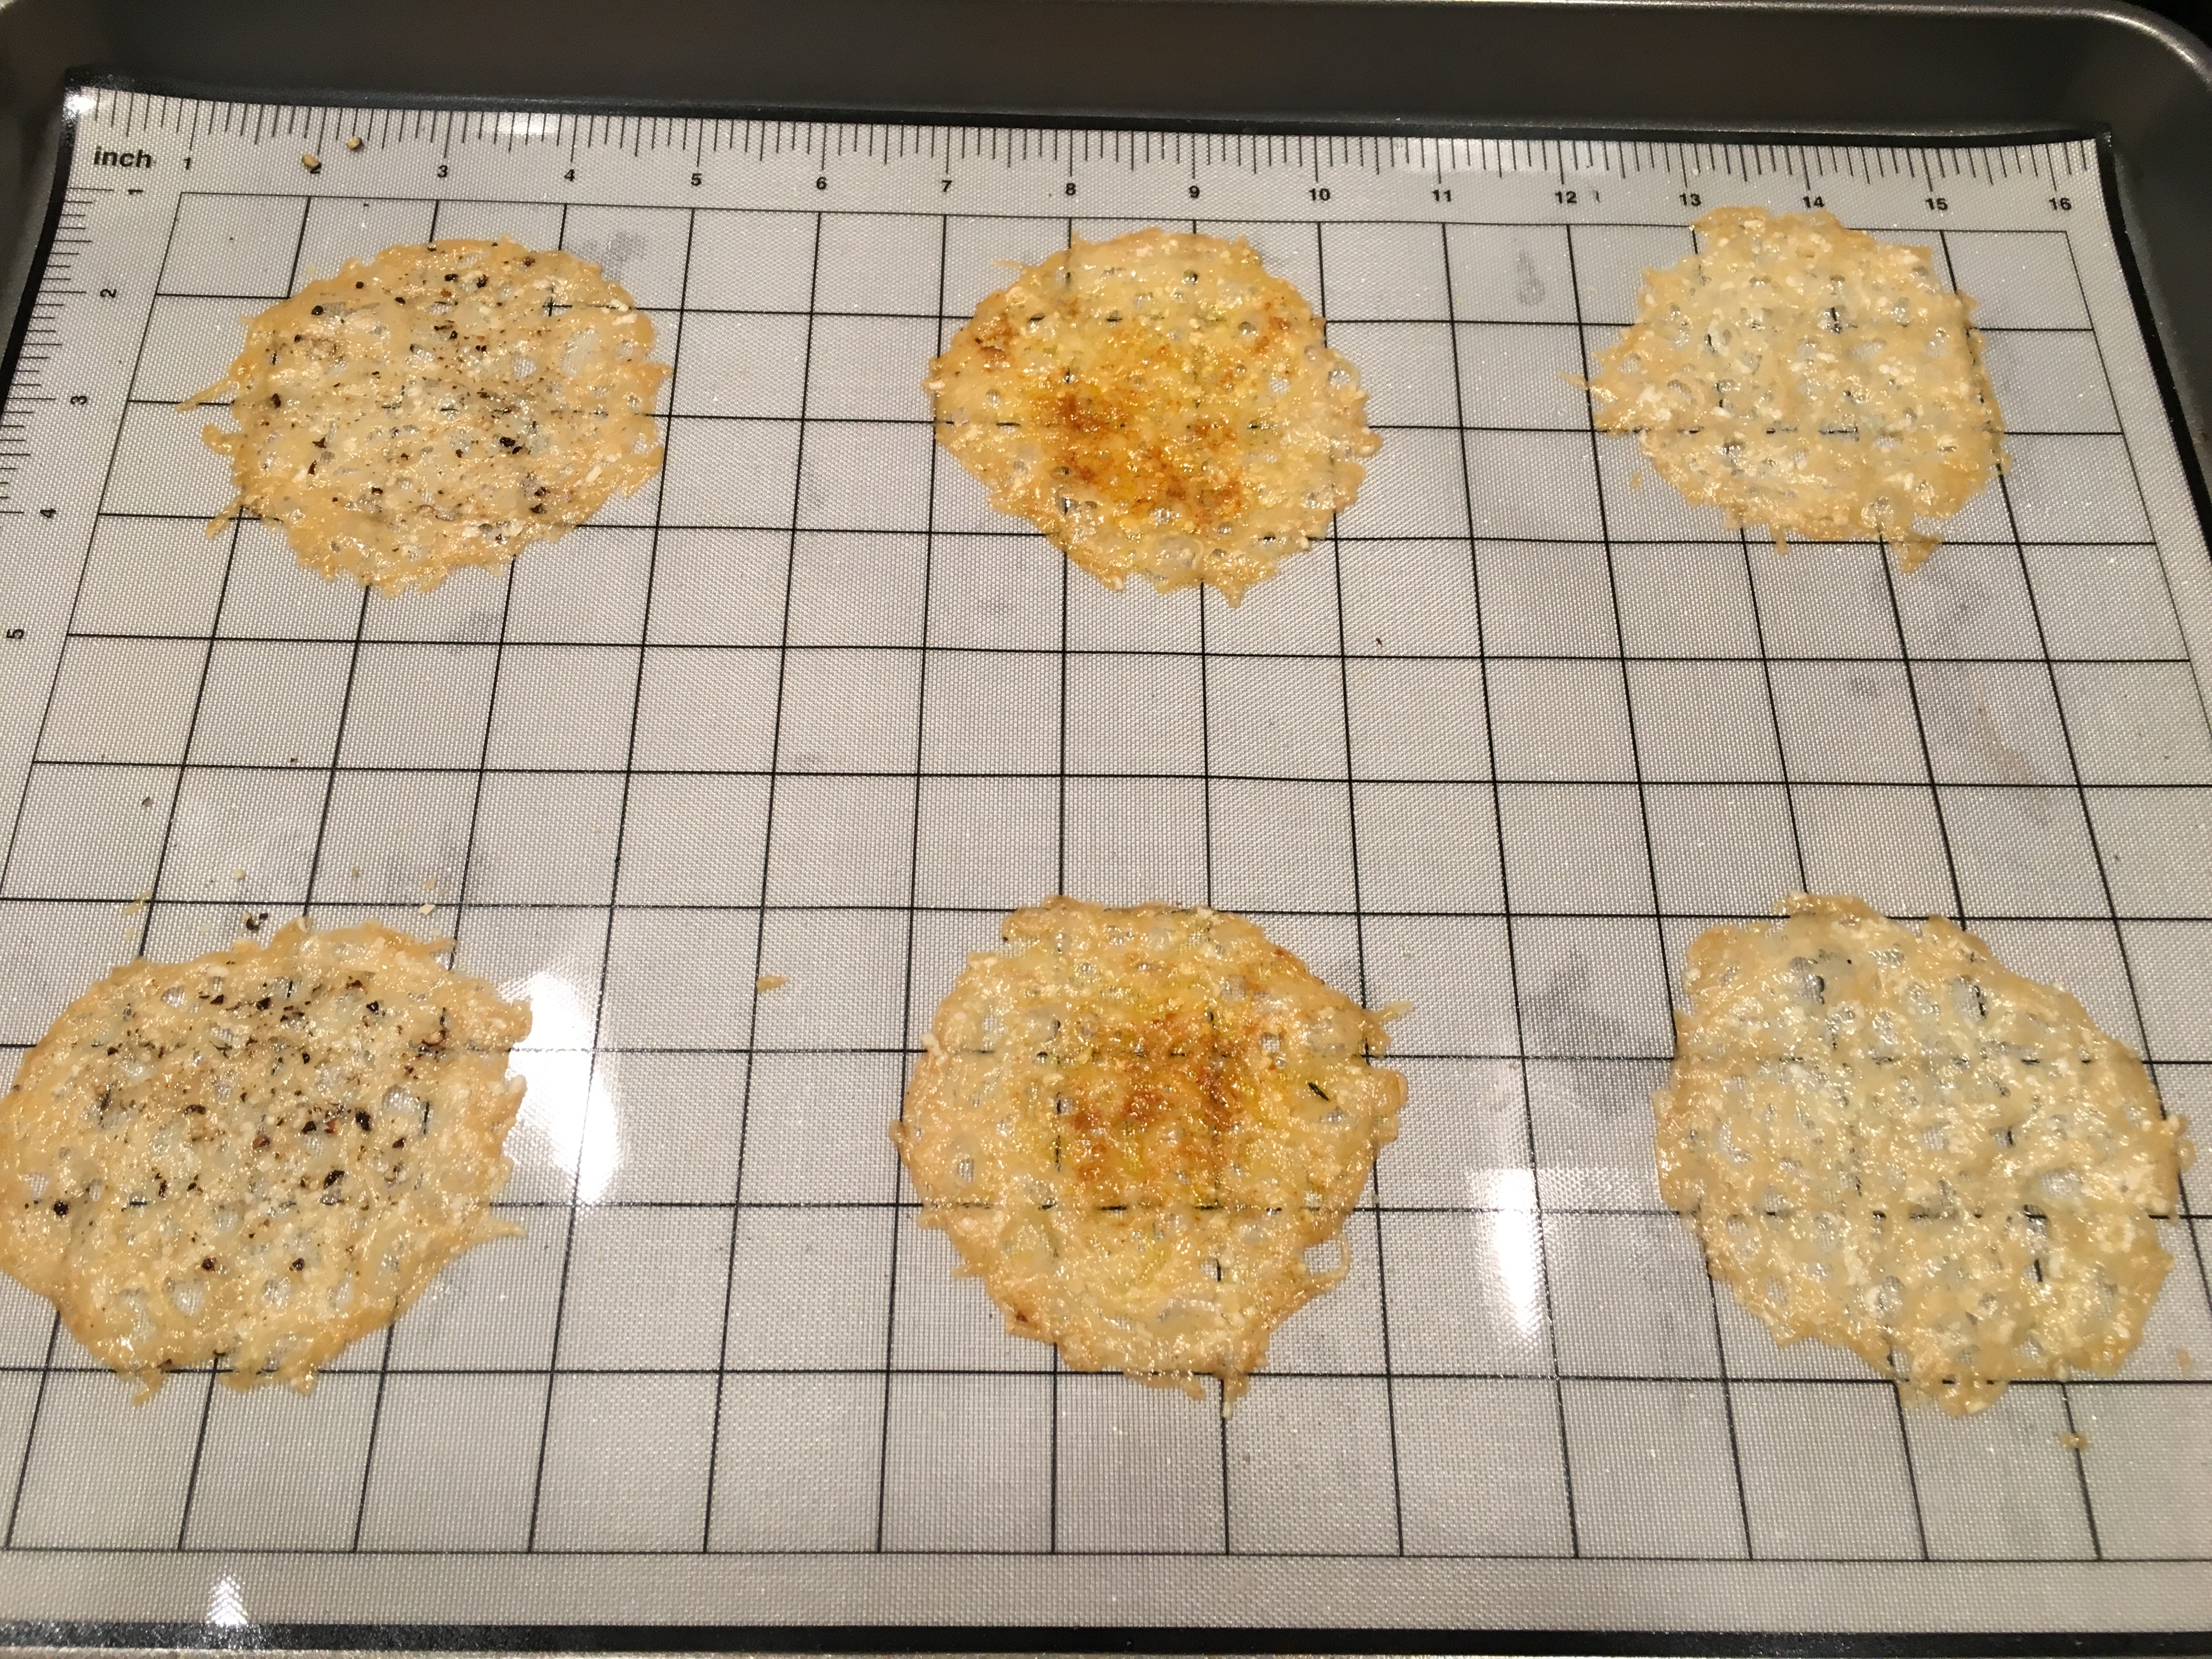
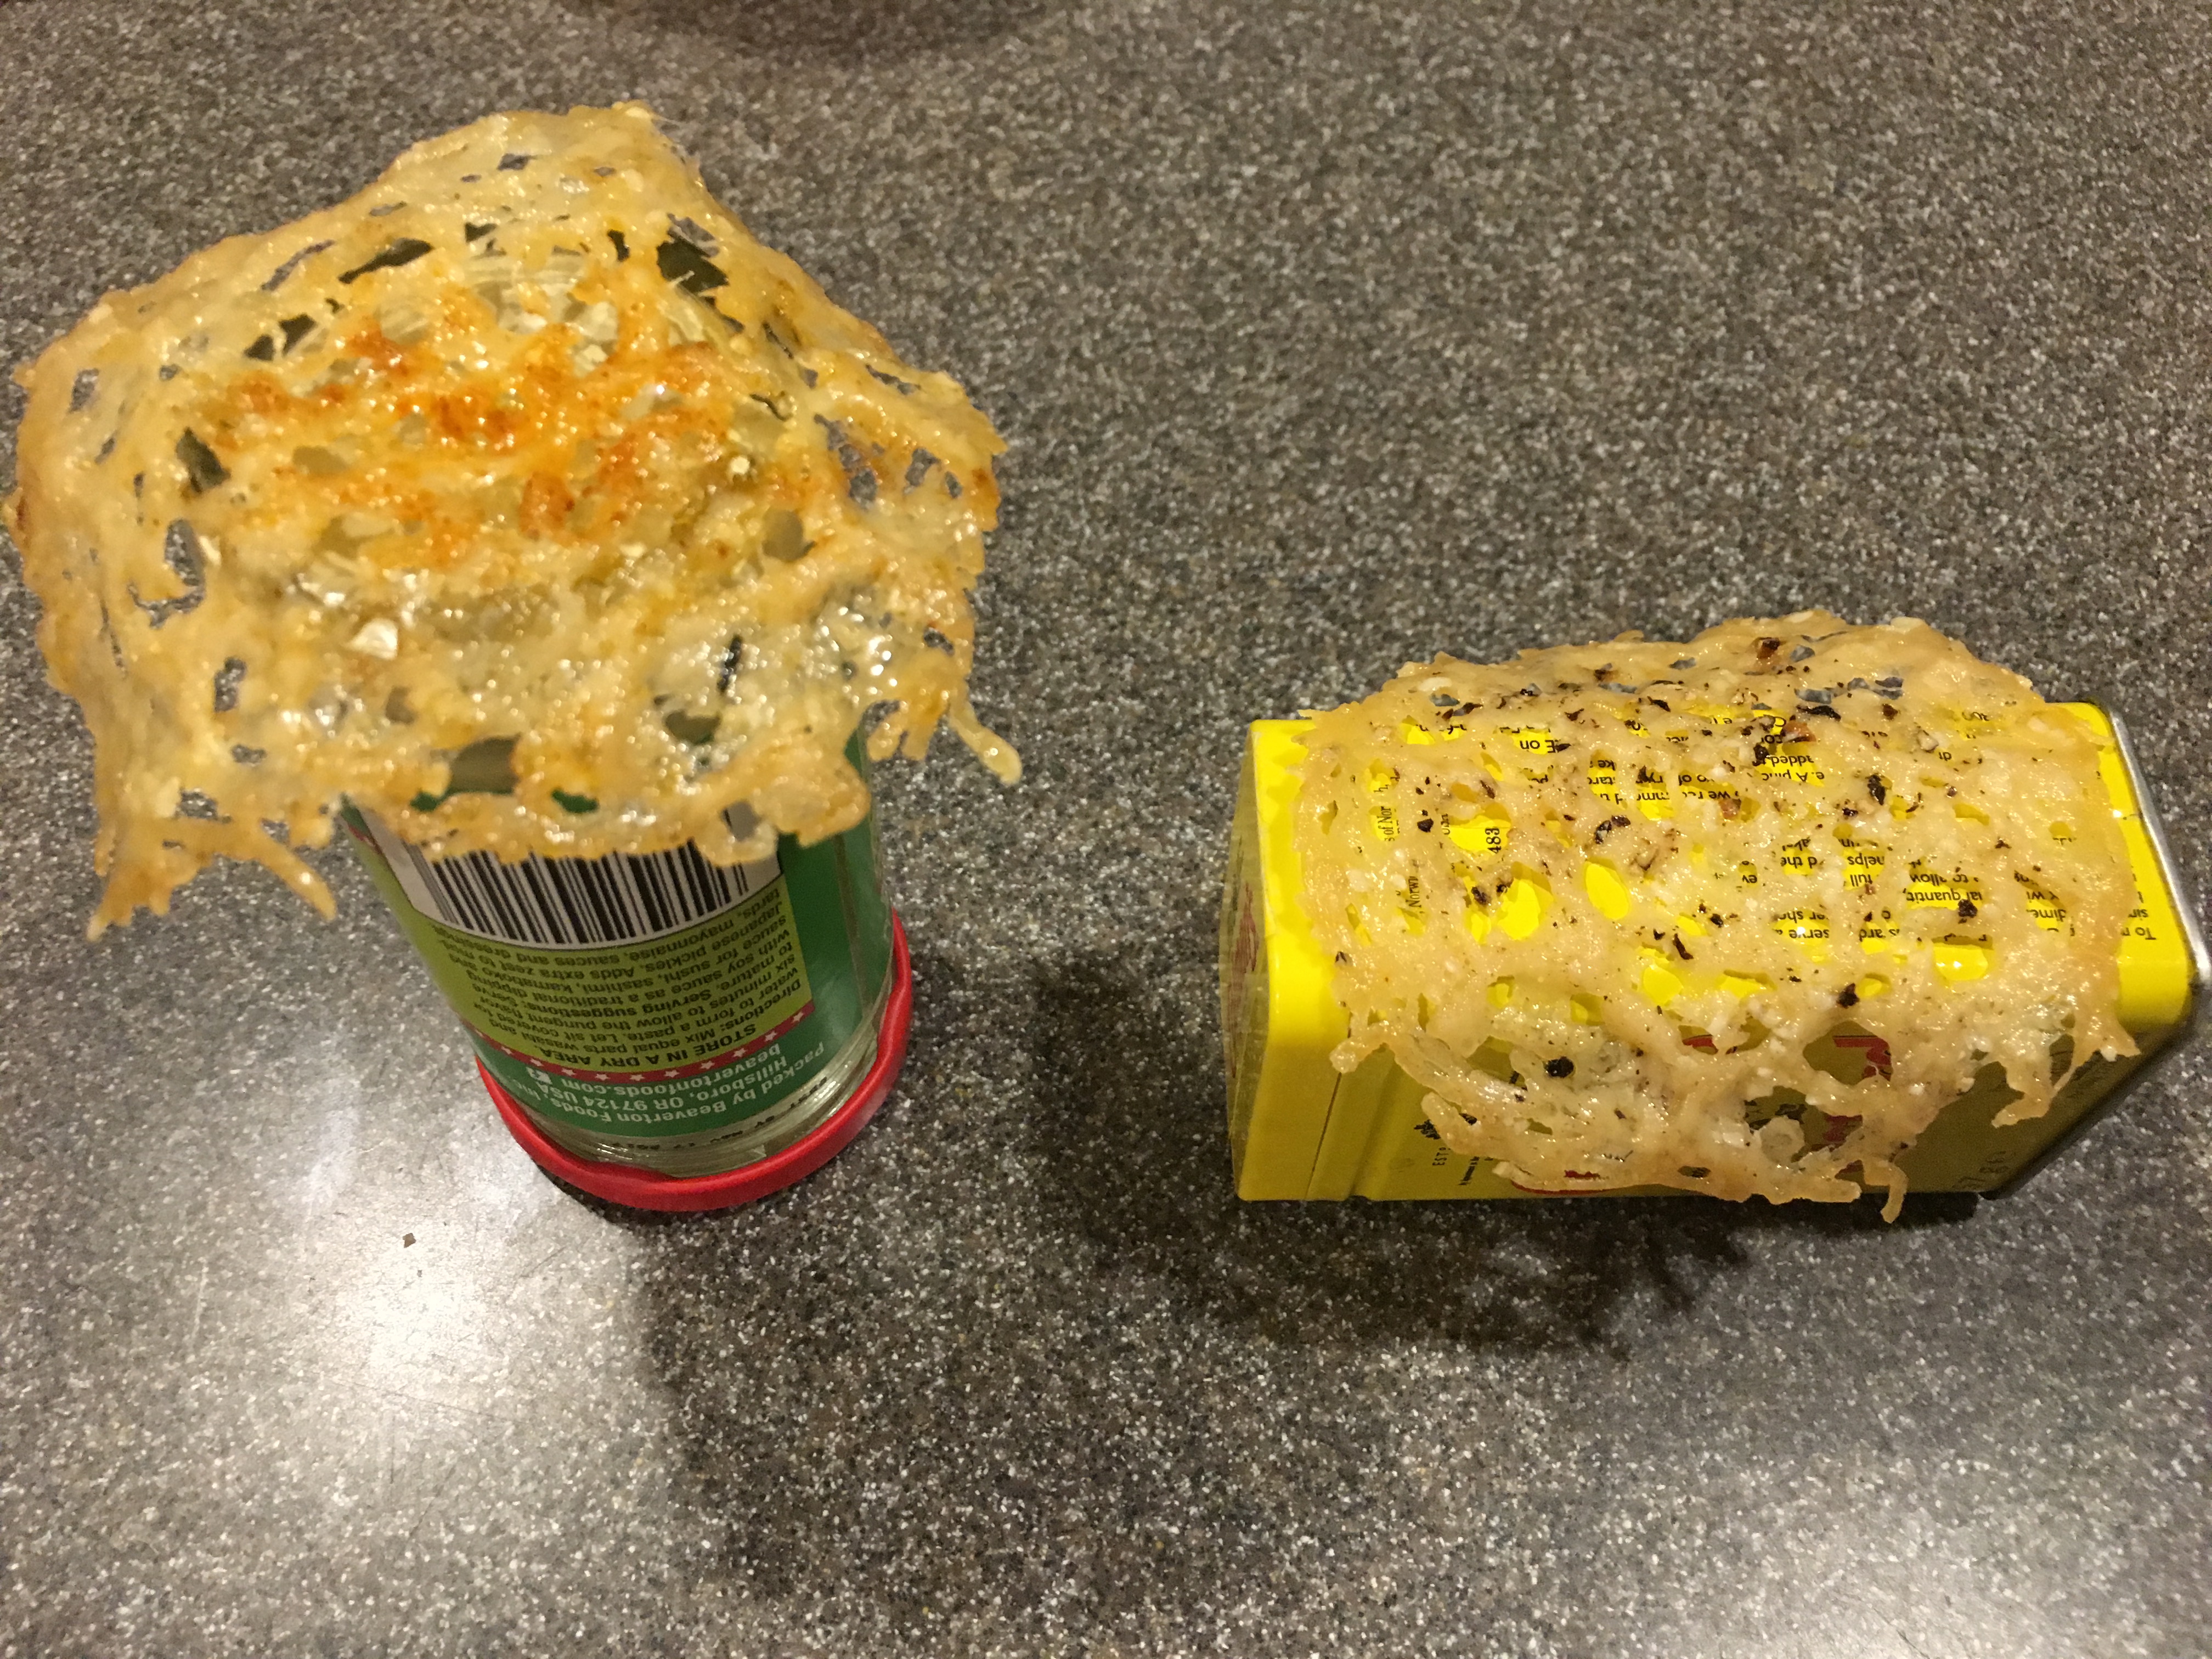
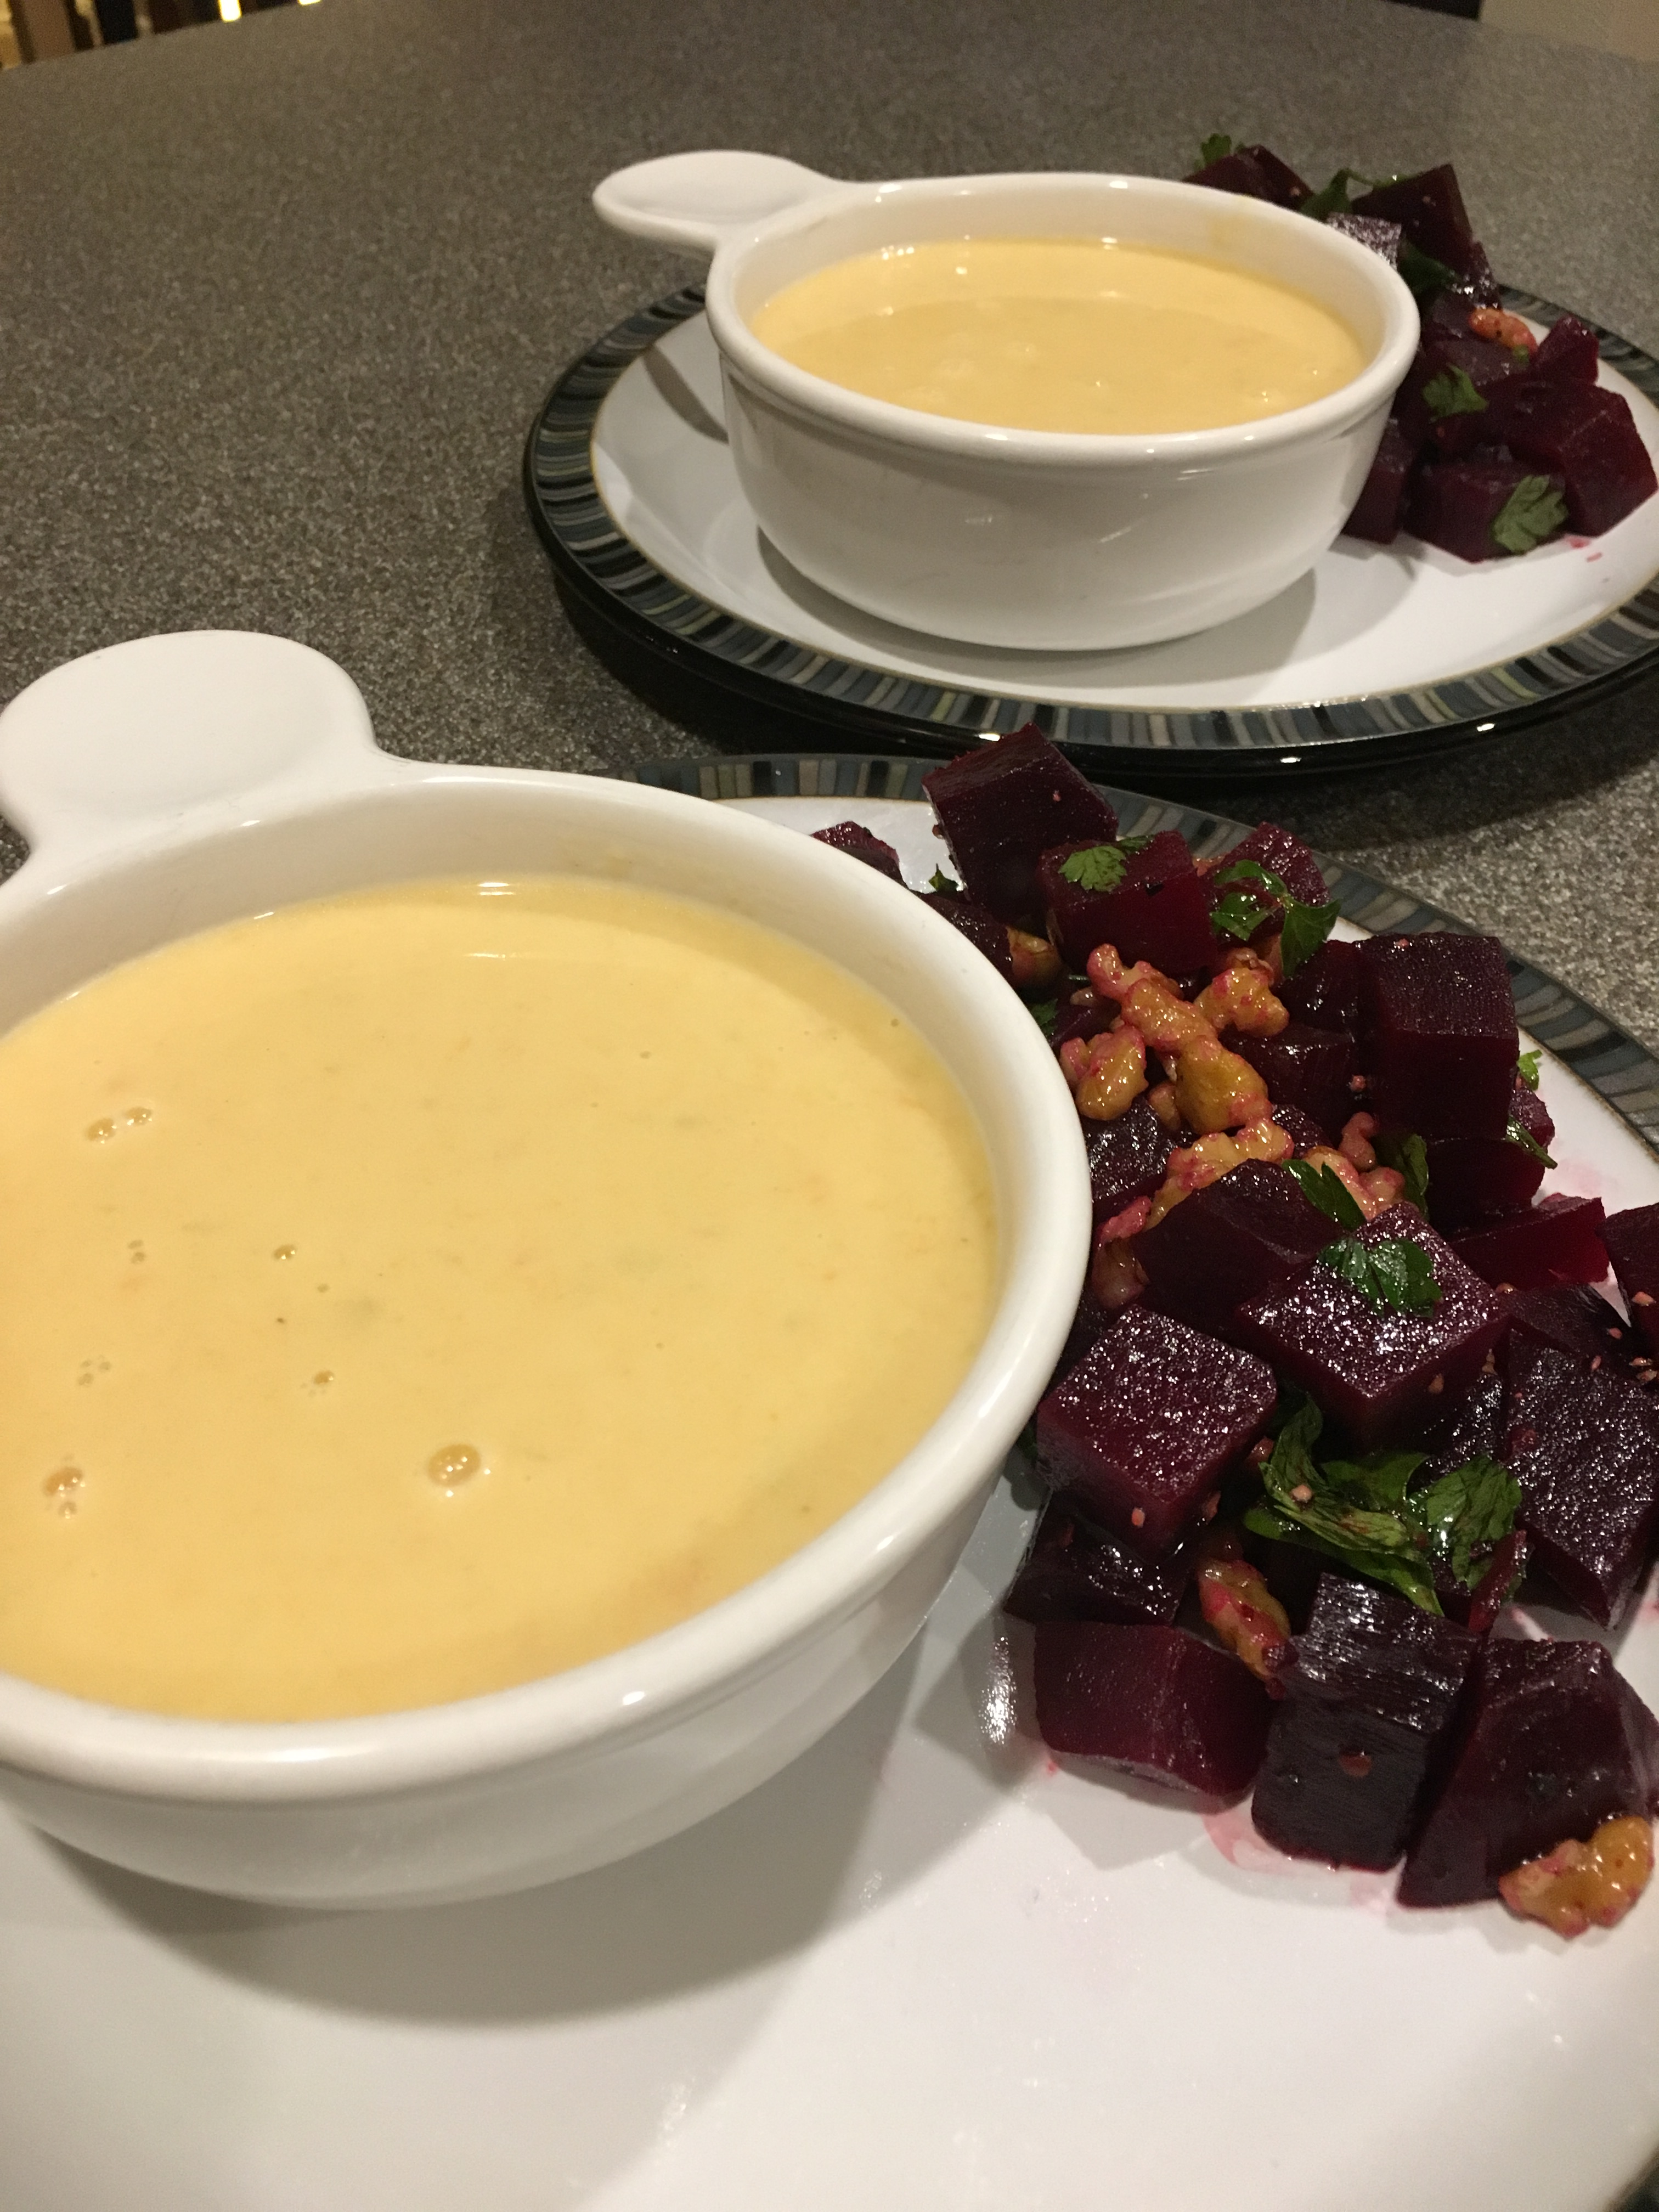
It may seem as though I have given up on this blog, but I truly have not. The days just seem to fly by with me having the best intentions of taking time to write, but not actually finding the time to do so. Or, maybe I just need to prioritize differently. I believe this episode will close out the recipes for season nine, as there is only one more episode from this season, and it is a behind-the-scenes look at the making of Good Eats. The recipes from this episode feature olives, which I adore, so I knew this one would be fun for me.
According to Alton, olive quality is mostly dependent upon the method of their production. Raw (green) olives are very bitter, so require a soak in lye prior to brining. Ripe (black) olives do not require a lye soak and can go straight to an oil cure or a salt brine. When you have a jar of olives at home, be sure to always keep the olives submerged in their brine; if you need to top off the brine, you can always add a mixture of 1 T salt dissolved in a pint of water.
Citrus Marinated Olives
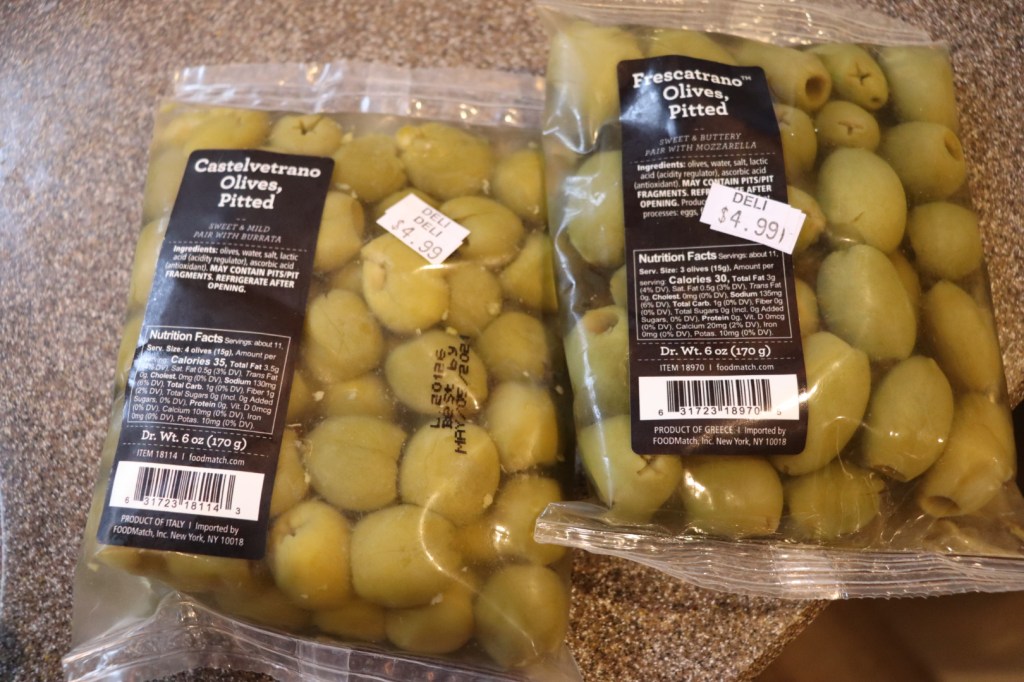
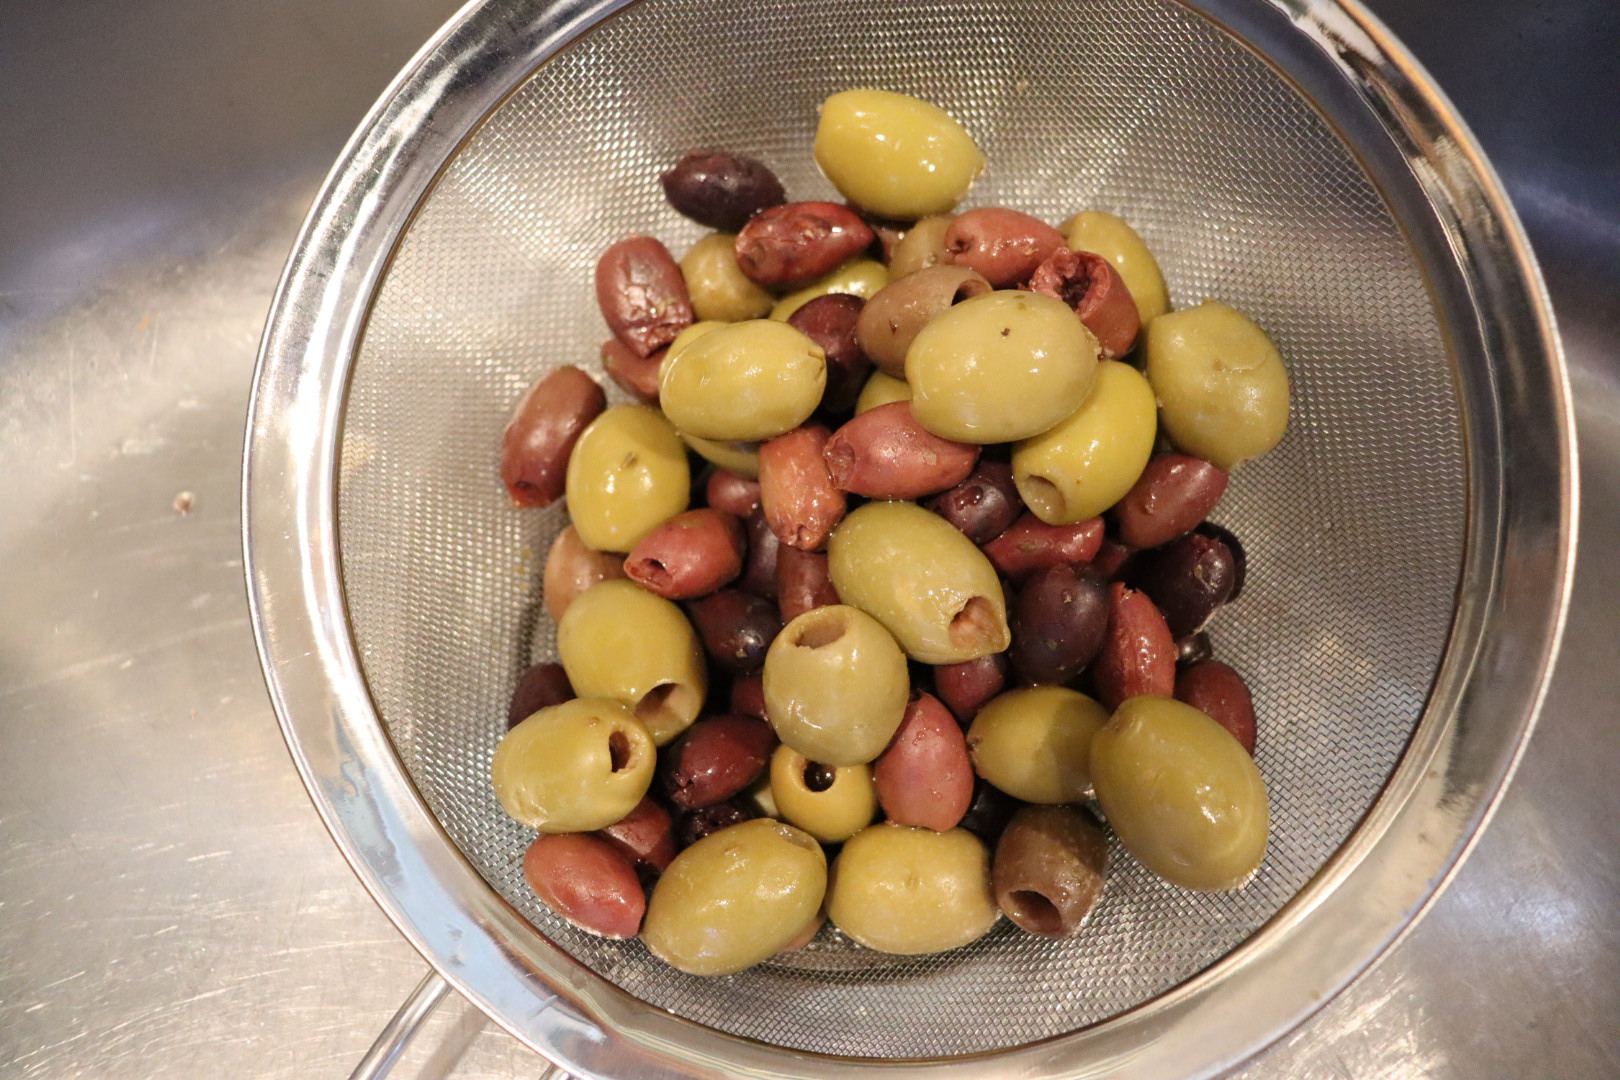
Marinated olives are first in this episode. To make these, you’ll first need a pound of green olives with pits. Rinse your olives in water and then submerge them in water for at least five minutes, and up to five hours; five hours is best.
My olives to be marinated. 
Olives, rinsed in water. 
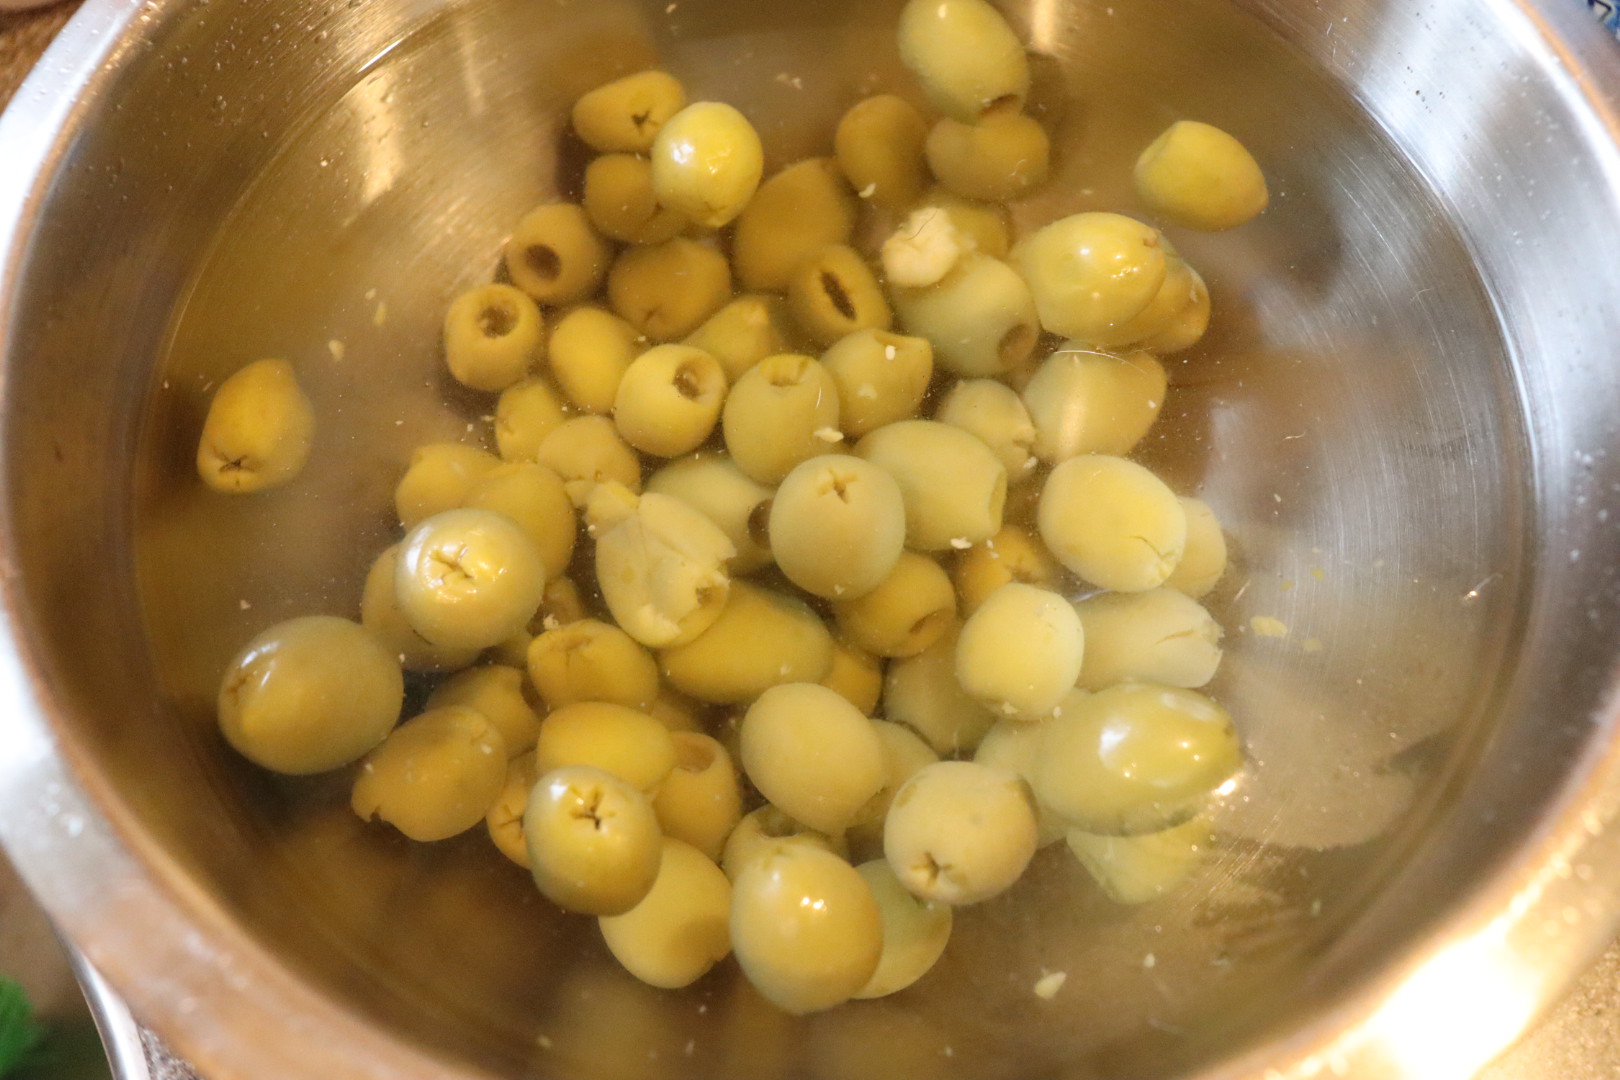
Olives put in water to soak for 5 hours. 
Olives after soaking for five hours.


When your olives are done soaking, combine the following ingredients in a lidded plastic tub: 1 minced clove of garlic, 1/2 C extra-virgin olive oil, 1 T red wine vinegar, the zest and juice of a medium lemon, 1/2 t red pepper flakes, 1/2 t dried tarragon, and 1/4 t curry powder.

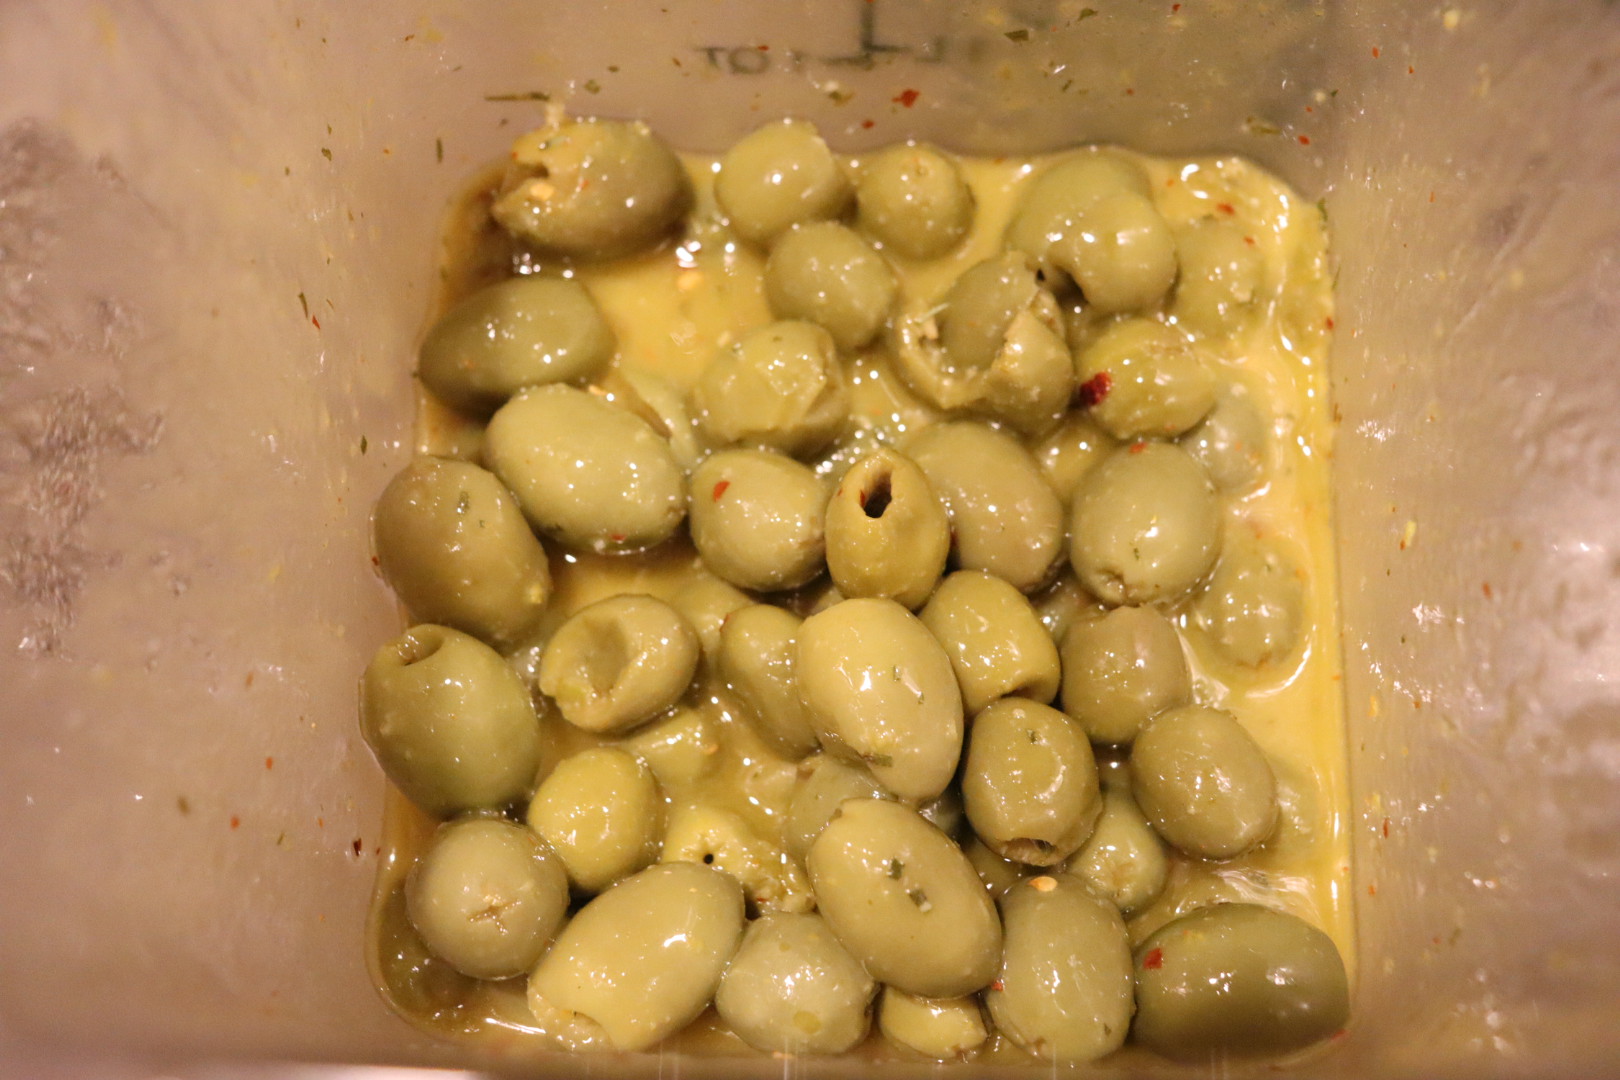
Drain the soaked olives and add them to the container, giving them a good shake to coat them in the marinade. Let the olives sit at room temperature for a day, and then refrigerate for a couple more days before serving.

Soaked/drained olives added to marinade. 
Olives in marinade.

We snacked on Alton’s olives as an appetizer before dinner. I found that I needed to remove them from the refrigerator a bit in advance because the marinade is quite oil-heavy and would sort of congeal when chilled. I recommend serving these olives with napkins handy since they are quite oily. These olives pack a citrus punch and have just a little heat from the red pepper flakes. My problem with these olives was that I felt they lacked some salt. Obviously, the purpose of soaking the olives in water was to remove their salt before marinating, so I’m guessing they would retain some salinity if soaked for a shorter period; I soaked mine for the full five hours. I think I personally would prefer a little more salt to these guys, so I would like to try them again with a shorter water soak. I also found that my olives were a little less firm than I would prefer, but I’m going to blame that on the olives I used. Many of the grocery stores near me typically have olive bars, where you can mix and match a variety of olives to purchase, but all of these olive bars disappeared with Covid. The selection of olives I could find that were not already marinated was extremely limited, so I had to settle for some green olives without pits, while Alton’s recipe specifically calls for olives with pits. I’m guessing olives with pits would have a firmer texture.
Tapenade
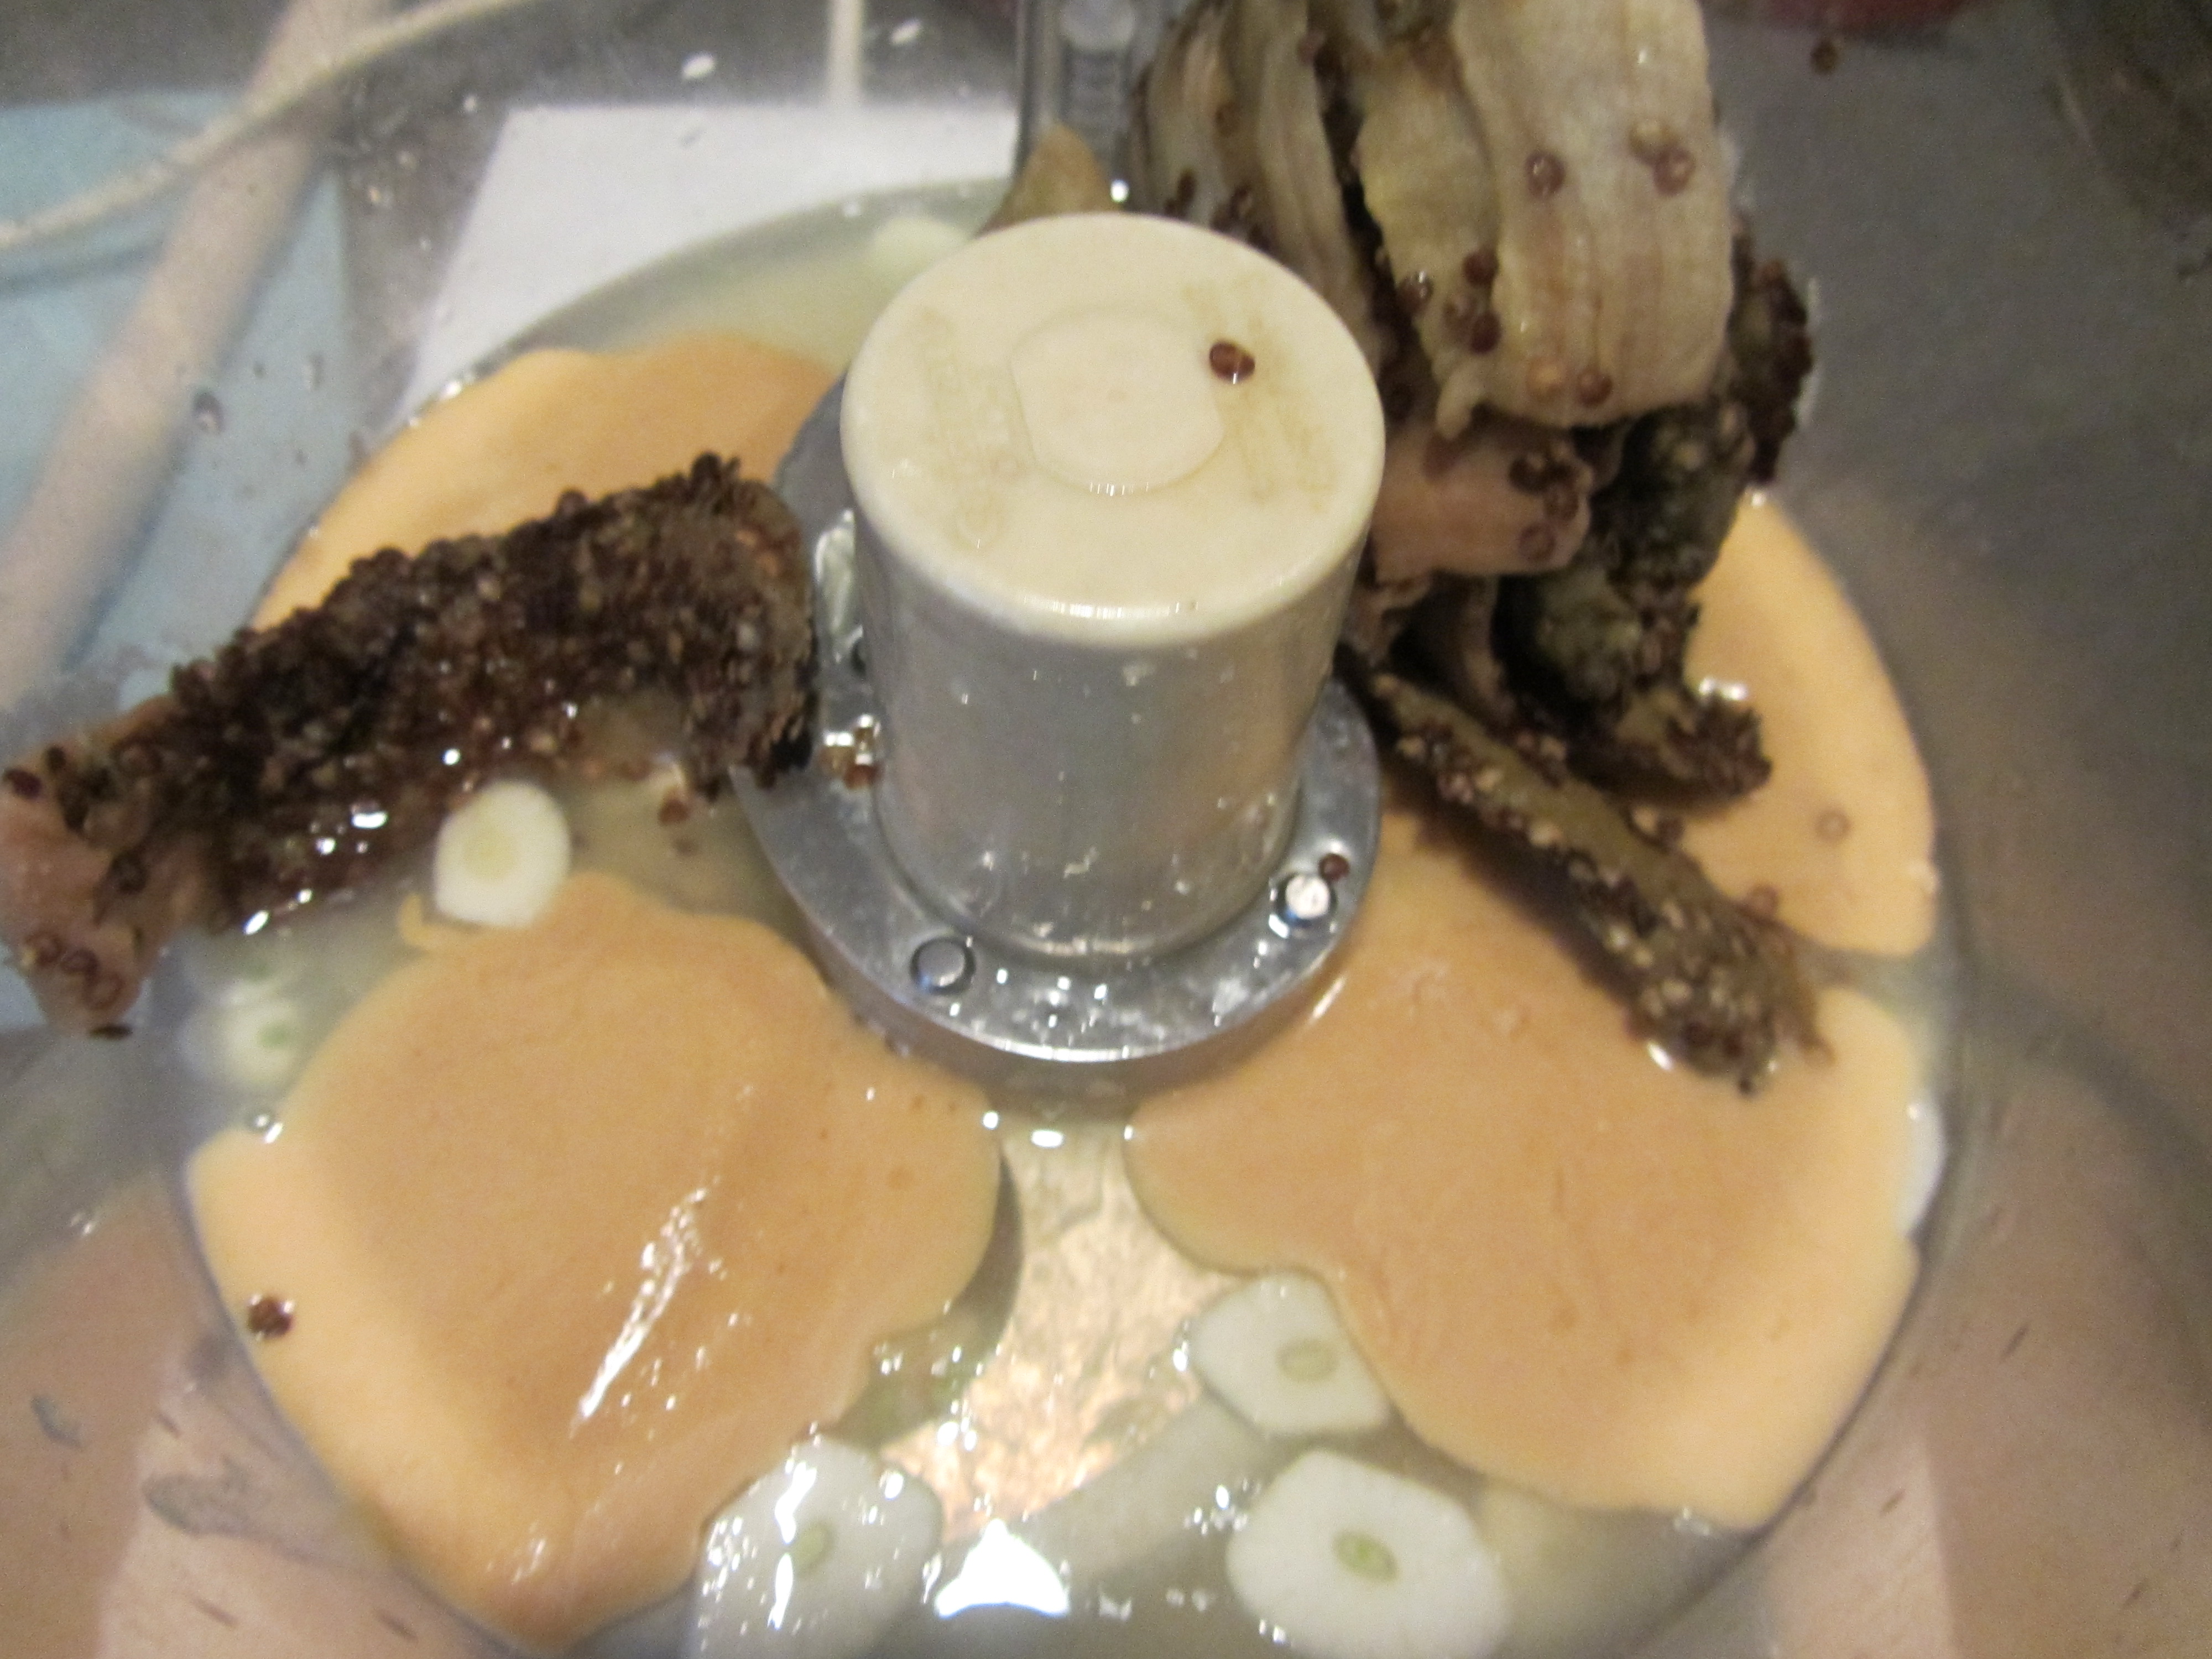
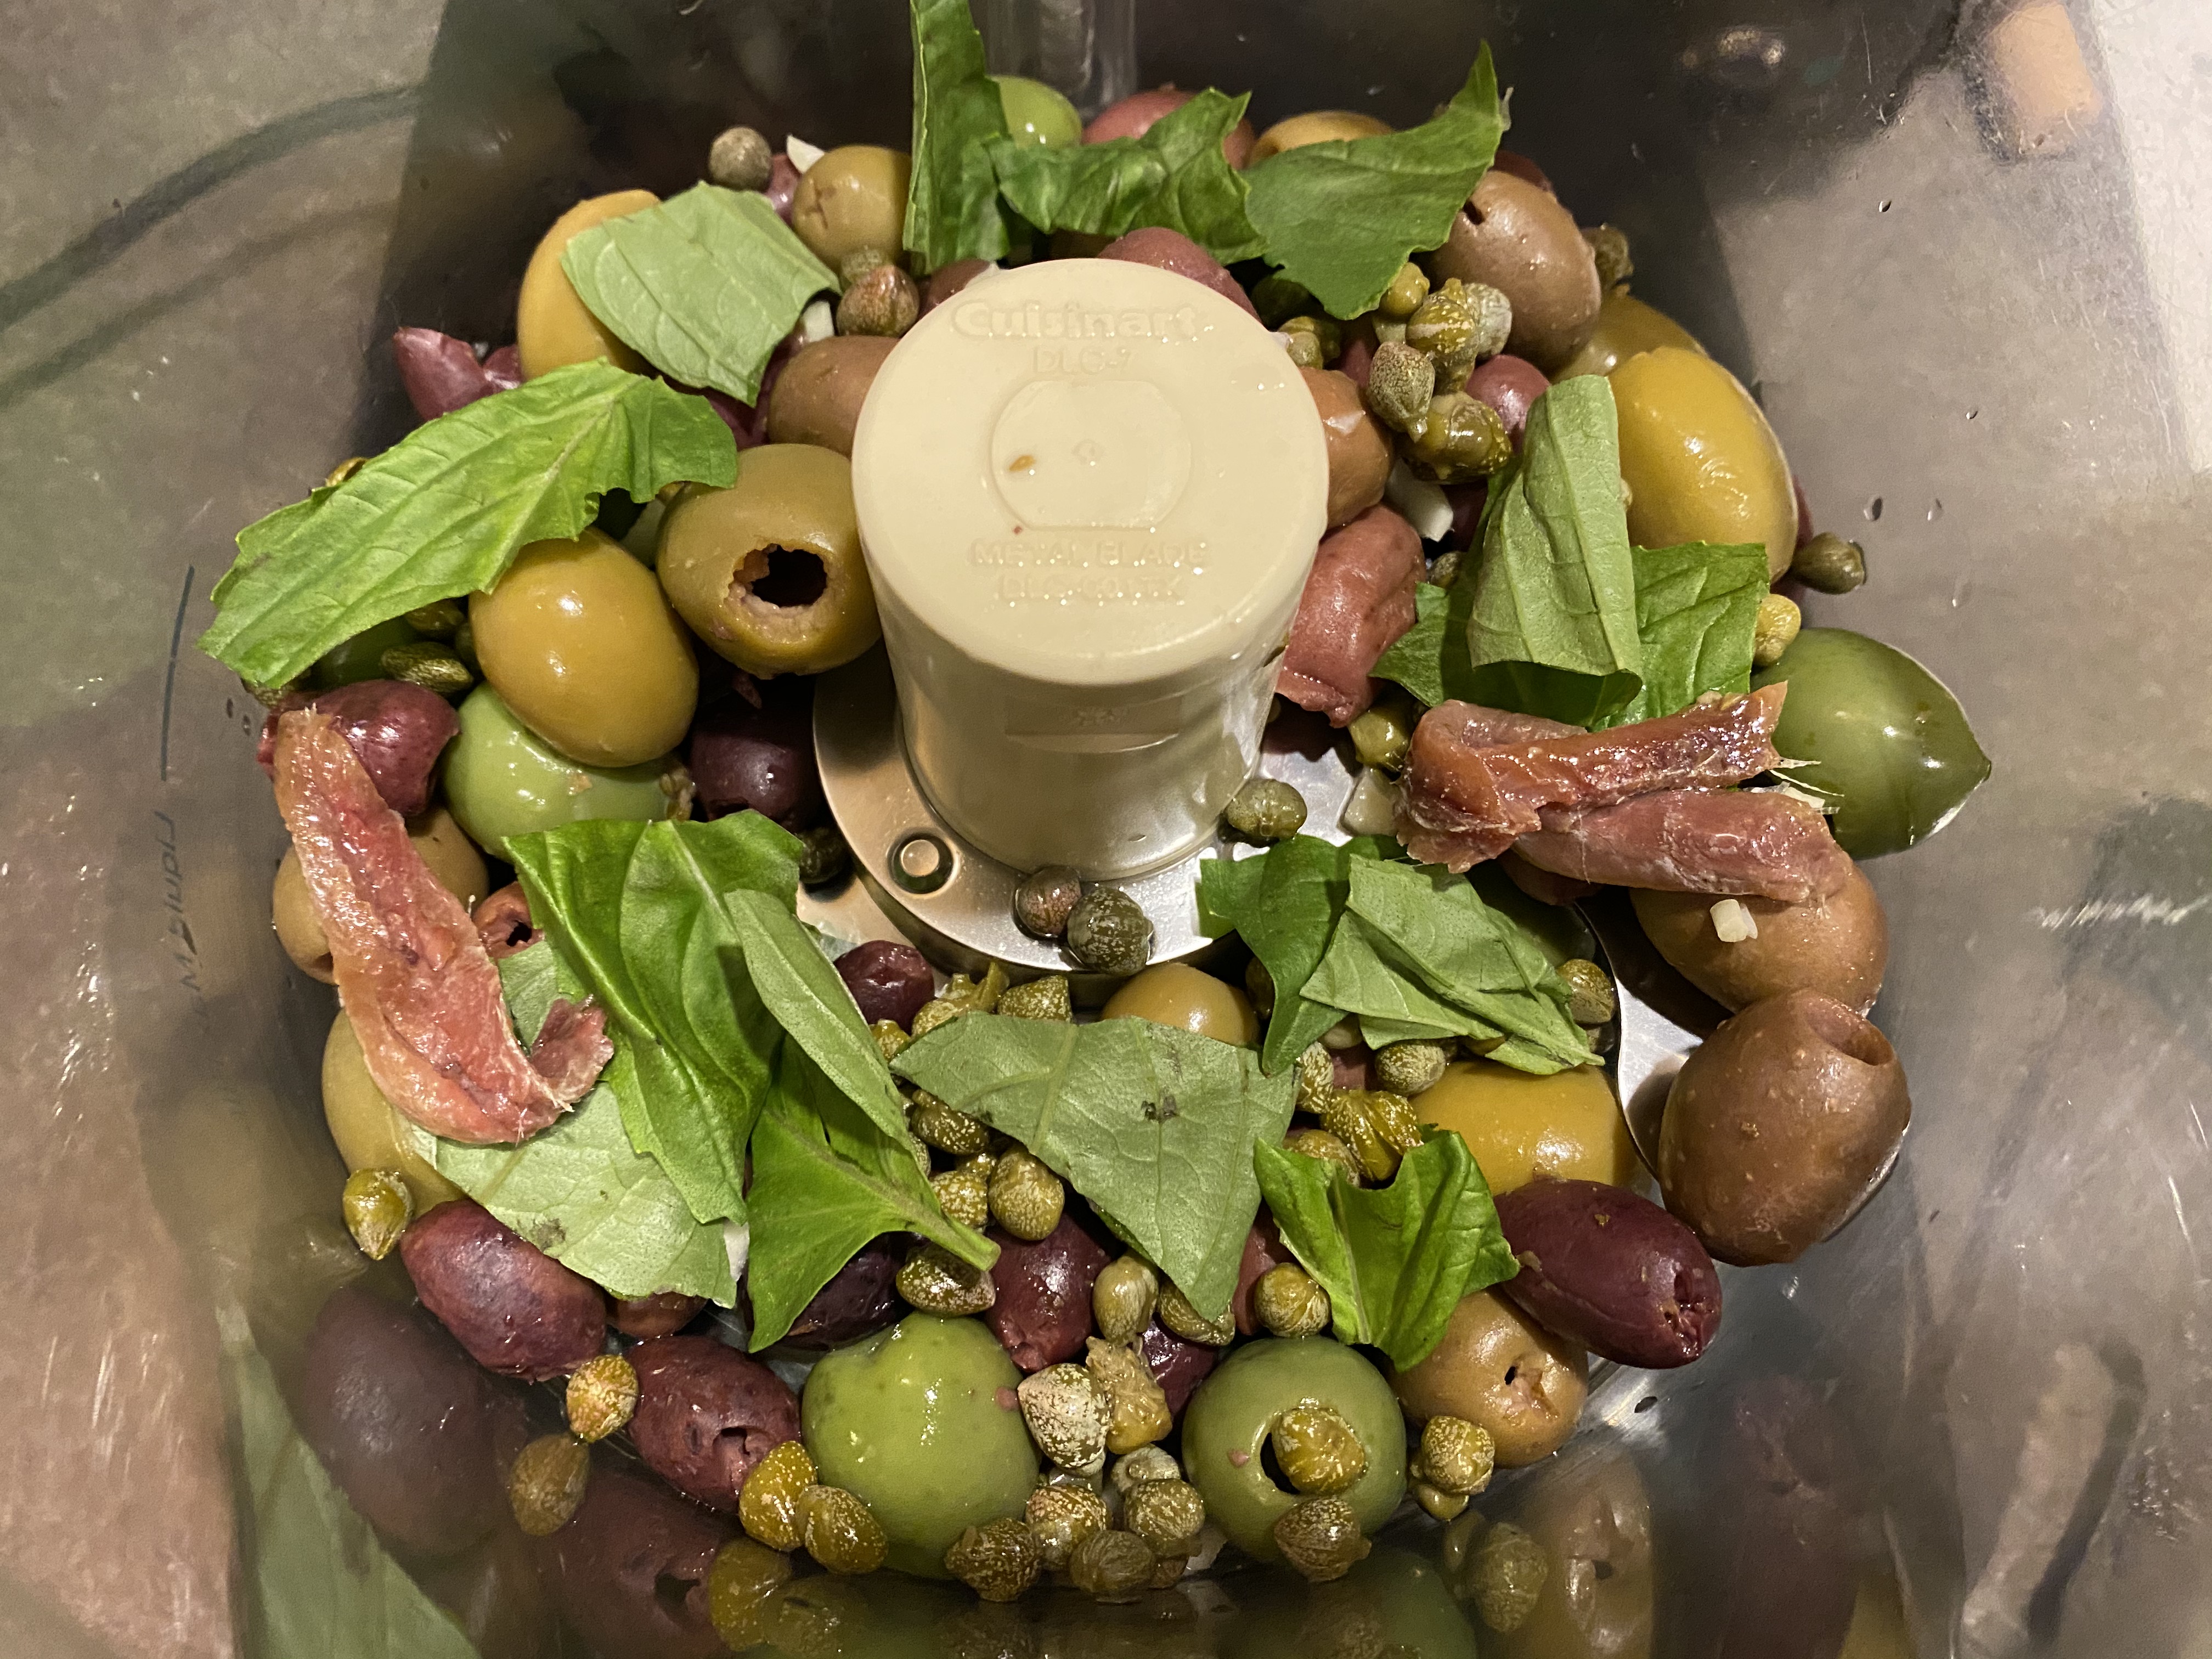
An olive tapenade is the second recipe of this episode. To make Alton’s tapenade, place the following ingredients in the bowl of a food processor: 1/2 pound mixed/pitted/rinsed olives, 2 T extra-virgin olive oil, 1 T lemon juice, 1 small minced clove of garlic, 2 T capers, 2-3 fresh basil leaves, and 2 anchovy fillets (rinsed if salt-soaked).

Mixed pitted olives, rinsed and placed in food processor. 
Extra-virgin olive oil, lemon juice, garlic, and capers added to olives. 
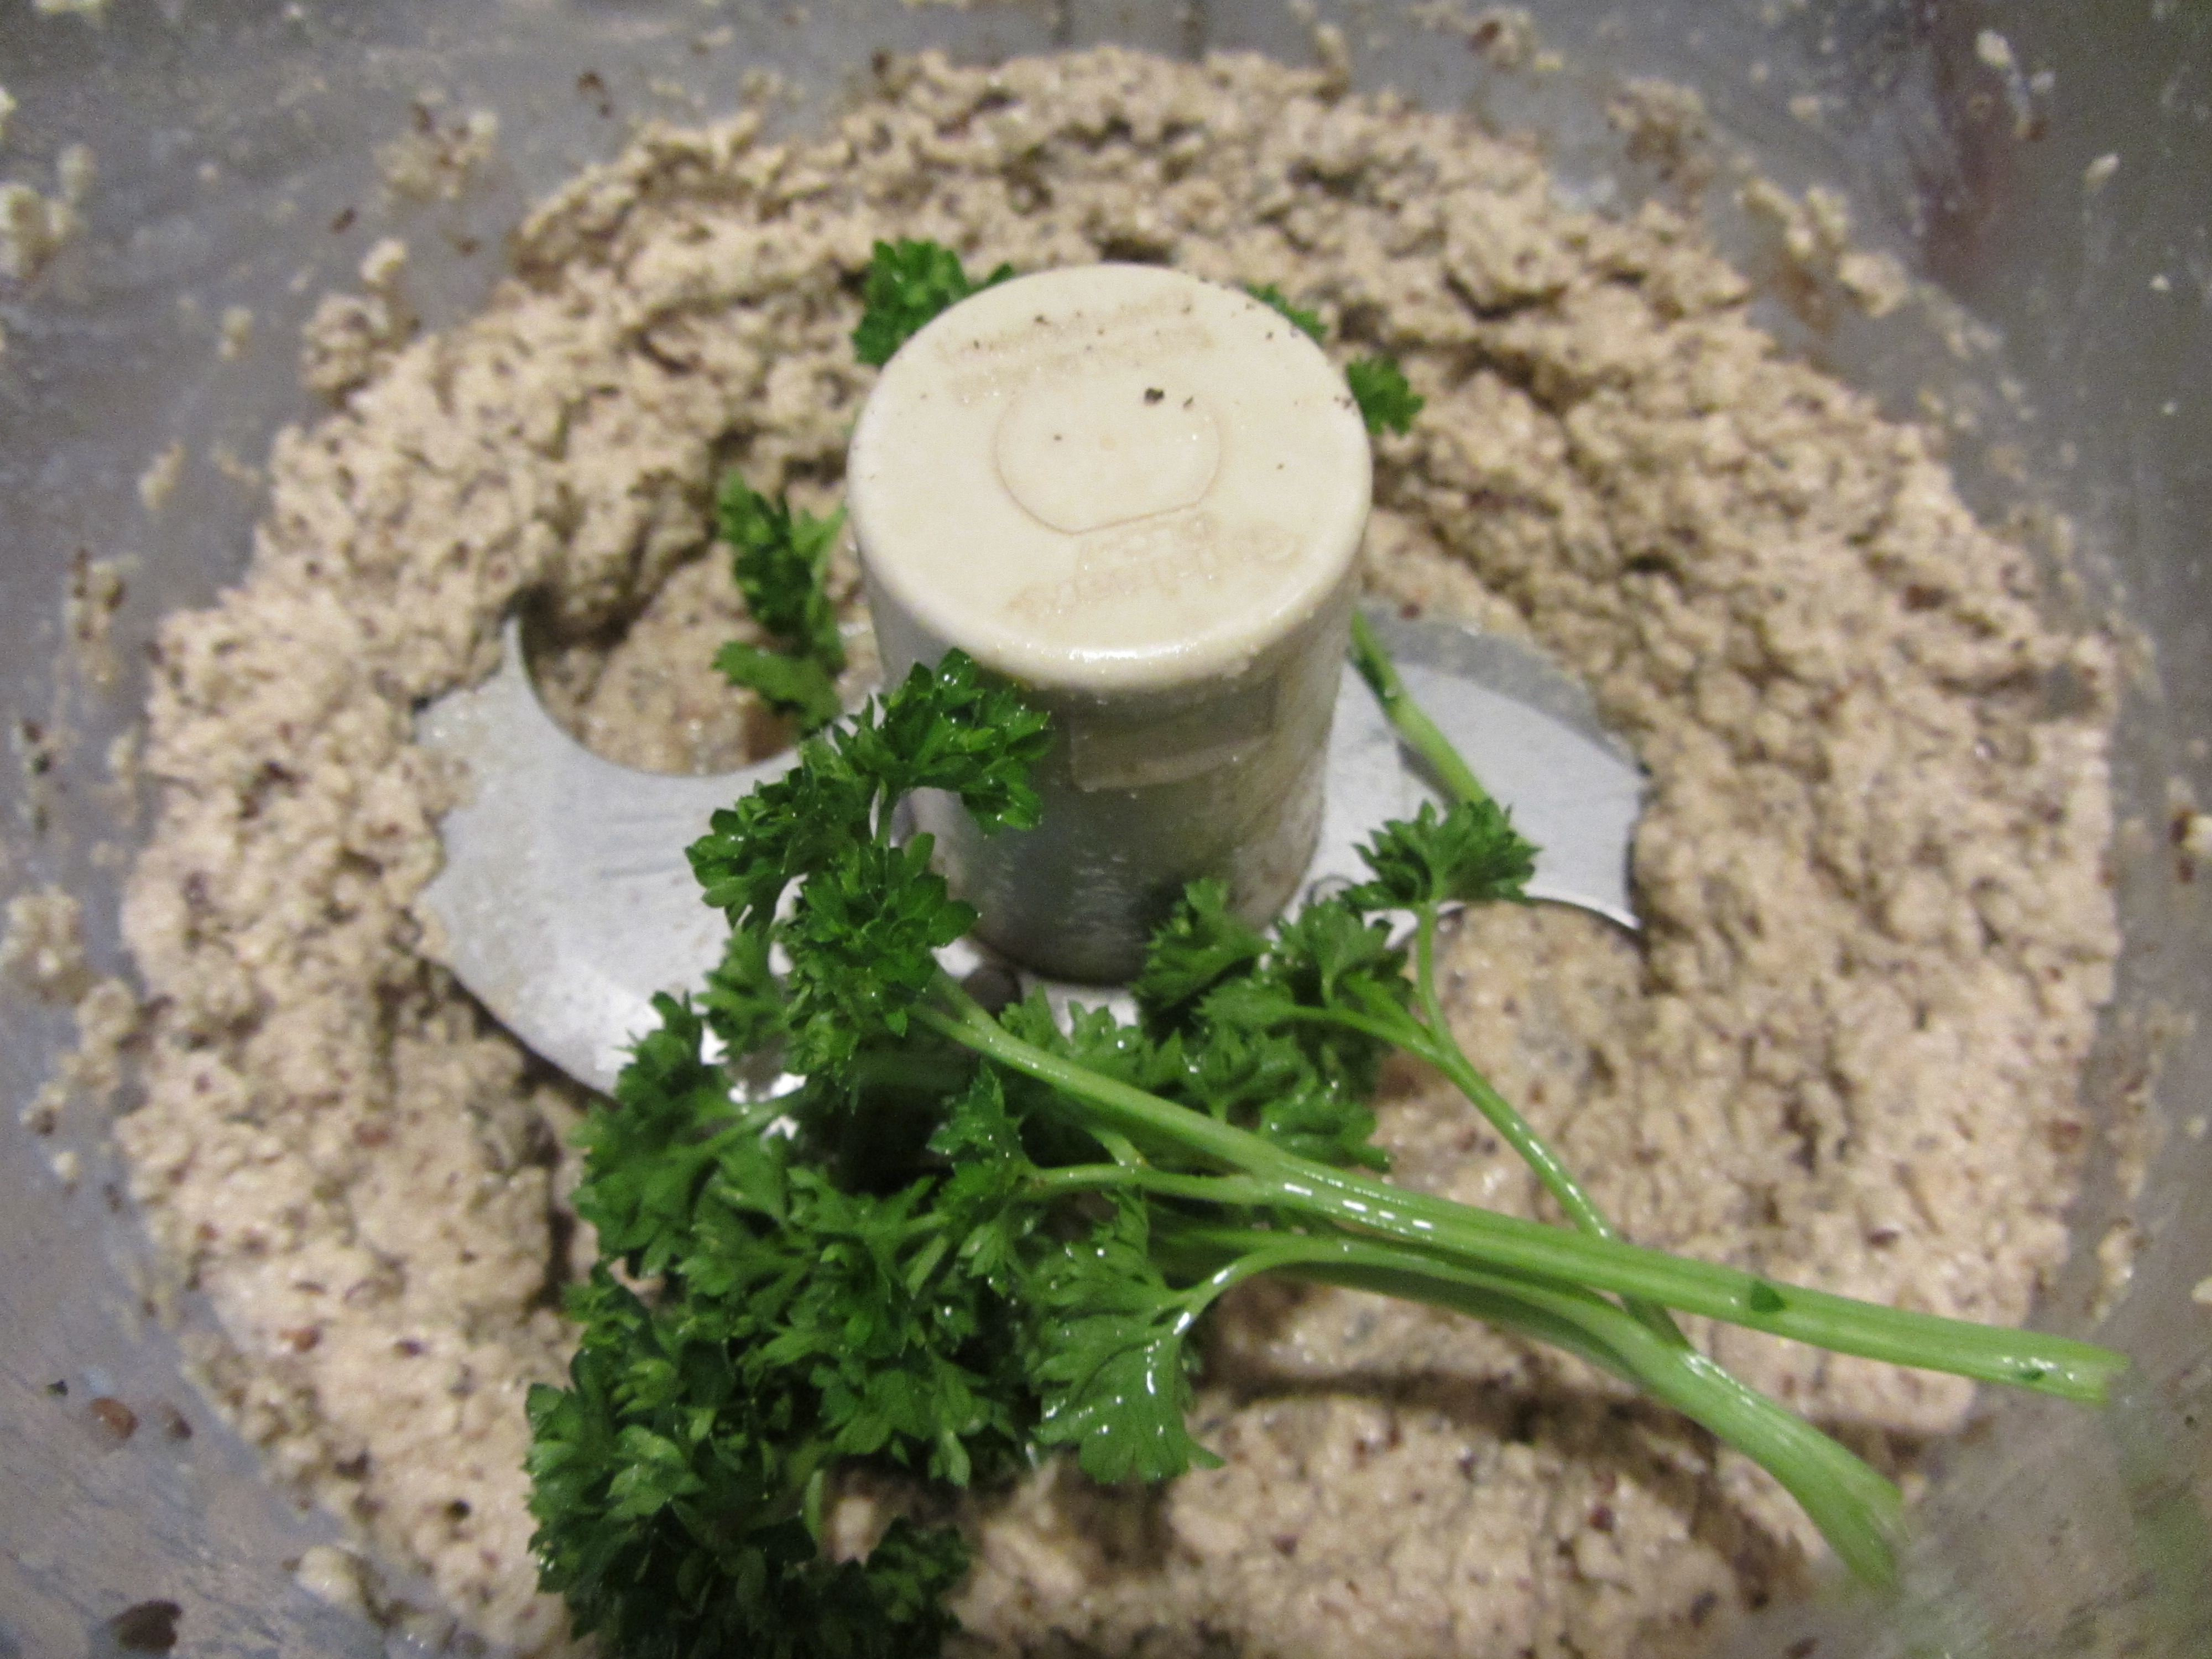
Basil and anchovies added to food processor.


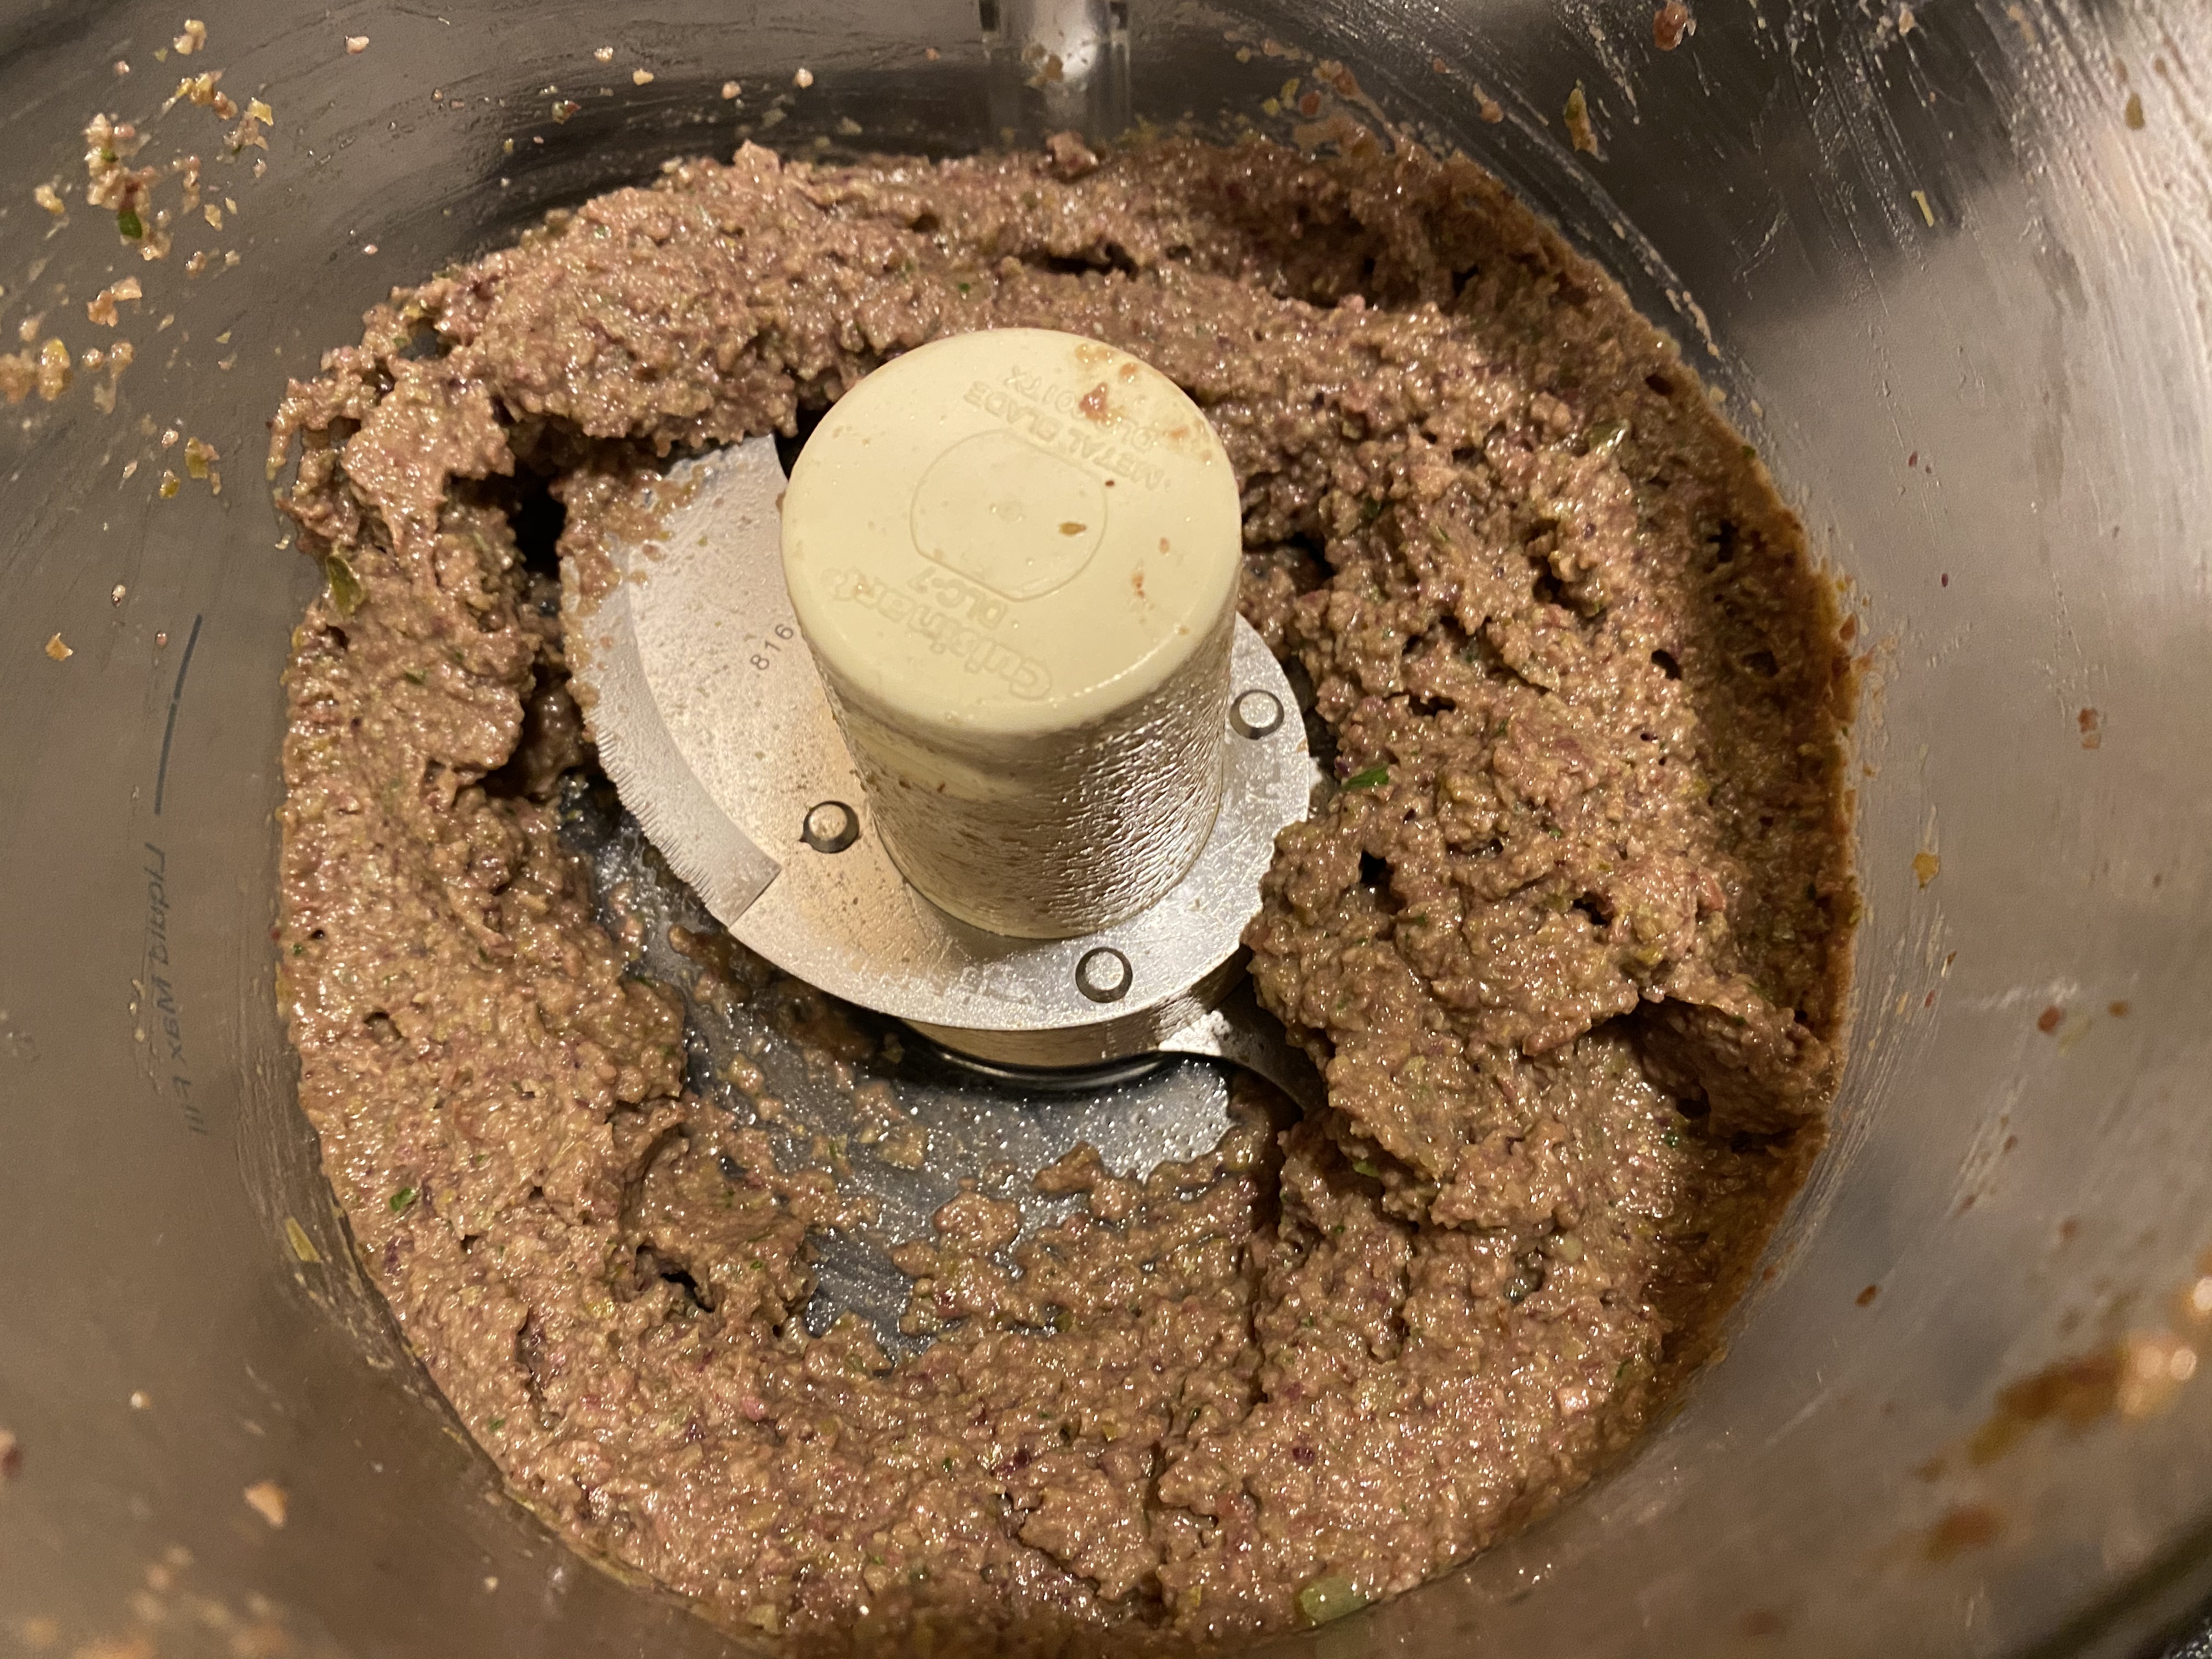
Process the olive mixture for about a minute, scraping down the sides of the bowl as needed.
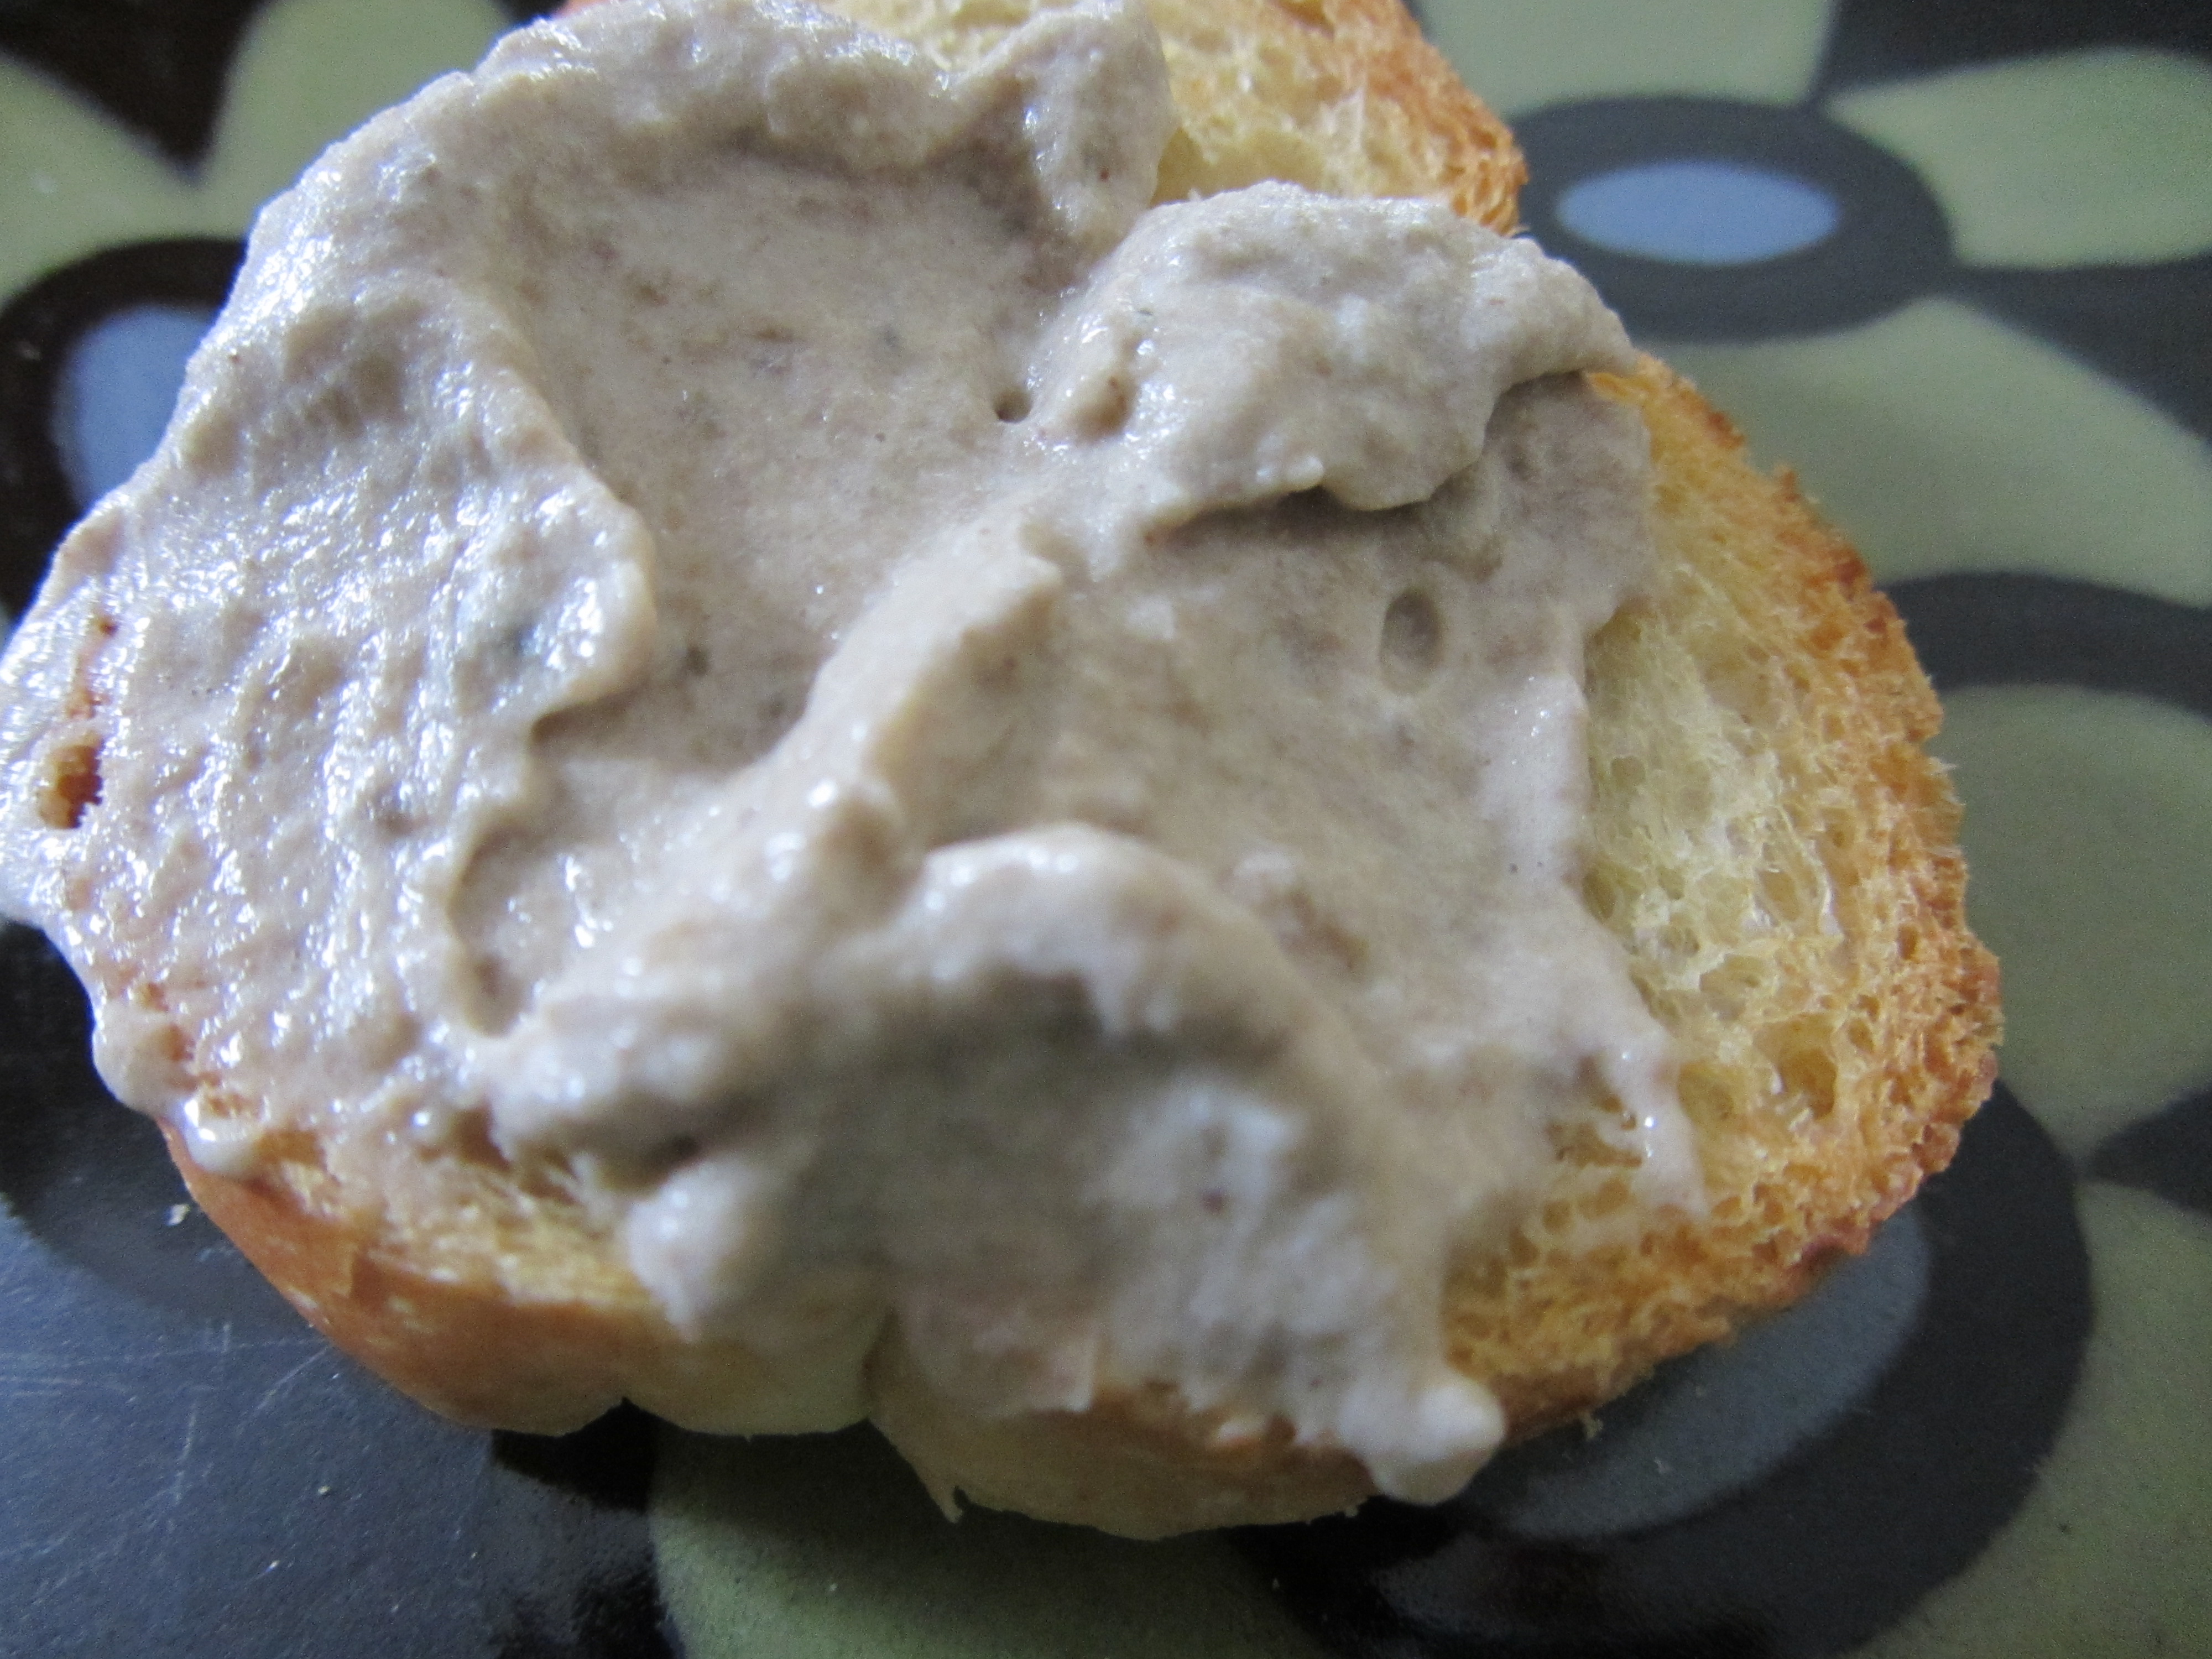
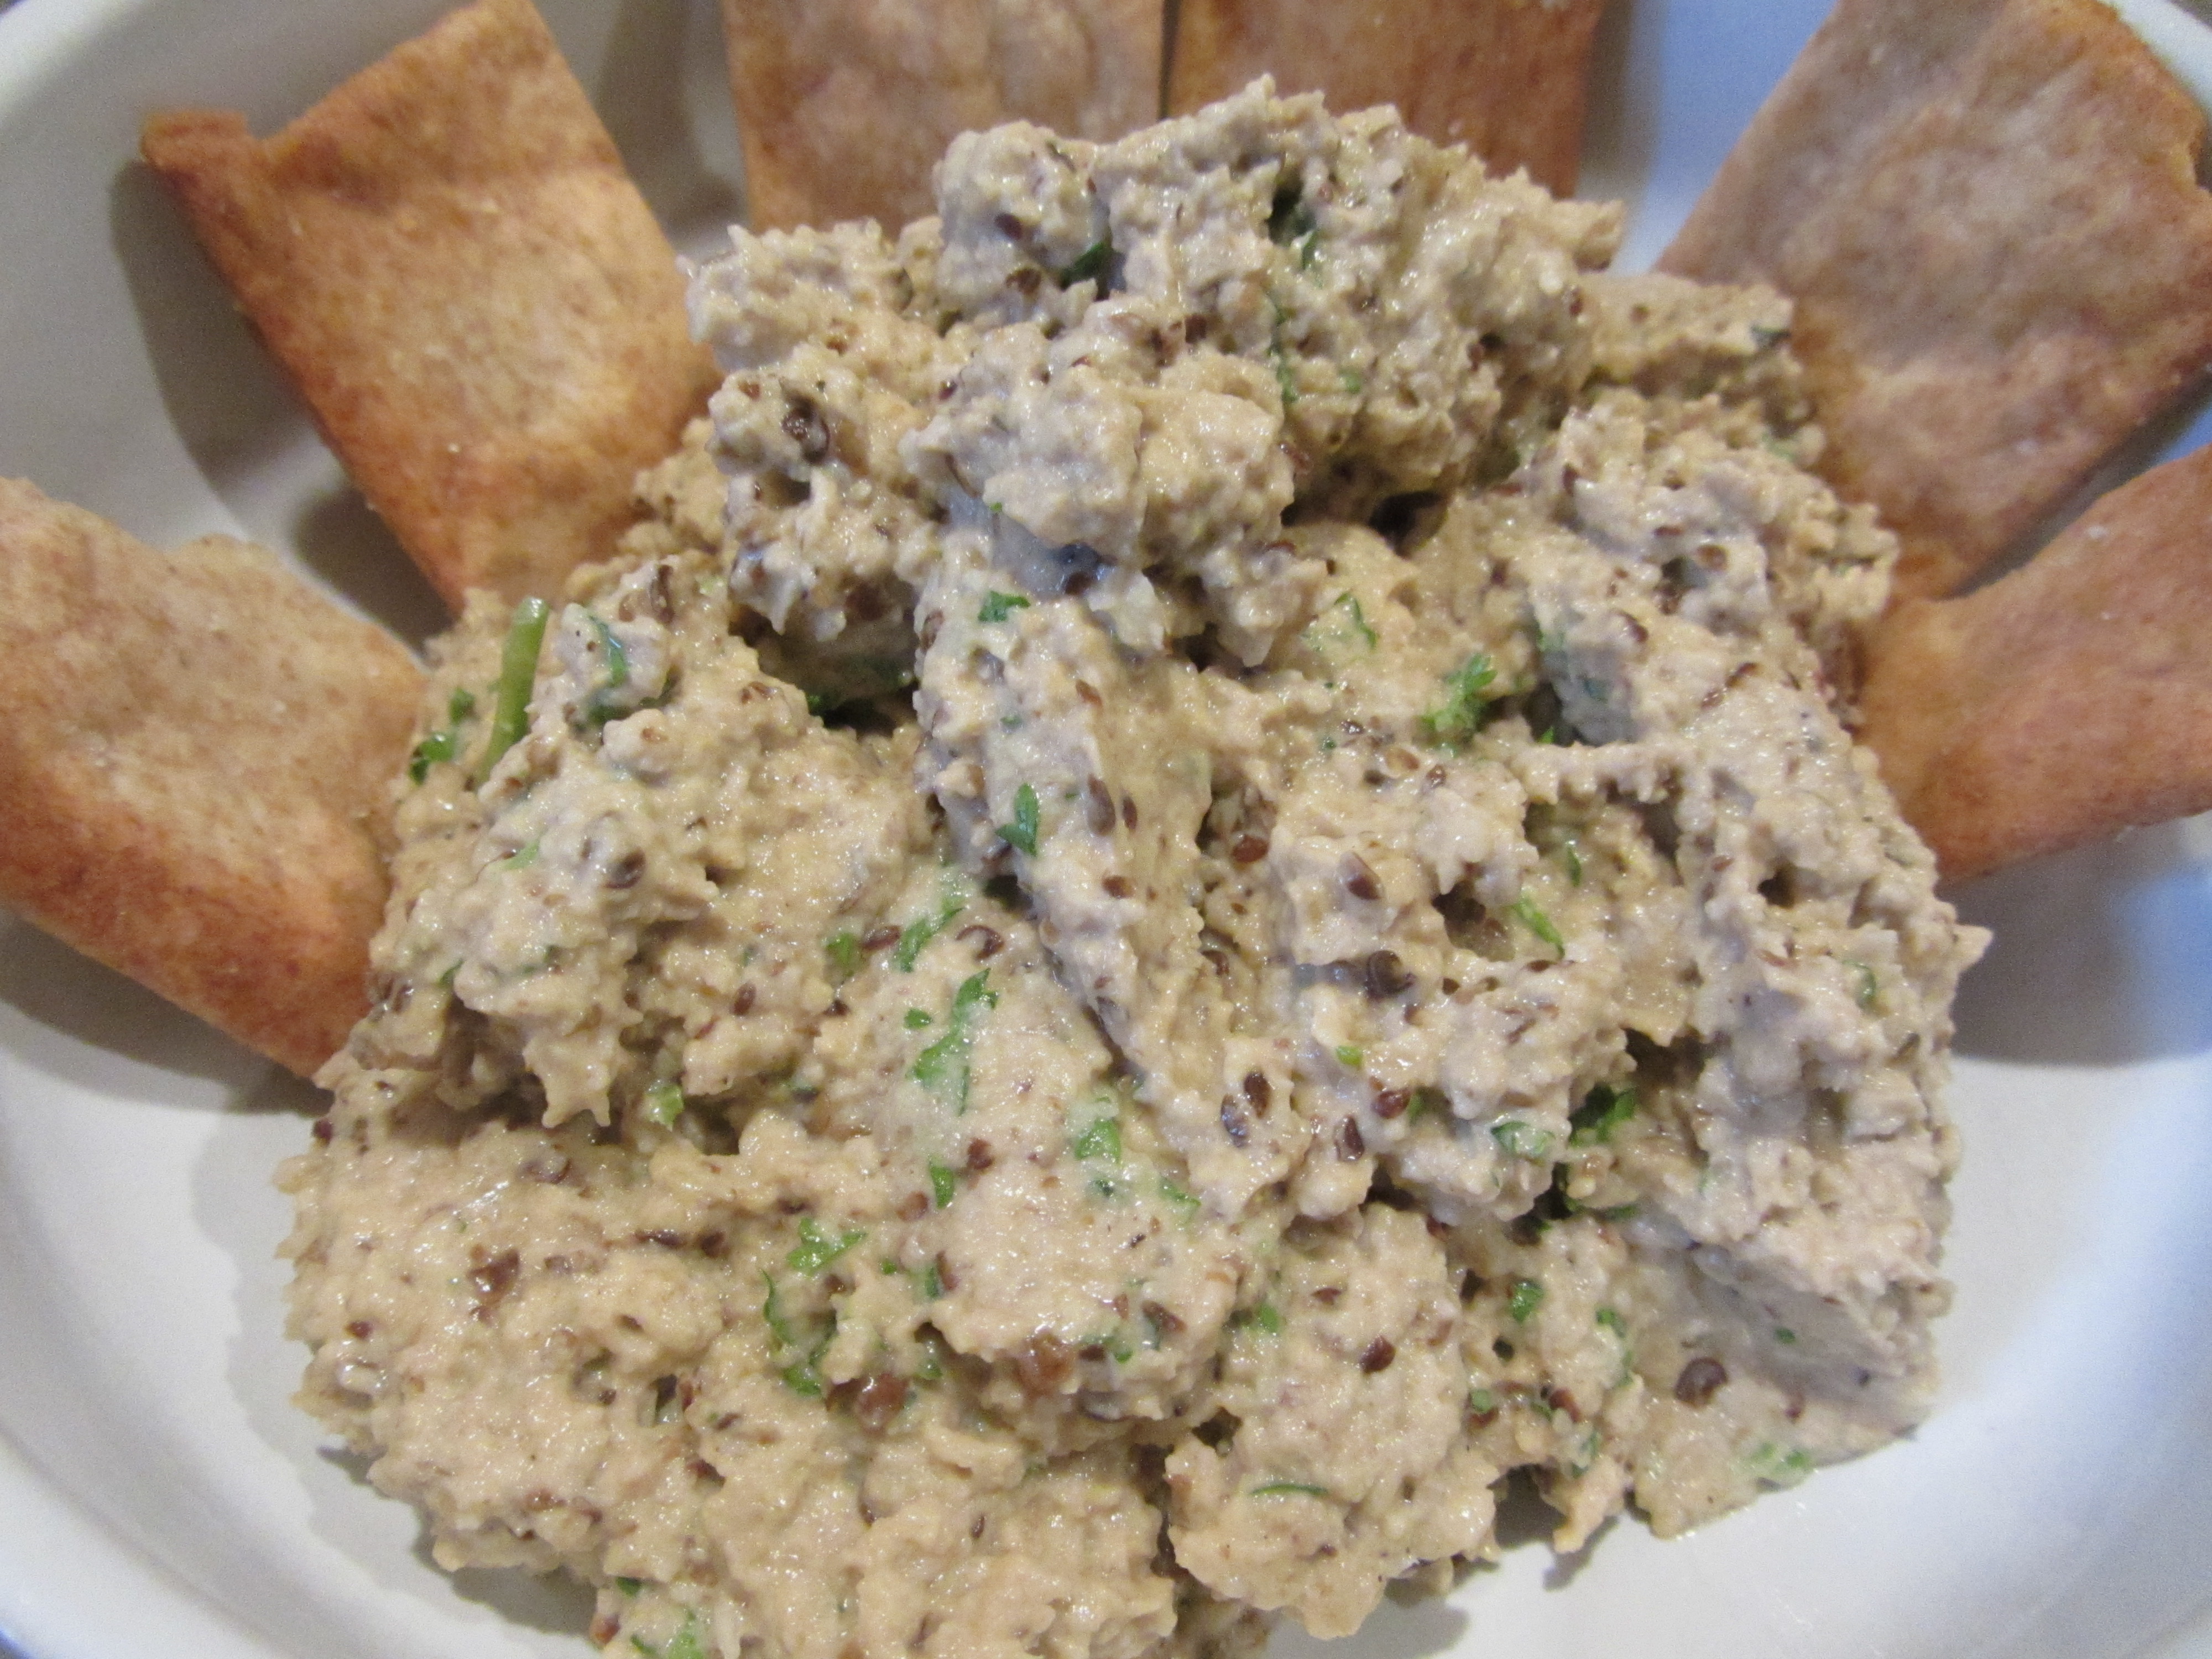
Transfer the tapenade to a bowl and serve with bread or crackers. We ate Alton’s tapenade as an appetizer with crackers, cheese, and meat.

This is a really flavorful tapenade that comes together in mere minutes. If you are leery of the anchovies, I can say that you would not know they are in the tapenade unless someone told you, but I think you would sure miss them if they weren’t there. That being said, if you’re a vegetarian, you could always omit them. This would be a super easy appetizer to make to serve to guests, and you could even make it in advance, which is always a bonus! Now, if you want to go on to make Alton’s final olive recipe from this episode, you can reserve 1/3 C of your tapenade to make his…
Olive Loaf
Yep, in the episode, Alton uses some of his homemade tapenade to make his olive bread. Or, you could always just use a purchased tapenade, though it probably wouldn’t taste as good. To make the bread, place 17 ounces of flour in the bowl of a food processor with 1 T baking powder and pulse to combine.

Add 1/3 C of olive tapenade and pulse four times.


Using a whisk, combine 1 1/4 t Kosher salt, 1/2 C olive oil, 1 C milk, 2 beaten eggs, and 1 T honey in a large bowl. Stir in 12 ounces of rinsed/pitted/chopped olives.


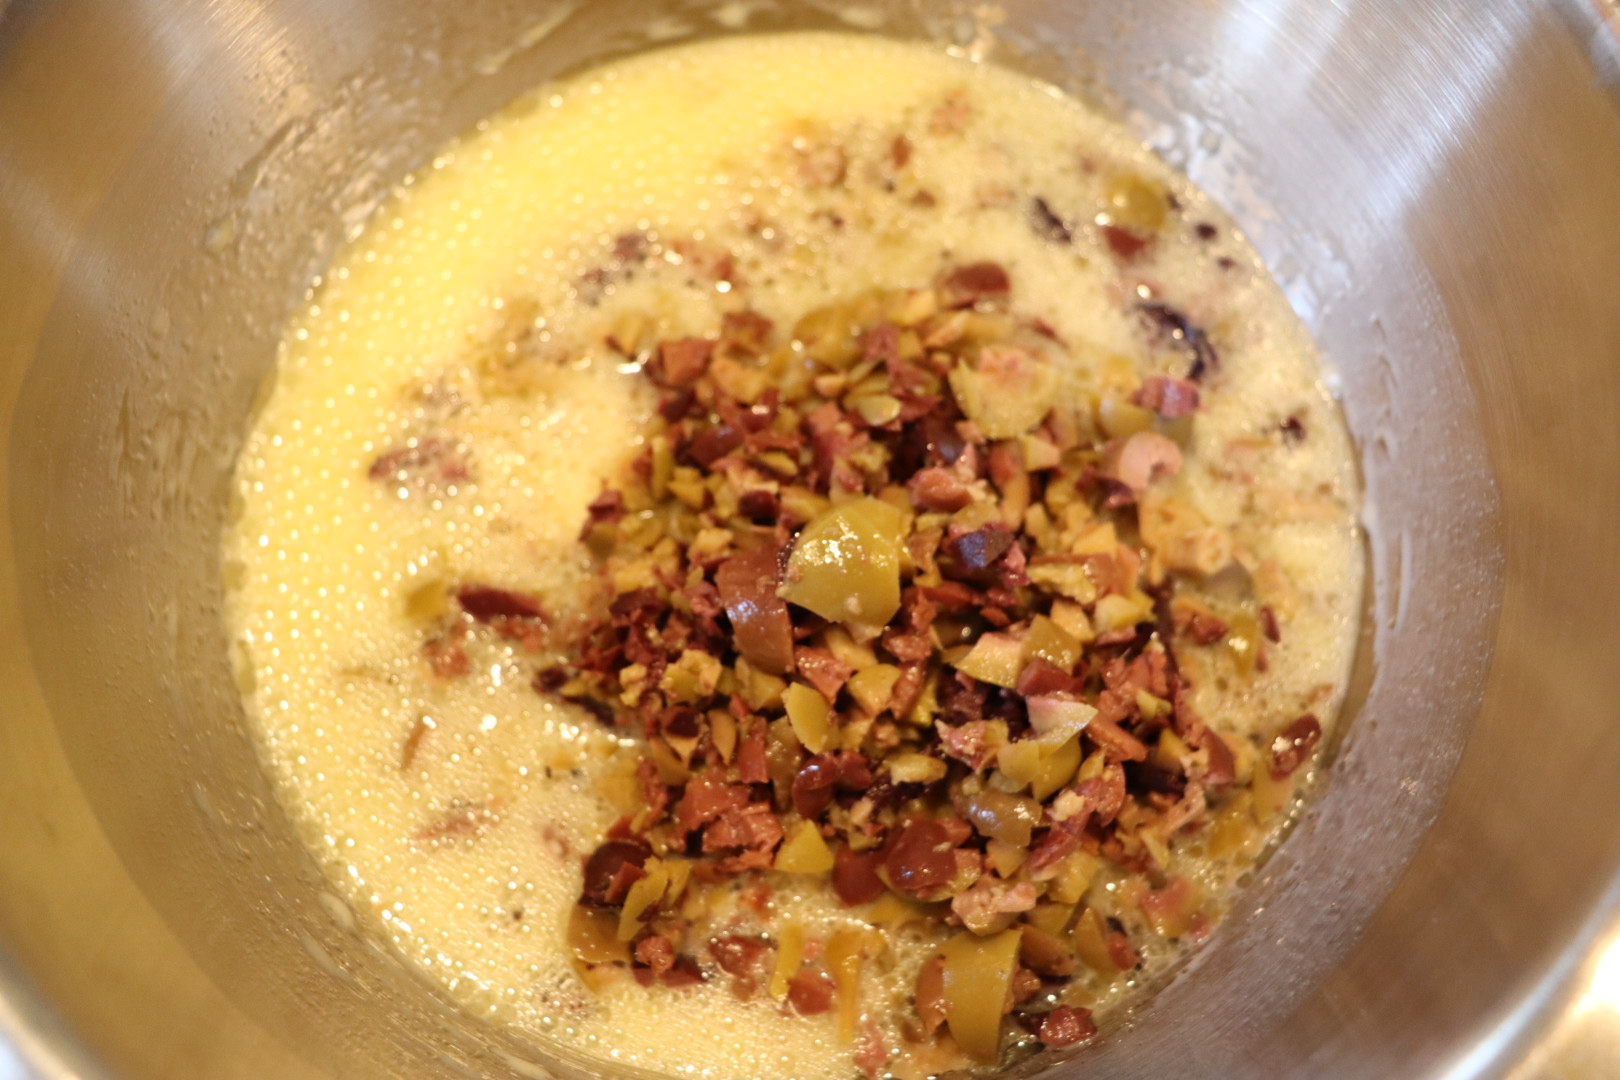

Add the dry ingredients to the wet ingredients, mixing until wet.

Spray a loaf pan with oil and line it with a parchment “sling.”

Pour the batter into the prepared pan and bake at 375 degrees for 75 to 80 minutes, or until the bread has an internal temperature of 210 degrees.

Remove the bread from the pan and allow it to cool before slicing.

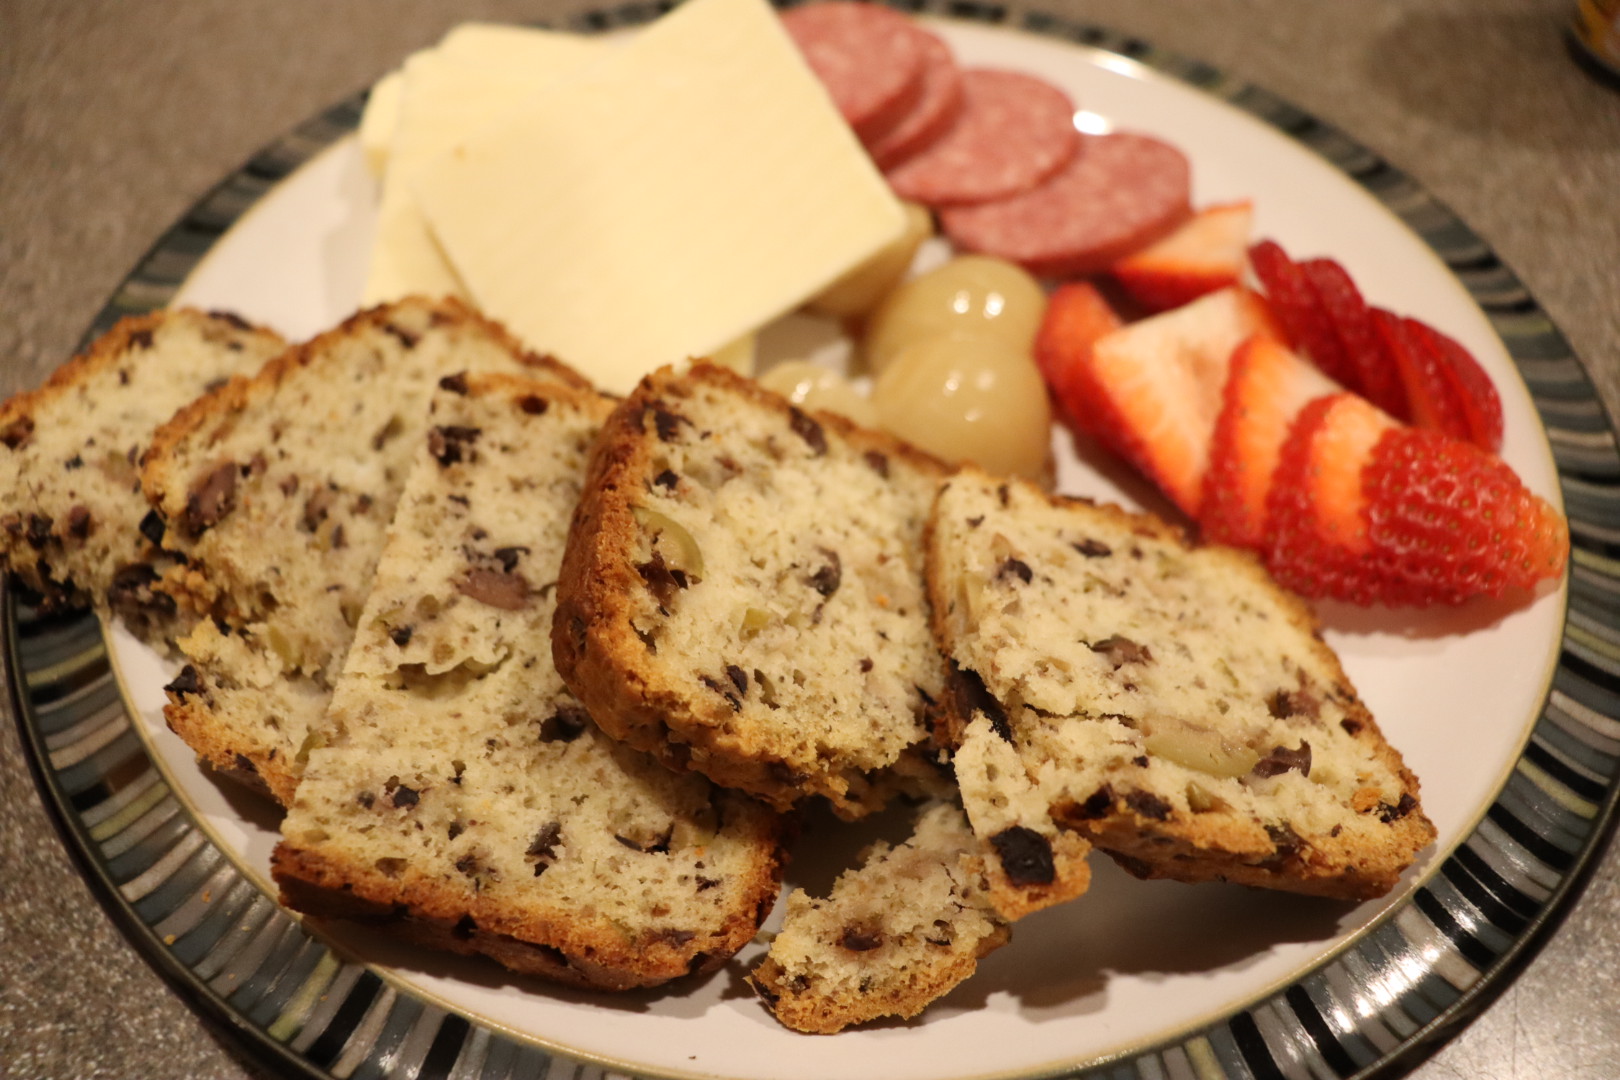
We thoroughly enjoyed this bread. It came out moist and loaded with olives. Some reviewers claimed this bread was too salty, but we did not find that to be the case at all. I would definitely make this bread again, especially if you are an olive lover like I am.
I have to share that I am super excited because I discovered a few days ago that Alton will be touring later this year, and I was able to purchase tickets. If you have not seen his live show, it is a lot of fun!


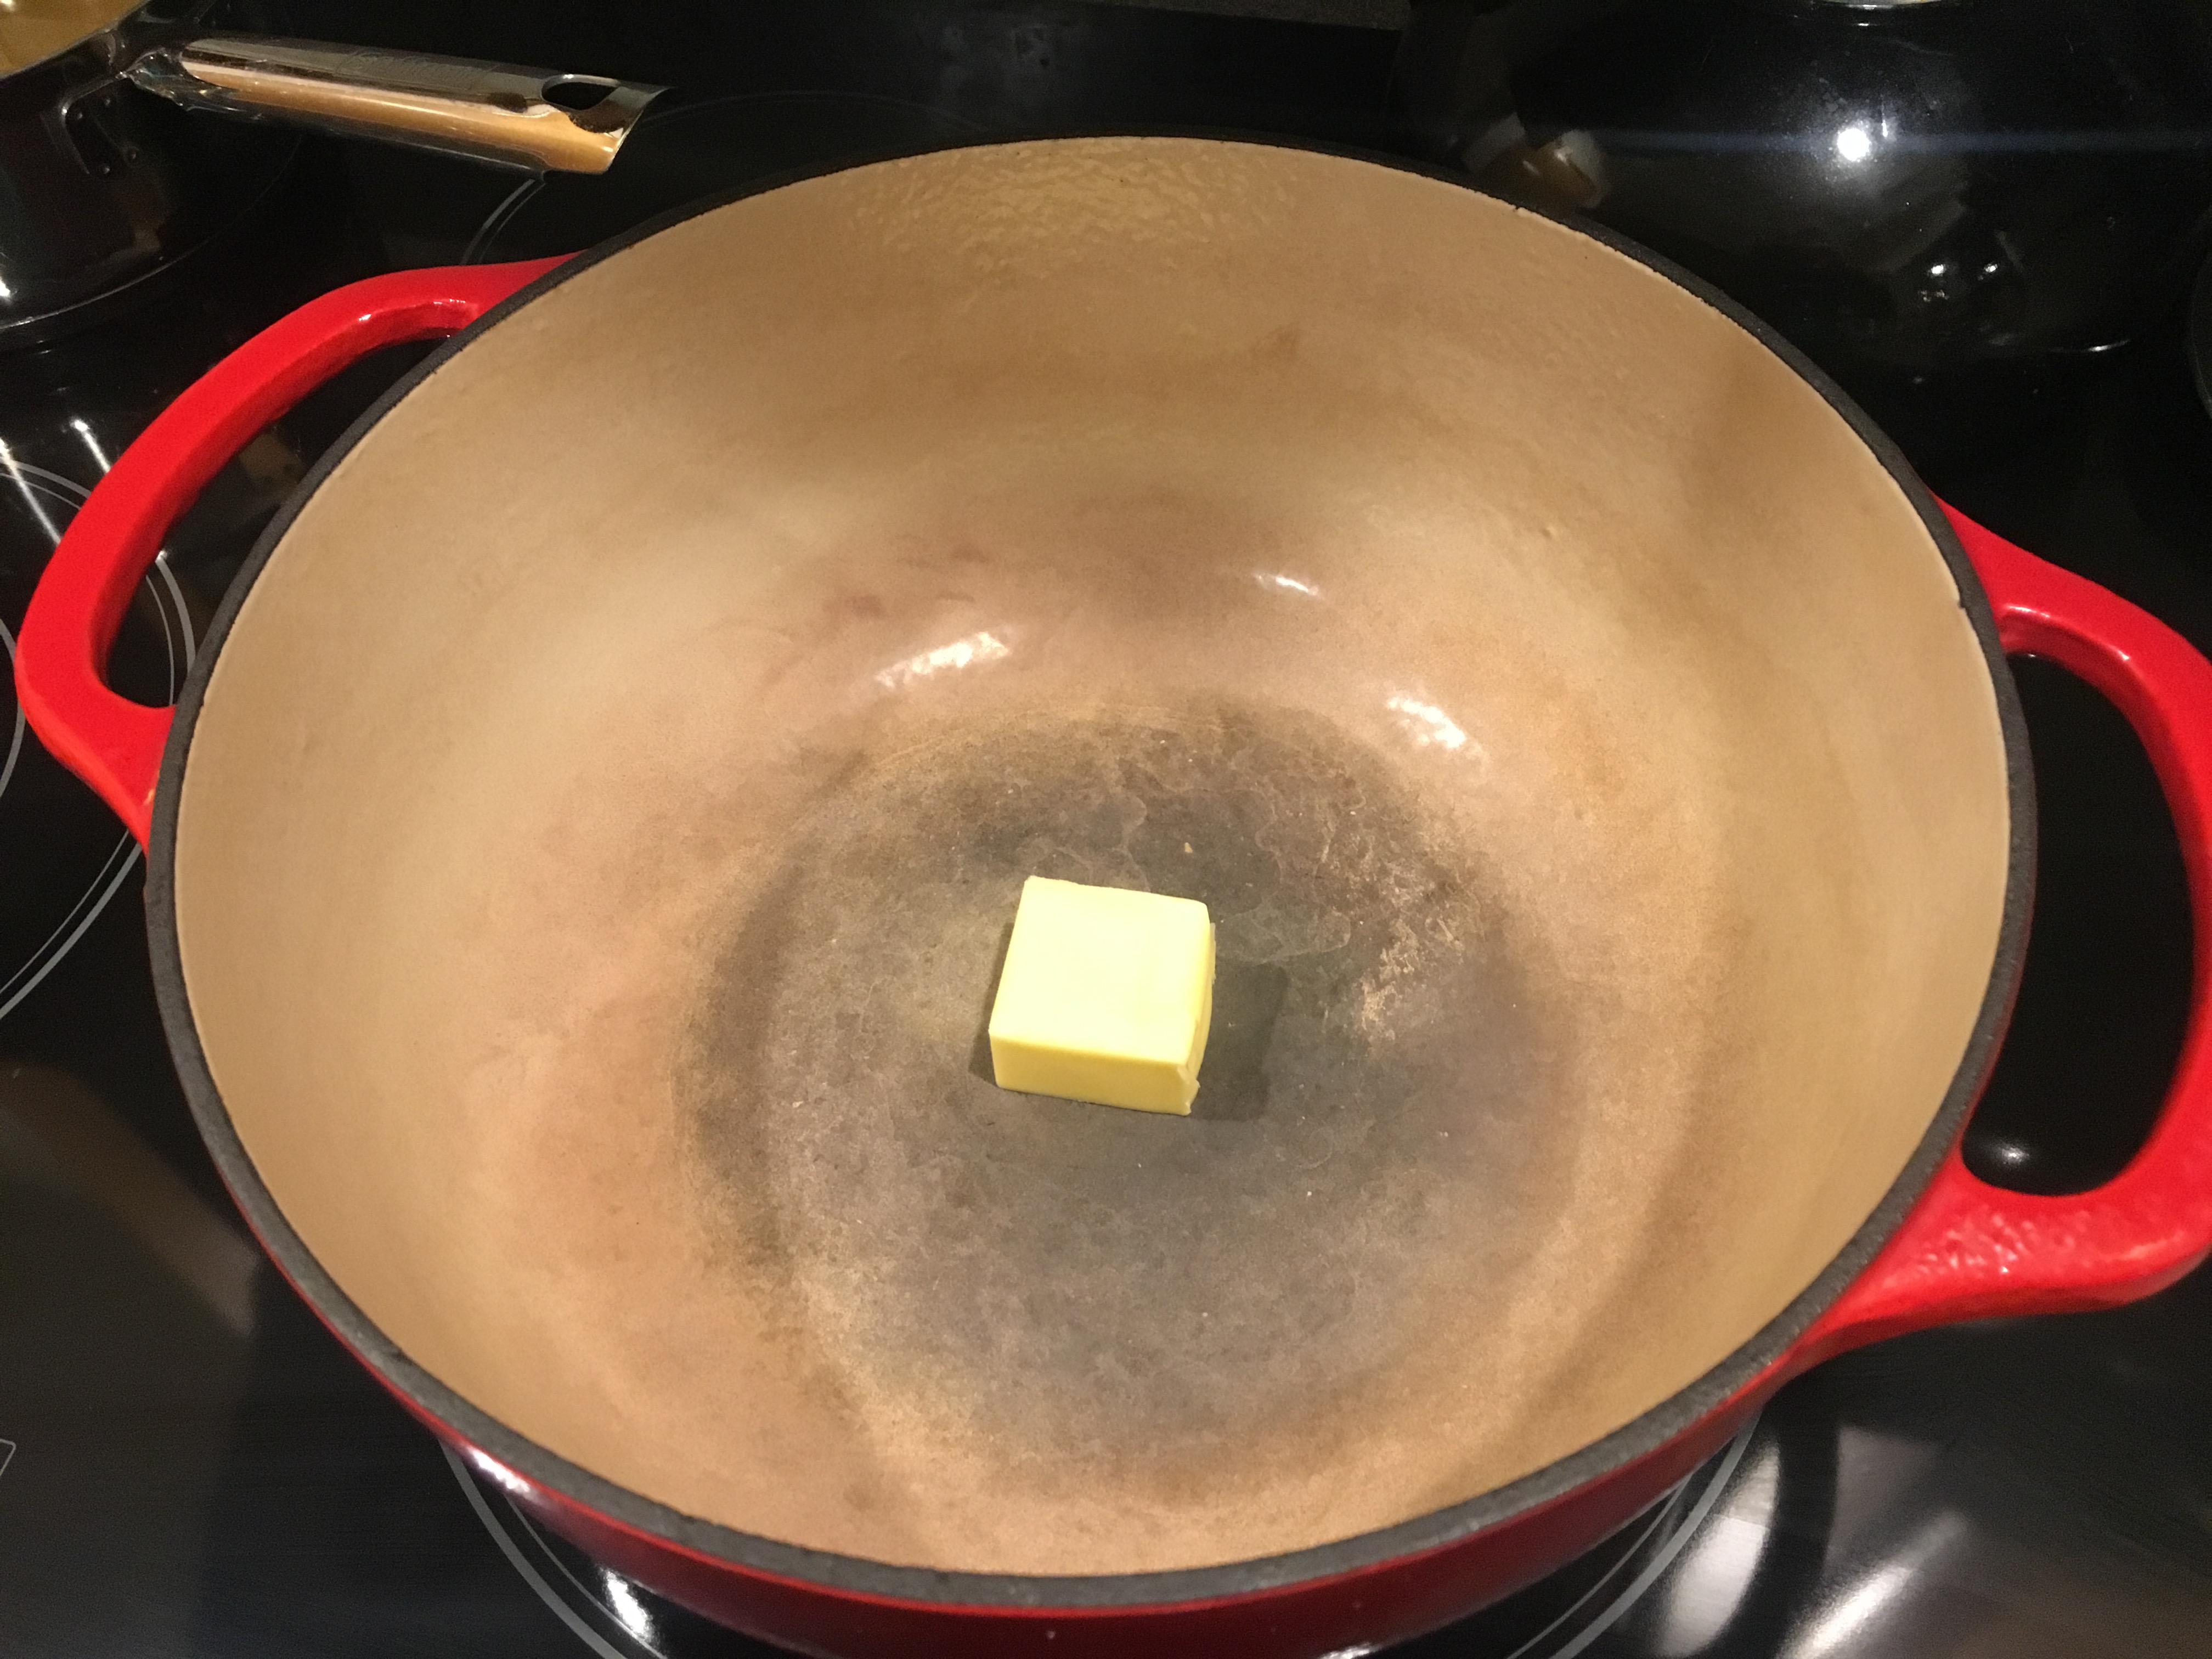


 To the melted butter add 2 C chopped onions, 1 chopped Granny Smith apple, 1 t fresh thyme, and a heavy pinch of Kosher salt. Cover the pan and let it cook until the contents are golden.