Posts Tagged ‘chicken’

I have had a busy last few weeks and really not by any sort of choice. First, I found myself with a full week of jury duty, which saw me spending full days at the courthouse. While the experience was educational and informative, I am glad to once again have control over my schedule.

Unfortunately, right at the end of my jury service, my dad had an accident and broke eight ribs; two of the ribs were displaced and he also had a Hemothorax. Needless to say, I flew to be with him as soon as I could, and I spent six days visiting him. He is, unfortunately, still in the ICU, so I will likely be traveling to see him again shortly. I am hoping and praying for good news soon. It would be great to see him finally turn the corner. Yes, 2019 has not been kind to me thus far.

Coq au Vin

In an effort to distract myself and do something productive, I’m sitting down to write up a dish I actually prepared weeks ago:  Alton’s Coq au Vin. Coq au Vin is an old French dish that was originally composed as a means of cooking old, tough roosters (I was informed of this fact by both Alton and my dad). This dish certainly takes some time to prepare and you need to start a day ahead of eating. Salt pork is the first ingredient in this recipe, but you can substitute slab bacon if you are unable to find the salt pork. I lucked out and found salt pork at my local grocery store.
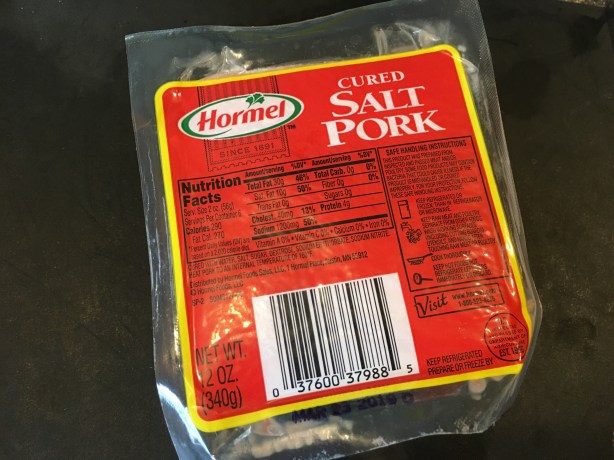
IMG_1639

Salt pork.

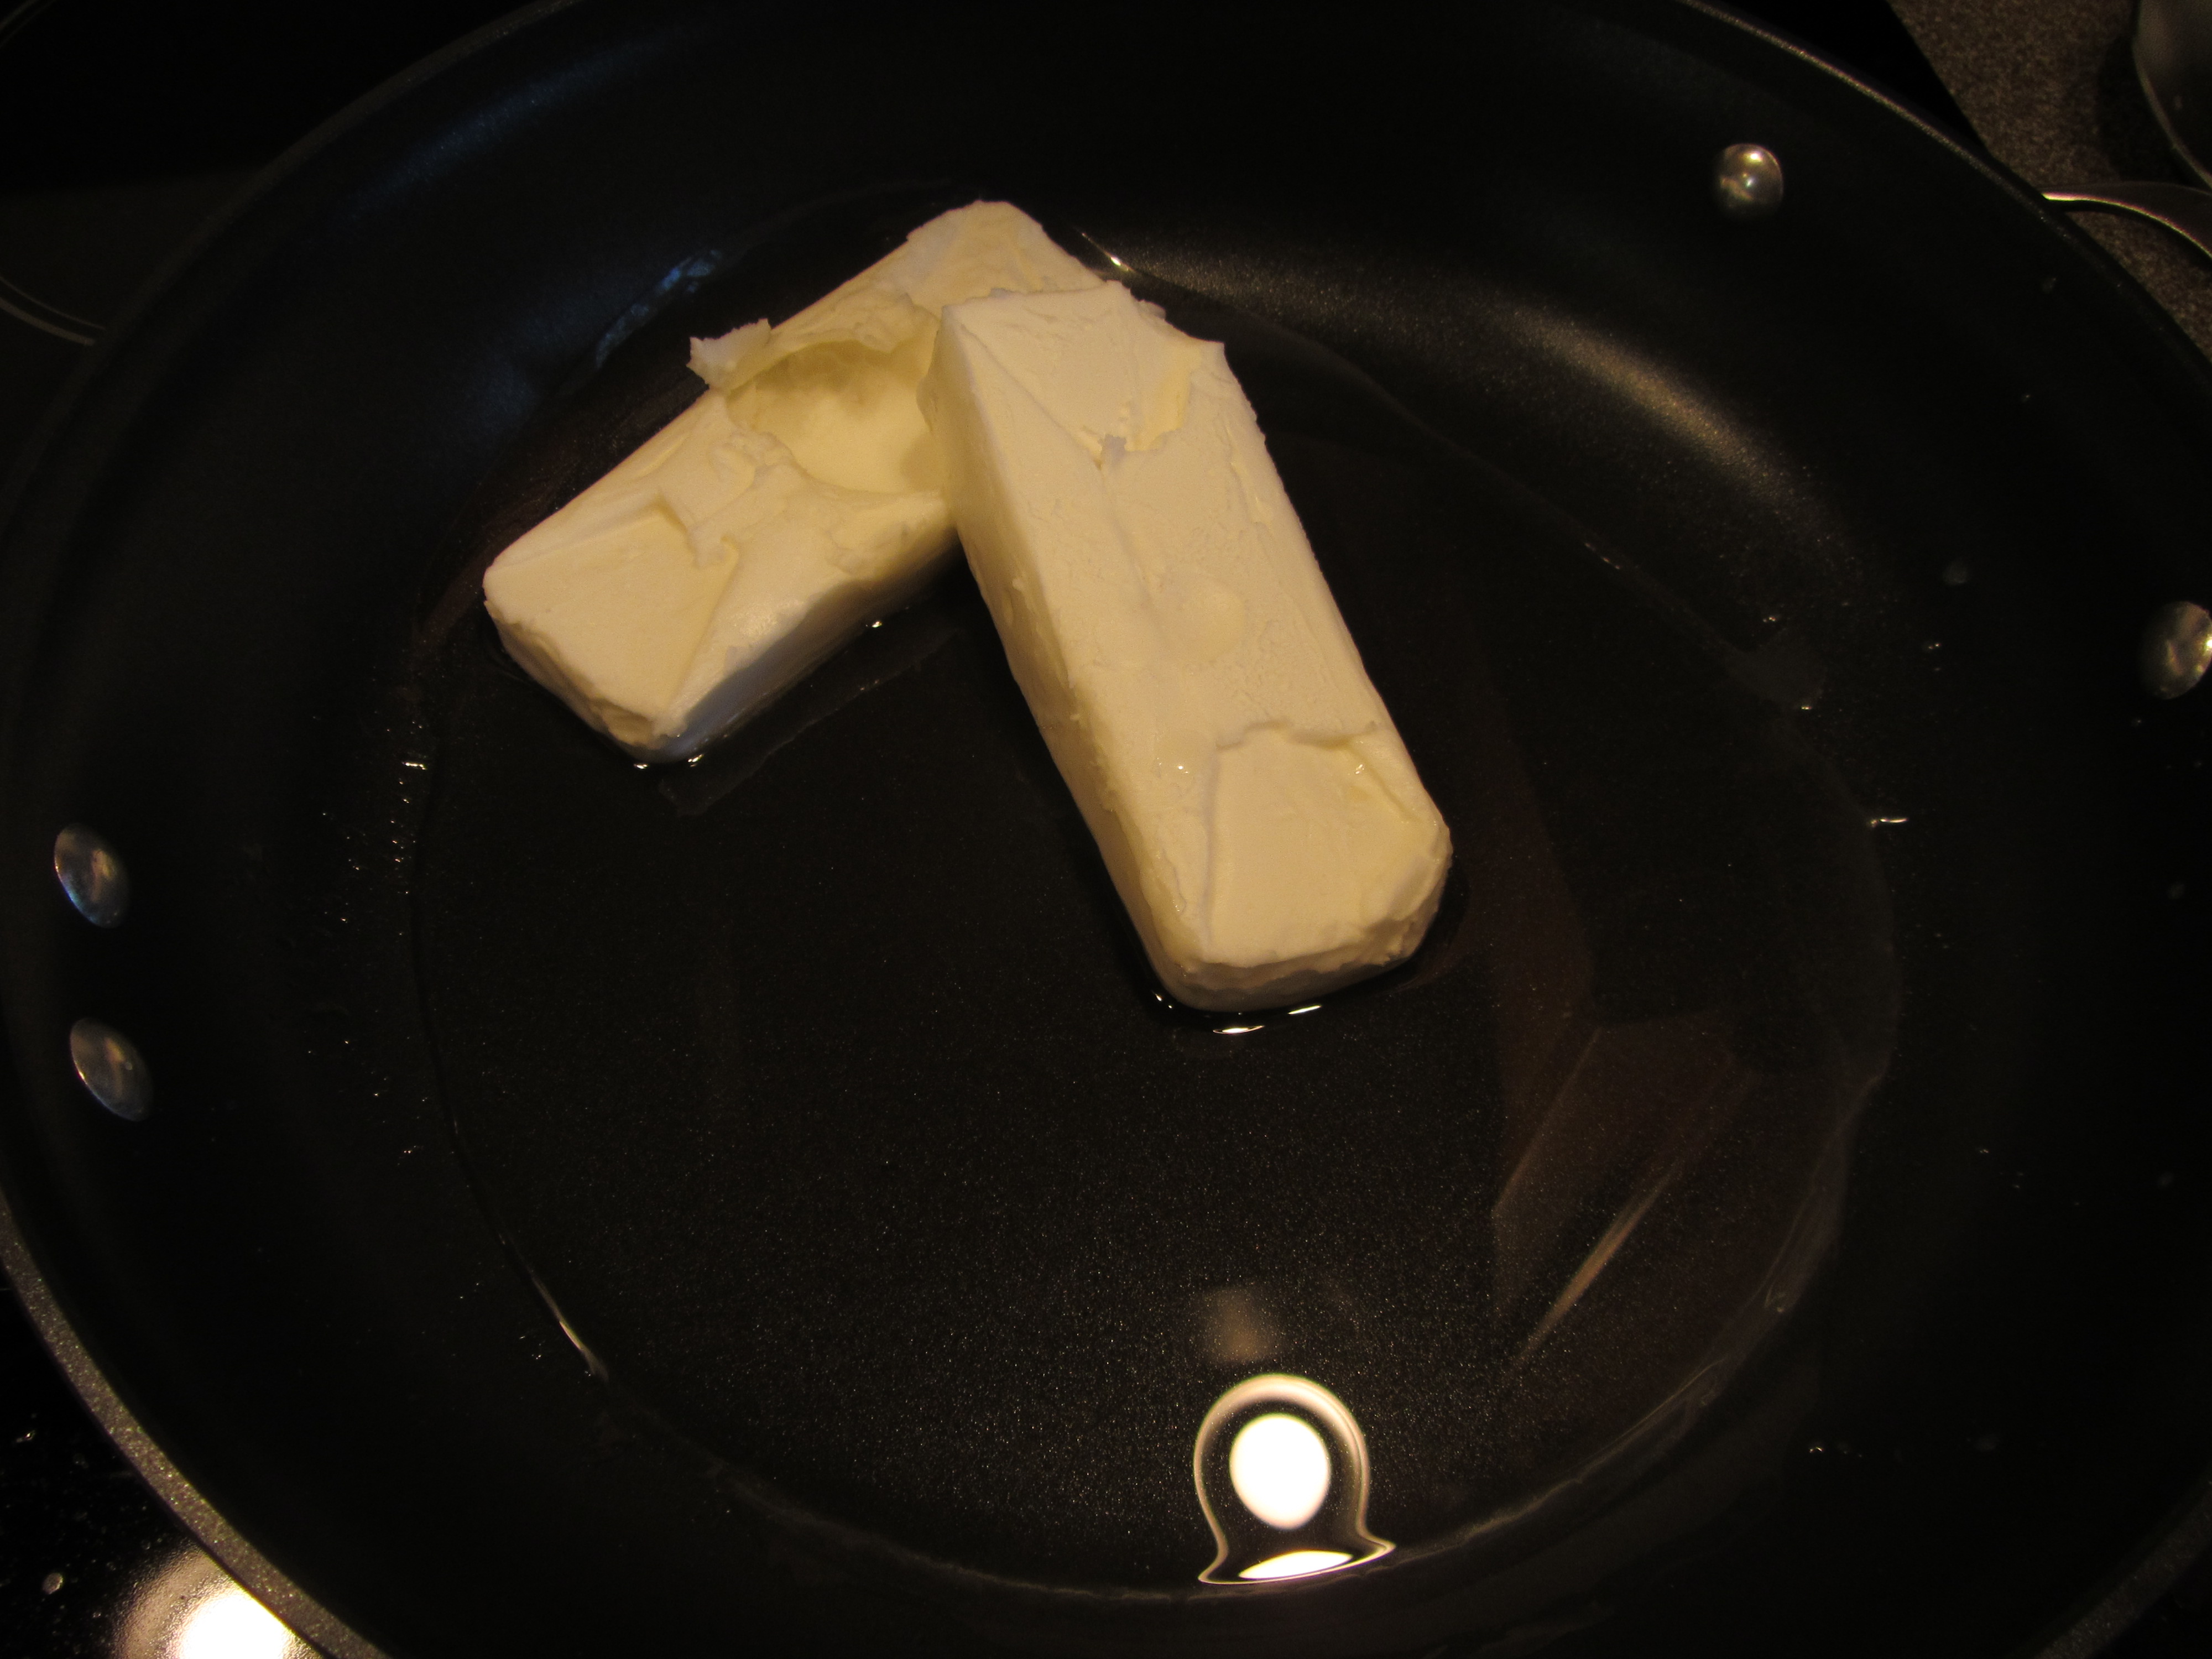
Cube six ounces of the salt pork and place it in a large skillet over medium heat, along with 2 T water. Cover the skillet and let the pork cook for 5-10 minutes.

IMG_1647

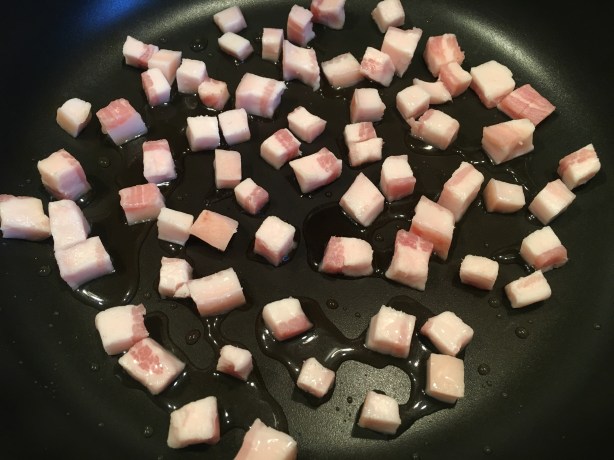
Cubed salt pork in skillet with water.

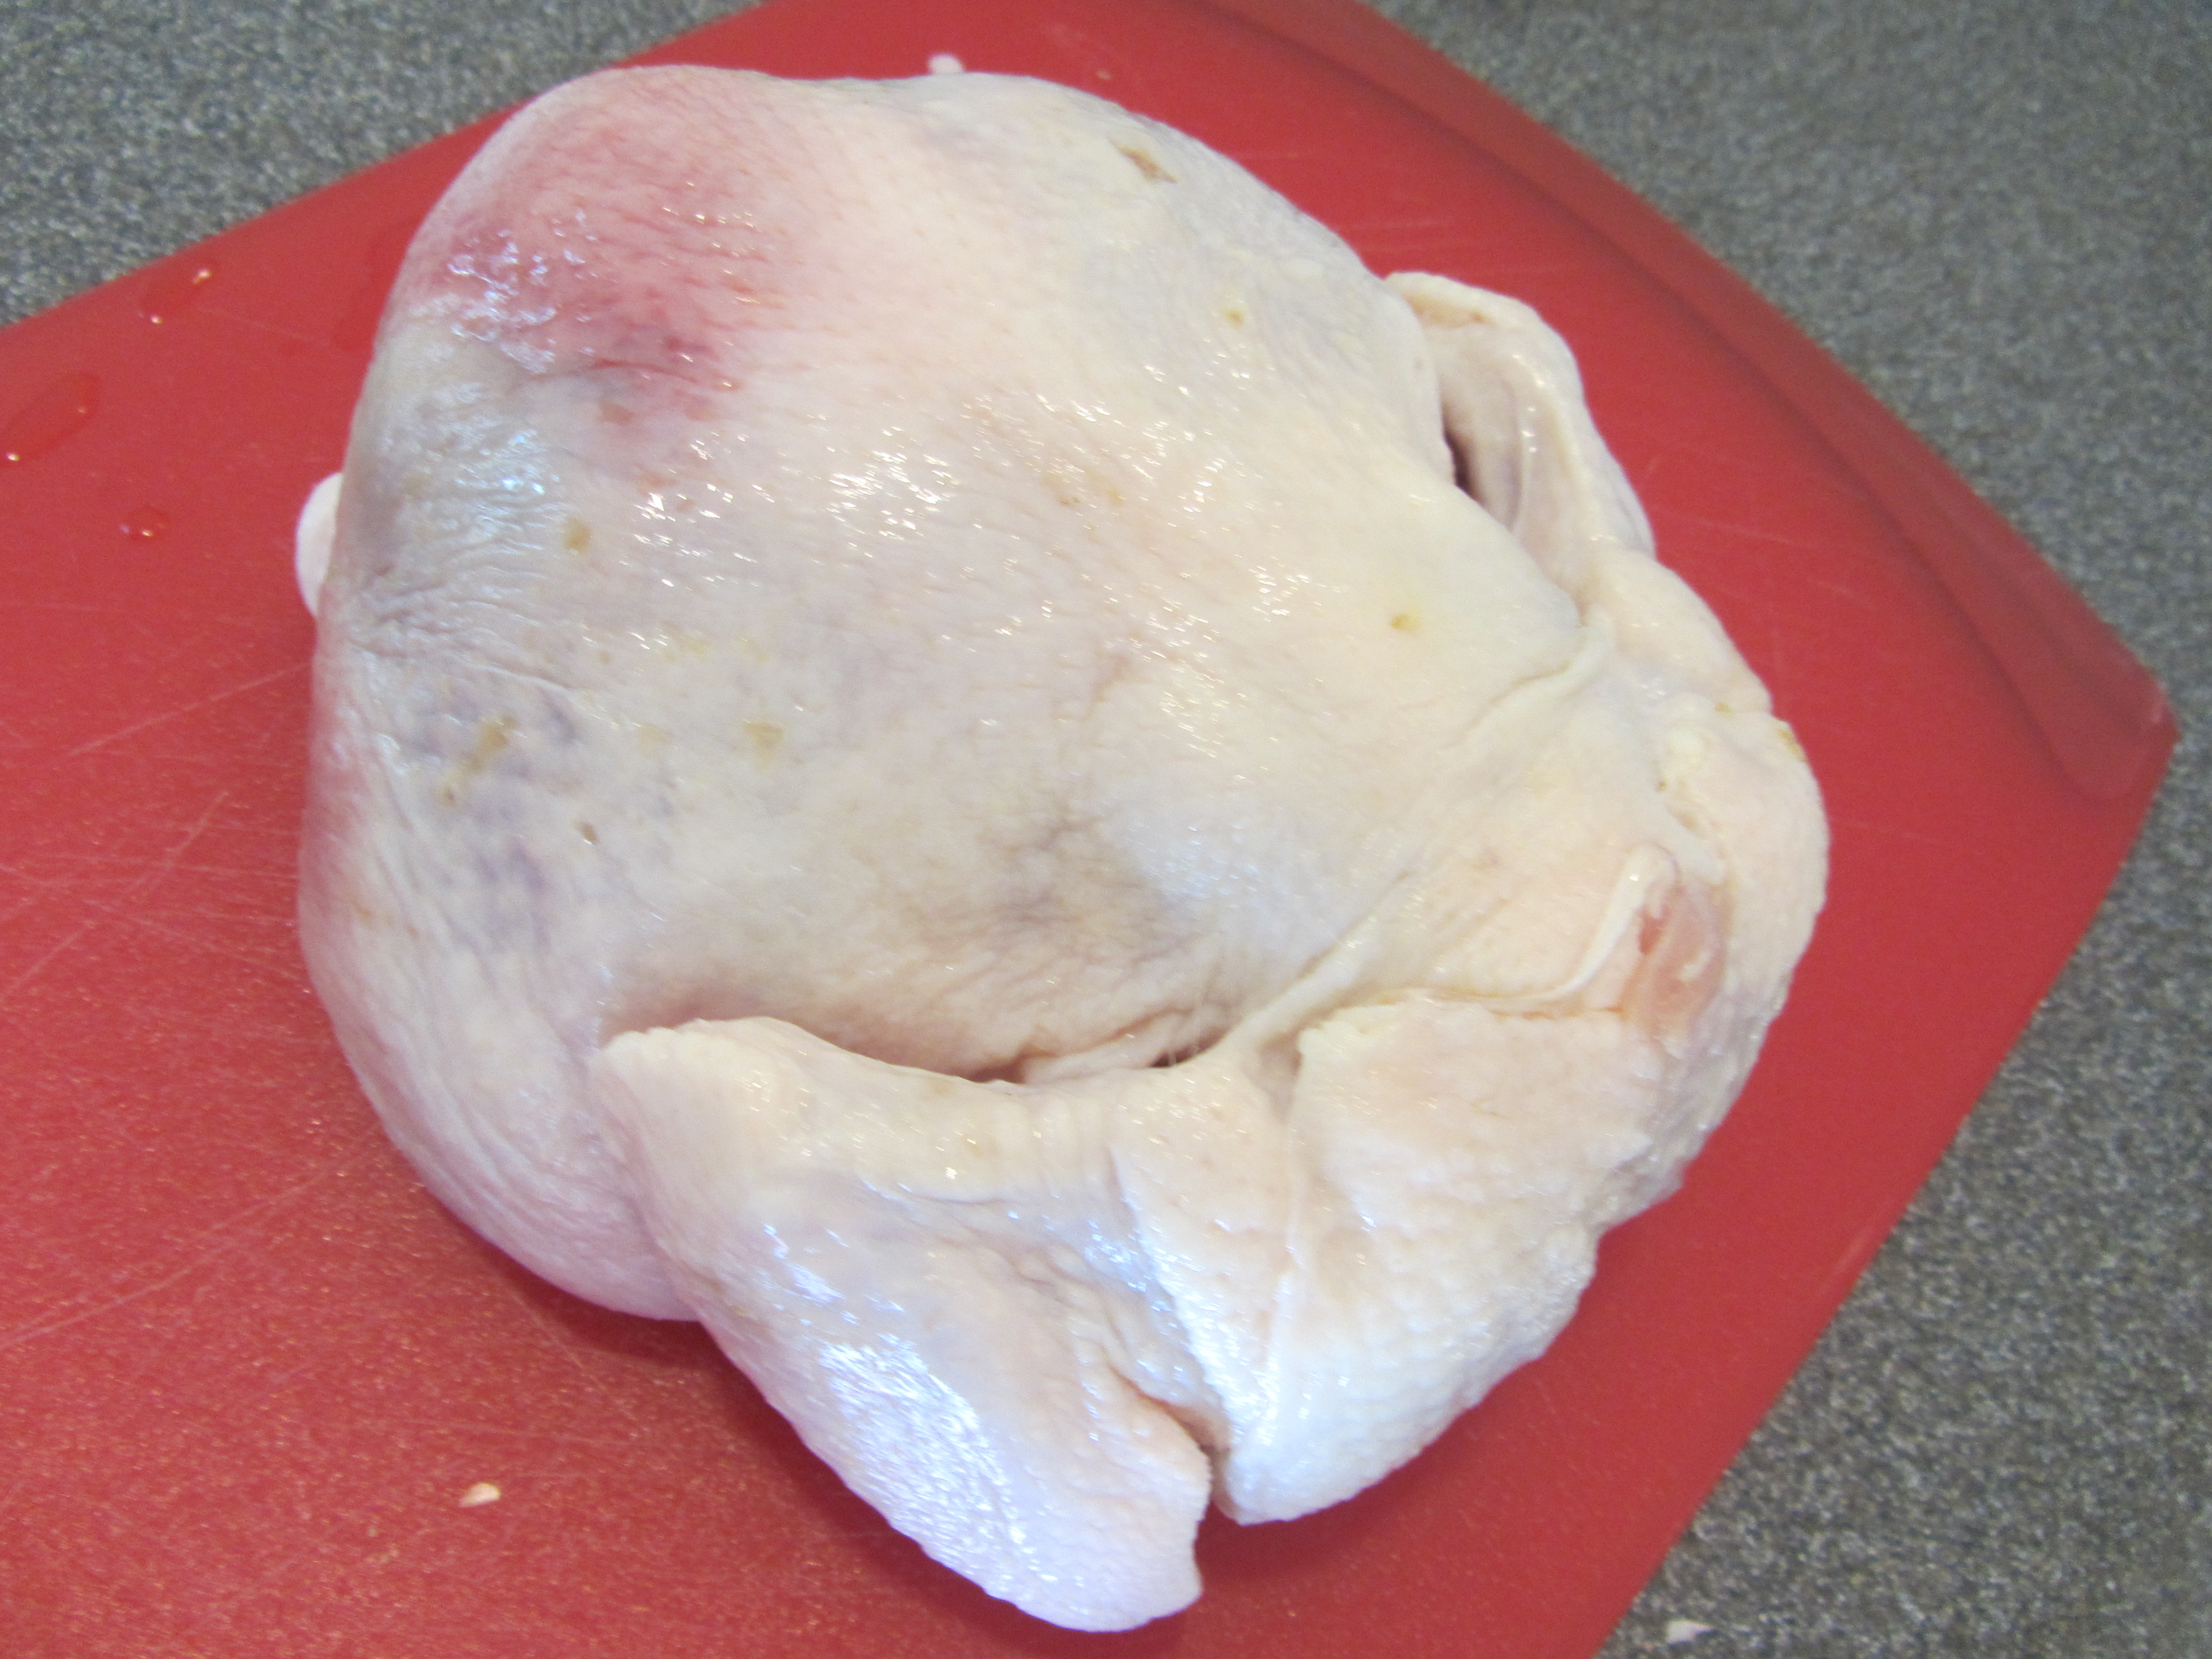
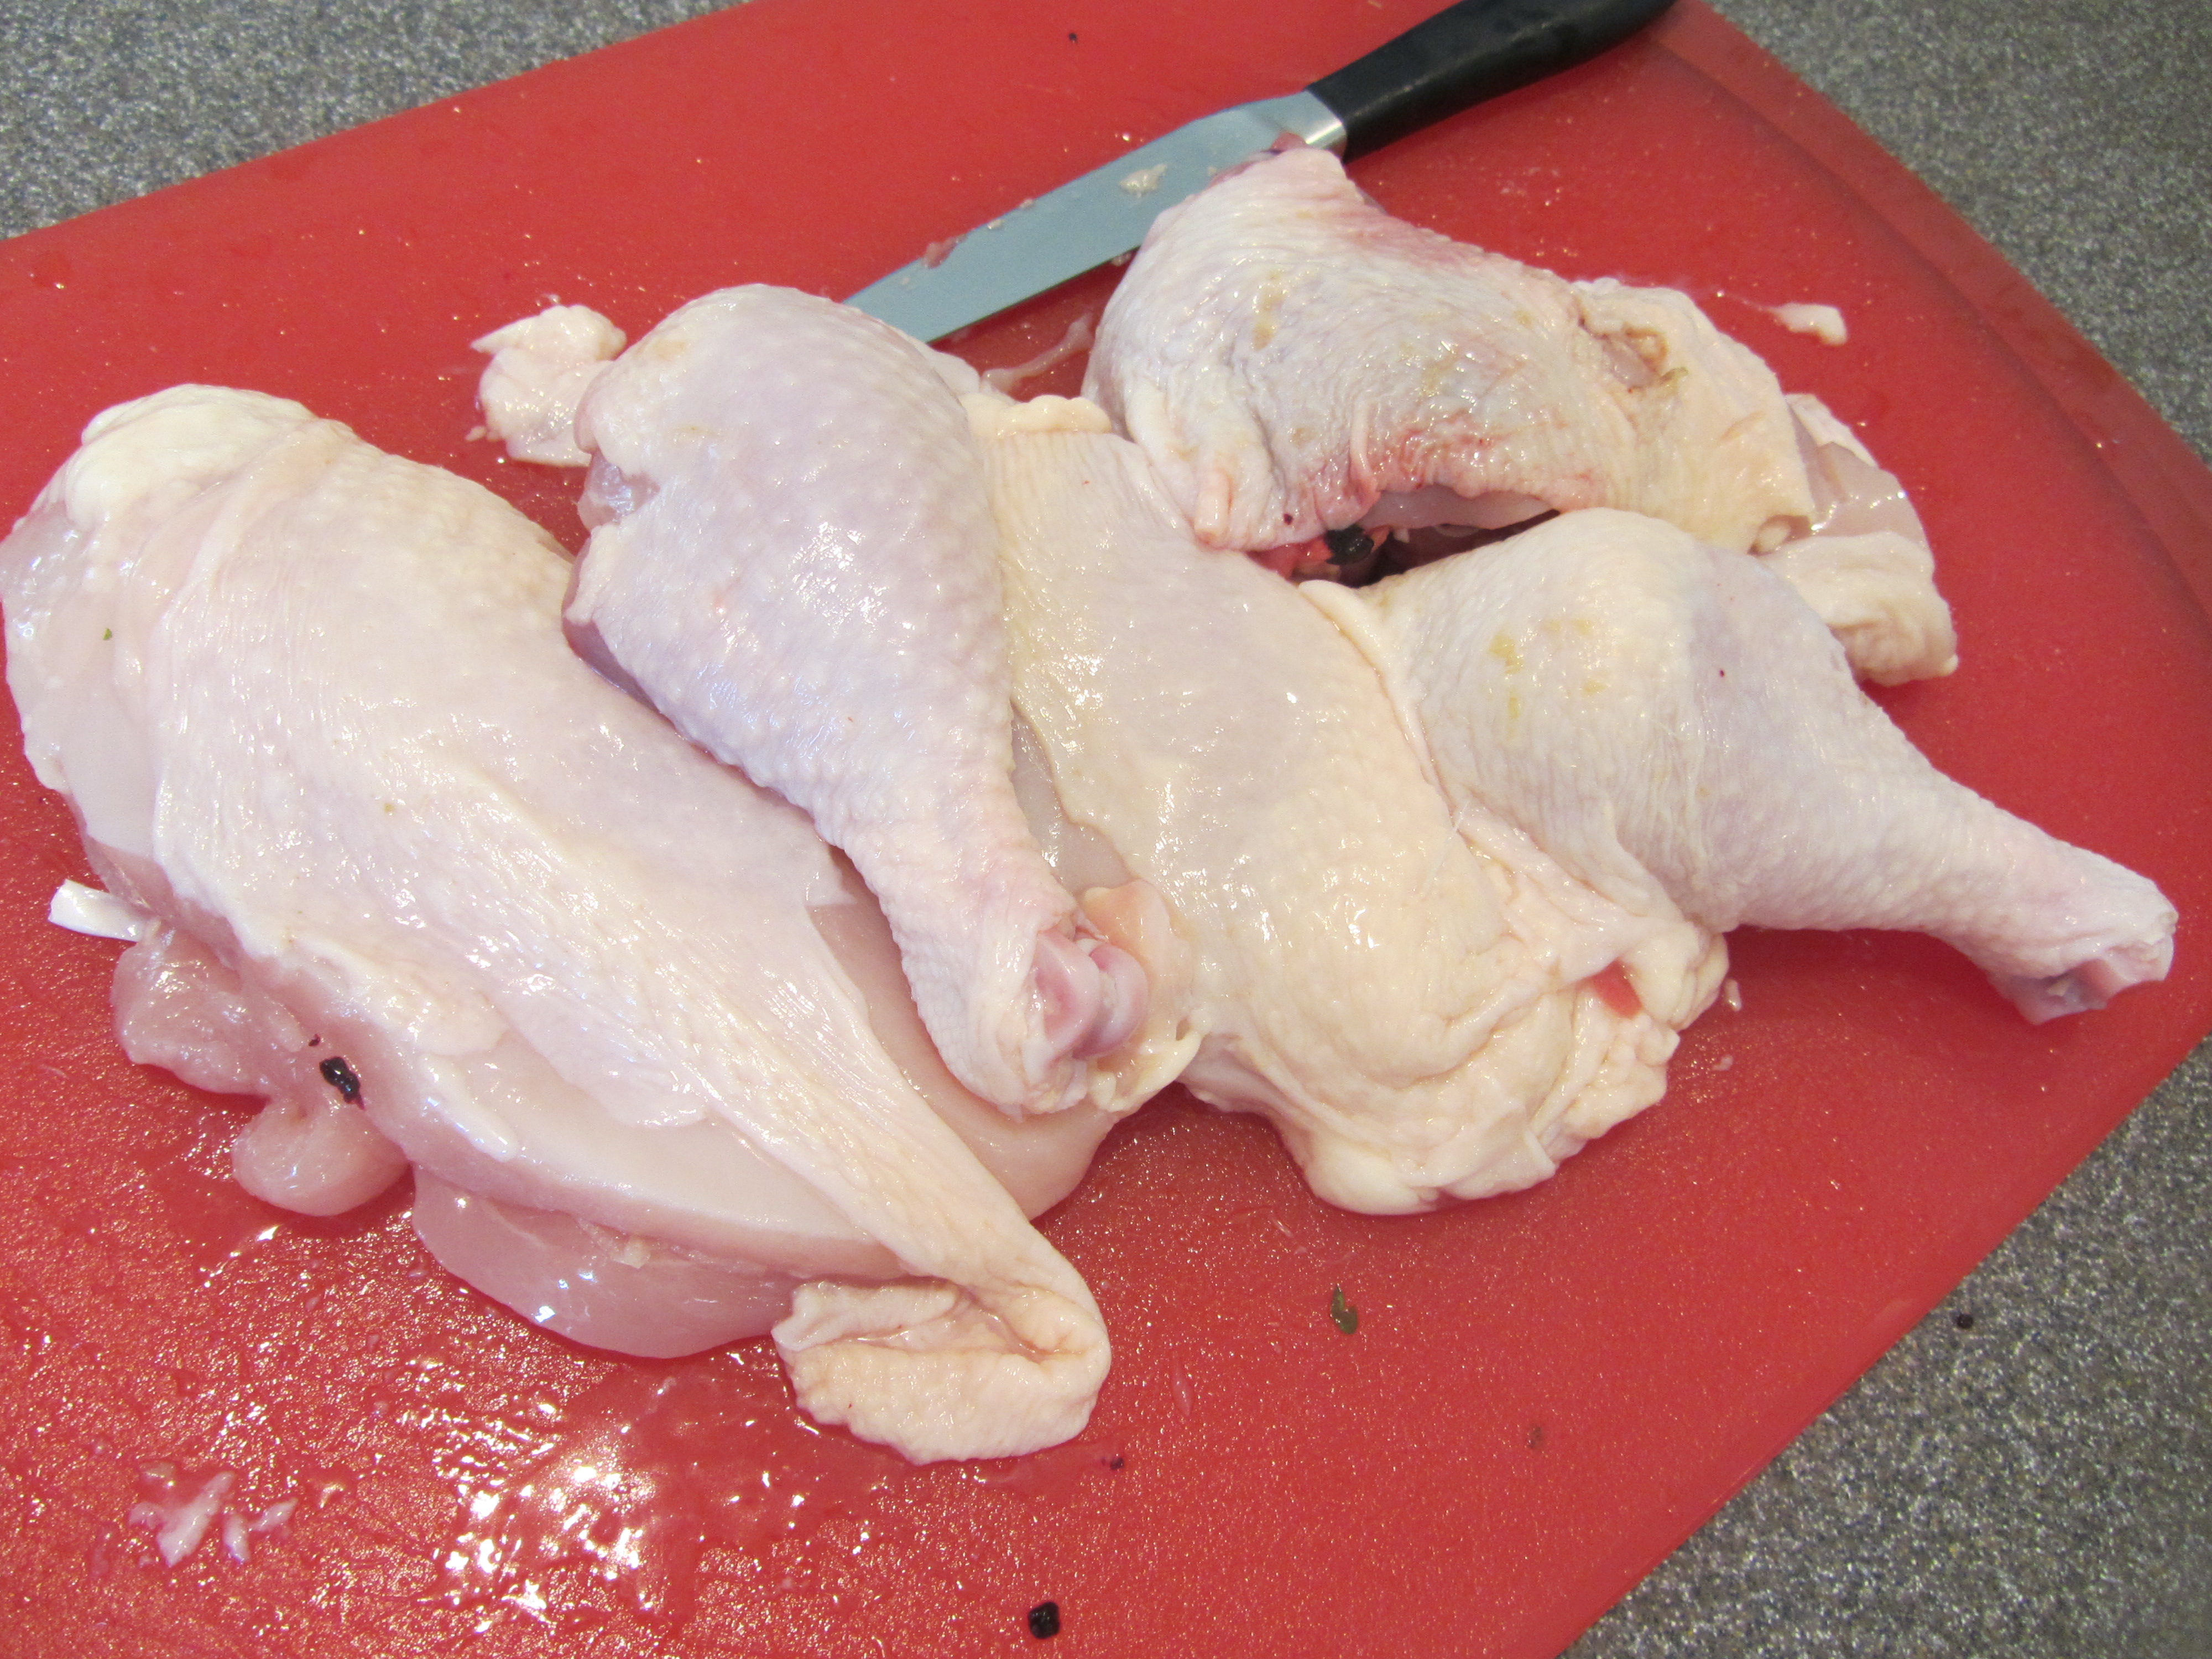
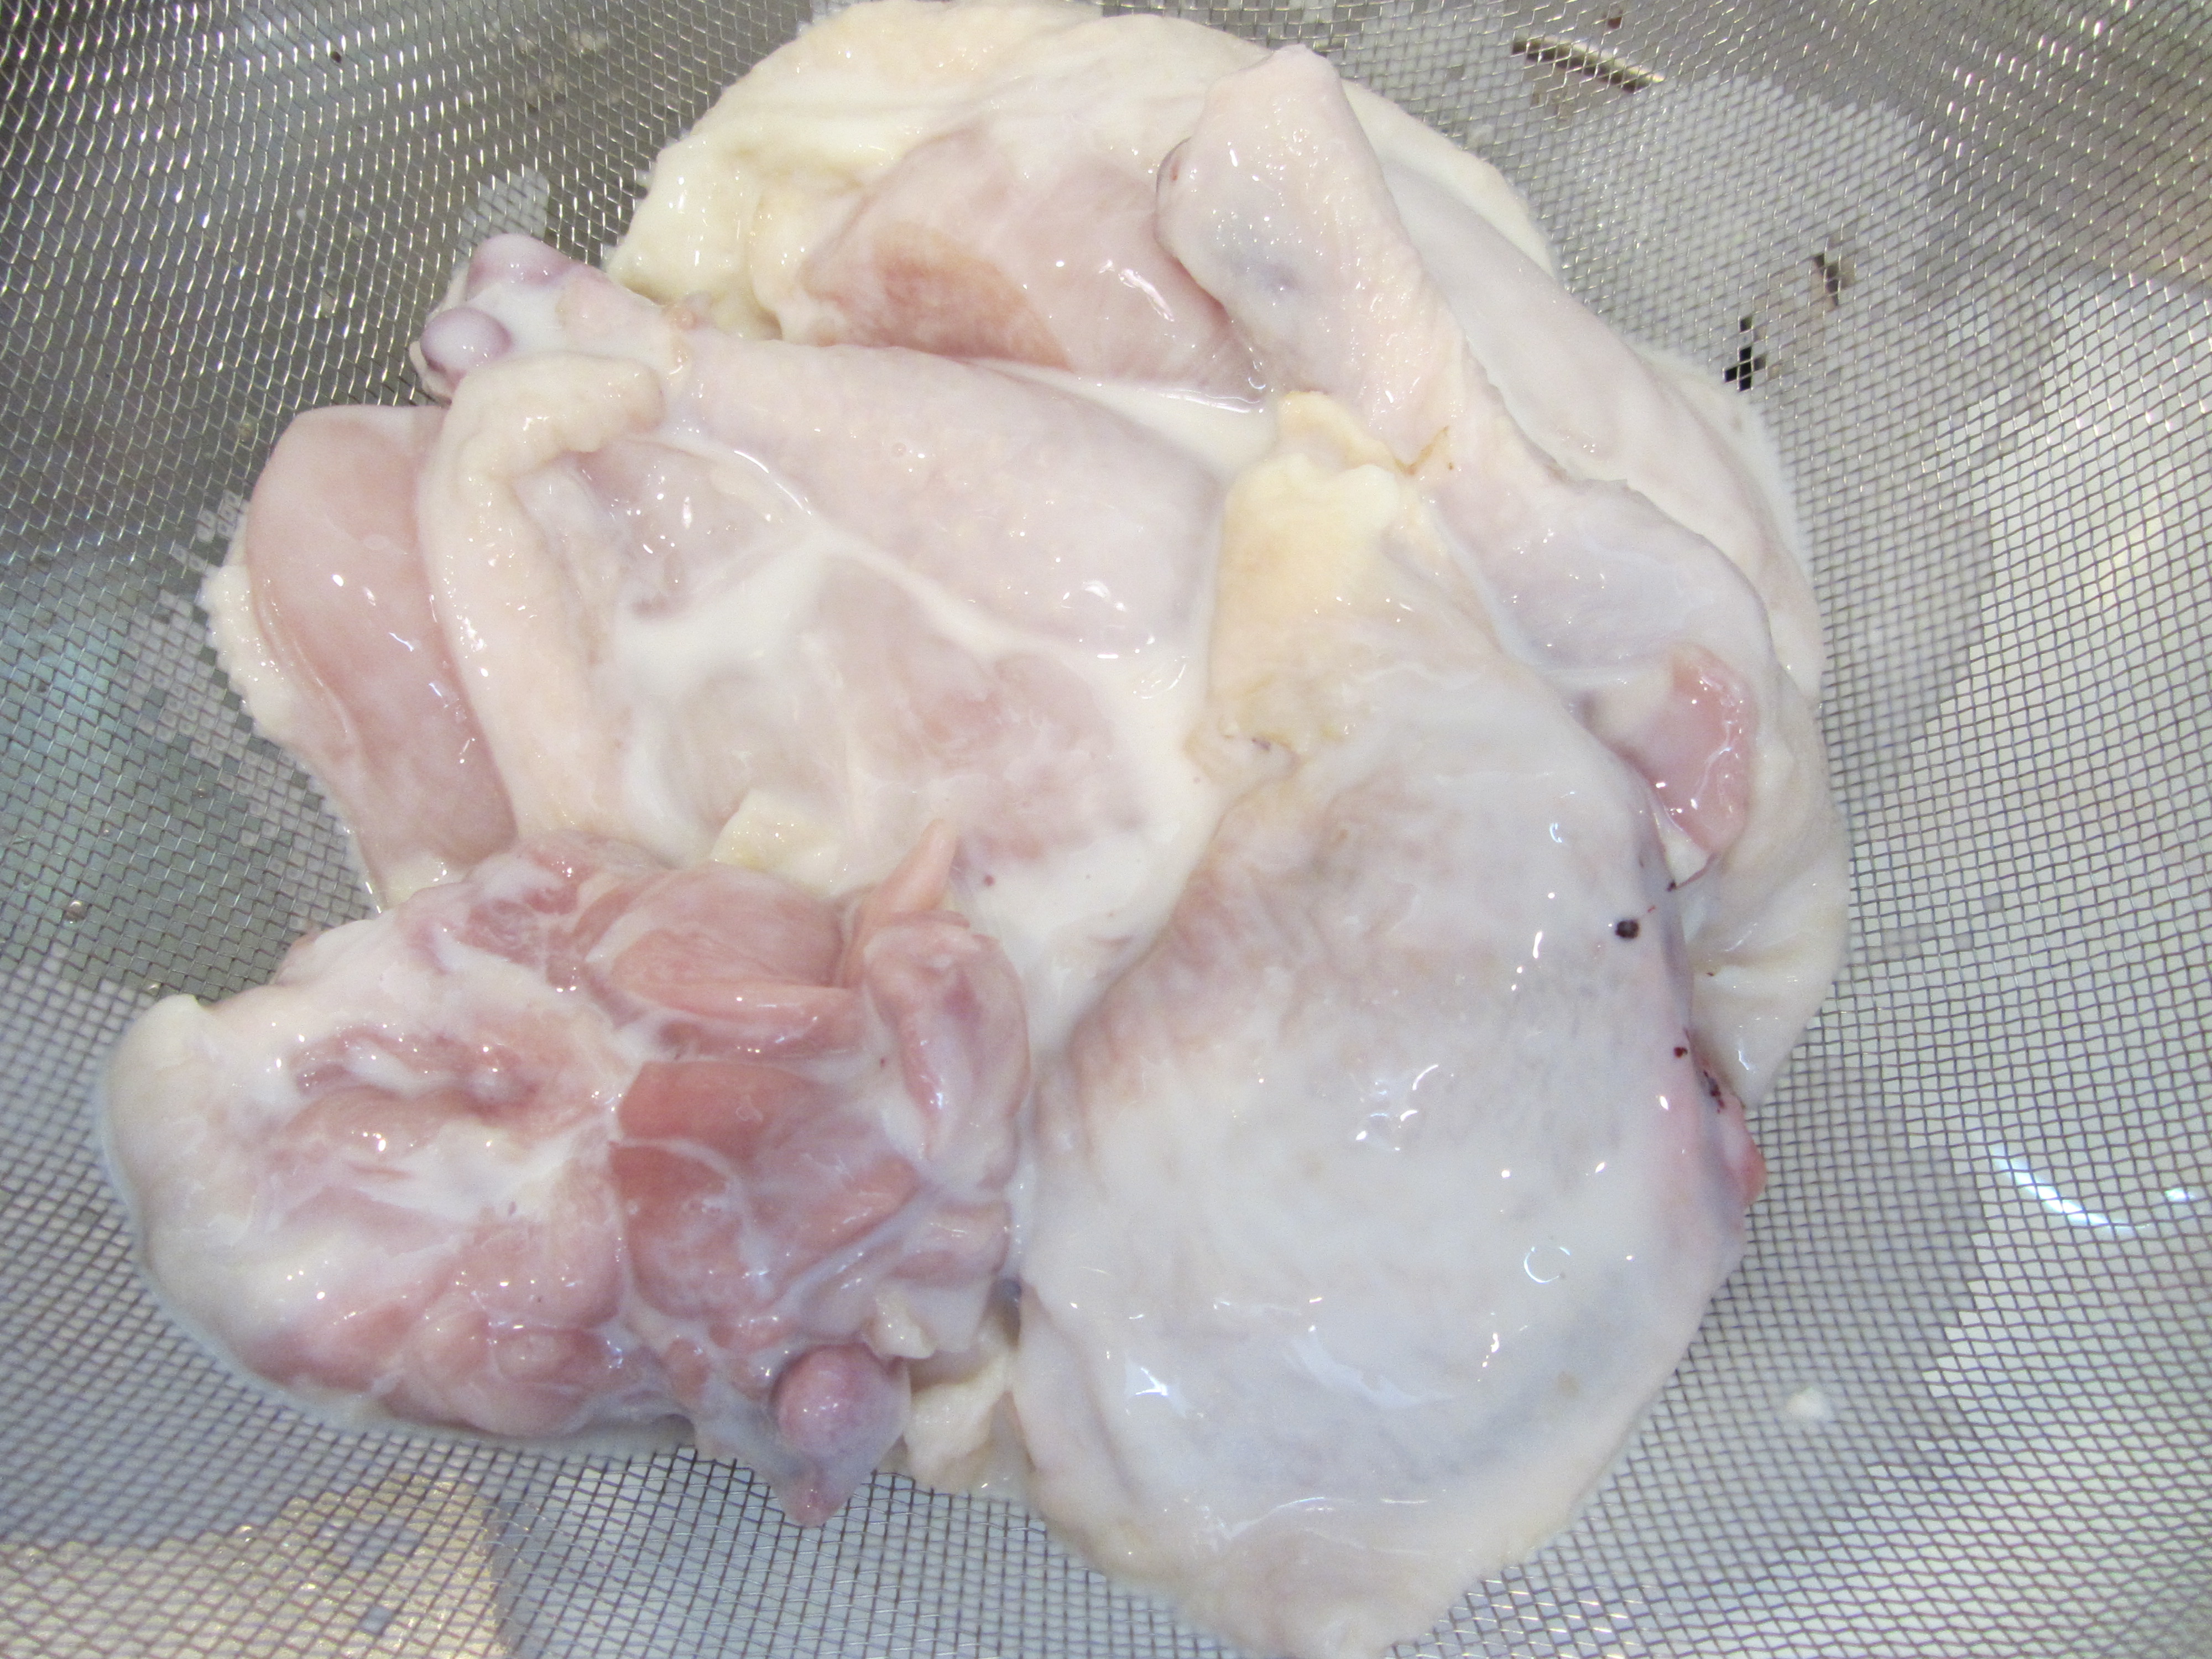
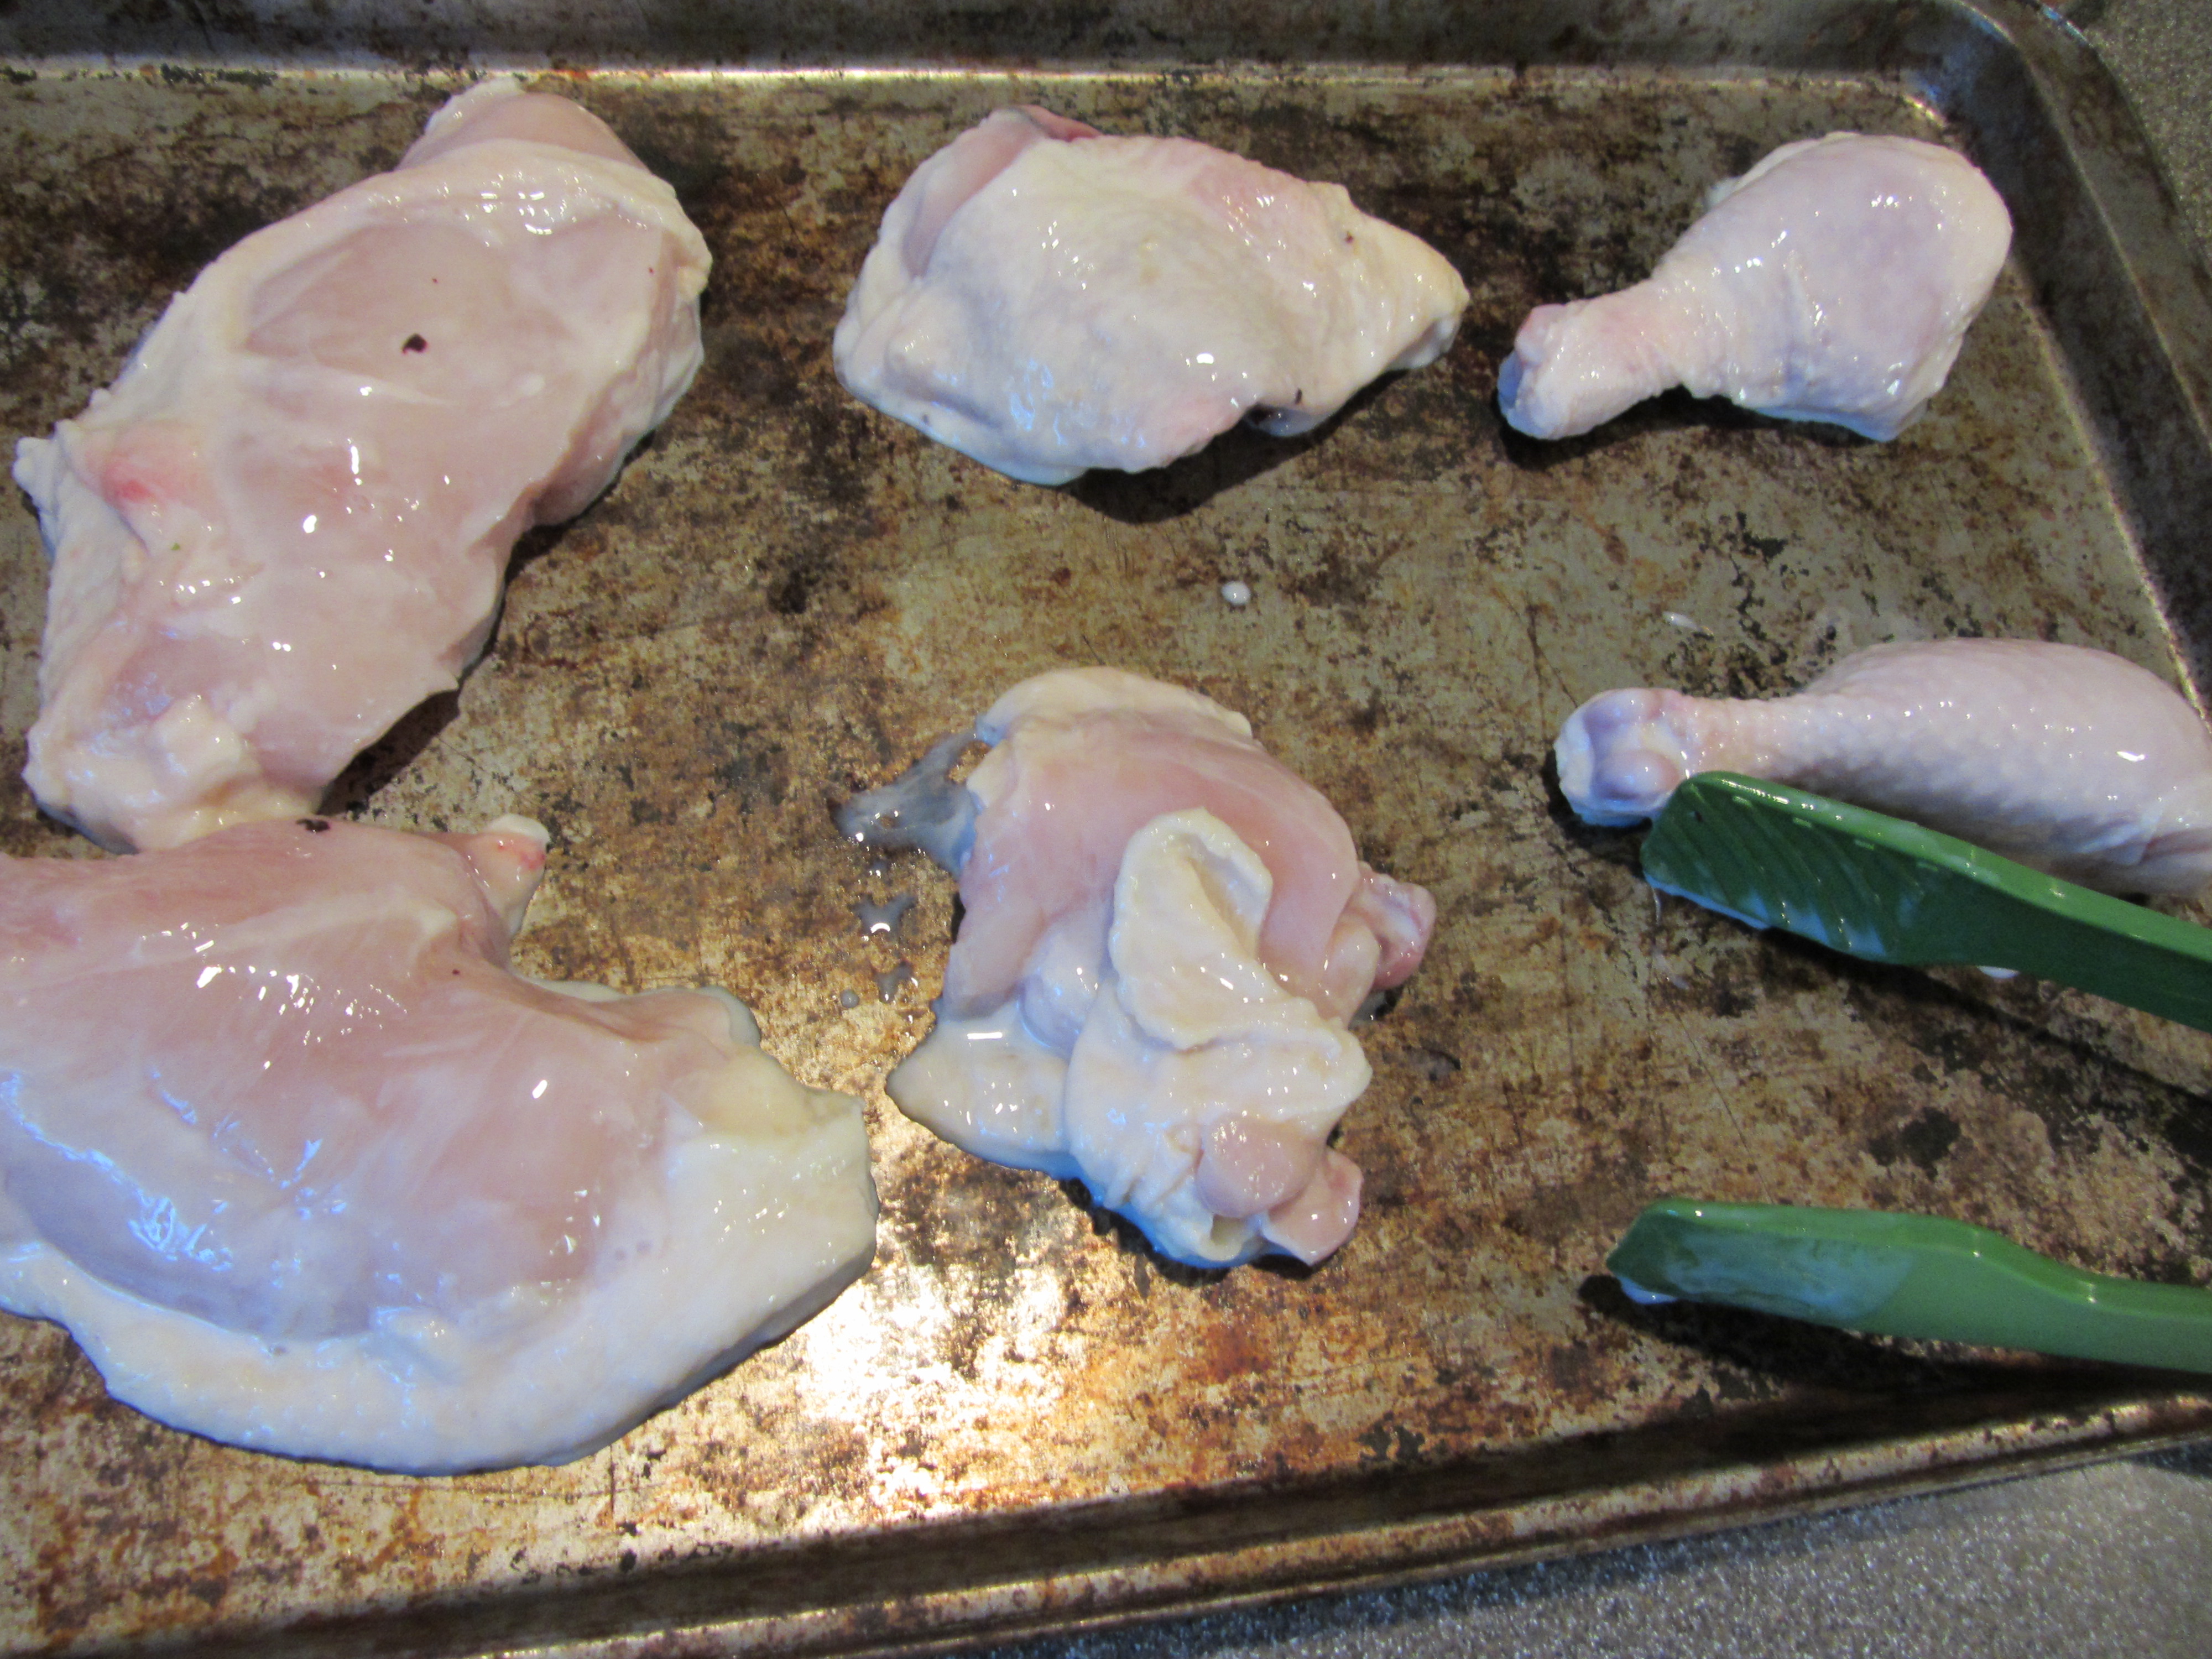
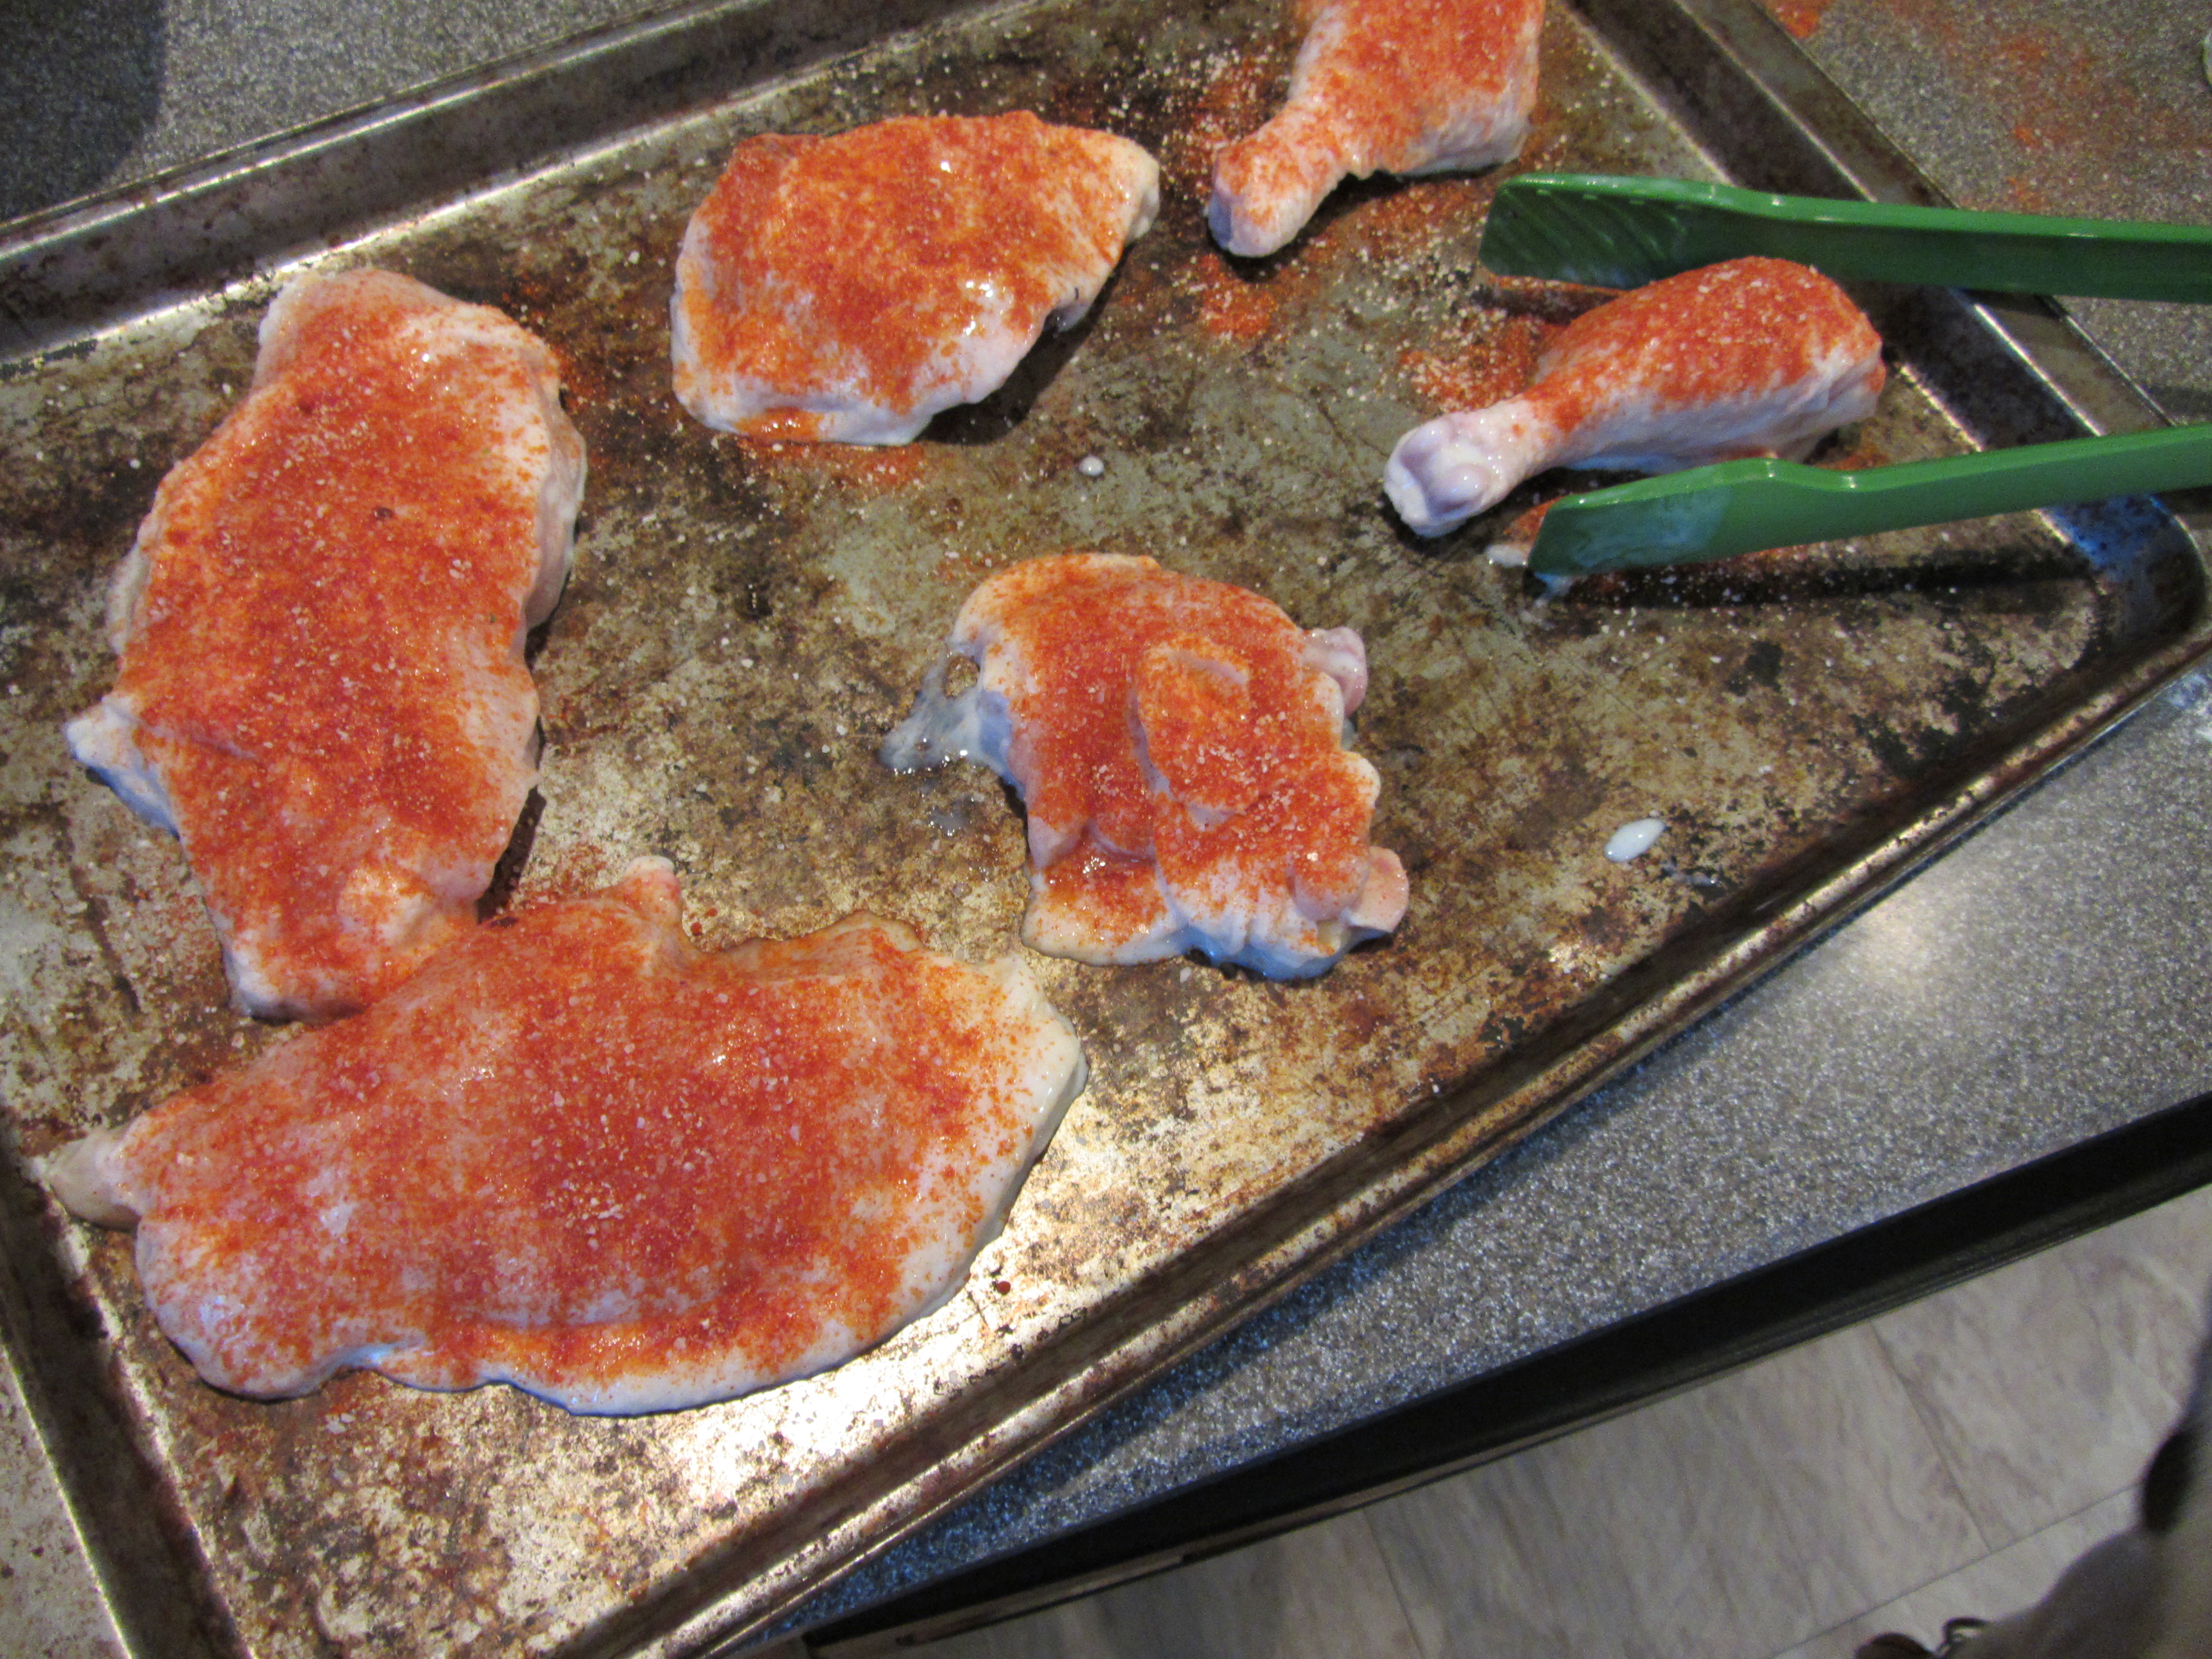
While the pork cooks, place four chicken thighs and four chicken legs on a metal rack over a sheet pan and season them liberally with Kosher salt and pepper.

IMG_1641

Chicken thighs and legs seasoned with Kosher salt and pepper.

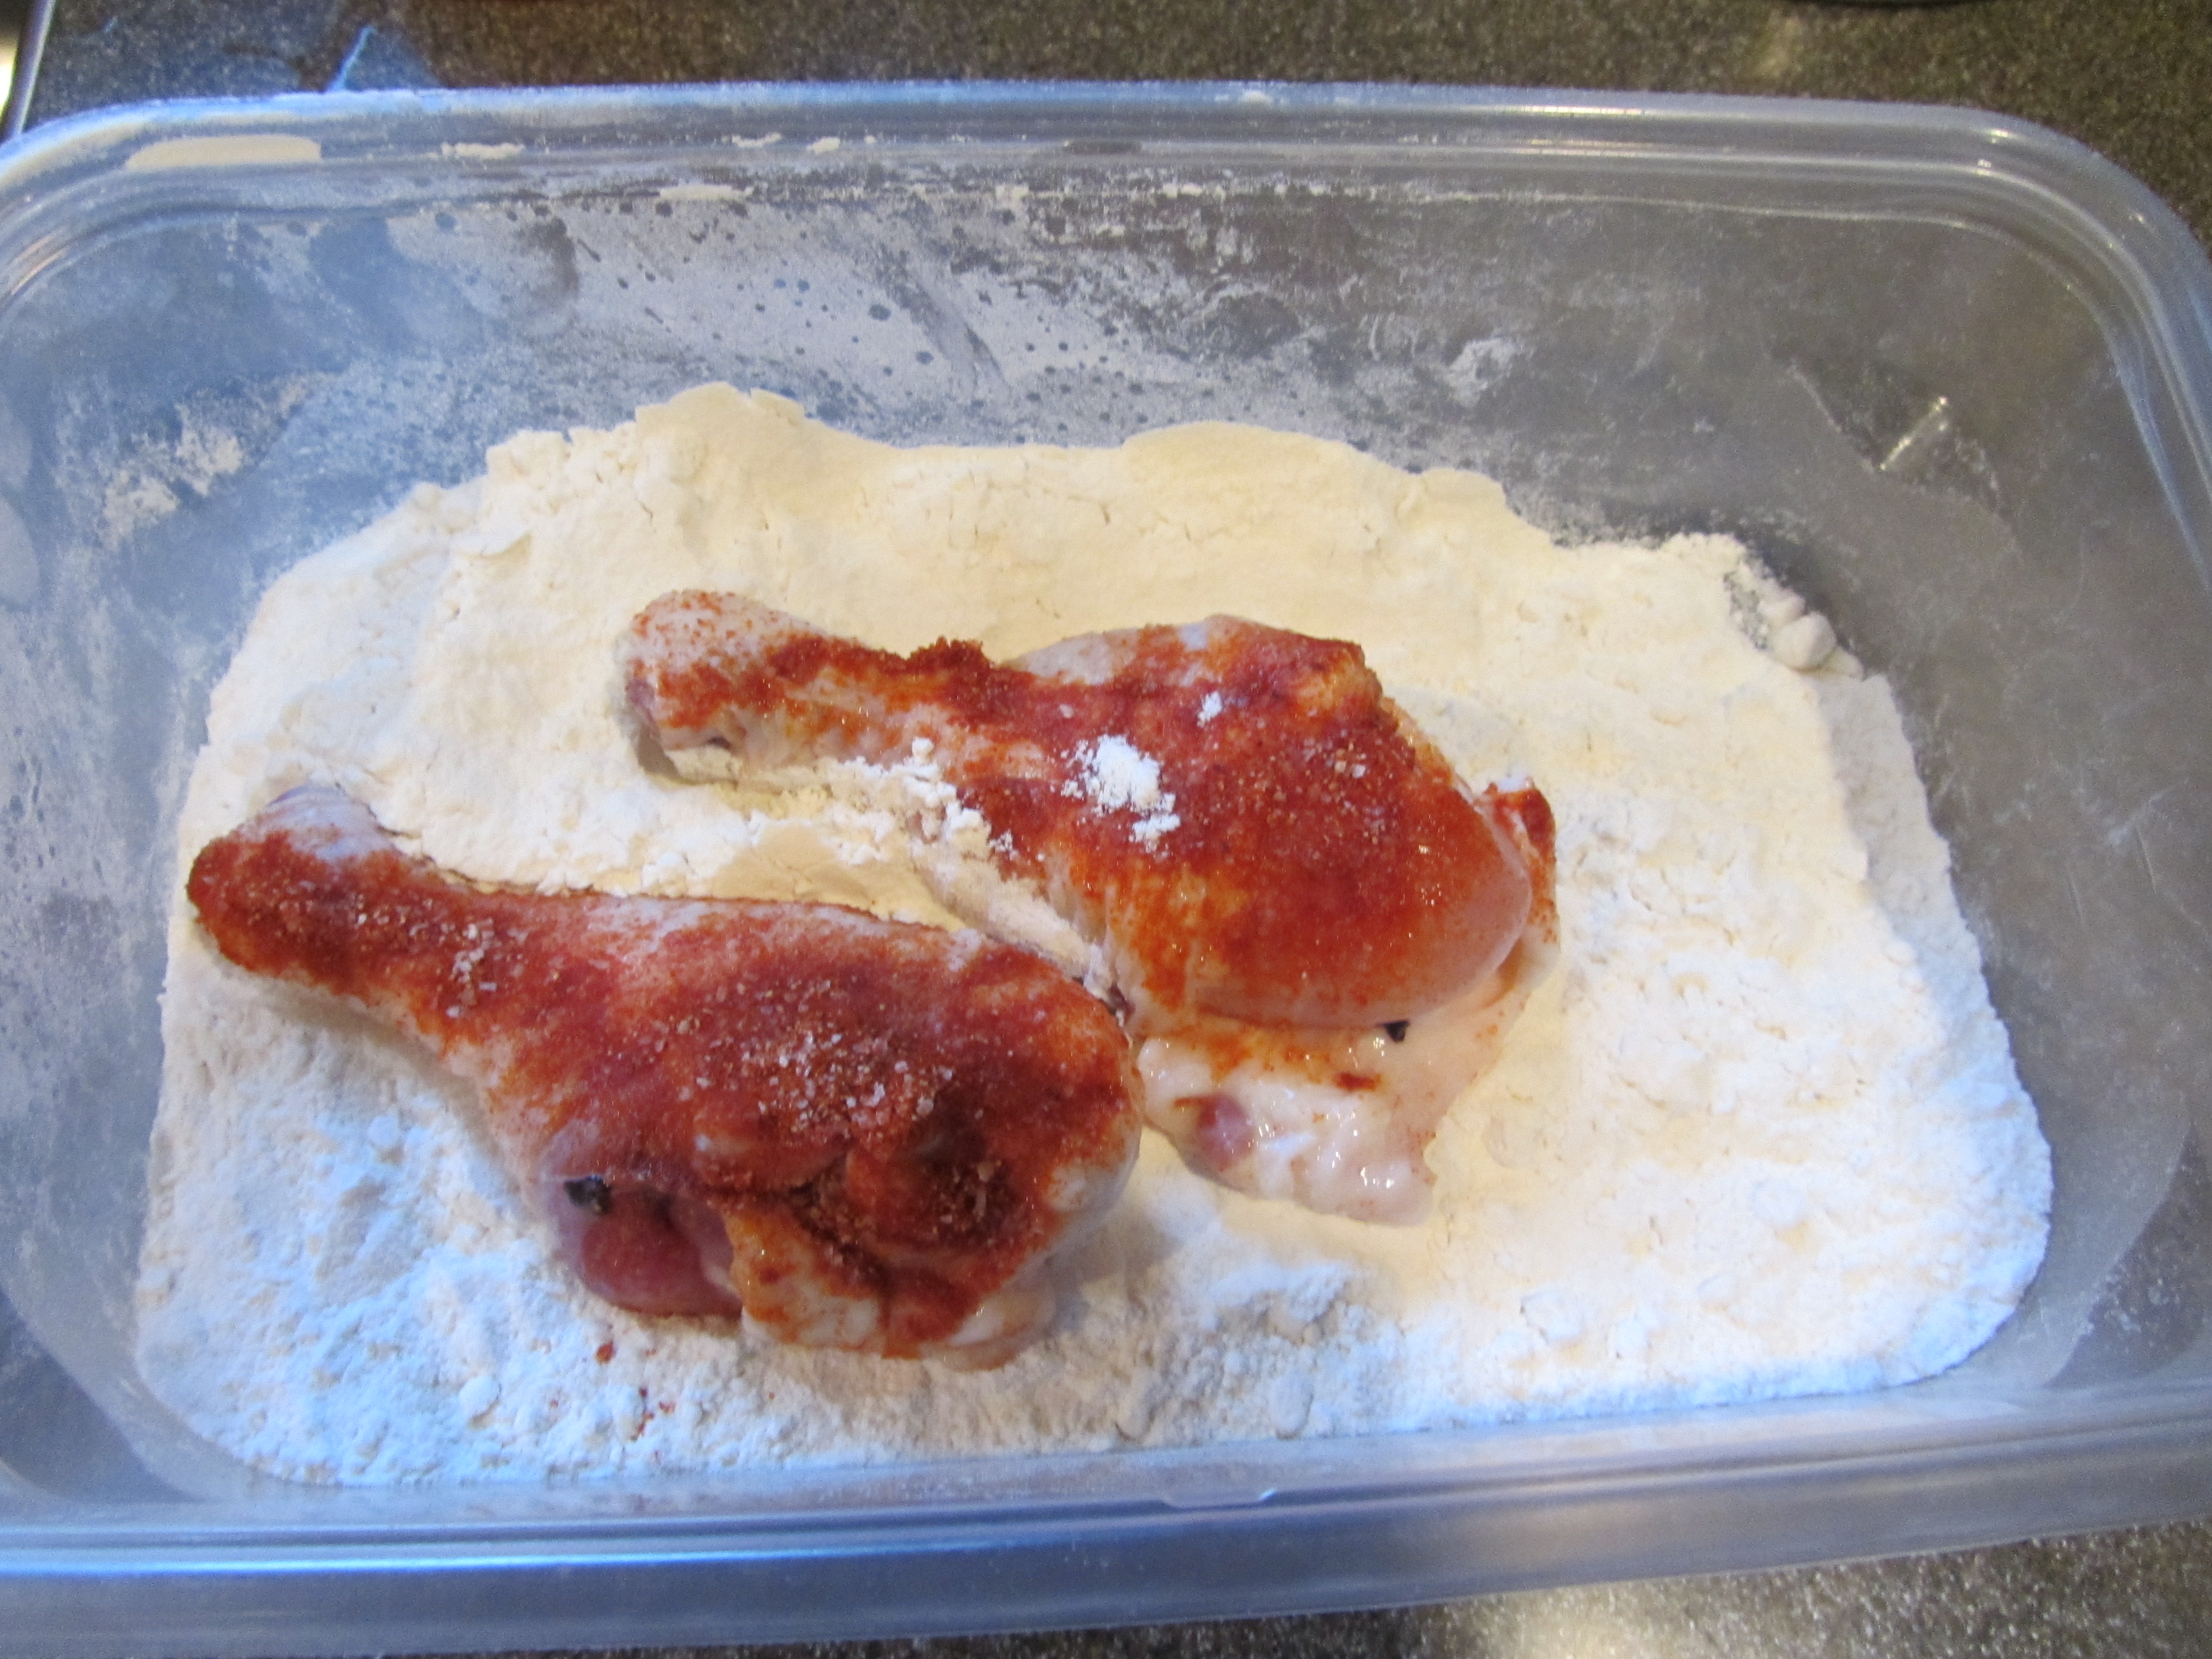
Put 1/4 to 1/2 C flour in a large plastic bag and add a few pieces of the seasoned chicken at a time. Shake the bag to coat the chicken pieces with the flour until all of the chicken has been coated. Set the coated chicken pieces back on the wire rack and set them aside.

When the pork has darkened in color and has rendered some of its fat, remove the lid from the skillet and continue to cook the pork until it is crispy and brown.

Remove the pork from the pan and add 24-30 pearl onions to the pork fat. You will need to peel your pearl onions prior to using them; you can do this easily by cutting off the root end of each onion and cutting a deep V where the root was. Place the onions in boiling water for a minute and let them cool. Once cool, the skins should slide right off.

Cook the peeled onions in the pork fat until they are golden brown, and then remove them from the pan.

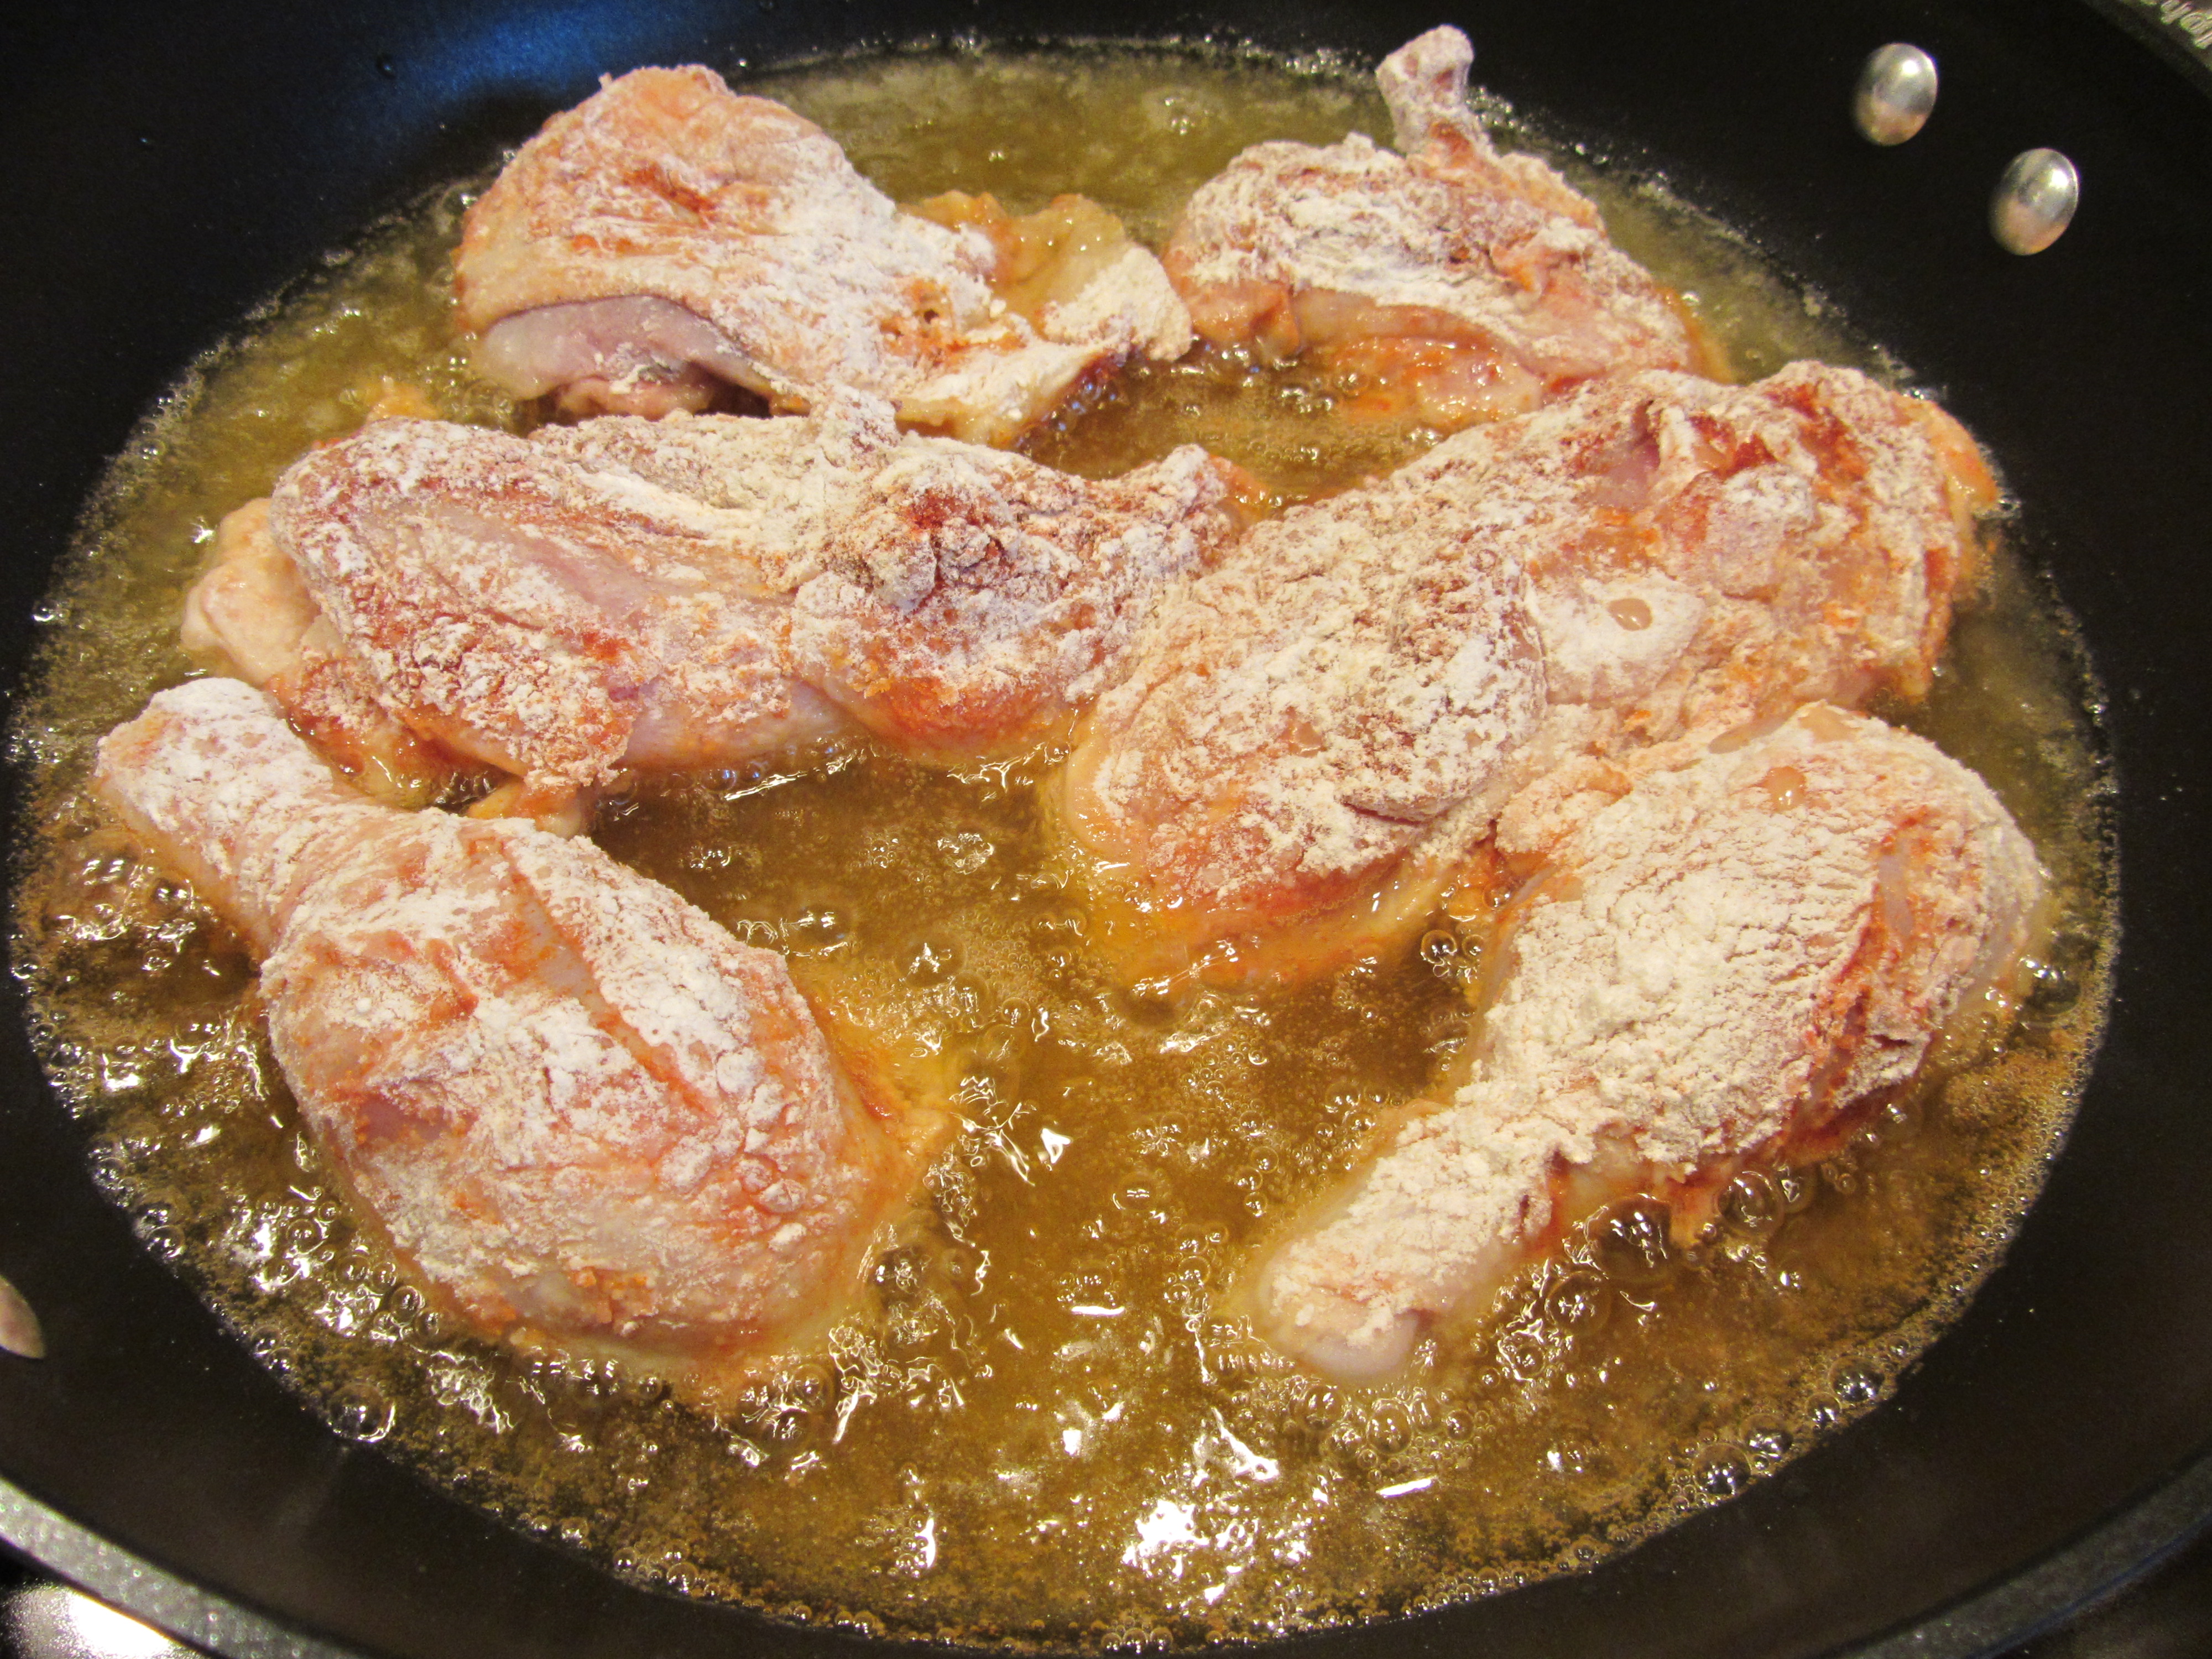
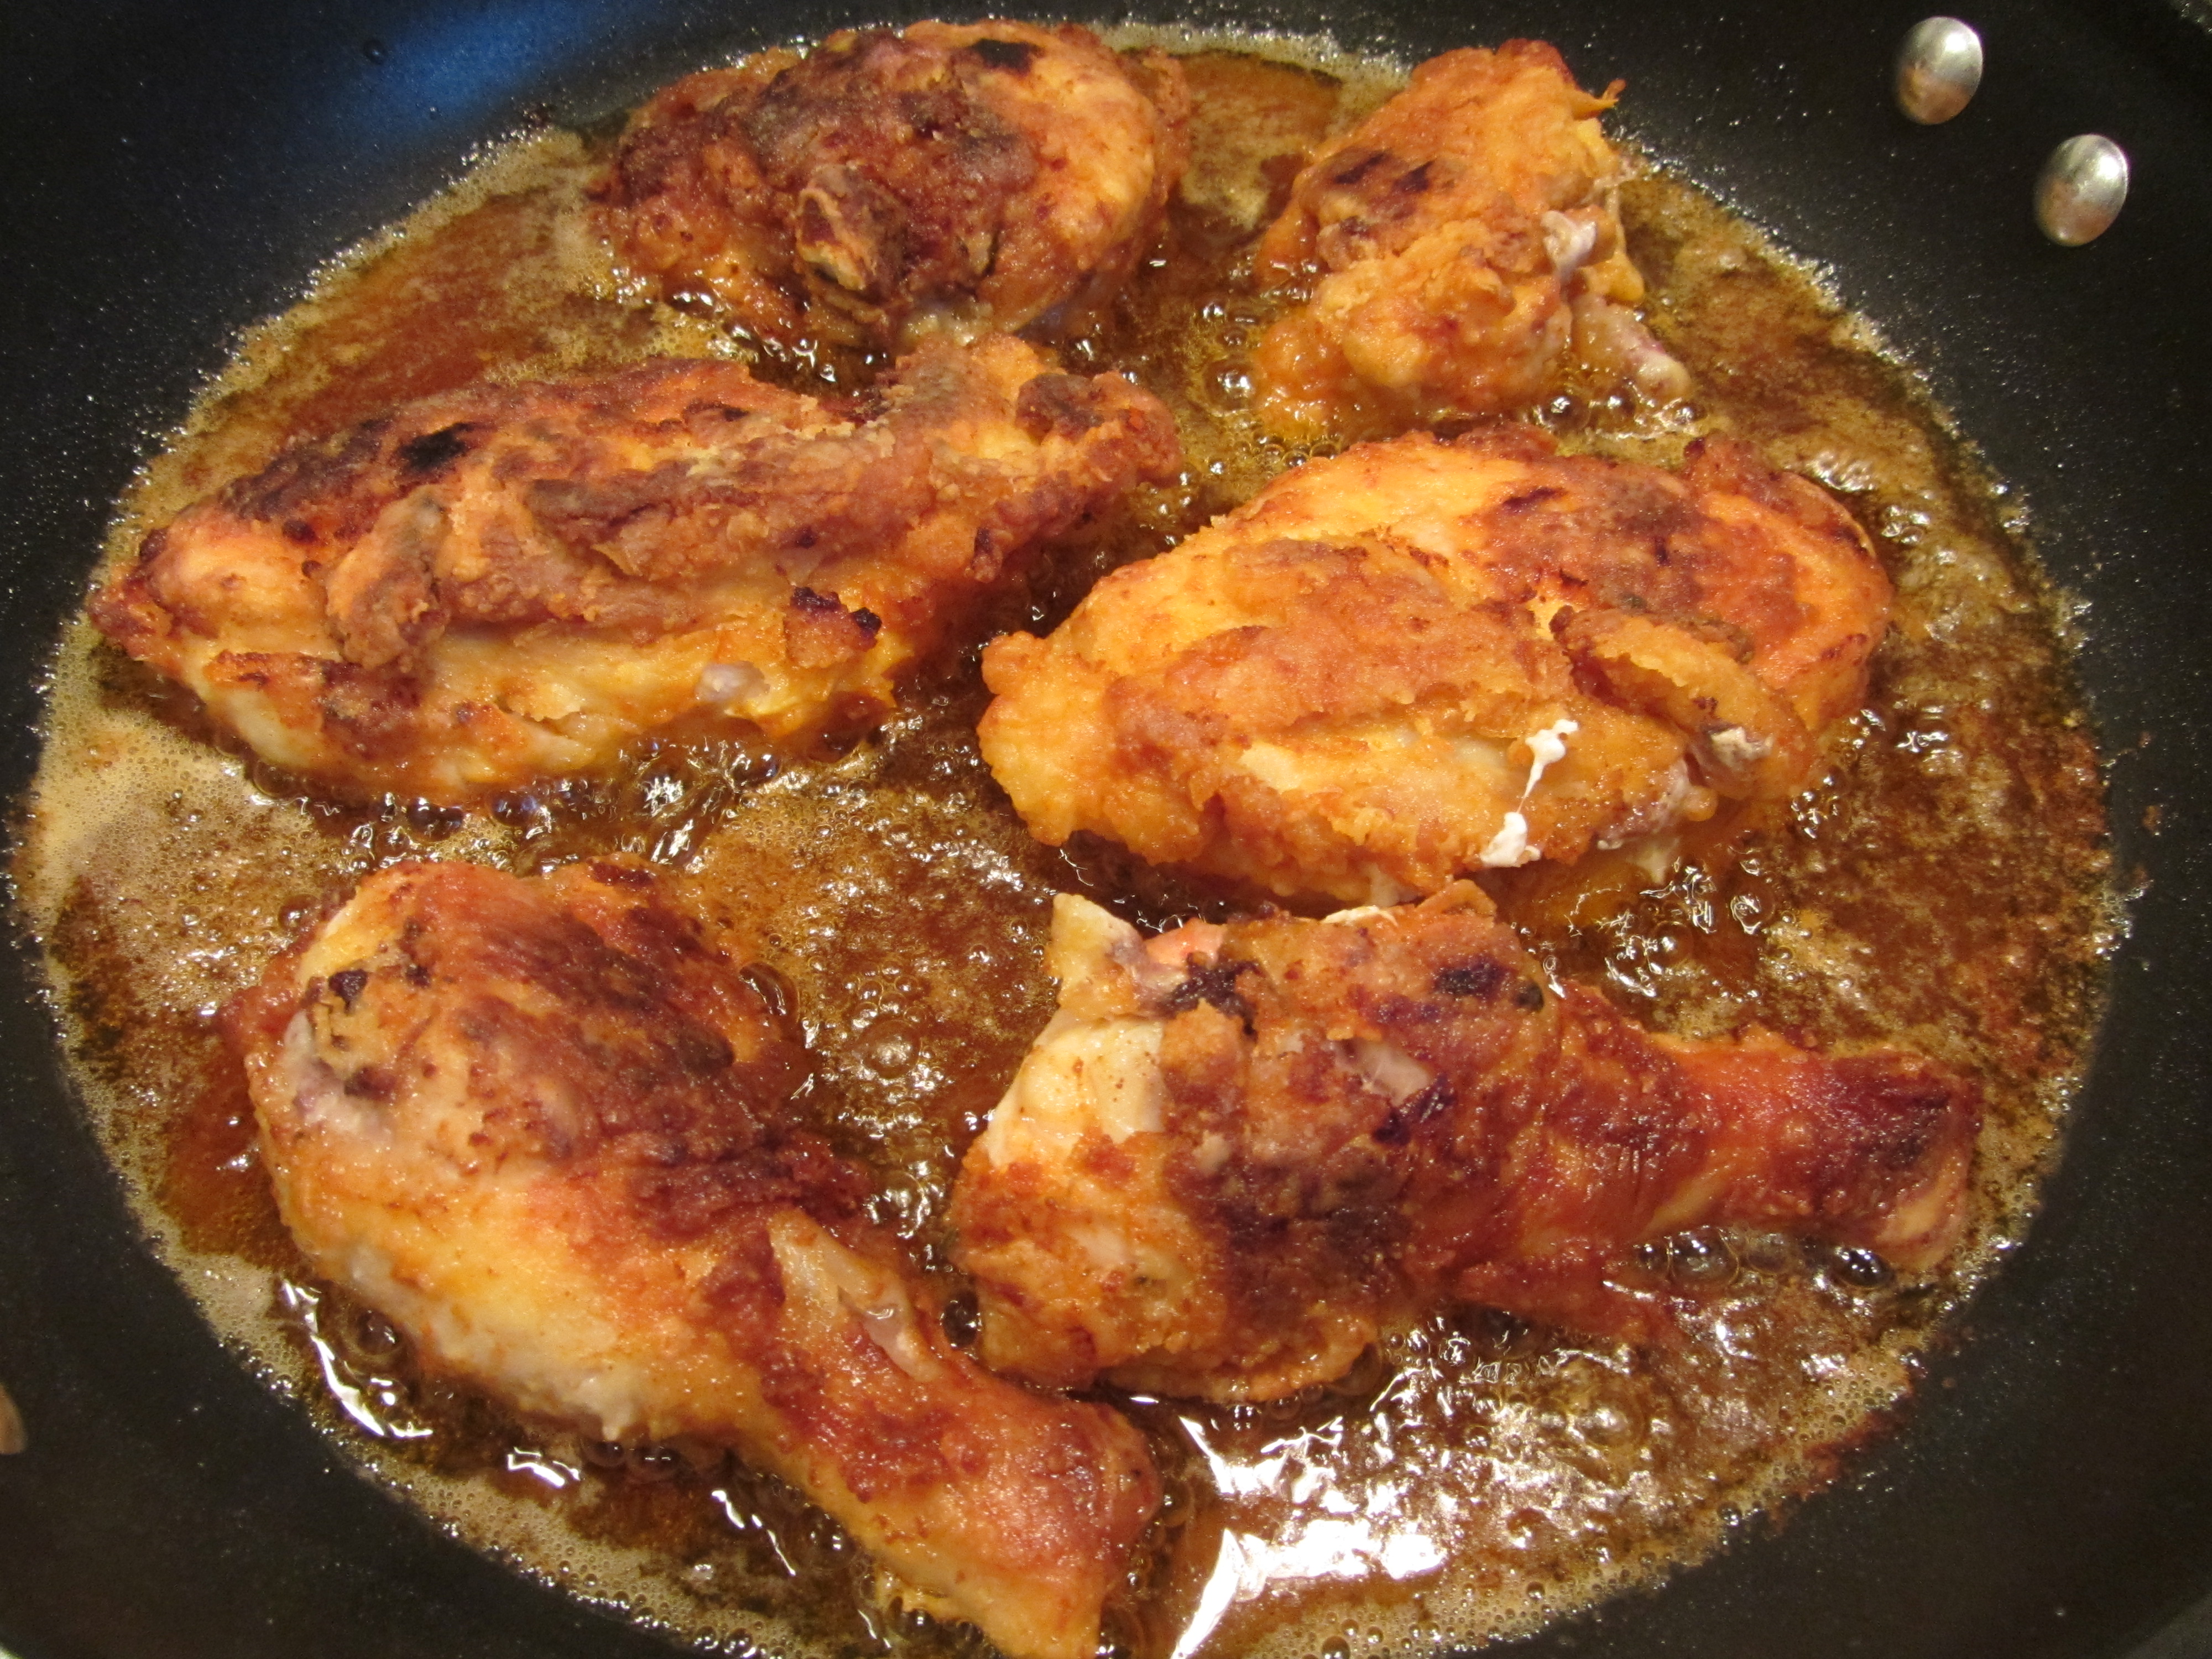
Next, add three or four chicken pieces to the skillet and cook the chicken until it is golden brown on all sides.

While the chicken browns, prepare a “bed” for the browned chicken by placing the following ingredients in the bottom of a Dutch oven:  two quartered ribs of celery, two quartered carrots, a quartered onion, 6-8 fresh Rosemary sprigs, three crushed garlic cloves, and one Bay leaf.

IMG_1637

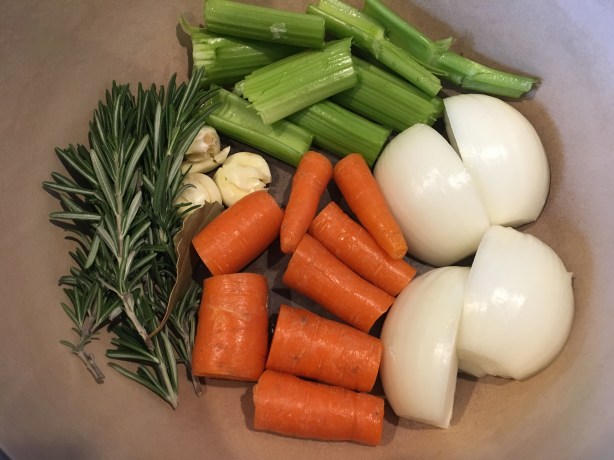
Vegetable bed in Dutch oven: celery, carrot, onion, Rosemary, garlic, and a Bay leaf.

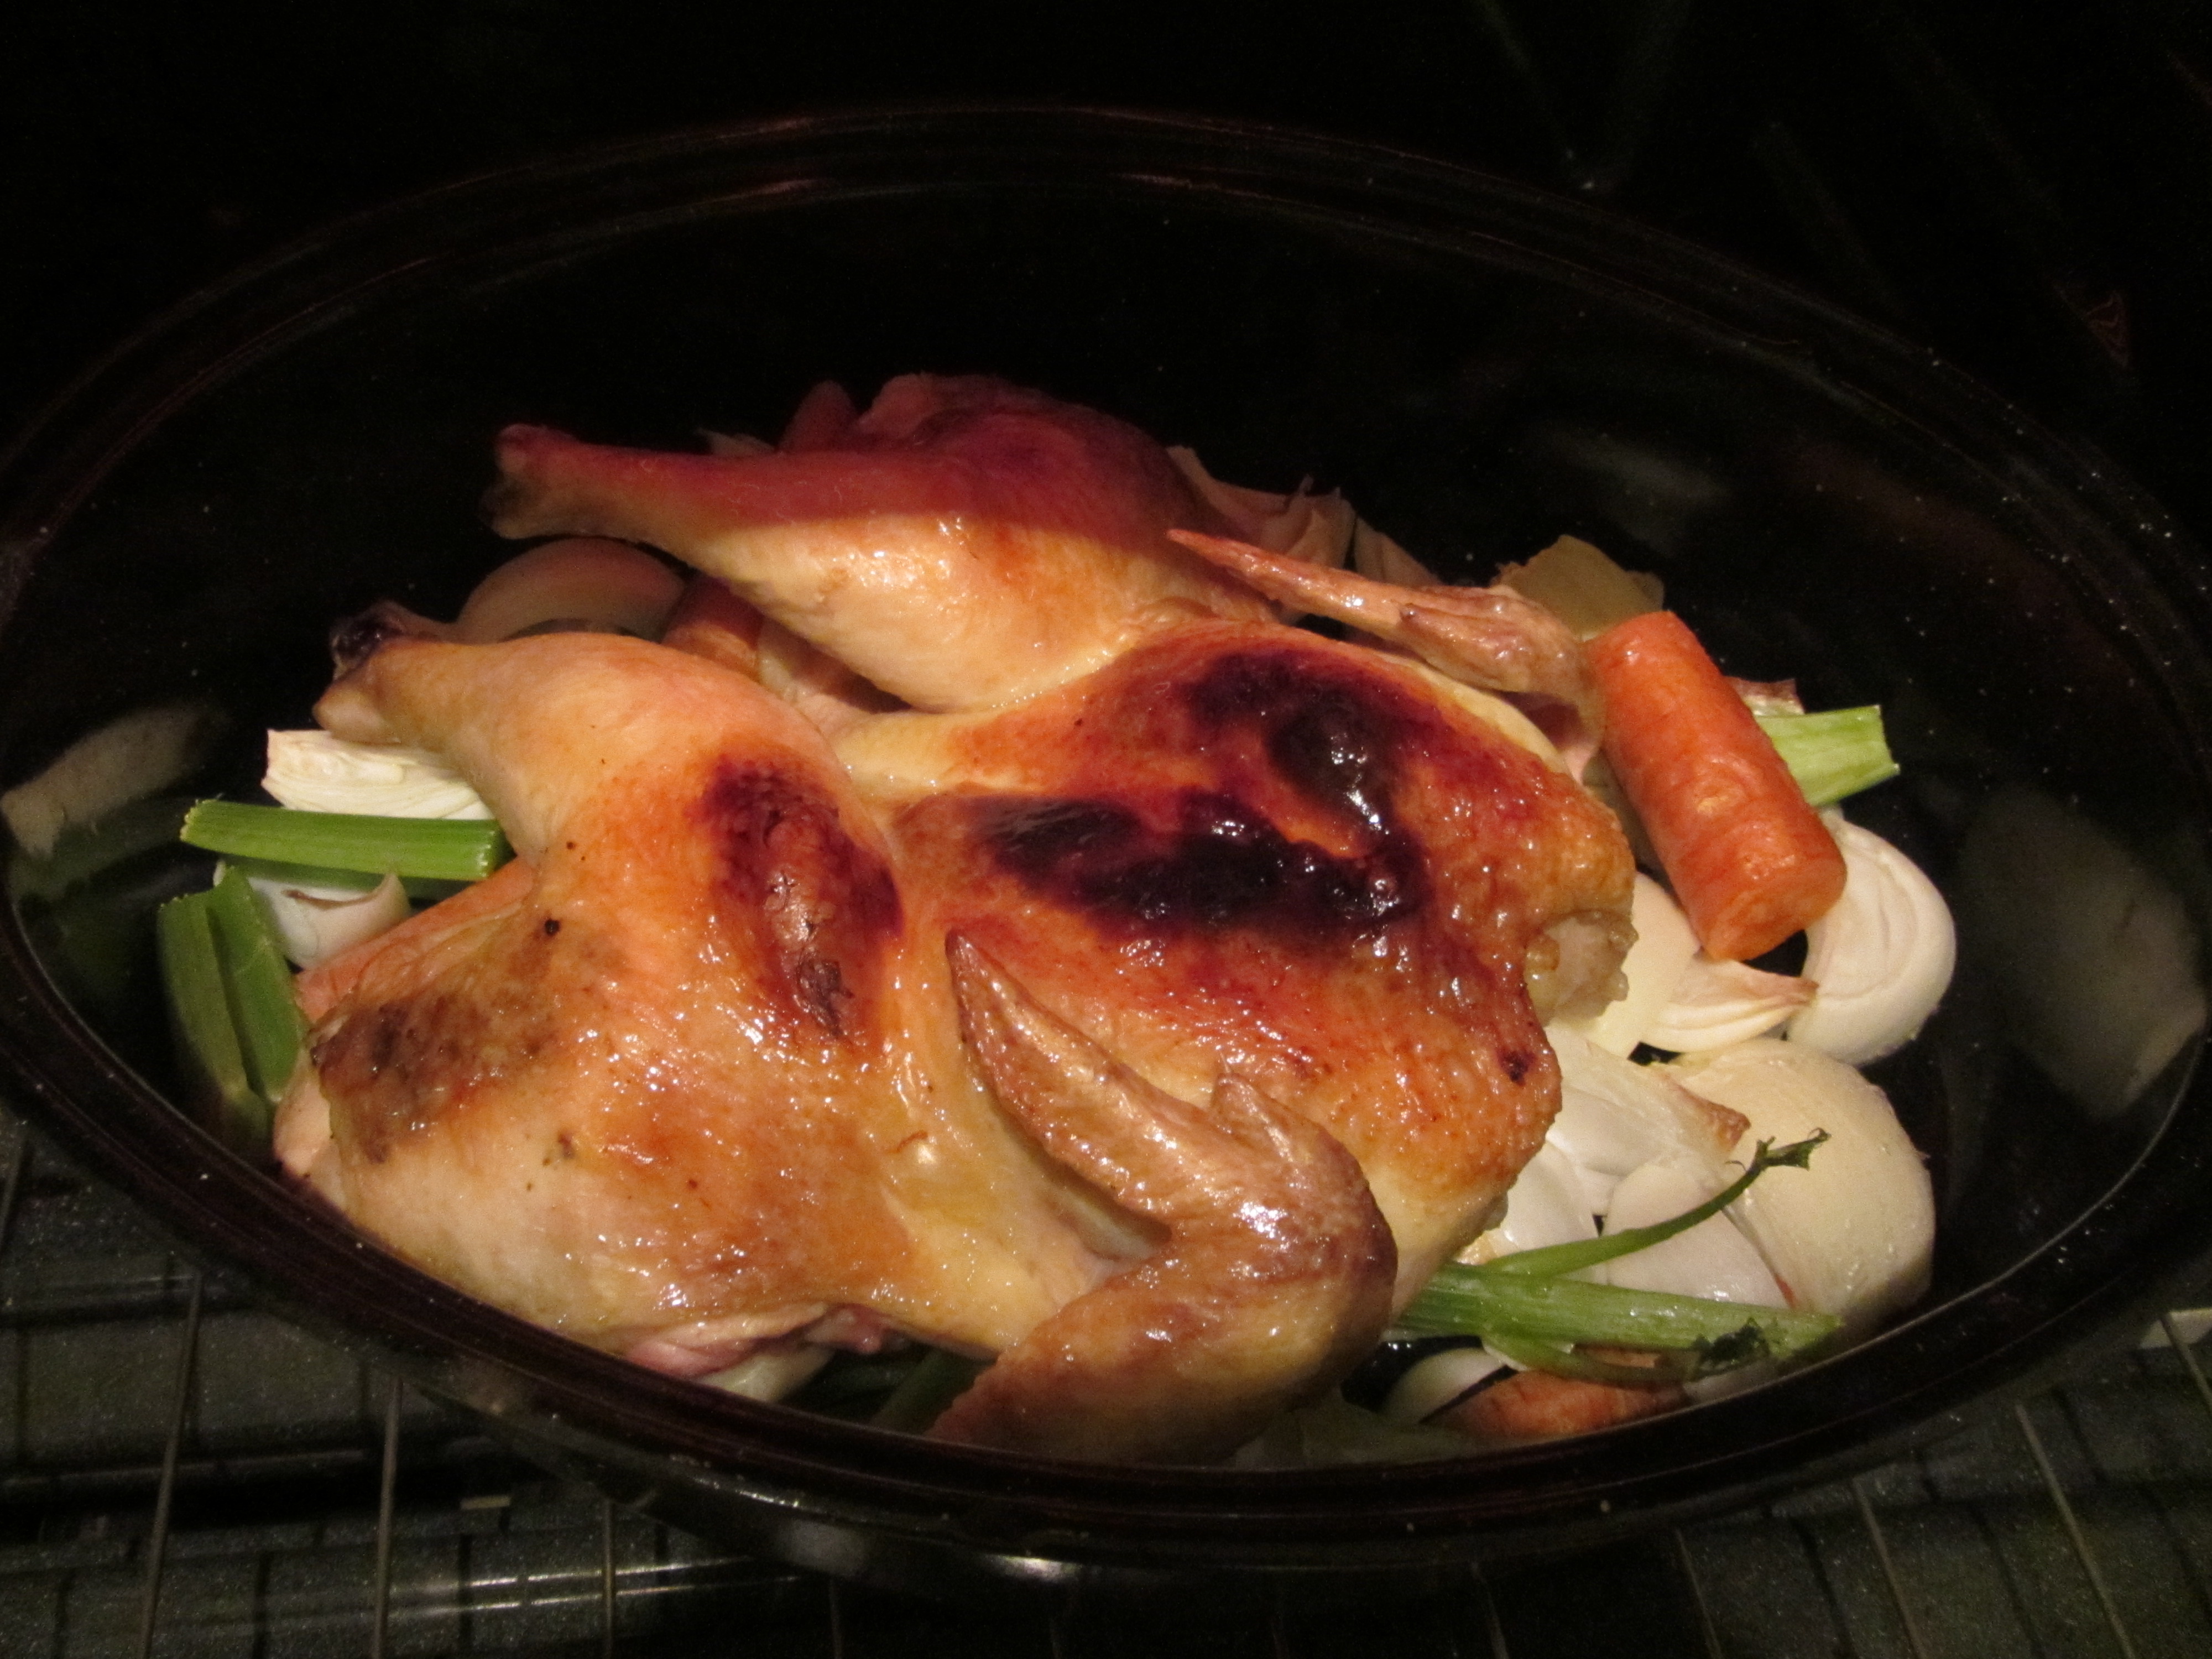
As the chicken pieces finish browning, place them on top of the vegetables in the Dutch oven.

IMG_1660

Browned chicken placed on vegetables in Dutch oven.

When all of the chicken has been browned, add 1 T butter to the skillet, along with eight ounces of quartered mushrooms. Scraping the pan, cook the mushrooms for about five minutes, or until they are golden brown.

Remove the mushrooms from the pan, let them cool, and combine them in a container with the cooled pork and onions. Set the mushroom mixture in the refrigerator until the next day. Pour any excess fat out of the pan and discard it (I had very little extra fat in my pan). Remove the pan from the burner and add 1 C Pinot Noir to deglaze the pan, scraping the bottom with a spatula.

IMG_1663

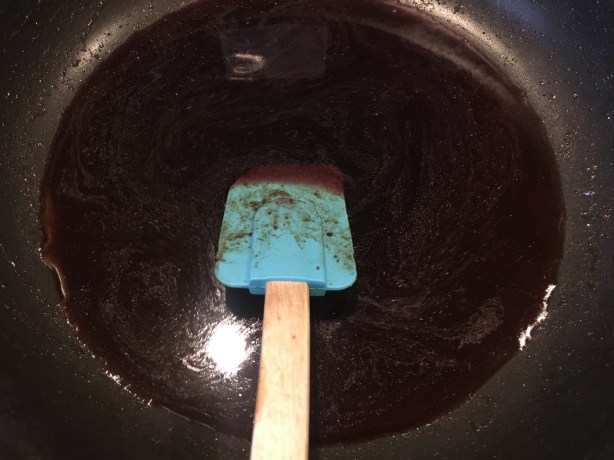
Pinot Noir added to deglaze pan.

Add 2 T tomato paste to the skillet, stirring to combine, and pour the liquid over the chicken in the Dutch oven.

Finally, add 2 C chicken broth to the chicken, along with the rest of the open bottle of wine and another full bottle of Pinot Noir.

Put a lid on the Dutch oven and place it in the refrigerator overnight. The following day, place the Dutch oven in a cold oven and set the oven to heat to 325 degrees. Set a kitchen timer for two hours and check the chicken a few times to be sure it is submerged in the cooking liquid. After the two hour cooking period, remove the Dutch oven from the oven and use tongs to transfer the chicken from the Dutch oven to a packet of foil. Place the foil packet of chicken in the cooling oven to keep warm.

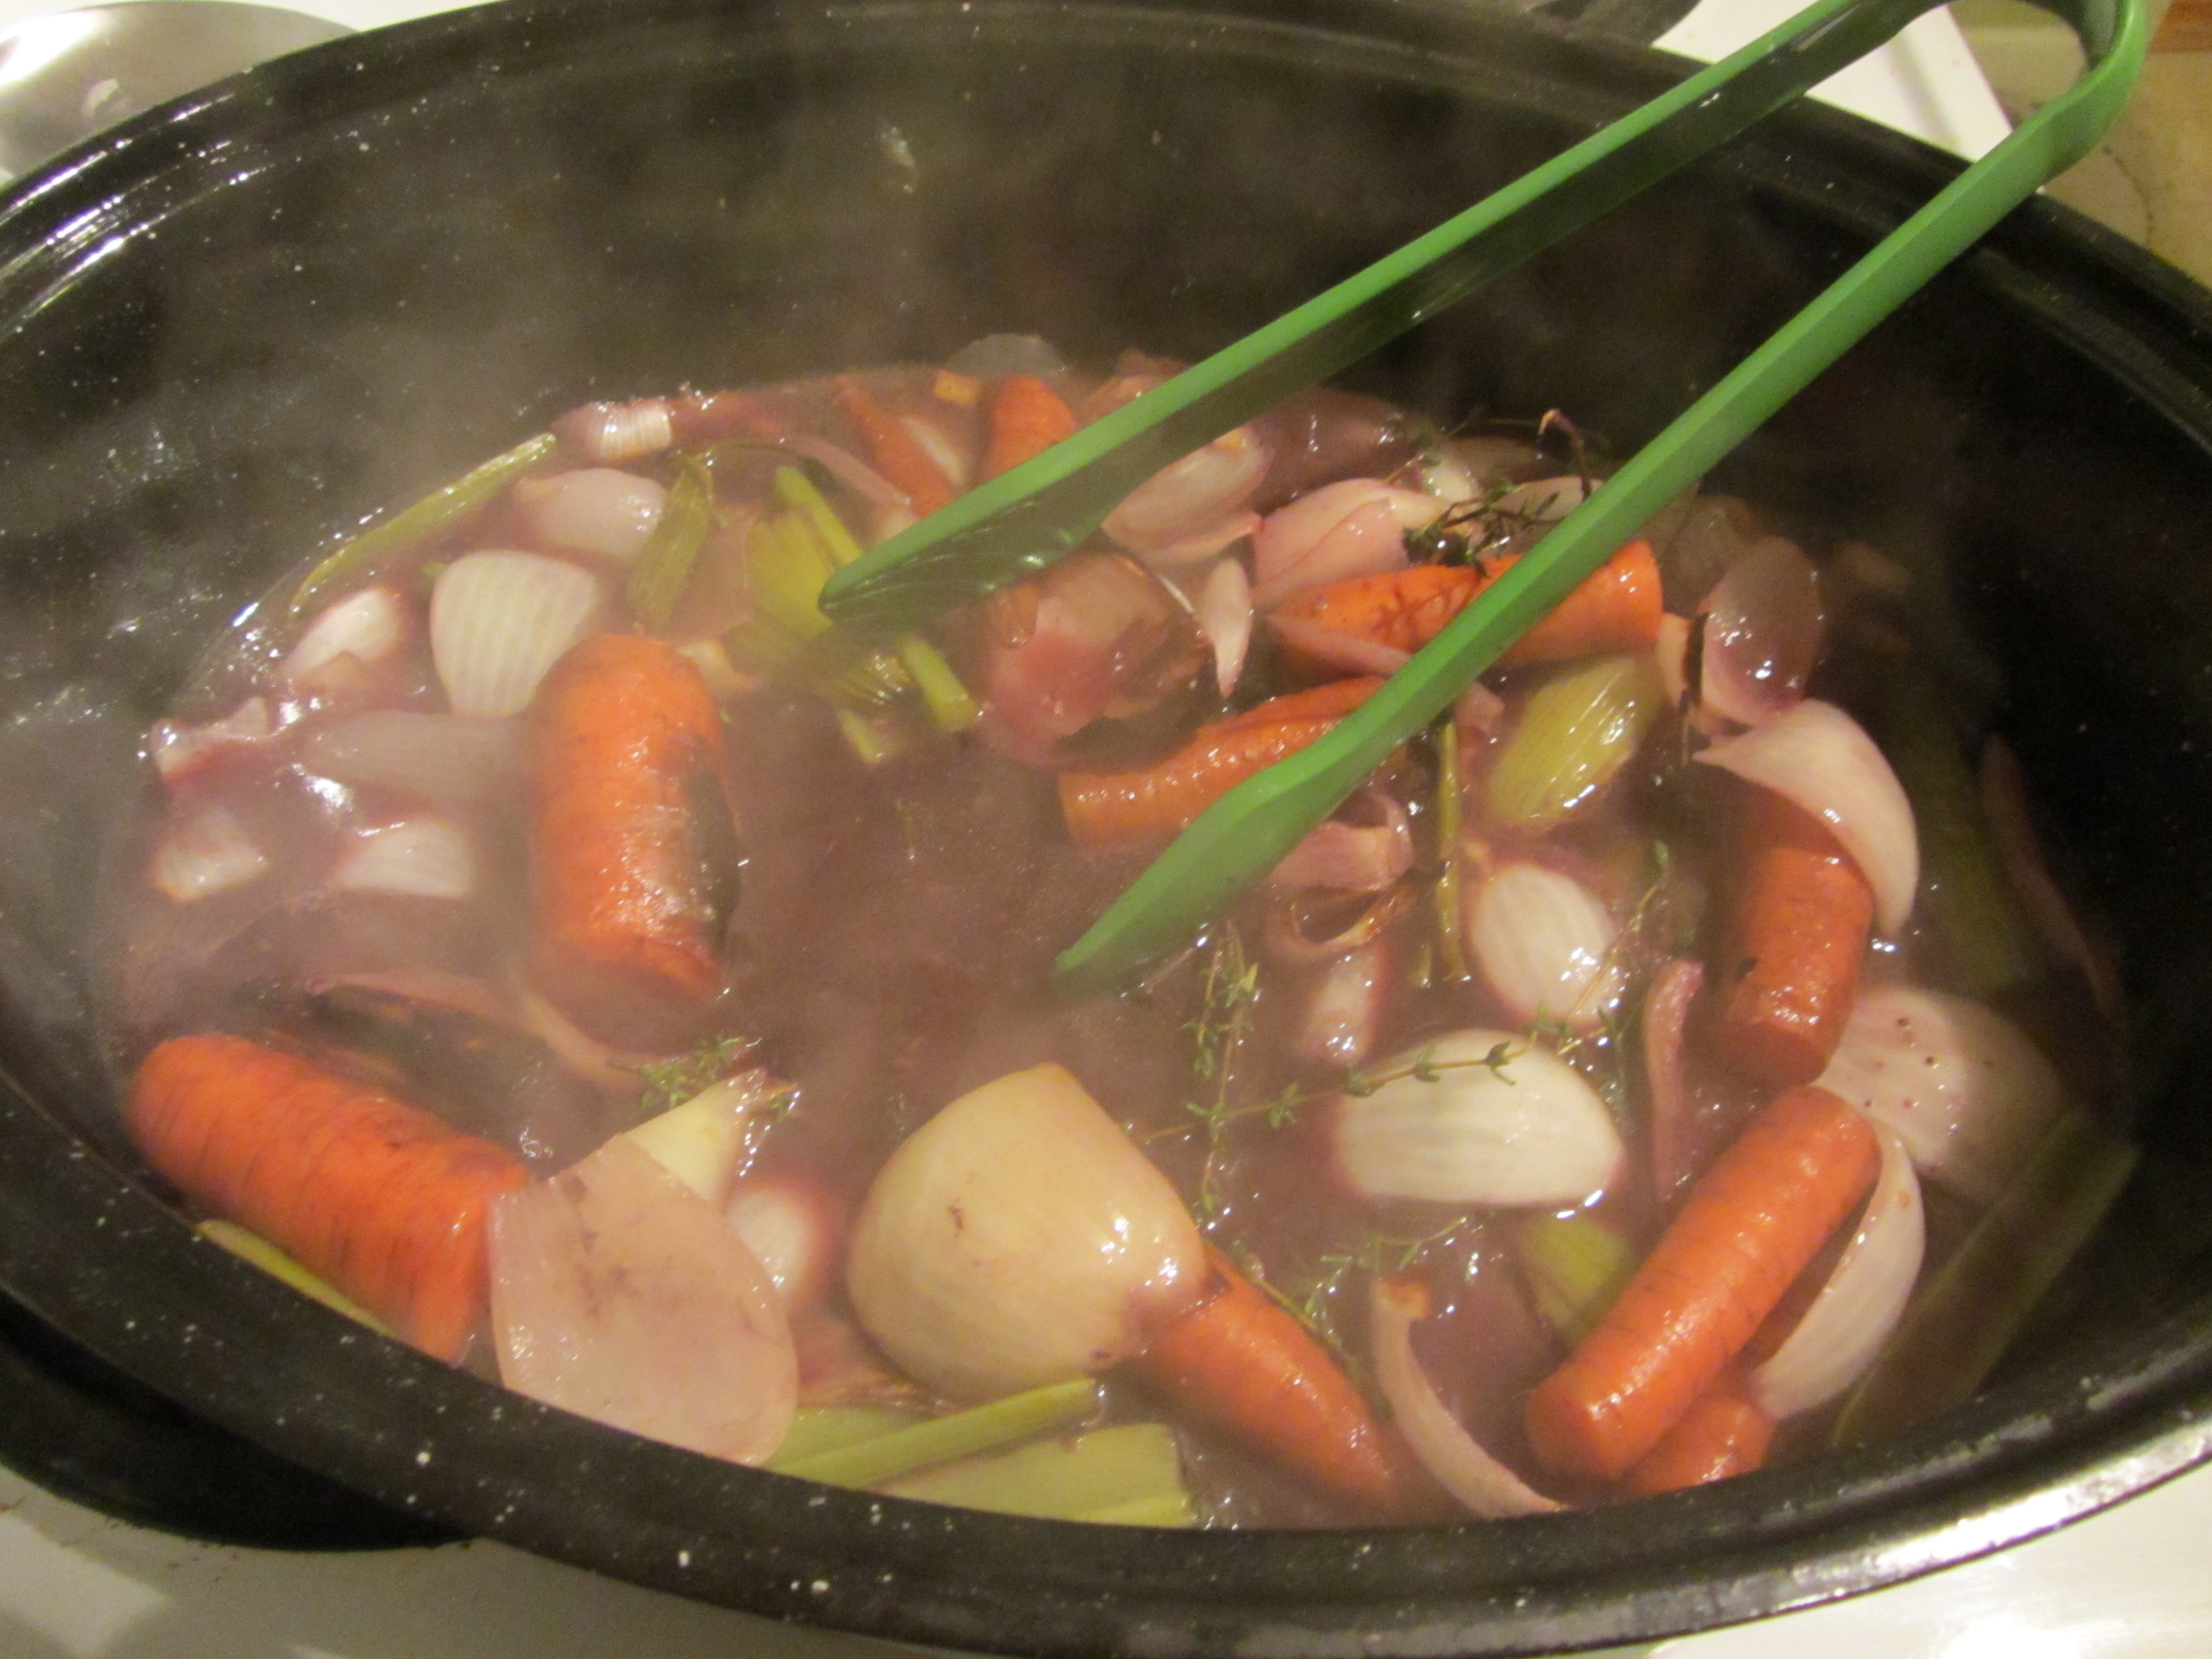
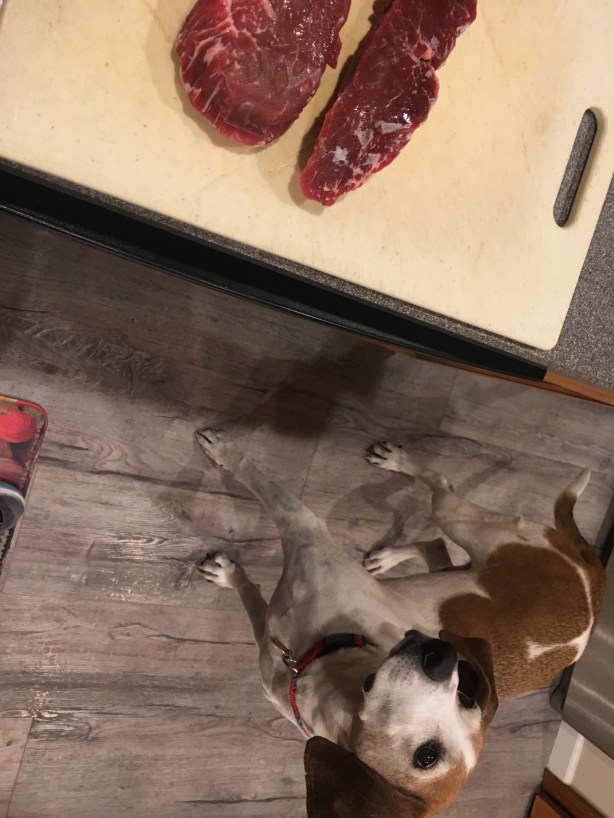
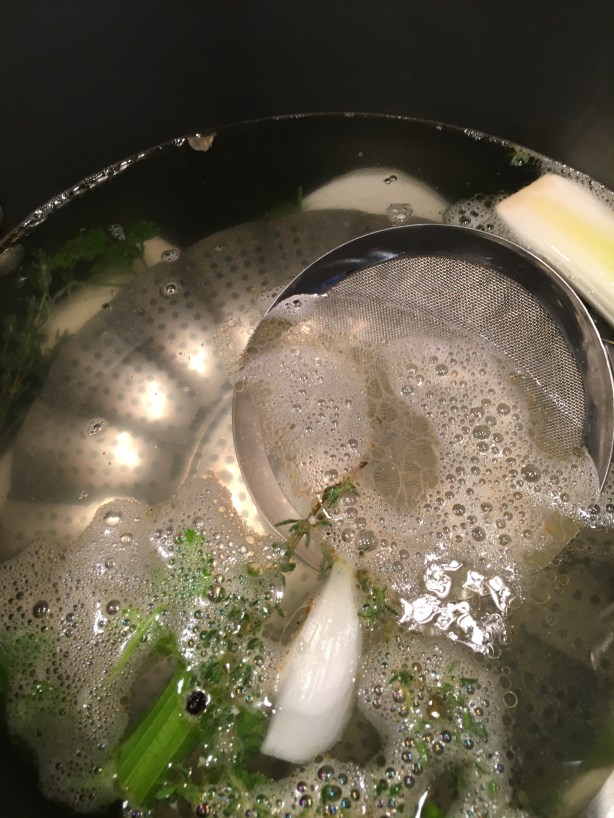
Strain the cooking liquid into a saucier, discarding the vegetables (or you can feed them to your dog, as Alton did in the episode).

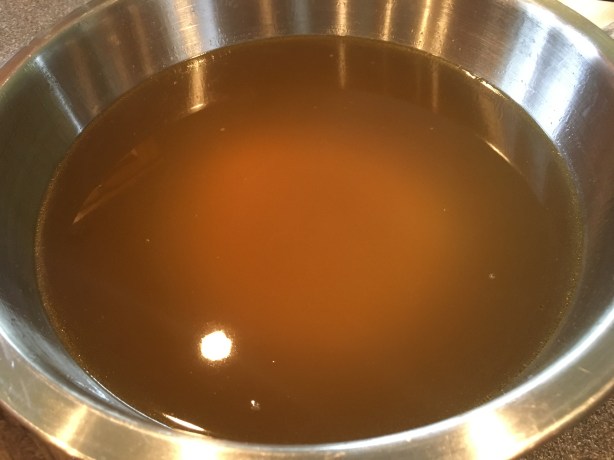
Place the saucier over high heat and reduce the liquid by one third, which should take about 30 minutes. You can check the fluid level by placing a rubber band around a long spoon handle at the initial fluid level. When that level has dropped by 1/3, you are good to go.

Once the sauce has reduced, add the onions, mushrooms, and salt pork to the saucier and cook for 15 more minutes.

IMG_1685

Salt pork, onions, and mushrooms added to sauce.

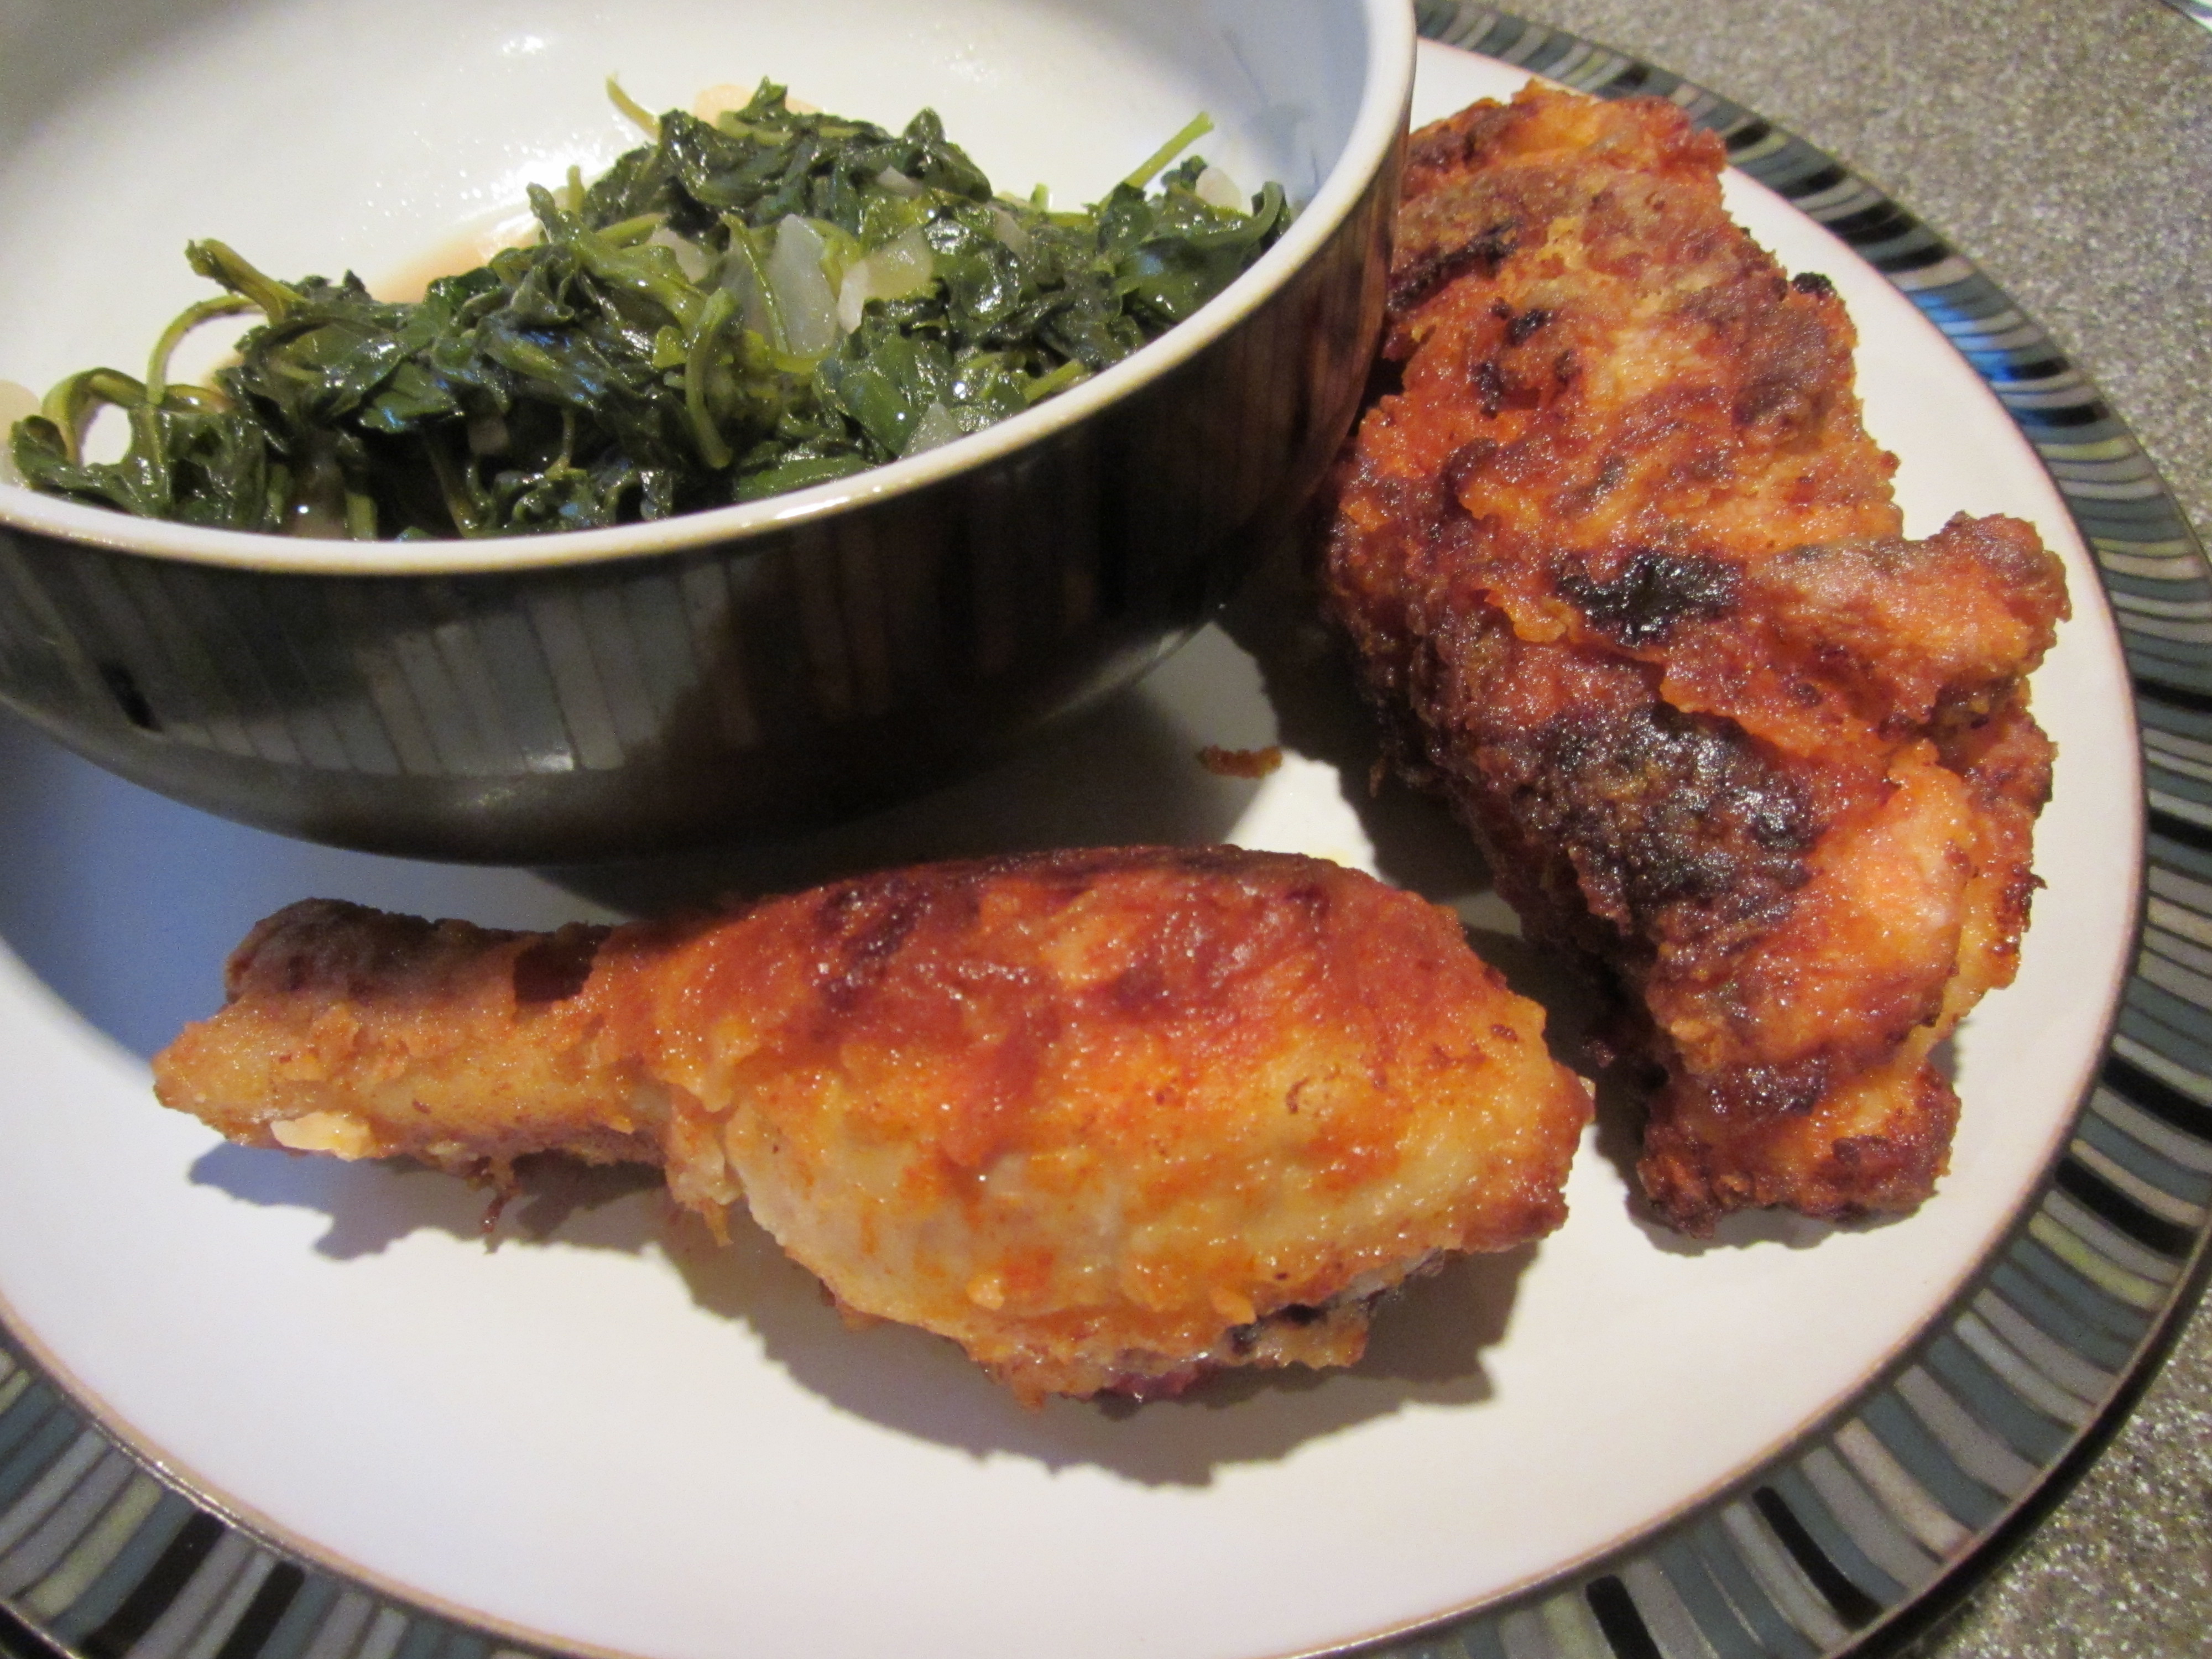
Serve the chicken and sauce over cooked egg noodles.

IMG_1688

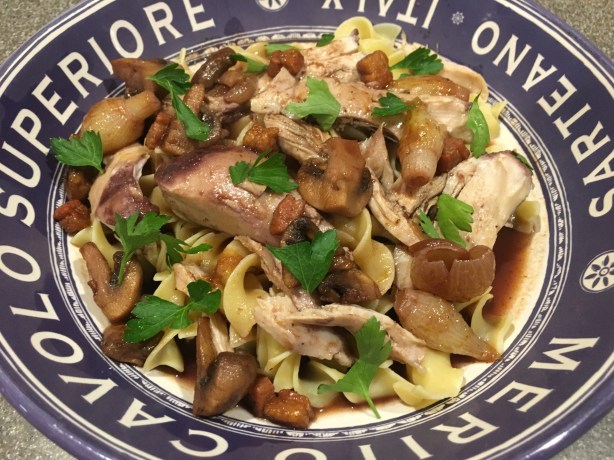
Coq au Vin served over egg noodles.

This is a really delicious recipe, but it does take some effort and time. For me, it took two and a half hours of prep the first day, followed by the cooking time the second day. I would certainly consider this to be a special occasion dish simply because of the amount of prep. We did, however, get several meals out of this one recipe, so perhaps the time per meal is not much. The chicken in this dish comes out super moist and tender, and has a slight purple hue. The sauce has many layers of flavor, but is light in body. If you want a chicken dish that can serve a group and results in perfectly cooked chicken with lots of flavor, this is the one.
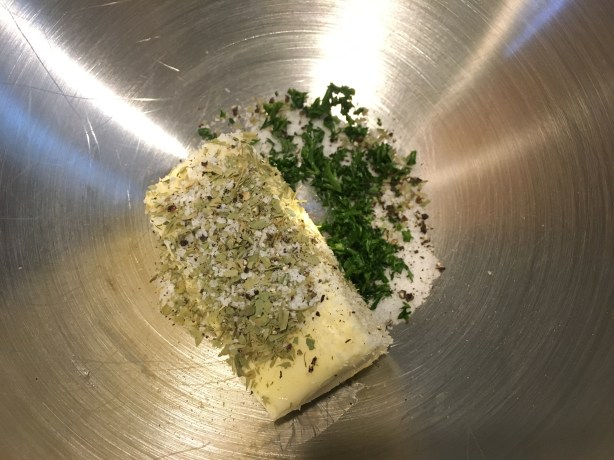
Alton Brown fans probably know that he is going to back on our TVs starting Monday. He is going to revisit Good Eats, revamping the old recipes he is unhappy with, and adding new methods, techniques, and information. I am anxious to see which recipes he chooses to alter, as there have certainly been some less than perfect recipes along the way. Of course, there have also been some fantastic recipes that have become mainstays in our house. Now, back to my personal assessments of Alton’s original Good Eats.

Beef Paillard

Alton’s beef paillard calls for a good cut of meat, namely beef tenderloin. To serve four people, he calls for a pound of beef. Since it was just the two of us, I had the butcher cut us a couple steaks from the tenderloin, rather than buying a larger cut of tenderloin. Prior to cooking, place your meat in the freezer for two to three hours, as this will make it easier to cut thin slices. When your meat has chilled, remove it from the freezer and slice it into thin slices; Alton used an electric knife for this, but I used a sharp chef’s knife.

IMG_9571

Beef tenderloin, after freezing for two hours.

Place the slices of beef between sheets of plastic wrap, spritzing the beef and the plastic with water (this decreases friction and prevents tearing of the meat and plastic). Pound the meat until it is very thin – probably about 1/8-inch thick.

When all of your meat slices have been pounded, heat a large cast iron skillet over medium heat for a few minutes.

While the skillet heats, brush both sides of the meat slices with vegetable oil and sprinkle them with pepper and Kosher salt.

IMG_9576

Paillards of beef tenderloin, brushed with vegetable oil and seasoned with pepper and Kosher salt.

Once the skillet is hot, invert the pan and brush the back of the skillet with vegetable oil. Place the beef paillards on the inverted skillet and they should begin sizzling immediately. Alton said his beef took about 10 seconds per side, but I would say that mine took about 30 seconds per side. I would err on the side of caution here, as you really do not want to overcook the beef.

IMG_9578

Inverted cast iron skillet.

IMG_9579

Paillards added to oiled skillet.

IMG_9580

Paillards, flipped after cooking on one side.

Transfer the beef slices to plates, drizzle them with olive oil, and garnish them with some capers, shaved Parmesan, and greens.

IMG_9585

Alton’s beef paillards with olive oil, capers, greens, and shaved Parmesan.

With this recipe, my biggest concern was that I would overcook my beef, but it turned out perfectly. The meat was amazingly tender and seemed to melt in your mouth. And, Alton’s garnishes of olive oil, Parmesan, capers, and greens were spot-on, complimenting the flavor of the beef without overpowering it. The salty nuttiness of the Parmesan, along with the tang of the capers was just perfect with the fruitiness of the olive oil. The best part of this recipe is that it is worthy of a special occasion, yet you can put it together in a very short period of time. This is a recipe that, in my opinion, needs no revamping.

Turkey Piccata

While I had previously eaten chicken piccata (piccata means “sharp”), I had never before had a version with turkey. Alton’s recipe calls for a whole turkey breast, which, surprisingly, was just impossible for me to find. I had to settle for some pre-sliced turkey breast, as that was all I could find after going to numerous stores. If you are able to find a whole turkey breast, slice it into half-inch slices. Place the slices between sheets of plastic wrap, spritz them with water, and pound them until they are twice their original size.

IMG_9543

Slice of turkey placed between sheets of plastic wrap.

Season the top sides of your pounded slices of turkey with Kosher salt and pepper, and place them, seasoned sides down, in a pie plate of flour. Season the second sides of your slices of turkey and coat them also with flour, shaking off any excess.

Next, heat 4 T unsalted butter and 2 T olive oil in a large skillet over medium-high.

When the butter has melted, add the floured turkey slices to the pan, cooking them until golden (about two minutes per side).

Move the cooked turkey slices to a foil packet and keep them warm in a 200 degree oven while you make the sauce.

IMG_9552

Cooked turkey transferred to foil packet.

To the pan in which you cooked your turkey, add 2 T chopped shallots, cooking for about a minute.

IMG_9553

Shallots added to the pan.

Add 1/2 C white wine and 1/3 C fresh lemon juice to the pan, allowing it to simmer for two to three minutes.

IMG_9554

Wine and lemon juice added to the pan.

Finally, whisk 2 T butter into the sauce.

IMG_9555

Butter, stirred into the sauce.

Spoon the sauce over the warm turkey slices, garnishing with parsley, capers, and peppercorns, if desired.

IMG_9557

Capers added to finish the sauce.

IMG_9562

Turkey piccata.

I had mixed feelings about this recipe because I found the sauce to be tangy and delightful, but my turkey was tough. I see that Alton tells you to cook the turkey for only one minute per side in the online recipe, but he cooked his turkey for two minutes per side in the episode, which seemed to be too long. I also think my turkey piccata would likely have been better if I could have found a whole turkey breast and sliced it just prior to cooking. I’m tempted to give this one another try because the sauce was smooth, buttery, and full of lemon tang. I would recommend opting for chicken if a whole turkey breast is unavailable.

Chicken Kiev

Chicken Kiev is something I remember my mom making once or twice. She viewed it as a special occasion dish, as her mother served it to her father’s business clients who came to dinner. Chicken Kiev is actually of French, rather than Russian, origin, but was brought to Russia by the French in the 18th century. I remember my mom sometimes being frustrated with her Chicken Kiev because the filling would leak out during cooking. Having never made it before, I was hoping Alton’s recipe would keep my filling intact. This is a recipe that you will want to start at least two hours prior to serving, or even the night prior. The first step of this recipe is making a compound butter by combining a stick of softened unsalted butter, 1 t dried parsley (I used fresh, so I used twice as much), 1 t dried tarragon, 1 t Kosher salt, and 1/4 t pepper in a stand mixer.

IMG_9203

Butter, parsley, dried tarragon, Kosher salt, and pepper.

Place the compound butter on wax paper, roll it into a log, and place it in the refrigerator to firm.

After the butter has firmed up, place a chicken breast between pieces of plastic wrap, spritzing the chicken and plastic with water.

IMG_9212

Chicken breast in spritzed plastic.

Pound the chicken until it is thin enough to roll. Chicken breasts are fairly thick, so it is tedious to get the chicken thin. Place a couple slices of compound butter in the center of the pounded chicken, along with 1 T panko bread crumbs.

IMG_9214

Pounded chicken topped with compound butter and panko bread crumbs.

Roll the chicken over the butter and bread crumbs by folding the longest edge of chicken over the filling and then folding in the ends. Continue rolling the chicken, using the plastic to help you roll and keeping the ends tucked inside. Wrap the rolled chicken tightly in plastic wrap and refrigerate at least two hours, or overnight.

IMG_9216

Rolled chicken.

When ready to cook your chicken, roll the chicken in a pie plate containing two eggs beaten with 1 t water.

IMG_9219

Chilled chicken being rolled in egg wash.

Next, roll the chicken in a plate of panko bread crumbs.

Put a half-inch of vegetable oil in a large skillet and heat it to 375 degrees. Once hot, add the breaded chicken rolls to the pan, cooking for 4-5 minutes per side, or until the internal temperature reaches 165 degrees.

Transfer the cooked chicken to a rack, letting it rest for five minutes.

IMG_9227

Chicken resting after cooking.

I found that my chicken took considerably longer than 10 minutes to reach 165 degrees inside. You do get some carryover cooking, so I think it is best to pull the chicken from the oil when the internal temperature hits 158-160. Otherwise, your chicken may be slightly overcooked by the time you cut into it.

IMG_9236

Alton’s Chicken Kiev.

We were pretty happy with Alton’s Chicken Kiev. His method for rolling the chicken worked well, and kept the filling intact for the most part (my one roll split a little bit). It is easier to roll the chicken if you get it really thin, so try to get it as thin as possible before filling/rolling. Also, don’t skimp on the chilling time for the rolled chicken, as the chicken really needs that time to maintain its shape. The panko bread crumbs gave Alton’s chicken a really great crispy crust, and the filling of the chicken had lots of anise-like flavor from the tarragon. I do wish that the compound butter would have melted a bit more, though. I just wouldn’t cook the chicken all the way to 165, as my chicken was just a tad overcooked. My mom can’t really cook anymore because of her Parkinson’s, but I think she likely would have adopted Alton’s Chicken Kiev recipe as her go-to.

Chicken Stock

Somehow, we seem to have suddenly transitioned to soup weather, so the 89th episode of Good Eats came at a perfect time. First up was Alton’s recipe for homemade chicken stock. It really is true that purchased stock cannot compare to what you can make at home, and taking the time to make stock will result in superior homemade soups later. For Alton’s stock, place four pounds of chicken remains in a 12-quart stock pot; I used the remains from grocery store rotisserie birds, but Alton pointed out that you can always use chicken wings if you need more bones.

IMG_4714

Chicken remains in the stock pot.

Add four broken carrots, four broken celery ribs, the white part of one leek, a quartered onion, 10 sprigs of parsley, 10 sprigs of thyme, 8-10 peppercorns, two cloves of garlic, and two bay leaves.

Press a steamer basket down onto the chicken/vegetables to keep everything submerged, and add two gallons of cold water (cold water helps to extract more collagen). Alton says filtered water is best for stock, but I just opted for our tap water.

IMG_4719

Steamer basket used to keep chicken/vegetables submerged in two gallons of cold water.

Turn the heat to high, wait until you see bubbles, and decrease the heat to medium-low to maintain a bare simmer.

IMG_4720

Bubbles forming on surface.

Maintain the bare simmer, skimming foam from the surface every 10-15 minutes during the first hour, and every half hour after that.

IMG_4721

Skimming foam from the surface.

As the stock cooks, add hot water, as needed, to keep the bones and vegetables covered. It should take six to eight hours for your stock to be done. How do you tell when stock is done? The easiest way to tell when stock is done is to remove a bone from the pot and try to break it – bones will break easily when your stock is ready.

IMG_4729

Stock after cooking for seven hours.

When your stock has finished cooking, strain it through two nested strainers with a layer of cheesecloth between them; you can reinsert your inverted steamer basket, pressing on it with tongs as you pour the stock into the strainers.

IMG_4731

Two nested strainers with cheesecloth between them.

It is necessary to cool your stock quickly, so Alton suggests dividing the stock between two pots, placing them into a cooler with ice, and adding frozen water bottles to the pots. Once cool, refrigerate your stock overnight. In the morning, discard any solidified fat from the surface of your stock. You should have stock with a jelly-like consistency. If not, bring your stock back to a boil and reduce it by half. I found that I had to do this second boiling step, as my stock had really not gelatinized.

IMG_4733

Strained chicken stock.

Stock will keep in the refrigerator for a few days, or in the freezer for a few months. Prior to using homemade stock in a recipe, bring it to a boil for two minutes. Making this stock sure made our house smell great, and the resulting stock was packed with chicken flavor, though definitely in need of some salt. I used some stock in Alton’s next recipe, and froze the rest for later use.

Chicken Noodle Soup

What better use for homemade chicken stock than chicken noodle soup, especially as we enter cold and flu season? Alton’s recipe comes together super quickly, so you can make this on a weeknight. Oh, and this is easy to double, which I did. Boil a quart of homemade chicken stock for two minutes.

Add 3/4 C chopped onion, 3/4 C diced celery, and 1 T minced garlic. Decrease the heat and simmer the stock/vegetables for two minutes.

Add 2-3 ounces of cooked egg noodles and simmer the soup for five more minutes.

Add some fresh herbs (I used parsley and thyme) to the soup and serve with lemon wedges.

IMG_4848

A bowl of Alton’s chicken noodle soup with lemon.

This soup was really good, though it was in serious need of some seasoning. Once I added a bunch of salt and pepper, it was great! I happen to like my chicken noodle soup with lots of fresh black pepper, and I found that I really enjoyed Alton’s lemon recommendation, as a little acidity really brightened up the soup. If you wanted, you could always add some chopped or shredded chicken to this soup to give it some additional texture, protein, and flavor. This recipe is so simple and really serves to show how good homemade chicken stock can be.

Broccoli Casserole

The 78th episode of Good Eats is all about America’s potluck favorite:  the casserole. According to Alton, casseroles are either bound, layered, or scooped. The first casserole in this episode is a broccoli casserole, which is a bound casserole. This recipe begins with boiling a large pot of water and prepping 6 C of broccoli; you can use the florets, along with the stems, which you can peel and quarter.

Add a few pinches of Kosher salt to the boiling water and cook the broccoli for one minute, before placing it in ice water. This blanching process will help to preserve the broccoli’s green color.

Next, heat a large skillet with a pat of butter, adding 12 ounces of sliced mushrooms. Cook the mushrooms until they are browned and tender, remove the pan from the heat, and add the cooled broccoli.

To the broccoli/mushroom mixture, add 1/2 C mayo, 1/2 C yogurt, 1/3 C blue cheese dressing, 2 eggs, a rounded 1/2 C of shredded Cheddar cheese, a package of crumbled Ramen noodles, and the flavor packet from a package of Ramen.

This slideshow requires JavaScript.

Spray a lidded casserole dish with non-stick spray (you want the smallest dish possible that will hold your casserole) and add your broccoli mixture.

IMG_6046

Broccoli mixture placed in greased casserole dish.

Sprinkle the top of the casserole with black pepper and another rounded 1/2 C of shredded Cheddar.

IMG_6047

Shredded Cheddar and black pepper on top of casserole.

Bake the casserole, covered, at 350 for 45 minutes. After 45 minutes, remove the casserole lid and let the casserole continue to cook until the cheese forms a nice crust on top.

Cool the casserole for at least 30 minutes before serving.

IMG_6053

Alton’s broccoli casserole.

Of the recipes in this episode, this was the one I was most enthusiastic about because I happen to really love broccoli. We both thought this was good, though not super exciting. Really, though, isn’t that just the way of the casserole? The blue cheese flavor was more apparent than I thought it would be, which paired well with the broccoli. The broccoli maintained its texture and color, and the Ramen noodles bound the casserole together nicely. This is a good weeknight recipe for an easy dinner, and it does leave you with leftovers.

Curry Chicken Pot Pie

Alton’s version of chicken pot pie, a scooped casserole, is next up in the casserole episode, and it starts with sweating 1 C each of sliced celery and chopped onion in canola oil with a pinch of Kosher salt.

IMG_6078

Celery and onion, sweating in canola oil with Kosher salt.

While your vegetables are sweating, roast 4 C of frozen vegetable mix in the oven until golden (I roasted my vegetables at 400 degrees).

IMG_6075

Frozen vegetable blend, to be roasted.

Once the vegetables are softened, move them to the edges of the pan and add 2 T butter, 3 T flour, and 1 t curry powder to the center of the pan.

Cook and stir until the mixture is smooth. Whisk into the pan 1 1/2 C chicken stock and 1/2 C milk that have been heated in the microwave until nearly boiling.

Bring this mixture to a boil and add the roasted vegetables.

IMG_6090

Roasted vegetables added to pan.

Stir in 2 C of cooked shredded chicken.

Place the chicken mixture into a foil-lined terra cotta dish; I used the base of my glazed tagine, so did not bother with lining it.

IMG_6096

Pot pie mixture placed in terra cotta dish.

Place a thawed piece of puff pastry on a floured surface (you can see details of how to thaw puff pastry here), patting its seams. Lightly roll the pastry with a rolling pin to smooth it out, and perforate it with a fork. Using a biscuit cutter, cut 10-12 circles, and place the rounds 1/2″ apart on top of the casserole.

Bake the casserole, uncovered, at 350 for 45 minutes. Cool before serving.

IMG_6103

Alton’s chicken pot pie.

Quite frankly, this pot pie was disappointing. My pastry didn’t puff, which was likely my fault for using older puff pastry. But, more than that, the base of the pot pie was just “meh.” I think this recipe would have been substantially better had Alton used fresh, rather than frozen vegetables, as the vegetables were somewhat rubbery. I would not make this recipe again, as there are surely countless better pot pie recipes available.

Garlic Shrimp Casserole

Last up in this episode is Garlic Shrimp Casserole, which really should be called “Leftover Chinese Food Casserole.” In a saucier, heat 2 C of chicken broth.

IMG_6058

Chicken broth in saucier.

Add a slurry of 2 T cold water with 2 T cornstarch, which will serve to thicken the dish.

Whisk in 1/2 t red pepper flakes and 1/2 C heavy cream.

IMG_6061

Cream and red pepper flakes added to broth.

Pour this mixture over 2 pints of leftover garlic shrimp (or other Chinese leftovers) and a pint of cooked white rice that have been placed in a foil-lined terra cotta dish.

Jiggle the pan and sprinkle the casserole with 3/4 C of toasted Panko breadcrumbs.

Bake, covered, at 350 for 45 minutes. Cool before serving.

I threw this together on a busy weeknight, opting to use leftover Chinese beef, rather than shrimp. Honestly, we really didn’t care for this and I would not recommend this recipe. This was just completely underwhelming, which, frankly, I expected after watching the episode. Boring is the best word to describe this recipe. All in all, this episode of Good Eats has to be one of my least favorites thus far. I would possibly make the broccoli casserole again in a pinch, but I would not make the pot pie or the garlic shrimp casseroles again. Here is to hoping that the next episode is more exciting!

While my beer was fermenting from last episode, I got busy prepping the four recipes from the 75th episode of Good Eats. The main player in this episode is that famous star of the cocktail party:  dip. Alton raises the question in this episode of what, exactly, constitutes a dip. Is salsa a dip? Alton concludes that salsa is not, in fact, a dip. Why? It does not meet Alton’s dip criterion, which is that a dip must be able to travel from its vessel to your mouth without going “splat” on the floor. Sour cream and onions do, however, make a suitable dip, which is the first one up in in this episode.

Onion Dip from Scratch

Sour cream and onion dip, also known as “California Dip,” was apparently very popular in the 60s, and Alton’s take on it begins with a bowl containing 1 1/2 C sour cream and 3/4 C mayonnaise (I used homemade mayo).

img_5823

Sour cream and mayo (homemade) make the dip base.

The next step is to heat a medium skillet over medium-low heat, adding 2 T olive oil, 1 1/2 C diced onions, and a pinch of Kosher salt. The onions should be cooked until they are caramelized and golden, which will take about 20 minutes.

Once the onions are golden brown, set them aside to cool a bit. Finally, add the onions, 1/2 t Kosher salt, 1/4 t white pepper, and 1/4 t garlic powder to the sour cream/mayo bowl, stirring to combine.

img_5826

Caramelized onions added to dip base, along with Kosher salt, white pepper, and garlic powder.

This dip came together super easily and was quite addictive, and I served it with good bread, baby carrots, and bell pepper.

img_5829

Alton’s onion dip with veggies and bread.

The sweet caramelized onion flavor is just right with the tangy sour cream and creamy mayo, and it is easy to see how this would be a crowd favorite.

Hot Spinach and Artichoke Dip

Back when I did Alton’s episode on artichokes, I seriously questioned his judgement in not including a recipe for spinach/artichoke dip. Alas, I guess this dip episode explains why he did not. Spinach and artichoke dip is definitely one of my favorites, so I was excited to make Alton’s version. Alton has a newer version of this recipe on his web site, which I actually made for our neighborhood New Year’s Eve party this year. The big difference between the Good Eats recipe and the new recipe is that there is a higher ratio of cream cheese to spinach.

img_5843

Ingredients for artichoke/spinach dip: mayo, sour cream, frozen spinach, artichoke hearts, cream cheese, Kosher salt, garlic powder, red pepper flakes, and Parmesan.

For the original recipe, begin by combining 1/4 C mayo (I again used homemade), 1/4 C sour cream, and 6 ounces of cream cheese, warmed in the microwave.

Heat 1 C of chopped frozen spinach and 1 1/2 C frozen artichoke hearts  in a cup of boiling water until warmed through; I had to use canned artichoke hearts, so I did not heat them. Be sure to thoroughly drain the spinach, squeezing out any excess water.

To the mayo/cream cheese mixture, add the spinach and artichoke hearts, along with 1/3 C grated Parmesan, 1/2 t red pepper flakes, 1/4 t garlic powder, and 1/4 t Kosher salt.

img_5850

Spinach, artichoke hearts, Parmesan, red pepper flakes, garlic powder, and Kosher salt added to dip base.

This dip is, of course, best served warm. You can keep the dip warm by putting about an inch of water into a Crockpot, setting the bowl of dip into the water. Set the Crockpot to low and it will keep the dip warm for serving.

img_5854

Spinach and artichoke dip, kept warm in a Crockpot.

We ate Alton’s artichoke dip with bread, crackers, and veggies.This dip creamy, tangy, has a touch of heat, and has a variety of textures.

img_5853

Spinach and artichoke dip.

I do have to say that I prefer Alton’s updated version of this dip over the original, as I like a greater ratio of dip base to artichokes/spinach. We also really appreciated the heat from the red pepper flakes in this recipe. This is one I will make again, albeit the updated recipe.

Guacamole

A dip episode would not be complete without a recipe for guacamole. We make guacamole pretty frequently, usually just tossing together some avocados, lime juice, Kosher salt, garlic, and sometimes some salsa. If I want to put more time into it, I go to a recipe my mom created that uses roasted tomatillos. To make Alton’s version, squeeze the juice of a lime into a bowl and add the flesh of three avocados, tossing the avocados to coat them thoroughly and prevent browning.

Drain the lime juice from the avocados, reserving it for later.

img_5863

Lime juice drained off of avocados and set aside for later.

To the avocados add 1/2 t Kosher salt, 1/2 t cumin, and 1/4 t cayenne pepper. Mash the avocados with the seasonings, using a potato masher.

Once you have your desired consistency, add 1/2 an onion, chopped. Next, add 1 T cilantro, 1/2 of a seeded jalapeno, 1 clove of garlic, 1 T of the reserved lime juice, and 2 Roma tomatoes, seeded and chopped.

Mix everything together, press plastic wrap onto the surface, and let the dip sit in a cool place for two hours before serving.

img_5886

Alton’s guacamole.

Of course, we ate our guac with some tortilla chips. This guacamole was good, but it was nothing outstanding, and I wouldn’t go out of my way to make it again. I did like the additions of the tomatoes, onion, and jalapeno, as they added texture and flavor, but I thought it could use a touch more heat.Mom’s recipe remains my favorite, as those roasted tomatillos take guac to a new level.

Chicken Liver Mousse

Last up in this episode was Alton’s chicken liver mousse, which was to be my foray into cooking with liver. I only made half a batch of this recipe, as it was just for the two of us and the shelf-life of this dip is only a couple days. For a full batch of the dip, heat a large saucier over medium heat and melt 2 T of butter.img_5891 To the melted butter add 2 C chopped onions, 1 chopped Granny Smith apple, 1 t fresh thyme, and a heavy pinch of Kosher salt. Cover the pan and let it cook until the contents are golden.

Next, add a pound of cleaned/drained chicken livers to the pan. I found chicken livers near the chicken in my grocery store. Honestly, I find chicken livers hard to stomach when they are raw; they just are not at all appetizing to me, and I may have gagged a little… just a little.

Anyway, stir the livers gently, cooking them until they are gray on the outside, but still pink on the inside; Alton says this will take about three minutes, but it took several minutes longer for my livers to be cooked. Once the livers are cooked, add 1/4 C brandy to the pan and simmer for a minute.

Remove the pan from the heat, letting it cool for five minutes. Once the liver mixture cools, puree it in a food processor until it is smooth.

In a separate bowl, beat a cup of heavy cream until it has soft peaks.

Finally, fold the whipped cream into the liver mixture in two installments.

img_5914

Alton’s chicken liver mousse on crispy baguette.

Serve immediately or cover and refrigerate for up to two days. We thought this was just okay. We have had other chicken liver pâtés that we have really enjoyed (in fact, we had a great one last week at a restaurant), but this one was not our favorite. The color of this mousse was sort of gray and unappealing, and Ted commented that he found the mousse overly sweet. Of the recipes in this episode, this one was our least favorite.

I love garlic and cannot fathom how some people do not care for it. I have some personal favorite garlic recipes, one of which is my mom’s garlic bread recipe. When I watched Alton’s garlic episode of Good Eats a few days ago, I remembered having seen it years ago when it originally aired. It’s always fun to re-watch the episodes I recall from years ago.

Vlad’s Very Garlicky Greens

Two nights ago for dinner I prepped a homemade pepperoni pizza and Alton’s garlicky greens. Ted has lost a lot of weight over the past couple months, due to his surgeries and complications, so we are working hard to get weight back on him (he had lost over 30 pounds, and had nothing to lose). Needless to say, I fix whatever sounds good to him, and Alton’s garlicky greens were his first foray into greens since surgery. For Alton’s greens, begin by heating a saute pan over high heat. While the pan heats, smash and peel four cloves of garlic. Add olive oil to cover the bottom of the pan.

IMG_3921

Olive oil heating in pan.

When the oil is hot, add your smashed garlic cloves and stir them until they are lightly browned.

IMG_3924

Four cloves of smashed garlic added to olive oil.

Once golden, remove the cloves from the pan and discard; they have done their job of “blessing,” or flavoring, the oil. Immediately add one thinly sliced clove of garlic to the flavored oil and turn the heat off under the pan.

IMG_3926

One clove of garlic, thinly sliced, added to pan.

Move the pan continuously, as you do not want the garlic to burn, and sprinkle in some Kosher salt. As soon as the garlic begins to color, add four handfuls of greens to the pan (I used mixed greens), along with some more Kosher salt.

IMG_3928

Greens and Kosher salt added to pan.

The residual heat in the pan will cook the greens. Toss the greens and add one more clove of garlic, this time finely chopped.

IMG_3929

One clove of garlic, finely chopped, added to greens.

Toss the greens with the garlic and season with additional salt, if necessary.

IMG_3932

Alton’s garlicky greens.

We both really enjoyed these greens. They had lots of garlic flavor, but it was not overpowering. And, the combination of cooked and raw garlic flavors was nice. I did slightly over-salt my greens. I will make these again. For a quick, easy, delicious vegetable side dish, this is great.

40 Cloves and a Chicken

Due to Ted’s cancer surgeries and complications, he was not up to having a big Thanksgiving with family this year, so we celebrated Thanksgiving yesterday at home – just the two of us, and the dogs and cat, of course! We are turkey traditionalists when it comes to Thanksgiving, but a turkey just would have been too much food for us this year. So, as an alternative, I made Alton’s take on chicken with 40 cloves of garlic. The chicken, along with my dad’s cornbread/sausage stuffing, mashed potatoes, and sauerkraut (a family tradition) made up our mini Thanksgiving feast. The nice thing about Alton’s chicken recipe is that most of the “work” is done in the oven, so it frees you up for making other things. For his chicken, you’ll need a broiler/fryer chicken cut into eight pieces:  breasts, wings, thighs, and legs. I previously wrote about Alton’s method for breaking down a chicken here. Oh, you’ll also need 40 cloves of peeled garlic.

IMG_3934

40 cloves of garlic.

Begin Alton’s chicken by preheating your oven to 350 degrees. Meanwhile, season both sides of your chicken pieces with Kosher salt and pepper. Sear both sides of the chicken pieces in a large oven-safe skillet (with a lid) over medium-high heat.

IMG_3940

Seared chicken.

Once the chicken is seared, add 40 cloves of peeled garlic, 1/2 C olive oil, and a healthy bunch of fresh thyme sprigs.

IMG_3941

Fresh thyme, olive oil, and garlic added to seared chicken.

Put the lid on the pan and place it in the oven for 1 1/2 hours.

IMG_3942

Lid on the pan and into the oven for 1 1/2 hours.

Voila!

We thought this chicken was absolutely delicious. The meat was moist and falling off of the bones, and the flavors of roasted garlic and fresh thyme permeated the meat. I will definitely make this one again. Oh, and if you choose, you can use the garlic oil in the pan to brush on bread for garlic toast. And, the whole garlic cloves can also be spread on toasted bread. Nothing like a built-in side dish!

IMG_3946

Alton’s chicken as part of our mini Thanksgiving feast. The roasted garlic could be used to spread on toast.

I actually prepared this dish a couple weeks ago, but I am only now getting around to blogging about it. I know my mother-in-law, Ellie, is concerned about Ted keeping his weight up as he goes through his radiation and chemotherapy. I am doing my best to keep him well-fed, and Alton’s fried chicken was certainly something he had no trouble consuming!

Fried Chicken

I am not a huge fan of preparing chicken, as I have written before. I just find it to be unappealing in its uncooked state. Now, if someone prepares it for me, it’s a different thing. This was my first time making fried chicken, and was the first time I had consumed fried chicken in years. The recipe for Alton’s fried chicken is pretty straight-forward. He recommends getting a whole broiler/fryer chicken, rather than purchasing an already-portioned bird.

A broiler/fryer chicken.

My broiler/fryer chicken.

Why? It is cheaper to break down your own chicken, you get better portioning, and the meat stays fresher longer.

It is probably best to watch Alton’s chicken breakdown in the episode. To start, place your chicken on a cutting board with the neck facing you.

My chicken on a cutting board.

My chicken on a cutting board.

Cut the wings off; discard the wings or save to use in making stock. Next, you need to remove the wishbone. You can feel the wishbone if you run your finger over the inside of the neck. Using a sawing motion, you will cut the wishbone out by running your knife down each side until the bone becomes detached. The legs are next; cut through the skin between the breast and the drumsticks. Flip the bird over, feel for the thigh bones, and bend the legs backward toward you, dislocating the joints. Cut the legs off with your knife. Squeeze each leg together to find the joint line, kind of like squeezing a nut cracker. Place the blade of your knife in the joint and slice down to separate the thigh from the drumstick. To portion the breast, cut down one side of the keel bone, and use your knife to “peel” the meat from the ribs. Do the same on the other side.

My chicken after portioning Alton's way. Not a perfect job.

My chicken after portioning Alton’s way. Not a perfect job.

Again, it may be easier to watch a video of how to break a chicken down. If desired, you can use the carcass and wings to make stock. Place your chicken pieces in a container and pour two cups of low-fat buttermilk over them; cover and refrigerate for 12-24 hours.

Chicken pieces in a container.

Chicken pieces in a container.

Low-fat buttermilk.

Low-fat buttermilk.

Buttermilk poured over chicken pieces.

Buttermilk poured over chicken pieces.

I let my chicken pieces sit for ~24 hours. When ready to fry your chicken, heat solid vegetable shortening in a large skillet (preferably iron); for a 12-inch skillet, use 16 oz. of shortening.

16 ounces of shortening melting in a 12-inch skillet.

16 ounces of shortening melting in a 12-inch skillet.

You want your melted shortening to come 1/3″ up the side. Drain your chicken pieces, discarding the buttermilk.

Chicken after soaking in buttermilk for ~24 hours.

Chicken after soaking in buttermilk for ~24 hours.

Drained chicken pieces.

Drained chicken pieces.

Meanwhile, prepare your seasoning blend by combining 2 T Kosher salt, 2 T paprika (I used hot smoked paprika), 2 t garlic powder, and 1 t cayenne pepper. Alton places his seasoning blend in a shaker for easy dispersion.

Ingredients for spice blend:  Kosher salt, garlic powder, paprika, and cayenne pepper.

Ingredients for spice blend: Kosher salt, garlic powder, paprika, and cayenne pepper.

2 T Kosher salt and 2 T paprika.

2 T Kosher salt and 2 T paprika.

2 t garlic powder and 1 t cayenne pepper added to spice blend.

2 t garlic powder and 1 t cayenne pepper added to spice blend.

Final spice blend in a shaker.

Final spice blend in a shaker.

Place your drained meat pieces on a baking sheet and season them liberally on both sides with your blend.

Chicken pieces on a baking sheet.

Chicken pieces on a baking sheet.

Chicken pieces sprinkled liberally with spice blend.

Chicken pieces sprinkled liberally with spice blend.

After seasoning, dredge the chicken pieces in flour, shaking off the excess flour.

Seasoned chicken pieces being dredged in flour.

Seasoned chicken pieces being dredged in flour.

Dredged chicken pieces.

Dredged chicken pieces.

Seasoning the meat prior to dredging decreases the chance of burning and also leads to less waste of spices. Let the dredged chicken sit for 2-3 minutes. To start frying your chicken, Alton says you want your oil temperature to be a max of 350 degrees. I put my chicken in the pan when my oil was around 325 degrees.

Shortening at ~325 degrees.

Shortening at ~325 degrees.

Place your breasts, skin side down, at 10 and 2 o’clock in the pan. The drumsticks should be placed at 5 and 7 o’clock, and the thighs should go in the center. I did a poor job of portioning my thighs, so they were very small. I opted to place my breasts in the center instead.

Chicken pieces added to skillet for 12 minutes.

Chicken pieces added to skillet for 12 minutes.

Fry the chicken for about 12 minutes, and flip the pieces to their opposite sides to cook for an additional 12 minutes. Make sure to check your oil temperature frequently, as you do not want it to get any hotter than 350 degrees. I used my infrared thermometer to monitor my oil temperature.

Chicken pieces flipped to second sides for ~12 more minutes.

Chicken pieces flipped to second sides for ~12 more minutes.

When your cooking time is up, check the internal temperature of your chicken to ensure it is cooked throughout; you will want an internal temperature of 180 degrees. Some of my chicken pieces required additional cooking time. Drain your fried chicken on a rack over a sheet pan. It will maintain its heat for quite some time.

Alton's fried chicken.

Alton’s fried chicken.

I have to say that Alton’s fried chicken was pretty spot-on. I heavily spiced my chicken, and that made the flavor quite intense. The skin was crispy and relatively low on grease, and the meat inside was tender and juicy. I would definitely make this again. Maybe someday someone will make it for me, as I would prefer to not see the slimy bird before cooking! At least I didn’t start a fire with this frying attempt, as I did with the fish and chips!

I can admit that I experienced some trepidation upon seeing I would need to butterfly a chicken for the 5th episode of Good Eats. As a child, I shrieked in horror upon seeing our family’s naked Thanksgiving turkey sitting on the kitchen counter. Fleeing the room, I was chased by my older brother who had a handful of giblets. Ever since, I have really not liked the appearance of uncooked fowl. Really, though, can anyone truly say they find raw chicken appetizing? It’s an odd shade of yellowish pink, slimy, slightly sticky, and covered by prickly yellow skin. Still, amazingly, the cooked version can be quite tasty.

The smallest chicken we could get at our grocery store was five pounds, while Alton’s recipe calls for a three or four pound bird. I made my paste of peppercorns, garlic, salt, lemon zest, and olive oil, and filled my roasting pan with carrots, onions, and celery. Then it was time to face the bird… DUN, DUN, DUNNN!!!

Veggies in the roasting pan.

Veggies in the roasting pan.

6-16-2014 002

Garlic, pepper, lemon, salt, and oil paste.

Garlic, pepper, lemon, salt, and oil paste.

I placed my chicken (I called her “Sally”) on my board and cut down both sides of the back bone. This part was actually pretty easy. The keel bone, however, proved to be harder to remove than it was when Alton did it on the show. I pressed down on her until she was flat, loosened her skin, and spread the paste under her skin. Then I oiled her up and placed her on top of the veggies in the roasting pan.

Sally.

Sally.

Butterflying Sally.

Butterflying Sally.

6-16-2014 008

Into the oven.

Into the oven.

My oven rack was 8 inches from the broiler, as recommended in both the episode and online recipe. This proved to be too close, as Sally’s breasts were getting too dark too quickly. It was fine after lowering her to the very bottom rack.

Ready to flip. Breast got a little too dark.

Ready to flip. Breast got a little too dark.

The online recipe tells you to check the bird after 10 minutes of cooking. The episode, on the other hand, tells you to check after 18 minutes. Since my bird was larger, I checked her after 18 minutes, and decided to let ‘er go for another couple minutes before flipping her over. Her derriere took considerably longer also, and she ended up cooking for a total of nearly an hour before she was at 165 degrees.

Ready to eat.

Ready to eat.

While Sally rested in the shade of a foil-covered bowl, I deglazed the roasting pan and made the jus. I cut Sally into quarters, making incisions to catch the jus, drizzled her with jus, and topped her with a lemon wheel.

Making the jus.

Making the jus.

The final plate.

The final plate.

Ted declared Alton’s chicken to be delicious, and I think it’s safe to say that he is happy I am pursuing this project.