Alton Brown fans probably know that he is going to back on our TVs starting Monday. He is going to revisit Good Eats, revamping the old recipes he is unhappy with, and adding new methods, techniques, and information. I am anxious to see which recipes he chooses to alter, as there have certainly been some less than perfect recipes along the way. Of course, there have also been some fantastic recipes that have become mainstays in our house. Now, back to my personal assessments of Alton’s original Good Eats.
Beef Paillard
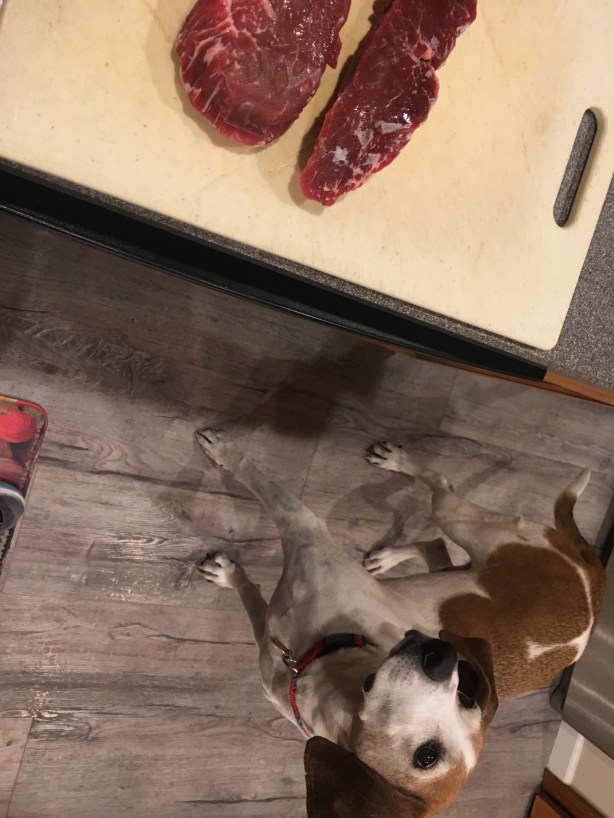
Alton’s beef paillard calls for a good cut of meat, namely beef tenderloin. To serve four people, he calls for a pound of beef. Since it was just the two of us, I had the butcher cut us a couple steaks from the tenderloin, rather than buying a larger cut of tenderloin. Prior to cooking, place your meat in the freezer for two to three hours, as this will make it easier to cut thin slices. When your meat has chilled, remove it from the freezer and slice it into thin slices; Alton used an electric knife for this, but I used a sharp chef’s knife.
Beef tenderloin, after freezing for two hours.
Place the slices of beef between sheets of plastic wrap, spritzing the beef and the plastic with water (this decreases friction and prevents tearing of the meat and plastic). Pound the meat until it is very thin – probably about 1/8-inch thick.


When all of your meat slices have been pounded, heat a large cast iron skillet over medium heat for a few minutes.


While the skillet heats, brush both sides of the meat slices with vegetable oil and sprinkle them with pepper and Kosher salt.

Paillards of beef tenderloin, brushed with vegetable oil and seasoned with pepper and Kosher salt.
Once the skillet is hot, invert the pan and brush the back of the skillet with vegetable oil. Place the beef paillards on the inverted skillet and they should begin sizzling immediately. Alton said his beef took about 10 seconds per side, but I would say that mine took about 30 seconds per side. I would err on the side of caution here, as you really do not want to overcook the beef.
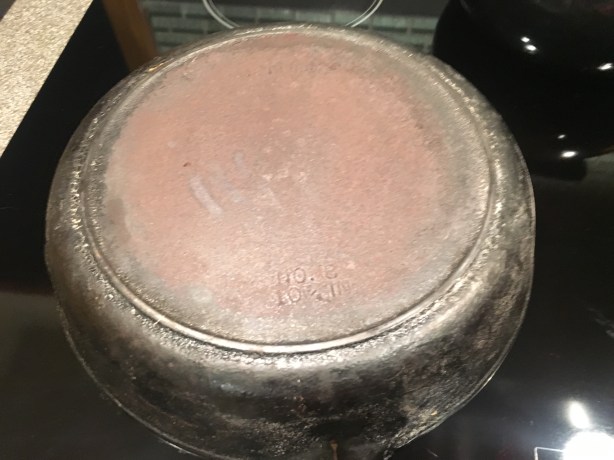
Inverted cast iron skillet.

Paillards added to oiled skillet.
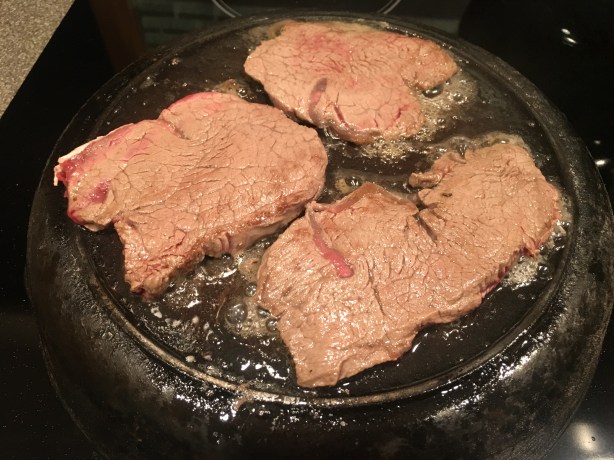
Paillards, flipped after cooking on one side.
Transfer the beef slices to plates, drizzle them with olive oil, and garnish them with some capers, shaved Parmesan, and greens.

Alton’s beef paillards with olive oil, capers, greens, and shaved Parmesan.
With this recipe, my biggest concern was that I would overcook my beef, but it turned out perfectly. The meat was amazingly tender and seemed to melt in your mouth. And, Alton’s garnishes of olive oil, Parmesan, capers, and greens were spot-on, complimenting the flavor of the beef without overpowering it. The salty nuttiness of the Parmesan, along with the tang of the capers was just perfect with the fruitiness of the olive oil. The best part of this recipe is that it is worthy of a special occasion, yet you can put it together in a very short period of time. This is a recipe that, in my opinion, needs no revamping.
Turkey Piccata
While I had previously eaten chicken piccata (piccata means “sharp”), I had never before had a version with turkey. Alton’s recipe calls for a whole turkey breast, which, surprisingly, was just impossible for me to find. I had to settle for some pre-sliced turkey breast, as that was all I could find after going to numerous stores. If you are able to find a whole turkey breast, slice it into half-inch slices. Place the slices between sheets of plastic wrap, spritz them with water, and pound them until they are twice their original size.
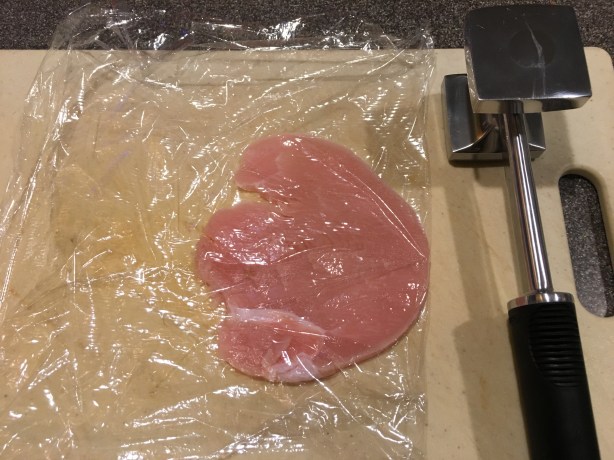
Slice of turkey placed between sheets of plastic wrap.
Season the top sides of your pounded slices of turkey with Kosher salt and pepper, and place them, seasoned sides down, in a pie plate of flour. Season the second sides of your slices of turkey and coat them also with flour, shaking off any excess.


Next, heat 4 T unsalted butter and 2 T olive oil in a large skillet over medium-high.


When the butter has melted, add the floured turkey slices to the pan, cooking them until golden (about two minutes per side).


Move the cooked turkey slices to a foil packet and keep them warm in a 200 degree oven while you make the sauce.

Cooked turkey transferred to foil packet.
To the pan in which you cooked your turkey, add 2 T chopped shallots, cooking for about a minute.

Shallots added to the pan.
Add 1/2 C white wine and 1/3 C fresh lemon juice to the pan, allowing it to simmer for two to three minutes.

Wine and lemon juice added to the pan.
Finally, whisk 2 T butter into the sauce.

Butter, stirred into the sauce.
Spoon the sauce over the warm turkey slices, garnishing with parsley, capers, and peppercorns, if desired.

Capers added to finish the sauce.
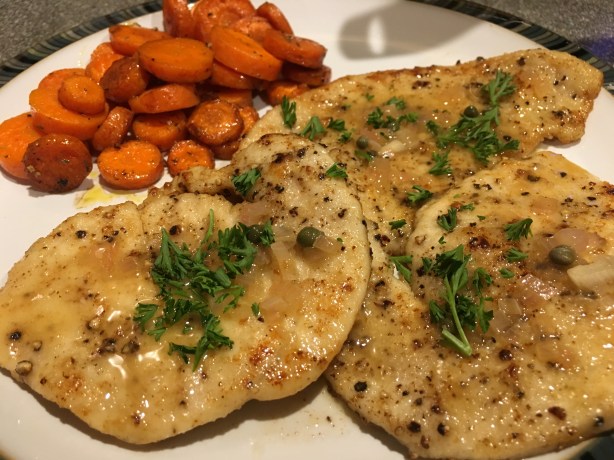
Turkey piccata.
I had mixed feelings about this recipe because I found the sauce to be tangy and delightful, but my turkey was tough. I see that Alton tells you to cook the turkey for only one minute per side in the online recipe, but he cooked his turkey for two minutes per side in the episode, which seemed to be too long. I also think my turkey piccata would likely have been better if I could have found a whole turkey breast and sliced it just prior to cooking. I’m tempted to give this one another try because the sauce was smooth, buttery, and full of lemon tang. I would recommend opting for chicken if a whole turkey breast is unavailable.
Chicken Kiev
Chicken Kiev is something I remember my mom making once or twice. She viewed it as a special occasion dish, as her mother served it to her father’s business clients who came to dinner. Chicken Kiev is actually of French, rather than Russian, origin, but was brought to Russia by the French in the 18th century. I remember my mom sometimes being frustrated with her Chicken Kiev because the filling would leak out during cooking. Having never made it before, I was hoping Alton’s recipe would keep my filling intact. This is a recipe that you will want to start at least two hours prior to serving, or even the night prior. The first step of this recipe is making a compound butter by combining a stick of softened unsalted butter, 1 t dried parsley (I used fresh, so I used twice as much), 1 t dried tarragon, 1 t Kosher salt, and 1/4 t pepper in a stand mixer.
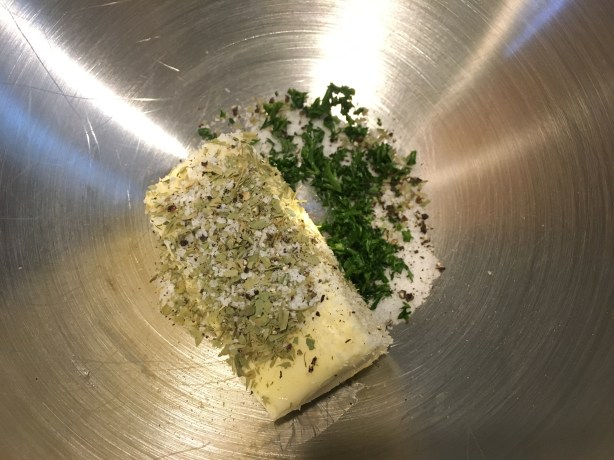
Butter, parsley, dried tarragon, Kosher salt, and pepper.
Place the compound butter on wax paper, roll it into a log, and place it in the refrigerator to firm.


After the butter has firmed up, place a chicken breast between pieces of plastic wrap, spritzing the chicken and plastic with water.
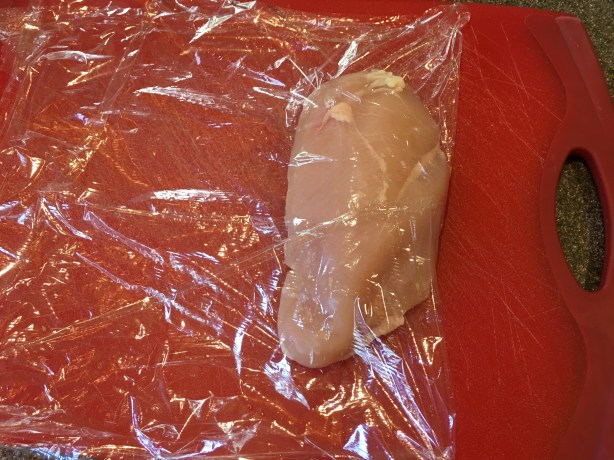
Chicken breast in spritzed plastic.
Pound the chicken until it is thin enough to roll. Chicken breasts are fairly thick, so it is tedious to get the chicken thin. Place a couple slices of compound butter in the center of the pounded chicken, along with 1 T panko bread crumbs.

Pounded chicken topped with compound butter and panko bread crumbs.
Roll the chicken over the butter and bread crumbs by folding the longest edge of chicken over the filling and then folding in the ends. Continue rolling the chicken, using the plastic to help you roll and keeping the ends tucked inside. Wrap the rolled chicken tightly in plastic wrap and refrigerate at least two hours, or overnight.
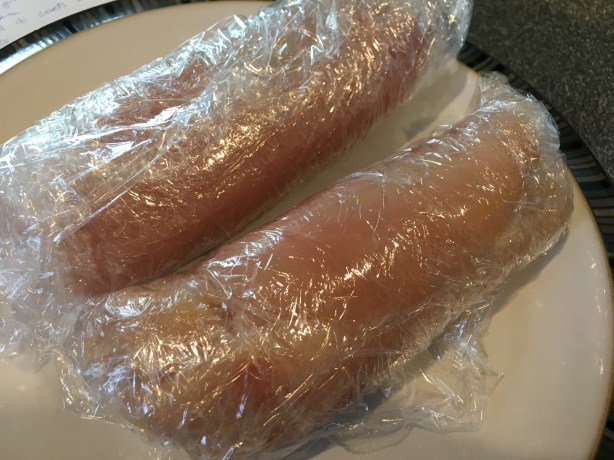
Rolled chicken.
When ready to cook your chicken, roll the chicken in a pie plate containing two eggs beaten with 1 t water.

Chilled chicken being rolled in egg wash.
Next, roll the chicken in a plate of panko bread crumbs.


Put a half-inch of vegetable oil in a large skillet and heat it to 375 degrees. Once hot, add the breaded chicken rolls to the pan, cooking for 4-5 minutes per side, or until the internal temperature reaches 165 degrees.


Transfer the cooked chicken to a rack, letting it rest for five minutes.

Chicken resting after cooking.
I found that my chicken took considerably longer than 10 minutes to reach 165 degrees inside. You do get some carryover cooking, so I think it is best to pull the chicken from the oil when the internal temperature hits 158-160. Otherwise, your chicken may be slightly overcooked by the time you cut into it.
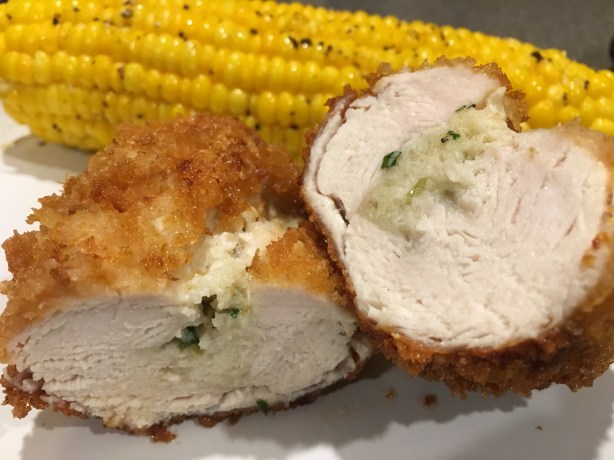
Alton’s Chicken Kiev.
We were pretty happy with Alton’s Chicken Kiev. His method for rolling the chicken worked well, and kept the filling intact for the most part (my one roll split a little bit). It is easier to roll the chicken if you get it really thin, so try to get it as thin as possible before filling/rolling. Also, don’t skimp on the chilling time for the rolled chicken, as the chicken really needs that time to maintain its shape. The panko bread crumbs gave Alton’s chicken a really great crispy crust, and the filling of the chicken had lots of anise-like flavor from the tarragon. I do wish that the compound butter would have melted a bit more, though. I just wouldn’t cook the chicken all the way to 165, as my chicken was just a tad overcooked. My mom can’t really cook anymore because of her Parkinson’s, but I think she likely would have adopted Alton’s Chicken Kiev recipe as her go-to.
