I watched the first episode of Good Eats: Reloaded, which aired Monday. I wasn’t sure what I would think of Alton revamping his classic episodes, as I felt that he might be diminishing the integrity of his original work. That being said, I feel that Alton did a good job of intertwining new techniques/technology with his original content. Plus, he’s only reloading a small number of episodes – those which he feels need to be revisited and improved upon. How can I argue with that when it is his body of work?
Certain Good Eats episodes are about food topics I am super excited to get in the kitchen and make. Episode 108 was all about doughnuts, a food item I had never before made, but that had always been on my list. Once again, this project gave me the incentive to get in the kitchen and scratch another food off my to-do list.
Yeast Doughnuts
Alton’s doughnut recipe is for yeast doughnuts, which are much lighter than their cake counterparts. Yeast doughnuts are obviously leavened with yeast, while cake doughnuts are leavened with baking powder. While yeast doughnuts are light and airy, cake doughnuts tend to be heavier and more dense, and I happen to think both are fantastic. The first step for Alton’s doughnuts is to put 2 1/2 ounces shortening in a bowl and heat 1 1/2 C milk until the milk is just hot enough to melt the shortening (I heated my milk in the microwave). Once hot, pour the milk over the shortening and set aside.


In a small bowl, sprinkle two packages of instant yeast over 1/3 C warm water and set this aside while you gather the other ingredients.
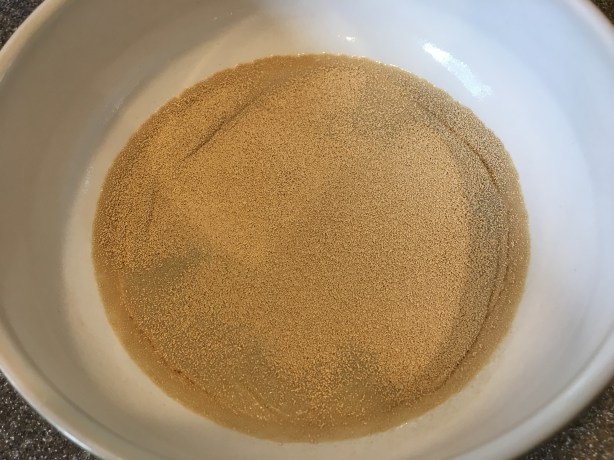
Yeast sprinkled in warm water.
You will also need 2 eggs, 1/4 C sugar, 1 t fresh nutmeg, 1 1/2 t salt, 1-1 1/2 gallons vegetable or peanut oil, and 23 ounces flour.
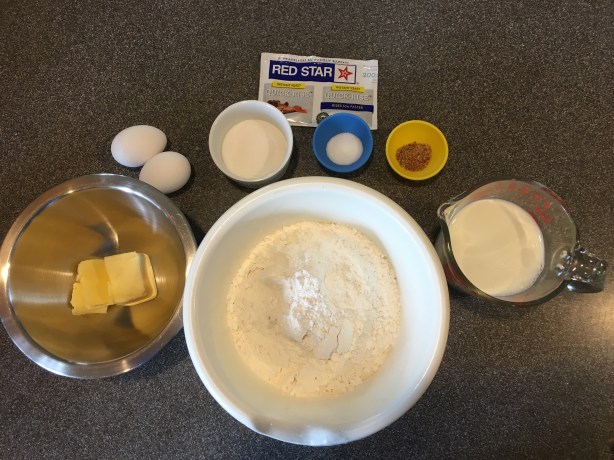
Ingredients for doughnuts: yeast, eggs, sugar, salt, nutmeg, shortening, flour, and milk.
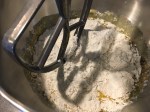
Next, pour the yeast and shortening mixtures into the bowl of a stand mixer, along with the eggs, salt, nutmeg, sugar, and half of the flour.
-
- Yeast mixture added to mixer.
-

- Yeast mixture added to mixer, along with shortening mixture, eggs, salt, nutmeg, and sugar.
-

- Half of the flour added to the mixer.
Stir the dough on low speed with the paddle attachment. Once the flour is incorporated, increase the speed and mix the dough thoroughly.
-
- Half of the flour added to the mixer.
-
- Half of the flour added to the mixer, and ready to be mixed on low speed.
-
- After mixing thoroughly.
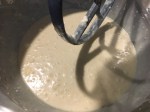
Next, add the rest of the flour, mixing at low speed until incorporated. Increase the speed and mix the dough thoroughly again.


Now it is time to knead the dough, so replace the paddle attachment with the dough hook. Let the hook knead the dough on medium speed until the dough begins to pull away from the sides of the bowl.


Transfer the dough to an oiled bowl, cover it with plastic, and let it sit for an hour, or until doubled.


When the dough has risen, sprinkle flour liberally on a smooth surface and turn the dough out onto the flour. Sprinkle the top of the dough with flour also.

Dough turned out onto floured surface, and liberally dusted with flour.
Fold the dough in quarters a couple times, pressing out any gas bubbles with each fold.


Next, use a rolling pin to roll the dough to 3/8″ thick; the dough will be quite sticky, so you may need to consistently dust it with flour.


Cut the dough into doughnuts using either a 2 1/2 inch doughnut cutter, or, as Alton prefers, a 2 1/2 inch pastry ring for the outsides and a 7/8″ pastry ring for the centers.


Transfer the doughnuts to a floured sheet pan, cover them with a tea towel, and let them rise for 30 minutes (this is called “bench proofing”).
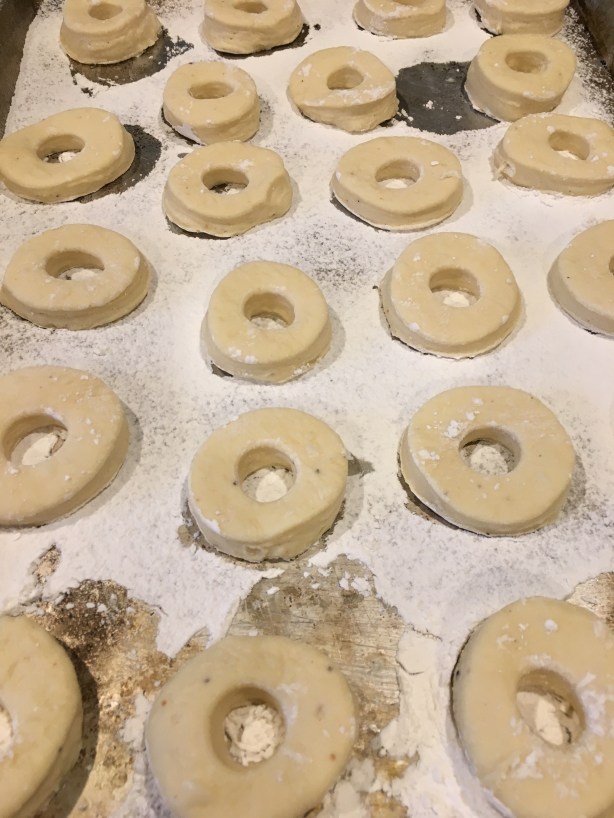
Doughnuts transferred to floured baking sheet to proof.
You can set excess dough aside, covered, for an hour and re-roll/cut more doughnuts. I ended up with a total of 25 doughnuts. Once proofed, heat the vegetable or peanut oil in a Dutch oven until it reaches 365 degrees.


Add doughnuts to the hot oil, avoiding overcrowding them. Cook the doughnuts for one minute per side, transferring them to a rack over a sheet pan to drain/cool. Tip: use chopsticks or skewers to flip and transfer the doughnuts.

Doughnuts frying for 1 minute per side.
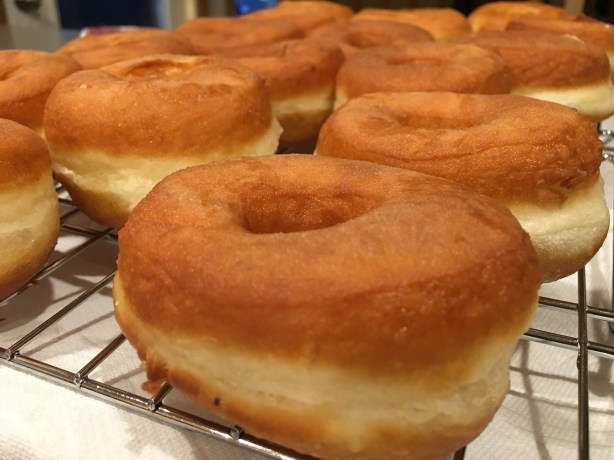
Alton’s yeast doughnuts.
Allow the doughnuts to cool completely before glazing with one, or both, of the recipes below. I did have to sample an unglazed doughnut, and I can report that it was lightly crispy on the outside and super airy on the inside. The dough was just lightly sweet with a hint of nutmeg. Now, on to those glazes…
Doughnut Glaze
Alton’s first doughnut glaze recipe is super simple, coming together in just a few minutes. Combine 1/4 C milk and 1 t vanilla in a saucier over medium heat.

Milk and vanilla in a saucier over medium heat.
In the episode Alton specified that you want the milk to reach 150 degrees, but I just heated it until it was pretty warm. Once warm, whisk in 2 C sifted powdered sugar until smooth.


Remove the glaze from the heat and dip the doughnuts into the warm glaze.

Alton’s glaze.

Glazed doughnuts.
If you are glazing a lot of doughnuts, you may need keep the glaze warm by setting it over a bowl of warm water, but I did not need to do that. Let the glaze set up for a few minutes before eating. This glaze is great, giving the doughnuts a sweet vanilla flavor and a pretty sheen.
Chocolate Doughnut Glaze
If you happen to be a chocolate fan, Alton has you covered with his chocolate doughnut glaze. The chocolate glaze begins in the same way as the original doughnut glaze, combining 1/4 C milk and 1 t vanilla in a saucier over medium heat.


Heat the milk until warm and whisk in 2 C sifted powdered sugar.


Once the sugar is incorporated, add an additional teaspoon of vanilla, 1/2 C butter cut in pats, 1 T corn syrup, and 4 ounces chopped bittersweet chocolate.


When half of the chocolate has melted, remove the pan from the heat and continue stirring until the glaze is smooth.

Glaze stirred until smooth.
Dip the doughnuts into the glaze, allowing it to set before eating.
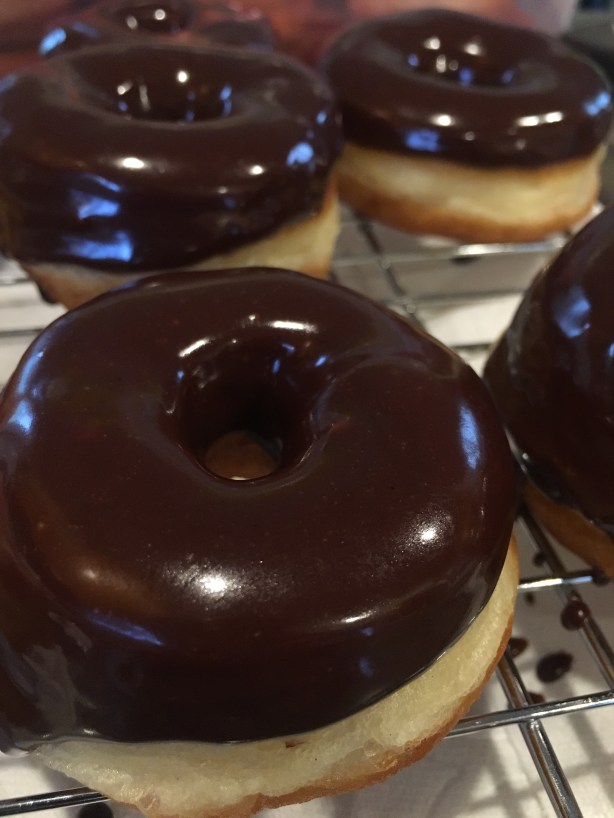
Alton’s chocolate glaze.
This glaze is also quite outstanding and results in super pretty doughnuts. The glaze sets up, but is still smooth and creamy. It gives the doughnuts a punch of chocolate flavor, though you can still taste the flavor of the doughnuts themselves.

 I really enjoyed this episode, and doughnuts will be made in my kitchen again. They really are quite easy and much better than what you can buy at the store. Personally, I think I liked the vanilla glaze more than the chocolate one, but I really liked both. I gave some doughnuts away and also froze some for later glazing. I think I know what we’ll be eating for breakfast Saturday!
