Posts Tagged ‘marinade’

It may seem as though I have given up on this blog, but I truly have not. The days just seem to fly by with me having the best intentions of taking time to write, but not actually finding the time to do so. Or, maybe I just need to prioritize differently. I believe this episode will close out the recipes for season nine, as there is only one more episode from this season, and it is a behind-the-scenes look at the making of Good Eats. The recipes from this episode feature olives, which I adore, so I knew this one would be fun for me.

According to Alton, olive quality is mostly dependent upon the method of their production. Raw (green) olives are very bitter, so require a soak in lye prior to brining. Ripe (black) olives do not require a lye soak and can go straight to an oil cure or a salt brine. When you have a jar of olives at home, be sure to always keep the olives submerged in their brine; if you need to top off the brine, you can always add a mixture of 1 T salt dissolved in a pint of water.

Citrus Marinated Olives

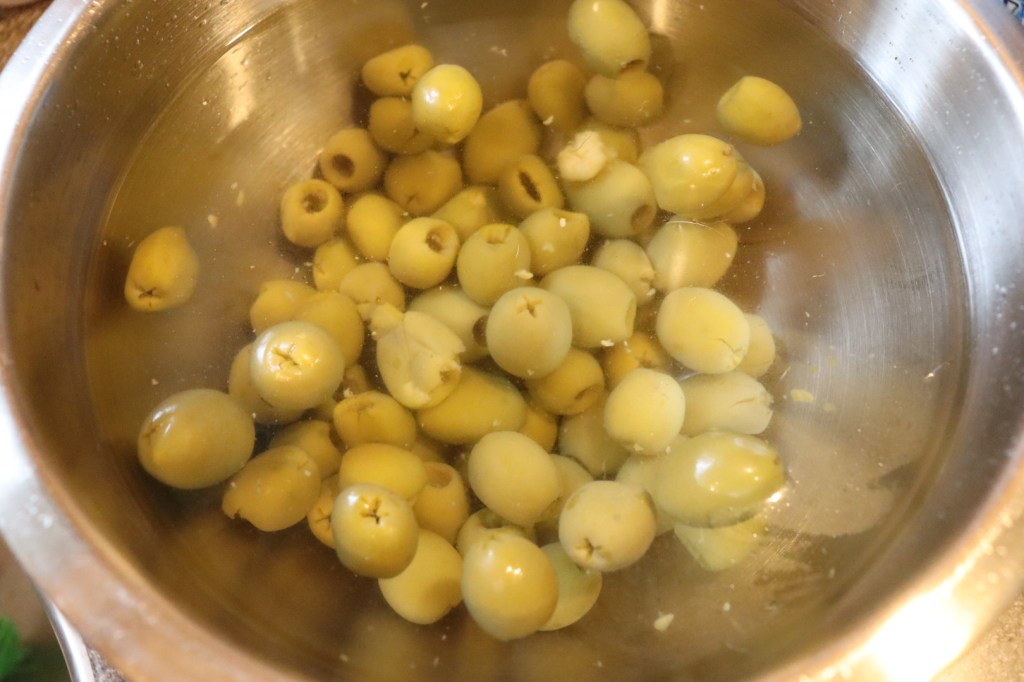
Marinated olives are first in this episode. To make these, you’ll first need a pound of green olives with pits. Rinse your olives in water and then submerge them in water for at least five minutes, and up to five hours; five hours is best.

When your olives are done soaking, combine the following ingredients in a lidded plastic tub: 1 minced clove of garlic, 1/2 C extra-virgin olive oil, 1 T red wine vinegar, the zest and juice of a medium lemon, 1/2 t red pepper flakes, 1/2 t dried tarragon, and 1/4 t curry powder.

Marinade ingredients: garlic, extra-virgin olive oil, red wine vinegar, lemon juice, lemon zest, red pepper flakes, dried tarragon, and curry powder.

Drain the soaked olives and add them to the container, giving them a good shake to coat them in the marinade. Let the olives sit at room temperature for a day, and then refrigerate for a couple more days before serving.

We snacked on Alton’s olives as an appetizer before dinner. I found that I needed to remove them from the refrigerator a bit in advance because the marinade is quite oil-heavy and would sort of congeal when chilled. I recommend serving these olives with napkins handy since they are quite oily. These olives pack a citrus punch and have just a little heat from the red pepper flakes. My problem with these olives was that I felt they lacked some salt. Obviously, the purpose of soaking the olives in water was to remove their salt before marinating, so I’m guessing they would retain some salinity if soaked for a shorter period; I soaked mine for the full five hours. I think I personally would prefer a little more salt to these guys, so I would like to try them again with a shorter water soak. I also found that my olives were a little less firm than I would prefer, but I’m going to blame that on the olives I used. Many of the grocery stores near me typically have olive bars, where you can mix and match a variety of olives to purchase, but all of these olive bars disappeared with Covid. The selection of olives I could find that were not already marinated was extremely limited, so I had to settle for some green olives without pits, while Alton’s recipe specifically calls for olives with pits. I’m guessing olives with pits would have a firmer texture.

Tapenade

An olive tapenade is the second recipe of this episode. To make Alton’s tapenade, place the following ingredients in the bowl of a food processor: 1/2 pound mixed/pitted/rinsed olives, 2 T extra-virgin olive oil, 1 T lemon juice, 1 small minced clove of garlic, 2 T capers, 2-3 fresh basil leaves, and 2 anchovy fillets (rinsed if salt-soaked).

Process the olive mixture for about a minute, scraping down the sides of the bowl as needed.

Tapenade after processing for a minute.

Transfer the tapenade to a bowl and serve with bread or crackers. We ate Alton’s tapenade as an appetizer with crackers, cheese, and meat.

Alton’s olive tapenade.

This is a really flavorful tapenade that comes together in mere minutes. If you are leery of the anchovies, I can say that you would not know they are in the tapenade unless someone told you, but I think you would sure miss them if they weren’t there. That being said, if you’re a vegetarian, you could always omit them. This would be a super easy appetizer to make to serve to guests, and you could even make it in advance, which is always a bonus! Now, if you want to go on to make Alton’s final olive recipe from this episode, you can reserve 1/3 C of your tapenade to make his…

Olive Loaf

Yep, in the episode, Alton uses some of his homemade tapenade to make his olive bread. Or, you could always just use a purchased tapenade, though it probably wouldn’t taste as good. To make the bread, place 17 ounces of flour in the bowl of a food processor with 1 T baking powder and pulse to combine.

Flour and baking powder in food processor.

Add 1/3 C of olive tapenade and pulse four times.

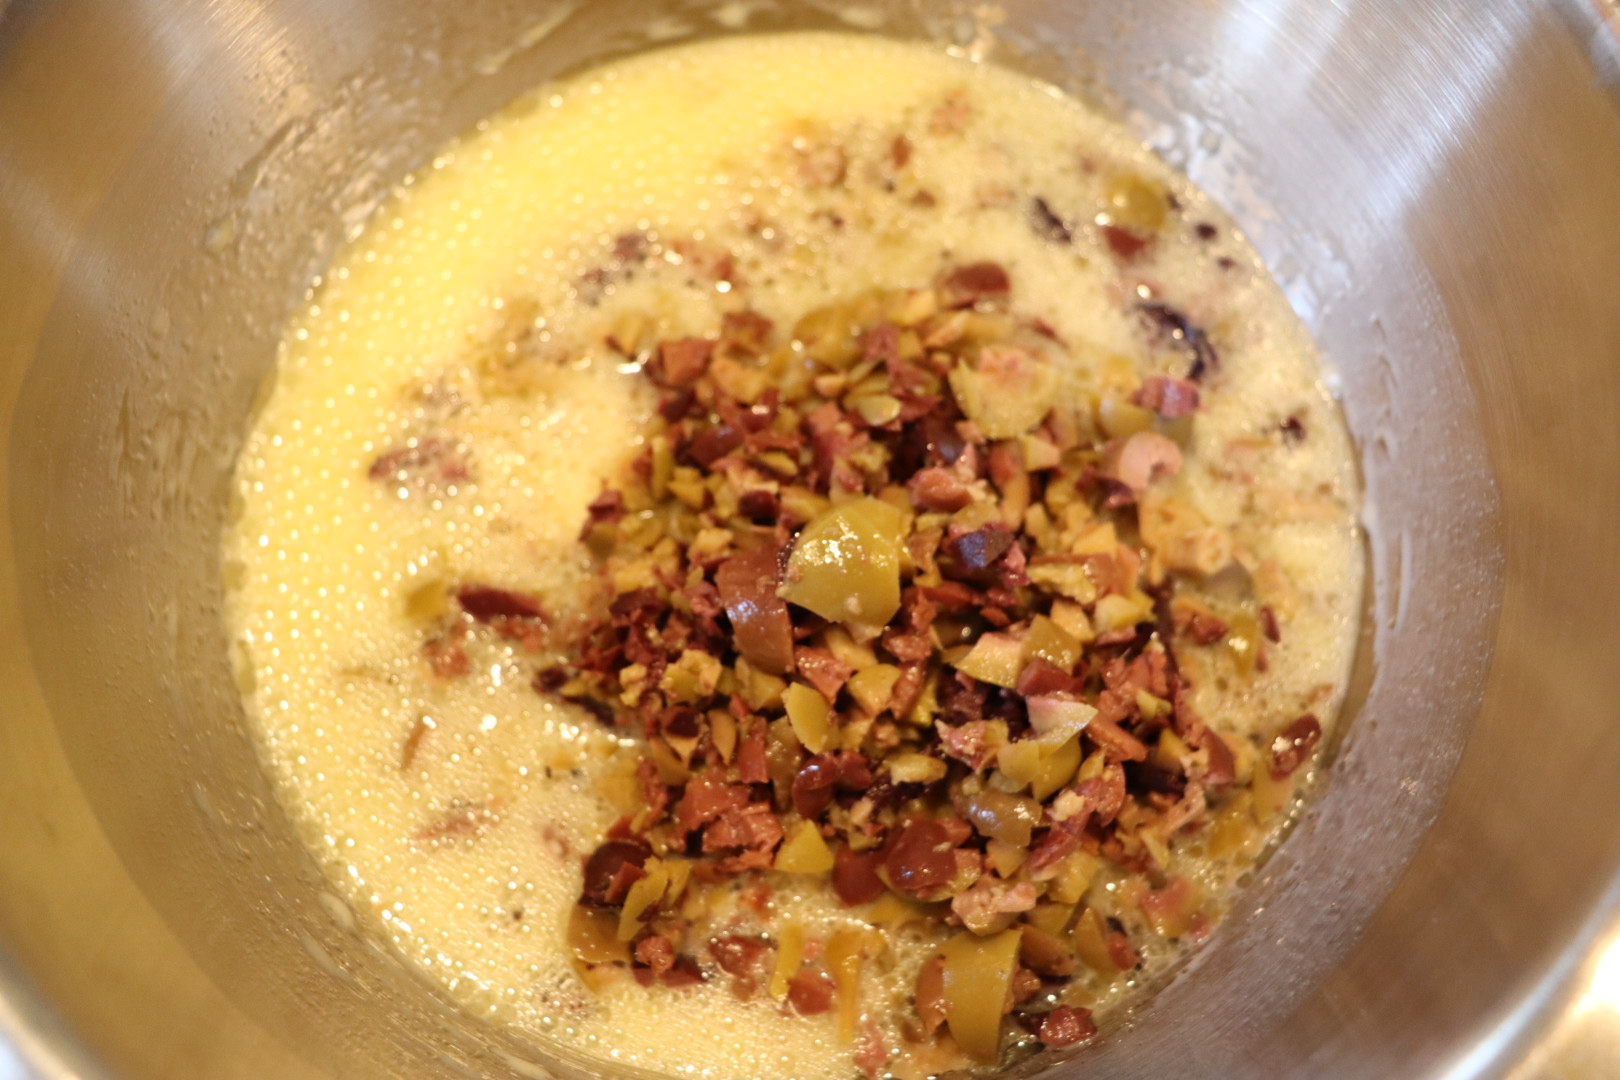
Using a whisk, combine 1 1/4 t Kosher salt, 1/2 C olive oil, 1 C milk, 2 beaten eggs, and 1 T honey in a large bowl. Stir in 12 ounces of rinsed/pitted/chopped olives.

12 ounces of rinsed/pitted olives.

Add the dry ingredients to the wet ingredients, mixing until wet.
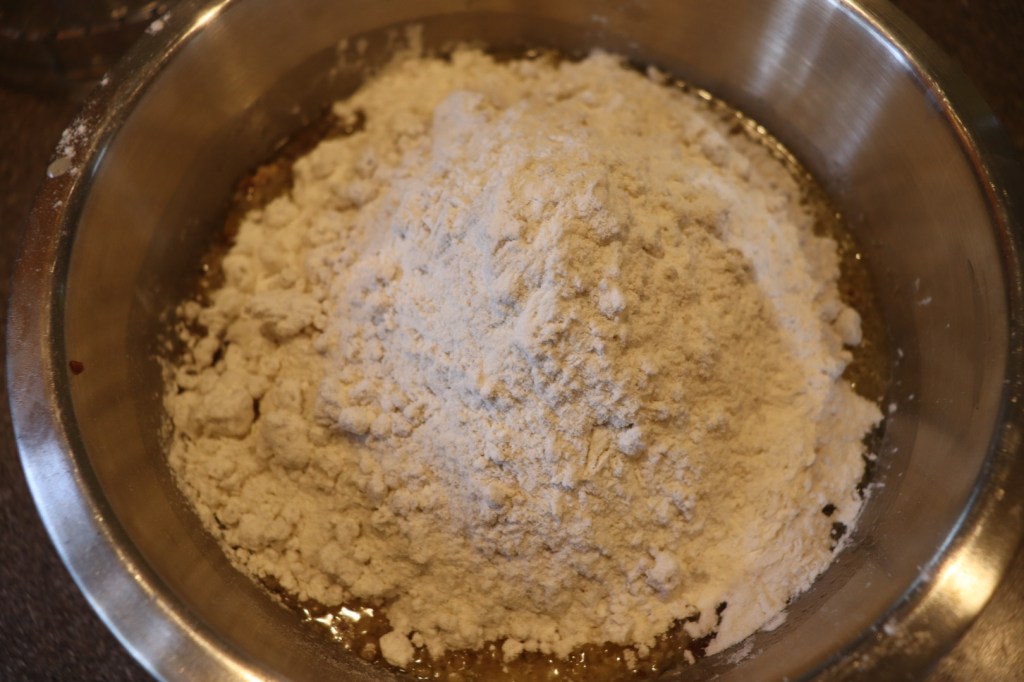
Dry ingredients added to wet ingredients.

Spray a loaf pan with oil and line it with a parchment “sling.”
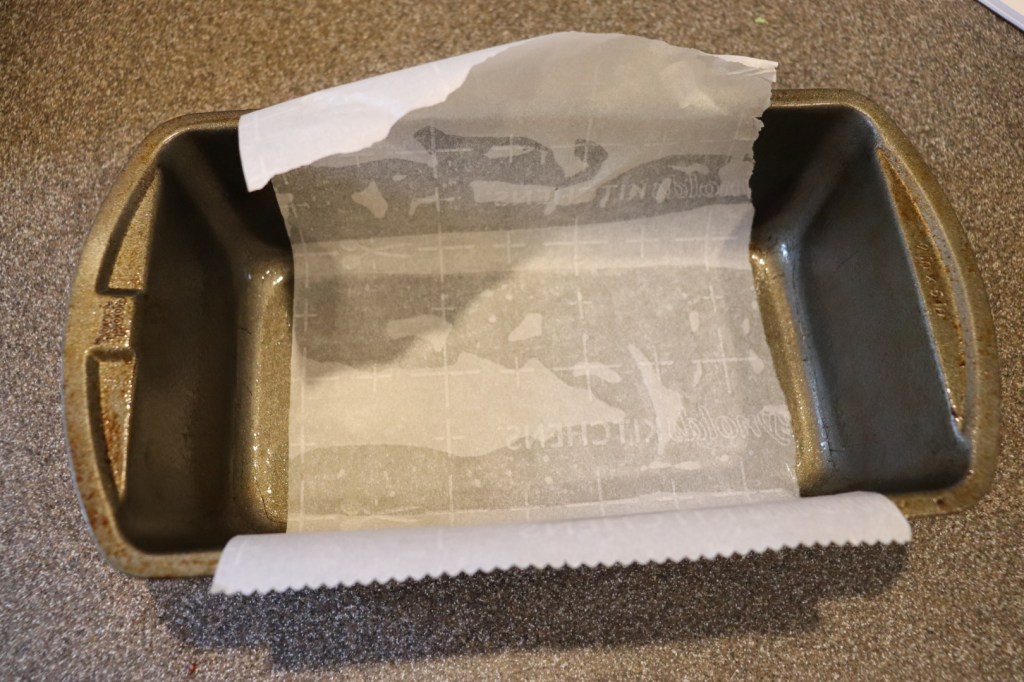
Loaf pan lined with parchment sling.

Pour the batter into the prepared pan and bake at 375 degrees for 75 to 80 minutes, or until the bread has an internal temperature of 210 degrees.

Bread dough placed in prepared pan.

Remove the bread from the pan and allow it to cool before slicing.

Alton’s olive loaf after baking.
Sliced olive loaf.

We thoroughly enjoyed this bread. It came out moist and loaded with olives. Some reviewers claimed this bread was too salty, but we did not find that to be the case at all. I would definitely make this bread again, especially if you are an olive lover like I am.

I have to share that I am super excited because I discovered a few days ago that Alton will be touring later this year, and I was able to purchase tickets. If you have not seen his live show, it is a lot of fun!
Pad Thai

They say that every Thai cook has his/her own version of Pad Thai, leading to countless recipes and variations. In reading the online reviews of Alton’s Pad Thai recipe, some reviewers are critical of his recipe, questioning its authenticity. I am not personally enough of a Pad Thai expert to evaluate the authenticity of Alton’s version, but I sure can give my opinion on how much I did/did not like it. Many of the ingredients in this recipe are not available in a regular supermarket, so a trip to an Asian grocery store is most likely necessary. 

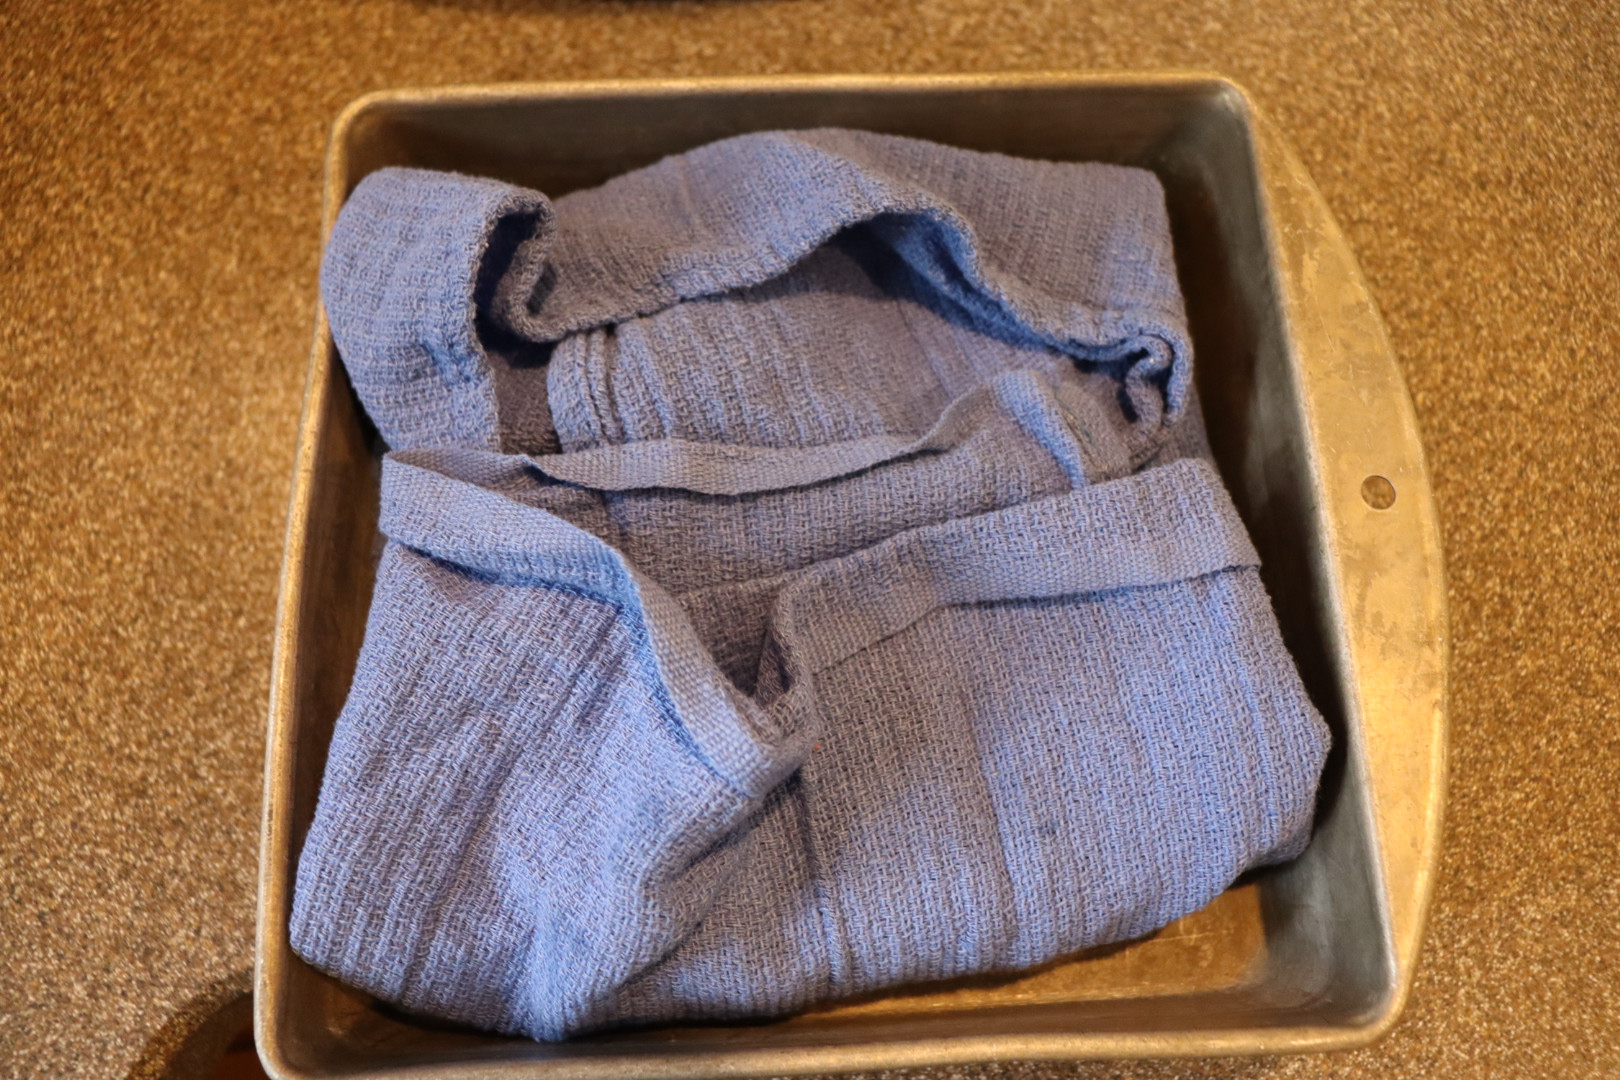
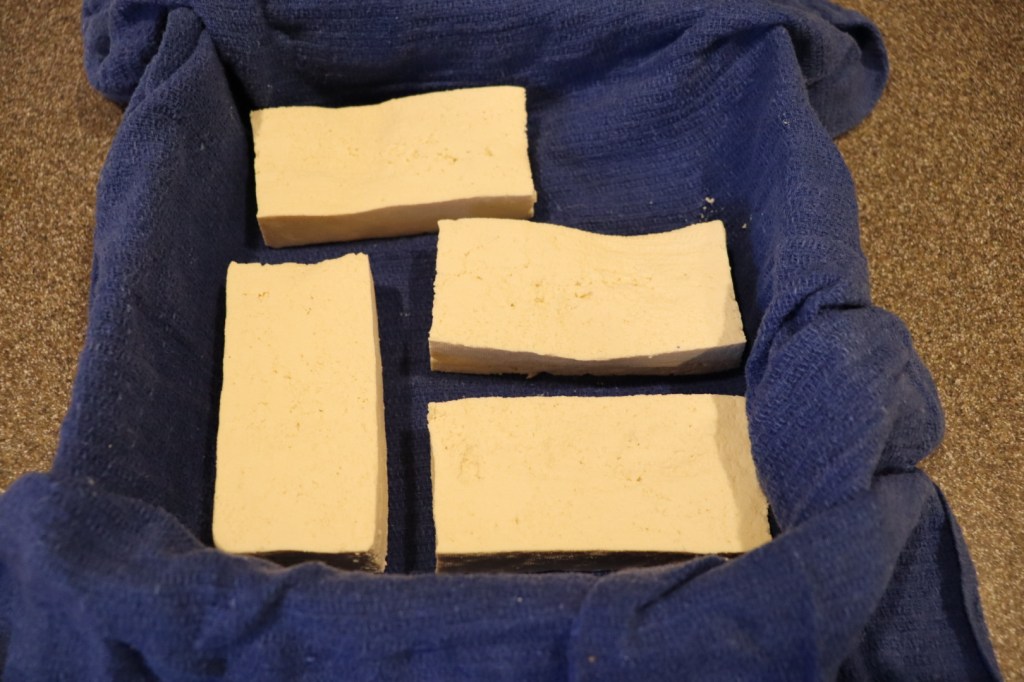
The night before you plan to eat your Pad Thai, you will want to begin prepping some tofu. To do this, slice 12 ounces of extra firm tofu into four slices. Line a baking pan with a tea towel, placing the tofu slices on top of the towel. Fold the towel over the tofu and place a second baking pan on top. Place a five pound weight on top of the second baking dish and place the tofu in the refrigerator overnight.

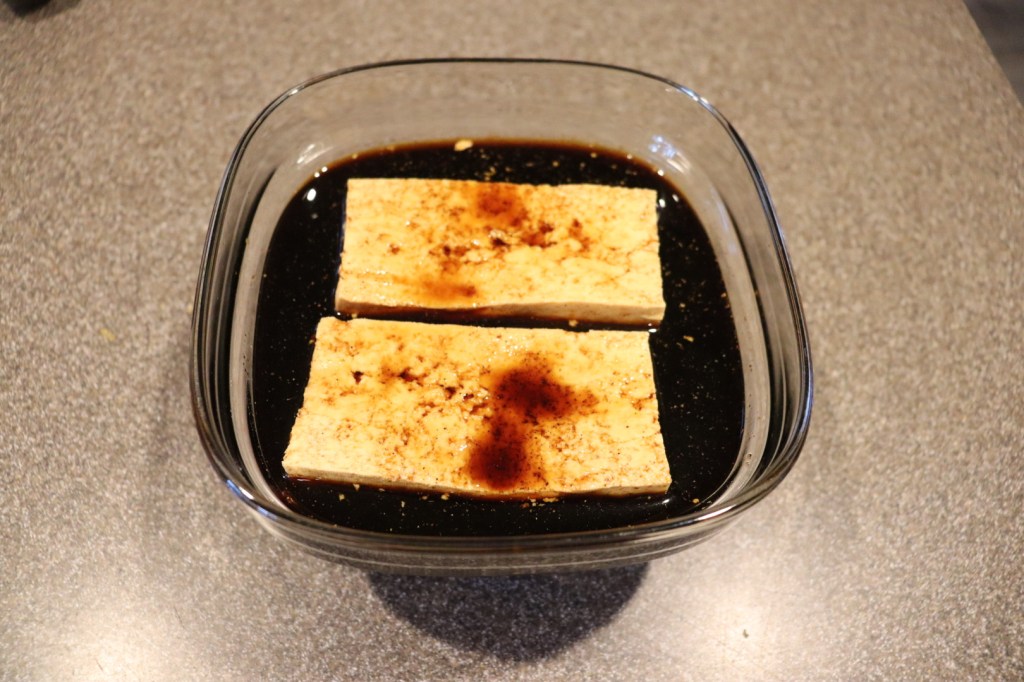
The following day, a half hour before you are going to cook, unwrap your tofu and soak it for 30 minutes in a mixture of 1 1/2 C soy sauce with 1 t Chinese five spice powder.

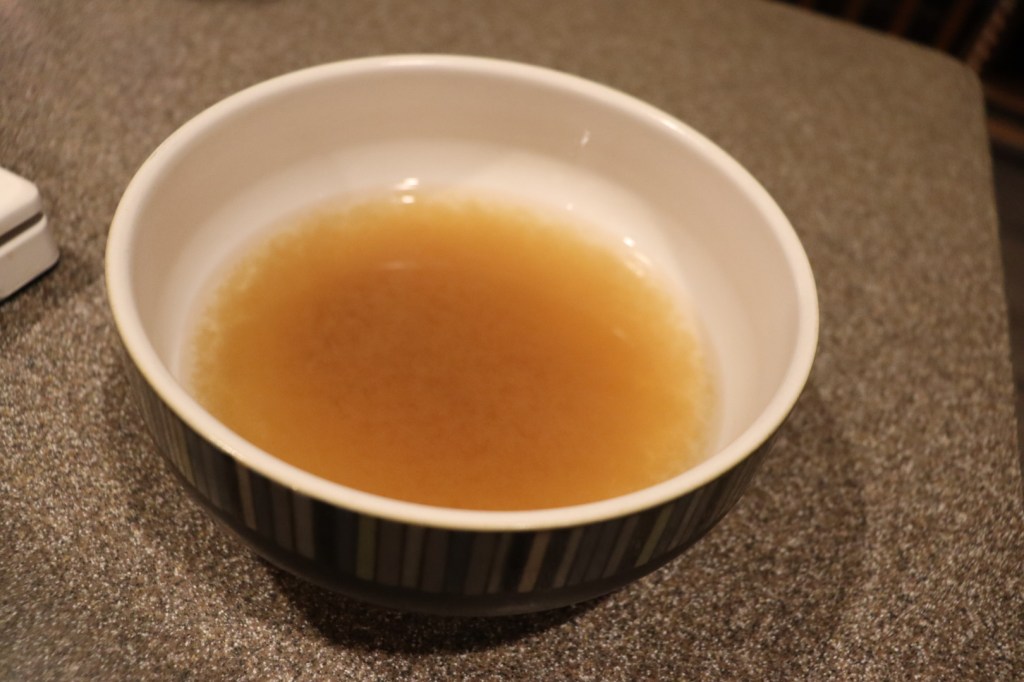
While your tofu marinates, pour 3/4 C boiling water over an ounce of seedless tamarind paste and set it aside; I accidentally got tamarind concentrate instead of tamarind paste (paste is much thicker).

Remove half of the tofu from the marinade and thinly slice it.

Next, to make the sauce, combine in a bowl:  2 T palm sugar, 2 T fish sauce, and 1 T rice wine vinegar. Strain the tamarind paste into this bowl, pressing on the solids to extract all liquid. Discard the solids.

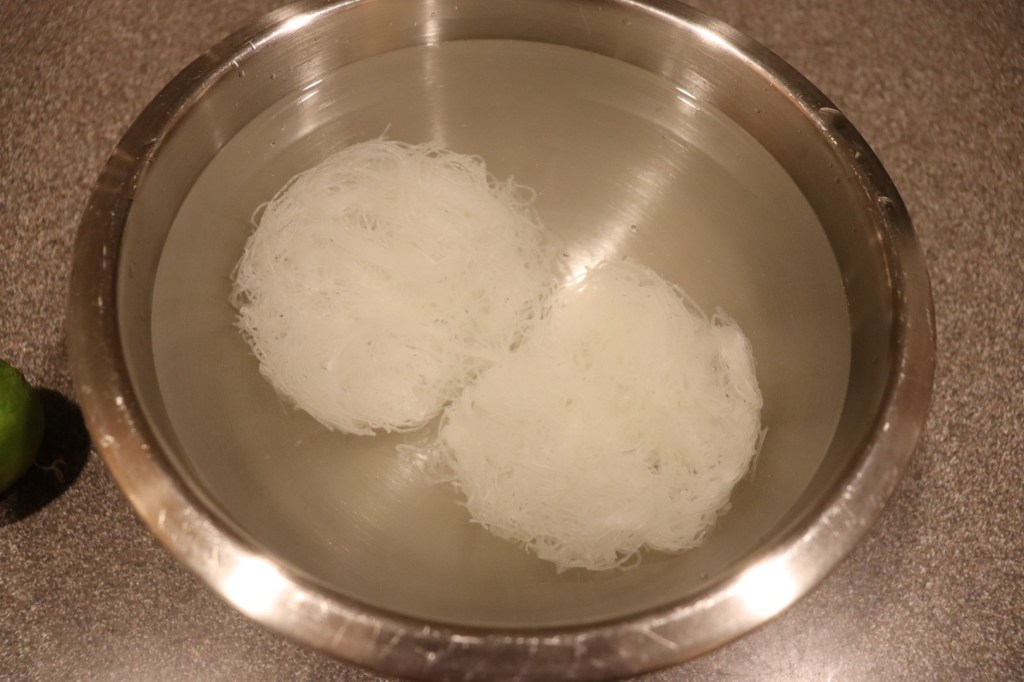
In a separate large bowl, place 4 ounces of fine rice stick noodles and cover them with hot water for 10 minutes.

Fine rice stick noodles soaking in hot water for 10 minutes.

Before cooking you will want to also prep the following ingredients:  2 scallions cut on the bias, 2 t minced garlic, 2 whisked eggs, 2 t salted cabbage (comes in a jar), 1 T chopped dried shrimp, 3 oz bean sprouts, 1/2 C chopped salted peanuts, 6-8 dried red chilies ground to a powder, and 1 lime cut in wedges.

If you want to stir-fry Alton’s way, you’ll want to use your wok on a charcoal grill; you can purchase a wok ring to hold your wok. I don’t have a charcoal grill or a wok ring, so I just went with the good ol’ stovetop. Heat 1 T peanut oil in a wok over high heat and add your sliced marinated tofu. Cook the tofu until it is golden around the edges, and then remove the tofu from the pan.

Add some more peanut oil to the wok, along with 2/3 of the scallions and all of the garlic. Next, pour in your whisked eggs, scrambling them once they start to solidify.

Once the eggs have been scrambled, add your drained rice noodles and the sauce.

Soaked/drained noodles and sauce added to wok.

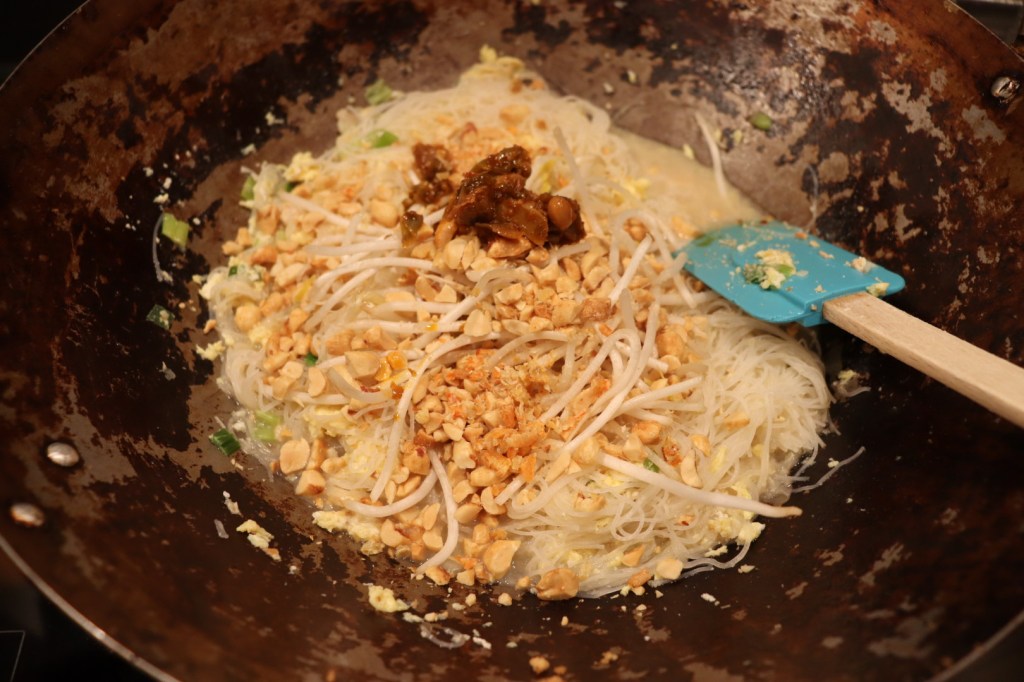
Add 2/3 of the bean sprouts, 2/3 of the peanuts, all of the cabbage, and all of the shrimp. Toss everything together until heated through.

2/3 of sprouts, 2/3 of peanuts, salted cabbage, and shrimp added to the pan.

To finish, add the tofu back to the pan and toss again until the tofu is heated through.

Transfer the Pad Thai to a large serving plate and garnish it with the remaining sprouts, scallions, and peanuts. Sprinkle the top with the powdered chiles and serve with lime wedges.

Alton’s Pad Thai.

As I said before, I’m not a Pad Thai pro, but I really enjoyed making and eating this dinner. It was fun to utilize some new-to-me ingredients and the method of stir-frying is always kind of fun. I actually prepped this dinner for us two nights in a row since the recipe yields enough marinated tofu to double the recipe; the tofu was really very salty the second day, so I would not marinate the tofu for longer than the recipe states. We also did both find that the dried shrimp overpowered the dish, as they have a very strong seafood-like flavor. Personally, I would decrease or omit the dried shrimp, but that’s just me. Otherwise, it’s easy to see why Pad Thai is such a popular Thai dish because it has such a wide variety of textures and flavors. I will absolutely be making this again, especially now that we have all of the Asian ingredients in our pantry.

This was a fun episode for me to do, as vinegar was the star of the show. For as long as I can remember, I have loved all things vinegar-based. I absolutely loved to arrive at my grandparents’ house in Baltimore because my grandma always had a bag or two of Utz Salt and Vinegar potato chips waiting for me. I was also the weird kid in elementary school whose mom would pack pickled eggs in her lunch. I had discovered pickled eggs at our local Blimpie, and my mom and I would each get two eggs with a basket of pretzels. To this day, I still love pickled eggs, but, as Alton would say, “That’s another blog.”

Grilled Romaine

An interesting grilled romaine salad is first in this episode. The night before you want to serve this salad, place a metal loaf pan in your freezer and add 1/2 C red wine vinegar. Let the vinegar freeze overnight. This will be enough vinegar for four servings. When you are ready to prep the salad, cut the bottom off of two hears of romaine lettuce and slice them in half lengthwise.

IMG_1553(1)

Romaine hearts, halved lengthwise.

You will also need 1 C of finely grated Parmesan, 1 T olive oil, and black pepper. Spray a griddle pan with nonstick spray and preheat it over medium-high heat. Brush the cut sides of the romaine hearts with olive oil and generously grind pepper on top.

IMG_1554(1)

Romaine hearts, halved lengthwise, brushed with olive oil, and sprinkled with black pepper.

Place the grated Parmesan in a long, shallow baking dish and dip/press the oiled sides of the romaine into the cheese.

Place the romaine hearts, cheese side down, on the preheated griddle and cook for 1-2 minutes, or until the cheese is brown and crispy.

IMG_1559(1)

Romaine hearts placed cheese side down on lubed pan.

Remove the lettuce from the hot pan. Alton tells you here to place the grilled lettuce (cheese side up) on ice, as you want the lettuce to have a dichotomy of temperatures; I did not find this to be necessary as the non-grilled side of the lettuce was still cool after such a short cooking period. Remove your frozen vinegar from the freezer and scrape it with a fork to “fluff” it up. Sprinkle the frozen vinegar on top of the warm cheese and serve immediately.

IMG_1561(1)

Grilled Romaine topped with flaked frozen vinegar.

Alton recommends picking up the whole salad and eating it like a hot dog. This recipe is good and bad. The recipe is flawed when it comes to the application of the cheese to the lettuce, as the cheese does not adhere well when you apply it to the oiled lettuce, and most of the cheese sticks to the pan when you cook it. Ted suggested making Alton’s Parmesan crisps from episode 113, molding them over the top of the grilled lettuce. Otherwise, you could place the cheesy lettuce under the broiler for a couple minutes. Either way, Alton’s technique in this recipe just really does not work well. That being said, the salad itself was fun to eat, as I really liked the contrasting flavors and temperatures. The frozen vinegar is super intense, packing a real zing of flavor, and its contrast with the warm cheese and lettuce is interesting to the palate. Technique flaws aside, this was just a fun recipe to try out.

Sauerbraten

The Sauerbraten recipe in this episode was the one I was super excited to make. Why? Until a few years ago, my parents lived two hours from me. We visited them regularly and my mom would always make some stellar food. For years she told me she wanted to make Sauerbraten for Ted and me, but she never ended up doing it before she was unable to cook. Although I did not get to eat Sauerbraten with my mom, this was my chance to finally try Sauerbraten, and to talk to my mom about the recipe. Sauerbraten translates to “sour beef,” and this is a recipe that, although simple, requires a few days. First up, combine in a large saucepan:  2 C water, 1 C cider vinegar, 1 C red wine vinegar, 1 chopped medium onion, 1 large chopped carrot, 1 T plus 1 t Kosher salt, 1/2 t pepper, 2 bay leaves, 6 whole cloves, 12 juniper berries, and 1 t mustard seed.

IMG_1462(1)

Water, cider vinegar, red wine vinegar, onion, carrot, Kosher salt, pepper, bay leaves, cloves, juniper berries, and mustard seed in a saucepan.

Cover the pot and bring the mixture to a boil over high heat. Once boiling, decrease the heat and simmer for 10 minutes. Set this liquid aside to cool until it is just slightly warm to the touch.

While the vinegar mixture cools rub a 3 1/2- 4 pound bottom round with 1 T vegetable oil and sprinkle Kosher salt liberally over the meat.

IMG_1466(1)

Bottom round, rubbed with oil and sprinkled with Kosher salt.

Sear the meat in a hot pan on all sides, using tongs to flip it. Once all the sides of the meat are browned, place the meat inside the marinade and let it sit at room temperature for an hour. Alton placed his meat directly into his saucepan, but my saucepan was not large enough to accommodate my roast. Instead, I transferred my meat and my marinade to a large plastic container. Regardless of what vessel you use, you want the meat to be as submerged as possible.

Place the meat into the refrigerator and leave it for 3-5 days (preferably five). If your meat is not completely submerged in the marinade, flip the meat over once per day. After five days have passed, remove the meat from the marinade and whisk 1/3 C sugar into the marinade. If your marinade is not already in an oven-safe vessel, transfer it to one now.

Add the meat back to the marinade, place a lid on the pot, and place it in a 325 degree oven for four hours, or until the meat is tender.

After cooking, remove the meat from the liquid, keeping it warm; I tented my meat under foil. Strain the cooking liquid, discarding the solids. At this point, you can add 1/2 C raisins, but I did as Alton did and opted to leave them out. Place the strained liquid over medium-high heat and whisk in five ounces of gingersnap crumbs (a food processor works best for this).

Whisk the sauce until it has thickened and serve it over the sliced beef.

IMG_1516(1)

Alton’s Sauerbraten.

Alternatively, you can shred the meat and serve it on Kaiser rolls with the sauce, though this is not a traditional presentation. Sauerbraten is certainly not a pretty dish, but it does have a great deal of flavor. The meat is falling apart by the end of the cooking and has quite a pronounced vinegar flavor, which is interesting. The sauce is pretty rich and is a mixture of sweet and sour flavors. I actually found that the sauce could easily overwhelm the meat, so I used only a little bit of sauce. We ate this for dinner two nights, serving it slice the first night and as sandwiches for the second night, and we liked it both ways. Mom said this recipe was very similar to hers, as her recipe also used gingersnaps to thicken the sauce. This is a very easy German recipe that is fun to make at home, and I’m so glad I finally got to try Sauerbraten

We sat down last night and watched the first two new episodes of Good Eats:  The Return. I was really happy with the episodes, as they seemed to maintain the original character of the show, while in a more modern setting. It was a little hard for me to watch the new episodes since my dad is no longer here; he was super excited when I told him last year that new episodes were on the horizon. We surely would have been chatting on the phone today about Alton’s newest recipes.

I have realized that I think I sometimes put off writing for this project because it does always remind me that my dad is not here. I shared my love of Good Eats, and food in general, more with him than with anyone else. I think, though, that it is time for me to alter my mindset, and view each part of this project as an ode to Dad. He would have wanted me to continue on with vigor, so it’s time to hold myself to it.

In other news, I am officially 34 weeks pregnant, and things will soon be very busy and different in our house. I feel much of the time like a beached whale, so I am fast approaching the point of being ready for the baby to be out. A few more weeks of baking are good though, I know. Speaking of baking, onto the food…

Beef Jerky

I love when this project leads me to make things I have never attempted before, and this episode’s beef jerky was just that. Alton’s jerky uses 1.5-2 pounds of flank steak, which you will want to place in a plastic bag in the freezer until it is almost solid.

IMG_2951(1)

Flank steak before freezing.

Once the beef is nearly solid, use a Santoku or chef’s knife to cut the meat into thin strips along the grain; don’t worry if some of the strips are larger than others – just follow the natural grain of the meat.

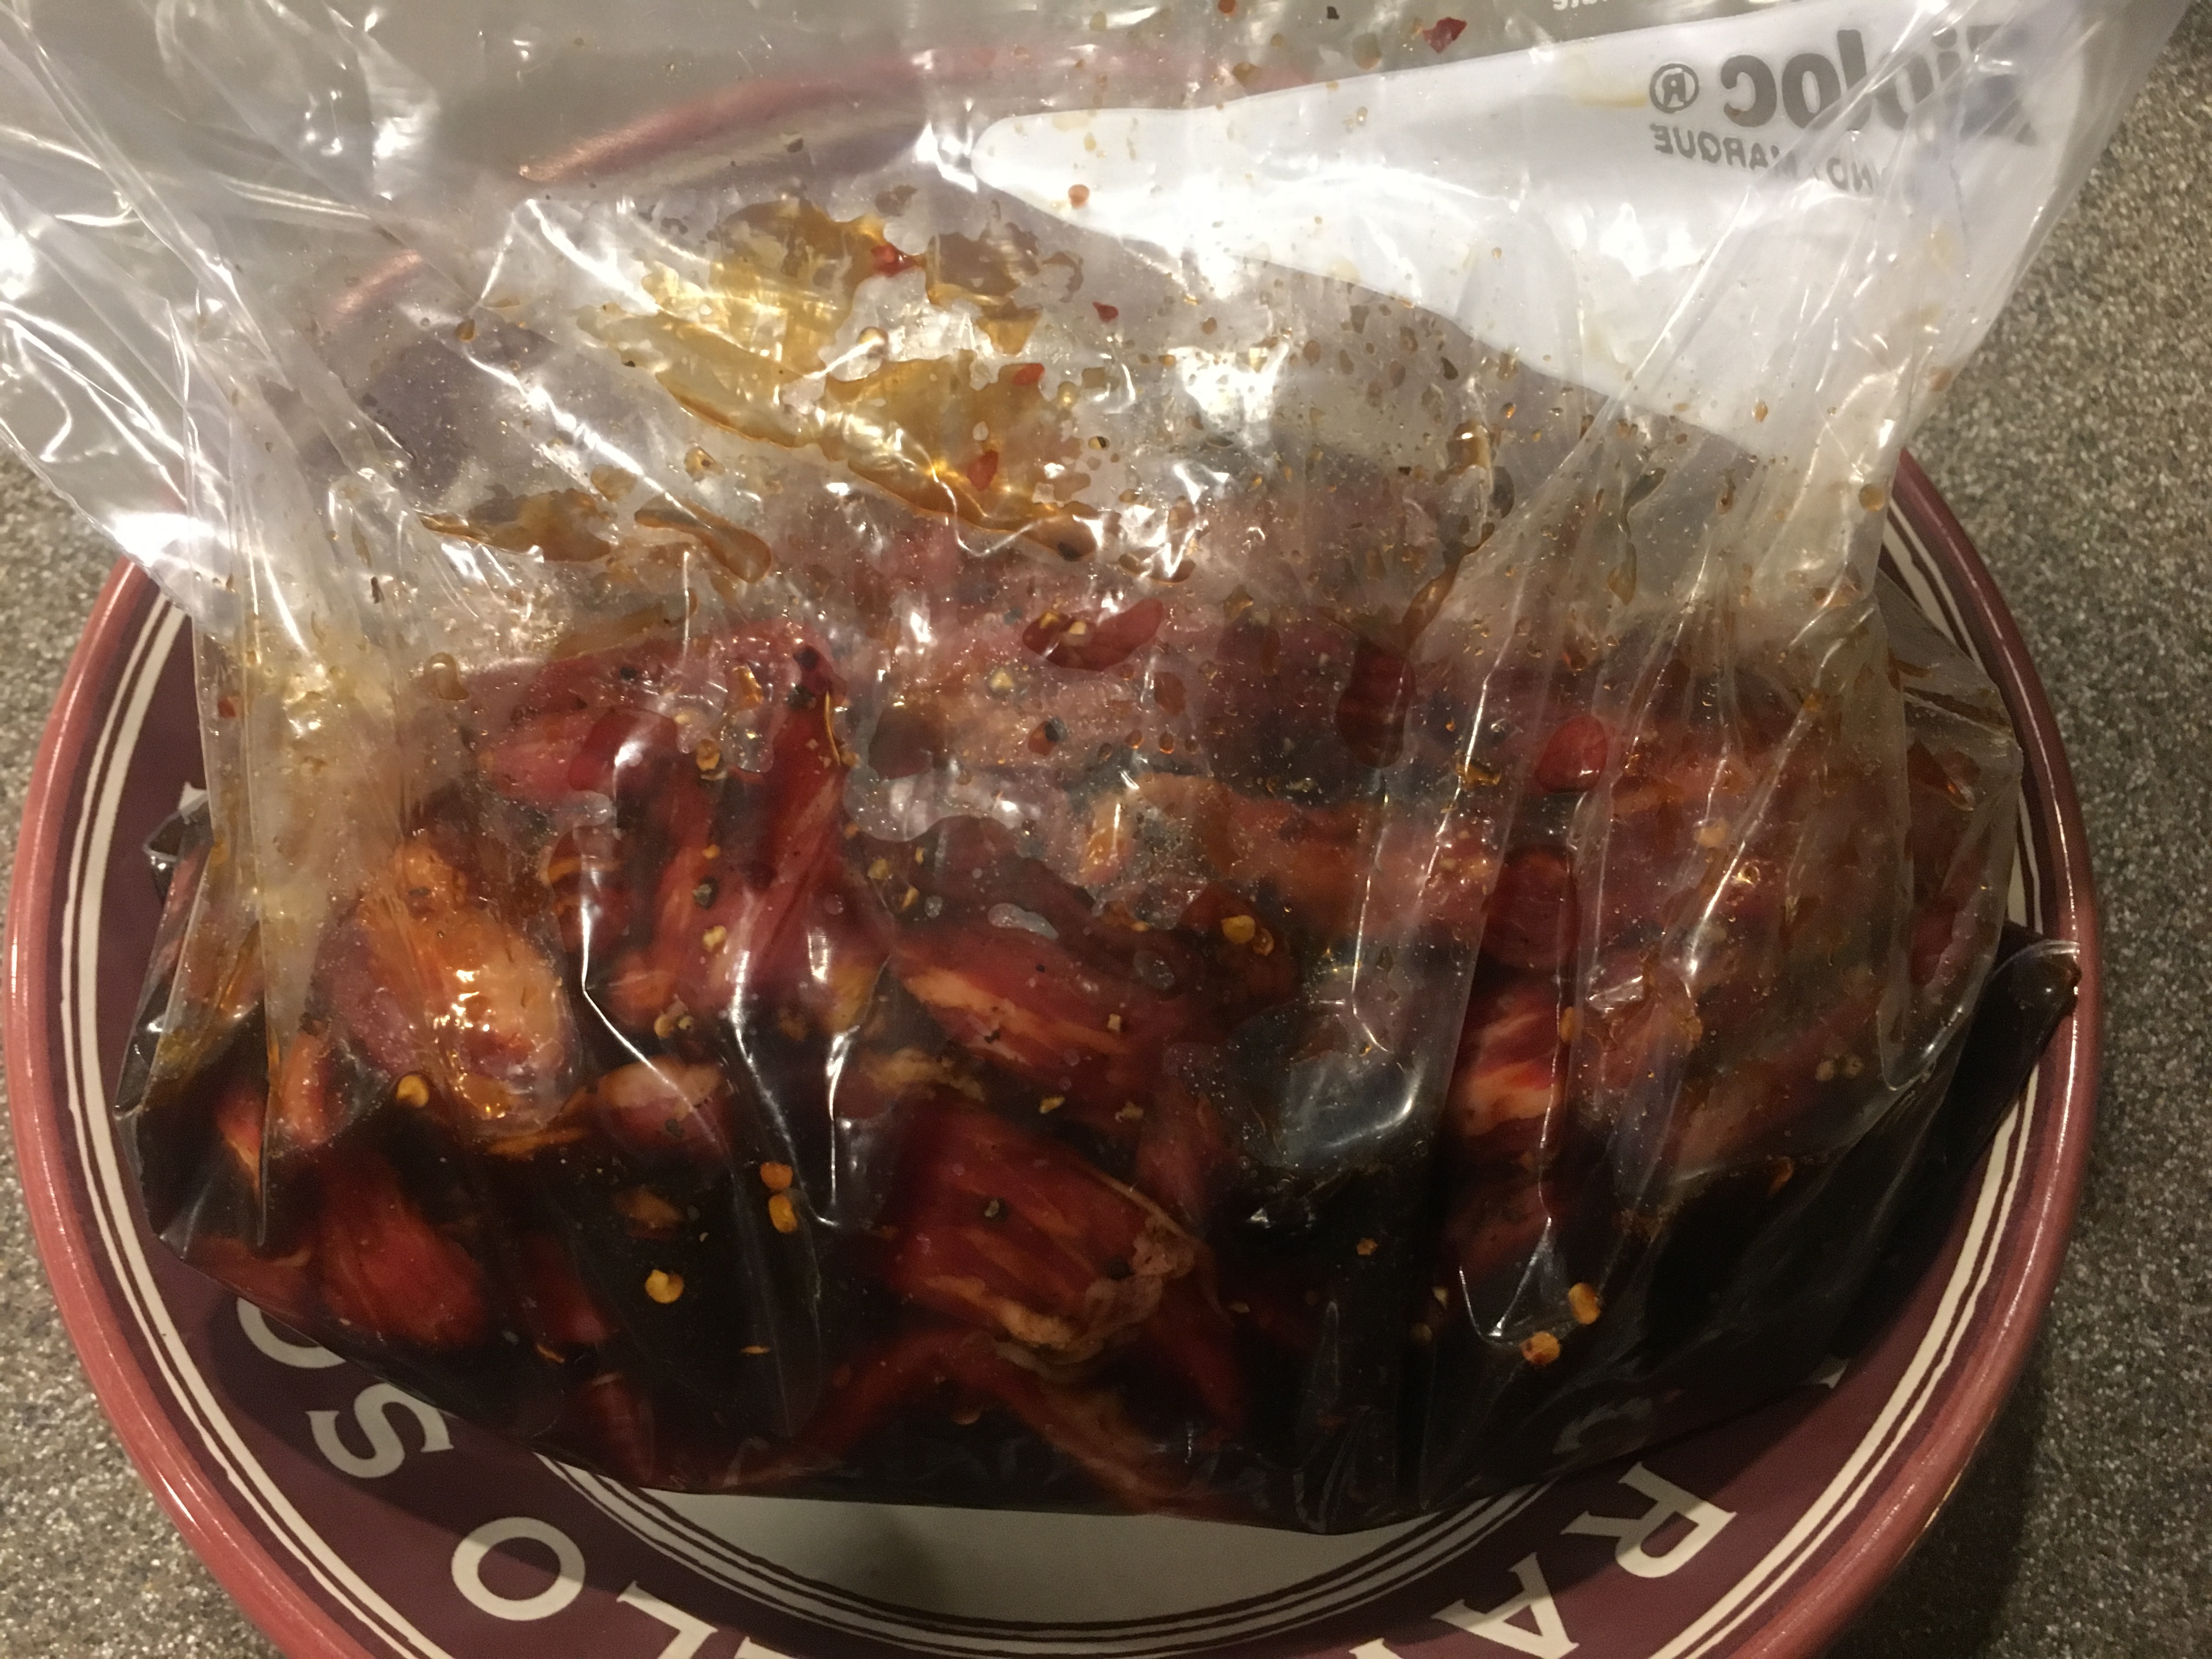
Place the meat strips in a large plastic bag and add the following ingredients:  2/3 C soy sauce, 2/3 C Worcestershire sauce, 1 T honey, 2 t black pepper, 2 t onion powder, 1 t red pepper flakes, and 1 t liquid smoke (I combined my marinade ingredients in a liquid measuring cup first).

Seal the bag, and massage the bag with your hands, working the marinade thoroughly into the meat. Place the meat in the refrigerator for three to six hours.

IMG_2963(1)

Marinade massaged into beef, and placed in the refrigerator for 3-6 hours.

After marinating, drain the meat, discarding the excess marinade.

Pat the meat dry with paper towels.

IMG_2968(1)

Beef patted dry.

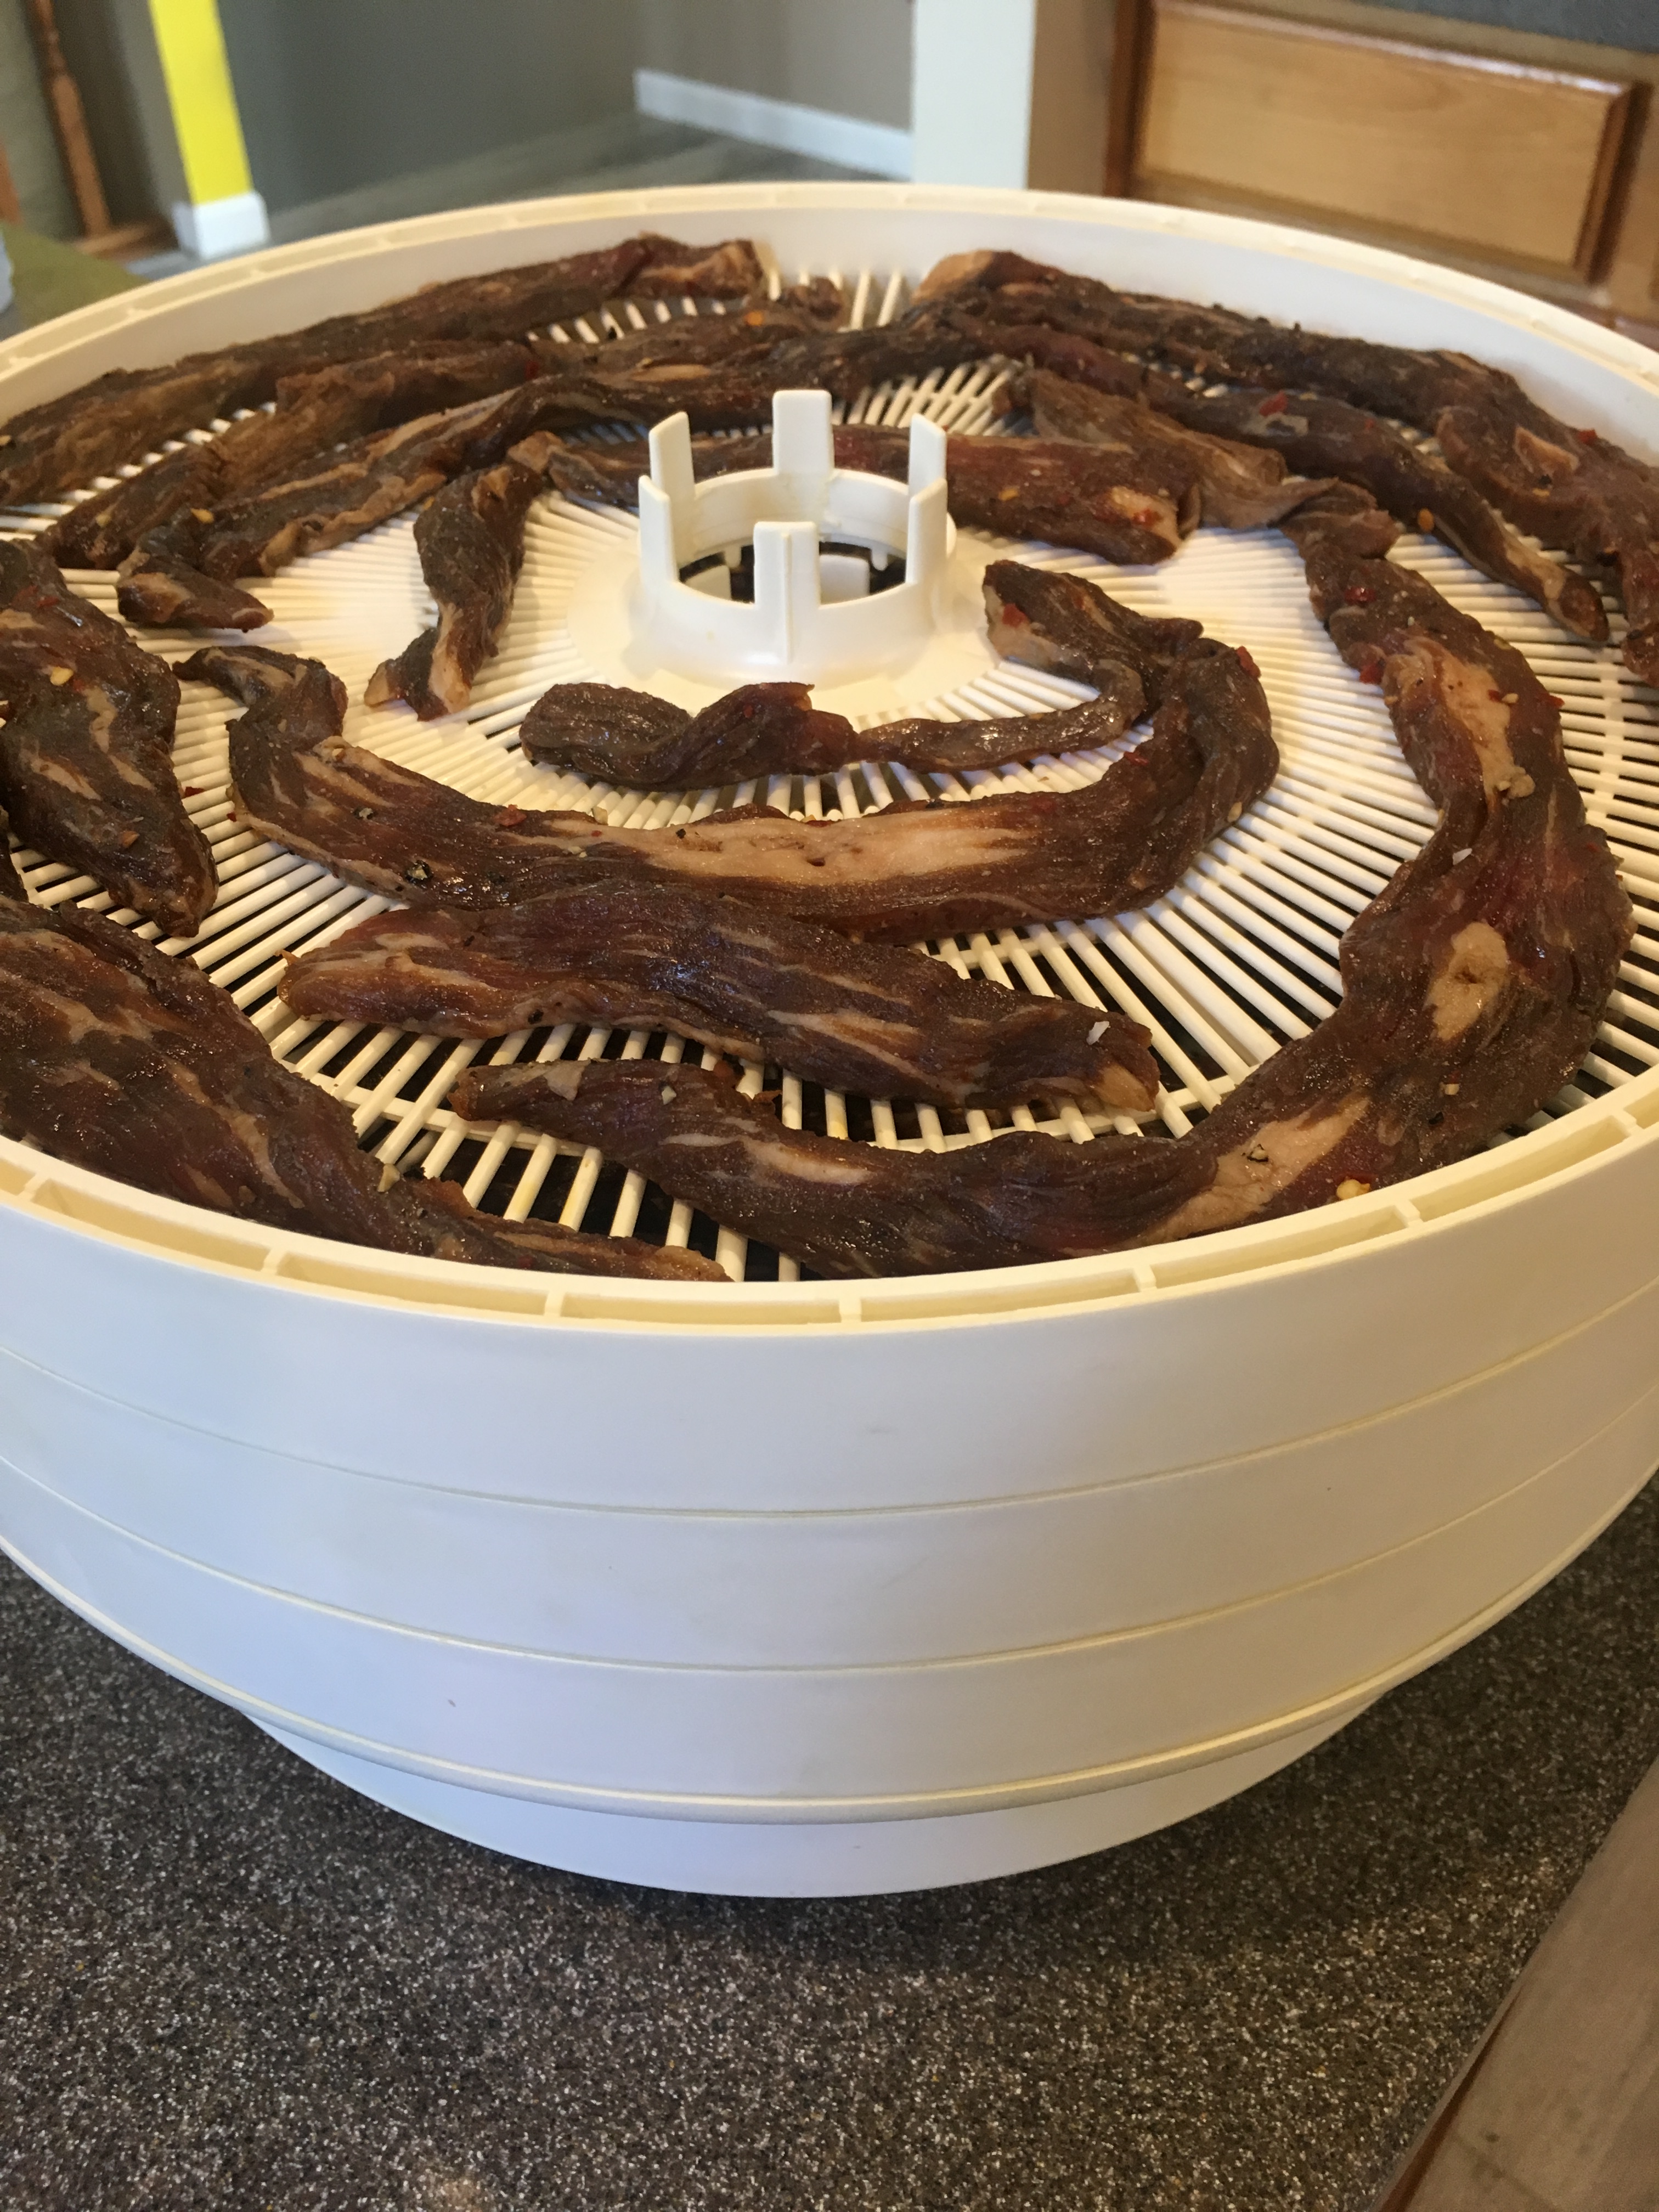
Now it is time to dry the beef. To dry the beef Alton’s way, place the meat strips on the ridges of clean furnace filters, stacking the filters on top of each other, and placing a final clean filter on top. Using a bungee cord, strap the filters to a box fan. Turn the fan on, and allow the meat to dry until jerky-like, which Alton says should take 8-12 hours. Rather than buying a bunch of new supplies, I opted to use my mom’s old food dehydrator, following the manufacturer’s instructions for jerky.

IMG_2970(1)

Beef strips placed in dehydrator.

I found that my jerky was done after about 13 hours of drying, and that was with a temperature of 145 degrees, so I have to imagine that Alton’s cool air method of drying would take considerably longer.

IMG_3052(2)

Alton’s beef jerky.

The marinade for this jerky is amazing, and produced maybe the most flavor-packed jerky I have ever tasted. Some of the jerky strips that had more fat were a little more on the chewy side, so I liked the leaner ones better. With being pregnant, they tell you that you should avoid eating dried meat, so I only tasted the jerky (this is probably overkill). I do plan to make more of this jerky once I am not pregnant, as we both really liked it and it is much cheaper than purchasing commercial jerky. I recommend this recipe for sure.

Jerky Tomato Sauce

Aside from snacking on jerky, you can also use it as an ingredient, as Alton did in his tomato sauce. Jerky was, afterall, made originally as a means of preservation. Alton made his sauce on a camping stove in a tent, and you surely could make this in camping circumstances, but I made it for a regular weeknight meal. To make his sauce, use kitchen shears to cut 3-4 ounces of your homemade jerky into small pieces.

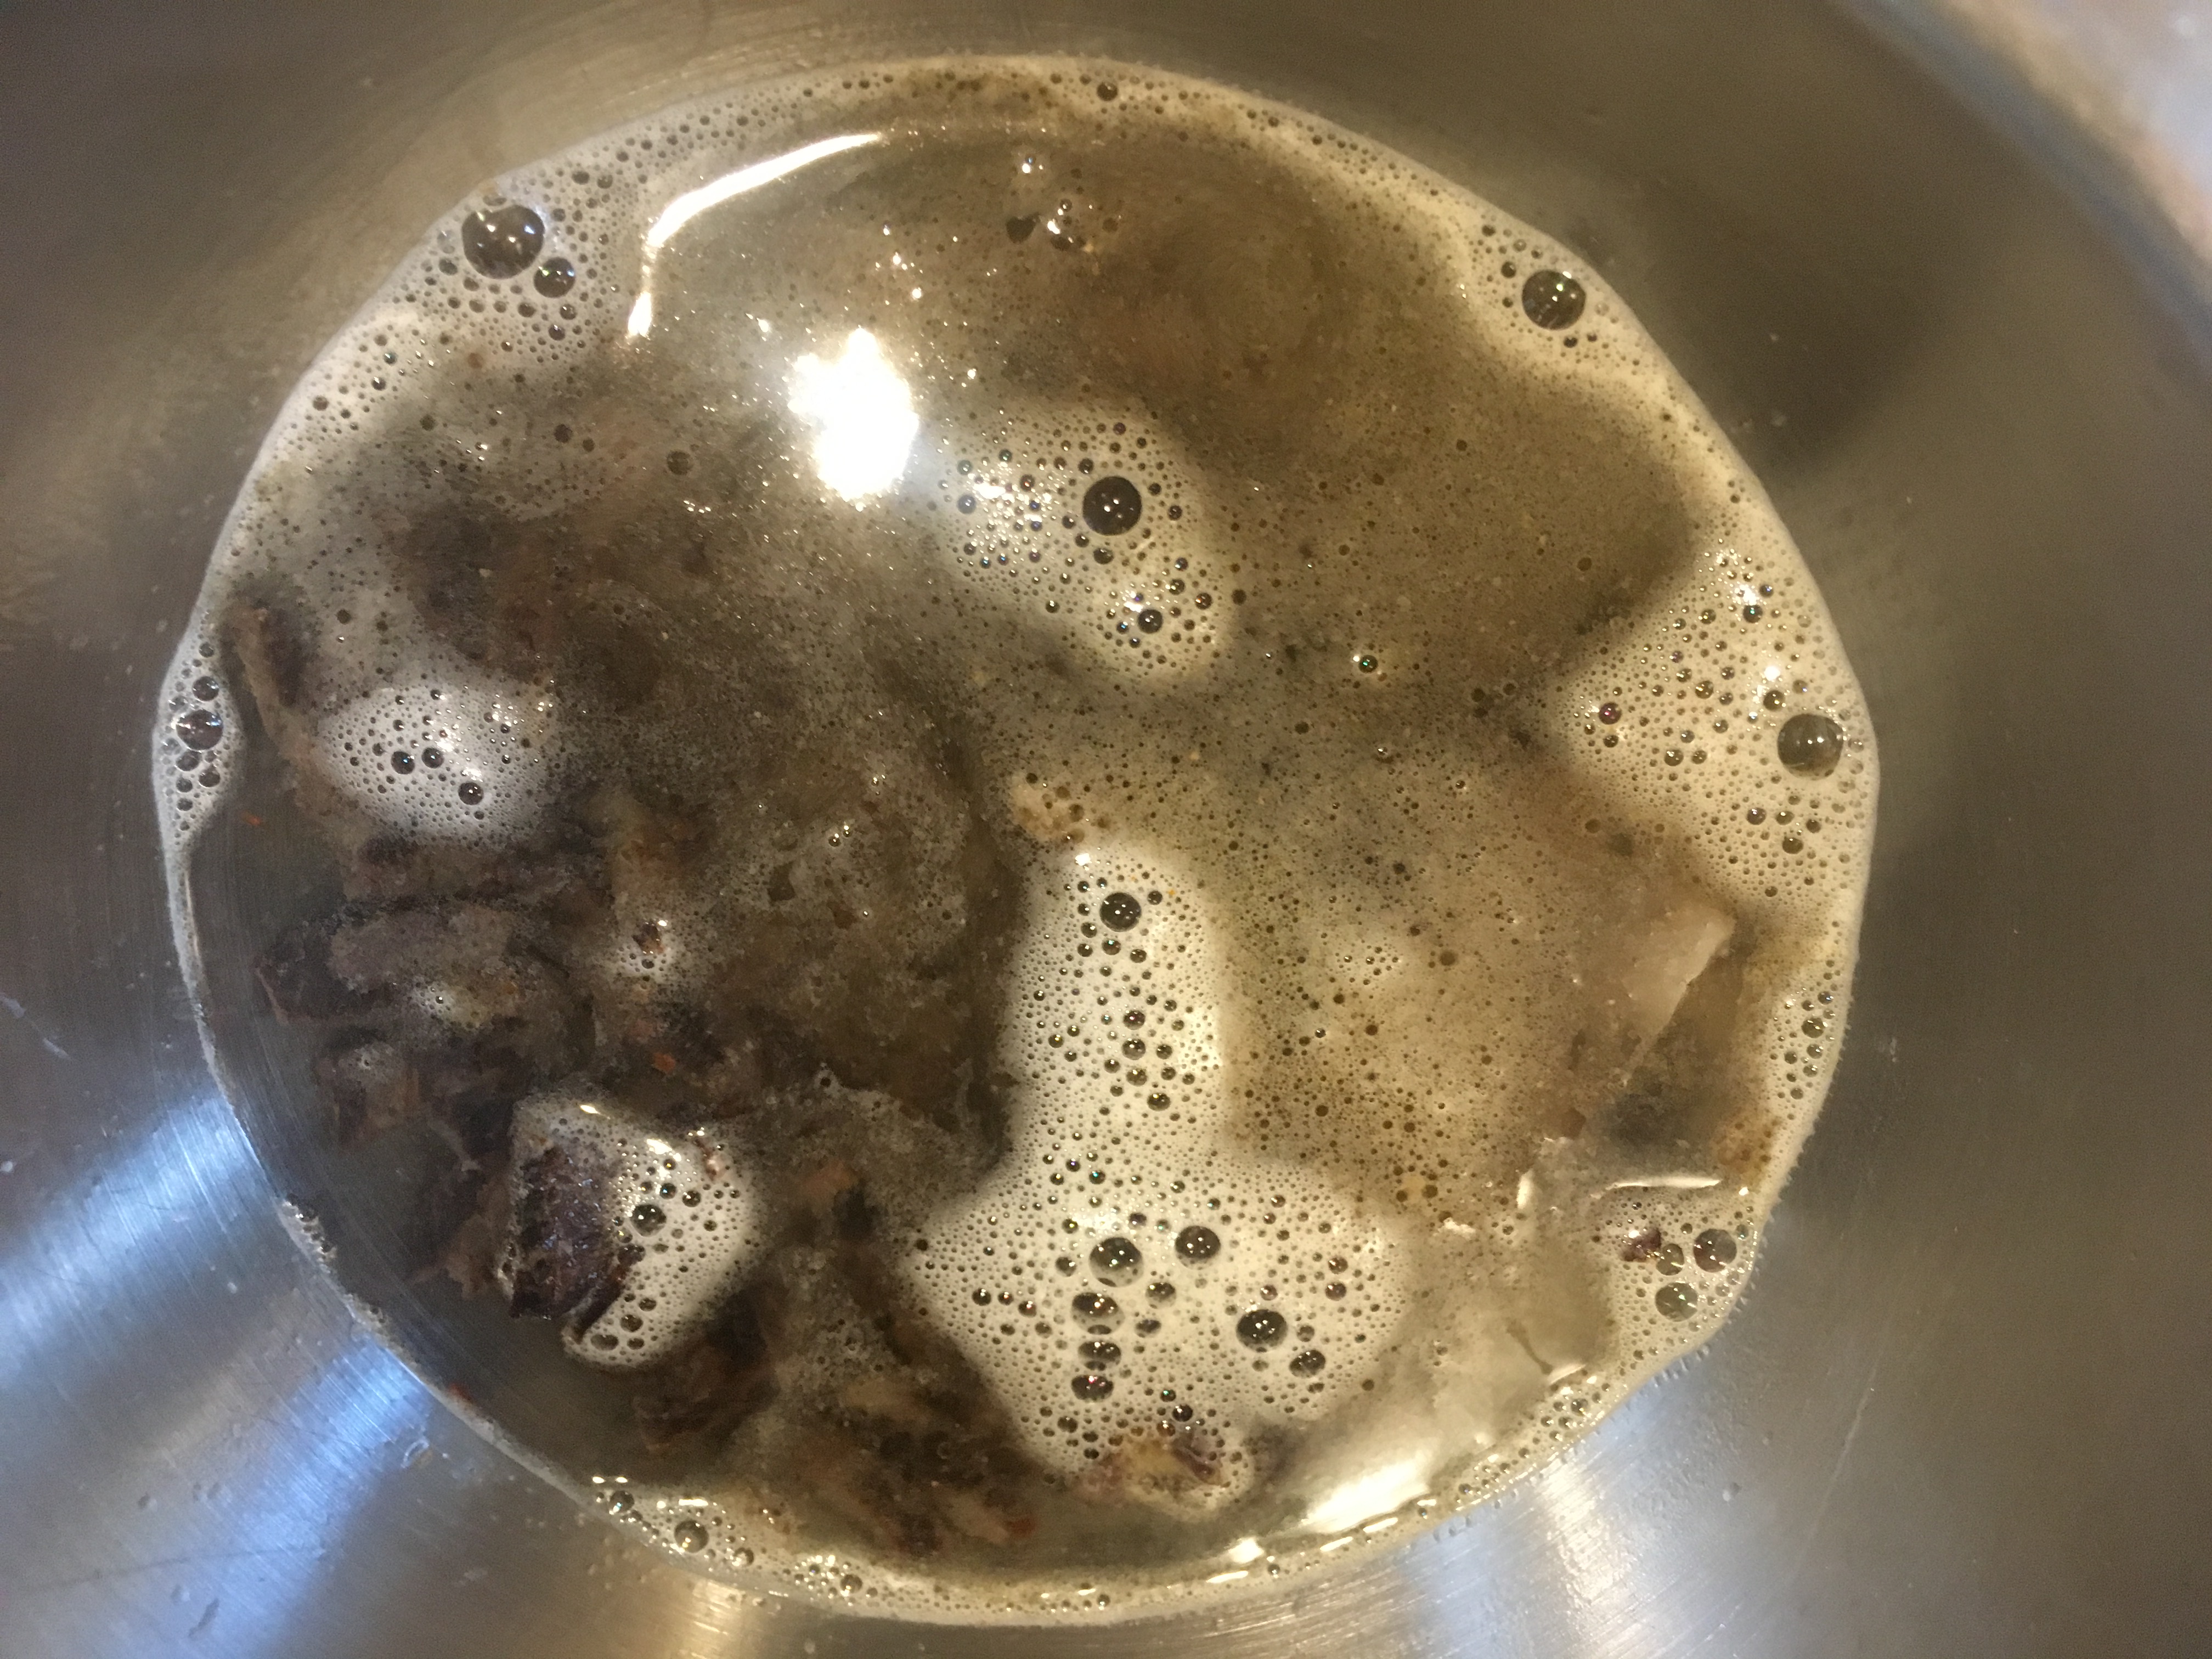
Place the jerky pieces in a bowl and pour 1+ C of boiling water over them, setting the jerky aside.

IMG_3055(2)

Boiling water poured over chopped jerky.

Next, heat a medium saucier or skillet over medium heat, adding 1 T vegetable oil, 1/2 C chopped onion, 1/2 C chopped green bell pepper, and a pinch of Kosher salt. Let the vegetables sweat for 4-5 minutes, or until soft.

IMG_3057(2)

Vegetable oil, onion, green bell pepper, and Kosher salt in a medium saucier.

Add two cloves of minced garlic to the pan, cooking for two more minutes.

IMG_3058(2)

Two cloves of garlic added to the softened veggies.

Add the jerky and its soaking liquid, a 14.5 ounce can of chopped tomatoes, and 1/4 C heavy cream.

Increase the heat to high and bring the mixture to a boil, stirring. Sprinkle in some dried parsley (I used fresh), and simmer the sauce until it has reduced to your desired consistency.

Serve the jerky sauce over pasta, rice, or biscuits. I served Alton’s jerky sauce over pasta, adding some freshly grated Parmesan.

IMG_3065(2)

Reduced sauce served over pasta.

We liked this sauce more than I thought we would, to be honest. I initially thought this would be just another tomato sauce, but the jerky really did add a lot of flavor, making a sauce that was fairly interesting and with some added meaty flavor. I still don’t know that I would go out of my way to make this again, but for a convenience meal it was really quite good. Should you happen to find yourself with some extra jerky lying around, this is certainly a good use for it.

Recent happenings have caused me to fall way behind on this blog, which actually provides a great distraction at times. After feeling “off” a couple weeks ago, I ended up having various tests done, which led to a diagnosis of pre-eclampsia last week, which can be a life-threatening pregnancy complication. I am currently 30 weeks pregnant, and I am being tested/monitored weekly, with a goal of taking the pregnancy to 37 weeks before delivery. It all depends on how my body handles things in the coming weeks, but I am unfortunately facing the reality that I will be delivering this baby early; it is just a question of how early.

I made the recipes in this episode quite a while ago actually, but am only now sitting down to finally write. My newest lab results should be in today or tomorrow, so I am trying to distract myself in the meantime. Since this is sort of a summery episode, I figured I’d better get on it while the warm weather is still here! The recipes from this episode are great to make on a hot evening because they are both grilling recipes and thus won’t heat up the house.

Spicy Beef Kebabs

First up, Alton makes beef kebabs in this episode. You will want your meat to sit in the marinade for 2-4 hours before grilling, so be sure to allow adequate time for marination. To make the marinade, combine 3 cloves of garlic, 2 t smoked paprika, 1/2 t turmeric, 1 t cumin, 1 t Kosher, 1/2 t pepper, and 1/3 C red wine vinegar in the bowl of a food processor.

Process the marinade until smooth, and then drizzle in 1/2 C olive oil with the machine running.

For these skewers, Alton recommends using boneless beef sirloin, of which you will need about 1.5 pounds.

IMG_2838

Boneless beef sirloin.

Cut the meat into two-inch cubes, place the cubes in a large plastic bag, and pour in the marinade. Seal the bag, removing as much air as possible, and toss the meat to coat thoroughly.

Place the meat in the refrigerator to marinate for 2-4 hours. Before threading his meat onto skewers, Alton likes to pre-arrange his meat on a sheet pan, placing cubes of similar sizes on the same skewers for even cooking.

IMG_2853

Beef after marinating for several hours. Pieces of meat arranged such that pieces of similar size go on the same skewer.

Once your meat is sorted, thread the meat onto metal grilling skewers, placing about five or six pieces on each skewer; leave about a half inch of space between the meat cubes.

IMG_2854

Beef cubes threaded onto metal skewers.

To grill the skewers, first be sure that your grill grates are pretty clean and preheat your gas grill to medium-high. Place the skewers on the grill, rotating them every two minutes for a total cook time of eight to 12 minutes. For this cut of beef, Alton prefers his meat to be cooked to medium doneness, which should take about 12 minutes.

IMG_2860

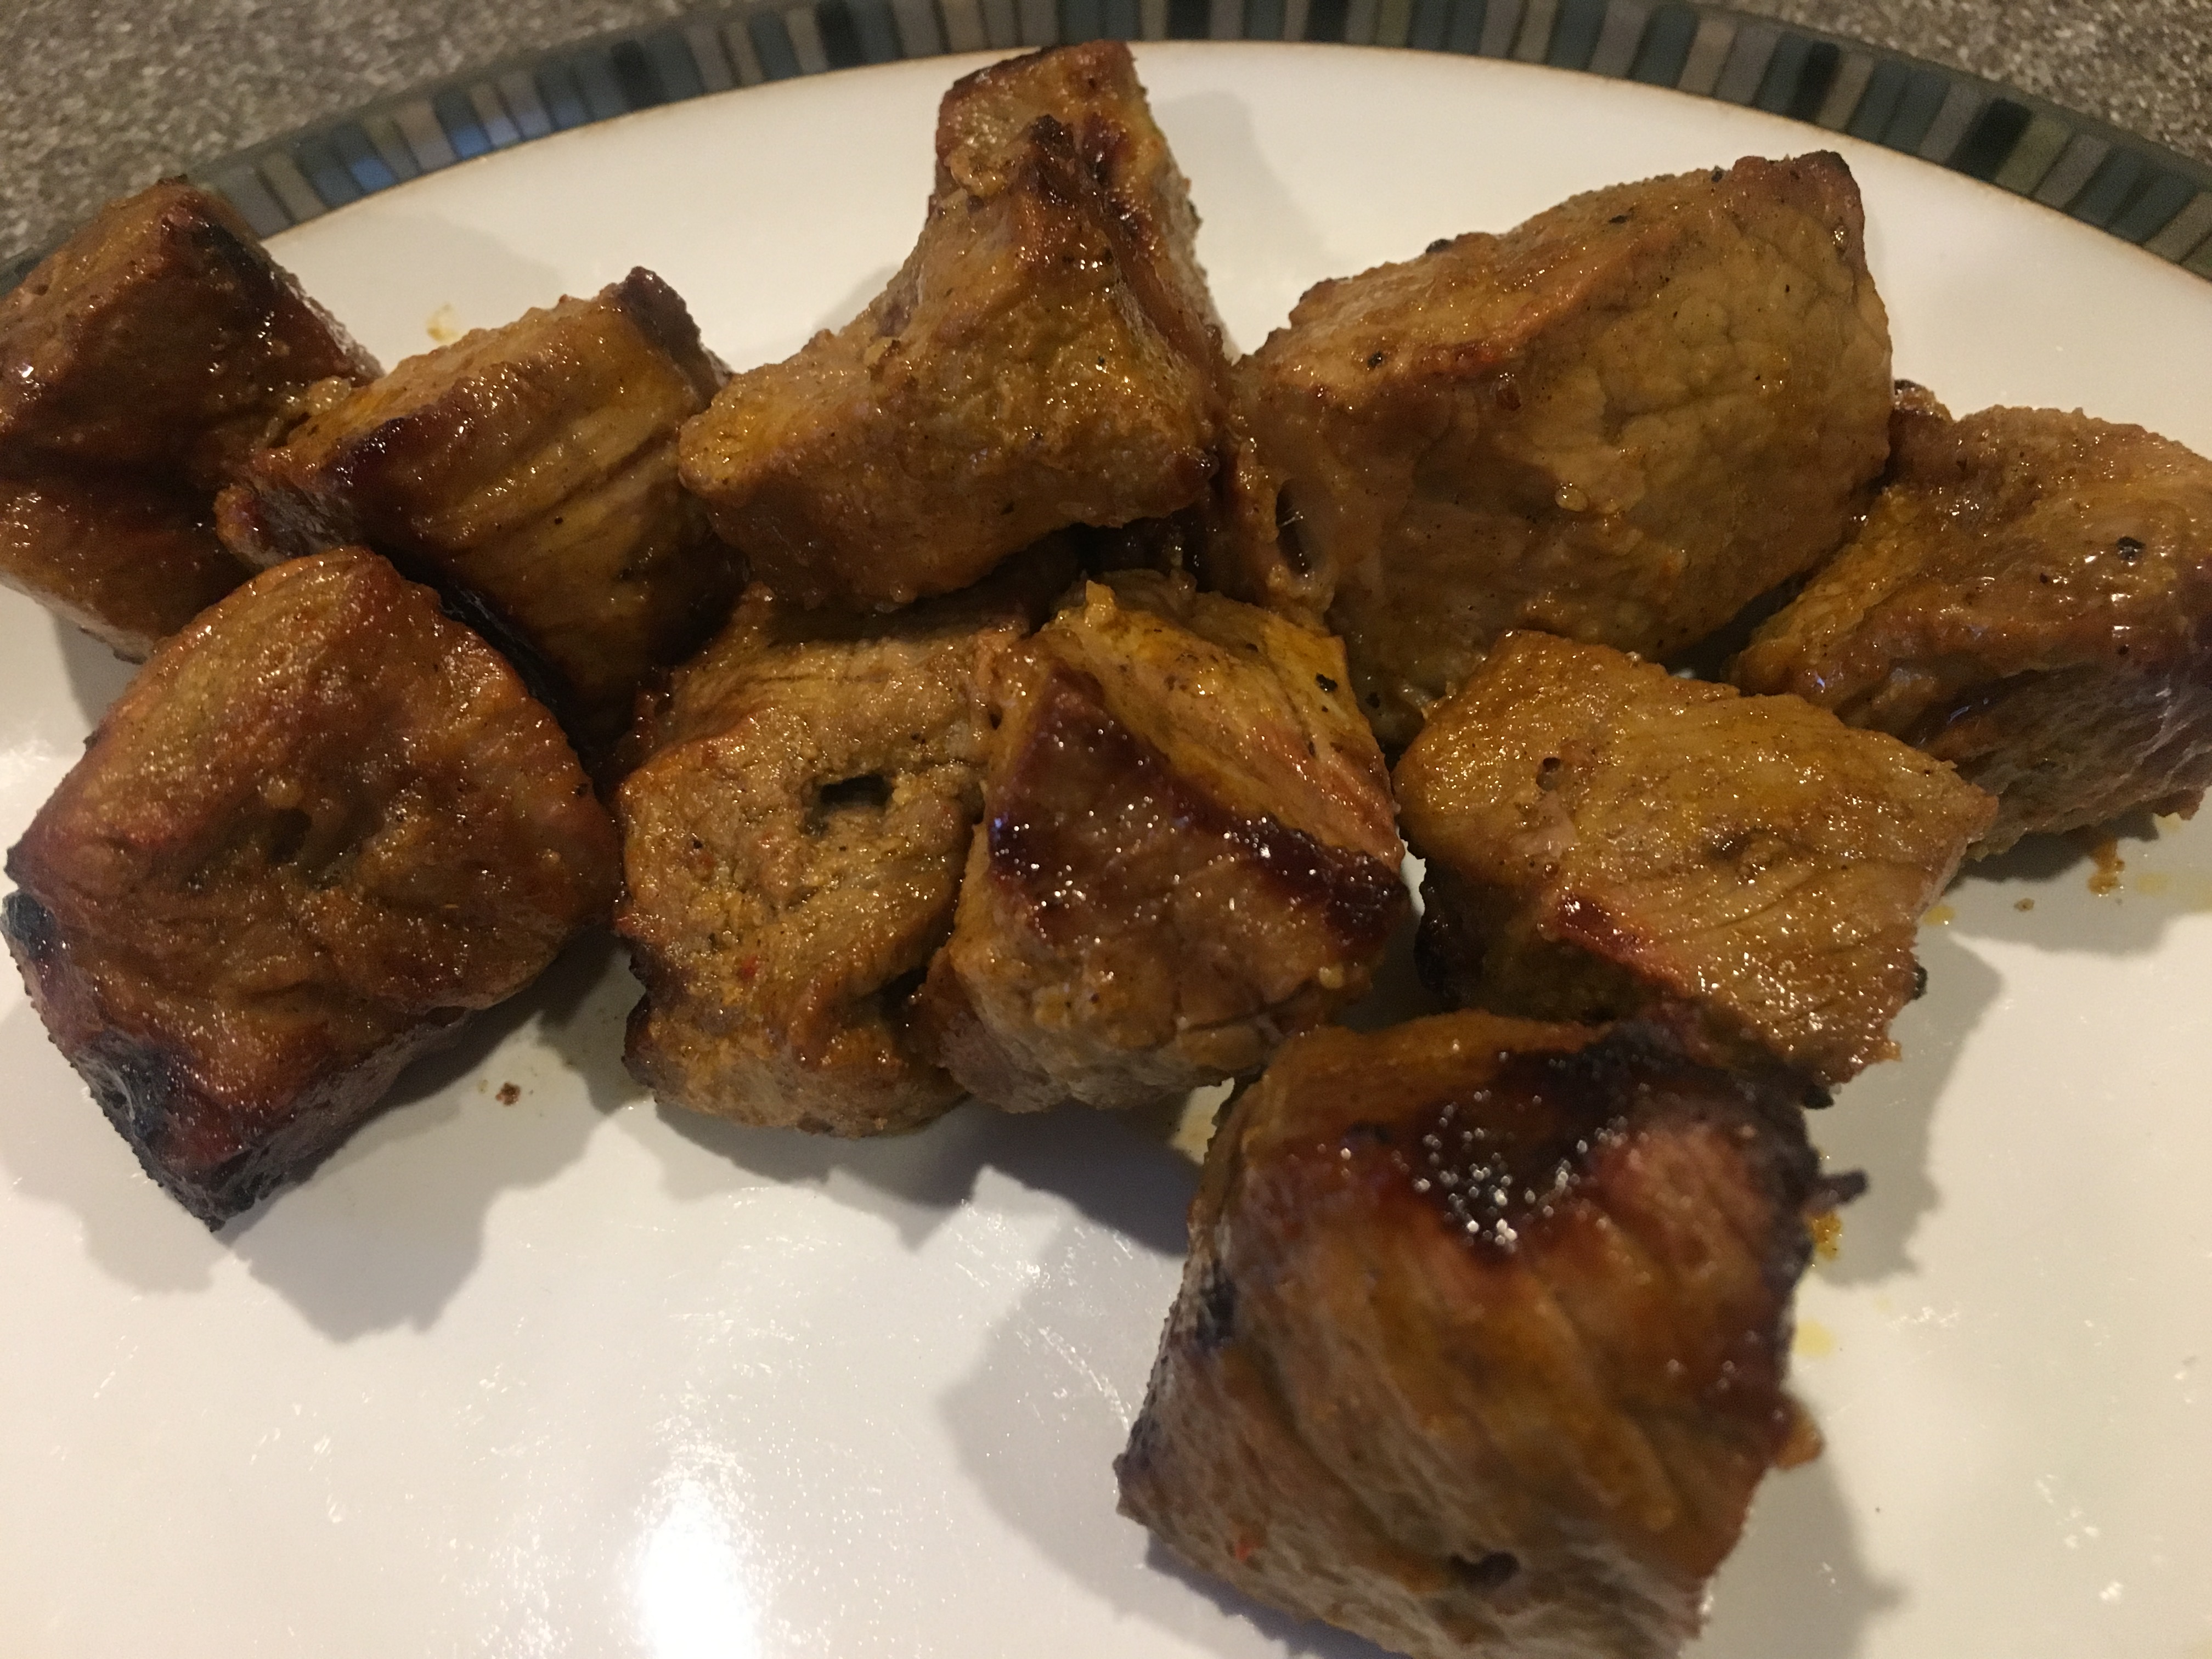
The beef from Alton’s skewers.

When done grilling, wrap the hot skewers in foil and let them rest for a few minutes before eating. To cook the skewers on a charcoal grill, remove the grate and place four bricks around the center mound of charcoal. Rest the skewers on the bricks, suspending the meat above the hot charcoal. I cooked my skewers for the full twelve minutes recommended by Alton, and I thought the meat was a tad bit chewy. The marinade for this recipe was excellent, however, and made the meat super flavorful. I could see using this marinade for a variety of meat preparations. This recipe made for a quick, easy, flavorful meal. My only gripe was that the meat was a little bit too chewy, so I might try cooking the meat a little less next time.

Vanilla Lime Pineapple Skewers

If you are looking for a side dish for your beef kebabs, or for a dessert to follow, Alton has you covered with his pineapple skewers. Begin by splitting a vanilla bean in half and scraping out the seeds/pulp. Reserve the bean. Place 1 C dark brown sugar, 1/2 C lime juice, a pinch of Kosher salt, and the vanilla pulp/pod in a medium saucepan over medium-high heat.

Whisk the mixture until the brown sugar dissolves. Once dissolved, remove the pan from the heat and allow the mixture to steep for two hours. After steeping, remove the vanilla pod and discard it.

Transfer the cooled syrup to a plastic squeeze bottle. Next, prepare your pineapple by cutting the top and bottom off of the fruit. Stand the fruit on one end and cut the pineapple into quarters. Lay the pineapple quarters down and cut them in half, creating eighths. Cut the core off of each eighth of pineapple, discarding it. Finally, use a sharp knife to fillet the pineapple off of its skin.

IMG_2862(1)

Pineapple cut into eighths.

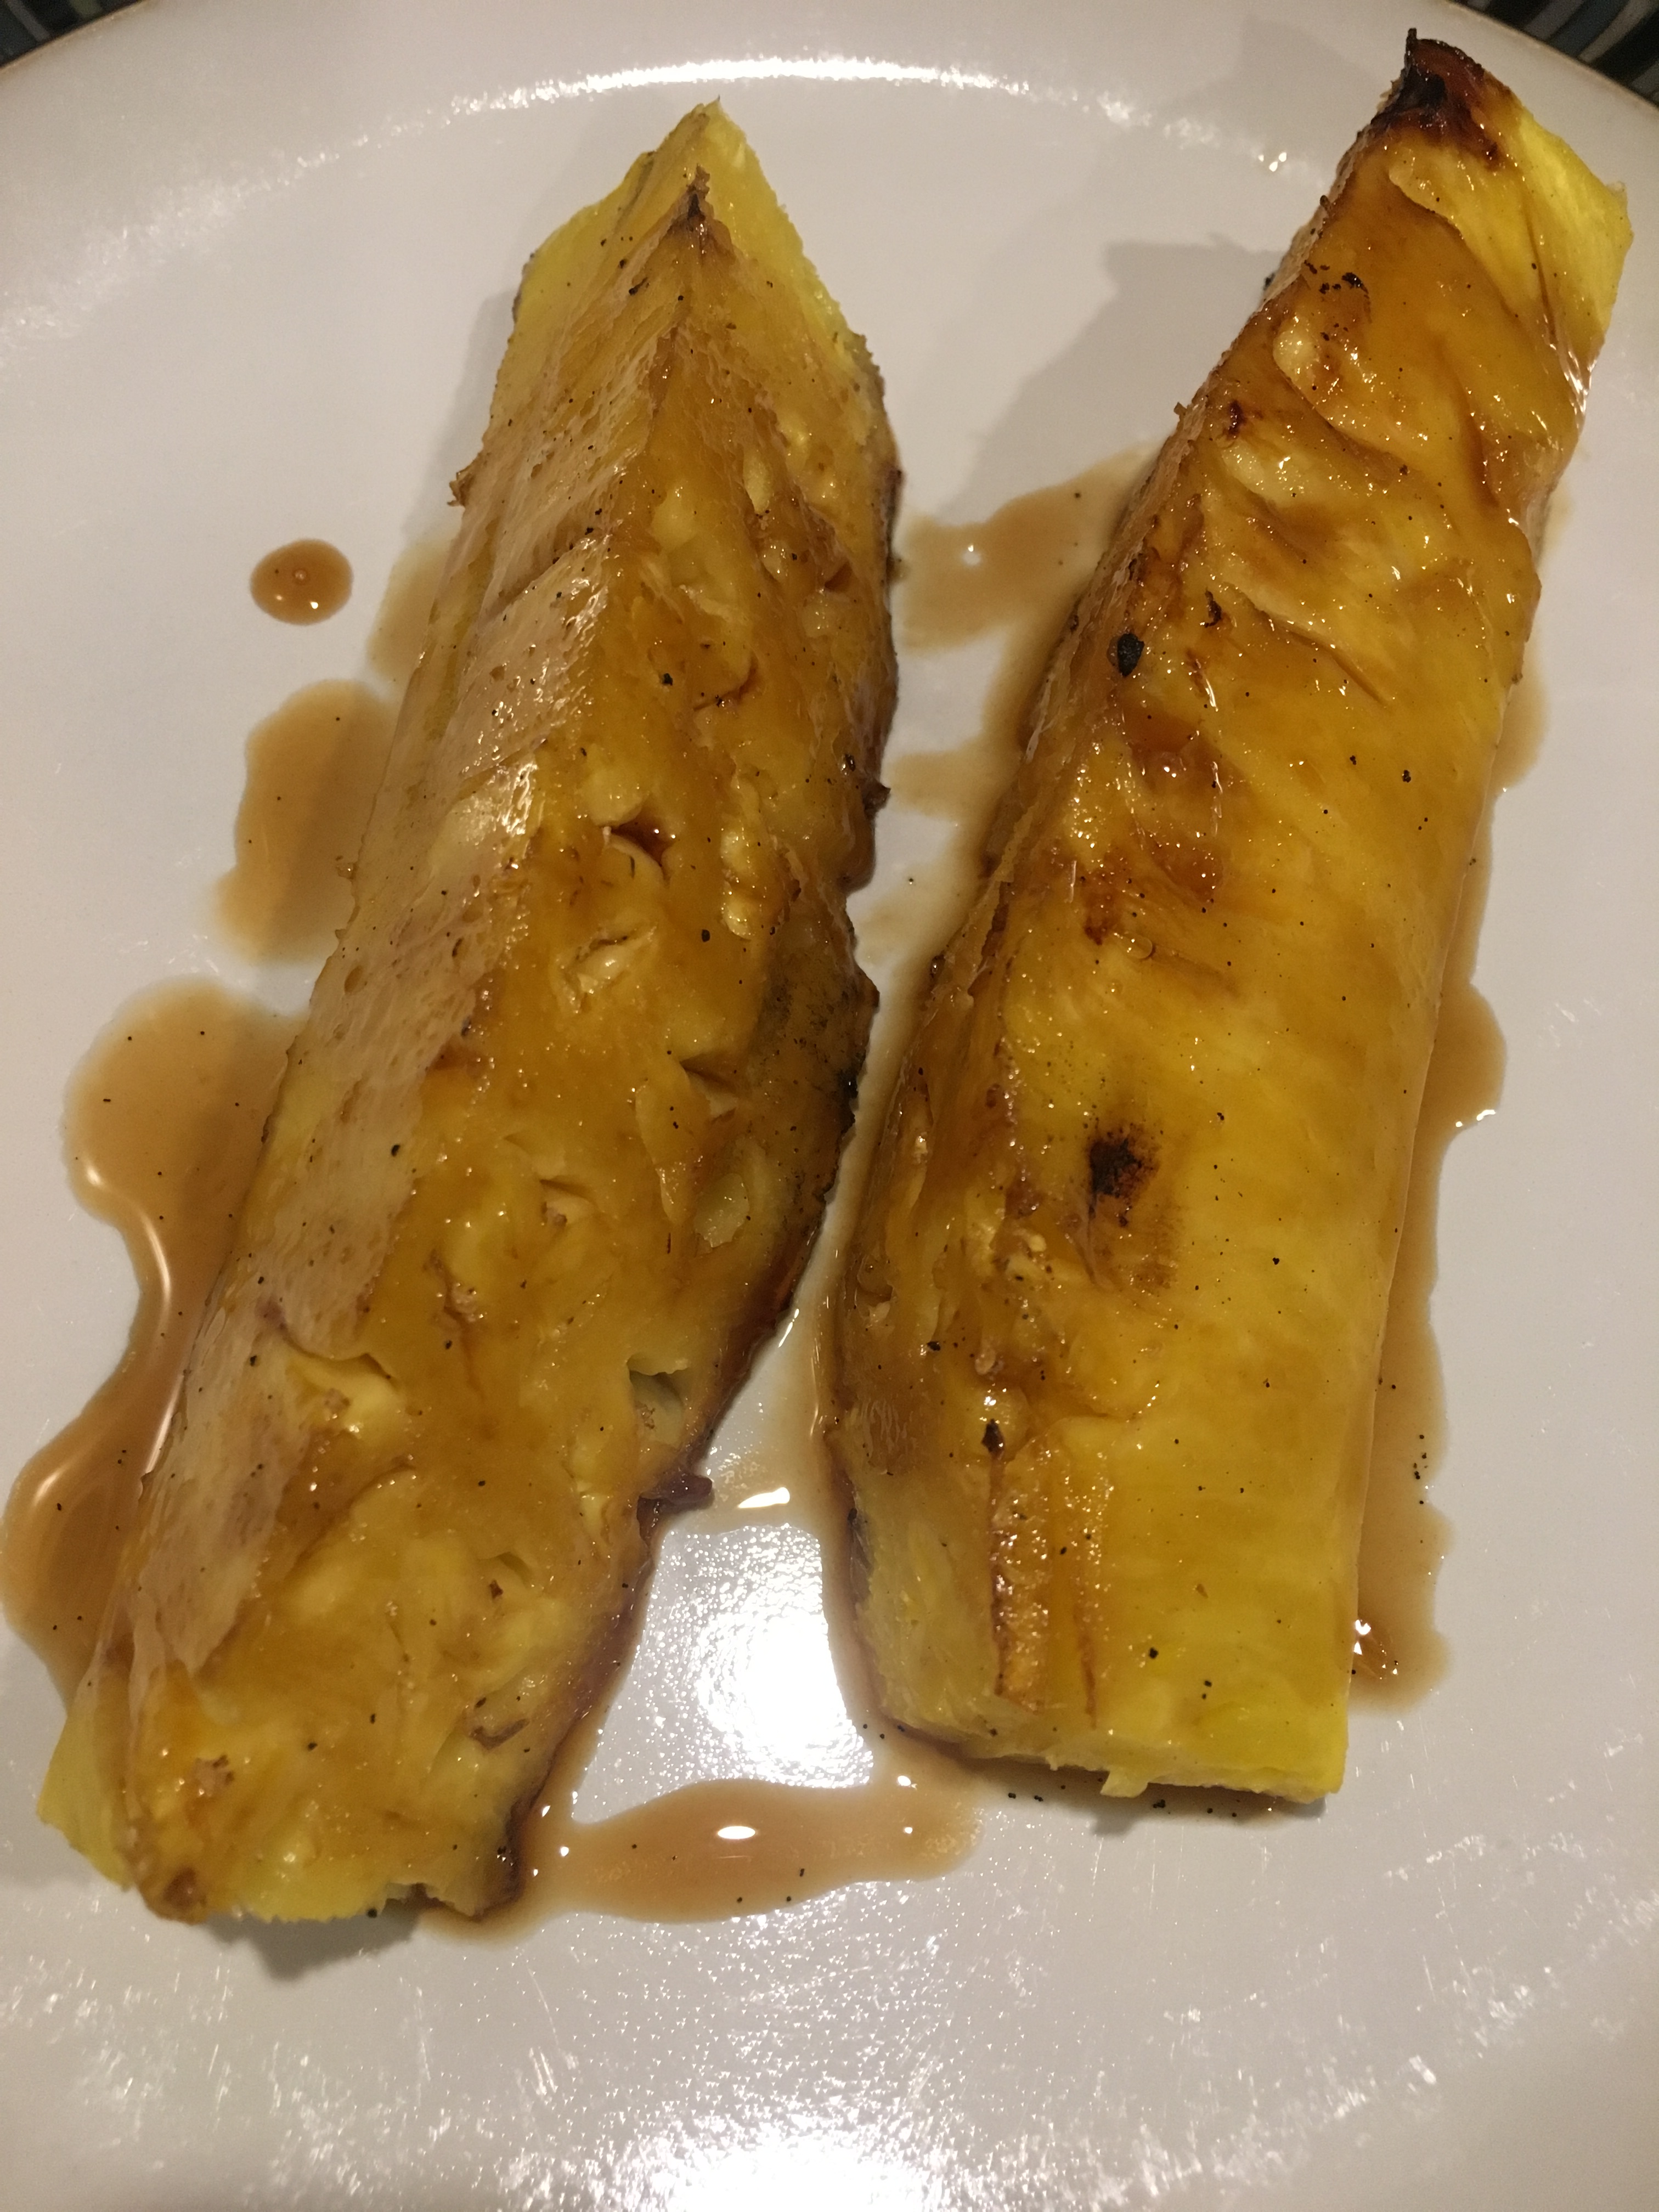
Thread each eighth of pineapple onto a metal grilling skewer, squirt them with the vanilla syrup, and grill them for four minutes per side, for a total of 12 minutes. As you grill the fruit, squirt it occasionally with the vanilla syrup.

IMG_2871(1)

Alton’s grilled pineapple.

Serve the pineapple warm. This was a fun, summery dessert that was easy to prepare. The pineapple softened and became sweeter, and its flavor was complimented nicely by the flavors in the syrup. The lime juice added a nice tartness to an otherwise very sweet syrup. You could certainly use this syrup on other fruits also, or you could simply take Alton’s suggestion and eat the syrup over ice cream. Either way, the syrup is a multitasker!

Thanks to my little Good Eats project, our post-Boston Marathon week consisted largely of recipes for tofu. Considering that we were quite gluttonous for a couple of days after the marathon, I think we were ready for some tofu! I know many people who turn their noses up at tofu, but I happen to like the stuff, as does Ted. My first experiences with tofu were when I was in high school and going through a phase where I did not eat a lot of meat; somehow, I had convinced myself that I really didn’t like meat. My brother was out of town and my dad decided he would try to cook a few tofu recipes for he, my mom, and me. We affectionately refer to this week in our lives as “Tofu Week.” I don’t recall what the various tofu preparations were, but I remember whispered conversations between my mom and me where we both agreed the tofu was horrible, but did not want to hurt Dad’s feelings. Thankfully, Dad sat down at the table, took one bite, and said, “This is horrible.” This exact scenario played out several times during that week, leaving us all to think that tofu was pretty darn disgusting. While I later gave tofu another shot and really liked it, I don’t think my parents ever quite recovered from Tofu Week.

Fillet O’Fu

Alton’s first tofu preparation was his tofu fillet. For this tofu recipe, you want to use firm tofu, which has less moisture than silken tofu, and therefore has a higher concentration of nutrients. Firm tofu is like a sponge, so it will soak up any flavors you want to impart. When marinating meat, one purpose of the acid in the marinade is for tenderizing the meat’s proteins. Since tofu’s proteins are already coagulated, tofu marination is solely for flavor injection. To make Alton’s tofu fillets, slice a block of firm tofu lengthwise into four equal slices.

One block of firm tofu.

One block of firm tofu.

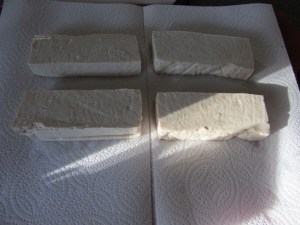
Block of firm tofu, cut into four fillets.

Block of firm tofu, cut into four fillets.

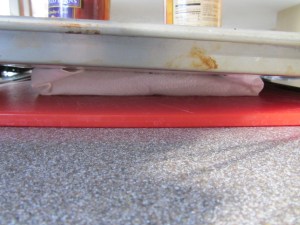
Wrap the tofu fillets in paper towels, weigh the tofu down with a sheet pan and some canned goods, and allow the paper towels to absorb the moisture for a good hour.

Tofu fillets wrapped in paper towels and weighed down.

Tofu fillets wrapped in paper towels and weighed down.

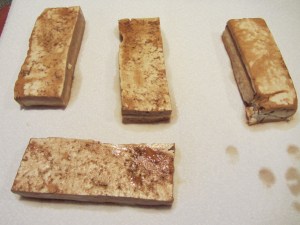
Tofu fillets after sitting in paper towels for an hour.

Tofu fillets after sitting in paper towels for an hour.

Meanwhile, make a marinade of 2 T sherry vinegar, 2 T Worcestershire sauce, and a few dashes of Tabasco sauce.

Marinade ingredients:  Worcestershire sauce, Tabasco sauce, and sherry vinegar.

Marinade ingredients: Worcestershire sauce, Tabasco sauce, and sherry vinegar.

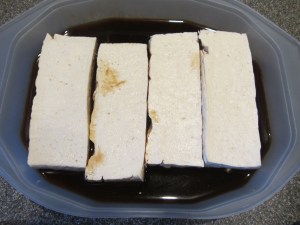
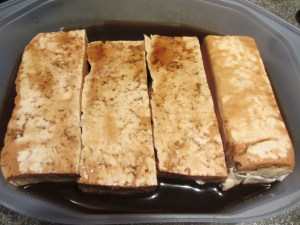
Place the tofu fillets into the marinade for 15 minutes on each side. Alton explains that since the tofu is sponge-like, it is not necessary to do a long marination.

Tofu fillets into marinade for 15 minutes.

Tofu fillets into marinade for 15 minutes.

Tofu fillets flipped to marinate for 15 minutes on side two.

Tofu fillets flipped to marinate for 15 minutes on side two.

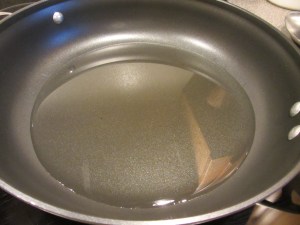
When ready to cook, fill a large non-stick skillet with 1/8″ of canola oil, and place over medium-high heat.

Canola oil in non-stick skillet.

Canola oil in non-stick skillet.

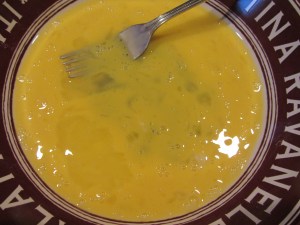
In a shallow dredging dish, crack two eggs and lightly beat them. In a second dredging dish, place 1/2 C flour.

Two dredging dishes:  one with flour and one with eggs.

Two dredging dishes: one with flour and one with eggs.

Eggs beaten with a fork.

Eggs beaten with a fork.

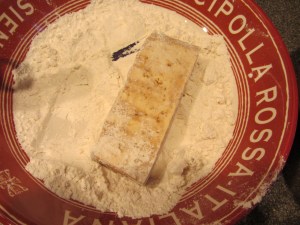
Blot the marinated tofu with paper towels to get rid of excess marinade and dredge the fillets lightly in flour, tapping to get rid of any excess flour.

Marinated tofu on paper towels.

Marinated tofu on paper towels.

Tofu dredged lightly in flour...

Tofu dredged lightly in flour…

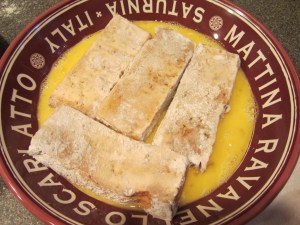
After dredging the tofu in flour, dip the fillets into the eggs, and slide them gently into the hot oil.

...and then coated in egg.

…and then coated in egg.

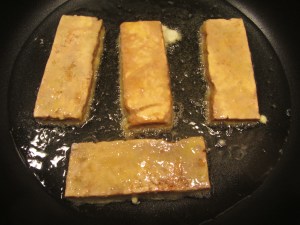
Fry the fillets for two minutes per side, or until golden brown.

Tofu fillets into hot oil for 2 minutes.

Tofu fillets into hot oil for 2 minutes.

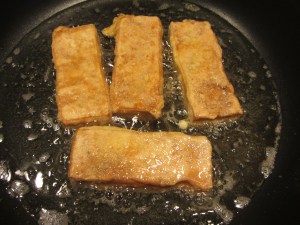
Tofu fillets flipped to cook on second side for two more minutes.

Tofu fillets flipped to cook on second side for two more minutes.

Pan-fried tofu fillets.

Pan-fried tofu fillets.

Coonhounds will eat tofu.

Coonhounds will eat tofu.

We ate these fillets as our entrée and we liked the crispy “skin” that coated the tofu. While you could taste the marinade, it was faint, so I wonder if a longer marination would result in better flavor injection. I think I will try this recipe again, but with a 24-hour marination, as that is what I have done with some other tofu recipes that have had more flavor. Texture-wise this was a good tofu dish, but it was a bit bland flavor-wise.

No Guilt Caesar

What better to pair with tofu fillets than a green salad with tofu Caesar dressing?

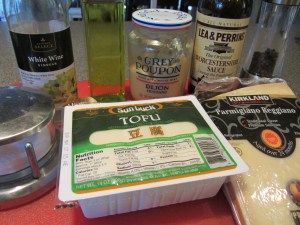
Caesar ingredients:  Parmesan, garlic, Dijon mustard, white wine vinegar, Worcestershire sauce, Kosher salt, black pepper, and silken tofu.

Caesar ingredients: Parmesan, garlic, Dijon mustard, white wine vinegar, Worcestershire sauce, Kosher salt, black pepper, and silken tofu.

To make Alton’s tofu dressing, grind 2 ounces of Parmesan cheese in a blender.

Two ounces of cubed Parmesan.

Two ounces of cubed Parmesan.

Cubed Parmesan in the blender.

Cubed Parmesan in the blender.

With the blender running, dump 2 cloves of garlic down the chute.

Garlic added to Parmesan.

Garlic added to Parmesan.

Once processed, turn the blender off and add 2 T Dijon mustard, 1 1/2 t white wine vinegar, 1 1/2 t Worcestershire sauce, a pinch of Kosher salt, a few grinds of black pepper, and 1 C of silken tofu.

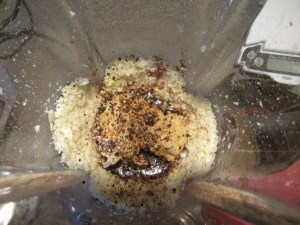
Dijon mustard, white wine vinegar, Worcestershire sauce, Kosher salt, and black pepper added to dressing.

Dijon mustard, white wine vinegar, Worcestershire sauce, Kosher salt, and black pepper added to dressing.

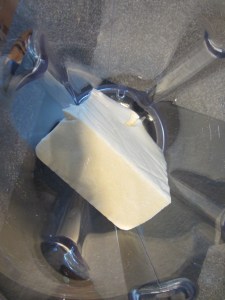
Silken tofu added to blender.

Silken tofu added to blender.

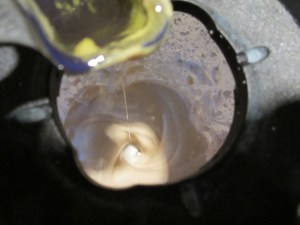
Blend until smooth. Once smooth, slowly pour 2 T of olive oil down the chute with the blender running.

Olive oil drizzled into dressing.

Olive oil drizzled into dressing.

Finished tofu Caesar dressing.

Finished tofu Caesar dressing.

Tofu Caesar dressing over arugula.

Tofu Caesar dressing over arugula.

The dressing will keep in the refrigerator for up to two weeks. We were pretty happy with this dressing, though it does have pretty intense garlic flavor. If using two cloves of garlic, I would recommend using smaller ones. I served my dressing over arugula because that is what we had in the house, but we will have to get some Romaine and make a true Caesar-style salad. This is a good, easy, healthy salad dressing, and you would really never know it has tofu as a main ingredient.

Moo-Less Chocolate Pie

The third recipe in this episode is for Alton’s tofu chocolate pie. As far as desserts go, it doesn’t get any easier than this one.

Ingredients for tofu chocolate pie:  silken tofu, semisweet chocolate chips, coffee liqueur, vanilla, honey, and a cookie crust.

Ingredients for tofu chocolate pie: silken tofu, semisweet chocolate chips, coffee liqueur, vanilla, honey, and a cookie crust.

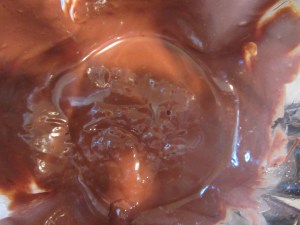
In a blender, combine one block of silken tofu, 1/3 C coffee liqueur, 1 t vanilla, 1 T honey, and 2 C semisweet chocolate chips, melted. Blend until smooth.

Tofu in the blender.

Tofu in the blender.

Melted chocolate chips, vanilla, honey, & coffee liqueur added to the tofu.

Melted chocolate chips, vanilla, honey, & coffee liqueur added to the tofu.

Blended until smooth.

Blended until smooth.

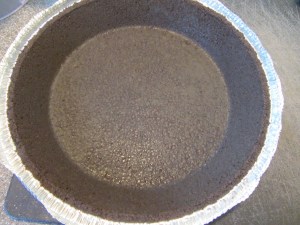
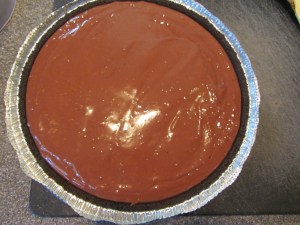
Pour the mixture into a prepared chocolate cookie crust and refrigerate until firm. The online recipe contains a recipe for a chocolate wafer crust, but Alton used a purchased chocolate cookie crust in the episode, so that is what I used.

Prepared cookie crust.

Prepared cookie crust.

Filling poured into crust.

Filling poured into crust.

Pie after setting in the refrigerator.

Pie after setting in the refrigerator.

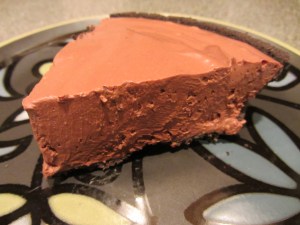
Dense tofu chocolate pie.

Dense tofu chocolate pie.

This pie is delicious, and I will absolutely make it again. The pie is super rich, full of chocolate flavor, and has a dense, smooth texture. You would NEVER guess that tofu is in this pie. I would say this is one of the best recipes I have made so far in this project.

Tall & Tangy Tofu Thangy

The final recipe in this episode is for a tofu smoothie. In advance of making this one, freeze a small can (8 1/4 oz) of fruit cocktail in light syrup. I actually could not find a small can of fruit cocktail, so I weighed mine out and froze it in a ziplock bag.

Smoothie ingredients:  frozen fruit cocktail in light syrup, lemonade mix, cranberry juice, and silken tofu.

Smoothie ingredients: frozen fruit cocktail in light syrup, lemonade mix, cranberry juice, and silken tofu.

When ready to have your smoothie, dump the frozen fruit cocktail into a blender, along with 1 t powdered lemonade mix, 6 ounces cranberry juice, and 1 block of silken tofu. Blend until smooth and drink.

Frozen fruit cocktail in the blender.

Frozen fruit cocktail in the blender.

Lemonade mix added.

Lemonade mix added.

Six ounces of cranberry juice.

Six ounces of cranberry juice.

Allison's camera 066

Silken tofu added to the blender.

Silken tofu added to the blender.

Blended until smooth.

Blended until smooth.

The finished tofu smoothie.

The finished tofu smoothie.

We had this smoothie for breakfast yesterday, and thought it was okay, but not outstanding. It is a pretty thick smoothie that is really more tart than sweet, and we both found that the flavor of the tofu really came through, which some people may not care for.

The Coonhounds got a little taste of the smoothie, and they thought it was pretty good.

The Coonhounds got a little taste of the smoothie, and they thought it was pretty good.

I probably will not make this one again, as I think my own tofu smoothie “recipe” (I don’t measure anything) is better; mine consists of a banana, frozen berries, silken tofu, honey, soy milk, and some yogurt.