It is always fun in this project when I get to watch an episode of Good Eats that I have not previously seen; episode 80 was one I had definitely not seen before. The premise of this episode is that Alton goes on a local, schlocky morning show to discuss coleslaw. When the other scheduled guest fails to show, Alton becomes the main attraction, continuing on with recipes for other types of slaw. Now, I’ll be honest that I don’t get too overly excited about slaw, but Alton did make some slaws in this episode that looked pretty tasty. So, how did they turn out?
Coleslaw
A classic coleslaw was first in this episode. This recipe requires some forethought because the prep needs to begin a couple hours in advance. Start by combining 1/2 a head of green cabbage, 1/2 a head of red cabbage, and lots of Kosher salt in a colander. Leave the cabbage for a couple hours to drain any excess moisture.

Half a head each of red and green cabbage.

Half a head of green cabbage, sliced.

Half a head of red cabbage, sliced.

Cabbage, tossed with lots of Kosher salt, and left to drain for a couple hours.
For the dressing, combine 1/2 C buttermilk, 2 fluid oz mayo, 2 fluid oz plain yogurt, and 1 T pickle juice.

For the dressing: buttermilk, plain yogurt, mayo (I used homemade), and pickle juice.

Mayo and yogurt for dressing.

Pickle juice added to buttermilk, mayo, and yogurt.
Whisk the dressing thoroughly, adding 1 t dry mustard and 1 T chopped chives.

Dry mustard.

Dry mustard added to dressing.

Dry mustard and chopped chives added to dressing.
When the cabbage has drained, rinse it very well with cold water and give it a few whirls in a salad spinner.

Cabbage after draining for 2 hours.

Cabbage, rinsed and ready to spin in the salad spinner.
Add the cabbage to the prepared dressing, along with one sliced carrot, and toss to coat.

A sliced carrot to add to the dressing.

The cabbage, along with a sliced carrot, added to the dressing.
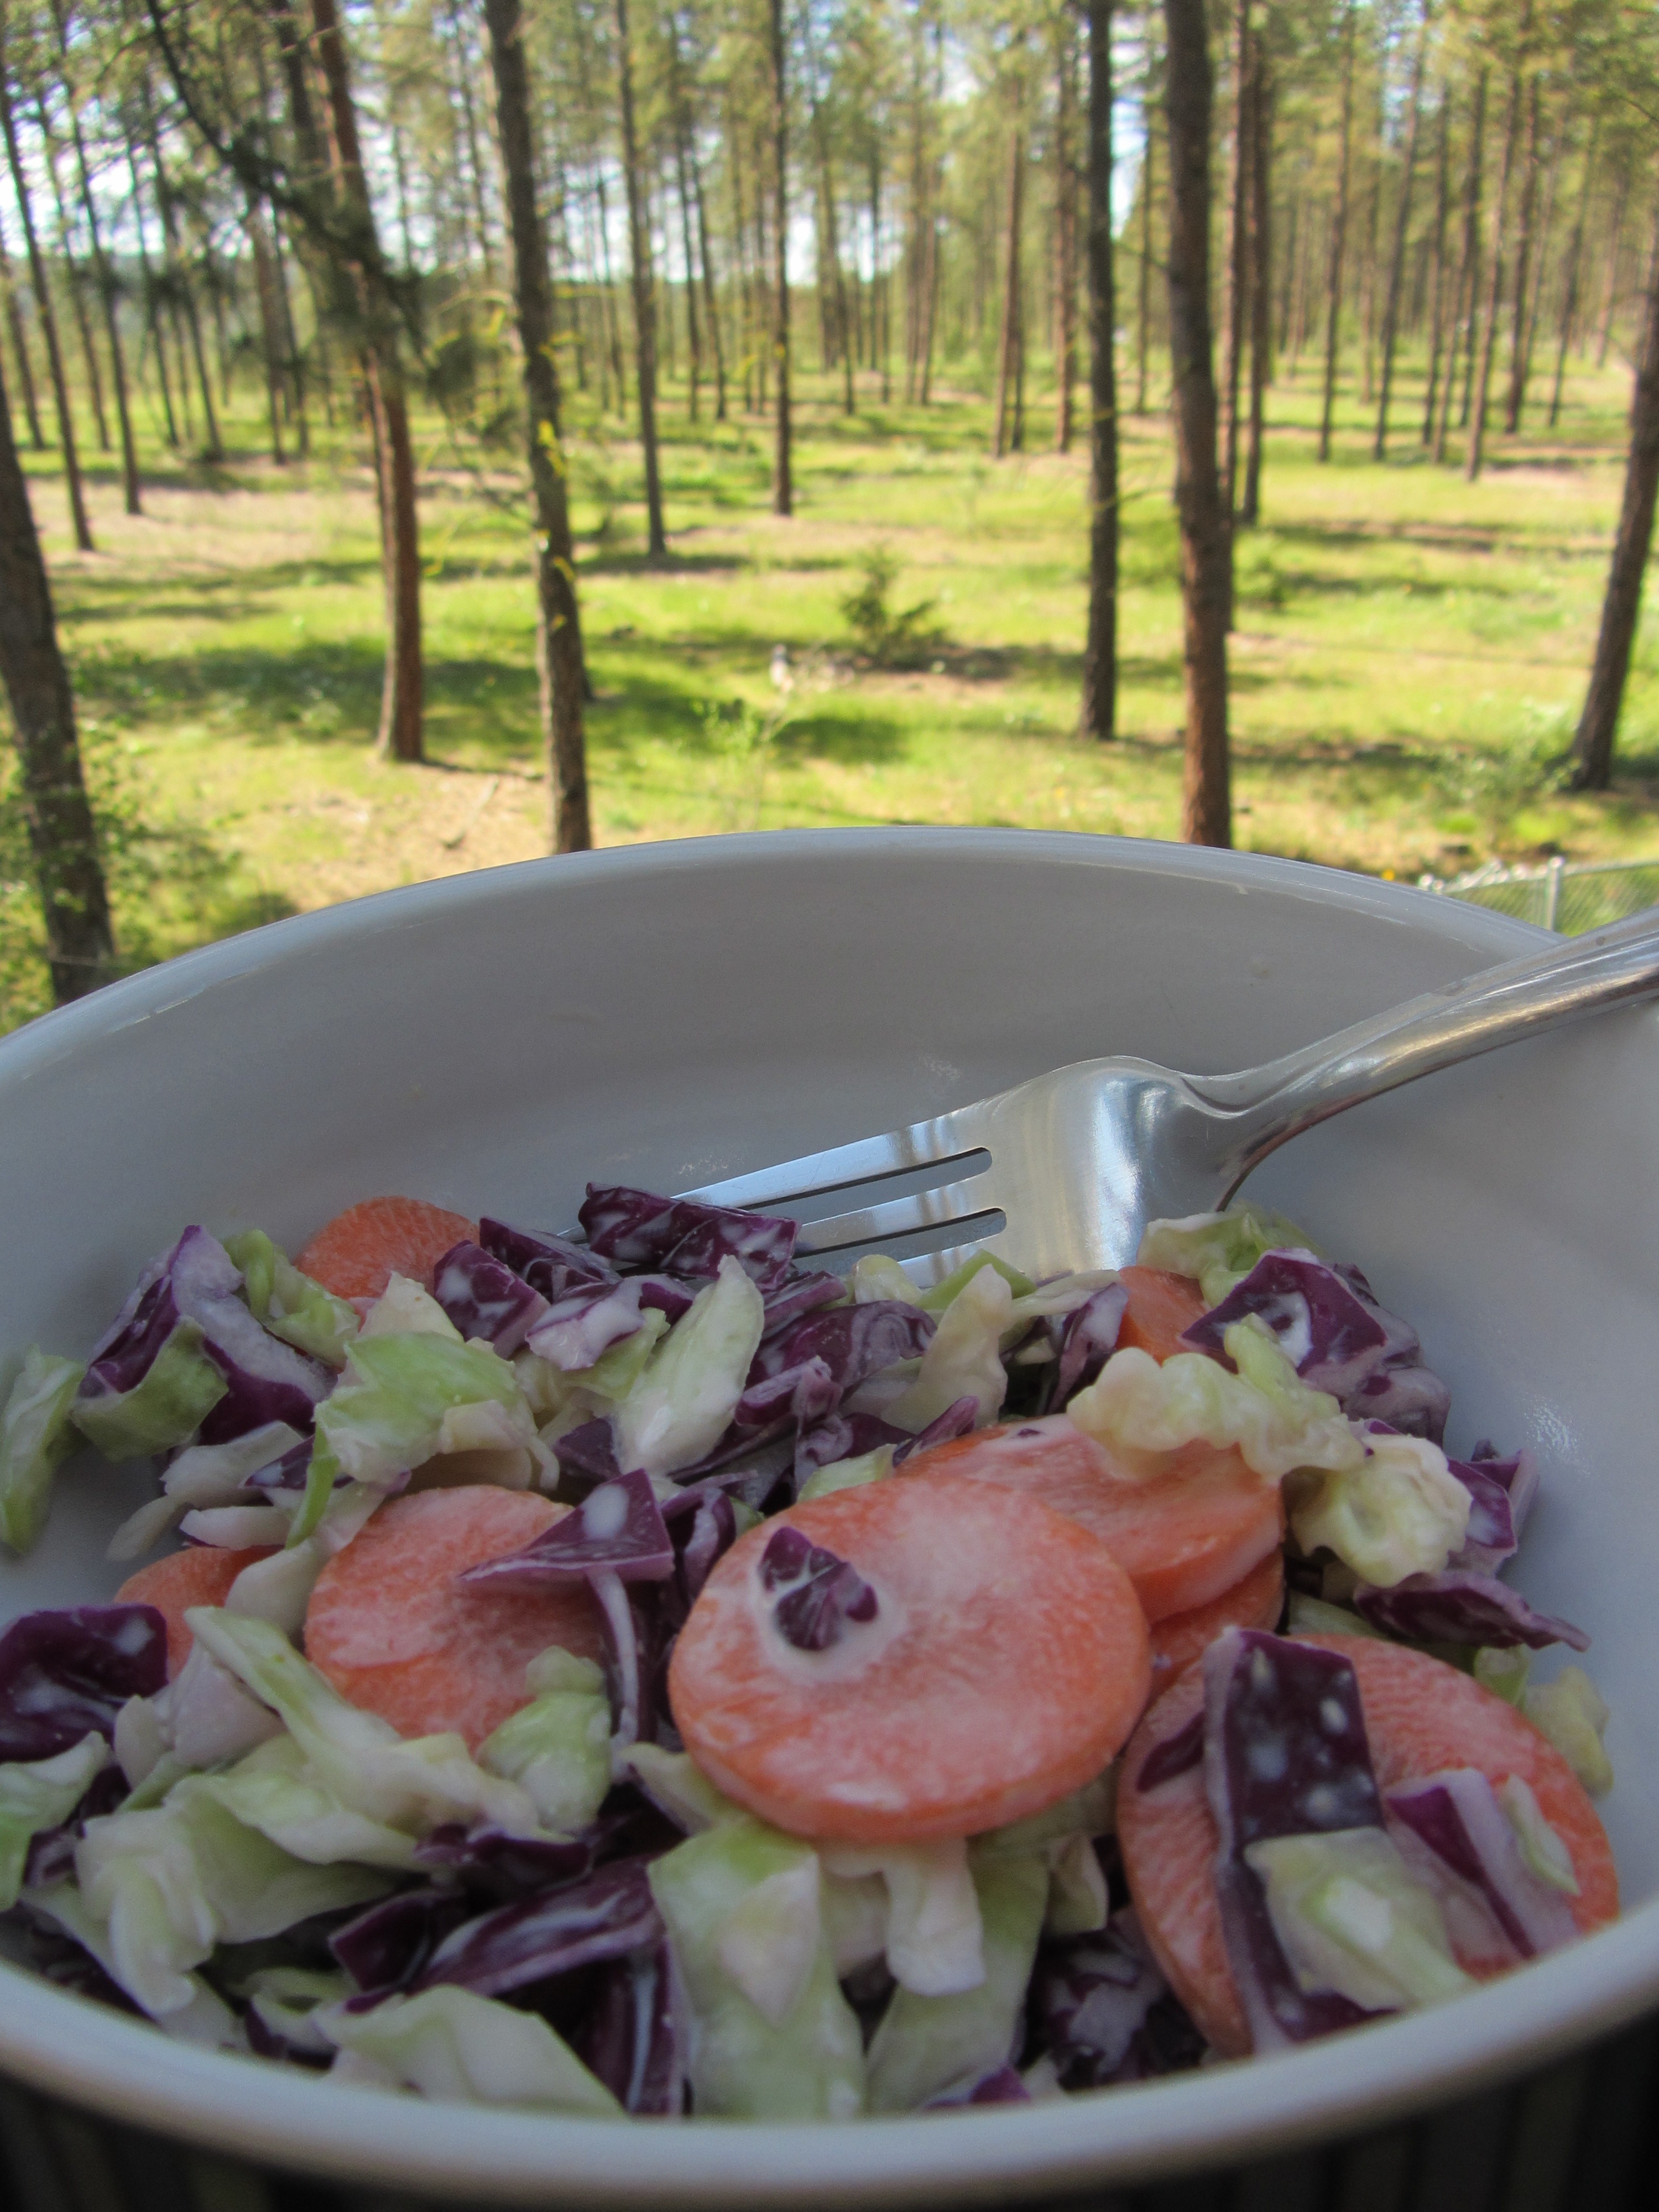
A bowl of Alton’s coleslaw.
This coleslaw was good, but not exciting. I did like how the powdered mustard contributed a slight kick of heat, while the pickle juice added some tang. Otherwise, though, it was really just a classic coleslaw that you could buy in any deli. It would, however, make a nice condiment for a pulled pork sandwich.
Beet Slaw
After watching the episode, I was most excited about Alton’s beet slaw because I love anything with beets… and Asian pears… and goat cheese. Yep, this one appeared to be right up my alley. Before you do anything else in this recipe, you will want to steam a few beets until they are tender (it took about 15 minutes for my beets to be tender).

Beets, ready to be be steamed.

Beets, after steaming for about 15 minutes.
To make the dressing, combine in a large bowl 1/4 C red wine vinegar, 2 T lemon juice, 2 T honey, 1/4 t Kosher salt, and 1/2 t pepper.

Dressing ingredients: red wine vinegar, lemon juice, honey, Kosher salt, pepper, and olive oil.

Red wine vinegar, lemon juice, honey, Kosher salt, and pepper.
Whisk in 1/4 C olive oil until emulsified.

Olive oil, whisked into dressing.
To the dressing, add 2 C of jicama, peeled and cut into matchsticks.

Jicama.

Jicama, peeled and cut into matchsticks.

Jicama, added to dressing.
Next, thinly slice 3 C of fennel; this is easiest on a mandolin. Add the fennel to the slaw, along with 1/4 C of grated onion.

Fennel

Sliced fennel and grated onion added to slaw.
Again with the mandolin, if you have one, thinly slice one Asian pear and add it to the mix.

Asian pear.

Asian pear, sliced on mandolin.
Finally, peel and spiralize your beets until you have 4 C. Add the spiralized beets to the bowl.

Beet, peeled and ready to be spiralized.

Spiralized beets added to bowl.
Toss all of the vegetables with the dressing and crumble in 6 ounces of goat cheese to finish.

Goat cheese added to slaw.

Beet slaw.
I happened to make this slaw when my brother was visiting, and he declared that he really liked this slaw despite not typically liking beets. Ted and I thought this was great also. This recipe is a fantastic marriage of flavors and textures. The jicama, fennel, and Asian pear are light and crispy, while the beets and onion are tender, and the goat cheese adds a lovely creaminess. Flavorwise, the earthy sweetness of the beets was great with the sweet Asian pear, nutty jicama, and spicy onion. The fennel added subtle anise hints. The dressing was tangy with a hint of sweetness, and the goat cheese gave a creamy tartness. All-in-all I was really happy with this one and will make it again. I will say that it is most aesthetically pleasing the day it is made, as the beets turn everything purple as the slaw sits.
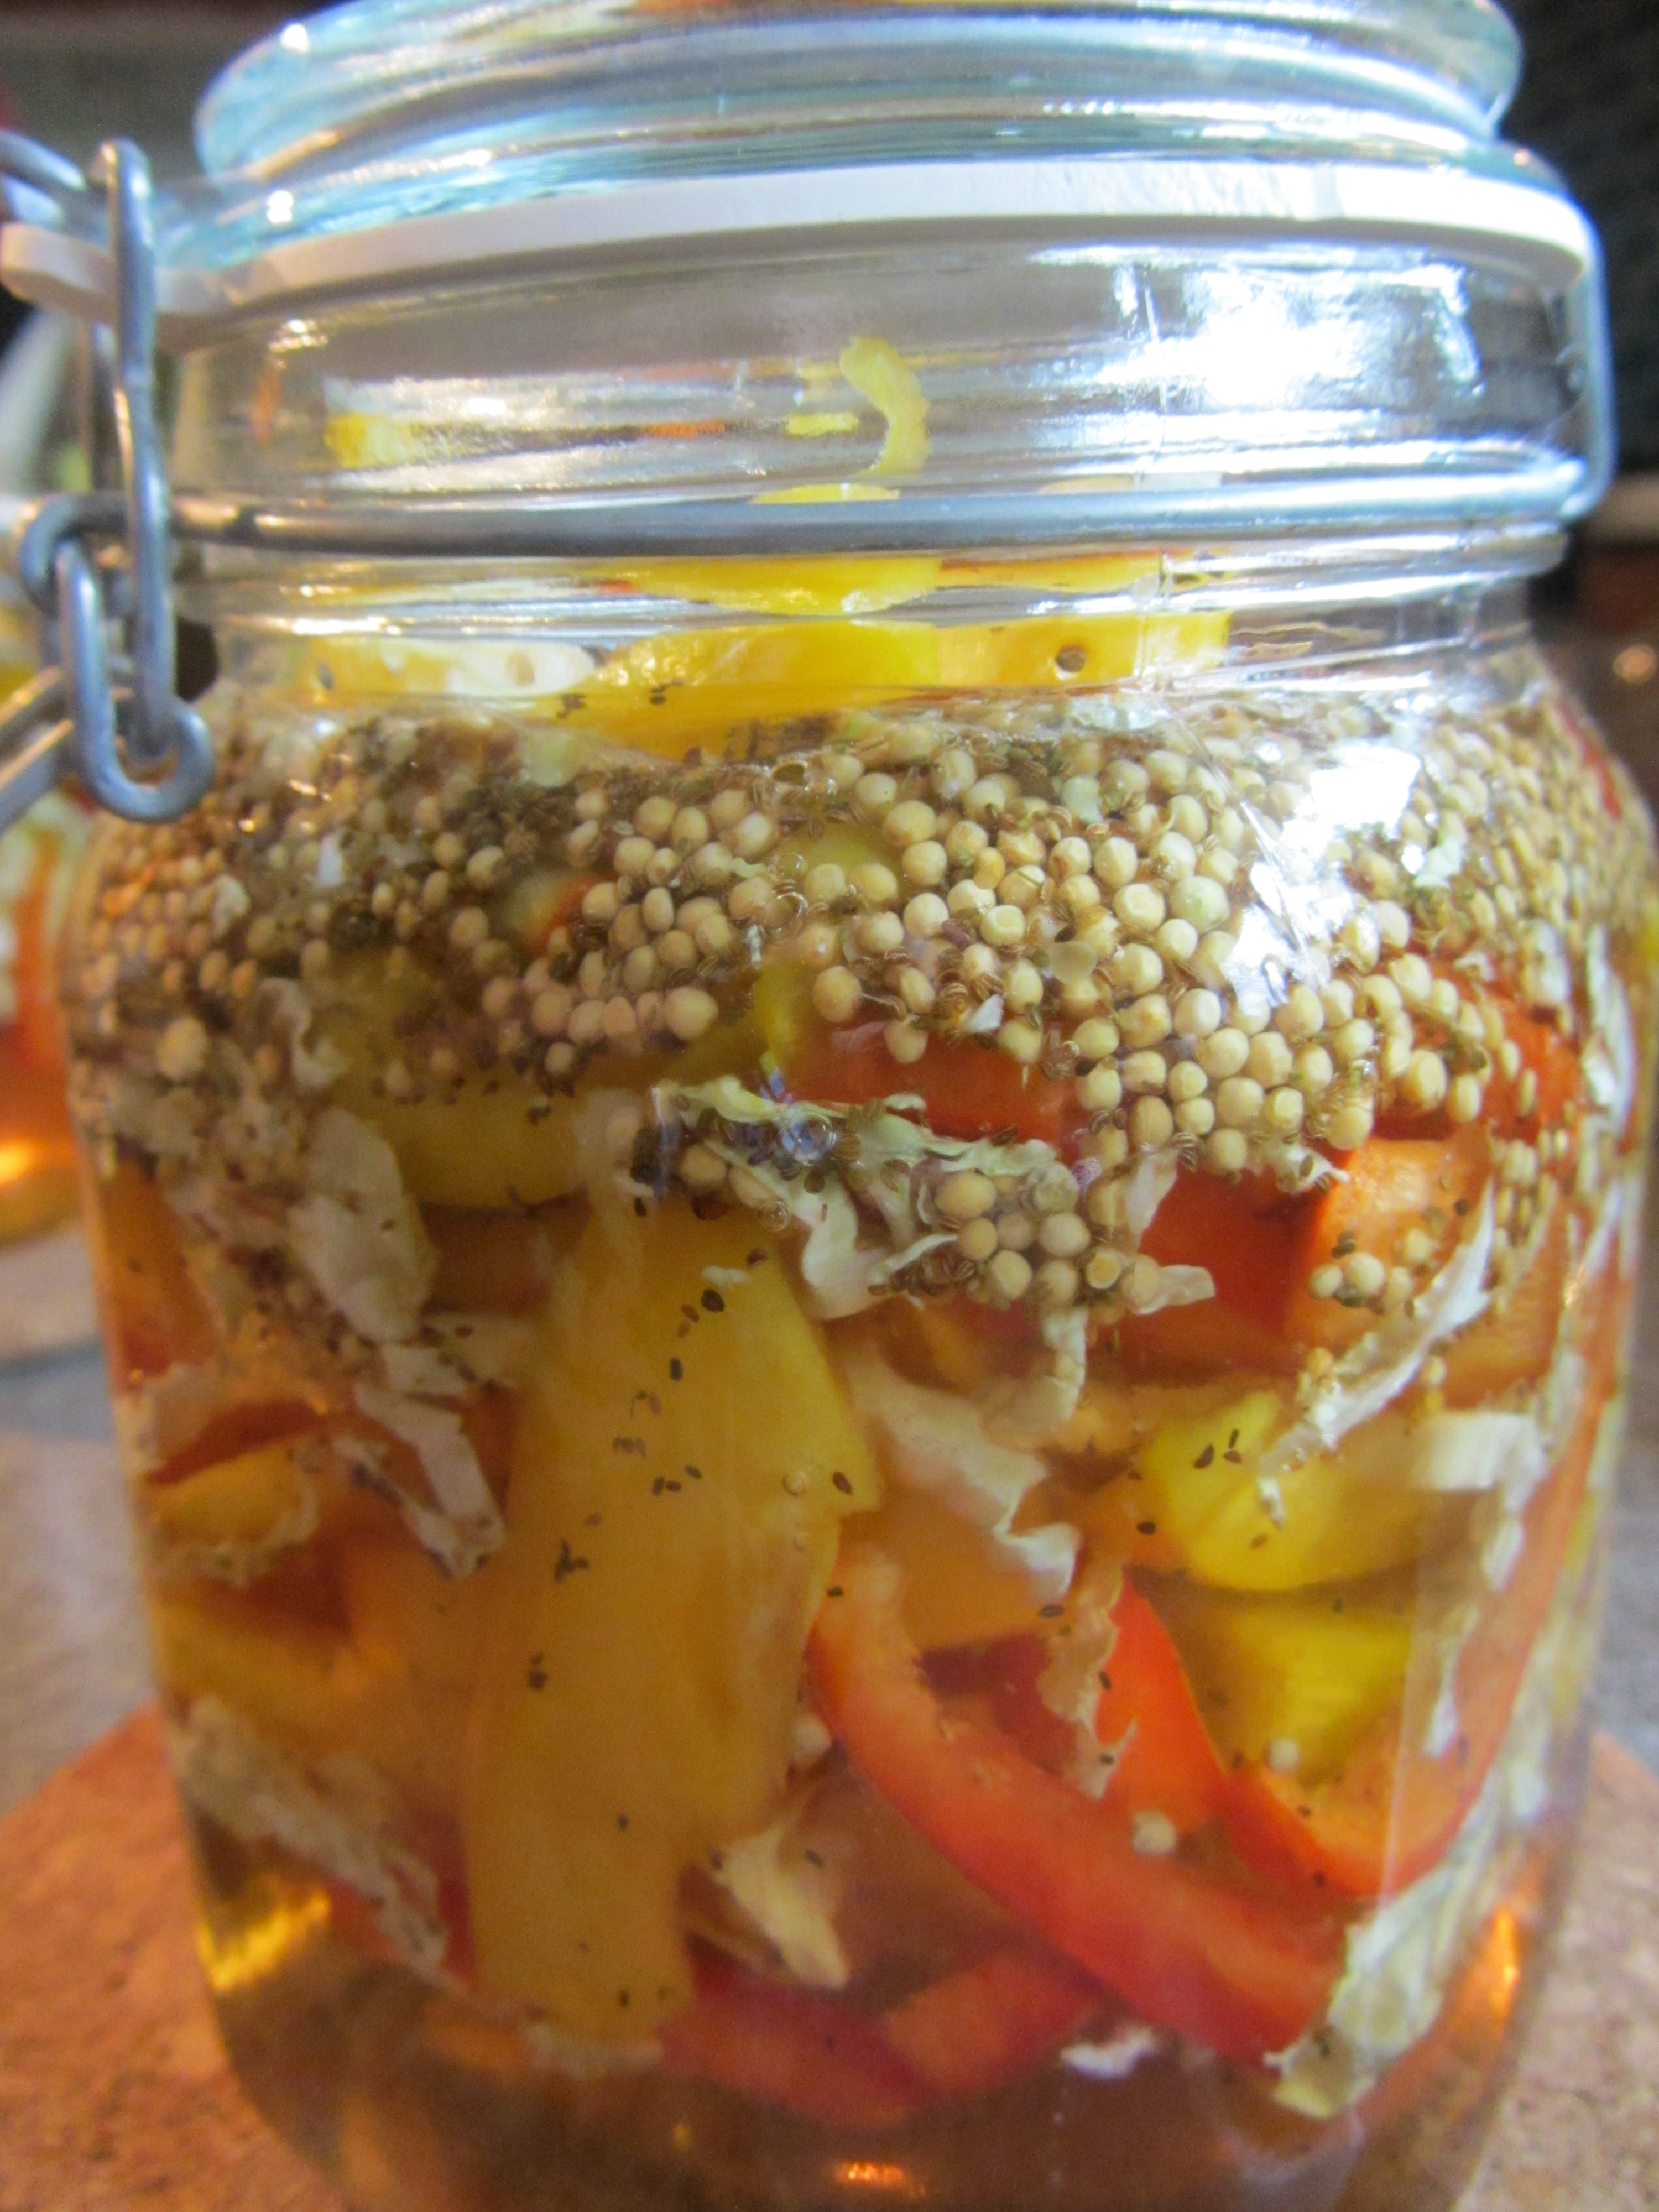
Marinated Slaw
I actually started this blog a couple days ago, but am only just now finishing it. As I type, I am sandwiched between our two Coonhounds. Brixie, our beloved little “dogter,” had a rough day today, having a lump removed from her paw that could potentially be malignant. We’re all crossing our fingers and paws that we get a good biopsy report in the next few days. Now, back to the food.
If you are looking for a make-ahead slaw, Alton’s marinated slaw may be the one for you. Essentially, this is a pickled slaw that develops flavor for three days before you eat it. I don’t know about you, but I love anything pickled. For this slaw, grate 1/2 a head of Napa cabbage, and julienne 2 red bell peppers and 2 green bell peppers (I used yellow peppers, instead of green). Alton tells you to drain the vegetables in a colander for two hours, though this is really quite pointless without adding salt to the vegetables, as nothing drains away.

Napa cabbage.

Shredded Napa cabbage.

Shredded Napa cabbage, along with bell peppers, set aside to drain.
Once your vegetables are prepped, bring to a boil 3/4 C cider vinegar, 1 C sugar, 2 T Kosher salt, 1 t celery seeds, and 1 T mustard seeds; I found that this recipe did not yield enough marinade, so I had to make a second batch of marinade.

Cider vinegar, sugar, Kosher salt, celery seeds, and mustard seeds being heated for the brine.

The marinade, coming to a boil.
Pack your vegetables tightly in a mason jar (as tightly as possible, or they will float to the top), and pour in the hot marinade. Refrigerate the slaw for three days before eating.
Hot marinade poured over slaw.
I made this slaw before leaving town for a few days, and it was ready just when I returned home.

Alton’s marinated slaw.
The flavor of this slaw reminds me of bread and butter pickles, as the marinade is both sweet and tangy. The mustard seeds add some great pops of crunch and zest, and the peppers retain a lot of their crispy texture. This is a bright slaw that would be a good addition for a barbecue or picnic, or just as a side dish to dinner.
Asian Slaw
After making a coleslaw, a beet slaw, and a marinated slaw, what other type of slaw could you possibly make? Asian slaw is the final recipe from this episode, and it piqued my interest the most (along with the beet slaw) when I watched the episode. Alton also happened to mention that this Asian slaw is a favorite of his.

Dressing ingredients: soy sauce, lime juice, sesame oil, rice wine vinegar, and peanut butter.
In a large bowl, whisk together 1 T soy sauce, the juice of a lime, 2 T sesame oil, 1/2 C rice wine vinegar, and 1/2 C peanut butter.

Soy sauce

Soy sauce plus the juice of a lime.

Soy sauce plus the juice of a lime (and a cat cameo).

Soy sauce, the juice of a lime, and sesame oil.

Soy sauce, the juice of a lime, sesame oil, rice wine vinegar, and peanut butter.

The dressing for Alton’s Asian slaw.
With tongs, add the following items to the dressing, tossing to coat: 2 T minced ginger, 2 minced serrano peppers, 1 shaved carrot (use a vegetable peeler), 1 julienned red bell pepper, 1 julienned yellow bell pepper, 2 T chopped mint, 2 T cilantro, 3 chopped green onions, 1 head of shredded Napa cabbage, and 1/2 t pepper.

Minced ginger.

Serrano pepper.

Minced serrano pepper.

Shaved carrot.

Red and yellow bell peppers.

Chopped mint.

Cilantro.

Green onions.

Napa cabbage.

Napa cabbage and pepper, added to the bowl.
Toss everything together until well-coated.

Asian slaw, tossed to coat.
We both liked this slaw a lot, and it had fantastic Asian flavor from the ginger, sesame oil, lime, and peanut butter.
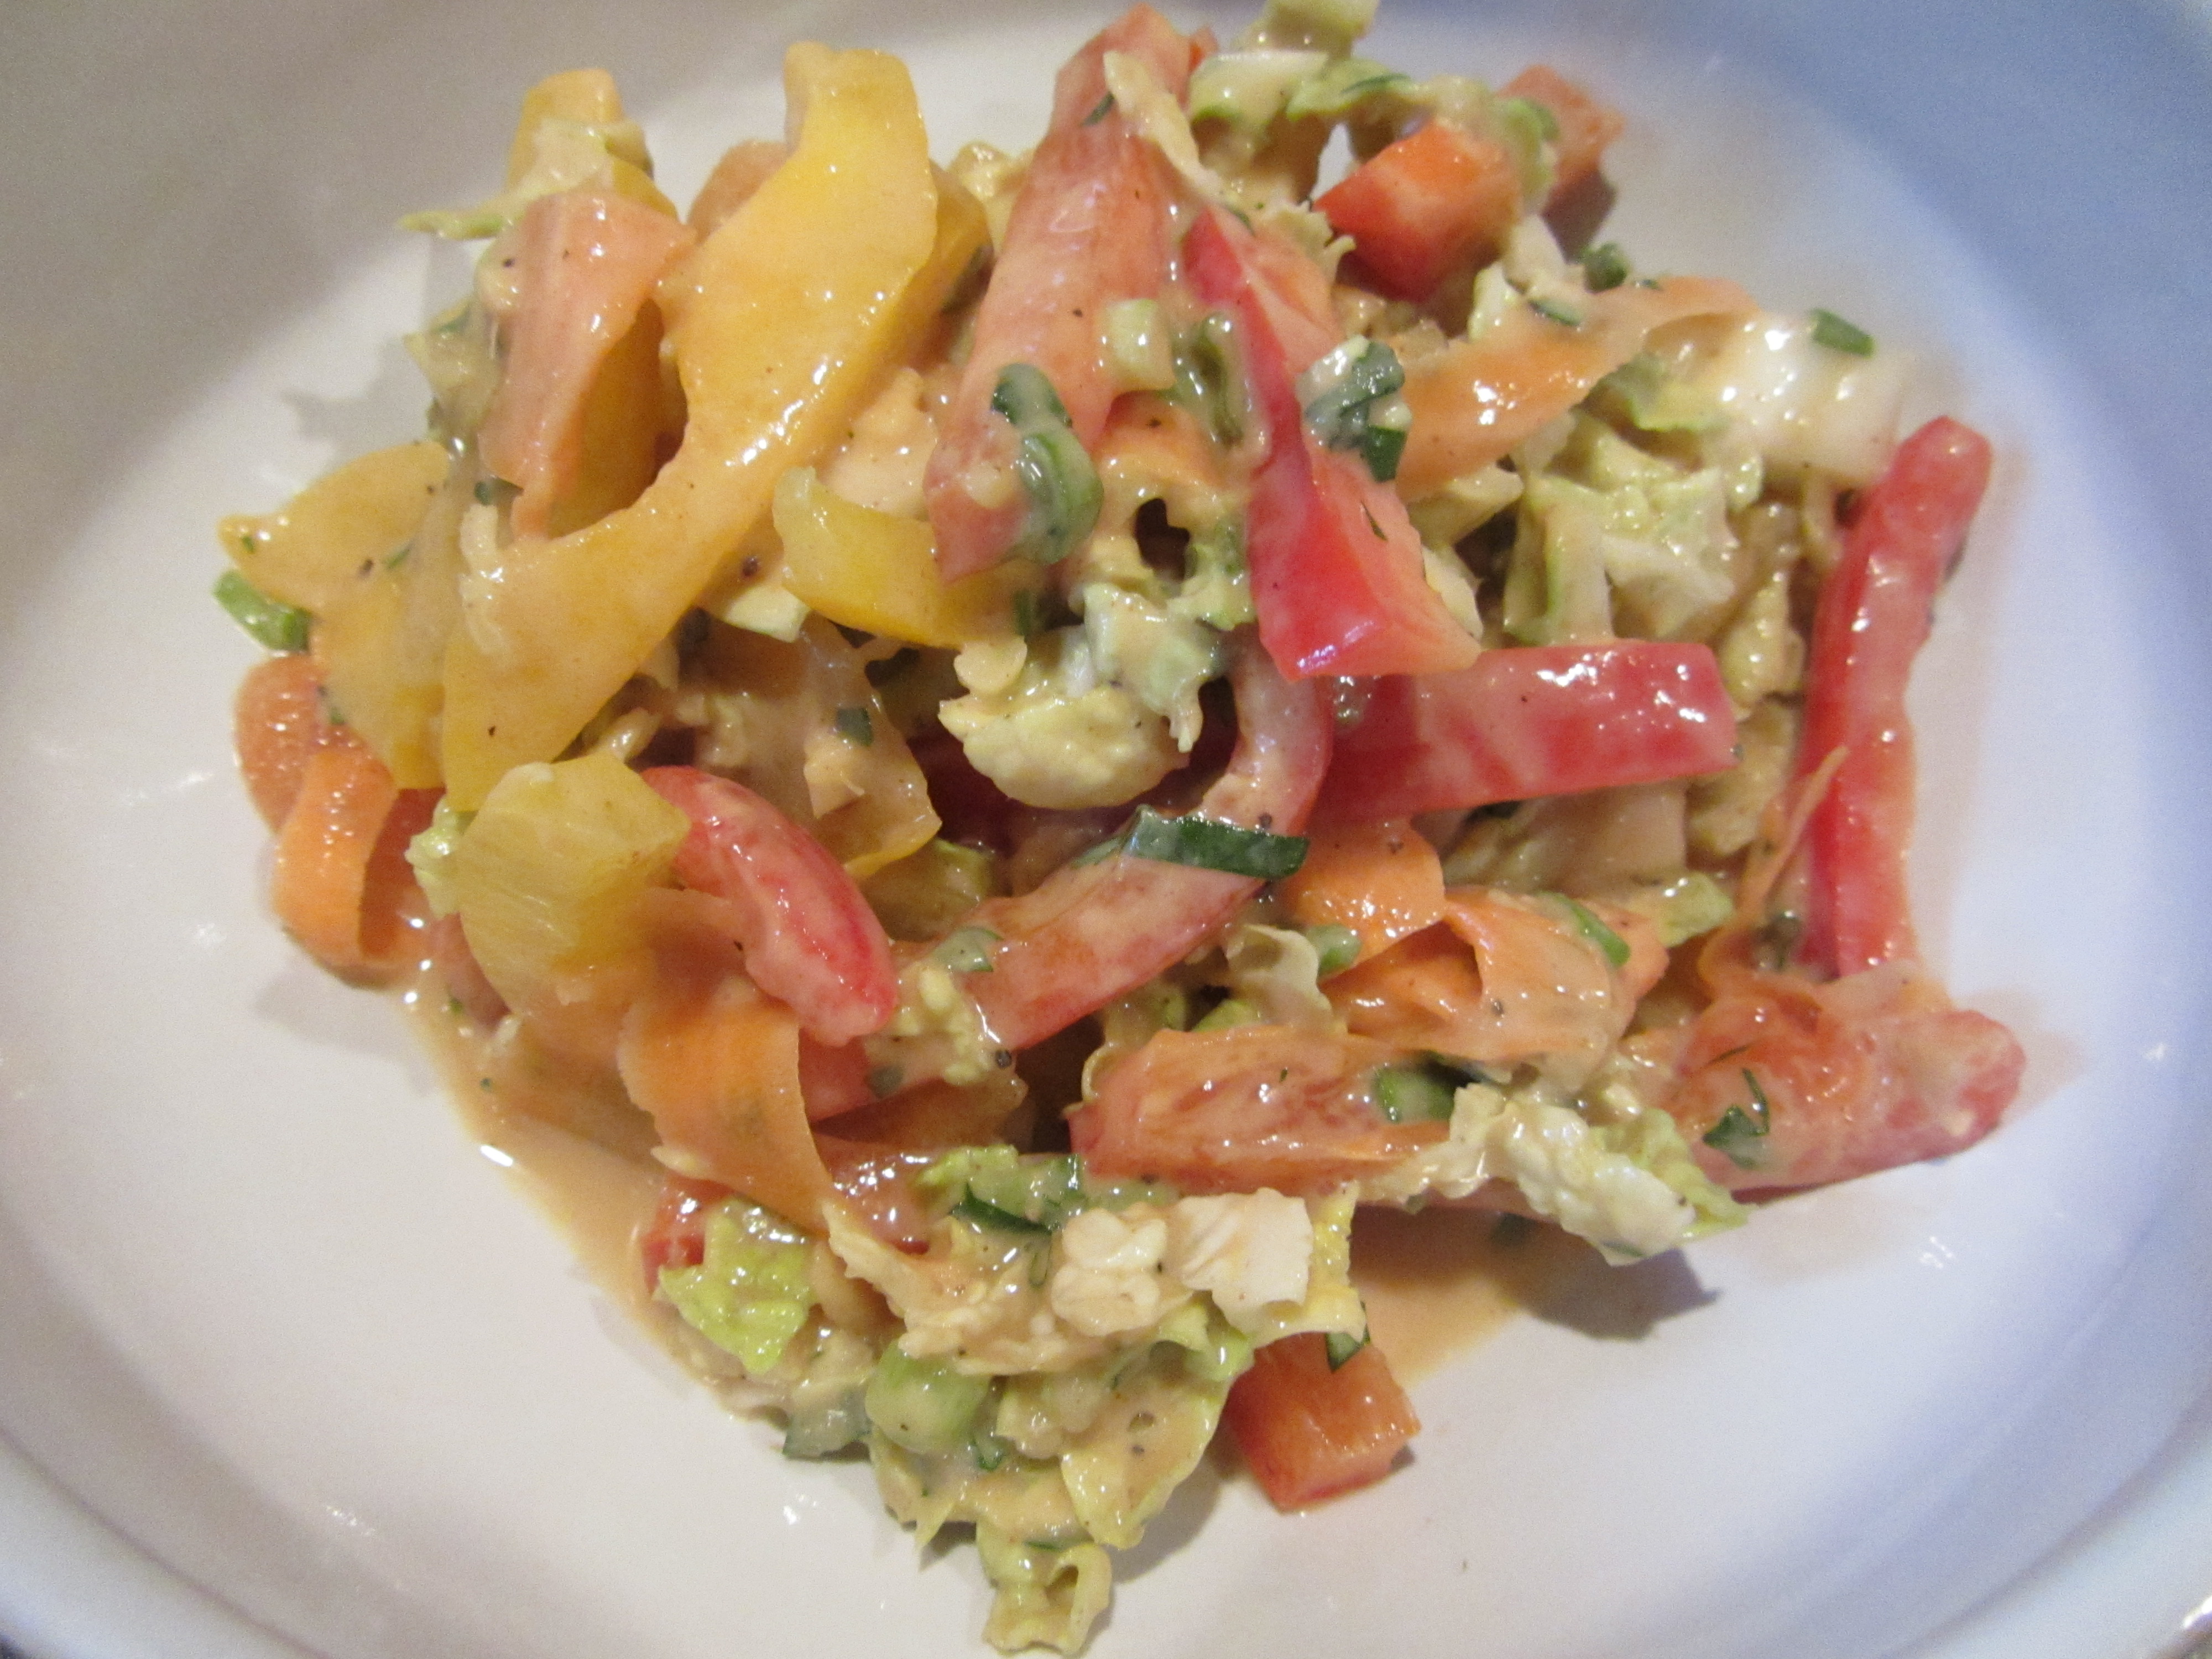
Alton’s Asian slaw.
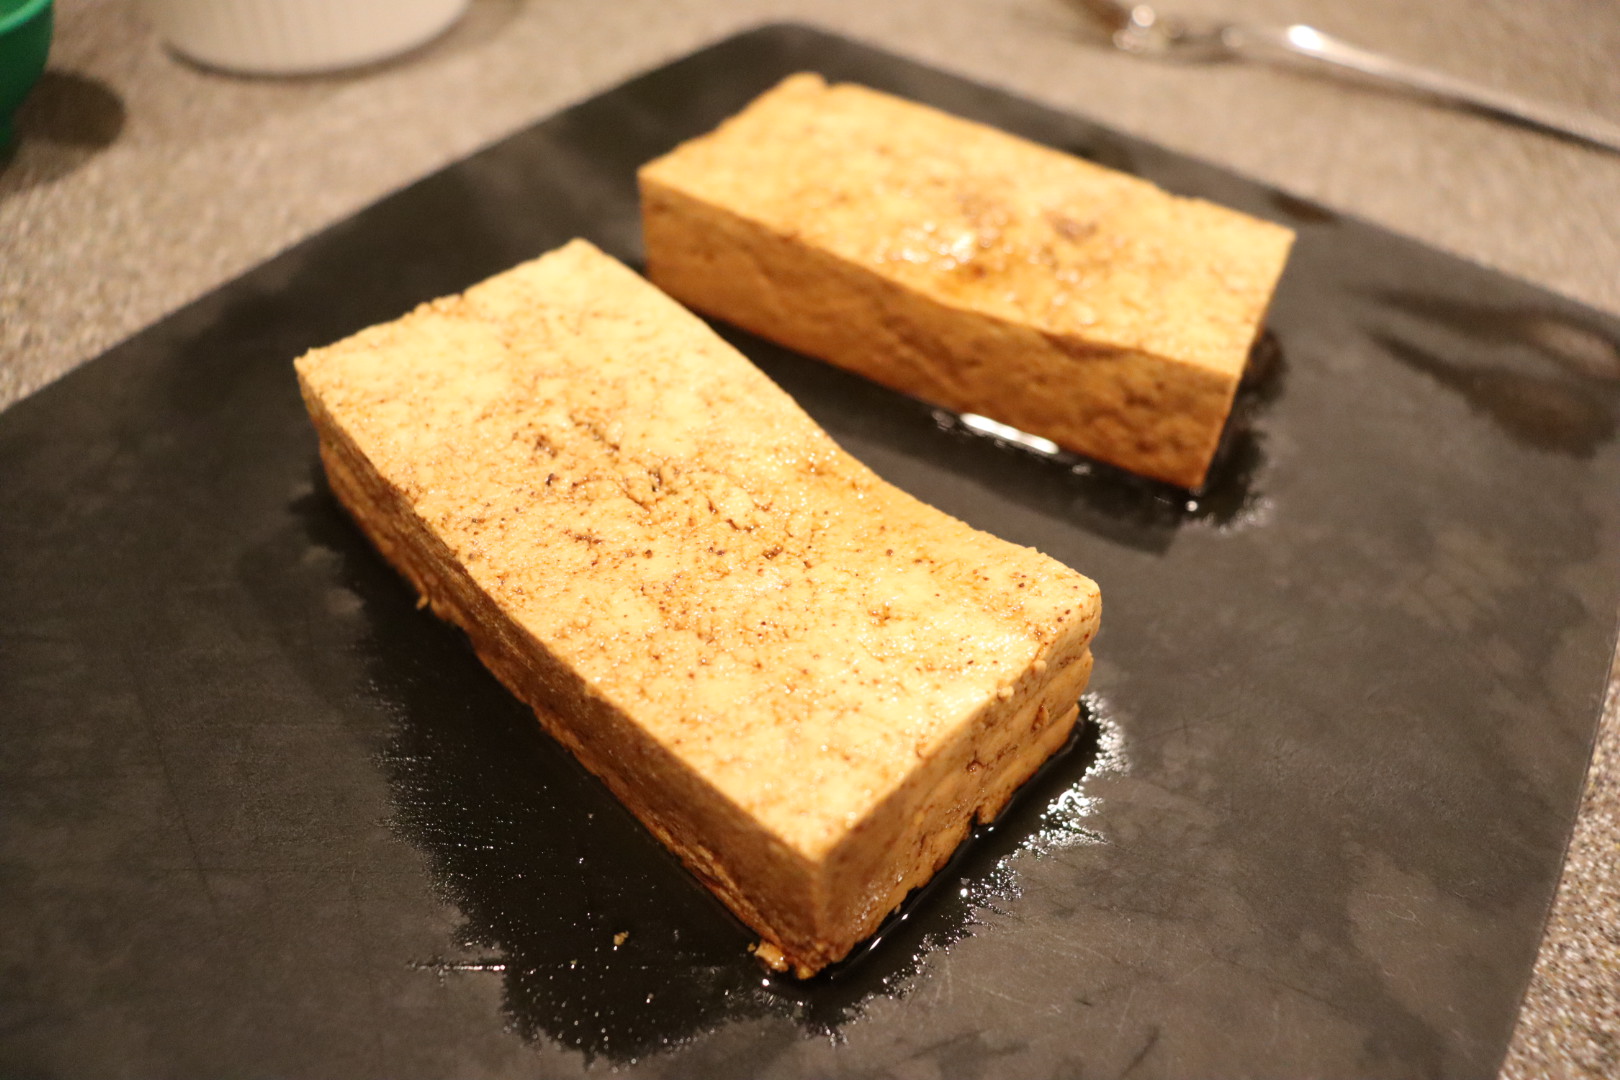
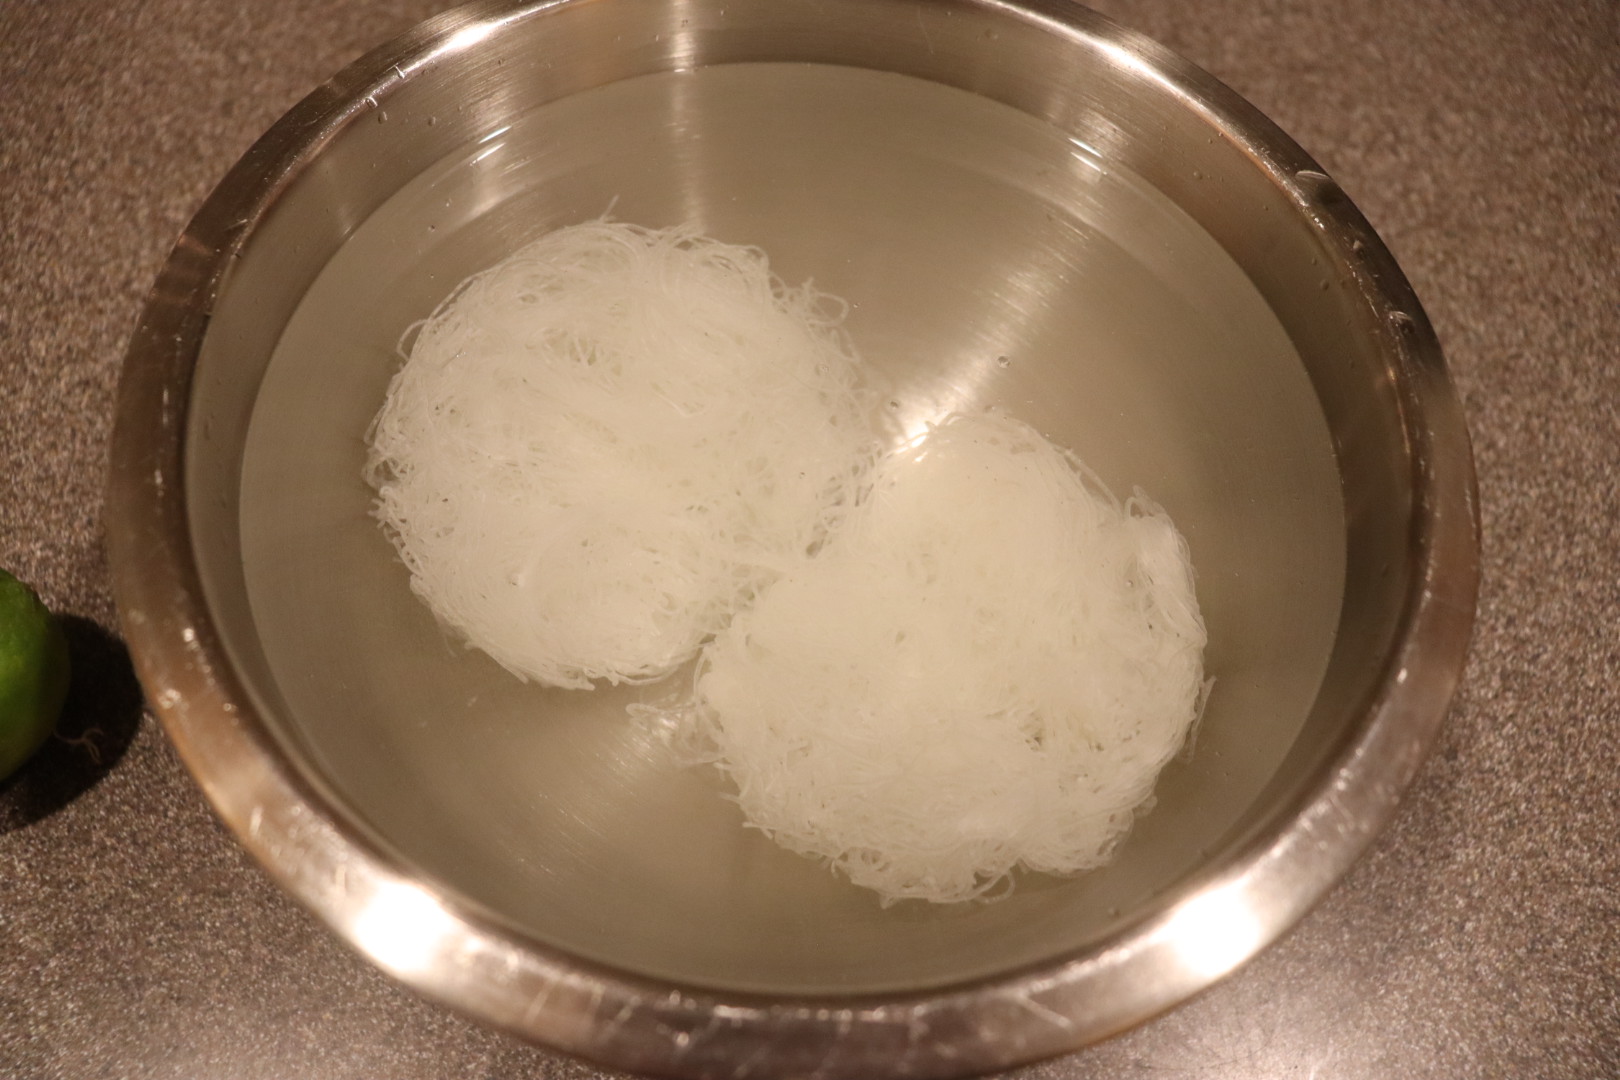
We ate this only as a side dish, but I would like to make it again, taking Alton’s suggestion of serving it as an entree; for a vegetarian entree, this slaw could be served with noodles or tofu, while you could serve it with flank steak for meat lovers. Personally, I can totally picture us eating this with steak as a summer entree on the deck.
Alton did a good job in this episode of demonstrating the diversity within the realm of slaw. Most of us probably see the word “slaw” and think of one thing: coleslaw. For me, the standouts in this episode were the beet slaw and the Asian slaw.