Pad Thai
They say that every Thai cook has his/her own version of Pad Thai, leading to countless recipes and variations. In reading the online reviews of Alton’s Pad Thai recipe, some reviewers are critical of his recipe, questioning its authenticity. I am not personally enough of a Pad Thai expert to evaluate the authenticity of Alton’s version, but I sure can give my opinion on how much I did/did not like it. Many of the ingredients in this recipe are not available in a regular supermarket, so a trip to an Asian grocery store is most likely necessary.
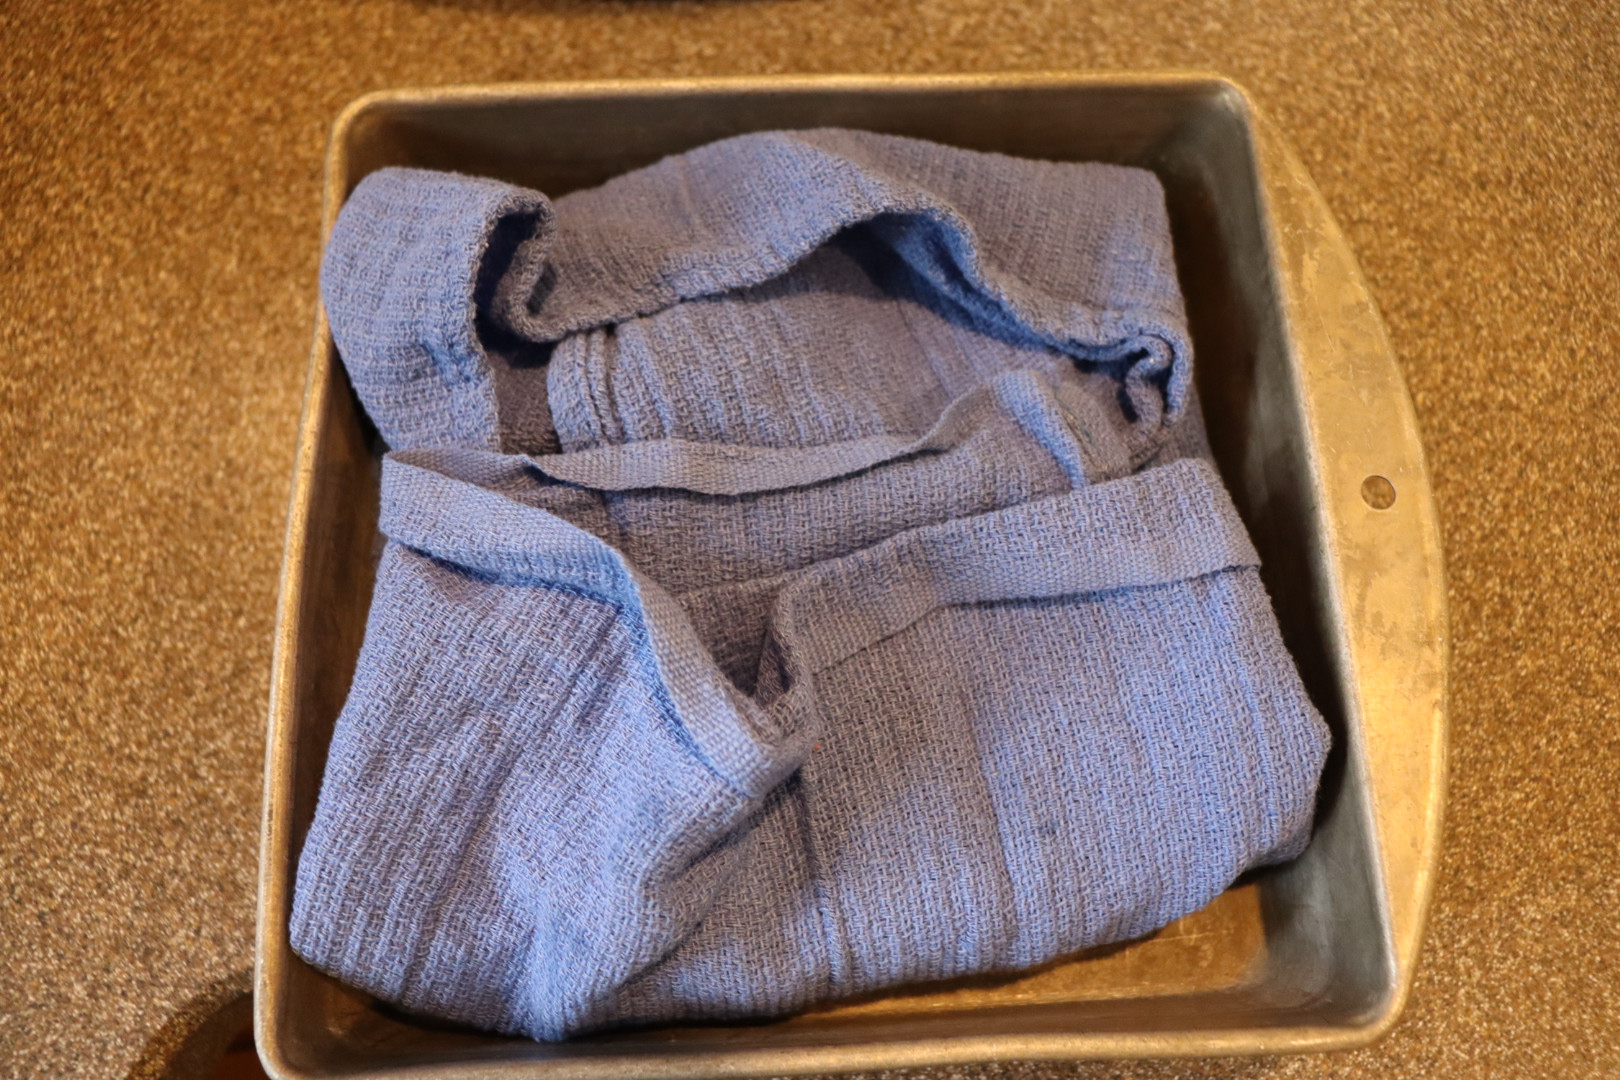
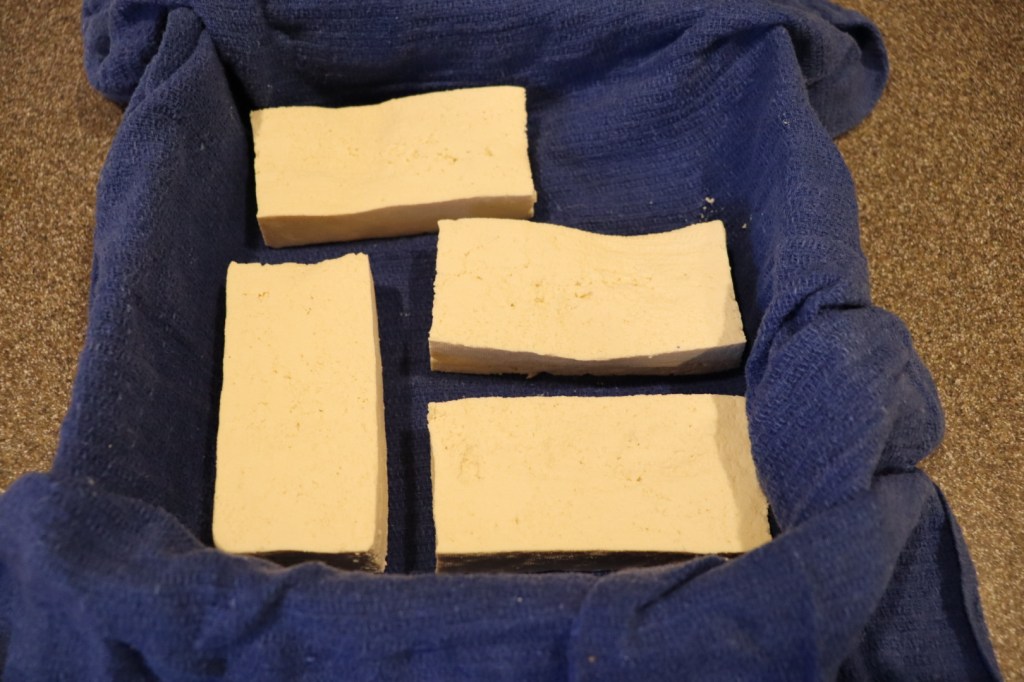
The night before you plan to eat your Pad Thai, you will want to begin prepping some tofu. To do this, slice 12 ounces of extra firm tofu into four slices. Line a baking pan with a tea towel, placing the tofu slices on top of the towel. Fold the towel over the tofu and place a second baking pan on top. Place a five pound weight on top of the second baking dish and place the tofu in the refrigerator overnight.


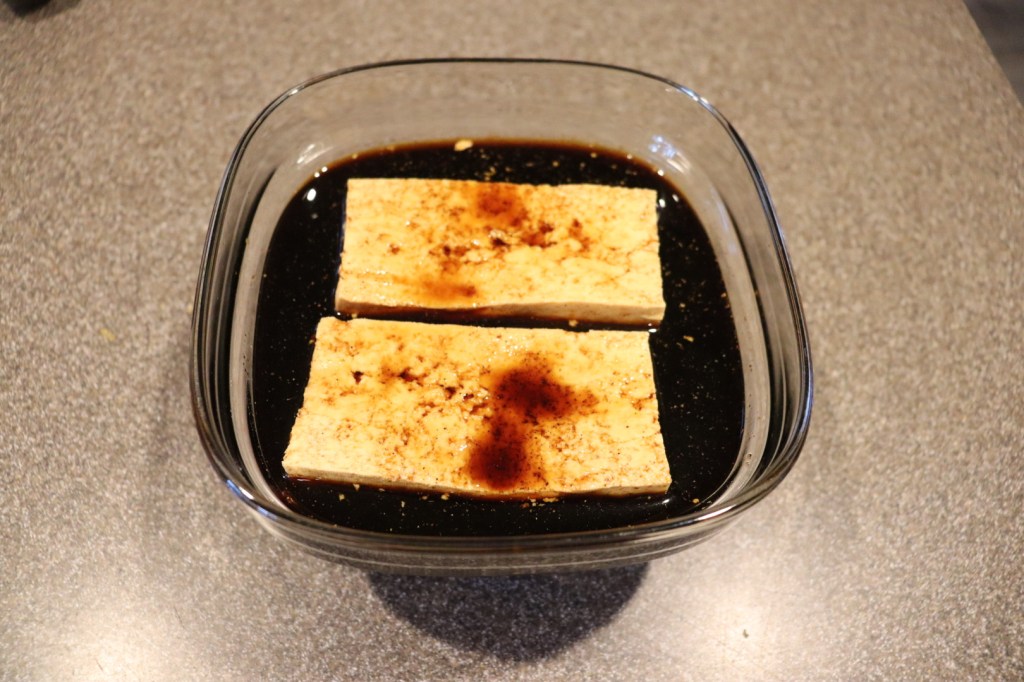
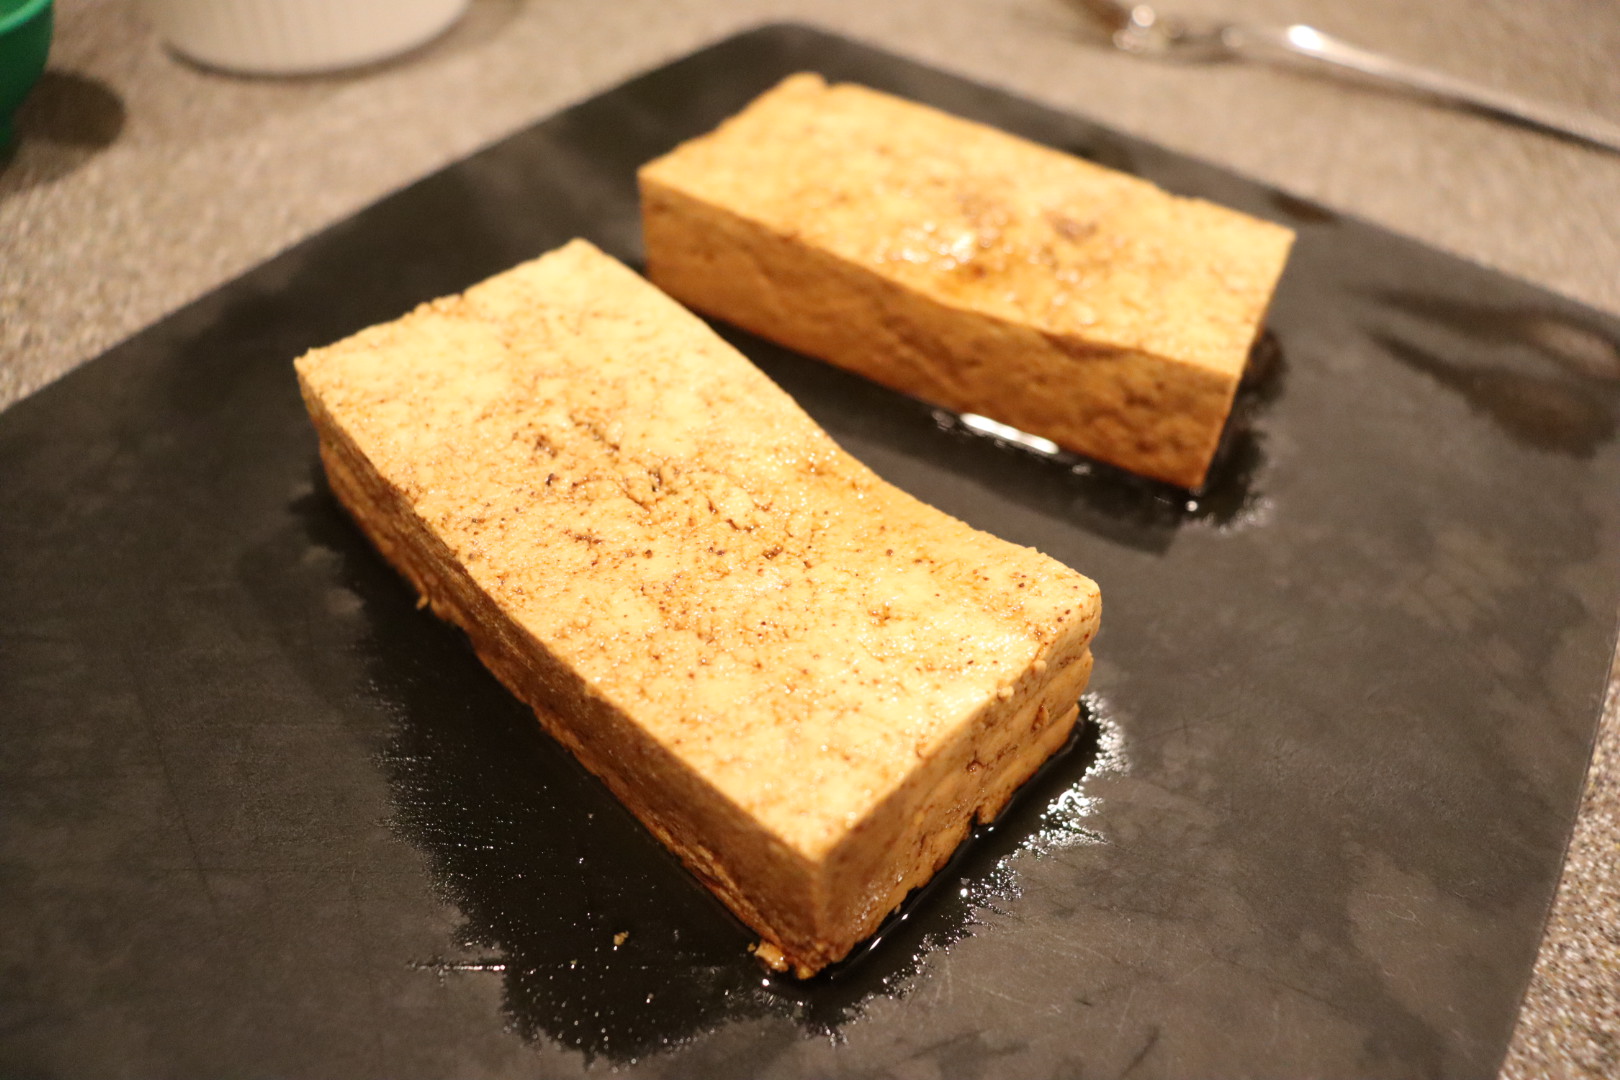
The following day, a half hour before you are going to cook, unwrap your tofu and soak it for 30 minutes in a mixture of 1 1/2 C soy sauce with 1 t Chinese five spice powder.

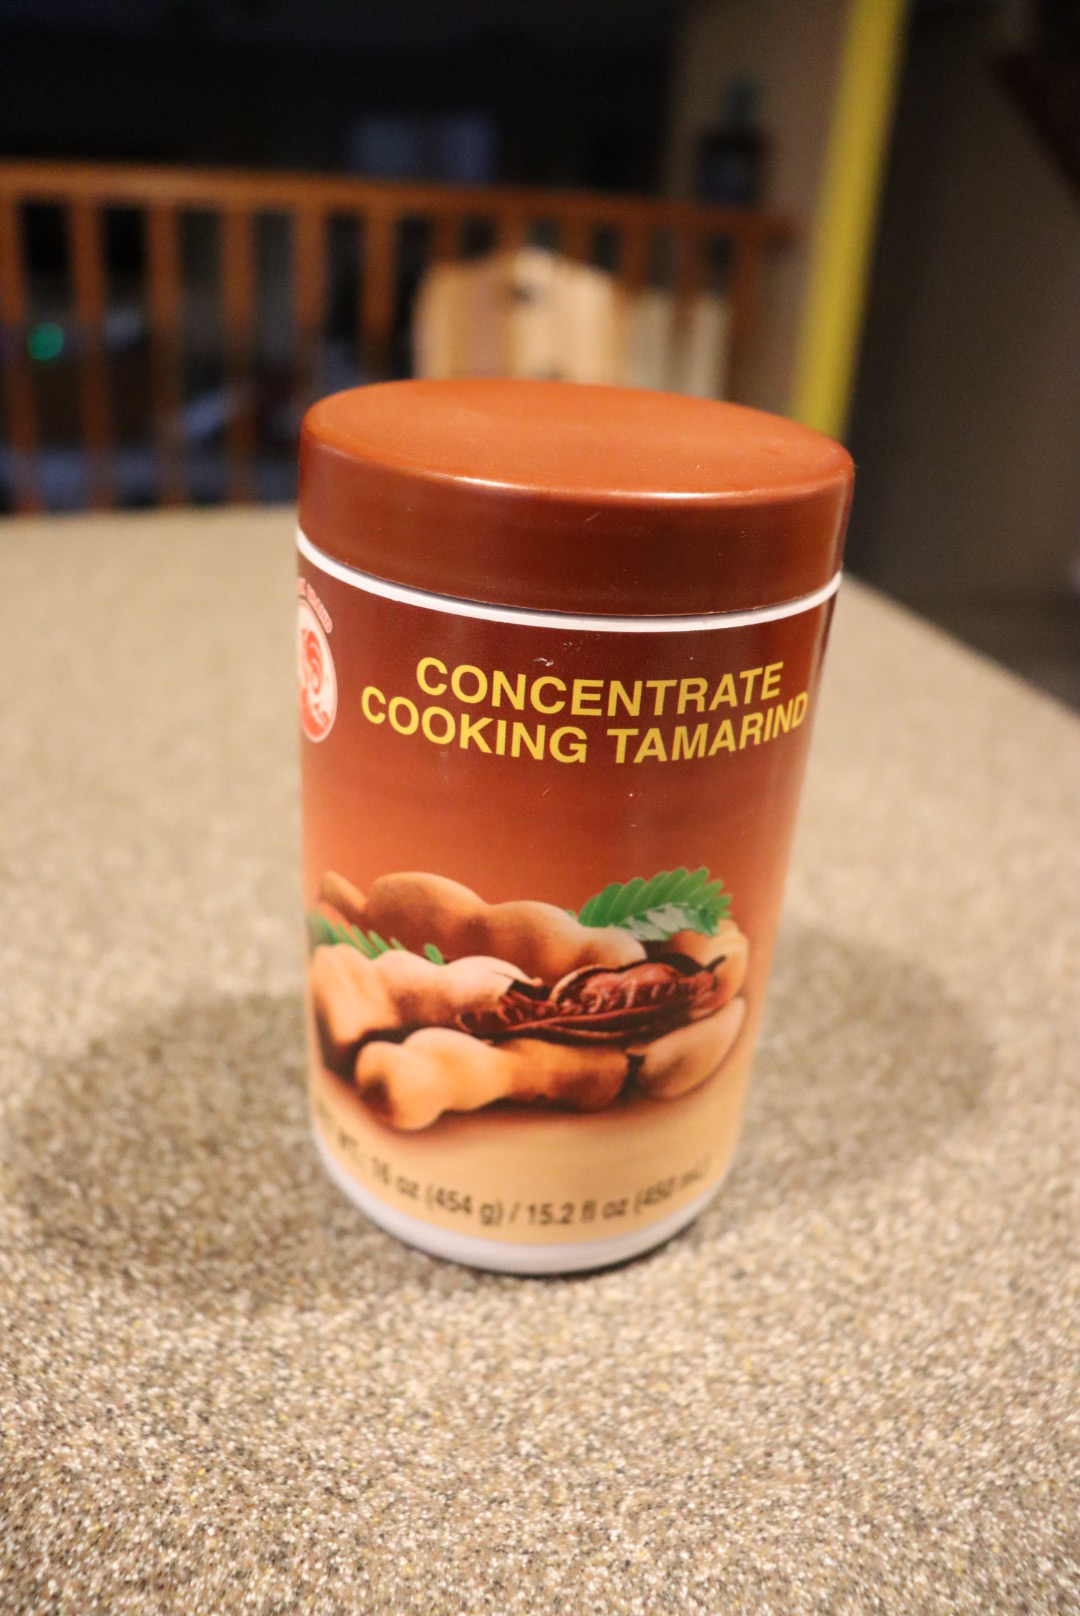
While your tofu marinates, pour 3/4 C boiling water over an ounce of seedless tamarind paste and set it aside; I accidentally got tamarind concentrate instead of tamarind paste (paste is much thicker).

Tamarind concentrate. 
Tamarind concentrate combined with hot water.

Remove half of the tofu from the marinade and thinly slice it.

Tofu after marinating. 
Sliced tofu.

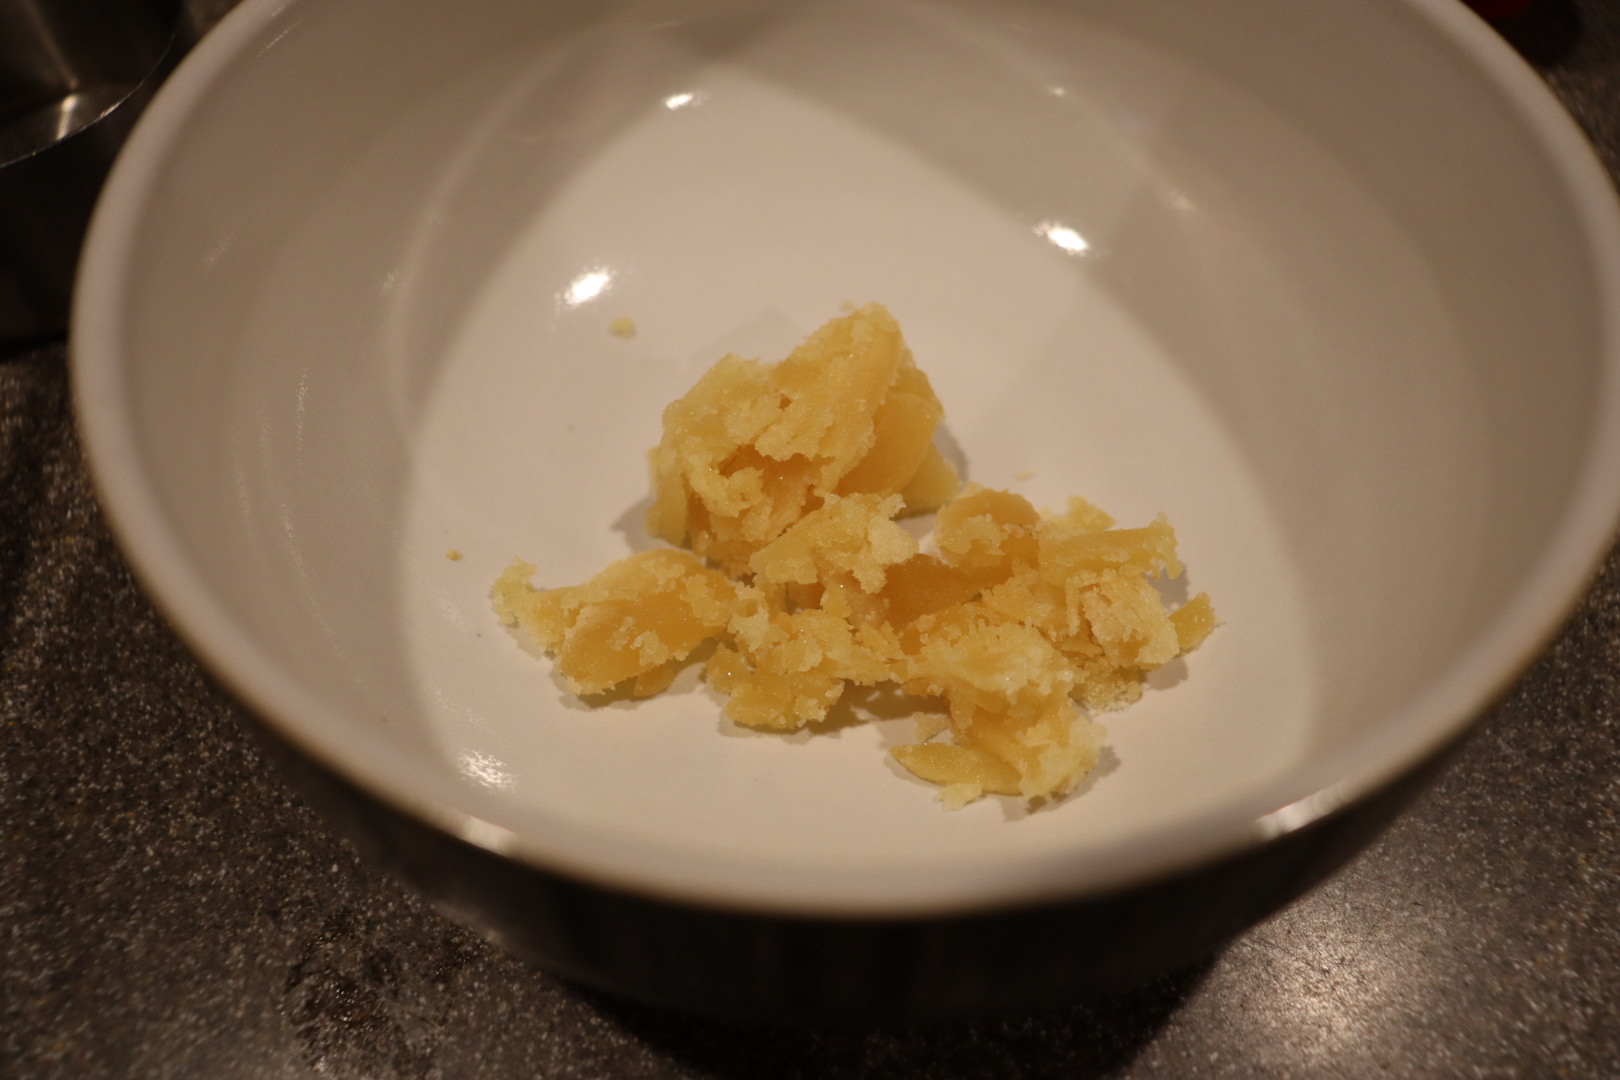
Next, to make the sauce, combine in a bowl: 2 T palm sugar, 2 T fish sauce, and 1 T rice wine vinegar. Strain the tamarind paste into this bowl, pressing on the solids to extract all liquid. Discard the solids.

Palm sugar. 
Palm sugar with rice wine vinegar and fish sauce. 
Tamarind liquid combined with the palm sugar mixture.


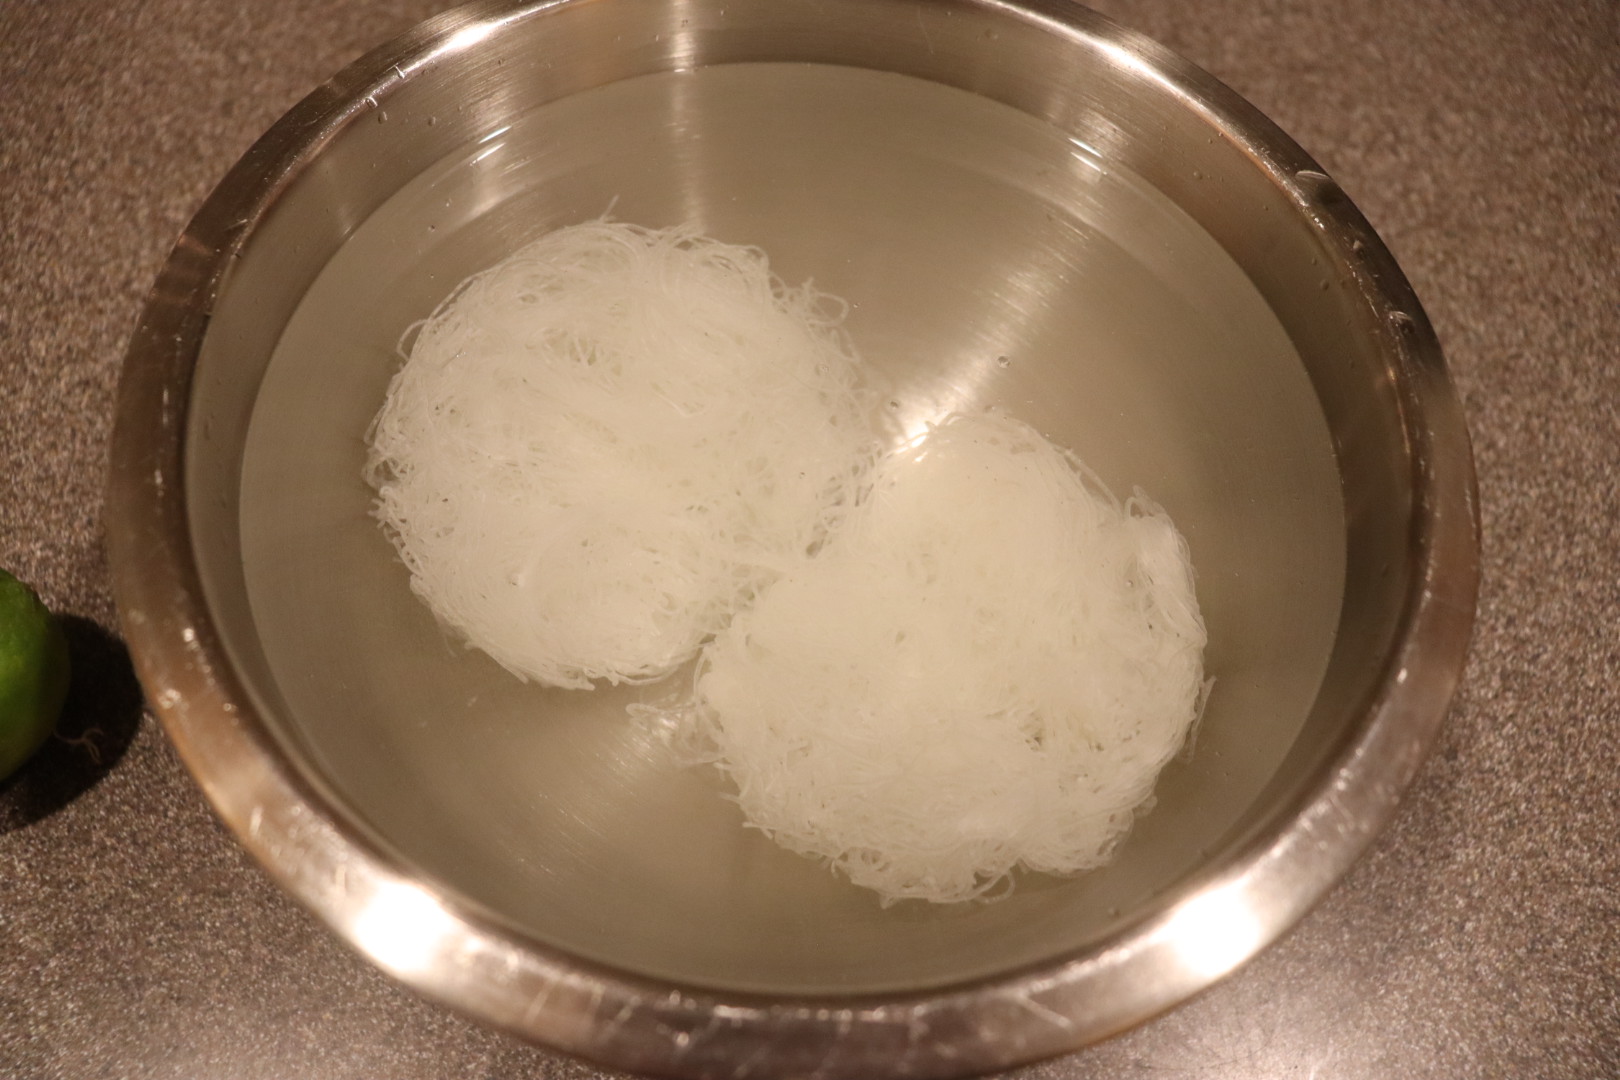
In a separate large bowl, place 4 ounces of fine rice stick noodles and cover them with hot water for 10 minutes.
Before cooking you will want to also prep the following ingredients: 2 scallions cut on the bias, 2 t minced garlic, 2 whisked eggs, 2 t salted cabbage (comes in a jar), 1 T chopped dried shrimp, 3 oz bean sprouts, 1/2 C chopped salted peanuts, 6-8 dried red chilies ground to a powder, and 1 lime cut in wedges.


If you want to stir-fry Alton’s way, you’ll want to use your wok on a charcoal grill; you can purchase a wok ring to hold your wok. I don’t have a charcoal grill or a wok ring, so I just went with the good ol’ stovetop. Heat 1 T peanut oil in a wok over high heat and add your sliced marinated tofu. Cook the tofu until it is golden around the edges, and then remove the tofu from the pan.


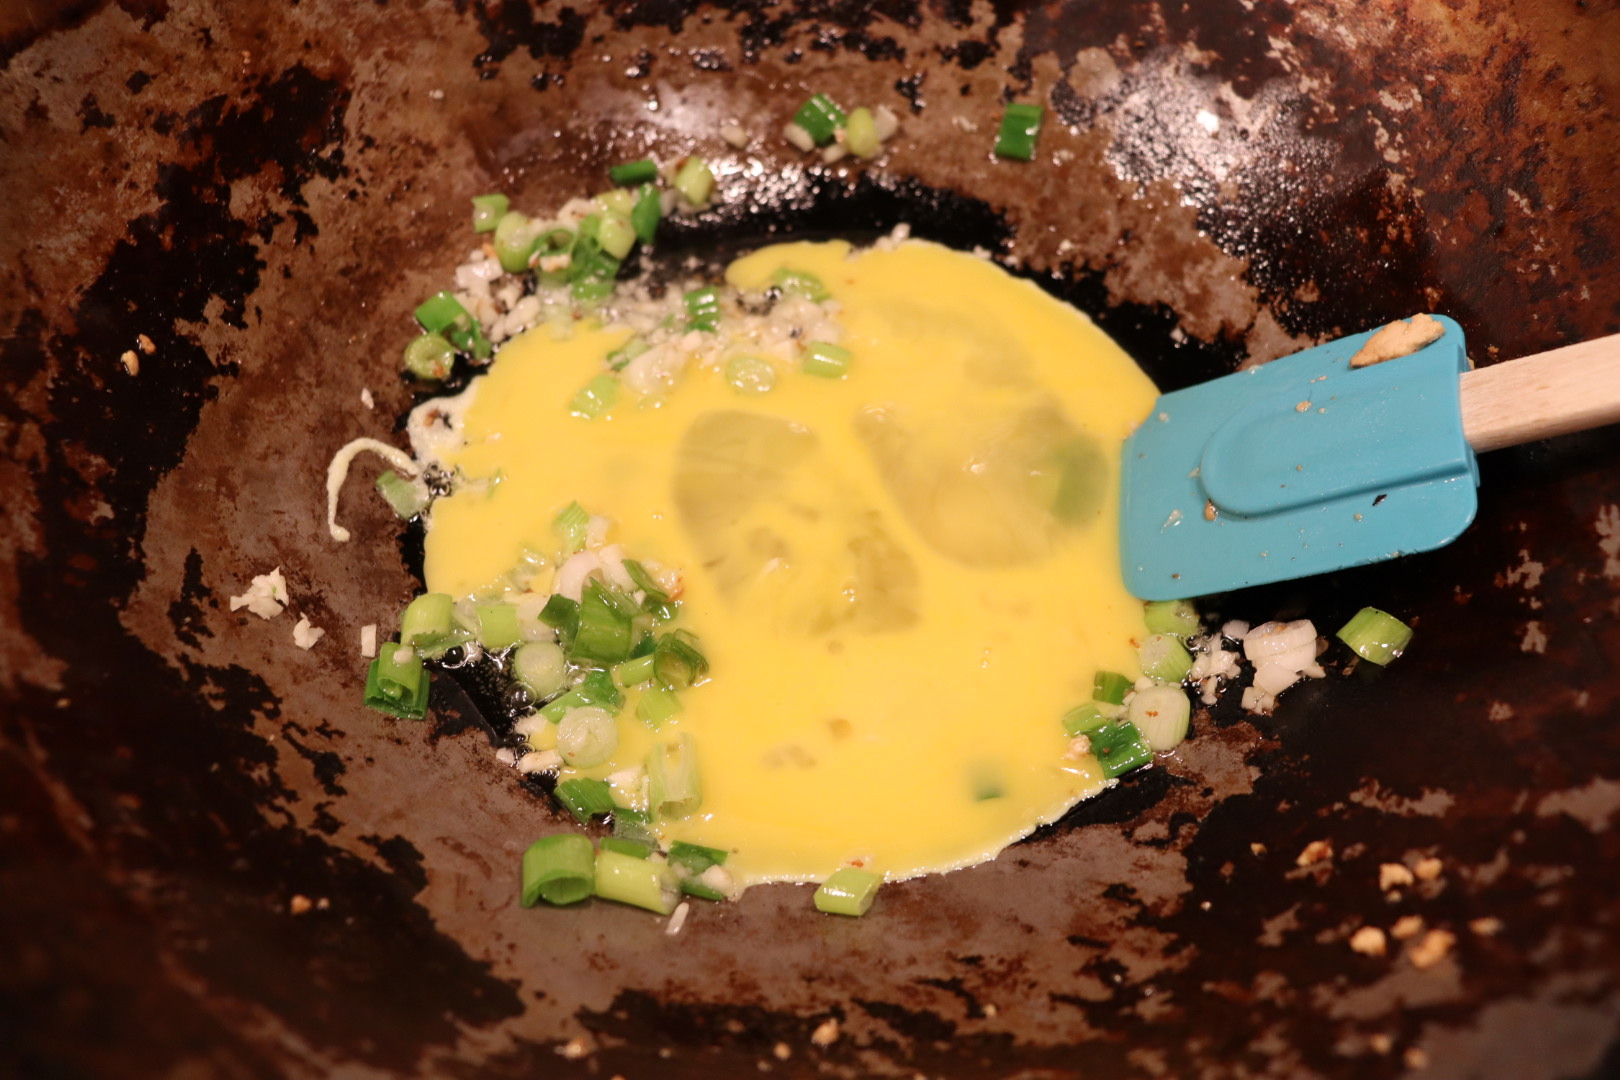
Add some more peanut oil to the wok, along with 2/3 of the scallions and all of the garlic. Next, pour in your whisked eggs, scrambling them once they start to solidify.

Garlic and 2/3 of scallions added to wok after removing cooked tofu. 
Eggs added to wok.

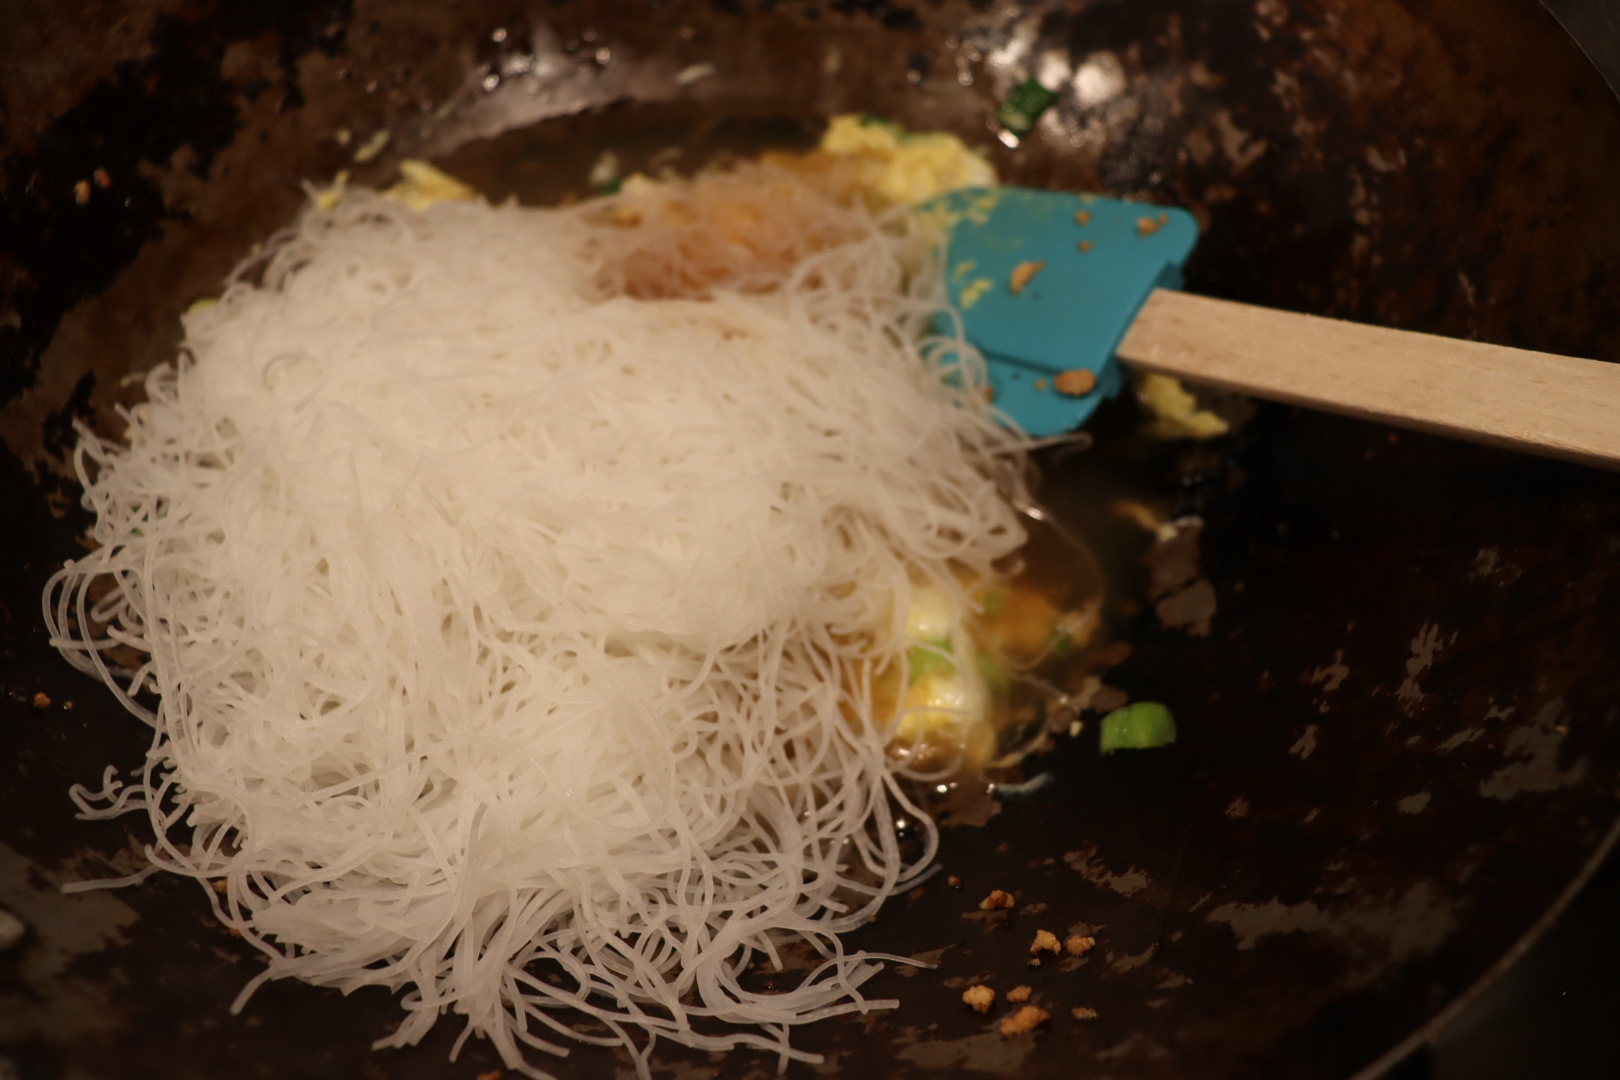
Once the eggs have been scrambled, add your drained rice noodles and the sauce.
Add 2/3 of the bean sprouts, 2/3 of the peanuts, all of the cabbage, and all of the shrimp. Toss everything together until heated through.

To finish, add the tofu back to the pan and toss again until the tofu is heated through.

Tofu added back to the pan to heat through. 
After mixing in tofu.


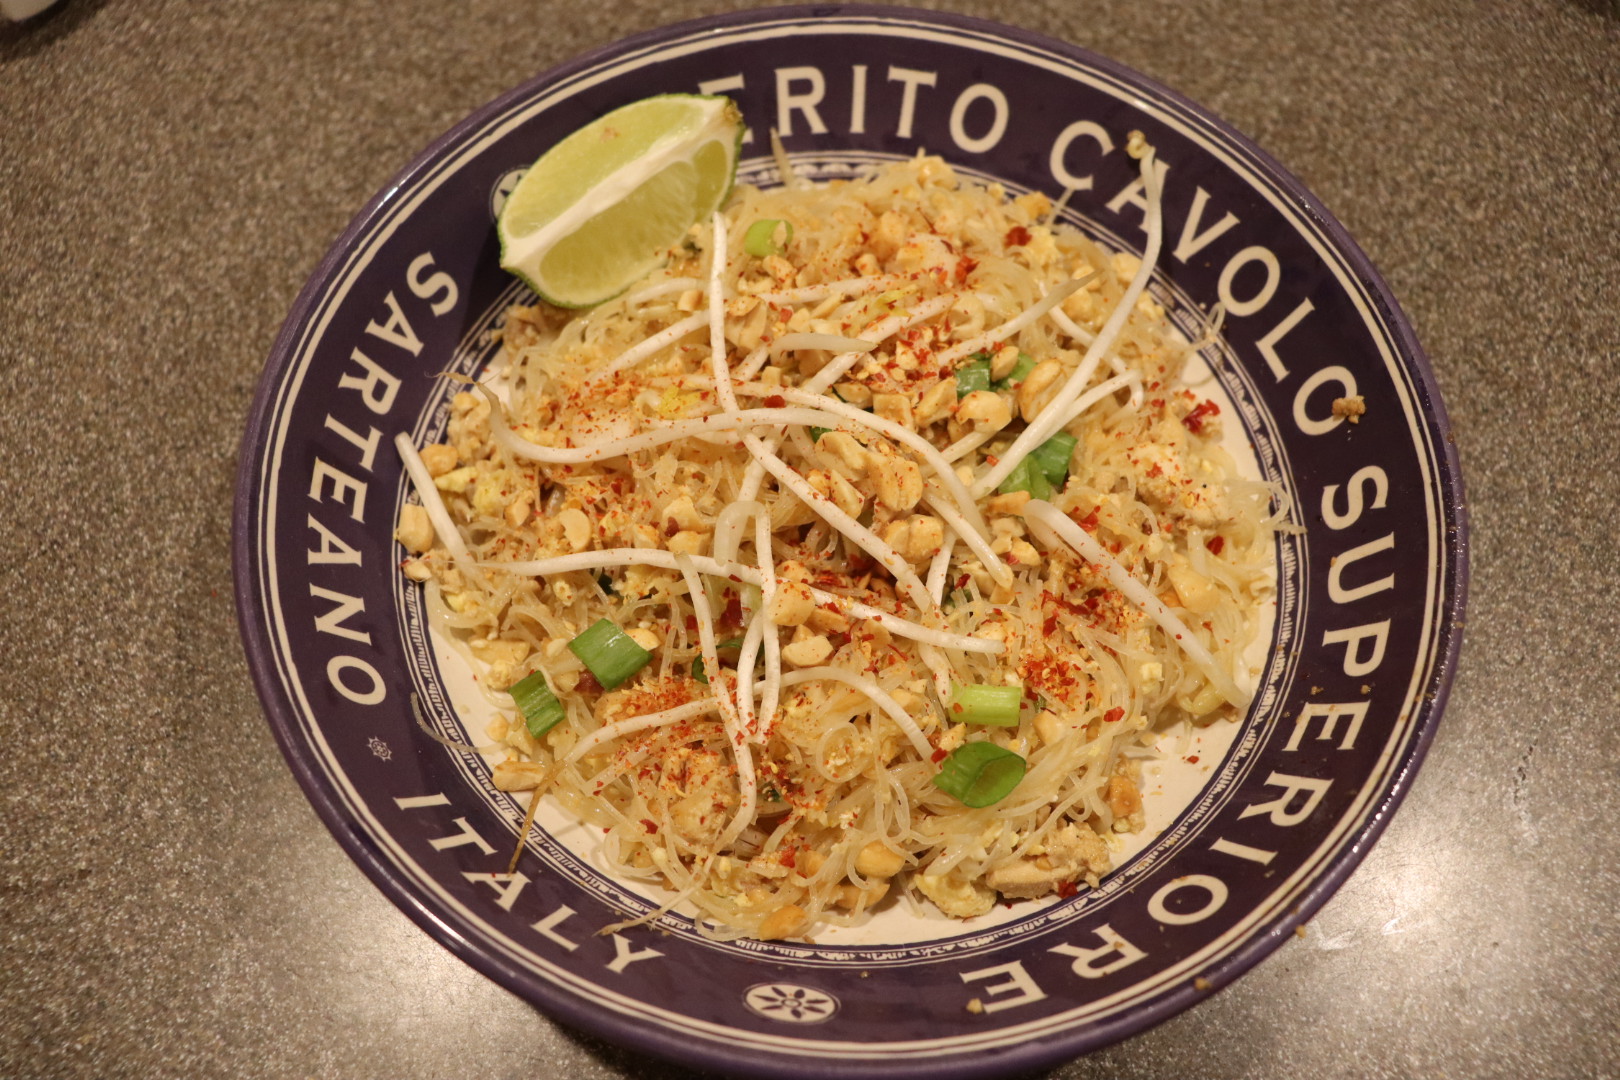
Transfer the Pad Thai to a large serving plate and garnish it with the remaining sprouts, scallions, and peanuts. Sprinkle the top with the powdered chiles and serve with lime wedges.
As I said before, I’m not a Pad Thai pro, but I really enjoyed making and eating this dinner. It was fun to utilize some new-to-me ingredients and the method of stir-frying is always kind of fun. I actually prepped this dinner for us two nights in a row since the recipe yields enough marinated tofu to double the recipe; the tofu was really very salty the second day, so I would not marinate the tofu for longer than the recipe states. We also did both find that the dried shrimp overpowered the dish, as they have a very strong seafood-like flavor. Personally, I would decrease or omit the dried shrimp, but that’s just me. Otherwise, it’s easy to see why Pad Thai is such a popular Thai dish because it has such a wide variety of textures and flavors. I will absolutely be making this again, especially now that we have all of the Asian ingredients in our pantry.