Posts Tagged ‘lime’

Pad Thai

They say that every Thai cook has his/her own version of Pad Thai, leading to countless recipes and variations. In reading the online reviews of Alton’s Pad Thai recipe, some reviewers are critical of his recipe, questioning its authenticity. I am not personally enough of a Pad Thai expert to evaluate the authenticity of Alton’s version, but I sure can give my opinion on how much I did/did not like it. Many of the ingredients in this recipe are not available in a regular supermarket, so a trip to an Asian grocery store is most likely necessary. 

The night before you plan to eat your Pad Thai, you will want to begin prepping some tofu. To do this, slice 12 ounces of extra firm tofu into four slices. Line a baking pan with a tea towel, placing the tofu slices on top of the towel. Fold the towel over the tofu and place a second baking pan on top. Place a five pound weight on top of the second baking dish and place the tofu in the refrigerator overnight.

The following day, a half hour before you are going to cook, unwrap your tofu and soak it for 30 minutes in a mixture of 1 1/2 C soy sauce with 1 t Chinese five spice powder.

While your tofu marinates, pour 3/4 C boiling water over an ounce of seedless tamarind paste and set it aside; I accidentally got tamarind concentrate instead of tamarind paste (paste is much thicker).

Remove half of the tofu from the marinade and thinly slice it.

Next, to make the sauce, combine in a bowl:  2 T palm sugar, 2 T fish sauce, and 1 T rice wine vinegar. Strain the tamarind paste into this bowl, pressing on the solids to extract all liquid. Discard the solids.

In a separate large bowl, place 4 ounces of fine rice stick noodles and cover them with hot water for 10 minutes.

Fine rice stick noodles soaking in hot water for 10 minutes.

Before cooking you will want to also prep the following ingredients:  2 scallions cut on the bias, 2 t minced garlic, 2 whisked eggs, 2 t salted cabbage (comes in a jar), 1 T chopped dried shrimp, 3 oz bean sprouts, 1/2 C chopped salted peanuts, 6-8 dried red chilies ground to a powder, and 1 lime cut in wedges.

If you want to stir-fry Alton’s way, you’ll want to use your wok on a charcoal grill; you can purchase a wok ring to hold your wok. I don’t have a charcoal grill or a wok ring, so I just went with the good ol’ stovetop. Heat 1 T peanut oil in a wok over high heat and add your sliced marinated tofu. Cook the tofu until it is golden around the edges, and then remove the tofu from the pan.

Add some more peanut oil to the wok, along with 2/3 of the scallions and all of the garlic. Next, pour in your whisked eggs, scrambling them once they start to solidify.

Once the eggs have been scrambled, add your drained rice noodles and the sauce.

Soaked/drained noodles and sauce added to wok.

Add 2/3 of the bean sprouts, 2/3 of the peanuts, all of the cabbage, and all of the shrimp. Toss everything together until heated through.

2/3 of sprouts, 2/3 of peanuts, salted cabbage, and shrimp added to the pan.

To finish, add the tofu back to the pan and toss again until the tofu is heated through.

Transfer the Pad Thai to a large serving plate and garnish it with the remaining sprouts, scallions, and peanuts. Sprinkle the top with the powdered chiles and serve with lime wedges.

Alton’s Pad Thai.

As I said before, I’m not a Pad Thai pro, but I really enjoyed making and eating this dinner. It was fun to utilize some new-to-me ingredients and the method of stir-frying is always kind of fun. I actually prepped this dinner for us two nights in a row since the recipe yields enough marinated tofu to double the recipe; the tofu was really very salty the second day, so I would not marinate the tofu for longer than the recipe states. We also did both find that the dried shrimp overpowered the dish, as they have a very strong seafood-like flavor. Personally, I would decrease or omit the dried shrimp, but that’s just me. Otherwise, it’s easy to see why Pad Thai is such a popular Thai dish because it has such a wide variety of textures and flavors. I will absolutely be making this again, especially now that we have all of the Asian ingredients in our pantry.

I relish in the tradition of cocktail hour. I remember my maternal grandparents having an evening cocktail – Grandma’s drink of choice was a Manhattan. When I was little, my dad would come home from work and indulge in an evening martini, using the little etched martini glasses that were his father’s. I now have two of those glasses, but I save them only for special days.

Our barware also includes two decanters that came from Dad’s side of the family. For Ted’s 40th birthday Dad gave Ted a decanter he had received from his mother when he graduated from medical school, and we typically keep Scotch in there (when we have it). We keep dry vermouth in a teardrop-shaped decanter that Dad’s father got at an estate sale. Three generations of our family have now used that decanter for vermouth.

This episode of Good Eats features three types of cocktails, so we tried them for cocktail hour on three different nights. Alton also went over his bar necessities:  old-fashioned and Collins/highball glasses for drinks on the rocks, stemmed cocktail glasses and champagne flutes for drinks not on the rocks, a jigger (1.5 oz)/pony (1 oz) combo, ice, a Boston shaker, and a julep strainer.

Cocktails can have three components:  a base, a mixer, and an accent. A martini, for example, would have gin as a base, vermouth as a mixer, and an olive or lemon twist as an accent. Some cocktails only use two components, such as a rum (base) and coke (mixer). Now, let’s get to Alton’s drink recipes.

AB’s Martini

Alton’s version of a martini is pretty dry, meaning it has little vermouth in it. To make his version, place a cocktail glass in the freezer or fill it with ice to chill.

IMG_1954(2)

Martini glasses filled with ice to chill.

Put 1 C of ice in a cocktail shaker and add 1/2 a pony (1/2 ounce) of dry vermouth. Slosh the vermouth around to coat the ice.

Using a cocktail strainer, pour the vermouth out of the shaker, leaving only the vermouth-coated ice.

IMG_1957(1)

Strainer on shaker to pour out excess vermouth.

Add 2 1/2 ounces of gin (1 pony plus 1 jigger). I believe Alton may have used Gilbey’s London Dry gin, but he had the label covered. Stir the drink thoroughly. Alton prefers stirring because shaking makes the drink too cold, causing it to lose some of its aromatic qualities.

IMG_1959(1)

Gin added to vermouth-coated ice. Stirred, not shaken.

Place a single olive in your chilled martini glass and strain the drink into the glass.

IMG_1960(1)

A lone olive in each glass.

IMG_1962(1)

Alton’s martini.

So, it’s interesting that Alton liked his martini this dry in the past because he has been doing some live cocktail demos on Instagram lately, along with his live YouTube cooking show at his house. On one of the shows, he made a martini, and his current version contains much more vermouth. In fact, he uses a 2:1 ratio of gin to vermouth, stirring the ingredients together without pouring anything out. I suppose his preferences must have changed over the years. I typically drink a pretty dry martini because my dad drank them that way – it’s really the only way I’ve known them! In fact, I’ve made my martinis Alton’s original way since I first started making them years ago, so it’s really my go-to method. I happen to think that this makes a really fantastic dry martini. If you prefer your martinis with more vermouth, feel free to add more! I will admit that a wetter martini is more complex. Really, dry and wet martinis are completely different cocktails, so it’s worth it to try both. If you think you dislike gin martinis, give a wet martini a try. You just may find that you dislike super dry martinis, but that you enjoy those with a bit more vermouth. If you like your martinis on the drier side, Alton’s method is a surefire way to make a good one.

Daiquiri

I’m betting that when you think of a daiquiri, you picture a fruity, icy drink with whipped cream on top. Am I right? Well, there’s also a version that is served ice-free. For this drink, you will need to first make some rich simple syrup. Simple syrup is made by heating equal amounts of sugar and water until the sugar dissolves. Although he doesn’t mention it, Alton actually uses rich simple syrup in this recipe, which means it has more sugar than water. To make the syrup, combine 2 C sugar with 1 C water and heat on the stove until the sugar has completely dissolved. Let the syrup cool before using. You can store extra syrup in the refrigerator.

IMG_2049

Making rich simple syrup by dissolving 2 C sugar in 1 C water.

To make the drink, chill a champagne flute or a martini glass by placing it in the freezer or filling it with ice. Put a pint of ice in a cocktail shaker and add 2 oz of light rum.

IMG_2051

Ice and rum in shaker.

Add 1 oz fresh lime juice and 1/2 oz of the rich simple syrup.

You will want to shake this drink because it has cloudy/viscous ingredients. Shake the drink vigorously and strain it into your chilled glass.

IMG_2054(1)

Chilled glasses.

IMG_2056(1)

Alton’s daiquiri.

We don’t really drink rum very often at all, so this was a little different for us. This is sort of a pretty drink, as its pale green opacity looks appealing in the glass. I find this to be a very balanced drink, as it is simultaneously pleasantly sweet and tart. The alcohol flavor is not super strong, and this is an easy-drinking cocktail, which could be a potentially dangerous combo. This is a simple and delicious cocktail to add to your repertoire.

Mint Julep

The third cocktail in this episode is the bourbon-based mint julep. I have made mint juleps once or twice in the past (on Derby Day, of course), and they have been pretty underwhelming. I wondered how Alton’s recipe would make me feel about this drink. To make one mint julep, place 10 mint leaves (I used mint from our garden) in the bottom of an old-fashioned glass and add 1 1/2 t superfine sugar; you can make superfine sugar at home by blending sugar in a food processor.

IMG_2067(1)

Mint and superfine sugar in a glass.

Muddle the mint and sugar together until you have a green paste.

IMG_2068(1)

Mint and superfine sugar after muddling to a paste.

Add a splash of seltzer water to the glass and fill the glass 3/4 full with ice. Add 2 1/2 oz of bourbon and a final splash of seltzer.

Stir the drink, garnish it with a mint leaf or two, and serve.

IMG_2077

Alton’s mint julep after topping off with a final splash of seltzer.

I have never had a mint julep that I haven’t made at home, so I don’t have a large frame of reference, but this was by far my favorite mint julep. The mint was very apparent, but not overpowering, and the drink had just enough sweetness. The little bit of carbonation from the seltzer was a nice touch. Perhaps southerners would disapprove of this rendition of a mint julep, but I can only say that I really enjoyed this for a cocktail hour change of pace.


Recent happenings have caused me to fall way behind on this blog, which actually provides a great distraction at times. After feeling “off” a couple weeks ago, I ended up having various tests done, which led to a diagnosis of pre-eclampsia last week, which can be a life-threatening pregnancy complication. I am currently 30 weeks pregnant, and I am being tested/monitored weekly, with a goal of taking the pregnancy to 37 weeks before delivery. It all depends on how my body handles things in the coming weeks, but I am unfortunately facing the reality that I will be delivering this baby early; it is just a question of how early.

I made the recipes in this episode quite a while ago actually, but am only now sitting down to finally write. My newest lab results should be in today or tomorrow, so I am trying to distract myself in the meantime. Since this is sort of a summery episode, I figured I’d better get on it while the warm weather is still here! The recipes from this episode are great to make on a hot evening because they are both grilling recipes and thus won’t heat up the house.

Spicy Beef Kebabs

First up, Alton makes beef kebabs in this episode. You will want your meat to sit in the marinade for 2-4 hours before grilling, so be sure to allow adequate time for marination. To make the marinade, combine 3 cloves of garlic, 2 t smoked paprika, 1/2 t turmeric, 1 t cumin, 1 t Kosher, 1/2 t pepper, and 1/3 C red wine vinegar in the bowl of a food processor.

Process the marinade until smooth, and then drizzle in 1/2 C olive oil with the machine running.

For these skewers, Alton recommends using boneless beef sirloin, of which you will need about 1.5 pounds.

IMG_2838

Boneless beef sirloin.

Cut the meat into two-inch cubes, place the cubes in a large plastic bag, and pour in the marinade. Seal the bag, removing as much air as possible, and toss the meat to coat thoroughly.

Place the meat in the refrigerator to marinate for 2-4 hours. Before threading his meat onto skewers, Alton likes to pre-arrange his meat on a sheet pan, placing cubes of similar sizes on the same skewers for even cooking.

IMG_2853

Beef after marinating for several hours. Pieces of meat arranged such that pieces of similar size go on the same skewer.

Once your meat is sorted, thread the meat onto metal grilling skewers, placing about five or six pieces on each skewer; leave about a half inch of space between the meat cubes.

IMG_2854

Beef cubes threaded onto metal skewers.

To grill the skewers, first be sure that your grill grates are pretty clean and preheat your gas grill to medium-high. Place the skewers on the grill, rotating them every two minutes for a total cook time of eight to 12 minutes. For this cut of beef, Alton prefers his meat to be cooked to medium doneness, which should take about 12 minutes.

IMG_2860

The beef from Alton’s skewers.

When done grilling, wrap the hot skewers in foil and let them rest for a few minutes before eating. To cook the skewers on a charcoal grill, remove the grate and place four bricks around the center mound of charcoal. Rest the skewers on the bricks, suspending the meat above the hot charcoal. I cooked my skewers for the full twelve minutes recommended by Alton, and I thought the meat was a tad bit chewy. The marinade for this recipe was excellent, however, and made the meat super flavorful. I could see using this marinade for a variety of meat preparations. This recipe made for a quick, easy, flavorful meal. My only gripe was that the meat was a little bit too chewy, so I might try cooking the meat a little less next time.

Vanilla Lime Pineapple Skewers

If you are looking for a side dish for your beef kebabs, or for a dessert to follow, Alton has you covered with his pineapple skewers. Begin by splitting a vanilla bean in half and scraping out the seeds/pulp. Reserve the bean. Place 1 C dark brown sugar, 1/2 C lime juice, a pinch of Kosher salt, and the vanilla pulp/pod in a medium saucepan over medium-high heat.

Whisk the mixture until the brown sugar dissolves. Once dissolved, remove the pan from the heat and allow the mixture to steep for two hours. After steeping, remove the vanilla pod and discard it.

Transfer the cooled syrup to a plastic squeeze bottle. Next, prepare your pineapple by cutting the top and bottom off of the fruit. Stand the fruit on one end and cut the pineapple into quarters. Lay the pineapple quarters down and cut them in half, creating eighths. Cut the core off of each eighth of pineapple, discarding it. Finally, use a sharp knife to fillet the pineapple off of its skin.

IMG_2862(1)

Pineapple cut into eighths.

Thread each eighth of pineapple onto a metal grilling skewer, squirt them with the vanilla syrup, and grill them for four minutes per side, for a total of 12 minutes. As you grill the fruit, squirt it occasionally with the vanilla syrup.

IMG_2871(1)

Alton’s grilled pineapple.

Serve the pineapple warm. This was a fun, summery dessert that was easy to prepare. The pineapple softened and became sweeter, and its flavor was complimented nicely by the flavors in the syrup. The lime juice added a nice tartness to an otherwise very sweet syrup. You could certainly use this syrup on other fruits also, or you could simply take Alton’s suggestion and eat the syrup over ice cream. Either way, the syrup is a multitasker!

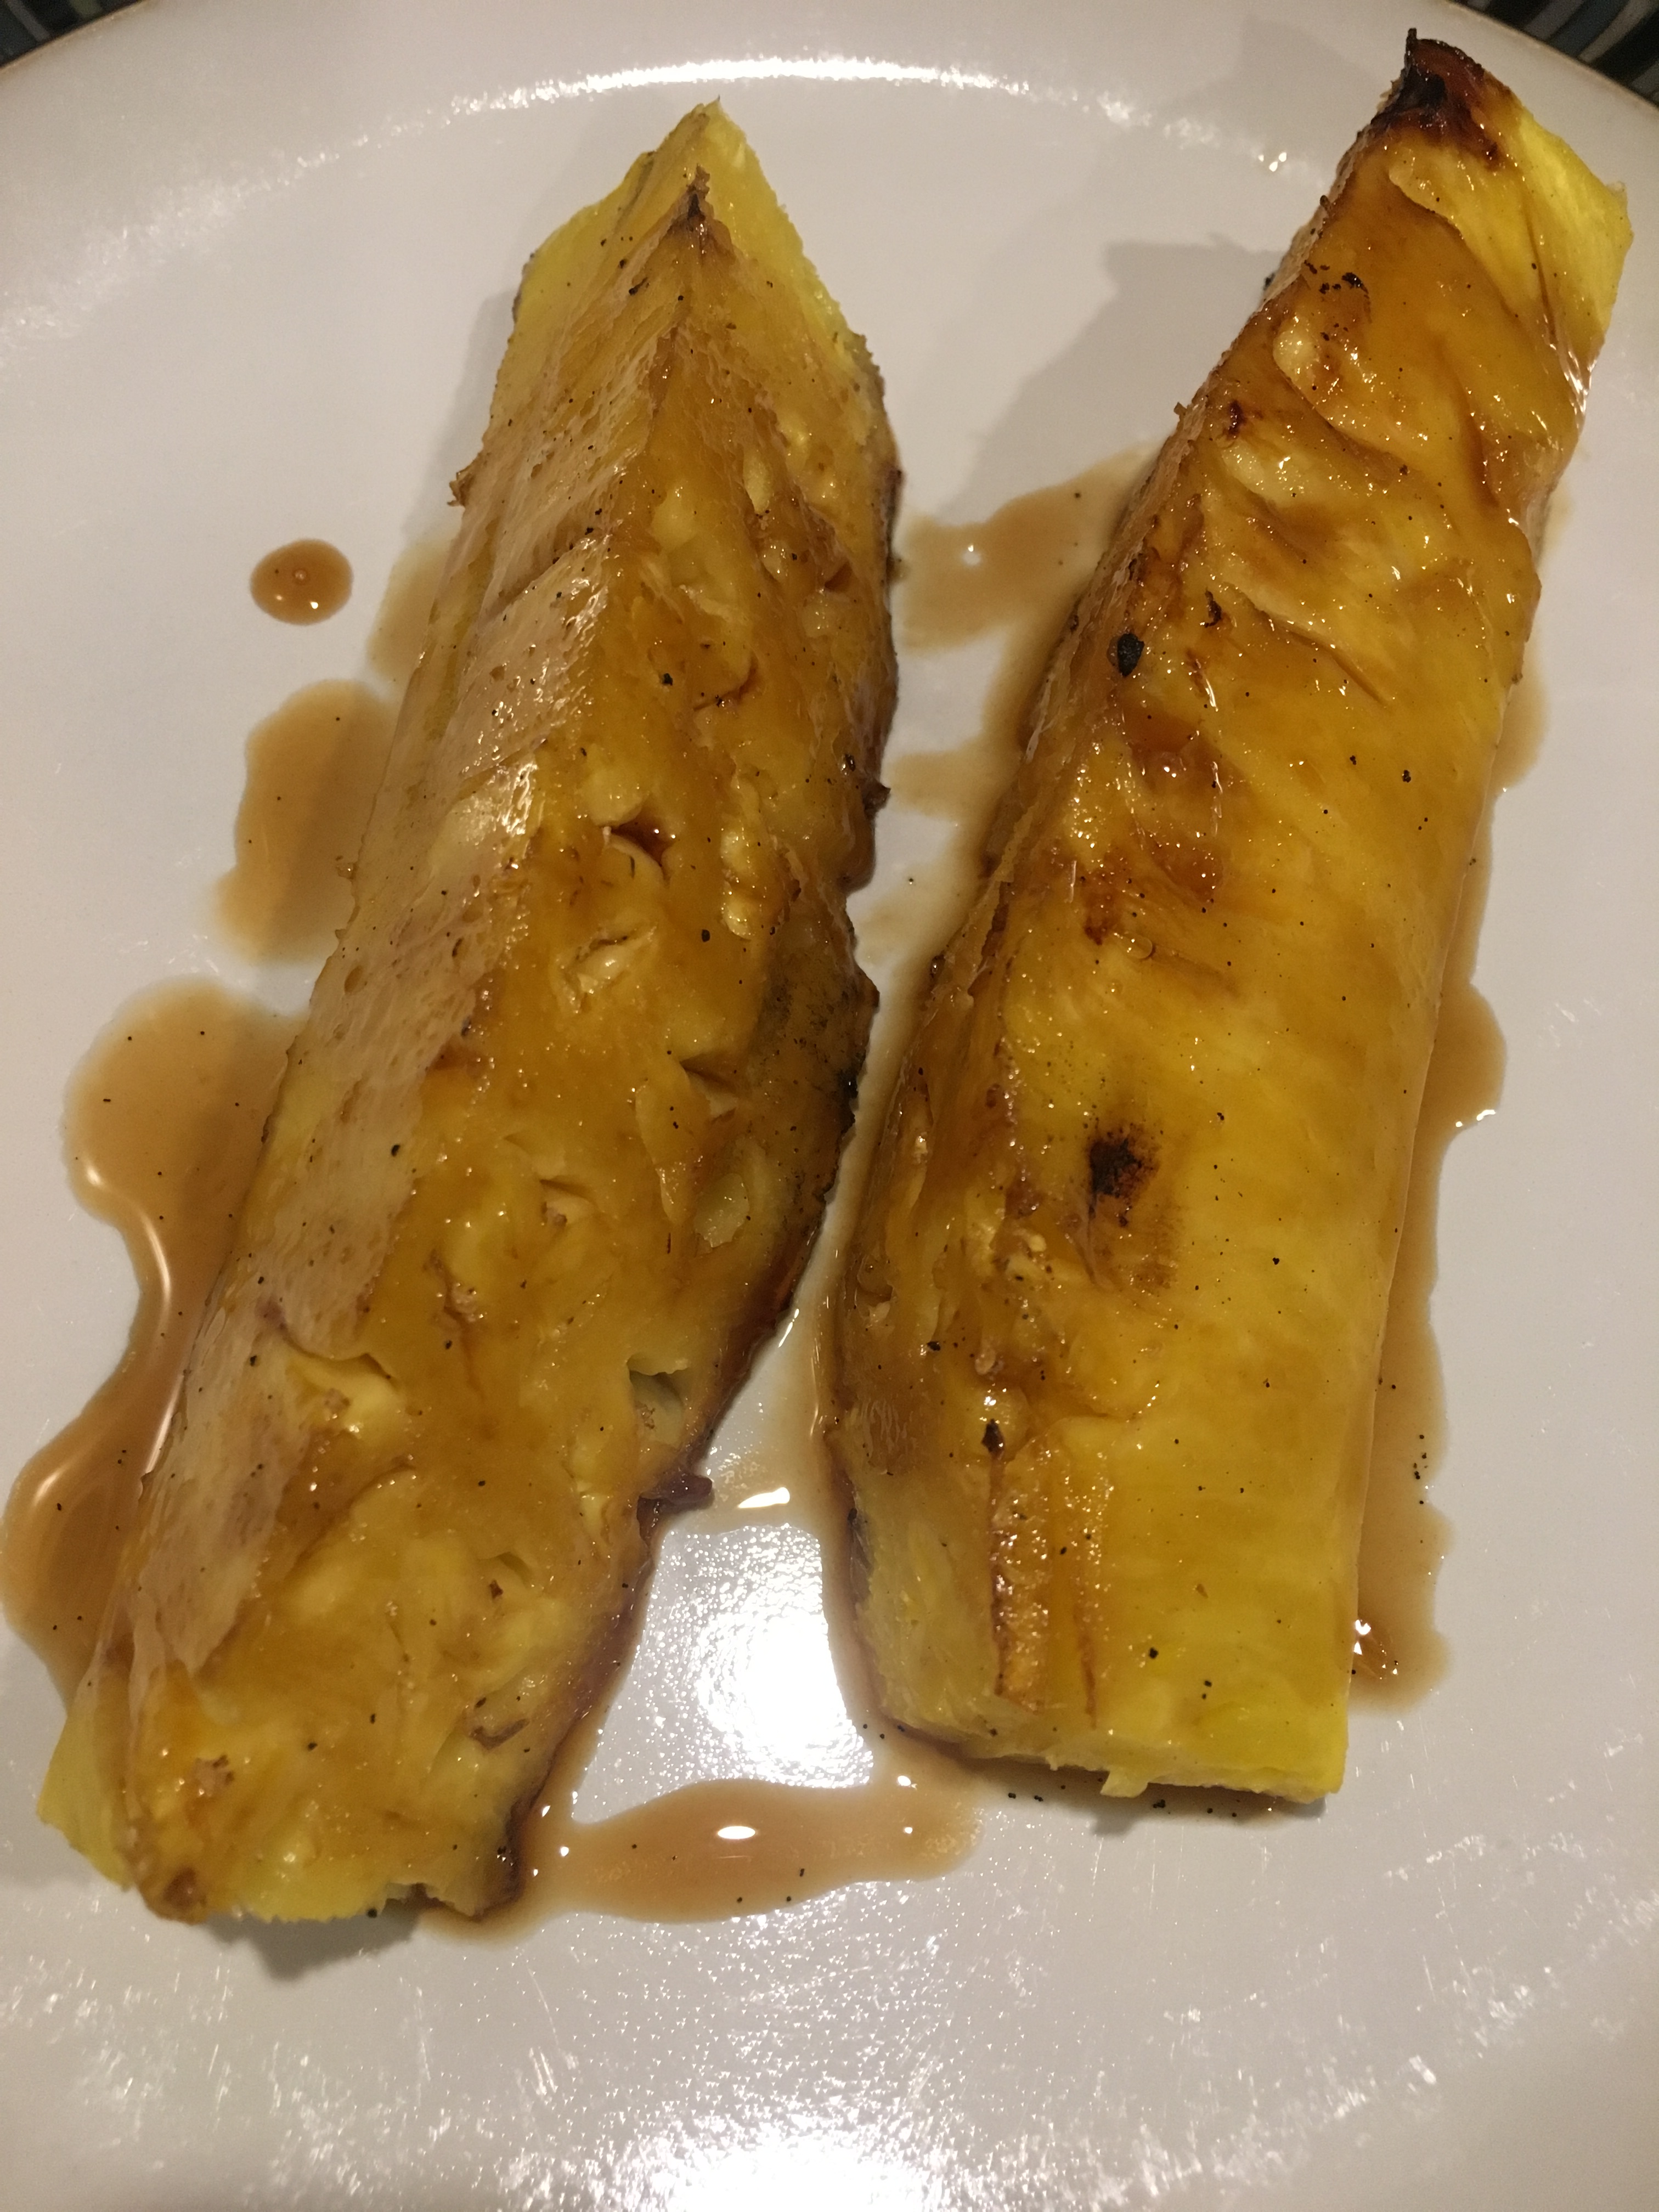
As someone who likes to cook regularly, my dad came up with a great Christmas gift for me in December. He and I do not live in the same town anymore, but he called a gentleman where I live and arranged to have all of our kitchen knives sharpened. I dropped the knives off at the knife sharpener’s house one morning and had them back a few hours later. He sharpened 13 items, including our serrated knives and two pairs of kitchen shears. Our knives are just like new again! If you know someone who cooks a lot, keep the knife sharpening idea in mind as a gift! FYI:  The knife sharpener told me to never try to sharpen my knives at home, nor to hone them with a steel. Instead, he told me to use a strop to hone our knives prior to each use; a strop is a piece of leather that was traditionally used to sharpen straight-edge razors in barber shops. Now, onto the 94th episode of Good Eats, which was all about candy.

Peanut Brittle

I have made some candy in the past, such as fudge, divinity, and caramels. Peanut brittle was the first type of candy Alton made in this episode. For this recipe, you will need a heavy saucier with a lid, a wooden spoon, and two half-sheet pans; line one pan with a silicone mat, and lube the back side of the other pan liberally with vegetable oil.

IMG_6124

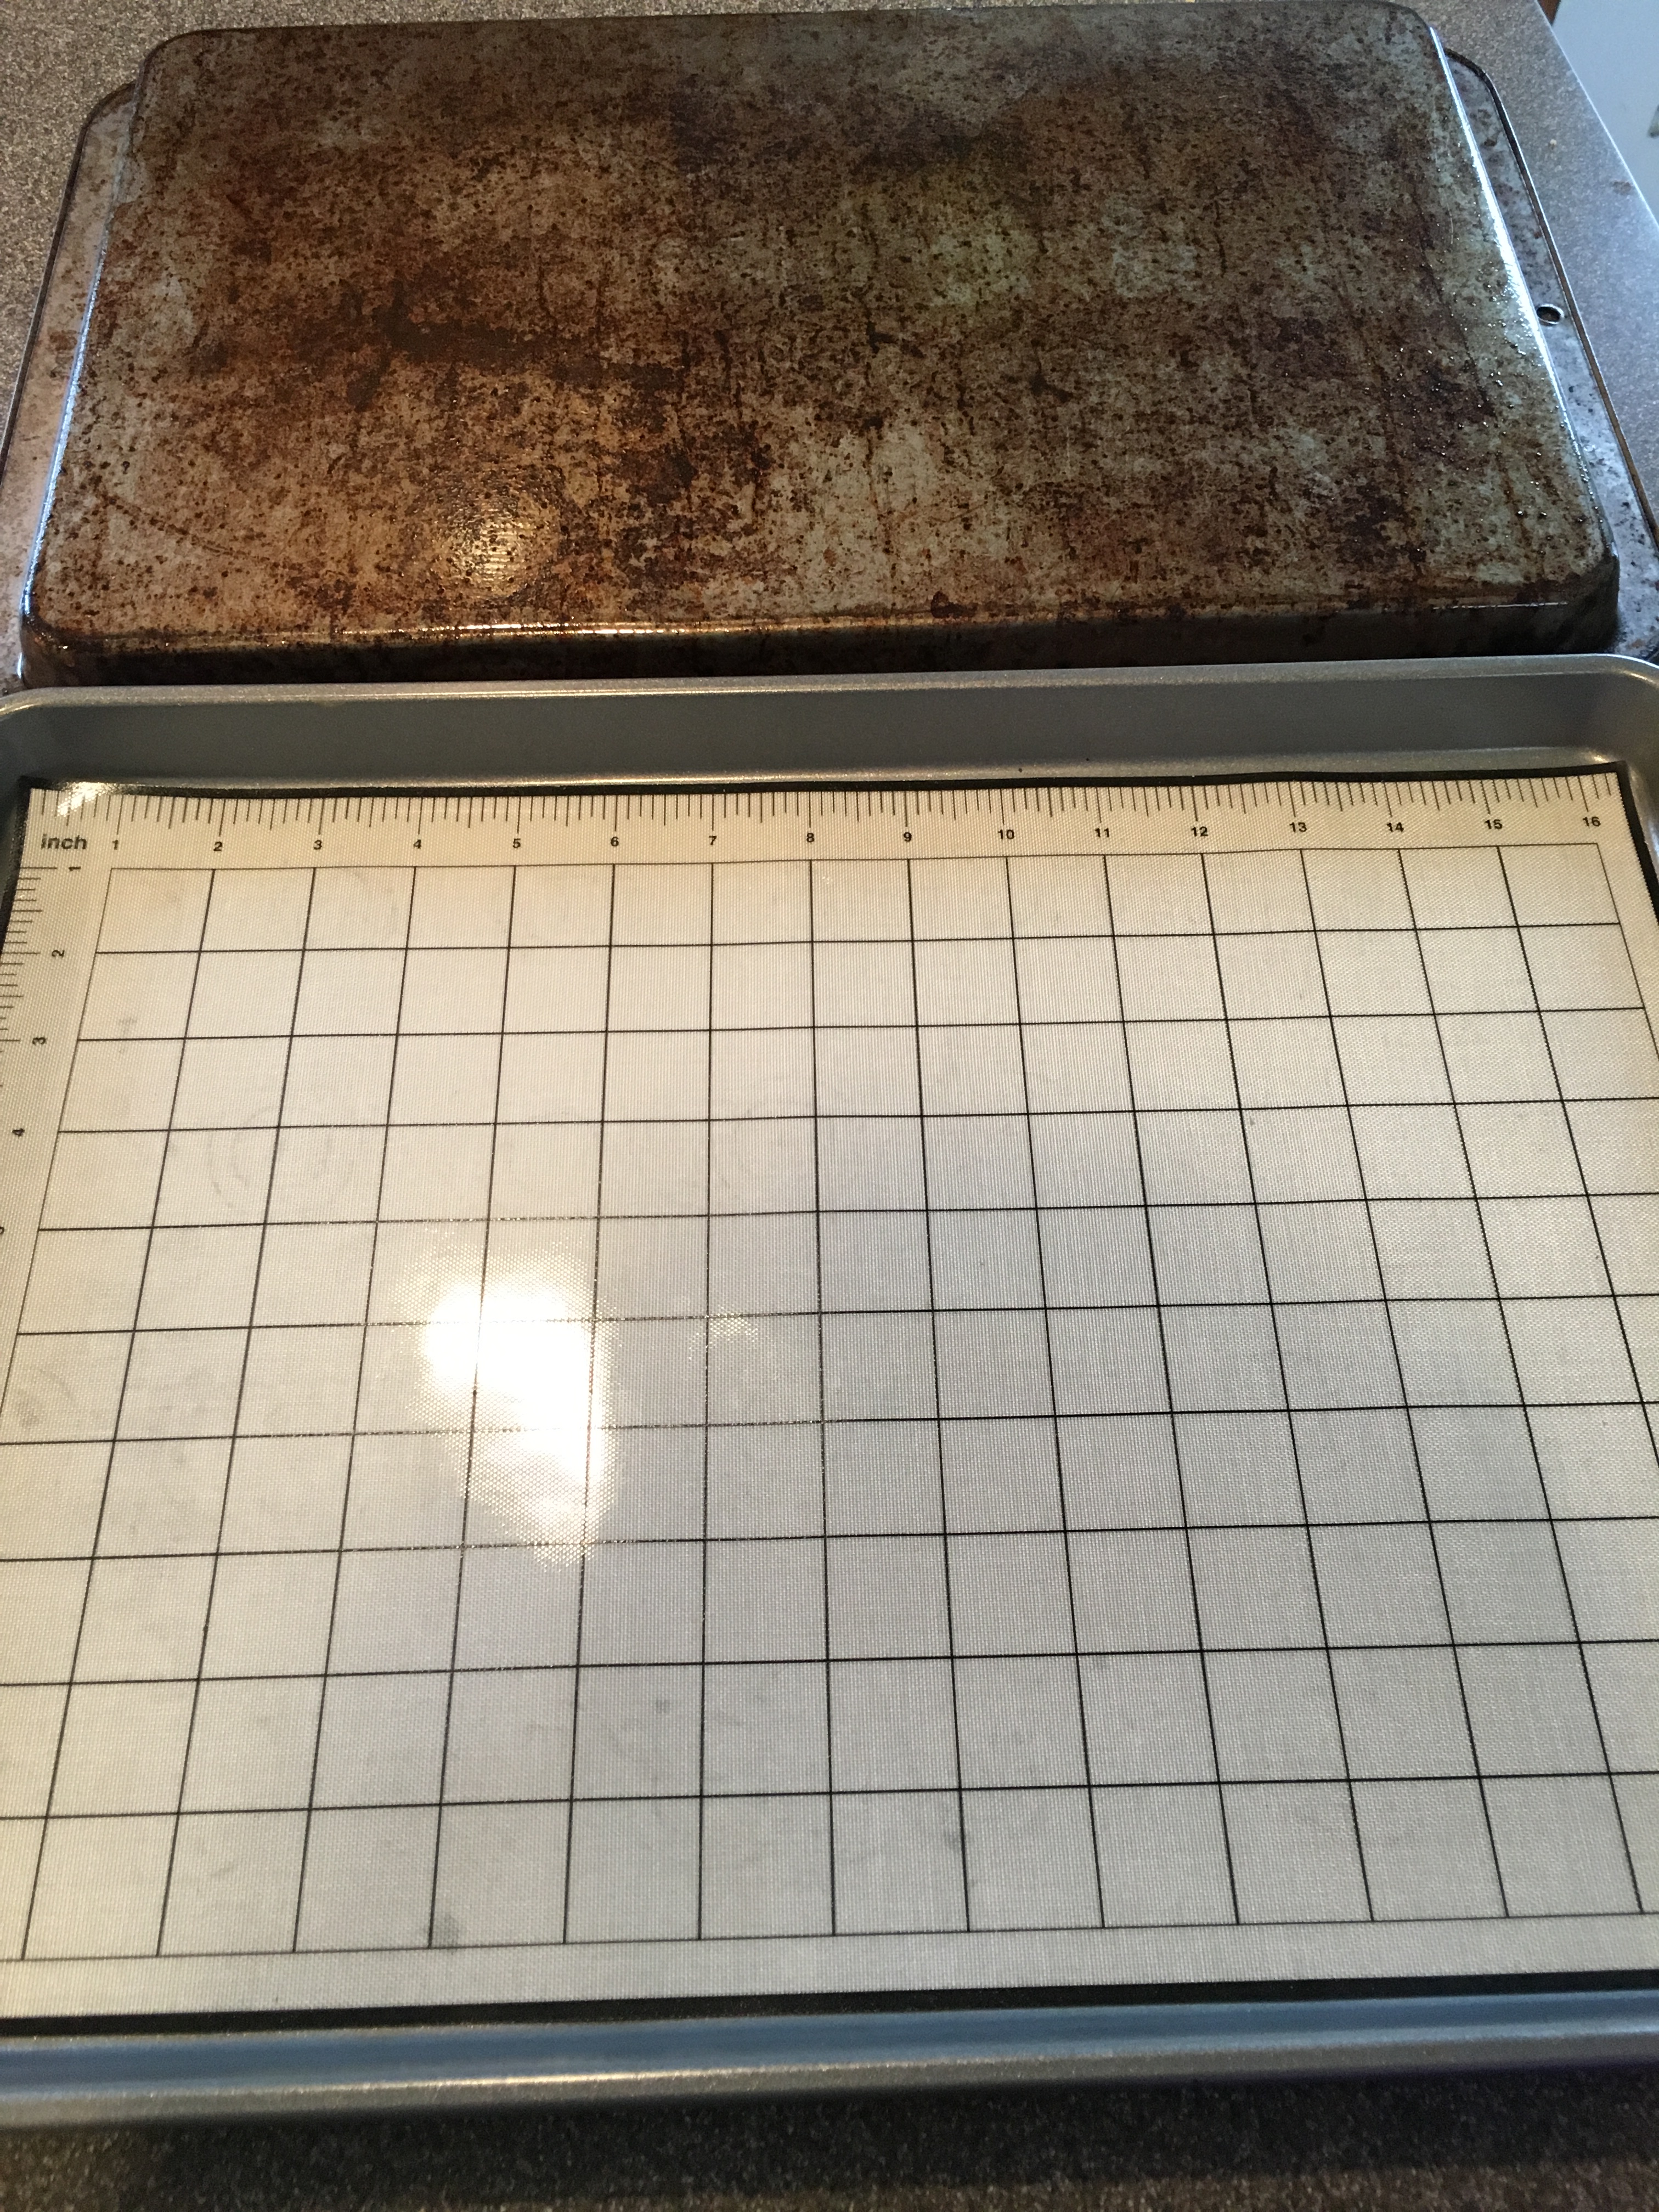
Two half-sheet pans, one with its back oiled and the other lined with a silicone mat.

Begin by rubbing the sides of your saucier with a vegetable oil-coated paper towel, as this will help with crystal formation on the sides of the pan.

IMG_6128

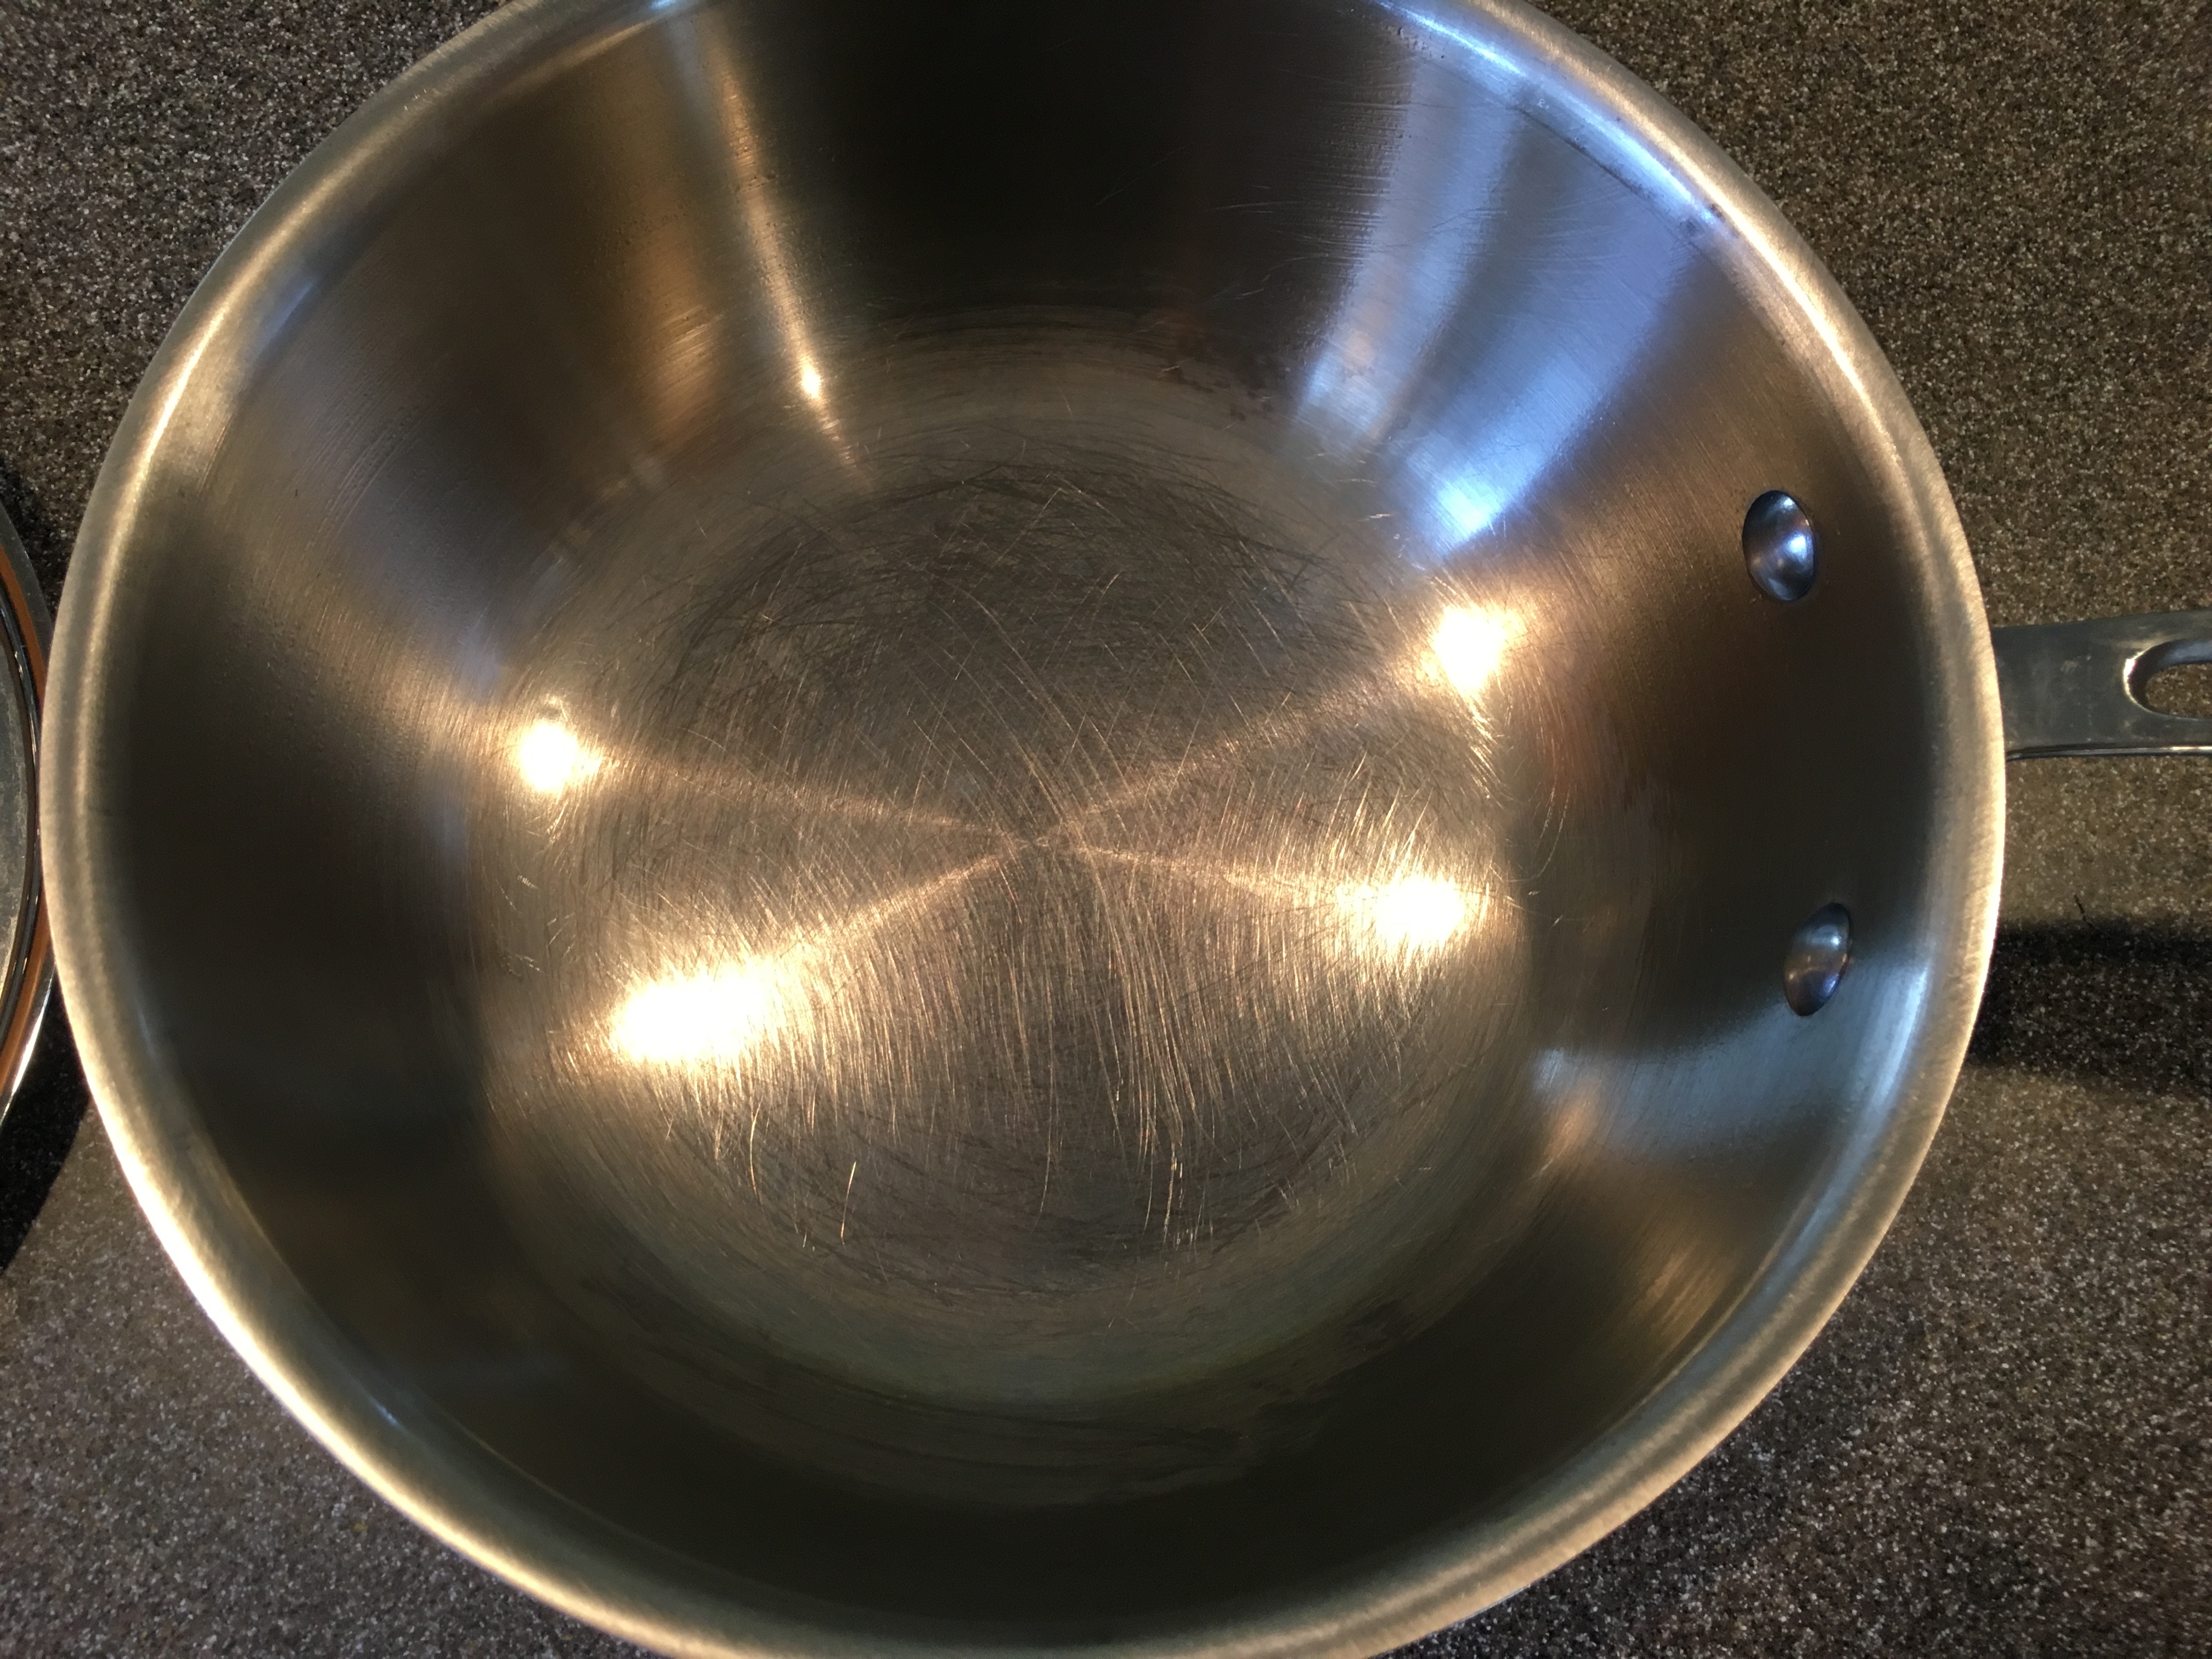
Saucier with its sides oiled.

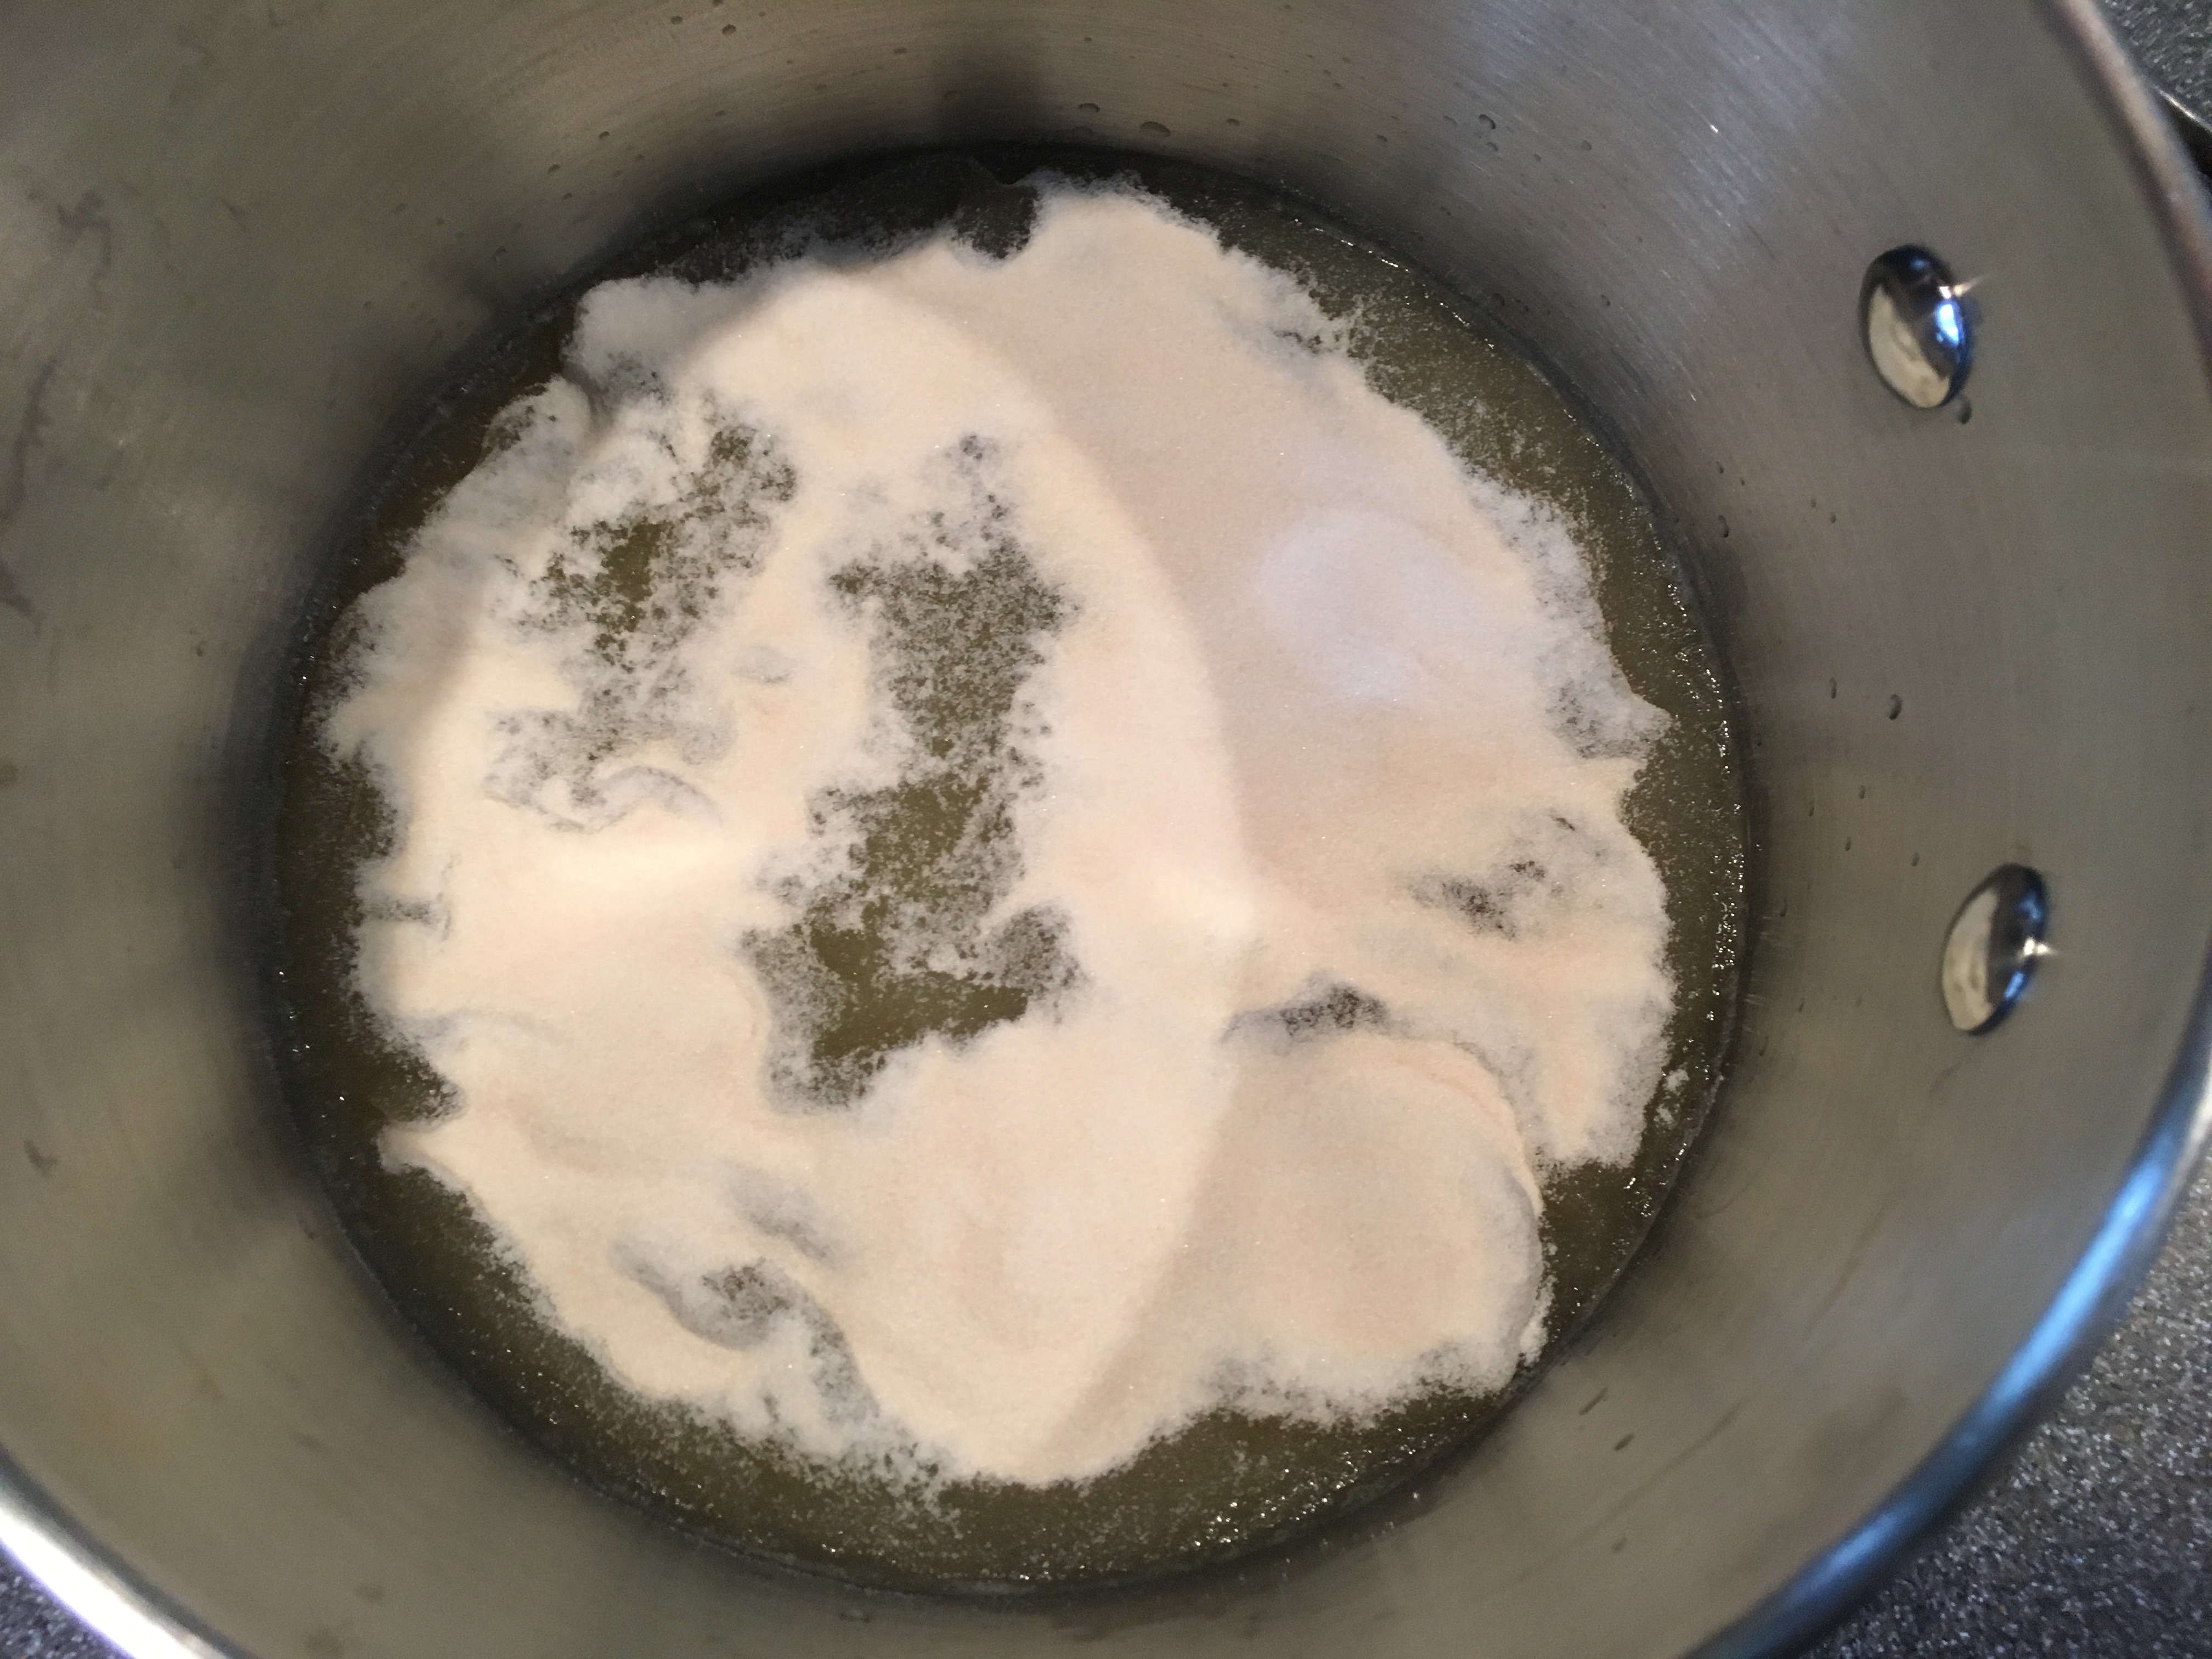
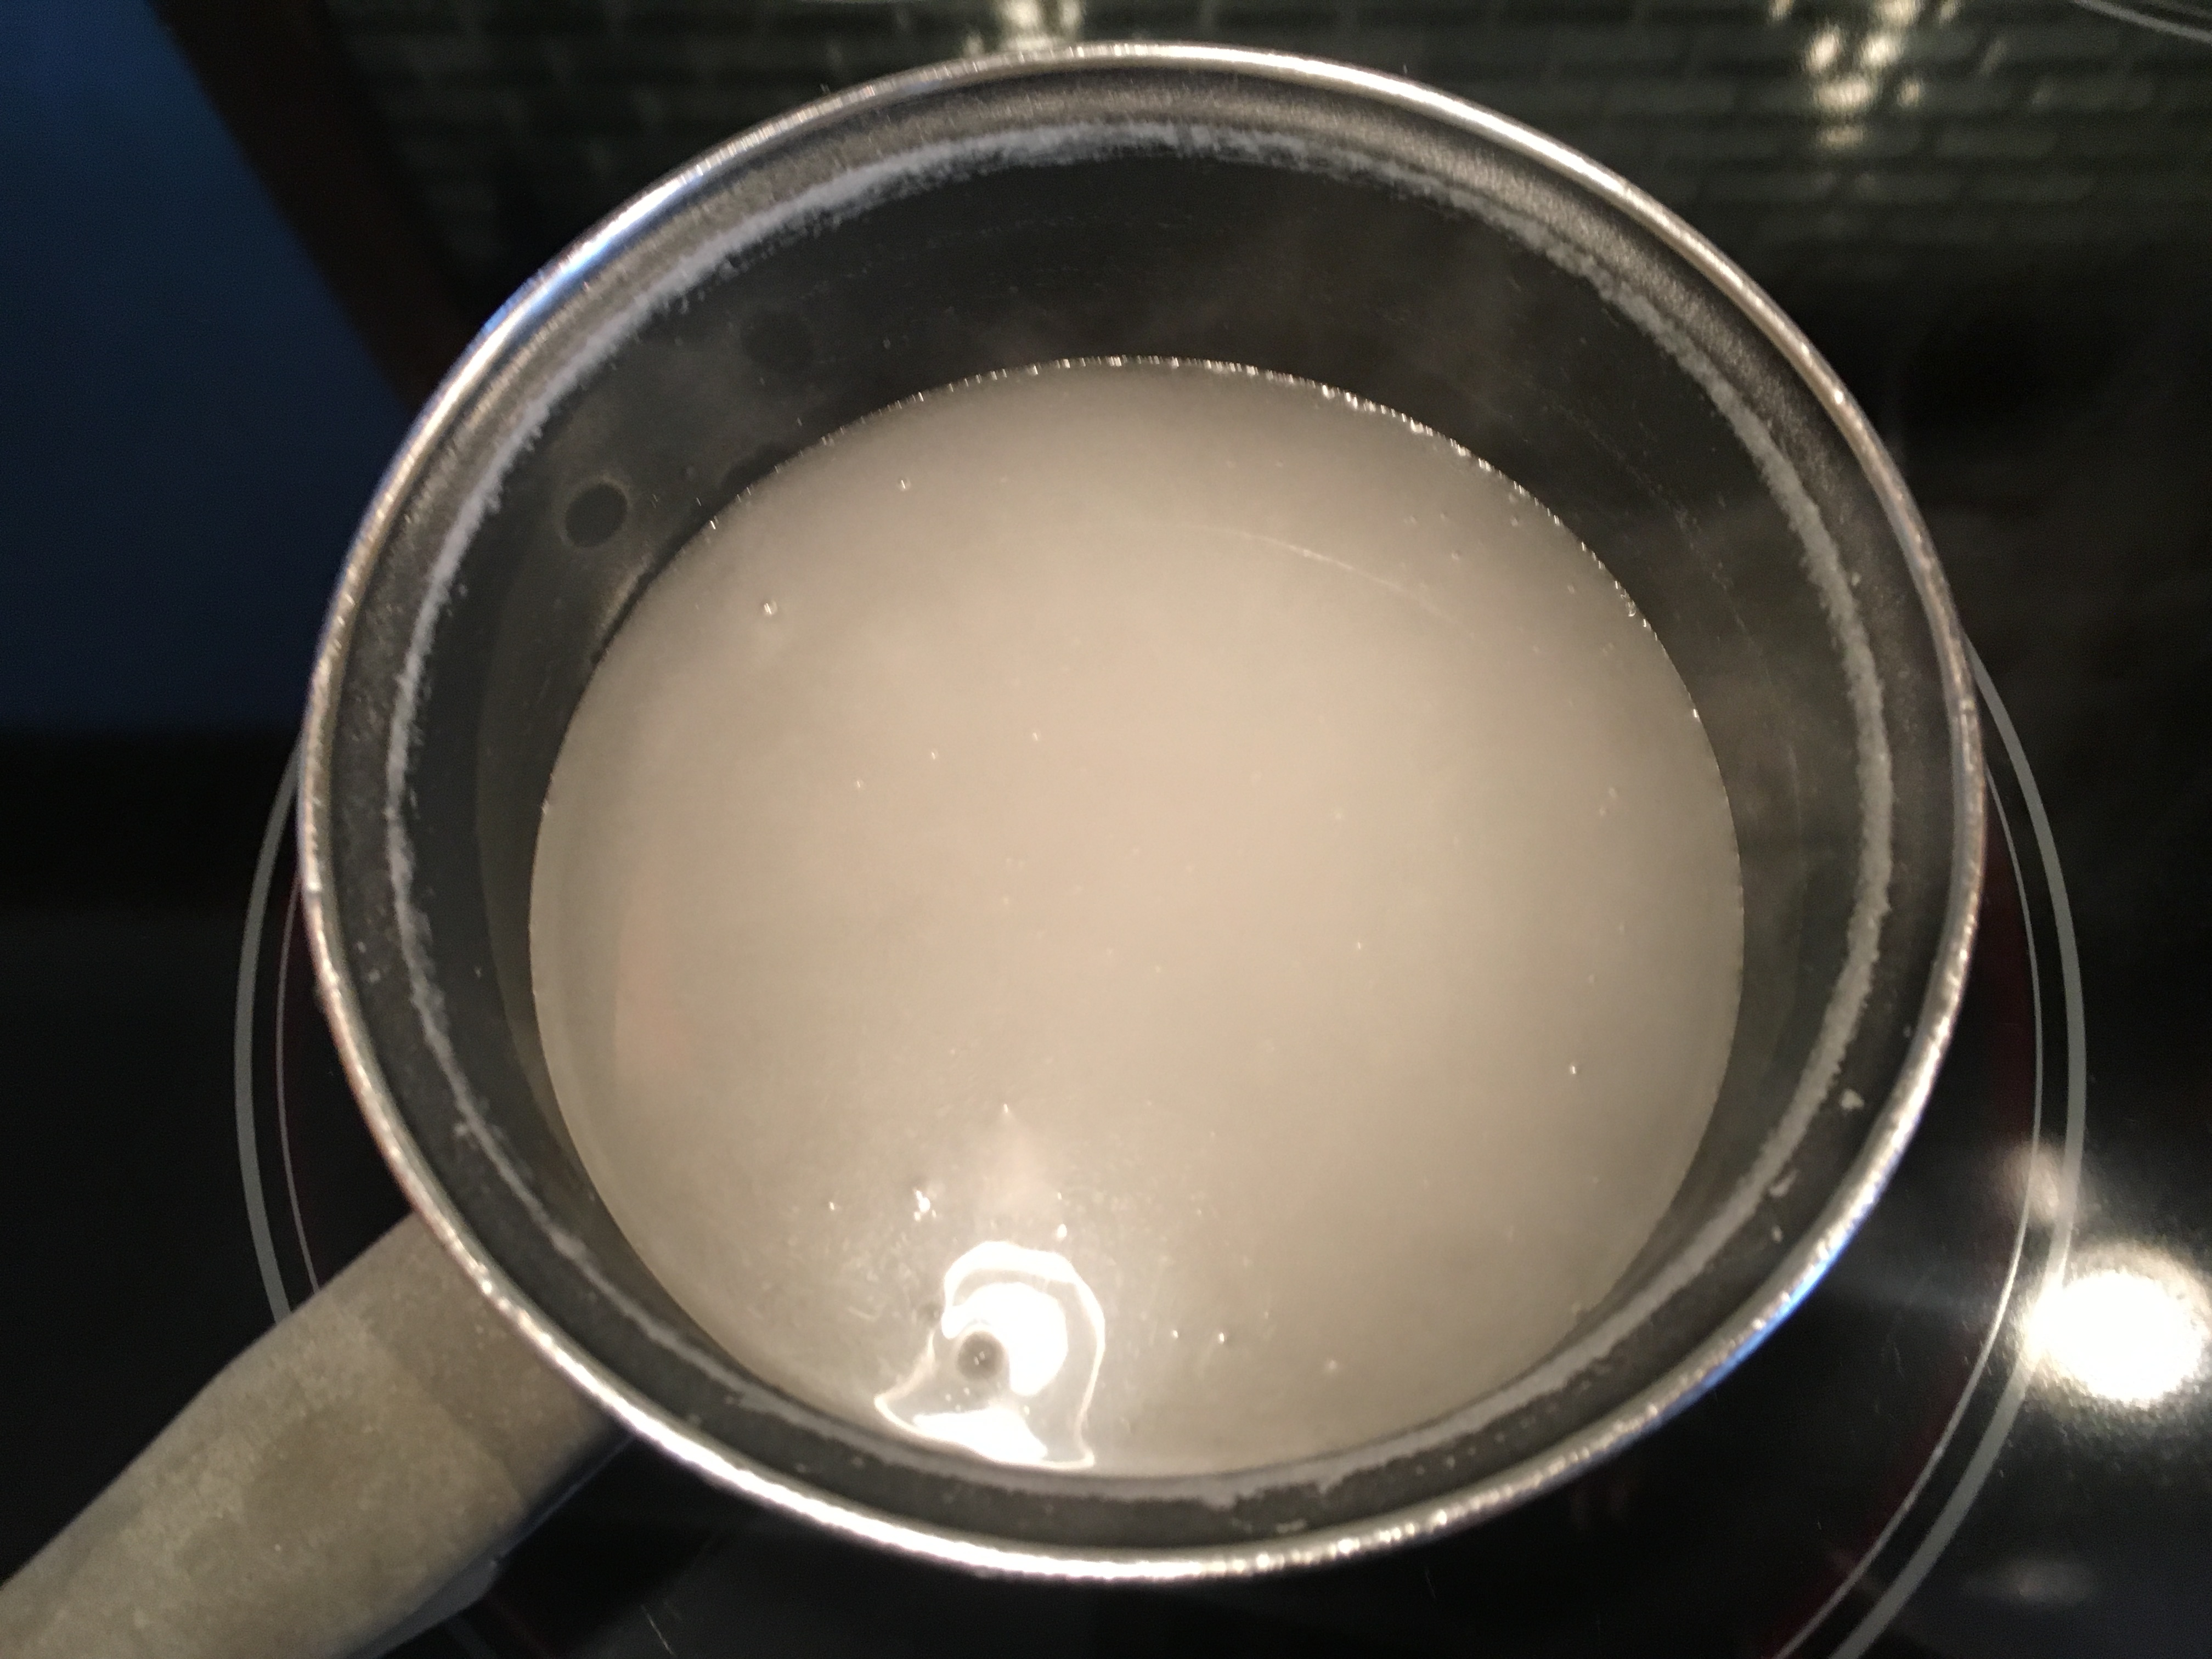
Next, put 3 C of sugar and 1 1/2 C water in the saucier.

IMG_6130

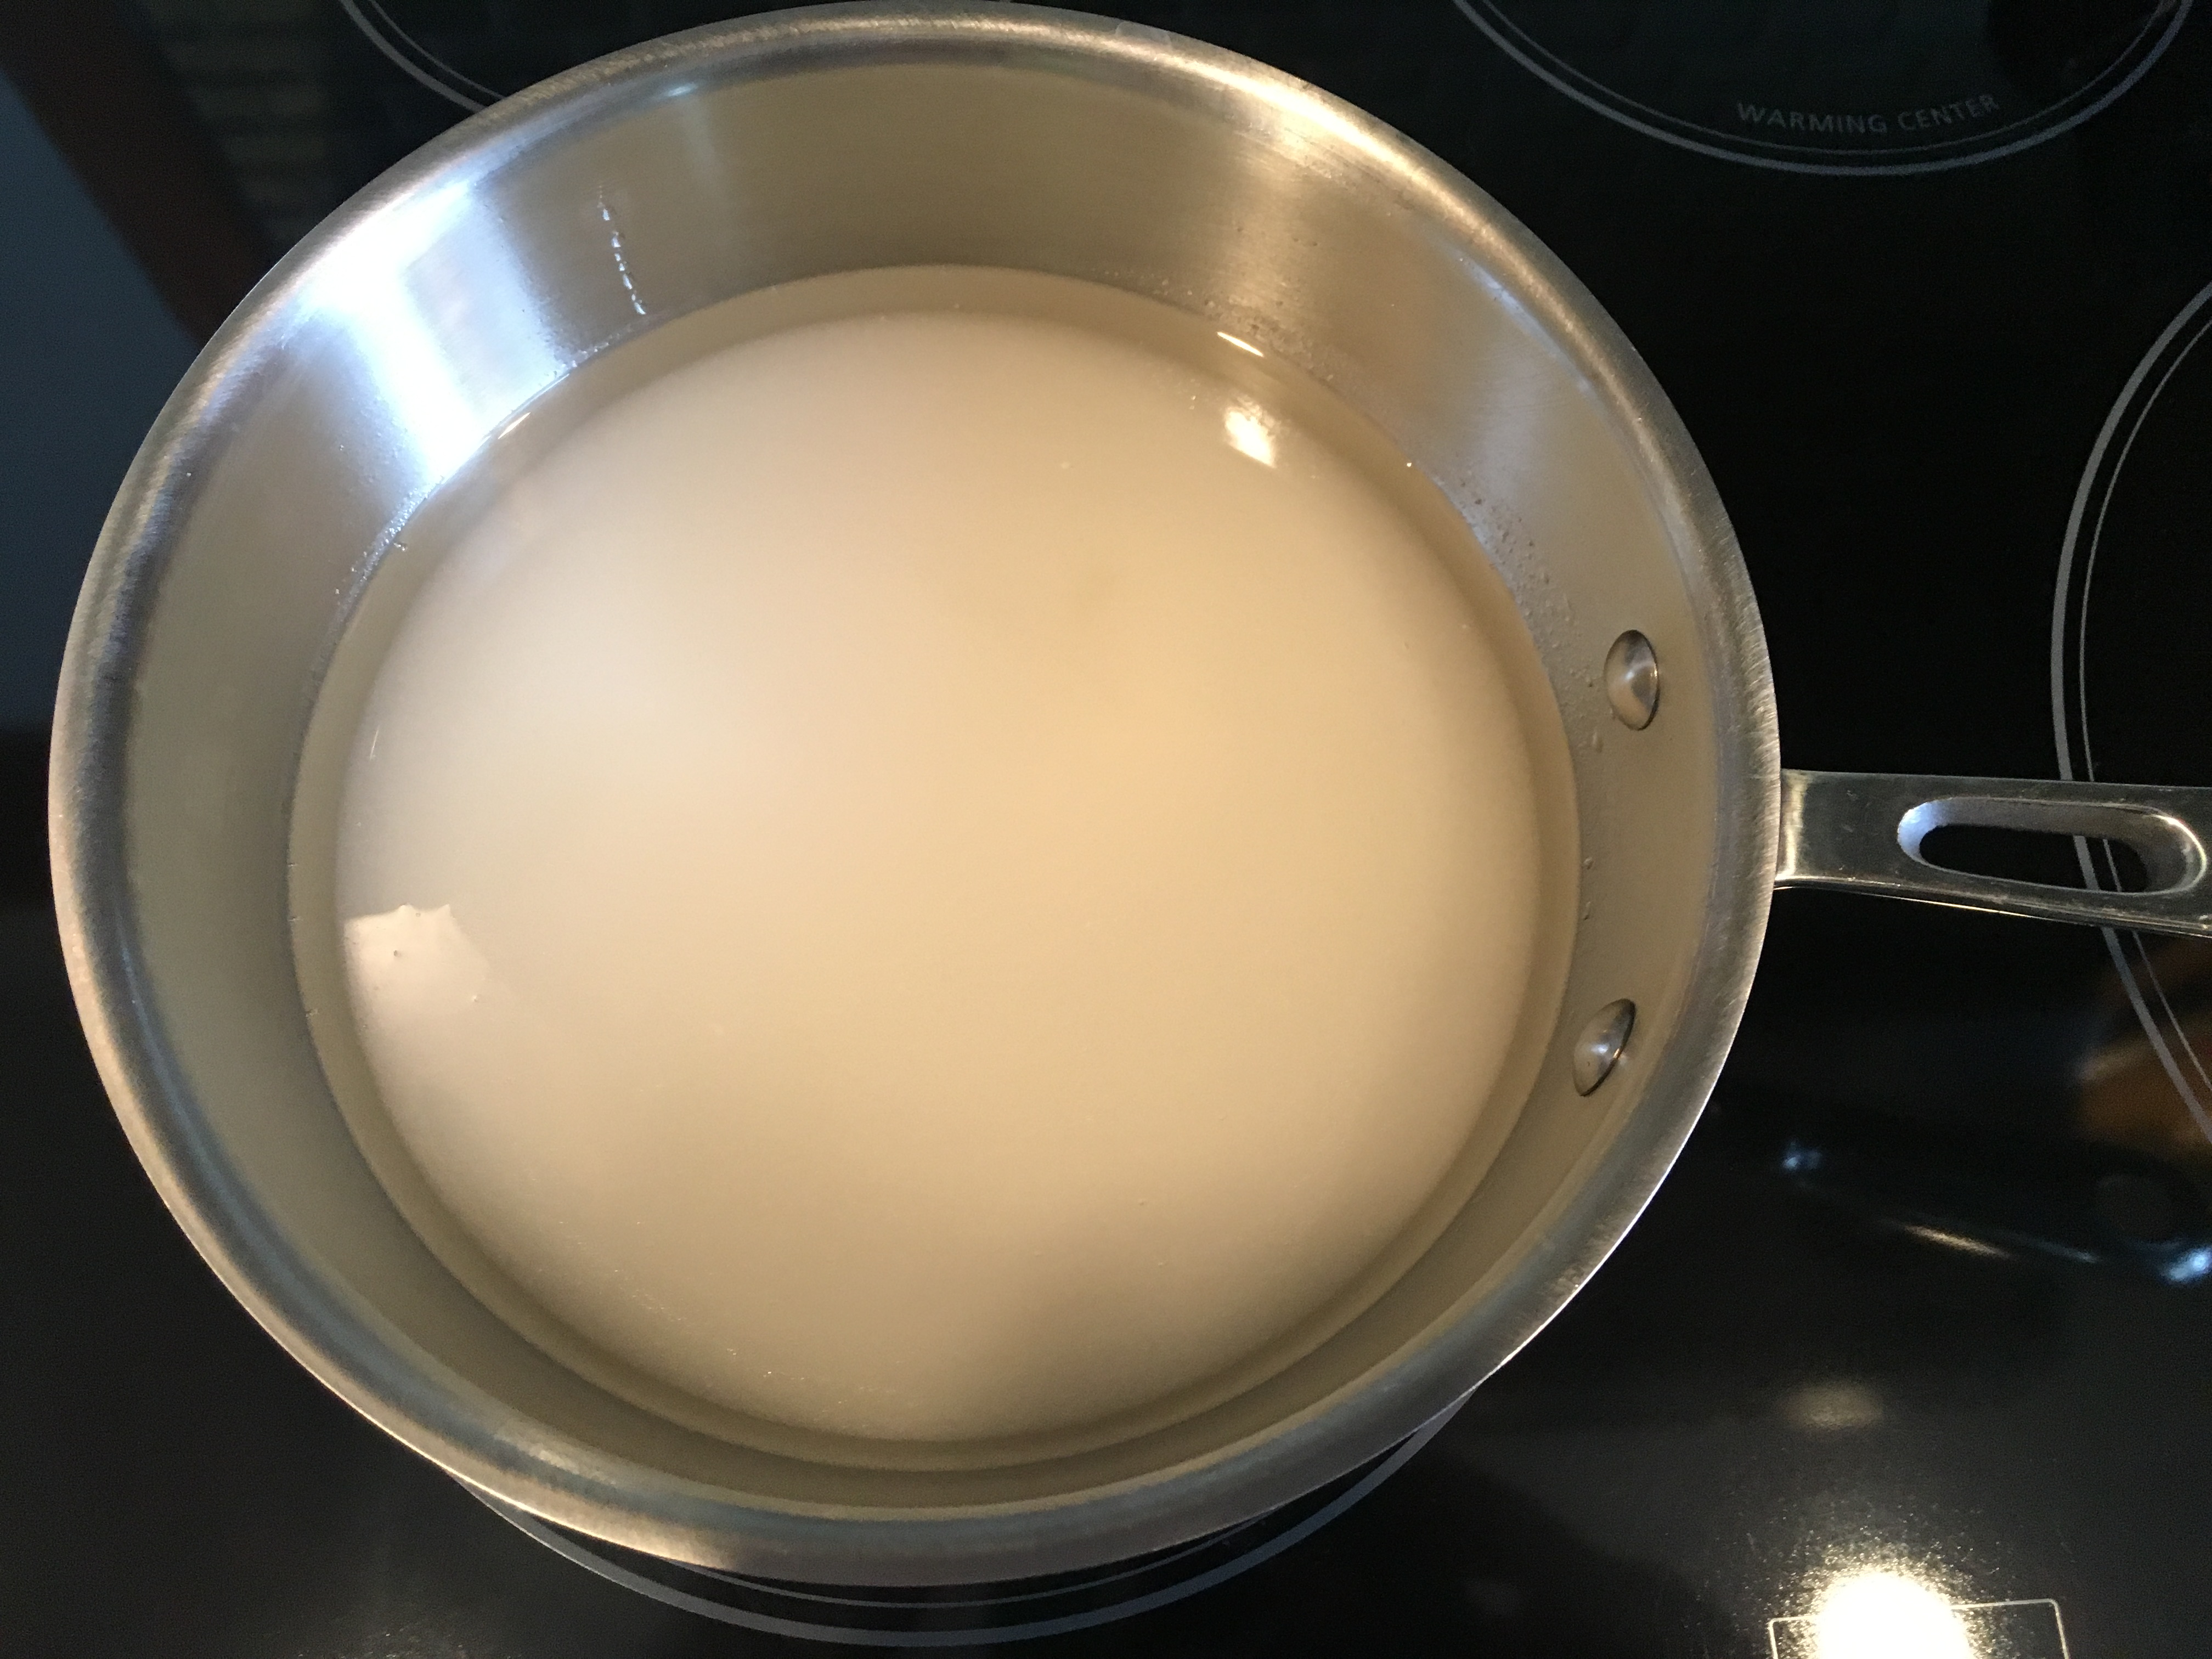
Sugar and water placed in saucier.

Place the pan over high heat. Note:  If you are worried about your stove producing uneven heat, Alton suggests placing a cast iron skillet between your saucier and your burner to diffuse heat. Stir the sugar/water mixture occasionally, bringing it to a boil. Once boiling, cover the pan and set a timer for three minutes. This will allow the steam in the pan to wash down any crystals from the sides of the pan.

After three minutes, remove the lid and decrease the heat to medium. Meanwhile, toss 1 1/2 C lightly salted peanuts with 1/2 t cinnamon and 1/2 t cayenne pepper.

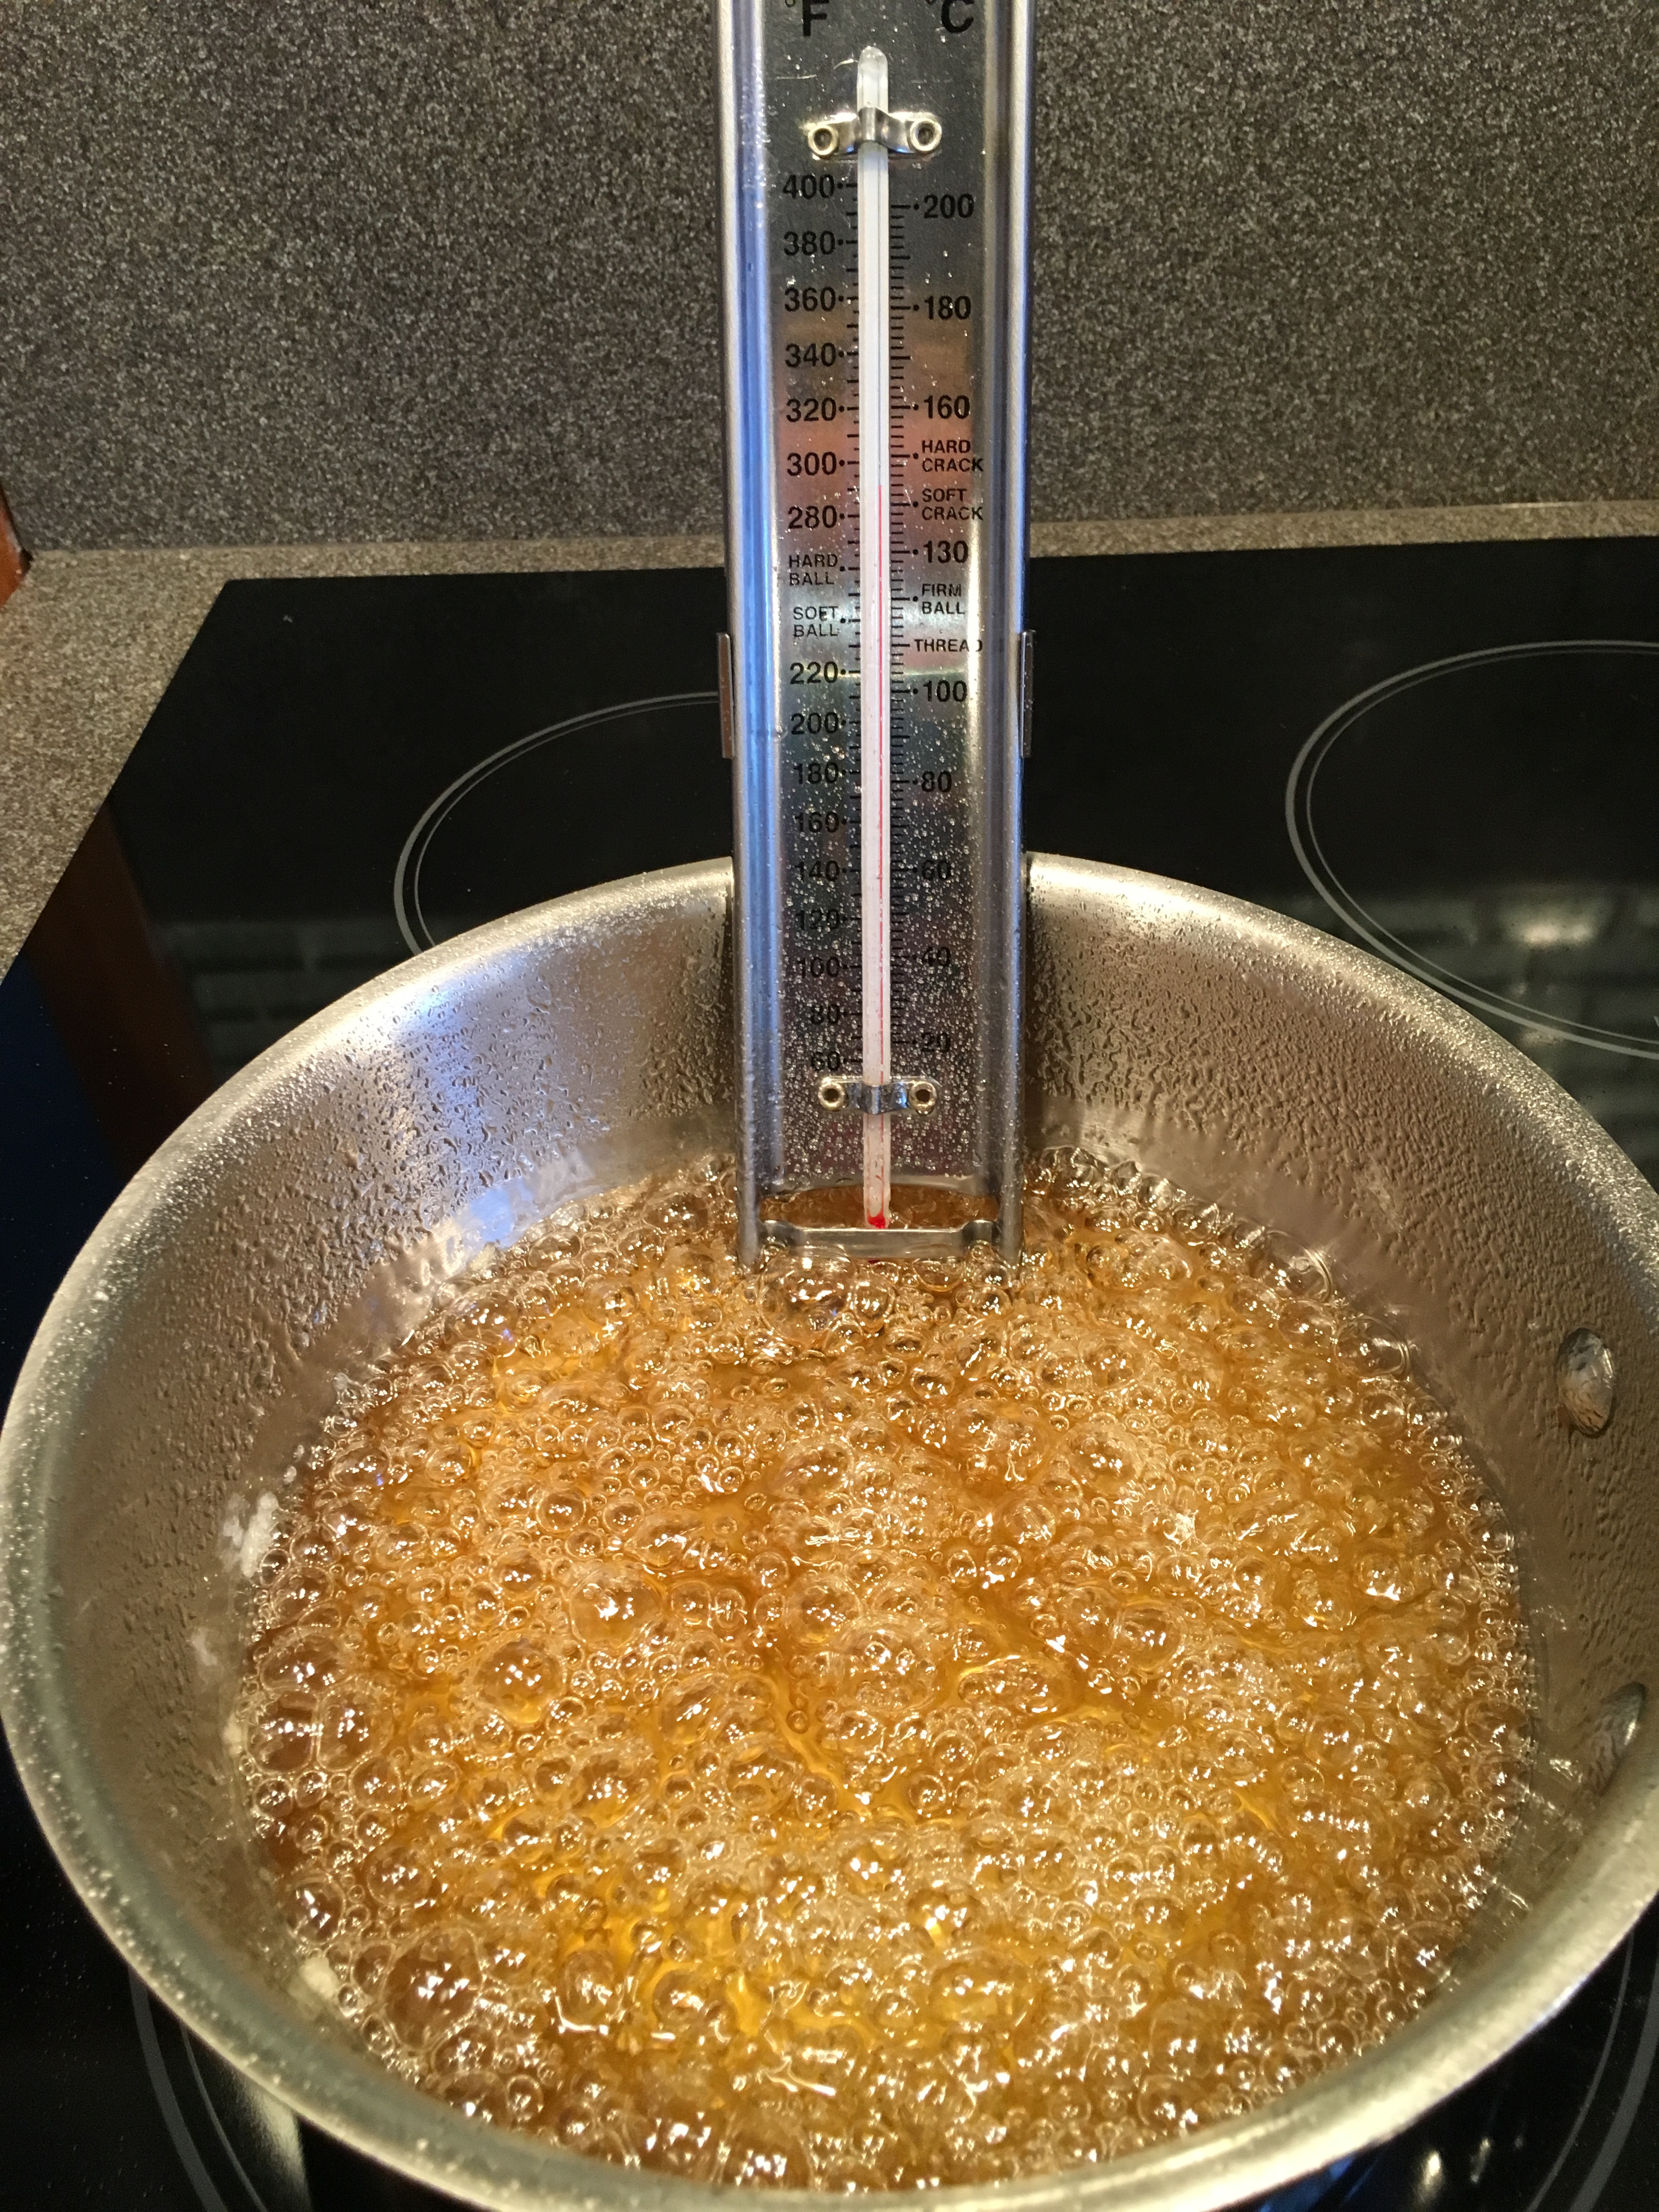
Continue cooking the syrup until it reaches a light amber color and has slow bubble formation, which Alton says is at 350 degrees; Alton says you really do not need a thermometer to make this brittle, as you can just eyeball it. I decided to use the thermometer, as “light amber” seems subjective to me. Yeah, so Alton’s temperature of 350 degrees is COMPLETELY WRONG, and will result in scorched syrup. I had to discard my syrup and begin again.

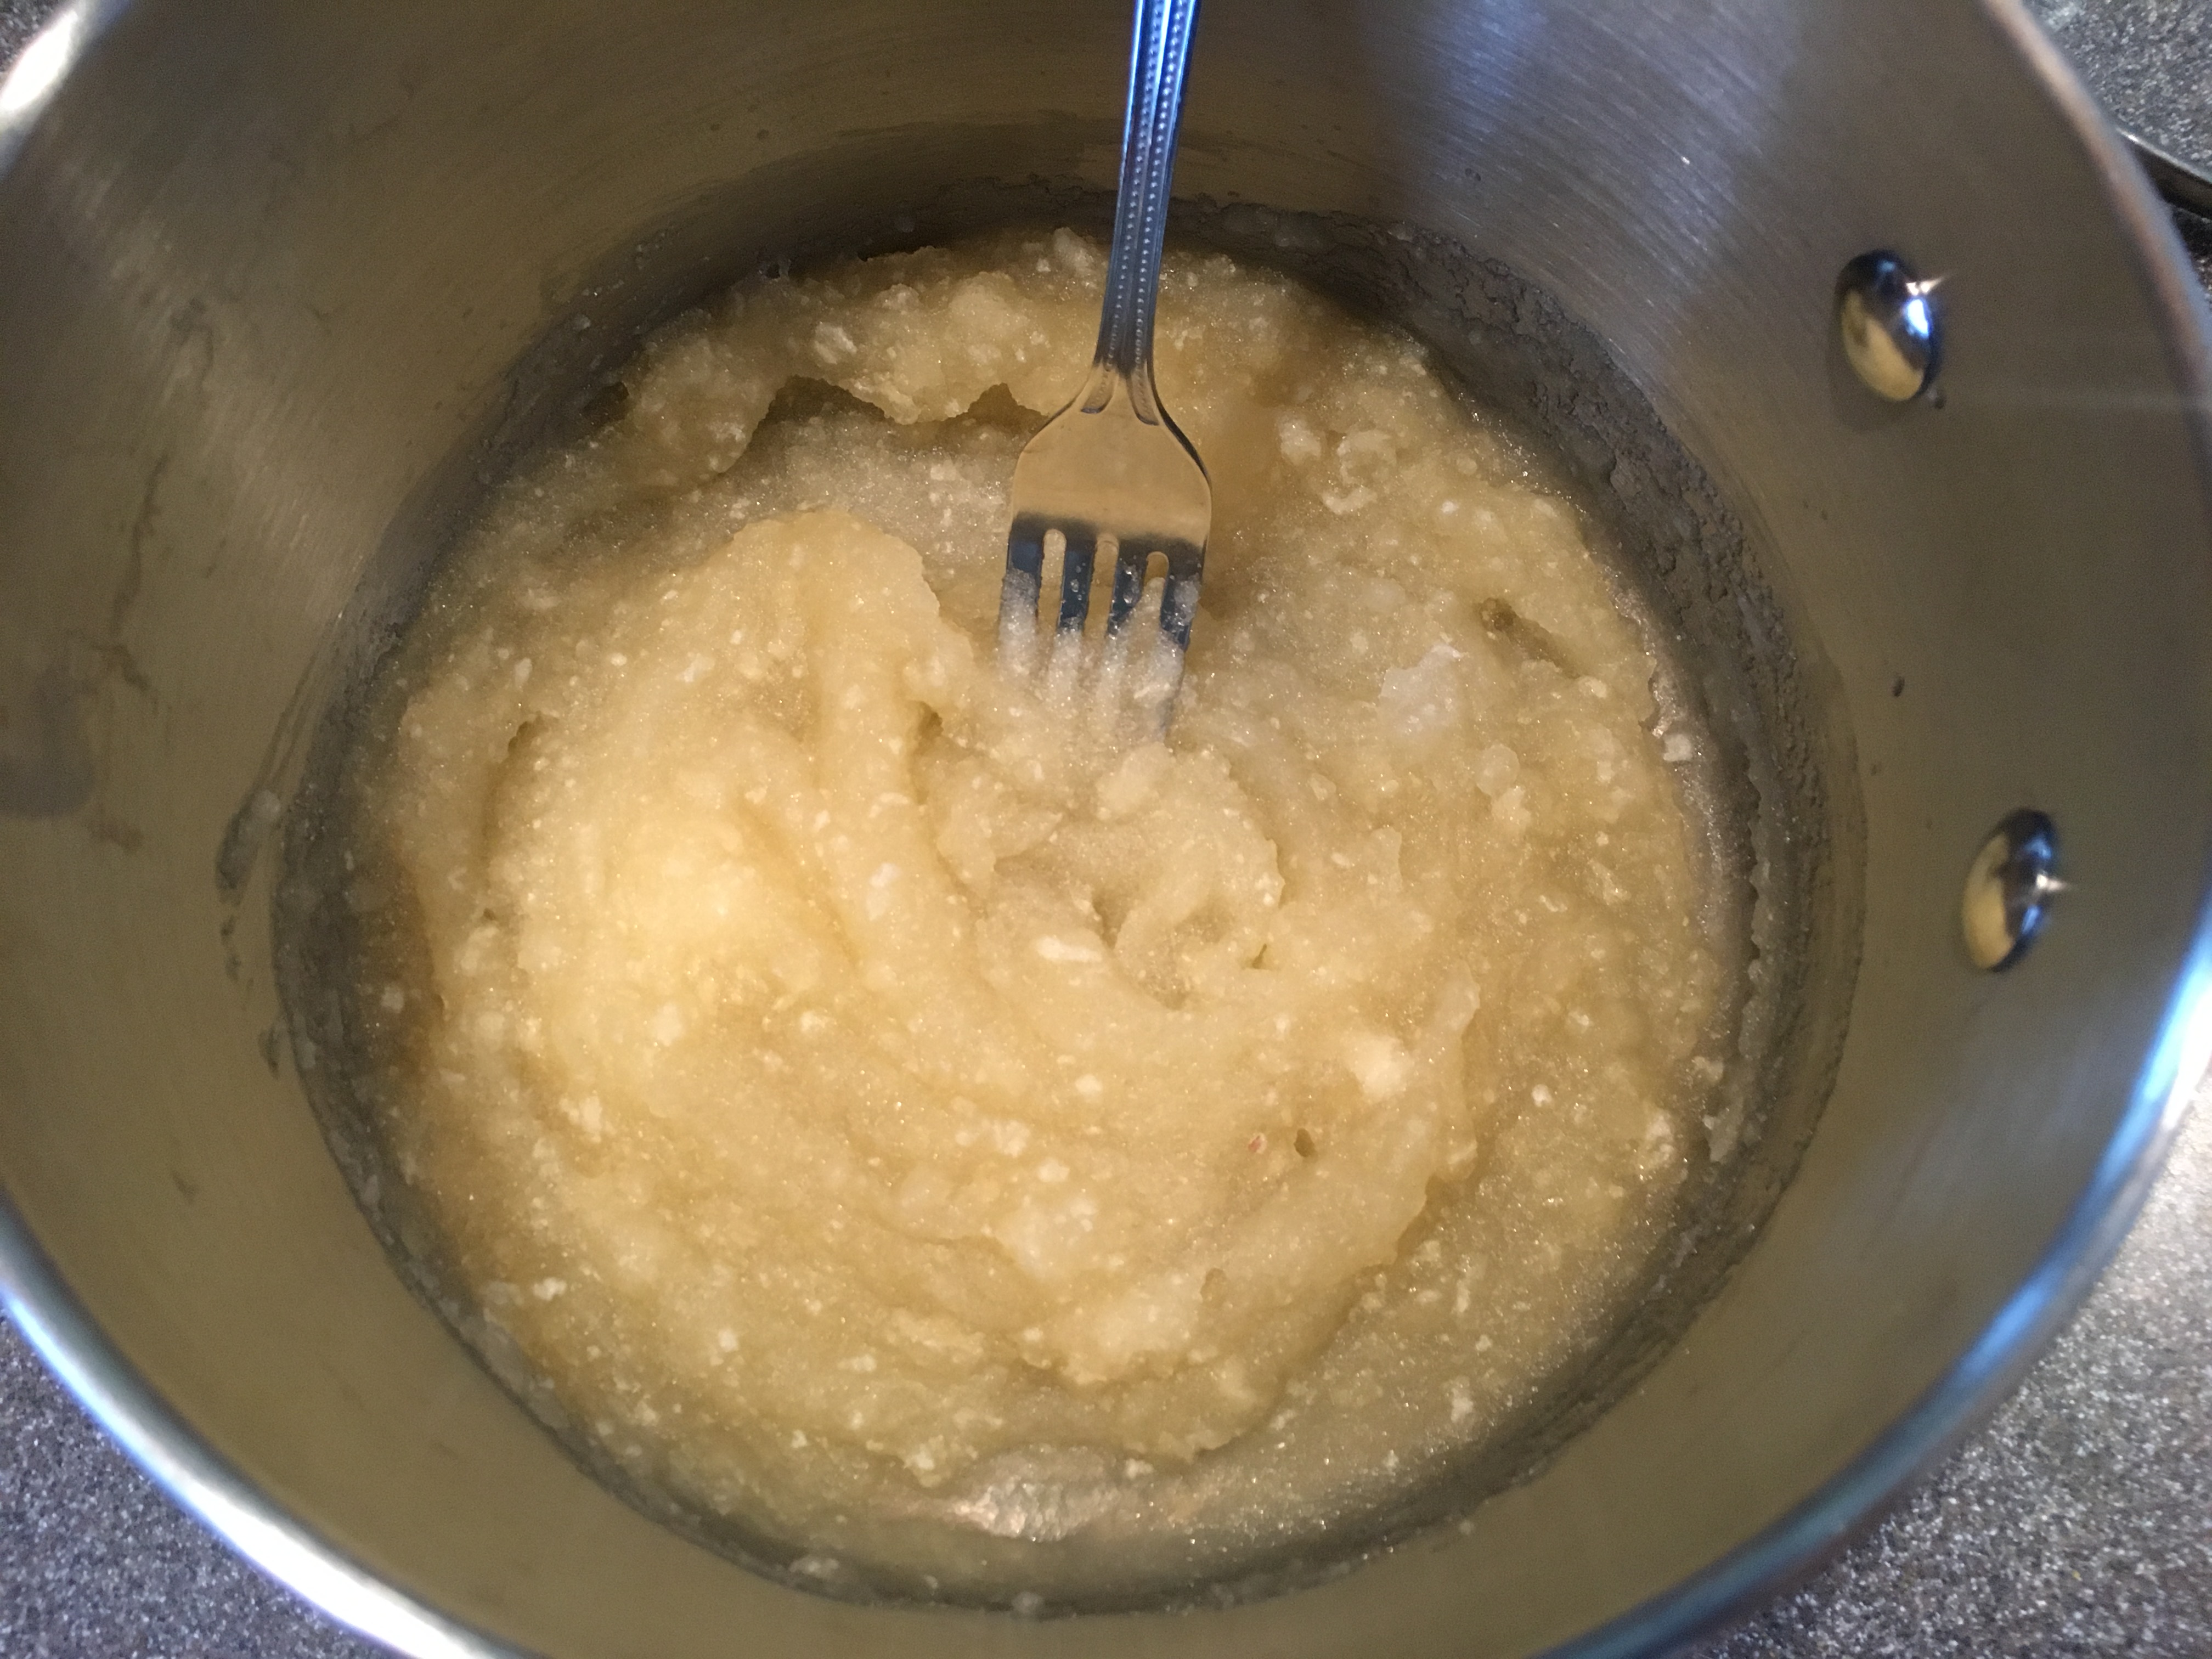
This time, I decided to eyeball the light amber color.

IMG_6142

Second attempt at syrup – this is what I determined to be light amber.

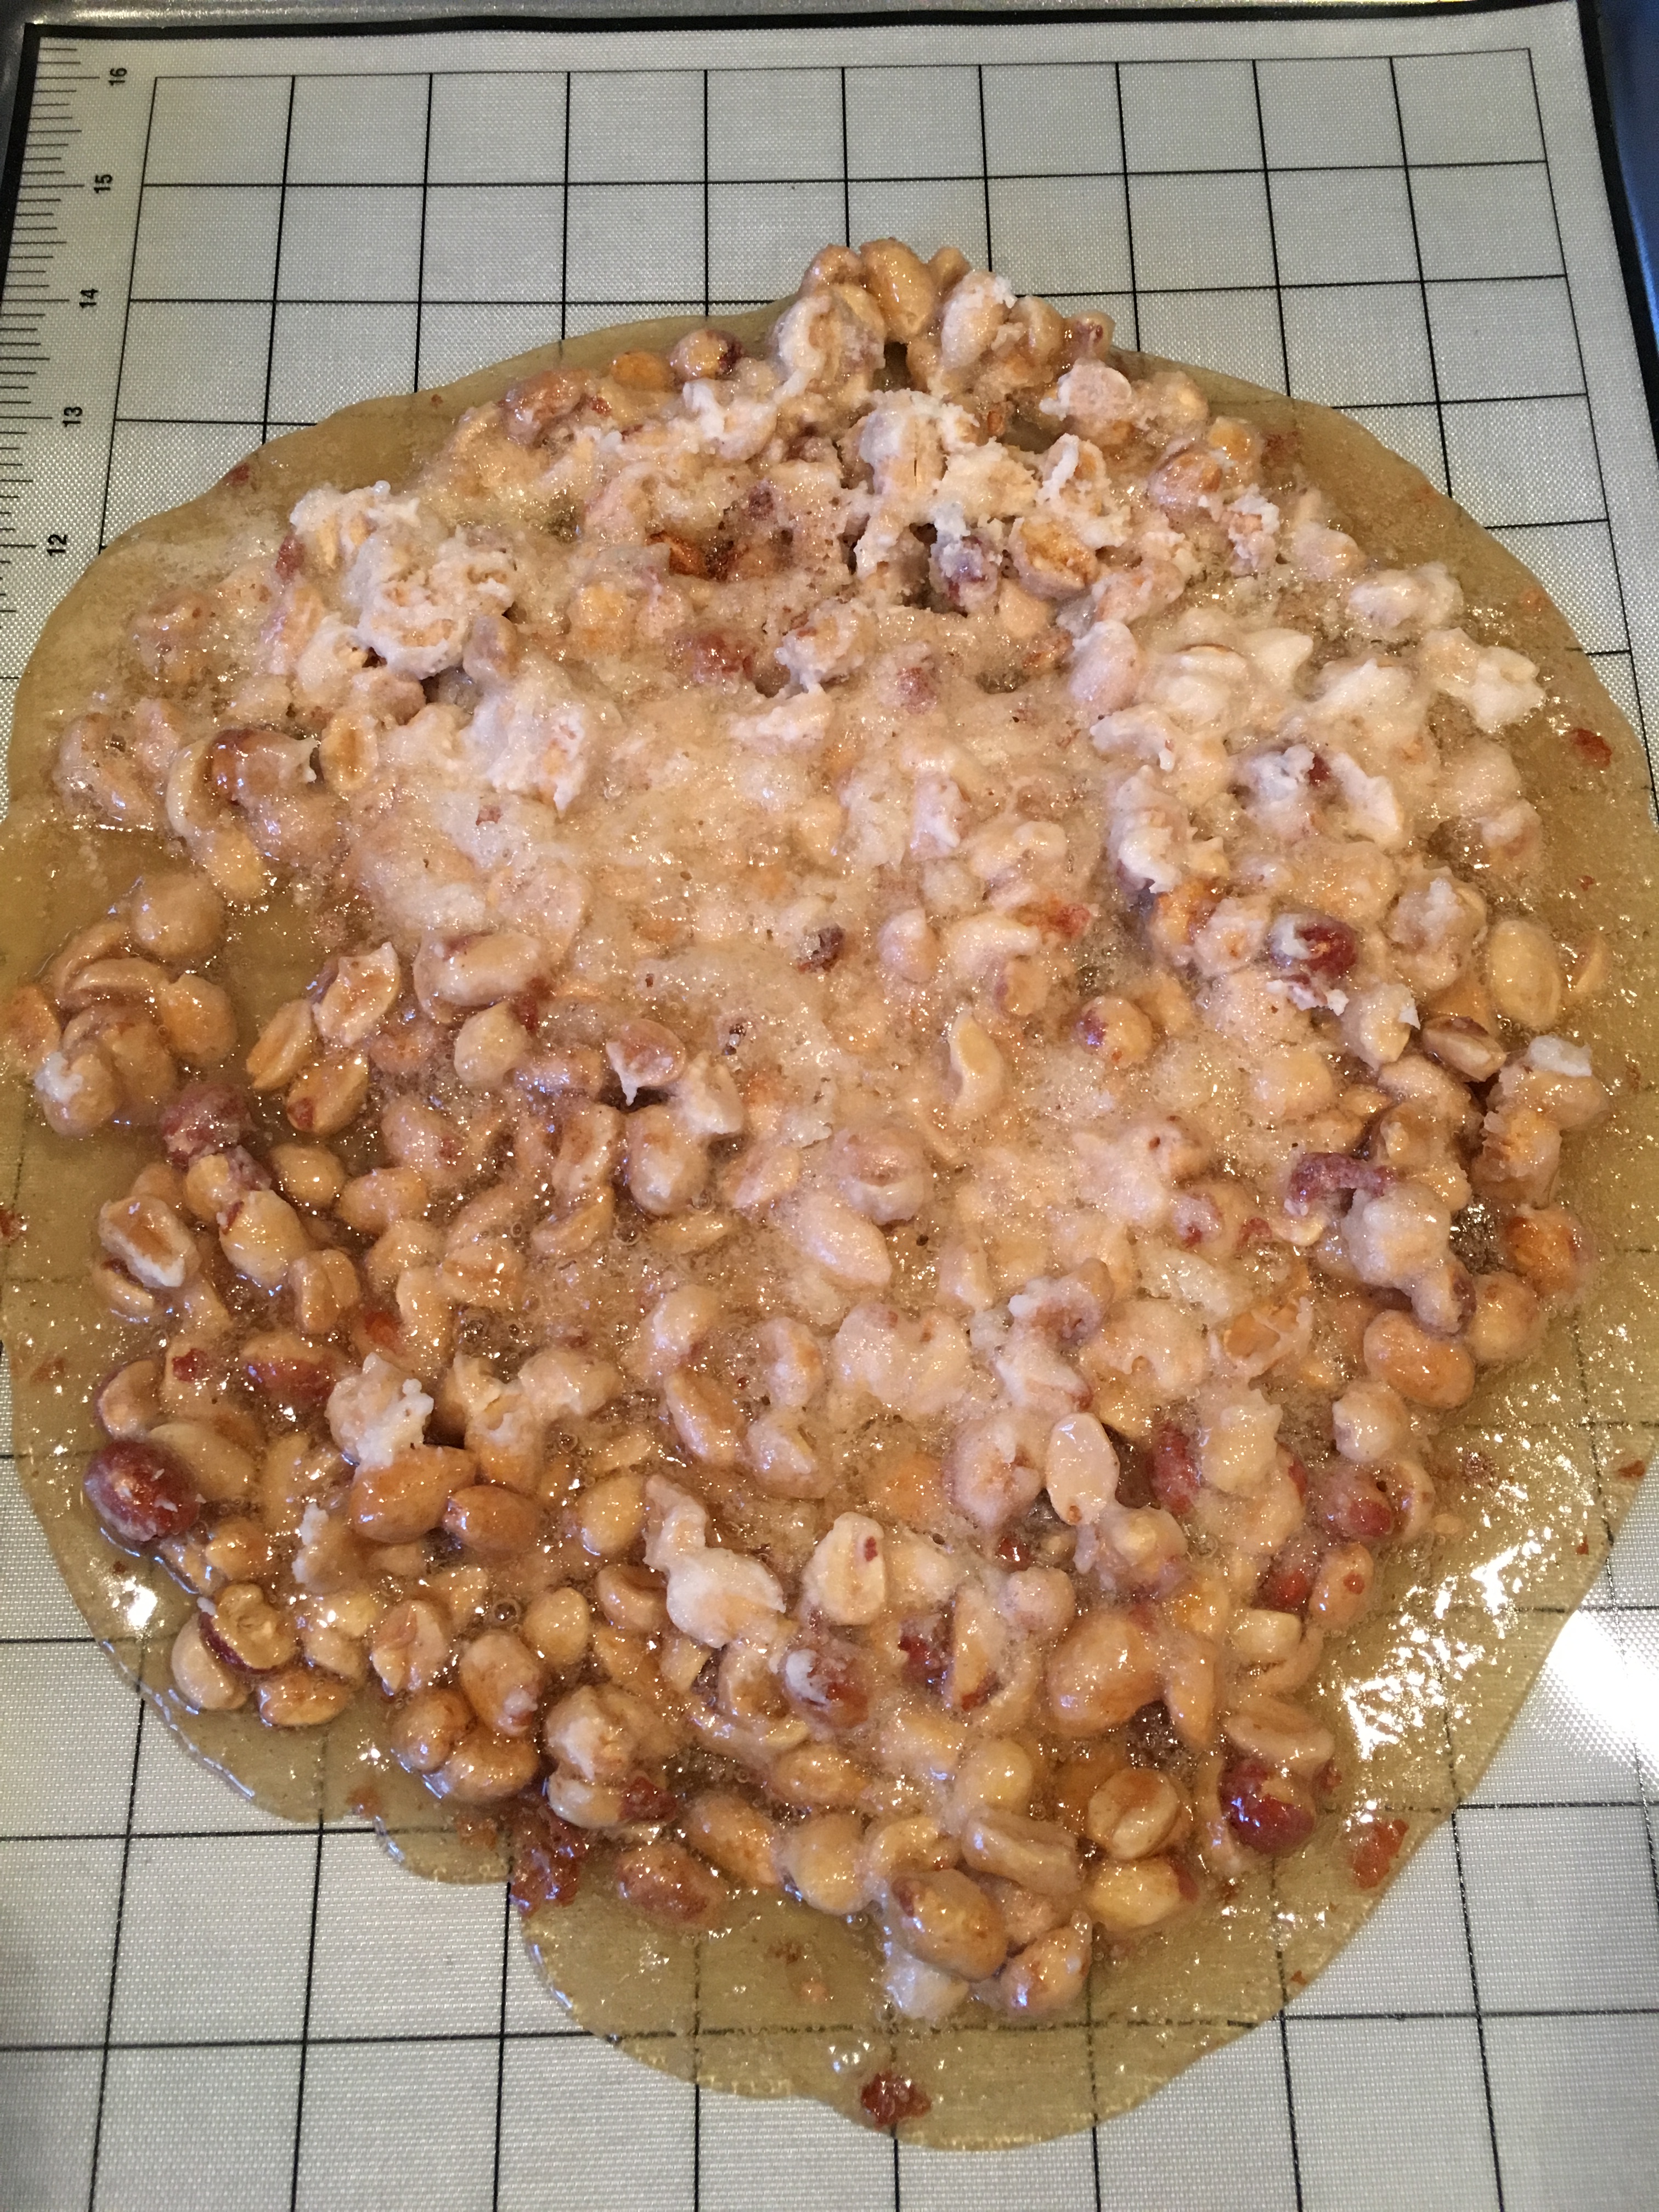
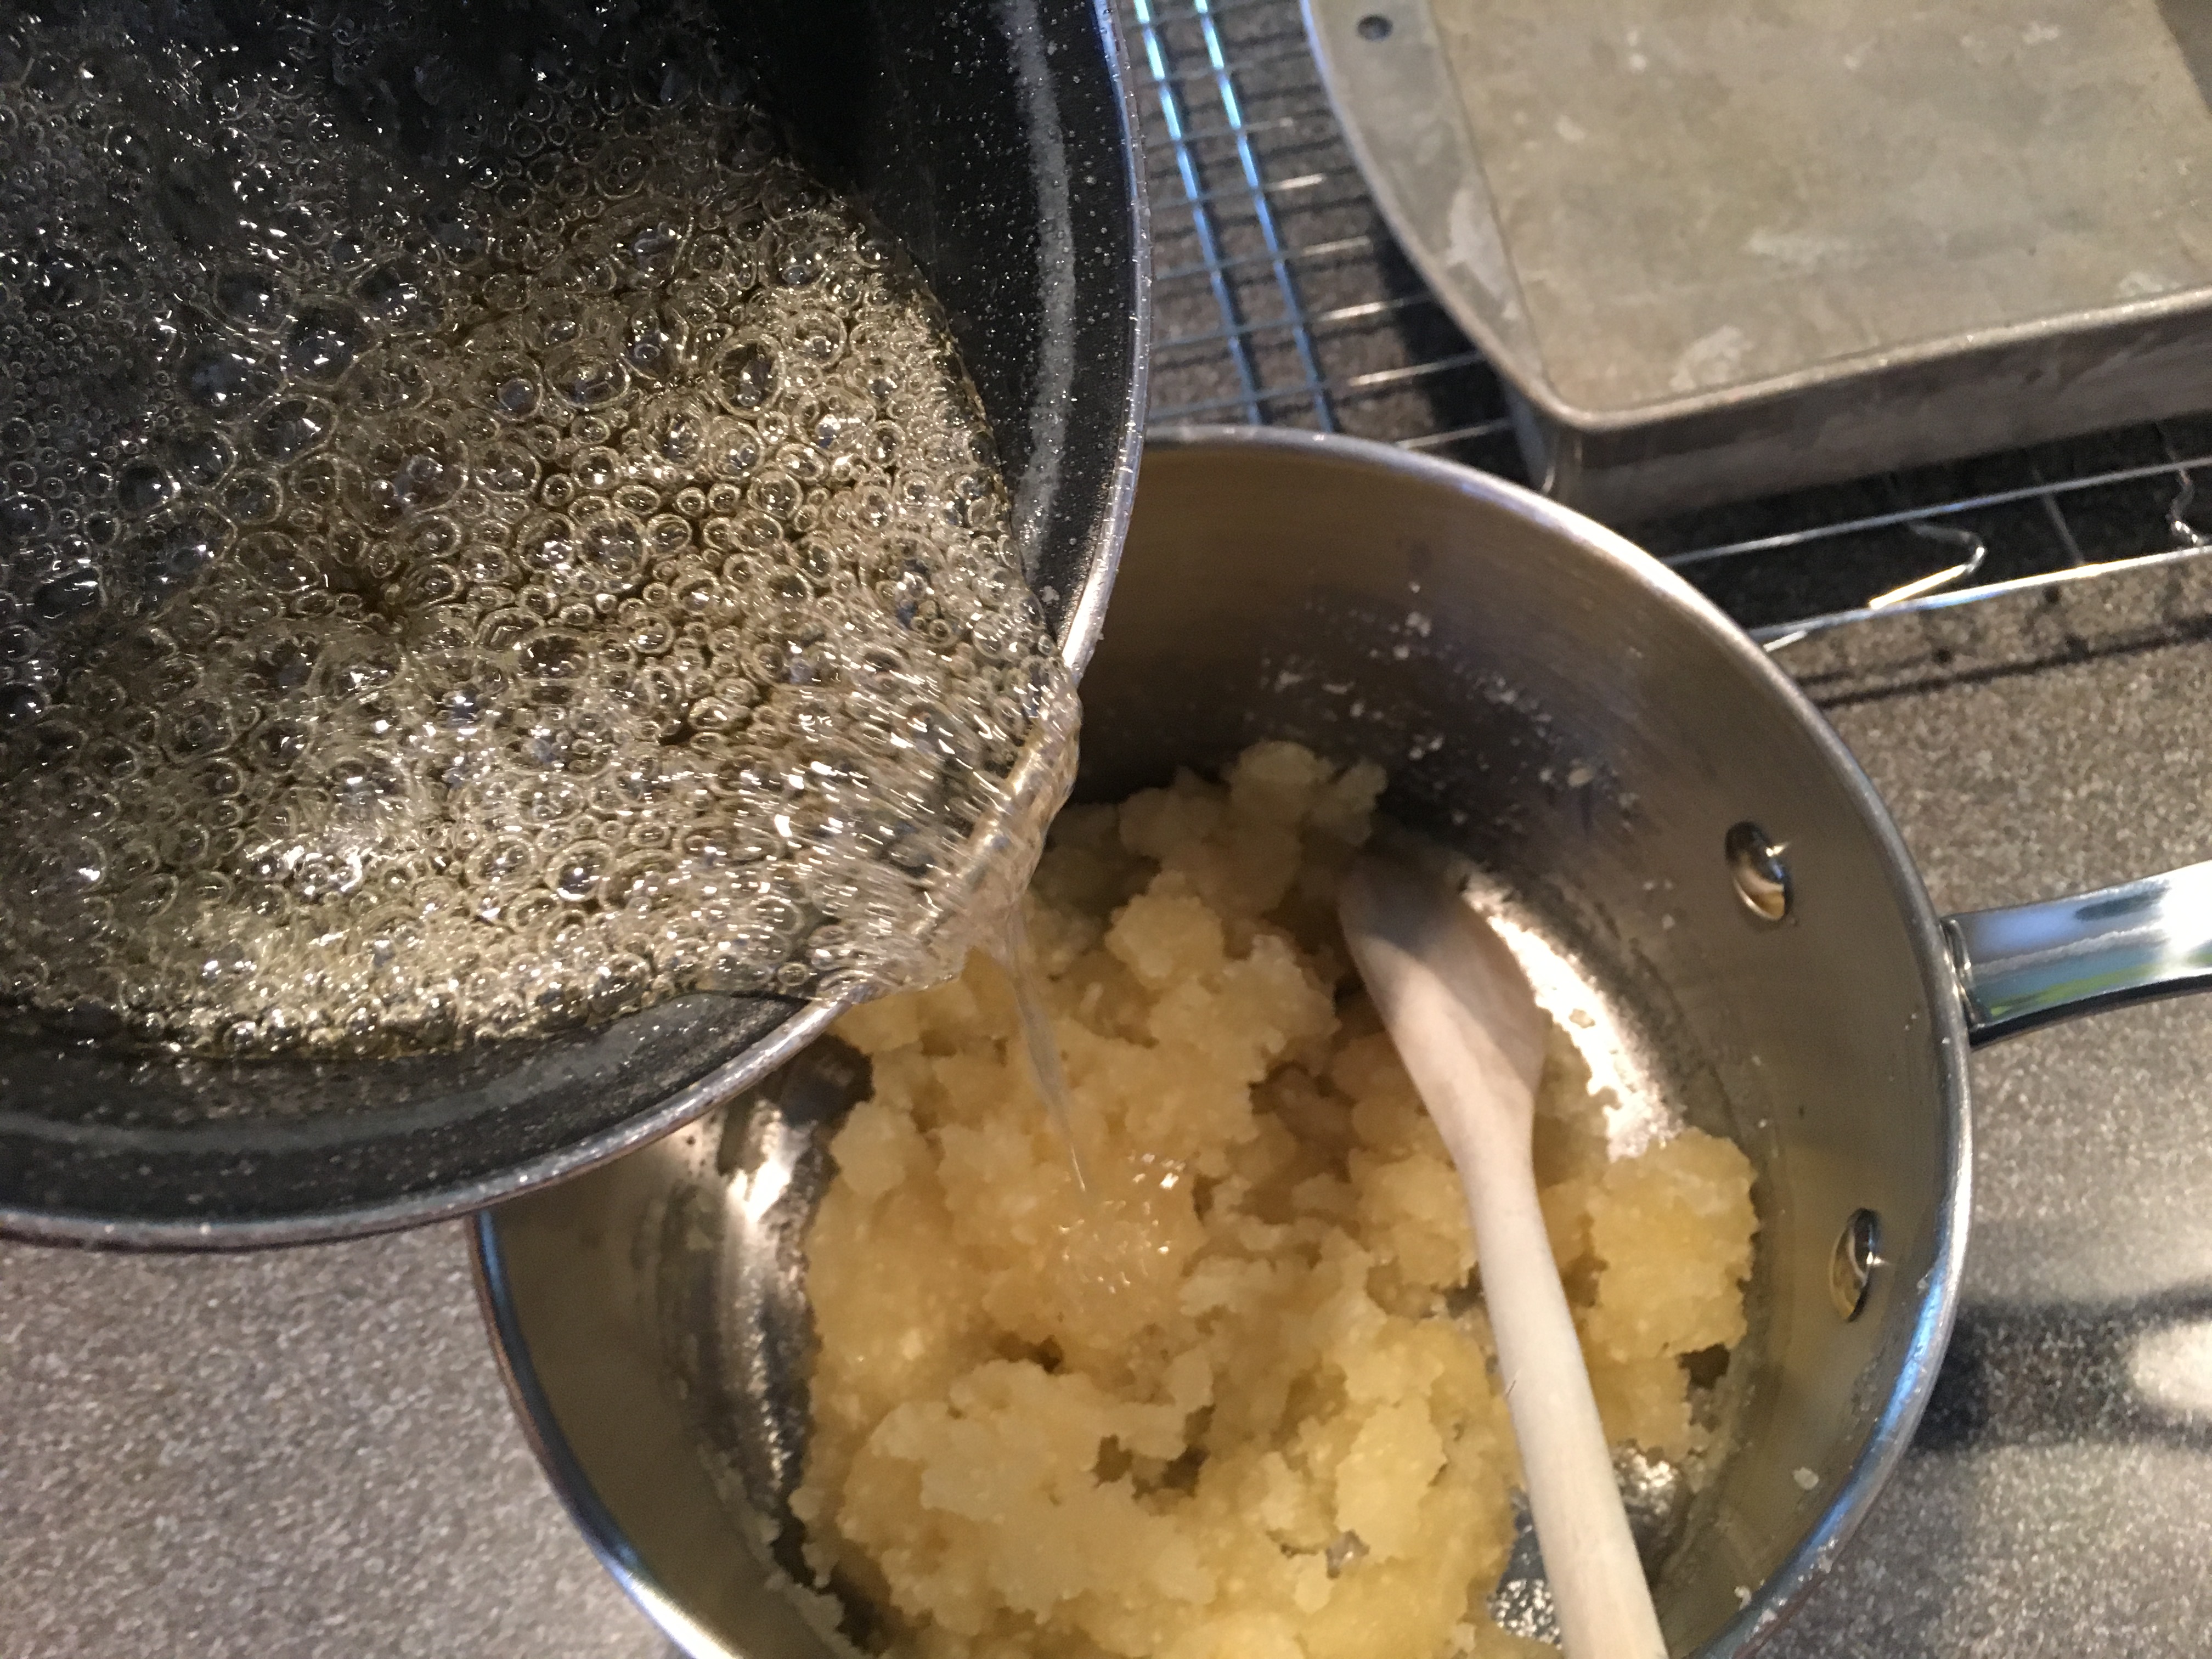
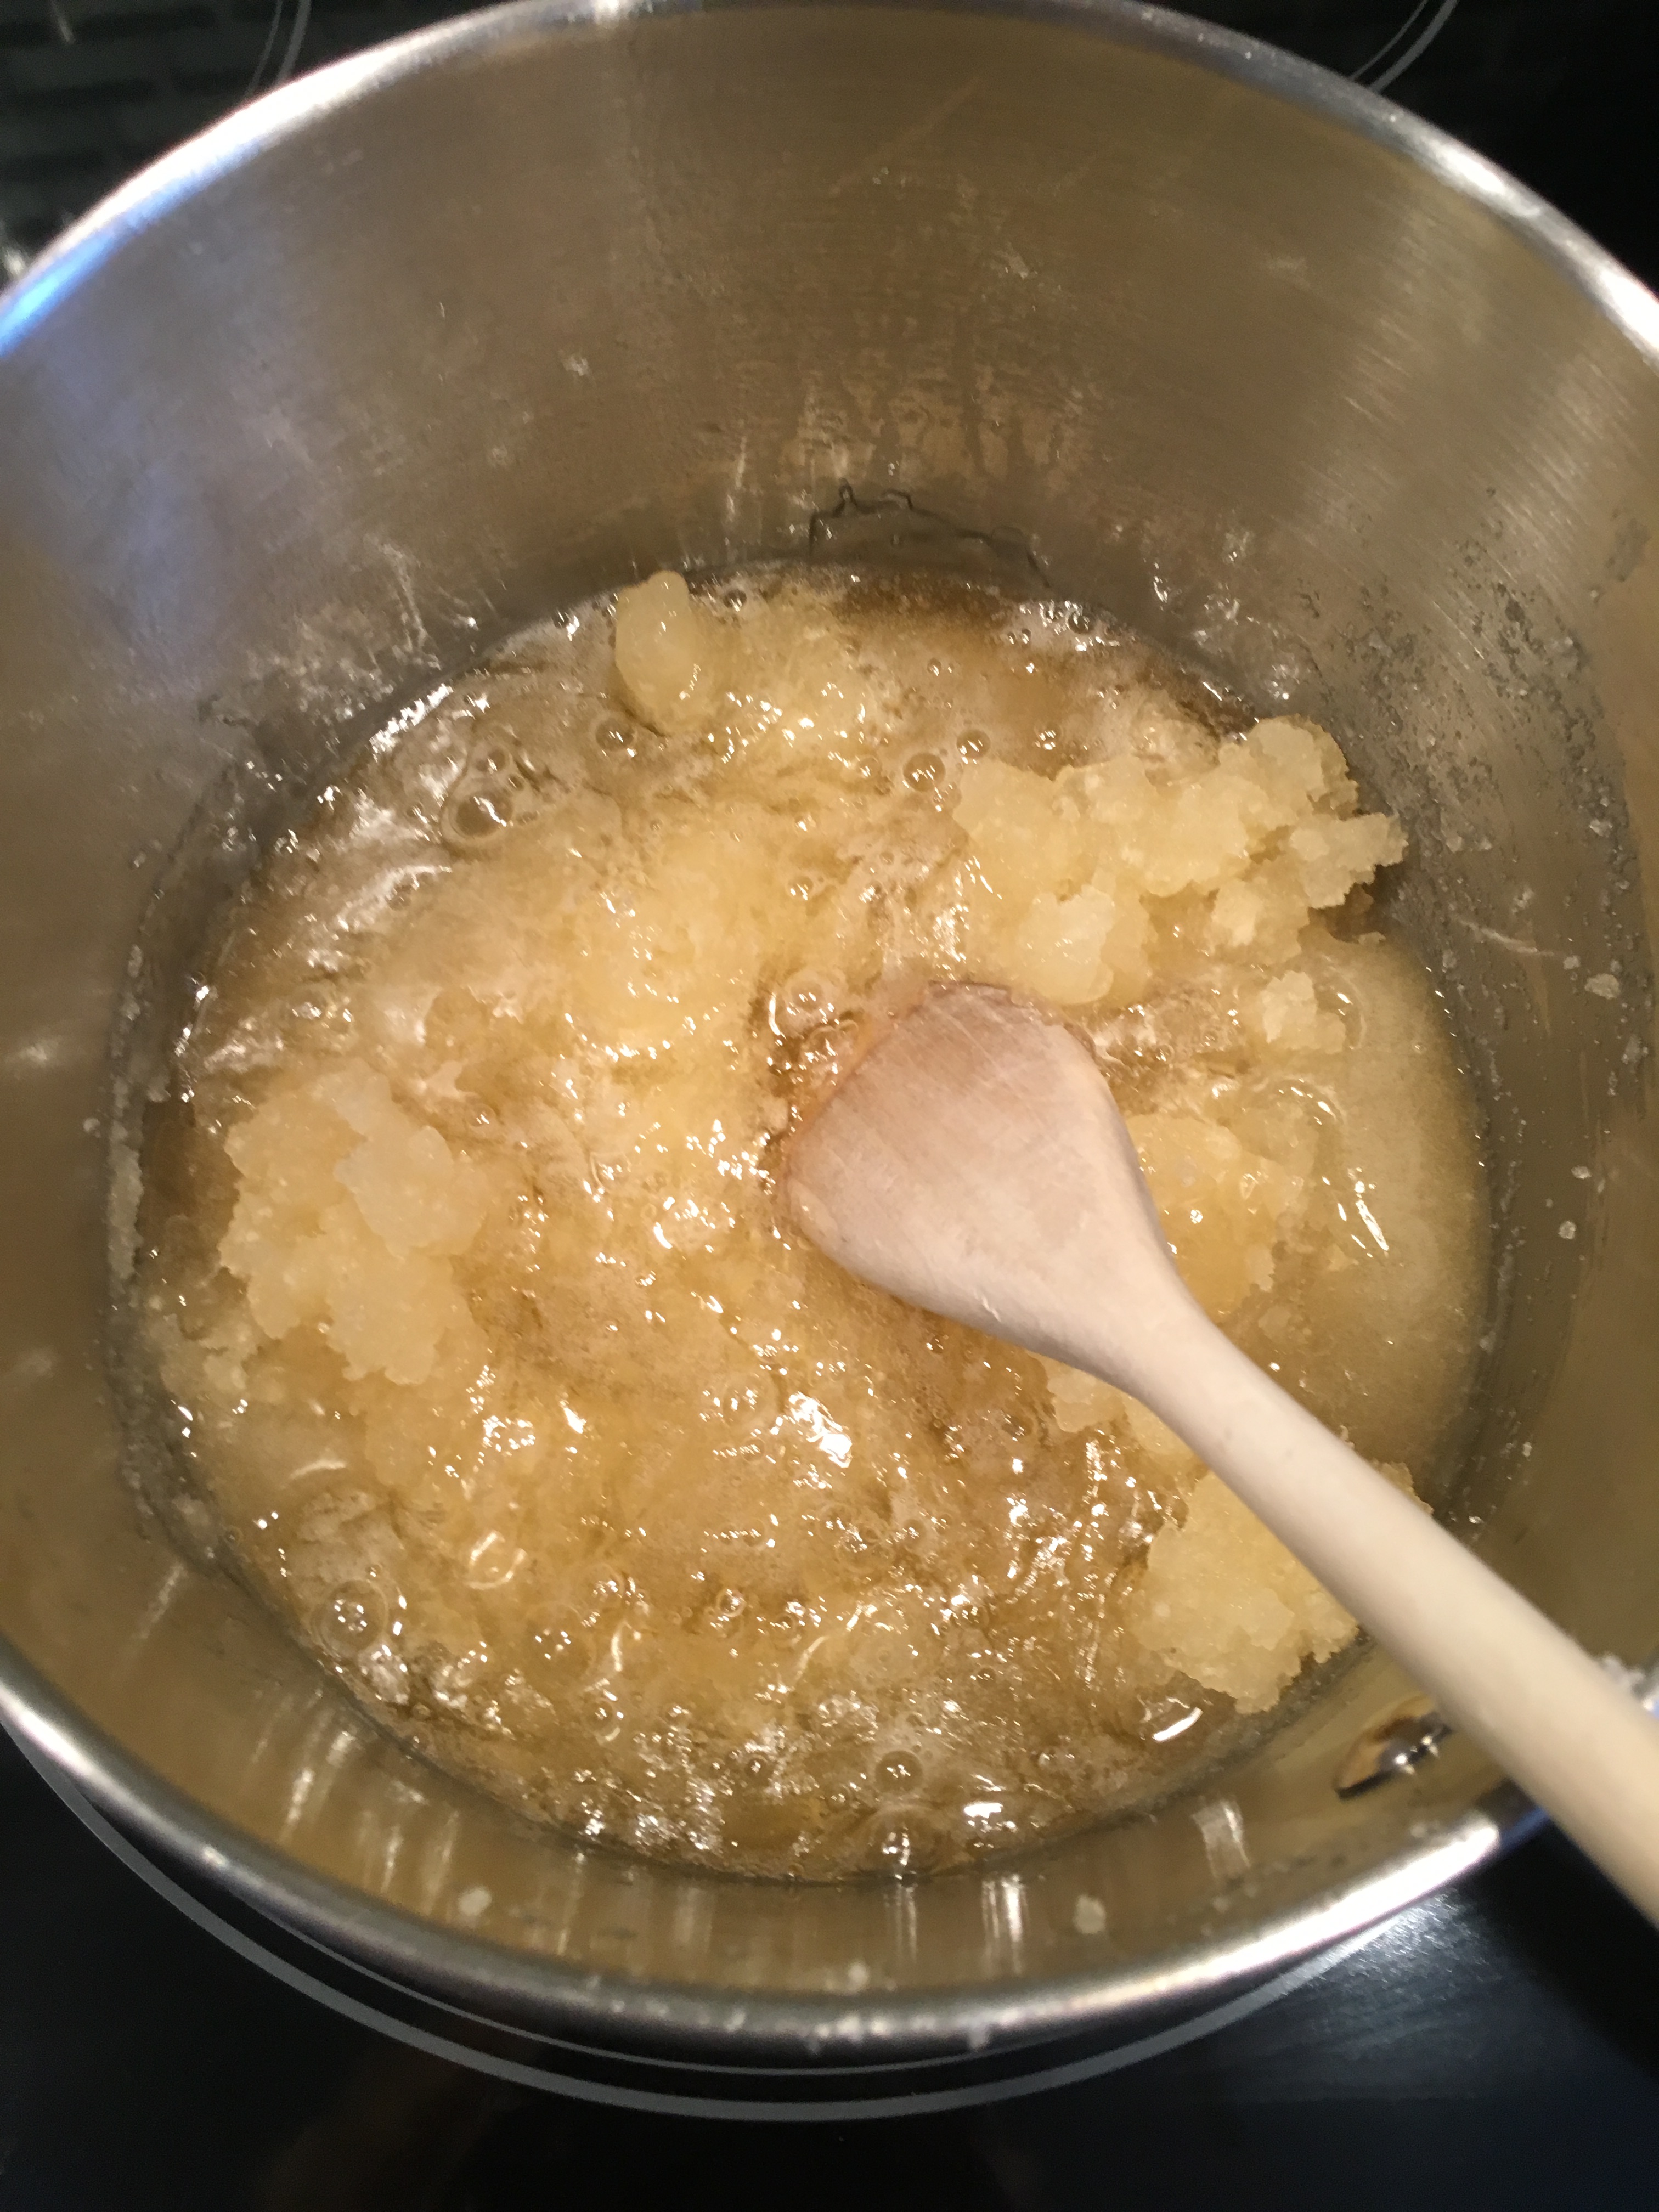
Once you have reached light amber, turn off the heat and dump in the peanuts, stirring.

Immediately pour the mixture onto the prepared silicone mat, distributing the nuts evenly with a spatula. Press the mixture down with the lubed backside of the second prepared pan. Set the brittle aside to cool completely. Once the brittle has hardened, place the second half-sheet pan, this time inverted, on top of the brittle pan. By shaking the brittle between the two pans, you can easily break it into pieces. So, my verdict of this recipe is not that favorable. I have no idea how Alton recommended 350 degrees for the syrup, as it was just way too high. The second time I made my syrup, I think I probably pulled it off the heat too early, as my brittle did this weird foaming thing when I poured it onto the mat.

IMG_6145

Brittle poured onto mat and beginning to foam.

My resulting brittle was opaque, somewhat gritty, and had an odd white hue. The candy tasted fine, but it wasn’t what I think of as brittle, which is normally caramel-colored, shiny, and clear.

IMG_6150

Even my dog thought my brittle looked weird.

I think this recipe would have been much more successful if Alton had provided the correct temperature for the syrup, which a Google search says is around 300 degrees. In theory, the eyeballing technique could work for someone who makes candy often, but candy making requires more precision than eyeballing. I’d follow a different peanut brittle recipe next time for sure.

Acid Jellies

When we were kids, our parents would give us each a box of chocolates for Valentine’s Day. I preferred nut-free candy (still do), so my box was typically a mix of caramels, creams, and jellies. It had been years since I had last had a jelly, so I was pretty stoked to see jellies appear in this episode.

To make Alton’s version of jellies, combine in a saucepan 1/2 C fresh lemon juice, 1/4 C fresh lime juice, 1/2 C water, and 8 packages of gelatin. Set this saucepan aside with no heat.

IMG_6159

Gelatin, lemon juice, lime juice, and water combined in a saucepan off of heat.

IMG_6161

Gelatin mixture after sitting.

In a second small saucepan, place 1 C sugar and 3/4 C water, and place the pan over high heat. Again, you can use a cast iron skillet as a diffuser, if you wish.

IMG_6160

Sugar and water placed in small saucepan over high heat.

Stir this mixture until the sugar dissolves and bring it to a boil. Once boiling, place a lid on the pan and set a timer for 3 minutes. As with the recipe for brittle above, the steam in the pan will serve to wash crystals down that may have formed on the sides of the pan. After 3 minutes, remove the lid from the pan and attach a candy thermometer. Cook the syrup until it reaches 300 degrees.

IMG_6162

Sugar syrup cooking to 300 degrees.

Once at 300 degrees, remove the pan from the heat and pour the syrup into the gelatin mixture, stirring constantly.

IMG_6163

Sugar syrup being poured into gelatin mixture.

Place the mixture over low heat, continuing to stir until the gelatin dissolves. I had some difficulty with this phase of the process, as a solid mass of sugar seemed to form in the bottom of my pan. I am guessing this was because my sugar syrup cooled too much too quickly. I opted to increase the heat under my pan, allowing the sugar to dissolve again, which worked.

IMG_6164

Gelatin mixture placed over low heat to dissolve.

Once you have a smooth, clear mixture, add 2 T lemon zest and 2 T lime zest, and pour the mixture into an oiled 8-inch square pan.

IMG_6165

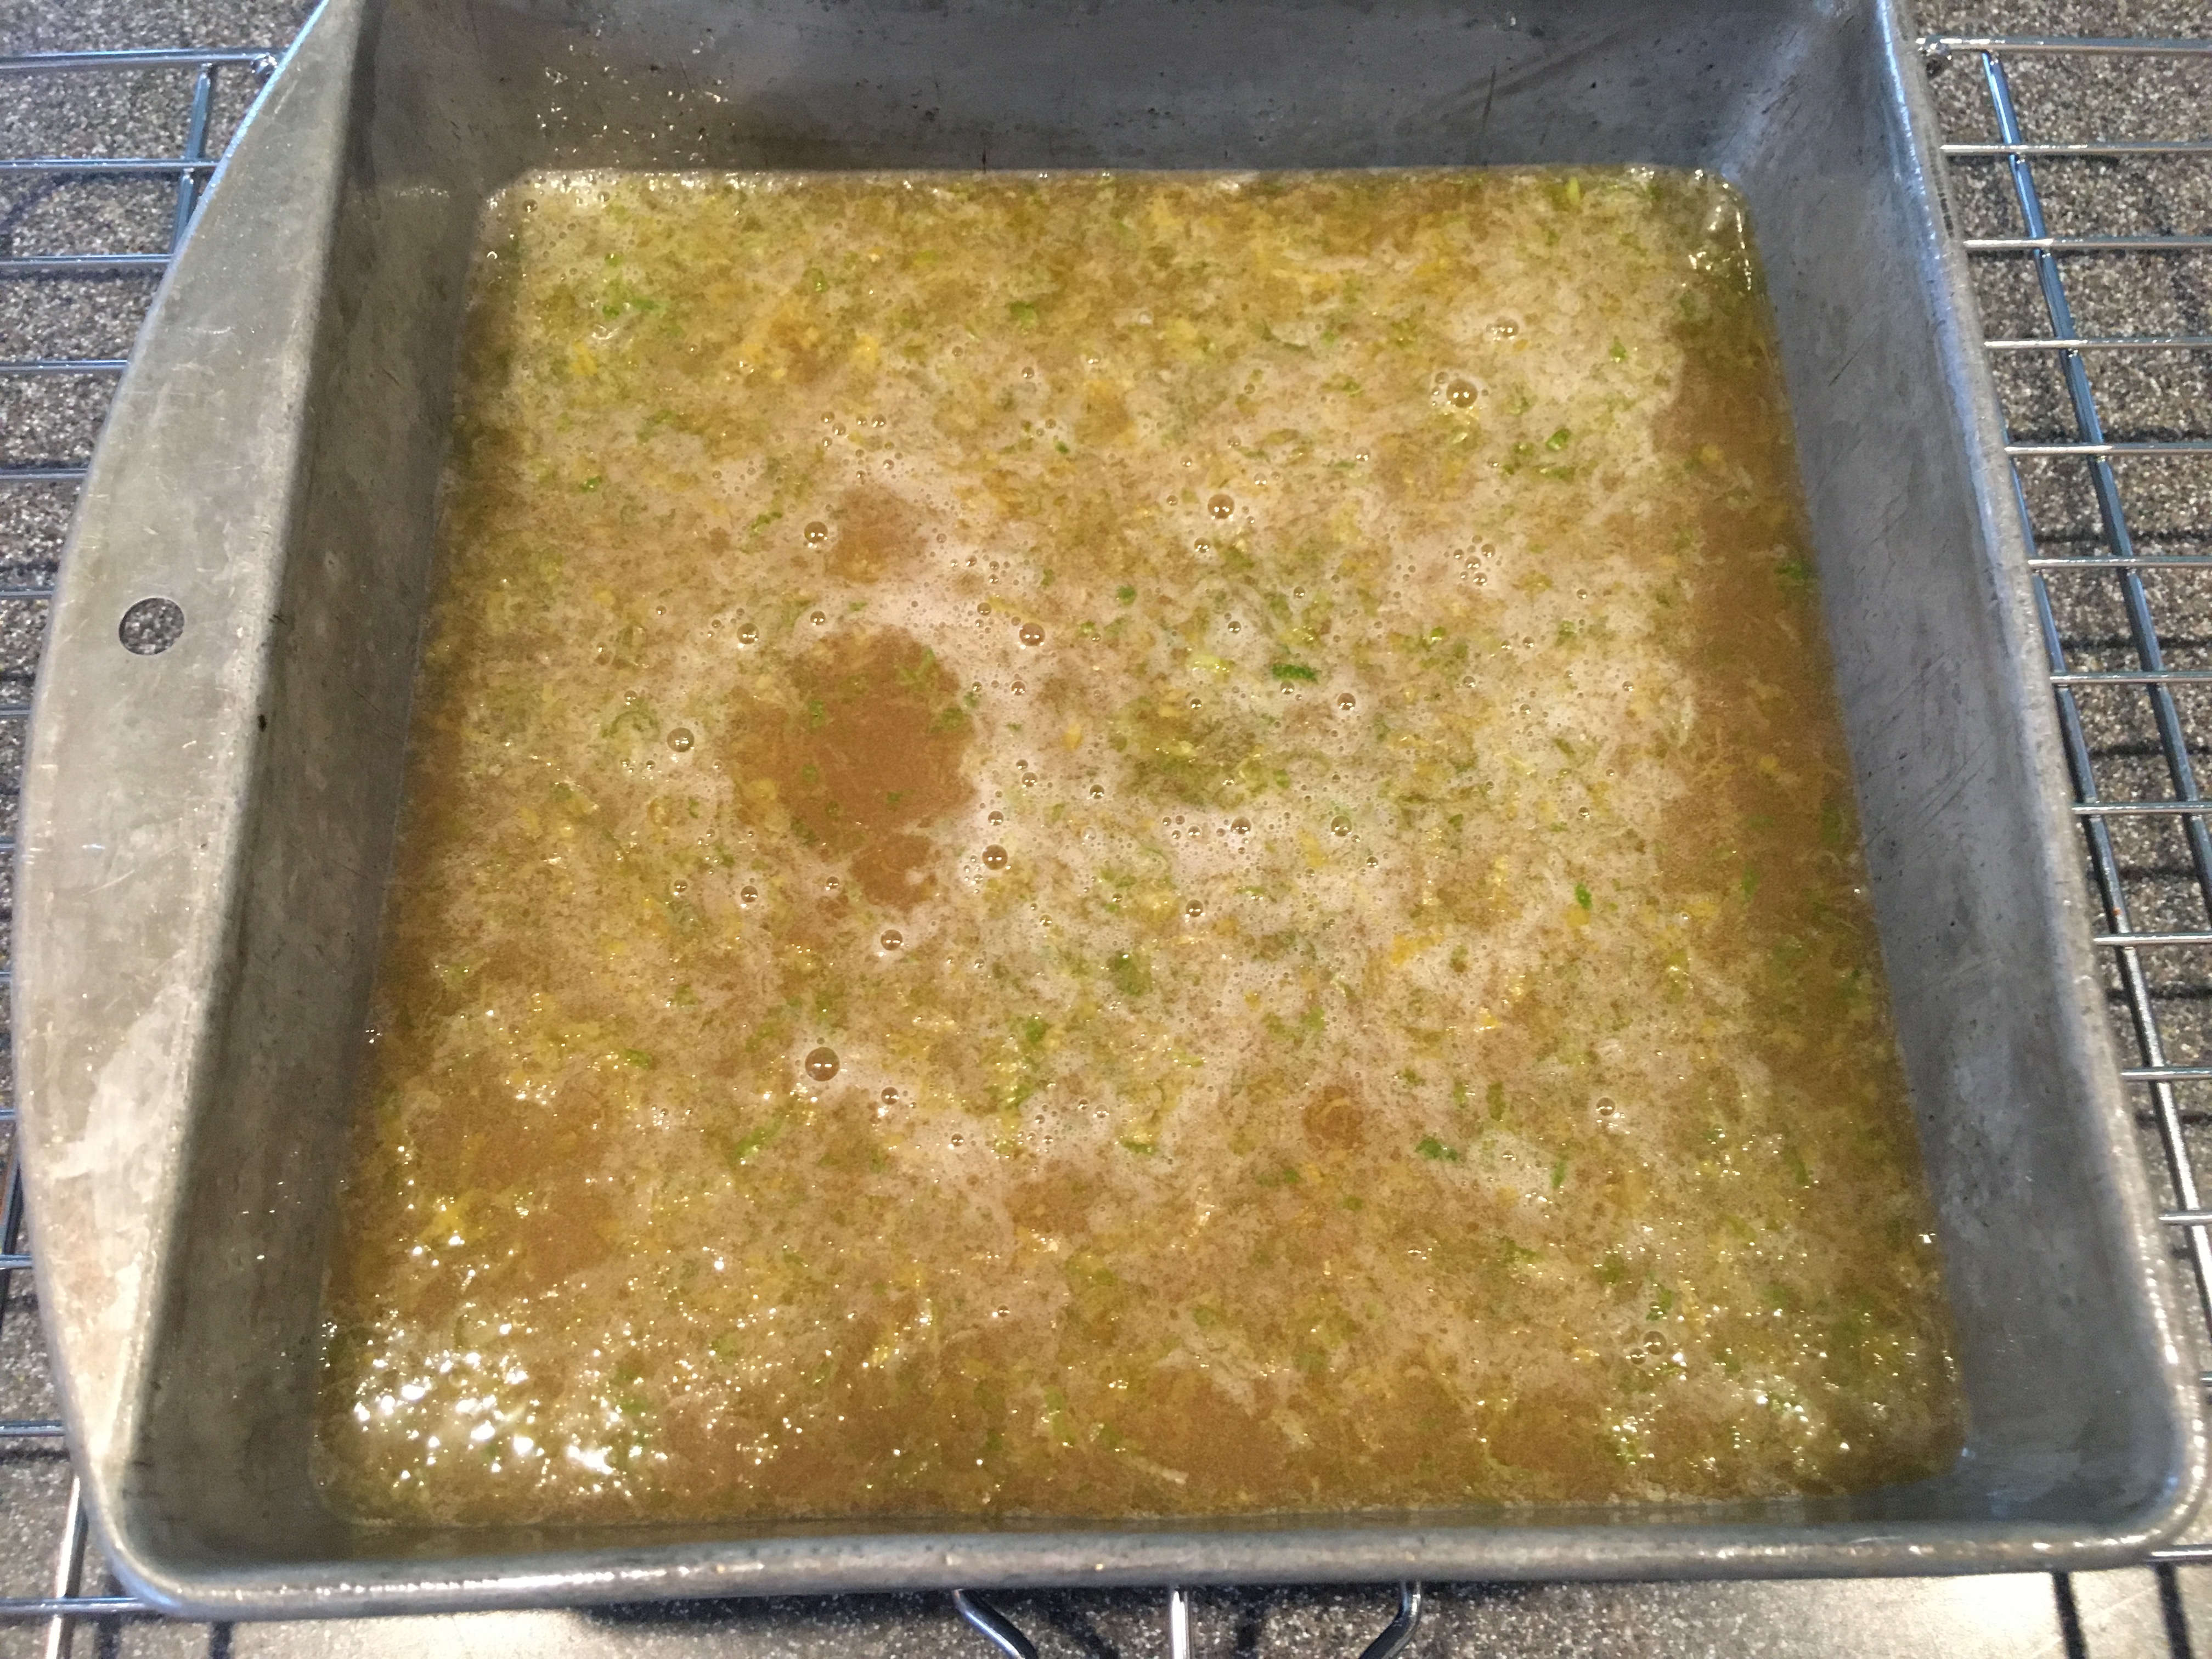
Completed jellies, poured into greased pan.

Let the jellies sit at room temperature for four hours. Once set, turn the jellies out and cut them into 1-inch squares with a pizza cutter.

IMG_6175

Jellies, cut into cubes.

Transfer the cubes to a bowl and toss them with the remaining 1/4 C sugar until coated.

Move the cubes to a cooling rack placed over a sheet pan, and allow them to dry for 24 hours at room temperature before eating.

IMG_6183

Alton’s jellies.

Alton’s jellies had intense citrus flavor and a great balance of sweetness and tartness. I did find them to be a bit more rubbery than I would have liked, but that could have perhaps been due to my difficulties with combining my two mixtures. I am tempted to try these again to see if I can get a better result, as they were pretty and their flavor was great. My only other complaint with these candies was that they remained very sticky and damp on the outside, and they never really dried out as Alton said they would; I found that this was a common complaint in the online recipe reviews, and I am not sure how to fix that issue.

Chocolate Taffy

I suppose you couldn’t really have a candy episode without including something chocolate, so that’s where chocolate taffy comes in. This recipe requires only a few ingredients, beginning with combining 1/2 t salt, 2/3 C Dutch cocoa, and 2 C sugar in a large saucepan.

IMG_6210

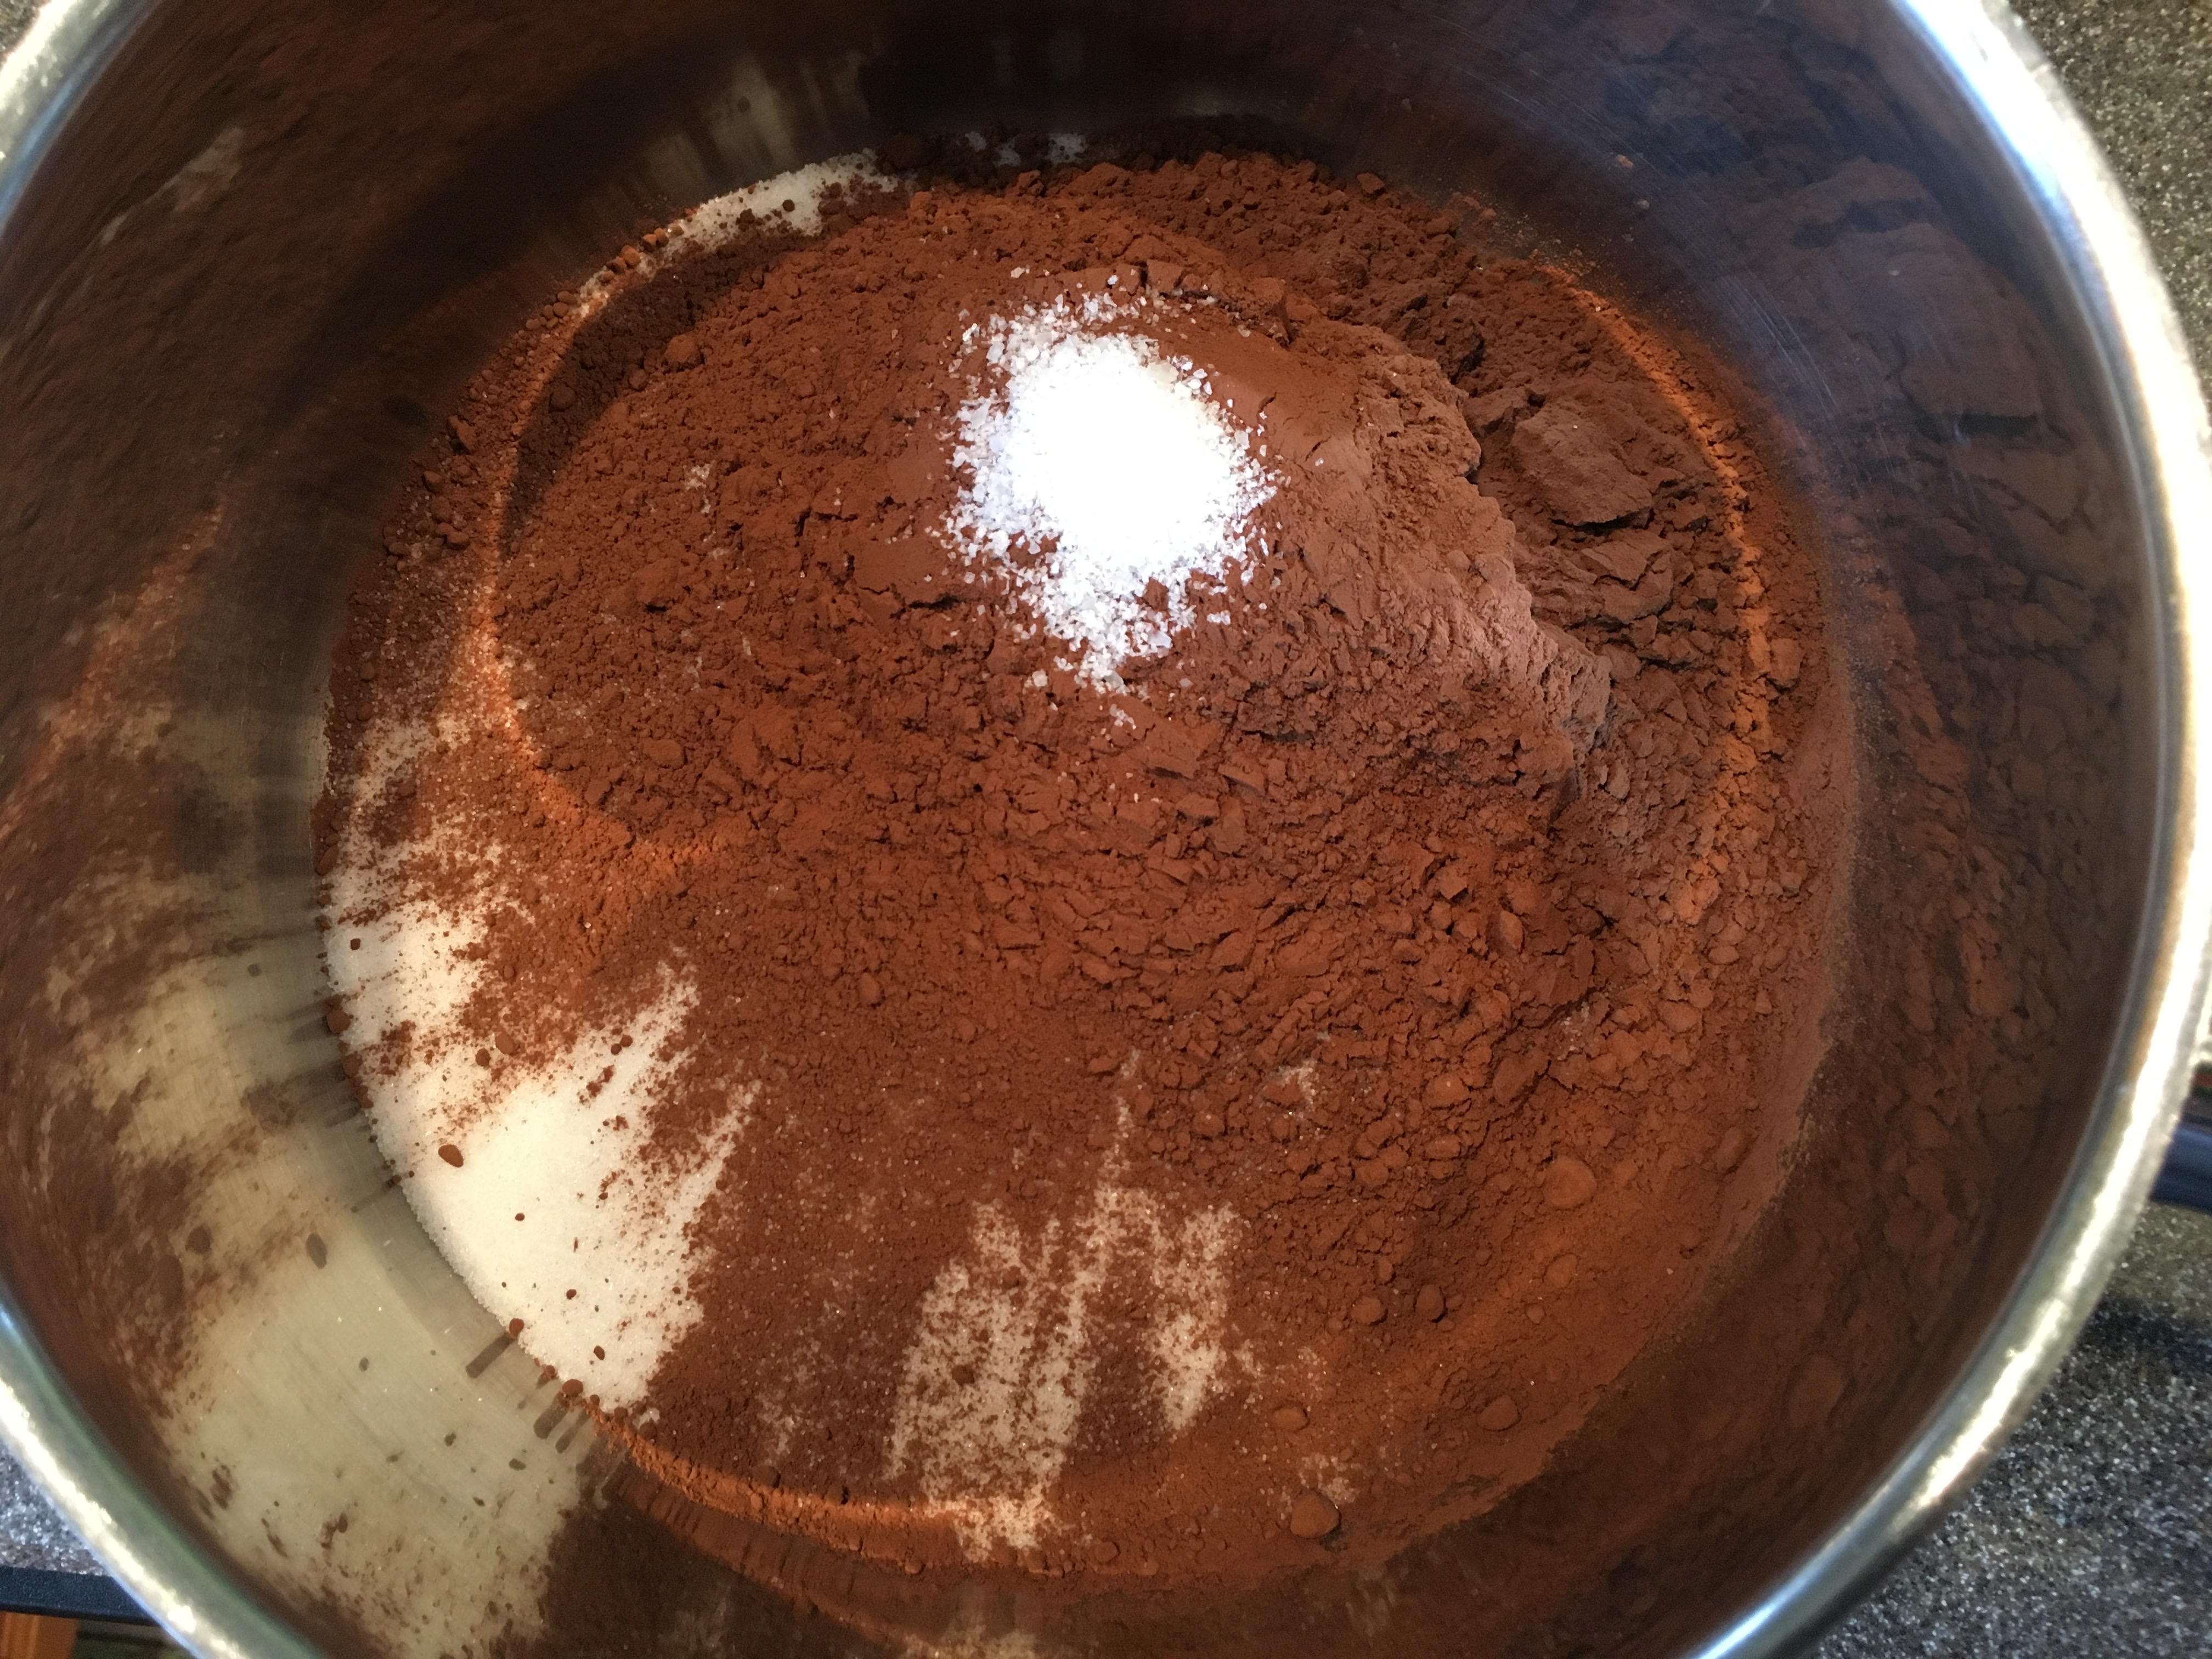
Salt, sugar, and cocoa.

Stir this mixture with a whisk to combine, and add 1 C light corn syrup, 1 t white vinegar, and 1/4 C + 1 T water. Stir the pot over medium heat to dissolve the sugar, and then increase the heat to bring the chocolate to a boil. Once boiling, decrease the heat to low and attach a candy thermometer.

Cook the chocolate until it reaches 260 degrees, and then stir in 1 1/2 T butter.

IMG_6218

Chocolate cooking to 260 degrees.

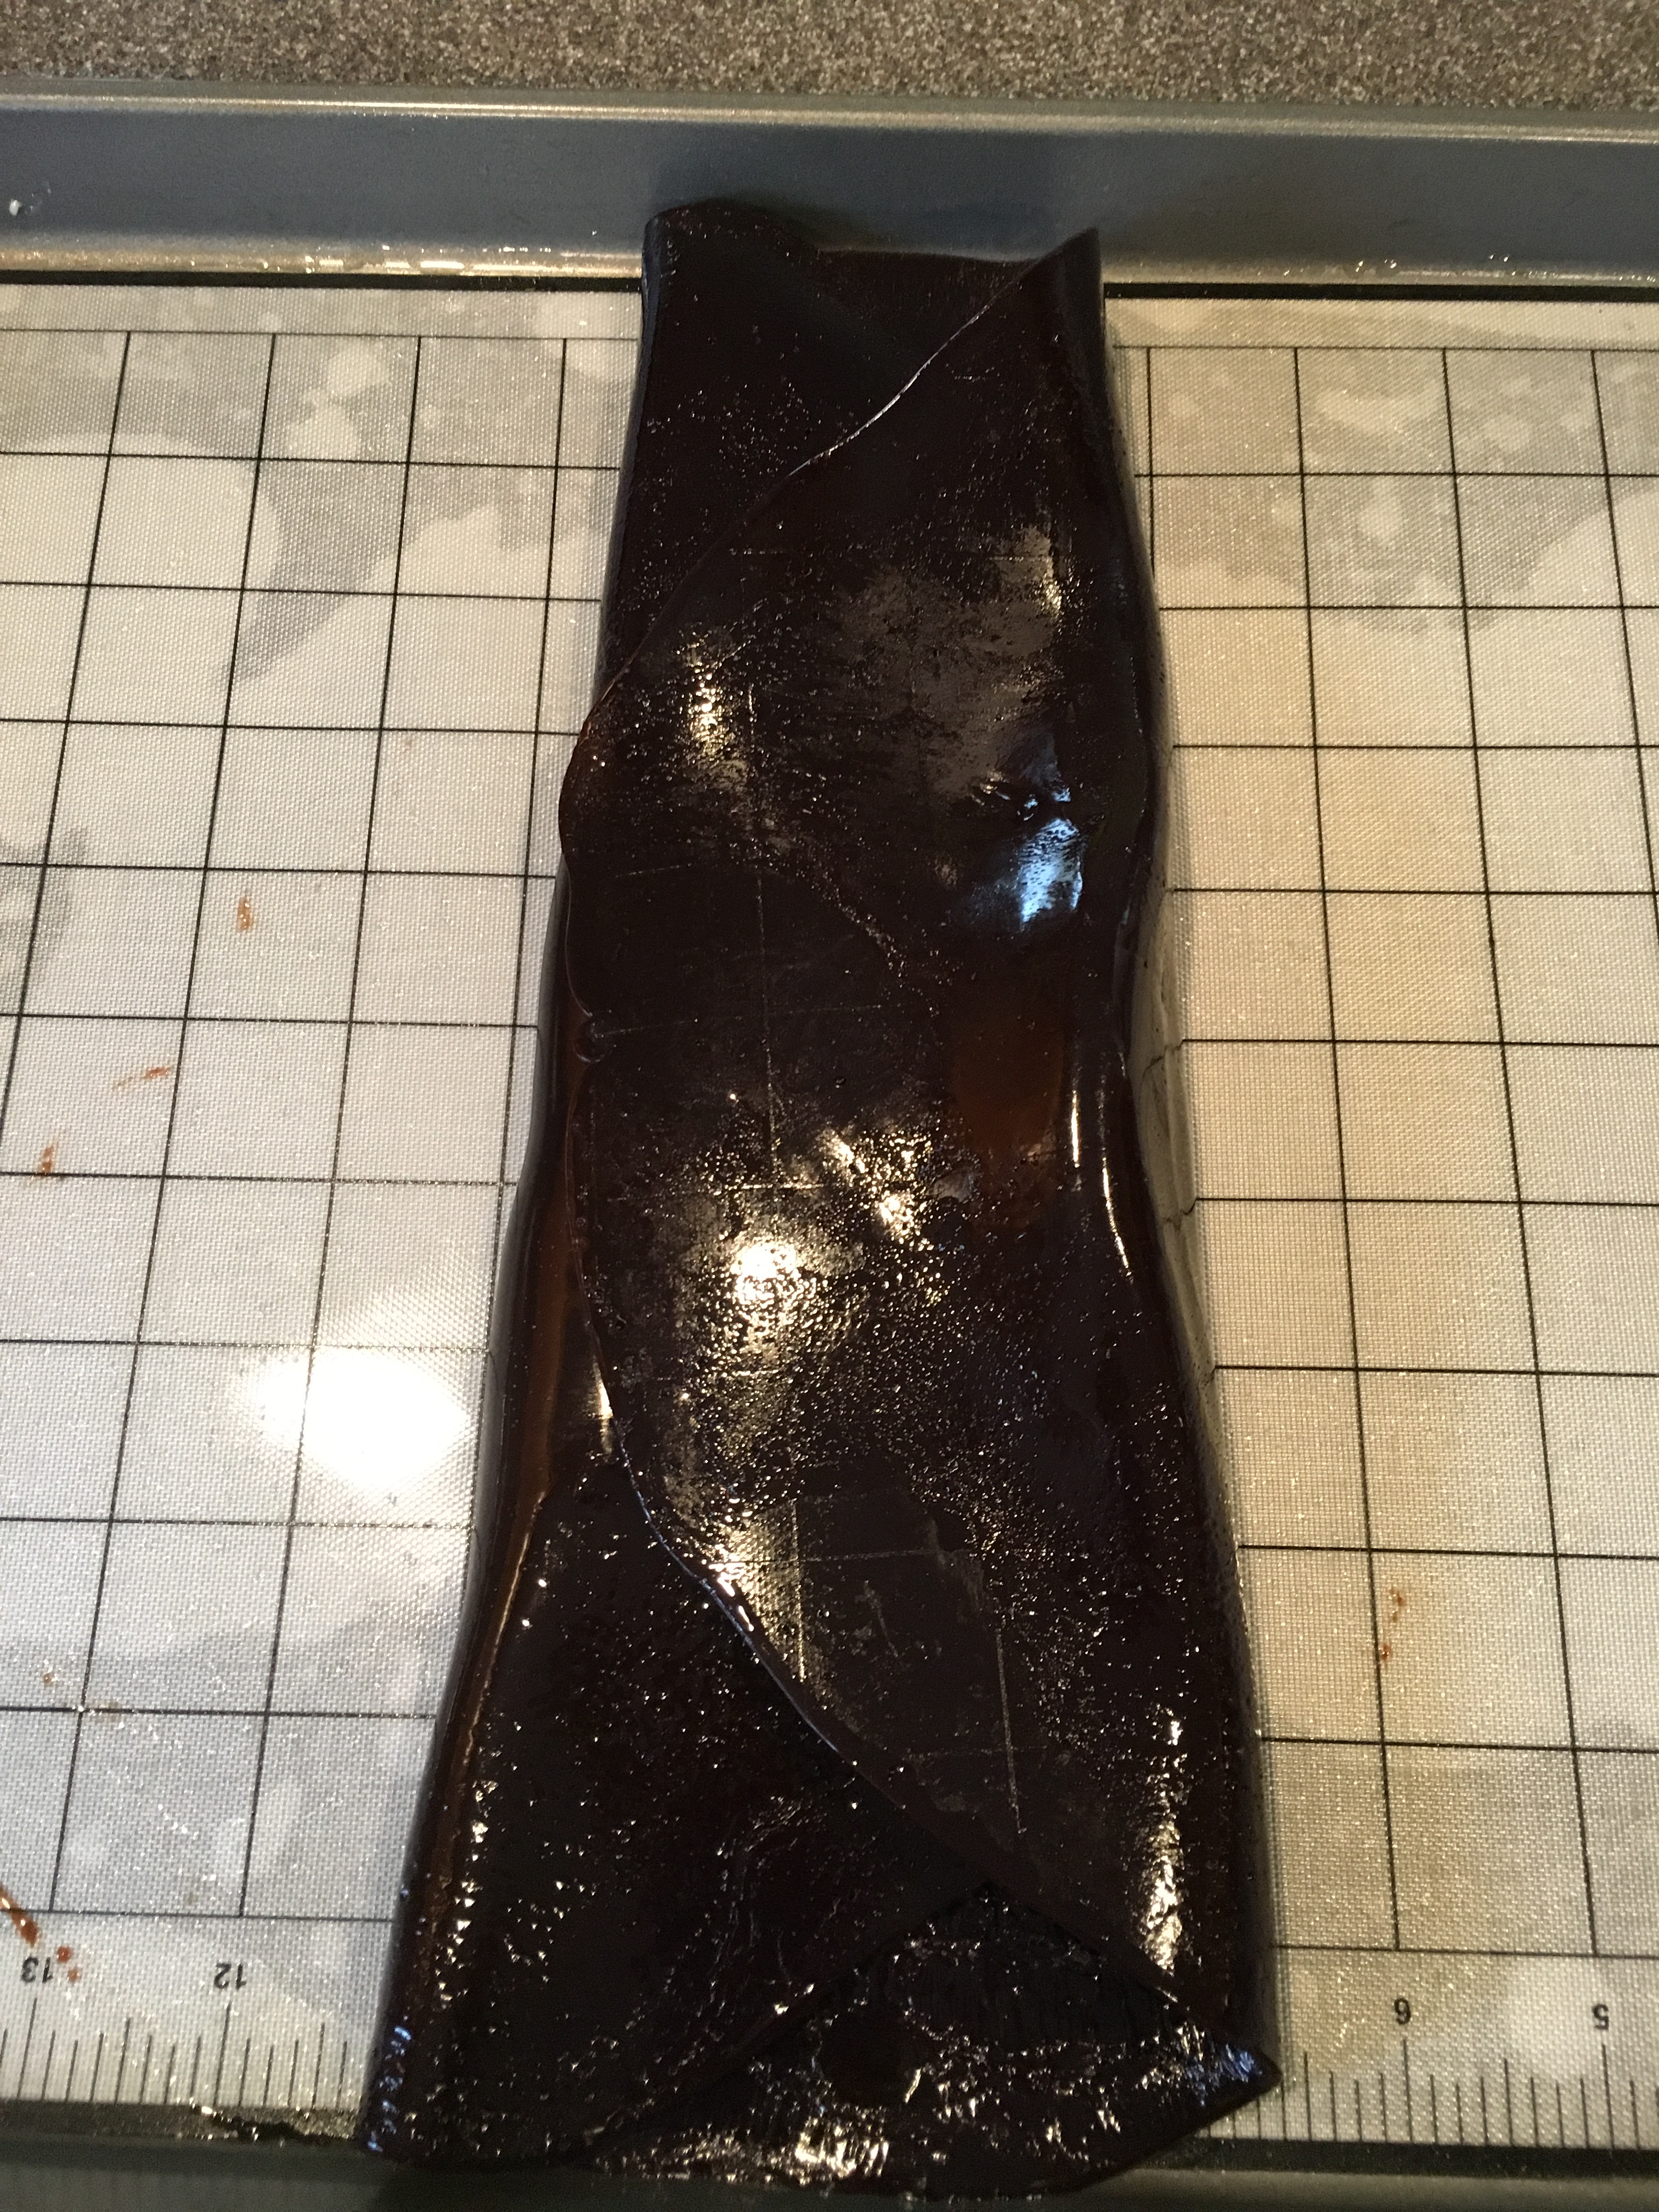
Pour the taffy onto a silicone mat-lined pan, smoothing it with a spatula, and set it aside to cool for 10 minutes.

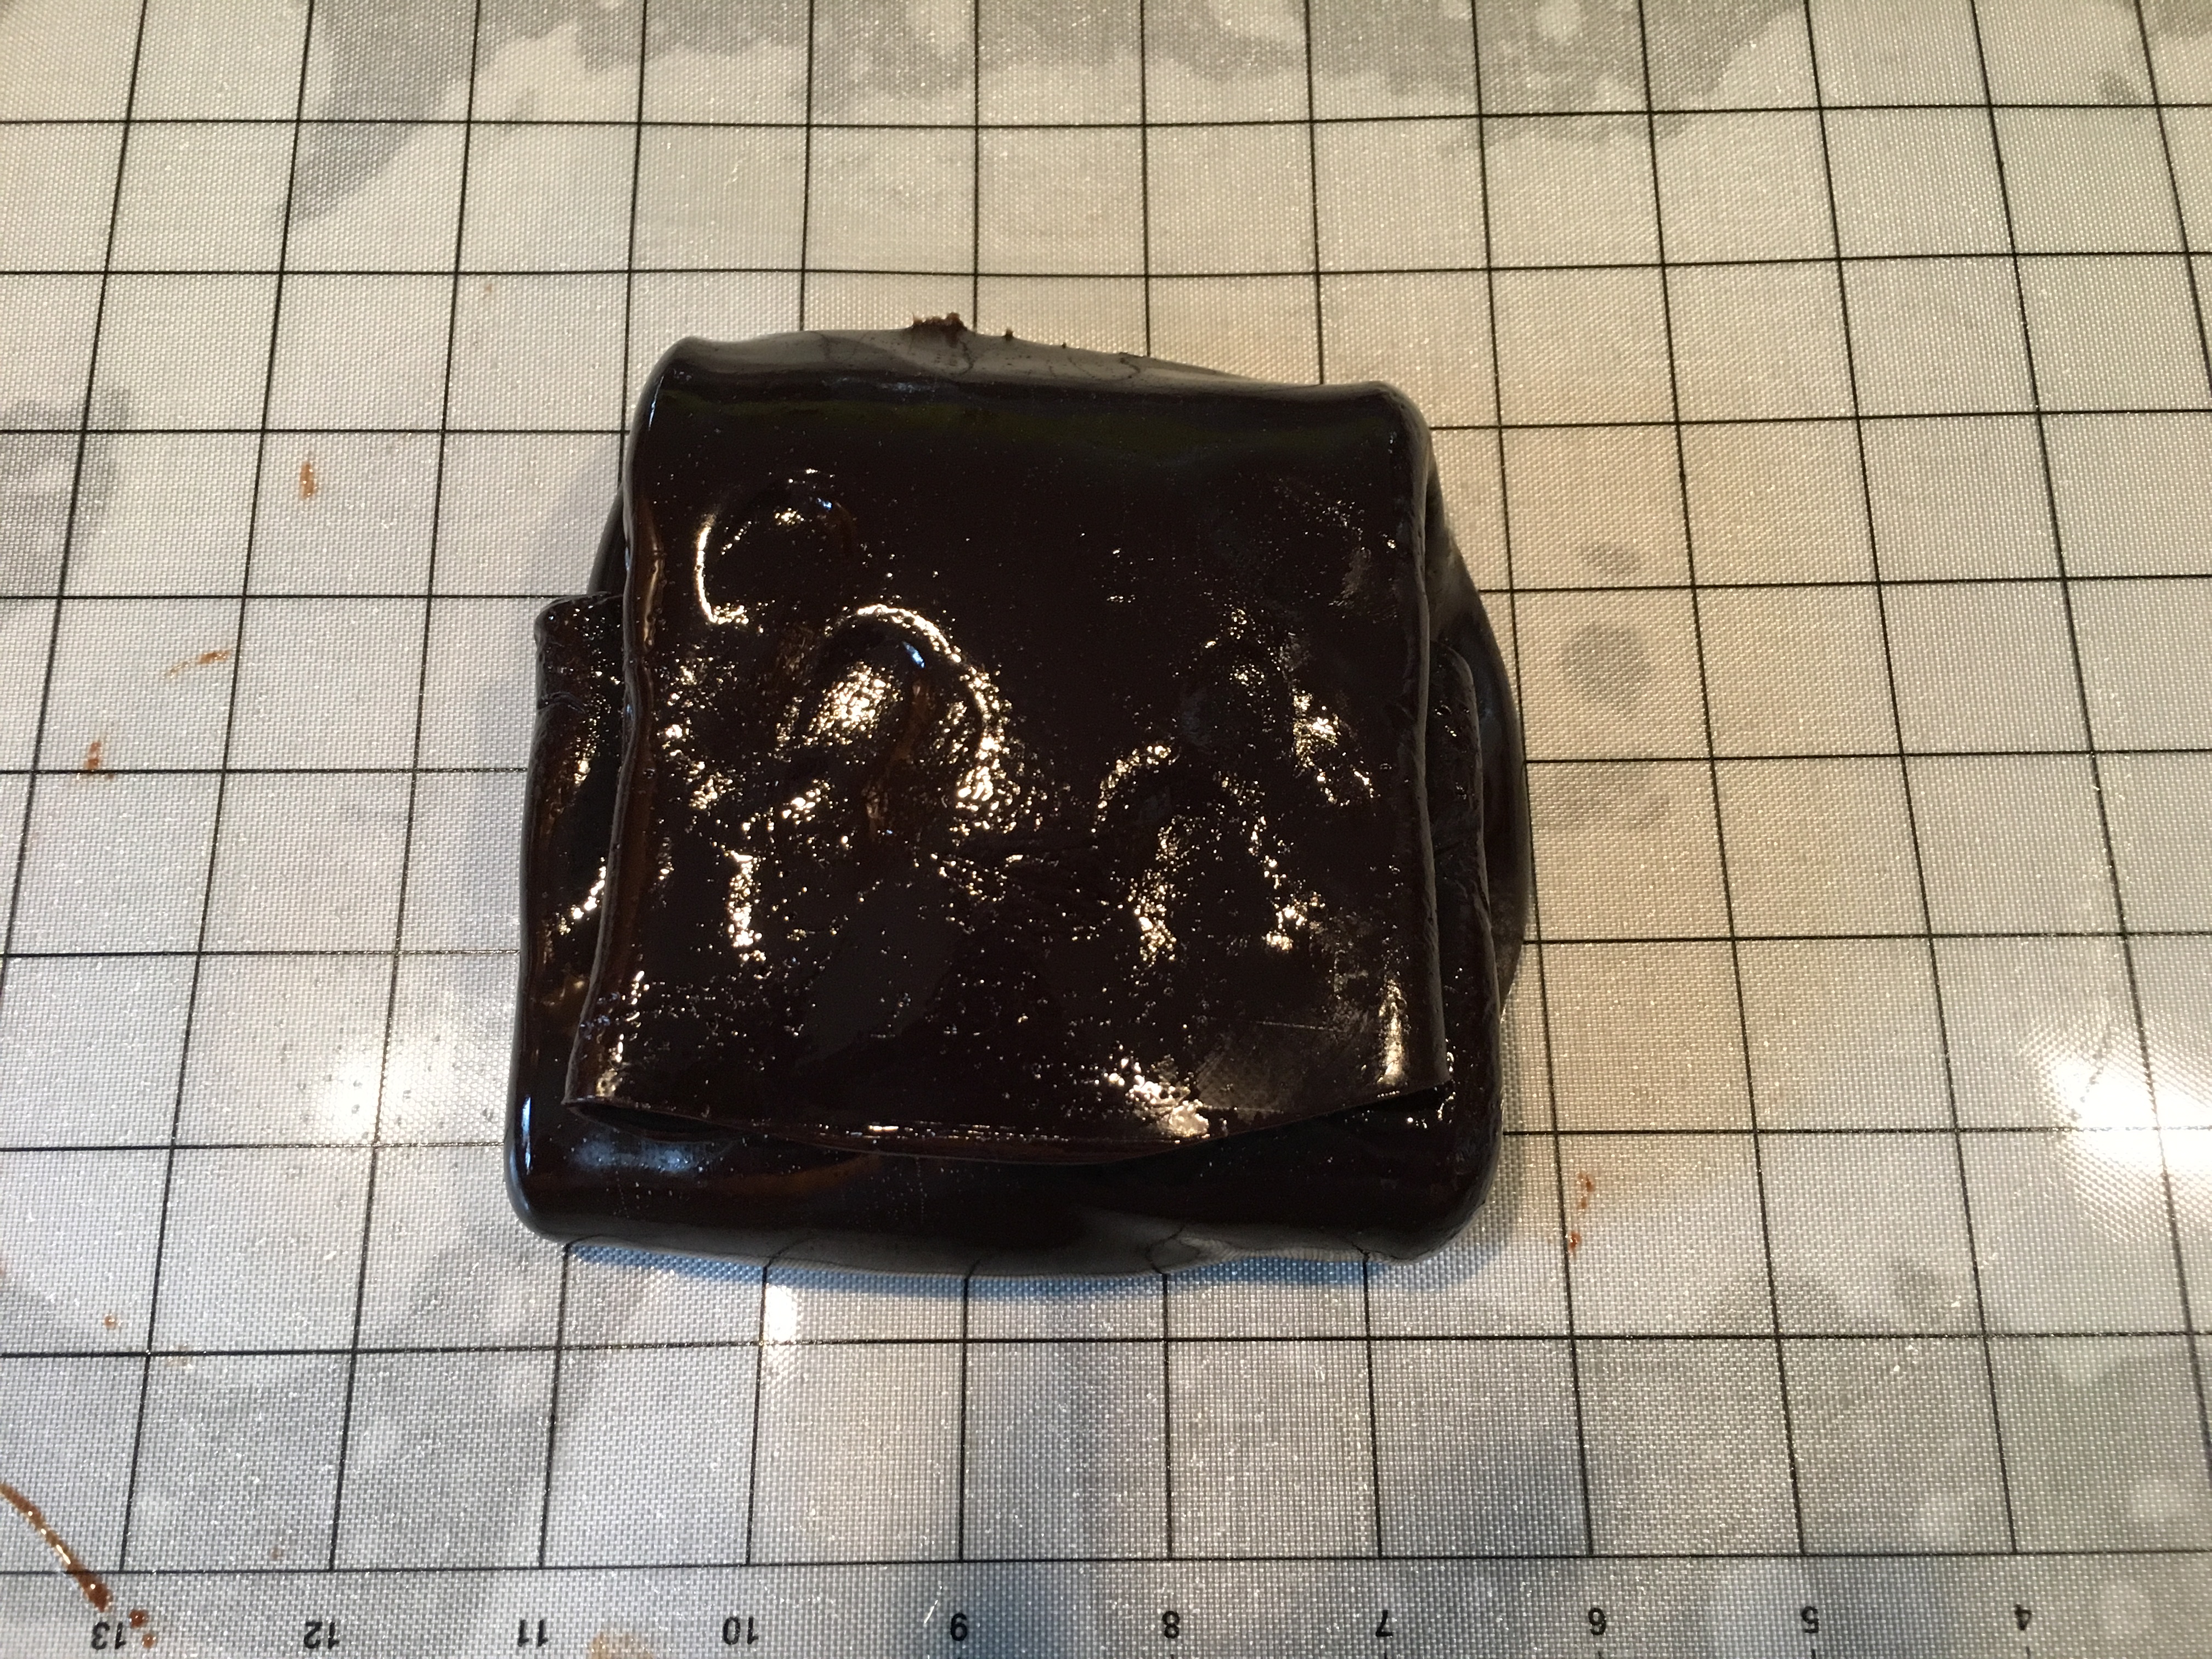
After 10 minutes, don latex gloves and lube them with butter. It is time to pull the taffy. First, use the mat to fold the taffy into thirds.

IMG_6224

Taffy, folded in thirds.

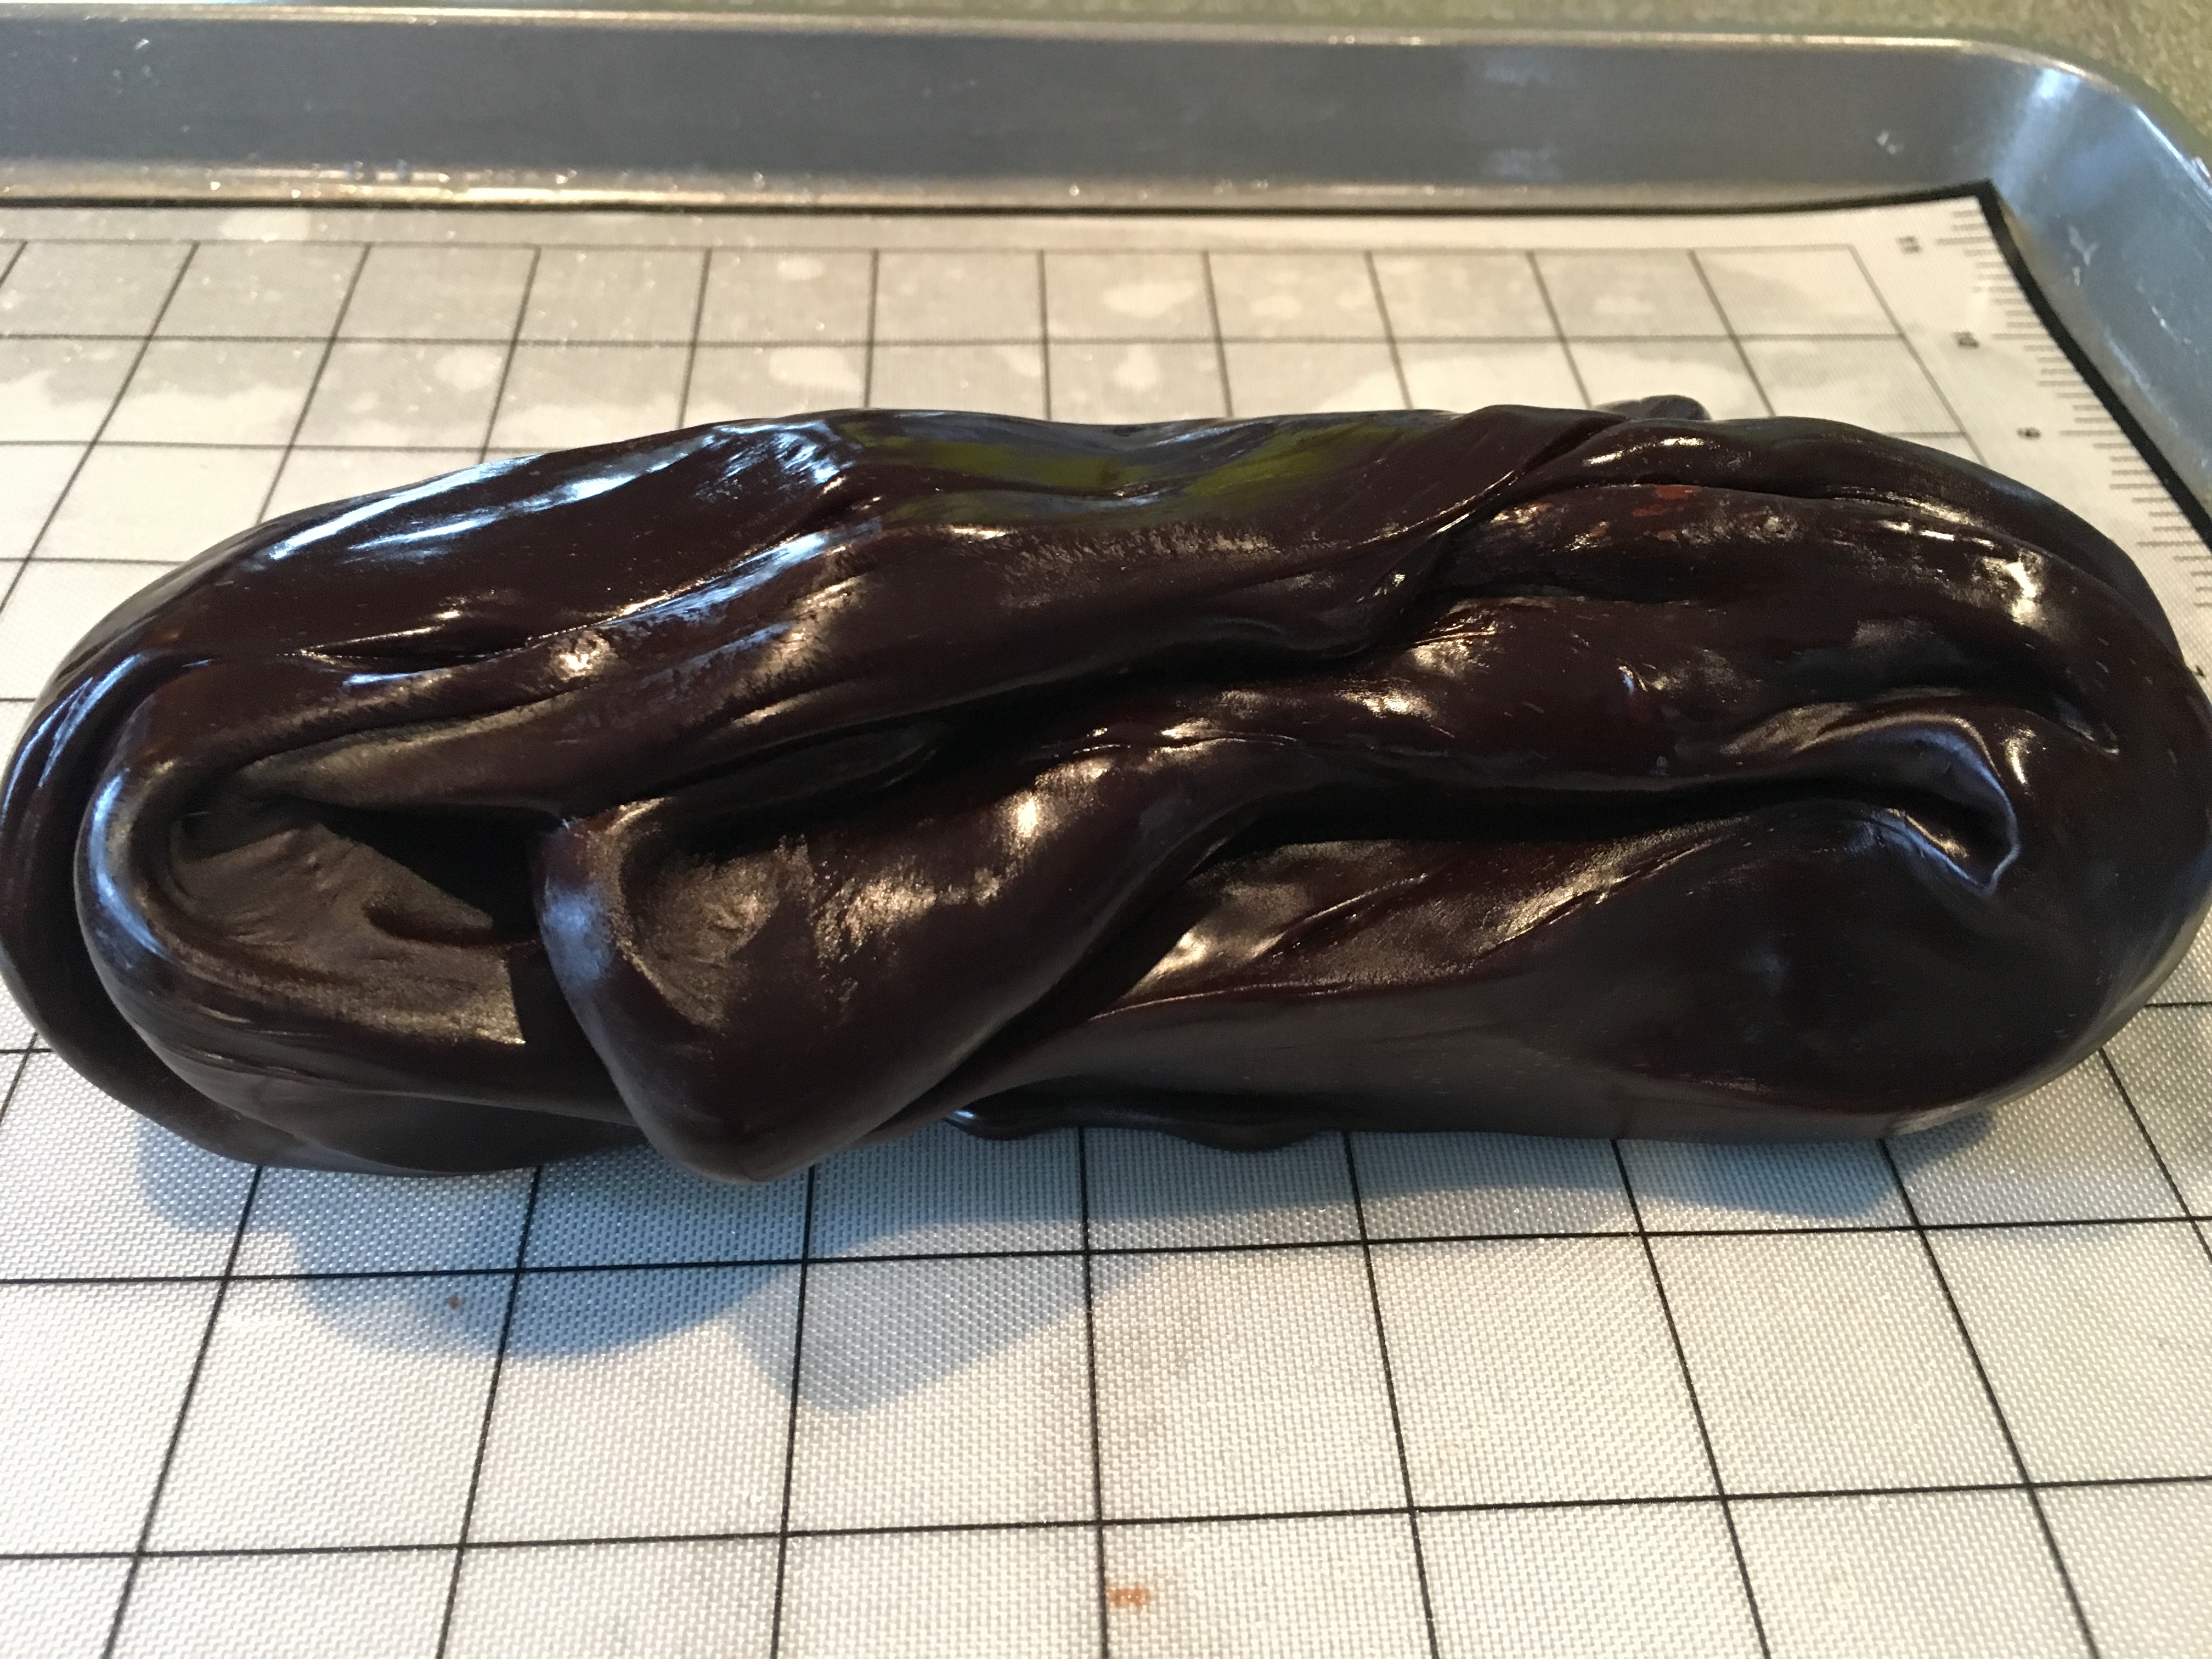
Next, fold the taffy in thirds again, but in the opposite direction. Knead the taffy with your hands, as if working with dough. The chocolate will still be quite warm.

IMG_6225

Taffy, folded in thirds the other direction.

Pull the taffy from both ends, folding them back into the middle.

IMG_6226

Pulling ends of taffy back to the middle.

Then, pick the taffy up and continue to twist and pull the taffy until it has striations in the middle and is very hard to pull.

Roll the taffy into a log on the silicone mat and cut it into four pieces with kitchen shears.

Roll each piece of taffy into a snake, cutting each log into 1-inch pieces. If the candy becomes too hard to cut, you can place it in the microwave for about five seconds to soften it. Keep the taffy pieces separate while you work, or they will stick to each other.

IMG_6235

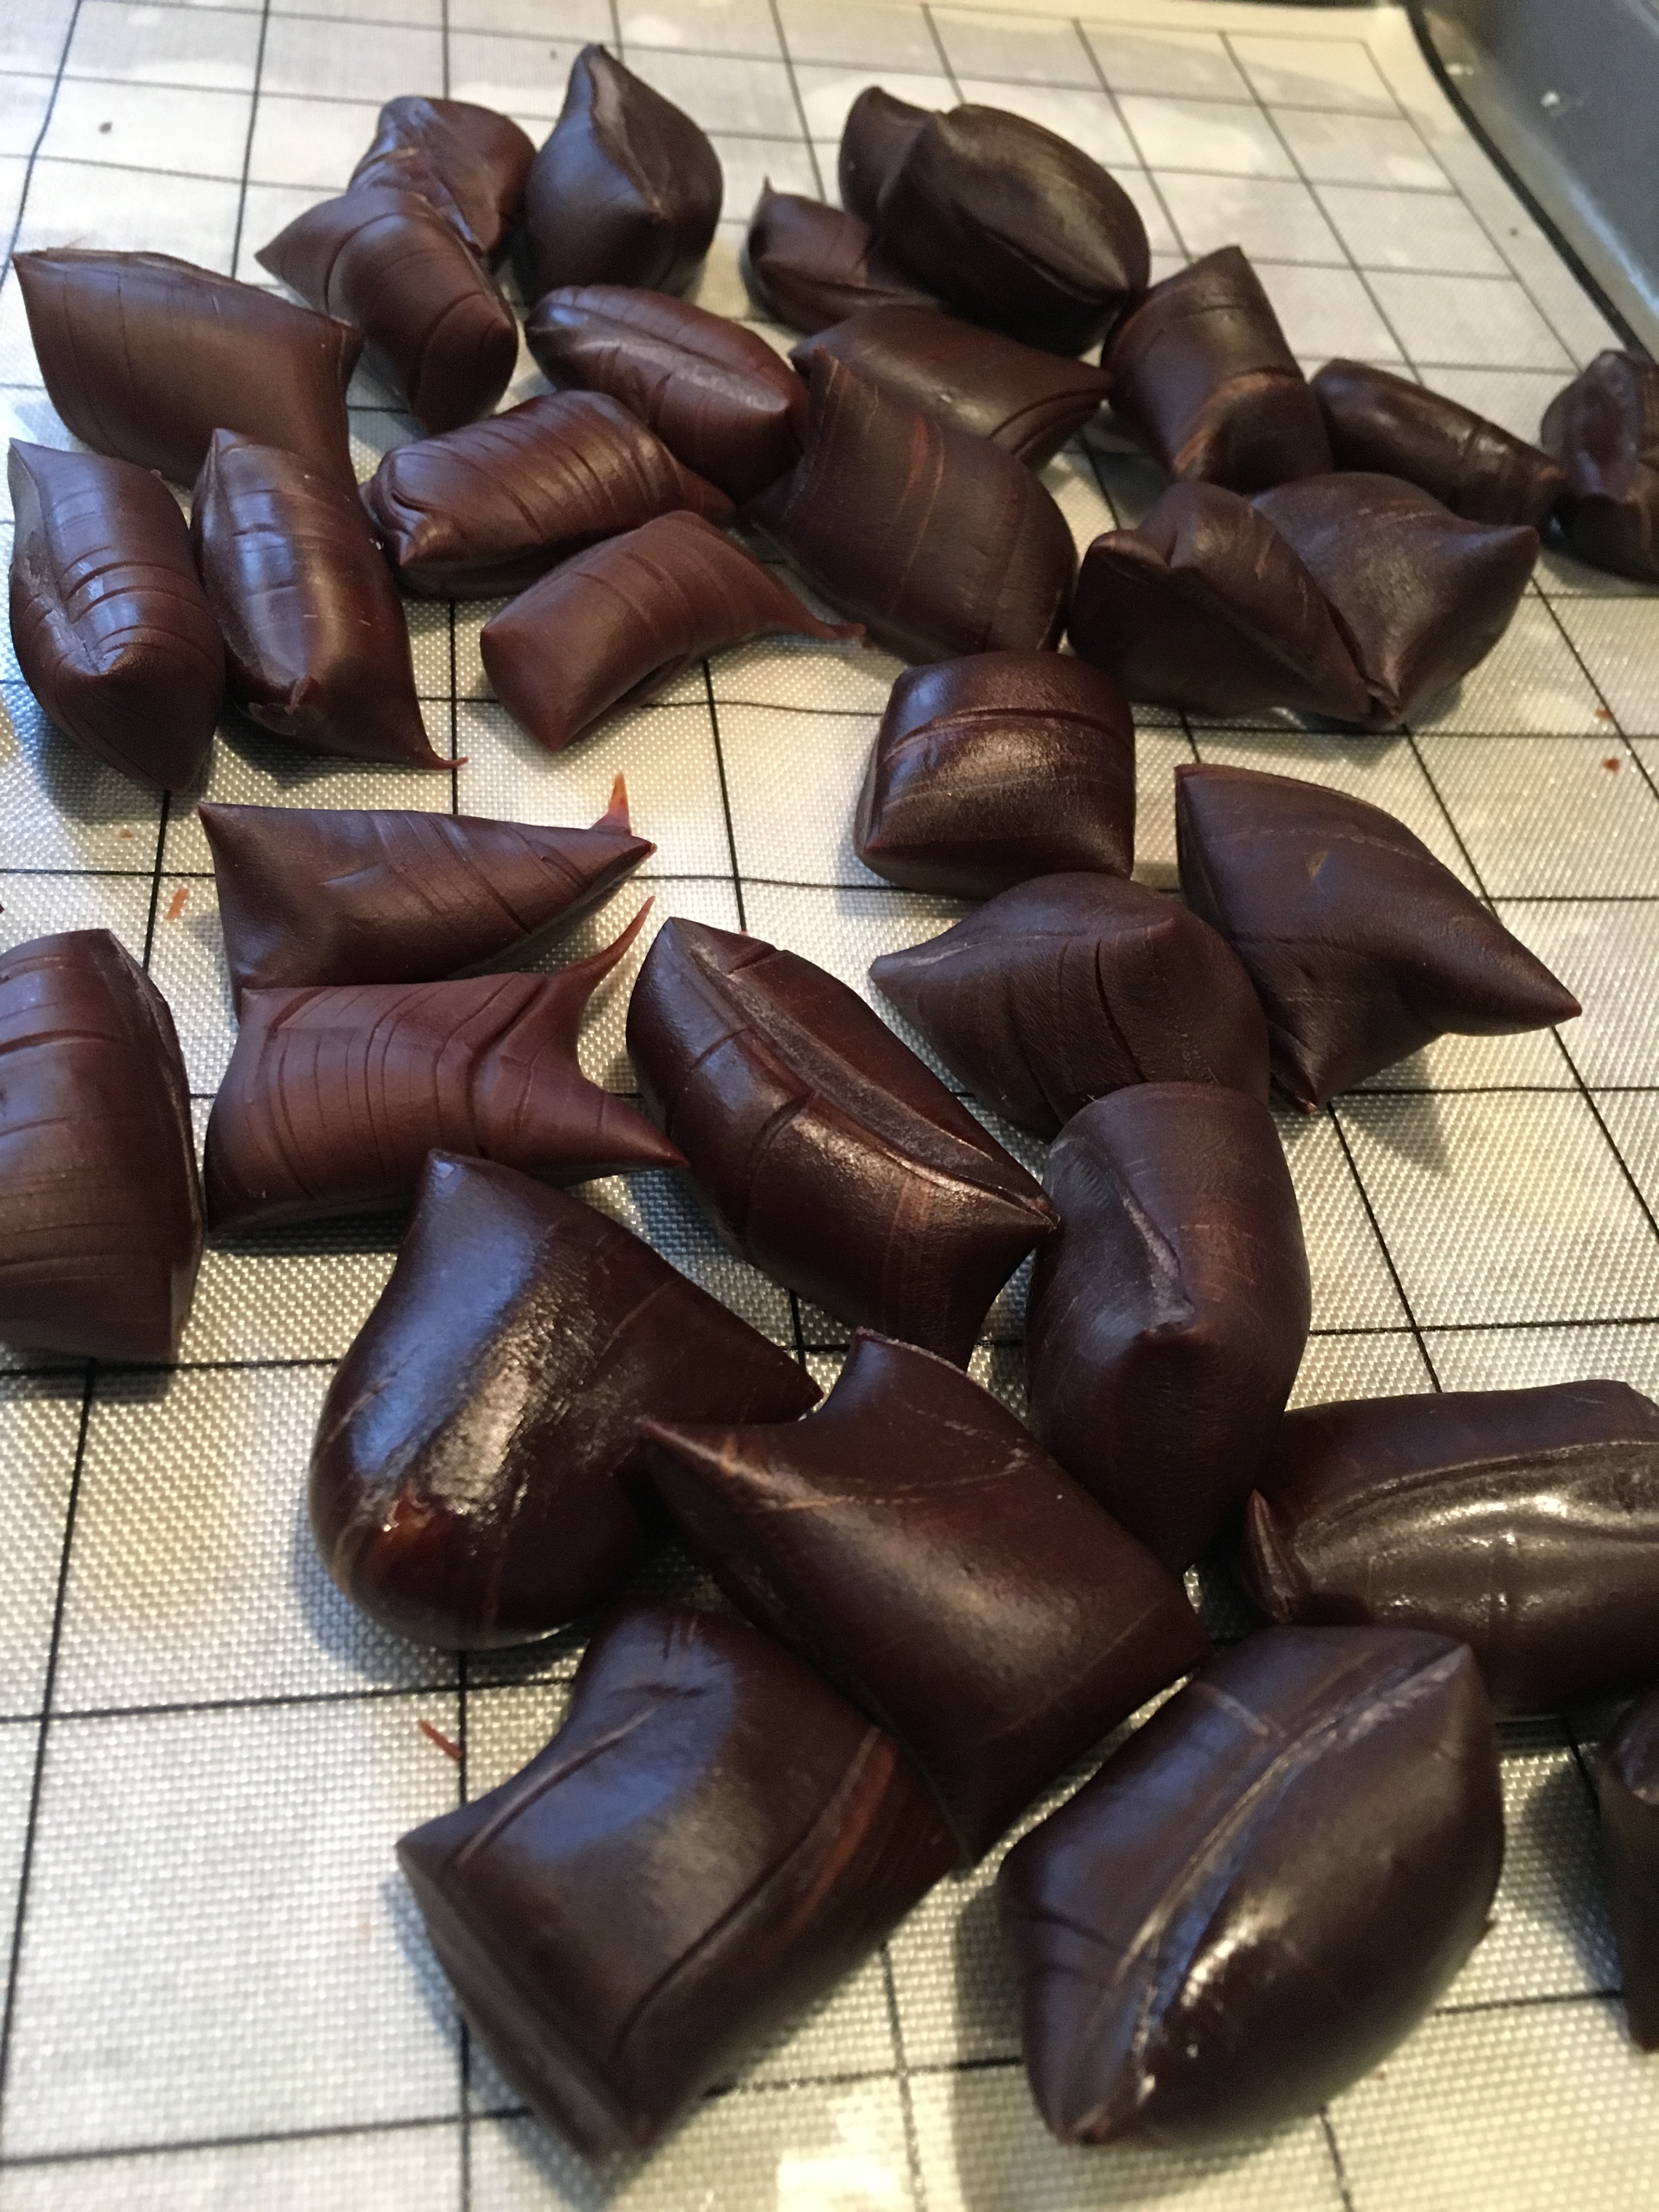
Taffy cut into individual pieces.

Roll each piece of taffy in a piece of wax paper and place them in an air-tight container. This one was disappointing for me because my taffy came out rock hard, while Alton described something like a Tootsie Roll. I am guessing that my taffy was not pulled enough to reach the desired texture, but I did pull it until it felt like it was solidifying. Maybe I needed to soften my taffy again, and pull it more? Or, maybe the “T-Rex” nickname my brother gave me as a teenager was more justified than I realized? Either way, I don’t think I will do this one again. All-in-all, this episode was pretty “meh” for me.