Posts Tagged ‘beverage’

It’s super cold and snowy here and I’ve really been wanting to get a blog post done. I honestly wrote some of this post a few weeks ago, but then I had some health issues that prevented me from finishing it at the time. I won’t go into detail, but 2021 has not been my favorite year. Here’s hoping that 2022 is much better!

We recently had the opportunity to see Alton’s live show, which was super fun. We had previously seen him two other times and both times we were pleasantly surprised by the hilarity of the live shows; that’s not to say that Alton hasn’t been funny on Good Eats, but just that the humor in his live shows has been kicked up a couple notches. I was curious to see how this show would compare to his others, especially since he has publicly stated that this will be his last touring show; I would highly recommend that you catch his show if you so happen to have the chance.

After completing the recipes from this episode, I think it was safe to say that we met our dietary fiber recommendations for that week, as I cranked out all five recipes from Alton’s barley episode in the same week. I enjoy the episodes, such as this one, in which Alton truly demonstrates a multitude of uses for a particular ingredient. And, to make it more fun, barley is an ingredient that I do not regularly utilize.

Baked Barley

This recipe is sort of the stepping stone of the episode, as it is a basic recipe for baked barley that could then be used in myriad ways. Ideally, you will want to use hulled barley for this recipe, but I had to settle for pearled barley. What is the difference? Well, pearled barley has been polished to remove both its husk and bran layers, while hulled barley has only had the outermost husk removed. Hulled barley is more nutritious and takes longer to cook. Still, this recipe seemed to work just fine for the pearled barley I used.

To make baked barley, put 1 C barley in a 1.5 quart lidded casserole dish, along with 1 t Kosher salt, 1 T butter, and 2 C of boiling water. Stir, cover the dish tightly with foil, and place the lid on top of the foil. Bake the barley at 375 for an hour.

Immediately upon removing the barley from the oven, remove the lid/foil and gently fluff the barley with chopsticks or a large fork.

Barley before and after fluffing.

You can serve the barley immediately or you can refrigerate it for later use. Or, you can use it to make a…

Barley Salad

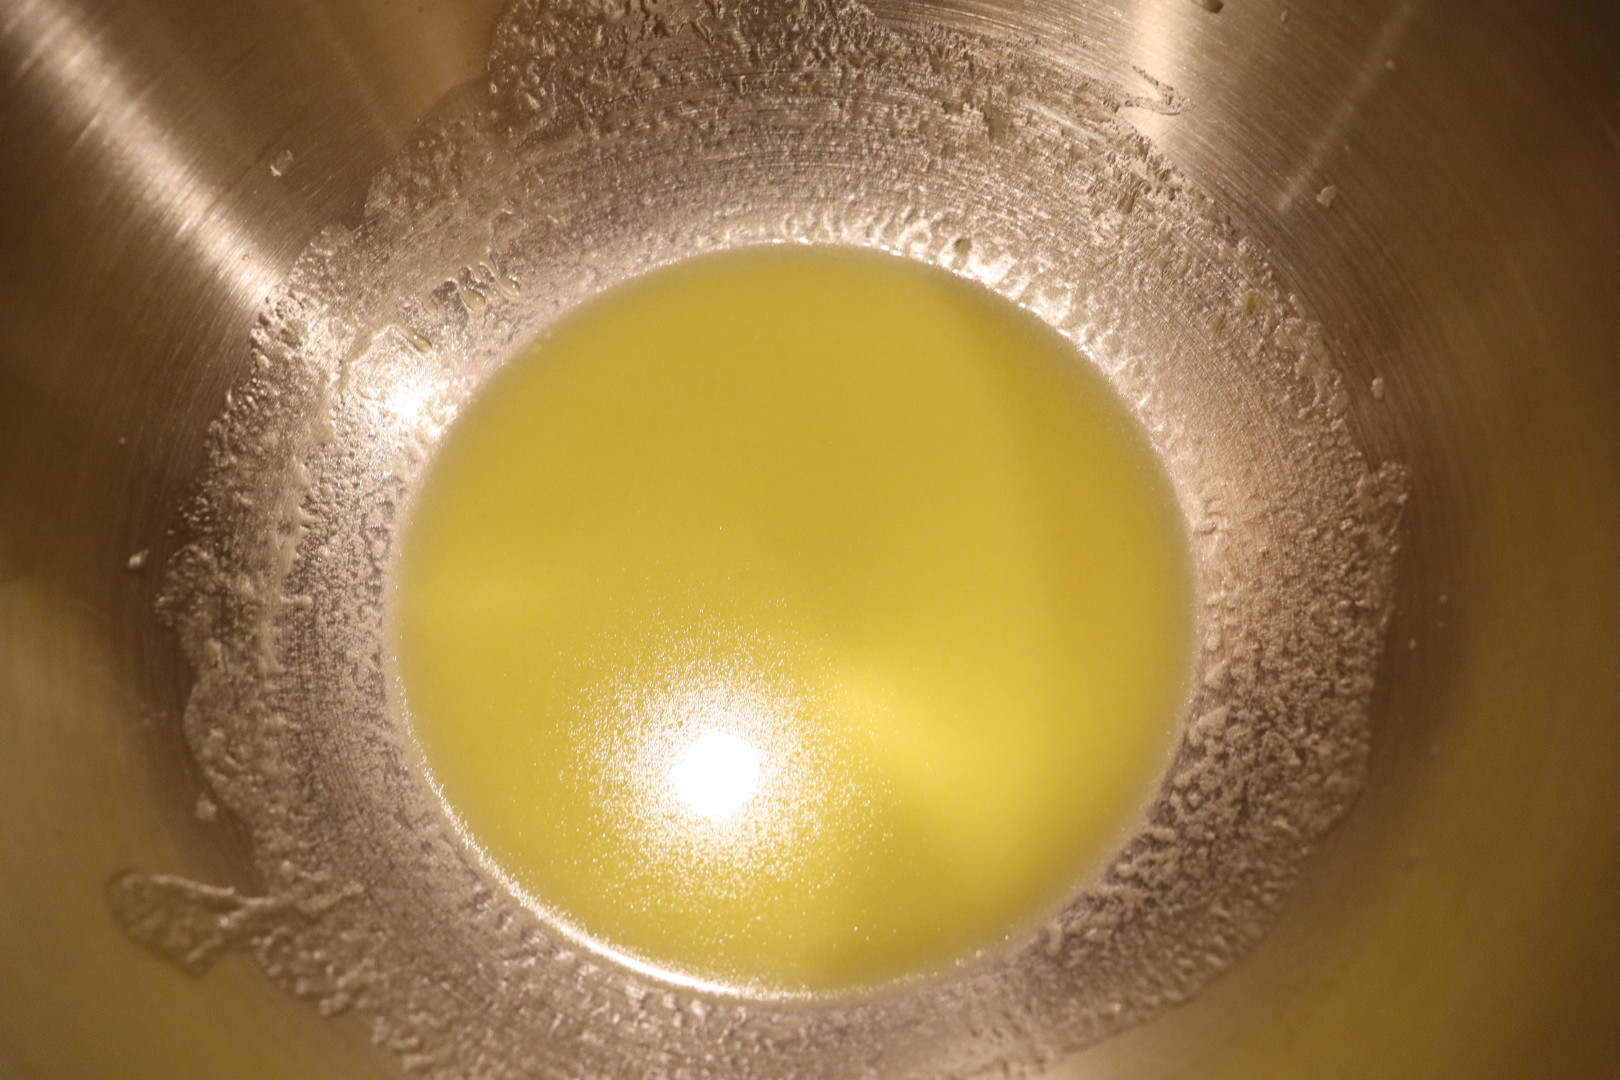
For this salad, you’ll need to prepare a batch of Alton’s baked barley, as written above. To make the dressing, whisk 2 T extra virgin olive oil with 3 T fresh orange juice.

Add a batch of Alton’s baked barley (cooked and cooled), a julienned head of fennel, 1/4 C of toasted pine nuts, 1/2 C grated Parmesan, 1/2 C cooked/crumbled bacon, 2 T chopped parsley, and Kosher salt/black pepper (to taste).

Alton’s barley salad.

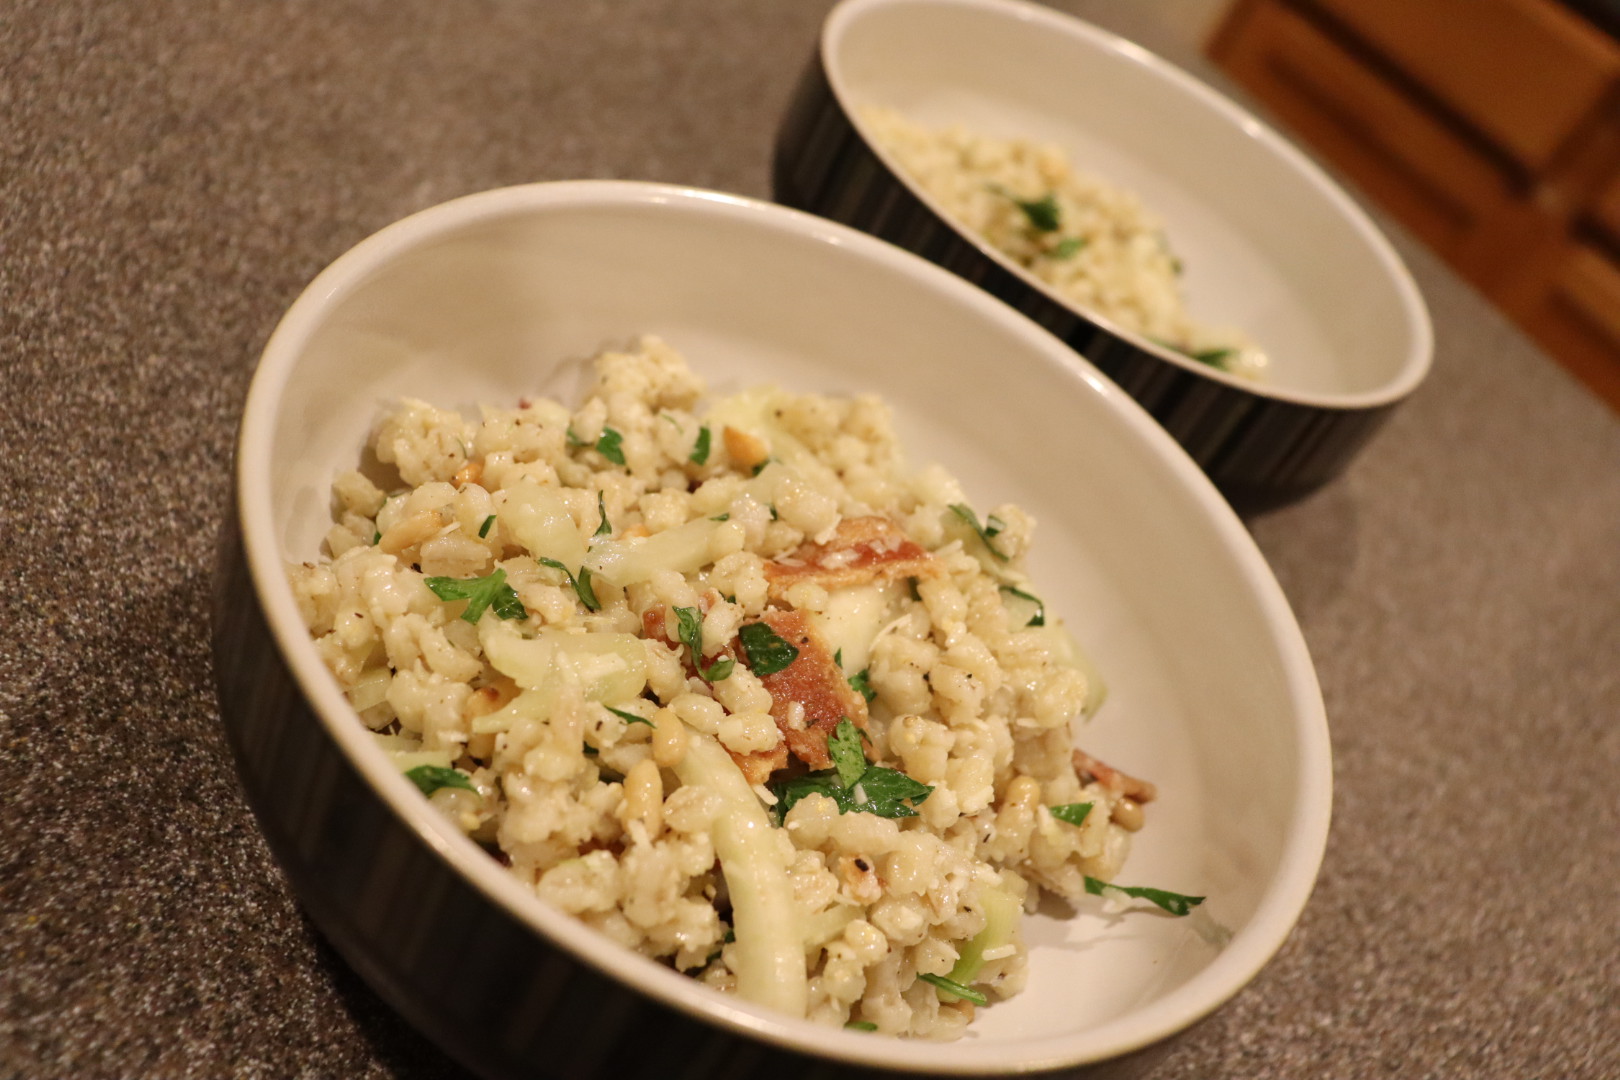
We enjoyed this salad, though the orange juice was almost unidentifiable. I found that adding additional orange juice really jazzed this salad up a few notches. I also found it necessary to add quite a lot of Kosher salt. I would certainly make this again, especially as a dinner side or a lunch salad.

Barley and Lamb Stew

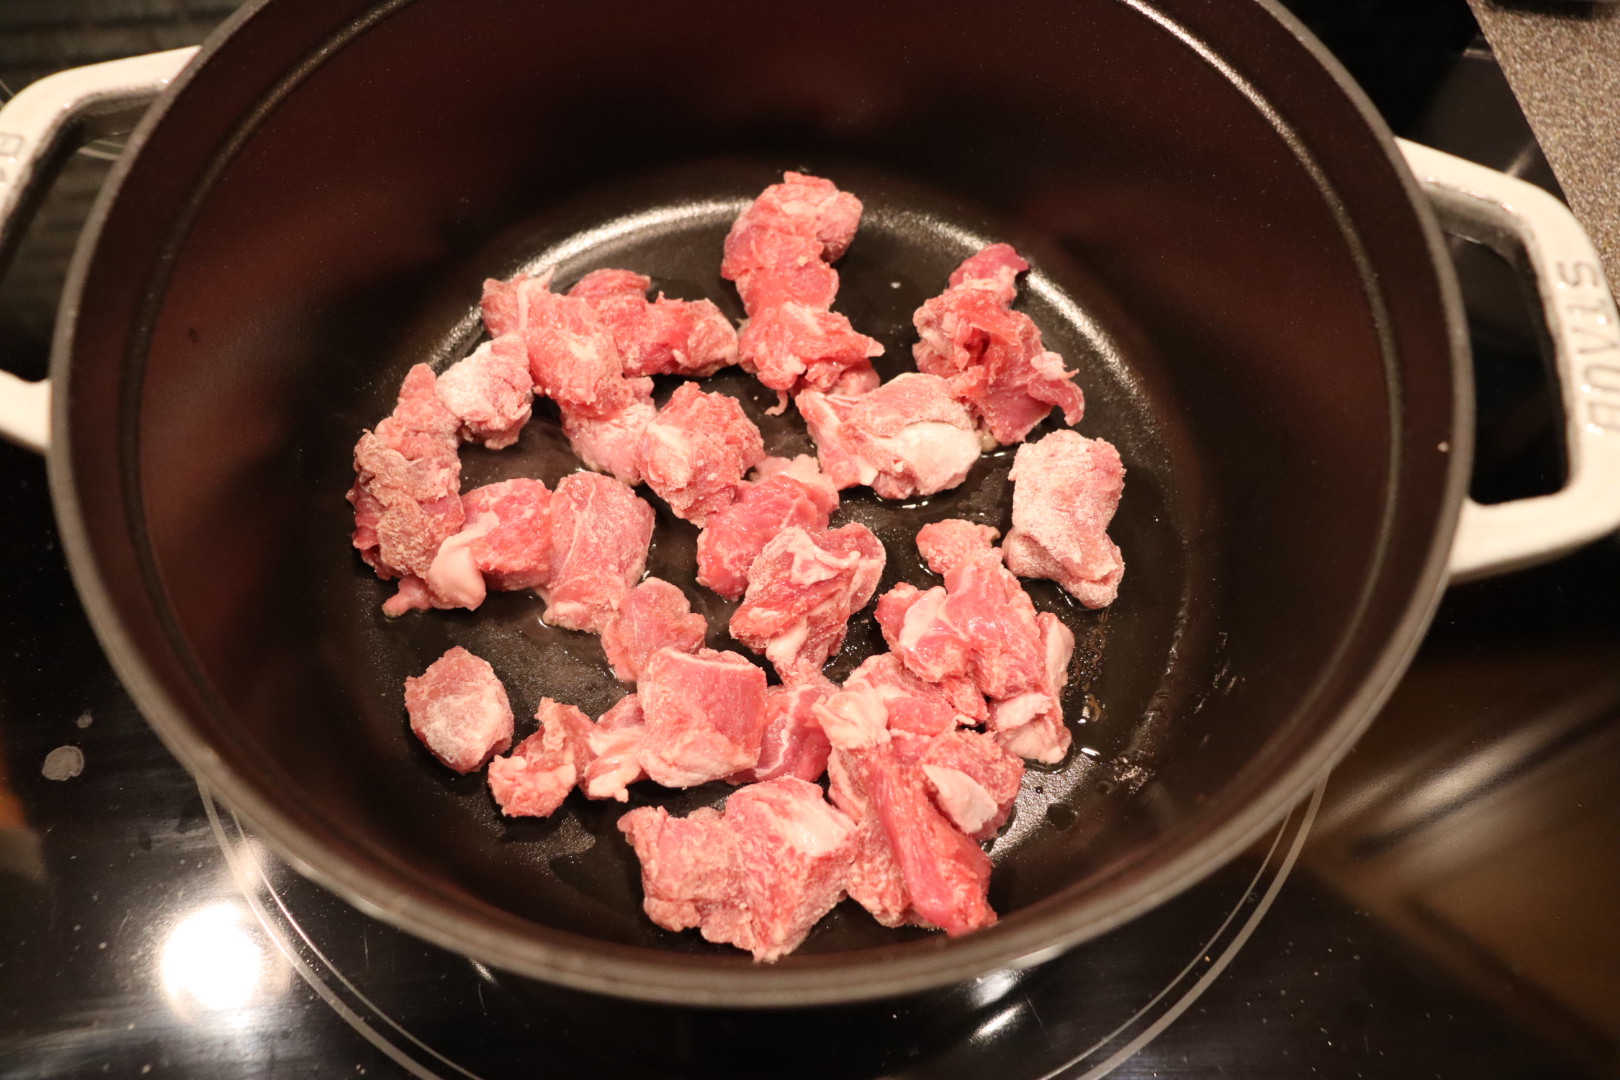
Where we live, at least, it is certainly stew weather. I view lamb as a very polarizing ingredient, as people seem to either love or despise lamb, with very little in between. I happen to greatly enjoy lamb, so this stew was enticing from the get-go. This recipe begins with trimming/cubing 2 pounds of lamb shoulder. Add pinches of Kosher salt and pepper to the lamb cubes, along with 1 T flour. Toss the lamb to thoroughly coat in the flour.

Cubed lamb shoulder tossed with Kosher salt, pepper, and flour.

Heat a 4-5 quart Dutch oven over medium-high heat, adding 1/2 T olive oil. Once the oil is hot, add ~ a third of the meat, browning on all sides. Remove the meat as it browns, and brown the remaining meat in two batches.

When all of the meat has browned and been removed from the pan, add more oil (if needed), 3 sliced carrots, and a pinch of Kosher salt. Cook the carrots until they have some color.

Carrots and Kosher salt added to pot to cook until golden.

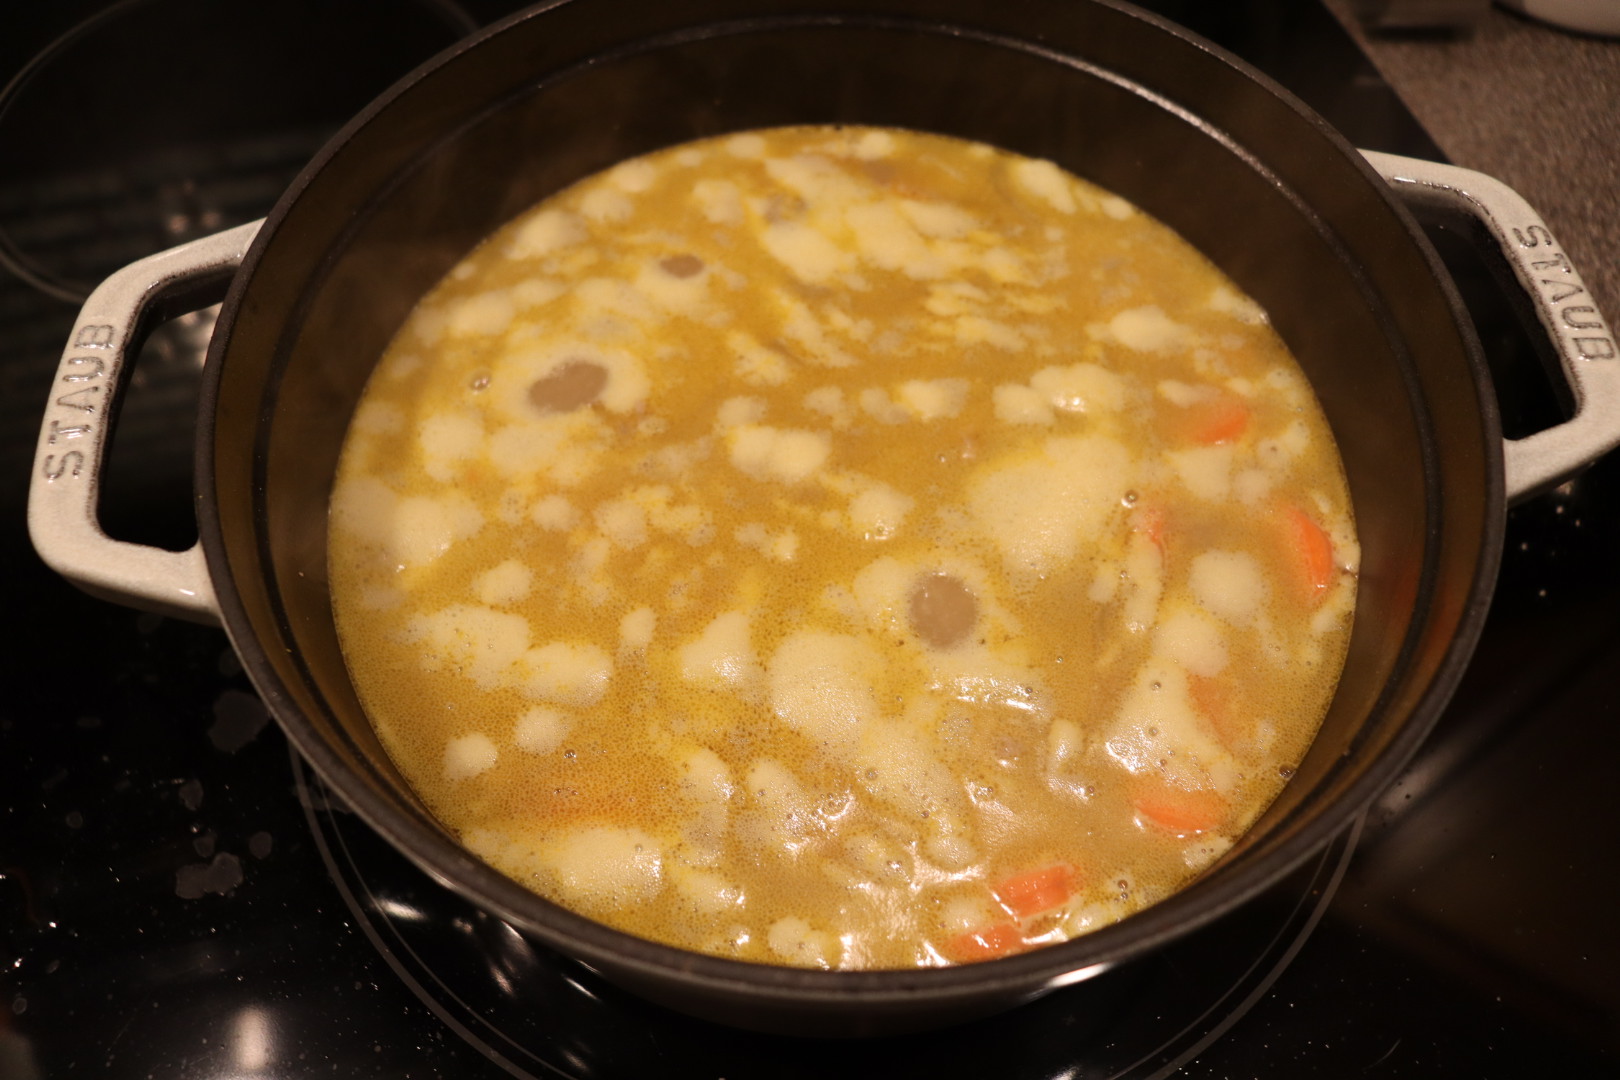
Add the lamb back to the pan, along with 1 C of barley grits (we ground barley to a grit-like consistency), and a quart of chicken broth or stock. Bring the stew to a boil, add a cover, and simmer for 30-45 minutes, or until the lamb falls apart.

Serve the stew with fresh oregano.

Alton’s barley and lamb stew.

This lamb stew was good, but not Earth-shattering. I would call this stew simple but tasty. I would recommend serving this stew the day it is made, as it becomes overly thick/congealed when refrigerated and reheated. We ate this stew with a side of…

Barley Bread

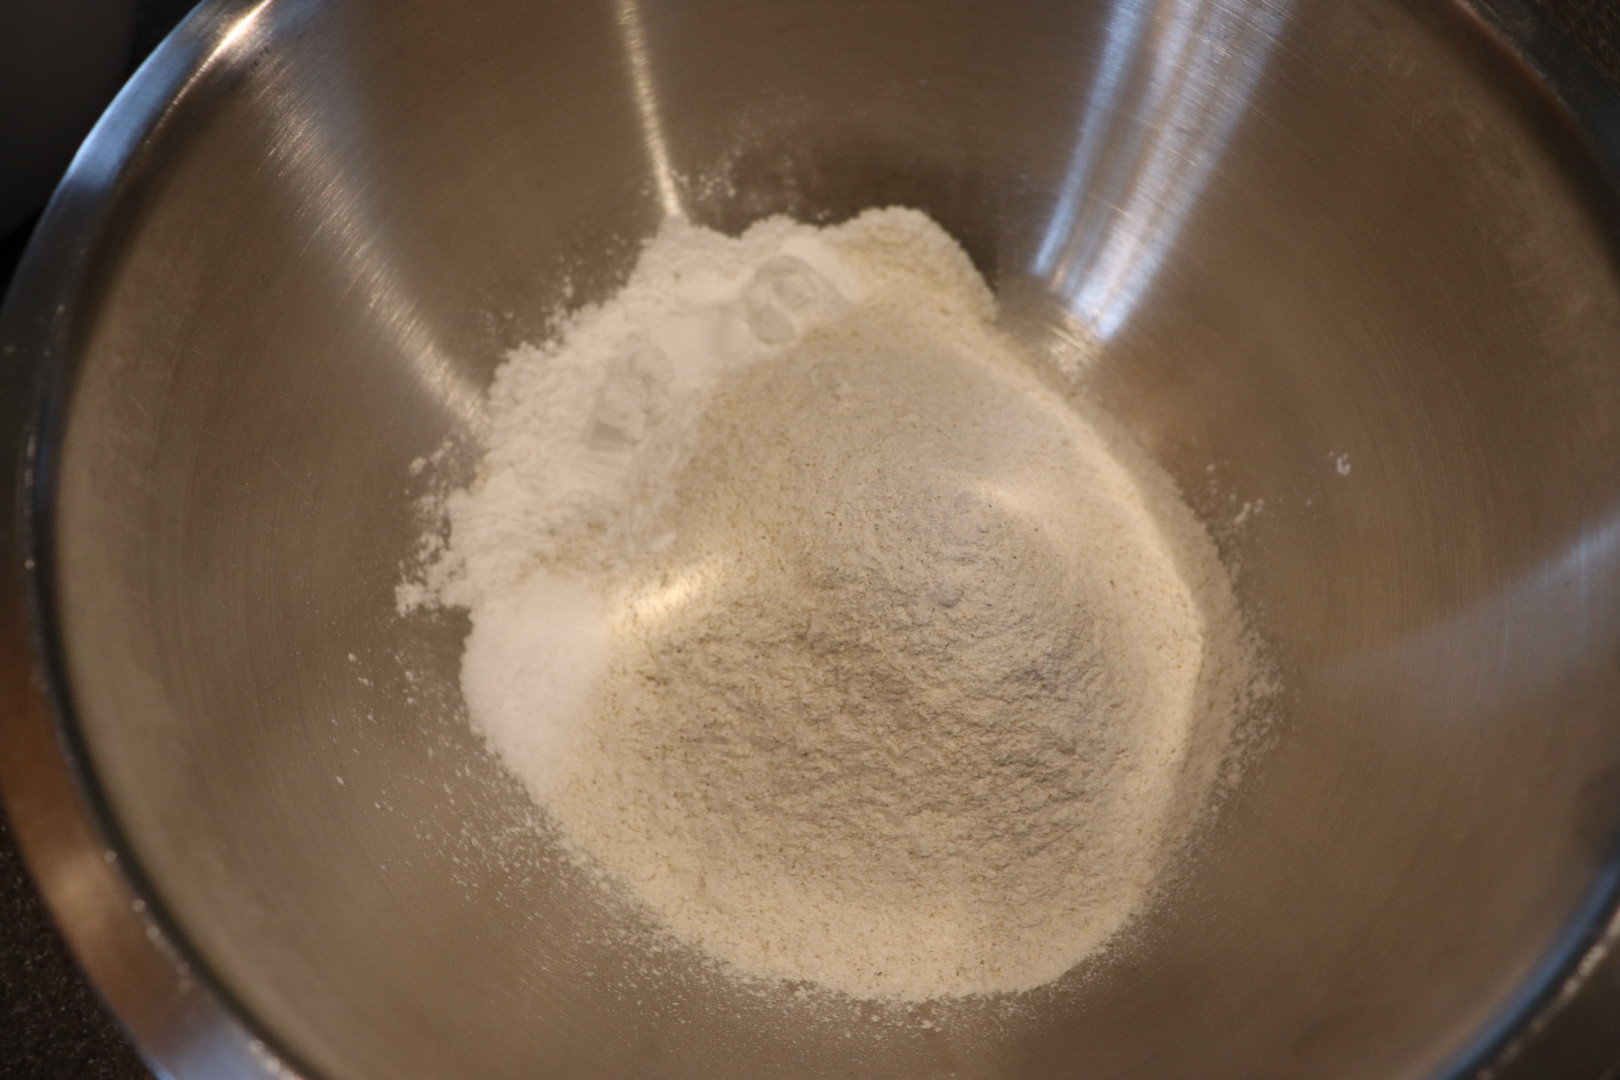
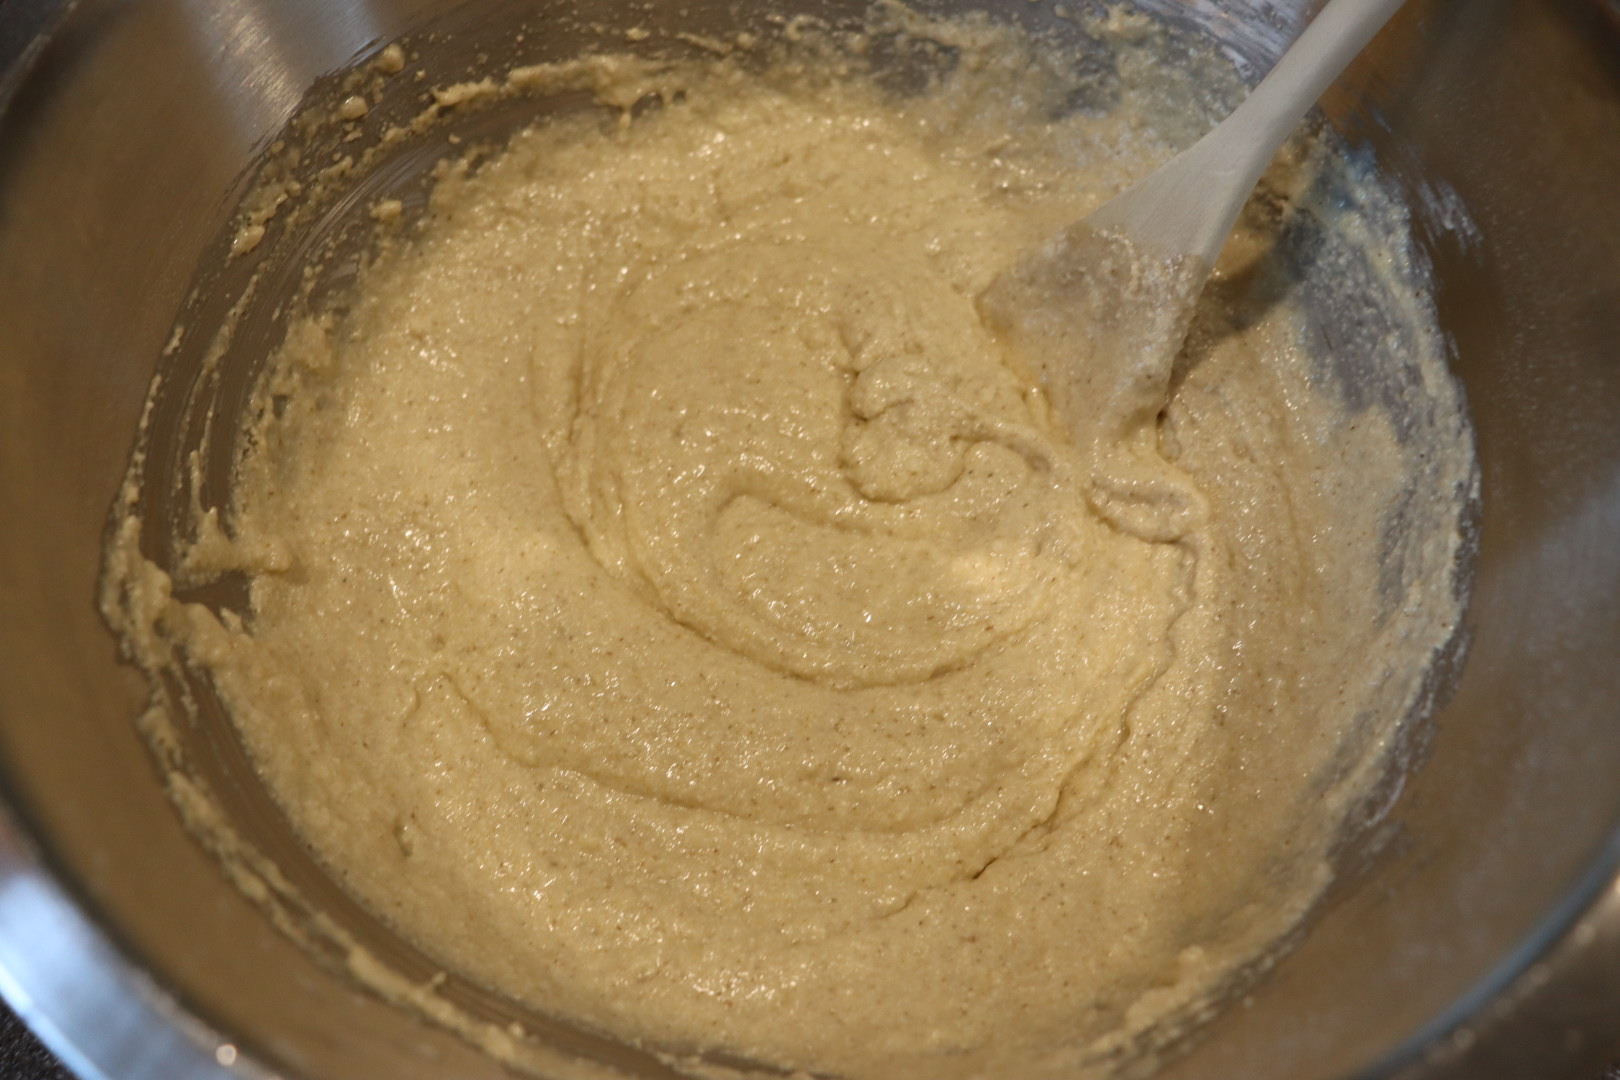
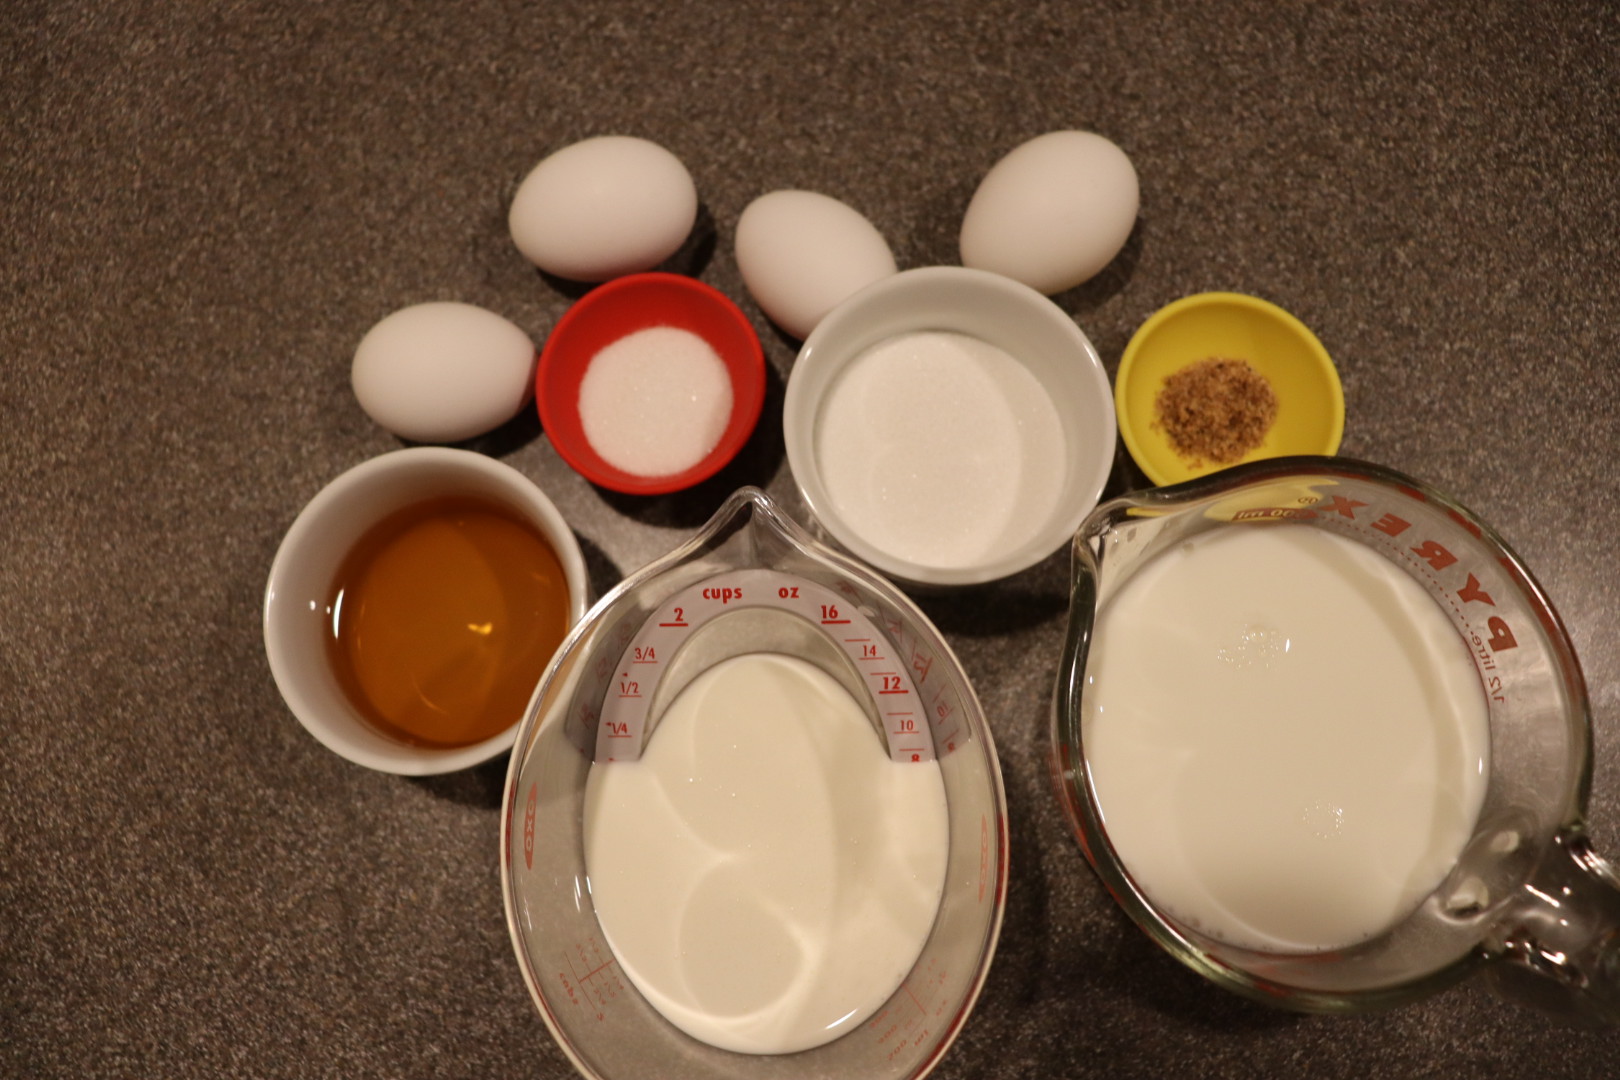
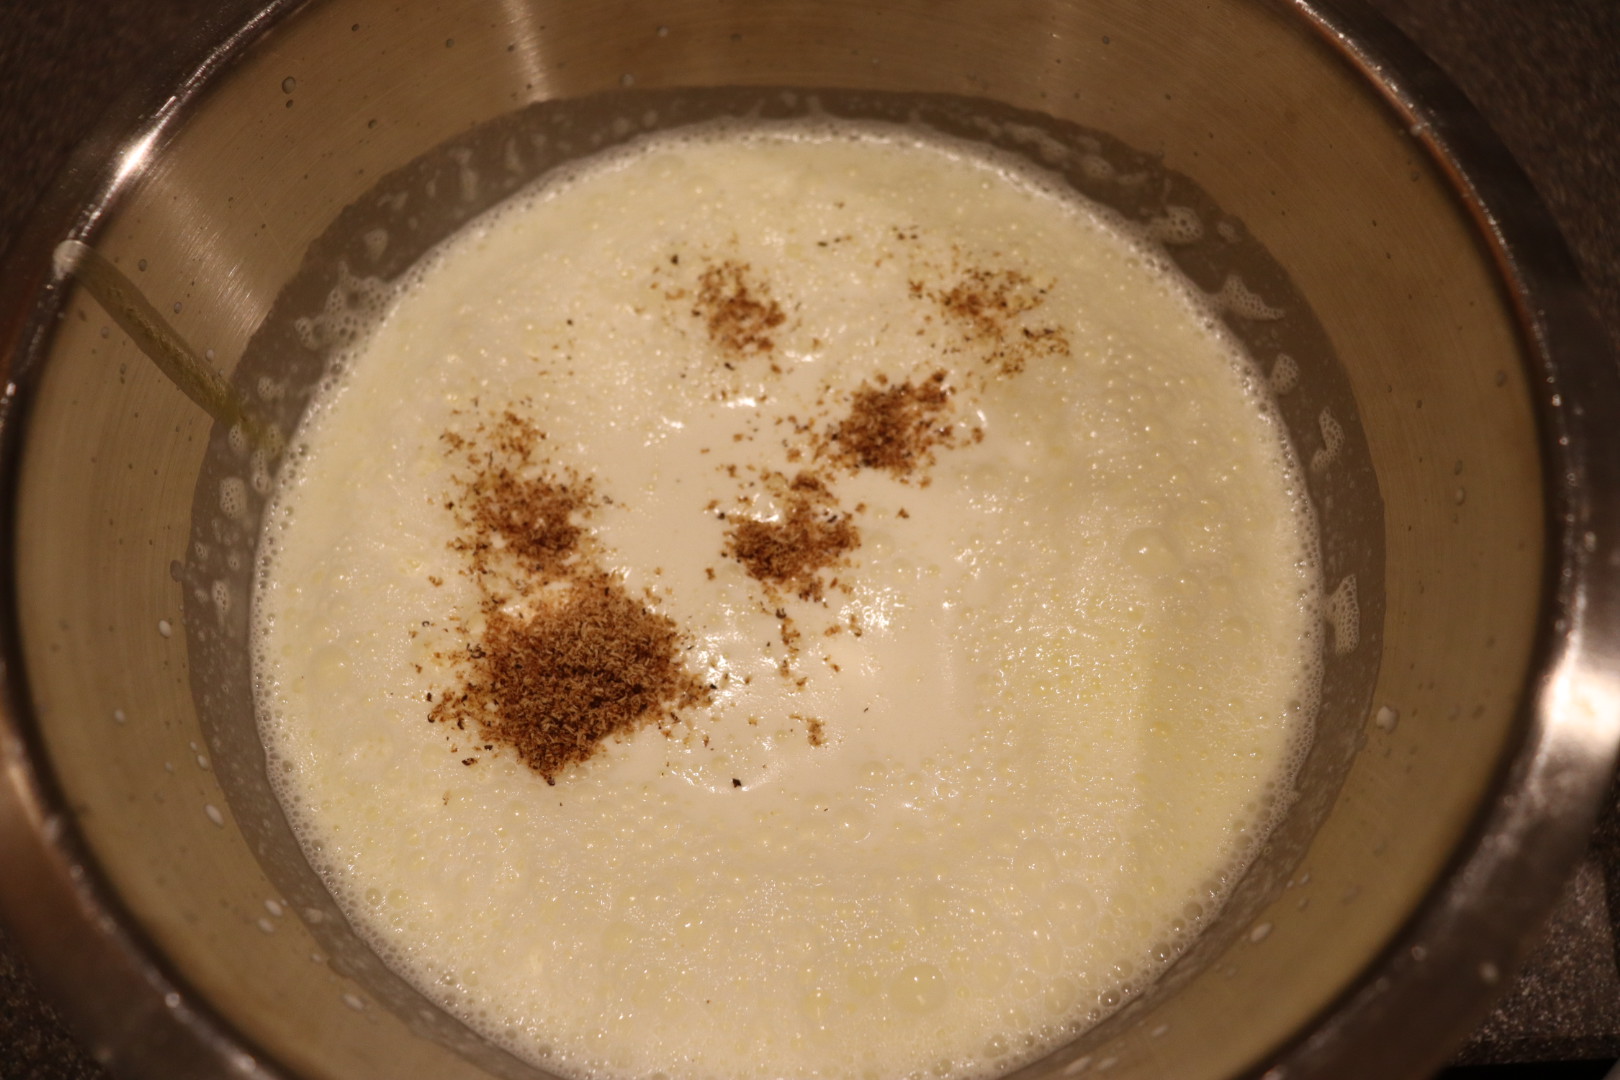
When making Alton’s barley bread, you will need 10 ounces of barley flour; you can either purchase this ingredient or you can mill the flour yourself from 10.5 oz of barley. Either way, place the flour in a bowl with 2.5 T baking powder and 1 t Kosher salt, whisking to combine.

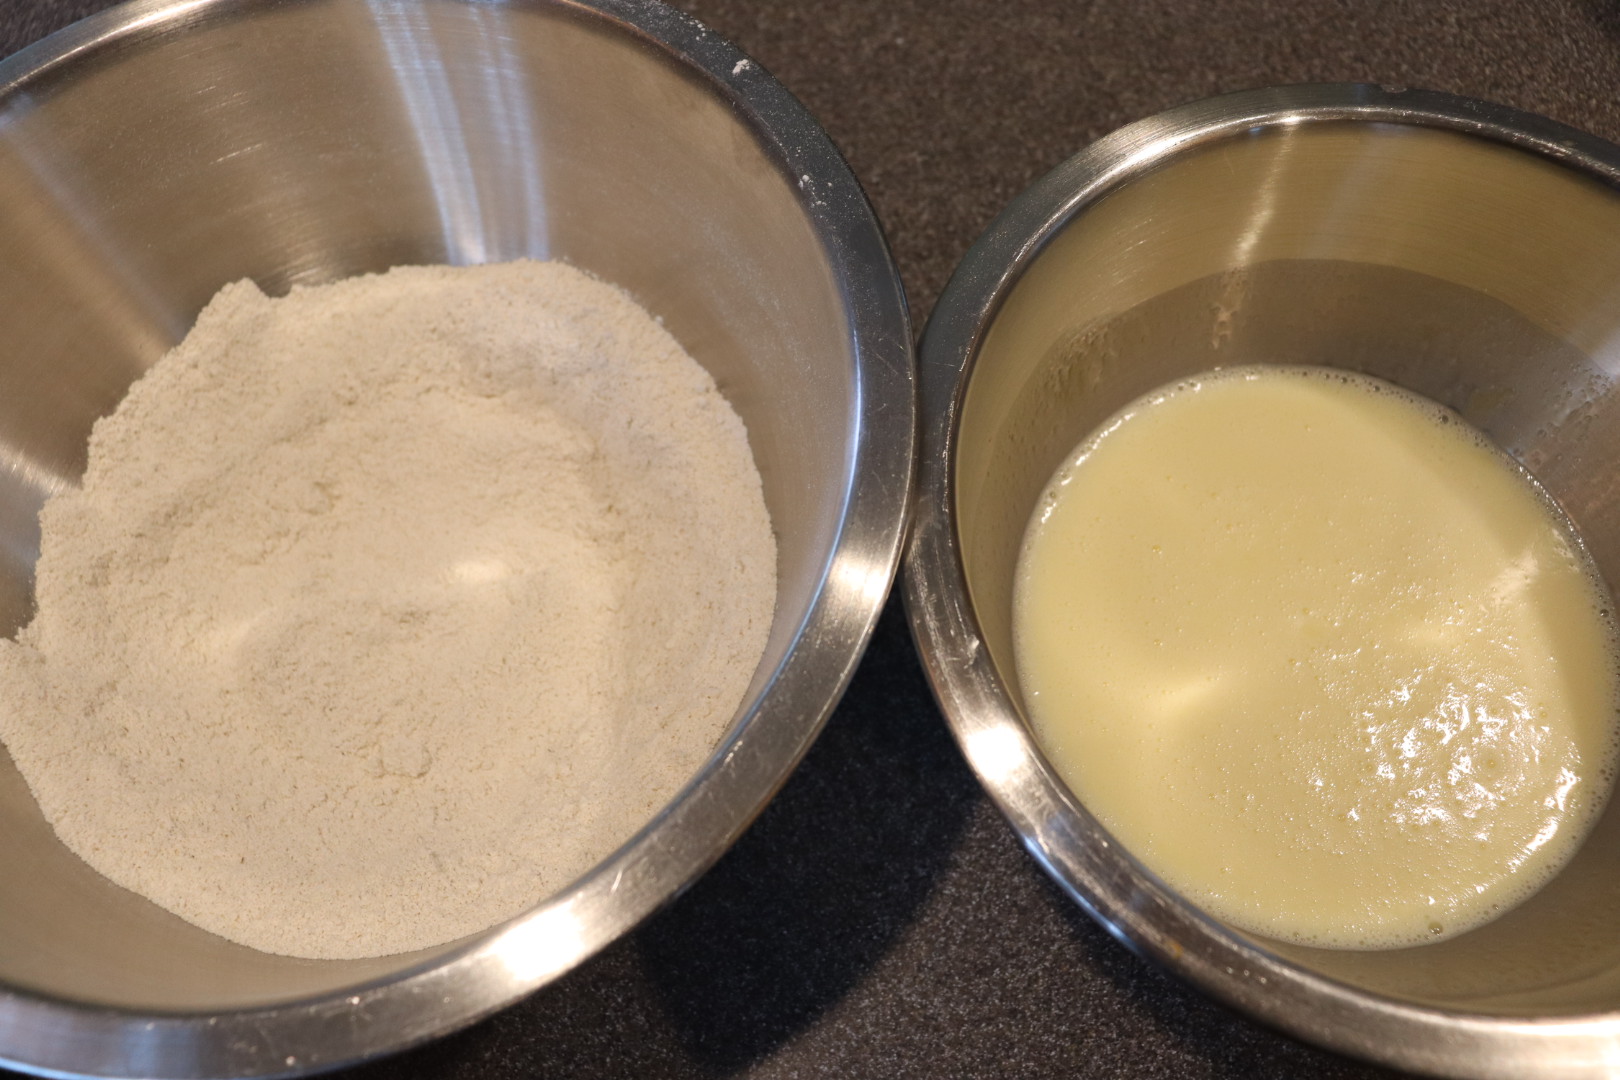
In a separate bowl, whisk together 2 eggs and 2 T honey. Add 1/4 C canola/vegetable oil and 1 C milk.

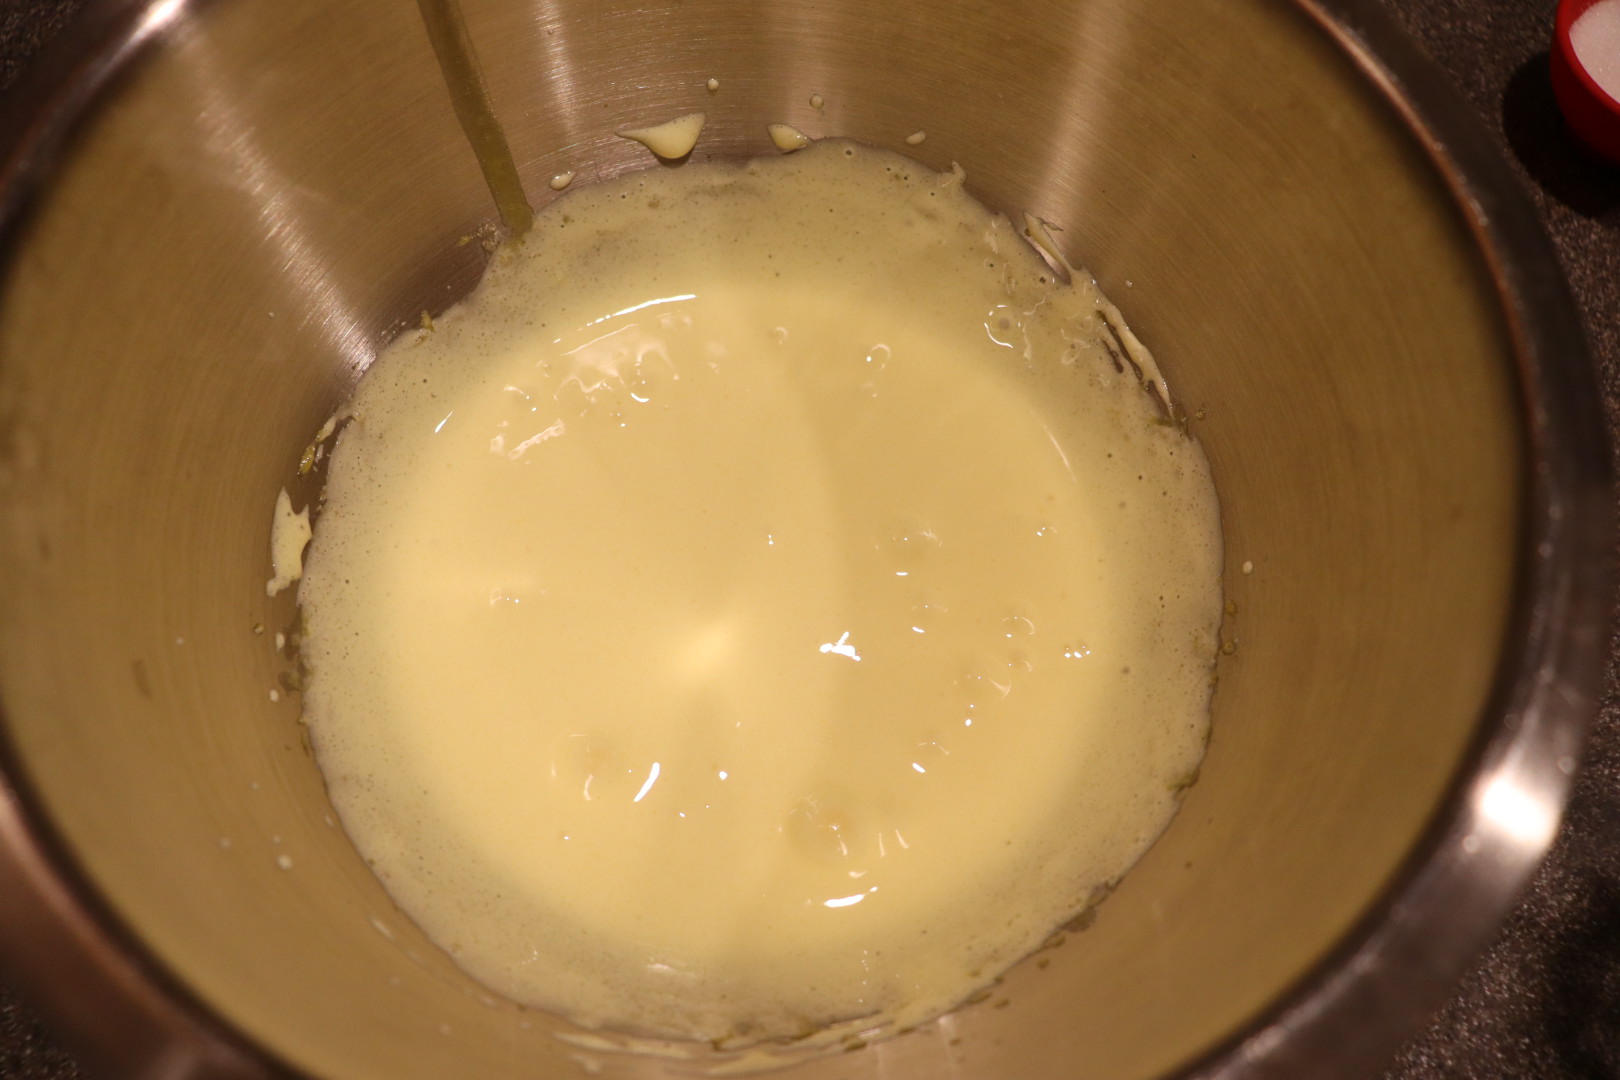
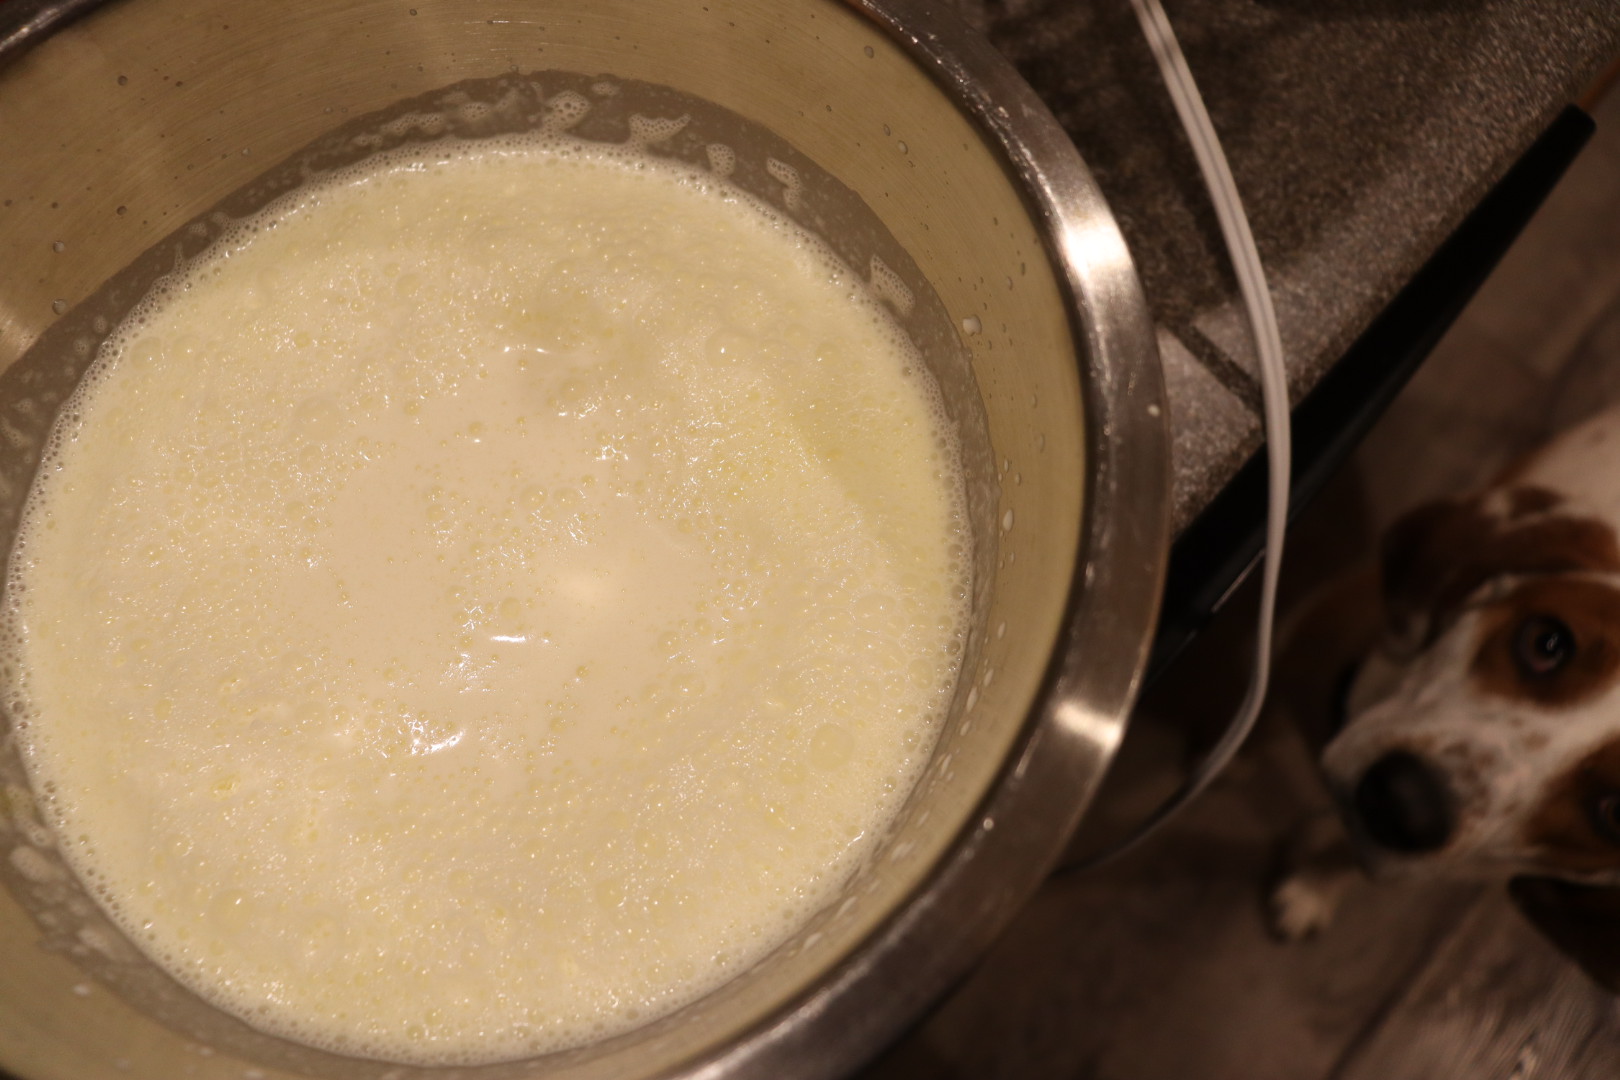
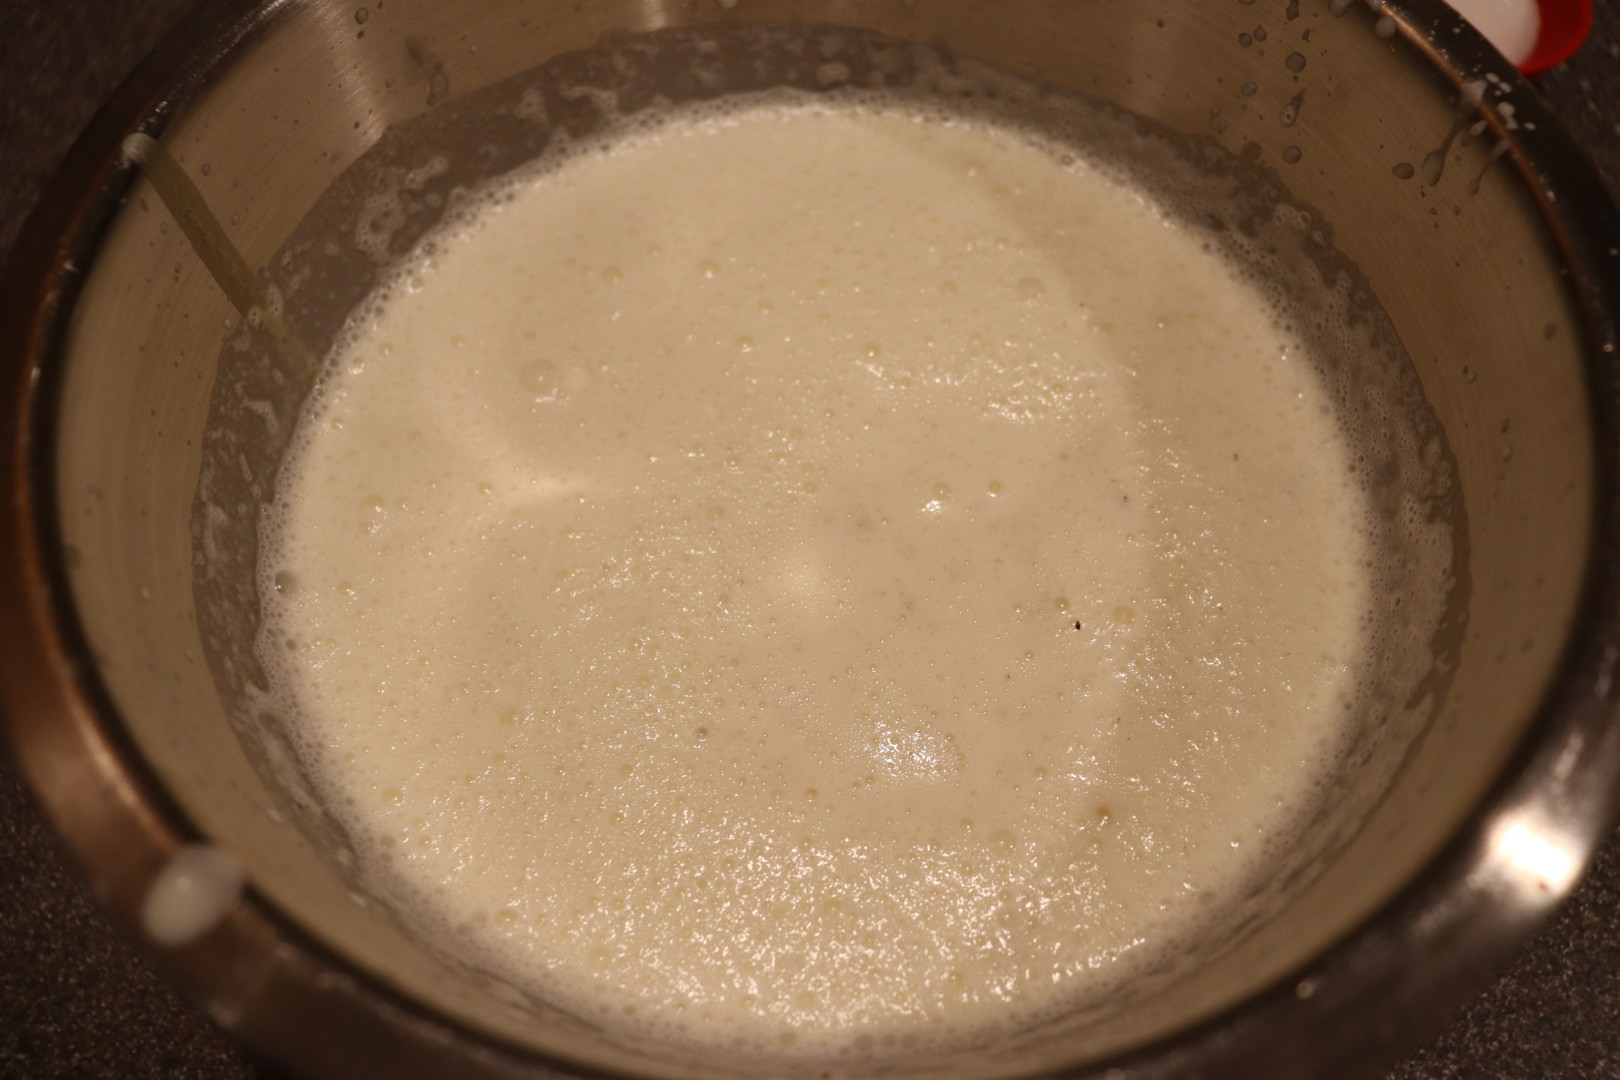
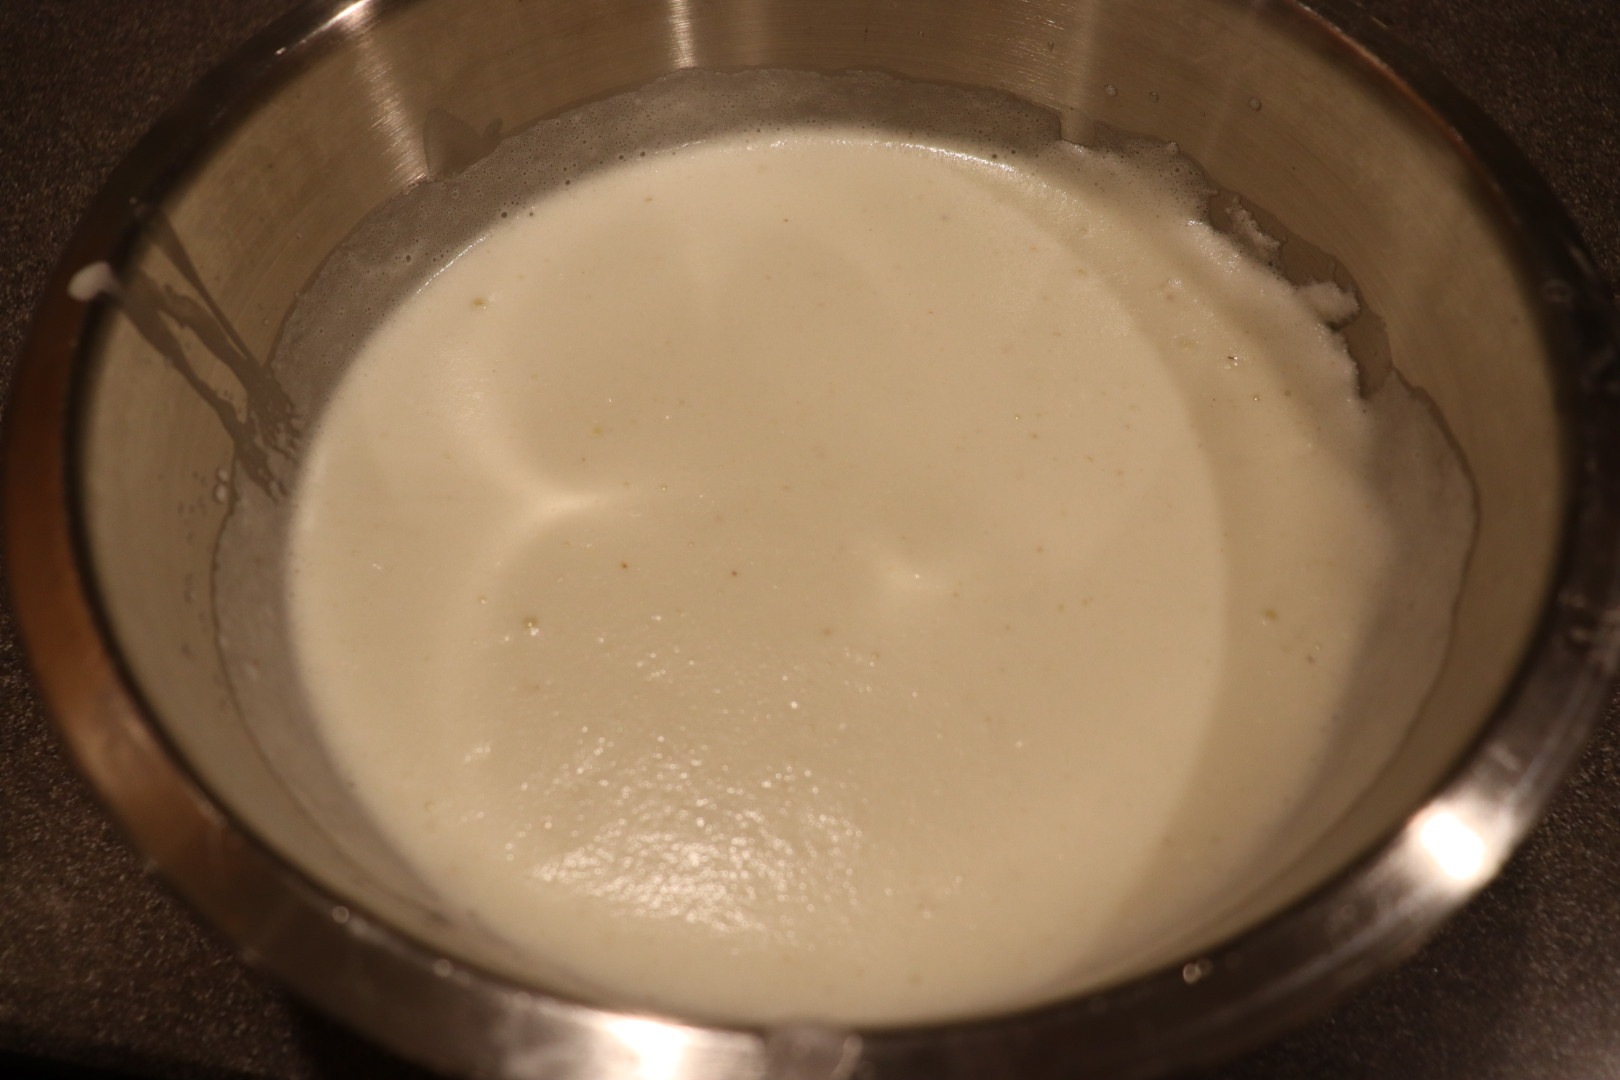
Once the wet ingredients are combined, add the wet ingredients to the dry ingredients, stirring to combine; since barley is low in gluten, you can thoroughly stir this dough without making it tough.

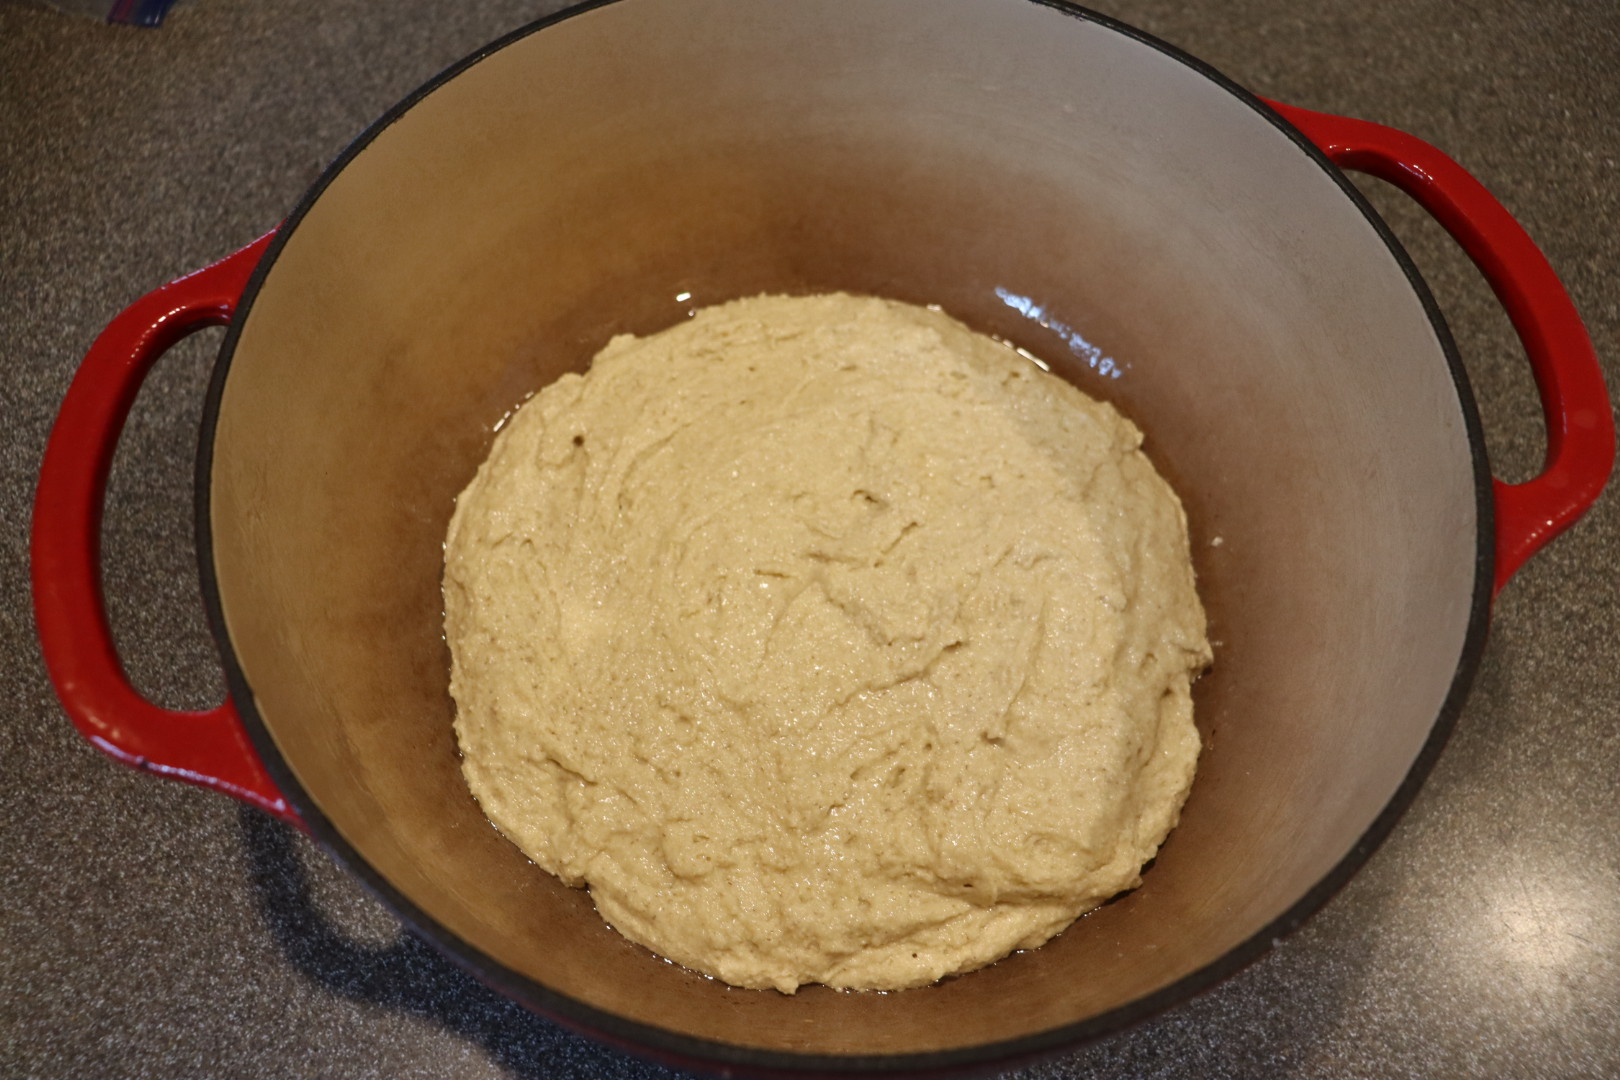
Pour the dough into a lubed Dutch oven and cook it for 35-40 minutes, uncovered, over a gas grill that has been preheated on low for 15 minutes. Alternatively, you can bake the bread in a 350 degree oven for 25-30 minutes, which is what I did. Regardless of cooking method, seek an internal temperature of 190 degrees.

Cutting the barley bread.
A slice of barley bread, served here alongside Oktoberfest soup.

We enjoyed this bread, which was slightly sweet and nutty. The crumb is very crumbly, so don’t expect a bread that holds together tightly when sliced. I also found that this loaf stuck to my Dutch oven, so I used a dinner knife multiple times to free the edges of the loaf from the pan. I then used Alton’s tip of placing a paper plate on top of the loaf before inverting the loaf onto the plate. Eventually, this worked, though I did have some cracking and breaking at the edges of the loaf. I find this to be a good weekday bread to pair with soup; we ate it alongside an Oktoberfest-style soup.
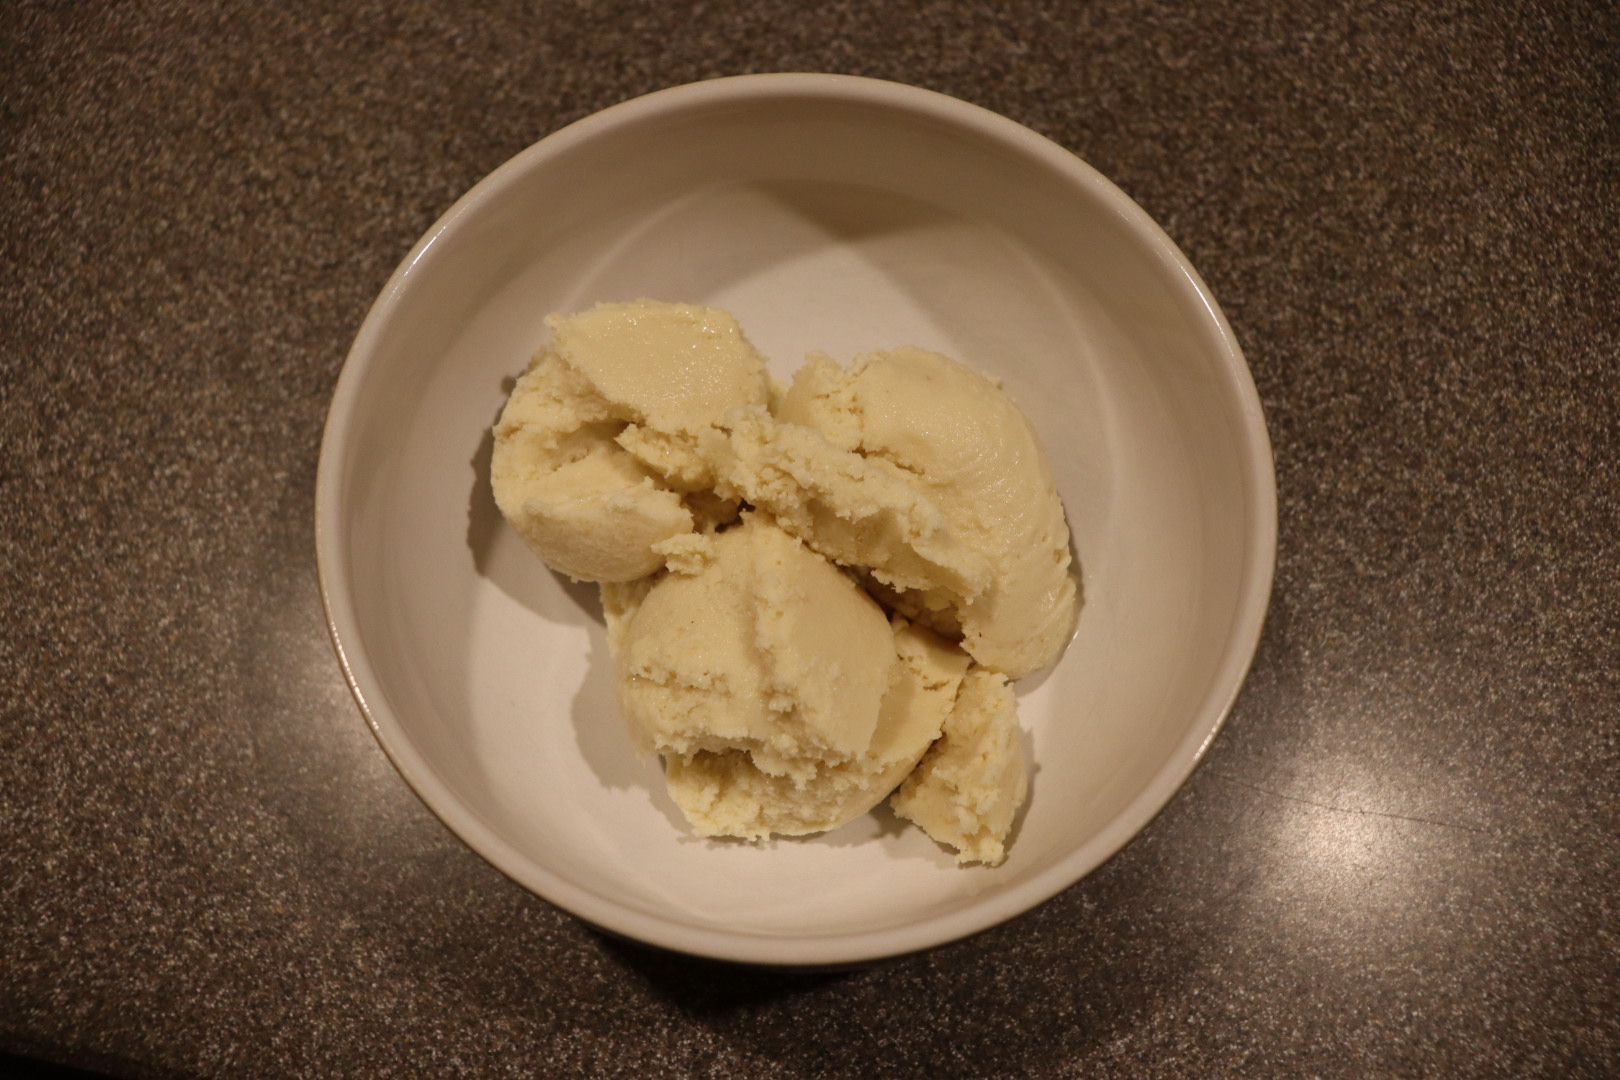
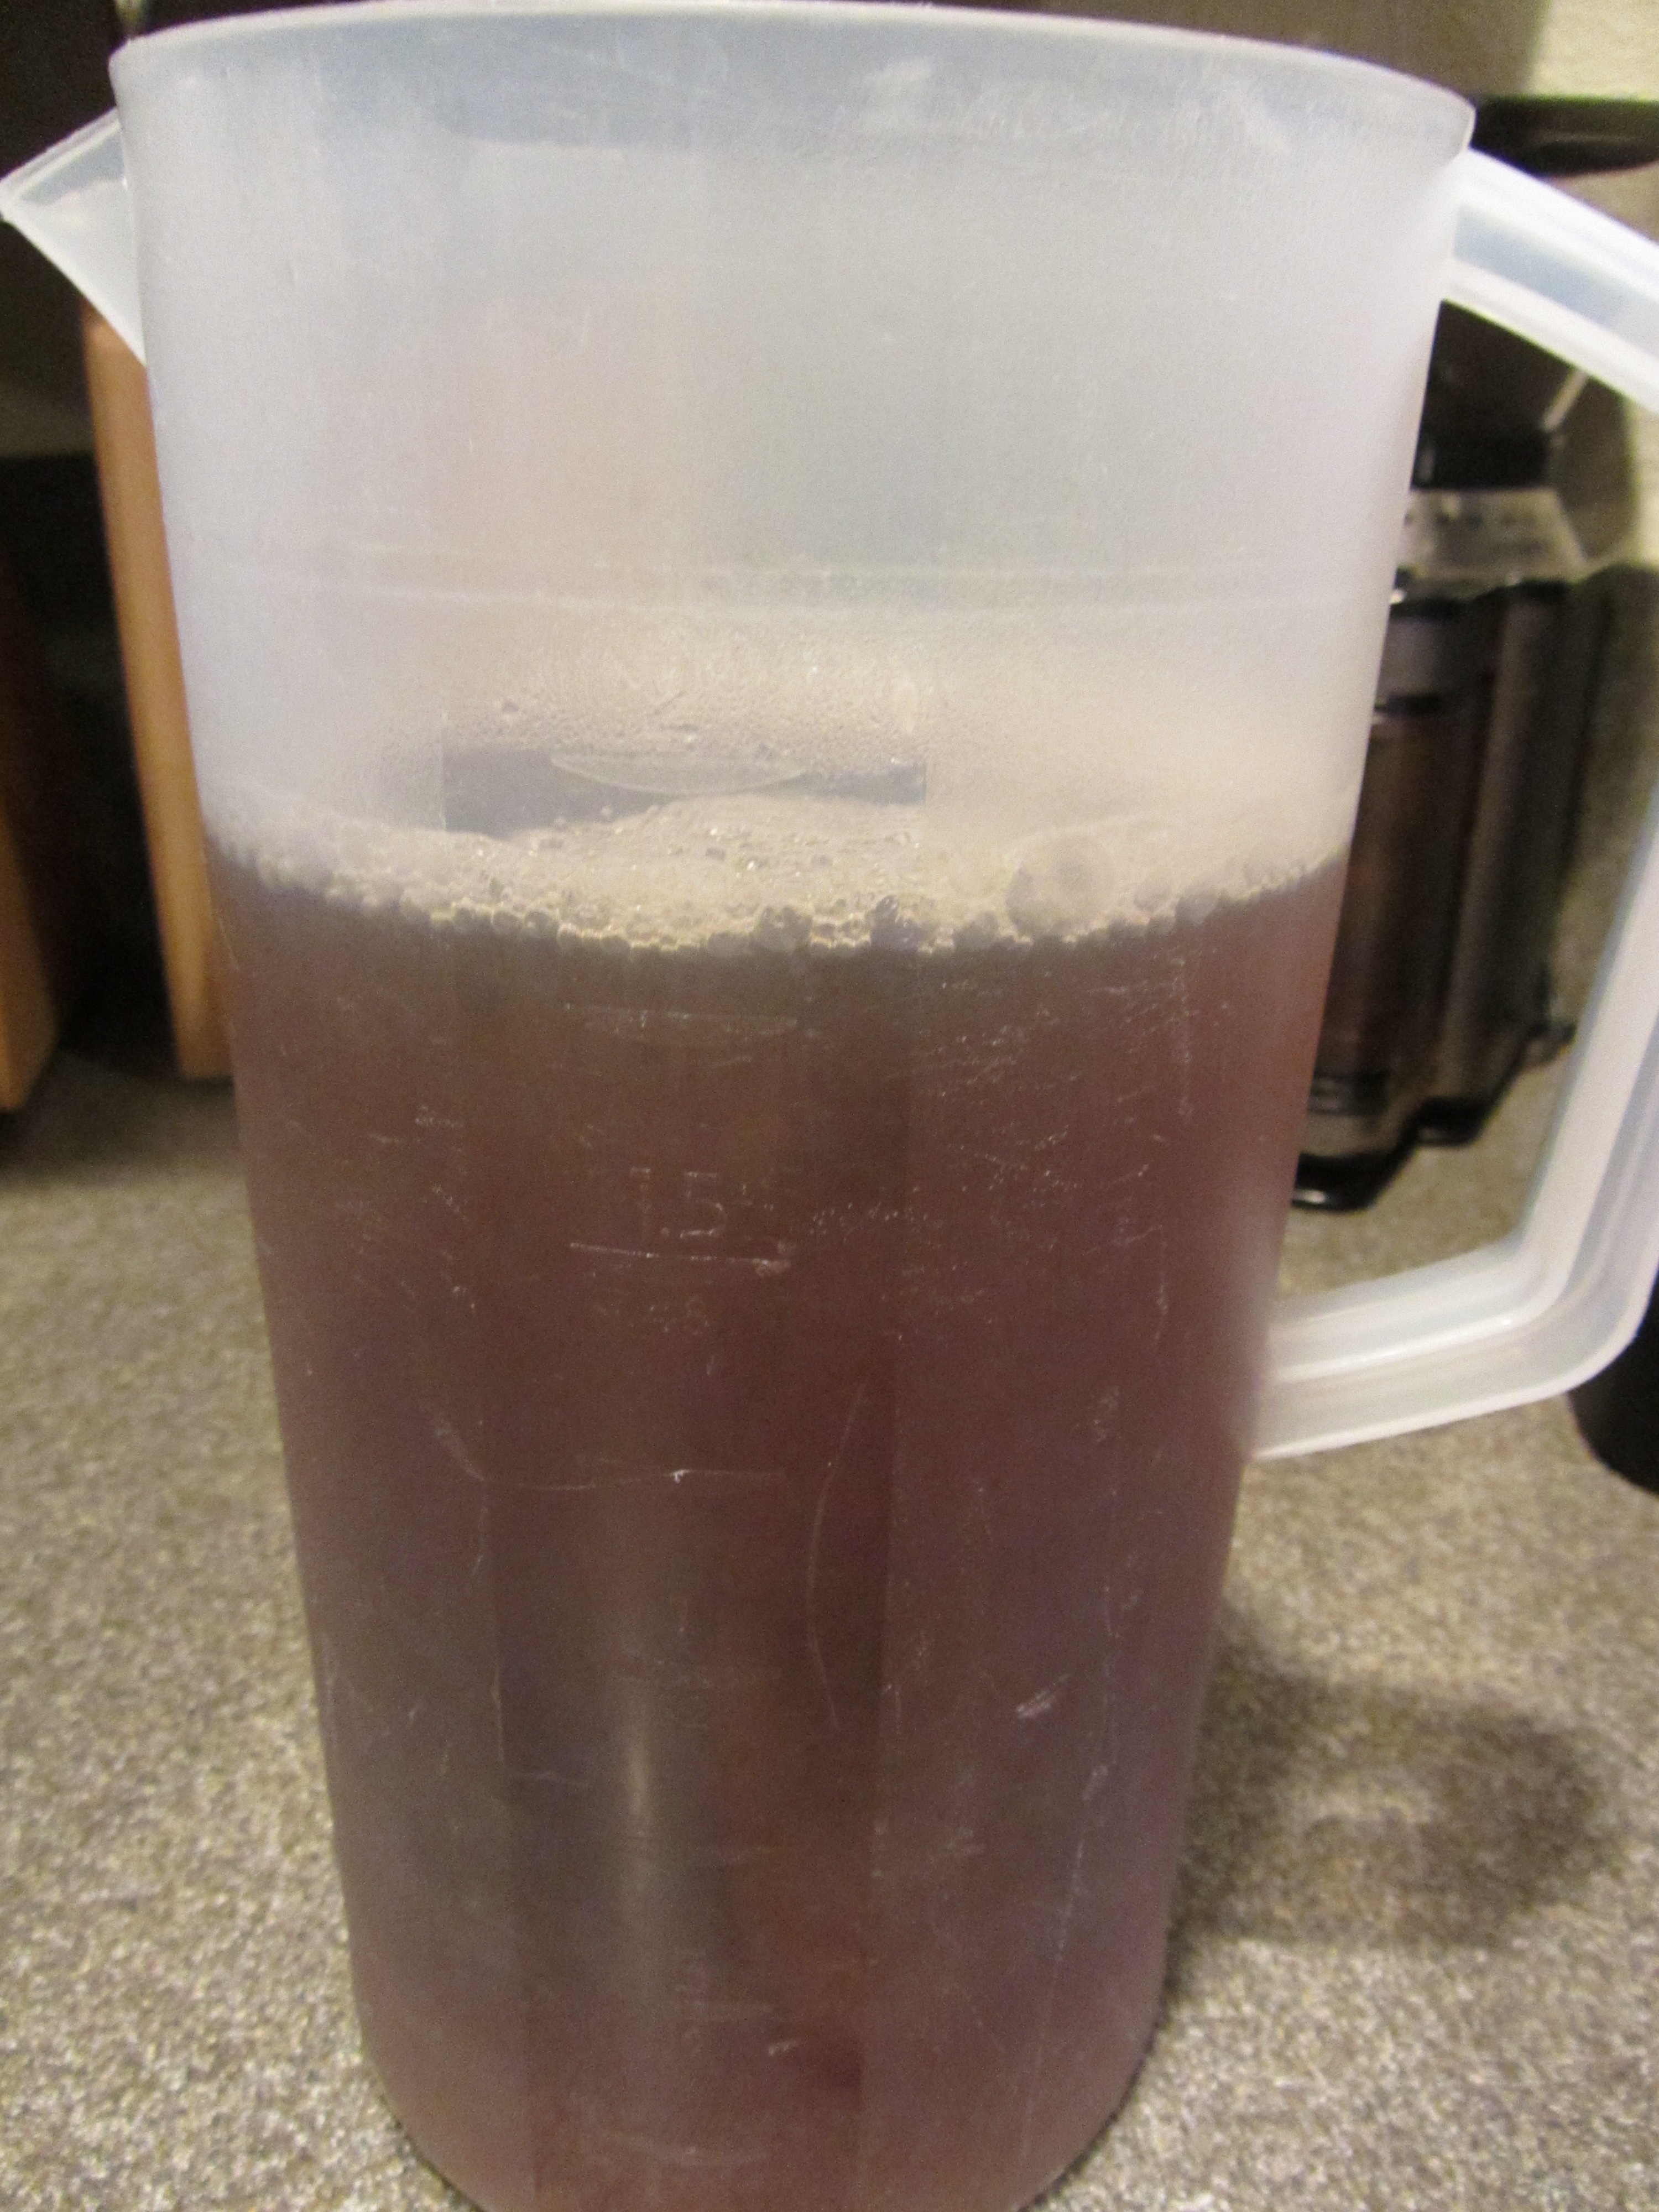
Barley Water

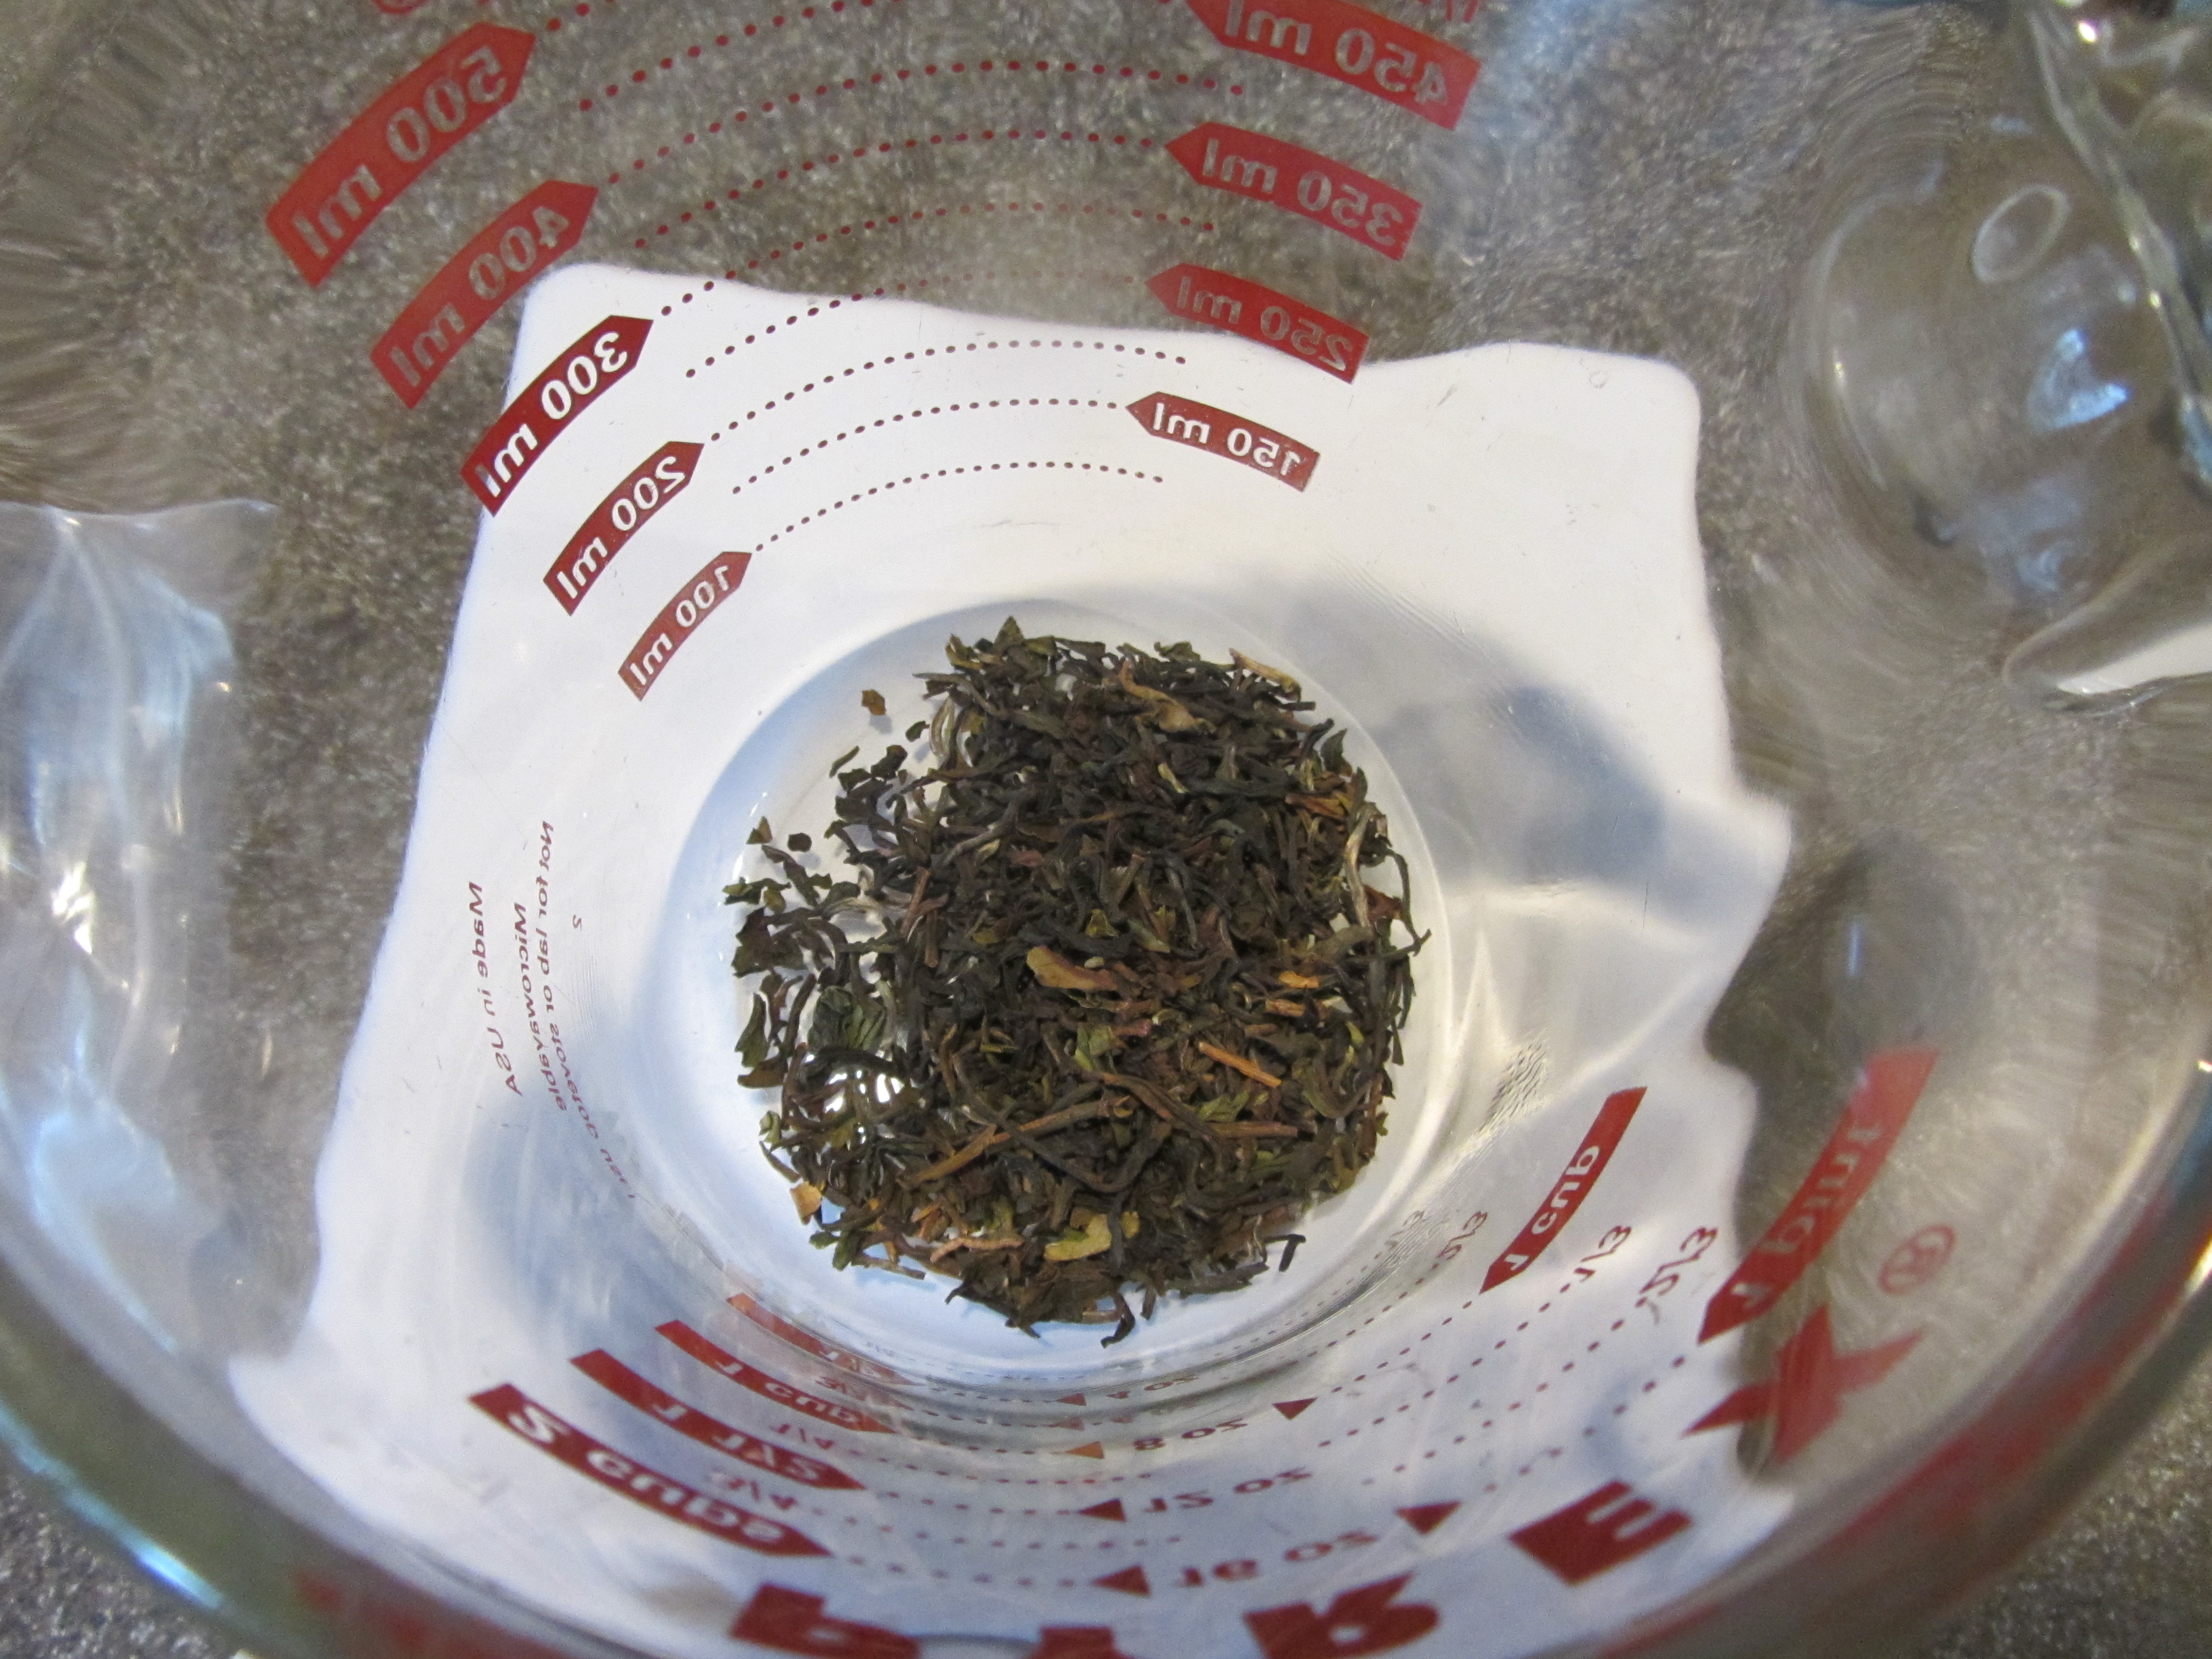
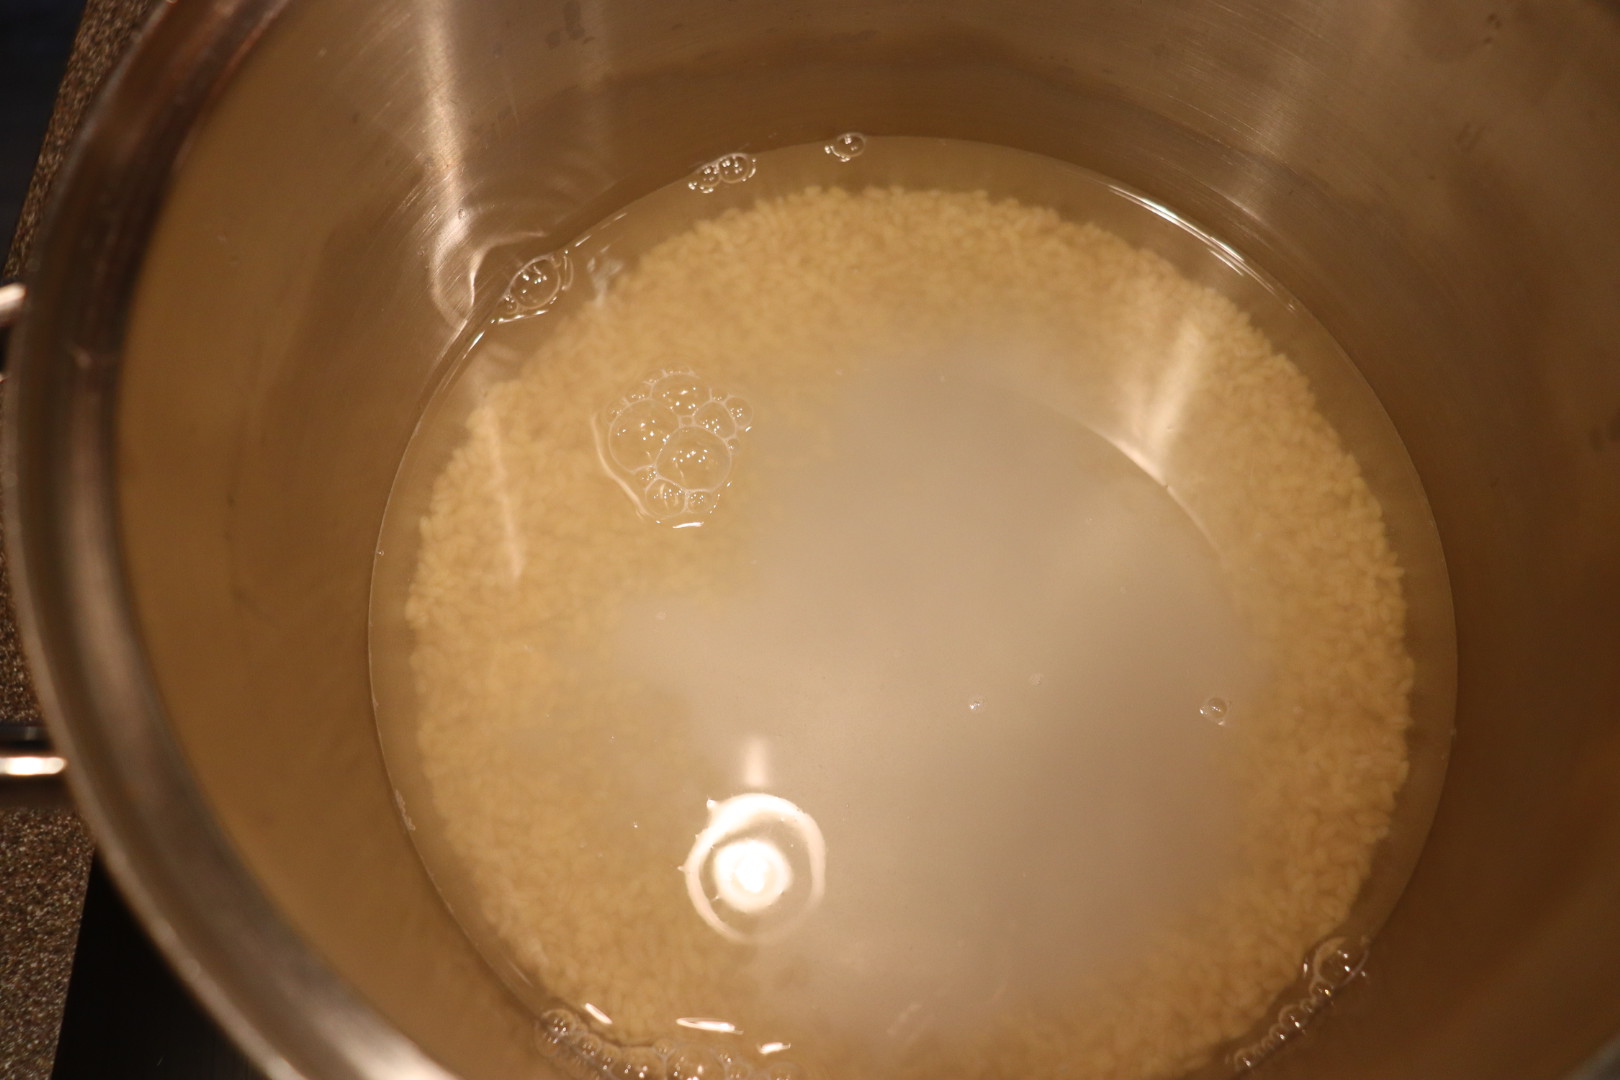
The final recipe of this episode is one I immediately recognized as being included in Alton’s “EveryDayCook” cookbook. I figured then that this must be an Alton favorite. Barley water, by the way, is a beverage that is traditionally served at Wimbledon. To make it, heat 1 C hulled barley in 2 quarts water over high heat until boiling. Decrease the heat and simmer the barley for 30 minutes.

While the barley simmers, use a vegetable peeler to zest two lemons into a pitcher, also adding their juice. Stir in 1/4 C honey.

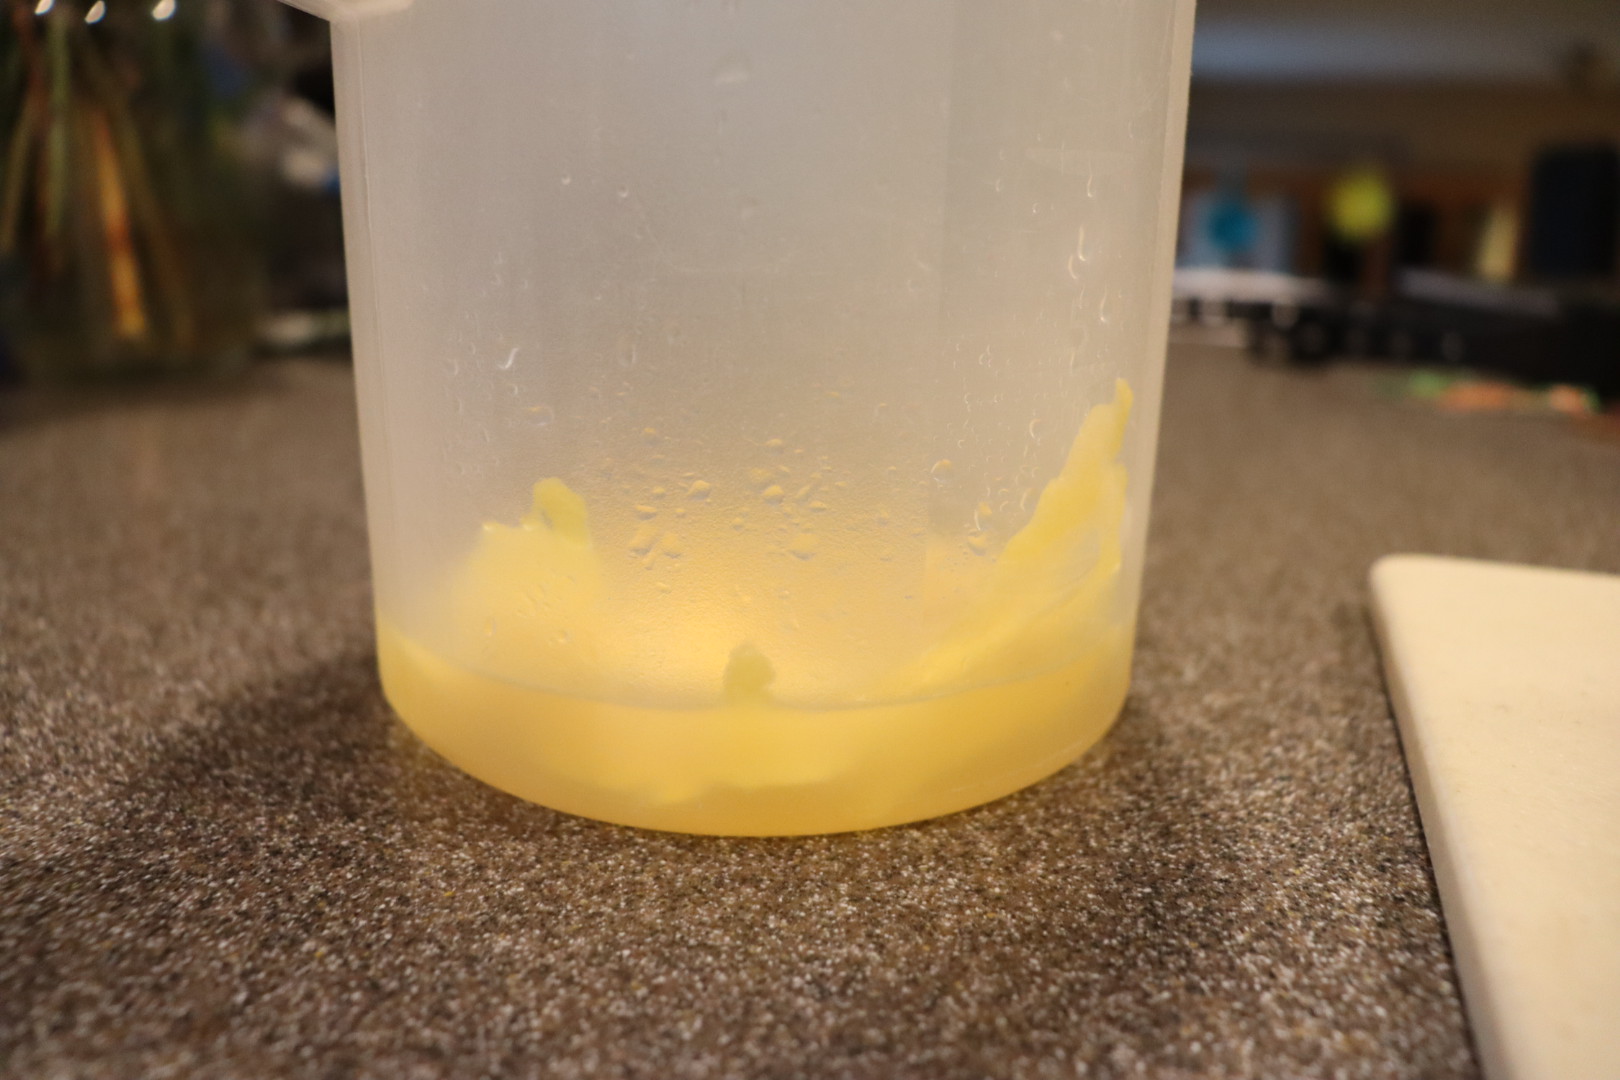
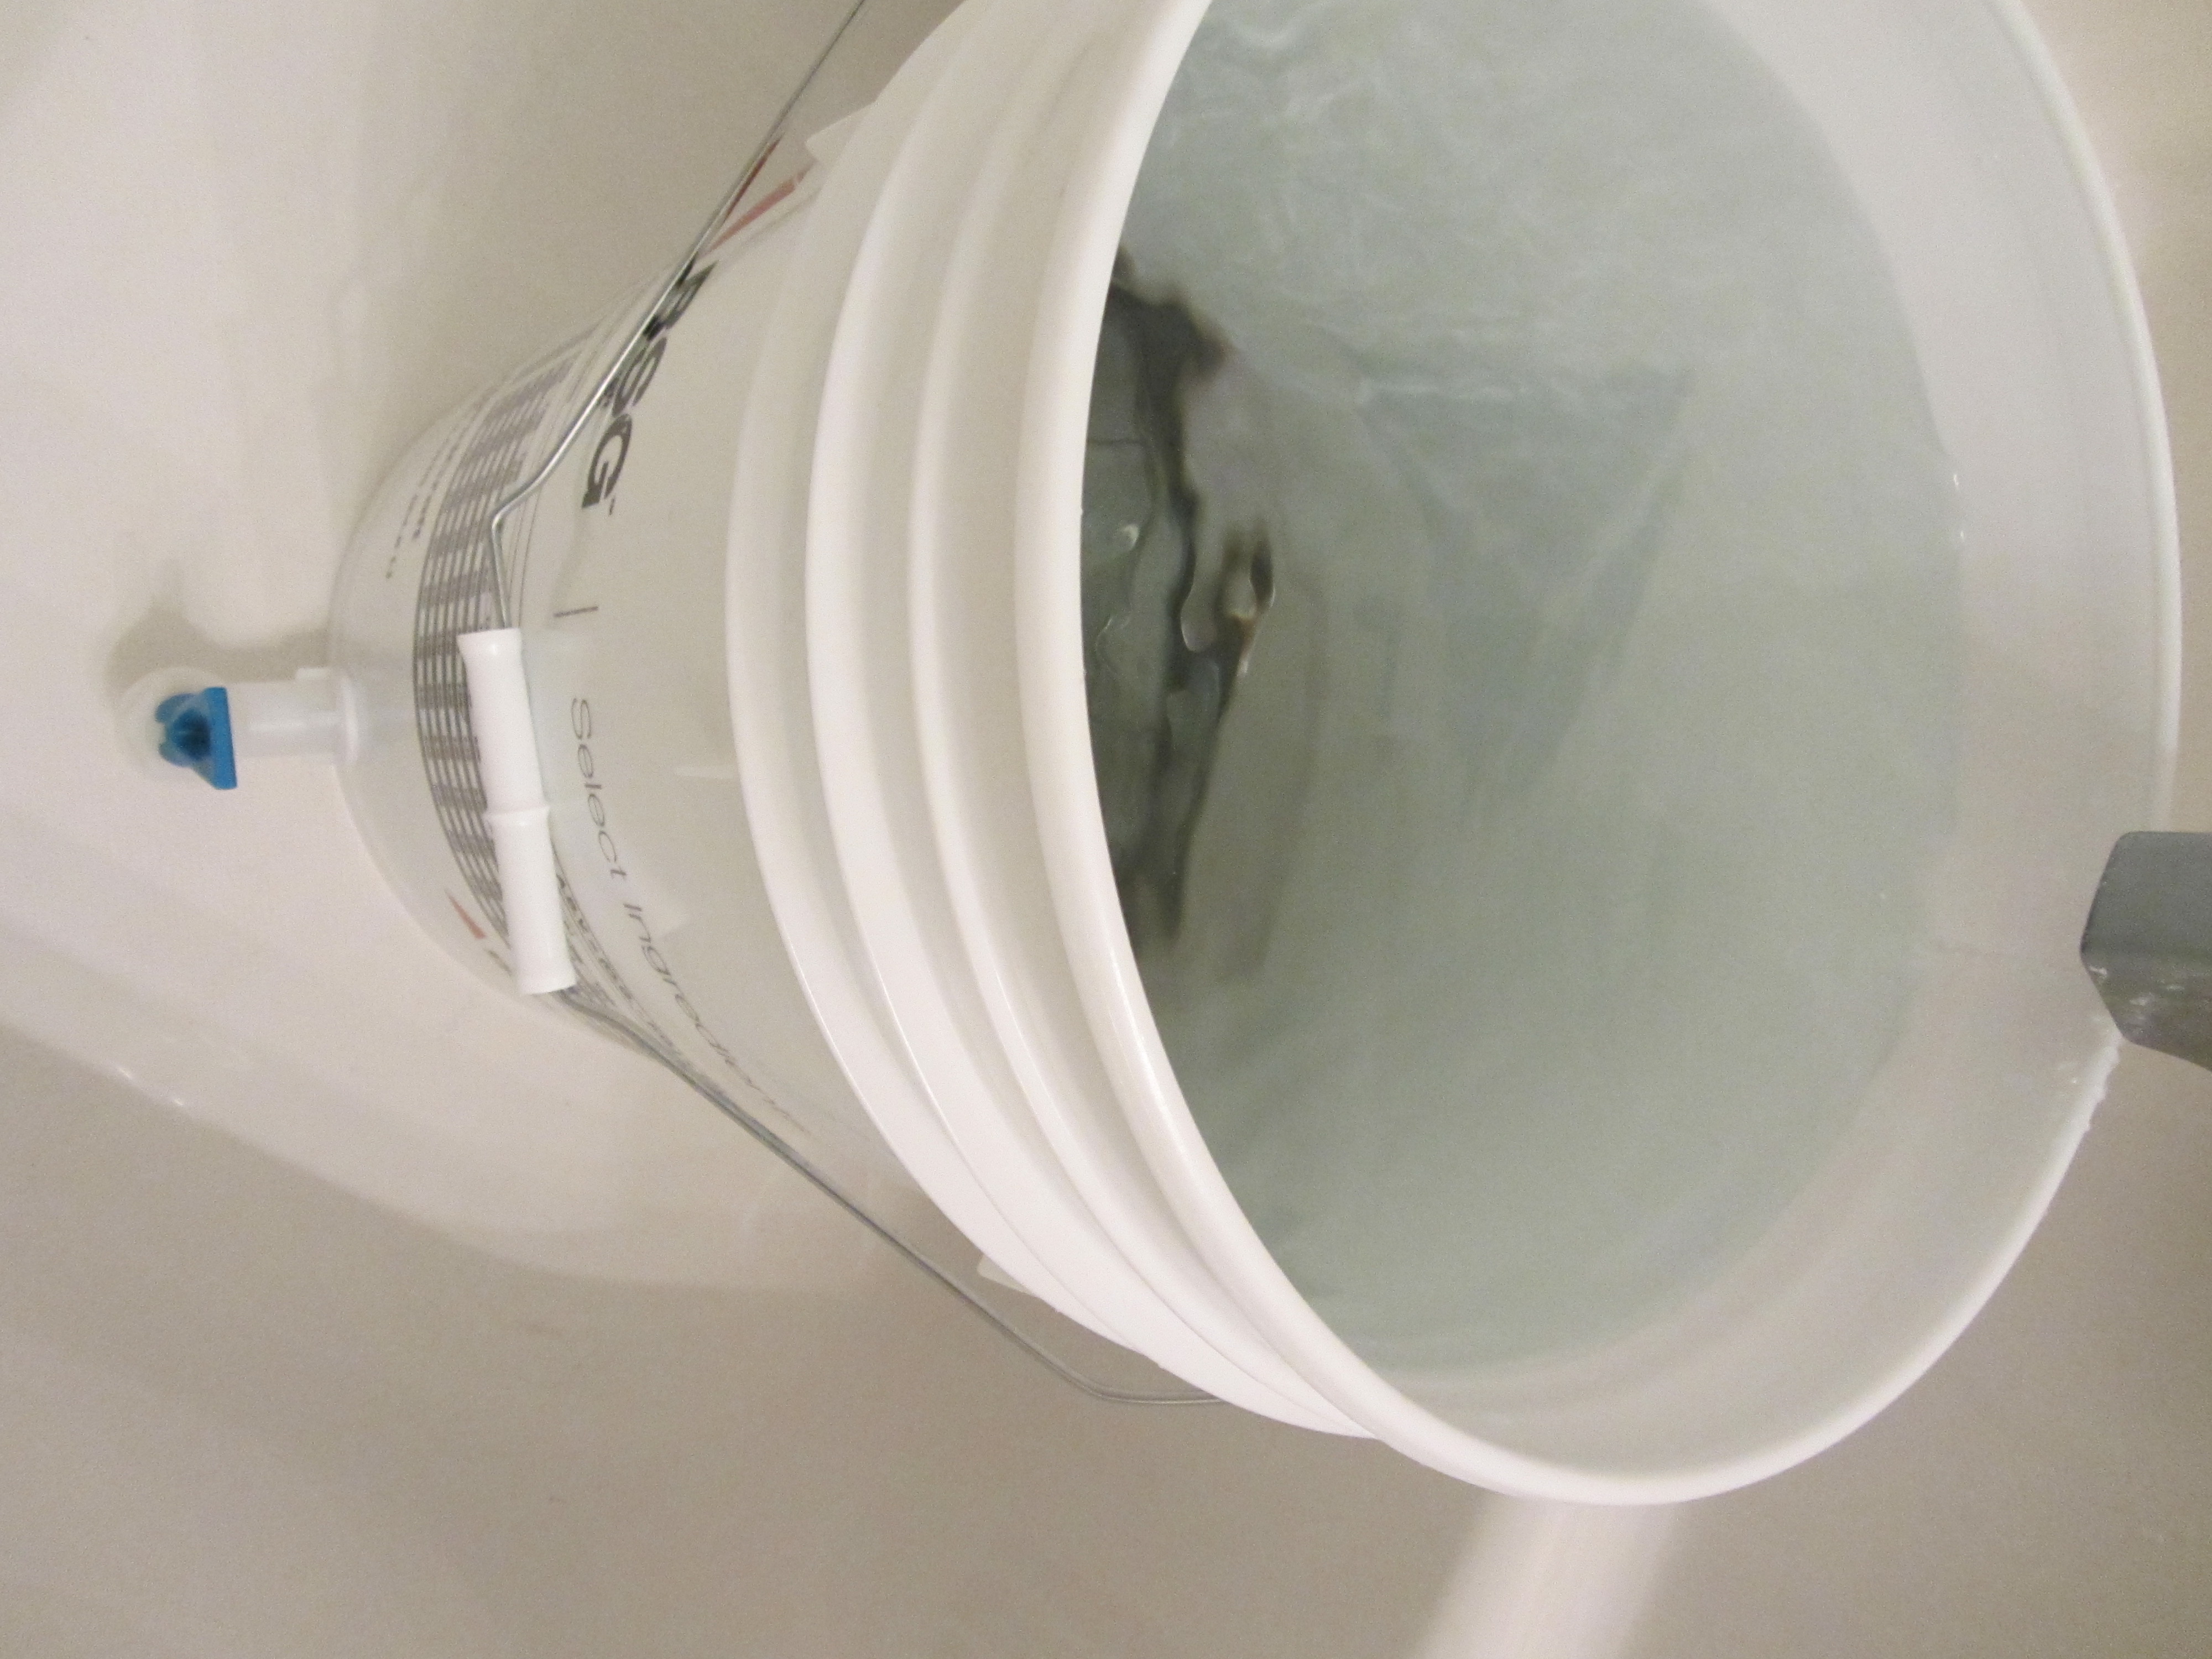
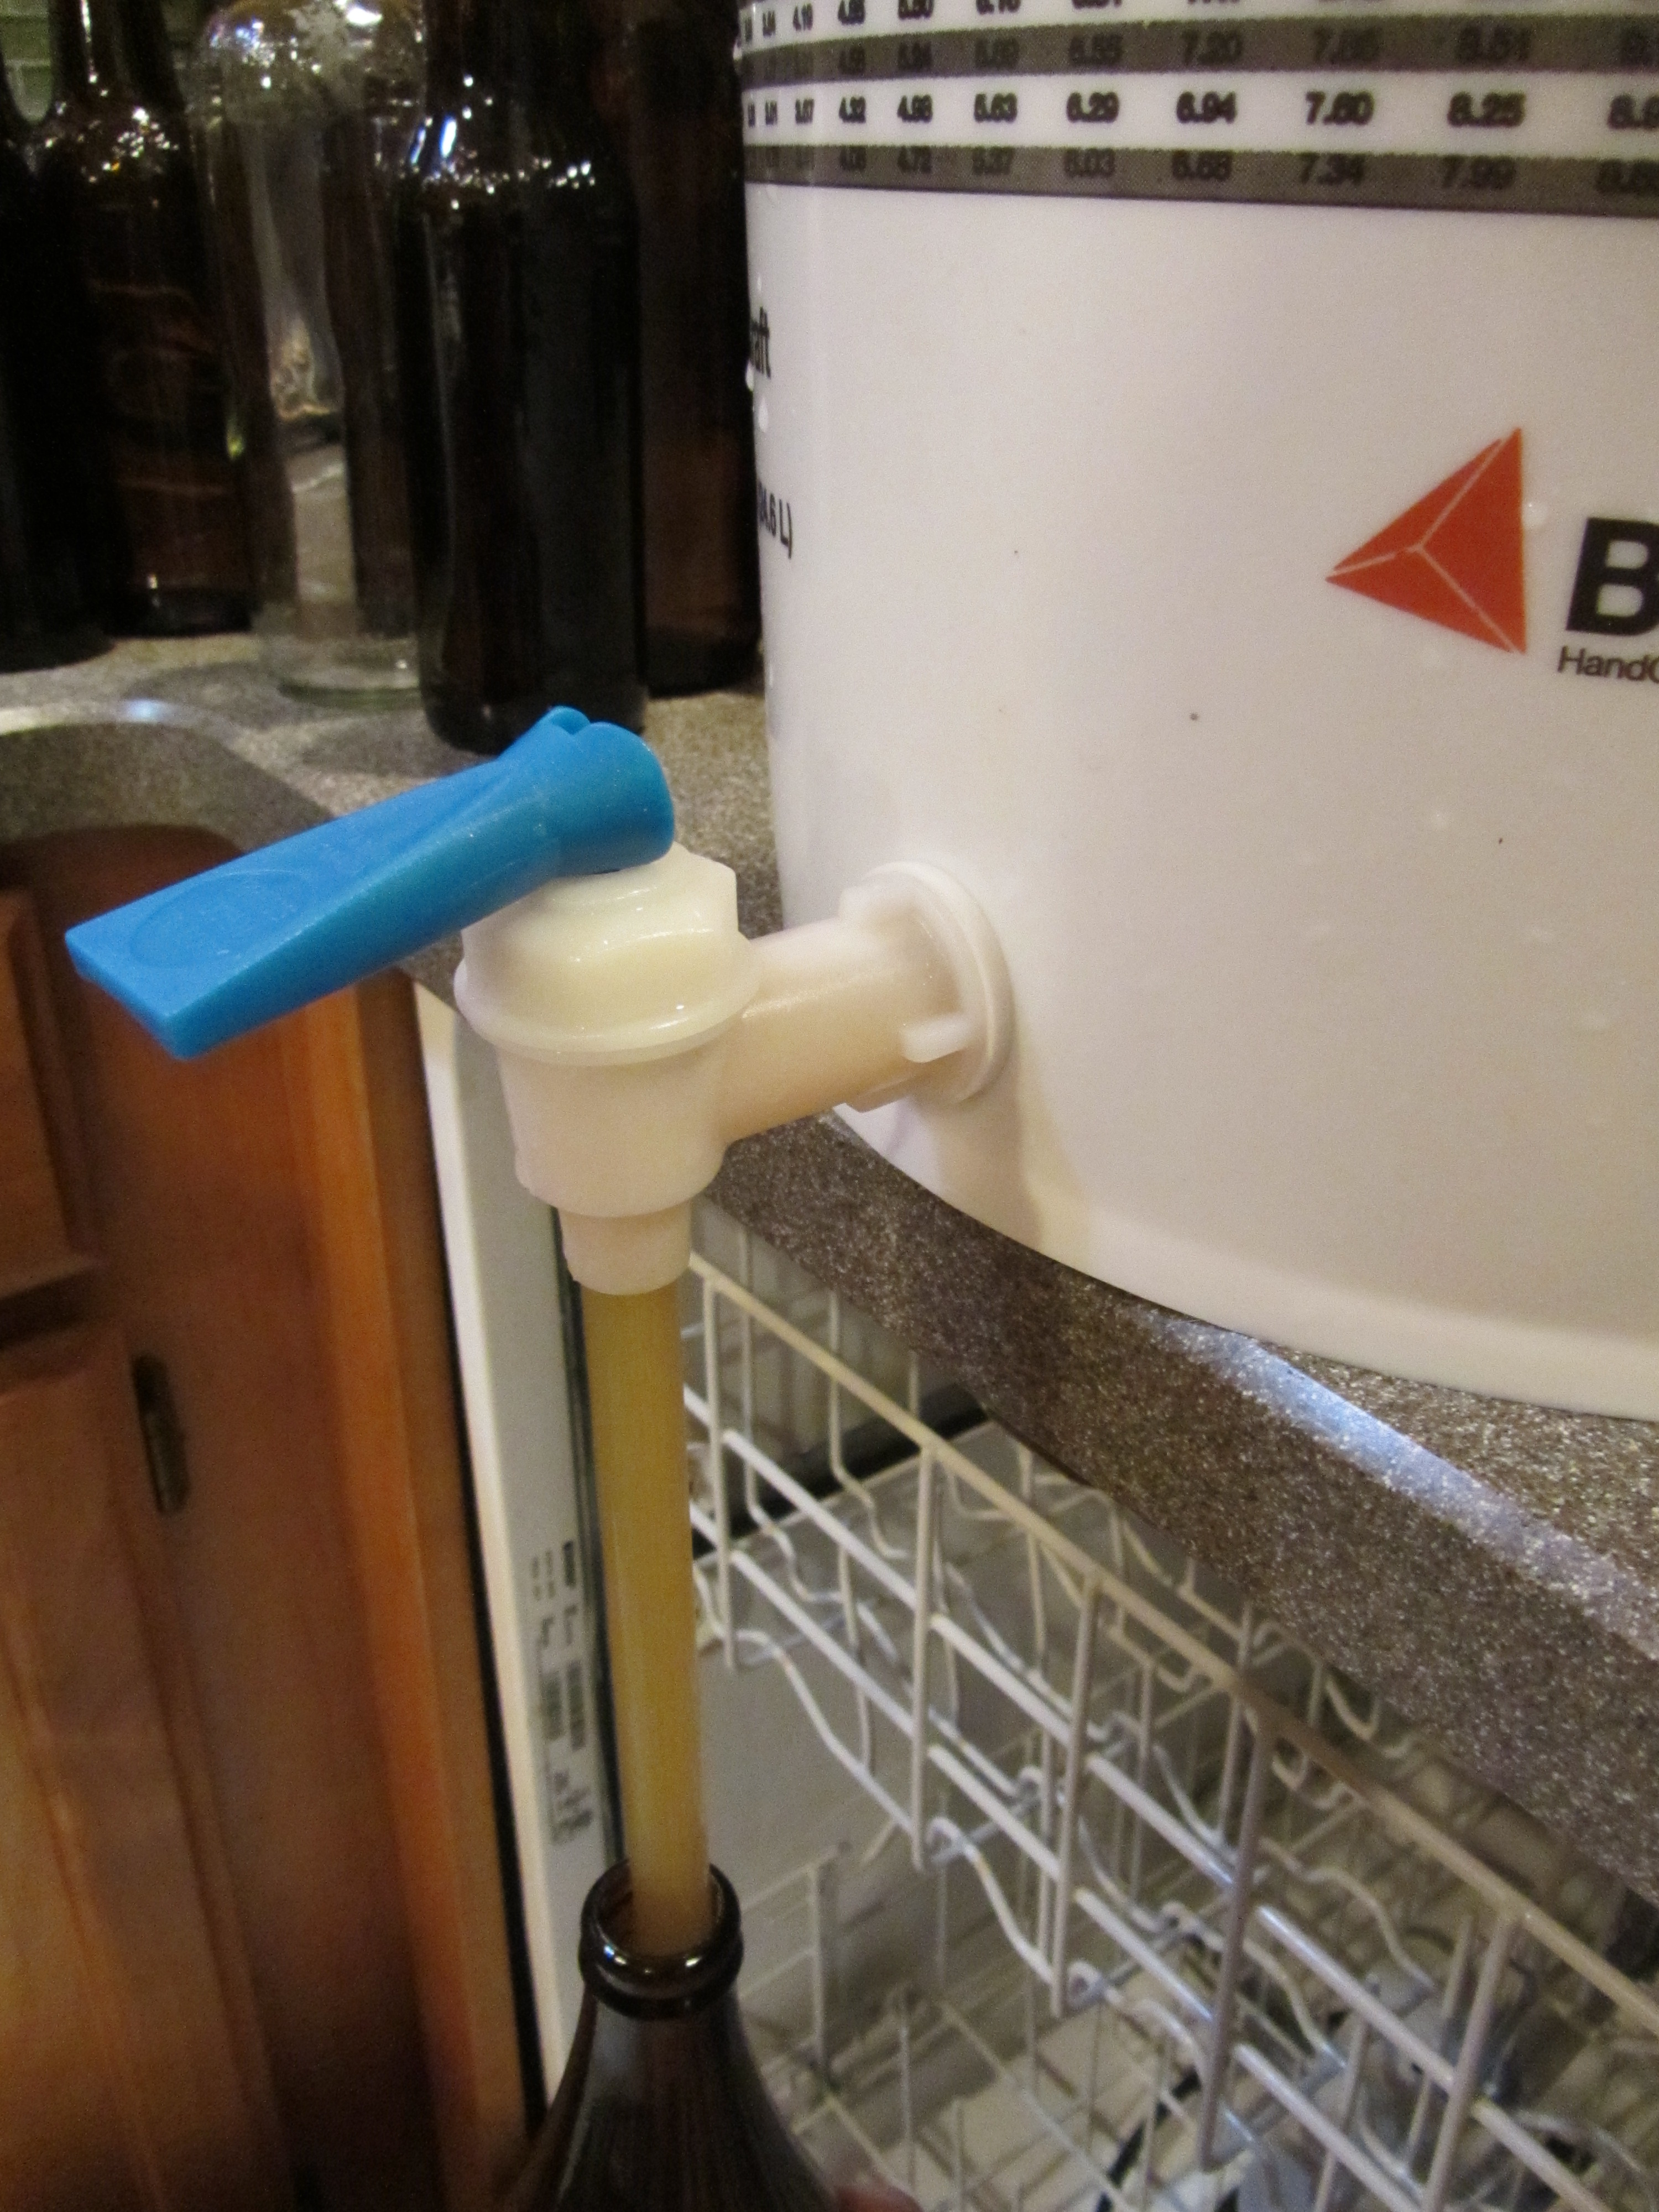
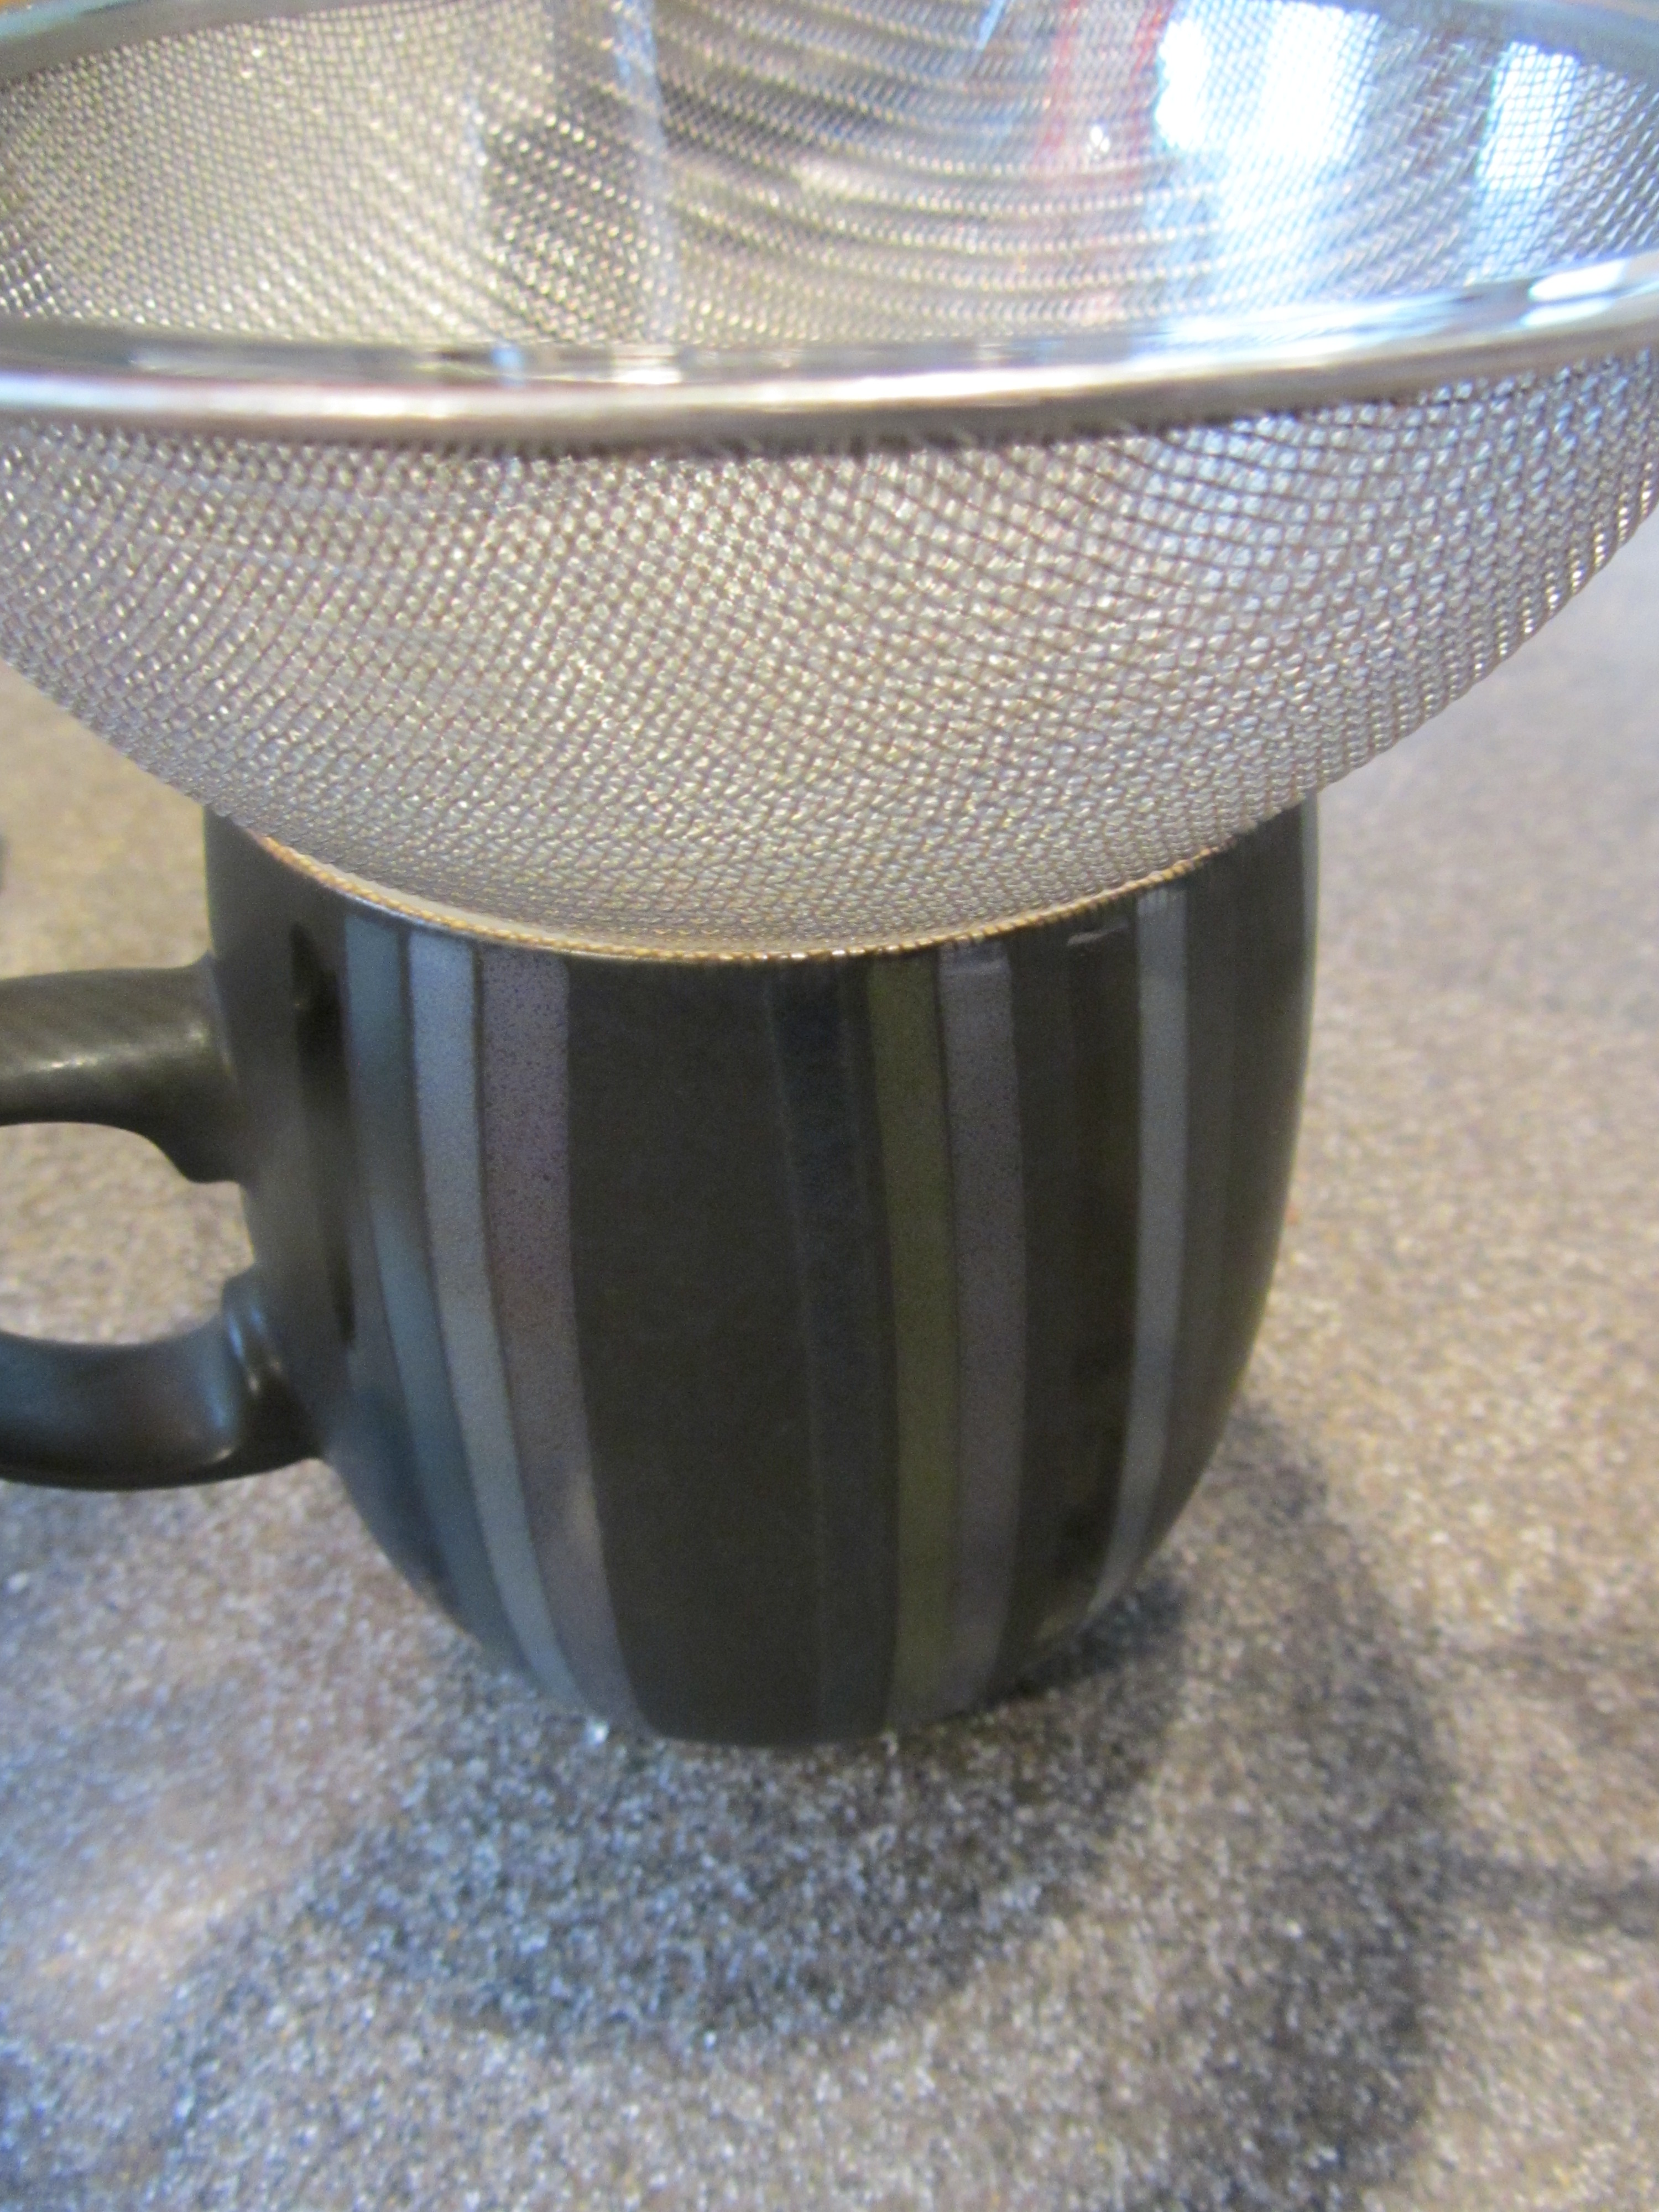
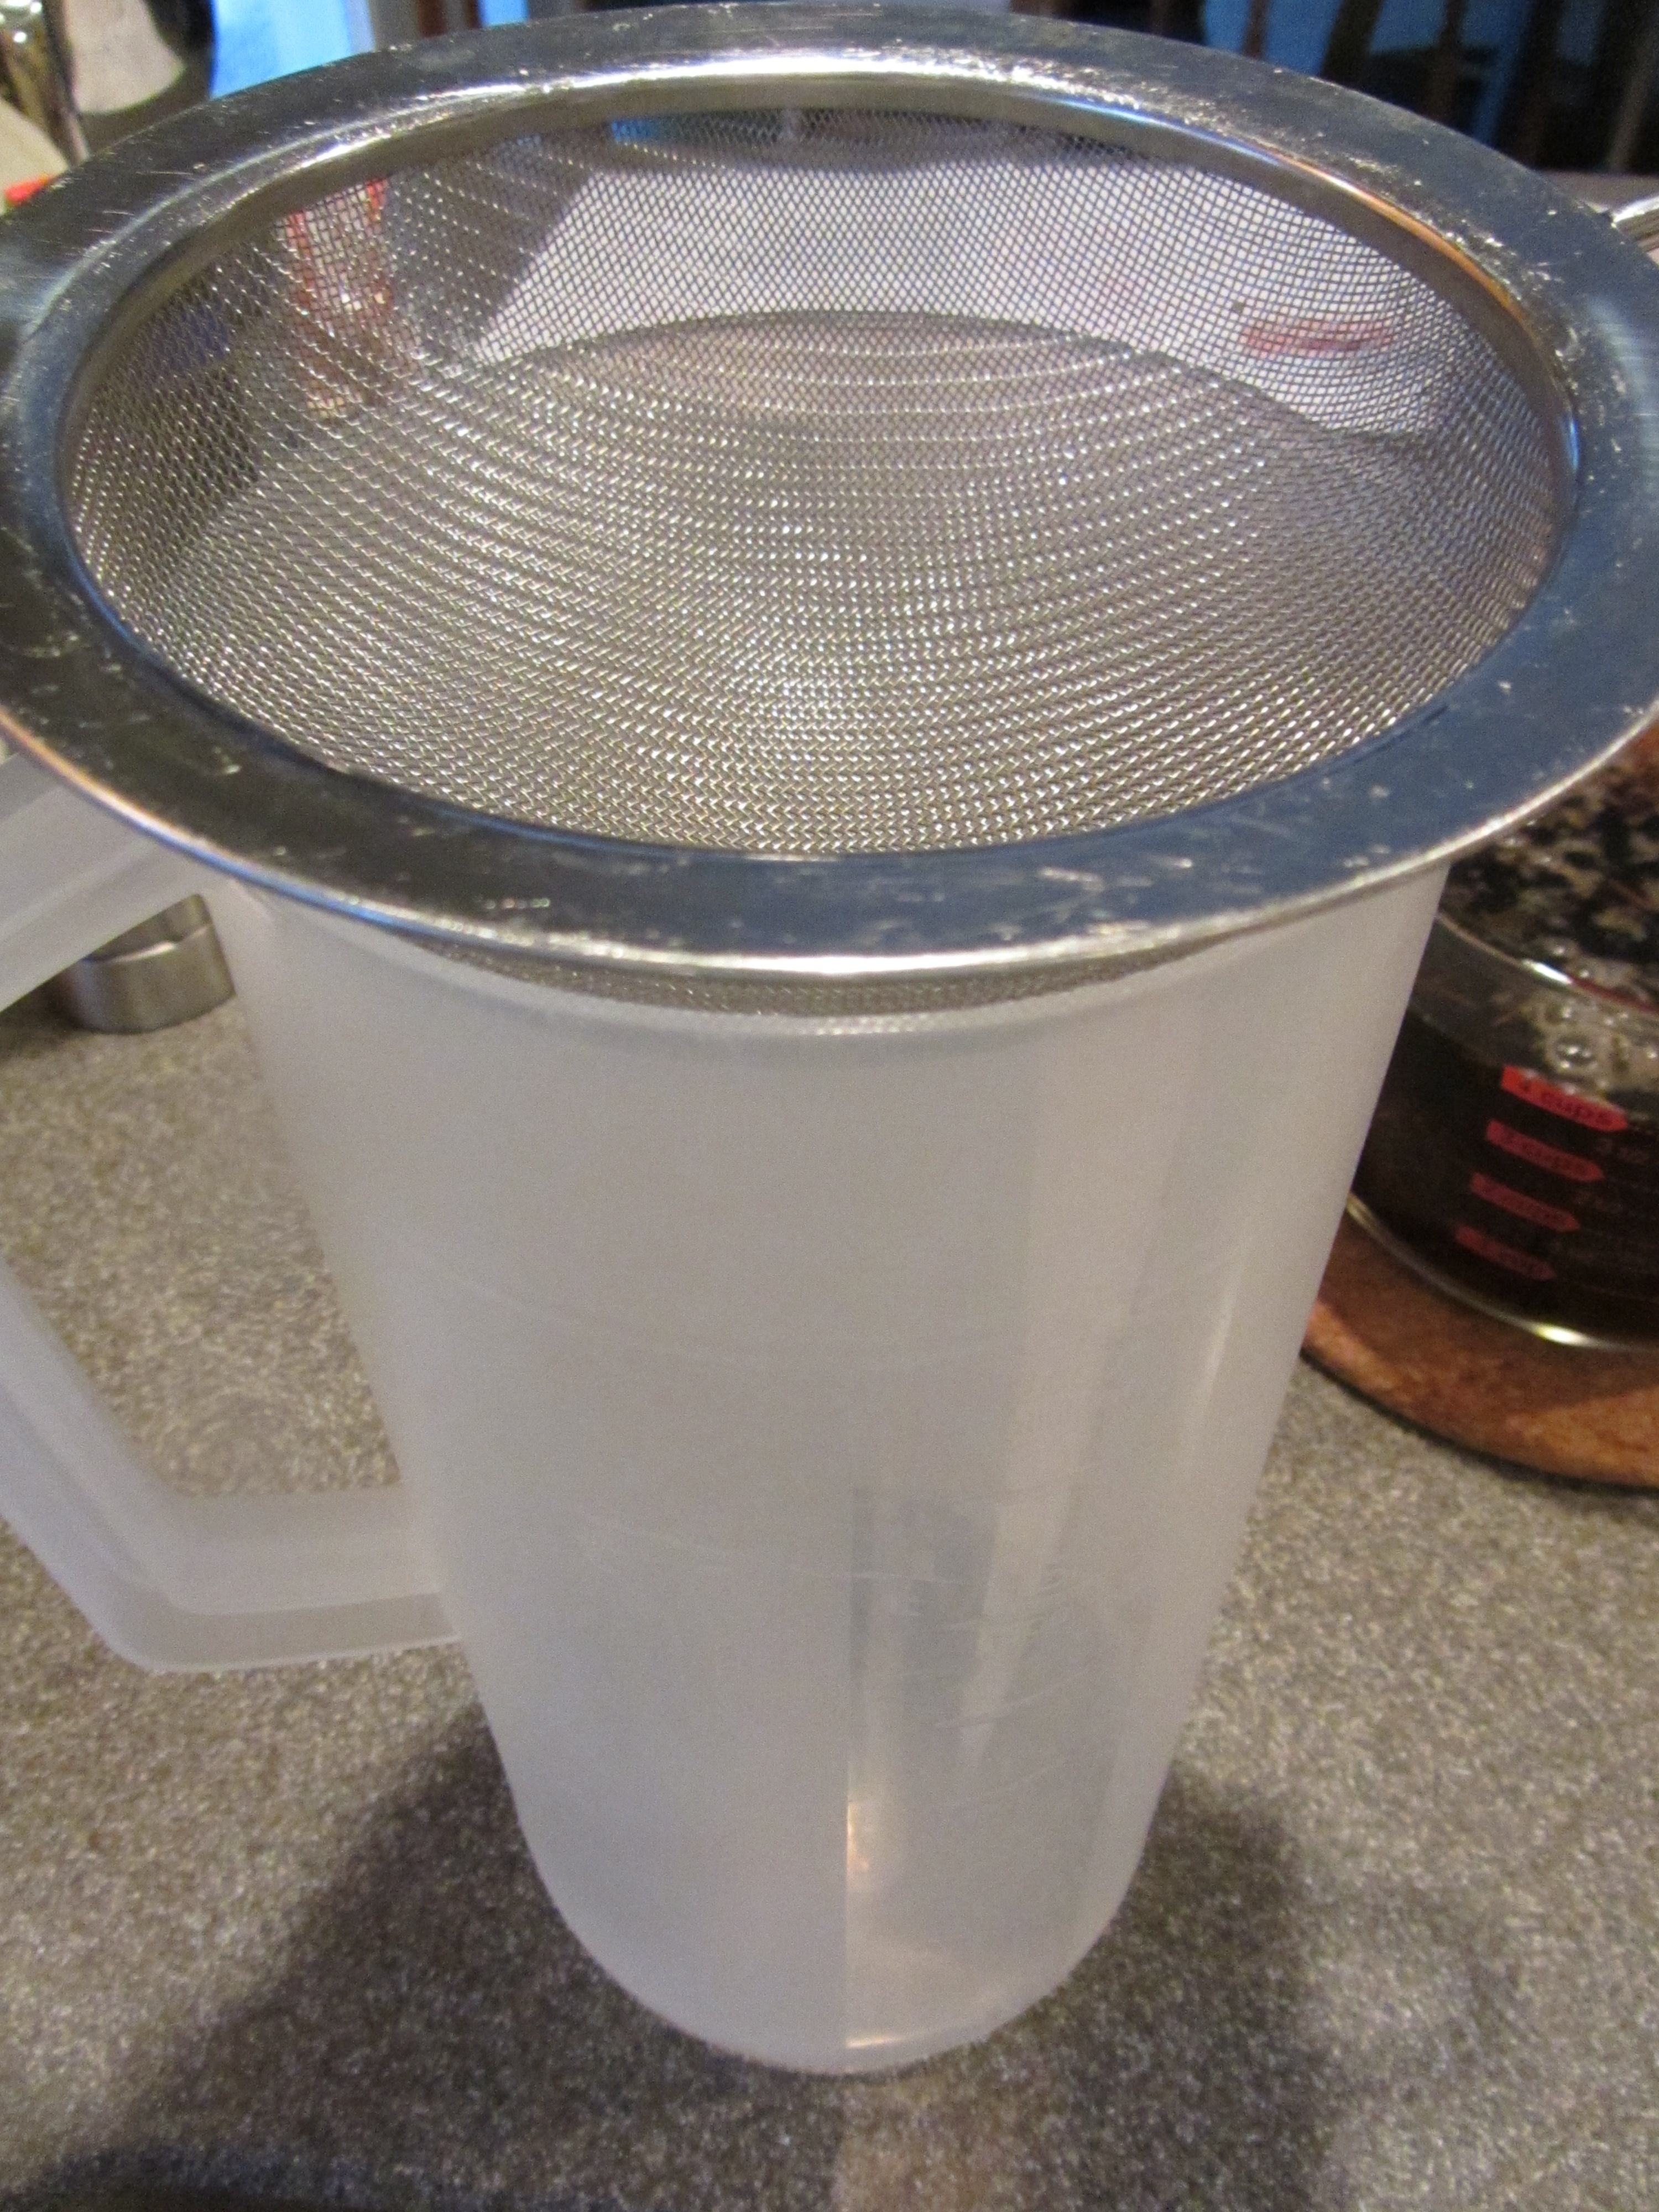
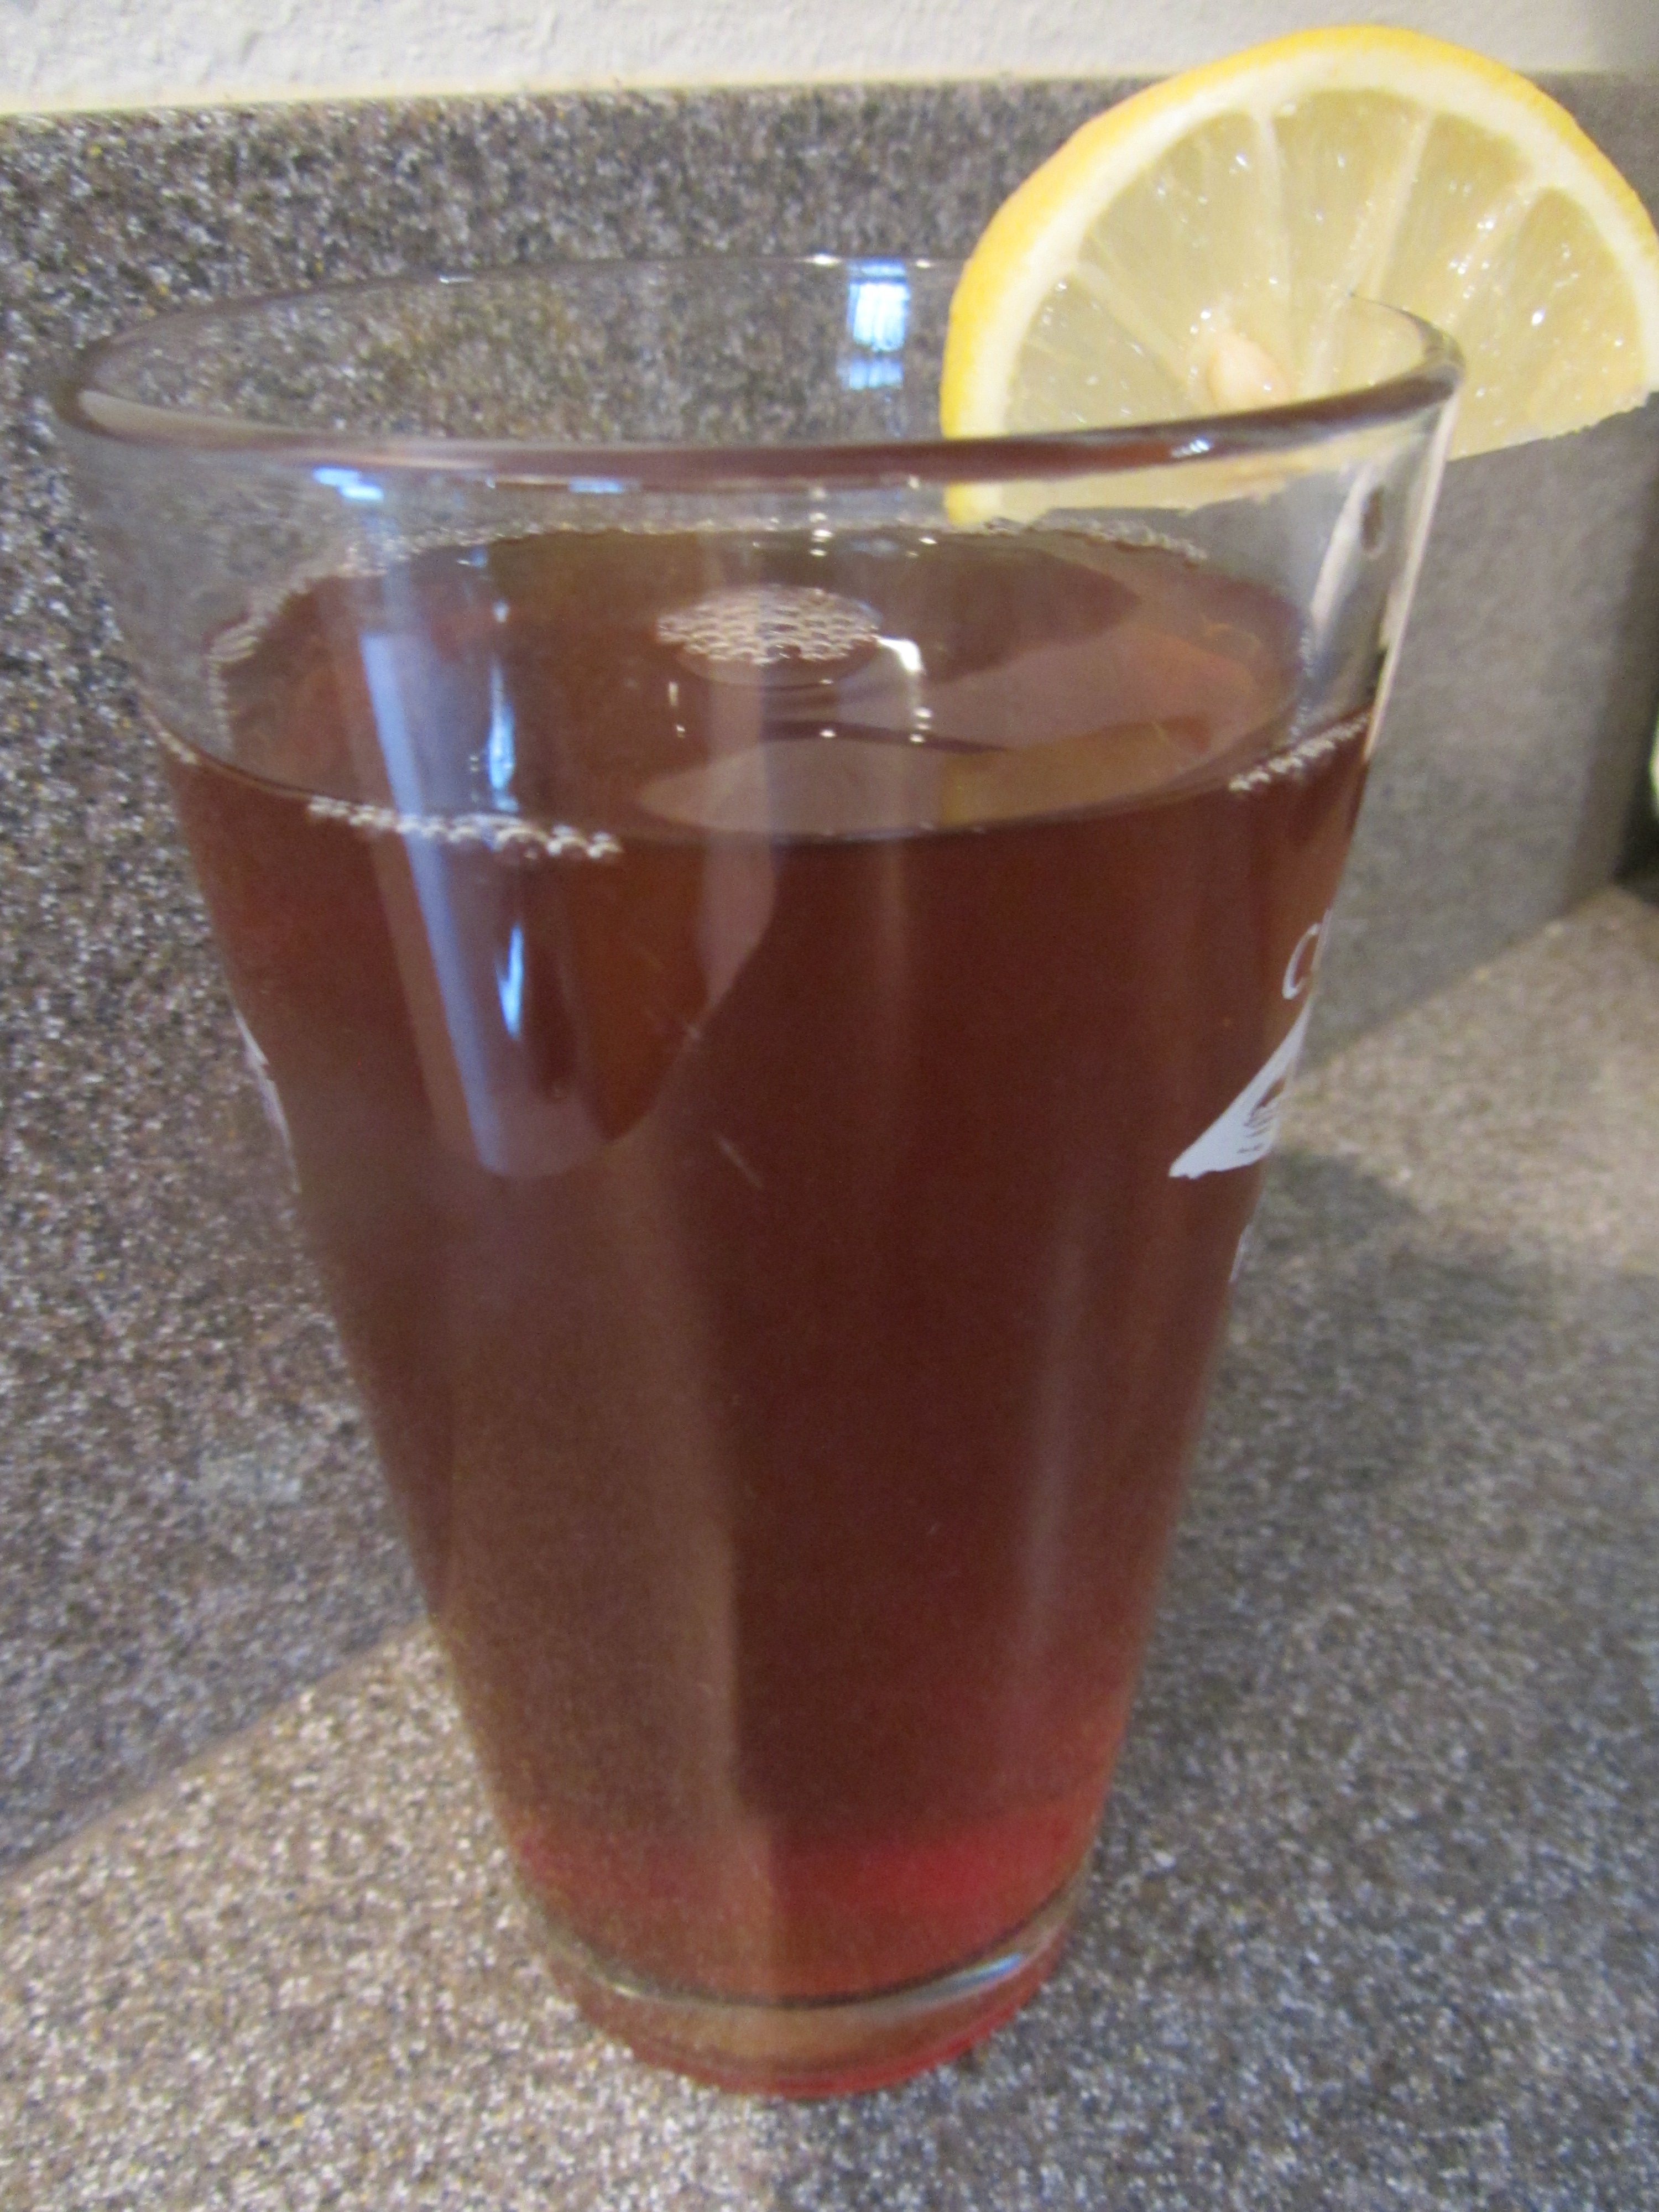
Strain the liquid from the cooked barley into the pitcher, stirring to combine. Refrigerate the barley water until it is sufficiently chilled before serving.

Barley water after straining liquid into the pitcher.
A glass of chilled barley water.

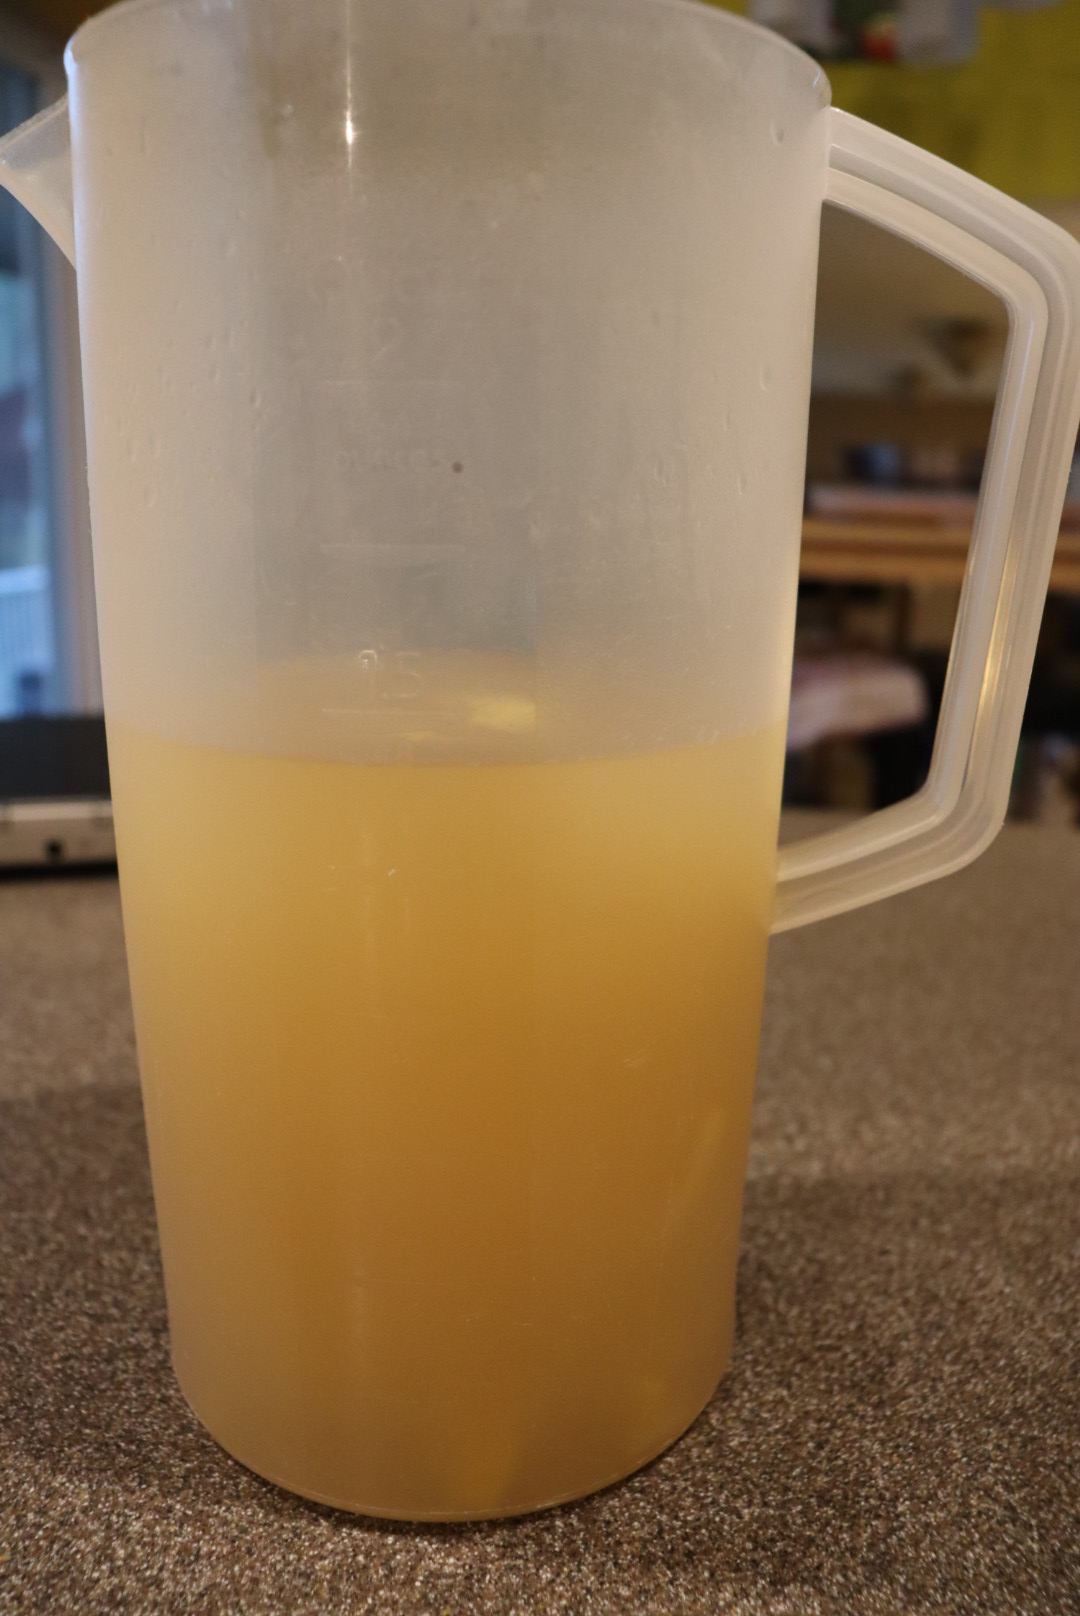
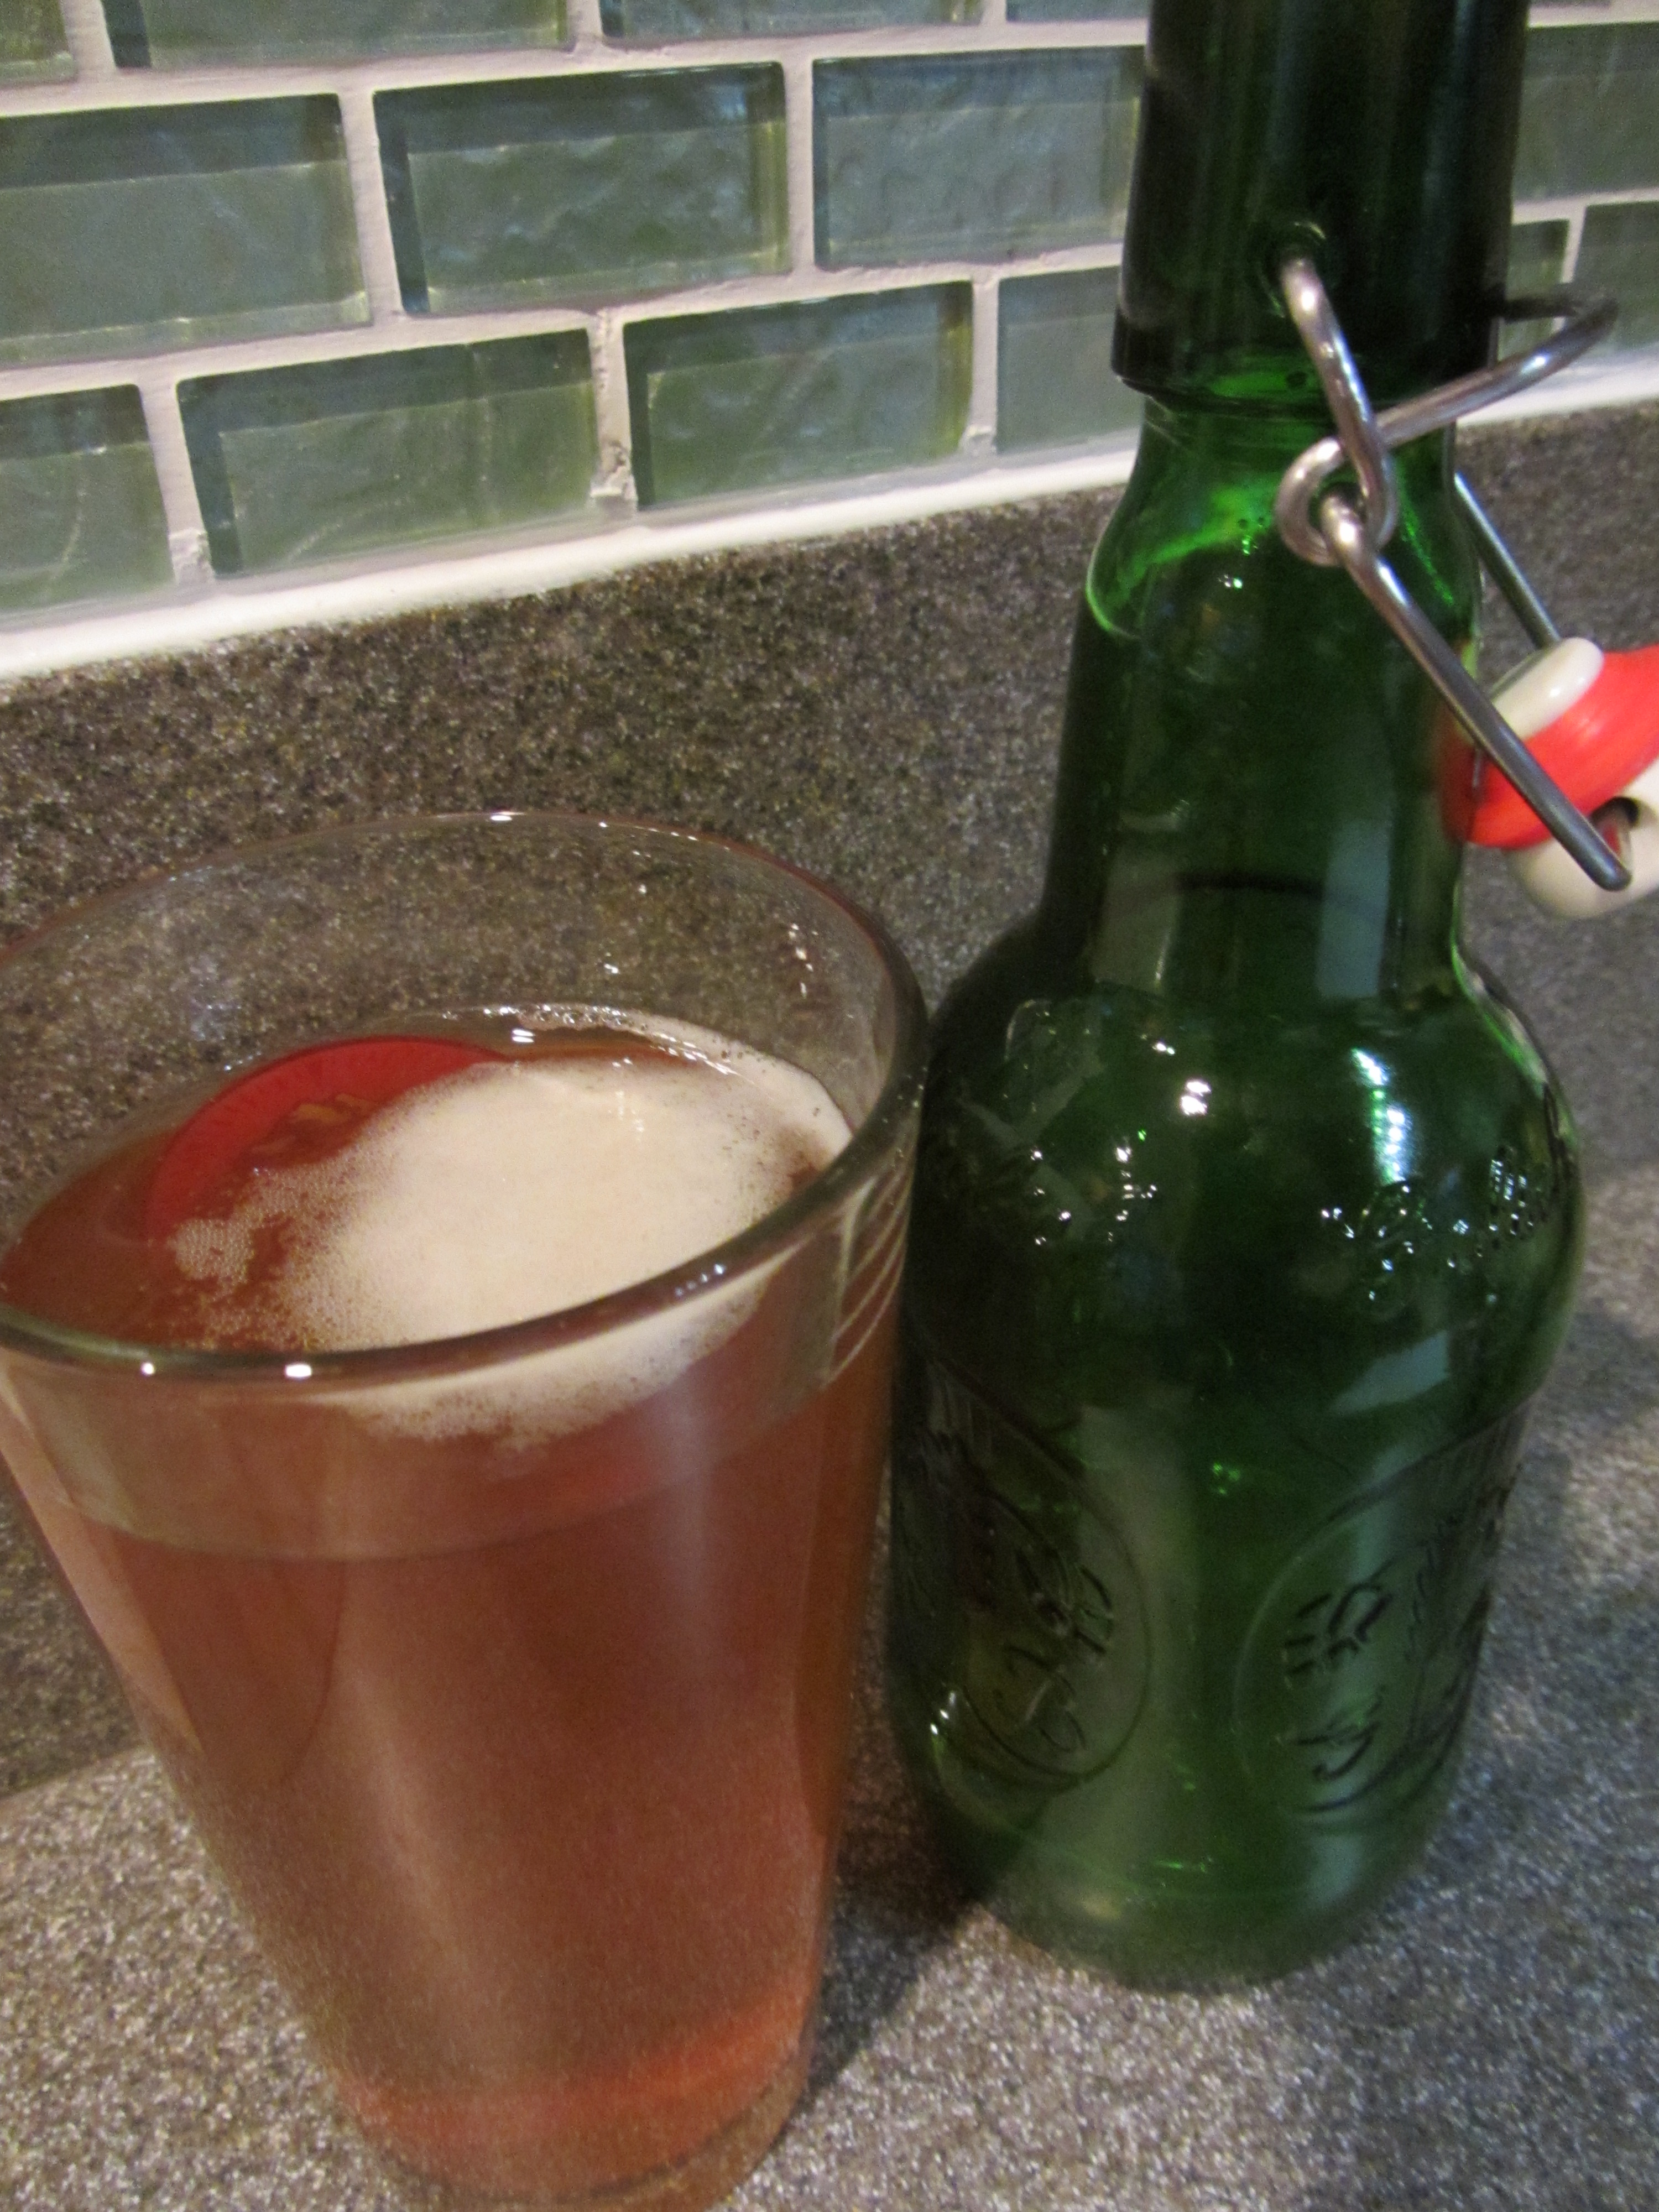
Although we were not enjoying this beverage in the midst of warm weather, I can still say that it is very refreshing. The predominant flavor in this drink is lemon, and particularly the slightly bitter flavor of lemon zest. I would maybe consider decreasing the amount of lemon zest here with hopes of less bitterness. Since I have never consumed any other barley water I cannot say whether this level of bitterness is typical; perhaps it also depends somewhat on the actual lemons you use? That said, I legitimately liked Alton’s barley water and I plan to make it again when the season again turns to warmth.

I relish in the tradition of cocktail hour. I remember my maternal grandparents having an evening cocktail – Grandma’s drink of choice was a Manhattan. When I was little, my dad would come home from work and indulge in an evening martini, using the little etched martini glasses that were his father’s. I now have two of those glasses, but I save them only for special days.

Our barware also includes two decanters that came from Dad’s side of the family. For Ted’s 40th birthday Dad gave Ted a decanter he had received from his mother when he graduated from medical school, and we typically keep Scotch in there (when we have it). We keep dry vermouth in a teardrop-shaped decanter that Dad’s father got at an estate sale. Three generations of our family have now used that decanter for vermouth.

This episode of Good Eats features three types of cocktails, so we tried them for cocktail hour on three different nights. Alton also went over his bar necessities:  old-fashioned and Collins/highball glasses for drinks on the rocks, stemmed cocktail glasses and champagne flutes for drinks not on the rocks, a jigger (1.5 oz)/pony (1 oz) combo, ice, a Boston shaker, and a julep strainer.

Cocktails can have three components:  a base, a mixer, and an accent. A martini, for example, would have gin as a base, vermouth as a mixer, and an olive or lemon twist as an accent. Some cocktails only use two components, such as a rum (base) and coke (mixer). Now, let’s get to Alton’s drink recipes.

AB’s Martini

Alton’s version of a martini is pretty dry, meaning it has little vermouth in it. To make his version, place a cocktail glass in the freezer or fill it with ice to chill.

IMG_1954(2)

Martini glasses filled with ice to chill.

Put 1 C of ice in a cocktail shaker and add 1/2 a pony (1/2 ounce) of dry vermouth. Slosh the vermouth around to coat the ice.

Using a cocktail strainer, pour the vermouth out of the shaker, leaving only the vermouth-coated ice.

IMG_1957(1)

Strainer on shaker to pour out excess vermouth.

Add 2 1/2 ounces of gin (1 pony plus 1 jigger). I believe Alton may have used Gilbey’s London Dry gin, but he had the label covered. Stir the drink thoroughly. Alton prefers stirring because shaking makes the drink too cold, causing it to lose some of its aromatic qualities.

IMG_1959(1)

Gin added to vermouth-coated ice. Stirred, not shaken.

Place a single olive in your chilled martini glass and strain the drink into the glass.

IMG_1960(1)

A lone olive in each glass.

IMG_1962(1)

Alton’s martini.

So, it’s interesting that Alton liked his martini this dry in the past because he has been doing some live cocktail demos on Instagram lately, along with his live YouTube cooking show at his house. On one of the shows, he made a martini, and his current version contains much more vermouth. In fact, he uses a 2:1 ratio of gin to vermouth, stirring the ingredients together without pouring anything out. I suppose his preferences must have changed over the years. I typically drink a pretty dry martini because my dad drank them that way – it’s really the only way I’ve known them! In fact, I’ve made my martinis Alton’s original way since I first started making them years ago, so it’s really my go-to method. I happen to think that this makes a really fantastic dry martini. If you prefer your martinis with more vermouth, feel free to add more! I will admit that a wetter martini is more complex. Really, dry and wet martinis are completely different cocktails, so it’s worth it to try both. If you think you dislike gin martinis, give a wet martini a try. You just may find that you dislike super dry martinis, but that you enjoy those with a bit more vermouth. If you like your martinis on the drier side, Alton’s method is a surefire way to make a good one.

Daiquiri

I’m betting that when you think of a daiquiri, you picture a fruity, icy drink with whipped cream on top. Am I right? Well, there’s also a version that is served ice-free. For this drink, you will need to first make some rich simple syrup. Simple syrup is made by heating equal amounts of sugar and water until the sugar dissolves. Although he doesn’t mention it, Alton actually uses rich simple syrup in this recipe, which means it has more sugar than water. To make the syrup, combine 2 C sugar with 1 C water and heat on the stove until the sugar has completely dissolved. Let the syrup cool before using. You can store extra syrup in the refrigerator.

IMG_2049

Making rich simple syrup by dissolving 2 C sugar in 1 C water.

To make the drink, chill a champagne flute or a martini glass by placing it in the freezer or filling it with ice. Put a pint of ice in a cocktail shaker and add 2 oz of light rum.

IMG_2051

Ice and rum in shaker.

Add 1 oz fresh lime juice and 1/2 oz of the rich simple syrup.

You will want to shake this drink because it has cloudy/viscous ingredients. Shake the drink vigorously and strain it into your chilled glass.

IMG_2054(1)

Chilled glasses.

IMG_2056(1)

Alton’s daiquiri.

We don’t really drink rum very often at all, so this was a little different for us. This is sort of a pretty drink, as its pale green opacity looks appealing in the glass. I find this to be a very balanced drink, as it is simultaneously pleasantly sweet and tart. The alcohol flavor is not super strong, and this is an easy-drinking cocktail, which could be a potentially dangerous combo. This is a simple and delicious cocktail to add to your repertoire.

Mint Julep

The third cocktail in this episode is the bourbon-based mint julep. I have made mint juleps once or twice in the past (on Derby Day, of course), and they have been pretty underwhelming. I wondered how Alton’s recipe would make me feel about this drink. To make one mint julep, place 10 mint leaves (I used mint from our garden) in the bottom of an old-fashioned glass and add 1 1/2 t superfine sugar; you can make superfine sugar at home by blending sugar in a food processor.

IMG_2067(1)

Mint and superfine sugar in a glass.

Muddle the mint and sugar together until you have a green paste.

IMG_2068(1)

Mint and superfine sugar after muddling to a paste.

Add a splash of seltzer water to the glass and fill the glass 3/4 full with ice. Add 2 1/2 oz of bourbon and a final splash of seltzer.

Stir the drink, garnish it with a mint leaf or two, and serve.

IMG_2077

Alton’s mint julep after topping off with a final splash of seltzer.

I have never had a mint julep that I haven’t made at home, so I don’t have a large frame of reference, but this was by far my favorite mint julep. The mint was very apparent, but not overpowering, and the drink had just enough sweetness. The little bit of carbonation from the seltzer was a nice touch. Perhaps southerners would disapprove of this rendition of a mint julep, but I can only say that I really enjoyed this for a cocktail hour change of pace.


It’s a super gray and windy day here, which is sort of forcing us all indoors. Last week I made the recipes from this episode, which just didn’t seem seasonally appropriate. Why is it that eggnog is typically only consumed at the holidays? It must be due to our willingness to allow ourselves to indulge more during the holiday season since eggnog is most certainly a rich treat. Seeing as we are not really allowed to indulge ourselves in many ways right now, maybe now is actually the perfect time to drink a little nog.

My dad would make homemade eggnog when my parents would host holiday parties. I’m almost certain that he used the recipe from The Joy of Cooking. There’s a story about my brother as a young teenager at one of my parents’ parties. Apparently, he liked Dad’s eggnog and helped himself to a little too much. I believe he was lying on the floor under the dining table, and he only recalls hearing my dad say to my mom, “he’s crocked!”

Eggnog

Eggnog is basically just like any custard pie filling. Alton’s recipe here is an uncooked version, but he does also provide a cooked version for those who are concerned about Salmonella.

IMG_1915(1)

Ingredients for Alton’s eggnog: eggs, sugar, nutmeg, bourbon, cream, and milk.

For the uncooked version, separate four eggs, placing the whites in one large bowl and the yolks in another.

IMG_1916(1)

Four eggs, separated.

Beat the yolks until they have lightened in color and are thick. Interestingly, the online recipe calls for using a stand mixer to beat the yolks, but Alton explicitly says in the episode that he prefers a hand mixer for this recipe.

IMG_1917(1)

Yolks beaten until light and thick.

With the mixer running, slowly add 1/3 C sugar.

IMG_1918(1)

Sugar beaten into yolks.

Next, add 2 C whole milk and 1 C heavy cream slowly to the yolks.

IMG_1919(2)

Milk and cream added to the yolks.

Using a microplane grater, grate 1t fresh nutmeg; if your microplane has a plastic sleeve, you can place the sleeve on the back side of the grater to “catch” the nutmeg. Stir the nutmeg into the yolk mixture.

IMG_1920(2)

Fresh nutmeg added.

Finally, add 3 oz of bourbon (Alton used Maker’s Mark, which is also what we happened to have), stirring. Place the eggnog in the refrigerator to chill while you tend to the egg whites.

IMG_1922(2)

Bourbon stirred in.

Beat the whites to soft peaks (again, he used a hand mixer here). Once you have soft peaks, slowly add 1 T sugar and continue beating the whites until you have stiff peaks. It’s always fun to invert the bowl over your head to confirm that you have stiff peaks – if no egg white falls on your head, you’re good to go.

Slowly pour the chilled custard into the egg whites, beating on low speed. Chill the finished eggnog thoroughly before consuming.

IMG_1927(2)

Custard added to stiff egg whites.

IMG_1929(1)

Eggnog after chilling. Thick foam on top.

IMG_1932(2)

Alton’s eggnog.

The eggnog will keep in the refrigerator for a couple days, but you may need to re-froth the mixture with a hand mixer or blender. We drank our nog over the course of three days and I actually thought it maintained its froth very well. It’s been years since I had my dad’s eggnog, but I found Alton’s recipe to be very similar. This eggnog is rich, creamy, and has a perfect layer of  fluffy foam that floats on its surface. While the bourbon is apparent, it does not overpower the nutmeg or the dairy. I would certainly make this again. If you haven’t made eggnog before, keep in mind that homemade eggnog is nothing like the stuff you buy in the stores.

A few years ago, Alton posted a recipe on his web site for an eggnog that you can age for months in your refrigerator. Yes, I’ve tried it, and yes, it is delicious. The aged eggnog is more on the boozy side and lacks the foaminess you get from the egg whites in his un-aged version. Honestly, you can’t go wrong with either recipe.

Eggnog Ice Cream

I mentioned earlier that Alton also provided a recipe for cooked eggnog in this episode. With the cooked recipe, you have the choice of either drinking it or making it into ice cream. Either way, the recipe begins with placing 1 pint of whole milk in a saucepan, along with 1 C heavy cream and 1 t freshly ground nutmeg.

IMG_1934(2)

Milk, cream, and nutmeg in a saucepan.

Whisk the milk and cream, bringing it to a boil over high heat.

IMG_1935(1)

Milk, cream, and nutmeg being brought to a boil.

While the dairy heats, place a metal bowl on top of the saucepan and add 4 egg yolks. Whisk the yolks until they are light yellow and thick. Slowly add 1/3 C sugar. Remove the bowl from the heat when the yolks fall from your whisk in ribbons. Be careful not to cook the eggs. Note that the online recipe does not even call for heating the yolks.

Once the milk/cream is boiling, remove it from the heat. Temper the egg yolks by slowly whisking in the hot dairy.

IMG_1940(1)

Ready to temper the yolks by slowly adding the dairy.

Pour the mixture back into the saucepan and check its temperature with an instant thermometer – it should be right about 160 degrees. My temperature was quite a bit lower than this, so I continued to heat my custard until it reached 160.

IMG_1942(1)

Temperature after tempering, so back on the stove to reach 160.

Whisk in 3 ounces of bourbon and allow the custard to cool to room temperature. Refrigerate the custard until thoroughly chilled.

To drink as eggnog, fold in 4 pasteurized egg whites that have been beaten to stiff peaks and serve. Alternatively, to make ice cream, do not add the egg whites. Rather, just chill the custard overnight and churn it in an ice cream maker. Since I had already made the uncooked recipe for eggnog, I churned my cooked eggnog base in my ice cream machine.

IMG_1946(1)

Churning the custard in an ice cream machine.

IMG_1952(1)

Alton’s eggnog ice cream.

I have to say that I was highly disappointed in this recipe because the resulting ice cream tasted very strongly of bourbon and its texture was very icy (probably because of the alcohol content). When I think of eggnog ice cream, I think of a very smooth, dense, dairy-forward dessert, but this lacked all of those traits. I’d look elsewhere for an eggnog ice cream recipe, but Alton’s eggnog recipes are certainly good for drinking.

I didn’t really become a beer drinker until I was in my 20s. Growing up, the only beer I was really exposed to was what my dad drank, and he got on the microbrew bandwagon at the very beginning. I was pretty shocked when I had my first Budweiser at a wedding, as it was so thin and flavorless compared to the beer I had always known. I guess you could say I was destined to be a beer “snob” from the beginning. Since then, I have developed my beer palate substantially, and I enjoy quite a few styles of beer today.

Ted got into homebrewing before we were ever a couple. Over the years we have made several batches of beer together, some of which have been pretty good. Our worst homebrew was a blueberry beer that was my idea, and it involved infusing the beer with pounds of fresh blueberries. The beer was pretty terrible, and a complete waste of fantastic blueberries. Our kitchen was also a sticky, purple mess after bottling that beer, but the dog seemed to enjoy that part.

We also brewed a beer years ago for a local homebrew competition. This particular beer was infused with apricot kernels (again, my idea). We came home late one evening to find that the airlock on our glass carboy had become clogged with apricot kernels, leading to a beer explosion all over our bedroom. Yes, we kept the beer in our bedroom; our bedroom was the right temperature and we could keep the animals away from it. We spent hours that night cleaning beer and apricot kernels off of every surface. Our poor hardwood floors were just never the same.

Good Brew

Alton’s homebrew recipe from this episode of Good Eats was to be my first time brewing beer on my own (though Ted did help with some heavy lifting). This particular beer is made using malt extract, as opposed to all-grain brewing. All-grain brewing is more complicated because you convert the starches to sugars, while that step is done for you if you use malt extract. For this recipe, you will need to have the following hardware:  a 3+ gallon pot (actually, more like 5 gallon), a probe thermometer, a pair of nesting colanders/strainers, two lidded 7-gallon buckets with airlock holes (preferably with spigots), an airlock, plastic tubing, a bottle filler, bleach, bottles, and caps and a capper, if you are using them. For ingredients, you will need liquid pitchable yeast (I used a California ale yeast), 7 pounds of malt extract, 1/2 pound milled barley, 1 3/4 ounces of Kent Goldings hops, 1 ounce of Cascade hops, 7 pounds of ice, 4 gallons of spring water, and an additional pint of spring water. Note:  one gallon of the water, along with the pint, should be kept cold, while the rest of the water can be room temperature.

img_5786

Malt extract, milled barley, Cascade hops, Kent Goldings hops, and pitchable yeast.

To begin the brewing process, you will want to sterilize all of your equipment by pouring two ounces of bleach into your bucket, filling it with cold water. Dump all of your equipment (for today you will need your strainers, bucket lid, and airlock) into the bleach solution, letting it sit. The bathtub is a great place for this.

img_5785

Bucket and equipment being sterilized with bleach water.

Meanwhile, you can begin brewing by pouring two gallons of bottled water into your pot.

Add 1/2 pound of milled barley and turn the heat to high. Using your probe thermometer, monitor the temperature of your barley solution; you will want to bring the heat to ~150 degrees, then decrease the heat, allowing the temperature to continue to rise to 155 degrees. Maintain 155 degrees for 30 minutes. This part of the brewing process is called “mashing.”

When your timer has gone off, add another gallon of bottled water to the pot, along with your seven pounds of malt extract. Note:  Malt extract has the consistency of honey, so it is helpful to warm the malt extract in warm water to make it easier to remove from its container.

Increase the heat to high, bringing the mixture to a boil. If the mixture foams badly, decrease the heat until the foam settles, and raise it again.

Once you have reached a boil, decrease the heat to a simmer. Now it is time to add your flavoring hops, so add 1 ounce of Cascade hops and 3/4 ounce of Kent Goldings hops, cooking for 10 minutes.

After the flavoring hops, it is time to add the aroma hops (this is called dry hopping), so add the remaining ounce of Kent Golding hops. Turn off the heat, cover the pot, and let the mixture sit for five minutes.

While your brew is sitting, thoroughly rinse your bucket and all of your equipment to get rid of any bleach. Dump your seven pounds of ice, along with your cold water (1 gallon plus 1 pint) into your bucket.

Nesting your strainers over the top of your bucket, strain your mash into the ice/water in your bucket. This strained mash is called “wort,” which is young beer.

Take the temperature of your wort with a clean thermometer. Your yeast packet will tell you the temperature at which it can be added to your wort. In the episode, Alton’s wort was cool enough that he could add his yeast right away, but this was not the case for me. Since I was brewing late in the evening, I had to wait until the following morning to add my yeast. In any case, when your wort is cool enough for your yeast, mix the yeast and pour it into the wort – there is no need to stir or shake.

img_5818

Adding my yeast the following morning once my wort was cool enough.

Place the lid on the bucket, fill the airlock with water, and place your bucket in a cool, dark place. The airlock allows the fermenting beer to release pressure, so your fermenter will not explode.

img_5820

Airlock filled with water.

After seven days, time the bubbles in your airlock; if they are more than a minute apart, you are ready for the next step. I proceeded to the next step after eight days. On this day, you will need to sterilize your second bucket and its lid, your plastic tubing (if using), and your bottle filler, which you can do again with bleach/water. You will also need to sterilize your bottles, which I did by running them through the dishwasher with some bleach. If you are using bottle caps, you can sterilize them by boiling them in water in a saucepan.

img_5832

Bottle caps being sterilized by boiling them in water.

When all of your equipment is ready to go, bring a pint of water and 3/4 C sugar to a boil, allowing it to cook for five minutes.

img_5834

Sugar and water to be boiled for five minutes.

Pour the sugar solution into the bottom of your clean bucket. Using your plastic tubing, or a spigot if your bucket has one, transfer your beer from its original fermenter to your clean bucket that is holding the sugar solution.

img_5837

Beer being transferred to second bucket containing sugar solution.

Finally, transfer the beer to your clean bottles, using your bottle filler.

img_5839

Beer being transferred from bucket to bottles, using bottle filler.

Cap the bottles and place them in a cool place for 7-14 days before trying.

I first tried my beer seven days after bottling, splitting a 22-ounce bottle with my brother. As I poured it, I was concerned that it would not have enough carbonation, but it was actually fine.

img_5890

A bottle of Alton’s homebrew.

This beer is a sure-fire easy-drinking beer that could be enjoyed by beer drinkers of all types. This beer is golden in color, light, and has citrus notes that would make it refreshing on a hot day. And, the carbonation seems to be just about right. Overall, I am pretty pleased with this homebrew, and I would recommend Alton’s method for anyone looking to try homebrewing for the first time.

I have been a tea drinker for as long as I can remember, and particularly during the colder months of the year. Like many people, I often reach for a tea bag when making a cup of tea, due to their convenience and simplicity. I have, though, occasionally been known to brew a fresh cup using loose leaf tea. A couple years ago for Christmas, my parents gave me a tea variety basket from Murchie’s Tea, which consisted of numerous types of loose tea and tea bags. Having so much loose tea around the house led me to really appreciate the superior quality and flavor of a cup of tea made with loose leaf tea. A tea bag just truly does not produce a cup of tea that matches that made with loose leaf tea.

Perfect Cup of Tea

To make Alton’s perfect cup of tea, you will really only need a few things. You will need a vessel for boiling water (preferably a kettle), a vessel for brewing your tea (preferably a teapot), fresh water, and loose tea. While loose tea is composed of full tea leaves, tea bags contain leftover dust and fannings, which can produce bitter tea. When making tea, Alton stresses that you should always use fresh water, as it has lots of oxygen in it; our tap water tastes fine, so I just used tap water. Heat your water in a kettle or in the microwave (in a microwave-safe container, of course).

IMG_4083

Heating water in a kettle.

If heating your water in the microwave, place a wooden skewer or chopstick in your water; this will give bubbles a place to form, thereby avoiding explosive bubbling when you remove the hot water from the microwave. If you are using a teapot to brew your tea, Alton recommends that you preheat your tea pot with warm water prior to brewing. I do not have a teapot, so I just used a glass Pyrex measuring cup, which is not nearly as sexy as the cute cast iron teapot Alton used in the episode. Depending on the type of loose leaf tea you are brewing, you will want to adjust your water temperature accordingly. Note:  black, green, and Oolong are the three major styles of tea. For black tea, you will want full boiling water. For Oolong tea, your water should be 200 degrees F, while for green tea, your water should ideally be 180 degrees F. I brewed some Darjeeling, which is a black tea.While your water is heating, place your loose tea in your teapot or brewing vessel, allotting a heaping teaspoon (Alton uses a regular teaspoon instead of a measuring teaspoon) per cup of tea.

IMG_4085

One heaping teaspoon of tea per 5.5-6 ounce cup of tea.

IMG_4086

Since I do not have a teapot, I used a glass measuring cup to brew my tea.

If your teapot has an infusing insert, Alton recommends that you do not use it, as the tea leaves need room to bloom. Now, for the water, you want to use 5 1/2-6 ounces of water per cup of tea, but it is best to add an additional ounce or so of water for the tea leaves to hold onto. When your water is at its ideal temperature, pour the water directly over the tea leaves.

IMG_4093

Thirteen ounces of boiling water added to tea leaves. Six ounces of water per cup, plus an additional ounce of water for the leaves to retain.

How long to let the tea brew? Brew black teas for 3-5 minutes, Oolong teas for 4-7 minutes, and green teas for 2-3 minutes. Brewing for too long will result in tea that is bitter. When your brewing time is up, pour your tea through a strainer into a cup.

IMG_4095

Strainer to pour tea into mug.

If desired, you may add sugar, honey, or lemon. If adding milk, though, you should always pour the milk in your cup prior to adding the tea. Why? Adding cold milk to hot tea can cause a “skin” to form on top of your cup. Sit back, relax, and enjoy your perfect cup of tea.

IMG_4099

A perfect cup of Darjeeling tea.

Prior to watching this episode, I brewed all loose leaf teas the same way – using full boiling water and letting the tea steep for about five minutes. I also have typically used a tea infuser. Is Alton’s method for tea brewing really superior? It’s tough for me to say because I am also using fresher, better tea; how much is the tea and how much is the method? That being said, the tea I made with Alton’s method was excellent.

If you are curious about Alton’s method of tea brewing using tea bags, here you go:

  1. Using a microwave-safe container, tie five tea bags together and place in a quart of fresh water. Top the container with a small plate.
  2. Microwave the tea for eight minutes, or until it starts to simmer.
  3. Remove the tea from the microwave and check its temperature – you want the temperature to be between 180 and 190 degrees F.
  4. Cover the tea again and let steep. For mild tea, let steep for two minutes. Allow three minutes for medium tea, four minutes for strong tea, and five minutes for bitter tea.
  5. Remove tea bags and do not wring them out.


Sweet Tea

In addition to hot tea, I really enjoy iced tea when the weather is warm. My mom always made sun tea by steeping tea bags in a glass jug, allowing the sun to warm the water. Somehow, sun tea always seemed to taste better than typical iced tea.

Alton’s iced tea is really a two-step process; if you prefer your iced tea unsweetened, you can stop after the first step, whereas if you like your iced tea to be sweetened you can carry onto the second step. For the first step, steep an ounce of loose black tea in one quart of boiling water for 4-5 minutes.

It is not necessary to use your best tea for this process, as some flavors get masked when tea is iced. Once your tea is done brewing, strain it into a two quart pitcher.

IMG_4105

Strainer ready to strain tea into pitcher.

To your tea, add one quart of lukewarm water; you do not want to use super cold water, as cooling the tea too quickly can result in cloudy tea.

IMG_4107

A quart of room temperature water to add to the tea.

Place your tea in the refrigerator and allow it to chill thoroughly. If you do not wish to sweeten your tea, go ahead and enjoy the tea as is.

IMG_4108

The finished unsweetened iced tea.

If you prefer to have your tea sweetened, Alton recommends making a simple syrup. Why make a simple syrup, rather than just adding sugar to your iced tea? While granulated sugar does not dissolve easily in cold liquids, a simple syrup will mix in quite easily. Plus, you can add some additional flavor to your tea, if desired. To make plain simple syrup, in a pan combine 5 C sugar and 3 C cold water. Bring this to a boil over medium heat, cover, and let it cool to room temperature. Seal and refrigerate for up to a month. Alternatively, to add some additional flavor to your simple syrup, add six sliced lemons and a few sprigs of fresh mint to 3 C water and 5 C sugar.

Again, bring to a boil.

Cover the mixture for 10 minutes before straining.

Let cool, refrigerate, and add to iced tea as desired. You will have quite a lot of simple syrup, but you can always freeze any extra. Simple syrup is also great in some cocktail recipes.

Though it really isn’t the season for iced tea, I made Alton’s sweet tea this week. I used some old Lapsang Souchong tea that I had sitting around, which resulted in iced tea that was quite smokey and intense. I would probably use a different type of black tea if I were to make Alton’s iced tea again. I opted to make the lemon-mint simple syrup for my tea. We found that placing 1.5 ounces simple syrup in a pint glass, and filling the glass to the top with iced tea resulted in the perfect level of sweetness.

IMG_4135

A perfect glass of Alton’s sweet tea.

The lemon and mint flavors really shine through, and it would be quite refreshing on a hot day.