Posts Tagged ‘cake’

The baby is sleeping, Ted just left for a few hours, the dog is attempting to hide from the garbage truck, and we’re still in this period of Coronavirus isolation; seems like the perfect time to write another blog post. Hopefully I’ll make it all the way through before nap time is over.

Flour has been difficult to come by lately, which is super frustrating for people like myself who like to bake on the regular. I’m betting that the vast majority of flour hoarders will barely touch their stash before its shelf life has long passed. In fact, I need flour for the recipes in the next Good Eats episodes, so hopefully I can find some soon. Alas, I digress, as no flour was required for the avocado-based recipes in this episode. Now for a few avocado facts from this episode:  1) It takes 13 months for a seed to become fruit. 2) Avocados will never ripen while they are on the tree, so they can be “stored” on the tree for up to seven months. 3) All Hass avocado trees came from the same mother tree, which had died at the airing of this episode in 2005.

Avocado Compound Butter

You may recall that Alton made compound butter back in episode 35. I honestly don’t think I had made compound butter in the five years (!) since I wrote that post, so it was suitable that this episode led me to make an avocado compound butter. This one comes together in a snap by pulsing the following ingredients together in a food processor:  1 T lemon juice, 1 minced clove of garlic, 2 t cumin, 1 T chopped cilantro, 2 oz softened unsalted butter, and 6 oz of ripe avocado meat.

IMG_1783(1)

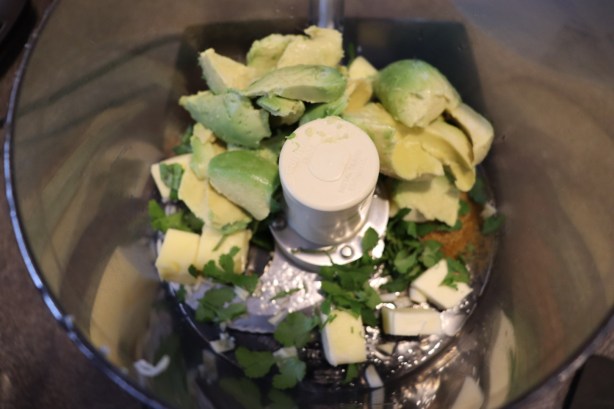
Ingredients for compound butter in food processor: lemon juice, garlic, cumin, cilantro, butter, and avocado.

Once combined, season the butter to taste with Kosher salt and pepper.

IMG_1785(1)

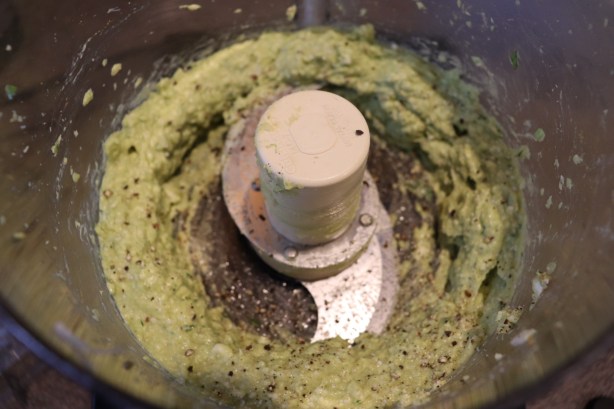
Pepper and Kosher salt added to butter.

Transfer the butter to the center of a sheet of parchment paper, folding the paper over the butter. Holding a sheet pan at a 45 degree angle to the counter, press the edge of the sheet pan against the mound of butter, pulling the parchment toward you with your other hand as you simultaneously push away with the sheet pan; this will form the butter into a perfect log shape within the parchment paper. Twist up the ends of the parchment paper and chill the butter until it is firm.

You can serve this butter with chicken, fish, corn, bread, or pretty much anything. We first ate ours with corn on the cob. Although the corn was pretty awful, the butter was fantastic.

IMG_1793(1)

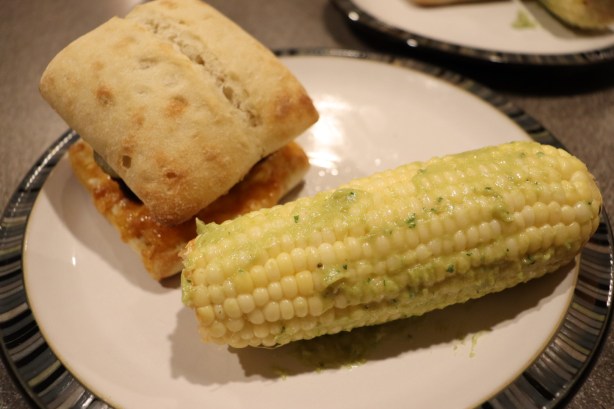
Avocado compound butter on corn.

This butter is like a somewhat melty guacamole that you can serve on anything, and it is delicious. It is rich, yet savory, and has a slight tang from the lemon. The cumin, cilantro, and garlic give it layers of flavors. We often find ourselves with extra avocados when we buy the big bag from Costco, and this is a way I intend to use them in the future.

Avocado Ice Cream

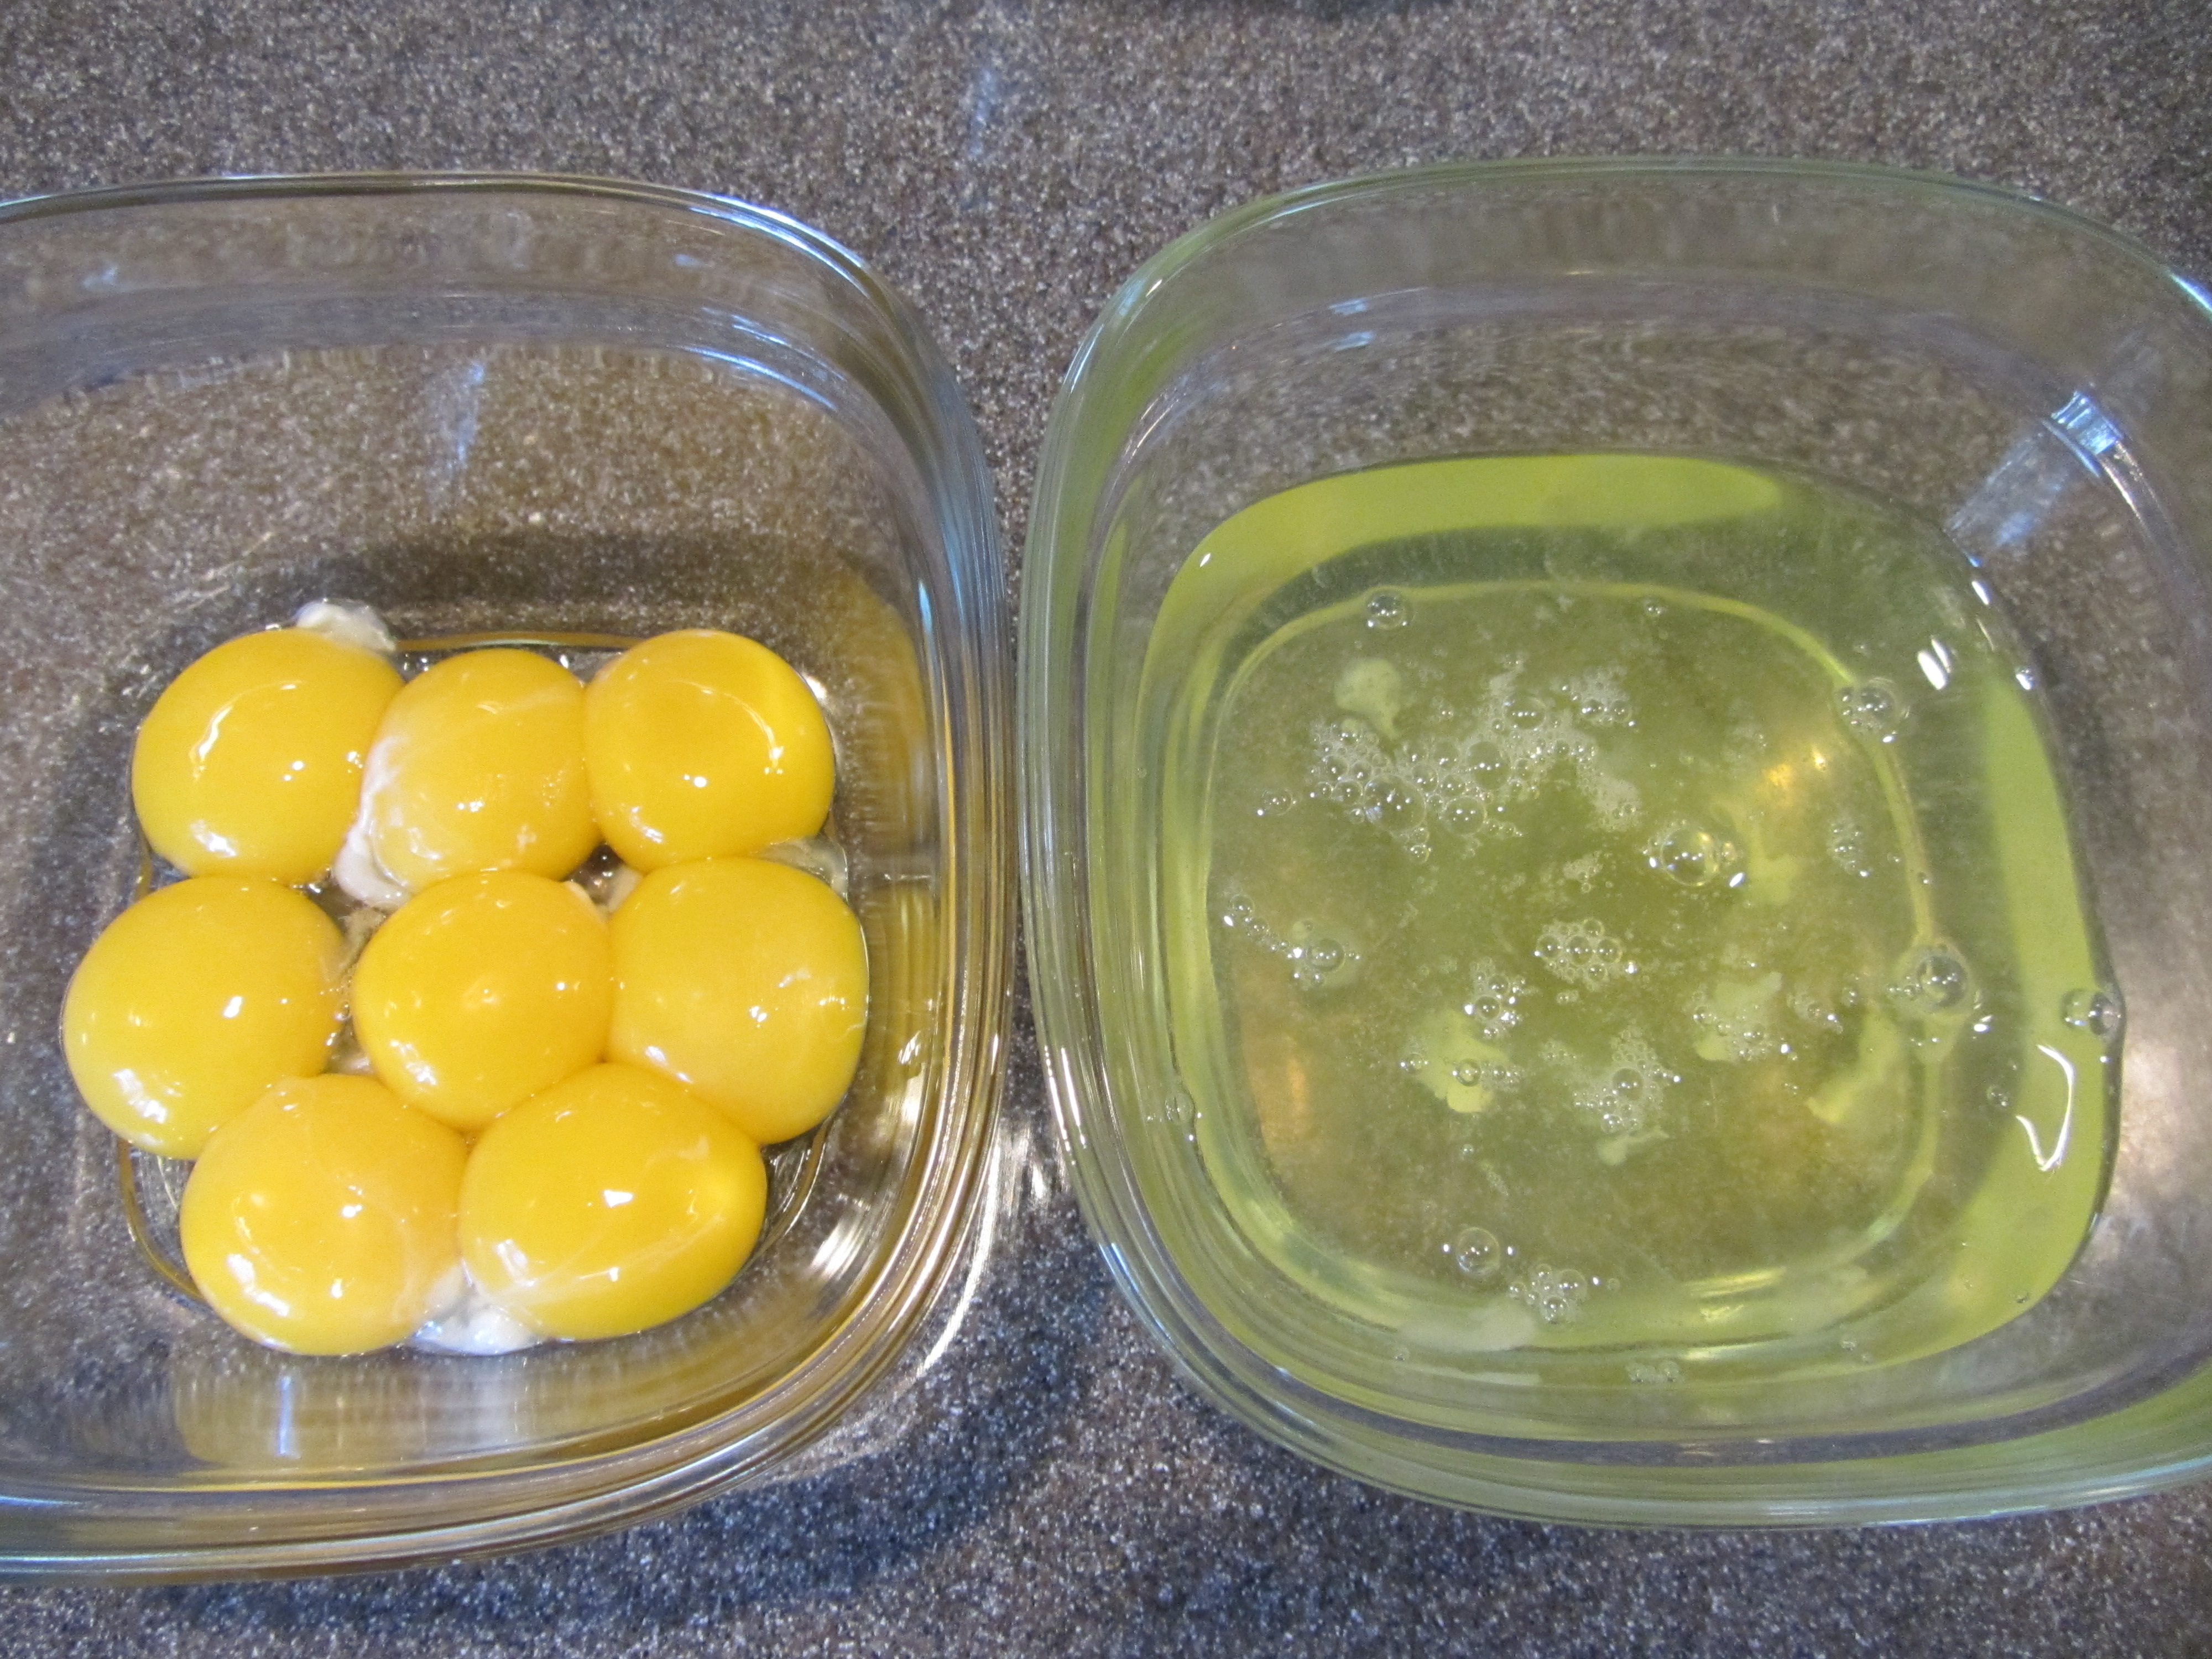
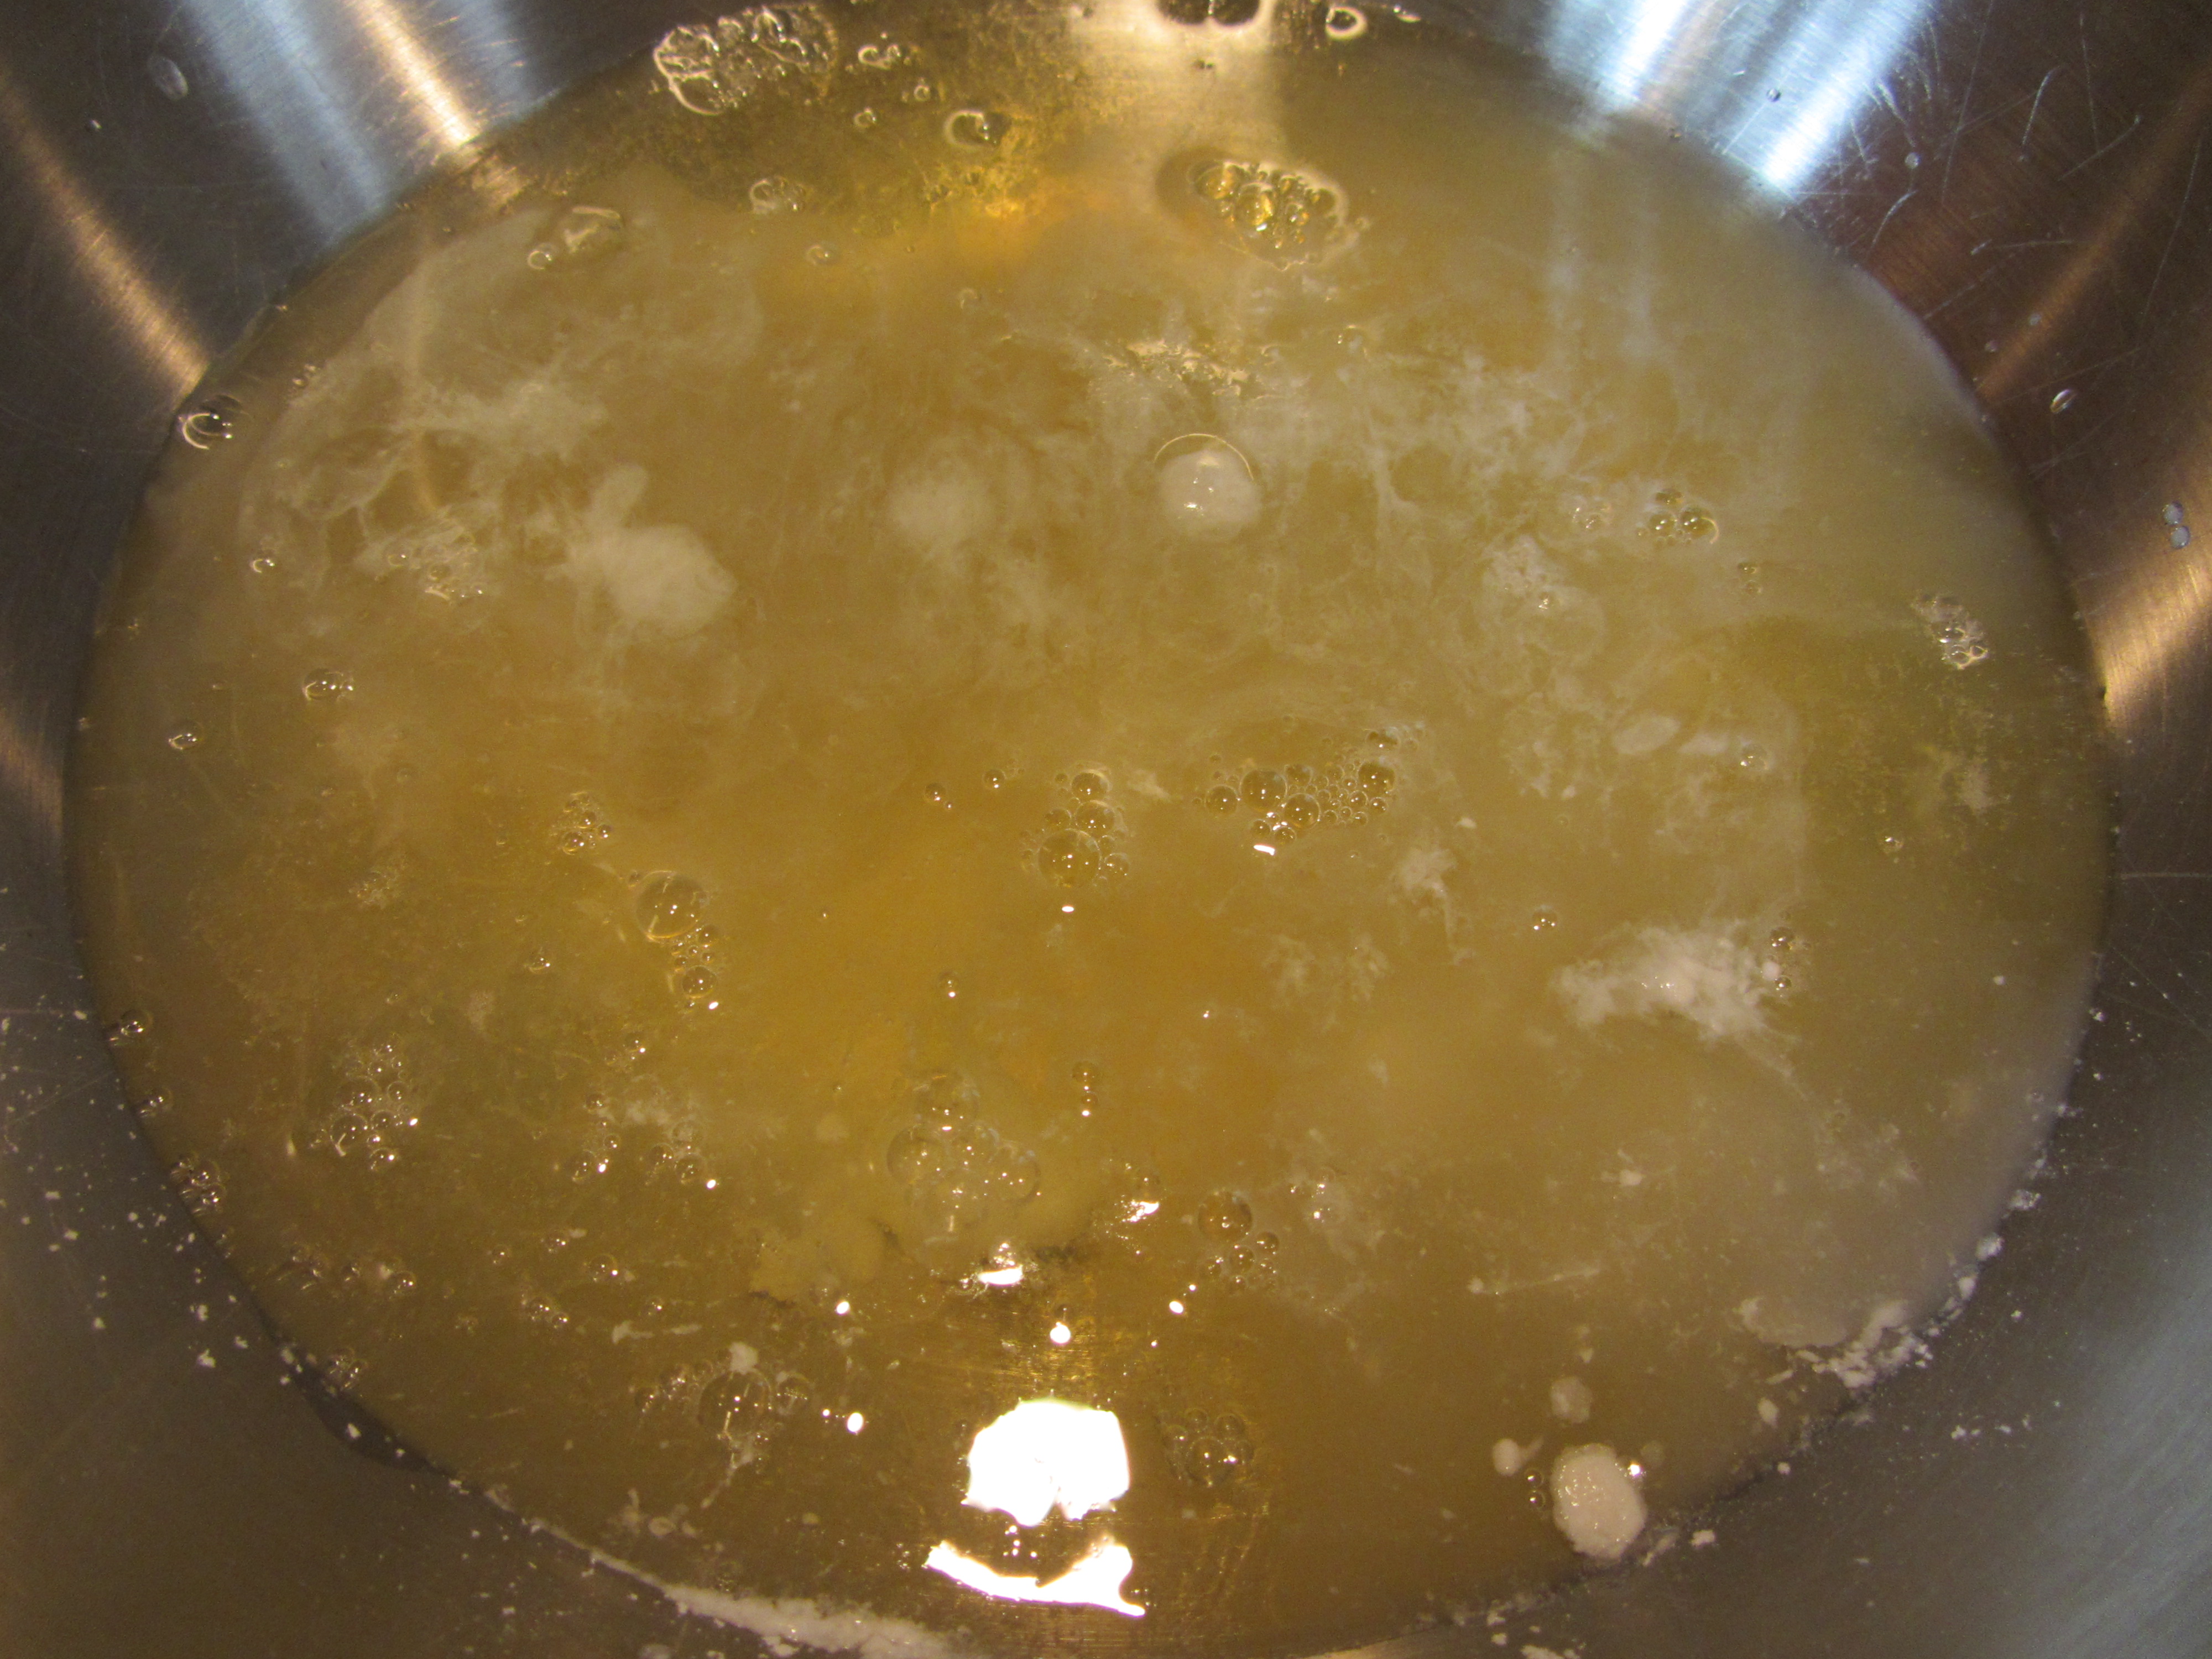
Of the recipes in this episode I was most excited to try the avocado ice cream. To me, avocado ice cream just makes sense. Avocados are high in fat and have a super rich, creamy texture that seems like it would make a delectable ice cream base. Their flavor too is naturally on the sweeter/milder side. To make Alton’s avocado ice cream, place 12 oz of avocado meat in a blender with 1 T lemon juice, 1/2 C sugar, 1 C heavy cream, and 1 1/2 C whole milk. Blend the mixture until it is smooth and place it in the refrigerator until its temperature has dropped below 40 degrees (I chilled mine overnight).

Once suitably chilled, process the ice cream base in an ice cream maker. Alton claimed that this ice cream would only need 5-10 minutes of churning time, but it took a good half hour in my ice cream maker. For a soft-serve texture, you can enjoy the ice cream immediately, or you can place it in the freezer for a firmer texture.

IMG_1778(1)

Finished avocado ice cream.

Ted really didn’t care for this ice cream at all, saying it was too “vegetal” in flavor. I initially wasn’t sure what I thought of it. I’ve actually been eating a scoop of this ice cream as I’ve been writing this post. This ice cream becomes rock hard in the freezer – it’s hard to scoop even after sitting out for 15-20 minutes on the counter. The initial mouthfeel appears to be somewhat icy, but then melts into a rich, smooth consistency that coats the palate. There is no doubt that the flavor of this ice cream is avocado. I’ve been going back and forth on whether I like this ice cream or not, and I think the honest answer is that I really want to love this ice cream, but I don’t. From reading the online reviews of this recipe, this one is quite polarizing, with some true fans and some people who can’t stand it at all. I’m somewhere in the middle, I suppose. In any case, this ice cream is undeniably interesting, which is perhaps just reason enough to try it for yourself.

Avocado Buttercream Frosting

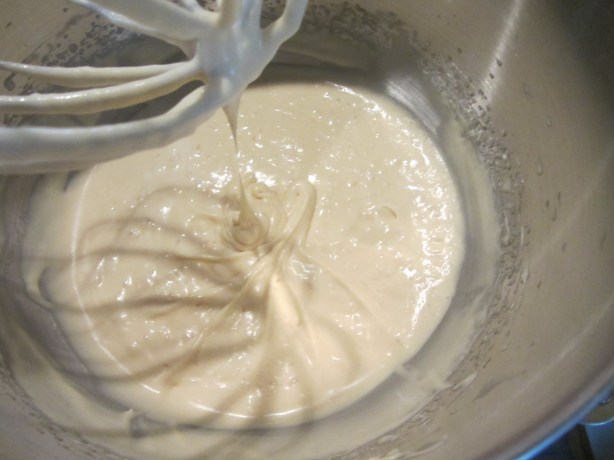
I have to agree with the title of this episode that the recipes therein are definitely experimental. I consider this final recipe for buttercream frosting to be the most experimental of the three. For avocado buttercream, use the whisk attachment of a stand mixer to beat 8 ounces of avocado meat with 2 t lemon juice for two to three minutes on medium speed.

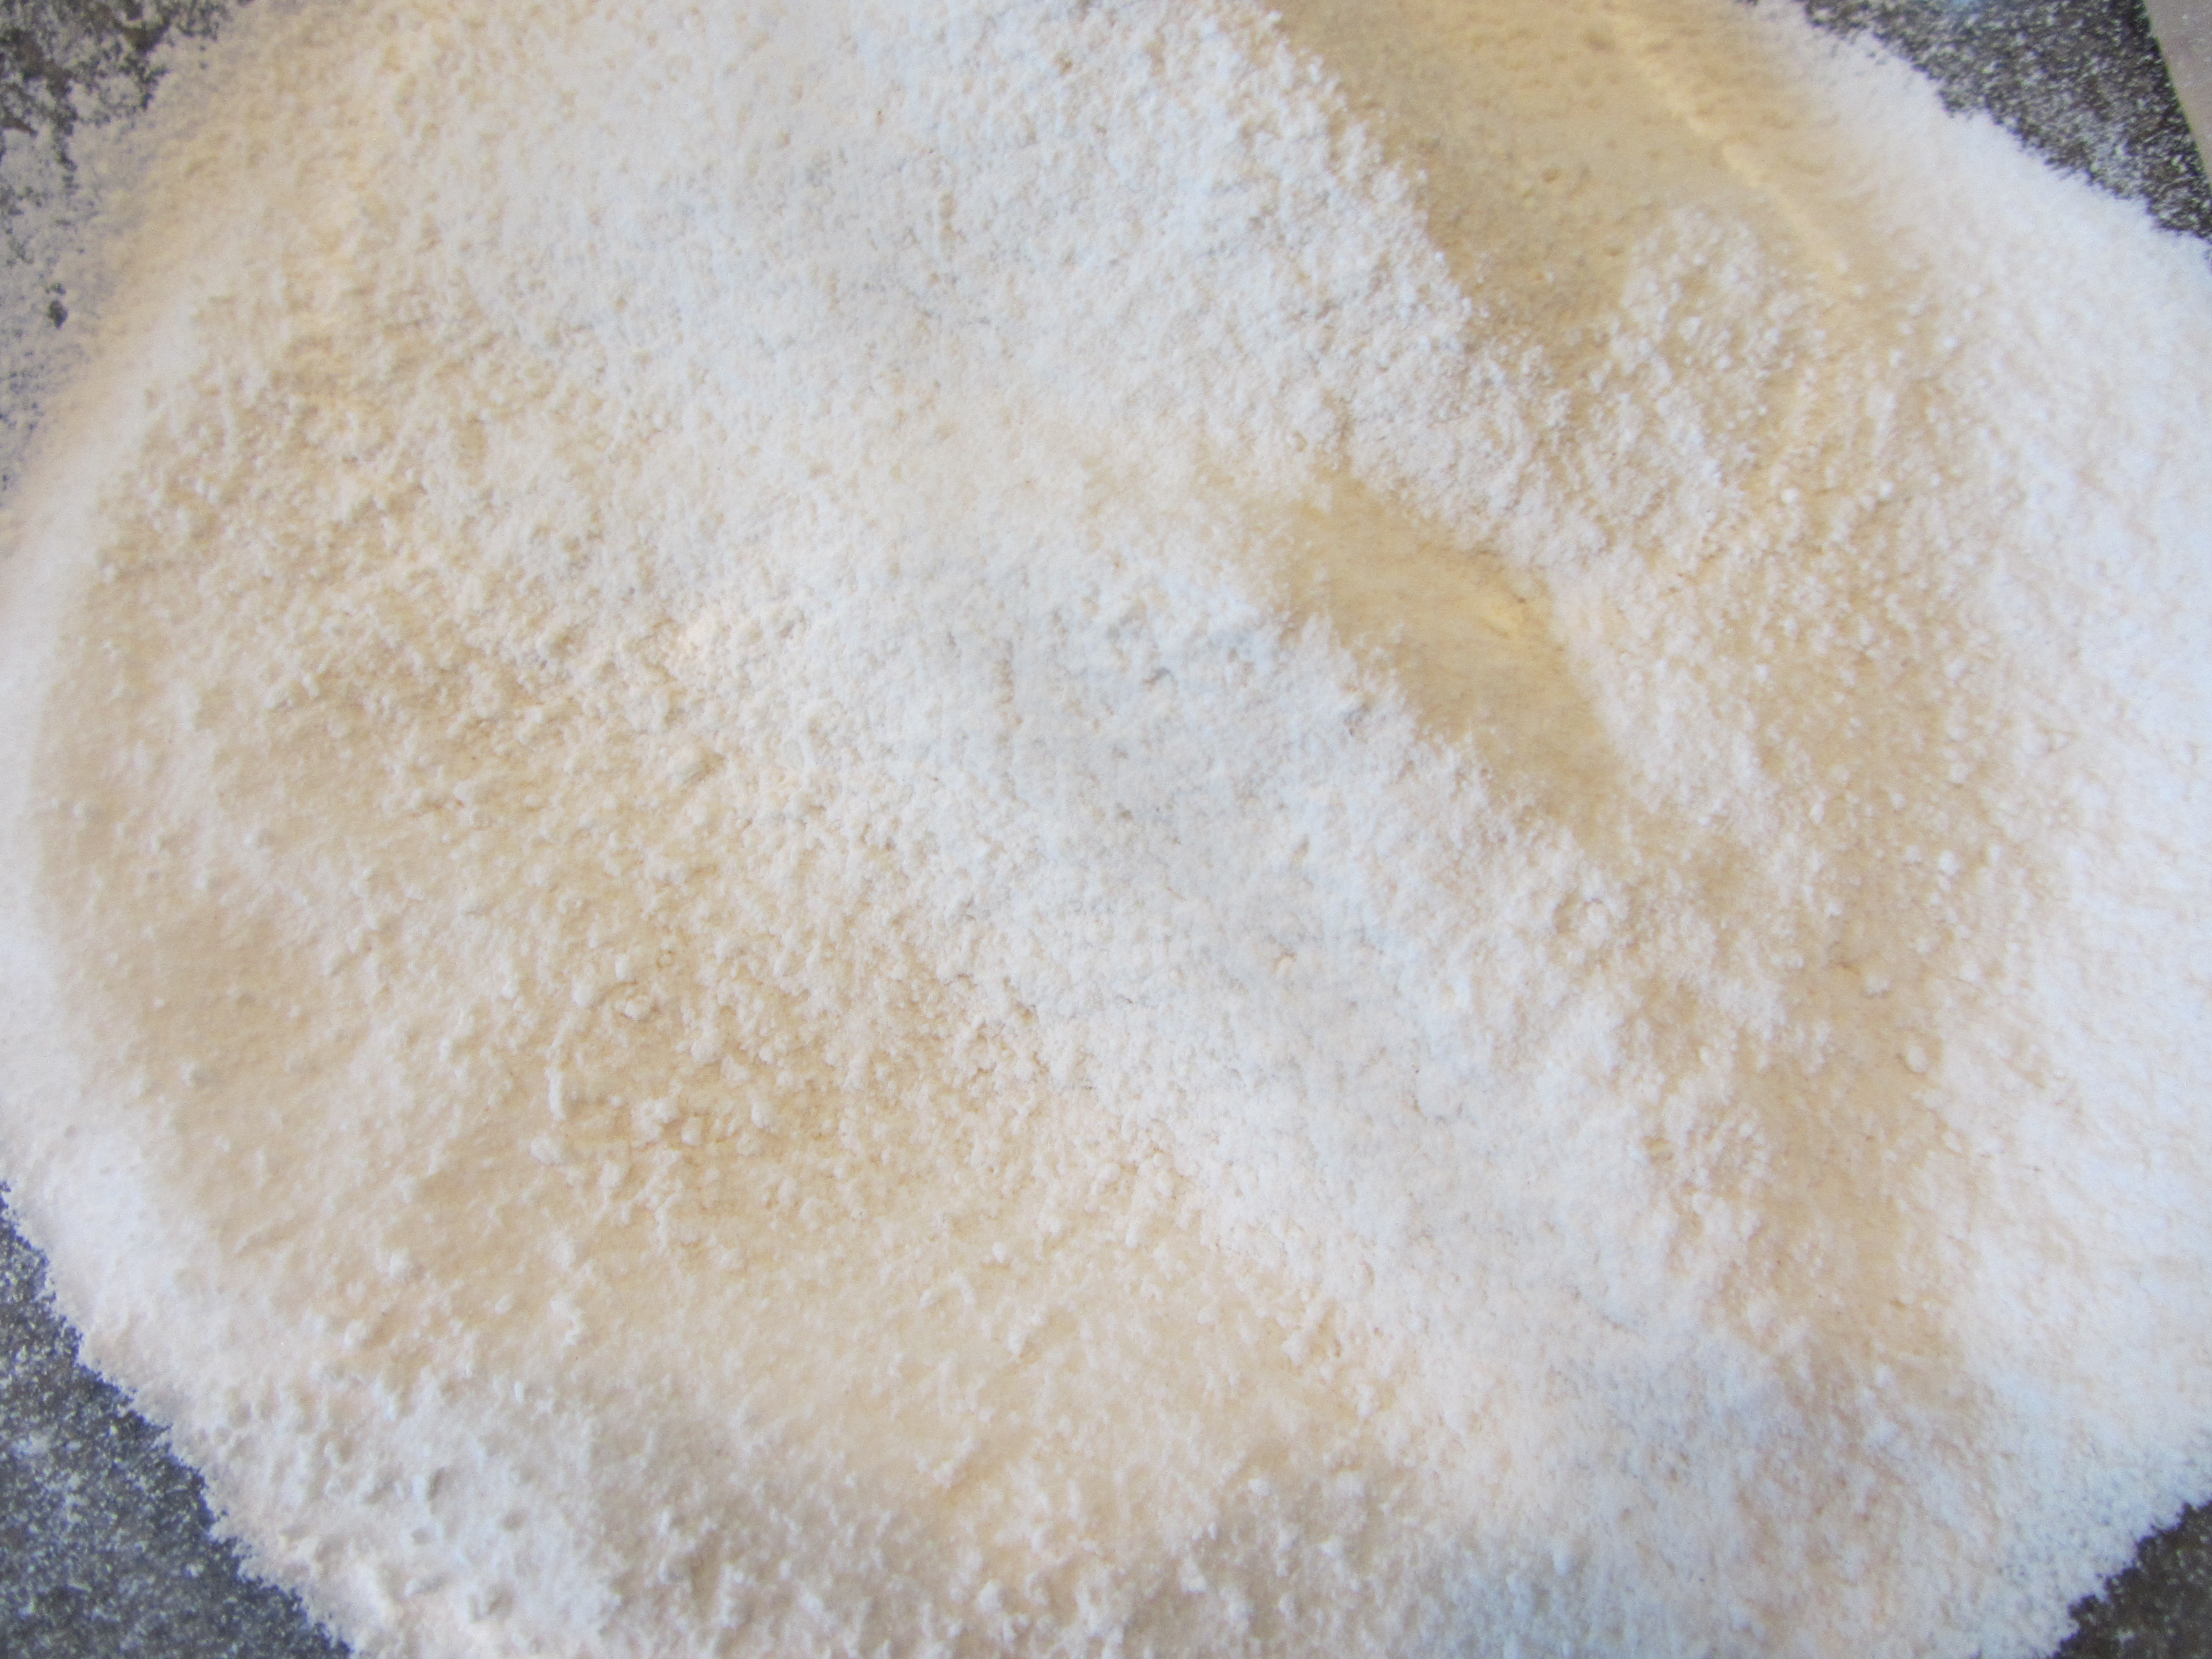
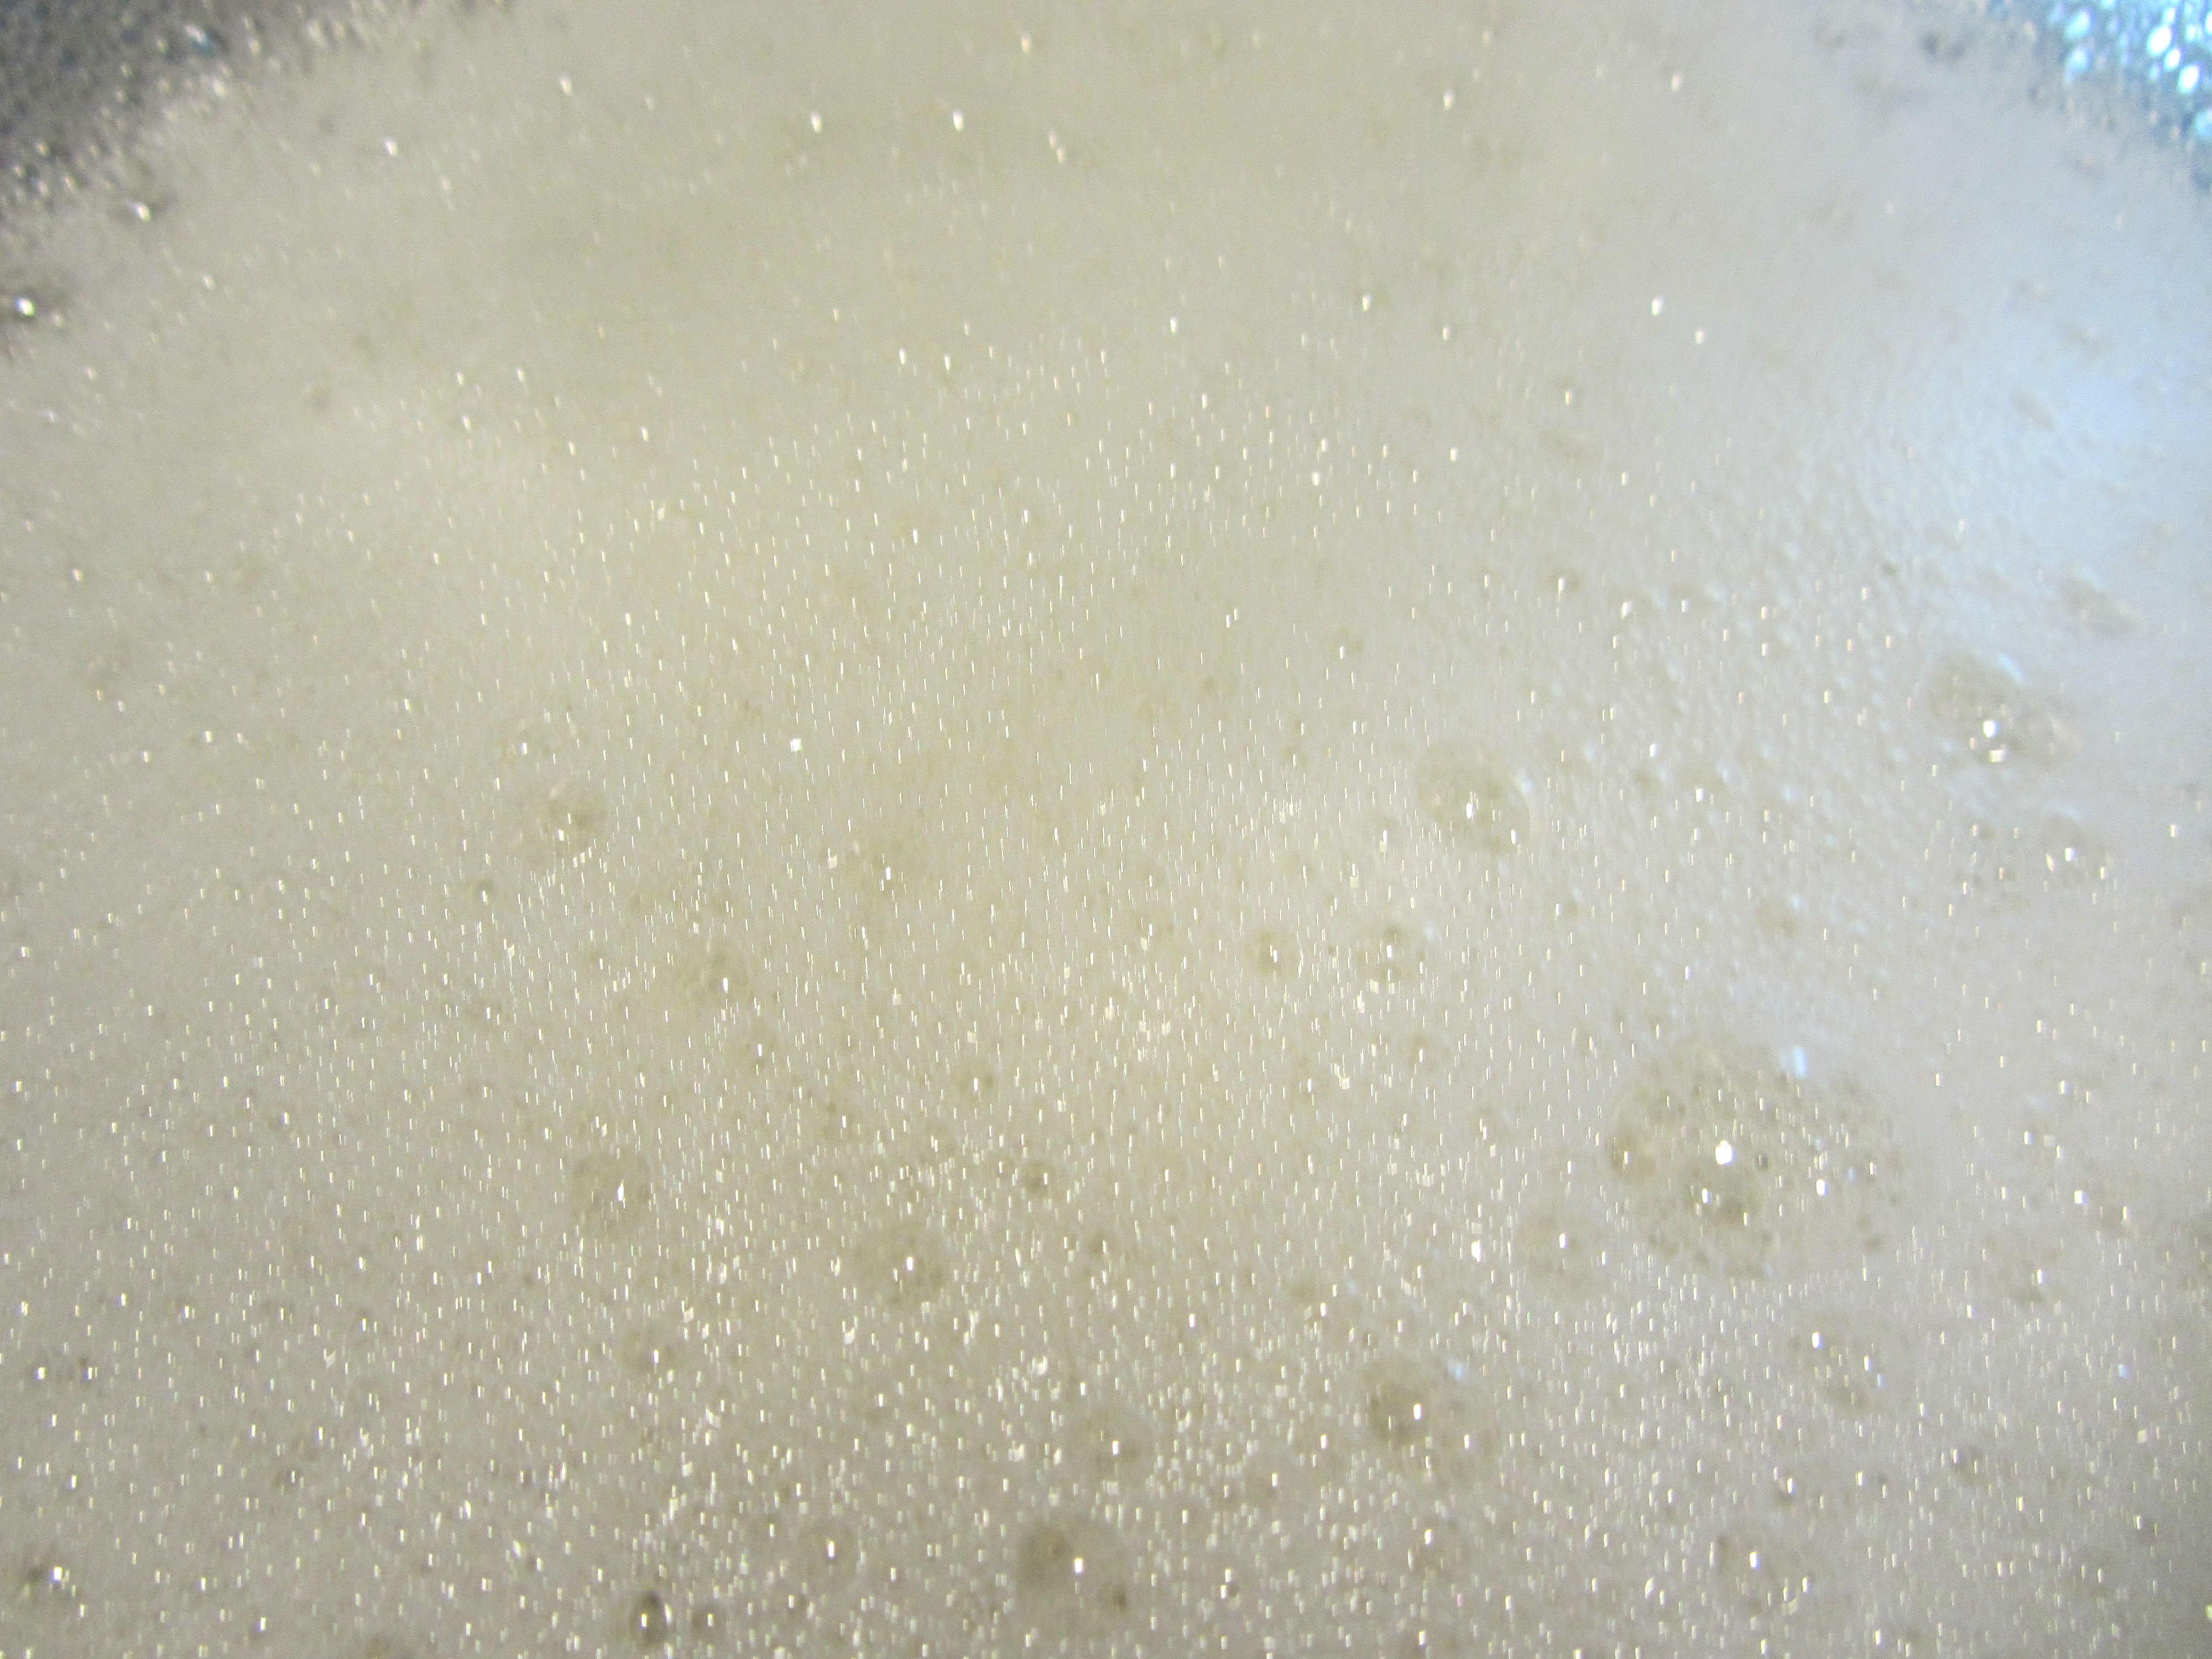
Sift one pound of powdered sugar and slowly add the sugar to the avocado on low speed. The sugar does not incorporate easily, and I found I had to scrape the bowl quite often with a spatula. Once half of the sugar is incorporated, increase the speed and add the remaining sugar. Finally, add 1/2 t lemon extract.
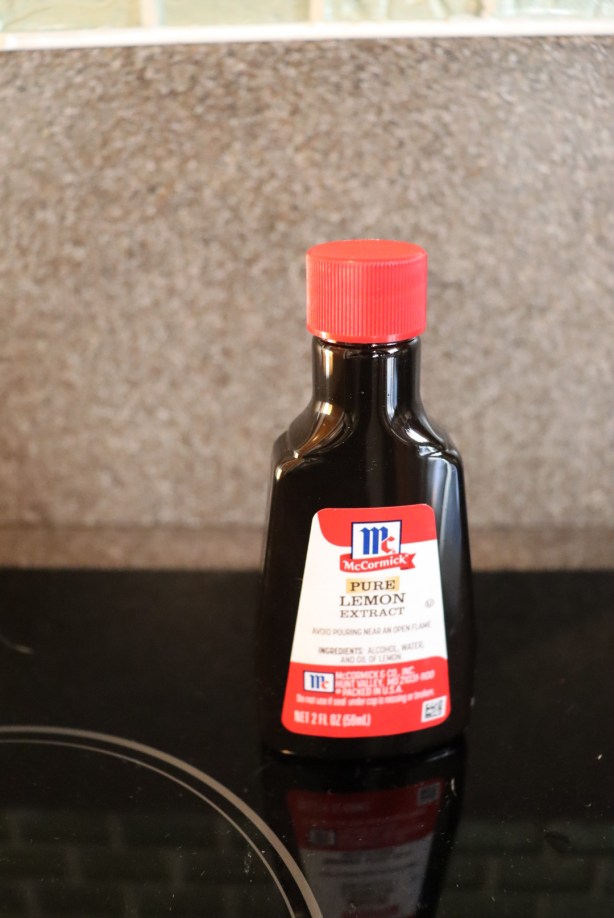
IMG_1817(1)

Lemon extract.

IMG_1815(1)

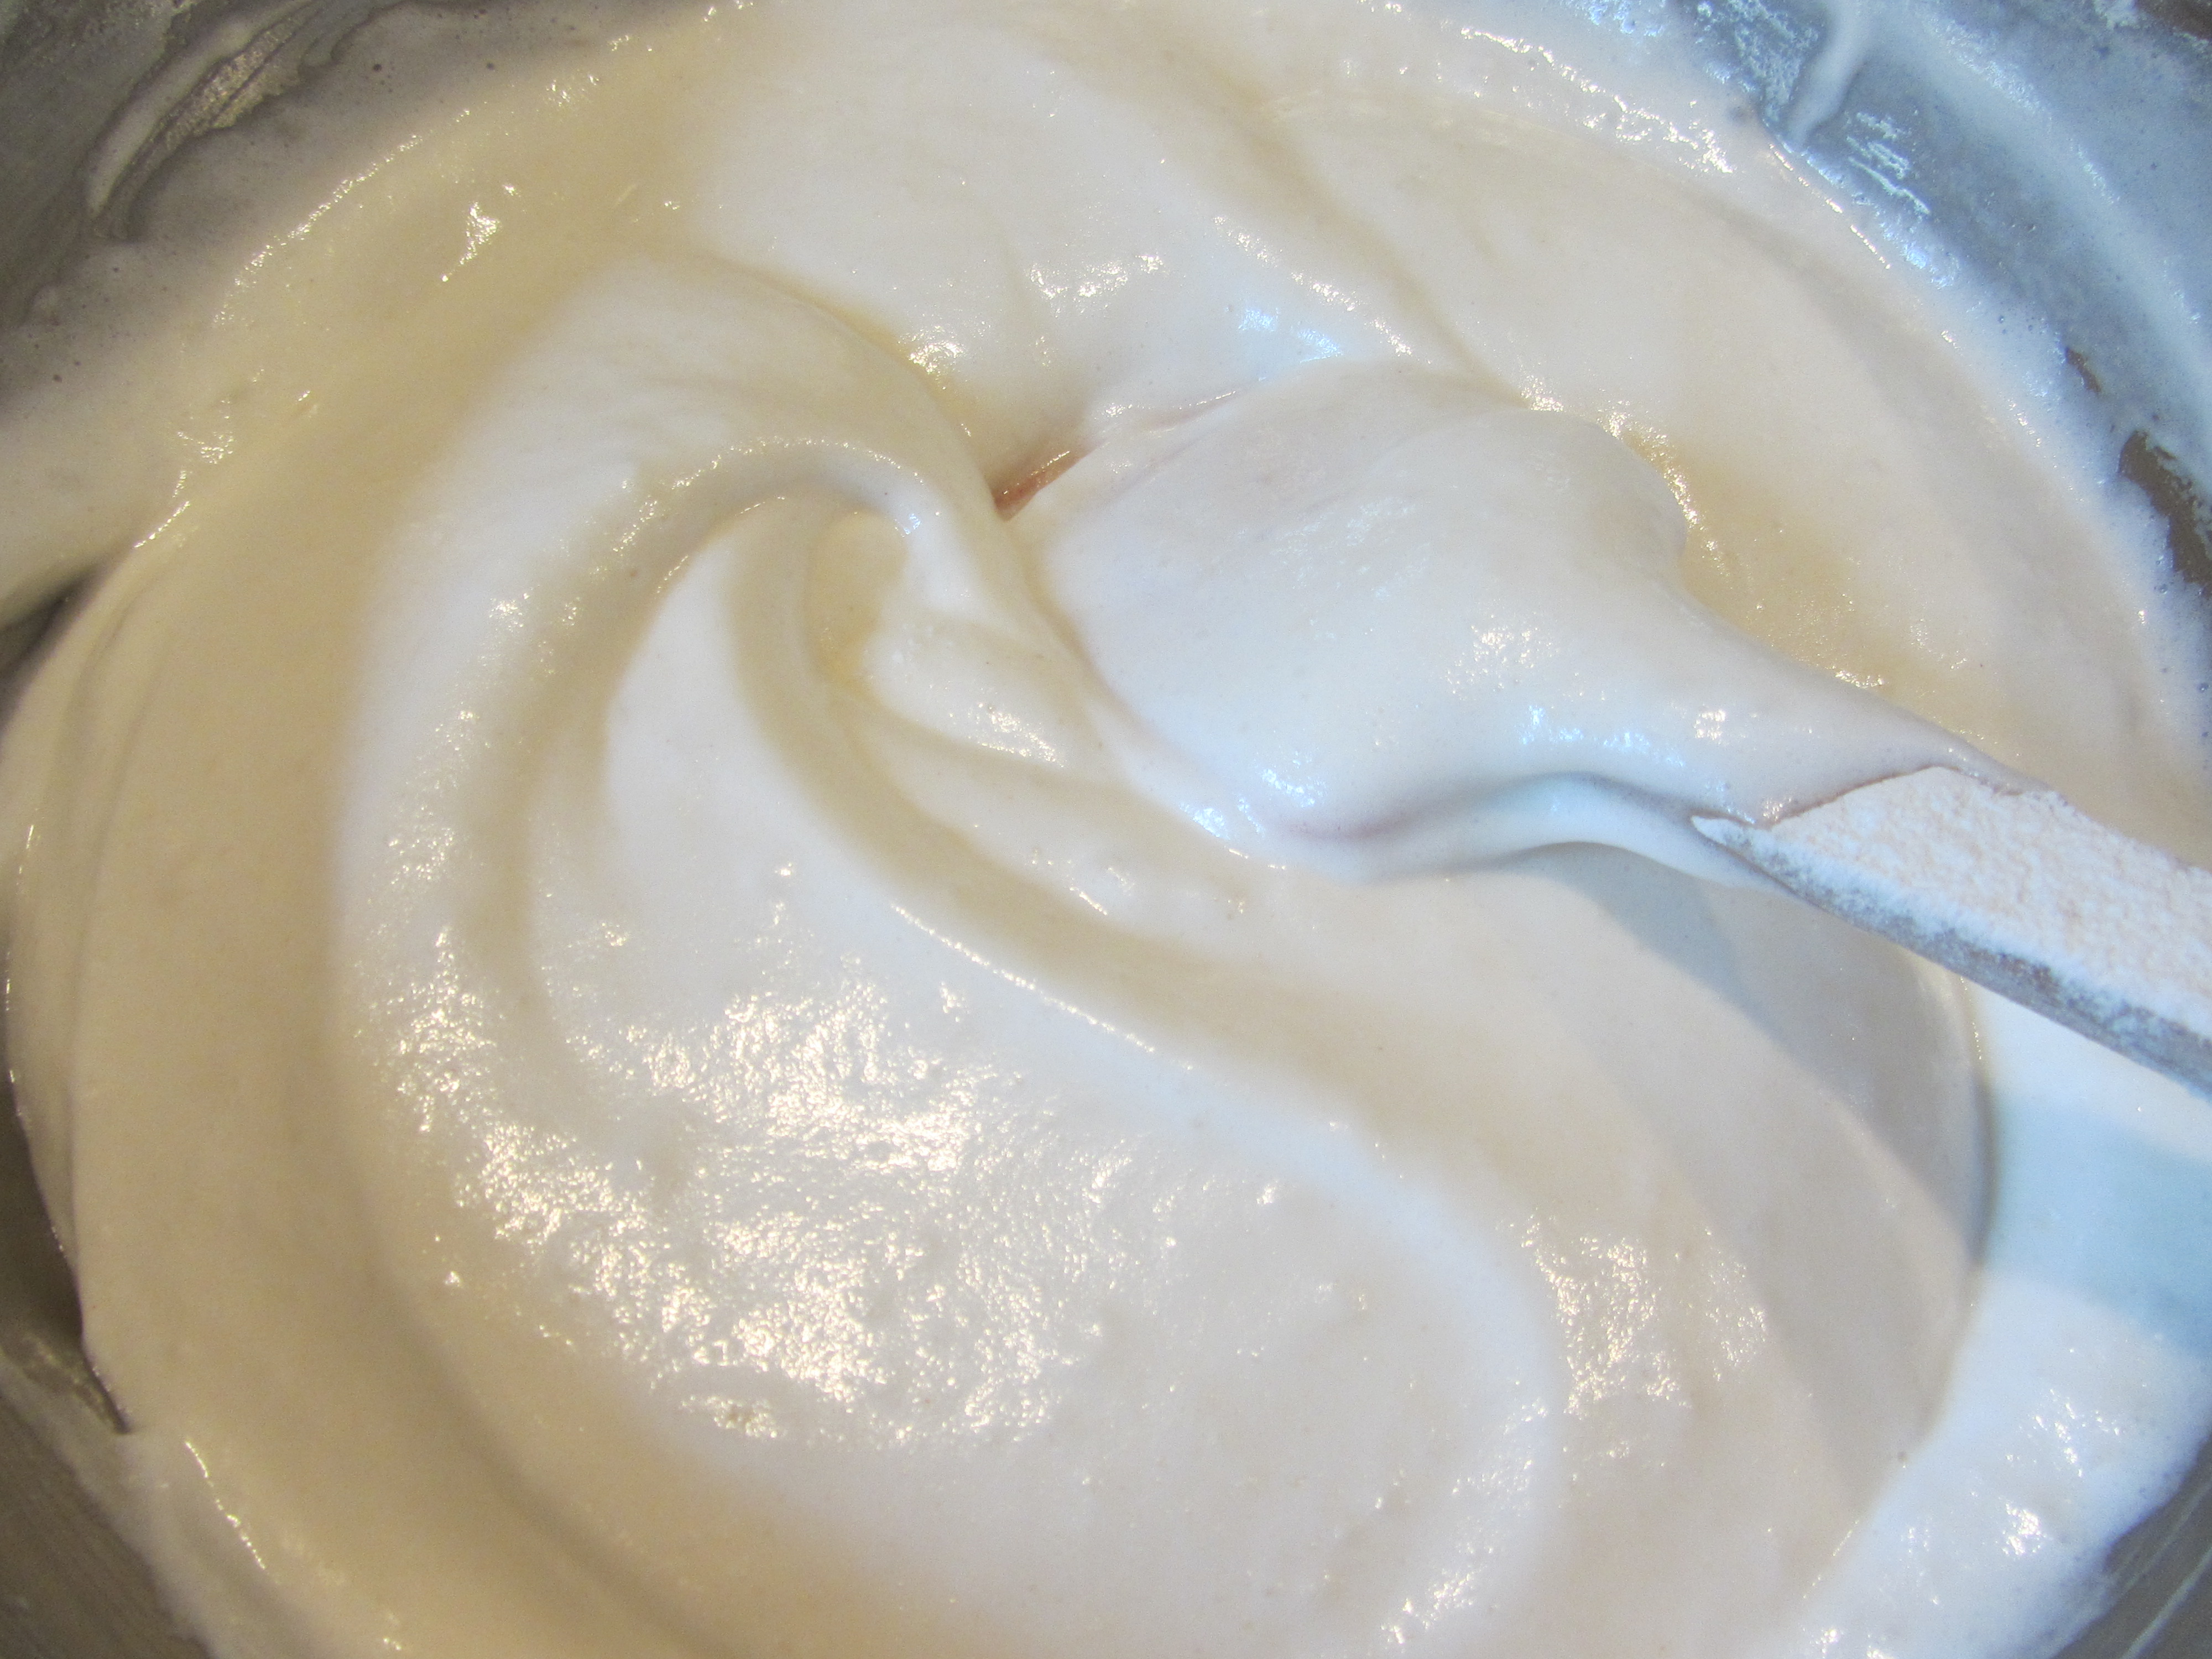
Avocado frosting after adding powdered sugar.

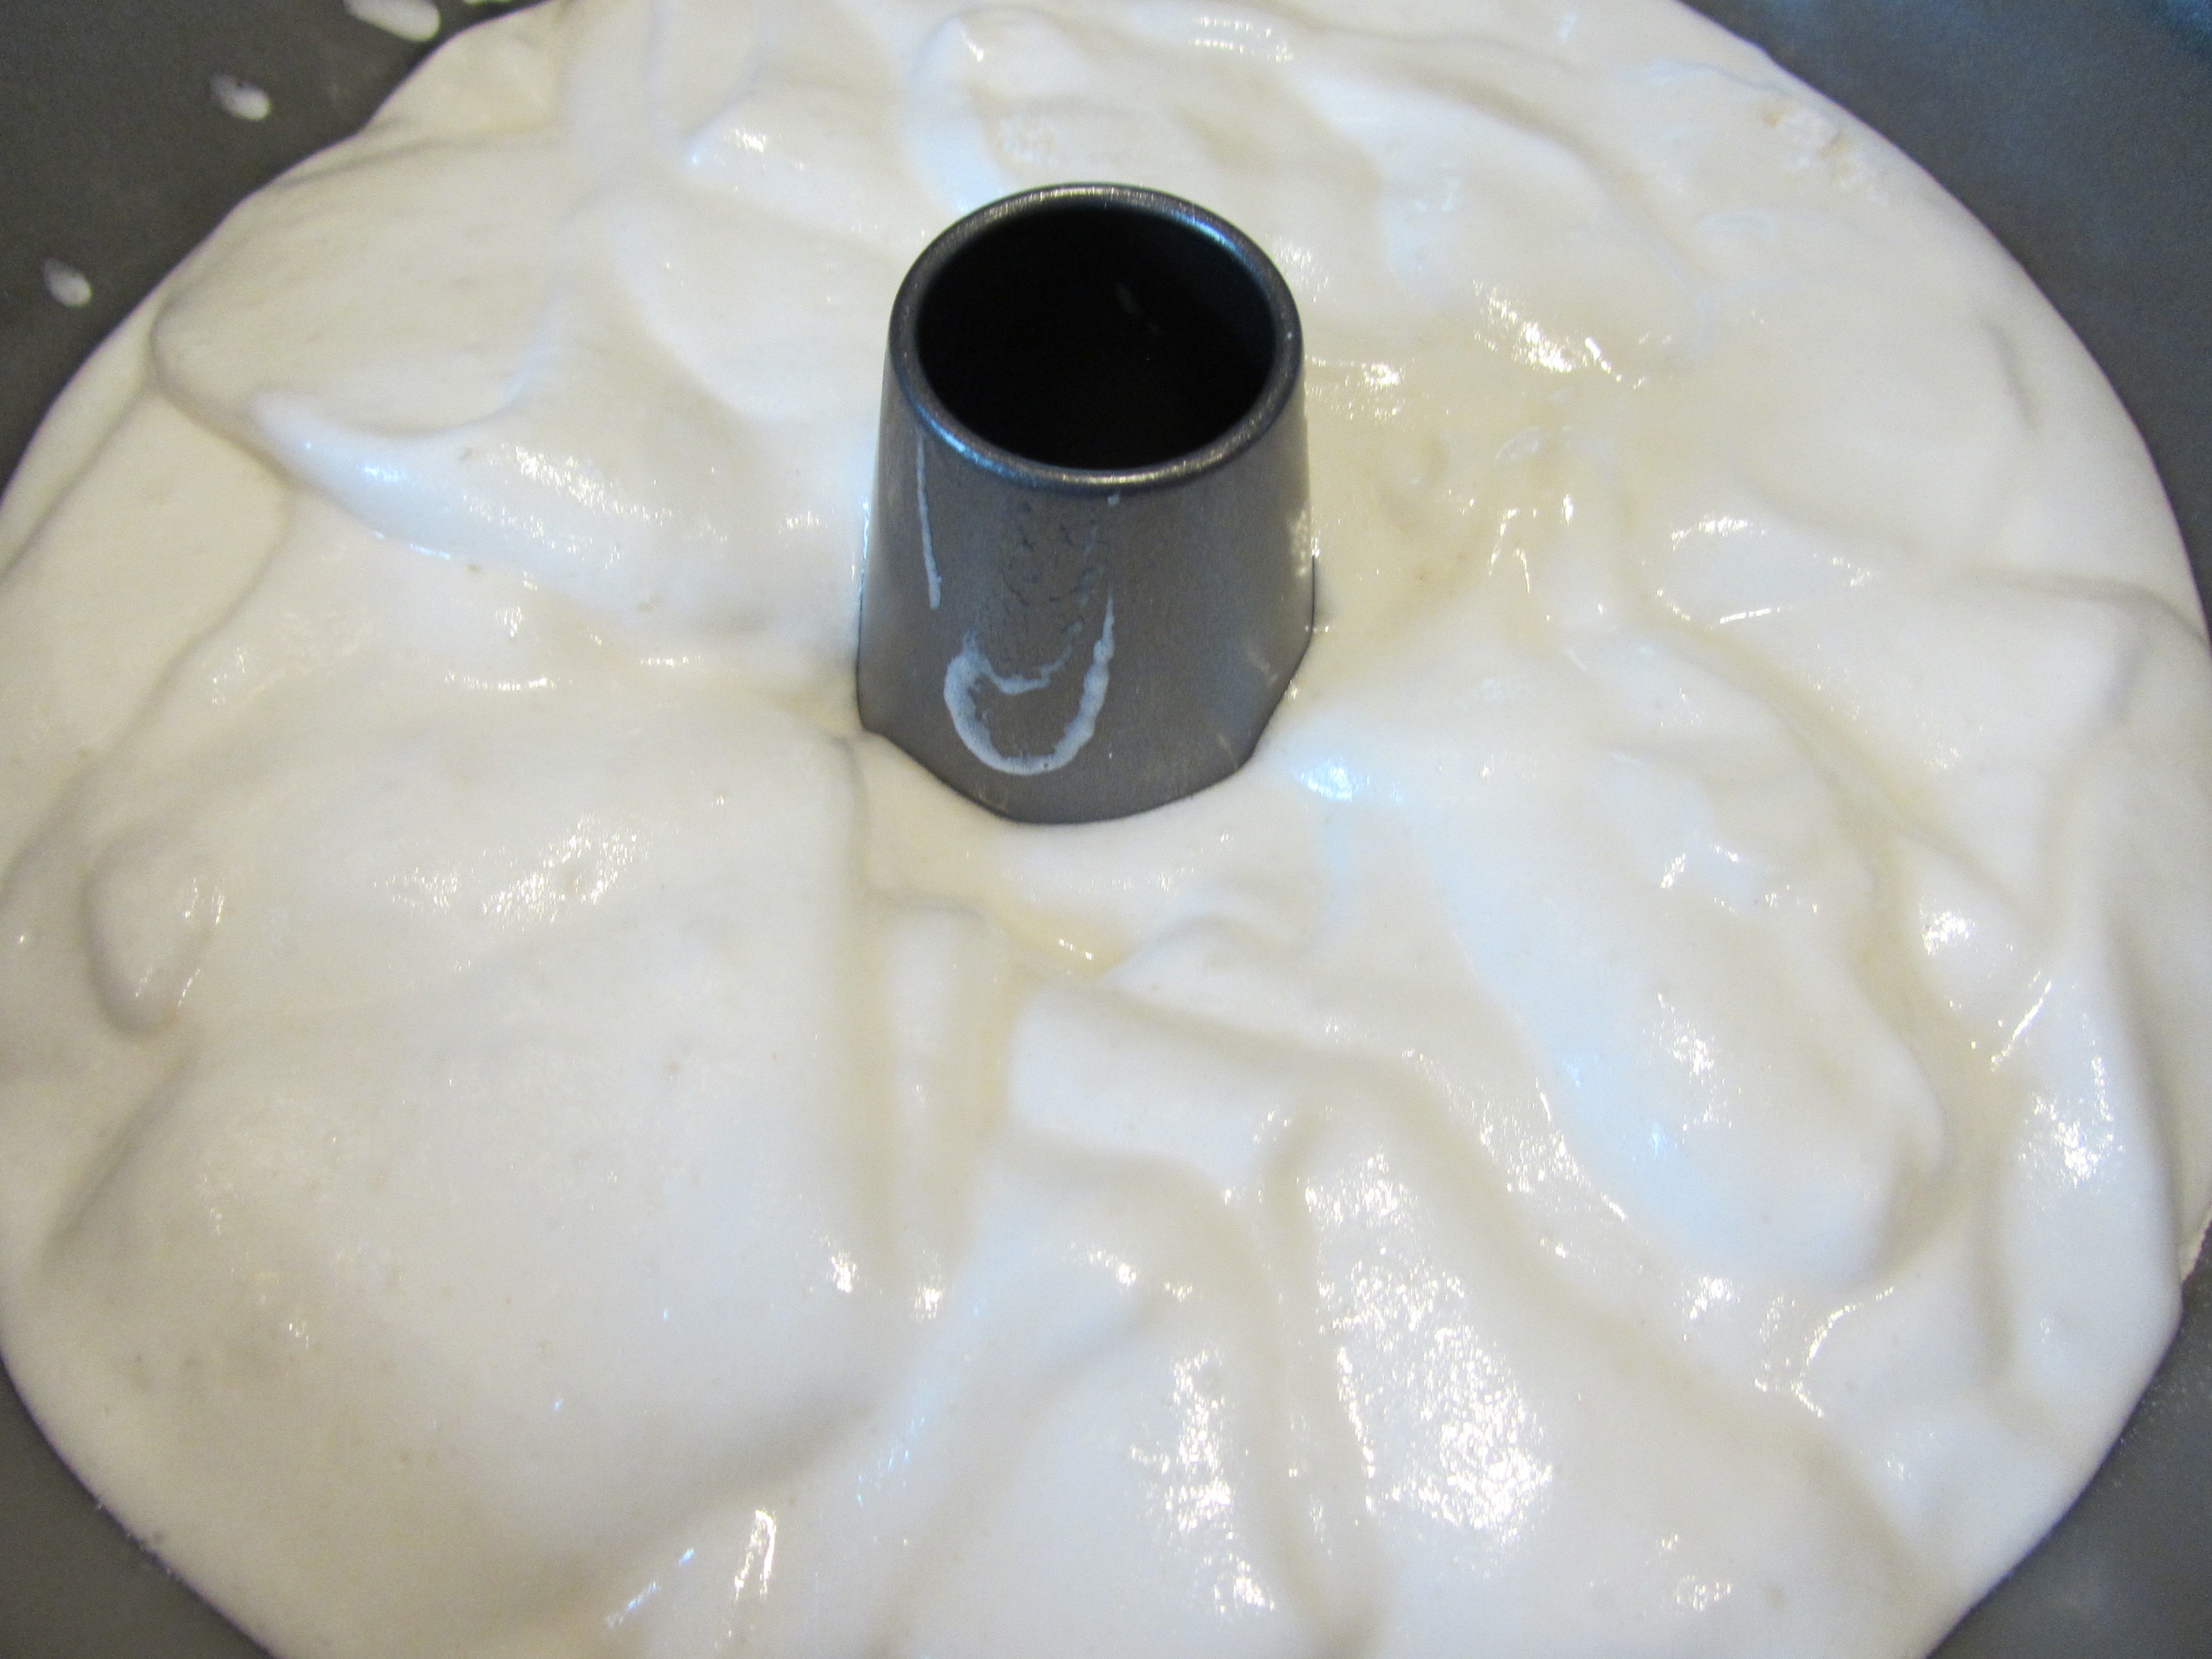
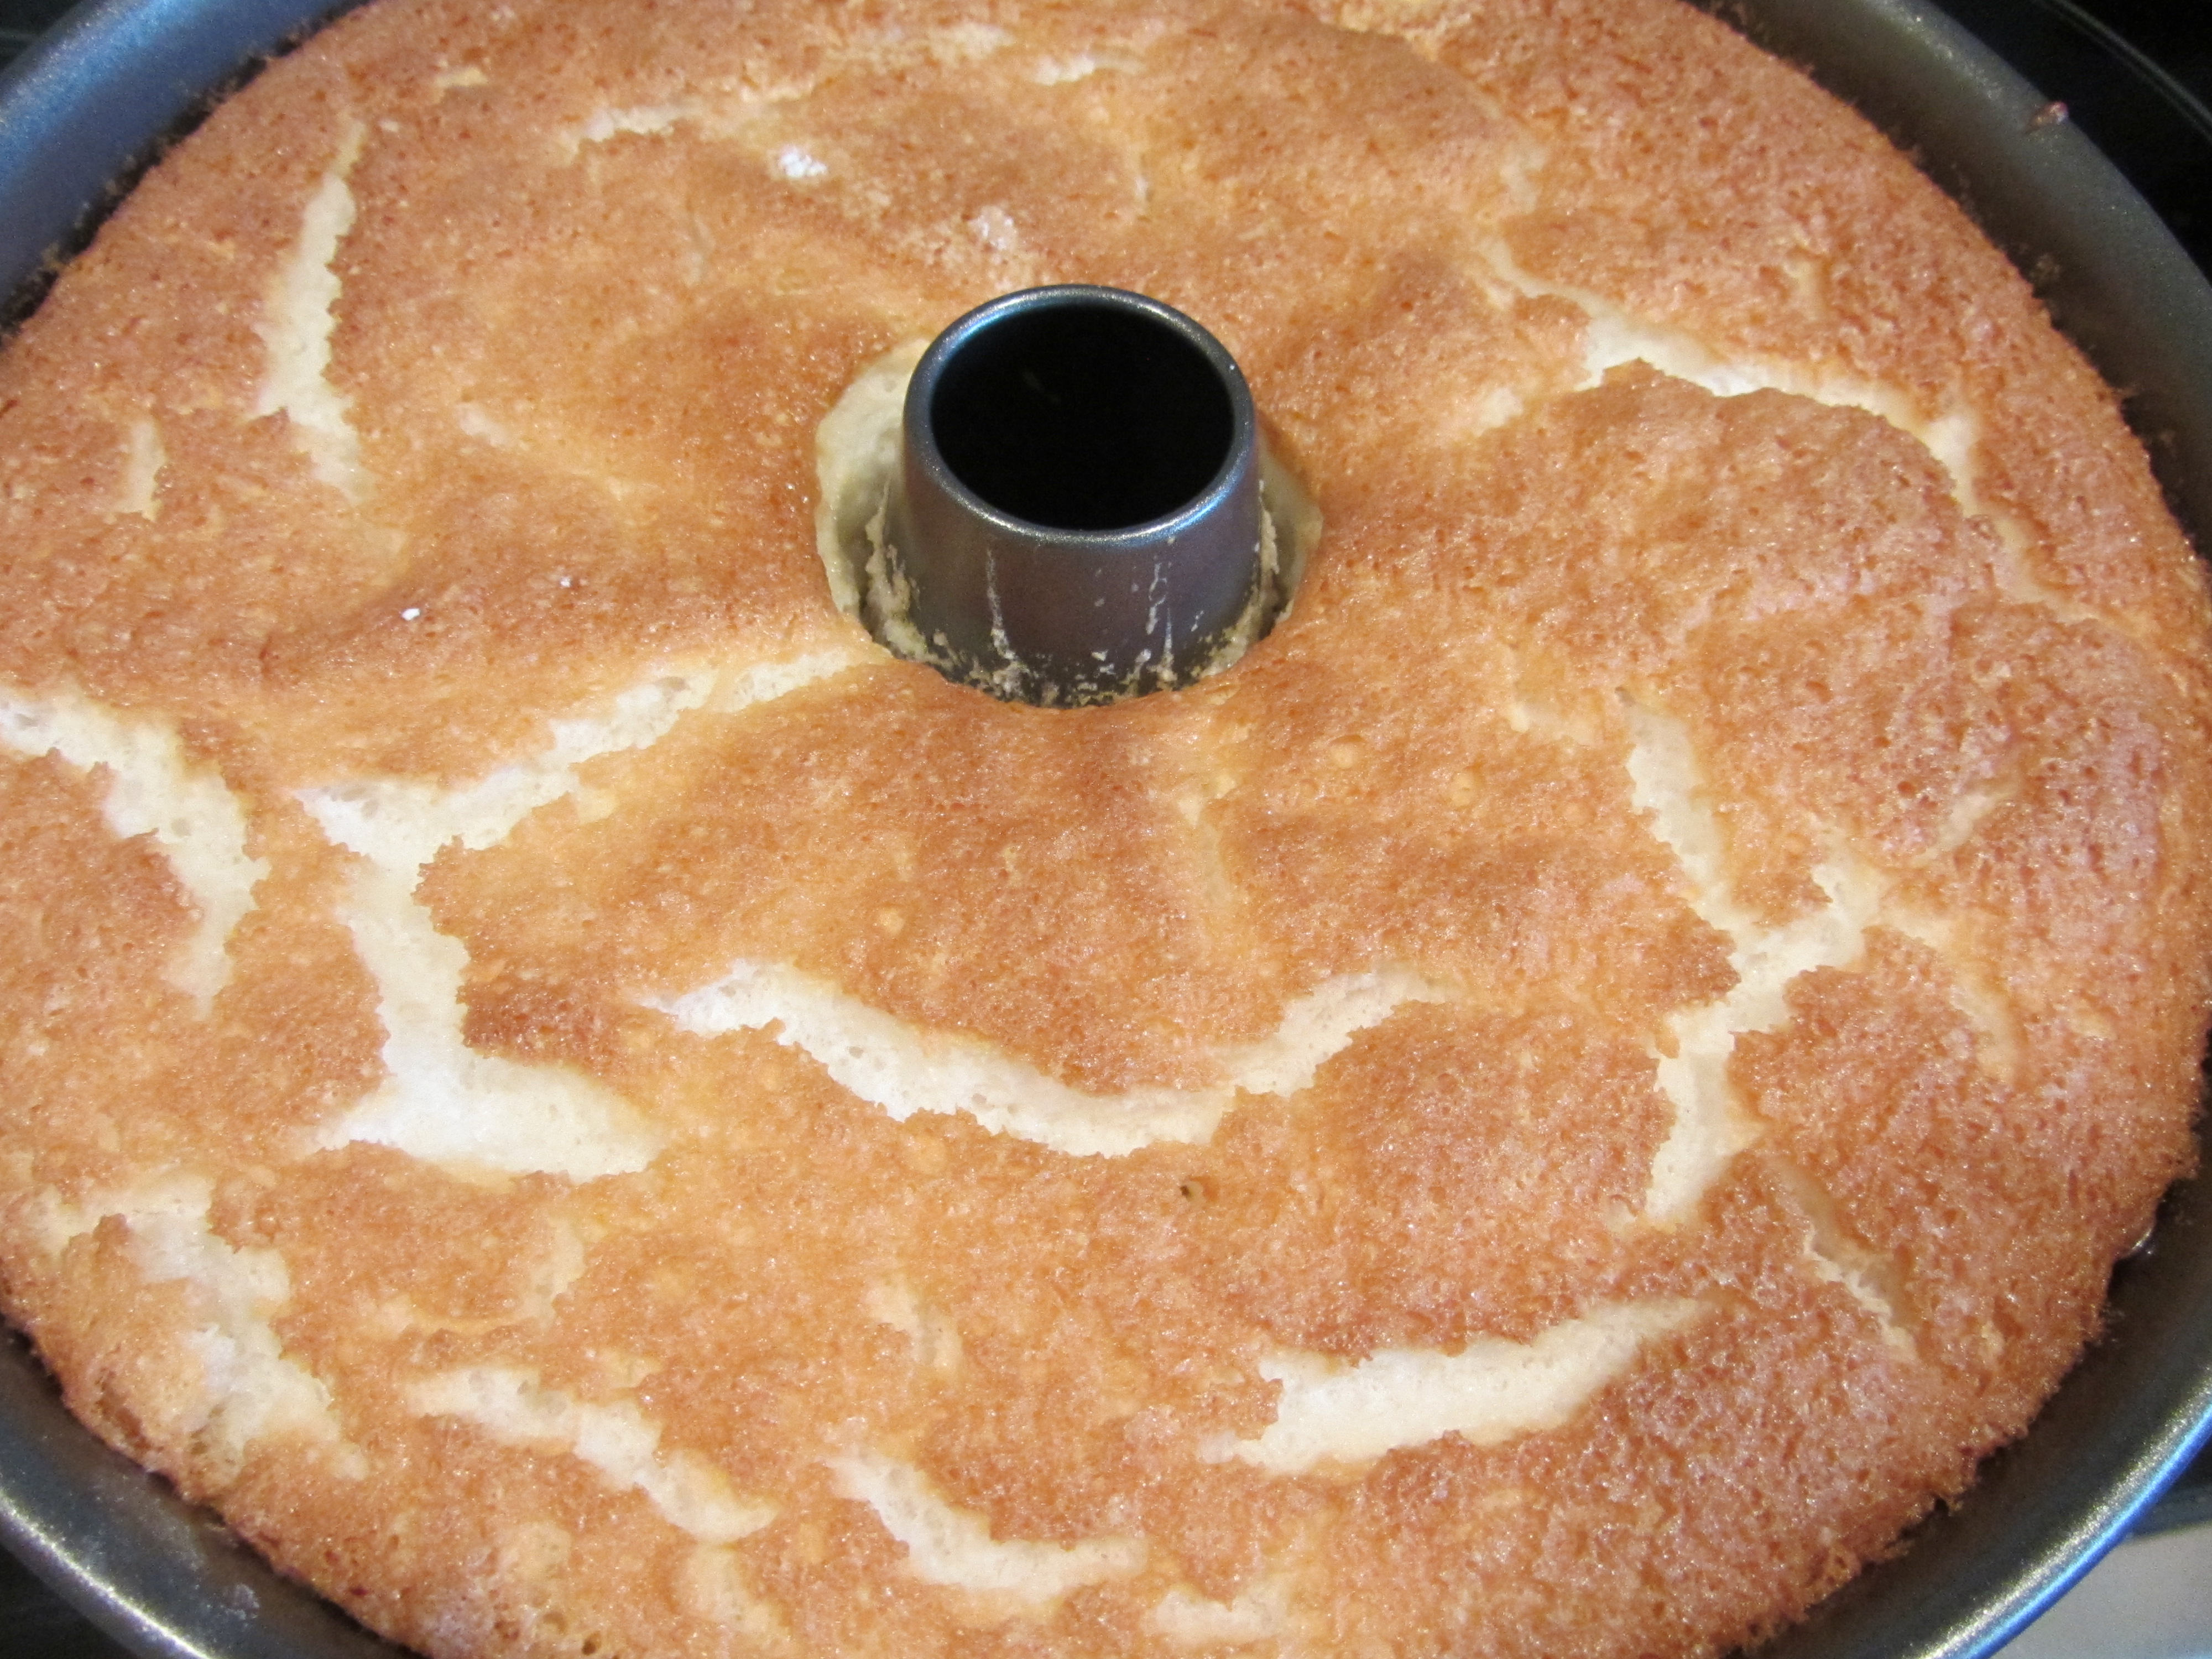
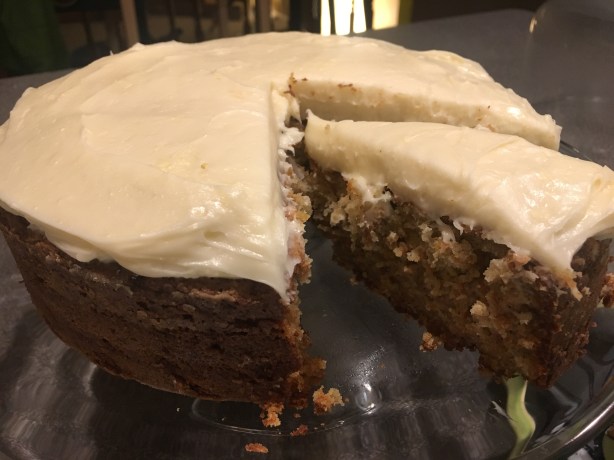
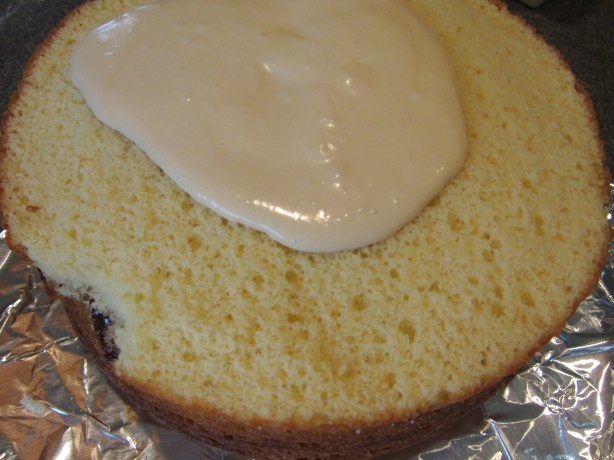
Refrigerate the frosting for two hours before using to frost a cake. I used my avocado frosting on a vanilla cake that I confess I made from a mix. To make things comical, when I went to frost my cake, I discovered that my cat had licked the top off of a portion of the cake. Yes, we trimmed that portion off.

IMG_1818

My cake, licked by my cat.

IMG_1821(1)

Alton’s avocado buttercream.

This frosting is kind of weird in its consistency, as it is very sticky and a bit glossy. It does not have the rich, buttery flavor and texture that are so typical of buttercream. It is also incredibly sweet. In fact, it is so sweet that it really has very little discernible flavor, other than a hint of citrus. I can’t say that I would know this frosting is made from avocado, especially if I tasted it without seeing the green color. Oh, and the color? Well, it’s different. This frosting could have a place on some type of cake for a little kid’s birthday, such as an alien or Shrek cake. Other than that, though, I thought this was sort of a dinger.

All in all, the recipes in this episode did make for quite the interesting kitchen experiment. I would definitely make the compound butter again. The frosting would be a no for me, unless I desperately needed green slimy frosting for a particular project. The ice cream? Although it wasn’t my favorite, I do think it was a fun one to make and try, and I think some people would really love it.

I have not been able to bring myself to write up a Good Eats episode. My dad died on March 18th, after spending three weeks in the ICU; those three weeks were a roller coaster ride, as his condition fluctuated often and rapidly. At times, we thought he would soon be leaving the hospital to head to a rehab facility, but then he would head downhill again. Finally, on March 18th, he succumbed. We received a great gift that day, as Dad was suddenly the most lucid he had been in weeks. He was able to tell us that he was ready to go and he said his goodbyes to all of us.

Needless to say, my dad’s funeral was two days ago and I am still completely devastated, as I lost one of my very best friends, and also my key life adviser. Dad and I shared many common interests, but food and Good Eats were among them. Dad always loved to chat about the recipes I was cooking for my next blog post, and he often recalled watching particular episodes with me in earlier years. Although it is emotionally tough to write a post without him here, I also know he would want me to continue my project, as he thought it was really “neat.”

Carrot Slaw

For a make-ahead side dish, try Alton’s carrot slaw. Begin by washing two pounds of carrots. If they are thicker than an inch at their bases, peel them also.

IMG_1596

Two pounds of carrots.

Next, use a vegetable peeler to peel the carrots into thin strips. This was quite a noisy task in my house, as our coonhounds are obsessed with carrots, and they howled for the duration of my peeling!

IMG_1597

Two pounds of carrots, peeled into ribbons.

Place the following ingredients in a lidded container that is twice the volume of your carrot strips:  1/2 C mayo, pinch of Kosher salt, 1/3 C sugar, 1/2 C drained crushed pineapple (canned), 1/2 C raisins, 2 t curry powder, a pinch of caraway and/or celery seed, and 1 t minced garlic.

Whisk these ingredients together to form a dressing.

IMG_1609

The combined dressing.

Finally, add the carrot strips, place the lid on the container, and shake the carrots until they are thoroughly coated with the dressing.

IMG_1617

Carrot slaw.

You can eat the slaw immediately or refrigerate it for up to a week. We ate this slaw as a side dish with dinner and both found it to be a flavorful vegetable option, though I felt it was a little sauce-heavy. I don’t know about you, but we tend to get in a rut with our vegetable side dishes, so this was definitely a different choice. My carrot strips were pretty long, which ended up being a bit tricky to eat (like super long noodles), so I would recommend trying to make slightly shorter carrot strips. This recipe is a mix of sweet and savory flavors, and the raw carrots maintain a slight crunch. This could be a good make-ahead option for a summer potluck.

Glazed Carrots

In this episode, Alton refers to this recipe as his all-time favorite carrot recipe. When purchasing carrots, Alton recommends buying carrots with fresh-looking green ends; be sure to trim the stems to a length of one inch once you are home, as they tend to pull moisture from the carrots. And, if you want to store carrots as Alton does, keep them wrapped in bubble wrap. I tend to just opt for plastic wrap, myself. To make glazed carrots, cut, on the bias, a pound of carrots into coins that are 1/3″ to 1/4″ thick.

Place the carrot discs in a 12-inch skillet, along with an ounce of butter, a large pinch of Kosher salt, and a cup of ginger ale.

Heat the burner to medium heat, cover the pot, and bring the liquid to a simmer. Once simmering, decrease the heat to medium-low and cook the carrots for five minutes with the lid on.

After five minutes, remove the lid, add 1/2 t chili powder, and increase the heat to high. Resist the urge to stir the carrots, though you can gently shake the pan. Continue to cook the carrots until the liquid is almost gone, which should take about five minutes.

Check the carrots with the tip of a sharp knife – they should be just knife-tender. Sprinkle the carrots with a tablespoon of chopped parsley and serve immediately.

IMG_1709

Glazed carrots.

I have to agree with Alton that these glazed carrots are delicious. This recipe comes together super quickly and is perfect for any weeknight. I highly recommend this one for a side dish.

Carrot Cake

Carrot cake seems to be the most polarizing type of cake. For me, carrot cake is way up at the top of the list, so this recipe gave me a good excuse to have a few slices. To make Alton’s version of carrot cake, preheat your oven to 350 and lube the bottom and sides of a cake pan with butter. Coat the pan with flour, removing any excess, and line the bottom of the pan with a disc of parchment paper. When I watched Alton prep his pan, I recognized the pan immediately as the same one he used to make his cheesecake in episode 61.

IMG_1717

Buttered and floured pan, lined on the bottom with parchment.

Next, shred 12 ounces of carrots on the large side of a box grater and place them in a bowl. Yes, this part is a pain, but at least your arm burns some calories, so you can eat a larger slice of cake later.

Dump the following ingredients into the bowl of a food processor:  12 ounces of flour, 1 t baking powder, 1 t baking soda, 1/4 t allspice, 1/4 t  cinnamon, 1/4 t nutmeg, and 1/2 t salt. Pulse the dry ingredients until combined and add them to the carrots, tossing them until coated.

Next, combine 10 ounces of sugar, 2 ounces of dark brown sugar, 3 eggs, and 6 ounces of plain yogurt in the food processor. With the machine running, drizzle in 6 ounces of vegetable oil. Add the wet mixture to the carrots, mixing ten times with your hands.

Pour the carrot mixture into your prepared pan and bake the cake for 45 minutes.

IMG_1741

Batter poured into prepared pan.

After 45 minutes, decrease the heat to 325 and bake for 20 more minutes, or until the cake has an internal temperature between 205 and 210 degrees (mine was at 208 after the initial 20 minutes). Oh, and when taking the temperature of a cake, place the thermometer half-way between the center of the cake and the rim of the pan.

IMG_1742

Cake after baking for 65 minutes.

Let the cake cool completely before frosting. I let my cake cool in the pan for the first half hour, and then removed it from the pan for the remainder of the cooling process.

IMG_1745

Cake, removed from pan after 30 minutes of cooling. Allowed to cool completely on rack.

For Alton’s cream cheese frosting, combine 8 ounces of room temperature cream cheese with 2 ounces of room temperature butter.

IMG_1747

Softened cream cheese and butter in mixer.

Add 1 t vanilla and 9 ounces of sifted powdered sugar, mixing until smooth.

Chill the frosting for 5-10 minutes before using it to frost your cooled cake.

IMG_1757

Frosted carrot cake.

IMG_1760

A slice of Alton’s carrot cake.

As I said before, I love carrot cake, and this is a simple one. I like the fact that the carrots are really the star of this cake, as there are no pineapple chunks, or walnuts, or raisins in this one. Also, since this is a one-layer cake, it is a cake that can easily be made on a busy day. Alton’s carrot cake is moist, dense, and has just the right amount of sweetness to balance with the sweeter cream cheese frosting. The frosting is smooth and creamy, and the recipe makes the perfect amount to frost the top of this carrot cake. I am actually making this cake again this weekend, as it is my dog’s 13th birthday on Sunday and he adores carrots. He will only get a tiny nibble, but we humans will eat the rest in celebration of him.

Just like that, the hectic holiday season is behind us and we are into 2019. We spent our Christmas at my brother’s house, so we did not host either Thanksgiving or Christmas in 2018. It always feels odd to me when I do not end up cooking much at the holidays, and my only real contribution to Christmas dinner was a batch of roasted Brussels sprouts. We had great food, though, including a salty Wayco ham.

I always have a long list of things I want to cook/bake that are unrelated to this blog project. I plan to actually sit down and make a list of the top things I want to make this year, so I can physically cross them off as I complete them. I had planned to make my list yesterday since it was the first day of the year, but I spent the day with a fever on the couch instead. Boo.

Savory Polenta

The 115th episode of Good Eats is one that Alton chose to remake in his new show Good Eats:  Reloaded. Savory polenta is the first recipe in this one. So, what is the difference between grits and polenta? According to Alton, grits and polenta are different preparations of the same main ingredient:  cornmeal. Grits are often made from ground hominy, which is white, while polenta is made from ground yellow corn. Either way, when purchasing cornmeal to use in either grits or polenta, always look for stone ground cornmeal; the terms “polenta” and “grits” are often featured together on the label of stone ground cornmeal. To make polenta, place 2 T olive oil in a saucier over medium heat. Add 3/4 C chopped red onion and 1 1/2 t Kosher salt, and cook the onion until it has softened.

Add 2 cloves of minced garlic and cook for two minutes.

IMG_0815

Garlic added to onion.

Next, add a quart of chicken broth and bring the broth to a boil over high heat.

When the broth is boiling, gradually add 1 C coarse cornmeal, whisking it in. Once all of the cornmeal has been added, place a lid on the pan and place it in a 350 degree oven for 40 minutes, stirring the polenta every 10 minutes.

Remove the pan from the oven and stir in 3 T butter, 2 ounces grated Parmesan, and 1/4 t pepper.

You can now eat the polenta as it is or you can pour the warm polenta into a parchment-lined 9×13″ pan. Let the polenta cool to room temperature in the pan, and then place it in the refrigerator for 1-2 hours.

IMG_0829

Polenta poured into 9×13 pan.

After chilling, flip the polenta out onto a cutting board and use a biscuit cutter to cut rounds.

Toss the polenta circles in olive oil and you can fry, saute, or grill them; I opted for sautéing. I served my polenta with a homemade tomato sauce and some grated Parmesan.

IMG_0839

Polenta rounds with tomato sauce and Parmesan.

This polenta is easy and delicious. We tasted the polenta after adding the butter, cheese, and pepper, and I would have been content to eat a bowl just like that. I also liked the sautéed version, as there was a slight golden crust on the outside, while the polenta remained tender and buttery on the inside. The garlic and onion flavors were obvious and made the polenta savory with a little kick. This would also be a great vegetarian dinner option if you substituted vegetable broth for the chicken broth, and this seems like a very kid-friendly dinner option too. Don’t bother with that tube of polenta at the grocery store when you can make this version at home!

Cheese Grits

I first remember having grits when I was in the Florida Keys for my cousin’s wedding. We stopped for breakfast at an oceanfront restaurant and grits were one of the side dish options. I instantly became a grits fan. For Alton’s grits, combine 2 C milk, 2 C water, and 1 1/2 t Kosher salt in a saucier and bring the mixture to a boil.

IMG_0707

Milk, water, and Kosher salt in a saucier.

Once boiling, slowly whisk 1 C coarse cornmeal into the liquid.

Place a lid on the pan and cook the grits for 20-25 minutes, stirring every two or three minutes, and keeping the heat as low as possible. I found that my grits were still too thin after 25 minutes, so I cooked them for about 35 minutes.

IMG_0714

Grits after stirring/cooking for ~35 minutes.

Stir in 4 T butter and season with Kosher salt, if needed.

IMG_0713

4 T butter.

IMG_0715

Butter added to grits.

Lastly, slowly stir in 4 ounces of shredded cheddar cheese.

IMG_0717

Cheddar, slowly added to grits.

We ate these grits for a pre-run breakfast, alongside purple barley bread and they kept me fueled for 8.5 miles.

IMG_0722

A bowl of cheese grits.

These grits are cheese, rich, and creamy. Due to their richness, I could only eat a small bowl before I felt pretty full. Alton’s grits are definitely heavier than his version of polenta, but equally tasty.

Pineapple Upside-Down Cornmeal Cake

Lastly, Alton finishes this episode with a sweet pineapple upside-down cake. Although this cake has been around forever, this was my first time making a pineapple upside-down cake. To begin the cake, place 3/4 C whole milk in a microwave-safe bowl and microwave the milk until it is boiling. Sprinkle 1 C coarse cornmeal over the milk and let it sit.

IMG_0748

Topping ingredients: butter, dark brown sugar, canned pineapple rings, toasted pecans, and maraschino cherries.

Next, place a 10-inch cast iron skillet over medium heat and melt 4 ounces of unsalted butter in the pan. When the butter has melted, use a pastry brush to brush some of the butter up the sides of the pan. The butter will brown slightly.

Add 1 C dark brown sugar to the pan and stir until melted, which will take about five minutes; watch the sugar carefully, as it can easily burn.

Once the sugar has melted, remove the pan from the heat and place canned pineapple slices around the perimeter of the pan, and one additional ring in the center.

IMG_0755

Pineapple rings added to caramel.

Put a maraschino cherry in the center of each pineapple slice and sprinkle 1/3 C of toasted/chopped pecans over the pineapple.

Drizzle on 3 T of the juice from the canned pineapple and set the skillet aside to cool slightly.

IMG_0759

Pineapple juice drizzled over topping.

While the skillet cools, combine 4 3/4 ounces flour, 2 t baking powder, and 1/2 t salt in a large bowl.

IMG_0762

Flour, baking powder, and salt.

In a medium bowl, whisk together 3 eggs, 3/4 C sugar, 1/2 C canola oil, and the milk-soaked cornmeal from earlier.

When the wet ingredients are combined, add the wet mixture to the dry ingredients and whisk for a count of six. The final batter will be a little lumpy, but that is okay. Do not over mix.

IMG_0768

Wet mixture added to dry ingredients.

Pour the cornmeal batter over the pineapple in the skillet and place in a 350 degree oven for 40 minutes.

Let the cake cool for 30 minutes before flipping the cake out of the skillet. Cut the cake into wedges and serve.

IMG_0779

Cooled cake flipped onto cake stand.

IMG_0788

Alton’s pineapple upside-down cake.

This cake is fun to make because it looks pretty when you invert it out of the pan. The topping is a delicious mix of dark caramel, crunchy pecans, and juicy pineapple; the best part, in my opinion, is the part by the edges of the pan, as the caramel is thick and slightly chewy there. The batter of this cake has the slight grittiness of cornmeal, and is only slightly sweet. I like the fact that the cake itself is not overly sweet, as the topping is sweet enough. This cake is great for breakfast, dessert, or both!

If last episode of Good Eats was all about cake, I suppose it is only fitting that this episode dealt with icing. Alton made the point that store-bought cake mixes are generally quite good, and, in fact, they are sometimes better than the cakes we can make at home. For this reason, a cake mix was used in this episode, and Alton used it to make two round layers. Once his cakes were baked, it was onto the icing.

IMG_6383

One of my two cake mix layers.

Buttercream

First up, Alton made his version of buttercream. To make this recipe, you will need to have 10 ounces of softened butter, so you will need to set your butter out in advance. In a small saucepan, combine 1/2 C sugar and 1/2 C dark corn syrup, bringing this mixture to a boil over high heat. When your sugar syrup has large bubbles, turn off the heat and set the syrup aside for a few minutes.

While the syrup cools, beat 4 eggs with a whisk attachment until they are thick and have lightened in color.

It is ideal to use a metal turkey baster to add the hot syrup to the eggs, as you can drizzle the syrup into the edge of the mixing bowl, avoiding the whisk (the syrup will solidify upon hitting the whisk). You will, however, want to oil your baster first by drawing vegetable oil into the baster, and then pushing it out again. Using your lubed baster, and with the mixer running on low speed, drizzle the hot syrup into the eggs, trying to get it in the space between the bowl and the whisk.

Continue this process until all of the syrup has been added. When all of the syrup is in, increase the speed to high and beat until the side of the bowl is warm, but not hot, to the touch; this should take about two minutes.

IMG_6424

Buttercream after adding all of the syrup.

Next, piece by piece, slowly add your softened butter, only adding a new piece of butter when the previous piece has been completely mixed in. Your resulting buttercream should be smooth, creamy, and thick enough to frost a cake. The key word here is “should.” Mine was not. My buttercream had turned into sort of a broken soup at this point.

I attempted to save my buttercream by first heating it on the stove to get the tiny lumps of butter incorporated.

I then tried beating it again, and it was smoother, but it still was not thickening properly.

IMG_6453

Beating the buttercream again.

I decided to try chilling it and beating it again, which resulted in a slightly thicker consistency, but it still was inadequate. My last hope was to try chilling it even longer, but this still did not solve the problem.

IMG_6455

Beating the buttercream after chilling.

After working on this buttercream for a couple hours, I finally pulled the plug. My buttercream tasted fantastic – rich, buttery, and sweet, but it just was too runny. I did use it for a pseudo crumb coat on my cake, but it just did not work well. Oh, and did I mention that while I was having my buttercream fiasco, my dog decided to sample my cake? Yep, he took a bite right out of the side.

IMG_6456

Using the buttercream for a crumb coat.

I have successfully made buttercream in the past, using a sugar syrup. The recipes I have had success with in the past have all used a candy thermometer and specific temperatures for the syrup. I wonder if my syrup was not hot enough, or if I did not add it quickly enough. I also wonder if my butter was too soft. After reading the online reviews of this recipe, I see that I was not the only person to struggle with this particular recipe. Honestly, I wouldn’t bother with this recipe again, as I know that there are other buttercream recipes out there that work, while this one did not for me. When all was said and done, I wound up frosting my cake with store-bought buttercream, which is just not the same.

IMG_6460

Giving in and frosting my cake with store-bought buttercream.

Oh, but if you choose to make this buttercream and it works for you, you do also have the option of adding flavor. For chocolate buttercream, melt 4 ounces of chopped dark chocolate, letting it cool for a few minutes. Add the melted chocolate to the finished buttercream. For coffee buttercream, dissolve 1 t of instant espresso in 2 t coffee liqueur. Or, you can add any extract or food coloring of your choosing. Store buttercream in an airtight container with an additional layer of plastic wrap. If you make the buttercream in advance, bring it to room temperature and re-whip it before frosting your cake.

Ganache

For his cake, Alton opted to make a ganache to use as a filling between cake layers. To make the ganache, heat 6 ounces of heavy cream with 3 T corn syrup in a small saucepan.

Add 12 ounces of chopped dark chocolate and stir until the chocolate is melted and smooth.

IMG_6391

Chopped dark chocolate.

Remove the pan from the heat and add 1/2 t vanilla extract.

IMG_6395

Ganache after chocolate was melted and smooth. Adding vanilla off the heat.

Let the ganache cool before using. Spread the ganache between cake layers, using a spatula to spread it almost to the cake edge.

Unlike the buttercream, this ganache recipe was super fast and easy, and it tasted great. I typically use a regular frosting between cake layers, rather than a filling, but I really liked the contrast of dark chocolate between layers. And, if you refrigerate your cake, the ganache becomes fudge-like and dense, adding a level of richness. Oh, and my suggestion if you happen to have leftover ganache is to refrigerate it until set. You can form balls with the firm ganache, rolling them in cocoa powder or powdered sugar to form truffles. Or, you can just eat it with a spoon like I did.

Writing Chocolate

A recipe for writing chocolate was last in this episode. For this one, combine 1 C chocolate chips and 2 t canola oil in a microwave-safe container, stirring to coat the chips with the oil.

Microwave the chocolate for one minute on high. Stir the chocolate until it is completely smooth. For decorating, transfer the chocolate to a piping bag or a plastic bottle.

This recipe also worked very well and was super easy. It is certainly an easy way to add some writing to a cake. It tastes much better than the artificial writing icing you can buy in the store too.

Cake Assembly

Though not a recipe per se, Alton did go over some of his cake assembly/decorating basics.

  1. He opts for a lazy susan for cake decorating, placing it on top of an upturned cake pan.
  2. To level his cakes, Alton uses two wooden yard pickets, placed on their sides in a V-shape. He places his cake inside the V and slices along the top of the pickets with a bow saw blade.
  3. He also uses the pickets for splitting cake layers, turning them onto their shorter sides. Again, using a bow saw blade, he slices across the top of the pickets, slicing the cake into two layers.
  4. When frosting a cake, place the layers in the following order from base to top:  bottom of cake 1, top of cake 1, top of cake 2, and bottom of cake 2.
  5. When you have the filling between your layers, first frost the cake with a thin crumb coat of icing (about 1/4 of your icing) and refrigerate. This crumb coat will make it easier to apply a smooth layer of icing.
  6. When frosting a cake, apply more icing than you think you need to the top of the cake. Spread the icing, working out to the edges and down the sides. It is always better to remove excess icing than to add more.

Gold Cake

Cake is one of my very favorite desserts, and I would probably choose it over pie most of the time. The star of this episode is a gold cake, which is a relative of the classic pound cake. This recipe uses cake flour because of its low protein content, which results in a cake that is more tender. Alton also explained that he often prefers to use butter-flavored shortening when baking, as he thinks it gives more of a buttery flavor to baked goods than does actual butter. You can swap shortening for butter in any baking recipe, but you will need to make a couple of modifications because shortening is 100% fat, while butter is 20% water. This means that you will need to use 20% less shortening than the amount of butter called for, and you will need to increase the liquid in your recipe by 20%. Now, on to the cake.

Before starting this recipe, weigh the empty bowl of your stand mixer, noting the weight for later. In the stand mixer bowl, beat 140 g of butter-flavored shortening on low for about a minute.

To the beaten shortening, add 300 g sugar and a pinch of Kosher salt, and beat this mixture on medium for at least four or five minutes.

Next, with the mixer running, slowly add 130 g of egg yolks (about 8 yolks).

Once the yolks are incorporated, prepare your remaining wet and dry ingredients. In one vessel, combine 180 g of milk with 1 t vanilla extract.

IMG_6210

180 g of milk with 1 t vanilla.

In a separate bowl, sift together 350 g of cake flour and 14 g of baking powder.

Alternate adding the flour and milk mixtures to the batter by adding half of the flour, half of the milk, the remaining half of the flour, and the last of the milk.

IMG_6235

The final cake batter.

Once you have a smooth batter, again weigh your mixing bowl. Subtract the empty bowl weight you took earlier from the weight of the bowl+batter, and divide this number in half; you now have the weight of batter you should have in each cake pan for baking. Using this number, divide the batter evenly between two greased/floured 9-inch cake pans (my batter weighed 1070 g, so I allotted ~535 g per pan).

Bake the cakes in the top third of a 350-degree oven.

IMG_6239

Cakes in the top 1/3 of a 350-degree oven.

Check the cakes after 12 minutes of baking, rotating them if one cake is browning more than the other. The cakes are done when a toothpick inserted in the center of the cakes comes out clean, which took about 30 minutes for my cakes. Let the cakes cool in their pans (on racks) for 10-15 minutes.

IMG_6240

Cakes after baking until a toothpick came out clean – about 30 minutes.

Remove the cakes from their pans and let them cool completely.

IMG_6246

Cake removed from pan.

Now, you could eat these cakes plain, or with whipped cream and fruit, but I did what Alton did and frosted them with his cocoa whipped cream (recipe below).

Cocoa Whipped Cream

To go with his gold cake, Alton made this cocoa whipped cream. You will want to make the cream once your cakes are completely cool. While your cakes finish cooling, chill the mixing bowl and whisk attachment of your stand mixer by placing them in the refrigerator. When the cakes have sufficiently cooled, place 2 T of cold water in a small saucepan and sprinkle 1 t gelatin over the water’s surface; set aside for 5 minutes.

Place the saucepan over low heat, just until the gelatin has melted.

IMG_6257

Gelatin, heated until just melted.

Meanwhile, in your cold mixing bowl, beat on low 2 C whipping cream, 1 t vanilla, and 1/2 C cocoa mix (you could probably use any cocoa mix, but Alton used his Good Eats mix, of which I still had some).

Slowly drizzle the melted gelatin into the cocoa/cream mixture and increase the speed.

IMG_6260

Cocoa mixture after all of the gelatin was added.

Beat the cream until it forms medium peaks.

IMG_6263

The final cocoa cream, beaten until it had medium peaks.

Use the whipped cream to frost Alton’s gold cake, or any other two-layer cake.

We thought Alton’s gold cake and cocoa whipped cream paired nicely together. The cake is a bit of a dry, crumbly cake, but has nice buttery flavor.IMG_6269 
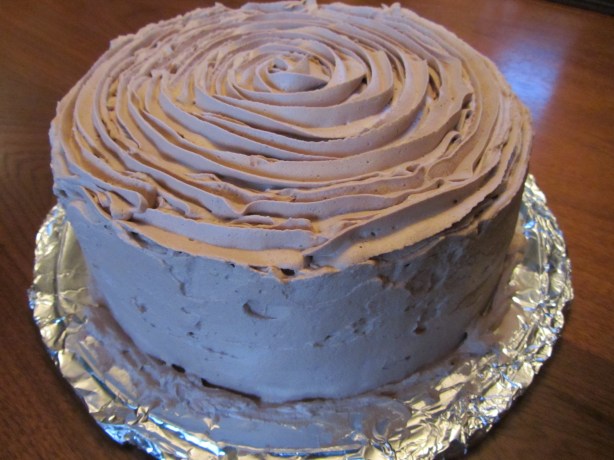
The cocoa whipped cream is a nice alternative to traditional frosting, having a light, airy texture and being less sweet than many frostings, but it also necessitates refrigerating your cake.

IMG_6272

A slice of Alton’s gold cake with cocoa whipped cream.

All in all, I would be more likely to make the cocoa whipped cream again over the cake. The cake had good flavor, but was just a bit too dry.

Since I last posted, Ted has continued to have a rough time, resulting in a second major surgery on November 2nd and six more days in the hospital. With a grand total of 26 days (divided among three visits) in the hospital, he finally came home November 7th. We are crossing our fingers that we are hopefully on the real road to recovery this time.

Sweet and Sour Dessert Sauce

I prepped the recipes from the 49th episode of Good Eats over the course of a couple weeks. This episode was all about honey, or as Alton referred to it, “bee backwash.” After hearing that quote, I think I shall perhaps never look at honey quite the same again!

The first recipe in this episode is for Alton’s honey dessert sauce. Really it does not get much simpler than this one. To make Alton’s sauce, you will need only honey and sour cream.

IMG_3895

Honey and sour cream.

For the honey, Alton recommends a light honey, such as wildflower honey. I will confess that I used the honey I had on hand, which had no specific varietal on the label. To make the sauce, pour 1/4 C honey in a stainless steel bowl and heat it on a burner, just until warm.

IMG_3899

Honey, heating slightly on a burner.

Into the honey whisk 1 C sour cream.

IMG_3900

Sour cream added to warm honey.

IMG_3901

Sour cream and honey, whisked together.

Serve the sauce over fruit, cake, or anything else you can think of. I served the sauce over the orange cake that was also featured in this episode (see below).

IMG_3905

Alton’s dessert sauce, served over cake.

The sauce had a nice balance of sweetness and tartness and was pretty thin in consistency. I thought this sauce was just okay; it did not wow me in any way and I probably will not be making this one again.

Honey Mustard Dressing

Growing up, my brother would order honey mustard dressing every time he ordered a salad at a restaurant, so I instantly thought of him when making Alton’s honey mustard dressing. This is another super simple recipe, requiring only three ingredients:  honey (medium-bodied like sourwood), Dijon mustard, and rice wine vinegar.

IMG_3907

Rice wine vinegar, Dijon mustard, and honey.

For this dressing, I used the same honey that I used in my dessert sauce (above). To make Alton’s dressing, whisk together 5 T honey, 3 T smooth Dijon mustard, and 2 T rice wine vinegar.

IMG_3908

Honey in a bowl.

IMG_3909

Dijon mustard and rice wine vinegar added to honey.

IMG_3911

Alton’s honey mustard dressing.

Serve this as either a dressing or dipping sauce. I eat a lot of salads, so I served this over a large entree salad I made for myself.

IMG_3913

A salad with Alton’s honey mustard dressing.

I thought this dressing was really quite nice. I have found some honey mustard dressings in the past to be too sweet, but this had a nice balance of sweetness, acidity, and tang. As a bonus, this dressing does not separate in the refrigerator as oil-based dressings do. If you’re a honey mustard fan, this is one to try. I served it to my brother, the honey mustard expert, when he was visiting and he seemed to really enjoy it.

Honey Plums

The third honey recipe Alton made was for honey plums. Again, this is another simple recipe. For this one, you’ll need wildflower honey and under-ripe plums or figs. I could not find plums or figs at my grocery store, so I opted for firm D’Anjou pears.

IMG_3914

Honey and pears.

Begin by covering the bottom of a pan with honey and heat over low.

IMG_3915

Honey covering the bottom of the pan.

Add your fruit, cut side down, and cook for 5-6 minutes. Increase the heat to high for a minute before removing from the heat.

IMG_3917

Pears added to honey in pan.

IMG_3918

Pears after cooking in honey for several minutes.

Serve the honeyed fruit over ice cream.

IMG_3920

Honeyed pears served over vanilla ice cream.

I liked this and it reminded me of the poached pear phase my mom went through. This was another one that was just okay for me, but I think I’ll have to try this again when plums are back in season.

Aunt Verna’s Orange Cake

Of the recipes featured in this episode, I was most excited about this one. Alton claims that this cake recipe came from his Aunt Verna, but who knows if he really had an Aunt Verna?

IMG_3886

Orange cake ingredients: eggs, flour, orange zest, baking powder, butter, baking soda, and orange blossom honey.

For the cake, begin by whisking together 1 C orange blossom honey and 4 eggs.

IMG_3887

Eggs and honey.

To this mixture add 1 T orange zest.

IMG_3888

Orange zest added to honey/egg mixture.

Sift together 1 1/2 C flour, 1 t baking powder, and a pinch of baking soda, and slowly add the flour mixture to the liquid ingredients.

IMG_3889

Flour, baking soda, and baking powder sifted together.

Pour the batter into a greased loaf pan and bake at 350 degrees for 30 minutes, or until a wooden skewer comes out dry.

IMG_3892

Batter poured into the pan.

IMG_3893

Alton’s orange cake.

My cake took about 45 minutes to be done. I sliced my cake and served it with Alton’s sweet and sour dessert sauce (above).

IMG_3898

Alton’s orange cake, sliced.

I found this cake to be highly disappointing. It did have a lot of orange flavor, but the cake was quite dry and the outside of the cake was a bit darker than I would have liked. For me, this one was a bit of a flop, and I will not be making this one again. In fact, I would say that this episode of Good Eats (and the recipes featured) was one of my least favorites thus far.


It seems odd to write a blog post about a recipe I prepared a mere 10 days ago, while it feels like my entire life has changed since then. Ted went under the knife five days ago to have a massive operation to remove the cancer from his body. He still lies in a hospital bed as I type, and likely will be there for at least a few more days. The excellent news is that they got all of the cancer out and there was zero lymph node involvement. The bad news is that he feels quite miserable. Hopefully he’ll be feeling better soon. Until then, I’ll reminisce about Alton’s angel food cake that we ate 10 days ago.

Angel Food Cake

I vaguely remember my mom making angel food cake a few times when I was little, but it was never something we ate regularly. My image of angel food cake has been primarily of the dry, sponge-like, flavorless cakes you can buy in every grocery store bakery in the country. That’s not to say that I dislike those cakes, but just that they don’t wow me. How would Alton’s recipe for angel food cake stack up?

To make Alton’s angel food cake, start by processing 1 3/4 C of sugar in a food processor for two minutes; this will give sugar with finer crystals, yielding between 1 1/4 and 1 1/2 C of sugar.

Ingredients for Alton's angel food cake:  cake flour, egg whites, salt, sugar, cream of tartar, and orange extract.

Ingredients for Alton’s angel food cake: cake flour, egg whites, salt, sugar, cream of tartar, and orange extract.

Sugar into food processor.

Sugar into food processor.

Sugar after processing for two minutes.

Sugar after processing for two minutes.

Sift approximately half of this sugar (set the other half aside) with 1/4 t of salt and 1 C of cake flour. A lot of sugar is needed in angel food cake because there is no fat; the sugar acts as a tenderizer. Cake flour is used here because it has no protein, which means no gluten is produced.

Half of the sugar sifted with cake flour and salt.

Half of the sugar sifted with cake flour and salt.

Next, you will need a dozen egg whites at room temperature (room temperature egg whites are more flexible, so they foam better). Alton encourages you to separate your eggs using three containers:  a container over which you separate each white (to make sure no yolk slips in), a container to contain the yolks, and a container for the yolk-free whites. Why is it so critical to avoid having yolk mixed in with your whites? The yolks contain fat, which lubes the bonding points on the proteins in the whites, causing the bubbles to pop. Since angel food cake is a foam, the ultimate goal is bubbles.

Separating yolks and whites.

Separating yolks and whites.

Once your egg whites are at room temperature, add 1/3 C of warm water, 1 t orange extract, and 1 1/2 t cream of tartar. Cream of tartar is a mild acid, made of tartaric acid crystals, that stabilizes foams by adding hydrogen atoms.

Egg whites with warm water, orange extract, and cream of tartar added.

Egg whites with warm water, orange extract, and cream of tartar added.

Use a whisk to froth this egg white mixture. Once frothy, whip the whites with a hand mixer on medium speed.

Whites beaten with a whisk until frothy.

Whites beaten with a whisk until frothy.

While mixing, slowly add the remaining sugar. When your egg whites have soft peaks, decrease the speed on the mixer to avoid overbeating. Stop mixing when you have reached medium peaks.

Whites after reaching medium peaks.

Whites after reaching medium peaks.

Again, sift the flour mixture, but sift it over the top of the batter, just dusting the top.

Dusting the top of the batter with sifted flour mixture.

Dusting the top of the batter with sifted flour mixture.

Use a spatula to gently fold the flour into the whites, just until not visible.

Folding in the flour mixture.

Folding in the flour mixture.

Repeat until all of the flour is incorporated. Gently spoon the batter into an ungreased tube pan and bake at 350 degrees for 35 minutes, or until a skewer comes out almost dry. My cake was ready after 35 minutes.

The final batter, spooned into a tube pan.

The final batter, spooned into a tube pan.

Cake after baking 35 minutes.

Cake after baking 35 minutes.

Remove your cake from the oven and invert it on the back of a sheet pan. My cake pan has feet for this purpose. The cake needs to be inverted or it will collapse. Let the cake cool completely.

Cake inverted to cool completely.

Cake inverted to cool completely.

To remove the cake from the pan, you will need to run a knife around the edges, as the cake will be stuck from “climbing” the walls of the pan. While you certainly could serve your cake with accompaniments, we chose to eat ours plain.

Alton's angel food cake.

Alton’s angel food cake.

A slice of angel food cake.

A slice of angel food cake.

I have to say that Alton’s angel food cake is so much better than anything you can buy. It is moist, airy, and sweet, and has just the right hint of orange flavor. You could use any extract you would like to flavor your cake. While I still won’t be making angel food cake regularly, Alton’s version is quite delicious, and should I need an angel food cake in the future, this is the recipe I will use.