Posts Tagged ‘shellfish’

Things are crazy around here with a busy toddler! Although I am able to find time to cook at night, it is often tough to find time to sit down and write a blog post. Cycling and running are two of my biggest hobbies, and I try to do a ride or run most days of the week. My favorite little gal is sometimes now only napping for an hour or so during the day, which means I have to carefully choose how I want to spend said free hour! Today, though, the little one is out running errands with her dad, so I have some time to sit down and do some writing.

Seafood is probably the food category I am least confident cooking because I always fear that I will either over or undercook it. Typically, though, I find that my gut is usually fairly trustworthy, if only I’ll allow myself to listen to it. Scallops were recently on the menu in our house, as I prepared Alton’s three scallop recipes for us. While I have cooked scallops a few times, they do not make regular appearances in our house; rather, they are something I occasionally order when we go out to eat. My favorite scallop preparation I remember consuming was a pairing of sea scallops with a huckleberry reduction that my dad and I both ordered as a special at a restaurant.

Seared Scallops

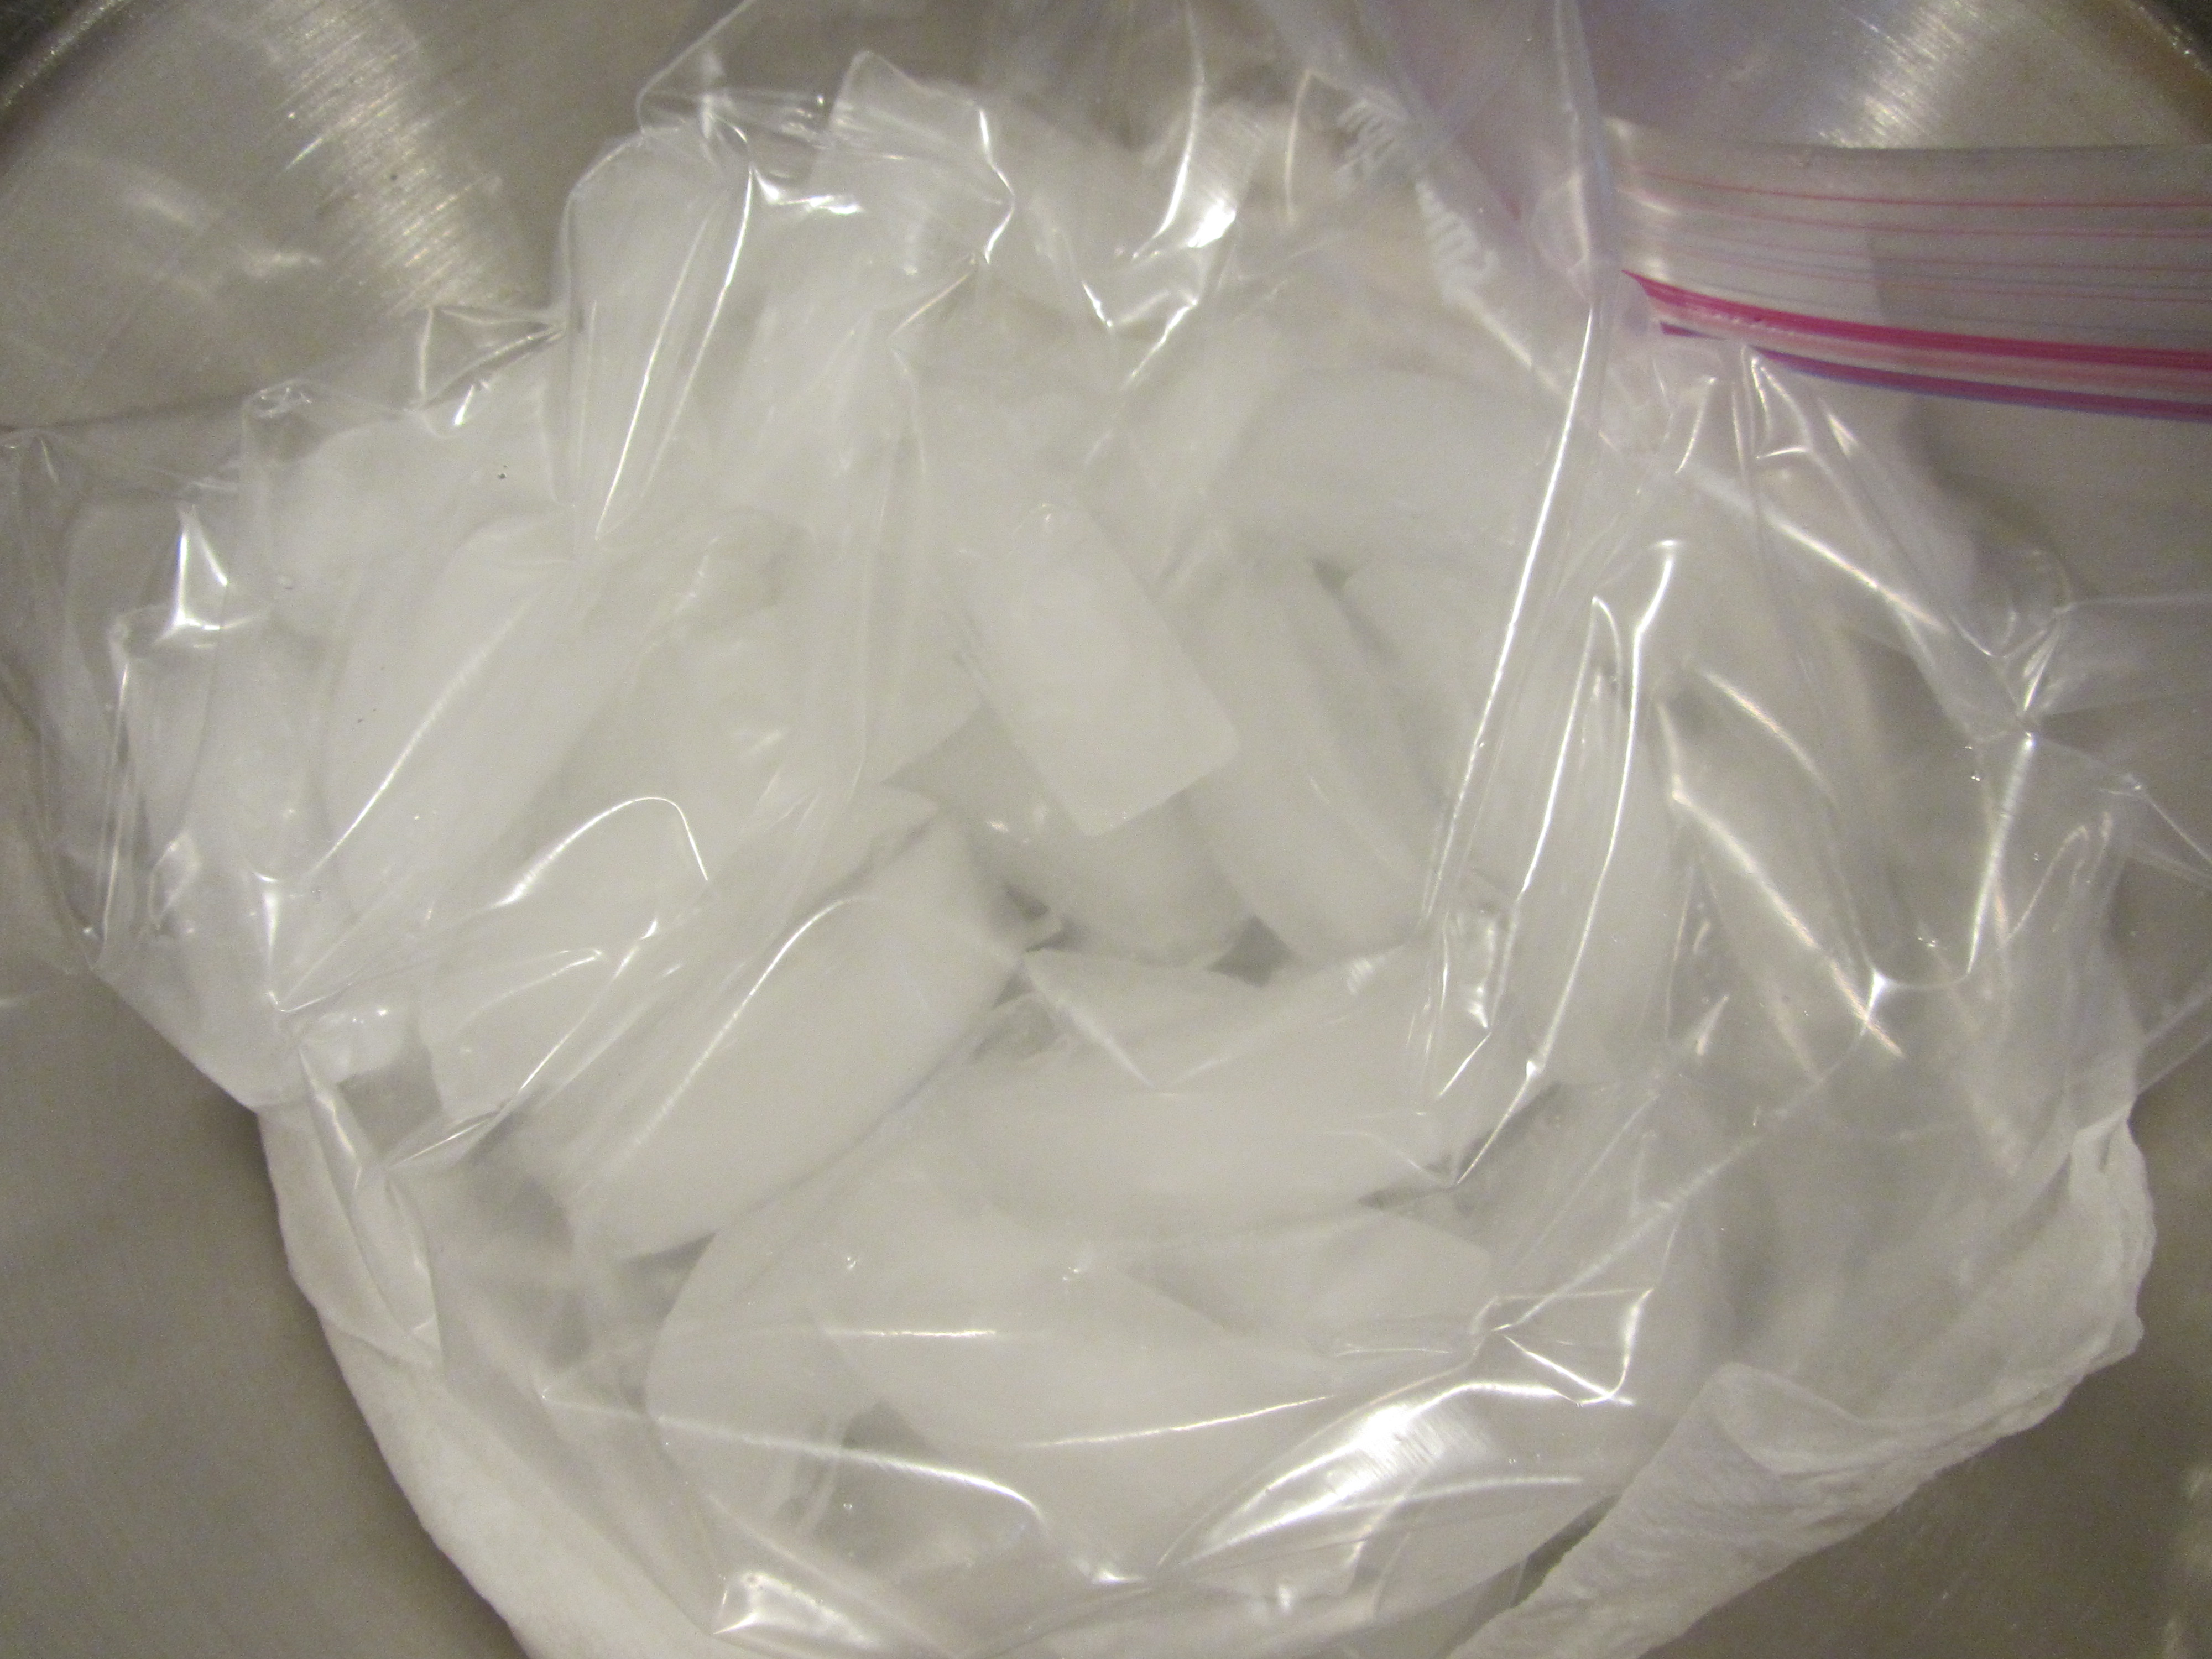
When purchasing fresh scallops, store them in an airtight container over ice, and use them as soon as possible after bringing them home. Frozen scallops can be kept in the freezer for a couple months and should be thawed on ice in the refrigerator. Diver scallops are optimal, as they are the freshest and have been harvested by divers. I did not know that sea scallops (the big ones) can be classified as either wet or dry. Dry scallops tend to have a sticky texture, have an ivory/pink/orange hue, and are not stored in any liquid. Wet scallops, on the other hand, are white in color and have been soaked in a solution of sodium tripolyphosphate, which is a preservative. This preservative causes the scallops to retain water and can impart some odd flavors, so dry scallops are preferable. Oh, and for an odd fact about scallops… did you know they are hermaphrodites?

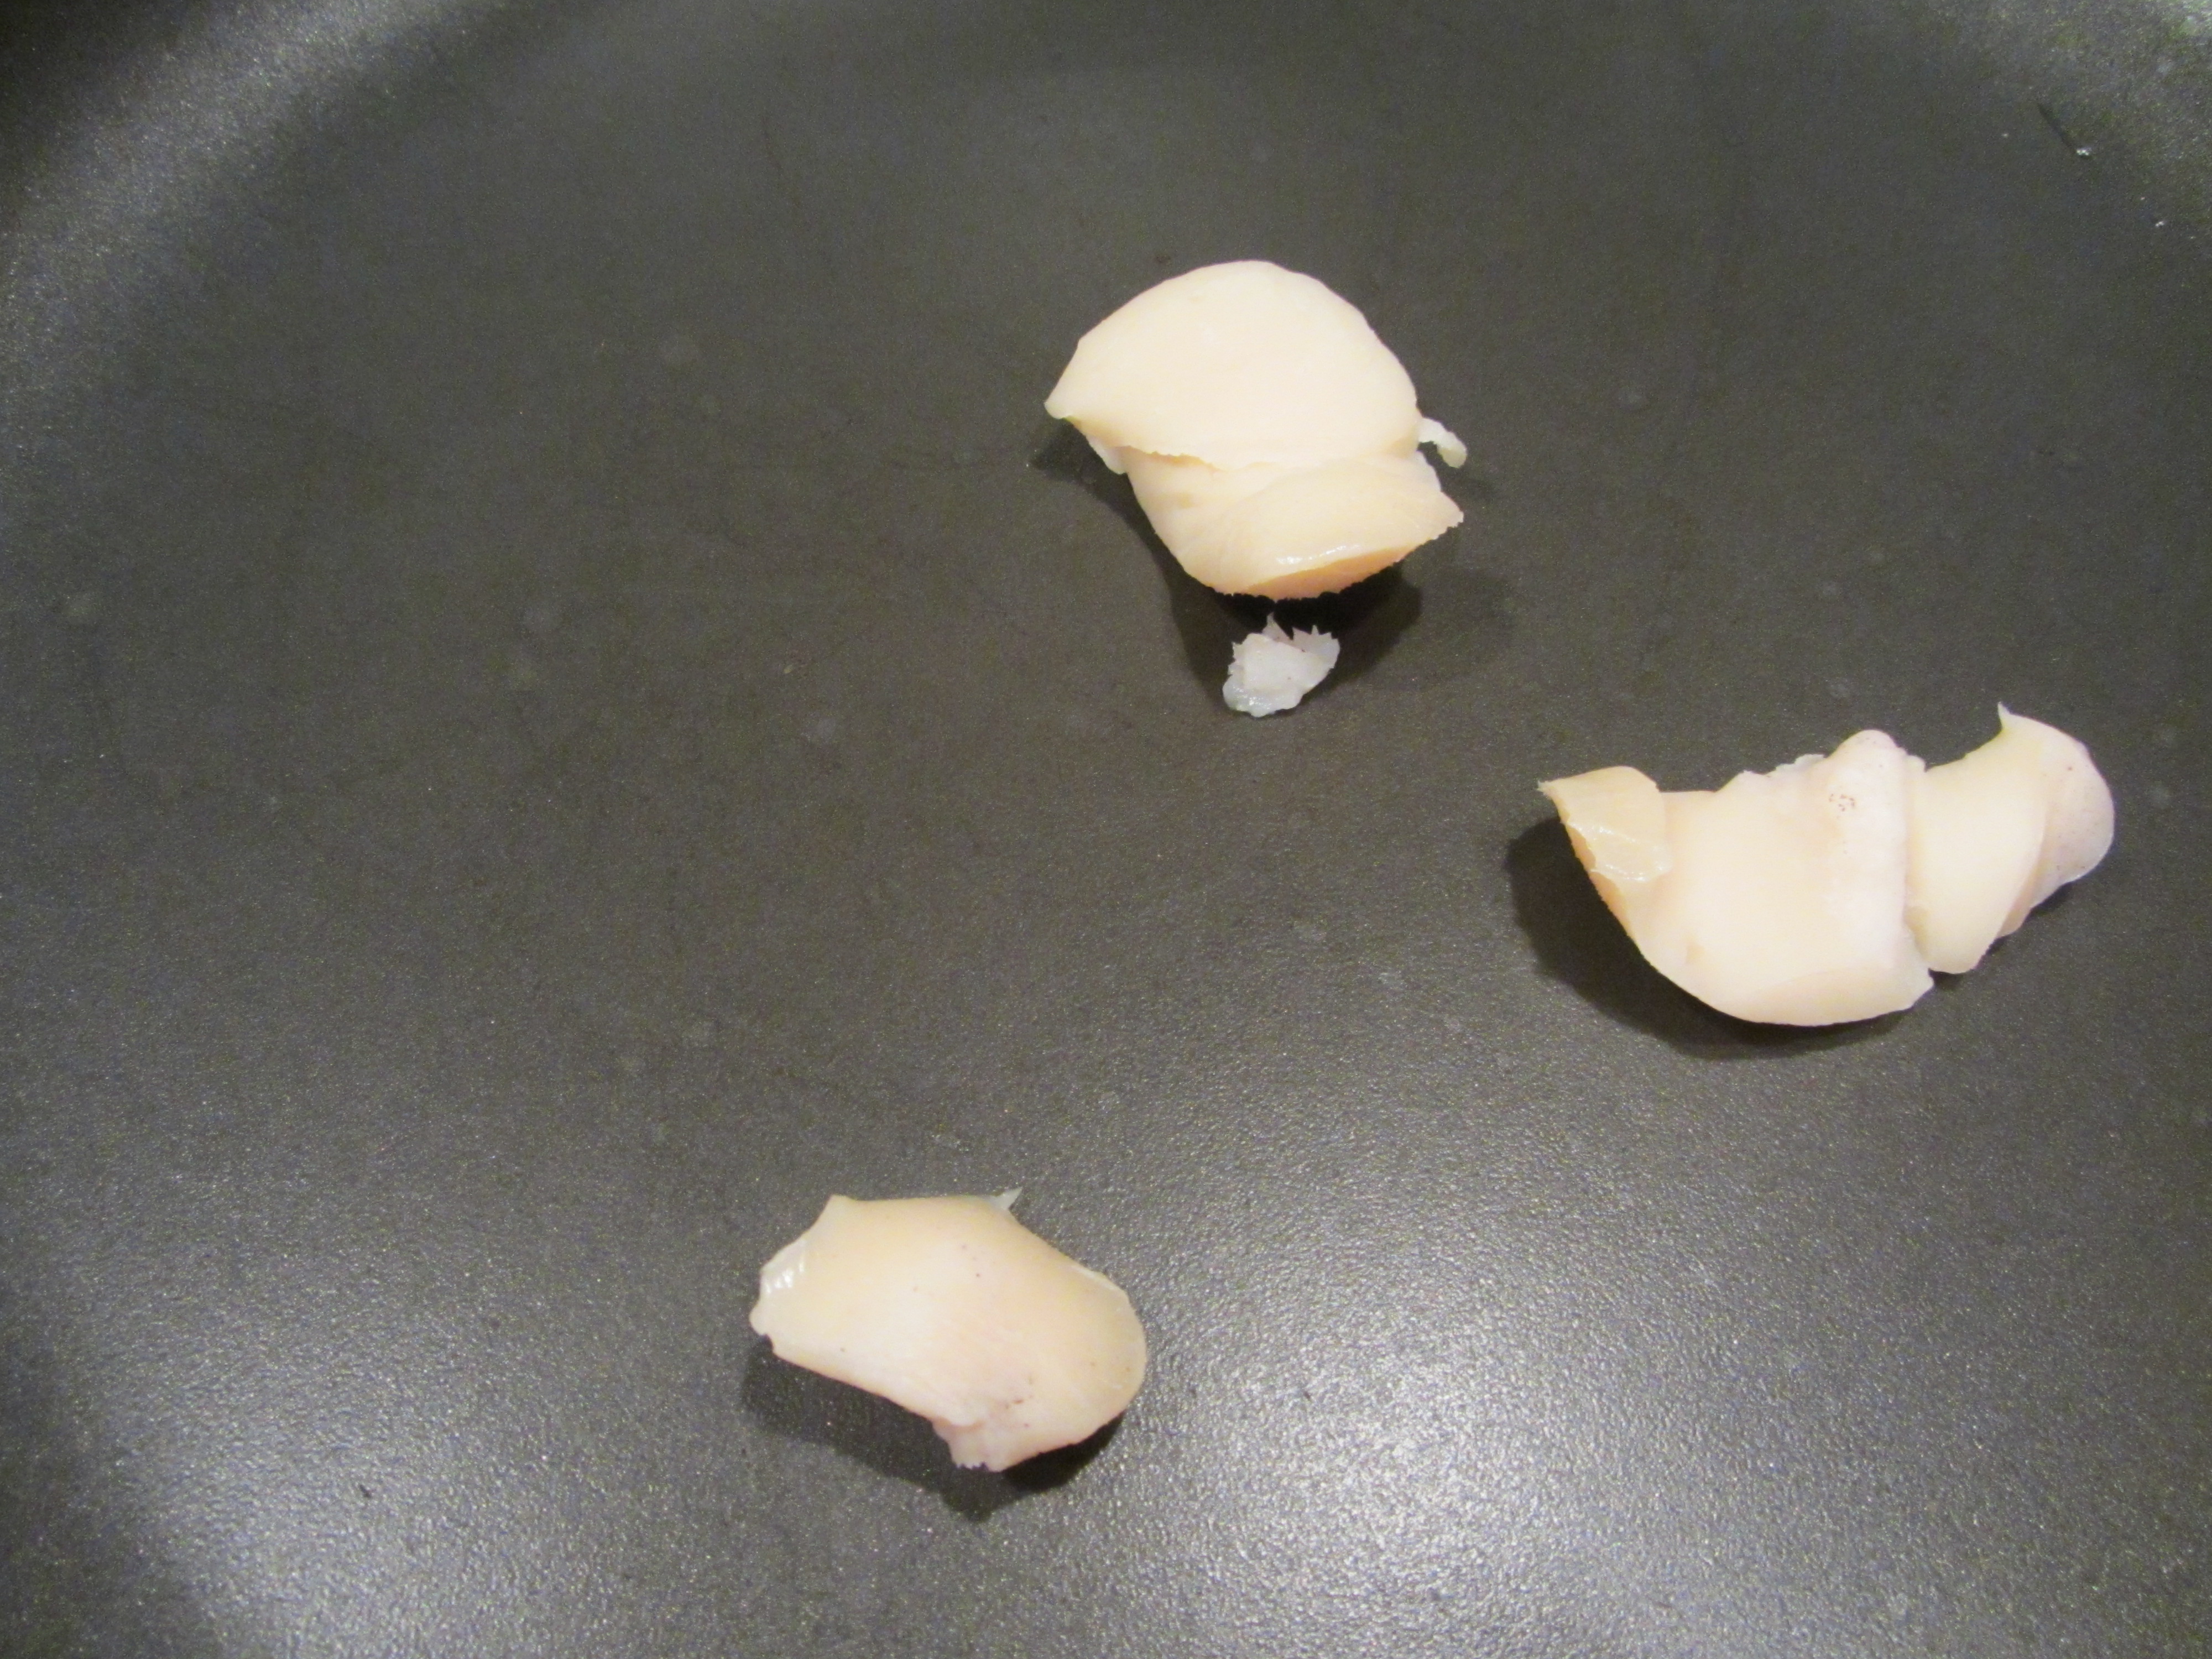
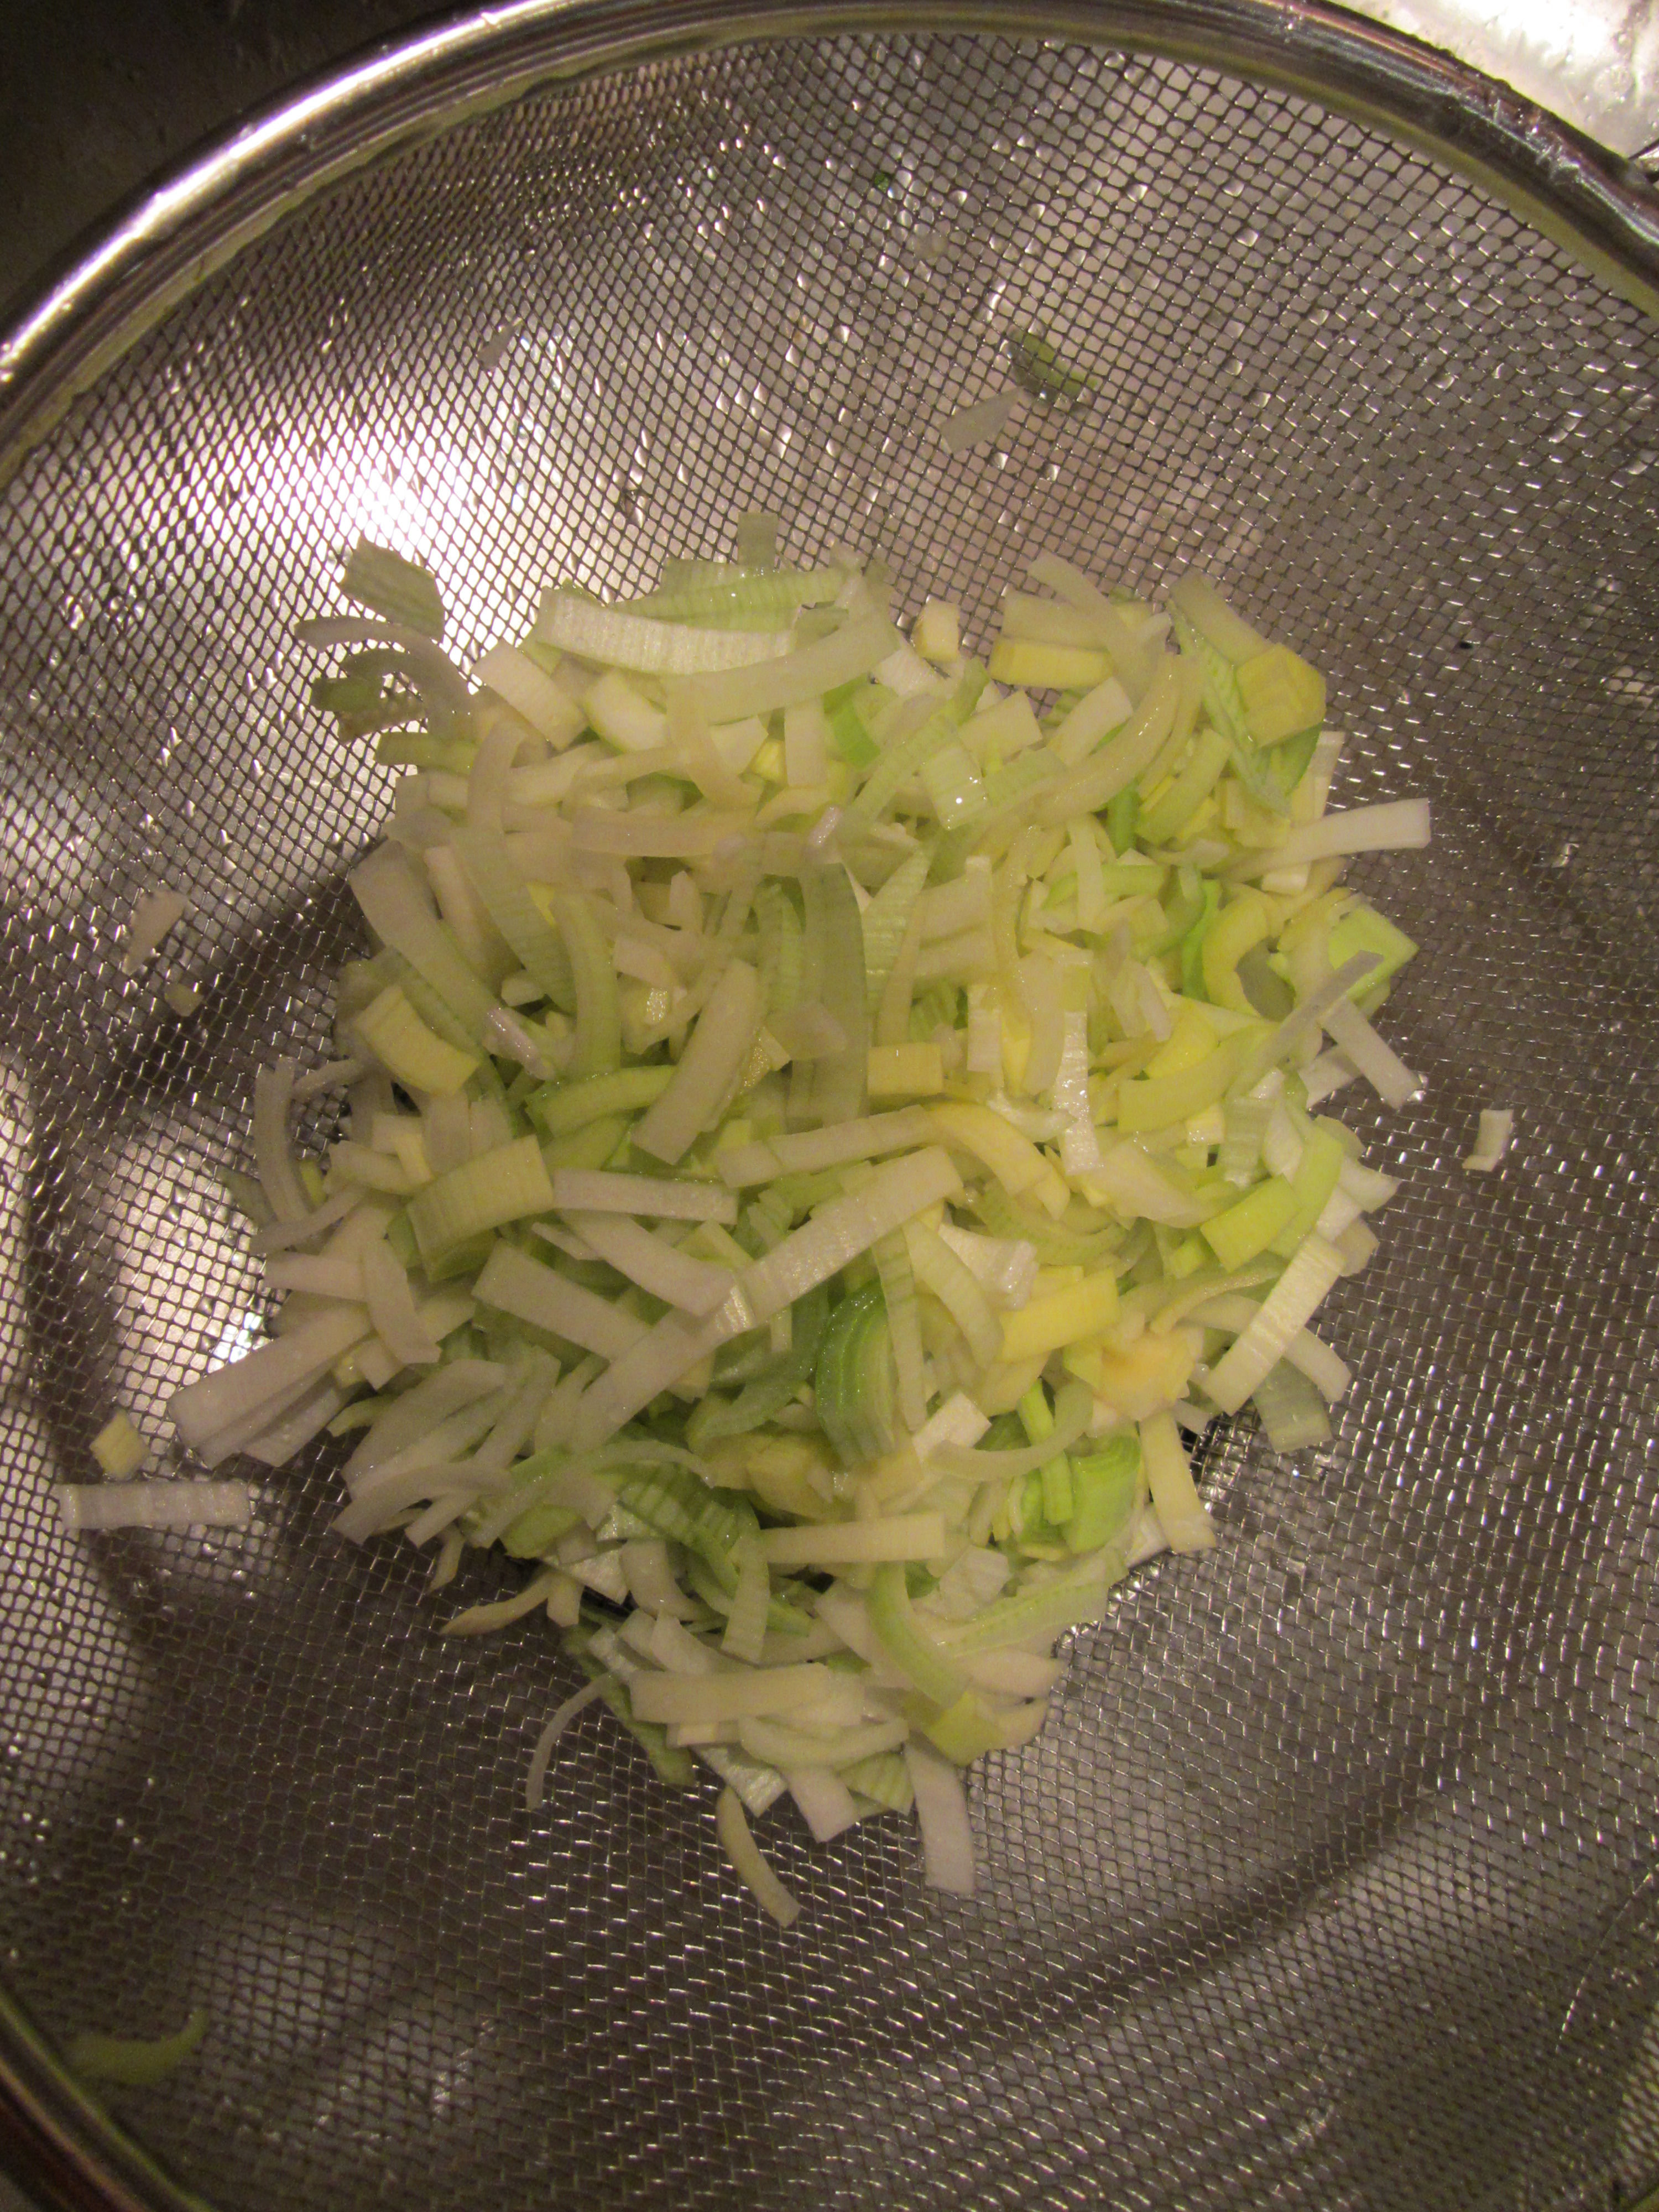
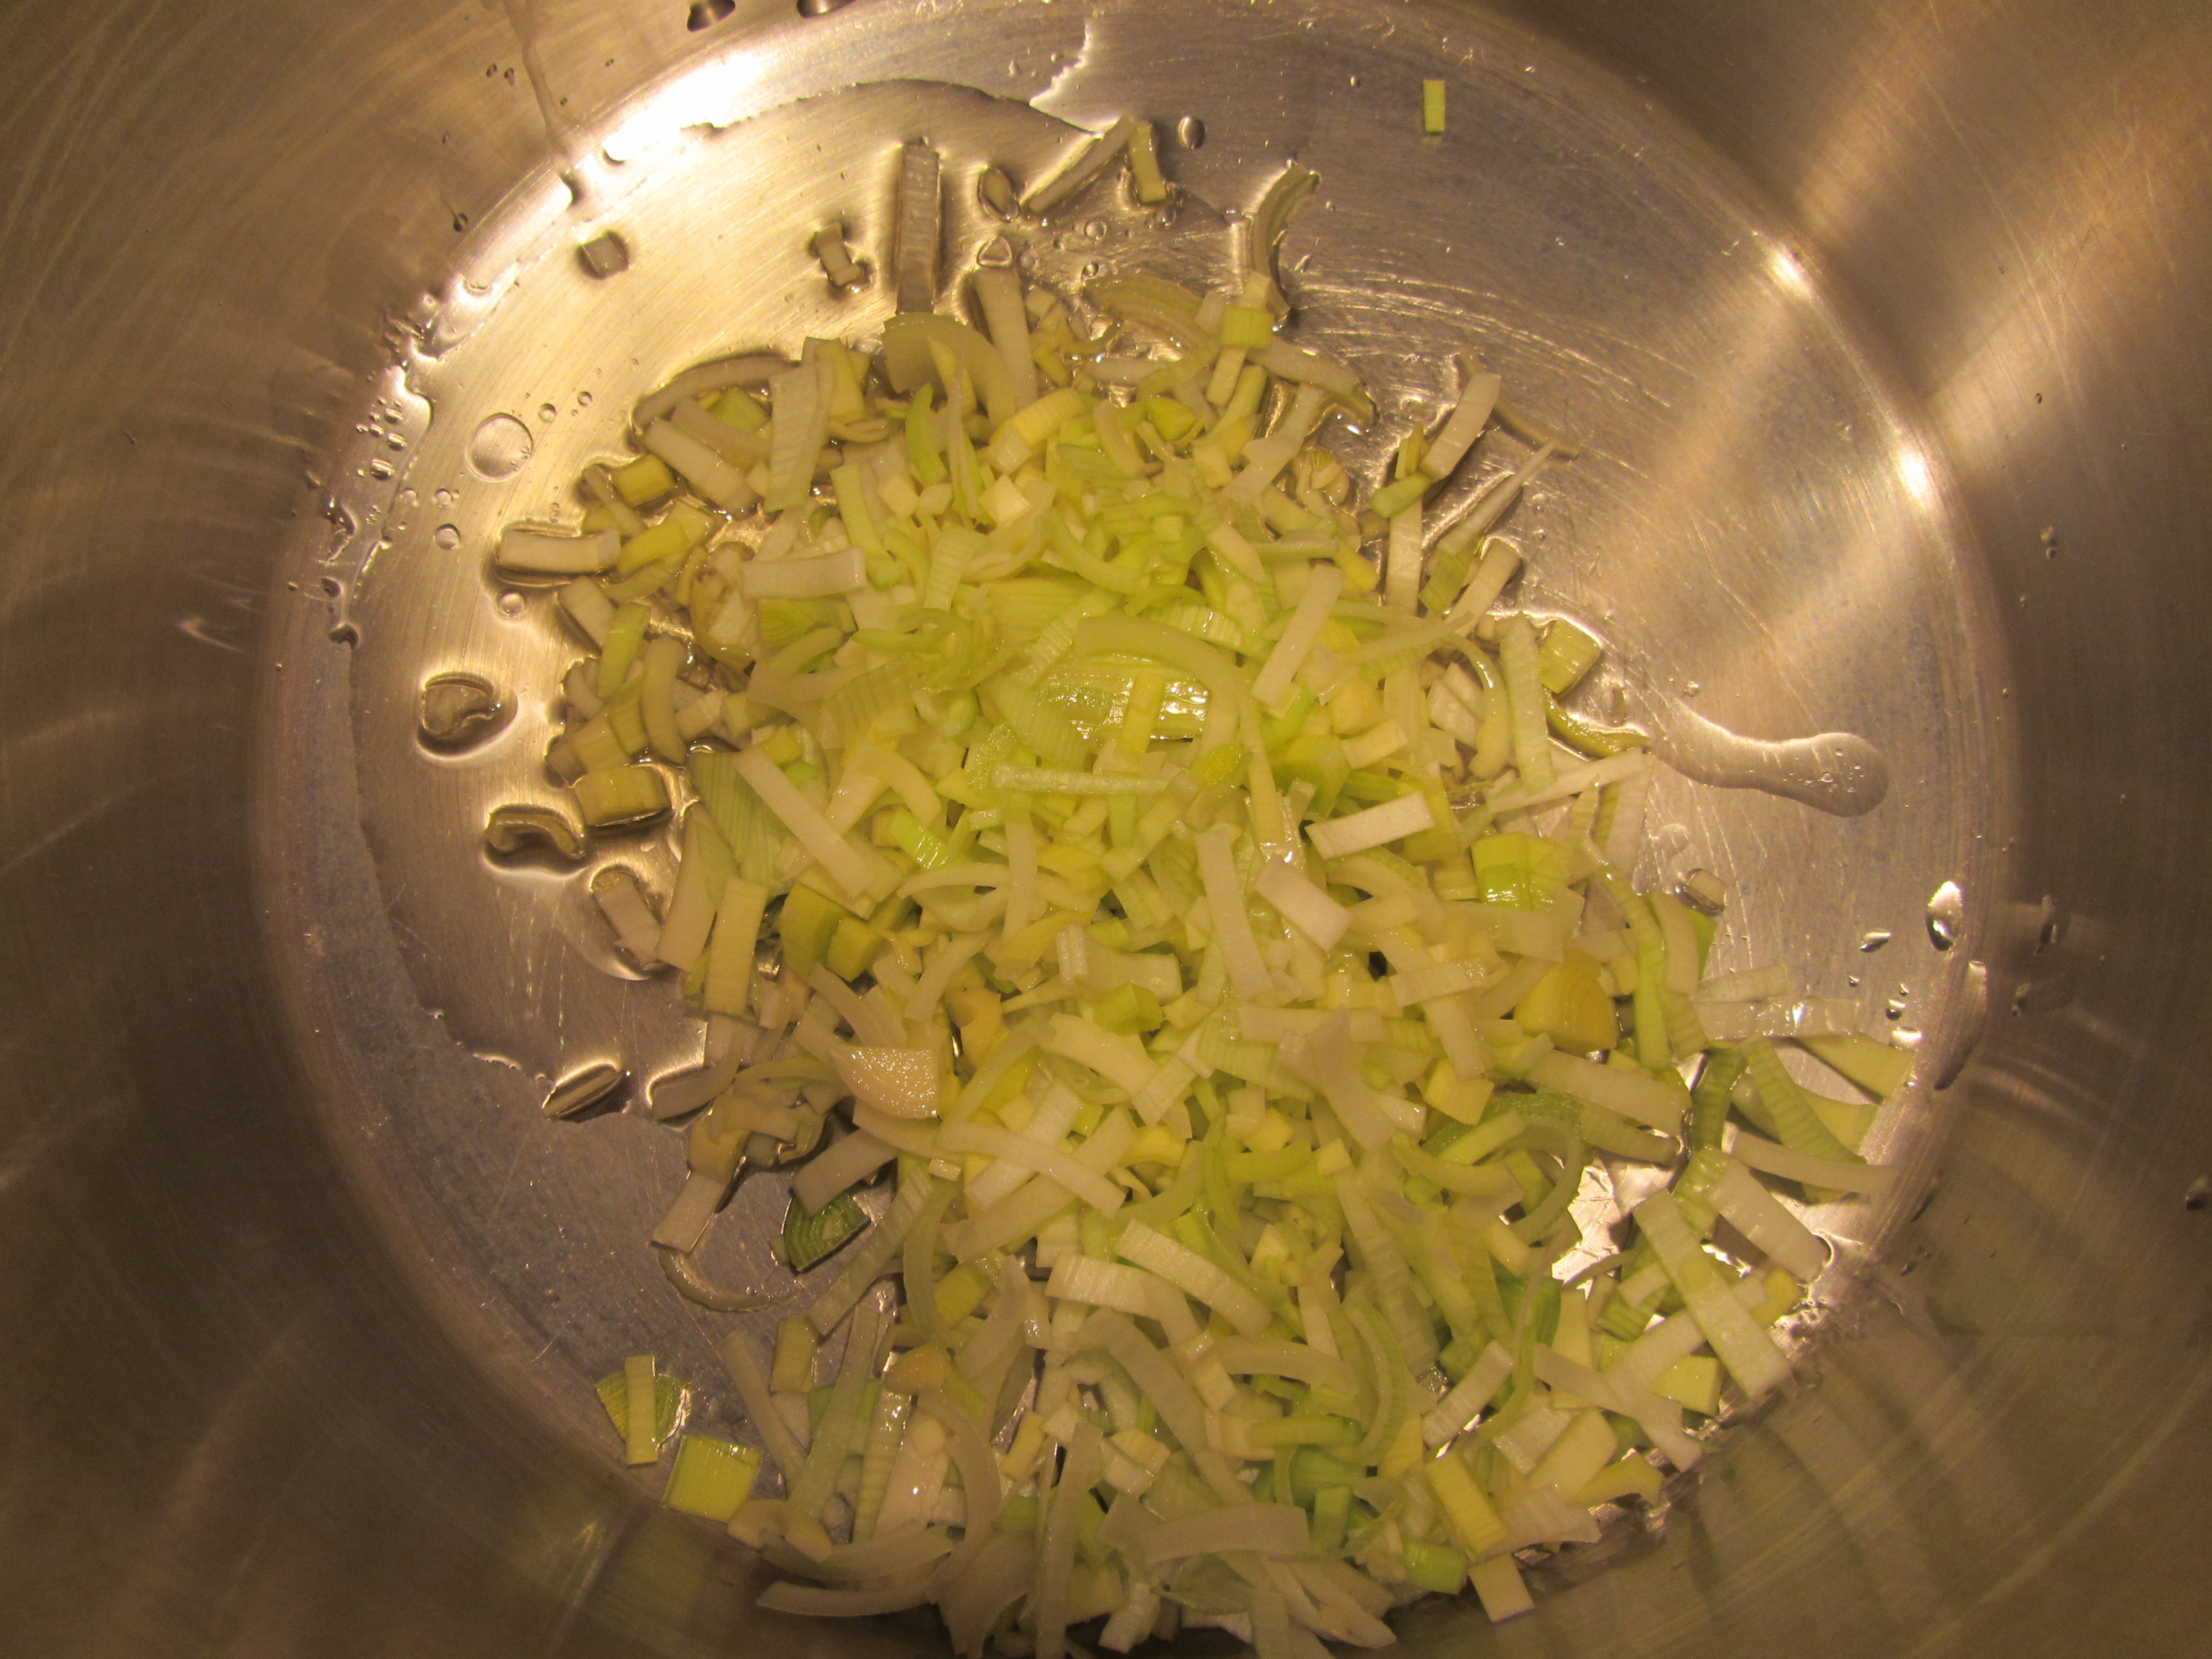
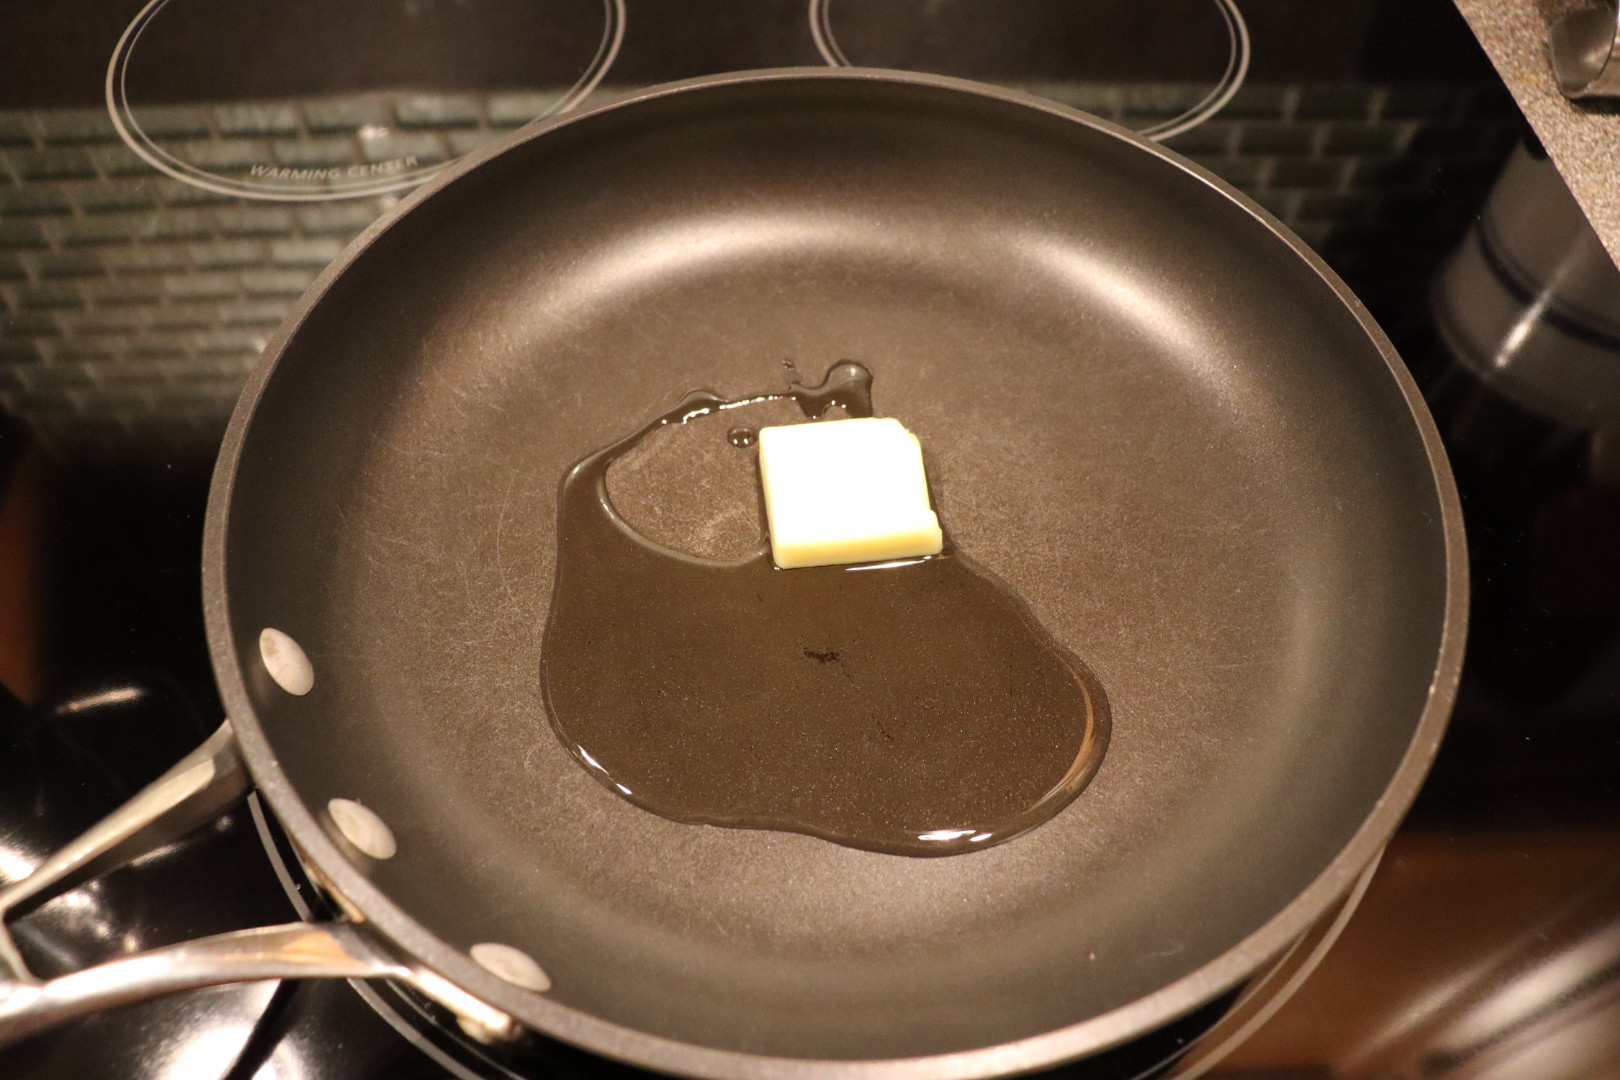
Alton’s first scallop recipe is a simple and classic seared preparation of sea scallops. If you can find dry scallops, you’ll want to use those; I could not find dry sea scallops where I shopped, so mine were wet. To make four servings of scallops, you’ll need 1 – 1 1/4 pounds of scallops. Rinse your scallops in cold water and pat them dry with paper towels. If your scallops have a small side muscle attached (it looks sort of like a mini scallop attached to the side), pull it off and discard it. Place a large skillet on medium-high heat, adding 2 t olive oil and 2 t butter.

Olive oil and butter in skillet.

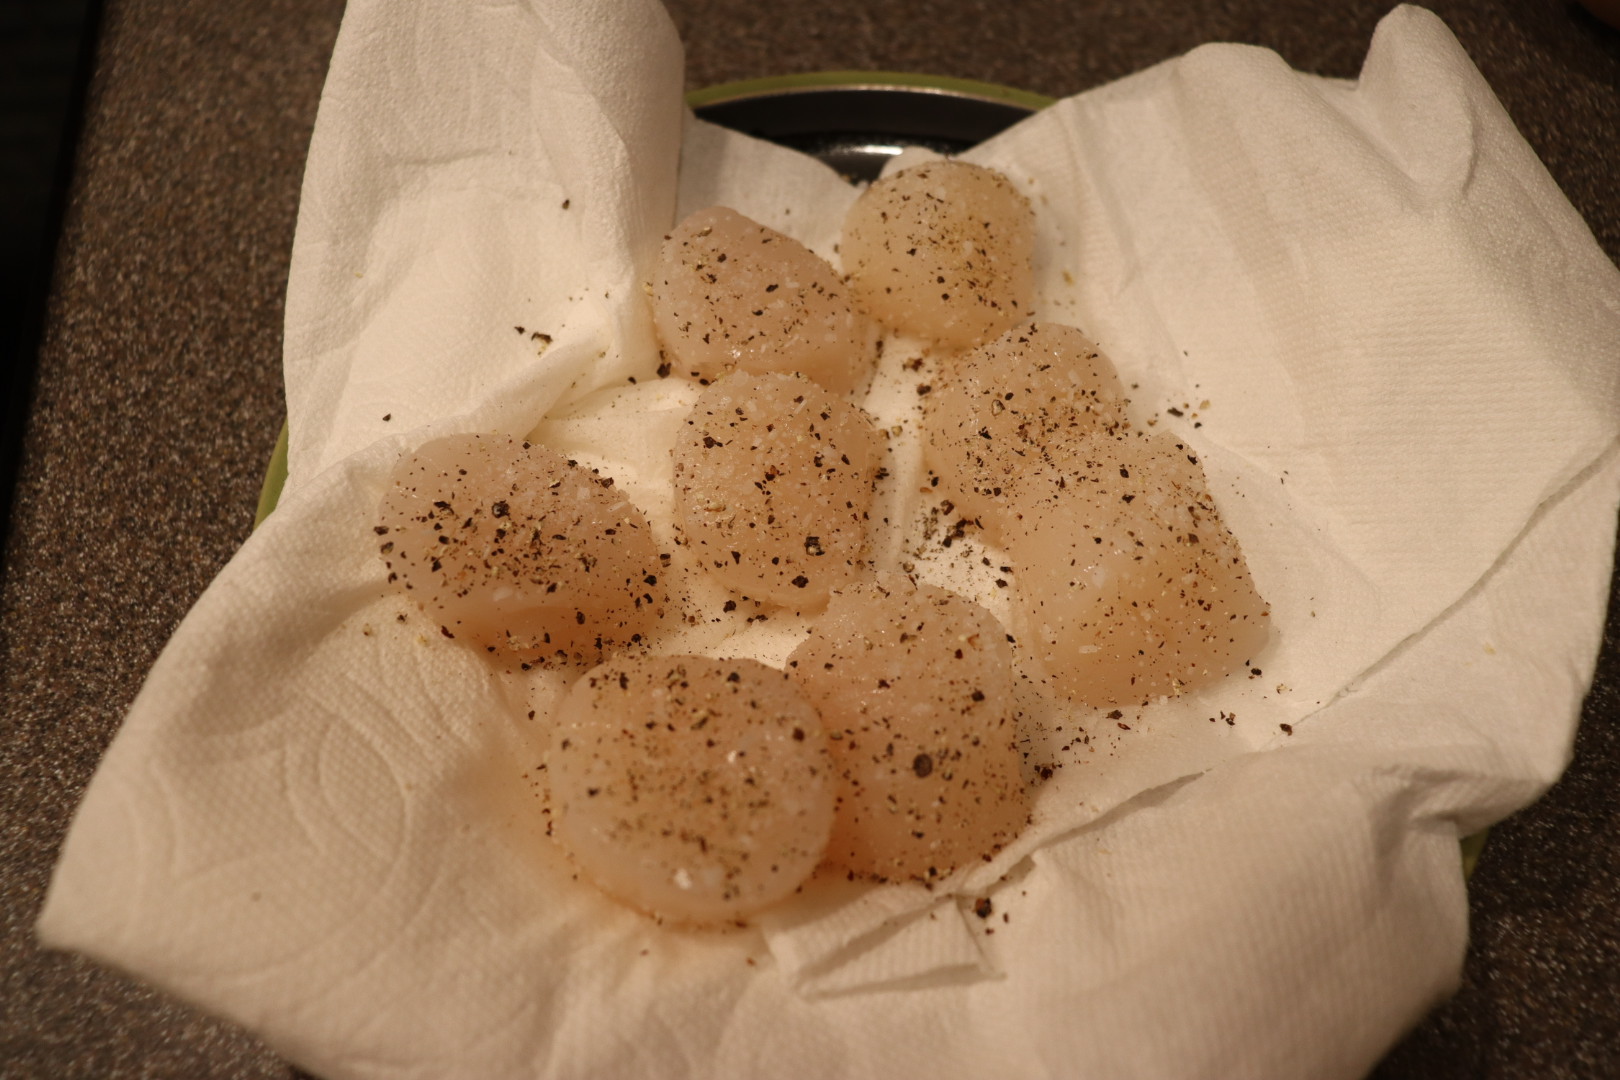
Season your scallops with Kosher salt and pepper and, once the butter stops bubbling, add the scallops to the pan, working from the outside of the pan to the inside. Sear the scallops for 1 1/2 minutes on each side.

Serve the scallops immediately over greens with a vinaigrette.

Alton’s seared scallops.

This is an easy and foolproof recipe for cooking scallops. If you cook the scallops as Alton instructs, you will be rewarded with perfectly cooked scallops. This would be an excellent first recipe to try if you have not cooked scallops before, and it is also one of the fastest meals you could ever make!

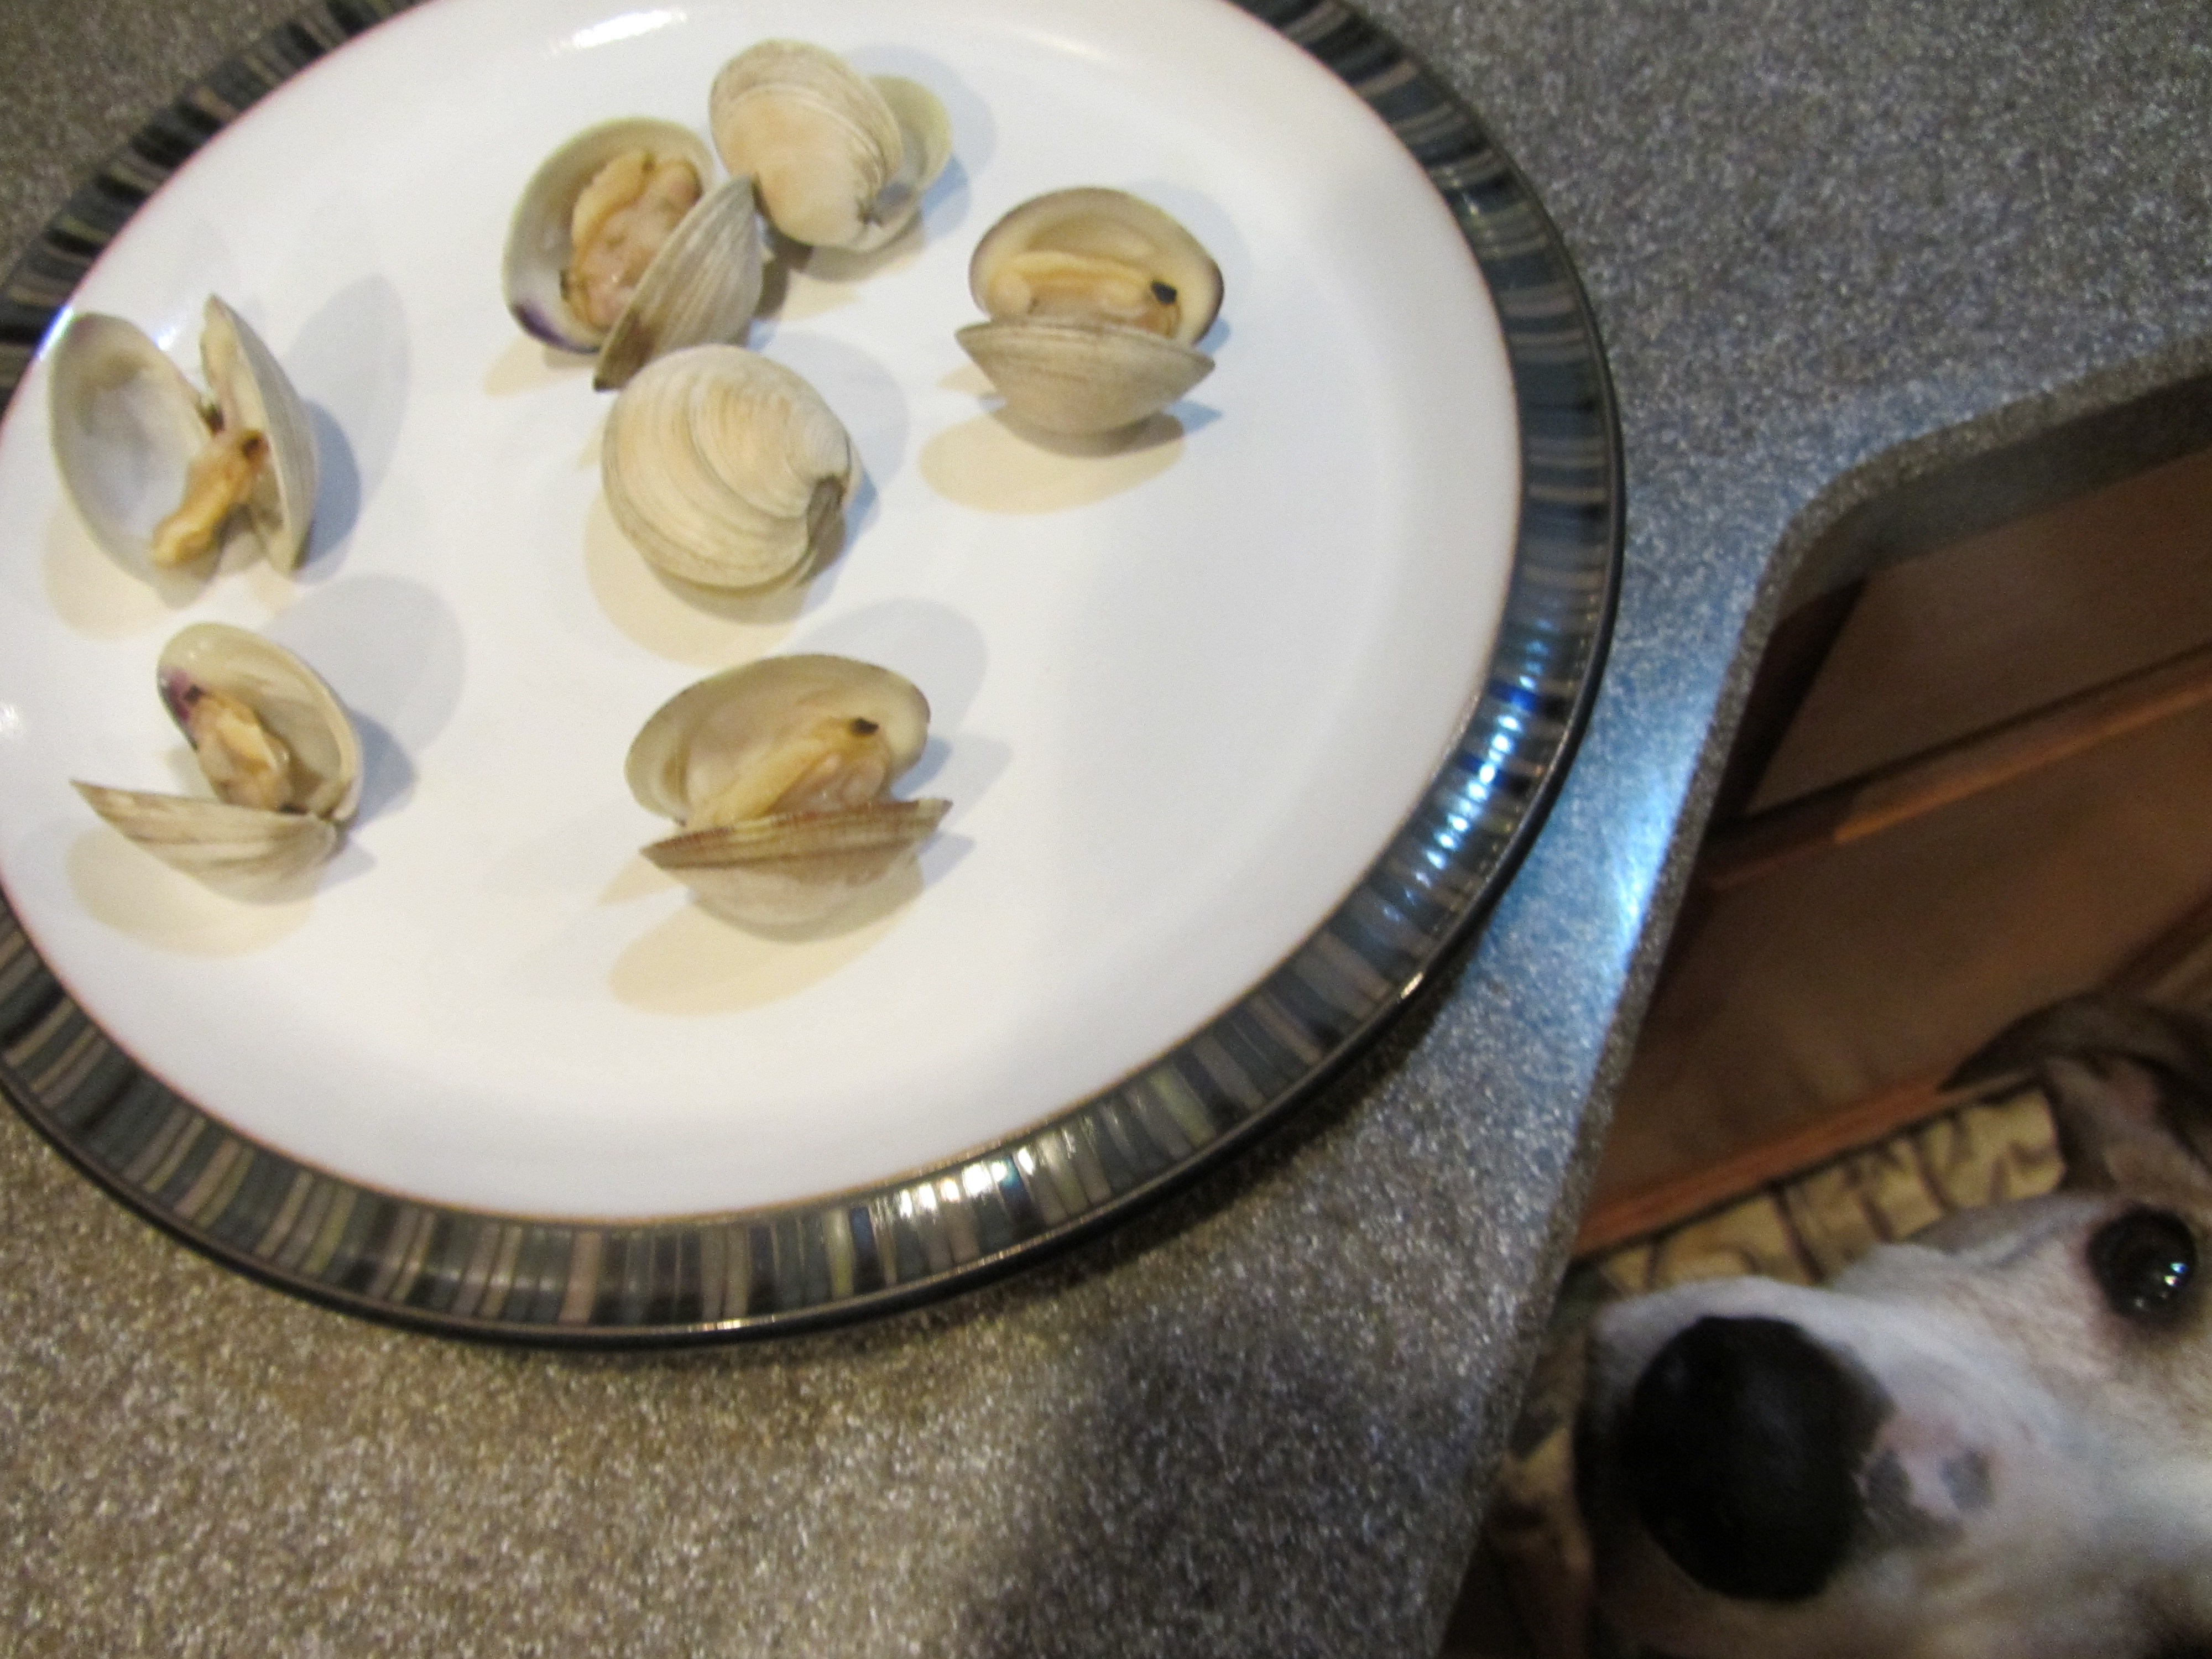
Scallops on the Half Shell

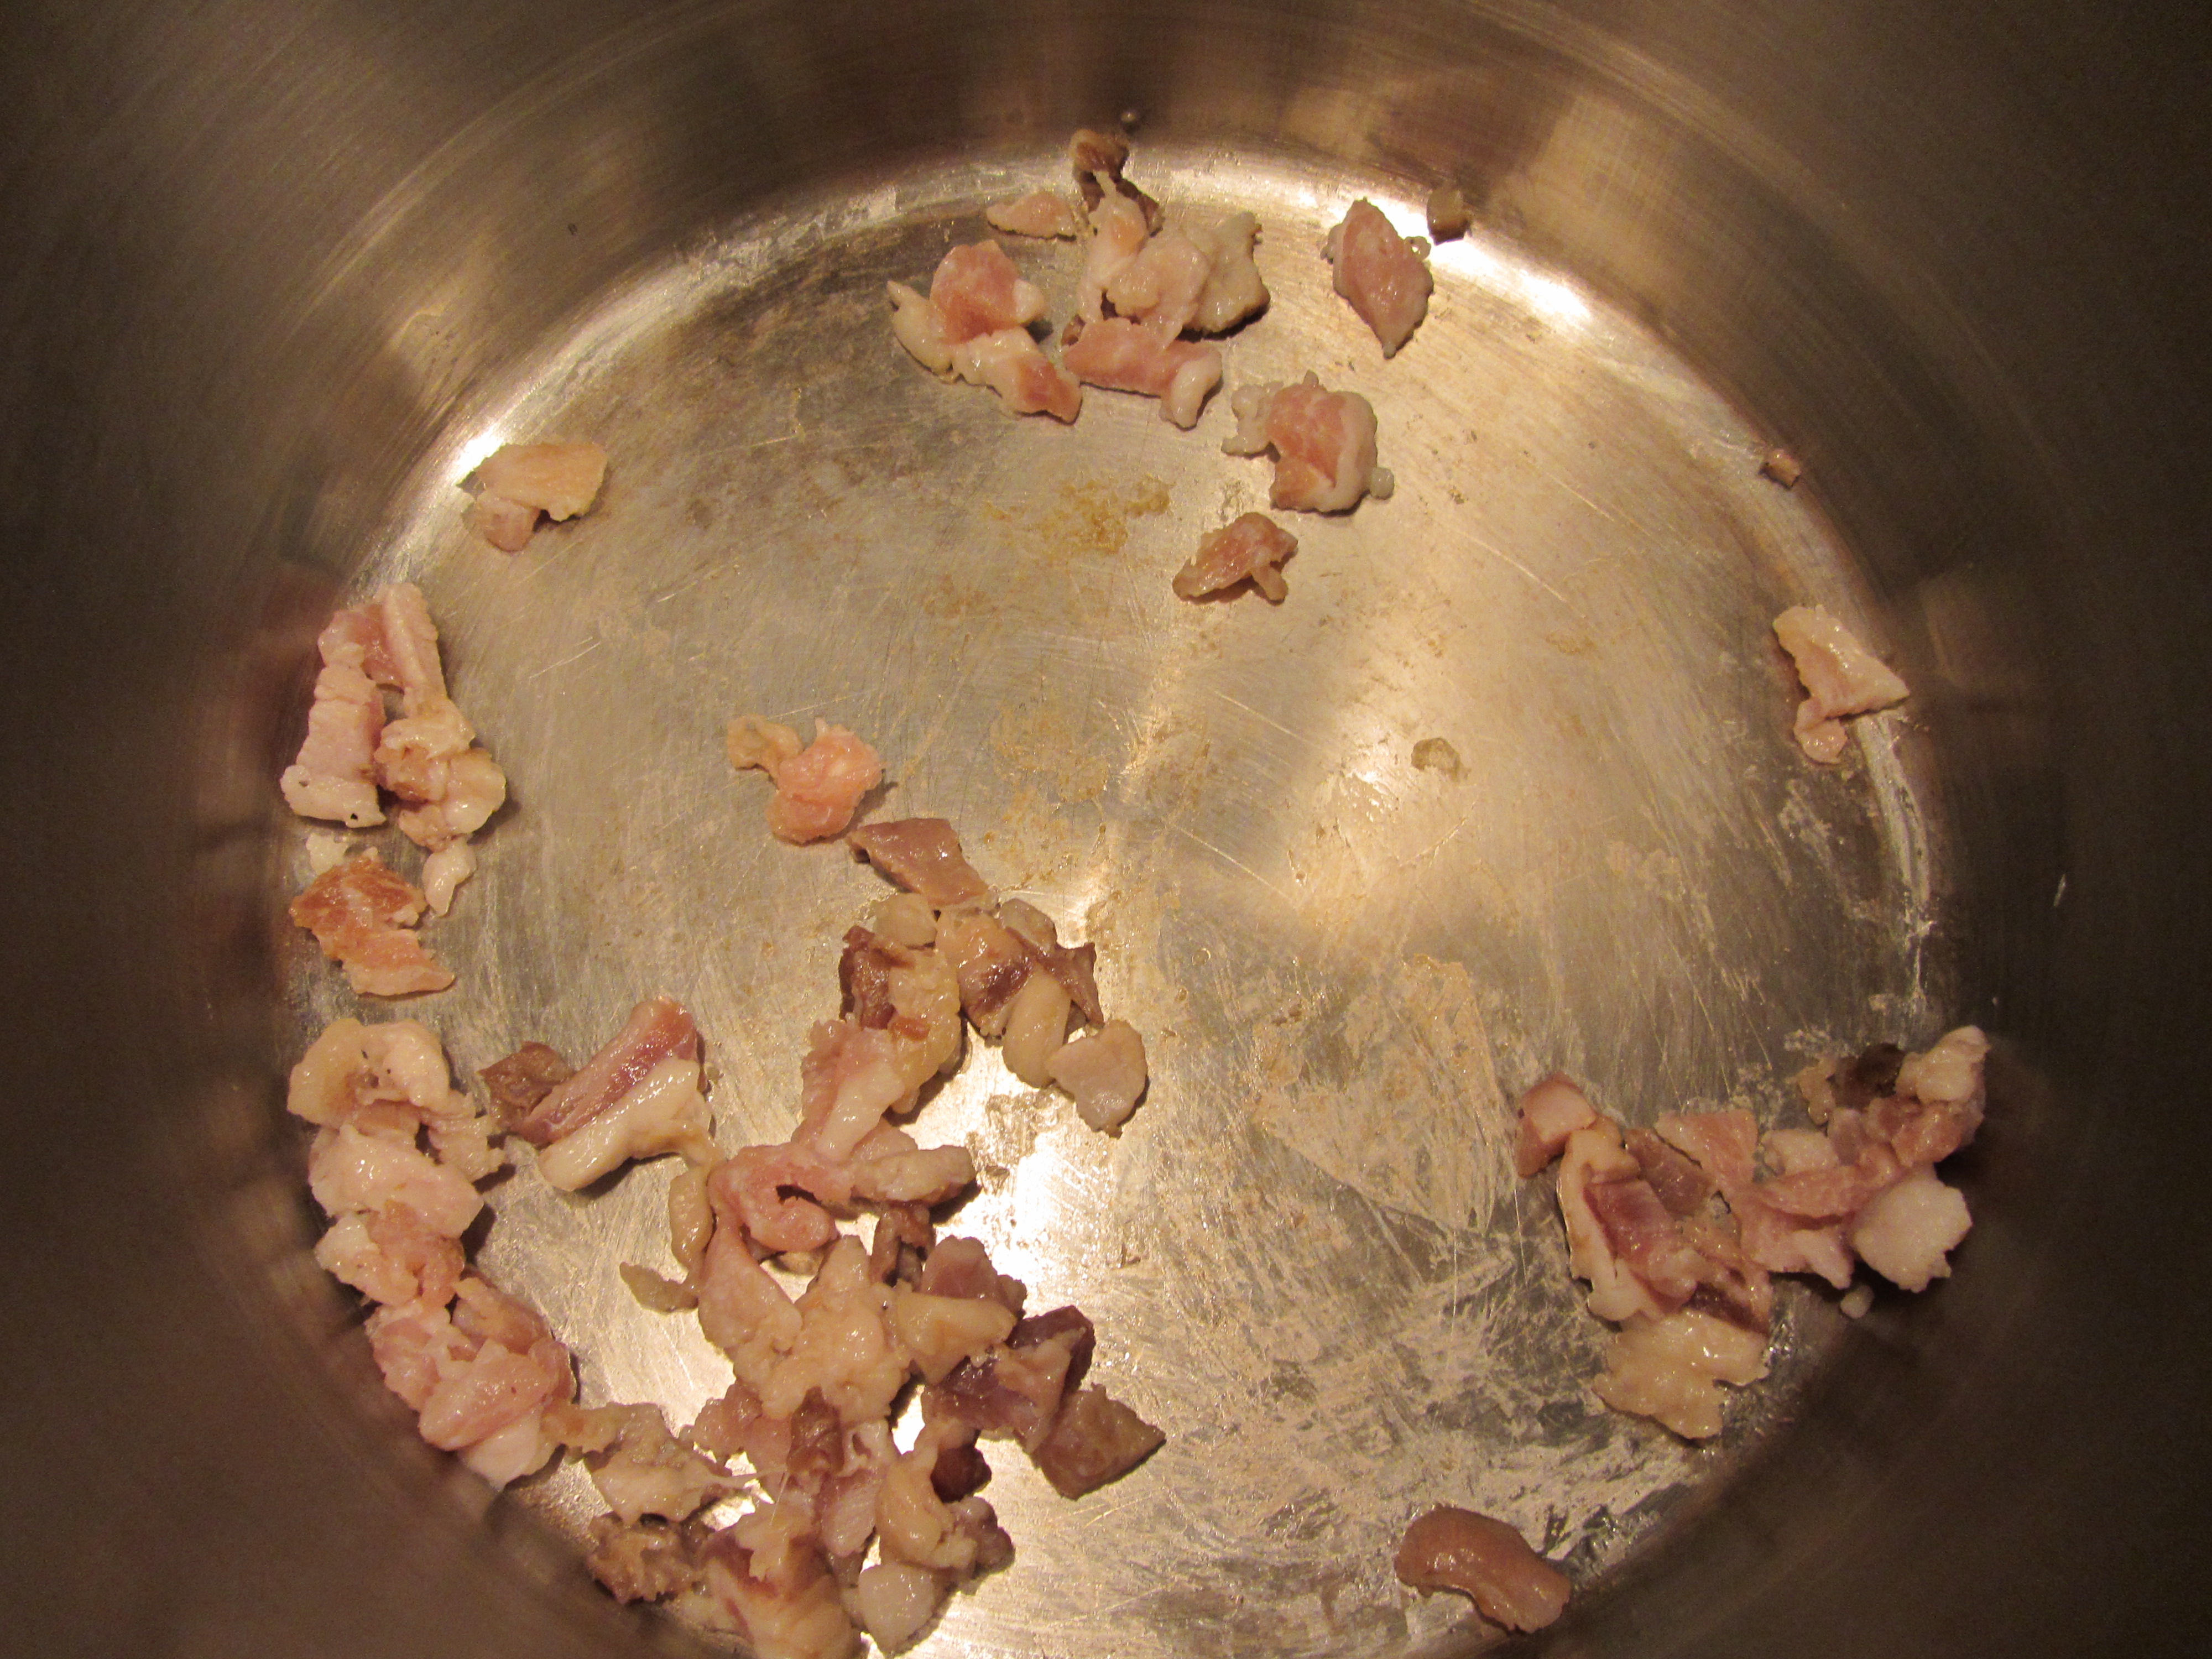
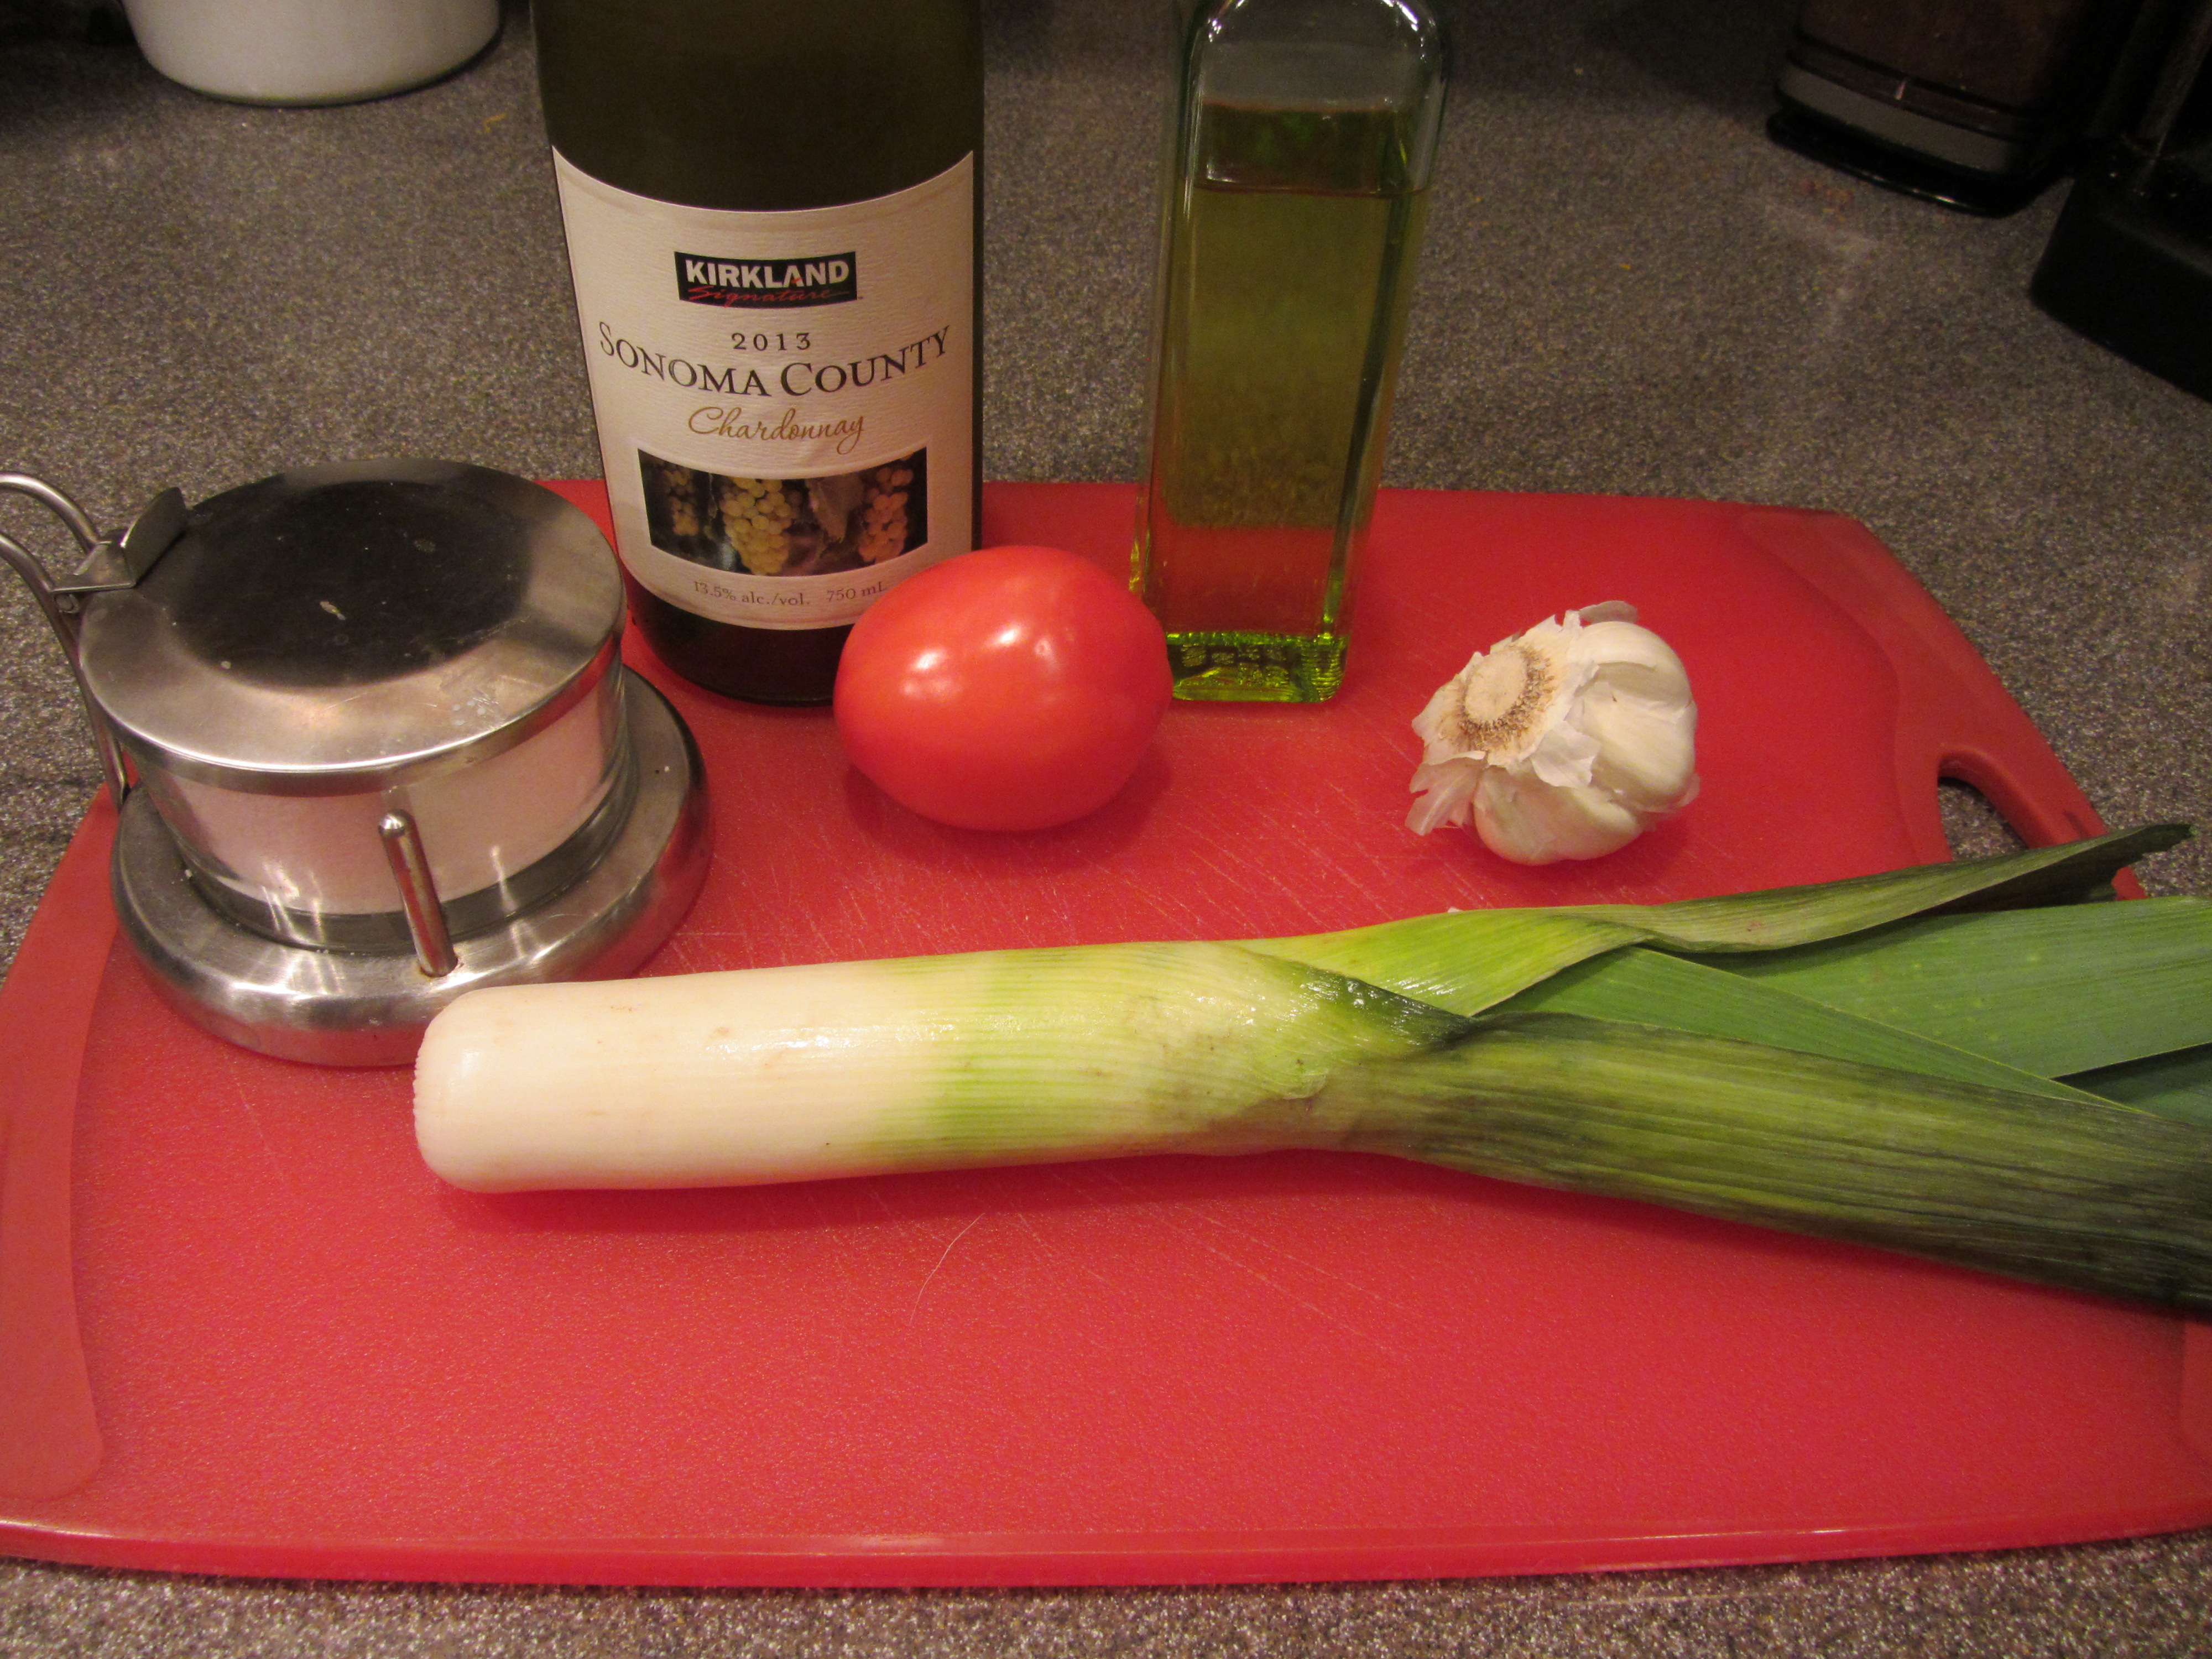
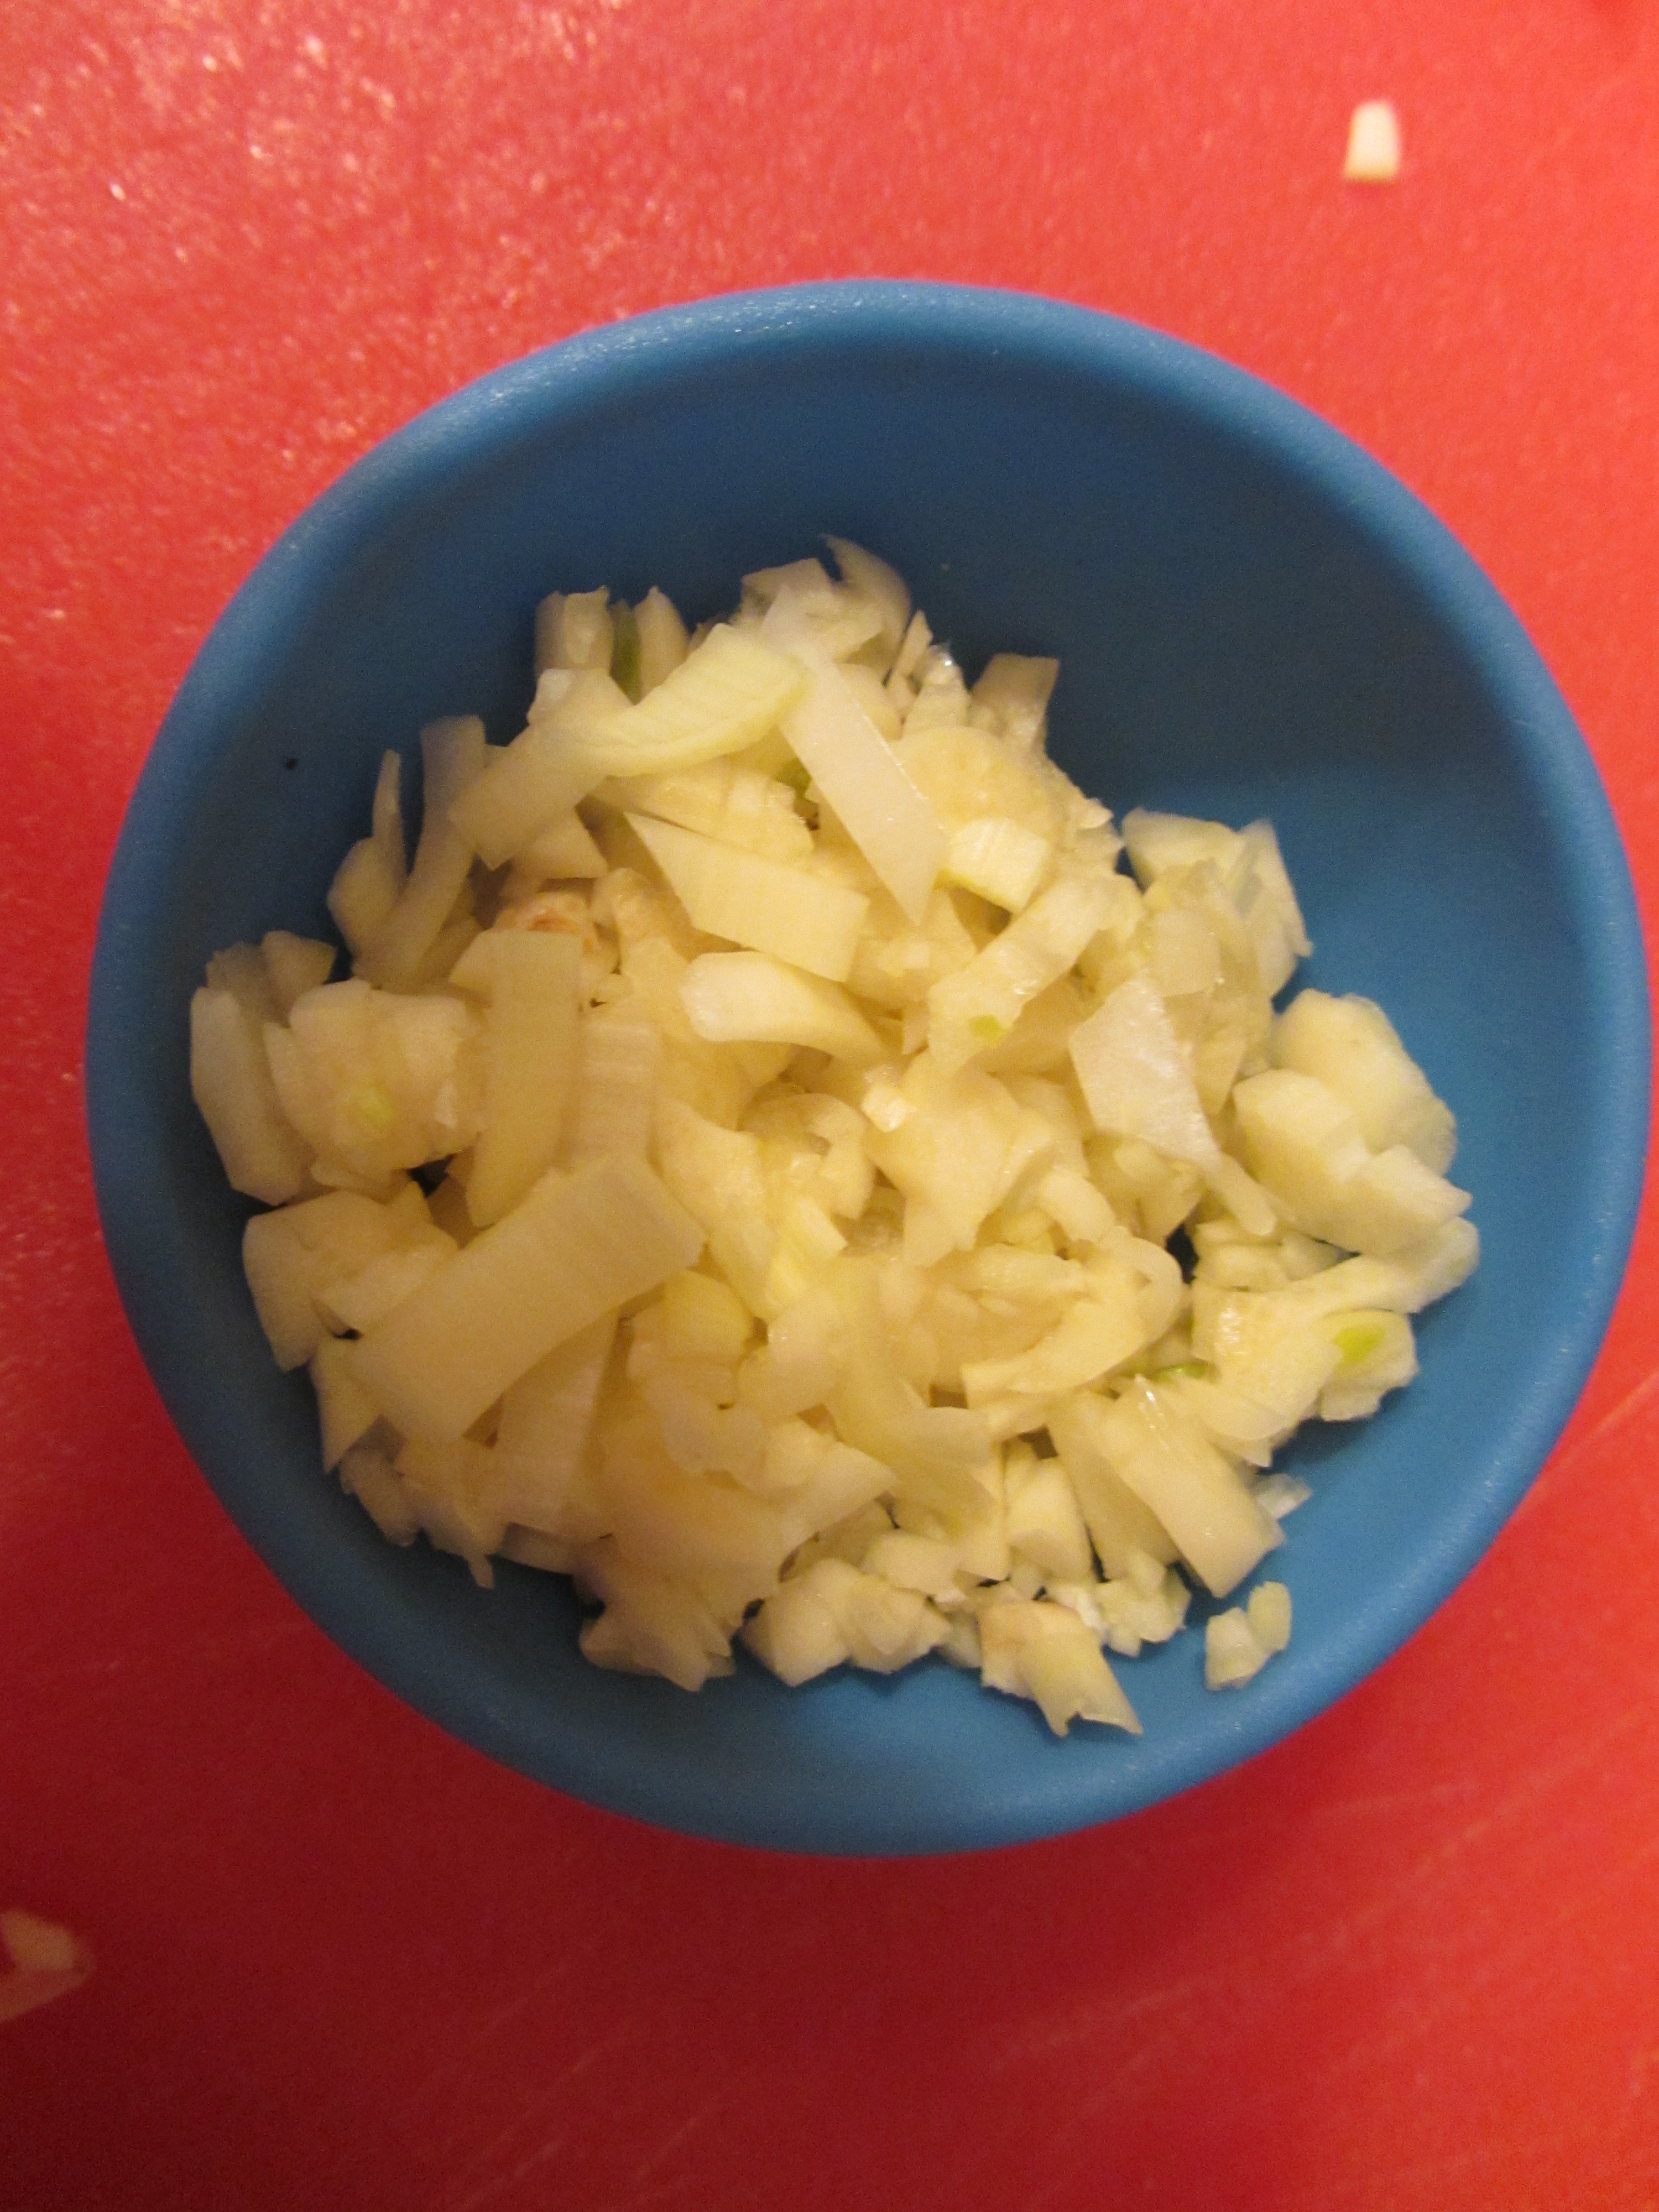
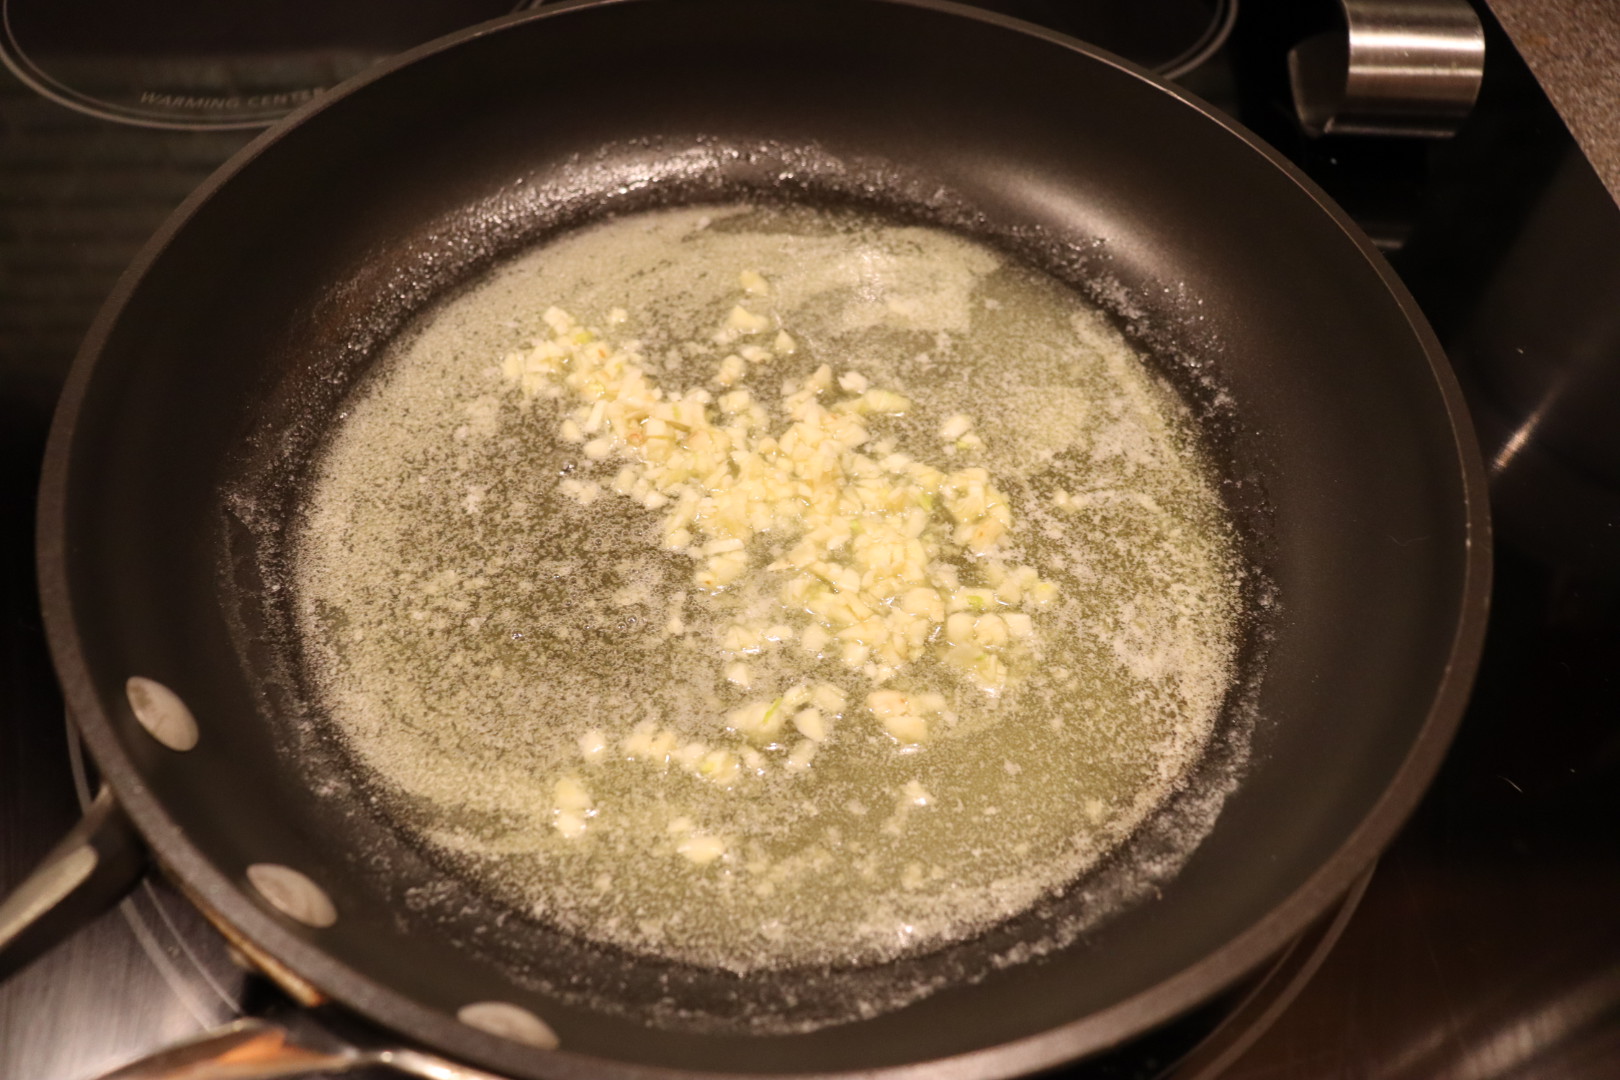
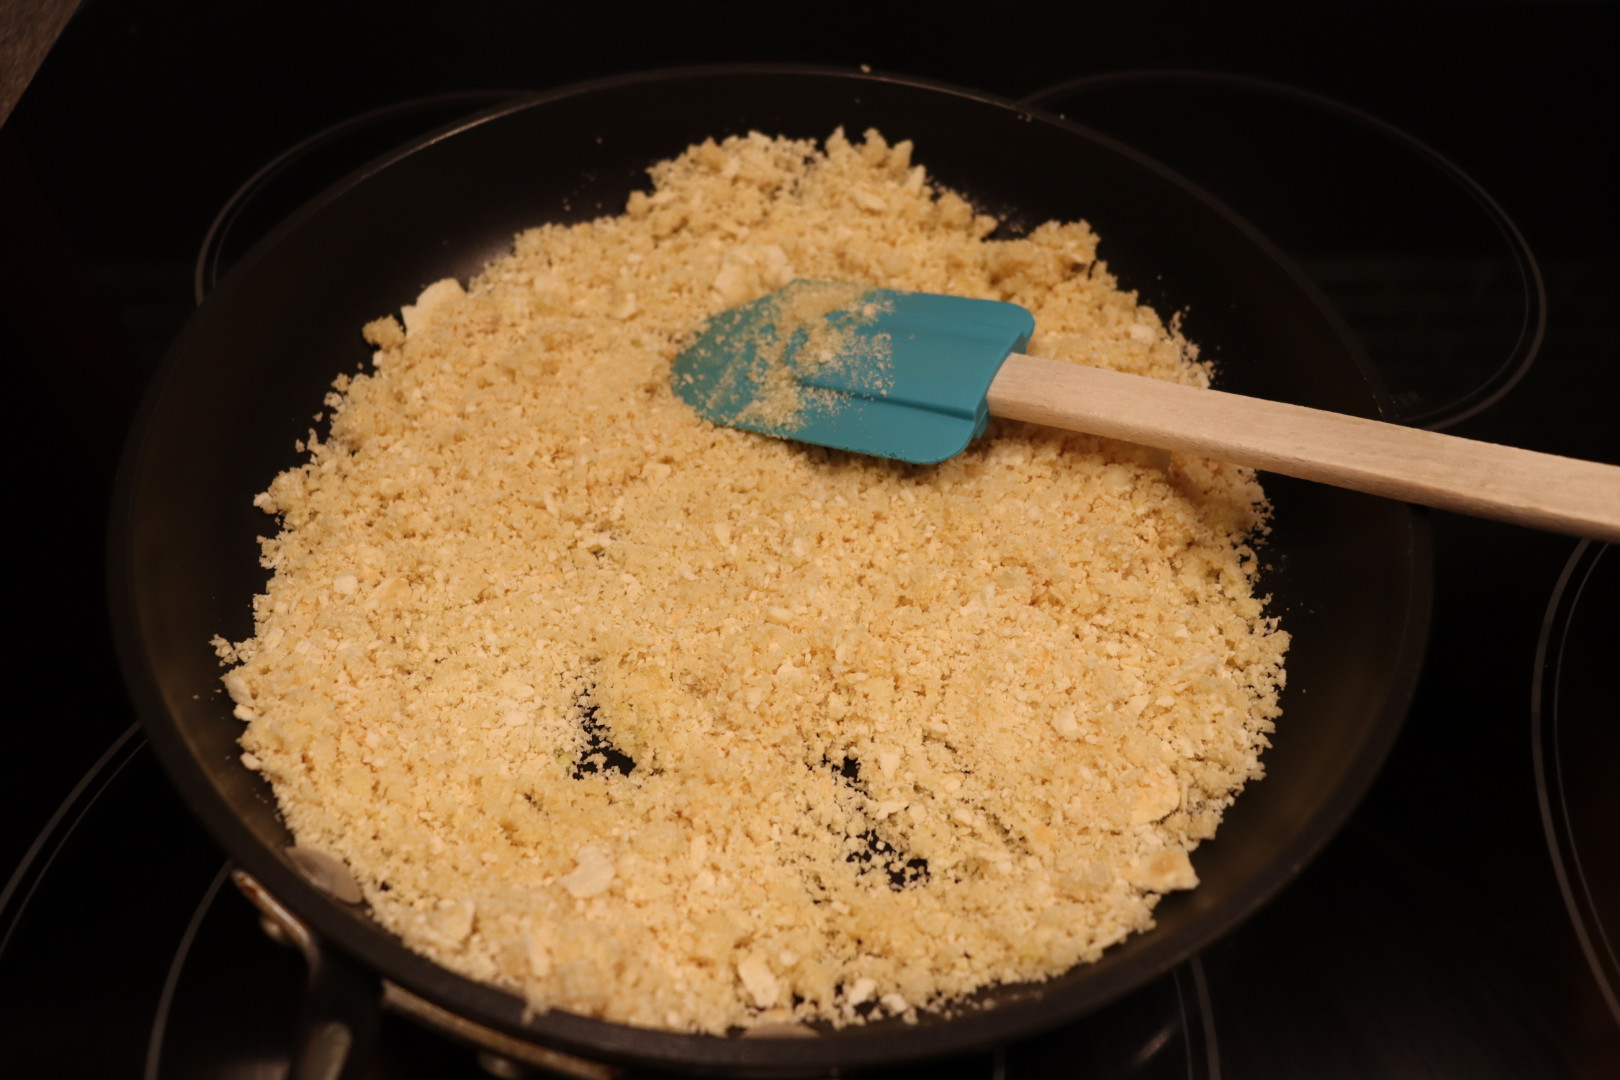
The second recipe in this episode uses bay, rather than sea, scallops. For four servings, you will need a half pound of bay scallops (side muscles removed), rinsed and patted dry. Preheat the oven to 450 and heat 2 T butter in a skillet over medium heat. When the butter has melted, add 1 T minced garlic and a pinch of Kosher salt. After about 30 seconds, add 1 C of crushed club crackers (this is what Alton used in the episode). Stir the cracker mixture until everything is combined and set it aside.

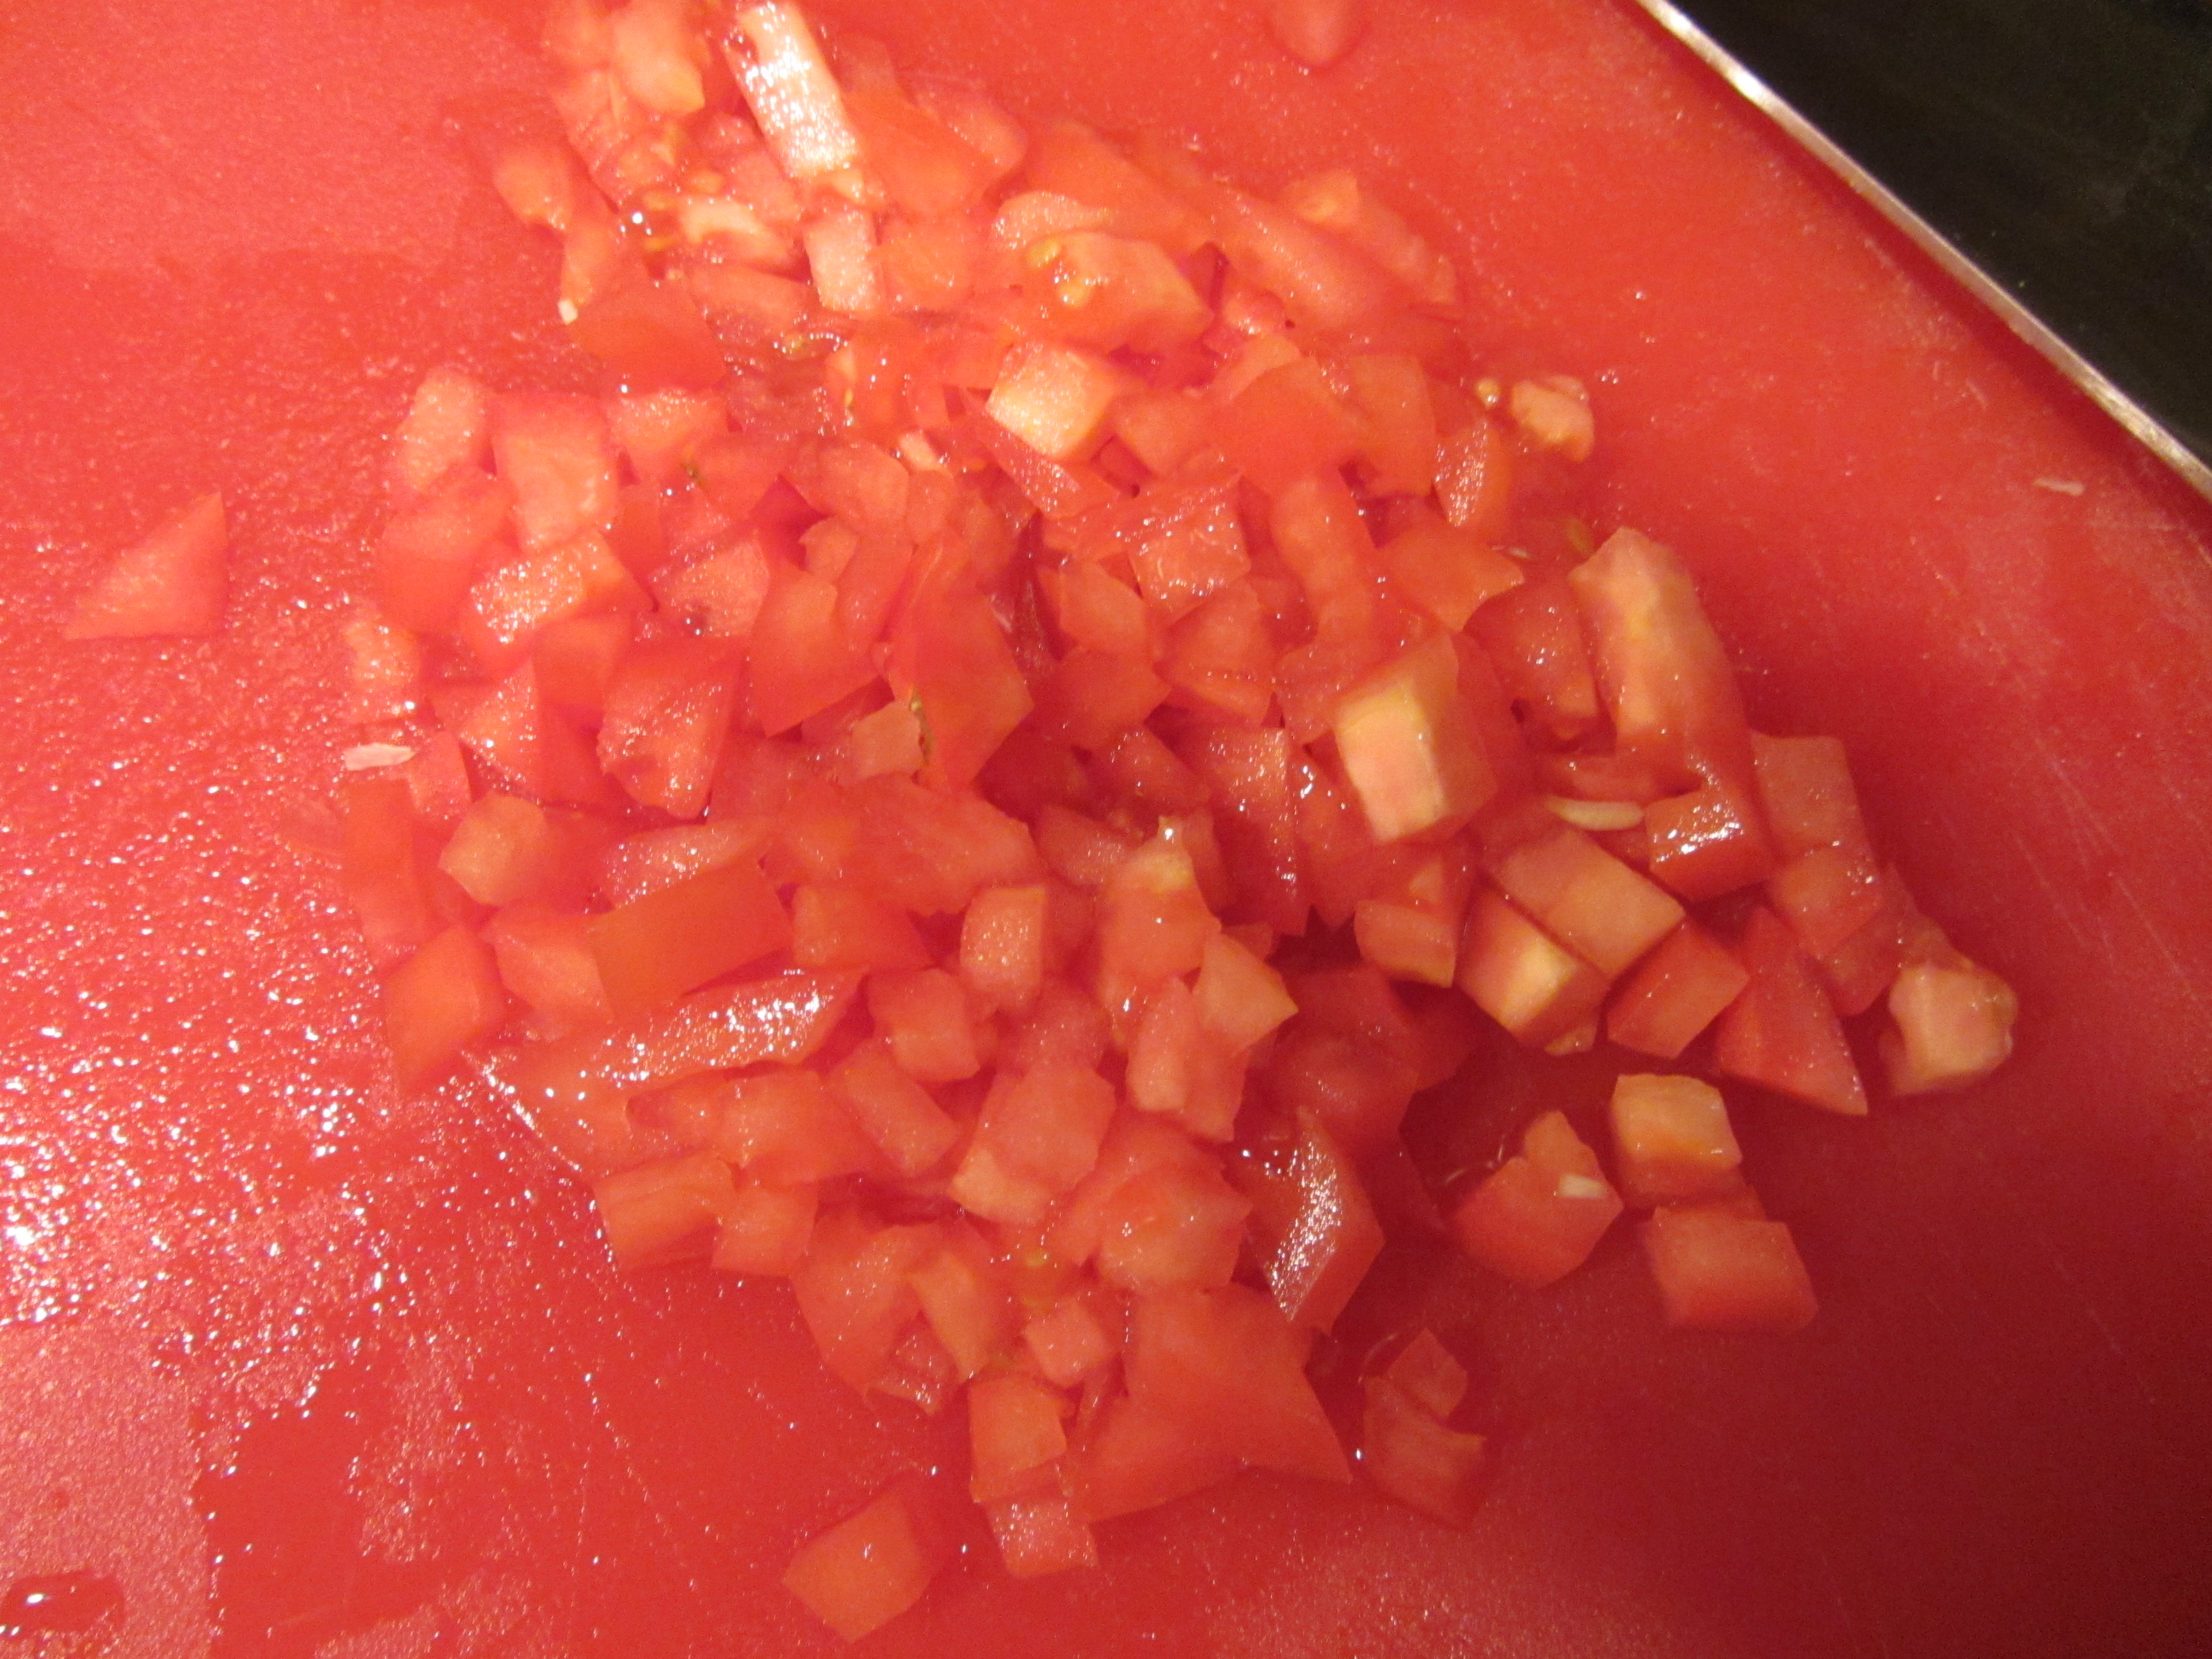
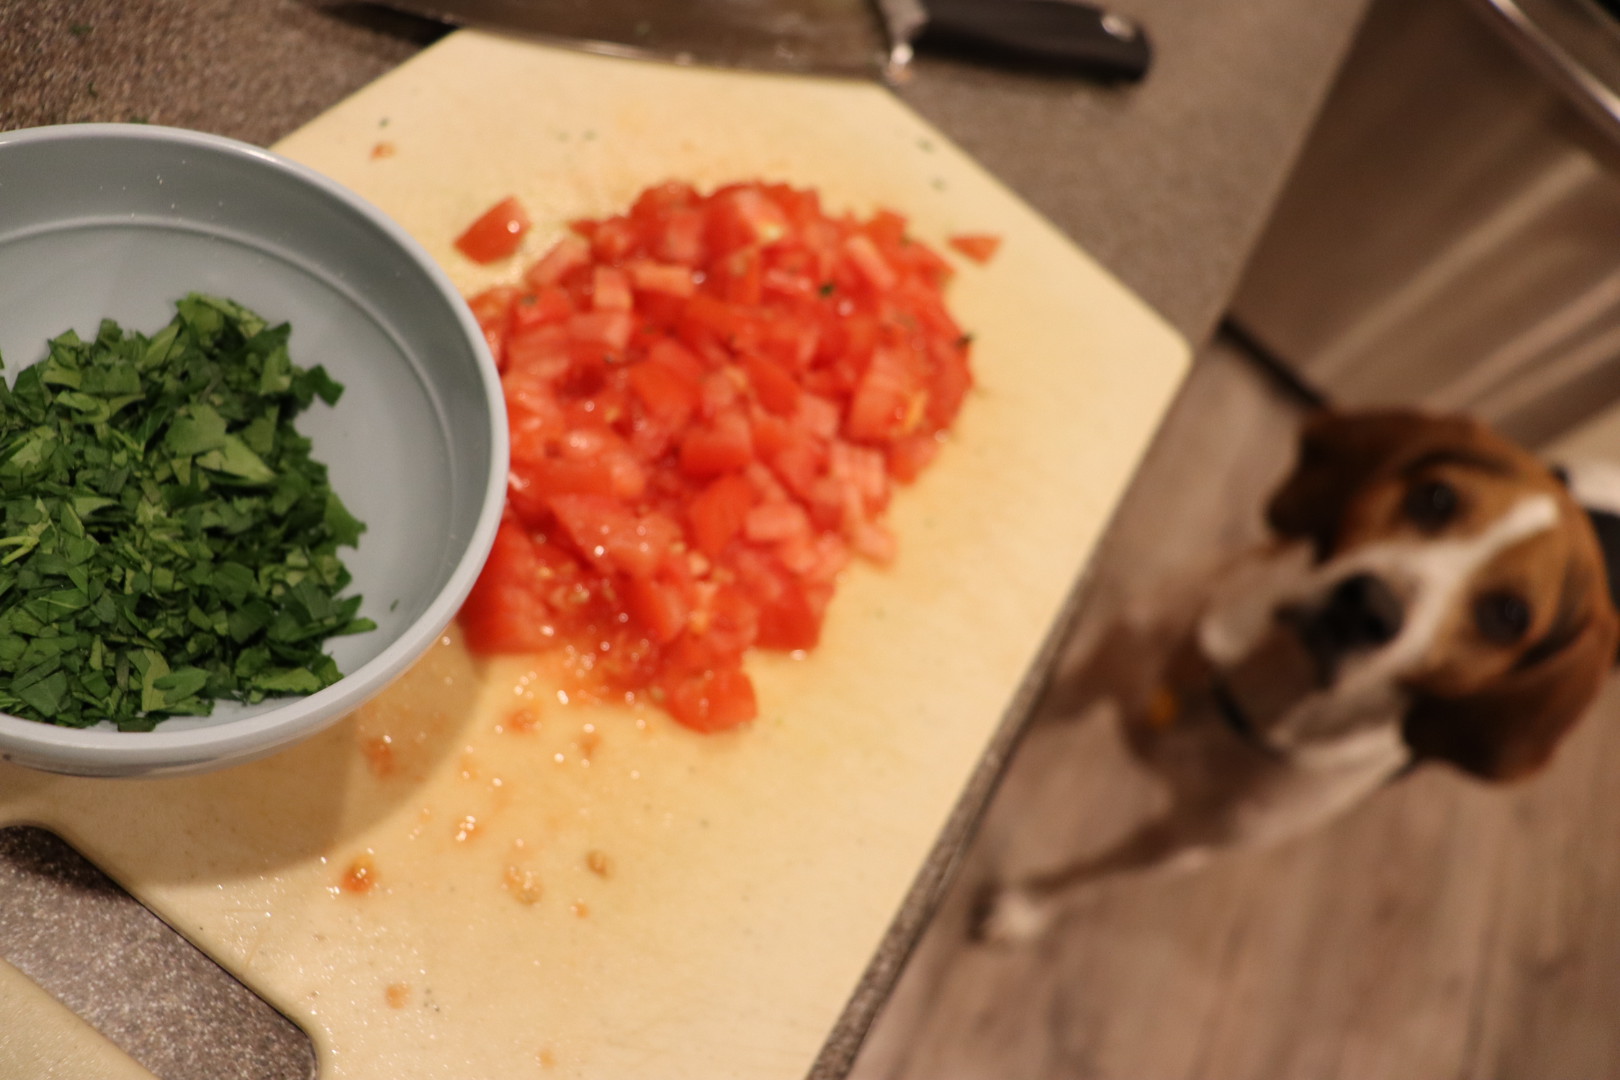
In a small bowl combine two finely chopped ripe medium tomatoes with 1/4 C chopped flat leaf parsley and 1/4 t Kosher salt.

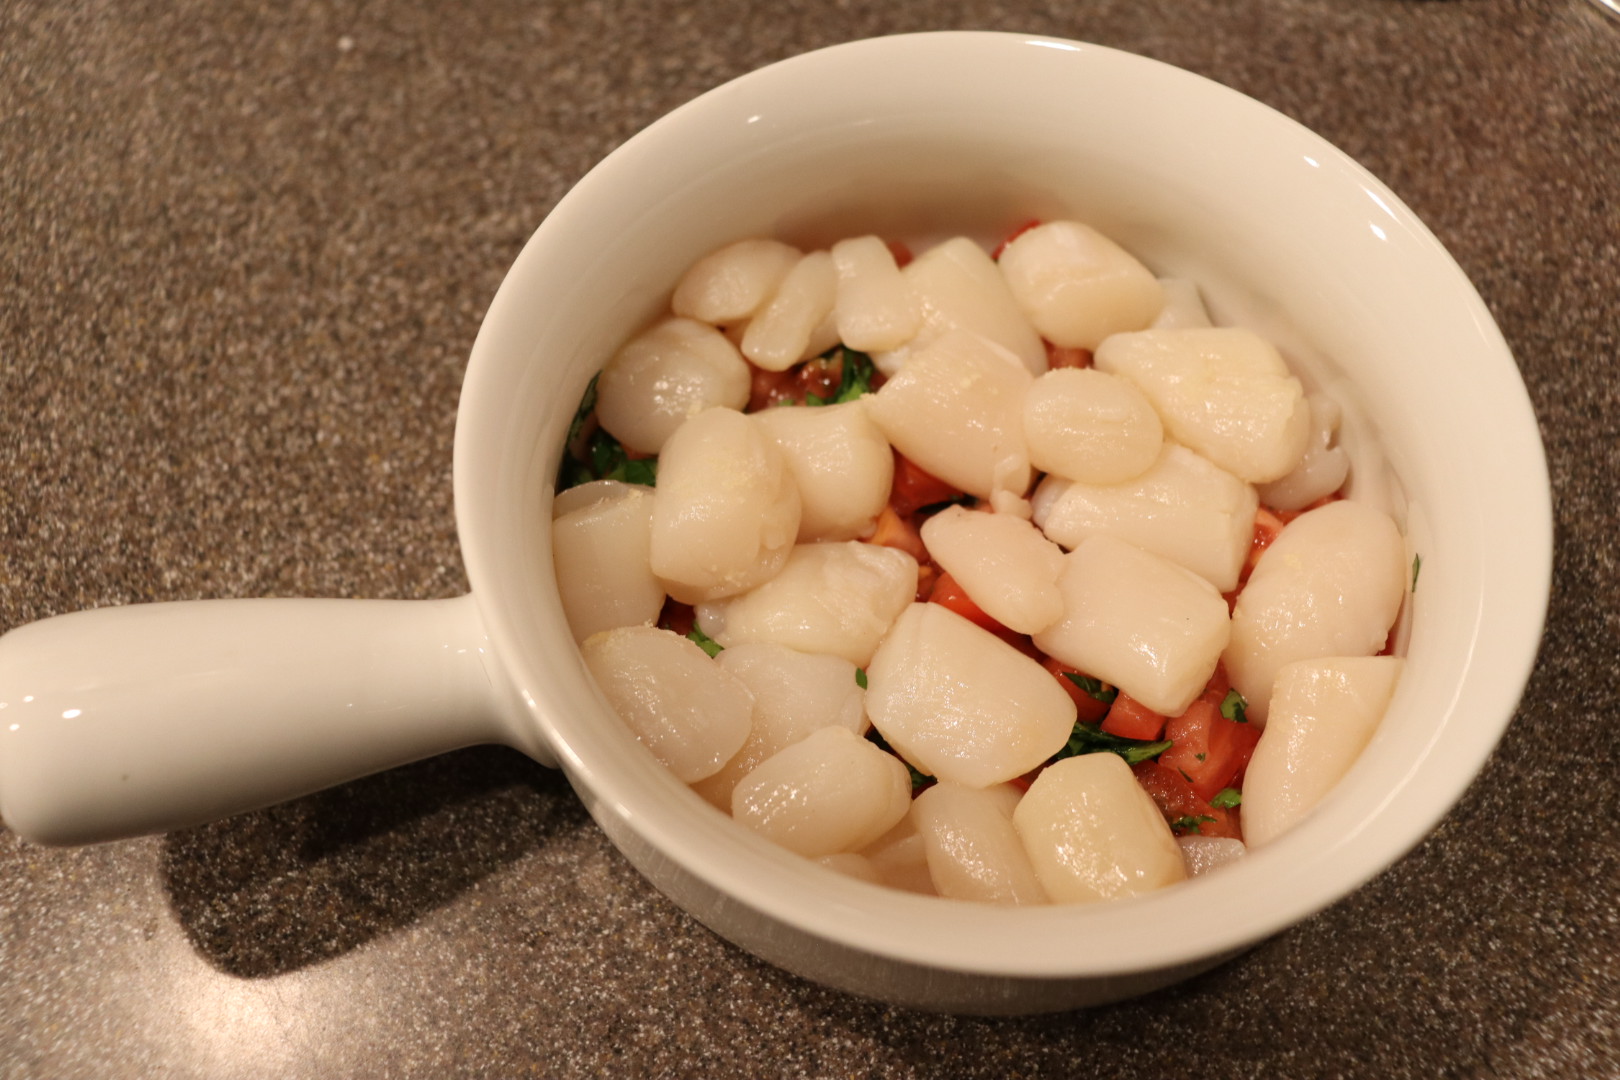
Divide the tomato mixture evenly among four small ovenproof dishes. Evenly distribute the scallops on top of the tomatoes and top the scallops with the cracker mixture.

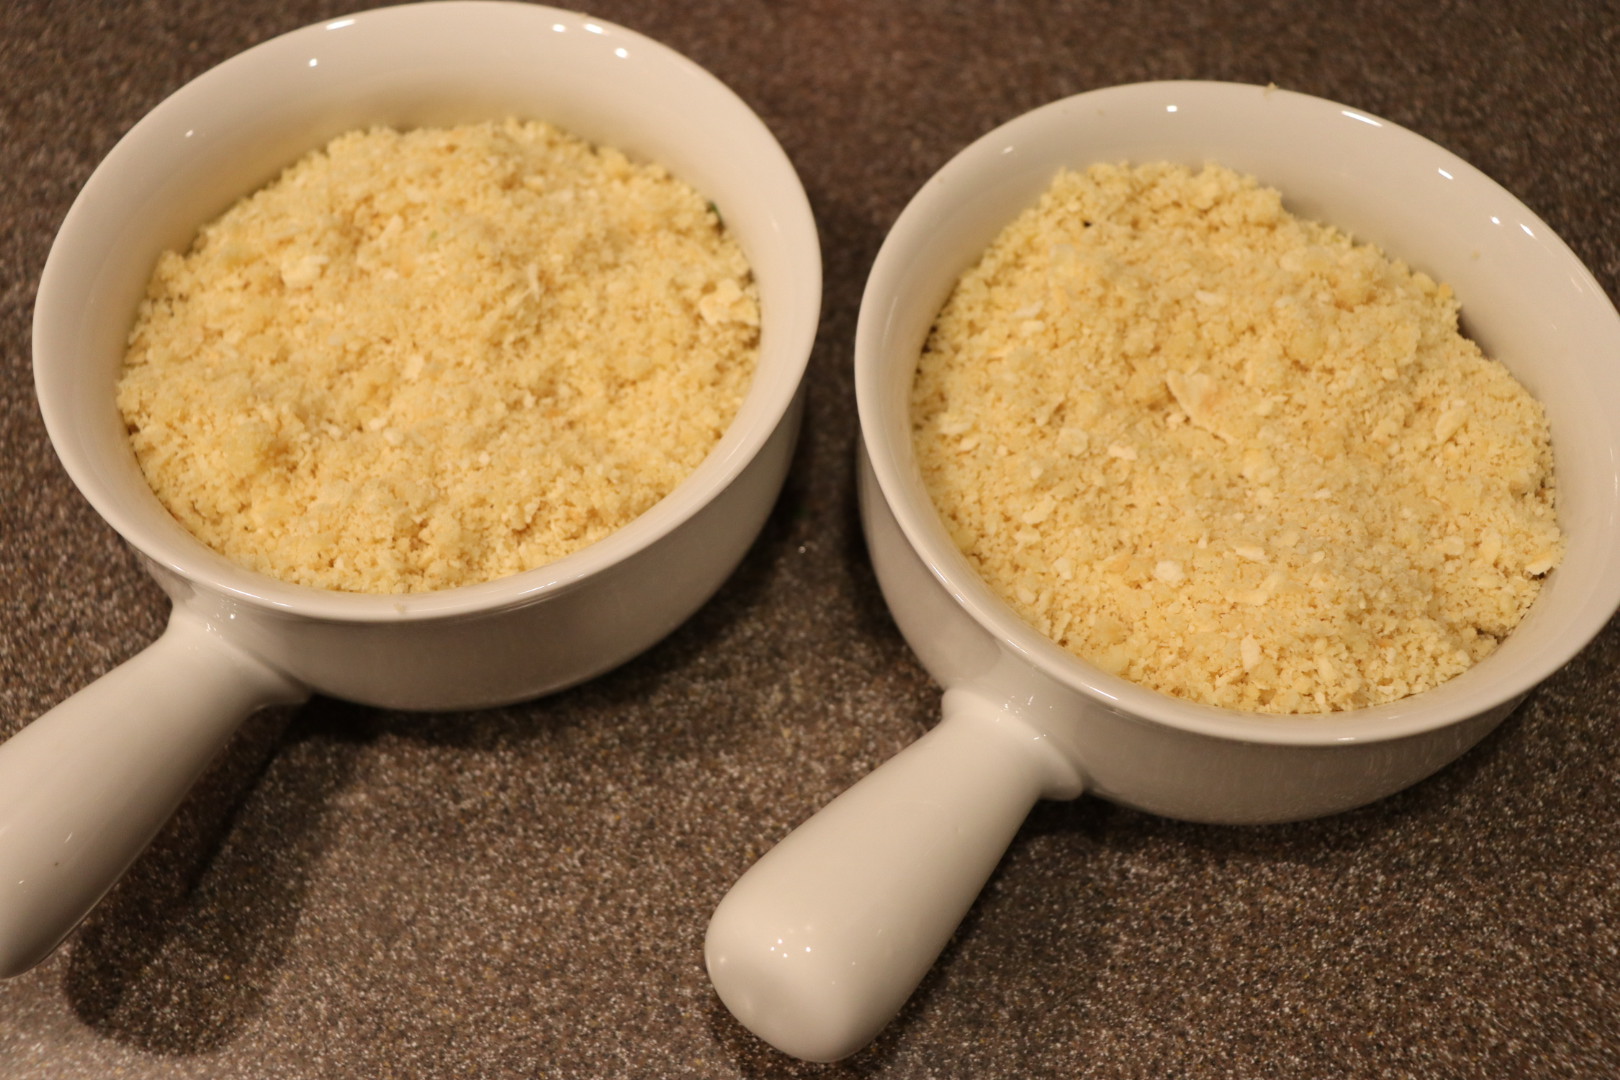
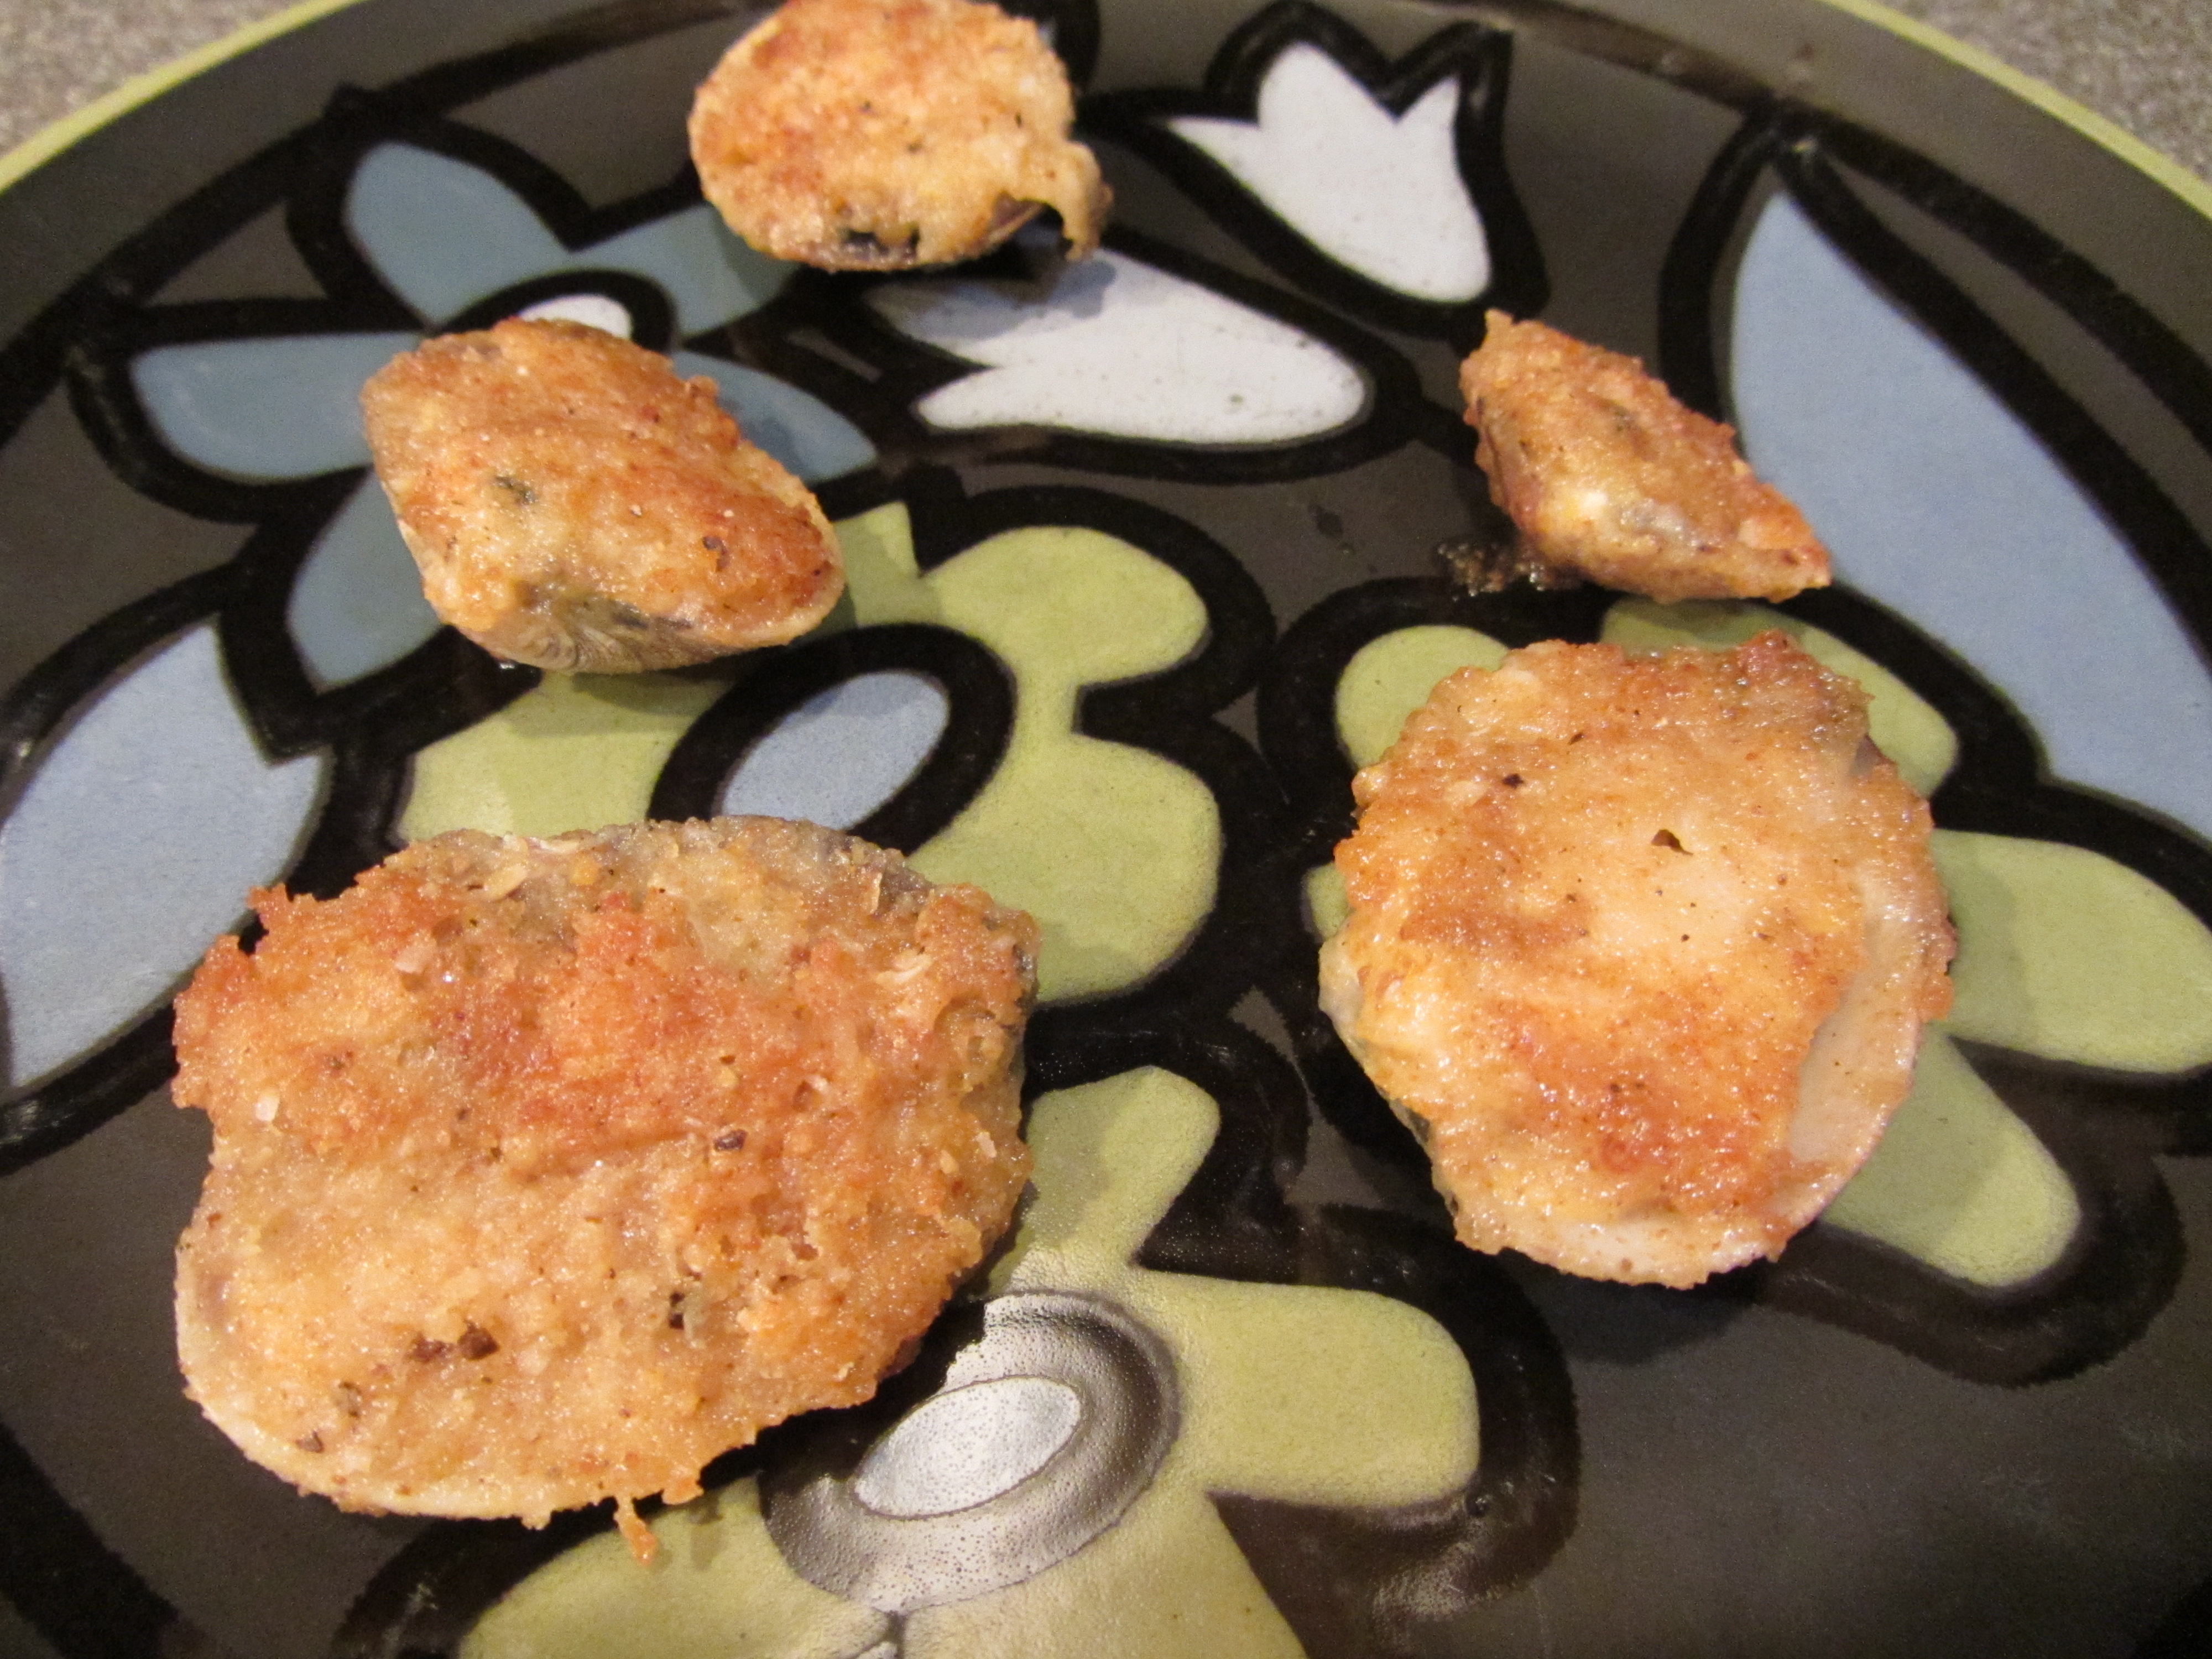
Bake the scallops for 8-10 minutes or until the cracker topping is golden brown.

Alton’s scallops on the half shell after baking.

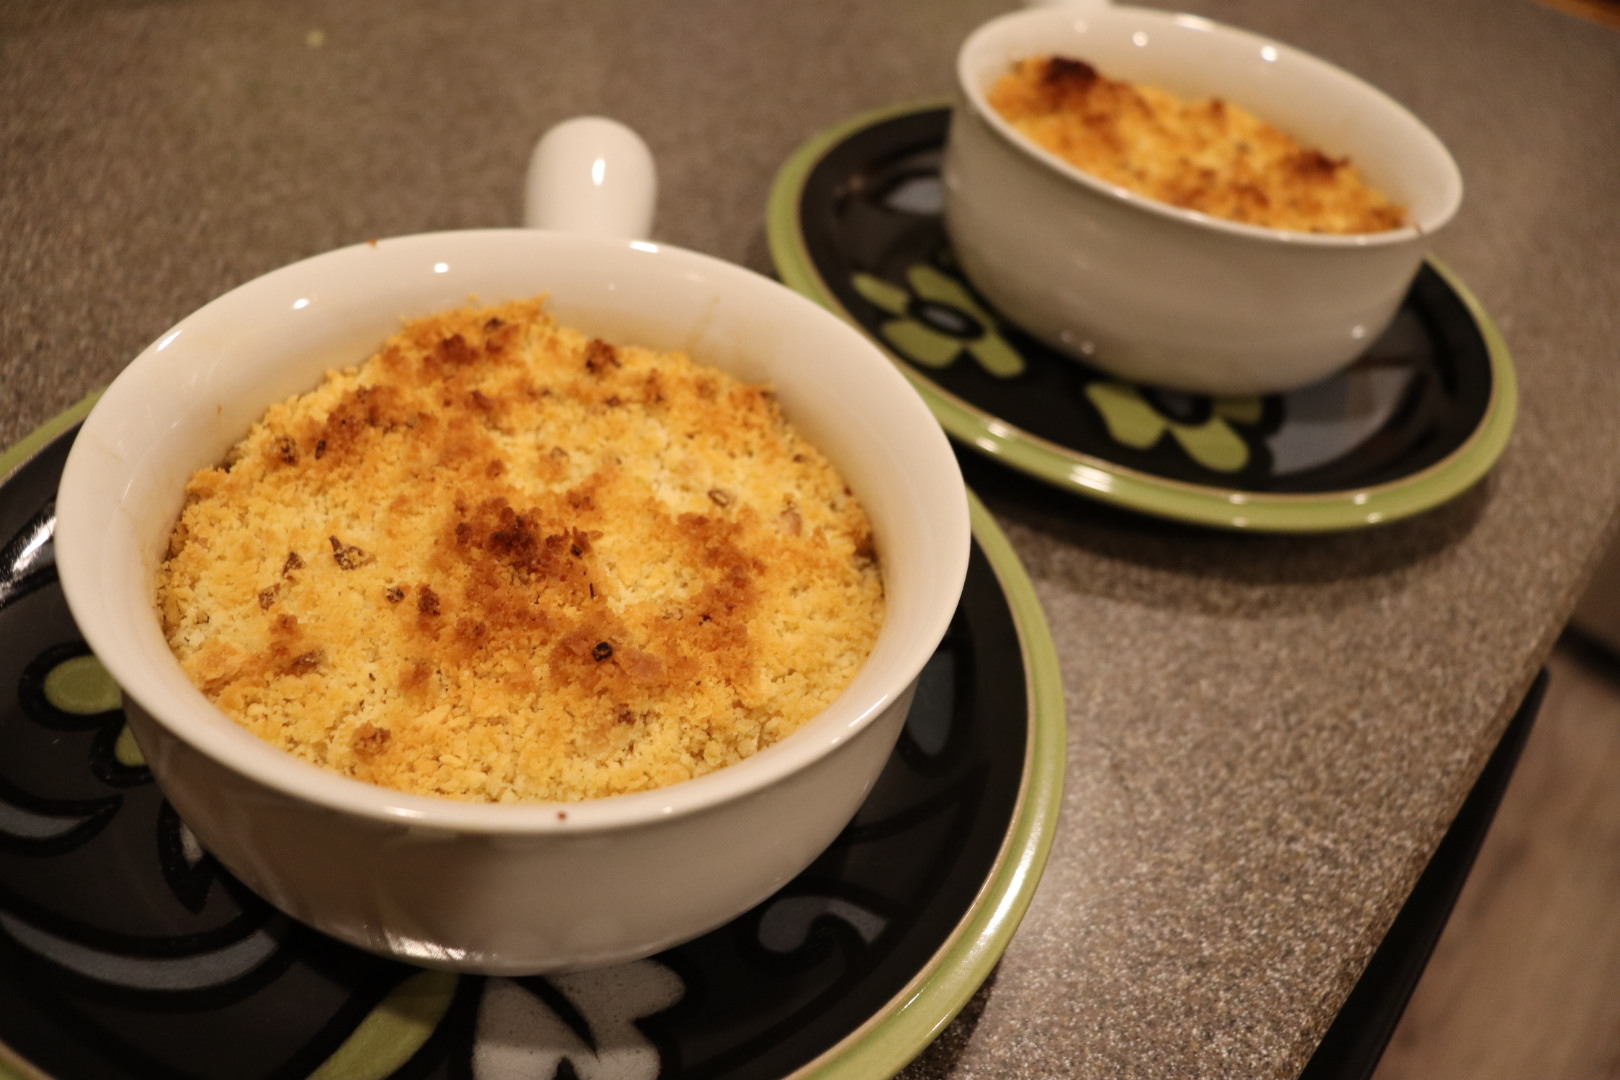
This was my first time cooking bay scallops and they turned out really well. I personally felt that the ratio of crackers to scallops/tomatoes was a bit too high, which resulted in this being a surprisingly heavy and filling dish. I would probably reduce the crackers by a third. I was worried that the crackers would be soggy, but separating the crackers from the tomatoes kept the crackers nice and crispy. This would make a really nice appetizer for a dinner party, and is another recipe that comes together in a snap.

Scallop Mousse

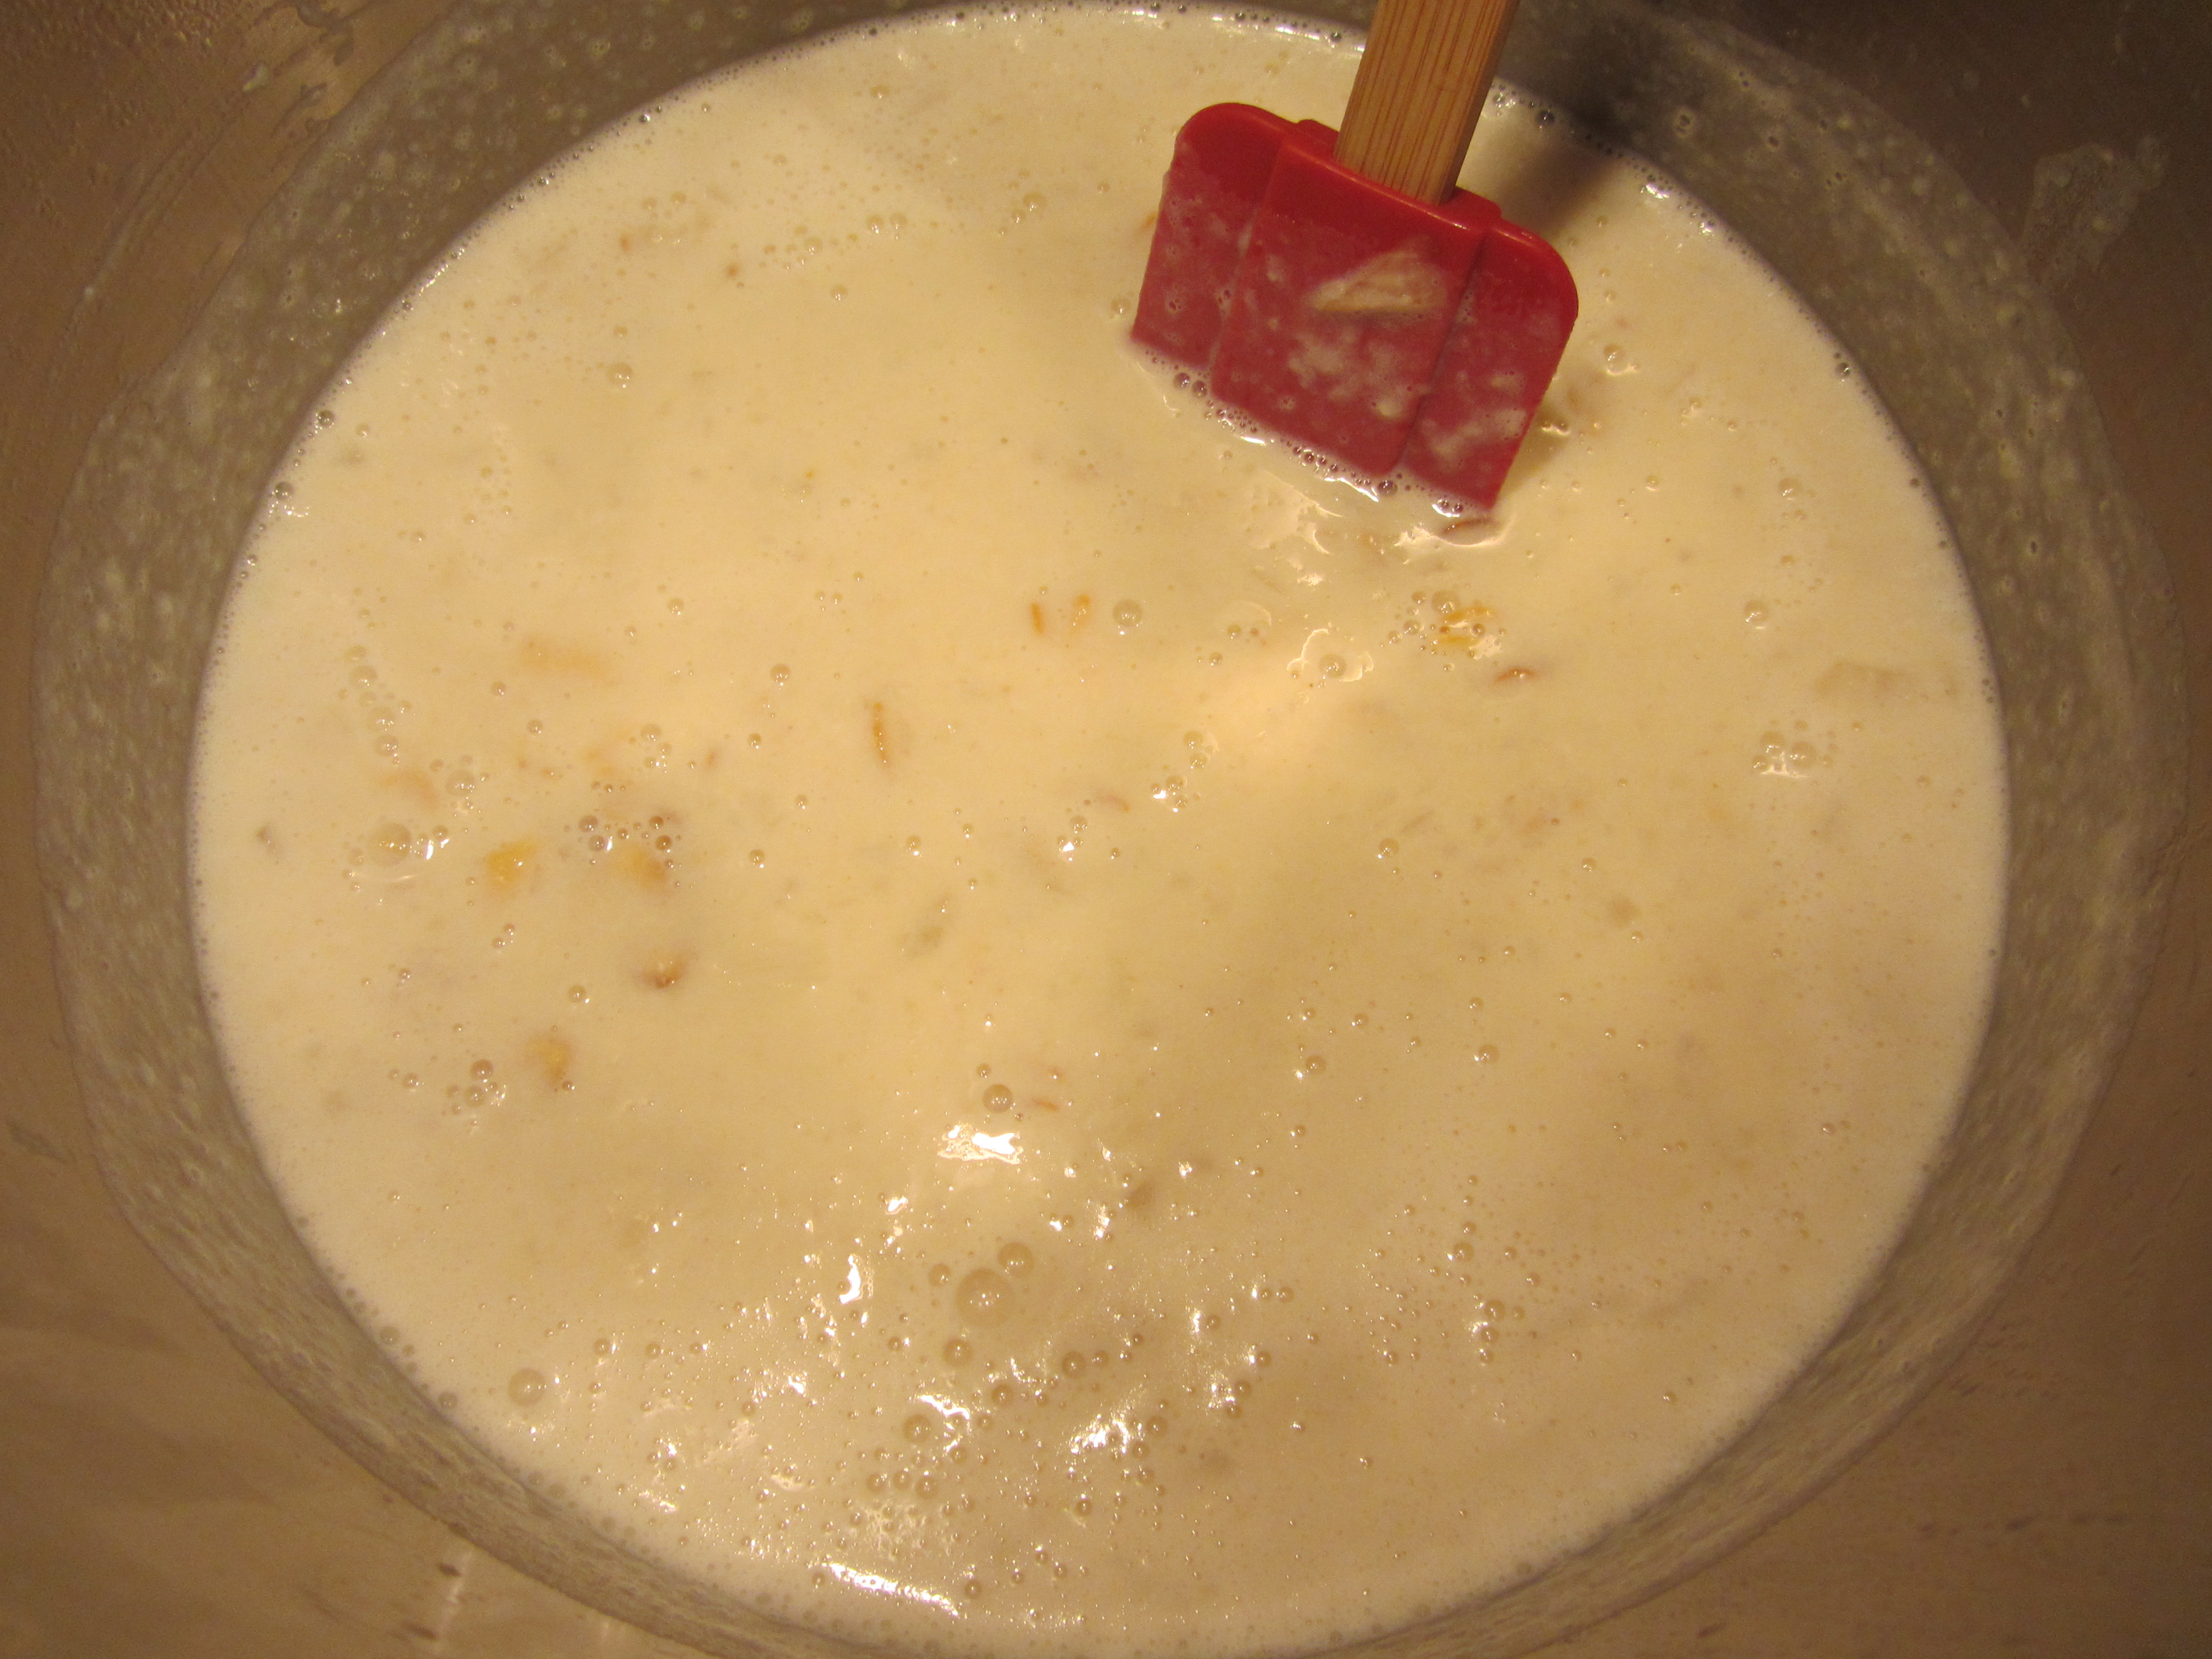
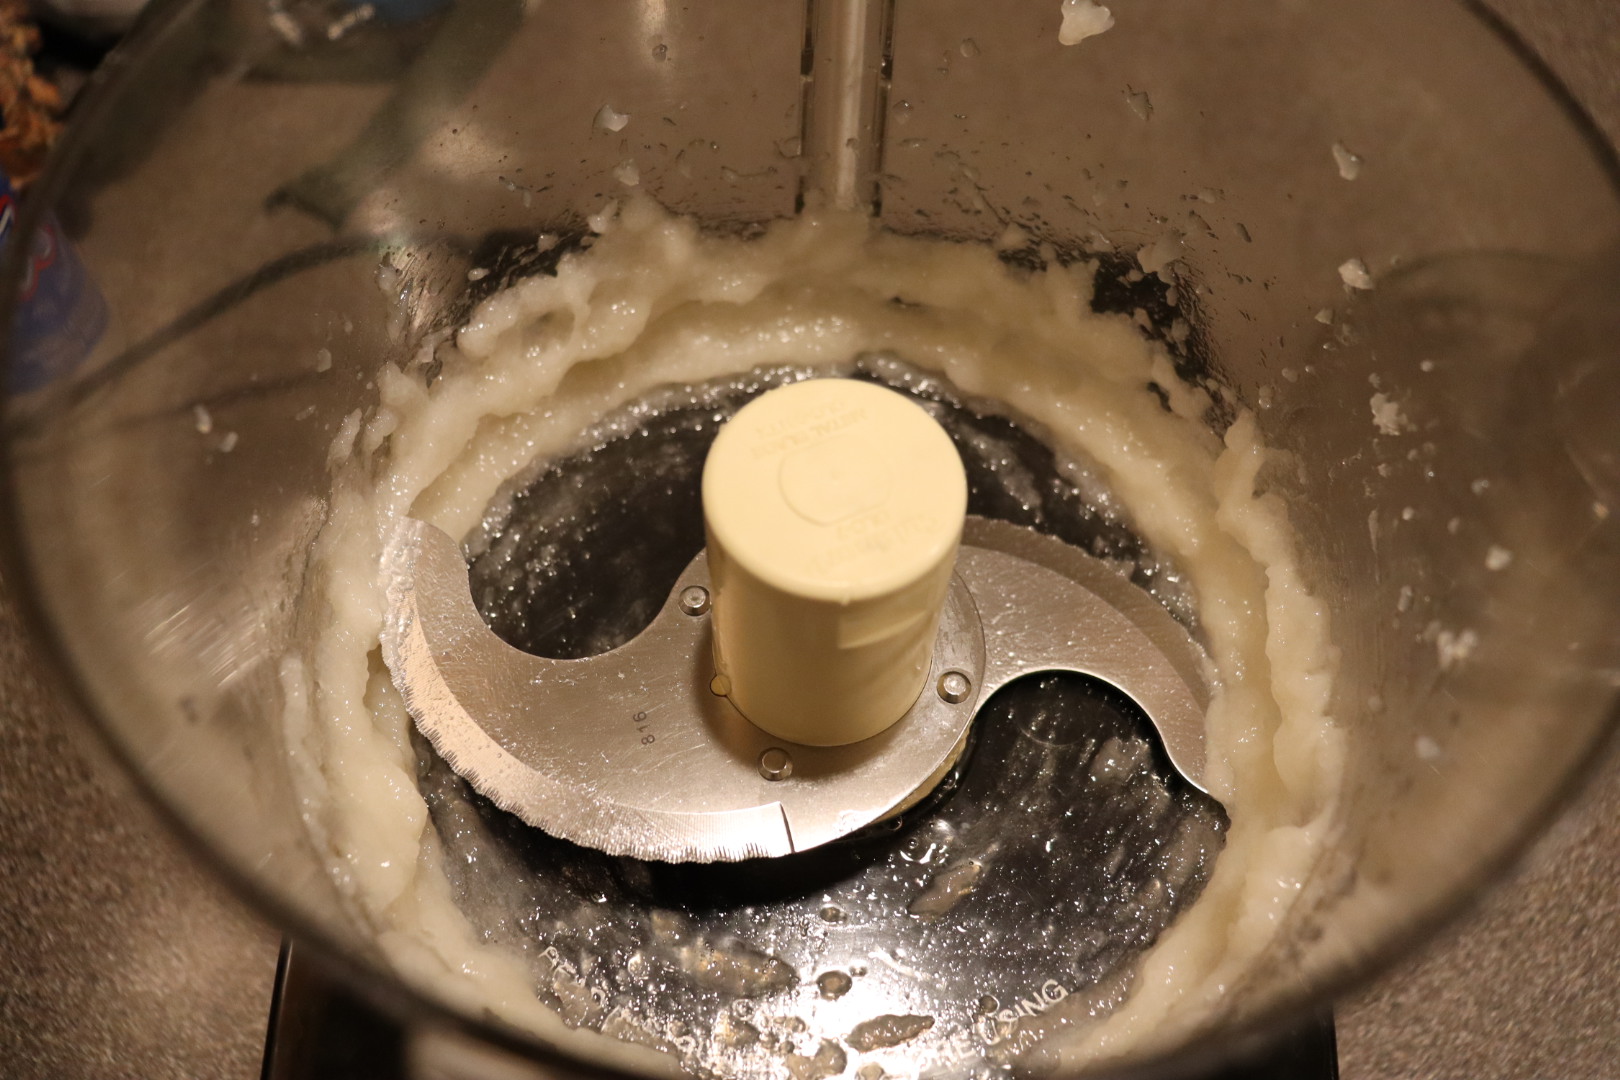
Scallop mousse is the final recipe for this one. Since there were only two of us eating this recipe and I was planning it to be an appetizer, I only used about 1/4 pound of sea scallops and adjusted the other ingredients accordingly. For a full batch of this recipe, you’ll need a pound of wet sea scallops. Begin by preheating your oven to 350. Place your rinsed/patted pound of scallops in the bowl of a food processor and pulse them to a smooth paste – about 5 pulses. Add two egg whites and pulse until the egg whites are no longer visible.

Add 1/4 t nutmeg, 1/4 t white pepper, 1/2 t lemon zest, 1/2 t parsley, and 1 t Kosher salt.

Nutmeg, pepper, lemon zest, parsley, and Kosher salt.

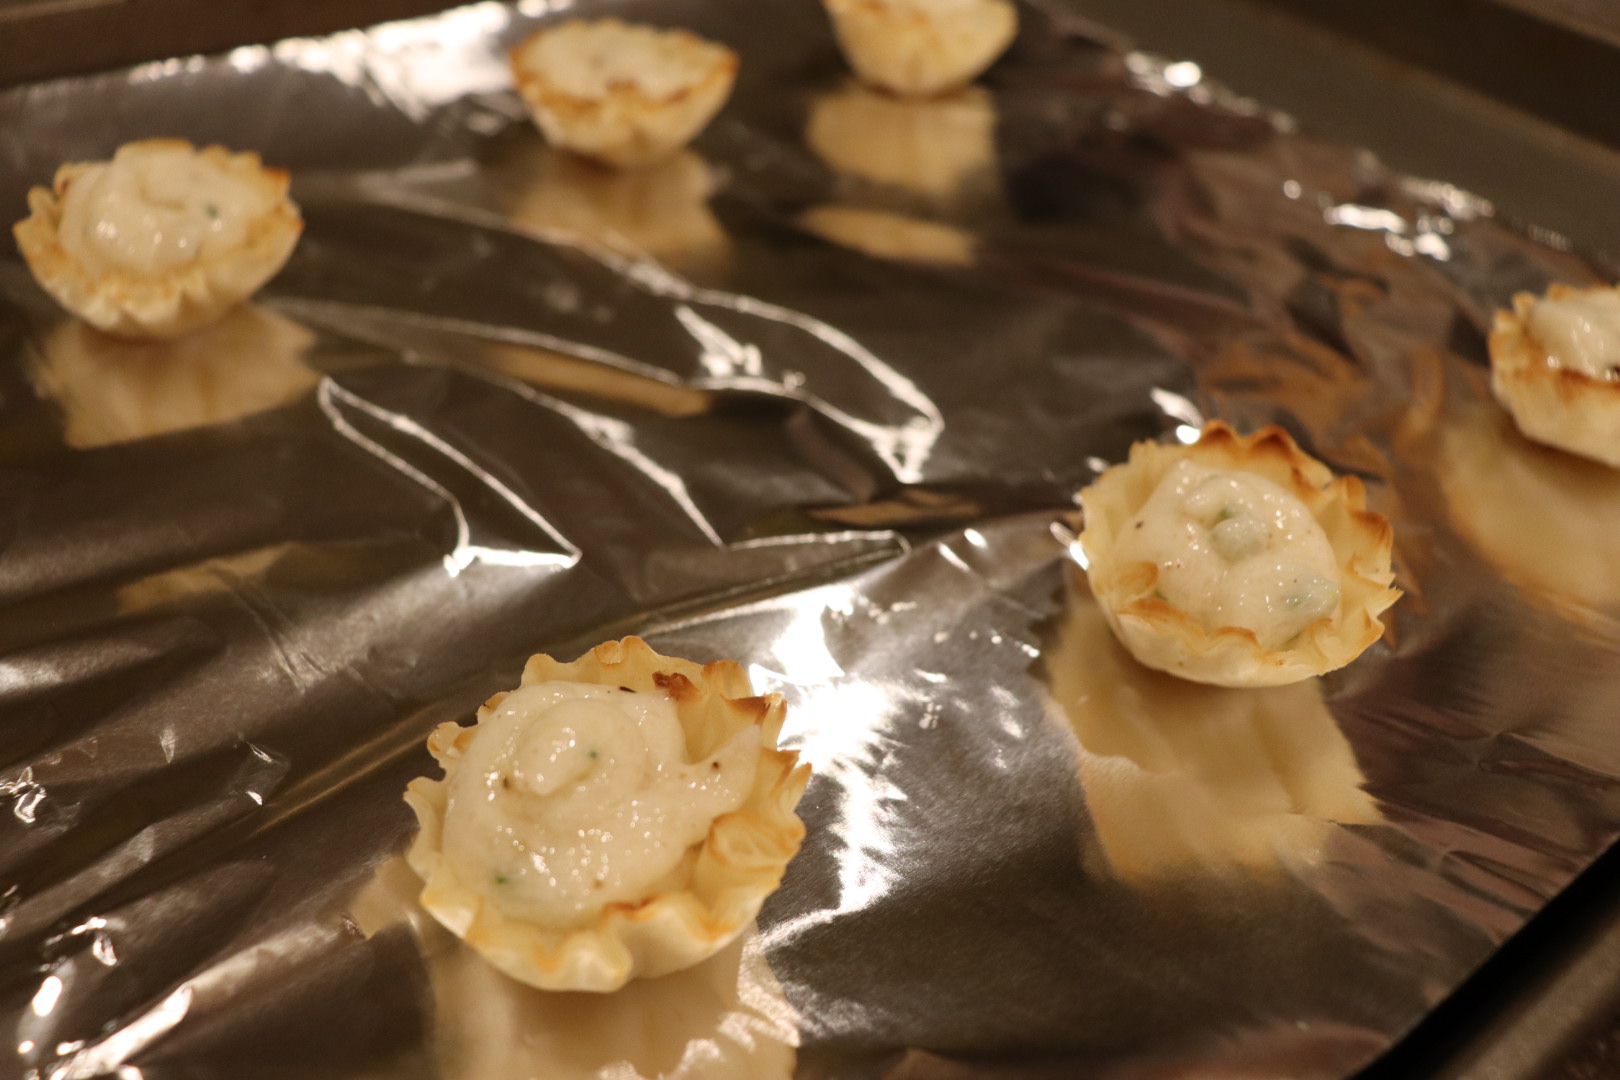
With the machine running, drizzle in 1/4 C of cold heavy cream. Transfer the mousse to a large zip top bag, sealing it well. Use scissors to snip off one bottom corner of the bag, as this will allow you to use the bag like a piping bag. Pipe the mousse into mini phyllo shells (you can find these in the freezer section) placed on a baking sheet.

Mousse, after adding seasoning, being piped into phyllo cups.

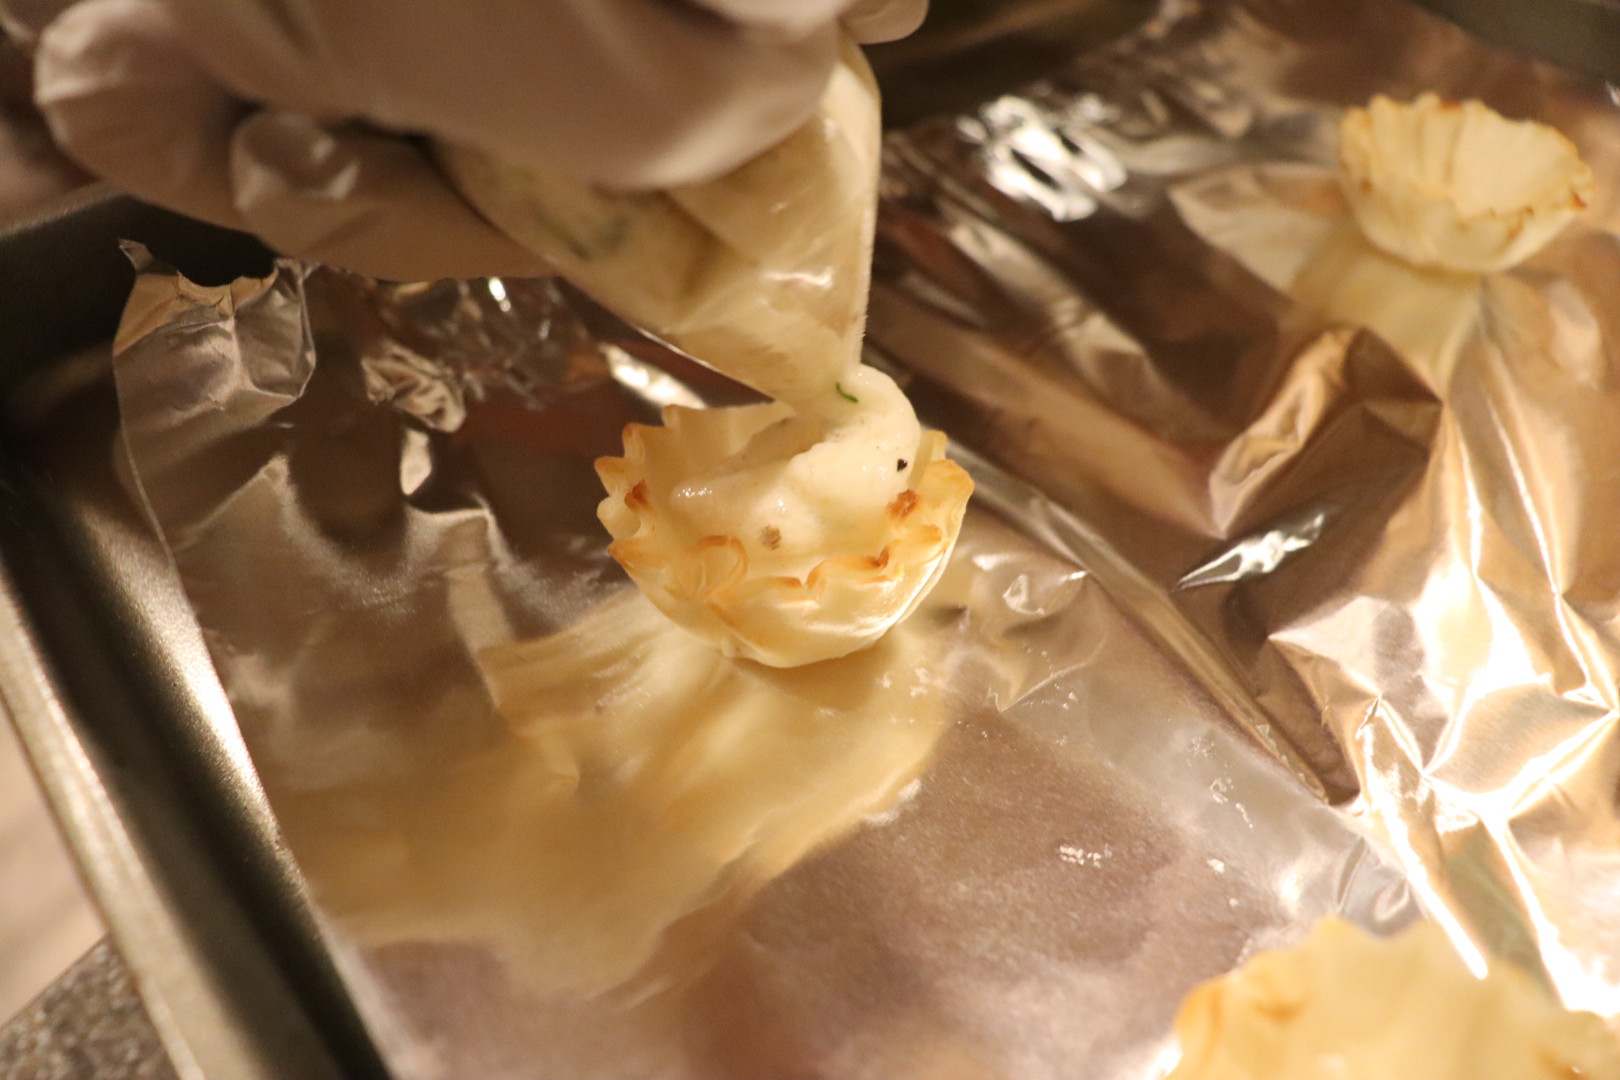
Bake the mousse for 10 minutes. Let cool slightly before eating.

I have to be honest that I was turned off from this recipe from the get-go. Even as I was watching Alton prepare this mousse, I just found it really unappealing, and that bias was hard to turn off. As I placed the scallops in the food processor and began pureeing them, it was just as unappealing as I had imagined. There is just something really gross about pureed seafood. Then, when you add egg white to the party… well, it just gets worse and starts to resemble something along the lines of foamy snot. Flavorwise, the mousse is very mild, almost to the point of being quite bland, but both Ted and I struggled with the texture. Yep, this one for me, was a straight no-go.

For one of my parents’ first dates, my dad took my mom out to dinner. My dad ordered oysters on the half shell as an appetizer for the two Marylanders to share. It turned out that my mom had never before eaten a raw oyster, but, wanting to impress her date, she feigned experience and got them down. If you think about it, perhaps, in a small way, oysters contributed to my very existence.

I never tried a raw oyster myself until 2015 when we took a trip to New Orleans between Ted’s chemo/radiation and subsequent surgery. We headed to a nice restaurant for happy hour and ordered a dozen oysters to go with our cocktails. Our waitress suggested that we try our first oysters on Saltine crackers, along with some cocktail or mignonette sauce, and her tips led to us ordering an additional dozen.

Horseradish Cream Sauce

Apparently, Alton likes to eat his oysters at home with a horseradish cream sauce. This sauce should be made several hours before you will be eating your oysters.

IMG_9030

Ingredients for horseradish sauce: horseradish root, Dijon mustard, Kosher salt, white wine vinegar, pepper, and sour cream.

When serving oysters at home, plan for six large, or eight to ten small, oysters per person as an appetizer. Store oysters flat in the refrigerator with damp cloths between layers, and do not keep them for any longer than a week (preferably only a day or two). Shucking oysters can be a bit tricky, so it’s helpful to watch some videos. Alton’s tips are to hold the round side of the oyster down, insert the knife at the hinge, and give the knife a little twist. Oh, and don’t forget to cut under the oyster once you have the shell open.

IMG_9039

Oysters, ready to be shucked.

Now, back to the sauce. Grate 1/4 C of peeled horseradish root into a bowl, using a microplane. Add 1 t white wine vinegar, 1/4 t pepper, 1/2 t Kosher salt, 1 T Dijon mustard, and 1 C sour cream.

Whisk the sauce until combined, and refrigerate until use.

IMG_9035

Horseradish cream sauce.

The sauce will get less intense with time. I served this sauce with some fresh oysters on the half shell, and I really liked its subtle heat.

IMG_9045

Horseradish cream sauce served with shucked oysters.

If you are looking for a horseradish sauce that really burns your nose, this isn’t it. Of course, you could always add some additional horseradish to make it spicier. This sauce would also pair beautifully with red meat, as it would not overpower the flavor of the meat. This is a really well-balanced, delicious sauce.

Baked Oysters Brownefeller

If you are an oyster newbie, you may find a baked preparation like Alton’s version of Oysters Rockefeller to be less intimidating. Still, though, you will need to get some raw oysters and shuck them. The oysters I ended up with were Pacific oysters, I believe, and they were humongous! I would opt for smaller oysters next time. For Alton’s baked oysters, melt 6 T of unsalted butter in a large skillet over medium-low.

IMG_9066

Unsalted butter in a large skillet.

Once melted, add 3/4 C chopped onion, 3/4 C chopped celery, and 1/2 t Kosher salt. Increase the heat to medium and cook the vegetables for about five minutes.

IMG_9067

Celery, onion, and Kosher salt added to butter.

Add 1 T minced garlic and cook for about a minute.

IMG_9069

Garlic mixed in.

Next, add a 14 oz can of artichoke hearts drained/chopped, 1 C Panko breadcrumbs, 2 t lemon zest, 1/2 t pepper, 1 t dry oregano, and a pinch of Kosher salt. Stir this mixture until the butter has been absorbed by the breadcrumbs, and then cook for another minute.

Spread 4 C of rock salt on a rimmed baking sheet, and nest 24 shucked oysters in the salt (I did fewer oysters since there were only two of us). Evenly distribute the Panko mixture to cover the oysters.

Bake the oysters at 425 for 10-12 minutes, or until the topping is golden.

IMG_9075

Oysters into the oven.

IMG_9077

Oysters Brownefeller.

I wanted to like this more than I did, but I don’t think I can blame all of that on Alton’s recipe. The biggest problem I had with this recipe came down to my oysters themselves. My market ordered oysters for me, and said they would get what was available, which meant I had no choice in what they received. My oysters were honestly just too big, which made them very difficult to eat along with all of the topping. Oysters are supposed to be a one-bite experience, which was just impossible with mine. The flavor of the topping was nice, but the topping did not crisp up as much as I hoped it would. Again, though, I wonder if this was  because my oysters were so large that they contributed a lot of moisture to the topping. I imagine that this recipe could be quite successful with small oysters, so I would encourage oyster lovers to give this a try with better oysters.

Oyster Soup

Alton’s final oyster recipe is for an oyster soup. This recipe is a little easier because you can use pre-shucked oysters in a jar. When buying them, be sure they are in clear liquid, as cloudy liquid can be a red flag.

IMG_9088

Jarred oysters.

There really are only a few ingredients in this simple soup, which begins by draining the liquid from a pint of jarred oysters into a saucepan containing a quart of heavy cream.

Heat the cream and oyster liquor, avoiding bringing it above a simmer. Meanwhile, melt 1 T unsalted butter in a large skillet over medium heat, and add two ribs of chopped celery and a large pinch of Kosher salt.

Add a chopped onion to the skillet and cook for a few minutes.

IMG_9092

Onion added to the pan.

Next, add the drained oysters to the pan, along with 1 t celery seed and 1 1/2 t hot sauce. Cook the oysters just until they plump up and curl at the edges.

Place the oyster mixture in the carafe of a blender, along with enough of the warm cream to cover the oysters. Blend the oysters until smooth.

Return the remaining cream to medium heat and add the oyster puree, stirring to combine.

IMG_9098

Oyster puree added back to remaining warm cream.

Serve the soup with a squeeze of lemon and some parsley, chives, or chervil.

IMG_9100

Bowl of oyster soup with lemon and parsley.

This soup had subtle briny flavor of the ocean balanced with the richness of cream, and if it had been placed in front of me I probably would have guessed it was a smooth clam chowder. I don’t think I would have ever been able to identify that oysters were the main ingredient in this soup. With the heavy cream base of this soup, I was afraid the soup would be super rich, but it was light enough that I had no trouble eating a whole bowl of it. This is a good recipe for those who like clam chowder but want to try something a little bit different.

Clams on the Half Shell with Fresh Mayonnaise

Once again, with this episode, my Good Eats project has led me to prepare a food item at home that I have never before prepared. This, to me, is the best part of this project, as I am learning to cook things I potentially would never have otherwise attempted. Clams, this time, were the subject of my exploration.

Though I have eaten other shellfish on the half shell (namely oysters), clams on the half shell were new to me. Really, this isn’t so much a recipe, but rather more of a method. Here’s a link to Alton’s recipe. All you really need for this preparation are fresh, live clams and a batch of Alton’s mayo, which I made previously. When eating raw clams, you want small clams (like littlenecks), as they are more tender than larger clams. When purchasing clams, you want to go to reputable seller and you want to purchase clams that are closed, very hard, and that sound like rocks when you tap them. My grocer had to special order littleneck clams for me and they seemed to be pretty fresh. Clams do sometimes open a little bit, even when they are alive, but they should close if you tap them; discard any clams that do not close when tapped. Also, it really is ideal to purchase clams the day you plan to serve them. Store them in your refrigerator before use in an open container that has been topped with a wet paper towel. When ready to serve your clams, dump them in a colander and give them a good rinse.

img_5186

Littleneck clams after being rinsed off.

Wipe off any additional grit in a clean tea towel. Next, set them in the freezer for 30 minutes before shucking, as this will make the process easier.

img_5187

Littlenecks, ready to be wiped dry in a tea towel before going in the freezer for 30 minutes.

To shuck, insert a butter knife into the groove at a “corner” of the shell, working the knife between the sides of the shell and prying it open.

Detach the meat from the shell by scraping it off of both sides of the shell with the knife, leaving the meat in the bottom side of the shell. Set your clams on a serving plate, topping each clam with some of Alton’s mayo.

img_5191

Not the greatest photo, but a shucked littleneck with Alton’s mayo.

My shells were really lopsided and toppled a bit, so setting them on a bed of greens may make a more attractive presentation. We ate our raw clams as an appetizer one evening, having just a handful or so each. When I eat raw shellfish, I prefer to have condiments, so I liked the addition of Alton’s mayo, which I love anyway. Since I’m a newbie to prepping raw shellfish, I get a little nervous when I am eating them at home, so I think I would have enjoyed raw clams more if I were eating them in a restaurant. Overall, I’ll say that we thought they were good, but not fantastic, and I don’t know that I’ll be jumping to prepare them again anytime soon.

Radonsky for the New Millennium 

For the second recipe in this episode, Alton used cherrystone clams, which are larger than littlenecks. I could not find cherrystone clams where I live, so I ended up using manila clams for this one.

img_5265

My manila clams.

As with the recipe above for clams on the half shell, you will want to shuck your clams, but for this preparation you will only want to detach the clam meat from one side of the shell. You will also want to discard the empty half of the shell from each clam.

img_5268

Shucked clams.

Mix together 1/4 C flour, 1/4 C breadcrumbs, 1 T freshly grated Parmesan, black pepper, and Kosher salt. Sprinkle the flour mixture liberallly over the shucked clams.

Melt 3 T bacon fat in a skillet over medium-high heat; we keep bacon fat in the refrigerator for occasions such as this.

img_5267

Bacon fat in the pan.

When the bacon fat has melted, fry the clams, shell side up, until they are golden brown and their shells have lightened in color.

img_5272

Clams frying in bacon fat.

Serve the clams with malt vinegar and parsley.

img_5275

My fried clams.

So, I really thought I would like these better than the clams on the half shell, but it turned out that we both found the clams to be too strong in flavor. I liked the crispy coating on the clams and the tang from the malt vinegar, but the clams I used were extremely briny in flavor and had a strong aftertaste that lingered. Perhaps this recipe would have been better with littlenecks? If I were to make this again, I would try it with littlenecks, or cherrystones if I could find them.

Clam Chowder

A clam episode would not be complete without a recipe for clam chowder. We always seem to eat more soup in the fall, so clam chowder seemed like a perfect thing to eat on a fall evening, though I am still clinging to the idea of summer. This recipe begins by rendering the fat from 3 ounces of salt pork or bacon over medium heat; I used Alton’s bacon that I made previously.

img_5192

Bacon fat rendering.

Once the fat is rendered, remove the meat pieces from the pan and save for another use. Add 1 1/2 C chopped onion to the pork fat and cook until translucent.

img_5195

Onion added to bacon fat.

Next, add 6 C of cubed russet potatoes, peeled (this is about 4 medium or 3 large russets). Add whole milk to the pan, just to cover the potatoes.

img_5197

Potatoes and whole milk added to pot.

Meanwhile, drain and reserve the juice from 14 ounces of canned clams, and chop the clam meat. You will want to have at least 1 C of clam juice; if you do not, add water to make 1 C of liquid.

Pour the clam juice into the bottom of a steamer and steam 12 clams over the clam juice, checking on them after 5 minutes.

img_5205

My clams, steaming over canned clam juice.

Remove the clams as soon as they open, as they will become tough if overcooked. Save the steaming liquid!

img_5208

Steamed clams.

When the clams are steamed, use an immersion blender to blend the potato mixture to your desired consistency – I left some lumps in mine.

To your blended soup, add ~1/2 of the steaming liquid and taste it. Alton cautioned that the steaming liquid can be quite salty, so you want to add it gradually. I wound up adding all of my steaming liquid, as it did not make my soup overly salty. Fold in your chopped canned clam meat.

img_5210

Canned clams and steaming liquid added to soup.

Top the soup with black pepper, sour cream, parsley, and grape tomatoes, and serve with steamed clams on the side.

img_5214

Clam chowder with parsley, pepper, tomatoes, sour cream, and steamed clams.

We both thought this chowder was great. It had lots of clam flavor and pieces, along with plenty of potatoes. Ted even declared this one of the best clam chowders he has had. I don’t know if serving the steamed clams on the side is even necessary, though it does make for a nice presentation. I was not sure about serving the soup with sour cream and tomatoes, but I actually quite liked the garnishes. I will make this one again. It makes for an easy weeknight meal.

Mojo Moulies

It was amidst the moving boxes and clutter that I made my first Good Eats recipe in our new home. Continuing with the third season of the show, I prepped Alton’s version of mussels. As with several of the recipes I have made in my Good Eats project, I was again dealing with an ingredient that I had never prepared myself. I fondly recall a delicious dish of moules et frites that I got at a restaurant in Walla Walla, Washington, so I was hopeful that Alton’s mussels would prove to be likewise as delicious.

The online version of this recipe is a little goofy, in that it calls for a total of only 20 mussels, while 10 mussels will be used as part of the sauce. If you watch the episode of the show, however, Alton specifies that you should count on 15-20 mussels per person for an entree portion, while 7-8 mussels make for a great appetizer. Oh, and he recommends that you purchase enough for an extra serving, just in case some mussels need to be thrown away. My store happened to only have about 25 mussels. Rather than waiting for another day, I bought all of the mussels they had, figuring we could always eat more bread if we were still hungry. To store mussels at home, Alton tells you to put them in an open bucket or bowl, covered with a damp paper towel and a bag of ice, and to change the ice daily. I used my mussels within a few hours of buying them, but I still stored them this way.

Mussels ready for storage.

Mussels ready for storage.

Mussels topped with a damp paper towel...

Mussels topped with a damp paper towel…

...and a bag of ice.

…and a bag of ice.

Very few ingredients are needed for this recipe.

Other ingredients for the dish:  garlic, olive oil, leek, tomato, white wine, and Kosher salt.

Other ingredients for the dish: garlic, olive oil, leek, tomato, white wine, and Kosher salt.

Chopped leek.

Chopped leek.

Chopped garlic.

Chopped garlic.

Diced tomato.

Diced tomato.

To begin, you sweat leeks and garlic in olive oil, along with a pinch of Kosher salt. You will want to do this in a fairly large, lidded stockpot, in which you can nest a colander or steamer basket to hold the mussels.

Leeks and garlic sweating in olive oil.

Leeks and garlic sweating in olive oil.

While the vegetables sweat, you can clean your mussels with a brush. You will also need to remove any beards with needle-nose pliers. Many of my mussels still had their beards. Discard any mussels that are open.

Slightly blurry photo of cleaned mussels.

Slightly blurry photo of cleaned mussels.

Meanwhile, once the leeks have softened, add chopped tomato and white wine, increase the heat, and bring to a boil.

Tomato added to the pan.

Tomato added to the pan.

Wine added to the vegetables.

Wine added to the vegetables.

Once boiling, put the colander of mussels inside the pot, add the lid, and set a timer for three minutes. When the timer goes off, make sure all of the mussels are open; if any are unopened, move them around a bit and cook for another 30 seconds. If any mussels are still not open, throw them away, and divide the other mussels among individual serving bowls.

Steamed mussels.

Steamed mussels.

Add the meat of 10 mussels to the pot with the vegetable mixture and cooking liquid, and puree to a smooth consistency with an immersion blender.

Cooking liquid after steaming mussels.

Cooking liquid after steaming mussels.

Ten mussels added to cooking liquid for sauce.

Ten mussels added to cooking liquid for sauce.

Pureed sauce.

Pureed sauce.

Pour this sauce over the mussels, sprinkle with parsley (I forgot to add the parsley), and serve with crusty bread.

Mussels in sauce, served with bread.

Mussels in sauce, served with bread.

We ate our mussels as an entree and had a large proportion of sauce to mussels. The mussels themselves had the fresh taste of the ocean; I always think they taste exactly like the ocean smells. The sauce was, to me, the best part of the dish. It had a great balance of sweetness and acidity, along with a hint of brininess from the mussels, and it was great to dip good bread in. The mussels were really good, but Ted and I agreed that we really think we would prefer a bowl of clams, if given our choice of shellfish.