Seeing as I am now between seasons eight and nine of Good Eats, I figured this was a good time to do one of the special episodes. It’s hard to believe that I last did a special episode over two years ago! This special was fun for me to do because it was an episode I had never seen before and all four of the recipes were super intriguing. I can say that I have definitely left this episode with some recipes that I will be bookmarking for long-term use/memory, so read on if you want to discover some great food.
Salt Roasted Shrimp
Shrimp are not my favorite protein, but I was still excited about trying this cooking method. The recipe begins with placing two pounds of rock salt in a 9×13″ metal pan. Place two more pounds of rock salt in a metal bowl.

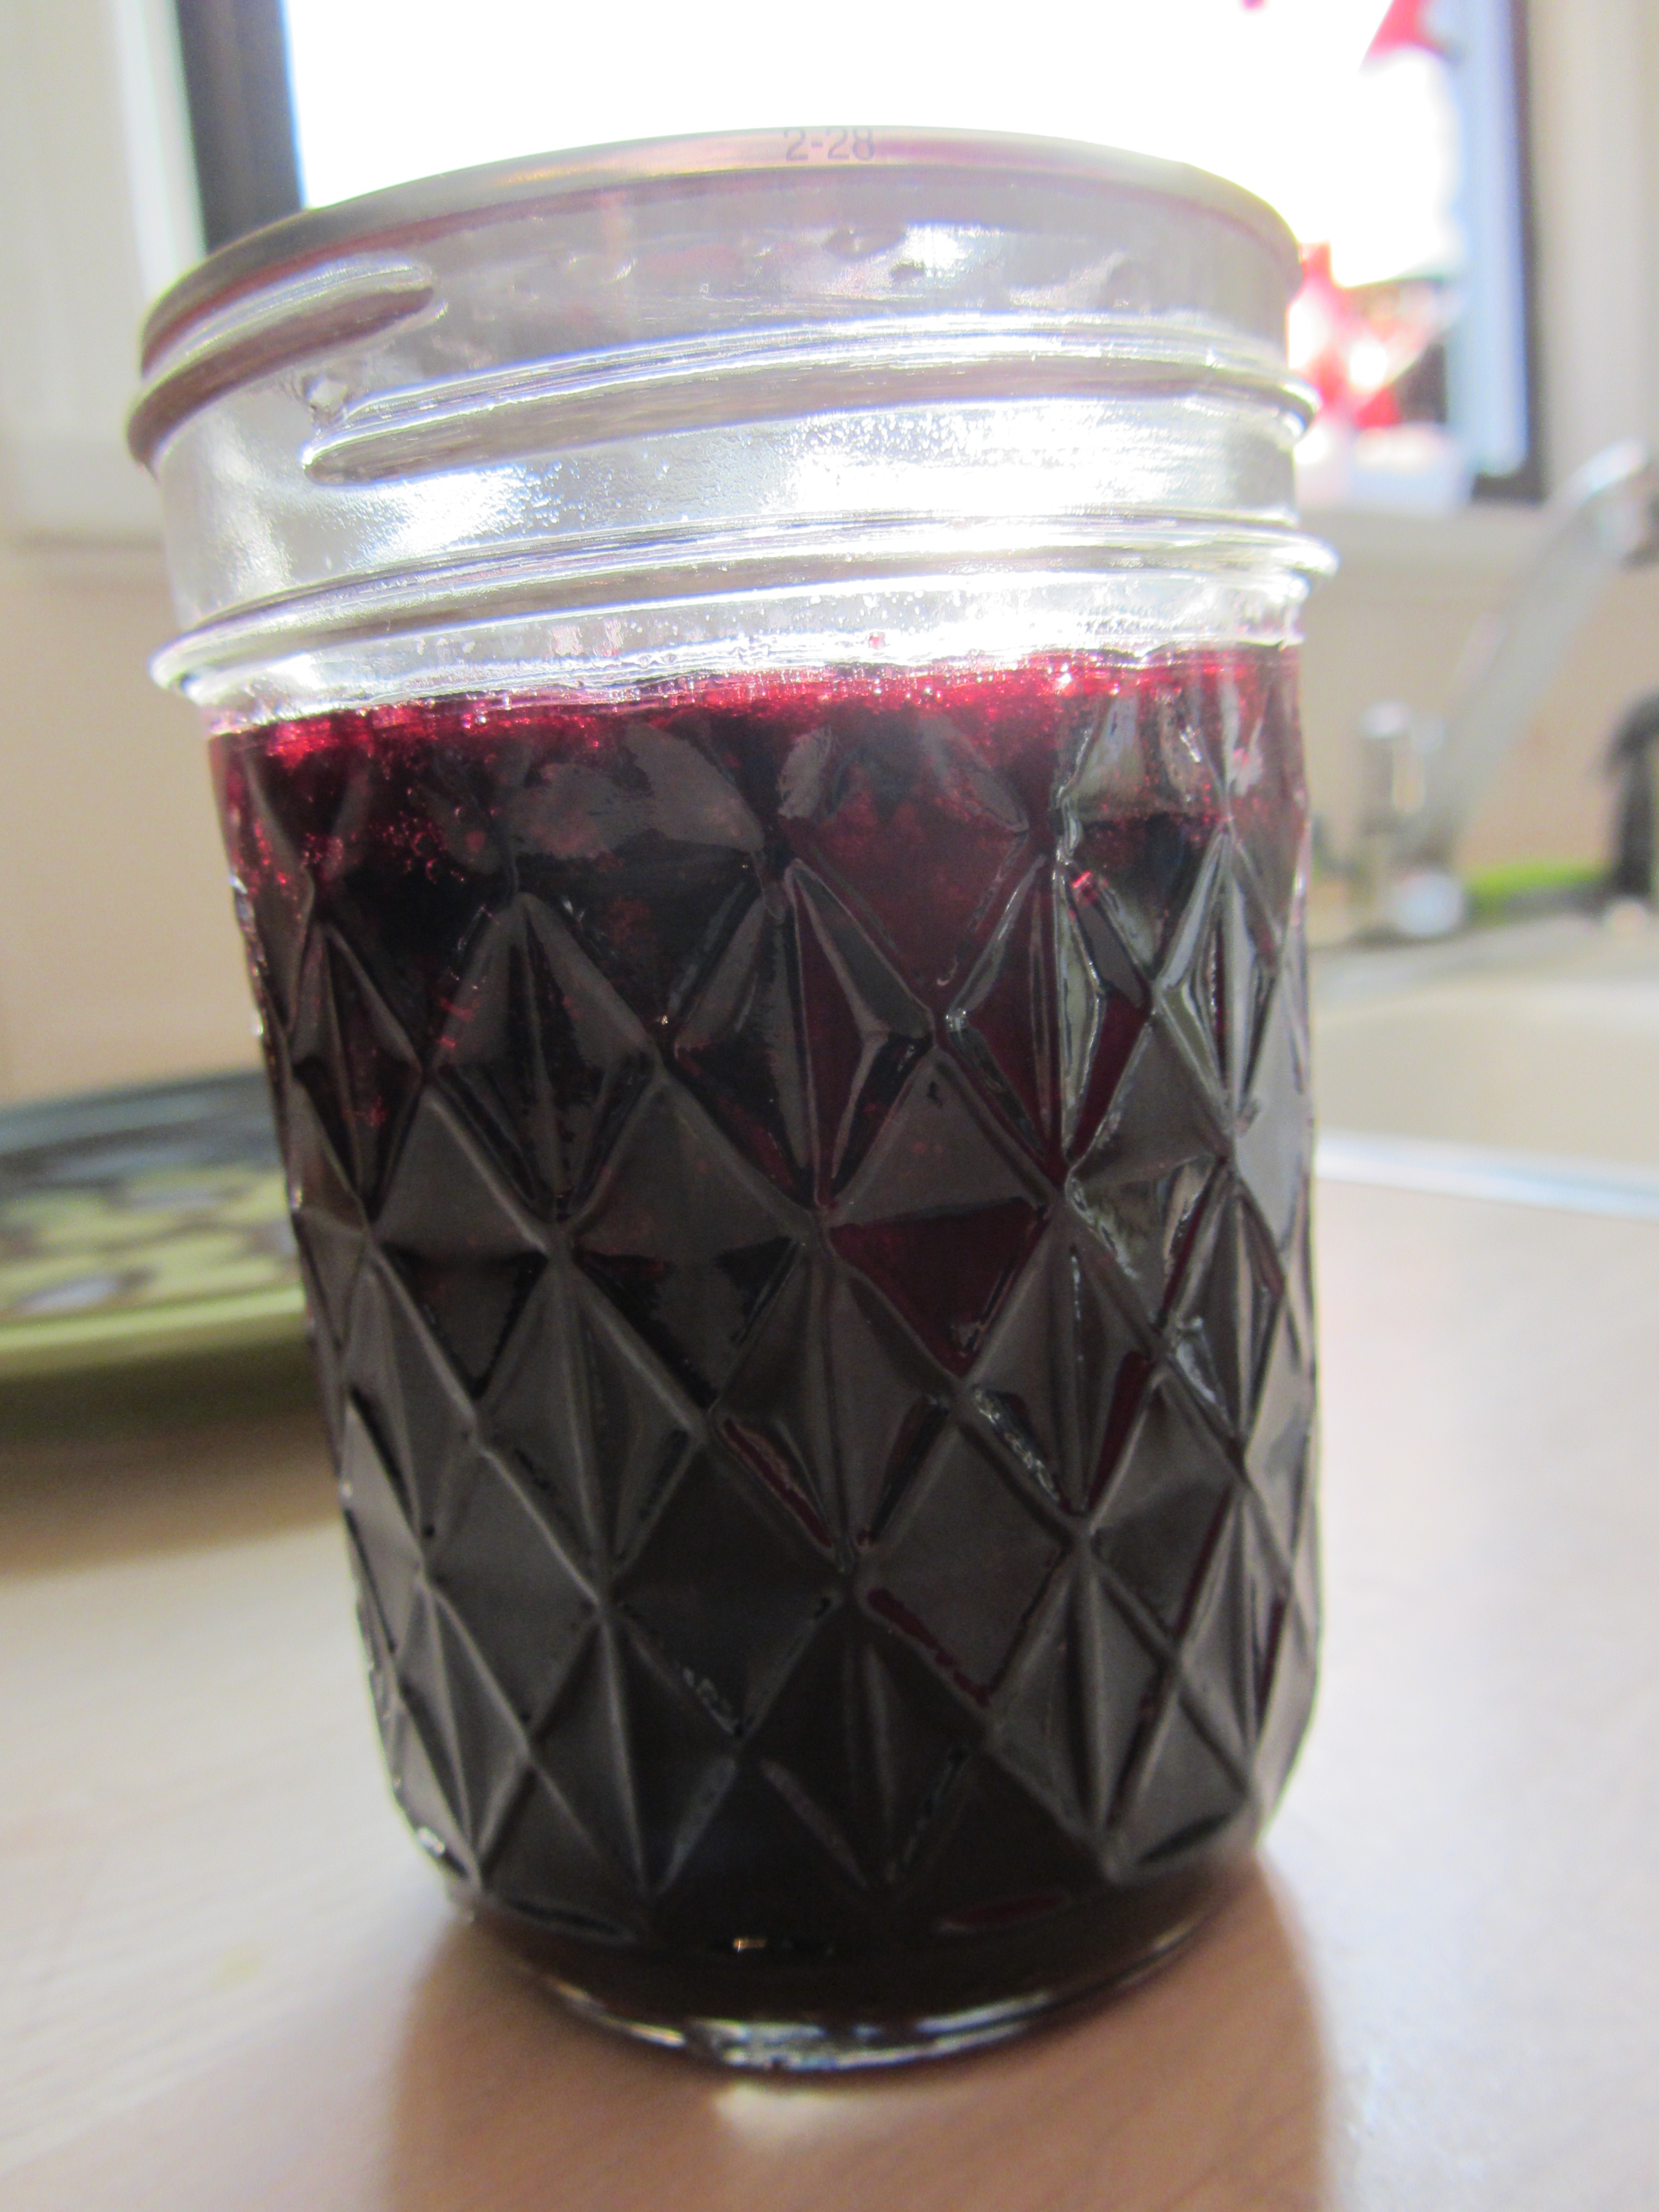
Four pounds of rock salt split between two vessels.
Place the two vessels of salt in a cold oven and set the oven to preheat to 400 degrees. When the oven hits 400, let it continue to heat for an additional 15 minutes.
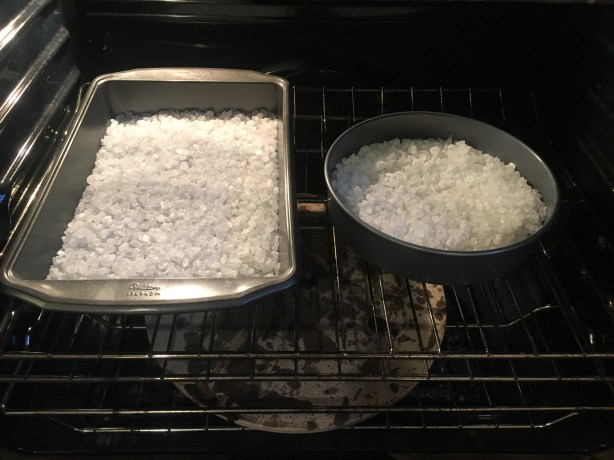
Four pounds of rock salt split between two vessels, and stuck in a cold oven to preheat to 400.
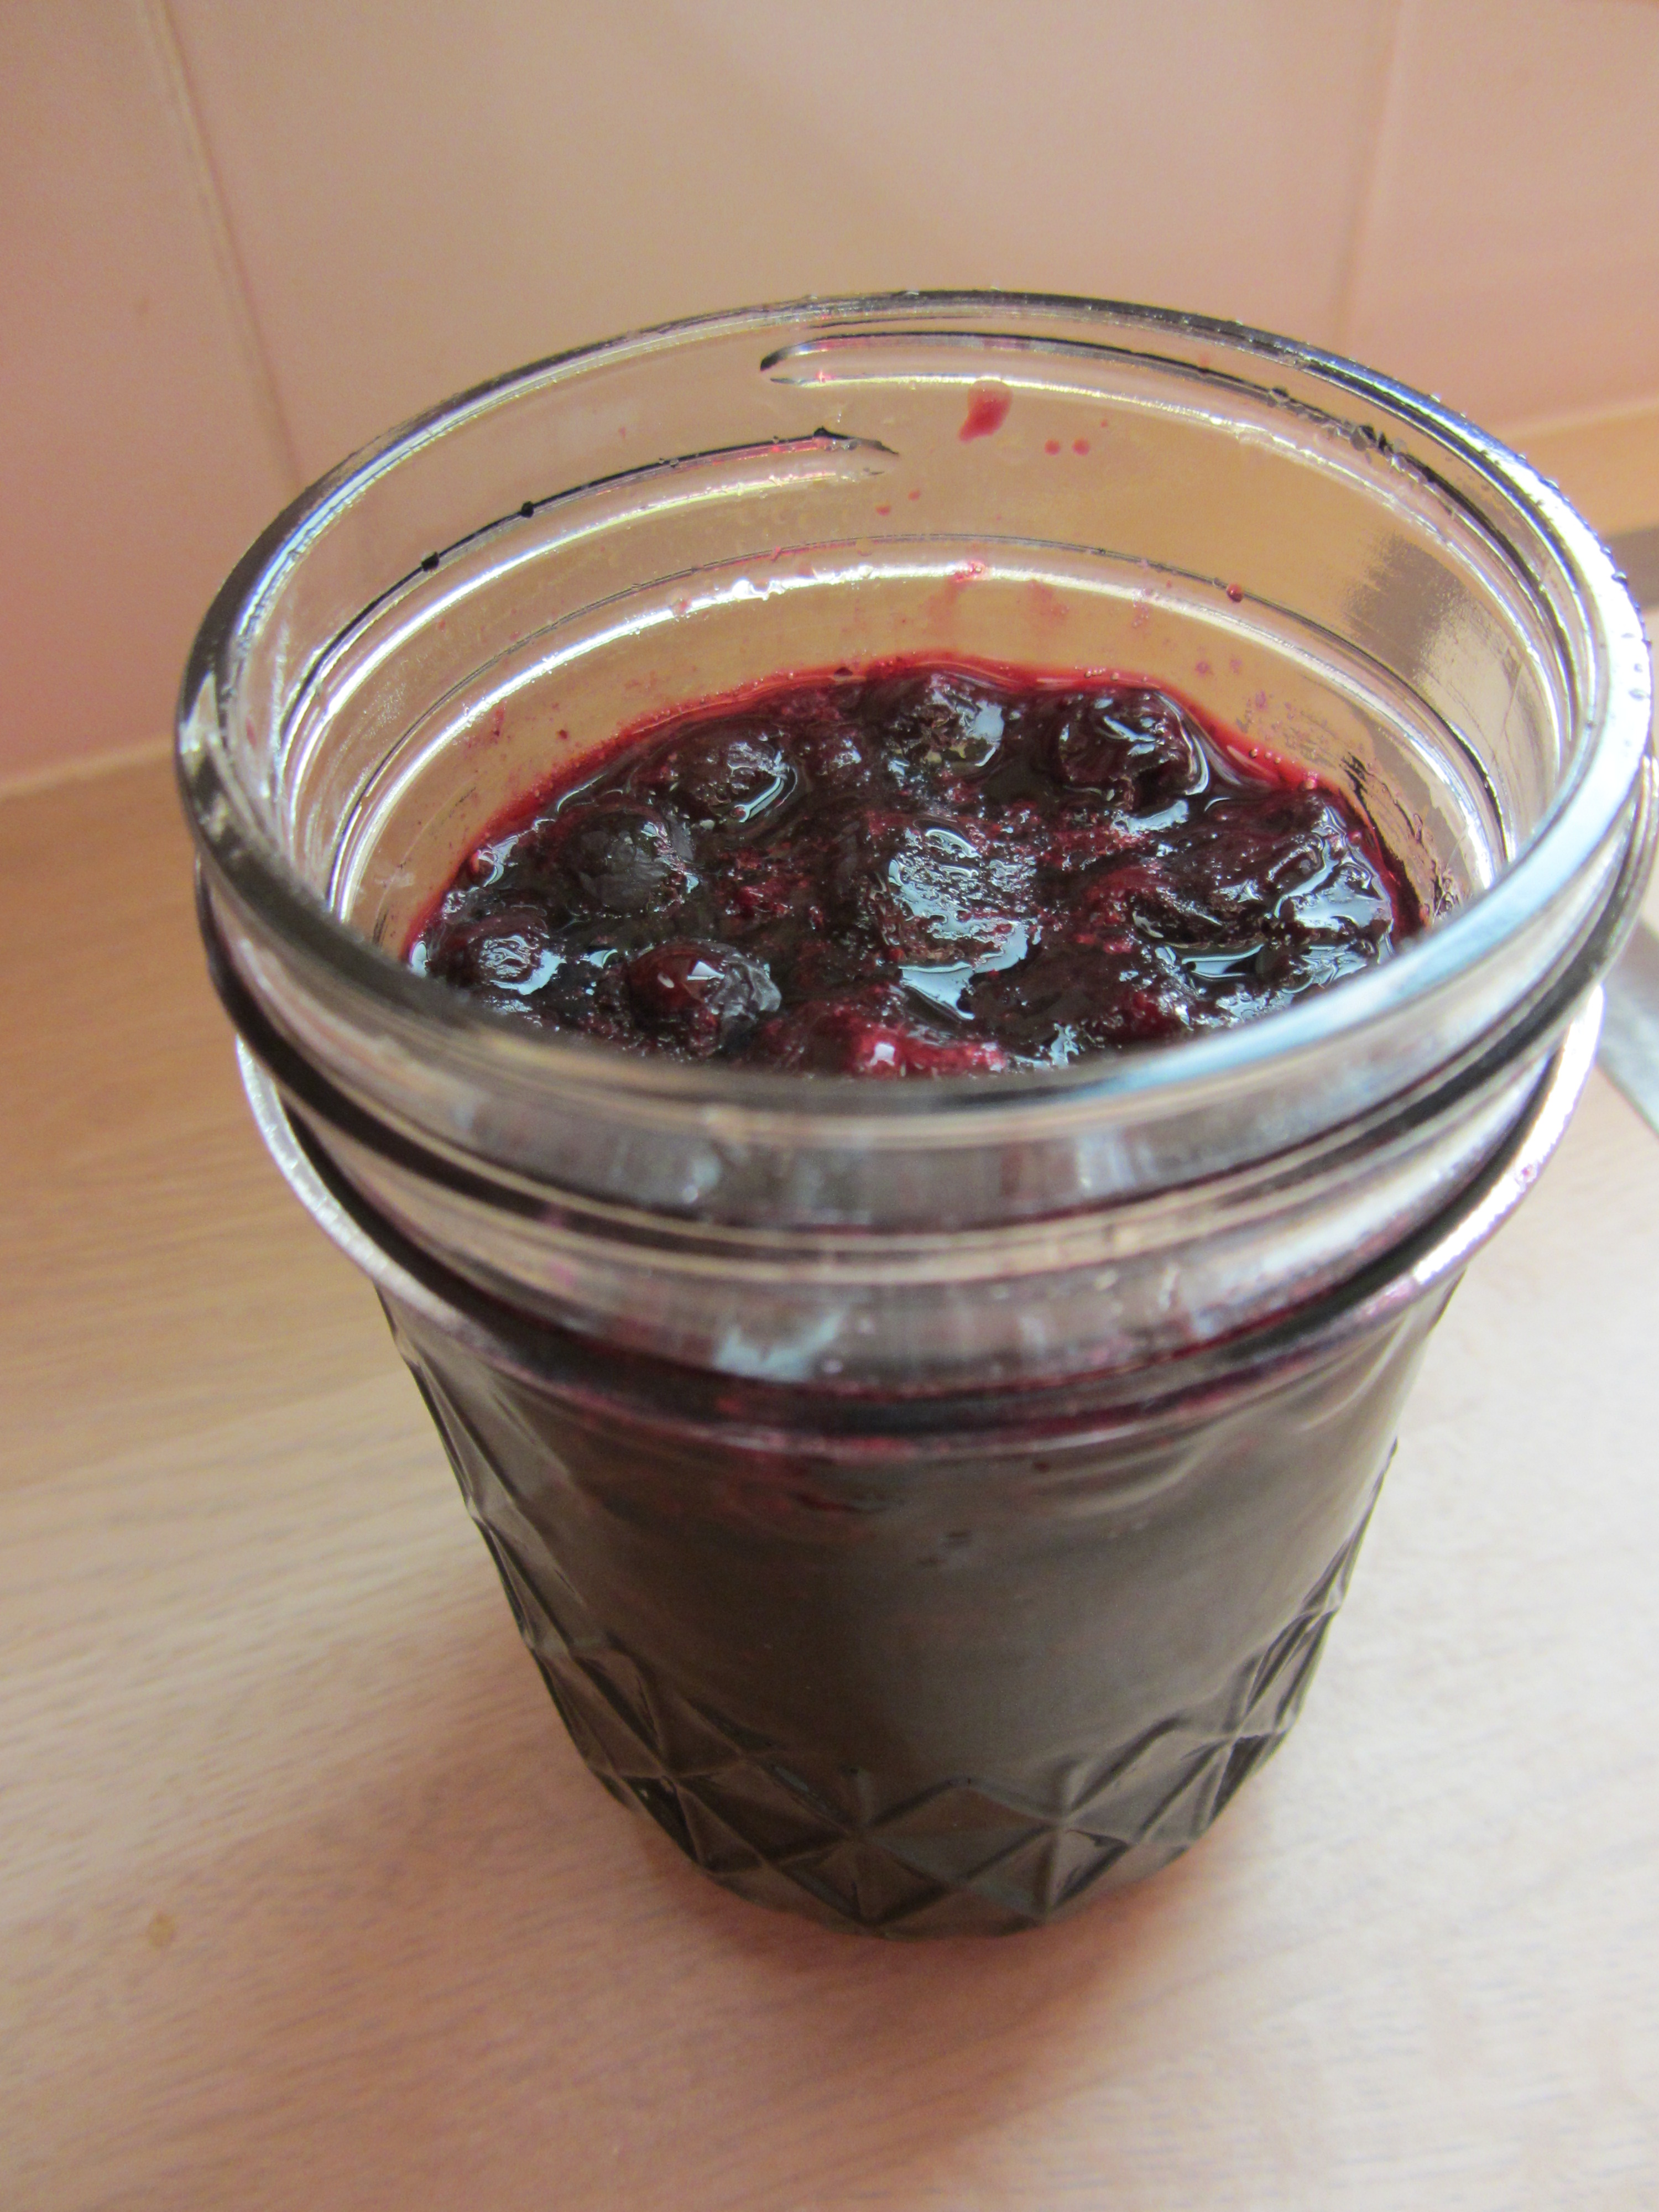
Once the 15 minutes are up, place a pound of jumbo shrimp on the surface of the salt in the 9×13″ pan and pour the hot salt from the bowl over the top of the shrimp. Smooth the salt over the top of the shrimp and place them back in the oven for 7-8 minutes, or until pink and opaque.


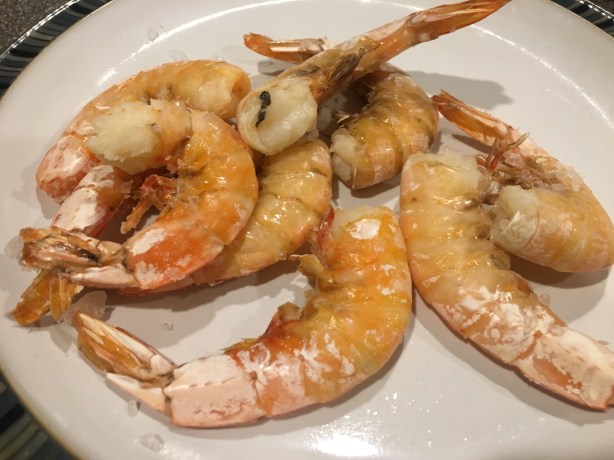
Alton’s salt roasted shrimp.
To rinse off the salt, you can dip the shrimp quickly in white wine. First off, this is about the easiest method of cooking shrimp I’ve ever tried, and I thought the flavor of the shrimp was very positively accentuated by the salt. These shrimp had a sweetness that reminded me more of crab than shrimp, and I really liked it. For whatever reason, my shrimp were extremely difficult to peel, and I don’t know why that was. I really do want to try this method again because these were some of my favorite shrimp I have had, as far as flavor is concerned. The salt did season the shrimp, but not overly so, and I did not even try Alton’s wine rinse step post-cooking. If anyone has a theory as to why my shrimp were so difficult to peel, I’d love to hear it. Aside from the peeling difficulty, this was a fantastic recipe!
Perfect Fingerling Potatoes
I think we have all had potatoes cooked in myriad ways, but I have to say that Alton’s recipe here was a new one for me. For this recipe, place 1 1/4 pounds of Kosher or rock salt in a large pot with two quarts of water and two pounds of fingerling potatoes.


Bring the whole pot to a boil and cook the potatoes until they are tender enough to pierce with the tip of a sharp paring knife, which took about 20 minutes for my potatoes. Be aware that smaller potatoes will cook faster.
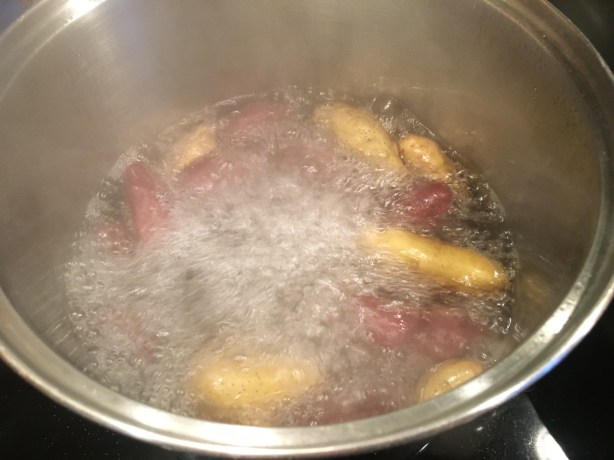
Potatoes, brought to a boil and cooked until tender.
Transfer the cooked potatoes to a rack over a sheet pan. Once all of the potatoes have cooked, serve them with butter and chives.
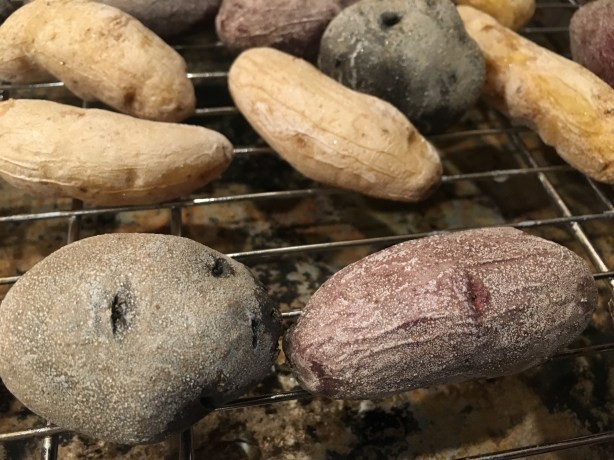
Cooked potatoes cooling on a rack and forming a salty crust.
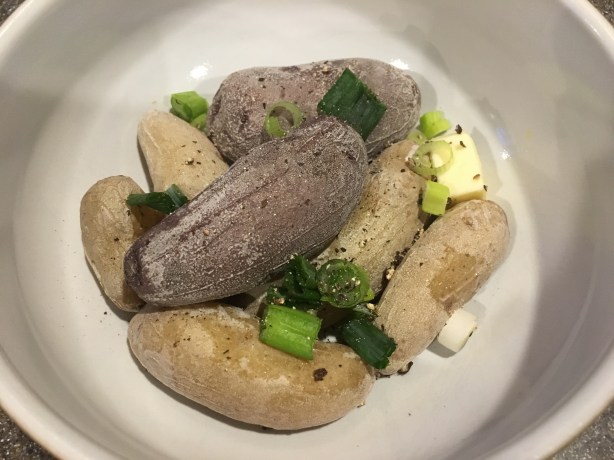
Alton’s fingerling potatoes with chives, pepper, and butter.
These potatoes are like a fun science experiment because they transform during cooking, and form a sparkly salt crust as they cool. The insides of the potatoes are perfectly cooked, while the outsides provide the perfect amount of salty seasoning. These are fun, easy, and delicious!
Sauerkraut
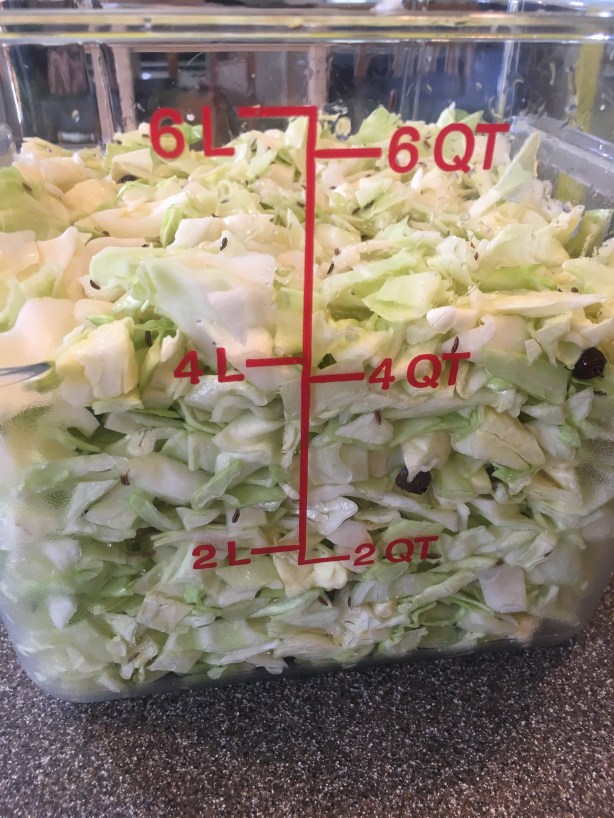
I find fermented food fascinating, and the idea of making my own sauerkraut was super exciting to me. Keep in mind that this recipe takes a full month, including the fermentation time. This starts with chopping five pounds of green cabbage and placing the cabbage in a large bowl.
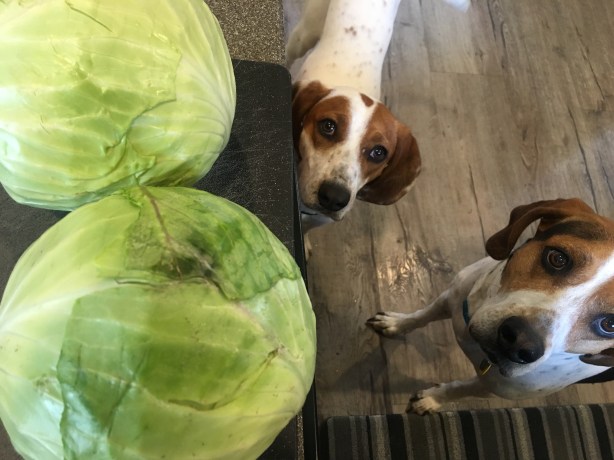
Ready to chop 5 pounds of cabbage.
Add 3 T pickling salt to the cabbage, along with 1 T juniper berries and 2 t caraway seeds. Toss everything together with clean hands. Let the cabbage sit for 10 minutes.


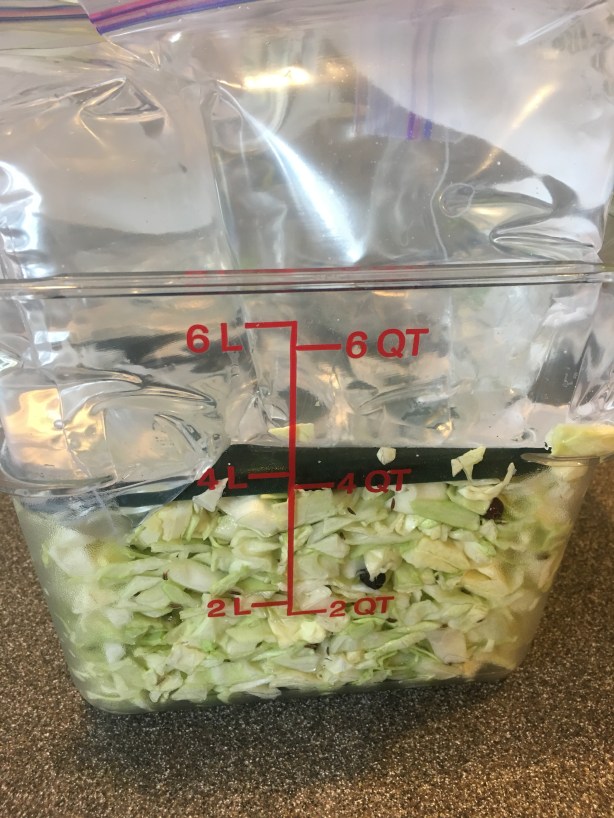
Pack the cabbage and any accumulating liquid into a tall plastic container, packing it down.
Cabbage packed into a plastic container.
Alton likes to use a tall plastic container designed for holding a loaf of bread. You want to keep the cabbage free from air, so place some type of lid on the surface of the cabbage. Next, place a weight on top of the lid (Alton uses a mason jar full of water). I read some of the online reviews of this recipe and used ziplock bags full of water, as they also help to form an airtight seal. A layer of plastic wrap also seems to help to keep air out.
Weighing the sauerkraut down with bags of water.
Store the sauerkraut at 65-70 degrees for four weeks. Be sure to check the sauerkraut every couple days and discard any scum from the surface. Alton says you really only need to be concerned about dark-colored mold, and ammonia-like smell, or lots of active bubbling; if you see any of these things, it’s time to start over. Otherwise, your sauerkraut will gradually secrete more liquid, turn yellow, and start to smell sour.
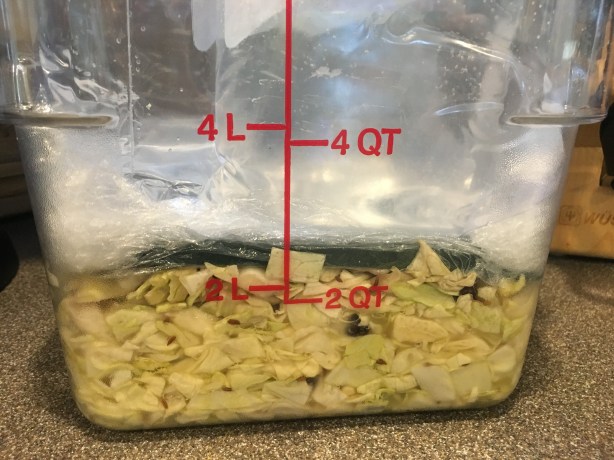
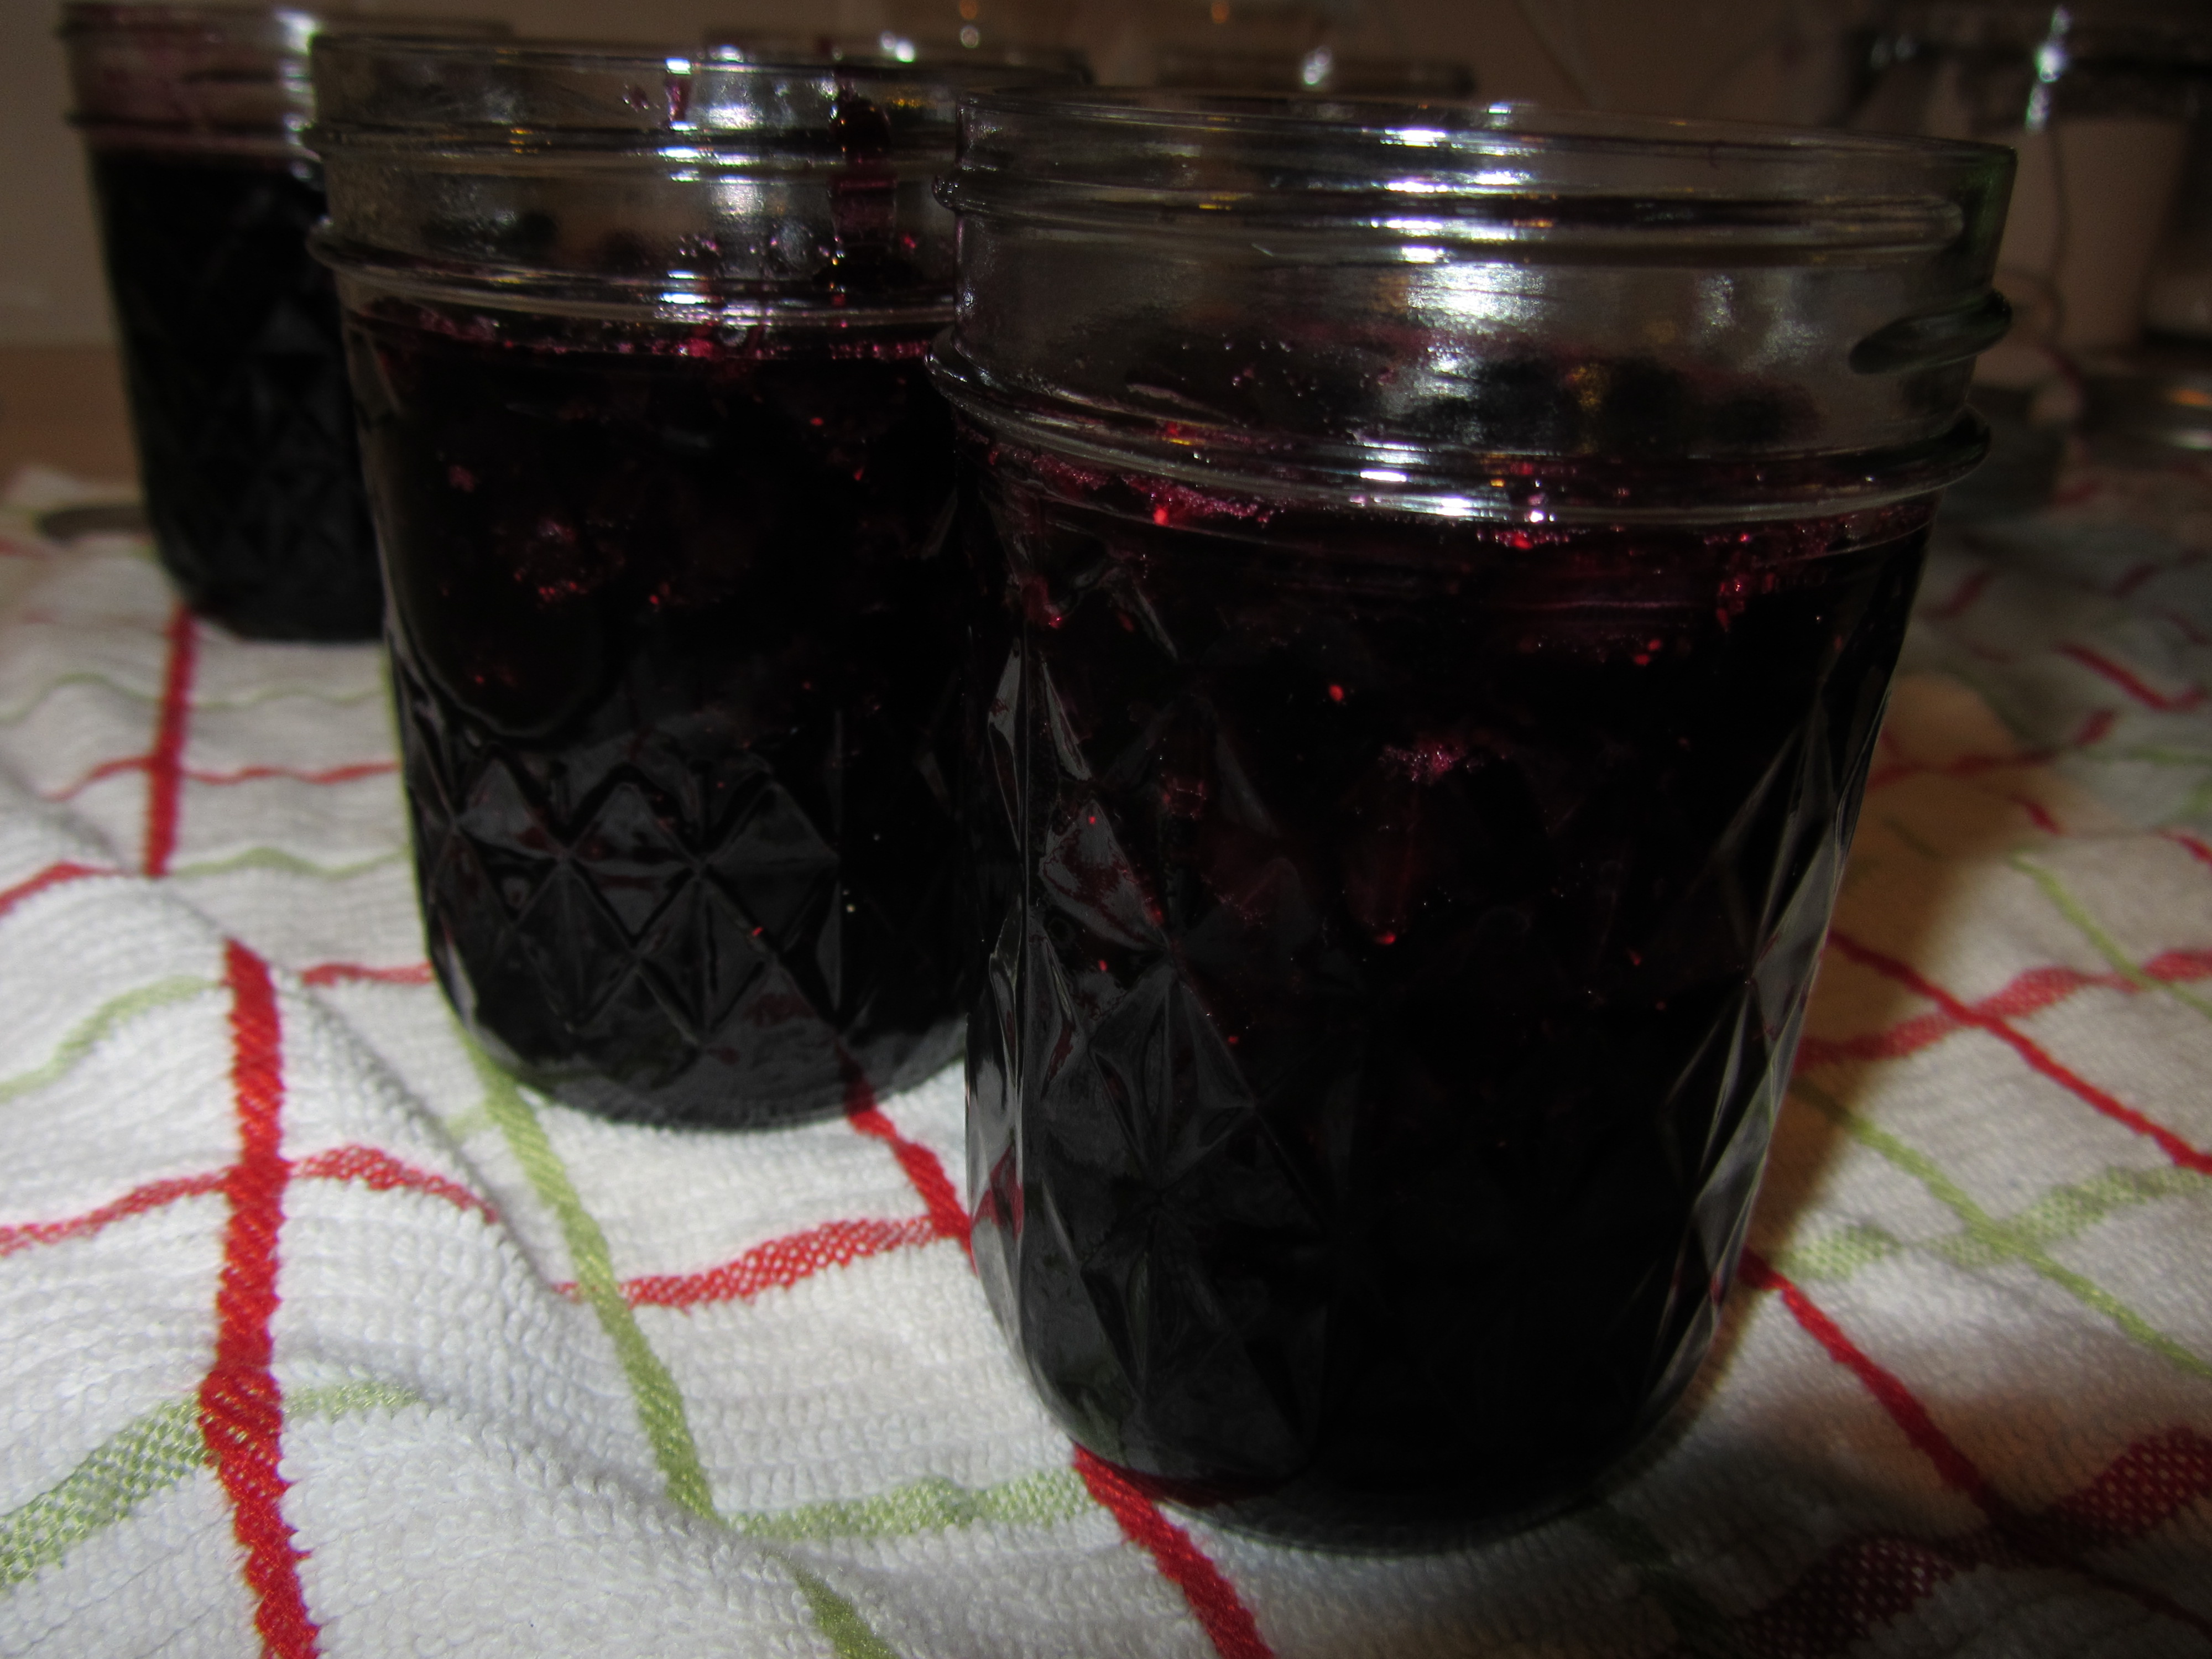
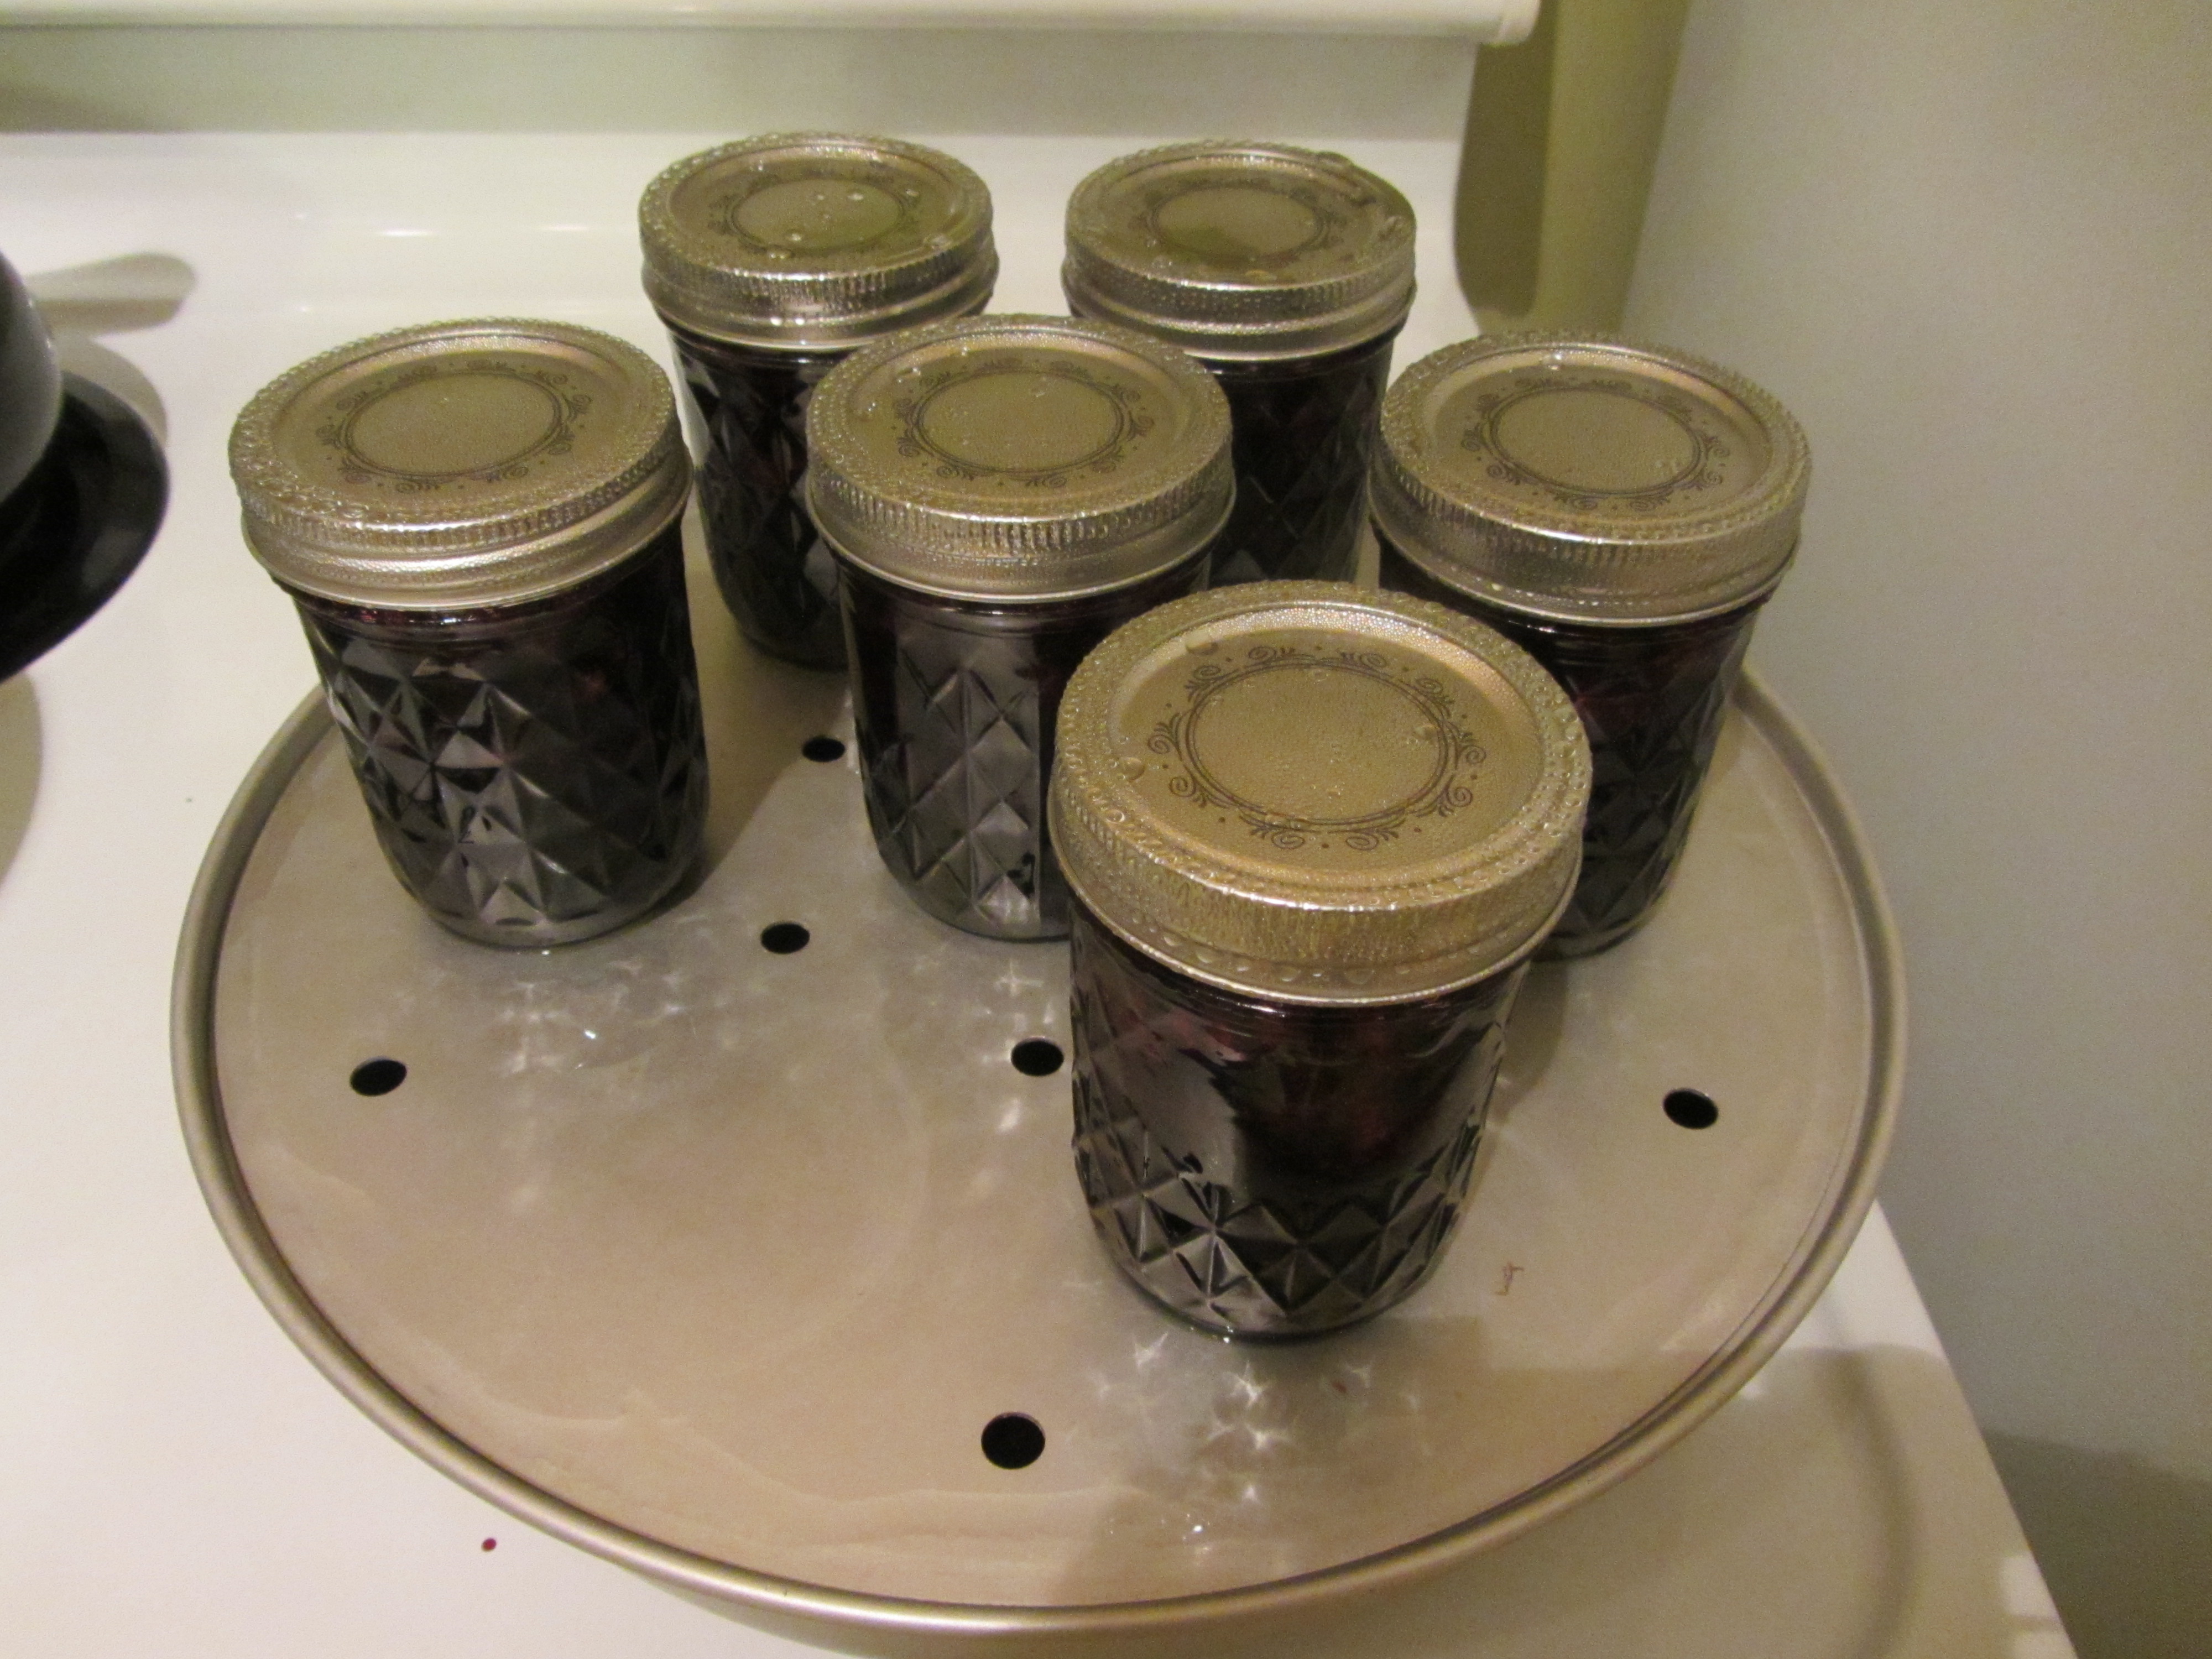
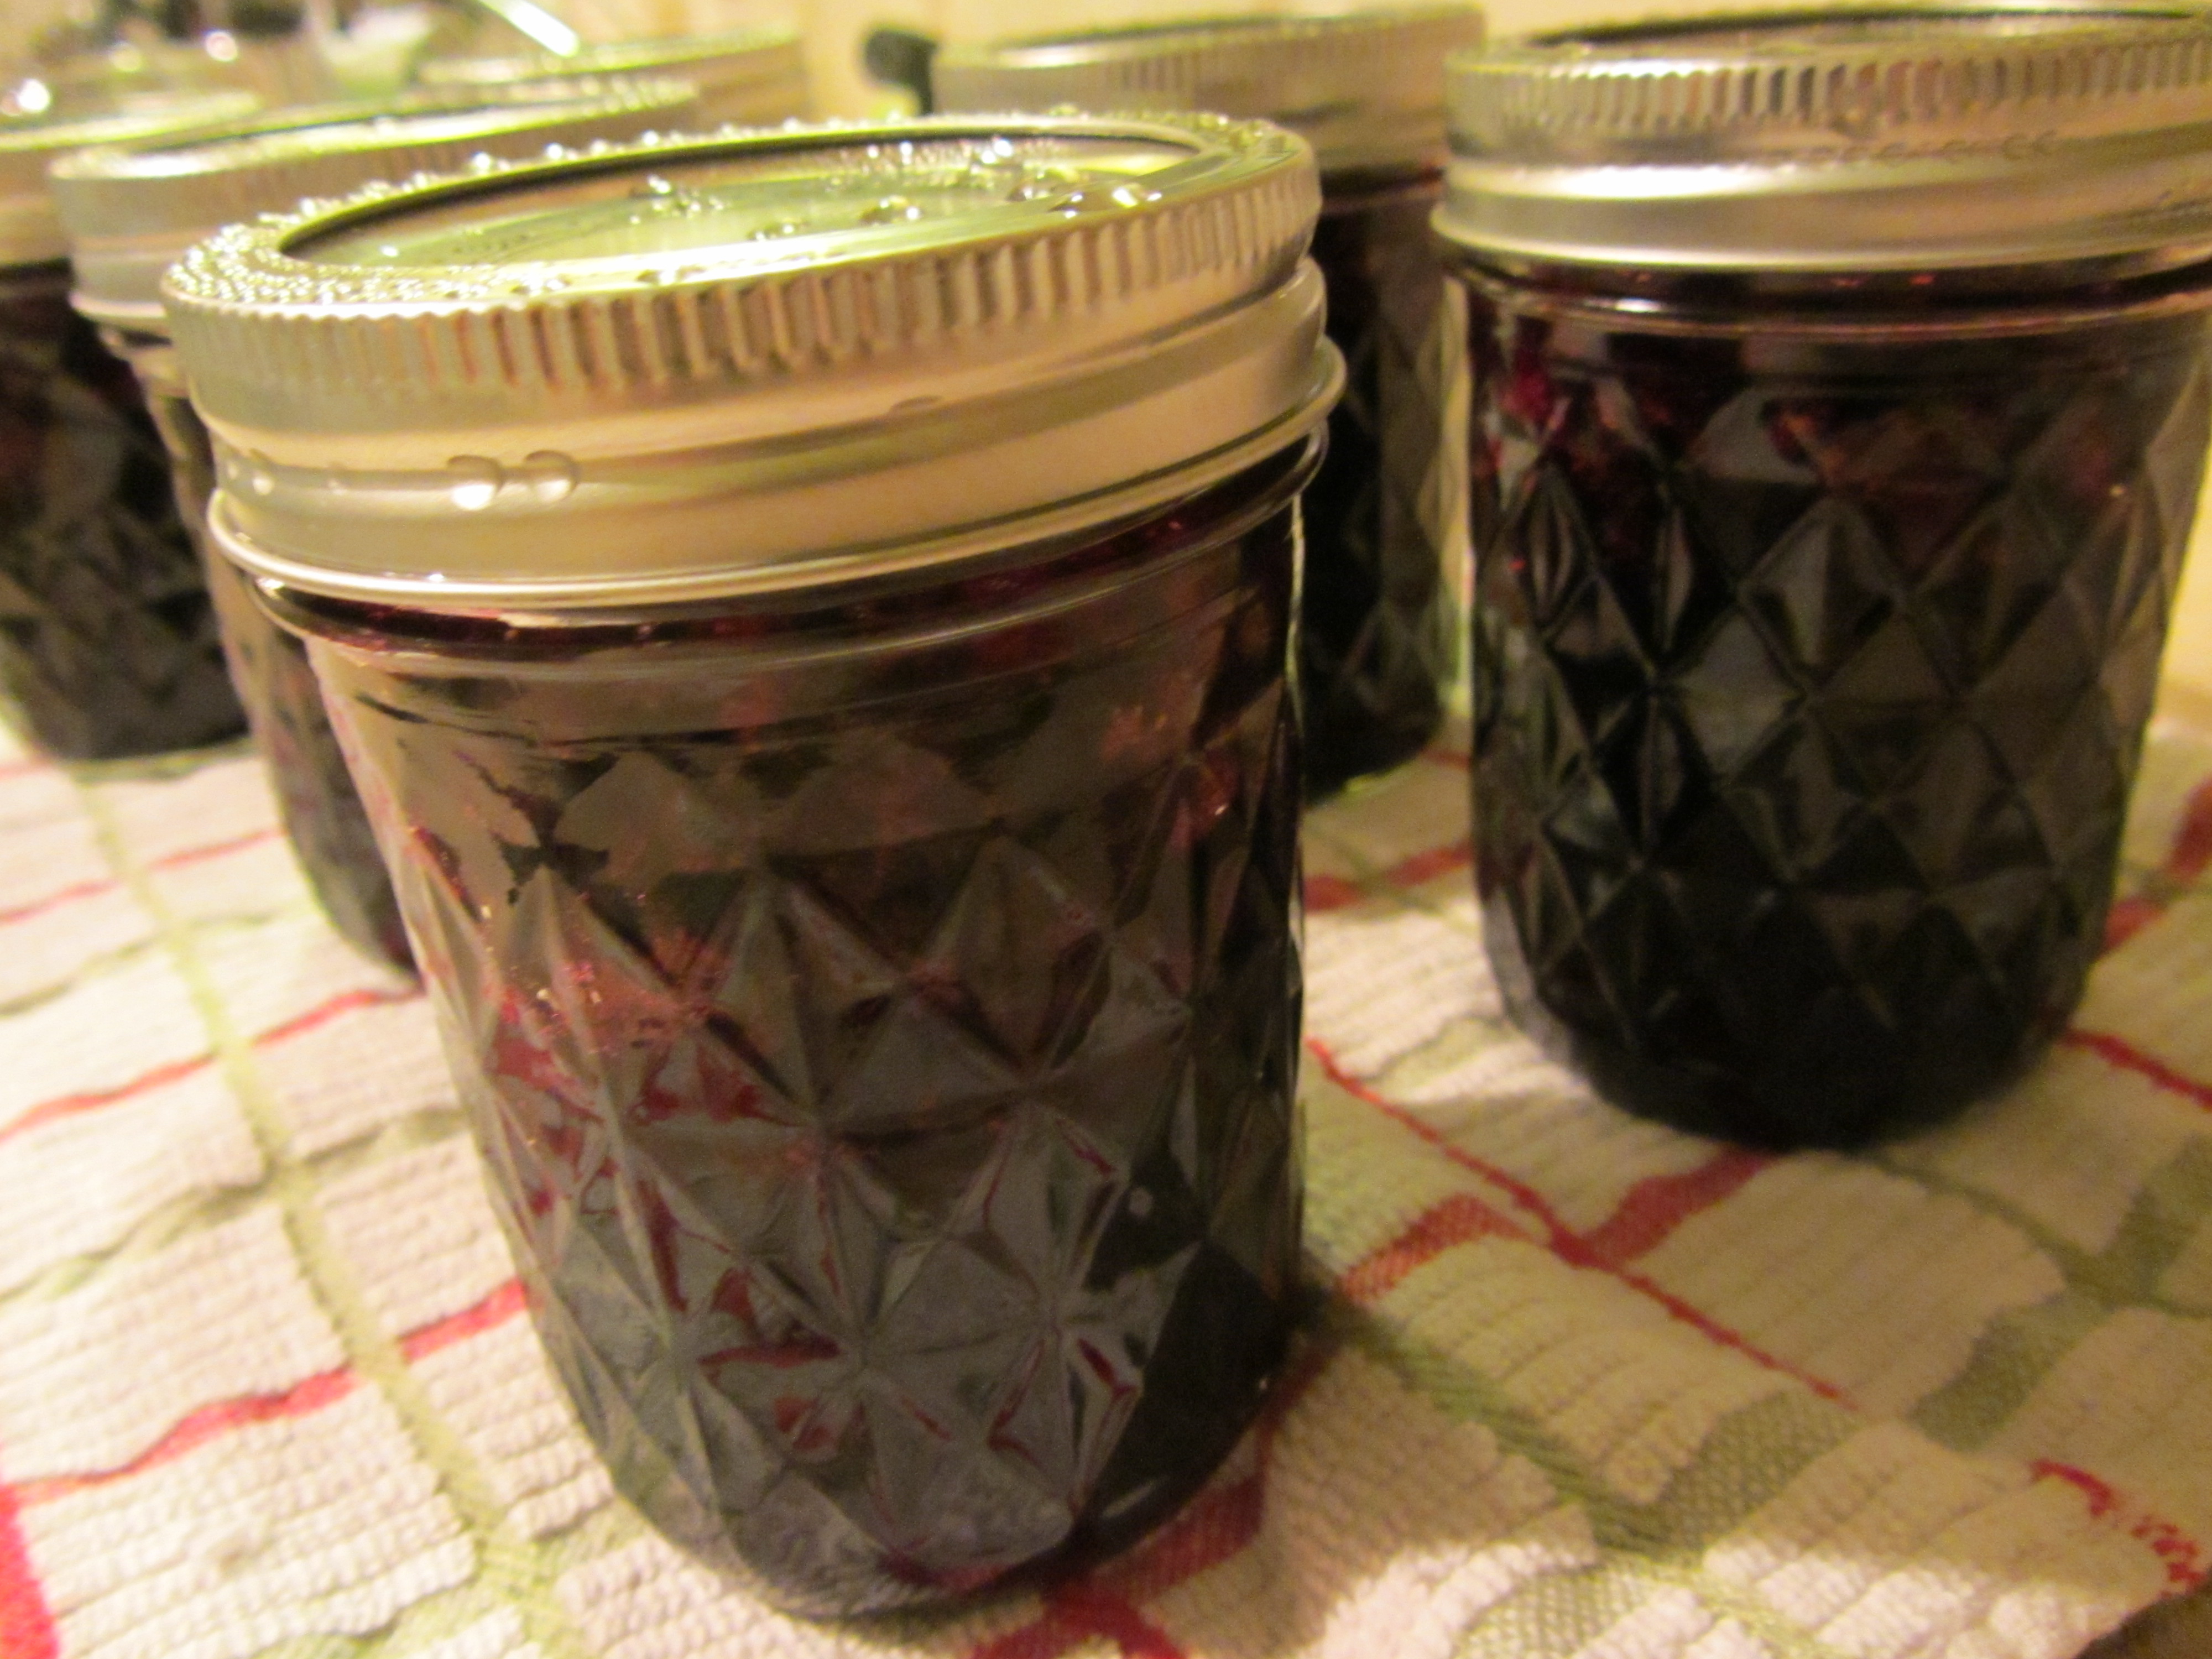
Sauerkraut gradually fermenting over time.
I was out of town for part of my sauerkraut’s fermentation, so I arrived home to sauerkraut that was ready to eat.

Sauerkraut after four weeks of fermentation.
We opted to eat our sauerkraut on bratwursts with mustard, and I was highly impressed.
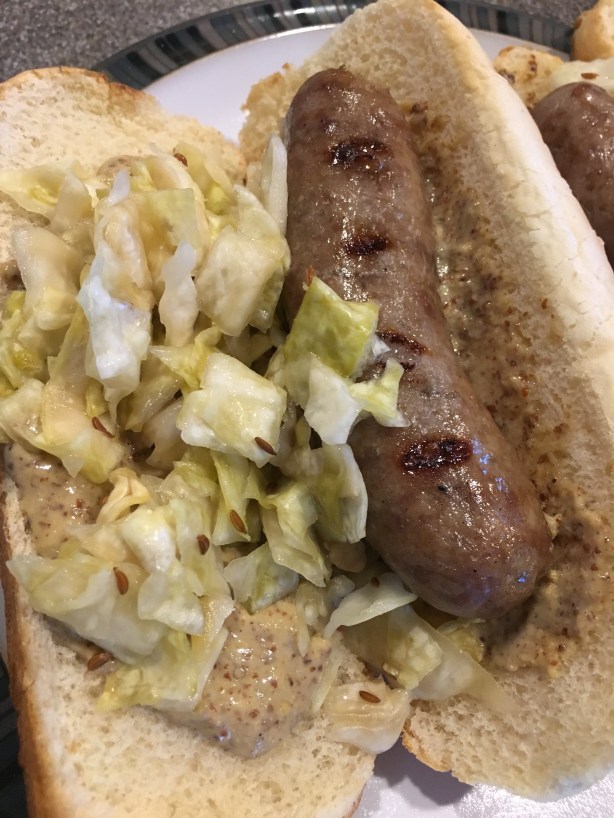
Sauerkraut served on brats with mustard.
This homemade sauerkraut has much more texture than any you can buy in the store, which I really appreciate. I also really like the pops of spice you get from the caraway seeds and juniper berries, and it has just the right amount of tang. We still have some sauerkraut in our refrigerator right now, as this recipe makes a pretty large amount. Add this one to the list of fun things to try in your spare time, as it really requires almost no effort!
Beef Tenderloin in Salt Crust
Since it’s Father’s Day, it only seems appropriate that this next recipe is one I would love to be able to share with my dad. I’m pretty sure my dad never saw this Good Eats salt episode because he would have jumped all over trying Alton’s beef tenderloin recipe. My dad was always one to test a recipe before trying it for a holiday or occasion, and he likely would have invited me to his house for his test run. Beef tenderloin is always a special occasion meal for us, as it is a pricey cut of meat, but last week we had a delicious tenderloin simply for the sake of this project. For Alton’s tenderloin, you first need to make a salt-based dough. To do this, place 5 C flour, 3 C Kosher salt, 3 T pepper, 1/4 C chopped fresh parsley/thyme/sage, and a mixture of 5 egg whites with 1 1/2 C water in a bowl.
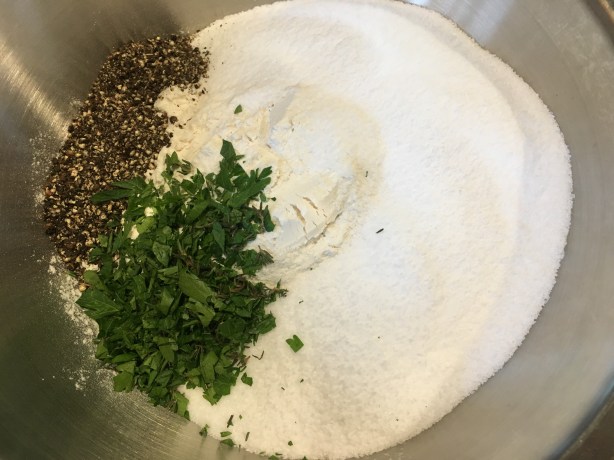
Flour, Kosher salt, pepper, and fresh herbs.

Flour, Kosher salt, pepper, fresh herbs, and a mixture of egg whites and water.
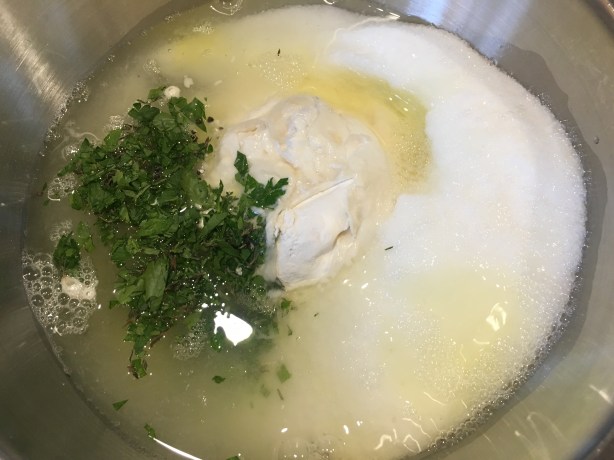
Egg whites and water added to flour/salt mixture.
Use a potato masher to loosely combine the dough, and then mix the dough with your hands until it is smooth and uniform. Place the dough in a plastic bag and let it sit at room temperature for 4-24 hours; according to Alton, if you try to use the dough immediately, it will be a crumbly mess. I opted to make my dough a full 24 hours ahead of time.


After your dough has rested, roll the dough to a large rectangle that is 3/16″ thick. You can trim the edges with a pizza cutter to make the dough into a nice rectangle.
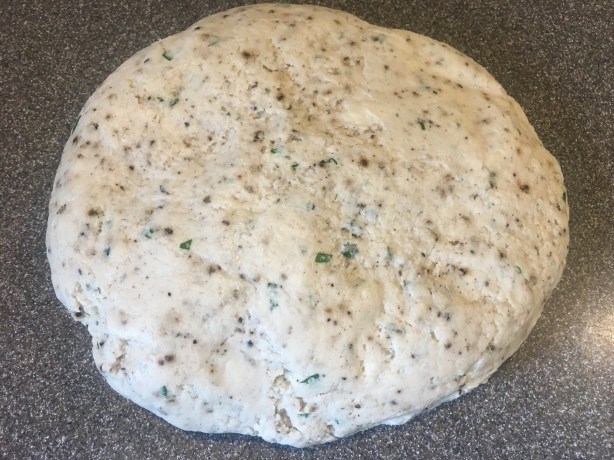
Dough after 24 hours.
Next, coat a 6-7 pound beef tenderloin (my tenderloin was in the 3-4 pound range) with ~1 T olive oil and sear the meat until it is browned on all sides; Alton likes to use an electric griddle to sear, but I just used a large skillet.


Let the tenderloin rest until it is cool to the touch, which took about 20 minutes for my beef.

Letting the seared meat rest until cool to the touch.
Sprinkle the center of your salt dough rectangle with an additional 1/4 C of chopped fresh parsley, thyme, and/or sage, and place your cooled tenderloin on top of the herbs.


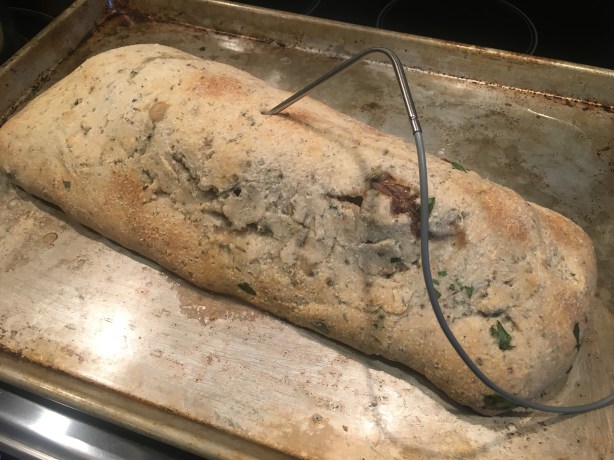
Fold the dough up over the tenderloin crimping the edges together to create a sealed package. You do not want the dough to be super tight on the meat. Trim the ends of the dough and crimp them up also, and seal any holes with extra dough. Transfer the wrapped tenderloin to a sheet pan and insert a probe thermometer into the center of the beef. My dough stuck to my countertop a bit, so I had to do some mending.

Wrapping the tenderloin in the salt dough.

My wrapped beef tenderloin.

Tenderloin in the oven until it reaches 125 degrees.
Put the beef in a 400 degree oven, letting it cook until it reaches an internal temperature of 125 degrees. Once at 125 degrees, remove the beef from the oven and let it rest for 30-60 minutes.
Tenderloin removed from the oven at 125 degrees.
After resting, slice the meat with a serrated knife and pull the tenderloin out of the salt dough, discarding the dough. Serve the meat immediately.

Tenderloin after resting for 15 minutes.

Alton’s beef tenderloin.
In the episode, Alton appeared to let his tenderloin rest for a full hour, which will result in over-cooked meat. Since the meat is still in its dough envelope, its temperature continues to rise quite quickly after removal from the oven, so I cut my meat after a mere 15 minute rest, and it honestly would have been better a few minutes earlier. Next time, I will probably pull the meat from the oven at 120 degrees, and let it rest until its temperature hits 135-140. I did use a smaller tenderloin than what Alton used and my tenderloin was done after 45 minutes in the oven, so this is a pretty fast cooking method. Aside from those notes, this recipe is awesome. There is a reason Alton stated at the end of this episode that this was his favorite Good Eats beef recipe. I already hope/plan to make this for the next holiday we host, as it is easy, quick, and delicious. The meat comes out of the dough perfectly tender and seasoned to perfection. Seriously, if you want a special beef recipe, make this one. I only wish I could make this for my dad.