Posts Tagged ‘snapper’

Red Snapper en Papillote

When watching all of these Good Eats episodes, certain recipes really jump out at me. In this episode, the recipe for snapper en papillote was the one that made me super enthusiastic. I really loved the red snapper in a salt dome that I made way back in episode 10, so another snapper recipe made me excited. Unfortunately, the seafood store where I previously found whole red snapper has closed, so I had to turn to the grocery store; the fish monger was unable to get a whole red snapper, so I wound up with some other type of snapper (honestly, I don’t know exactly what it was). My fish was also not cleaned, so I had to do that myself, with a little help from my husband. If you do happen to be shopping for a whole red snapper, be sure to check the eyes of the fish, as true red snappers will have red eyes. If, like me, you cannot find red snapper in your area, Alton says you can substitute whole trout, tilapia, arctic char, or tilefish in this recipe. Regardless of the type of fish you use, for this recipe, a 1-2 pound fish will work best. Start by rinsing 1 C of couscous in cold water; sprinkle it with Kosher salt and set it aside while you prep the fish.

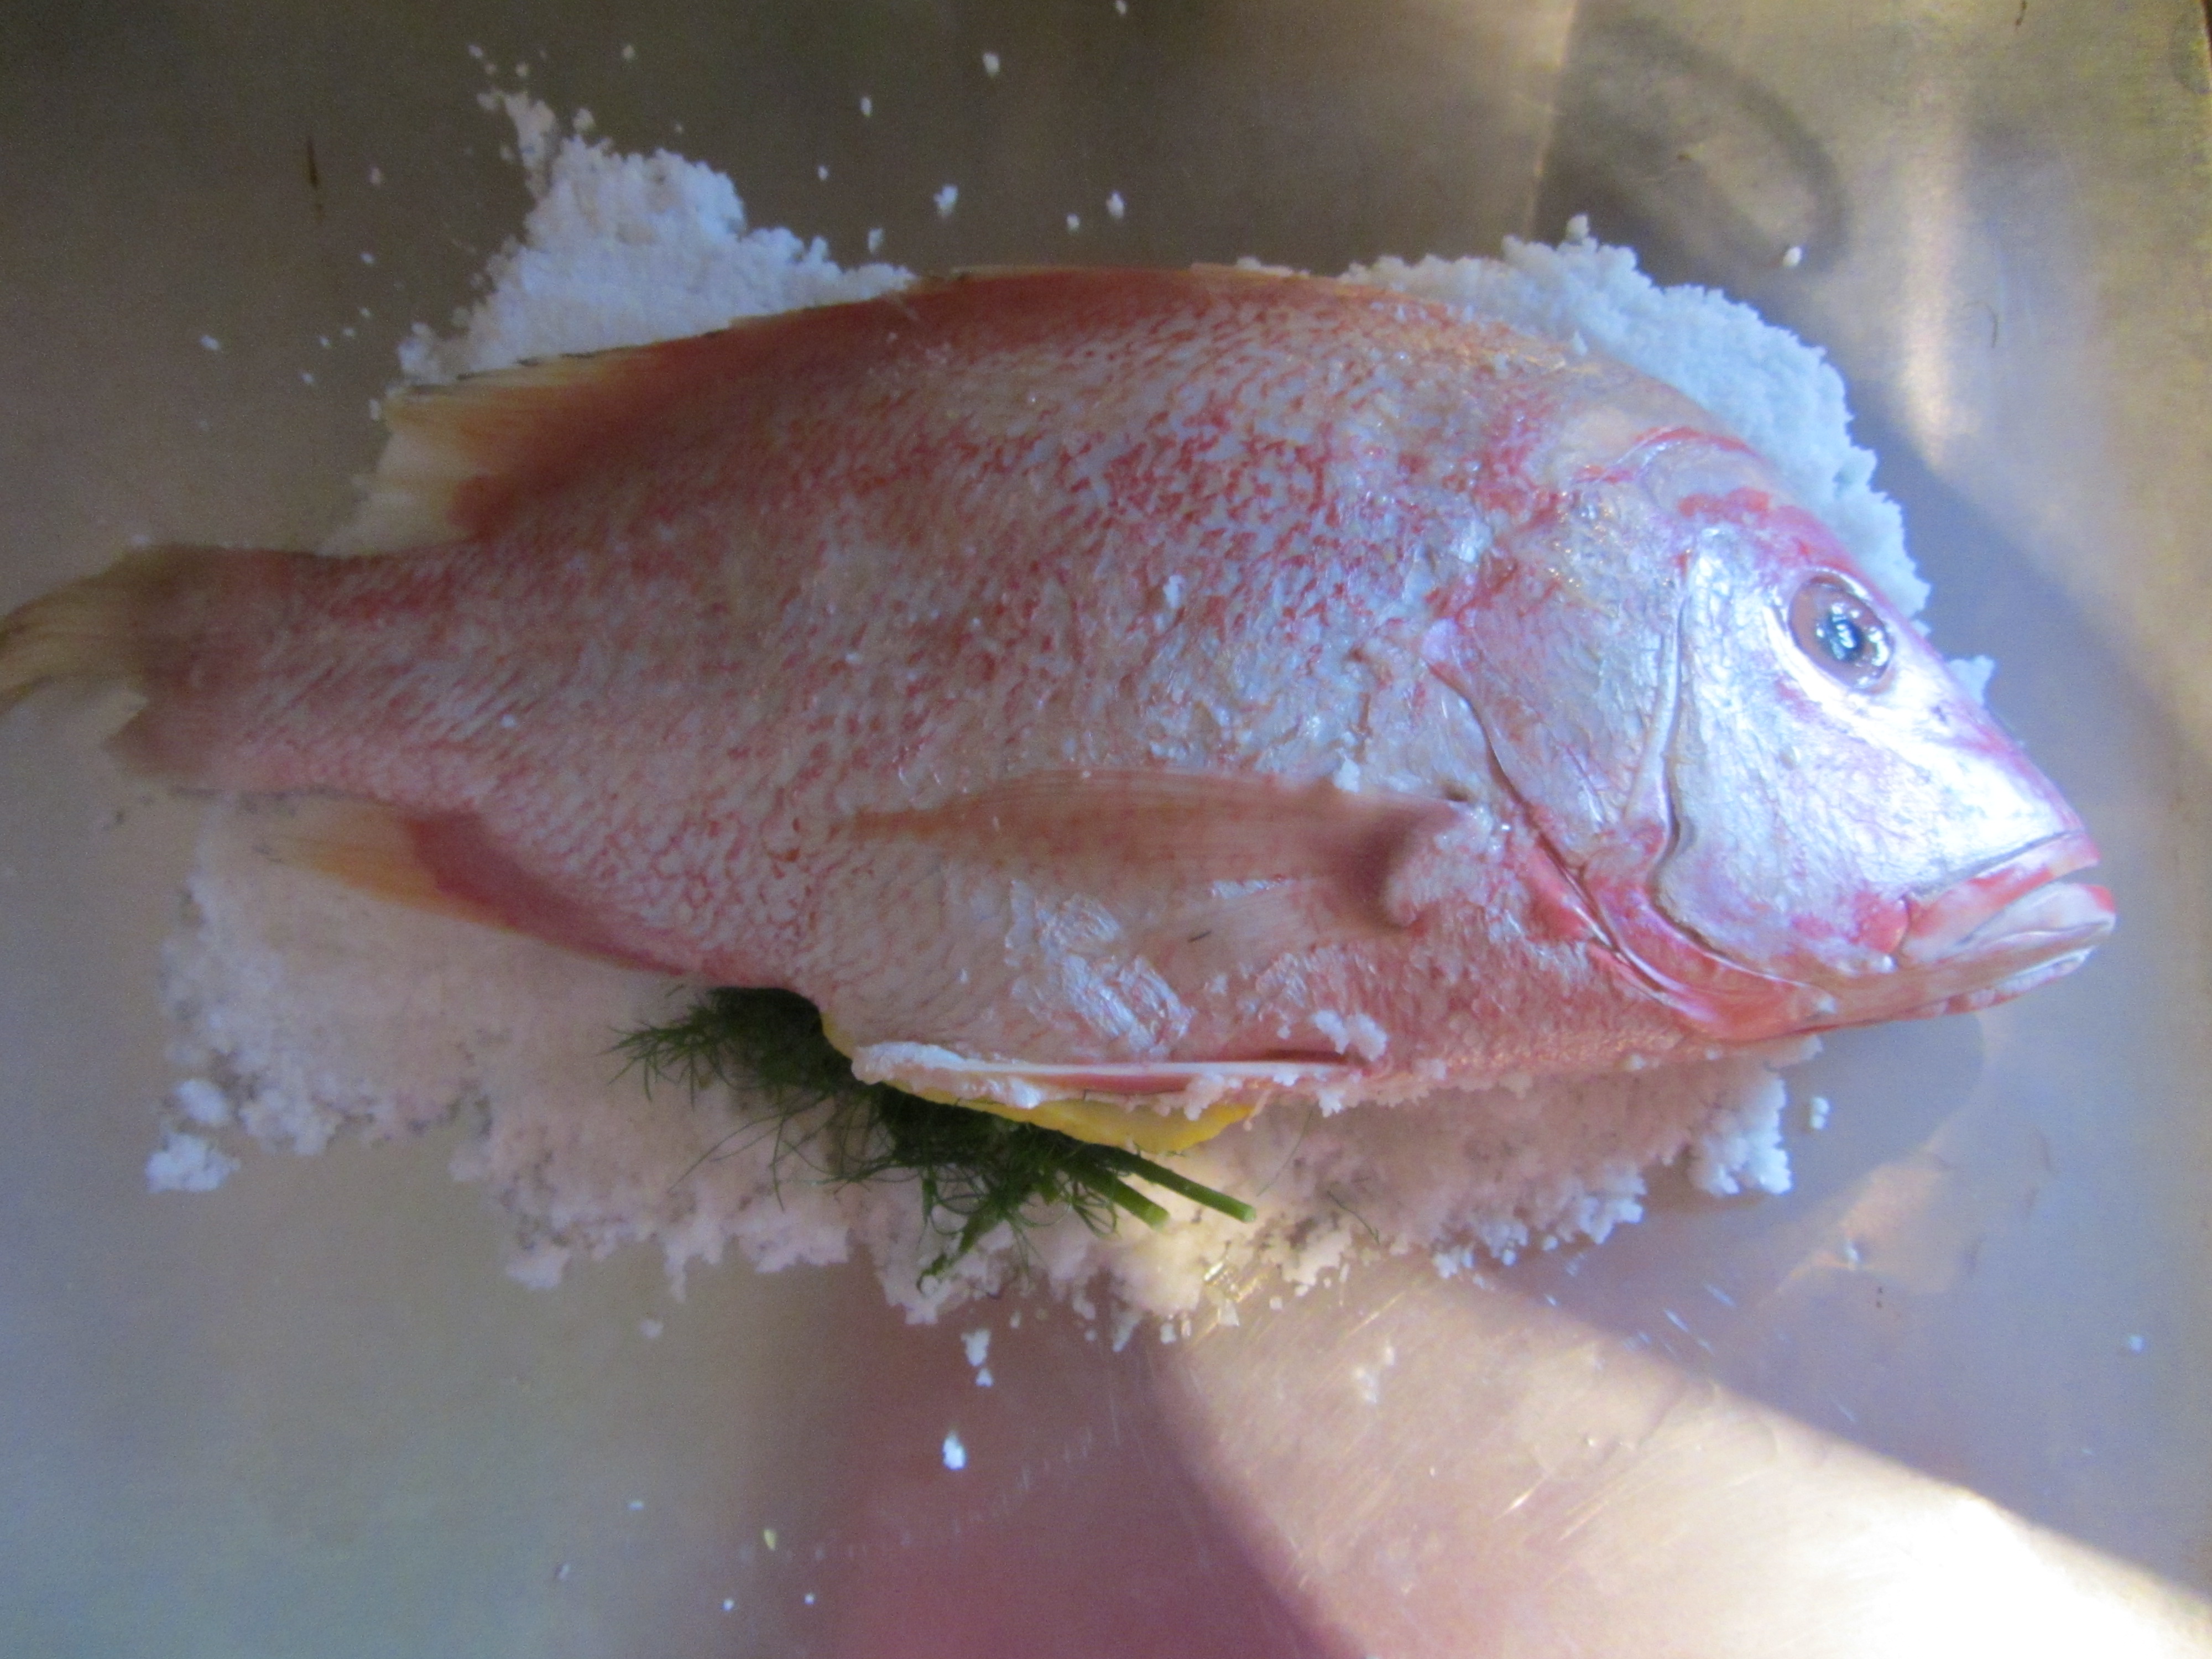
Prep the fish by rinsing your whole fish under cold water, scraping it with a knife to remove any remaining scales. Trim off all fins, but leave the tail intact. Pat the fish dry, including inside the fish, and line a large sheet pan with parchment paper, leaving a long overhang (the parchment needs to be large enough to fold over the whole fish). Place the fish diagonally across the parchment, sprinkling it all over (including inside the cavity) with Kosher salt and black pepper.

IMG_5759

My whole fish, sprinkled with salt and pepper.

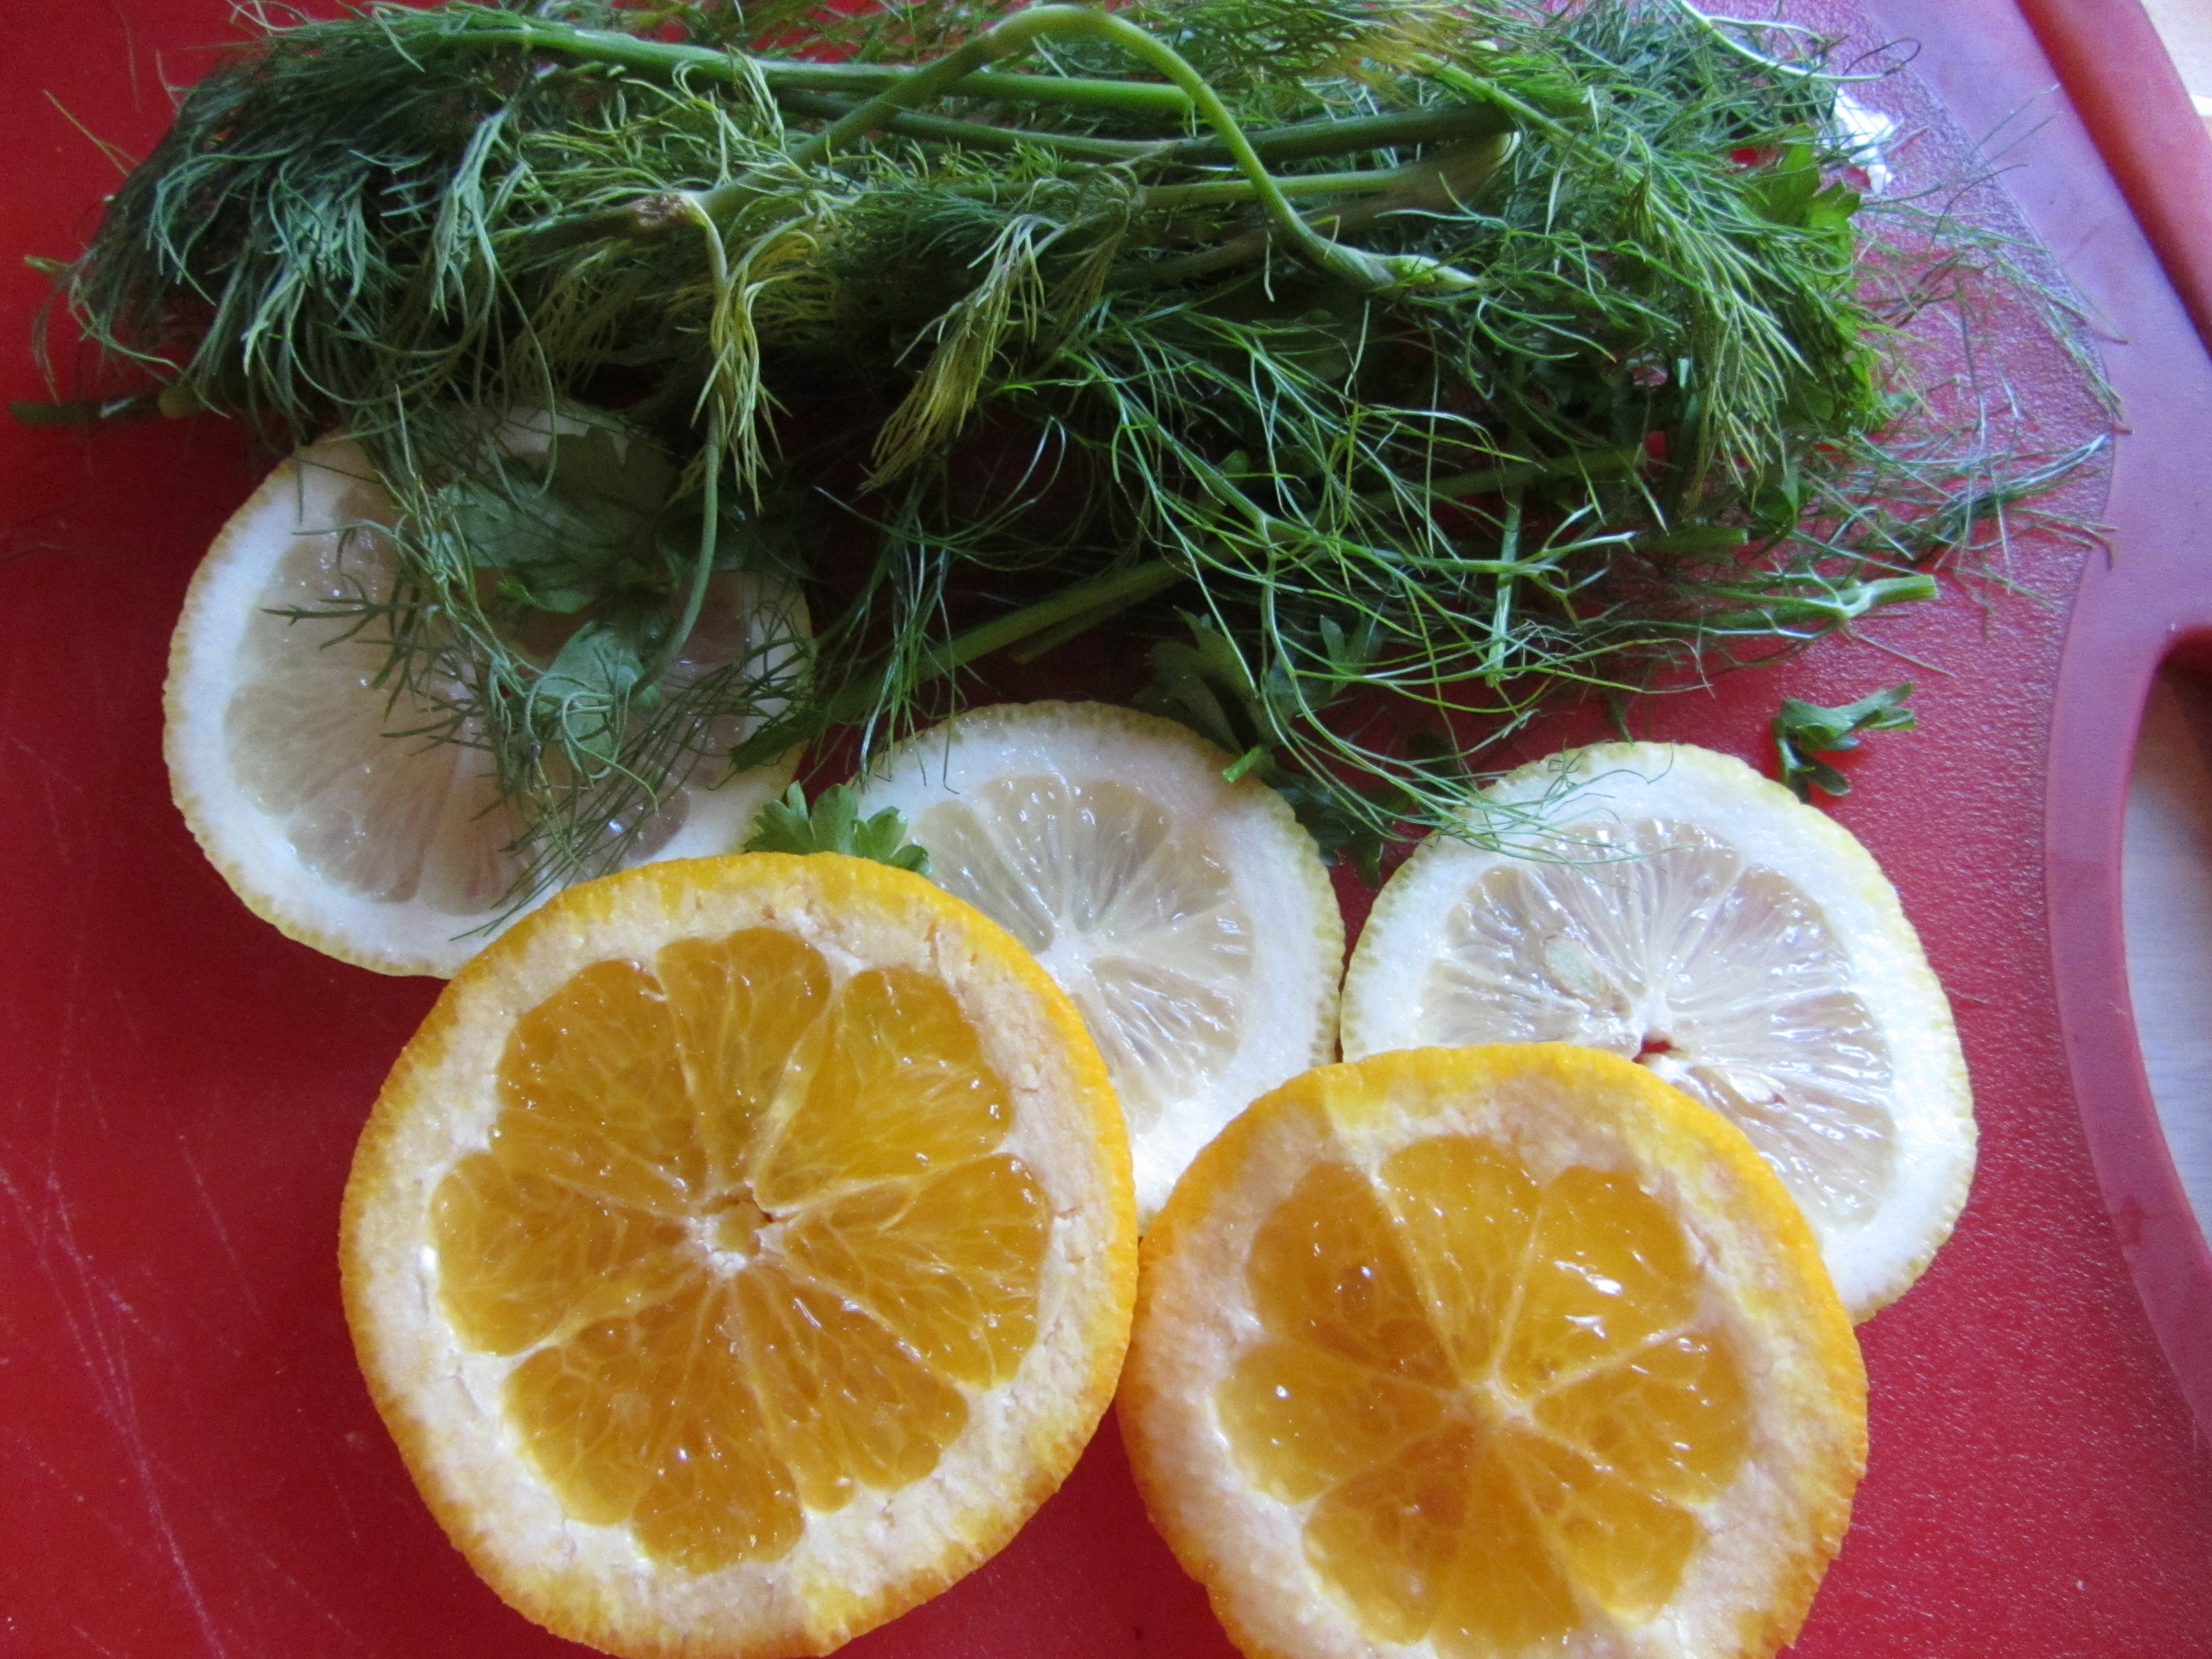
Place a handful of fresh oregano and parsley inside the fish, along with a few slices of lemon and red onion. You can stick anything extra under the fish.

IMG_5760

My fish, stuffed with fresh oregano, parsley, red onion, and lemon.

Sprinkle the rinsed couscous all around the fish, along with 1 C of drained/quartered artichoke hearts, 1 C halved cherry tomatoes, and 2 t garlic. Place lemon slices and sliced red onion along the top of the fish, and drizzle everything with 1/2 C white wine. Finally, dab 1 T of butter along the top of the fish.

IMG_5762

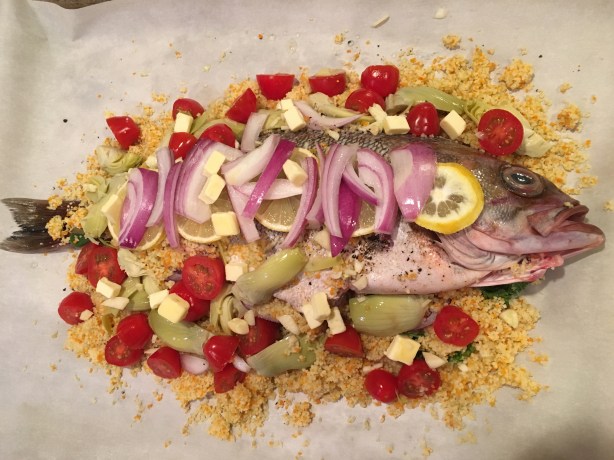
Couscous, artichoke hearts, tomatoes, garlic, lemon, red onion, wine, and butter added to fish.

Fold the parchment paper over the fish, creasing the three open sides of the packet. Staple the whole package shut, placing staples about every inch.

IMG_5765

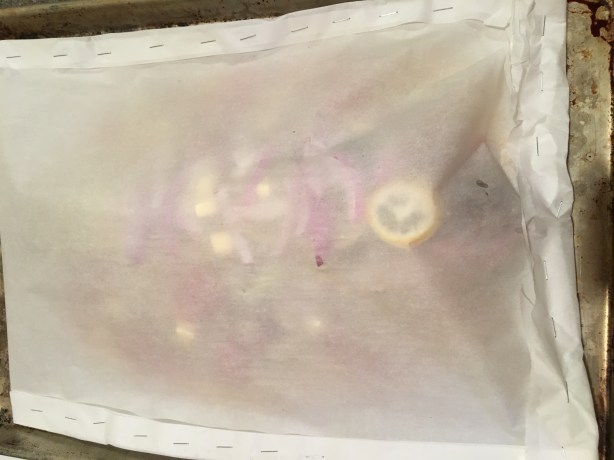
Parchment folded and stapled over fish.

Place the fish in an oven preheated to 425 degrees for 30 minutes.

IMG_5766

Fish packet in 425-degree oven.

Once out of the oven, cut the parchment packet open and serve the fish.

IMG_5767

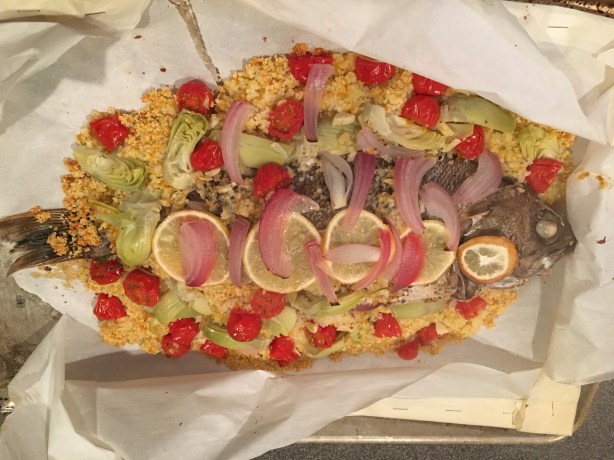
Fish after cooking for 30 minutes.

Unfortunately, this recipe didn’t wow me as much as I hoped it would, but some of that may have been due to my fish, which was kind of “blah.” I am open to trying this again with a different whole fish. I did like that this recipe is a one-pan dinner with built-in sides of couscous and vegetables, and the fish was nicely cooked. My couscous did end up being slightly gummy, but the combination of flavors in the dish was great, and I did like the presentation. If you can get whole red snapper where you live, I think this might be a great recipe to try.

Salmon Fillet en Papillote with Julienned Vegetables

The second recipe in this episode is super easy and is made in individual servings, making it easily adaptable for any number of guests. As with the snapper recipe above, parchment paper is used here to create a pouch, but this time there is one pouch per person. Start with a fairly large rectangle of parchment, folding it in half. Use scissors or a knife to cut a large half-heart shape from the creased side of the parchment. Unfold the parchment to reveal your full parchment heart. Ahhh… takes me right back to 3rd grade.

On the right side of the parchment heart place 1/3 C carrot strips, 1/3 C fennel strips, 1/3 C snow pea strips, and 1/3 C leek strips.

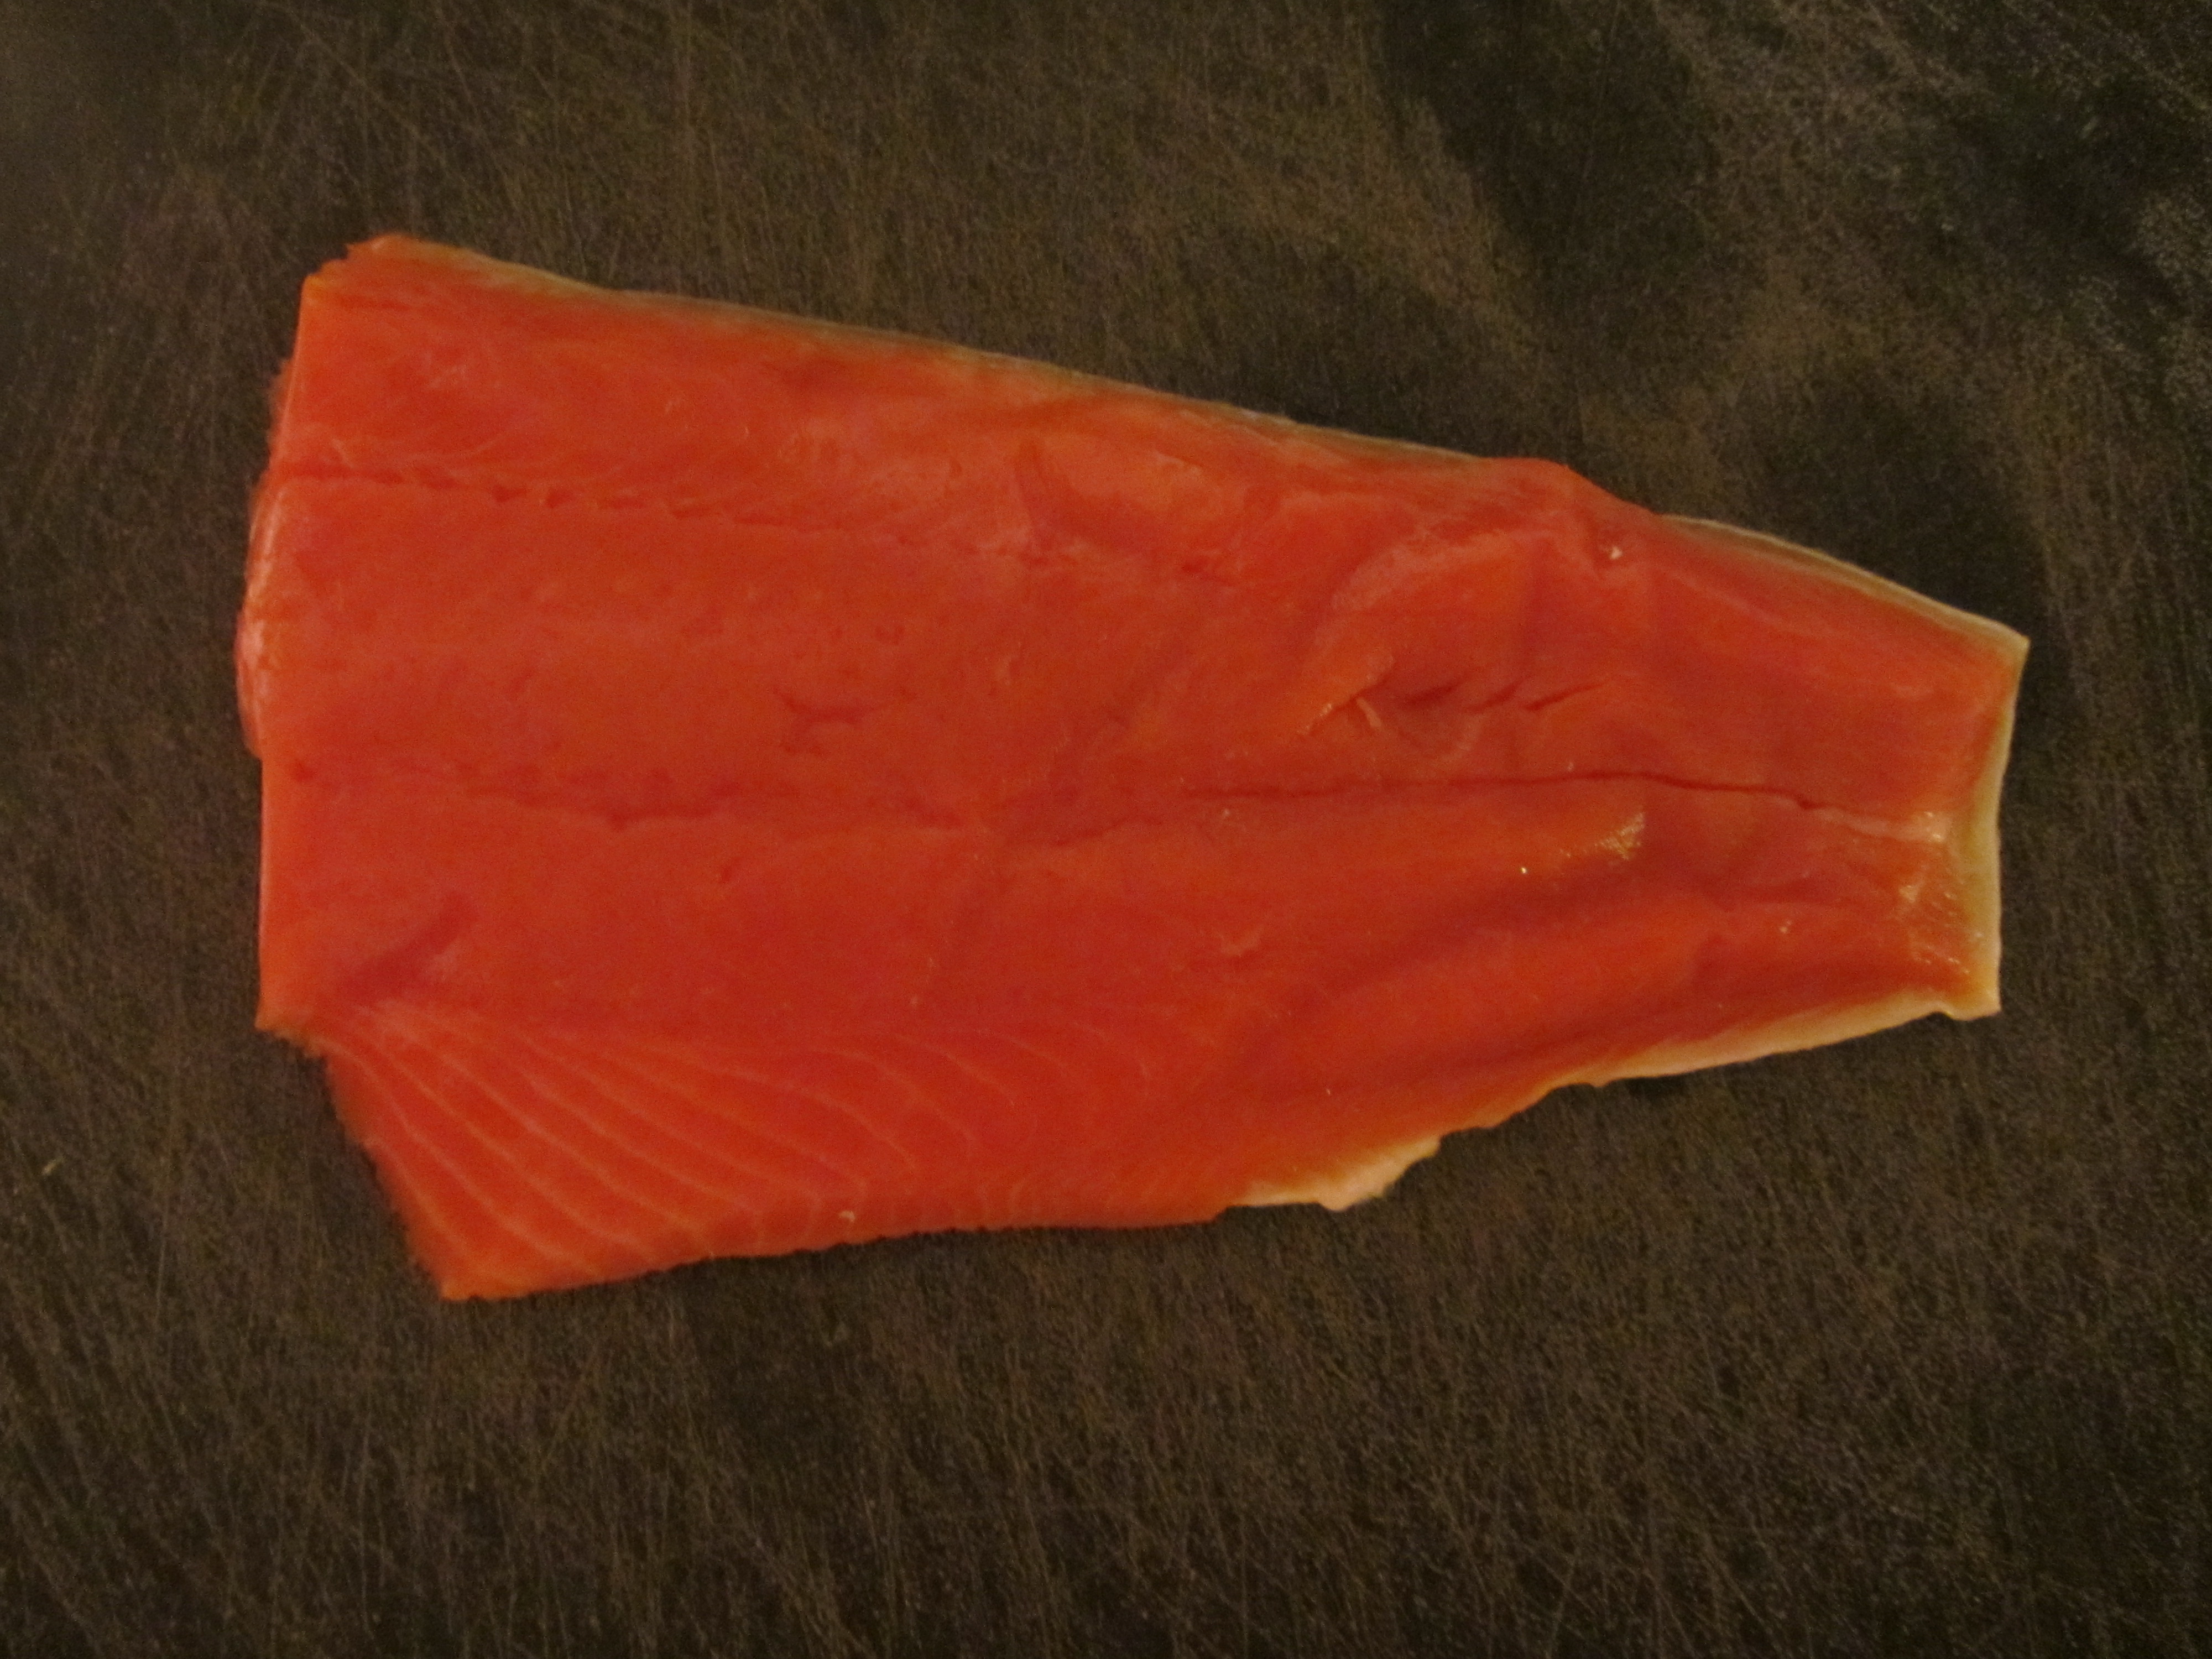
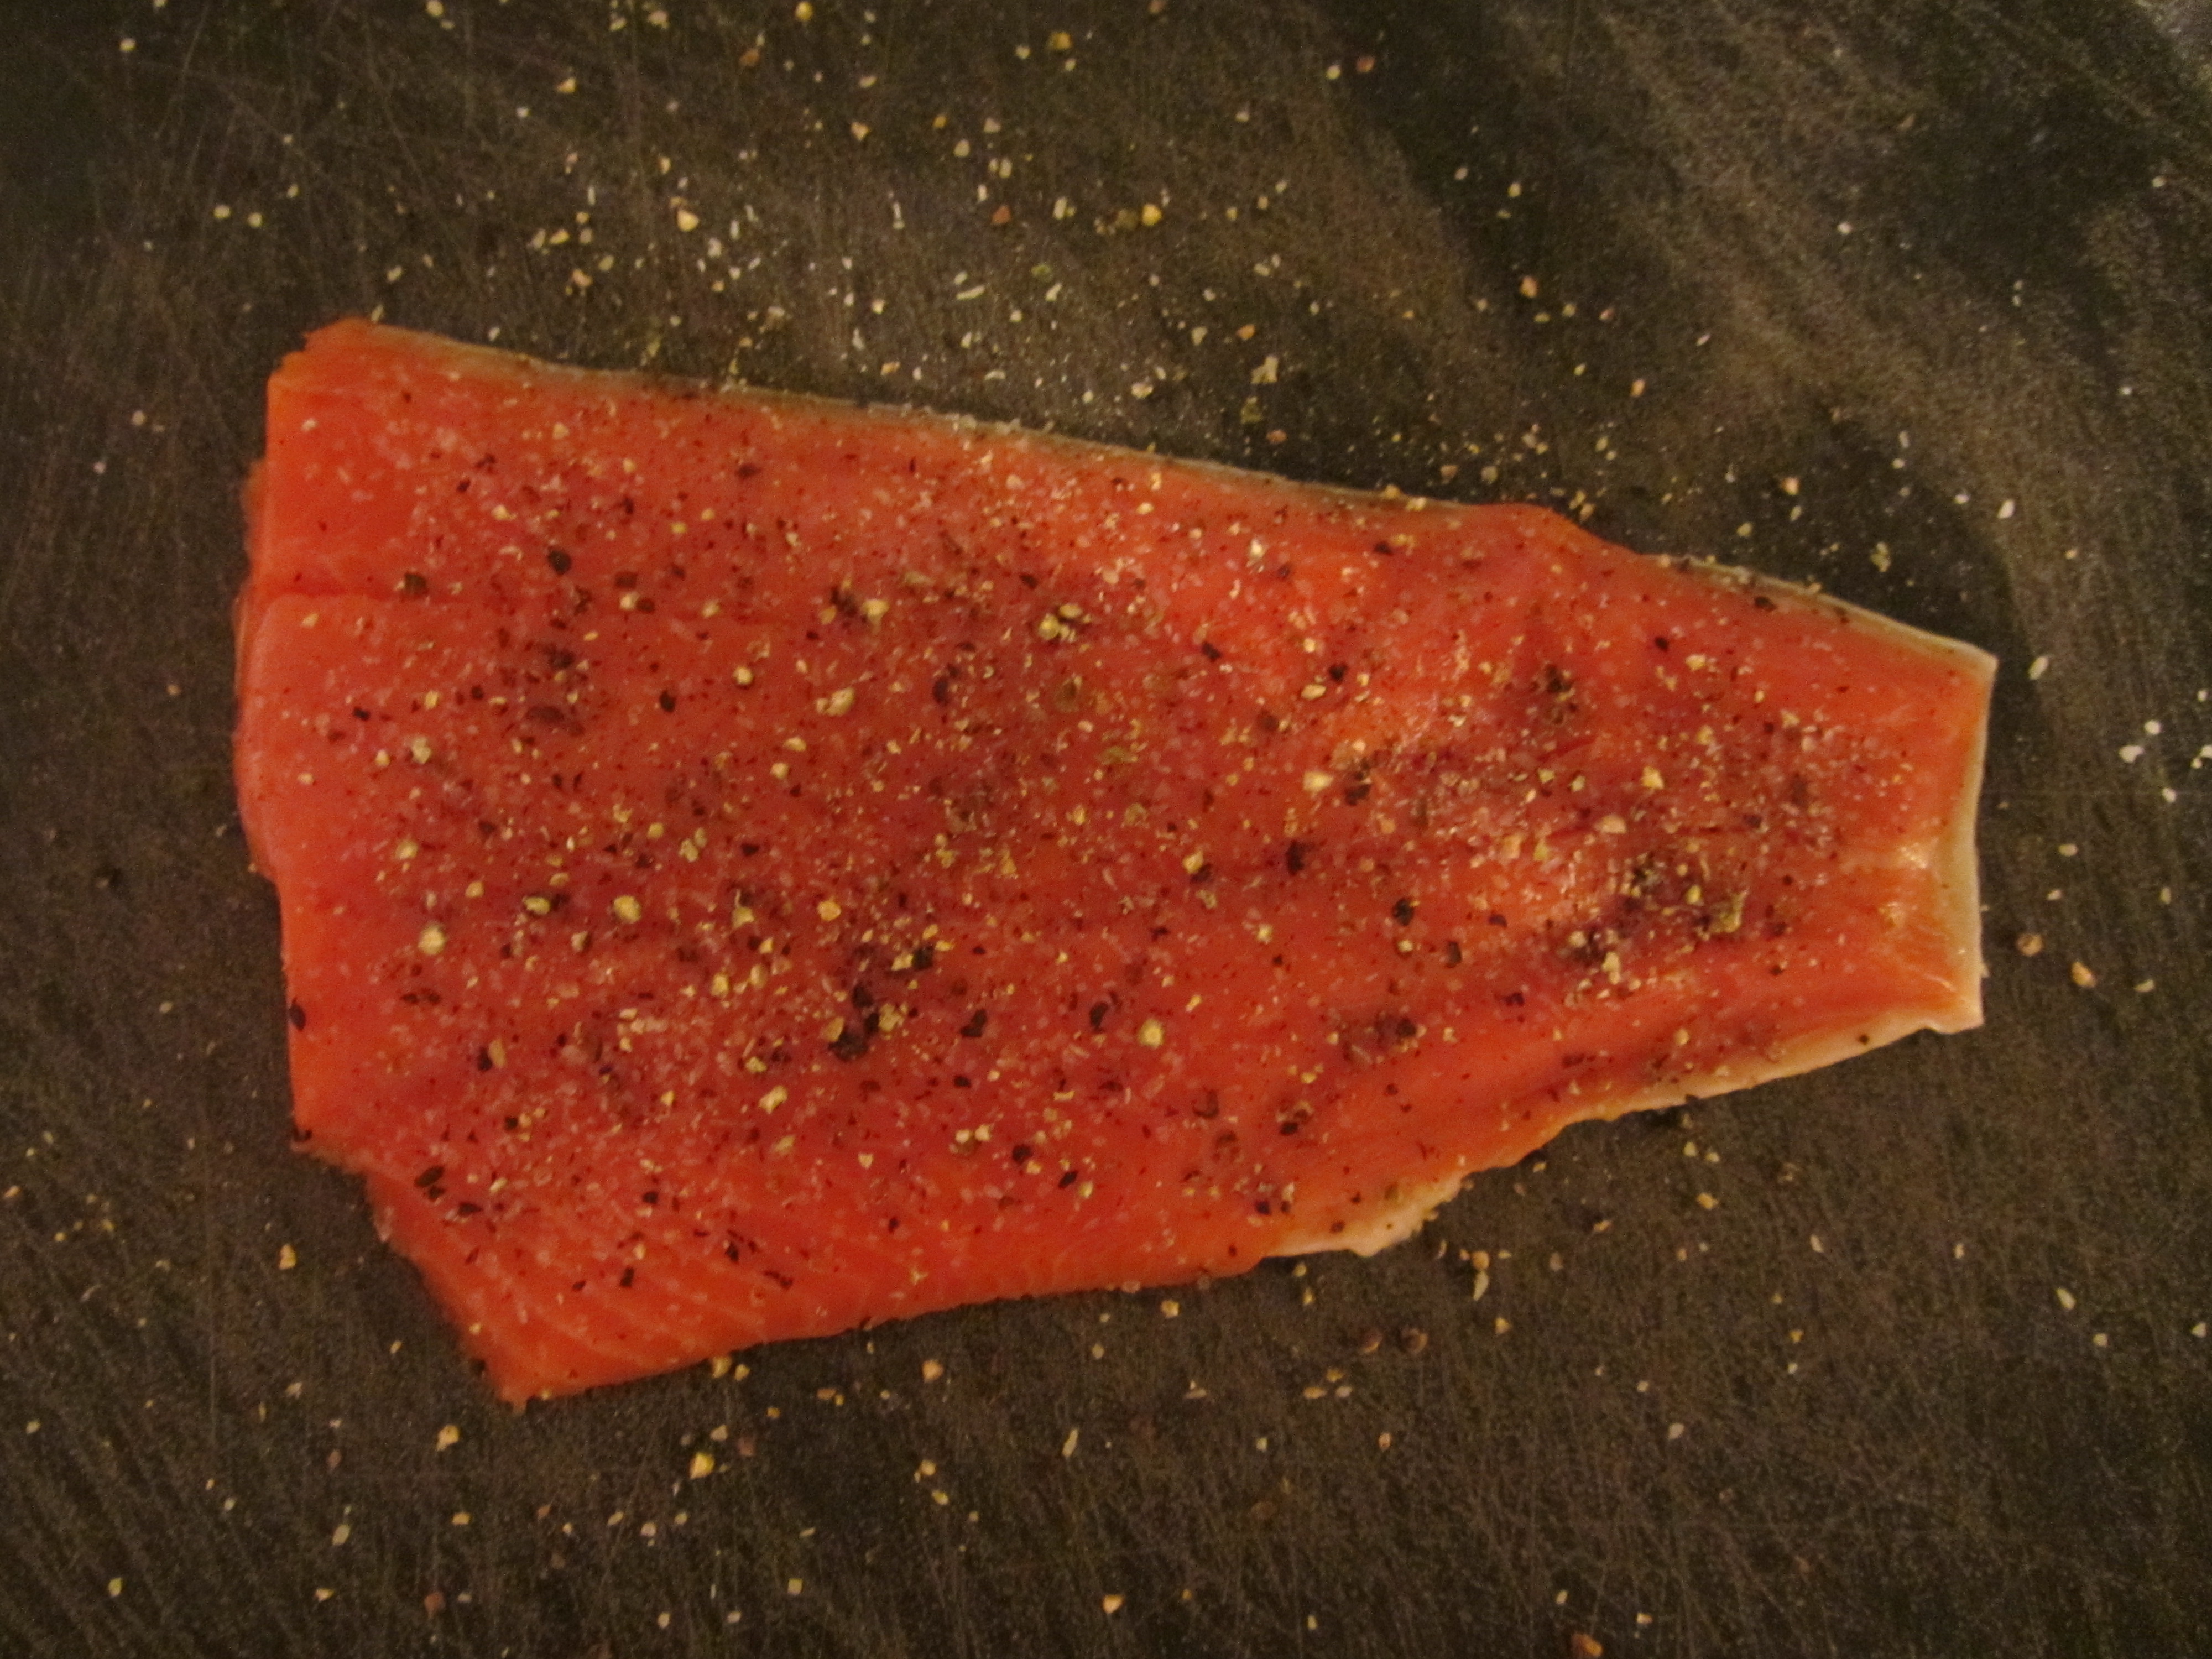
Place an 8-ounce salmon fillet (skin side down) on top of the vegetables and season everything with Kosher salt, pepper, and 1/8 t ground coriander.

IMG_5696

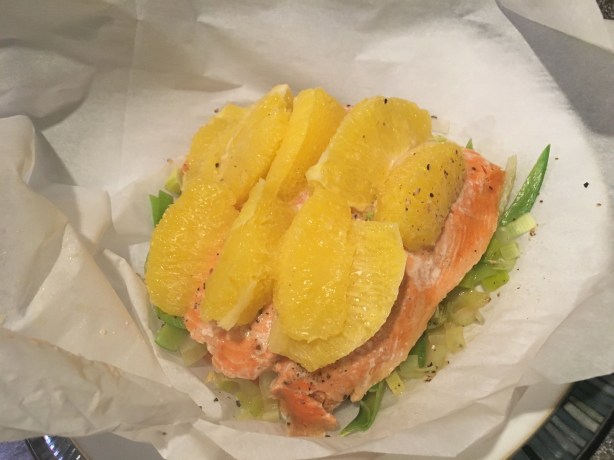
Salmon fillet placed on top of vegetables. Seasoned with salt, pepper, and coriander.

Place the wedges of a small peeled orange on top of the fish and sprinkle the whole mound with a “wee shot” of vermouth.

Fold the parchment over the fish, creasing the edge at the top of the heart, and folding the edge up. Go halfway down the length of the fold, make a crease, and fold again, sort of like sealing a calzone. Continue creasing and folding all the way around the heart, twisting the parchment tip and folding it under.

IMG_5700

Parchment folded over fish and sealed by creasing/folding all the way around.

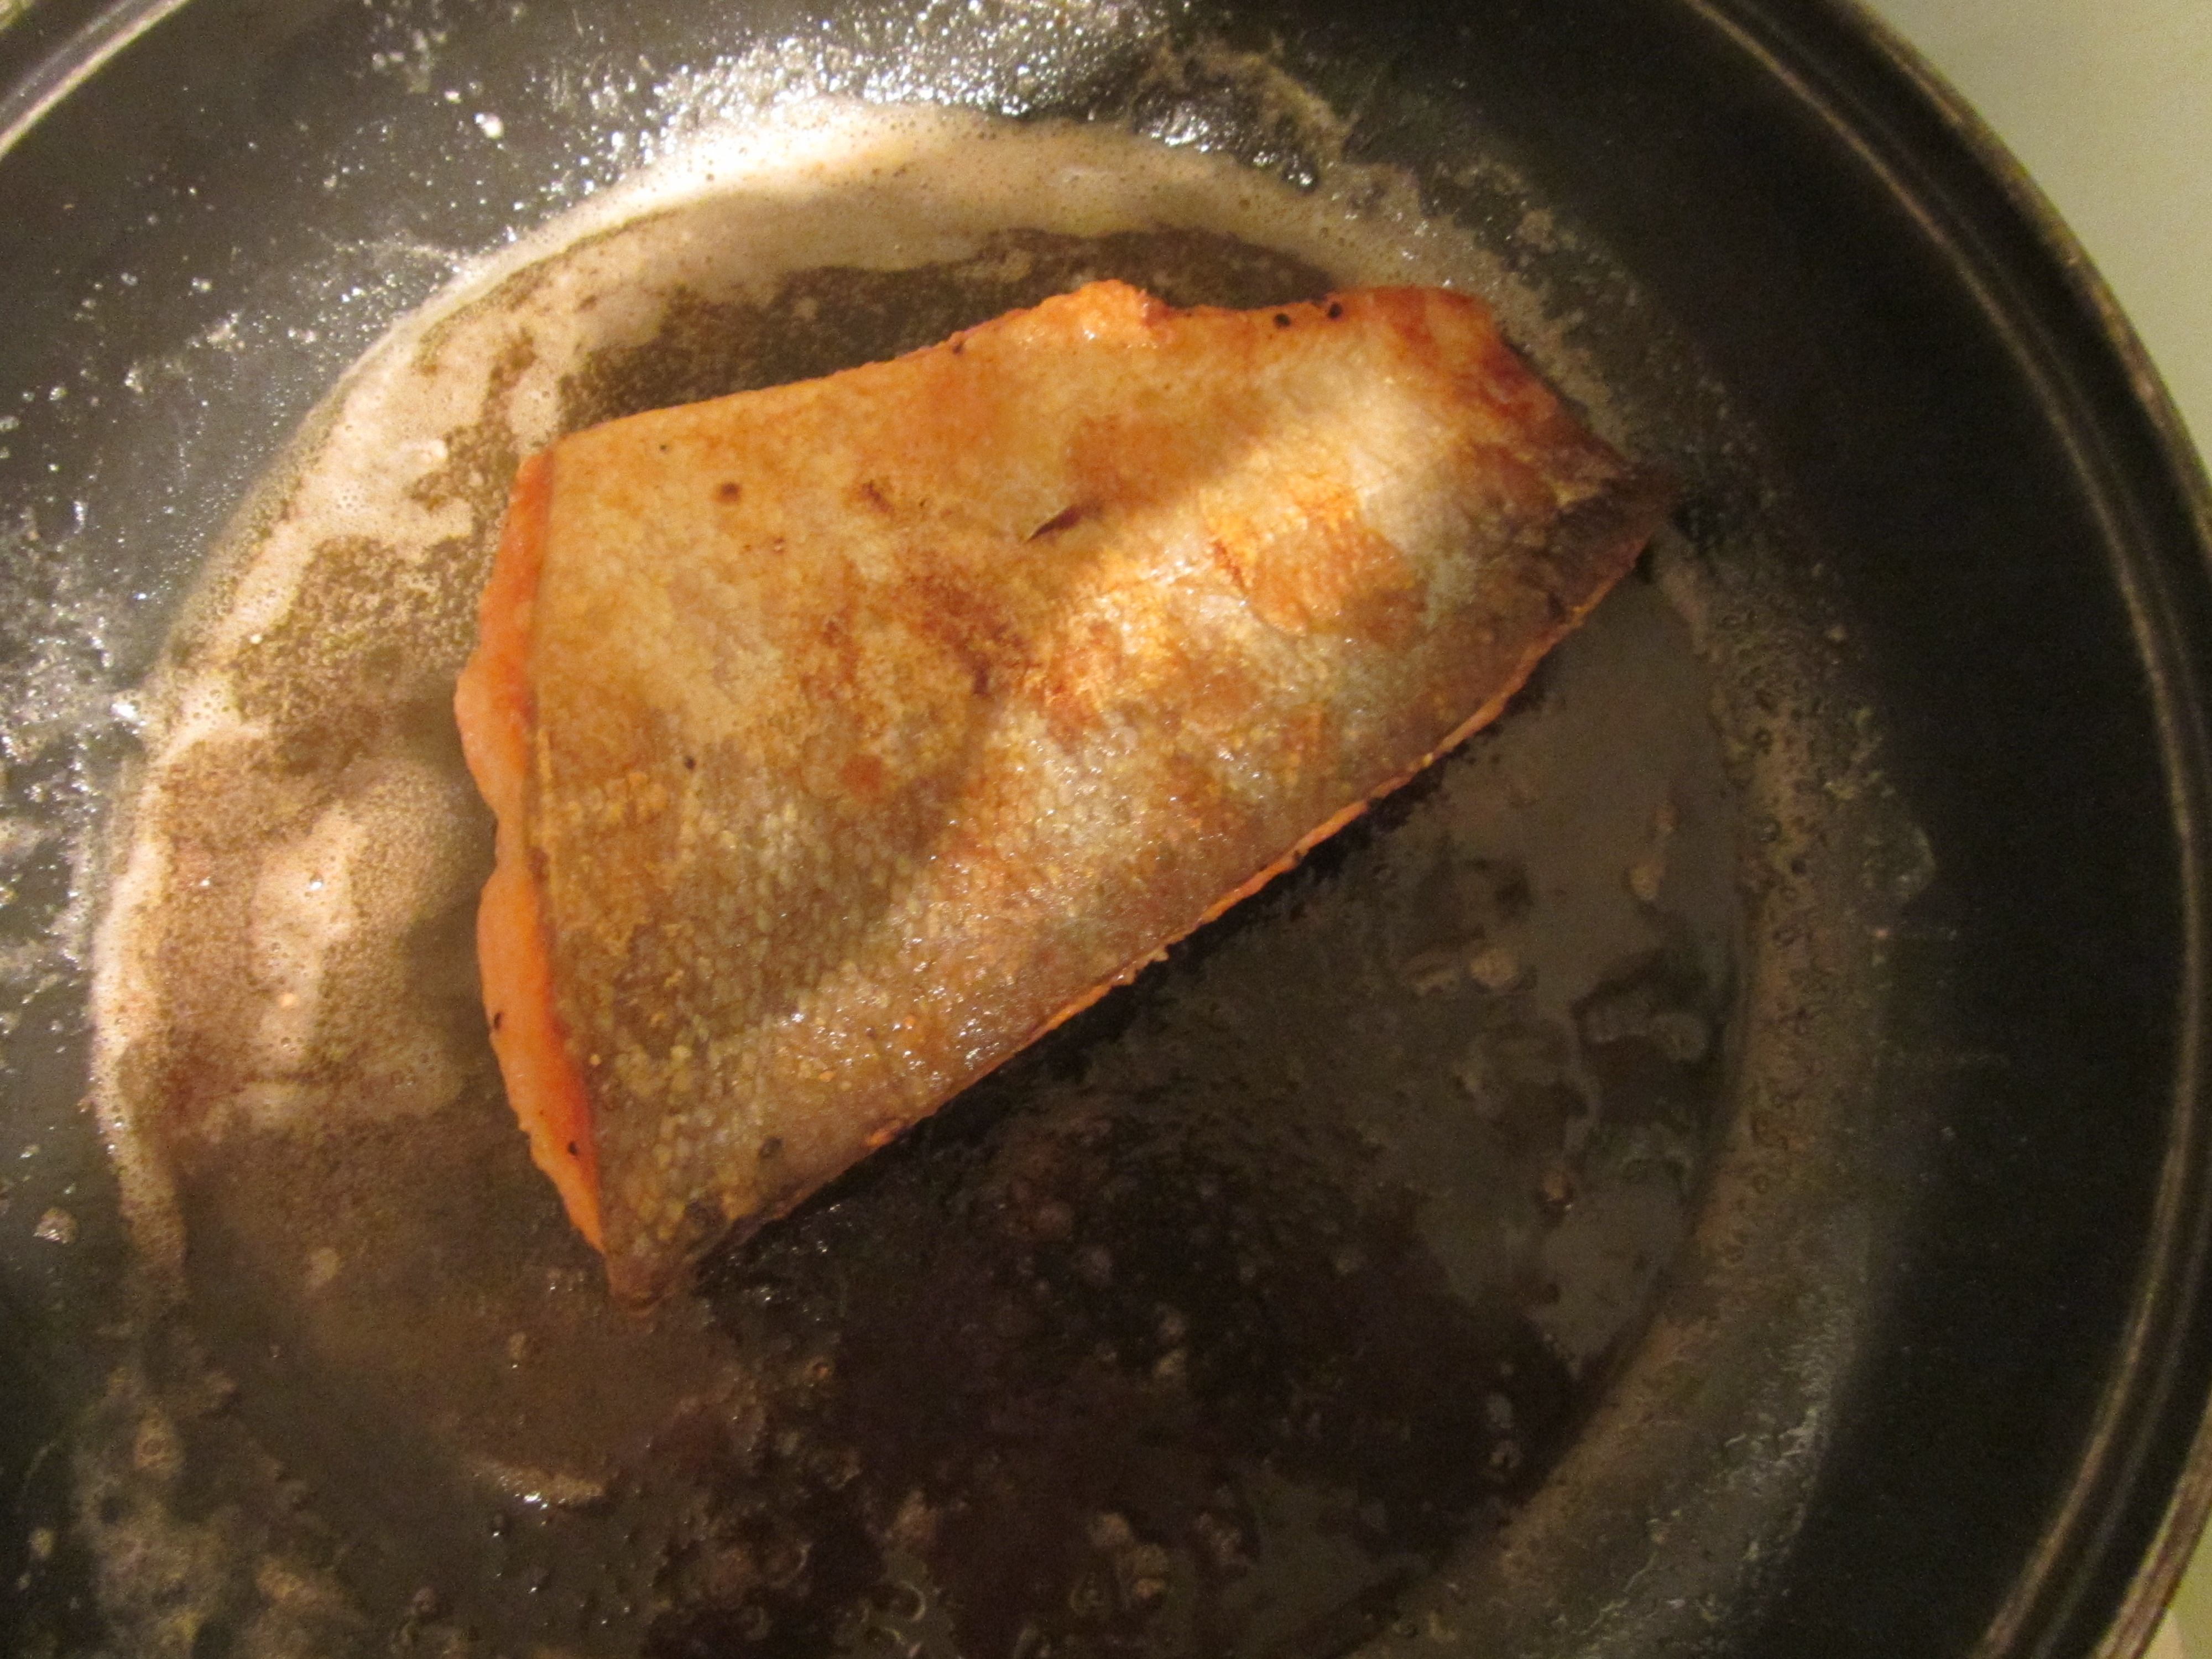
Place the whole packet in the microwave and cook on high for 4 minutes, or cook for 12 minutes in a 425-degree oven. Since there were two of eating Alton’s salmon packets, I opted, for comparison’s sake, to cook one packet in the microwave and the other in the oven. My microwaved fish was moist and flaking easily after 4 minutes, but my oven fish needed several more minutes to be cooked.

IMG_5703

Fish after cooking in the microwave.

I found this to be a successful recipe, resulting (in the microwave case) in nicely cooked fish. The orange wedges paired nicely with the fish and contributed a lot of moisture, and the whole dish had just a hint of vermouth.

IMG_5711

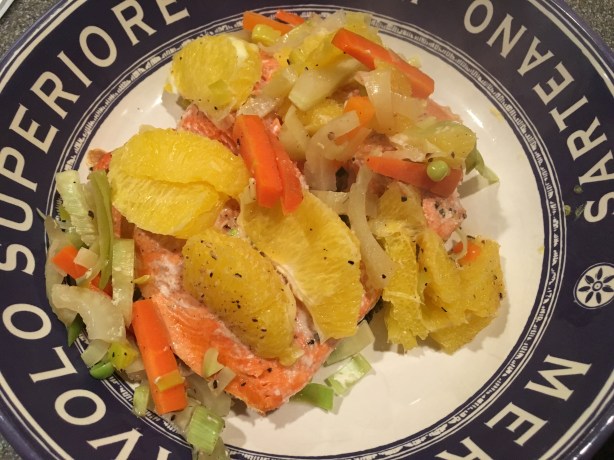
Salmon en papillote with oranges and vegetables.

Once again, this was a nice one-packet meal, as each packet included the fish and accompanying veggies. Plus, you can have this on the table in less than 30 minutes and it is healthy.

Ramen Shrimp Pouch

The third recipe in Alton’s series of pouch recipes is for shrimp lovers and is definitely a quickie that could be prepped any day of the week. As with the salmon pouches above, you can make as few or as many of these packets as you need to suit your number of diners. To make this one, preheat the oven to 400 degrees and lay out a large square of foil for each diner. On the center of each foil square, layer in this order:  1/2 of a block of noodles from a ramen package, 2 T chopped dried mushrooms, 5 large shrimp that have been peeled and deveined, 2 T chopped onions, 2 T chopped scallions, a pinch of red pepper flakes, and a pinch of Kosher salt.

Ball the foil up around the top of the shrimp, leaving a small opening at the top. Use the opening in each foil packet to pour in 1 T vegetable broth, 1 T mirin, 2 t soy sauce, and 1 t sesame oil.

Crimp the foil closed tightly, leaving a tiny steam porthole in the top of each packet. Place the packets in the preheated oven for 15 minutes; you may want to place them on a baking sheet, just in case they leak.

IMG_5647

Shrimp packets in the oven.

IMG_5649

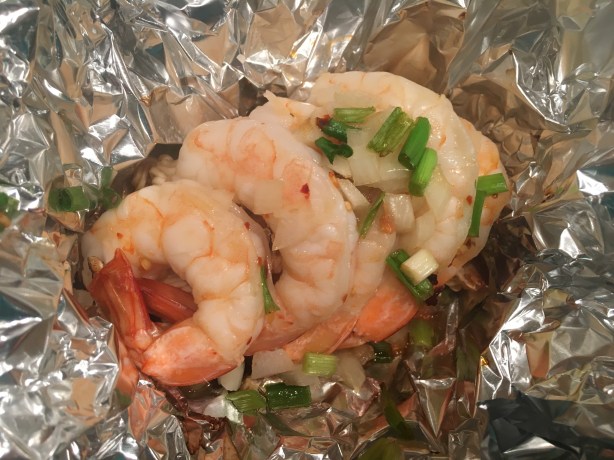
Shrimp packet after 15 minutes in the oven.

Though I am not a shrimp lover, I thought this was a very clever and tasty dish. The shrimp were perfectly cooked after 15 minutes and you could taste all of the flavors in the pouch. I will say that some of my noodles were a bit chewy, so I would suggest breaking the noodles up slightly before putting them on the foil, and maybe adding a bit more liquid directly over the noodles. With a little tweaking, I think this could be an outstanding weeknight shrimp recipe.

Stone Fruit Pouches

Alton finished up his pouch cookery with a dessert. For each person eating, lay out a large double layer square of foil. In the center of each square, place 1/2 C crumbled gingersnaps, 1 quartered plum, 1 sliced apricot (8 pieces), 2 t sugar, 1 t lime zest, a pinch of Kosher salt, and 1 T cubed butter. I had no choice but to adapt this recipe a little bit, as it was certainly not stone fruit season when I made them. I opted to use mango and quince in my pouches.

Fold up the foil, leaving an opening at the top, and pour in the juice of half a lime and a shot of brandy.

Seal up the packets, leaving a tiny porthole. These packets can be cooked in a 500-degree oven or on a grill. If using a grill, they should be done in 10 minutes, or after 15-20 minutes in the oven. Serve the warm fruit with vanilla ice cream.

IMG_5733

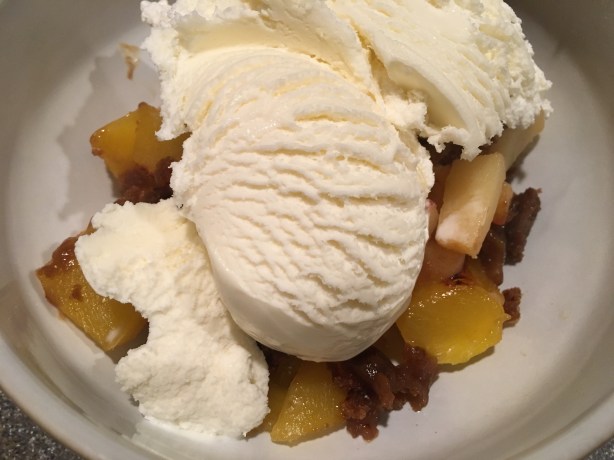
Warm fruit served with vanilla ice cream.

The gingersnaps almost caramelize, the fruit softens, and you taste hints of lime and brandy. I bet these pouches would be good with peaches or pineapple too, and they would make for a super easy prep-ahead dessert during grilling season. Yes, this is one to keep in your back pocket.

Whole Fish

I live in the Northwest, where we tend to eat a lot of fish, so I was excited for the 10th episode of Good Eats. I printed out the two recipes posted online and sat down to watch the episode. To my surprise, there was an additional (third) recipe featured in the show. Why this recipe is not posted online I don’t know, but it is for a whole fish cooked in a salt dome. I had never cooked a whole fish before, so I was excited and nervous about this preparation. Alton uses a six pound Striped Bass when he makes this on the show, and I knew we were going to need a considerably smaller fish. Still, when I made this last week, we had my parents over to share in our two pound Red Snapper. I will confess that we had a frozen pizza on hand, just in case I botched the fish!

Alton tells you to use a pound of Kosher salt per pound of fish.

A pound of salt per pound of fish.

A pound of salt per pound of fish.

This is combined with egg whites and some water, and mixed by hand. For our two-pounder, I used two pounds of salt, two egg whites, and a bit less than 1/4 C of water.

Salt with egg whites and water.

Salt with egg whites and water.

Mixed to a mortar-like consistency.

Mixed to a mortar-like consistency.

You spread a 1/2″-thick layer of this salt mixture on your baking sheet as a bed for your fish.

Bed of salt for the fish to bake on.

Bed of salt for the fish to bake on.

Your fish is placed on top of the salt layer, and you fill his cavity with whatever aromatics you have on hand. For my fish, I used fennel, dill, lemon slices, and orange slices.

Dill, fennel, orange, and lemon.

Dill, fennel, orange, and lemon.

Red Snapper stuffed with aromatics.

Red Snapper stuffed with aromatics.

The remaining salt mixture is mounded over the fish’s body, forming a dome with only the head and tail visible. I had a little more salt than I needed, but I still had a healthy layer of salt all over my fish.

Fish in his salt dome, and ready for the oven.

Fish in his salt dome, and ready for the oven.

I baked my fish at 450 degrees, checking it after 20 minutes, and it happened to be done. You want to cook your fish to a temperature of about 130-135 degrees (you can take the temperature of the fish straight through the salt dome).

Post-baking.

Post-baking.

I let my fish rest for about 5 minutes before beginning to remove my salt dome. In the episode, Alton suggests using a mallet or hammer to crack your dome, but I simply used the serrated edge of my pie server (the tool Alton recommends to use for serving the fish) to form a crack along the front of the dome. I was nervous that my dome would shatter into a million messy pieces, but the lid lifted off in one beautiful piece, revealing a perfectly cooked Red Snapper inside.

Salt dome removal.

Salt dome removal.

At this point, you remove the skin from your fish and cut the meat from the top half of the fish. You grab the fish’s tail, give it a twist, and the bones should lift out in one big piece. This actually worked seamlessly for me, and, as a bonus, the head popped right off with the bones, which meant I no longer had that creepy eye looking at me. Once the bones are removed, you have access to the bottom half of the fish, which you can lift right off the skin for easy serving.

Bones came out in one easy twist.

Bones came out in one easy twist.

Completed fish, served with lemon.

Completed fish, served with lemon.

Ted, my parents, and I all thought this fish was a big success. The fish itself was moist, and the flavors of the various aromatics really came through. I particularly tasted the dill and fennel. Ted and my mom commented that they thought the fish had a hint of saltiness, but it was far from salty. Lemon wedges were the only adornment needed. I served the fish alongside couscous with currents and almonds, and a minted pea salad. This recipe intimidated me a bit at first, but it was super easy and delicious, and the presentation is fun. This is one I will be making again.

Pan Fried Fish

The second recipe in the 10th episode is for Pan Fried Fish. For this recipe, you use a fillet of fish, and we happened to have some frozen Copper River Salmon fillets on-hand.

Copper River Salmon fillet.

Copper River Salmon fillet.

You season your fillet with salt and pepper and dredge it in flour.

Fillet seasoned with salt and pepper.

Fillet seasoned with salt and pepper.

Fillet dredged in flour.

Fillet dredged in flour.

Meanwhile, you heat Canola oil in a skillet, along with some butter. Once the butter has ceased foaming, you put your fillet into the pan.

Butter and oil in the pan.

Butter and oil in the pan.

Fish in the pan.

Fish in the pan.

Alton emphasizes that you want to jiggle the pan for a few seconds to keep the fish from sticking. Once the fish is golden, you flip it to the other side, again jiggling the pan. 8-24-2014 021You want to cook the fish just until the muscles start to separate, and then remove it from the pan.

Fish after cooking.

Fish after cooking.

You pour out the fat, add additional butter to the pan, and fry some capers, which will visibly plump.

Caper and lemon sauce.

Caper and lemon sauce.

You remove the pan from the heat, add the juice of a lemon, and pour the caper sauce over the fillet.

Finished pan fried fillet.

Finished pan fried fillet.

Super easy, super fast, and super good! The fish paired with the briny capers and the tangy lemon makes an excellent combination. We tend to grill fish most of the time, but this is a great alternative.

Grilled Salmon Steaks

The final recipe from the 10th episode is for Grilled Salmon Steaks. I typically tend to prefer fillets to steaks simply because you do not have to deal with the bones when you have a nice boneless fillet. I recall a time when I was a freshman in college and I went to a party at a friend’s house. It was a BYOM (that’s Bring Your Own Meat) party. The grill would be fired up, but it was up to you to cook your meat at the party. I was not a huge red meat eater at this time, so I opted for salmon at the grocery store. I made the mistake of getting a salmon steak, rather than a fillet. Not knowing that I needed to prep the steak prior to grilling, I simply threw it on the grill as it was. I remember being very disappointed with the plethora of bones I encountered, and I made every effort to get fillets from there on out. Honestly, that may have been the last time I cooked a salmon steak prior to this recipe of Alton’s.

It was key to watch Alton’s preparation of the salmon steaks, as it was hard to visualize the technique from simply reading the online recipe. To begin, you run your fingers over the surface of the steaks, removing any pin bones with tweezers.

Salmon steaks.

Salmon steaks.

Now, some of these bones came out very easily for me, while others were real buggers. The next step is to trim the cavity sides of the steaks. You do this with a sharp knife, and then use scissors to cut out the bony center. At this point, Alton smoothly and seamlessly glides his blade down the stomach flaps, leaving one side without some skin and the other without some meat. This will allow the excess skin on the one flap to perfectly overlap the skinless meat on the other flap. This step was not quite so effortless for me, and I’m sure I hacked away more of the fish than I needed to, but I made it work.

Trimming the cavity side, and shortening the flaps.

Trimming the cavity side, and shortening the flaps.

After this trimming, you roll the two flaps up into the center of the steak, overlapping the longer flap over the shorter flap, and you secure the round with butcher’s twine. I was actually quite surprised that my steaks looked as good as they did after this step. Mine had a bigger “hole” in the center than Alton’s did, but they otherwise looked pretty good.

Rolled up and secured with twine.

Rolled up and secured with twine.

8-24-2014 005 Once your steaks are tied, you make a seasoning blend of cumin seed, coriander seed, fennel seed, and green peppercorns. This blend is toasted over the grill, just until fragrant.

Cumin, fennel, coriander, and green peppercorns.

Cumin, fennel, coriander, and green peppercorns.

Prior to grilling the steaks, you coat them with oil (along with the grill), sprinkle them with some Kosher salt, and then liberally sprinkle them with a ground blend of the toasted seasoning mix. We had an extra pepper grinder in our kitchen, so I used that to grind the spices.

Oiled and salted steaks.

Oiled and salted steaks.

Steaks with spice blend.

Steaks with spice blend.

Alton tells you to grill the steaks for approximately three minutes per side, but I found that my steaks took a few minutes longer than that. Once done grilling, you simply cut the twine with scissors, and the skin comes right off with the twine.

Steaks after grilling.

Steaks after grilling.

The skin came off easily with the twine.

The skin came off easily with the twine.

Grilled steak.

Grilled steak.

Ted and I were both surprised at how good we thought these steaks were. The fish was moist and the spice blend paired excellently with the salmon. There were almost no bones in either of our steaks. Though the recipe first appeared to be labor-intensive, it really was pretty easy to execute, and with further practice it could be a quick go-to for grilled salmon.