Posts Tagged ‘tomato sauce’

Braciole

When I married into Ted’s family I became privy to his family’s spaghetti recipe, a meal that epitomizes “comfort food.” Their family recipe is for a rich red sauce, flavored with meat and spices, that is served over spaghetti. Included in the red sauce are bracioles, which are miniature rolls of seasoned meat that become incredibly tender as they simmer in the red sauce. When I saw that the final Good Eats episode of the sixth season would involve making a braciole, I was incredibly curious to see how Alton’s version would compare with Ted’s family’s recipe.

For his braciole, Alton recommends using flank steak, purchasing the thinnest one you can find.
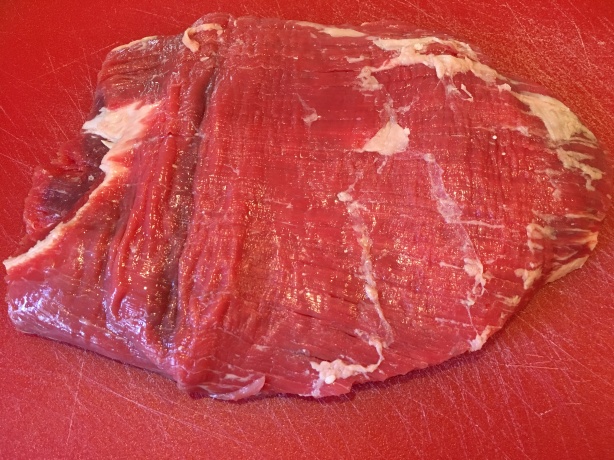
IMG_2913

Flank steak.

Laying the steak on a counter, spritz its surface with water and cover it with plastic wrap. Spritz the surface of the plastic wrap with water also; the water will allow the meat tenderizer to slide as it hits the meat. Using a meat tenderizer (Alton recommends one with a large, flat surface), pound the steak until it is thin.

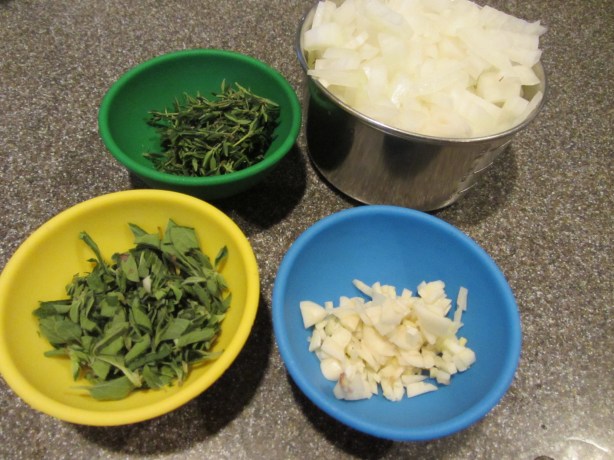
Next, it is time to make the braciole filling by combining in a food processor 1 clove of garlic, 1 T chopped parsley, 1 T chopped fresh oregano, 1 t chopped rosemary, 1 t chopped thyme, 1/3 C grated Parmesan, 1 1/4 C flavored croutons, and 2 eggs.

Using a spatula (I found that my hands worked better), spread the filling over the surface of the flank steak, with the wide edge of the steak facing you. Do not go all the way to the edge of the meat, or the roll will not seal well.

IMG_2919

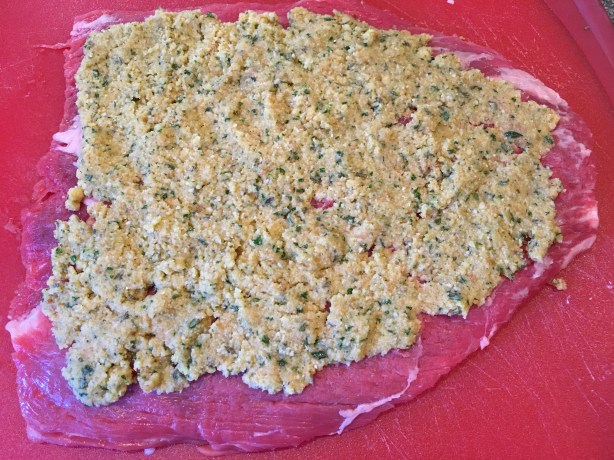
Flank steak topped with braciole filling.

Roll the meat toward you until you have a nice log, and turn the meat 90 degrees, so it is perpendicular to you.

IMG_2921

Flank steak rolled into a log.

Running cotton butcher’s twine under the far end of the meat, tie a surgeon’s knot near the top of the log by passing the string twice under itself, followed by two more passes the other direction. Be sure to leave at least eight inches of excess twine on the loose end.

Working toward you, twist the twine to form a large loop and wiggle it up the meat.

IMG_2924

A loop formed by twisting the twine and wiggling the loop up the meat.

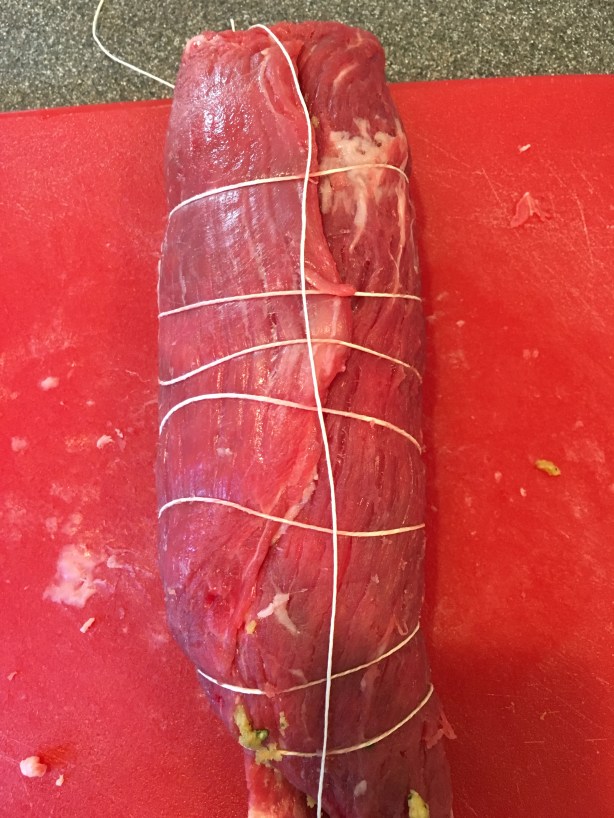
Continue forming loops, sliding them up the meat until you have a ladder of twine running up the length of the meat.

IMG_2925

Continuous loops formed and wiggled up the meat to form a network of loops.

Flip the log over and bring the twine to the top of the log, crossing it once under the center loop of twine.

IMG_2926

The meat, flipped to its back side. Bringing the string up to the top, crossing it once under the center loop.

Bringing the two ends of twine together, cross them on the back side of the log and flip the meat back to its front, tying another surgeon’s knot and a slip knot to secure. Let the meat sit at room temperature for about 15 minutes. When ready to cook, coat the surface of the meat with canola or peanut oil and a sprinkle of Kosher salt.

IMG_2931

A surgeon’s knot tied on the front of the meat, bringing both ends of the twine together to secure. The meat is oiled and sprinkled with Kosher salt.

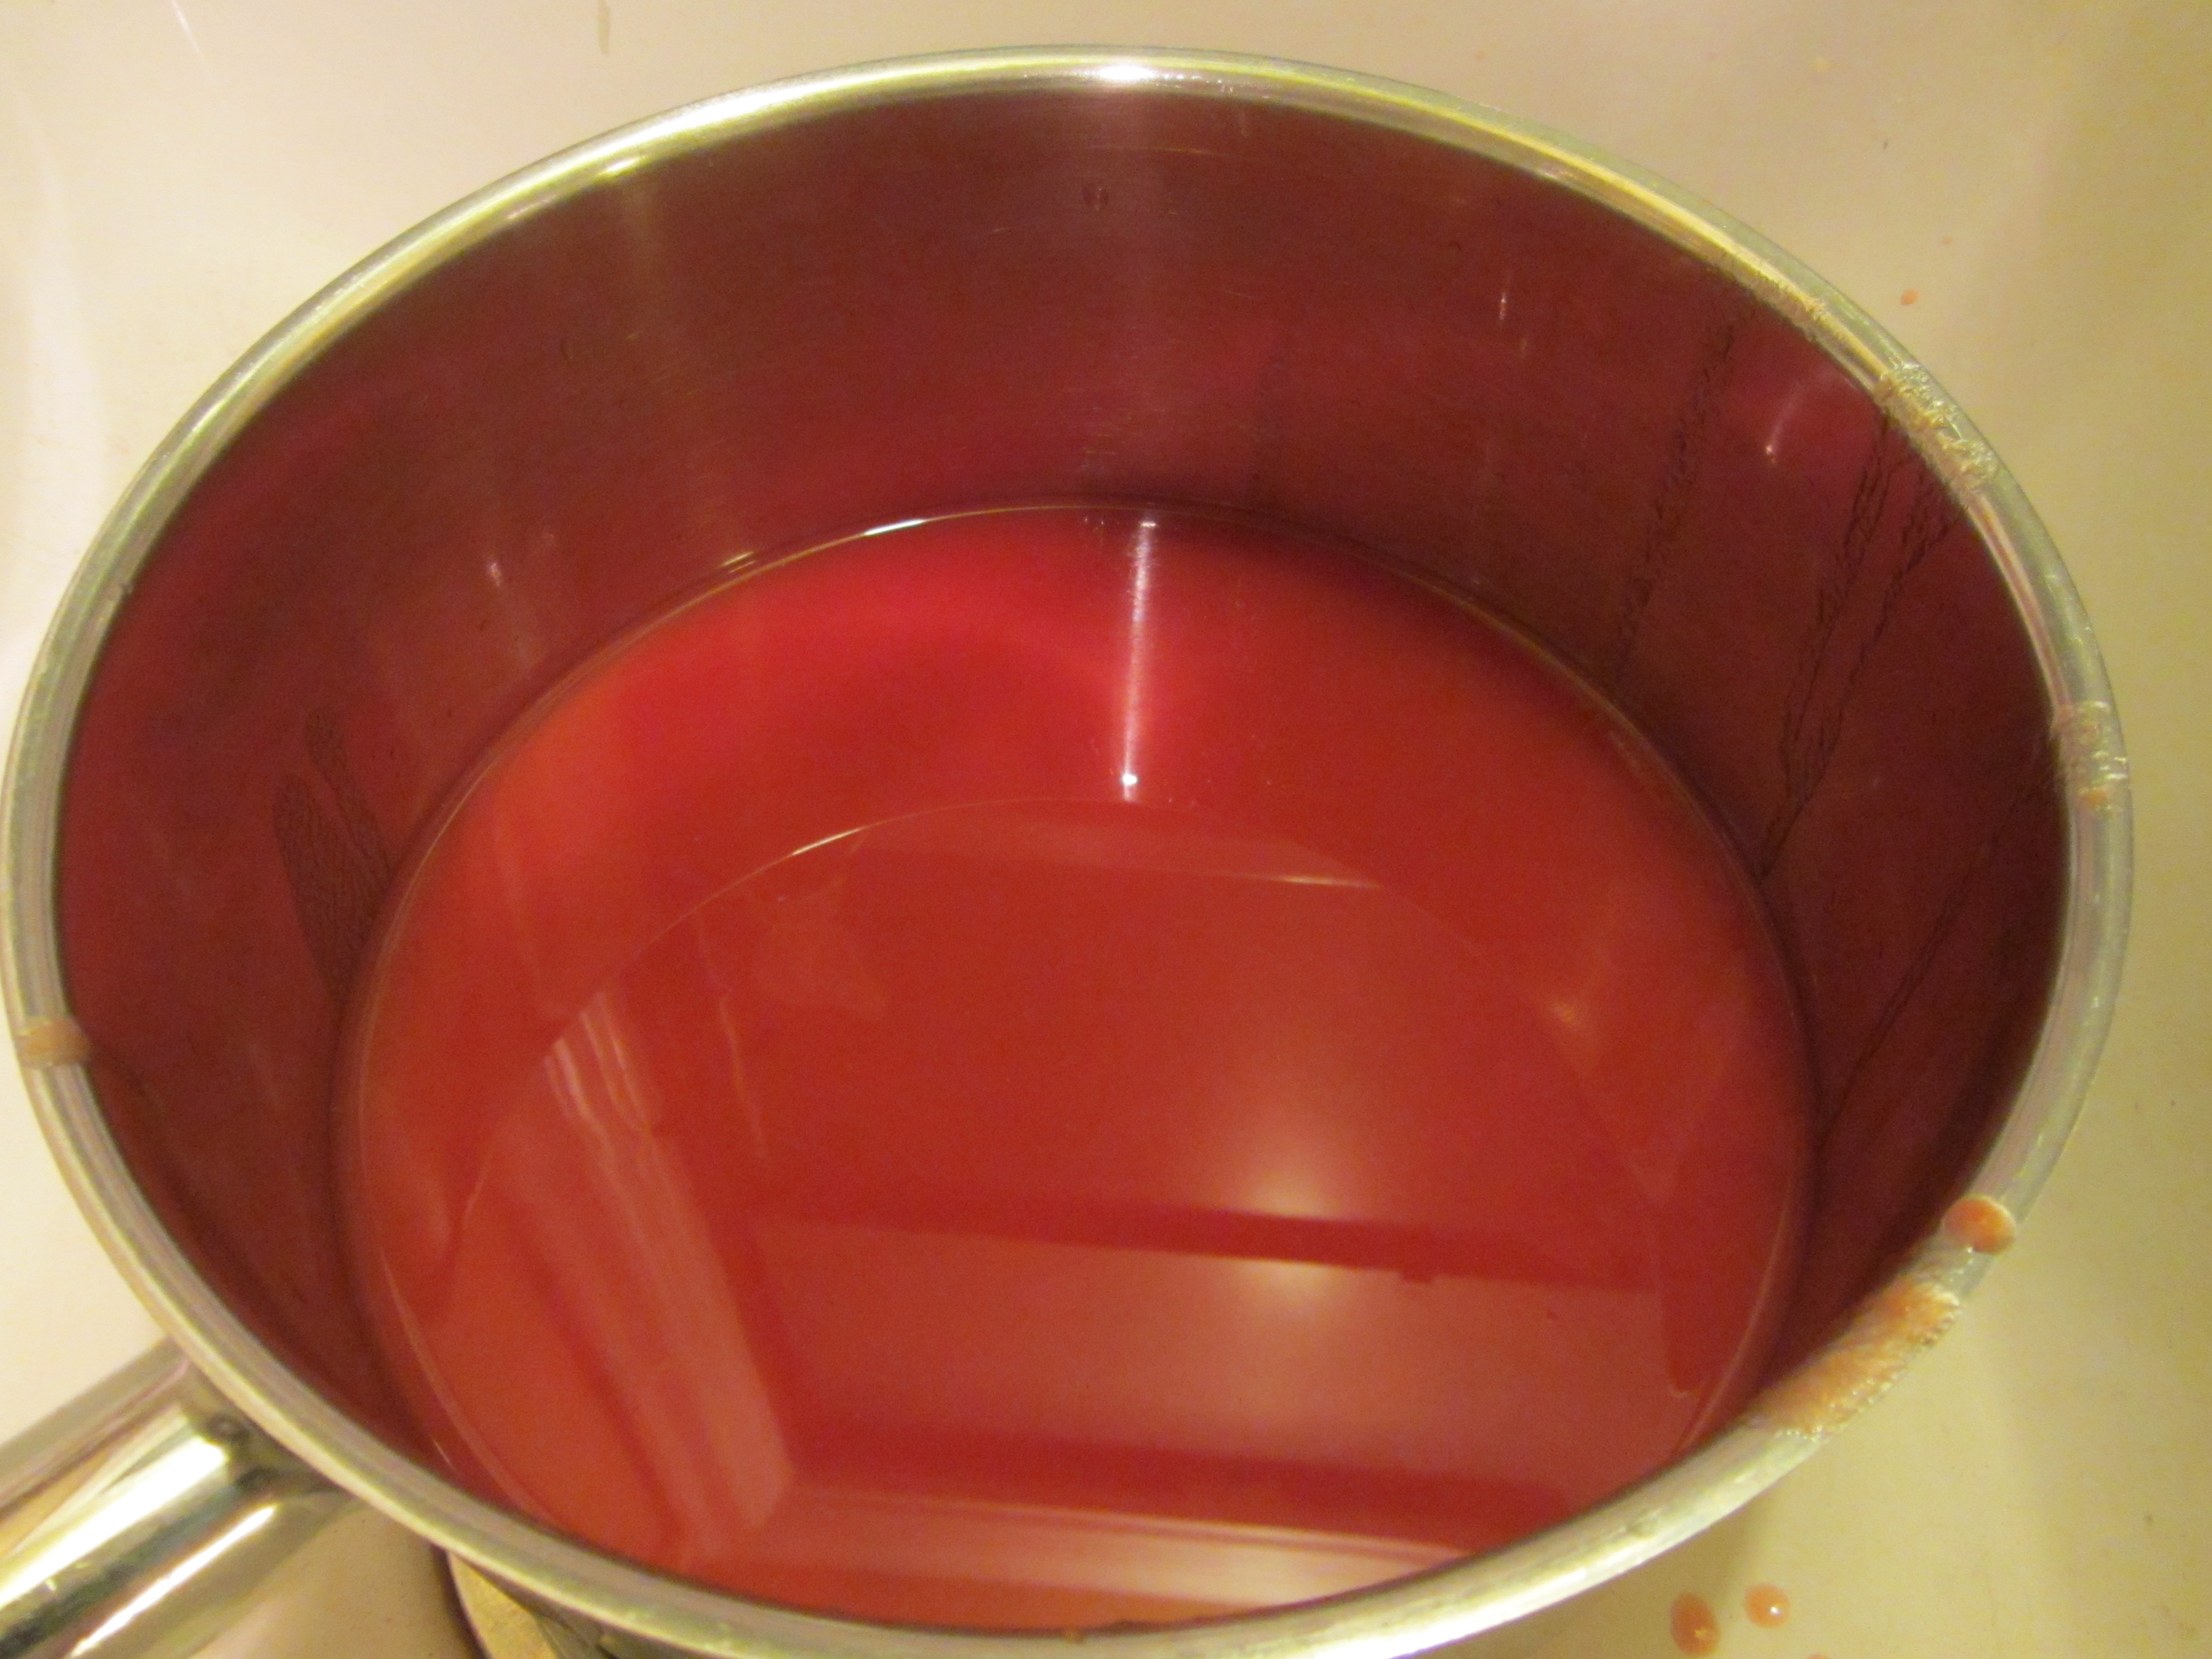
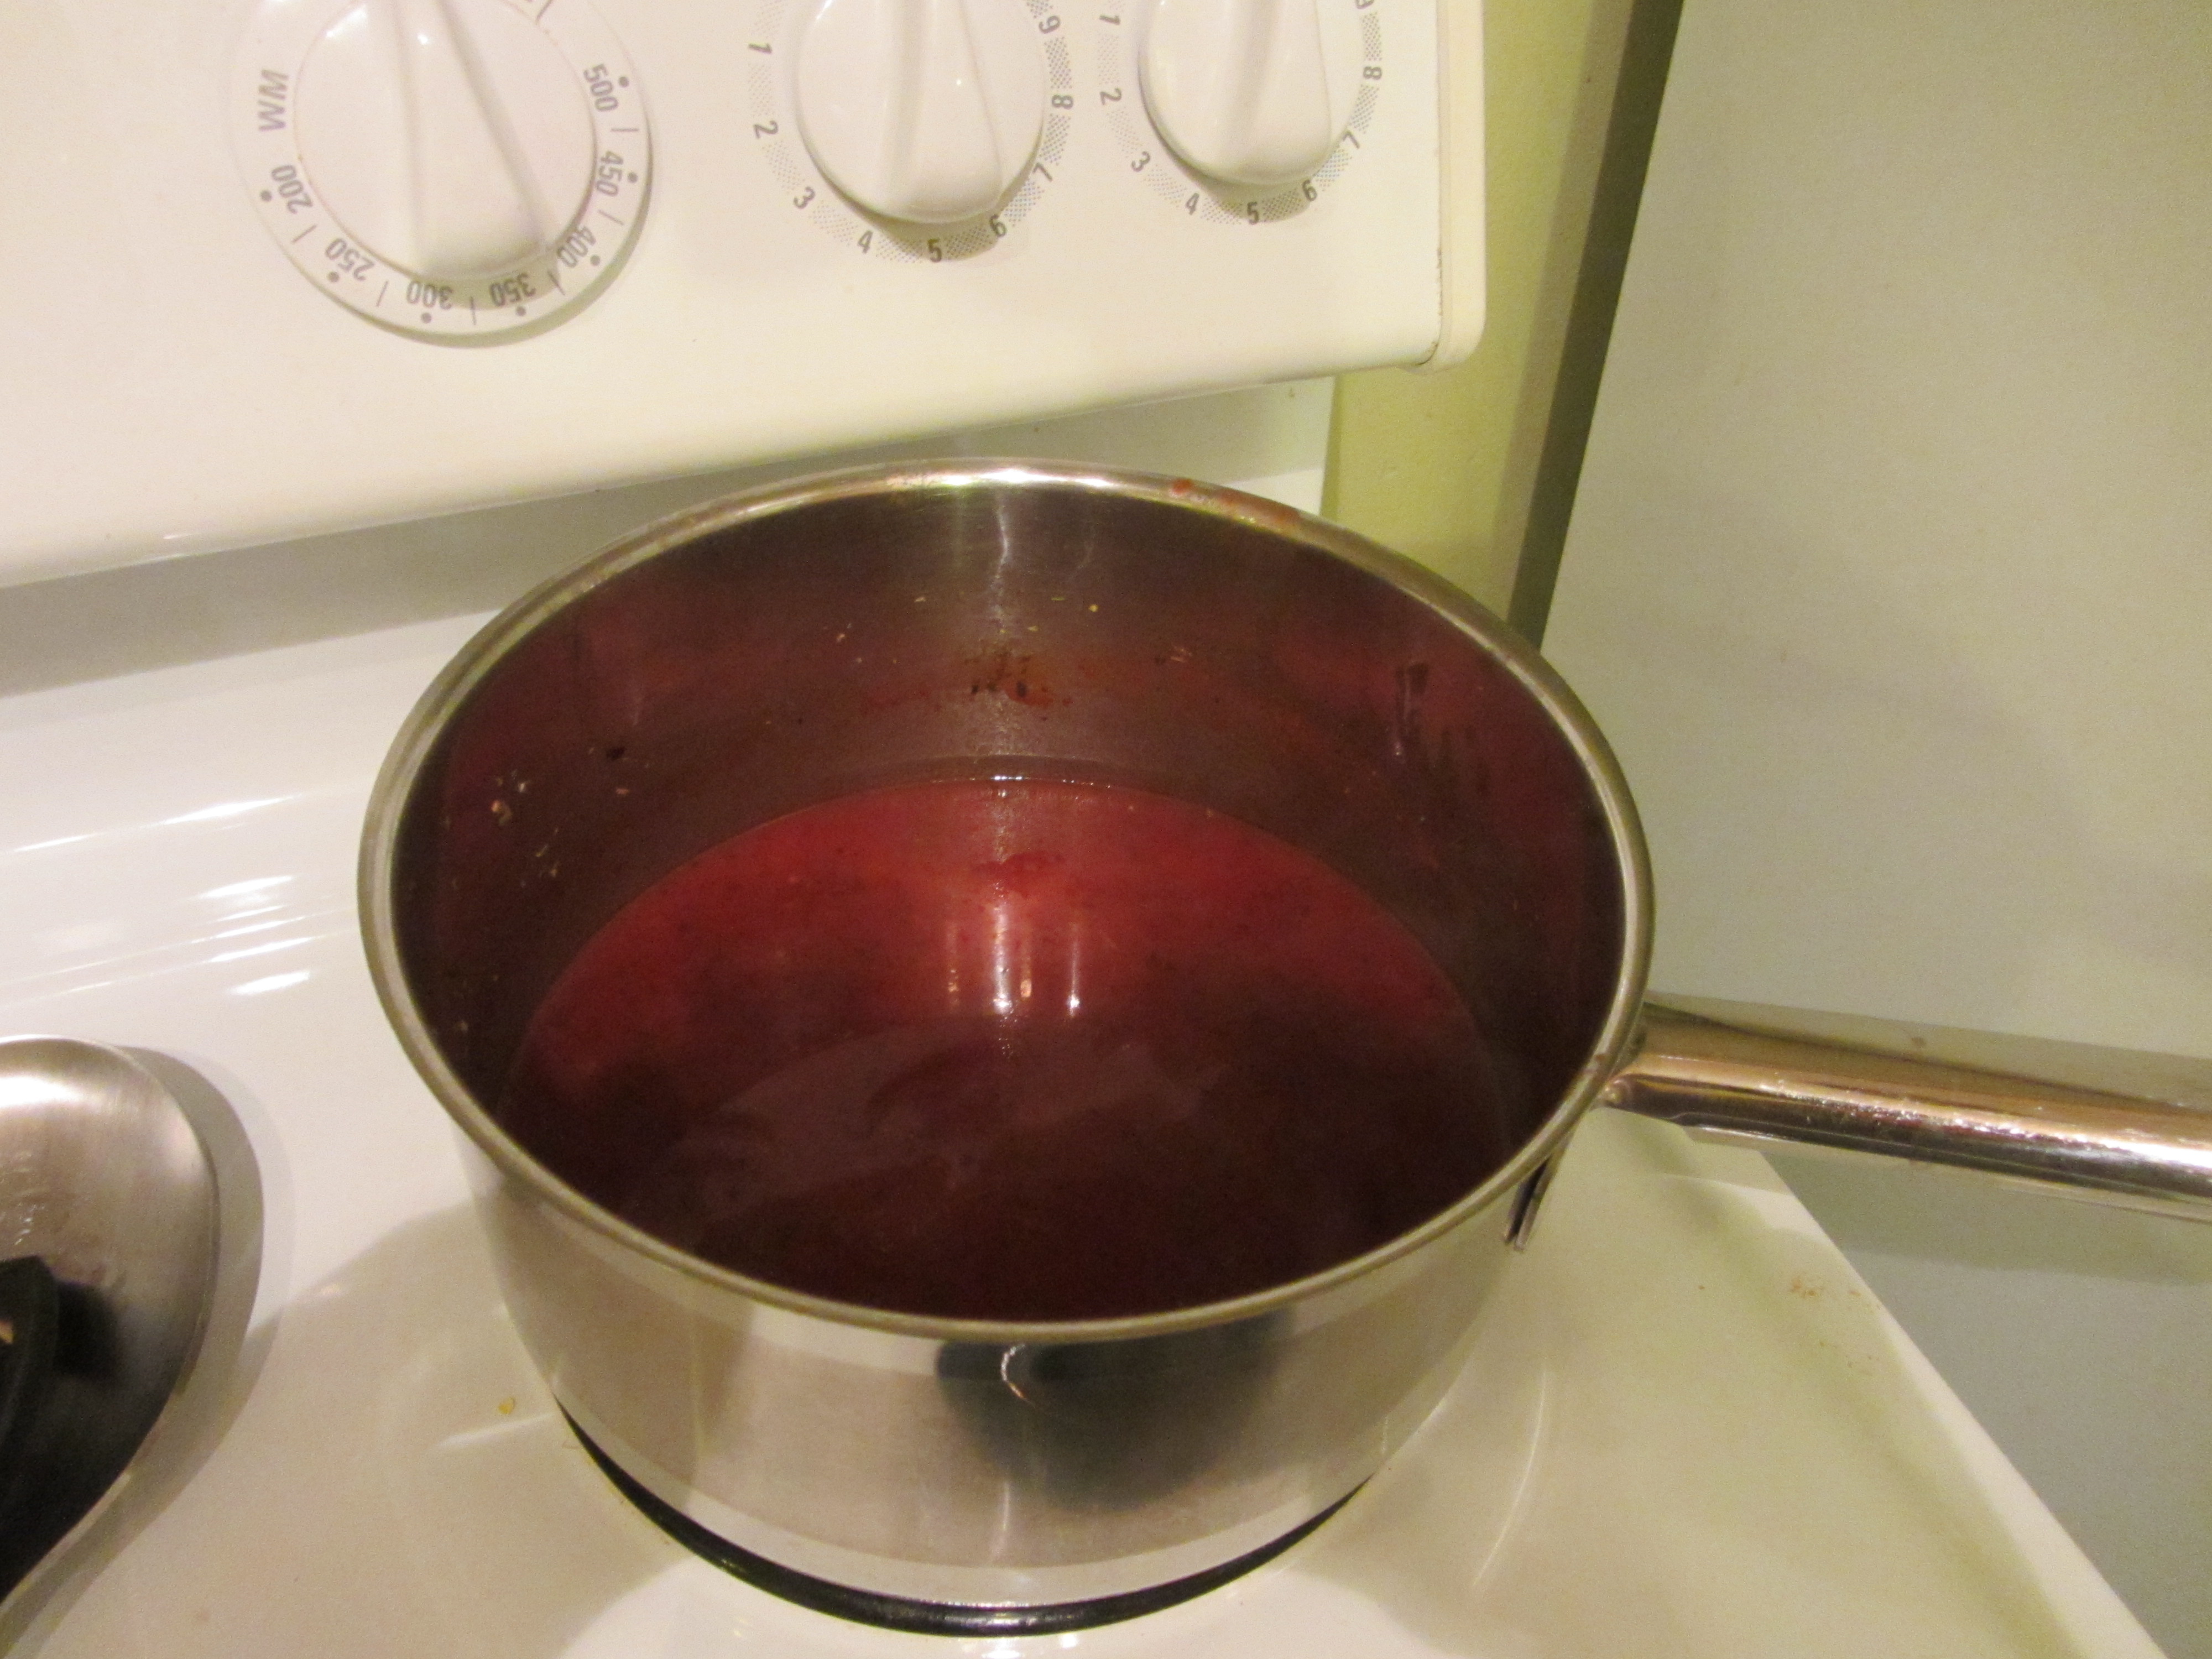
Heat a cast iron skillet (I used a large non-stick skillet because we have a glass cook top) on the stove until it is hot enough to sear the meat, and sear the meat on all sides until browned. Meanwhile, preheat your oven to 350 degrees, placing a 9×13″ pan inside with 3 C of tomato sauce (I used the Good Eats tomato sauce here).

IMG_2901

Three cups of tomato sauce to be heated in the oven.

Once the braciole is seared on all sides, place it in the hot tomato sauce, spooning the sauce over the meat.

Tenting the pan with foil, return it to the oven for at least 45 minutes. Alton says you really can cook this all day, if you choose, but my braciole seemed to be perfect after about two hours.

IMG_2940

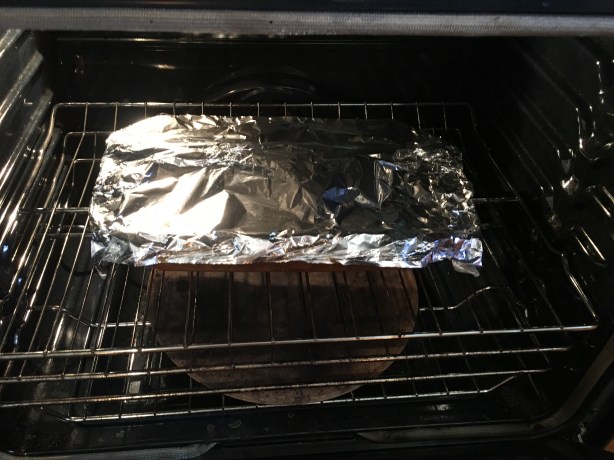
Pan tented with foil and placed in the oven.

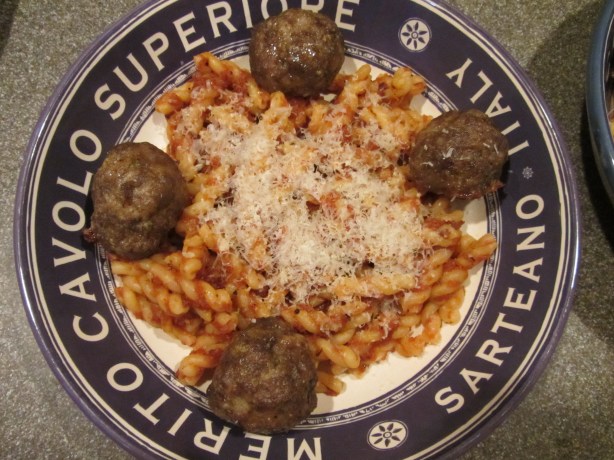
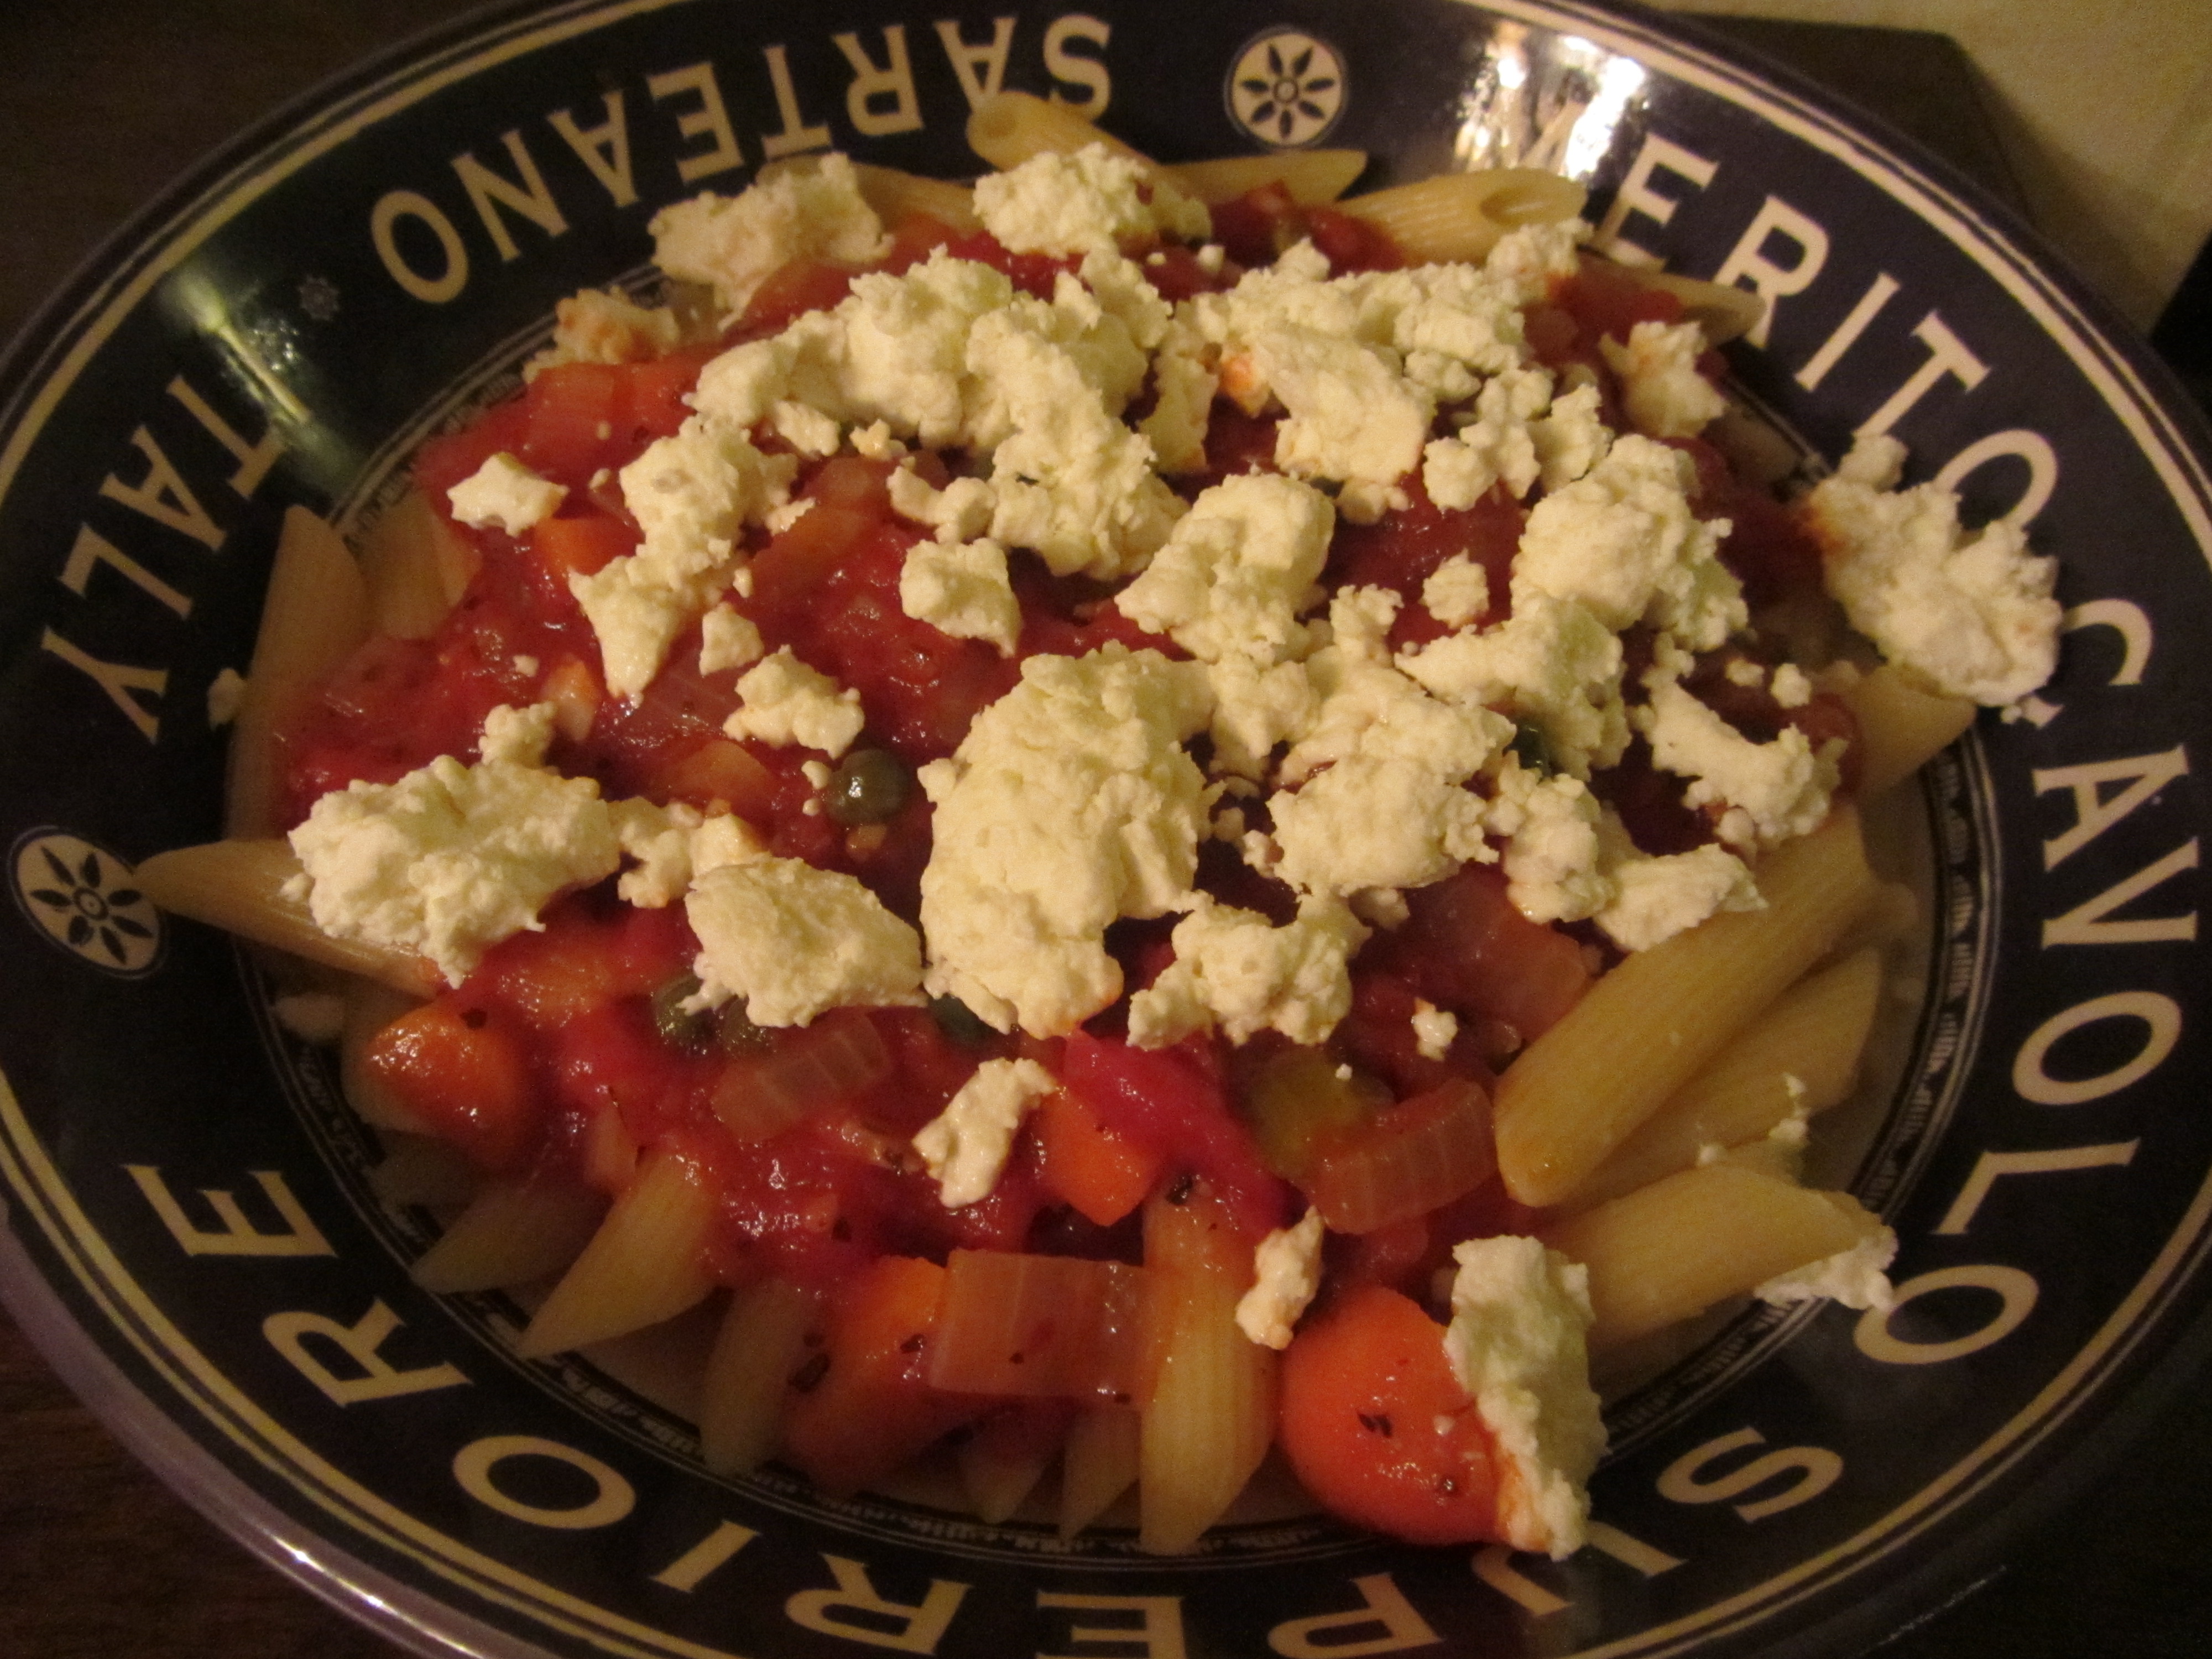
Slice the braciole and serve it over the tomato sauce.

IMG_2951

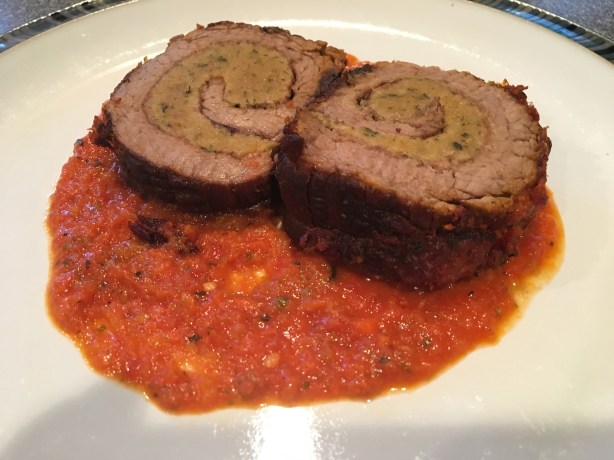
Alton’s finished braciole with tomato sauce.

I was happy with how this braciole turned out, though it was a bit different from the ones I am used to. Ted and I both really liked the flavor of the filling and how it paired with the meat, but I think it would have been even better if my steak had been thinner. This was really very easy to prepare and it makes for a nice presentation on the plate.

Fish Roll with Compound Butter

In addition to rolling meat, Alton used this episode to show that you can also make a seafood roll. For this seafood roll, you will need three types of seafood:  salmon fillets, flounder fillets, and sea scallops. Depending on where you live, you may need to do some substituting. I could not find flounder where I live, so I had to substitute sole. You will also want to get the thinnest fish fillets you can find. Note that Alton’s recipe makes quite a large roll, so you also may want to modify this if you are only serving a few people because leftover fish=yuck! I was only making this roll for two of us, so I downsized by cutting my fillets. To begin, place a sheet of parchment on your counter, topped with plastic wrap. For the full-sized roll, lay two salmon fillets on the plastic wrap, nearest you, with their tails away from you, and so they are slightly overlapping each other. Next, place three flounder fillets on top of the salmon with their tails facing toward you. The flounder fillets should overlap the salmon about midway.

IMG_3186

Salmon fillet with tail facing away. Sole fillet placed on top with tail facing toward me.

Place a metal skewer through eight sea scallops, being sure to go through their flat sides. Place this skewer at the far end of the flounder fillets. Season all of the fish with Kosher salt, pepper, fresh dill, and fresh parsley.

IMG_3187

Skewered scallops placed on far end of flounder. Fish seasoned with Kosher salt, pepper, fresh dill, and fresh parsley.

Grab the far end of the plastic and roll toward you keeping the skewer in the center of the roll, and avoiding rolling the plastic wrap into the fish roll.

IMG_3188

Pulling the plastic toward me to roll the fish around the scallops.

Once your fish is starting to roll, place the edge of a sheet pan against the fish (on top of the plastic), pressing with the pan as you pull the plastic toward you.

IMG_3189

Using the edge of a sheet pan to press on on the fish roll as I pull the plastic toward me.

Once your roll is complete, you should be able to just slip the plastic off, leaving the roll on the parchment.

IMG_3194

Fish after rolling.

Next, rolling away from you, roll the fish in the parchment, twisting the ends. Refrigerate the fish roll for two hours.

IMG_3195

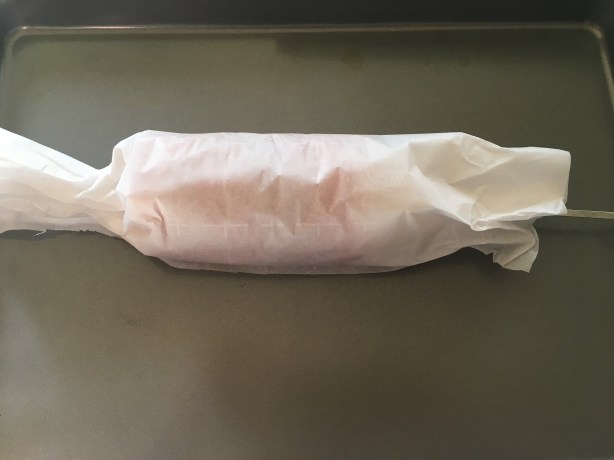
Plastic removed and fish rolled in parchment. Into the refrigerator for 2 hours.

Once your fish roll has chilled, preheat your broiler and remove the skewer from the fish roll, keeping the fish rolled in parchment. Use a serrated knife to slice the roll into 3/4-1″ rounds. Place the rounds on a sprayed broiler pan and remove their parchment. Brush the fish rounds with canola oil and sprinkle them with Kosher salt.

IMG_3197

Sliced fish roll brushed with canola oil and sprinkled with Kosher salt.

Broil the fish six inches from the heat, checking after three minutes. Alton served his fish with herb butter, which he did not make in the show. I threw an herb butter together by mixing softened butter with the leftover dill and parsley from the fish roll, along with lemon zest and pepper.

IMG_3209

Broiled fish roll served with herb butter.

We thought this fish roll was great. The salmon, white fish, and scallops went very well together and the roll was really pretty. Herb butter is a great accompaniment to the seafood here too. Unfortunately, my fish roll got cold when I realized there was a fire behind our house, so I will have to make this again on a less stressful evening! This is a great recipe to make for an impressive presentation that takes very little effort.

The 73rd episode of Good Eats is all about tomatoes and different uses for them. Seeing that Ted is not a huge tomato fan, I was not sure what he would think of some of these applications, but worst case scenario would see me stocking up heavily on lycopene. Alton went over some tomato facts in the episode, stating that there are six types of tomatoes we can get commercially – globe, plum, cherry, pear, grape, and currant (in order of size from largest to smallest). A beefsteak tomato is a red globe tomato that is extra large in size. Oh, and never store tomatoes in the refrigerator, as temperatures colder than 50 degrees permanently stop a component of tomatoes that gives them flavor.

Stuffed Tomatoes

For six servings of Alton’s stuffed tomatoes, cut the tops off of six large globe tomatoes, using a serrated knife. Scrape the seeds and pulp out of the tomato, using your fingers or a grapefruit spoon.

Sprinkle the tomatoes liberally with Kosher salt and invert them on a rack for 15 minutes; this will remove excess moisture from the tomato shells.

While the tomatoes drain, combine 2 C sauvignon blanc and 1 C hot water; add 3 C dried mushrooms to the liquid mixture to rehydrate.

While Alton used a blend of chanterelles, morels, and shiitakes, I only used shiitakes. Next, heat a large skillet, adding 2 T olive oil, 1 T minced garlic, 2 T minced shallots, and 1 C finely diced onion. Cook the onion until translucent.

img_5763

Garlic, shallots, and onion, cooking in olive oil.

Using your hands, squeeze excess moisture from the hydrated mushrooms, reserving the liquid. Chop the mushrooms and add them to the pan, cooking for five minutes over medium heat.

Add a cup of your reserved mushroom liquid to the pan and bring it to a simmer for five minutes. Follow this up with 1/4 t pepper and 1 chopped tomato. Finally, add 1 1/4 C panko breadcrumbs.

By this time, your tomato shells should have shed any excess moisture and you can use a measuring cup to fill the shells with the mushroom mixture.

For a final topping, combine 3 1/2 ounces of goat cheese with 1 T parsley, dividing this mixture evenly among the tomatoes. Place the stuffed tomatoes under a preheated broiler for 5-7 minutes, and enjoy!

We ate Alton’s stuffed tomatoes as a side dish to my mom’s hearty minestrone soup.

img_5783

Stuffed tomatoes alongside hearty minestrone soup.

Ted thought this recipe was just OK, as he didn’t care for the tomato shells. As a tomato fan, however, I thought Alton’s stuffed tomatoes were delicious. The tomato shells maintained their texture and were far from soggy, contributing a bright tomato flavor. The mushroom filling had a fantastic umami flavor and slightly crunchy texture, and, well, who doesn’t like goat cheese? This recipe is a great blend of textures and flavors, and could be served as a vegetable side dish or as a vegetarian entree.

Tomato Sauce

I was curious to see how this episode’s tomato sauce would compare to Alton’s canned tomato sauce that I made over two years ago when I was writing up the second season of Good Eats. This episode is all about using fresh tomatoes, and this recipe calls for 20 fresh Roma tomatoes. In addition, you’ll need olive oil, fresh thyme, fresh oregano, Kosher salt, pepper, garlic, and onion.

img_5708

Garlic, onion, oregano, and thyme.

Begin by halving/seeding the Roma tomatoes, placing them cut side up in two 13×9-inch glass baking dishes.

Spritz (or, in my case, drizzle) the tomatoes with olive oil, and sprinkle them evenly with 1 T each of chopped fresh thyme and oregano. Alternatively, you can use 2 t of each herb, dried.

img_5710

Tomatoes, drizzled with olive oil and sprinkled with oregano and thyme.

Sprinkle Kosher salt and 1/2 t black pepper over the tomatoes, along with 2 t minced garlic and 1 C finely diced onion (any type will work).

img_5711

Kosher salt, pepper, garlic, and onion added to tomatoes.

Stick the tomatoes into a 325-degree oven for two hours.

img_5714

Tomatoes after roasting for two hours.

After two hours, increase the oven’s temperature to 400 degrees for an additional half hour.

Remove the tomatoes from the oven and run them through a food mill (I have my mom’s ancient one that she used to use for applesauce) to get rid of their skins/seeds; you can do this directly over a medium saucepan. It will take a while to push them all through the food mill and you will get very little yield.

Add a cup of white wine (Alton used “cheap Chardonnay”) and bring the sauce to a boil over medium heat. Once boiling, decrease the heat and simmer the sauce for five minutes.

I served this tomato sauce over pasta, along with homemade lamb/beef meatballs (made by Ted) and Parmesan.

img_5732

Alton’s completed tomato sauce. with pasta and meatballs.

Honestly, I was disappointed in this sauce. This recipe made just enough sauce for a pound of pasta, and it was nothing special. The wine flavor seemed too prominent for my taste, so I would simmer it longer, if I were to make this again… which I probably will not do. I expected to prefer this sauce over the one from season two, especially since this one uses fresh tomatoes, but I would choose Alton’s canned sauce any day.

TBL Panzanella

The final recipe from this episode is for a TBL (tomato/bacon/lettuce) panzanella salad. In the episode, Alton demonstrates that this panzanella is a great alternative to a BLT sandwich, and that it showcases tomatoes very well. I love a good panzanella, or a good BLT for that matter, so I was enthusiastic about this recipe. Beginning the night before you want to eat this panzanella, cut a quart of 1-inch high-quality bread cubes, placing them on a pan to dry overnight.

The following day, cook six slices of bacon, saving the drippings. I used my bacon that I made from episode 59.

Cut the bacon into 1-inch pieces and place them into a large bowl.

img_5742

Chopped bacon.

In a separate bowl, toss the dried bread cubes with the warm bacon drippings.

img_5748

Dried bread cubes tossed with bacon drippings.

Next, sear 2 C of halved grape tomatoes in a hot pan, face down, for about five minutes. Add the seared tomatoes to the bacon bowl.

Halve 2 C of raw yellow pear tomatoes (I had to use yellow grape tomatoes), adding them to the bacon/tomato bowl. Next, add 2 C of chopped Romaine lettuce.

In a small lidded container, shake together 3 T olive oil, 1/4 C red wine vinegar, 1/4 t salt, and 1/4 t pepper.

img_5736

Olive oil, red wine vinegar, salt, and pepper for the dressing.

Combine the bread cubes with the rest of the salad and drizzle on the dressing. Finish the salad off by adding a chiffonade of fresh basil and mint.

I thought this was a really good panzanella salad. The bread cubes stayed crunchy, the bacon added meatiness, and the tomatoes gave a super fresh flavor. I thought the vinegar-based dressing paired well also.This is also a very colorful, pretty salad. To me, this is more of a warm weather meal, but we enjoyed it nonetheless. I think this still had a few too many tomatoes for Ted’s taste, but I may make this again for myself and enjoy it on a sunny day on the deck.

The 24th episode of Good Eats is all about tomatoes. Specifically, Alton Brown makes a case for the value of canned tomatoes in the pantry, arguing that fresh tomatoes should really only be used when they are in their peak season and locally grown. Why would one opt for canned tomatoes when fresh tomatoes are readily available in the produce department year-round? Alton points out that “fresh” does not necessarily equal “ripe.” I see his point, as a tomato purchased in December in Washington has not ripened naturally, but rather has been artificially ripened by exposure to ethylene gas. While these tomatoes may look shiny and red, they are often rock hard and lacking flavor. In contrast, with canned tomatoes, you know you are purchasing fruit that was picked when ripe. While nothing compares to a fresh tomato from your own garden, we pretty much  always have canned tomatoes in our pantry, as we often through them in soups, pasta sauces, etc.

I happen to be married to someone who does not much care for fresh tomatoes. Bizarre, I know. While he will eat tomato sauces, salsas, etc., he will pull tomatoes off of sandwiches and salads. Even more bizarre is the fact that my brother is the same way. Tomatoes were not my favorite thing when I was a kid, but I cannot get enough of the tomatoes that come from our garden. I suppose I will have to settle for the canned variety for several more months. Sigh…

Pantry Friendly Tomato Sauce

In this episode, Alton makes an all-purpose tomato sauce, using canned tomatoes. For making a tomato sauce, it is best to use canned tomatoes that have had the least cooking, which rules out pureed and stewed tomatoes. Crushed tomatoes are also not a great option, as they have many of their seeds, which can contribute some bitterness to a sauce. That leaves diced and whole tomatoes, and Alton opts for whole tomatoes because they are less processed than diced tomatoes.

Tomato sauce ingredients:  canned whole tomatoes, sherry vinegar, sugar, red pepper flakes, oregano, basil, onion, carrot, celery, olive oil, garlic, capers, white wine, Kosher salt, and black pepper.

Tomato sauce ingredients: canned whole tomatoes, sherry vinegar, sugar, red pepper flakes, oregano, basil, onion, carrot, celery, olive oil, garlic, capers, white wine, Kosher salt, and black pepper.

To start this recipe, strain your canned tomatoes into a saucepan.

Tomatoes straining into saucepan.

Tomatoes straining into saucepan.

Split the tomatoes open with your fingers and scrape the seeds into the drain, getting rid of as many seeds as possible.

Seeded tomatoes.

Seeded tomatoes.

To the tomato juice in the pan, add sherry vinegar, sugar, red pepper flakes, oregano, and basil. I had trouble finding sherry vinegar, but finally found it at a natural market.

Strained tomato liquid.

Strained tomato liquid.

Tomato liquid plus sherry vinegar, sugar, red pepper flakes, oregano, and basil.

Tomato liquid plus sherry vinegar, sugar, red pepper flakes, oregano, and basil.

Heat this tomato liquid over high heat until bubbles stack up and then reduce the heat to a simmer. You will want to cook this liquid until it reduces by 50%, and then remove it from the heat.

Reducing tomato syrup.

Reducing tomato syrup.

While your tomato syrup reduces, it is time to prep the mire poix, which is the classic French combination of onion, celery, and carrot. The ideal ratio for a mire poix is two parts onion to one part carrot and celery. Chop the carrot first, as it will take the longest to cook, and add it to a roasting pan set over two burners. Coat the bottom of the pan with olive oil, and let the carrot start to sweat while you chop the onion and celery.

Chopped carrot.

Chopped carrot.

Carrot in roasting pan with olive oil.

Carrot in roasting pan with olive oil.

It is ideal to cut the vegetables uniformly, so they will cook evenly. Add the onion, celery, and four gloves of garlic to the pan.

Onion and celery.

Onion and celery.

Mire poix in the roasting pan.

Mire poix in the roasting pan.

Chopped garlic.

Chopped garlic.

Alton simply smashed his garlic with a marble slab, but I opted to chop my garlic since I knew I would not be pureeing my sauce, and therefore did not want huge chunks of garlic in the sauce. Continue sweating the mire poix for about 15 minutes, or until the vegetables are tender. At this point, add your tomatoes and capers to the pan and put the pan under the broiler.

Tomatoes and capers added to vegetables.

Tomatoes and capers added to vegetables.

Broil the vegetable mixture until the tomatoes start to caramelize, which should take 15-20 minutes. You will want to stir the vegetables every five minutes or so. When the vegetables are done, remove the roasting pan from the oven and add some white wine.

Vegetables after broiling.

Vegetables after broiling.

White wine.

White wine.

This will serve to release some alcohol-soluble flavors from the tomatoes, giving the sauce more dimension. Combine the cooked vegetable mixture with the reduced tomato syrup, add some black pepper, and mix. You may need to add some Kosher salt too, which I did.

Reduced syrup.

Reduced syrup.

Combined syrup and vegetables, plus black pepper.

Combined syrup and vegetables, plus black pepper.

Depending on the end use of your sauce, you can leave the sauce as it is, mash it lightly with a potato masher, or puree it completely. As we were to be eating our sauce over pasta, I took Alton’s recommendation to lightly mash the sauce, leaving it with some texture.

Completed sauce after light mashing.

Completed sauce after light mashing.

For a pizza sauce, or to cook meatballs in the sauce, you would want to puree the sauce to a smooth consistency. I served my tomato sauce over penne pasta, and sprinkled a little (okay, maybe a lot) of goat cheese over the top.

Tomato sauce over penne with goat cheese.

Tomato sauce over penne with goat cheese.

Ted and I thought this was a great tomato sauce. The vegetables gave it some texture, it was slightly sweet, had some heat from the red pepper flakes, and tang from the capers. As someone who frequently throws together pantry tomato sauces, this is one I will be adding to my repertoire. I will make this again, puree it, and freeze in batches for homemade pizza. If you are looking for an easy, healthy, year-round tomato sauce that tastes much better than commercial jarred sauces, be sure to give this one a go.

As a side note, I prepped my pasta for our dinner per Alton’s newer recommended method, which I mentioned in my previous pasta post here. Alton argues that there is no reason to boil water prior to cooking pasta. Instead, cover the dry pasta with cold water and put it on the burner, cooking until the pasta is al dente.

Dry noodles in pot.

Dry noodles in pot.

Noodles in cold water.

Noodles in cold water.

Al dente penne.

Al dente penne.

Really, after cooking pasta this way (I’ve done it a few times), I have to say that Alton is right; there really is no need to boil the water first.