Posts Tagged ‘mushrooms’

This episode of Good Eats is unique because Alton does not actually cook anything. Instead, this episode serves to prove or debunk five culinary myths. Through a series of kitchen experiments, Alton evaluates each myth and concludes whether each is true or false.

Myth #1 – The juices of meat are sealed in by searing.

For this myth, Alton weighed two steaks prior to cooking. The steaks were both oiled, but no salt was added, as salt pulls out liquid. One steak was seared on both sides in a hot skillet, while the other steak was not seared. The seared and unseared steaks were placed in a 400-degree oven at the same time, and a probe thermometer was placed in the center of each steak; the thermometers were set to beep when the steaks reached a temperature of 140 degrees. The seared steak reached 140 degrees faster than the unseared steak, so the seared steak was removed from the oven and allowed to rest for five minutes. After four additional minutes in the oven, the unseared steak reached 140 degrees, and was removed from the oven/allowed to rest.

After both steaks had rested, they were weighed a second time. The unseared steak lost 13% of its raw weight, while the seared steak lost 19% of its original weight. Based on these results, Alton concluded that searing does not seal in meat juices, and declared this myth to be “SMASHED.”

Myth #2 – Birds can be killed from the toxic fumes of nonstick pans.

In all honesty, Alton did not conduct any actual experiment for this myth. Instead, he simply talked about the conclusions that have been made by studies conducted on this topic. It has been found that nonstick pans release toxic fumes when they hit a temperature above 500 degrees, and especially when they are empty. These fumes can kill birds and can also cause humans to have flu-like symptoms. Alton opts to avoid all high-heat cooking in nonstick pans, including searing, frying, broiling, and even sautéing. This myth is “TRUE.”

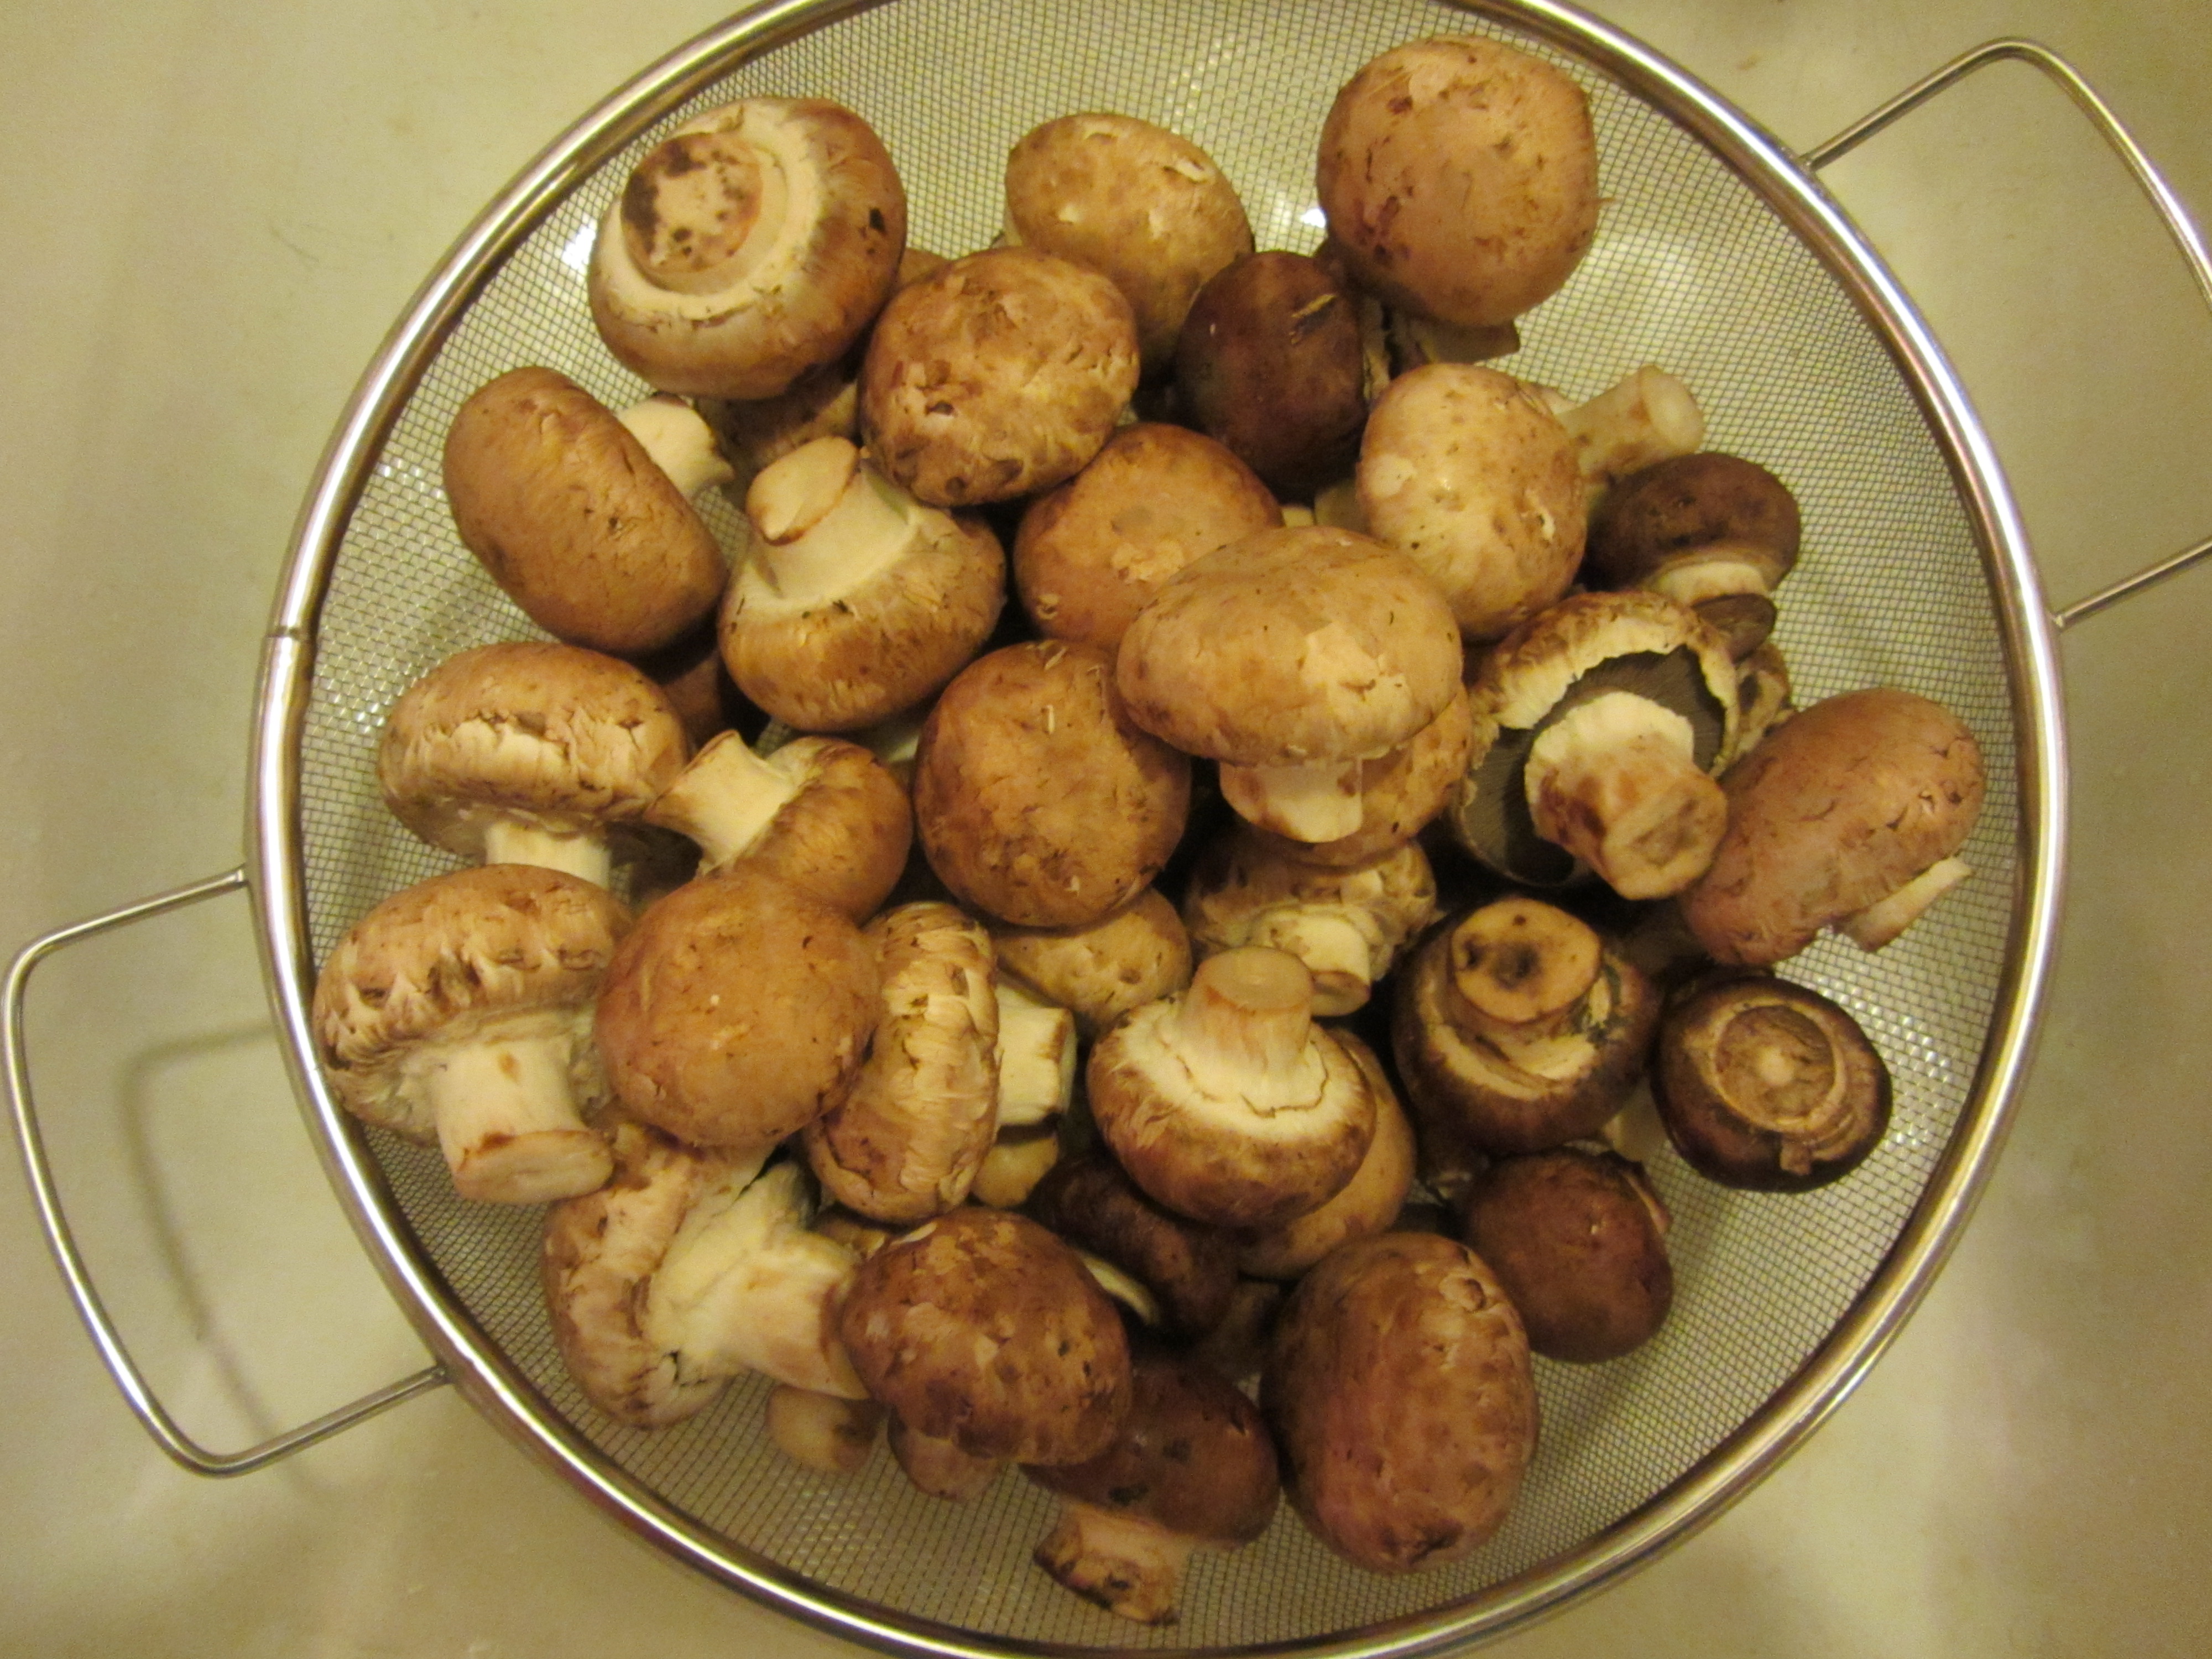
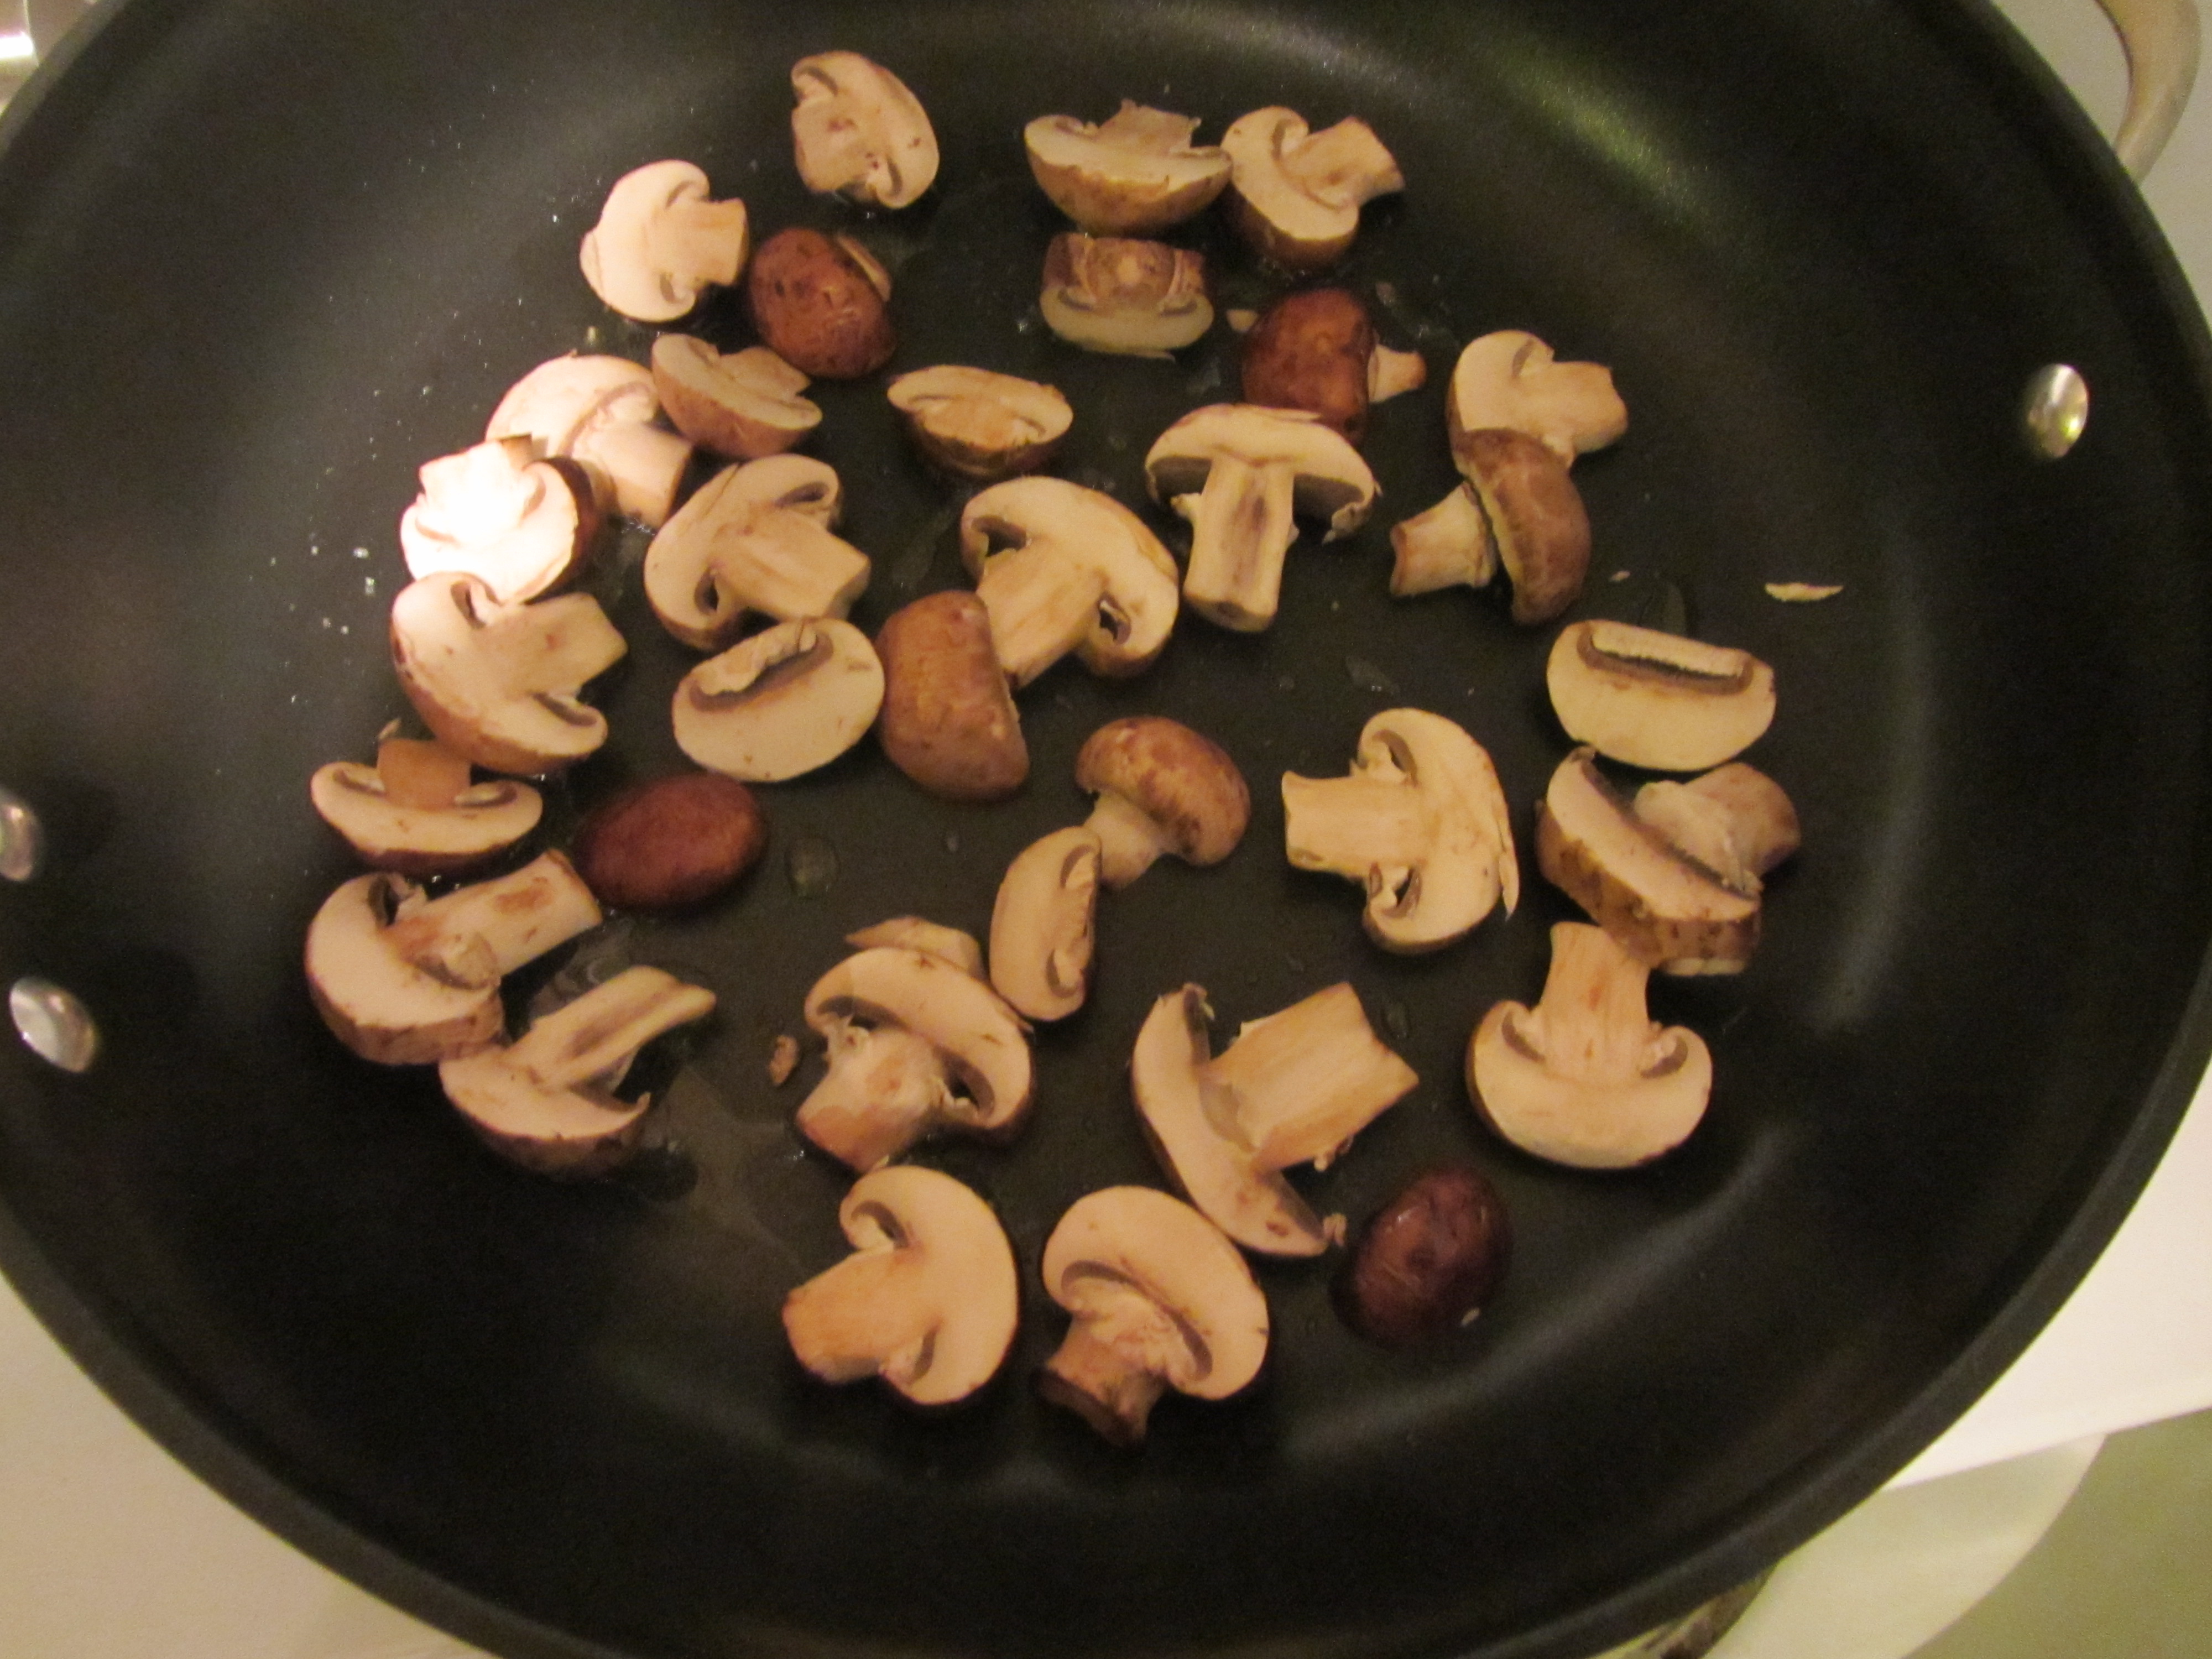
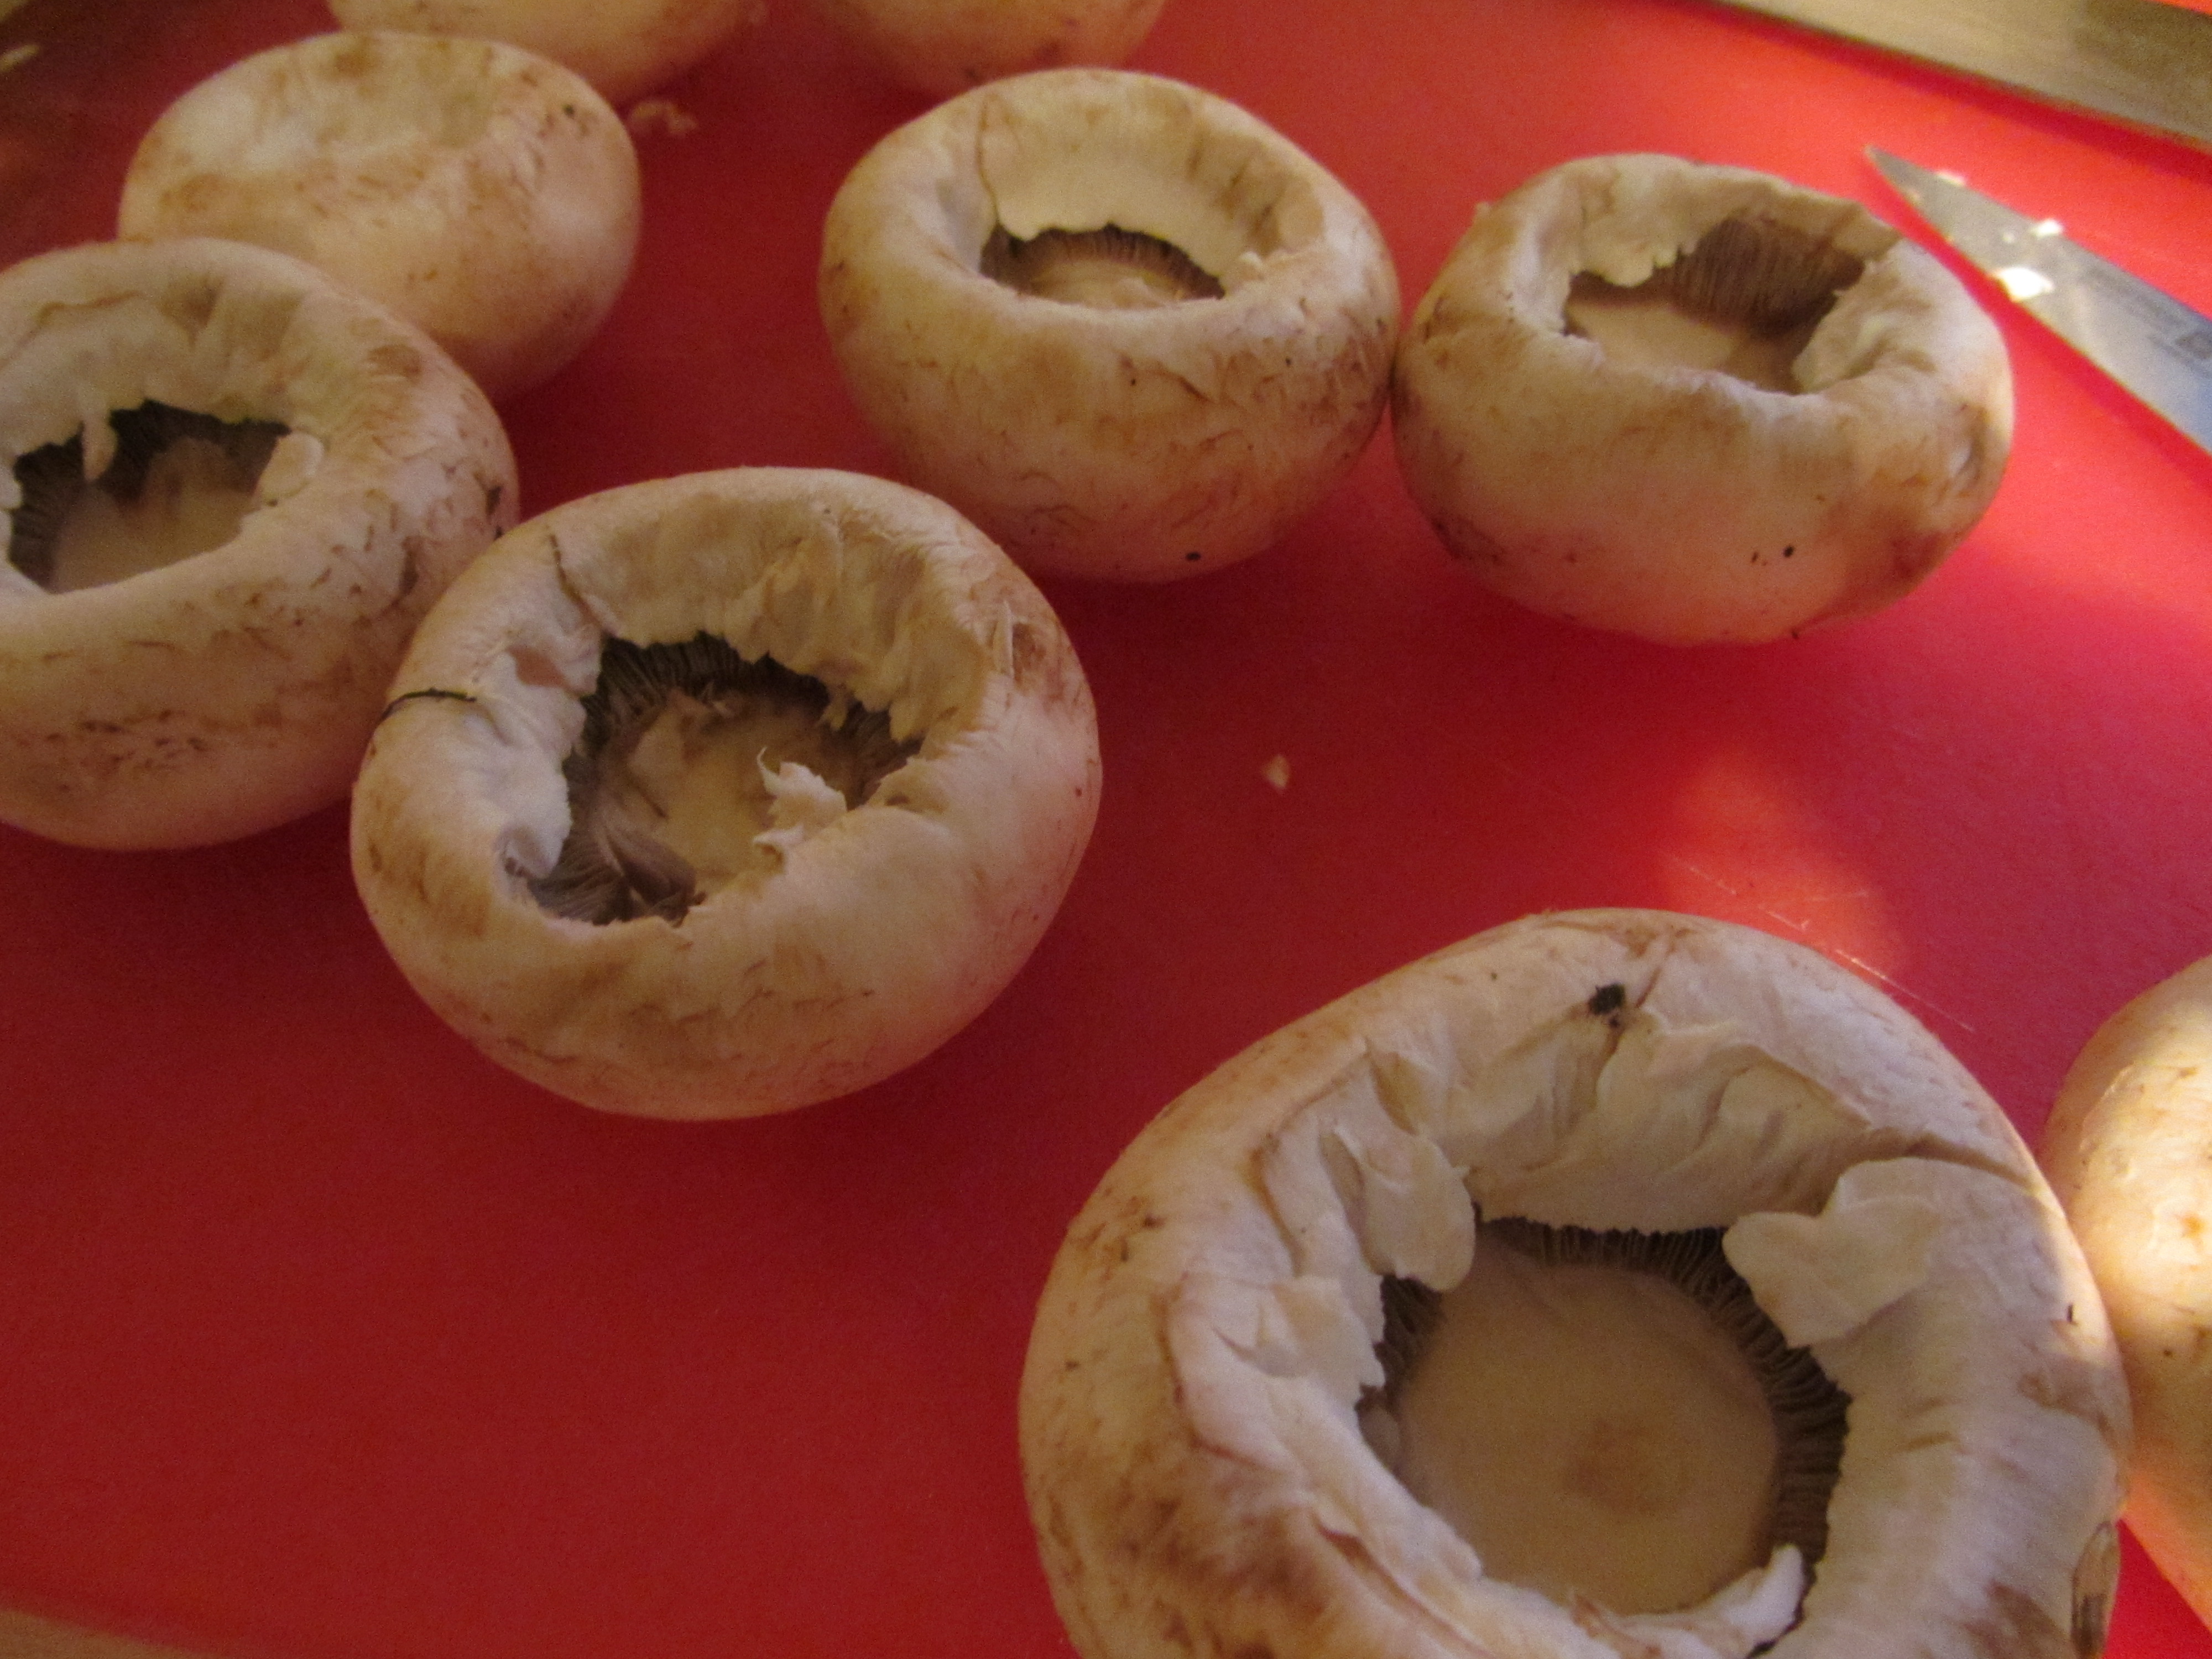
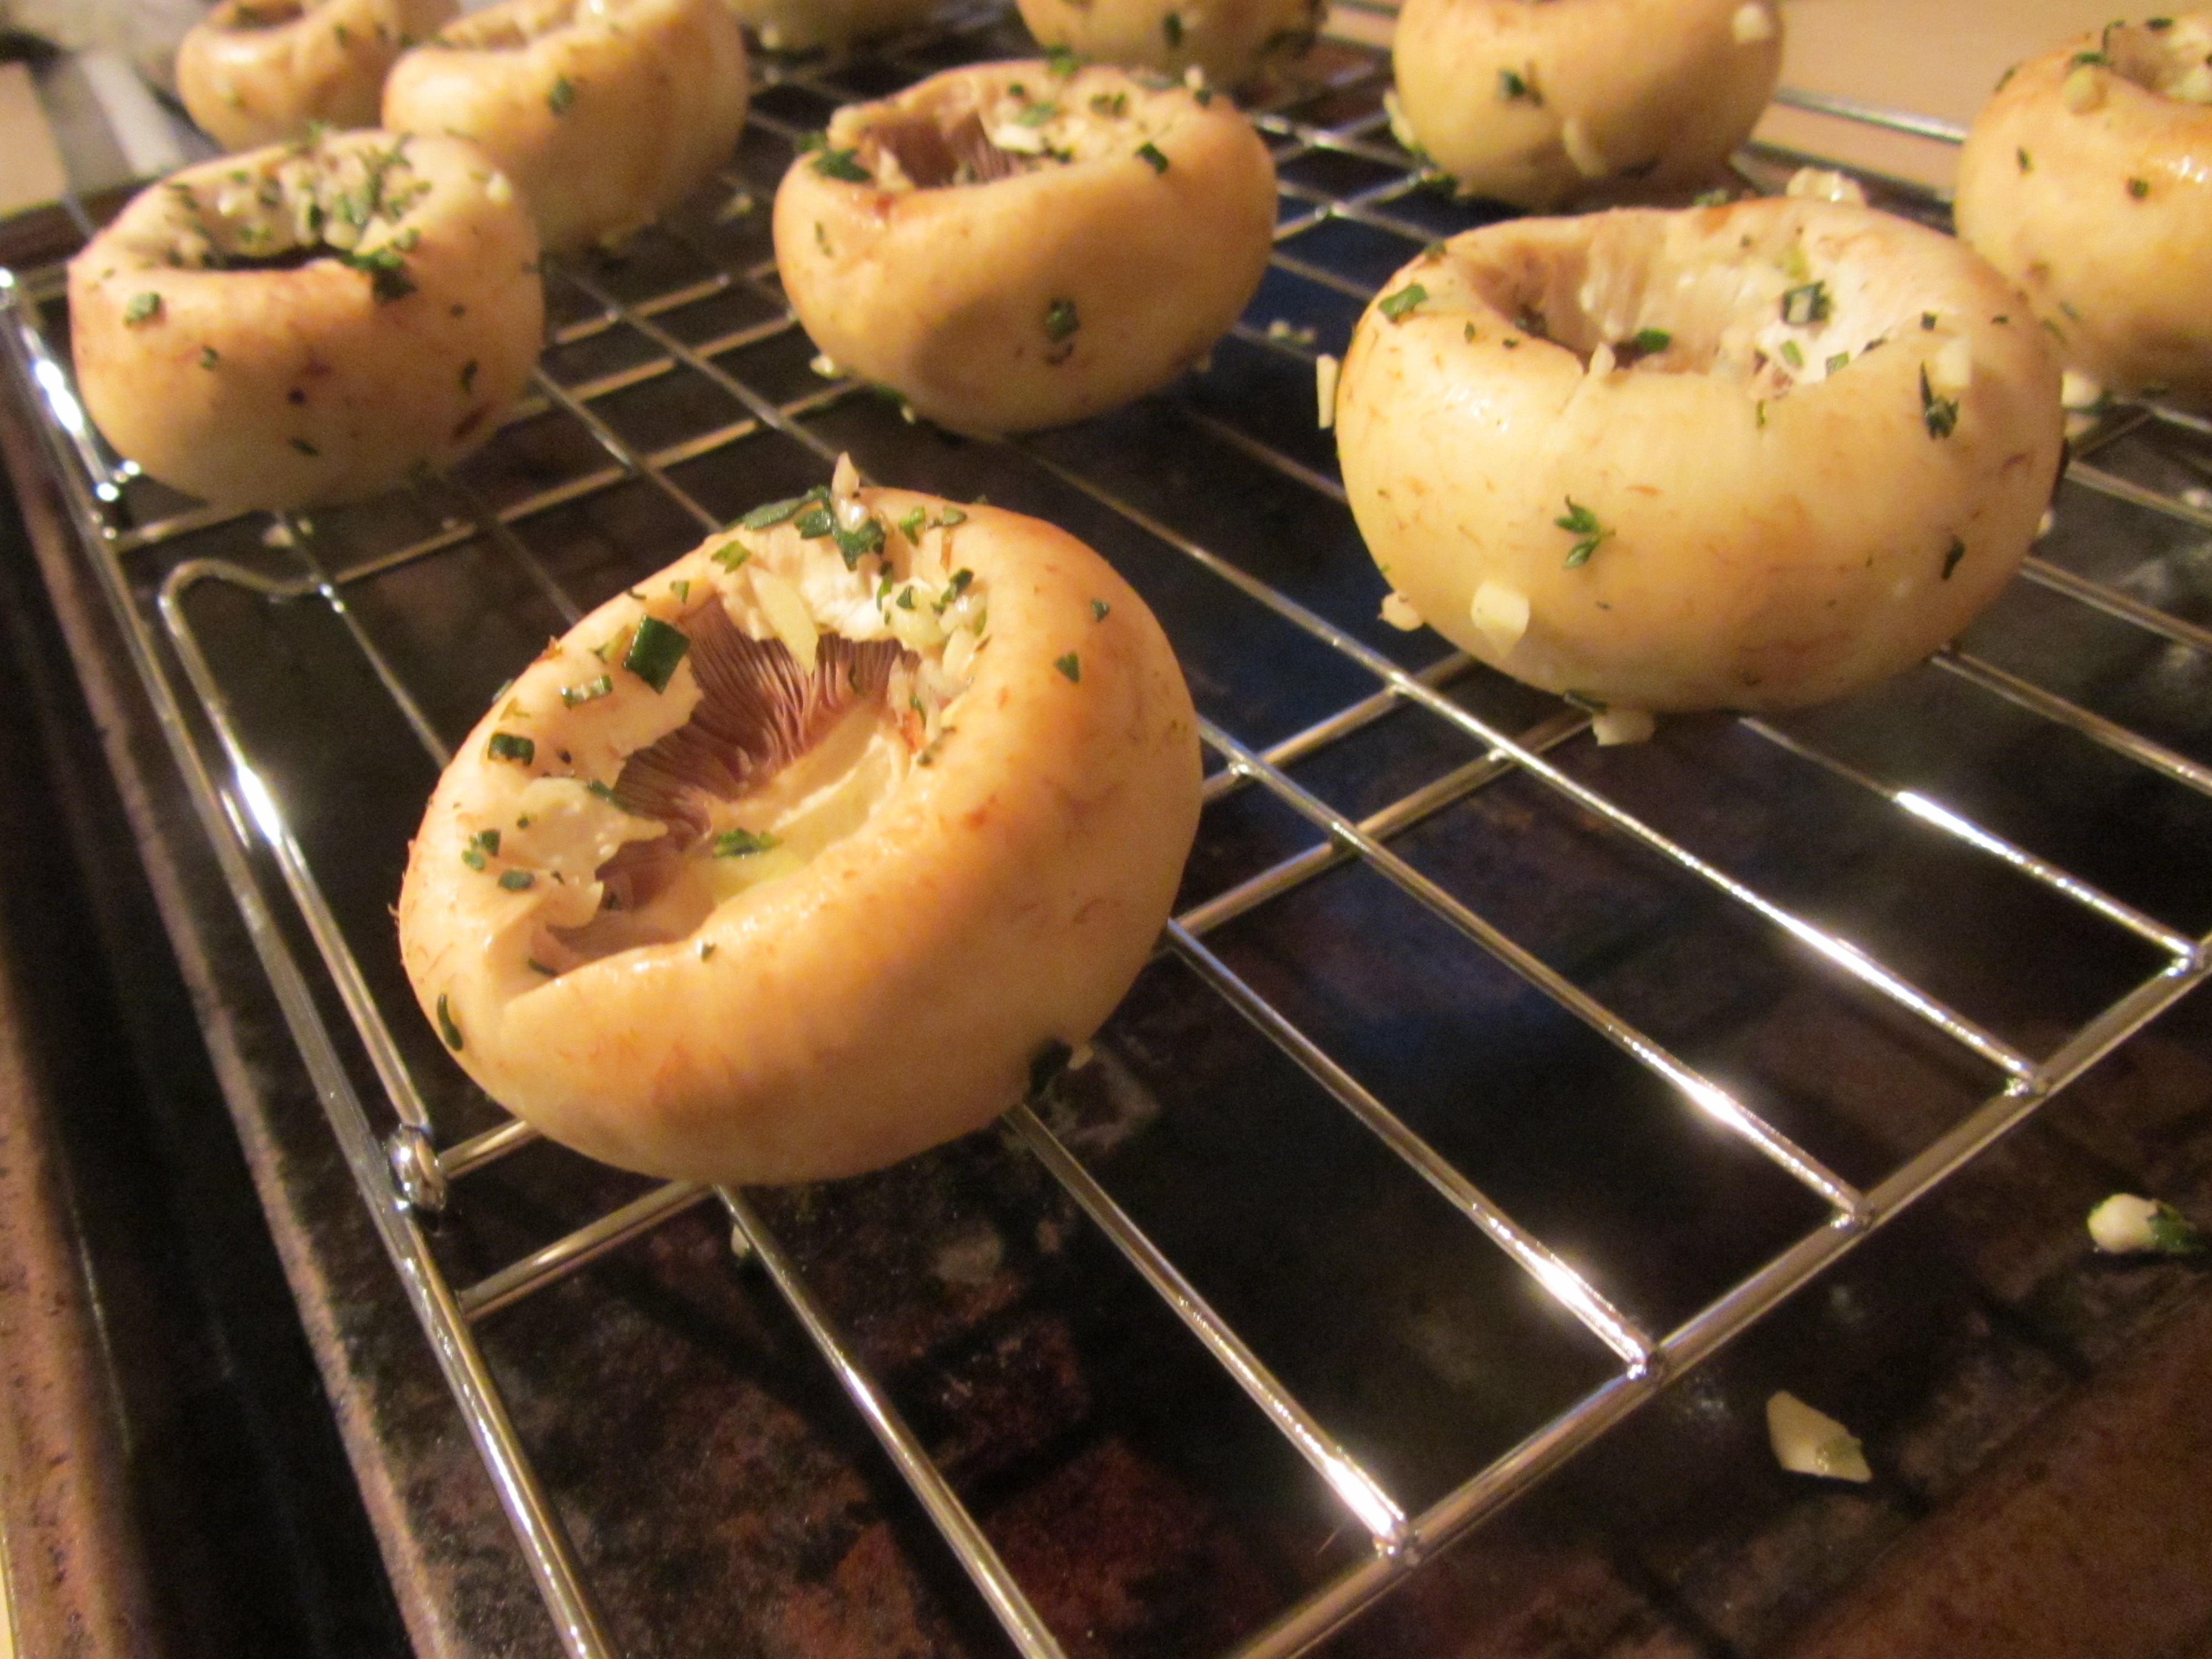
Myth #3 – Mushrooms should not be washed because they absorb water.

The method for this experiment was to place four ounces of mushrooms in a hand sieve, which was then placed inside a glass bowl; four of these mushroom/sieve/bowl combos were set up. A liter of water was poured over the mushrooms in three of the four bowls, while the final bowl of mushrooms were left dry. The first bowl of mushrooms was allowed to sit in the water for 10 minutes before removing and draining the mushrooms. The second bowl of mushrooms was allowed to sit in the water for 20 minutes before removing and draining the mushrooms. The third bowl of mushrooms sat in the water for 30 minutes before removing and draining the mushrooms. The final bowl of mushrooms was rinsed thoroughly under running water and allowed to drain.

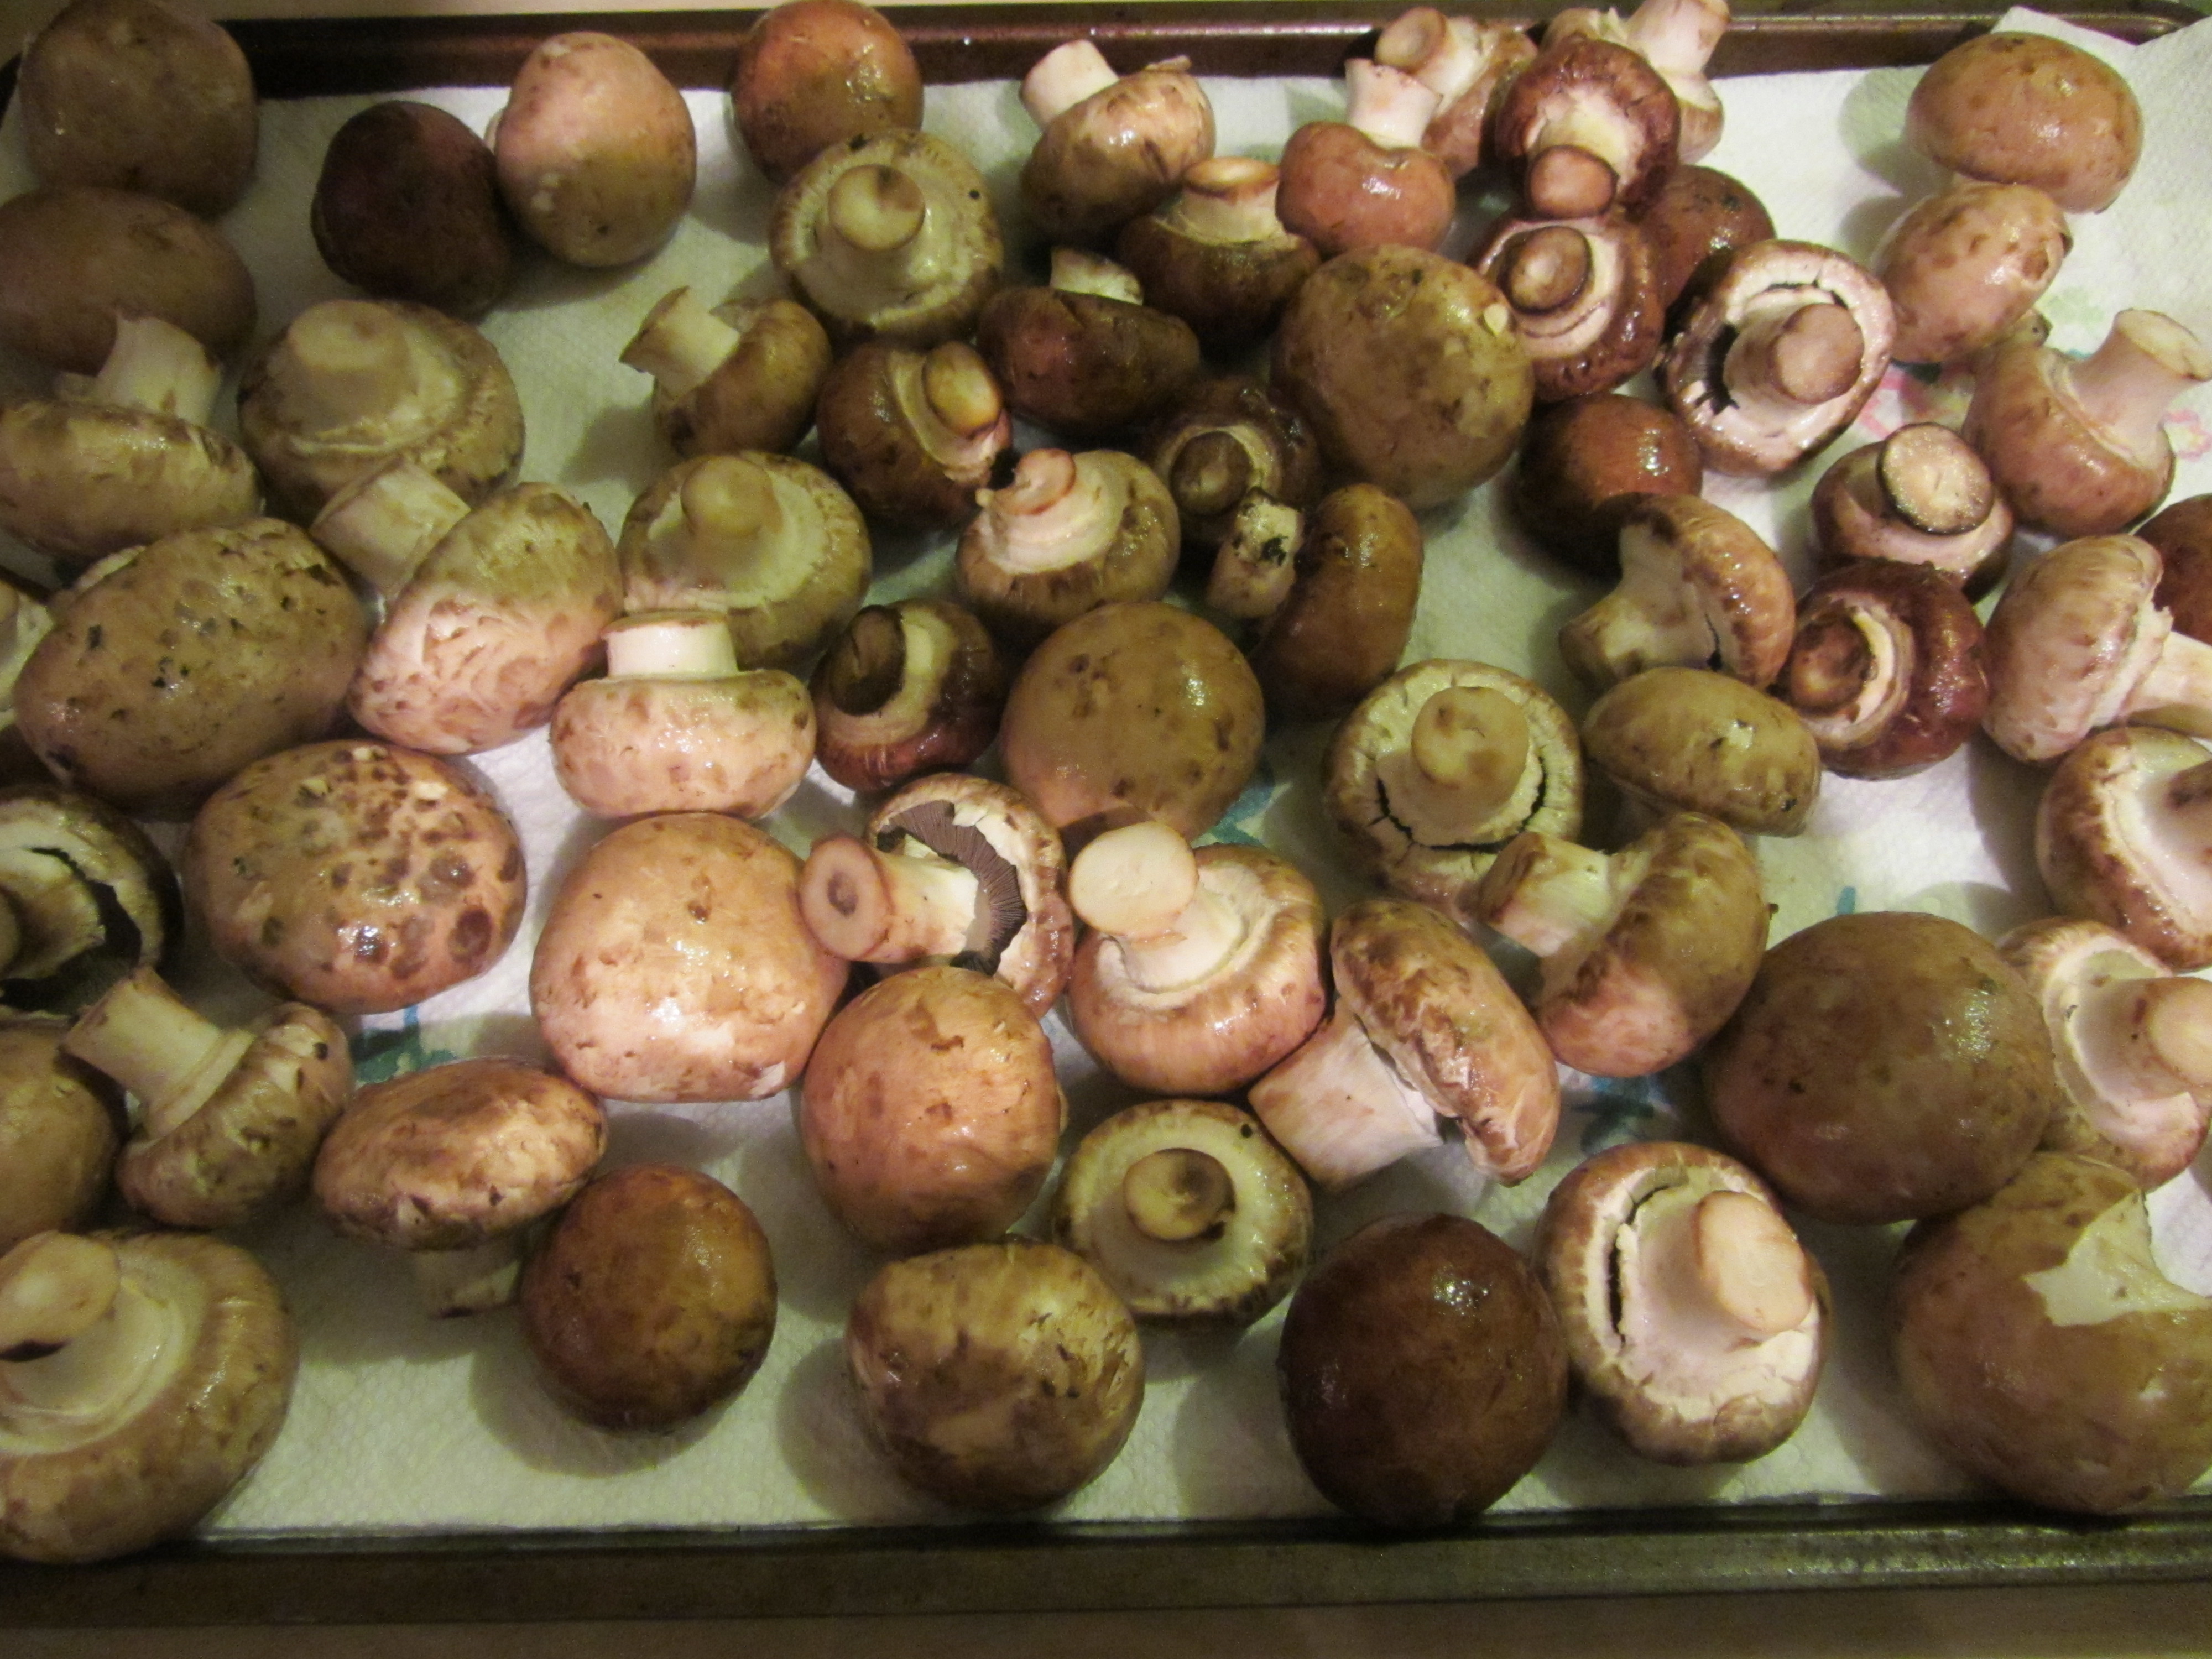
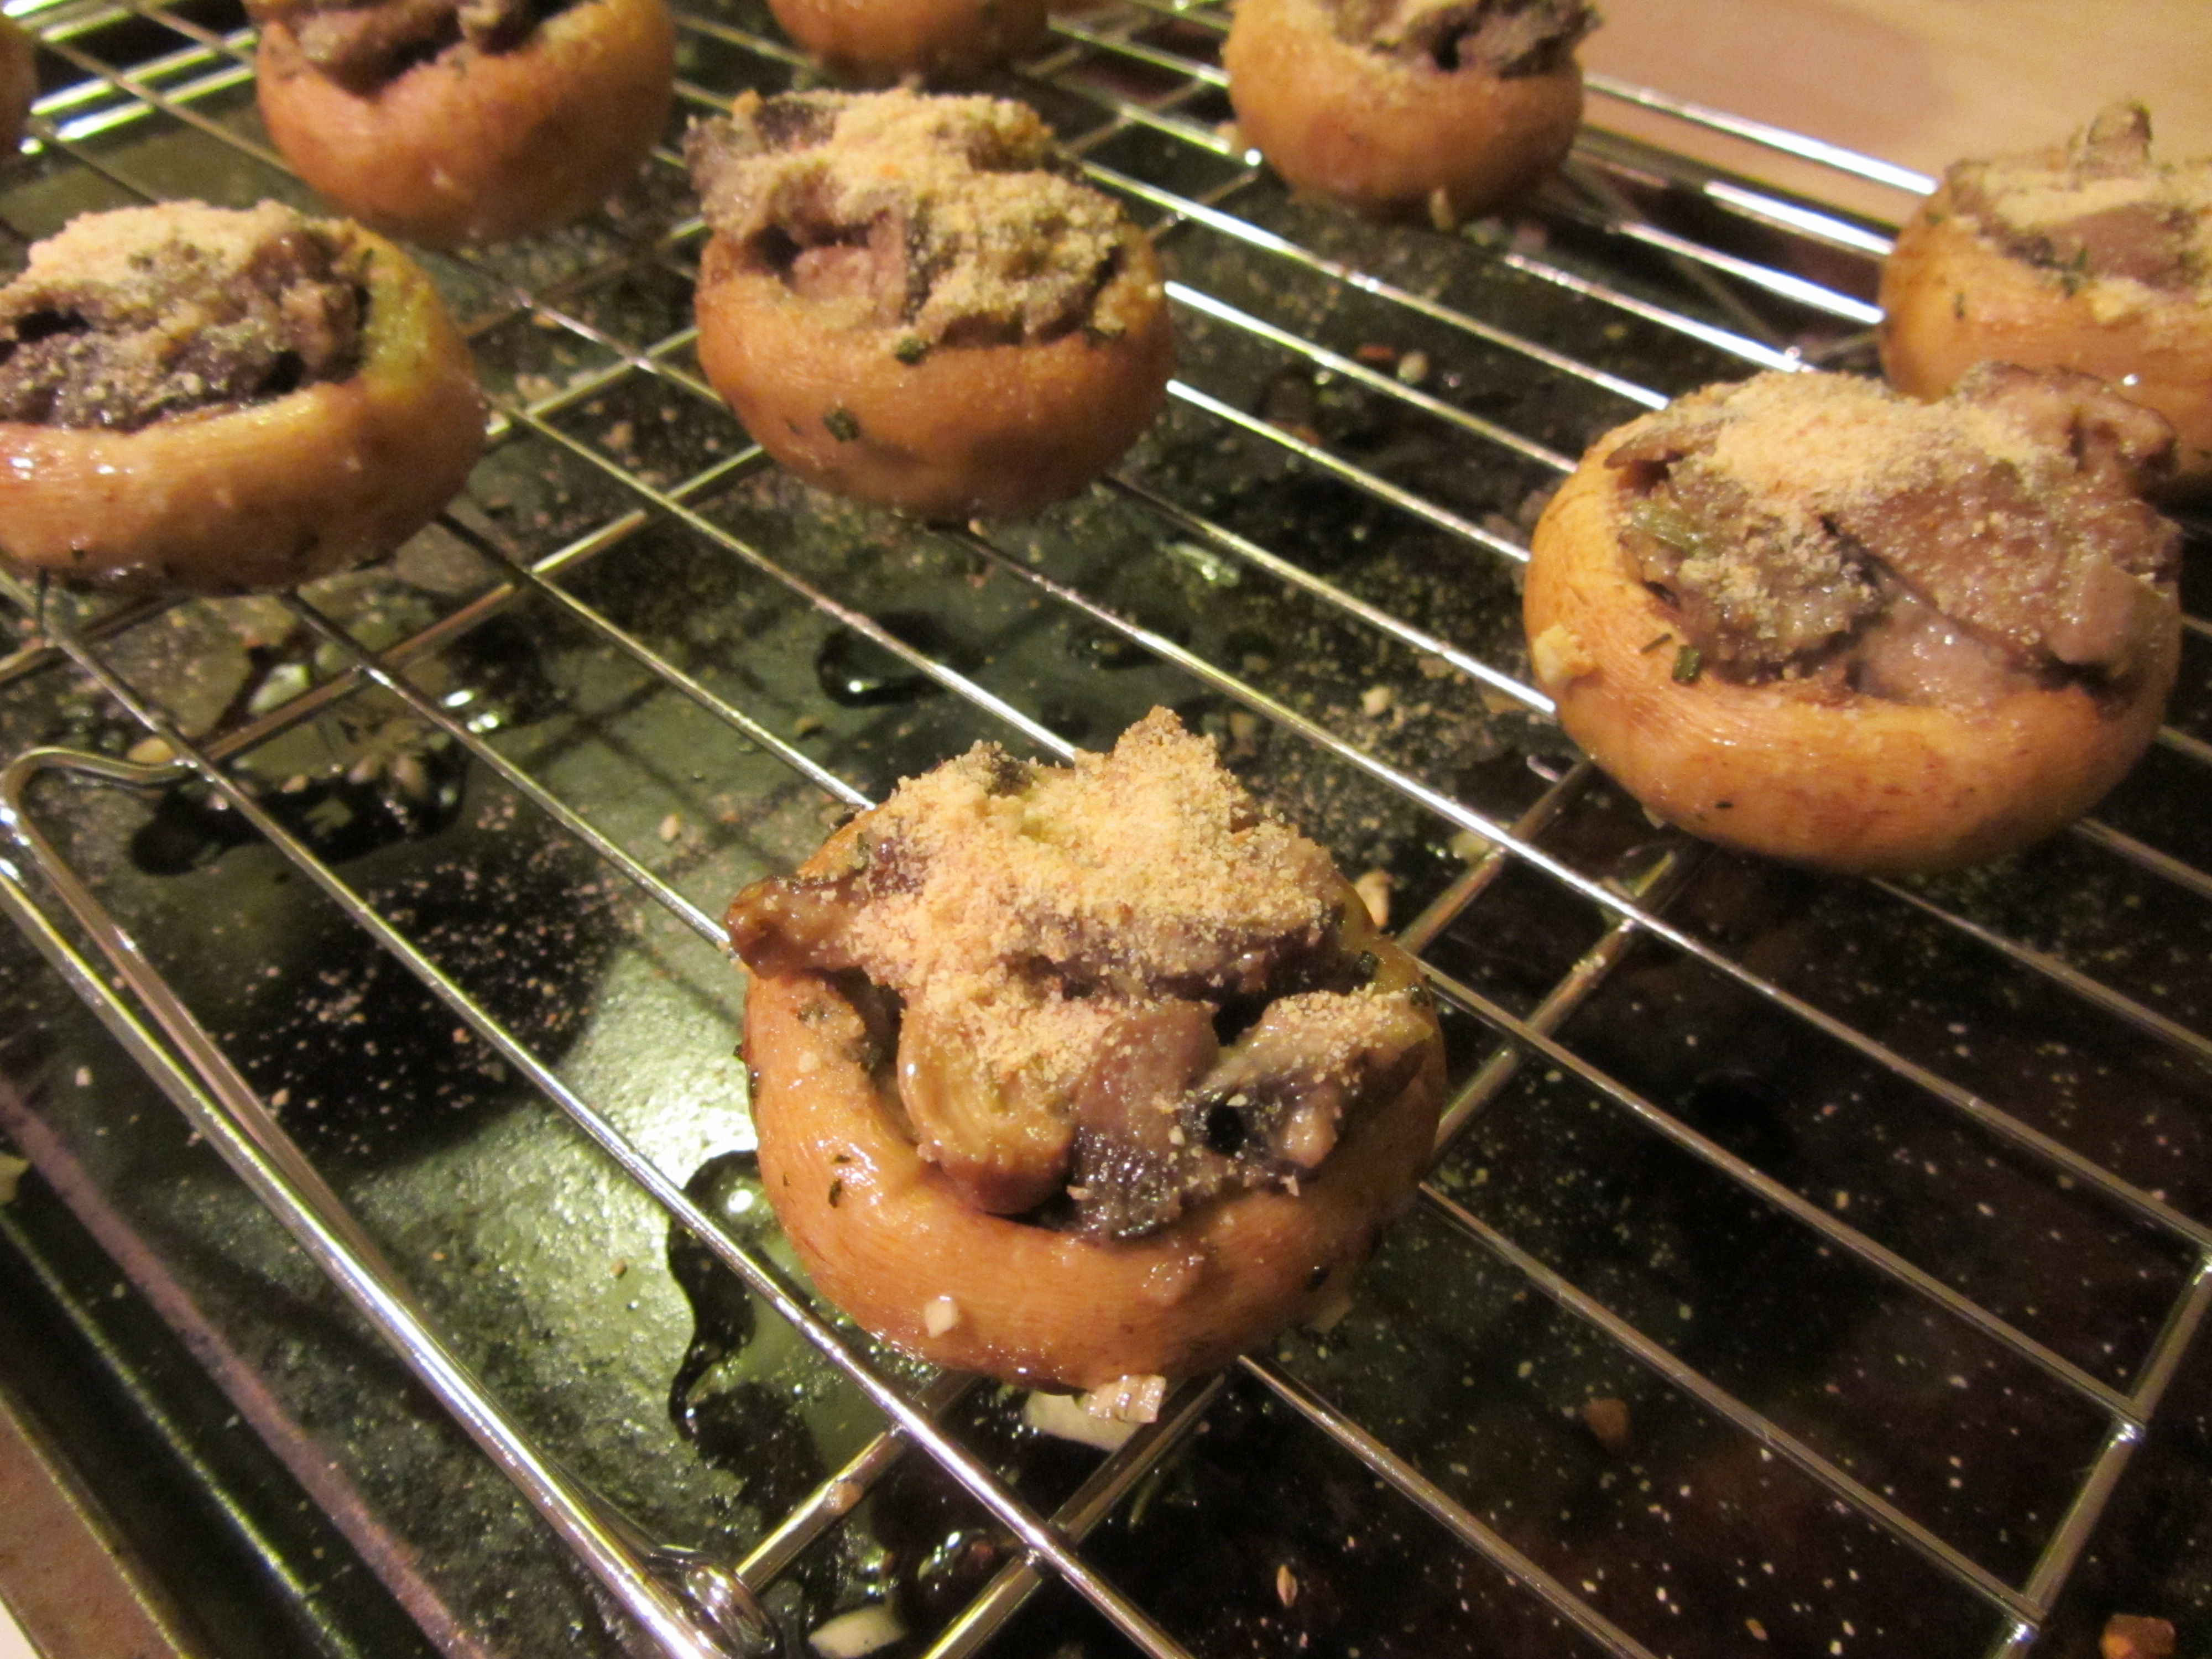
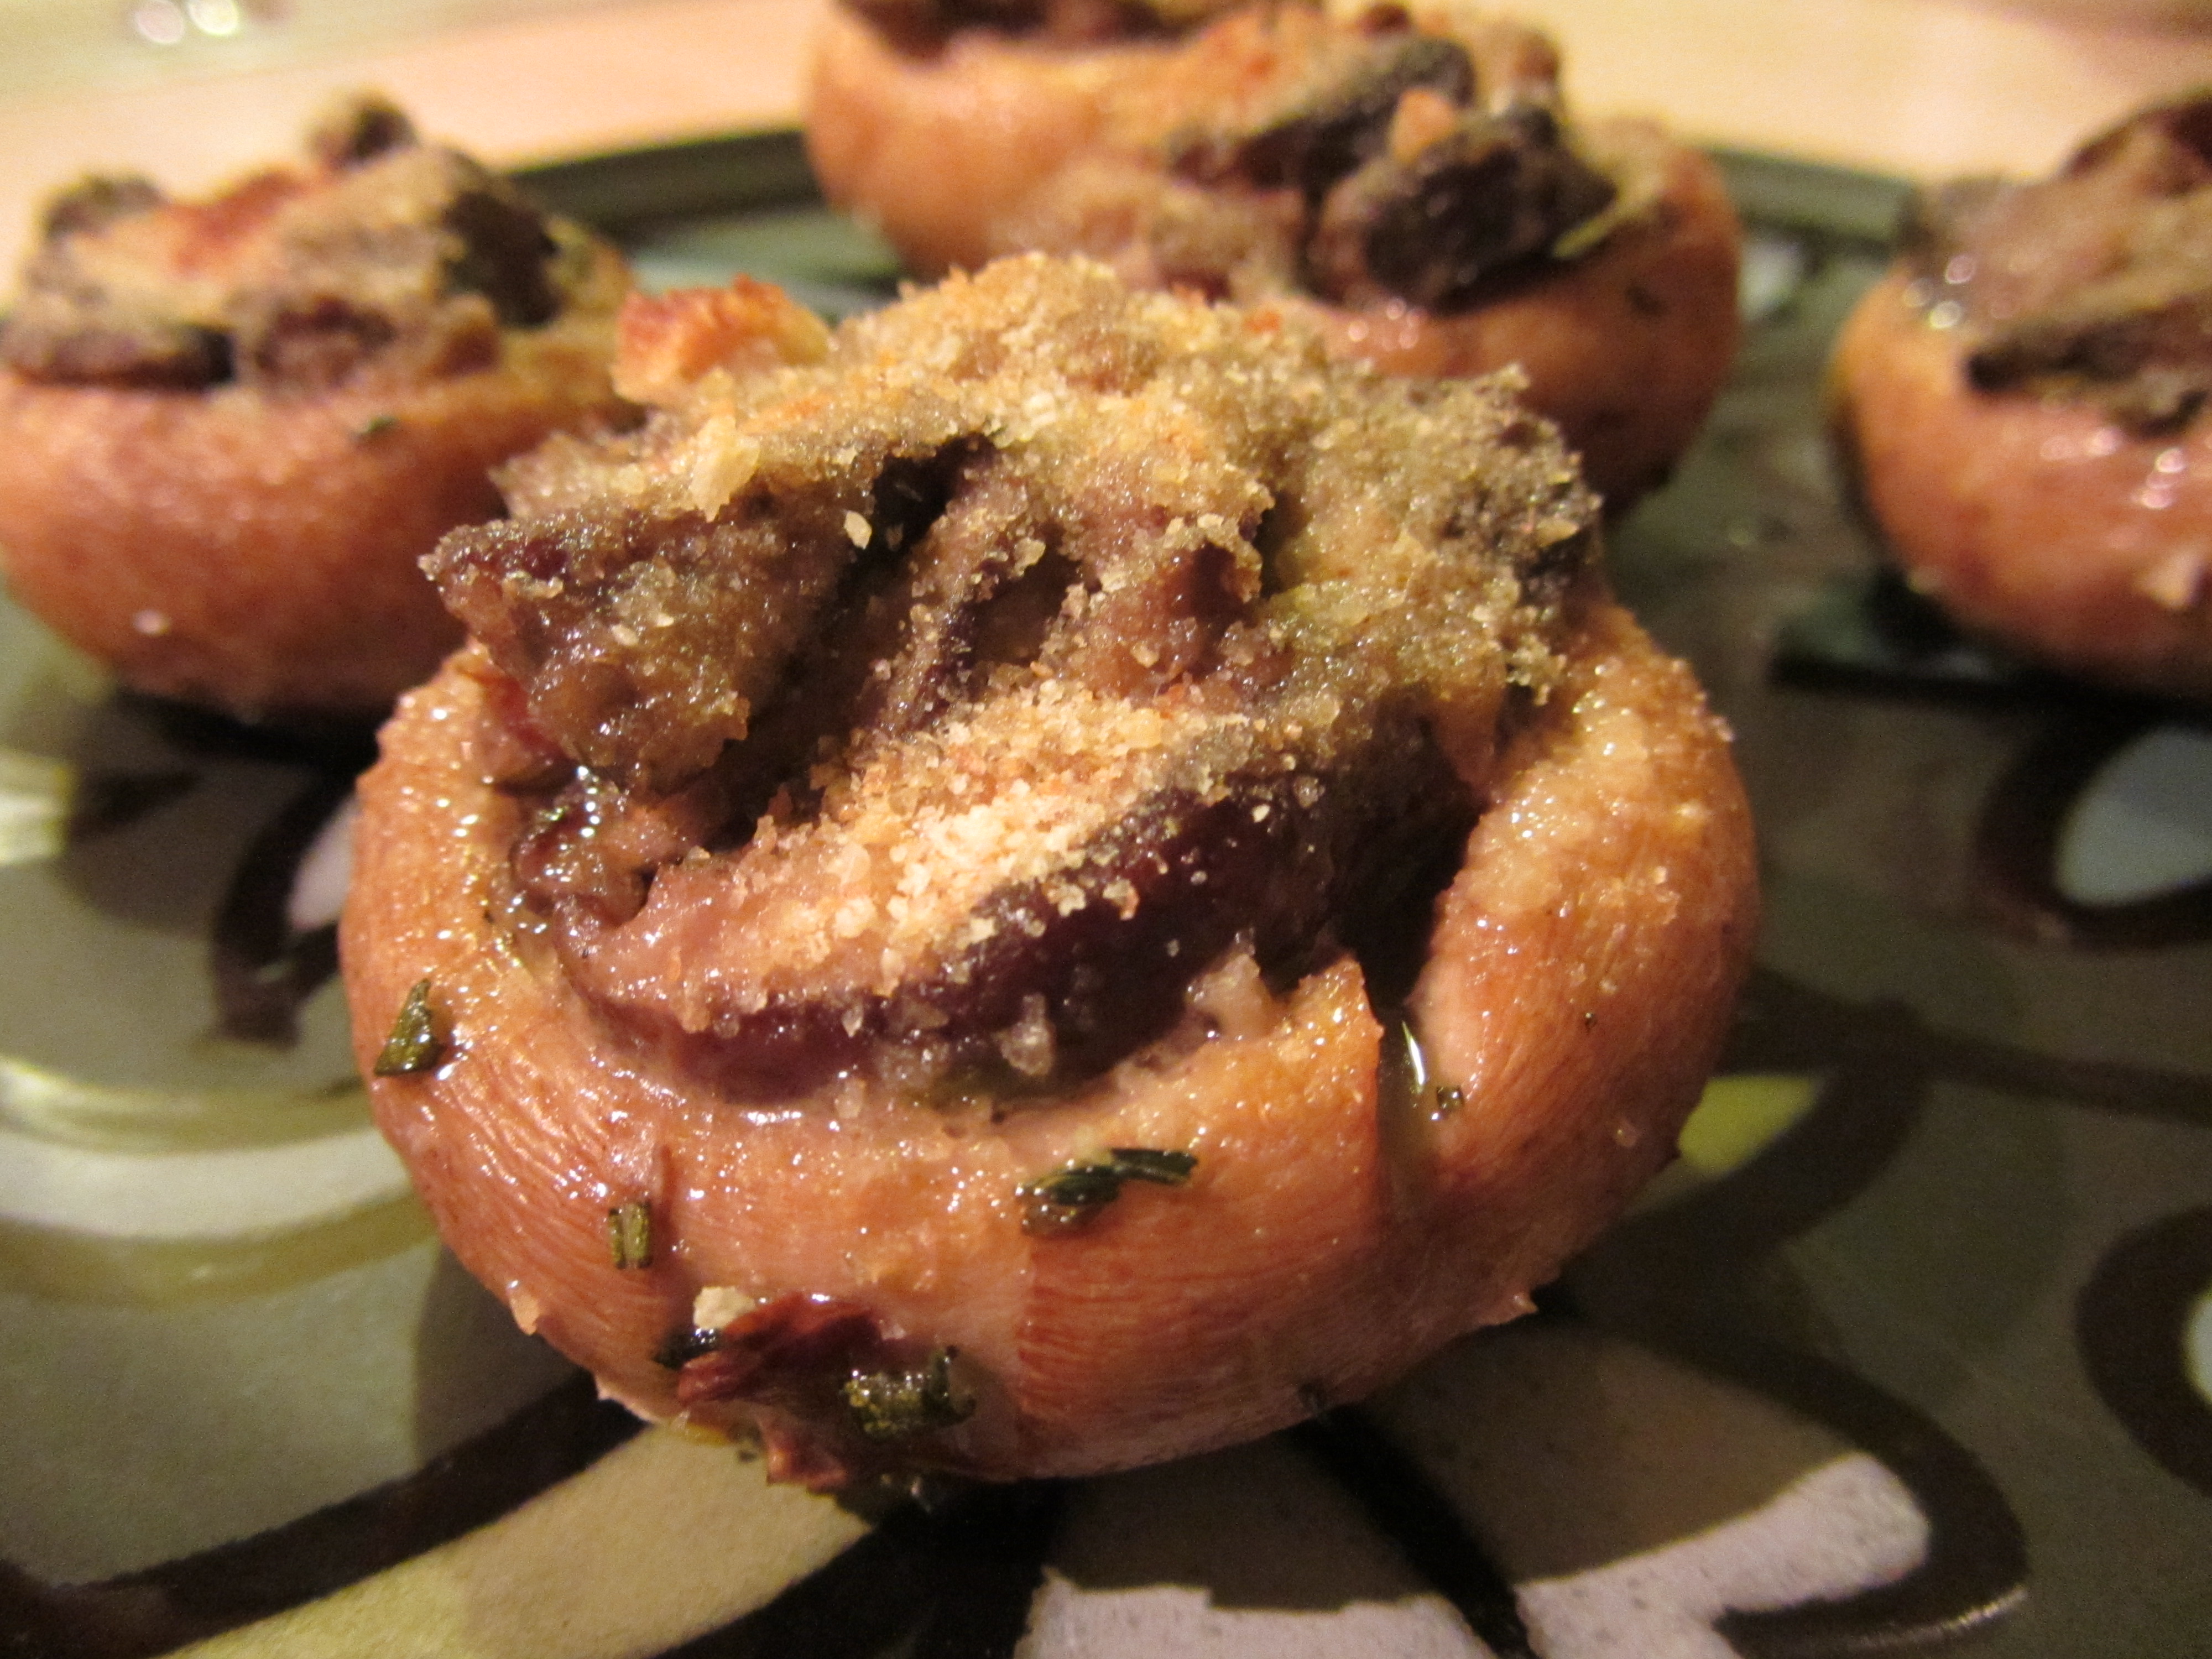
After all of the mushrooms were drained, the mushrooms from each sieve were weighed to analyze how much water they had absorbed. The mushrooms soaked for 10 minutes had gained 0.2 ounces of water, or about one teaspoon. The 20 minute mushrooms had gained 0.25 ounces of water, or about a teaspoon. Thirty minutes of soaking resulted in the mushrooms gaining 0.15 ounces of water, or about a teaspoon. The mushrooms rinsed under running water had gained 0.2 ounces of water, or about a teaspoon.

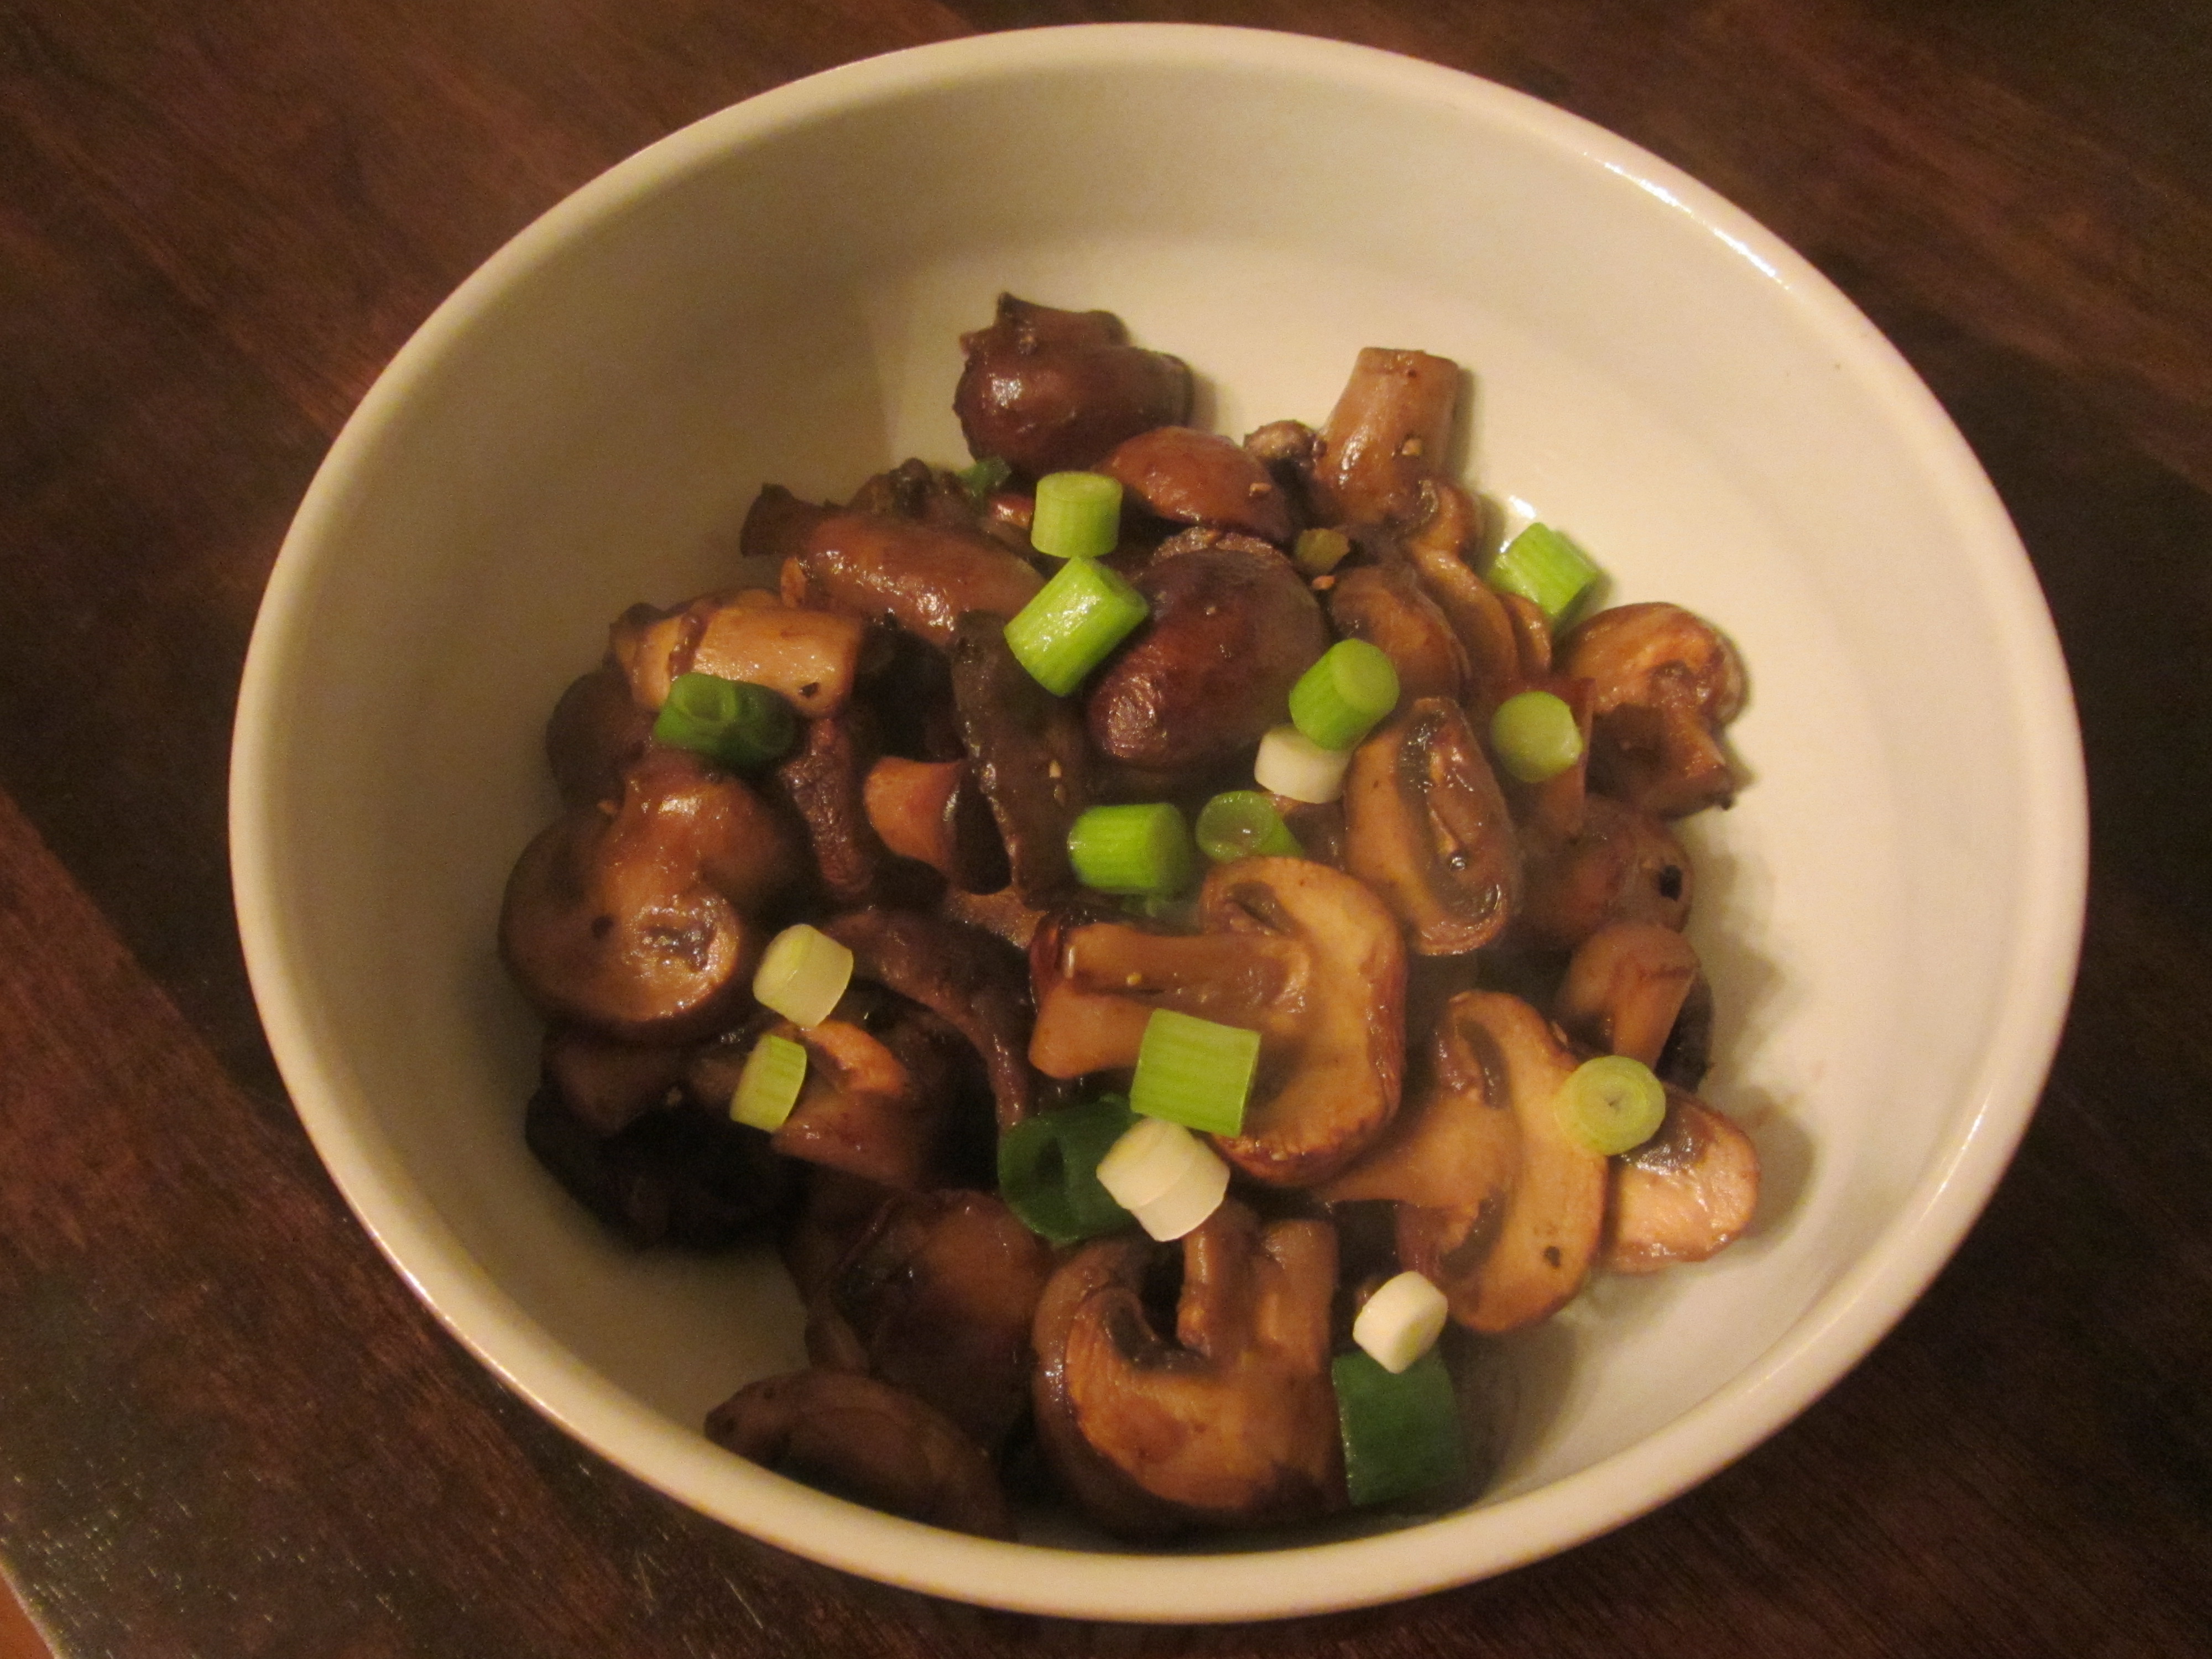
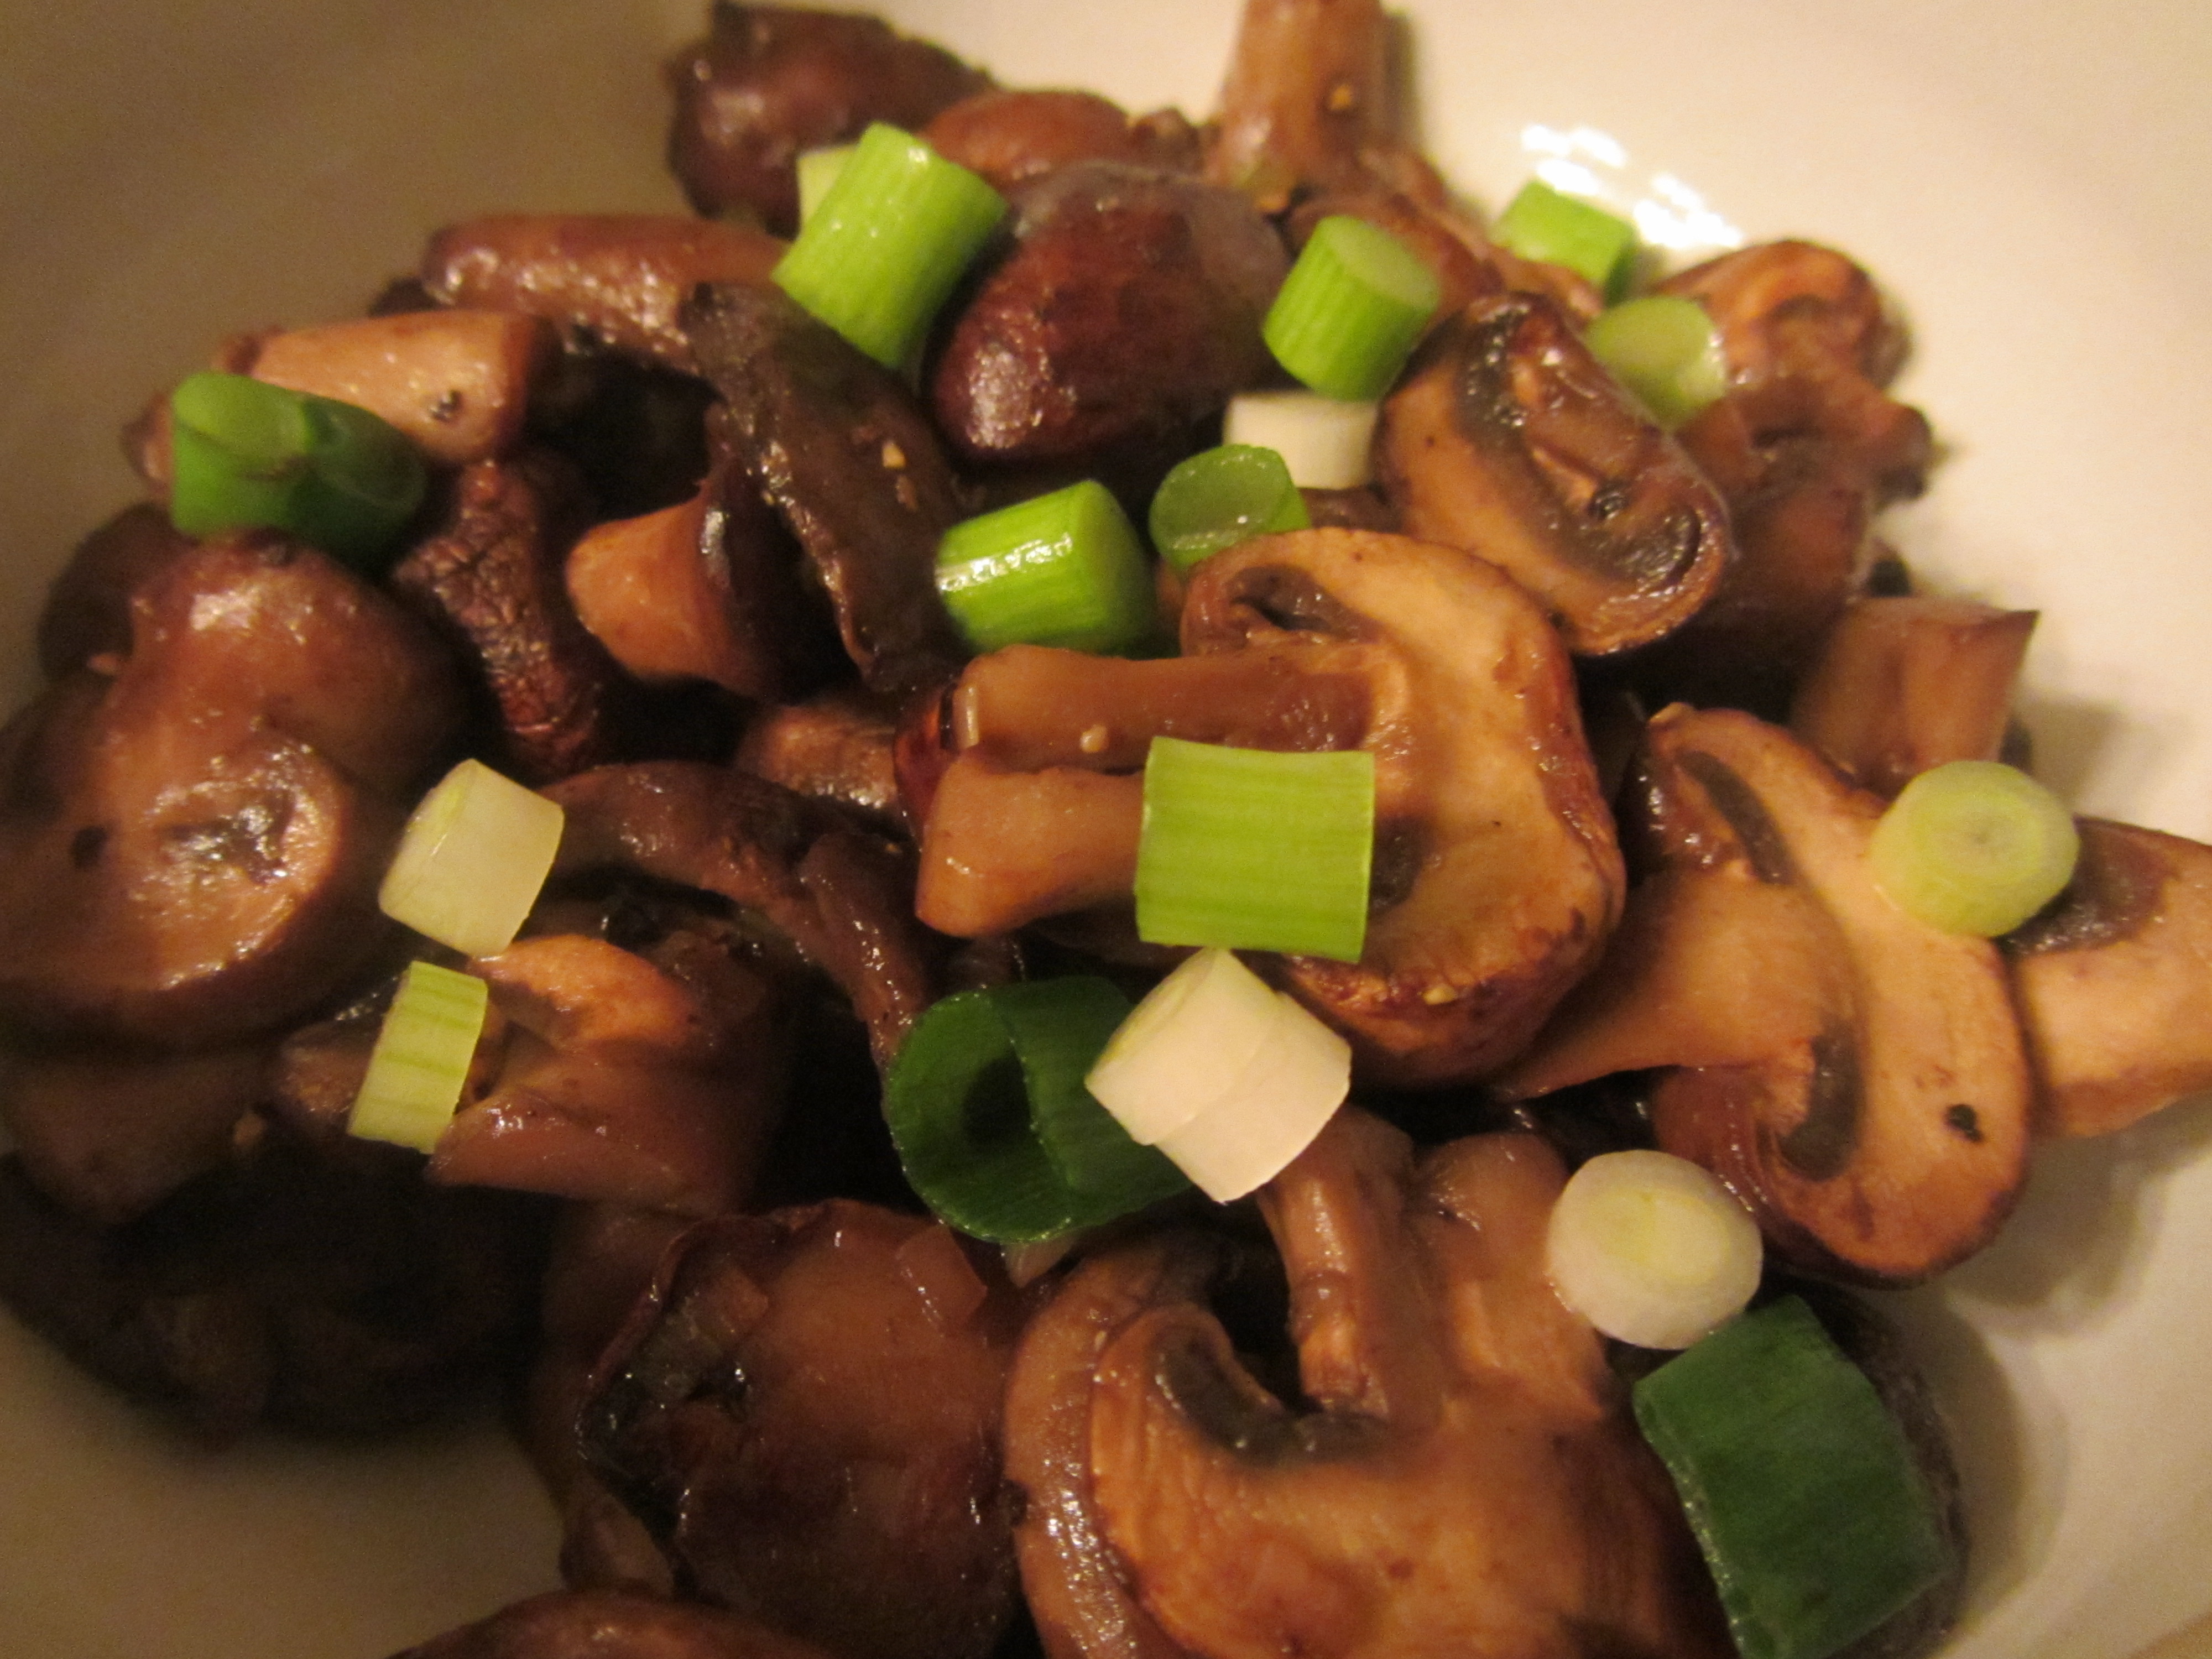
This experiment demonstrated that mushrooms absorb a small amount of water regardless of length of exposure to water. Since mushrooms tend to have a fair amount of grit and dirt on them, Alton concluded that he will thoroughly wash his mushrooms. This myth was “SMASHED.”

Myth #4 – Adding oil to pasta water keeps noodles from sticking together.

To test this myth, Alton added a gallon of water, 1 T of olive oil, and a pinch of Kosher salt to a pasta pot. The pot was covered and placed over high heat until the water reached a boil. Once the water was boiling, Alton added a half pound of pasta to the water, decreased the heat to medium-high, and cooked the pasta until it was al dente.

After cooking, Alton drained the pasta, allowing the liquid to drain into a long, clear tube beneath the strainer. After several minutes, the drained liquid had separated into its oil and liquid phases, with the oil rising to the top of the tube. Alton calculated the drained amount of oil to be 0.43 ounces, which was about 85% of the original tablespoon of oil added to the pasta water.

Since only 15% of the olive oil remained on the surface of the drained pasta, Alton concluded that not enough oil coated the pasta to prevent the noodles from adhering to each other. This myth was hereby “SMASHED.” Alton did, however, state that adding oil to pasta water can prevent the water from foaming by oiling the bonds of the starch released from the noodles. Or, you can just use a larger vessel with more water.

Myth #5 – Water can explode when microwaved.

The experiment for this myth involved placing a tall, narrow, glass bottle (picture a Snapple bottle) full of water in a microwave. The water was microwaved for three minutes on high power, which resulted in water spraying all over the inside of the microwave. This “explosion” of water is called spontaneous boiling, which occurs when the temperature rises above the boiling point without the formation of any bubbles. Since the inside of the glass bottle was perfectly smooth, there were no nucleation sites, which are spots where bubbles can form. In addition, the small opening of the bottle kept the water still, so when the heat energy built up within the bottle, one large bubble was formed and the water sprayed everywhere. To avoid this, when microwaving, use a container with a large opening and stir the contents regularly. This final myth was deemed to be “TRUE.”

When I was a kid, my family used to head out in the woods to go mushrooming. My parents had taken classes on the subject and had a variety of books. If we happened to find any questionable fungi, my parents would ask an expert before we would eat them. My parents swore that my brother and I were better at finding mushrooms than they were, which my dad attributed to us being “closer to the ground.” Who needs a mushroom-smelling hog when you’ve got little kids?

My mom once caught me eating small brown mushrooms in our front yard when I was little. Shortly after I ate the mushrooms, I became very sick. It turned out that the mushrooms were not poisonous, and I just had coincidentally contracted some sort of bug. It makes for a good story now, but it wasn’t so funny at the time.

The Fungal Saute

I really like mushrooms and we eat them fairly regularly, though we don’t tend to purchase the more exotic varieties very often. We usually stick to the creminis, portobellos, and the occasional shiitakes. A family friend taught me a recipe for sauteed mushrooms when I was a teenager, and it became one of the things I cooked regularly for our family dinners. I was curious to see how Alton’s recipe for sauteed mushrooms would compare to the one I’ve been making for nearly 20 (yikes!) years now. The first part of this recipe is actually a recipe within the recipe, as you first need to make clarified butter. I had never made clarified butter before, though I knew the basics of how to do it (it’s very simple). My dad used to make it on a regular basis. To make clarified butter, Alton explains that you simply melt your butter over low heat, continuing to cook it until it stops bubbling and the liquid is clear. This takes approximately a half hour.

Melting butter.

Melting butter.

Butter mid-way through the clarifying process.

Butter mid-way through the clarifying process.

Clarifying butter = a half hour of torture for a hound dog.

Clarifying butter = a half hour of torture for a hound dog.

Butter, still bubbling as it clarifies.

Butter, still bubbling as it clarifies.

Final clarified butter.

Final clarified butter.

Once cool, you strain the butter for immediate use. Or, to use later, you top the hot butter with a couple inches of hot water, and allow the liquid to cool in the refrigerator. The clarified butter will solidify into a solid puck. I began the butter process while I prepped my ‘shrooms.

Apparently, there actually is something a Coonhound will not eat.

Apparently, there actually is something a Coonhound will not eat.

Alton suggests cleaning your mushrooms if they have any visible dirt. To clean them, he says it is easiest and best to simply give them a good rinse in a colander, drain them, and roll them in paper towels.

Cremini mushrooms, ready to be rinsed.

Cremini mushrooms, ready to be rinsed.

Mushrooms, rinsed and drained.

Mushrooms, rinsed and drained.

Other mushroom tips from Alton:  1) Store mushrooms in a paper bag. 2) Treat mushrooms like they are meat, using hot, fast, and dry cooking methods. For this particular recipe, you use cremini mushrooms. I washed my mushrooms and sliced them into 1/4″ slices. Apparently, an egg slicer works perfectly for slicing mushrooms, but we do not have one, so I did mine with a good ol’ knife.

All of the ingredients for the saute.

All of the ingredients for the saute.

Once your butter is clarified and strained, you heat some of the butter in a pan over high heat. The high heat is why it is necessary to clarify the butter in the first place, as clarified butter has a higher smoke point than standard butter. To your butter, you want to add your sliced mushrooms, handful by handful.

First handful of mushrooms in the hot pan.

First handful of mushrooms in the hot pan.

As each handful of mushrooms browns, you move them to the outside of the pan while adding new mushrooms to the center of the pan.

Adding mushrooms, handful by handful.

Adding mushrooms, handful by handful.

Once all of the mushrooms are in the pan, you add Kosher salt and shallots. You continue to cook the mushrooms until they are all a rich brown color and a crust has formed on the pan. At this point, it is necessary to deglaze the pan, and Cognac is the liquid of choice.

Mushrooms with shallots and Cognac.

Mushrooms with shallots and Cognac.

You add some chopped chives to your mushrooms, along with some pepper, and you are ready to go.

Final sauteed mushrooms with chives.

Final sauteed mushrooms with chives.

10-27-2014 022

We ate our mushrooms as a side to our entree. The nice thing about this sauteed mushroom recipe is that it really allows the meaty flavor of the mushrooms themselves to shine. While I still like my old sauteed mushroom recipe too, I do think that the old recipe had some strong flavors (garlic, lemon, etc.) that overpowered the mushrooms. This recipe didn’t wow me, but it was good, and the predominant flavor was definitely that of the mushrooms.

That Ol’ Cap Magic

The second recipe in this episode of Good Eats is for stuffed mushroom caps. The online recipe is a bit vague with its ingredients, as it calls for a batch of sauteed mushrooms. After watching the episode, I got a bit more clarification. Alton tells you to prepare a batch of sauteed mushrooms, using the same method as used in the previous recipe. This time, however, he recommends that you use shiitake mushrooms. My grocery store only had one package of shiitakes, so I used those plus a portobello mushroom cap.

Shiitakes and portobellos.

Shiitakes and portobellos.

To the sauteed mushrooms, as prepped previously, you add heavy cream, shredded parmesan, and dried tarragon.

Melting clarified butter.

Melting clarified butter.

Sauteeing the mushrooms.

Sauteeing the mushrooms.

Addition of cream, parmesan, and tarragon.

Addition of cream, parmesan, and tarragon.

At this point, you remove your pan from the heat and add some breadcrumbs. The breadcrumbs nicely bind the sauce. This mushroom mixture will be the filling for white mushroom caps.

Breadcrumbs added off heat to tighten the sauce.

Breadcrumbs added off heat to tighten the sauce.

After destemming the mushroom caps, you sprinkle them with olive oil, rosemary, thyme, and garlic, tossing to coat them well.

Mushrooms to be stuffed.

Mushrooms to be stuffed.

Mushroom caps after destemming.

Mushroom caps after destemming.

Garlic, rosemary, and thyme.

Garlic, rosemary, and thyme.

Mushroom caps tossed with olive oil, rosemary, thyme, and garlic.

Mushroom caps tossed with olive oil, rosemary, thyme, and garlic.

These caps go into a hot oven until they are tender. It is best to cook them upside down on a cooling rack that is placed on a baking sheet, as this allows all of the juices to drain. I actually forgot to bake my caps upside down, so their cavities were filled with liquid that I had to drain out.

Mushrooms ready to go in the oven.

Mushrooms ready to go in the oven.

Mushrooms after baking. I forgot to turn mine upside down before I baked them, so they filled with fluid.

Mushrooms after baking. I forgot to turn mine upside down before I baked them, so they filled with fluid.

The sauteed mushroom filling is spooned into the seasoned caps, and Alton stresses not to overstuff them.

Mushrooms stuffed with mushrooms.

Mushrooms stuffed with mushrooms.

The filling is topped with a sprinkle of breadcrumbs, and they go under the broiler on the highest rack.

Some breadcrumbs sprinkled on top.

Some breadcrumbs sprinkled on top.

The mushrooms will not need to be under the broiler long – mine took only about two minutes until the filling began to bubble.

I guess the mushrooms smelled good when they came out of the oven.

I guess the mushrooms smelled good when they came out of the oven.

A perfect appetizer plate of stuffed mushroom caps.

A perfect appetizer plate of stuffed mushroom caps.

10-27-2014 045

We ate these mushroom caps as an appetizer, and we both really liked them. They were quite juicy and the filling had rich, creamy flavors and textures that paired well with the meatiness of the mushroom caps. The flavors of the different mushroom types all came through too, as did the herbs. I preferred this recipe to the sauteed mushroom recipe, and I could see making these again as an appetizer.