Ribs are not something I eat on a regular basis. In fact, chances are that I will opt for a pulled pork sandwich, or something else of the sort, over a slab of baby backs. I decided to make my foray into rib making the day before I left to celebrate Christmas with my family. Amid the melee of wrapping gifts and trying to jigsaw them safely into my suitcase, I was unsure if I would really have the time to also make ribs for dinner. As always, Alton Brown made his recipe for baby back ribs look very, very easy, so I figured… why not?
Who Loves Ya Baby-Back?
After watching the 26th episode of Good Eats, I headed to the grocery store to get the ingredients I would need to make baby back ribs the Alton Brown way. Thankfully, for me, this meant only a few ingredients. My grocery store happened to have no baby back ribs on the shelf, so I asked the butcher, who had some stowed away in the freezer. Since only two of us would be eating, I purchased one slab. When I got home, I thawed my vacuum-sealed ribs in cold water, which really did not take too long. While my ribs thawed, I made Alton’s dry rub. If you plan to make these ribs time and again, go ahead and make a large batch of dry rub, as it will keep indefinitely. Alton mixes his ingredients in a quart-sized mason jar that he tops with two lids – the first lid has holes punched in it for sprinkling, while the second lid is solid for storage. I made a small batch of the rub since I did not know when I would be making the ribs again. The only key with the rub is to keep the rub’s ratio the same: 8 parts light brown sugar:3 parts Kosher salt:1 part chili powder +1 part combo of black pepper, cayenne pepper, jalapeno seasoning (I used chipotle), Old Bay Seasoning, thyme, and onion powder.

Dry rub ingredients: light brown sugar, Kosher salt, chili powder, black pepper, cayenne pepper, chipotle seasoning, Old Bay Seasoning, thyme, and onion powder.

Mixing the dry rub.
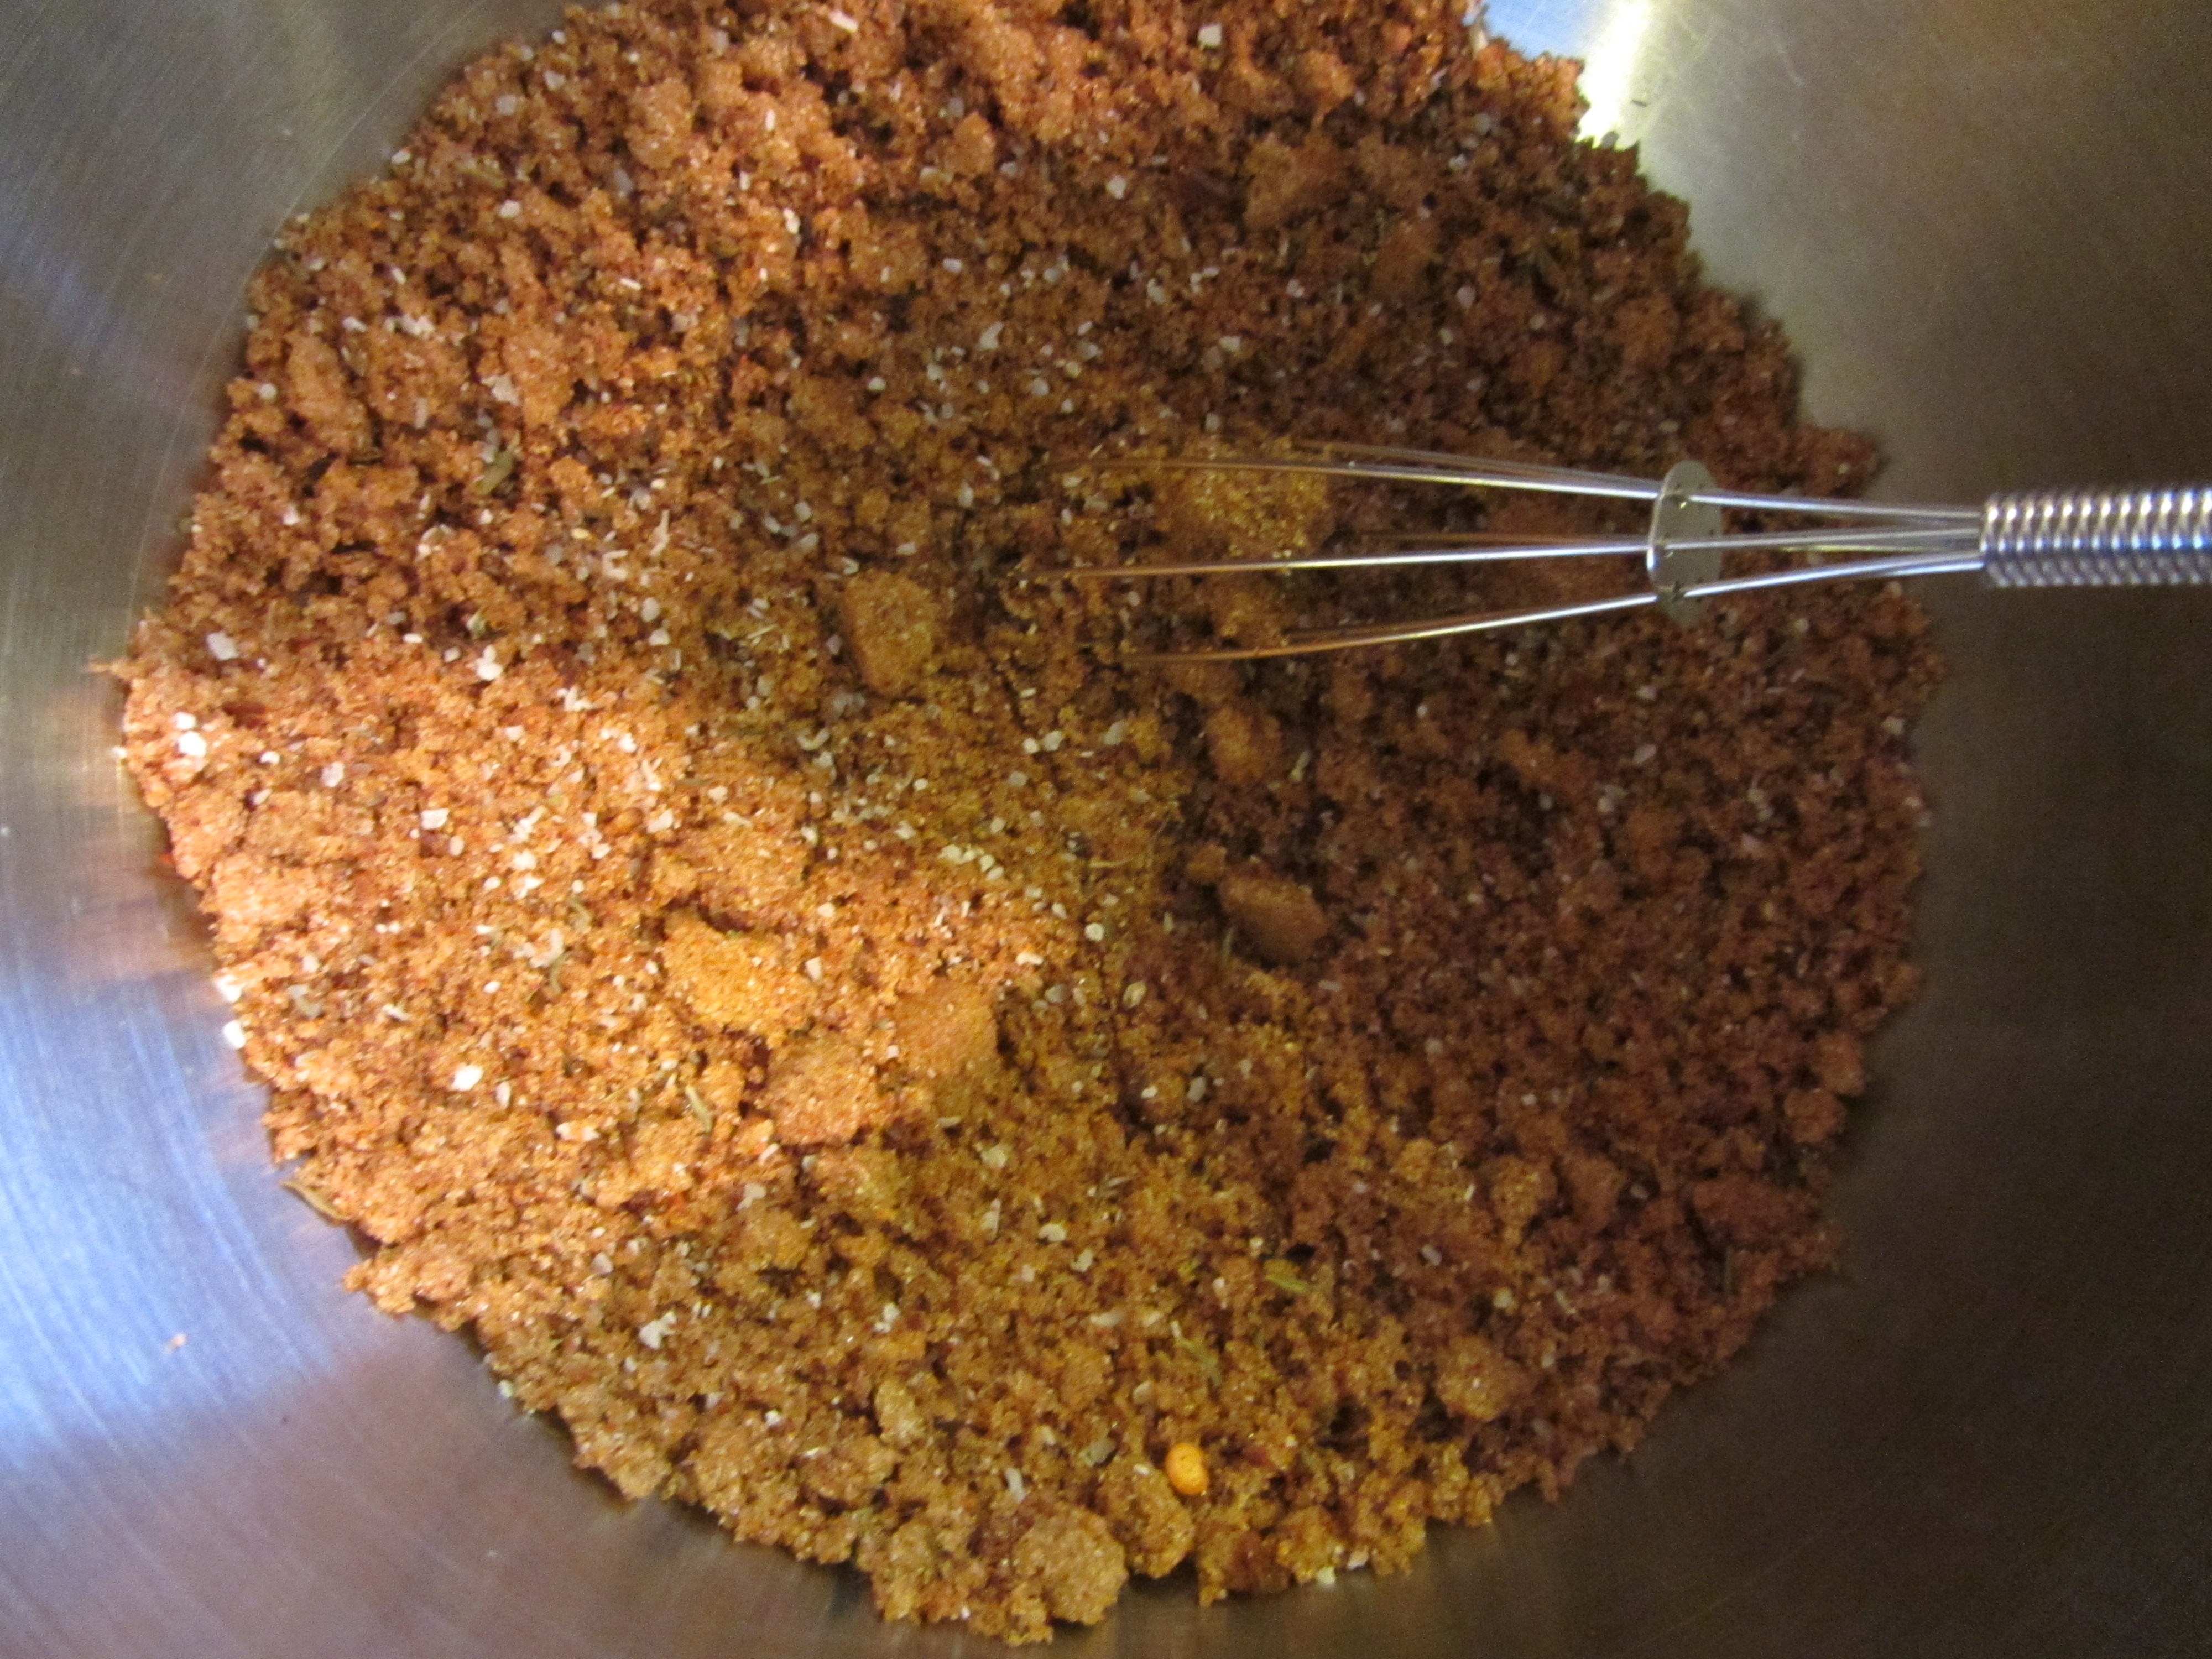
Completed dry rub..
When my ribs were thawed, I placed them on a large sheet of heavy foil, which was placed shiny side down to slow heat absorption into the ribs.

Slab of ribs on foil, shiny side down.
I sprinkled the top side of the ribs liberally with the dry rub, patting it gently with my hands.
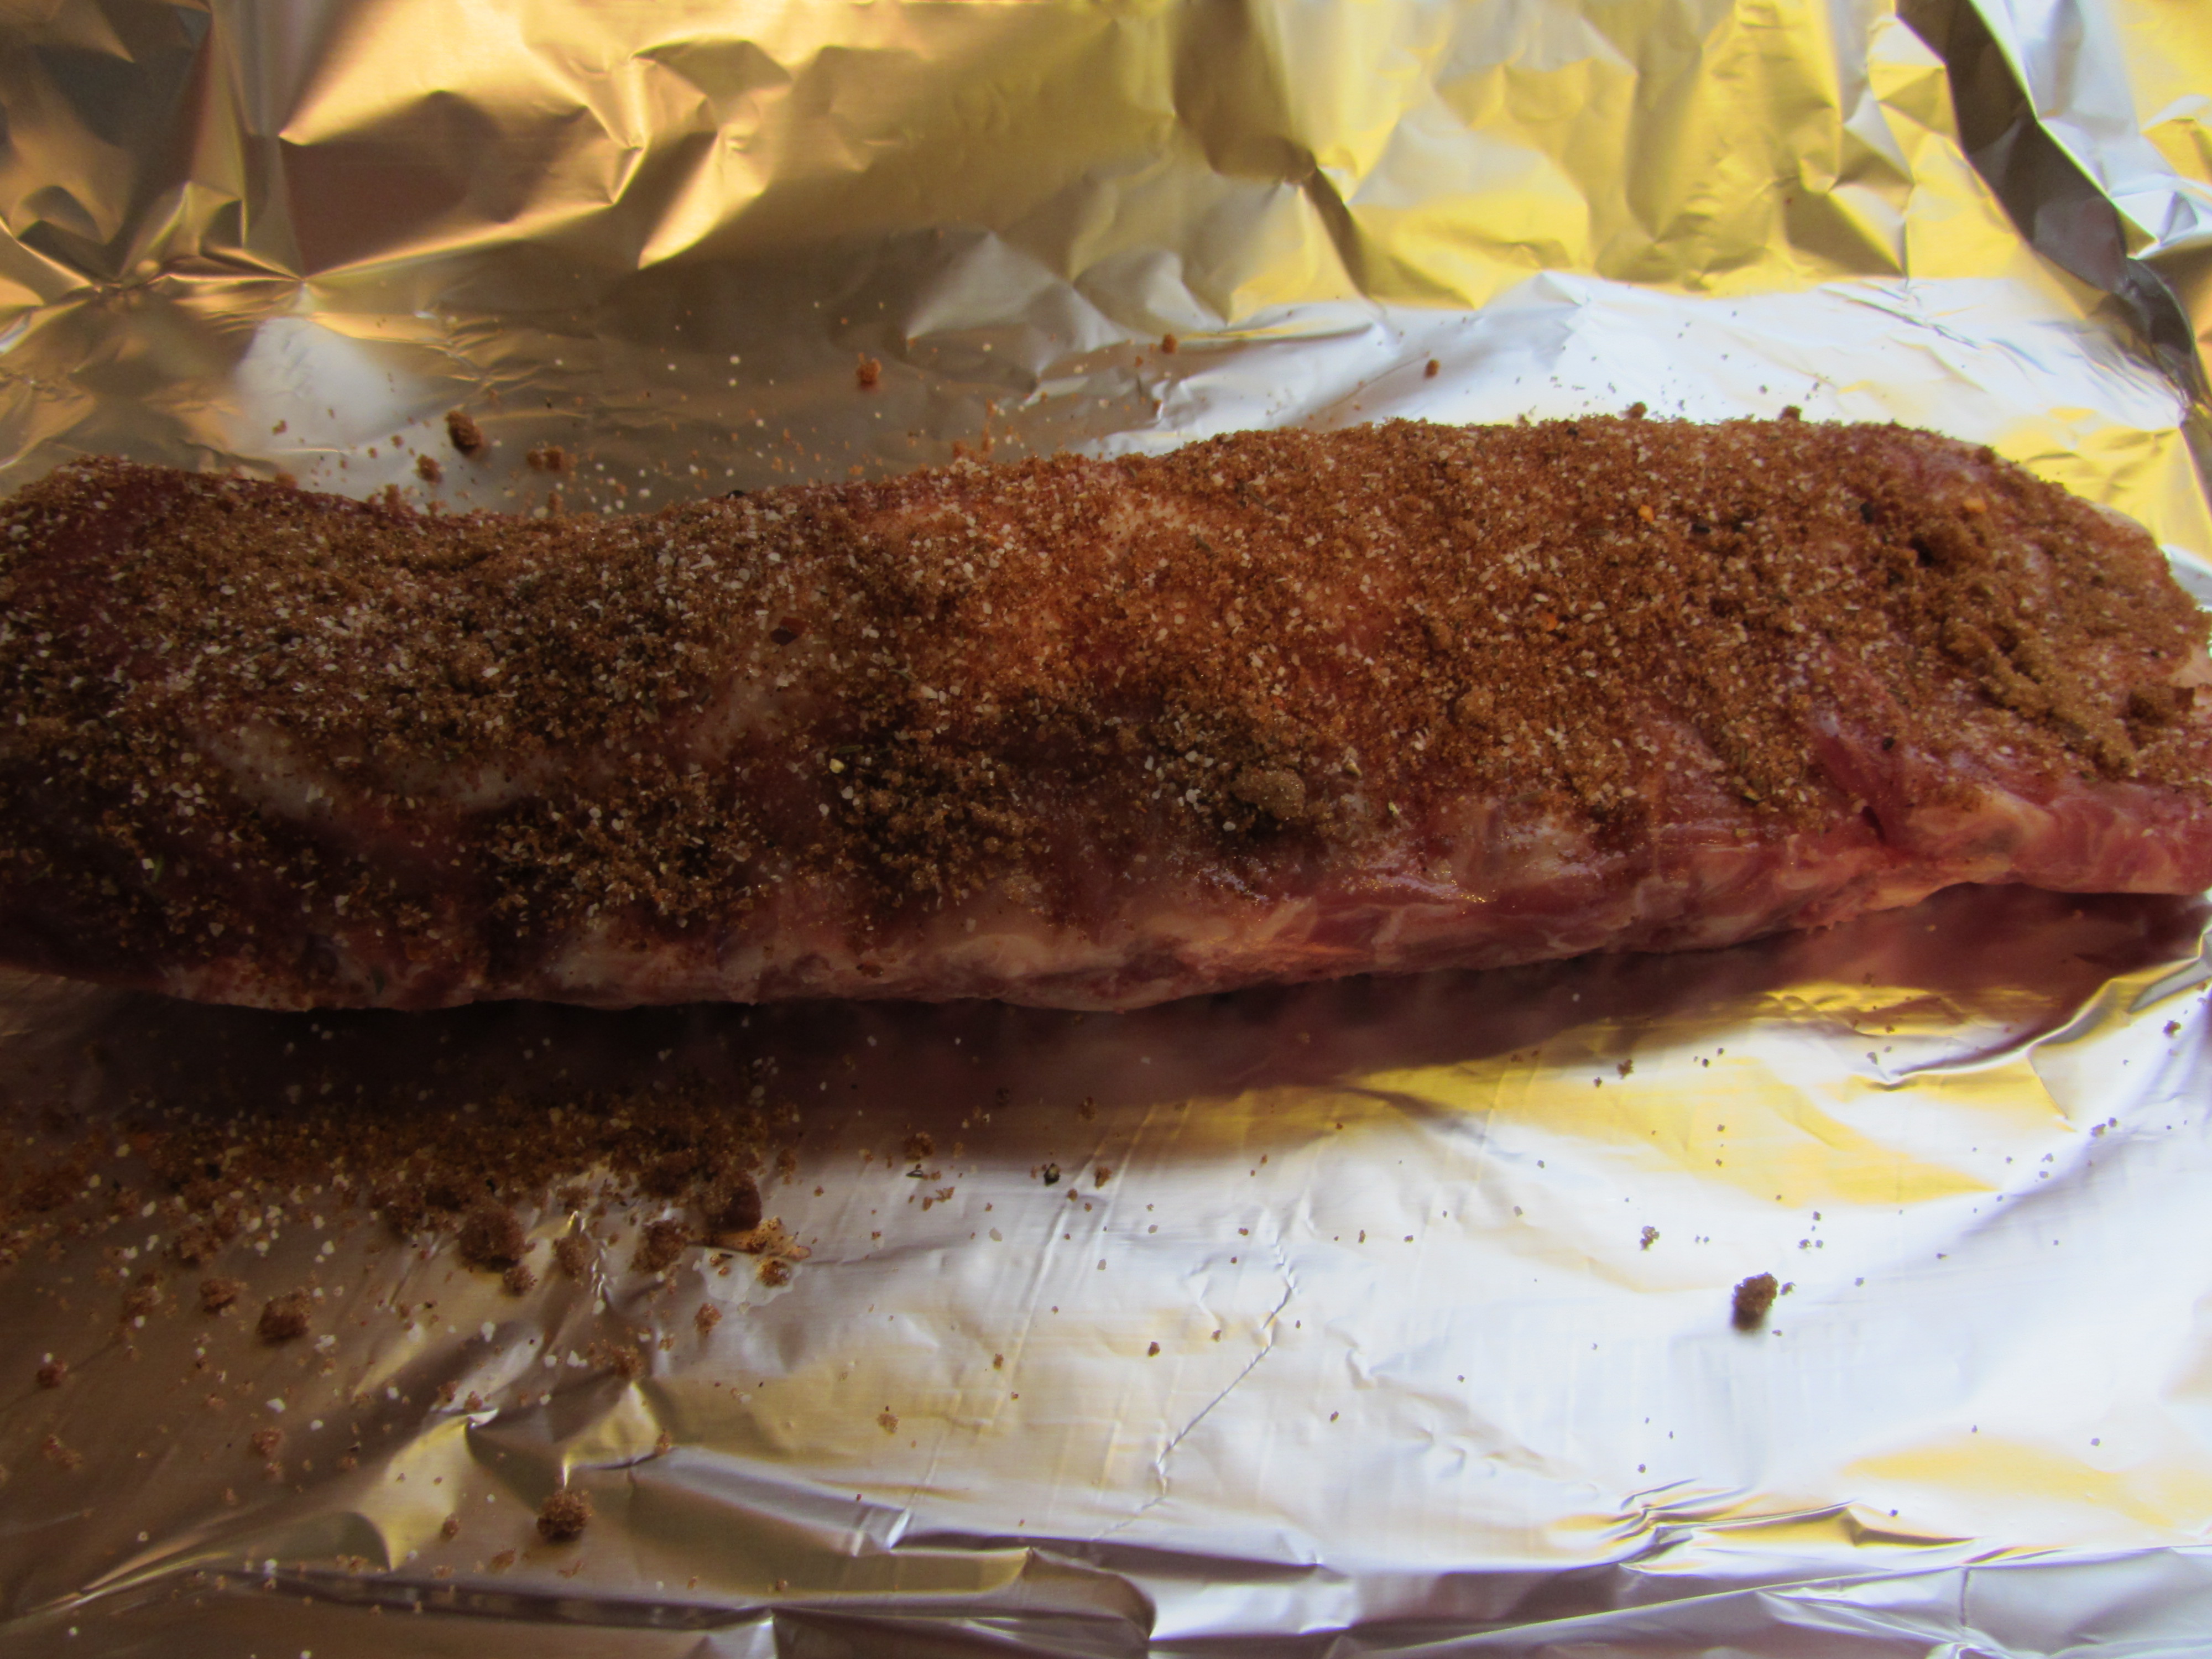
Ribs coated with dry rub.
I flipped my ribs over and sprinkled some on the other side too, but Alton explains that the top, convex side, of the ribs is where you want to put the majority of the rub.
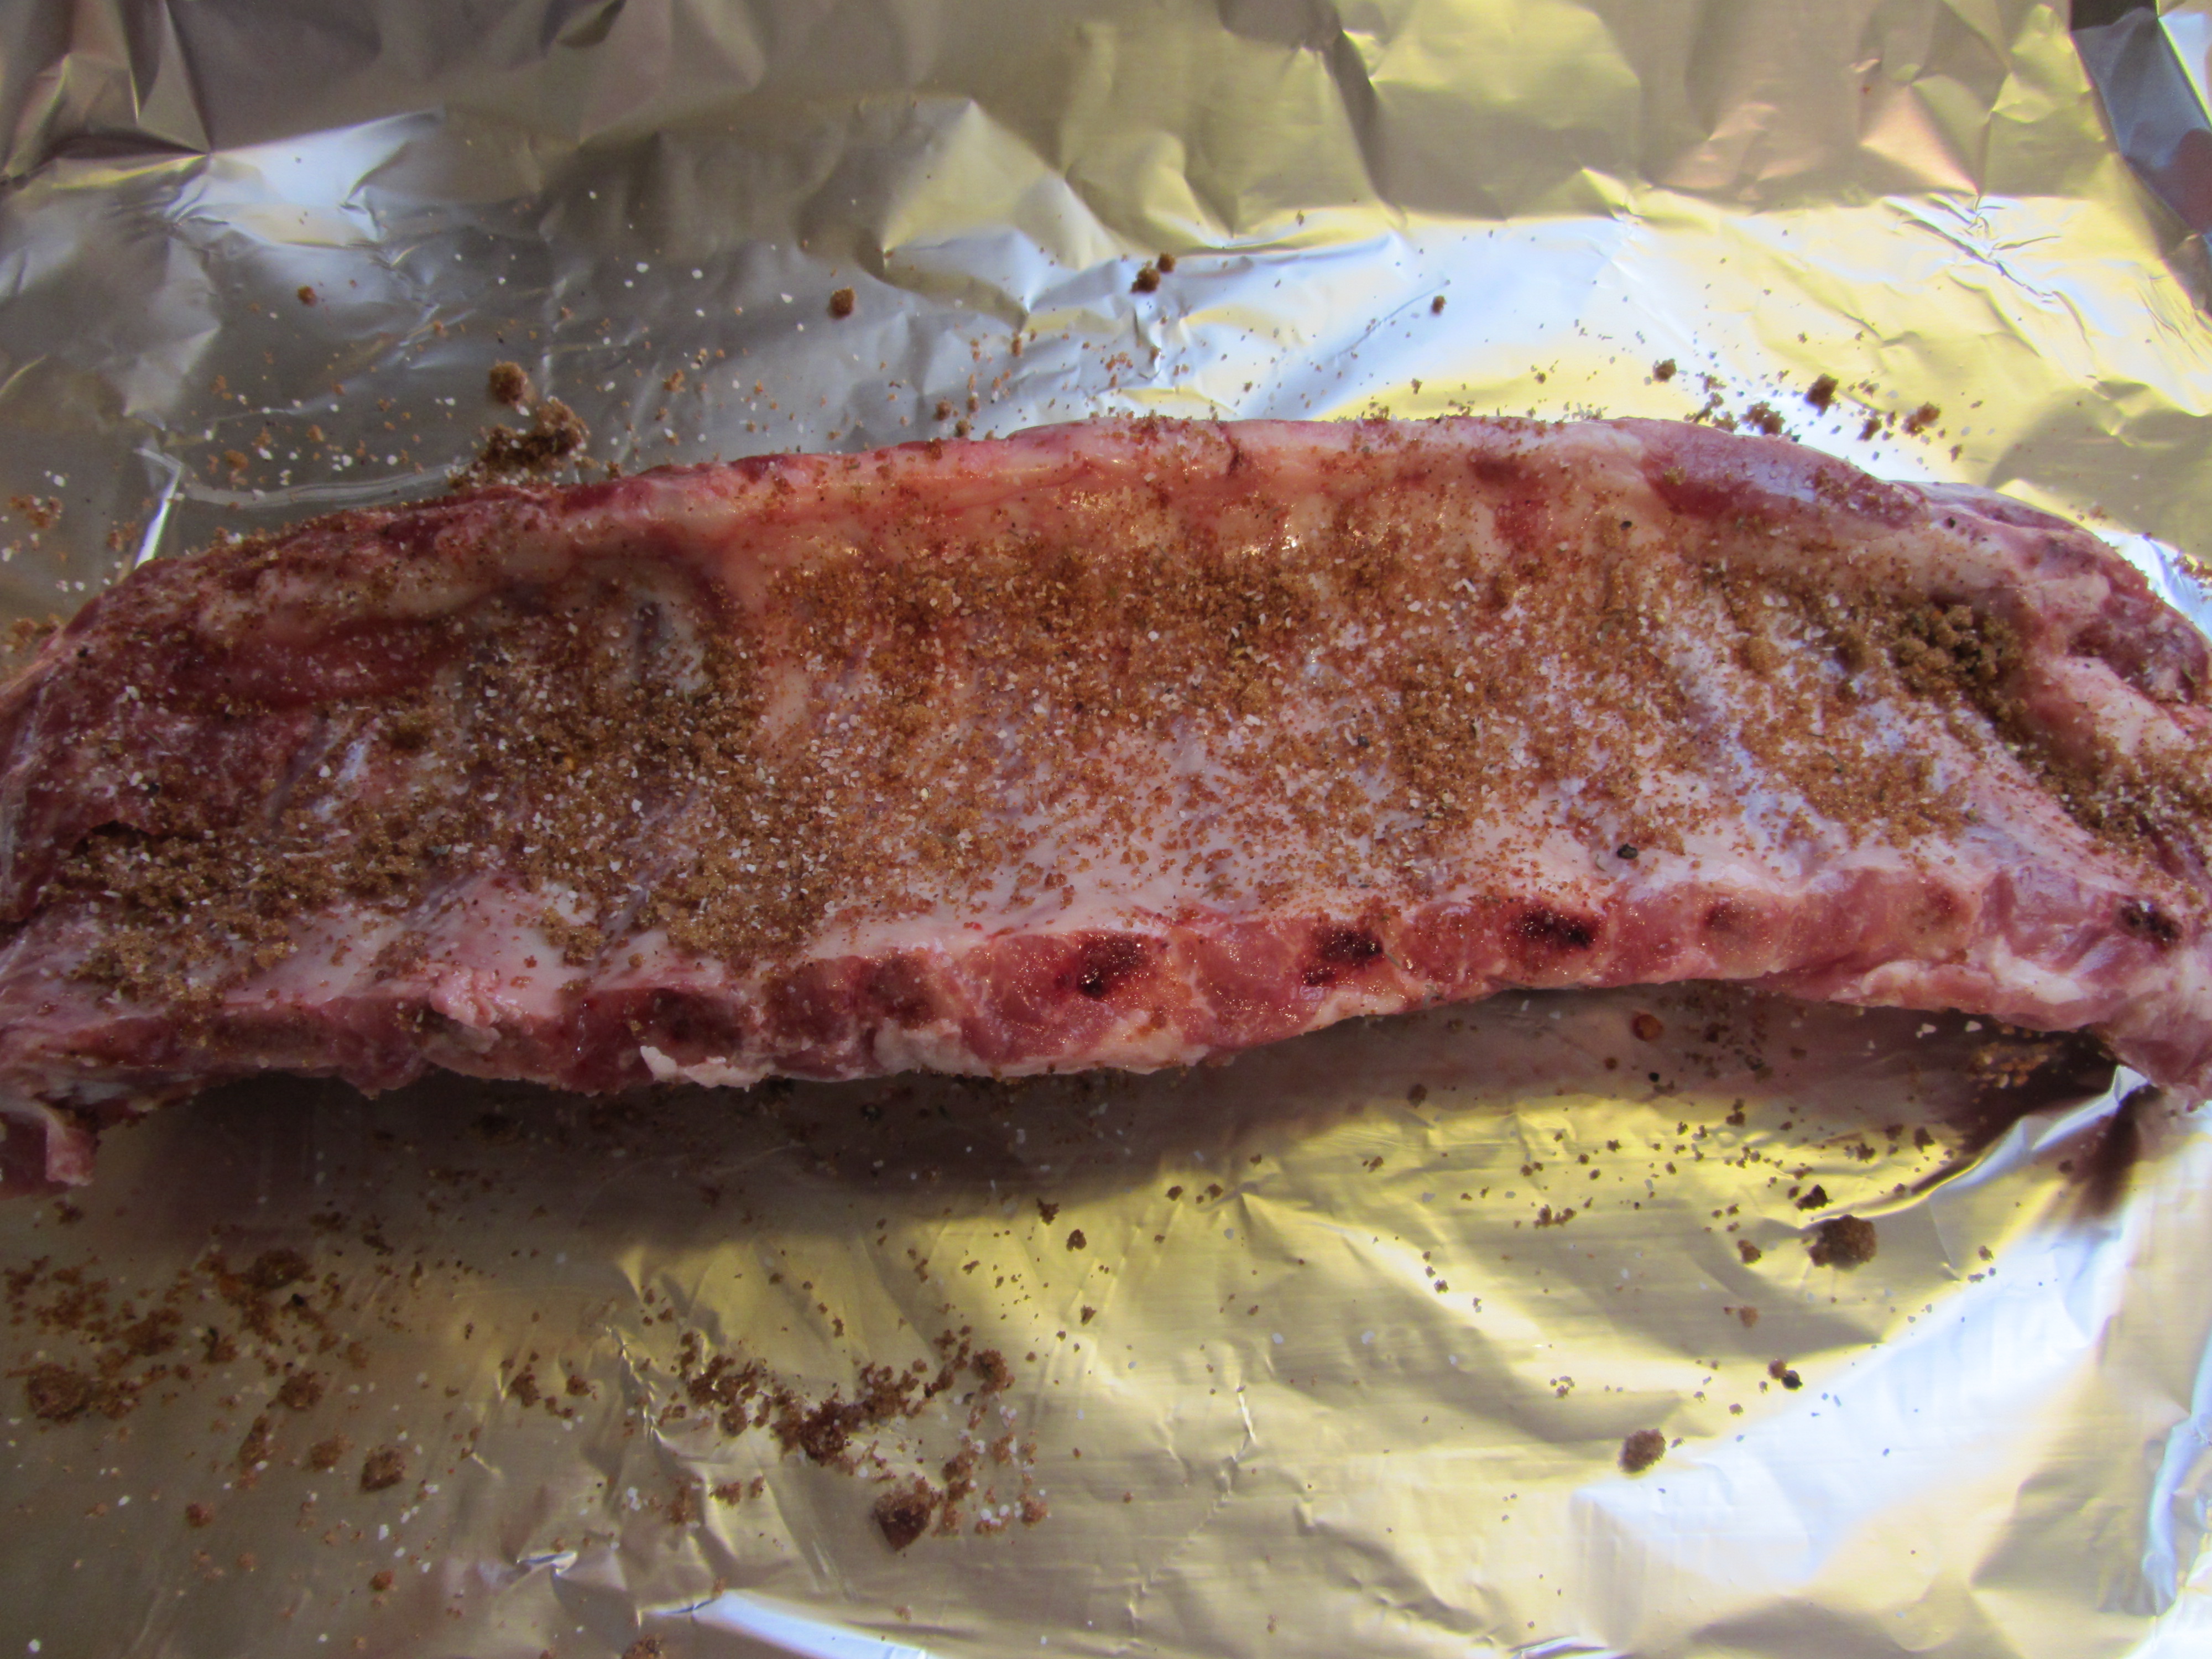
Flipped ribs with some rub on concave side.
Note: you will not use all of the rub. Once the ribs are coated with rub, fold the foil over the ribs and roll up the ends.
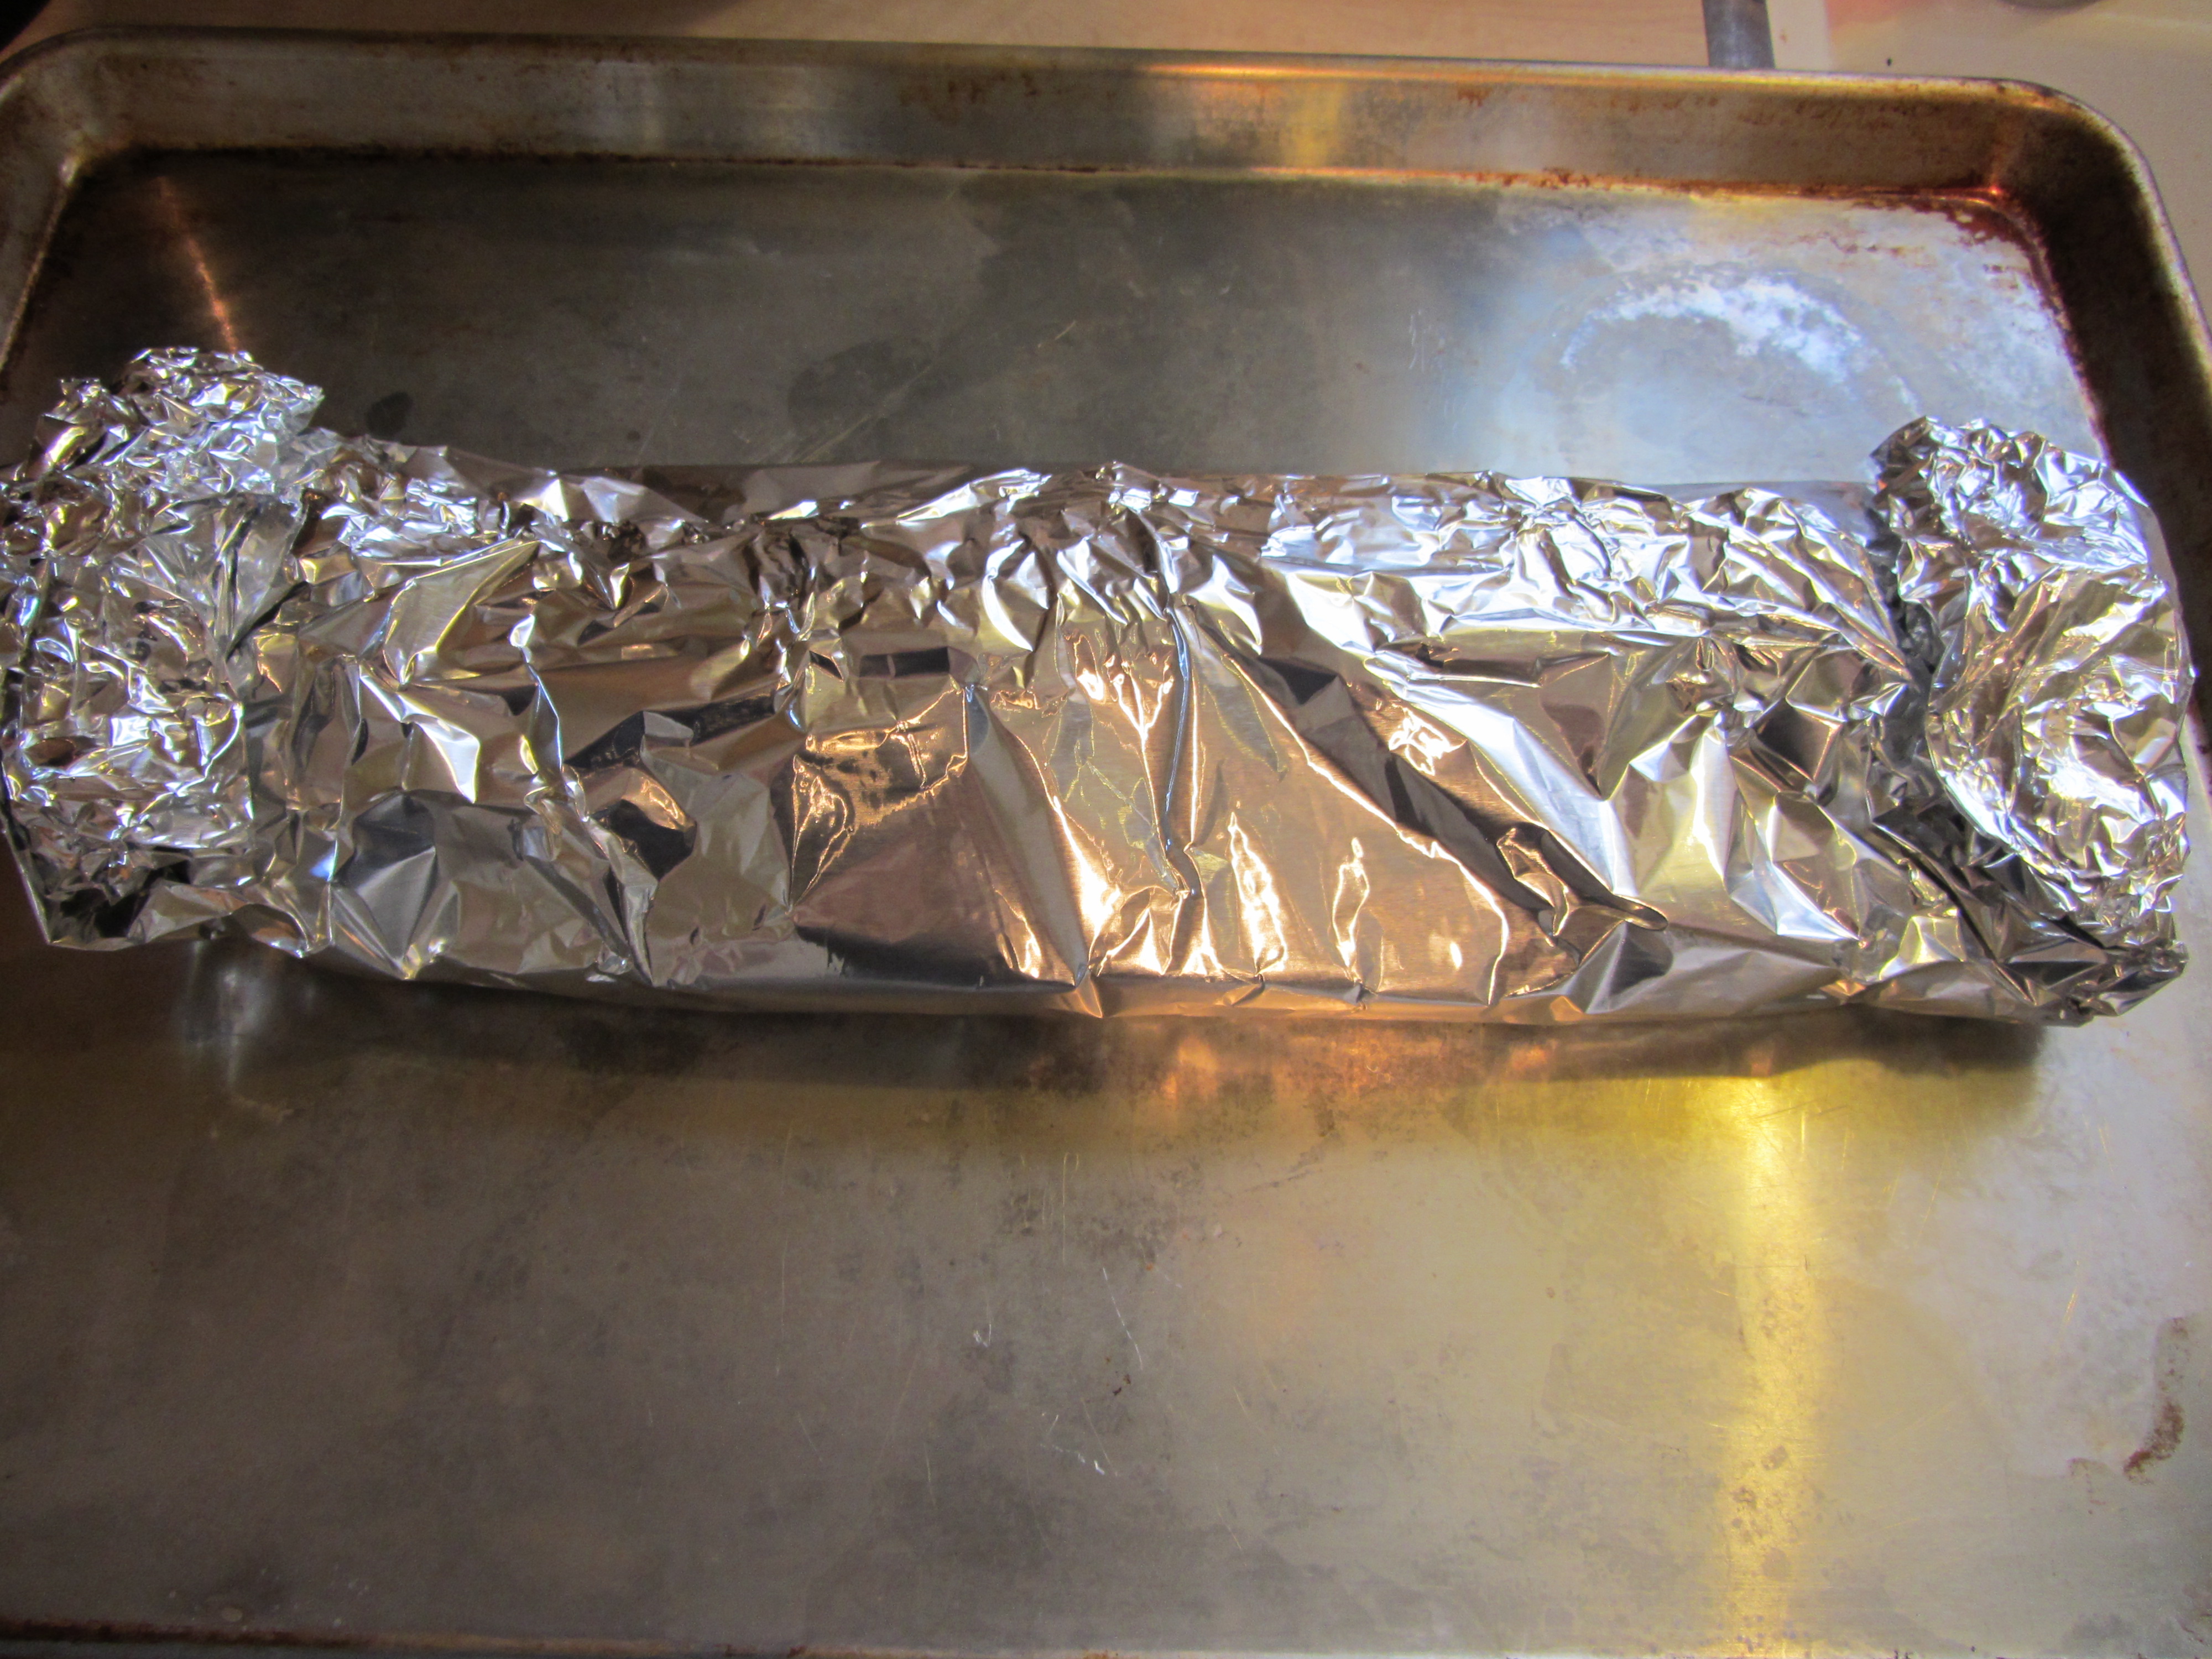
Rolled up packet of ribs.
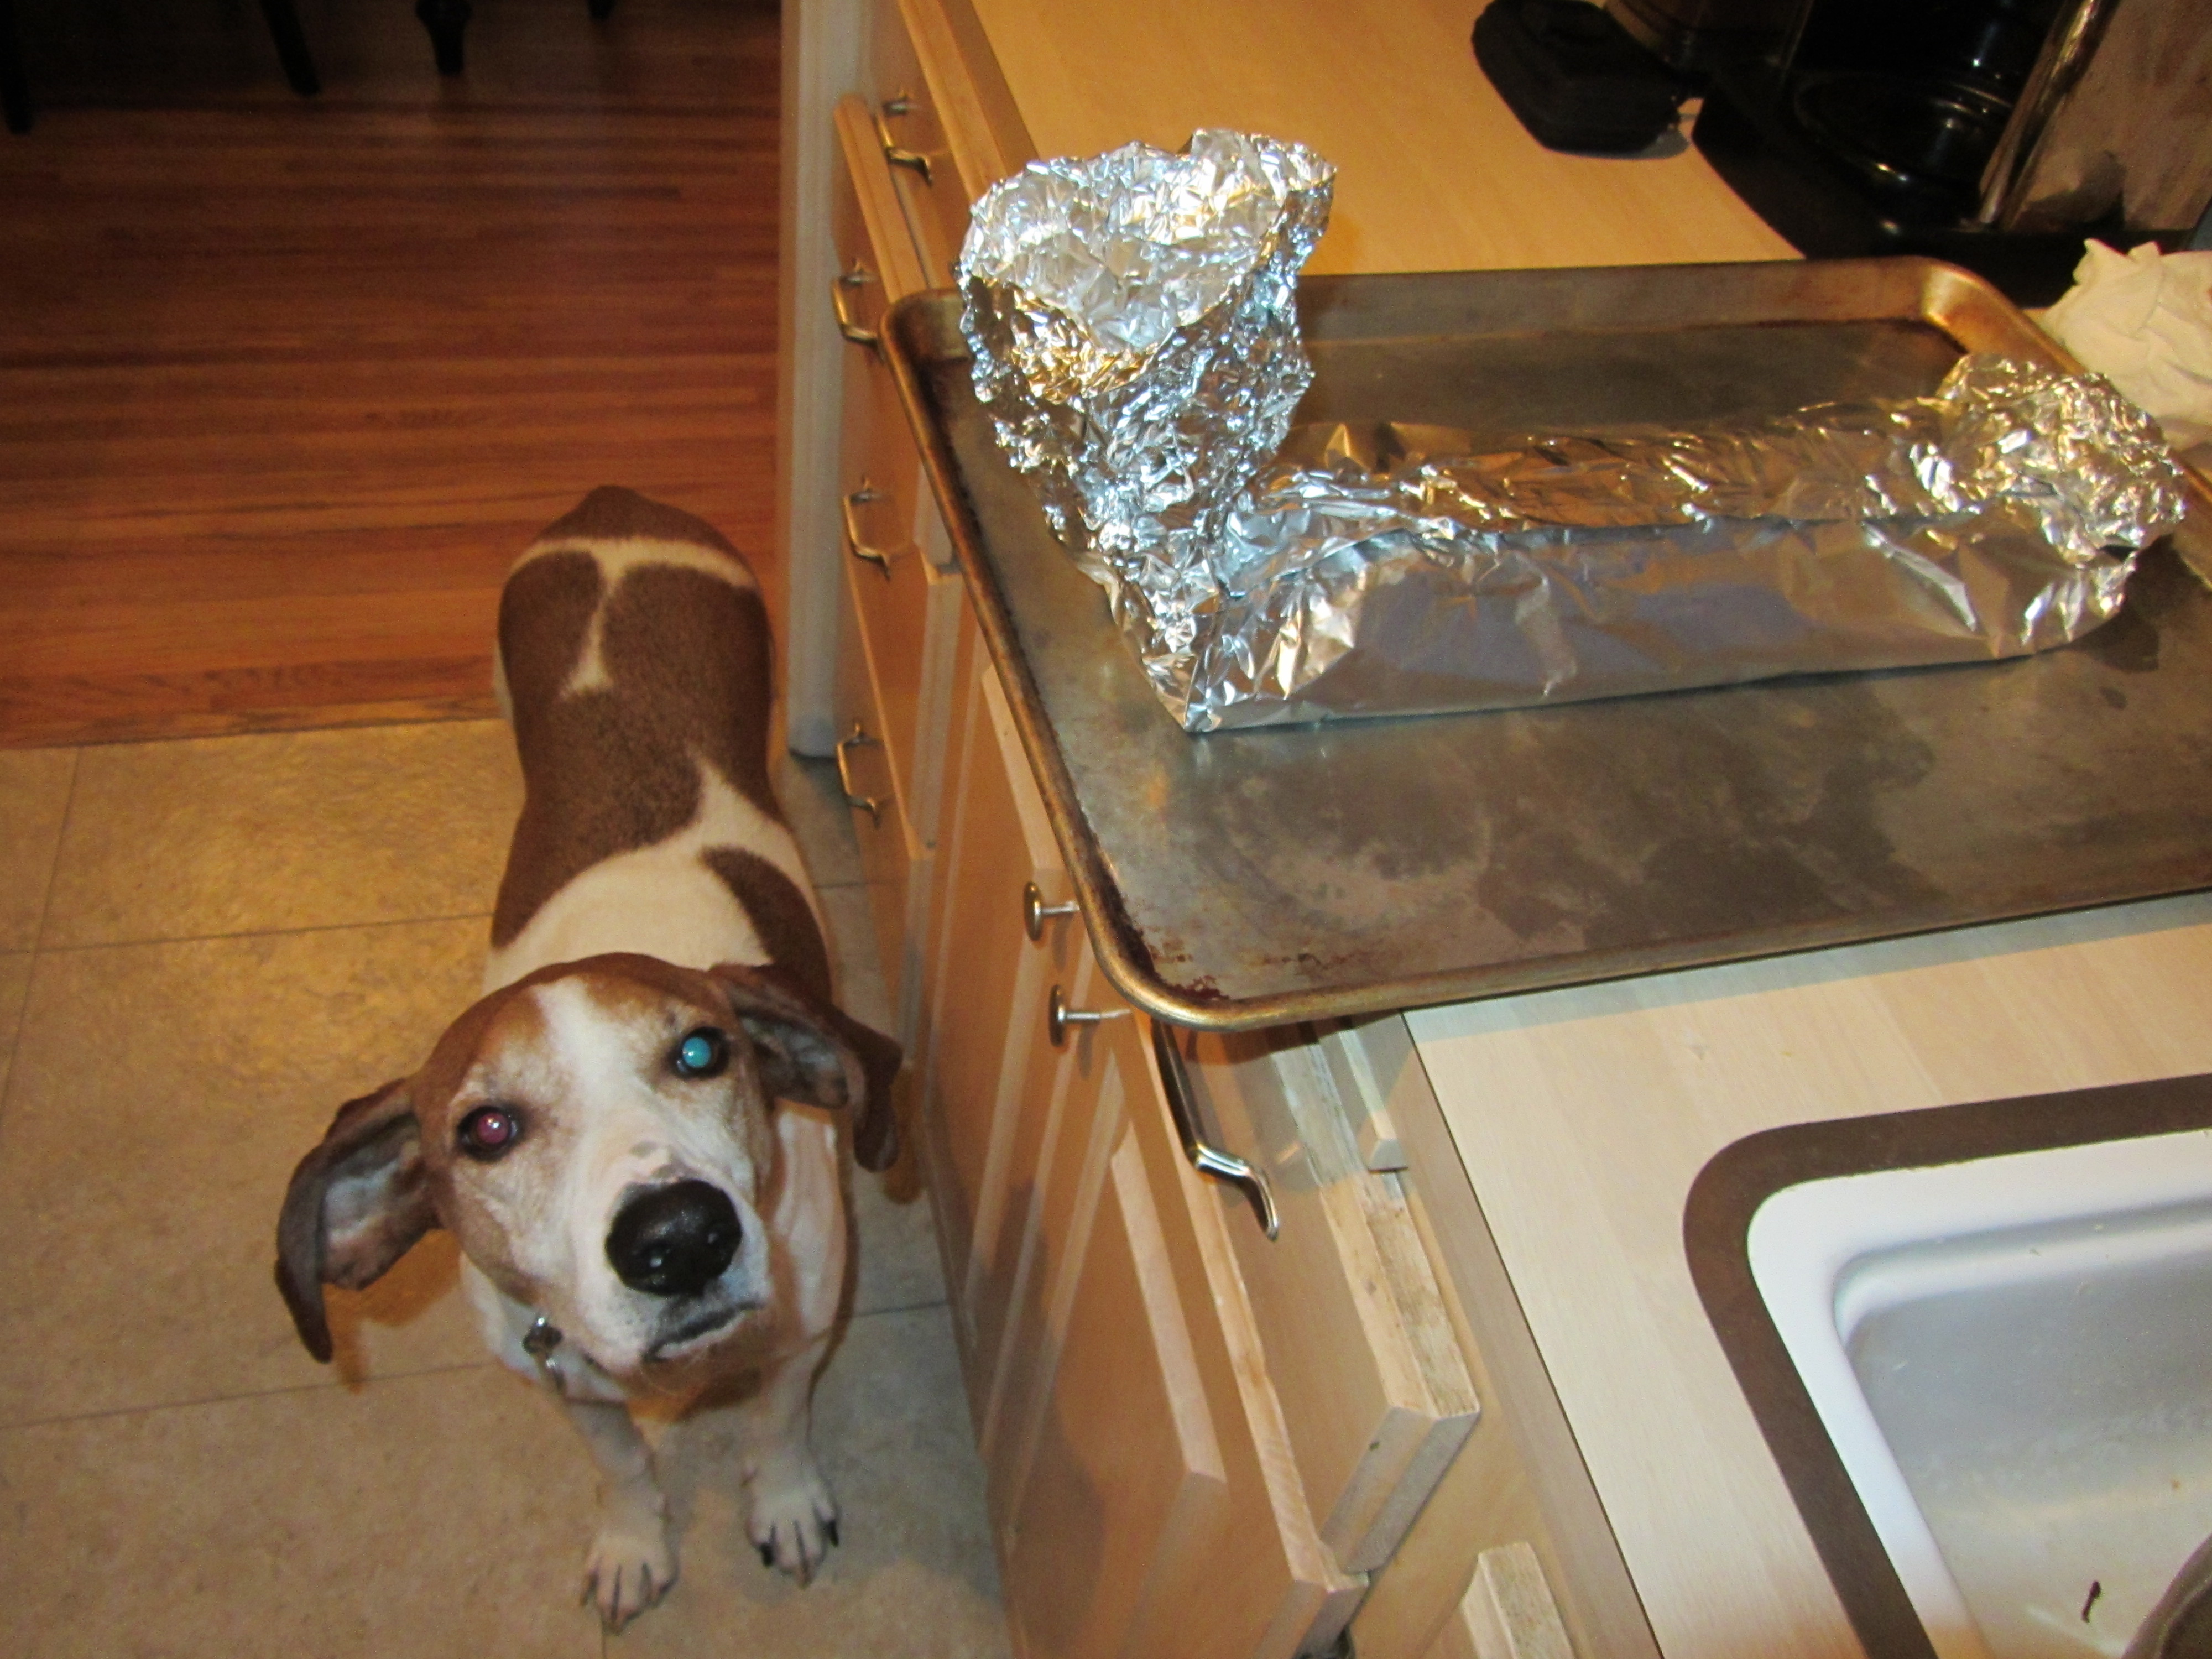
Stick the foil packet(s) in the refrigerator for at least an hour, and preferably overnight. I refrigerated my ribs for about three hours. You will want to put the packets on a baking sheet. When you are ready to cook your ribs, it is time to make the braising liquid. When braising, you only use enough liquid to keep the meat moist. Alton explains that his braising liquid is a combination of acidity, salinity, and sweetness. For the acidity, he uses white wine and white wine vinegar. Worcestershire sauce gives the liquid its salinity, while the sweetness comes from honey. Oh, and you add some garlic, which Alton says needs no reason.

Braising liquid ingredients: white wine, white wine vinegar, Worcestershire sauce, honey, and garlic.
Braising liquid.
The braising liquid goes into the microwave for a minute or so until everything is dissolved, and then you pour it into one end of your rib packet, using the foil like a funnel, and lightly tilting the pan to let the liquid run through the foil packet.
Using the foil like a funnel for the braising liquid.
You close the foil packet back up, and it goes into a 225-degree oven for 2.5 hours. Alton stresses that you do not want to try to speed up this process, as slow cooking is critical. It is also a good idea to check the temperature of your oven. I checked my oven temperature with the new infrared thermometer I got for Christmas. To check for doneness, open the rib packet and twist a rib toward the middle of the slab; if it slightly rotates, the ribs are done. My one slab of ribs was done after 2.5 hours.

After 2.5 hours in the oven.
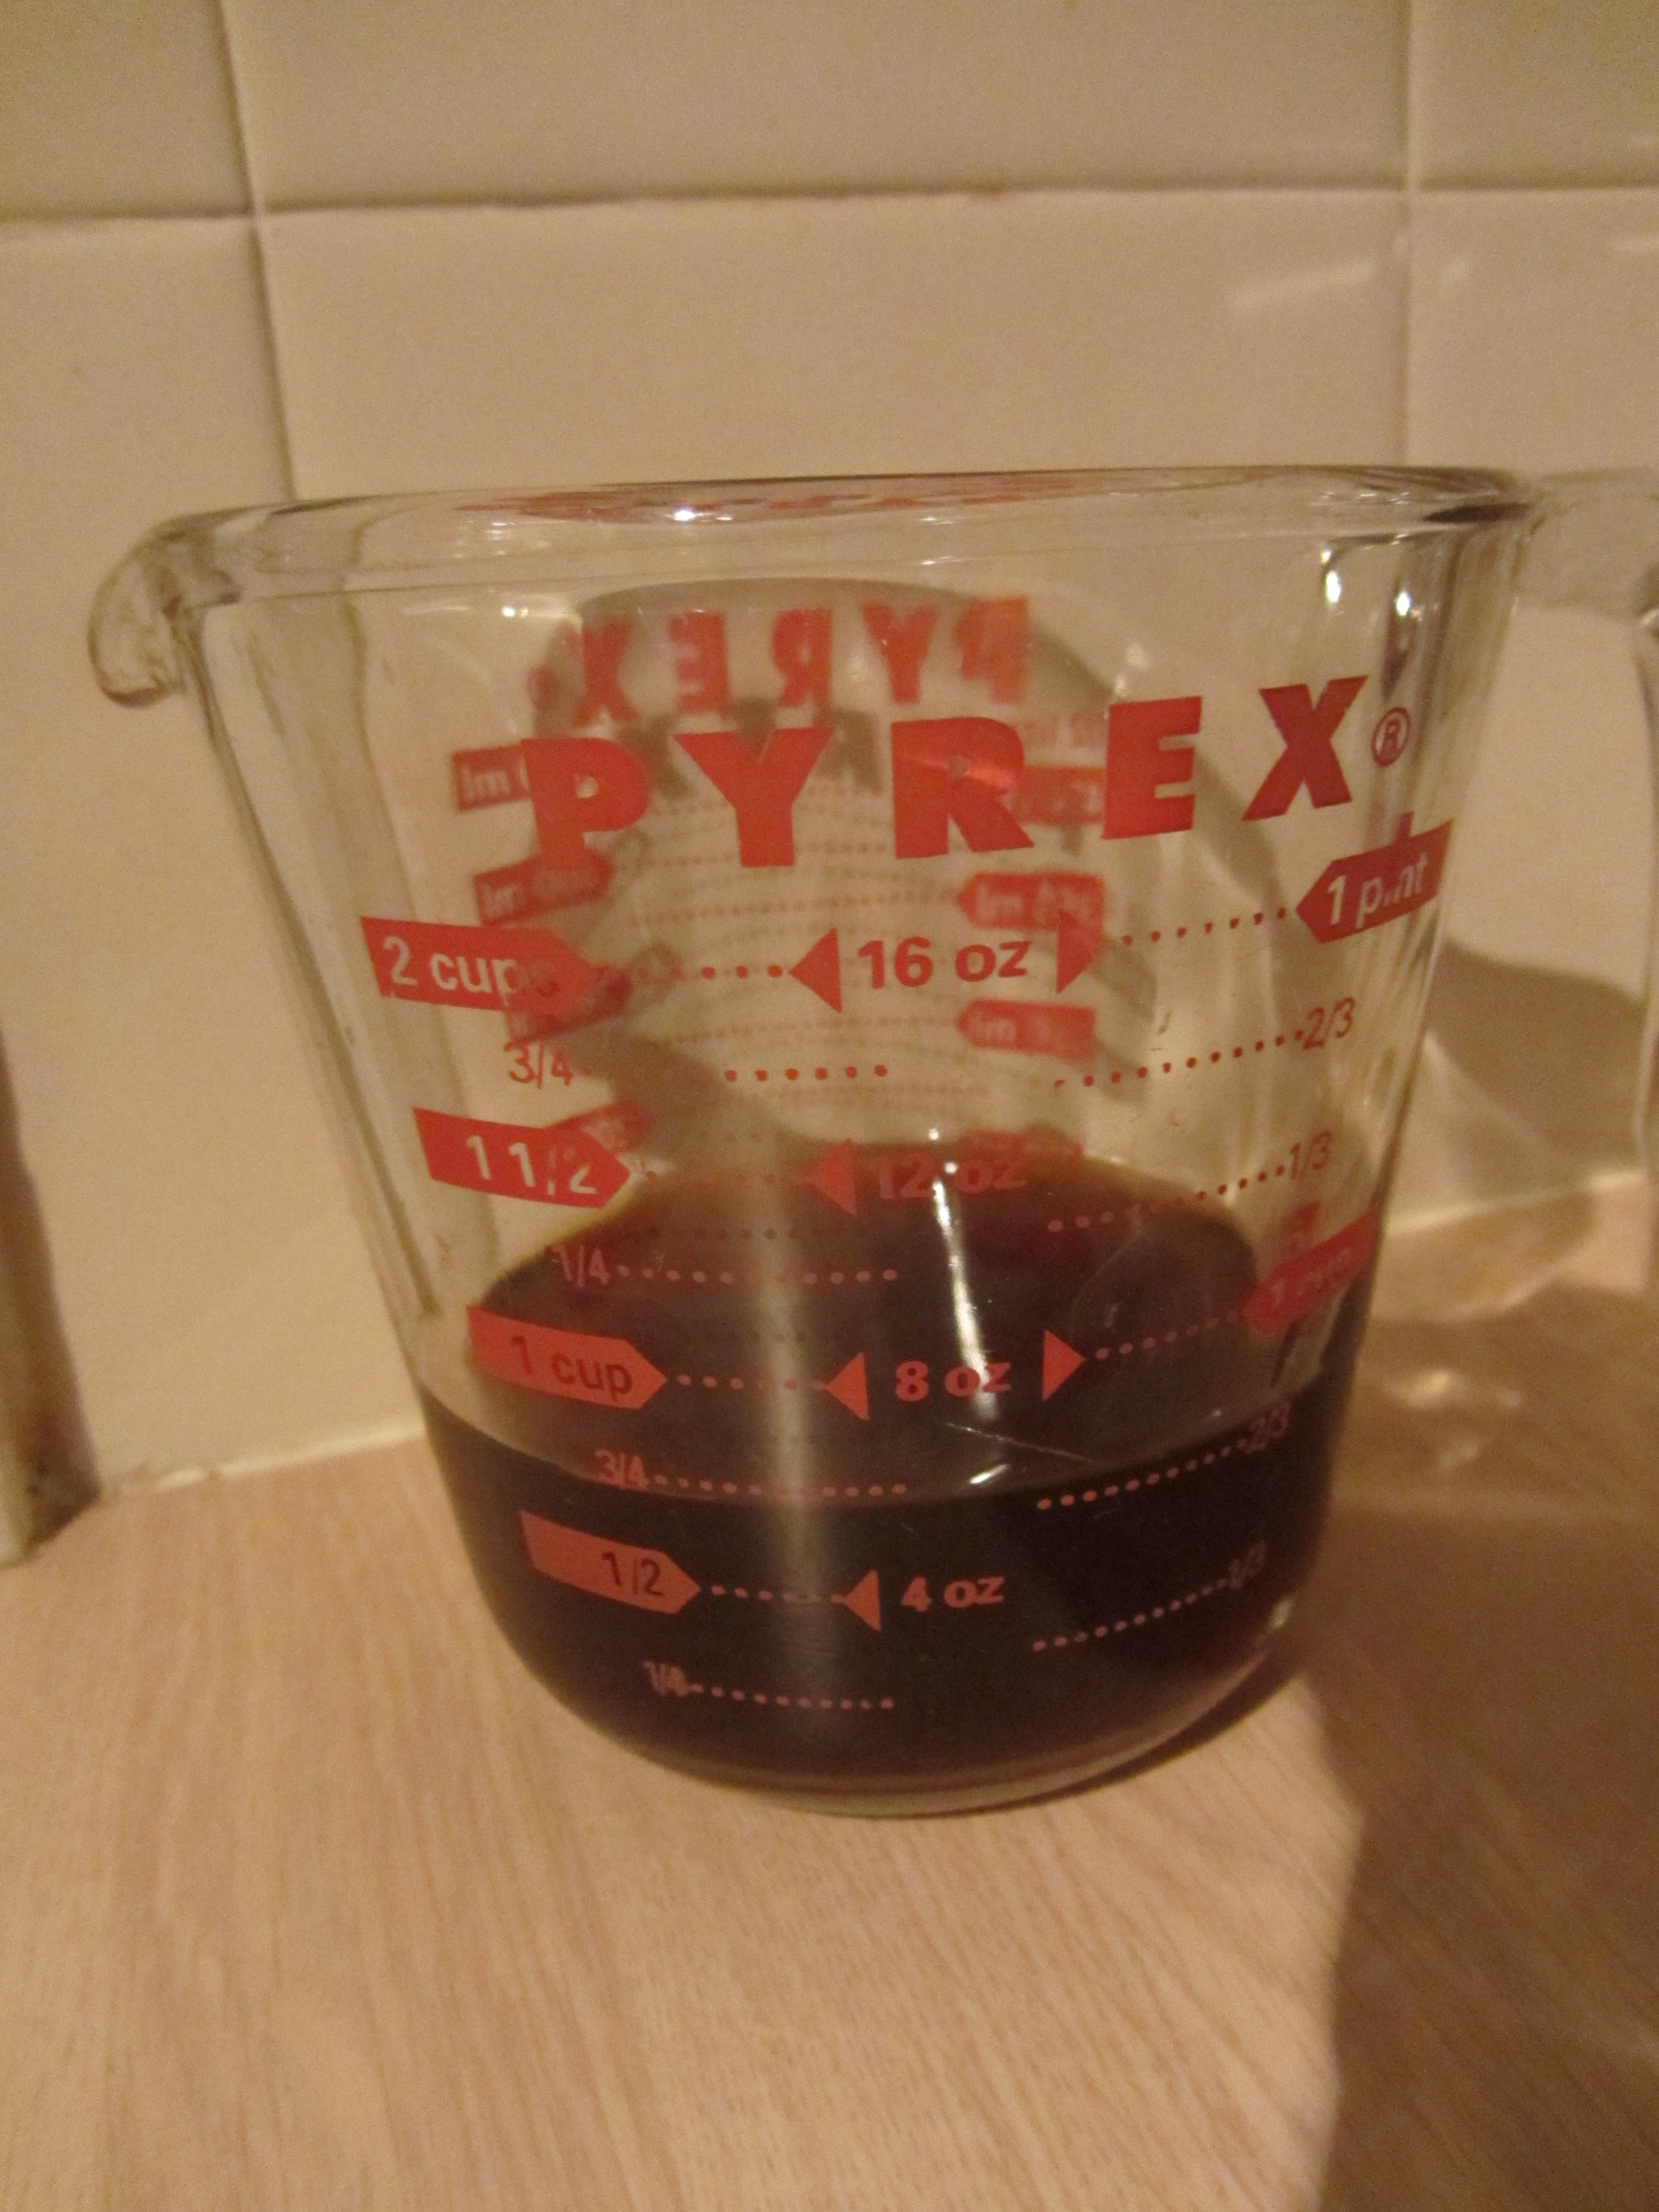
When the ribs are done, it is time to make the sauce. To do this, lay the rib packet over a large sauce pan and cut the foil to release the juice into the pan. I ended up with a pretty large volume of juice, and mine had a fair amount of visible fat.
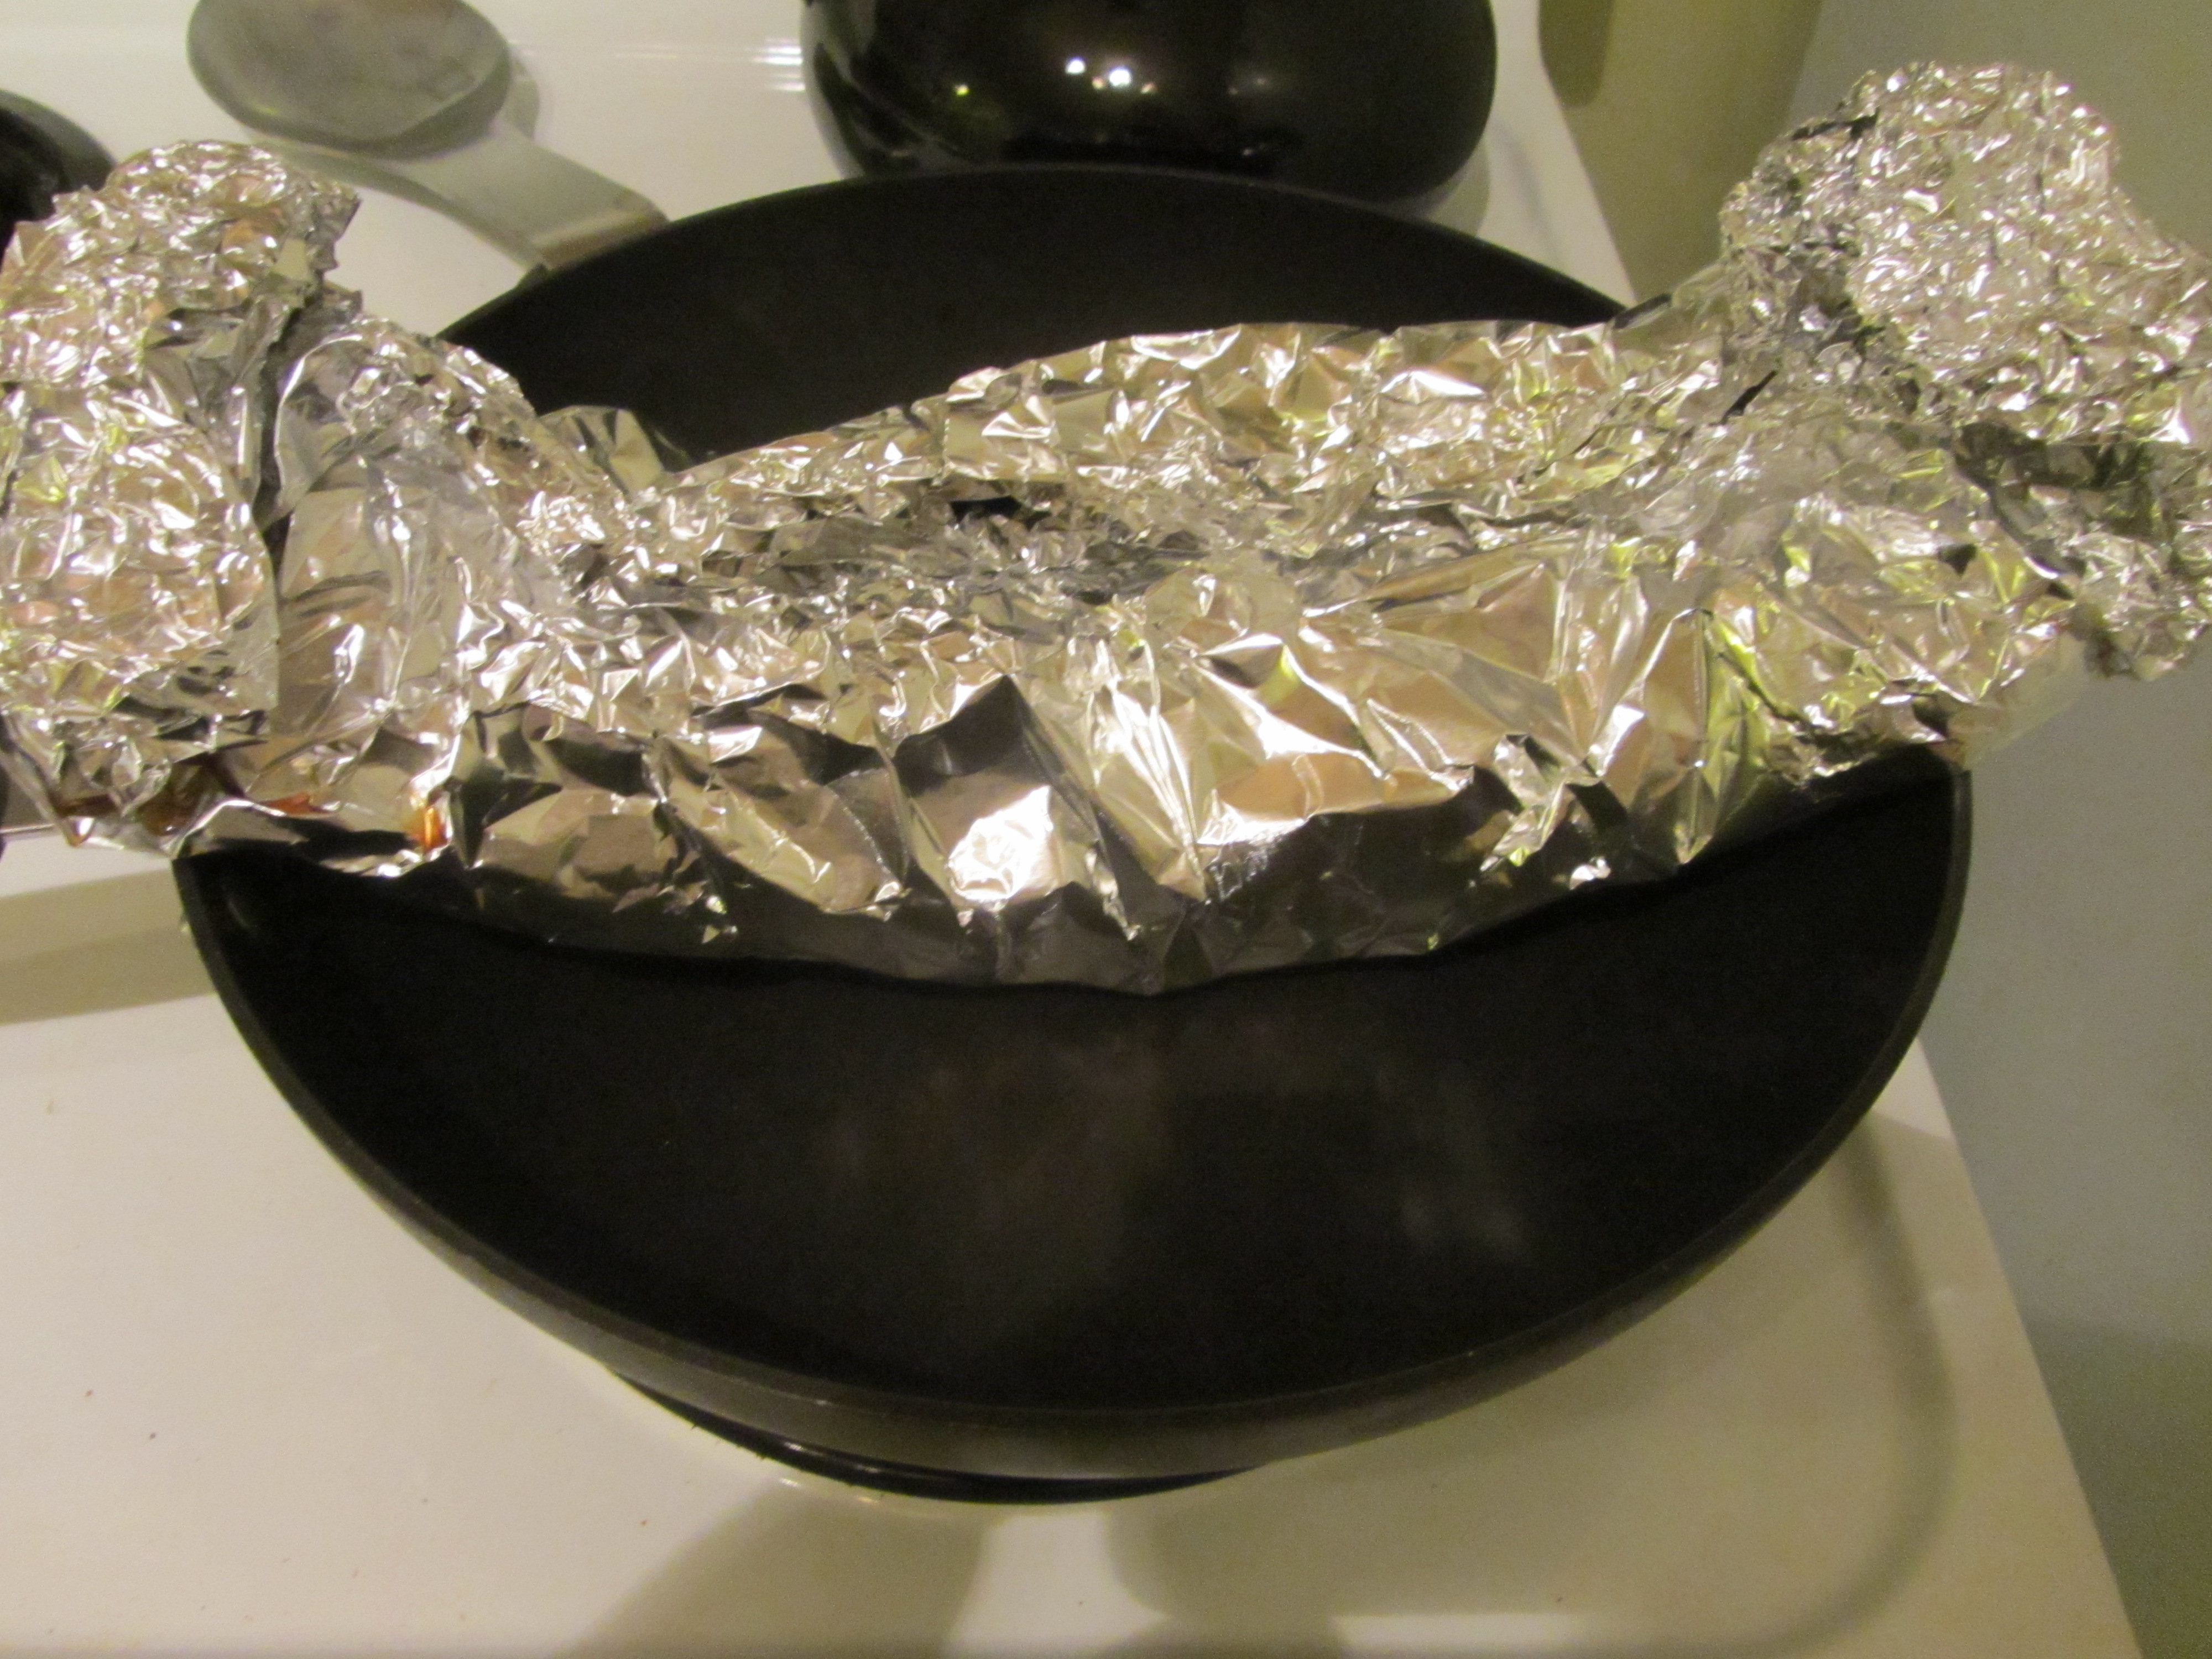
Placing ribs over pan to cut packet and get sauce.
Sauce before reduction.
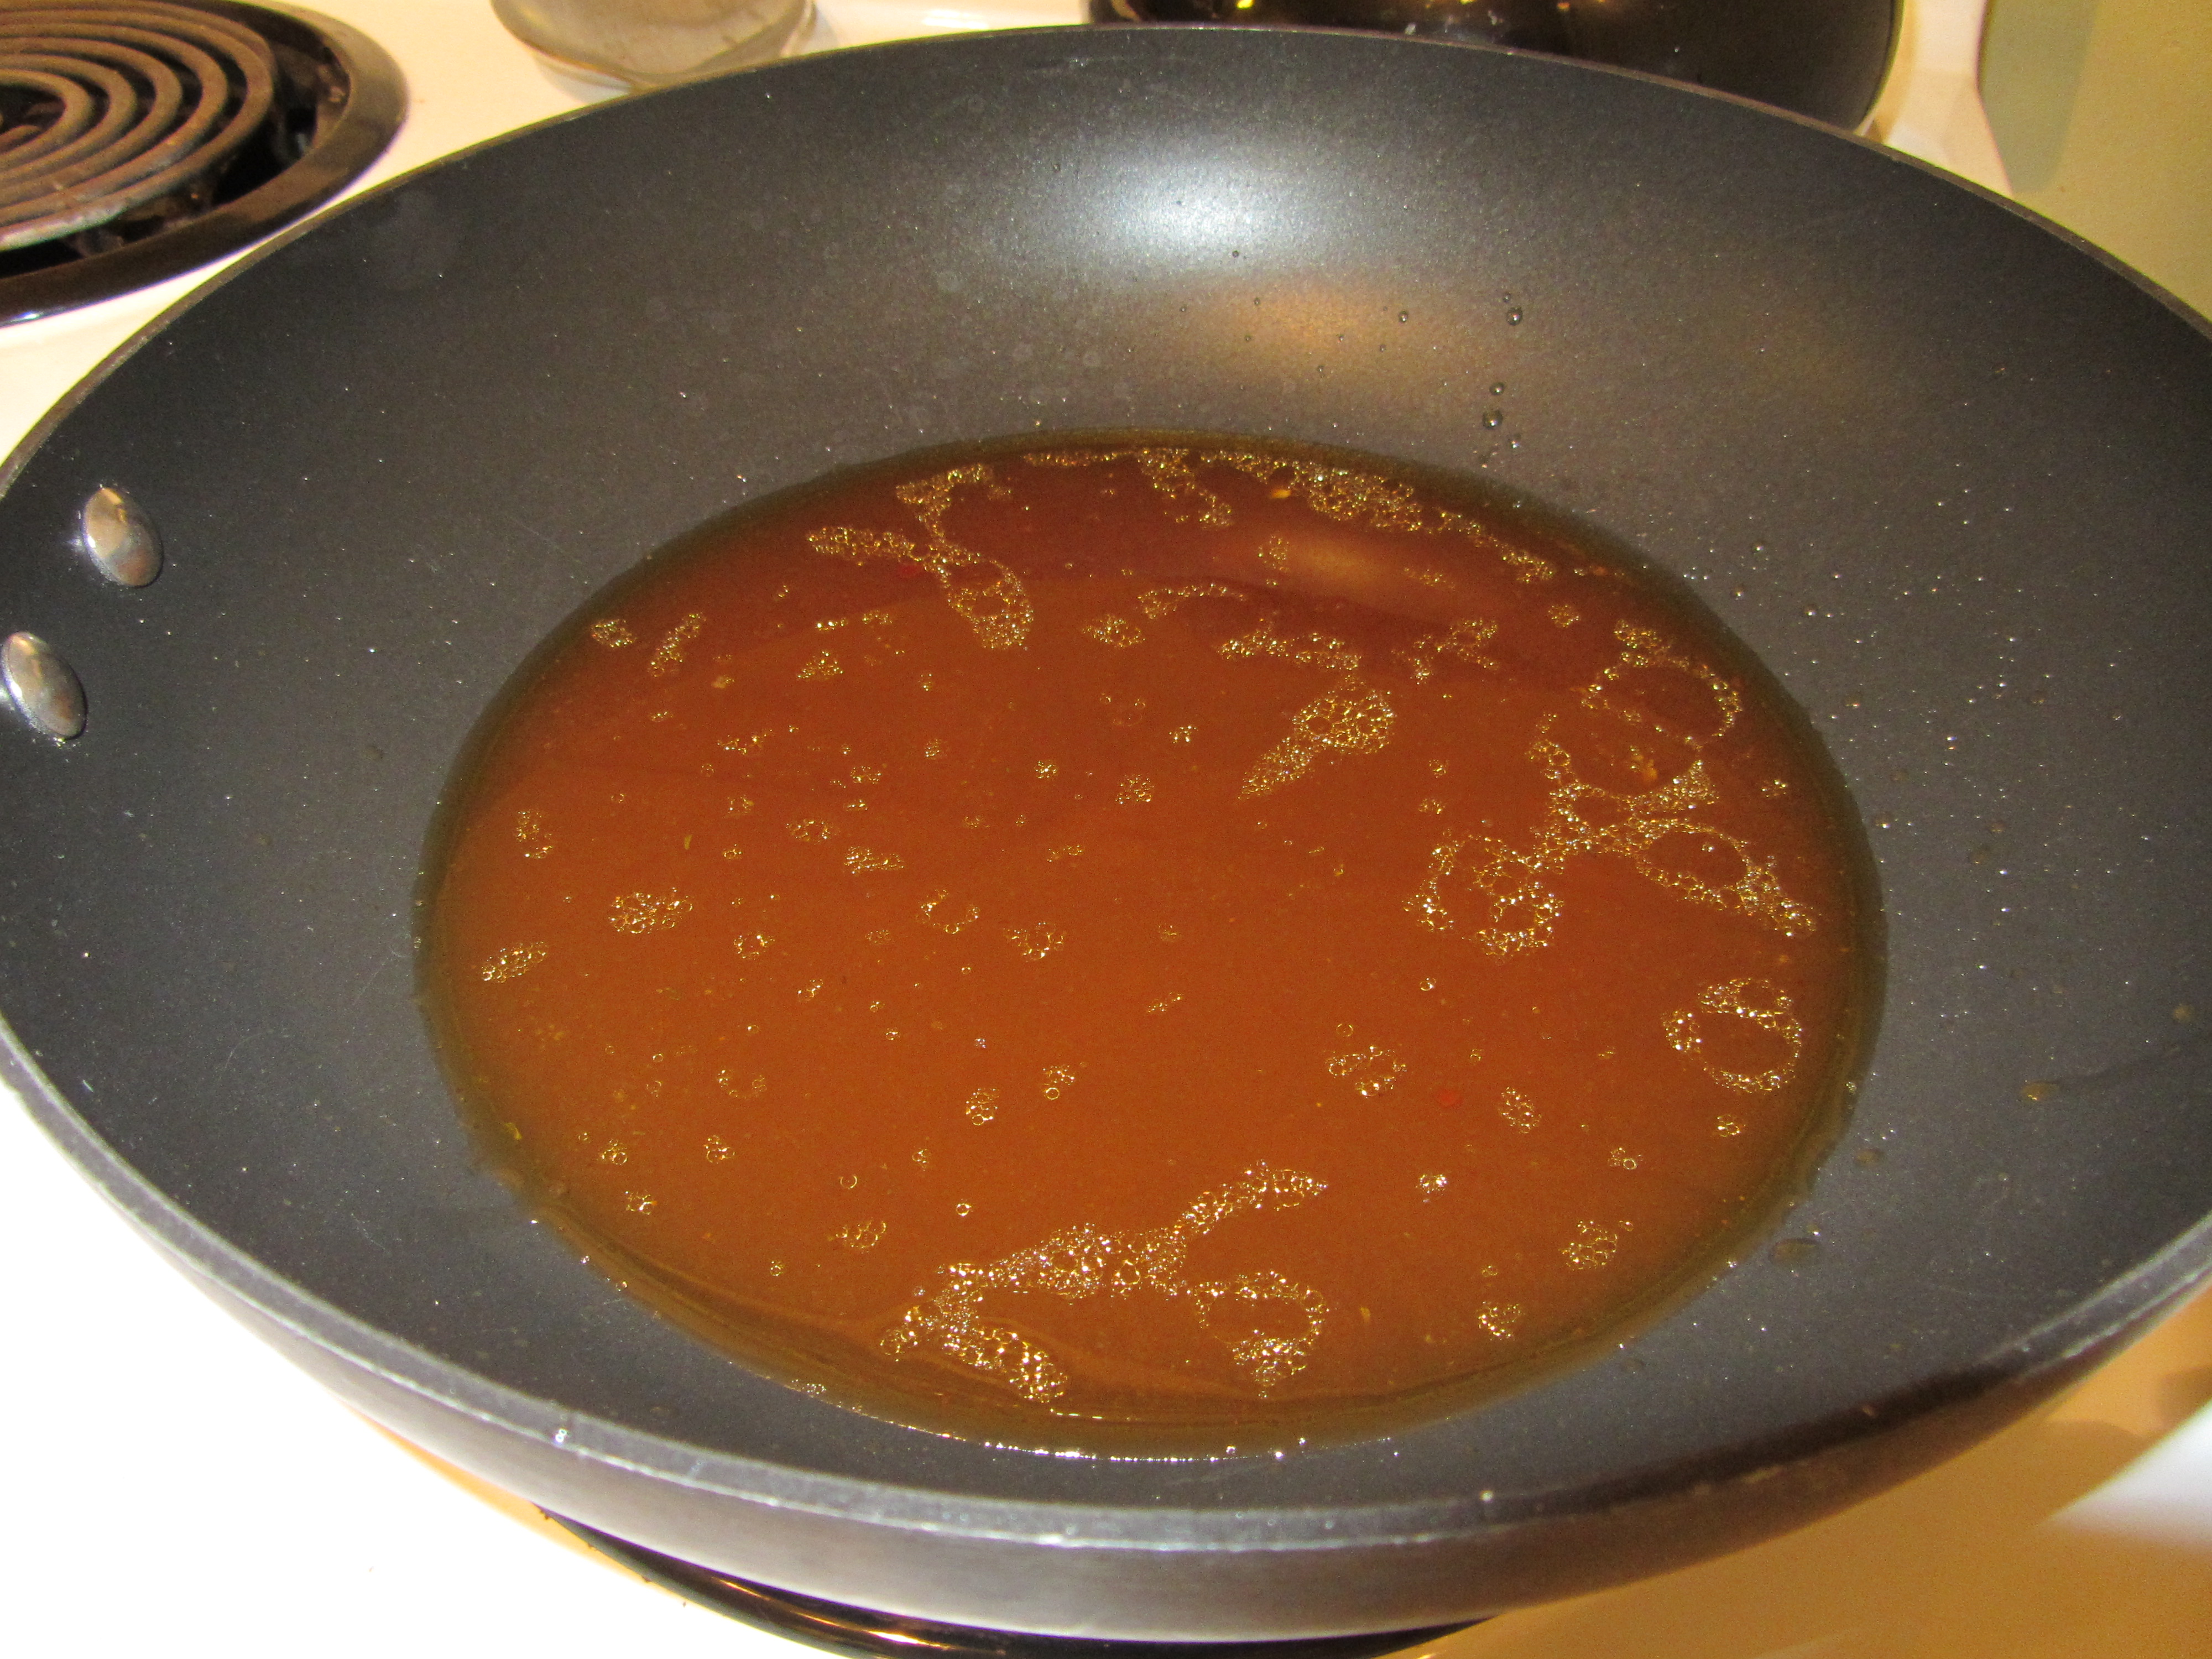
Heat the juice over high heat, letting it reduce until it is the consistency of barbecue sauce. Alton says this will take 5-10 minutes, but my sauce took a bit longer to reduce.

Sauce after reduction.
When the sauce is done, fold back the foil surrounding the ribs and paint them liberally with the sauce. You will have extra sauce.

Ribs ready for sauce.

Ribs with sauce painted on.
Keeping the saucy ribs exposed, stick them under the broiler, watching them carefully because they can easily burn. My ribs were under the broiler for maybe a minute before the sauce started bubbling and caramelizing.

Ribs after broiling.
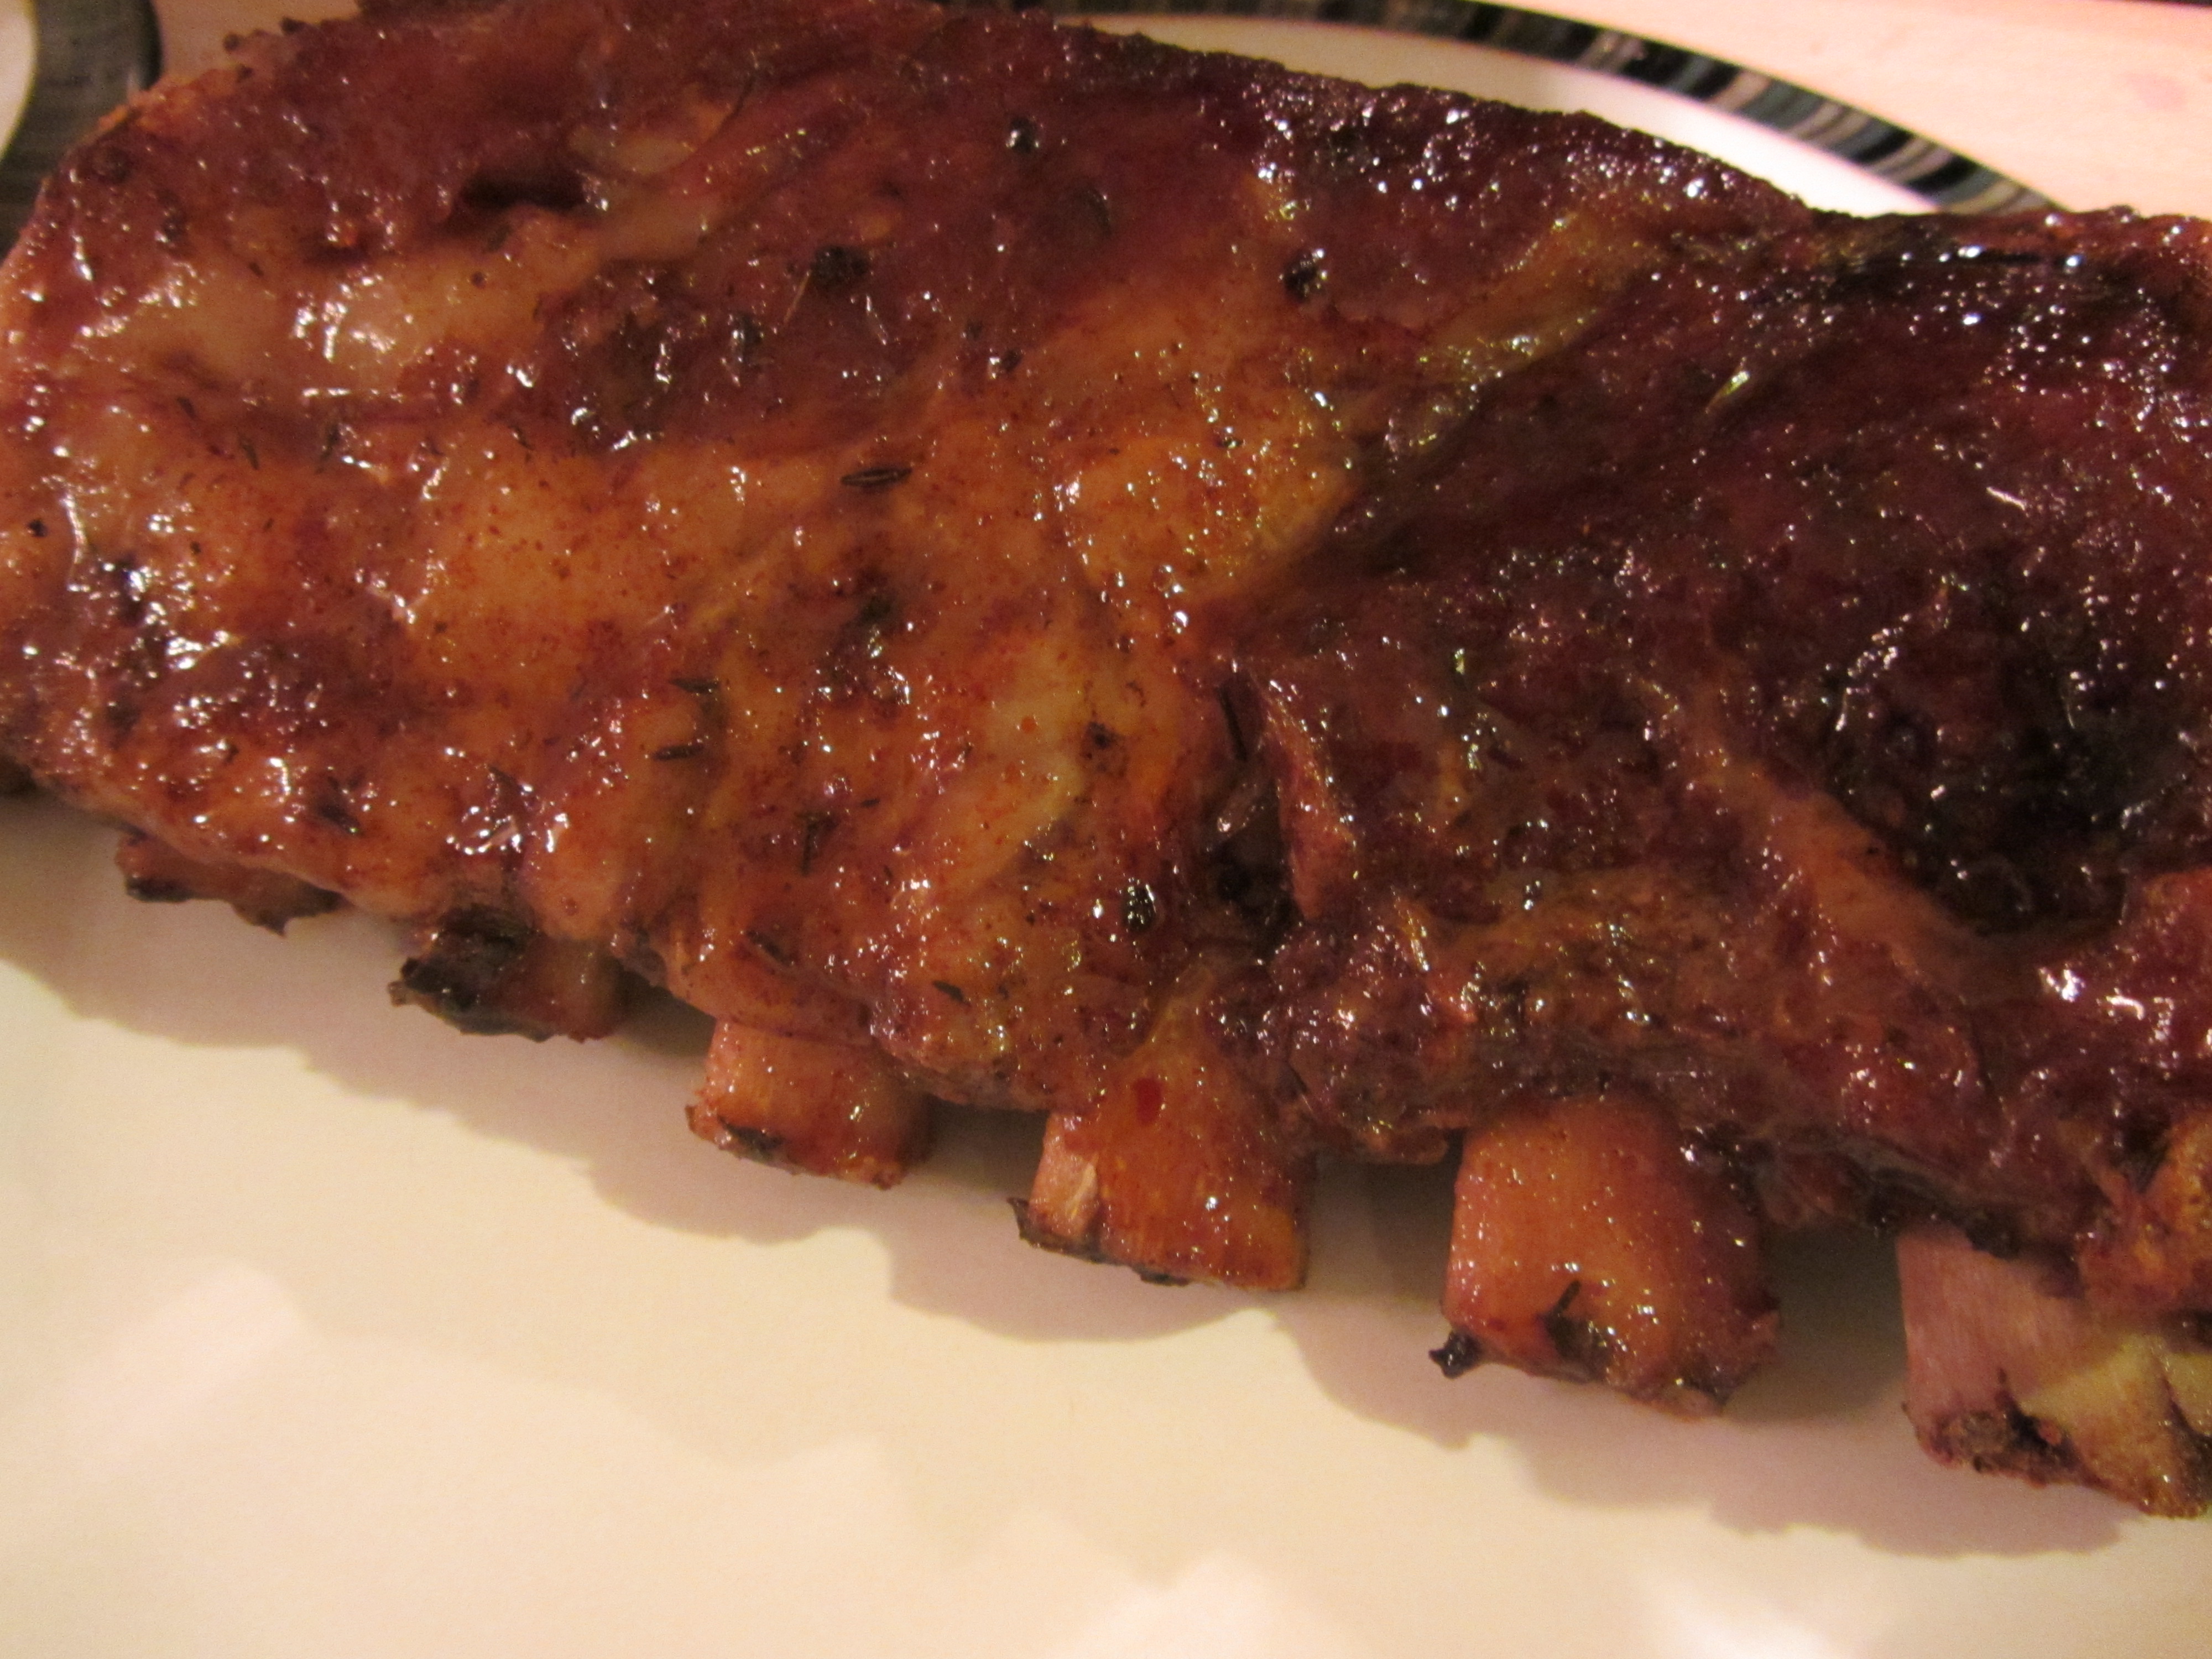
Ribs, ready to eat!
Remove the ribs from the oven and portion them into two-rib portions. Alton says he likes to portion them this way because they are easier to eat. Toss the ribs in a bowl with the extra sauce, and you are ready to eat. We ate our ribs with a side of coleslaw. They were sticky and messy – the way ribs are supposed to be. Ted thought the ribs were great, saying he would definitely make them again. I, not being a rib aficionado, thought the ribs were pretty good, though I found them to be a bit chewy. I wonder if they would be even more tender with a longer cooking period. The flavor of the sauce was great – sweet, slightly tangy, and rich from the fat. If you are a rib person, this is definitely a good recipe, and it is so easy you cannot believe it!
