Posts Tagged ‘crust’

I think baking, and particularly bread making, can be intimidating for those who have little experience with it. However, I also find that baking can be one of the most rewarding culinary escapades. I began making bread at home many years ago, sort of just thrusting myself into the process, and I found that a hands-on approach was the fastest, and best, way to learn. I’ve had some flops over the years, but I’ve also made some really delicious bread and pastries. The 123rd episode of Good Eats takes the viewer through the two-day process of making a homemade loaf of white bread, and I think it is a great introduction to home bread making.

Very Basic Bread

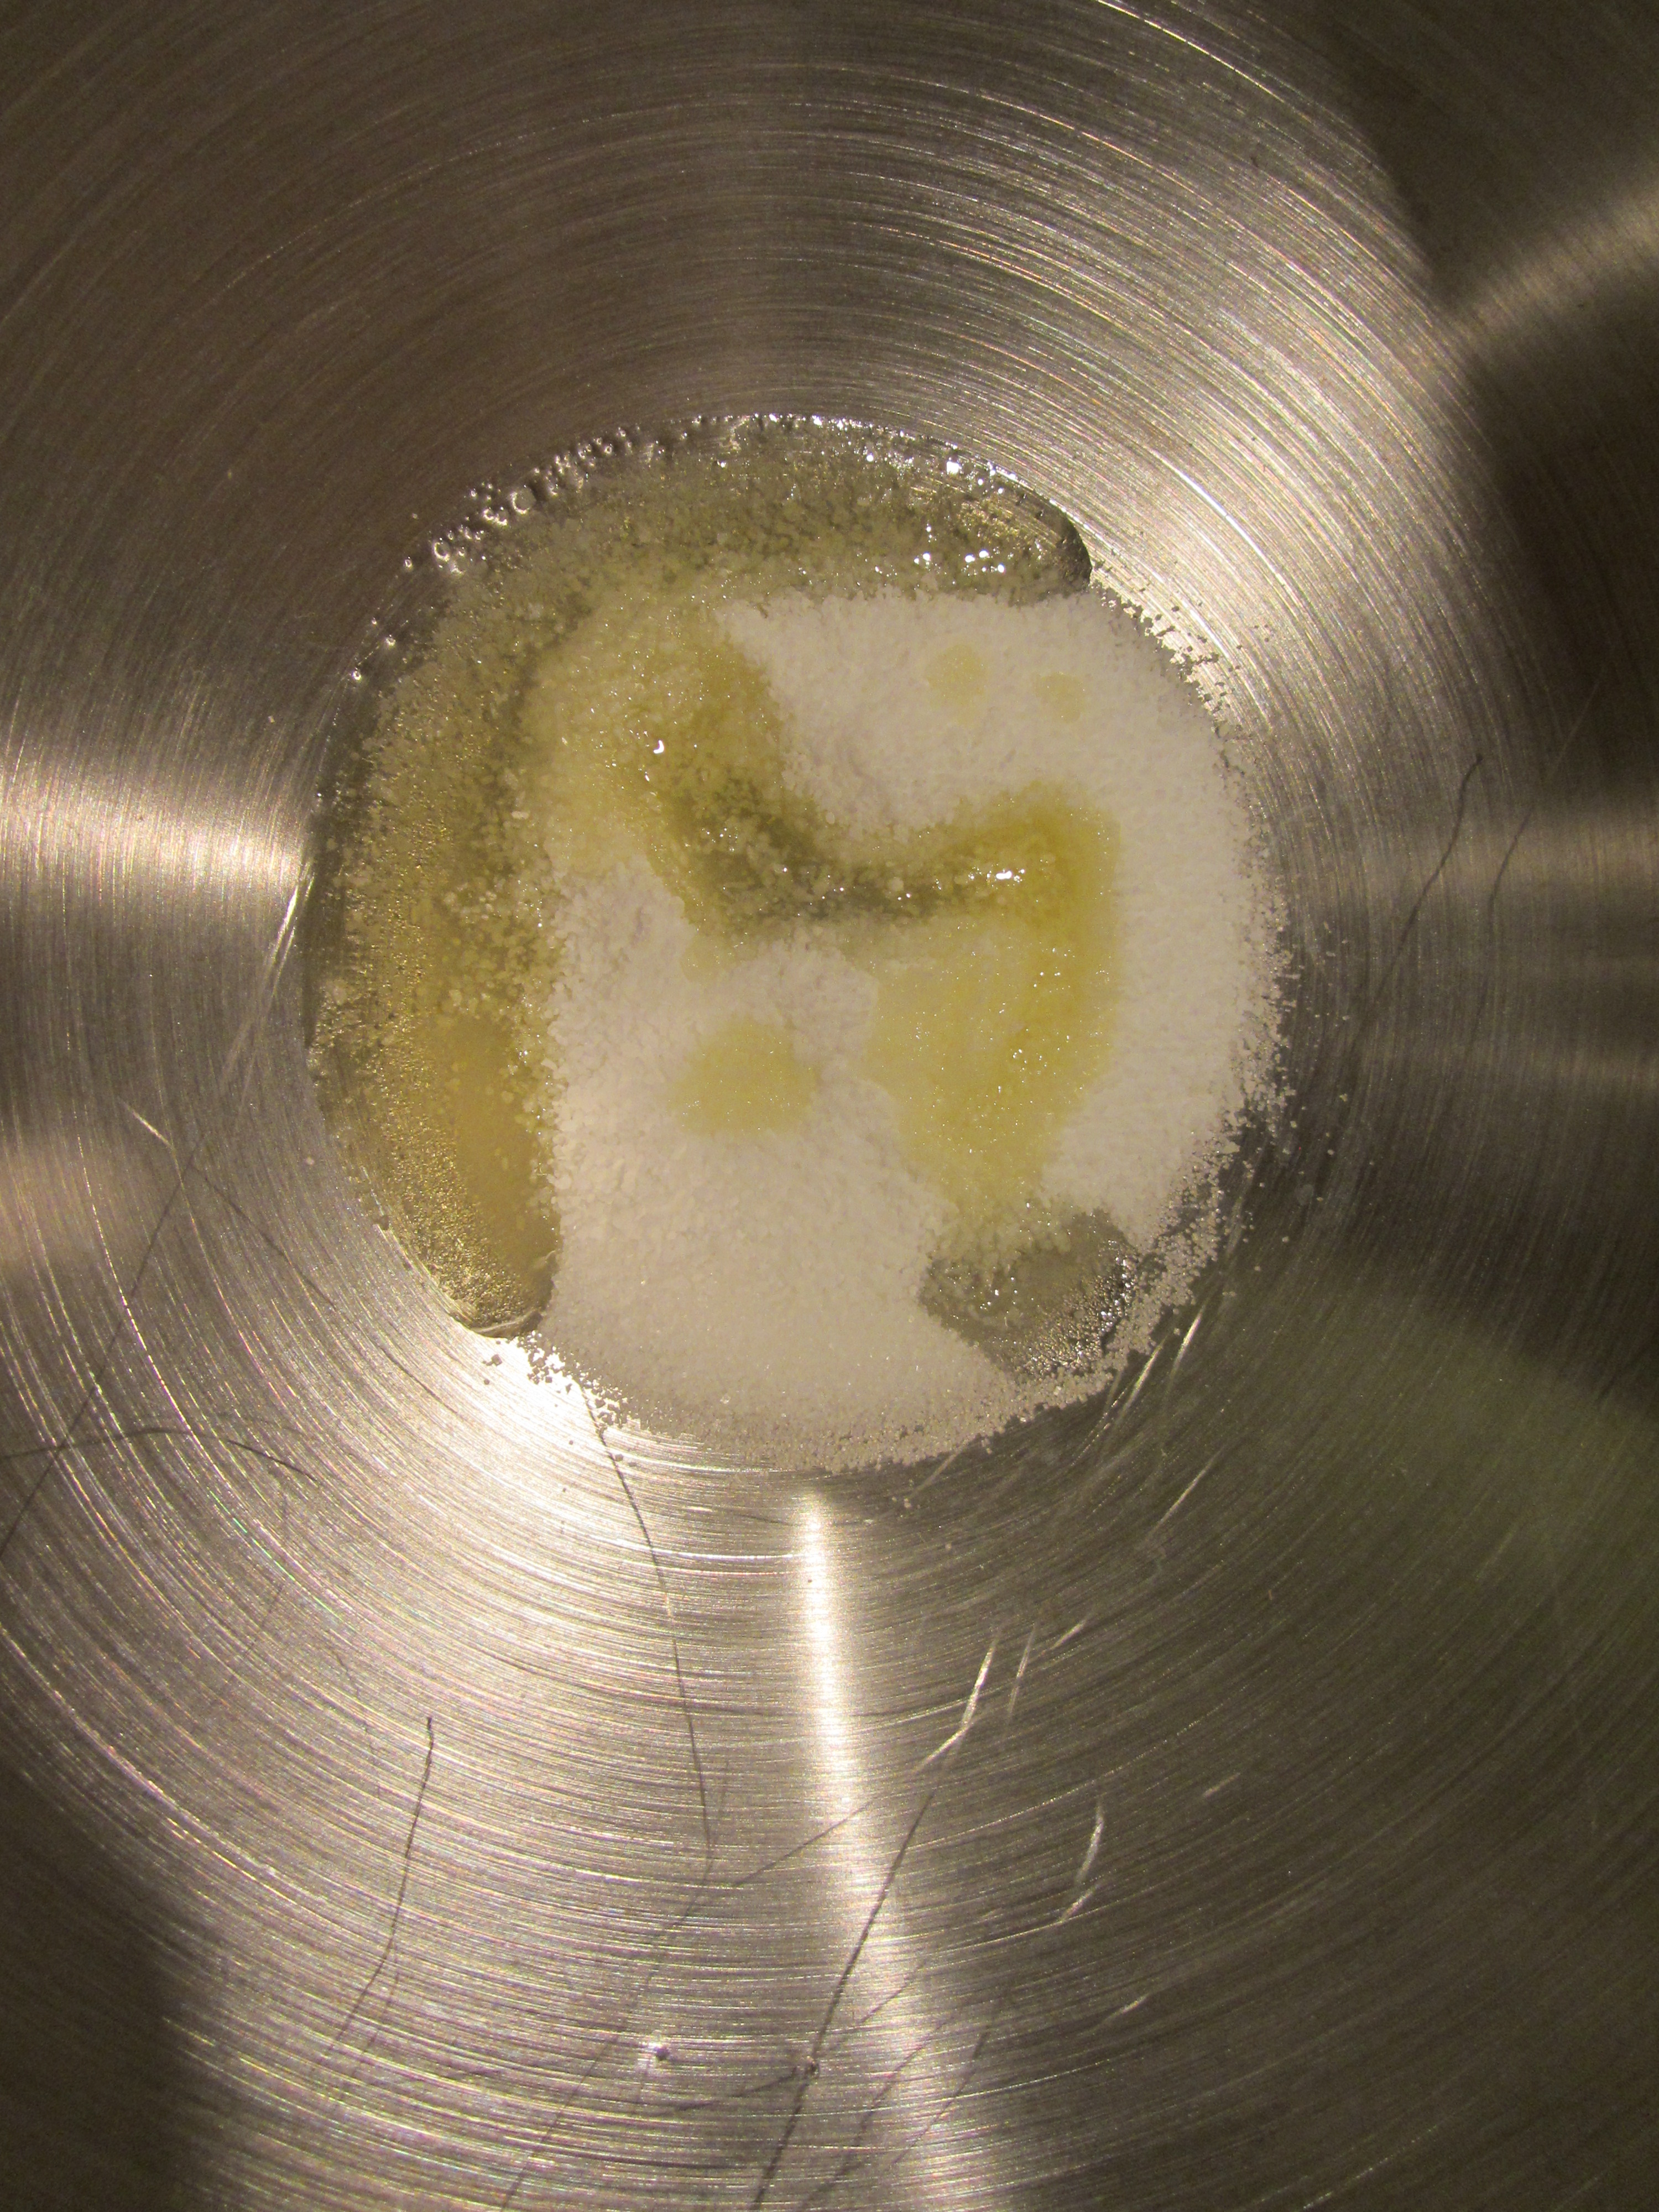
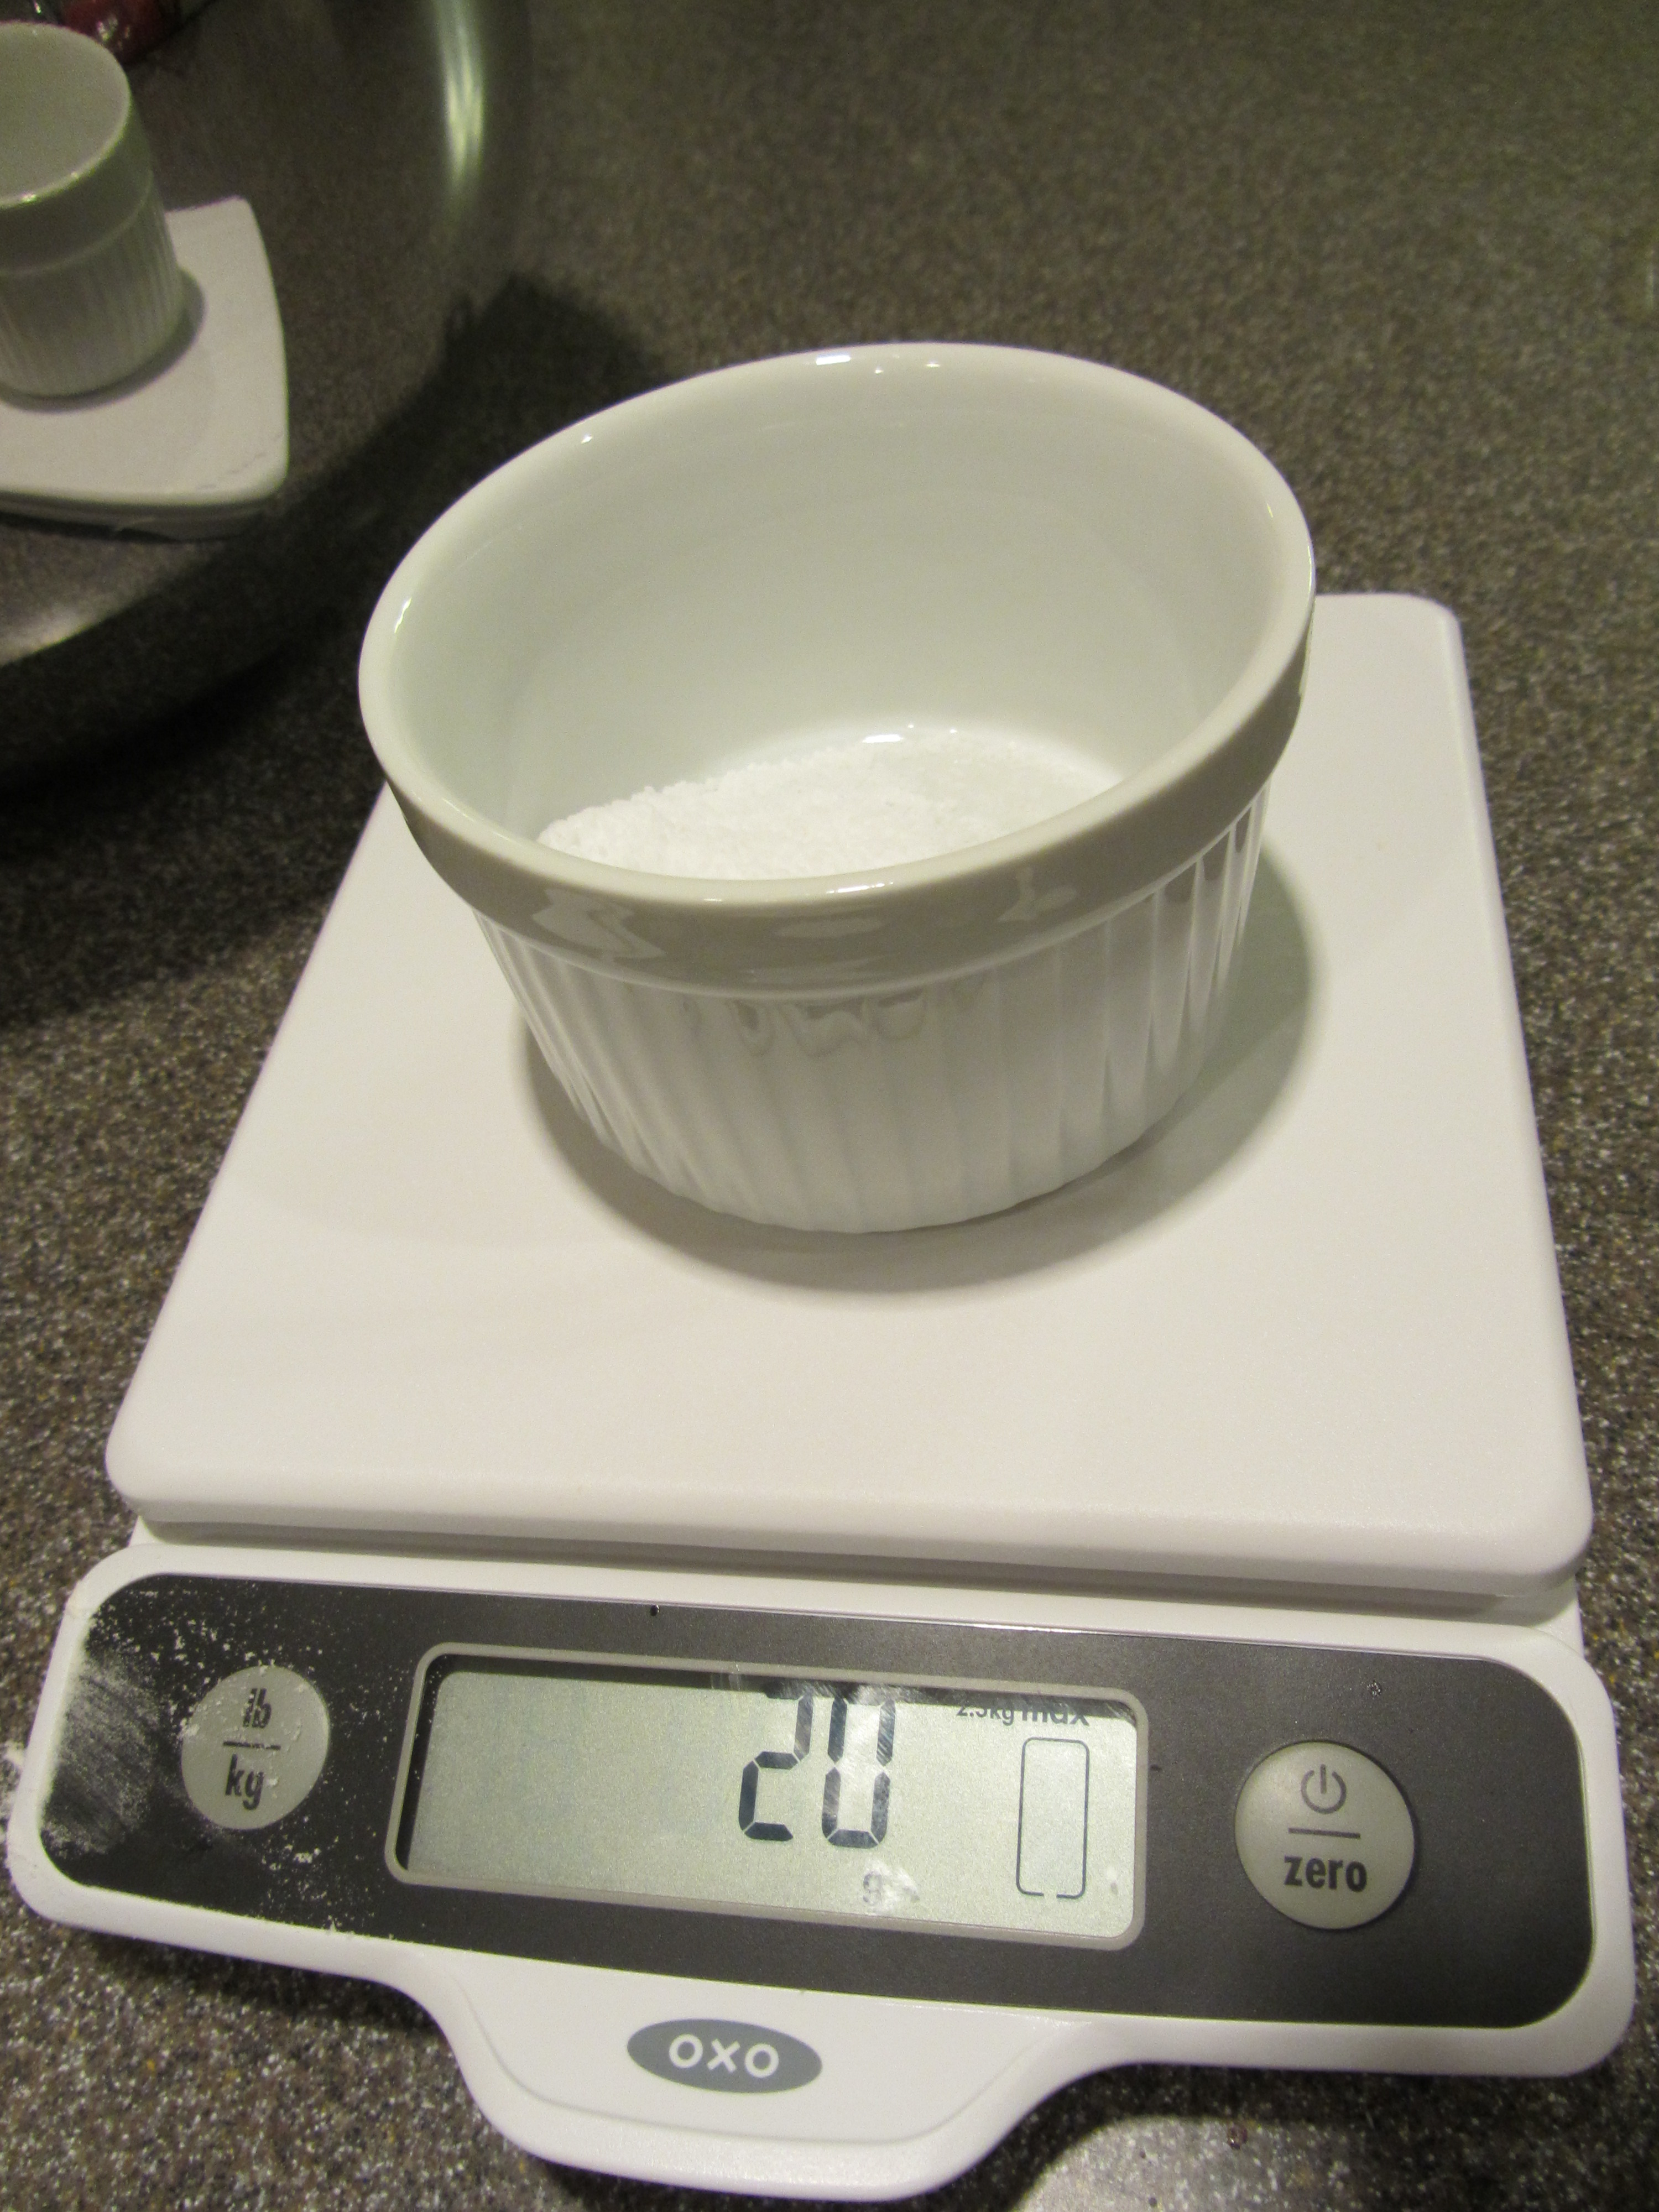
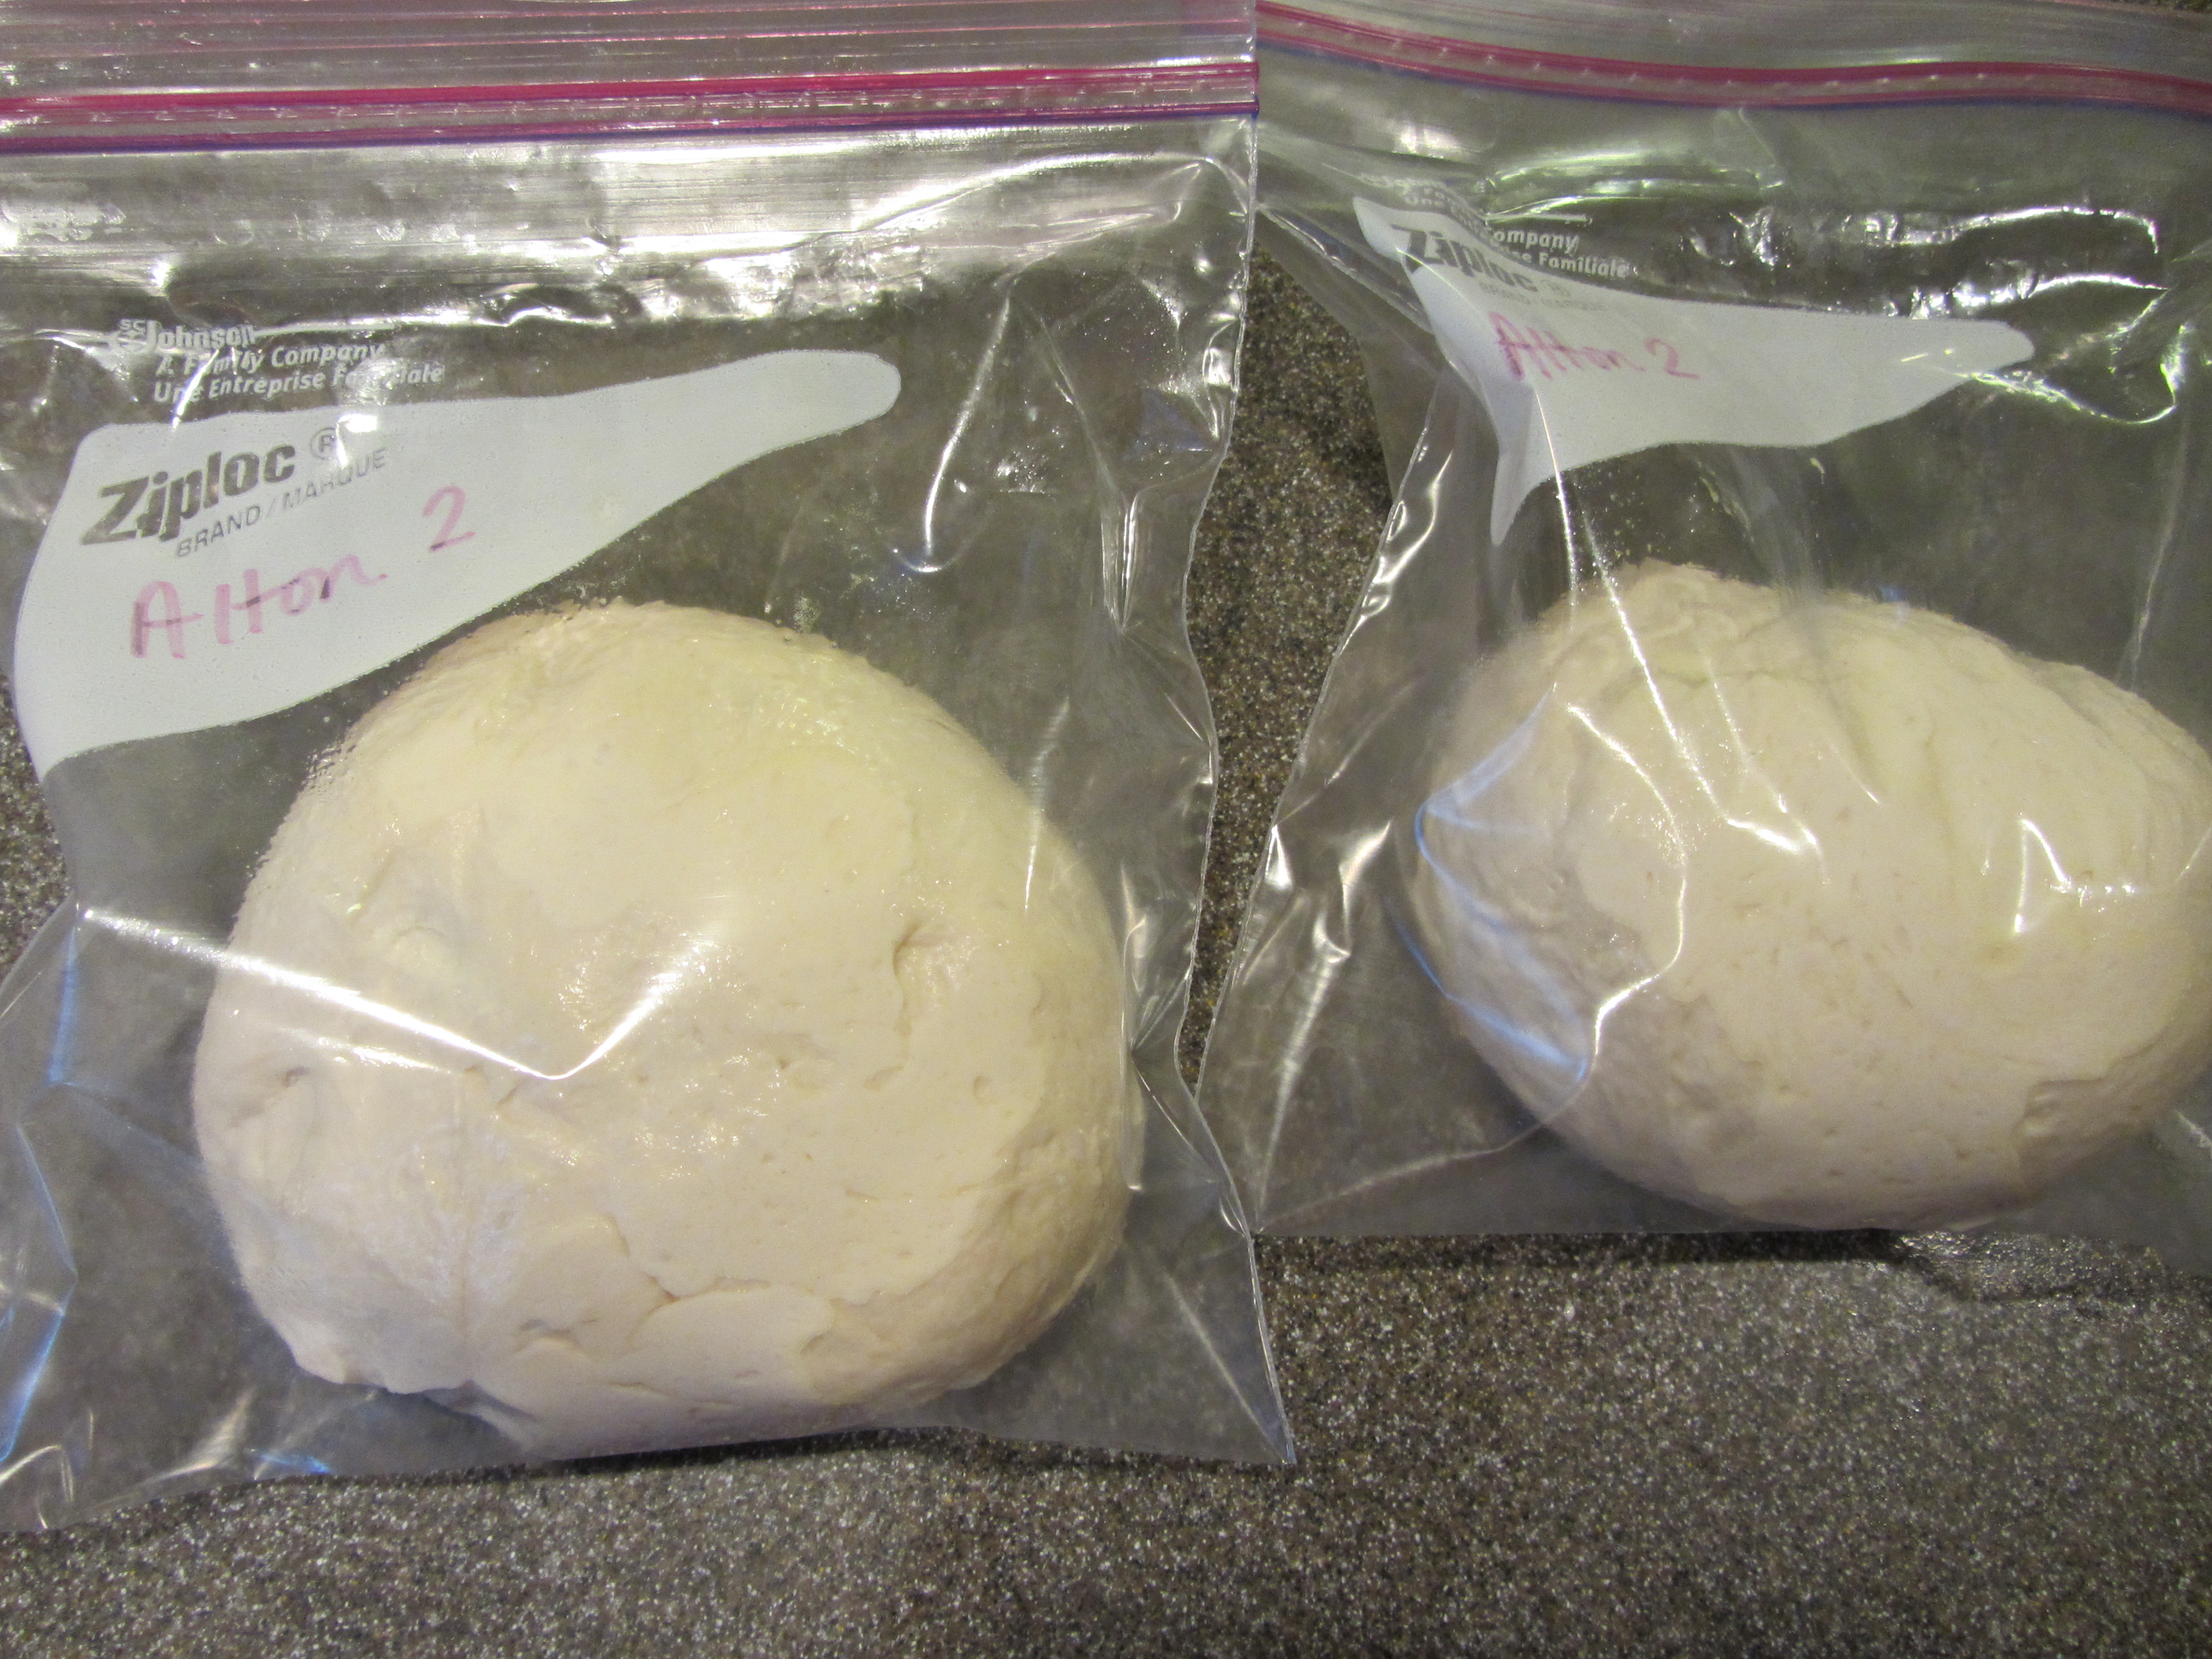
Alton’s basic bread starts in the evening with a pre-fermentation step, which is also called a sponge. To make the sponge, place the following ingredients in a lidded, straight-sided container:  10 ounces of water (bottled is best), 5 ounces of bread flour, 1/4 t instant dry yeast, and 2 t honey.

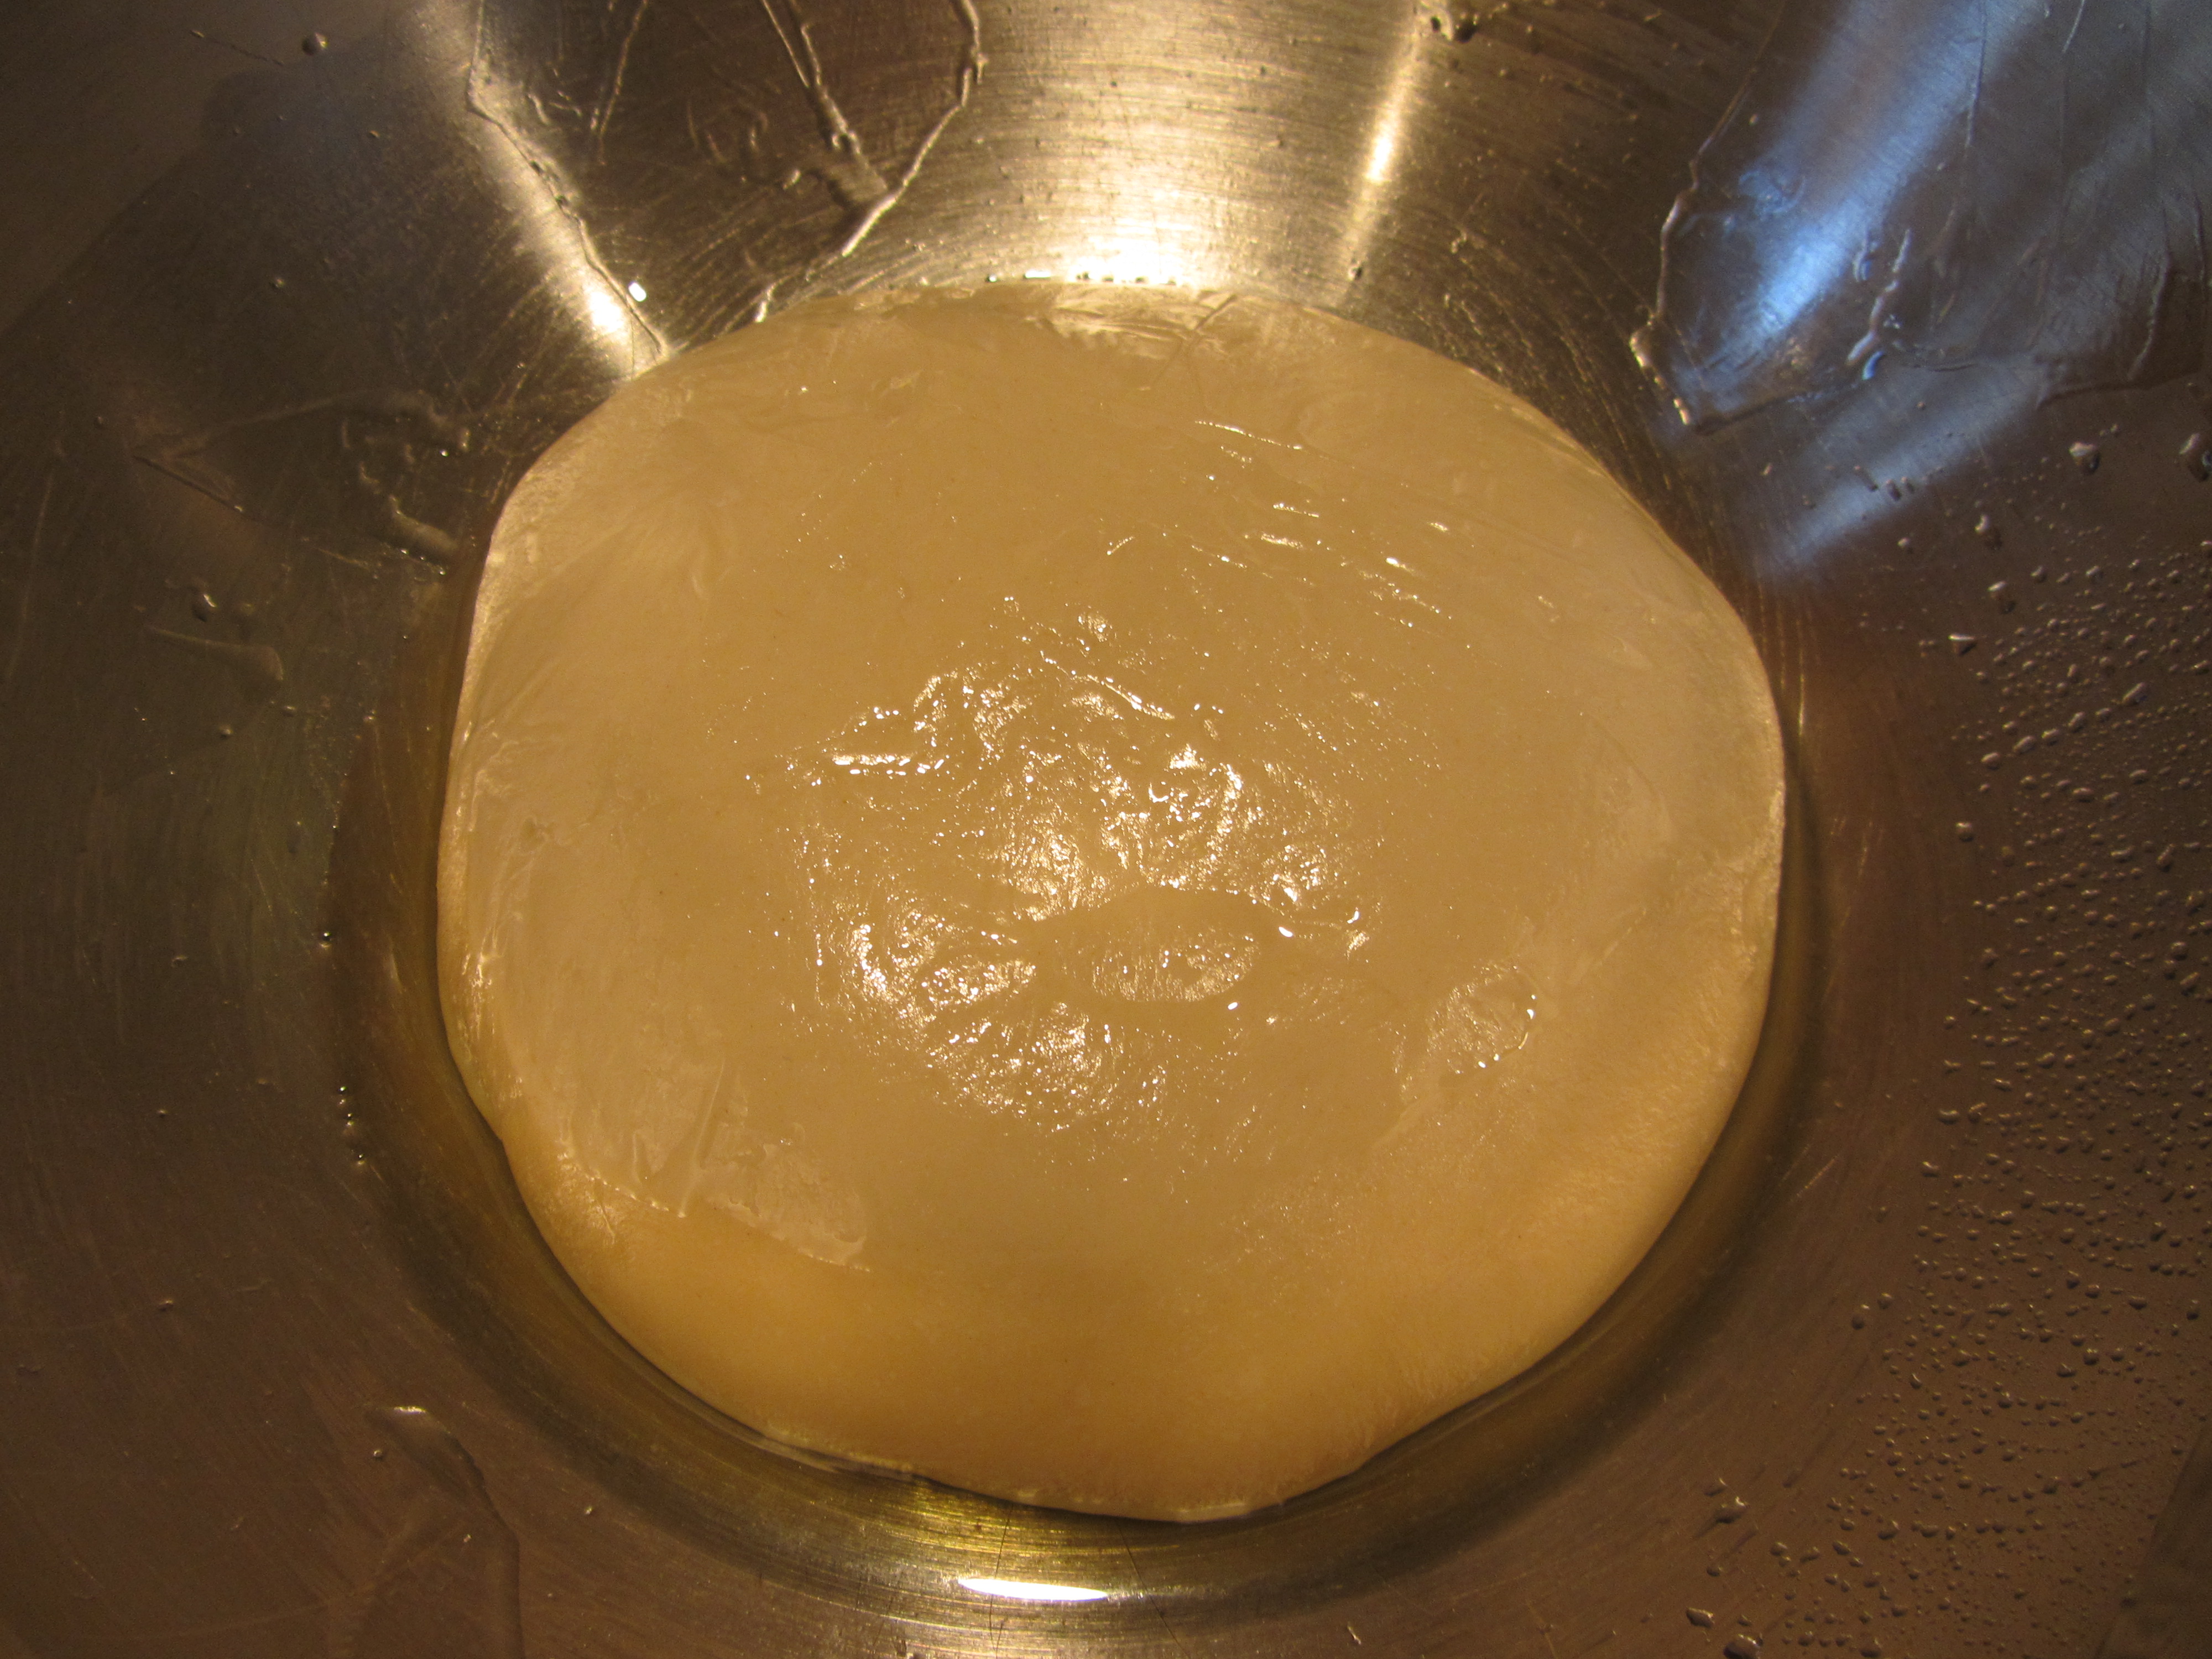
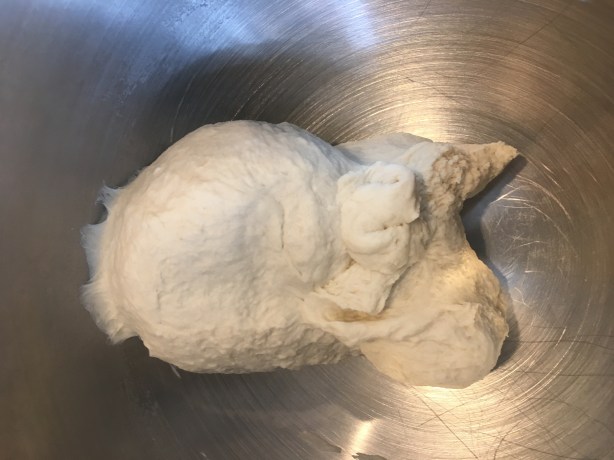
Note that instant dry yeast is different from active dry yeast, as active dry yeast must first be activated in warm water, while instant dry yeast can be added without the hydration step. Whisk the sponge ingredients together until they are combined, place the lid on the container, and refrigerate the sponge for eight to 12 hours, or overnight.

IMG_7736(1)

Sponge after refrigerating overnight.

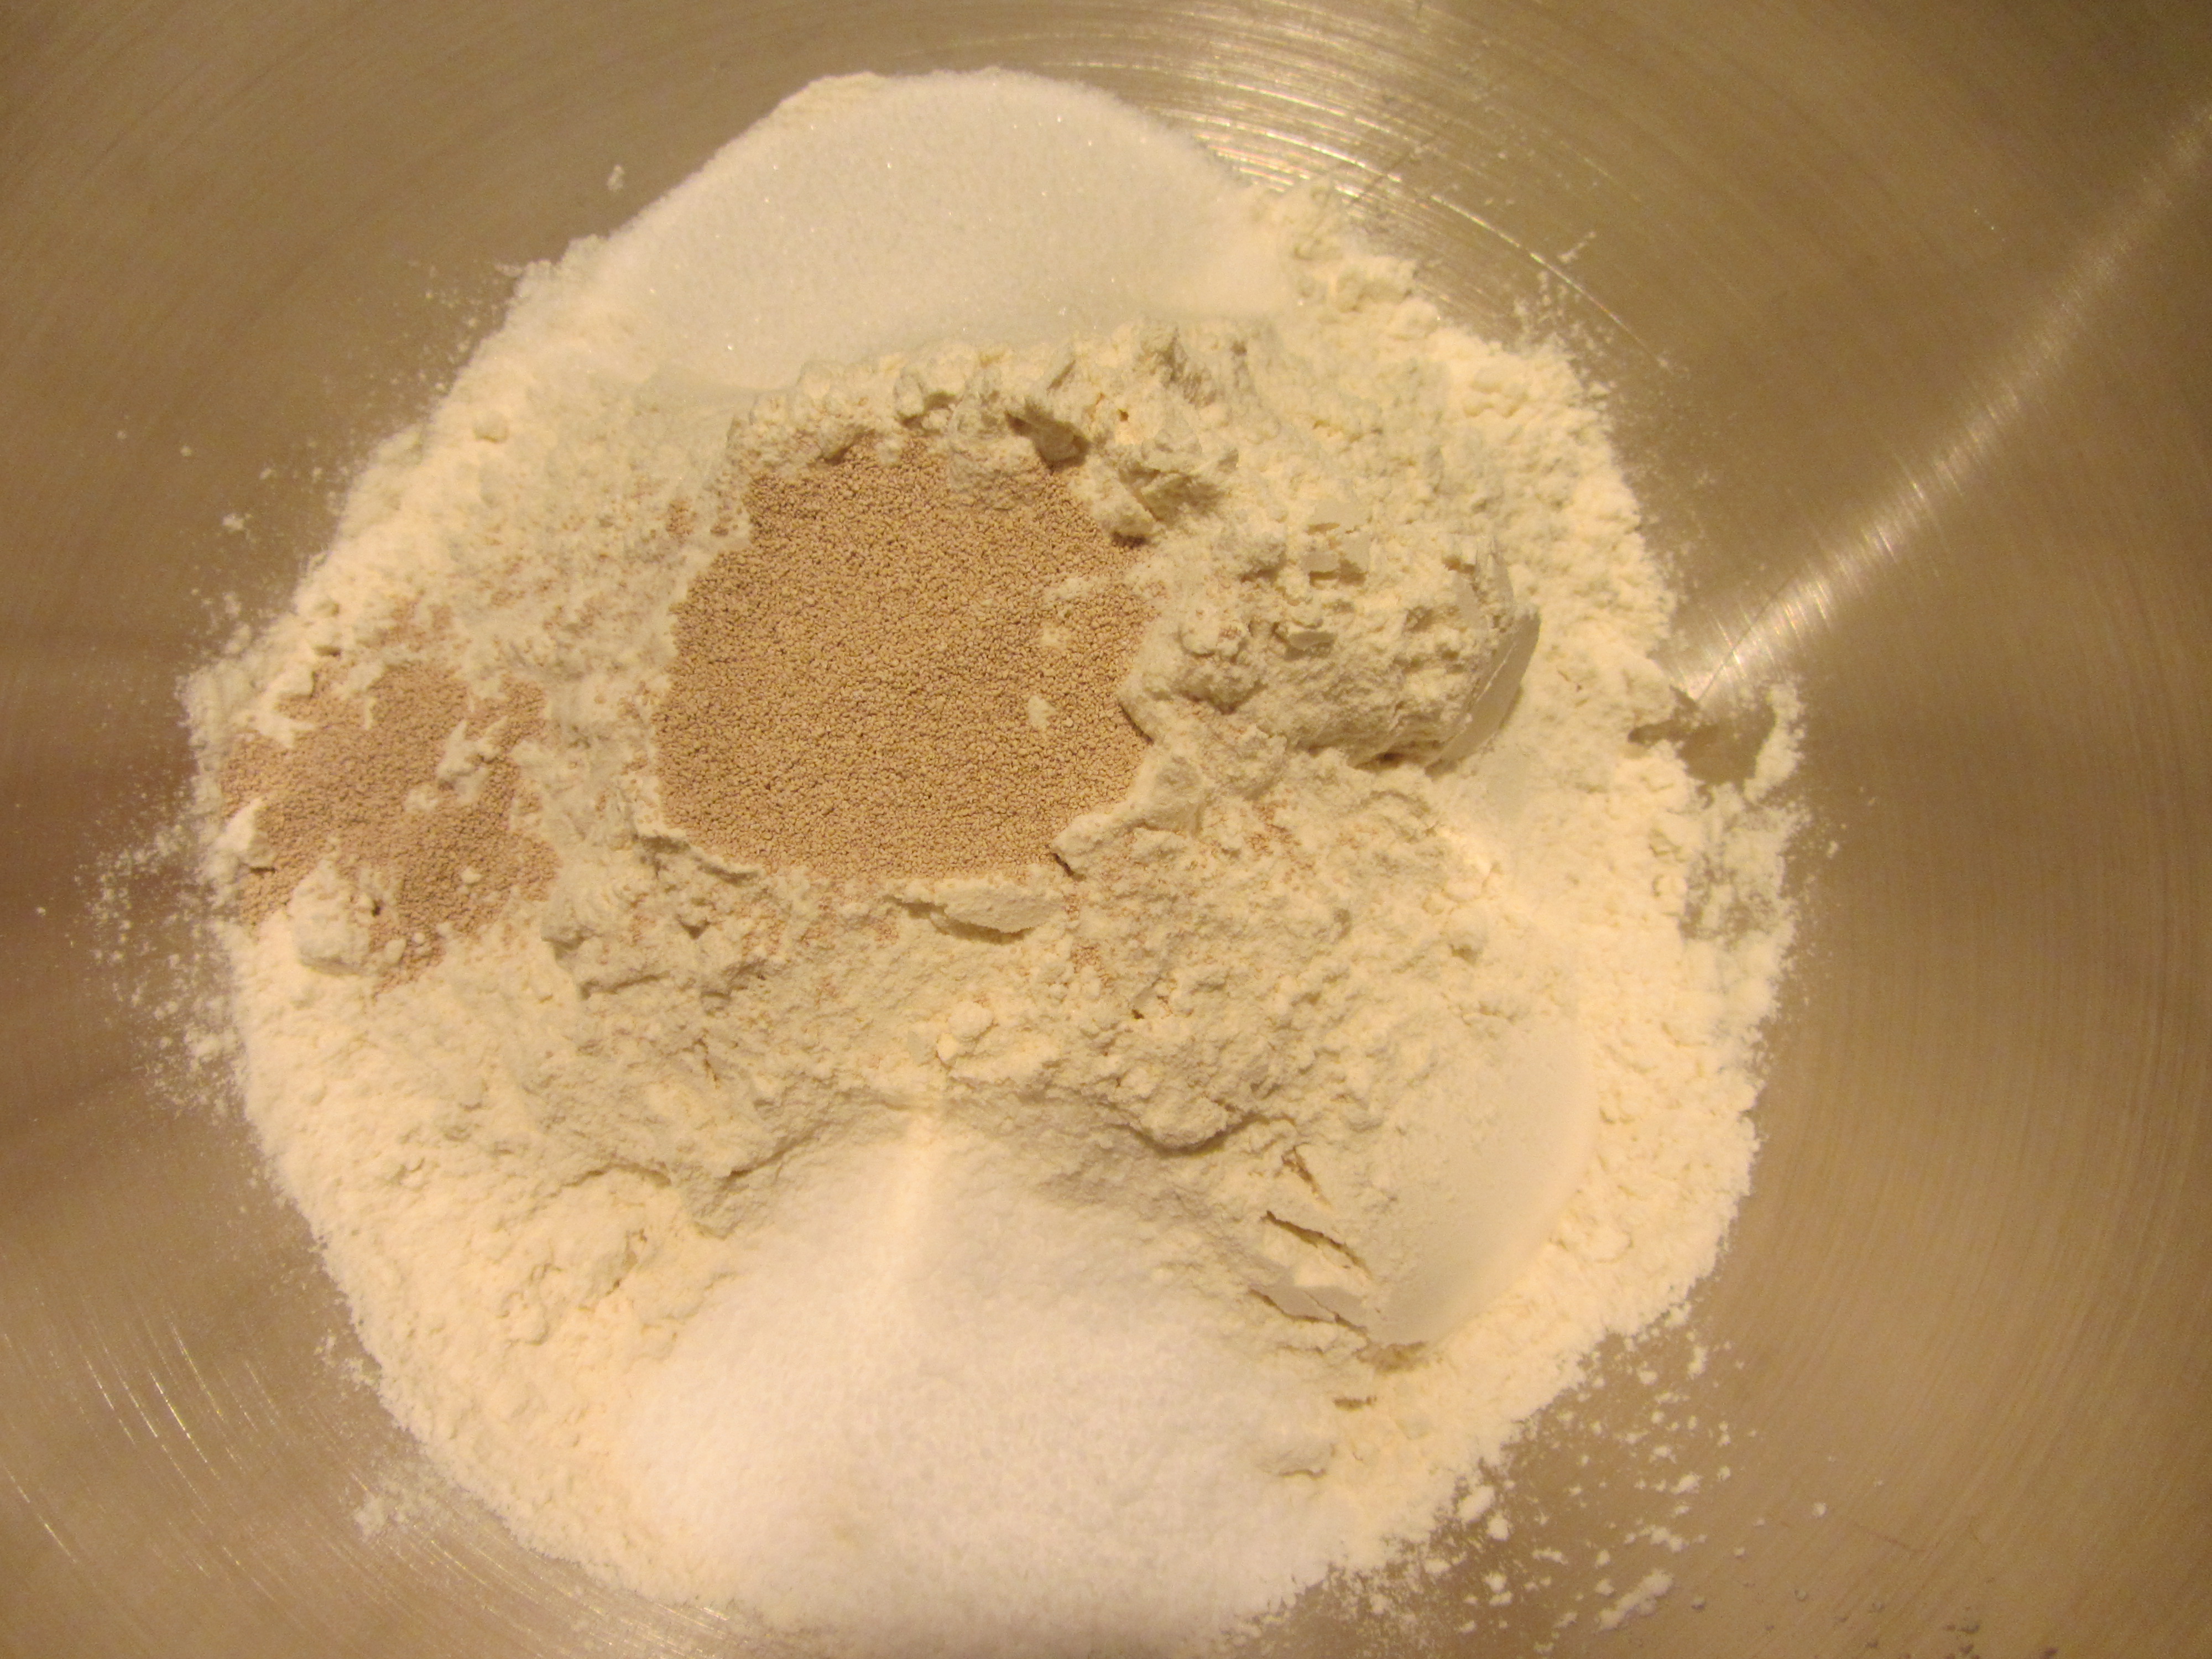
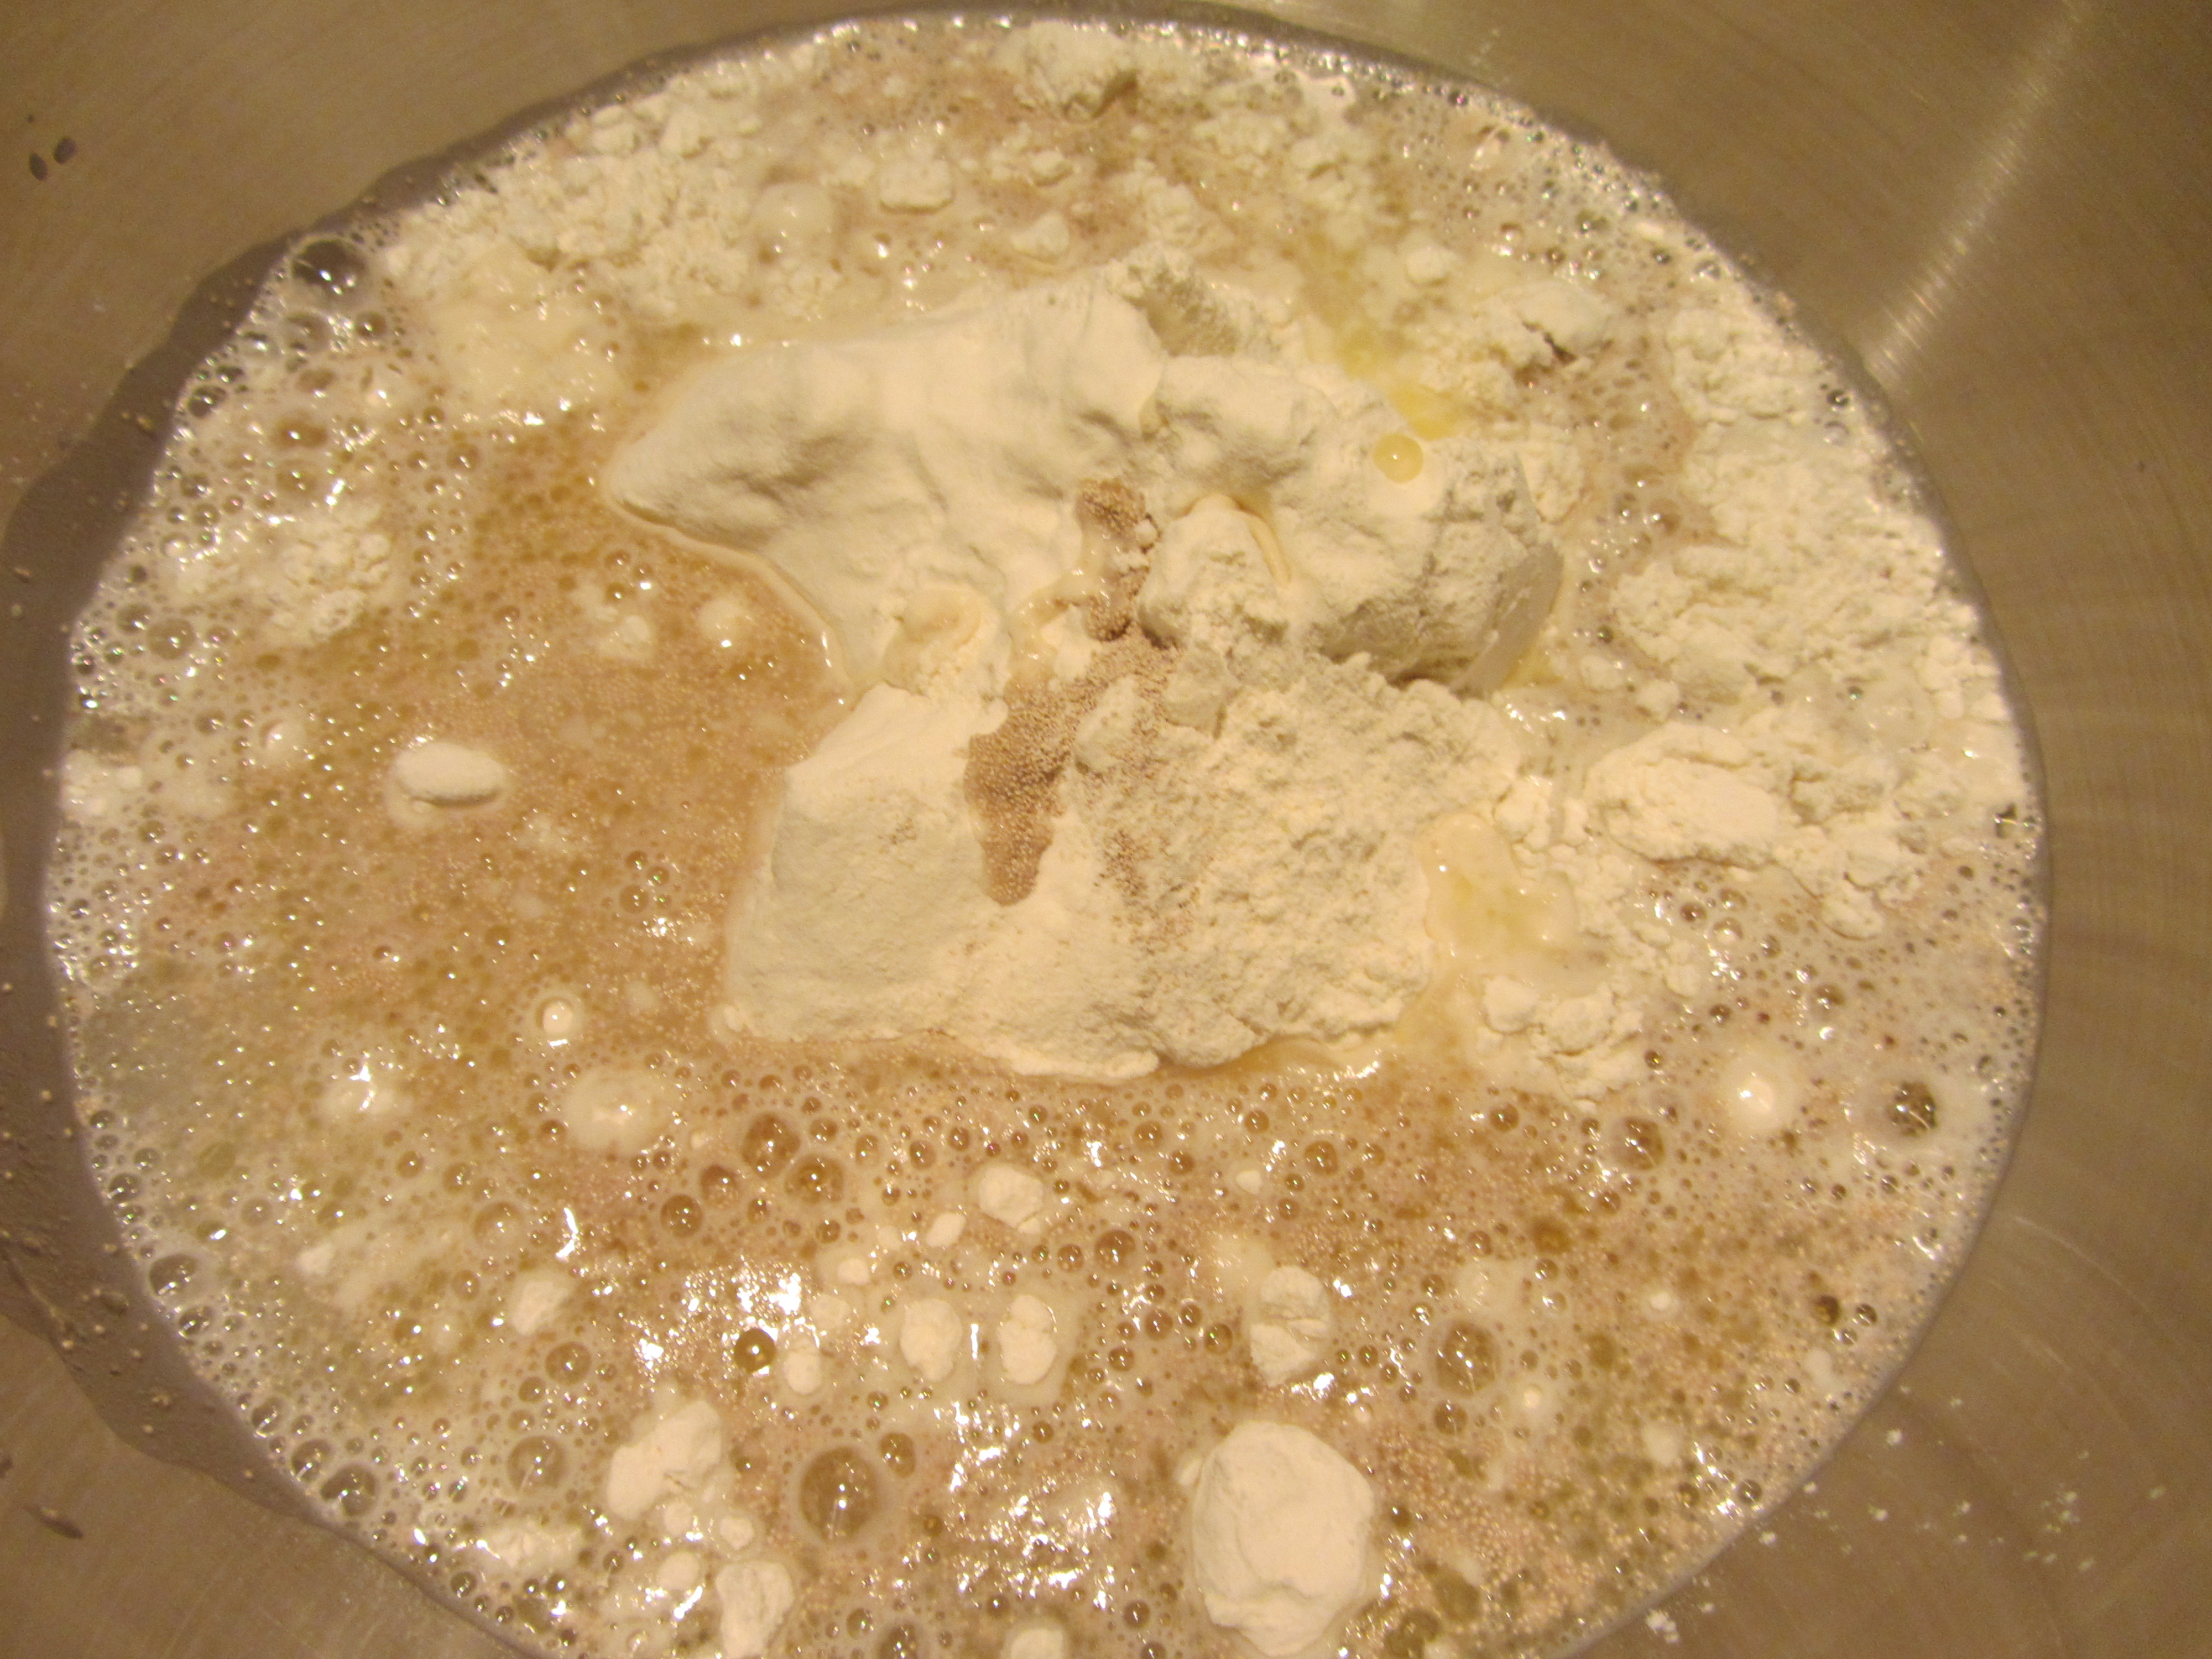
The following day, put the following ingredients in the bowl of your stand mixer:  11 ounces of bread flour, 3/4 t instant dry yeast, 2 t Kosher salt, and the refrigerated sponge from the night before.

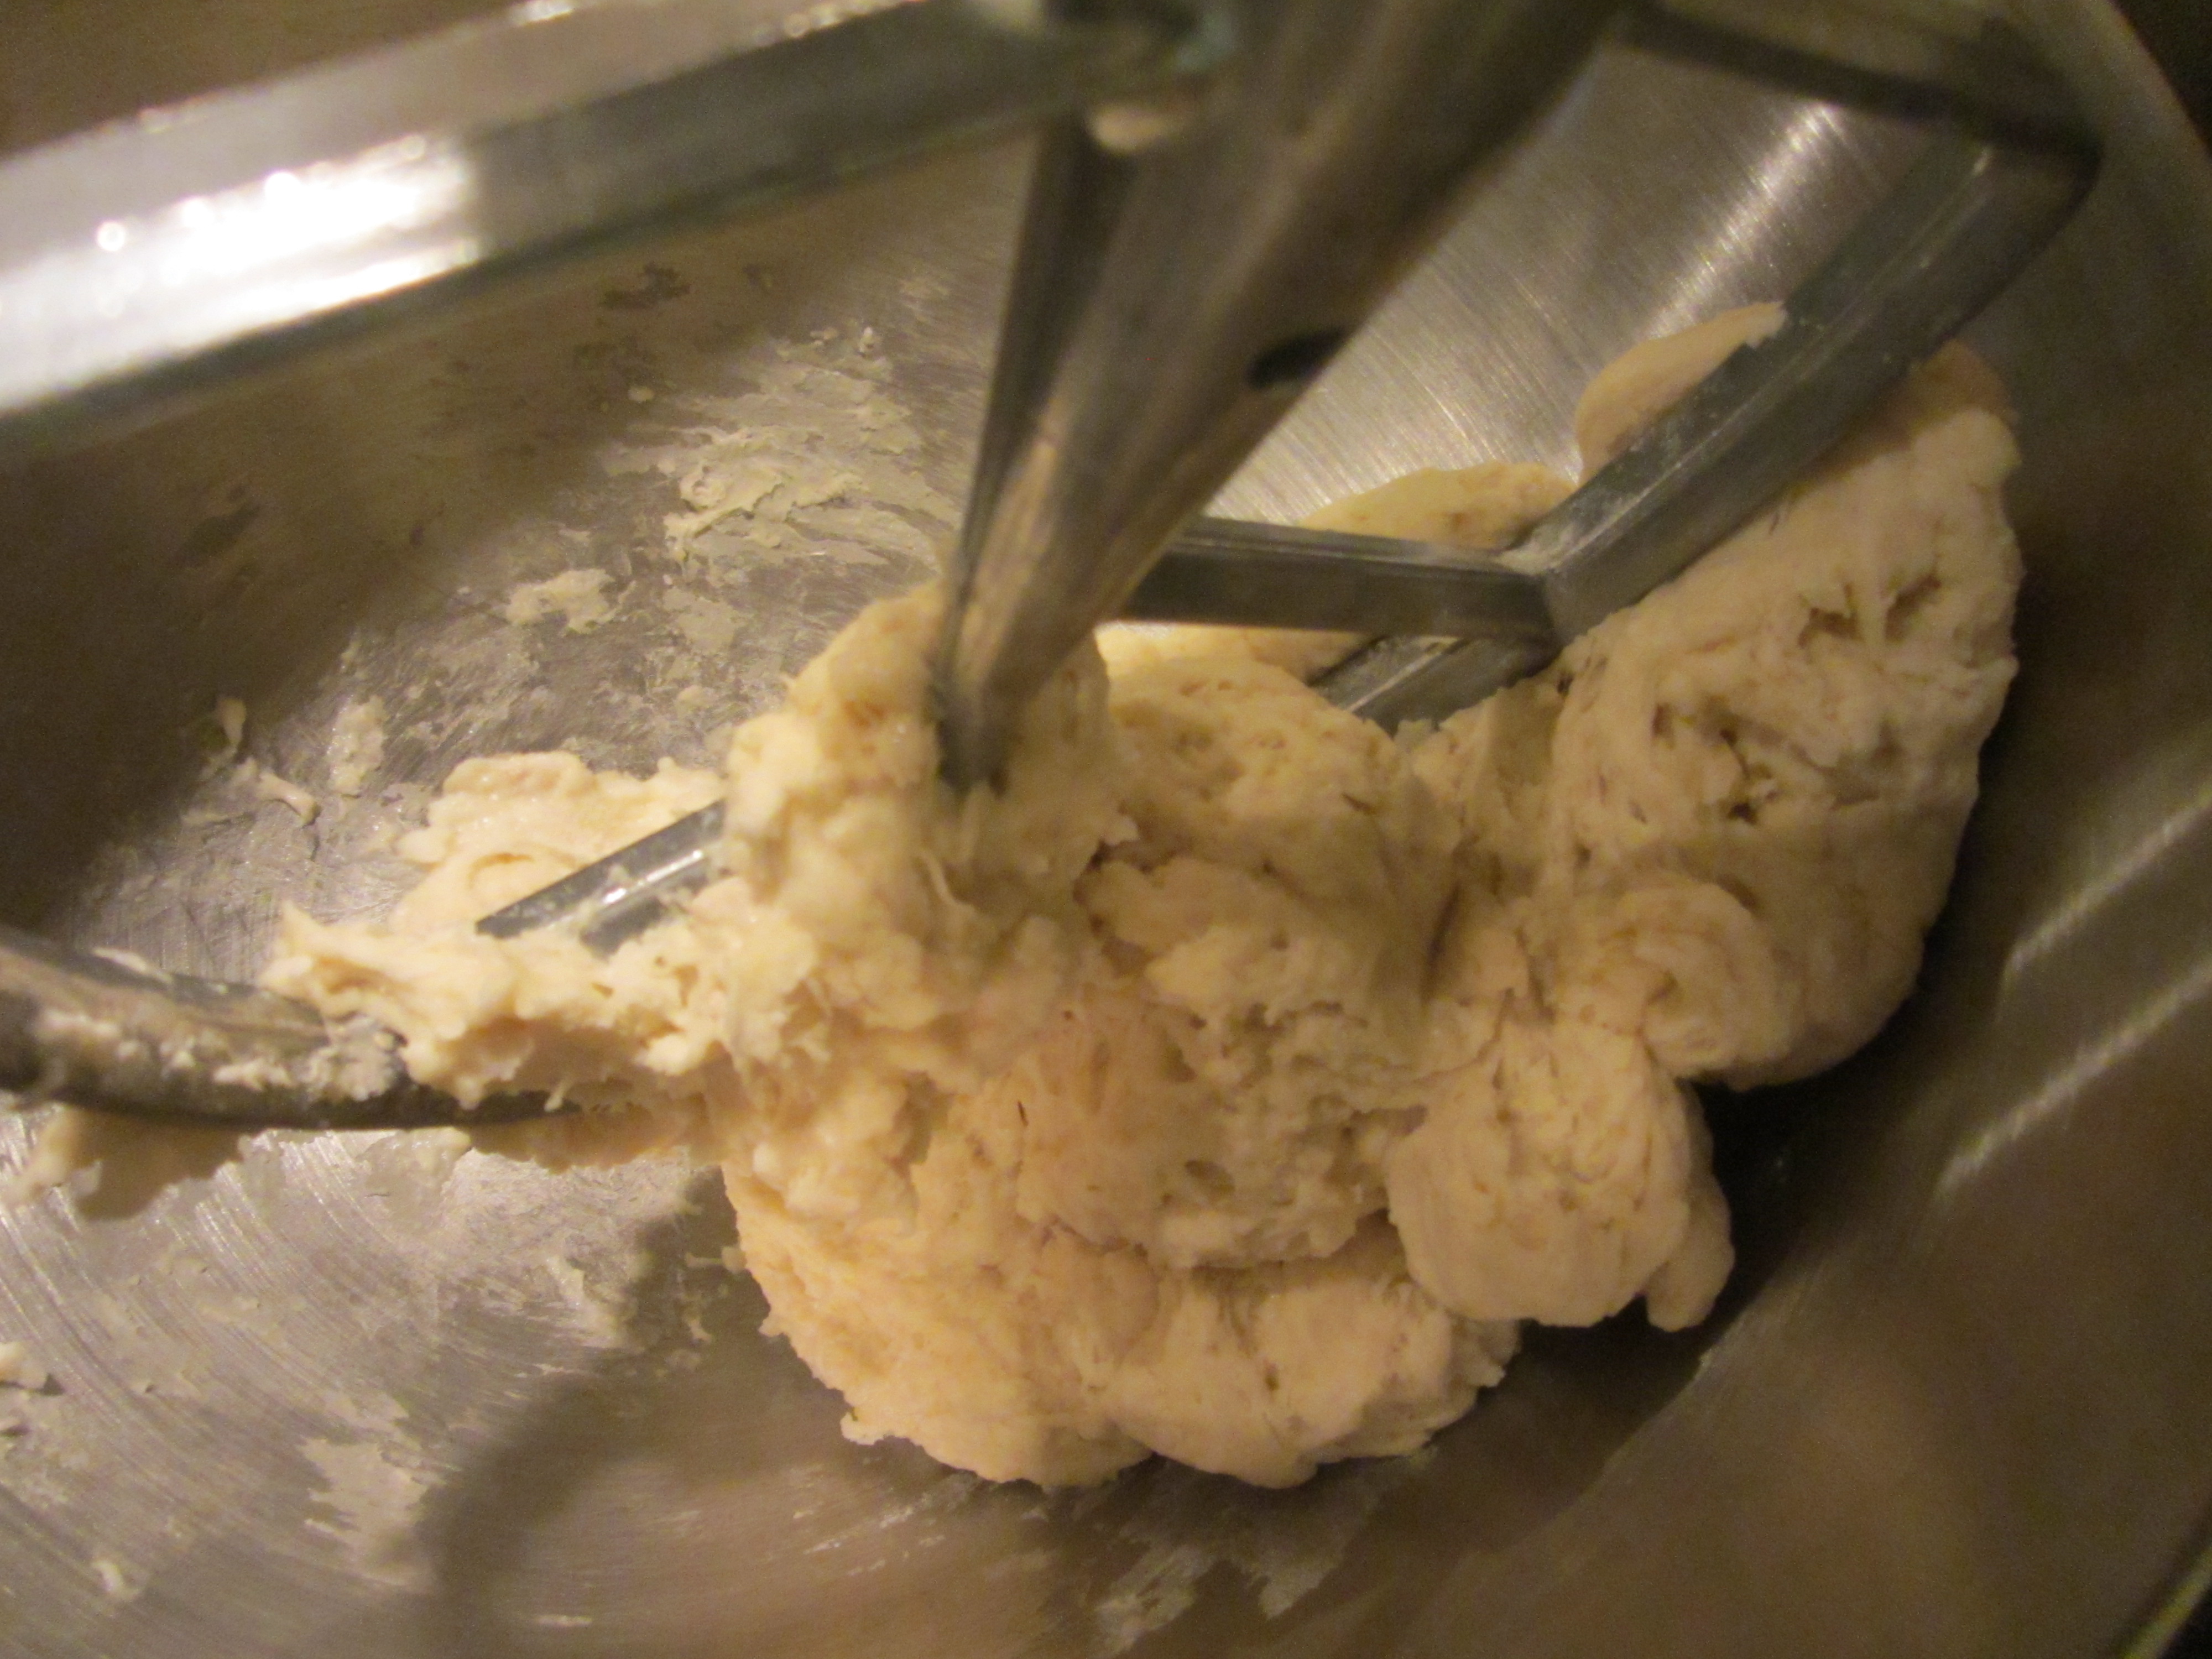
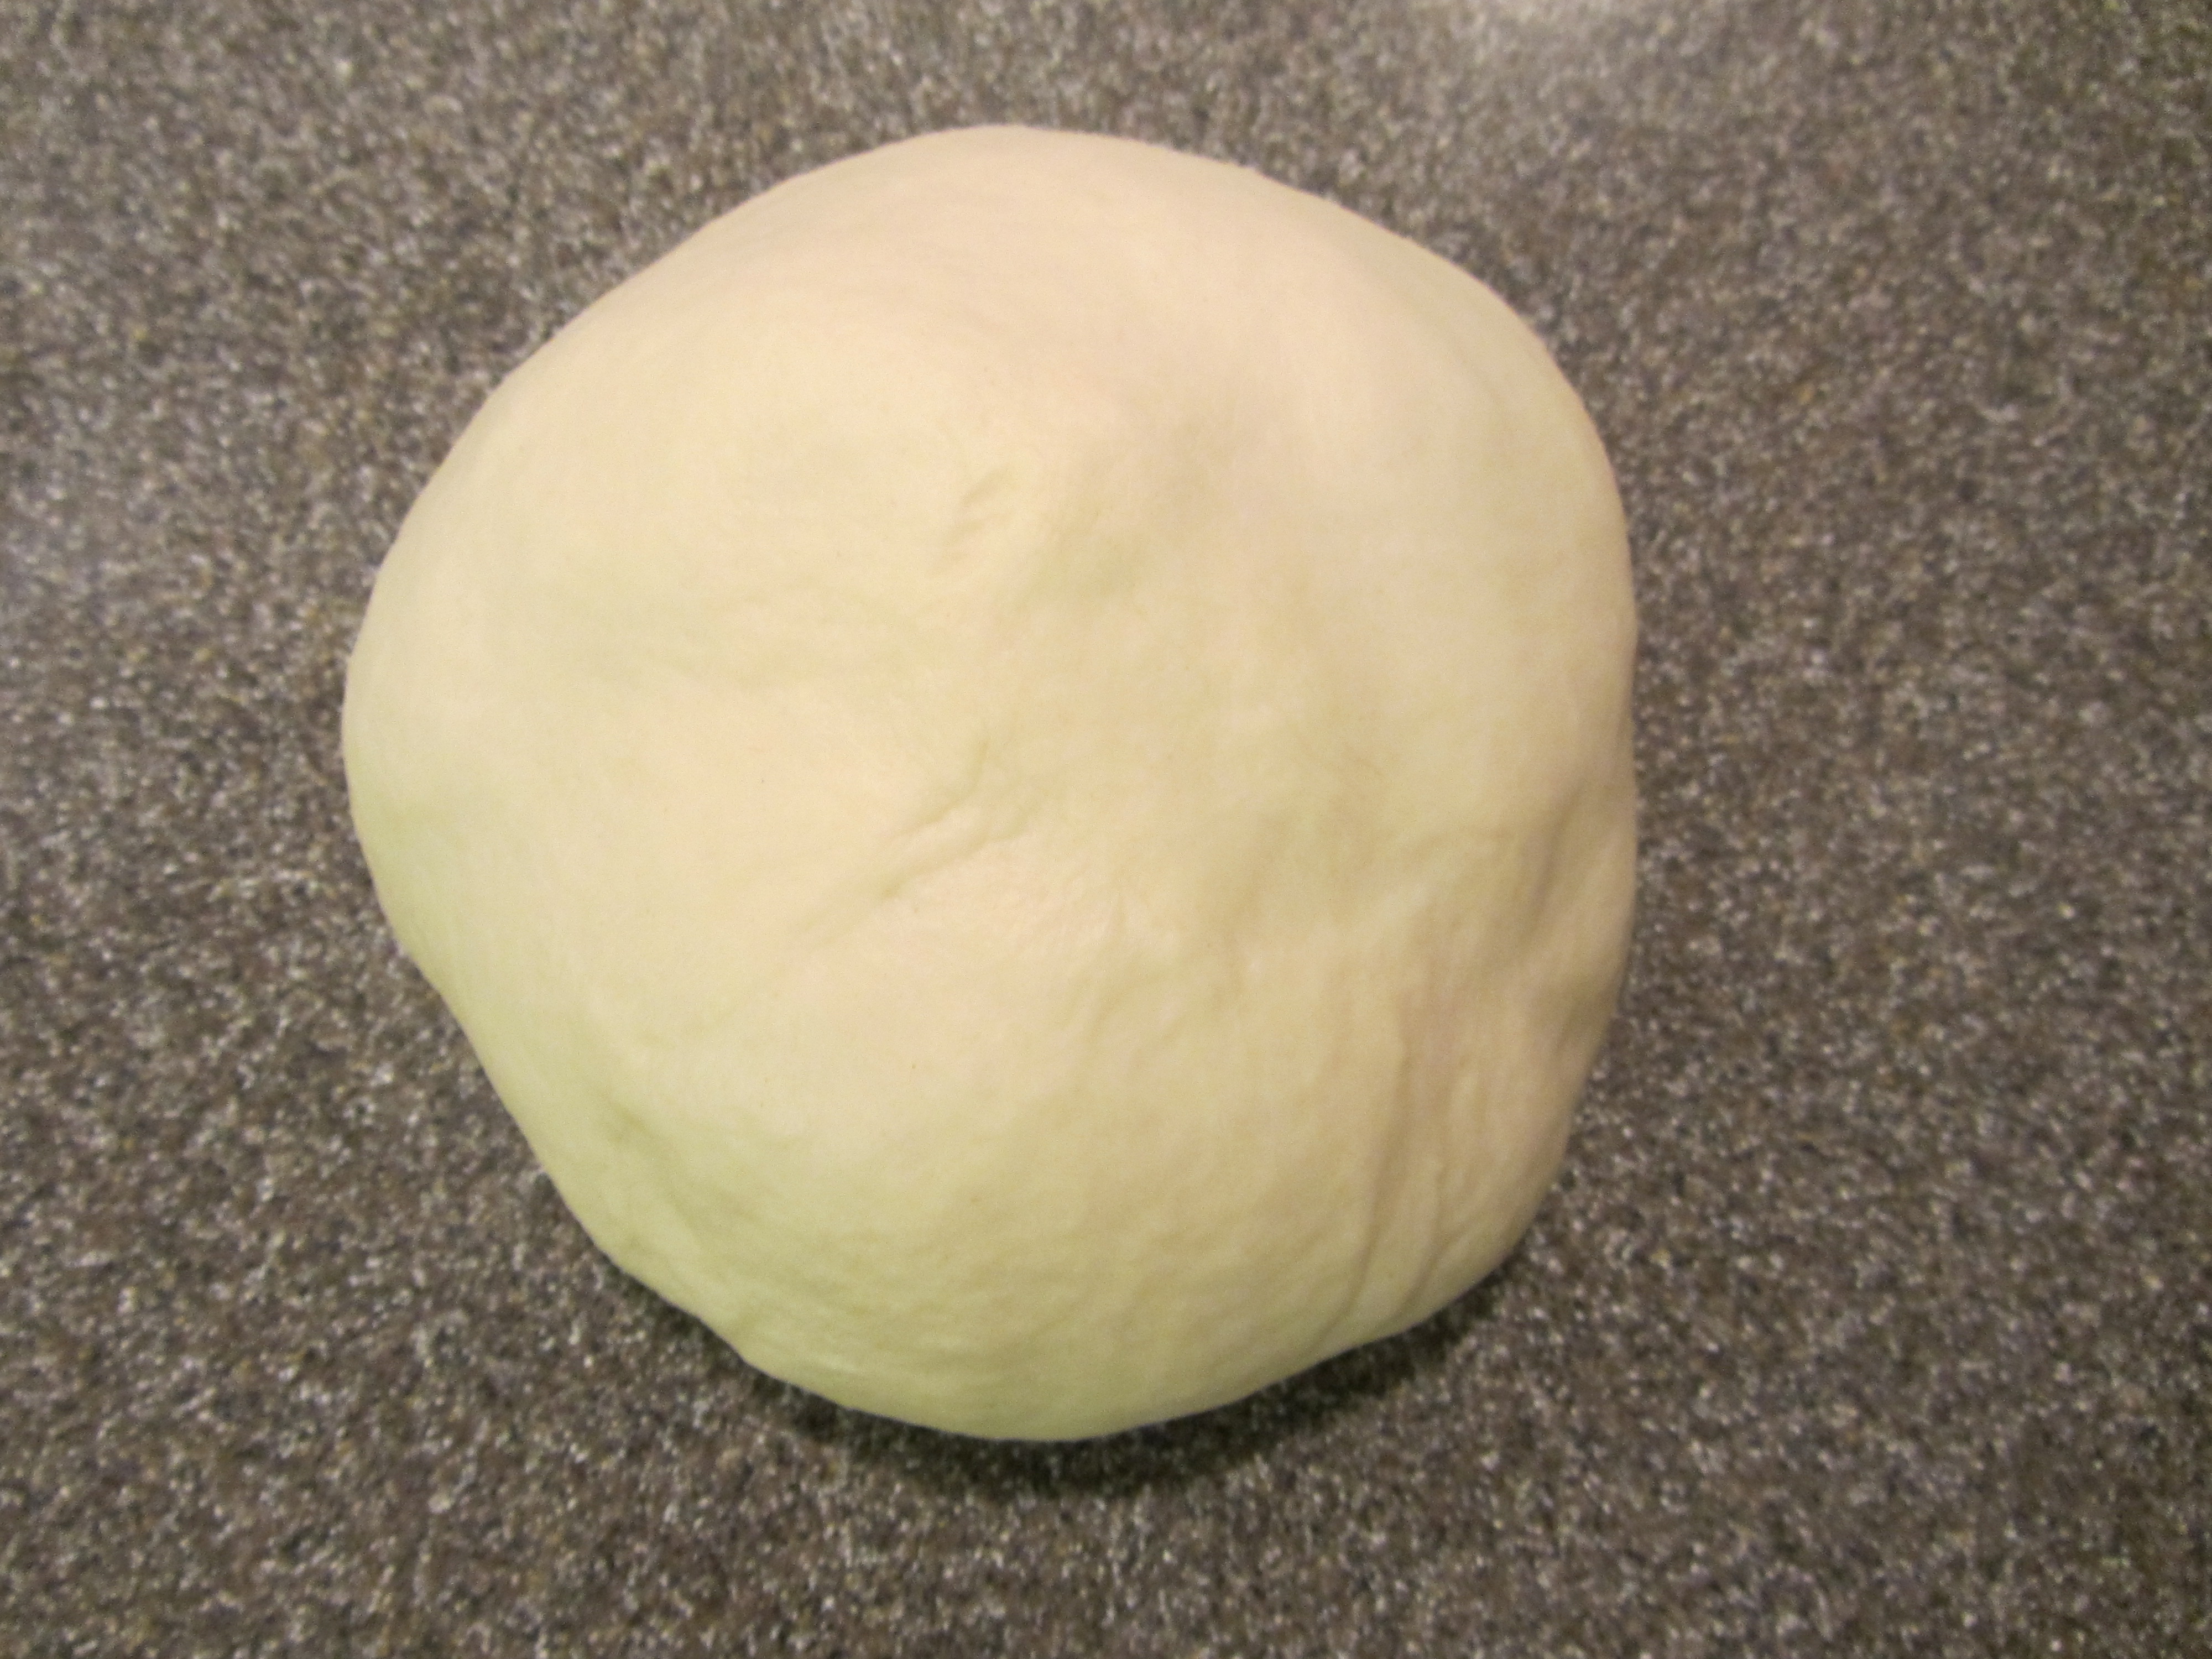
Using the dough hook attachment on the mixer, let the machine knead the dough until it forms a ball in the bottom of the bowl, which should take a few minutes. Cover the bowl with a tea towel and let the dough rest for 20 minutes.

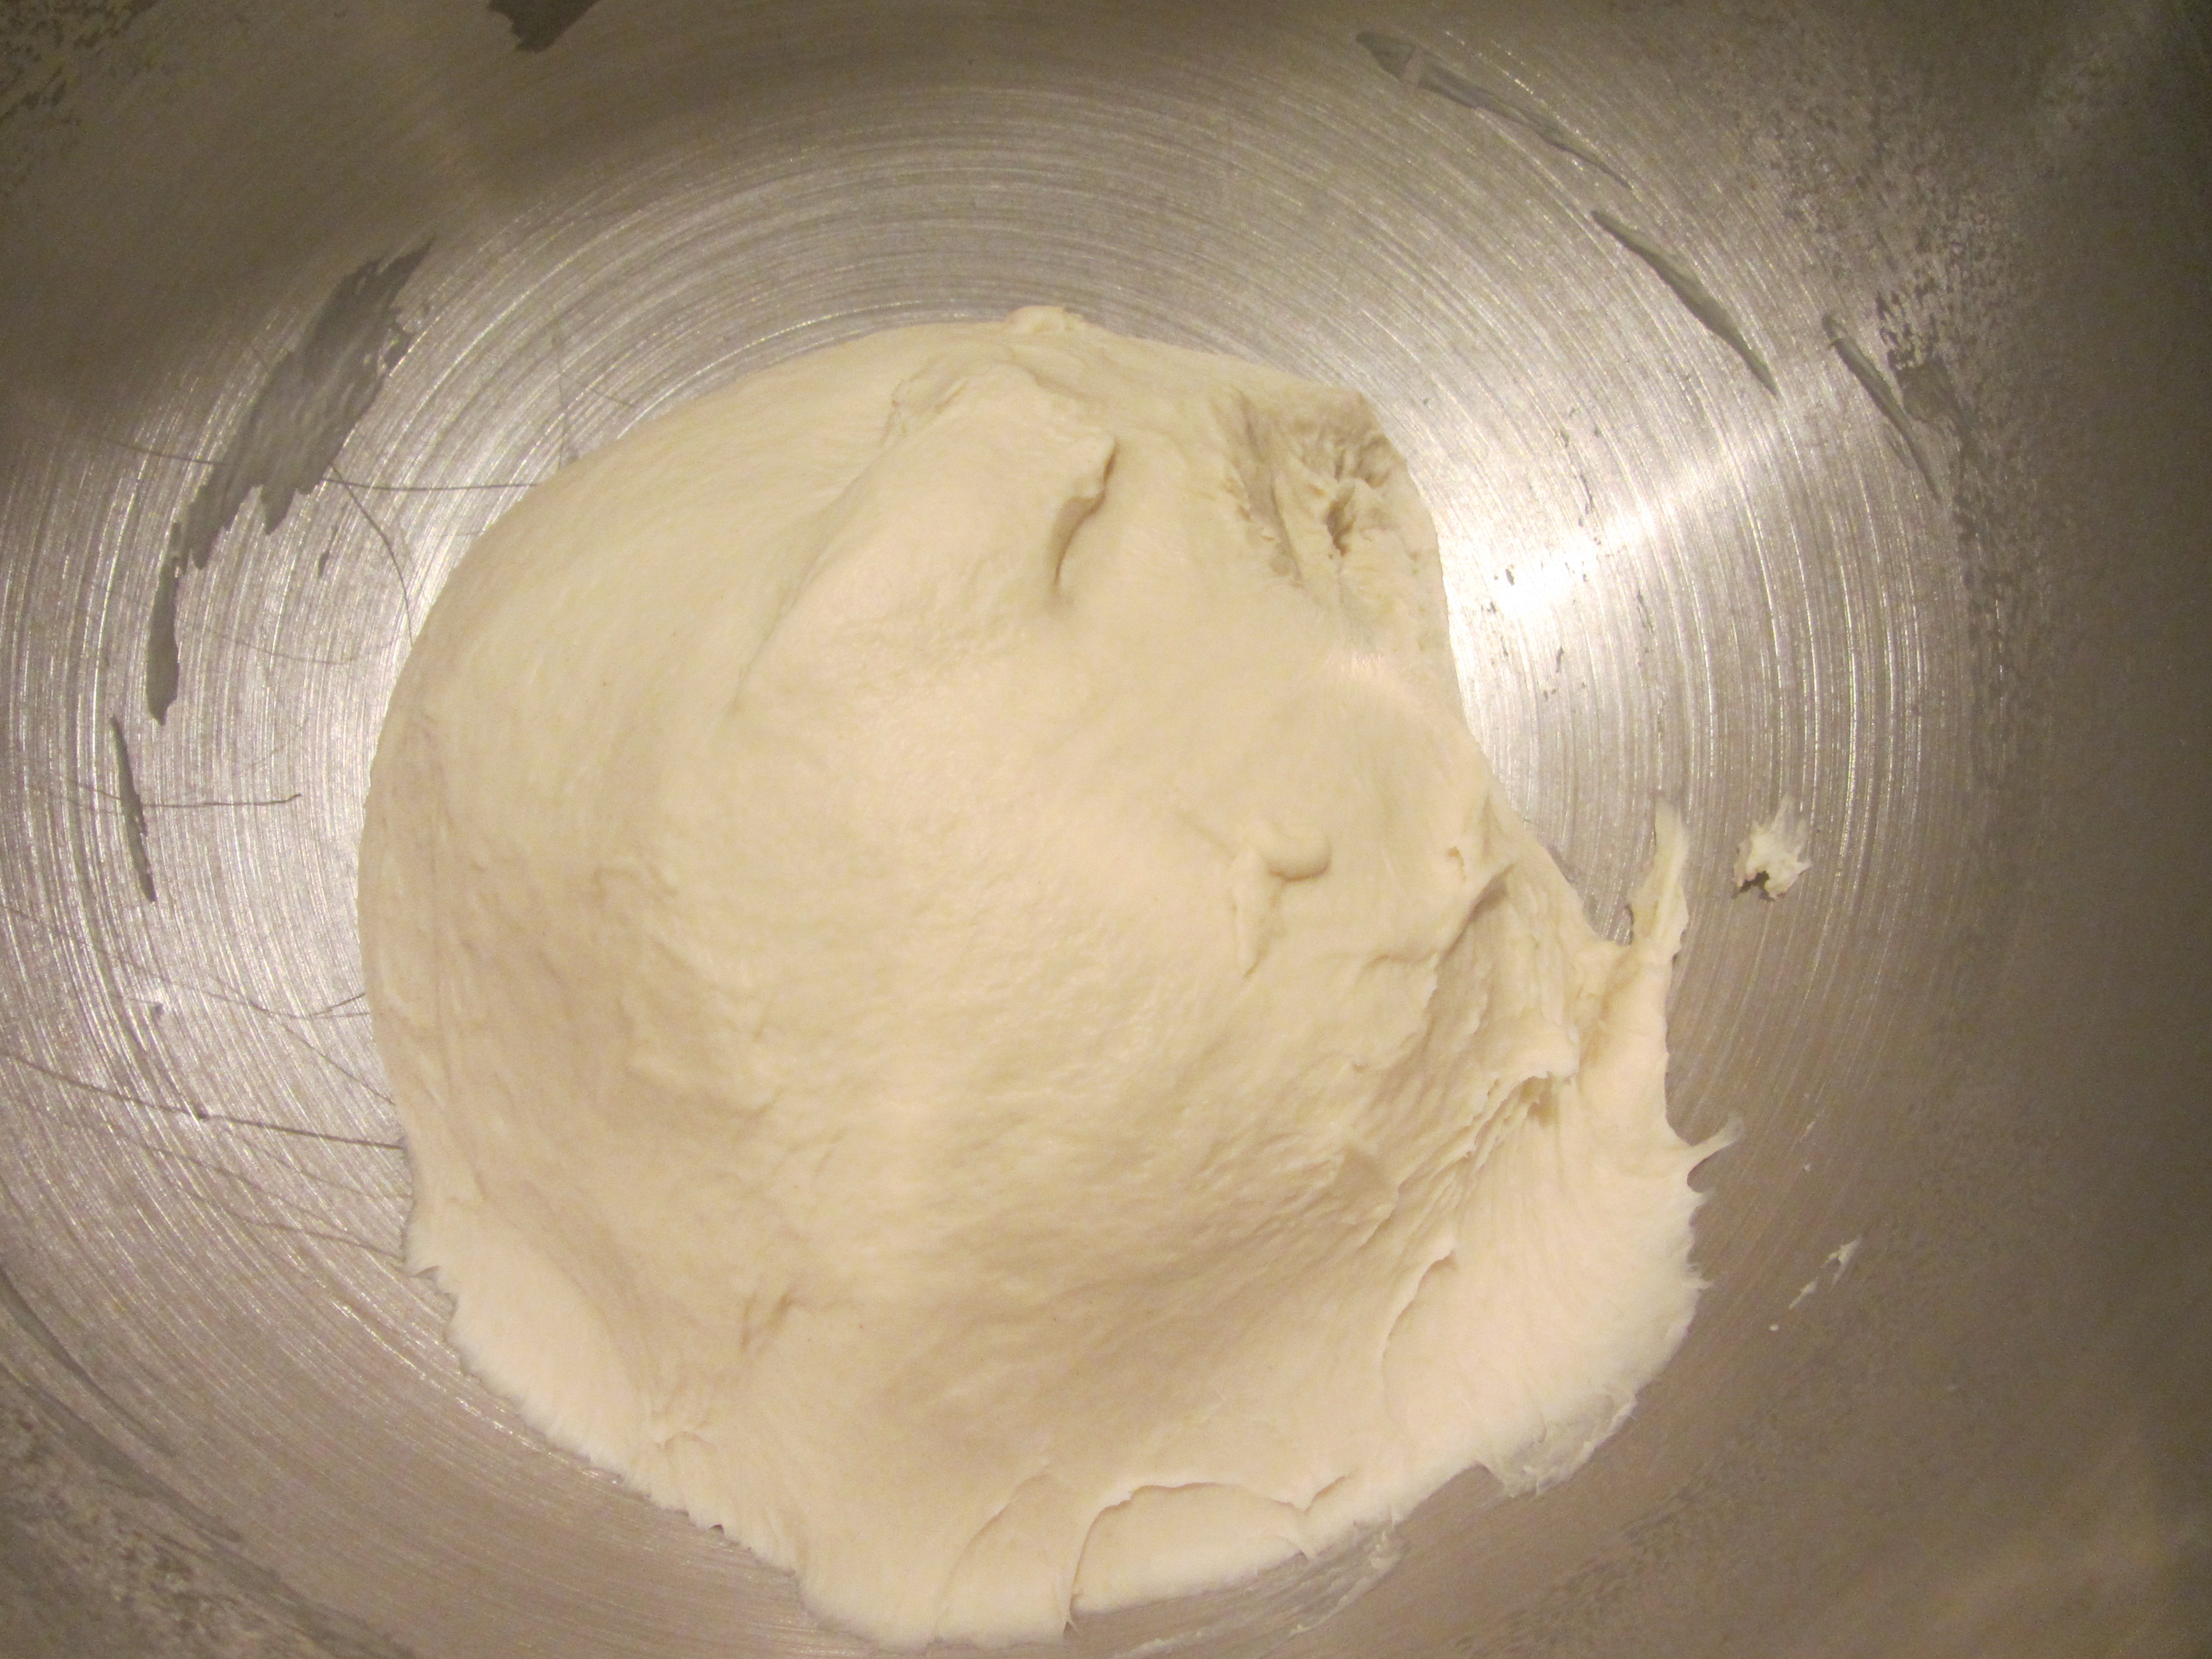
After the dough has rested, let the machine knead the dough (again, with the dough hook) for 5-10 minutes on medium speed or until the dough appears to be smooth and elastic. Oh, and if your dough starts climbing the dough hook, increase the mixing speed briefly and it should dislodge the climbing dough. You will know your kneading is complete when a small marble of dough can be flattened and stretched between your fingers, such that the dough is thin enough for light to shine through the dough without the dough tearing; this is called the windowpane test.

IMG_1856

Dough after kneading for 5-10 minutes and able to pass windowpane test.

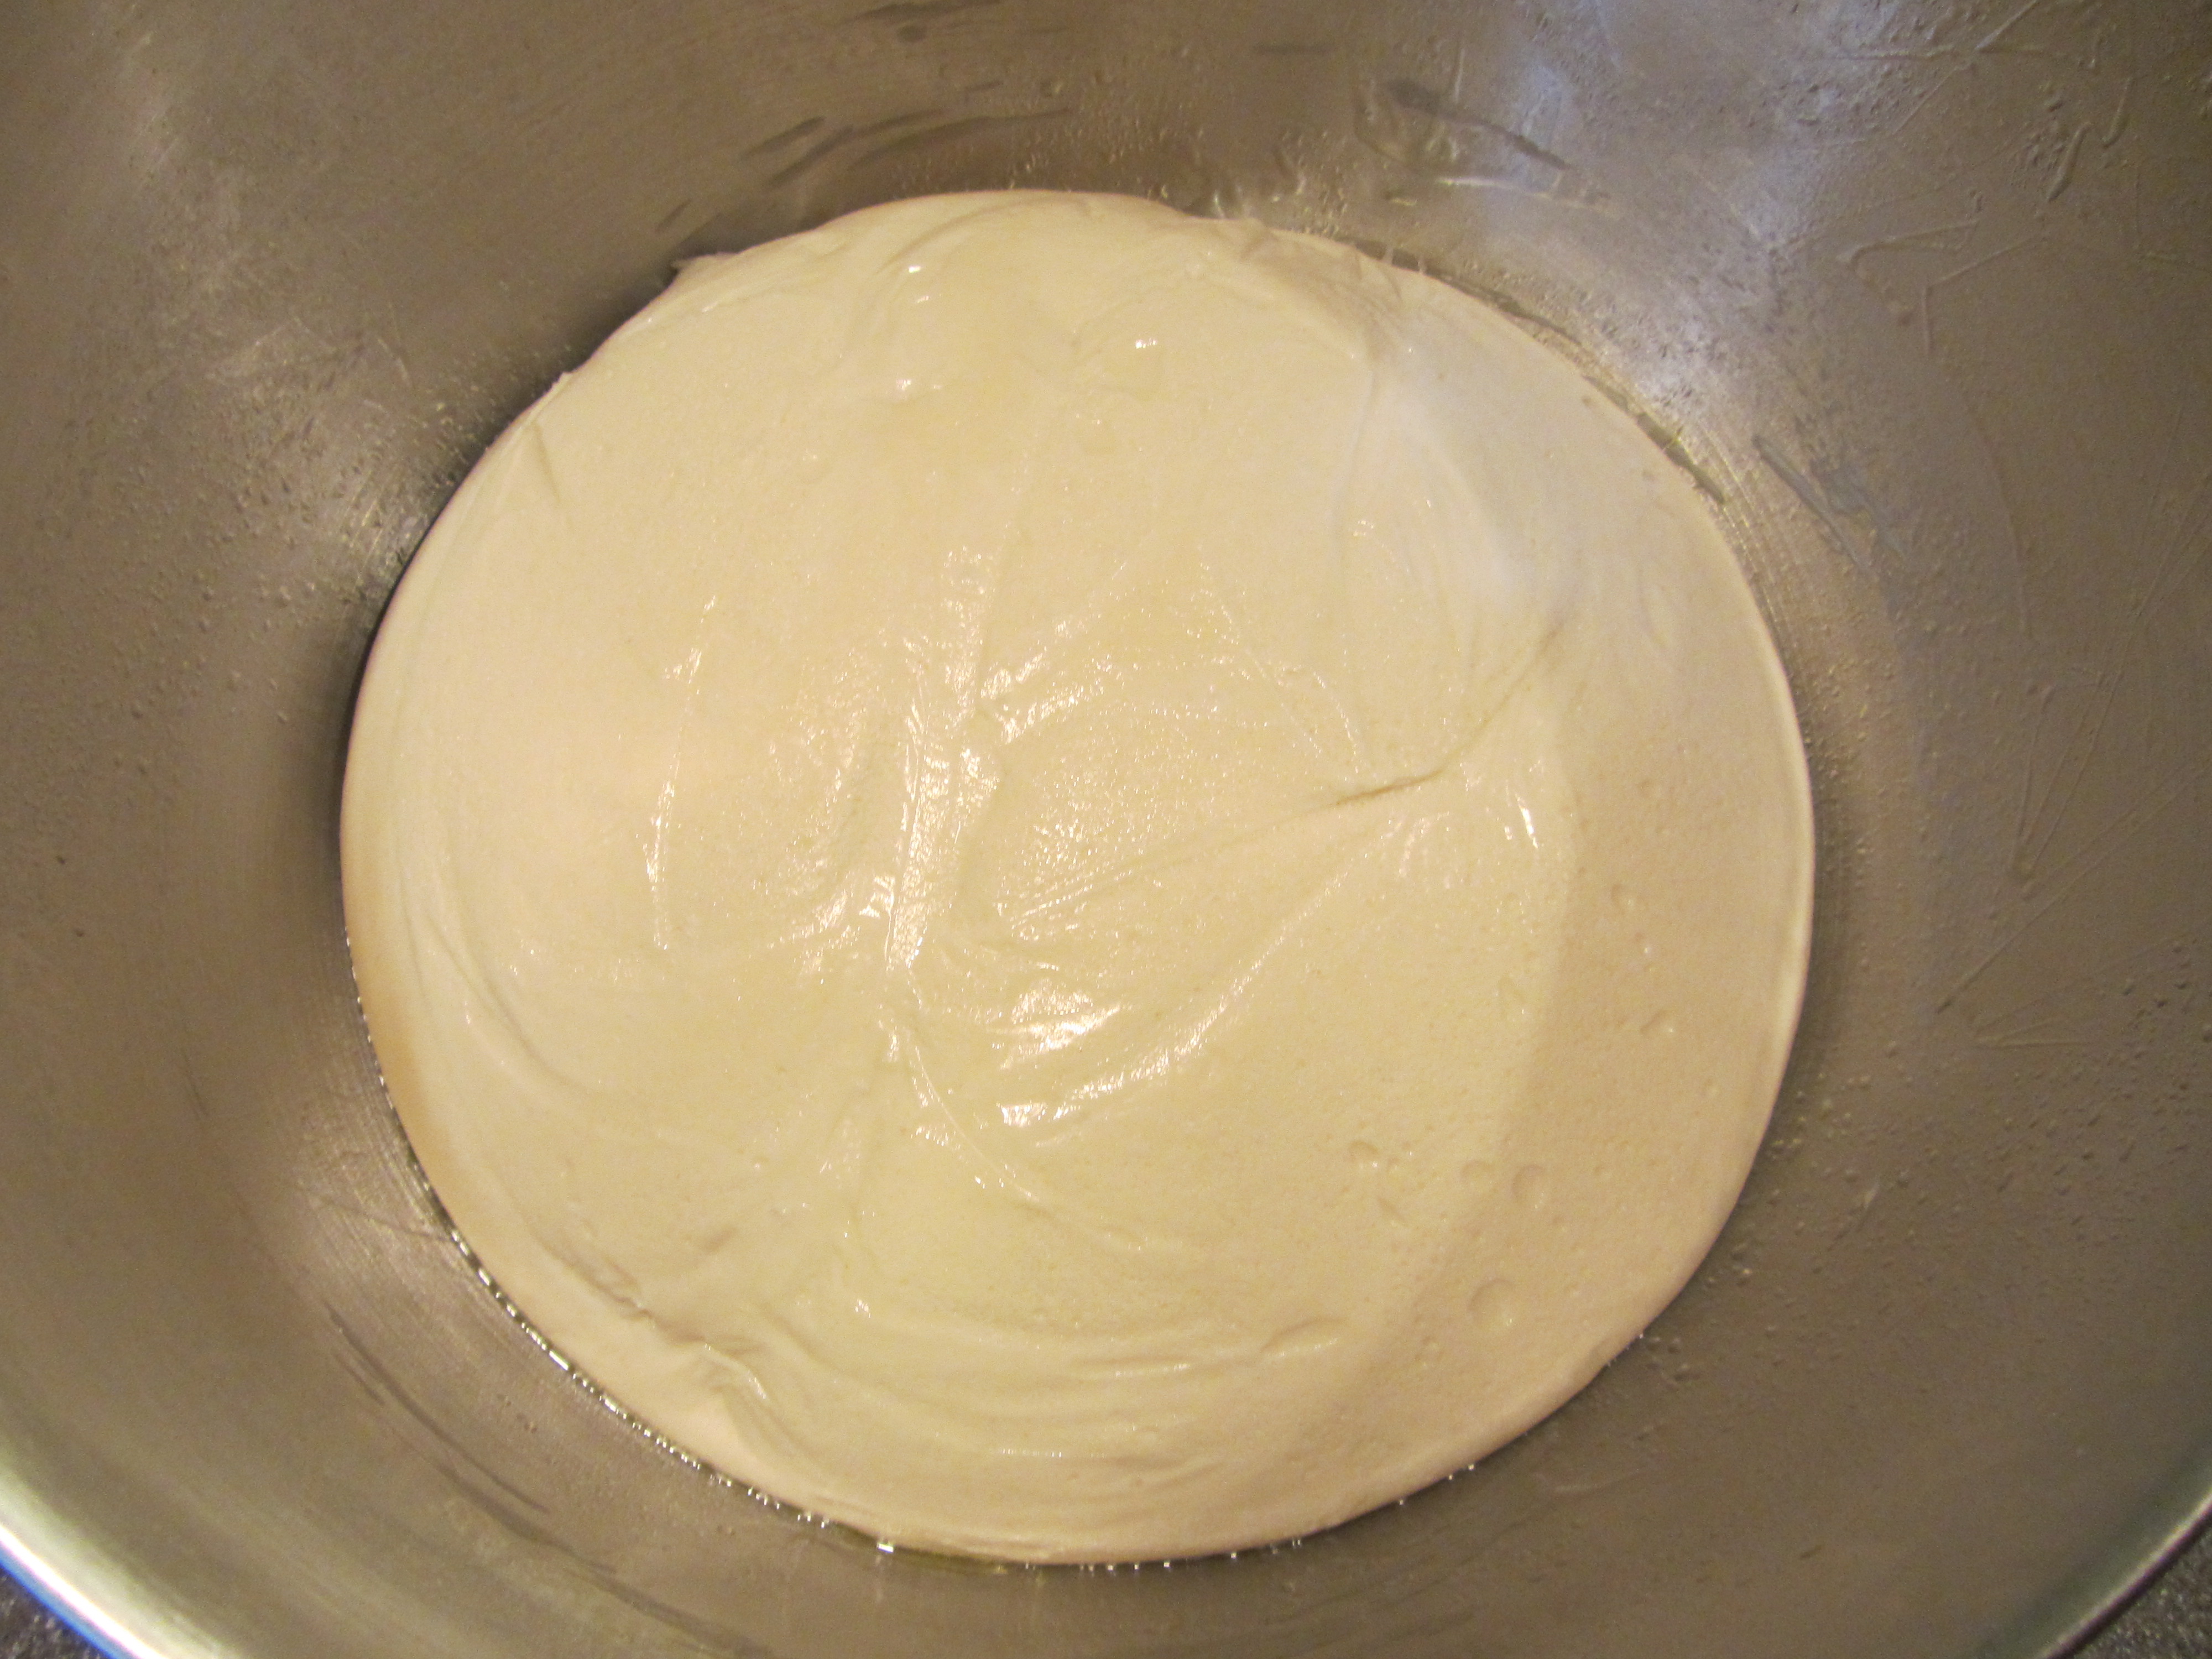
Once your dough passes the windowpane test, place the dough ball in a tall, clear, oiled container. Place a rubber band around the container to mark the top surface of the dough, as this will allow you to monitor how much your dough rises. Next, place the container in a cold oven, leaving the container uncovered. Place a 9 x 13″ baking dish beneath the dough and pour in some hot water. The hot water will provide a warm, moist environment in which the bread can rise. Shut the oven door and allow the dough to rise for one to two hours, or until it has doubled in size.

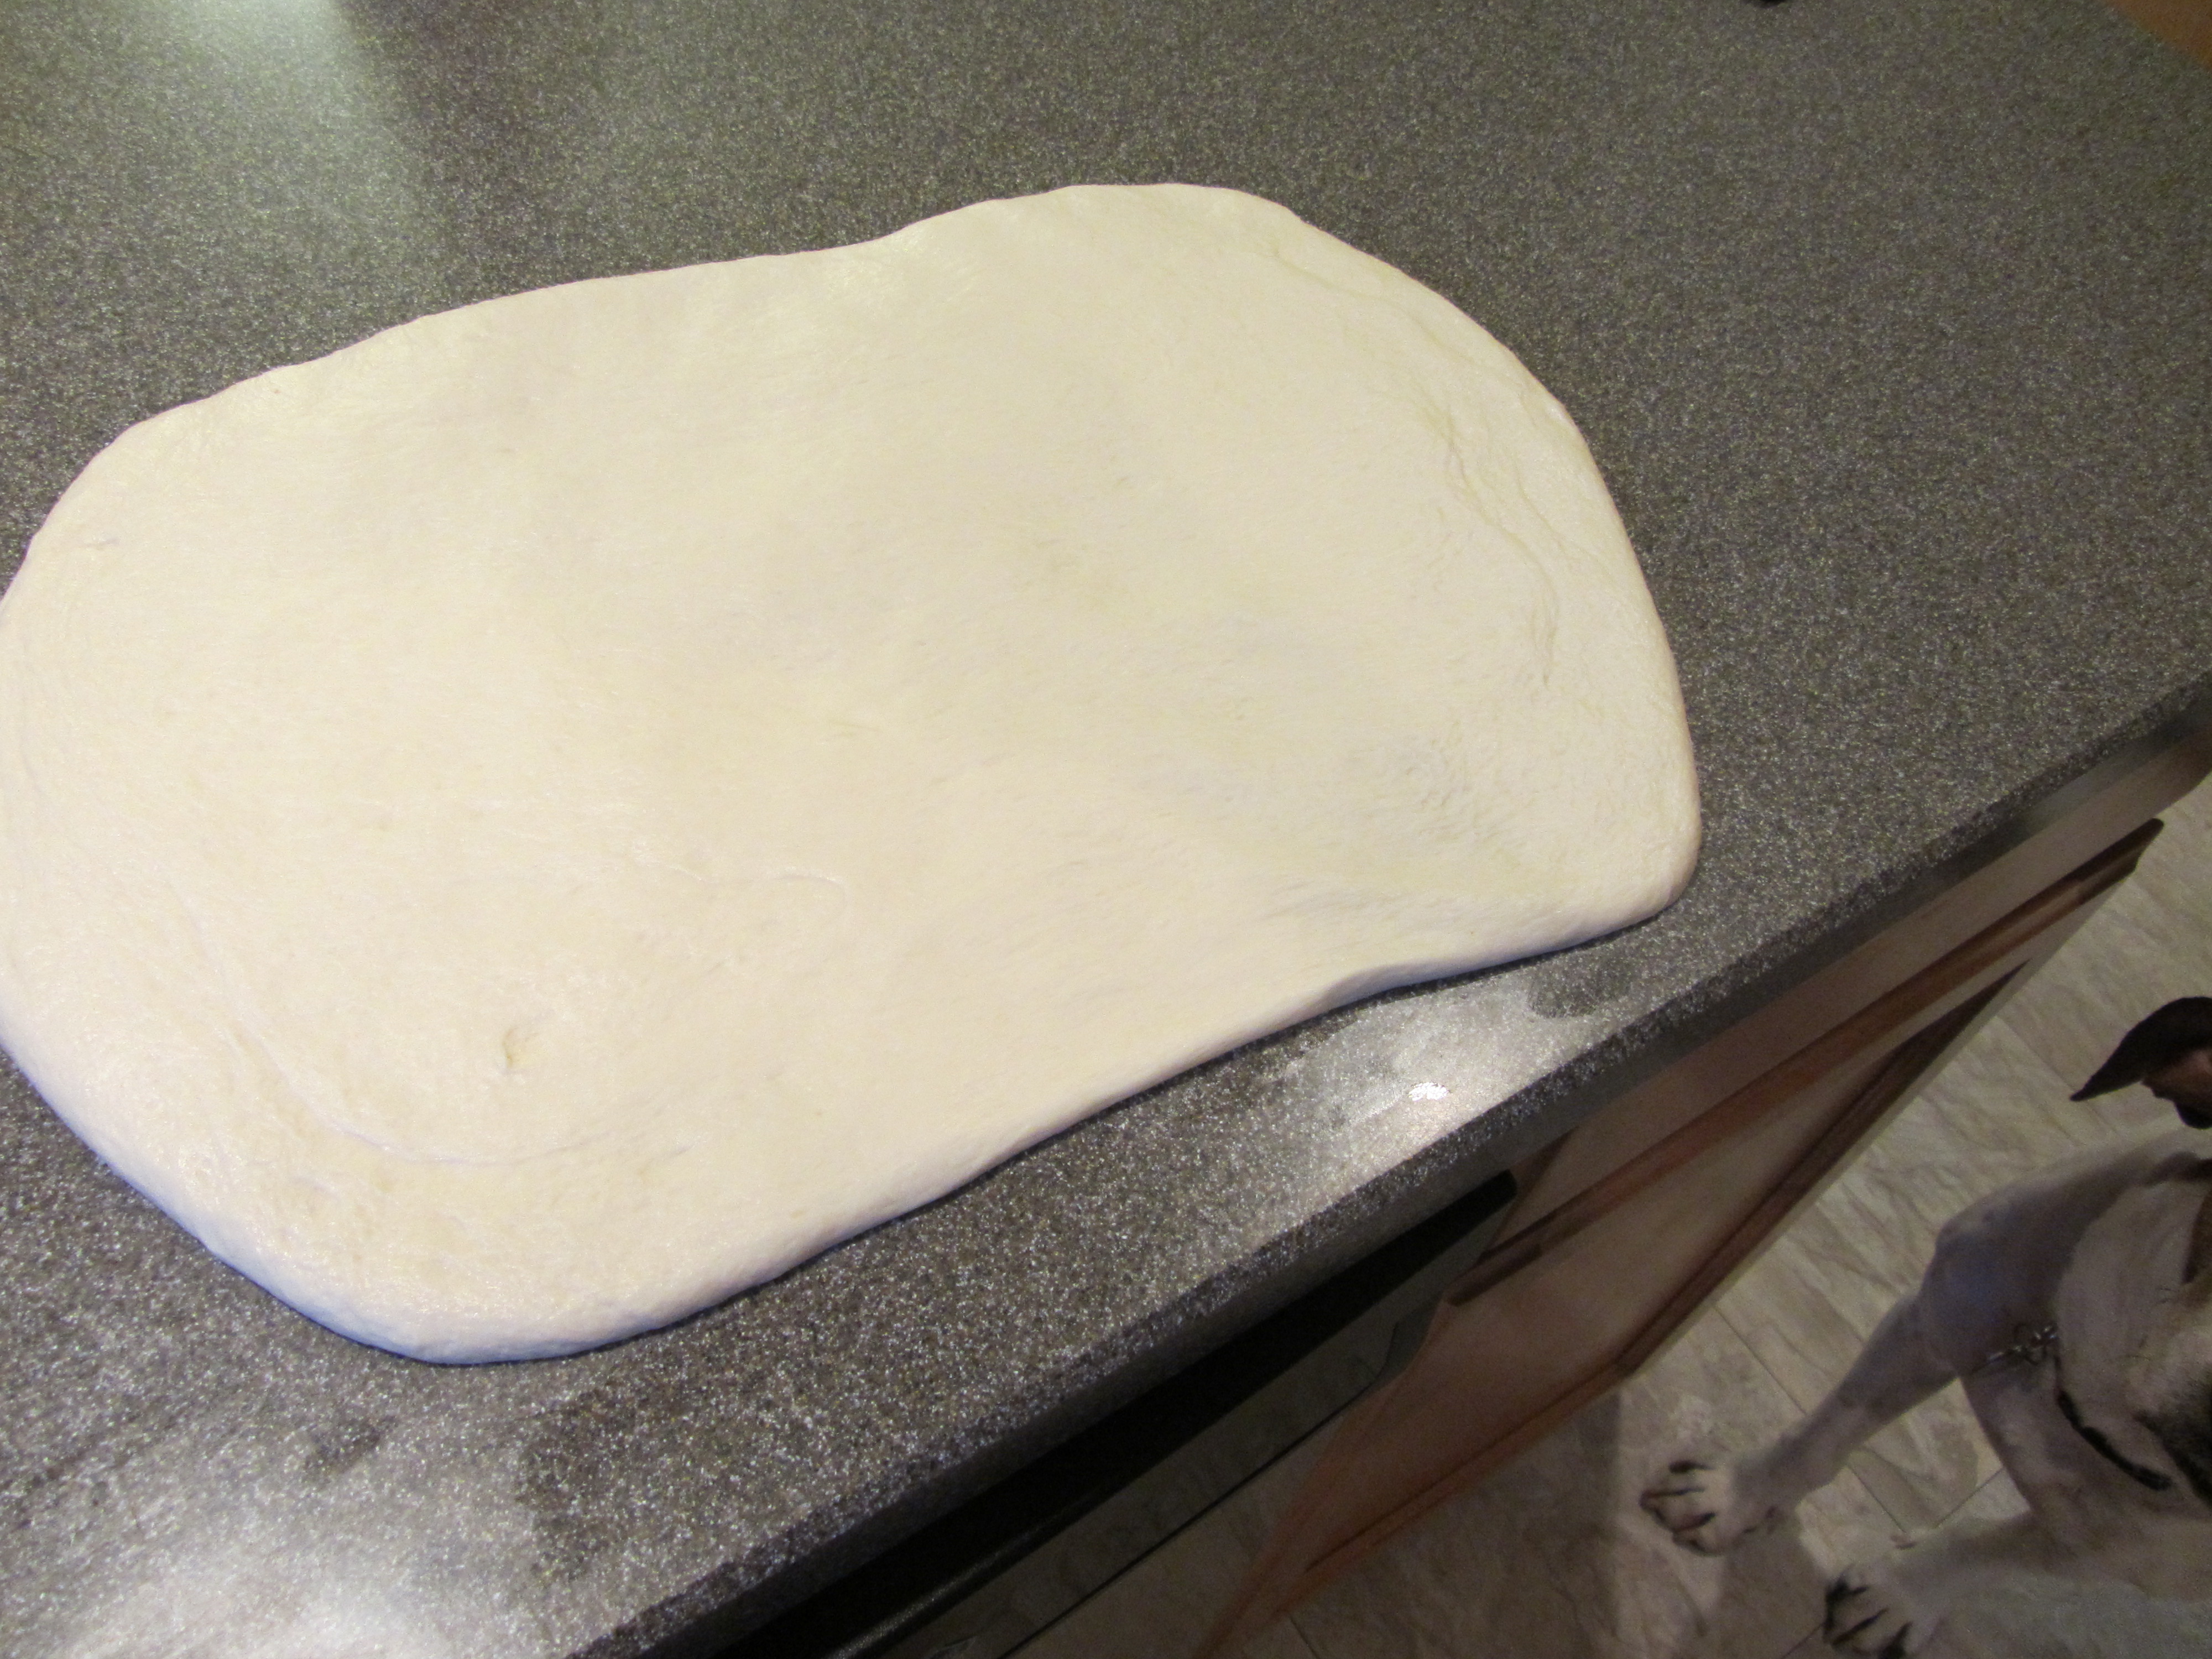
After rising, dump the dough onto a smooth surface and use your knuckles to dimple/flatten the dough into a rectangle.

Fold the left third of the dough in to the center of the rectangle, and then fold the right third of the dough over the top (as if making a tri-fold wallet).

Repeat the procedure again, first using your knuckles to flatten the dough, and then folding the dough like a wallet again.

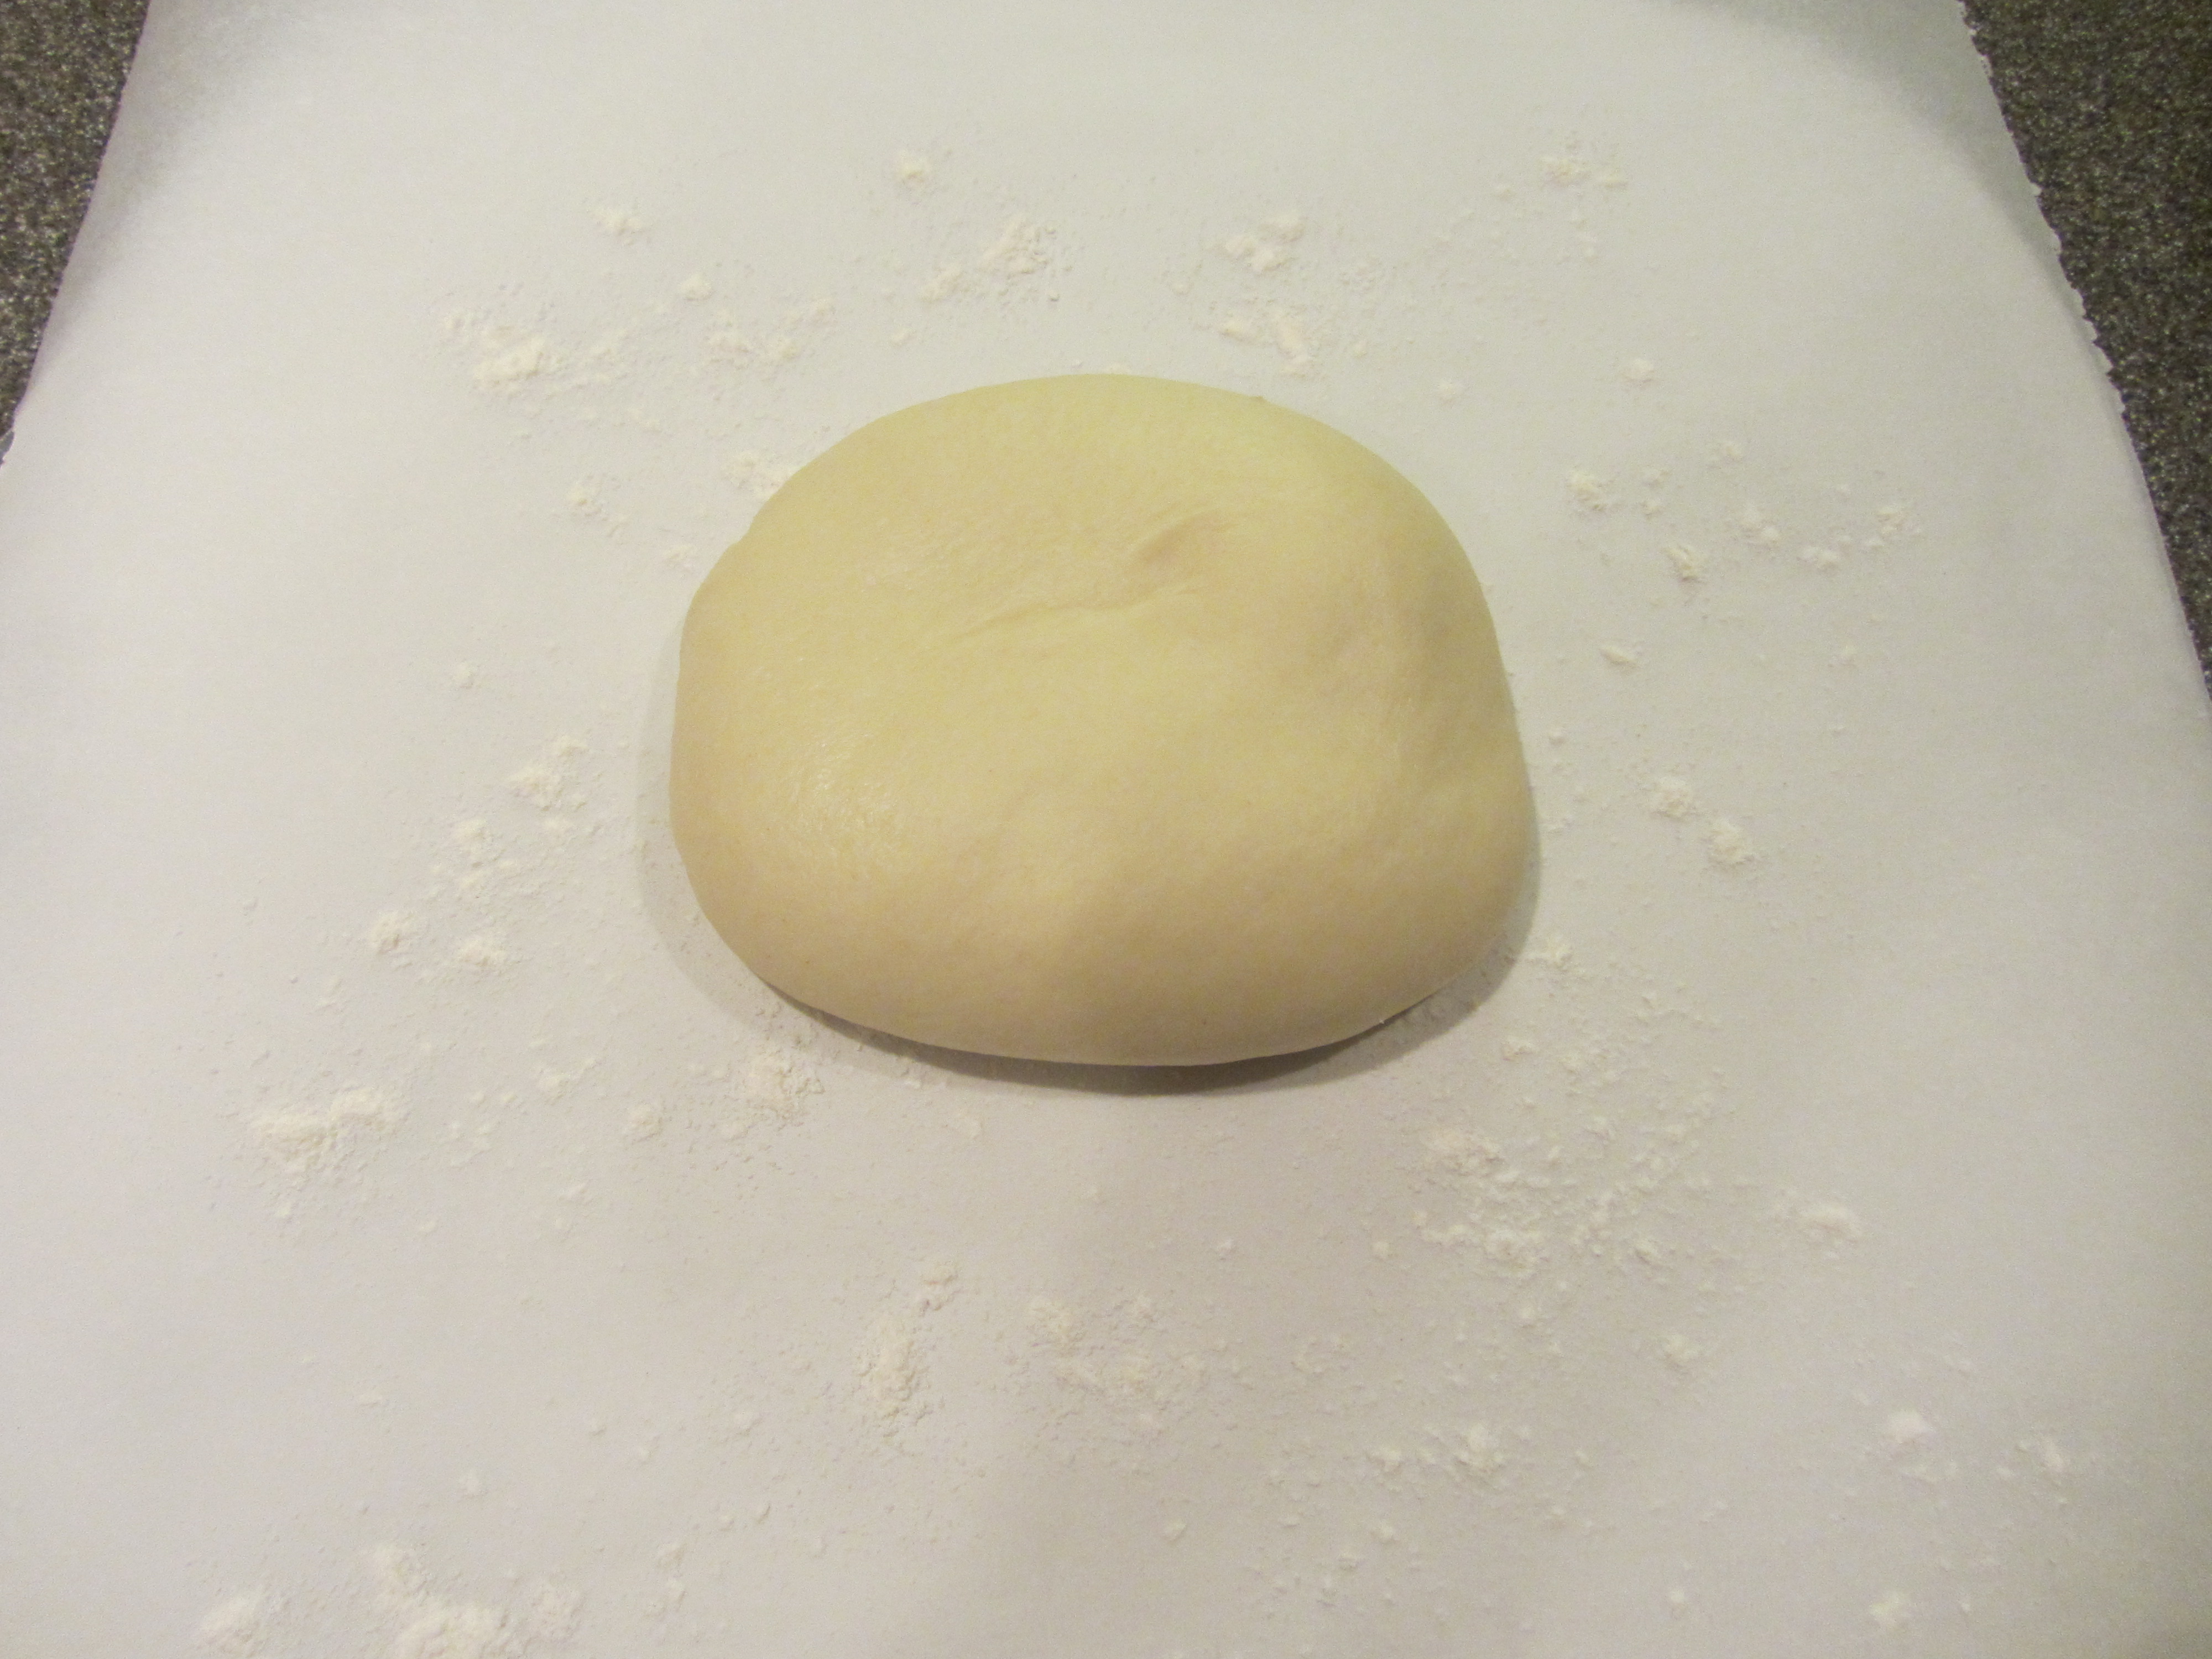
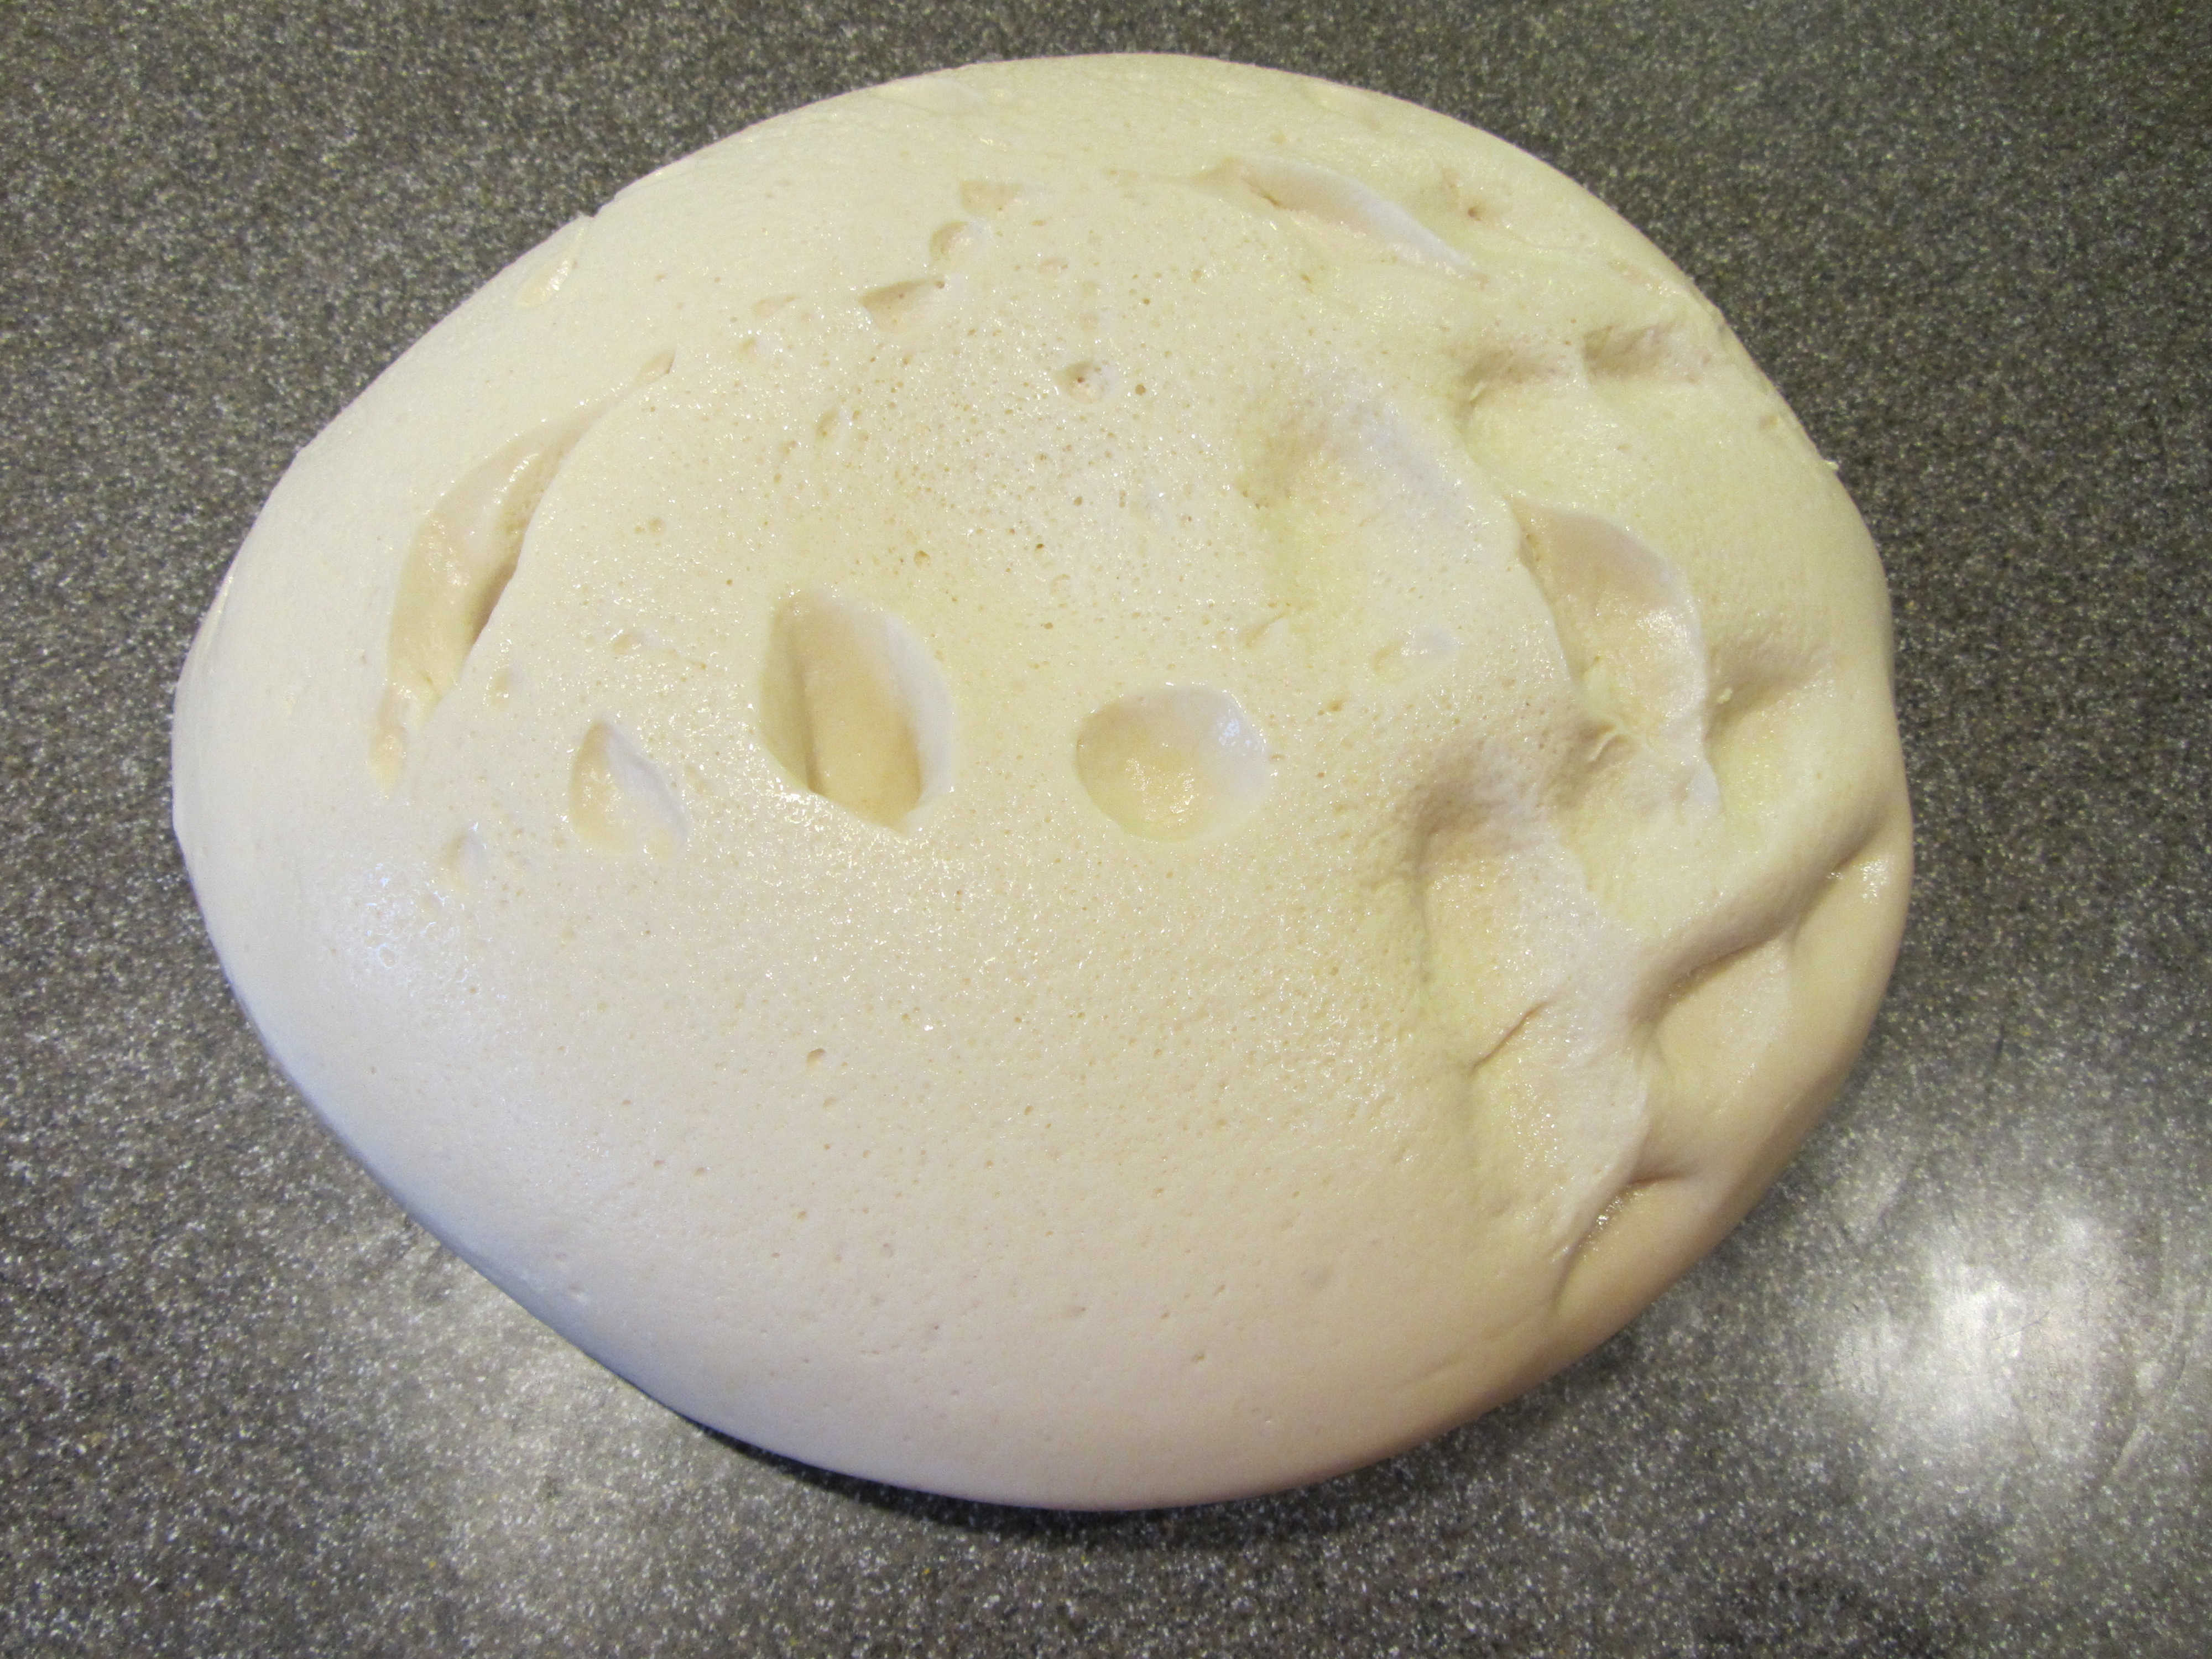
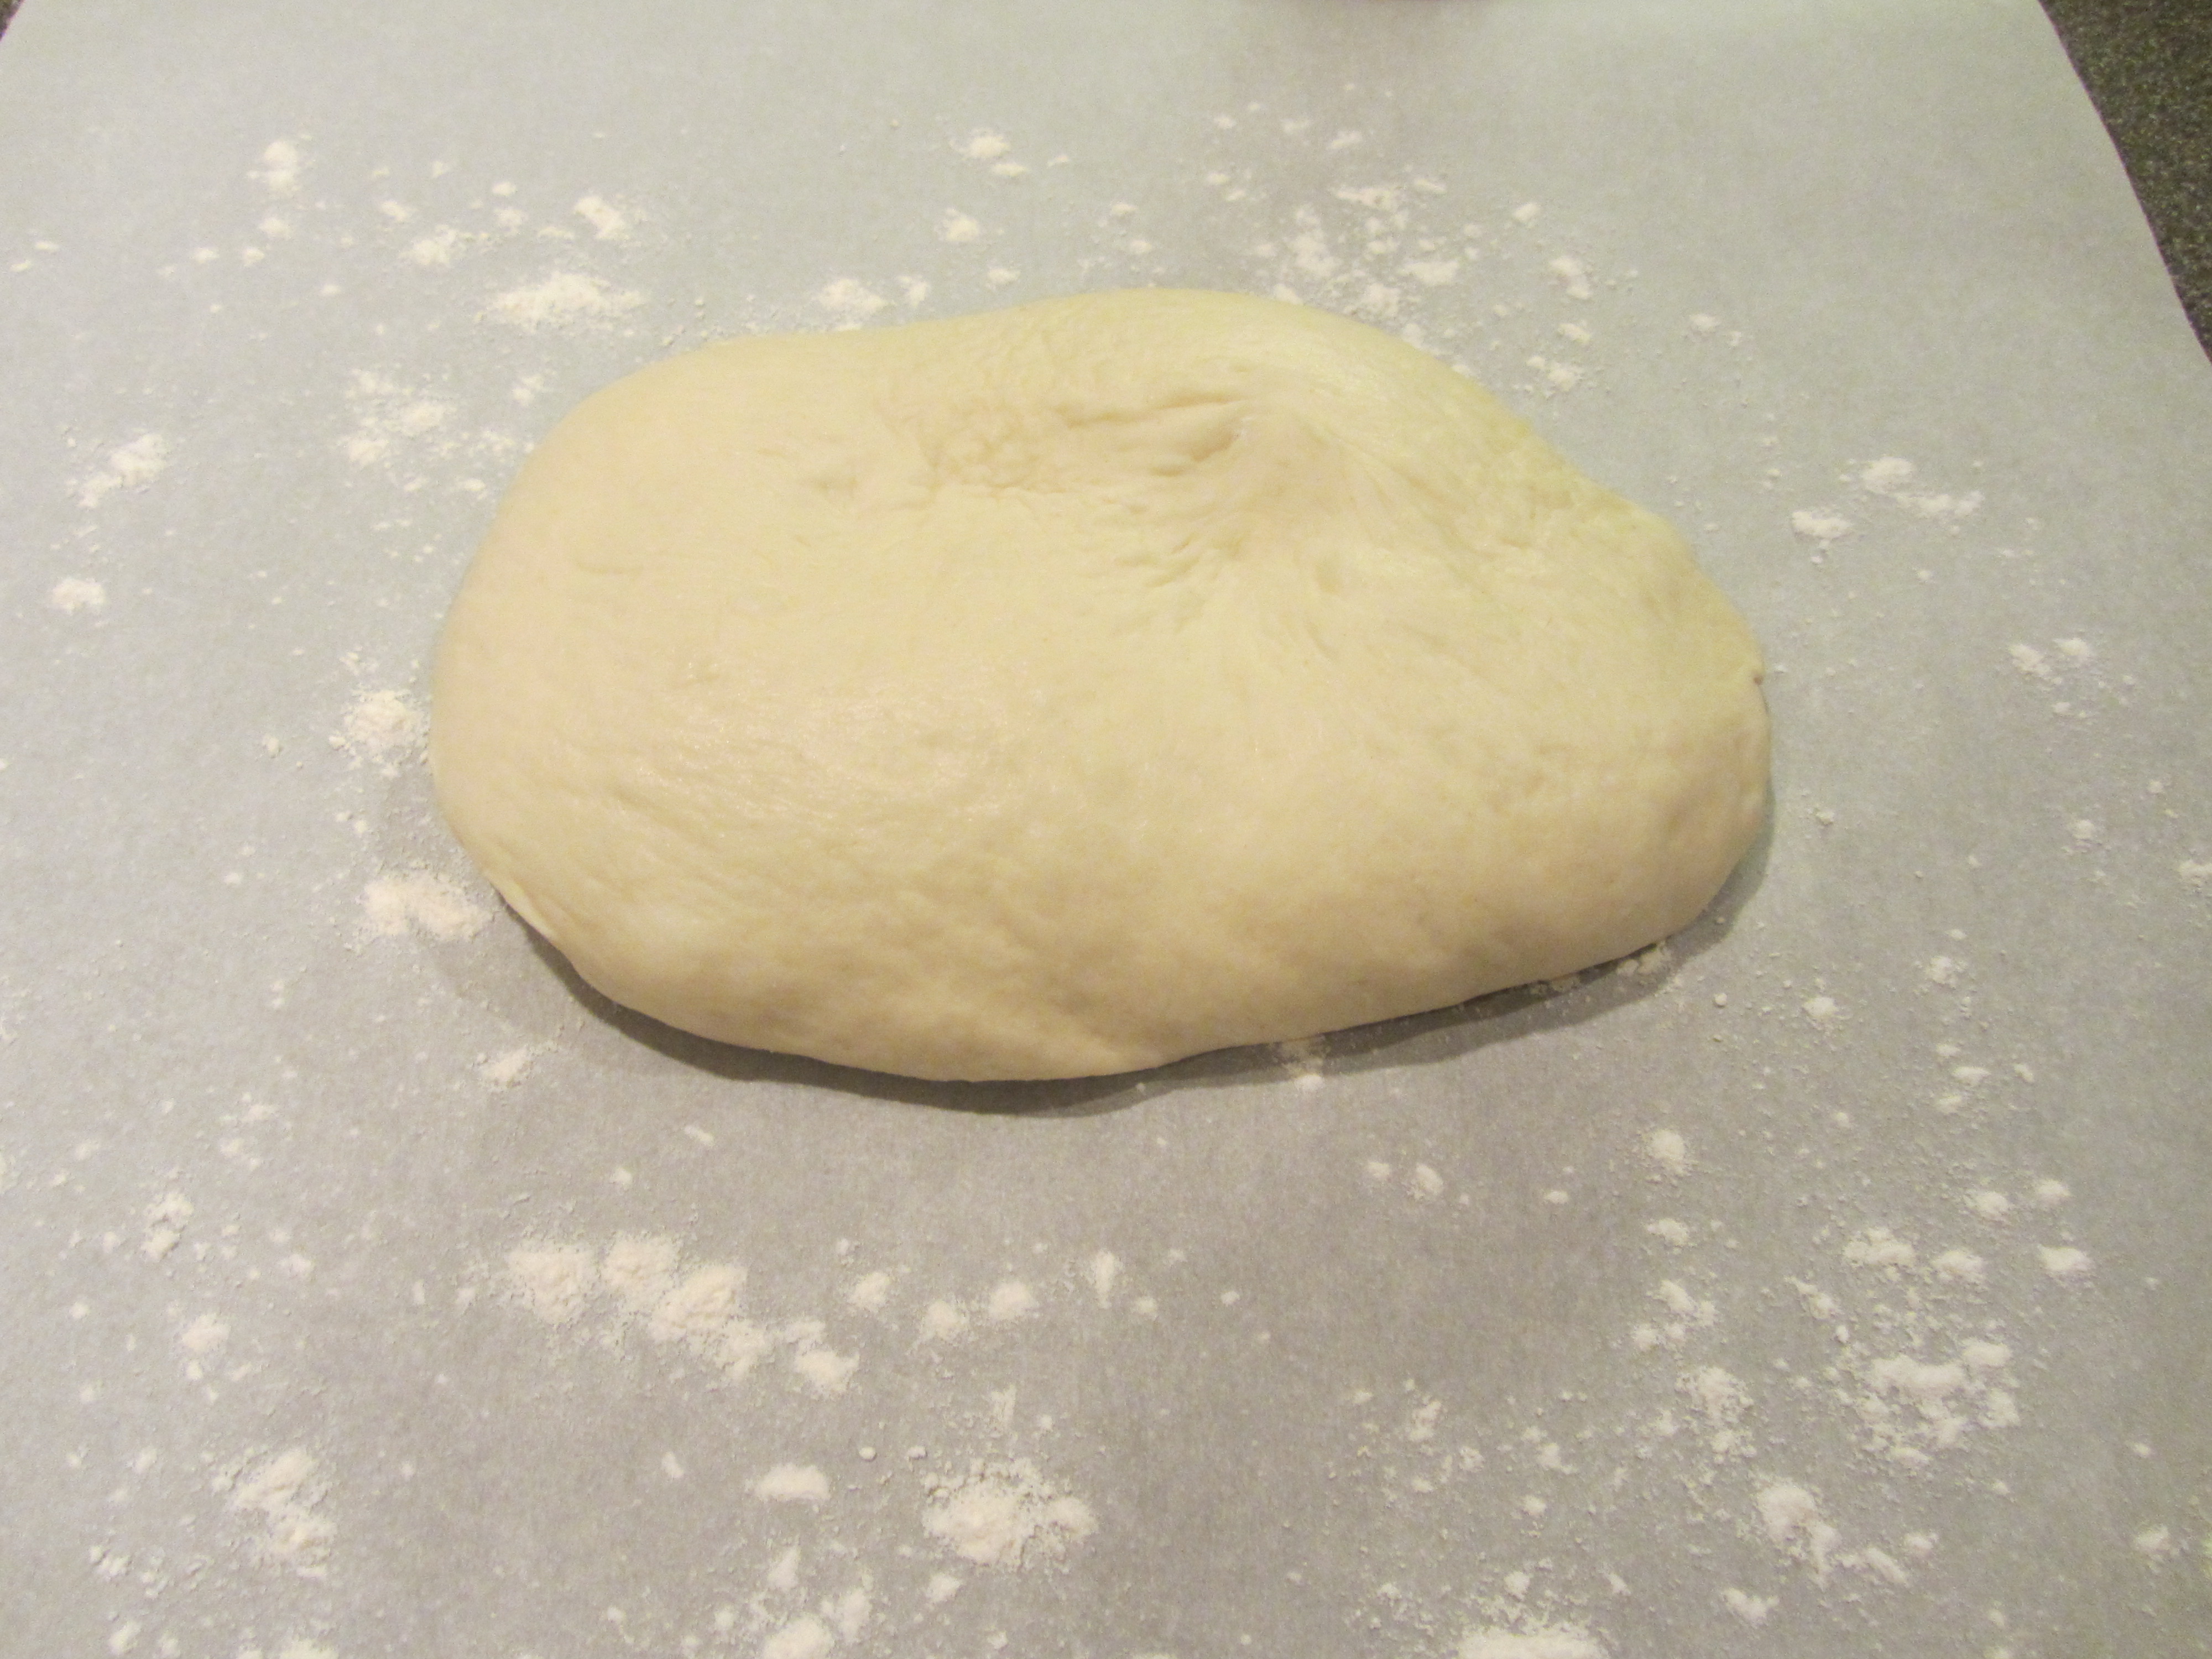
After folding the dough a second time, cover the dough with a towel and allow it to rest for 10 minutes.

IMG_1875

Dough after resting for 10 minutes.

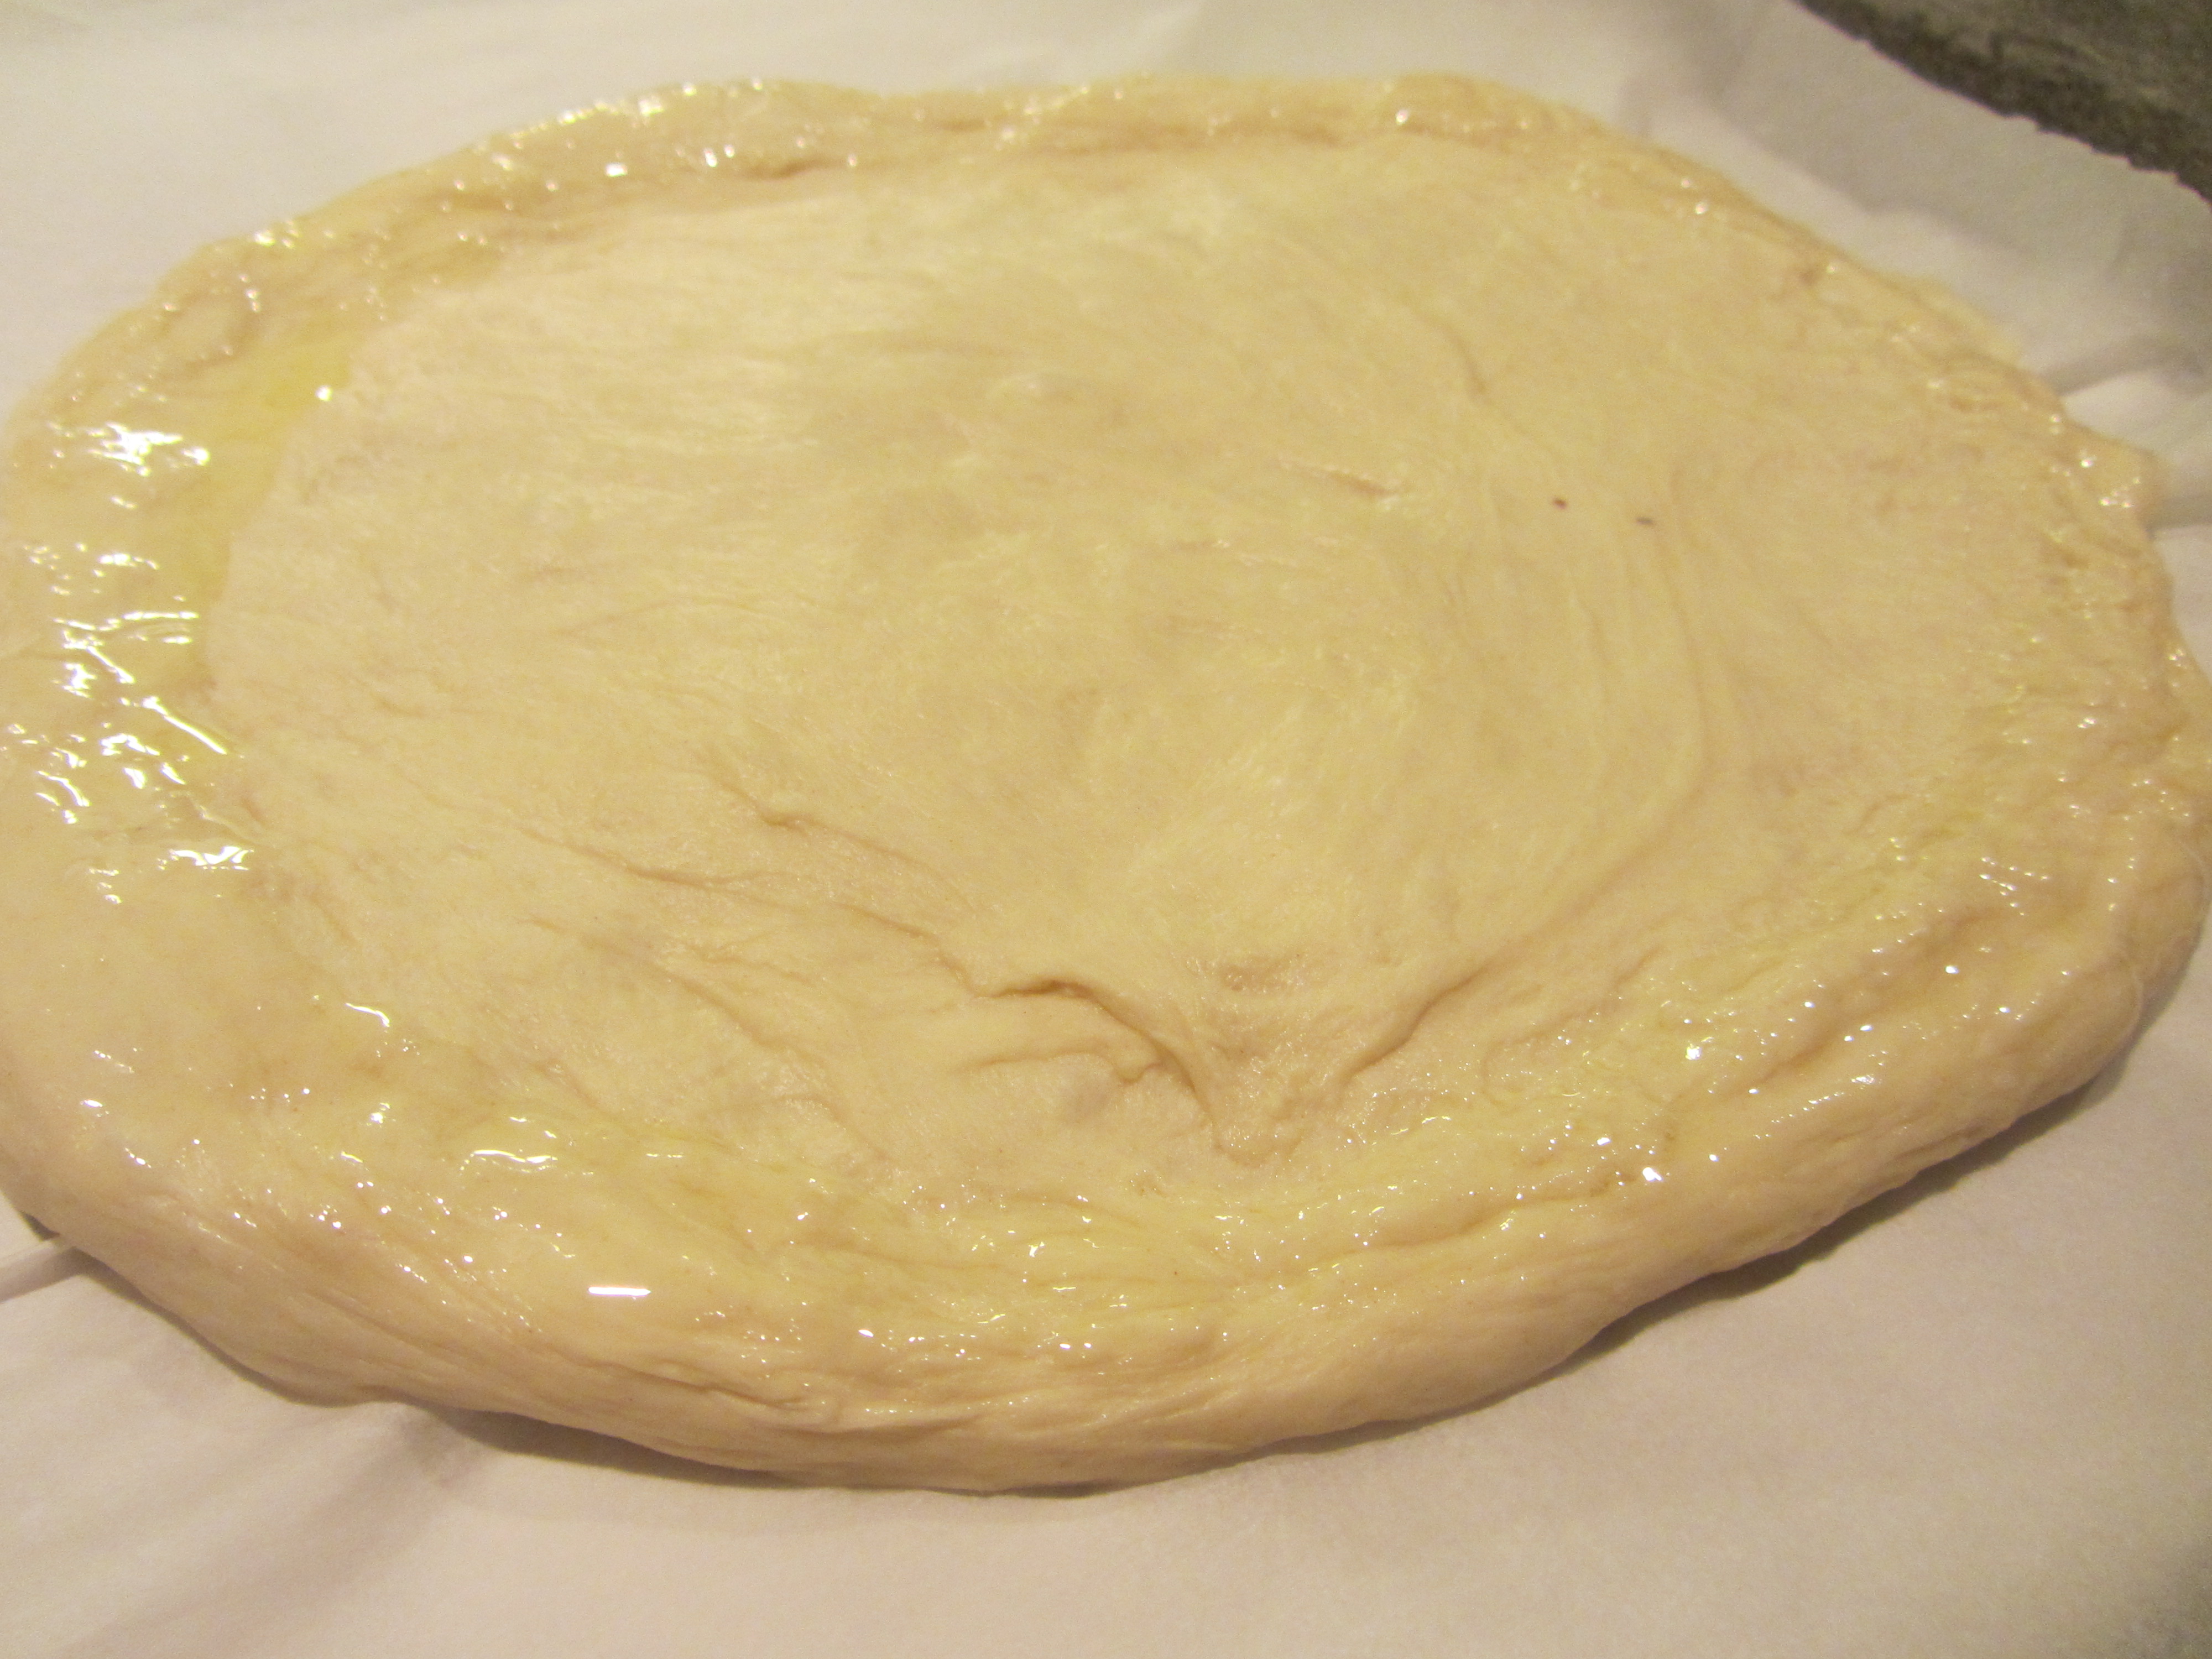
Next, flatten the dough and form it into a smooth, tight ball by pulling the ends under the dough, as if forming a jellyfish. Smooth the ball by lightly rolling it on the counter in a circular motion between your hands, as if almost tossing it laterally from hand to hand.

When your dough has formed a smooth ball, place the dough on a cornmeal-sprinkled pizza peel, cover the dough with a towel, and allow the dough to rise at room temperature for an hour. Toward the end of the rise, place the base of a large, unglazed terra cotta planter upside down in a cold oven (if the oven is hot, the planter base will crack). Preheat the oven to 400. If you do not have a planter base, you can use a pizza stone.

IMG_1833

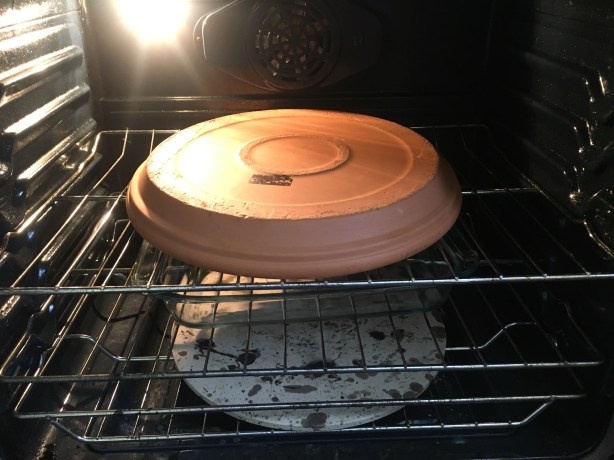
Inverted terra cotta planter base in cold oven.

After rising, brush the bread with a shaken mixture of 1/3 C water and 1 T cornstarch, and use a sharp knife to cut four slits in the top of the dough, forming a square shape.

As for the first rise, pour hot water into the 9 x 13″ pan beneath the planter. Using the pizza peel, slide the dough onto the terra cotta base (the dough will stick a little), and set the oven timer for 50 minutes.

IMG_1887

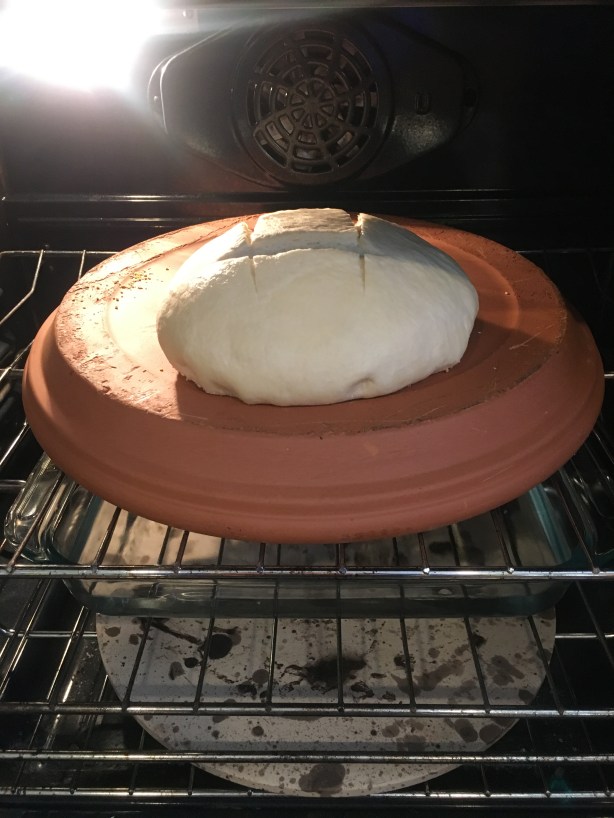
Dough placed on hot terra cotta planter base. Tray of water beneath.

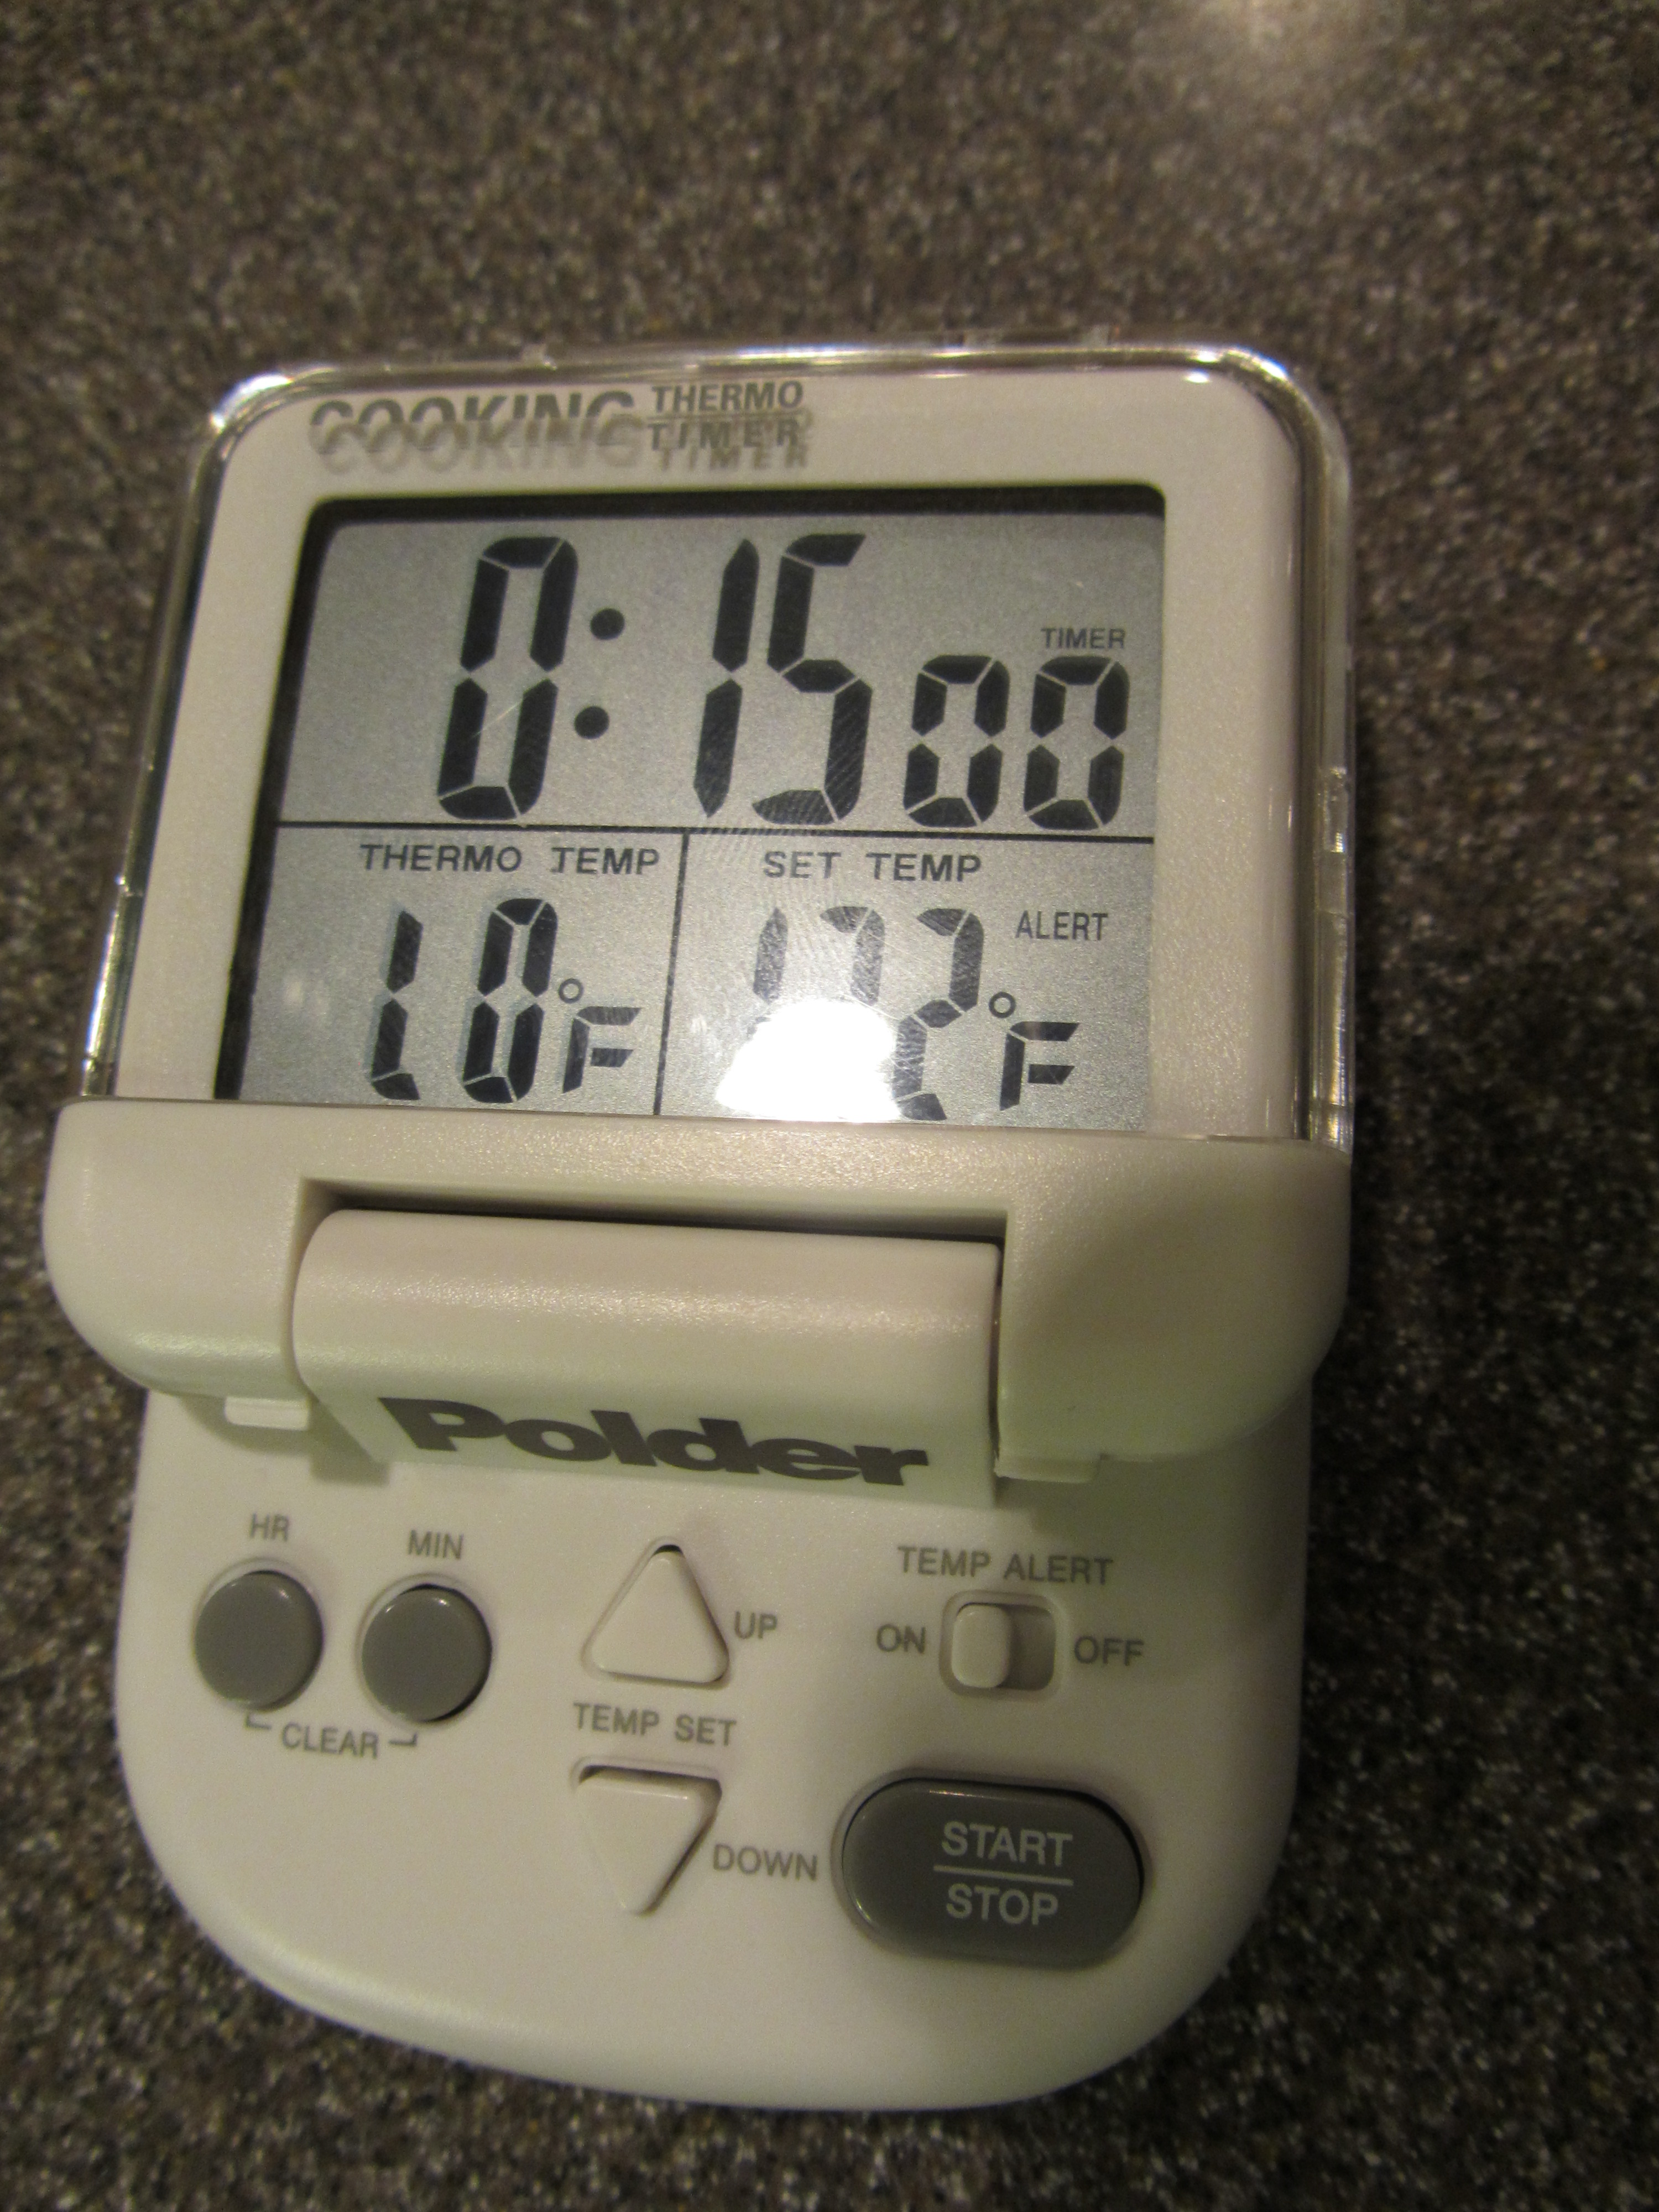
After 50 minutes of baking, use a thermometer to check the internal temperature of your bread – it should be between 205 and 210 degrees.

IMG_7779(1)

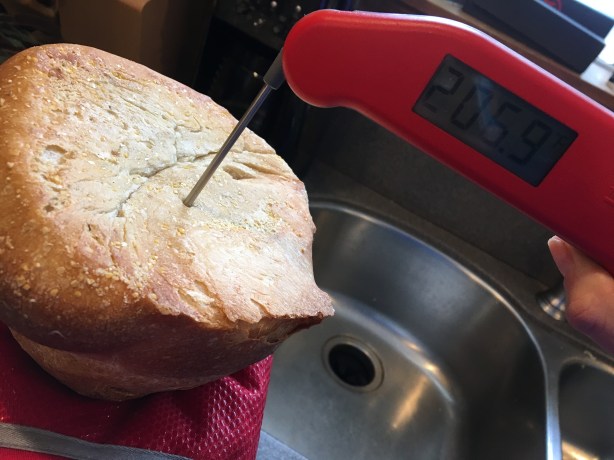
Bread at 207 degrees.

Once your bread is in the desired temperature range, remove it from the oven and allow it to cool for at least 30 minutes before slicing.
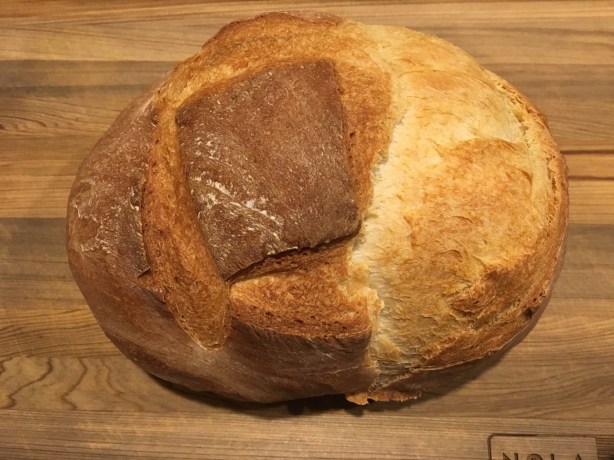
IMG_7850(1)

Finished bread.

IMG_7852(1)

Finished bread, sliced.

This is a really good recipe because it isn’t over complicated and it works. This recipe produces a great, all-purpose loaf of bread with a crispy crust and chewy crumb. This is a great everyday go-to bread recipe.


While I breeze through some episodes, this episode was one that took a little while for me to complete. Not only were there five recipes in this episode, but they also all contained nuts; this made for some pretty rich food, so I had to space the recipes out a little bit. First was Alton’s cashew sauce.

Cashew Sauce

This recipe is really two recipes in one:  one for cashew butter, and another for the cashew sauce that is made WITH the cashew butter. To make the cashew butter, combine 10 ounces of roasted/unsalted cashews with two heavy pinches of Kosher salt in a food processor.

Place 2 T honey in the microwave for ~15 seconds to loosen it up, and combine the honey with 1/3 C walnut oil.

With the food processor running, slowly add the oil/honey until the mixture is smooth.

IMG_7339

Honey/oil drizzling into cashews.

If you just want cashew butter, you can stop here.

IMG_7343

Cashew butter.

To continue on and make Alton’s cashew sauce, whisk 1/2 C of your cashew butter with 3/4 C coconut milk and 1/4 t cayenne pepper in a saucier over medium heat. Once smooth, use the sauce as desired.

Alton recommended serving the cashew sauce over chicken or rice. I chose to serve my cashew sauce over some sweet potato “noodles” and meatballs, along with a little bit of cilantro.

IMG_7351

Cashew sauce served over sweet potato noodles and meatballs.

IMG_7353First off, Alton’s cashew butter is super delicious; it’s sort of like a richer, sweeter, better peanut butter, and it is great on pretty much anything. We were also fans of the cashew sauce, which was rich, nutty, and had a perfect punch of heat from the cayenne pepper. And, if you are too lazy to make your own nut butter (it is worth it, though), you could always use purchased nut butter to make the sauce. This sauce is also super versatile, as you could use it over meat, pasta, or vegetables.

Pistachio Mixed Herb Pesto

I love pesto and it is something I make every summer. I typically make basil pesto, so I can use up the last of my fresh basil, freeze the pesto in batches, and continue to dream of summer as the weather gets colder. Sage pesto is nice to make in the fall too! Alton’s pesto recipe in this episode was a little different from the other pestos I have made in the past, as parsley was the primary herb and toasted pistachios were the nut of choice (I toasted my pistachios in a 400 degree oven for ~5 minutes).

IMG_7473

Ingredients for pesto: garlic, thyme, tarragon, sage, oregano, olive oil, Parmesan, parsley, and toasted pistachios.

To make Alton’s pesto, drop 1/2 to 1 clove of garlic into the lid of a running blender, chopping the garlic finely (I opted for a full clove since I like garlic). When the garlic is chopped, turn off the blender and add 2 T fresh lemon thyme (I could not find lemon thyme, so used regular thyme), 2 T fresh tarragon, 1 T fresh sage, 1 T fresh oregano, 2 C packed flat leaf parsley, 1/2 C grated Parmesan, and 3/4 C toasted pistachios.

With the blender running, drizzle in 2/3 C olive oil until emulsified.

IMG_7481

Pesto, after drizzling in olive oil.

Alton recommends serving his pesto on pesto or toast. I served the pesto over zucchini “noodles” with fresh Parmesan.

IMG_7484

Pesto over zucchini noodles.

This pesto is super flavorful, tastes like a variety of herbs, and has great color. Since everyone always thinks of basil and pine nuts/walnuts for pesto, this version really mixes things up. And, if you happen to have fresh herbs in your garden, this can also be a relatively inexpensive pesto recipe. Give this one a try for a tasty twist on pesto.

Pistachio Fruit Balls

For a sweet treat using nuts, Alton made these pistachio fruit balls.

IMG_7596

Ingredients for pistachio fruit balls: roasted pistachios, dates, dried apricots, orange juice, golden raisins, creme de cassis, and dried cherries.

Begin this recipe by grinding 1 C roasted pistachios in a food processor. Set the pistachios aside.

Next, in a large bowl combine 1/2 C pitted dates, 1/2 C dried apricots, 1/2 C golden raisins, and 1 C dried cherries.

IMG_7601

Combined dried fruit.

Run the dried fruit mixture through a meat grinder with a medium die, catching the ground fruit in a bowl.

Add half of the ground pistachios to the ground fruit, along with 1 T fresh orange juice and 2 T creme de cassis. Note:  creme de cassis is a black currant liqueur.

Using your hands, work the mixture together until thoroughly combined. Once combined, use a melon baller to form individual balls of the fruit mixture, and roll the balls in the remaining ground pistachios.

If you find that the mixture is too sticky, you can put some vegetable oil on your hands. Store the fruit balls in the refrigerator for up to a week.

IMG_7611

Pistachio fruit balls.

The online reviews of this recipe are mixed, which I find surprising. We thought these were a really great, healthy, sweet snack. Some reviewers complained of this being a messy or difficult recipe, but I found neither to be the case at all. You could always substitute a different liqueur if you did not have creme de cassis, but I wanted to test the recipe as written. These fruit balls had just the perfect amount of sweetness, held together perfectly, and had great crunch from the pistachios. We ate these as a snack every day for a week. I liked this recipe!

Macadamia Nut Crusted Mahi Mahi

When Alton made this recipe in the episode, he used mahi mahi, but I could not find mahi mahi where I live. Instead, Ted splurged and picked up a couple halibut fillets. This recipe makes enough for four servings, so I halved the recipe for us. To make the recipe for four servings, coarsely crush 5 ounces of roasted macadamia nuts; you can do this in the food processor or you can put them in a tea towel and whack it on the counter.

Put the macadamias in a bowl and add 2 T flour, 1/2 C Panko bread crumbs, and 1/2 a stick of butter, melted. Stir the mixture to combine and set it aside.

Preheat your oven to 425, placing a rack in the center of the oven. While the oven preheats, line a sheet pan with foil and brush it liberally with vegetable oil. Place fish fillets (6-8 ounces each) on the foil and season them with Kosher salt and pepper.

IMG_7623

Fish fillets placed on lubed foil and seasoned with salt and pepper.

Stick the fish in the preheated oven for five minutes to par cook.

IMG_7624

Par cooking the fish.

Remove the fish from the oven and brush it with coconut milk; it should take about 2 T.

Pat the nut mixture lightly onto the fish, crumpling the foil up around the edges of the fish to keep the nut crust from sliding off.

IMG_7629

Nut crust patted onto fish, and foil propped up.

Stick the fish back in the oven for 5-10 more minutes, or until golden brown. My crust took the full 10 minutes to be golden.

IMG_7630

Fish after cooking.

Let the fish rest at room temperature for ~10 minutes before eating. Honestly, I was worried that the time needed to make my nut crust golden would render my fish overcooked, but the fish turned out to be perfectly cooked. We enjoyed this on a warm evening, with a glass of white wine and a squeeze of lemon.

IMG_7633

Alton’s macadamia nut crusted fish.

This is a rich fish dish that would be worthy of serving for a special occasion. The fish was moist and the nut crust was rich, crunchy, buttery, and nutty. Great recipe. Oh, and if you don’t know, keep the macadamia nuts away from your dogs, as they are toxic.

Macadamia Nut Crust

It turns out that the macadamia nut crust above can also be used as a pie crust. So, again, to make the crust, chop 5 ounces of roasted macadamia nuts (you can roast them in the oven for about 5 minutes at 400 degrees).

Combine the chopped macadamia nuts with 2 T flour, 1/2 C Panko bread crumbs, and 1/2 a stick of butter, melted.

Pat the crust mixture into a pie plate and use with any pie filling recipe. If you need to blind bake the crust for your pie recipe, bake it at 375 degrees for 20-25 minutes. Well, I ended up making this pie crust twice. I needed to blind bake my crust because I was making a no-bake key lime pie, but it turns out that 20 minutes is way too long to blind bake this crust. Yep, my first crust was scorched.

When I made the crust the second time, I began checking it at 10 minutes and it was done in about 15.

IMG_7520

A slice of key lime pie with macadamia crust.

This crust added a great crunch and nutty flavor to my pie, and it was very easy to prep with no rolling/chilling of dough. The downside of this crust was that it was super crumbly, so it didn’t make for pretty slices of pie. Other than that, though, this was a buttery, nutty, crispy pie crust.

Pizza Pizzas

I distinctly remember watching the 36th episode of Good Eats when it originally aired. My dad and I watched the episode together in their TV room and I had a huge inkling to try Alton’s pizza recipe then and there. Fast forward, oh, 14 years and I finally got around to making his pizza last weekend. In the interim, I tried numerous homemade pizza dough recipes, finally stumbling upon a favorite a few years ago, which has been my “go-to” ever since; it is easy, fast, and produces enough dough for several pizzas. I was, therefore, skeptical that Alton’s pizza dough (or anyone else’s for that matter) could surpass the dough I regularly use. Still, though, after 14 years, I was excited to finally try that recipe I had intended to make for so long.

Ingredients for Alton's pizza crust:  sugar, Kosher salt, olive oil, instant yeast, warm water, and bread flour for bread machines.

Ingredients for Alton’s pizza crust: sugar, Kosher salt, olive oil, instant yeast, warm water, and bread flour for bread machines.

To make Alton’s Good Eats pizza, place the following ingredients in the bowl of your stand mixer:  2 T sugar, 1 T Kosher salt, 1 T olive oil, 3/4 C warm water, 1 C of bread flour for bread machines, 1 t instant yeast, and one more cup of bread flour for bread machines.

Sugar

Sugar

Kosher salt

Kosher salt

Olive oil

Olive oil

Warm water

Warm water

Bread flour

Bread flour

Instant yeast

Instant yeast

More bread flour

More bread flour

Note:  instant yeast is NOT the same as active dry yeast. Instant yeast is used in this recipe because it needs no blooming in water, and therefore can be added directly to the dry ingredients. Also, you want to use bread machine flour because it has the highest protein content possible, which will result in maximal gluten development. Yes, I happen to belong to the seemingly endangered species of human who believes that gluten is, in fact, a wonderful thing. Anyway, using the paddle attachment on your mixer, start mixing on low until the dough forms a ball and pulls away from the bowl.

Starting to mix with paddle attachment.

Starting to mix with paddle attachment.

Dough forming ball and pulling away from sides of bowl.

Dough forming ball and pulling away from sides of bowl.

At this point, spray your dough hook with non-stick spray and replace the paddle attachment with the hook. Allow the machine to knead the dough for 15 minutes at medium speed. Even with spraying my dough hook with non-stick spray, my dough still seemed to climb the hook, so I sprayed the hook a second time midway through the kneading.

Dough hook sprayed with non-stick spray.

Dough hook sprayed with non-stick spray.

15 minutes of kneading time by the stand mixer.

15 minutes of kneading time by the stand mixer.

Dough after 15 minutes of kneading.

Dough after 15 minutes of kneading.

After 15 minutes, tear off a small piece of dough, stretch it into a thin round, and hold it up to the light. If the dough is transparent and you can see your finger through it, your dough is ready to go; this is the windowpane test you hear about in baking.

Windowpane test.

Windowpane test.

If your dough tears, knead it longer. Once your dough has passed the windowpane test, form it into a nice, smooth ball, place it in a large bowl, add 2 t of olive oil, and toss to coat.

Dough formed into smooth ball.

Dough formed into smooth ball.

Dough in large bowl with olive oil.

Dough in large bowl with olive oil.

Tossed to coat.

Tossed to coat.

Loosely cover the dough with plastic wrap and refrigerate it for 18-24 hours. Allowing the dough to rise in the refrigerator results in a slower rise, which Alton says produces better flavor and more delicate structure.

Covered loosely with plastic wrap.

Covered loosely with plastic wrap.

The following day, when ready to bake, place a pizza stone or unglazed tile on the bottom of your cold oven; if you do not have coils on the bottom of your oven, you can literally place the stone on the floor of the oven and leave it there indefinitely. If you have coils on the bottom of your oven, place the stone/tile on your lowest oven rack. My pizza stone was too large to fit on the floor of my oven, so I put it on the lowest rack. Heat your oven to 500 degrees for at least 30 minutes before baking. Turn your dough onto a clean counter and cut it in half, as Alton says, “like an amoeba on a blind date.”

Dough after rising in refrigerator for ~24 hours.

Dough after rising in refrigerator for ~24 hours.

Dough turned onto counter.

Dough turned onto counter.

Dough bisected.

Dough bisected.

Mash each dough ball with the heel of your hand to get rid of any bubbles, and reshape the dough back into its original ball forms, folding the dough under itself.

Dough reformed into balls.

Dough reformed into balls.

Barely wet your hands and rub them on your work surface, placing the dough balls on top. Roll the balls with both hands, not moving your fingers, until you have very smooth dough. Set the dough aside, cover it with a tea towel, and let it rest for 30 minutes. Or, to save the dough for another day, instead of letting it rest, place it in a ziplock bag sprayed with non-stick spray and refrigerate for up to 6 days. I opted to save half of my dough for a pizza another day.

Half of dough back into refrigerator for later use.

Half of dough back into refrigerator for later use.

One of Alton’s tricks in pizza making is to build your pizza directly on your pizza peel, which is something I discovered a few years ago. Alton uses a wooden peel, dusting it with flour. I have metal peel, so I use a sheet of parchment paper to ensure my pizza doesn’t stick to my peel.

Parchment paper on metal pizza peel.

Parchment paper on metal pizza peel.

Pizza to be built on peel.

Pizza to be built on peel.

There are four steps to forming your dough into a pizza:

  1. Flatten the dough into an even disc with the heel of your hand, turning the dough as you flatten.
  2. Pick the dough up, rotating it as you pinch a lip about an inch deep around the edge.
  3. Pass the dough back and forth between your hands, rotating it.
  4. Use your knuckles to spin, toss, and catch the dough. Or, alternatively, you can stretch/pull the dough on the peel.

If you find that your dough keeps shrinking, you can let it rest longer until it is easier to work with. At this point, you can choose whether you want a crispier or chewier crust; for a crispy crust, you will decorate/bake immediately, while you will want to let your dough rest for an additional 30 minutes to get a chewier crust.

Toppings for pizza:  olive oil, fresh oregano, fresh thyme, mozzarella, Monterey Jack, provolone, and crushed red pepper.

Toppings for pizza: olive oil, fresh oregano, fresh thyme, mozzarella, Monterey Jack, provolone, and crushed red pepper.

Either way, when ready to bake, brush the lip of the dough with olive oil.

Lip brushed with olive oil.

Lip brushed with olive oil.

To decorate a pizza Alton’s way, top the pizza with sauce, using as little as possible. Alton recommends that you use about 3 T of sauce. You can use whatever sauce you like; I used a homemade red sauce.

Homemade red sauce.

Homemade red sauce.

Sauce on pizza.

Sauce on pizza.

Over the sauce add fresh thyme, fresh oregano, and some crushed red pepper flakes.

Sauce topped with fresh oregano, fresh thyme, and crushed red pepper.

Sauce topped with fresh oregano, fresh thyme, and crushed red pepper.

Finally, sprinkle on a blend of shredded mozzarella, Monterey Jack, and provolone cheeses.

Pizza topped with cheese.

Pizza topped with cheese.

Bake your pizza for 7 minutes, and allow it to rest for 3 minutes before cutting.

Pizza in the oven.

Pizza in the oven.

Finished pizza.

Finished pizza.

We really did like Alton’s pizza dough, though I did think it was a little bit salty. If you read the online recipe, Alton has added a note about cutting back on the salt, but I made the dough as he made it on the actual show. Since Ted is a salt lover, he thought the dough was great, but I would cut the salt back slightly. We did both agree that Alton’s dough had more flavor than our regular dough, and the texture was great. The dough was crispy and golden on the outside, and chewy on the inside. I did find the dough to be slightly difficult to work with, as it kept shrinking on me as I tried to stretch it, but a little more resting time seemed to take care of that. We had the pizza again the next night, and the dough was slightly easier to work with. I am tempted to make this again, portion it out, and freeze it, as I think it would freeze nicely.

The Final Pizza

I happened to discover a few weeks ago that Alton has posted a new pizza recipe on his website, claiming that it is superior to the original Good Eats dough and that it is the only pizza dough he will “ever need.” So, although this recipe has nothing directly to do with Good Eats, I decided I had to make it to compare side-by-side with the original Good Eats dough. I won’t go into the step-by-step procedure in detail, but I will post photos of the process.

Dry ingredients for Alton's new pizza crust:  bread flour, active dry yeast, sugar, and Kosher salt.

Dry ingredients for Alton’s new pizza crust: bread flour, active dry yeast, sugar, and Kosher salt.

690 g of bread flour.

690 g of bread flour.

9 g of active dry yeast.

9 g of active dry yeast.

15 g of sugar

15 g of sugar

20 g of Kosher salt

20 g of Kosher salt

15 g of olive oil

15 g of olive oil

455 g of water. I used tap, rather than bottled, water.

455 g of water. I used tap, rather than bottled, water.

Dry ingredients in mixer.

Dry ingredients in mixer.

Wet ingredients added to dry.

Wet ingredients added to dry.

Dough just pulling away from sides of bowl.

Dough just pulling away from sides of bowl.

Dough after 5 minutes of kneading on medium.

Dough after 5 minutes of kneading on medium.

Formed into a smooth ball.

Formed into a smooth ball.

Into an oiled bowl, covered with plastic wrap, and into the refrigerator for 18-24 hours.

Into an oiled bowl, covered with plastic wrap, and into the refrigerator for 18-24 hours.

Dough after ~24 hours.

Dough after ~24 hours.

Dough turned onto counter.

Dough turned onto counter.

Dough flattened into rectangle.

Dough flattened into rectangle.

Dough rolled up to be cut into thirds.

Dough rolled up to be cut into thirds.

Dough portioned into three balls.

Dough portioned into three balls.

Two balls of dough back into refrigerator for later use.

Two balls of dough back into refrigerator for later use.

Dough on pizza peel.

Dough on pizza peel.

Dough after shaping/forming.

Dough after shaping/forming.

Lip brushed with olive oil.

Lip brushed with olive oil.

Dough topped with sauce, fresh thyme, fresh oregano, and crushed red pepper.

Dough topped with sauce, fresh thyme, fresh oregano, and crushed red pepper.

Pizza topped with cheese.

Pizza topped with cheese.

What are the differences between this recipe and the old one? This recipe uses active dry yeast, in contrast to the use of instant yeast in the original recipe, and everything for this recipe is weighed in grams. Also, Alton tells you to use this dough within eight hours after the 18-24 hour rise, while you had up to 6 days for the original dough. Oh, and this recipe yields three pizzas, while the original gives you two. The procedures for the two doughs are essentially the same, aside from the fact that this dough gets kneaded by the mixer for 5 minutes, rather than 15 for the original dough, and Alton goes straight to the dough hook for kneading, rather than using the paddle first. We literally ate this pizza three nights in a row, comparing it directly to the original dough the first two nights. This, too, was a good pizza, but I think we preferred the original dough. Why? The original dough was less airy and chewier. Also, it was just as good the second day as it was the first, whereas the new dough seemed to become too bubbly for the second and third nights. I also found the original dough to be smoother and slightly easier to work with when forming the pizzas.

Dough side-by-side:  original dough on the left.

Dough side-by-side: original dough on the left.

New dough on the right.

New dough on the right.

Day 1:  Original pizza.

Day 1: Original pizza.

Day 1:  Original pizza.

Day 1: Original pizza.

Day 1:  New pizza.

Day 1: New pizza.

Day 1:  New pizza.

Day 1: New pizza.

Original pizza, cut into slices on day 2.

Original pizza, cut into slices on day 2.

New recipe, cut into slices on day 2.

New recipe, cut into slices on day 2.

Alton's new pizza on day 3. Crust is awfully puffy and bubbly.

Alton’s new pizza on day 3. Crust is awfully puffy and bubbly.

While Ted and I agreed that both dough recipes were great, we would choose the Good Eats recipe (with slightly less salt) over Alton’s updated version. Either way, you can’t go wrong, and a lot of it comes down to personal preference. So, will I be giving the boot to my go-to recipe of the past few years? No, but I think I will be adding Alton’s original dough to my regular pizza repertoire.