It’s been a while since I last posted. While I actually prepared the recipes from this episode of Good Eats weeks ago, I am only just now having time to sit down and actually write them up. Since I last made a post, we have left town a couple times, Ted finished up chemo and had scans (clear – yay!), we hosted a clear scan party, and my mom ended up in the hospital/had surgery. Hopefully things will slow down here at some point!
Anyway, the subject of the 64th episode of Good Eats was squash, and particularly winter squash. Needless to say, this episode would have been more ideal if it had popped up during cooler months of the year. Thankfully, you can purchase winter squash at any time of the year.
Squash Soup
First up in this episode was Alton’s squash soup. Alton used two Kabocha squash to make his soup, though he stated you could use any hard winter squash; I could not find Kabocha squash at my store, so I used acorn squash.
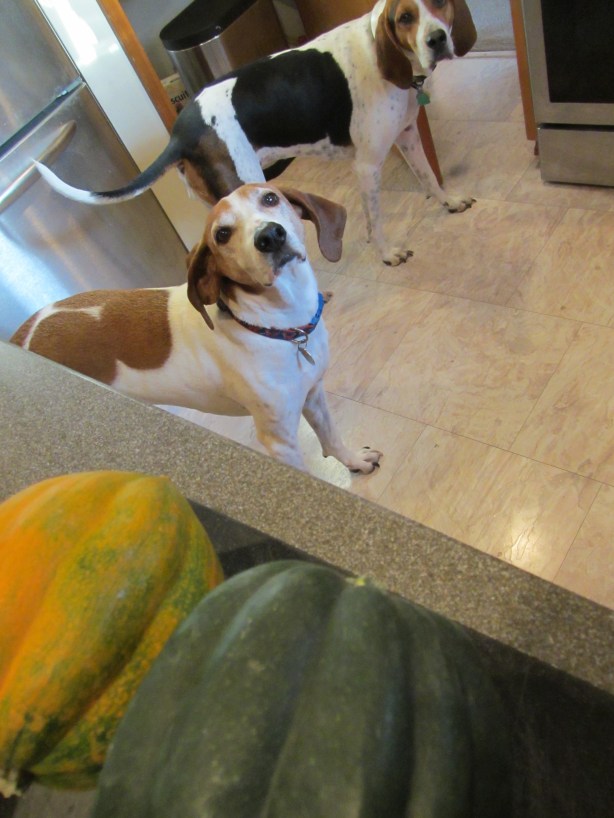
The hounds, checking out my acorn squash.
You first need to quarter your squash and remove the seeds. Alton quartered his squash by hitting a vegetable cleaver with a wooden mallet.

Quartered acorn squash.
Brush the squash quarters with melted butter, sprinkle them with Kosher salt and pepper, and stick them in a 400-degree oven.

Quartered acorn squash, brushed with melted butter and sprinkled with pepper and Kosher salt.
According to Alton, your squash should be tender and roasted within 25 minutes, but my squash took nearly an hour to become tender.

Squash, after roasting for almost an hour.
When your squash are cool enough to handle, use an ice cream scoop to remove their flesh. You will need six cups of cooked squash, and the easiest way to measure this is using displacement. You can do this by putting the squash in a large measuring vessel with 1 1/2 C chicken stock; when the liquid line hits 7 1/2 C, you know you have 6 C of squash. Dump the squash/stock in a pot and add 1 1/2 C additional chicken stock, 4 T honey, and 1 t grated ginger.

Squash in soup pot, along with chicken stock, honey, and grated ginger.
Heat the soup over medium-high heat until bubbles begin to form on the surface, and process the soup with an immersion blender until smooth. Finally, finish the soup by stirring in 1/2 C heavy cream, 3 big pinches of Kosher salt, 2 small pinches of white pepper, and 6 grates of nutmeg on a microplane grater.


Simmer the soup over medium heat until it is heated through. Serve in bowls with sour cream. We ate this soup with goat cheese toasts on the side.
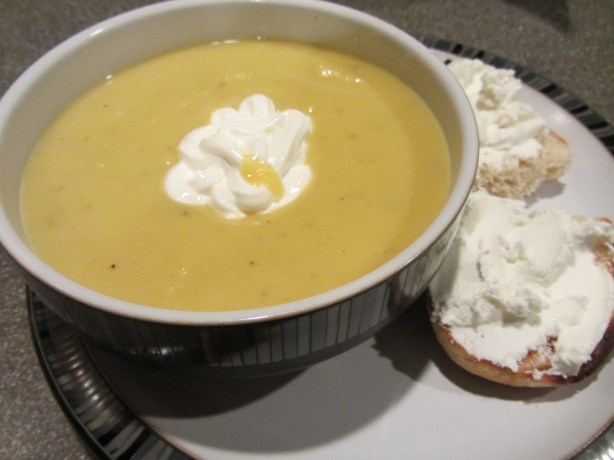
Finished squash soup with sour cream.
Ted is not particularly fond of squash, but he thought this soup was “pretty good.” Honestly, I found this soup to be a little too sweet, so I would consider cutting down on the honey. The sour cream does help to cut the sweetness also. This would be a perfect soup for a chilly night, so it did not seem apropos when we were eating it in the heat of summer. This is a good, easy, traditional squash soup, and it would come together in minutes if you prepped the squash ahead of time.
Butternut Dumplings with Brown Butter and Sage
Of the recipes in this episode, I was most excited to make Alton’s squash dumplings. For this recipe, you will need a one-pound butternut squash.
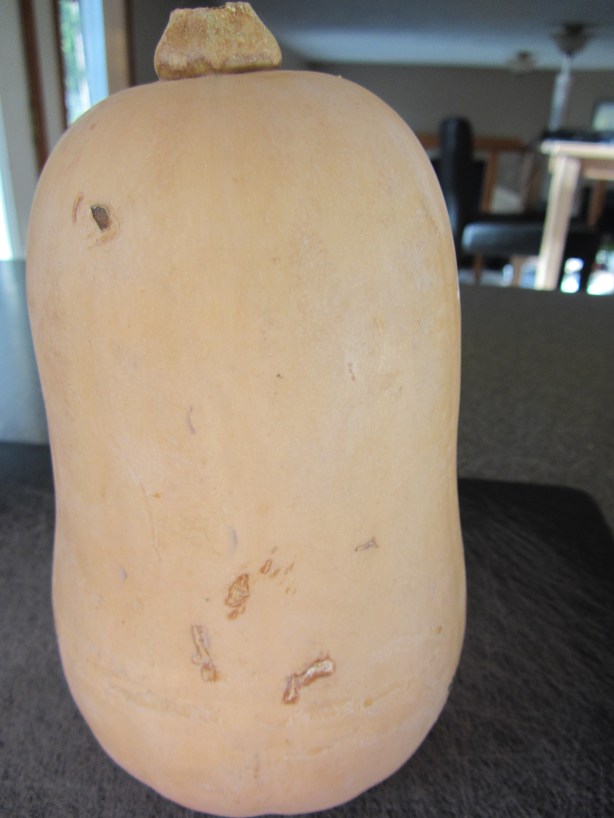
A one-pound butternut squash.
Halve the squash, remove the seeds, brush the flesh with olive oil, and sprinkle them with Kosher salt and pepper.

Halved squash, brushed with olive oil and sprinkled with Kosher salt and pepper.
Roast the squash in a 375-degree oven for 45 minutes, or until tender. When you put the squash into the oven, also add 4 medium russet potatoes to the oven, taking care to prick their flesh with a fork first.

4 medium russets, skin pricked with a fork.
While your vegetables are roasting, you can gather your other ingredients: Kosher salt, 1 1/2+ C flour, and an egg, lightly beaten with a pinch of nutmeg.
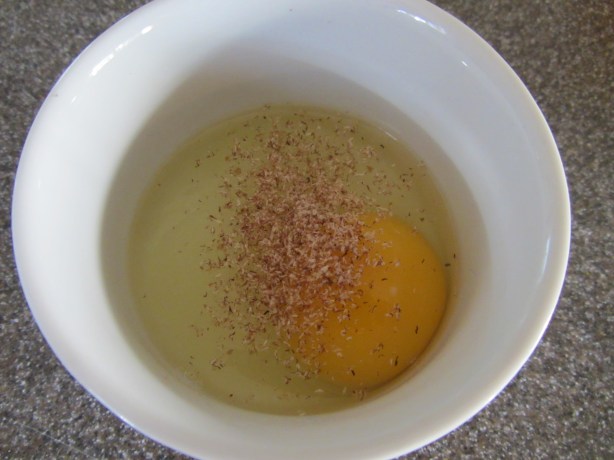
One egg, to be beaten with a pinch of nutmeg.
Once the vegetables are cool enough to handle, mash the flesh of the squash together with the flesh of the potatoes, mashing only until combined.


Using a wooden spoon, stir the egg and 1/2 C flour into the squash/potato mixture. You want to add flour gradually until you have a dough that is slightly wet, but not sticky.


While Alton only needed a small amount of flour to get his dough to the proper consistency, I ended up needing over 5 C of flour to get my dough to the point where I could handle it; several online reviewers had this same problem. Once your dough is ready, bring a pot of salted water to a boil. On a floured surface, turn out your dough and divide it into eight equal balls.


One at a time, roll each ball into a 1/2-inch thick snake, and cut each snake into 1/2-inch pieces.


At this point, you can cook the dumplings or place them on a floured baking sheet and freeze for later use. To cook the dumplings, add them to the boiling water in batches, removing them from the water as they float to the surface. To cease cooking, place the boiled dumplings immediately in ice water before drying them on a tea towel.


Next, heat a skillet over high heat, adding 1 T softened butter. Once the butter is melted, add 2 chopped sage leaves and 1 C of the boiled/cooled/dried dumplings. Cook the dumplings until they are golden brown and crispy on all sides.


Serve the dumplings with lots of Parmesan cheese and pepper.

A bowl of dumplings with Parmesan and pepper.
We really liked these dumplings, though they definitely needed a healthy sprinkle of Kosher salt in addition to the Parmesan and pepper. The dumplings are fairly dense, but delicious with their crispy exteriors and softer interiors. The dumplings are slightly sweet and pair greatly with the savory browned butter, sage, and Parmesan. I will say that the process of making the dough was much more tedious than Alton demonstrated in the show, but we ended up with enough dumplings for at least three meals. I foresee making these again, especially in the Fall.
Pumpkin Bread
Last up in this episode was Alton’s pumpkin bread recipe. Ideally, for this recipe you will want to use fresh pumpkin, but I had to settle for canned pumpkin since it was the middle of July. Either way, you will need 3 C of pumpkin; if using fresh pumpkin, grate the flesh. You will also want to toast 1 C of pumpkin seeds for 5 minutes at 400 degrees. I purchased pumpkin seeds that were already toasted. In a bowl, sift together 2 C flour, 2 t cinnamon, 1/2 t Kosher salt, 1 t baking soda, and 1/4 t baking powder.


In a separate large bowl, beat 3 eggs and gradually add 1 1/2 C sugar.

3 eggs, beaten with 1 1/2 C sugar.
Once the sugar is incorporated, slowly whisk in 3/4 C vegetable oil. Finally, add 1 t vanilla extract.


Fold the pumpkin mixture into the egg mixture, along with the cup of toasted pumpkin seeds.

Pumpkin and pumpkin seeds added to egg mixture.
Finally, add the dry ingredients to the wet mixture, and fold everything together. Pour the batter into a nonstick loaf pan and bake at 325 degrees for 75 minutes, or until the tip of a paring knife comes out clean.


Cool the bread in the pan for 15 minutes before turning the bread onto a rack to cool completely. If you prefer to make muffins instead of bread, divide the batter among muffin tins and bake for 30 minutes at 325 degrees.

Alton’s pumpkin bread.
This is a very delicious pumpkin bread, but I really did not care for the texture of the pumpkin seeds. I found the pumpkin seeds to be very chewy from absorbing the moisture of the bread. I definitely plan to make this bread again, but I will be omitting the seeds. The bread itself has just the perfect amount of sweetness, is very moist, and has loads of pumpkin flavor.