Seeing as I am putting myself through (what I call) the Alton Brown Culinary School of Good Eats, I would be remiss if I did not write a little bit about the day I had yesterday. I was awoken at 5:07 am by my adorable Coonhound, Hitcher, who was suffering from one of his occasional fits of morning sickness. While I stood in the dark kitchen, waiting for him to finish grazing in the back yard, I decided to make a quick check of Facebook, or Twitter, or one of the other online giants. Staring back at me from the feed of none other than Alton Brown was a pair of latitude and longitude coordinates for the location of an autograph signing he would be having in Spokane at noon. The coordinates were for the Spokane Convention Center.
After a few more hours of sleep, I had to decide whether to do my planned 15 mile run, or to try to meet Alton; I split the difference, ran 8.5 miles, and dragged Ted to the Convention Center with me, along with our giant metal spoon and my Alton Brown cookbook. Somehow, I don’t think Ted looked too out-of-place on Spokane’s downtown streets with his spoon, as I think of the gentleman I used to always see, riding a bicycle with a huge Finding Nemo hat. We ended up waiting in line for about 45 minutes, briefly met Alton, had our photo taken with him, and got a few autographs. I will somewhat shamelessly admit how stoked I was about this. Secretly, I think Ted thought it was pretty cool too.
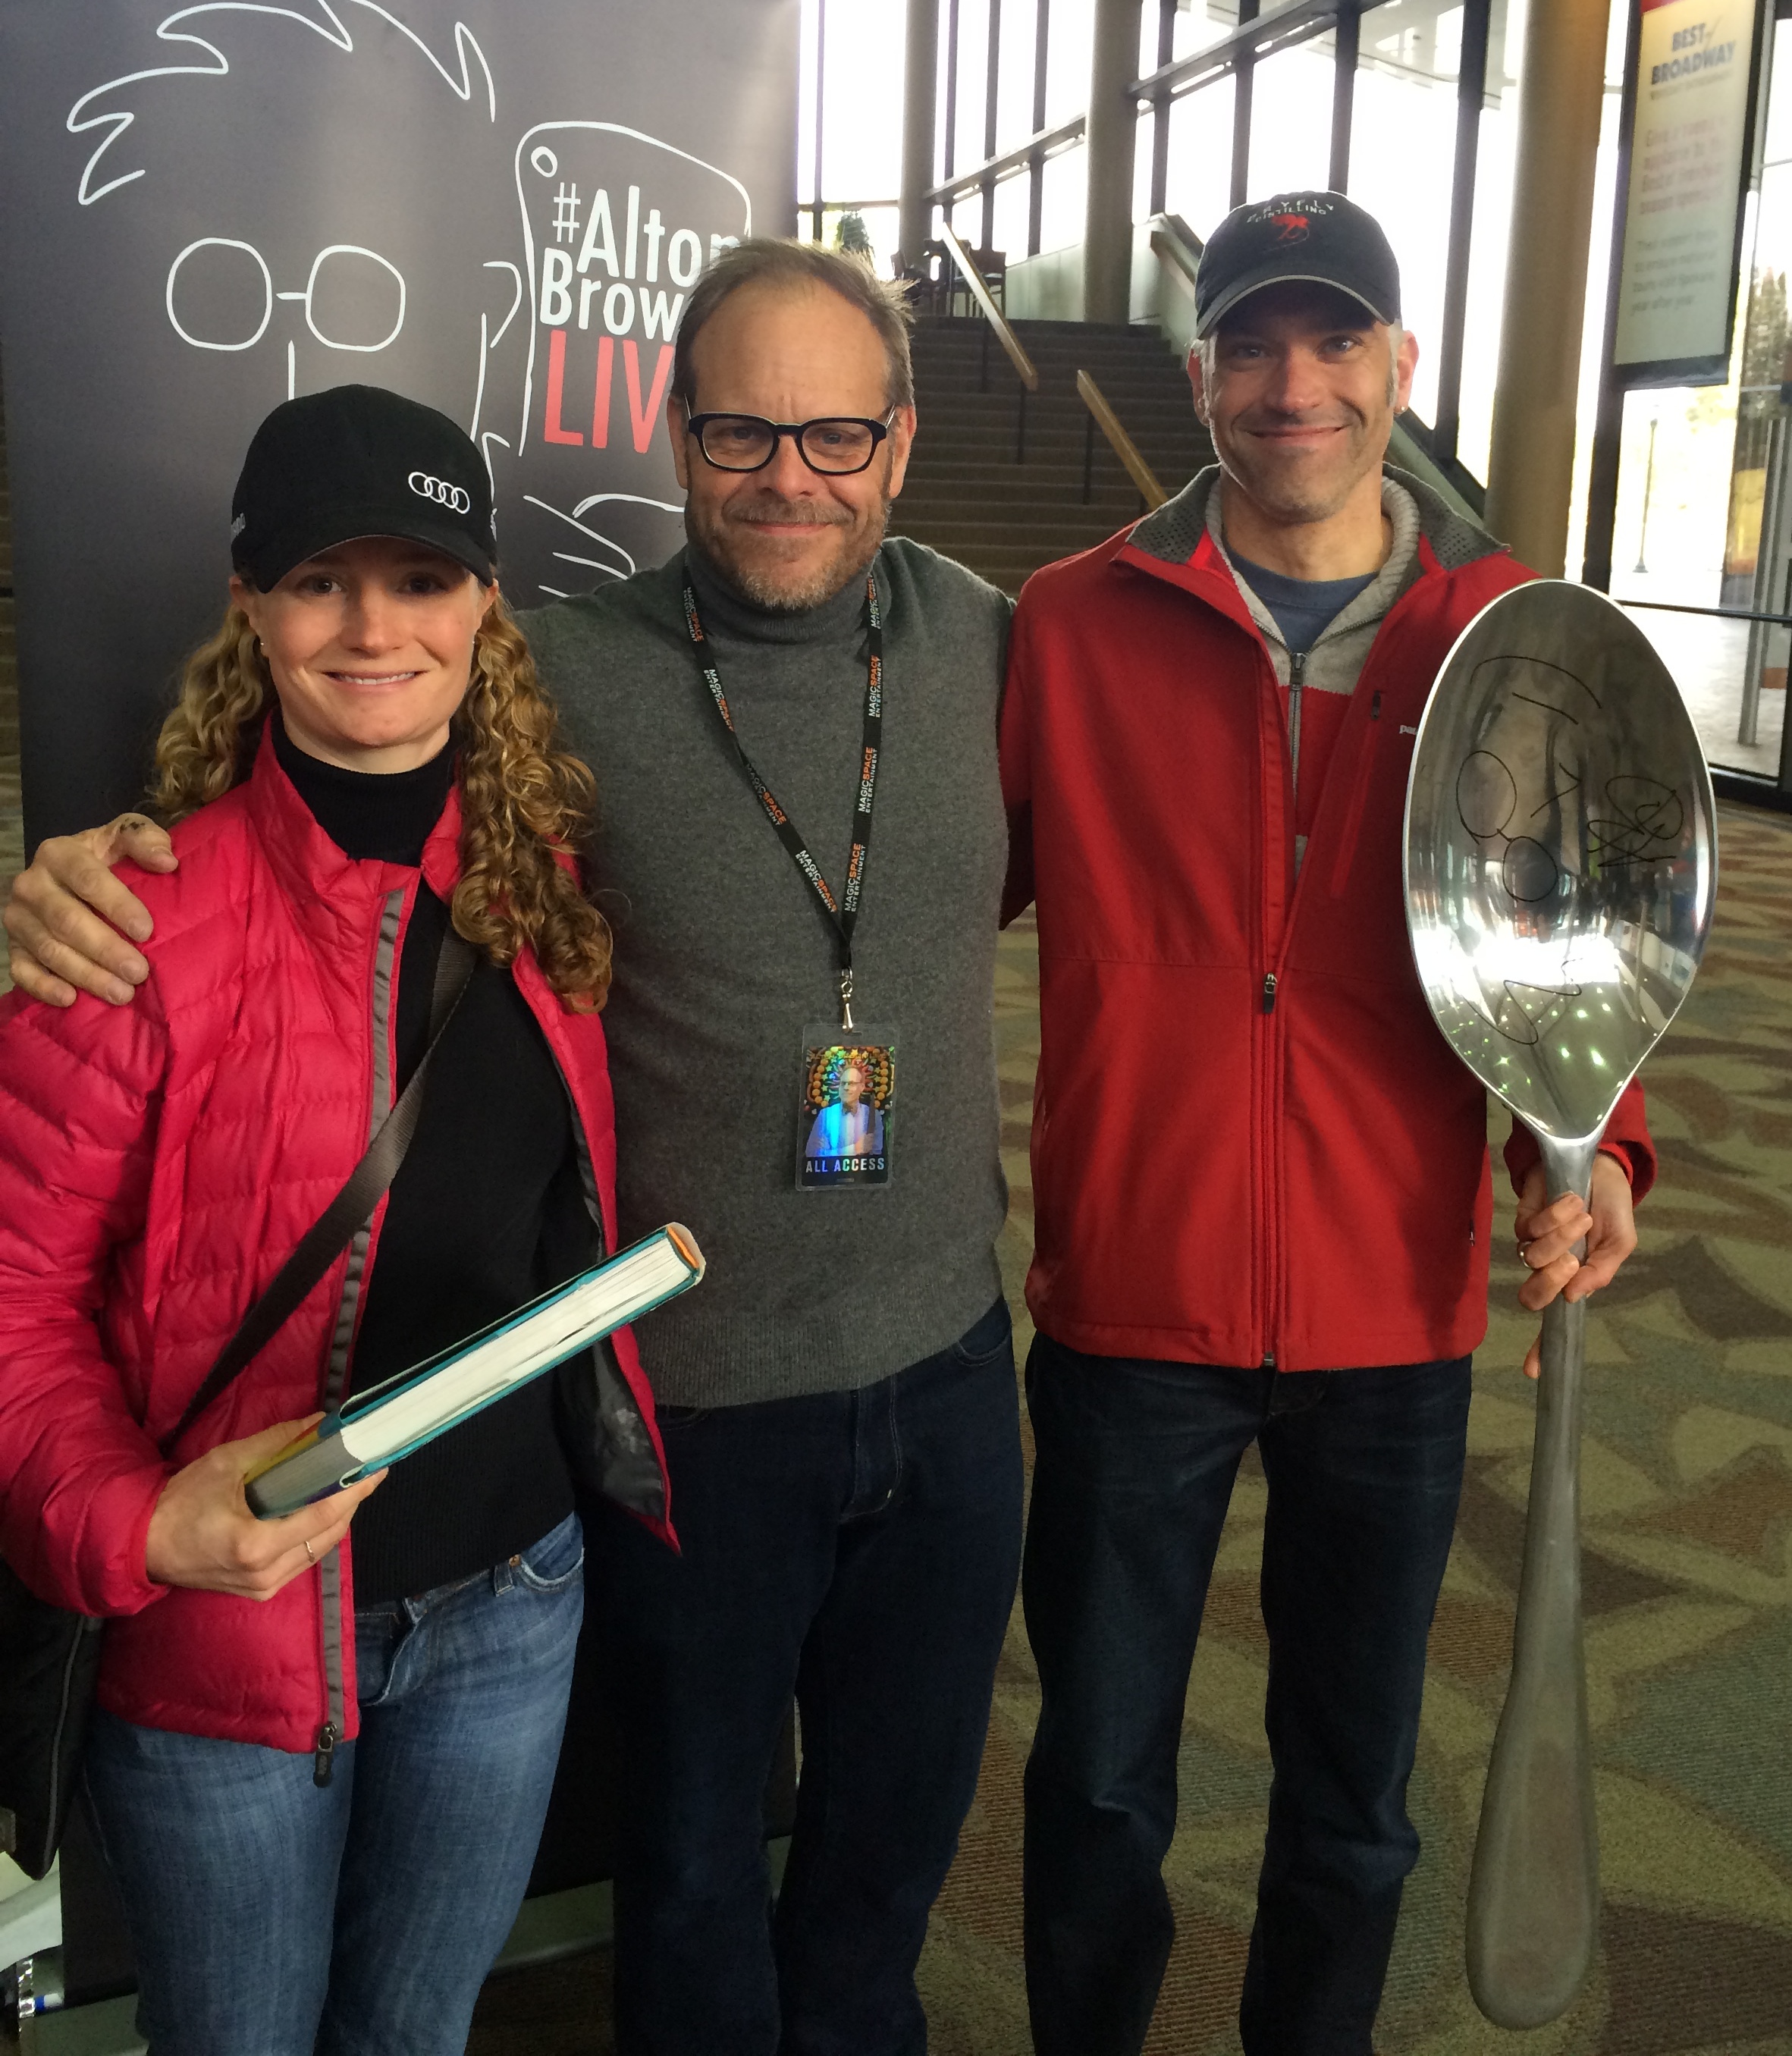
Ted and me with Alton.

My custom Alton post-it.
To cap off the day, we took my parents to see Alton perform his Edible Inevitable show. Though I did not know what to expect, I knew I would enjoy the show, but it far exceeded my expectations. I cannot remember the last time I laughed as hard as I did last night. Seriously, if you have the chance to see Alton perform live, you really should take that opportunity.
In a Cranberry Jam
Last November, I cooked an early Good Eats Thanksgiving dinner for my parents and us, following it up with a Thanksgiving dinner with Ted’s parents on Thanksgiving day; that meant we had two Good Eats turkeys in a matter of days. I wrote about the early Thanksgiving dinner here. When I wrote about the Thanksgiving special, I failed to realize that the 32nd episode of the show would entail making recipes with the leftovers from the Thanksgiving special. So… we had Thanksgiving dinner again in February. Last Thursday, I again made Alton’s Tart Cranberry Dipping Sauce, Sweet Corn Bread Pudding, and the Good Eats Roast Turkey.
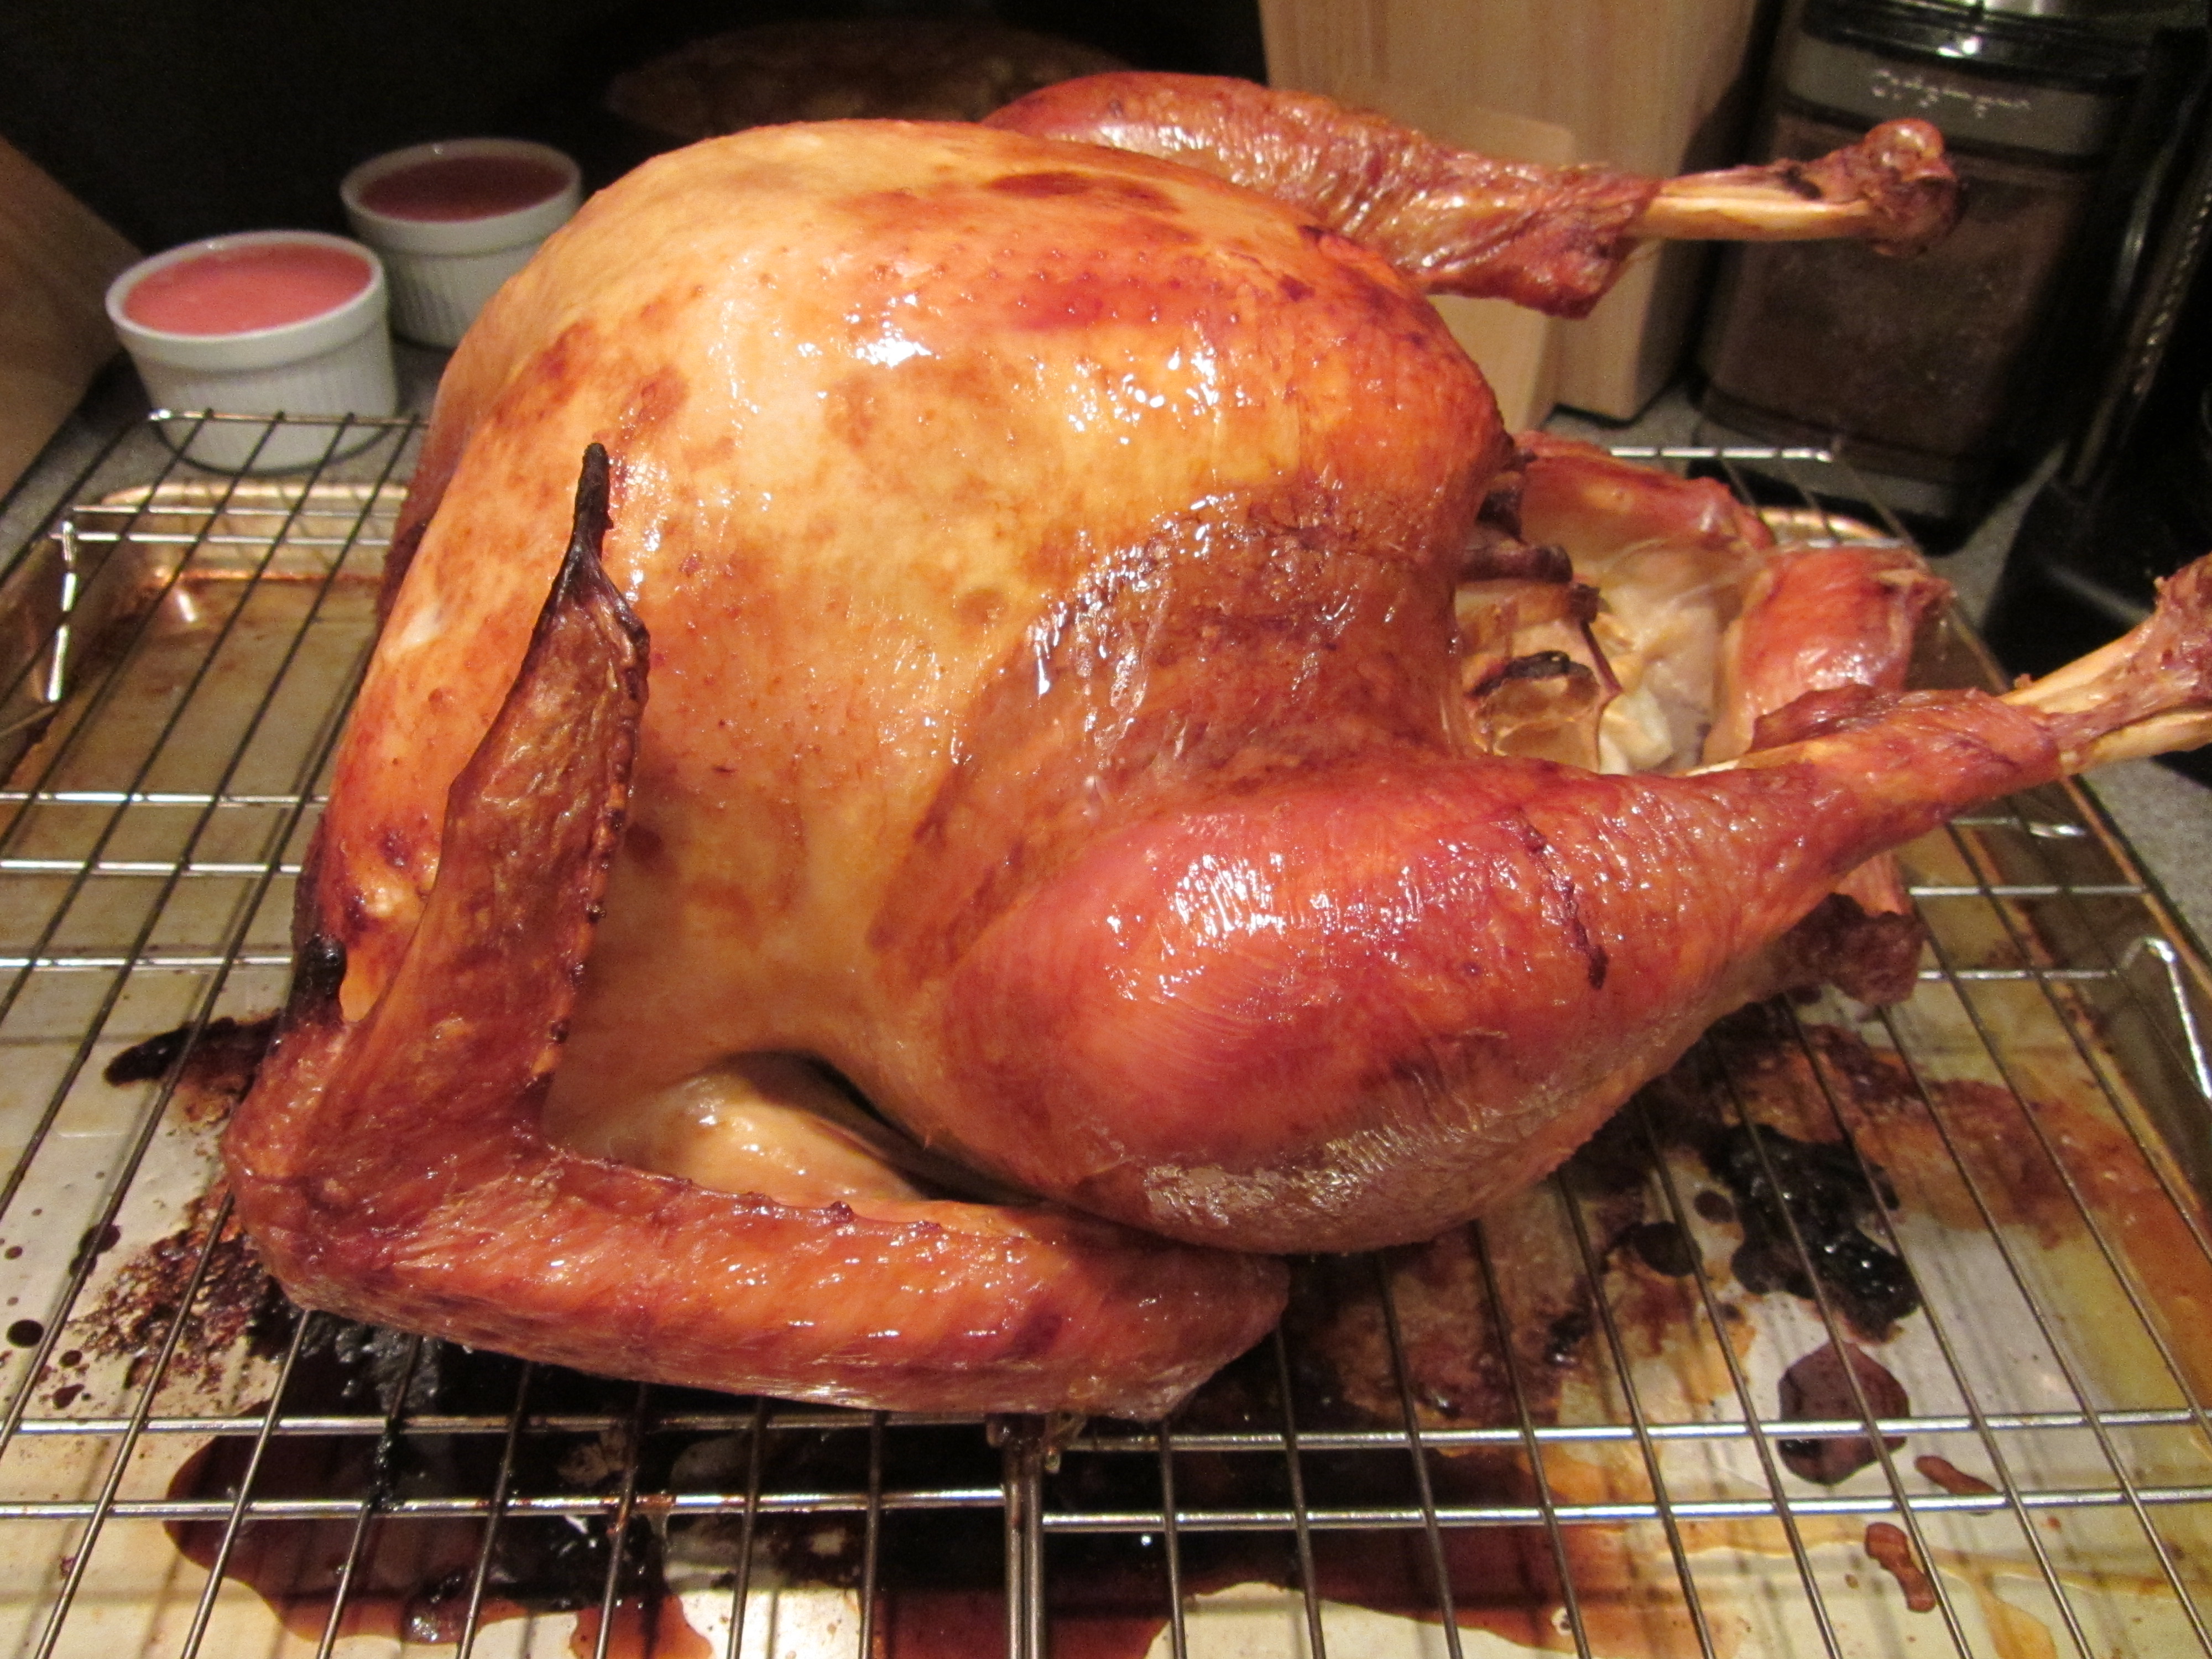
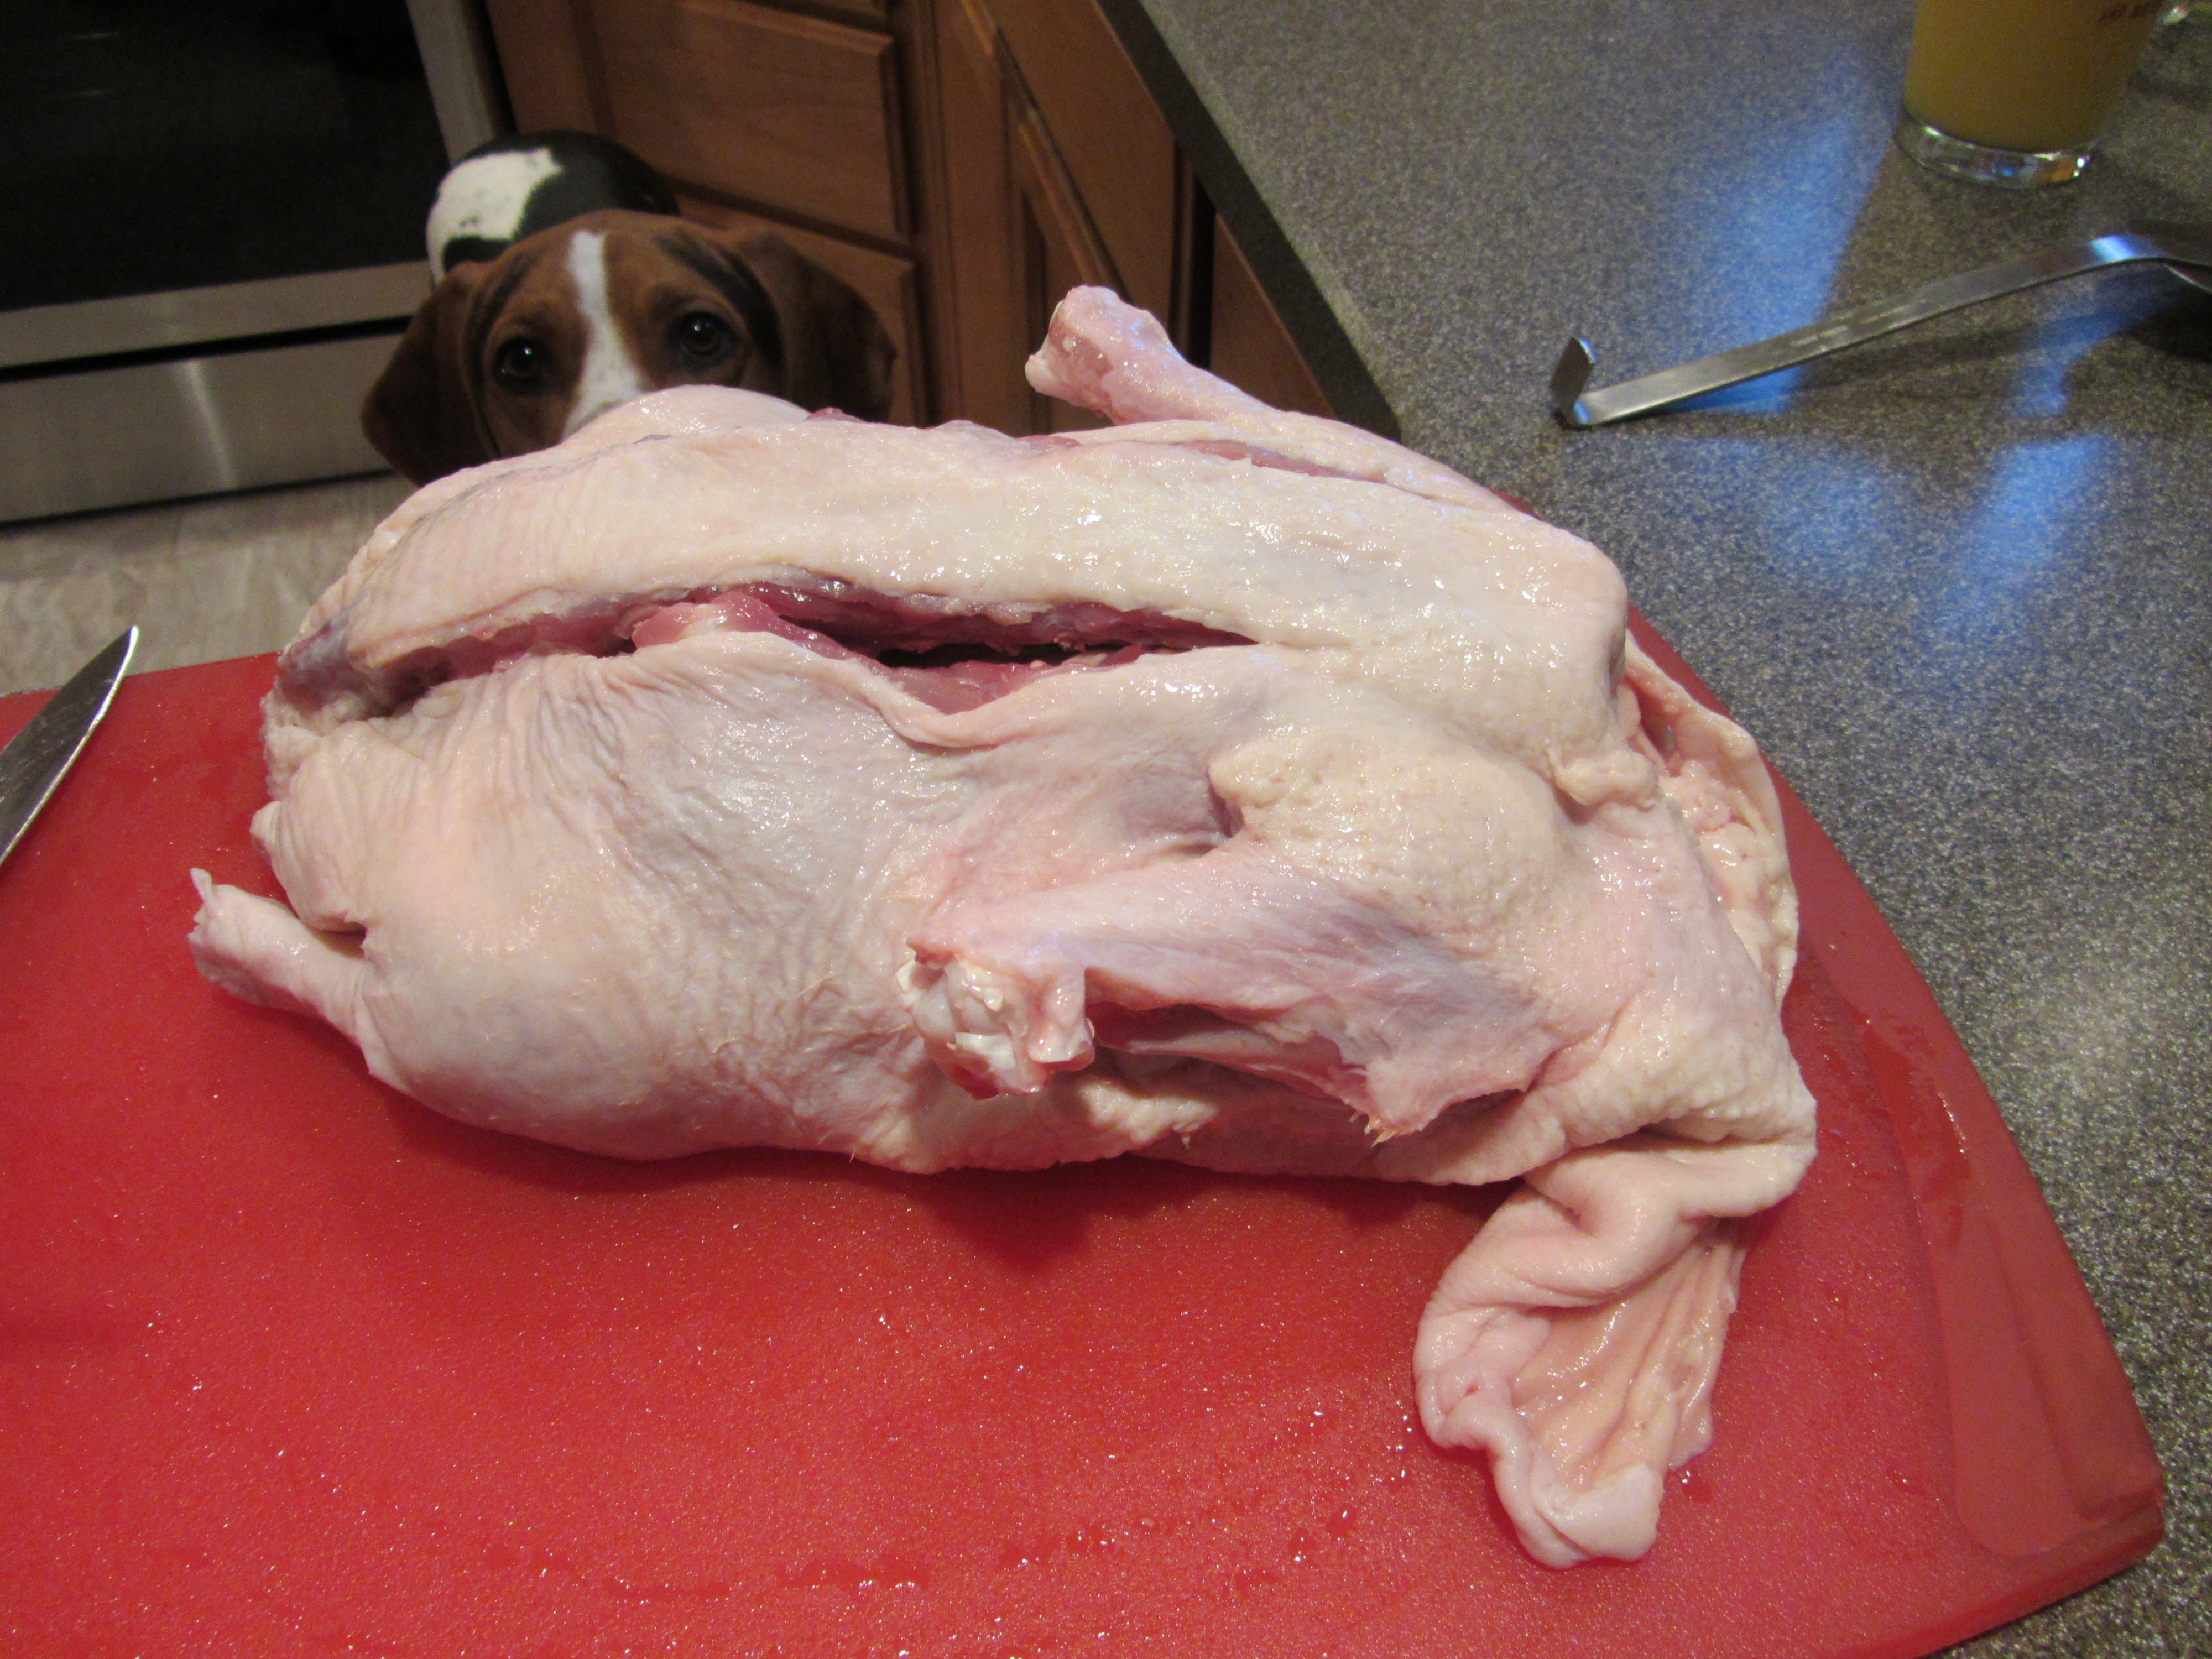
A February Good Eats turkey.

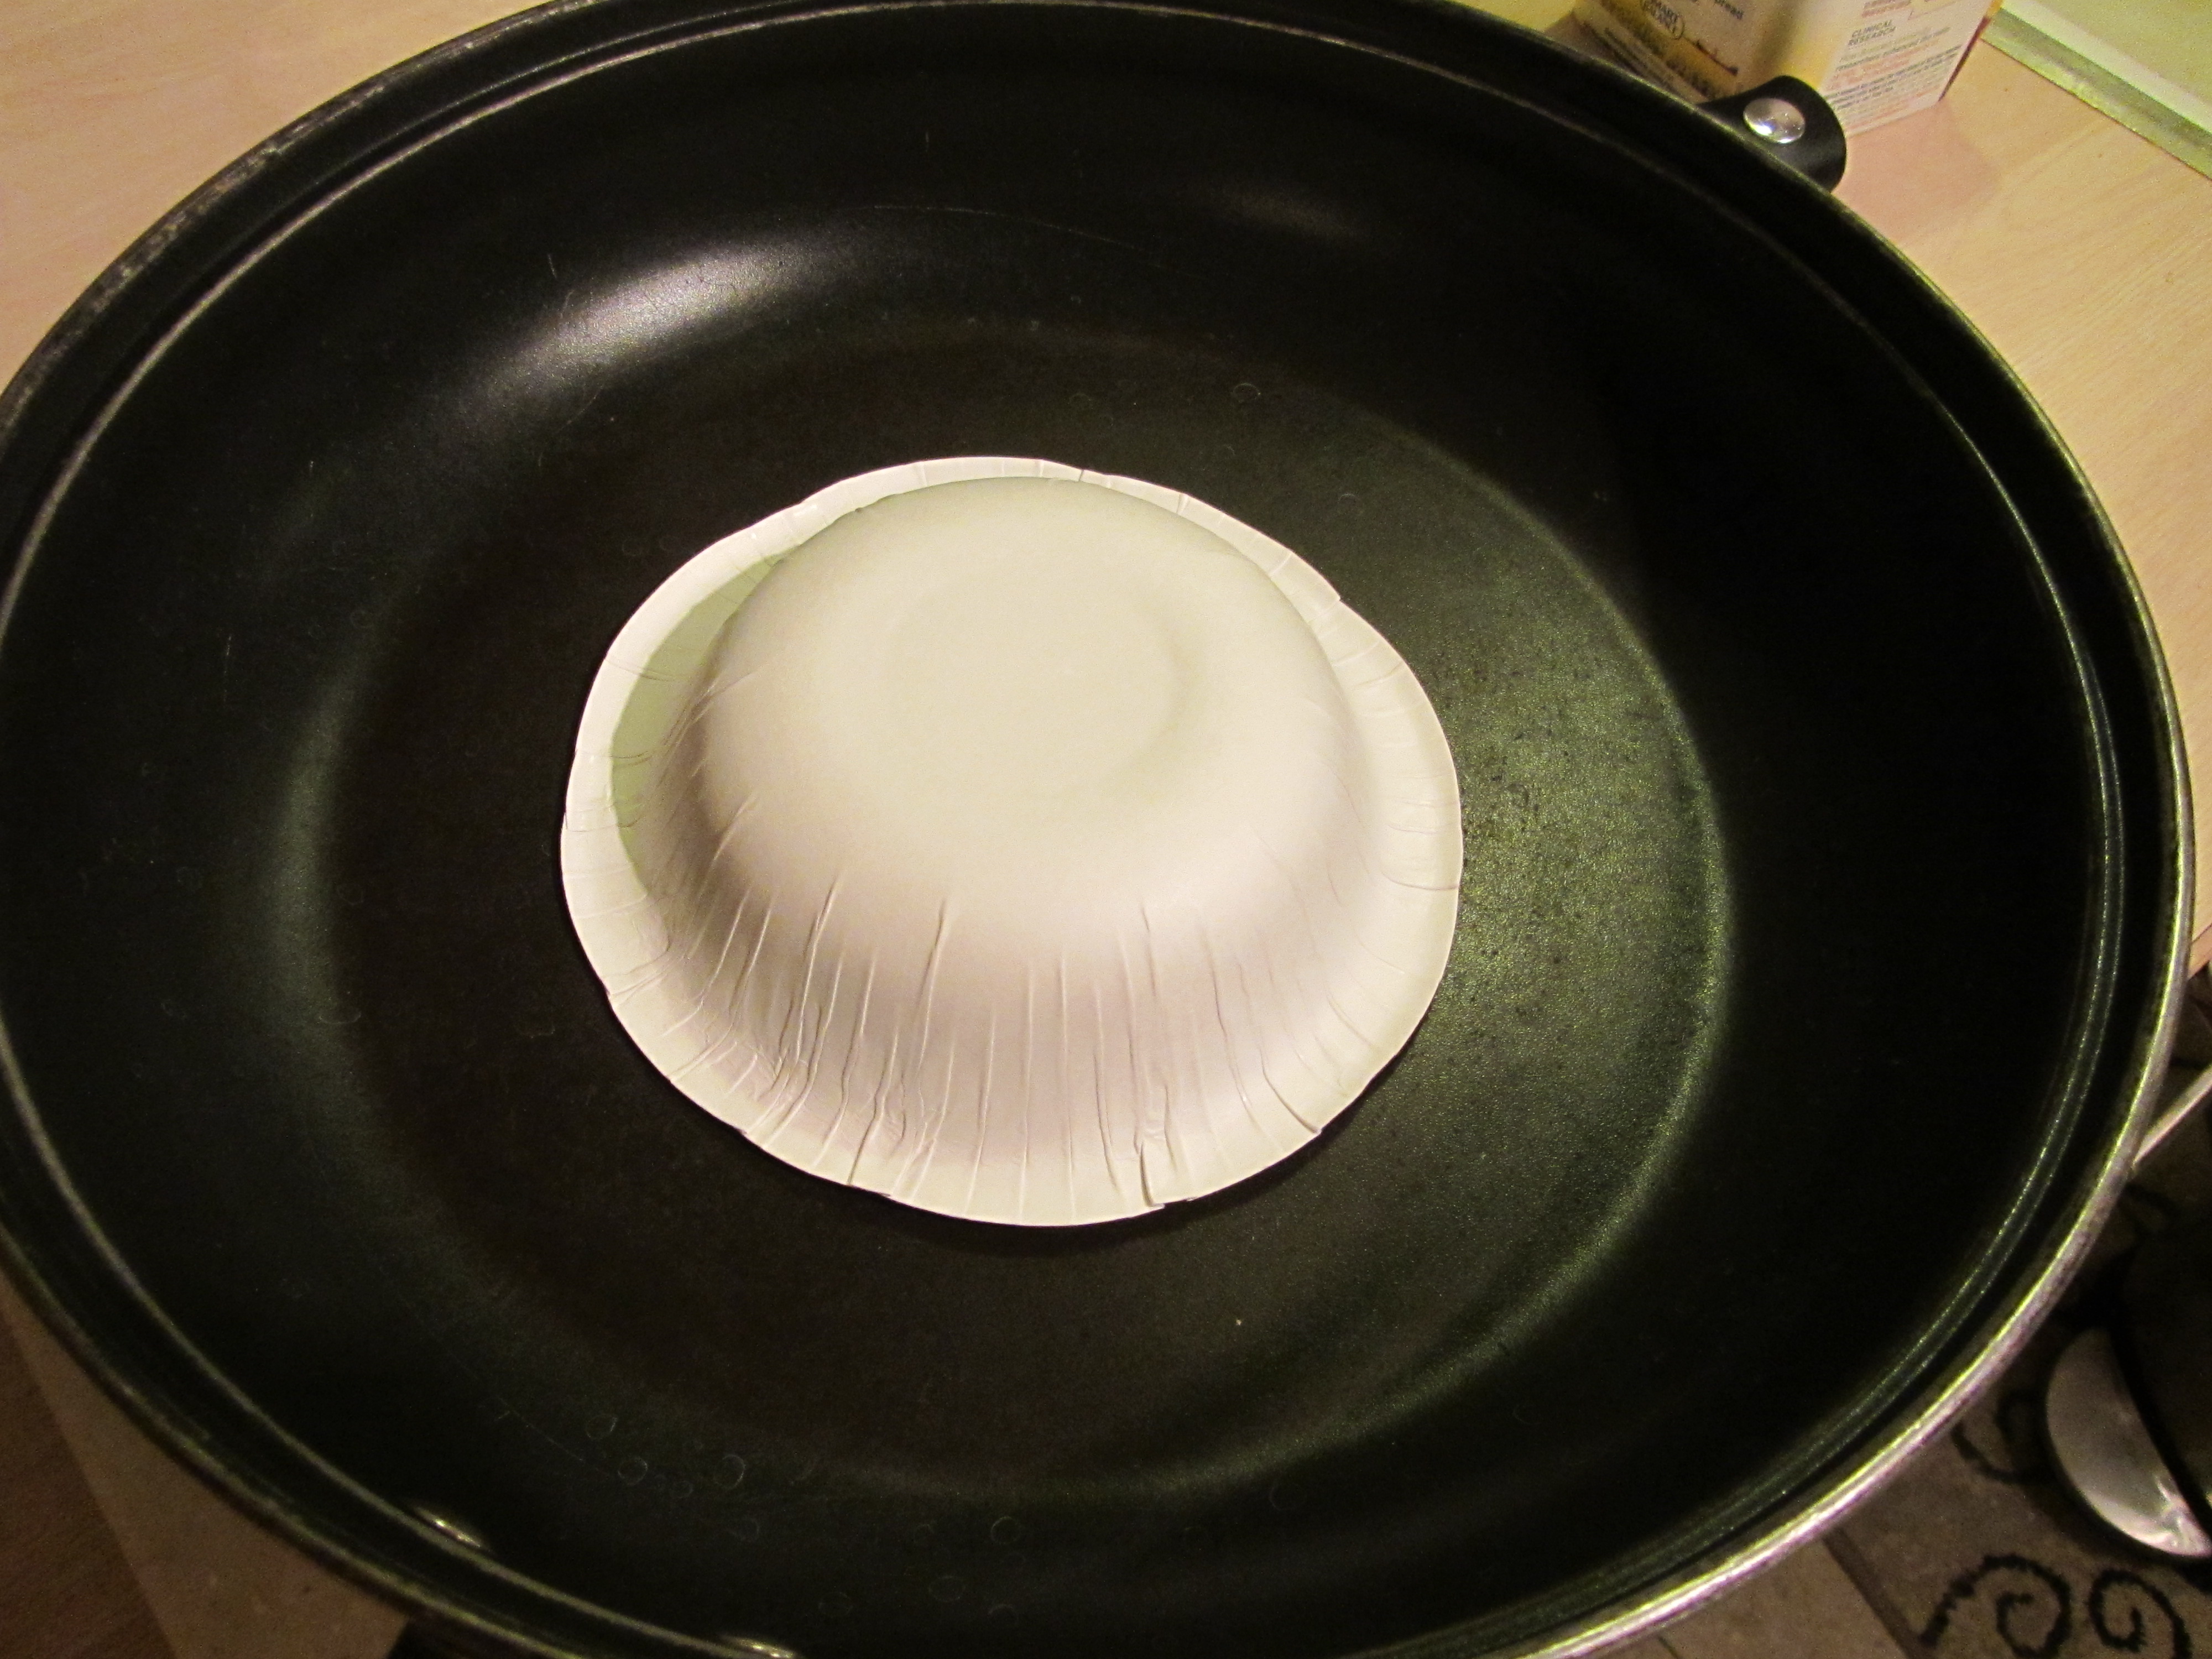
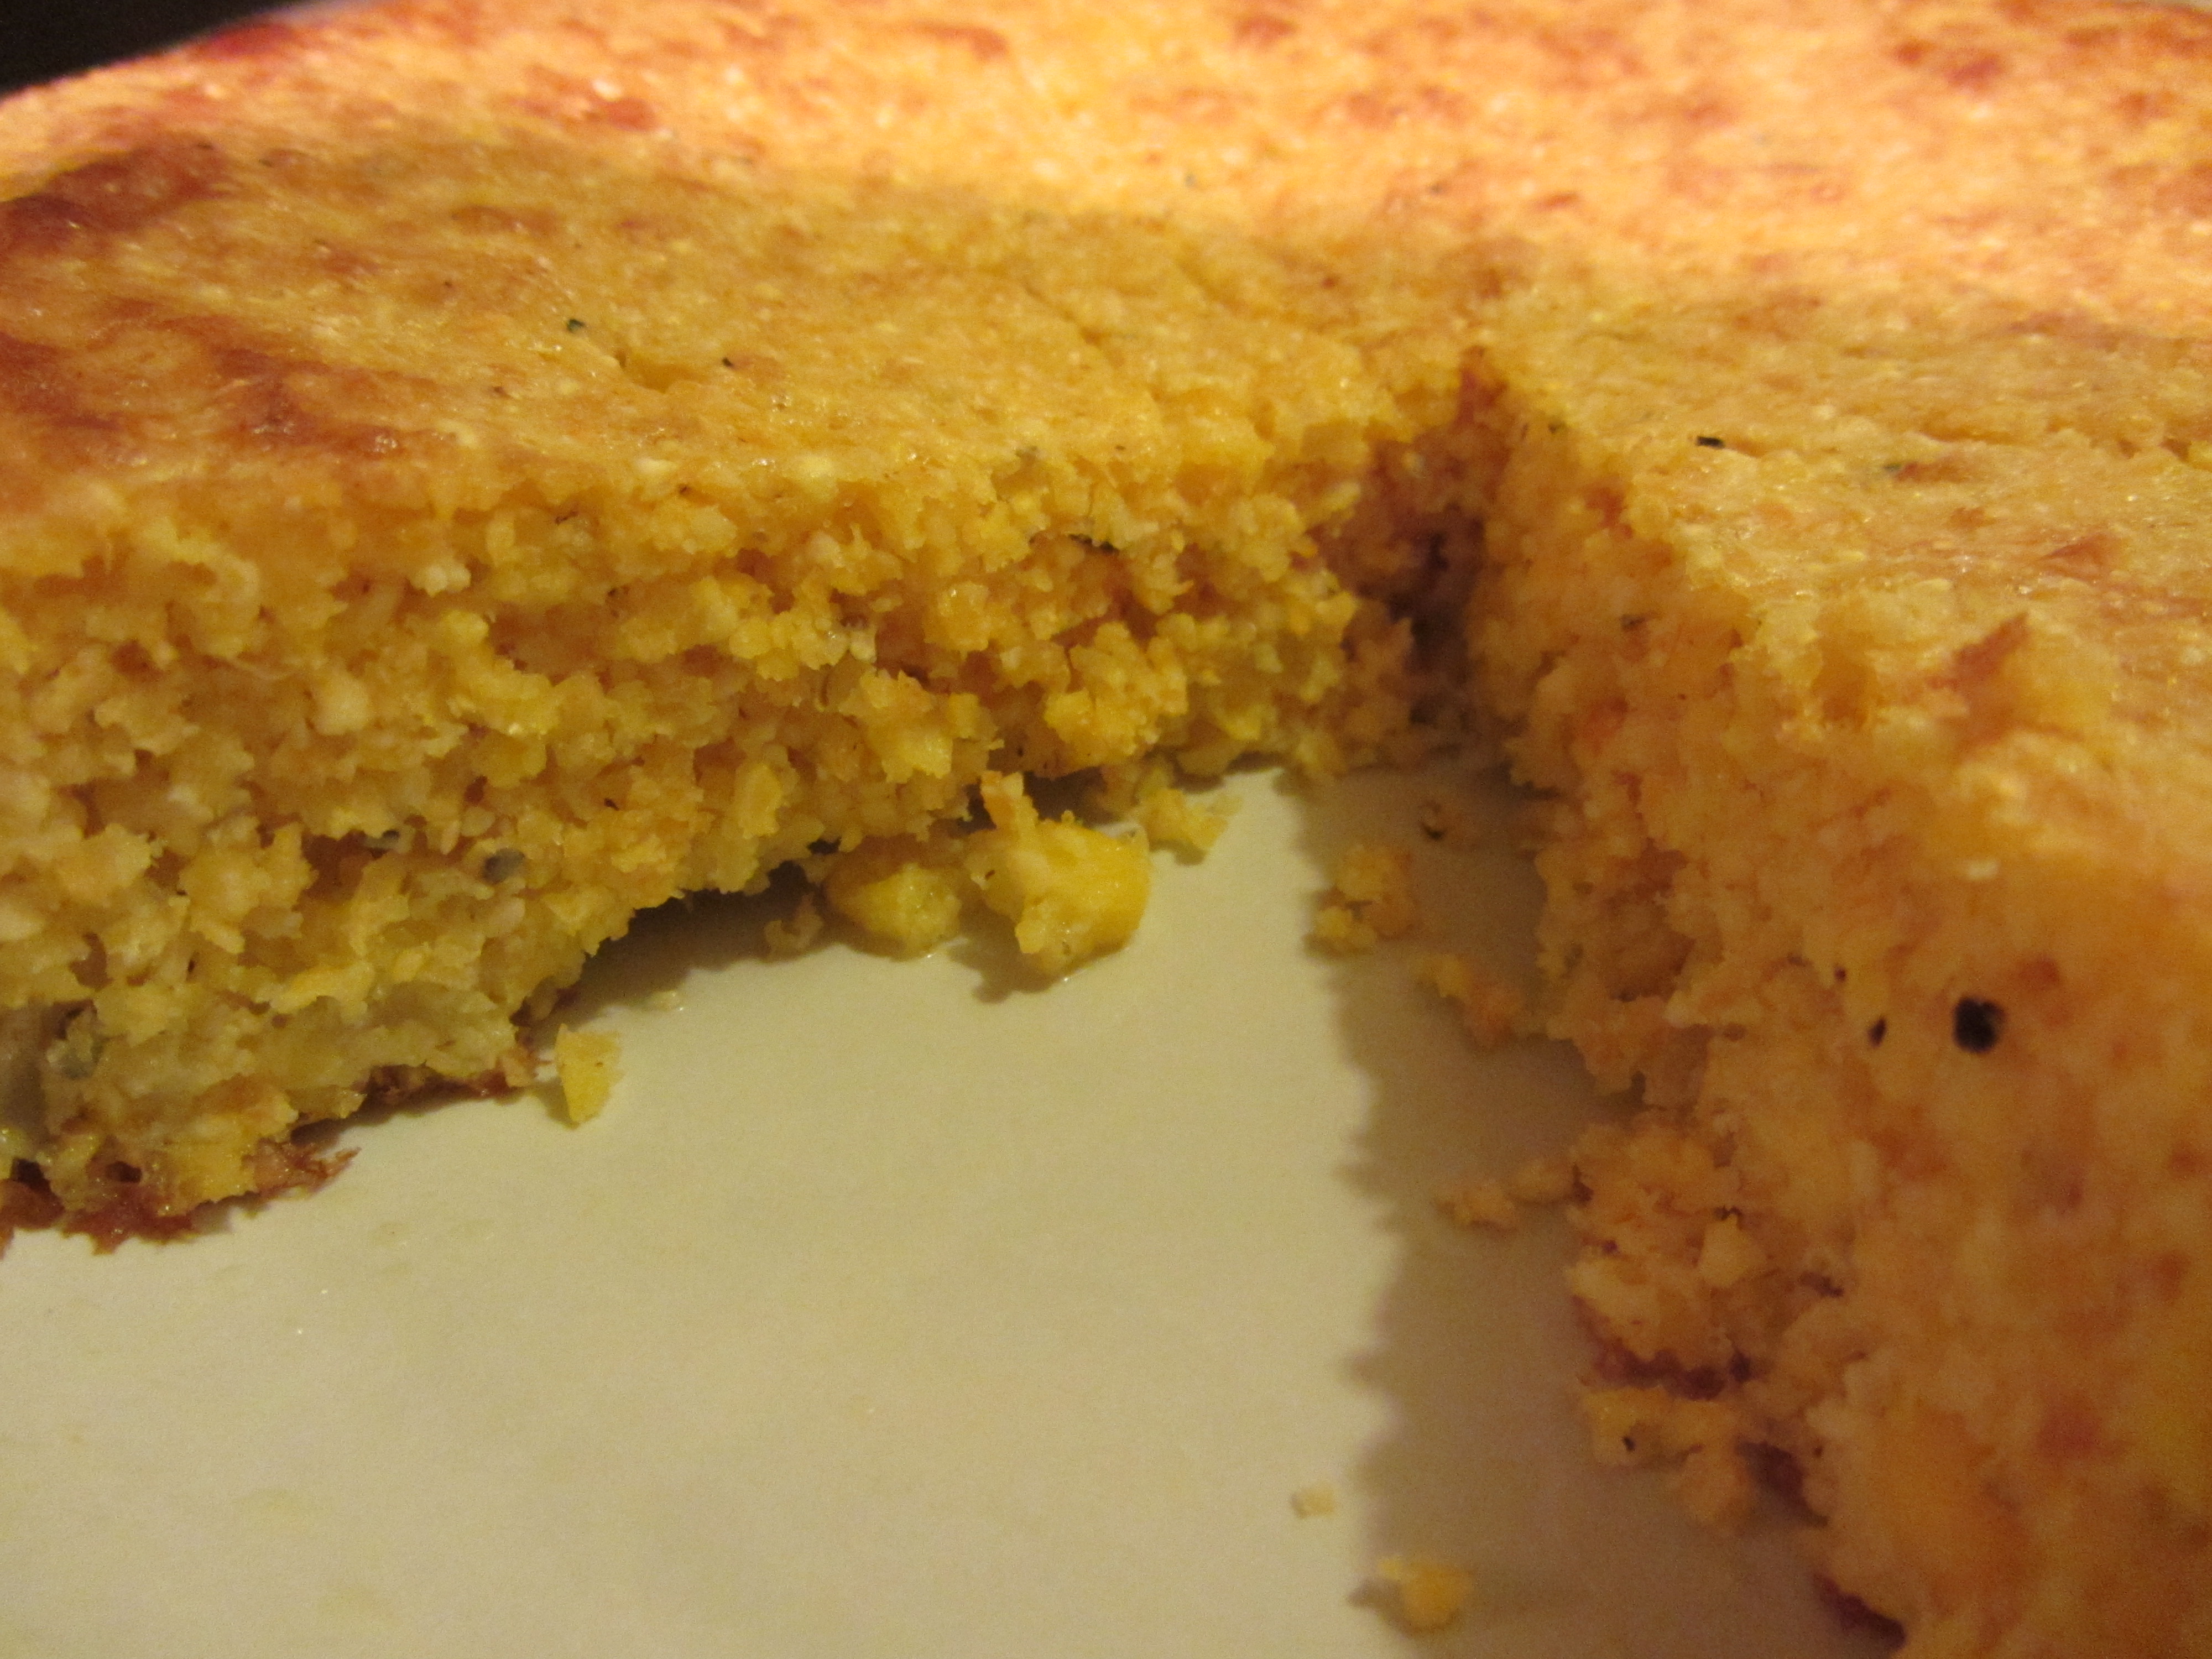
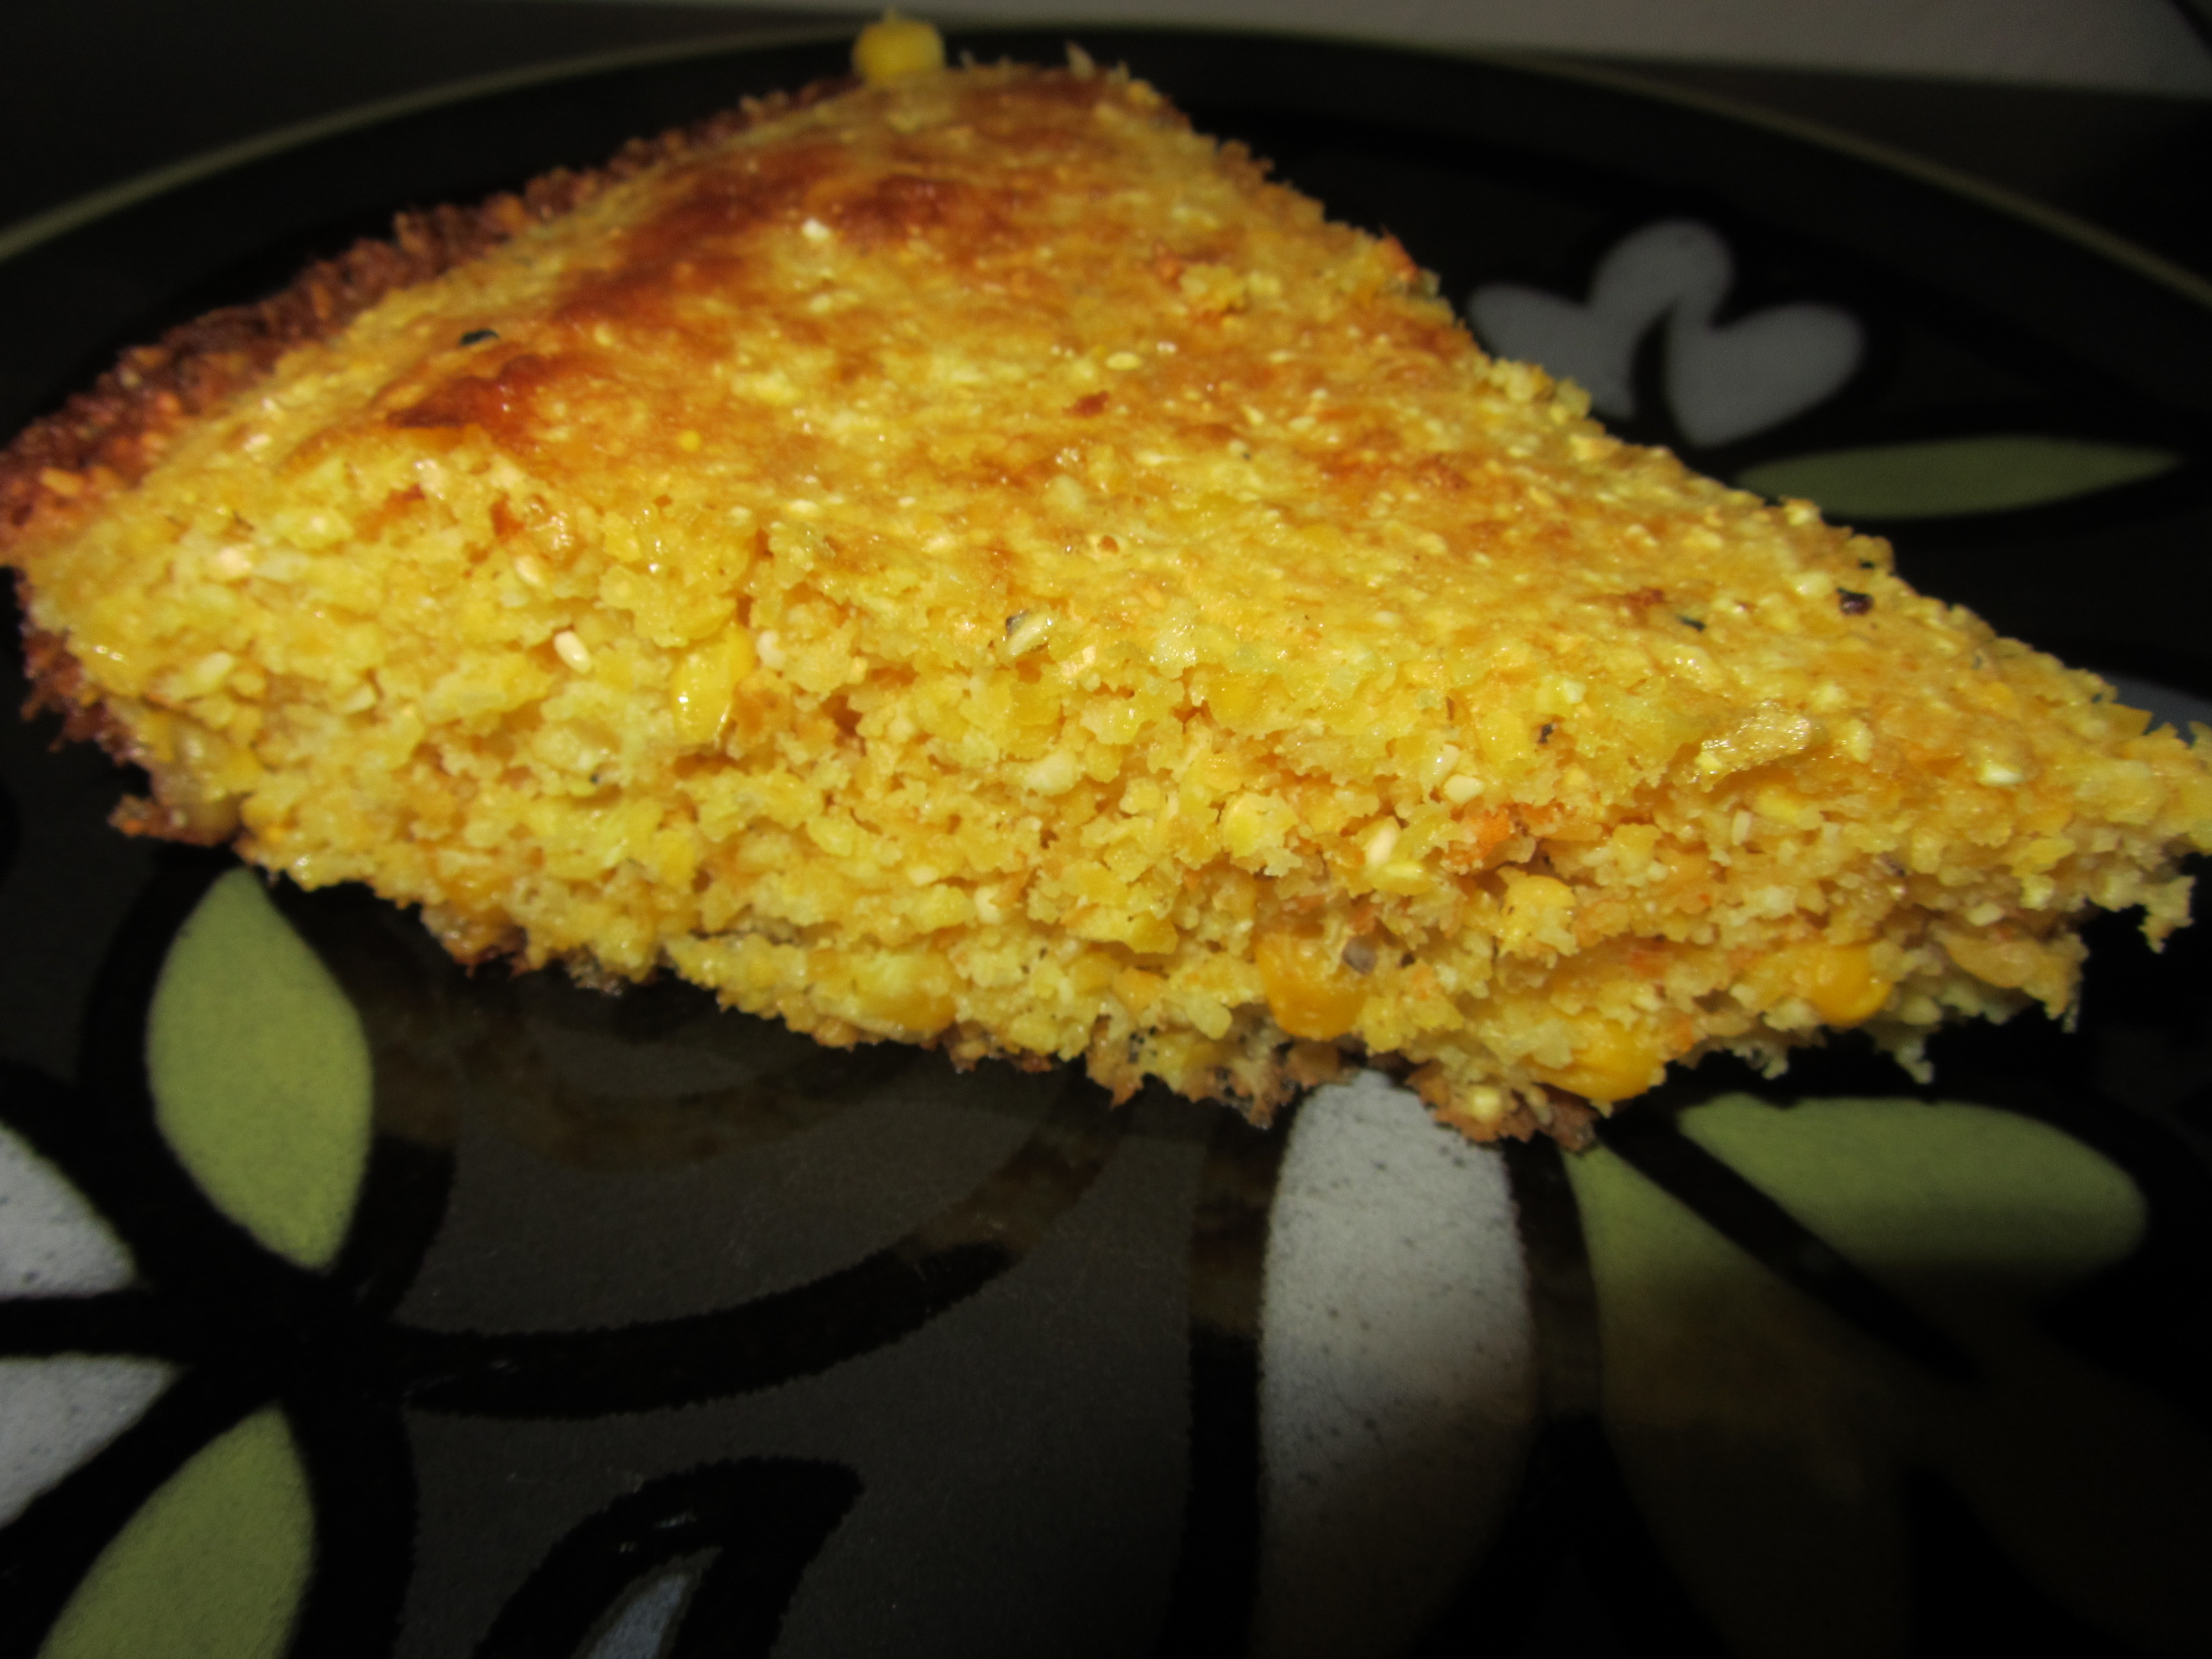
Sweet corn bread pudding.
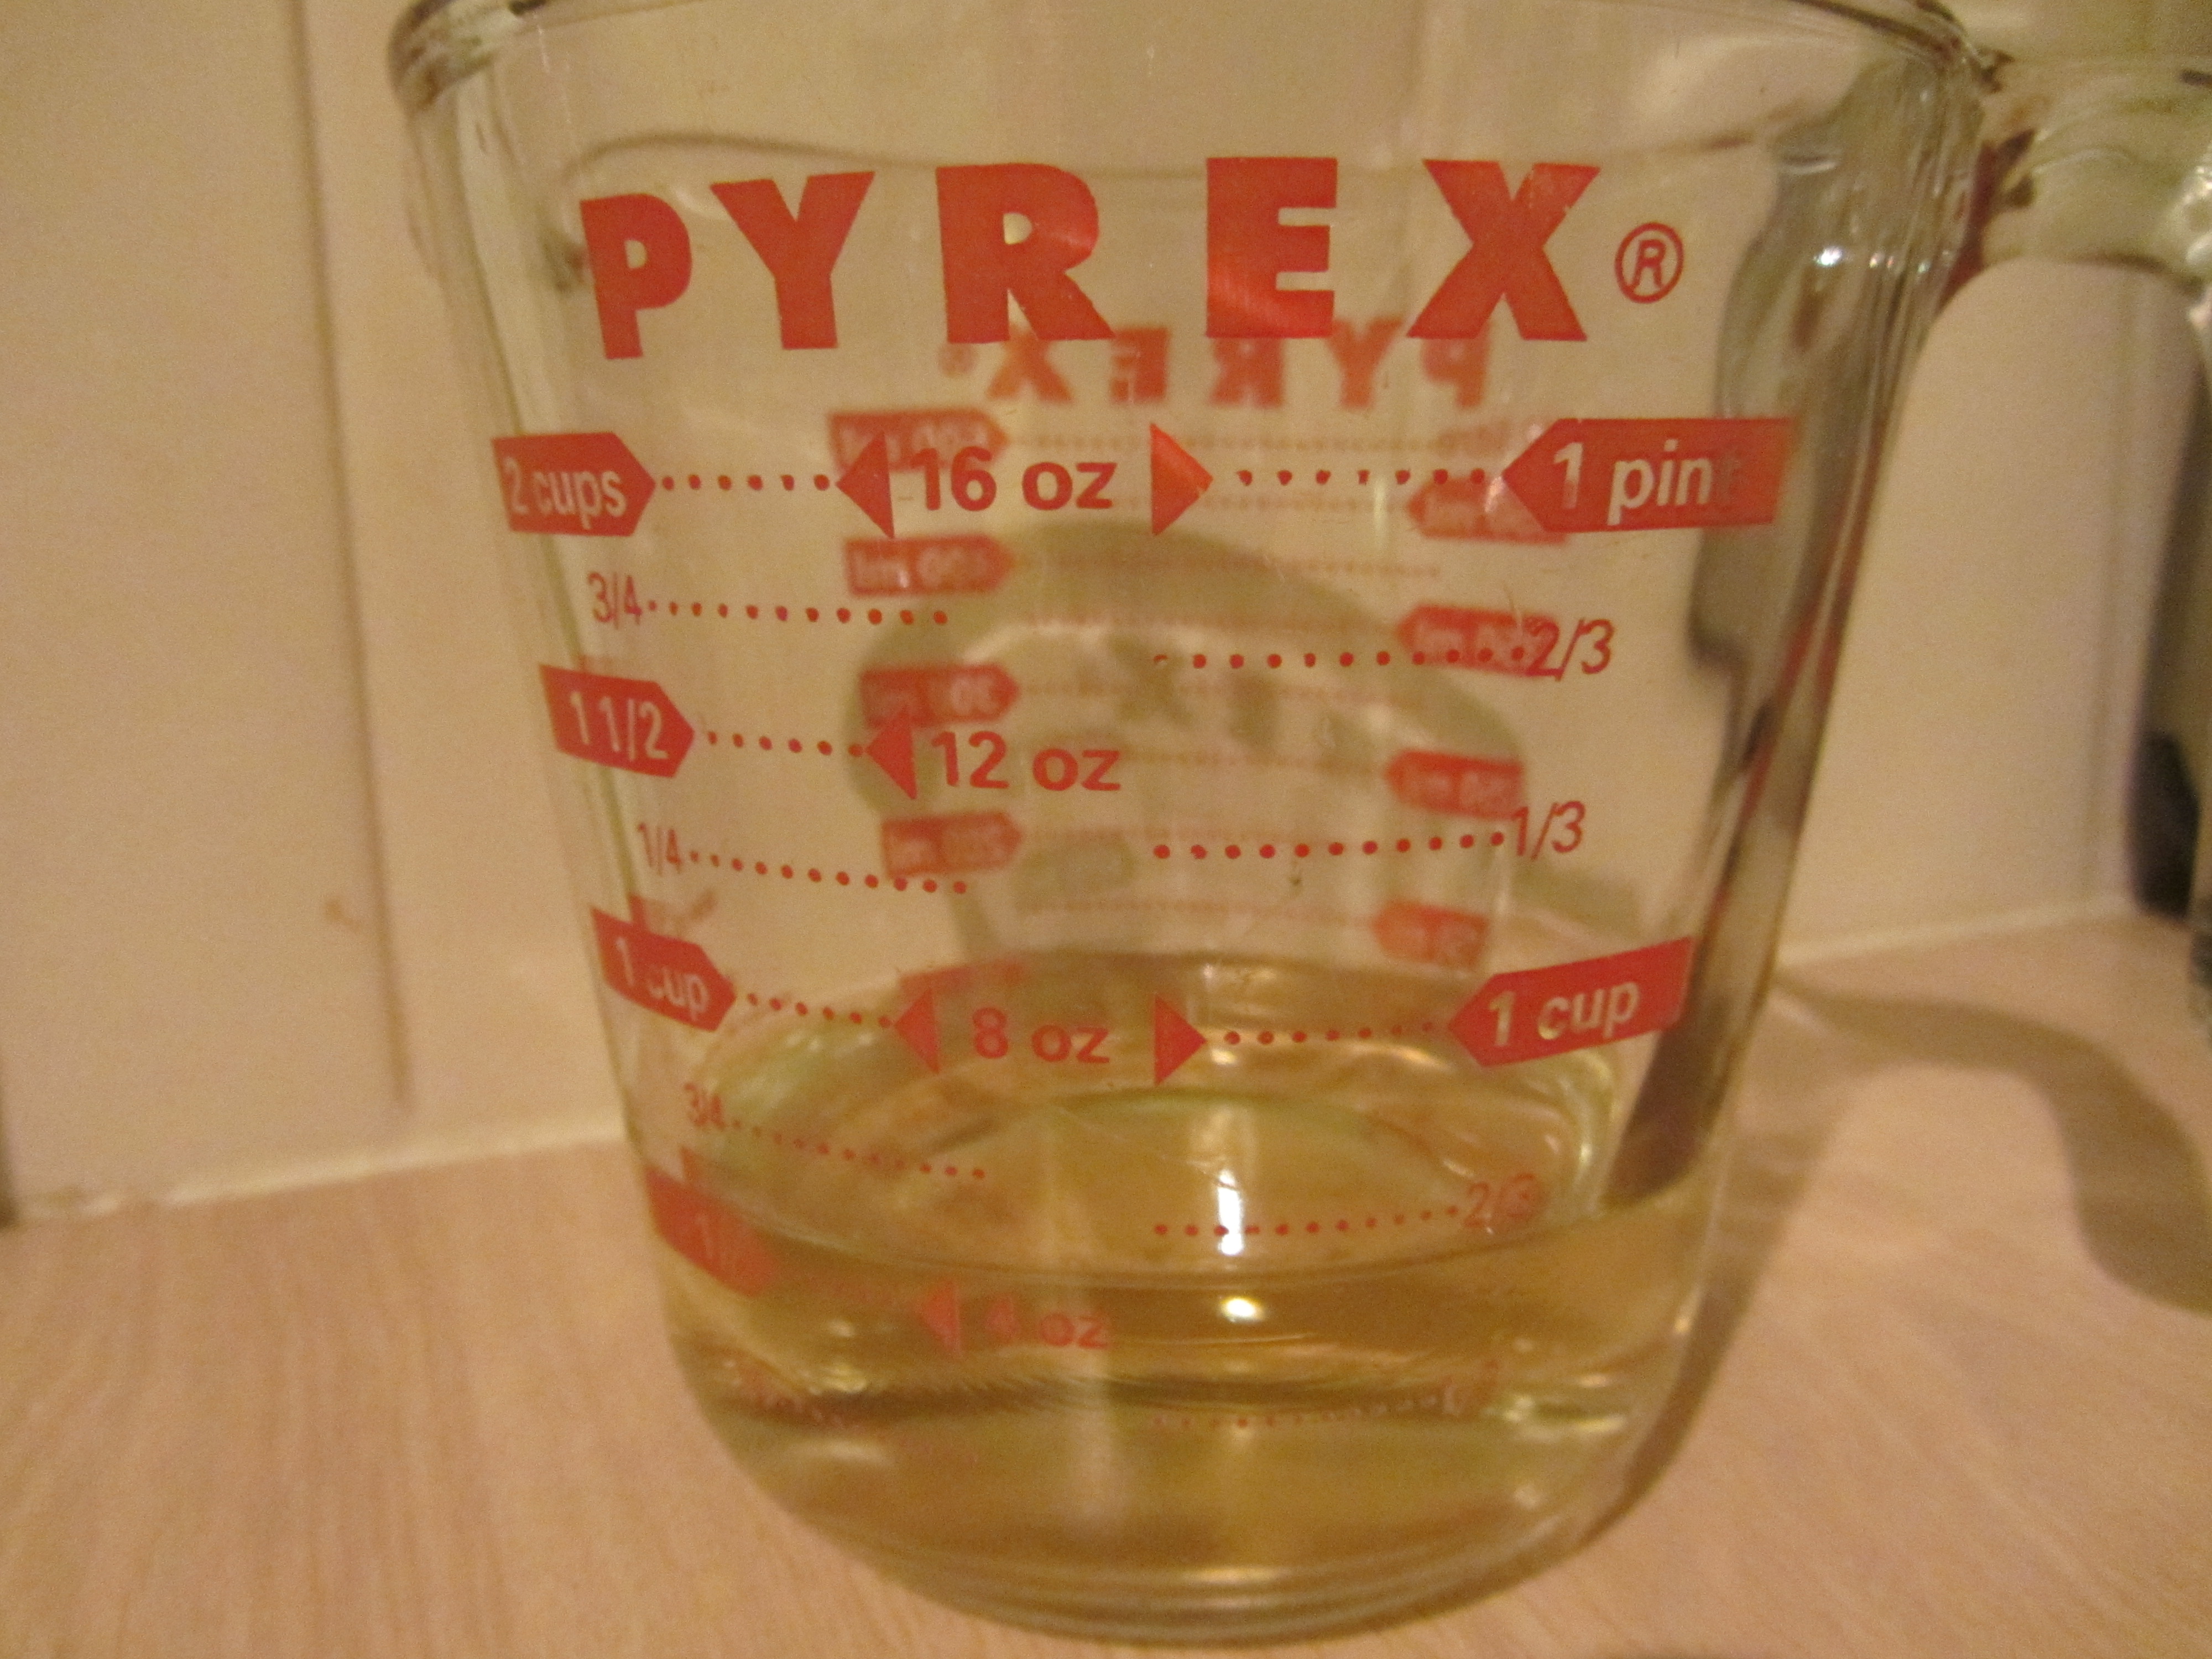
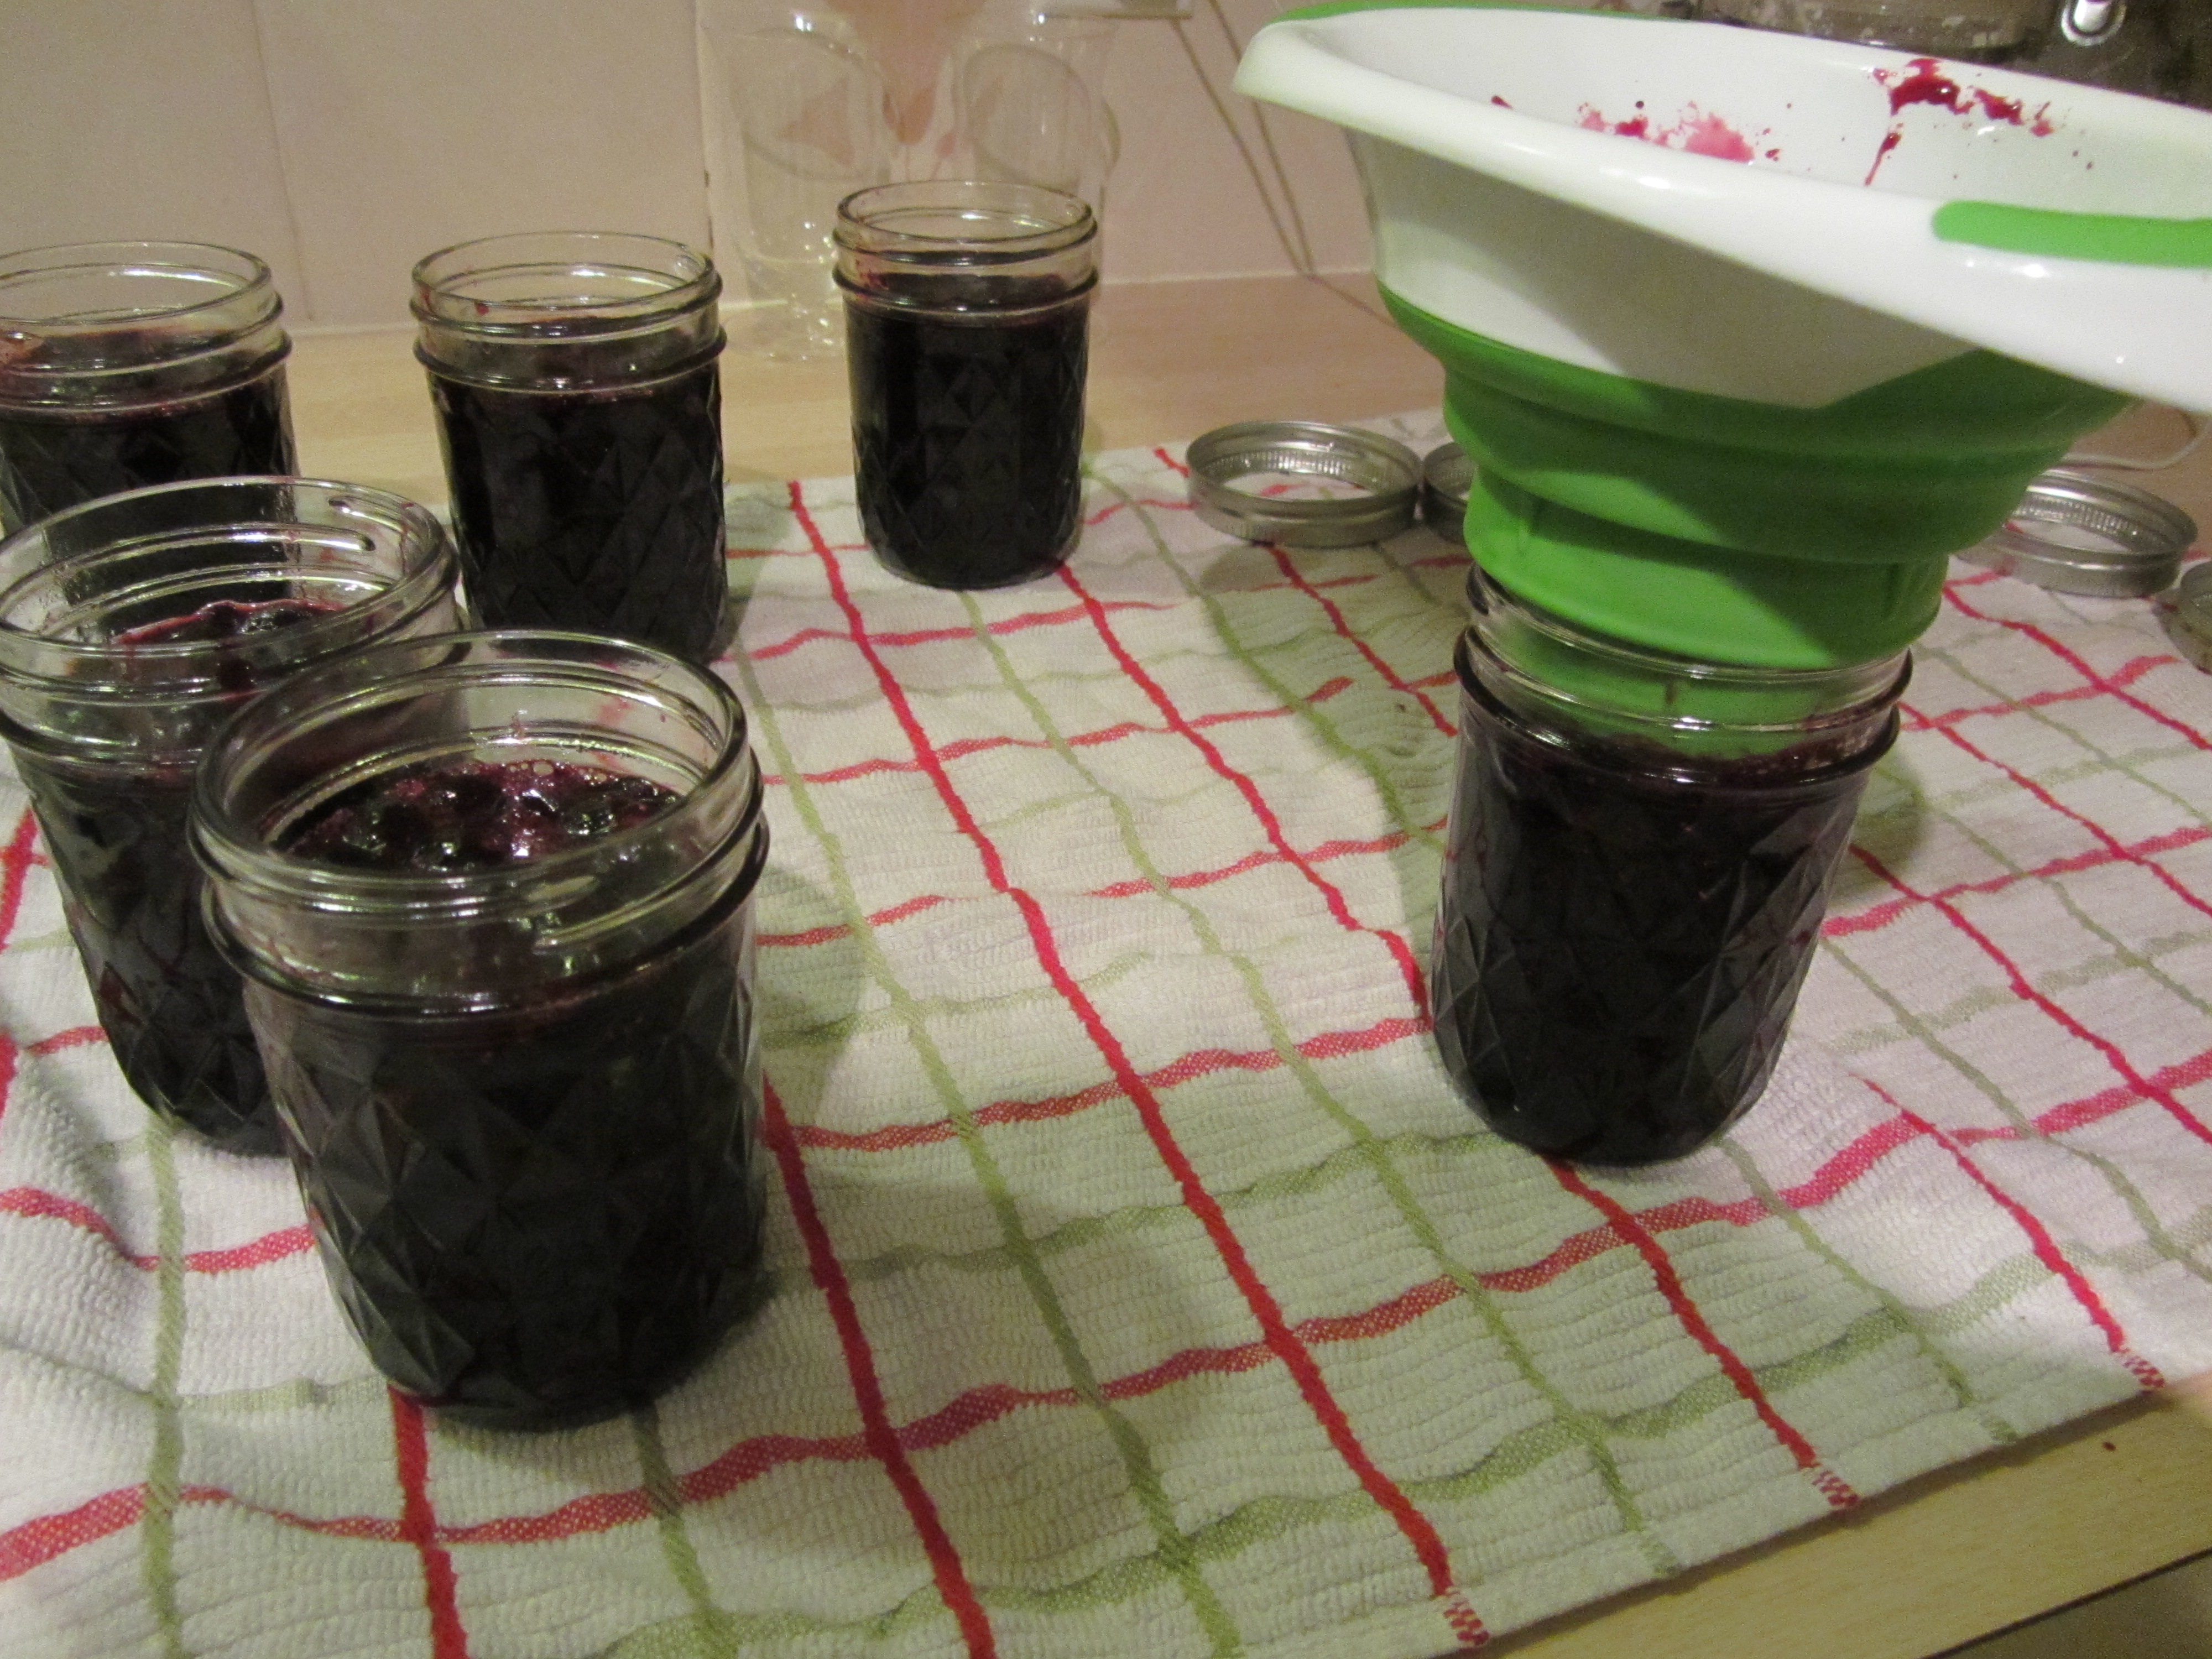
After a Thanksgiving-like dinner Thursday, I made Alton’s recipes for Thanksgiving leftovers on Friday, the first of which was for his cranberry jam. This recipe is really simple. To make it, you combine 2 C of leftover cranberry dipping sauce with a cup of sugar and a half cup of ginger ale.

Ingredients for cranberry jam: leftover cranberry dipping sauce, ginger ale, and sugar.
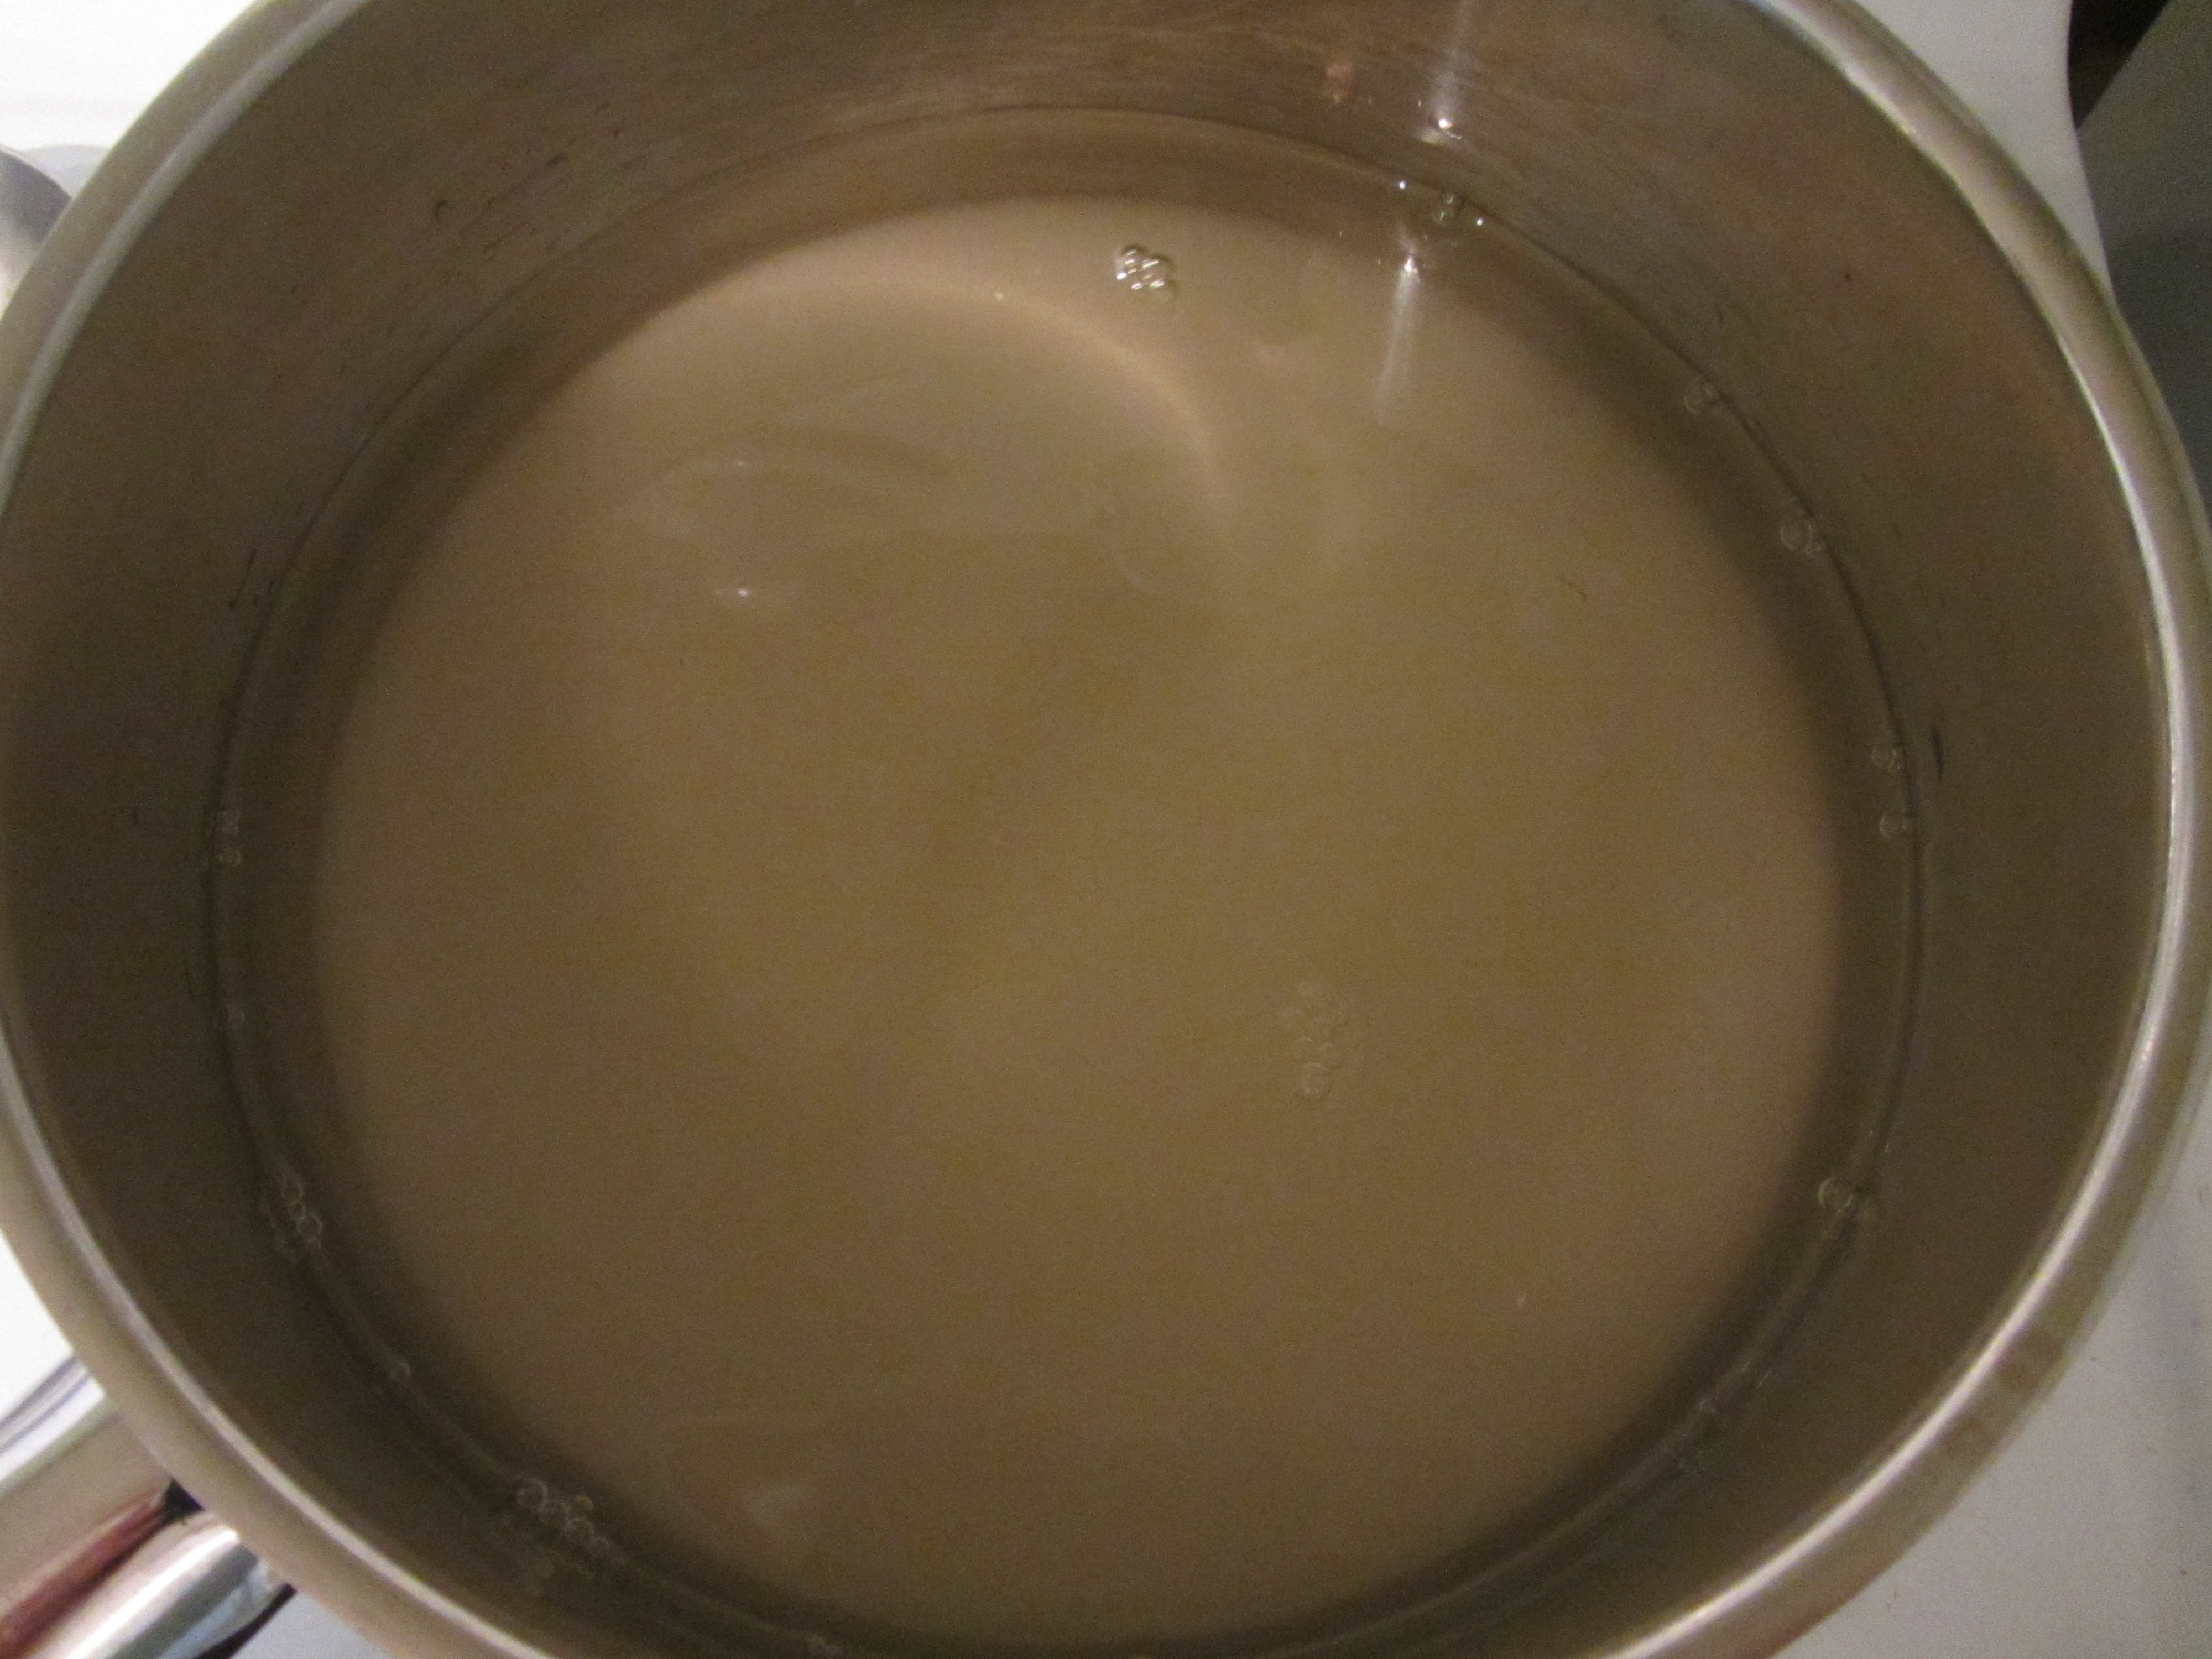
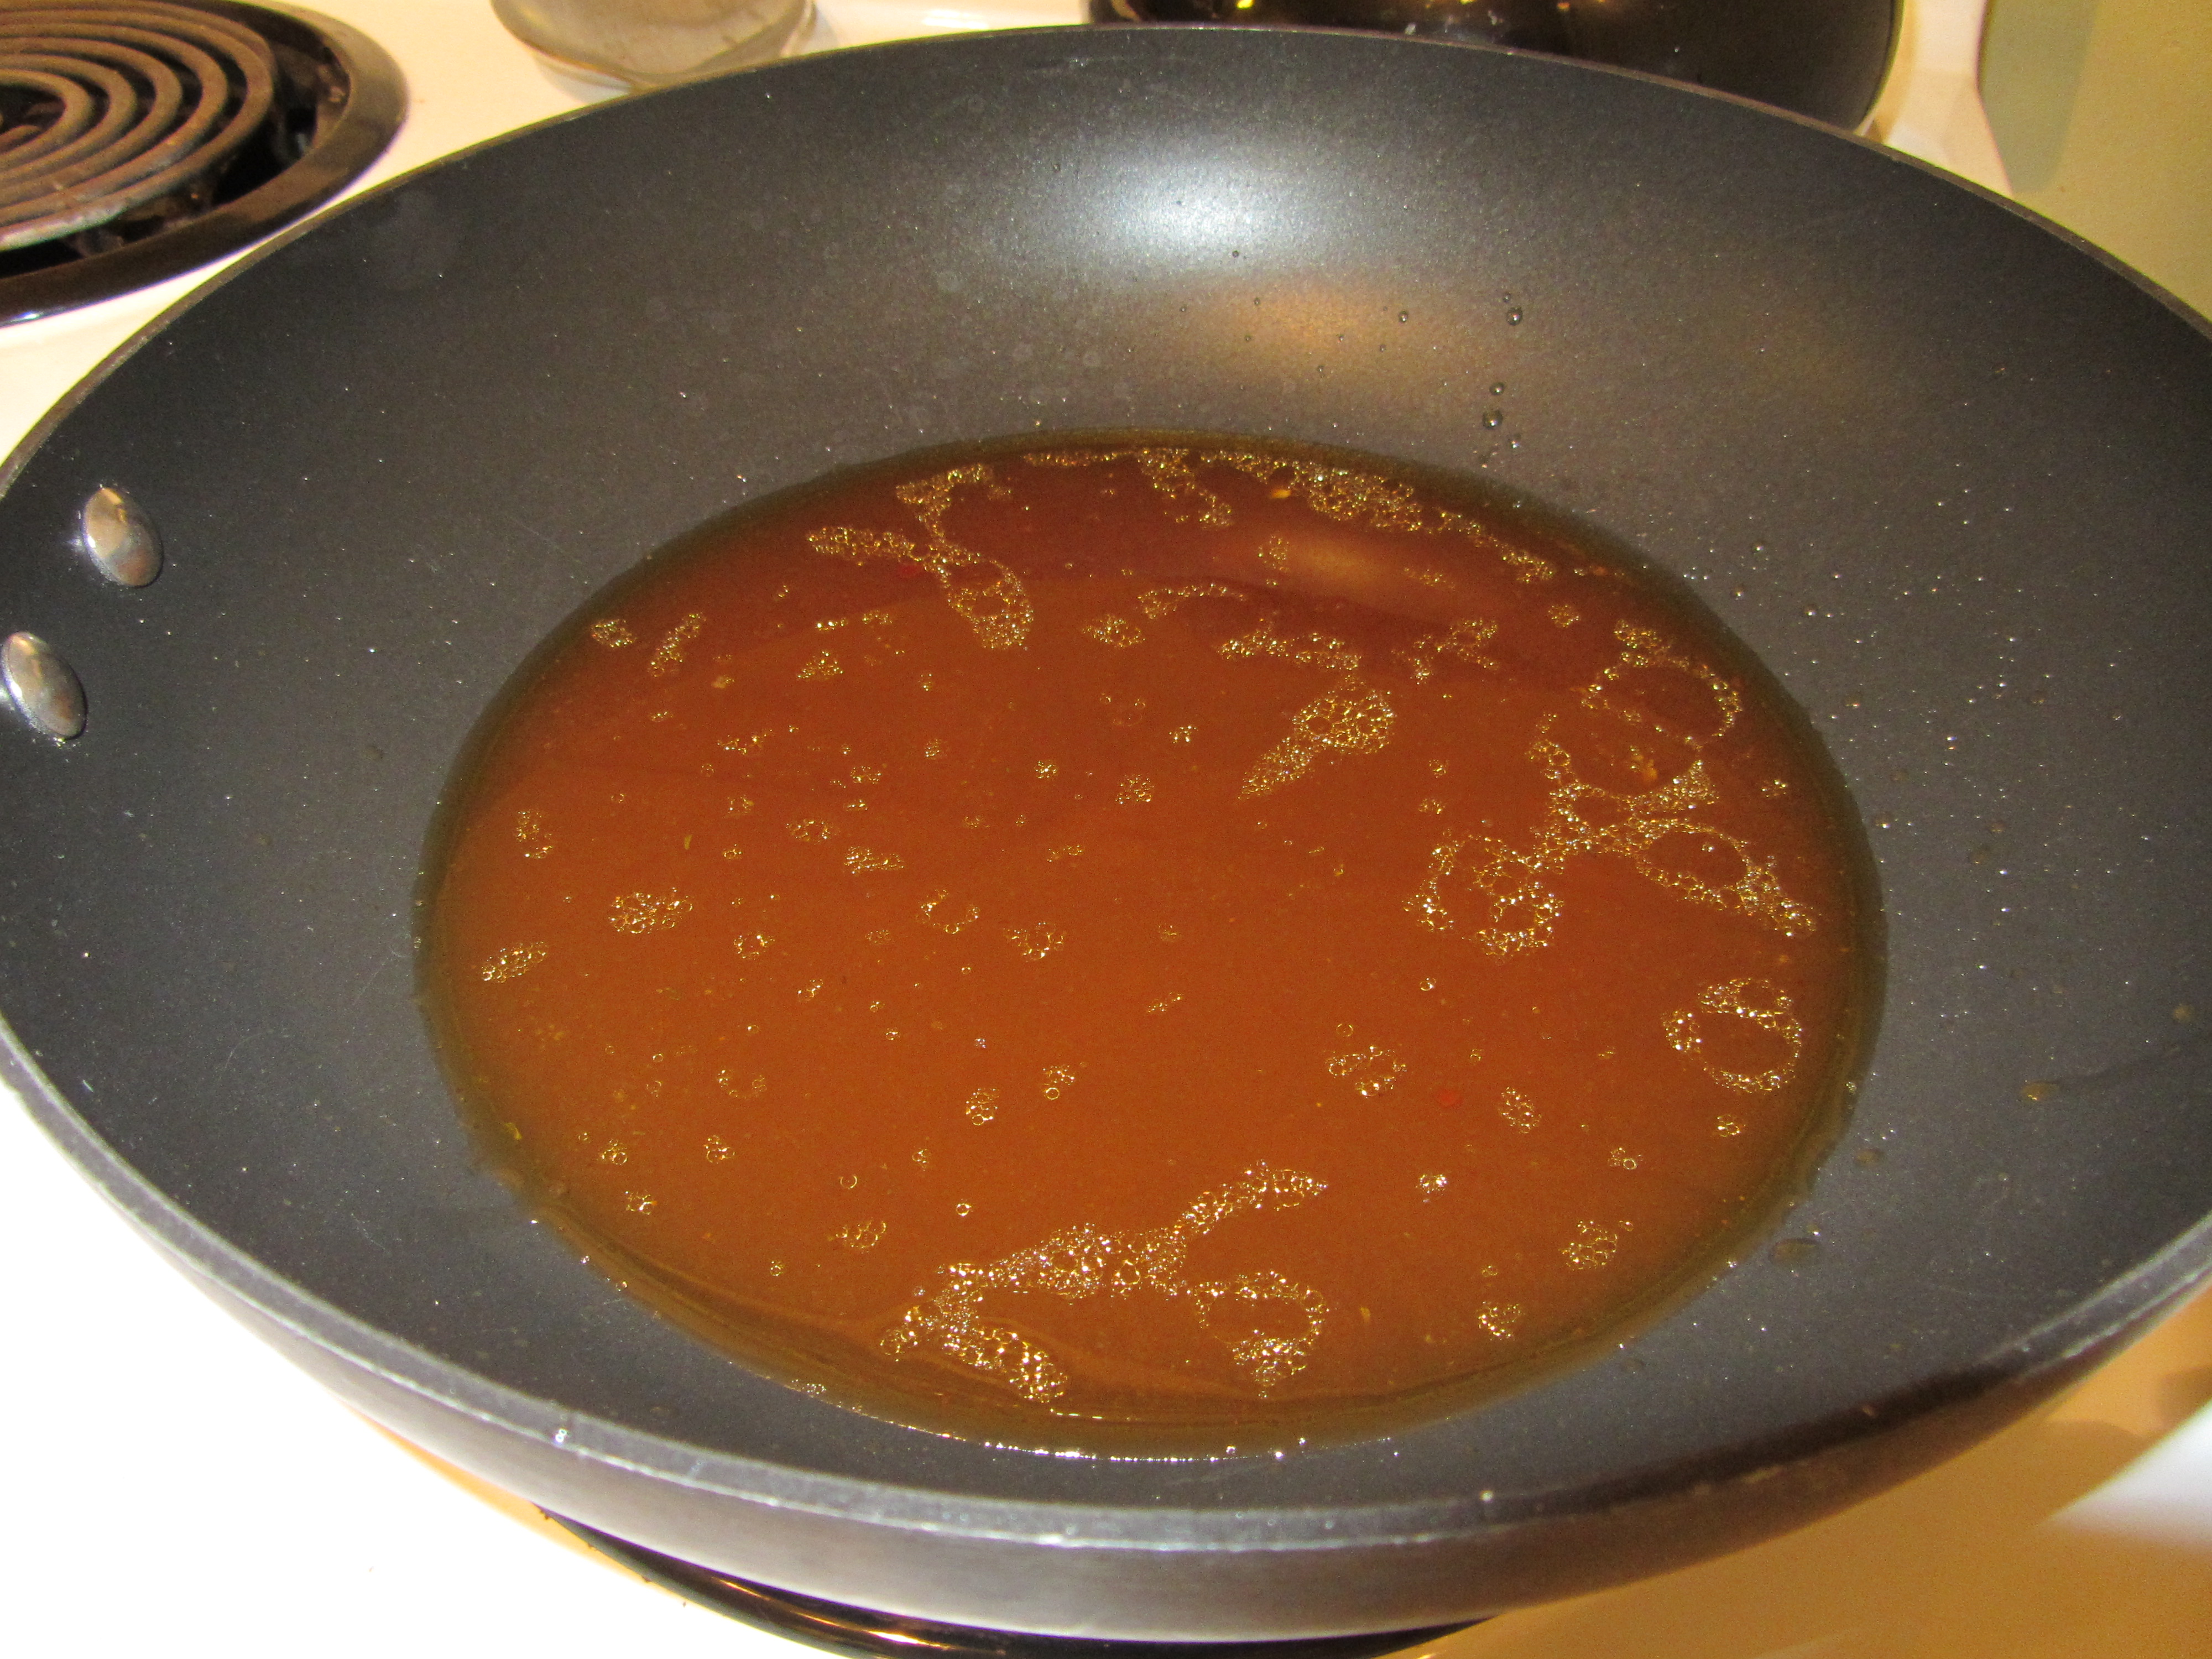
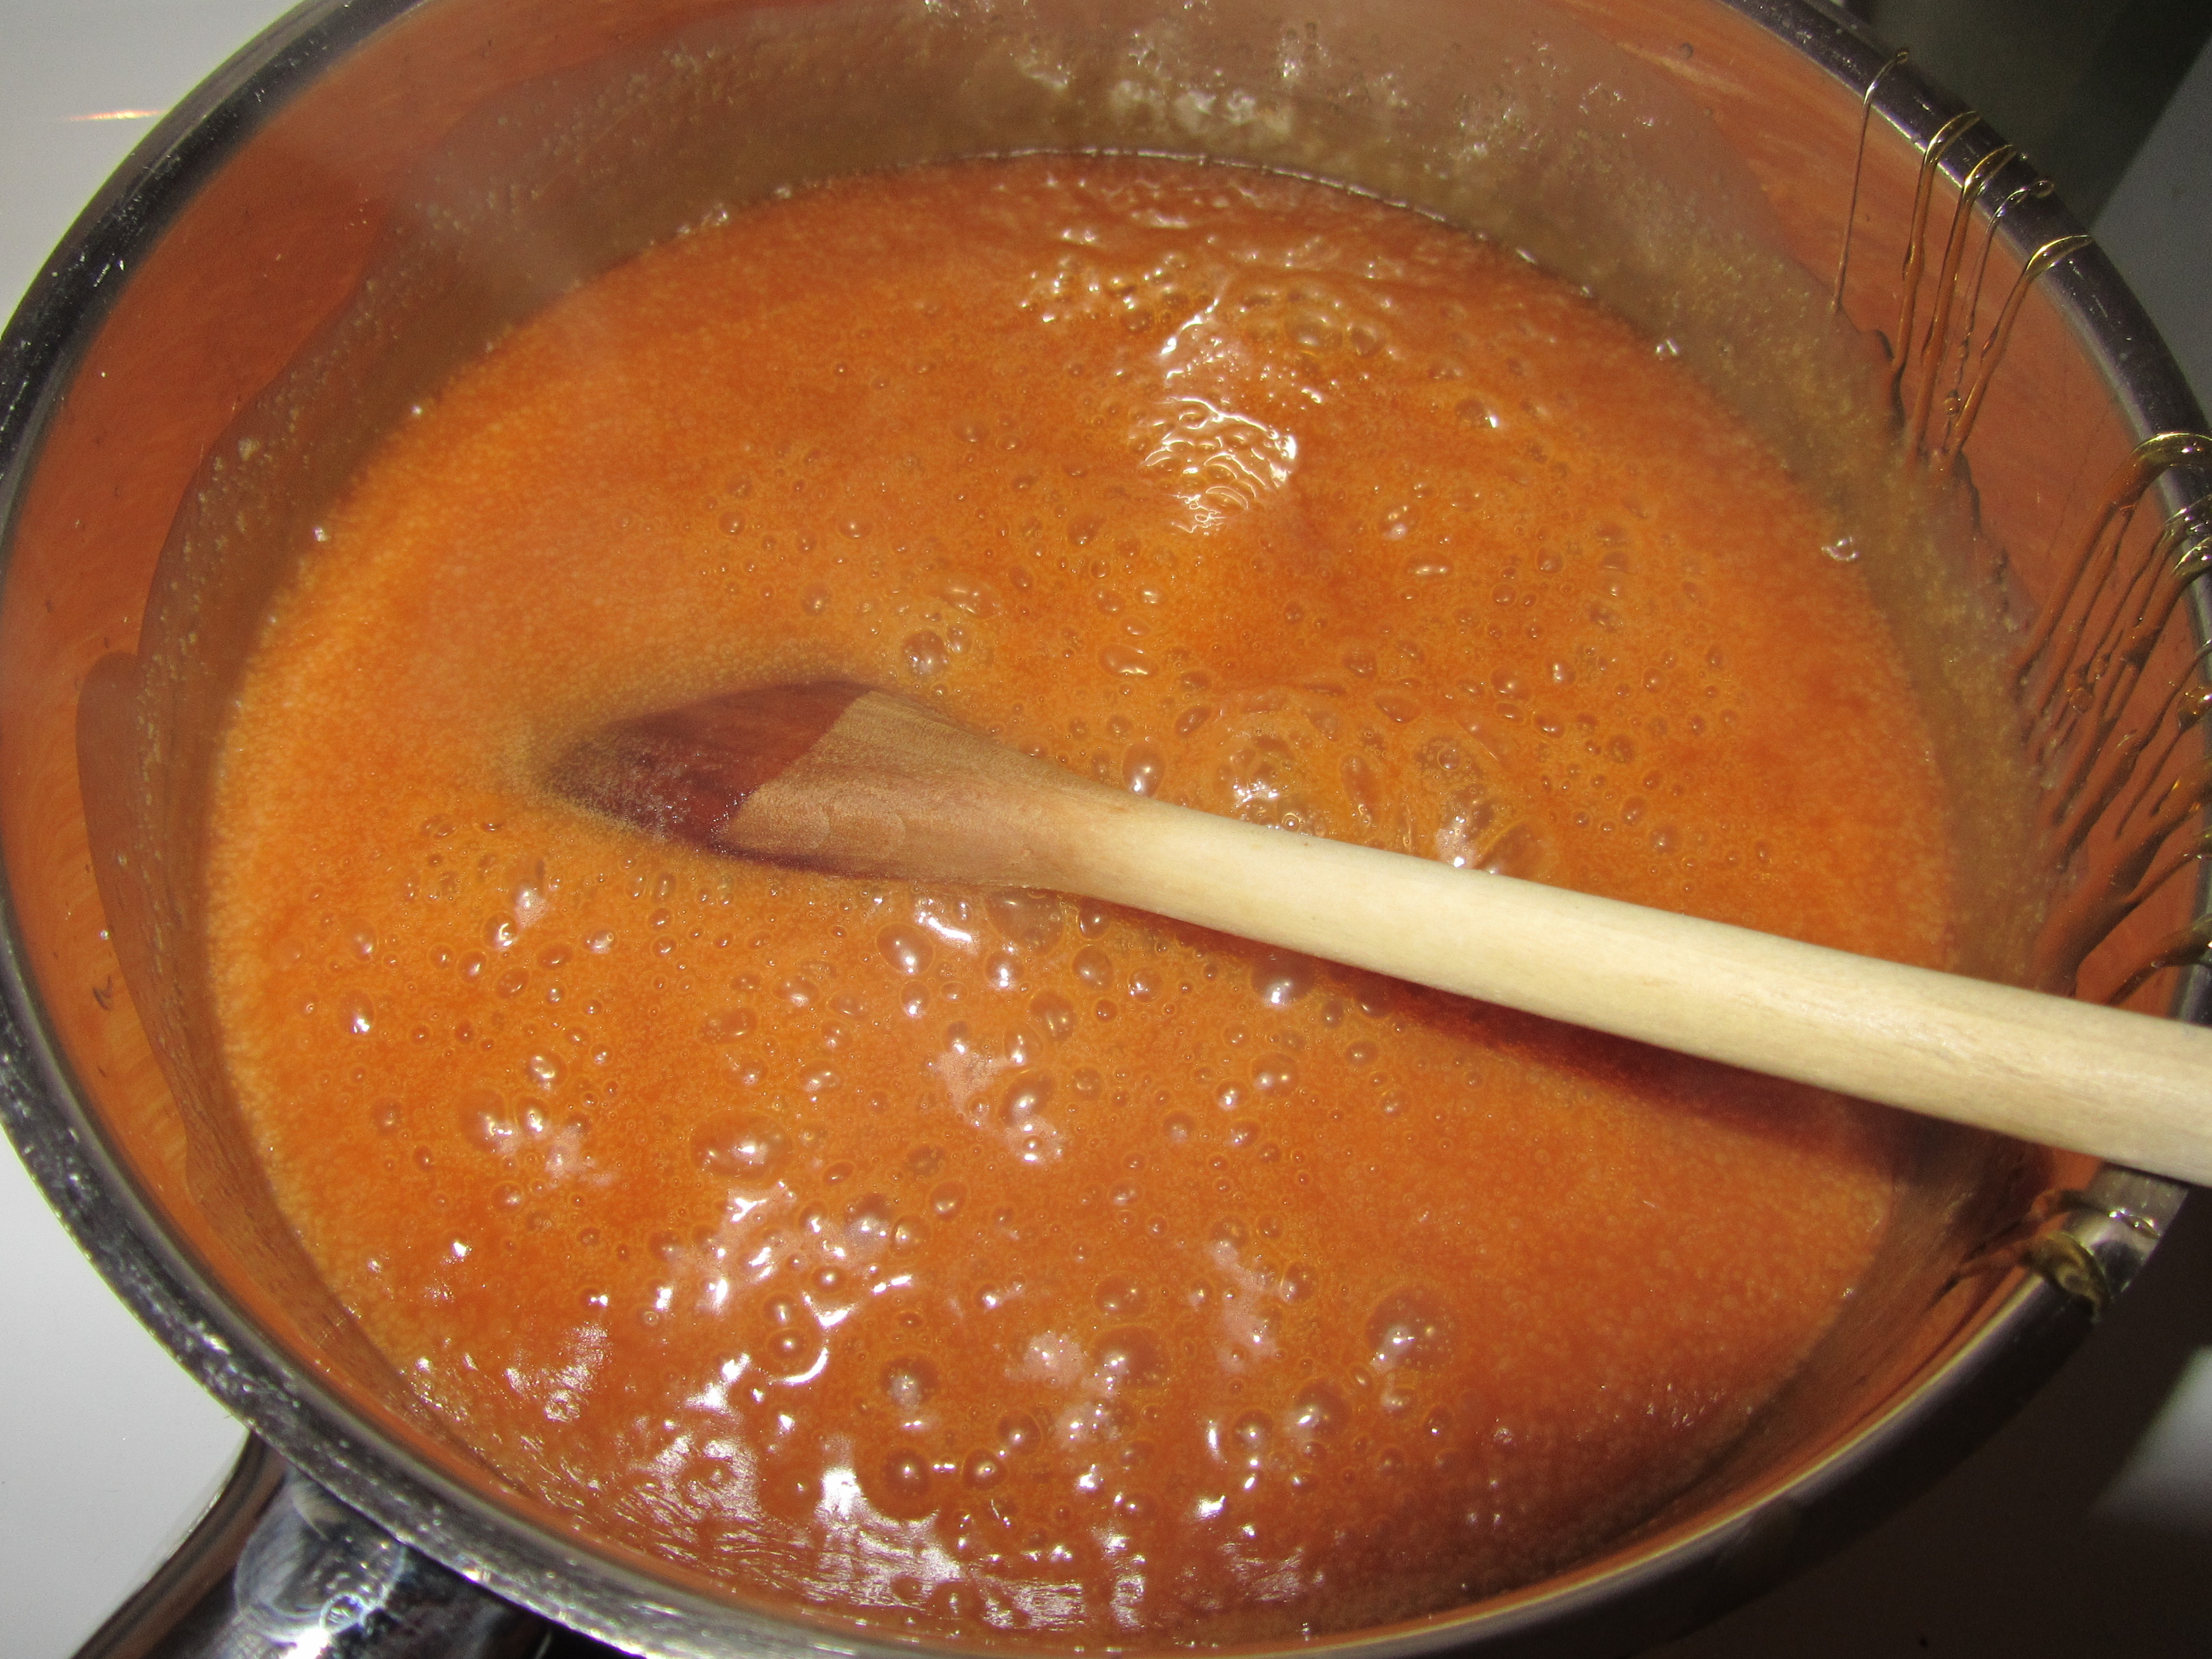
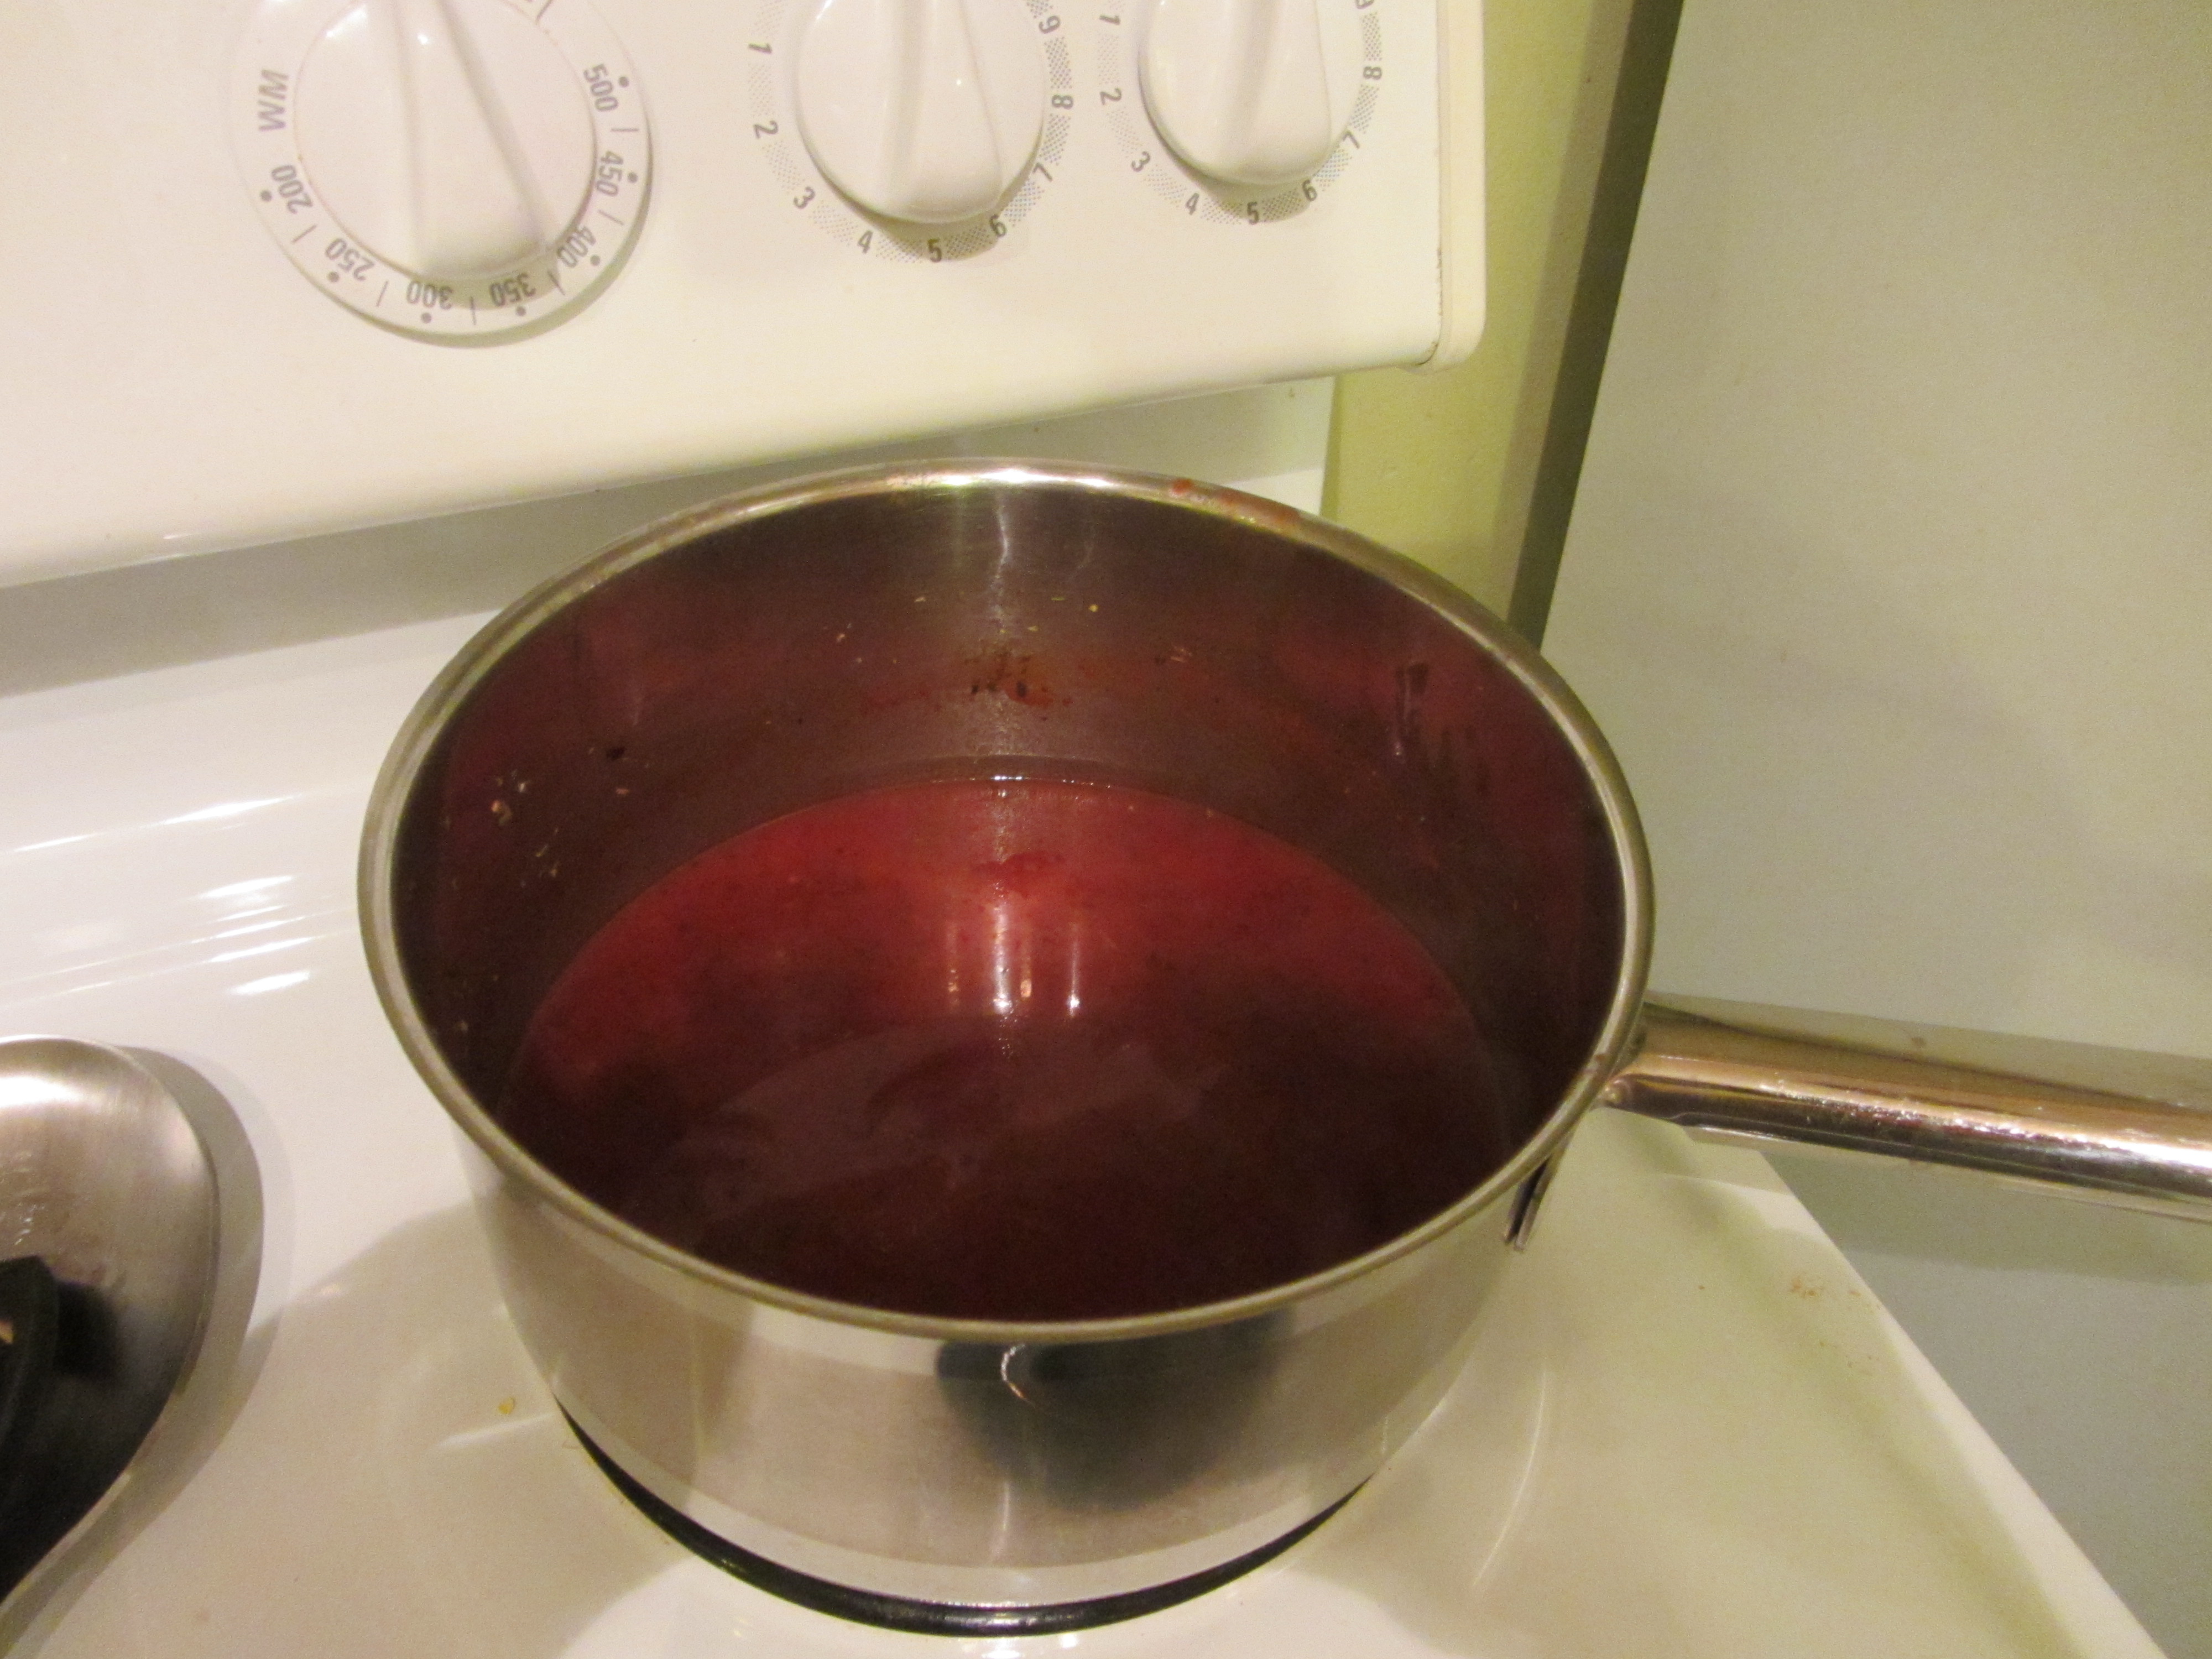
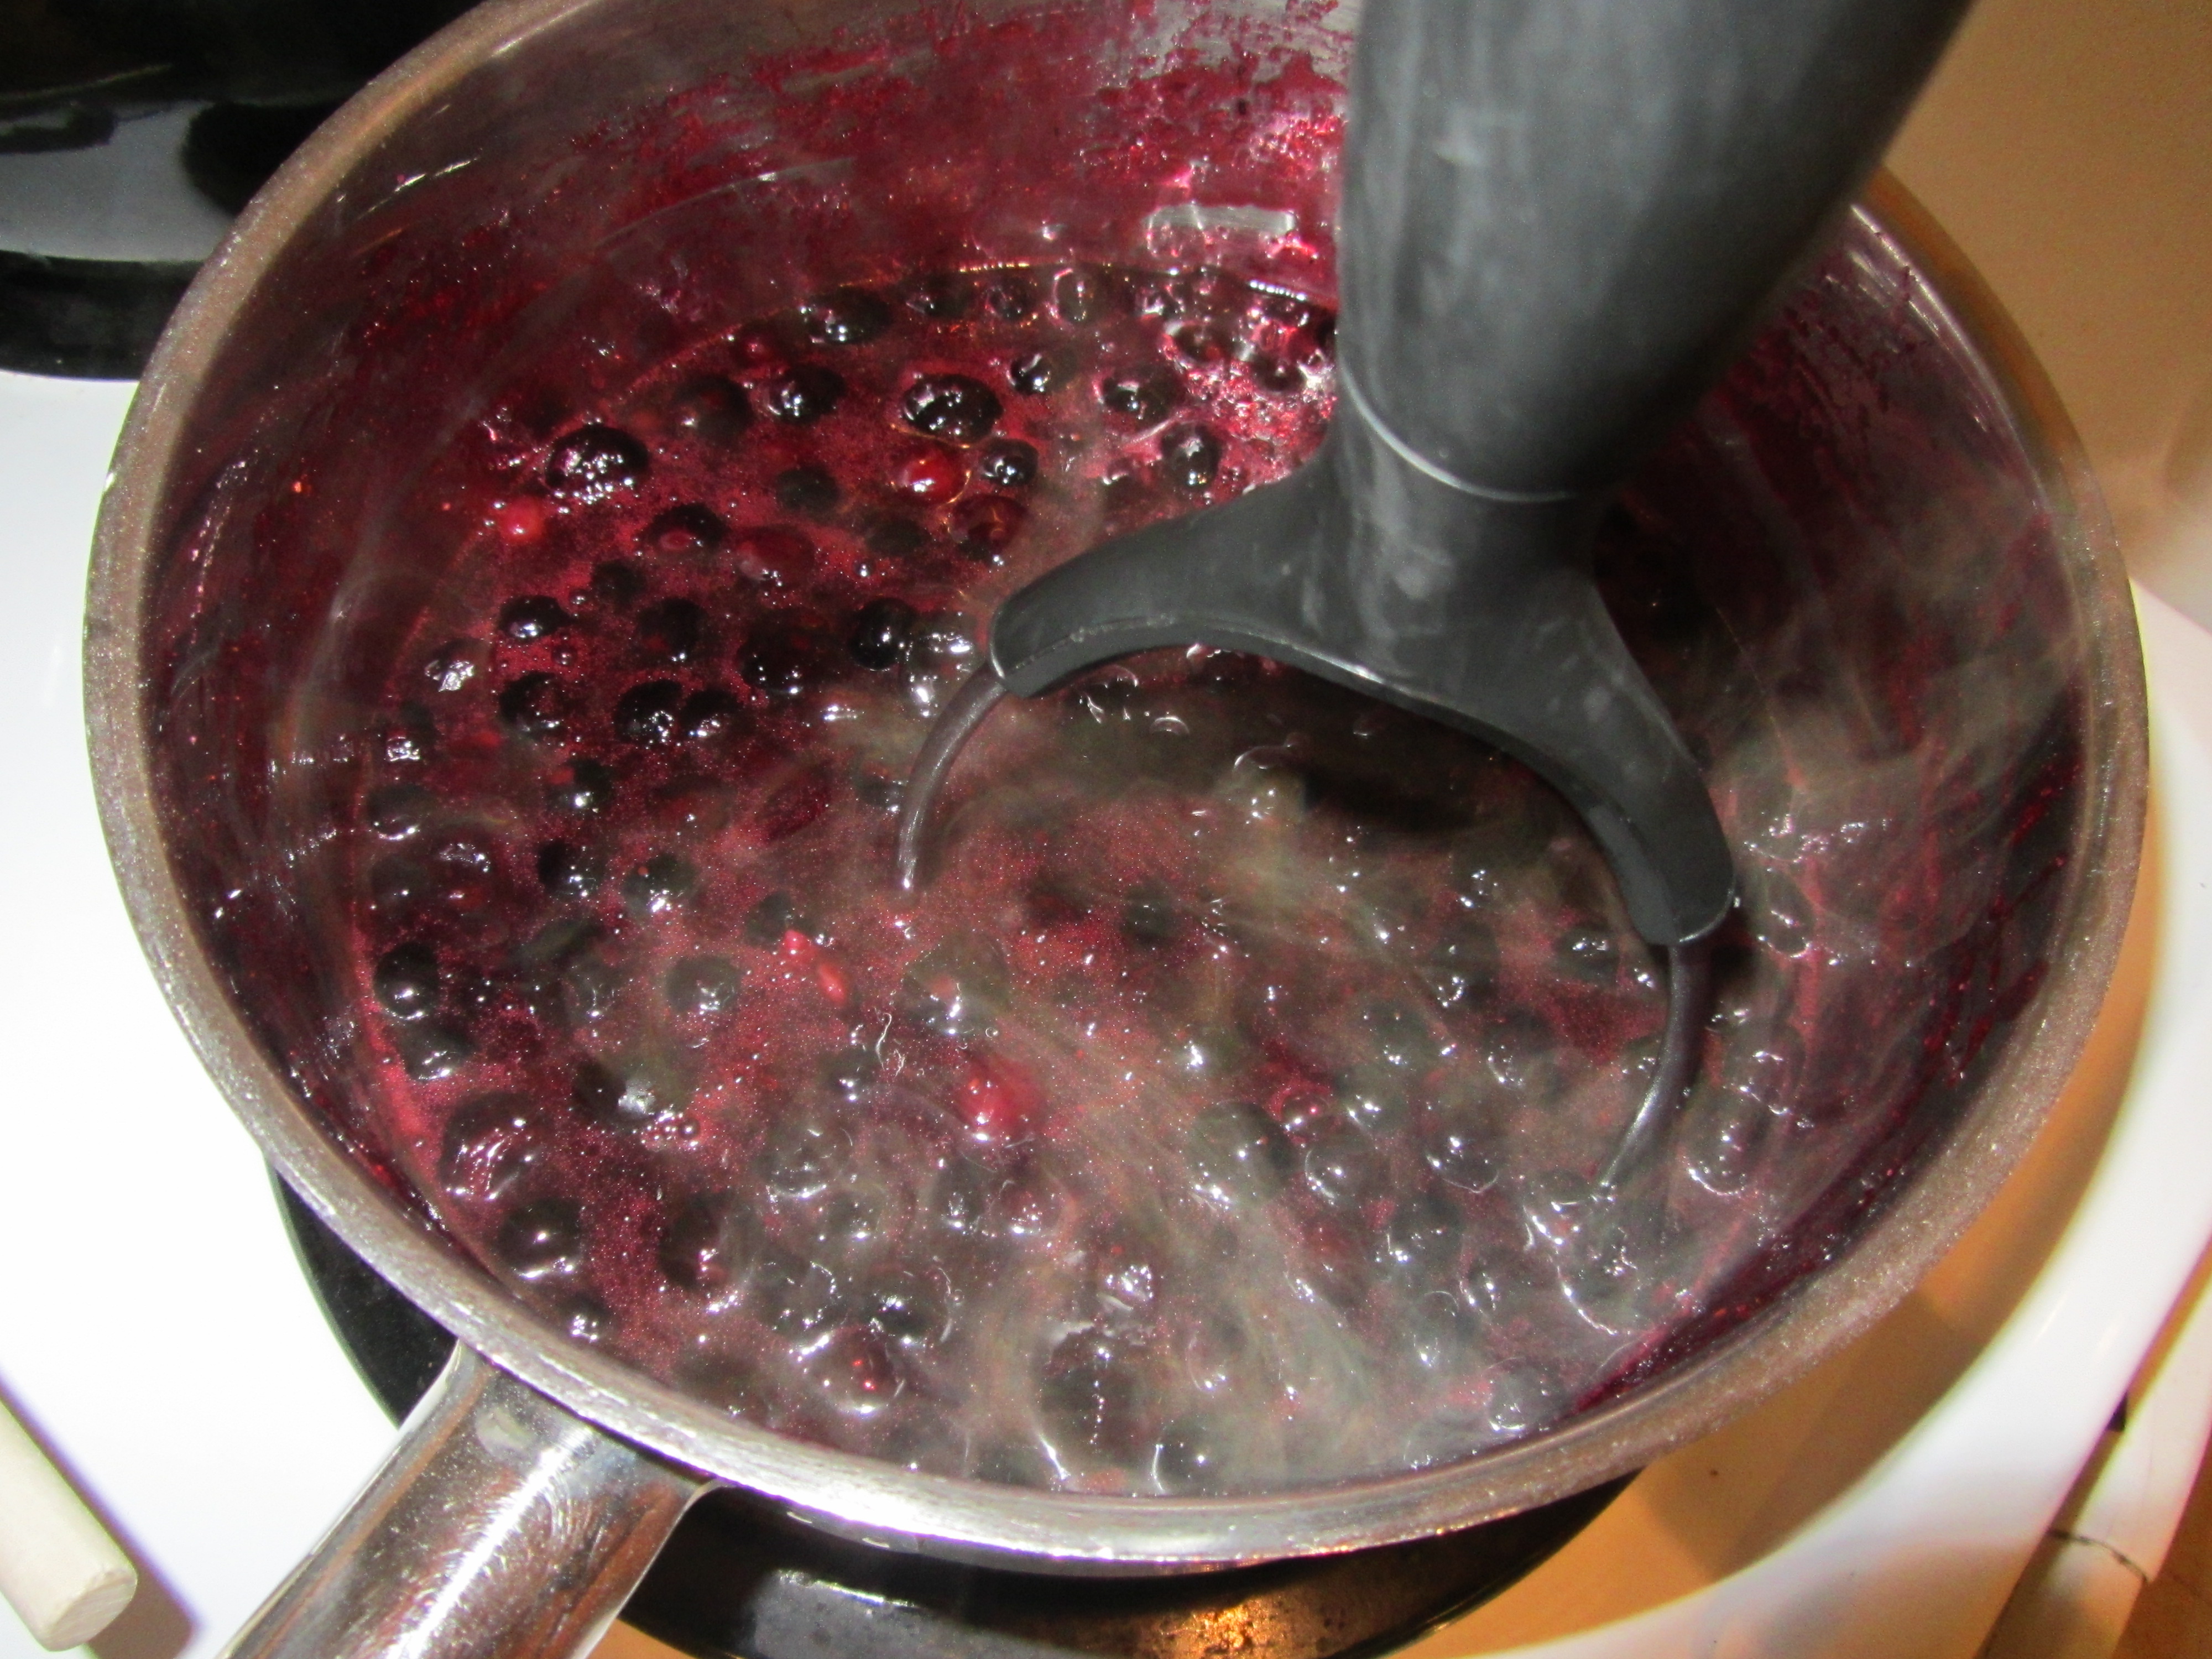
The mixture is cooked over low heat until it reduces to the consistency of loose jam, which took a couple of hours for mine.
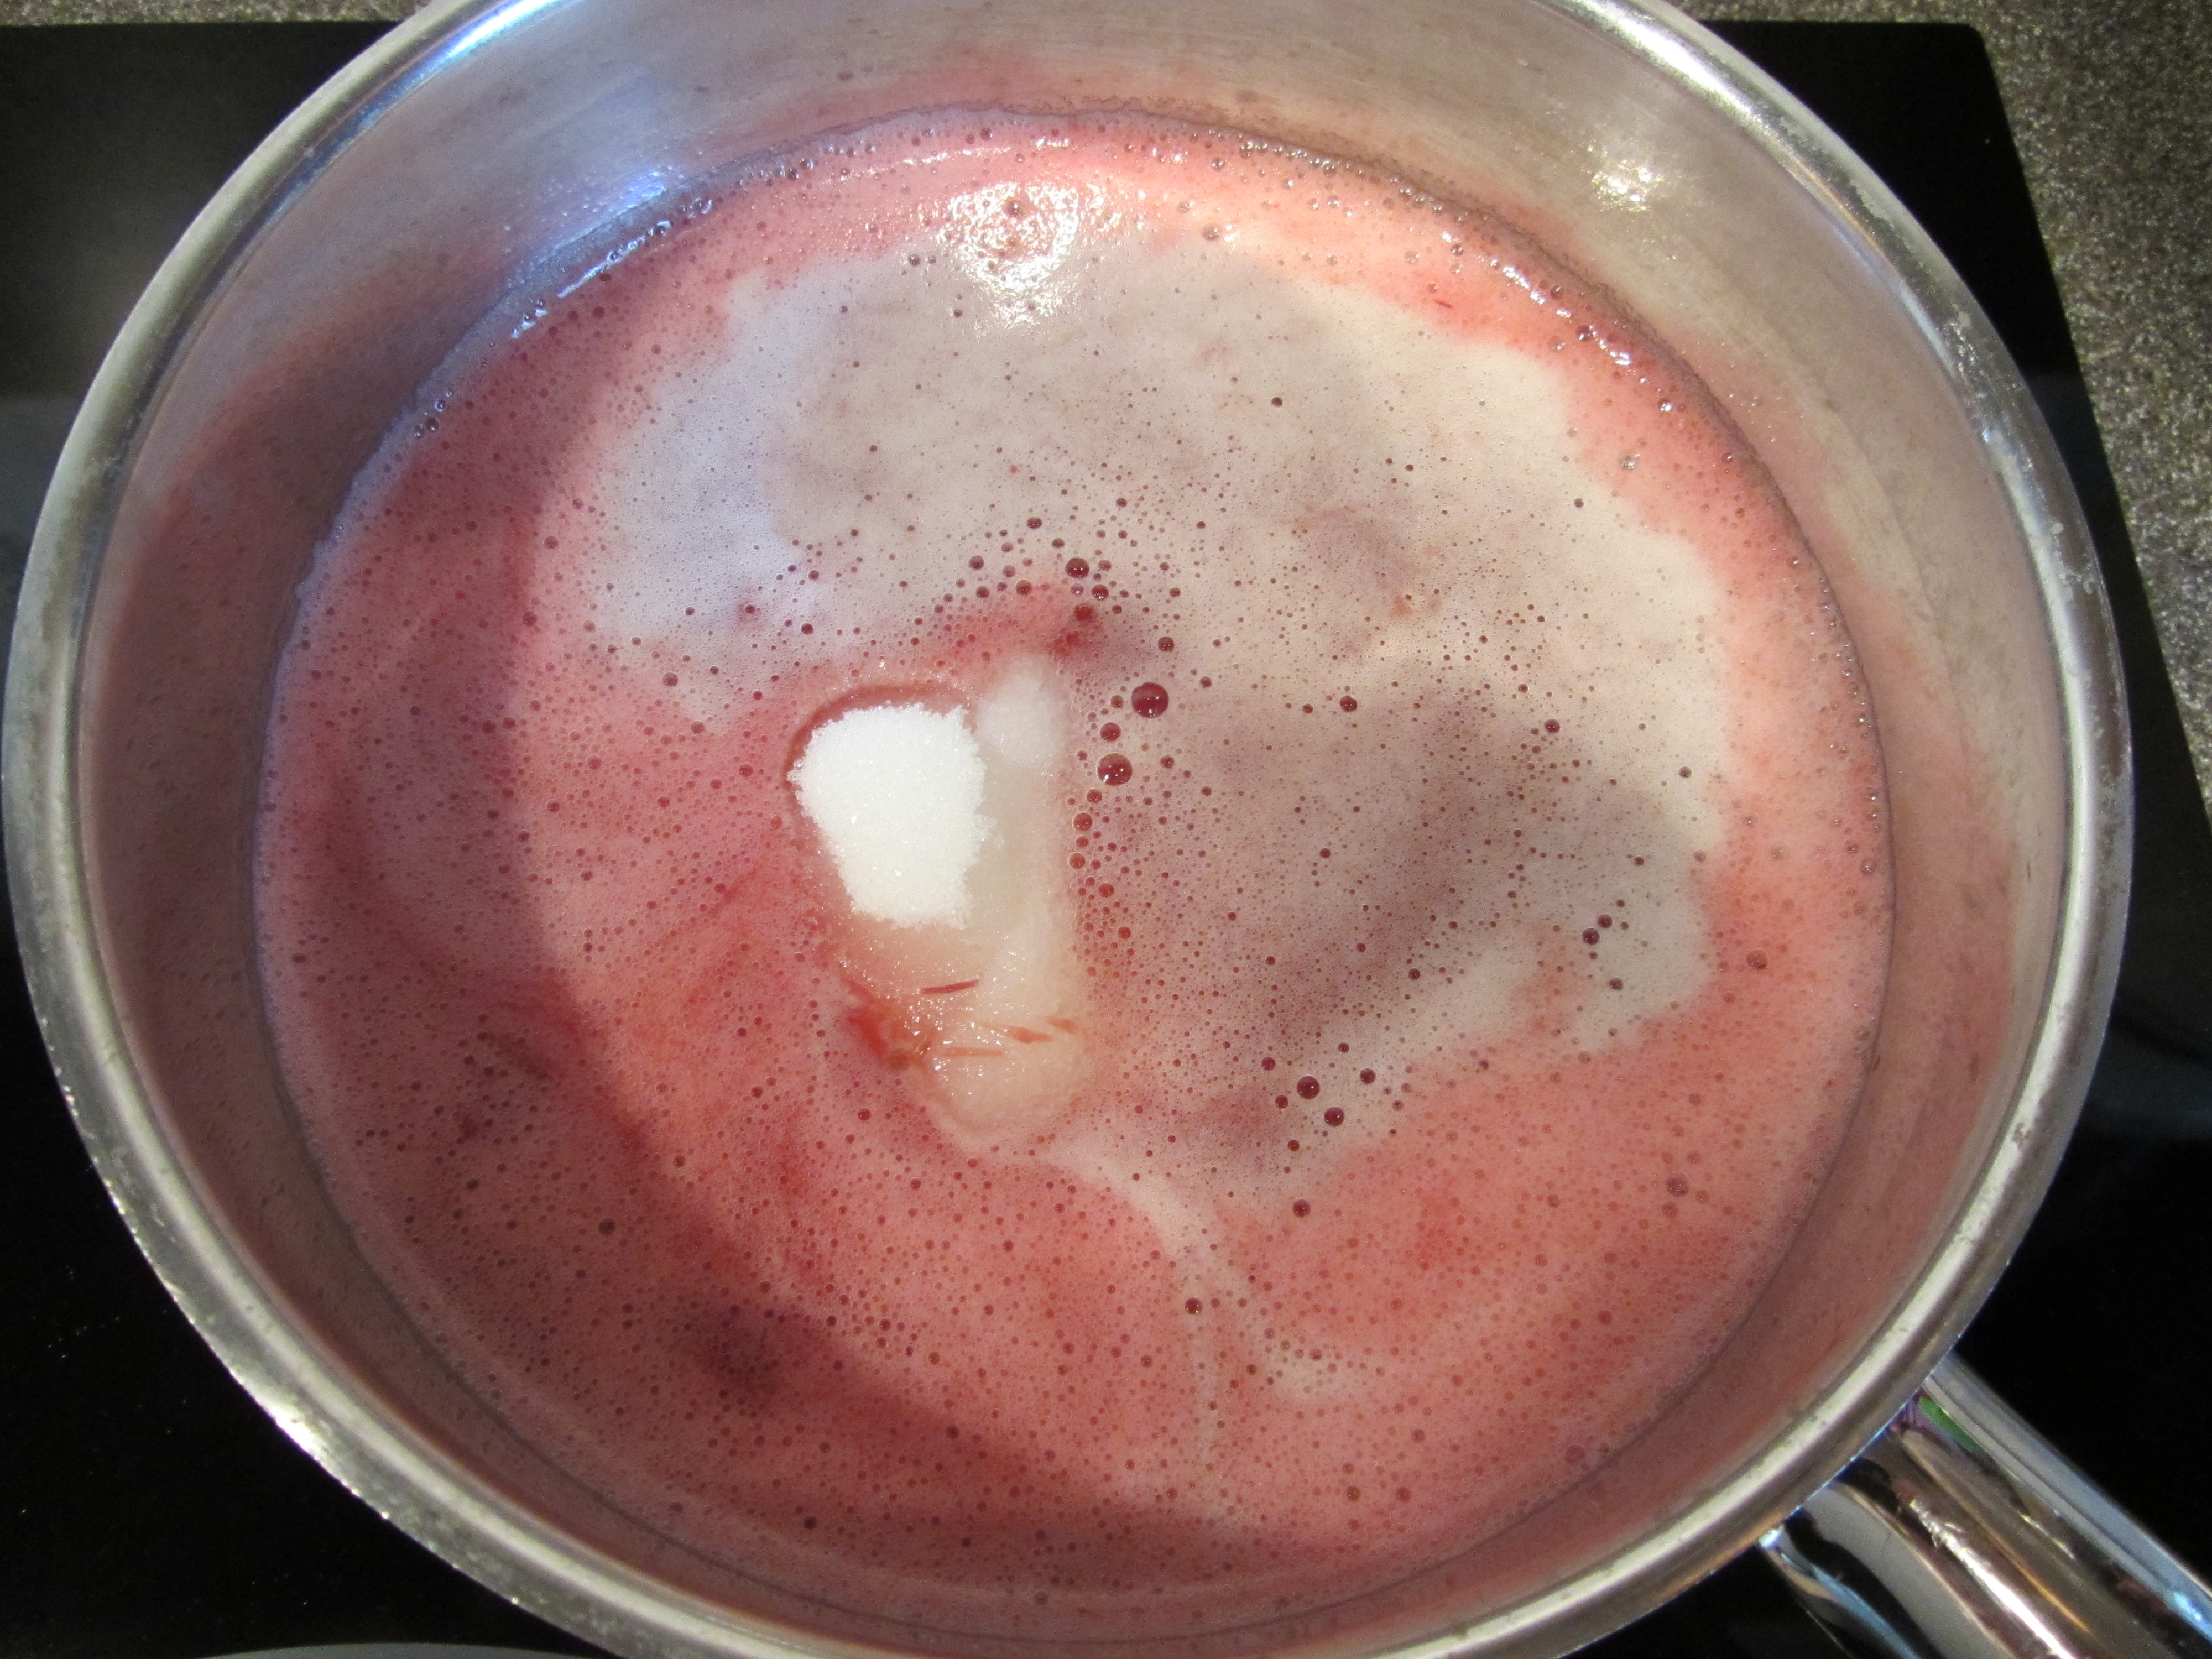
Dipping sauce, ginger ale, and sugar in a saucepan.
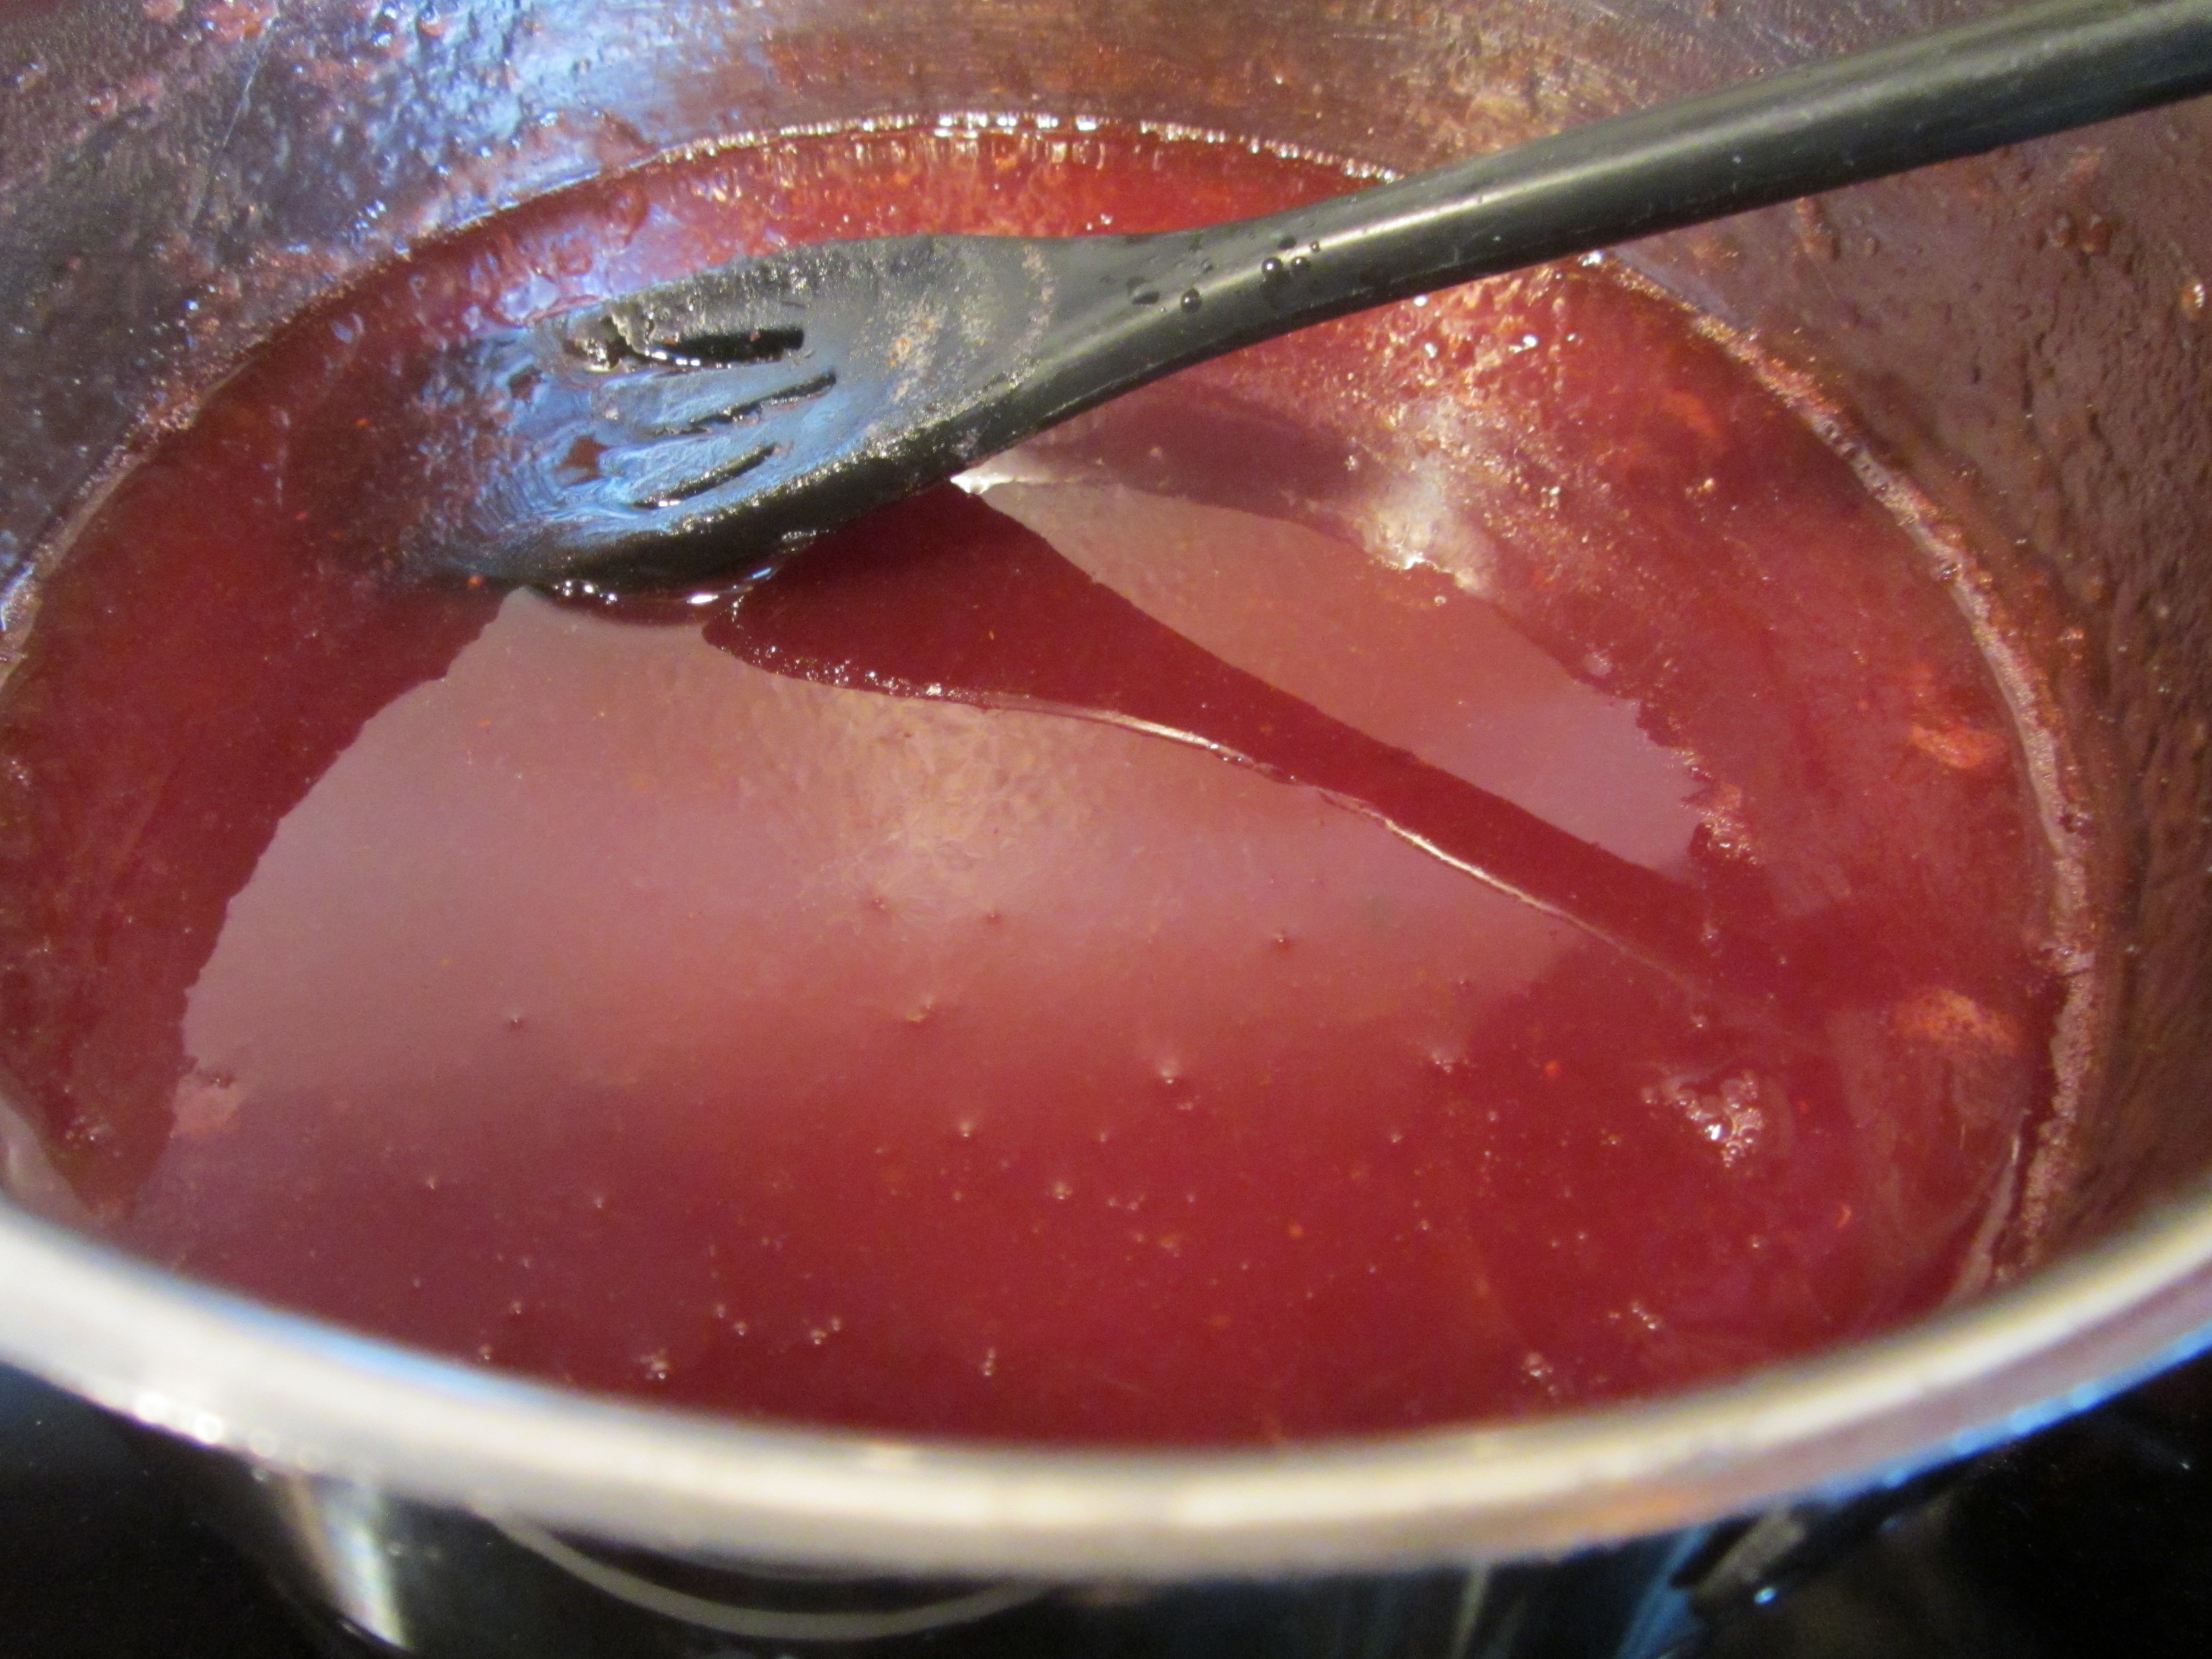
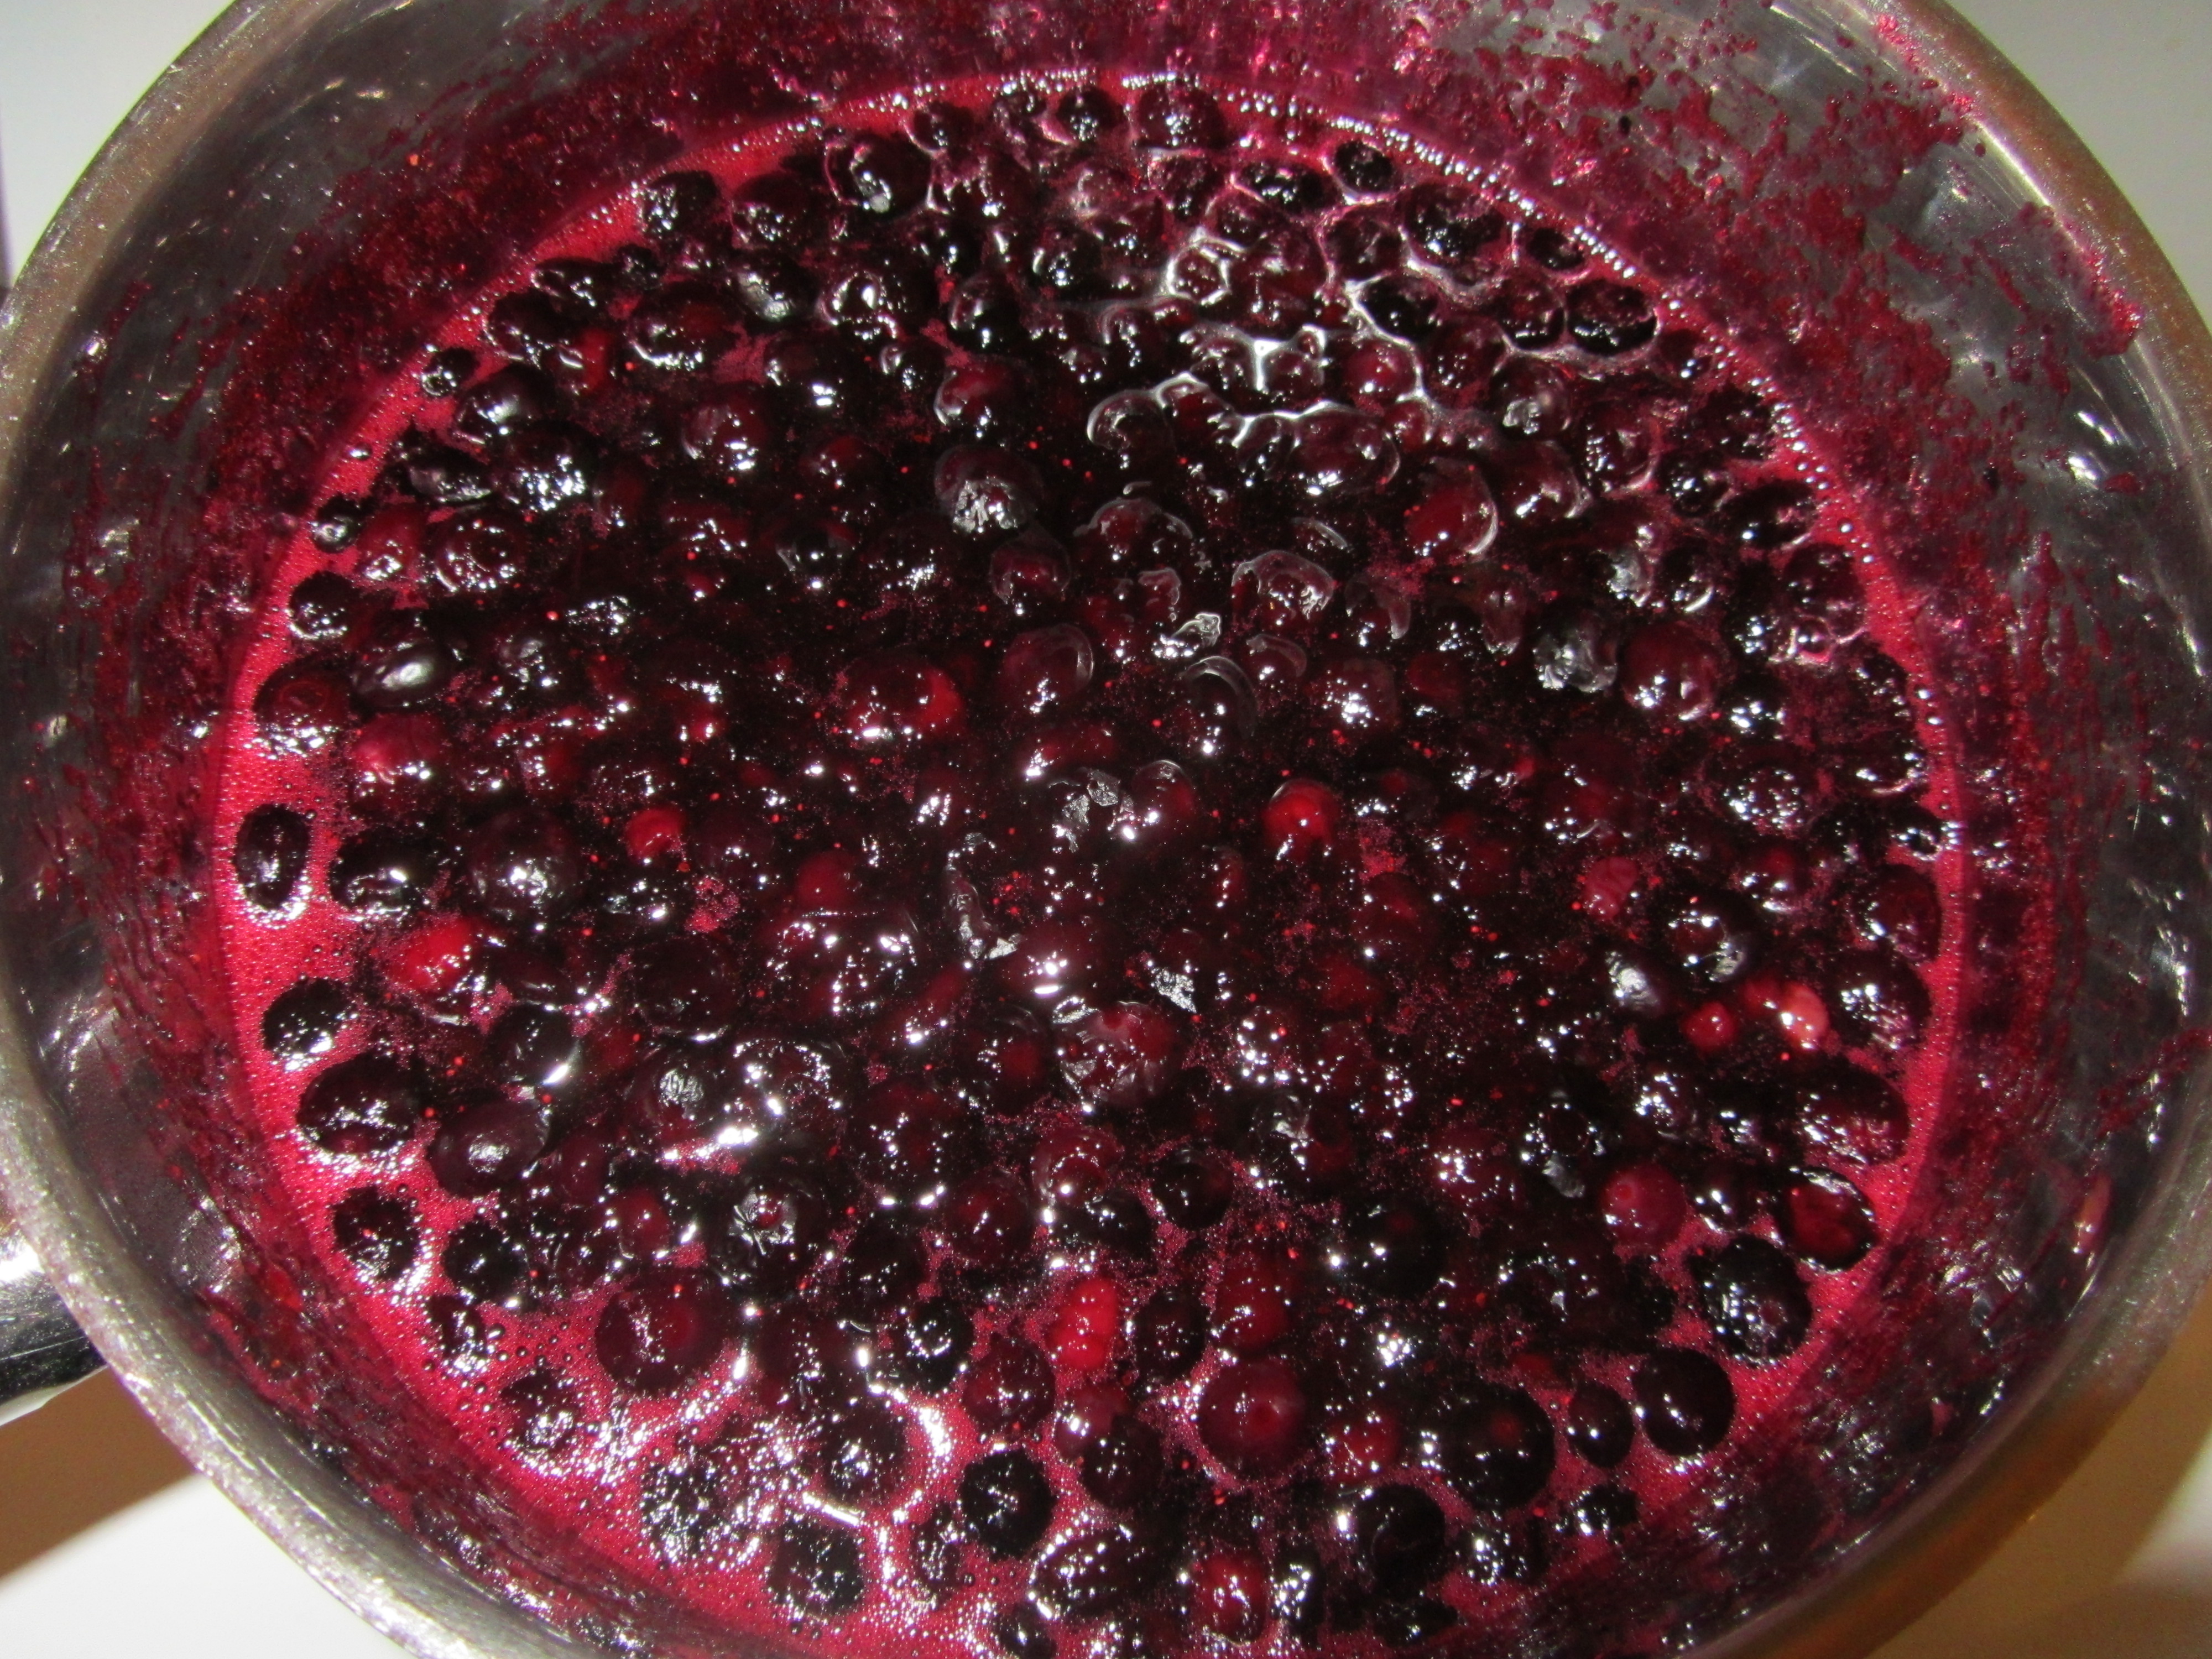
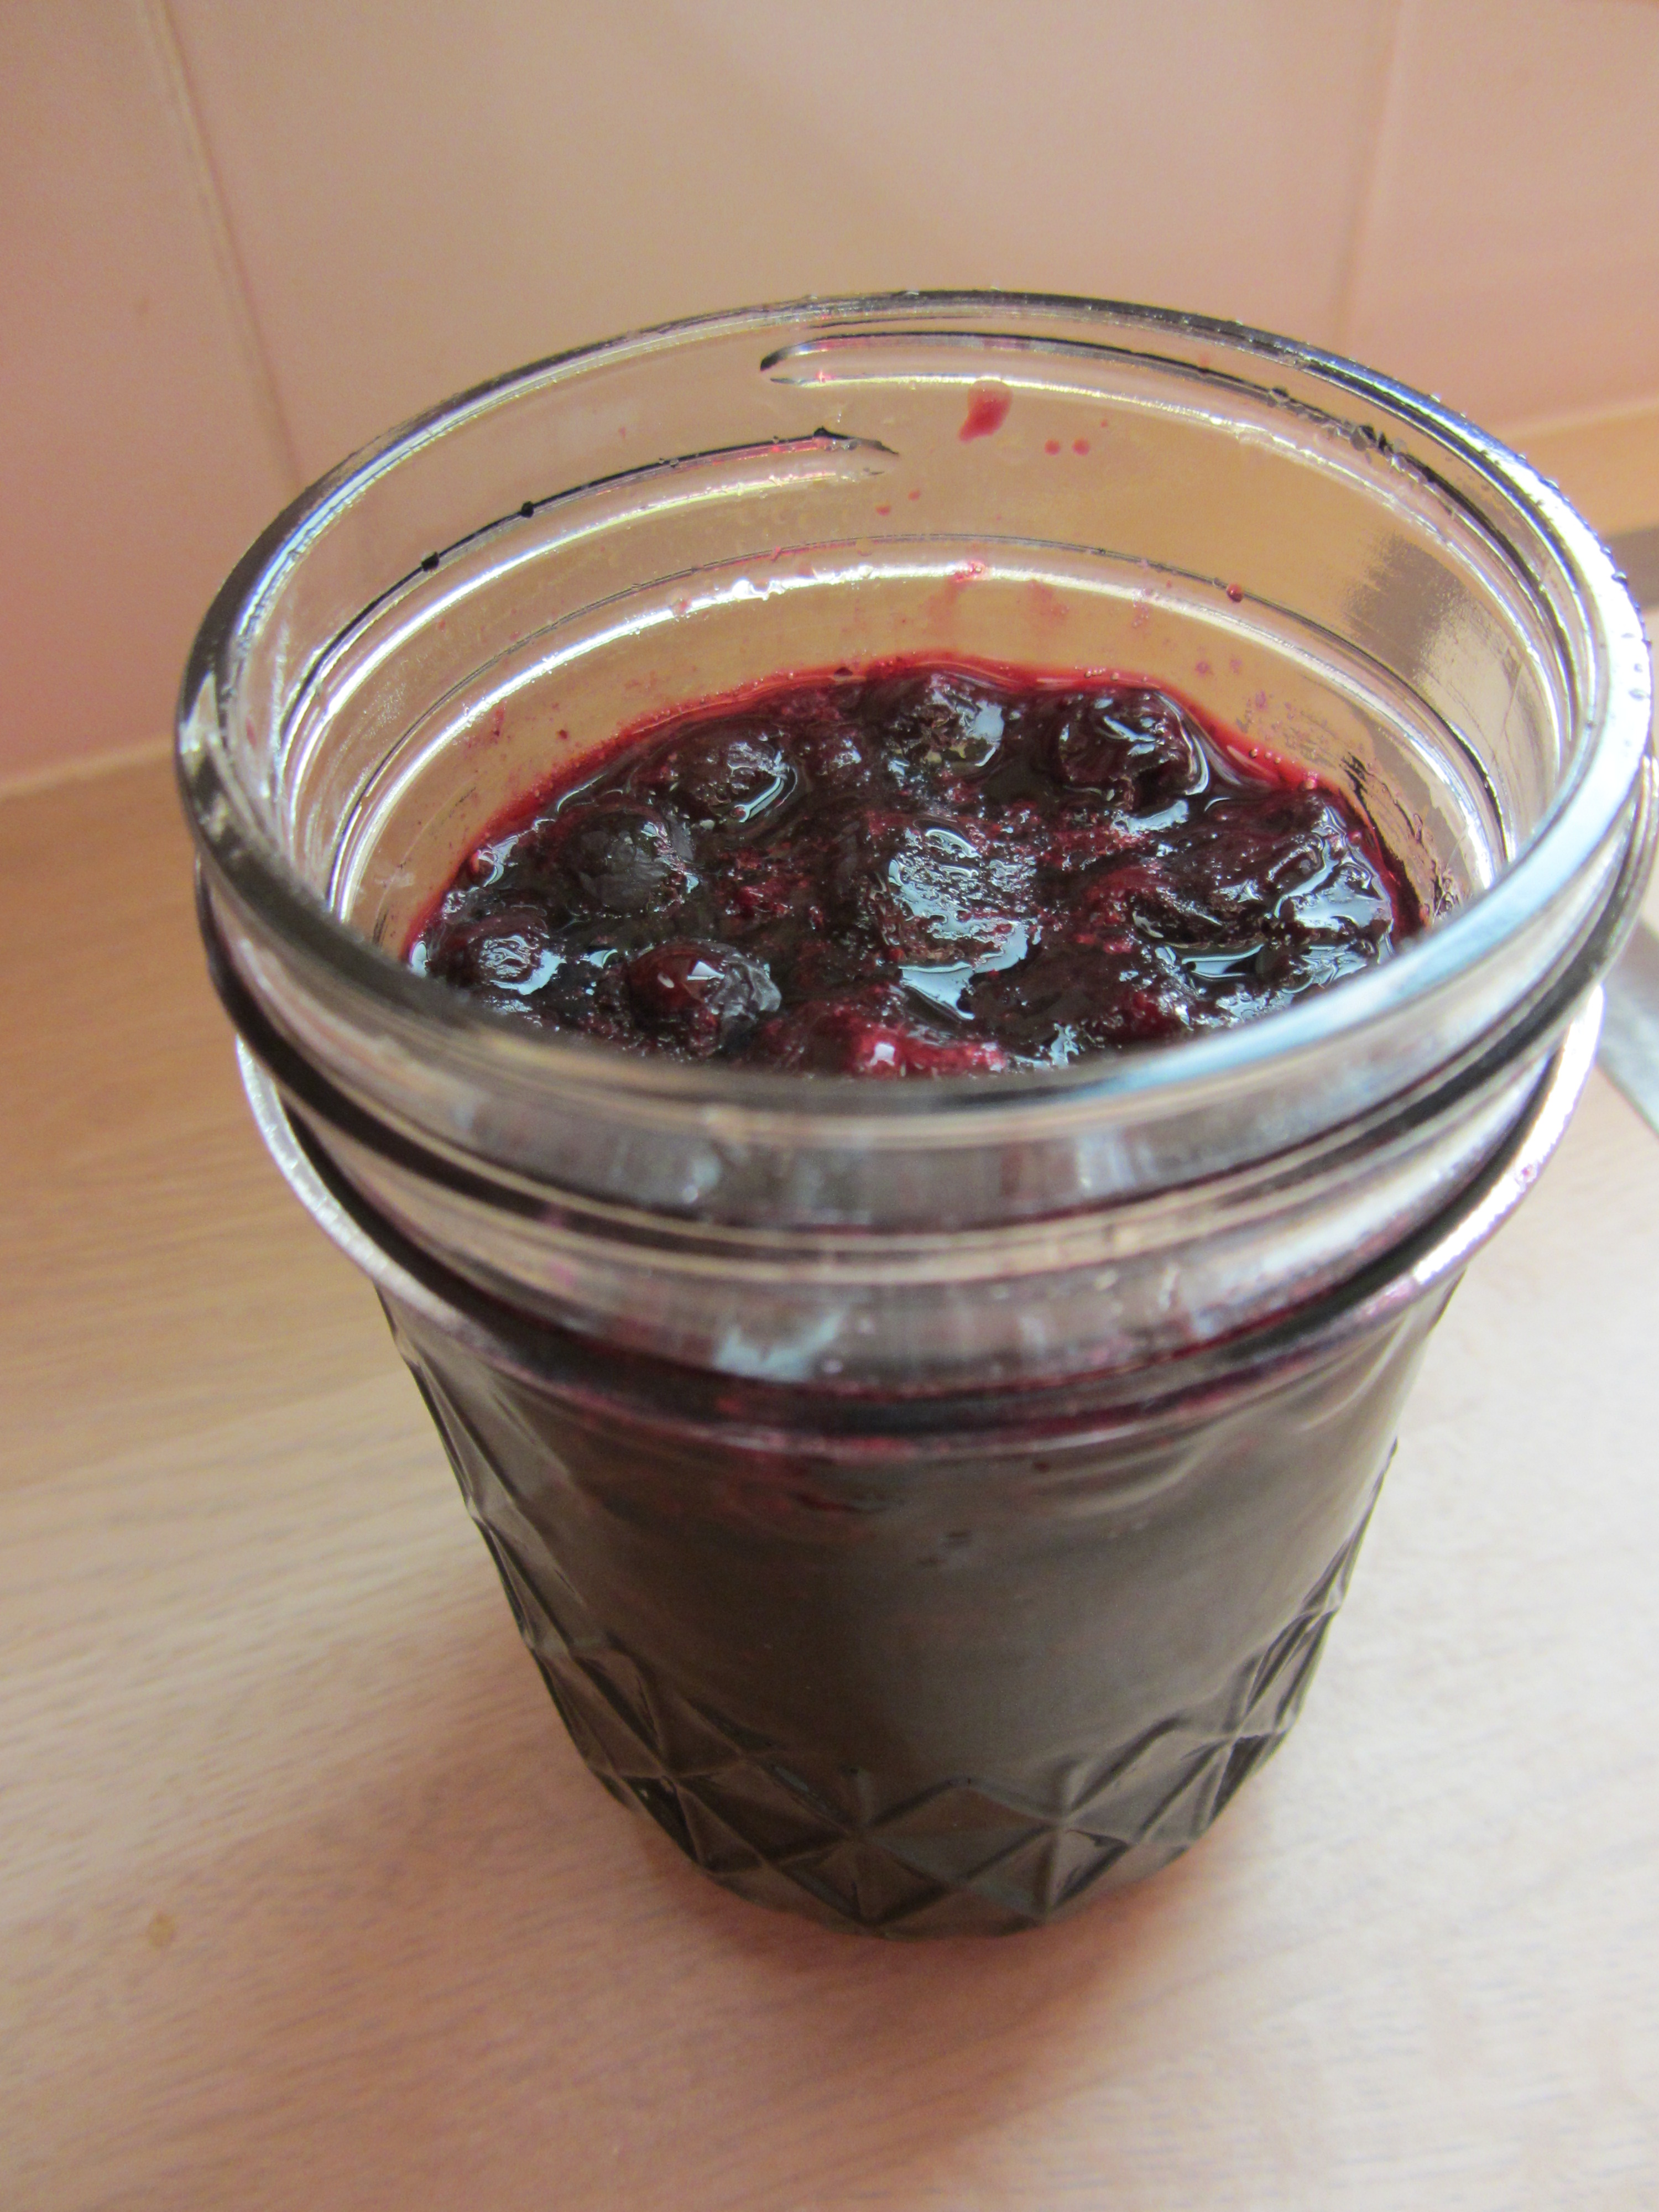
Reduced cranberry dipping sauce.
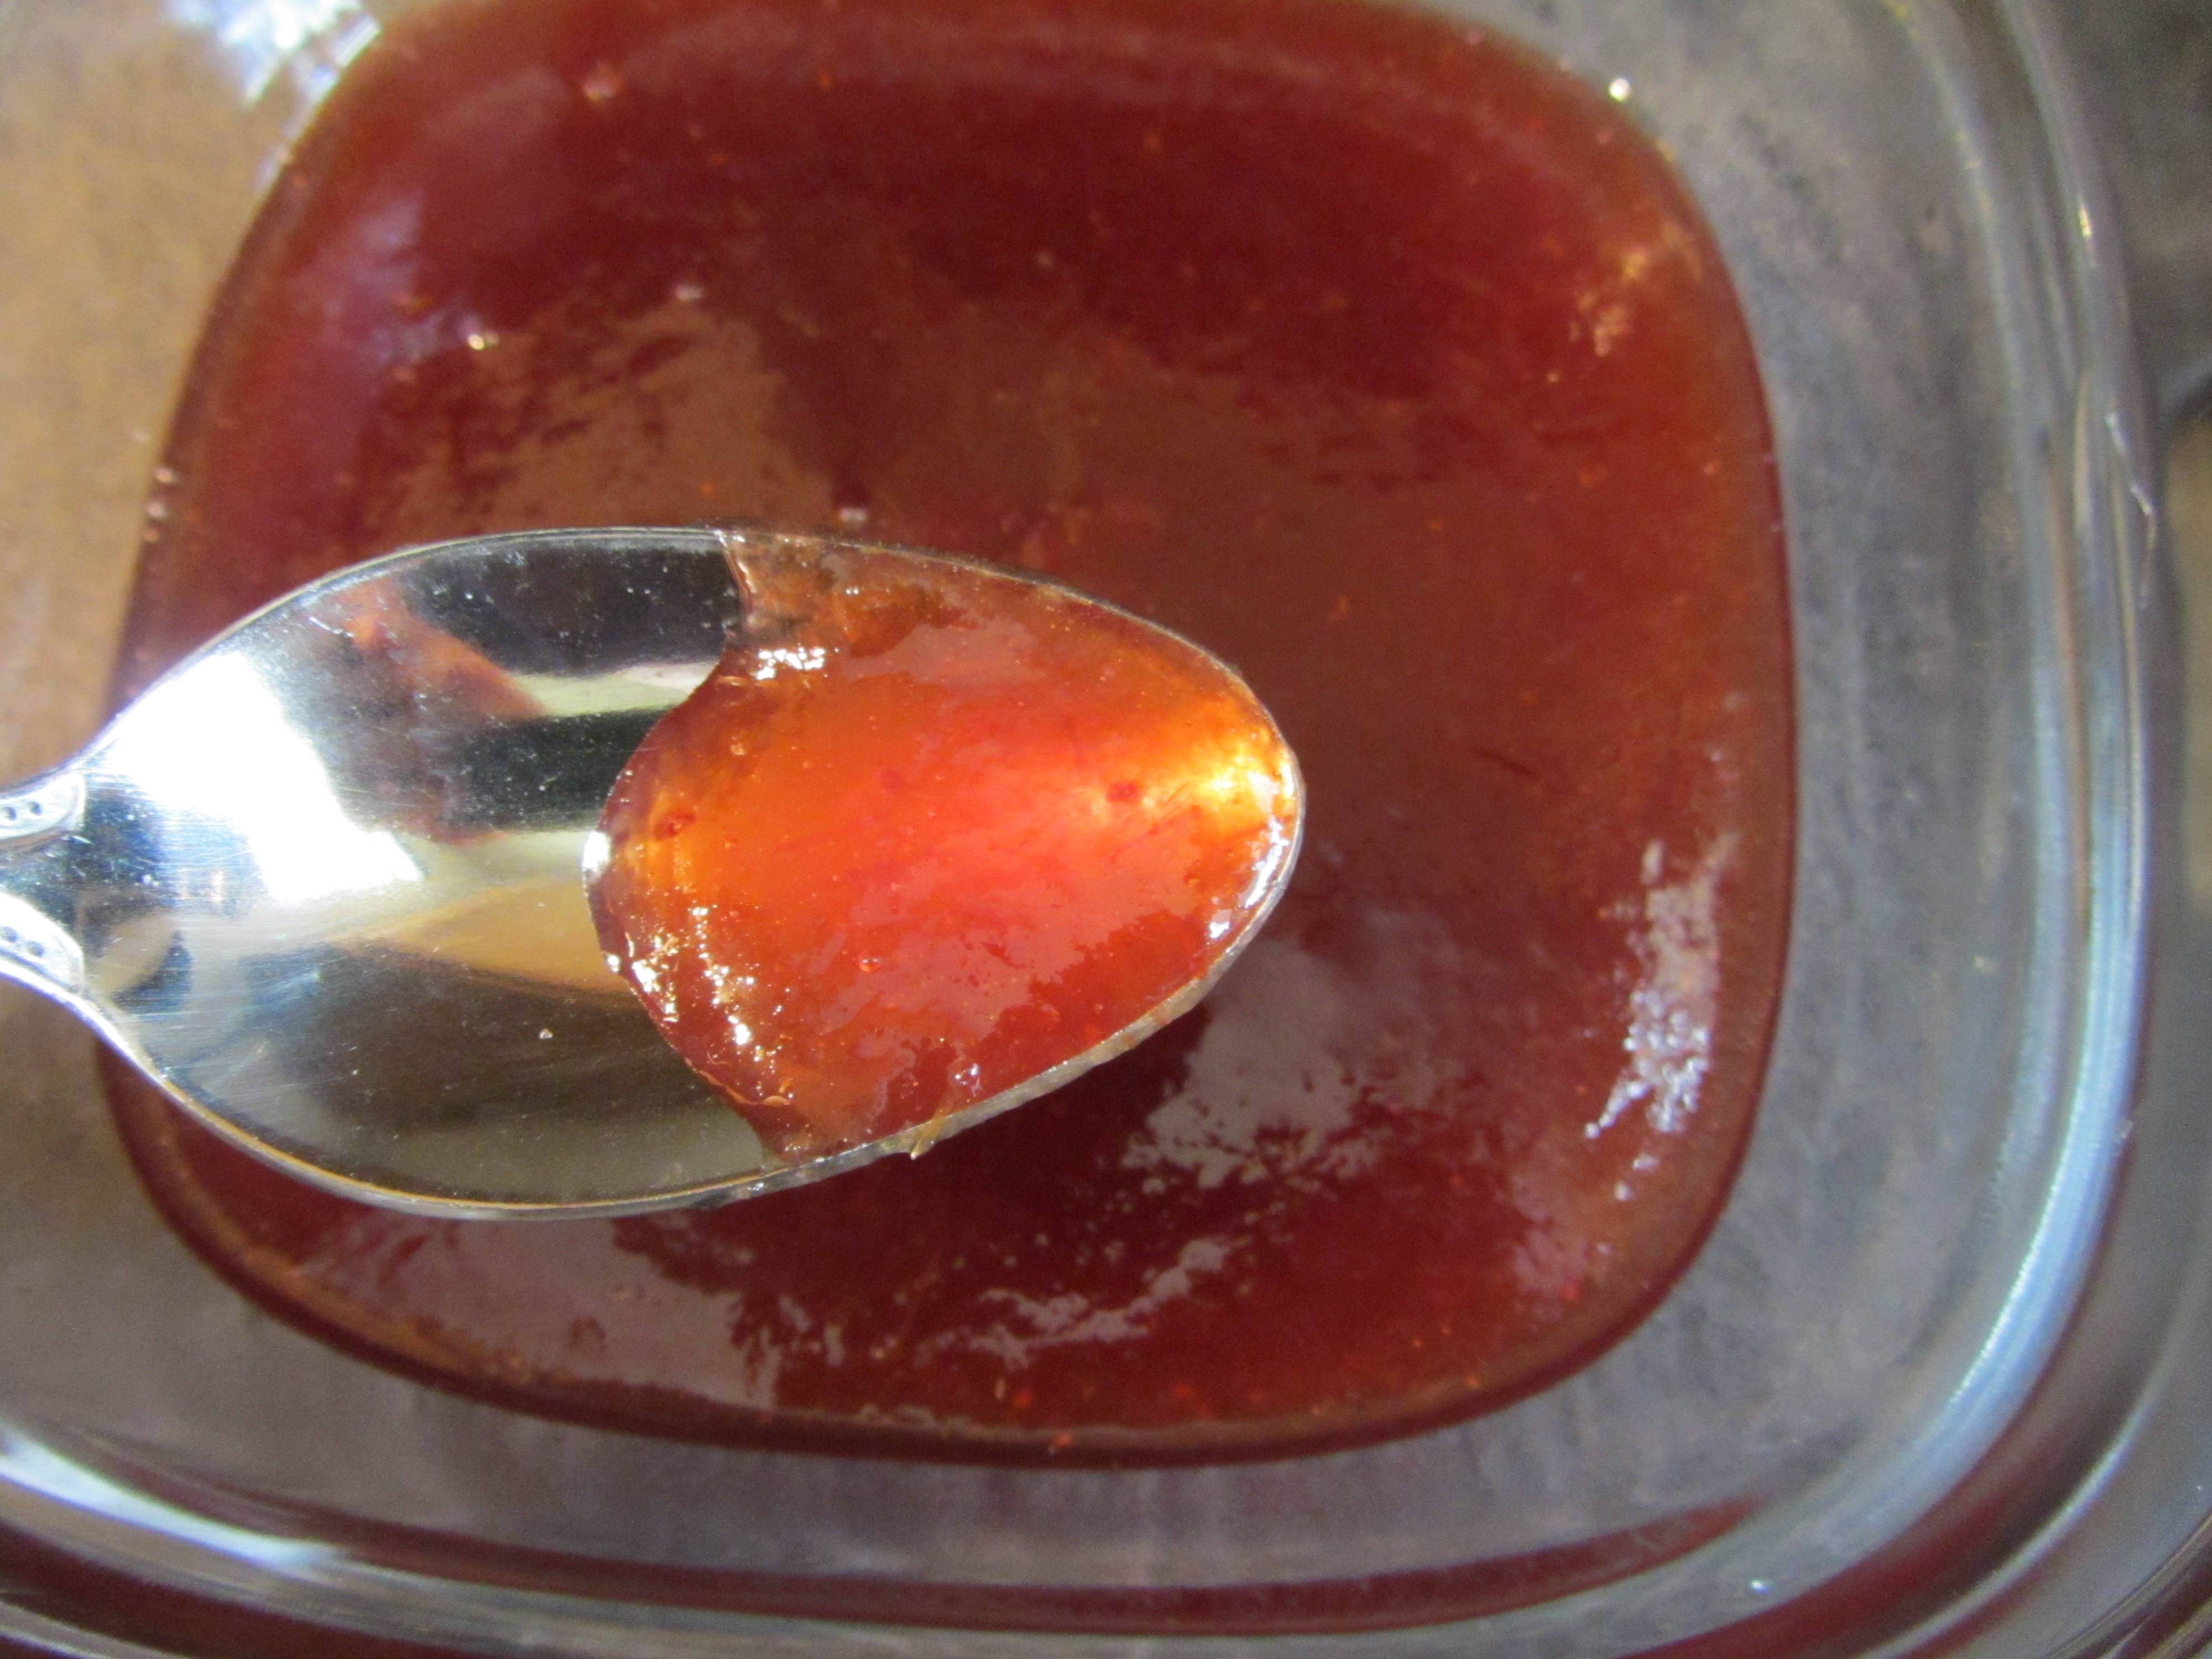
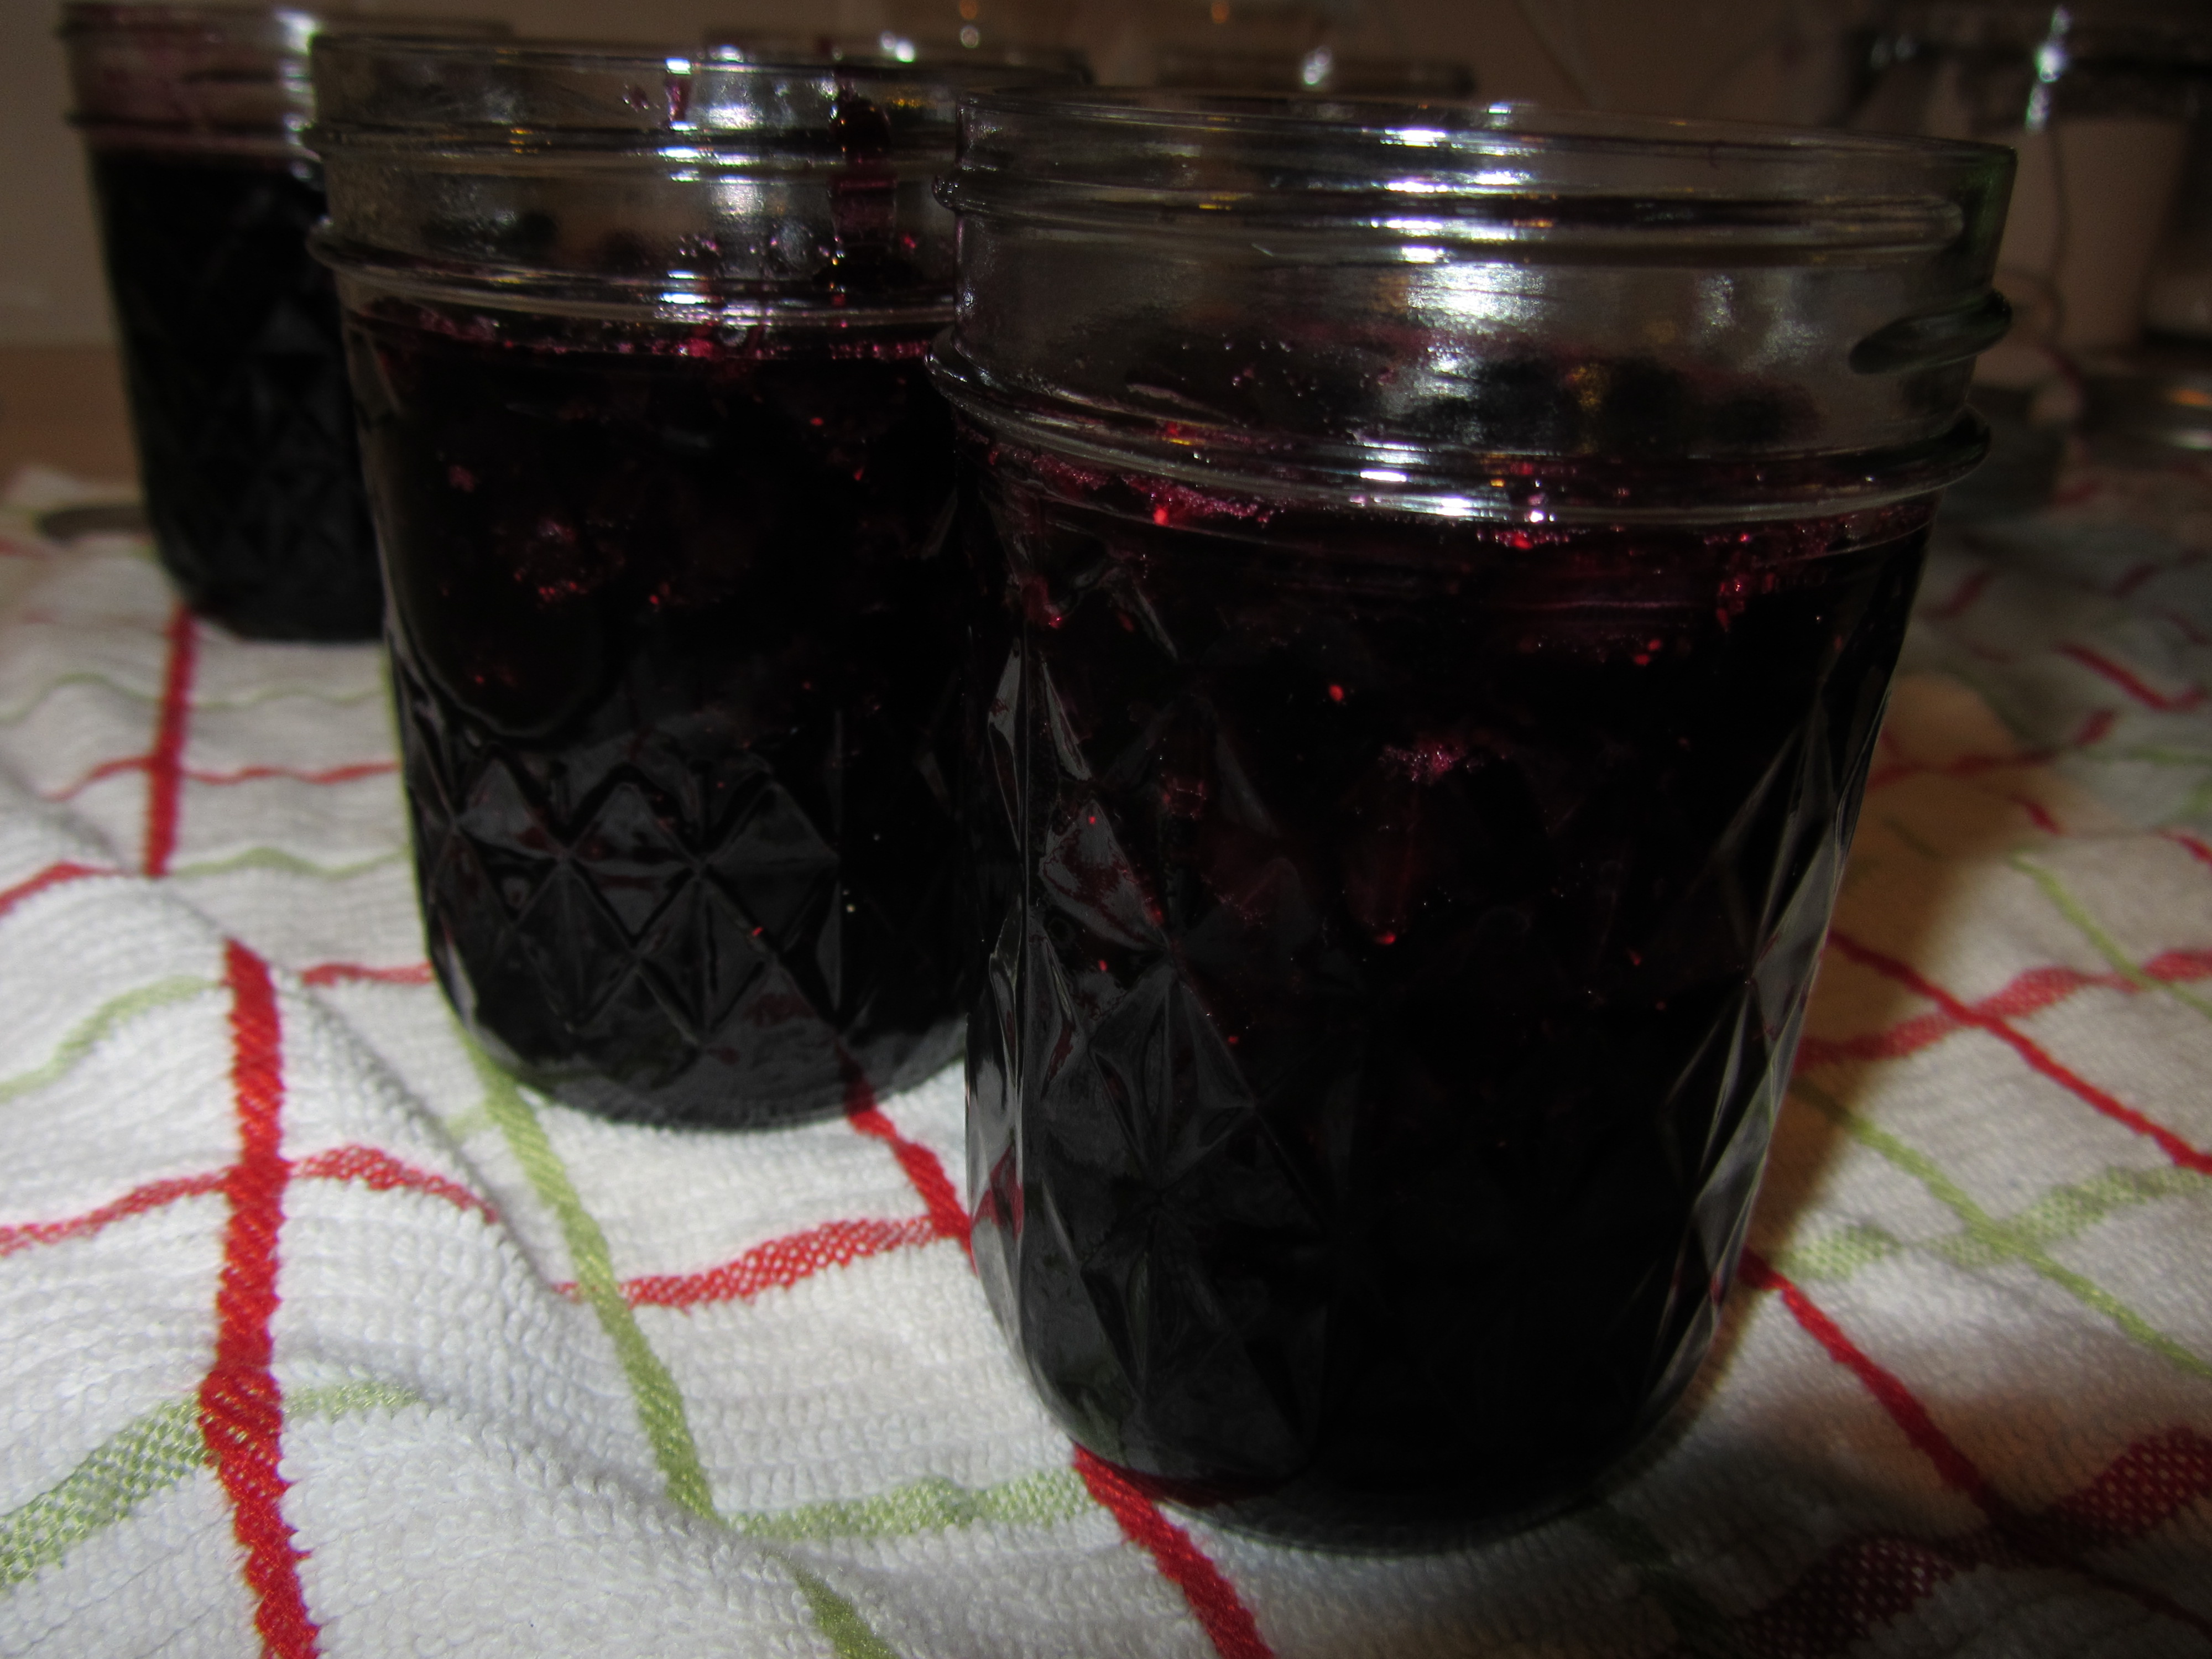
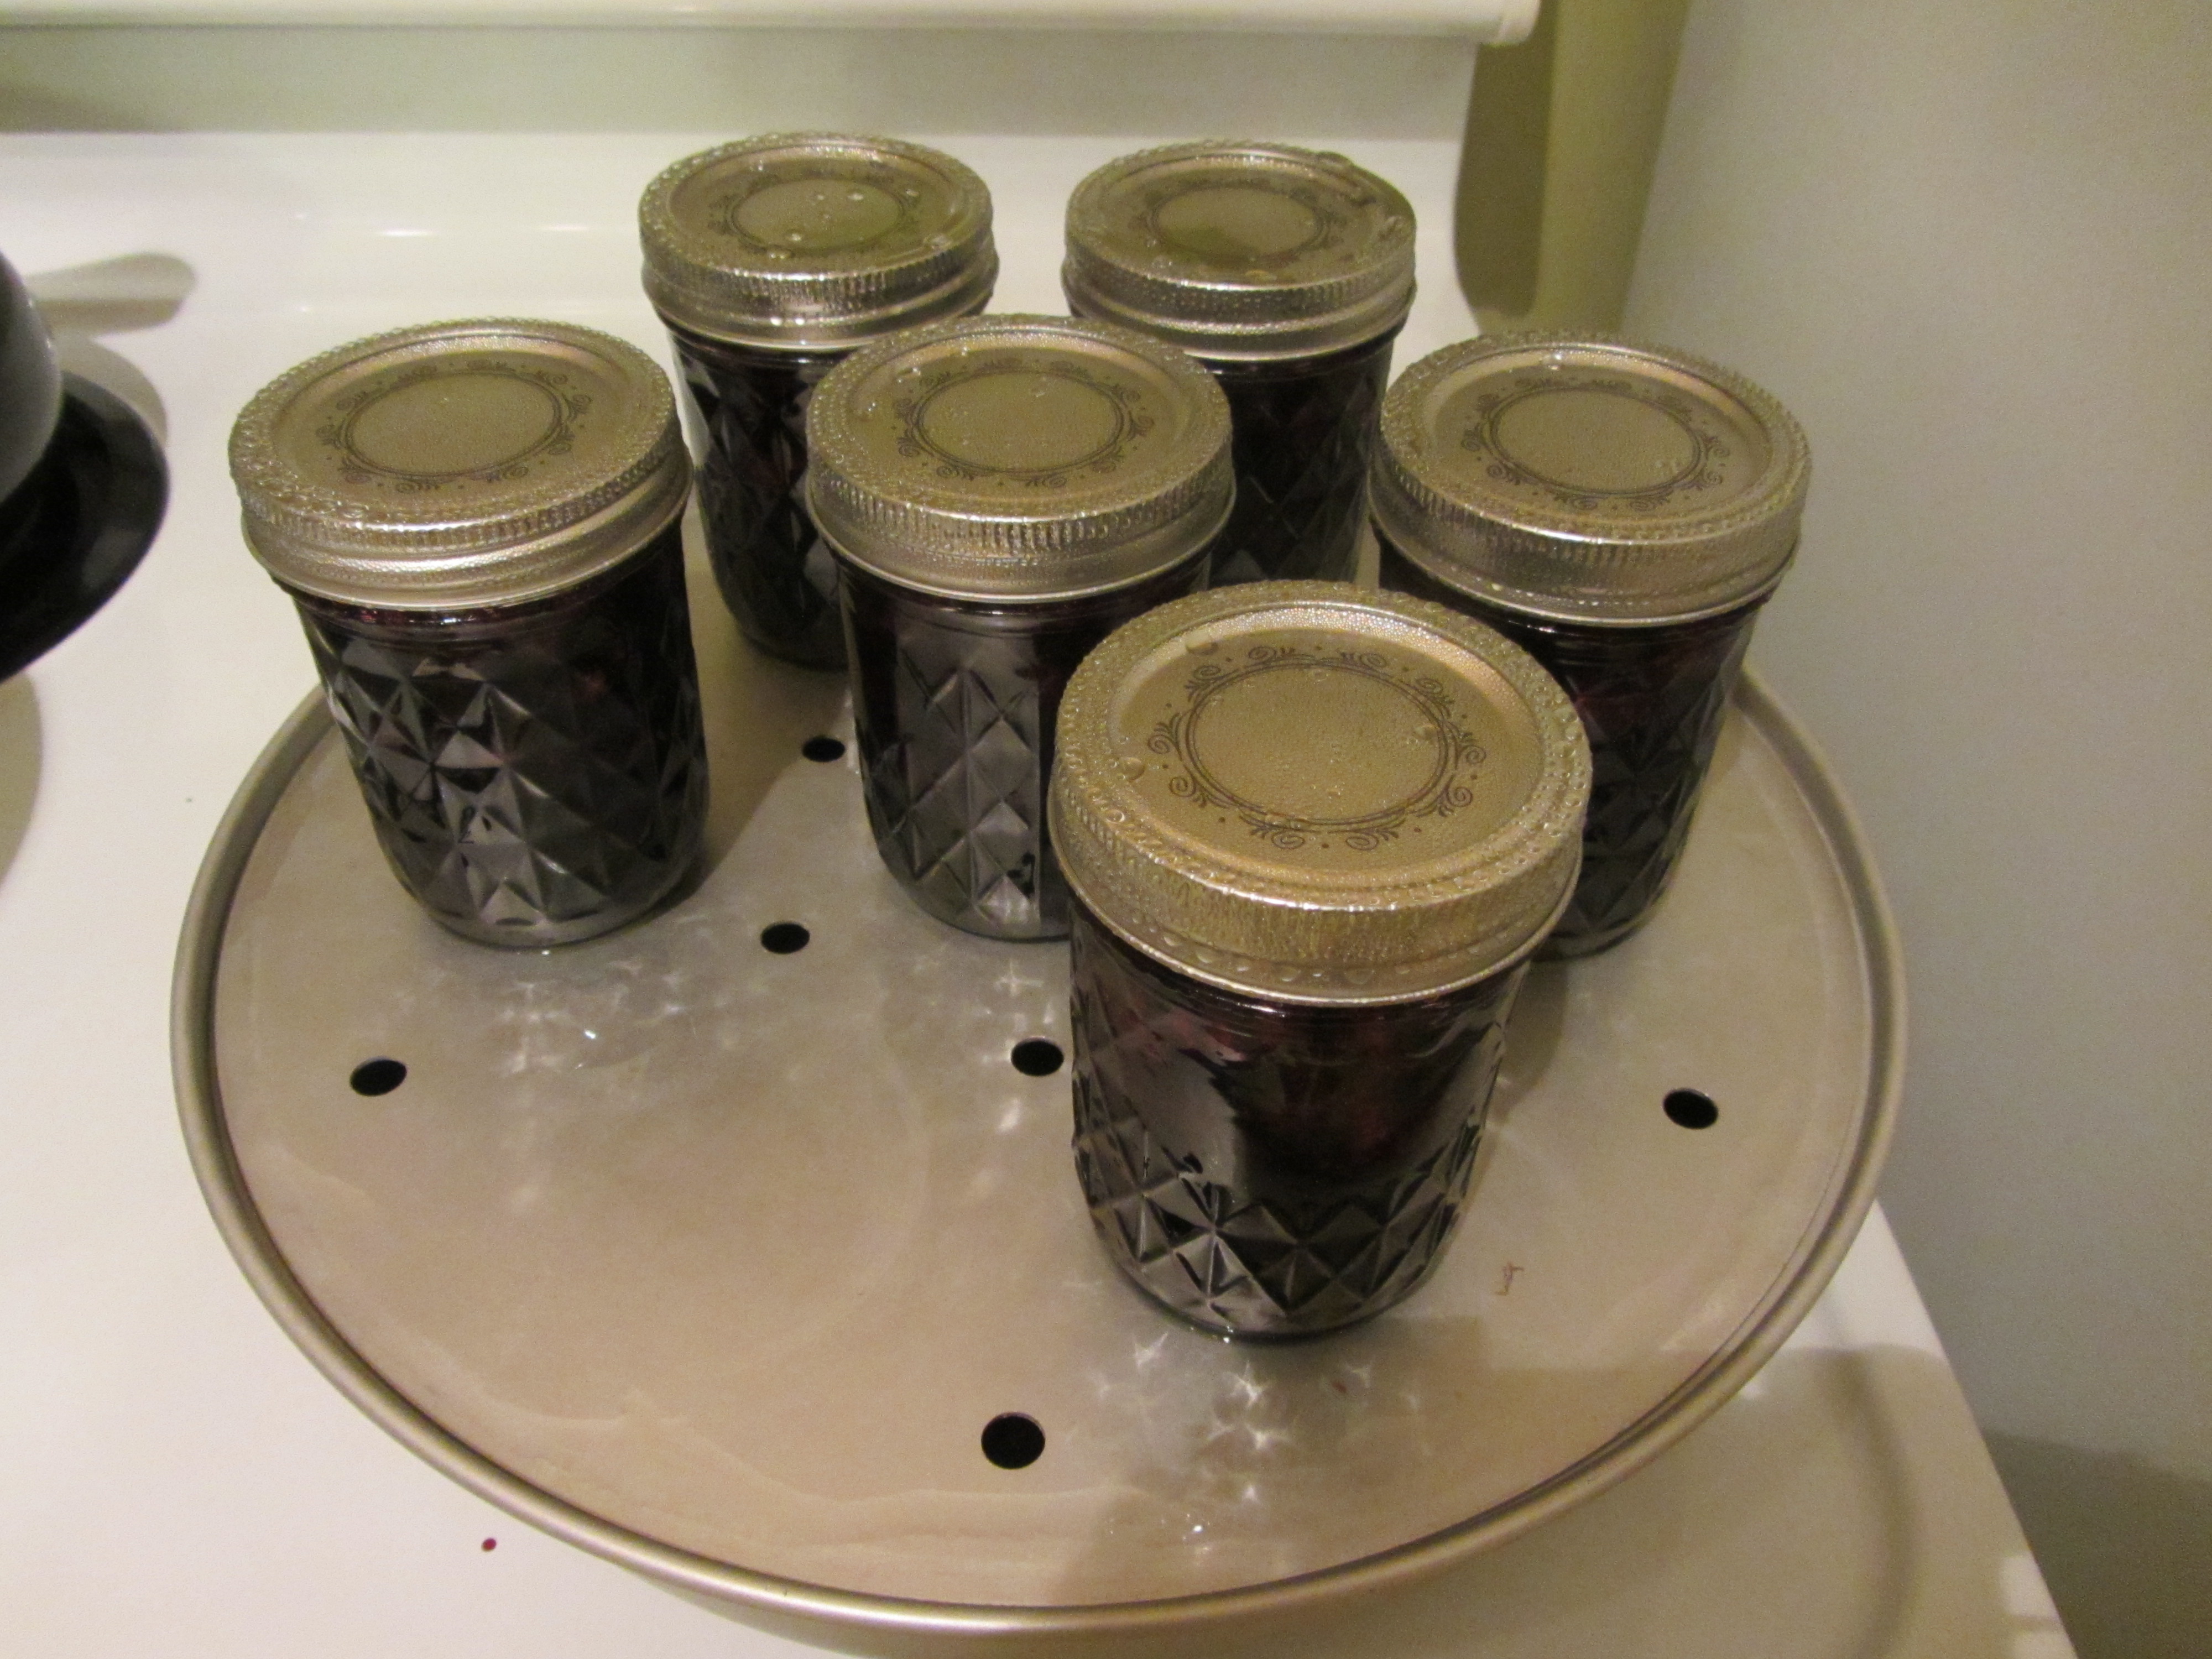
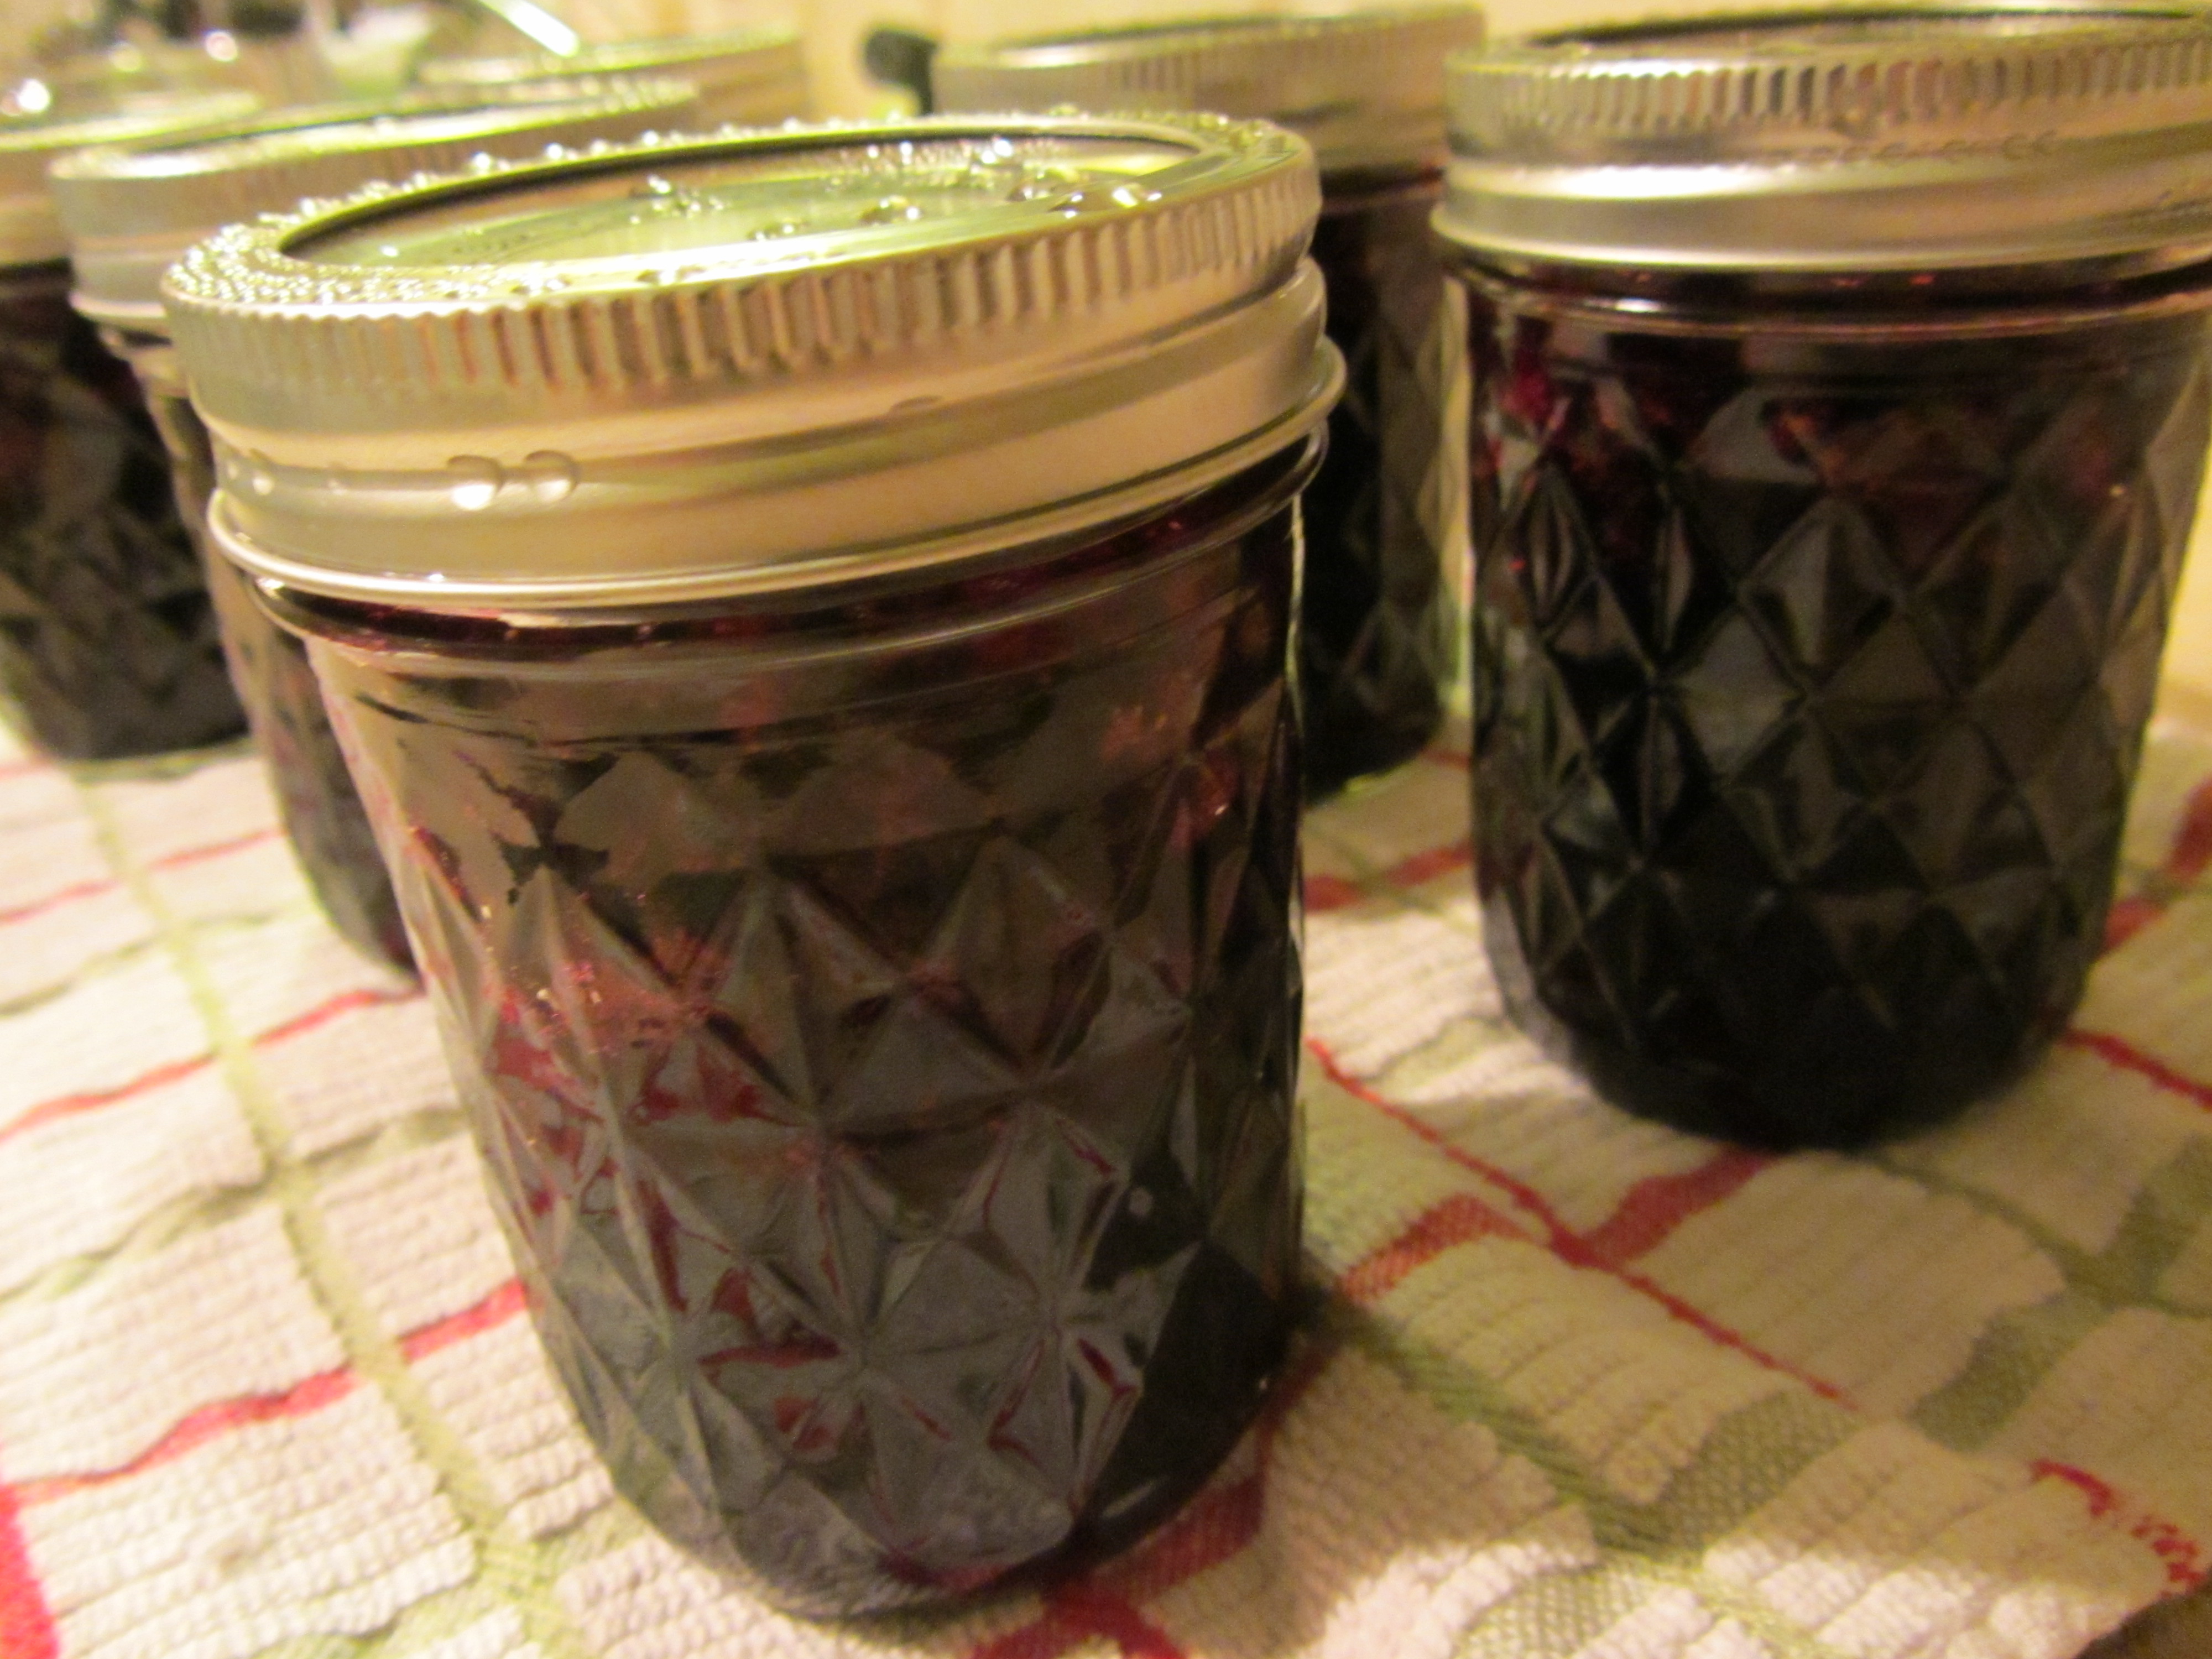
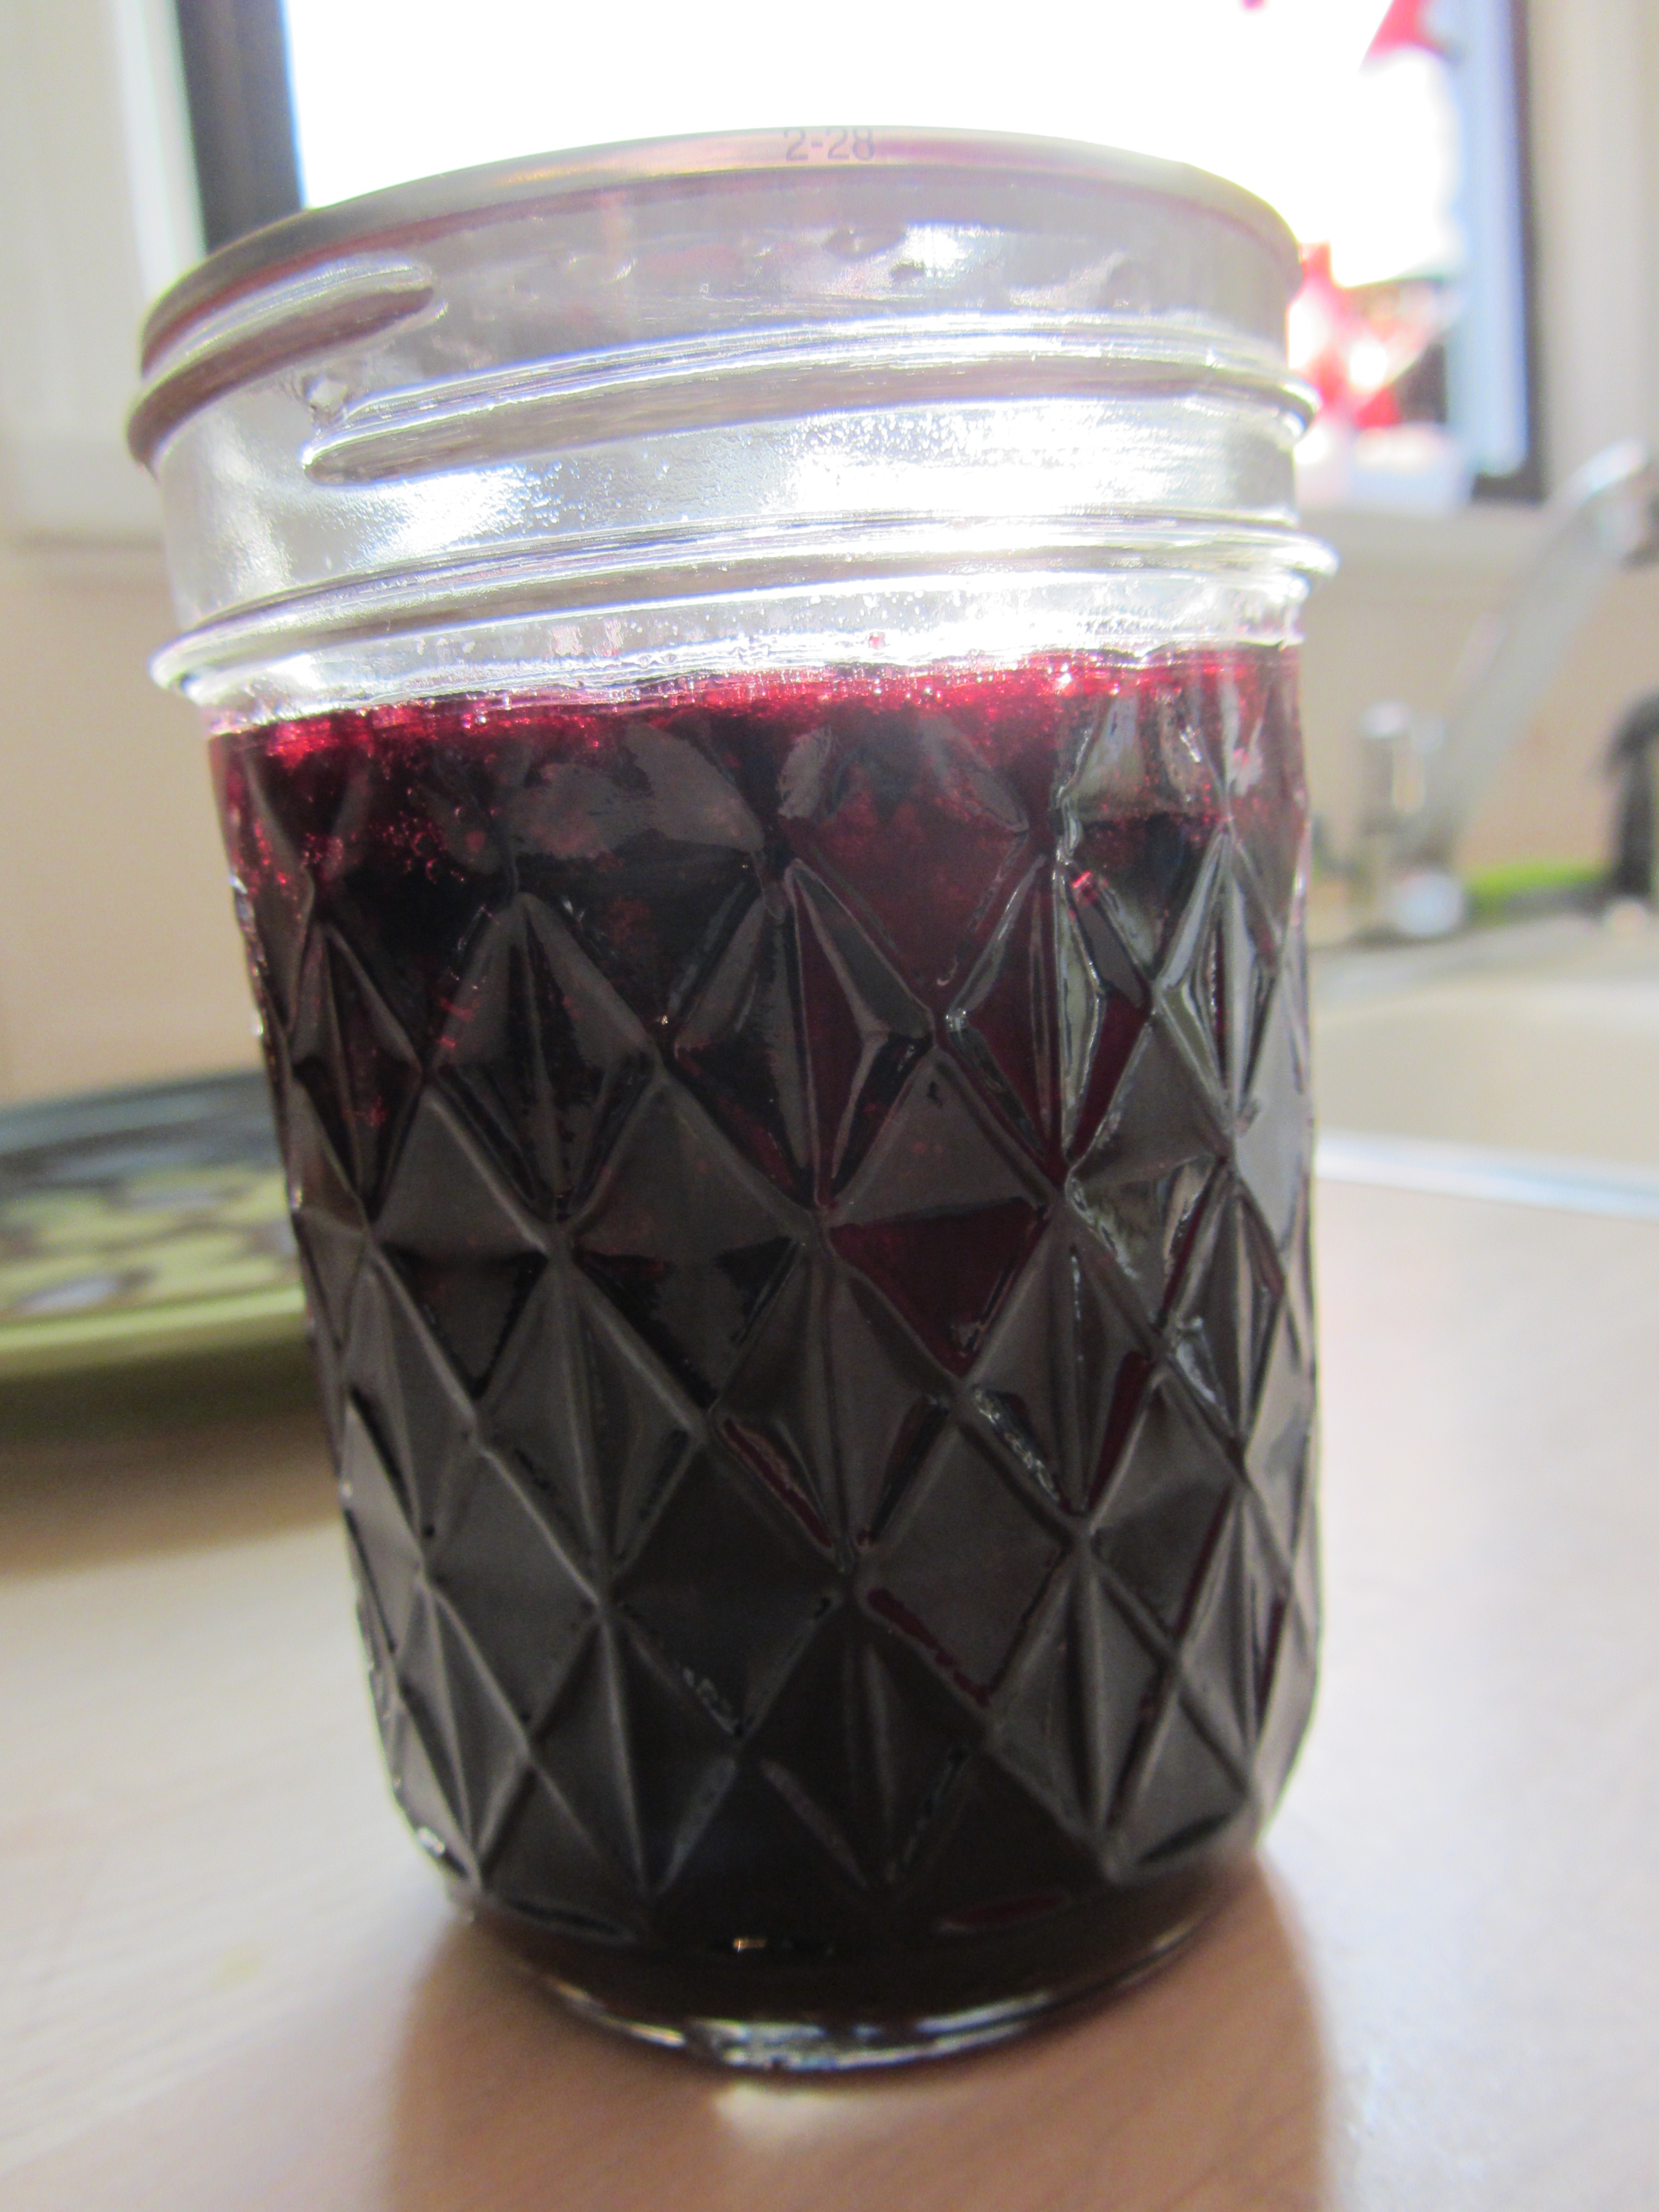
Finished cranberry jam.
The resulting jam was really delicious, and we have since used it for turkey sandwiches, peanut butter and jelly sandwiches, and our morning toast.
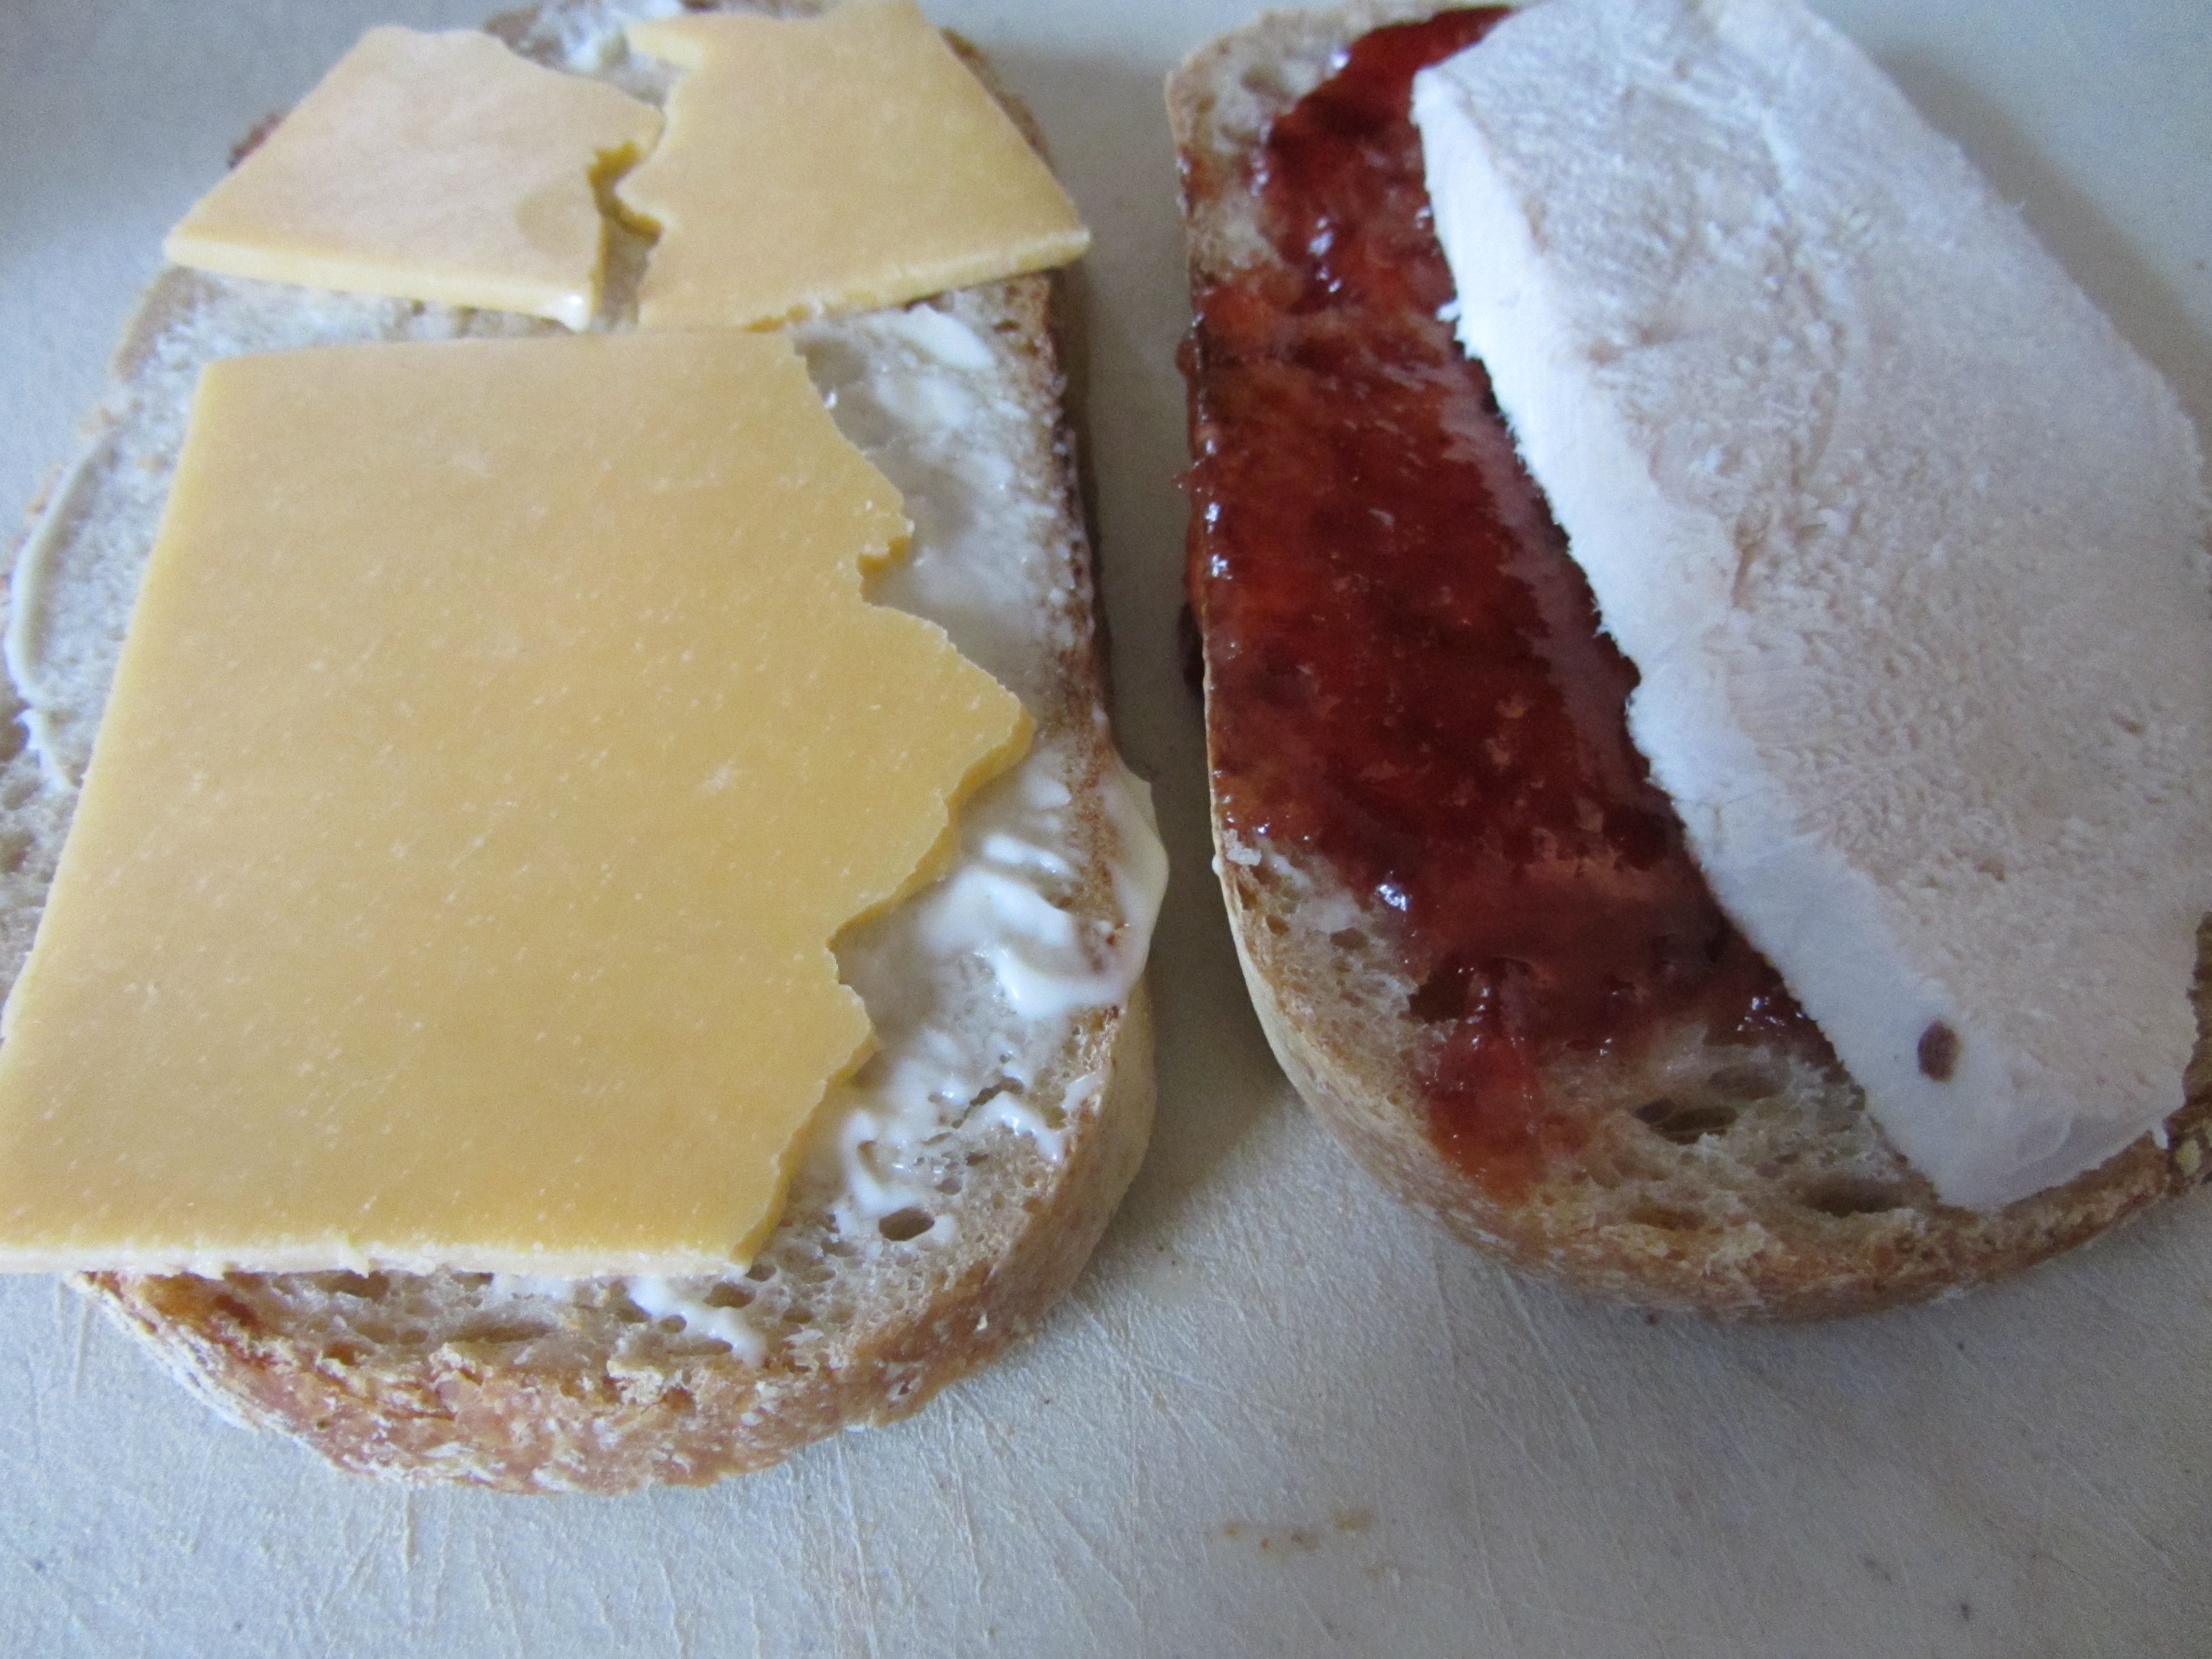
Sandwich made with leftover turkey and cranberry jam.
The jam is tart-sweet, has a rich red color, and is easily spreadable. I liked the cranberry dipping sauce the first time around, and being able to make this jam from the leftovers makes it even more worthwhile. I will be making this one again.
Turkey Re-Hash
What better thing to eat for breakfast than Alton’s turkey hash? This recipe utilizes both the leftover turkey meat and the leftover corn bread pudding.
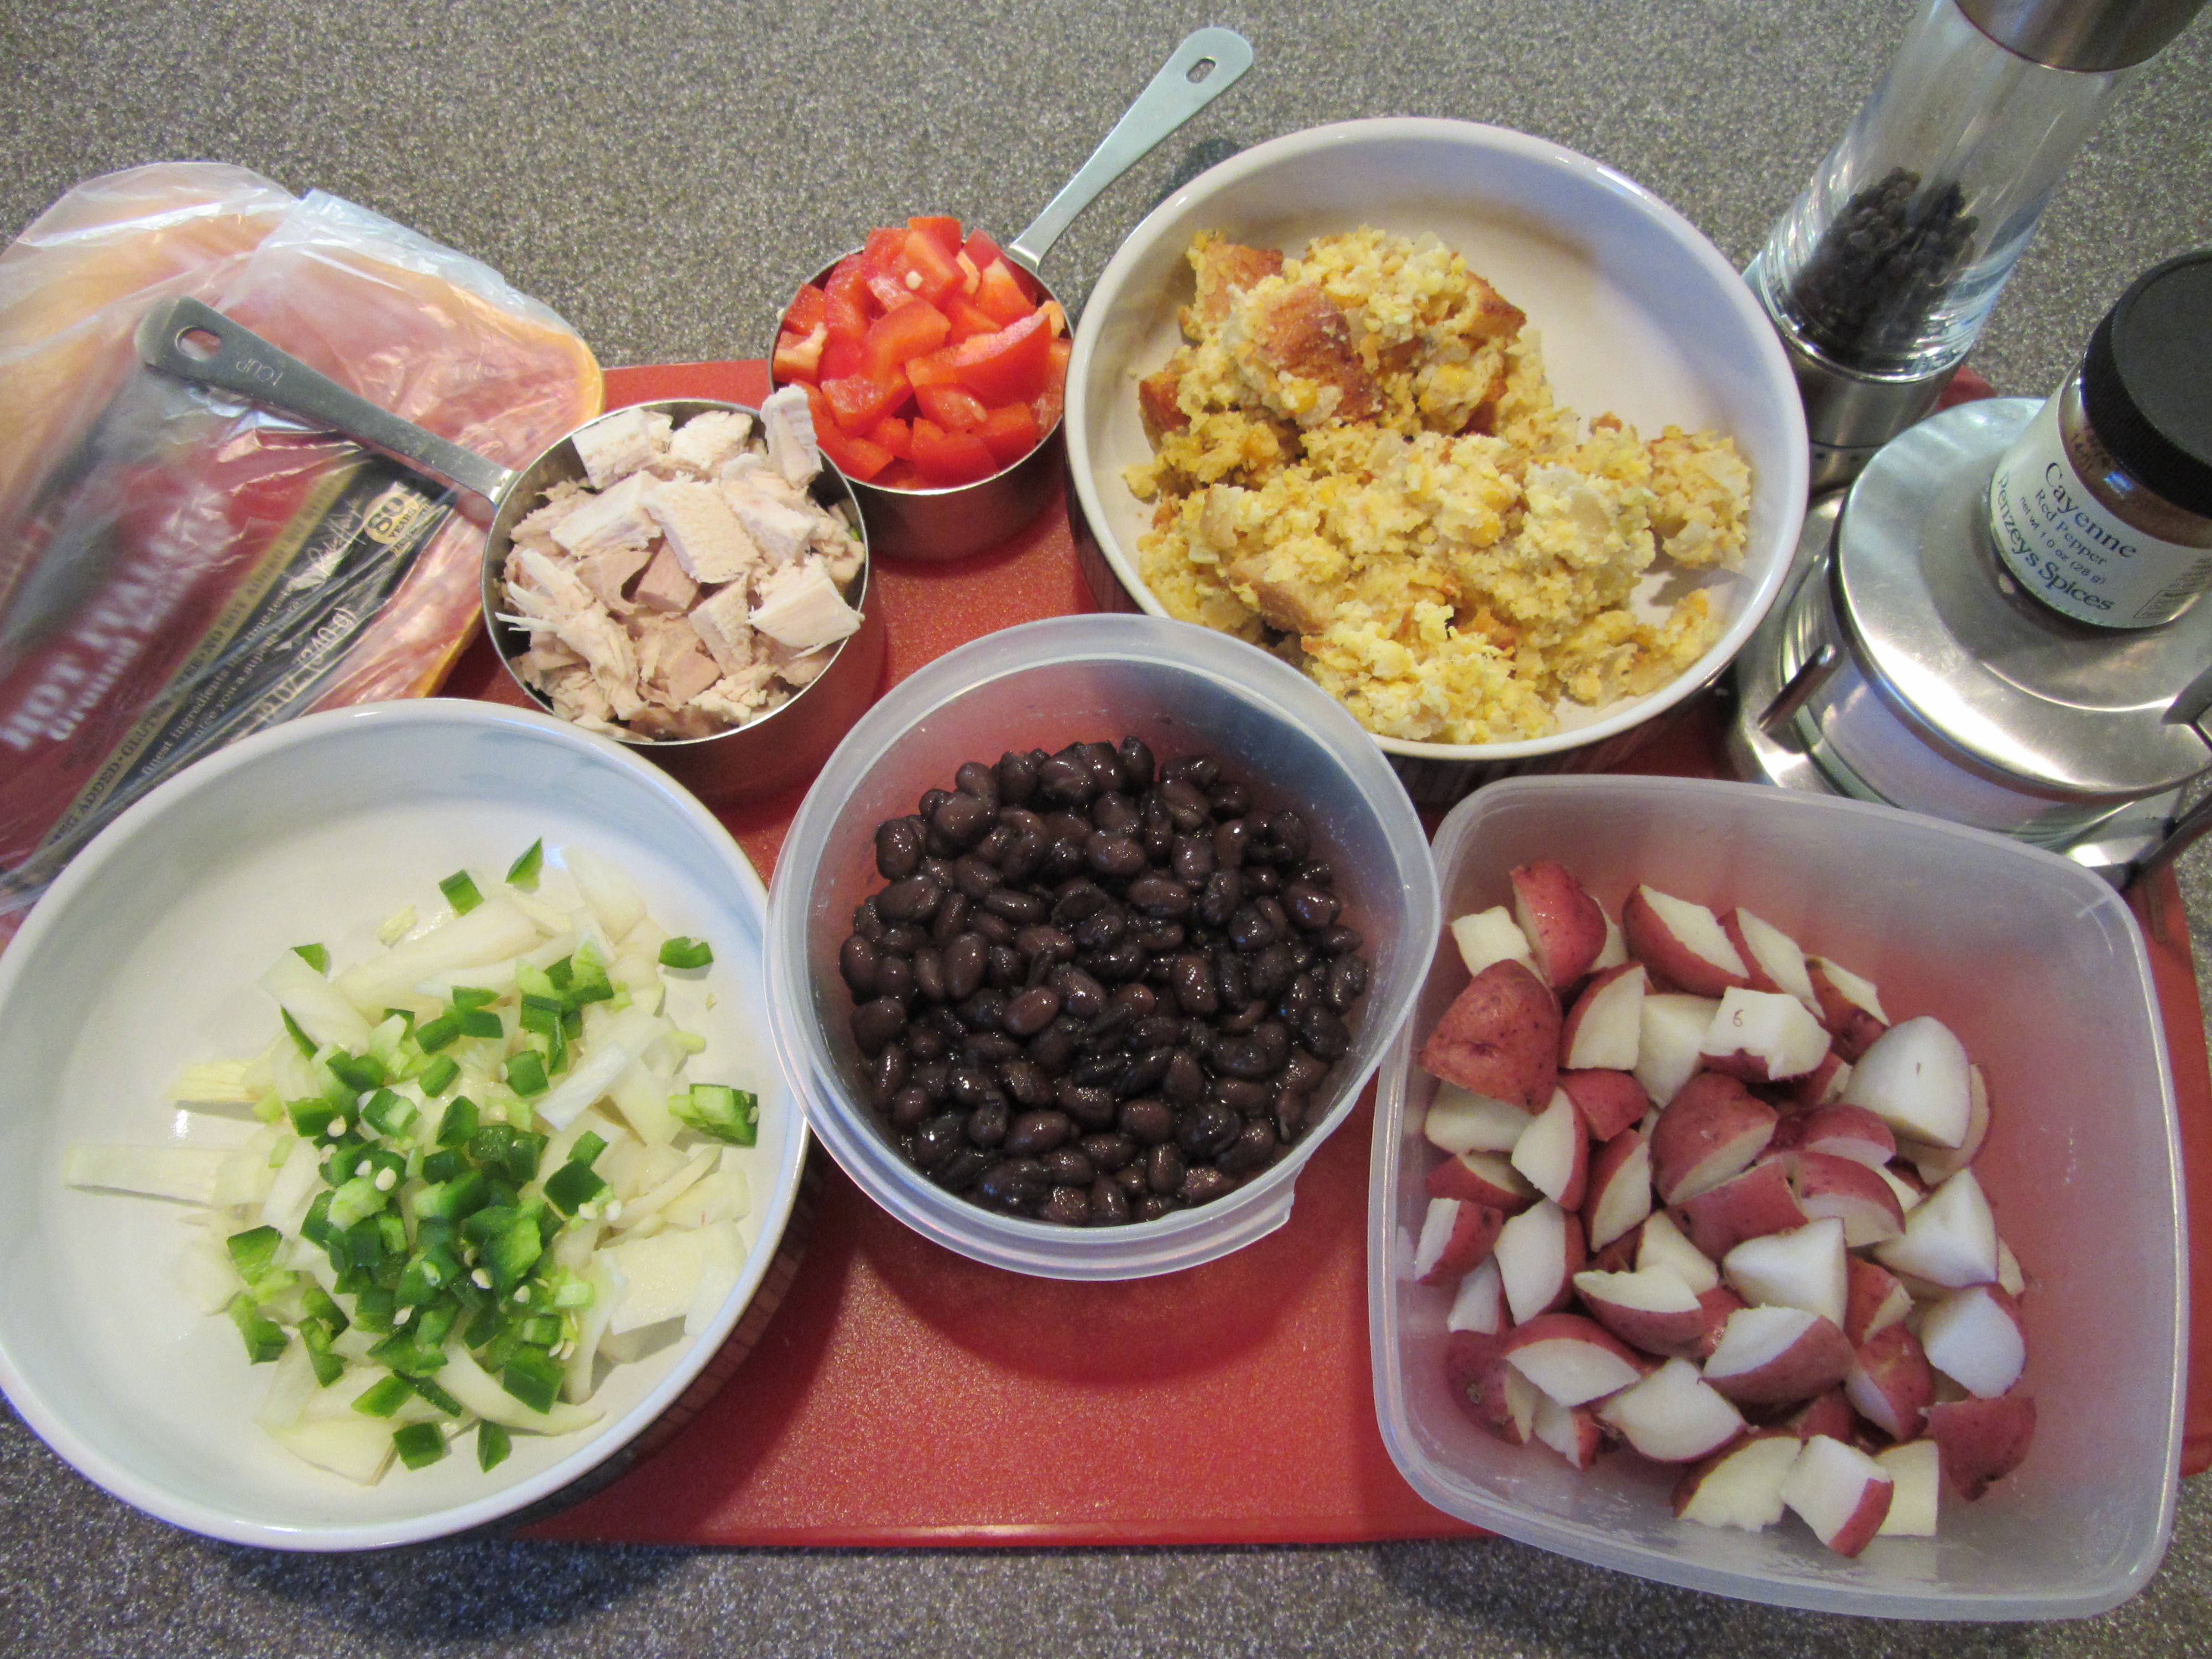
Ingredients for turkey hash: breakfast sausage, onion, jalapeno, bell pepper, cooked red potatoes, black beans, leftover corn bread pudding, leftover turkey, cayenne, salt, and pepper.
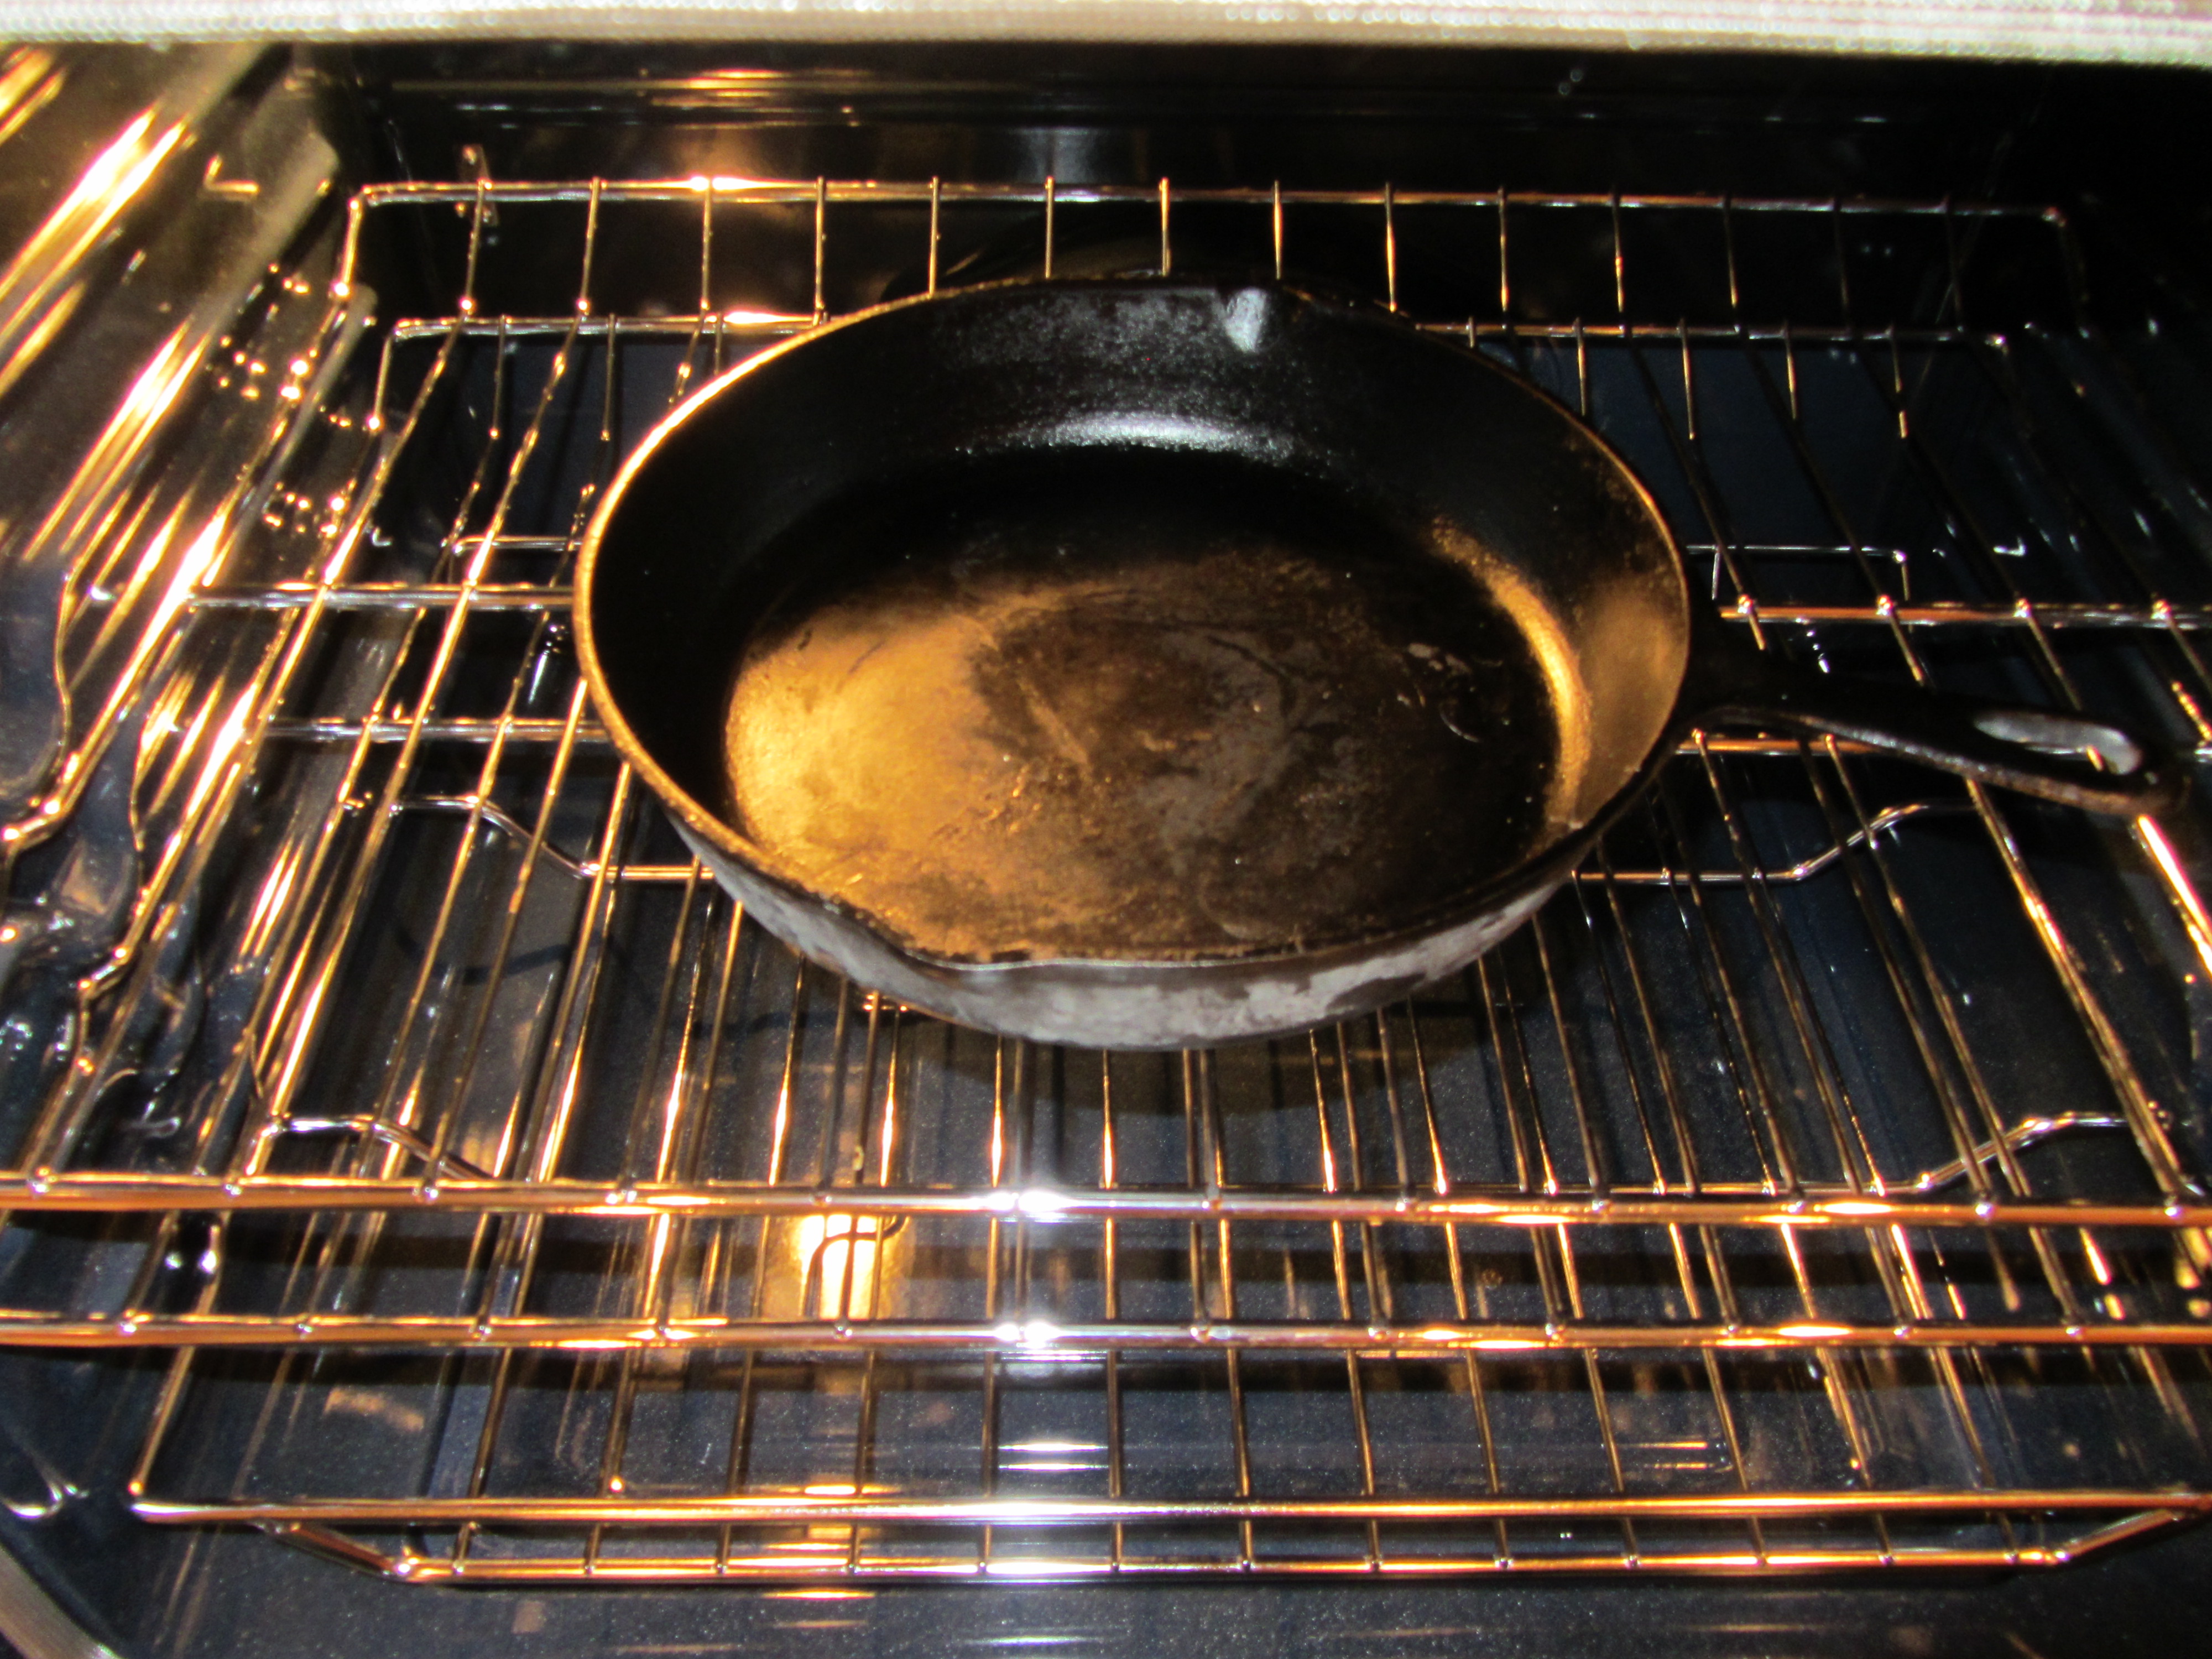
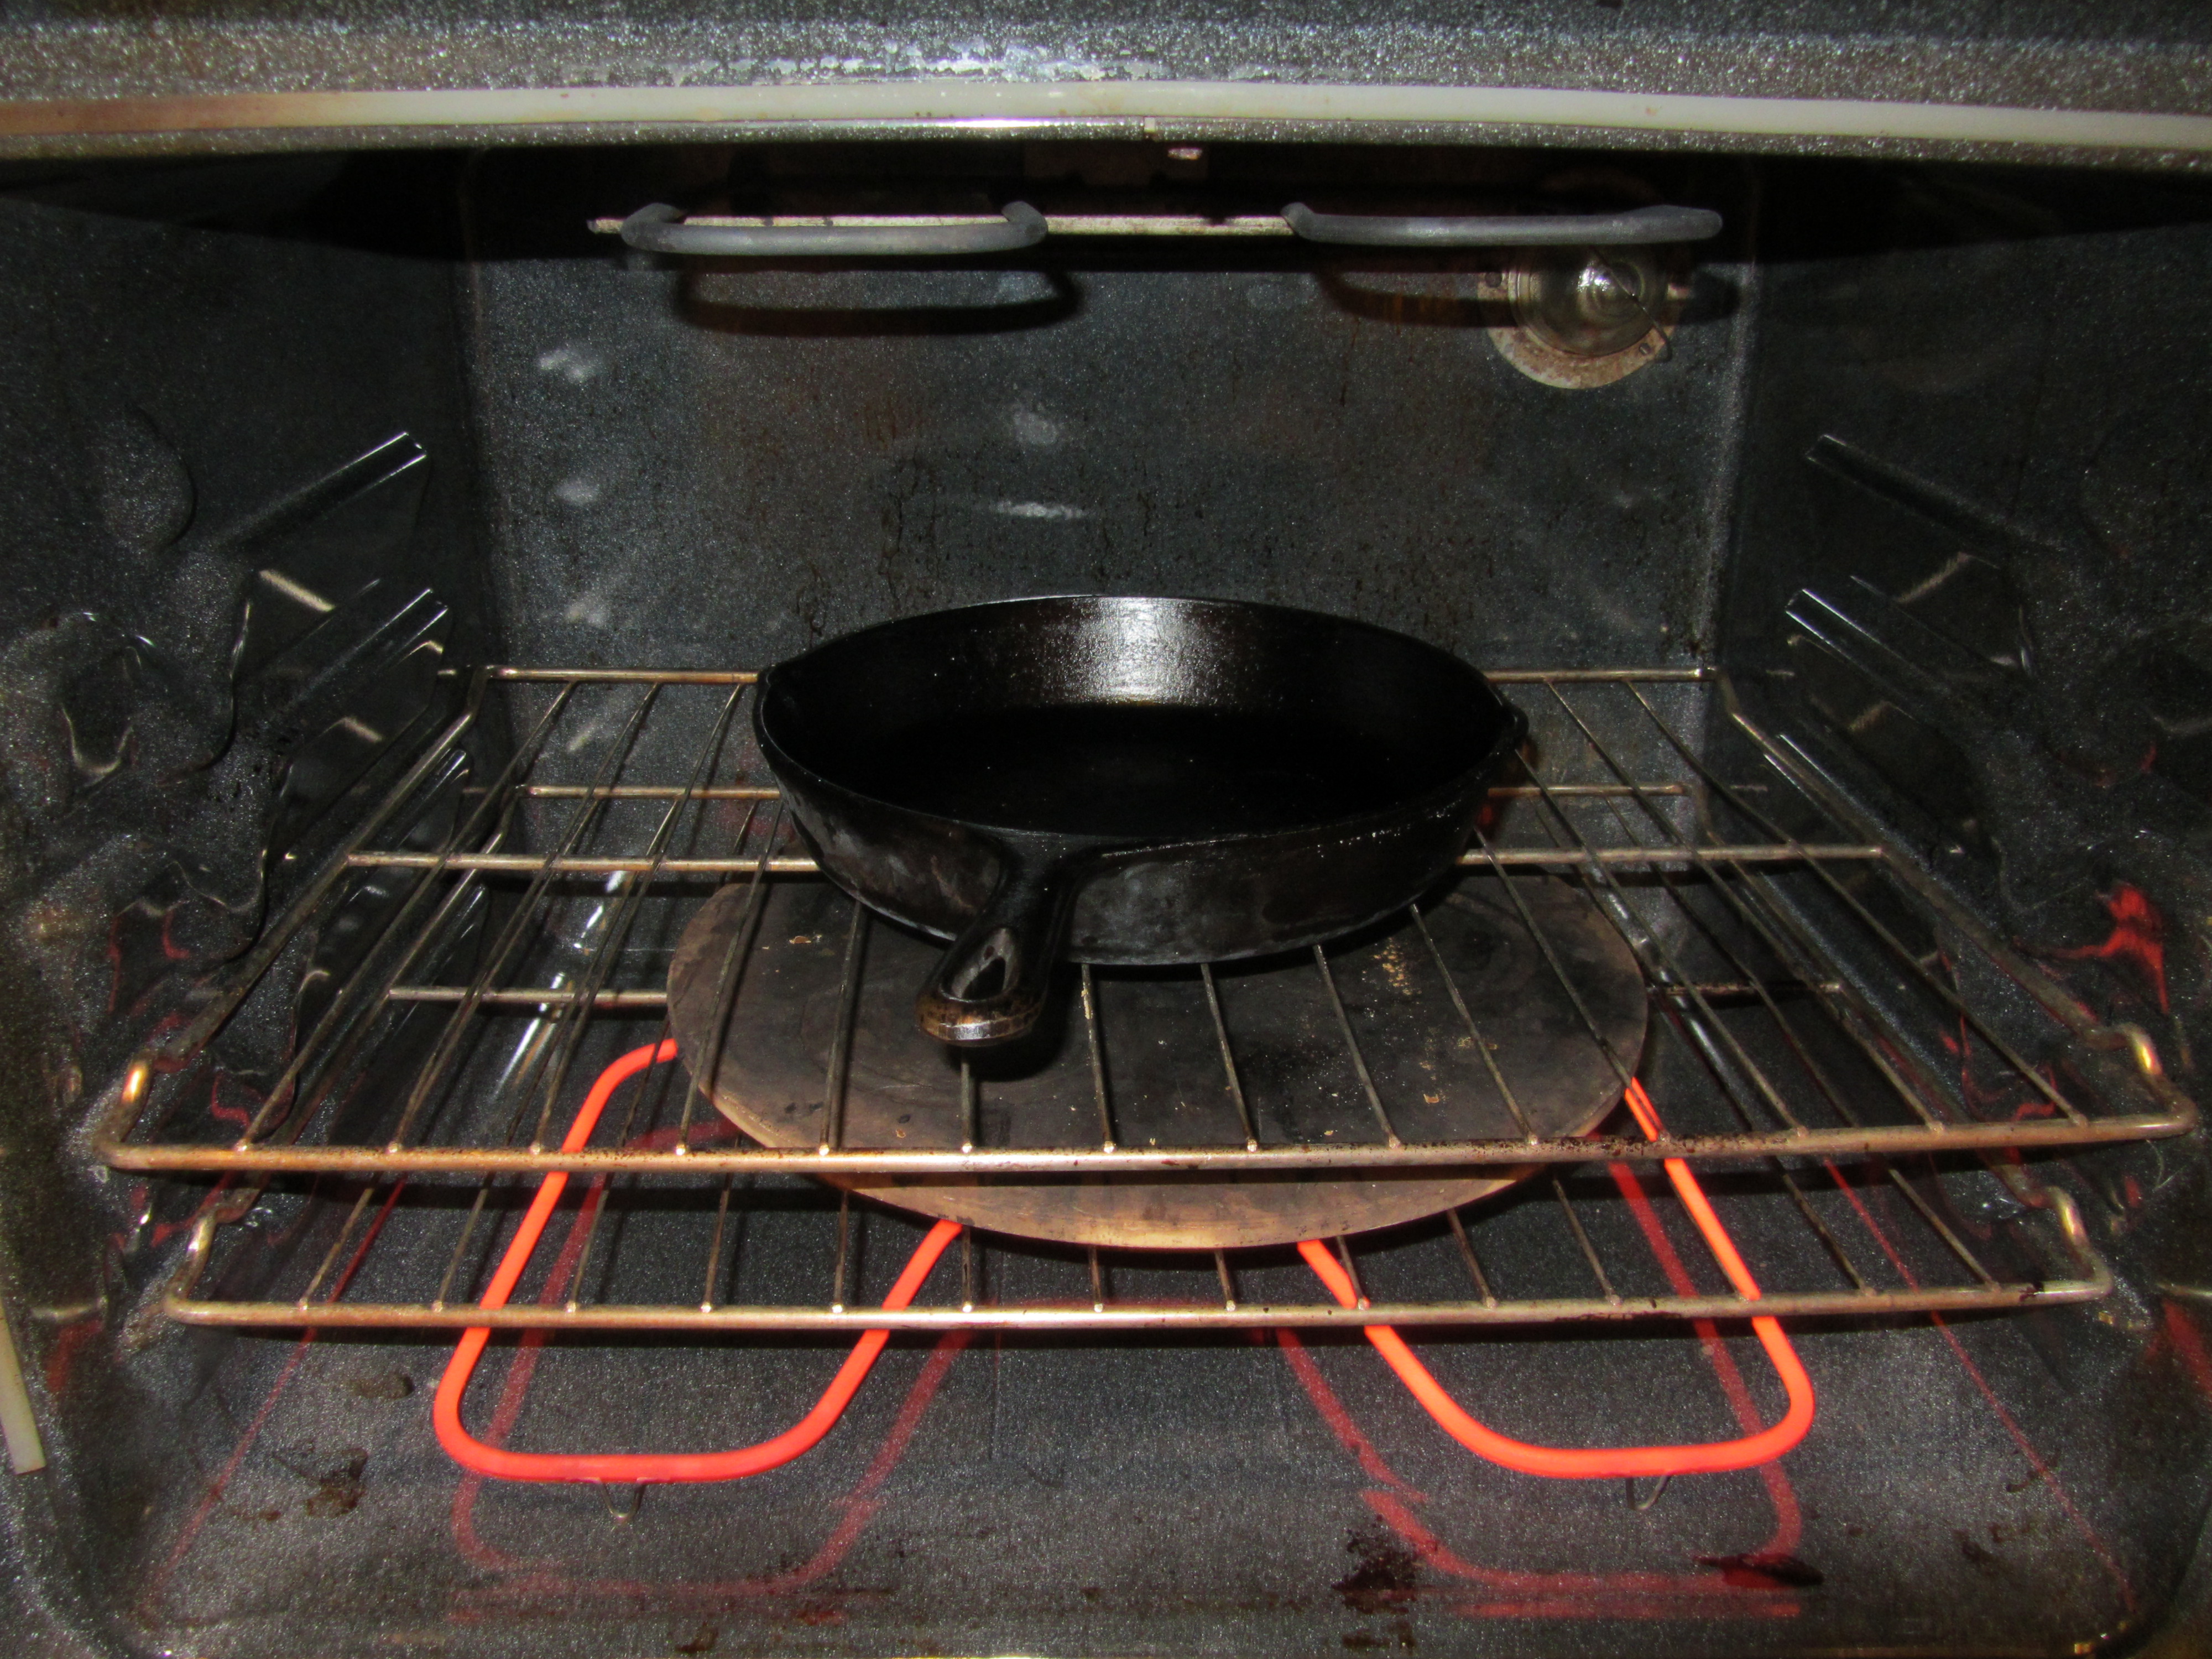
To start, Alton tells you to heat a cast iron skillet over medium-high heat. Since we have a brand new smooth top range, I opted not to use cast iron, as I have heard that it can scratch a smooth top range. Instead, I used a heavy non-stick skillet. Once the pan is hot, add a half pound of breakfast sausage and cook it until it renders some of its fat; I used a spicy Italian sausage.

Sausage rendering fat.
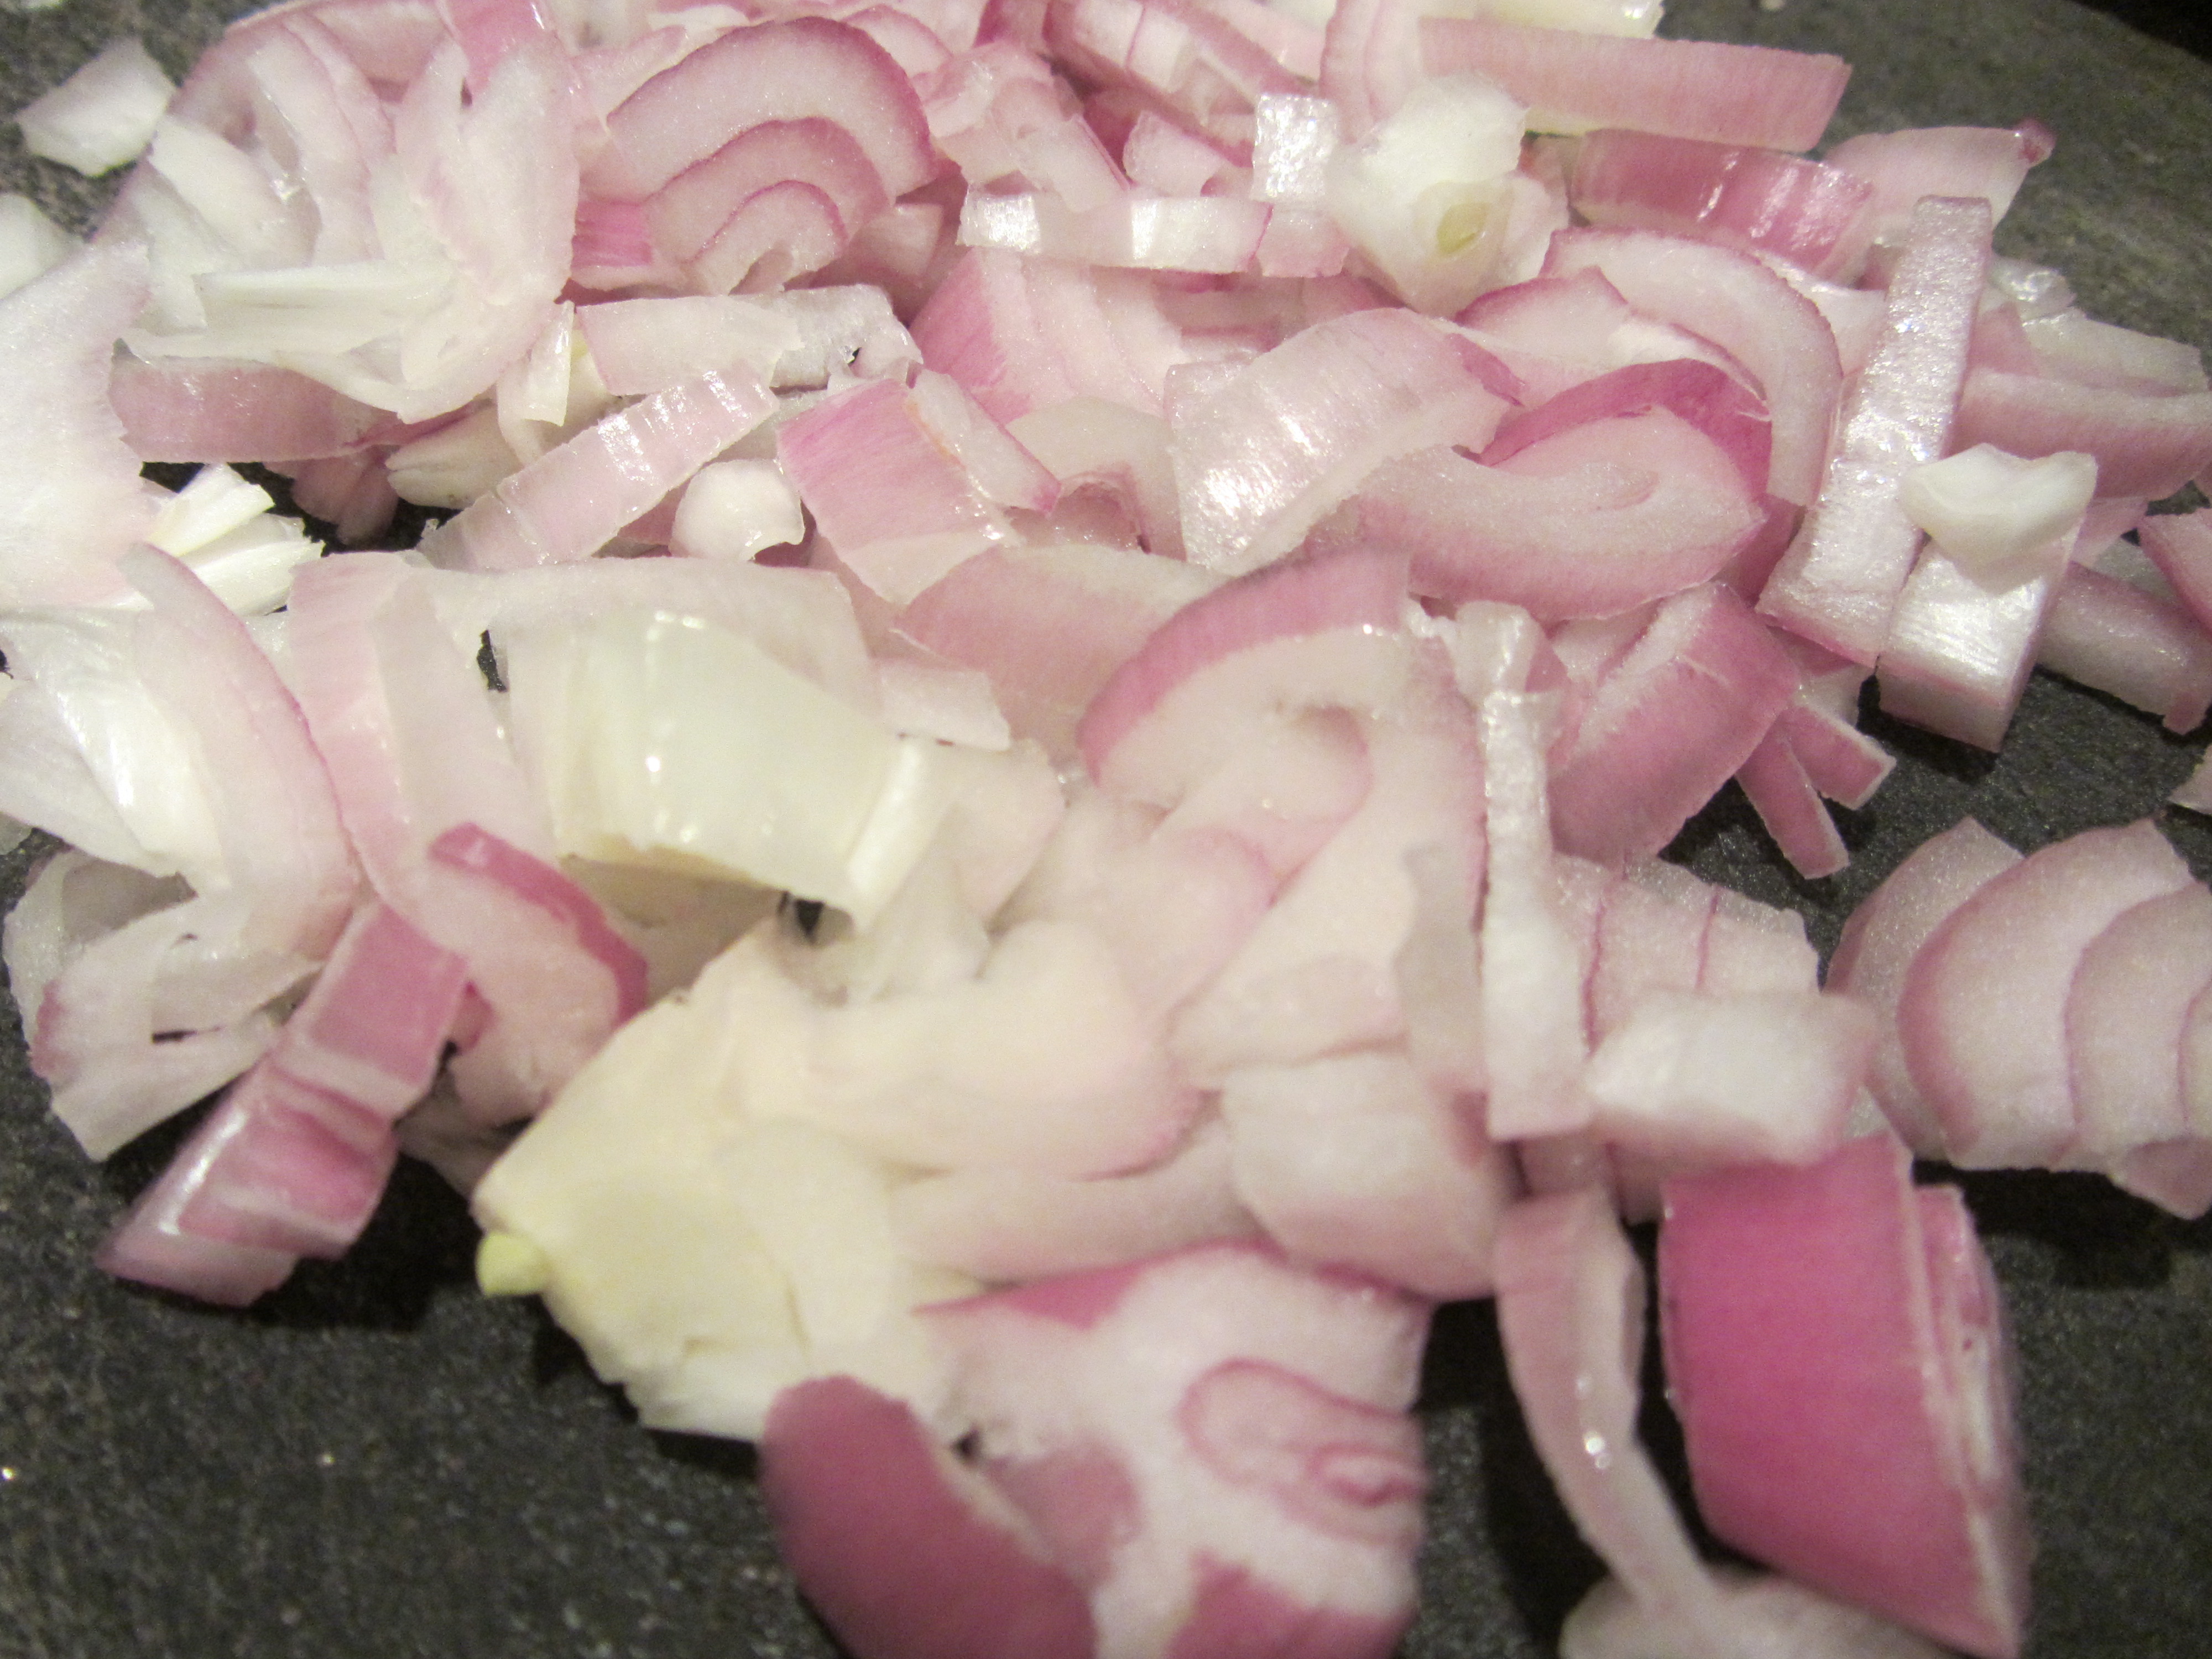
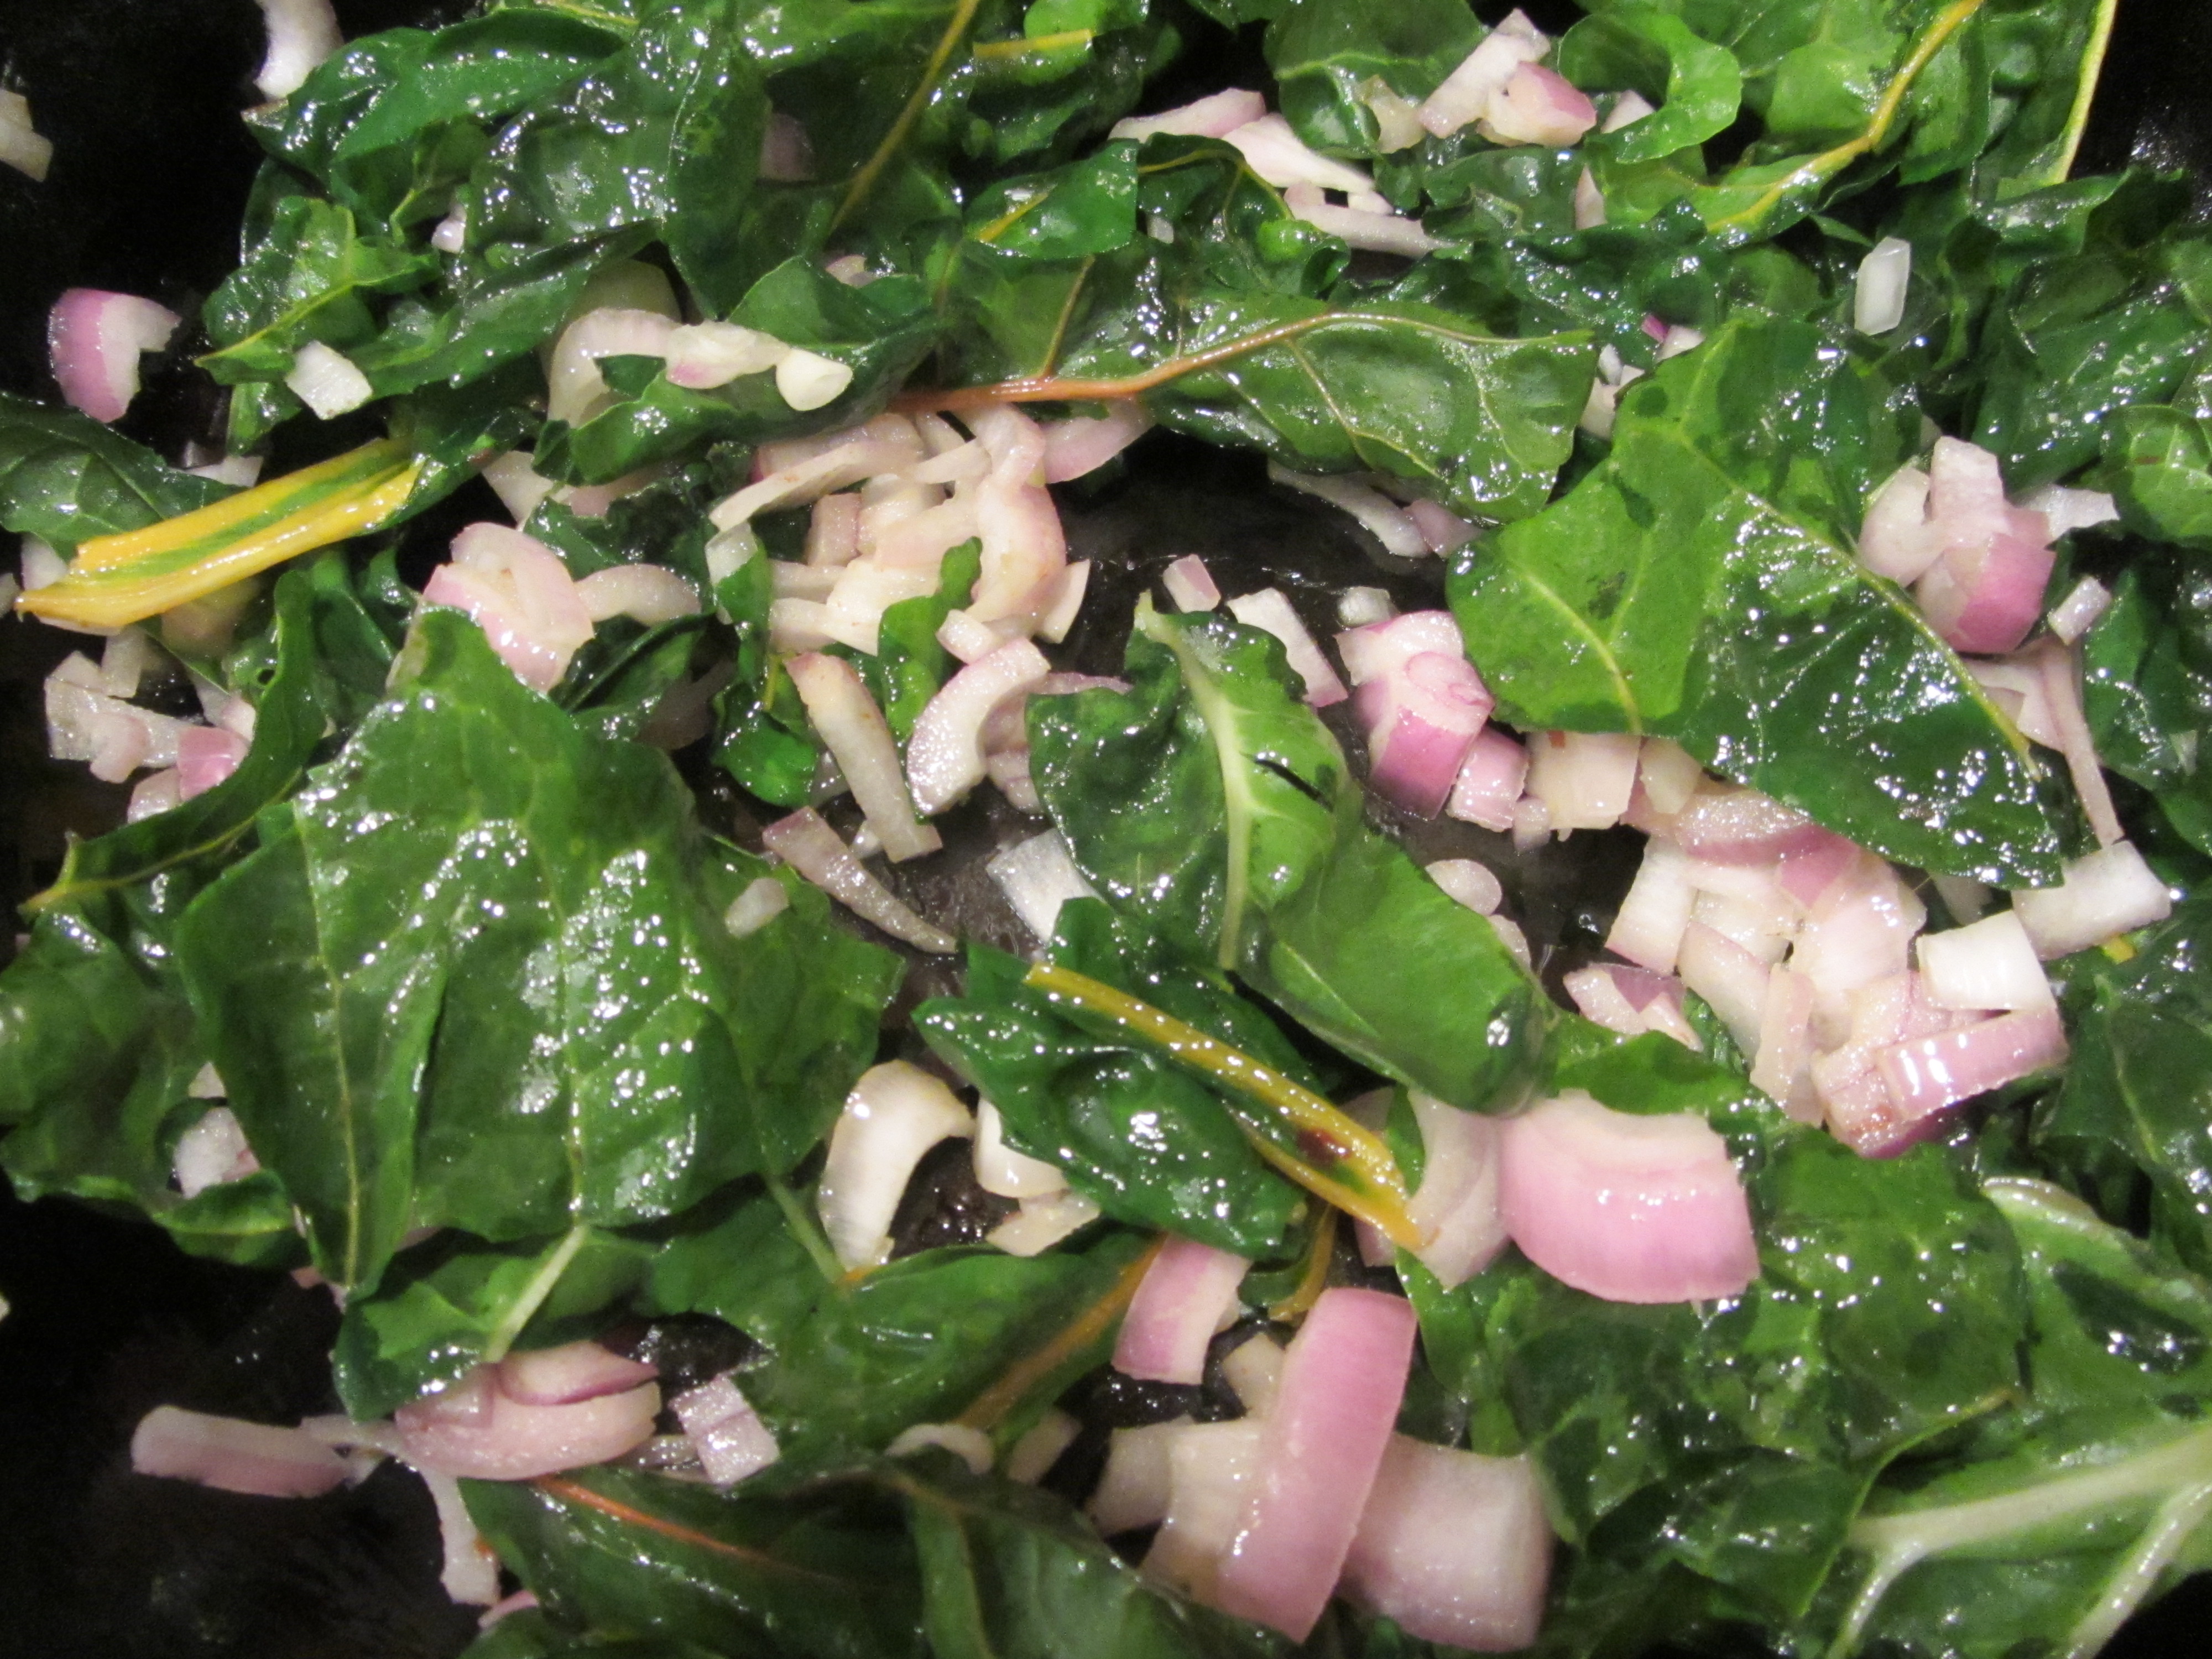
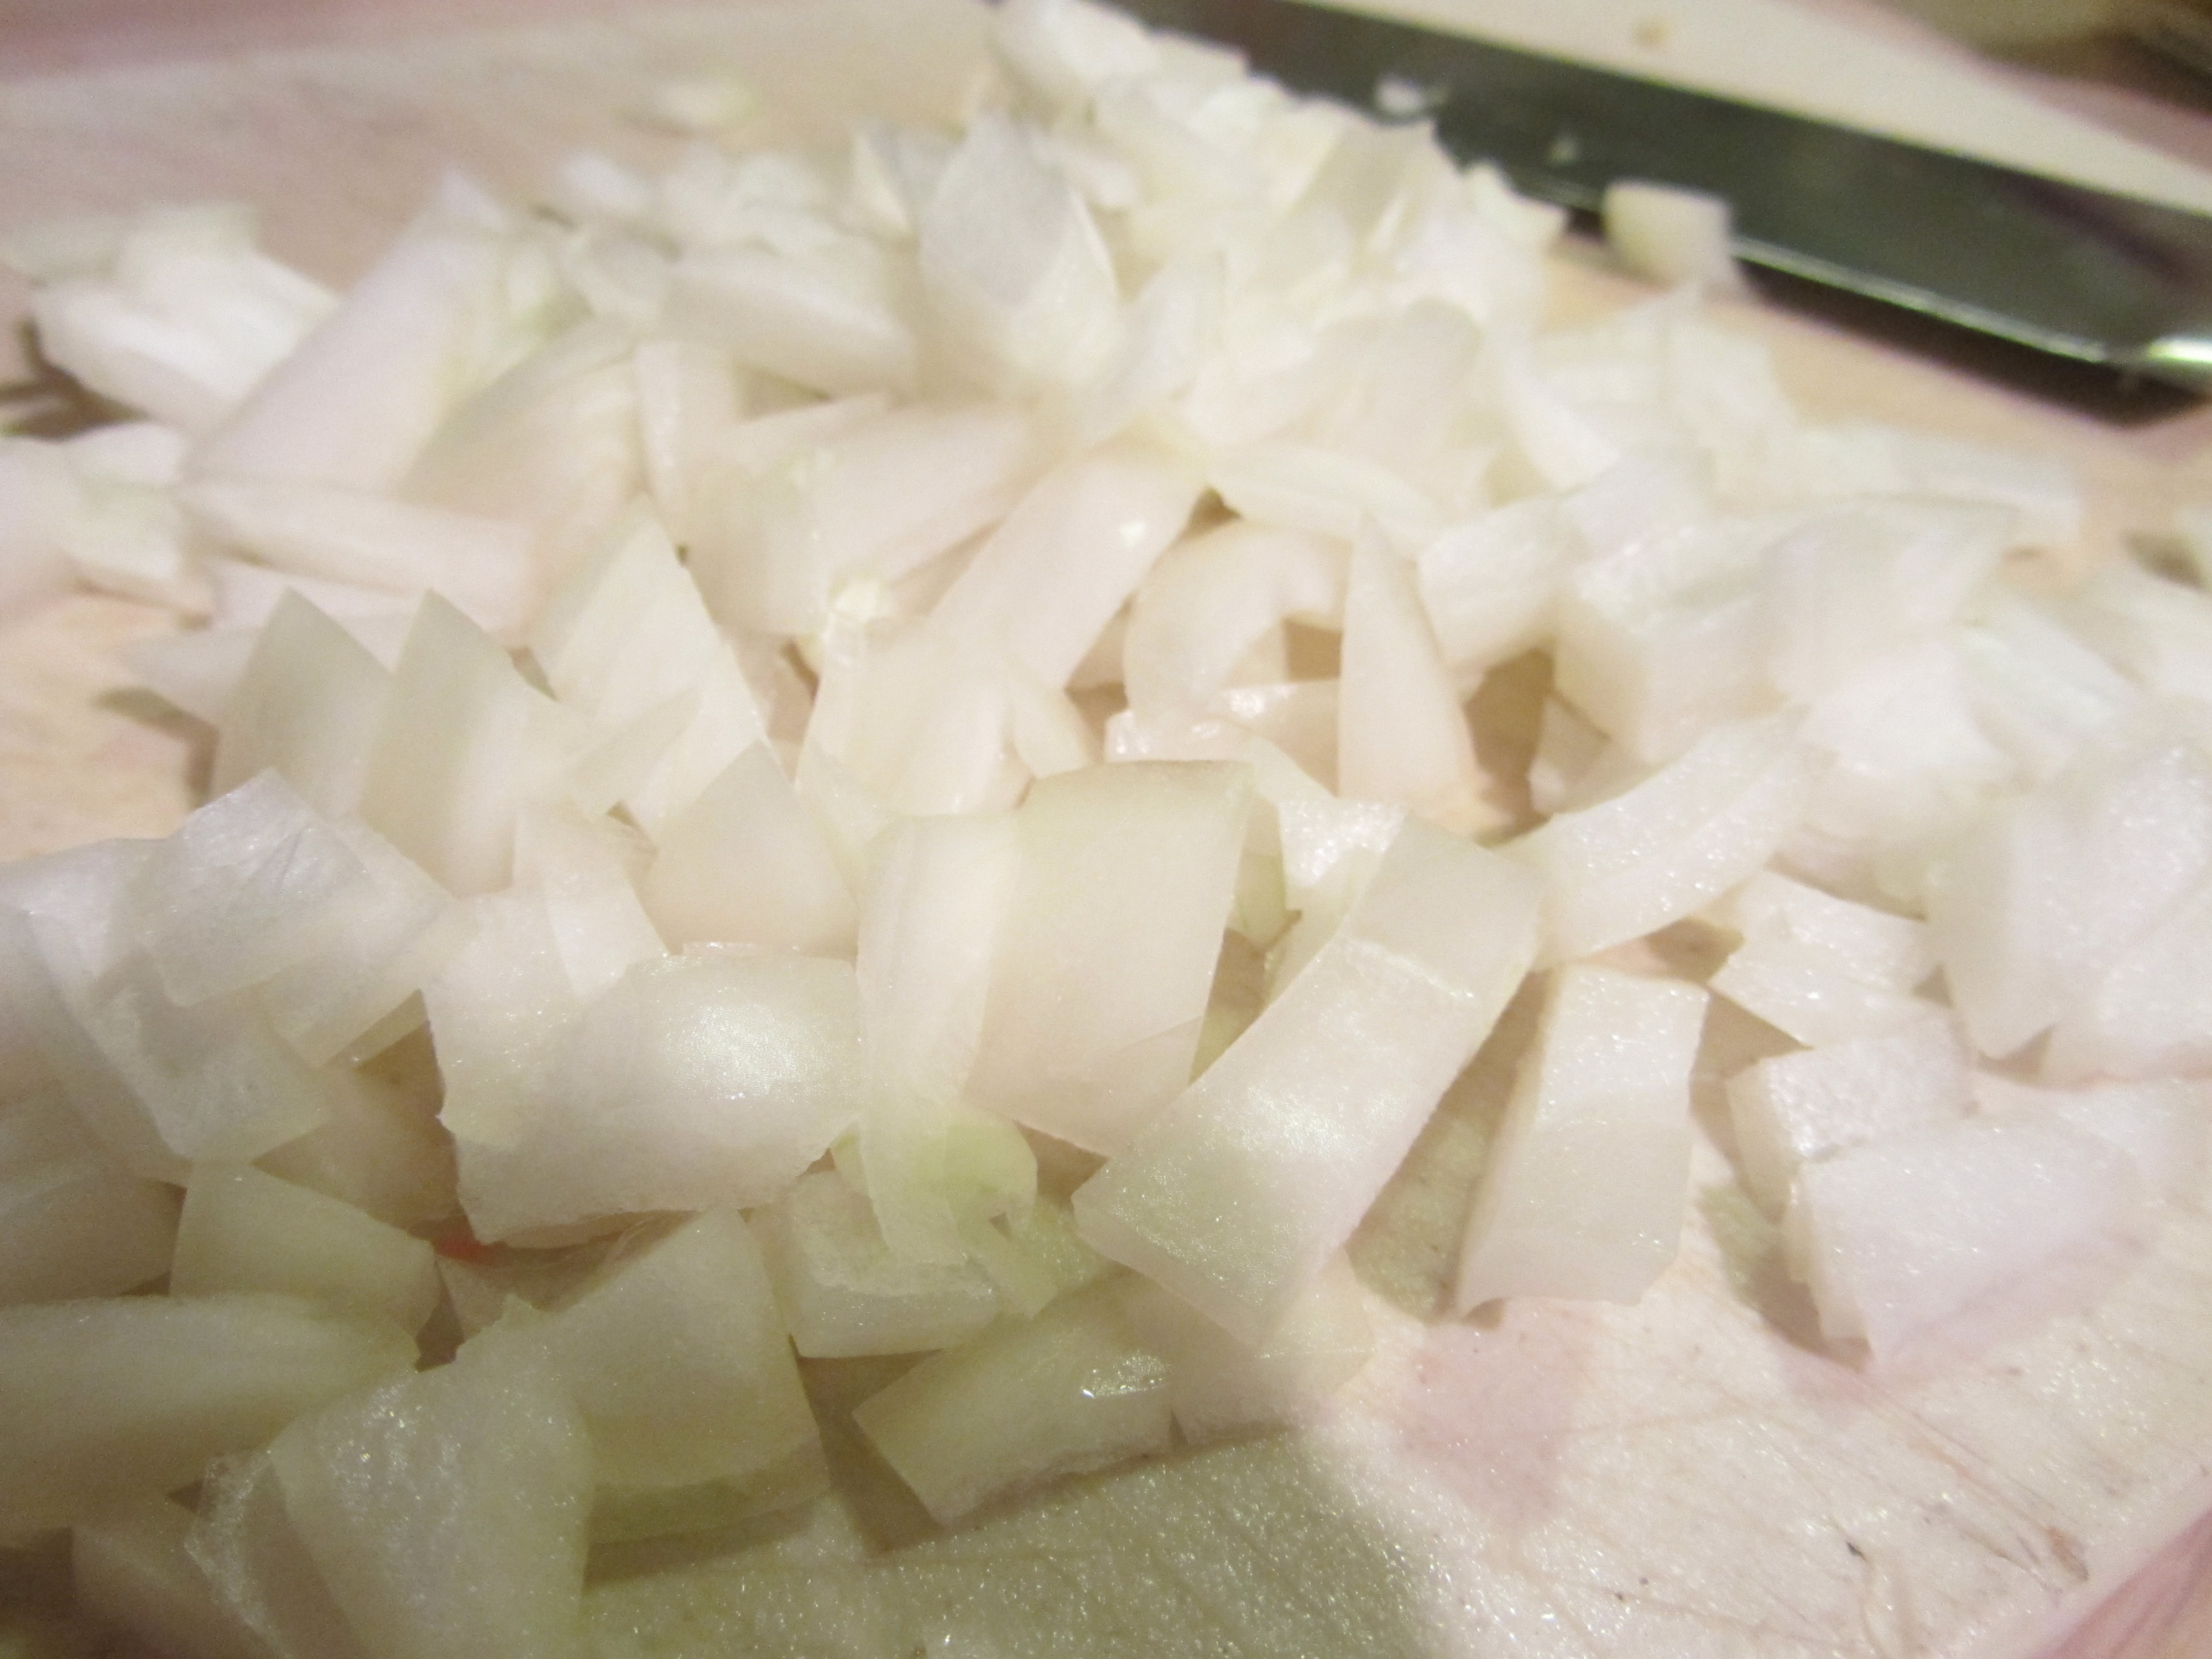
To the sausage, add half an onion and half a jalapeno, chopped.
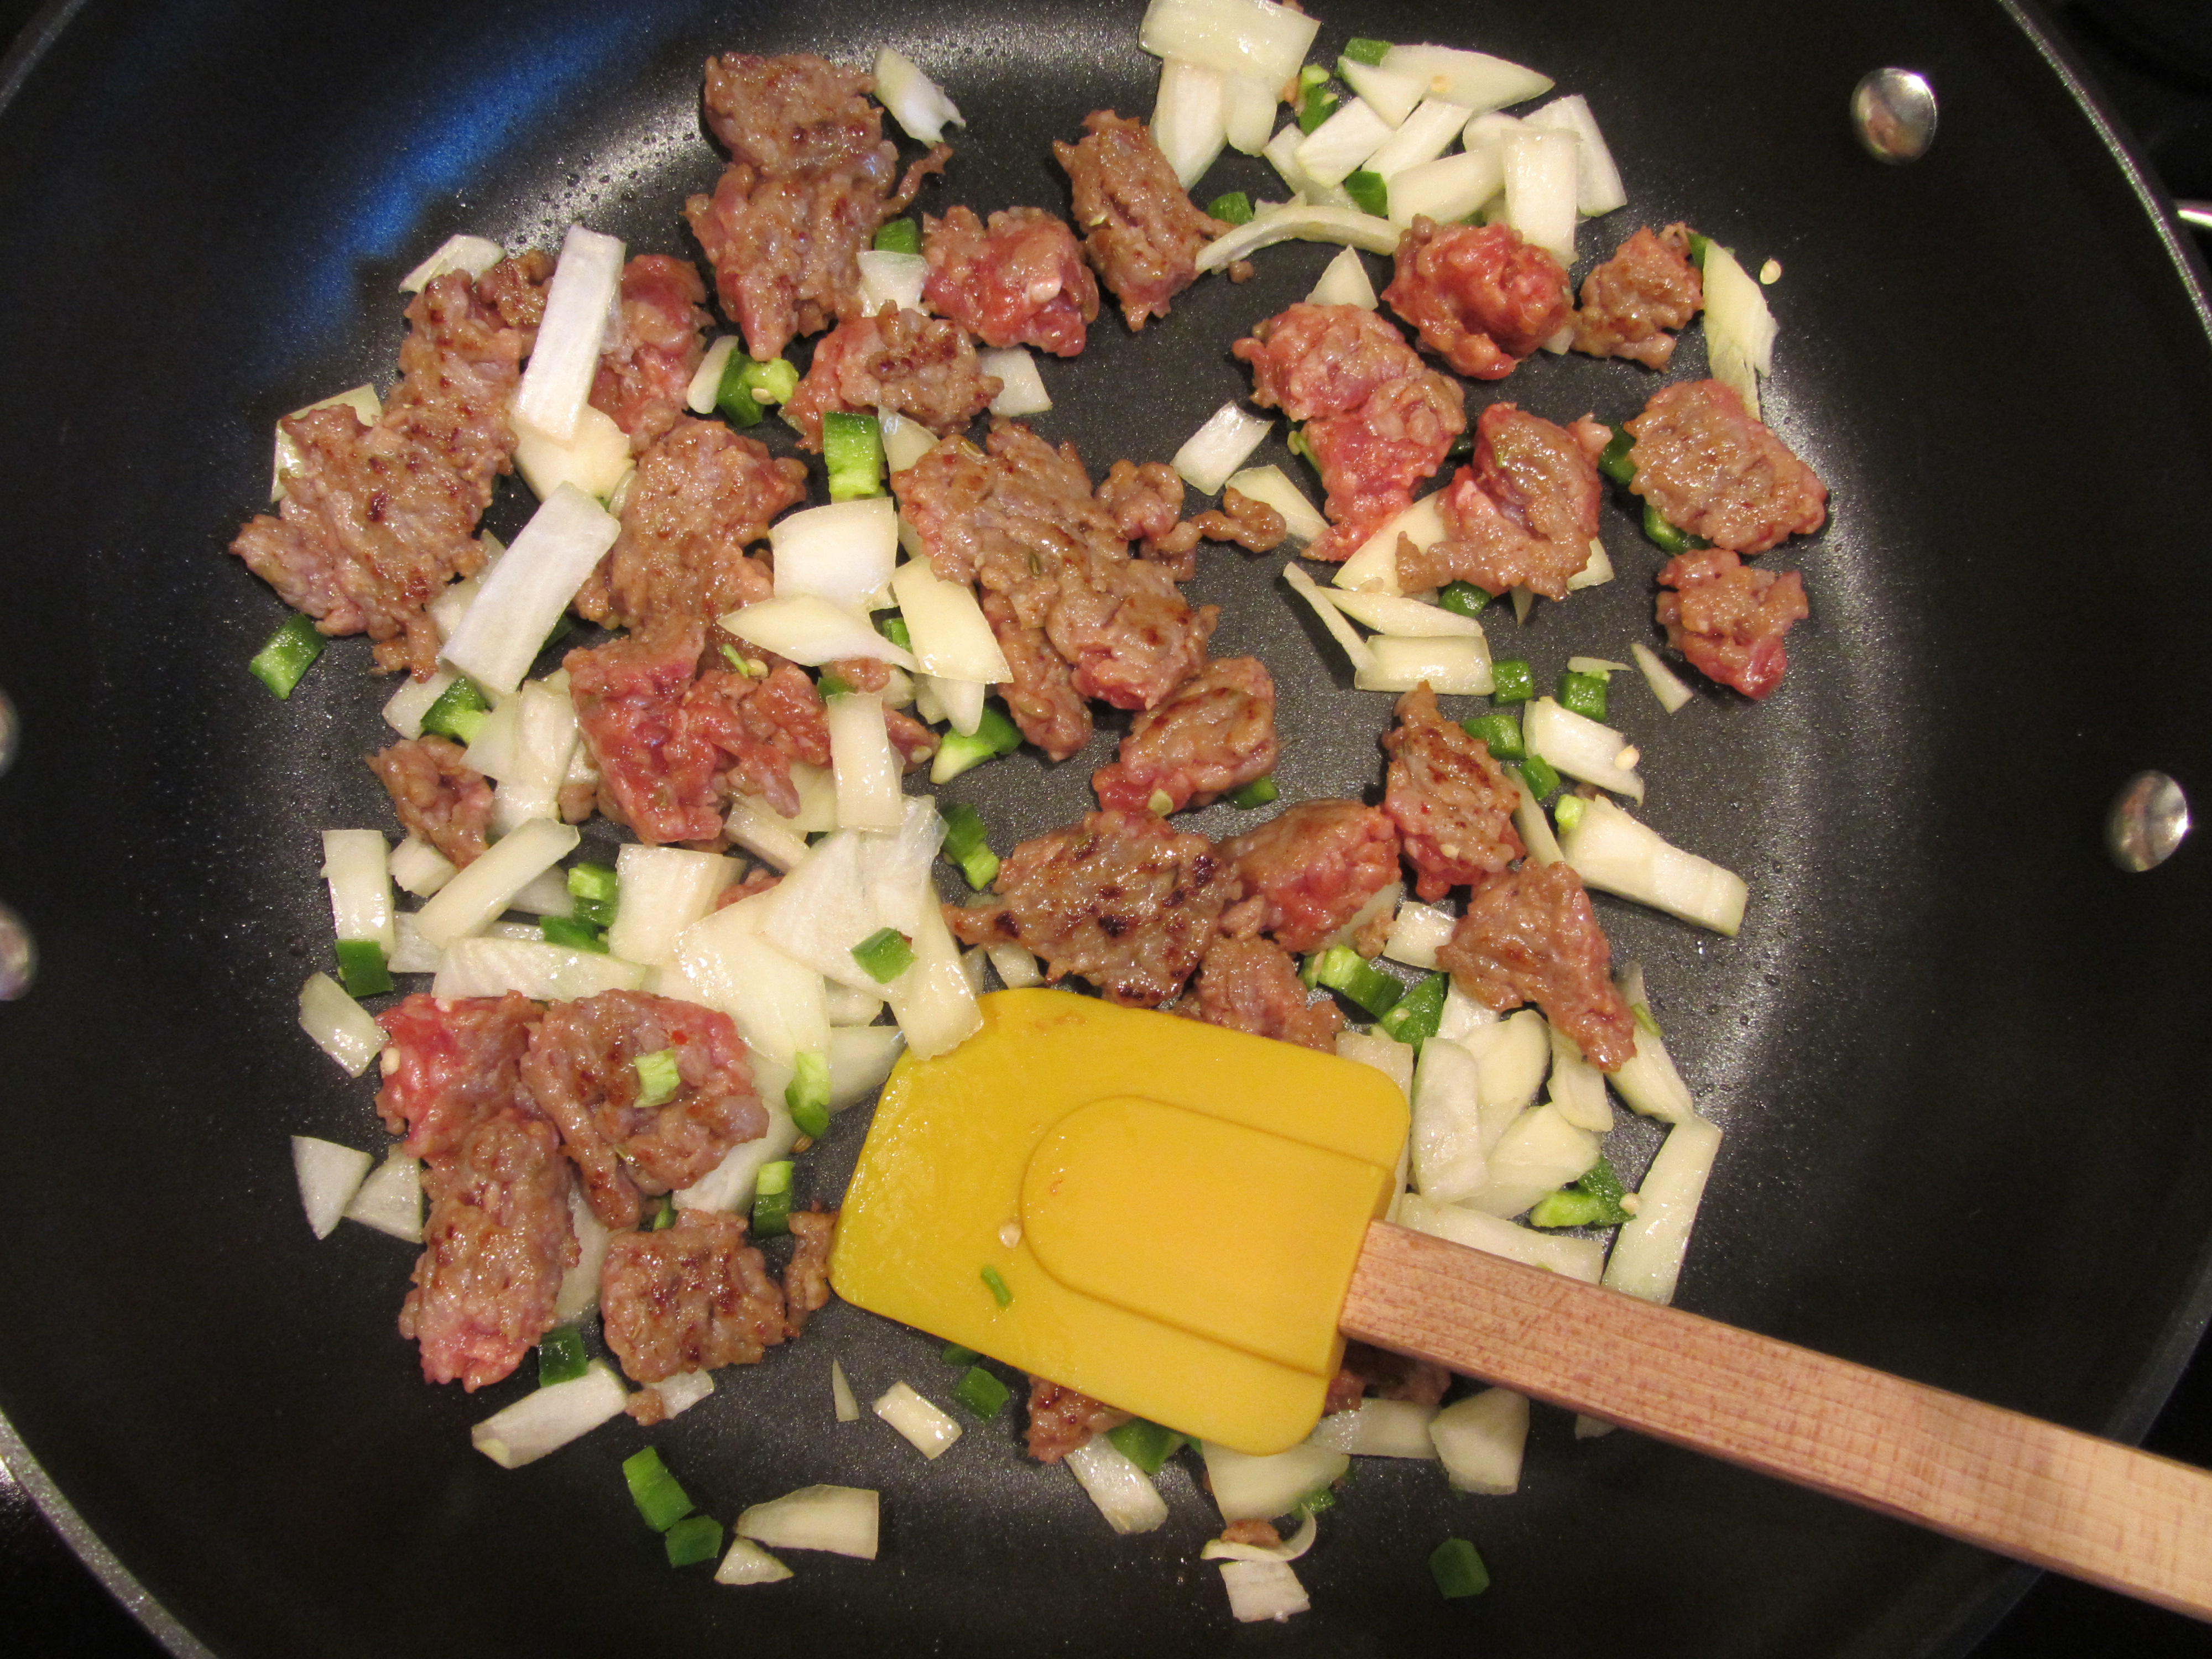
Onion and jalapeno added to pan.
When the onion is translucent, add a half cup of chopped red bell pepper and cook for a minute or two.

Bell pepper added.
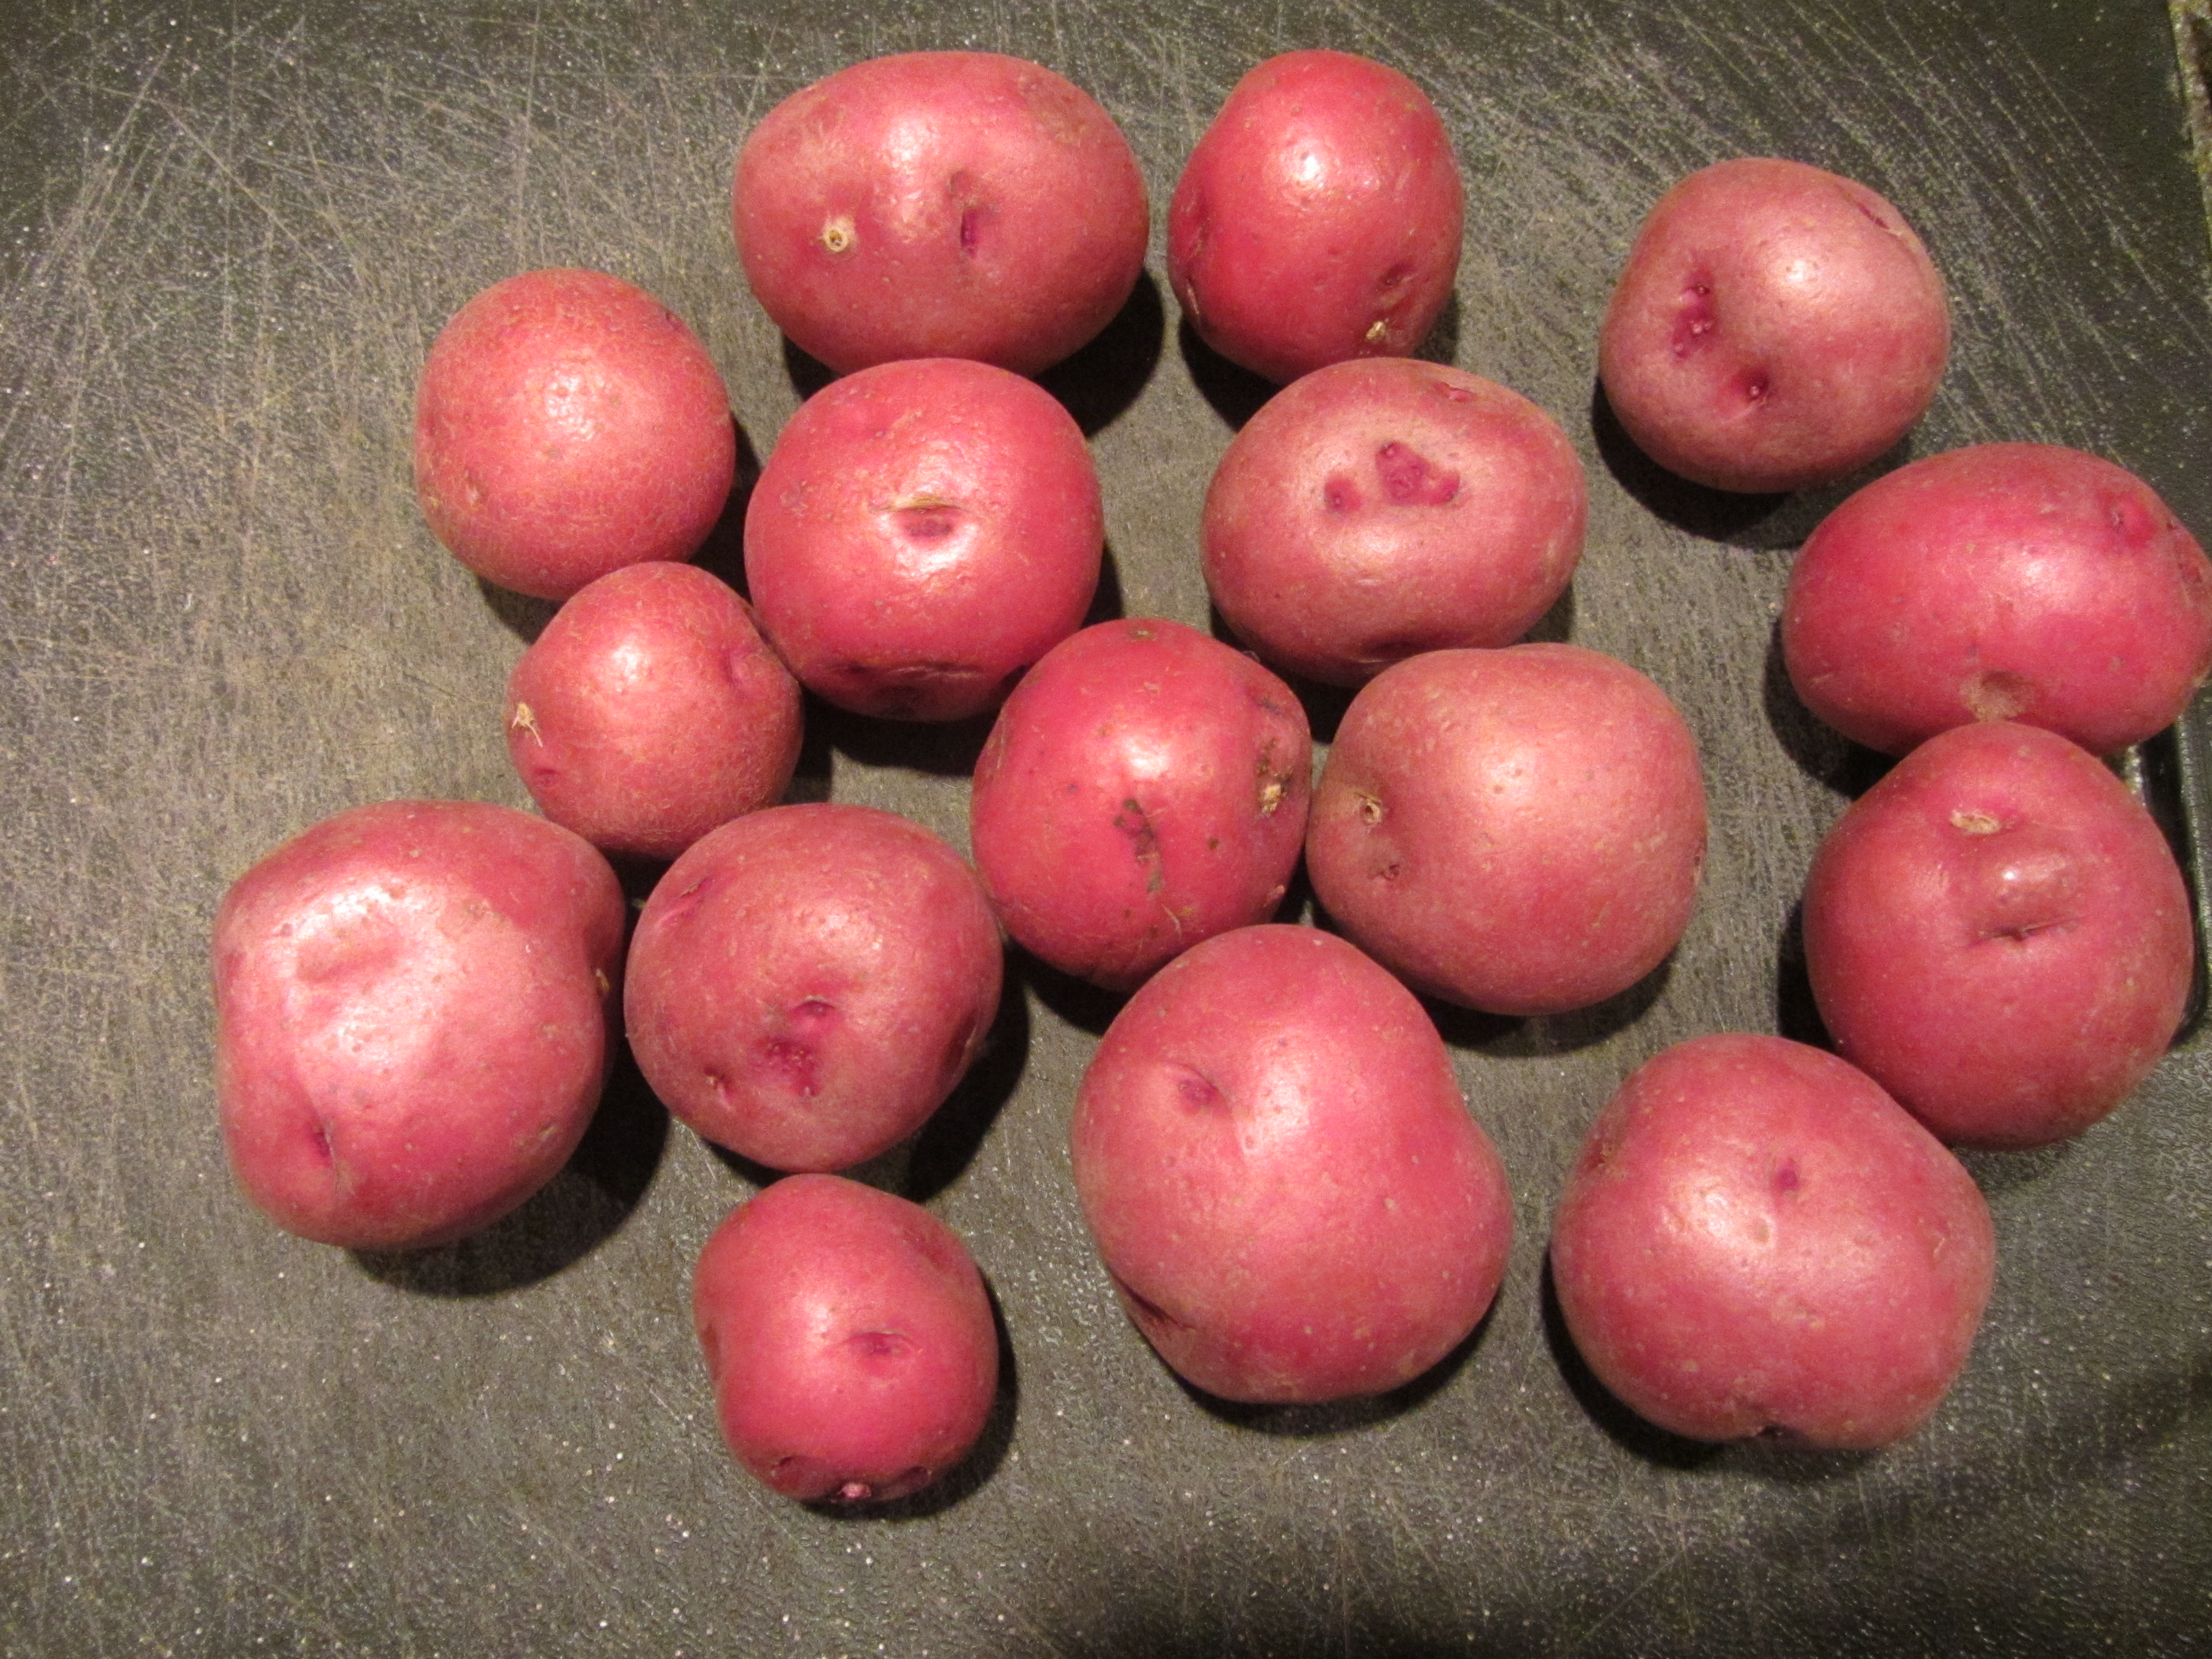
Next, add 1.5 C of cooked, cubed red potatoes (Note: I cooked my potatoes the night before by simmering them in salted water until tender). To get some good brown color on the potatoes, increase the heat to high.
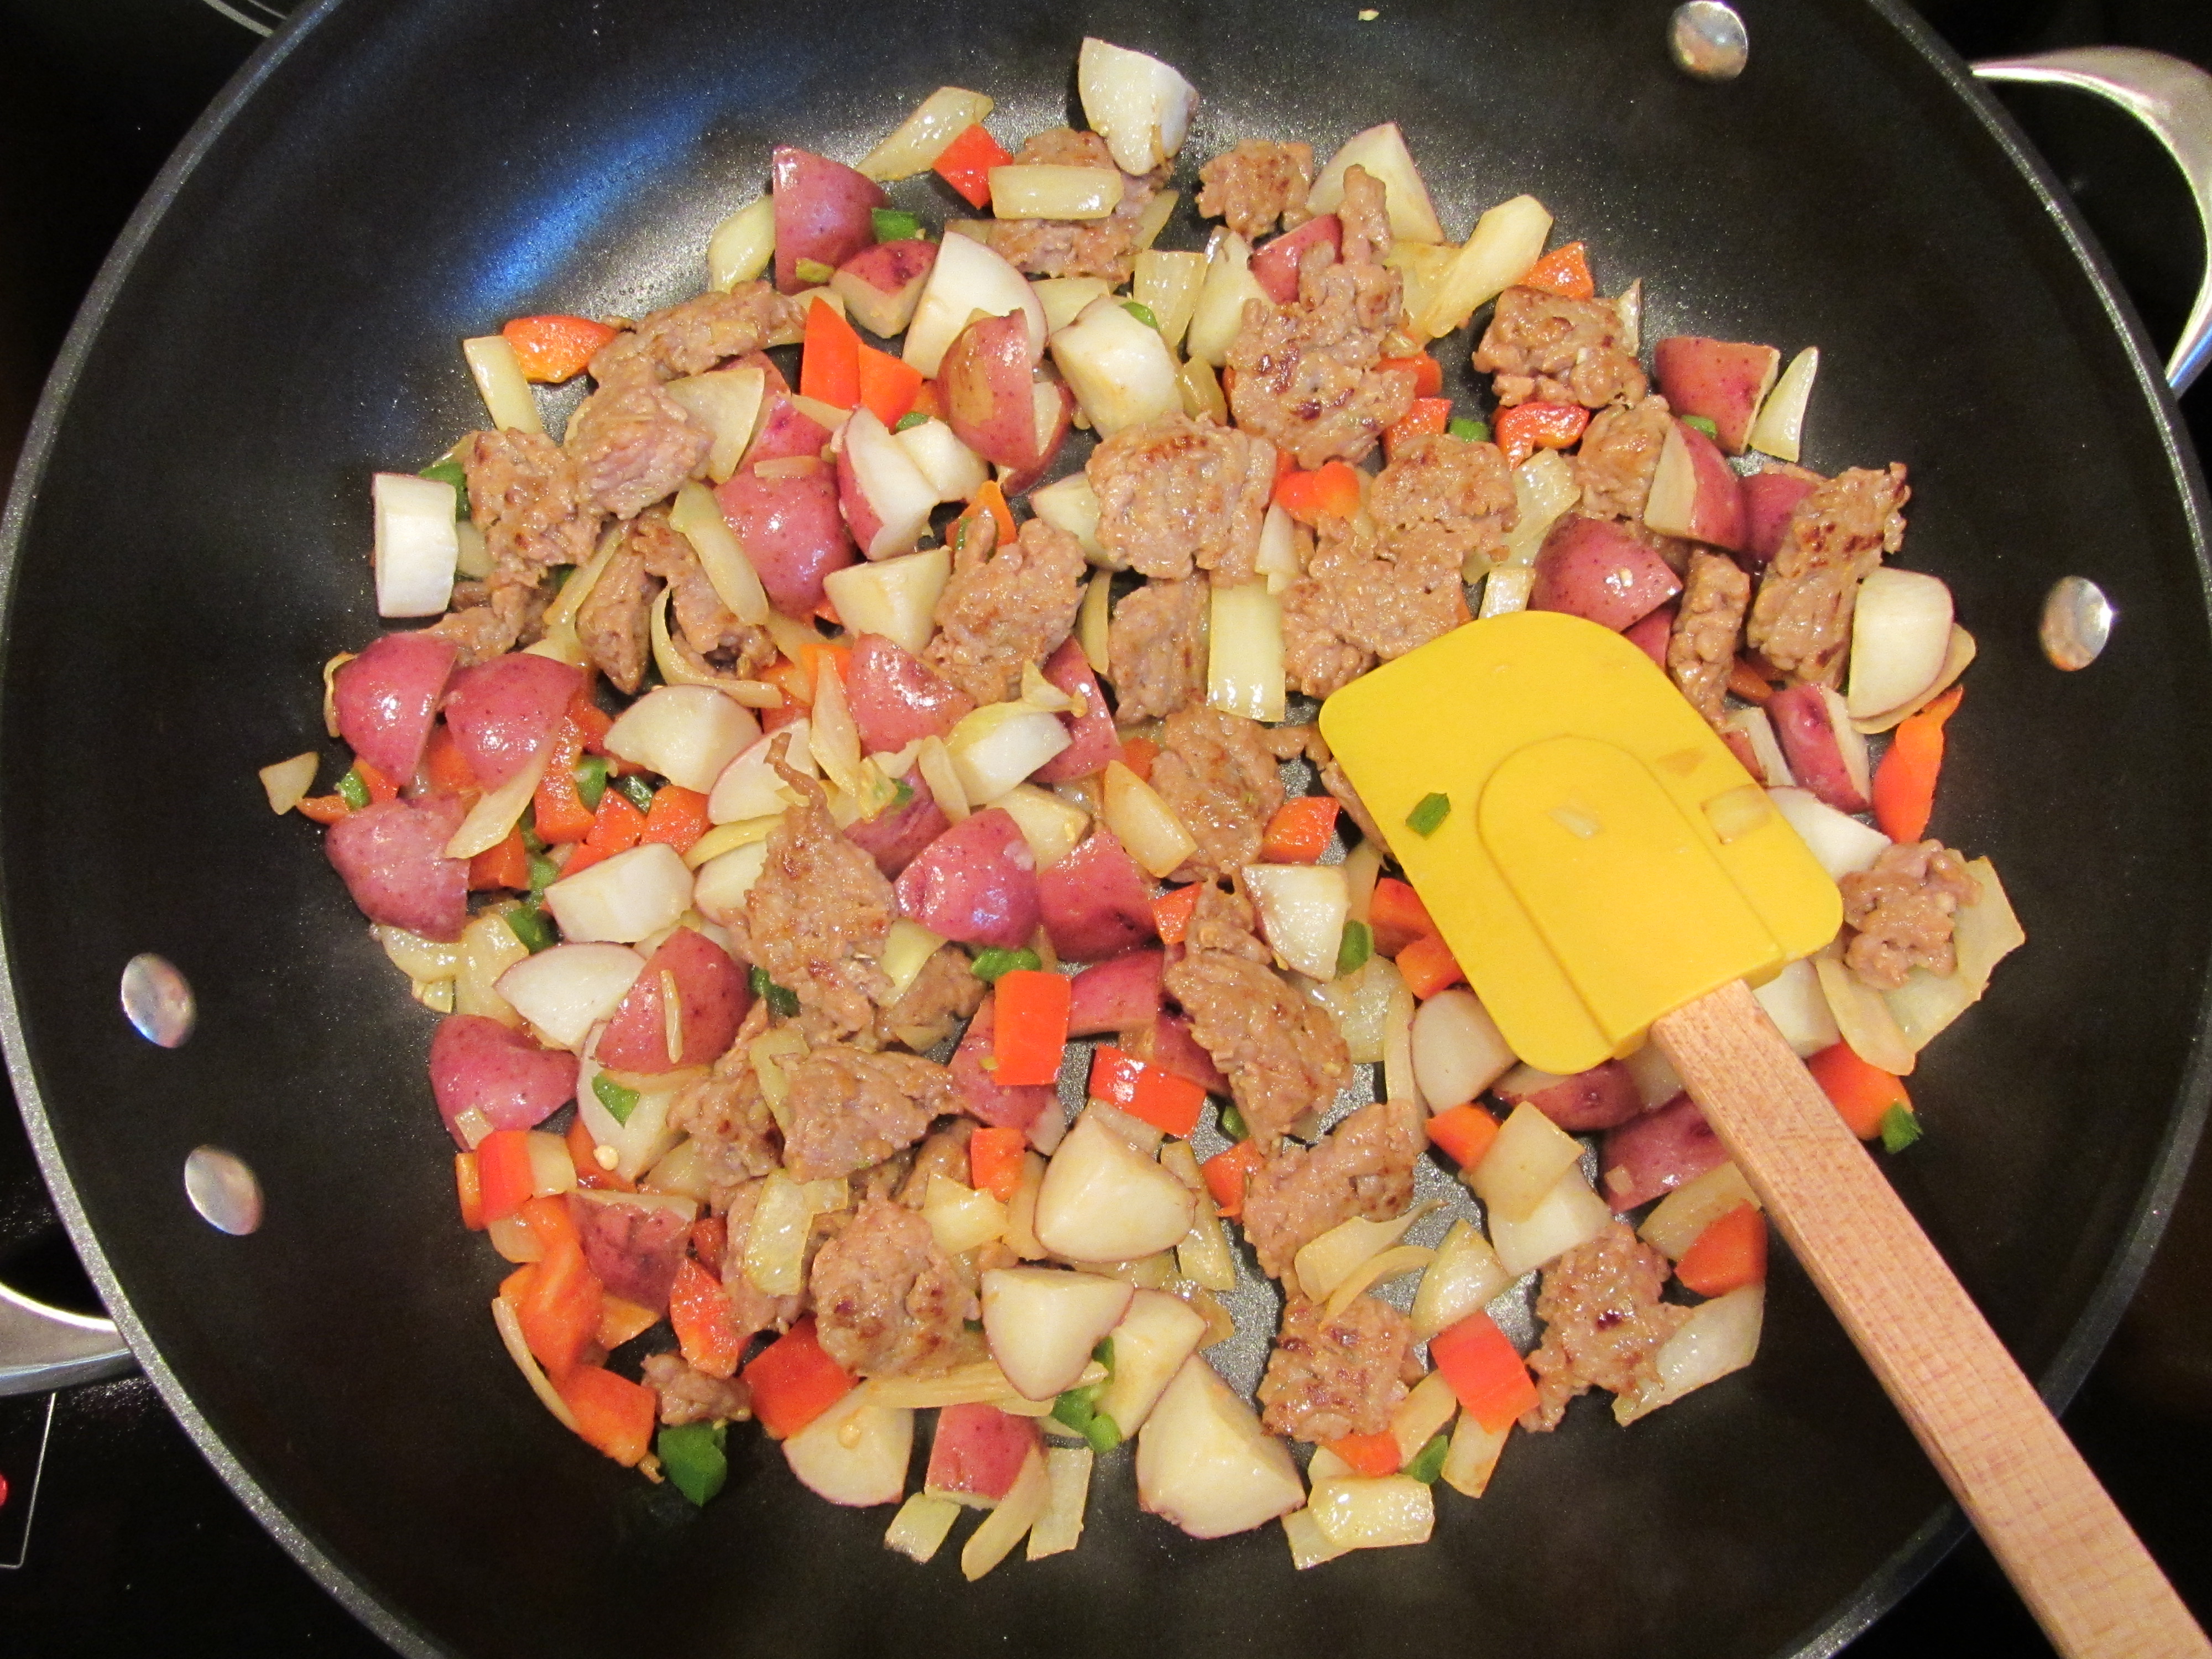
Potatoes added to hash.
Then, add a can of black beans, drained and rinsed, followed by a couple cups of the leftover corn bread pudding, cubed.

Black beans in the pan.
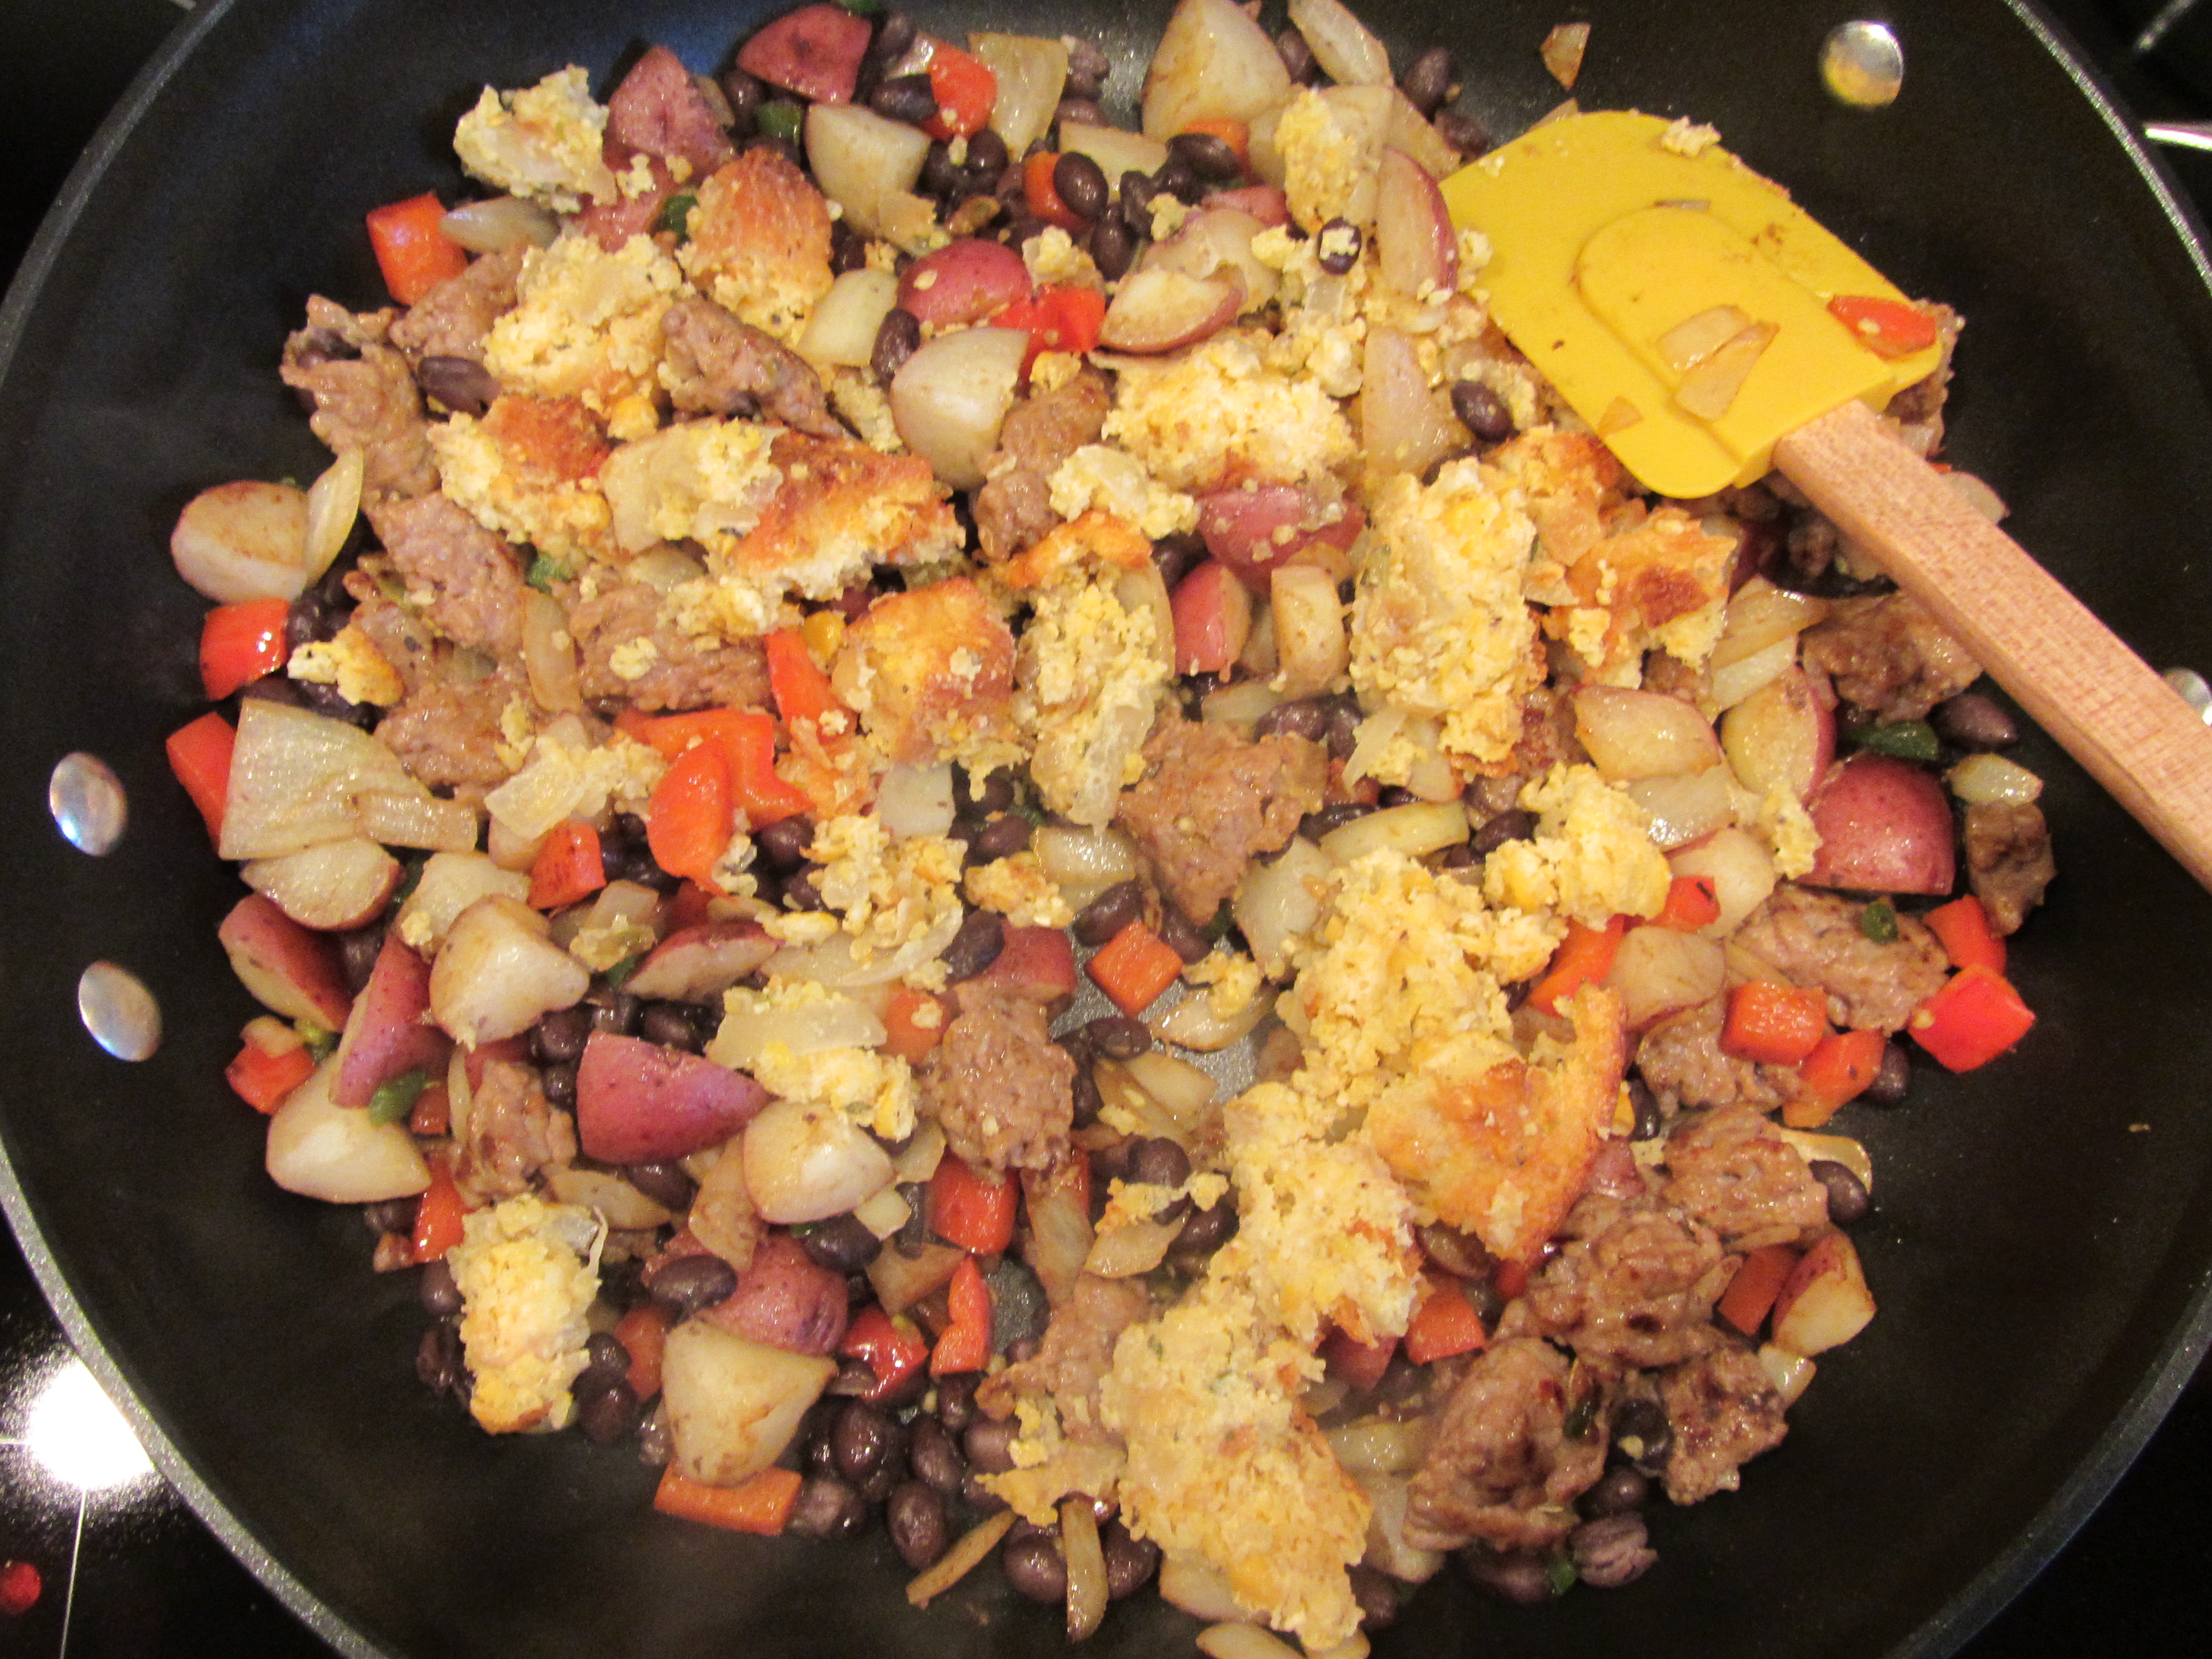
The addition of leftover corn bread pudding.
Stir everything and add a cup of cubed turkey meat.
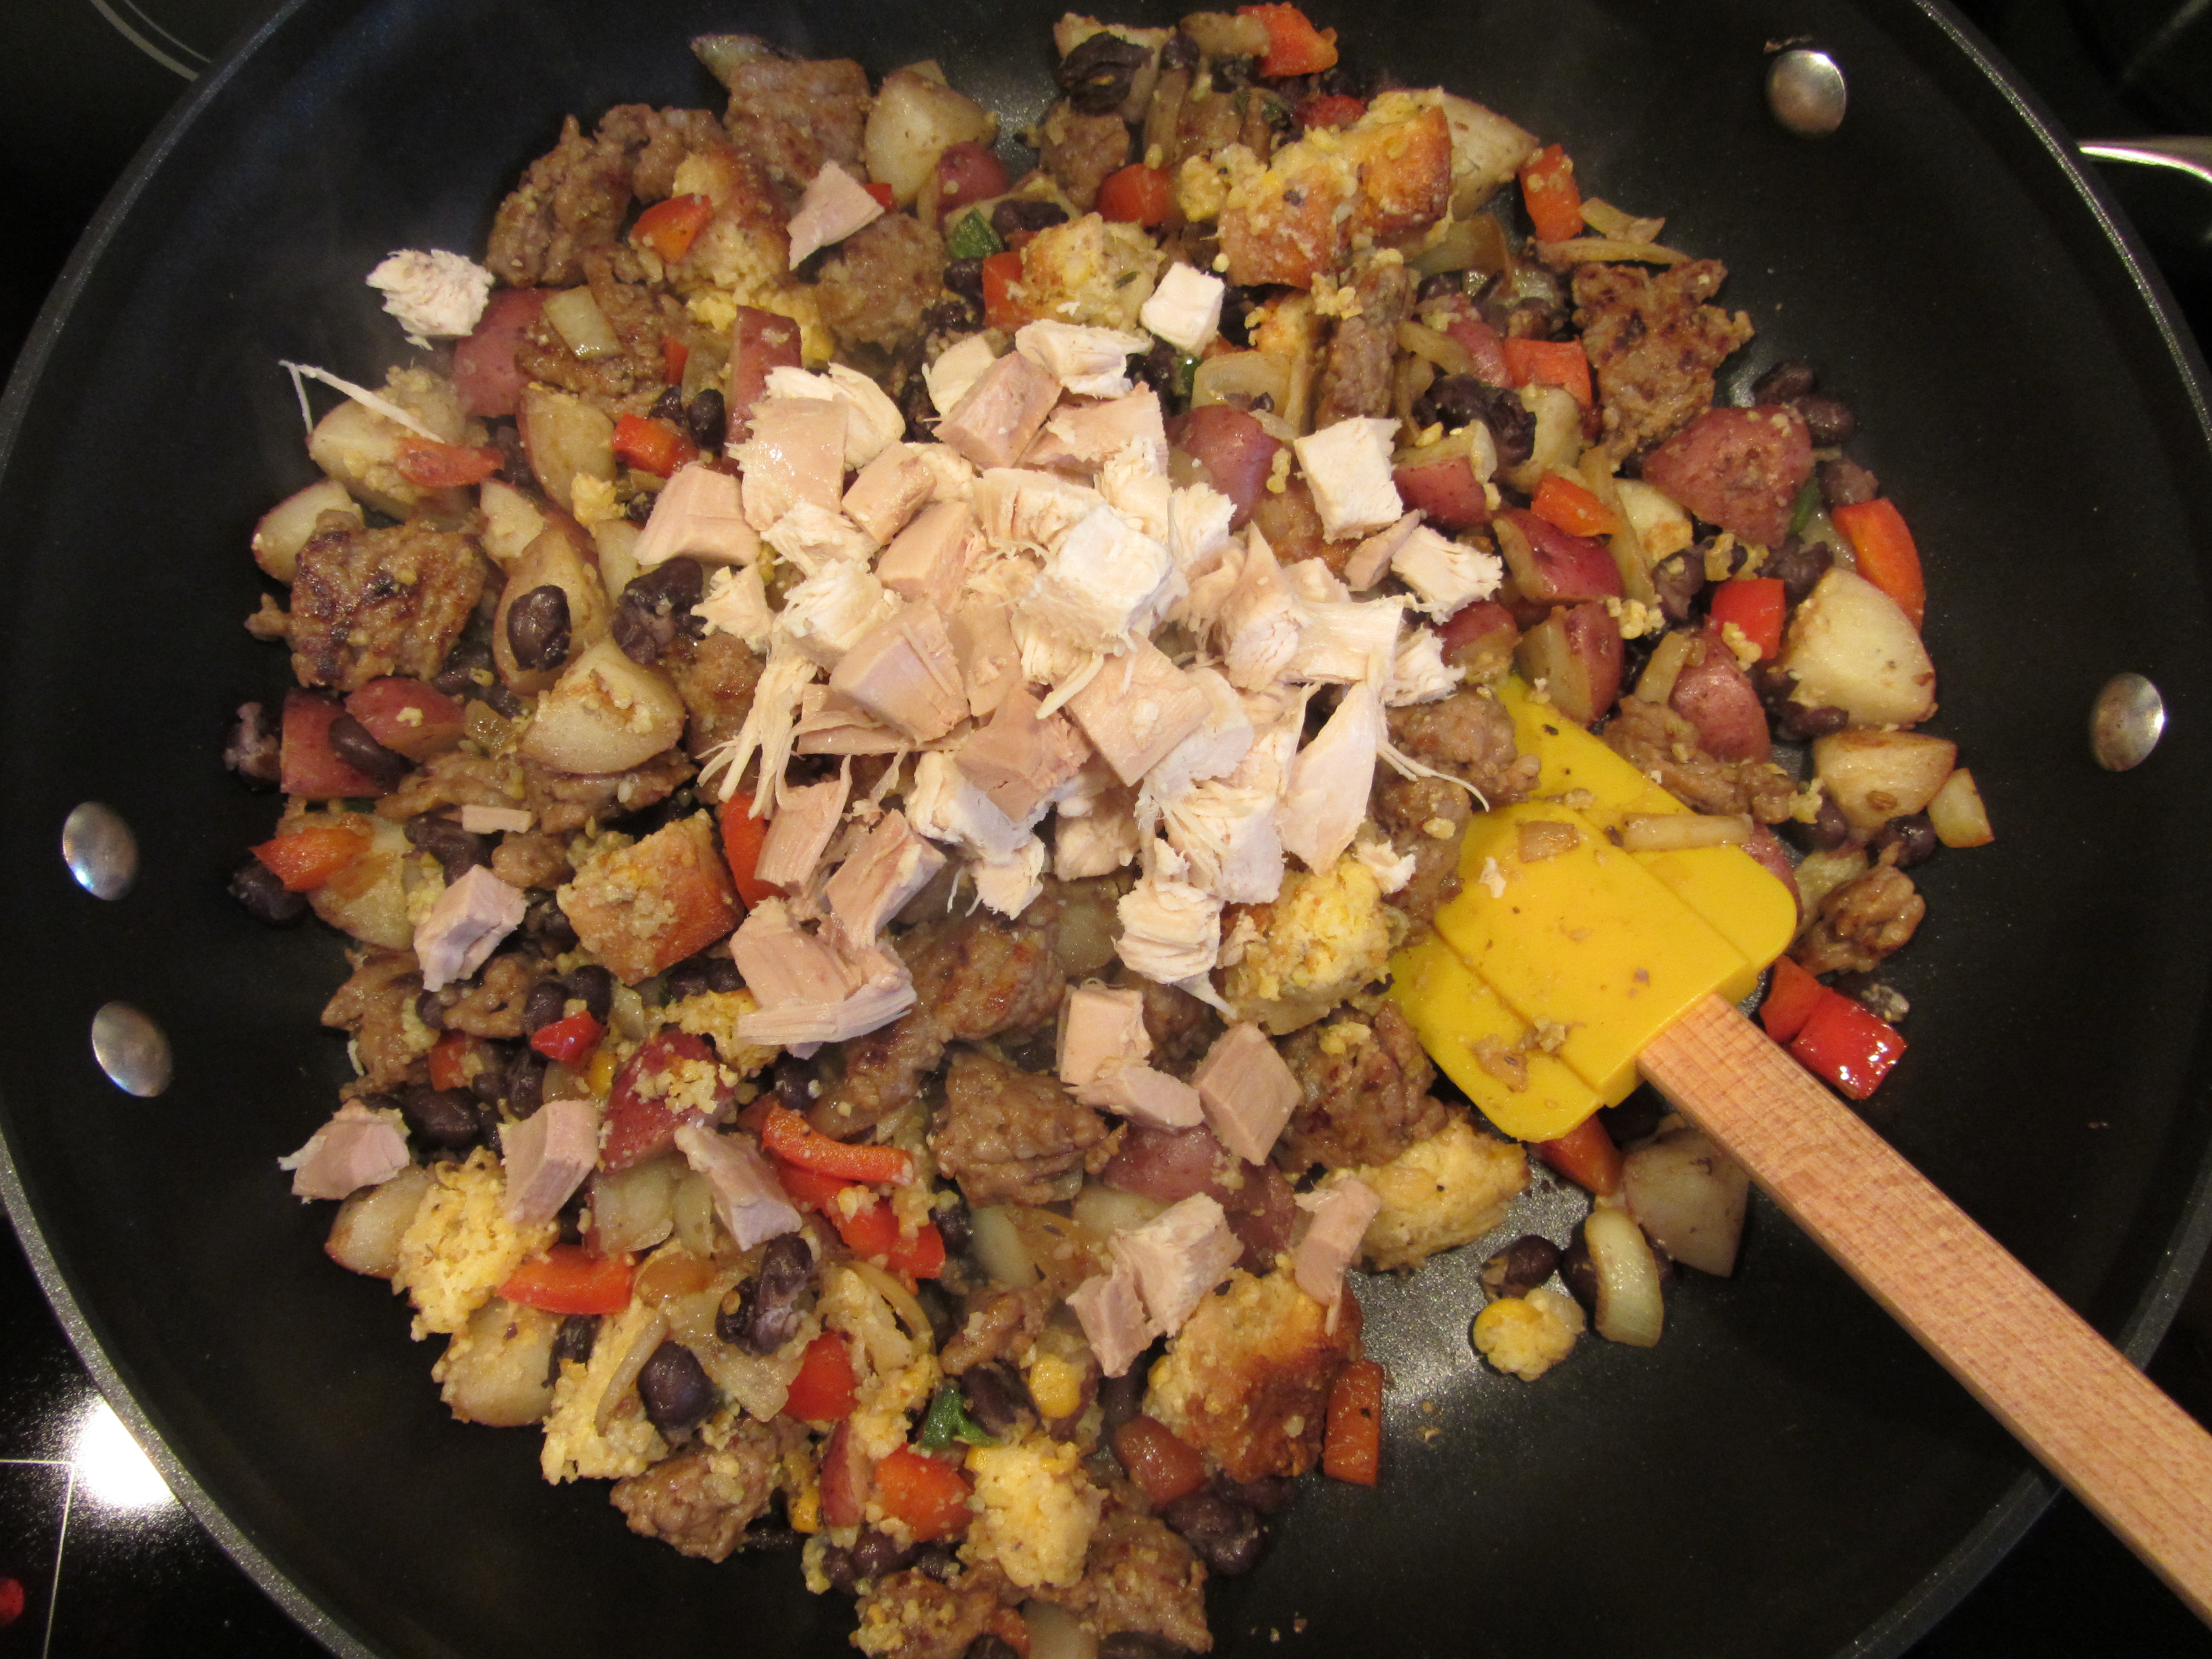
Leftover cubed turkey added.
Season the hash with some cayenne pepper, salt, and pepper.
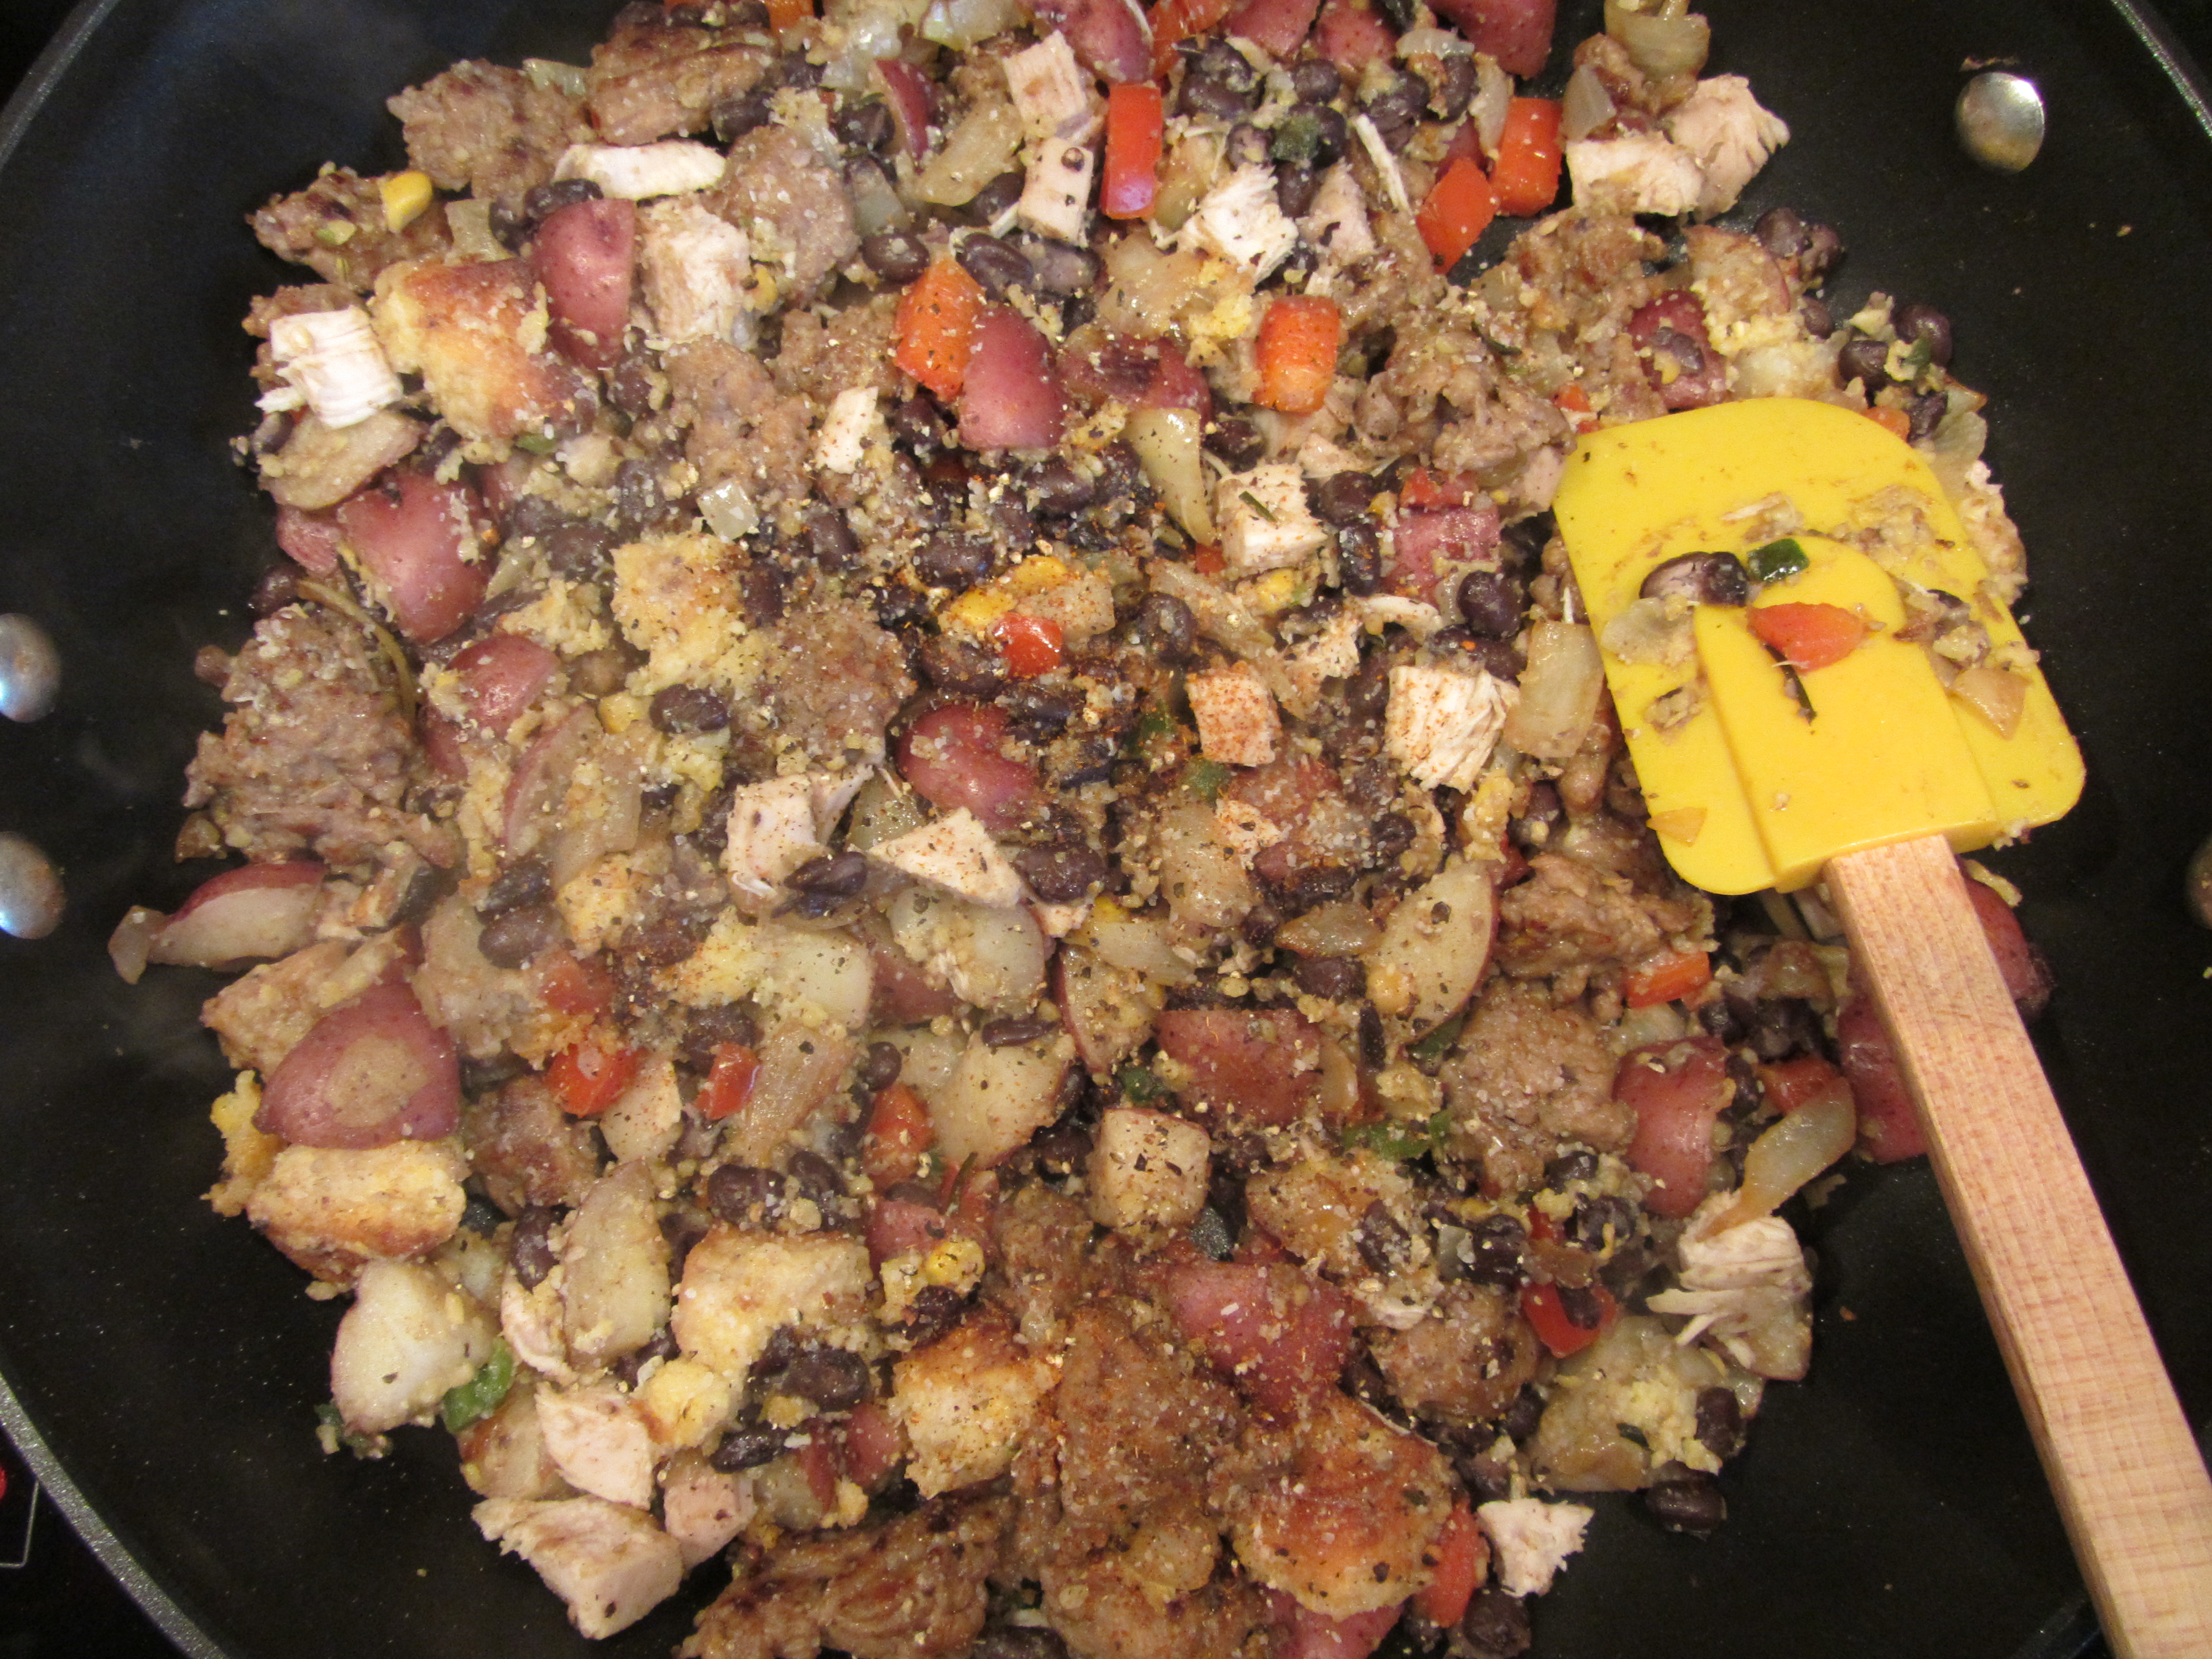
Seasonings added to the hash.
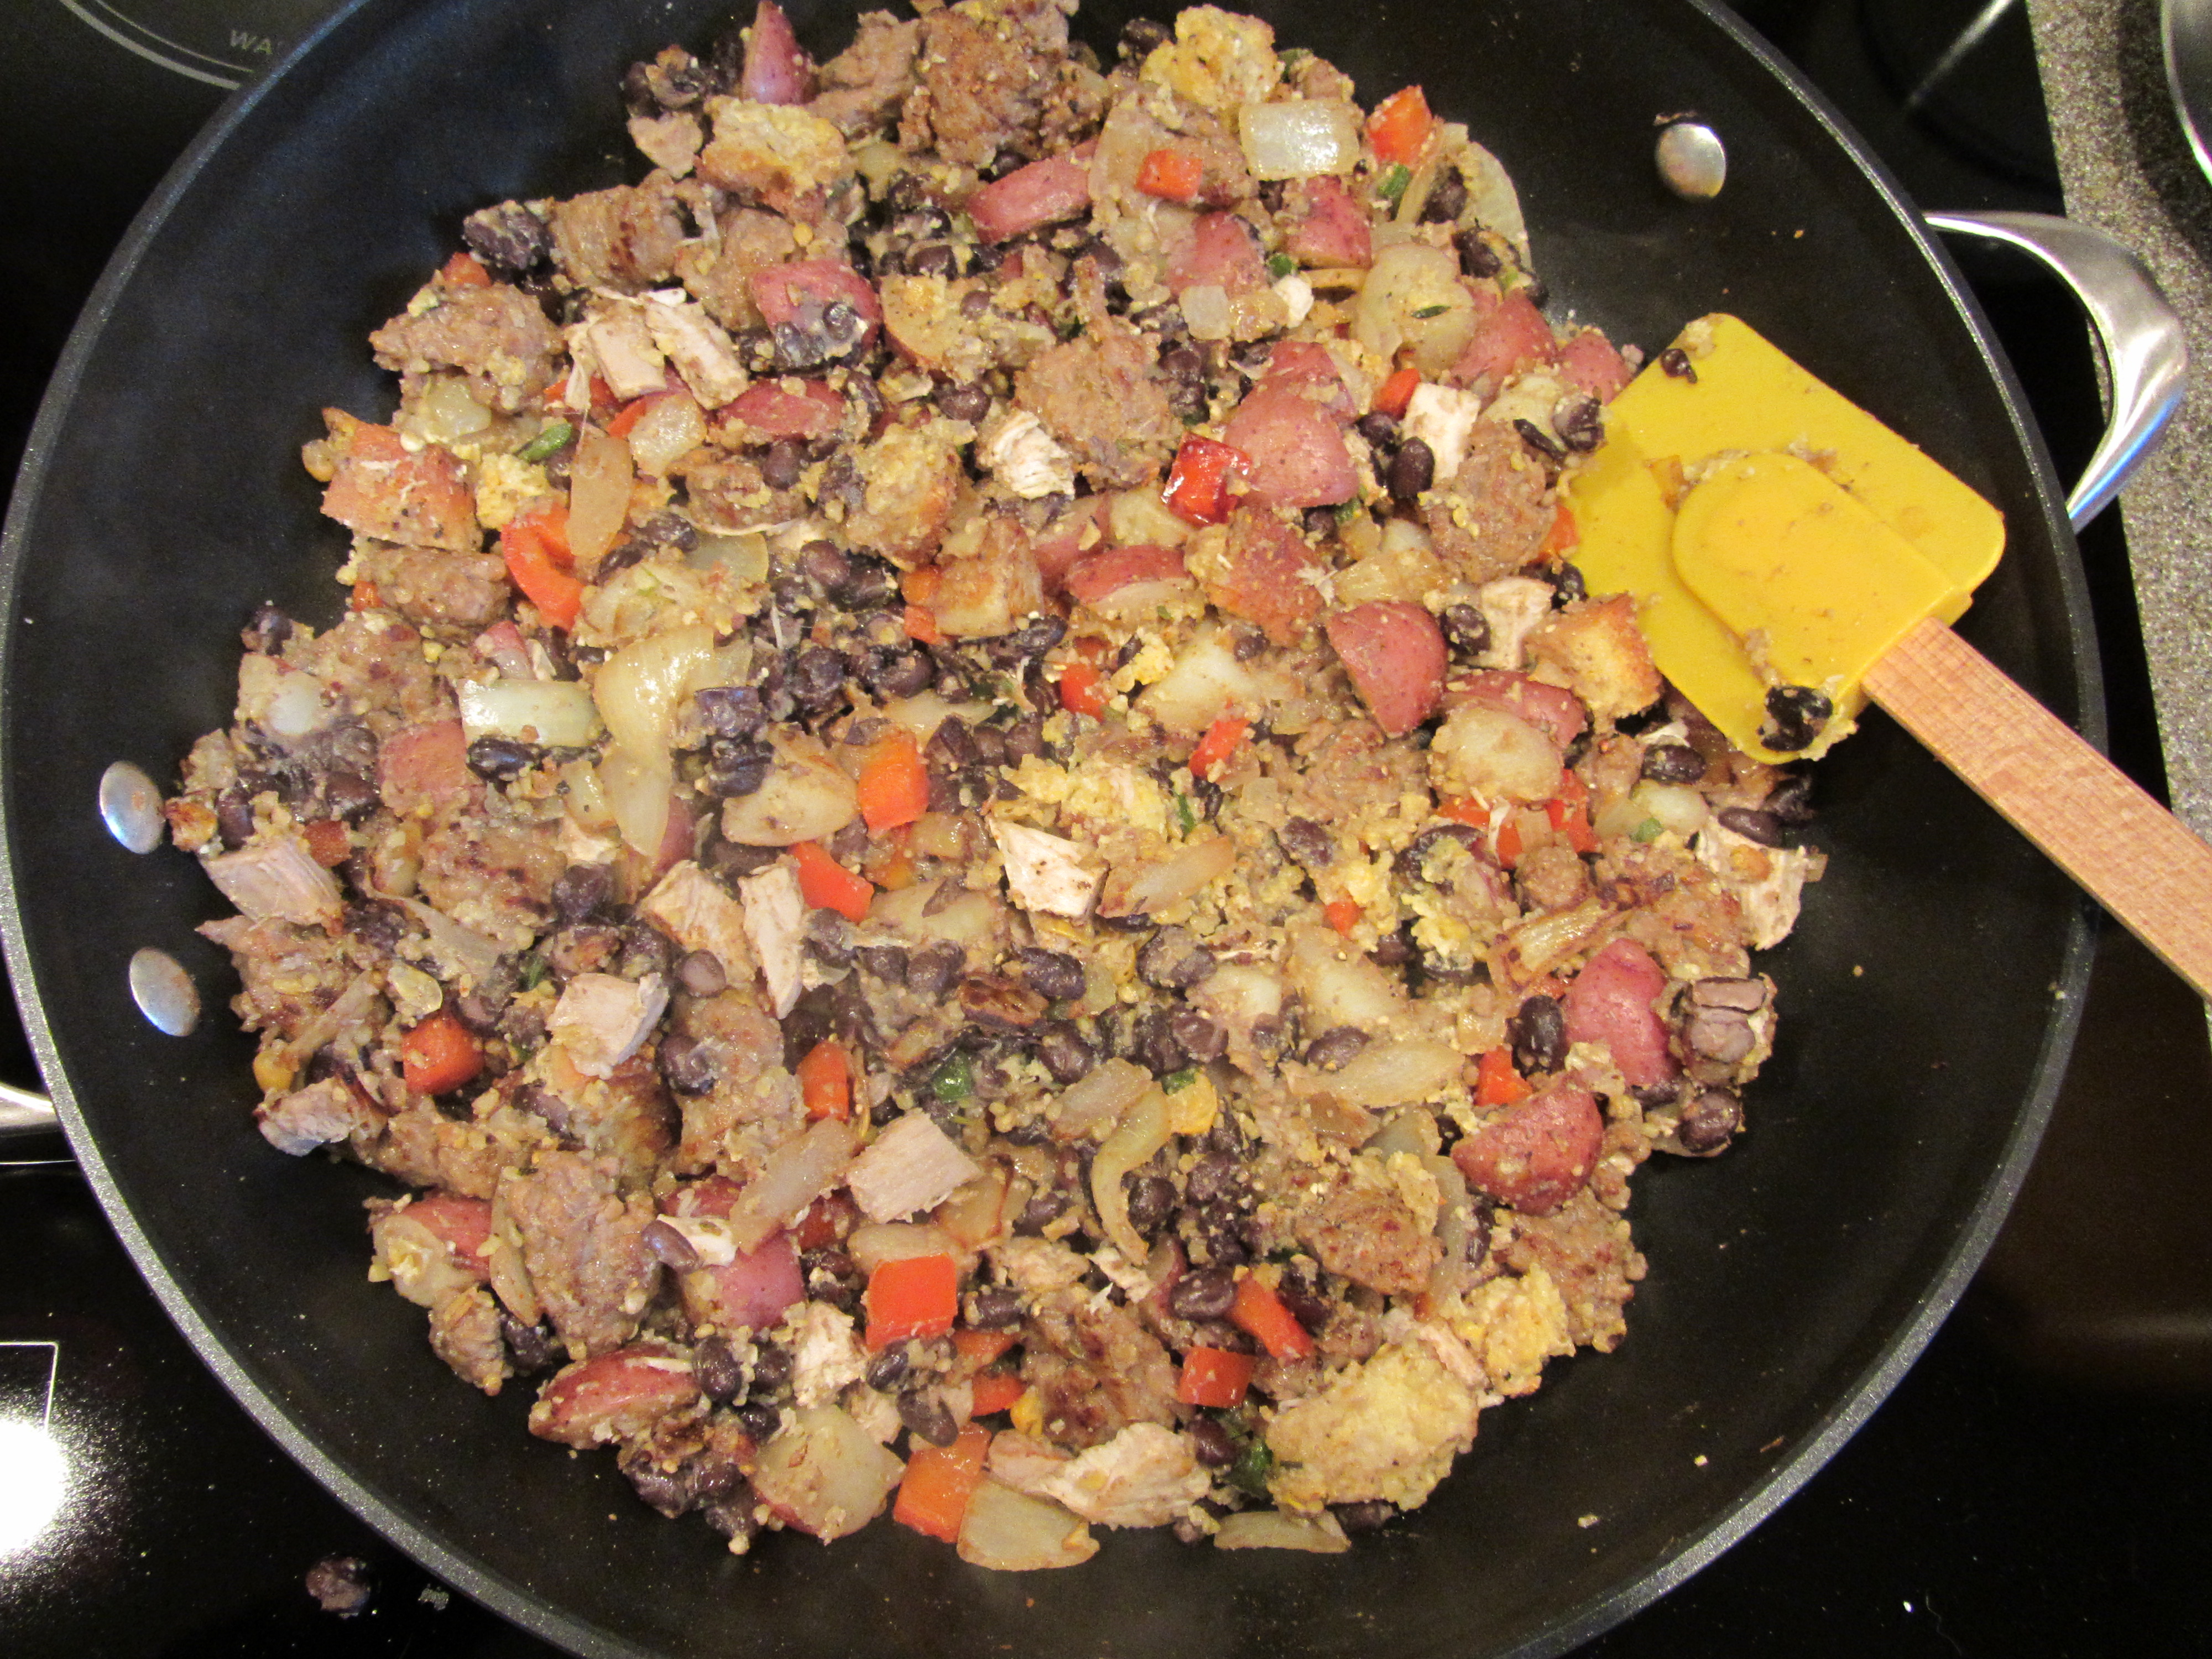
The completed hash.

Turkey Re-Hash.
Serve hot. This hash was good, but not mind-blowing. It really was a perfect leftover recipe, as you could easily make this your own, adding whatever you have in the house. We rarely eat hot breakfasts during the week, so that was a treat in itself. The hash had a nice medley of textures and a pretty good level of heat, which we really like. This is a recipe I wouldn’t seek out, but I will not be surprised if I end up making a version of this again in the future with the leftovers we have on hand. Next time, though, I will likely make Alton’s mentioned additions of a couple of eggs and some cheese. Even better!
Bird to the Last Drop
Alton’s last Thanksgiving leftover recipe is for turkey soup. Allow a few hours for making this soup, as it will be better if it has longer to cook.

Ingredients for turkey soup: vegetable broth, turkey carcass, frozen vegetables, rice, cubed turkey, Old Bay, thyme, salt, and pepper.
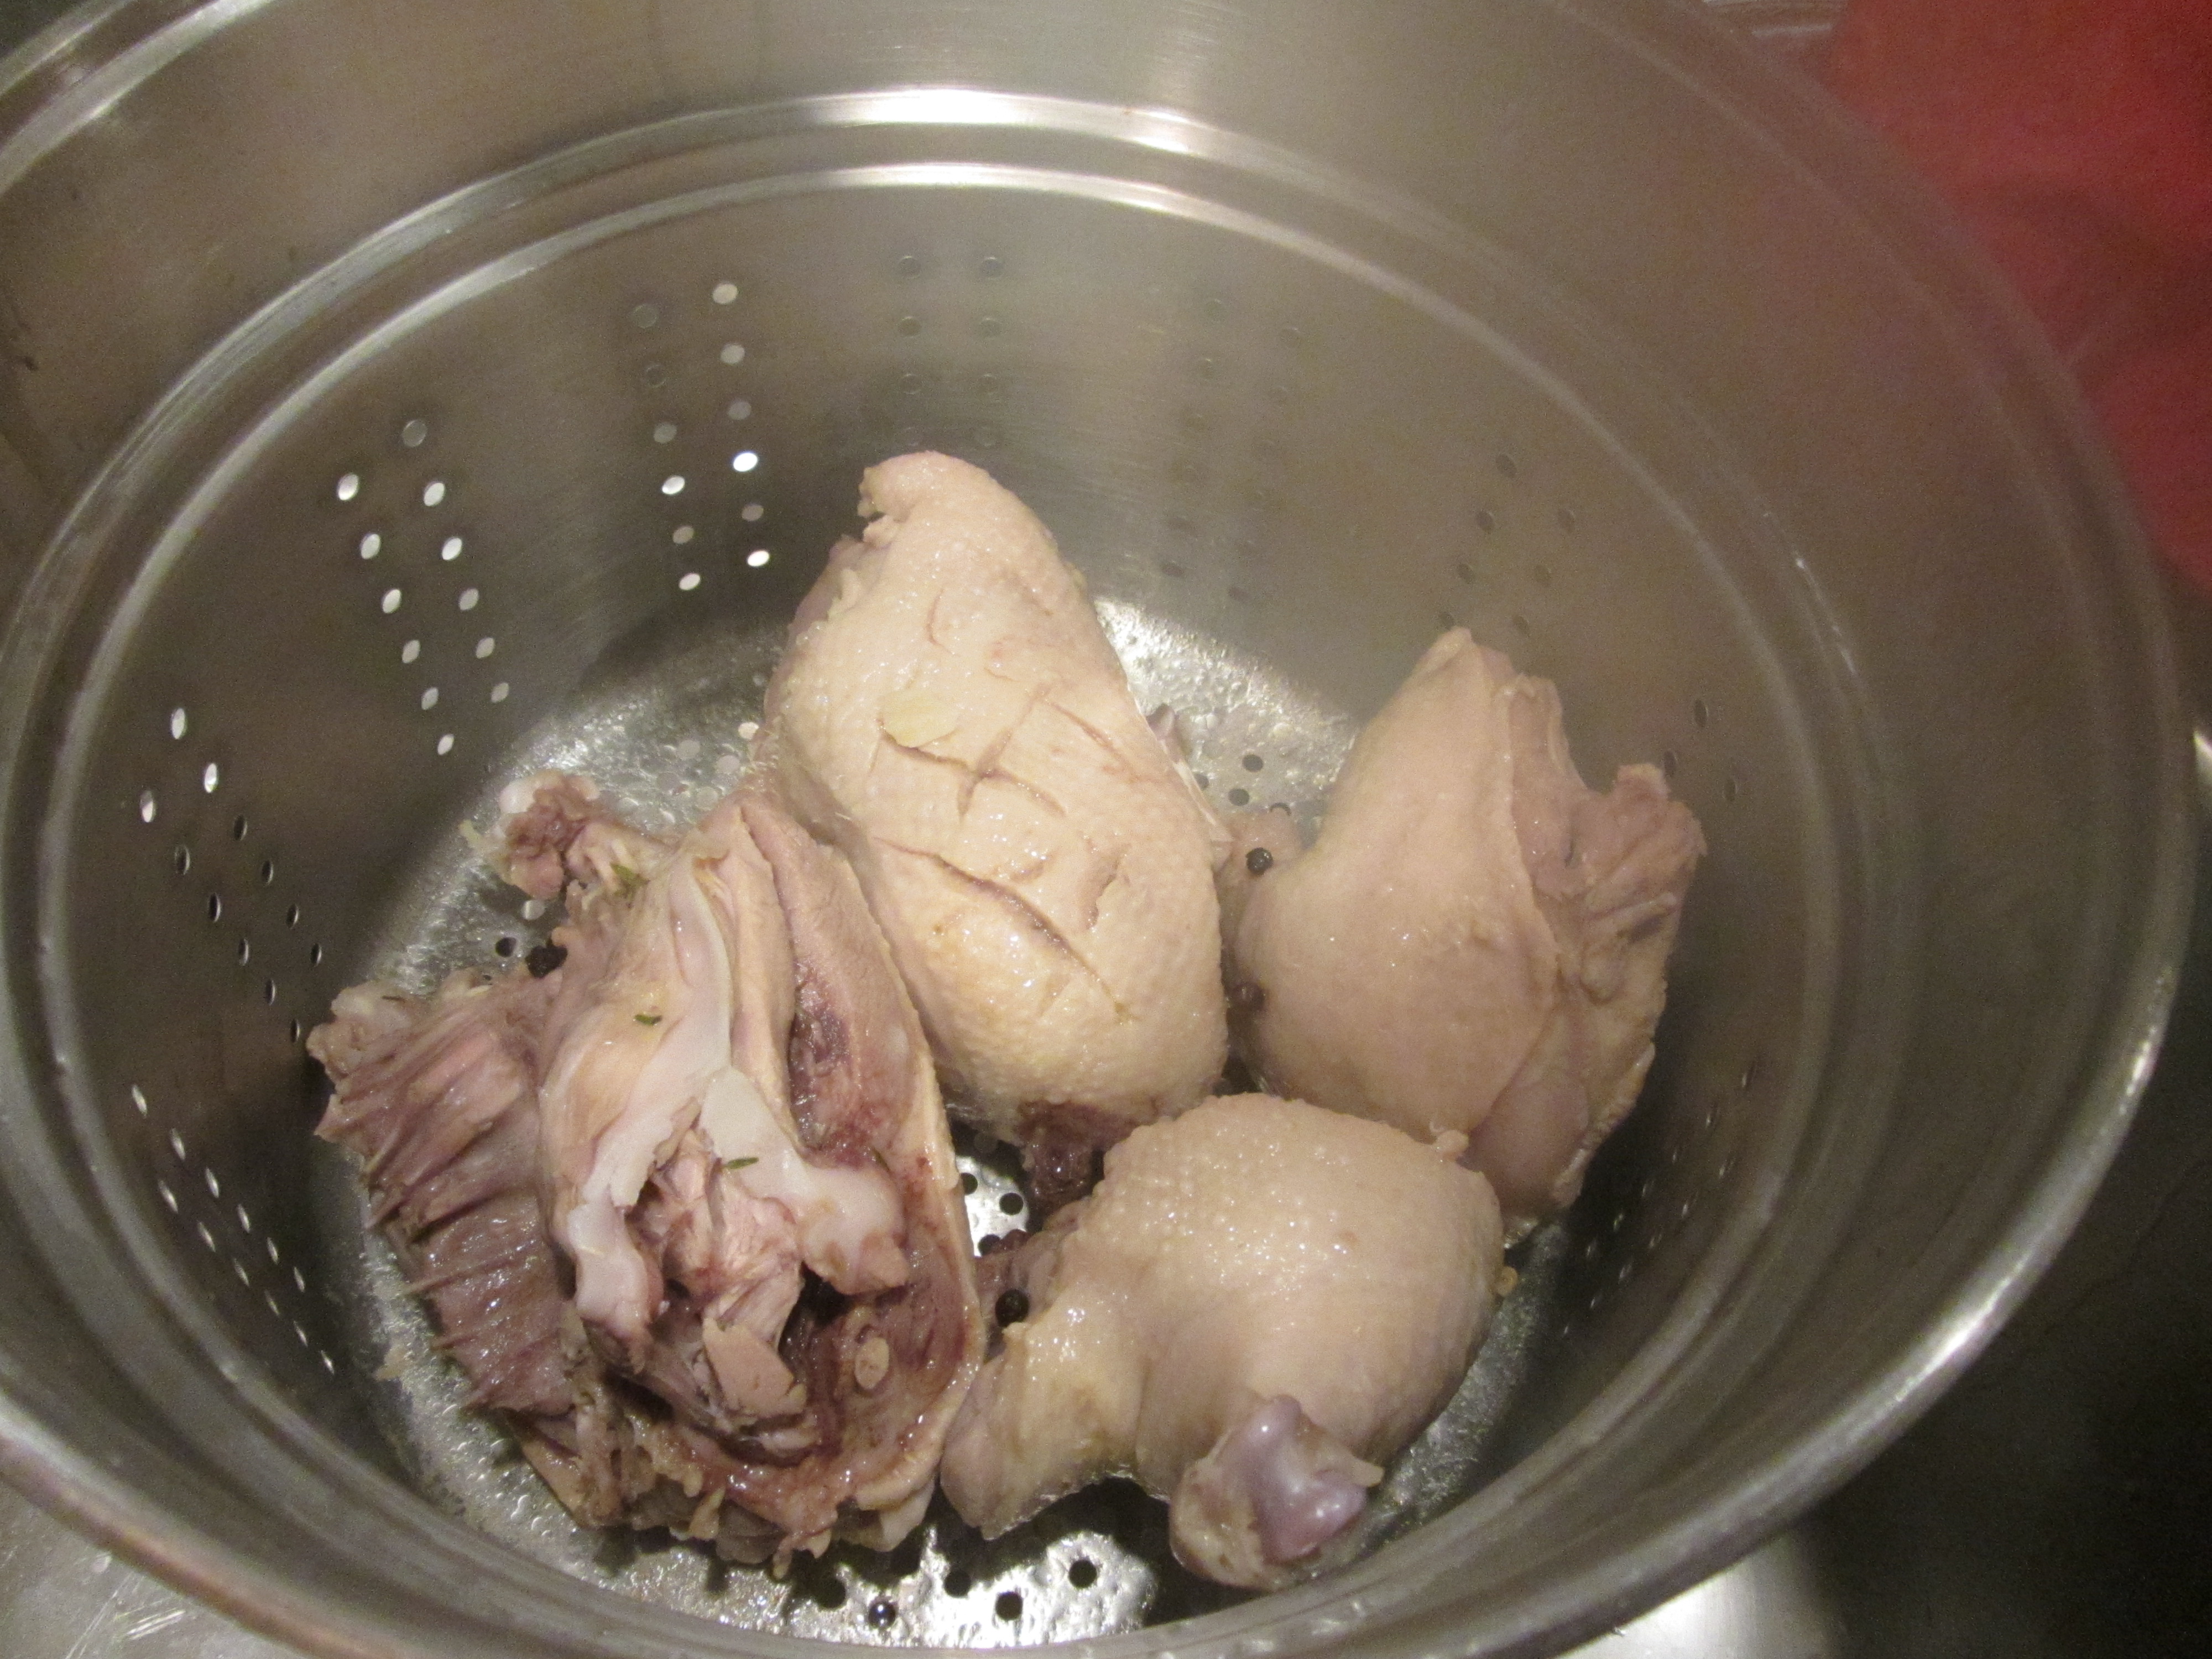
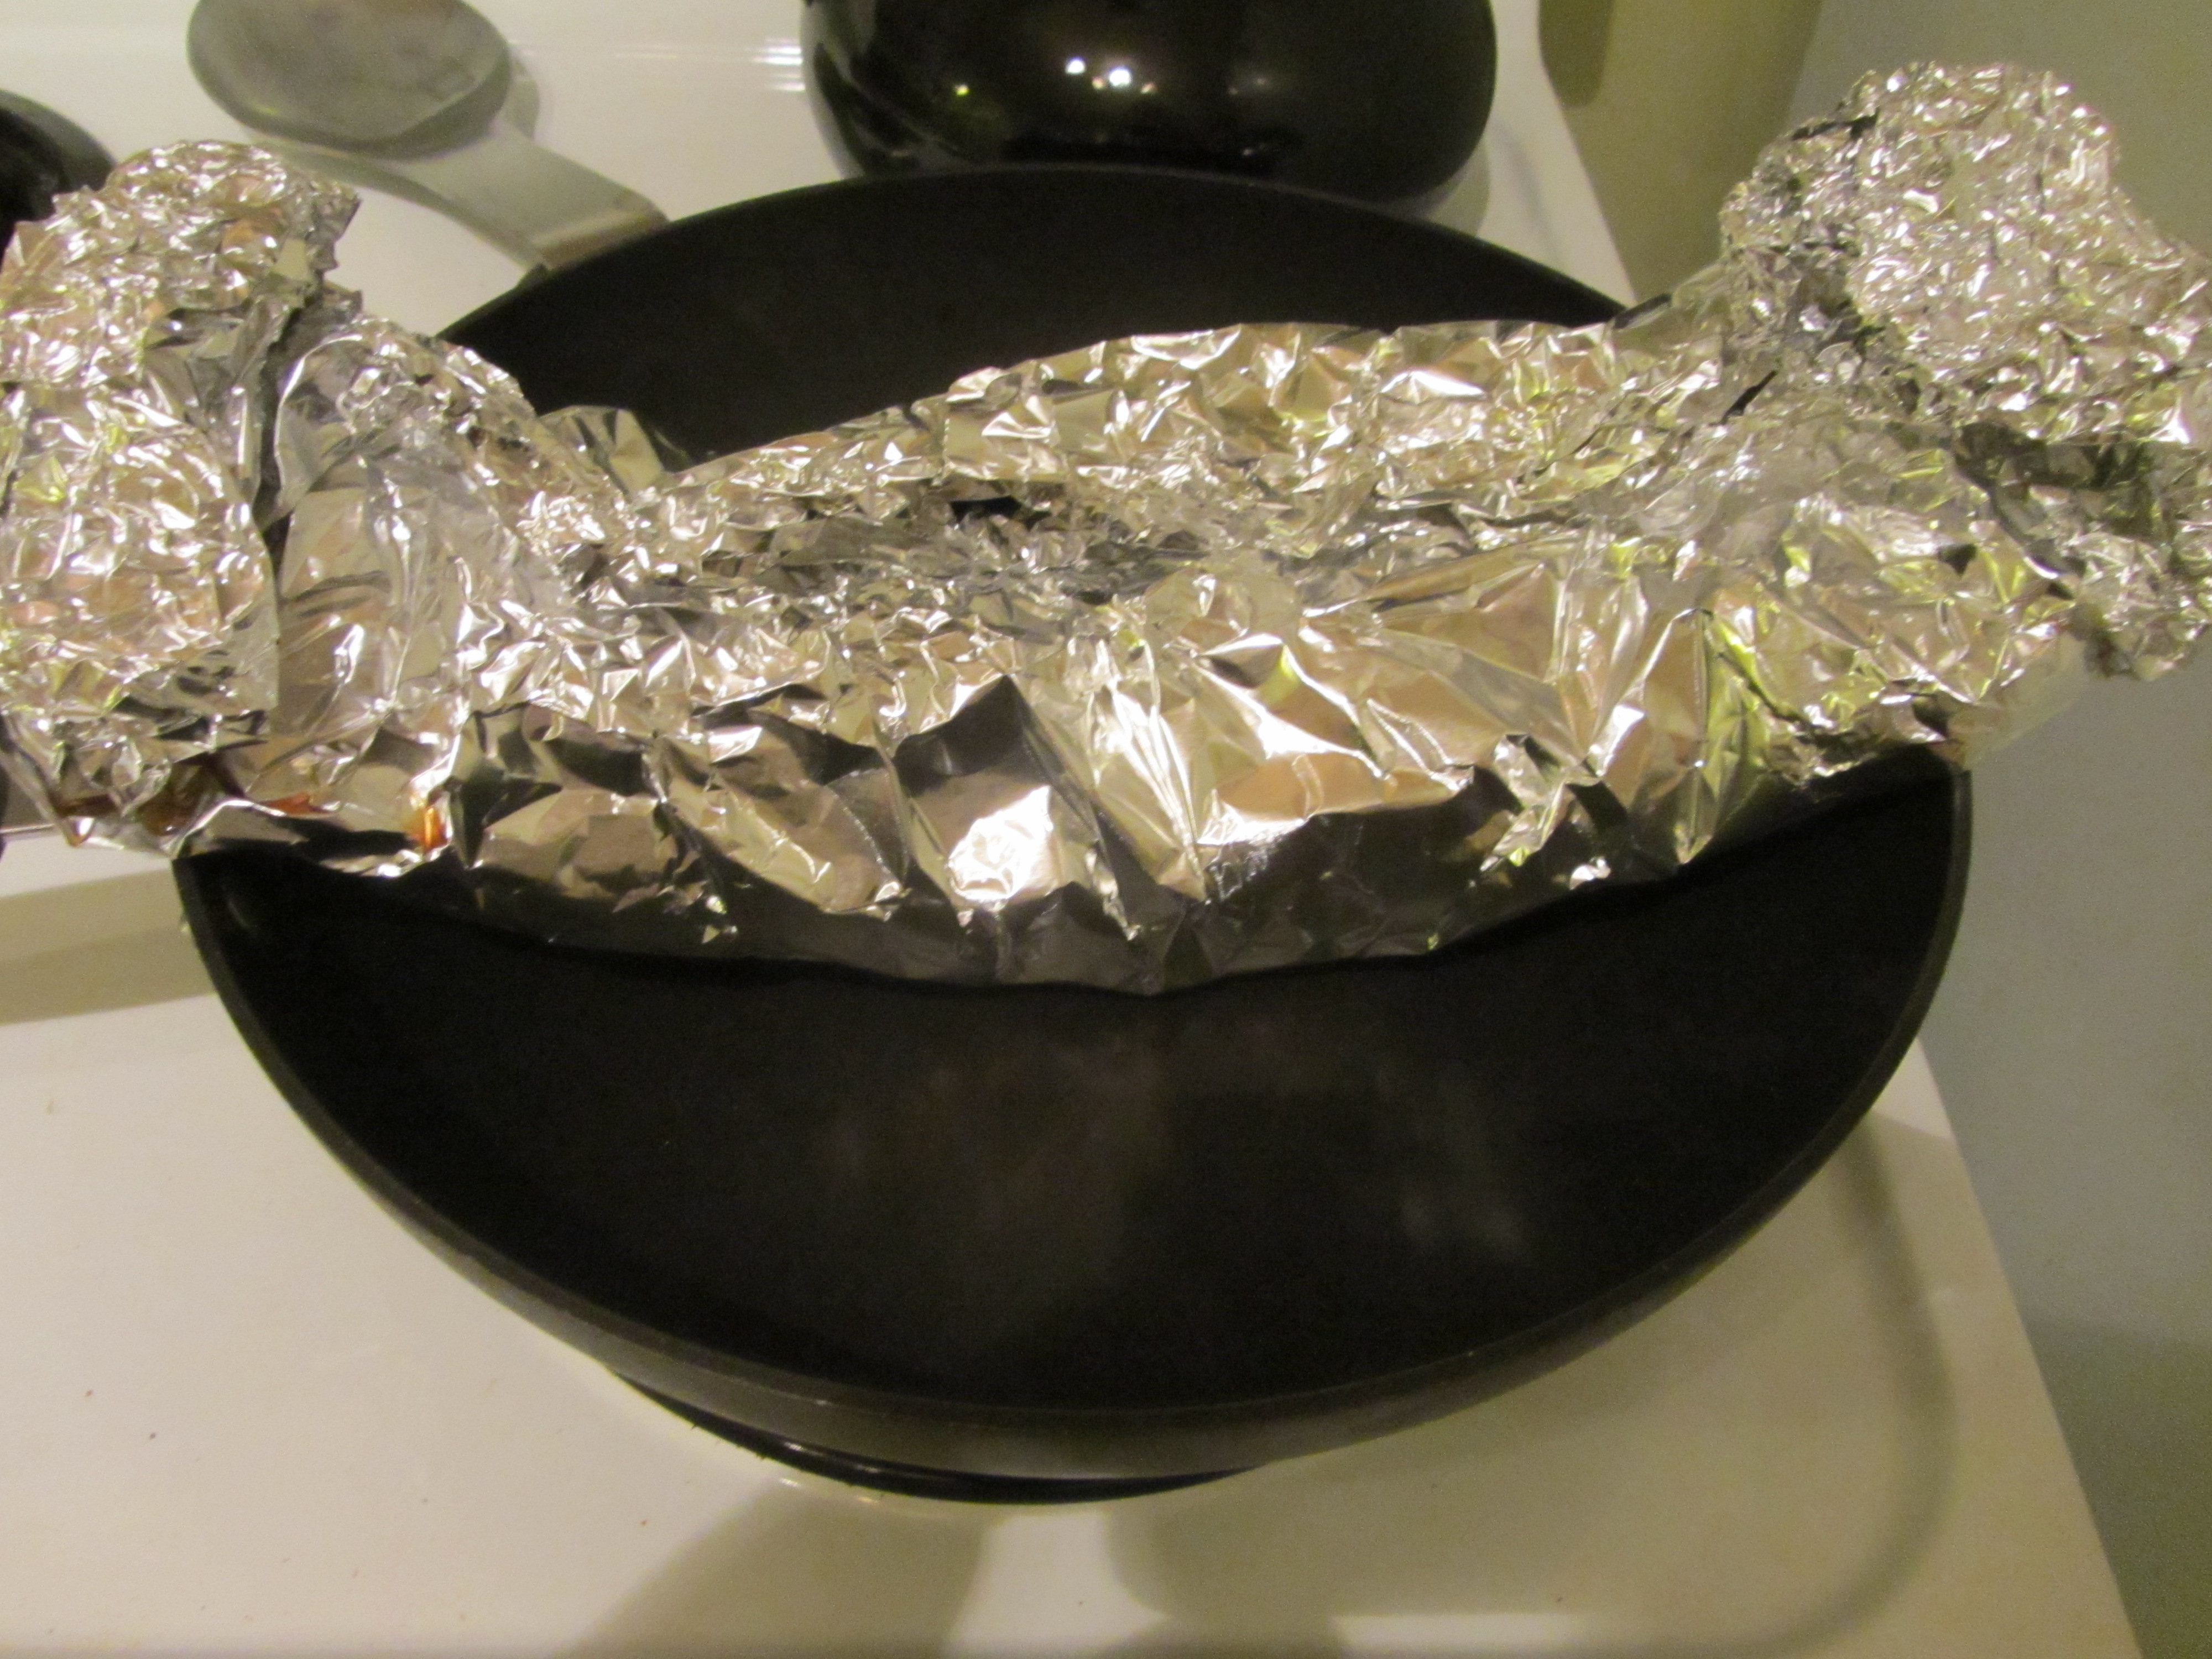
To make it, combine two quarts of vegetable broth with the remains of your turkey carcass.
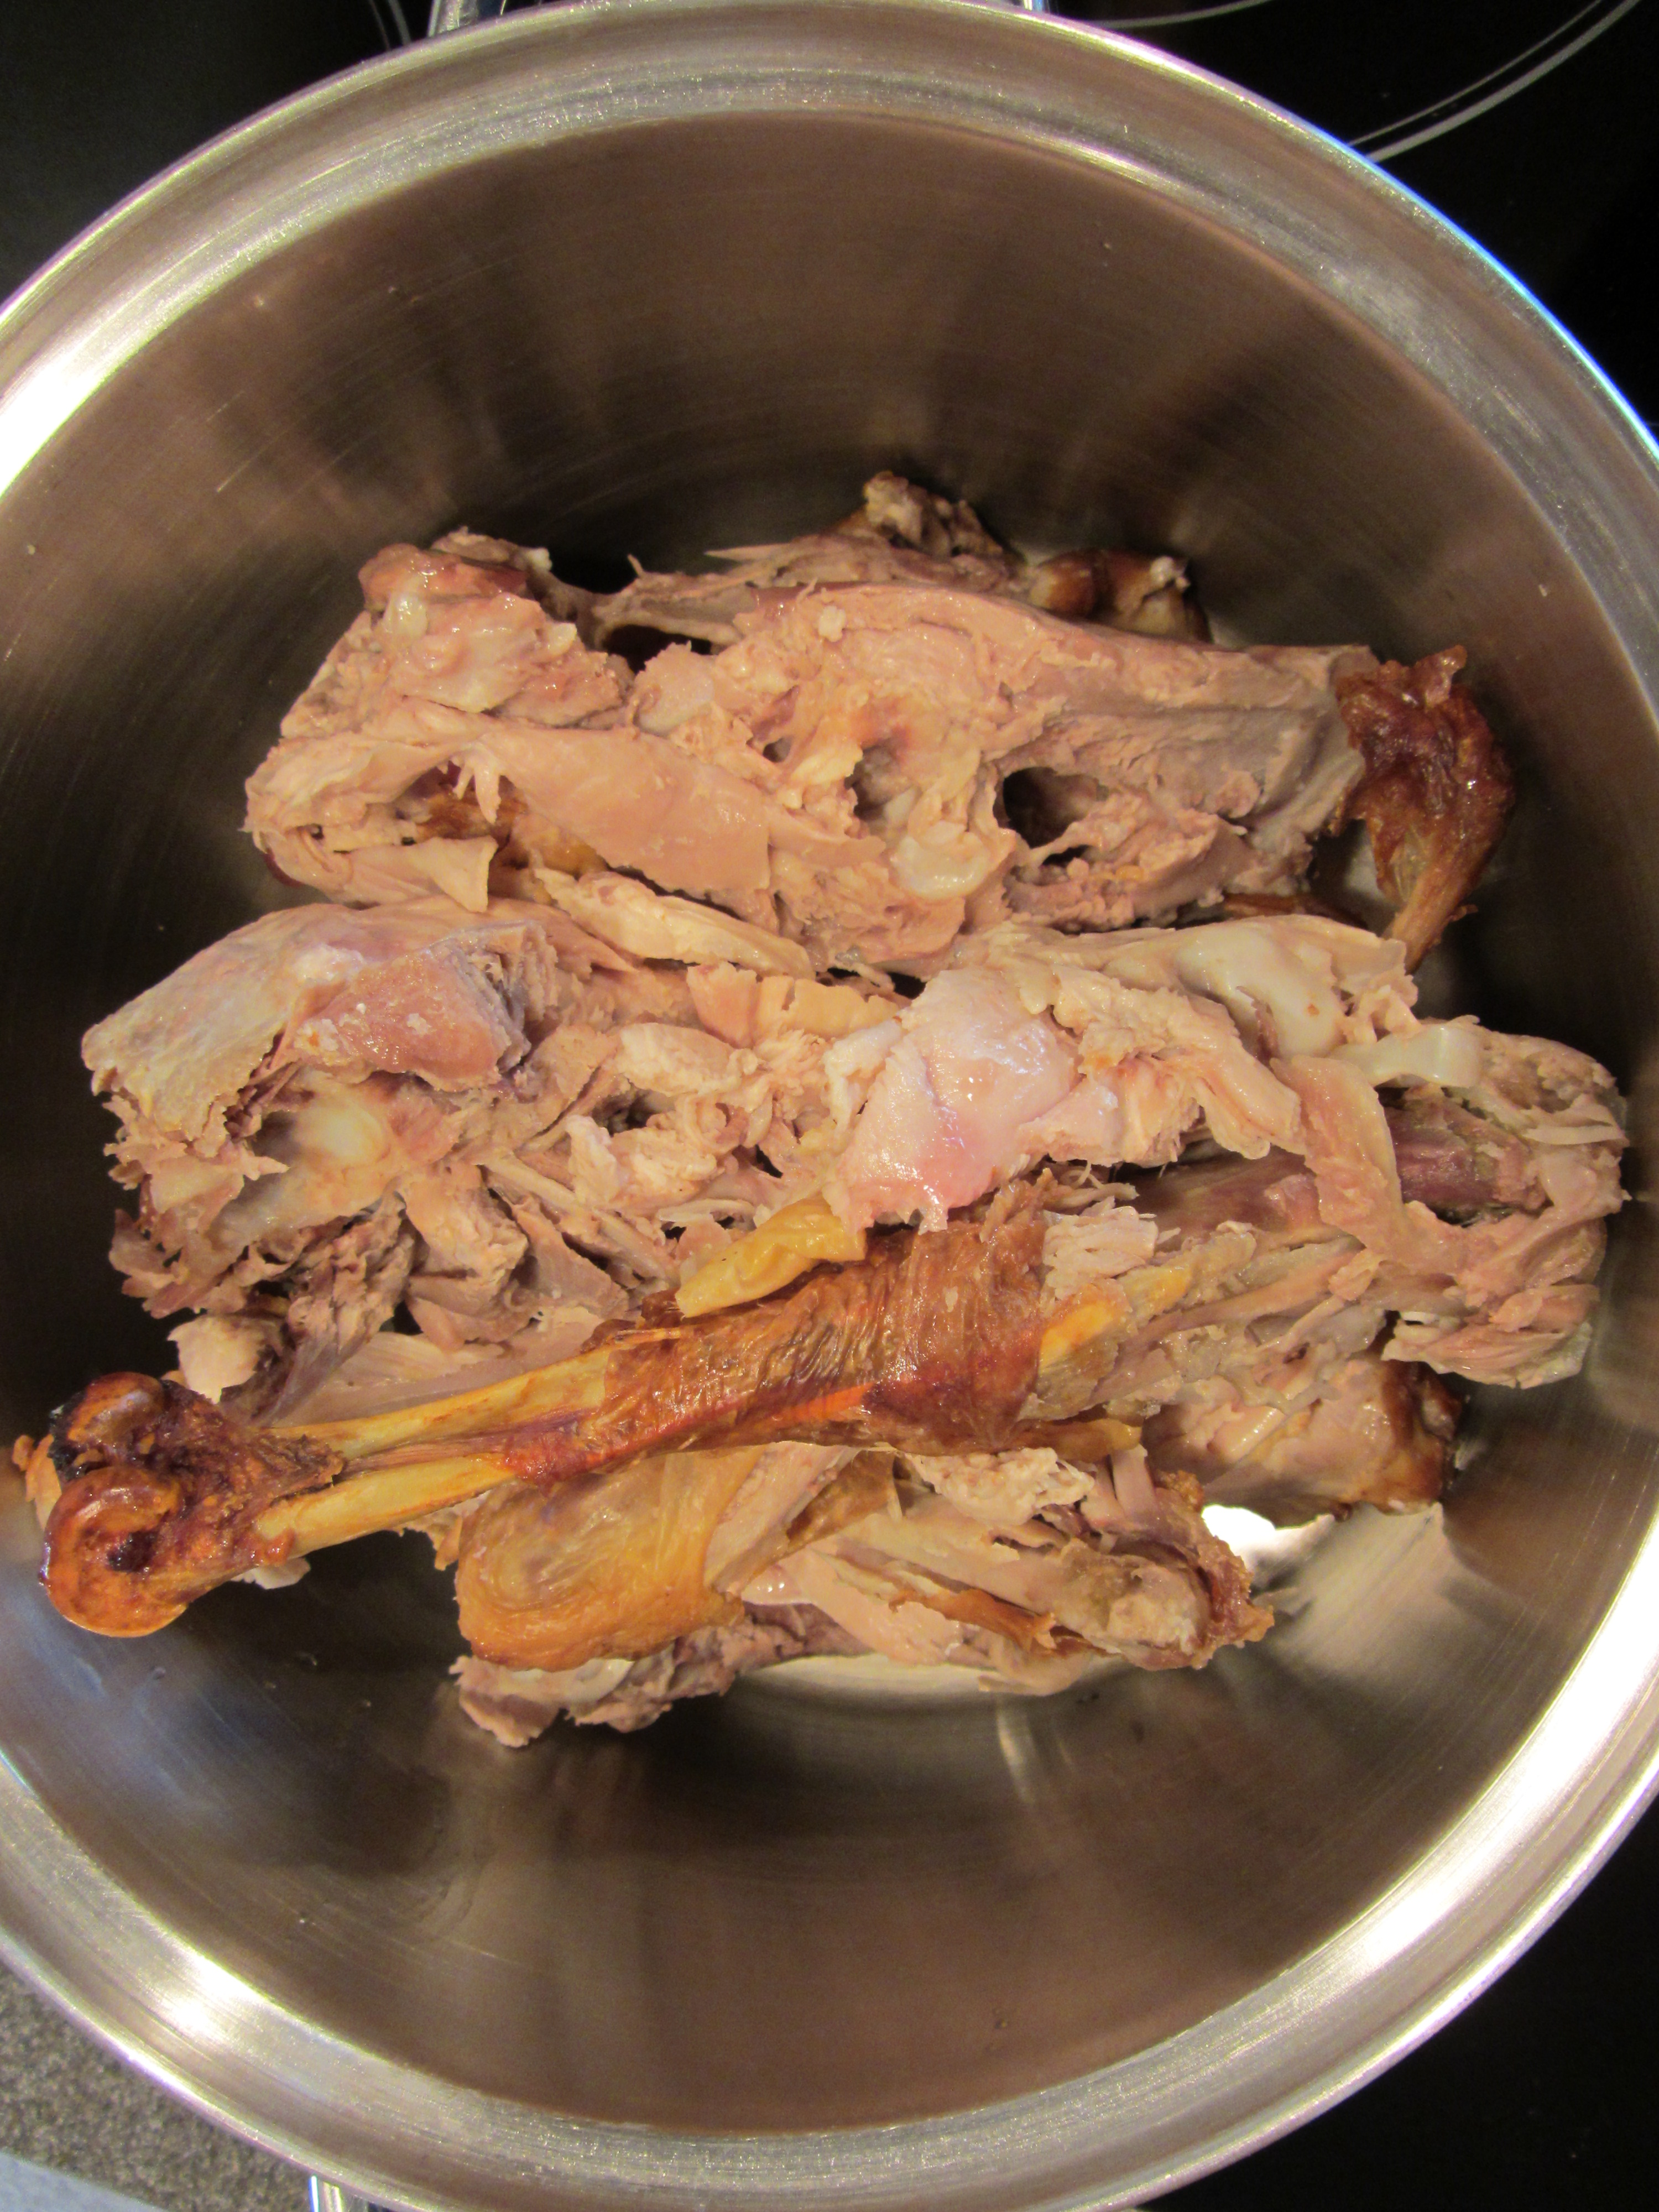
Broken down turkey carcass.

Turkey carcass and vegetable broth.
Cover this and simmer it over low heat. While the online recipe tells you to cook this for an hour, it will only be better if you can cook it longer. I simmered my bones for 2.5 hours.

Turkey carcass after simmering for 2.5 hours.
After a good simmer, add 10 ounces of frozen vegetables (I added 12 oz), 1/2 C of rice, 2 C of cubed turkey meat, 1 t of Old Bay Seasoning, 2 t of dried thyme, salt, and pepper.
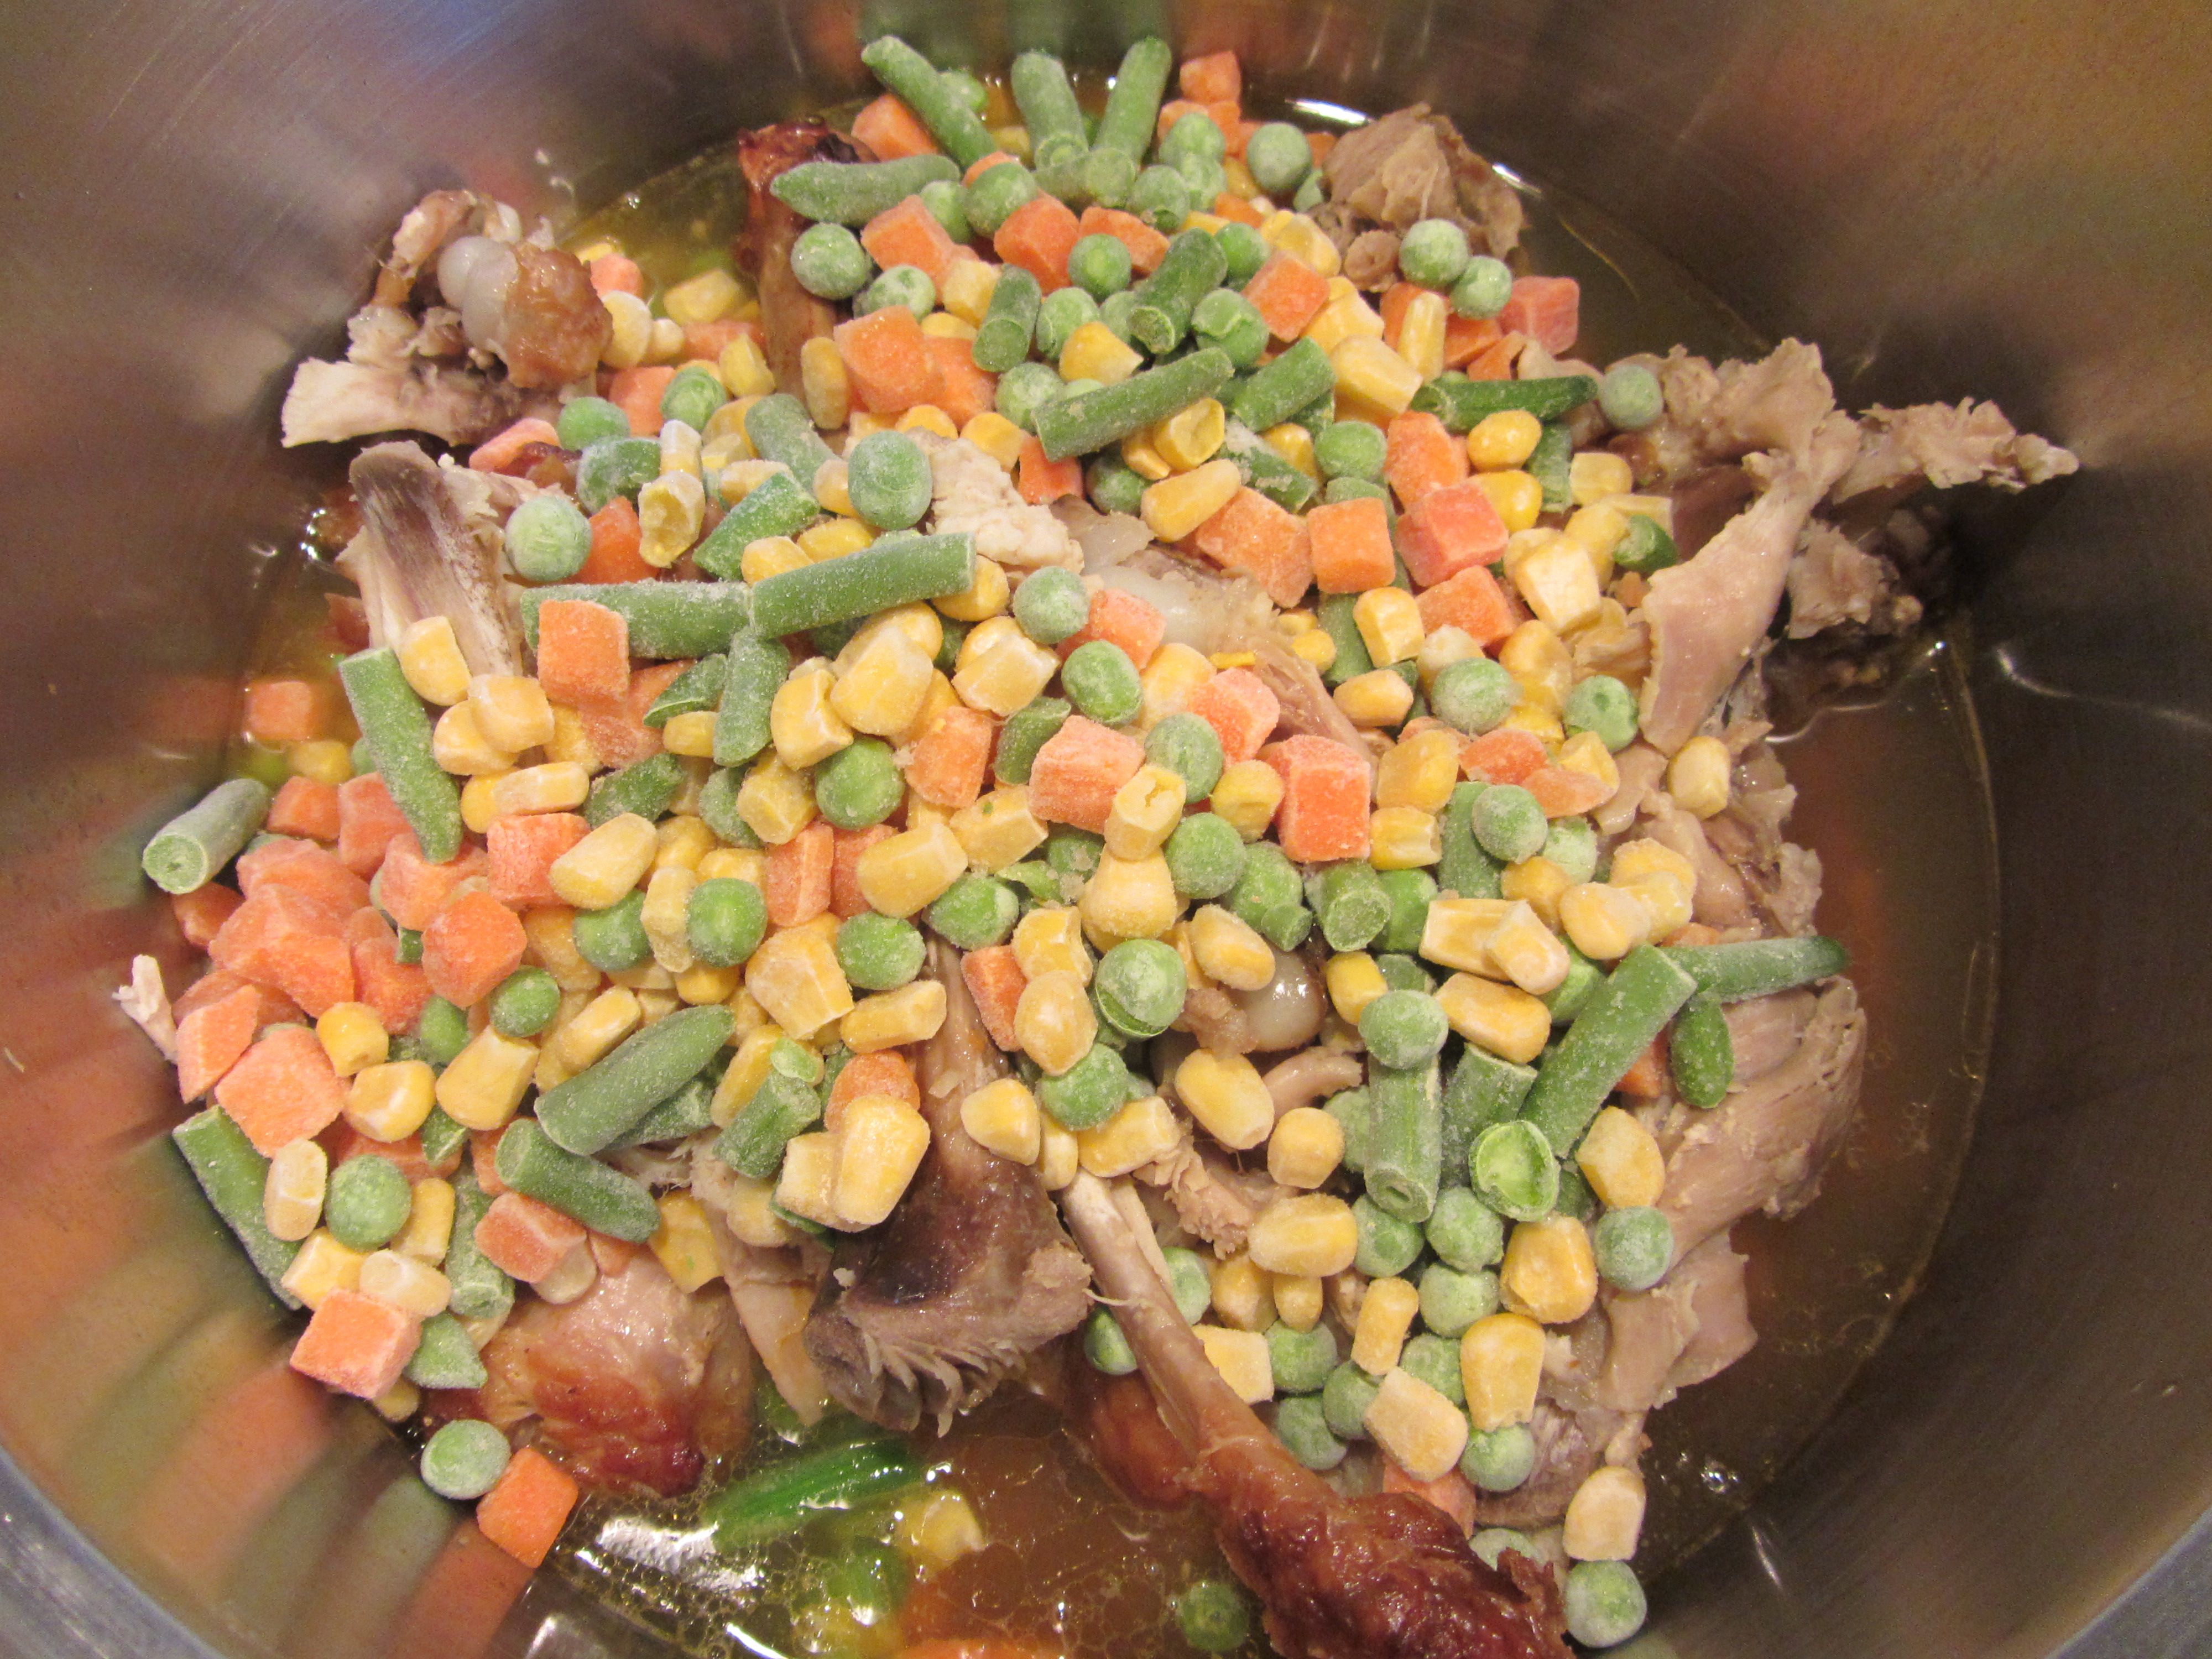
Addition of frozen vegetables.


Addition of rice.

Addition of leftover turkey meat.

Salt, pepper, and thyme added to soup.
Simmer the soup for an additional 20 minutes, remove the bones, and serve.

Turkey soup after final 20 minute simmer.

Turkey soup after fishing bones out.
I made the soup a day prior to serving it. We returned home Saturday, after doing a mountain bike race in Oregon, and this turkey soup was the perfect meal to come home to. It was the epitome of comfort food, with a super rich mouthfeel, a variety of textures, and the flavor of a slow-cooked stock with lots of thyme.
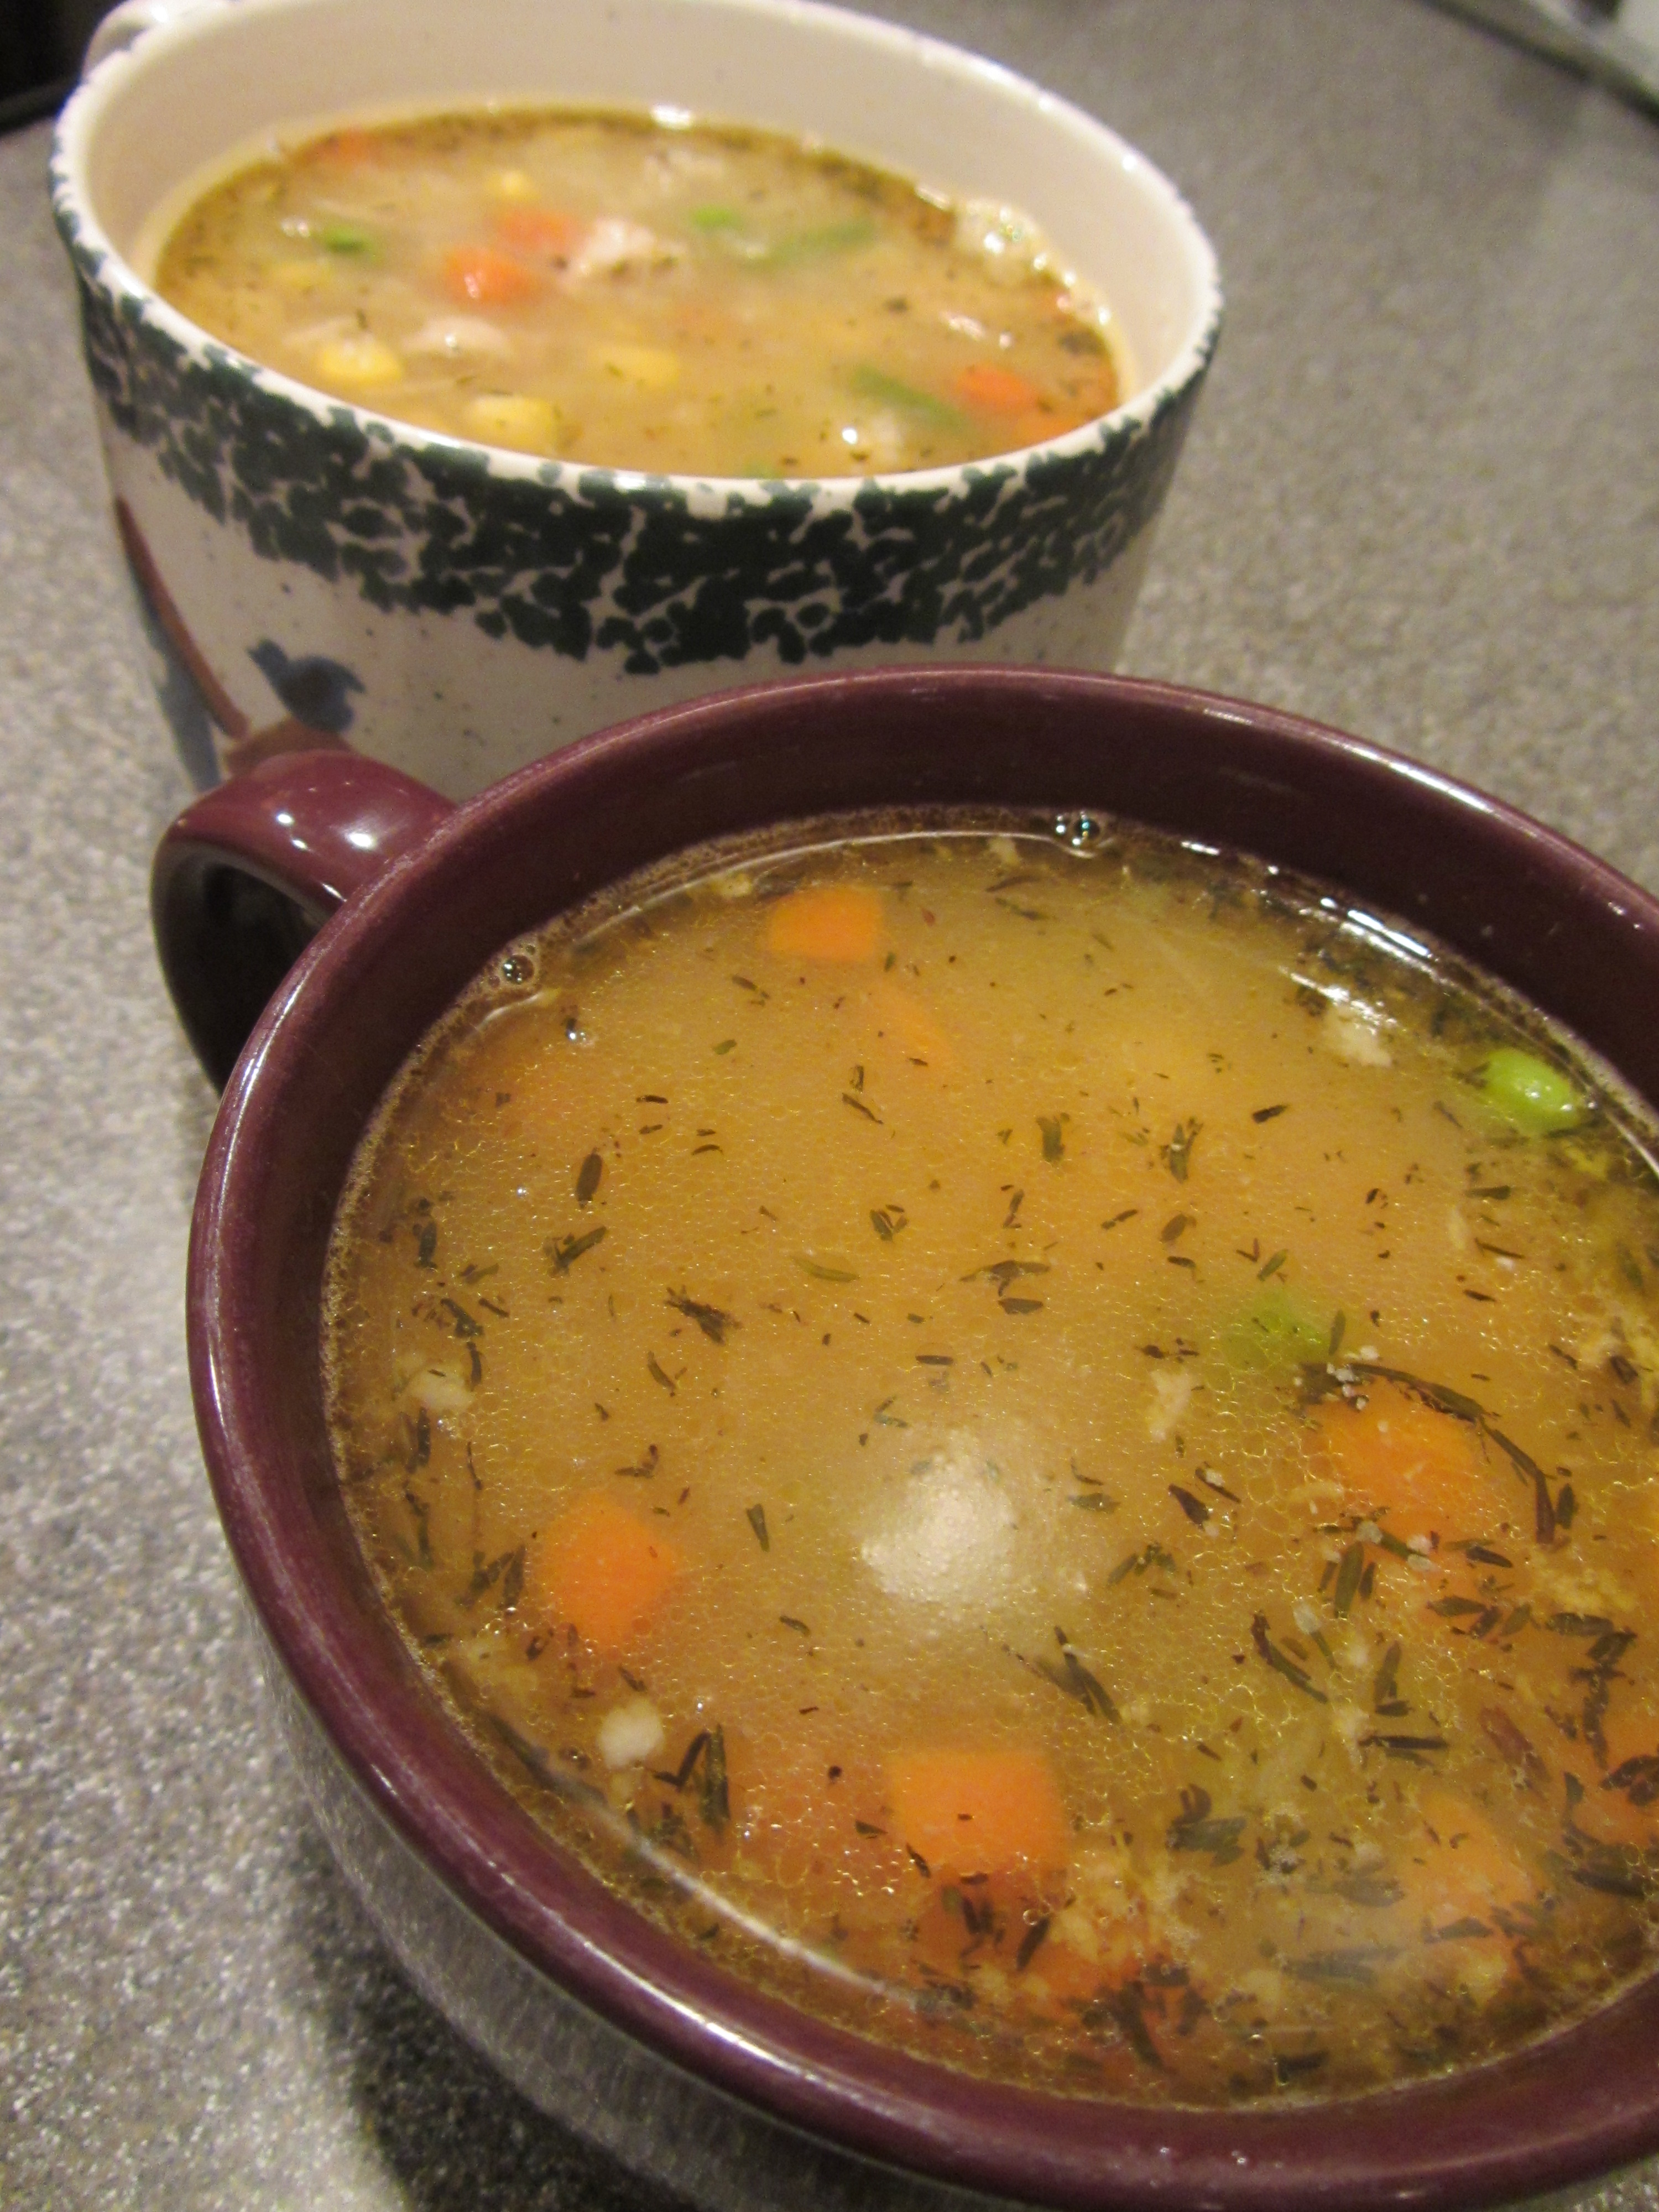
Finished turkey soup.
We thought this turkey soup was great, and I will surely be making this with our future turkey leftovers. Delicious and easy! The richness of the soup makes it a meal in itself. Keep this one in mind for Thanksgiving this year, or should you need an excuse to make a Good Eats turkey at any time in the year!