Well, it took a while, but I finally completed all of Alton’s recipes for an entire butchered beef tenderloin. In “Tender is the Loin I,” Alton showed how to butcher a whole tenderloin into cuts to be used in five different recipes. You cut the loin into four filets, a center cut roast, a head roast, a tip portion, and a chain.
")
")
In addition to the butchering in that first tenderloin episode, he also demonstrated a recipe for the filets from the tenderloin. As I mentioned before, for some reason, a cocktail episode aired in between the two tenderloin episodes, which was an odd decision. Here are the recipes for the remaining cuts from the beef tenderloin.
Center Cut Tenderloin Roast
The center cut roast from the tenderloin is used first in the second episode. This cut of meat should weigh 1 to 1 1/4 pounds. For this recipe, place 1 1/2 t Kosher salt, 1 1/2 t pepper, and 1 t cumin in a loaf pan.
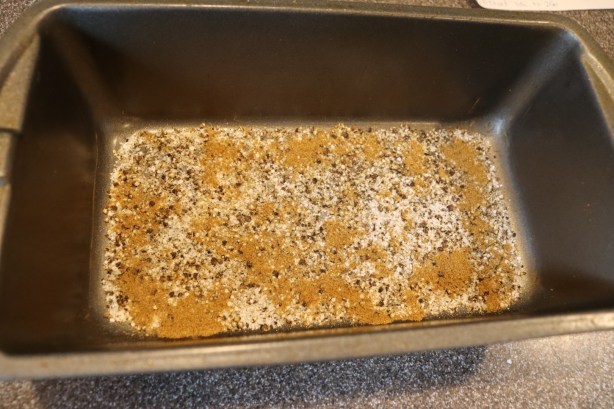
Kosher salt, pepper, and cumin.
Set the roast in the spices and toss it around to coat on all sides. Let the roast sit at room temperature for 30 minutes to one hour.
")
")
After resting, place a grill pan over high heat for five to seven minutes. Sprinkle the pan with Kosher salt, as this will make it easier to clean later. Sprinkle vegetable oil over the roast and turn it with tongs to coat. Place the roast at the front of the grill pan and gradually roll the roast from the front to the back of the pan, searing for about eight minutes total on all sides.
")
")
")
Transfer the roast from the grill pan to a metal baking pan and let it sit for 10-15 minutes.

Seared roast placed in metal pan.
While the roast sits, preheat the oven to 250 degrees. Place the roast back on the grill pan place it in the oven with a probe thermometer in its center. Cook the roast until the probe thermometer says 135 degrees.
")
")
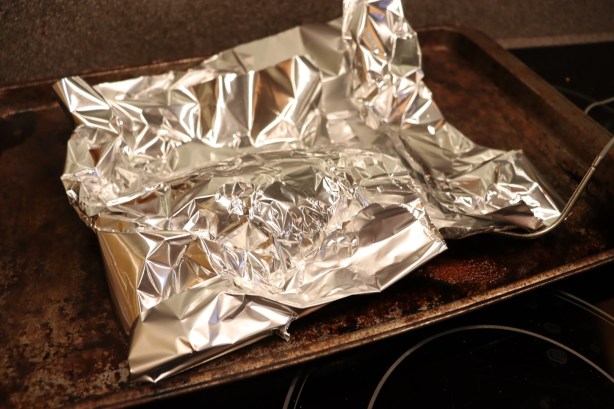
Remove the roast from the oven, wrap it in foil, and let it rest for 30 minutes before slicing.
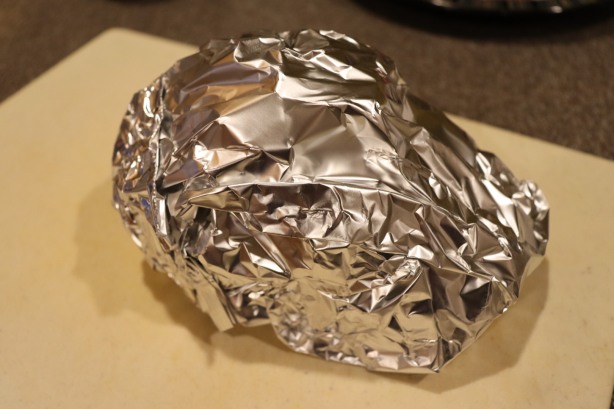
Roast wrapped in foil for 30 minutes.

Alton’s center cut tenderloin roast.
This roast was so easy and was perfectly cooked. I typically use some sort of sauce with beef, but I found that this roast was flavorful enough on its own. The outside of the roast had a spice-filled crust, while the inside of the roast was juicy and tender. This is a roast you could easily make any day of the week and any meat-eater would certainly enjoy this.
Stuffed Roast
To follow the center cut roast, Alton prepped his recipe for the small head roast (1 to 1.5 lb) portion of the loin. I prepared this for dinner on Father’s Day. To begin, slice open the head roast, creating a pocket. Open the roast and place a few more slices internally, slicing it “like a book.” Brush the inside of the roast with olive oil and season it with Kosher salt and pepper.
")
")
Sear the roast on both sides on a hot grill pan that has been sprinkled with Kosher salt. Let the roast rest for 15 minutes after searing.

Head roast on hot grill pan to sear.
Stuff the roast with three ounces of blue cheese, roll the roast up, and secure it with butcher’s twine.
")
")
")
Place a probe thermometer in the center of the roast and cook the roast in the oven at 450 degrees until the thermometer reaches 125 degrees.

Head roast in 450 degree oven until reaching 125 in the center.
Remove the roast from the oven, cover it with foil, and let it rest for 15 minutes before slicing.
Head roast resting in foil for 15 minutes.

Head roast, ready to be sliced.

Alton’s stuffed tenderloin.
This was delicious, especially if you like blue cheese. As Alton said, the idea with this recipe was to put the sauce on the inside of the meat… and it works. The meat came out pink and juicy and the cheese was melting in the center. This is another fantastic roast recipe that requires very little effort and produces great results.
Carpaccio
I love carpaccio. Although the idea of raw meat may scare some people, I encourage you to give it a try. I had previously only had carpaccio in restaurants, and I likely would never have made it at home if were not for this project. To make Alton’s carpaccio, you will need a small tip portion from a beef tenderloin. Wrap the meat in plastic and place it in the freezer for two hours, or until it is quite firm.
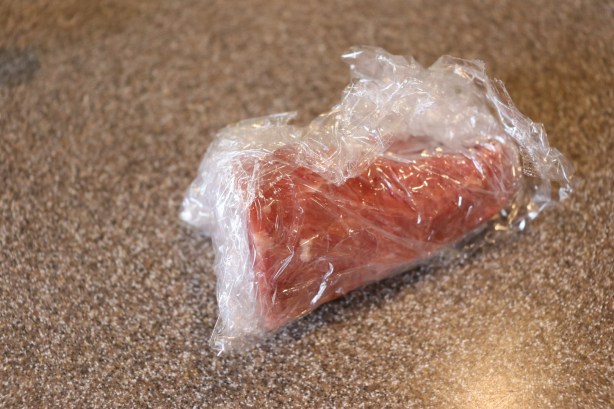
Tenderloin tip wrapped in plastic and heading to freezer for 2 hours.
Leaving the plastic on, slice the meat as thinly as possible with a very sharp knife; I actually removed the plastic for slicing, as I found that the plastic really got in the way.

Slicing meat after freezing.
Spritz a counter top with water and place a layer of plastic wrap down. Spritz the top of the plastic and add the meat slices, overlapping them slightly to form a “disc of meat.” Spritz the meat again and fold the plastic over the top of the meat, sandwiching the meat between the plastic layers.
")
")
Spritz the top layer of plastic one final time. Set a pie tin on top of the plastic and pound it with a mallet until the meat is very thin.
")
")
")
Remove the top layer of plastic and invert a plate on top of the meat. Slide your hand under the meat and invert the meat back onto the top of the plate.
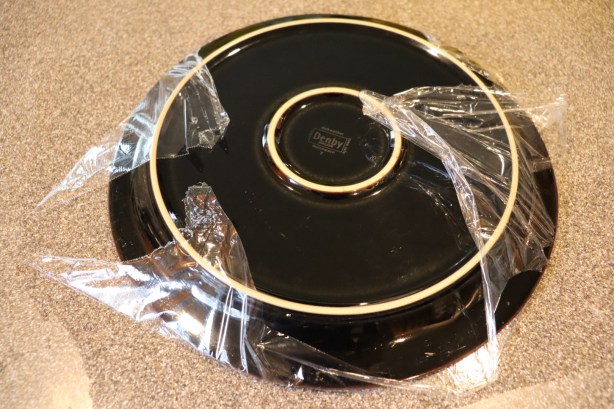
Inverting meat onto plate.
Peel off the remaining plastic, leaving the meat on the plate. Chill the meat until eating.

Carpaccio, inverted onto plate.
To serve the carpaccio, dress it with good olive oil, Kosher salt, pepper, lemon juice, shaved Parmesan, and greens. I also added some capers for good measure.

Alton’s carpaccio.
I served the carpaccio with good crackers. I honestly did not think homemade carpaccio would measure up to what I’ve had in restaurants, but Alton’s carpaccio was just as good as anything I’ve eaten out. Now, of course, this was using high-quality beef. This would make a great appetizer to serve to guests, as it is really quite simple to prepare, but is a restaurant-quality dish. Great recipe!
Chain of Bull Cheese Steaks
The final recipe of the tenderloin recipes uses the “chain” part of the loin to make cheesesteak sandwiches. We ate these sandwiches just last night for dinner. I had frozen my chain and pulled it out to thaw a couple days ago. To make these sandwiches, trim the chain of any excess fat and place it between sheets of plastic wrap that have been spritzed with water.
")
")
Pound the meat with a mallet until it is even in thickness for its whole length.
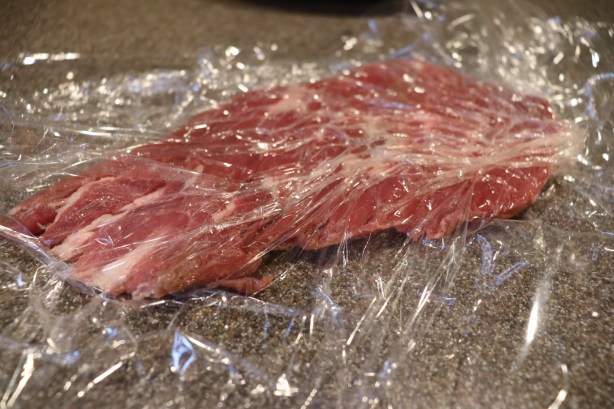
The chain portion placed in plastic and pounded until thin.
Place the meat in a bowl and add olive oil, Kosher salt, and pepper. Toss the meat to coat.

Chain placed in bowl and seasoned with olive oil, Kosher salt, and pepper.
Heat a grill pan until it is hot and sear the meat on all sides for about eight minutes total.

Seared chain.
Remove the hot meat from the pan and wrap it tightly in foil. Add some additional olive oil to the grill pan and add one julienned onion. Cook the onion until is golden brown and soft.
")
")
Finely chop the cooked meat and pack it onto hoagie rolls.

Chopped chain meat.
Top the meat with shredded Mimolette cheese and the warm onions. I could not find Mimolette cheese locally, so I opted for shredded Cheddar. And, we added a little bit of hot Giardiniera.

Alton’s cheese steak sandwich.
I know people are picky about their cheesesteak sandwiches, and I am a complete novice. All I can say is that the meat was very tender and the warm onions melted the cheese just enough to kind of bind everything together. I did appreciate the little punch of heat from the Giardiniera, so I would personally opt for that again, though some may view that as sacrilegious. I found this to be a really tasty sandwich. Is it a true Philly-style cheesesteak sandwich? Well, that’s a question for those more experienced than I.
")
")
")
")
")


")
")


")
")