Posts Tagged ‘dessert’

After the lack of deliciousness that ensued with the last episode, I was super anxious to make something I knew we would enjoy. Thank goodness cheesecake was next in line. I adore pretty much anything made with cream cheese, but especially cheesecake; oddly, I don’t eat cheesecake very often, which I think needs to be amended pronto.

My mom went through a cheesecake phase when I was a teenager. As you can imagine, it was one of the greatest periods of my life. As she strove to find the perfect cheesecake recipe, we got to sit back and test them all. From New York cheesecake to Italian cheesecake, and everything in between, she tried them all. I honestly don’t recall which cheesecake was deemed the favorite. I only remember that I loved them all.

Sour Cream Cheesecake

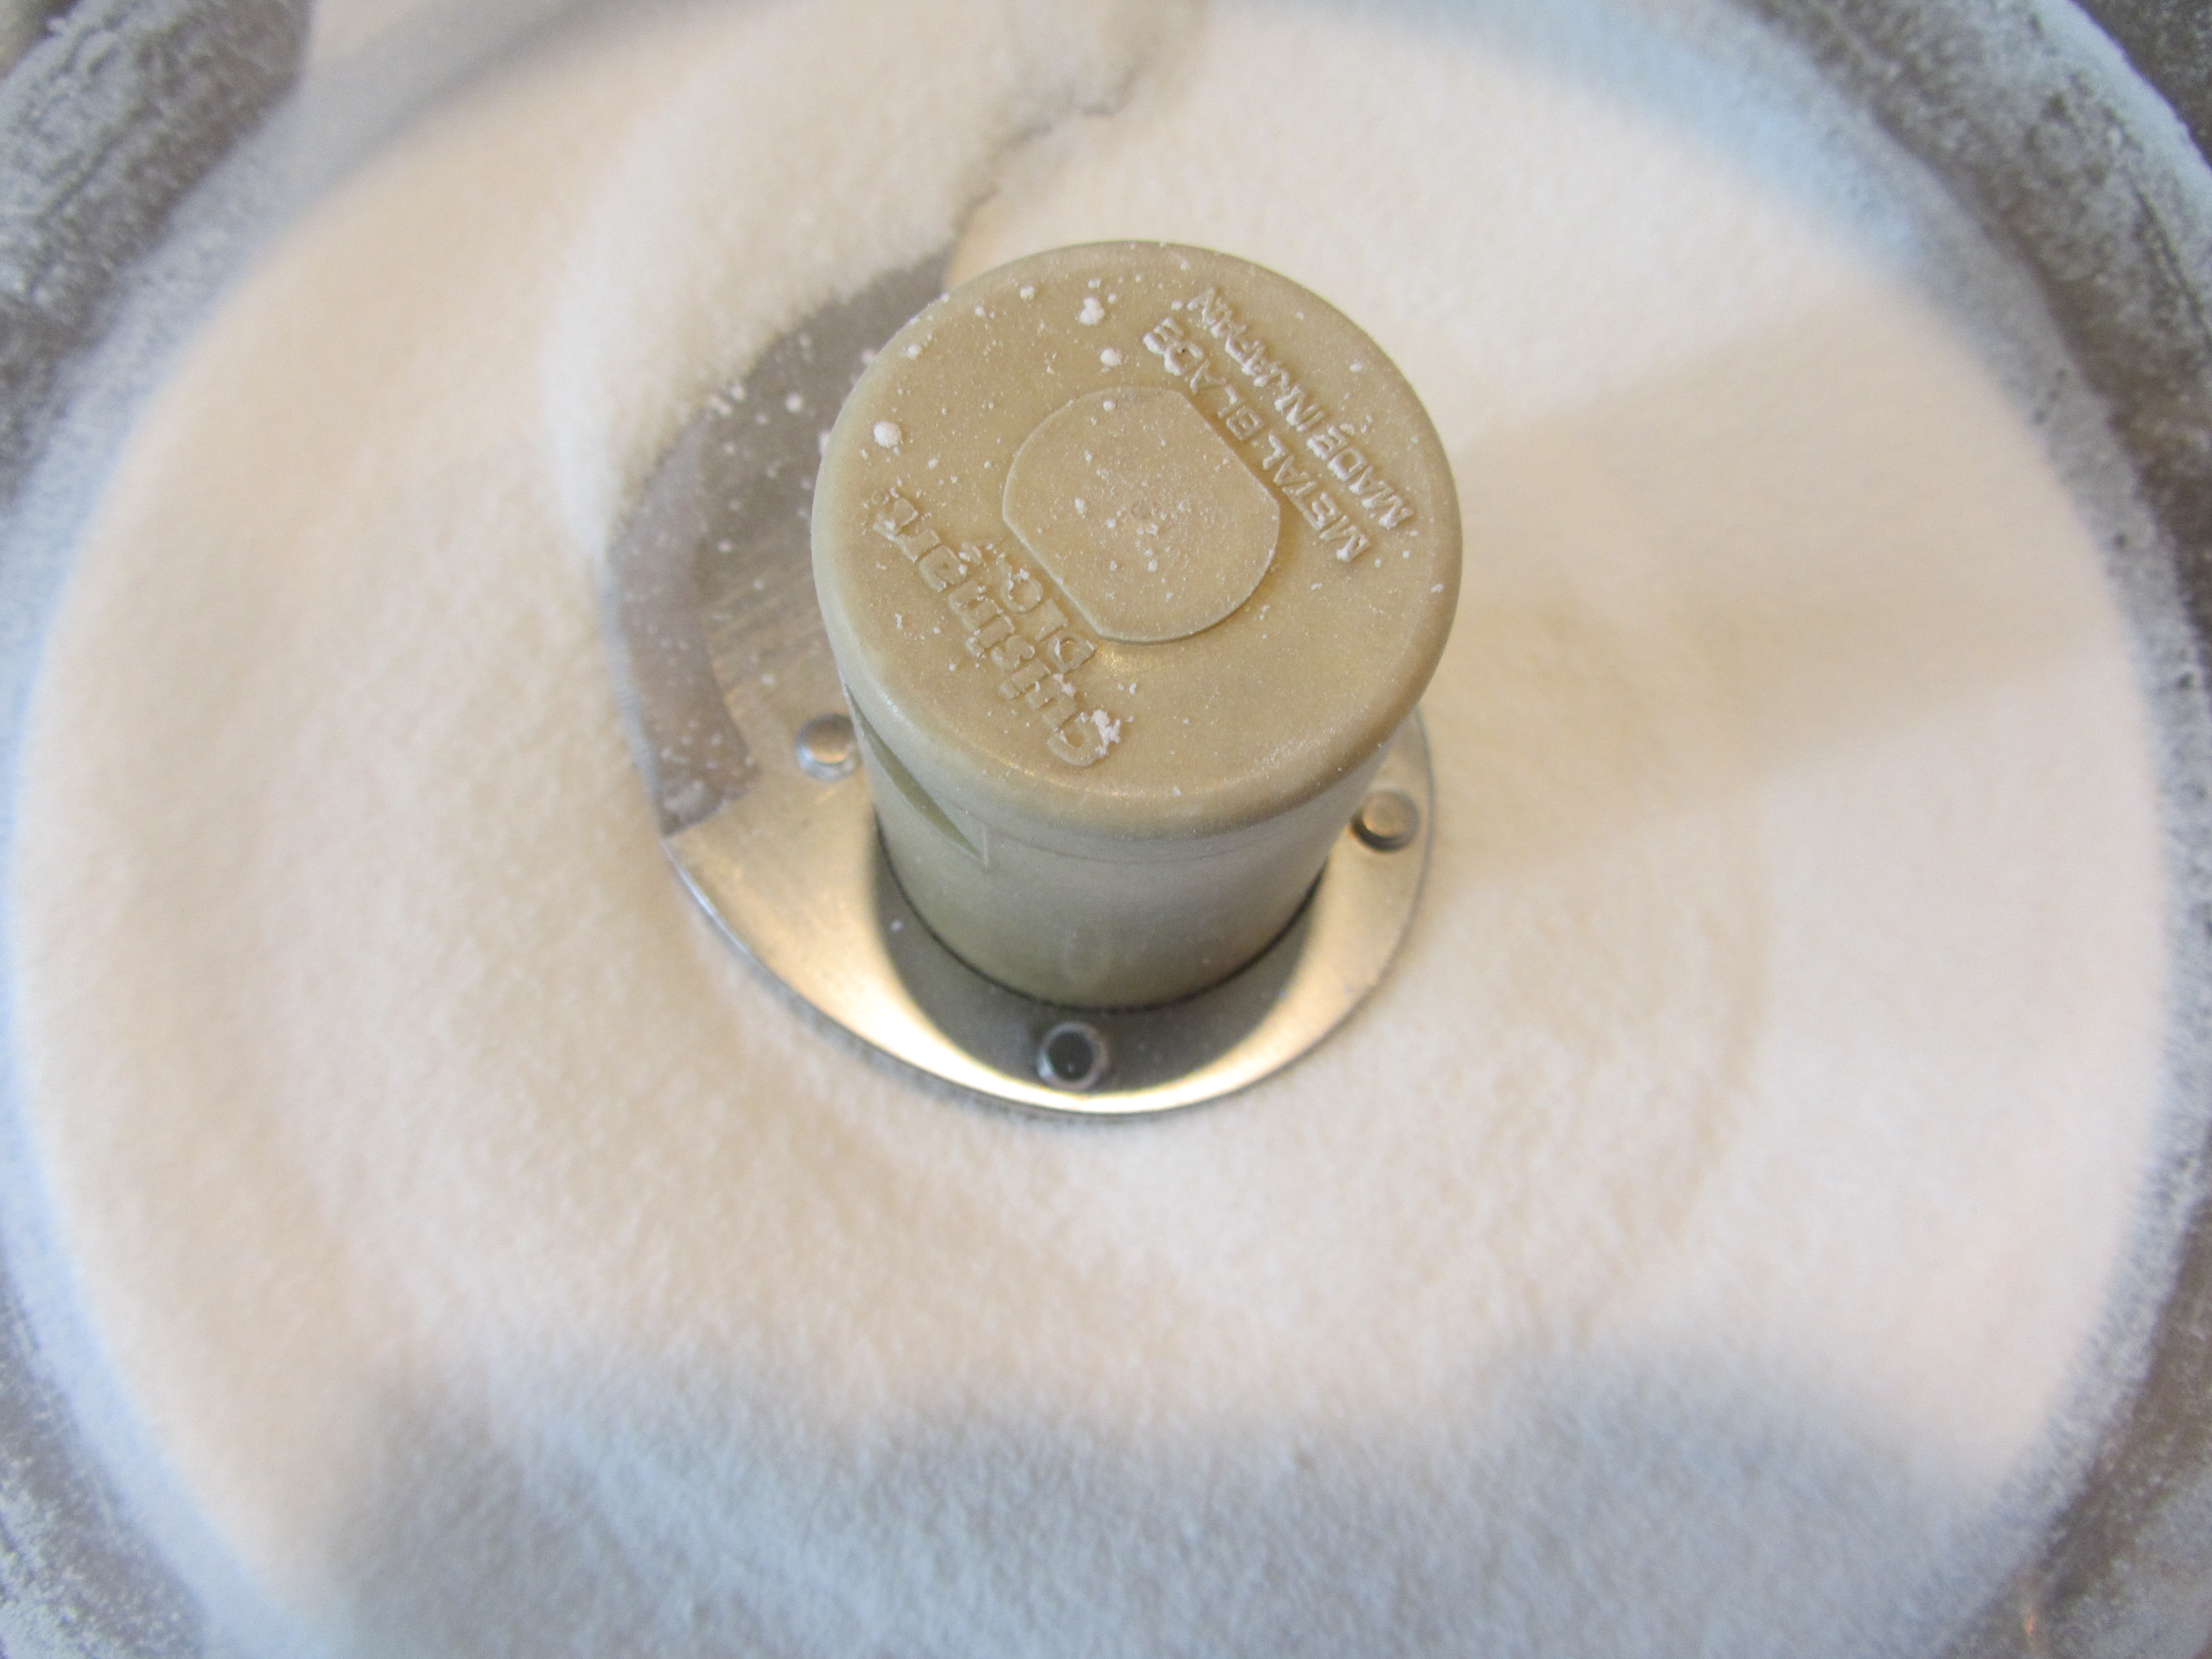
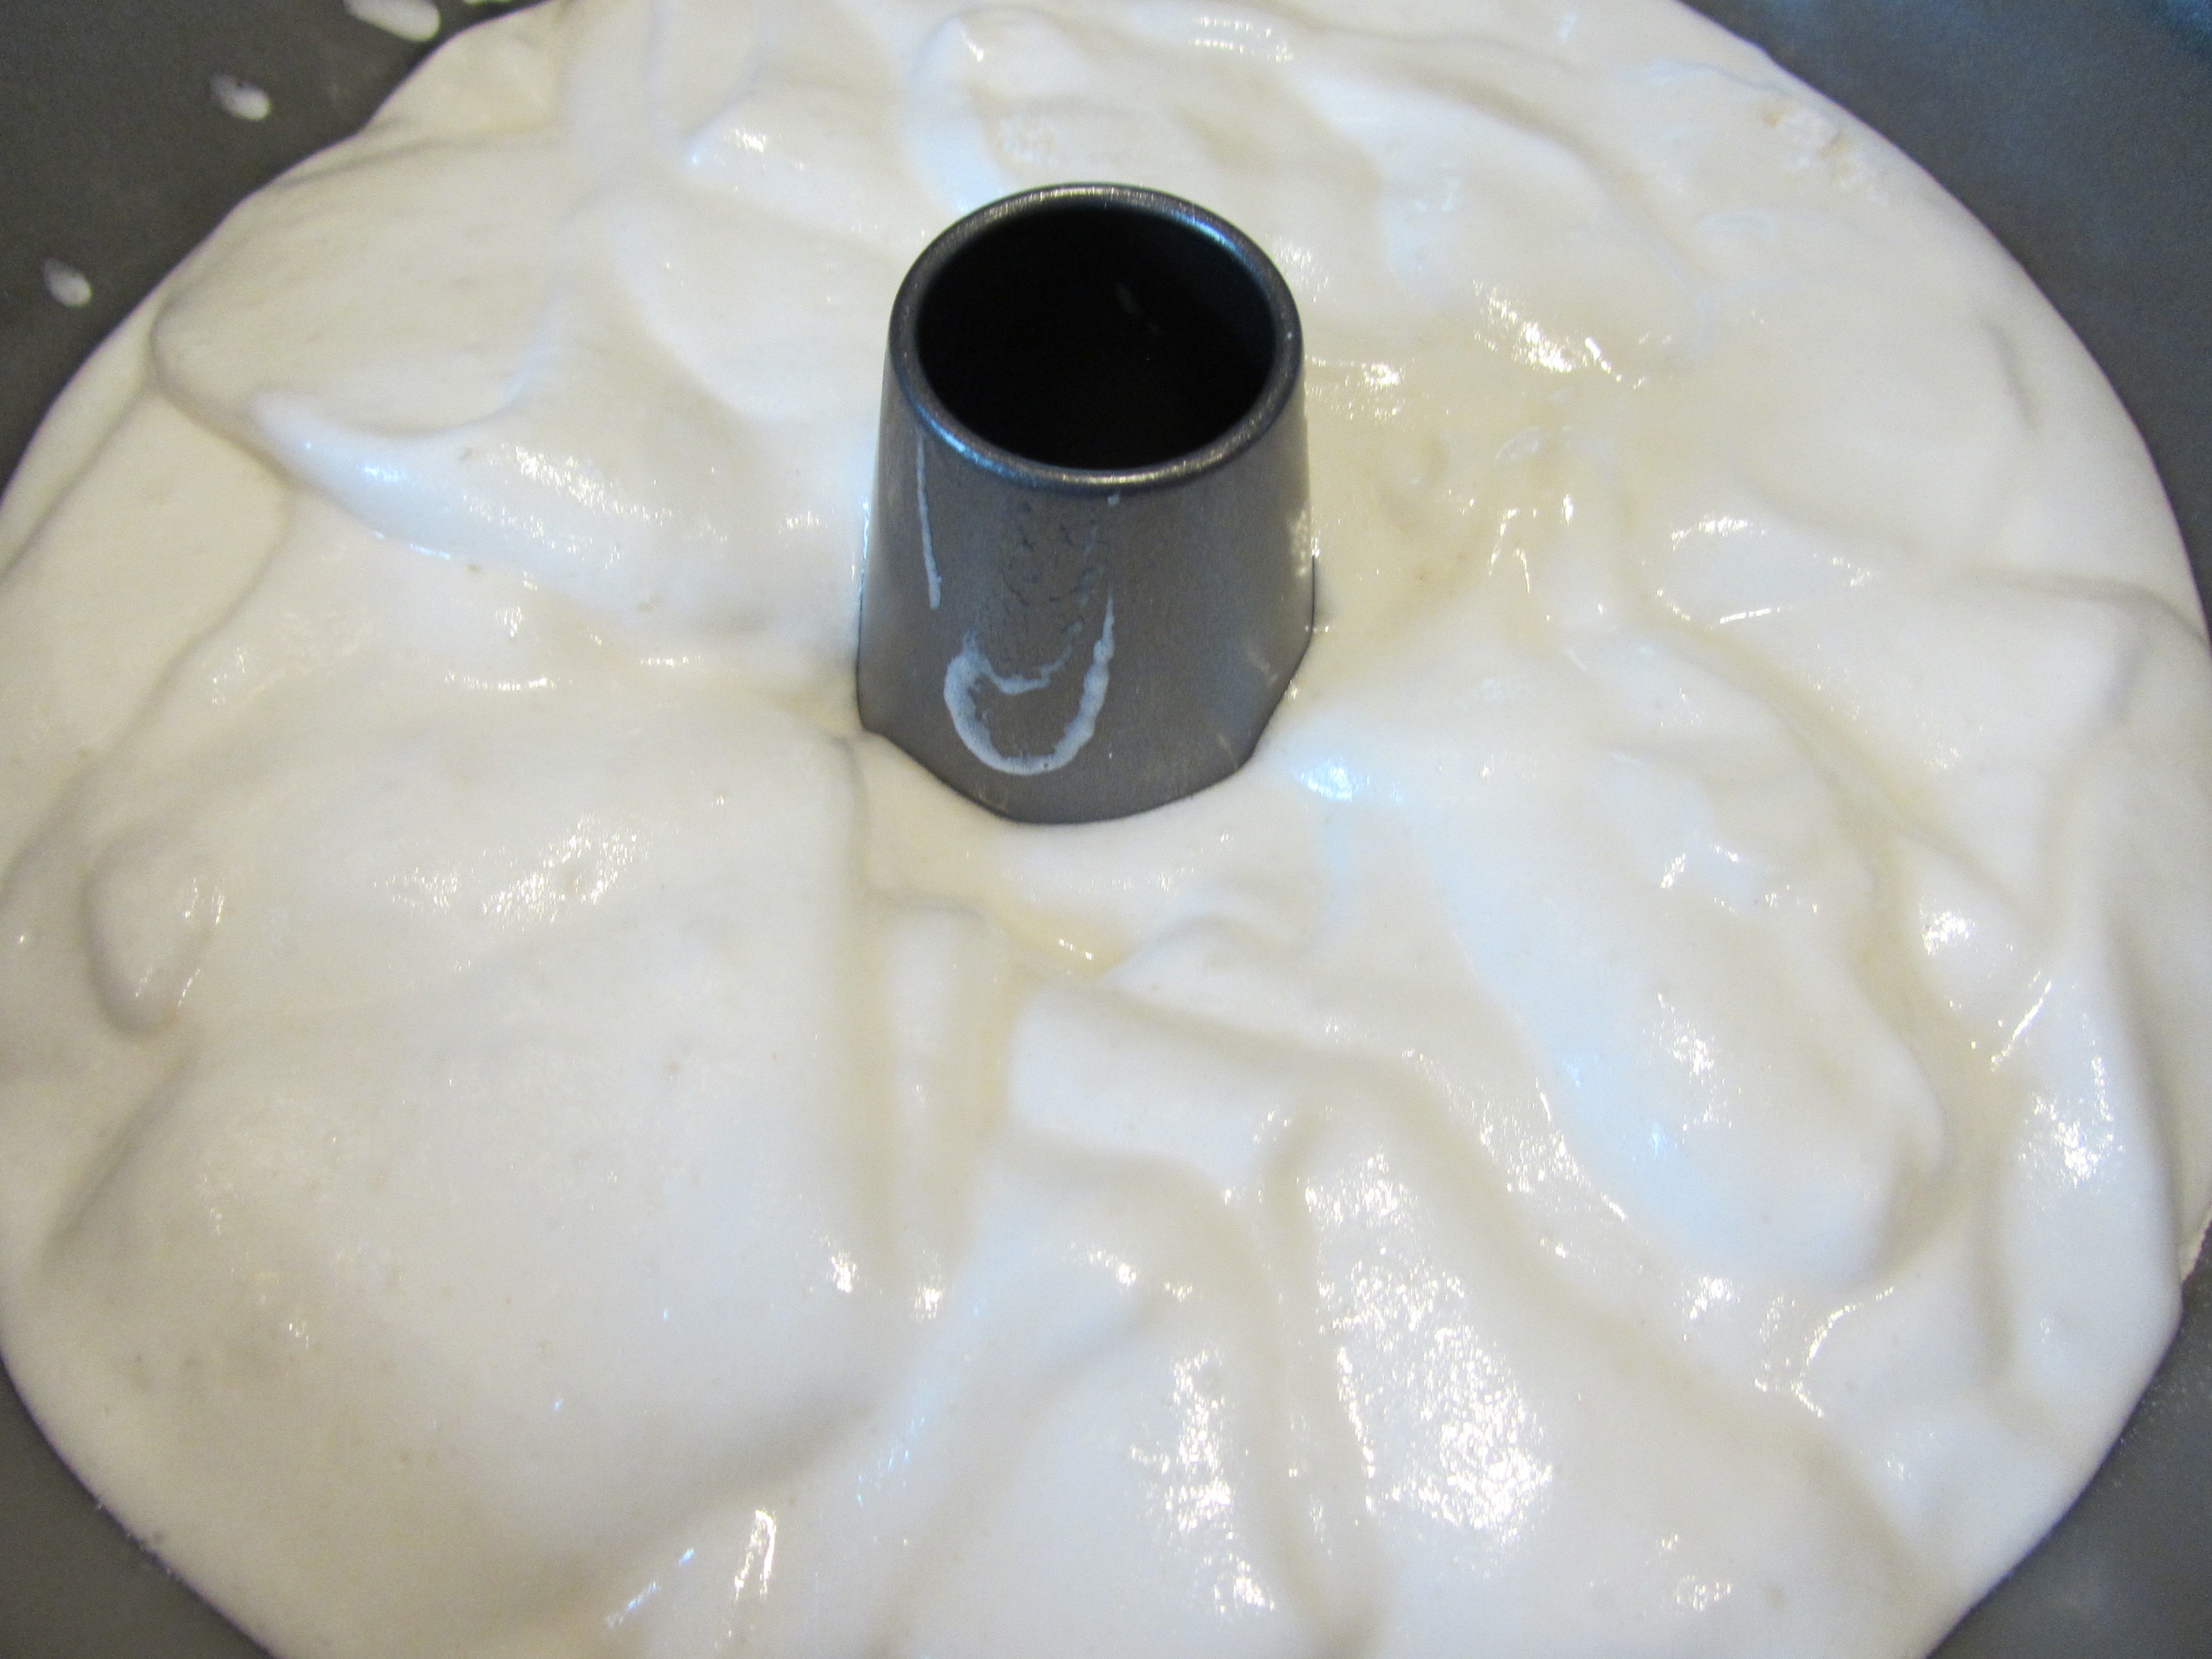
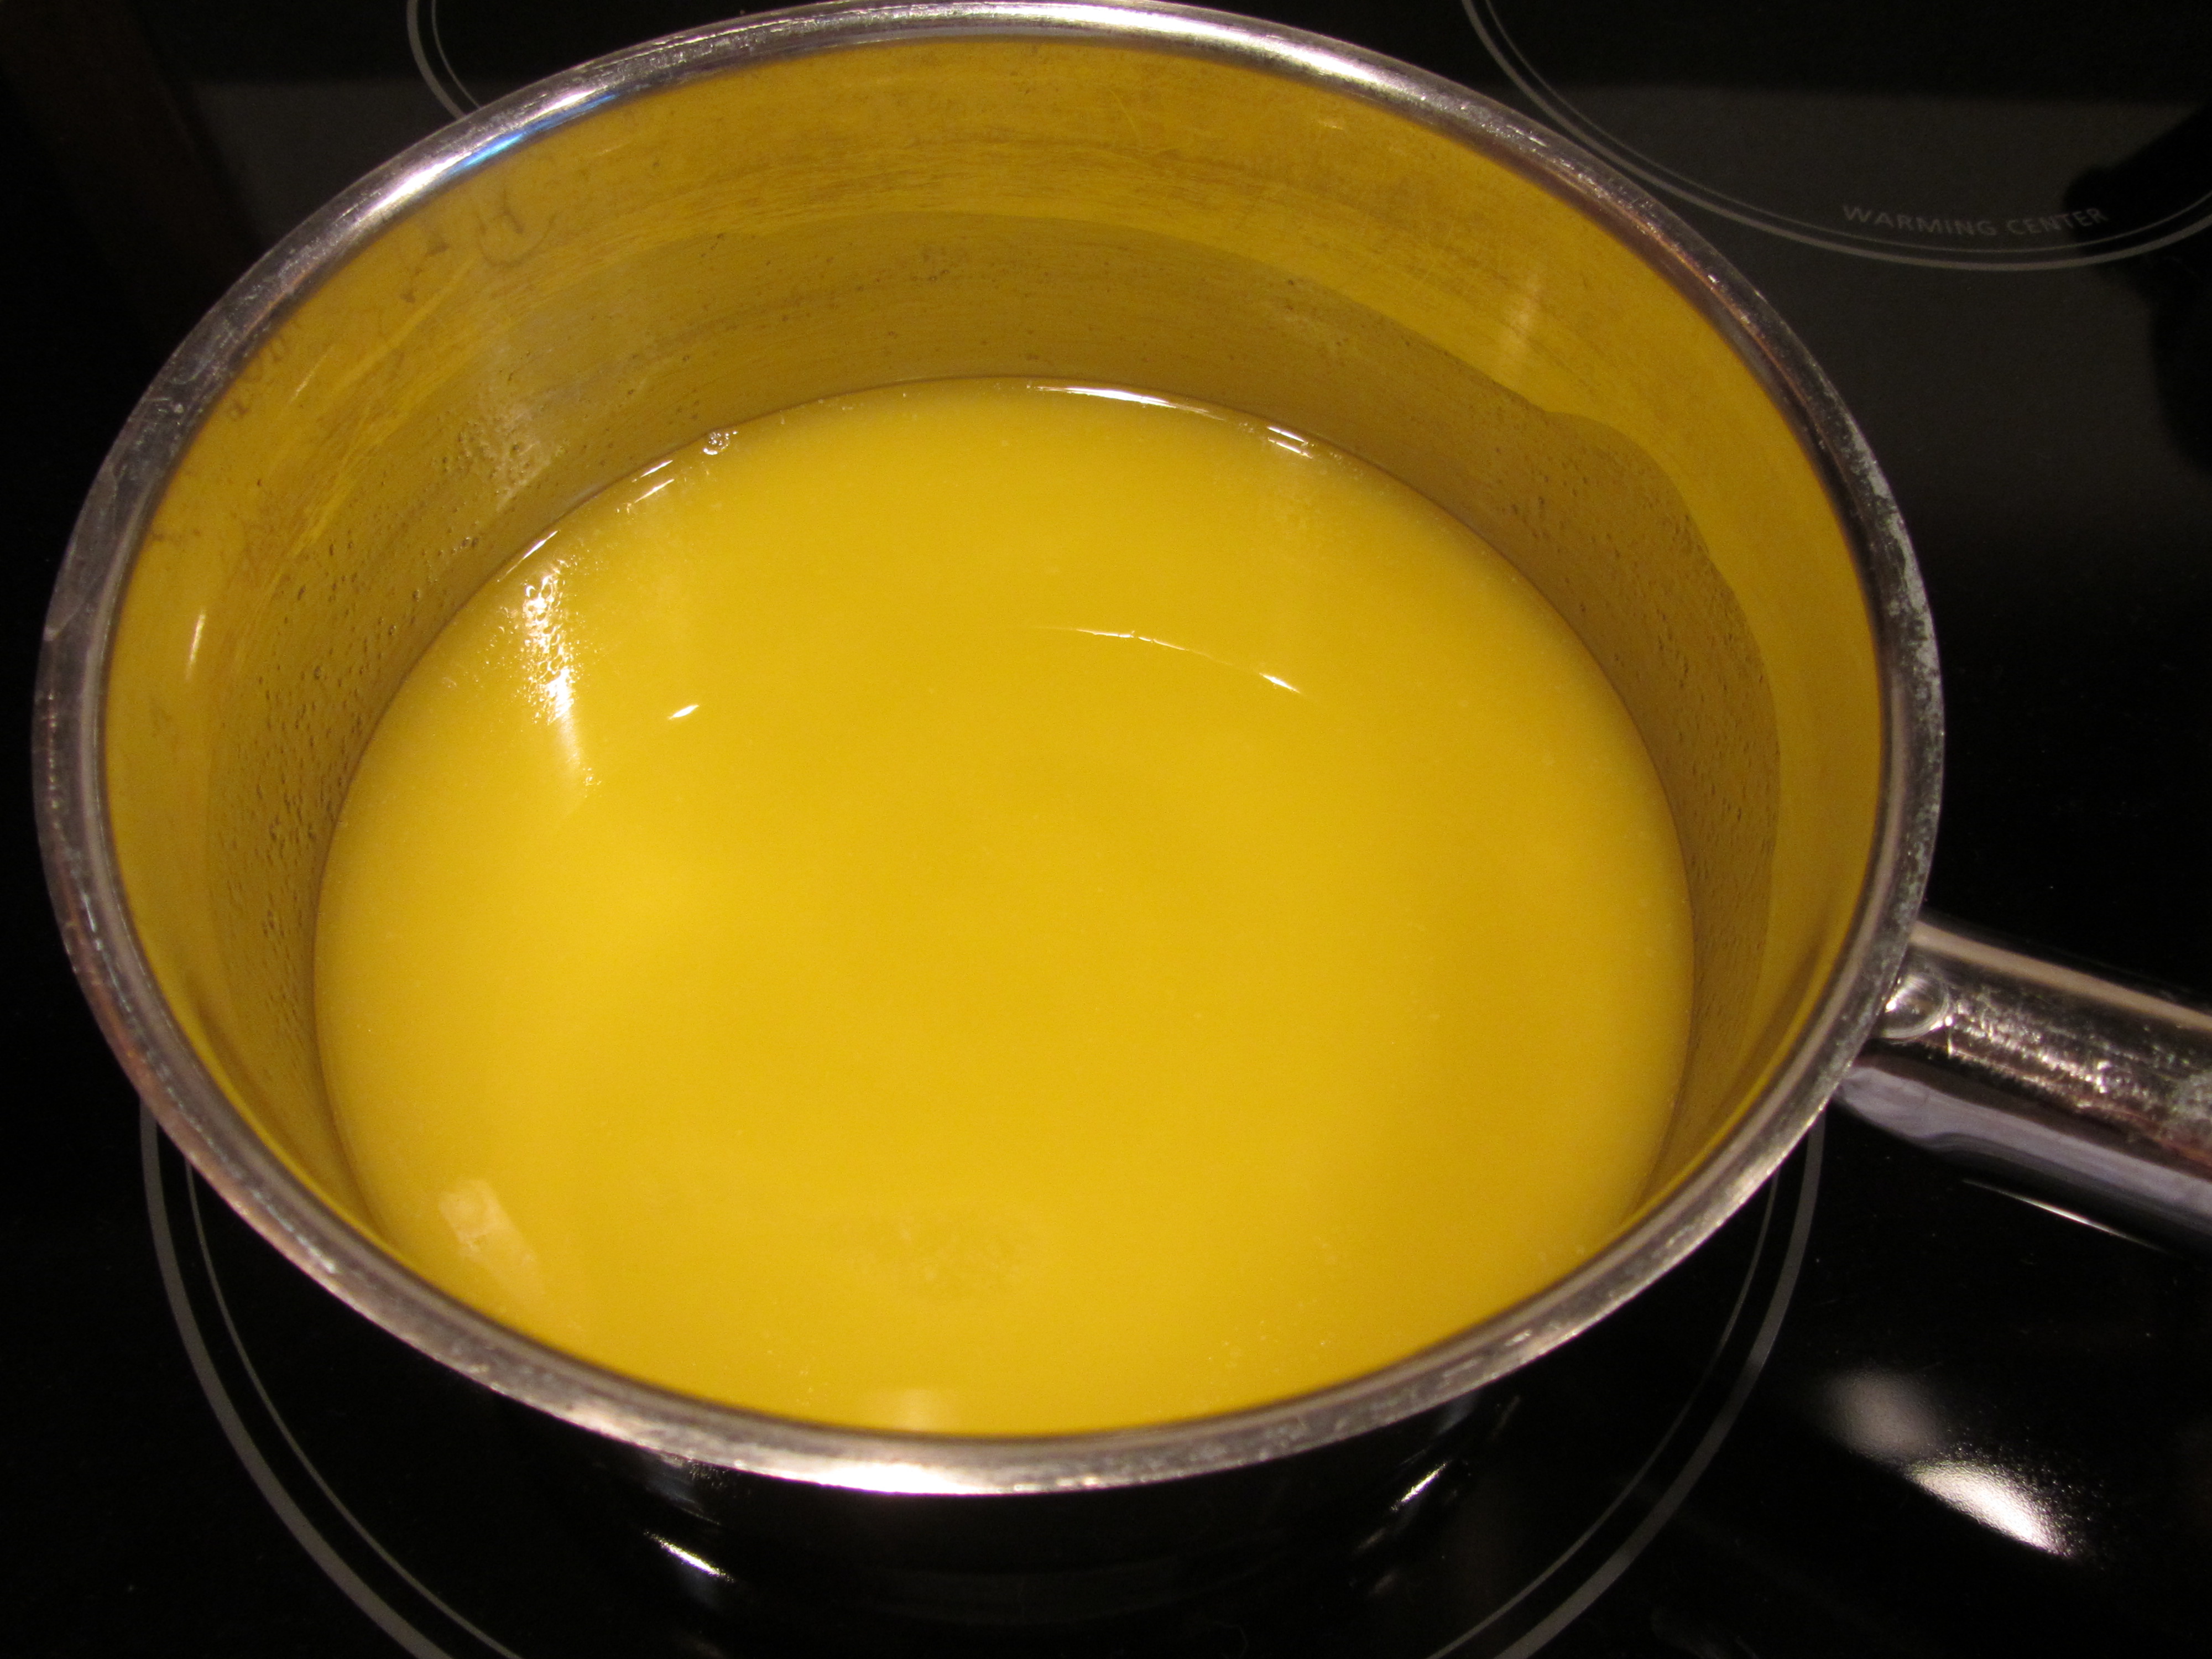
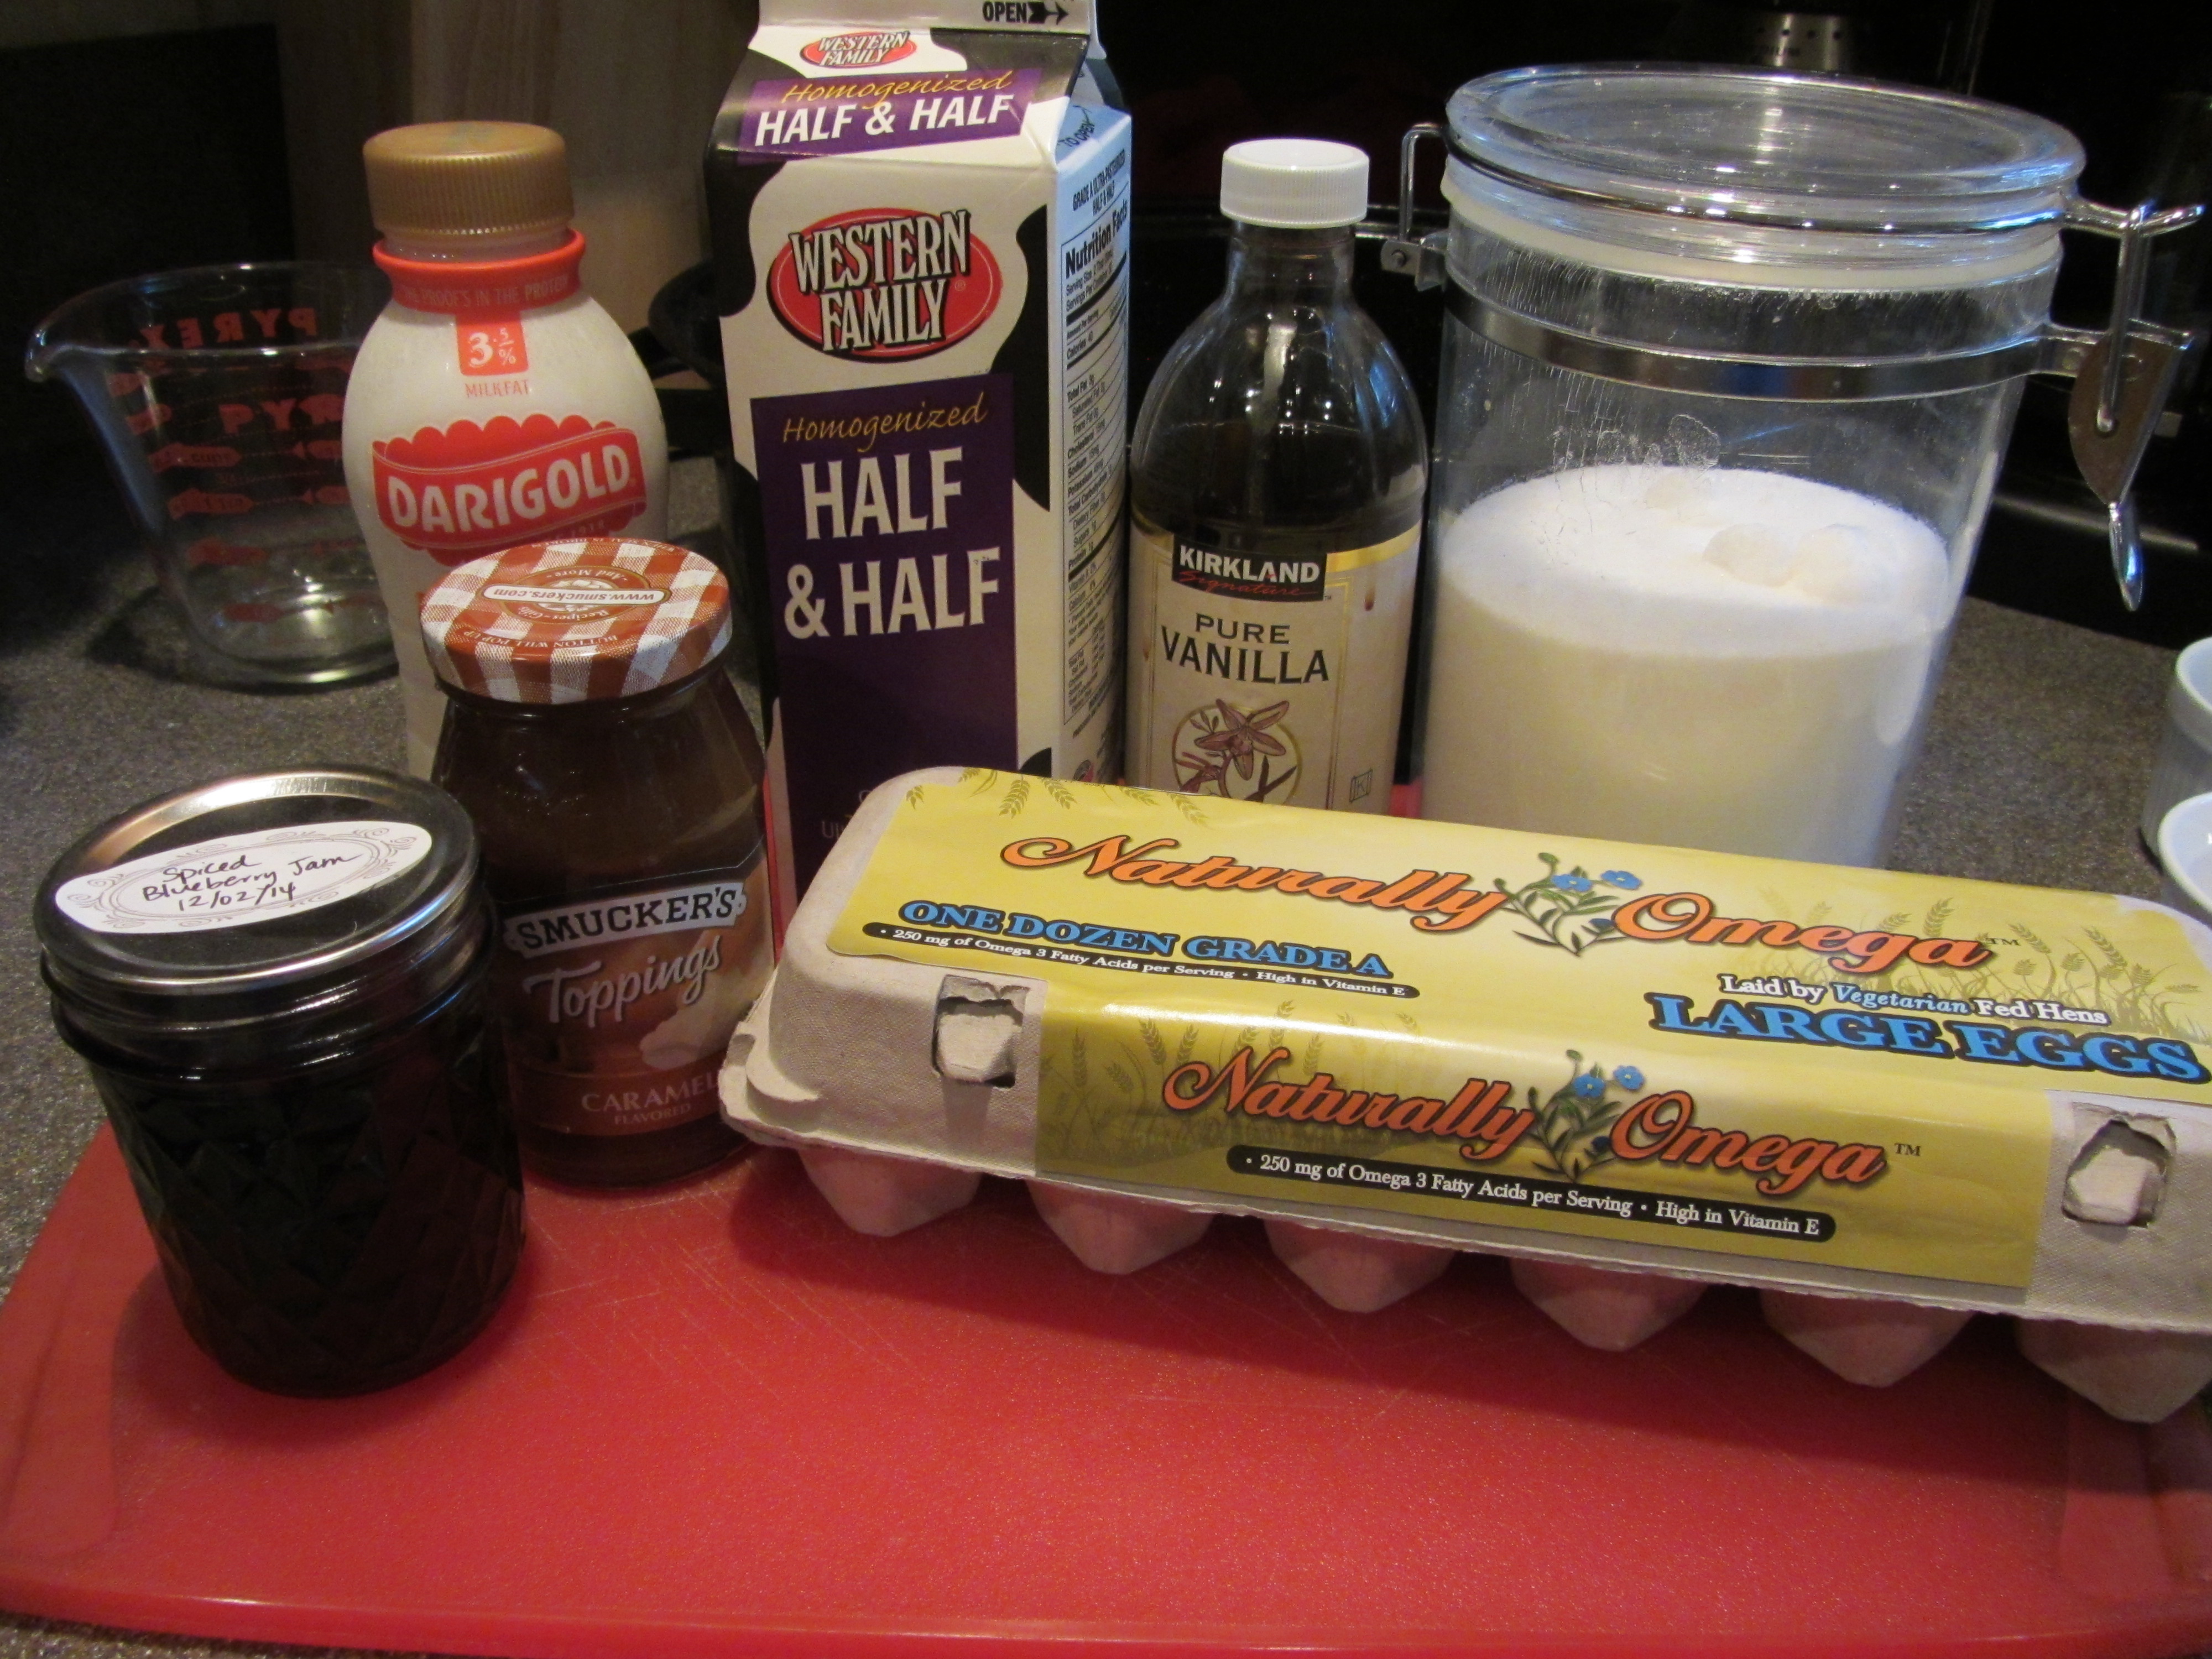
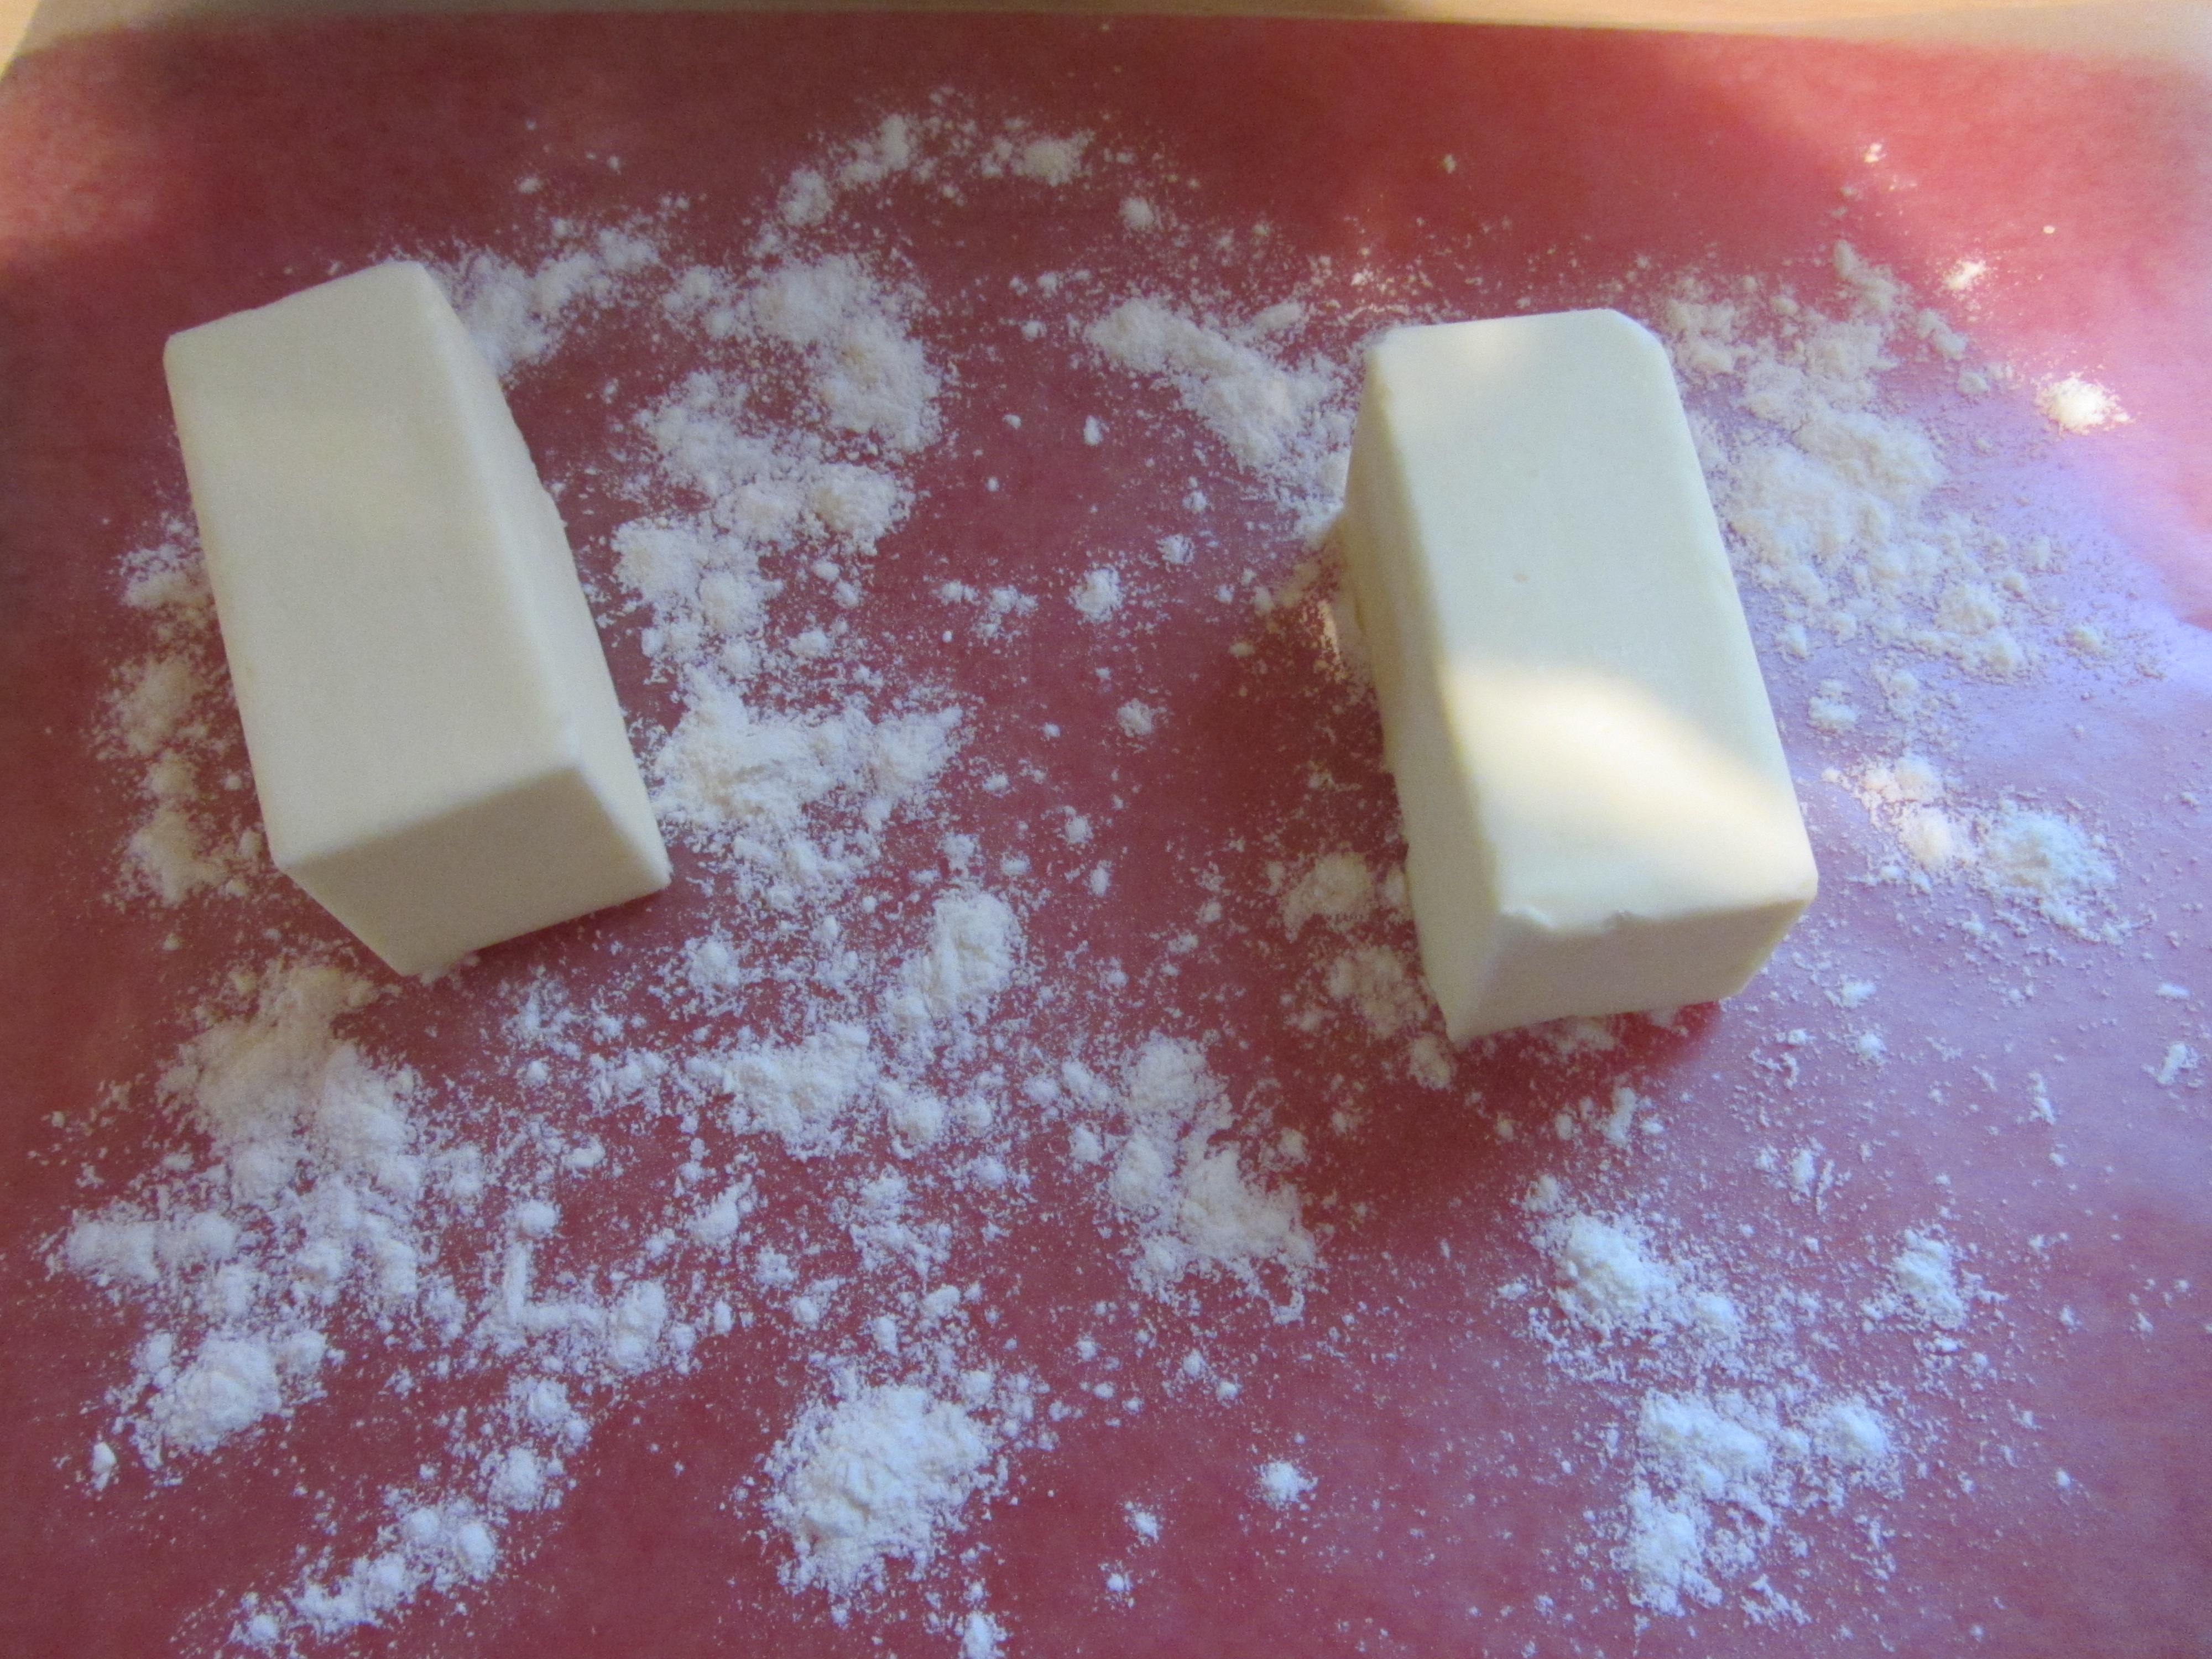
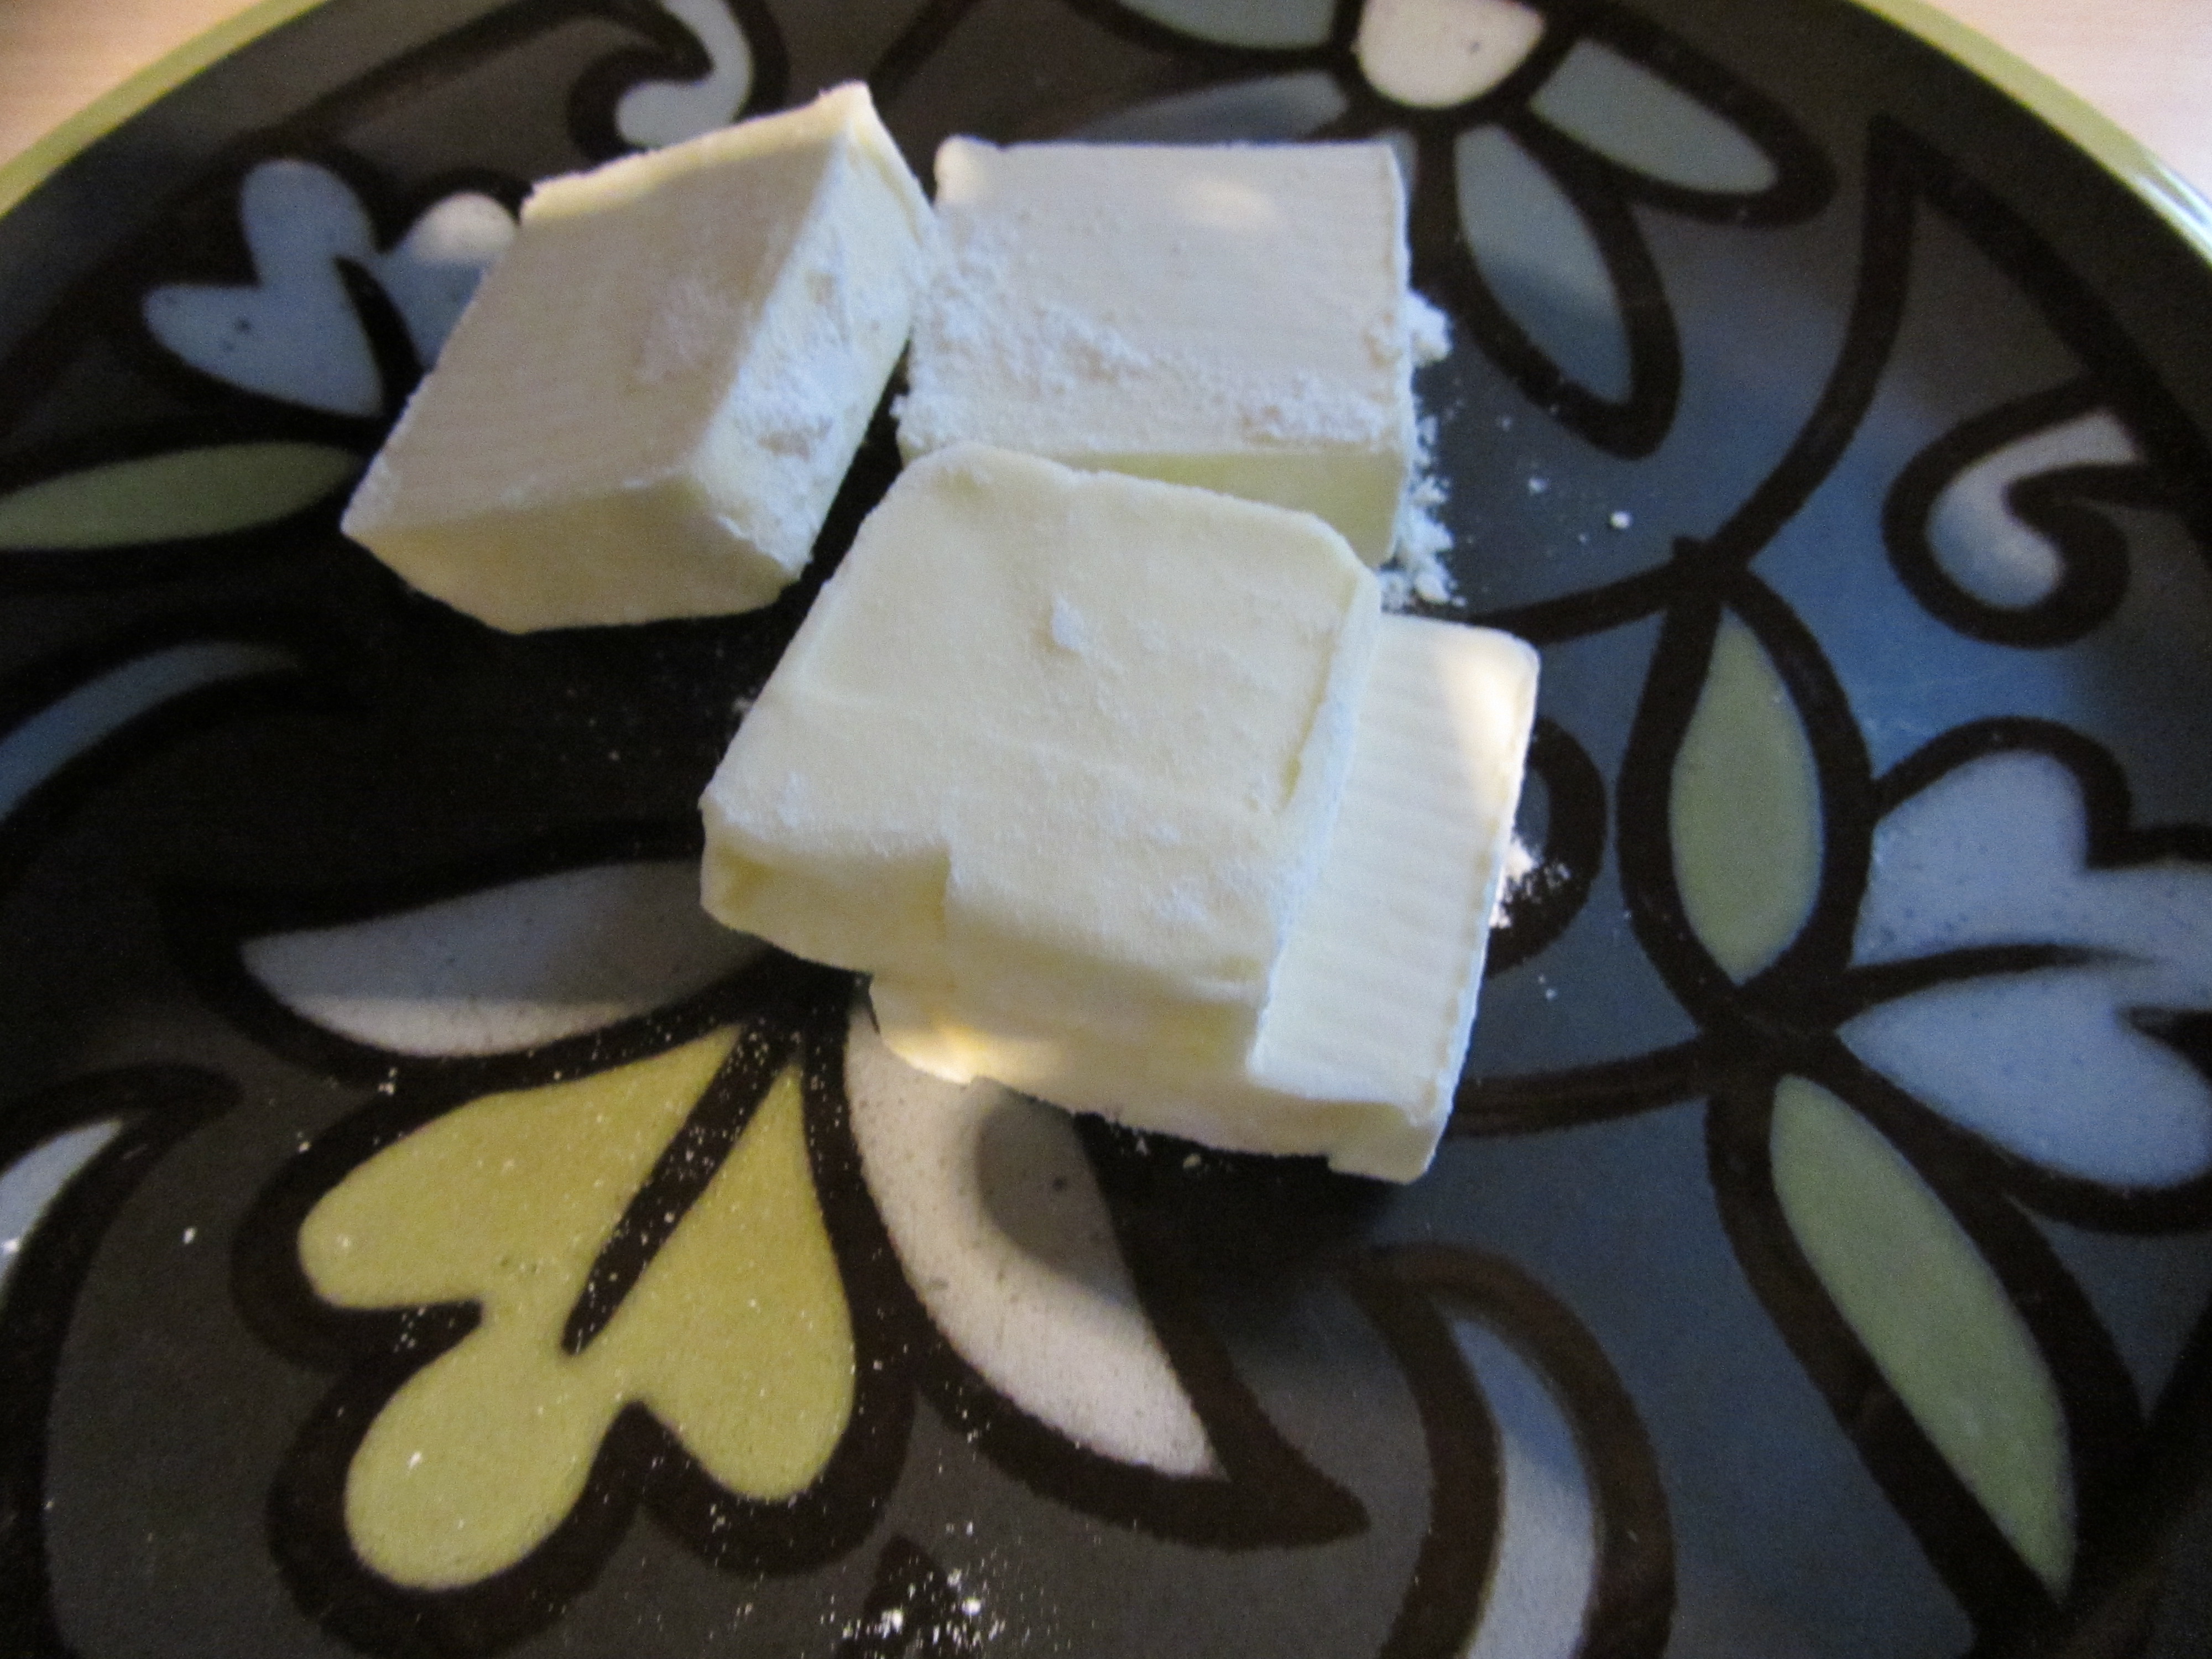
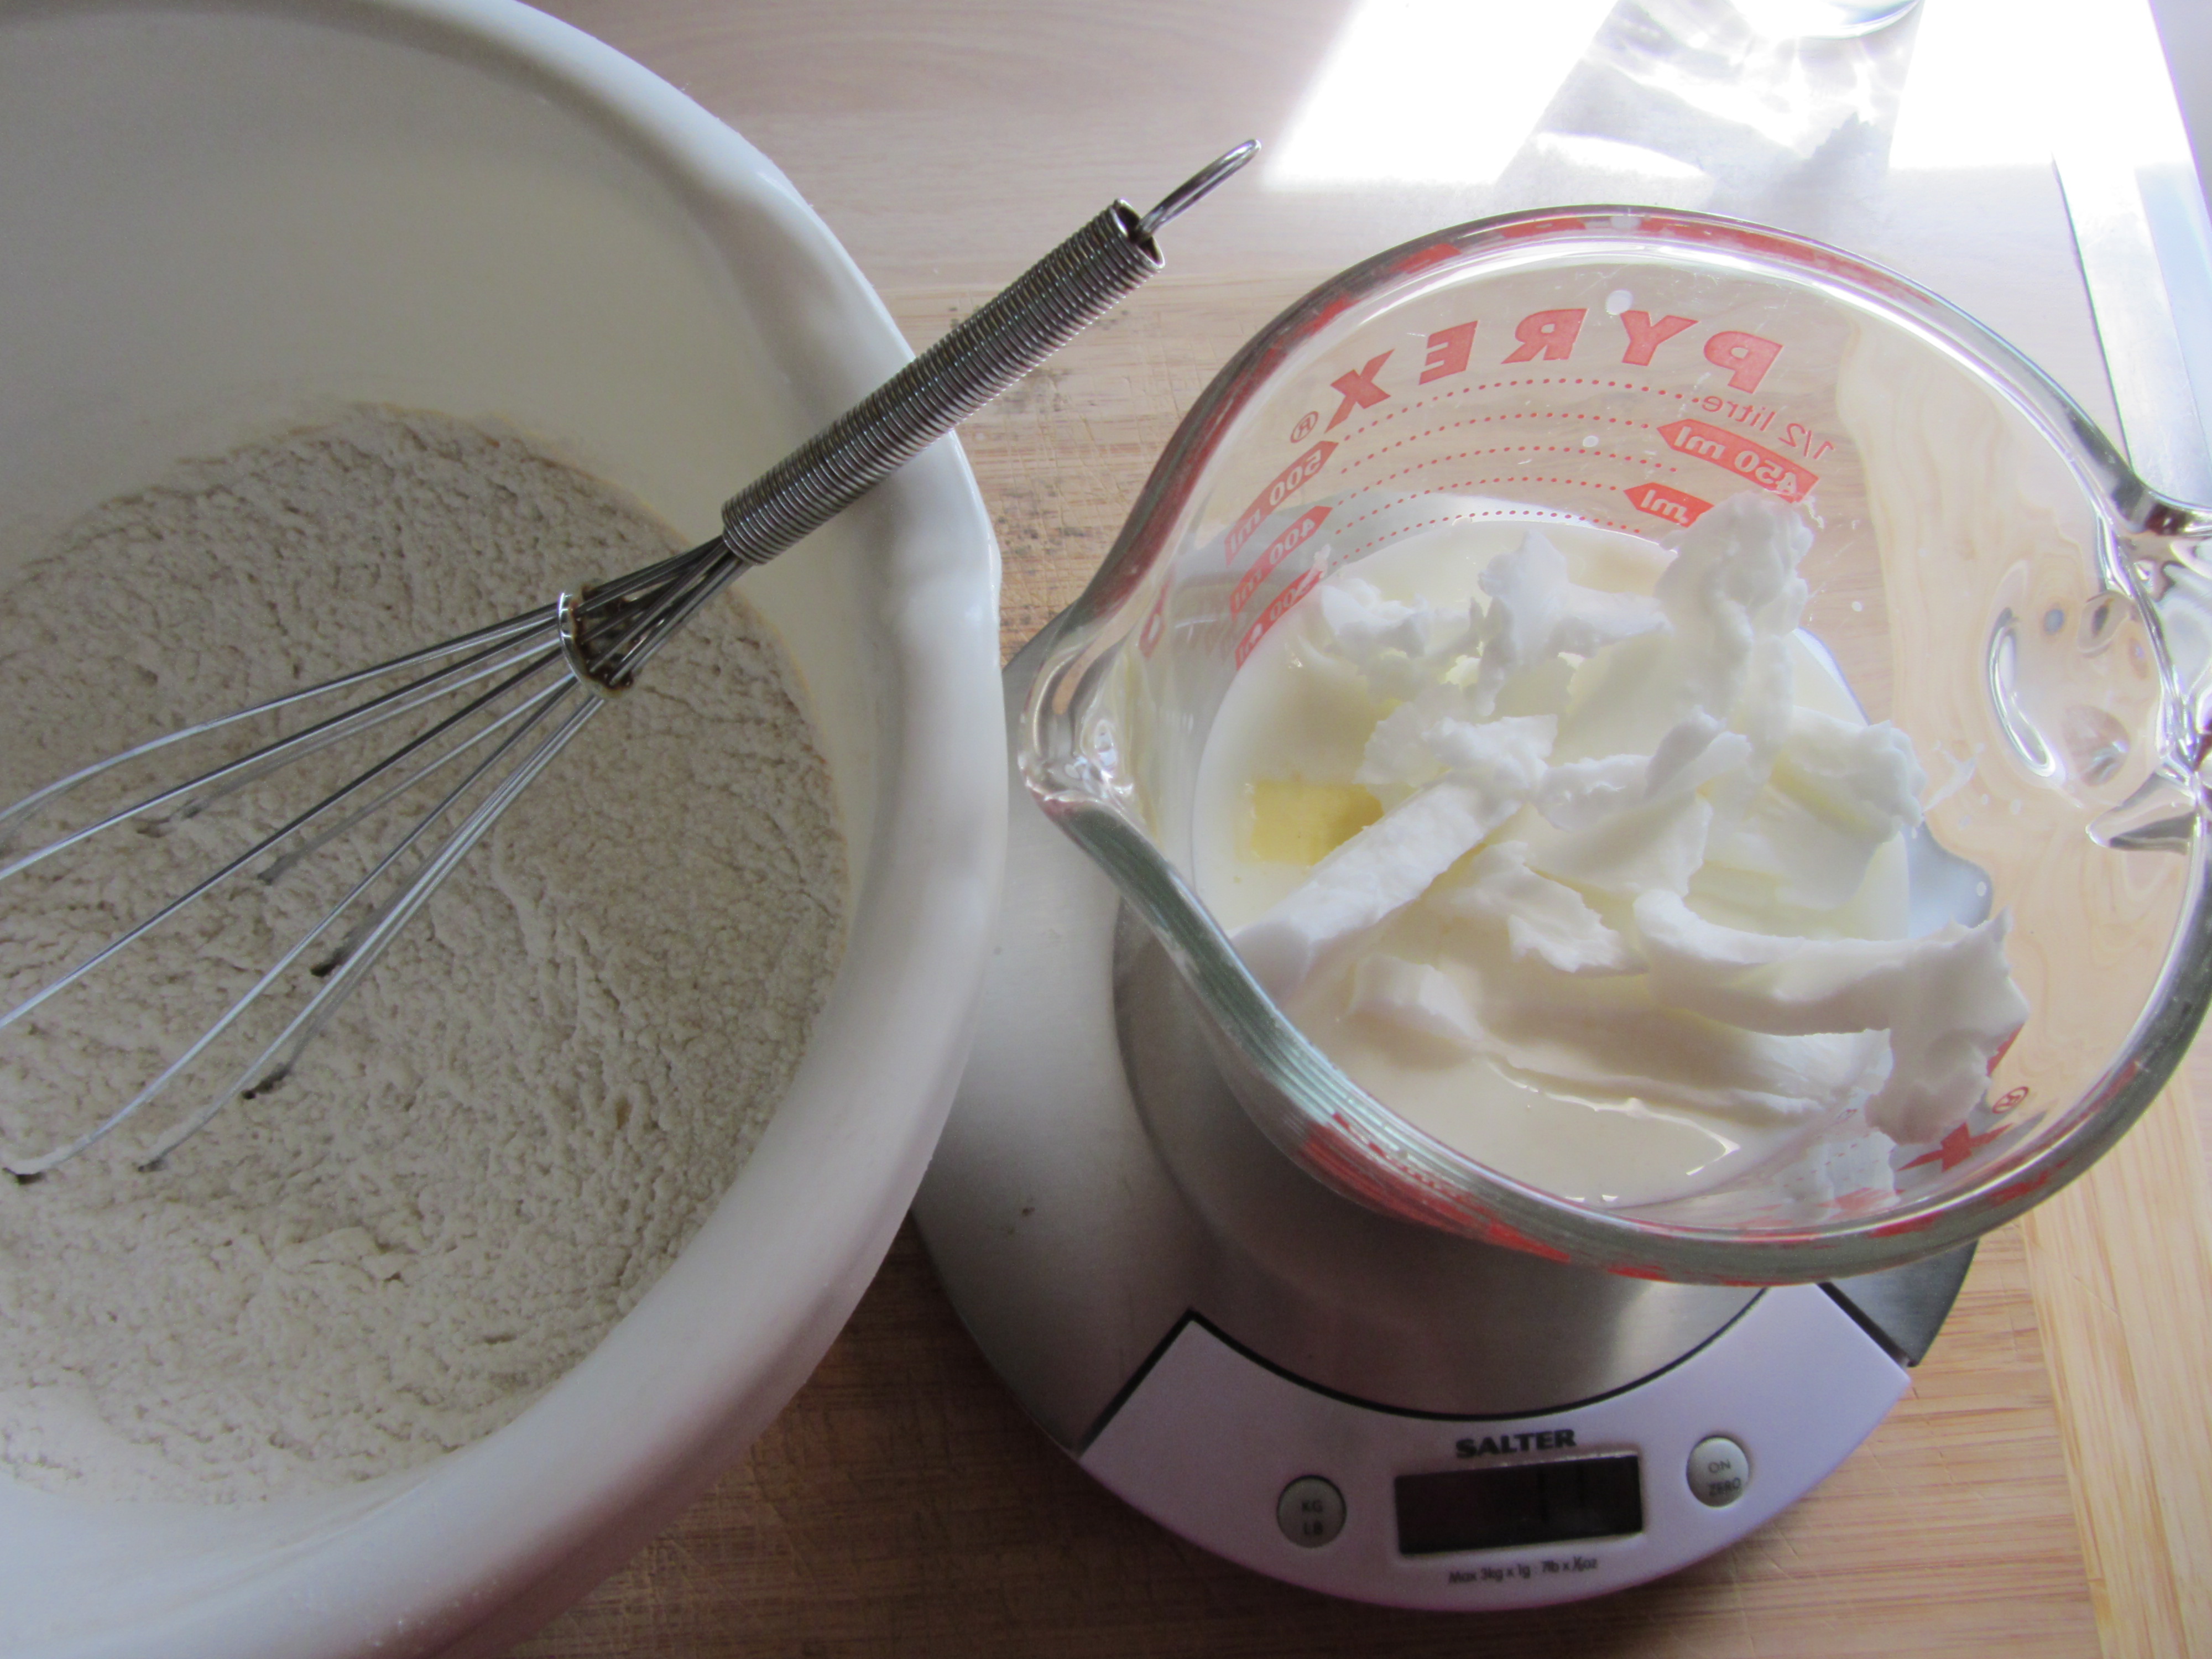
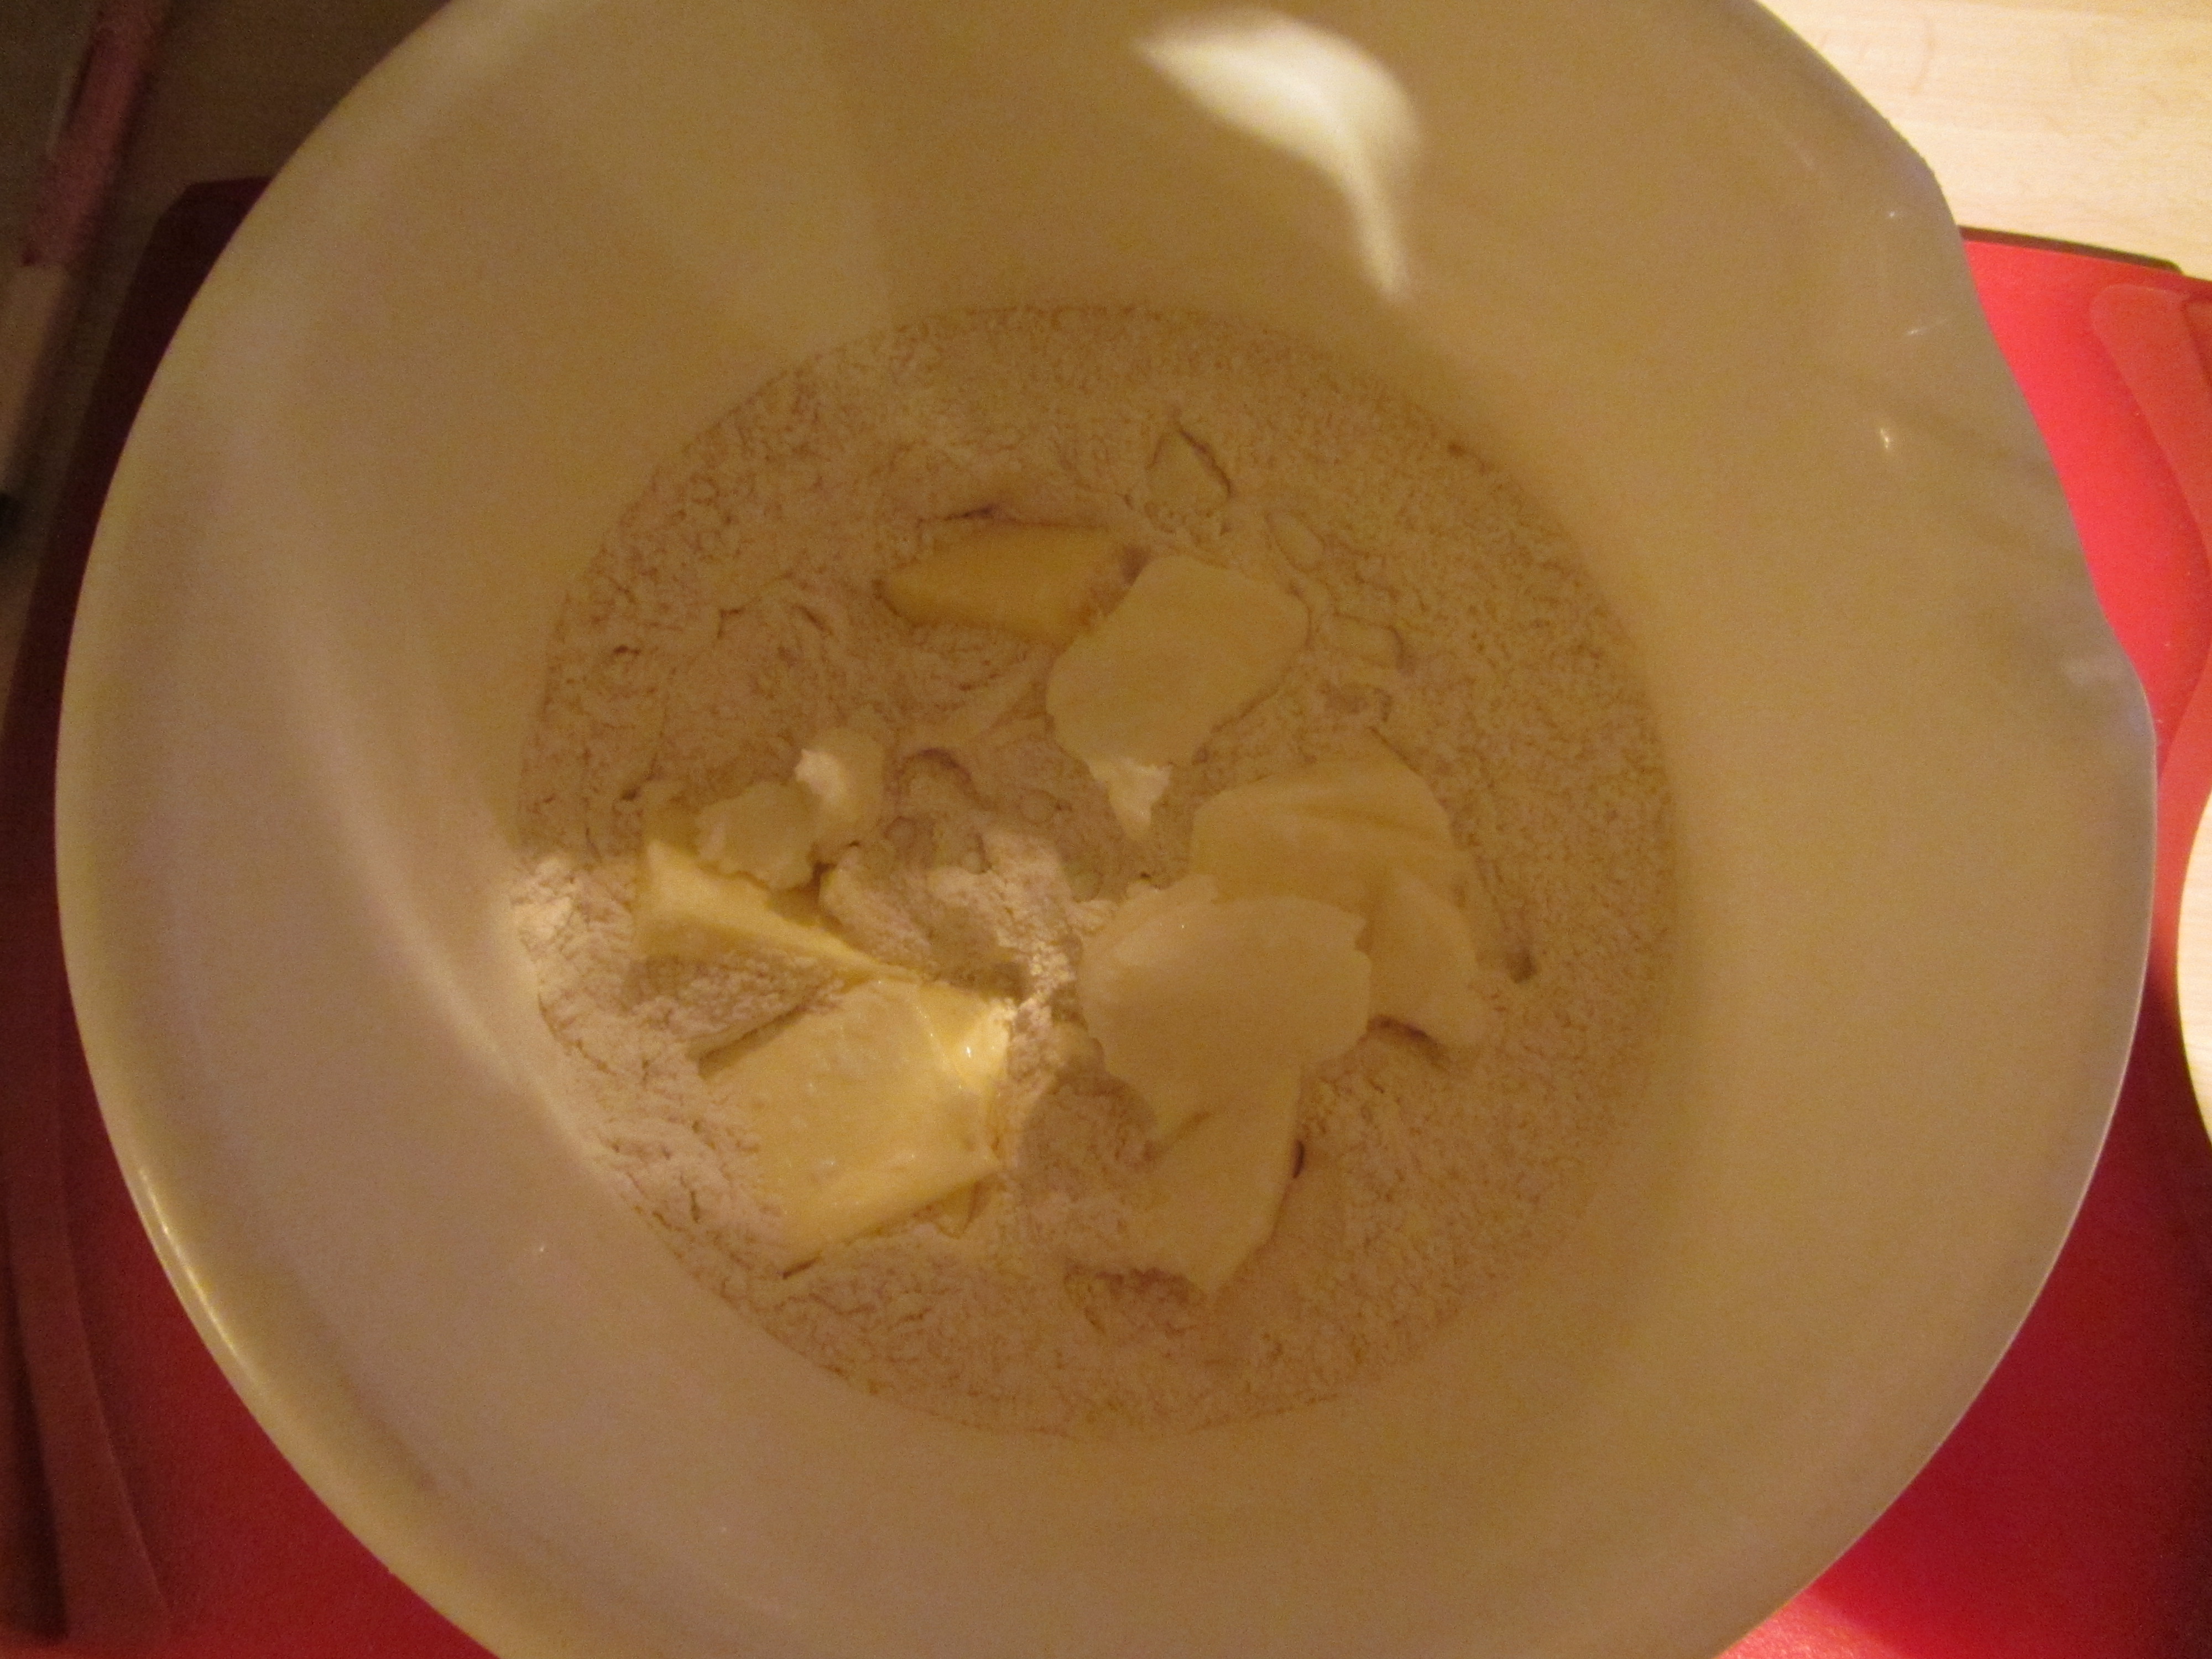
This entire episode of Good Eats focuses on one recipe for a sour cream cheesecake. I don’t know about you, but when I think of cheesecake, I think of a springform pan. Alton Brown, on the other hand, suggests that you do not use a springform pan for sweet cheesecakes, as they can leak when you bake the cheesecake in a water bath. Alton does not bake savory cheesecakes in a water bath, so he uses a springform pan for those; strangely, he never really explained why he does not use a water bath for savory cheesecakes. So, what type of pan does Alton recommend for sweet cheesecake? He likes a 9-inch round pan with 3-inch tall sides. Honestly, I was just going to use my springform pan to make this cheesecake… until I tested it in a pan of water. Sure enough, it leaked instantly, so I bought a pan like Alton suggested. Ok, so once you are ready to make your cheesecake, you will want to allow 20 ounces of cream cheese and 1 1/4 C sour cream to sit on your counter to soften while you prepare your crust. Prep your pan by brushing the inside of the pan with melted butter.

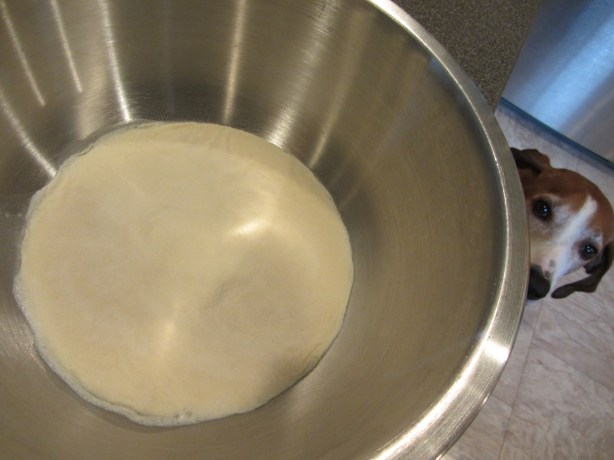
Next, line the bottom and sides of the pan with parchment paper.

IMG_4696

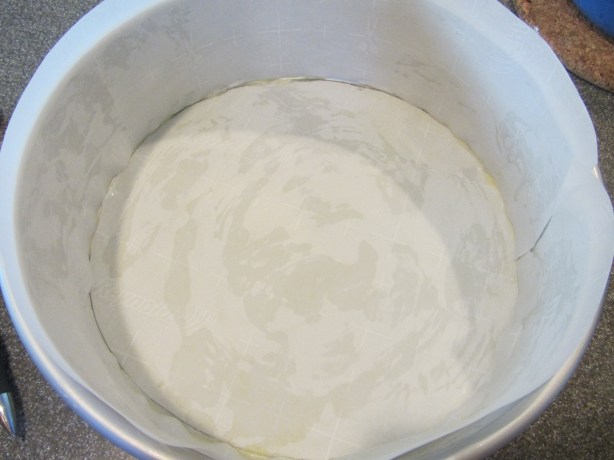
Pan brushed with melted butter and lined with parchment paper.

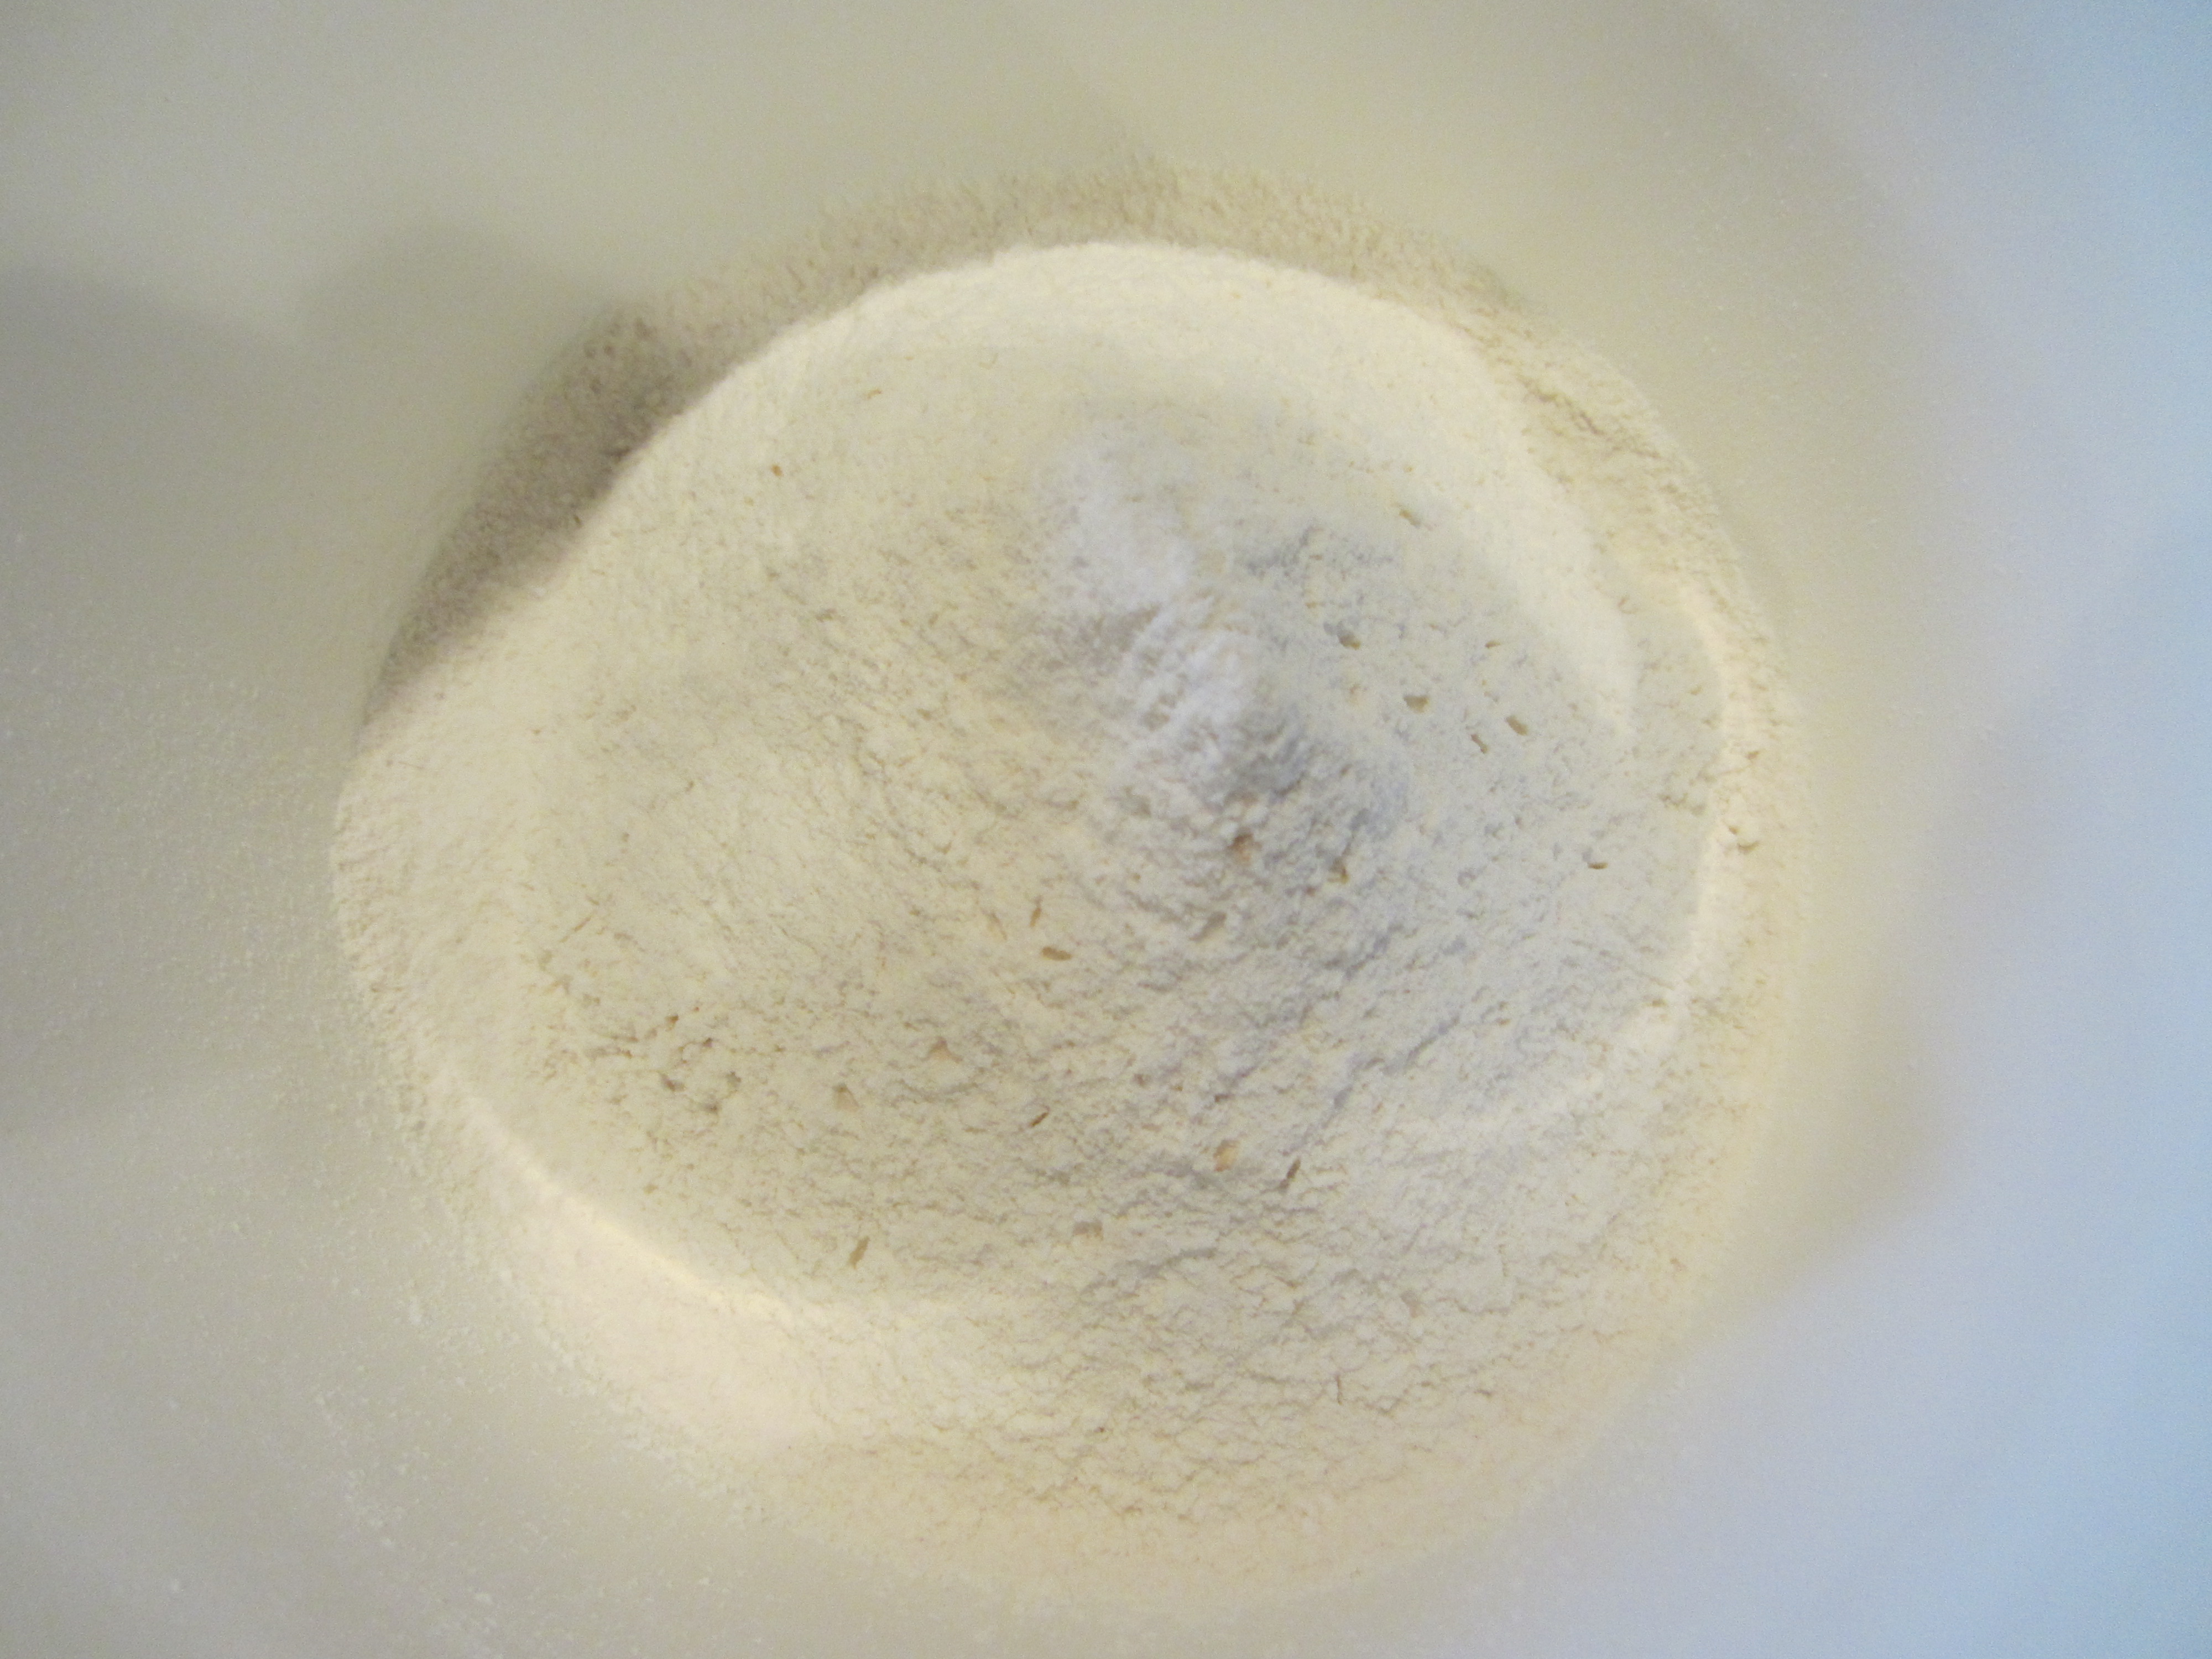
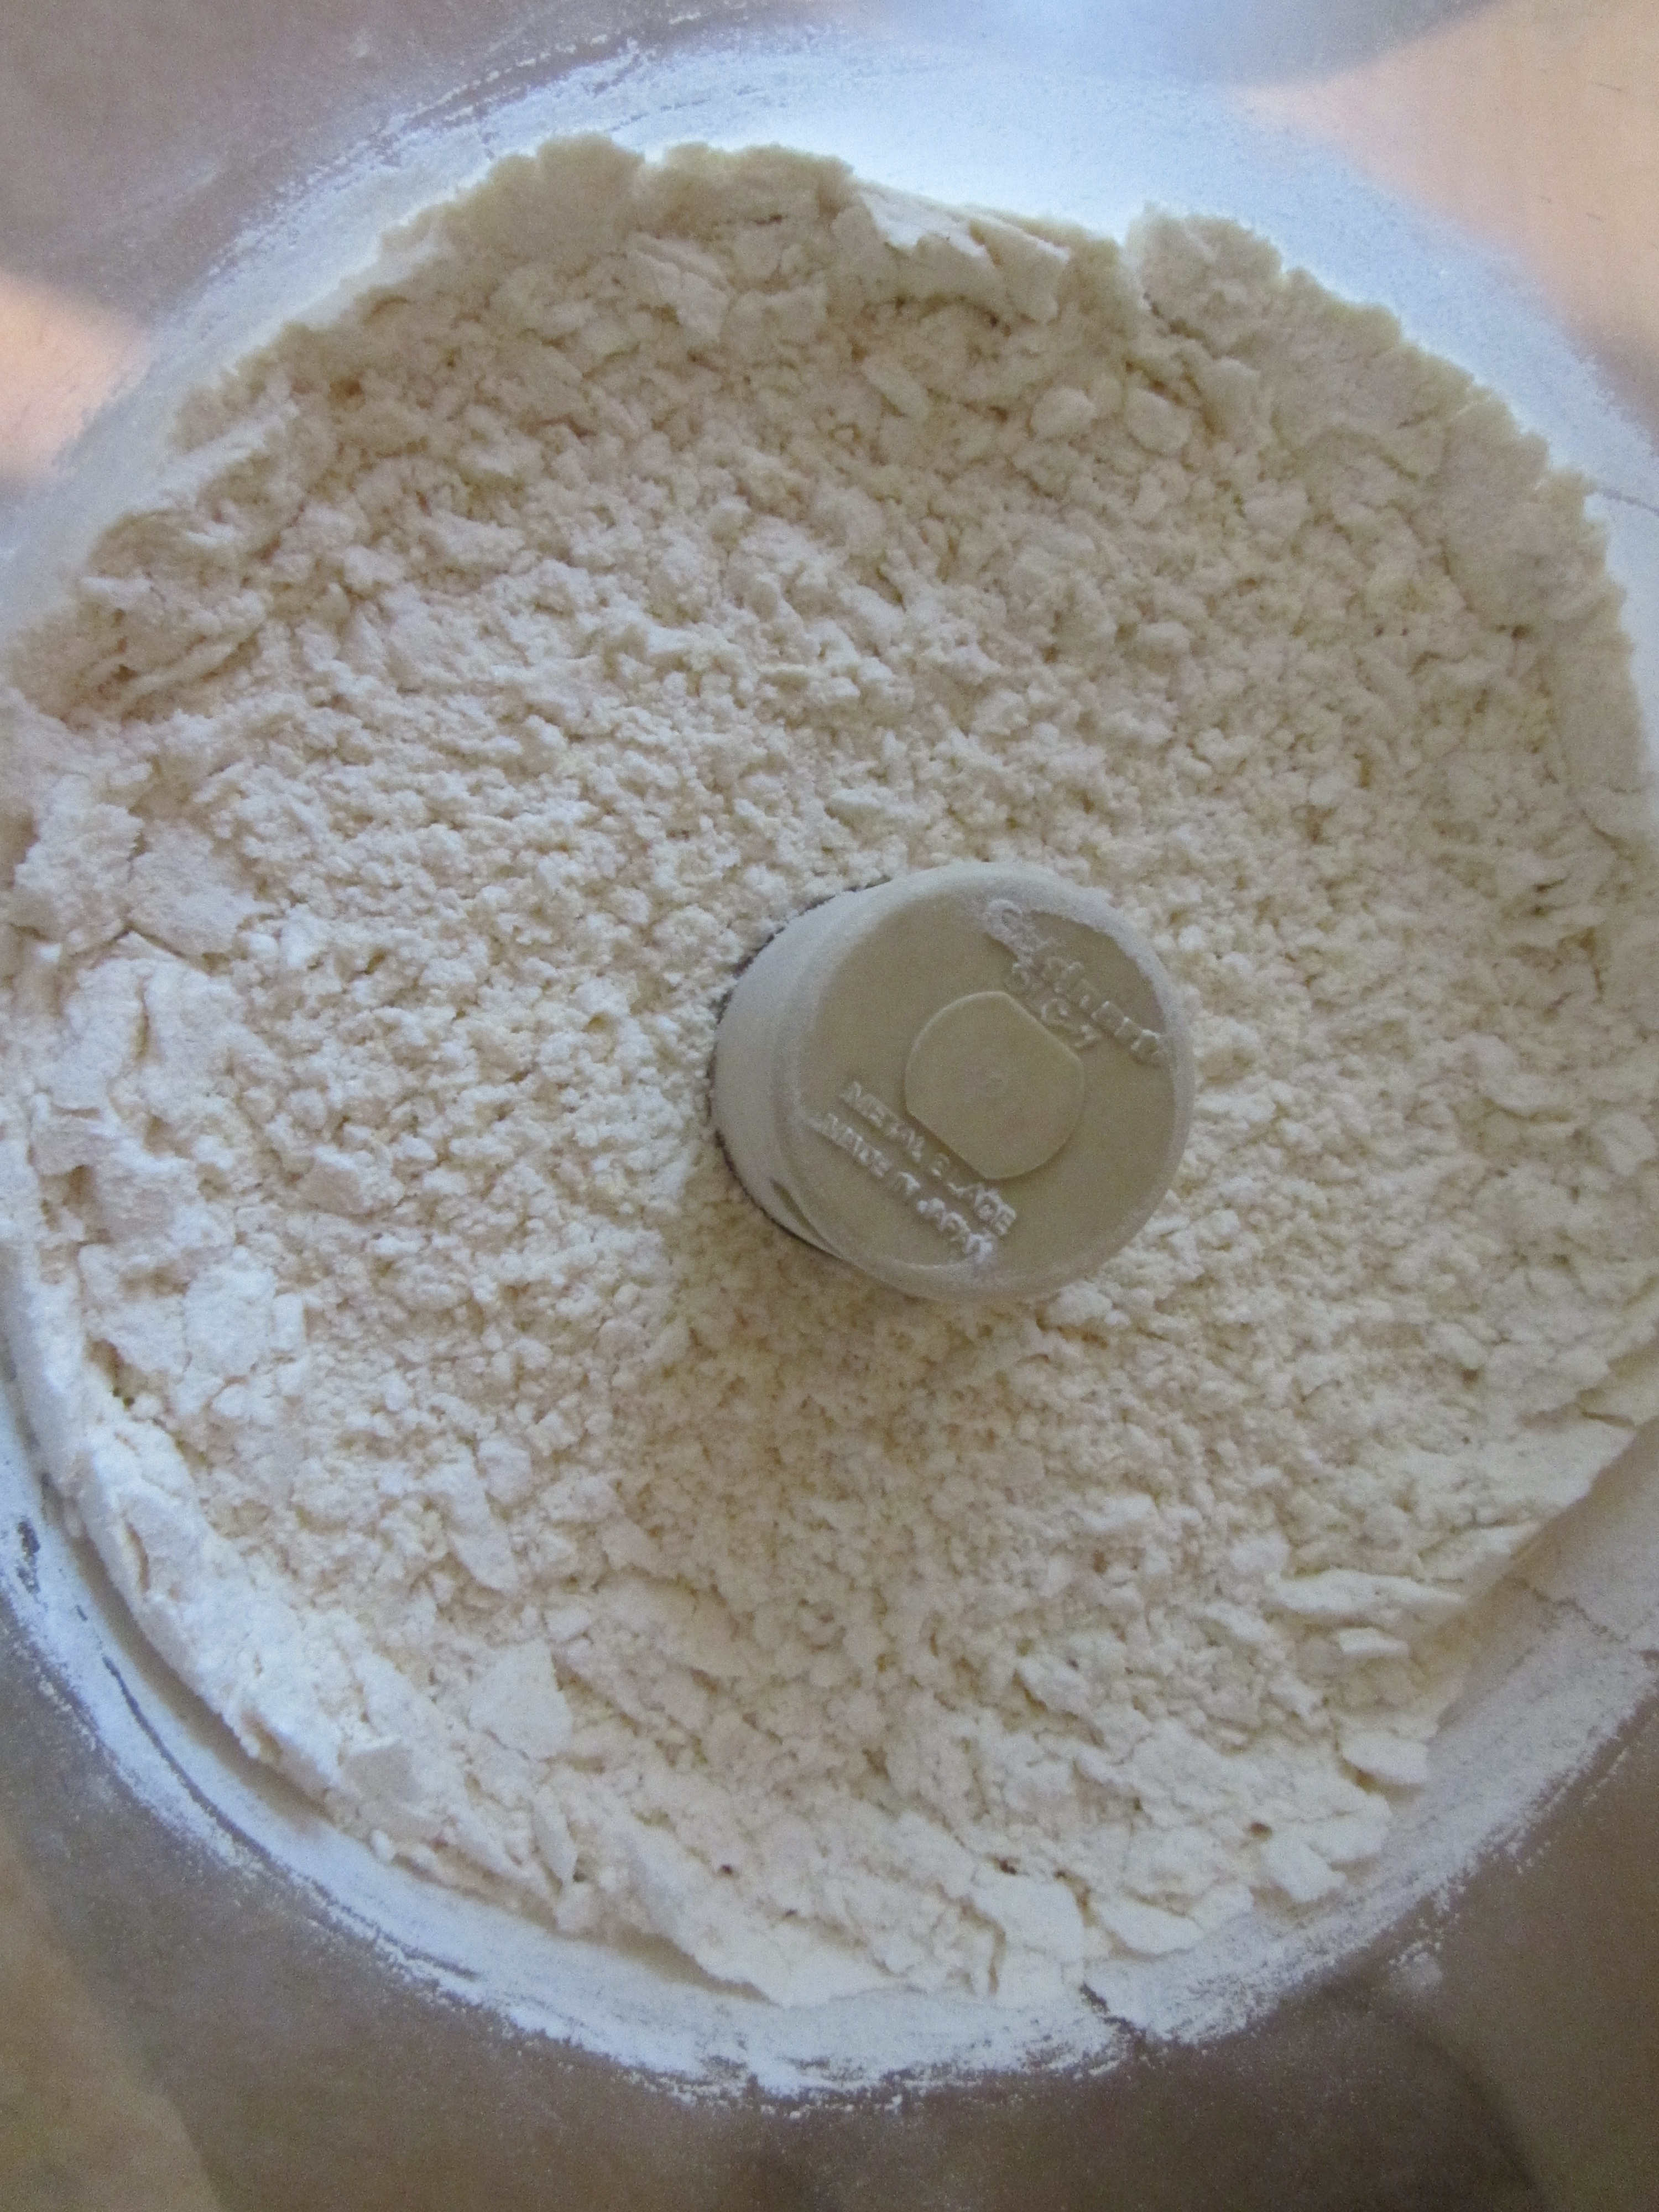
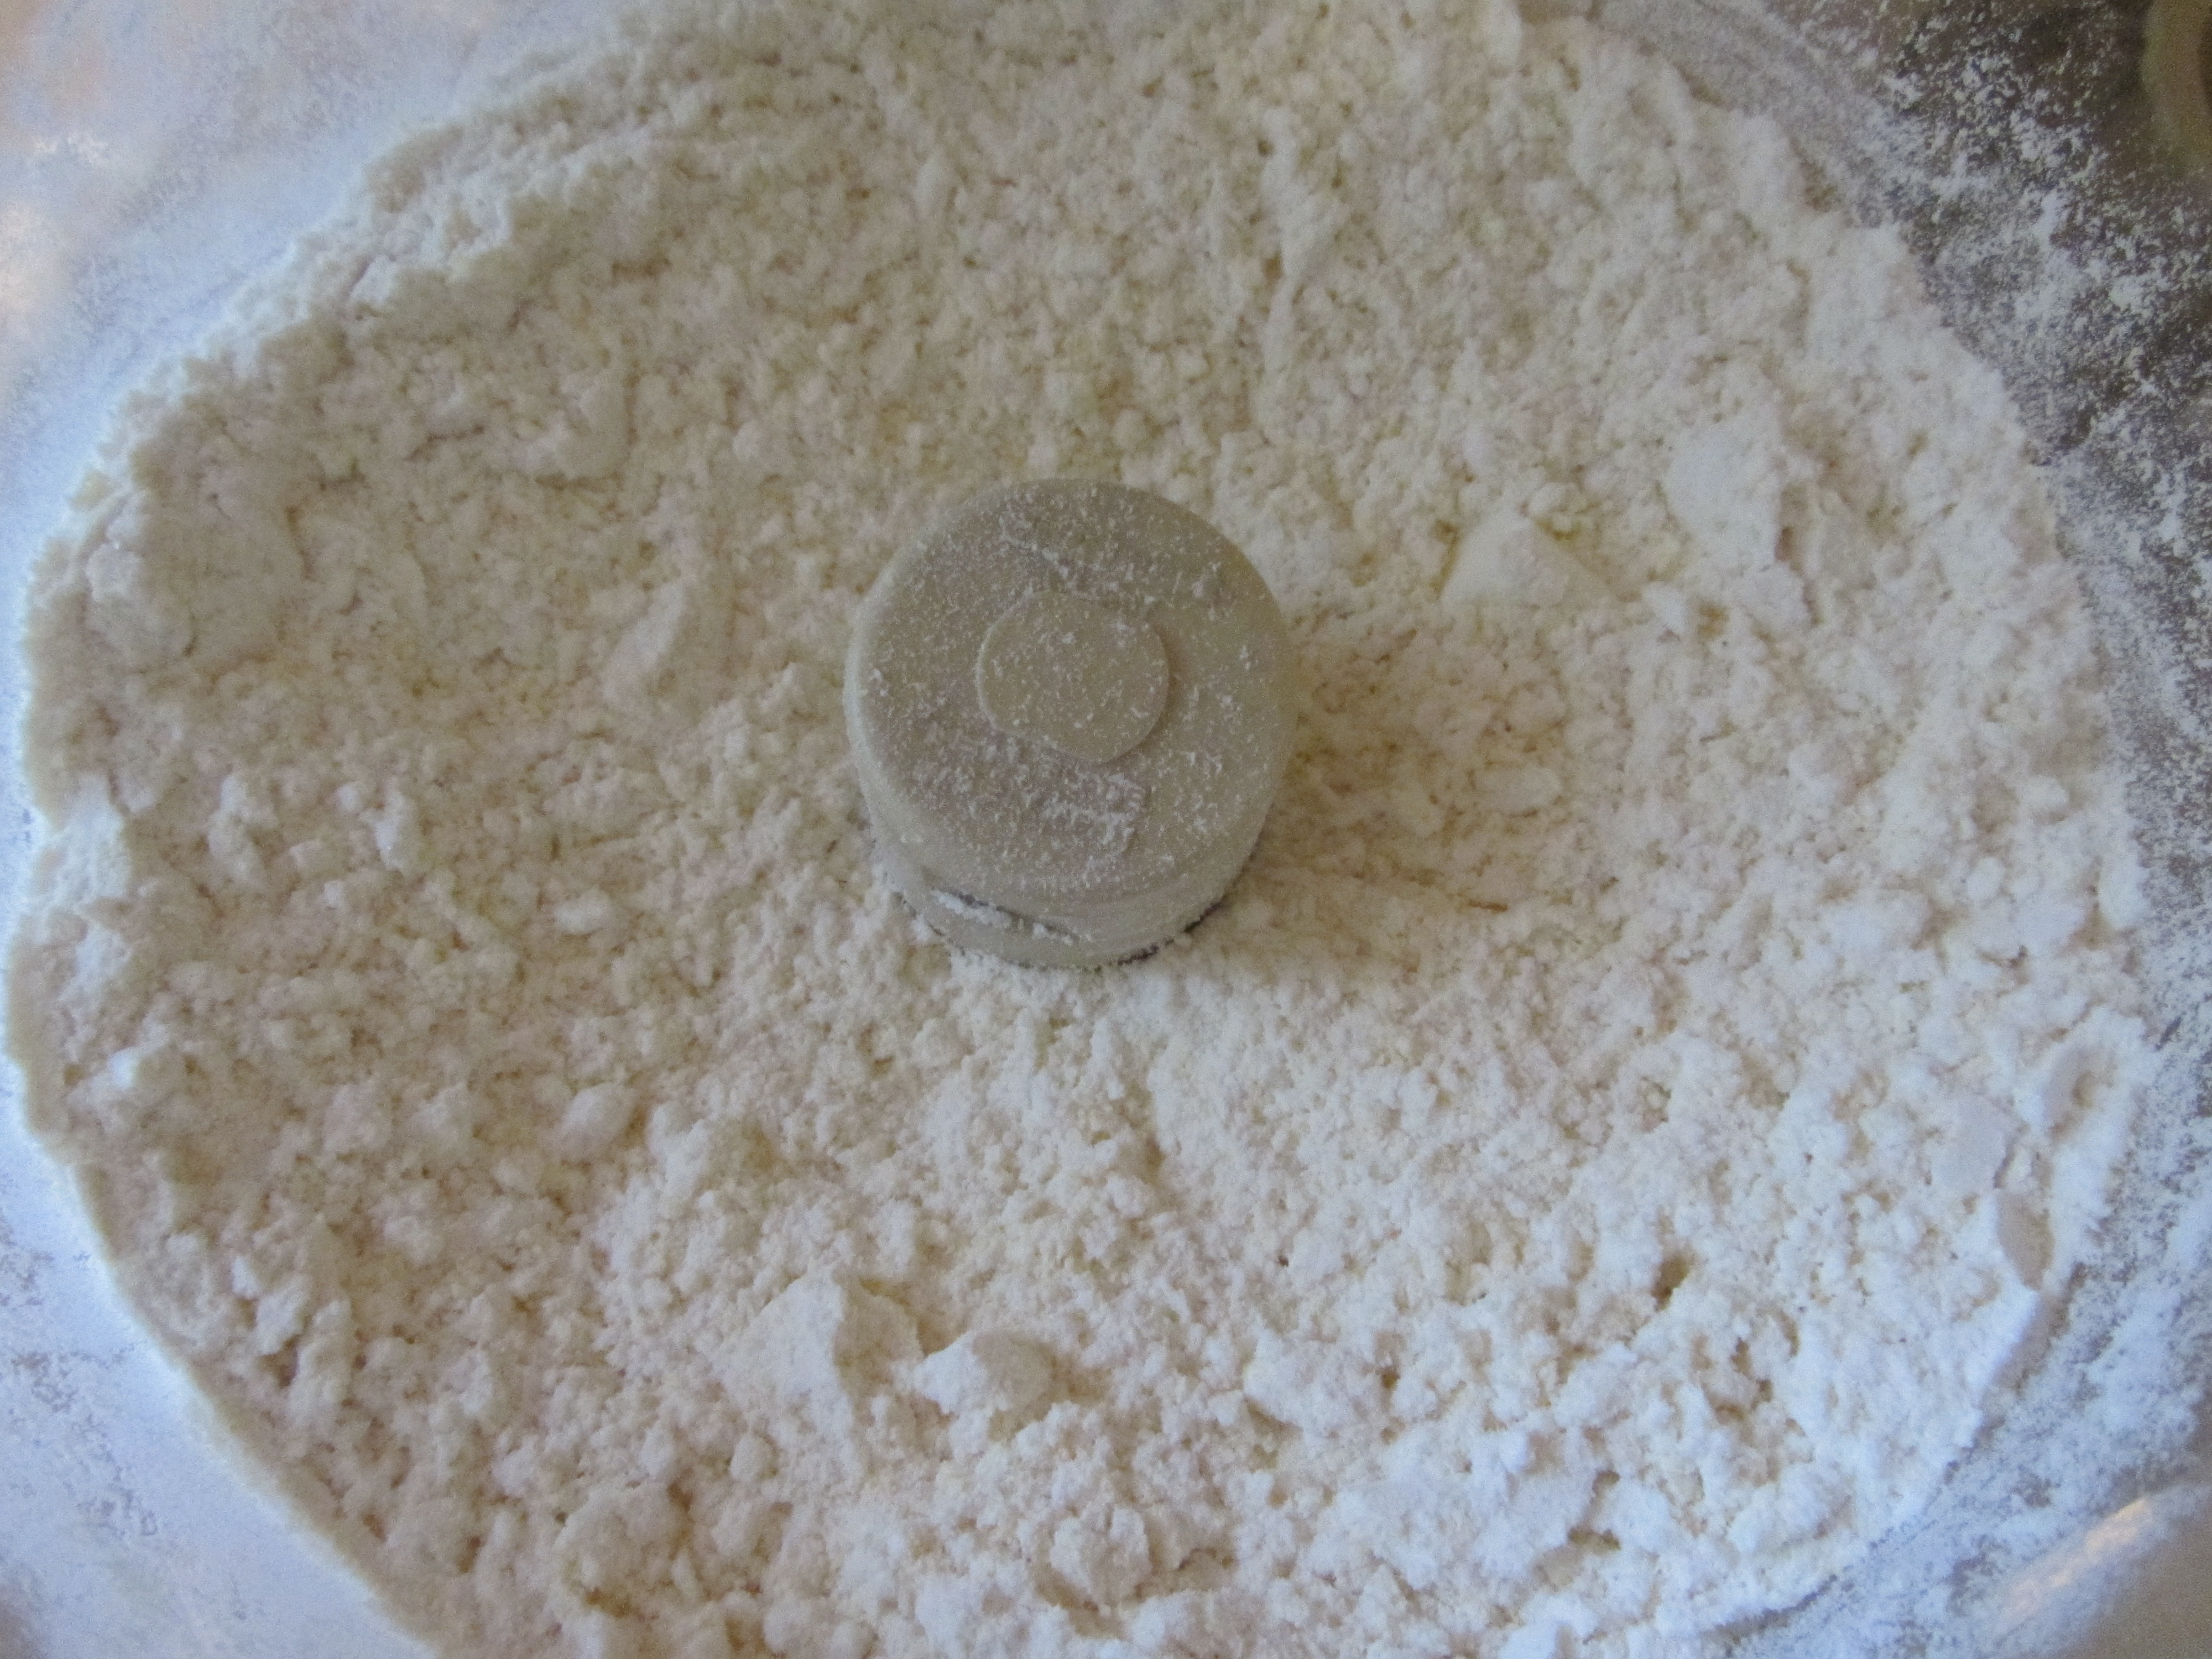
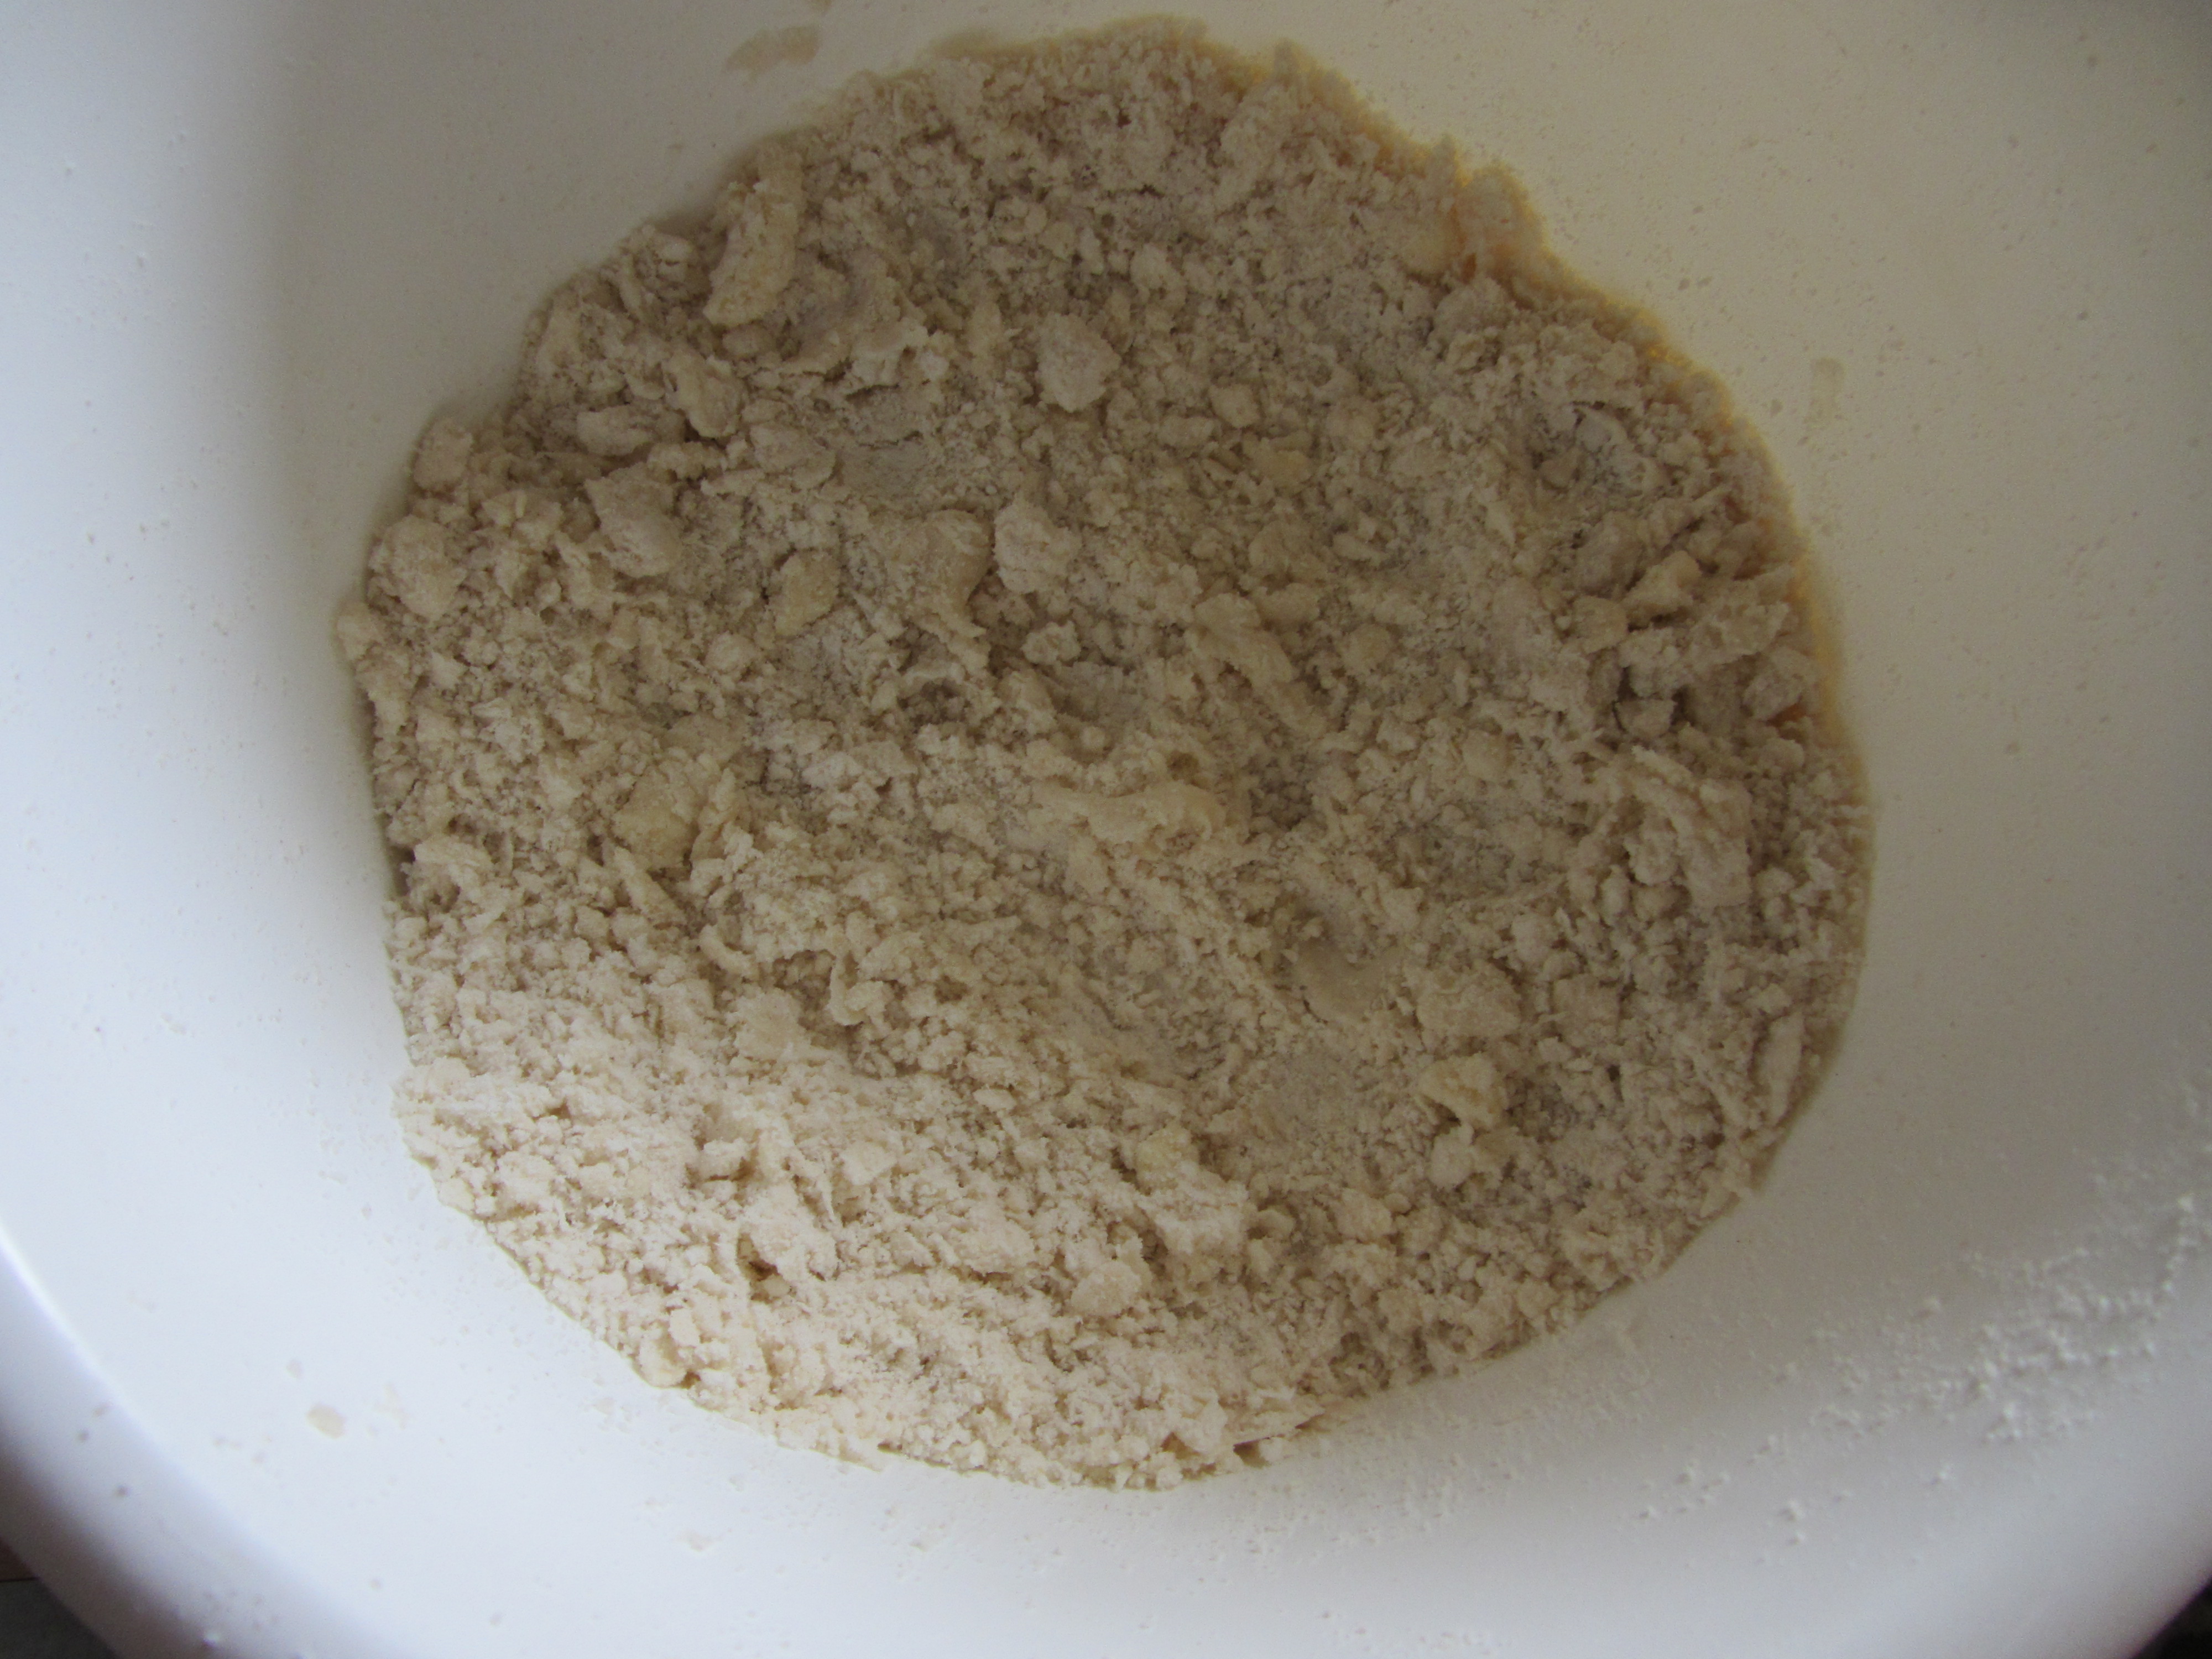
Alton, of course, had a certain technique for cutting  paper to line the pan. Yes, I tried his method, but I screwed it up and ended up just doing it the way my Mom taught me when I was about 10 – tracing the pan with a pencil. Some things never change. For the crust of the cheesecake, put 33 graham cracker squares in a large ziplock bag and crush them with your hands until you have a mixture of crumbs and some slightly larger pieces.

Combine the graham pieces with 1 stick of melted butter and 1 T sugar, and toss everything to combine.

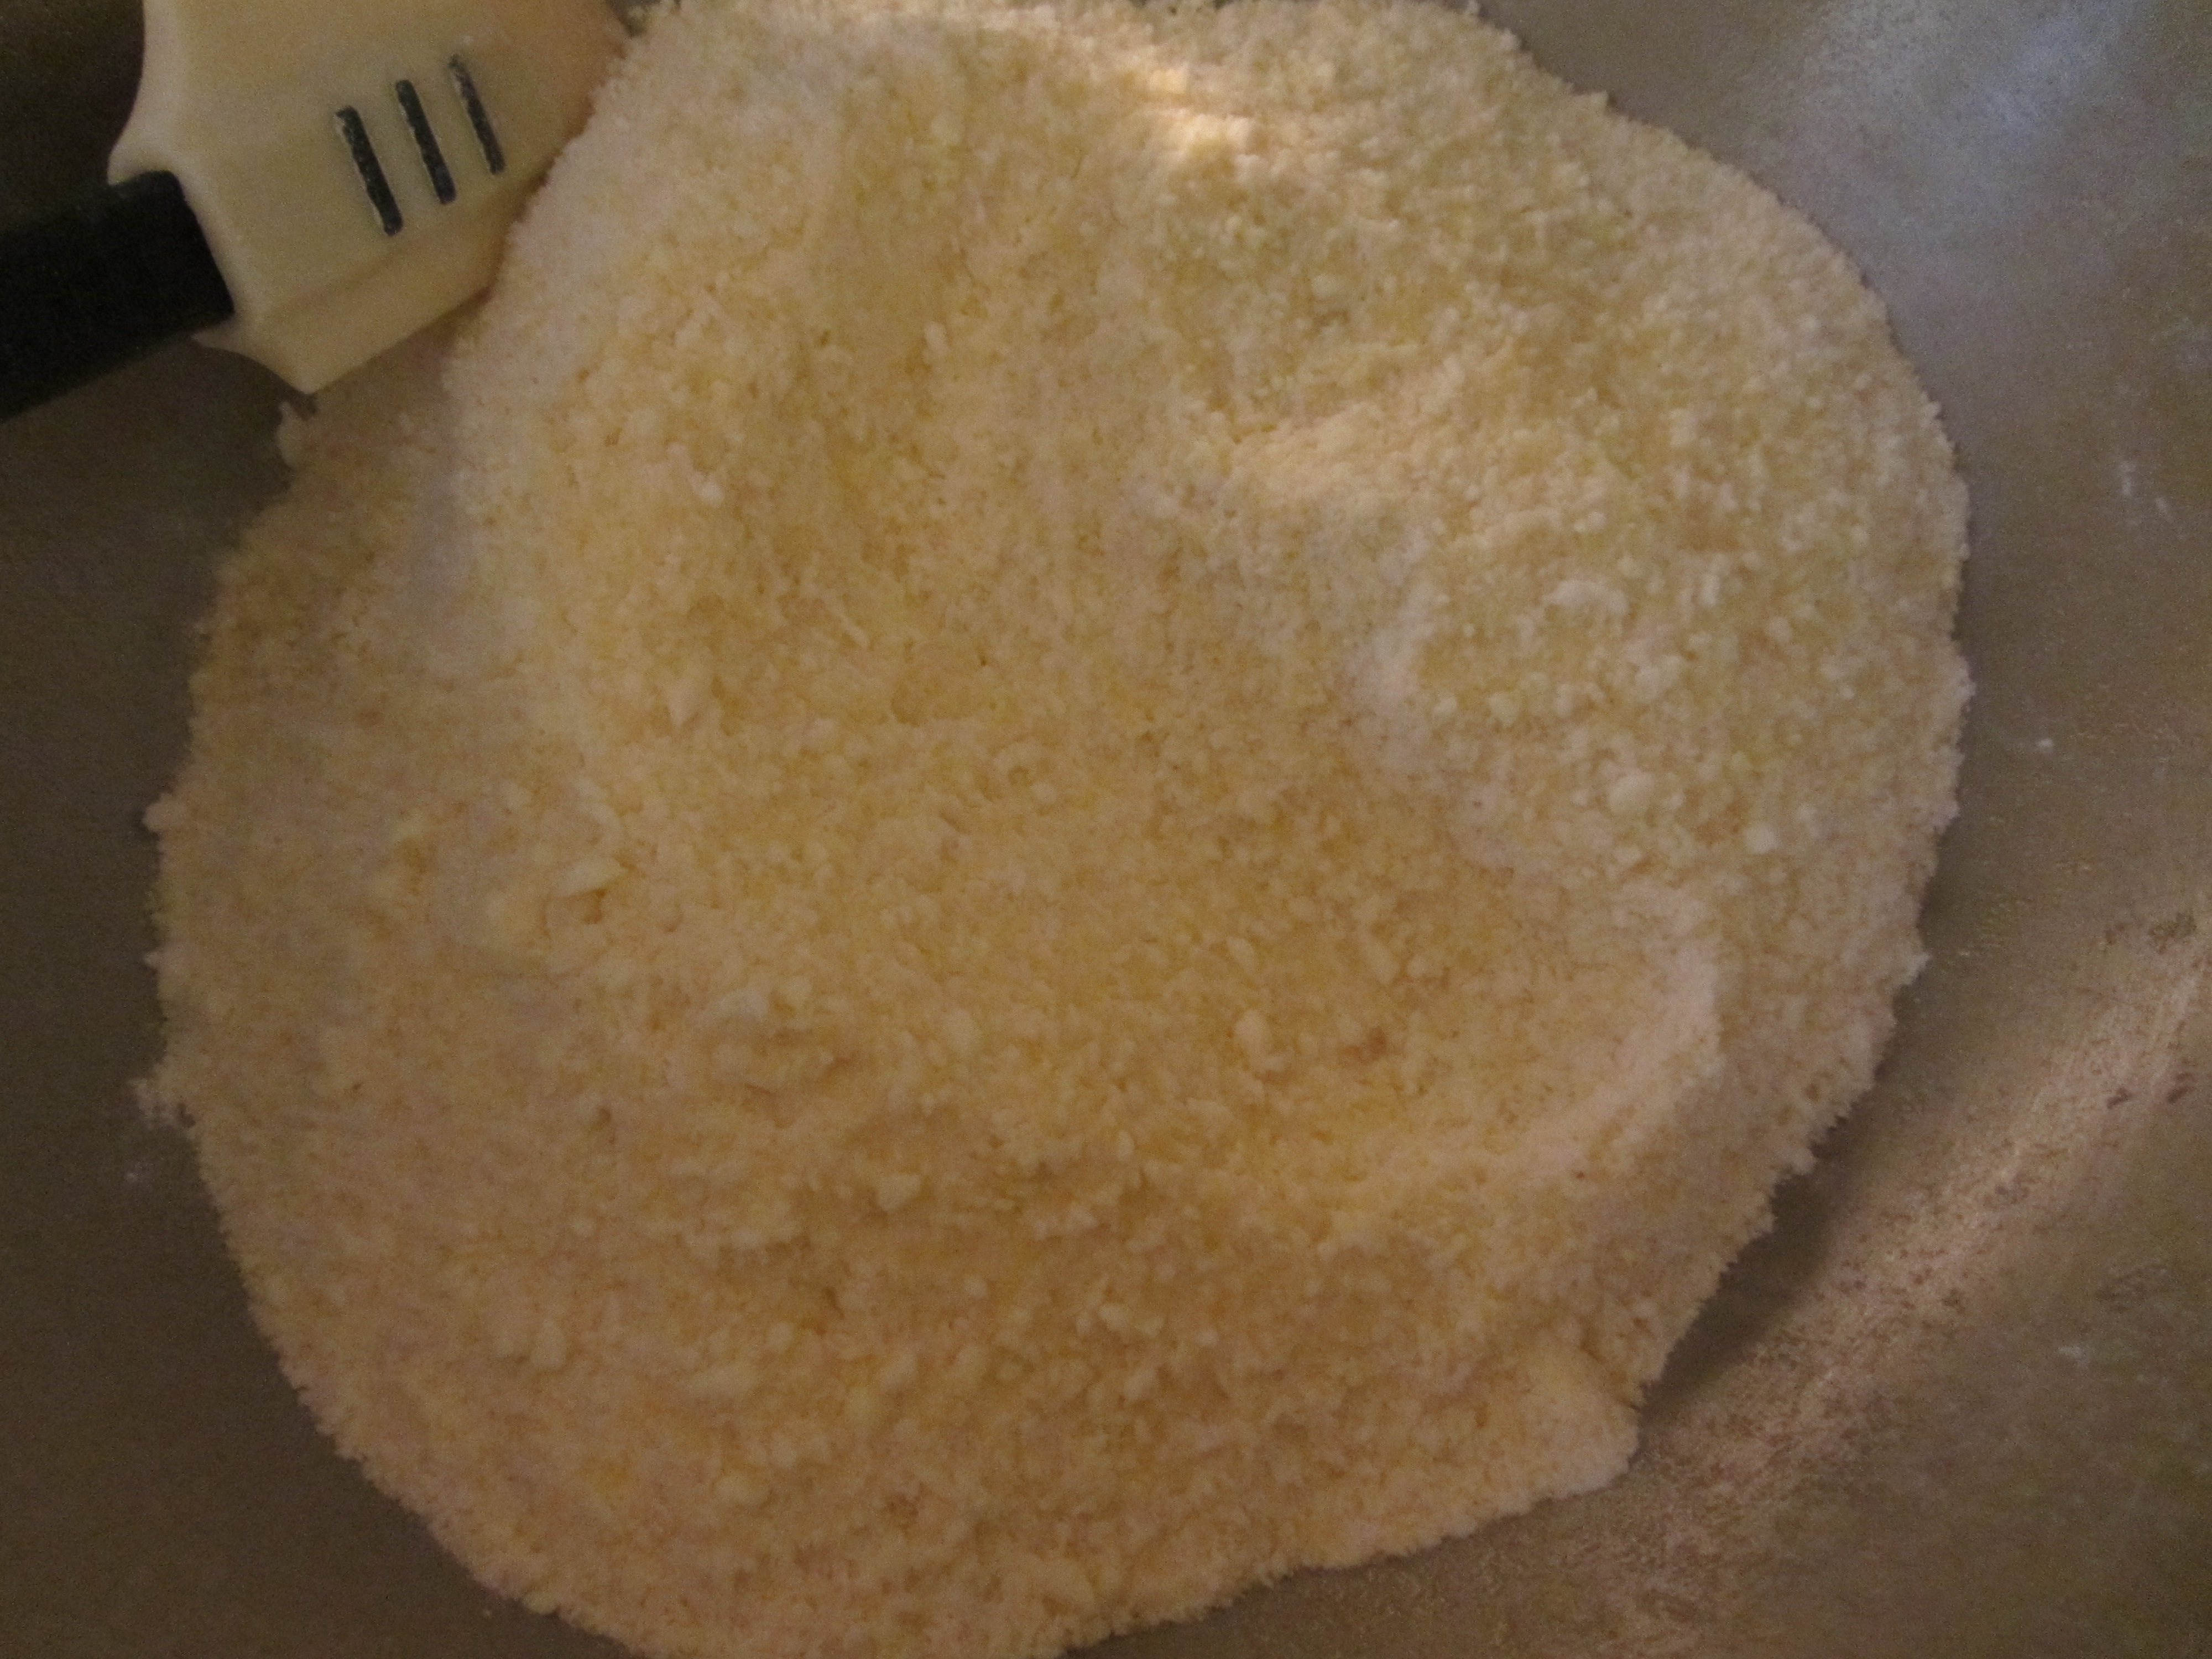
Pour 2/3 of the crumb mixture into your prepared pan, reserving the remaining crumbs for later. Using the bottom of a weighted glass (Alton used coins in his glass), tamp the crumb mixture into the bottom of the pan.

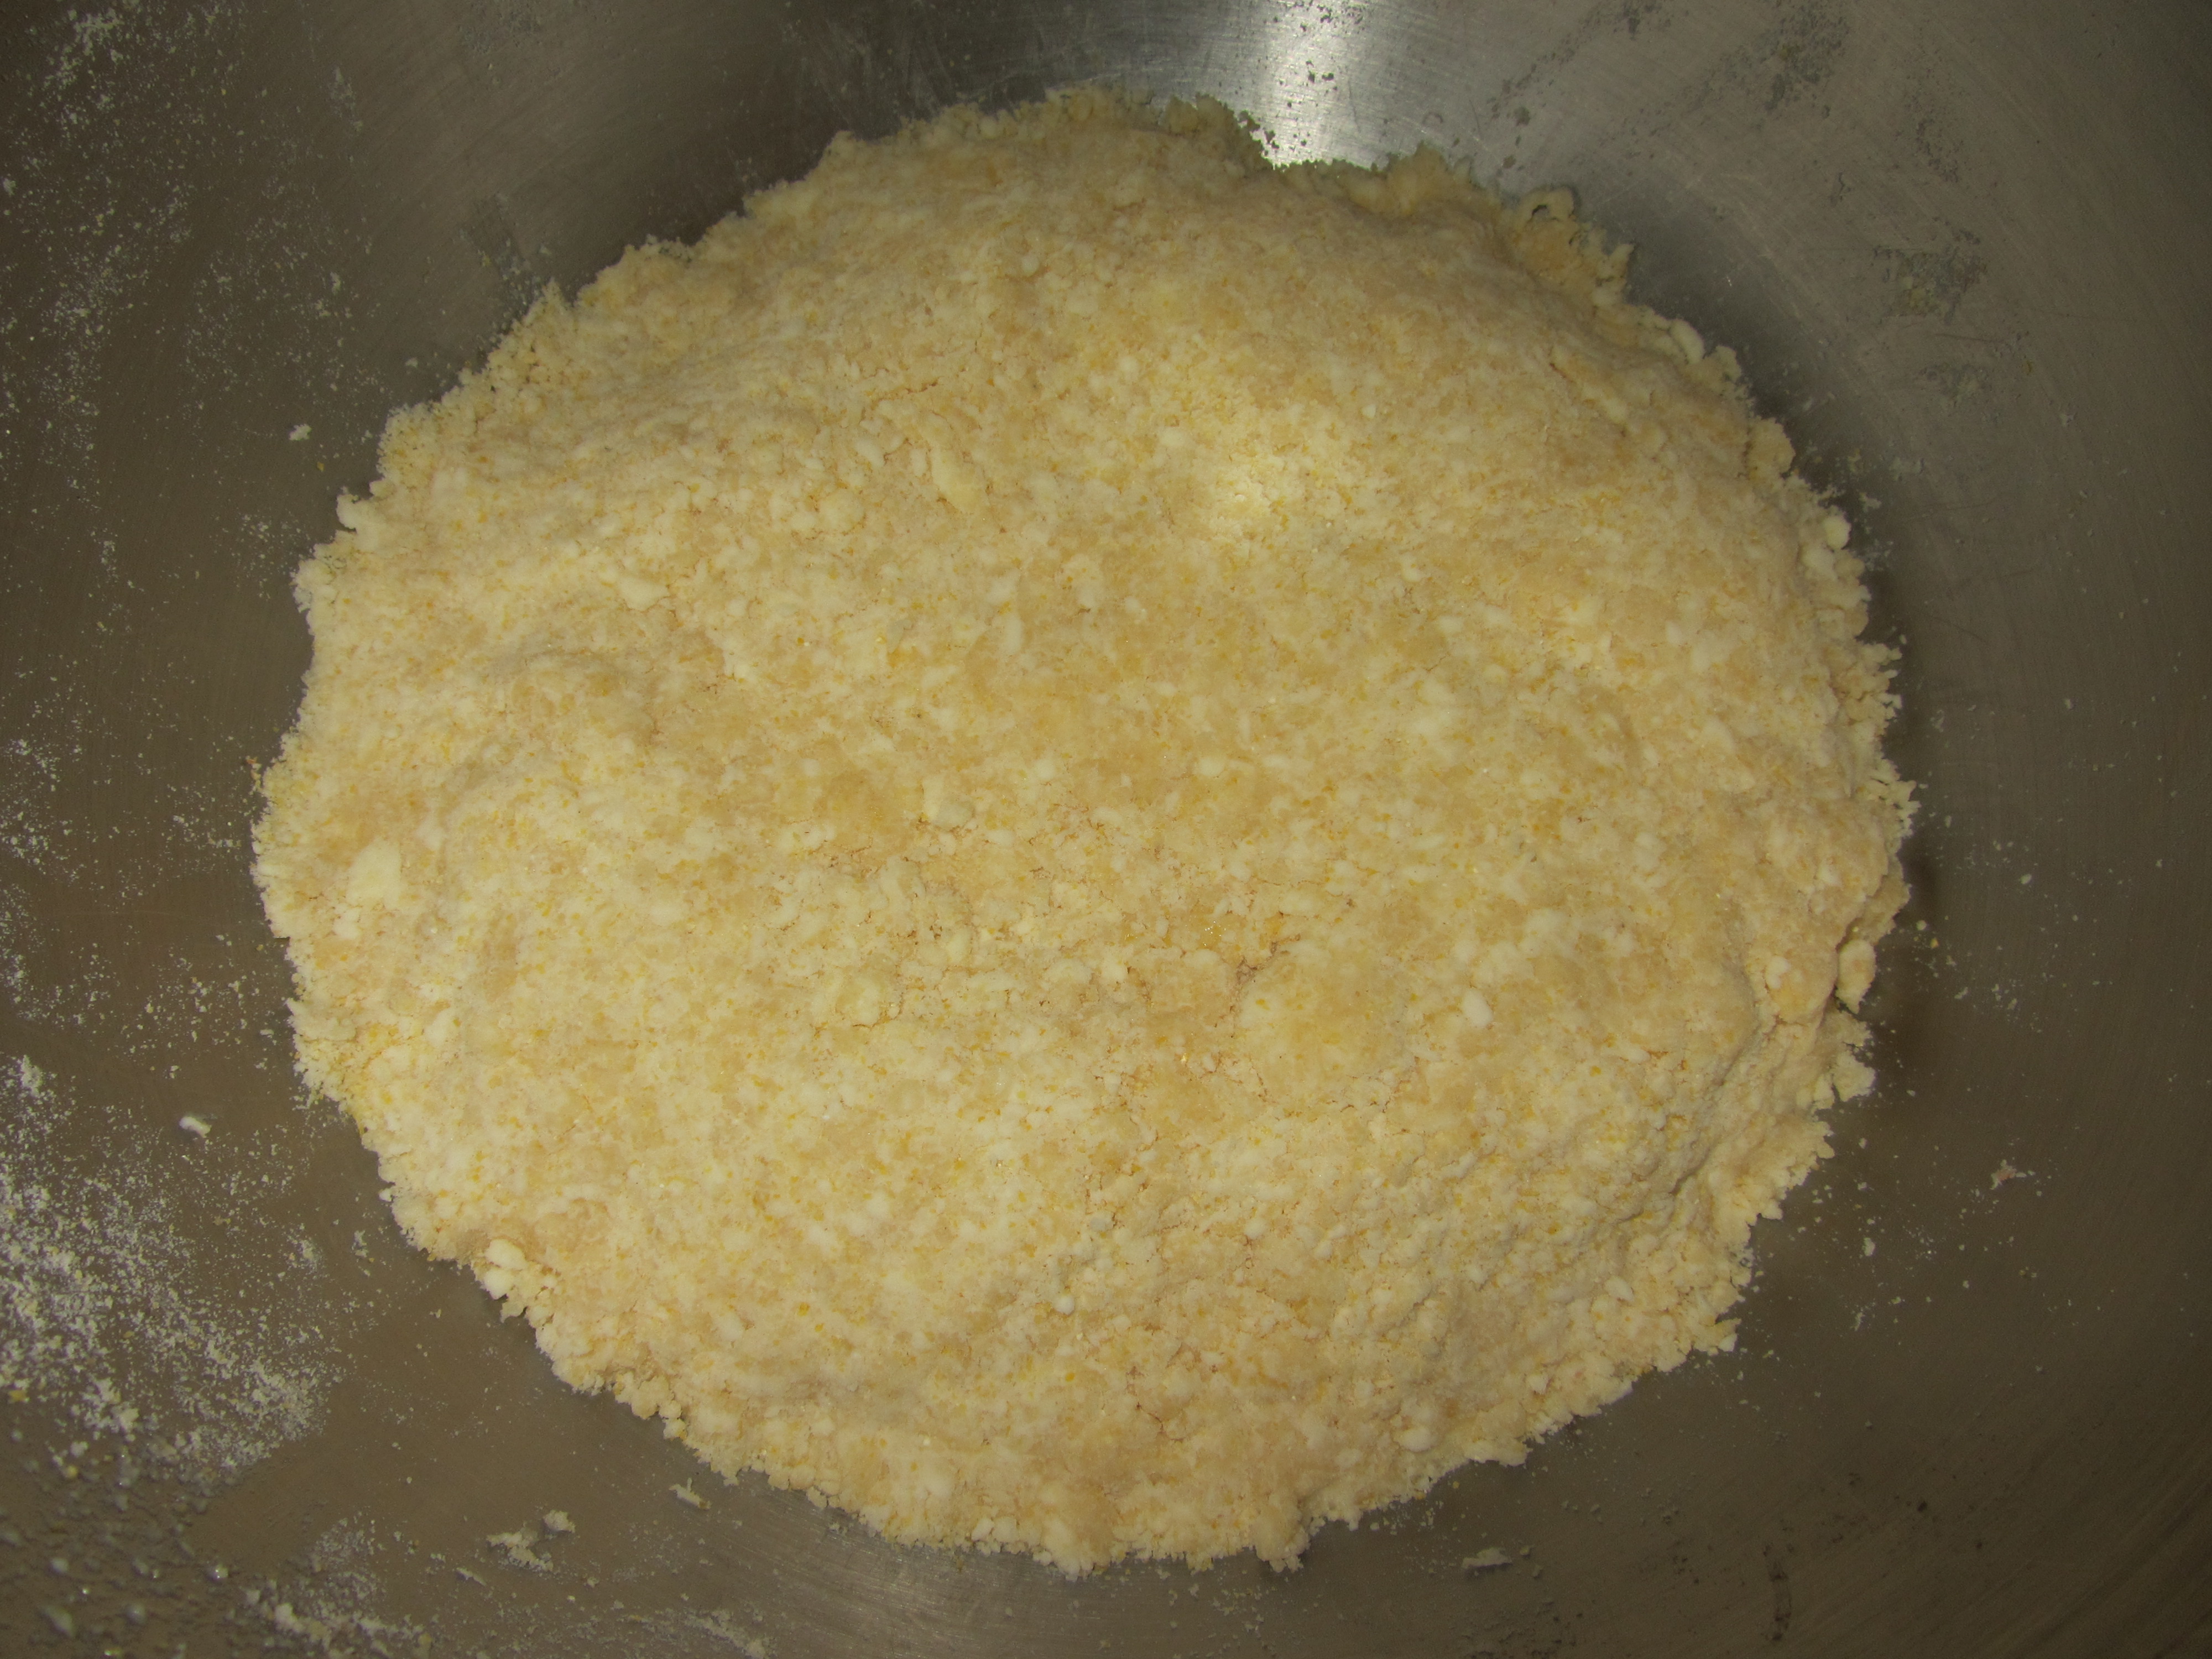
Bake your crust for 10 minutes at 300 degrees, and set it aside to cool while you begin making the filling. You want the crust to be cool before pouring adding the filling to the pan.

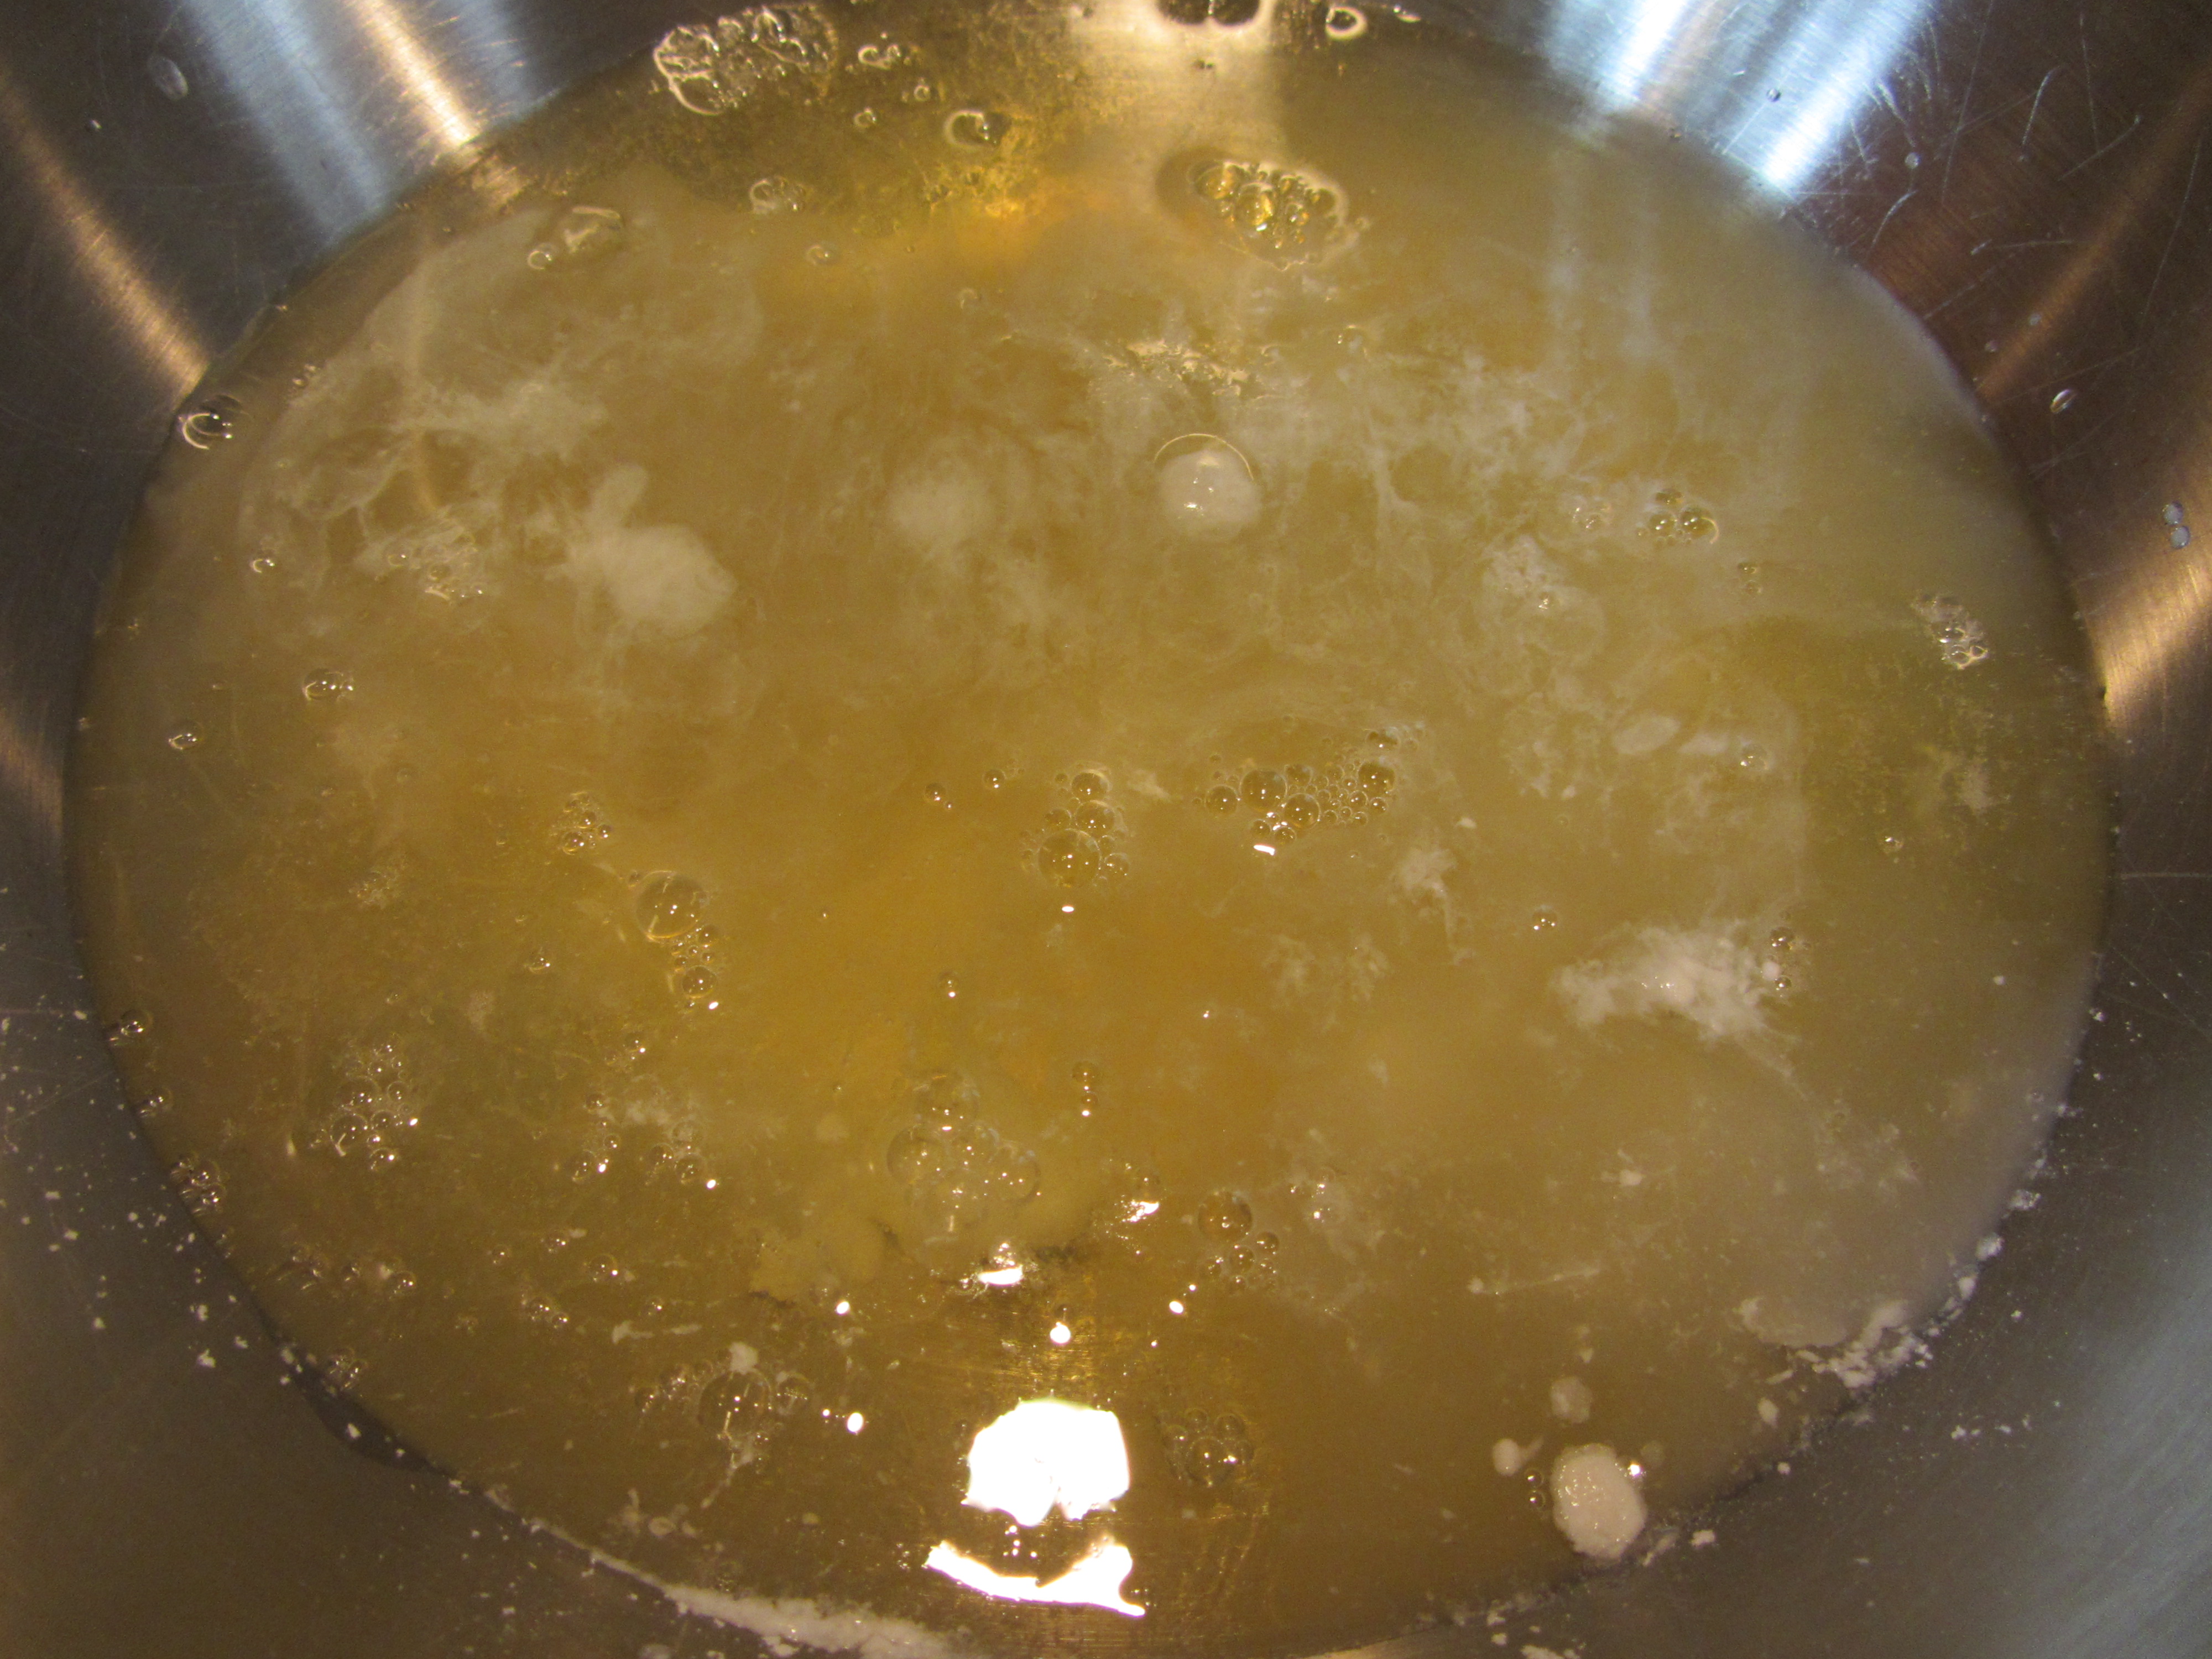
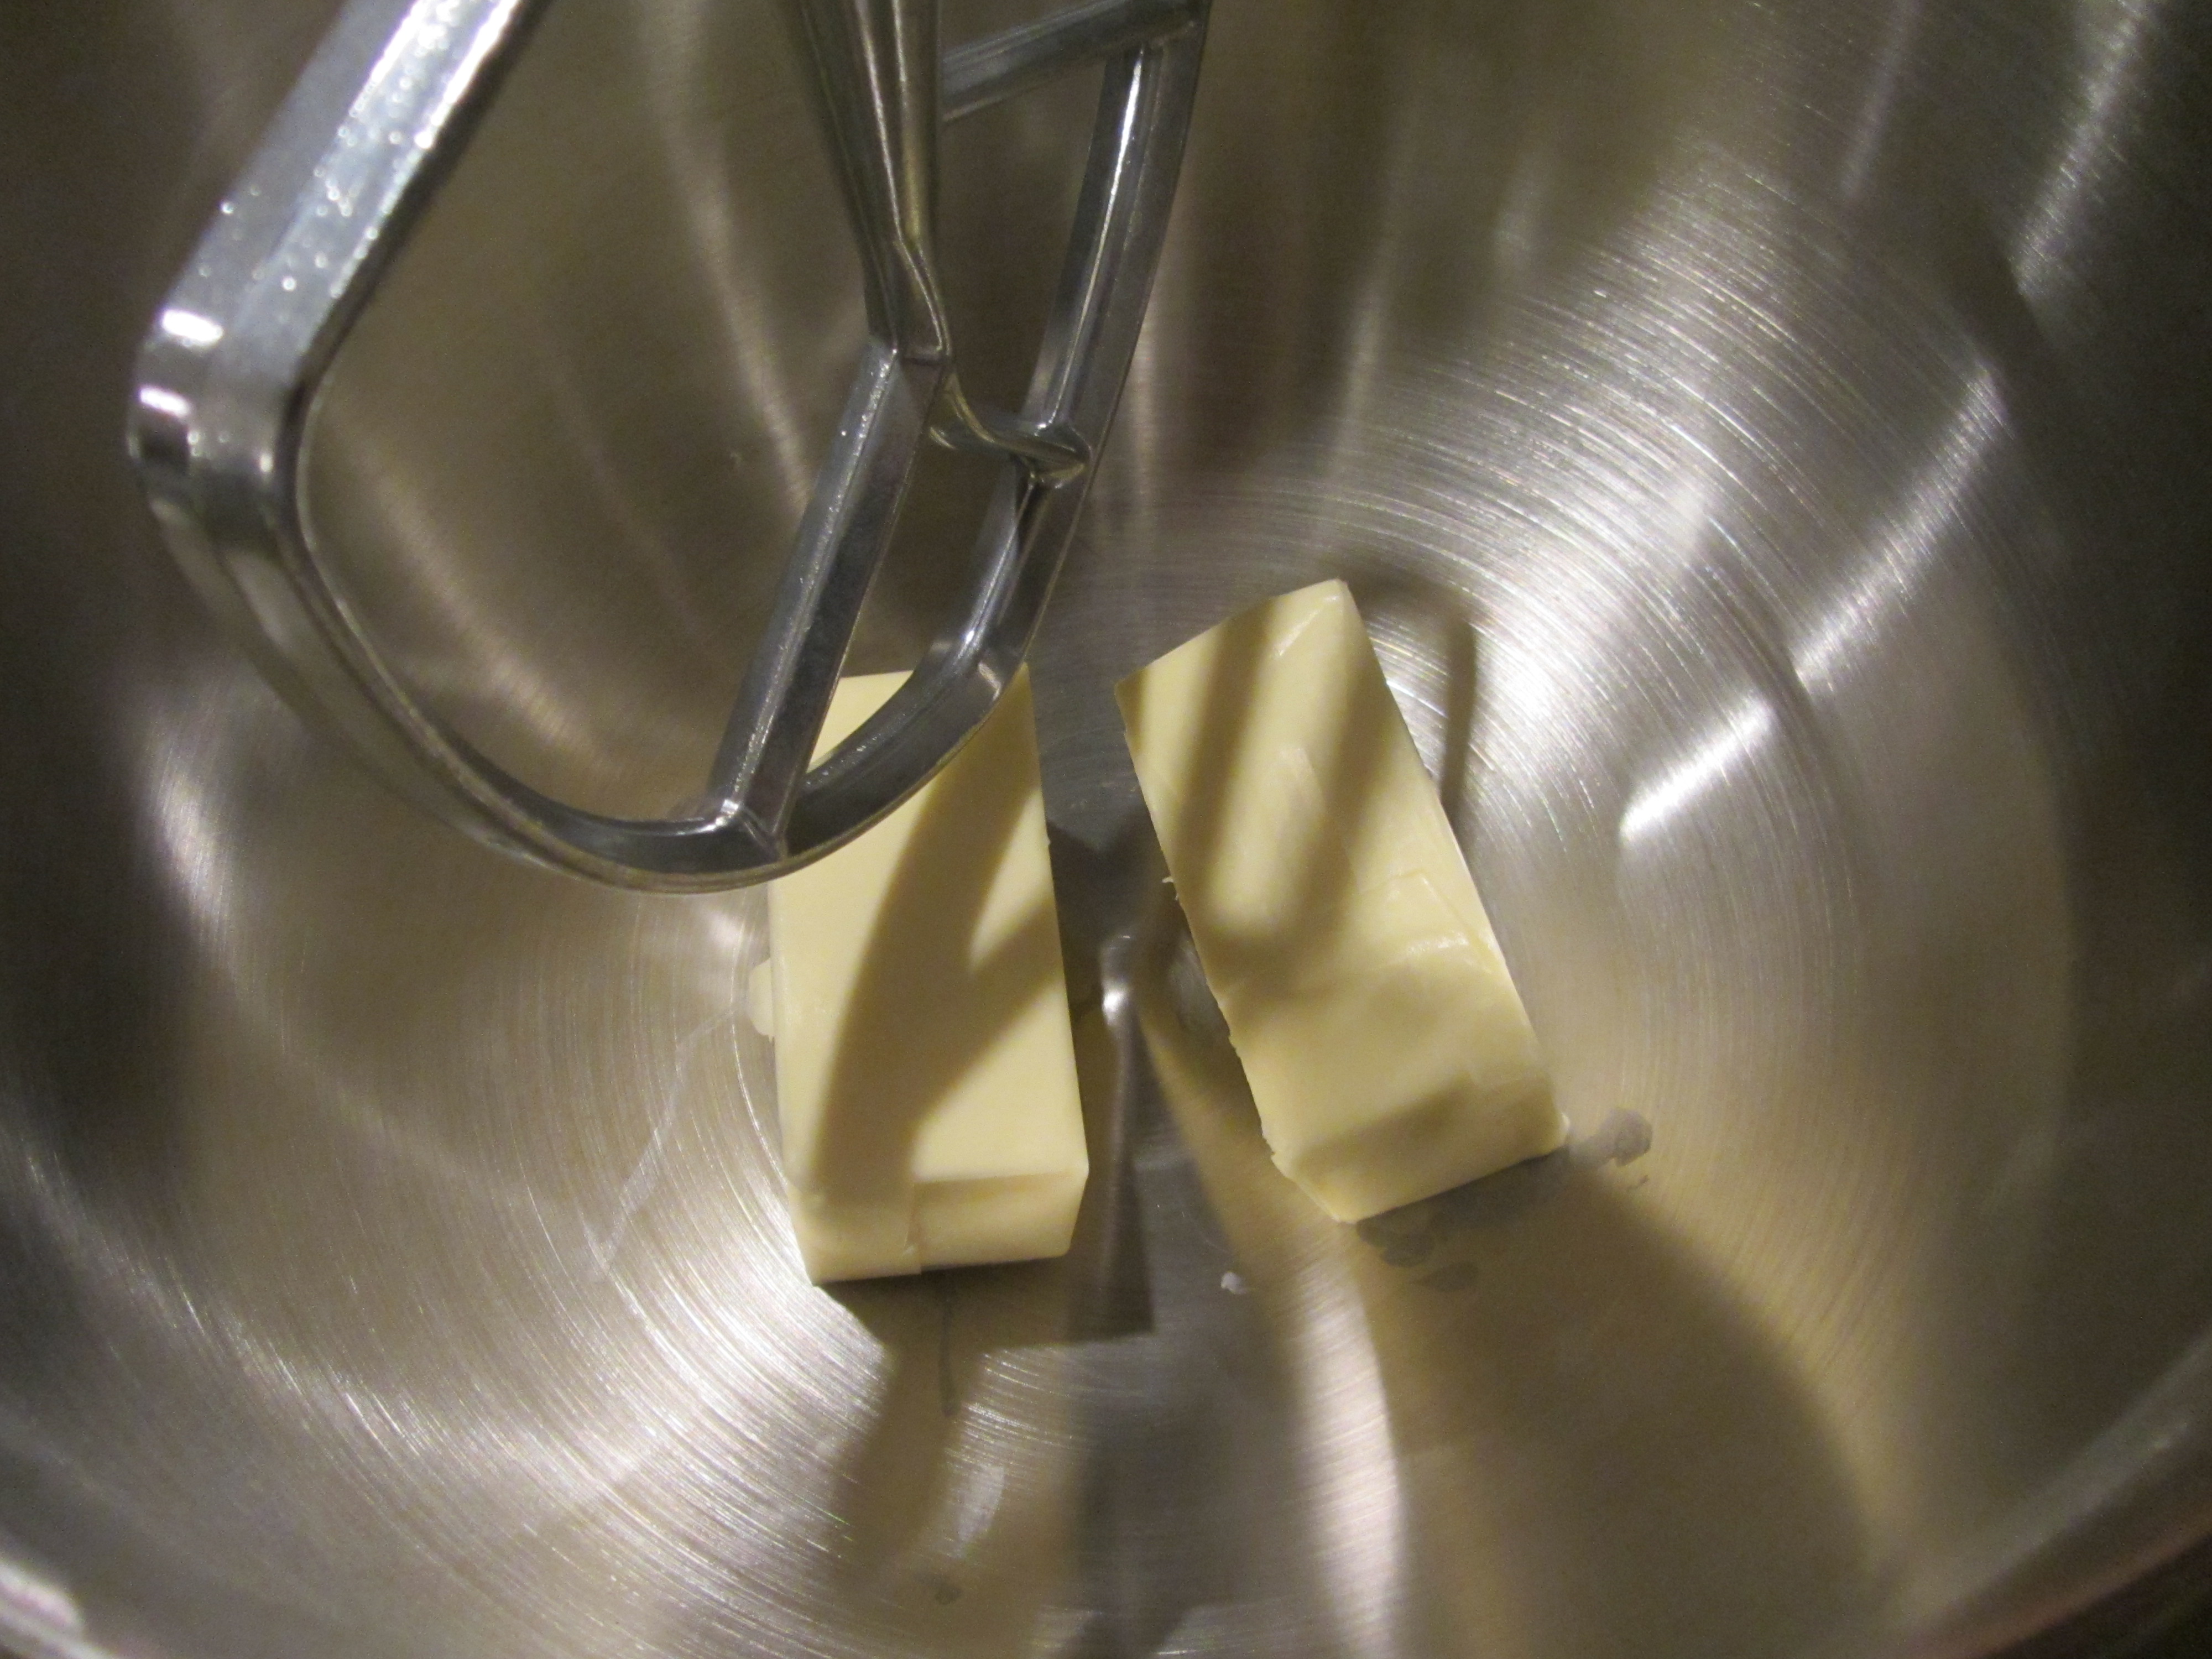
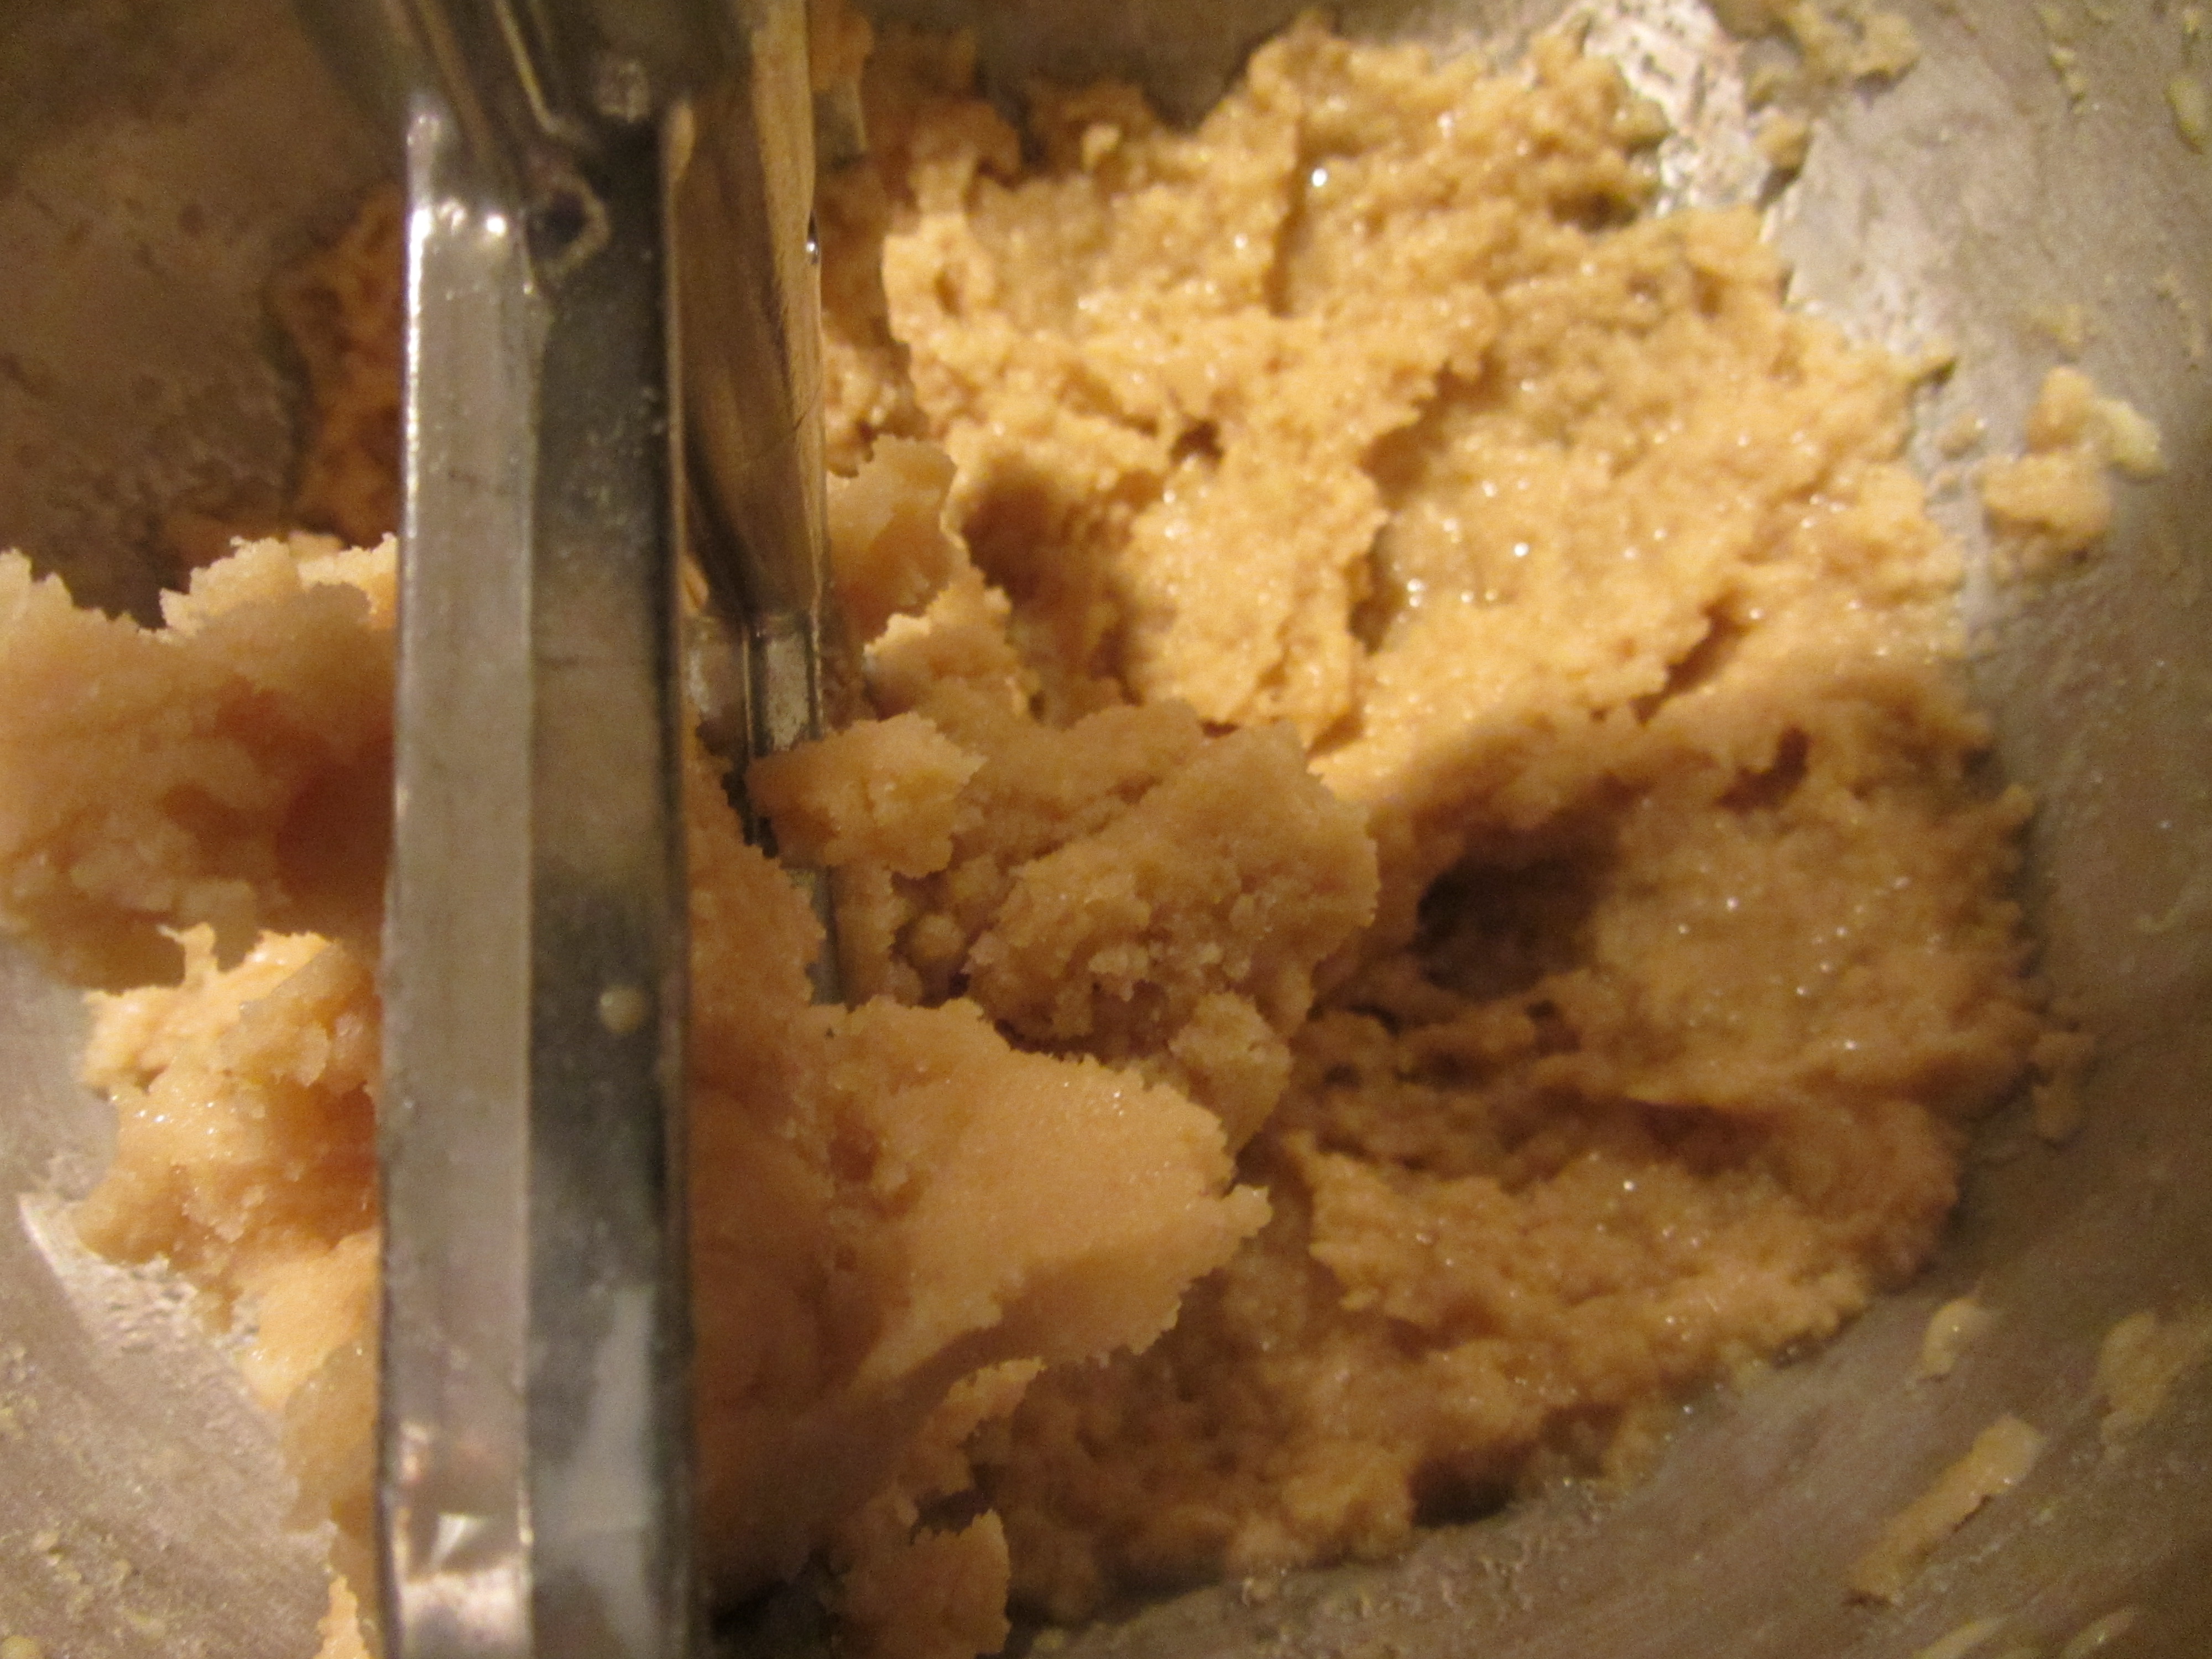
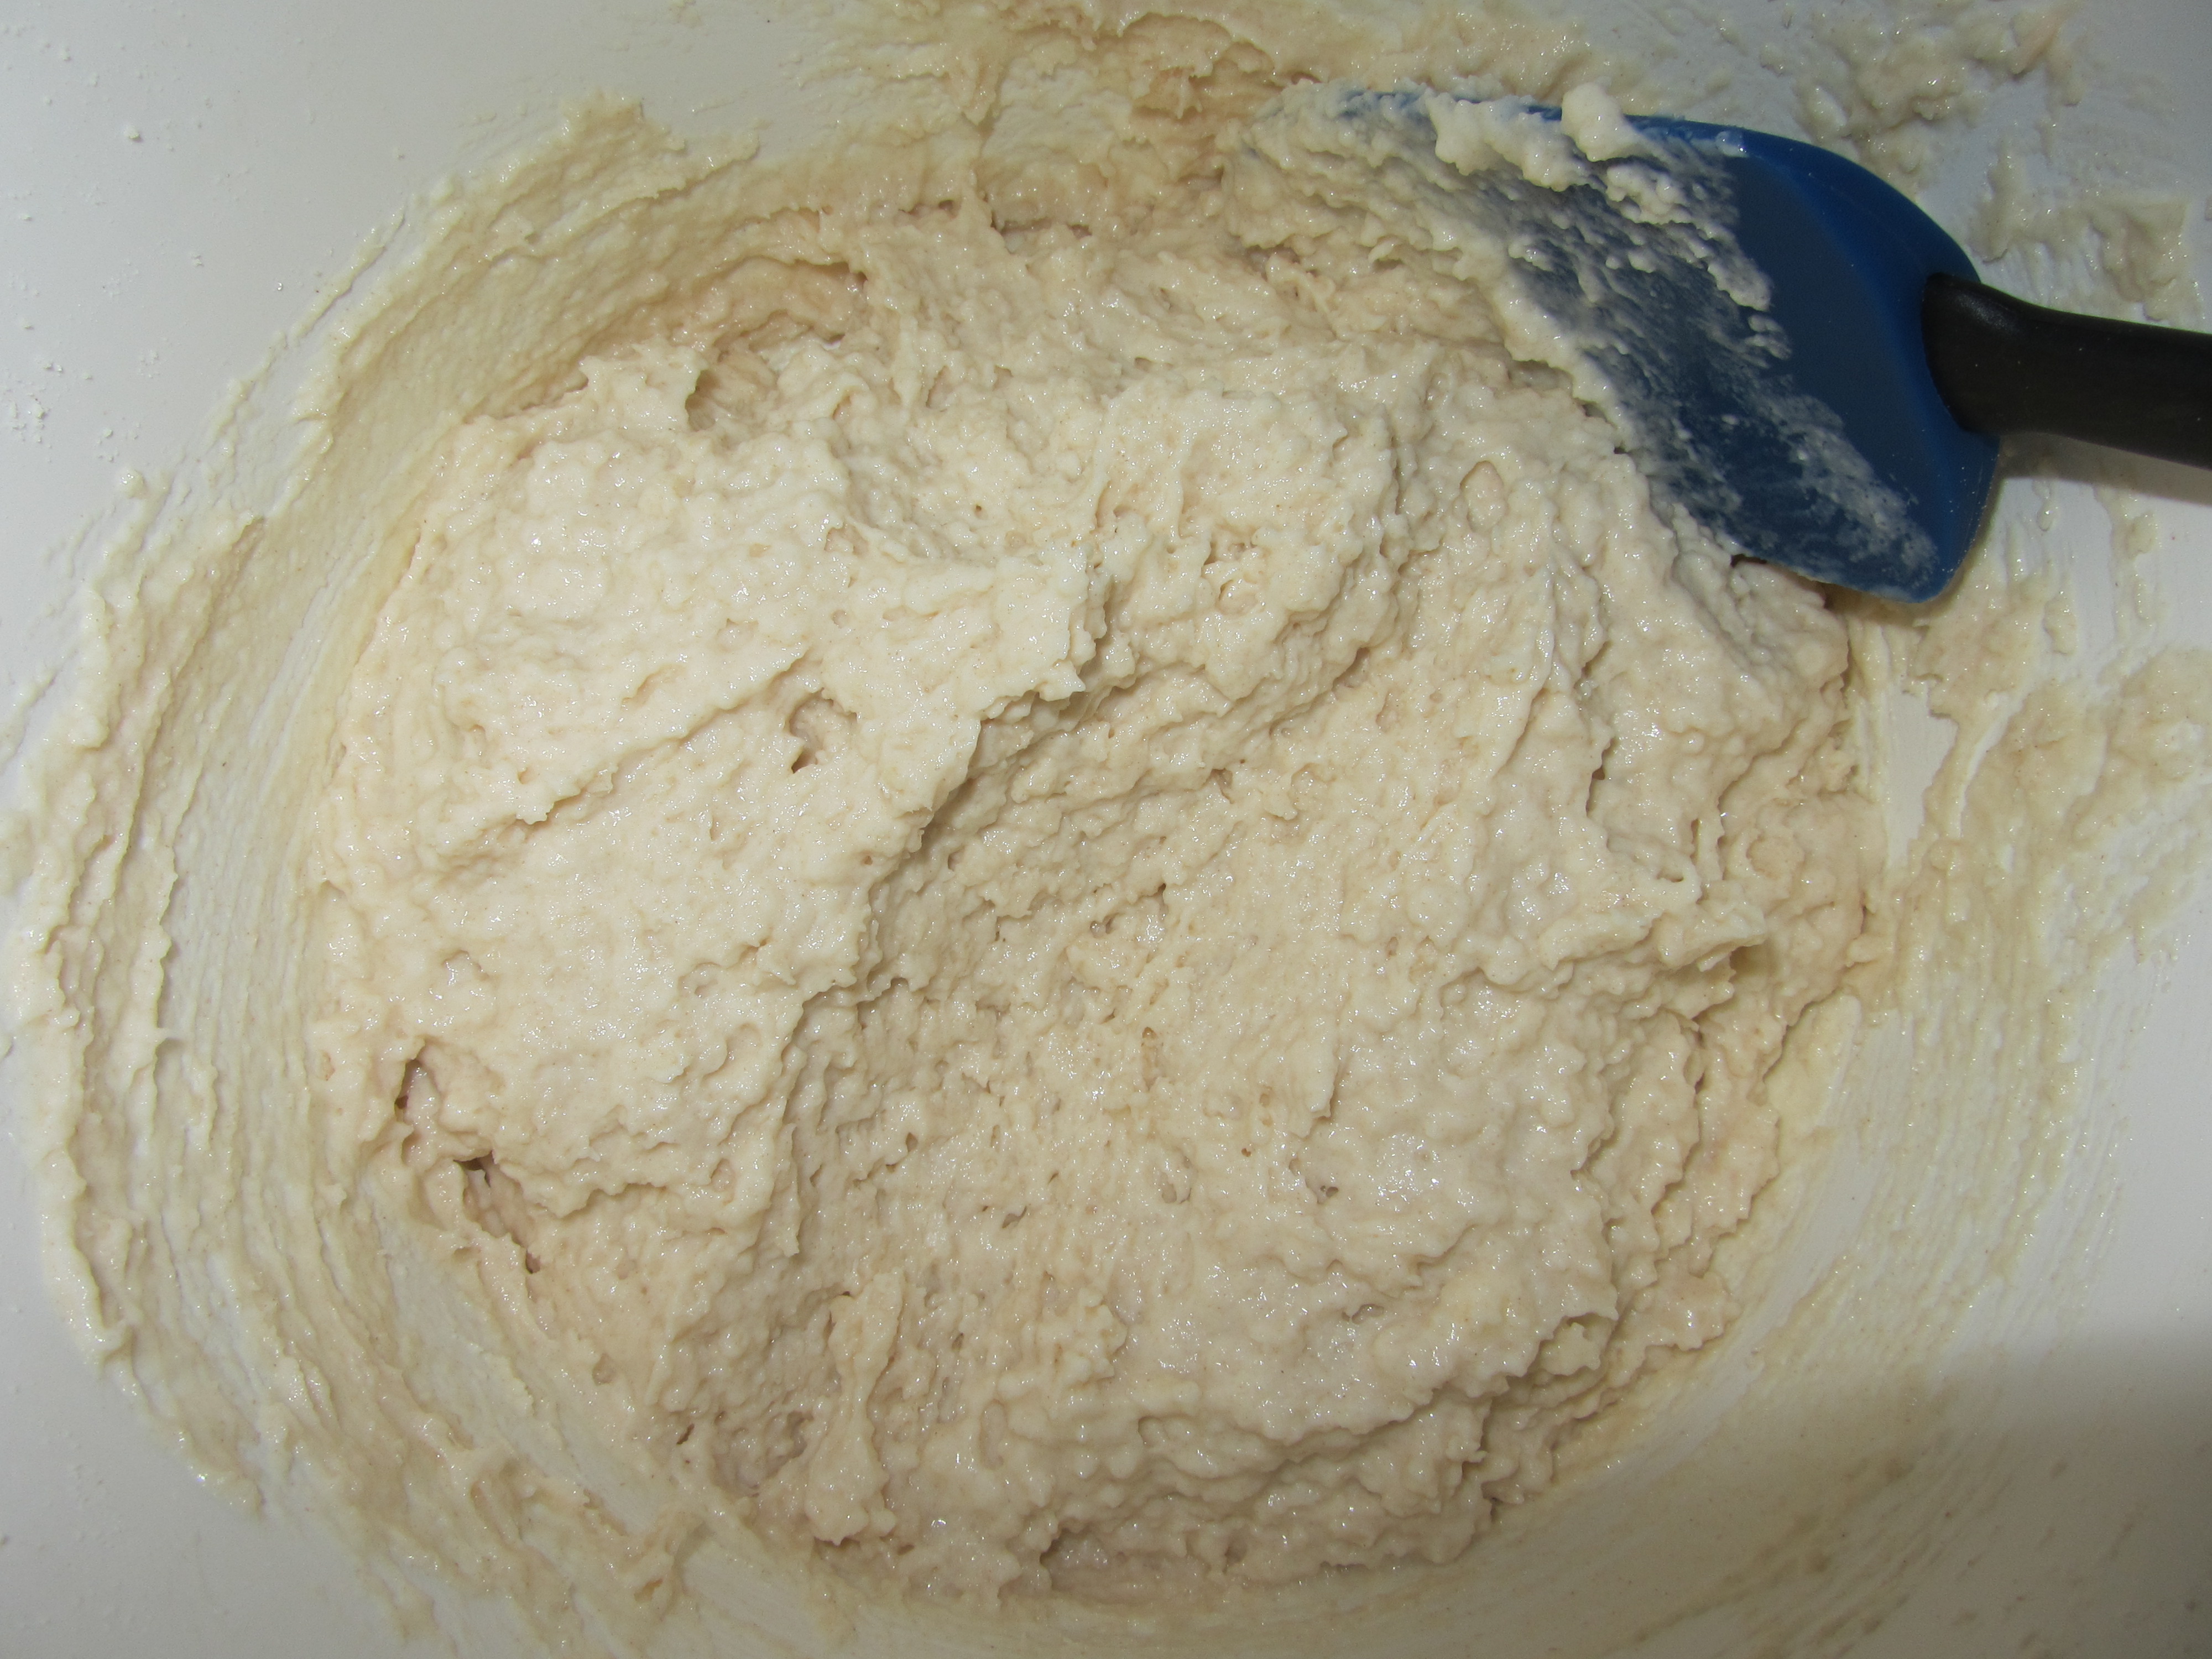
To make the filling, beat the 1 1/4 C sour cream on medium-high speed in a stand mixer, using the paddle attachment. The sour cream will coat the bowl and keep the cream cheese from sticking. Next, add the 20 ounces of cream cheese, along with 1 C sugar; begin beating this mixture on low speed, increasing to medium.

IMG_4710

Cream cheese mixed in bowl to coat. Cream cheese and sugar added.

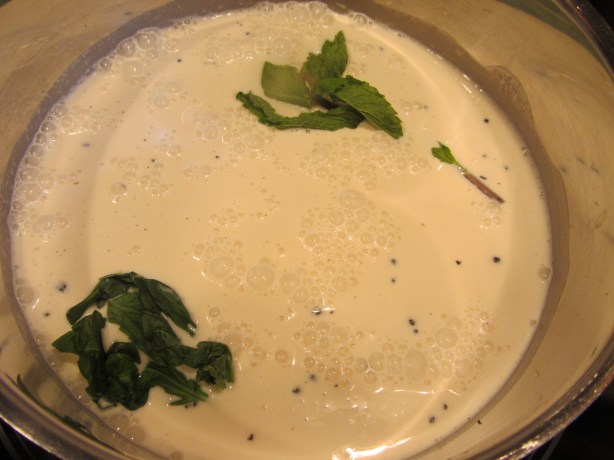
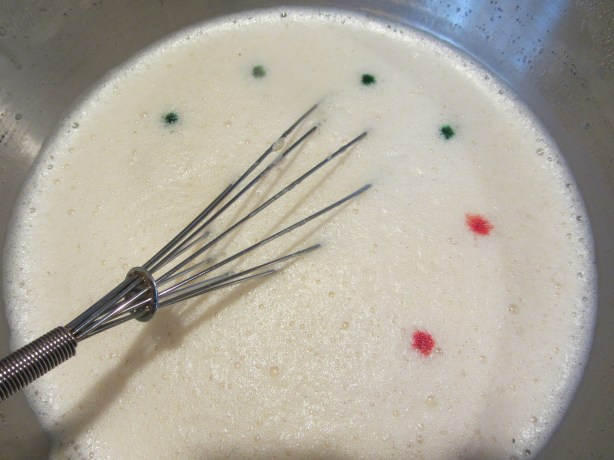
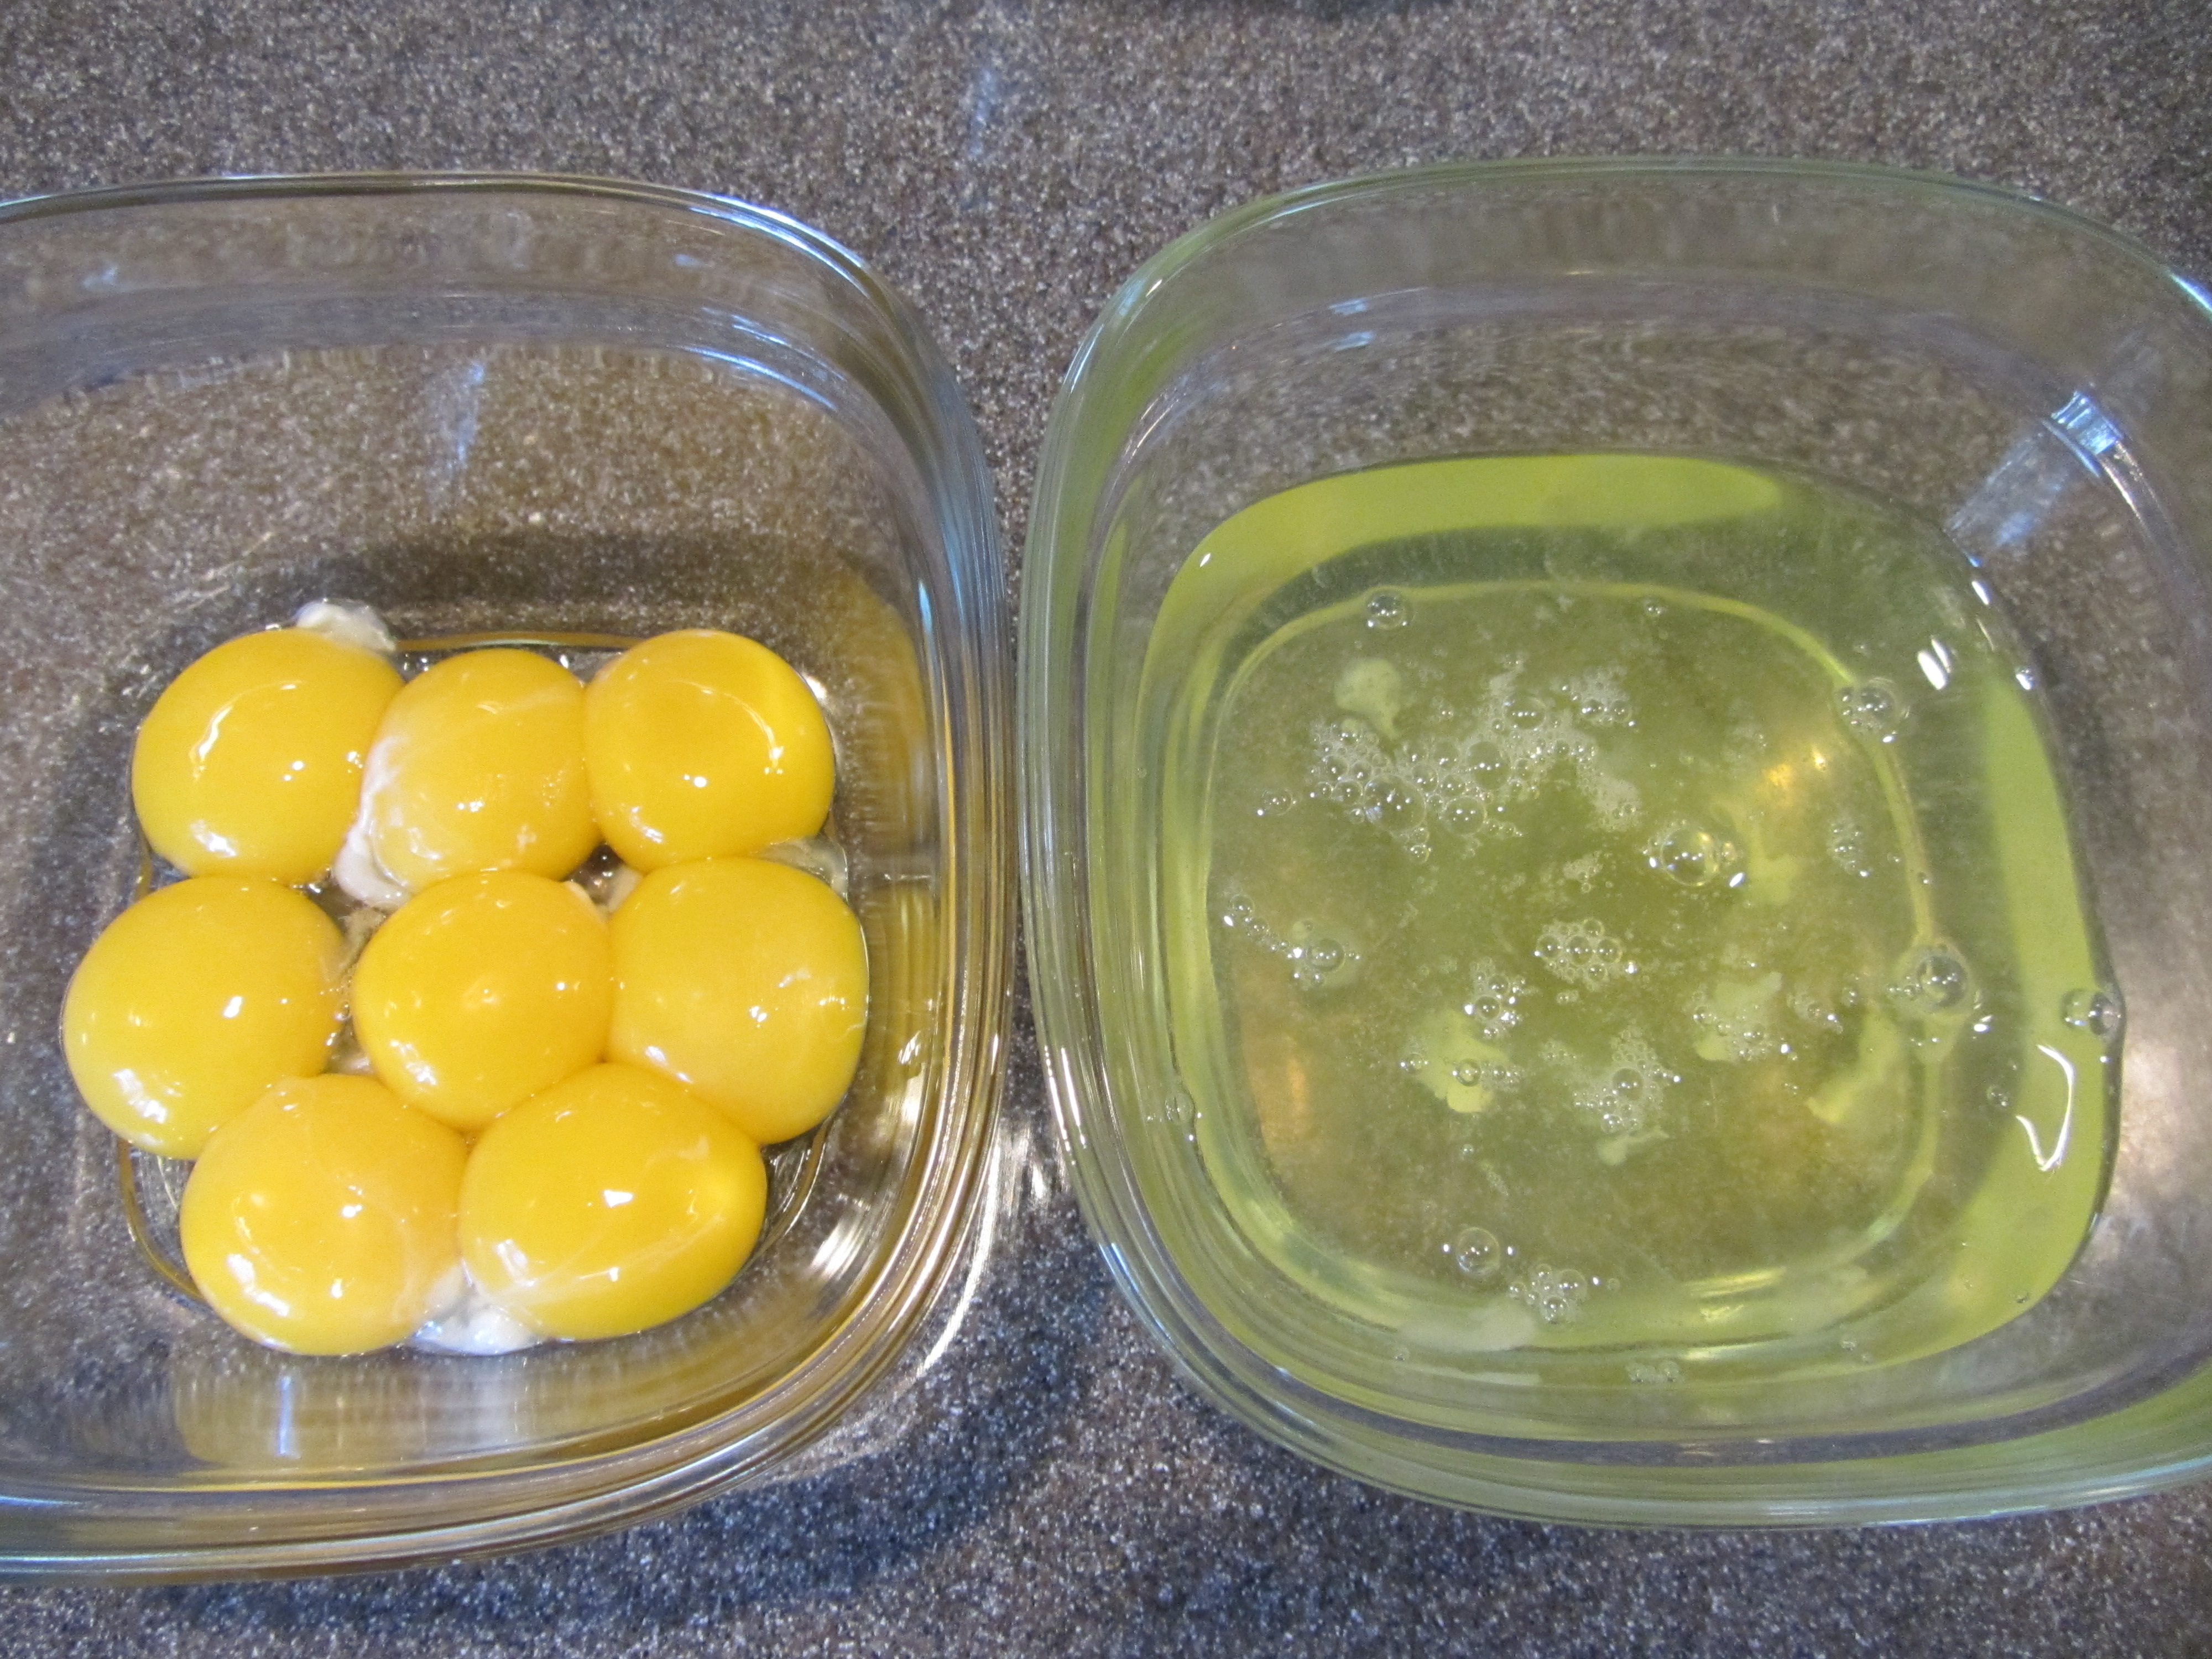
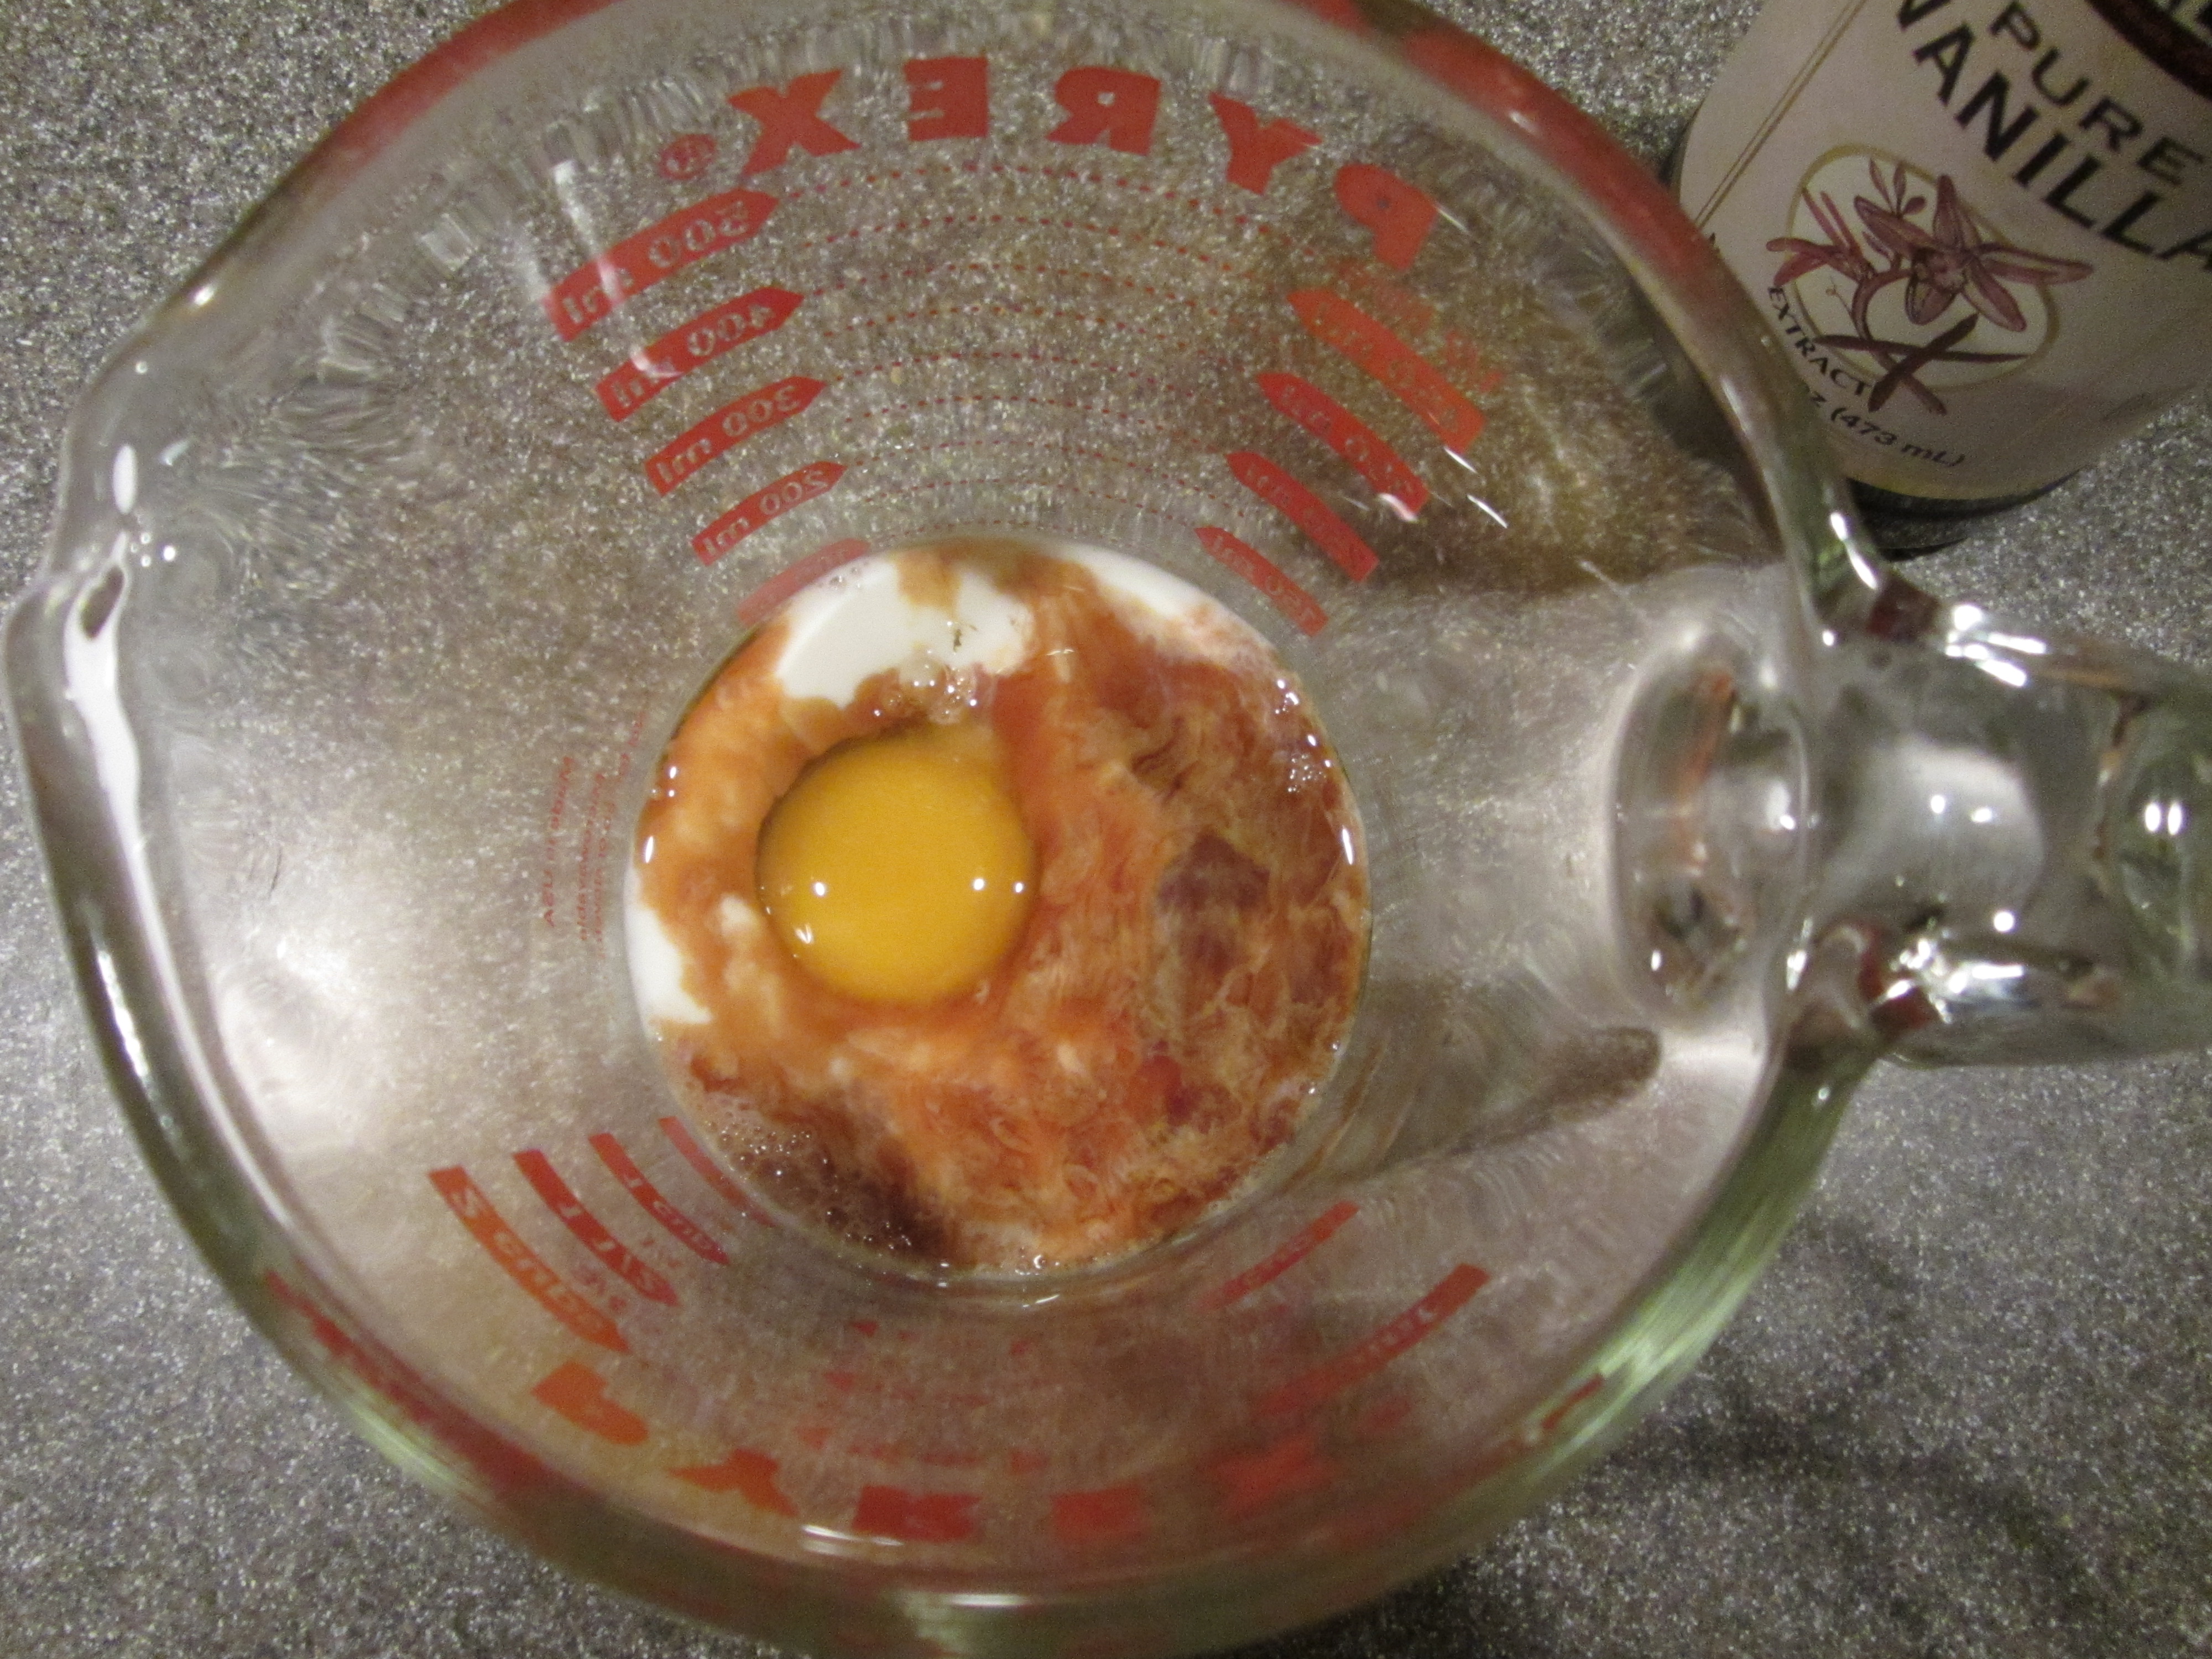
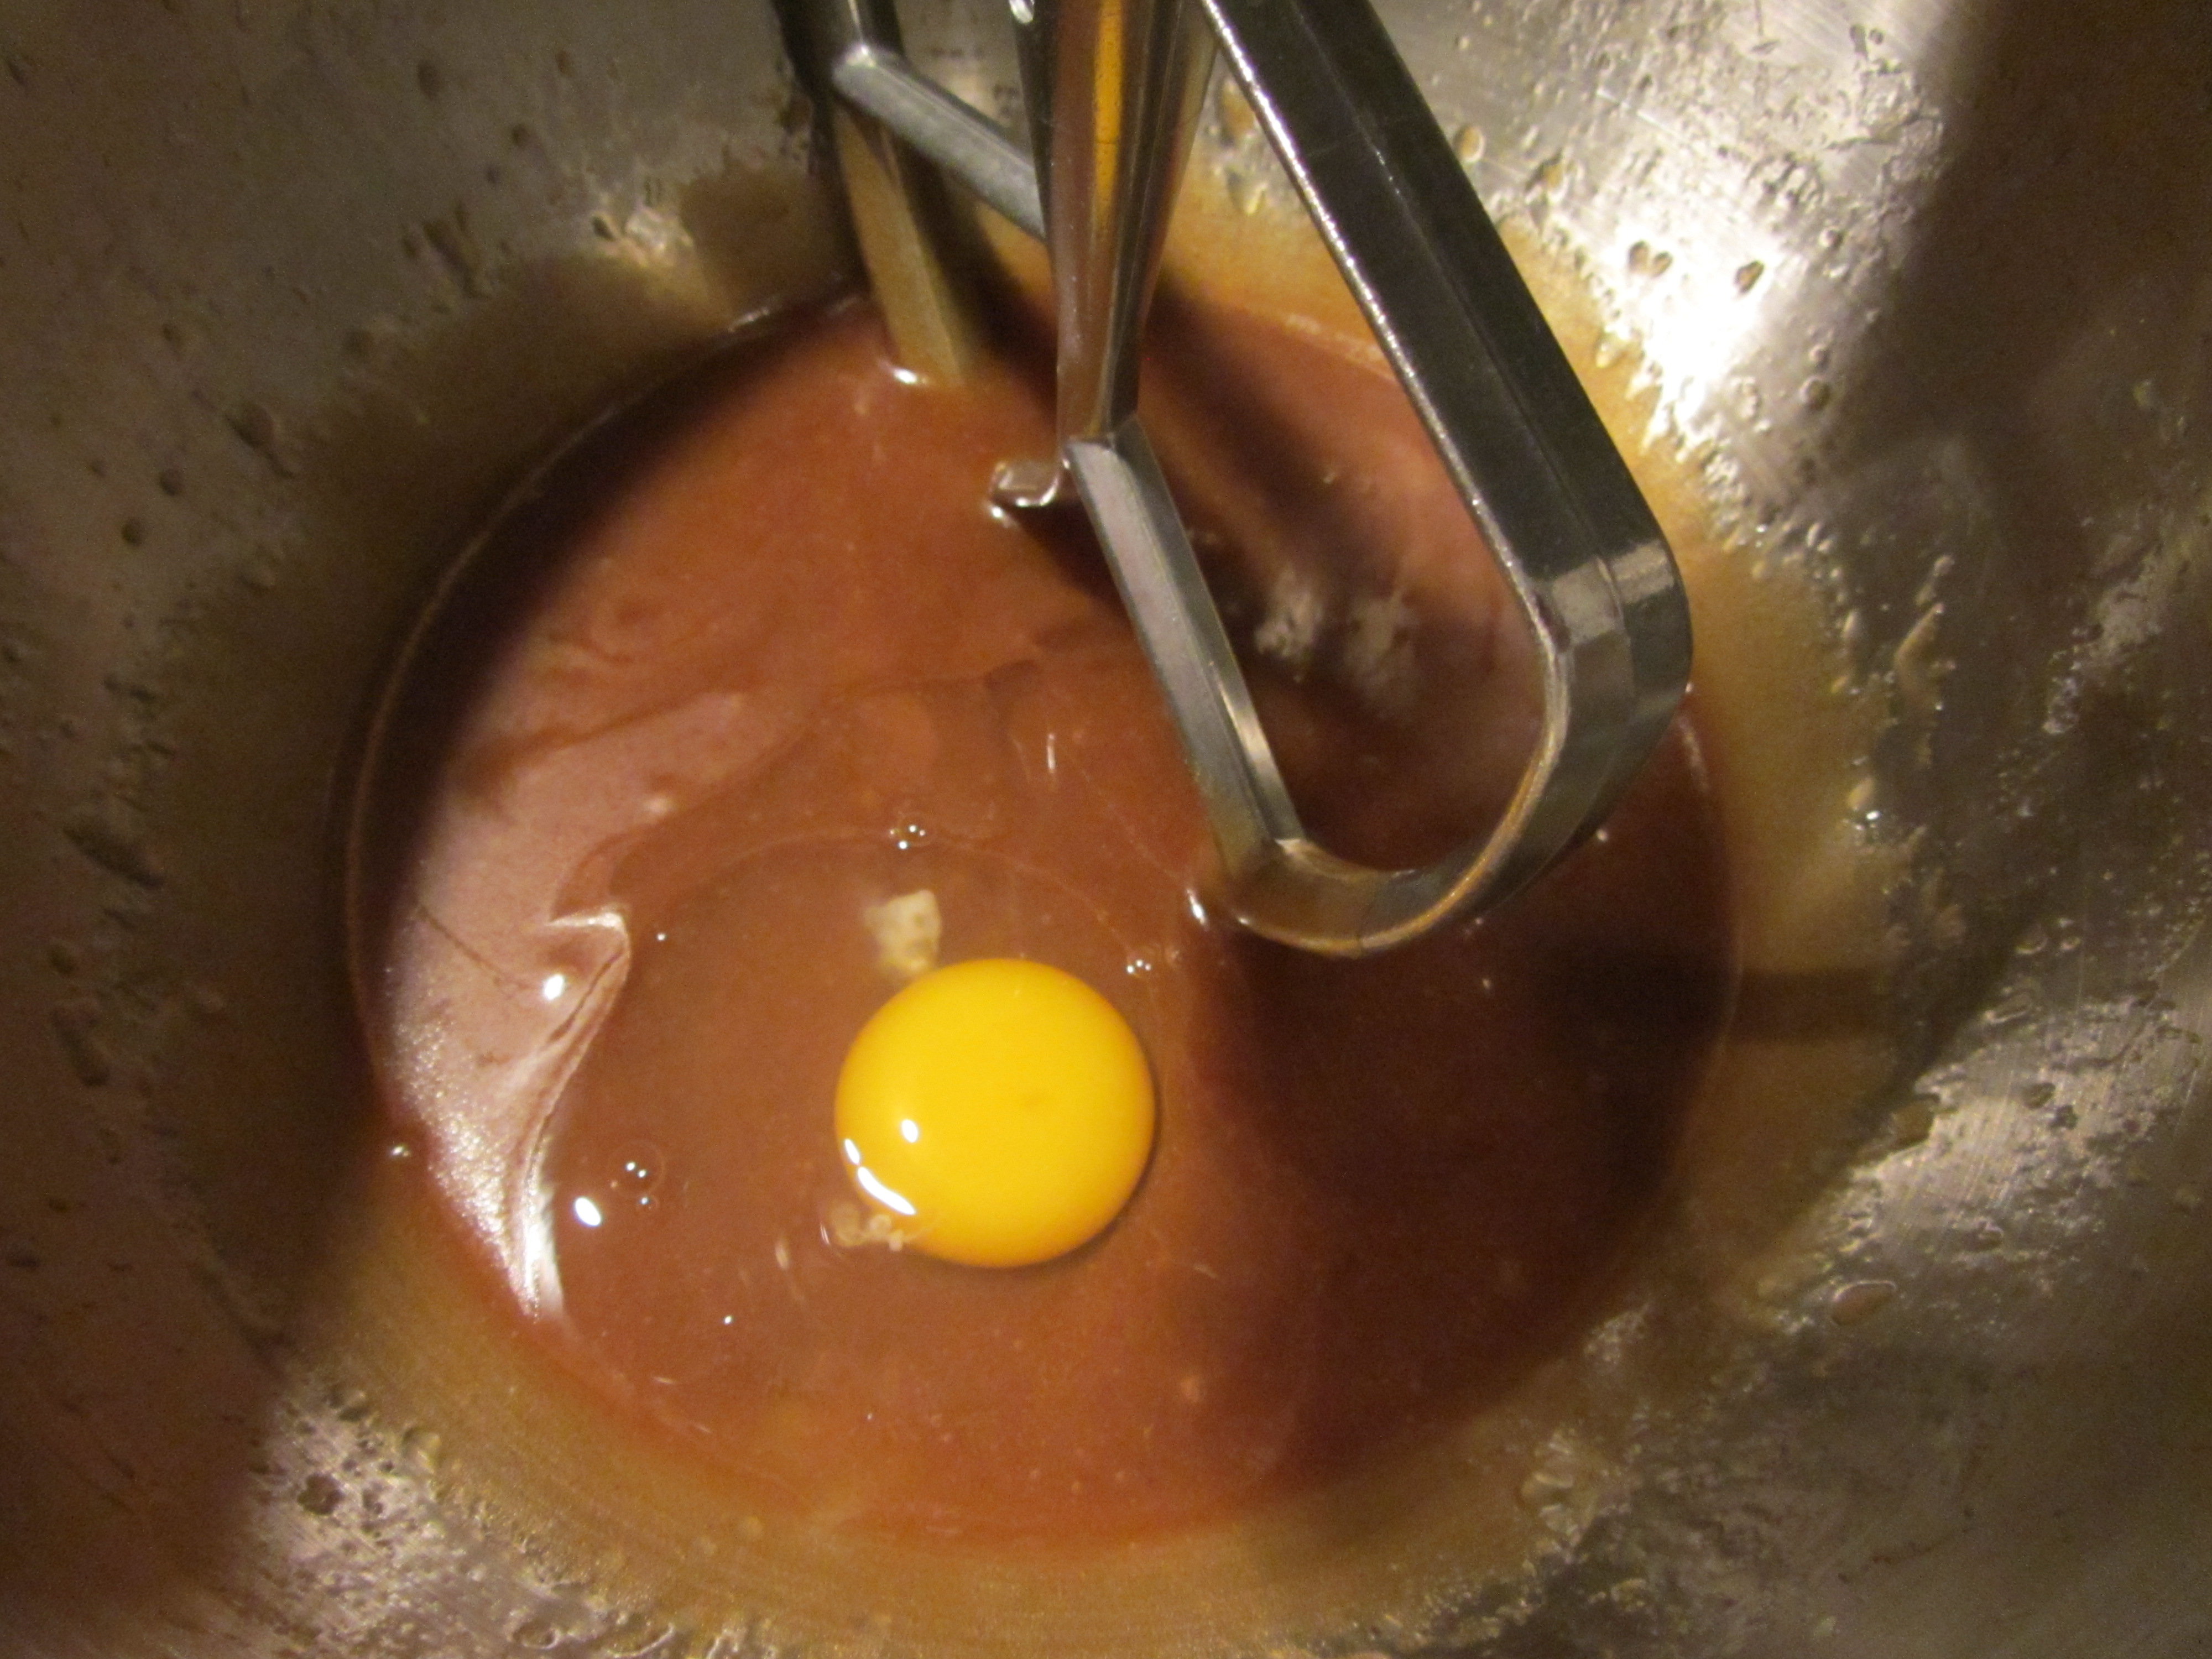
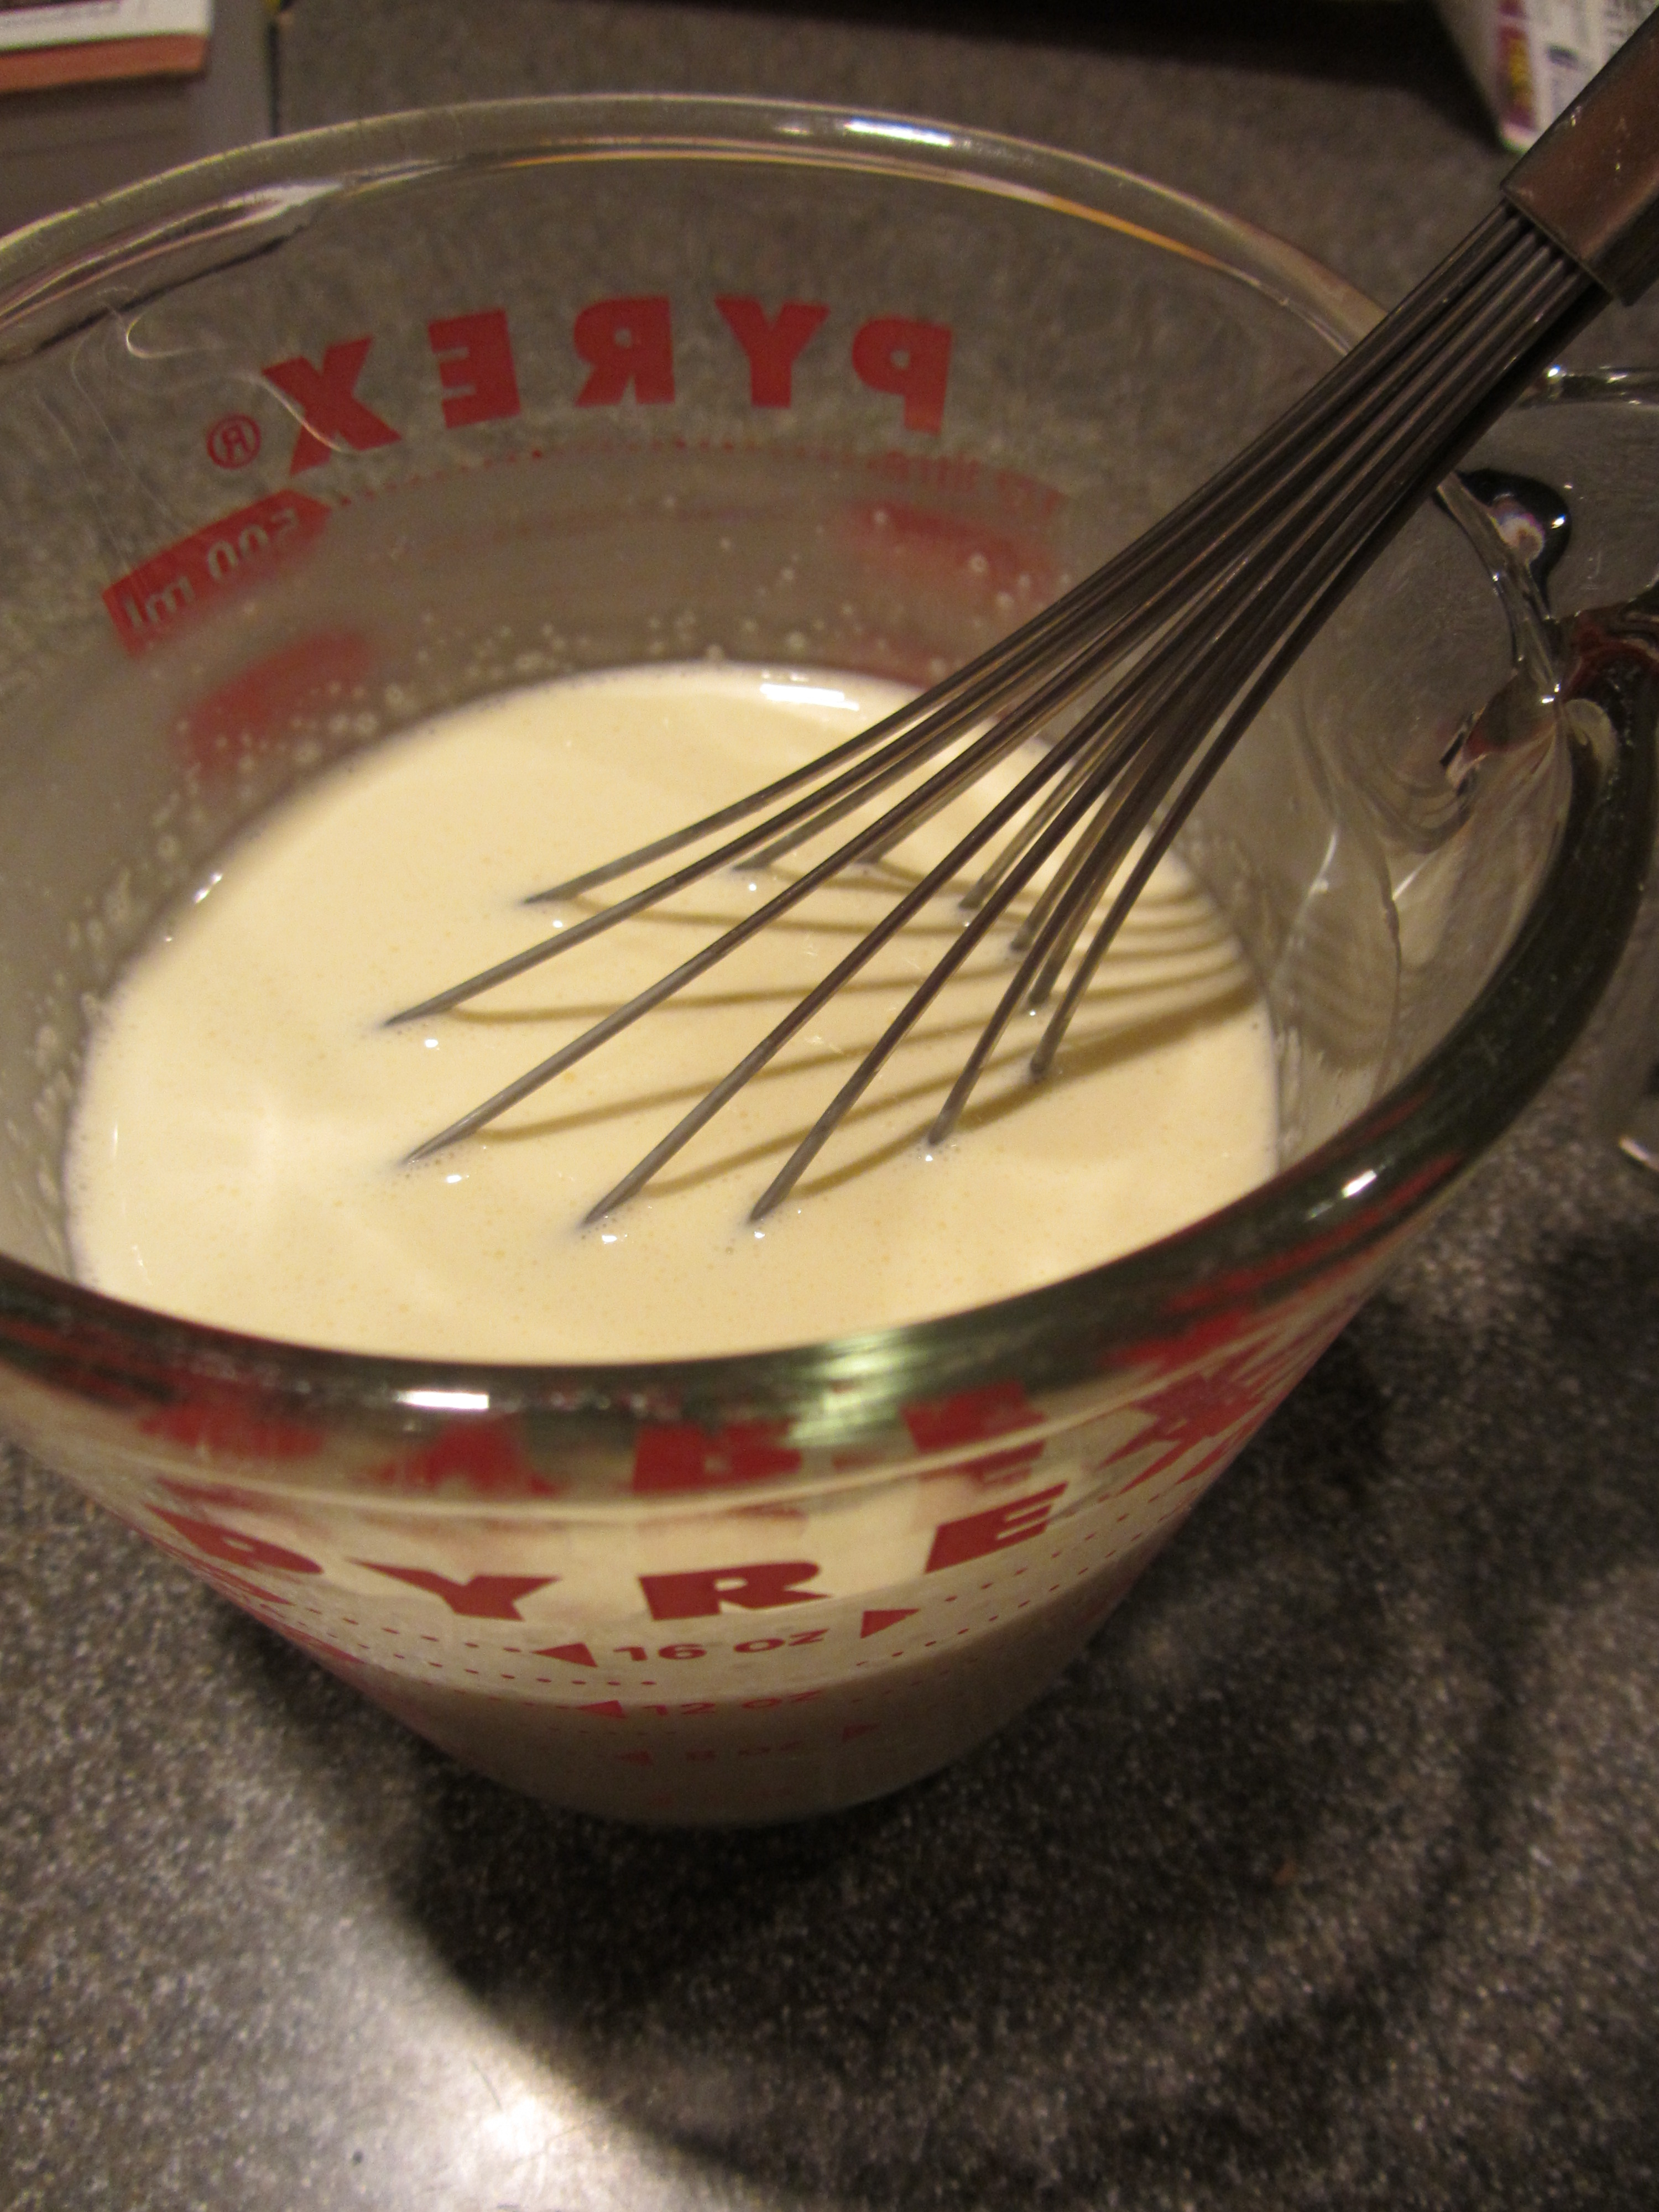
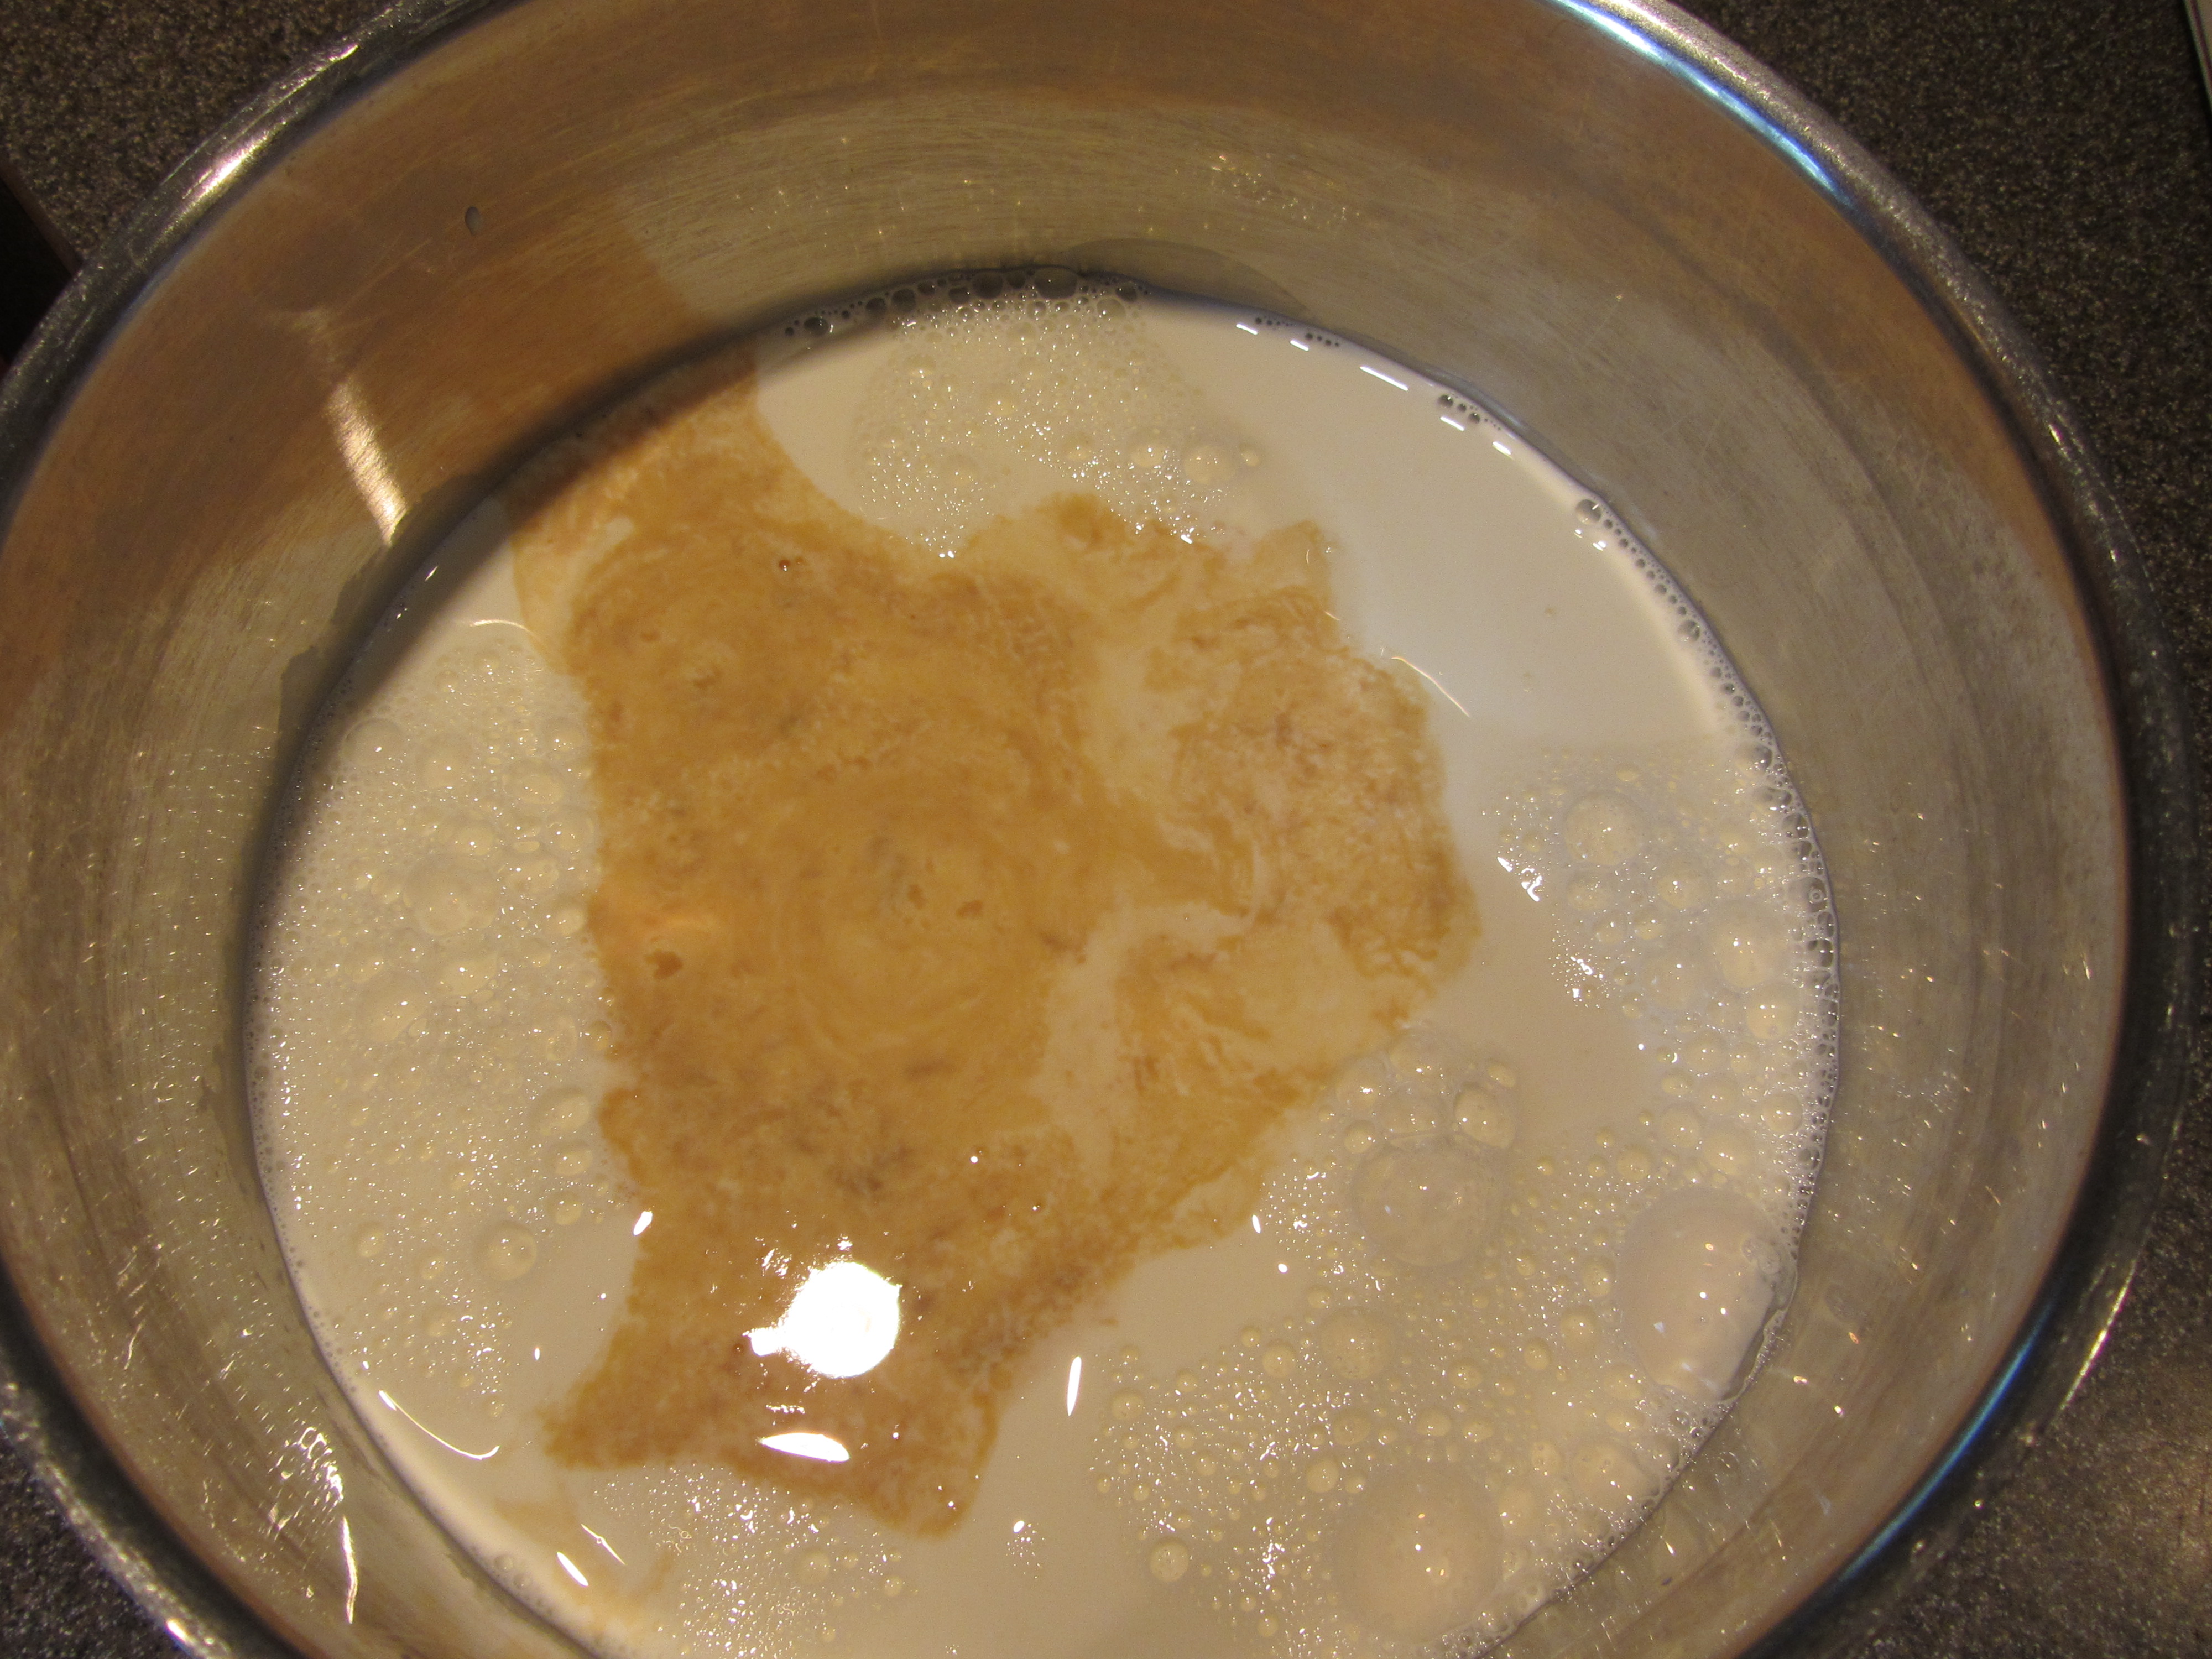
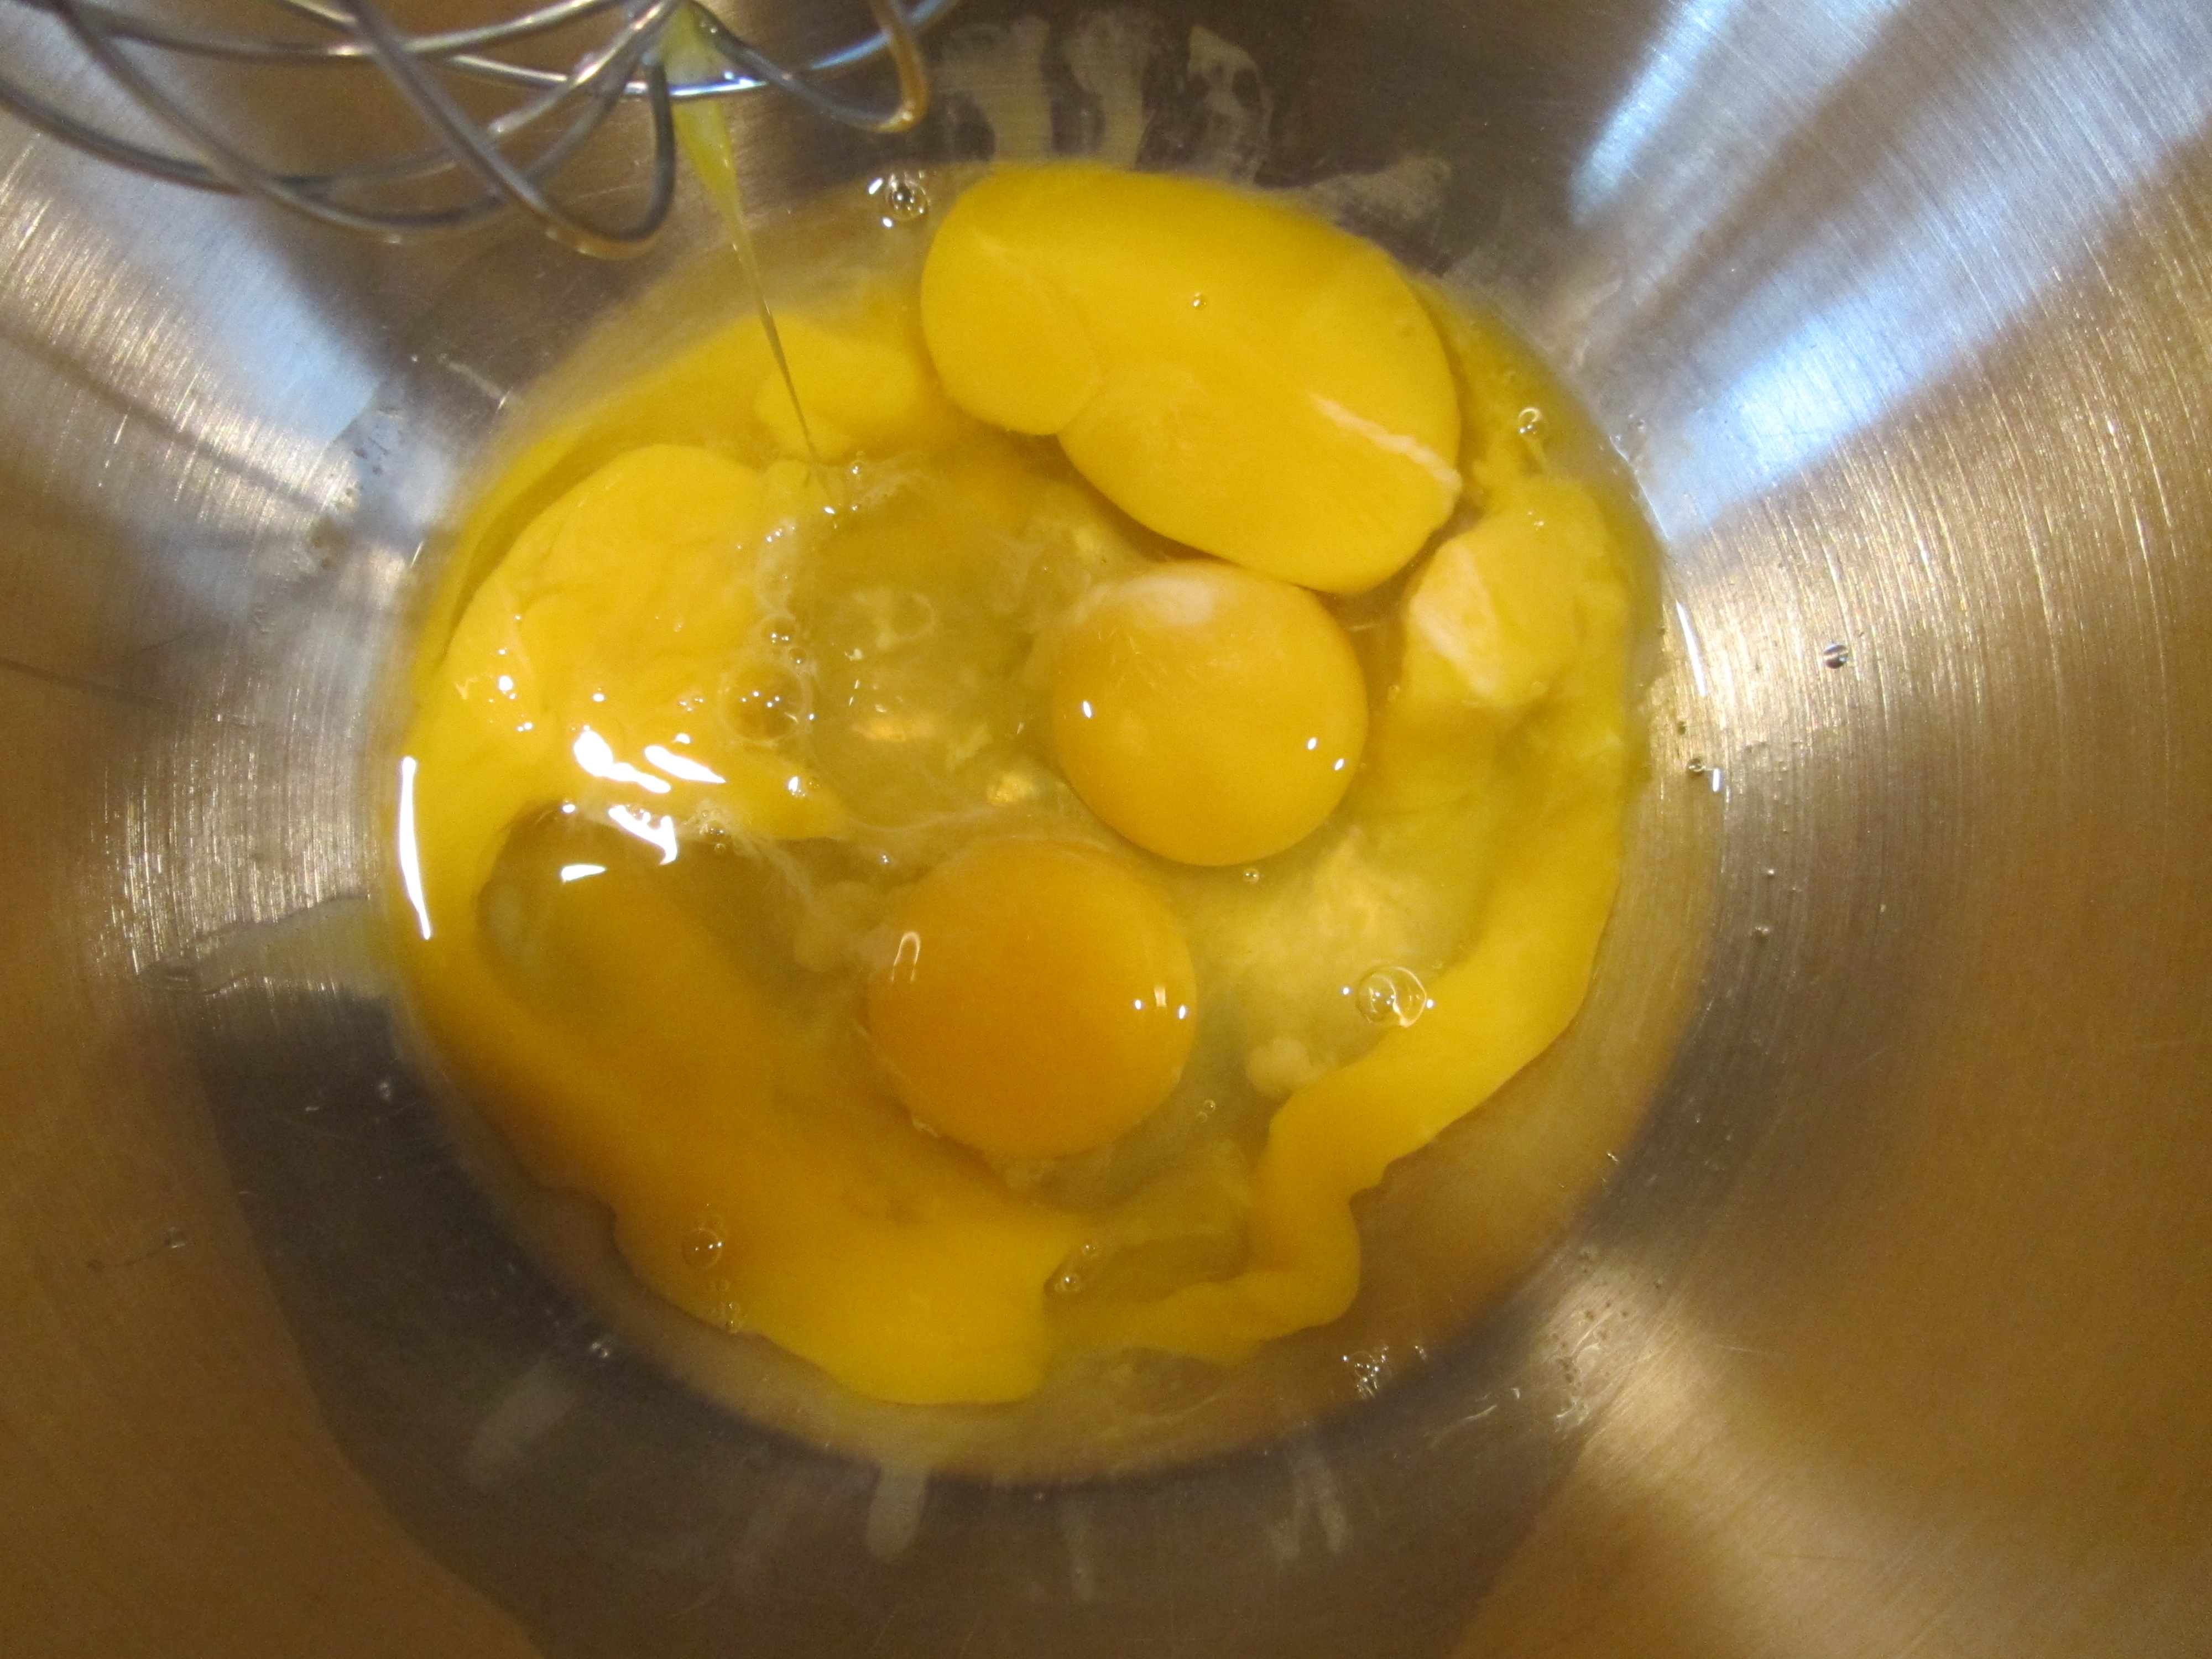
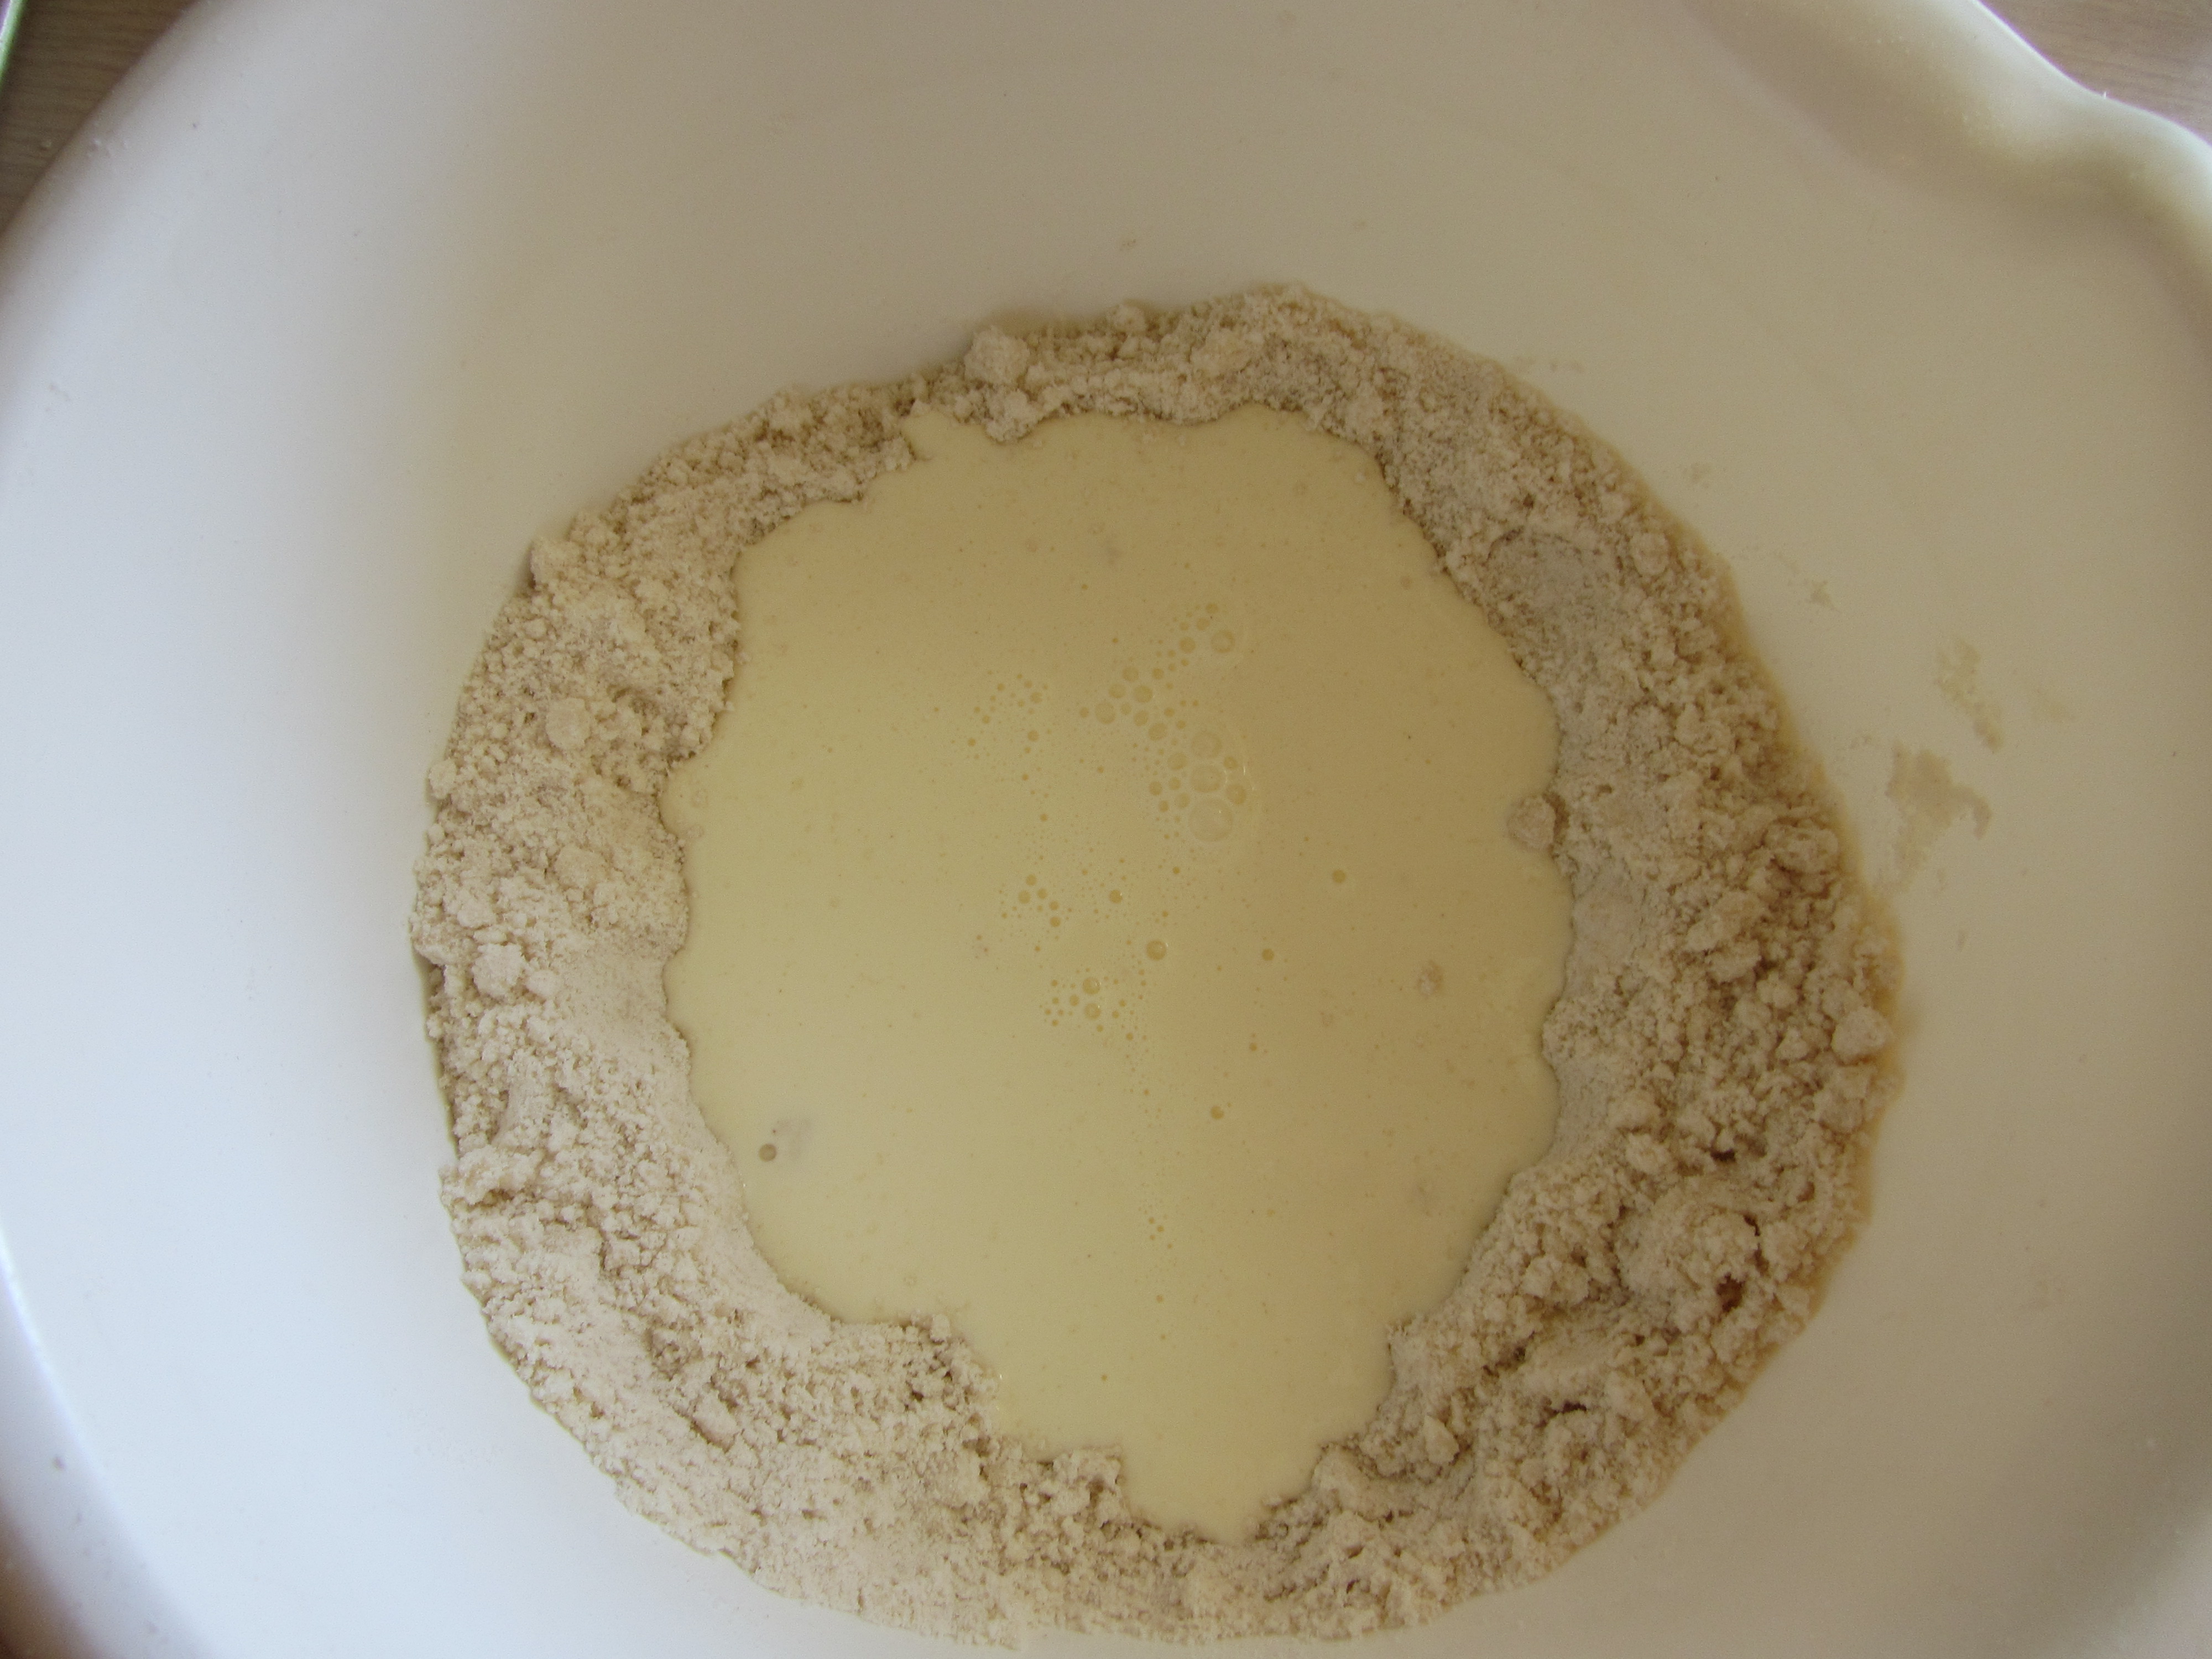
Note:  if you want insurance against your cheesecake cracking, Alton also suggests that you add 1 T cornstarch when you add the sugar, but I opted not to add the cornstarch. While the mixer works on the cream cheese mixture, in a separate container combine 1/3 C cream, 1 T vanilla extract, 3 egg yolks, and 2 whole eggs.

IMG_4711

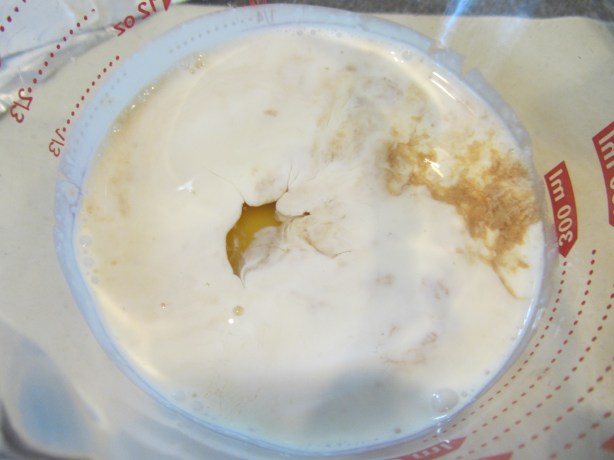
Cream, vanilla, egg yolks, and eggs.

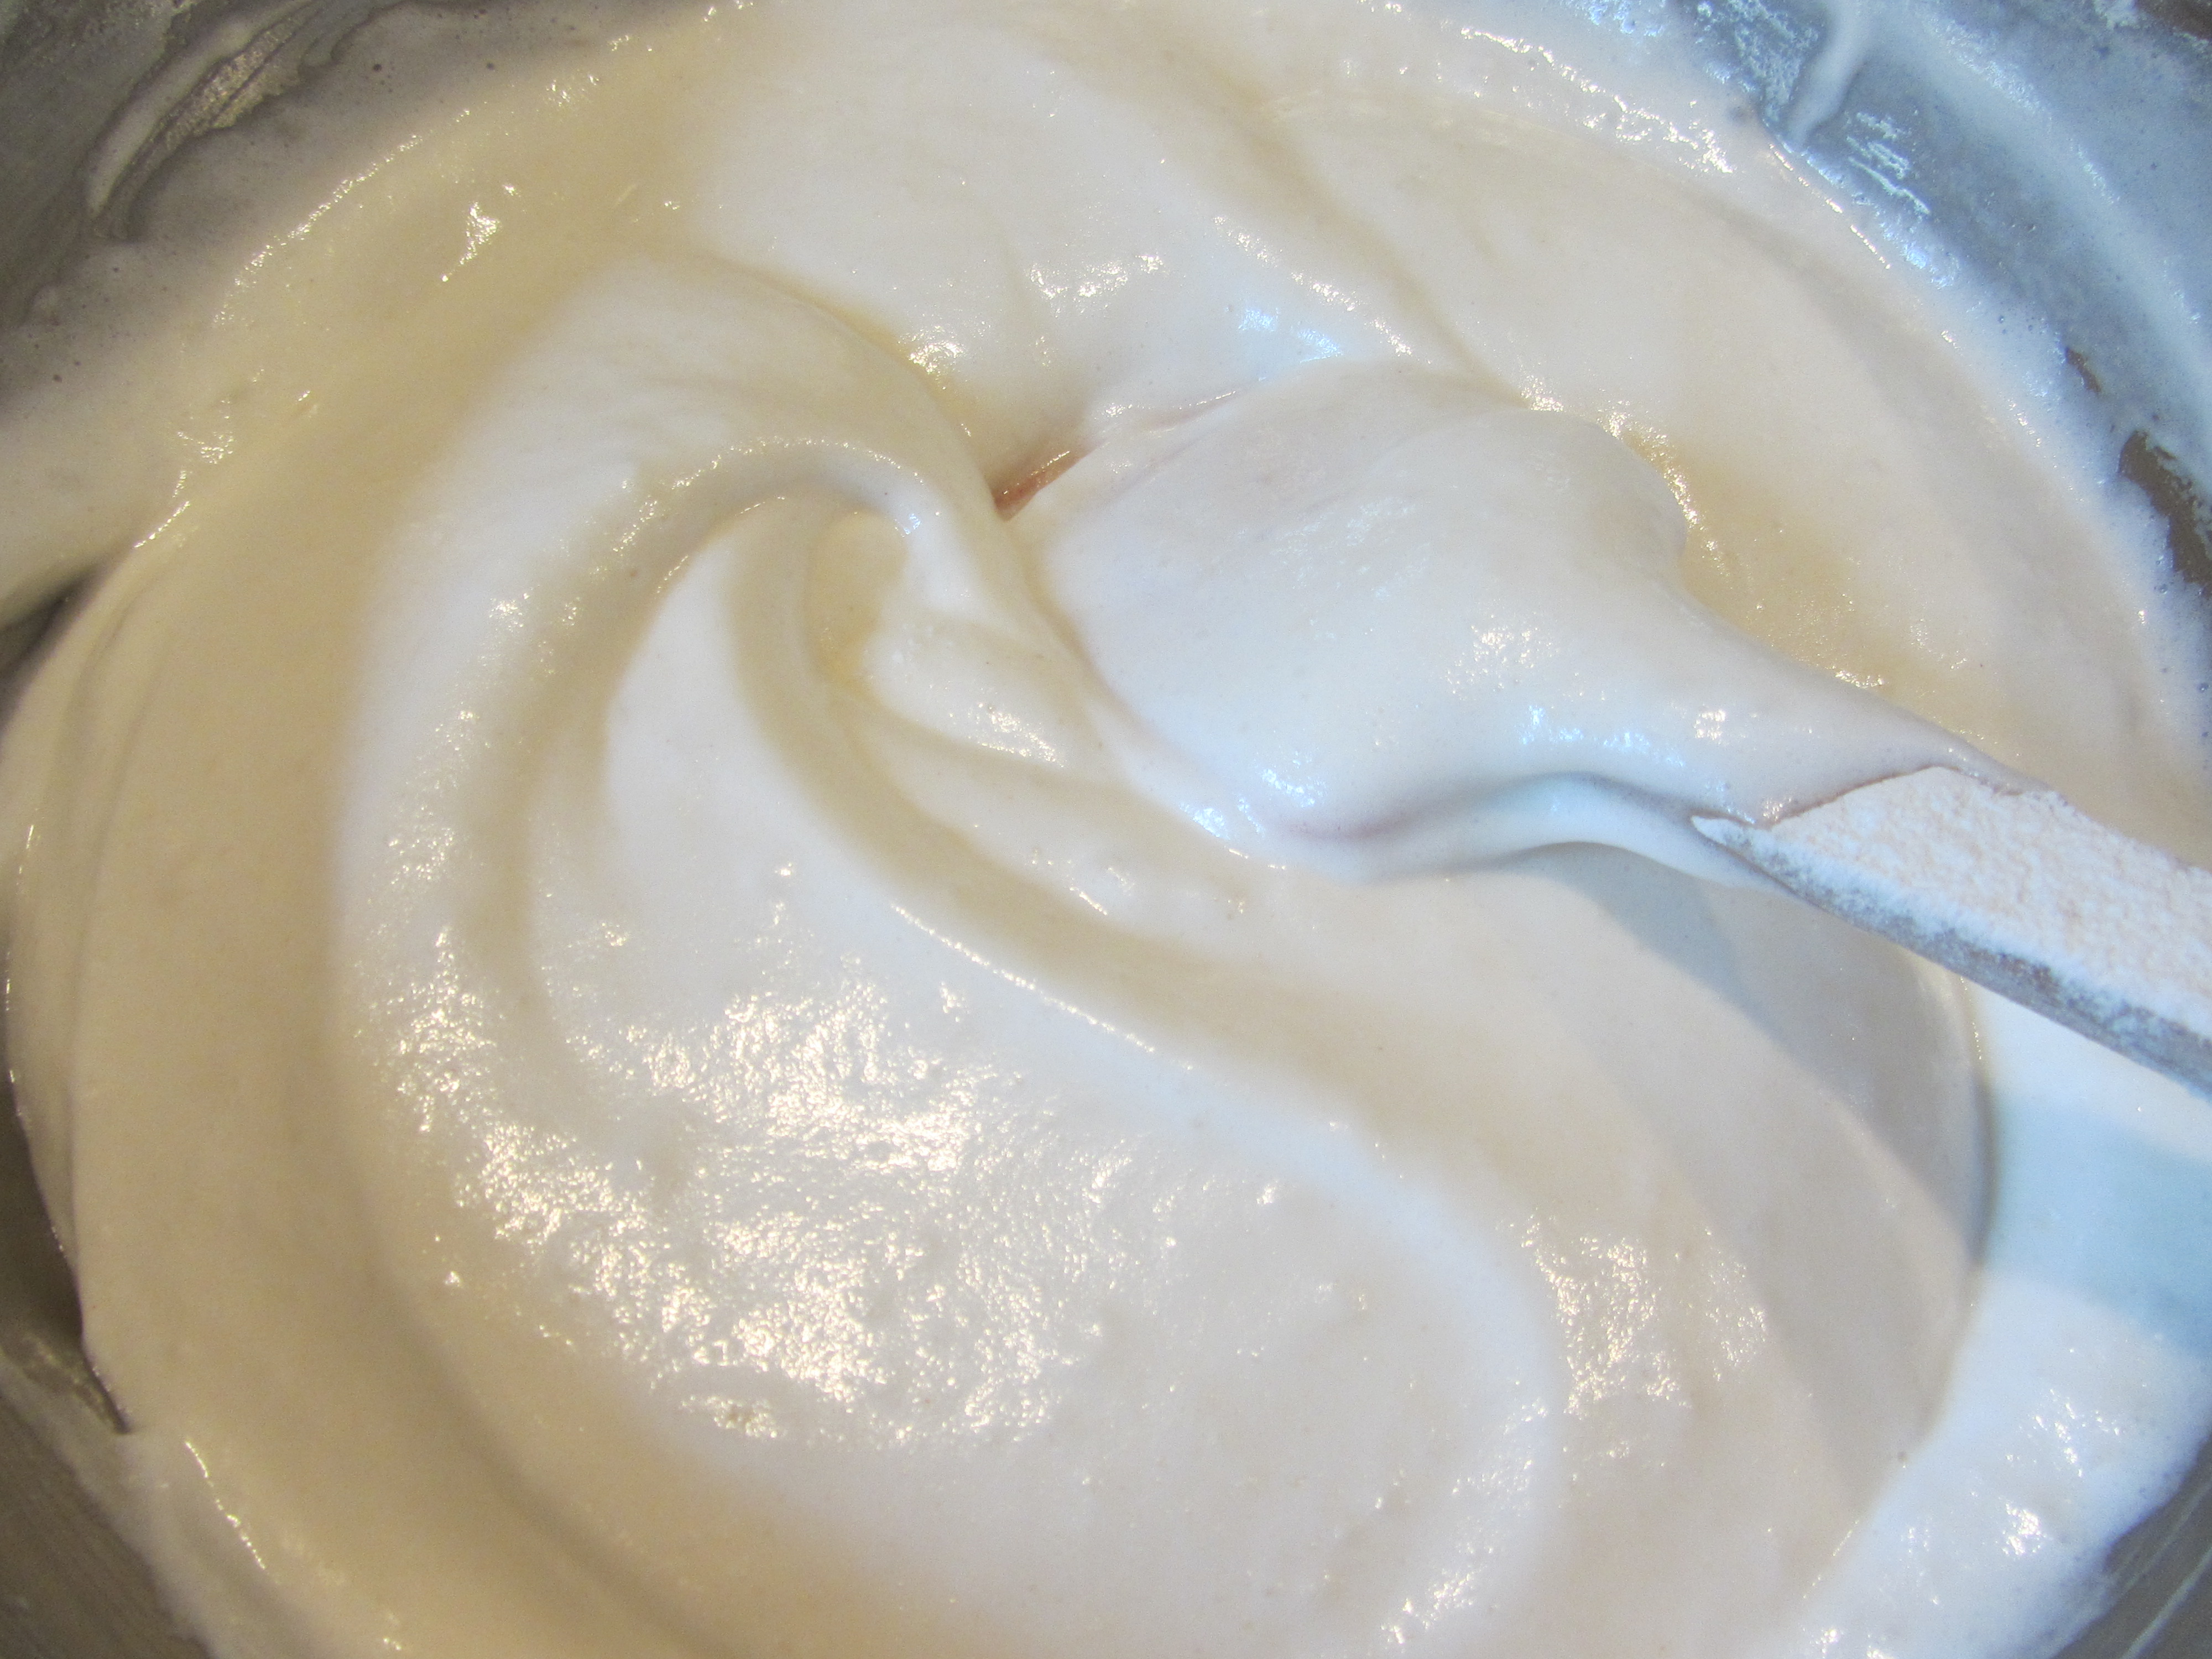
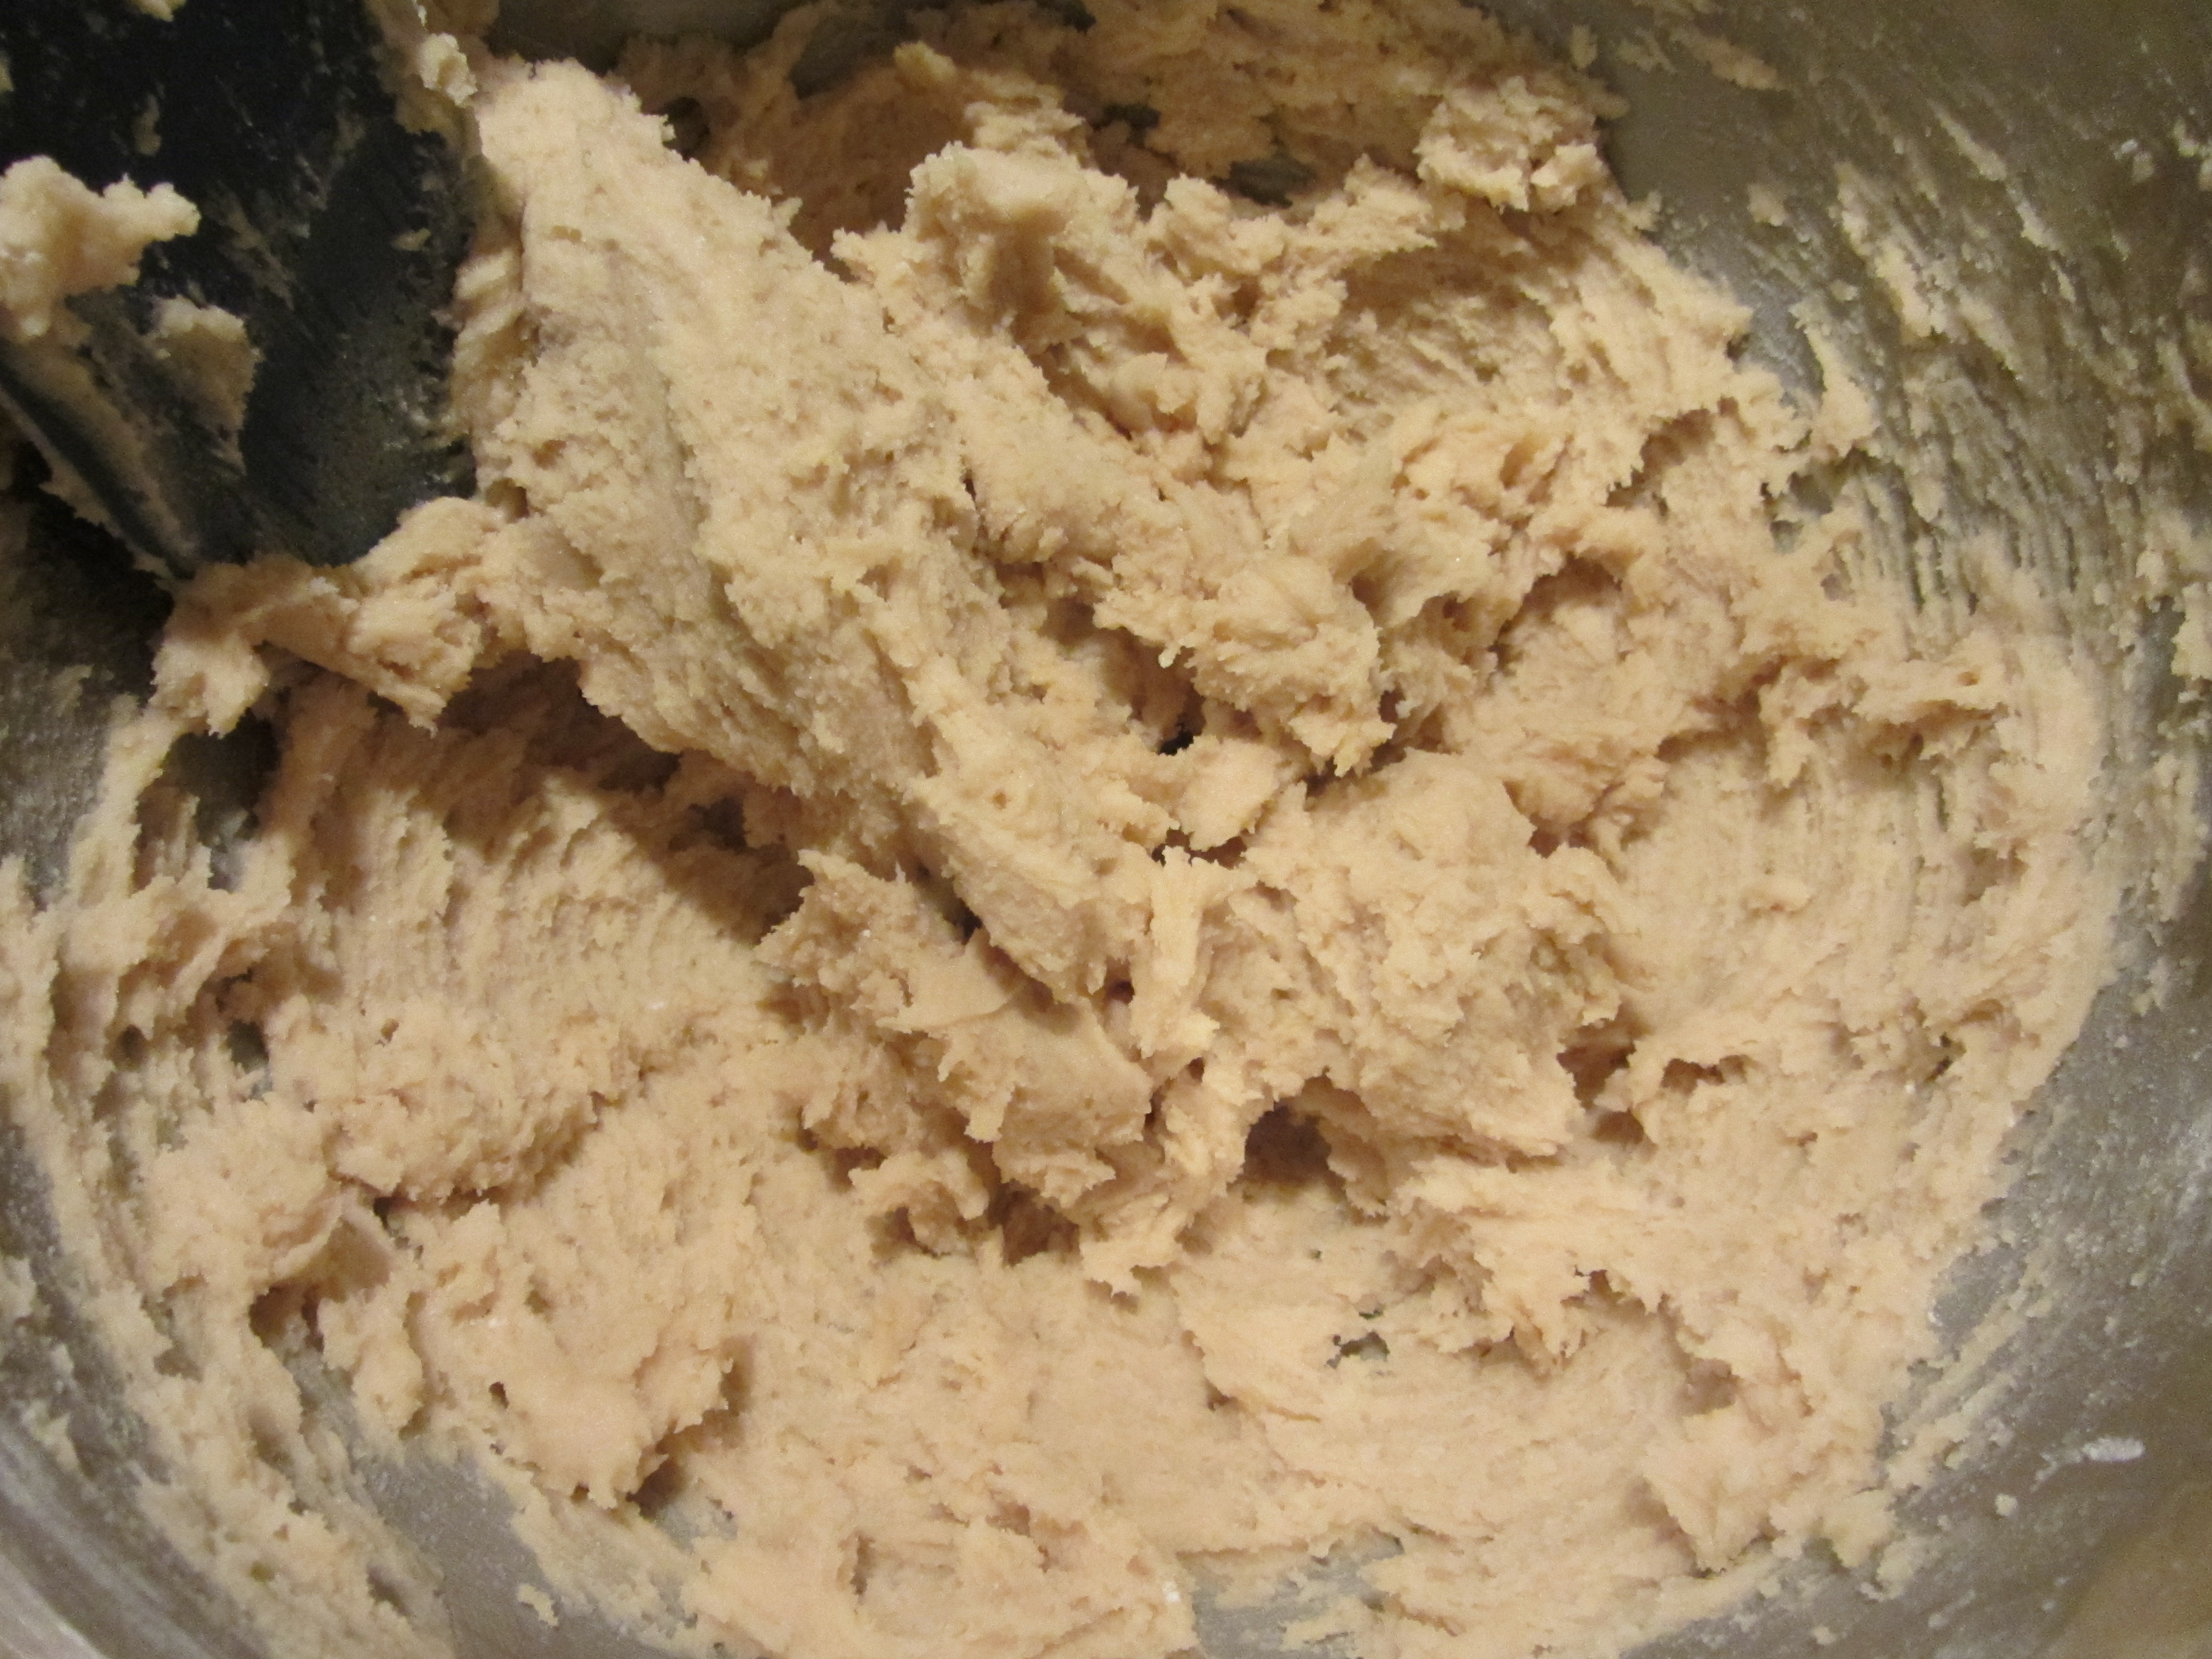
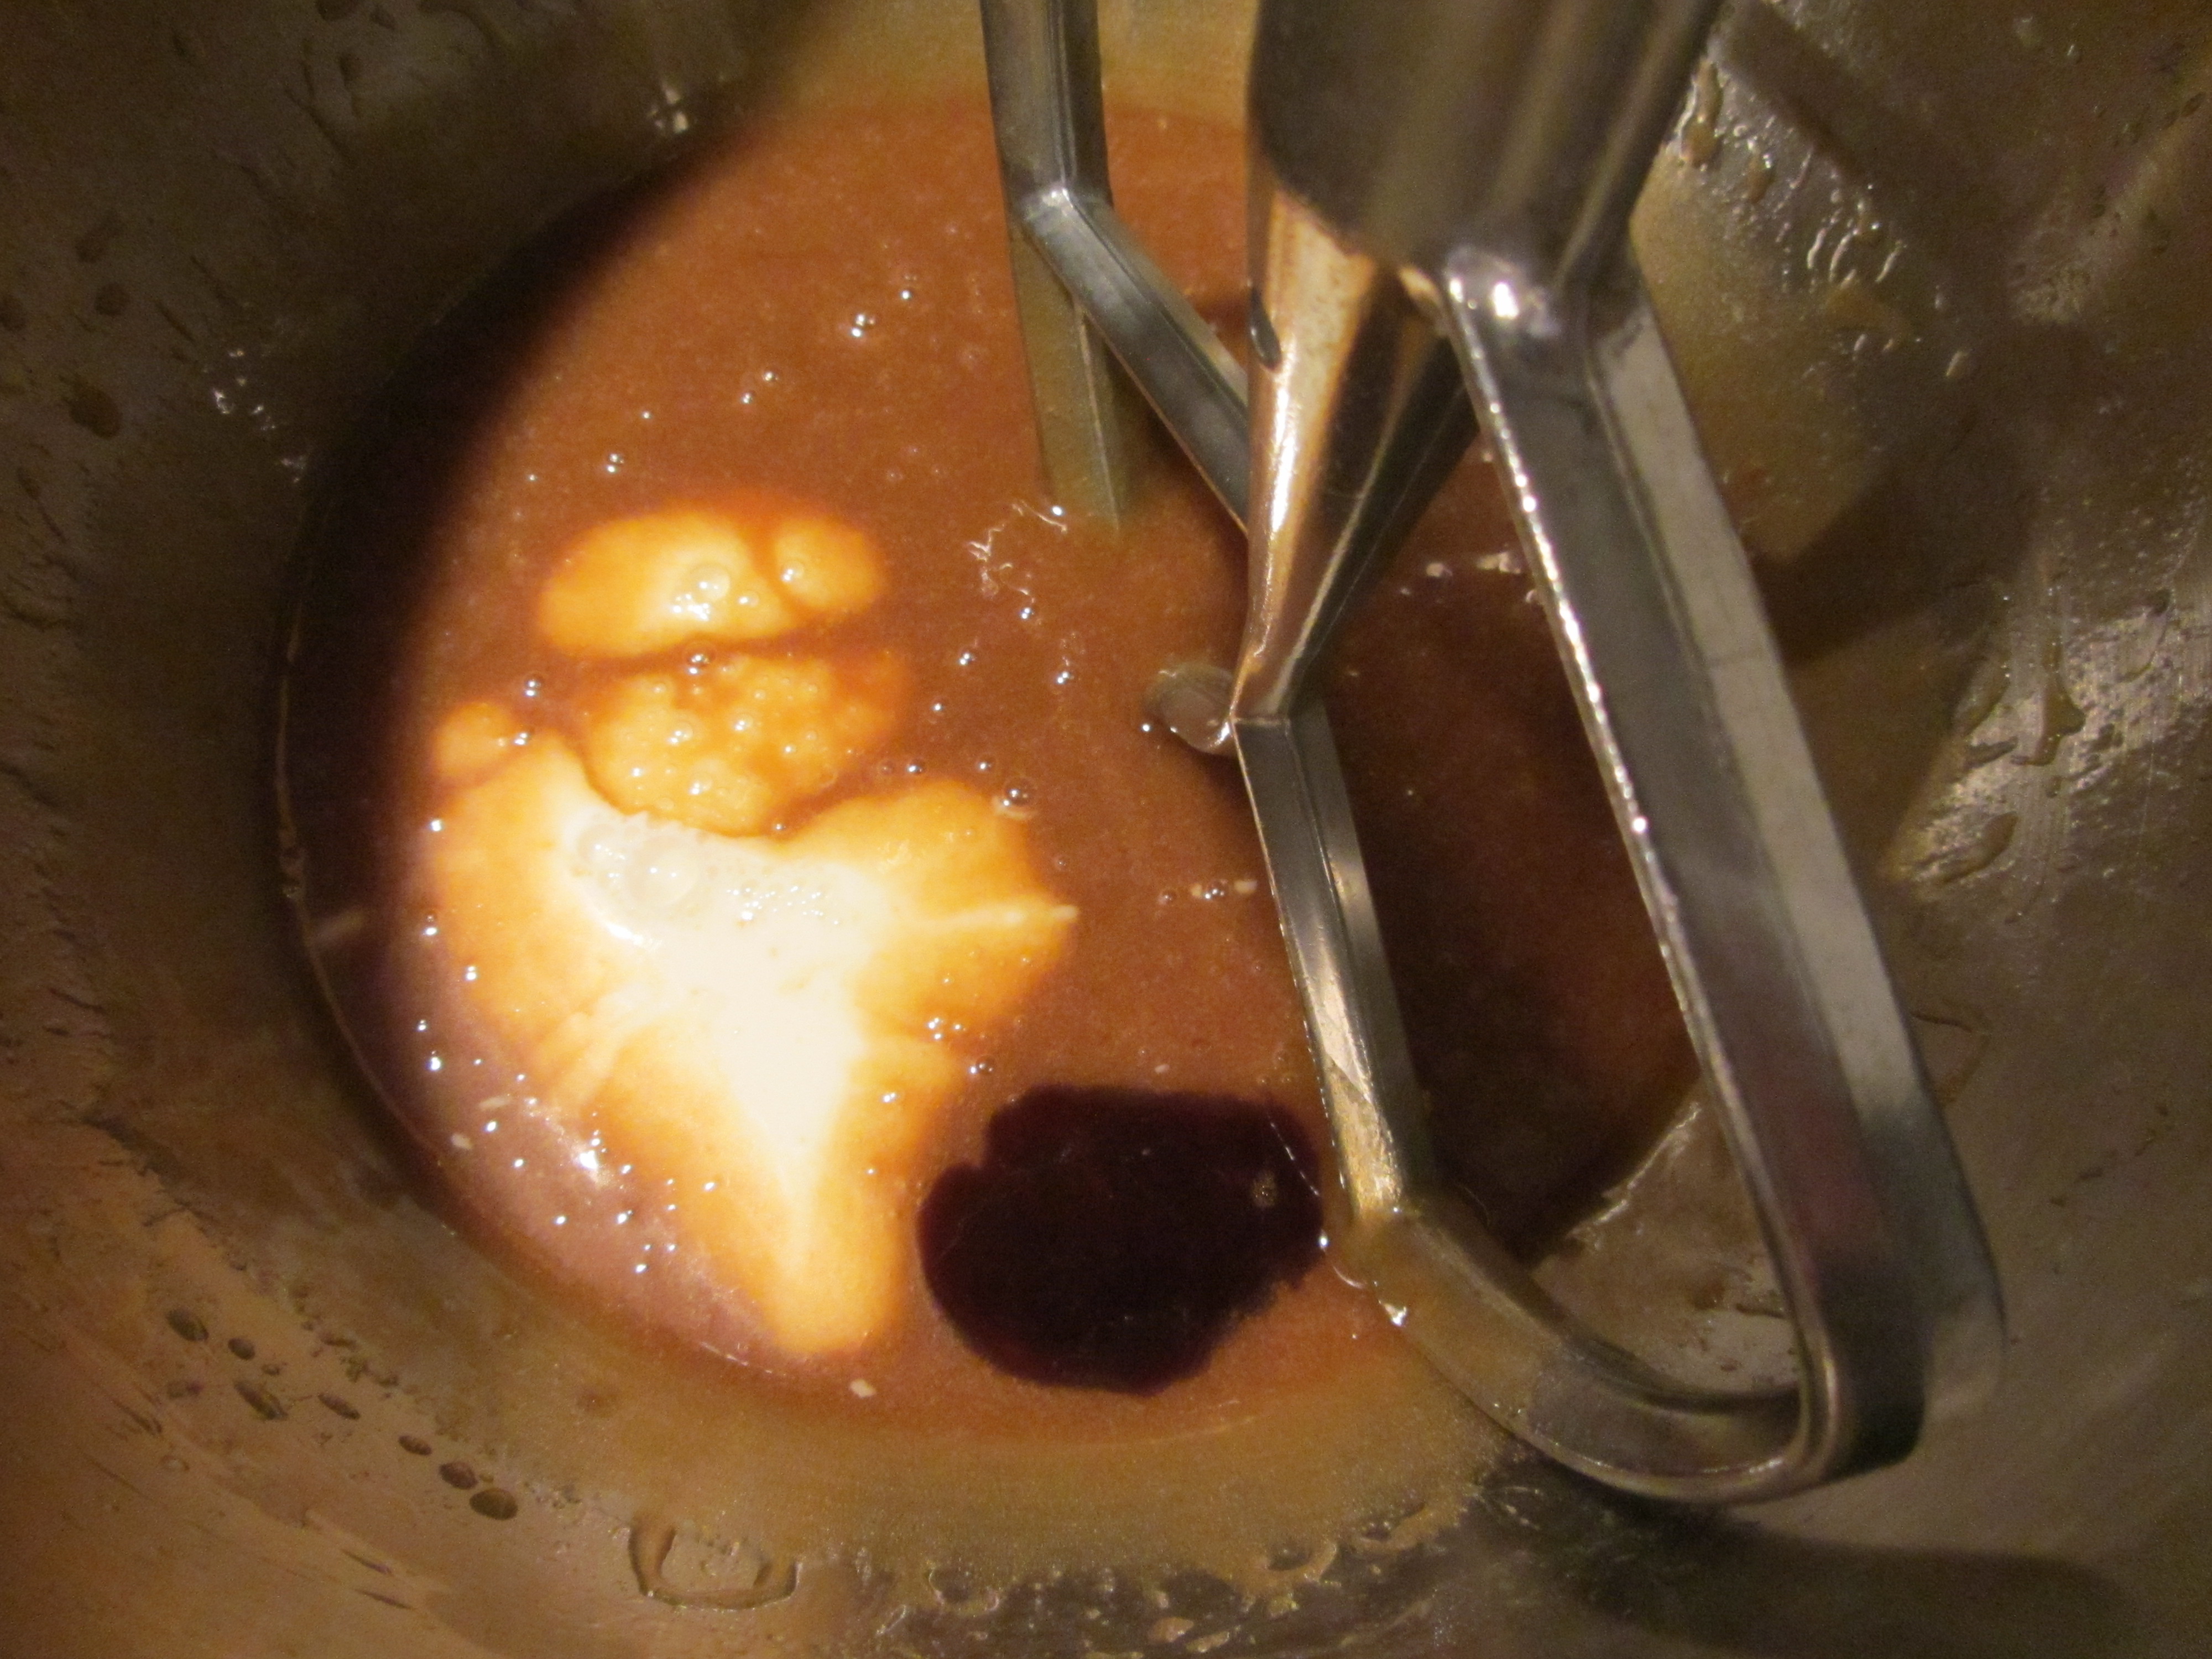
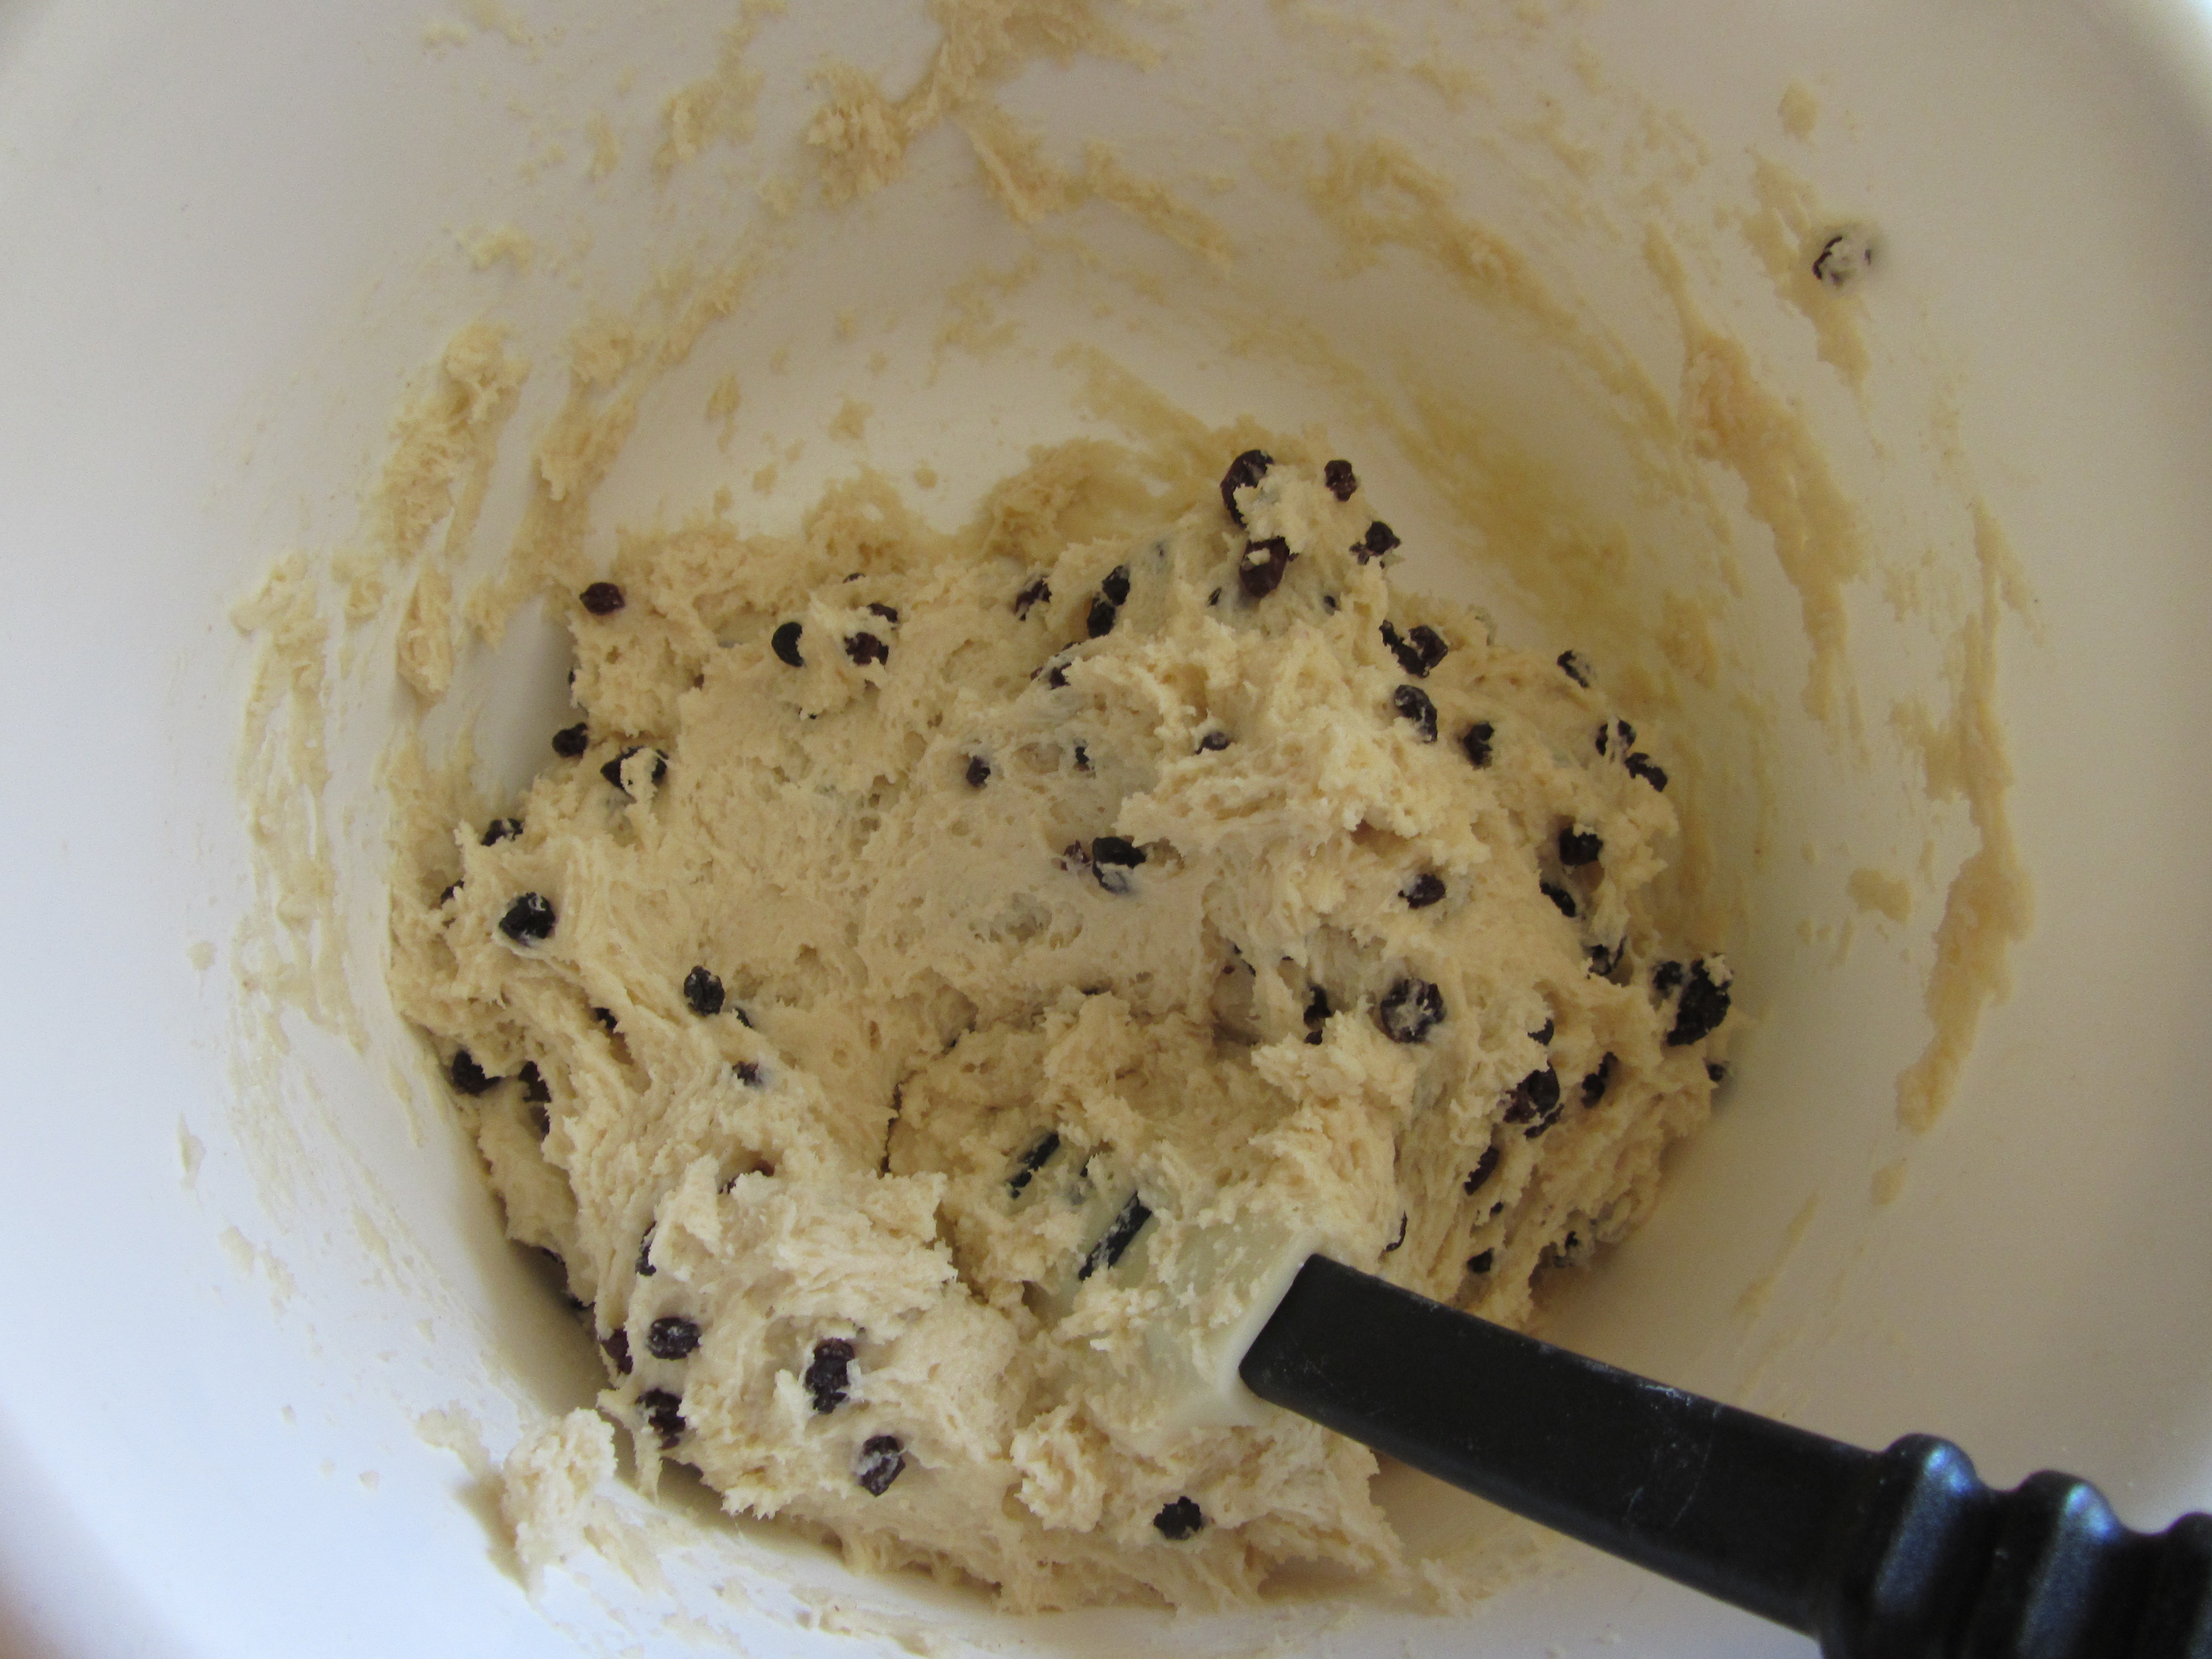
Scrape the bowl and paddle of the mixer, and slowly add half of the liquid mixture on medium speed. Once half of the liquid is incorporated, scrape the bowl again. Increase the speed of the mixer and add the rest of the liquid.

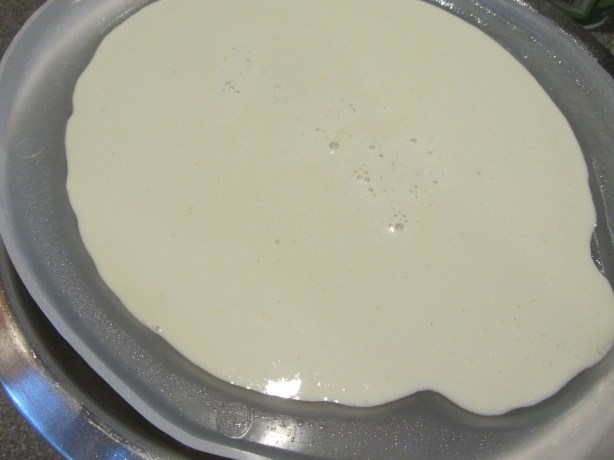
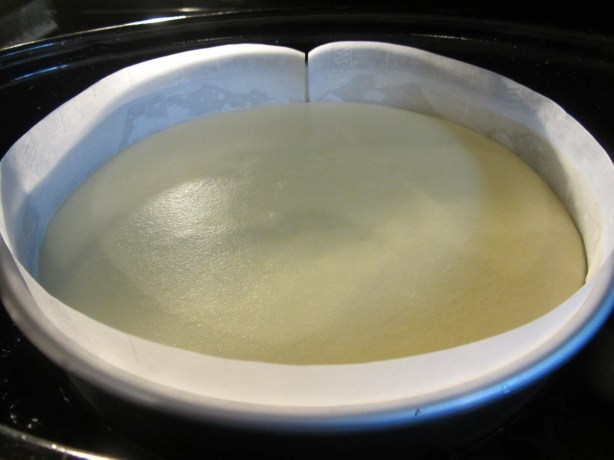
Keep the mixer running until you have a smooth batter with no lumps. Meanwhile, decrease the oven temperature to 250 degrees and boil 2 quarts of water for your water bath. The water bath will control how quickly heat goes into the cheesecake. When your batter is smooth, pour the batter over your prepared crust, popping any visible bubbles. Place a towel-lined roasting pan in the center of your oven and add your cheesecake to the pan.

IMG_4718

Cheesecake in roasting pan. Water to be added for bath.

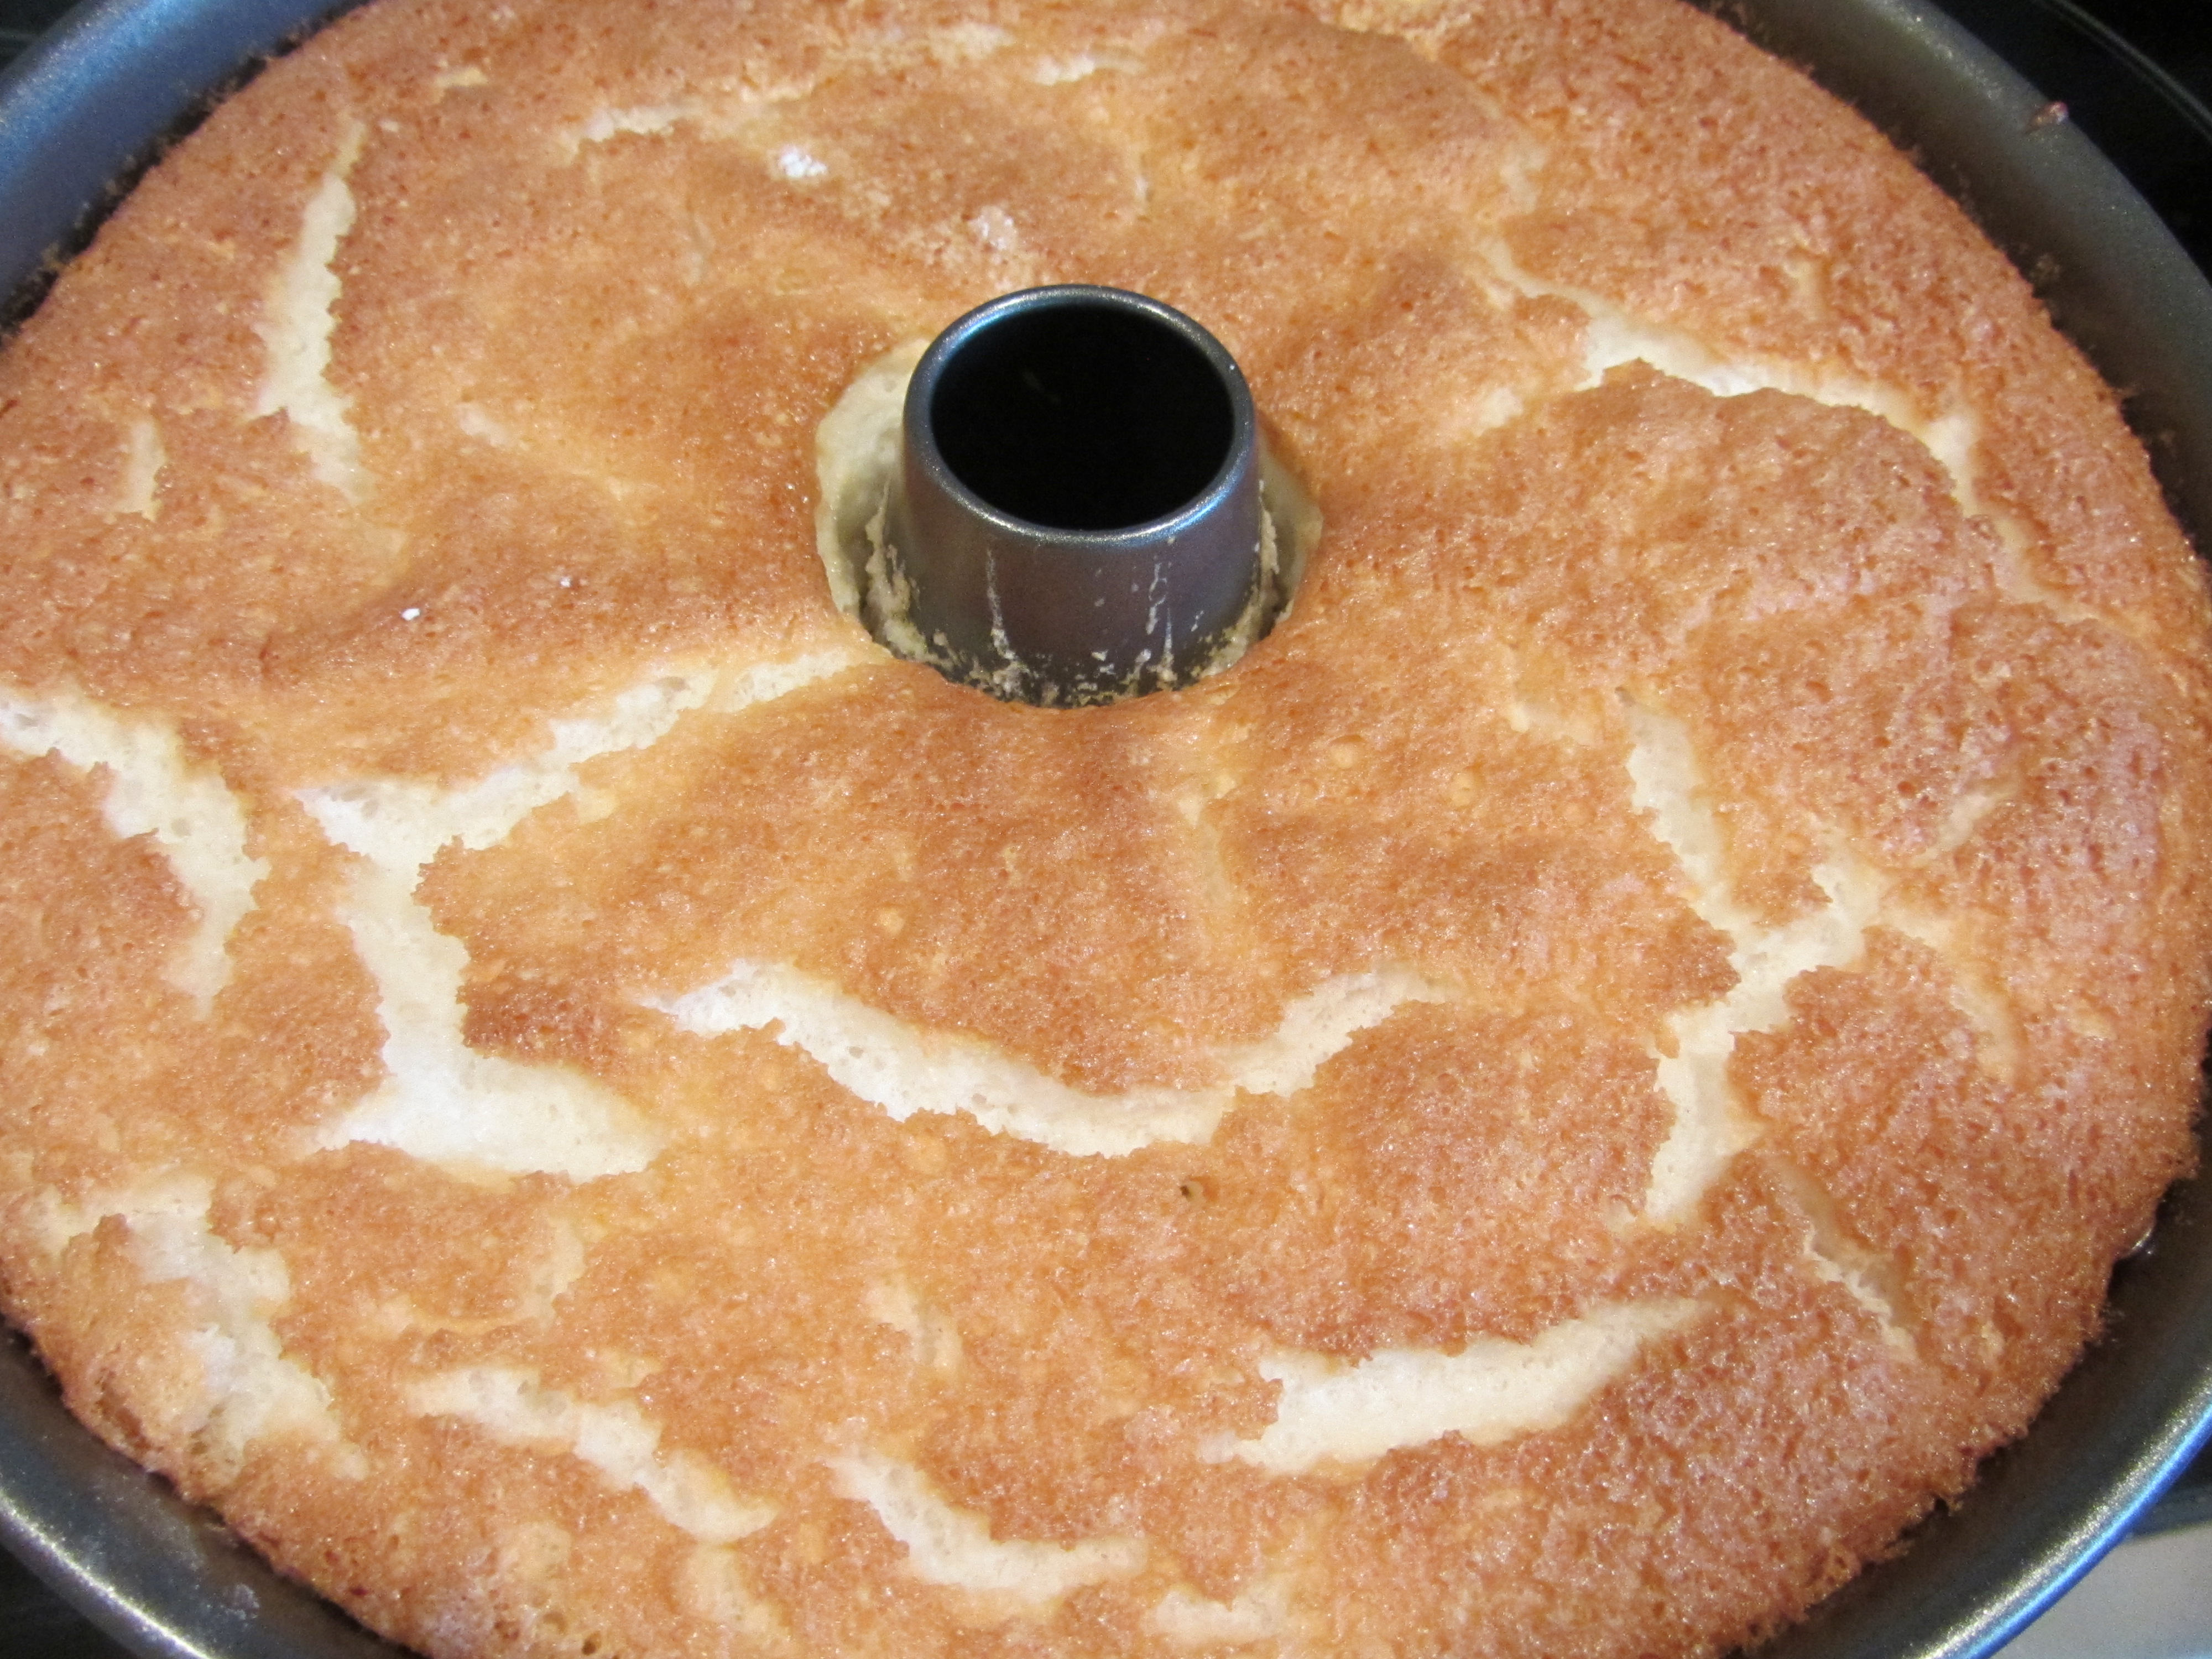
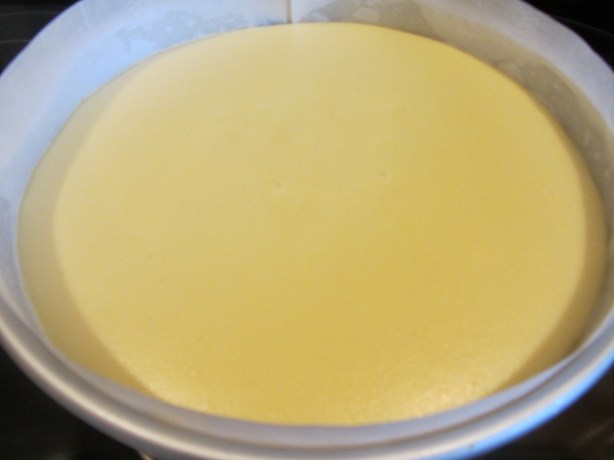
Carefully pour boiling water in the roasting pan until it comes 2/3 up the sides of the cheesecake pan; for me, 2 quarts of water was perfect. Bake your cheesecake for 1 hour. When the hour is up, turn the oven off and open the oven door for 1 minute.

IMG_4722

Cheesecake after baking for 1 hour.

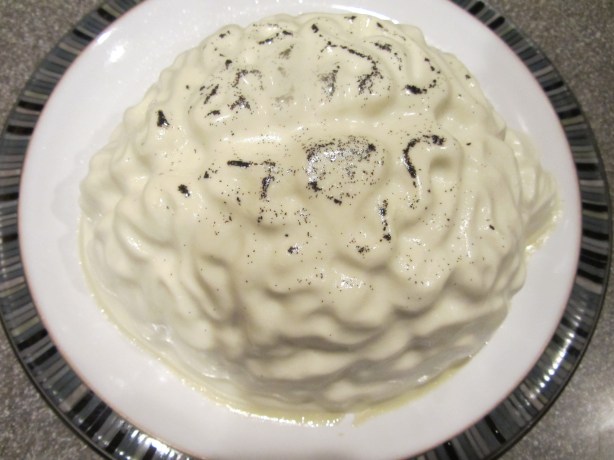
Shut the oven door and leave the cheesecake in the cooling oven for an additional hour.

IMG_4723

Completed cheesecake.

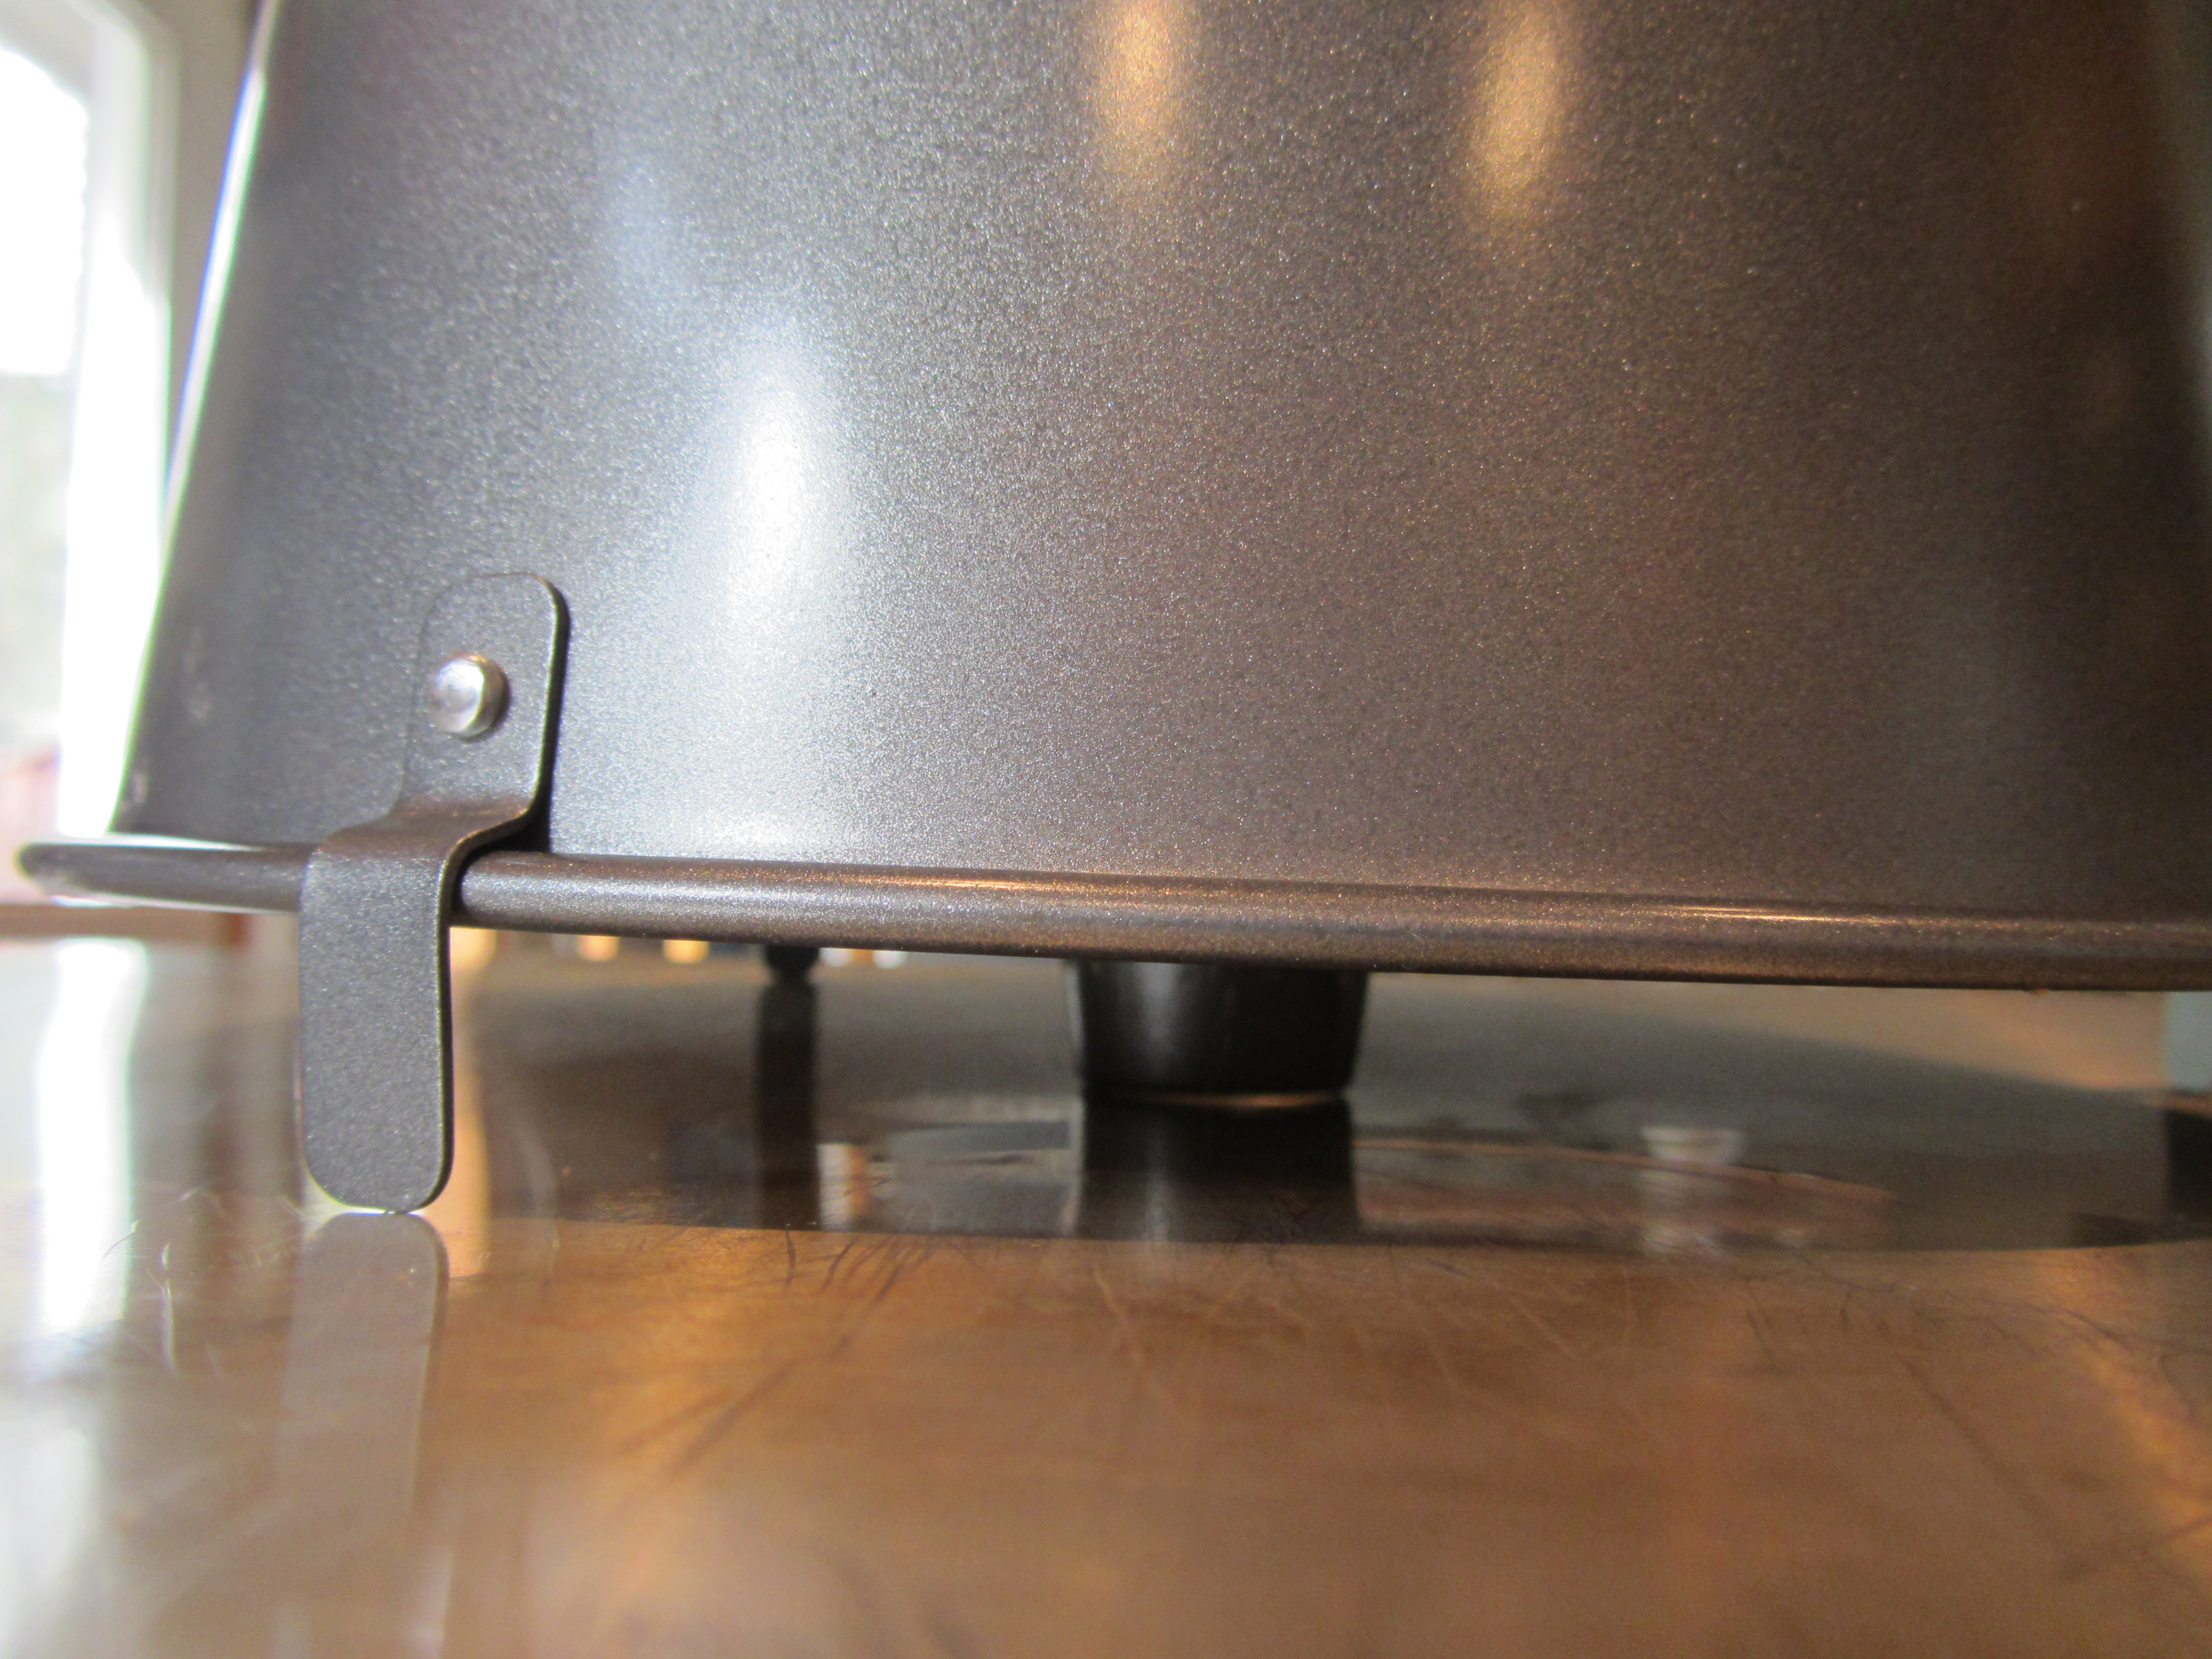
Remove your cheesecake from the oven and place it immediately in the refrigerator for at least 6 hours to cool. When you are ready to serve your cheesecake, fill your sink partially with hot water and dip the cheesecake pan in the water for ~10 seconds.

IMG_4727

Getting ready to serve cheesecake – dipping pan in hot water for ~10 seconds.

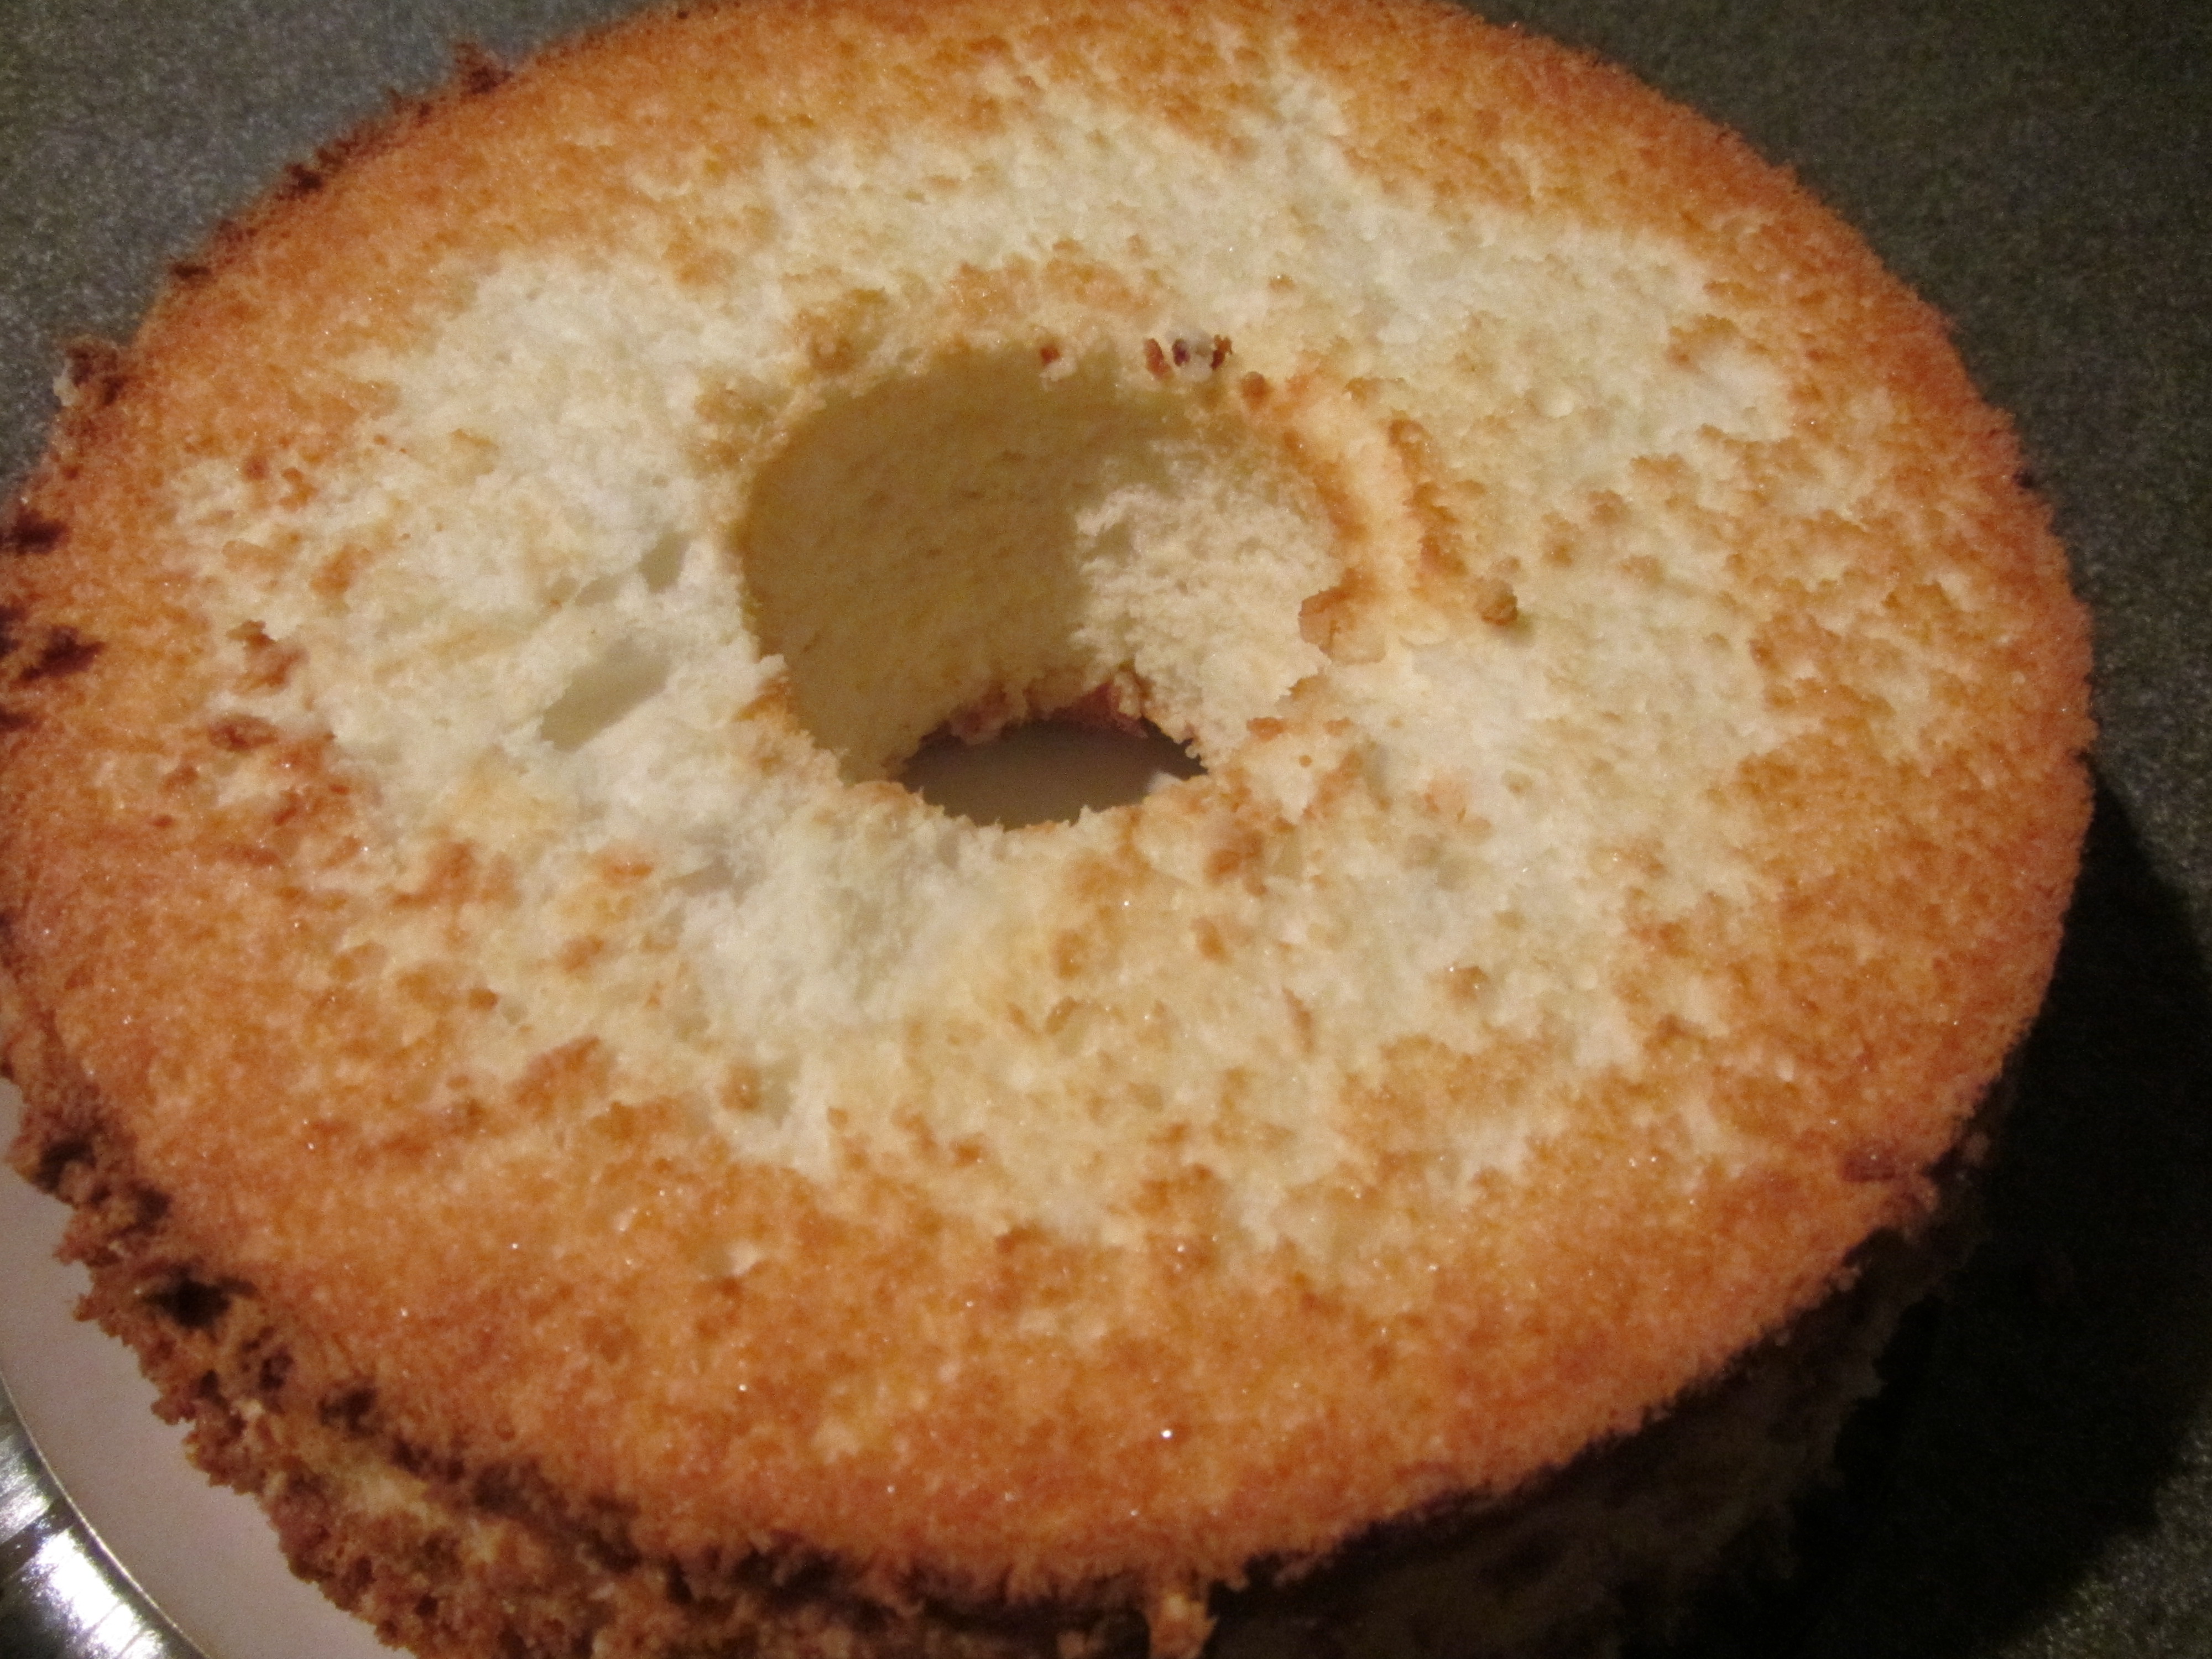
Next, dip a sharp knife in hot water and run it around the cake between the cake and the parchment paper; this should allow you to pull the wall-lining parchment paper out.

IMG_4729

Cheesecake after running a hot knife around the edges and removing parchment paper.

Place a sheet of wax paper on the surface of the cheesecake and invert it – a springform pan base works well for inverting.

IMG_4732

Inverted cheesecake.

Remove the final parchment paper circle and invert the cake again onto a serving platter. With a hot knife, cut the cake into slices, slicing straight down and pulling the knife out toward you, rather than up. Remember those left over graham cracker crumbs? If desired, toast them in a 350 degree oven for 10 minutes and pat them around the sides of your cheesecake. Voila! Cheesecake a la Alton.

Okay, so this was a pretty darn good cheesecake, but I wish I would have listened to my gut and baked it a little longer. Alton was so definitive about his procedure that I decided to follow it to a T, even though my gut told me my cake would need a little more time. Sure enough, my cake was slightly softer in the middle than I would have liked. Even so, it was delicious. Now, if you are looking for a super thick, dense cheesecake, this isn’t for you. This cheesecake has a lighter, fluffier texture, while still being super rich and tangy. Ted is not as fond of cheesecake, or cream cheese for that matter, as I am and he really liked the texture of this cheesecake. I will make this again, but I will either cook it longer initially or I will not open the oven door for that one minute. Alton emphasized that cheesecake is like eggs:  done in the pan means overdone on the plate. I also might bake the crust just slightly longer initially, as it could have been a tad crispier. Still, we ate every last bit of this, and enjoyed it.
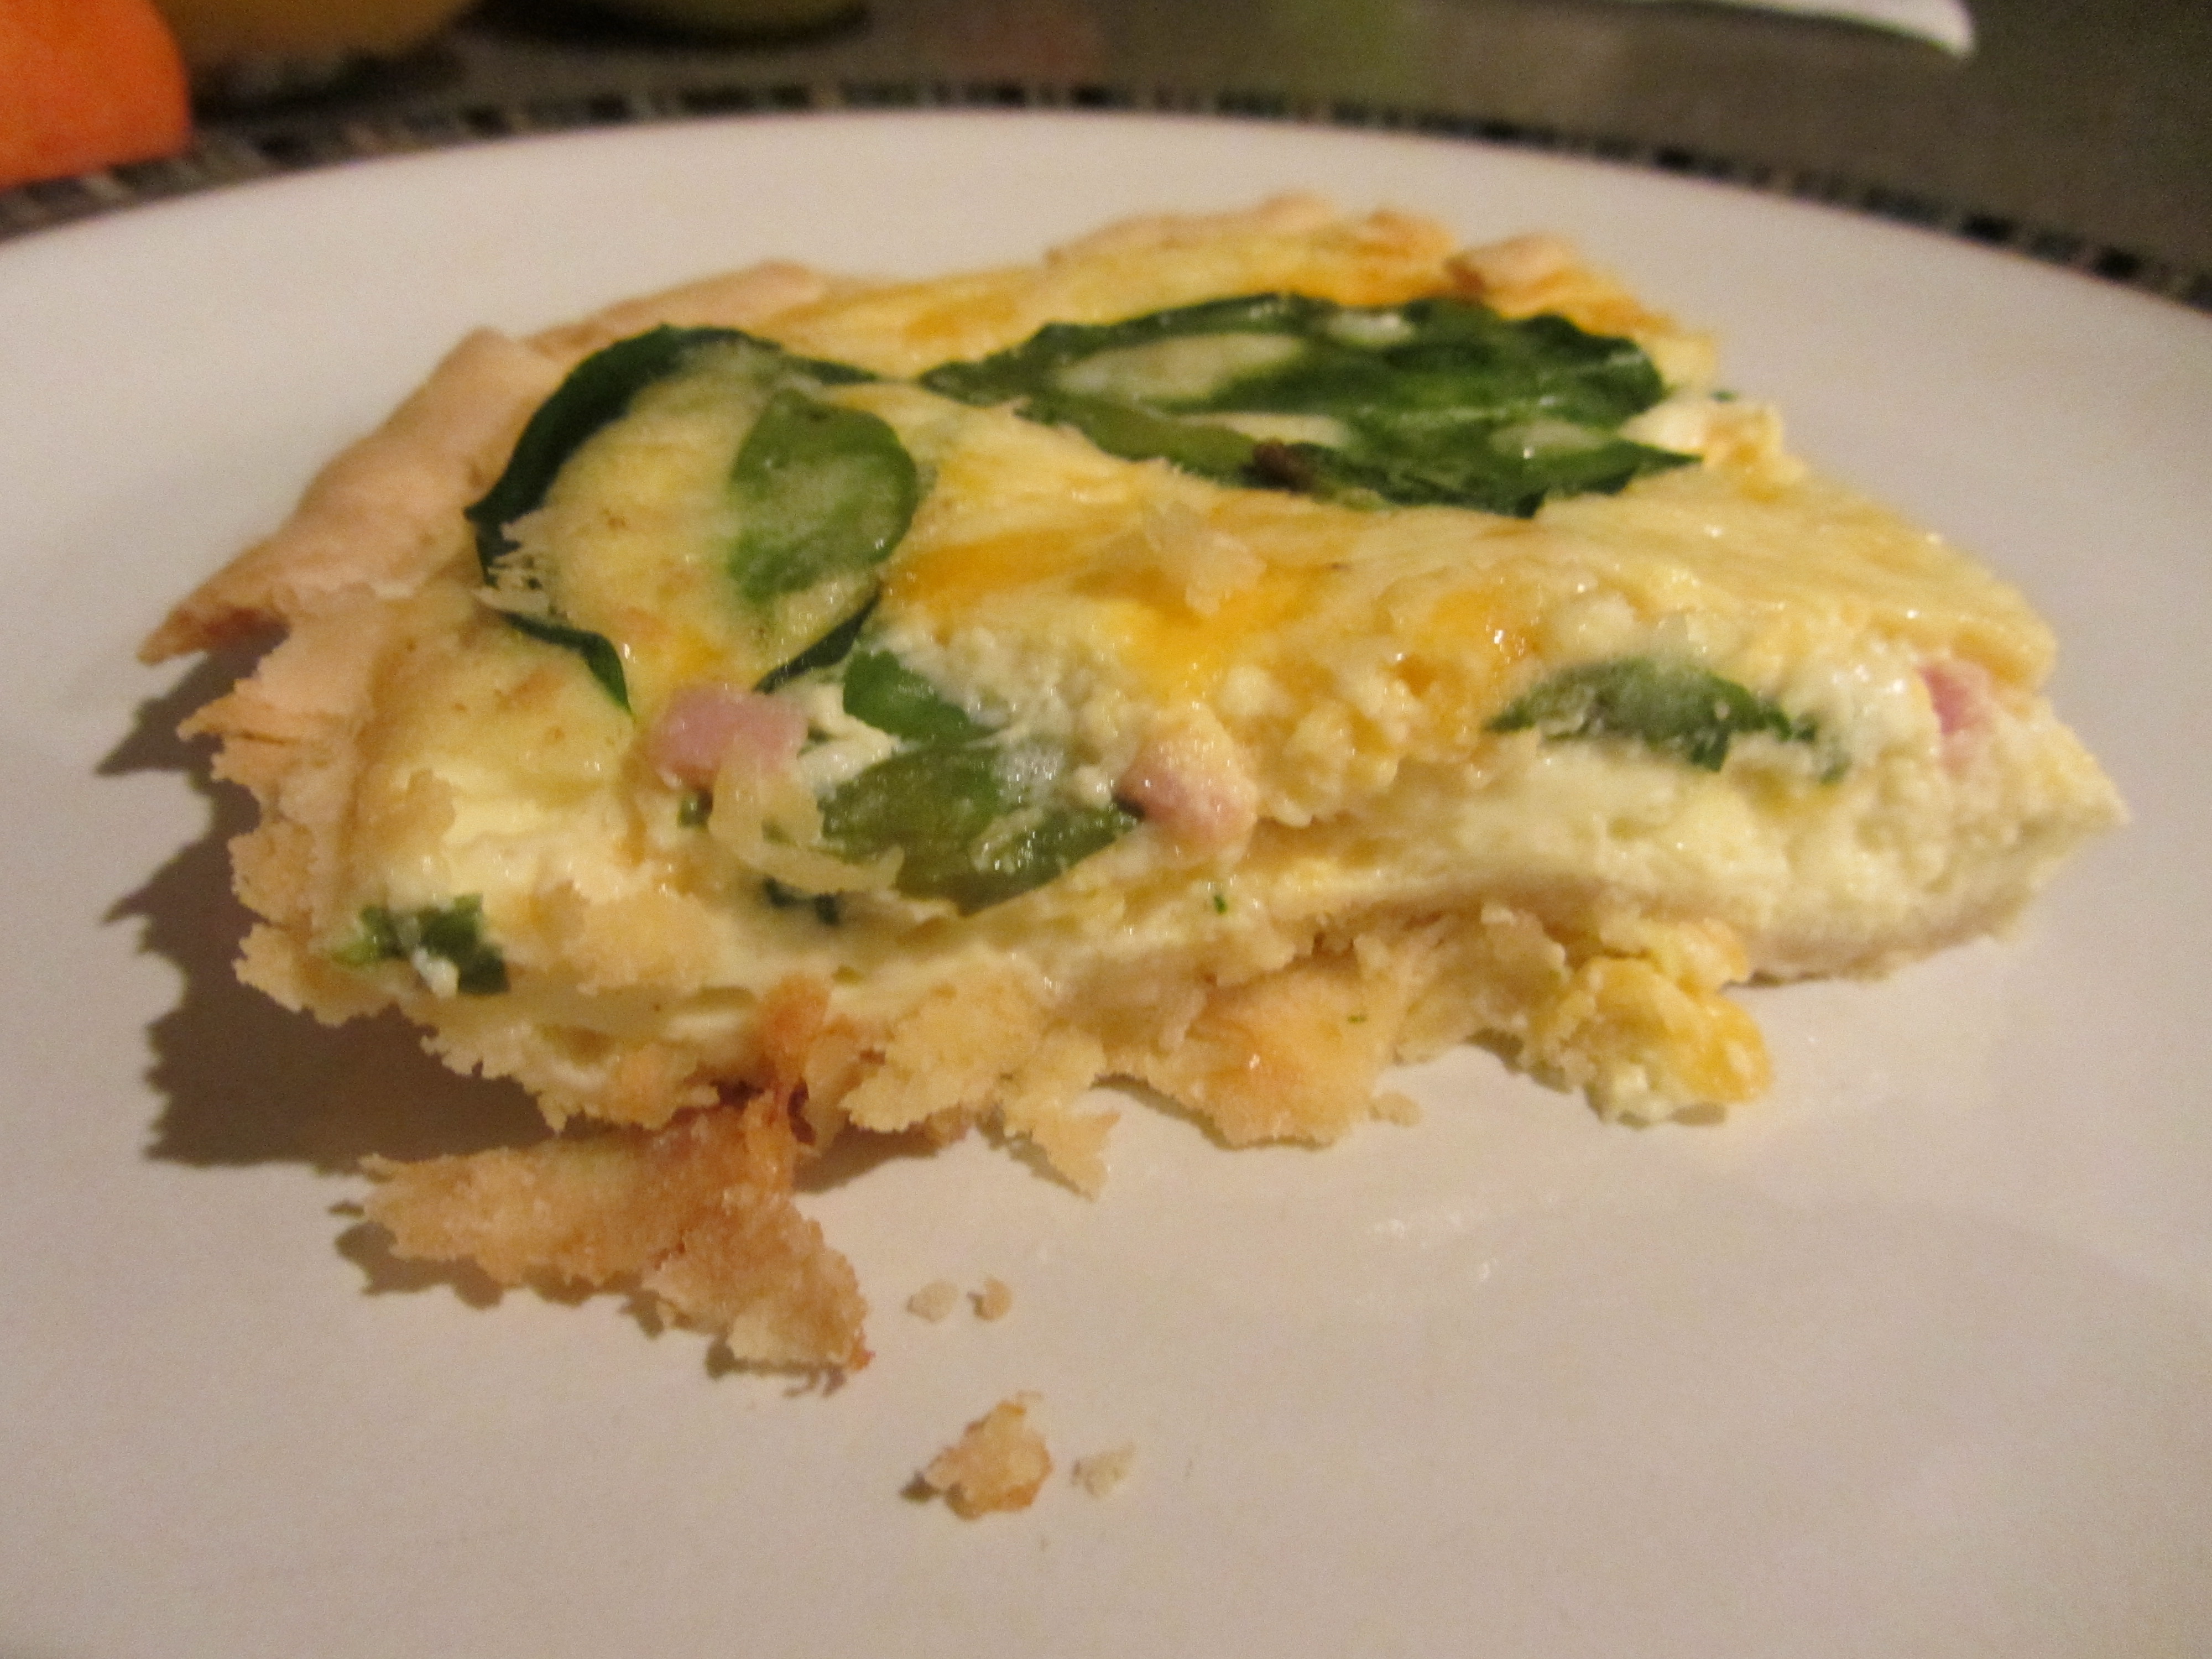
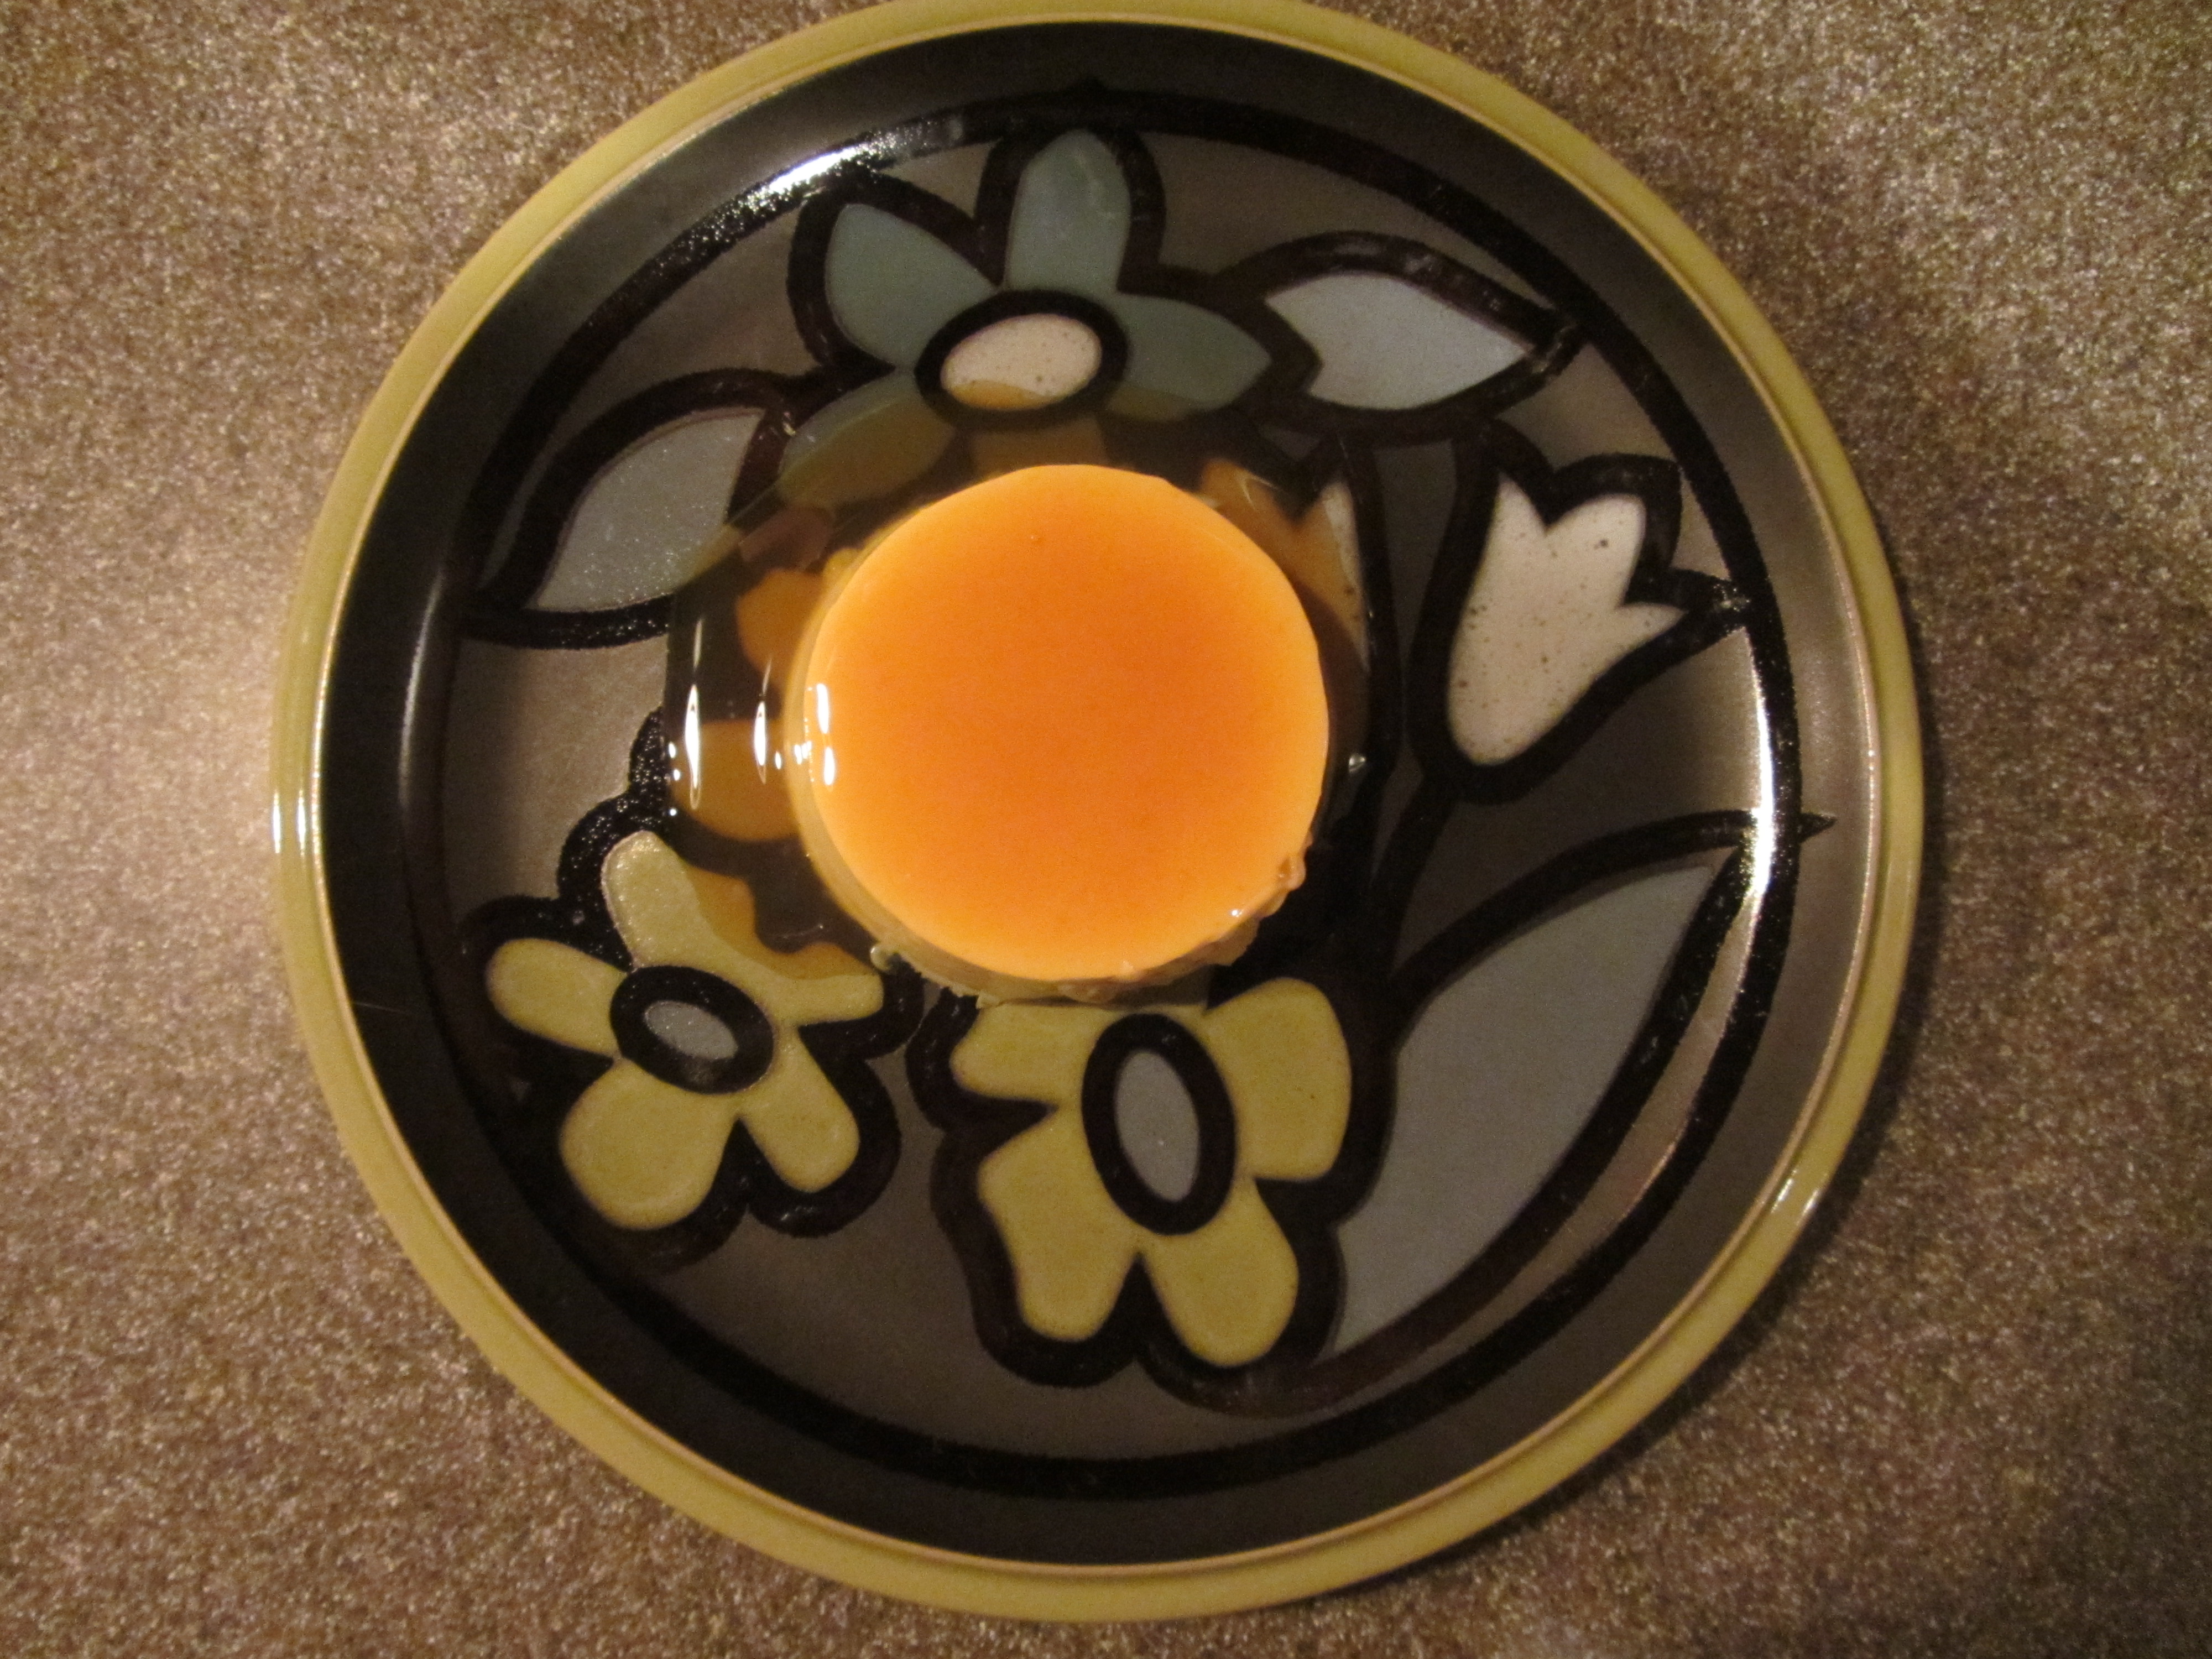
Savory Cheesecake

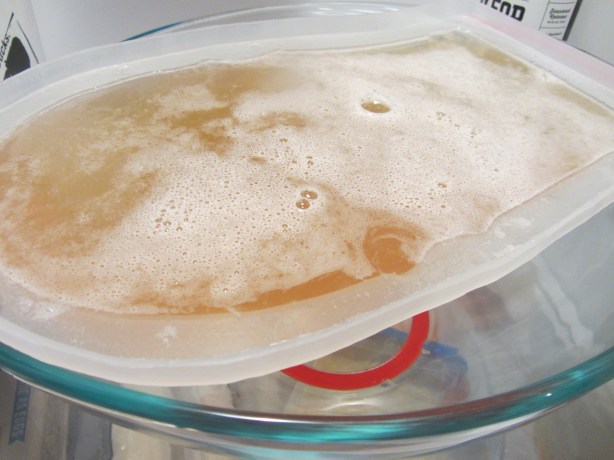
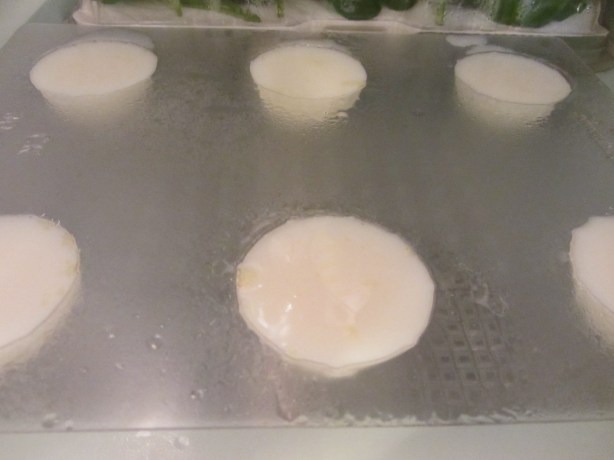
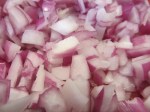
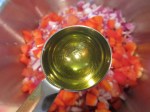
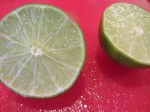
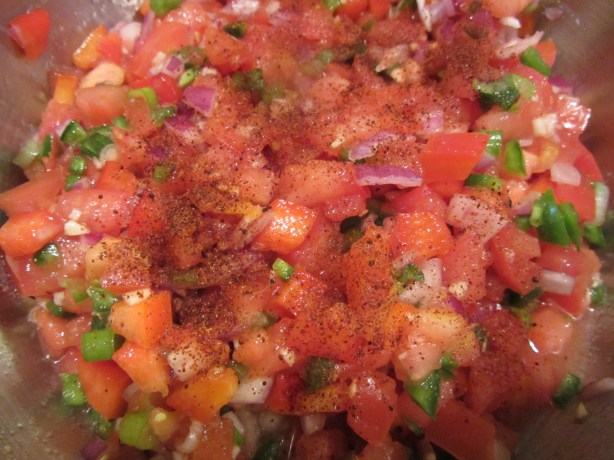
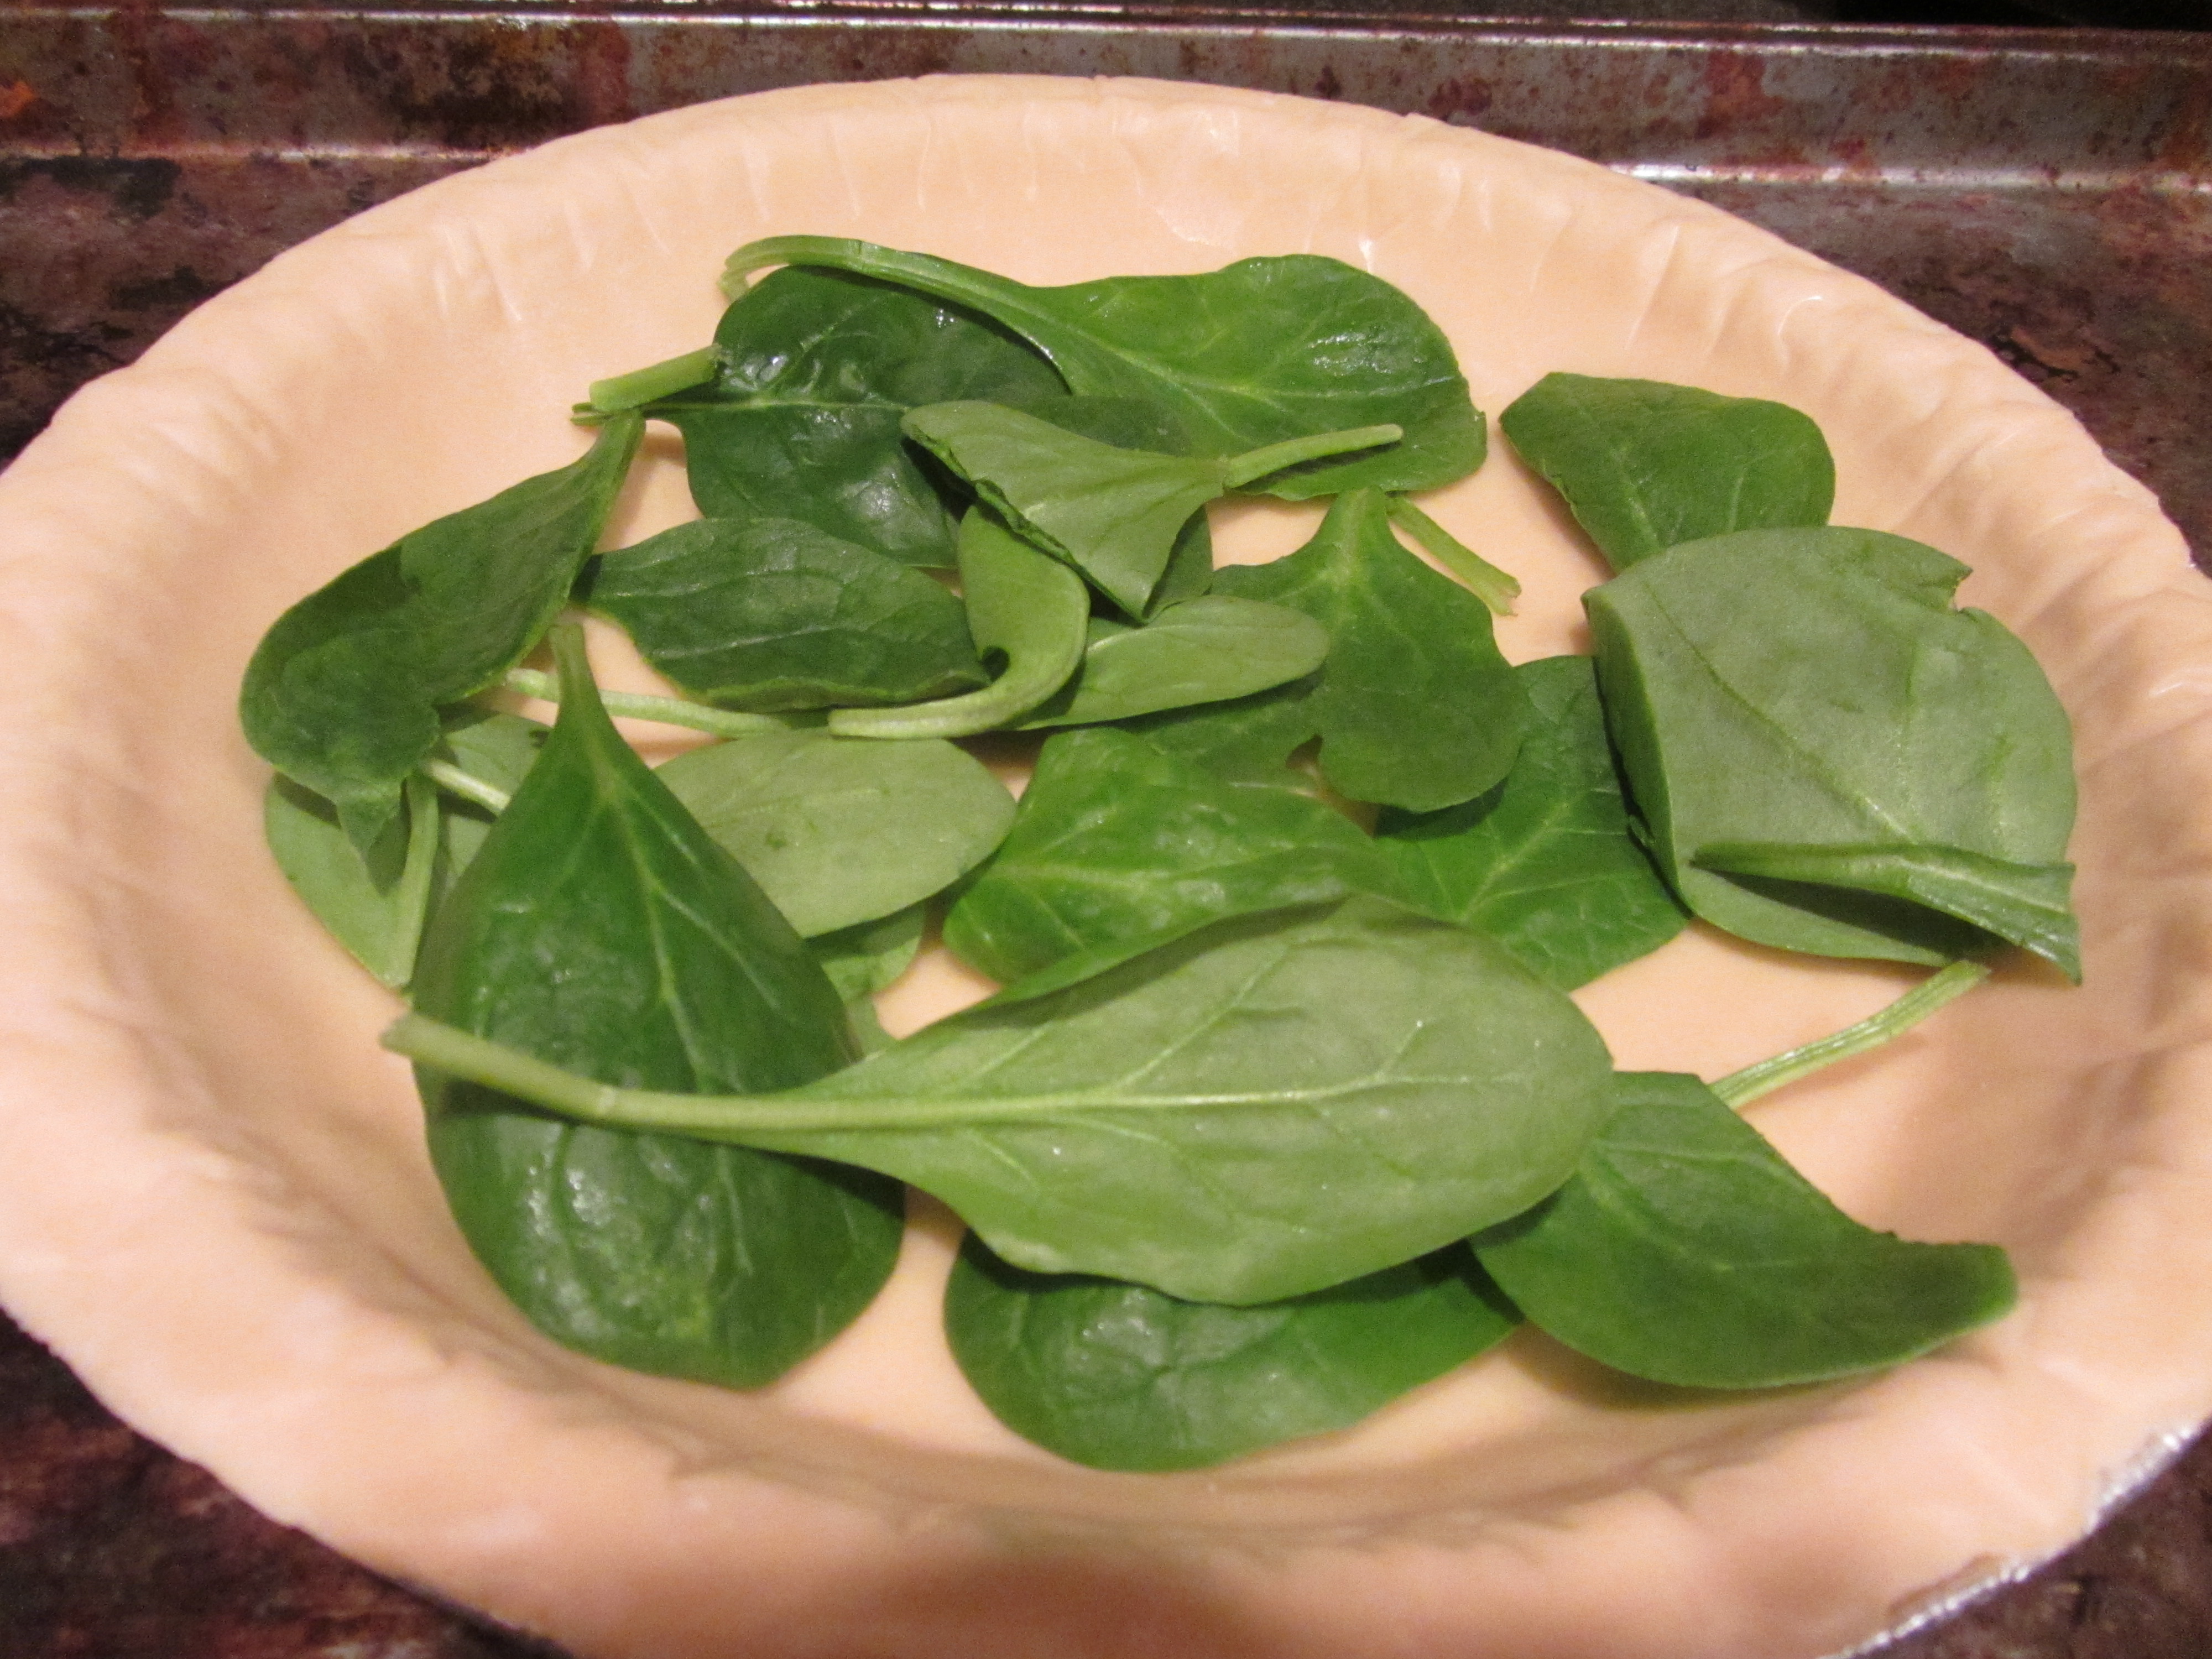
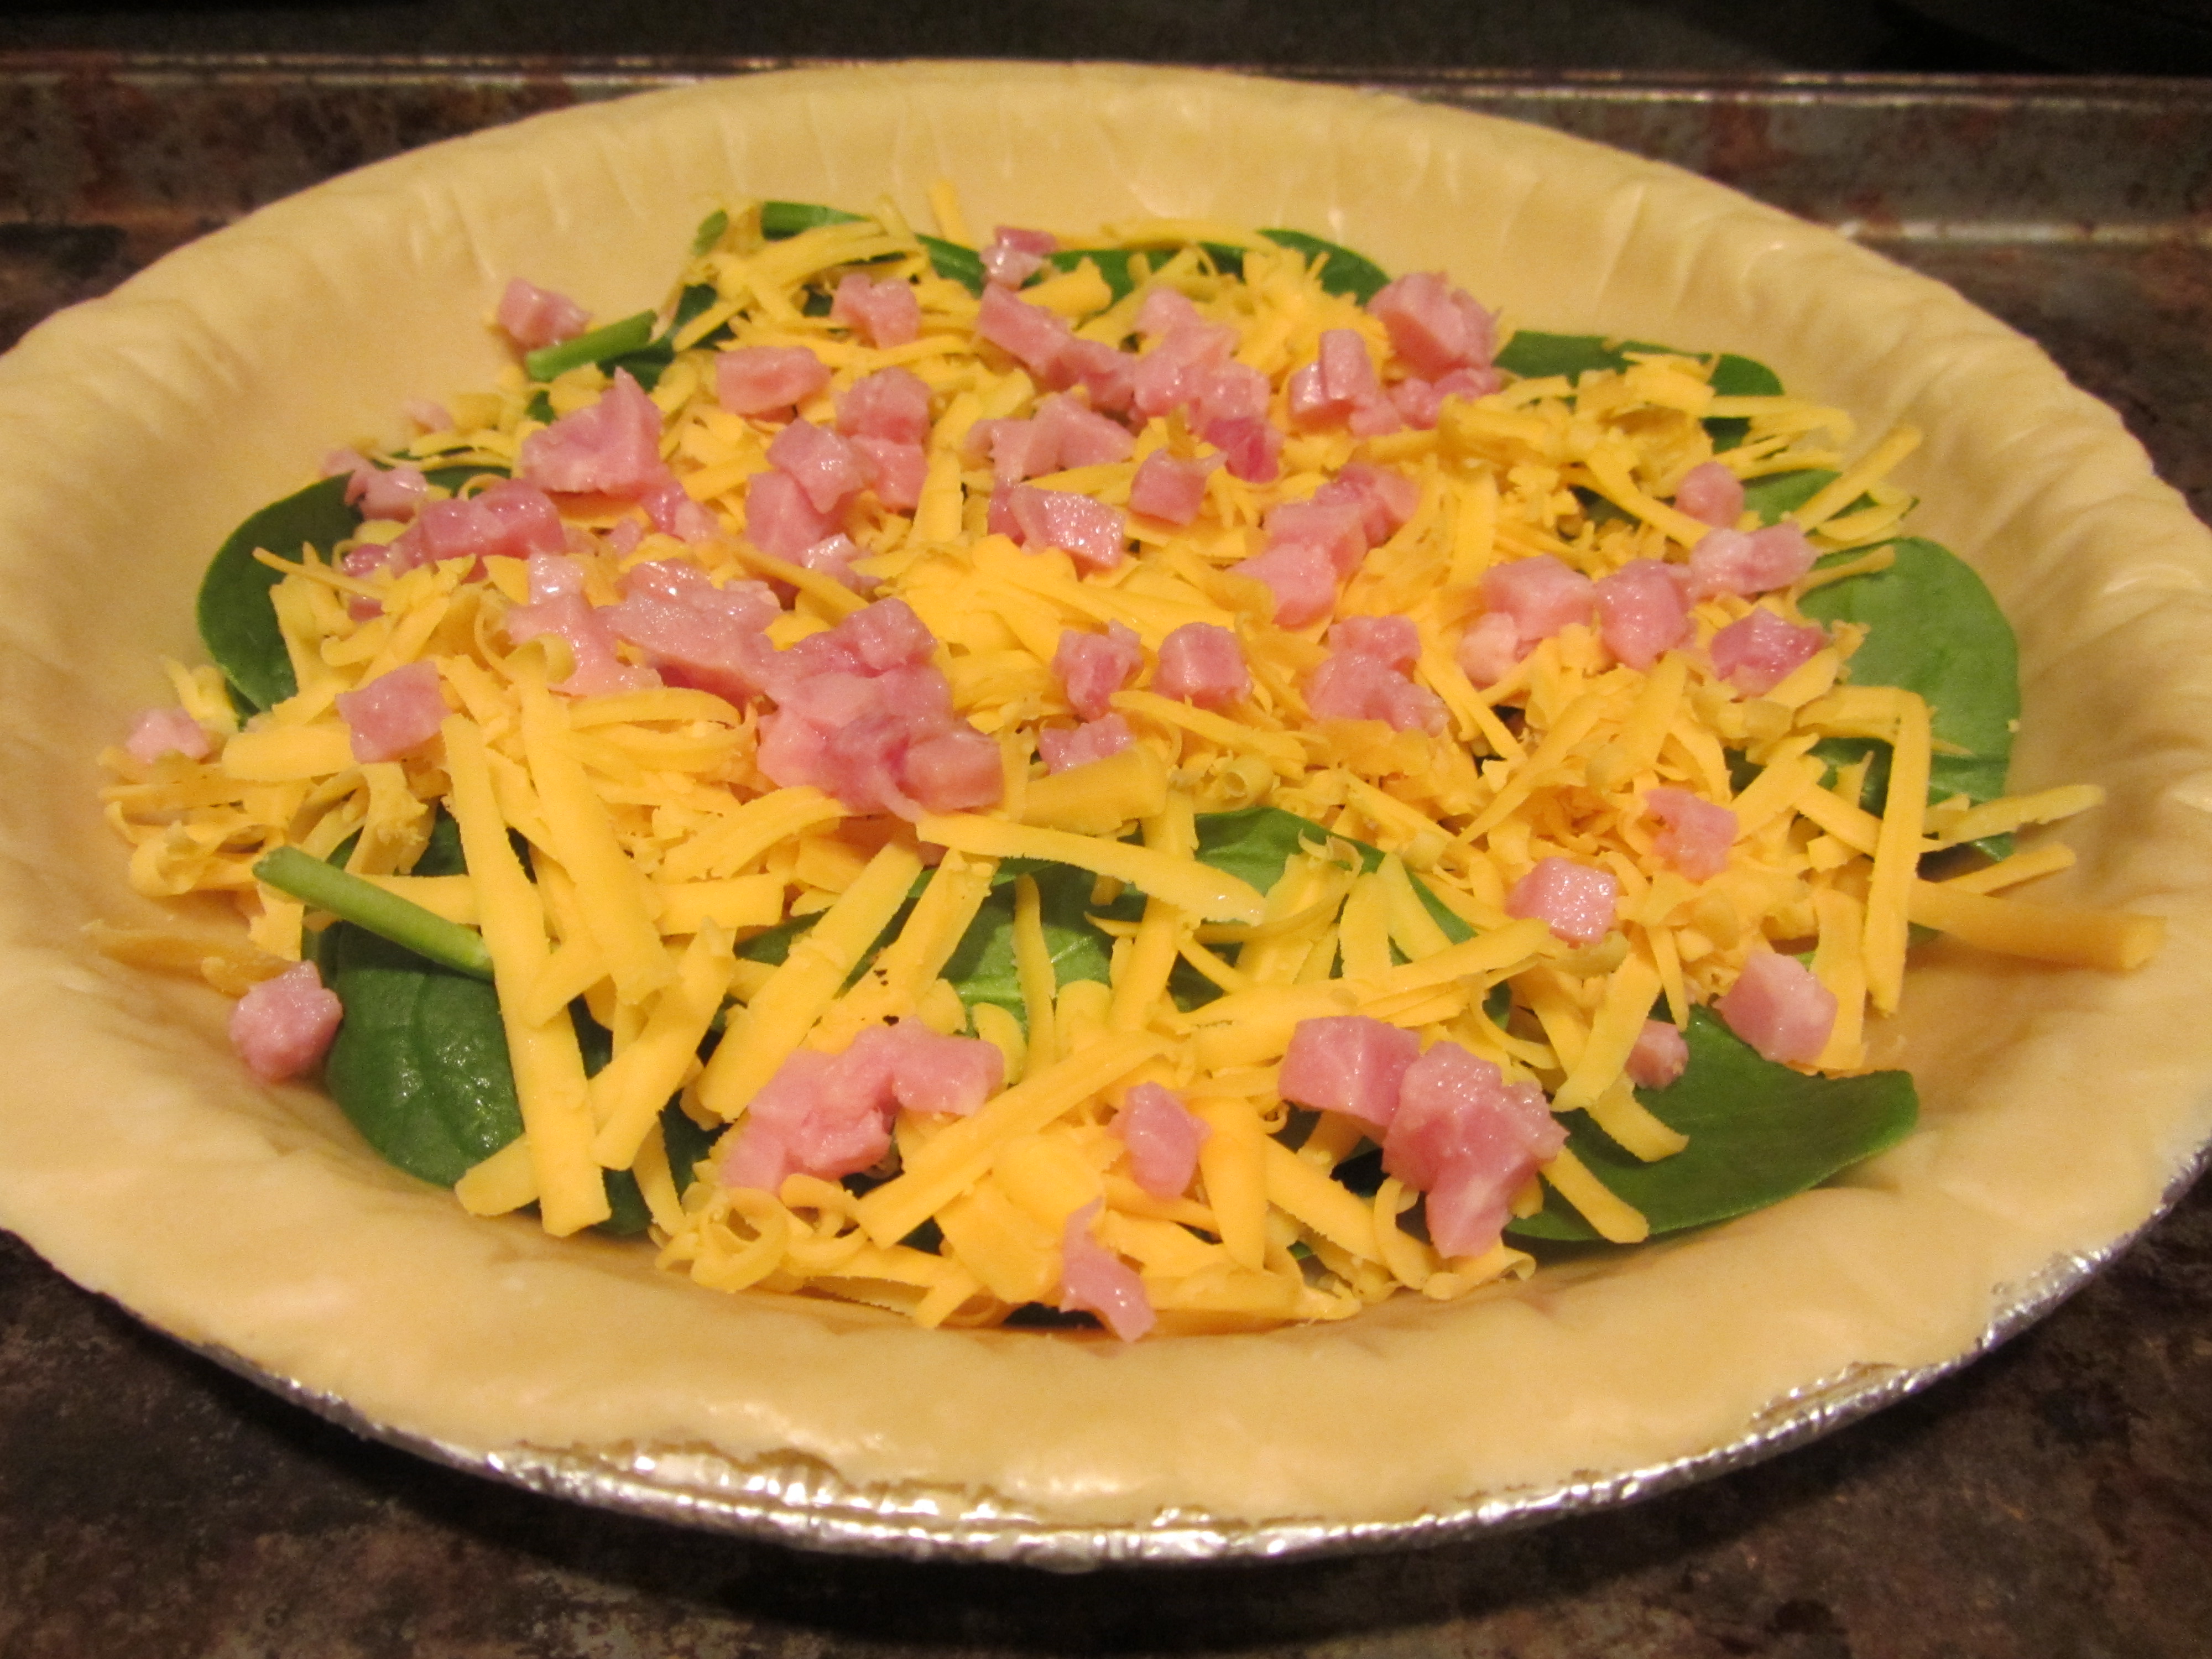
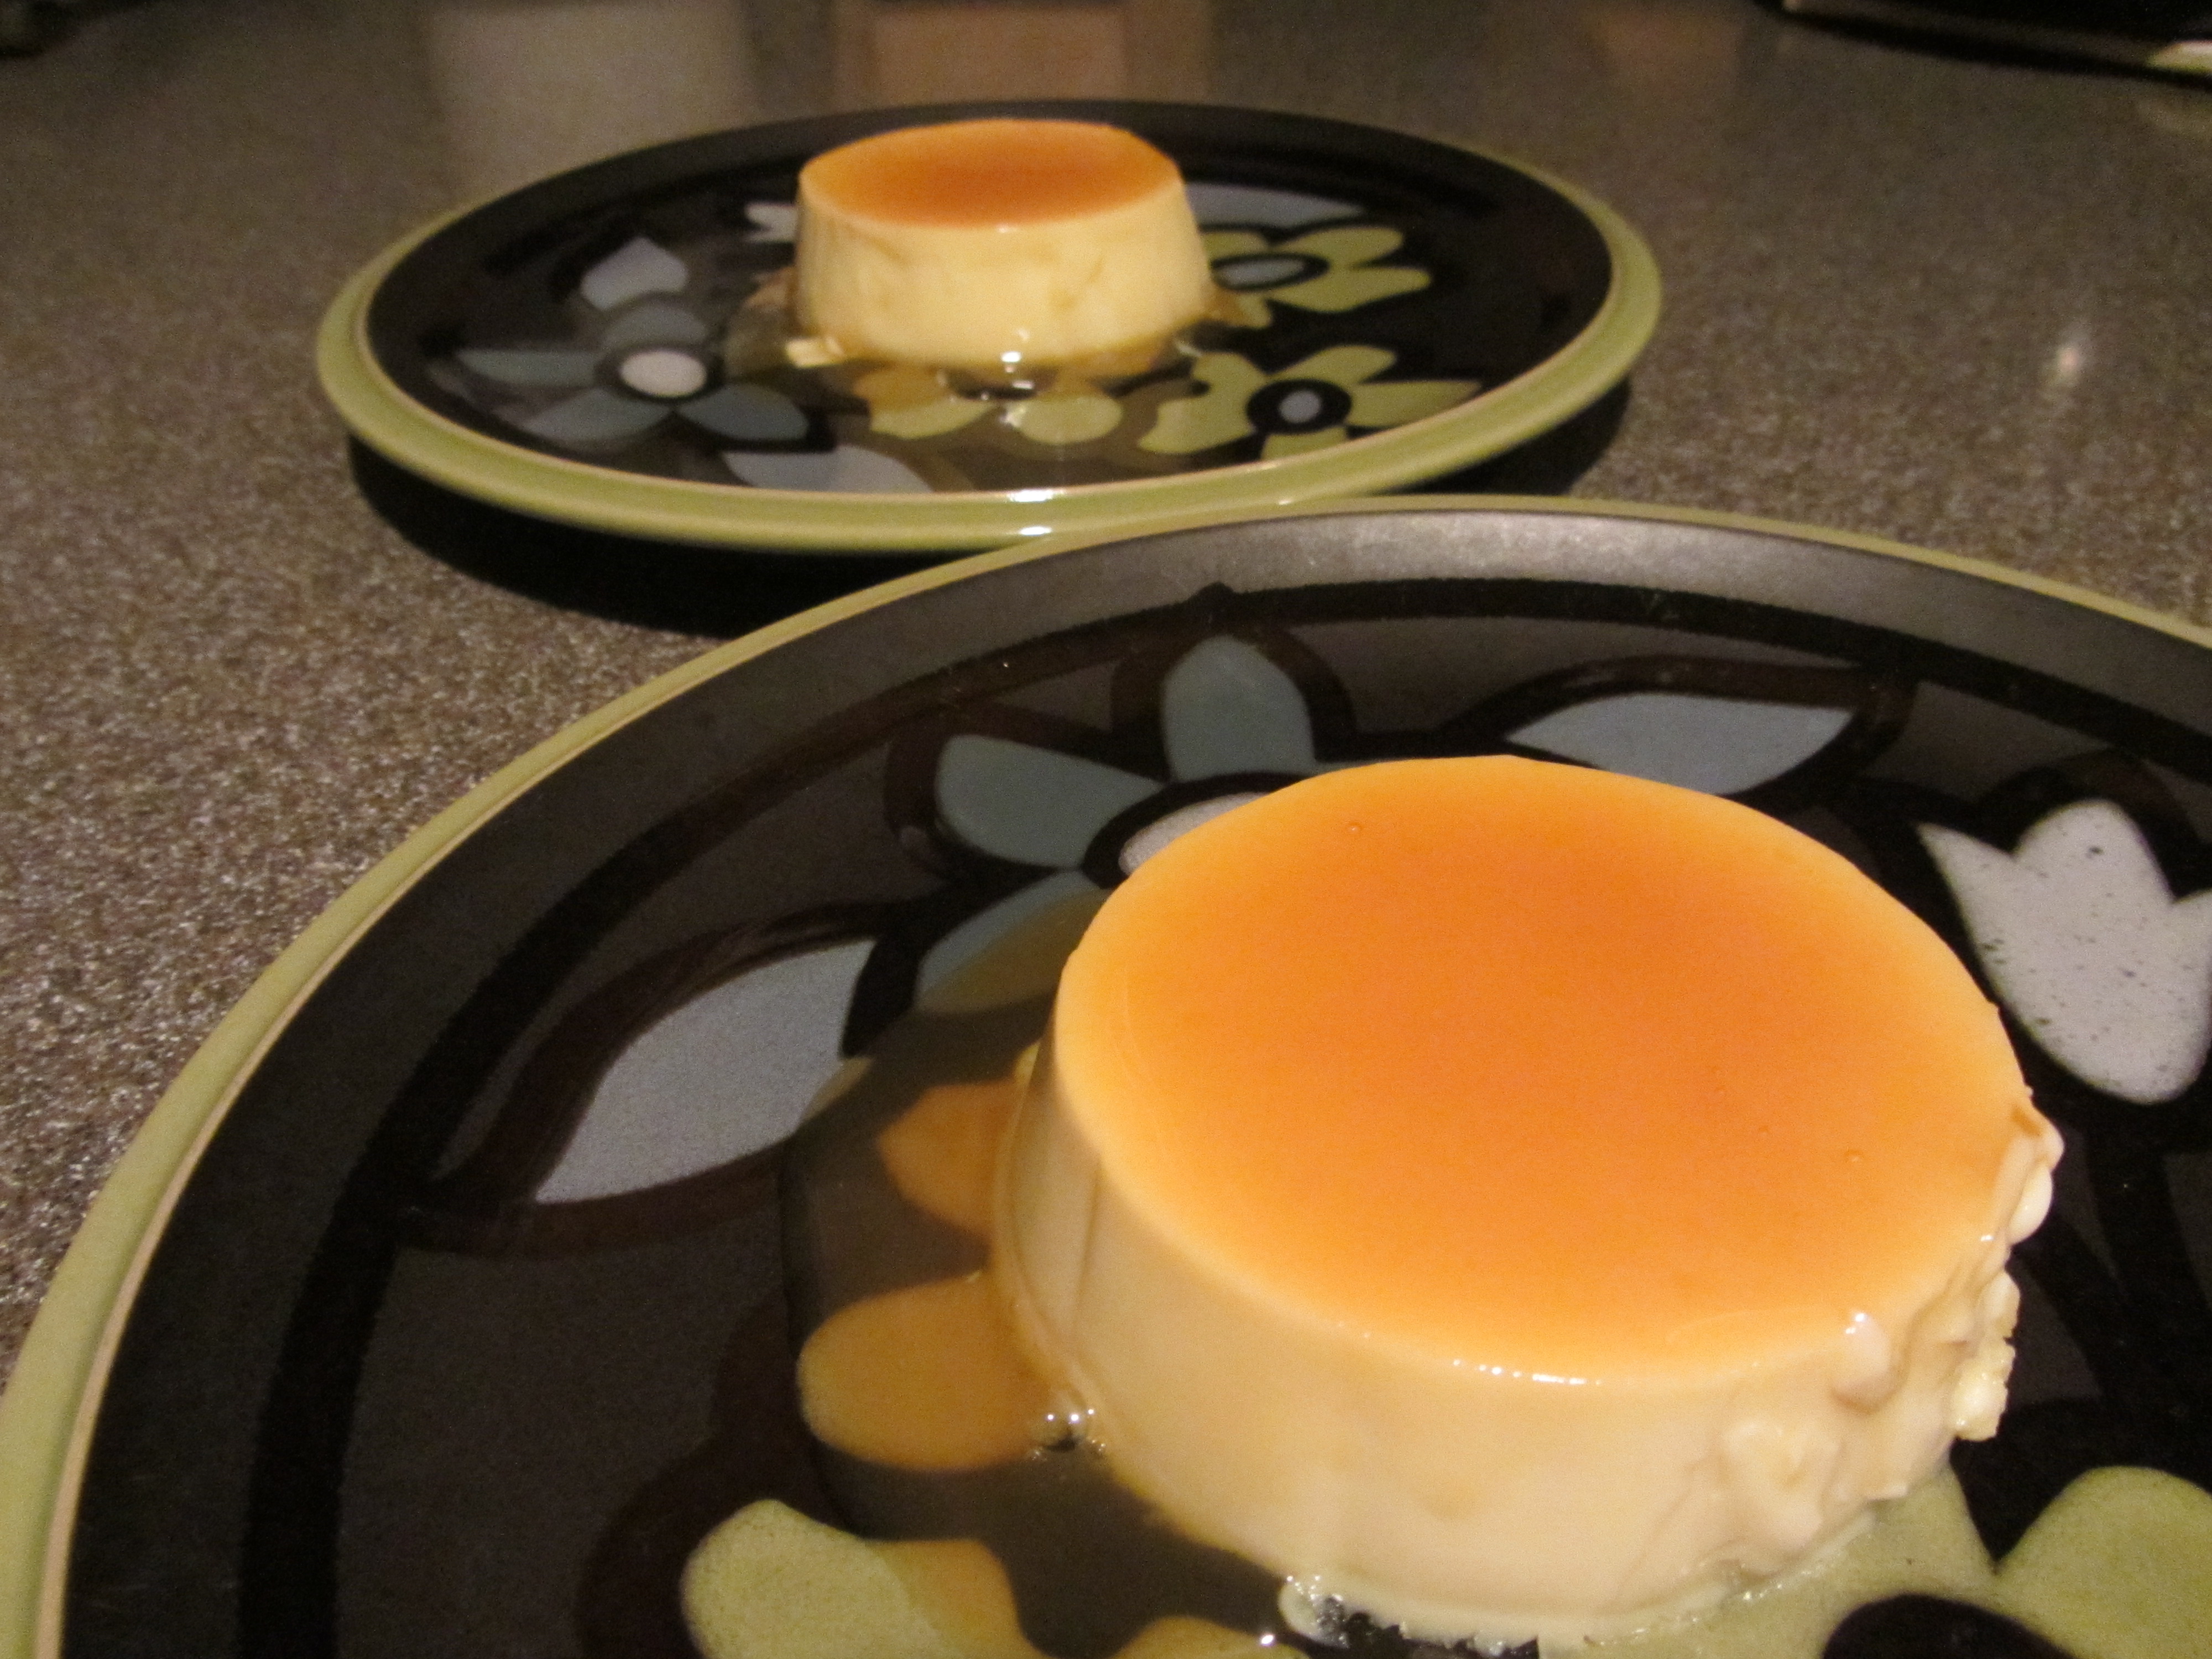
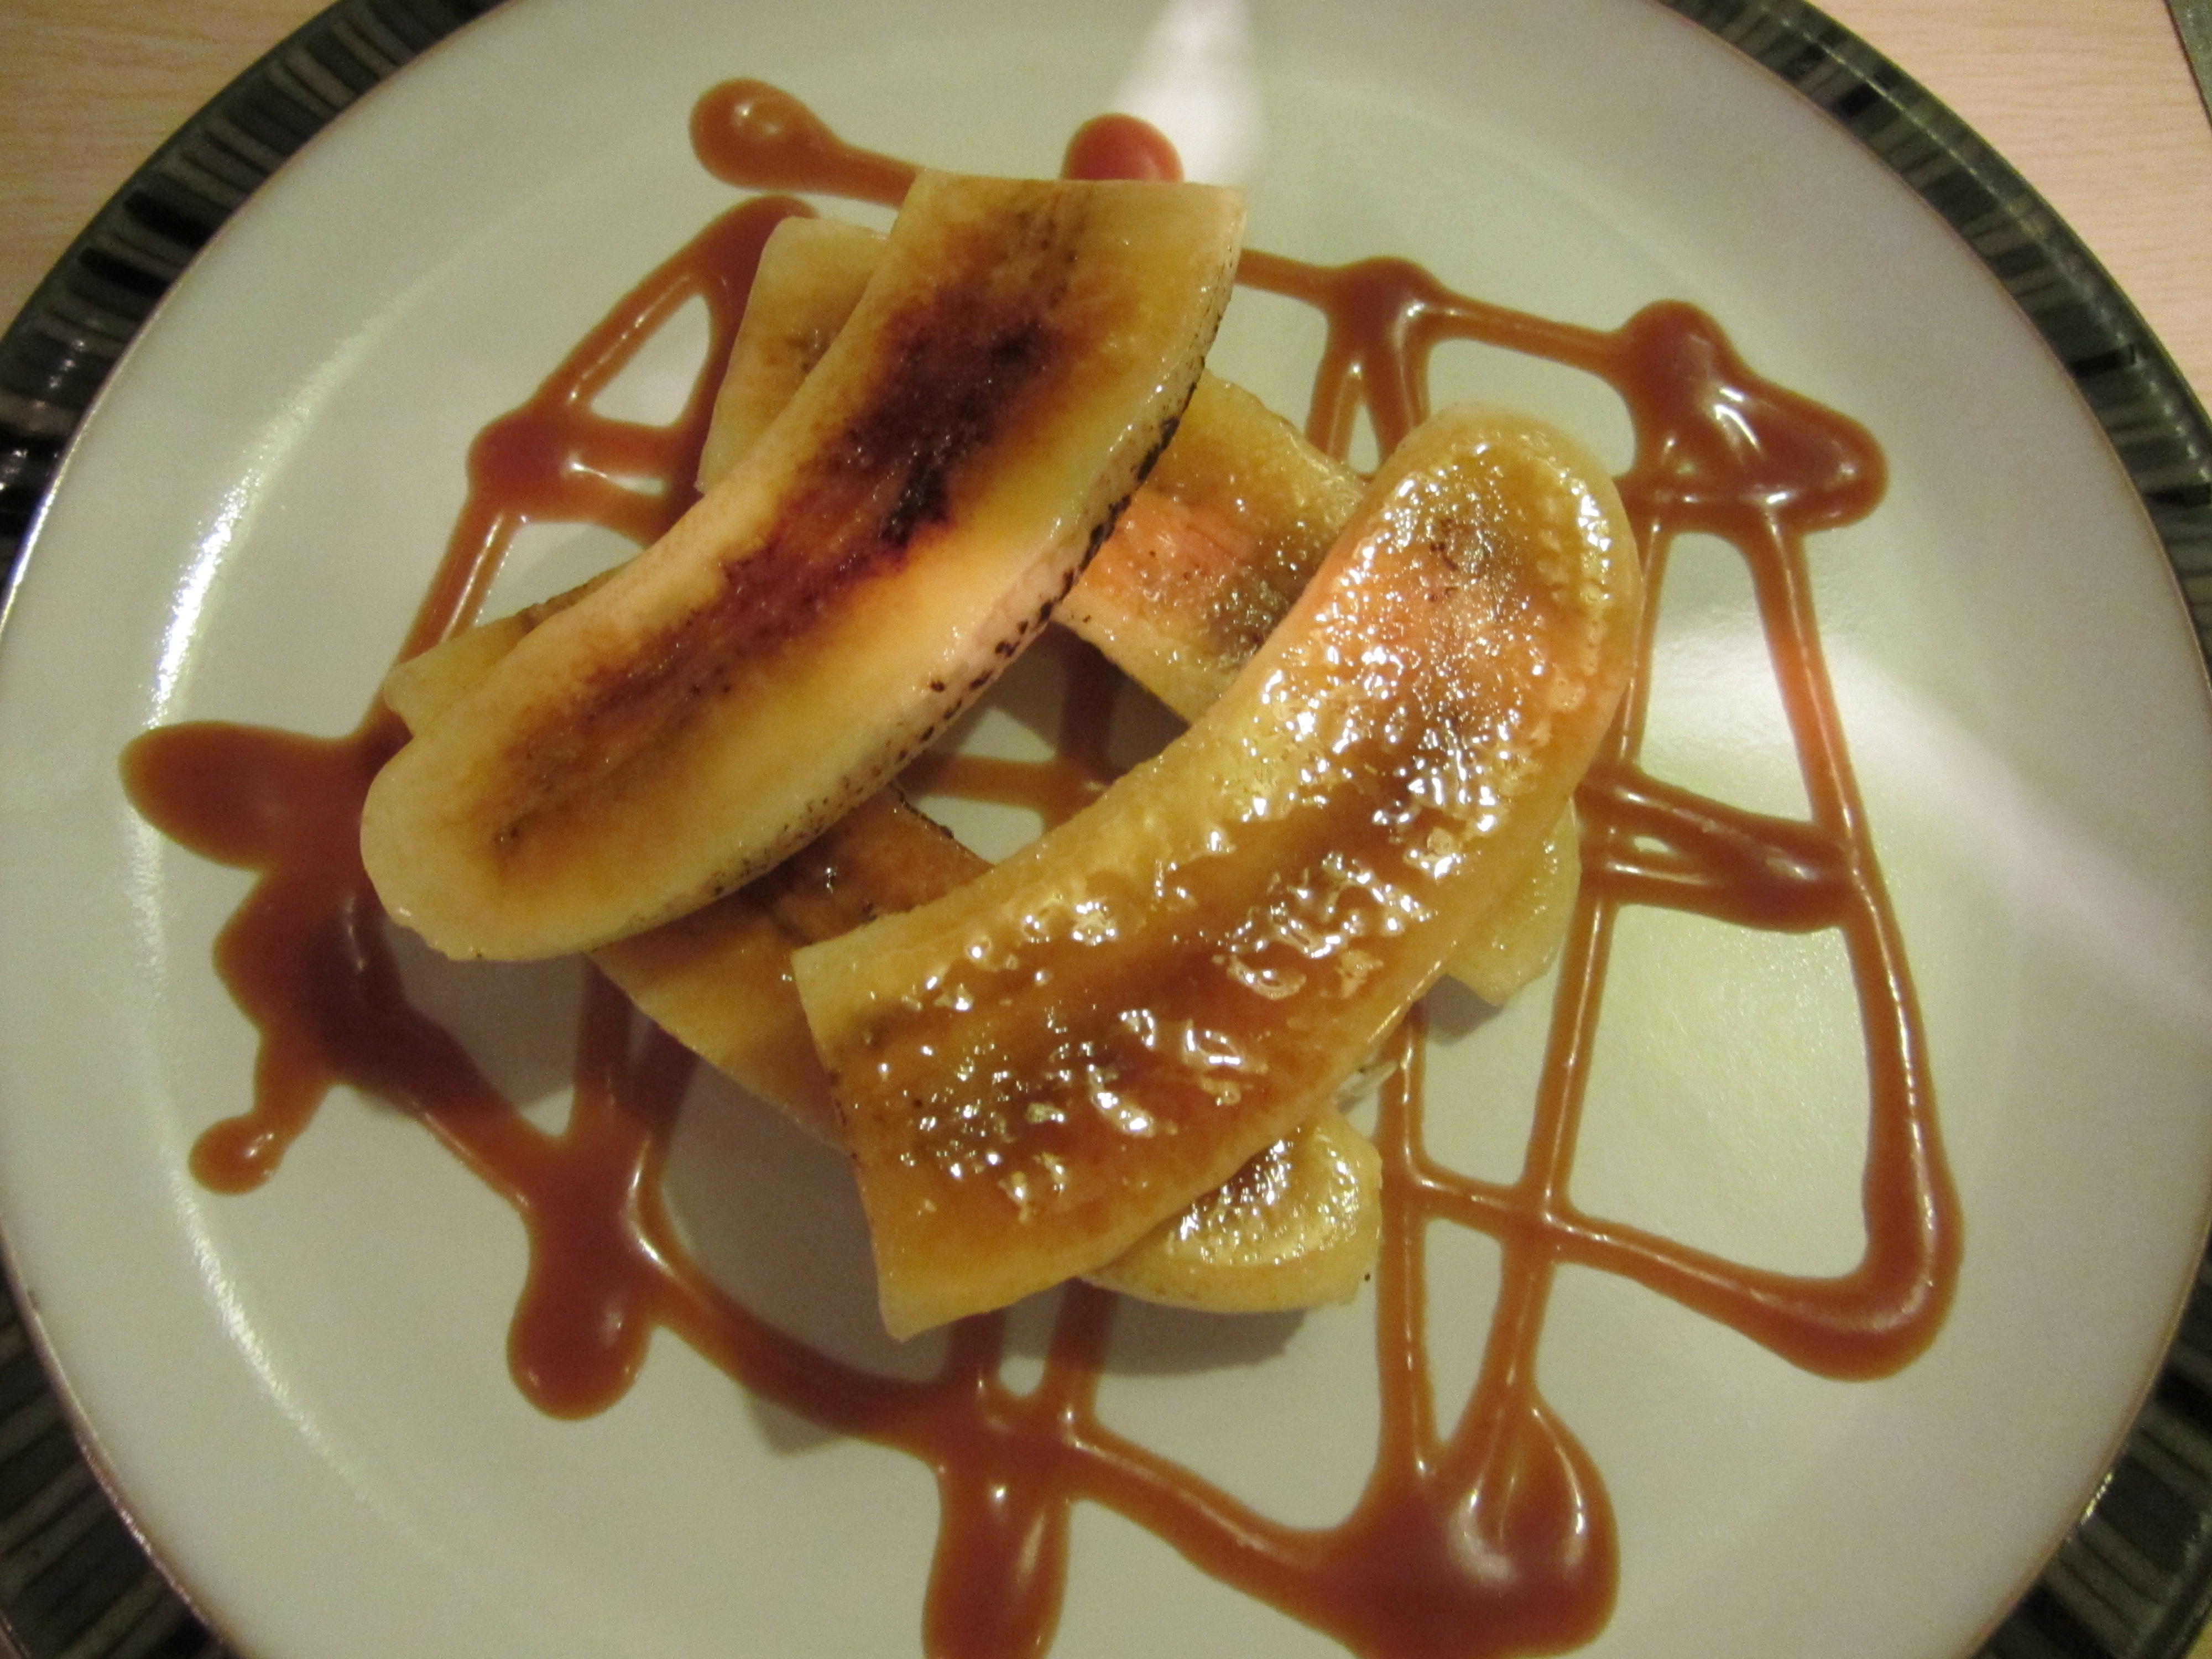
Although Alton did not make a savory cheesecake in the episode, there is a recipe online for a savory cheesecake from this episode. I tend to print all of the recipes out prior to watching an episode, so I printed this savory cheesecake recipe out, planning to make it when we had my parents over for dinner. Though Alton did not make this in the episode, I decided to make it anyway, using the end of my Alton Brown smoked salmon.

IMG_4742

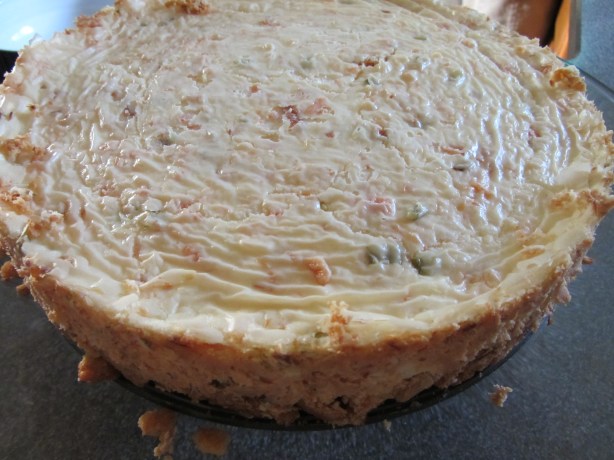
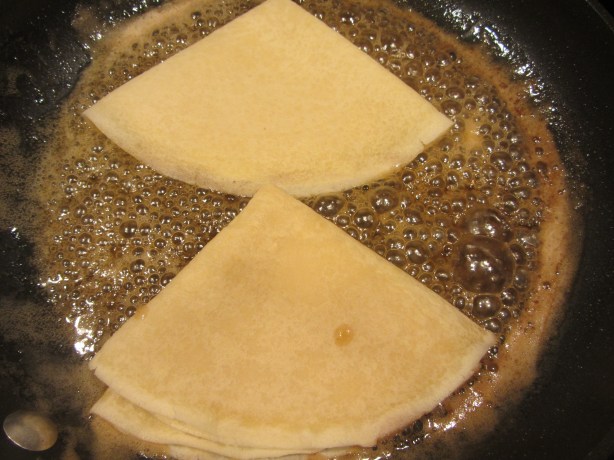
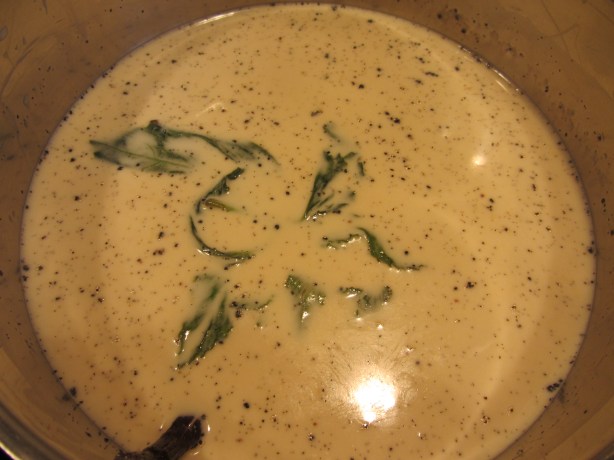
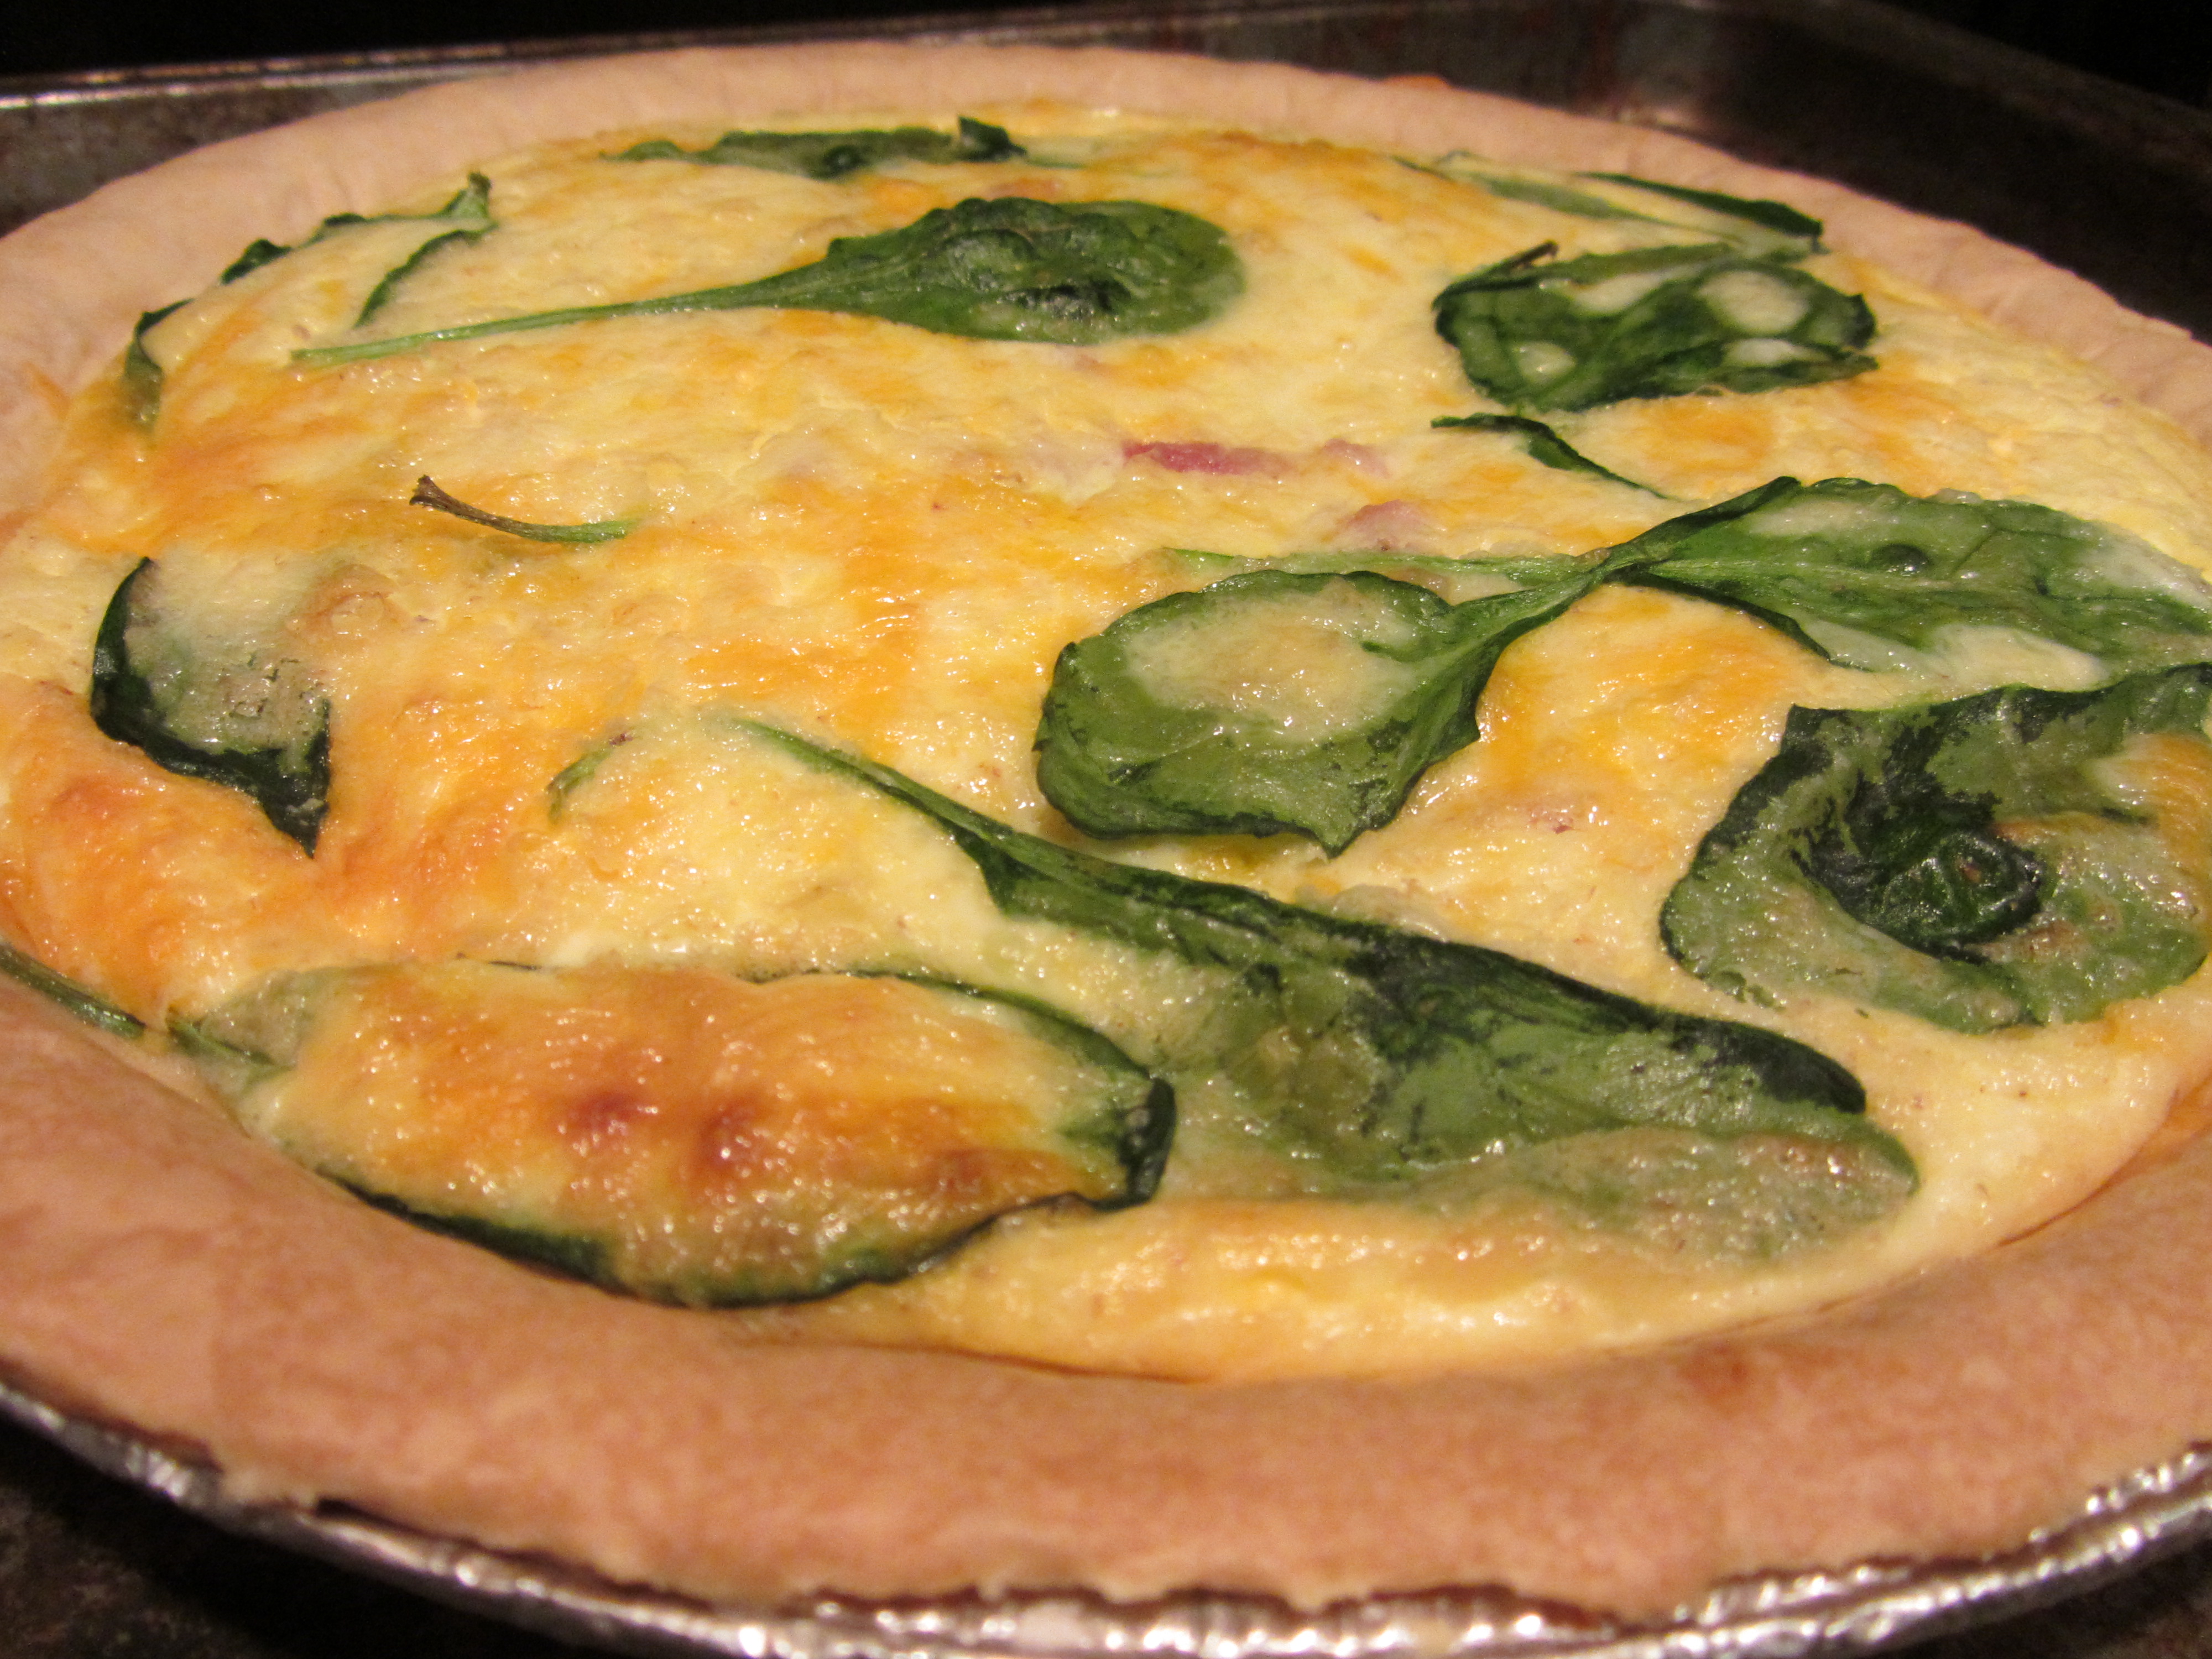
Alton’s savory cheesecake.

The filling on this cheesecake was really good, but the crust was chewy and disappointing. If I were to make this again, I would make an alternative crust. But, I probably won’t waste my cheesecake-making on this again. Instead, I’ll make Alton’s sweet cheesecake again, tweaking the baking time.

Crepes are a true favorite of mine. My mom would make crepes for us occasionally when we were kids, usually serving them for breakfast with bananas, strawberries, and whipped cream. Yes, we were quite fortunate to have a mom who made us such wonderful breakfasts! It had been quite a while since I had last made crepes (years, probably), so I had a good time revisiting crepes in this episode.

Crepes

Alton’s plain crepes are made by combining 2 eggs, 3/4 C milk, 1/2 C water, 1 C flour, and 3 T melted butter in a blender.

Blend the crepe mixture for only 7-10 seconds, as you do not want to over-mix the batter. To make your crepes sweet, add 1 t vanilla and 2 1/2 T sugar to your batter.

IMG_4381

Vanilla and sugar are added to the batter to make sweet crepes.

Sweet crepes are great with Nutella. My brother and I enjoyed many Nutella crepes when we took a trip to Paris a few years ago.

Alternatively, to make savory crepes, add 1/4 t salt and 1/4 C chopped fresh herbs to the batter.

Refrigerate the batter for 1-24 hours before cooking your crepes. When ready to make your crepes, heat a medium nonstick skillet over medium heat. Lube your pan with butter and wait until the butter begins to bubble. You should only need to lube your pan prior to the first crepe.

IMG_4410

Pan lubed with butter.

Using a 1/4 cup measure, pour a thin layer of batter into the pan, swirling the pan to coat as you pour. A full 1/4 C of batter will be too much. For my pan, filling the measuring cup about 2/3 full resulted in perfect crepes. When the edges of your crepe start to pull back from the pan, your crepe is ready to flip.

IMG_4413

Crepe batter poured into lubed pan.

Alton flipped his crepe in mid-air, but I used my fingers to lift and flip my crepe. Cook the second side of the crepe just until set.

IMG_4414

Crepe finishing its cooking in the pan.

You can keep your crepes warm for about 30 minutes in a low oven. For longer storage, stack your crepes between layers of wax paper and refrigerate or freeze.

Mushroom Crepe Cake

Once you have made all of these crepes, what should you do with them? For a savory crepe entree, try Alton’s mushroom crepe cake. You will first need to make a batch of crepes, as described above; you can choose to make plain or savory crepes. I made a batch of plain crepes for my mushroom cake. Next, you will need to make the mushroom filling for your “cake.” Begin by dicing an onion and thinly slicing a pound of mushrooms – Alton used 1/2 pound brown mushrooms and 1/2 pound shiitake mushrooms.

Once you have sliced all of your mushrooms, set half of the mushrooms aside and finely chop the other half.

Set a large skillet over medium-low heat and sweat the onion in 2 T melted butter.

When the onions are translucent, add the mushrooms and 1 t Kosher salt.

IMG_4428

Mushrooms added to the pan.

Cook this mixture until it has reduced by 2/3.

IMG_4430

Mushroom mixture, reduced by 2/3.

Add 4 ounces whole milk to the pan and cook the mixture until it is a loose paste.

Sprinkle 1/2 C shredded provolone over the mushroom mixture, and stir until melted; I had to chop some provolone slices for this, as I could not find a block of provolone at my store.

IMG_4433

Provolone added to the mushroom mixture.

Taste the filling and season it to taste with salt and pepper. To assemble your cake, place two crepes on a buttered sheet pan. Spread a thin layer of the mushroom filling over the crepe and sprinkle chopped chives on top. Top with another crepe.

Continue this layering until you have about eight layers. Sprinkle the top crepe with grated Parmesan cheese and warm the cake in a 250-degree oven until heated through.

IMG_4442

Layers of crepes and mushrooms.

Cut into wedges and serve.

We ate this mushroom cake as a dinner entree and thought it was delicious. I also shared some with my parents and they really enjoyed it. This cake also makes a very pretty presentation, as you can clearly see the layers when you cut the cake into wedges. The mushroom filling is rich, savory, and creamy, while the crepes are light and smooth. I think I will likely make this one again.

Crepes Suzette

For a crepe preparation using dessert crepes, Alton made Crepes Suzette. For this recipe, you will need a batch of dessert crepes, as described above. To make Alton’s version of this classic recipe, combine 4 oz orange liqueur, 1 T sugar, and 1 T brown sugar in a skillet over medium heat.

Stir this mixture until the sugar dissolves and is nearly dry. Stir in 1/4 pound of softened butter and stir the mixture until it tightens.

Add crepes to the pan, coating them evenly with the sauce and folding them into quarters.

IMG_4398

Crepes added to the pan.

Serve the crepes warm with vanilla ice cream.

IMG_4401

Crepes Suzette.

In full disclosure, I folded my crepes prior to putting them in the pan. And, I misread my recipe and added 1/4 C butter instead of 1/4 pound. Big difference, I know. Still, we thought these crepes were a delicious dessert. Though I had heard of Crepes Suzette, I can’t honestly say whether I had eaten them before this. The orange liqueur really does not come through much, as the sauce is really more of a caramel. We ate these two nights for dessert and thought they were great. If you make the crepes ahead of time, these come together in a matter of minutes.

Crepe Quiche Lorraine

The final recipe in this episode is for miniature quiches made with crepe crusts. I used my batch of savory crepes for this recipe. Begin by lining each cup of a nonstick muffin tin with one crepe, allowing the edges to pleat on themselves.

IMG_4470

Crepes lining muffin tin.

For the quiche filling, whisk together 8 eggs and 1 1/2 C milk. Add 1 t Kosher salt and some black pepper.

To each crepe cup add some sauteed onion, crumbled bacon, and shredded cheddar cheese.

Ladle in some of the egg filling.

IMG_4475

Egg filling added to quiches.

Bake the quiches at 350 degrees for 15 minutes, or until set.

My quiches took a few extra minutes of baking. We ate these for dinner and thought they were a creative use of crepes. However, they were not mind blowing. My crepes seemed to be a little too large for the muffin tin, so I would use smaller crepes if I were to make these again. Overall, this was a really good episode and all of the recipes were really fun to make.


Clearly, I’m a fan of Good Eats, and I have really enjoyed every episode I have completed… until now. The 55th episode of Good Eats, which was the first to air in season 5, was just kind of a flop. Both the episode and the recipes in this episode lacked the creativity and excitement that I expect from Alton Brown and Good Eats. In short, this episode was all about gelatin molds. Now, there’s nothing wrong with a gelatin mold, but gelatin can be used for so much more than just that; it is used in marshmallows, aspics, and candies, among others. I feel that the Good Eats team failed their subject in this episode.

Sparkling Gingered Face

Yes, you read that recipe title correctly. The first recipe in the gelatin episode is indeed for a face-shaped gelatin mold. The original air date of this episode was October 24th, 2001, so keep in mind that Alton was probably going for a Halloween theme of sorts. To make the face, you’ll need a face-shaped gelatin mold, cold ginger beer, powdered gelatin, and cold sparkling wine. The online recipe also calls for some sugar, but Alton did not add sugar in the episode.

IMG_4261

Ingredients for Alton’s sparkling gingered face: ginger beer, gelatin, and sparkling wine.

You will need to adjust the amounts of the ingredients for the size of your gelatin mold. Ideally, you will want equal volumes of ginger beer and sparkling wine, and you will use one package of gelatin per cup of liquid. My mold has a capacity of nine cups, so I wanted to use 4.5 C each of ginger beer and sparkling wine, and 9 packages of gelatin. I will confess that I altered this slightly, as I only had one bottle of sparkling wine. Since a bottle of sparkling wine is about 3 C, I used 6 C of ginger beer. To begin, pour your cold ginger beer (always bloom gelatin in cold liquid) in a microwave-safe container. Sprinkle your gelatin over the liquid and give it a good shake or stir. Allow the gelatin to bloom for 5 minutes.

Microwave the gelatin mixture until it reaches a temperature of 150 degrees, giving it a stir every minute. My gelatin took 7 minutes to hit 150 degrees.

IMG_4266

Gelatin/ginger beer mixture after reaching 150 degrees.

Once your ginger beer/gelatin is at 150 degrees, add your cold sparkling wine, swirling the container as you add.

IMG_4267

Sparkling wine to add to ginger beer/gelatin.

Note:  You should always pour cold liquid into warm to avoid getting gelatin clumps. Refrigerate this mixture for about an hour, or until it reaches egg white consistency.

IMG_4269

Sparkling ginger mixture, after being refrigerated for about an hour. Ready to go in mold.

Pour the gelatin into your mold (I oiled mine) and refrigerate overnight. If your mold does not have a flat bottom, you can place it in a bowl to keep it level. It is not easy to transport a full gelatin mold, so you may want to fill your mold in the refrigerator.

IMG_4271

Gelatin mixture poured into my mold.

To unmold your set gelatin, use your fingers to pull the gelatin away from the sides of the mold. Place a serving dish on top of the mold and invert the mold onto the dish.

We ate this for dessert one evening and it was okay, though the texture was quite firm. The flavors of both the ginger beer and the sparkling wine were apparent, and you actually got a slight fizzy sensation on your tongue. Really though, this did not do much for us, and it’s just a bit odd to eat a gelatin face.

Spooky Edible Eyes

Alton did not officially prepare this recipe in the episode, but he did mention that the recipe was online, so I figured I should make it. For this one, you will need an eyeball-shaped mold, powdered gelatin, low-fat milk, water, sugar, coconut extract, and spray oil.

IMG_4295

Ingredients for edible eyeballs: coconut flavor, oil spray, gelatin, low-fat milk, food color, sugar, and water.

IMG_4298

My eyeball mold.

Begin by blooming 1 package of gelatin in 1/2 C low-fat milk for 5 minutes.

IMG_4301

Gelatin blooming in milk.

Meanwhile, put 1/2 C water, 3 T sugar, and 1/4 t coconut extract in a saucepan and bring this mixture to a boil.

IMG_4296

1/2 C water, 3 T sugar, and 1/4 t coconut extract, being brought to a boil.

Pour the hot mixture into the cold gelatin/milk (this is the opposite of what Alton told you to do in the first recipe), stirring until dissolved.

IMG_4302

Water/sugar mixture added to milk/gelatin.

Pour the liquid into oiled molds and refrigerate until set – about an hour.

IMG_4303

The eyeball mixture poured into the mold to set.

Once set, remove the eyes from their molds.

IMG_4306

My eyeballs, unmolded.

To make different colored eyes, bloom 1/2 a package (3 g) of gelatin in 1/4 C cold water for 5 minutes.

IMG_4307

1/2 package of gelatin blooming in 1/4 C water.

Add 1/4 C boiling water to the gelatin and stir to dissolve. Divide this clear gelatin among bowls and add food coloring to create different colors.

The online recipe tells you to use an eyedropper to add the colors to the irises on the eyes; I did not have one, so I used Q-tips. For the pupils, combine equal amounts of each food coloring in a dish, and use a Q-tip to form the pupil. I made my eyes bloodshot, using a toothpick to “paint” red food coloring blood vessels.

IMG_4314

My finished edible eyeballs.

I was actually quite happy with how these turned out appearance-wise, and they’d be great for a Halloween party. They honestly didn’t taste too bad either, though I wouldn’t call them delicious.

Cinnamon Cherry Heart

Continuing on with the gelatin organ theme, next up is a gelatin heart. This one is pretty straight-forward, requiring only powdered gelatin, cherry juice, and cinnamon extract… oh, and a heart-shaped gelatin mold.

IMG_4283

Ingredients for gelatin heart: gelatin, cherry juice, and cinnamon (or almond for me) extract.

I had difficulty finding cinnamon extract, so I wound up using almond extract in my heart. As with all of the recipes in this episode, the first step is to bloom 2 packages of gelatin in 1 C cherry juice for 5 minutes.

Meanwhile, bring the other cup of juice, along with the extract, to a boil.

IMG_4286

Cherry juice and extract being brought to a boil.

Add the hot juice to the gelatin/juice mixture and stir to dissolve the gelatin. Pour the mixture into your mold (I oiled my mold) and let it refrigerate for at least six hours before unmolding.

This gelatin mold tasted decent, but the texture was a bit too firm, making it somewhat unappealing. This one was just blah.

Panna Cotta Brain with Cranberry Glaze

Of all the recipes in this episode, I was most excited for the panna cotta, though the idea of it being in the shape of a brain made it slightly less appealing. The ingredients for this one are evaporated milk, powdered gelatin, sugar, a vanilla bean, heavy cream, fresh mint, fresh basil, food coloring, and bourbon (optional).

IMG_4222

Panna cotta ingredients: evaporated milk, gelatin, sugar, food coloring, vanilla bean, heavy cream, fresh mint, and fresh basil.

In a large container, bloom 4 packages of gelatin in 12 ounces evaporated milk for 5 minutes.

IMG_4224

Gelatin blooming in evaporated milk.

While the gelatin blooms, combine in a saucepan 24 ounces evaporated milk, 3/4 C sugar, 1/2 a vanilla bean, 1 1/2 C heavy cream, and a jigger of bourbon, if using. Bring this mixture to a bare simmer over medium heat, whisking to dissolve the sugar. Also add one sprig each of crushed fresh mint and basil.

IMG_4232

Evaporated milk, sugar, vanilla bean, heavy cream, fresh mint, and fresh basil being brought to a simmer.

Remove the pan from the heat as soon as you start to see bubbles.

IMG_4235

After coming to a bare simmer.

Strain the cream mixture into the blooming gelatin and stir to dissolve the gelatin. There will be lots of lumps in the mixture, so you will have to stir for a little while.

To make the panna cotta really look like gray matter, add 2 drops of red food coloring and 4 drops of green.

IMG_4239

For a gray brain, add 2 drops of red food coloring and 4 drops of green food coloring.

Allow the panna cotta to cool to room temperature before pouring into a 6-cup brain mold, and refrigerate overnight. I noticed some lumps in my panna cotta, so I strained my panna cotta a second time as I poured it into the mold. I also oiled my brain mold to make unmolding easier.

IMG_4241

My gray panna cotta, poured into my mold.

IMG_4255

My panna cotta brain.

If you wish to serve your brain with some cranberry blood, you can make a cranberry glaze by blooming 1 package of gelatin in 1/2 C cranberry juice for 10 minutes.

IMG_4242

Ingredients for cranberry glaze: cranberry juice and gelatin.

Dissolve the gelatin with an additional cup of boiling cranberry juice, add a few drops of blue food coloring, and let cool to room temperature.

IMG_4244

Additional cup of cranberry juice, being brought to a boil under careful supervision.

IMG_4251

Blue food coloring added to cranberry glaze.

Unmold your brain, and drizzle some cranberry glaze over the top.

IMG_4257

My brain with cranberry glaze.

I had high hopes for this, but neither Ted or I liked it at all. I thought the flavor of the panna cotta was good, but its texture was unappealingly firm. And, the cranberry glaze did not set up on the panna cotta, as Alton’s did in the episode. Instead, it puddled around the bottom of the panna cotta. We ended up throwing the rest of the panna cotta in the trash. Maybe we just do not care for panna cotta?

Layered Gelatin Mold

Alton did not use a specific recipe for a layered gelatin mold, but gave options and tips for making one. His tips were to use roughly a cup of each gelatin flavor per layer, to add a new flavor when the previous one is still sticky, and to use a hair dryer to unmold metal molds. To make opaque layers, you can add sour cream to the gelatin, or you can add fruit between layers. I made a layered mold with altering opaque and clear layers, and using a bundt pan. It turned out to be my favorite thing from this entire episode.

It is hard to believe that this post will mark the end of the 4th season of my Good Eats project. Only 10 seasons to go, plus some special episodes! It is also hard to fathom all that has happened since I started this blog 19 months ago. In addition to moving to a new house, Ted was diagnosed with cancer and underwent 5.5 weeks of chemo/radiation, along with two major operations. Thankfully, he just began (what should be) the final phase of his treatment:  12 rounds of chemo that should finish up at the end of June. One down… 11 to go, and boy are we counting down. This project has served to be a great distraction for me when I have had the opportunity to put time into it. Here’s to hoping that the next several months fly by!

Salsa

I love spicy food, and thankfully I have a relatively high tolerance for it. The final episode of season four was all about chile peppers and the Scoville unit of measurement for their heat levels. Always remember the general chile heat rules that smaller peppers are hotter than larger peppers, longer peppers are hotter than short ones, and green peppers tend to be hotter than other colors. To demonstrate the variations of heat and flavor among different chile peppers, Alton whipped up a batch of his salsa. To make Alton’s salsa, you will need 6 Roma tomatoes, 4 cloves of garlic, 1/2 a red onion, 1/2 a red bell pepper, 1 T olive oil, the juice of one lime, chili powder, Kosher salt, black pepper, 4 jalapeno peppers, 1 dried New Mexico chile, and something green (scallions, cilantro, and/or parsley). Note:  the online recipe calls for dried ancho chiles, but Alton used a New Mexico chile in the episode.

IMG_4137

Ingredients for Alton’s salsa: red bell pepper, Roma tomatoes, scallions, garlic, jalapenos, red onion, lime, olive oil, chili powder, Kosher salt, and pepper. Not pictured: dried New Mexico chile.

You will need to roast two of your jalapeno peppers. If you have a gas range, you can do this right over the burner, rotating the pepper over the burner until blistered on all sides. Alton placed his jalapenos on a collapsible stainless vegetable steamer to do this. We do not have a gas range, so I roasted my two chiles on a baking sheet under the broiler, turning them until all sides were roasted.

IMG_4141

Roasting jalapenos under the broiler.

Whichever method you use, watch your peppers carefully! Once your peppers are roasted, place them in a plastic wrap-covered bowl or in a paper bag for a few minutes; this will steam the peppers, allowing their skin to come off easily. While your peppers steam, place your chopped tomatoes, minced garlic, chopped red onion, diced bell pepper, olive oil, lime juice, and chopped scallions (or parsley/cilantro) in a bowl.

As for the two raw jalapeno peppers, seed them both, as the seeds are not digestible. Finely chop one raw jalapeno, leaving its white membrane in place; the membrane will add more heat. Remove the white membrane from the second raw jalapeno and chop it into slightly larger pieces. The second jalapeno will serve to add more fruity notes to the salsa. Add both jalapenos to the bowl.

This slideshow requires JavaScript.

Season the salsa to taste with chili powder, Kosher salt, and pepper.

IMG_4159

Salsa seasoned with chili powder, Kosher salt, and pepper.

Next, cut the end off of your dried New Mexico chile, and shake it to remove the seeds. Using scissors, cut the dried chile into strips, and then fine pieces. Mix the dried chile pieces thoroughly into the salsa. They will initially be chewy, but will hydrate from the liquid in the salsa.

IMG_4162

Dried New Mexico chile, snipped into small pieces with scissors.

Finally, remove the skins from your roasted jalapenos by rinsing and rubbing them under running water. At this time, open the peppers up and pull out the seeds. Roughly chop the roasted peppers and add them to the bowl. They will add a sweetness to the salsa.

Taste the salsa again, adjusting the seasoning if needed. Cover and refrigerate the salsa for at least an hour before eating, so the flavors can blend and the dried chile can hydrate.

IMG_4167

Alton’s finished salsa.

I made this salsa early in the day, and we had it as an appetizer (with tortilla chips, of course). We actually ate it two nights in a row, and it was just as good the second night, though Ted insisted it was less hot the second night.

IMG_4170

A perfect bowl of Alton’s salsa with tortilla chips.

We like homemade salsas in general, though we do not make them enough, and this recipe ranked right up there with some of our favorites. Though this salsa has a lot of chiles in it, it really only has a moderate heat level, which really allows all of the varying flavors to shine. While I like really hot salsas, sometimes hot salsa is only that – hot. This salsa is a perfect balance of heat, freshness, and acidity, and really does showcase the ways chile peppers can be used to create different effects. Plus, it’s super colorful. I mean, really, salsa is a cheery food. This one is a keeper.

Spicy Pineapple Sauce

The second, and final, recipe in this episode is for a pineapple sauce with habanero pepper. To make the sauce itself you will only need three things:  a can of pineapple tidbits, a habanero pepper, and 2-3 sprigs of mint, bruised.

IMG_4172

Ingredients for Alton’s pineapple sauce: 1 can of pineapple tidbits, fresh mint, and a habanero pepper.

The online recipe calls for pineapple chunks and for you to cut your mint into chiffonade, but I prepared the recipe as done in the episode. Simmer the pineapple, habanero, and mint together in a saucepan for five minutes.

Cool the mixture to room temperature and remove the mint.

IMG_4182

The sauce, after removing the mint.

As a serving recommendation, Alton recommends frying some corn tortilla wedges in corn oil, dusting them with sugar while they are still warm; though there is cinnamon in the online recipe, Alton did not use cinnamon in the episode.

Serve the pineapple sauce and warm, sugared tortilla chips with vanilla ice cream.

IMG_4195

A fun and tasty dessert.

We ate this two nights in a row for dessert and both thought it was great. The sauce packs a good punch of heat, but is also sweet from pineapple. Honestly, the mint really did not come through much for me. The sauce on its own would be quite hot, but the ice cream really cools it down, and the chips add a completely different textural component. This is a fantastic combo and I think I will make this again. This is a fun, easy, and unusual dessert.


It seems odd to write a blog post about a recipe I prepared a mere 10 days ago, while it feels like my entire life has changed since then. Ted went under the knife five days ago to have a massive operation to remove the cancer from his body. He still lies in a hospital bed as I type, and likely will be there for at least a few more days. The excellent news is that they got all of the cancer out and there was zero lymph node involvement. The bad news is that he feels quite miserable. Hopefully he’ll be feeling better soon. Until then, I’ll reminisce about Alton’s angel food cake that we ate 10 days ago.

Angel Food Cake

I vaguely remember my mom making angel food cake a few times when I was little, but it was never something we ate regularly. My image of angel food cake has been primarily of the dry, sponge-like, flavorless cakes you can buy in every grocery store bakery in the country. That’s not to say that I dislike those cakes, but just that they don’t wow me. How would Alton’s recipe for angel food cake stack up?

To make Alton’s angel food cake, start by processing 1 3/4 C of sugar in a food processor for two minutes; this will give sugar with finer crystals, yielding between 1 1/4 and 1 1/2 C of sugar.

Ingredients for Alton's angel food cake:  cake flour, egg whites, salt, sugar, cream of tartar, and orange extract.

Ingredients for Alton’s angel food cake: cake flour, egg whites, salt, sugar, cream of tartar, and orange extract.

Sugar into food processor.

Sugar into food processor.

Sugar after processing for two minutes.

Sugar after processing for two minutes.

Sift approximately half of this sugar (set the other half aside) with 1/4 t of salt and 1 C of cake flour. A lot of sugar is needed in angel food cake because there is no fat; the sugar acts as a tenderizer. Cake flour is used here because it has no protein, which means no gluten is produced.

Half of the sugar sifted with cake flour and salt.

Half of the sugar sifted with cake flour and salt.

Next, you will need a dozen egg whites at room temperature (room temperature egg whites are more flexible, so they foam better). Alton encourages you to separate your eggs using three containers:  a container over which you separate each white (to make sure no yolk slips in), a container to contain the yolks, and a container for the yolk-free whites. Why is it so critical to avoid having yolk mixed in with your whites? The yolks contain fat, which lubes the bonding points on the proteins in the whites, causing the bubbles to pop. Since angel food cake is a foam, the ultimate goal is bubbles.

Separating yolks and whites.

Separating yolks and whites.

Once your egg whites are at room temperature, add 1/3 C of warm water, 1 t orange extract, and 1 1/2 t cream of tartar. Cream of tartar is a mild acid, made of tartaric acid crystals, that stabilizes foams by adding hydrogen atoms.

Egg whites with warm water, orange extract, and cream of tartar added.

Egg whites with warm water, orange extract, and cream of tartar added.

Use a whisk to froth this egg white mixture. Once frothy, whip the whites with a hand mixer on medium speed.

Whites beaten with a whisk until frothy.

Whites beaten with a whisk until frothy.

While mixing, slowly add the remaining sugar. When your egg whites have soft peaks, decrease the speed on the mixer to avoid overbeating. Stop mixing when you have reached medium peaks.

Whites after reaching medium peaks.

Whites after reaching medium peaks.

Again, sift the flour mixture, but sift it over the top of the batter, just dusting the top.

Dusting the top of the batter with sifted flour mixture.

Dusting the top of the batter with sifted flour mixture.

Use a spatula to gently fold the flour into the whites, just until not visible.

Folding in the flour mixture.

Folding in the flour mixture.

Repeat until all of the flour is incorporated. Gently spoon the batter into an ungreased tube pan and bake at 350 degrees for 35 minutes, or until a skewer comes out almost dry. My cake was ready after 35 minutes.

The final batter, spooned into a tube pan.

The final batter, spooned into a tube pan.

Cake after baking 35 minutes.

Cake after baking 35 minutes.

Remove your cake from the oven and invert it on the back of a sheet pan. My cake pan has feet for this purpose. The cake needs to be inverted or it will collapse. Let the cake cool completely.

Cake inverted to cool completely.

Cake inverted to cool completely.

To remove the cake from the pan, you will need to run a knife around the edges, as the cake will be stuck from “climbing” the walls of the pan. While you certainly could serve your cake with accompaniments, we chose to eat ours plain.

Alton's angel food cake.

Alton’s angel food cake.

A slice of angel food cake.

A slice of angel food cake.

I have to say that Alton’s angel food cake is so much better than anything you can buy. It is moist, airy, and sweet, and has just the right hint of orange flavor. You could use any extract you would like to flavor your cake. While I still won’t be making angel food cake regularly, Alton’s version is quite delicious, and should I need an angel food cake in the future, this is the recipe I will use.

Thank goodness I was set to increase my Boston Marathon training last week, as the 33rd episode of Good Eats had me baking not one, not two, but THREE types of chocolate chip cookies. We have family coming to visit next week, so I figured I could always freeze some cookies for when they arrive. As I ate two cookies with my morning coffee today, I was shocked, and somewhat horrified, to realize that we have a mere handful of cookies remaining. How did THAT happen? So much for freezing. At least I can say that we sufficiently and thoroughly evaluated the three cookie recipes, so if you want the scoop on Alton’s three chocolate chip cookie recipes, read on.

The Thin

From title alone, I was least excited to make Alton’s thin chocolate chip cookies, as I think of myself as someone who generally prefers cookies on the chewy side. I set out last Tuesday evening to whip up a batch, figuring they would be the perfect thing to greet Ted when he returned home from his evening running group. To start these cookies, combine one egg, 2 oz. of whole milk, and 1.5 t of vanilla, and allow the liquid to come to room temperature.

Milk, egg, and vanilla.

Milk, egg, and vanilla.

Liquid ingredients, coming to room temperature.

Liquid ingredients, coming to room temperature.

Meanwhile, sift together 2 1/4 C of bleached all-purpose flour, 1 t of salt, and 1 t (plus an extra pinch) of baking soda.

Bleached AP flour, salt, and baking soda.

Bleached AP flour, salt, and baking soda.

Sifted dry ingredients.

Sifted dry ingredients.

Why use bleached flour? Alton did not specify a reason in the episode, but bleached flour is apparently superior for baking because it has a lower protein content. Alton seems to use Kosher salt in nearly all of his recipes, but he did not specify that Kosher salt should be used in these cookies, so I used regular table salt. In a stand mixer, cream 2 sticks of cold butter, starting on low speed.

Cold butter in the mixer.

Cold butter in the mixer.

Add 1 C of sugar, 1/2 C of light brown sugar, increase the speed, and beat until fluffy.

Cold butter creamed with sugar.

Cold butter creamed with sugar.

Light brown sugar added.

Light brown sugar added.

Creamed until fluffy.

Creamed until fluffy.

Once thoroughly mixed, decrease the speed and slowly add the liquid ingredients.

Liquid ingredients slowly added.

Liquid ingredients slowly added.

Next, on low speed, slowly add the dry ingredients, scraping the bowl between additions.

Dry ingredients added gradually.

Dry ingredients added gradually.

Dough after all flour incorporated.

Dough after all flour incorporated.

Once all of the flour is incorporated, stir in 2 C of semi-sweet chocolate chips.

Chocolate chips stirred in.

Chocolate chips stirred in.

Final dough.

Final dough.

If you have one, use a #20 disher to spoon the dough onto parchment-lined baking sheets, with six cookies per sheet; I used an ice cream scoop, which resulted in pretty large cookies.

Ice cream scoop for dishing.

Ice cream scoop for dishing.

The cookies should take 13-15 minutes in the oven, and you want to remove them before they look like they are done. I used my oven’s convection setting to get more even baking.

Six cookies per parchment-lined sheet.

Six cookies per parchment-lined sheet.

In the oven.

In the oven.

After baking for 13 minutes with convection setting.

After baking for 13 minutes with convection setting.

Remove them immediately from the pan to prevent further cooking. Once cool, store for a week at room temperature or freeze for up to three months.

Alton's thin chocolate chip cookie.

Alton’s thin chocolate chip cookie.

The science behind Alton’s thin recipe lies in the combination of ingredients used:

  • Butter is the fat of choice for these cookies because it has a sharp melting point, which allows the batter to spread before setting.
  • The butter is used cold because sugar crystals form bubbles in the butter by cutting into it. These bubbles help other ingredients to be better incorporated.
  • Baking soda is the leavening agent used because it decreases the acidity of the batter, which increases the setting temperature of the cookies. For thinner cookies, increase the baking soda.
  • A combination of one egg and 2 oz. of whole milk is used because eggs cause batters to puff and spread; replacing one egg with some milk results in thinner cookies.
  • A higher ratio of white:brown sugar results in crisper cookies.

The Puffy

Seeing as we only had one type of chocolate chip cookie in the house, last Wednesday seemed to be another day for cookie baking. Next up was Alton’s puffy chocolate chip cookie.

Ingredients for Alton's puffy chocolate chip cookies:  butter-flavored shortening, sugar, brown sugar, cake flour, salt, baking powder, eggs, vanilla, and semisweet chocolate chips.

Ingredients for Alton’s puffy chocolate chip cookies: butter-flavored shortening, sugar, brown sugar, cake flour, salt, baking powder, eggs, vanilla, and semi-sweet chocolate chips.

For these cookies, you begin by creaming together 1 C of butter-flavored shortening, 3/4 C of sugar, and 1 C of brown sugar (I used light brown sugar).

Butter-flavored shortening, sugar, and brown sugar in the mixer.

Butter-flavored shortening, sugar, and brown sugar in the mixer.

Creamed mixture.

Creamed mixture.

Sift together 2 1/4 C of cake flour, 1 t of salt, and 1 1/2 t of baking powder. Again, I used regular salt, as Alton did not specify in the episode that Kosher salt should be used.

Cake flour, baking powder, and salt, ready to be sifted.

Cake flour, baking powder, and salt, ready to be sifted.

Sifted dry ingredients.

Sifted dry ingredients.

To the creamed mixture, add two eggs, one at a time, and 1.5 t of vanilla, and increase the speed.

Eggs and vanilla added.

Eggs and vanilla added.

Liquid ingredients incorporated.

Liquid ingredients incorporated.

Once blended, add the flour mixture slowly in three installments, starting on low speed and increasing to high.

Dry ingredients added in installments.

Dry ingredients added in installments.

Dough after dry ingredients incorporated.

Dough after dry ingredients incorporated.

Once all of the dry ingredients are incorporated, stir in 2 C of semi-sweet chocolate chips and put the dough in the refrigerator until it is thoroughly chilled.

Chocolate chips being stirred in.

Chocolate chips being stirred in.

Finished puffy dough.

Finished puffy dough.

Dough in the refrigerator to chill.

Dough in the refrigerator to chill.

Again, scoop six cookies per parchment-lined sheet, and bake at 375 degrees for 13-15 minutes, or until they look to be almost done. For these cookies, Alton tells you to use a smaller scoop to get more puff. I used a smaller ice cream scoop.

Six cookies per parchment-lined sheet.

Six cookies per parchment-lined sheet.

Remove the cookies from the pan ASAP to prevent further cooking, let them cool completely, and store at room temperature for a week, or frozen for up to 3 months.

Finished puffy cookies.

Finished puffy cookies.

Alton's puffy cookies.

Alton’s puffy cookies.

3-11-15 057 I literally was about to start baking these cookies when the doorbell rang; it was our cute neighbor girl, selling what else but chocolate chip cookies for school. If you have seen the ending of this episode of Good Eats, you know how ironic this is, as Alton sits on a park bench with a huge tin of cookies when a Girl Scout approaches him, asking him to buy cookies. Too funny. Of course, I had to buy some, so we have even more chocolate chip cookies heading our way in the near future.

And, for Alton’s science behind these cookies:

  • Shortening is the fat used because it has a higher melting temperature, which allows the cookies puff before they spread.
  • The leavening agent here is baking powder because it increases the batter’s acidity, which gives more rise and less spread.
  • Cake flour is the flour of choice because it has lower protein content, so it soaks up less moisture in the batter; more moisture in the batter gives more steam, which increases puffiness.
  • A higher ratio of brown:white sugar yields more tender cookies.
  • Chilling the dough results in less spreading.

The Chewy

Alton’s final cookie recipe in this episode is for the chewy cookie. This is the cookie I was most highly anticipating. I was on a roll last week, so I followed up Tuesday and Wednesday’s cookie baking with another batch on Thursday. Why not? You can never have too many cookies. Right?

Chewy cookie ingredients:  butter, bread flour, Kosher salt, baking soda, sugar, brown sugar, eggs, whole milk, vanilla, and chocolate chips.

Chewy cookie ingredients: butter, bread flour, Kosher salt, baking soda, sugar, brown sugar, eggs, whole milk, vanilla, and chocolate chips.

These cookies begin with melting two sticks of butter in a saucepan over low heat.

Melting butter in a saucepan over low heat.

Melting butter in a saucepan over low heat.

While the butter melts, sift together 2 1/4 C of bread flour, 1 t of Kosher salt, and 1 t of baking soda. Since Alton specified Kosher salt for this recipe, I used it here.

Bread flour, Kosher salt, and baking soda to be sifted.

Bread flour, Kosher salt, and baking soda to be sifted.

Sifted dry ingredients.

Sifted dry ingredients.

Once your butter is melted, combine it in your mixer with 1/4 C sugar and 1 1/4 C dark brown sugar.

Melted butter.

Melted butter.

Melted butter, sugar, and brown sugar in the mixer.

Melted butter, sugar, and brown sugar in the mixer.

To this mixture add one egg, blending it in, and follow it up with an additional egg yolk.

One egg added to butter/sugar mixture.

One egg added to butter/sugar mixture.

An additional egg yolk.

An additional egg yolk.

Also add 1 oz. of whole milk and 1 1/2 t of vanilla.

Whole milk and vanilla added.

Whole milk and vanilla added.

When all of the liquid ingredients are completely mixed, slowly add the dry ingredients, scraping the bowl between additions.

Wet ingredients after mixing.

Wet ingredients after mixing.

Flour mixture added gradually.

Flour mixture added gradually.

Dry ingredients mixed in.

Dry ingredients mixed in.

Stir in 2 C of semi-sweet chocolate chips and chill the dough thoroughly.

Chocolate chips added.

Chocolate chips added.

Final chewy dough.

Final chewy dough.

Flour on the Coonhound nose.

Flour on the Coonhound nose.

Dough in the refrigerator to chill.

Dough in the refrigerator to chill.

Once chilled, again scoop the dough onto parchment-lined sheets (six cookies per sheet), and bake at 375 degrees for 13-15 minutes. I again used my smaller ice cream scoop.

Cookies ready to bake.

Cookies ready to bake.

Chewy cookies in the oven.

Chewy cookies in the oven.

I found that these cookies took a little bit longer to bake than the others did. Again, pull them off of the baking sheets immediately and allow them to cool before storing at room temperature or freezing.

Finished chewy cookies.

Finished chewy cookies.

I had to sample part of a cookie that "broke" off.

I had to sample part of a cookie that “broke” off.

Alton explains that these cookies are chewy because:

  • The water from the melted butter combines with the protein of the bread flour, which produces gluten and makes the cookies chewy.
  • Bread flour absorbs more moisture, which therefore increases the moisture in the cookies.
  • Brown sugar is coated in molasses, which loves moisture. Increasing the brown sugar increases the cookies’ absorption of water from the air, which makes the cookies chewy.
  • The egg yolk, rather than a whole second egg, is added because egg whites tend to dry out baked goods.
  • Darker brown sugar leads to chewier cookies.
  • Chilling the dough results in less spreading.

So, how did the cookies stack up against each other? We shared all three cookies with my parents, and the results were unanimous for the four of us.

Left to right cookie comparison:  thin, puffy, and chewy.

Left to right cookie comparison: thin, puffy, and chewy.

Left to right:  Alton's thin, puffy, and chewy chocolate chip cookies.

Left to right: Alton’s thin, puffy, and chewy chocolate chip cookies.

We all preferred the thin cookies the best, followed by the chewy cookies, and finally the puffy cookies. While all of the cookies were delicious, the thin cookies had the perfect combination of texture and flavor; they were thin and had crispy edges, while the centers were perfectly chewy. The chewy cookies were thicker, more dense, and had more of a caramelized flavor to them. Finally, the puffy cookies were lighter and more cake-like in texture and appearance. Aesthetically, the puffy cookies were by far my favorite, and that certainly does count for something. Beauty contest aside, though, the ones I will surely make again (ahem, probably next week for my family) will be the thin cookies.


I was super stoked to prepare the recipes in the 30th episode of Good Eats. Why, you ask? Though I do love quiche and flan as much as the next girl, I was most excited to make these recipes because I got to use our brand new range for the first time. When we moved into our house, we were greeted with the original, 25-year-old, drop-in Tappan range (I had never even heard of the brand before!). I cook often enough that a range with roll-over numbers (stuck permanently at 4:44), a broken burner, and an oven door that would not shut just was not going to cut it.

The old range. You can't tell in this photo, but the oven light is permanently on since the door won't shut.

The old range. You can’t tell in this photo, but the oven light is permanently on since the door won’t shut.

Old range with a broken front burner.

Old range with a broken front burner.

Ta-da! Enter our new smooth top Samsung electric range.

Isn't she pretty?

Isn’t she pretty?

We considered putting in gas, but the venting, etc. just wasn’t going to be feasible, and we would have lost cabinet space. So far, we are loving our range!

Refrigerator Pie

The very first thing I cooked in our new oven was Alton’s recipe for Refrigerator Pie, AKA quiche. I had my share of quiche growing up, as it was something my mom made on a fairly regular basis. Alton’s version is particularly easy, in that it uses a frozen crust.

Ingredients:  frozen pie crust, spinach, cream, eggs, cheddar, cubed ham, Kosher salt, nutmeg.

Ingredients: frozen pie crust, spinach, cream, eggs, cheddar, cubed ham, Kosher salt, nutmeg.

To start the recipe, you whisk a cup of cream with two eggs (this is called “Royale”) and you place your frozen crust on a baking sheet (to avoid any spills in the oven).

The Royale.

The Royale.

You sprinkle your choice of toppings over the crust, mixing them with your hands; I opted for spinach, shredded cheddar, and cubed ham since that is what Alton did in the episode.

Spinach on the crust.

Spinach on the crust.

Topped with cheese.

Topped with cheese.

And ham.

And ham.

Ingredients tossed together.

Ingredients tossed together.

To your Royale, add a couple pinches of Kosher salt and a few grates of fresh nutmeg. My whole nutmeg seed decided to take a dive into my Royale, which necessitated fishing it out. Butter fingers!

Nutmeg and salt added to Royale.

Nutmeg and salt added to Royale.

Pour your Royale over your ingredients. The egg will expand when it cooks, so you do not want to fill your crust all the way to the top; I had the perfect amount of liquid for my crust.

Royale poured over toppings.

Royale poured over toppings.

Bake your pie in a 350 degree oven for 35-45 minutes, or until it is set like Jell-O and no liquid comes out if you poke a small hole with a toothpick. My quiche was done in 37 minutes.

Obligatory dog shot.

Obligatory dog shot.

Baked Refrigerator Pie.

Baked Refrigerator Pie.

Great filling, but needs a better crust!

Great filling, but needs a better crust!

You do not want to overcook this. Ideally, allow the quiche to cool for about 15 minutes before eating. The filling on this quiche was the best I have ever had because it was so much lighter and fluffier than any other quiche I have had. We liked it so much that Ted made one for breakfast a few days later. My one complaint was about the crust, as it wasn’t as crispy as I would have liked. Alton did not mention pre-baking the crust, so I did not pre-bake mine either, and it seemed a little doughy. When Ted made his quiche, he did pre-bake it, but it was not significantly crispier. I did buy a generic brand of pie crust, so maybe a different brand would yield better results. Seeing as we will be making this again for sure, I will have to play with different crusts. The filling, though, is already a winner. I foresee that we will be making this when our refrigerator is poorly stocked but we still want to eat something good! Seriously, best quiche filling ever.

Flandango

And what was the second thing I made with our new range? Alton’s flan, of course. For some reason, my only childhood association with flan is of an unpleasantly jiggly, overly gelatinized, dessert served at bad Mexican restaurants. I have a distinct memory of my family going to a Mexican restaurant with another family, and at the end of the meal the other family got super excited to order flan. I had no idea what flan was, but their enthusiasm made me think I SHOULD know what flan was, so I feigned excitement and ordered a flan. I should have gone with the churros. Creme brulee has since been my custard of choice.

Still, I was excited to make Alton’s flan, as I figured that pretty much everything Alton made on Good Eats was fantastic, so this was likely to be my best opportunity to have, and make, a good flan.

Flan ingredients:  whole milk, half and half, vanilla, sugar, eggs, blueberry jam, and fat-free (doh!) caramel.

Flan ingredients: whole milk, half and half, vanilla, sugar, eggs, blueberry jam, and fat-free (doh!) caramel.

For this recipe, combine whole milk, half and half, sugar, and vanilla in a saucepan over medium heat at a bare simmer.

Whole milk, half and half, sugar, and vanilla in a saucepan.

Whole milk, half and half, sugar, and vanilla in a saucepan.

Milk mixture at a bare simmer.

Milk mixture at a bare simmer.

Meanwhile, add 1-2 T of your chosen topping(s) to eight ramekins, and place them in a roasting pan that allows an inch between them.

Caramel and blueberry jam in ramekins.

Caramel and blueberry jam in ramekins.

Ramekins in roasting pan.

Ramekins in roasting pan.

For my toppings, I chose caramel ice cream topping and Alton’s blueberry jam I wrote about here. Unfortunately, I made the horrible error of accidentally purchasing fat-free caramel. Yuck! I did not have time to make a homemade caramel, so I had to go with the fat-free junk and hope for the best. In retrospect, I probably should have opted for plain flan. In a bowl, whisk three eggs and three egg yolks until they are thick and light.

Three eggs and three yolks.

Three eggs and three yolks.

Eggs and yolks whipped until light and thickened.

Eggs and yolks whipped until light and thickened.

Slowly drizzle about a quarter of the cream mixture into the eggs, whisking. The key here is to go slowly. Once the eggs are tempered, add the egg mixture back to the cream, whisking again.

Tempered eggs.

Tempered eggs.

Tempered egg mixture added back to milk mixture.

Tempered egg mixture added back to milk mixture.

Strain the custard to get rid of any curdled egg or any chalazae (the tough “strings” in eggs that keep the yolks suspended).

Strainer to remove any lumps.

Strainer to remove any lumps.

Strained custard.

Strained custard.

Pour the custard into the ramekins and place the roasting pan in the middle of a 350 degree oven.

Custard in ramekins. I wonder which ones are blueberry? So much for mystery.

Custard in ramekins. I wonder which ones are blueberry? So much for mystery.

2-20-15 030 Pour boiling water into the roasting pan, bringing it up almost to the level of the custard in the ramekins.

Water up to almost custard level.

Water up to almost custard level.

Bake for 25-40 minutes. Alton explains in the episode that the slower you cook the custard, the lower its setting temperature will be. My flans were done right at 40 minutes. They are done when they wobble and a pairing knife comes out cleanly. Remove them from the water bath with tongs, allow them to cool to room temperature, wrap them tightly with plastic wrap, and refrigerate them.

Flans after 40 minutes in the oven.

Flans after 40 minutes in the oven.

Completed flan.

Completed flan.

2-20-15 034 When ready to serve, you can eat them straight from the ramekins, or you can run a pairing knife around the outside and invert them onto a plate.

Caramel flan.

Caramel flan.

Caramel flan.

Caramel flan.

We ate the flans for dessert, and shared a couple with my parents. The caramel topping was indeed unfortunate, but the custard was really good. The only flan I have had previously has had caramel topping, so the blueberry topping was very different. My mom commented that the blueberry flavor really surprised her, as she too envisions flan with caramel. Though I would still opt for creme brulee, Alton has redeemed flan for me. The texture was smooth and silky, and the flavor was creamy, sweet, and slightly eggy. There is a pretty good chance that I will make this again in the future, though I will make Alton’s caramel sauce next time. If you are a flan fan, you likely would think this recipe is flantastic! Okay, that was bad.

I was very excited for this episode of Good Eats because my dad made this recipe for Ted and me several years ago. I remember telling my dad about Good Eats, thinking he would really love the scientific approach to food. My dad’s first reaction to Alton Brown,  however, was to ponder who the “nerdy” guy in the Hawaiian shirt was. After watching a few episodes of the show, he became hooked and was a true Good Eats devotee. We went to my parents’ house for dinner one night several years ago and Dad told us he would be making a special dessert of Alton’s. Sure enough, it was Alton’s banana split. Dad was critical of his recipe outcome, but we all thought it was great. Needless to say, I was excited to try making this dessert myself.

Banana Splitsville

The star ingredient of the 25th (Have I really done that many already?) episode of Good Eats is sugar. One recipe is featured in this episode, but it features sugar in a few applications. To start this recipe, you make the candy garnishes, or “doodads” as Alton calls them, for your banana split. You put sugar in a saucepan, adding water until you have the consistency of wet sand. The online recipe calls for a full cup of water, but this will give you a consistency that is far thinner than what you desire. I used a half cup of water, at most. Oh, and you want to add ~ 1 T of corn syrup to this mixture, as it will prevent the sugar from recrystallizing.

Sugar, corn syrup, and water.

Sugar, corn syrup, and water.

Heat this sugar syrup over high heat until the sugar dissolves. If you have a candy thermometer, you will want to use it at this point. I made a mistake in using too wide of a pan, so my thermometer was not submerged.

Heating the sugar syrup, but my thermometer was not submerged enough.

Heating the sugar syrup, but my thermometer was not submerged enough.

This left me to go by my eye, but I do not recommend that method if you have not made candy or caramel before. While your syrup heats, prepare two sheet pans by turning them over and covering them with parchment paper. When your syrup hits ~300 degrees, you can begin to swirl the pan. Until this point, you want to leave the syrup alone. You will know that your syrup is approaching 300 degrees, as it will start to turn amber in color.

Around 300 degrees.

Around 300 degrees.

When your syrup reaches 340 degrees, remove it from the heat. It will be a deep amber by this point. Stir the mixture slowly, as you do not want to incorporate too much air; this can result in cloudy candy. Continue to stir the mixture until it falls from a spoon in a steady stream.

Around 340 degrees. Cooling the syrup by stirring gently.

Around 340 degrees. Cooling the syrup by stirring gently.

When your syrup has reached this point, you want to make your “doodads” by swirling the syrup over the parchment paper, creating abstract sugar art to accessorize your banana splits. I found that I should have waited an additional minute or so before starting my doodads because they were easier to make as the syrup cooled more. Do not over-obsess about your doodads, as they will likely not be perfect, nor will they all look alike. Once your doodads are made, allow them to cool on the parchment.

Doodads.

Doodads.

Doodads.

Doodads.

While your doodads cool, put the remaining syrup back on the heat until you see faint wisps of smoke; when this happens, remove the pan from the heat and add an equal amount of heavy cream. The caramel will bubble and hiss.

Syrup back on the heat.

Syrup back on the heat.

Cream added once smoke was seen.

Cream added once smoke was seen.

I added nearly 2 C of cream, roughly guessing as to how much cream to add. Put the caramel back over the heat and cook for ~3 minutes, stirring occasionally. Do not be alarmed if a glob of caramel seems to be in the bottom of the pan, as it will melt again when you put it back over the heat. The sauce for the dessert is now complete. If possible, make this in advance, so it has time to cool down. When ready to serve dessert, quarter one banana per person, leaving the peels on.

Bananas and sugar.

Bananas and sugar.

One banana, quartered, per person.

One banana, quartered, per person.

Rub the exposed surfaces of the bananas in sugar, and then remove the peels.

Bananas coated in sugar.

Bananas coated in sugar.

Place the sugared bananas on a rack over foil, and brulee them with a torch until they are golden brown.

Sugared bananas over foil.

Sugared bananas over foil.

Torching the bananas, with a helper.

Torching the bananas, with a helper.

12-18-2014 026

Golden brown bananas.

Golden brown bananas.

At this point, all of the components of your dessert are ready. For plating, put the caramel sauce in a squeeze bottle and squirt it in a decorative pattern on the plate. Top the sauce with four banana pieces, layered like Lincoln logs in two layers.

Caramel with bananas.

Caramel with bananas.

Add a scoop of ice cream (I used store-bought vanilla, or you could use Alton’s vanilla ice cream recipe), and top with a doodad.

Finished banana split.

Finished banana split.

12-18-2014 032 We ate these banana splits as dessert after a regular weeknight dinner, and the dessert definitely stole the show. The great things about this dish are the contrasting textures and temperatures. While the caramel sauce is smooth, sweet, and smokey, the bananas are warm, moist, and coated with a crunchy shellac. In addition to the bananas, you have cold ice cream and a crunchy doodad. This is a great dessert, and I would definitely make it again. The resulting presentation is impressive, especially given the effort put in. I can see why my dad wanted to make this when he originally watched the episode. It is a great dessert.

I am a sucker for baking. I have loved to bake for as long as I can remember, and even considered going to culinary school to become a pastry chef. For a year and a half I worked at a bakery in a tiny (population of ~300 people) Washington town. When I applied for the job, I had romantic visions of early mornings spent manipulating dough into glorious breads and pastries. Instead, I would wake at 4:30 am and drive 30 minutes to work to be the soup and salad girl. Sigh. While I made those soups and salads to the best of my ability, there was simply nothing romantic about them, or the early mornings. Instead, I would watch with envy, from my little soup corner of the kitchen, as the town Frenchman would fold circles of dough over tangy fruit fillings, forming beautiful free-form galettes.

No Pan Pear Pie

Needless to say, I was excited to watch the 19th episode of Good Eats, as it is a baking episode AND the recipe featured is for a fruit galette. To begin this recipe, Alton has you start with your dough, combining flour, corn meal, sugar, and Kosher salt. For this, he emphasizes that you want to use all-purpose flour, as it browns better.

Dry ingredients..

Dry ingredients.

Meanwhile, you coat two sticks of butter in some flour and cut them into pieces.

Coating butter in flour.

Coating butter in flour.

Coated butter.

Coated butter.

Both the butter and the dry ingredient mixture go into the refrigerator to chill, though you want to keep half a stick of the butter at room temperature.

Reserved, room temperature butter.

Reserved, room temperature butter.

Once your ingredients are thoroughly chilled, you pulse your dry mix in a food processor, adding the room temperature butter, and pulsing until the fat is no longer visible.

Pulsing dry ingredients.

Pulsing dry ingredients.

Adding room temperature butter.

Adding room temperature butter.

Fat no longer visible.

Fat no longer visible.

At this point, you add half of your chilled butter, pulsing about 10 times, or until you have a mixture with pea-sized lumps.

Adding half of cold butter.

Adding half of cold butter.

10-27-2014 060 To this, you add the remaining cold butter, pulsing a max of 4 times.

Final mixture.

Final mixture.

This mixture is placed in a metal bowl. The liquid for this dough is a combination of apple juice concentrate and water, which Alton recommends you put into a spray bottle.

Spray bottle with apple juice concentrate and water.

Spray bottle with apple juice concentrate and water.

This liquid gets spritzed onto the surface of the dough, and folded in with a spatula, until you have a dough that holds together and breaks cleanly, without crumbling.

Spritzing liquid into dry mixture.

Spritzing liquid into dry mixture.

Adding liquid.

Adding liquid.

Once your dough has reached this state, you form it into a ball, wrap it in parchment, and put it in the refrigerator to chill. I ended up using twice the amount of liquid called for in the recipe before deciding my dough was close enough. In reality, my gut was telling me to keep adding more liquid. Foreshadowing.

Final dough, after adding 2x the liquid called for.

Final dough, after adding 2x the liquid called for.

Dough wrapped to go in refrigerator.

Dough wrapped to go in refrigerator.

While your dough chills, you make the filling for your pie.

Filling ingredients.

Filling ingredients.

To a hot iron skillet, you add two Anjou pears, peeled, cored, and sliced.

Hot iron skillet.

Hot iron skillet.

Pears.

Pears.

To the pears, you add balsamic vinegar and sugar.

Pears with balsamic vinegar.

Pears with balsamic vinegar.

Pears, balsamic vinegar, and sugar.

Pears, balsamic vinegar, and sugar.

Once the pears have softened, you add nutmeg, cinnamon, and butter.

Pear mixture with spices and butter.

Pear mixture with spices and butter.

When the butter has melted, you add a cup of blueberries and remove the filling from the heat.

Blueberries added.

Blueberries added.

Some sifted flour is stirred into the filling to thicken it, and you allow it to cool to room temperature.

Flour sifted into filling.

Flour sifted into filling.

Final filling.

Final filling.

I ended up running out of time to finish my pie in the day I started it, so I refrigerated my filling and dough overnight. The next morning, I pulled my dough and filling from the refrigerator, allowing them both to warm up for a few minutes. I sprinkled my work surface with flour and turned my dough out onto it. I could tell immediately that I should have listened to my gut the day before, as my dough was way too crumbly.

Dough that is too crumbly.

Dough that is too crumbly.

Back into the food processor it went. This time, I added cold water through the feeding tube until my dough was coming together in a nice ball. I worked my dough into a nice smooth ball, and put it back in the refrigerator for about 20 minutes. Finally, I was ready to assemble my pie.

Proper dough after adding more liquid.

Proper dough after adding more liquid.

Dough ready to roll out after adding more liquid.

Dough ready to roll out after adding more liquid.

Alton tells you to roll your dough on a floured surface until it is 1/4″ thick. If your dough gets too warm, you can press it with a cold sheet pan, but I never needed to do that. Once your dough is in a nice, even circle, you transfer it to an inverted, parchment-coated, sheet pan.

Rolled out dough.

Rolled out dough.

In the center of your dough circle, you place pound cake cubes (I used frozen pound cake), and top this with your fruit filling. Some clumps of butter are dotted over the filling, and you can begin folding up your dough.

Pound cake in middle of dough circle.

Pound cake in middle of dough circle.

Pound cake, fruit filling, and butter.

Pound cake, fruit filling, and butter.

You fold your dough in sections, overlapping the sections and sealing them with some water, until all of the excess dough is folded up.

Folded dough around filling.

Folded dough around filling.

Your crust gets brushed with an egg wash and sprinkled with sugar, and it goes into the oven for 25 minutes.

Brushed with egg wash and sprinkled with sugar.

Brushed with egg wash and sprinkled with sugar.

My pie was done in about 32 minutes, as it was golden brown and the pleats felt like they would break if you pushed on them.

Pie after baking.

Pie after baking.

It is best to allow this pie to cool to room temperature before cutting. We ate this pie for dessert and/or breakfast over the next few days. It cut easily into wedges (even the very first piece), and had a nice combination of flavors and textures.

Perfect first slice of pie.

Perfect first slice of pie.

Pie slice.

Pie slice.

I really liked the addition of cornmeal to the crust, as it gave it an extra dimension of texture. The crust was flaky, buttery, and tender. The pears in the filling were soft, but not mushy, and the blueberries gave a bit of tartness. The pound cake absorbed some of the liquid in the filling, which gave the cake a velvety, cheesecake-like texture. I will make this pie again, though I think it might be more fun to make individual galettes, rather than one big pie. If you are looking for a different pie for Thanksgiving, this is a good one to try. Or, if you want a traditional pan-baked pie, you could still use the filling recipe from this pie to make a perfect Fall fruit pie. No longer do I need to lust over others’ galettes, as this recipe is an easy one to make at home myself.

Southern Biscuits

I have previously mentioned that differences exist between the recipes featured on Good Eats and the online versions of the same recipes. The recipes from the 7th episode had many differences, so I, of course, made the recipes as made on the show. The first of these recipes was for biscuits, as made by Alton’s grandmother. In the episode, Alton explains that it is desirable to make biscuits with soft flour, which has a lower protein content. You can use self-rising flour for this, or you can simulate soft flour by combining 3 parts of all-purpose flour with 1 part of cake flour; I did the latter. No mention of soft flour is made in the online recipe. In the episode, Alton tells you to use 10 oz. of flour, while the online recipe calls for 2 cups. He also tells you to weigh one ounce of butter and two ounces of shortening, while the online version calls for 2 T of each.

I combined my dry ingredients, and then cut in the fat with my fingers until I had a crumb-like texture.

Combined dry ingredients.

Combined dry ingredients.

Buttermilk, shortening, and butter.

Buttermilk, shortening, and butter.

Cutting in the butter.

Cutting in the butter.

Crumb-like texture.

Crumb-like texture.

I then mixed in my buttermilk, being cautious not to overwork the dough. Alton and his grandmother emphasize this point in the episode, saying overworking the dough can lead to tough biscuits. My dough seemed wet and sticky, and like it would possibly be difficult to work with once turned out onto my board.

Adding the buttermilk.

Adding the buttermilk.

Surprisingly, it was actually very easy to work with. I cut out my biscuits with a 2.5-inch cutter, and placed them on my baking sheet so they were just barely touching. I indented the top of each biscuit with my fingers (this was another thing mentioned in the episode that is not in the online recipe) to prevent having domed tops, and baked them until they were golden brown.

Indented biscuits pre-baking.

Indented biscuits pre-baking.

Golden brown biscuits.

Golden brown biscuits.

Biscuits straight from the oven.

Biscuits straight from the oven.

Split and buttered biscuits.

Split and buttered biscuits.

We ate our biscuits warm from the oven, split, and buttered. My dad has made biscuits for years, and his are quite different from these biscuits. I grew up with super light, flaky biscuits, while these biscuits were more cake-like and dense. I thought they were very good, and they are such a quick breakfast treat. Having listened to some of Alton’s podcasts, I have gathered that he now uses a round pan when he makes biscuits, and that he covers them when they come out of the oven. Perhaps I’ll have to try a round pan next time, along with self-rising flour.

Scones

Like the biscuit recipe, the scone recipe differs between the episode and the online recipe. As in the biscuit recipe in the show, Alton recommends using soft flour for the scones. The sugar content in the two versions of the recipe is different, with the episode calling for 2 T of sugar, while the online recipe has 1/3 C of sugar, and Alton tells you to bake your scones at 400 degrees F, while the online recipe uses a temperature of 375 degrees. The overall recipe process is very similar to that of the biscuits, beginning with combining the dry ingredients.

Dry ingredients.

Dry ingredients.

To this mixture, you add your fat, cutting it in with your fingertips, and then you add your cream and egg, mixing until combined.

Cutting in the fat.

Cutting in the fat.

Adding the cream and the egg.

Adding the cream and the egg.

Currants or dried cranberries (I used currants) are then lightly mixed into the dough, which is turned out onto a board and cut into individual scones.

Currants mixed in.

Currants mixed in.

Dough round.

Dough round.

I used to work at a bakery and we made our scones in triangles by cutting the round of dough into pizza-like slices. I opted to make my scones this way, rather than using a round cutter. I also brushed my scones with melted butter, and sprinkled them with some sugar before baking.

Brushed with melted butter, sprinkled with sugar, and cut into triangular scones.

Brushed with melted butter, sprinkled with sugar, and cut into triangular scones.

Scones ready to bake.

Scones ready to bake.

The scones turned out well, with a crumbly, slightly cakey, texture. They were not particularly sweet, which went well with coffee in the morning.

Golden scones.

Golden scones.

Ready to eat for breakfast!

Ready to eat for breakfast!

This was not my favorite scone recipe of all time, but they were still pretty good. If I make these again, I’ll likely add a different fruit, such as berries.

Shortcake

The final recipe in this episode was for shortcake. Again, the basic dough was similar to that of the biscuits and scones, though, again, there were some differences in the two versions of the recipe. Actually, this recipe had a lot of disparities.The printed recipe tells you to preheat your oven to 450 degrees, while Alton uses a 400 degree oven in the show. As with the biscuits and scones, in the episode Alton suggests using soft flour, rather than the all-purpose flour in the online recipe. The online recipe omits baking soda, while the TV version calls for 1/4 t of baking soda. The sugar also varies between the two recipes, with Alton adding 1/3 C of sugar in the TV episode, while the online recipe calls for only 1 T of sugar. Alton tells you to weigh your butter and shortening (1 oz of butter and 2 oz of shortening), while the online edition uses 2 T of each fat. The final deviation in the recipes is the amount of half and half used:  1 C used in the show and 3/4 C online. How is it possible that the online recipes differ so substantially from the show recipes? This just confirms that I need to continue watching each episode prior to making the recipes.

As with the other two recipes in this episode, the dry ingredients are combined, the fat is cut in, and the liquid is added.

Dry shortcake ingredients.

Dry shortcake ingredients.

Half and half, shortening, and butter.

Half and half, shortening, and butter.

Cutting in the fat.

Cutting in the fat.

Adding the liquid.

Adding the liquid.

Resulting shortcake dough.

Resulting shortcake dough.

The resulting dough is then dropped onto a baking sheet, brushed with butter, sprinkled with sugar, and baked.

Dough dropped onto baking sheet, brushed with melted butter, and sprinkled with sugar.

Dough dropped onto baking sheet, brushed with melted butter, and sprinkled with sugar.

Completed shortcakes.

Completed shortcakes.

We ate our shortcakes in several ways:  with ice cream, with berries and whipped cream, and with nectarines and whipped cream.

Shortcake with ice cream

Shortcake with ice cream

Shortcake with berries and whipped cream.

Shortcake with berries and whipped cream.

The shortcakes were best when they were first made, as they had a light, crumbly texture. A day later, the texture was less crispy and more on the cakey side. I tried “refreshing” our shortcakes with a few minutes in a warm oven, which helped to somewhat restore their original texture. I thought the cakes had just the right amount of sweetness to pair well with the fruit and whipped cream, which was my favorite of the ways we ate ours.

Of the three recipes in this episode, the biscuits were definitely our favorite. The shortcakes followed, with the scones not far behind. Thank goodness we work out a lot!