Clearly, I’m a fan of Good Eats, and I have really enjoyed every episode I have completed… until now. The 55th episode of Good Eats, which was the first to air in season 5, was just kind of a flop. Both the episode and the recipes in this episode lacked the creativity and excitement that I expect from Alton Brown and Good Eats. In short, this episode was all about gelatin molds. Now, there’s nothing wrong with a gelatin mold, but gelatin can be used for so much more than just that; it is used in marshmallows, aspics, and candies, among others. I feel that the Good Eats team failed their subject in this episode.
Sparkling Gingered Face
Yes, you read that recipe title correctly. The first recipe in the gelatin episode is indeed for a face-shaped gelatin mold. The original air date of this episode was October 24th, 2001, so keep in mind that Alton was probably going for a Halloween theme of sorts. To make the face, you’ll need a face-shaped gelatin mold, cold ginger beer, powdered gelatin, and cold sparkling wine. The online recipe also calls for some sugar, but Alton did not add sugar in the episode.
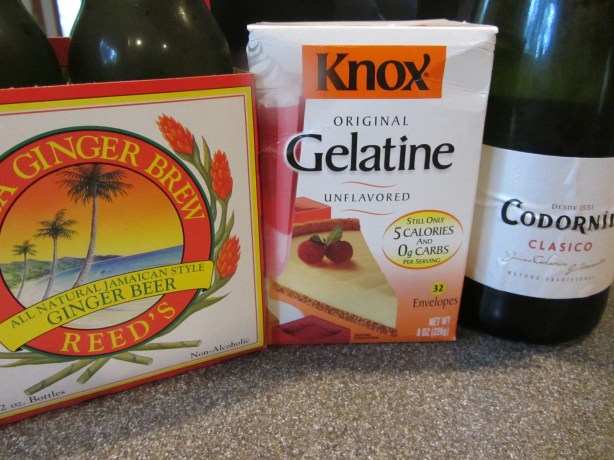
Ingredients for Alton’s sparkling gingered face: ginger beer, gelatin, and sparkling wine.
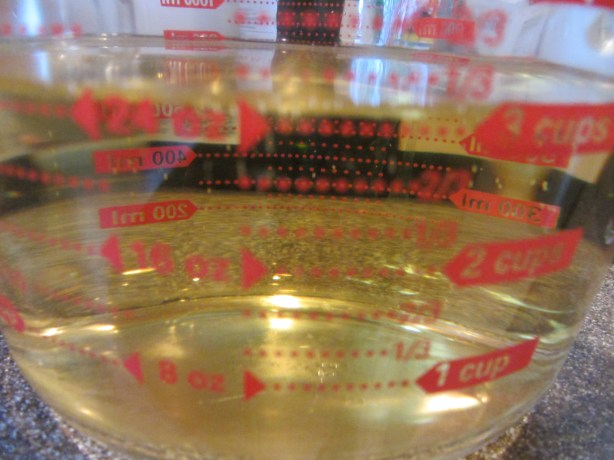
You will need to adjust the amounts of the ingredients for the size of your gelatin mold. Ideally, you will want equal volumes of ginger beer and sparkling wine, and you will use one package of gelatin per cup of liquid. My mold has a capacity of nine cups, so I wanted to use 4.5 C each of ginger beer and sparkling wine, and 9 packages of gelatin. I will confess that I altered this slightly, as I only had one bottle of sparkling wine. Since a bottle of sparkling wine is about 3 C, I used 6 C of ginger beer. To begin, pour your cold ginger beer (always bloom gelatin in cold liquid) in a microwave-safe container. Sprinkle your gelatin over the liquid and give it a good shake or stir. Allow the gelatin to bloom for 5 minutes.
-

- Gelatin sprinkled over ginger beer.
-

- Gelatin after blooming for 5 minutes in ginger beer.
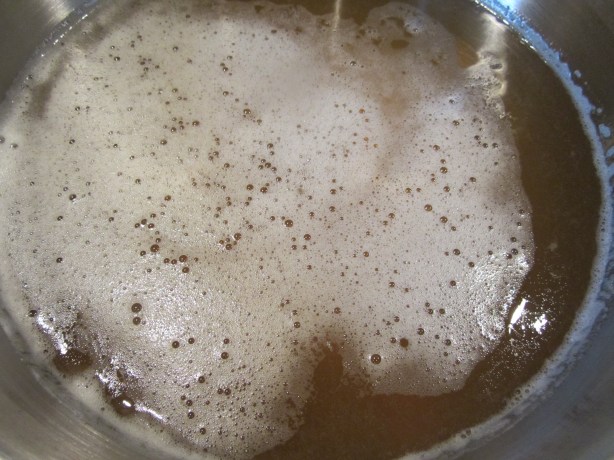
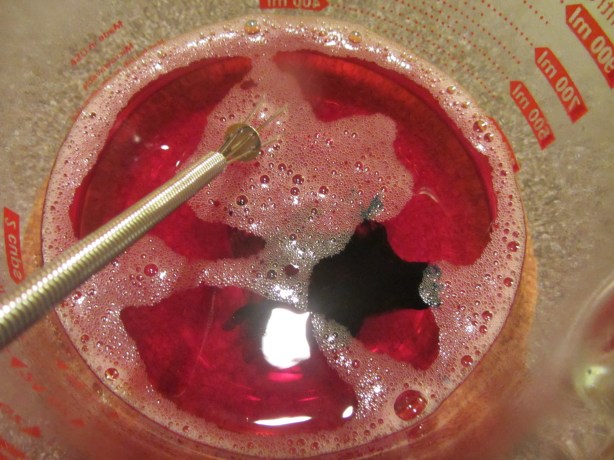
Microwave the gelatin mixture until it reaches a temperature of 150 degrees, giving it a stir every minute. My gelatin took 7 minutes to hit 150 degrees.

Gelatin/ginger beer mixture after reaching 150 degrees.
Once your ginger beer/gelatin is at 150 degrees, add your cold sparkling wine, swirling the container as you add.
Sparkling wine to add to ginger beer/gelatin.
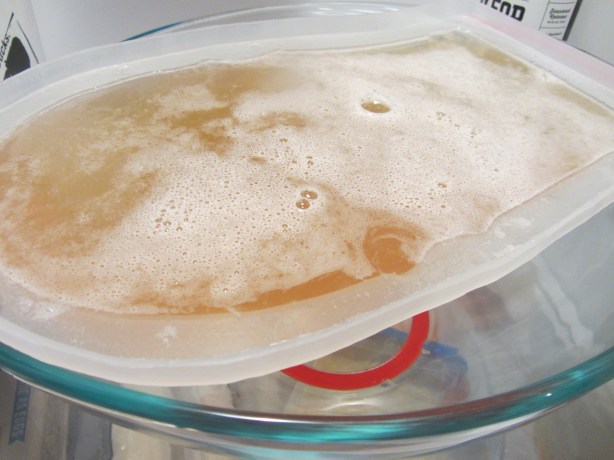
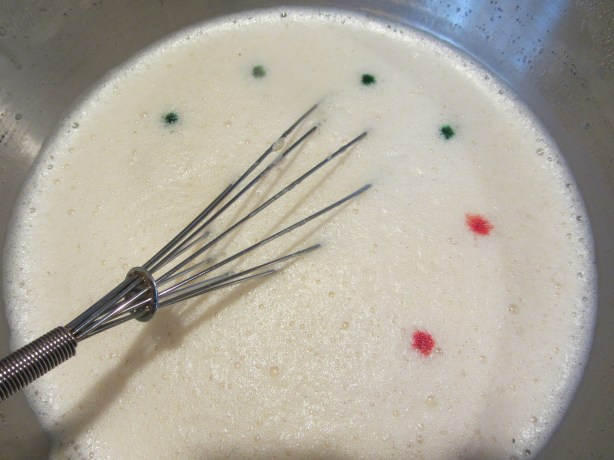
Note: You should always pour cold liquid into warm to avoid getting gelatin clumps. Refrigerate this mixture for about an hour, or until it reaches egg white consistency.
Sparkling ginger mixture, after being refrigerated for about an hour. Ready to go in mold.
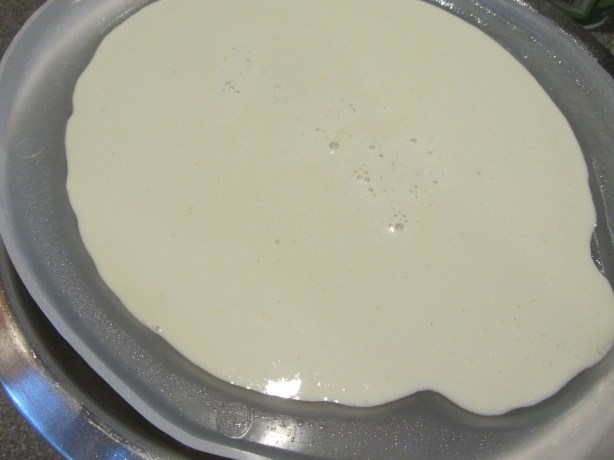
Pour the gelatin into your mold (I oiled mine) and refrigerate overnight. If your mold does not have a flat bottom, you can place it in a bowl to keep it level. It is not easy to transport a full gelatin mold, so you may want to fill your mold in the refrigerator.
Gelatin mixture poured into my mold.
To unmold your set gelatin, use your fingers to pull the gelatin away from the sides of the mold. Place a serving dish on top of the mold and invert the mold onto the dish.


We ate this for dessert one evening and it was okay, though the texture was quite firm. The flavors of both the ginger beer and the sparkling wine were apparent, and you actually got a slight fizzy sensation on your tongue. Really though, this did not do much for us, and it’s just a bit odd to eat a gelatin face.
Spooky Edible Eyes
Alton did not officially prepare this recipe in the episode, but he did mention that the recipe was online, so I figured I should make it. For this one, you will need an eyeball-shaped mold, powdered gelatin, low-fat milk, water, sugar, coconut extract, and spray oil.
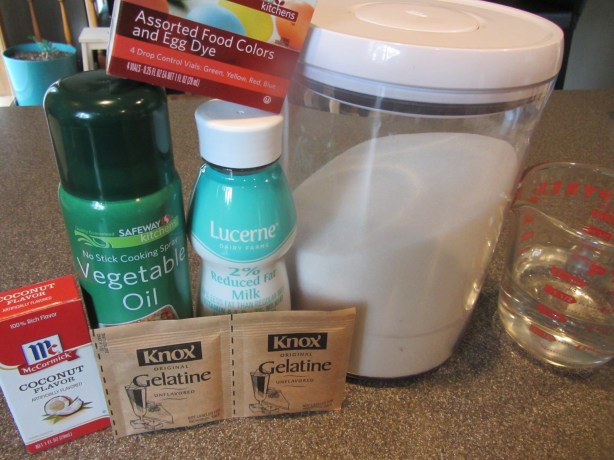
Ingredients for edible eyeballs: coconut flavor, oil spray, gelatin, low-fat milk, food color, sugar, and water.
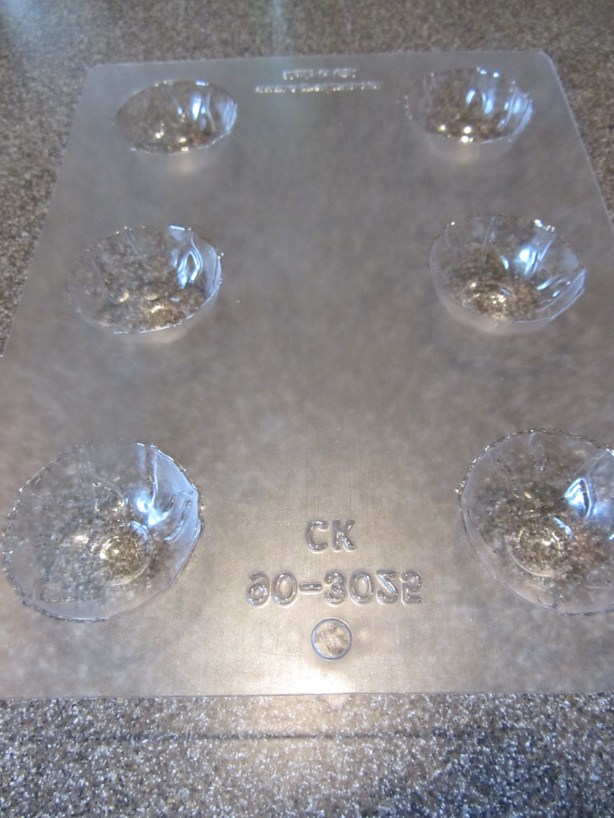
My eyeball mold.
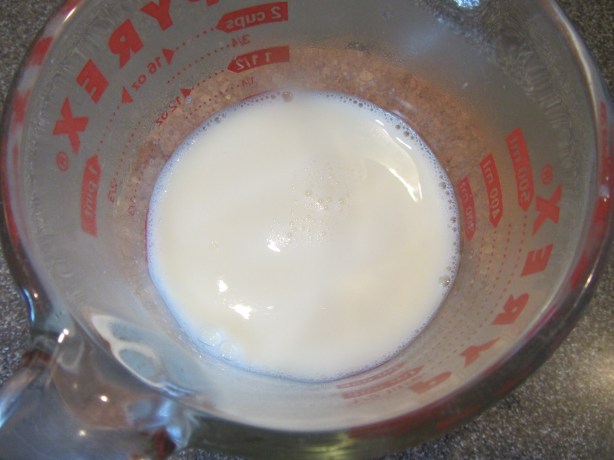
Begin by blooming 1 package of gelatin in 1/2 C low-fat milk for 5 minutes.

Gelatin blooming in milk.
Meanwhile, put 1/2 C water, 3 T sugar, and 1/4 t coconut extract in a saucepan and bring this mixture to a boil.

1/2 C water, 3 T sugar, and 1/4 t coconut extract, being brought to a boil.
Pour the hot mixture into the cold gelatin/milk (this is the opposite of what Alton told you to do in the first recipe), stirring until dissolved.
Water/sugar mixture added to milk/gelatin.
Pour the liquid into oiled molds and refrigerate until set – about an hour.
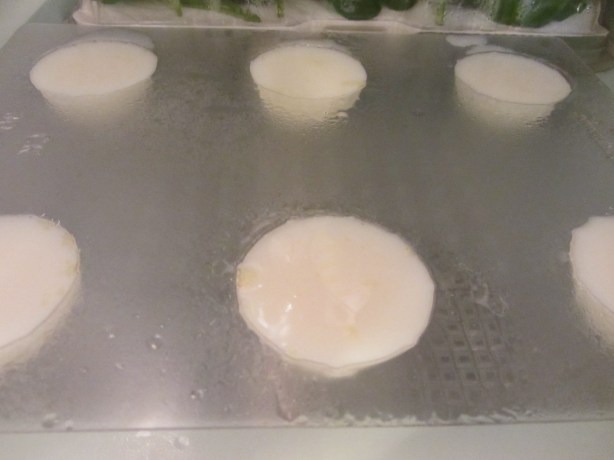
The eyeball mixture poured into the mold to set.
Once set, remove the eyes from their molds.
My eyeballs, unmolded.
To make different colored eyes, bloom 1/2 a package (3 g) of gelatin in 1/4 C cold water for 5 minutes.
1/2 package of gelatin blooming in 1/4 C water.
Add 1/4 C boiling water to the gelatin and stir to dissolve. Divide this clear gelatin among bowls and add food coloring to create different colors.


The online recipe tells you to use an eyedropper to add the colors to the irises on the eyes; I did not have one, so I used Q-tips. For the pupils, combine equal amounts of each food coloring in a dish, and use a Q-tip to form the pupil. I made my eyes bloodshot, using a toothpick to “paint” red food coloring blood vessels.

My finished edible eyeballs.
I was actually quite happy with how these turned out appearance-wise, and they’d be great for a Halloween party. They honestly didn’t taste too bad either, though I wouldn’t call them delicious.
Cinnamon Cherry Heart
Continuing on with the gelatin organ theme, next up is a gelatin heart. This one is pretty straight-forward, requiring only powdered gelatin, cherry juice, and cinnamon extract… oh, and a heart-shaped gelatin mold.
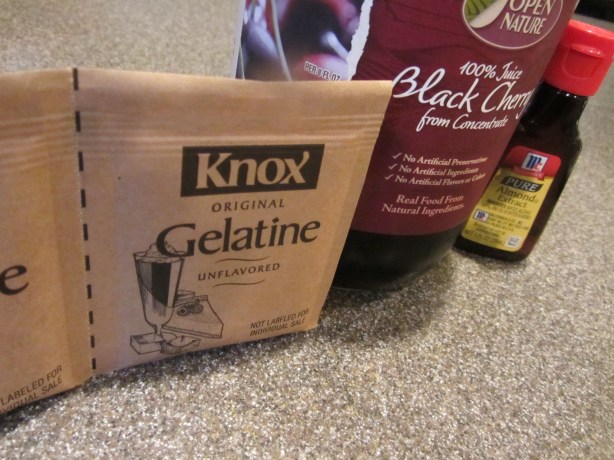
Ingredients for gelatin heart: gelatin, cherry juice, and cinnamon (or almond for me) extract.
I had difficulty finding cinnamon extract, so I wound up using almond extract in my heart. As with all of the recipes in this episode, the first step is to bloom 2 packages of gelatin in 1 C cherry juice for 5 minutes.


Meanwhile, bring the other cup of juice, along with the extract, to a boil.
Cherry juice and extract being brought to a boil.
Add the hot juice to the gelatin/juice mixture and stir to dissolve the gelatin. Pour the mixture into your mold (I oiled my mold) and let it refrigerate for at least six hours before unmolding.


This gelatin mold tasted decent, but the texture was a bit too firm, making it somewhat unappealing. This one was just blah.
Panna Cotta Brain with Cranberry Glaze
Of all the recipes in this episode, I was most excited for the panna cotta, though the idea of it being in the shape of a brain made it slightly less appealing. The ingredients for this one are evaporated milk, powdered gelatin, sugar, a vanilla bean, heavy cream, fresh mint, fresh basil, food coloring, and bourbon (optional).
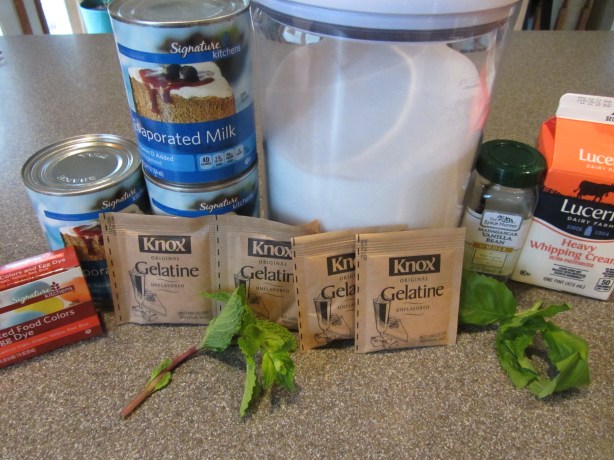
Panna cotta ingredients: evaporated milk, gelatin, sugar, food coloring, vanilla bean, heavy cream, fresh mint, and fresh basil.
In a large container, bloom 4 packages of gelatin in 12 ounces evaporated milk for 5 minutes.
Gelatin blooming in evaporated milk.
While the gelatin blooms, combine in a saucepan 24 ounces evaporated milk, 3/4 C sugar, 1/2 a vanilla bean, 1 1/2 C heavy cream, and a jigger of bourbon, if using. Bring this mixture to a bare simmer over medium heat, whisking to dissolve the sugar. Also add one sprig each of crushed fresh mint and basil.
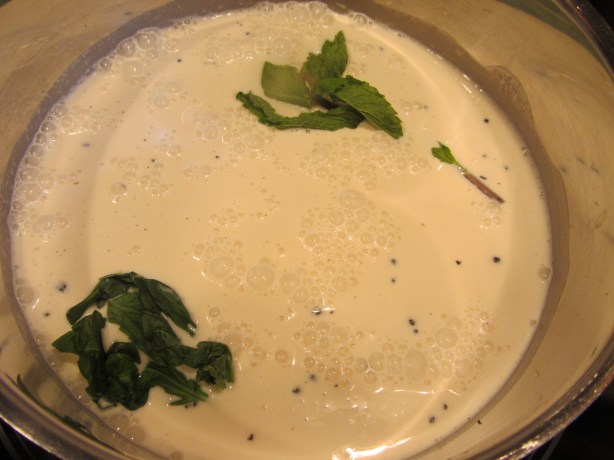
Evaporated milk, sugar, vanilla bean, heavy cream, fresh mint, and fresh basil being brought to a simmer.
Remove the pan from the heat as soon as you start to see bubbles.
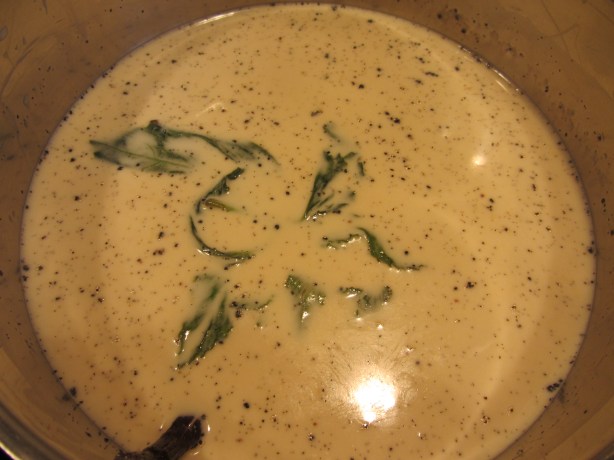
After coming to a bare simmer.
Strain the cream mixture into the blooming gelatin and stir to dissolve the gelatin. There will be lots of lumps in the mixture, so you will have to stir for a little while.


To make the panna cotta really look like gray matter, add 2 drops of red food coloring and 4 drops of green.
For a gray brain, add 2 drops of red food coloring and 4 drops of green food coloring.
Allow the panna cotta to cool to room temperature before pouring into a 6-cup brain mold, and refrigerate overnight. I noticed some lumps in my panna cotta, so I strained my panna cotta a second time as I poured it into the mold. I also oiled my brain mold to make unmolding easier.
My gray panna cotta, poured into my mold.
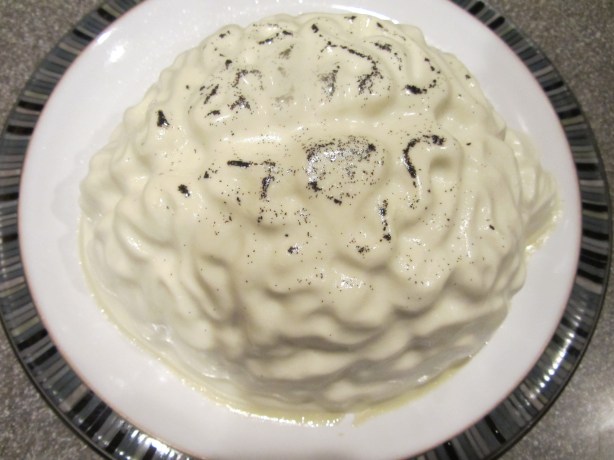
My panna cotta brain.
If you wish to serve your brain with some cranberry blood, you can make a cranberry glaze by blooming 1 package of gelatin in 1/2 C cranberry juice for 10 minutes.
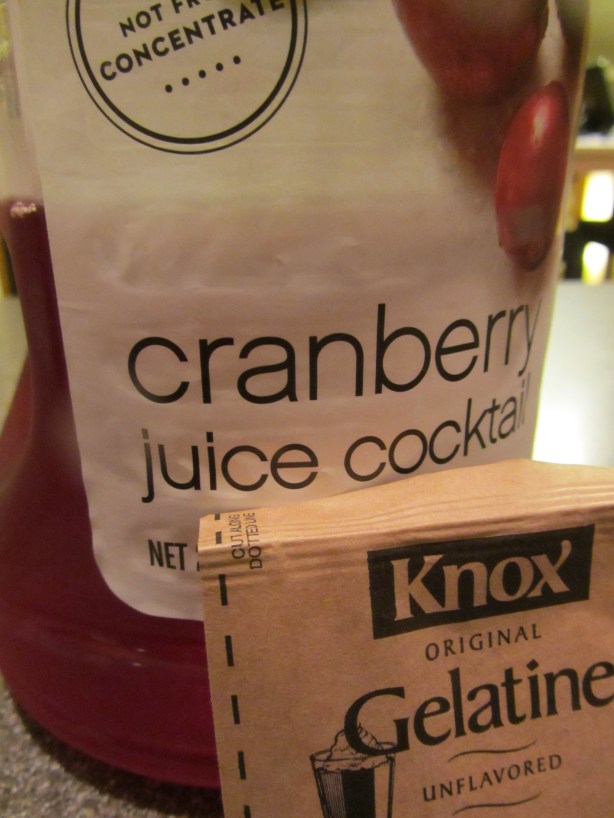
Ingredients for cranberry glaze: cranberry juice and gelatin.


Dissolve the gelatin with an additional cup of boiling cranberry juice, add a few drops of blue food coloring, and let cool to room temperature.

Additional cup of cranberry juice, being brought to a boil under careful supervision.
Blue food coloring added to cranberry glaze.
Unmold your brain, and drizzle some cranberry glaze over the top.

My brain with cranberry glaze.
I had high hopes for this, but neither Ted or I liked it at all. I thought the flavor of the panna cotta was good, but its texture was unappealingly firm. And, the cranberry glaze did not set up on the panna cotta, as Alton’s did in the episode. Instead, it puddled around the bottom of the panna cotta. We ended up throwing the rest of the panna cotta in the trash. Maybe we just do not care for panna cotta?
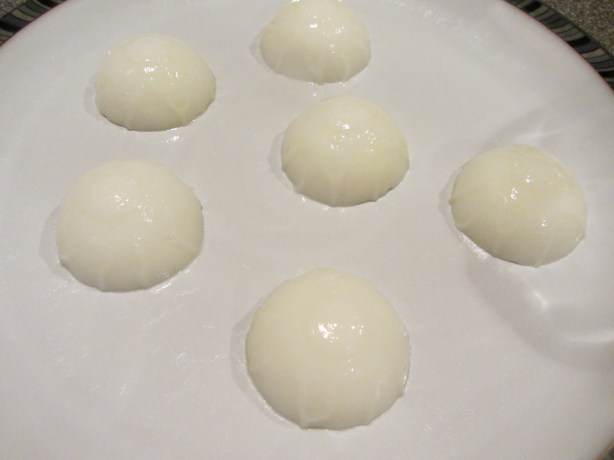
Layered Gelatin Mold
Alton did not use a specific recipe for a layered gelatin mold, but gave options and tips for making one. His tips were to use roughly a cup of each gelatin flavor per layer, to add a new flavor when the previous one is still sticky, and to use a hair dryer to unmold metal molds. To make opaque layers, you can add sour cream to the gelatin, or you can add fruit between layers. I made a layered mold with altering opaque and clear layers, and using a bundt pan. It turned out to be my favorite thing from this entire episode.


