Posts Tagged ‘pressure cooker’

When I began this project, I had to purchase the first couple seasons of Good Eats through Amazon. Shortly after beginning this blog, I set our DVR to record any and all episodes that were airing, building a stockpile. I currently have 135 episodes recorded. Needless to say, I had a little bit of a panic yesterday morning when I discovered that the clock on our DVR was stuck at 2:41 and it was emitting an odd whirring sound. Oh, and the DVR refused to power off. Thankfully, it rebooted just fine after being unplugged for a few minutes. Whew!

Episode 110 is very seasonally appropriate, as chili, to me, is perfect for fall and winter. I got a kick out of this episode because Alton played the role of a cowboy, and remained in character for the duration of the show; I cannot recall another episode in which he did this.

AB’s Chili Powder

If you want to make good chili, you have to start with great chili powder. Thankfully, Alton has a chili powder recipe that you can whip up easily at home. His chili powder starts with three types of dried chiles:  ancho chiles, cascabel chiles, and arbol chiles. While I had no trouble finding the ancho and arbol chiles at my regular grocery store, I had to take a trip to our local Mexican grocery store to find the dried cascabels. For a batch of chili powder, you will need three of each type of chile.

IMG_9880

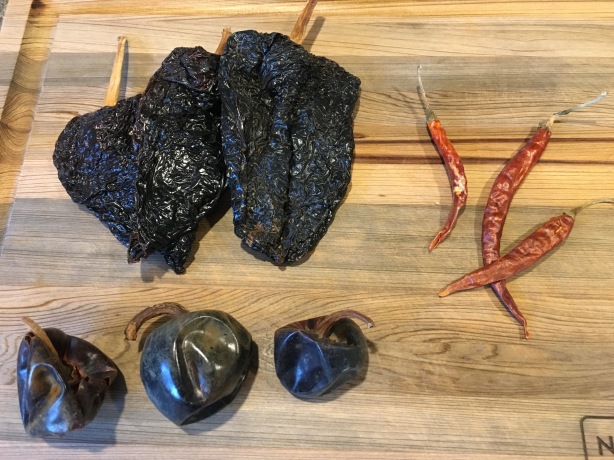
Ancho chiles, arbol chiles, and cascabel chiles.

Using scissors, cut the tops off the dried peppers, shaking out the seeds and discarding them; you don’t want the seeds because they add bitterness. Use the scissors to cut the chiles into strips; you can do this straight into a large skillet.

IMG_9882

Chiles cut into strips and placed in skillet.

Add 2 T cumin seeds to the pan, setting the pan over medium-high heat. Roast the peppers and cumin seeds until they are fragrant and the cumin seeds begin to pop.


When making this chili powder, your kitchen will smell amazing from the toasted chiles and cumin seeds! Remove the skillet from the heat and allow the chiles/seeds to cool. While the chiles cool, combine 2 T garlic powder, 1 t smoked paprika, and 1 T dried oregano in a blender.

IMG_9885

Garlic powder, smoked paprika, and dried oregano in blender carafe.

Add the cooled chile/cumin mixture to the blender and blend the mixture to a fine powder. Be sure to let the powder settle for a couple minutes before removing the lid of the blender.


IMG_9889

Alton’s chili powder.

The finished chili powder is very fragrant and honestly made my mouth water. It has a rich, deep aroma that far surpasses that of store-bought chili powder. Use Alton’s chili powder in any recipe calling for chili powder, such as his chili recipe below.

Pressure Cooker Chili

Alton uses his homemade chili powder to make his version of chili. Yes, Alton uses a pressure cooker to make his chili, but he also gives instructions in the episode for how to adapt this recipe if you do not have a pressure cooker.

IMG_9890

Ingredients for Alton’s chili: beer, tomato paste, tortilla chips, chipotles and adobo sauce, salsa, cumin, and chili powder.

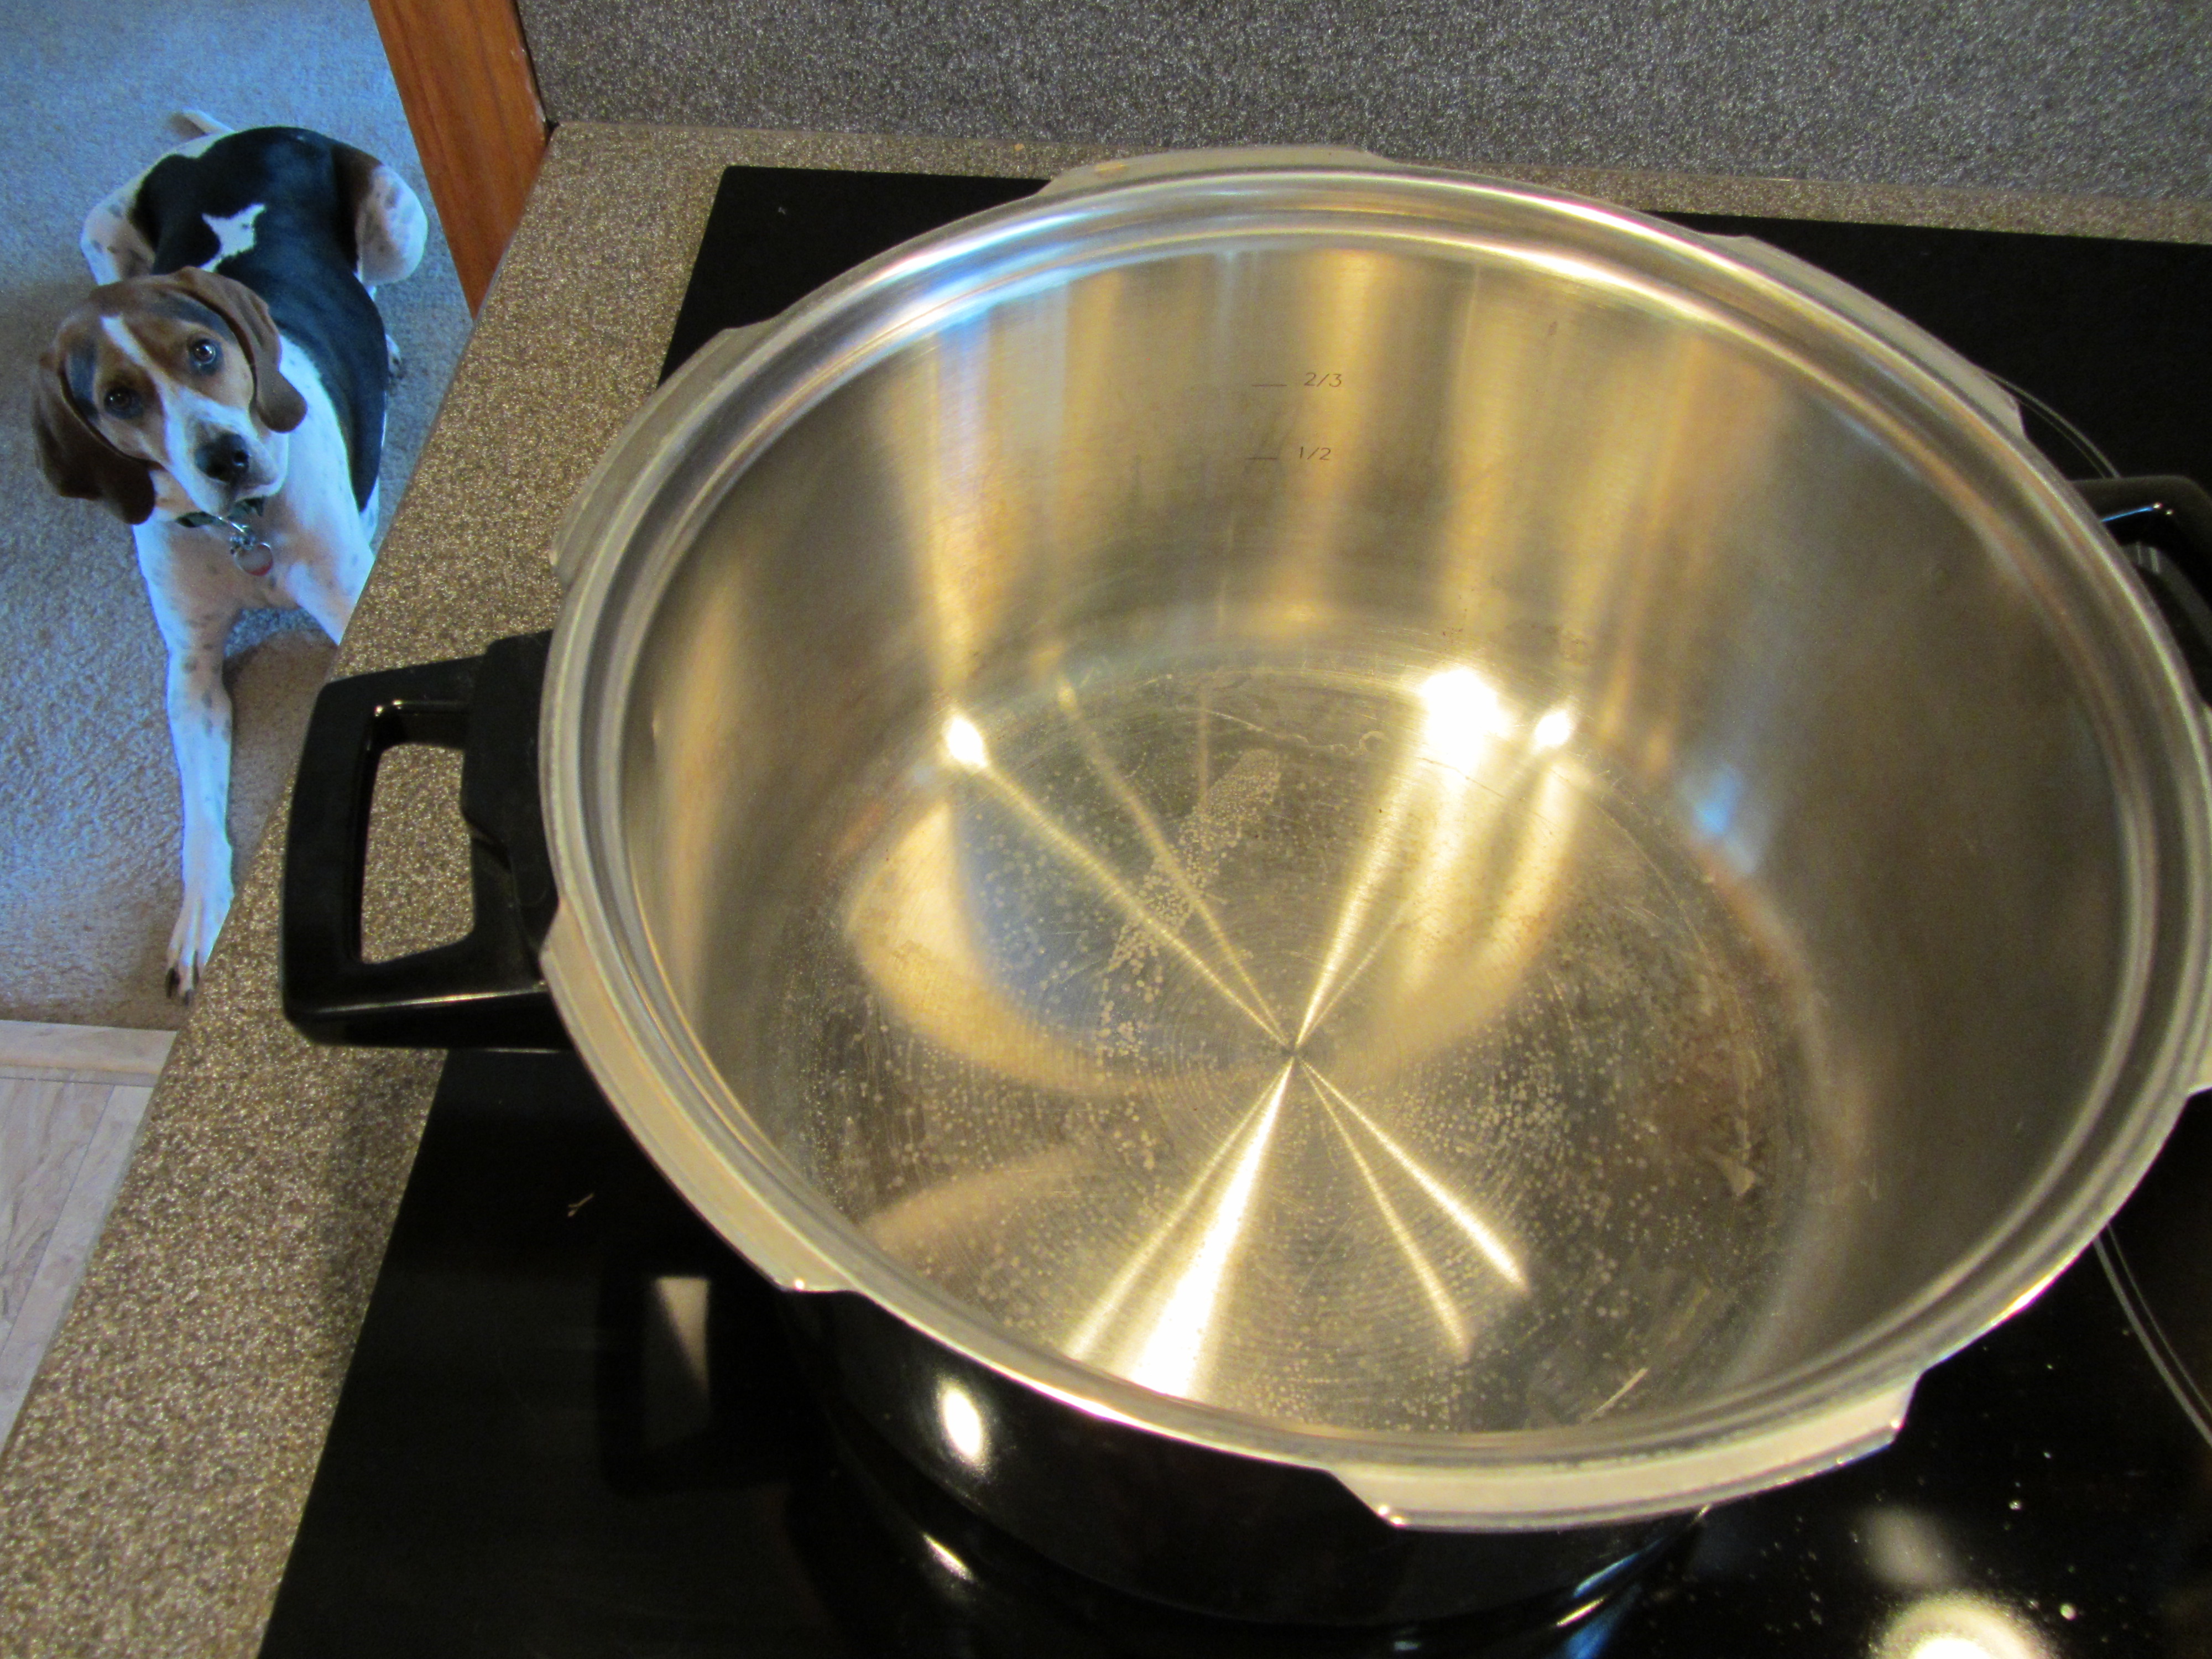
Three pounds of stew meat go into this chili, and Alton prefers a blend of beef, lamb, and pork. I could not find lamb stew meat at my store, so I used half beef and half pork. Heat a pressure cooker over high heat until hot.

IMG_9894

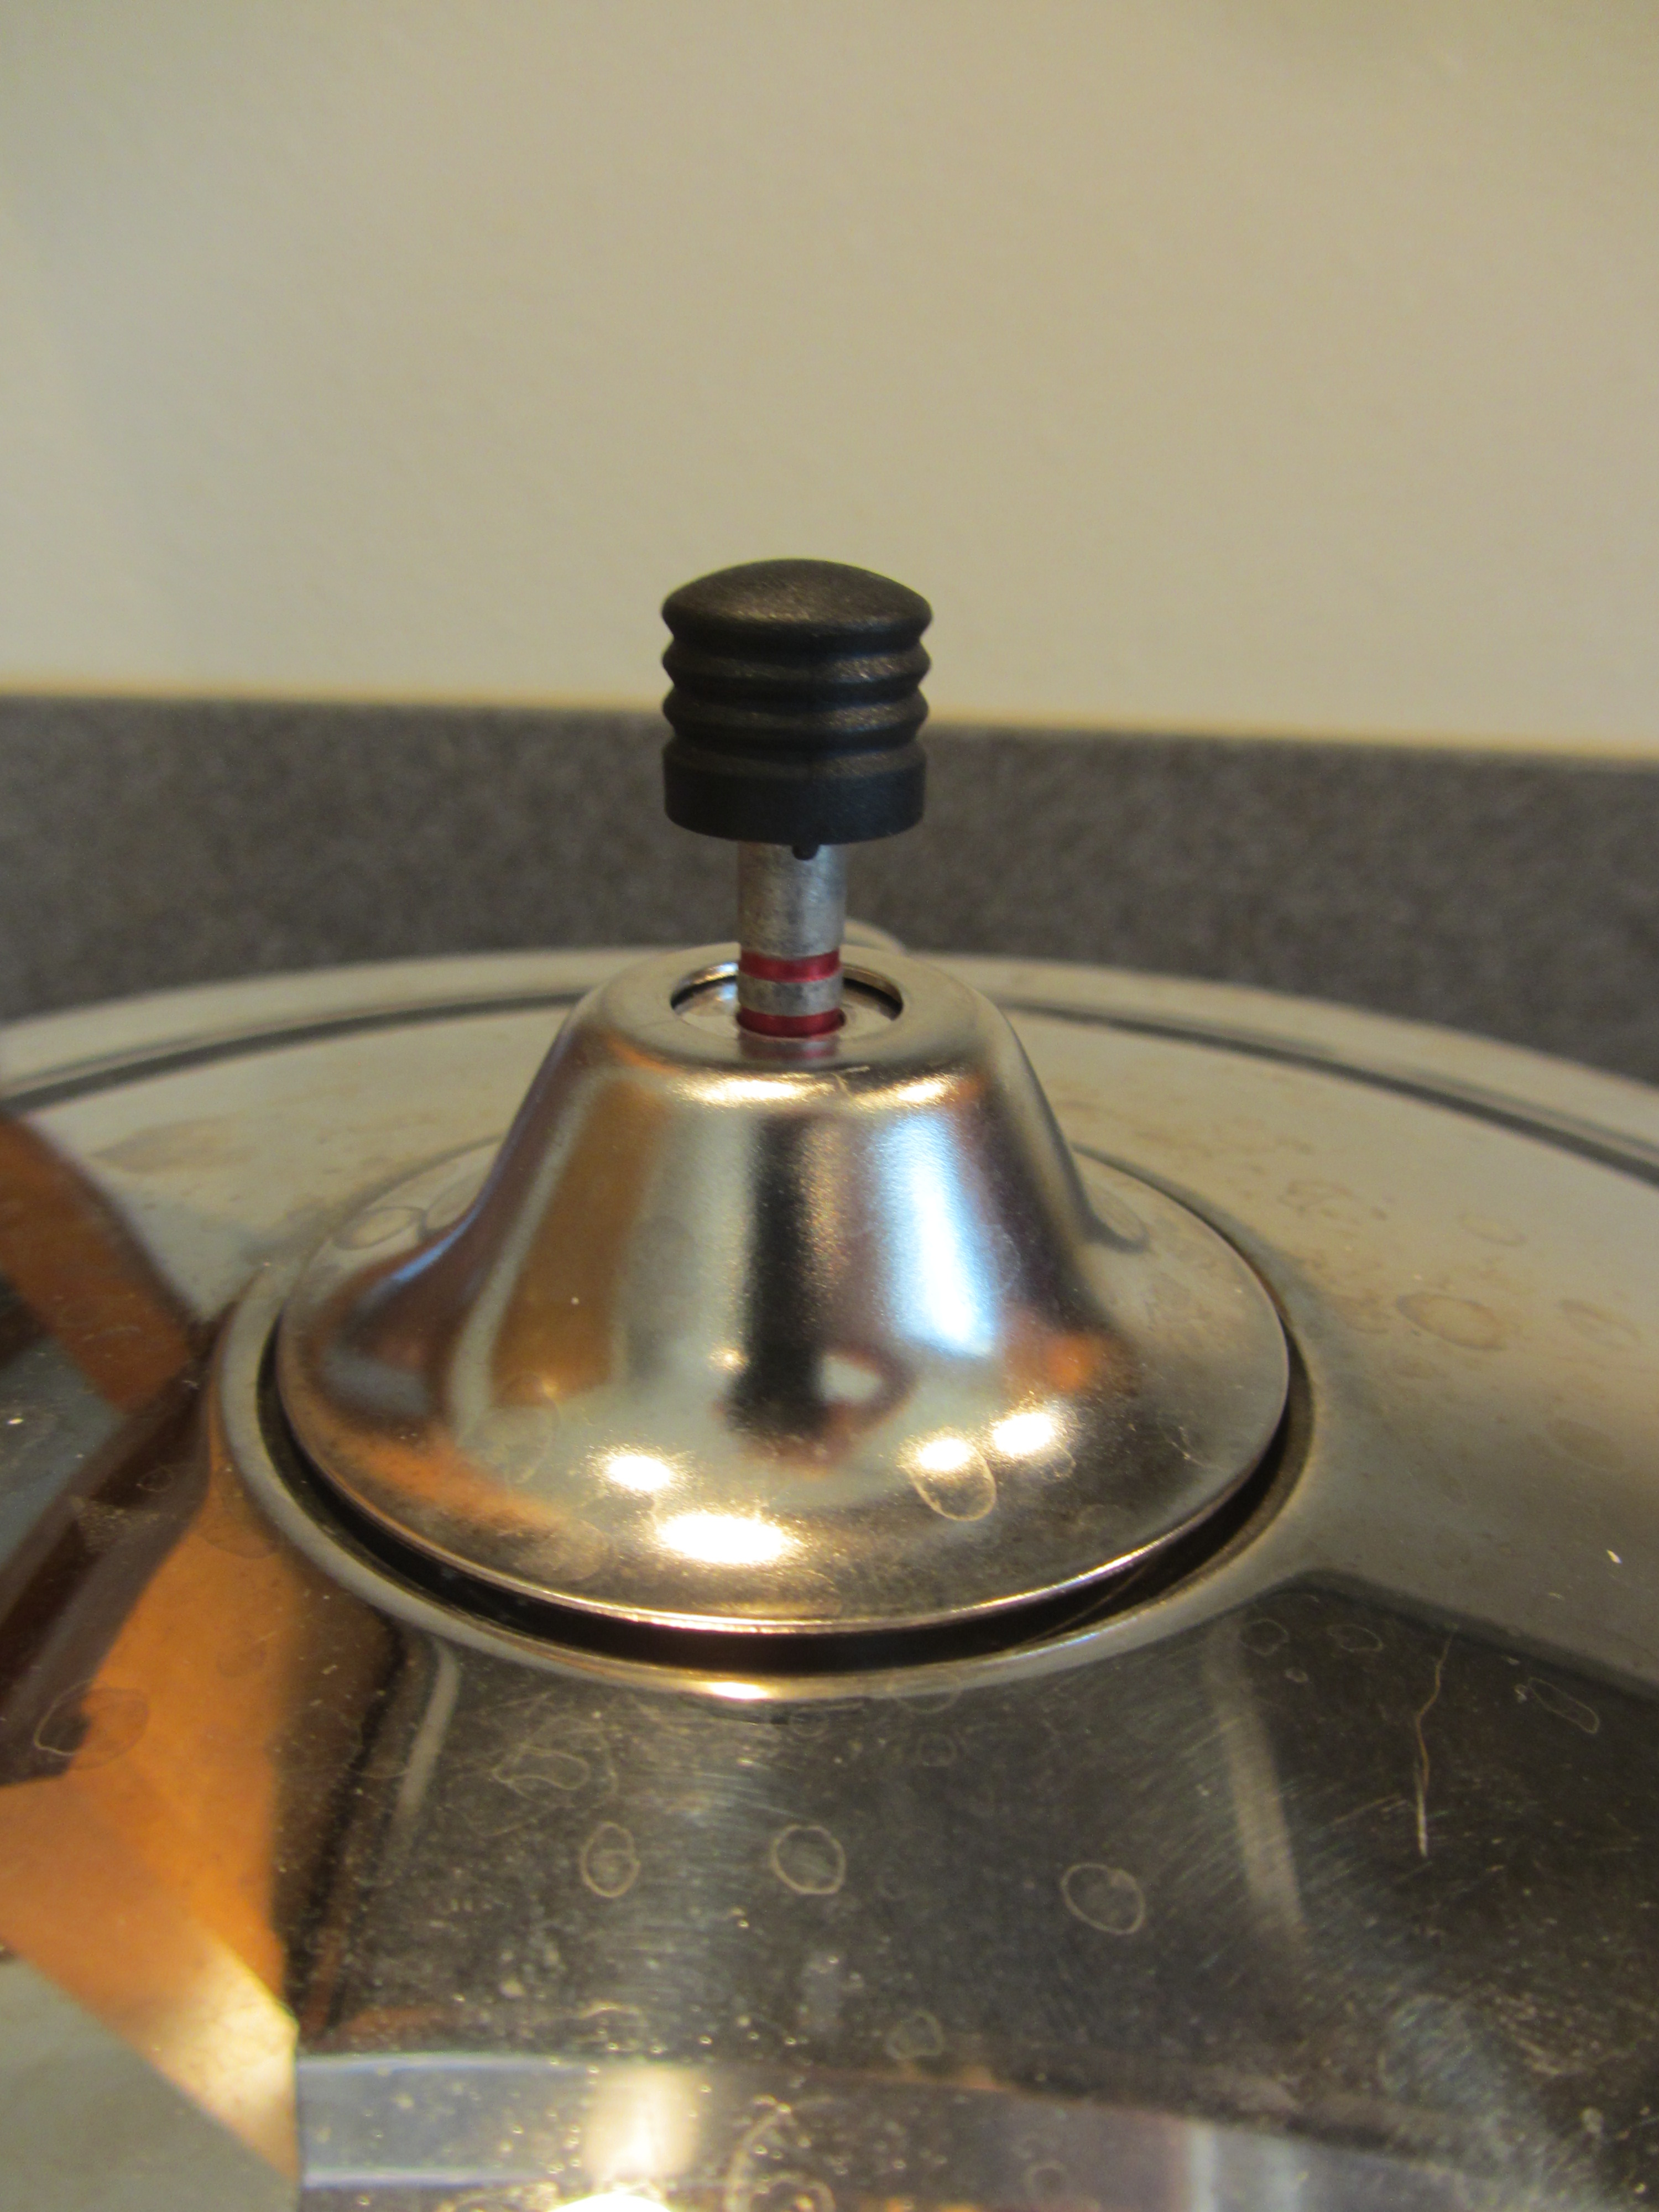
Heating the pressure cooker.

While the pot heats up, put the stew meat in a large bowl with 1 1/2 t Kosher salt, and toss to coat.

IMG_9892

Three pounds of stew meat being tossed with Kosher salt.

Add 2 t peanut oil to the meat, and toss again to coat.

IMG_9893

Three pounds of stew meat being tossed with Kosher salt and peanut oil.

Brown the meat in the hot pot, removing it after browning; you will want to do this in three batches, so the pan does not get overcrowded.

When all the meat has been browned, put the empty pot back on the heat and add 12 ounces of medium-bodied beer (I used one of Alton’s beers), scraping to deglaze the pan.

Add 1 T tomato paste to the beer, along with 1 T chili powder, 1 t ground cumin, 3 big handfuls of crumbled tortilla chips, 16 ounces salsa, 2 chopped canned chipotles, 1 T adobo sauce from the chipotles, and the 3 pounds of browned meat.

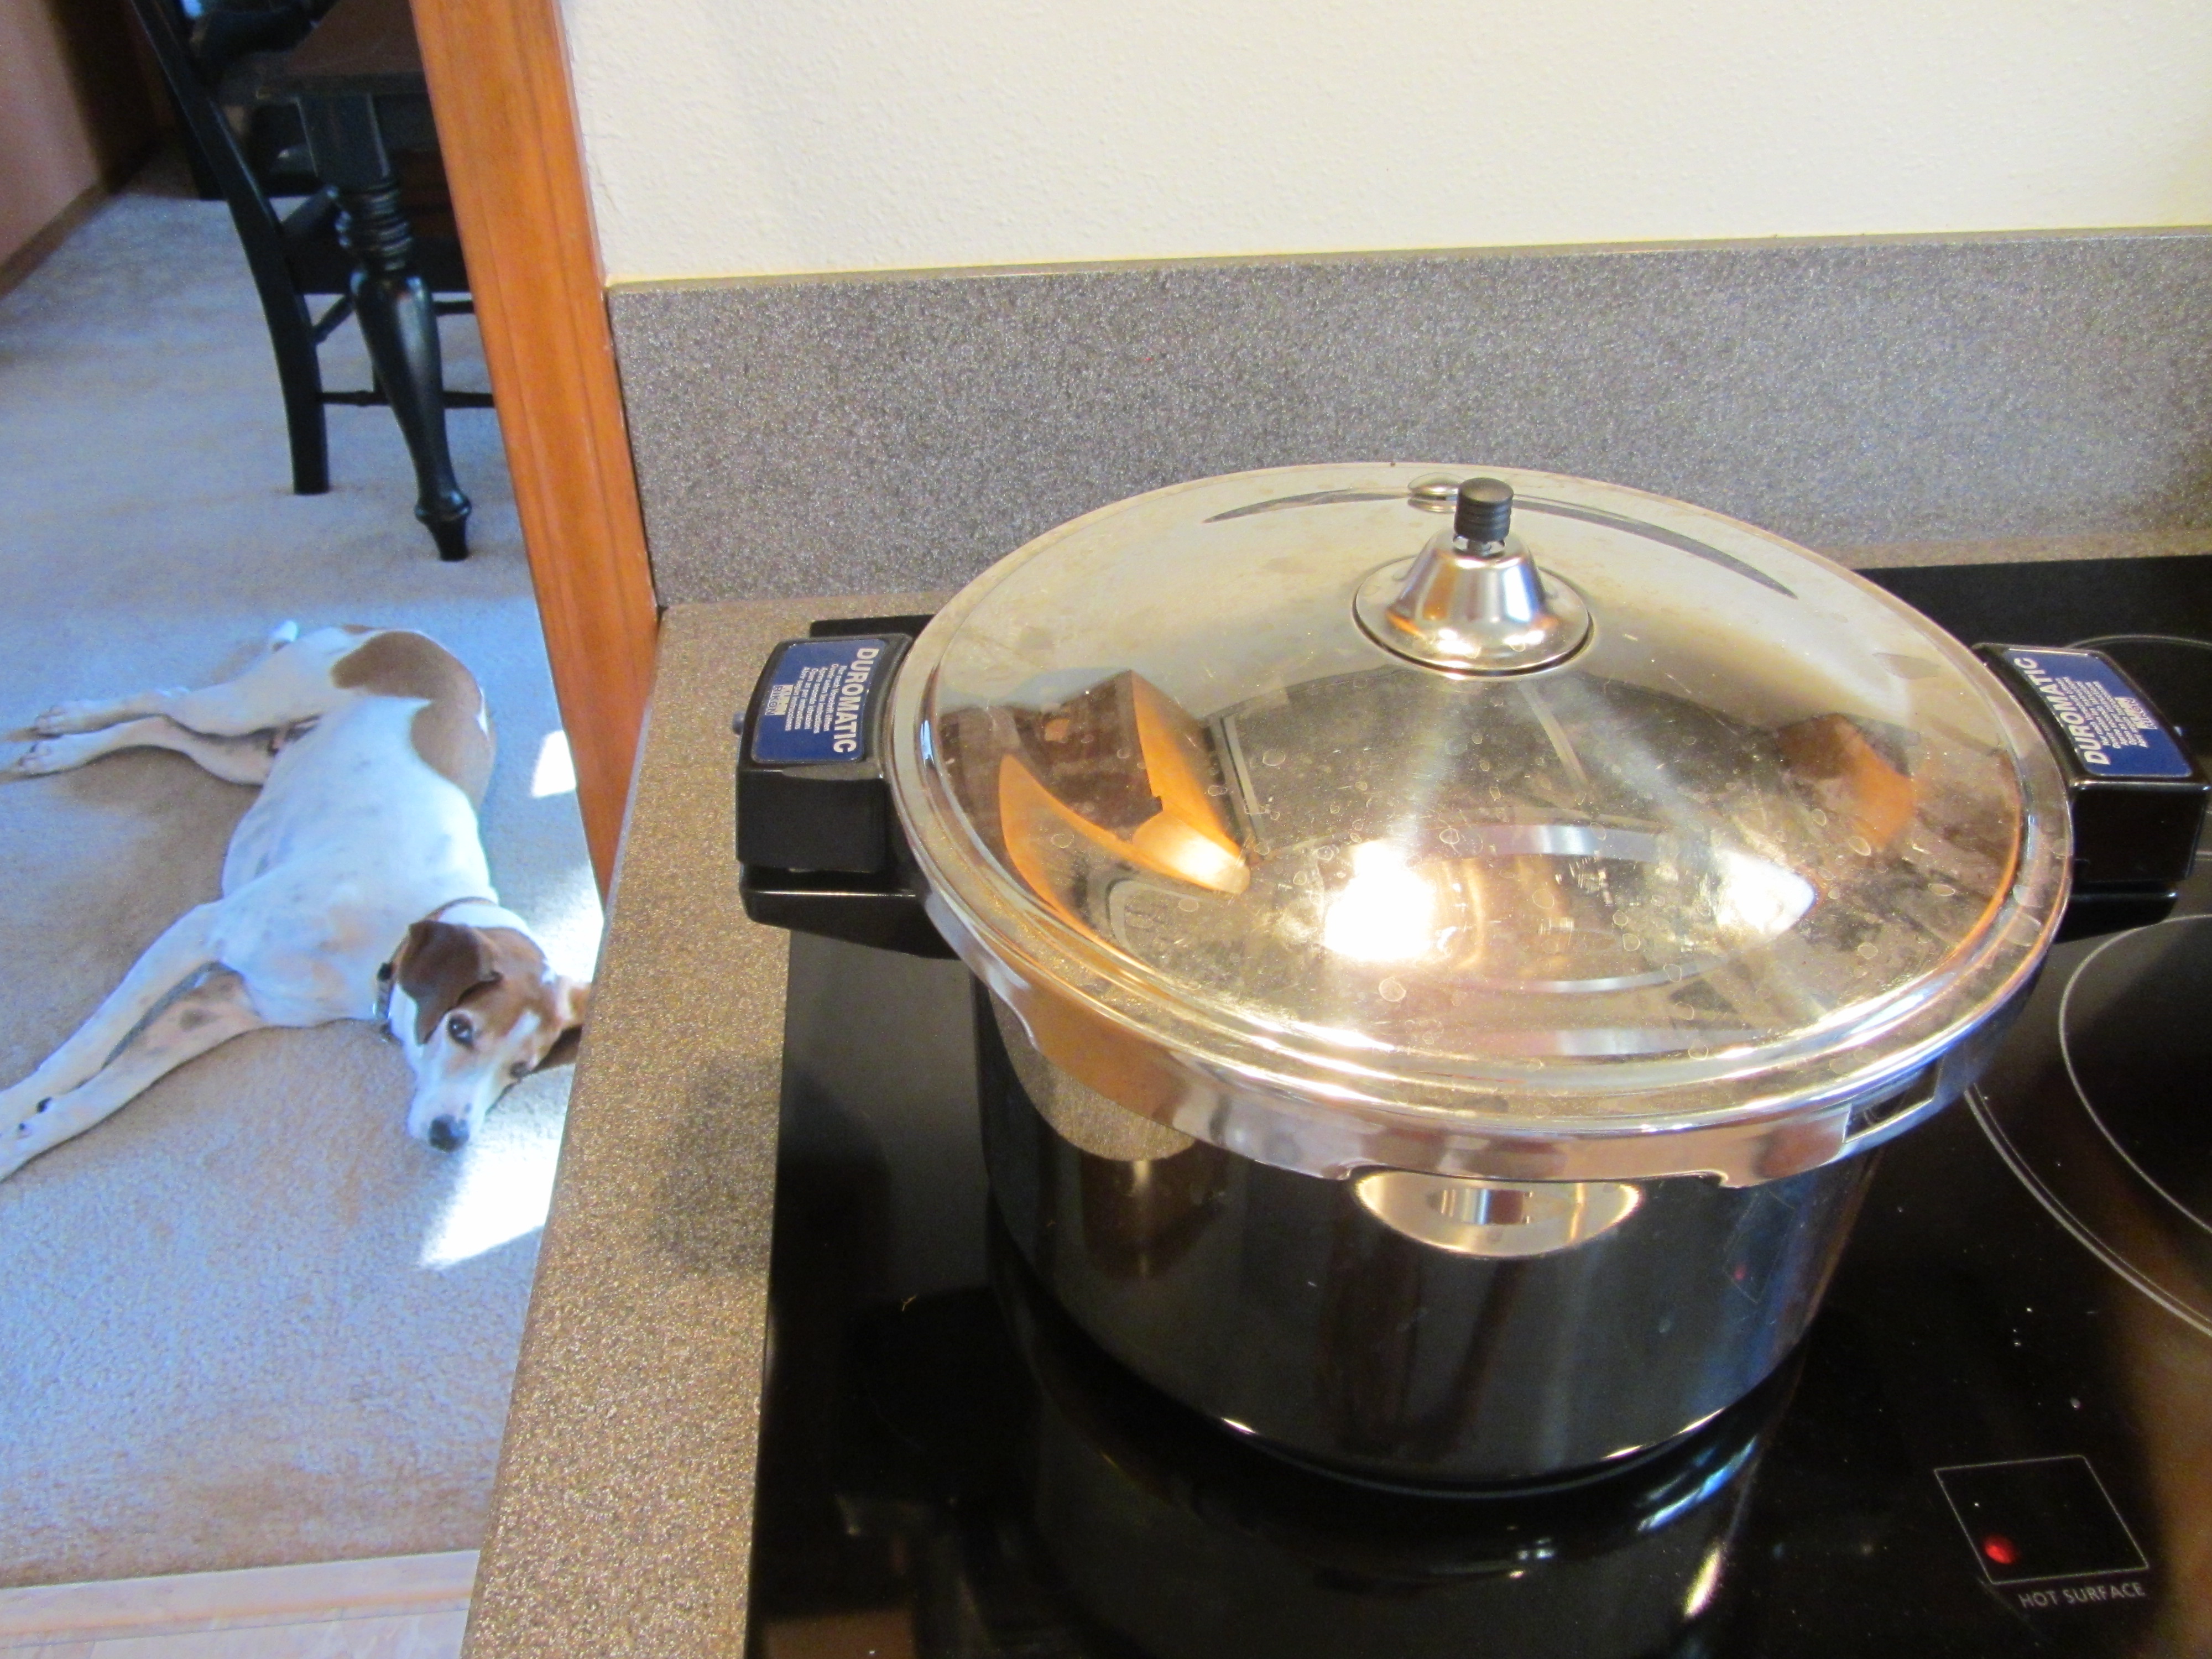
Put the lid on the cooker and bring it up to low pressure. Maintain low pressure for 25 minutes before releasing the pressure and serving.

IMG_9908

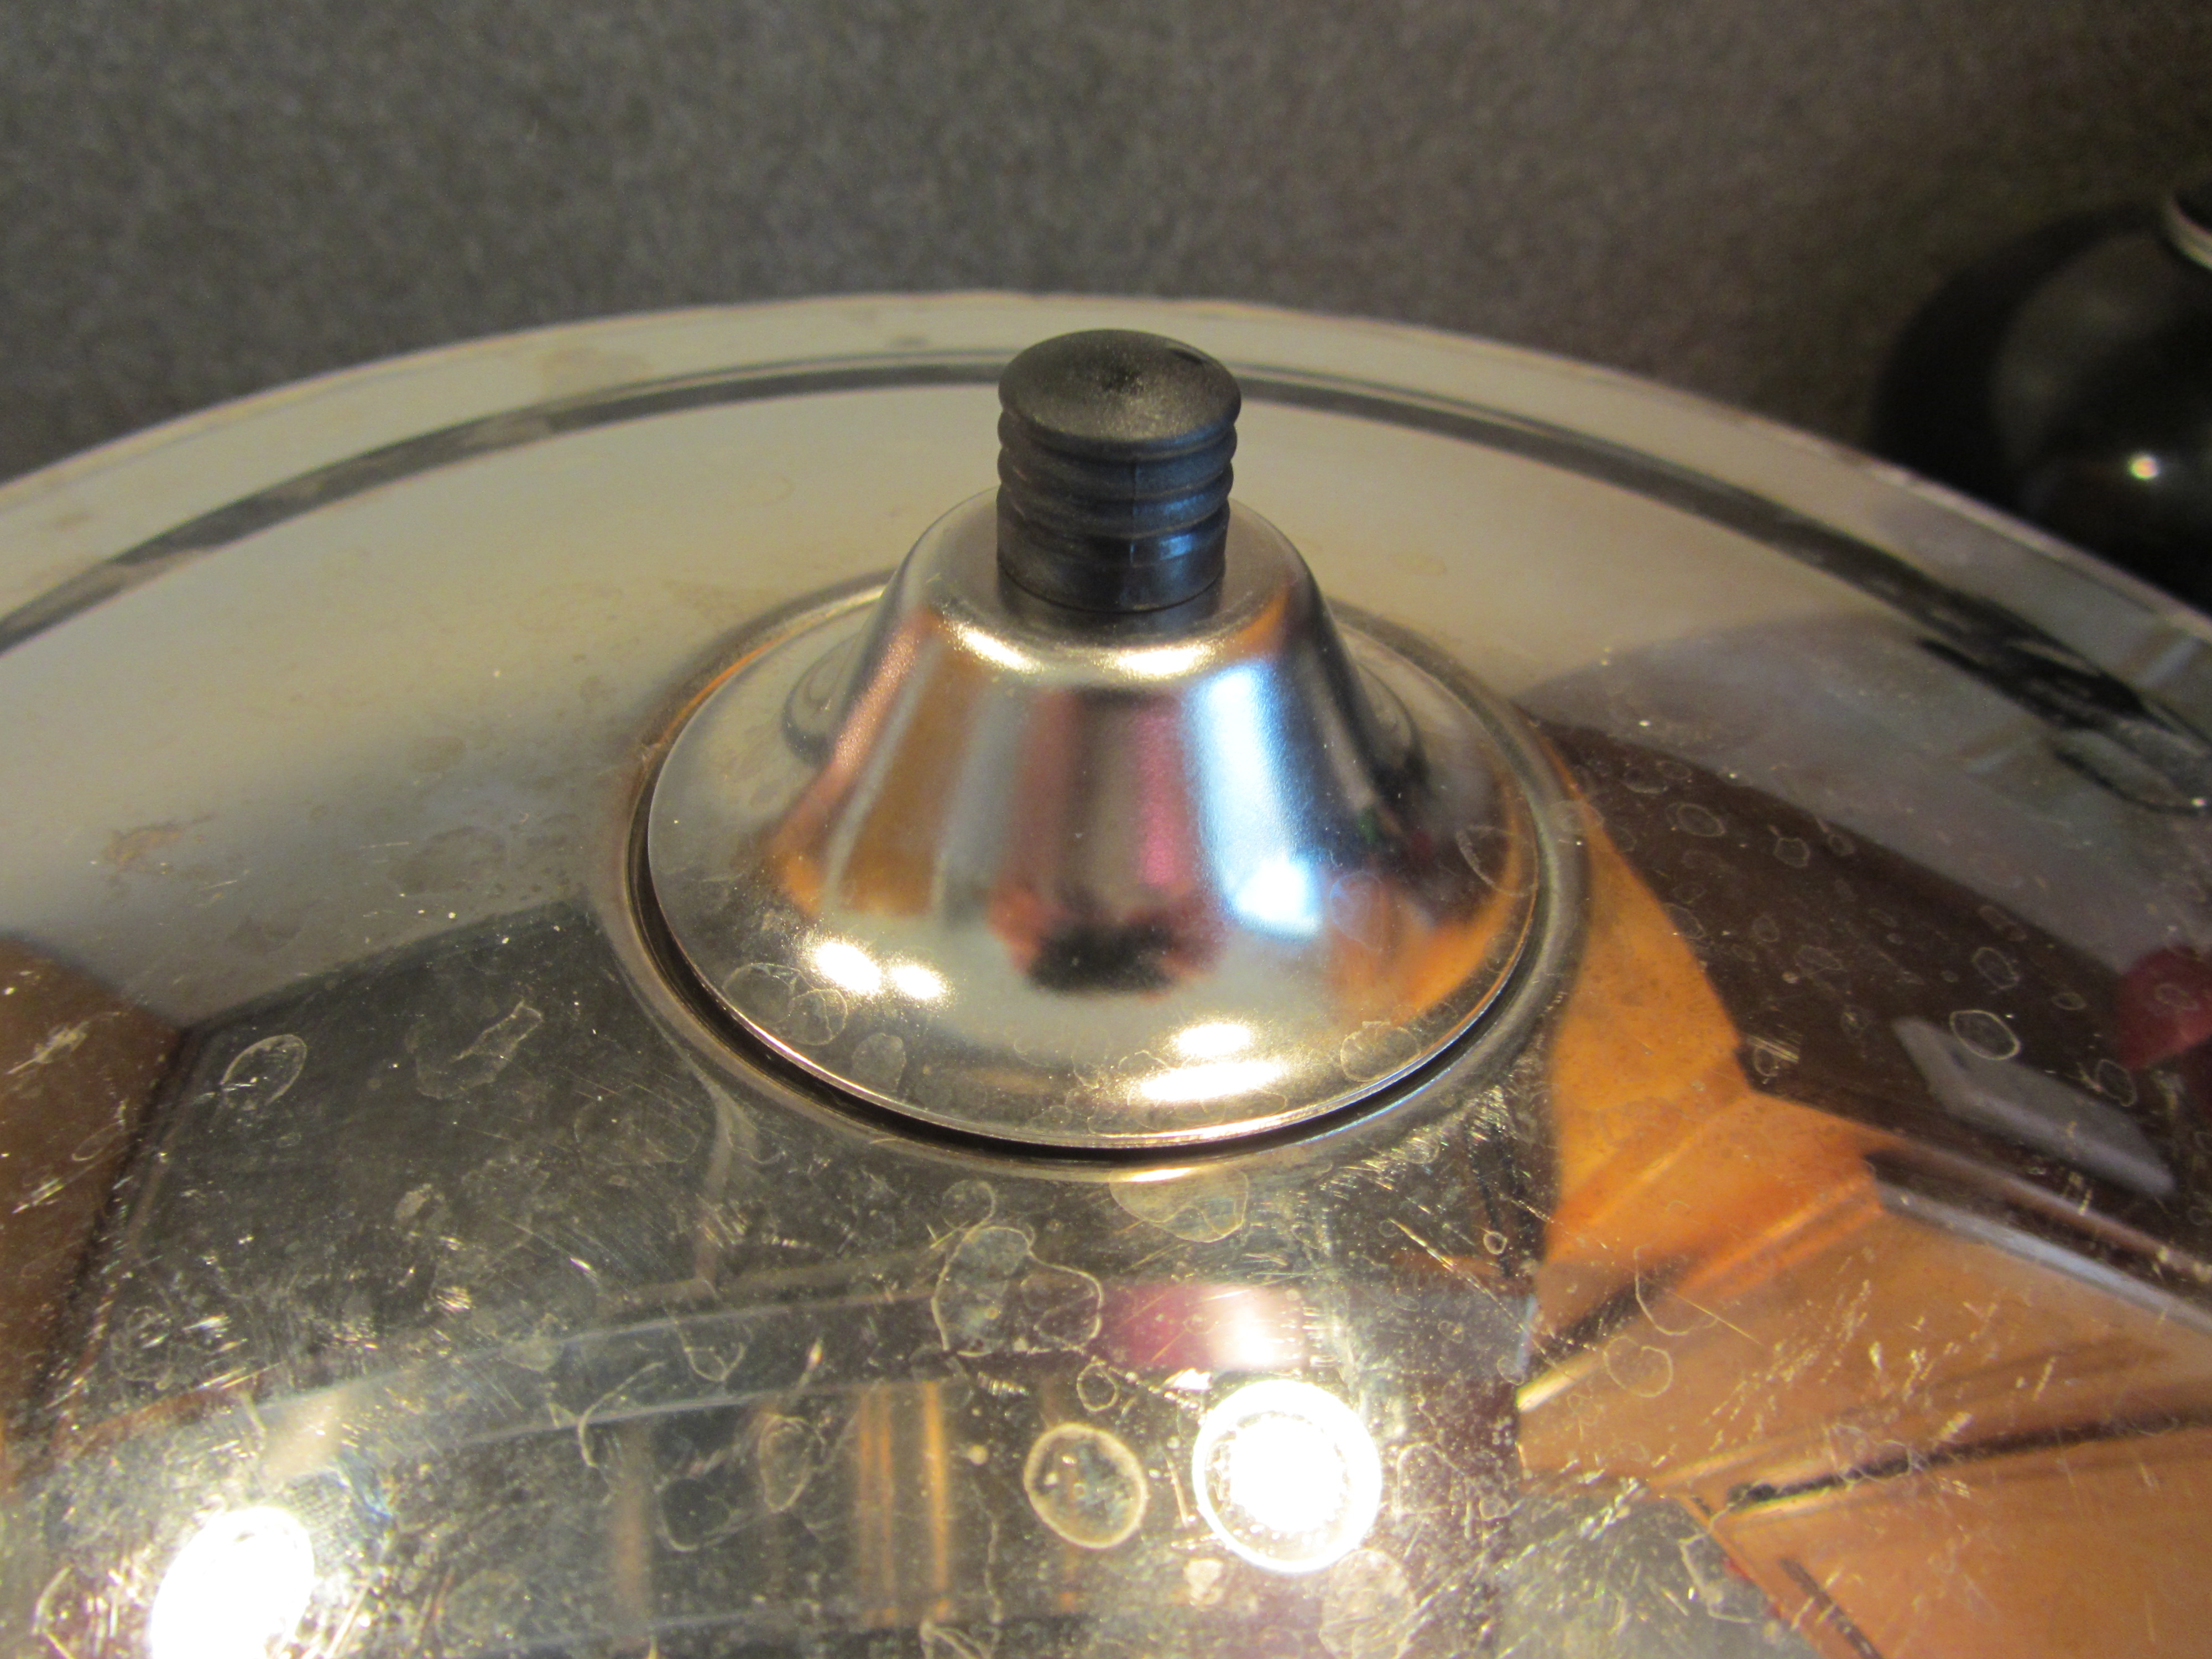
Lid put on pressure cooker.

IMG_9911

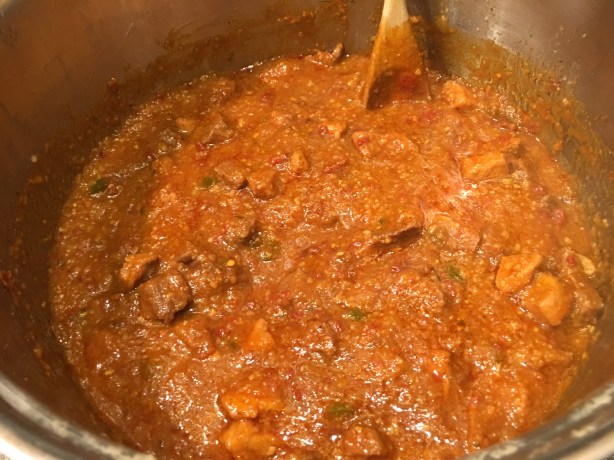
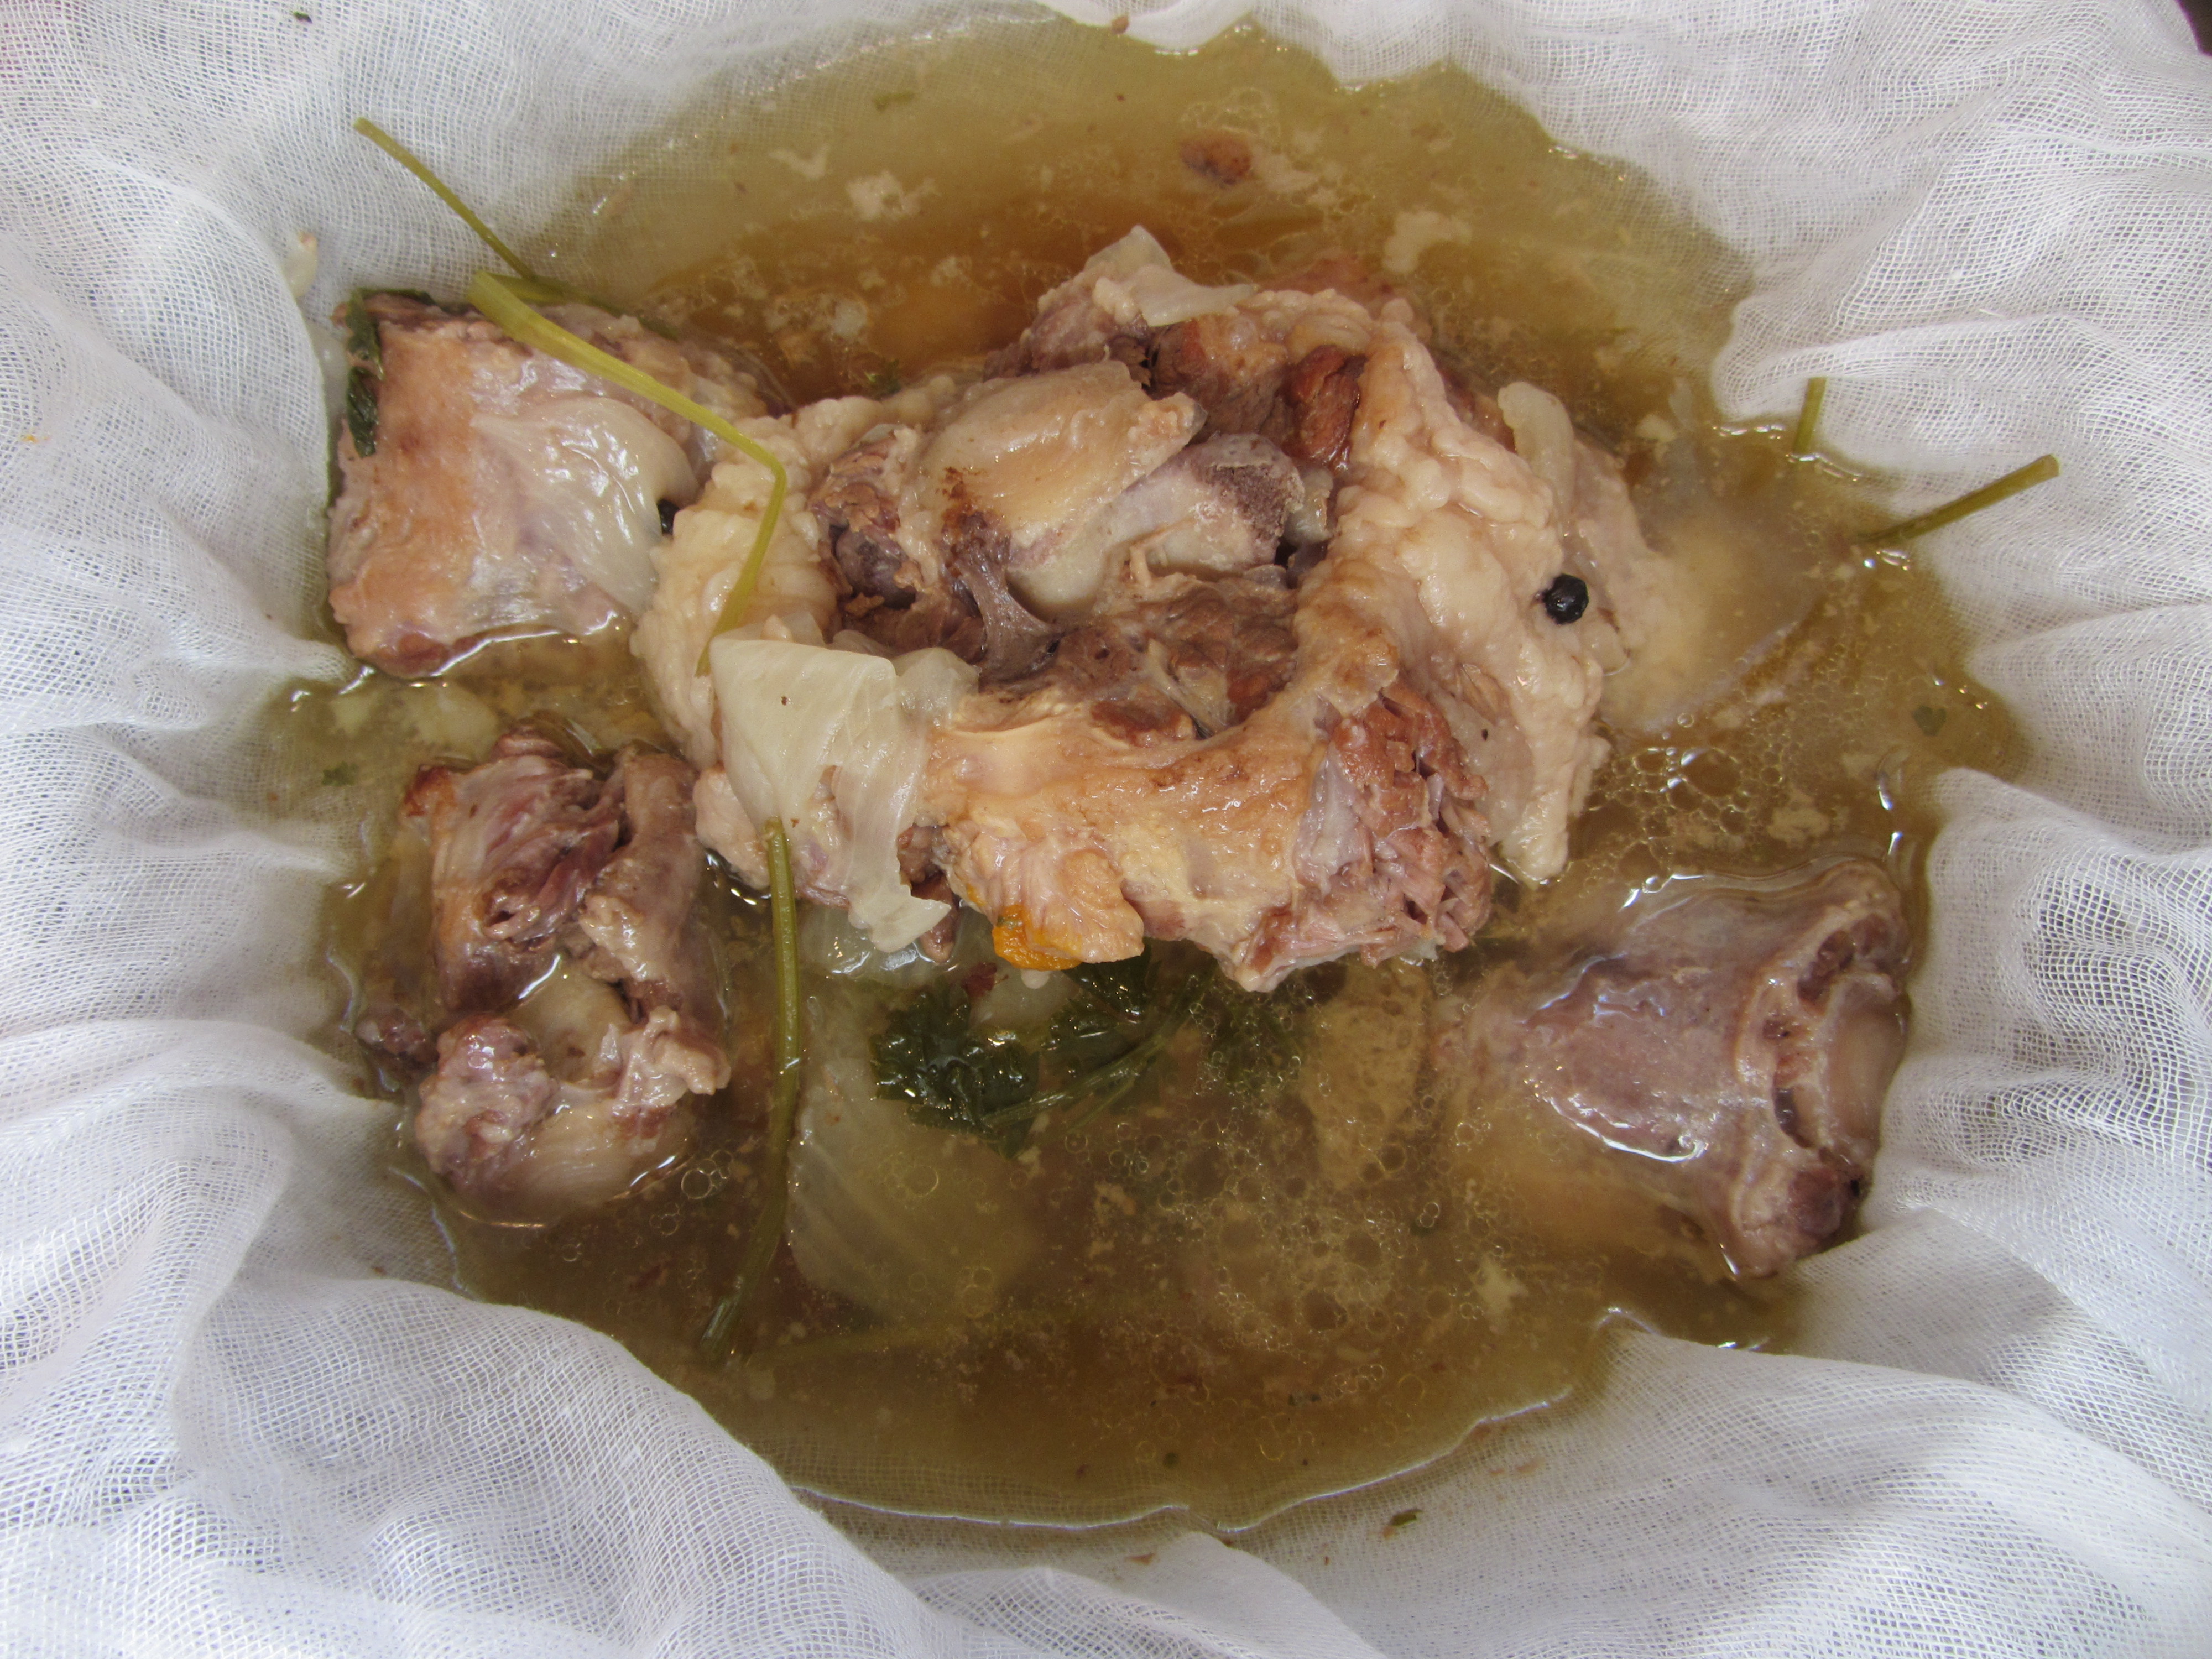
Chili after cooking for 25 minutes.

Alton thinks this chili is perfect as it stands, requiring no extra toppings, so I served it his way. I served my chili with a slice of cornbread on the side.

IMG_9912

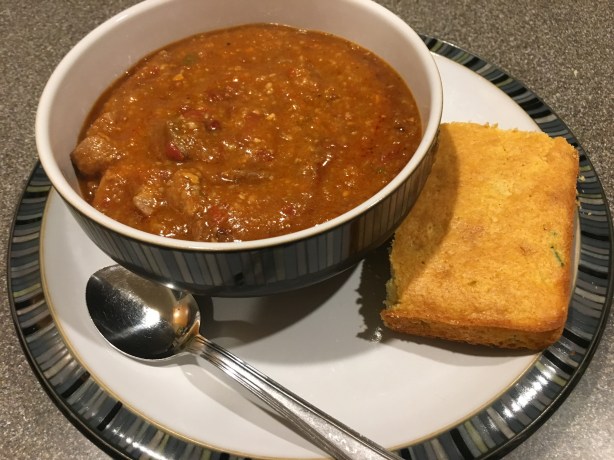
A bowl of Alton’s chili.

Oh, and for those who do not have a pressure cooker, you can make Alton’s chili in a Dutch oven, letting the chili cook, covered, in a 350-degree oven for 6-24 hours. The flavor of Alton’s chili is pretty fantastic, having just the right amount of heat. The flavor from the toasted chiles blends beautifully with the saltiness of the chips, the sweetness of the tomato paste, and the freshness of the salsa. I found that the beef stew meat was more tender than the pork stew meat, which was slightly chewy. Perhaps a little longer cook would tenderize the pork more. I happen to love lamb, so I wish I could have added some of that to my chili. I also happen to really like beans in my chili, so I would probably opt to add them next time, but that’s really a matter of personal preference. This chili is super flavorful, and if you happen to have a pressure cooker, you get the flavor of a long simmer with a very short cook time. The true hero of this recipe, though, is the homemade chili powder.


The 93rd episode of Good Eats is all about ways to utilize a variety of grains in the kitchen; wheat berries, bulgur, and couscous are the stars of the show. Wheat berries are whole wheat kernels that have not been processed. Bulgur, on the other hand, is whole wheat that has been cracked and partially cooked. Finally, couscous is actually not a grain at all, but a pasta that is often mistaken for being a grain because of its nutty flavor and usage in grain-like recipes. First up:  wheat berries.

Basic Cooked Wheat Berries

Alton first demonstrates his go-to method for cooking wheat berries, which can then be used in a variety of recipes. To begin, place 2 C of wheat berries in a large skillet, toasting them over medium-high heat until they begin to smell nutty. This toasting step is omitted in the online recipe, but certainly imparts more flavor in the finished wheat berries.

Place the toasted wheat berries in a pressure cooker, adding two heavy pinches of Kosher salt and 4 C of water, or enough to cover the wheat berries by about an inch.

Close the lid of the pressure cooker and bring it up to pressure over high heat. Decrease the heat and maintain the pressure for 45 minutes. If you have an electric range like I do, you may find that you have to adjust the burner temperature regularly to maintain pressure.

IMG_6057

Pressure cooker, being brought to pressure.

After 45 minutes of cooking, release the pressure from your cooker. I had never cooked wheat berries before, so I was not sure exactly what a perfectly cooked wheat berry would look like.

I found the wheat berries to have a nutty flavor and a slightly chewy al dente texture. I took Alton’s recommendations and used my wheat berries to make the next two recipes in the episode:  wheat berry tapenade and mushroom wheat berry pilaf.

Wheat Berry Tapenade

The first way Alton suggests to use cooked wheat berries is in his wheat berry tapenade. For the tapenade, combine three minced garlic cloves, 1 C chopped Kalamata olives, 1/2 t Dijon mustard, and 1 t Kosher salt.

Stir in 1 C of cooked wheat berries, and serve the tapenade with crackers or toast.

IMG_6071

Cooked wheat berries added to olive mixture.

IMG_6073

Wheat berry tapenade.

We ate this as an appetizer one evening and both thought it was super tasty. In fact, we ate a whole bowl. This tasted like any great Kalamata tapenade, but with much more to offer in the texture department. The salty, briny flavor of the olives supplemented with the tang of the mustard paired well with the nuttiness of the wheat berries. I did end up adding a squeeze of fresh lemon juice to my tapenade, as I felt it could use a small kick of acid. This is a healthy and fast appetizer to make (once the wheat berries are already cooked), and I will be making it again very soon.

Mushroom Wheat Berry Pilaf

I can only assume that Alton is a huge fan of his mushroom wheat berry pilaf, as an updated version of this recipe appears in his newest cookbook. The biggest difference between this version and the updated recipe is that the updated recipe uses no rice. For the pilaf, heat 1 T olive oil in a large skillet, adding 1 1/2 C chopped onion, a pinch of Kosher salt, 5 minced garlic cloves, and 1 T butter. Stir after each addition.

Increase the heat to high and add 1 pound of sliced mushrooms (I used cremini), and 1 T soy sauce.

IMG_6081

Mushrooms and soy sauce added to skillet.

Continue to cook the mushrooms until they have reduced by half, which will take a little while.

IMG_6082

Mushrooms, cooked until reduced by half.

Once the mushrooms have reduced, add 1/4 C chicken broth, 1/4 C red wine, 1 C cooked wheat berries, 1 1/2 C cooked rice, 1/2 t chopped fresh thyme, 1 t chopped fresh rosemary, and 1 t chopped lemon zest.

IMG_6089

Mushroom wheat berry pilaf.

We ate this as an entrée and both really liked it. For a vegetarian entree it had a lot of flavor and a variety of textures. The mushrooms and soy sauce give this dish a lot of umami flavor, while the herbs give it a nice freshness. The lemon zest comes through in this recipe in a big way, giving a refreshing, bright tang that really lightens everything up. Plus, this is another healthy, delicious way to incorporate whole grains. This is a fantastic recipe that could be used as either an entree or a side.

Bulgur Gazpacho

You had me at “gazpacho.” I absolutely love a spicy, tangy gazpacho, so this recipe piqued my interest right away.

IMG_5973

Ingredients for bulgur gazpacho: cucumber, scallions, bulgur, cumin, tomato puree, tomato/veg juice, tomato, garlic, green bell pepper, balsamic vinegar, hot sauce, and Kosher salt.

Start by bringing 1 C of water to a boil with 1/2 C tomato puree; I did this in the microwave.

IMG_5976

Water and tomato puree being heated to a boil.

Pour the tomato mixture over 3/4 C bulgur in a bowl, sloshing to combine. Cover the bowl with a plate and set it aside for 20 minutes.

After 20 minutes, add 1 minced garlic clove, 4 sliced scallions, 1 C seeded/diced cucumber, 1 C chopped tomato, and 3/4 C diced green bell pepper.

Next, stir in 1/2-1 C tomato juice (I used spicy V8), 2 T balsamic vinegar, 1-2 t hot sauce, 1/2 t cumin, and 1 1/2 t Kosher salt. Stir the gazpacho until combined and place in the refrigerator for at least an hour before eating.

IMG_5988

Bulgur gazpacho.

Sure enough, we really enjoyed this recipe. Though this isn’t soupy, it does have the vibrant, zesty flavors of a gazpacho. Also, with the addition of bulgur, this gazpacho has enough substance to stand alone as an entrée. There is also a lot of texture to this dish, coming from the variety of vegetables and the bulgur. This would be a really nice summer entree or side dish.

Steamed Couscous

Couscous is something we used to eat a lot, and this episode made me realize it is something we should eat more often. Alton begins his couscous segment with his recipe for steamed couscous, which can then be used in any couscous recipe. To make Alton’s couscous, prepare a steamer basket by adding water to the bottom pan, keeping the water level a couple inches below the bottom of the top basket. Heat the pan, allowing steam to begin to form. I used my pasta pot.

IMG_6011

Preheating steamer.

Meanwhile, rinse 2 C of couscous with water and turn it out onto a sheet pan. Sprinkle the couscous all over with Kosher salt.

Once steam has formed in your steamer, line the top part of the steamer with a damp kitchen towel and dump the couscous into the towel. Fold the towel over the couscous, forming a bundle. Place the lid on the steamer and set a timer for 15 minutes.

After 15 minutes, use tongs to lift the couscous-filled towel, dumping the couscous onto the sheet pan again. Drizzle 1/2 C cold water over the couscous, tossing.

Next, spritz the couscous with oil or non-stick spray, also lubing your hands. Rub the oil into the couscous for about three minutes, breaking up any clumps.

Once again, transfer the couscous back into the towel-lined steamer, folding the towel over the couscous. Place the lid on the steamer and steam the couscous for a final 10 minutes.

IMG_6028

Couscous after final 10 minute steaming.

I have to say that this couscous method is the most labor-intensive one I have ever used. The resulting couscous was fluffy and lump-free, but I don’t think I would go to the trouble of making couscous this way again. I did what Alton did and used my steamed couscous to make his cherry couscous pudding, which follows below.

Cherry Couscous Pudding

Although I have eaten my share of couscous, I had never had it in a sweet application… until this recipe. For this one, heat 1/2 C whole milk, 3 T sugar, and 1/4 C dried cherries. Once warm, set aside for 10 minutes to steep.

After 10 minutes, add the pulp of one vanilla bean to the milk.

Pour the milk mixture over your steamed couscous (see above), stirring to combine.

IMG_6045

Milk mixture poured over steamed couscous.

Add 8 ounces vanilla yogurt and refrigerate the pudding for at least an hour before serving.

Sprinkle individual servings of the pudding with cinnamon.

IMG_6095

Couscous pudding, sprinkled with cinnamon.

This recipe was a real dud. It was dry and flavorless, but I think I know what the issue was. In the episode, Alton cooked his steamed couscous as written above, using the full batch of couscous to make this pudding. In looking at the online recipe, I see that it calls for only 1 1/2 C of the steamed couscous. This may be a first, but I think the online recipe may be correct, while Alton’s preparation in the episode resulted in a super dry couscous that was anything but pudding-like. I am somewhat tempted to make this again with only 1 1/2 C of couscous, as surely it would have better flavor and texture. Honestly, this is the first couscous recipe I have not liked, and I cannot recommend it as it was prepared in the episode.

This post is quite overdue, but at least I’m getting to it now, right? The recipe in this episode of Good Eats involves the use of a pressure cooker. Thankfully, my parents had given me a pressure cooker for Christmas years ago when I was trying to start a personal chef service. Note:  personal chef services do not tend to do well in very small college towns.

I have loved my pressure cooker when I have used it, and I surely have not used it enough. My mother-in-law tells the story of her pressure cooker exploding years ago when she was cooking beets. Red beet juice was everywhere. Modern pressure cookers are safe and efficient, and work wonderfully for fast cooking of otherwise slow-cooking foods.

AB’s Beefy Broth

In this episode of Good Eats, Alton’s TV sister has a nasty case of the flu and asks him to make some broth for her. I figured the timing of this recipe was perfect as my husband was in his second week of chemo and radiation. To start, Alton clarifies the difference between a stock and a broth. A stock, you see, only requires water and bones. A broth, on the other hand, is water with meat or vegetables, and the meat and veggies are strained out. If the meat and vegetables are left in, you have a soup.

To make Alton’s recipe for beef broth, you will need a total of three pounds of beef shank and oxtail, ideally in equal proportions. I tried to find beef shank in numerous stores and at the butcher shop, but with no luck, so I ended up using all oxtail pieces.

Ingredients for Alton's beef broth:  Kosher salt, canola oil, onions, black peppercorns, garlic, carrots, parsley, and celery. Not pictured:  beef pieces and water.

Ingredients for Alton’s beef broth: Kosher salt, canola oil, onions, black peppercorns, garlic, carrots, parsley, and celery. Not pictured: beef pieces and water.

To start, heat your pressure cooker over high heat.

Pressure cooker heating. Dog waiting.

Pressure cooker heating. Dog waiting.

While the pressure cooker heats, put the meat pieces in a bowl and drizzle them with canola oil. Sprinkle them with 1/4 t Kosher salt and toss them to coat.

Three pounds of oxtail pieces in a bowl.

Three pounds of oxtail pieces in a bowl.

Meat pieces tossed with canola oil and Kosher salt.

Meat pieces tossed with canola oil and Kosher salt.

Alton explains that the oil acts as a conductor, while the salt serves to add flavor and pull out “protein-laden juices.” Once the pressure cooker is hot, add the meat pieces, leaving an inch between them. You will want to do this in a couple of batches, as you don’t want to overcrowd the pan.

Meat pieces into the pressure cooker.

Meat pieces into the pressure cooker.

Turn the meat pieces with tongs, letting them sear on all sides before removing them from the pan.

Searing the meat on all sides.

Searing the meat on all sides.

Remove any excess fat from the pan with a wad of paper towels.

Excess fat to be removed with paper towels.

Excess fat to be removed with paper towels.

Next, add the meat back to the cooker, along with two quartered onions, two celery ribs, two carrots, a handful of parsley stems, two cloves of garlic, and 1 t black peppercorns.

Meat, onions, celery, carrots, parsley stems, garlic, and peppercorns added to cooker.

Meat, onions, celery, carrots, parsley stems, garlic, and peppercorns added to cooker.

Also add two quarts of water, making sure your pressure cooker is filled no higher than 2/3 full.

Two quarts of water added to cooker.

Two quarts of water added to cooker.

Bring the liquid to a boil and skim the protein foam off of the top.

Protein foam to be skimmed off of the top.

Protein foam to be skimmed off of the top.

Lock the lid on your cooker and bring it to full pressure. Cook for 50 minutes.

Lid on the cooker. Other dog waiting.

Lid on the cooker. Other dog waiting.

Pressure cooker at full pressure for 50 minutes.

Pressure cooker at full pressure for 50 minutes.

Once cooked, release the pressure from your cooker and strain the broth through cheesecloth.

Pressure released after 50 minutes.

Pressure released after 50 minutes.

The broth after cooking.

The broth after cooking.

Straining the broth through cheesecloth.

Straining the broth through cheesecloth.

Using an oven mitt wrapped with a plastic bag, squeeze the meat to get all of the juices out.

Squeezing the juice out of the meat pieces.

Squeezing the juice out of the meat pieces.

Alton told you to strain your broth a second time, but my broth looked very clear and I skipped the second straining.

The strained broth.

The strained broth.

The broth will have a fair amount of fat on the top. You can get rid of the fat by transporting the broth to a new container, using a gravy separator and discarding the fat.

Using a gravy separator to discard the fat from the broth.

Using a gravy separator to discard the fat from the broth.

At this point, taste your broth and season as necessary. Alton recommends salt and sherry for seasonings, or you could add lemon juice. My broth needed quite a bit of salt, and I added a few dashes of sherry.

Sherry for seasoning.

Sherry for seasoning.

You can eat the broth as it is, or you can use it as a base for soups. We both had a mug of broth as soon as it was ready, and it was delicious. It had loads of meaty flavor, a rich mouthfeel, and really tasted of umami. The sherry really served to enhance the beefy flavor. We froze the rest of our broth for later use; I anticipate that some of it will be consumed plain and some will be used to make soup. If someone you know is sick or looking for good old-fashioned comfort food, Alton’s beef broth should be on your list.