Episode 109 centers around wonton wrappers and the different ways to use them. Wonton comes from the Cantonese term “wahn tan,” which means “cloud swallow.” While it is possible to make your own wonton wrappers at home, Alton was adamant that it is not worth the time and effort to do so. Instead, do yourself a favor and buy the wonton wrappers that are readily available in the produce section of almost any grocery store.
Perfect Potstickers
This episode starts with Alton’s version of potstickers, featuring a pork and vegetable filling. The filling is made by combining in a bowl 1/2 pound ground pork, 1/4 C chopped scallions, 1 beaten egg, 2 T finely chopped red bell pepper, 1 1/2 t Kosher salt, 1/2 t pepper, 1 t light brown sugar, 1/4 t cayenne pepper, 2 t Worcestershire sauce, 2 t ketchup, and 1 t yellow mustard.


Mix the filling thoroughly with gloved hands.

The mixed potsticker filling.
As you fill your wonton wrappers, be sure to keep the remaining wrappers moist by covering them with a damp paper towel.

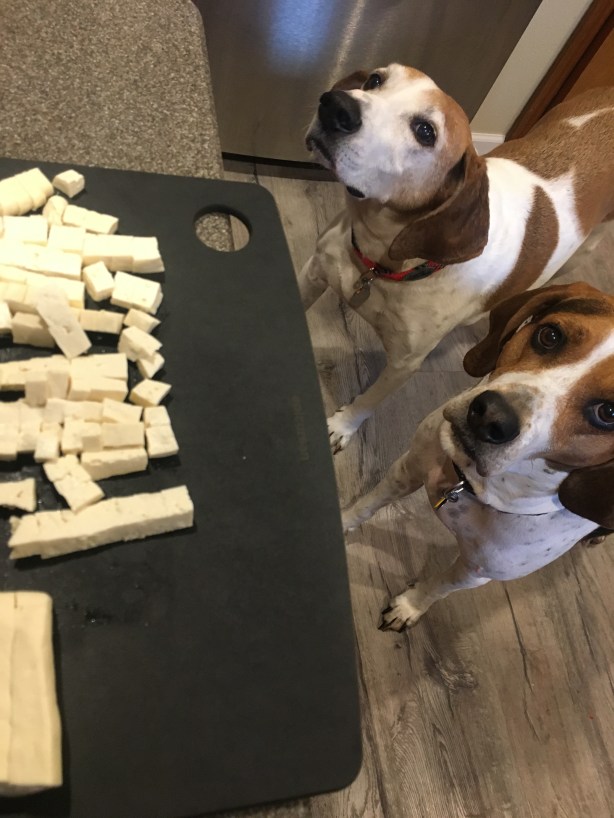
Wonton wrappers.
To form the potstickers, place a wrapper so it is a diamond in front of you. Brush the two edges furthest from you with water and place a melon baller of filling (about 1/2 t) in the center.

Wonton wrapper with the two far edges brushed with water and a melon baller of filling.
Fold the bottom of the diamond over the filling to form a triangle, pressing the edges together and squeezing to remove any air bubbles.


Make two pleats on each short side of the triangle by folding the wrapper under itself and pressing (see photo).

Pleats made on each short side of the triangle.
Set the formed potstickers on a sheet pan, covering them with a damp towel until you finish filling the rest of the wrappers. For long-term storage (these will keep for 6+ months in the freezer), freeze the potstickers on a sheet pan and then transfer them to ziplock freezer bags. To cook the potstickers, heat a large skillet (that has a lid) over medium heat. Ideally, you do not want to use a nonstick skillet to cook potstickers, as you want them to stick to the pan. I, however, do not have a large skillet that is not nonstick, so I had to work with what I have. Heat the skillet until water droplets will “dance” across the surface of the pan. When the skillet is hot, brush the pan with a thin layer of vegetable oil and place 8-10 potstickers in the pan. Let the potstickers cook for two minutes, resisting the urge to lift or move them.


When the potstickers have begun to stick to the pan, add 1/3 C chicken stock to the pan and quickly put the lid on the pan. Decrease the heat to low and cook the potstickers for two more minutes.


If you need to cook more potstickers, transfer the cooked potstickers to a foil cone and place it in a 200 degree oven while you cook the rest.


Be sure to deglaze the pan between batches by adding water to the pan and scraping up any stuck bits. Alton recommends serving the potstickers with hoisin sauce (you can buy this in the grocery store) or a mixture of soy sauce and honey. I served my potstickers with a mixture of soy sauce and lemon juice.

A plate of Alton’s potstickers.
These potstickers are fantastic. They are far superior to the frozen versions you get at any store. The filling is a perfectly balanced mixture of sweetness, spiciness, and tanginess. The wrappers are nearly translucent after cooking, having the texture of an al dente noodle on top and light crispiness on the bottom. I found that soy sauce overpowered the flavor of the filling, so I opted to eat mine with just a small amount of Asian mustard. Yes, it does take a little bit of time to fill and form the potstickers, but they are worth the time. I will absolutely make these again.
Vegetarian Steamed Dumplings
Another way to use wonton wrappers is to make steamed dumplings. If you do not have a steamer, Alton has a hack for you. To assemble his steamer, you will need a wide pot with a lid, a few pastry rings or tuna cans with the tops and bottoms removed, and disposable pie plates that you have perforated with scissors or a knife. To assemble the steamer, place 1/2″ water in the bottom of the pot, followed by a pastry ring or can. Top the ring/can with a perforated pie plate. Continue layering rings and pie plates to the top of the pot and put on the lid. You can then steam your dumplings by placing five dumplings in each pie plate layer. We have a bamboo steamer, so I used that. Anyway, back to the recipe. Cut 1/2 pound of tofu in half horizontally and place the layers between paper towels for 20 minutes. It helps to place a plate or pan on top to press out excess liquid.


Once the tofu is ready, cut it into small cubes and place it in a bowl.
Cubing the tofu.
To the tofu add 1/2 C grated carrot, 1/2 C shredded Napa cabbage, 2 T chopped scallions, 2 T chopped red bell pepper, 2 t minced ginger, 1 T chopped cilantro, 1 T soy sauce, 1 T hoisin sauce (in the Asian section at the grocery store), 2 t sesame oil, 1 t Kosher salt, 1/4 t pepper, and one beaten egg.


Lightly stir the filling, as you do not want to break up the tofu.
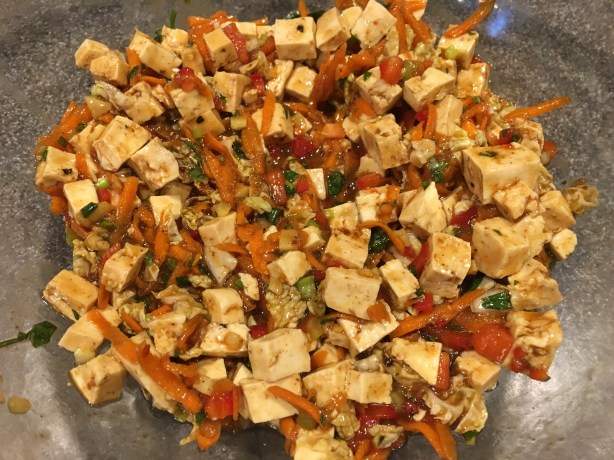
Dumpling filling.
Place your wonton wrappers in damp paper towels to keep them moist as you fill. To fill, place a wrapper so it is a diamond in front of you and place a melon baller (~1/2 t) of filling in the center. Brush all four edges of the wrapper with water and bring opposite corners together.


Press the edges together, squeezing out any air bubbles.
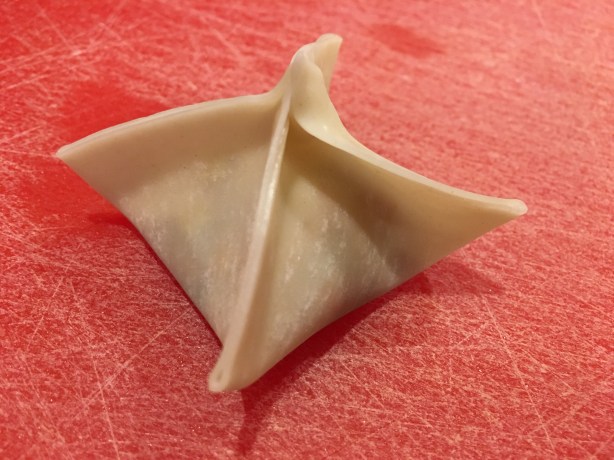
Folding opposite corners together and pinching the seams.
Place the filled dumplings on a sheet pan and cover them with a damp towel while you fill the remaining wrappers. You can freeze them for later use or cook them immediately.
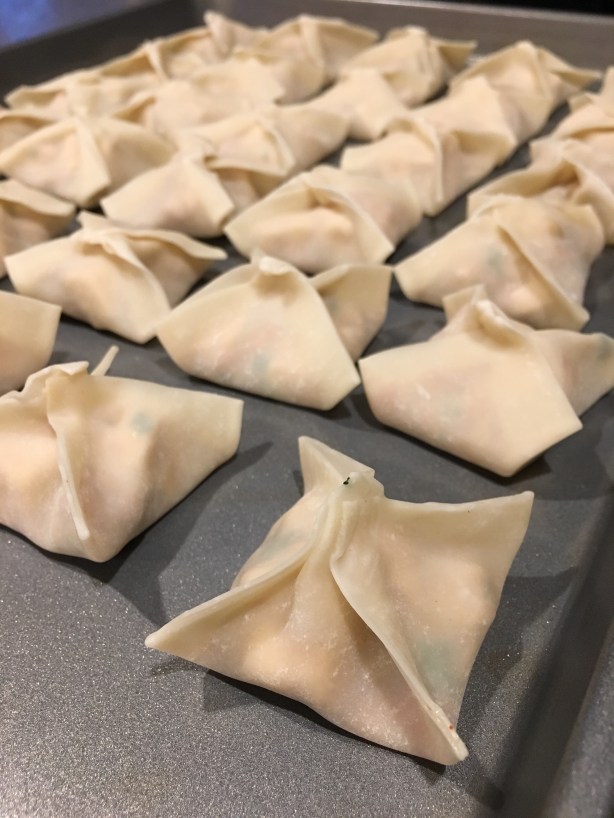
Dumplings on sheet pan.
To cook the dumplings, heat water in a steamer until you can see steam. If using Alton’s steamer, spray the pie plates with oil. Place the dumplings in the steamer, put the lid on, and cook the dumplings for 10-12 minutes.


Alton recommends serving these dumplings in a bowl of chicken stock. For vegetarians, you could use vegetable broth. I had some homemade chicken stock in the freezer, so served my dumplings in that.

Alton’s vegetarian steamed dumplings in chicken stock.
This is another wonderful recipe. In fact, we probably liked these vegetarian dumplings more than the pork potstickers. The filling of the dumplings is spicy and sweet, with occasional punches of fresh ginger and cilantro, and the dumplings look quite pretty when folded in this manner. Serving the dumplings in a bowl of warm stock makes for a delicious meal. Great recipe.
Pear Walnut Wontons
Dessert wontons? Yep, Alton has a recipe for those too. The filling for these wontons starts by combining 1/4 C sugar and 1/4 C water in a saucier. Bring the water and sugar to a simmer over medium heat, or until the sugar has dissolved.
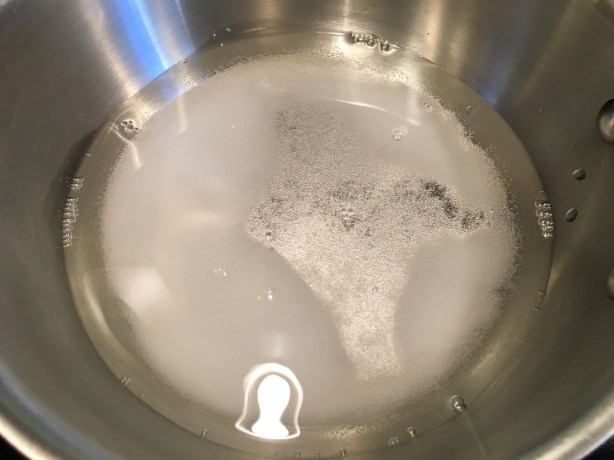
Sugar and water over medium heat.
Meanwhile, split a vanilla bean and scrape out its seeds.
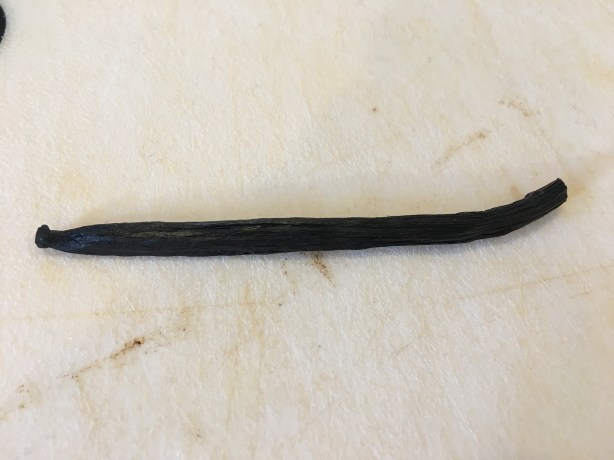
Vanilla bean to be scraped.
When the sugar has dissolved in the pan, remove it from the heat and add 1 T orange liqueur and the vanilla bean scrapings. Let the syrup cool.


Next, chop 6 ounces of dried pears and place them in the bowl of a food processor.


Pulse the pears until they clump together.
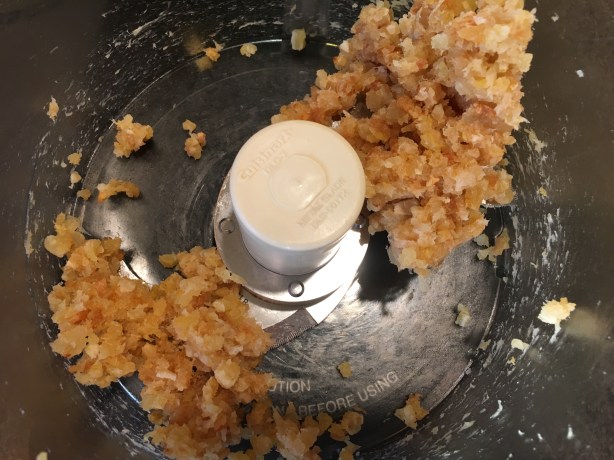
Dried pears pulsed until clumpy.
Add the cooled sugar syrup to the pears and pulse until smooth.


Place 1 1/4 ounces toasted and chopped walnuts in a bowl (I toasted mine in a skillet over low heat) and add the pear mixture, stirring to combine.


Place the filling in the refrigerator for an hour or up to overnight. For these wontons, Alton used a different forming method than for the two previous recipes. For these, he placed a wonton wrapper on top of his fist, pressing the center of the wrapper down into the hole of his fist. He brushed on a little bit of water and filled the little indentation with filling. He then crimped the edges around the ball of filling, pushing out the air and forming a little octopus shape (at least, that’s what it looked like to me). Okay, so this method of filling just didn’t work for me, though the little octopus-like dumplings were cute in the episode. I found that the filling leaked all over, the wrappers tore, and it was impossible to put much filling into the wrapper with this method. I gave up after throwing away several wrappers, and opted to fold my wontons as in the vegetarian dumpling recipe above.
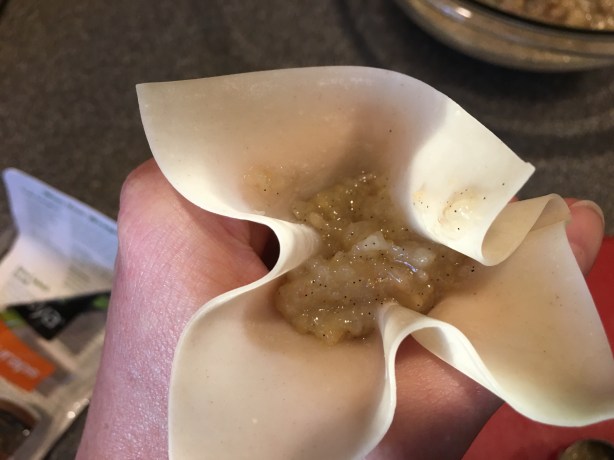
Attempting to fold wontons Alton’s way.
So, instead, I placed a wrapper so it was a diamond in front of me and placed a melon baller of filling in the center. I brushed all four edges of the wrapper with water and brought the opposite corners together, pinching the seams and pressing out any air bubbles. As with the other recipes, be sure to keep your empty wonton wrappers in moist paper towels as you fill, and place filled wontons on a baking sheet covered with a damp towel.


I chose to freeze a bunch of these right away since we only planned to eat a few, so I placed the sheet pan of wontons directly in the freezer. These babies get fried; afterall, it is dessert! To fry these wontons, heat 1/2 gallon of vegetable or peanut oil to 360 degrees.

Oil heating to 360.
Add eight wontons to the hot oil, cooking them for two minutes, or until golden. Transfer the fried wontons to a rack over a sheet pan to drain and cool.


Alton recommends serving these guys with ice cream.

Fried wontons with ice cream.
We had these for dessert last night, and they were a really fun dessert to have. The wonton wrappers were golden brown and crispy, while the still-warm filling was reminiscent of warm fruit pie filling. The walnuts gave the filling a little bit of texture. The filling is not overly sweet, so these really do pair well with the sweetness of ice cream. I plan to fry up some more of these for dessert over the weekend.