I actually prepared this dish a couple weeks ago, but I am only now getting around to blogging about it. I know my mother-in-law, Ellie, is concerned about Ted keeping his weight up as he goes through his radiation and chemotherapy. I am doing my best to keep him well-fed, and Alton’s fried chicken was certainly something he had no trouble consuming!
Fried Chicken
I am not a huge fan of preparing chicken, as I have written before. I just find it to be unappealing in its uncooked state. Now, if someone prepares it for me, it’s a different thing. This was my first time making fried chicken, and was the first time I had consumed fried chicken in years. The recipe for Alton’s fried chicken is pretty straight-forward. He recommends getting a whole broiler/fryer chicken, rather than purchasing an already-portioned bird.

My broiler/fryer chicken.
Why? It is cheaper to break down your own chicken, you get better portioning, and the meat stays fresher longer.
It is probably best to watch Alton’s chicken breakdown in the episode. To start, place your chicken on a cutting board with the neck facing you.
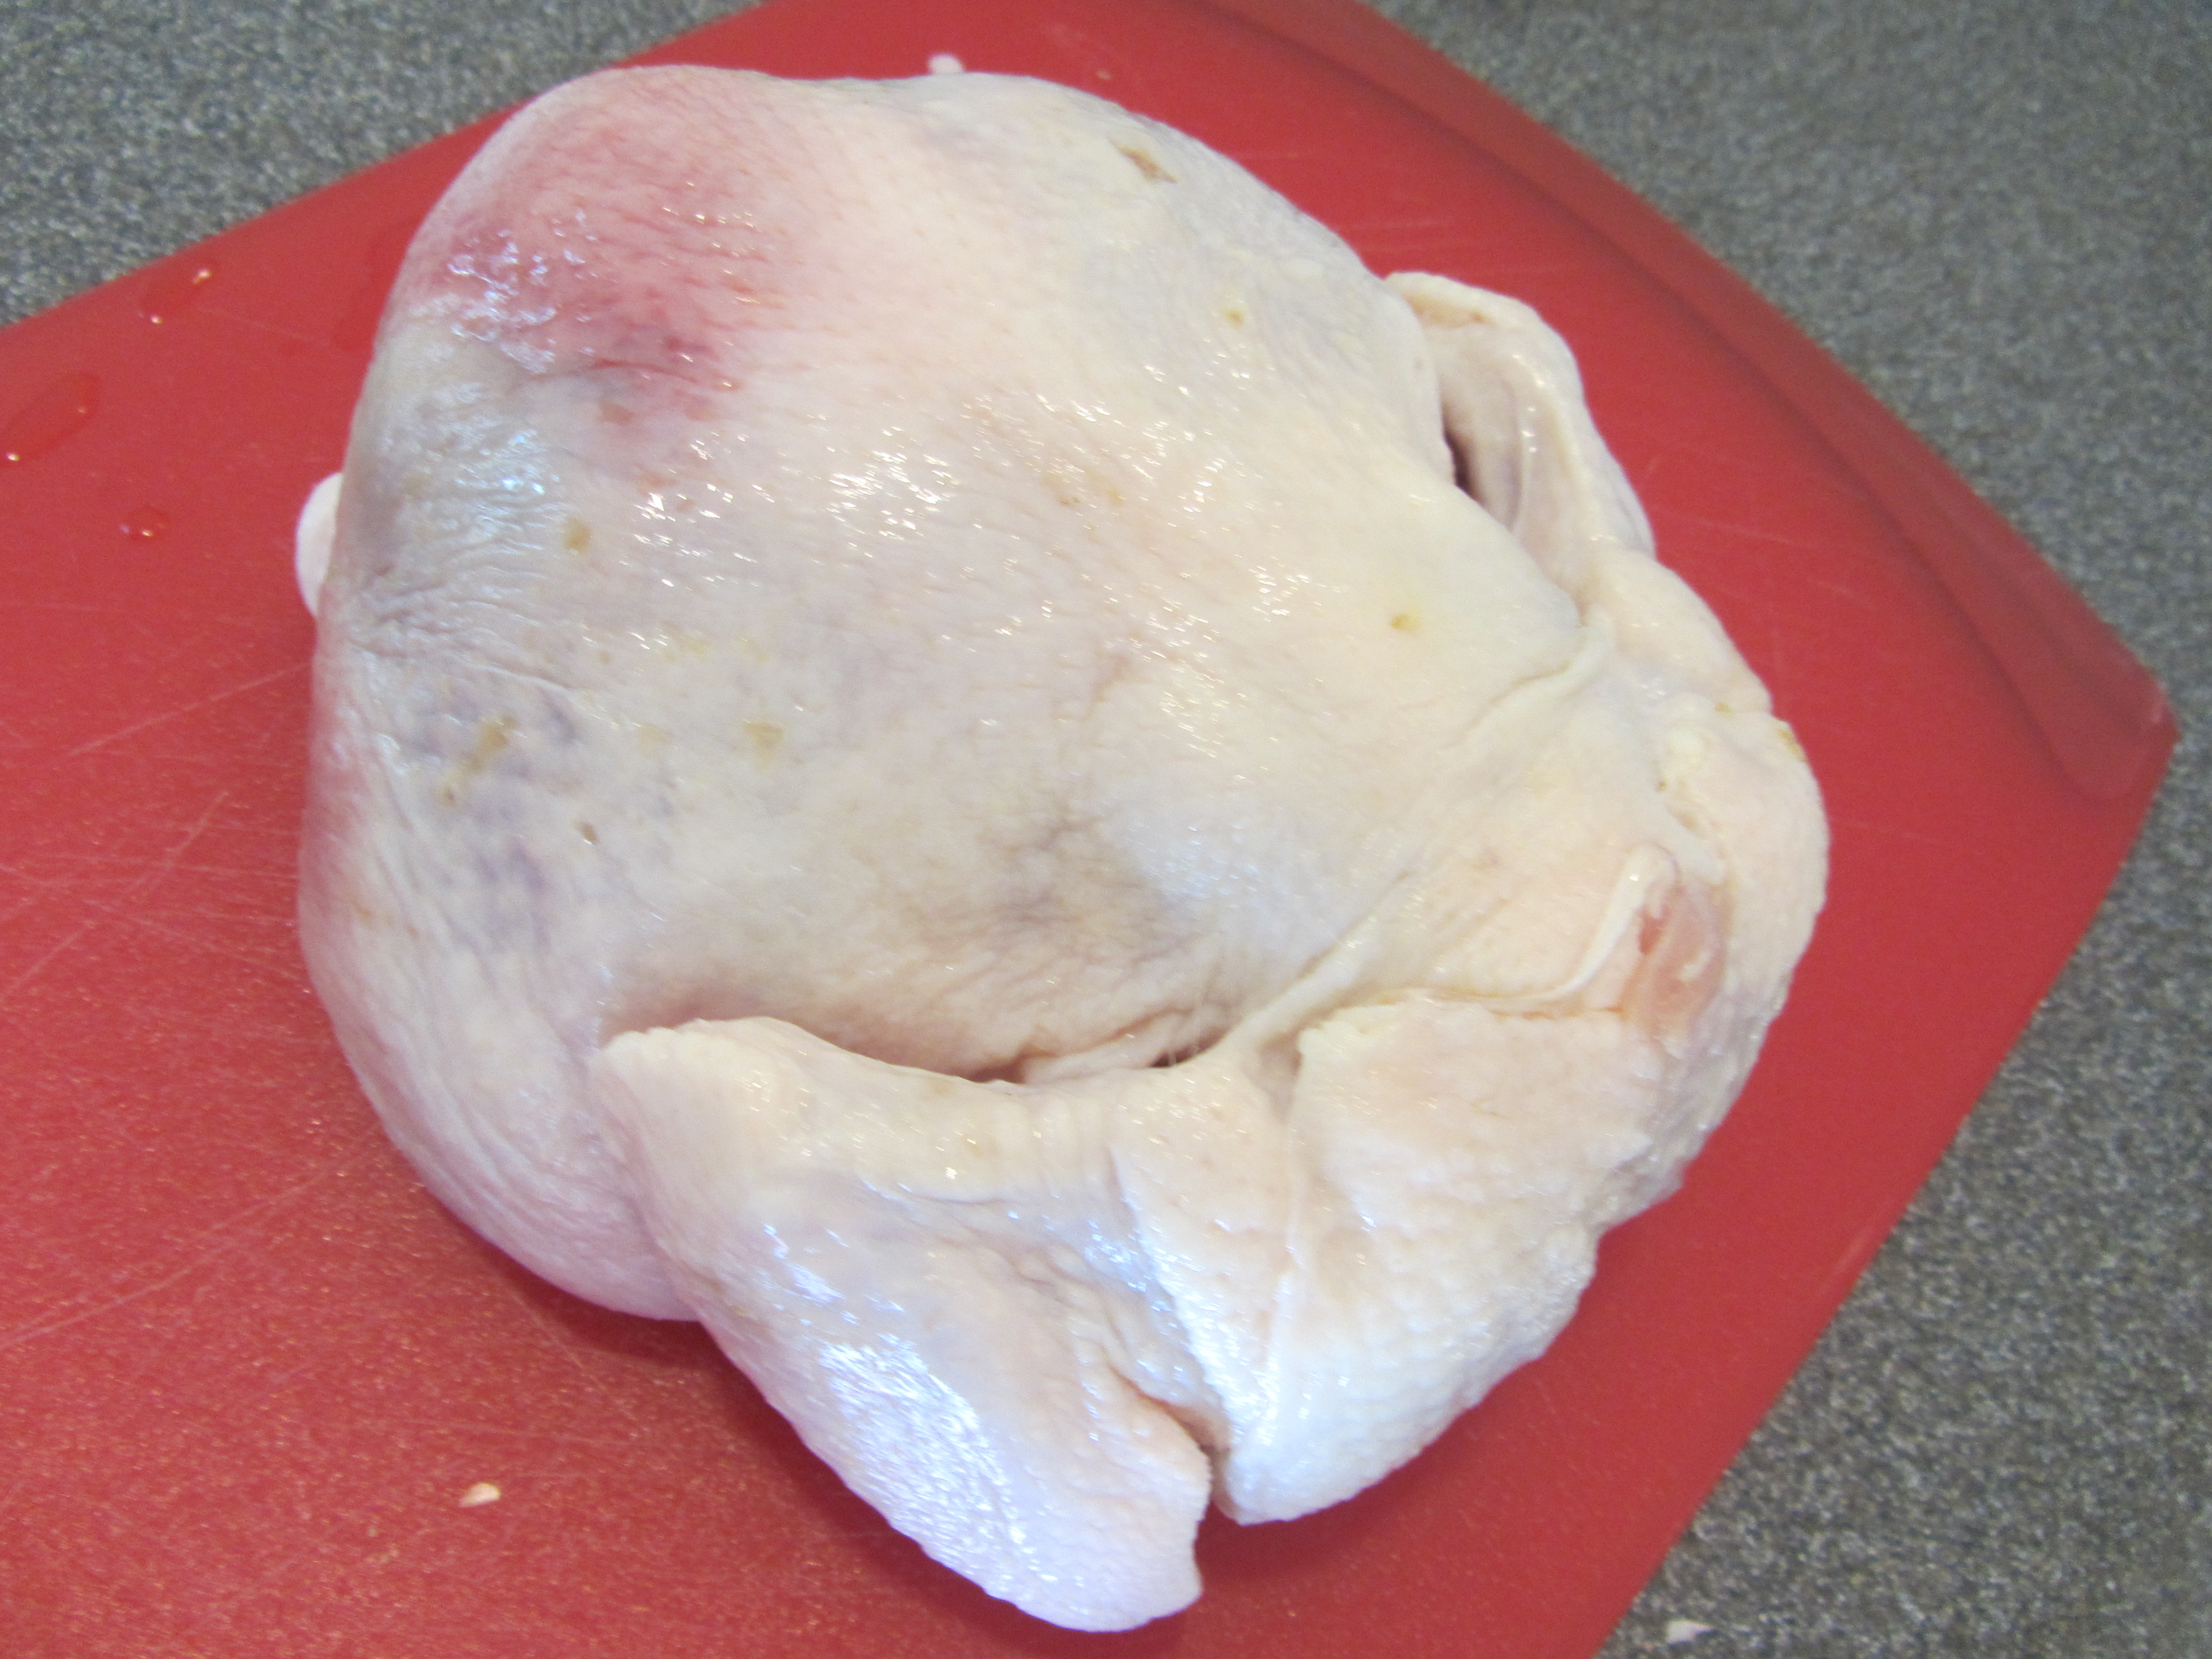
My chicken on a cutting board.
Cut the wings off; discard the wings or save to use in making stock. Next, you need to remove the wishbone. You can feel the wishbone if you run your finger over the inside of the neck. Using a sawing motion, you will cut the wishbone out by running your knife down each side until the bone becomes detached. The legs are next; cut through the skin between the breast and the drumsticks. Flip the bird over, feel for the thigh bones, and bend the legs backward toward you, dislocating the joints. Cut the legs off with your knife. Squeeze each leg together to find the joint line, kind of like squeezing a nut cracker. Place the blade of your knife in the joint and slice down to separate the thigh from the drumstick. To portion the breast, cut down one side of the keel bone, and use your knife to “peel” the meat from the ribs. Do the same on the other side.
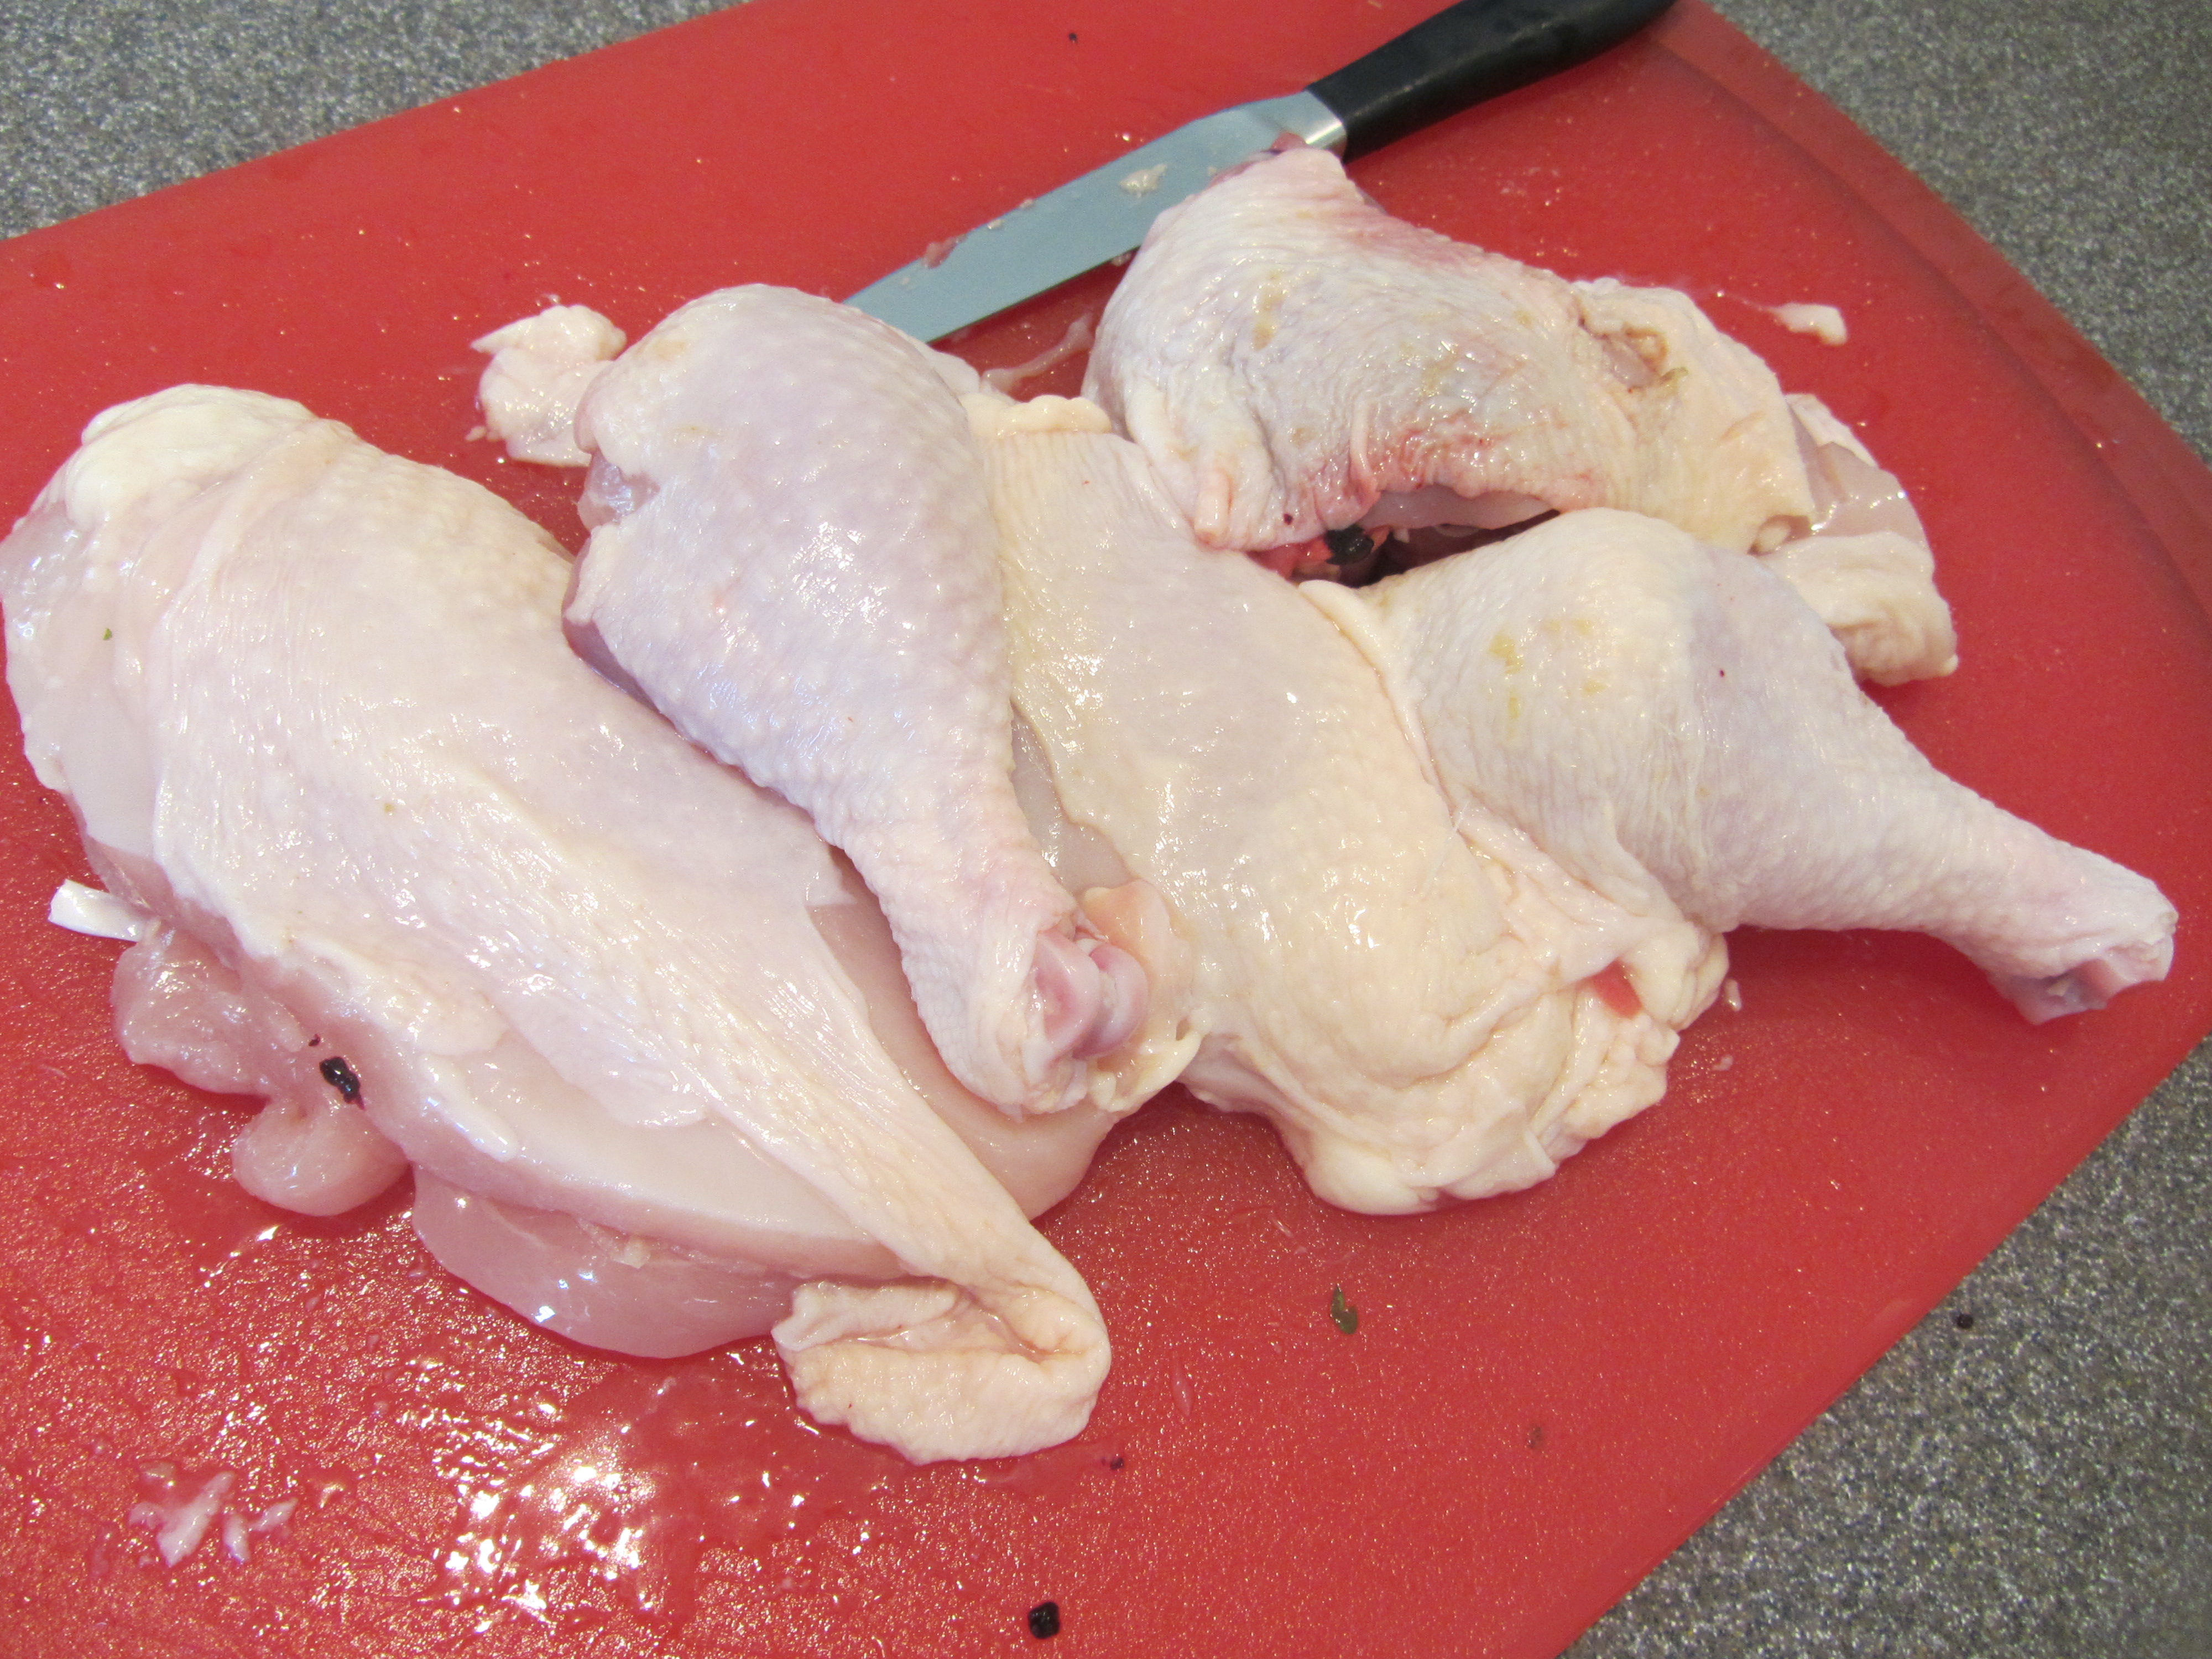
My chicken after portioning Alton’s way. Not a perfect job.
Again, it may be easier to watch a video of how to break a chicken down. If desired, you can use the carcass and wings to make stock. Place your chicken pieces in a container and pour two cups of low-fat buttermilk over them; cover and refrigerate for 12-24 hours.
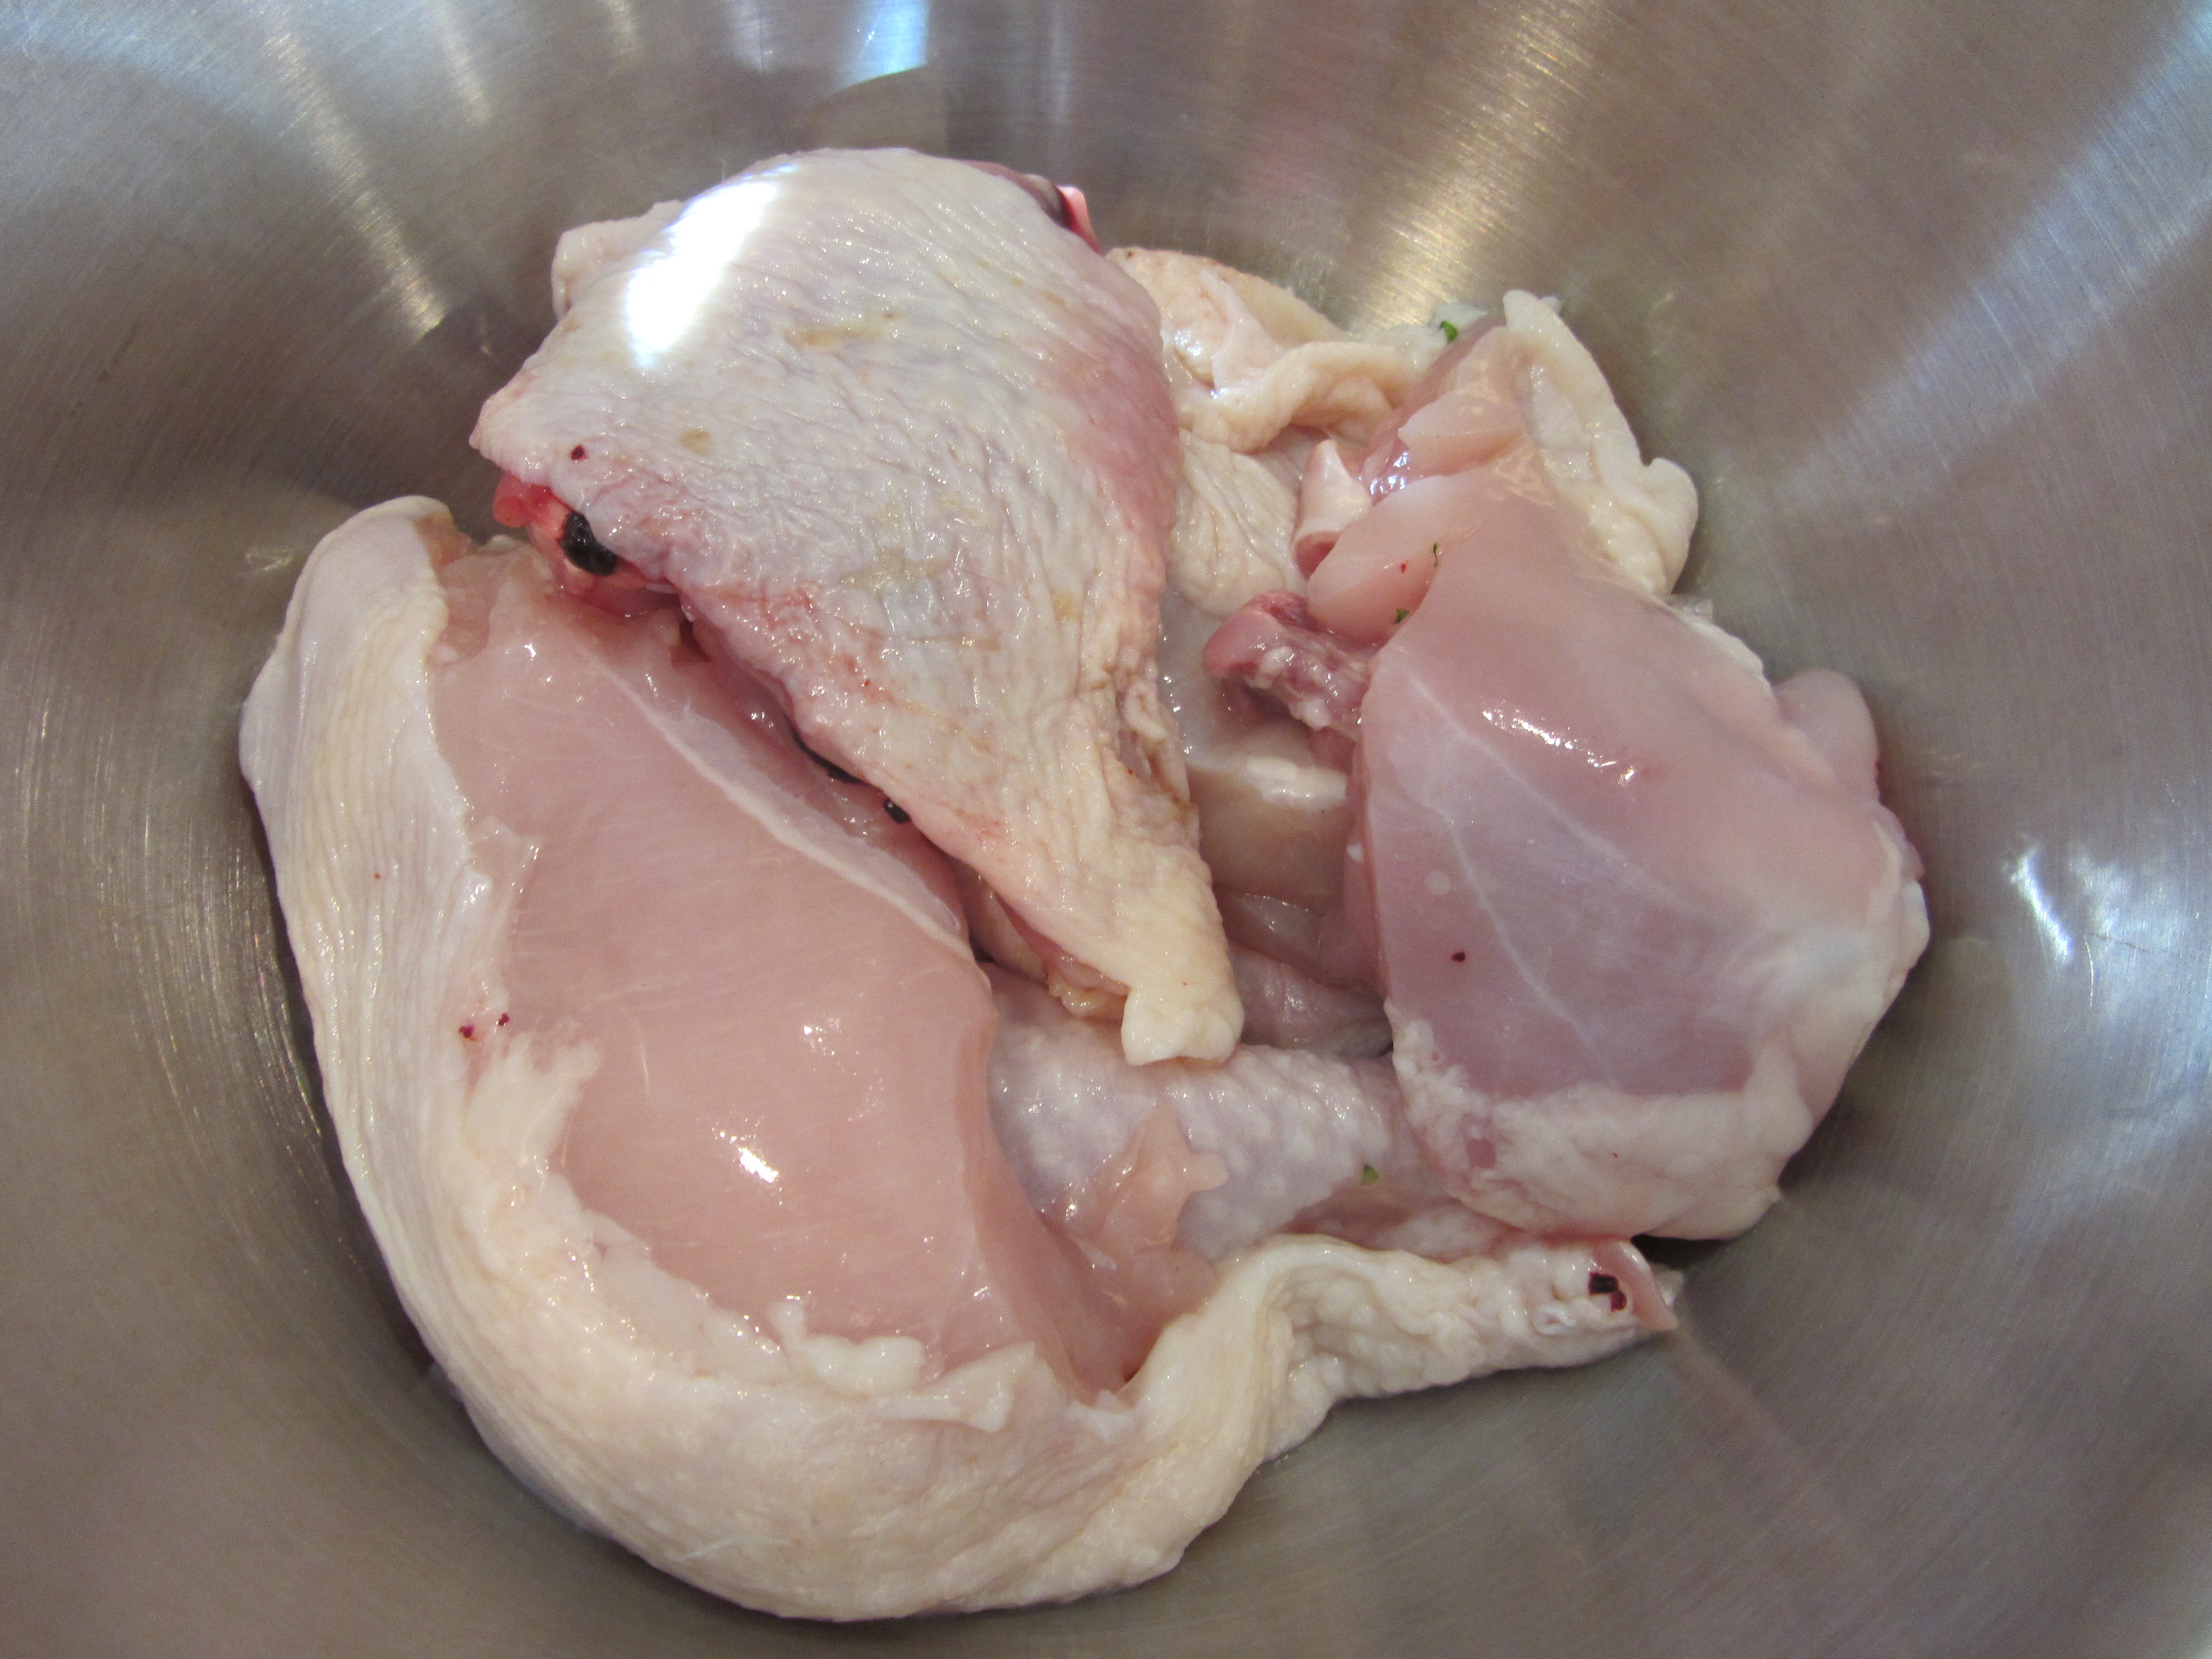
Chicken pieces in a container.

Low-fat buttermilk.
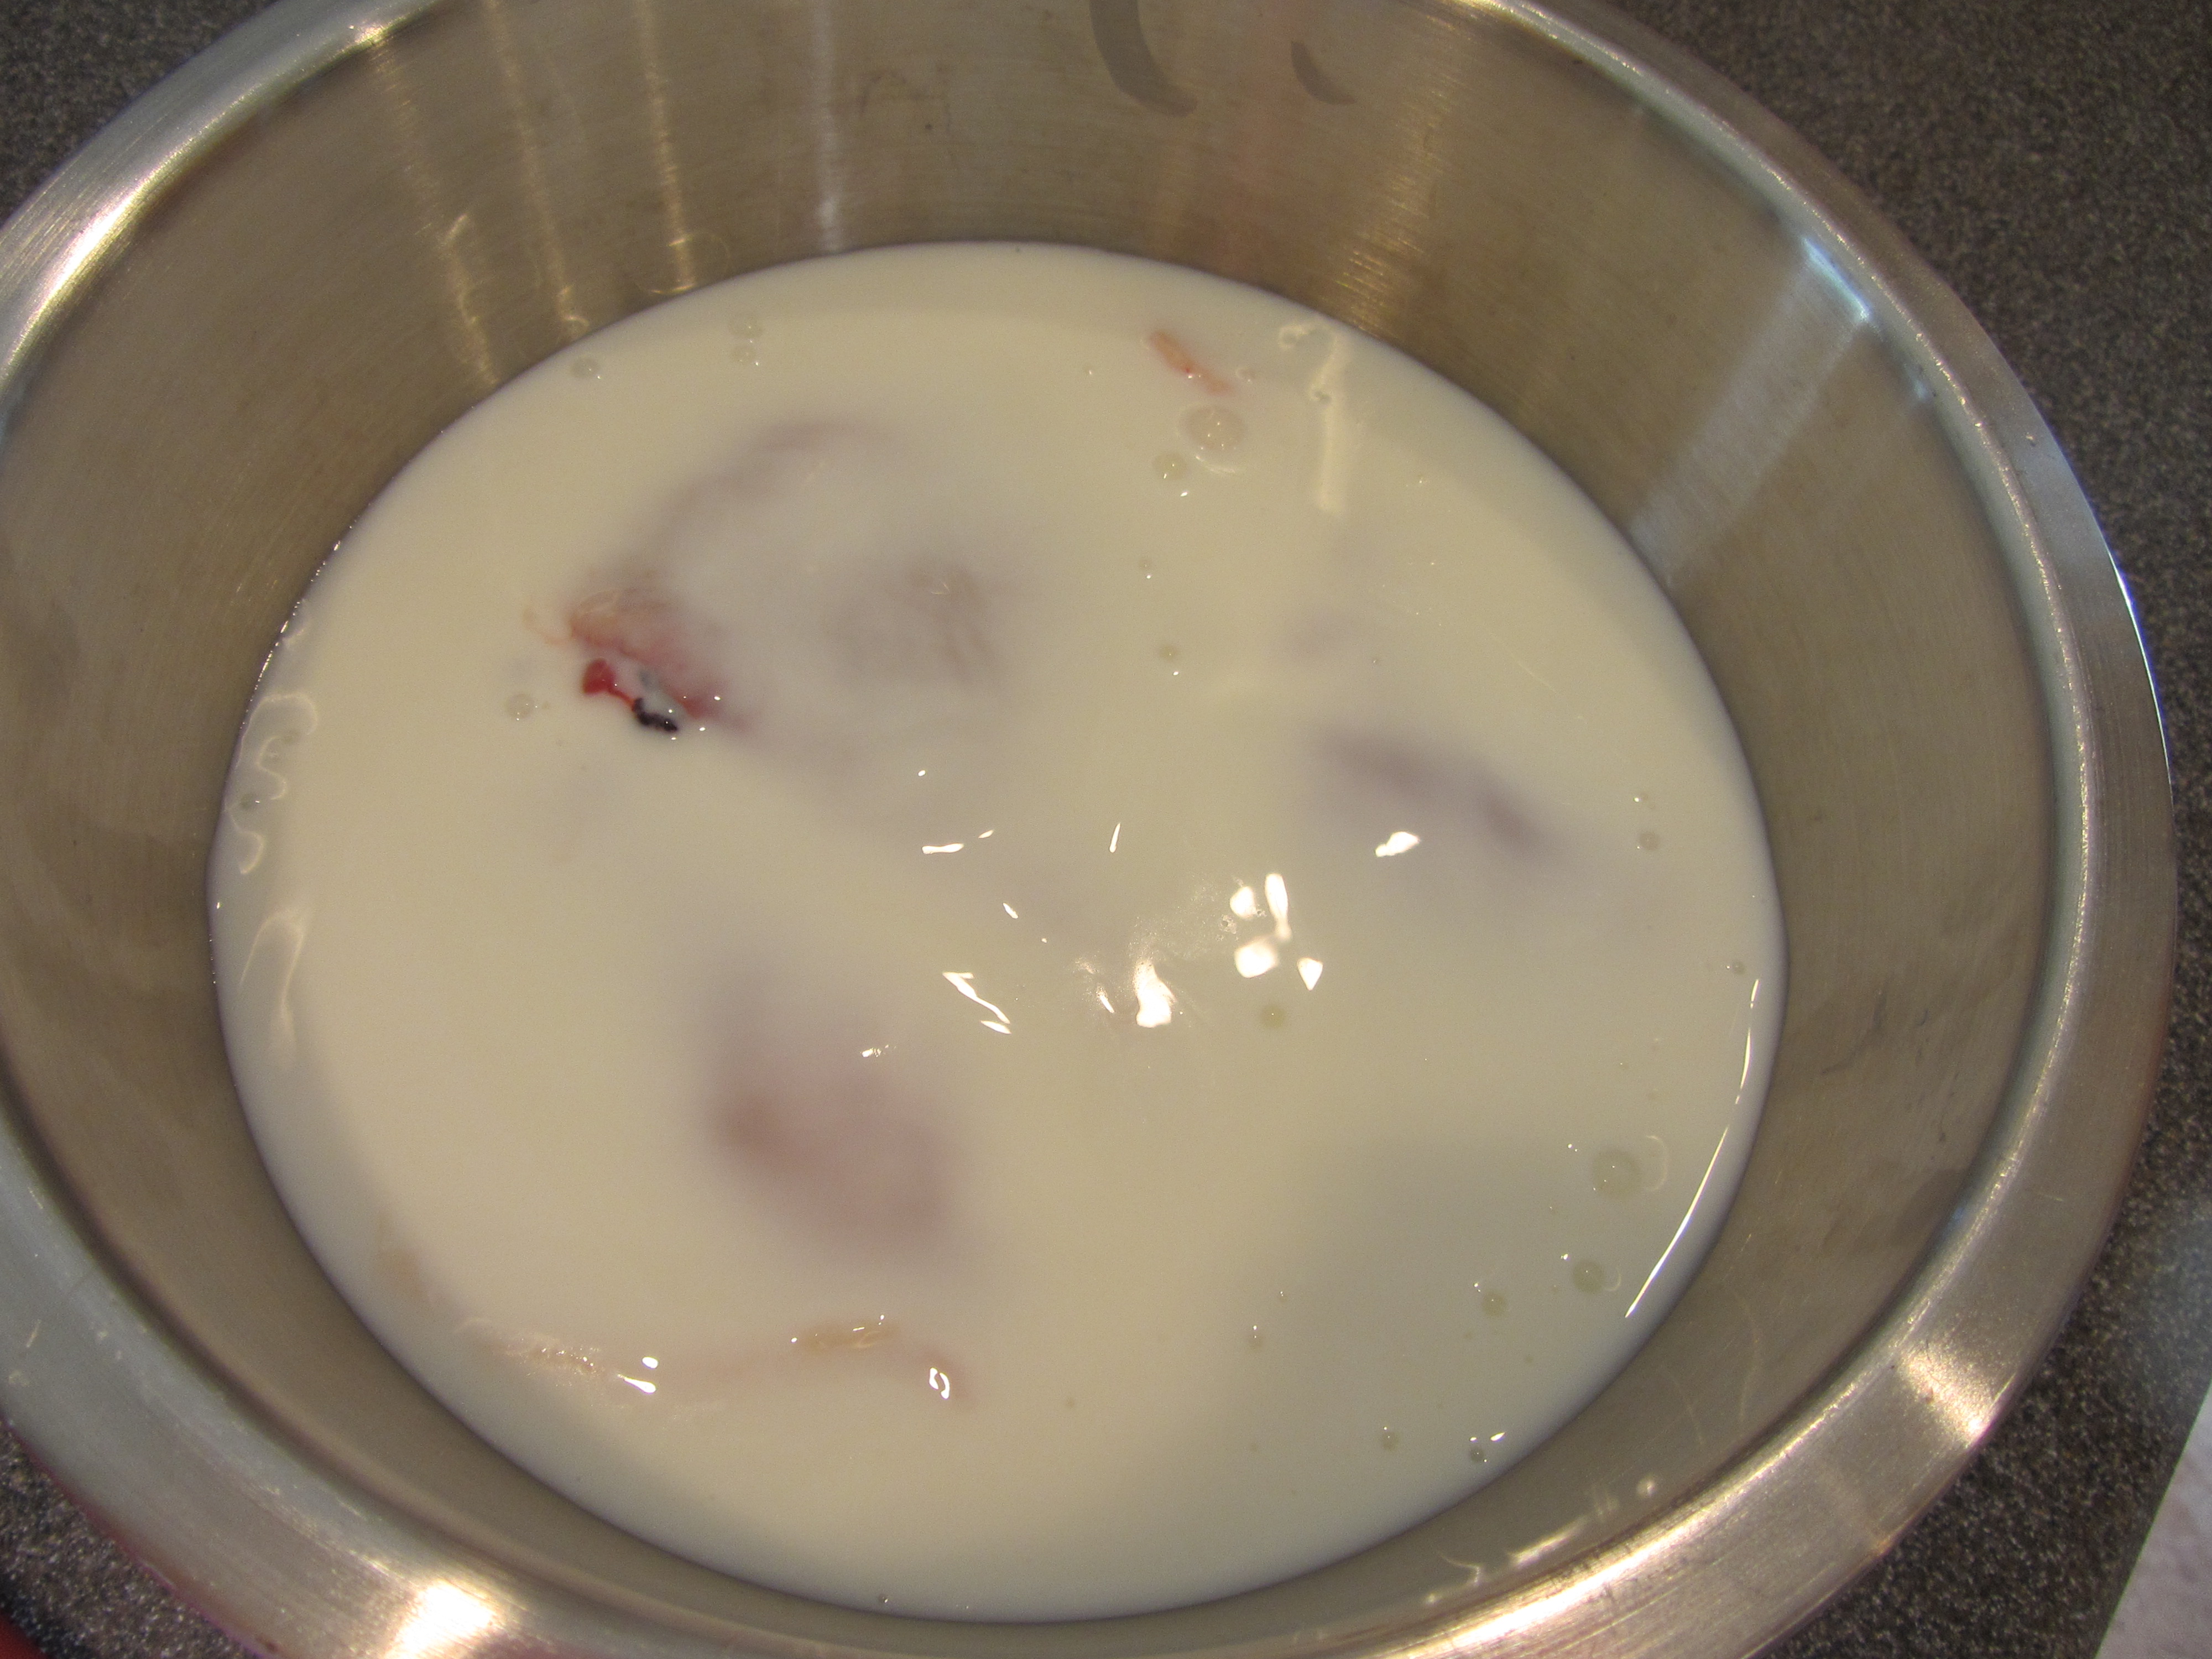
Buttermilk poured over chicken pieces.
I let my chicken pieces sit for ~24 hours. When ready to fry your chicken, heat solid vegetable shortening in a large skillet (preferably iron); for a 12-inch skillet, use 16 oz. of shortening.
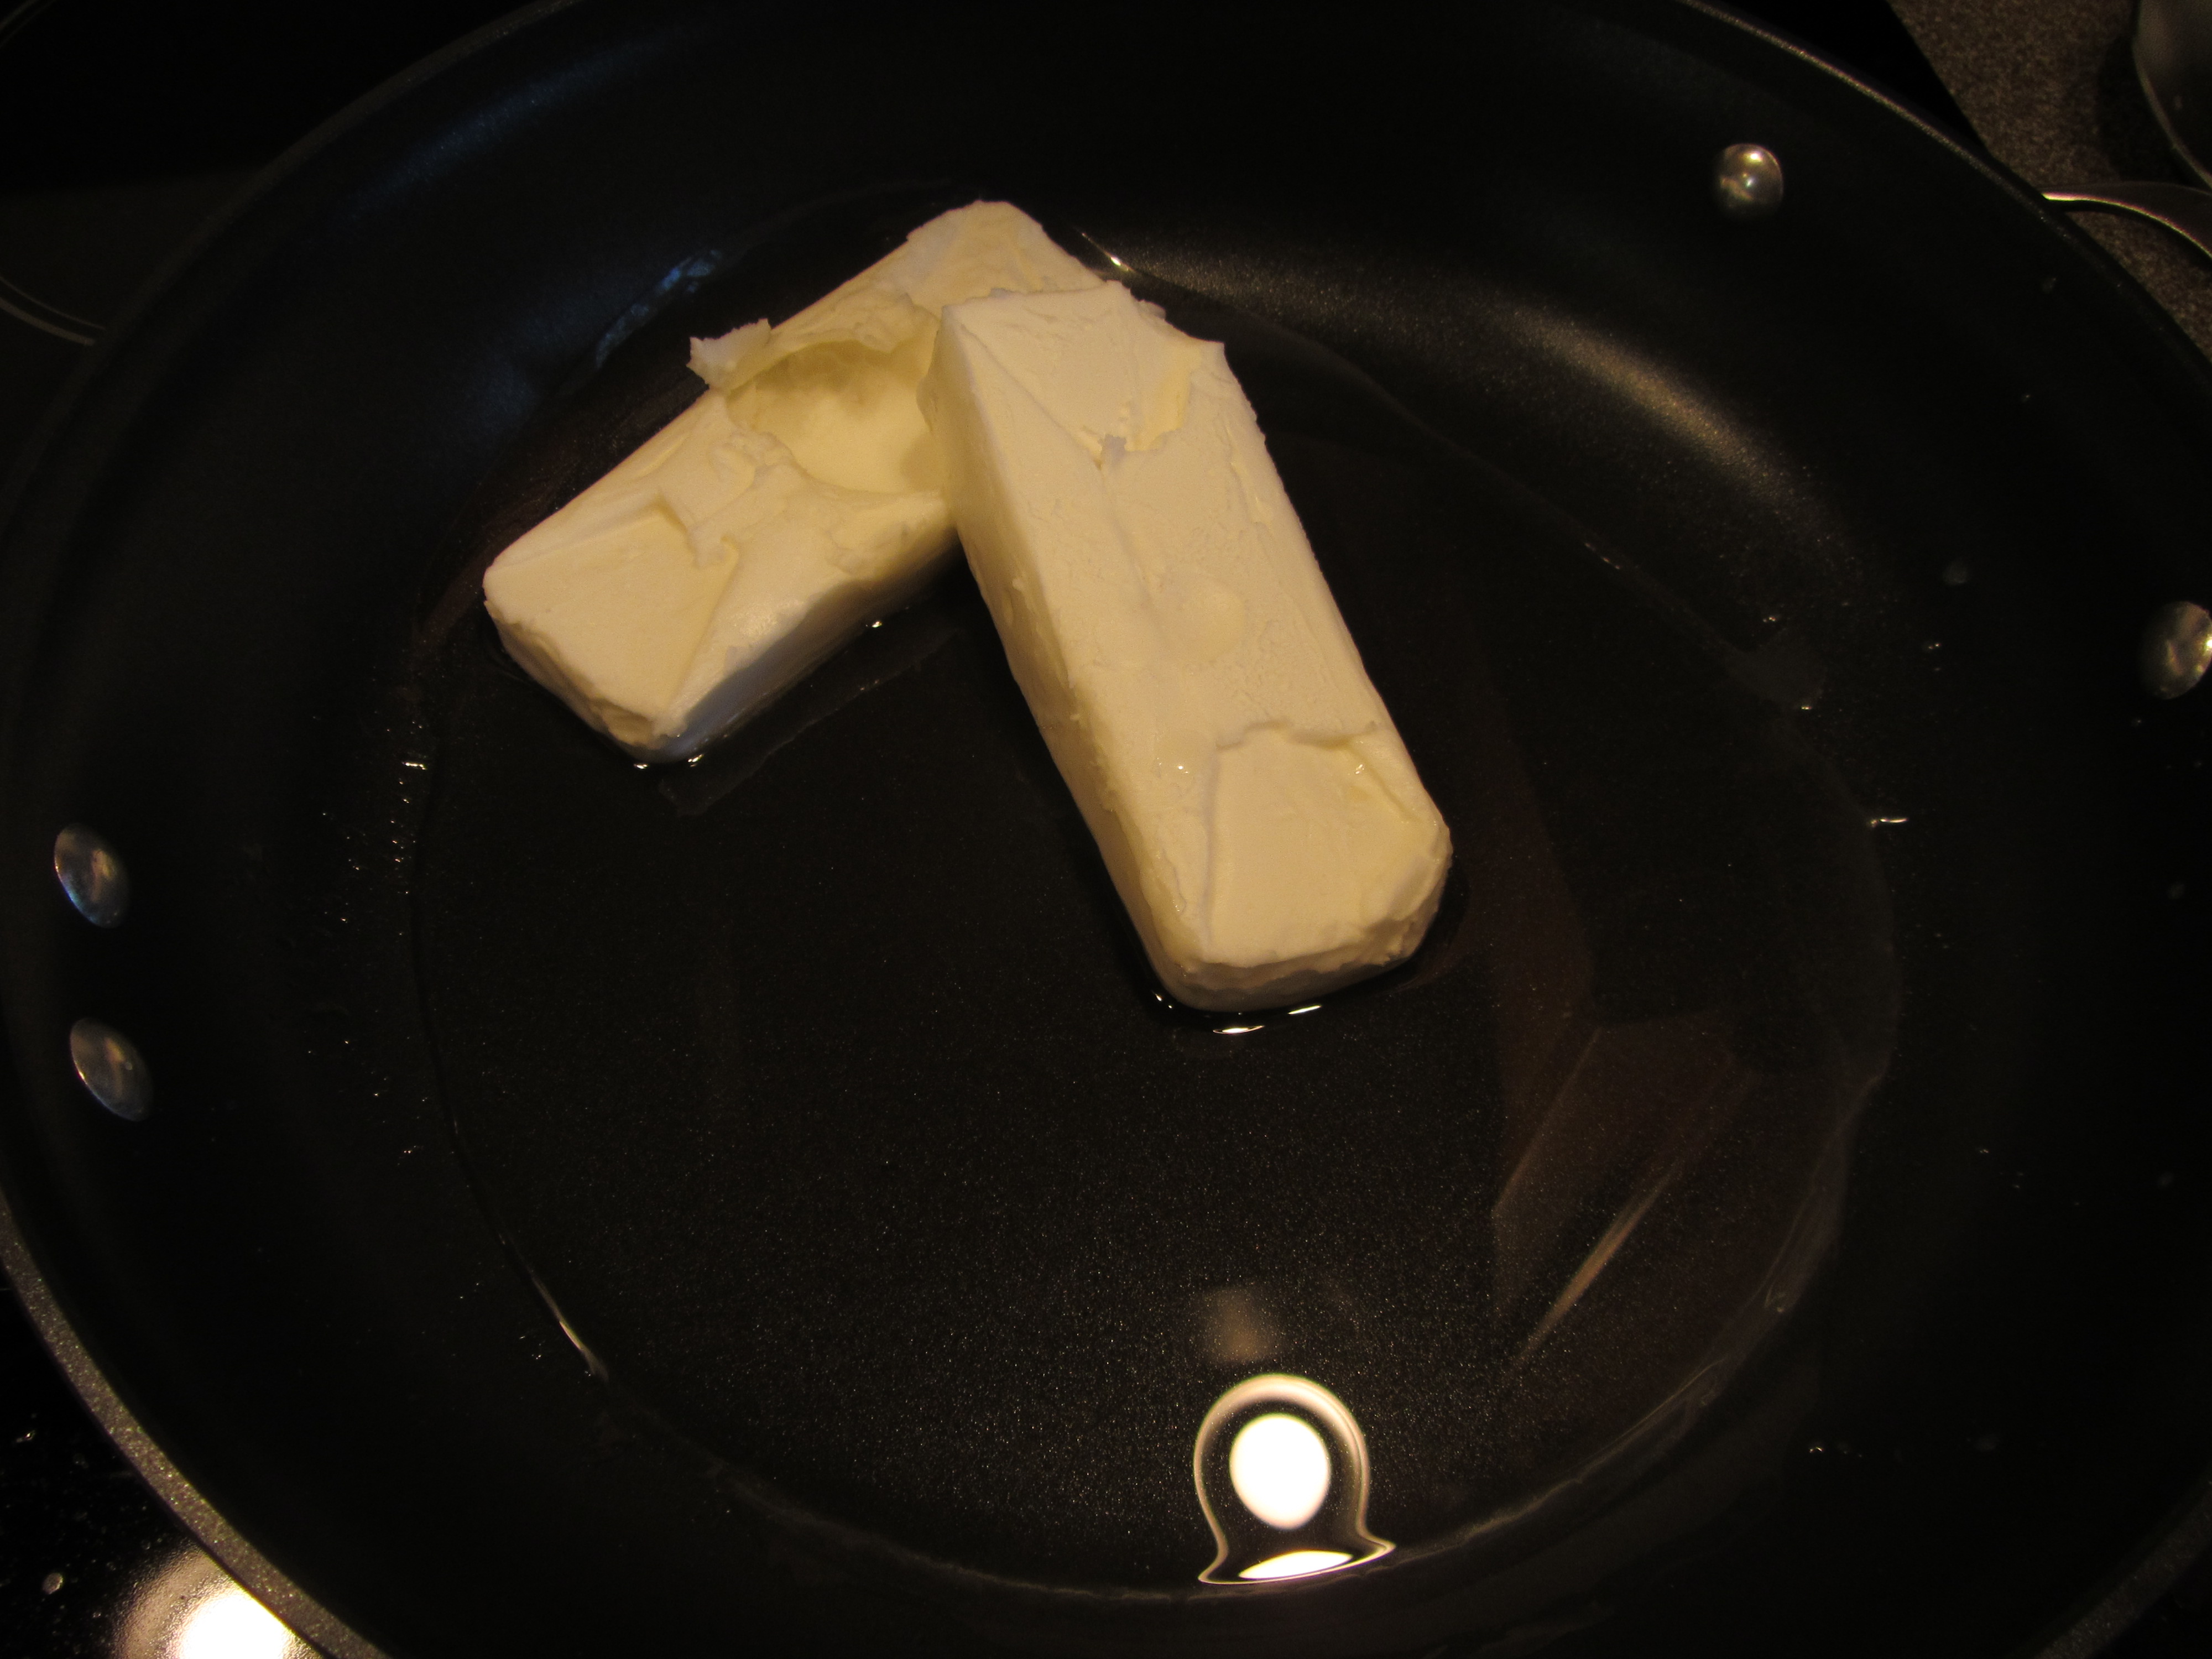
16 ounces of shortening melting in a 12-inch skillet.
You want your melted shortening to come 1/3″ up the side. Drain your chicken pieces, discarding the buttermilk.
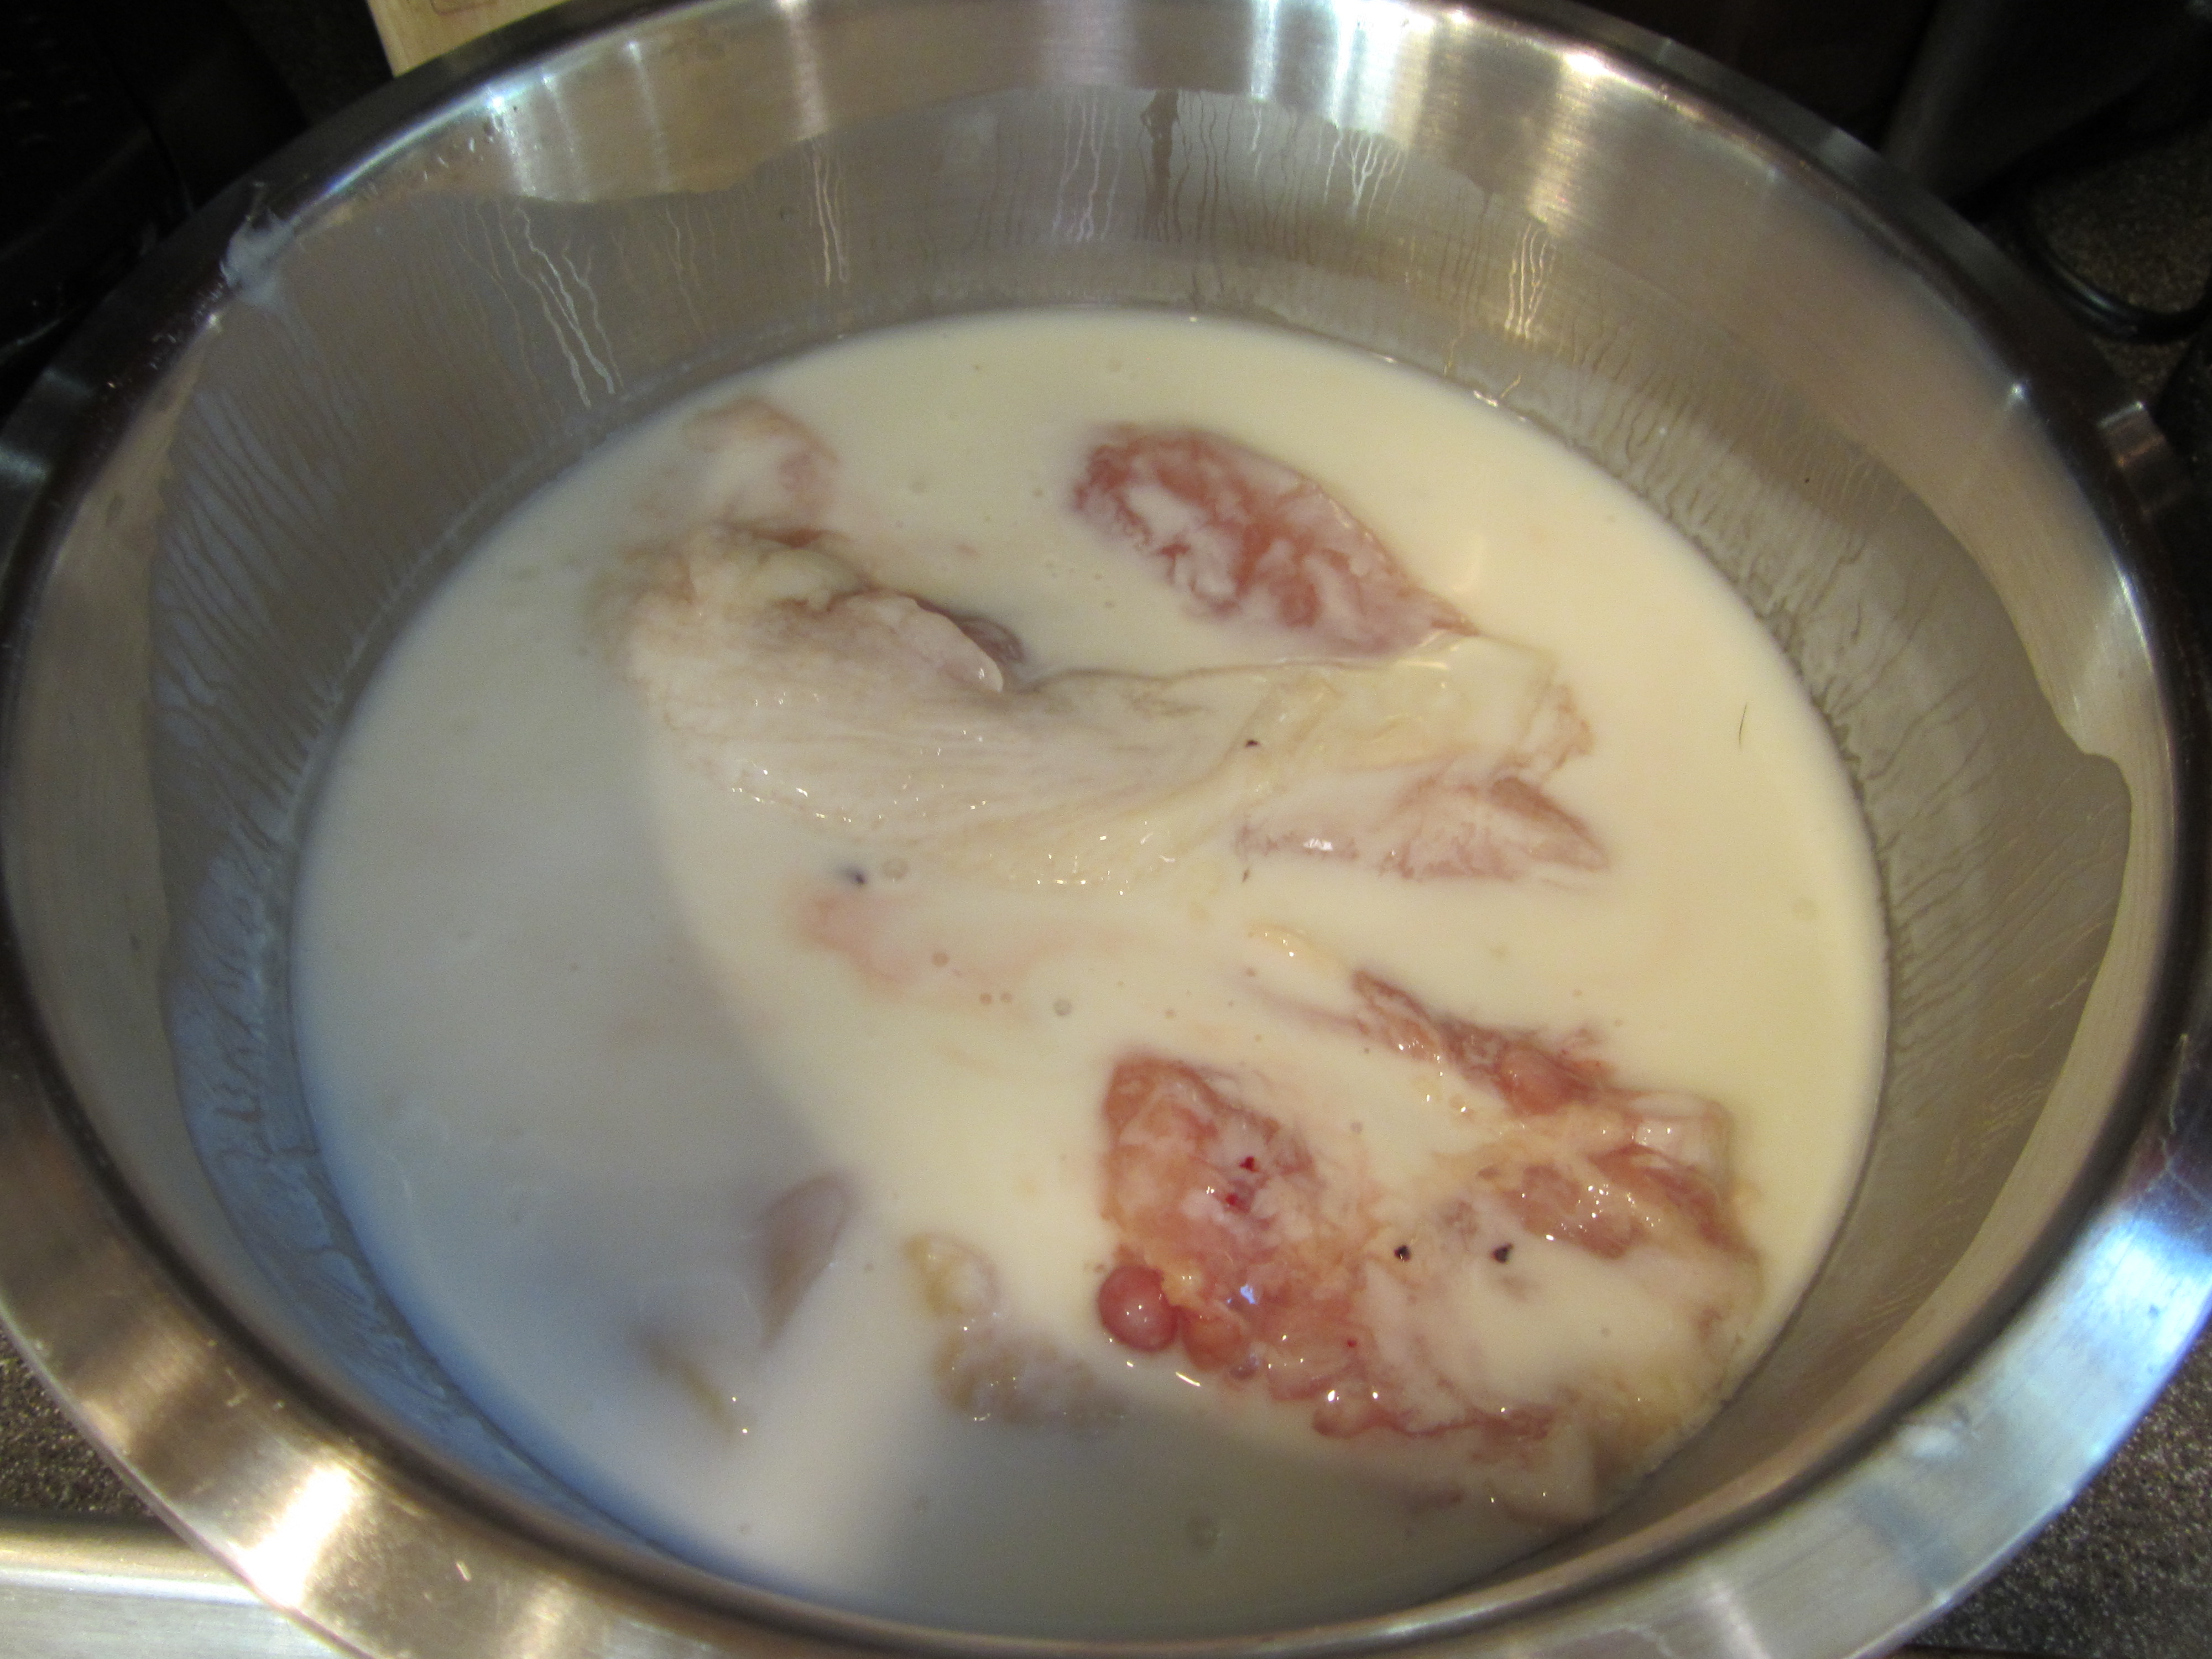
Chicken after soaking in buttermilk for ~24 hours.
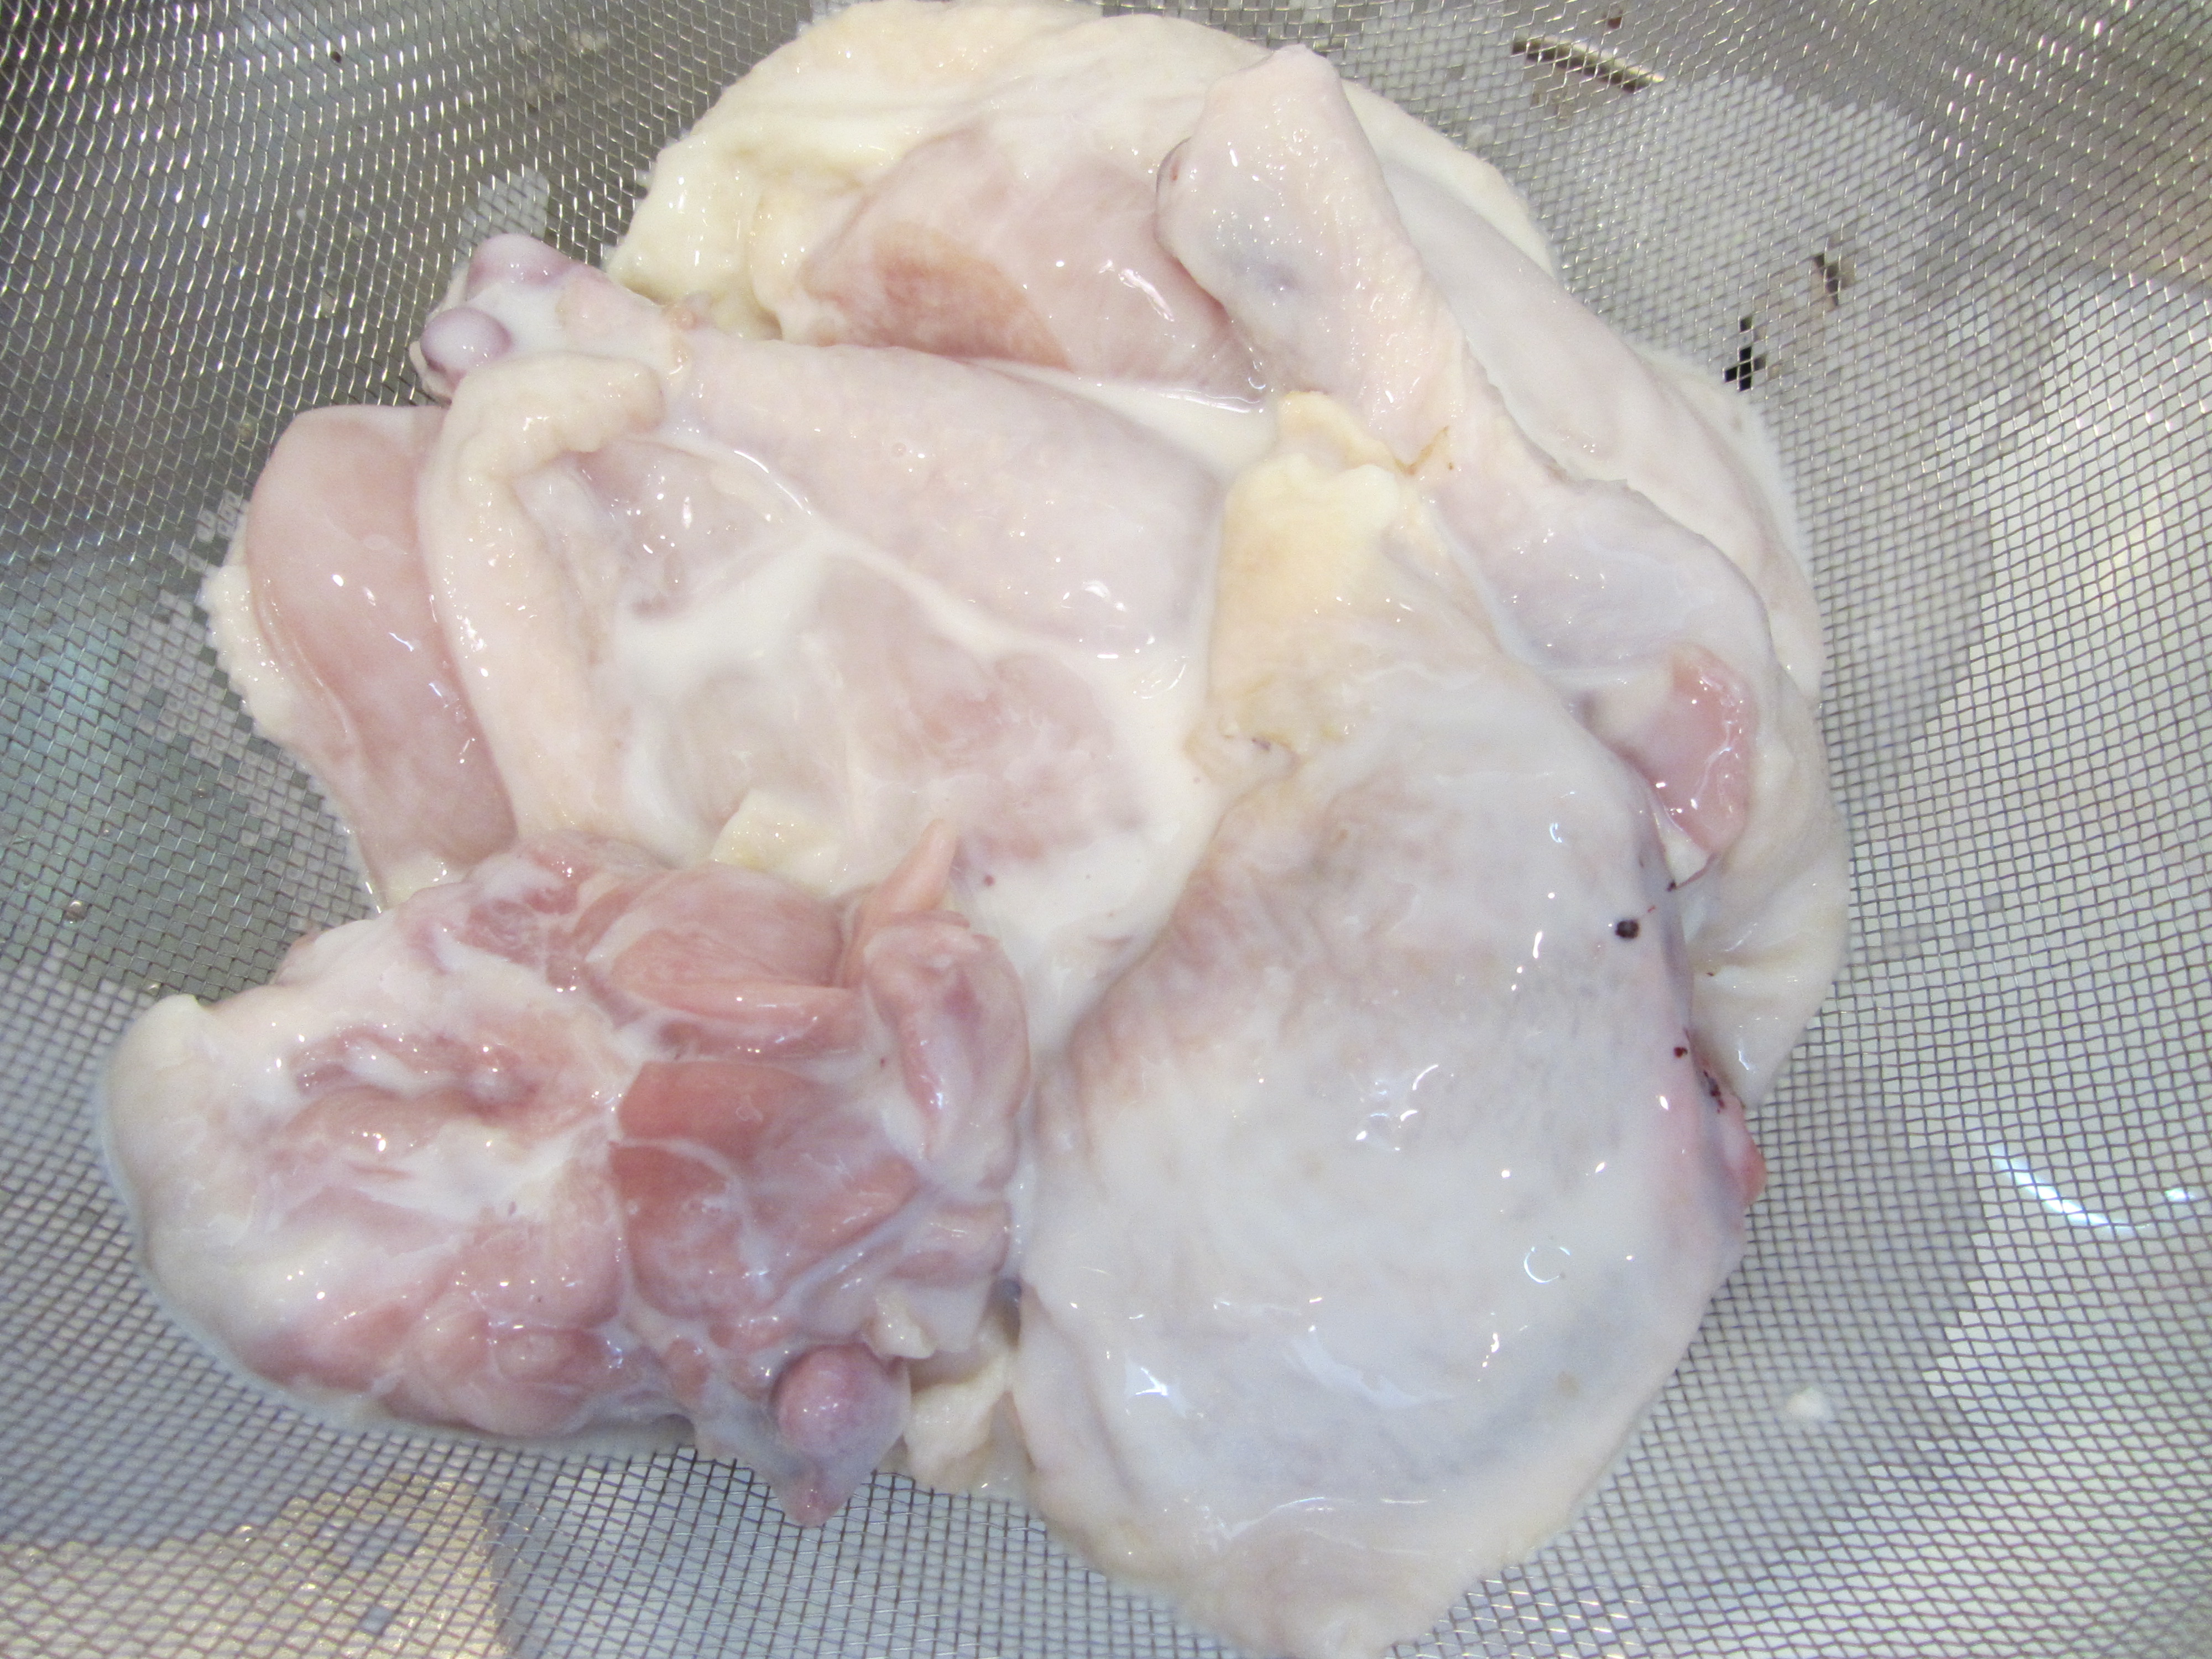
Drained chicken pieces.
Meanwhile, prepare your seasoning blend by combining 2 T Kosher salt, 2 T paprika (I used hot smoked paprika), 2 t garlic powder, and 1 t cayenne pepper. Alton places his seasoning blend in a shaker for easy dispersion.
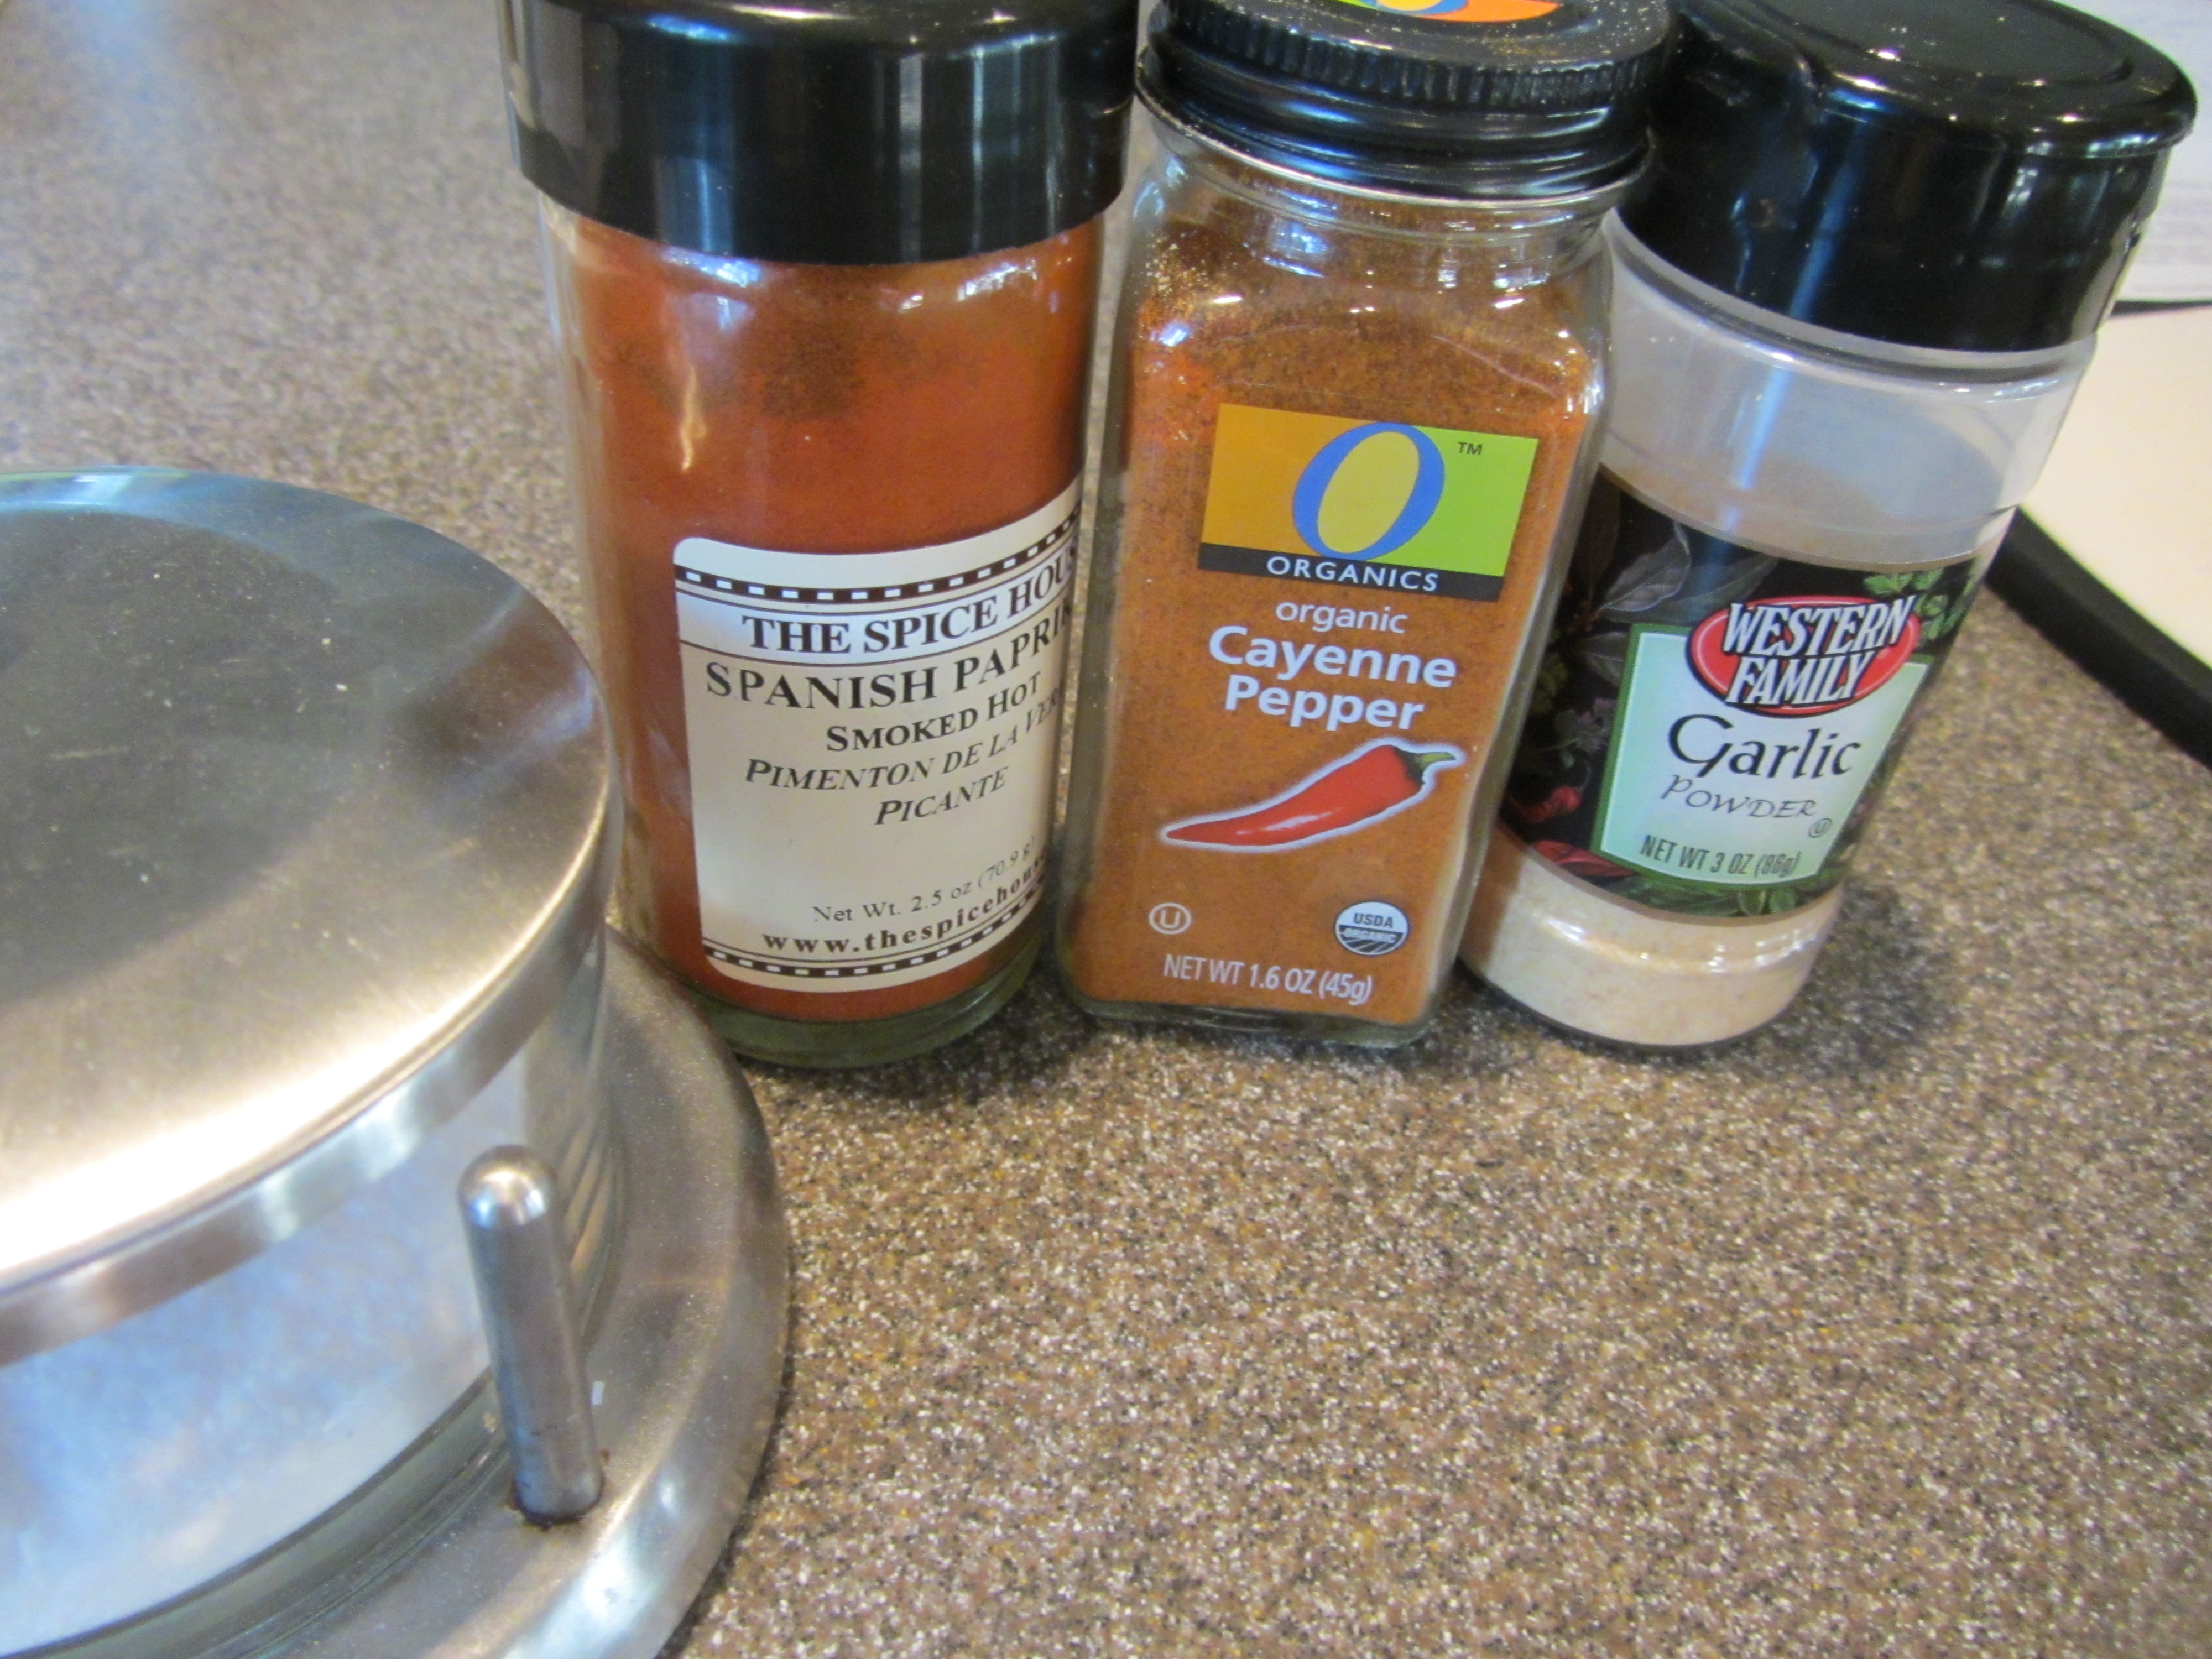
Ingredients for spice blend: Kosher salt, garlic powder, paprika, and cayenne pepper.

2 T Kosher salt and 2 T paprika.
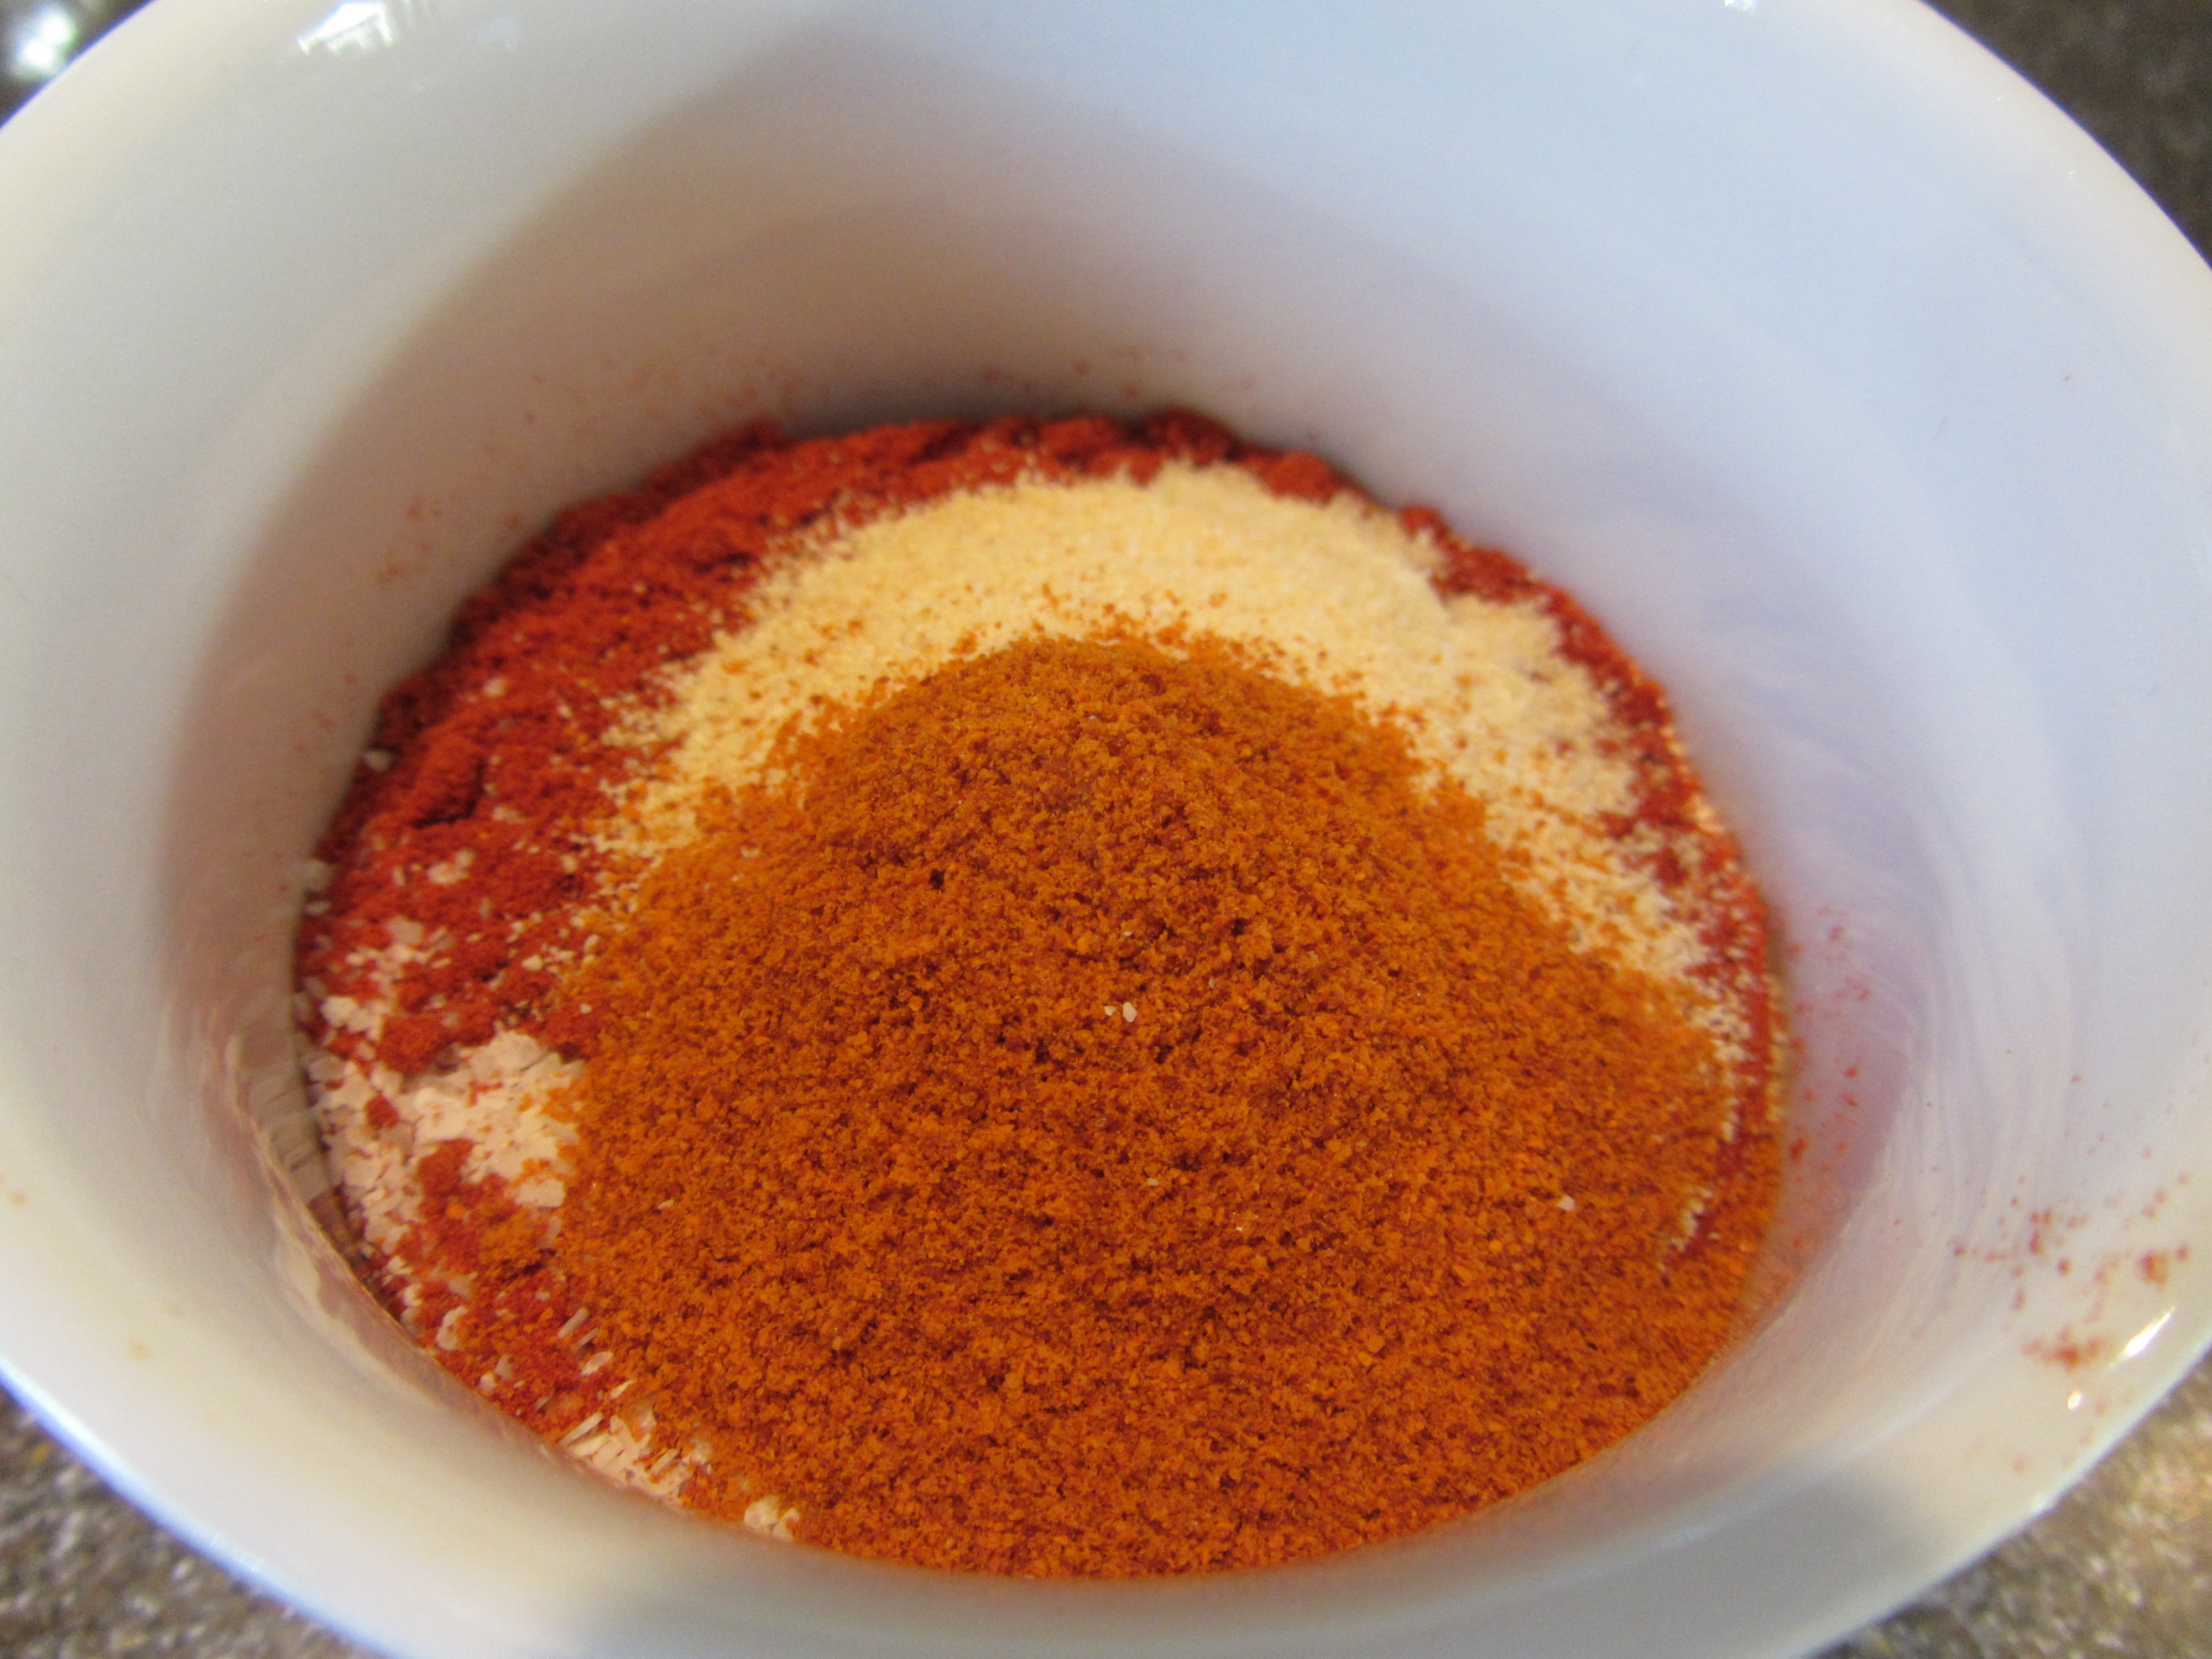
2 t garlic powder and 1 t cayenne pepper added to spice blend.
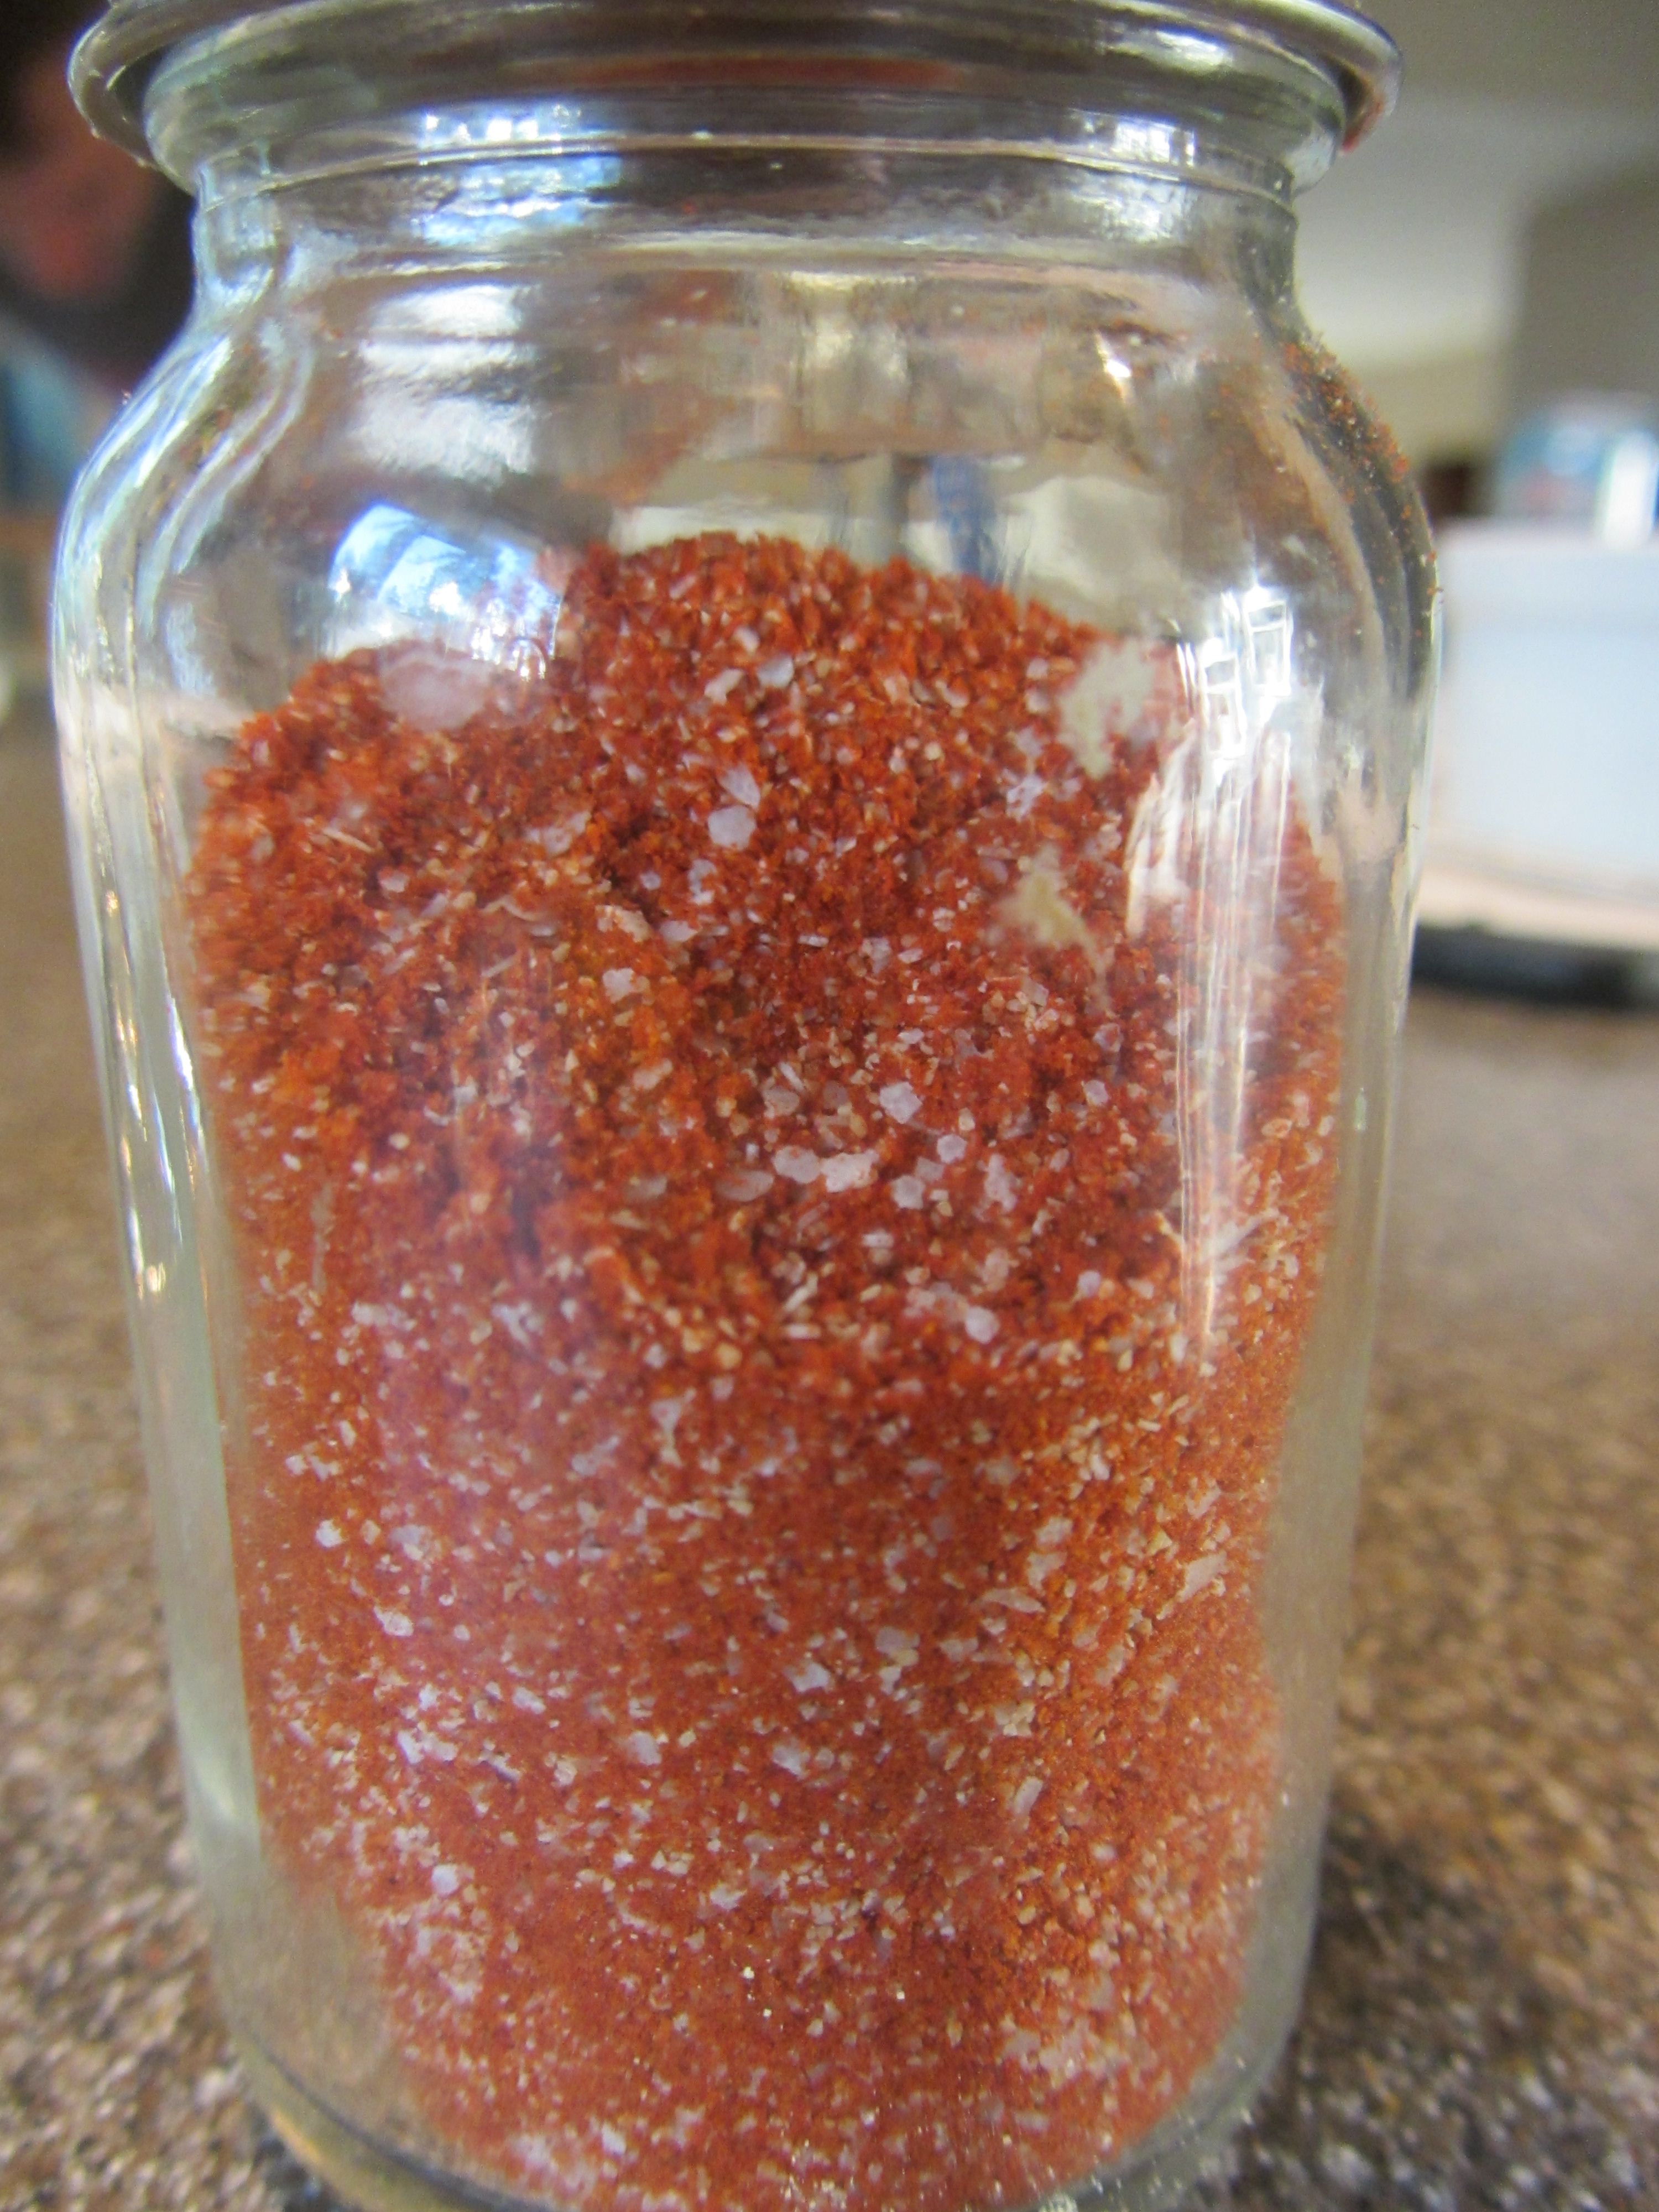
Final spice blend in a shaker.
Place your drained meat pieces on a baking sheet and season them liberally on both sides with your blend.
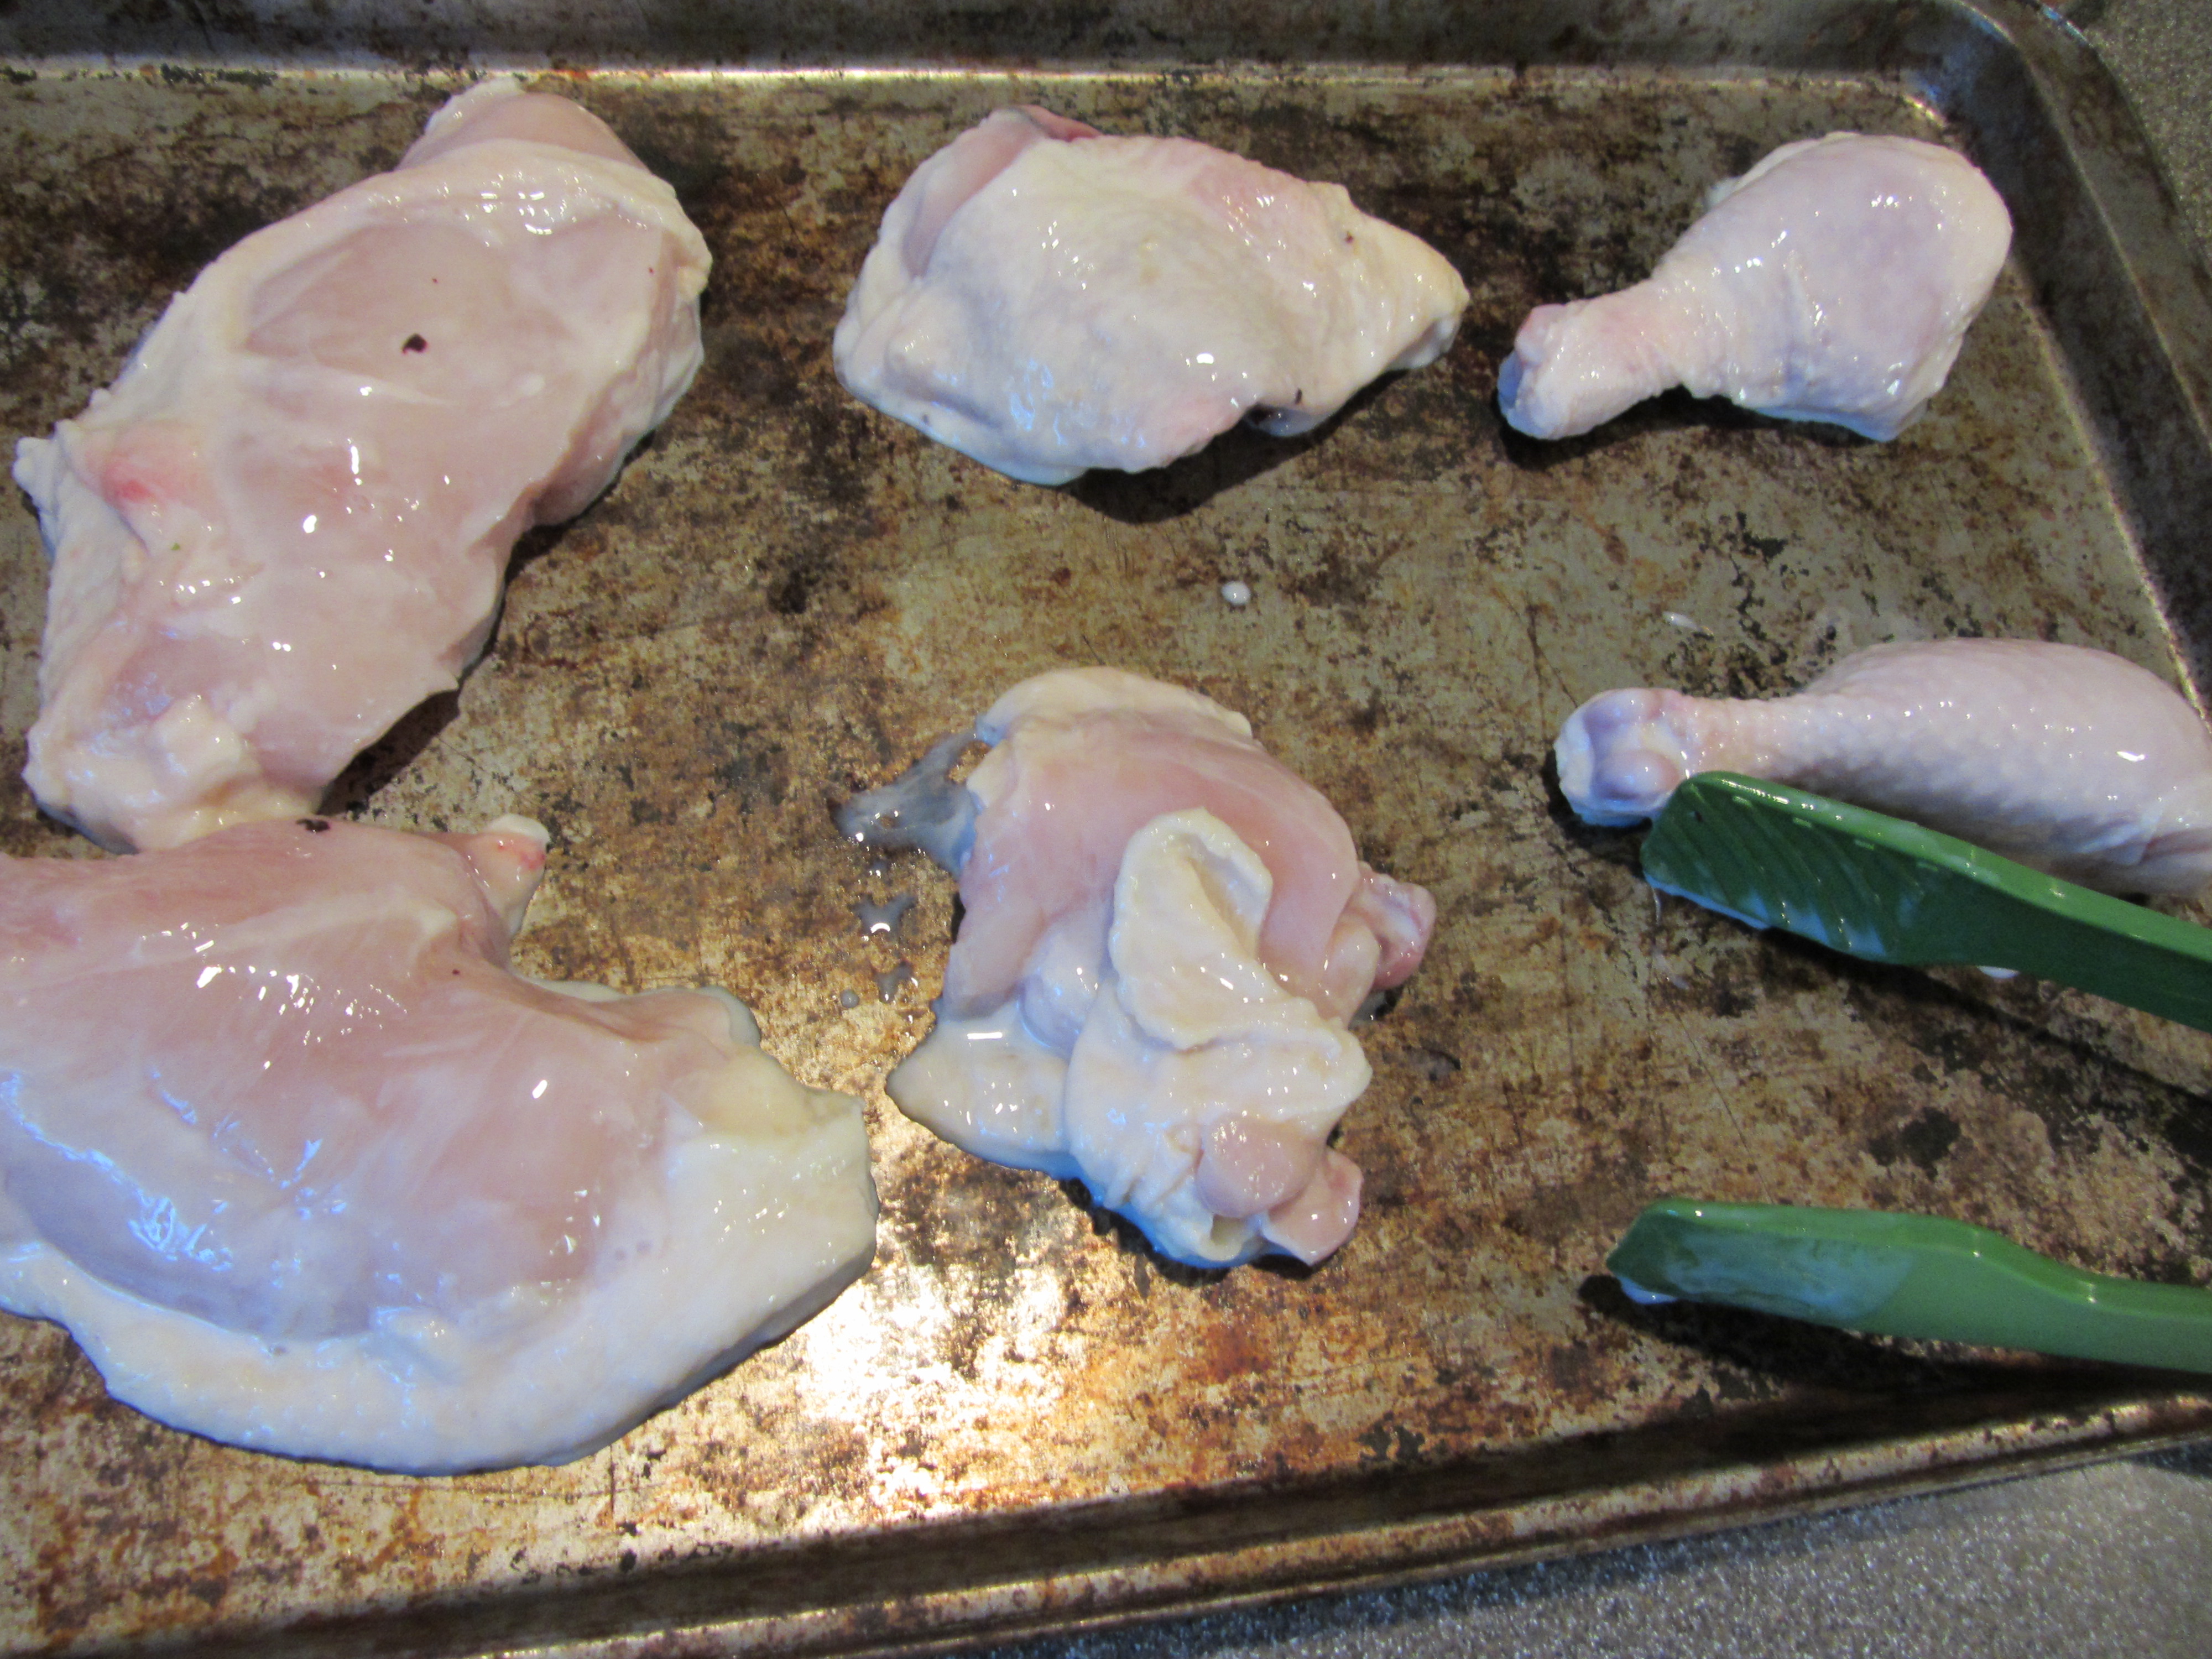
Chicken pieces on a baking sheet.
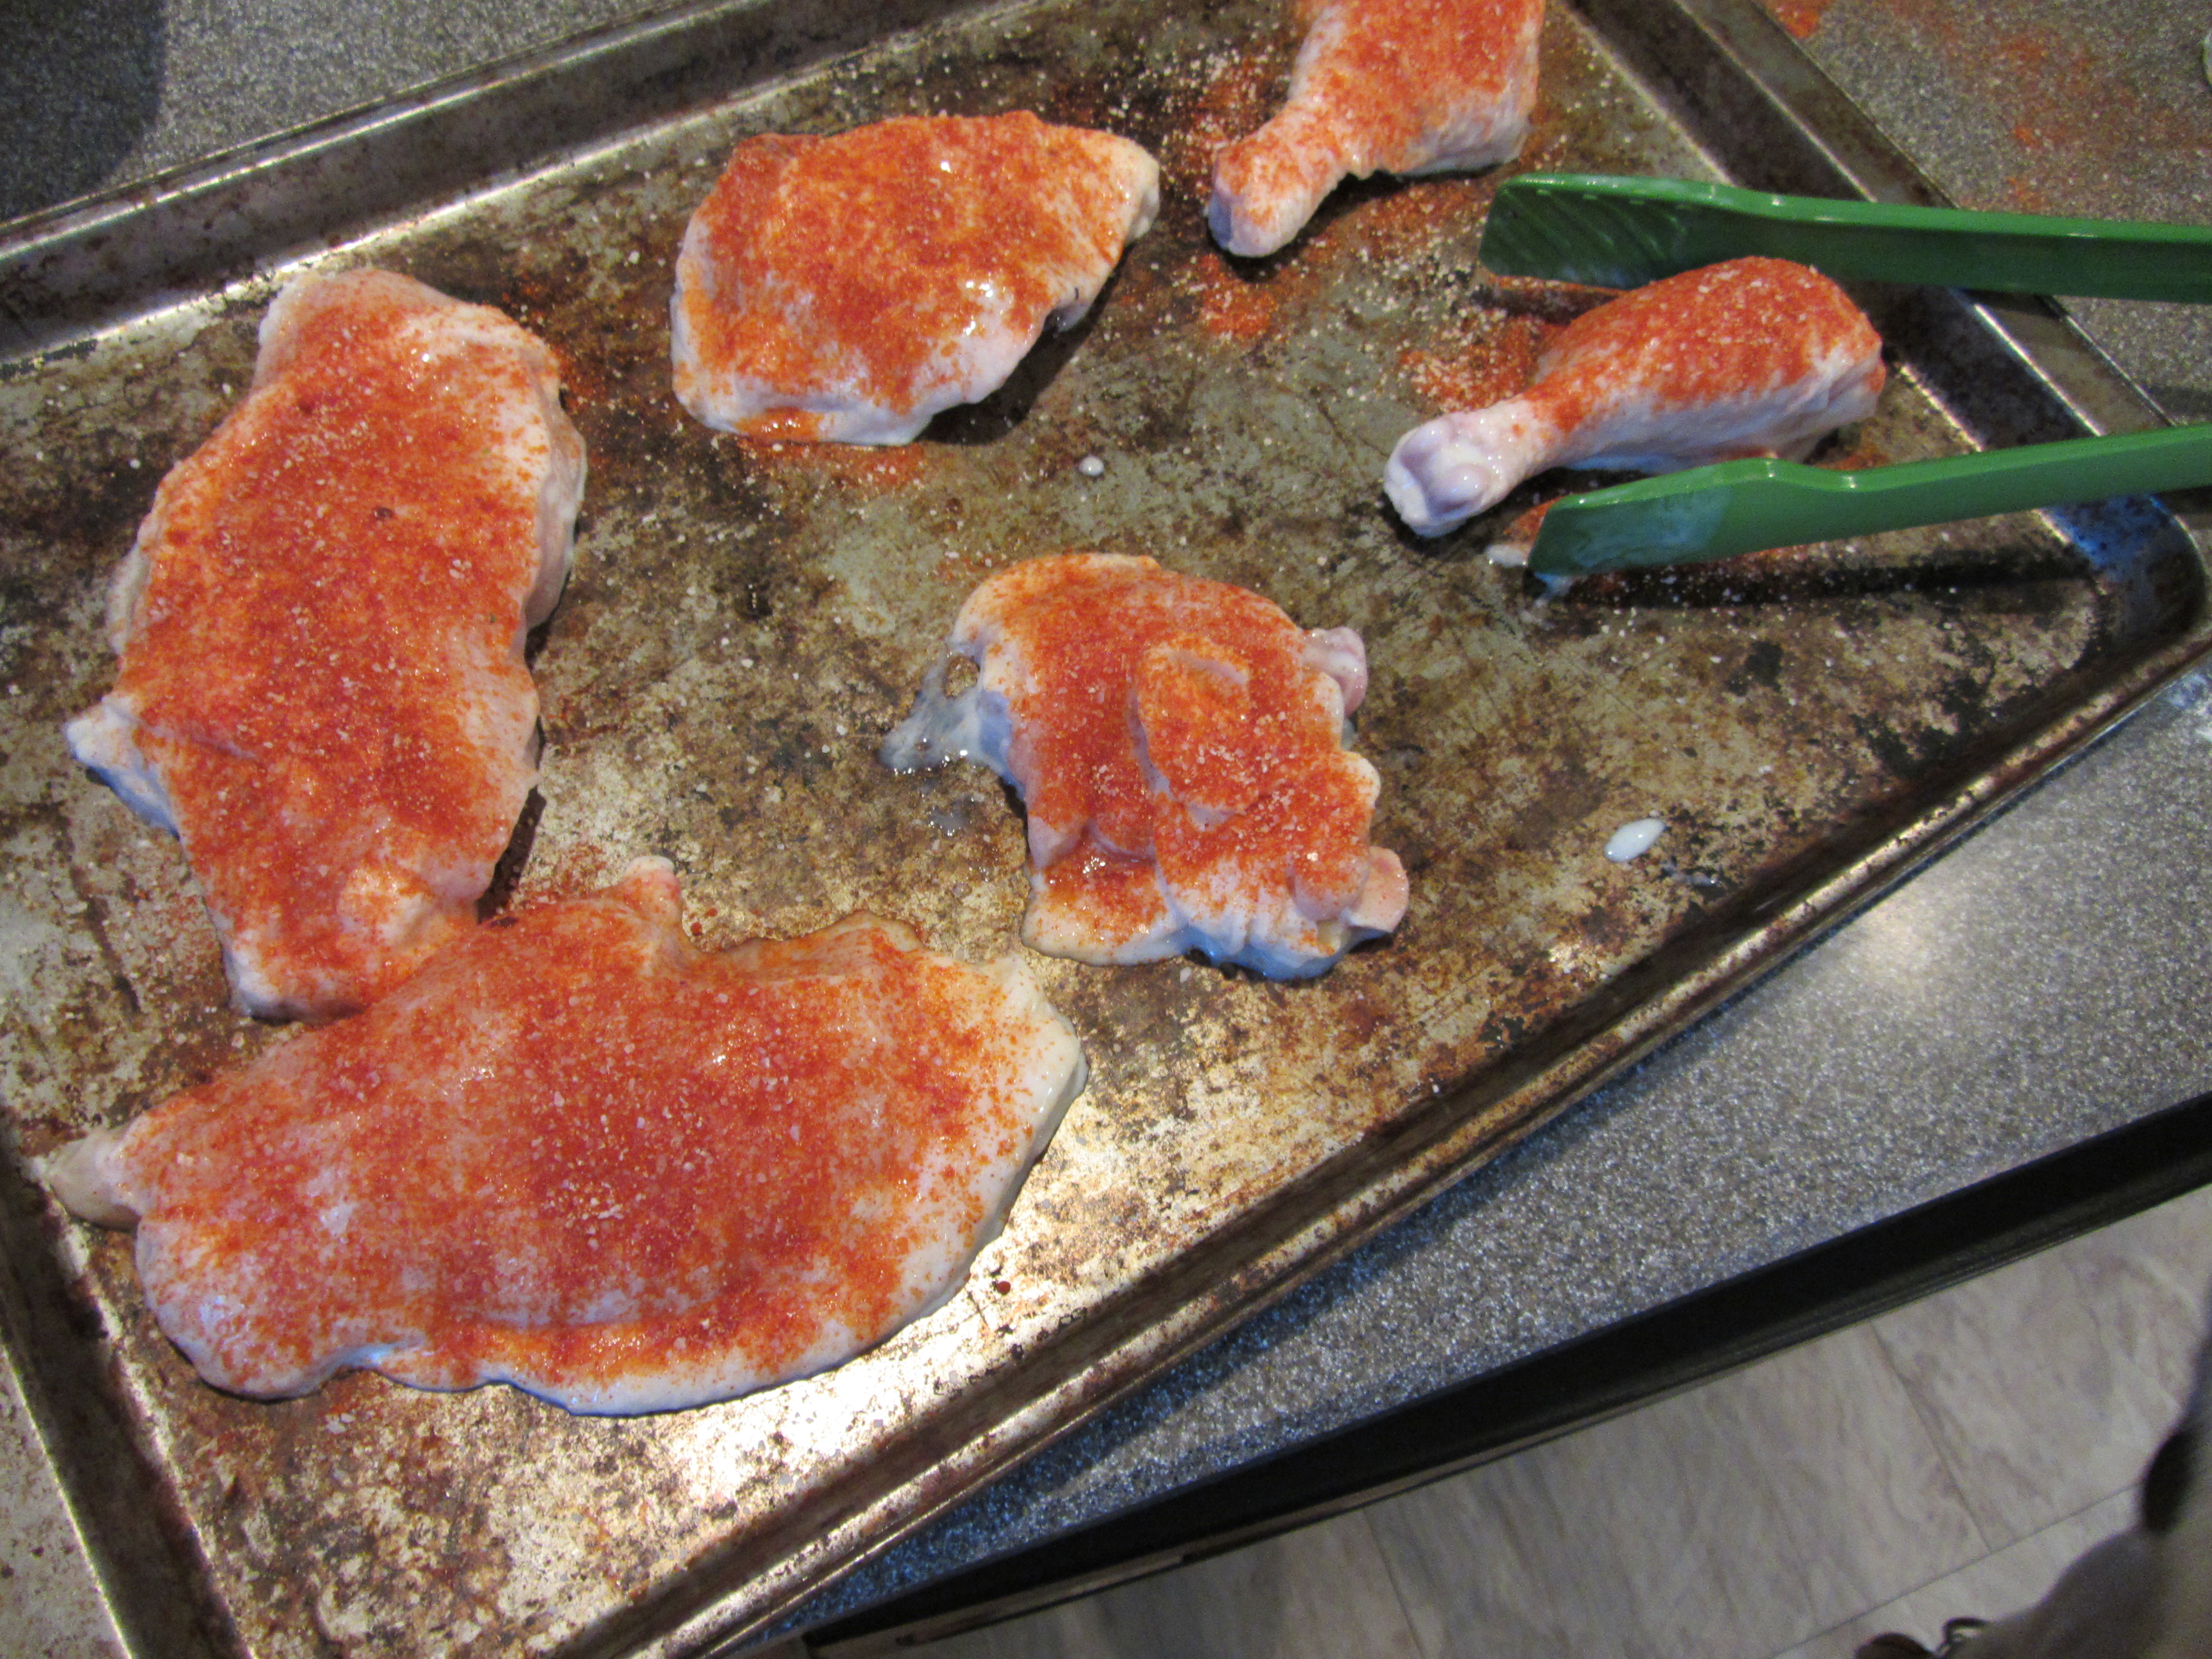
Chicken pieces sprinkled liberally with spice blend.
After seasoning, dredge the chicken pieces in flour, shaking off the excess flour.
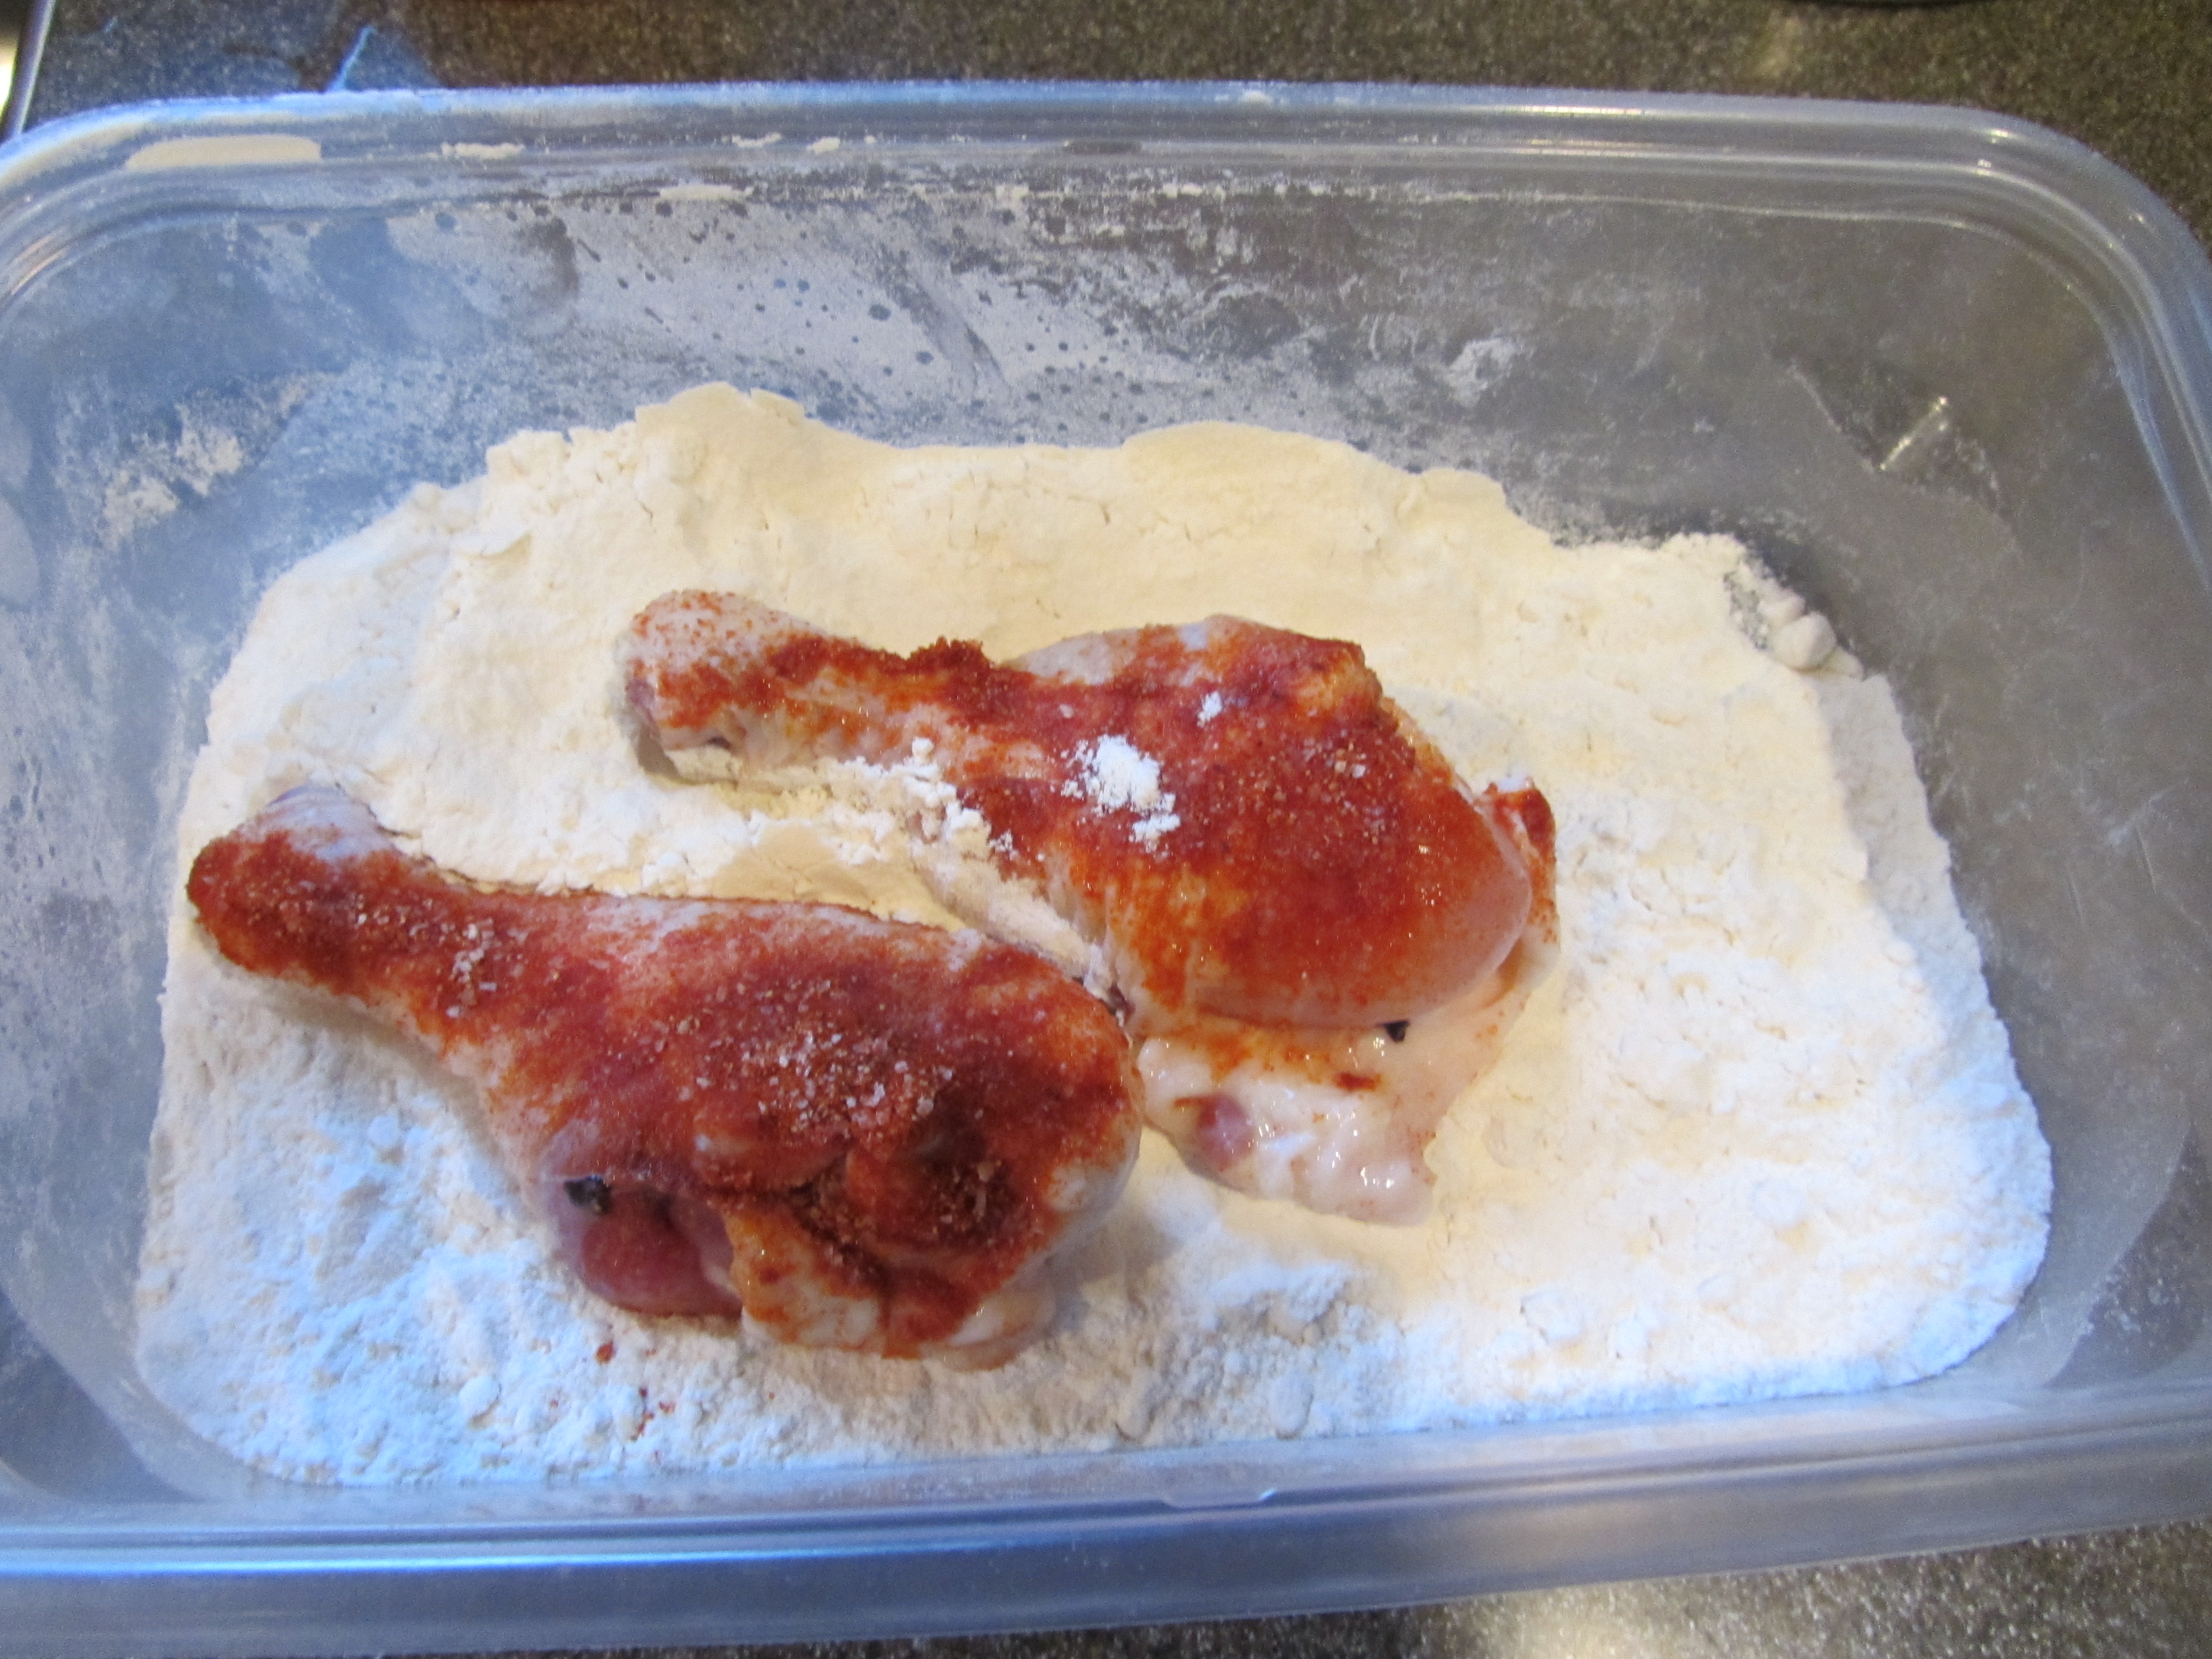
Seasoned chicken pieces being dredged in flour.

Dredged chicken pieces.
Seasoning the meat prior to dredging decreases the chance of burning and also leads to less waste of spices. Let the dredged chicken sit for 2-3 minutes. To start frying your chicken, Alton says you want your oil temperature to be a max of 350 degrees. I put my chicken in the pan when my oil was around 325 degrees.

Shortening at ~325 degrees.
Place your breasts, skin side down, at 10 and 2 o’clock in the pan. The drumsticks should be placed at 5 and 7 o’clock, and the thighs should go in the center. I did a poor job of portioning my thighs, so they were very small. I opted to place my breasts in the center instead.
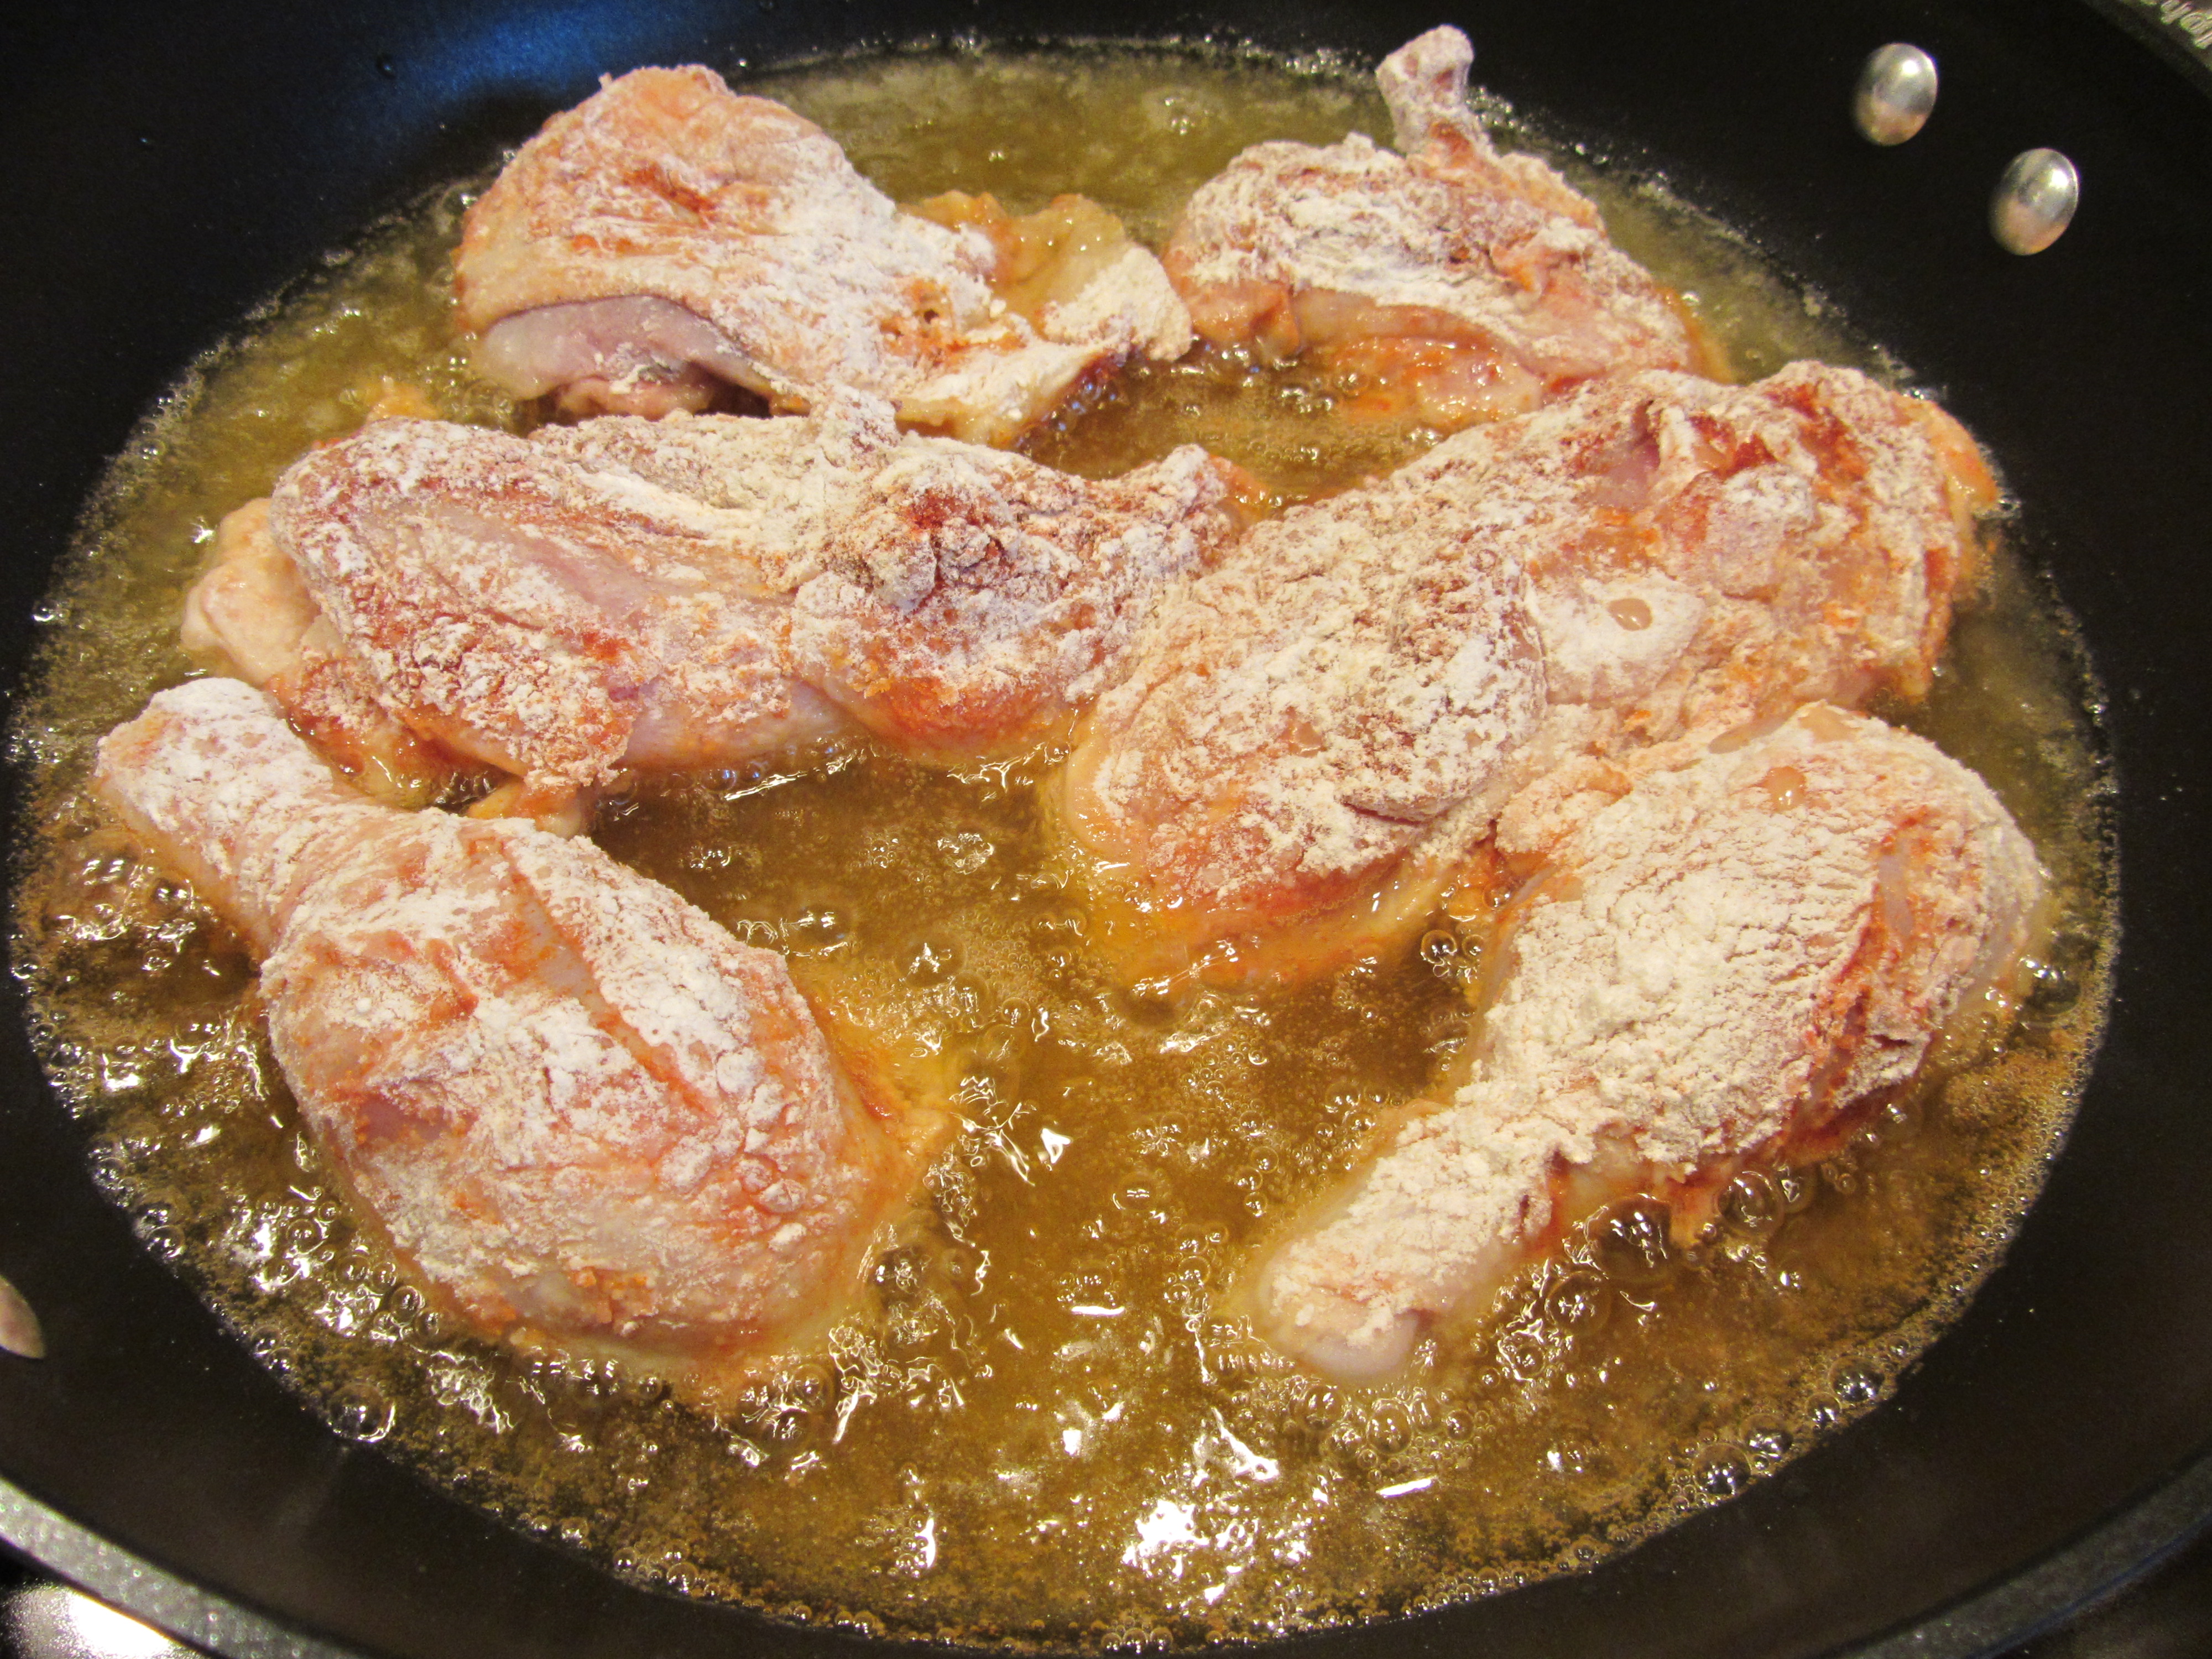
Chicken pieces added to skillet for 12 minutes.
Fry the chicken for about 12 minutes, and flip the pieces to their opposite sides to cook for an additional 12 minutes. Make sure to check your oil temperature frequently, as you do not want it to get any hotter than 350 degrees. I used my infrared thermometer to monitor my oil temperature.
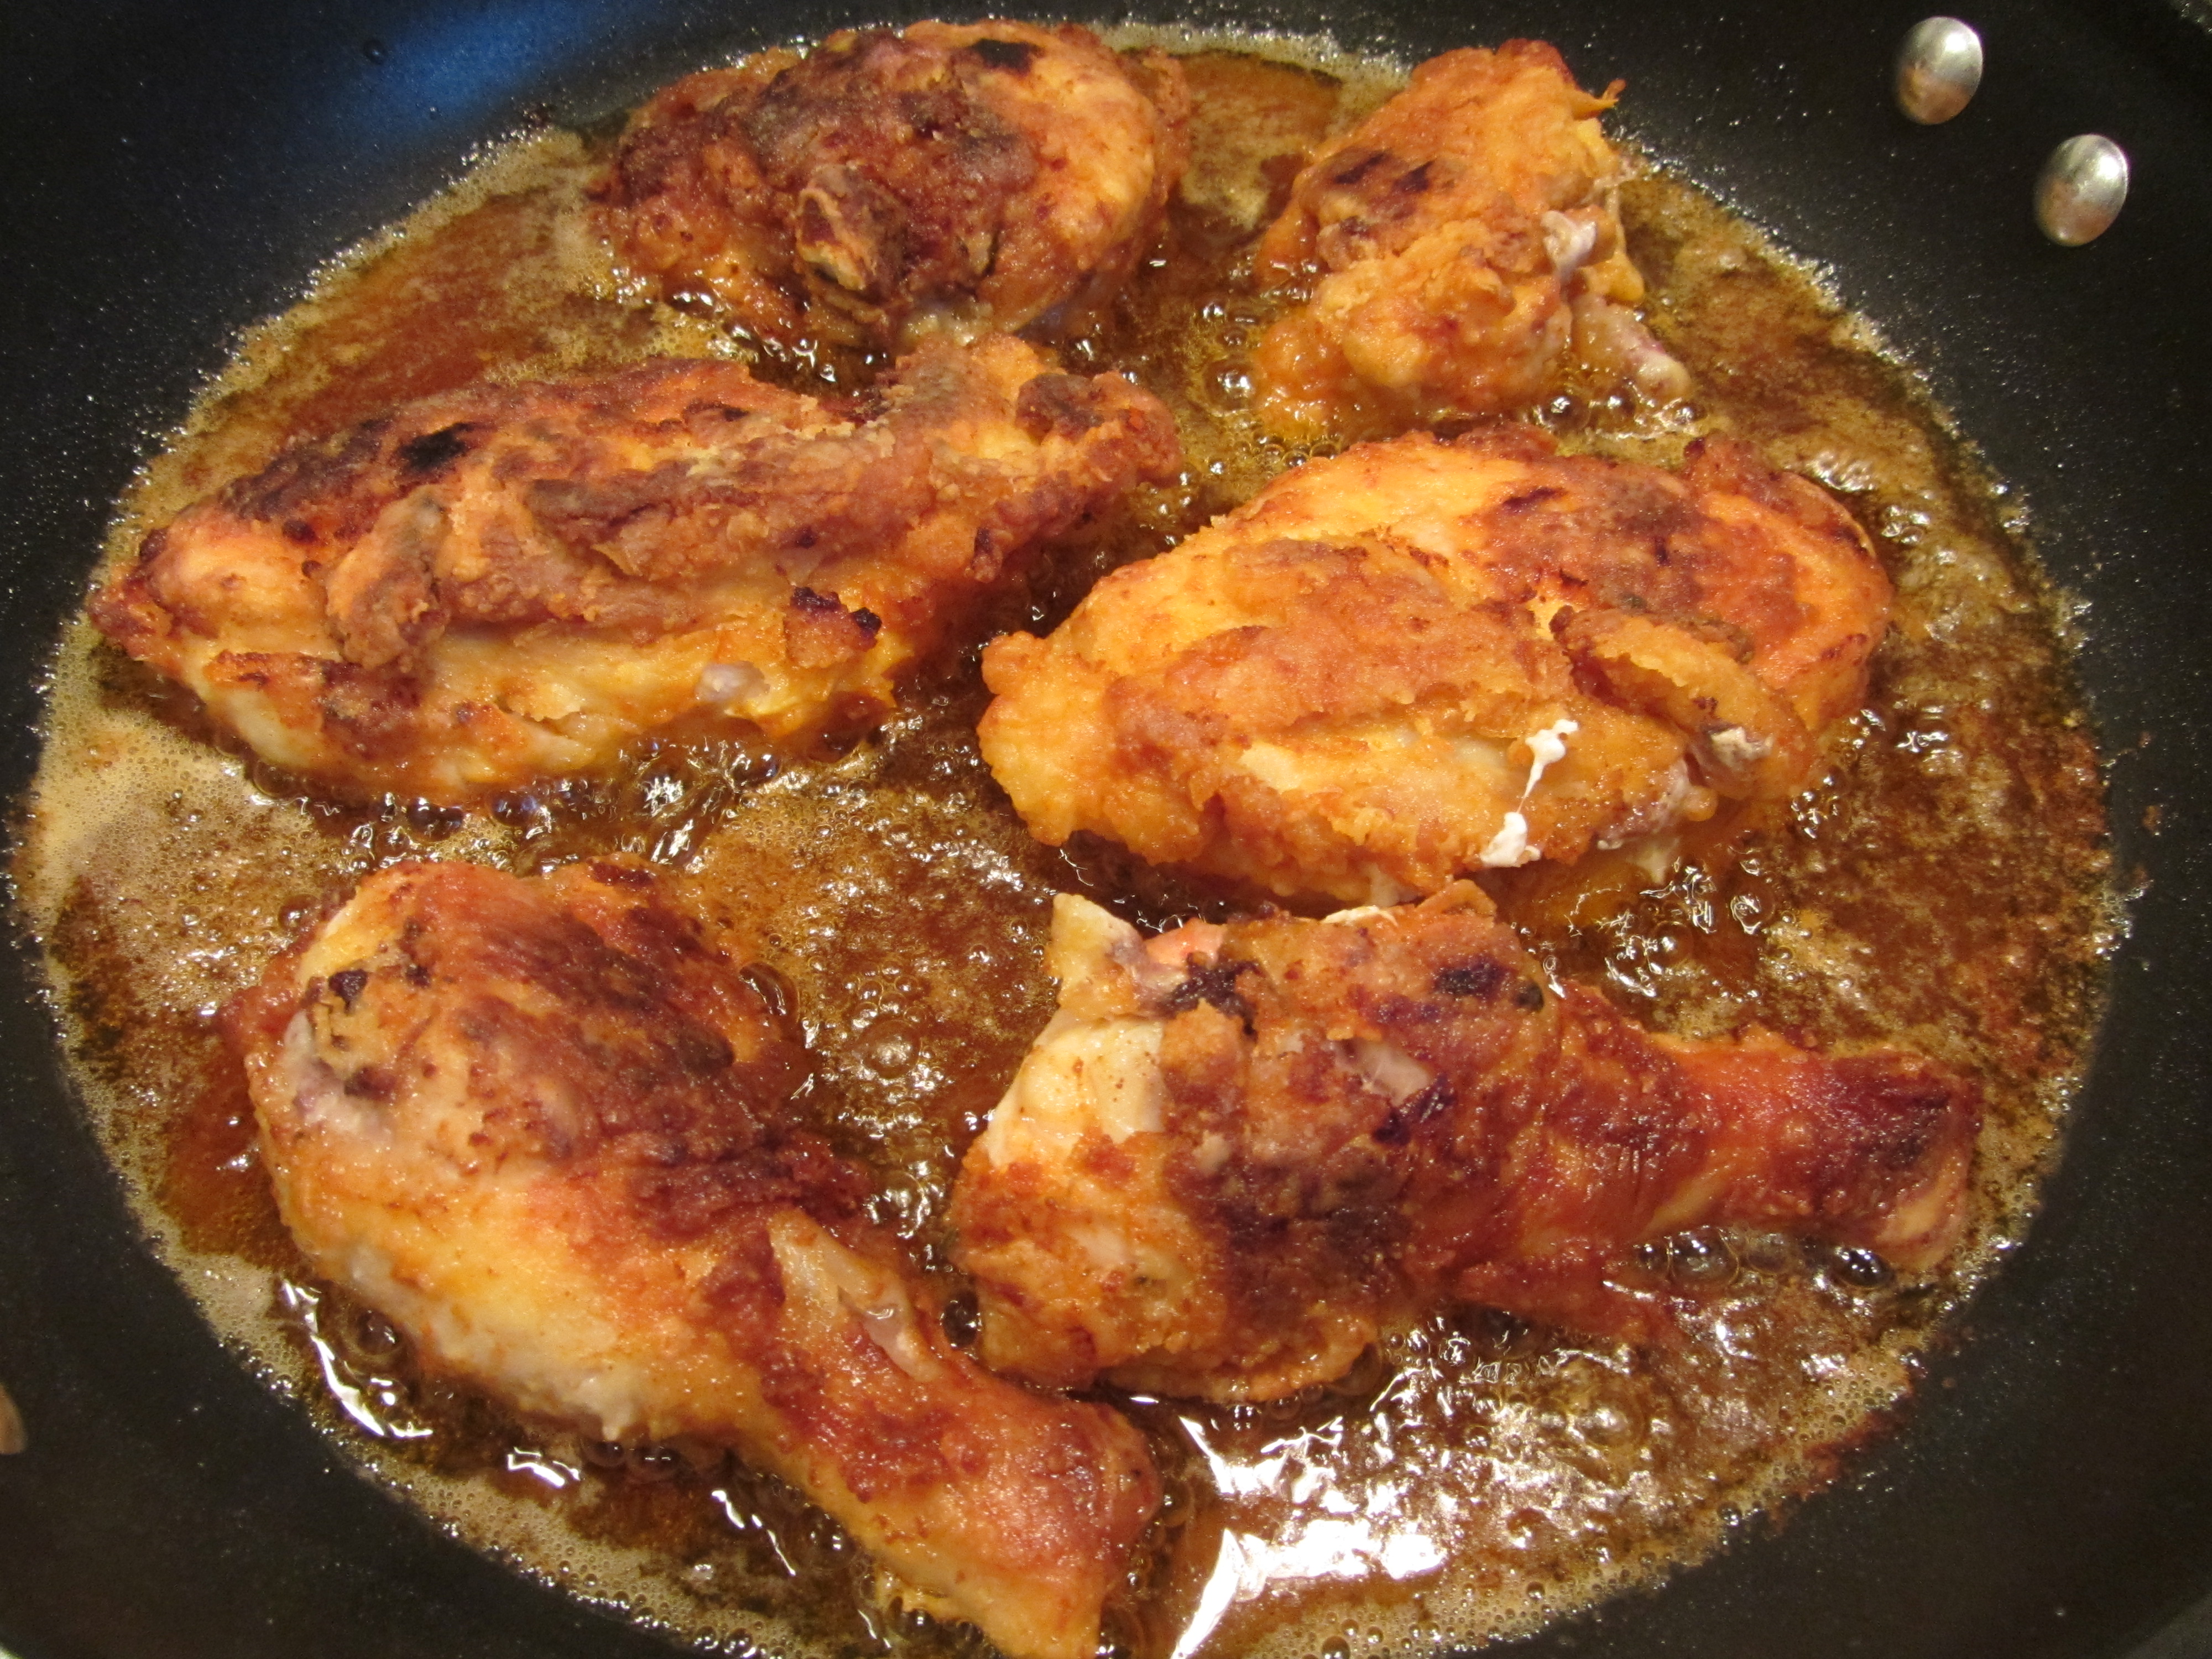
Chicken pieces flipped to second sides for ~12 more minutes.
When your cooking time is up, check the internal temperature of your chicken to ensure it is cooked throughout; you will want an internal temperature of 180 degrees. Some of my chicken pieces required additional cooking time. Drain your fried chicken on a rack over a sheet pan. It will maintain its heat for quite some time.
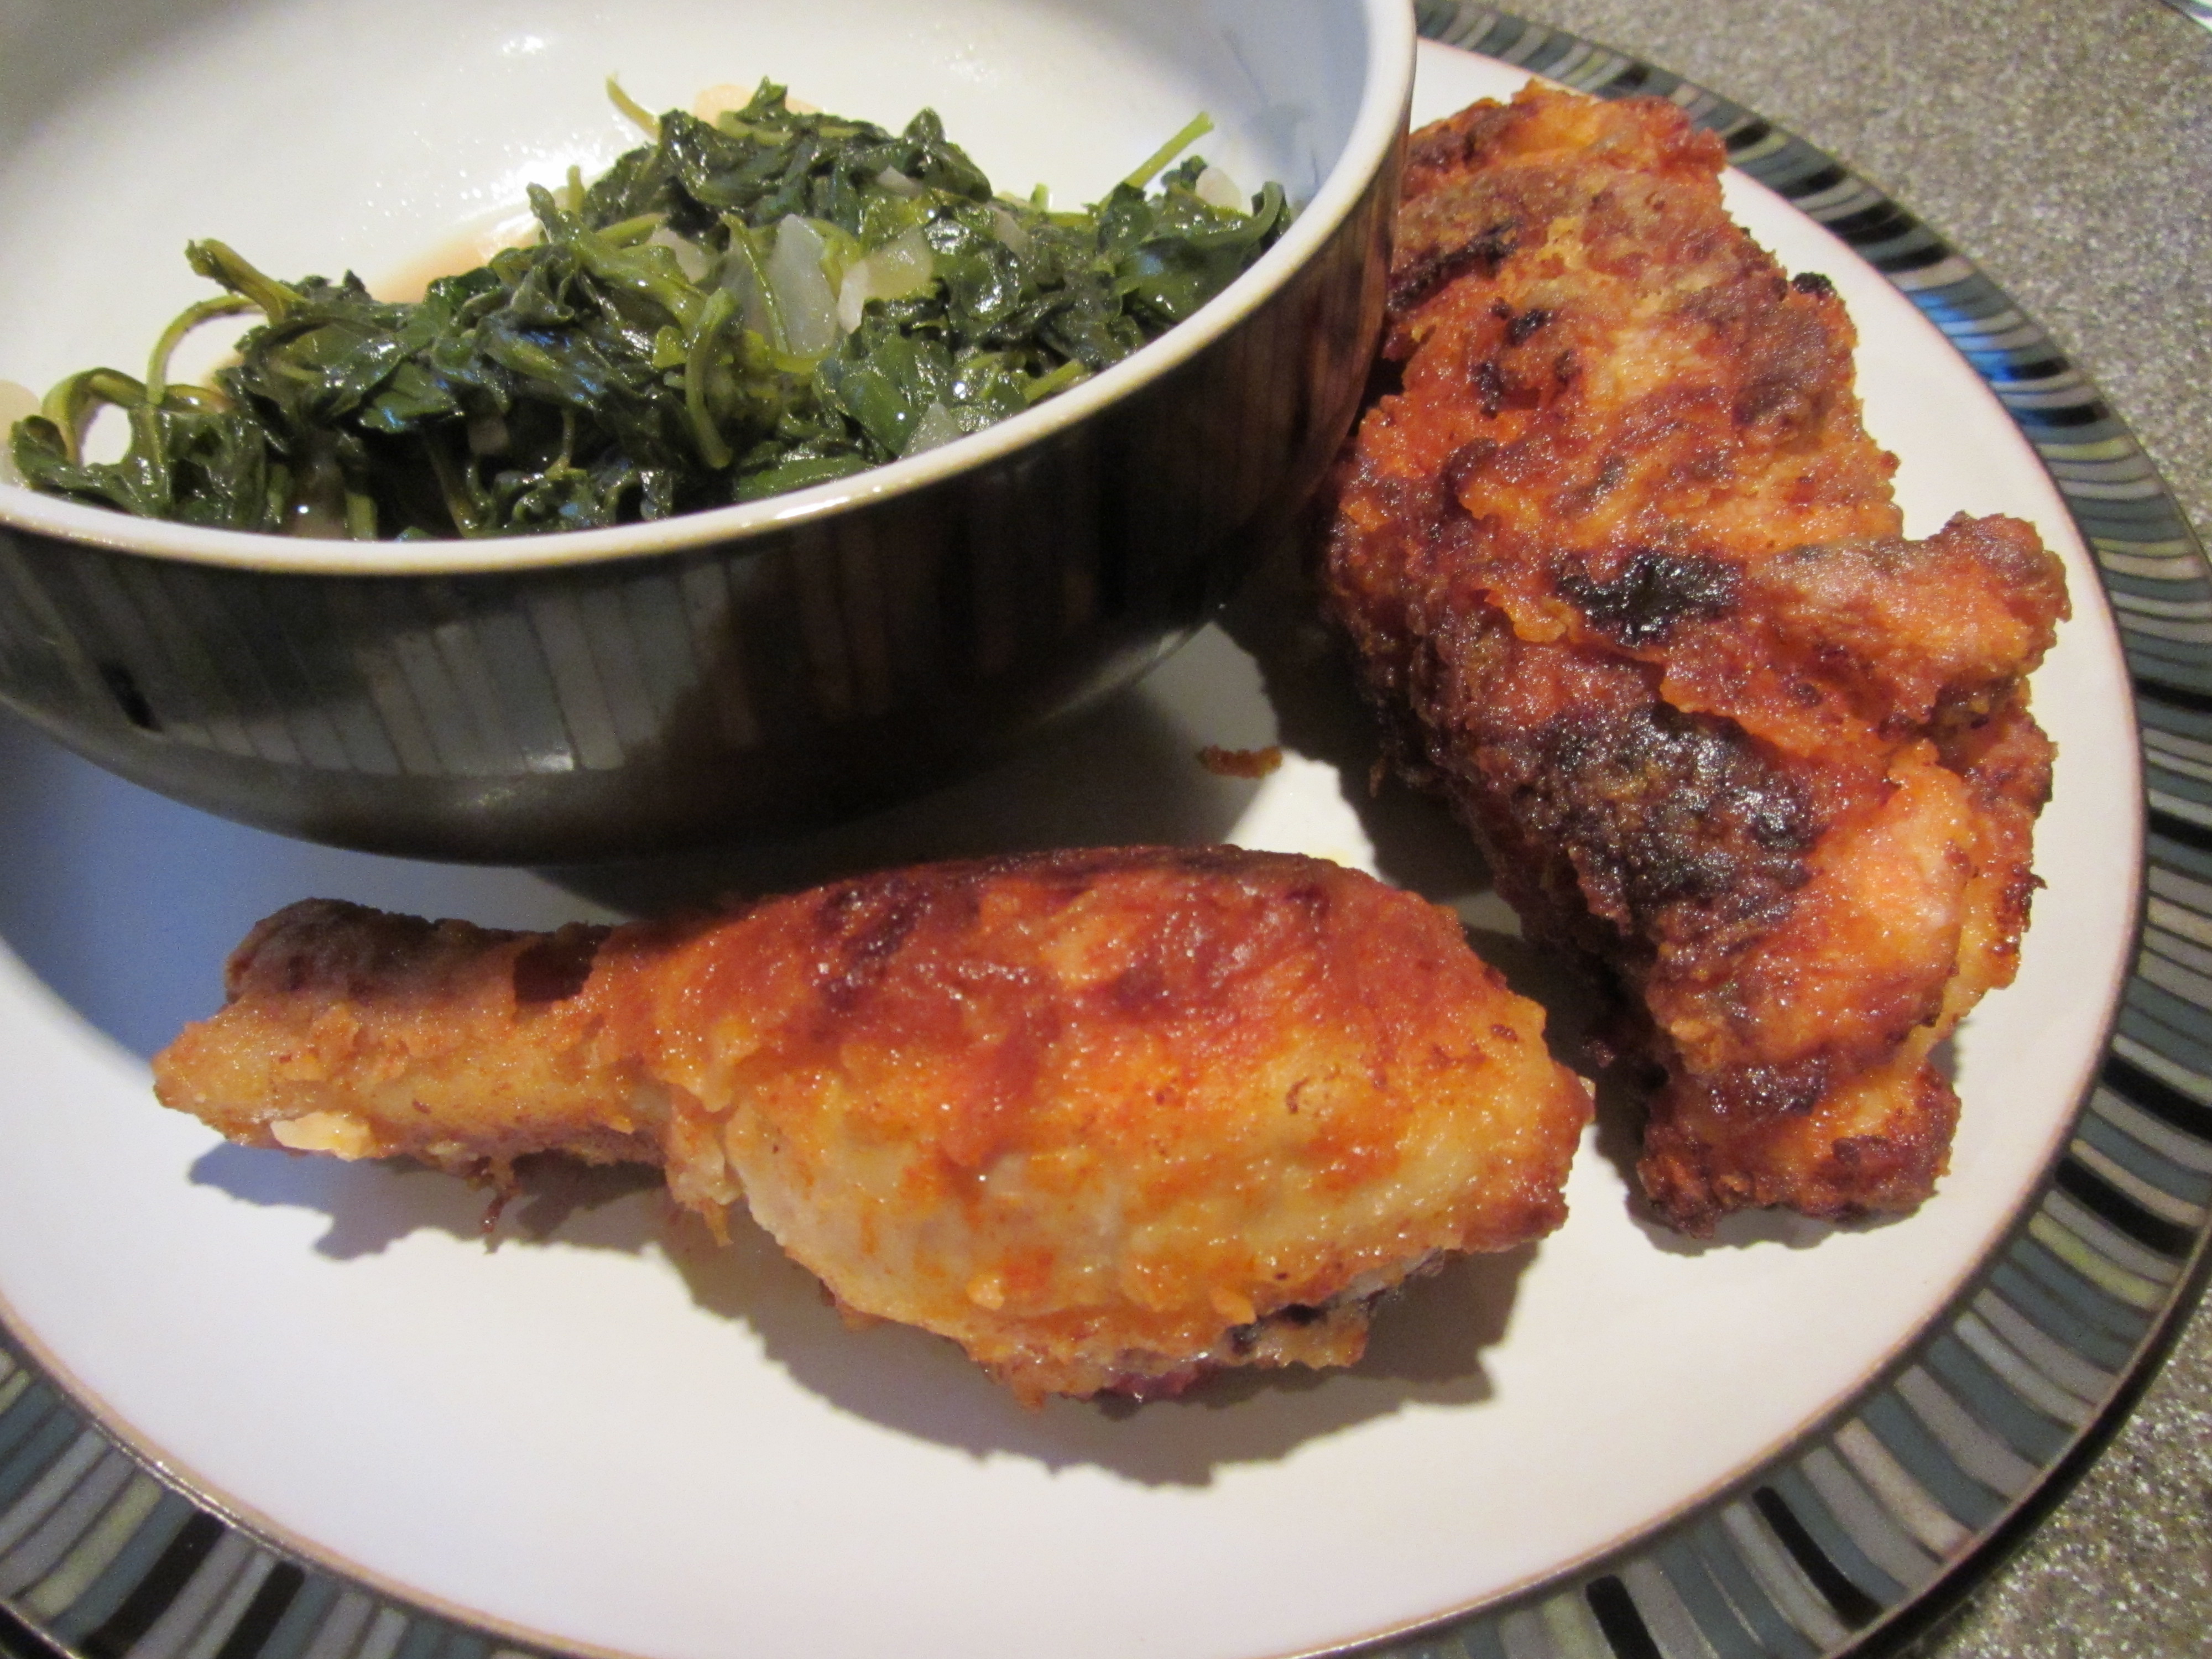
Alton’s fried chicken.
I have to say that Alton’s fried chicken was pretty spot-on. I heavily spiced my chicken, and that made the flavor quite intense. The skin was crispy and relatively low on grease, and the meat inside was tender and juicy. I would definitely make this again. Maybe someday someone will make it for me, as I would prefer to not see the slimy bird before cooking! At least I didn’t start a fire with this frying attempt, as I did with the fish and chips!