Southern Biscuits
I have previously mentioned that differences exist between the recipes featured on Good Eats and the online versions of the same recipes. The recipes from the 7th episode had many differences, so I, of course, made the recipes as made on the show. The first of these recipes was for biscuits, as made by Alton’s grandmother. In the episode, Alton explains that it is desirable to make biscuits with soft flour, which has a lower protein content. You can use self-rising flour for this, or you can simulate soft flour by combining 3 parts of all-purpose flour with 1 part of cake flour; I did the latter. No mention of soft flour is made in the online recipe. In the episode, Alton tells you to use 10 oz. of flour, while the online recipe calls for 2 cups. He also tells you to weigh one ounce of butter and two ounces of shortening, while the online version calls for 2 T of each.
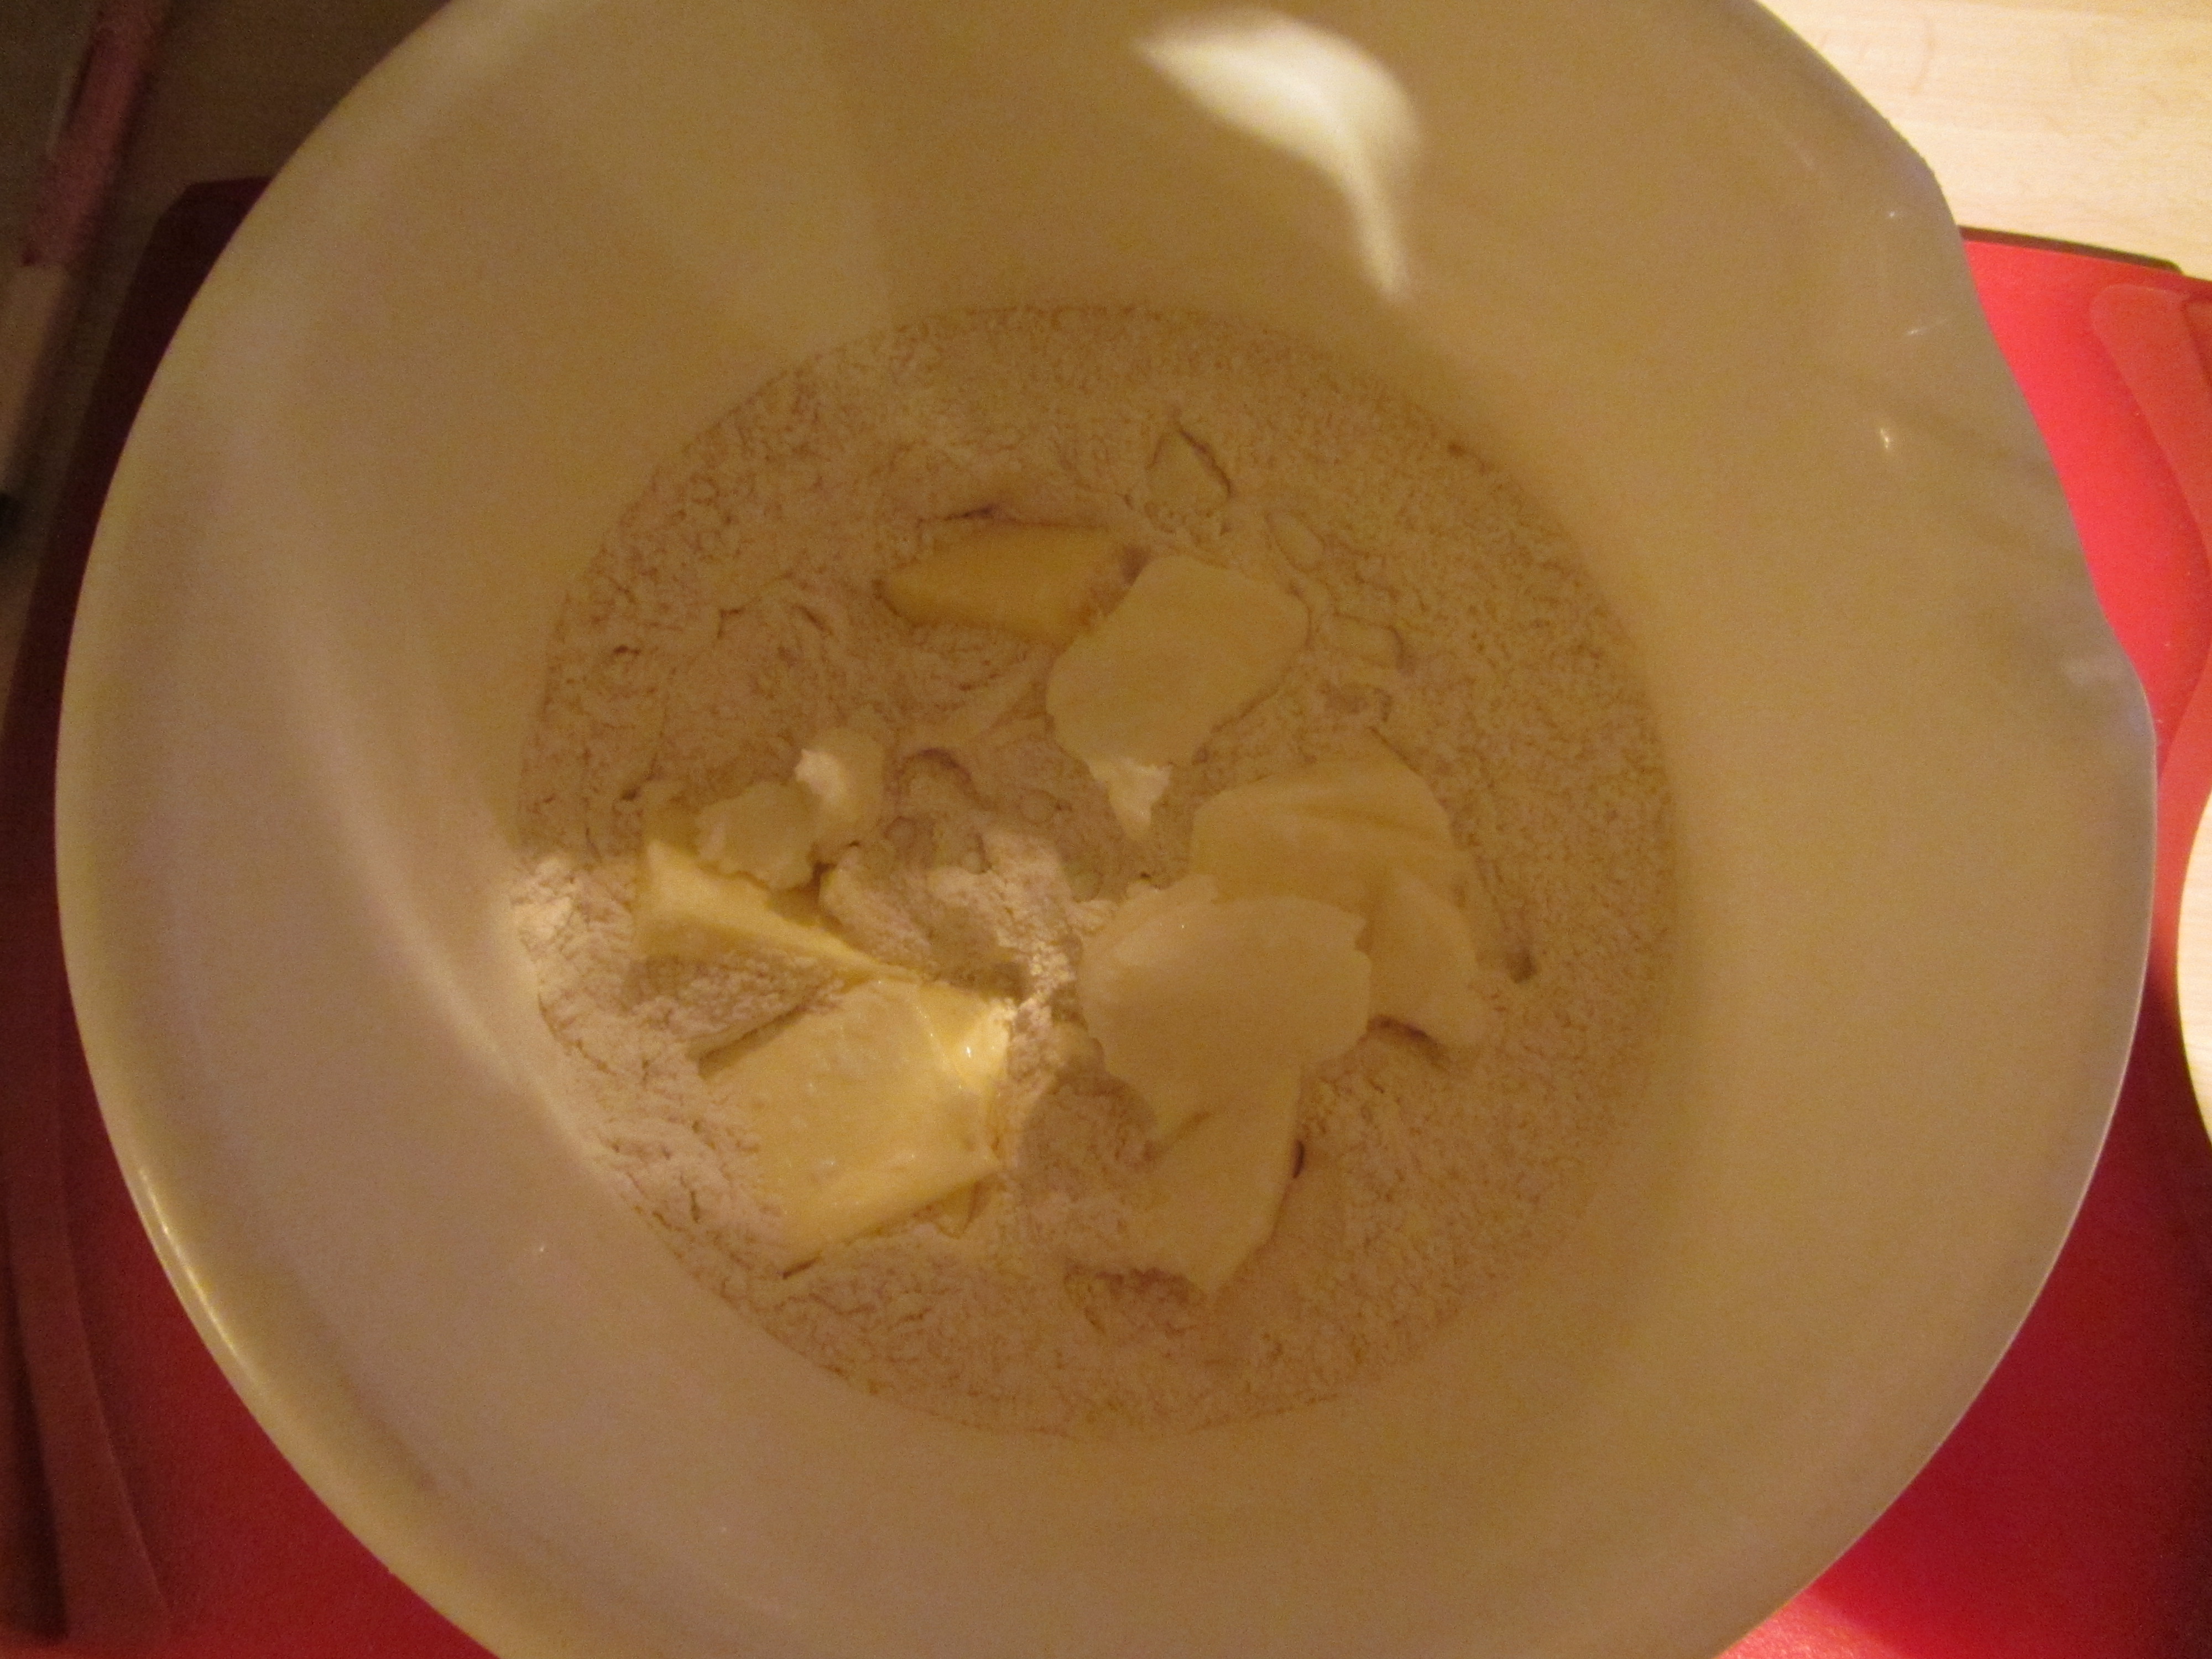
I combined my dry ingredients, and then cut in the fat with my fingers until I had a crumb-like texture.

Combined dry ingredients.
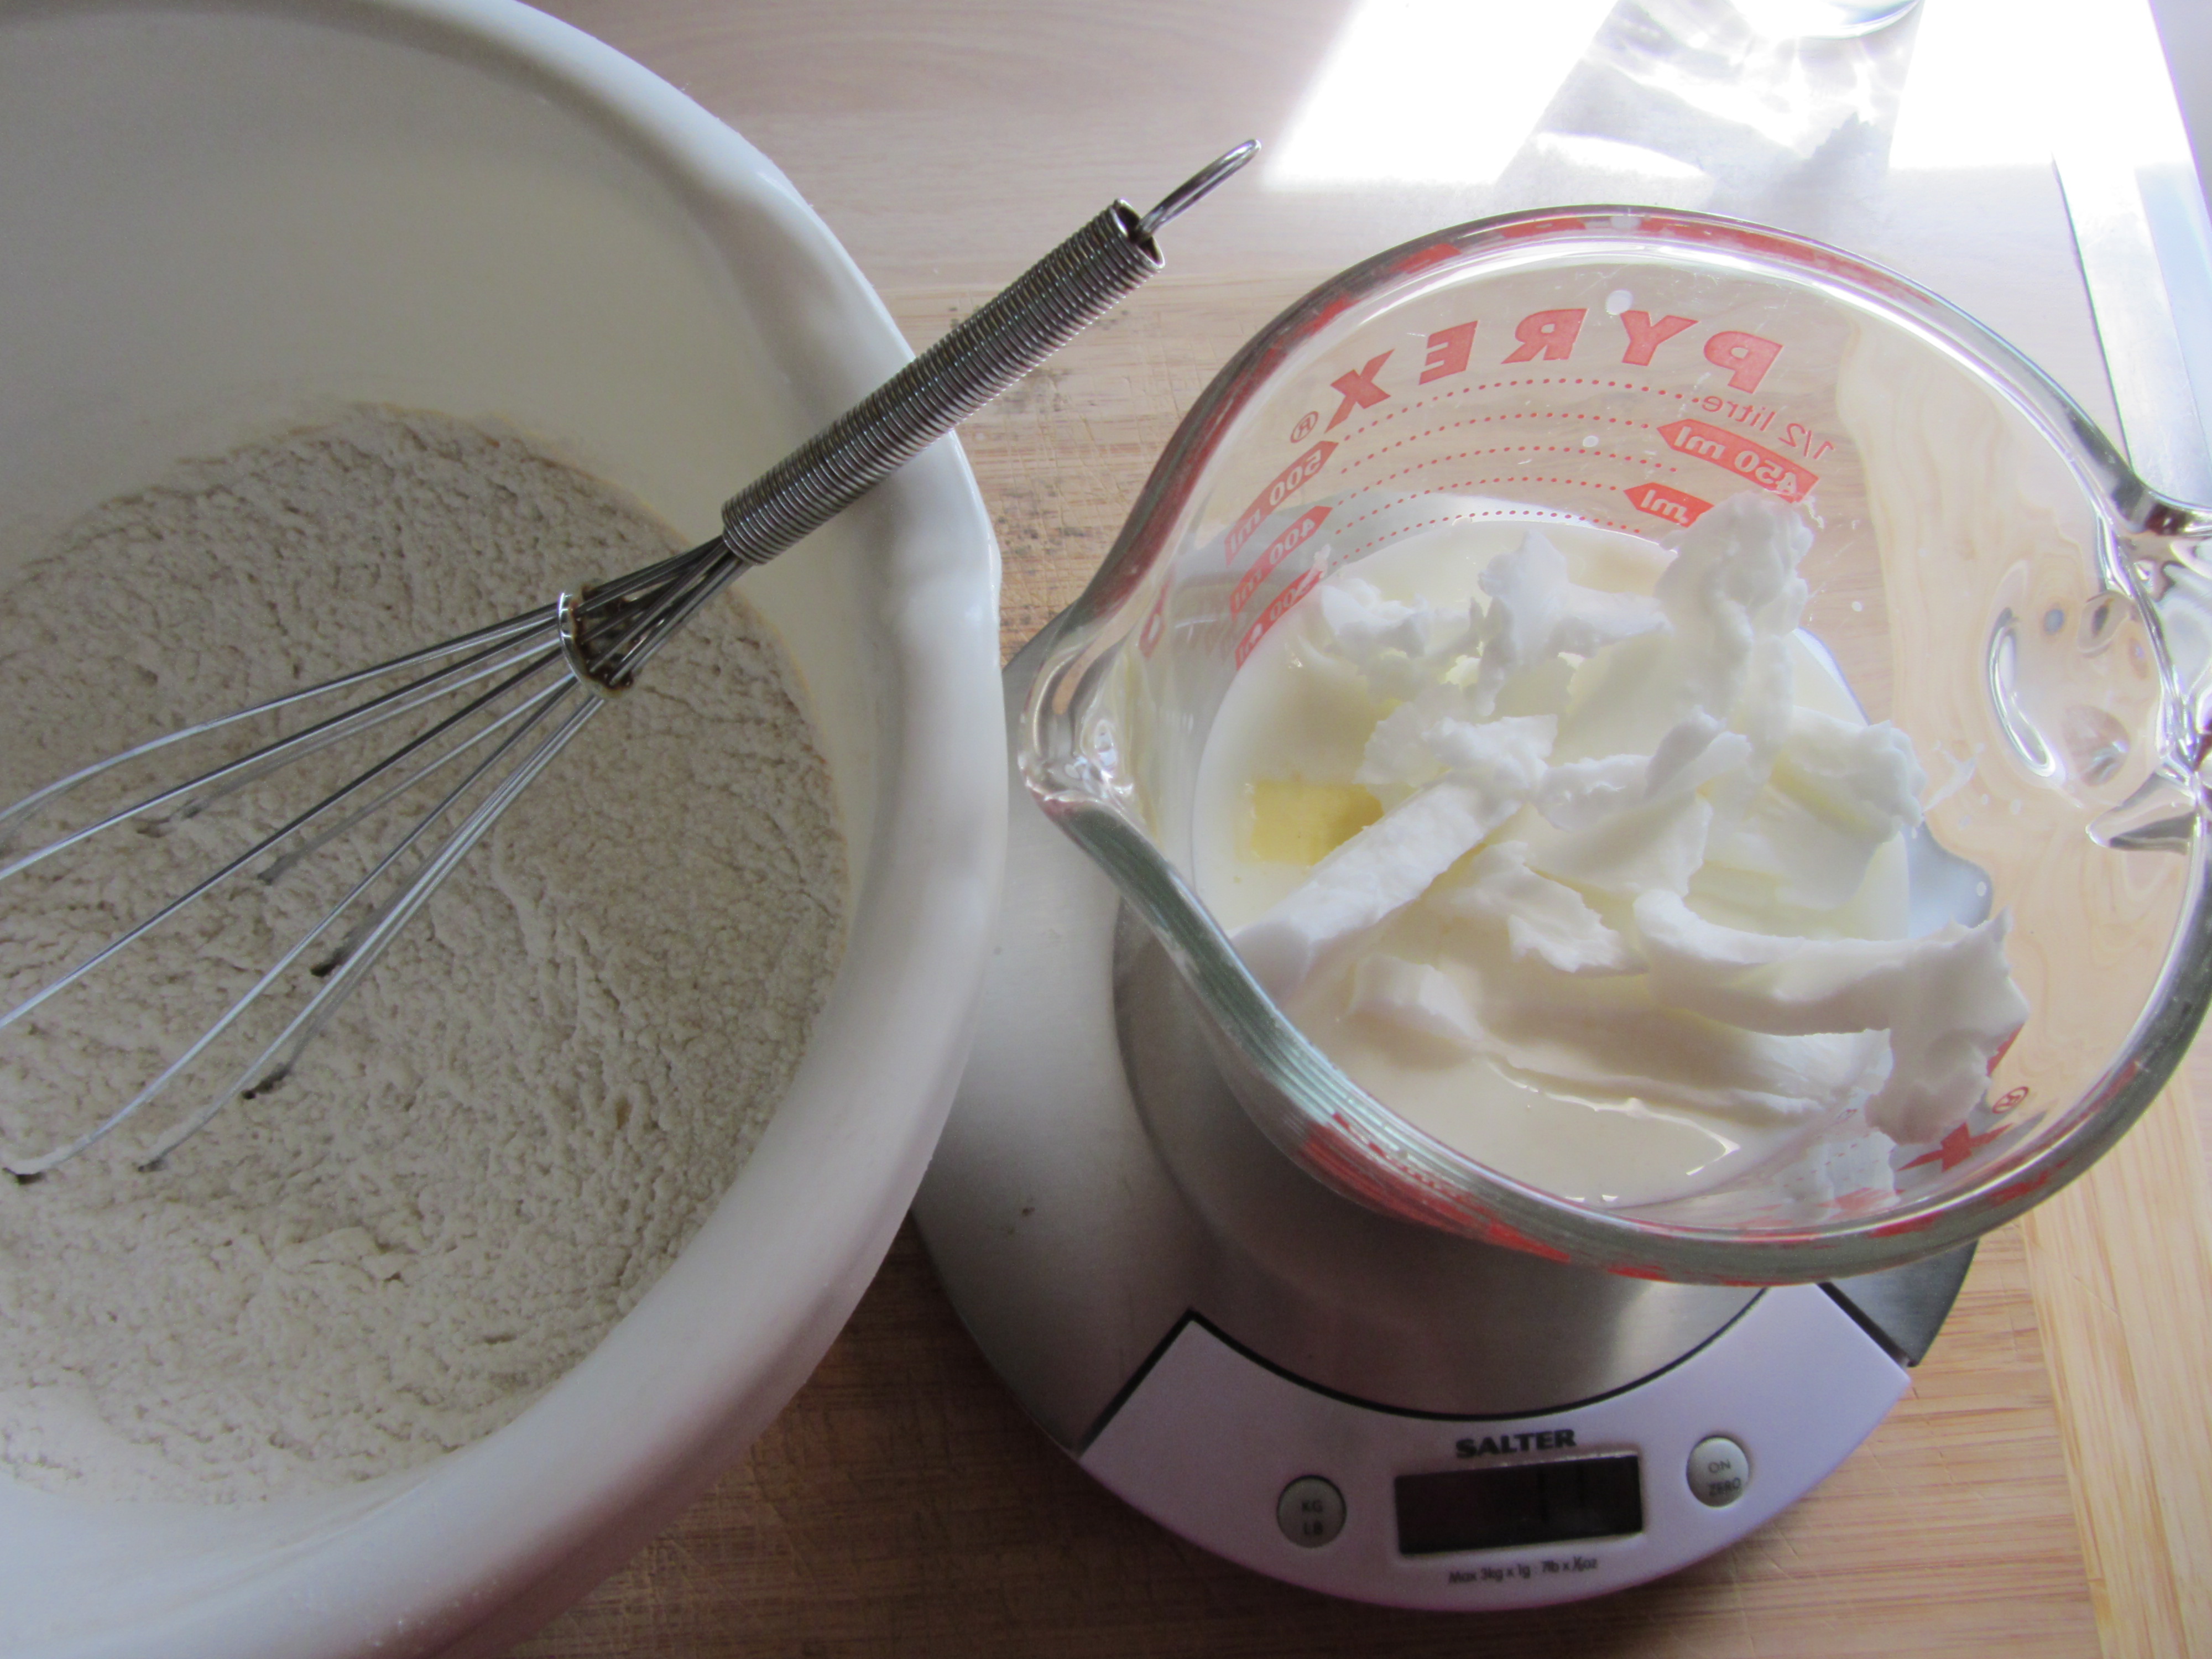
Buttermilk, shortening, and butter.

Cutting in the butter.
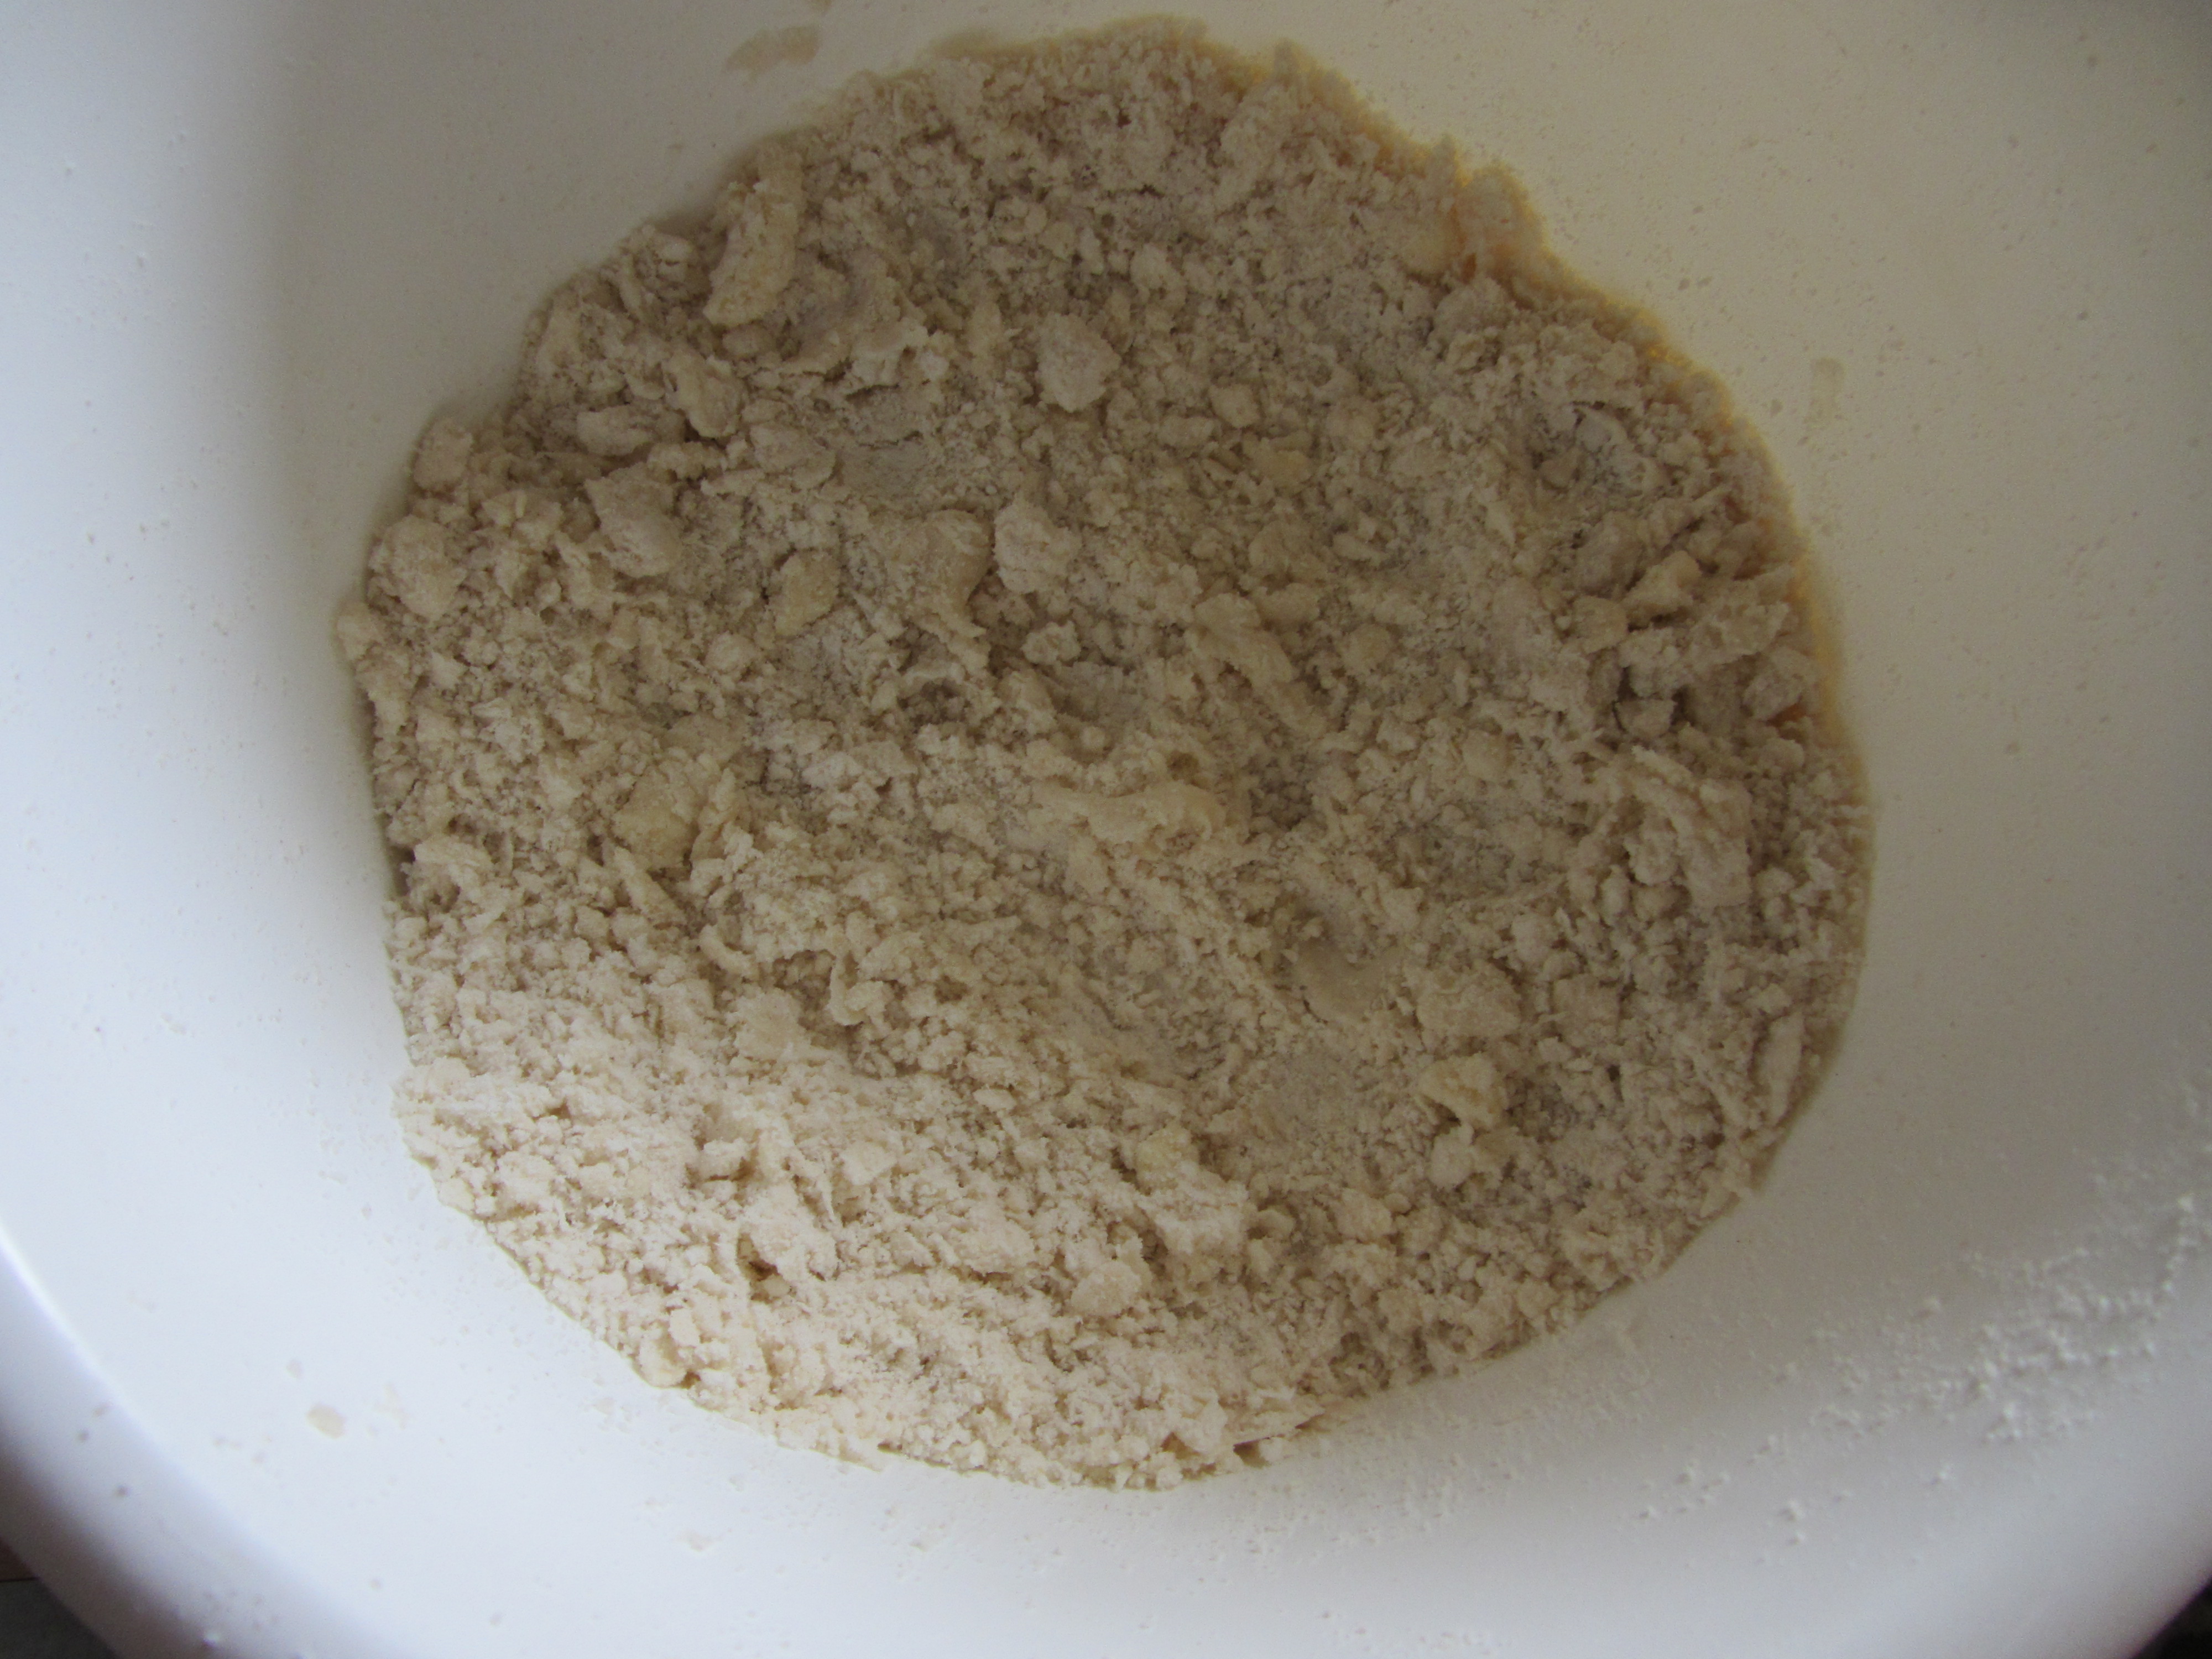
Crumb-like texture.
I then mixed in my buttermilk, being cautious not to overwork the dough. Alton and his grandmother emphasize this point in the episode, saying overworking the dough can lead to tough biscuits. My dough seemed wet and sticky, and like it would possibly be difficult to work with once turned out onto my board.

Adding the buttermilk.
Surprisingly, it was actually very easy to work with. I cut out my biscuits with a 2.5-inch cutter, and placed them on my baking sheet so they were just barely touching. I indented the top of each biscuit with my fingers (this was another thing mentioned in the episode that is not in the online recipe) to prevent having domed tops, and baked them until they were golden brown.
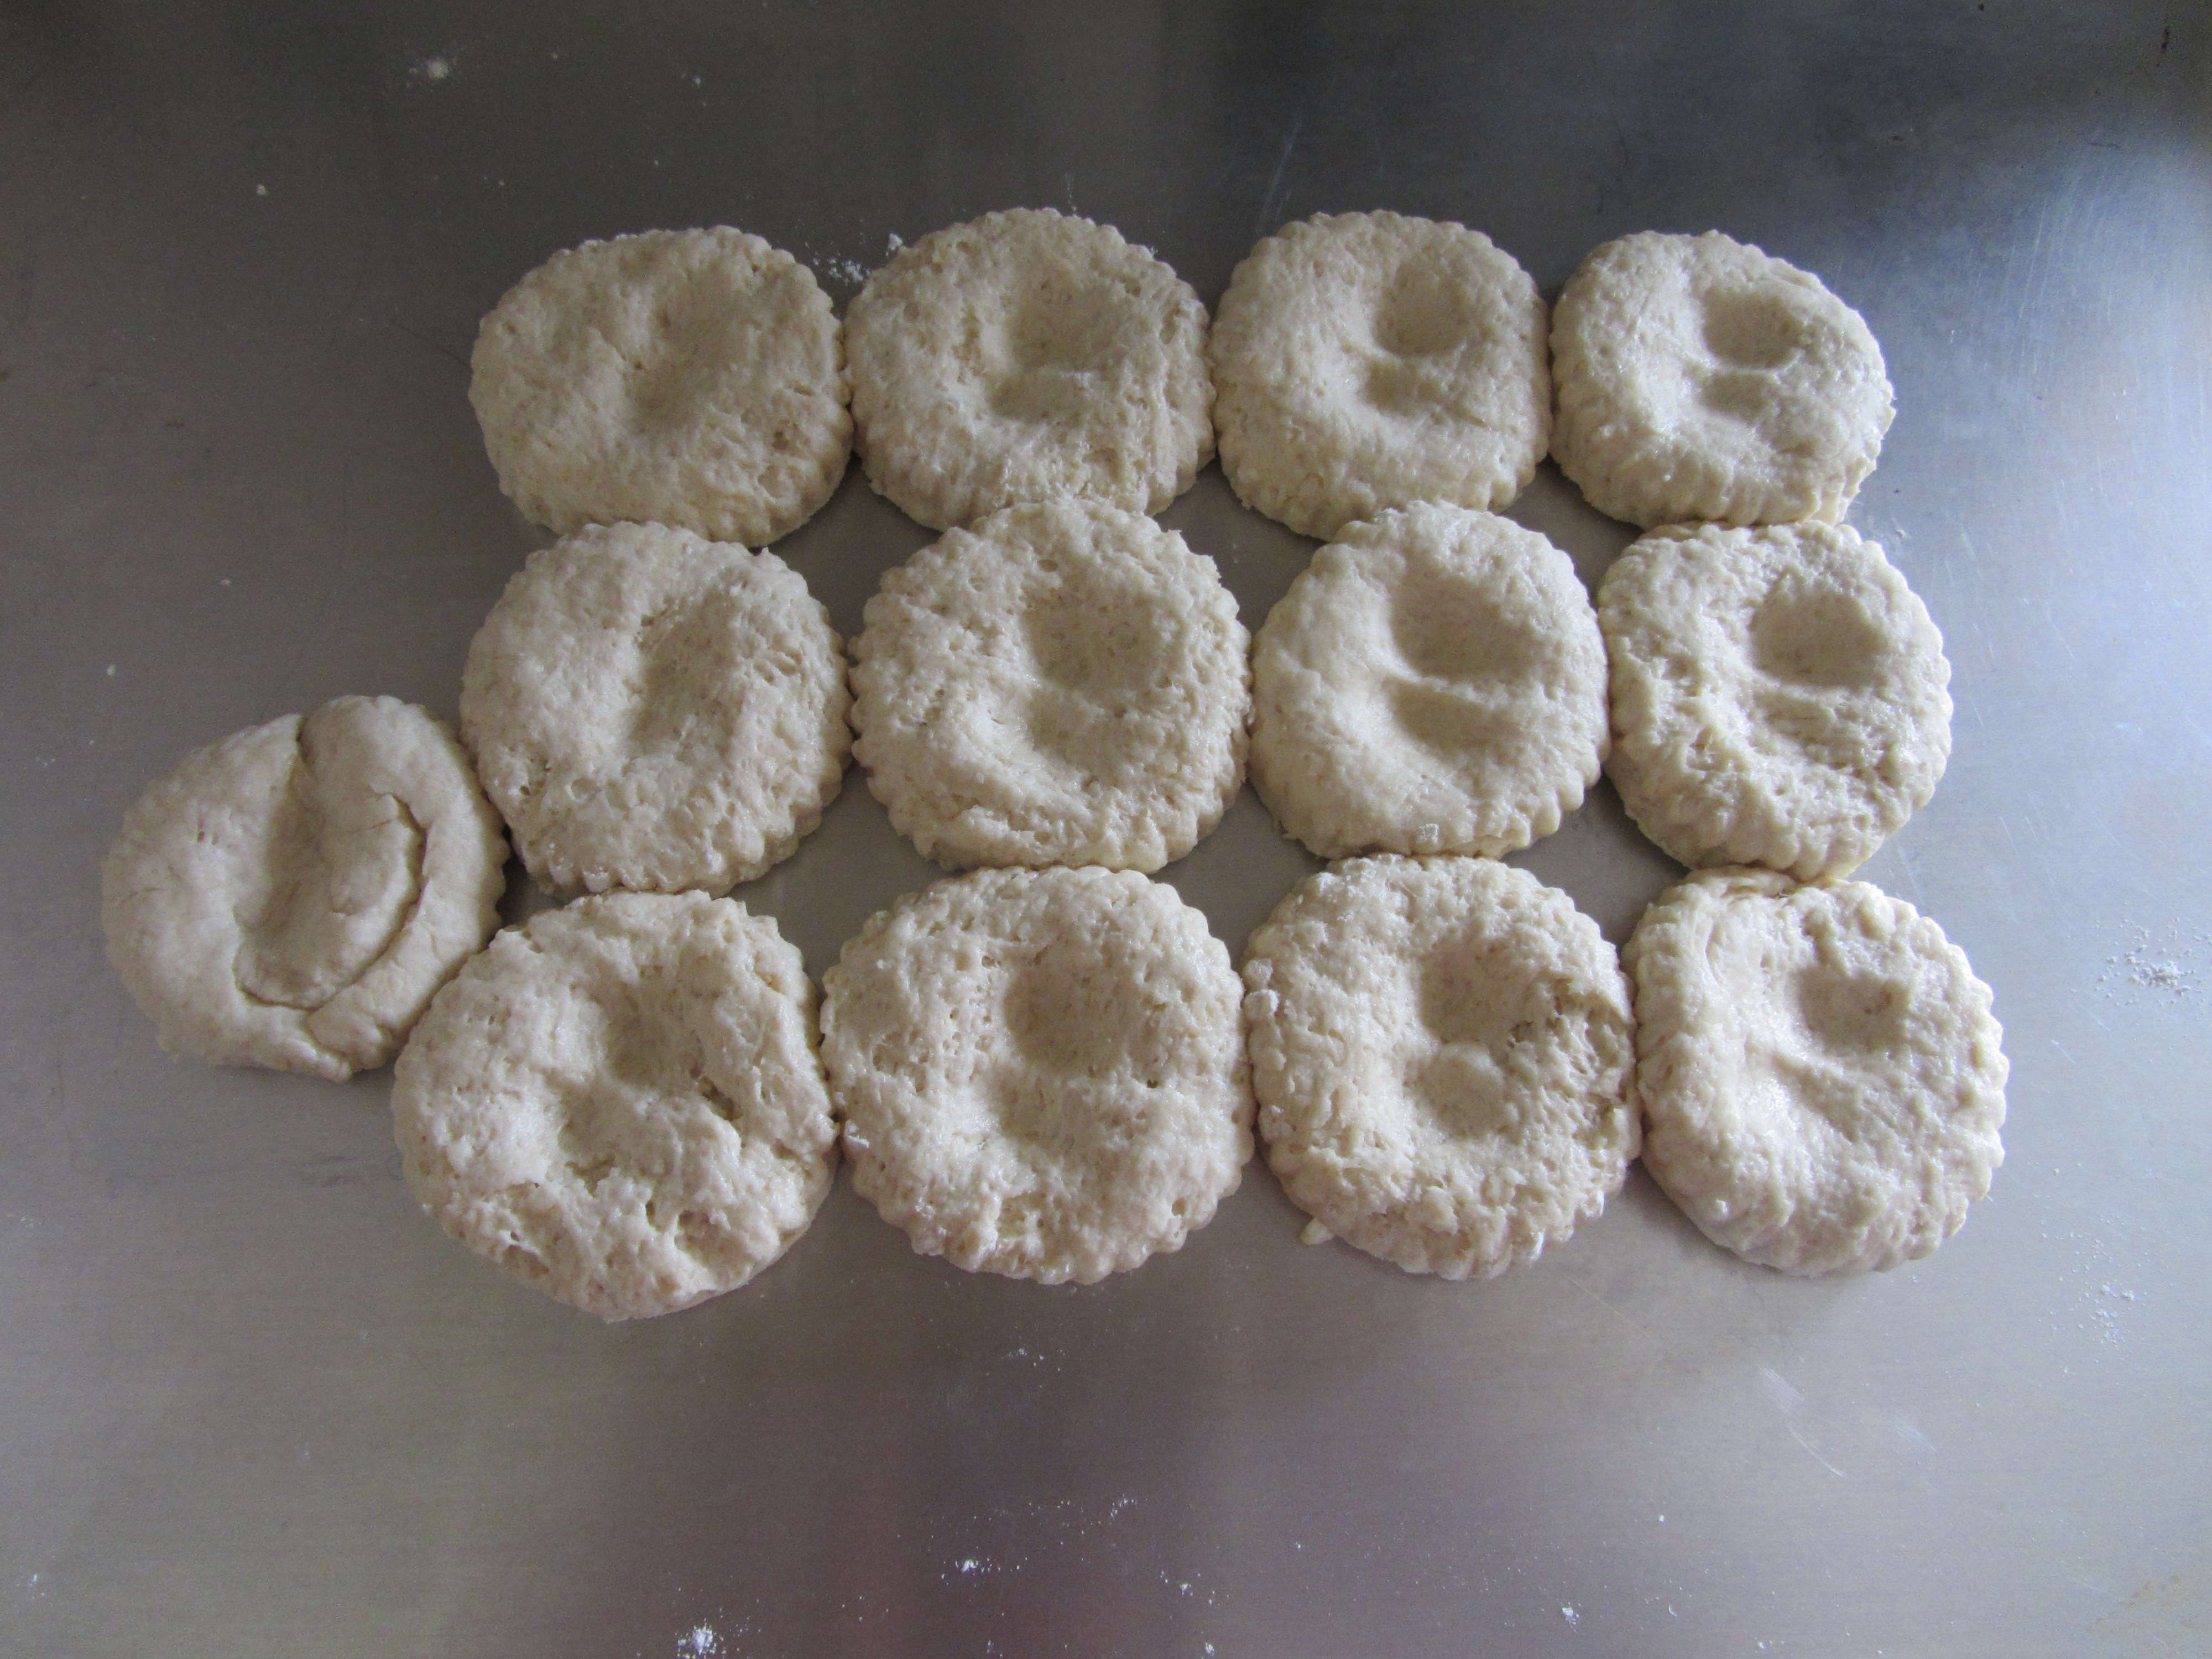
Indented biscuits pre-baking.
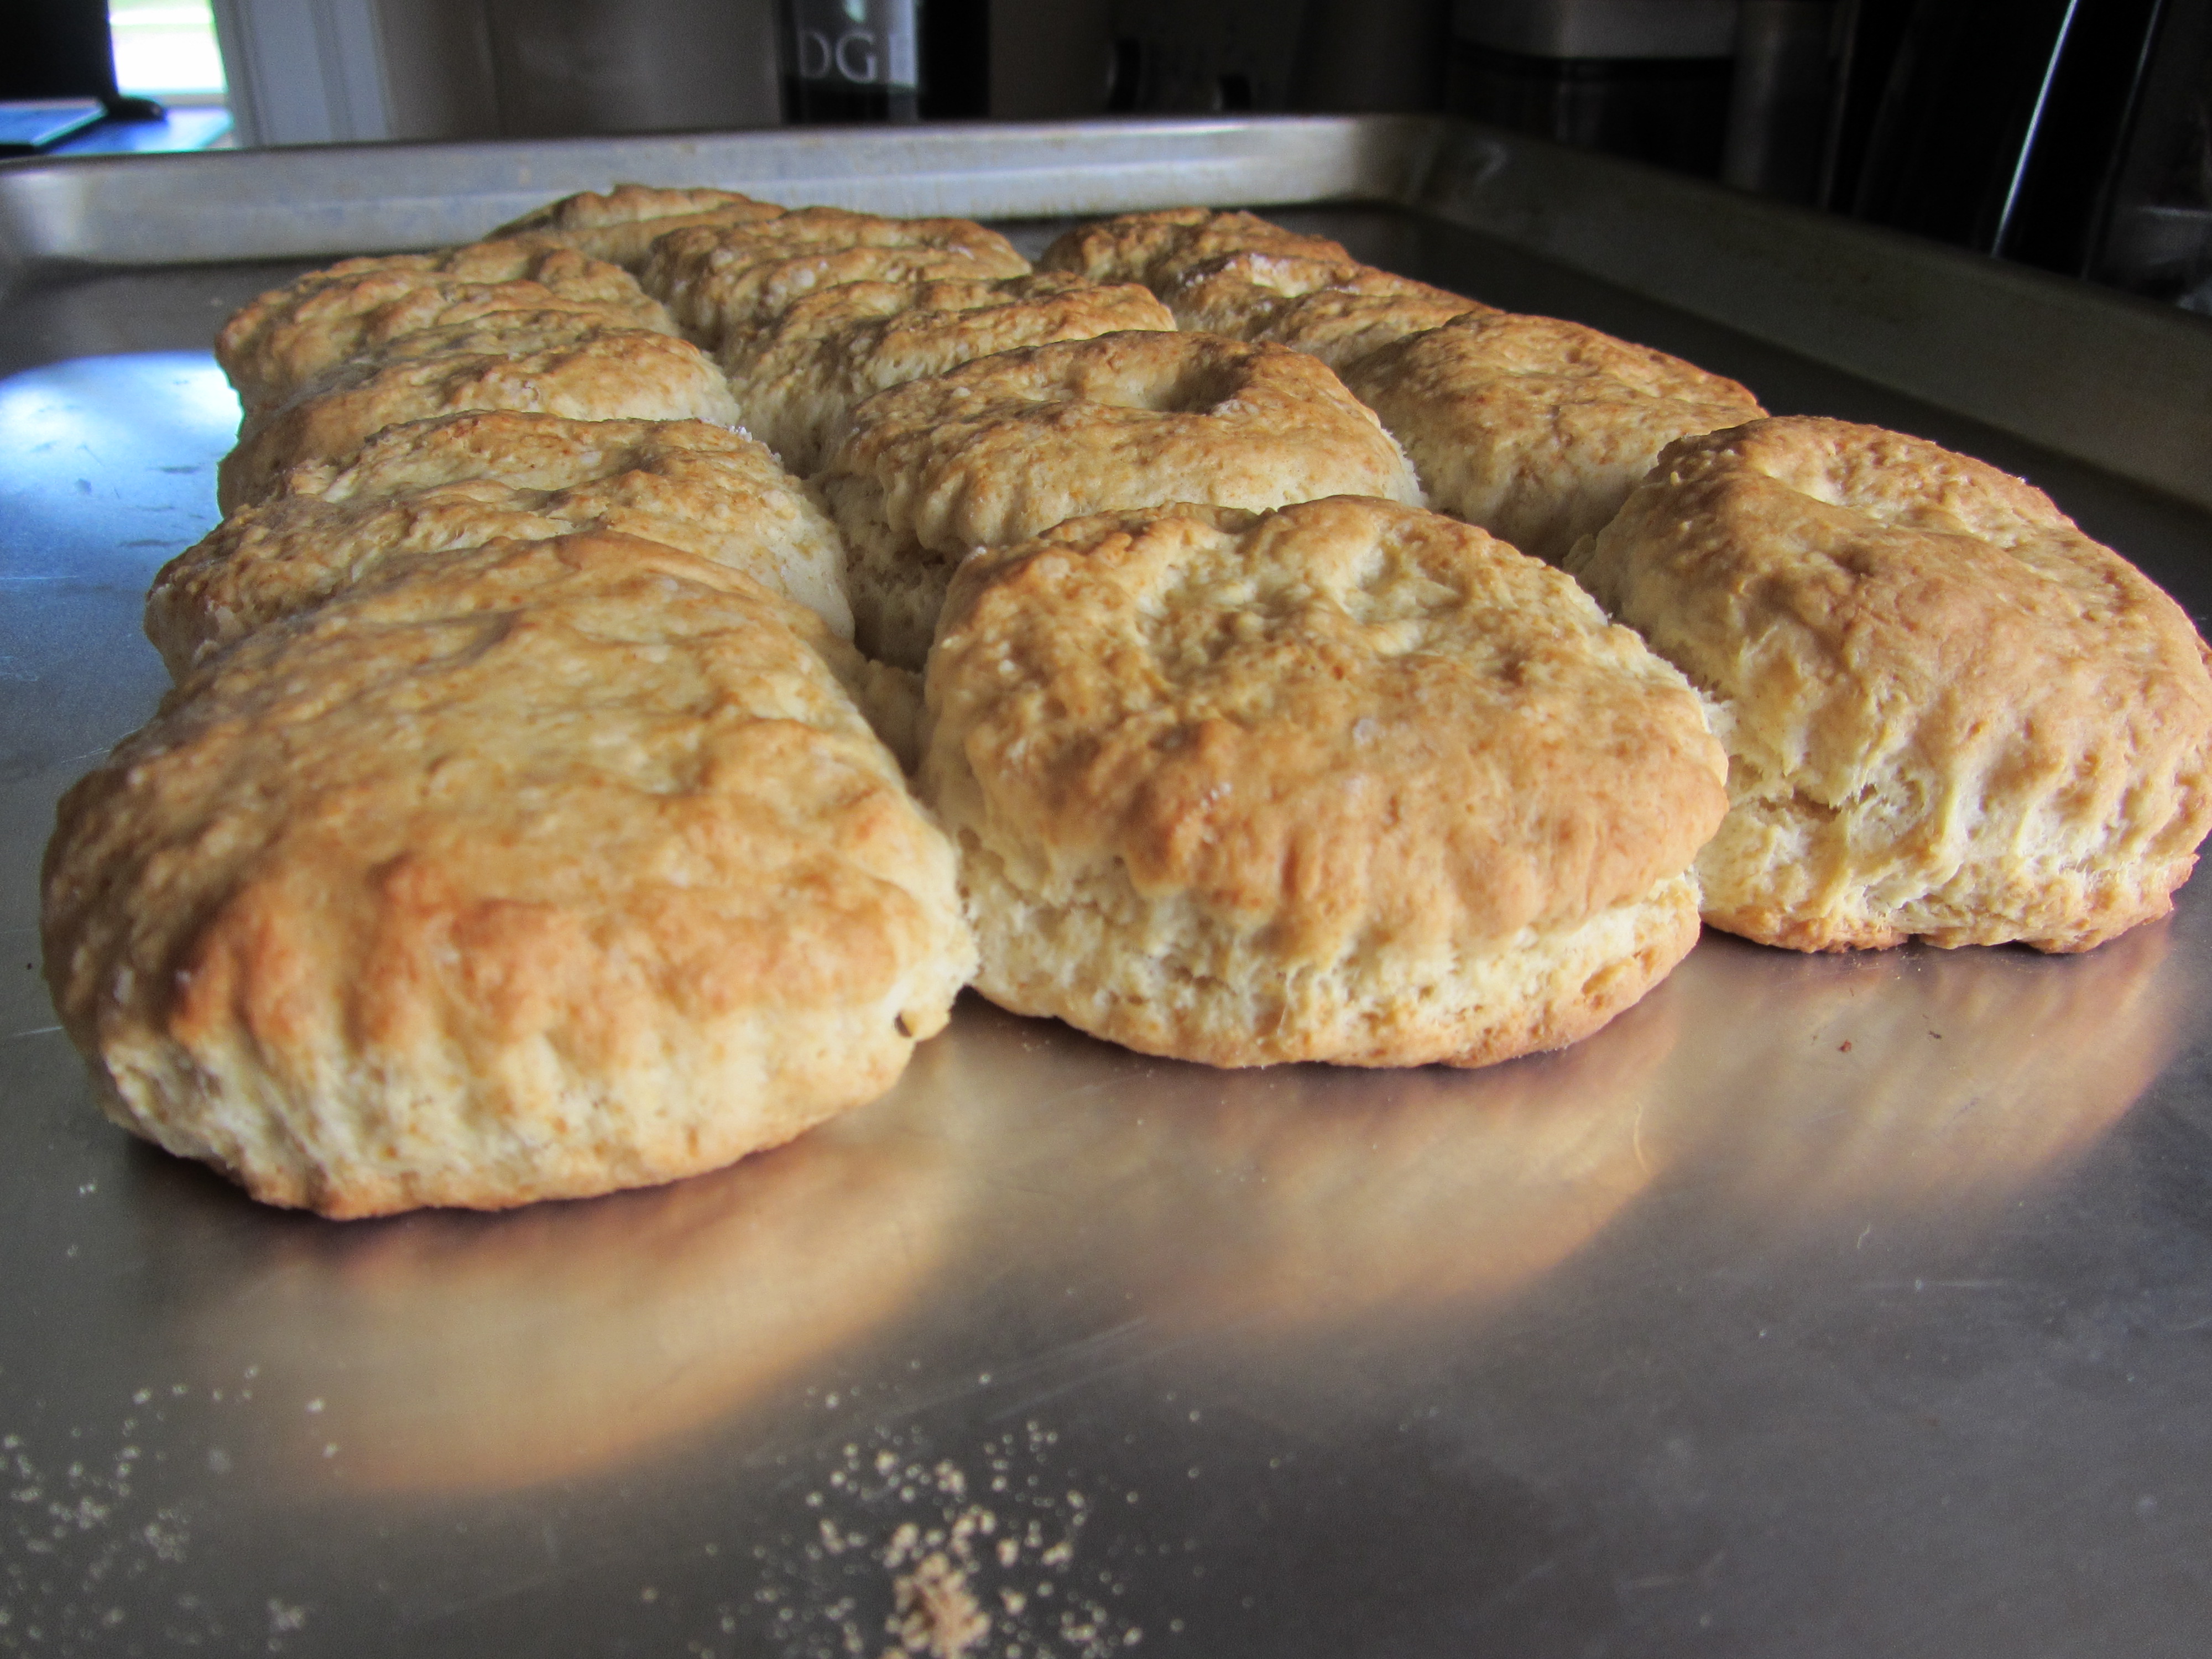
Golden brown biscuits.
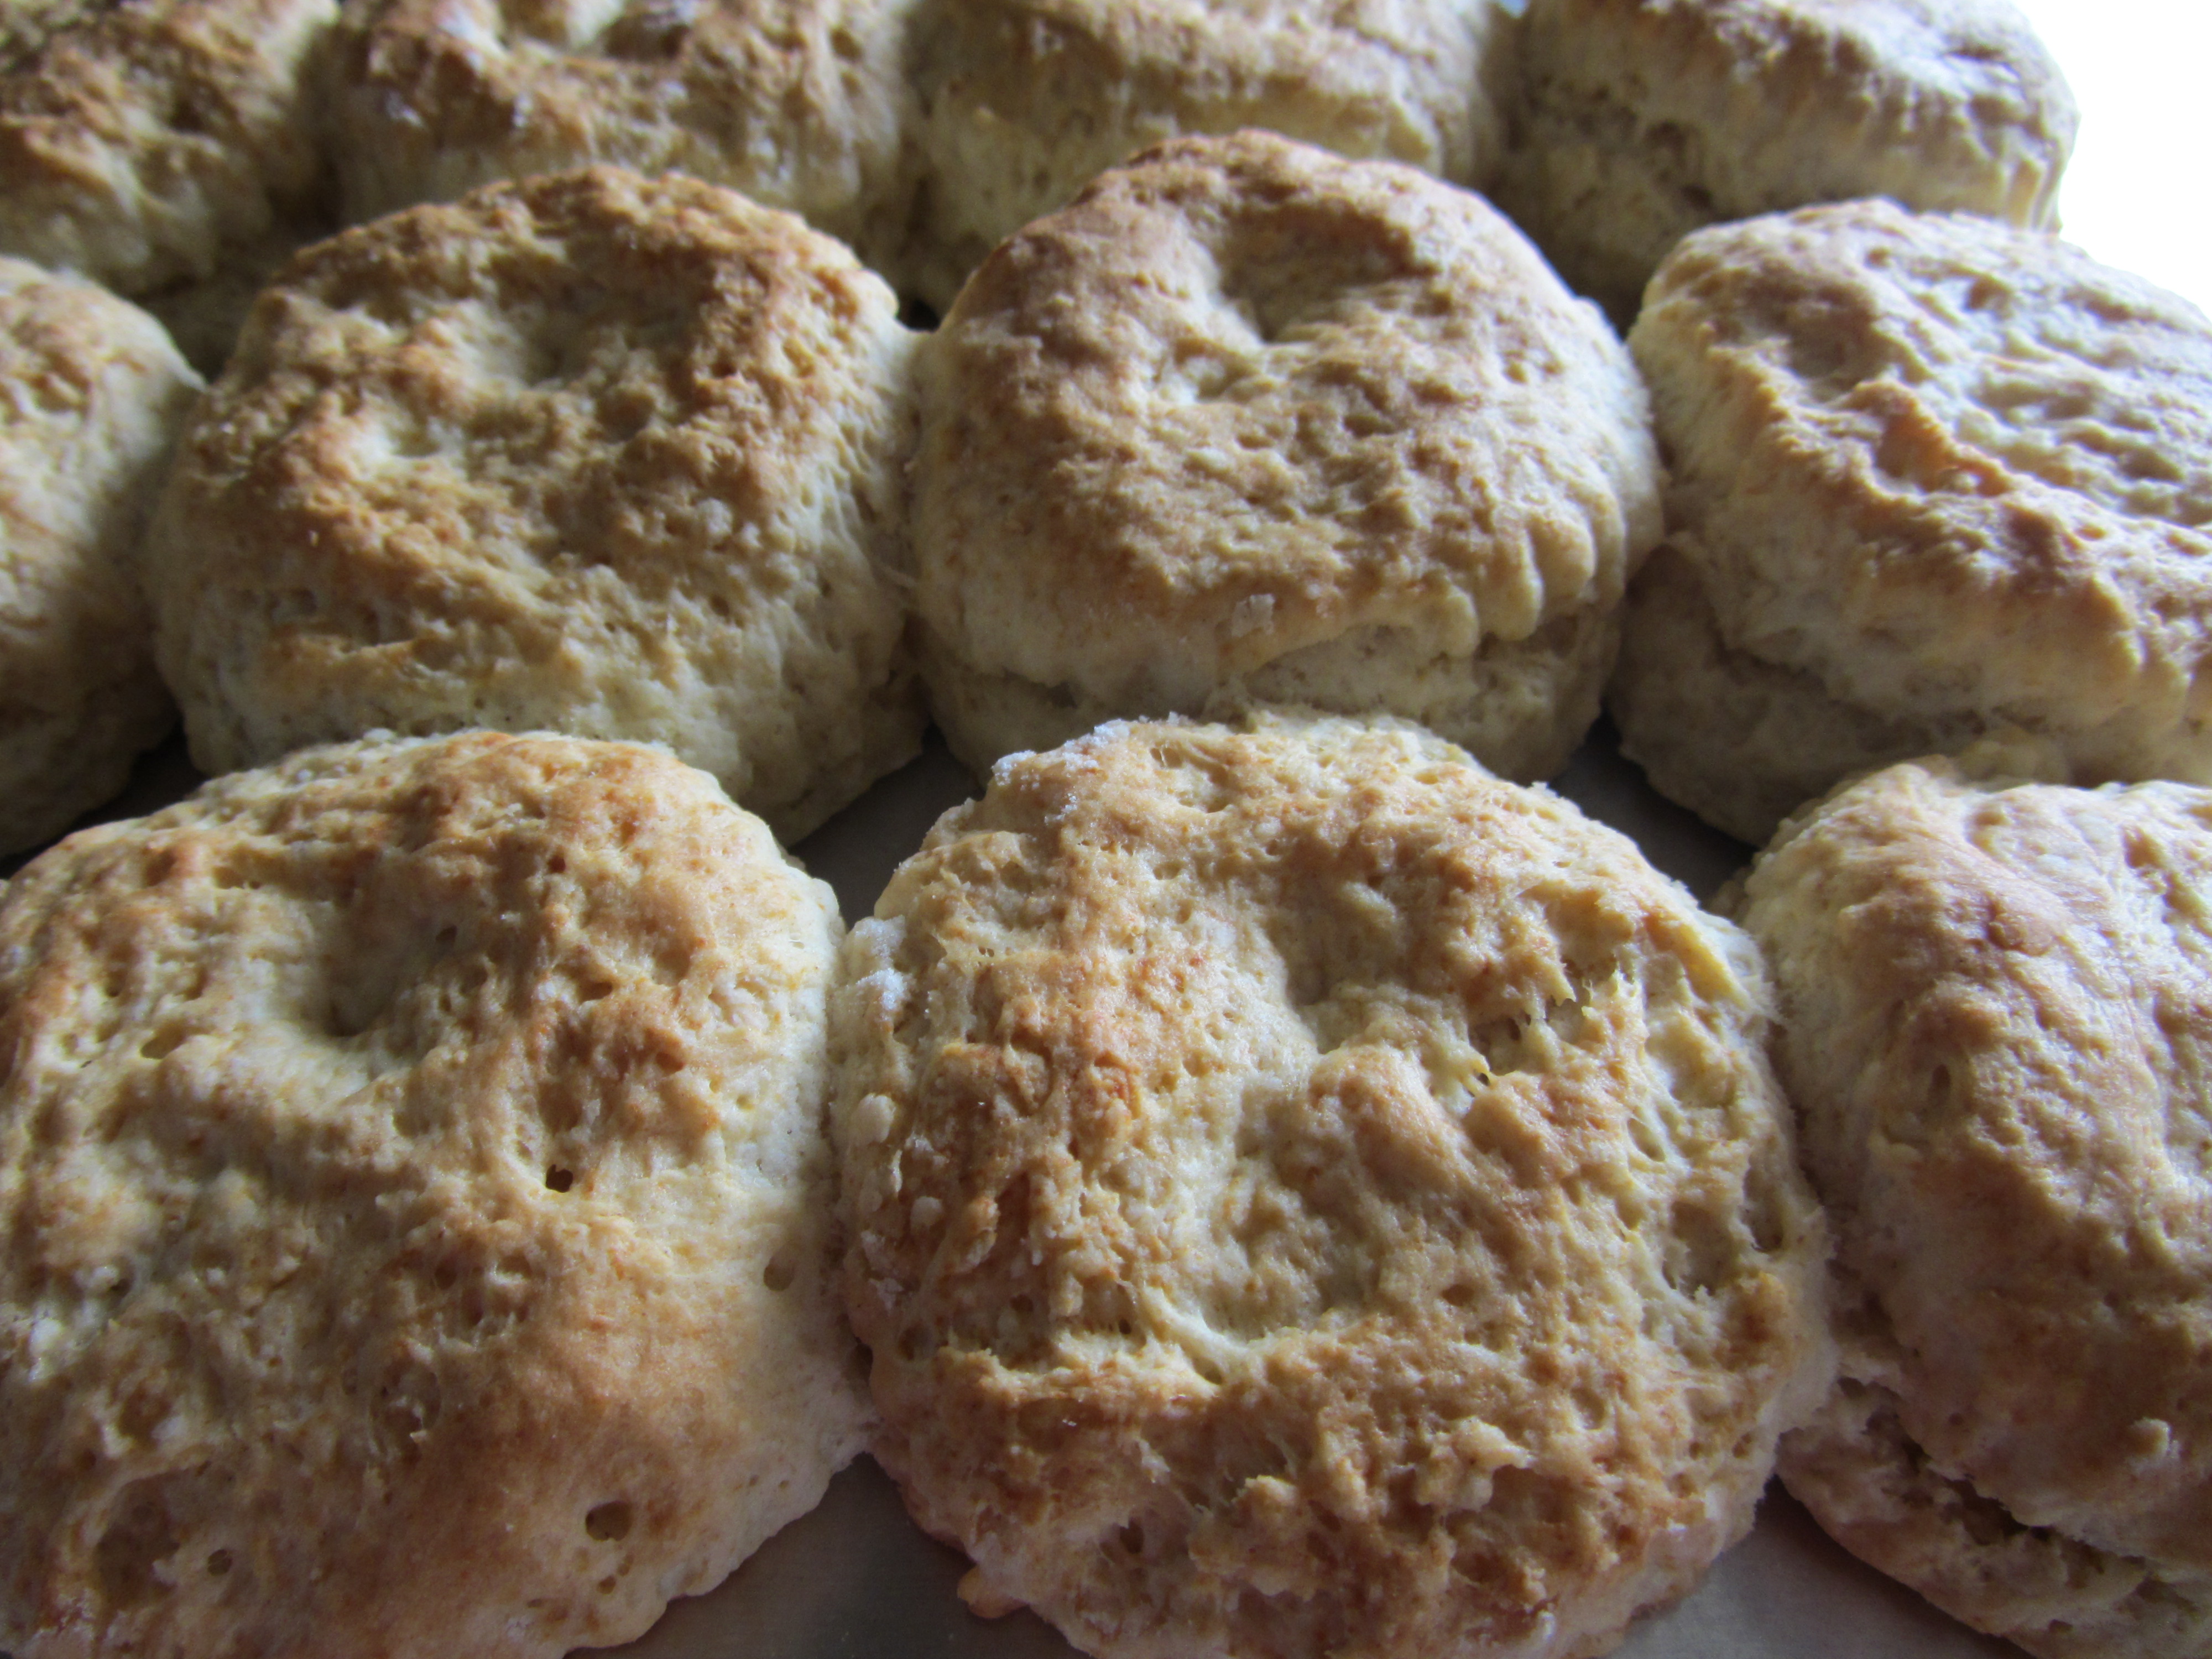
Biscuits straight from the oven.
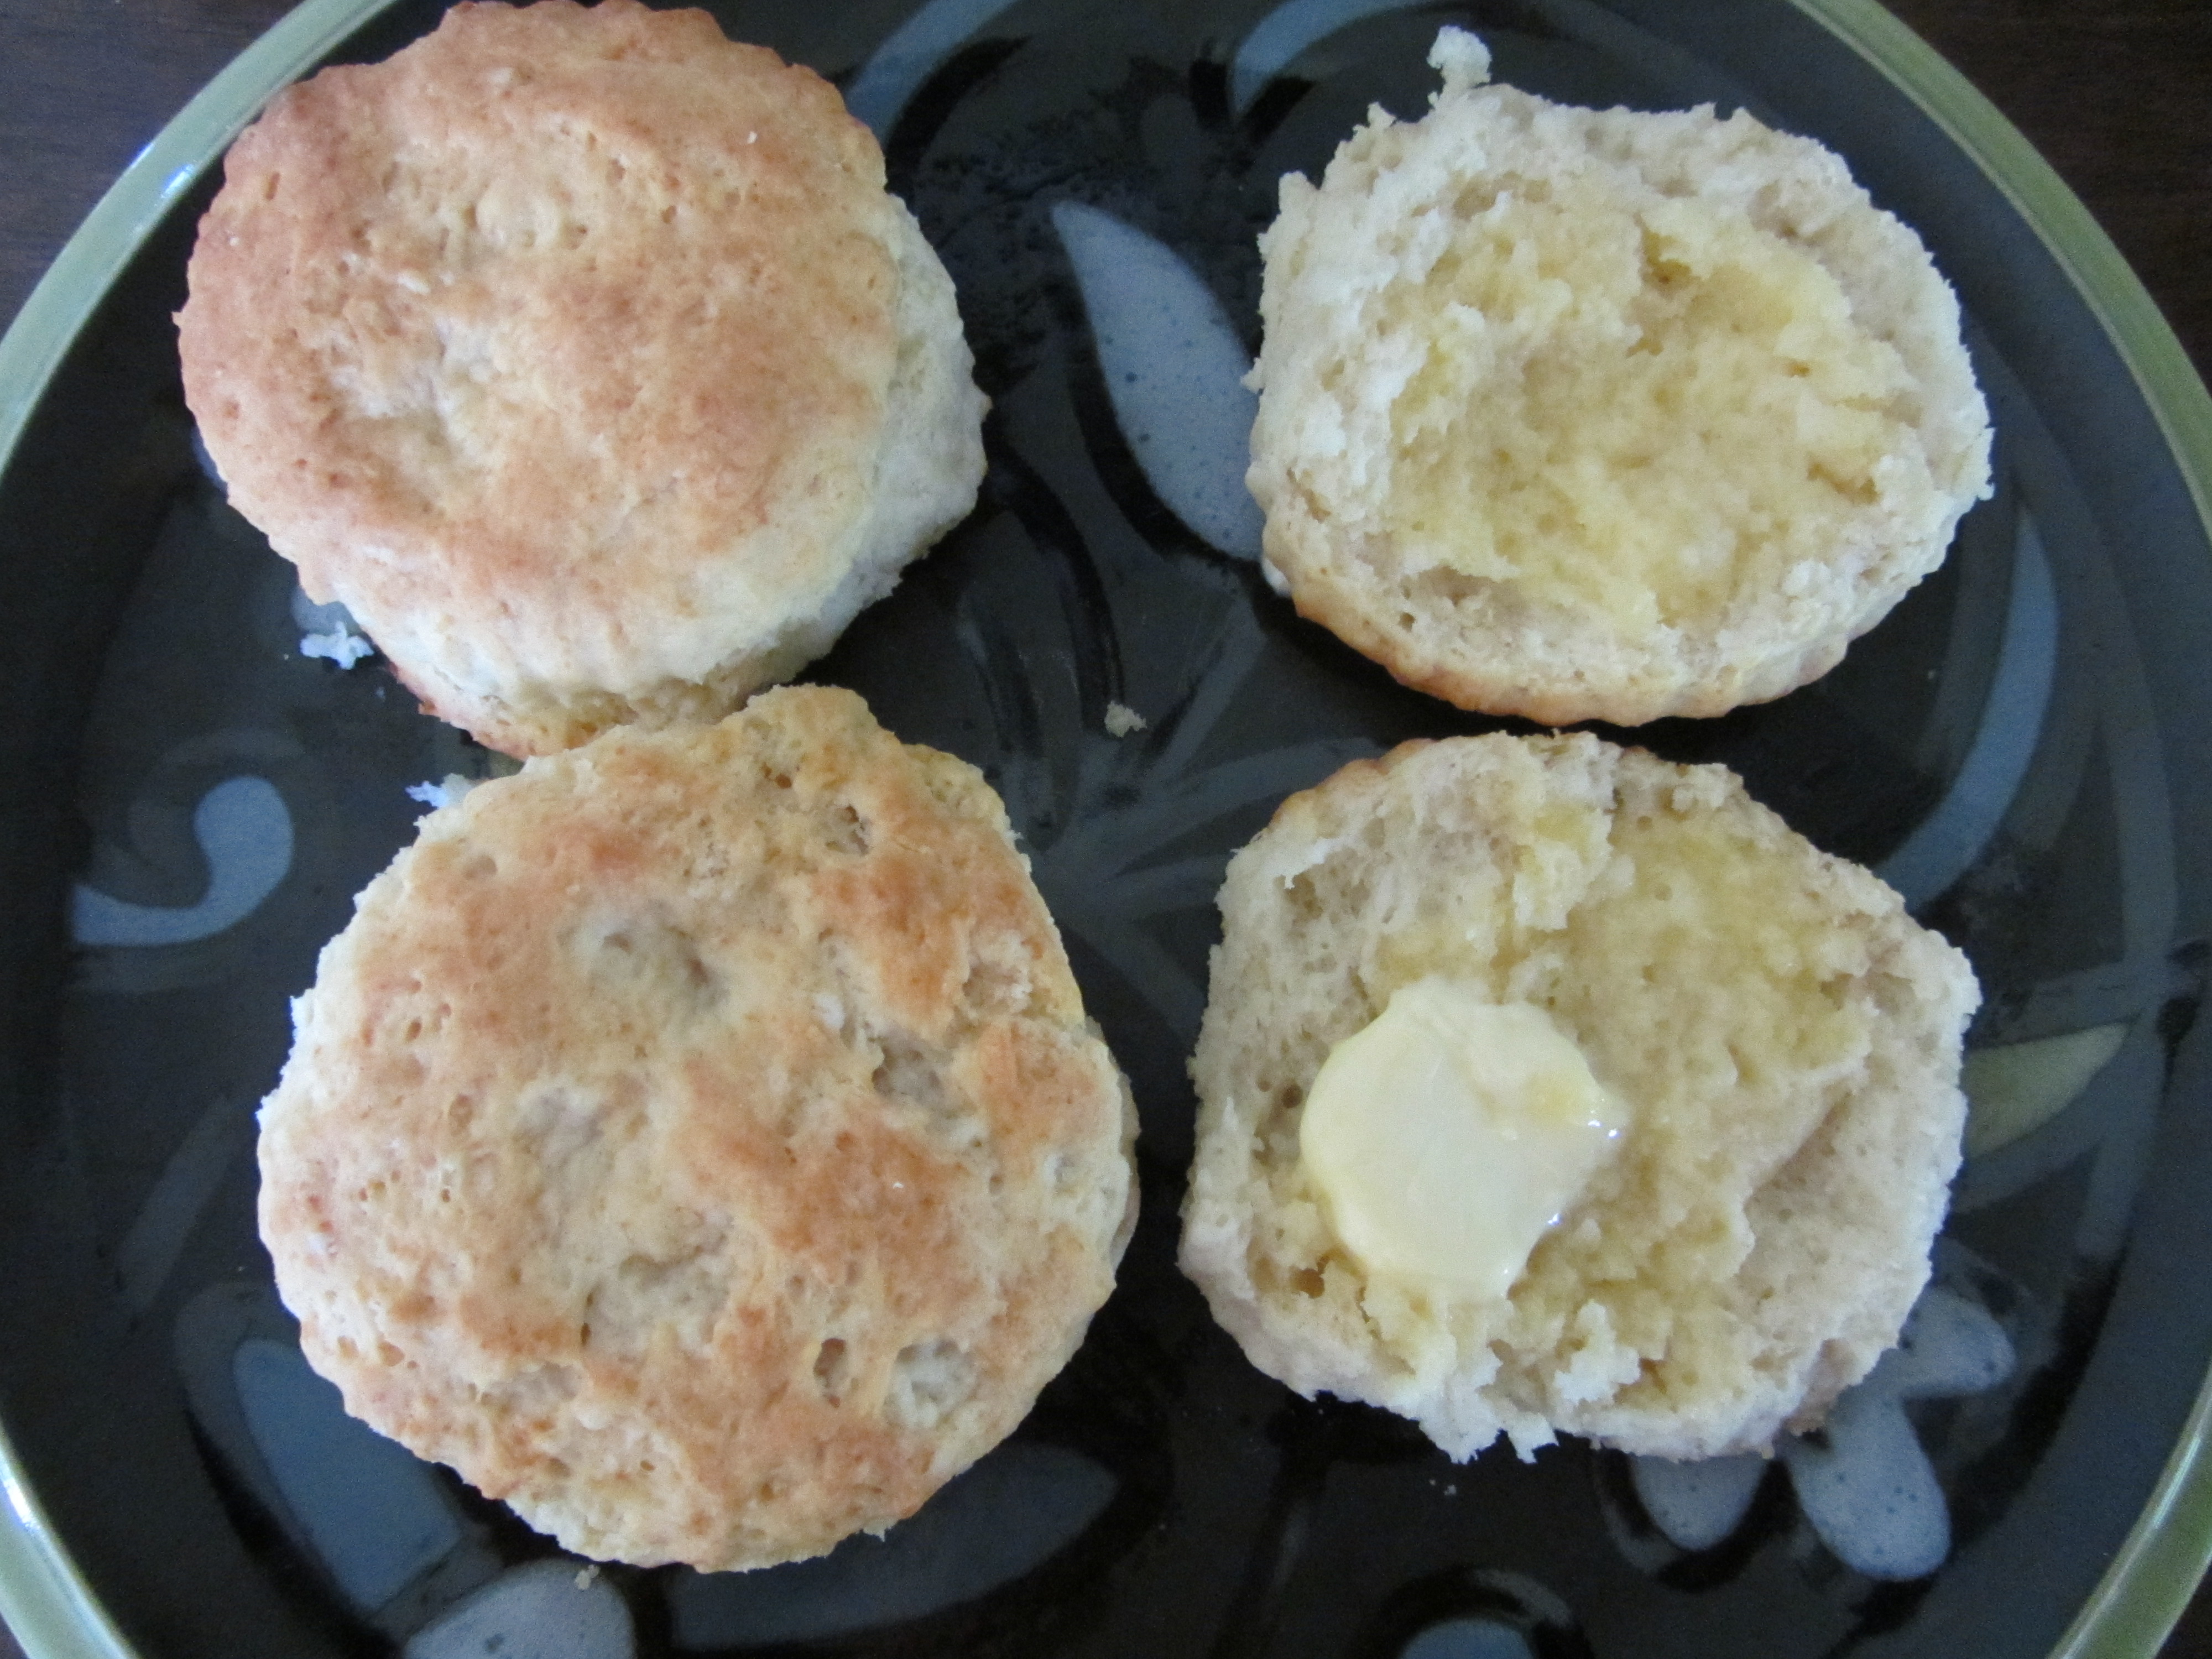
Split and buttered biscuits.
We ate our biscuits warm from the oven, split, and buttered. My dad has made biscuits for years, and his are quite different from these biscuits. I grew up with super light, flaky biscuits, while these biscuits were more cake-like and dense. I thought they were very good, and they are such a quick breakfast treat. Having listened to some of Alton’s podcasts, I have gathered that he now uses a round pan when he makes biscuits, and that he covers them when they come out of the oven. Perhaps I’ll have to try a round pan next time, along with self-rising flour.
Scones
Like the biscuit recipe, the scone recipe differs between the episode and the online recipe. As in the biscuit recipe in the show, Alton recommends using soft flour for the scones. The sugar content in the two versions of the recipe is different, with the episode calling for 2 T of sugar, while the online recipe has 1/3 C of sugar, and Alton tells you to bake your scones at 400 degrees F, while the online recipe uses a temperature of 375 degrees. The overall recipe process is very similar to that of the biscuits, beginning with combining the dry ingredients.

Dry ingredients.
To this mixture, you add your fat, cutting it in with your fingertips, and then you add your cream and egg, mixing until combined.

Cutting in the fat.
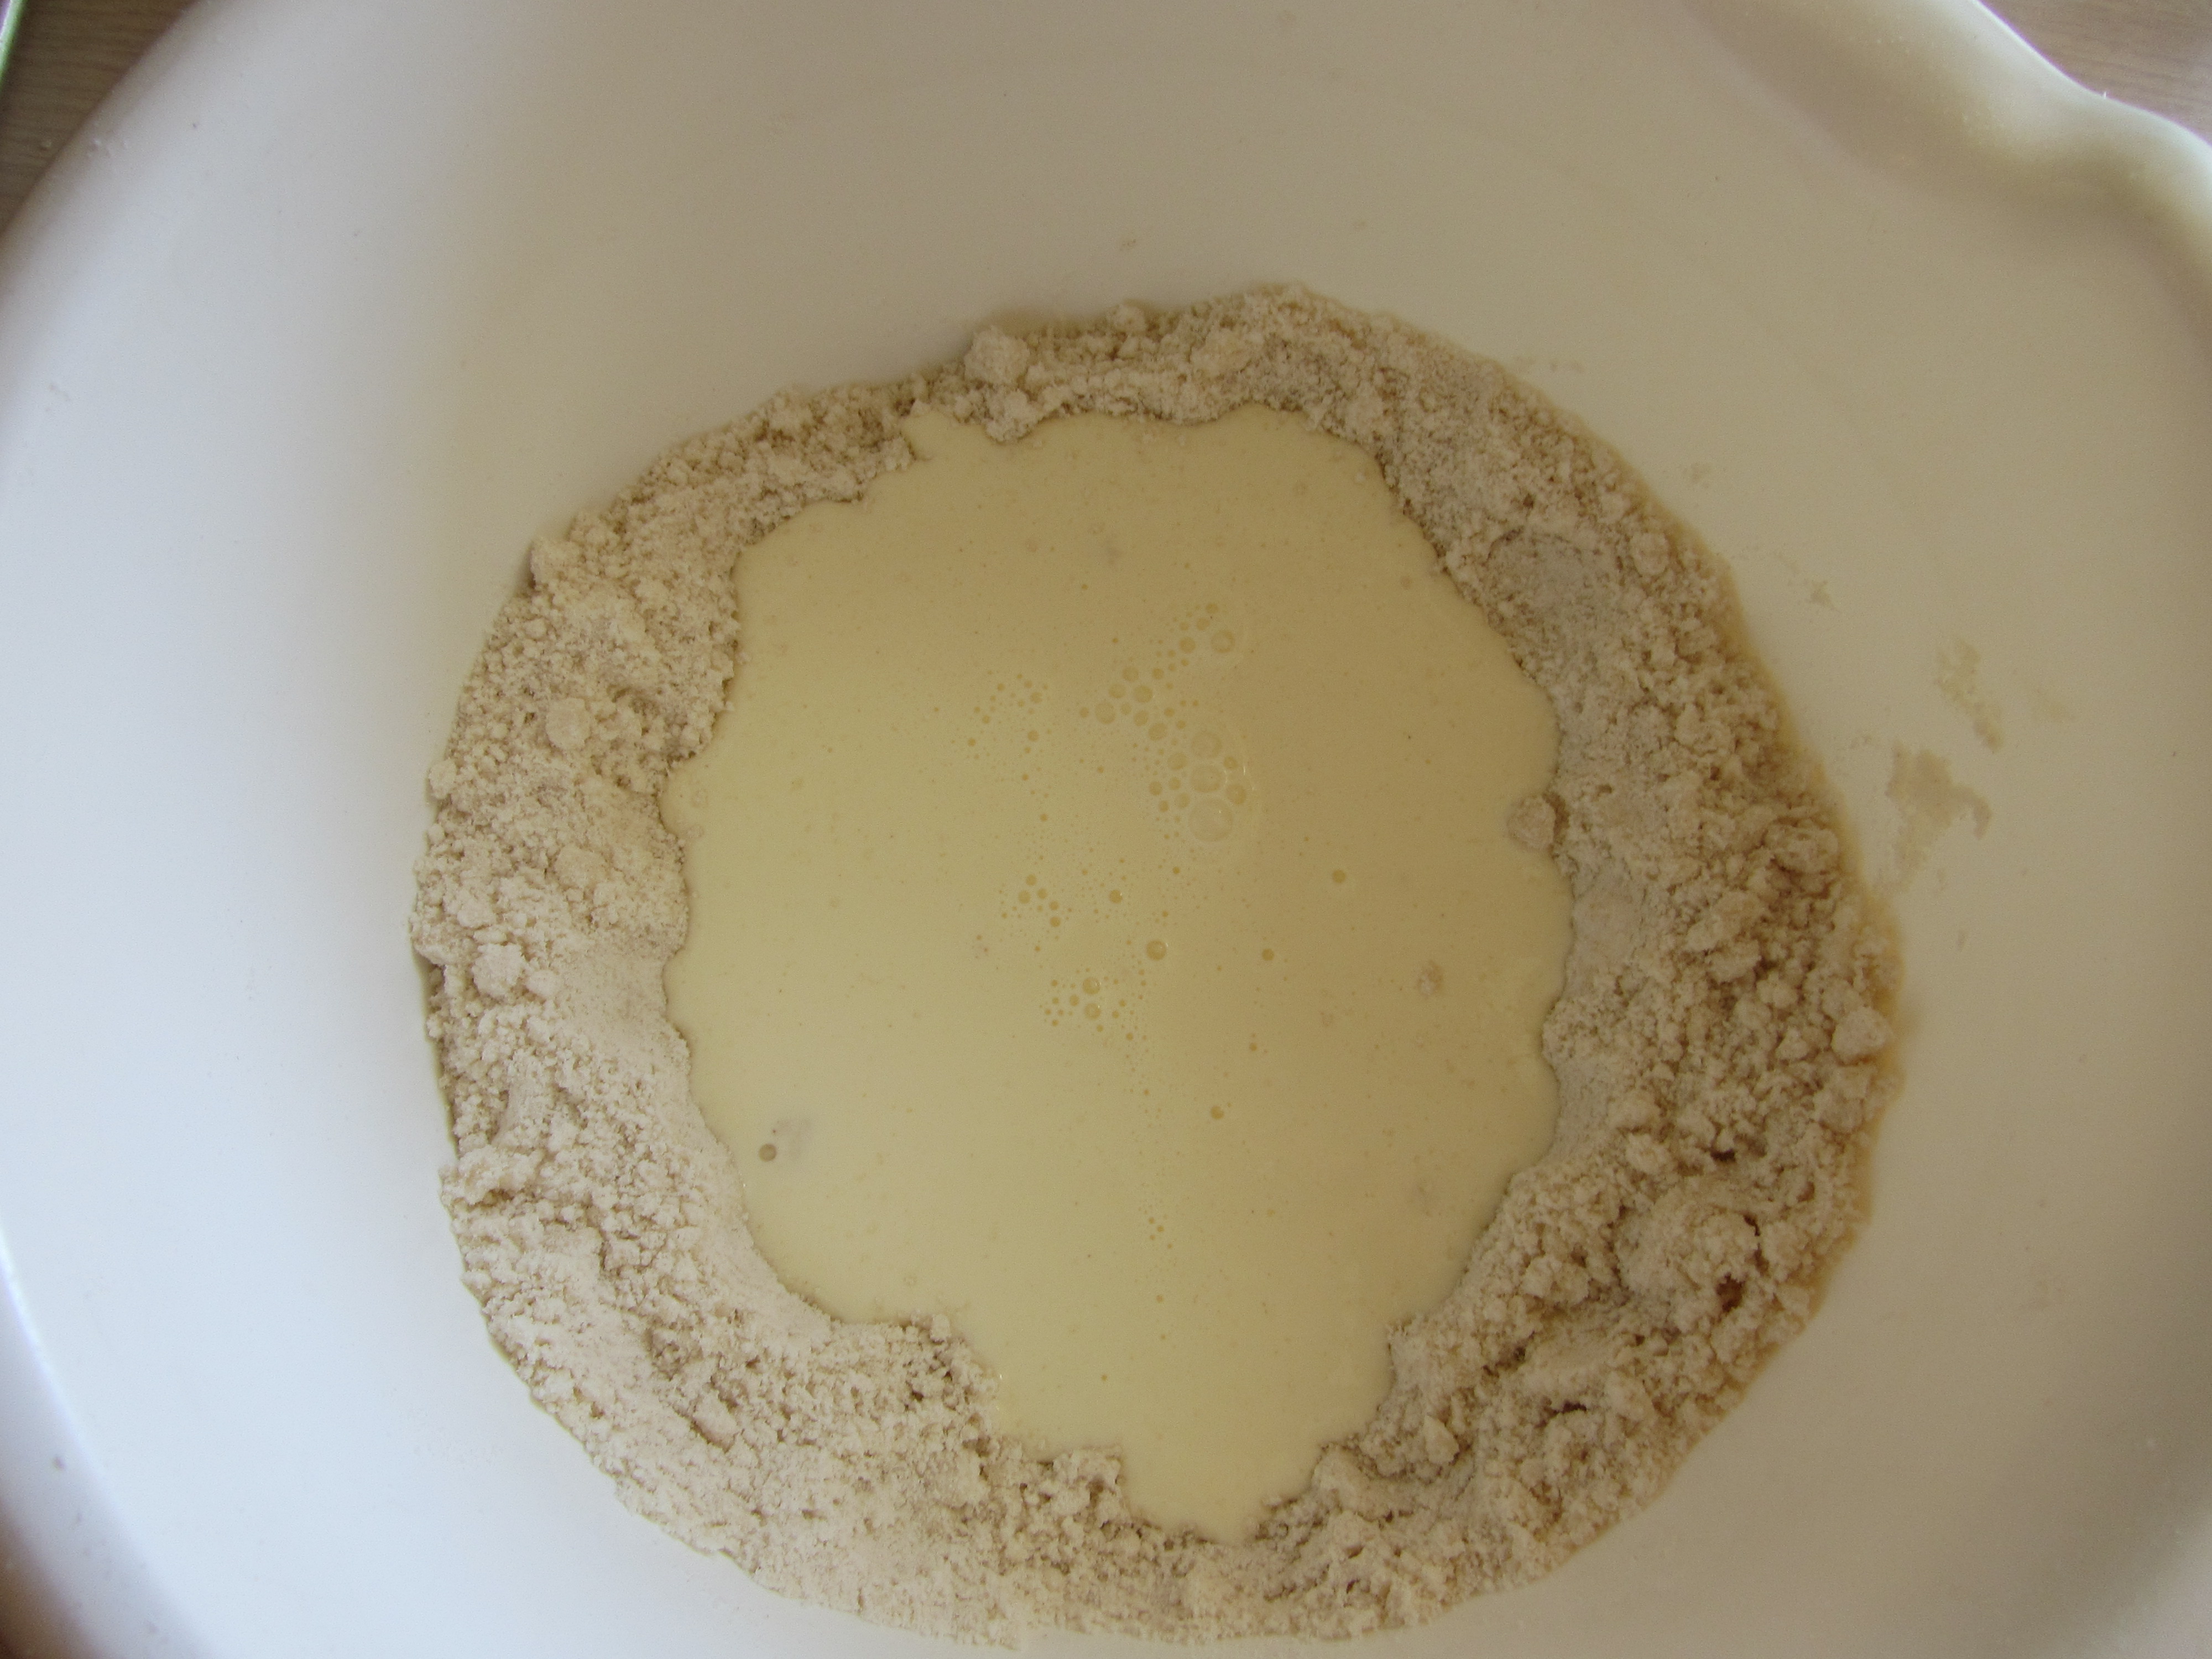
Adding the cream and the egg.
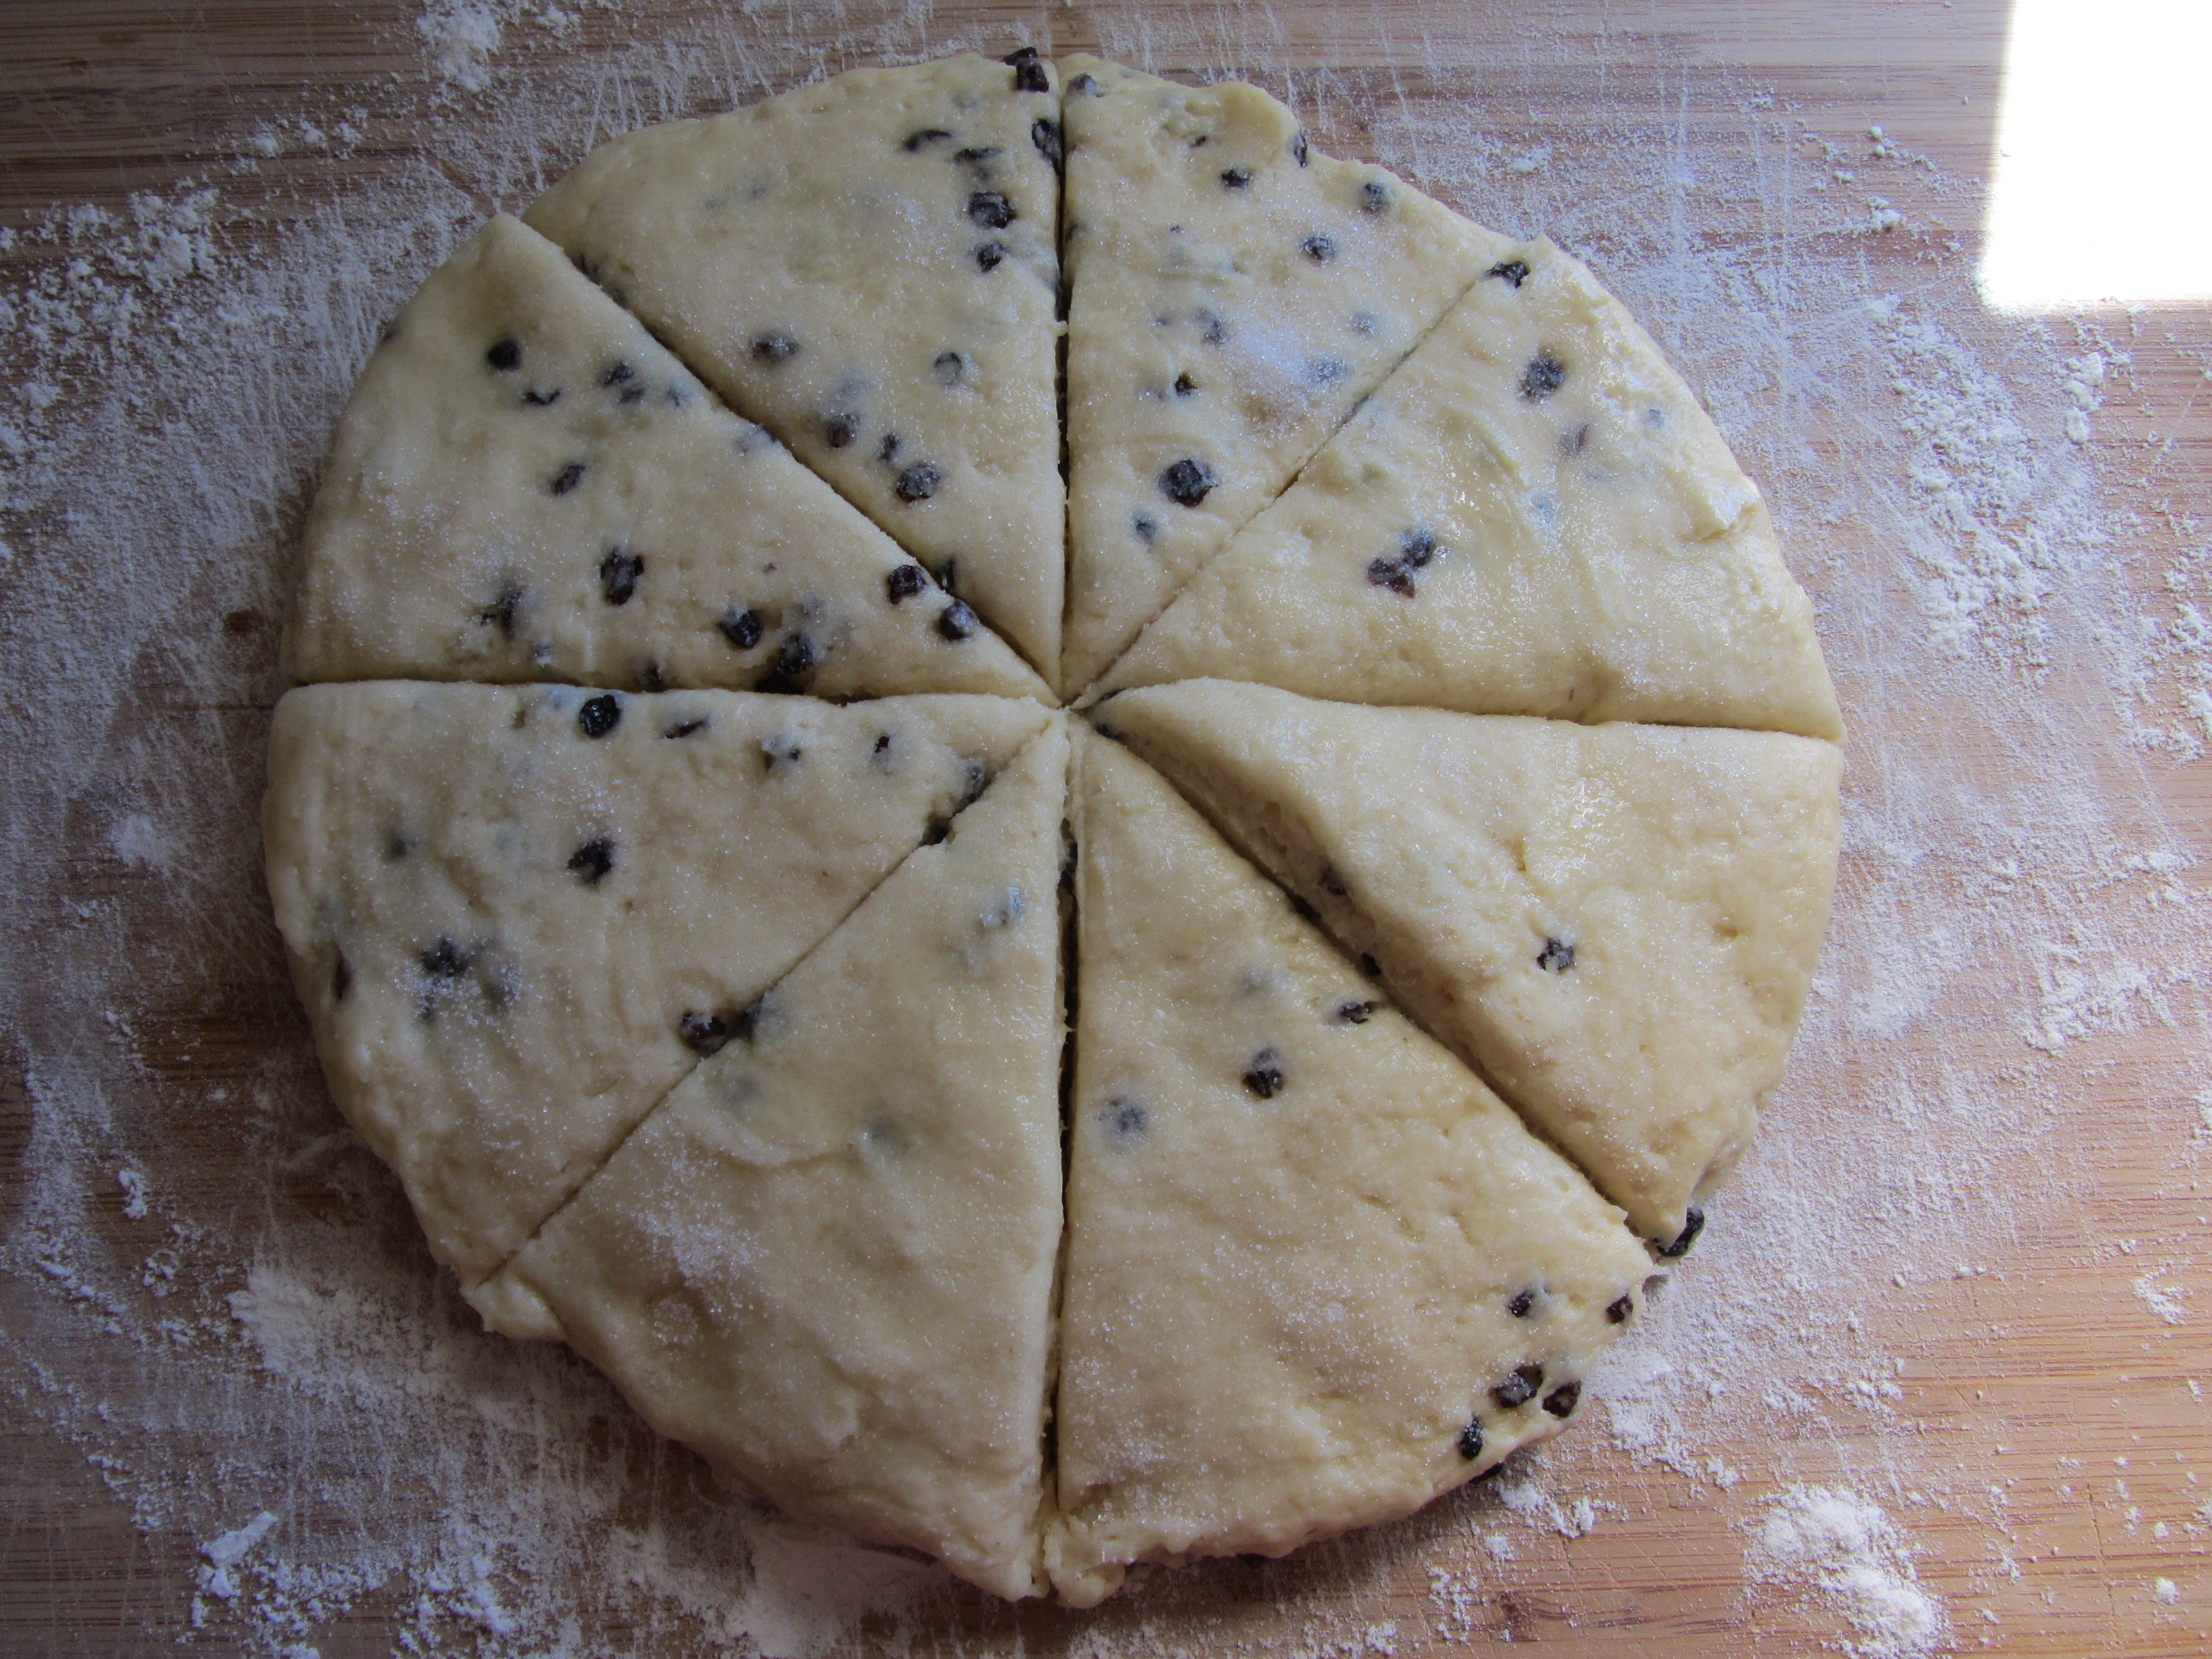
Currants or dried cranberries (I used currants) are then lightly mixed into the dough, which is turned out onto a board and cut into individual scones.
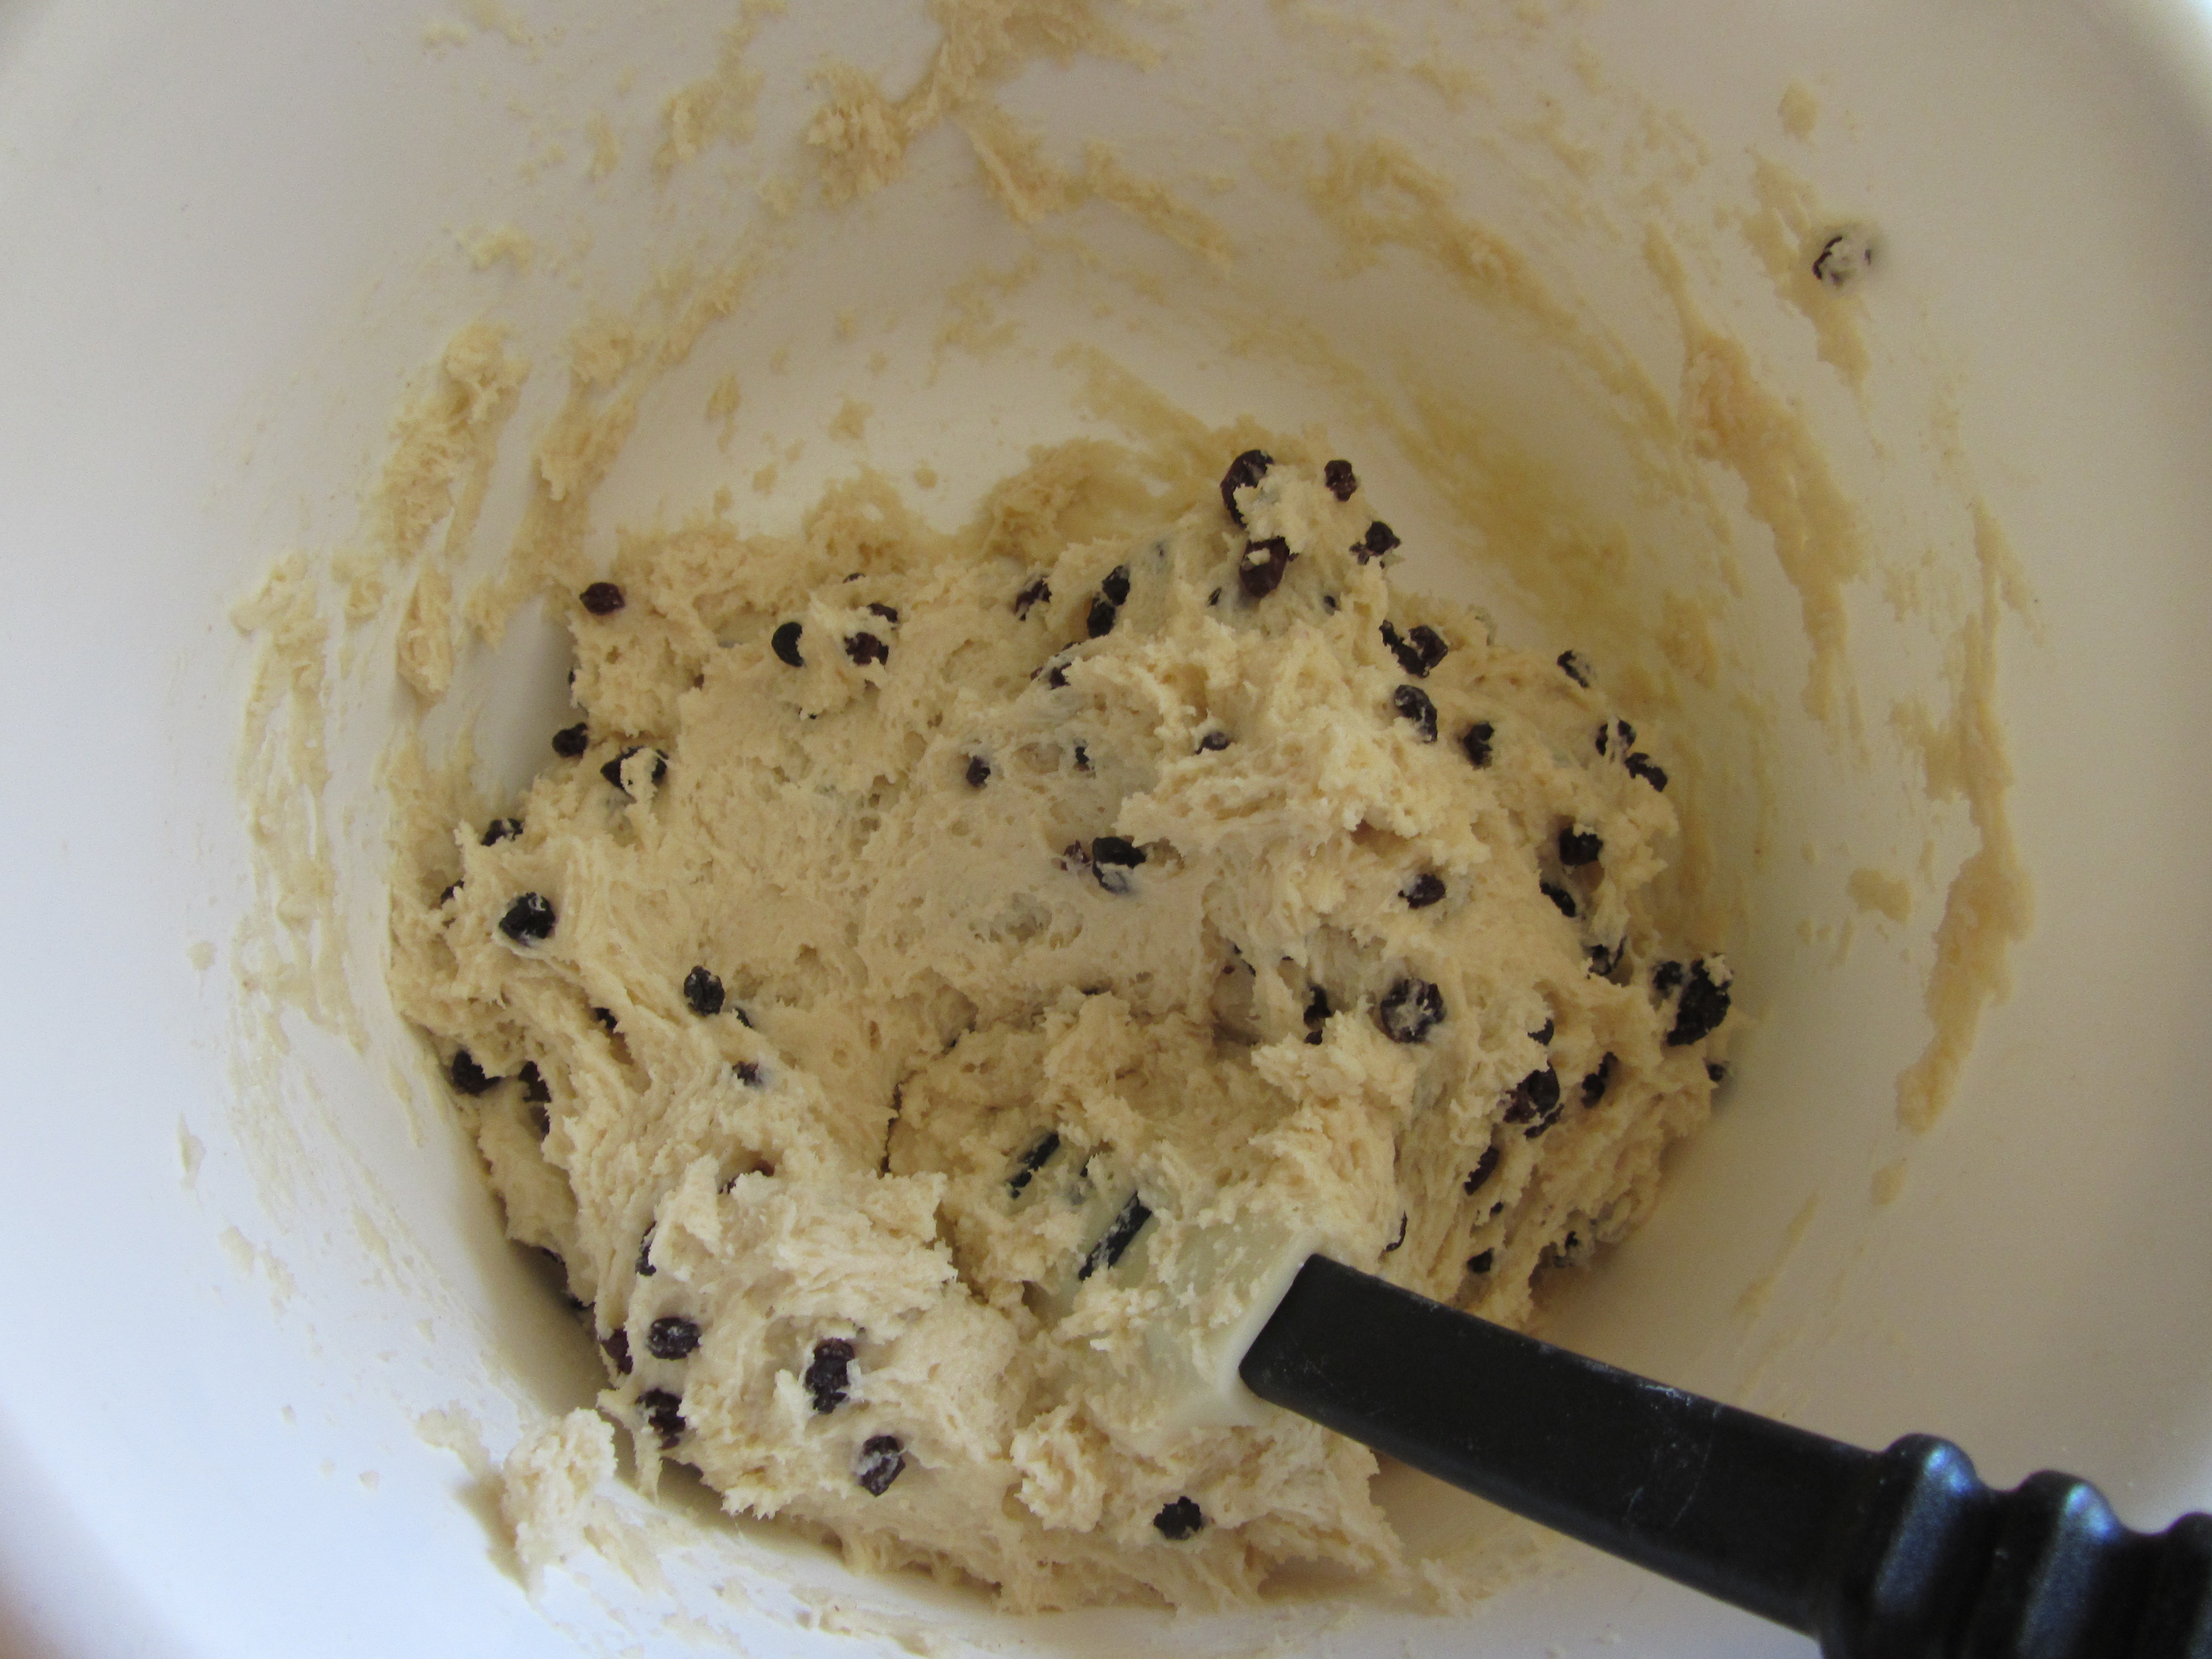
Currants mixed in.
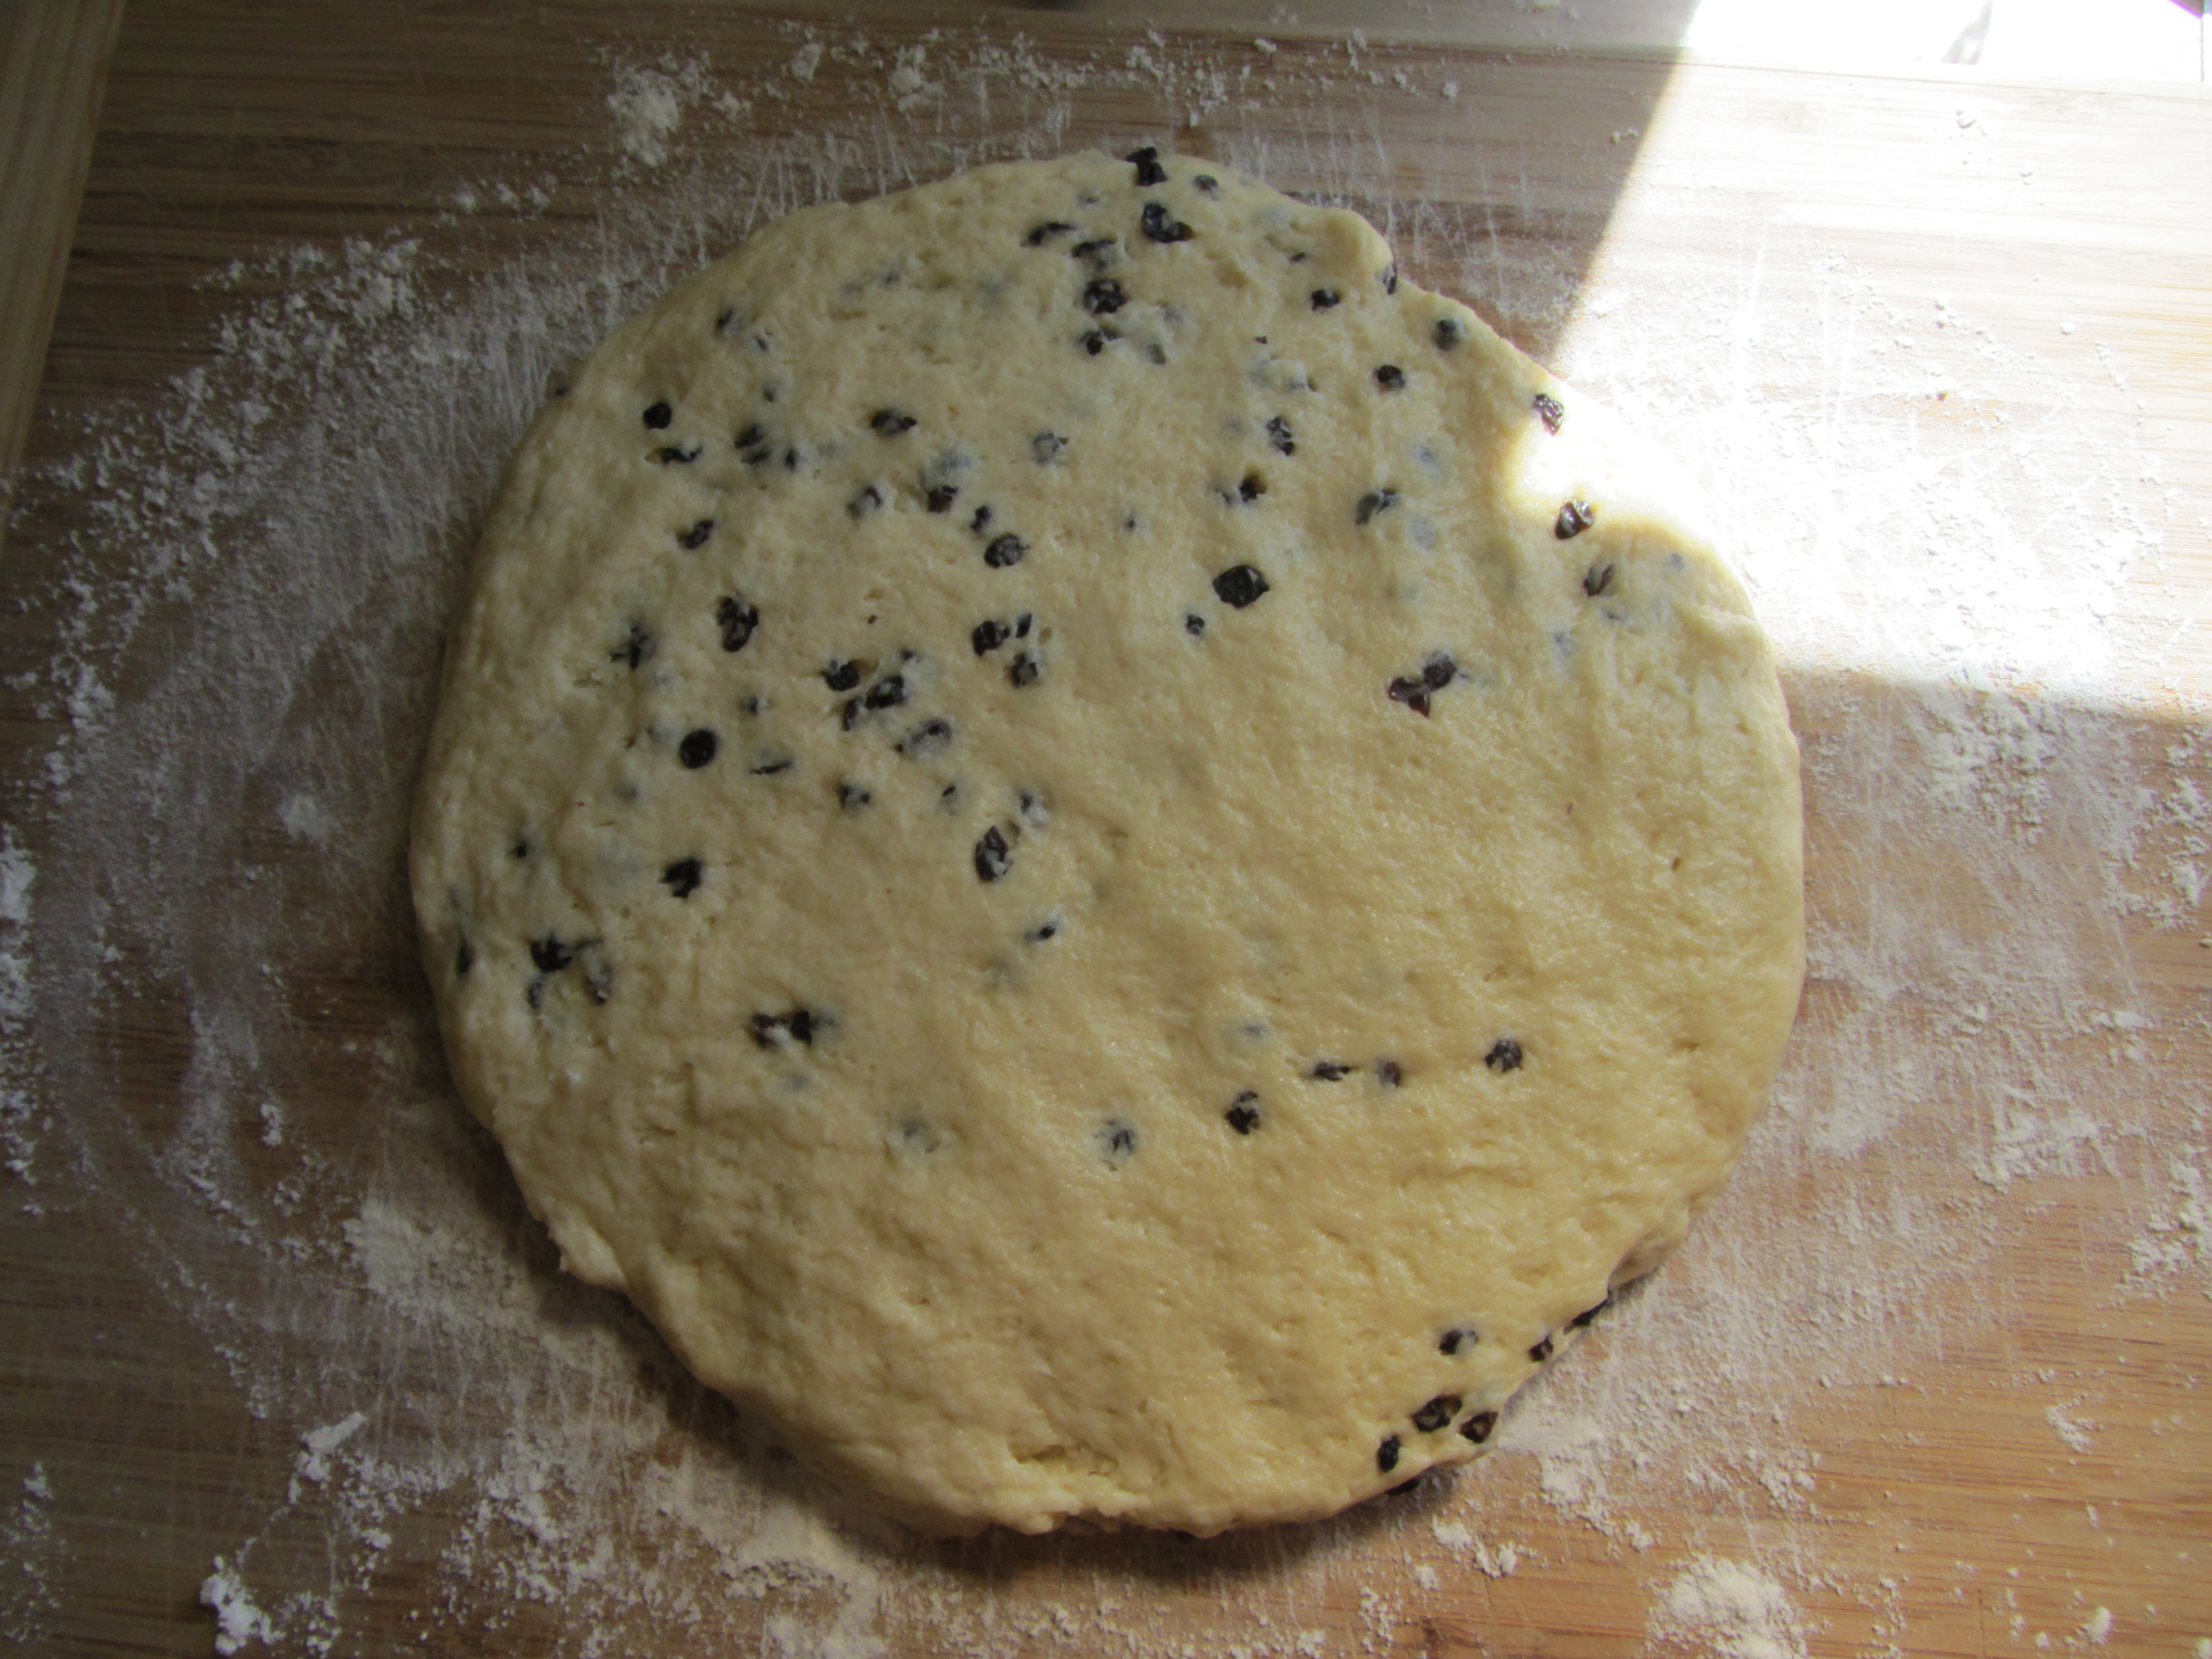
Dough round.
I used to work at a bakery and we made our scones in triangles by cutting the round of dough into pizza-like slices. I opted to make my scones this way, rather than using a round cutter. I also brushed my scones with melted butter, and sprinkled them with some sugar before baking.
Brushed with melted butter, sprinkled with sugar, and cut into triangular scones.

Scones ready to bake.
The scones turned out well, with a crumbly, slightly cakey, texture. They were not particularly sweet, which went well with coffee in the morning.

Golden scones.

Ready to eat for breakfast!
This was not my favorite scone recipe of all time, but they were still pretty good. If I make these again, I’ll likely add a different fruit, such as berries.
Shortcake
The final recipe in this episode was for shortcake. Again, the basic dough was similar to that of the biscuits and scones, though, again, there were some differences in the two versions of the recipe. Actually, this recipe had a lot of disparities.The printed recipe tells you to preheat your oven to 450 degrees, while Alton uses a 400 degree oven in the show. As with the biscuits and scones, in the episode Alton suggests using soft flour, rather than the all-purpose flour in the online recipe. The online recipe omits baking soda, while the TV version calls for 1/4 t of baking soda. The sugar also varies between the two recipes, with Alton adding 1/3 C of sugar in the TV episode, while the online recipe calls for only 1 T of sugar. Alton tells you to weigh your butter and shortening (1 oz of butter and 2 oz of shortening), while the online edition uses 2 T of each fat. The final deviation in the recipes is the amount of half and half used: 1 C used in the show and 3/4 C online. How is it possible that the online recipes differ so substantially from the show recipes? This just confirms that I need to continue watching each episode prior to making the recipes.
As with the other two recipes in this episode, the dry ingredients are combined, the fat is cut in, and the liquid is added.

Dry shortcake ingredients.

Half and half, shortening, and butter.
Cutting in the fat.

Adding the liquid.
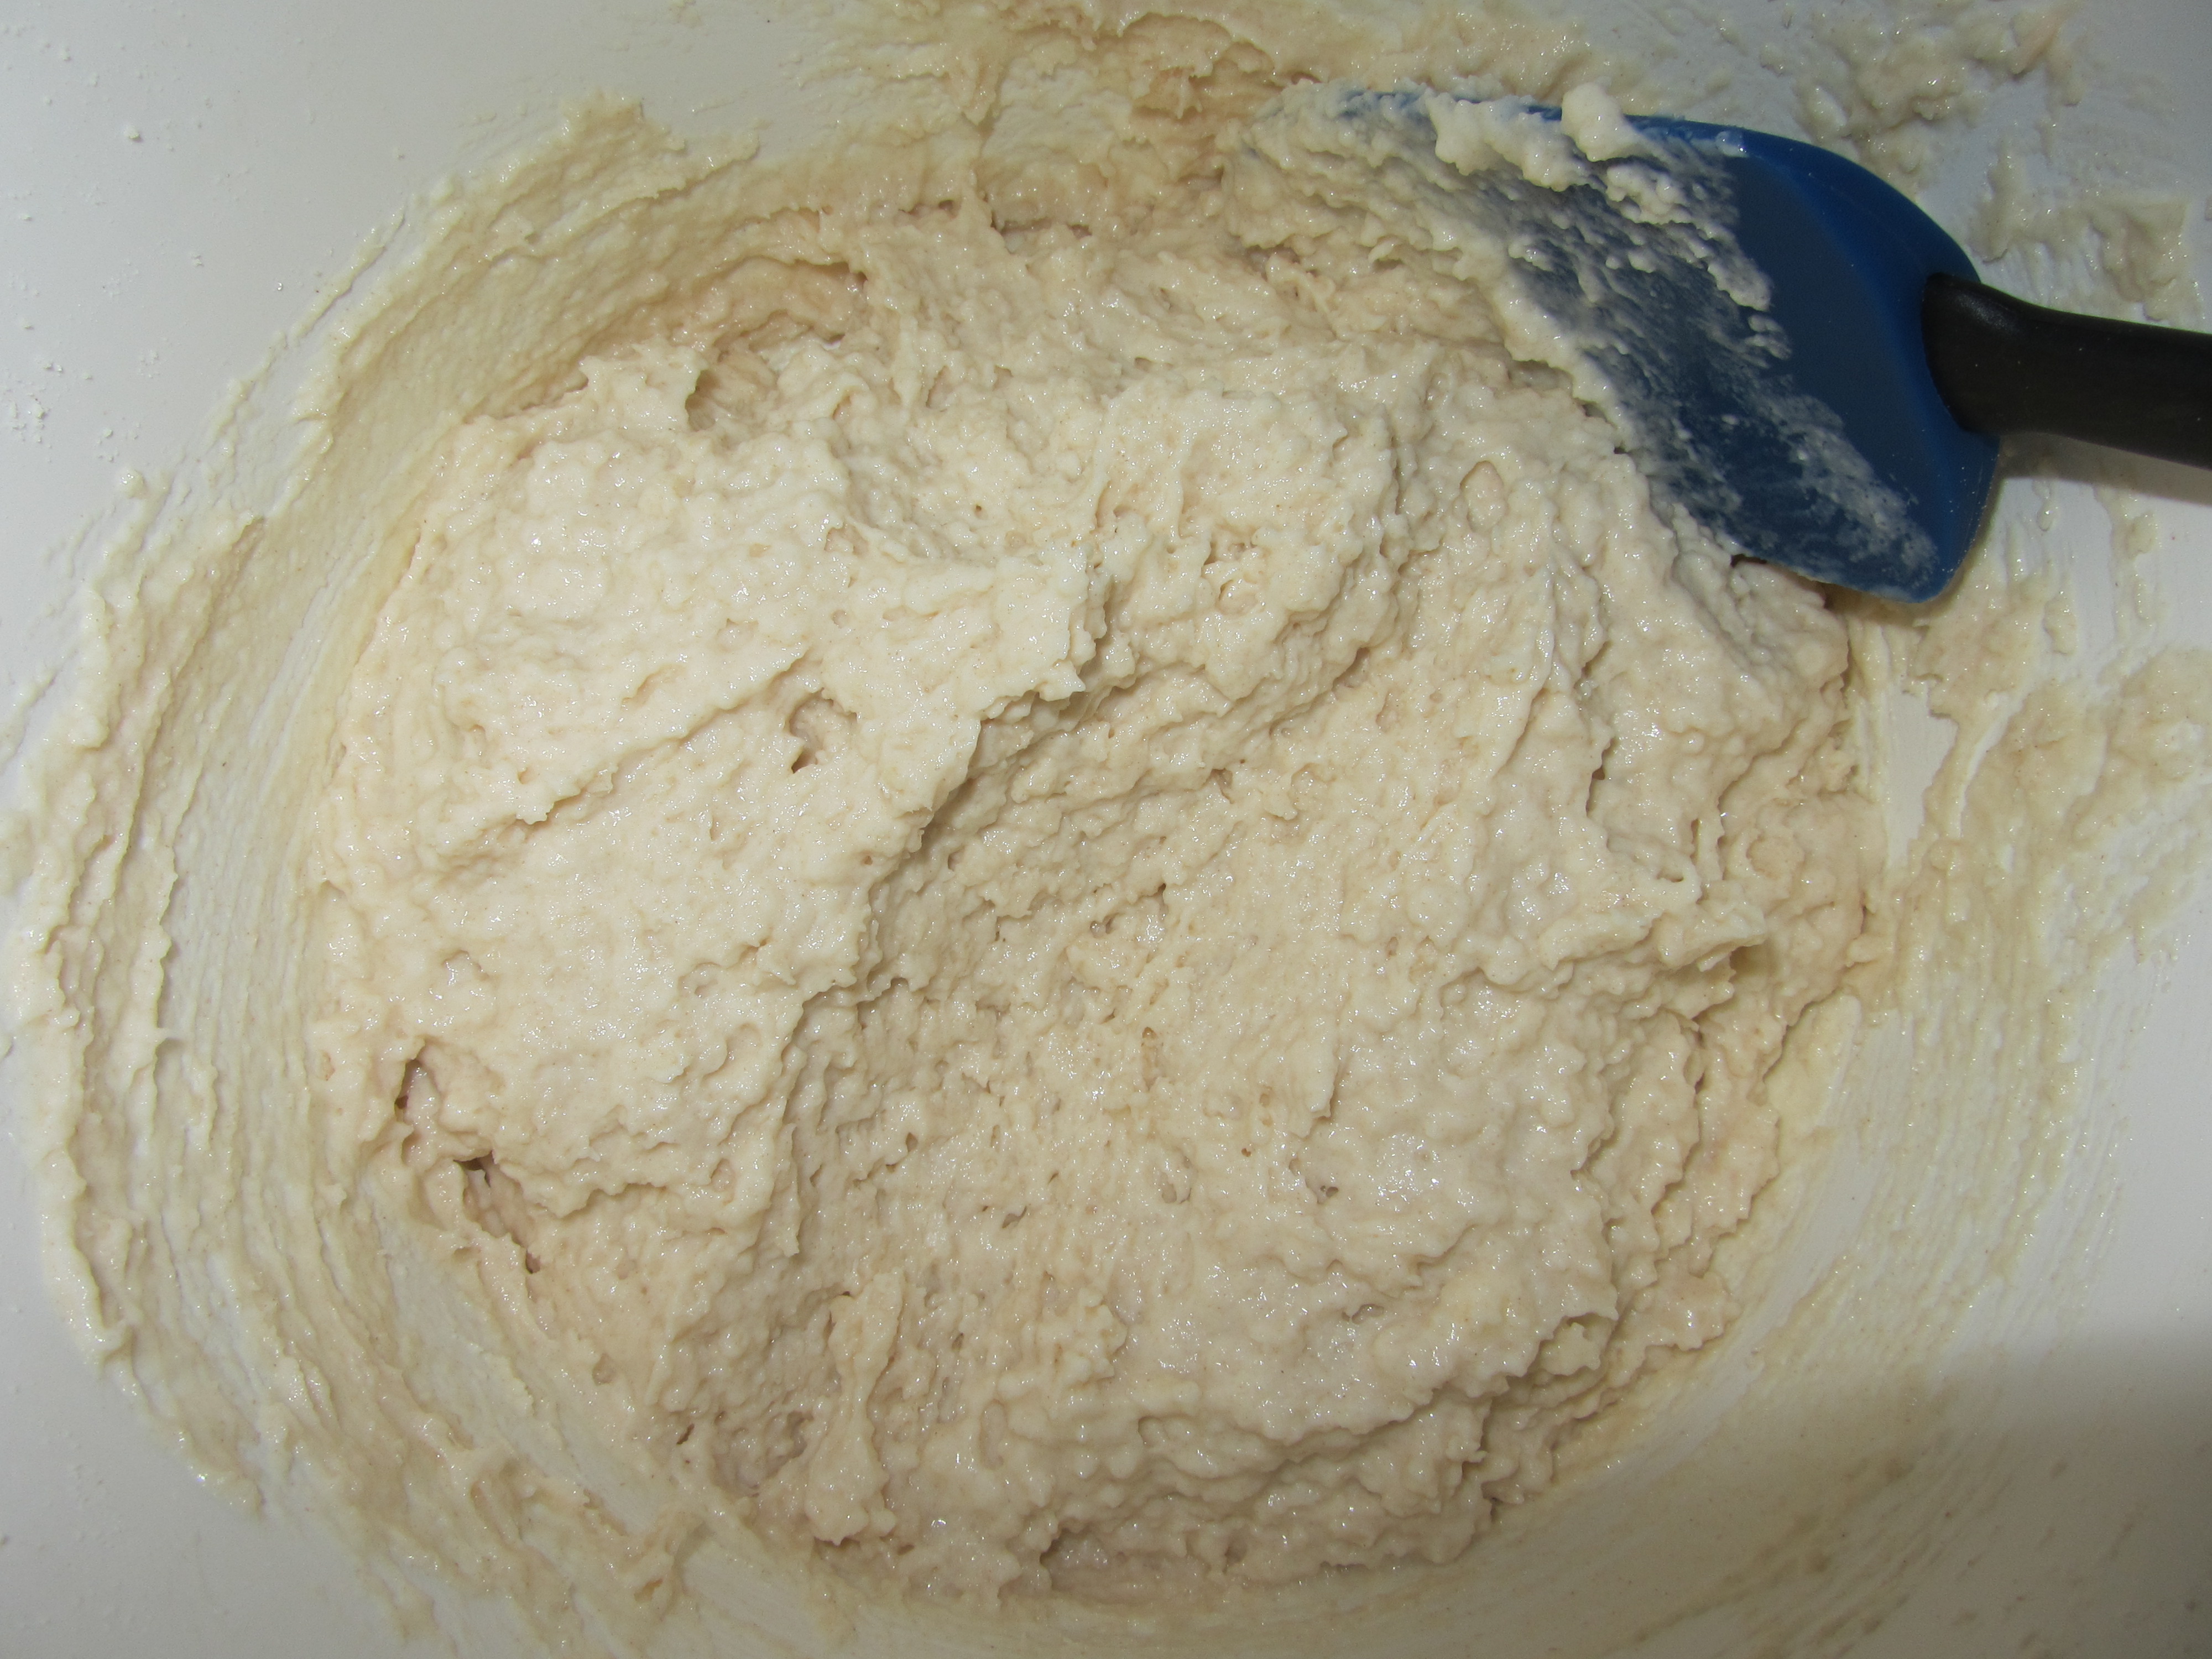
Resulting shortcake dough.
The resulting dough is then dropped onto a baking sheet, brushed with butter, sprinkled with sugar, and baked.
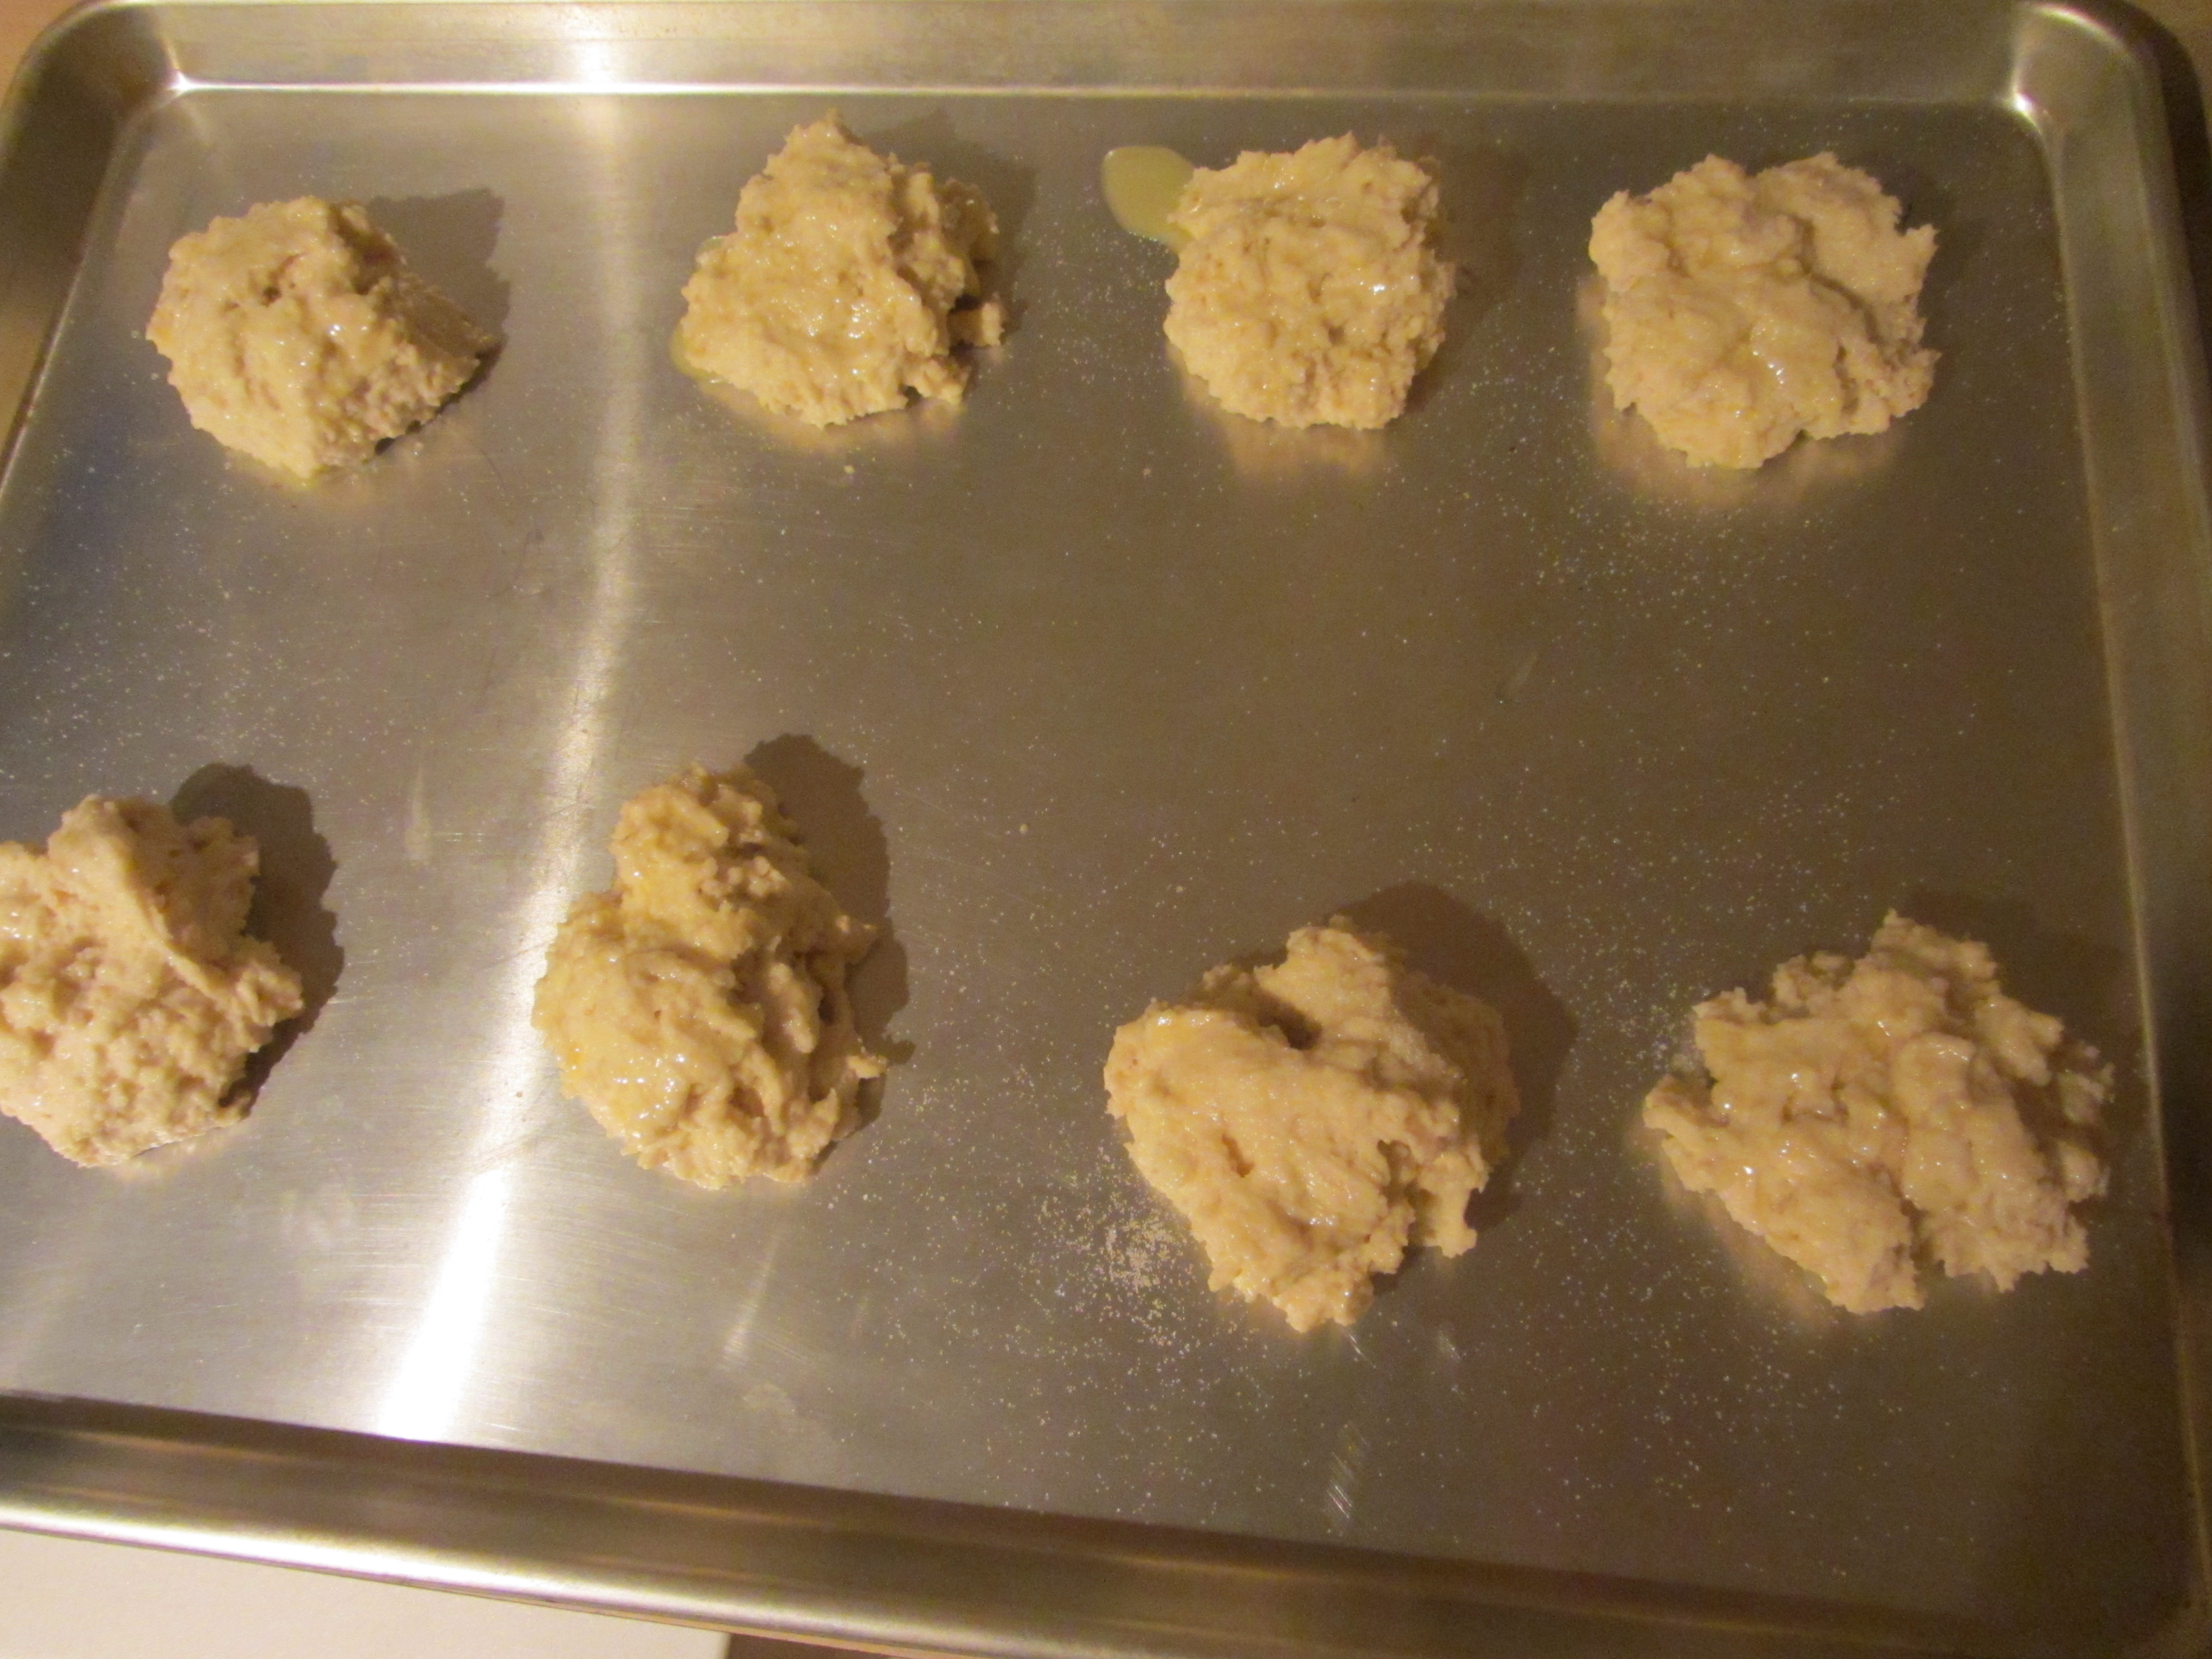
Dough dropped onto baking sheet, brushed with melted butter, and sprinkled with sugar.
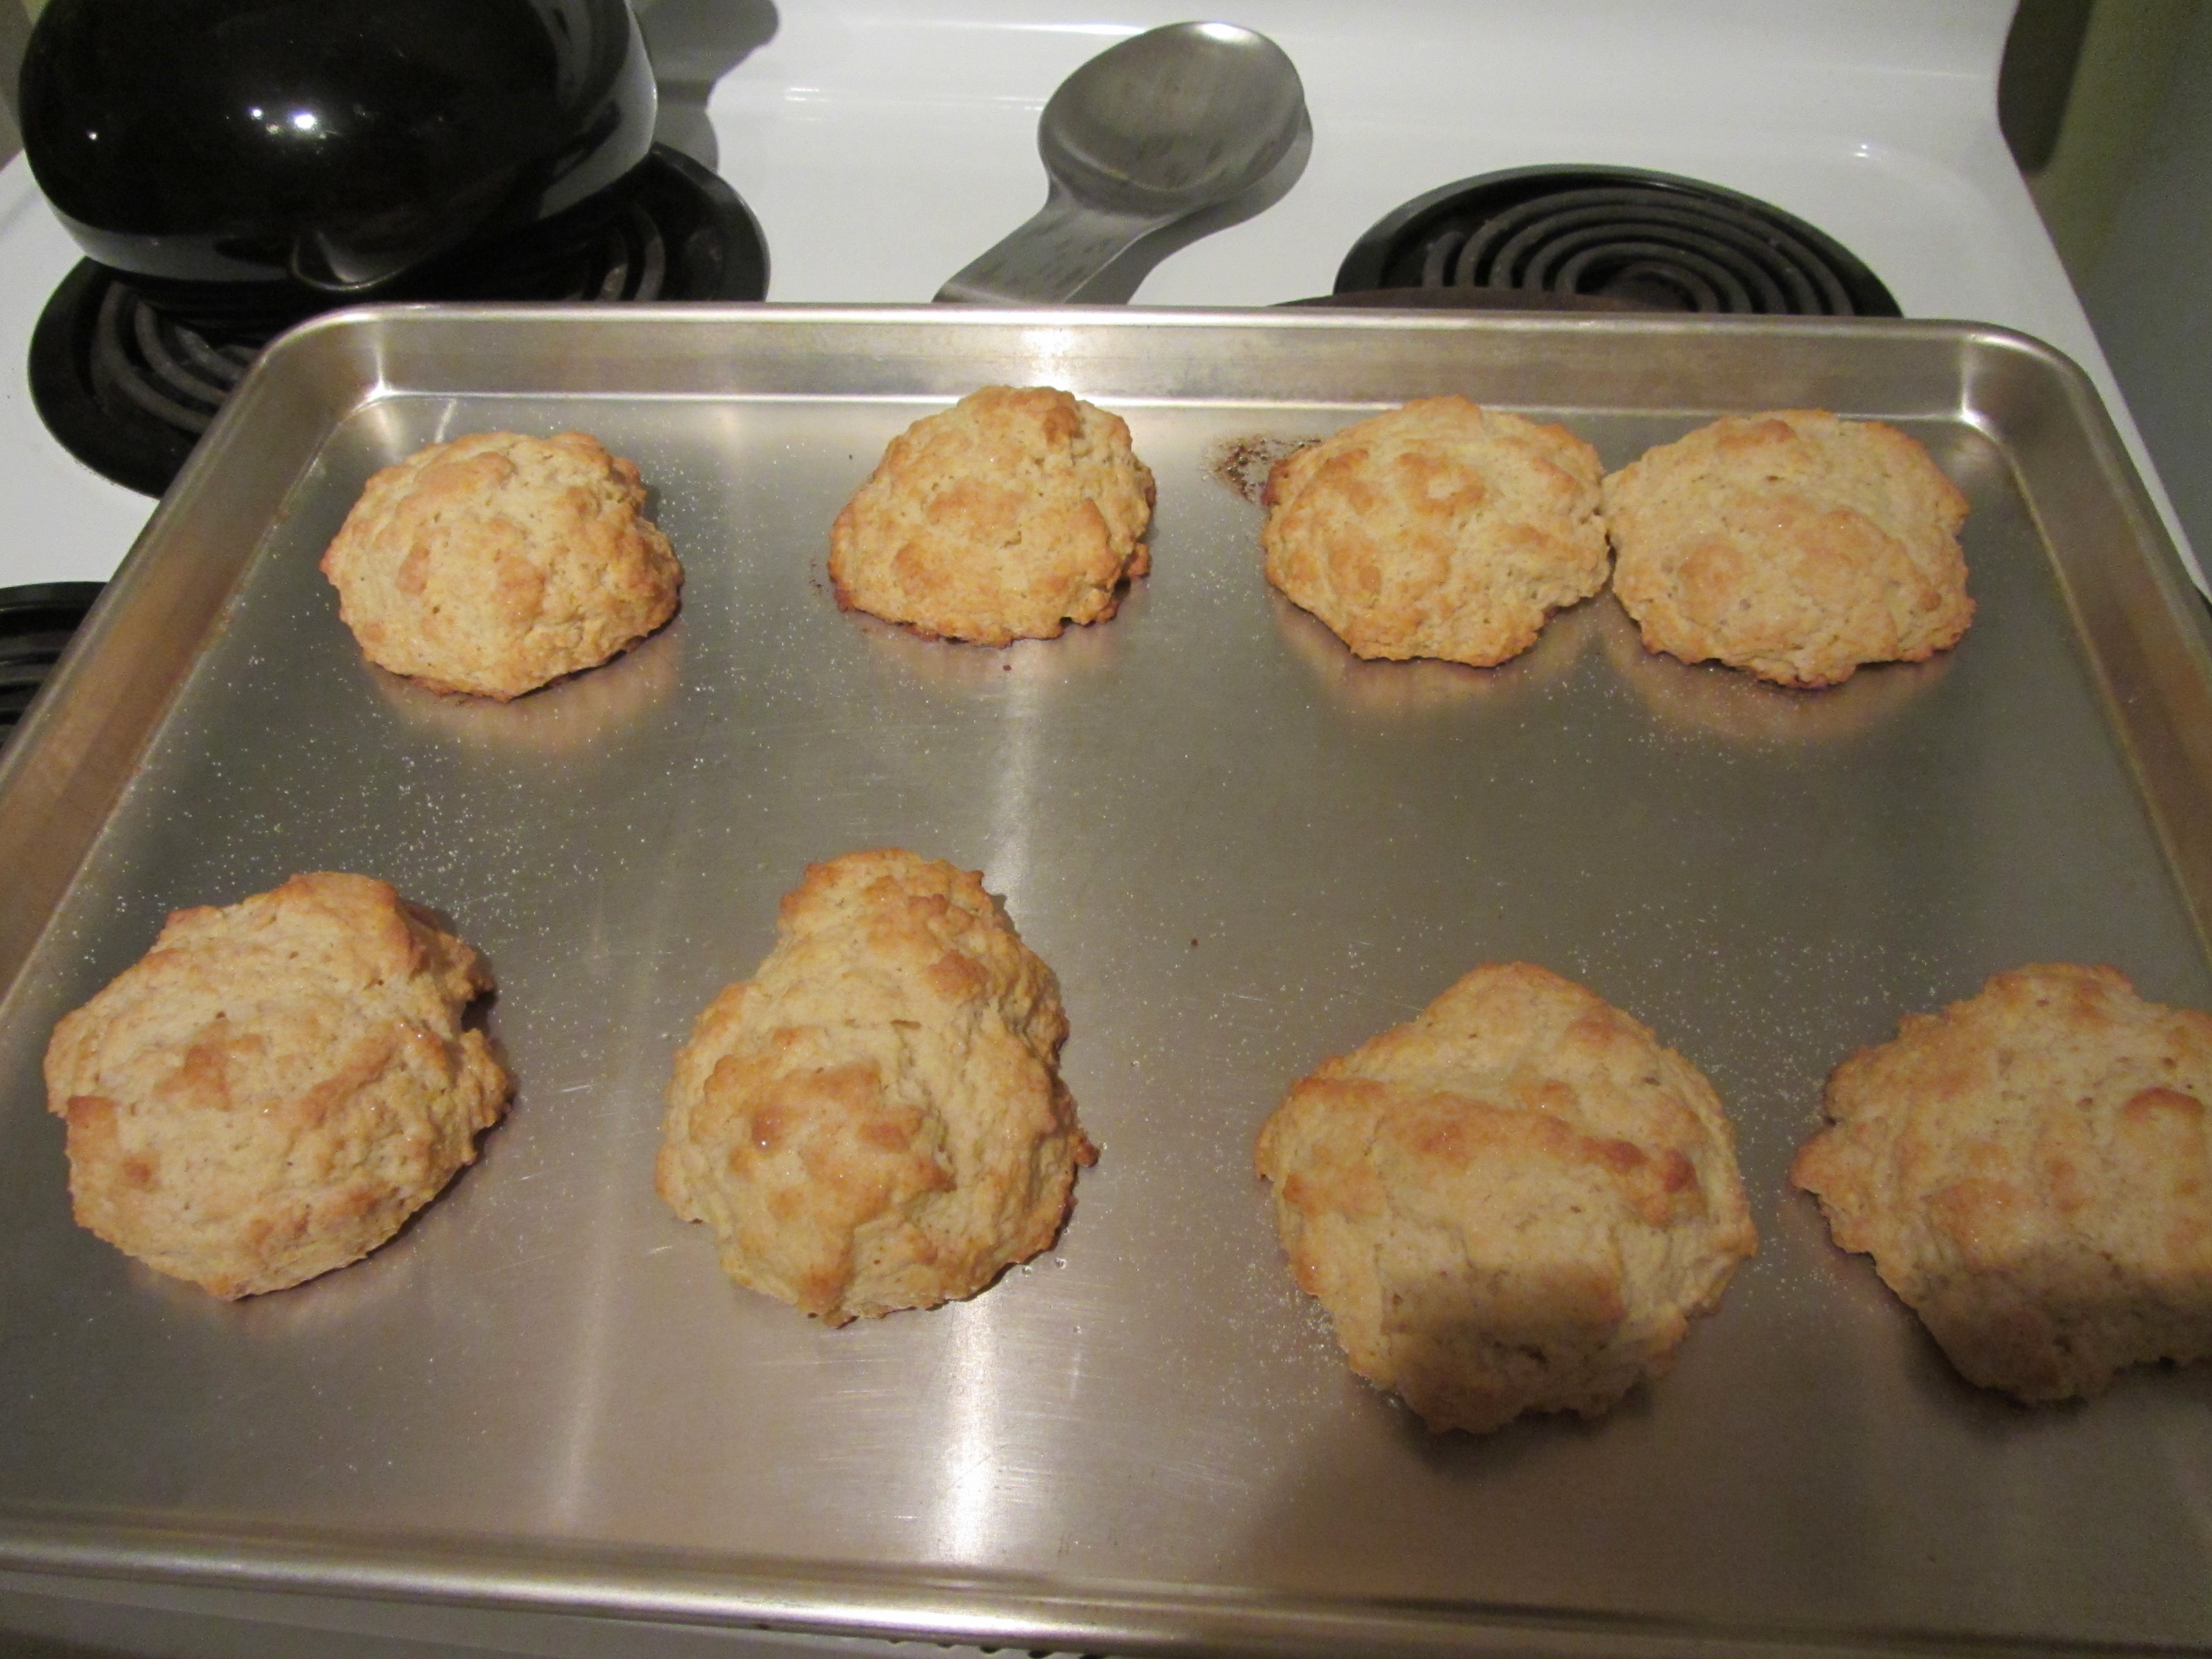
Completed shortcakes.
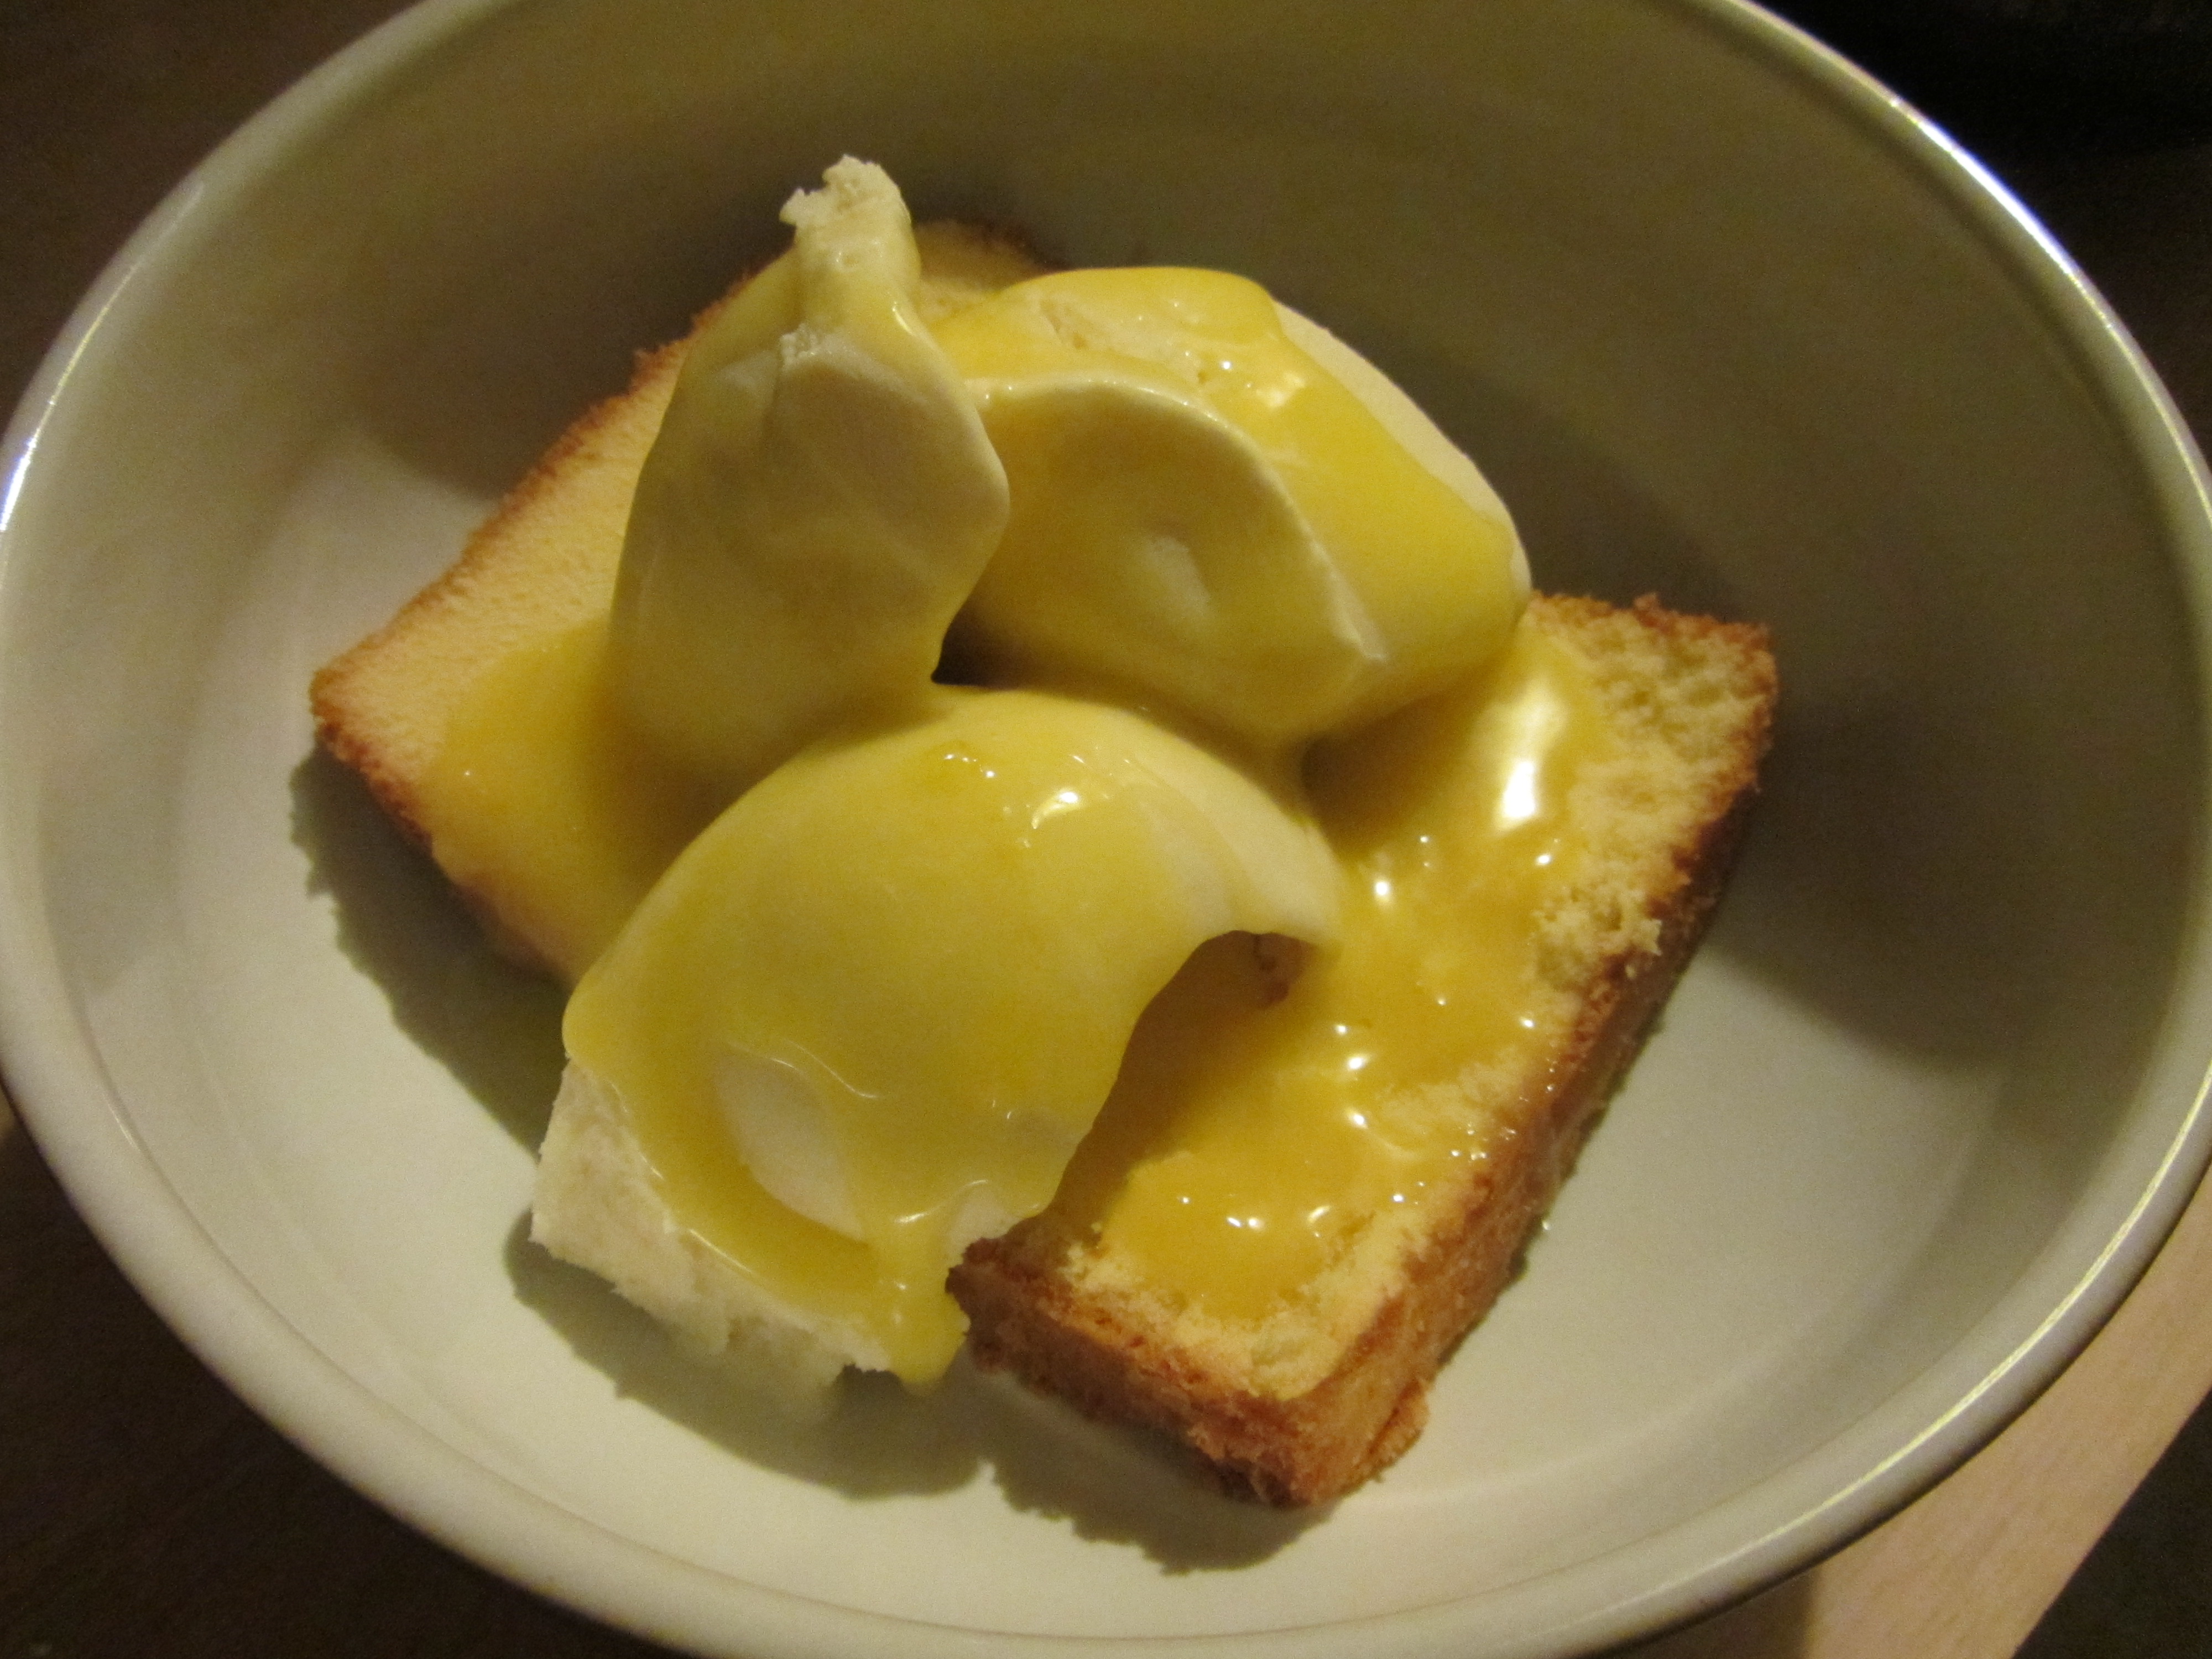
We ate our shortcakes in several ways: with ice cream, with berries and whipped cream, and with nectarines and whipped cream.
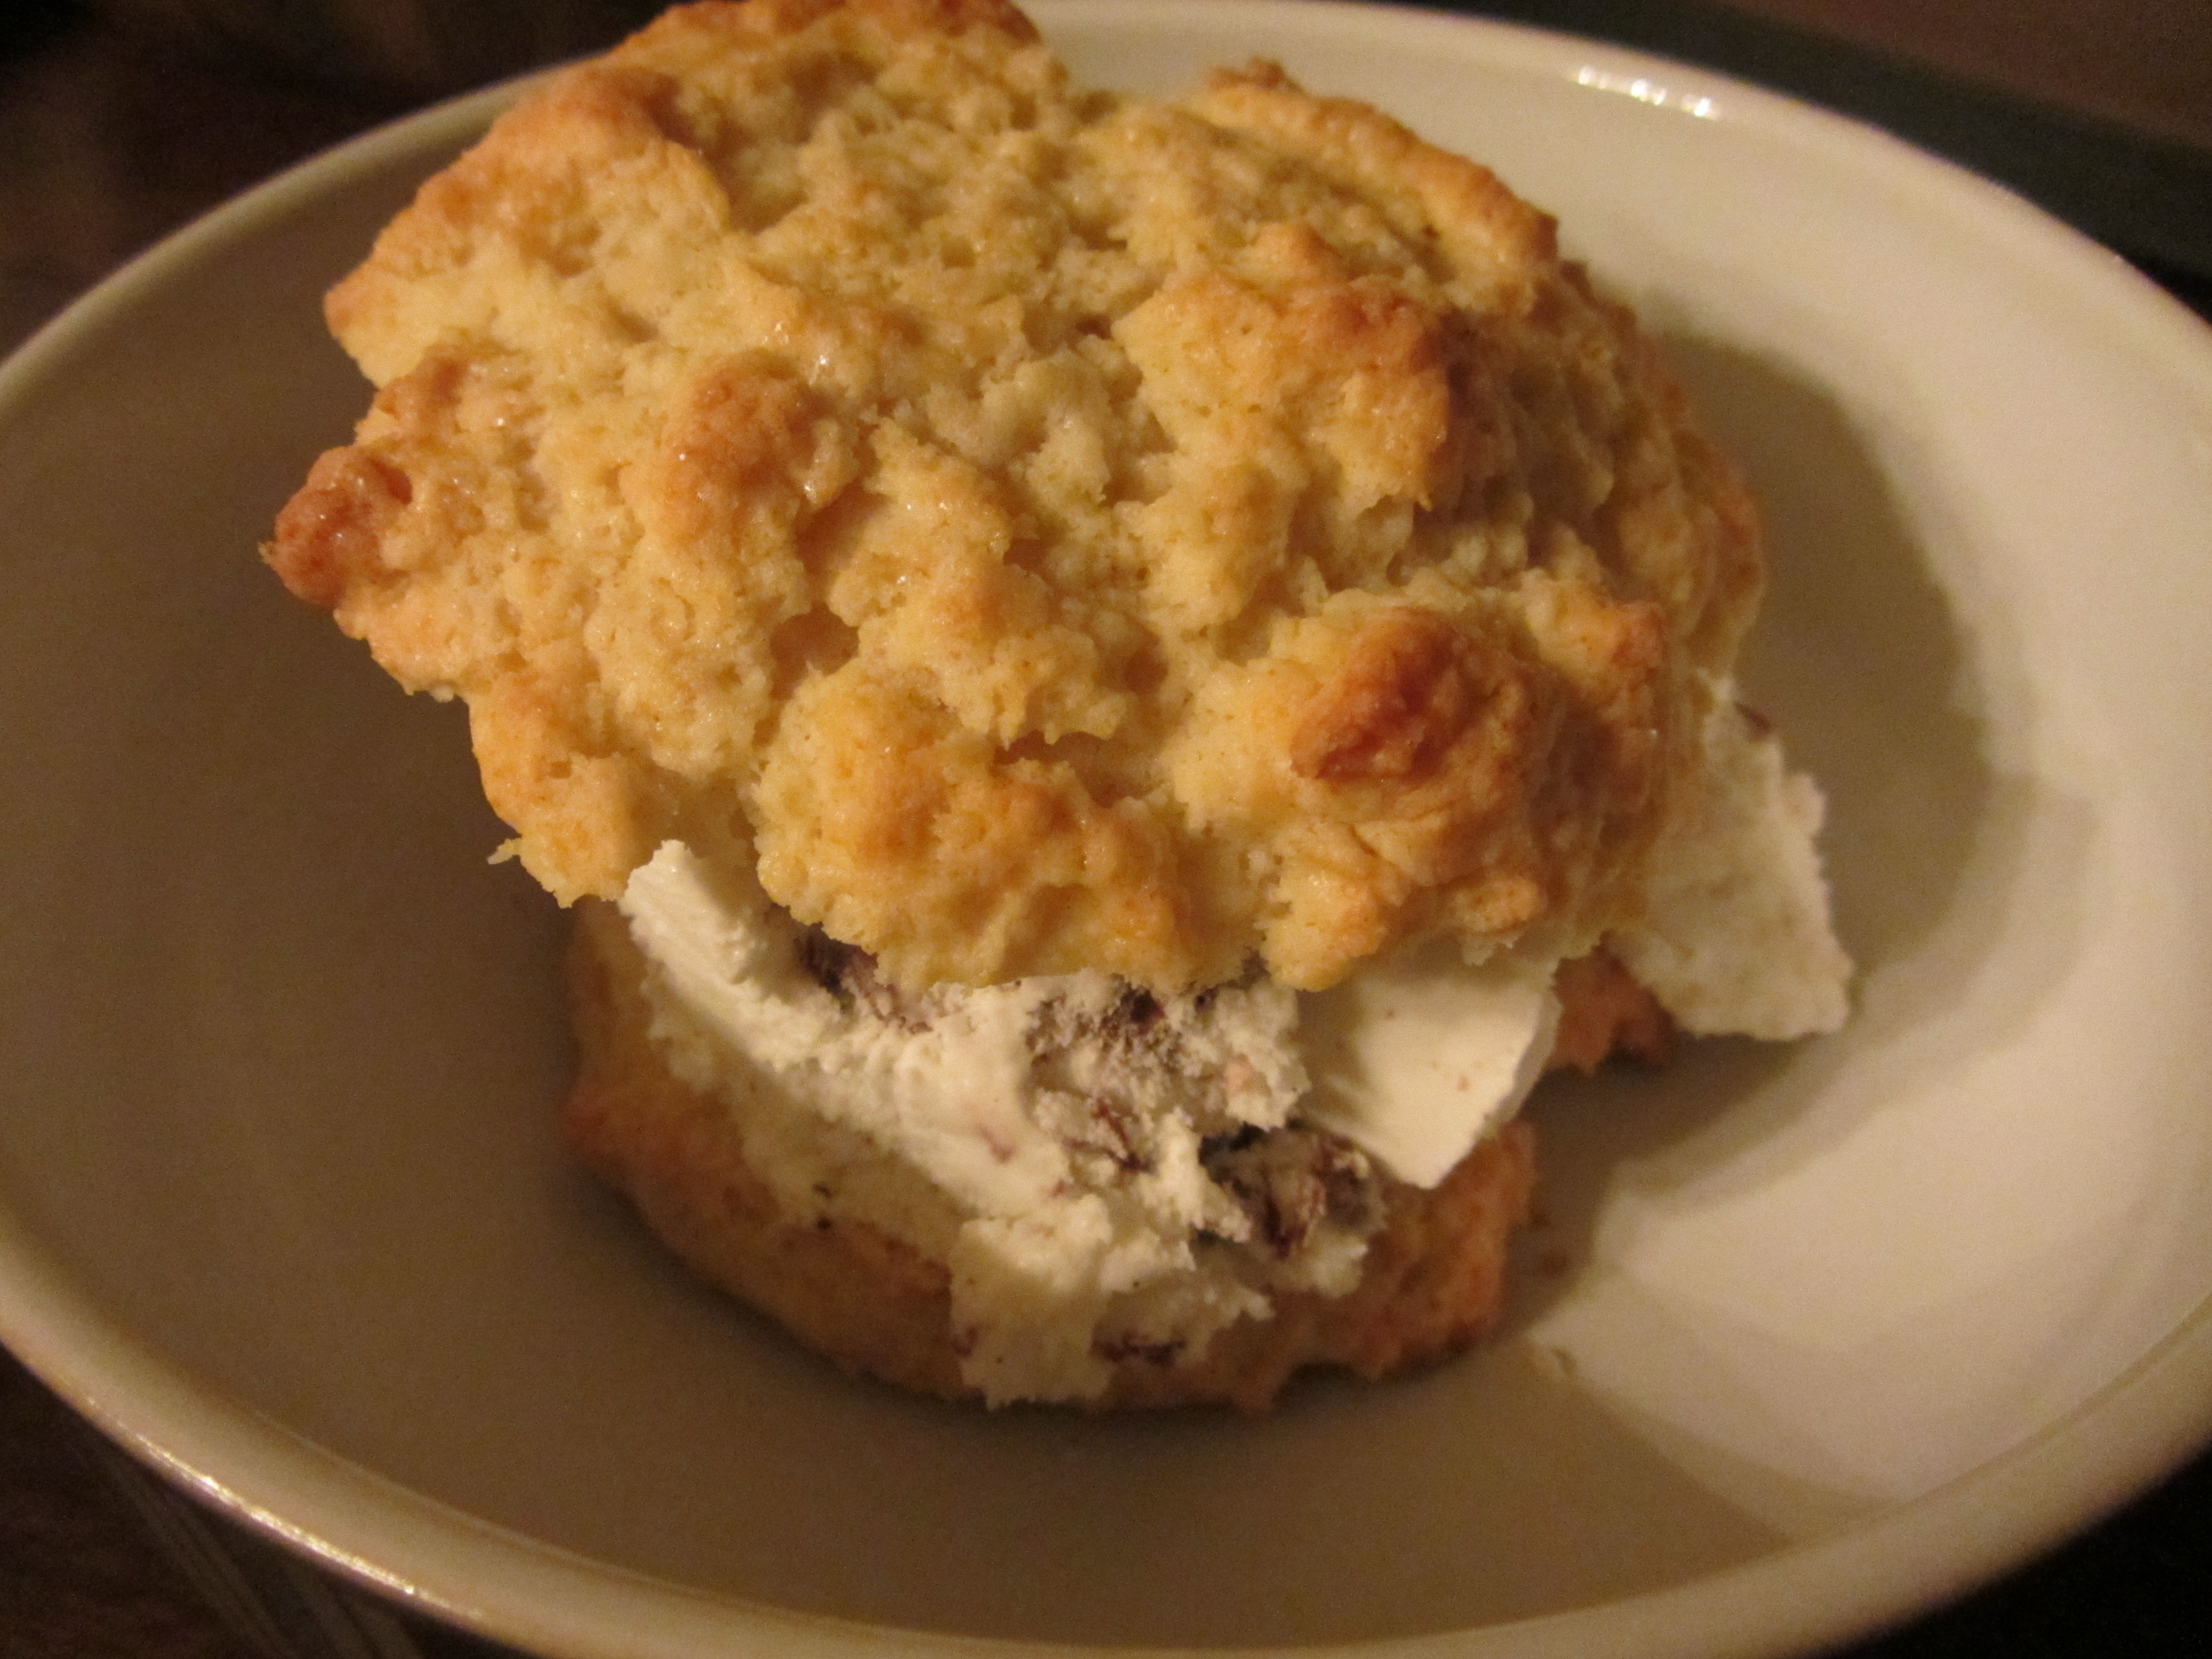
Shortcake with ice cream
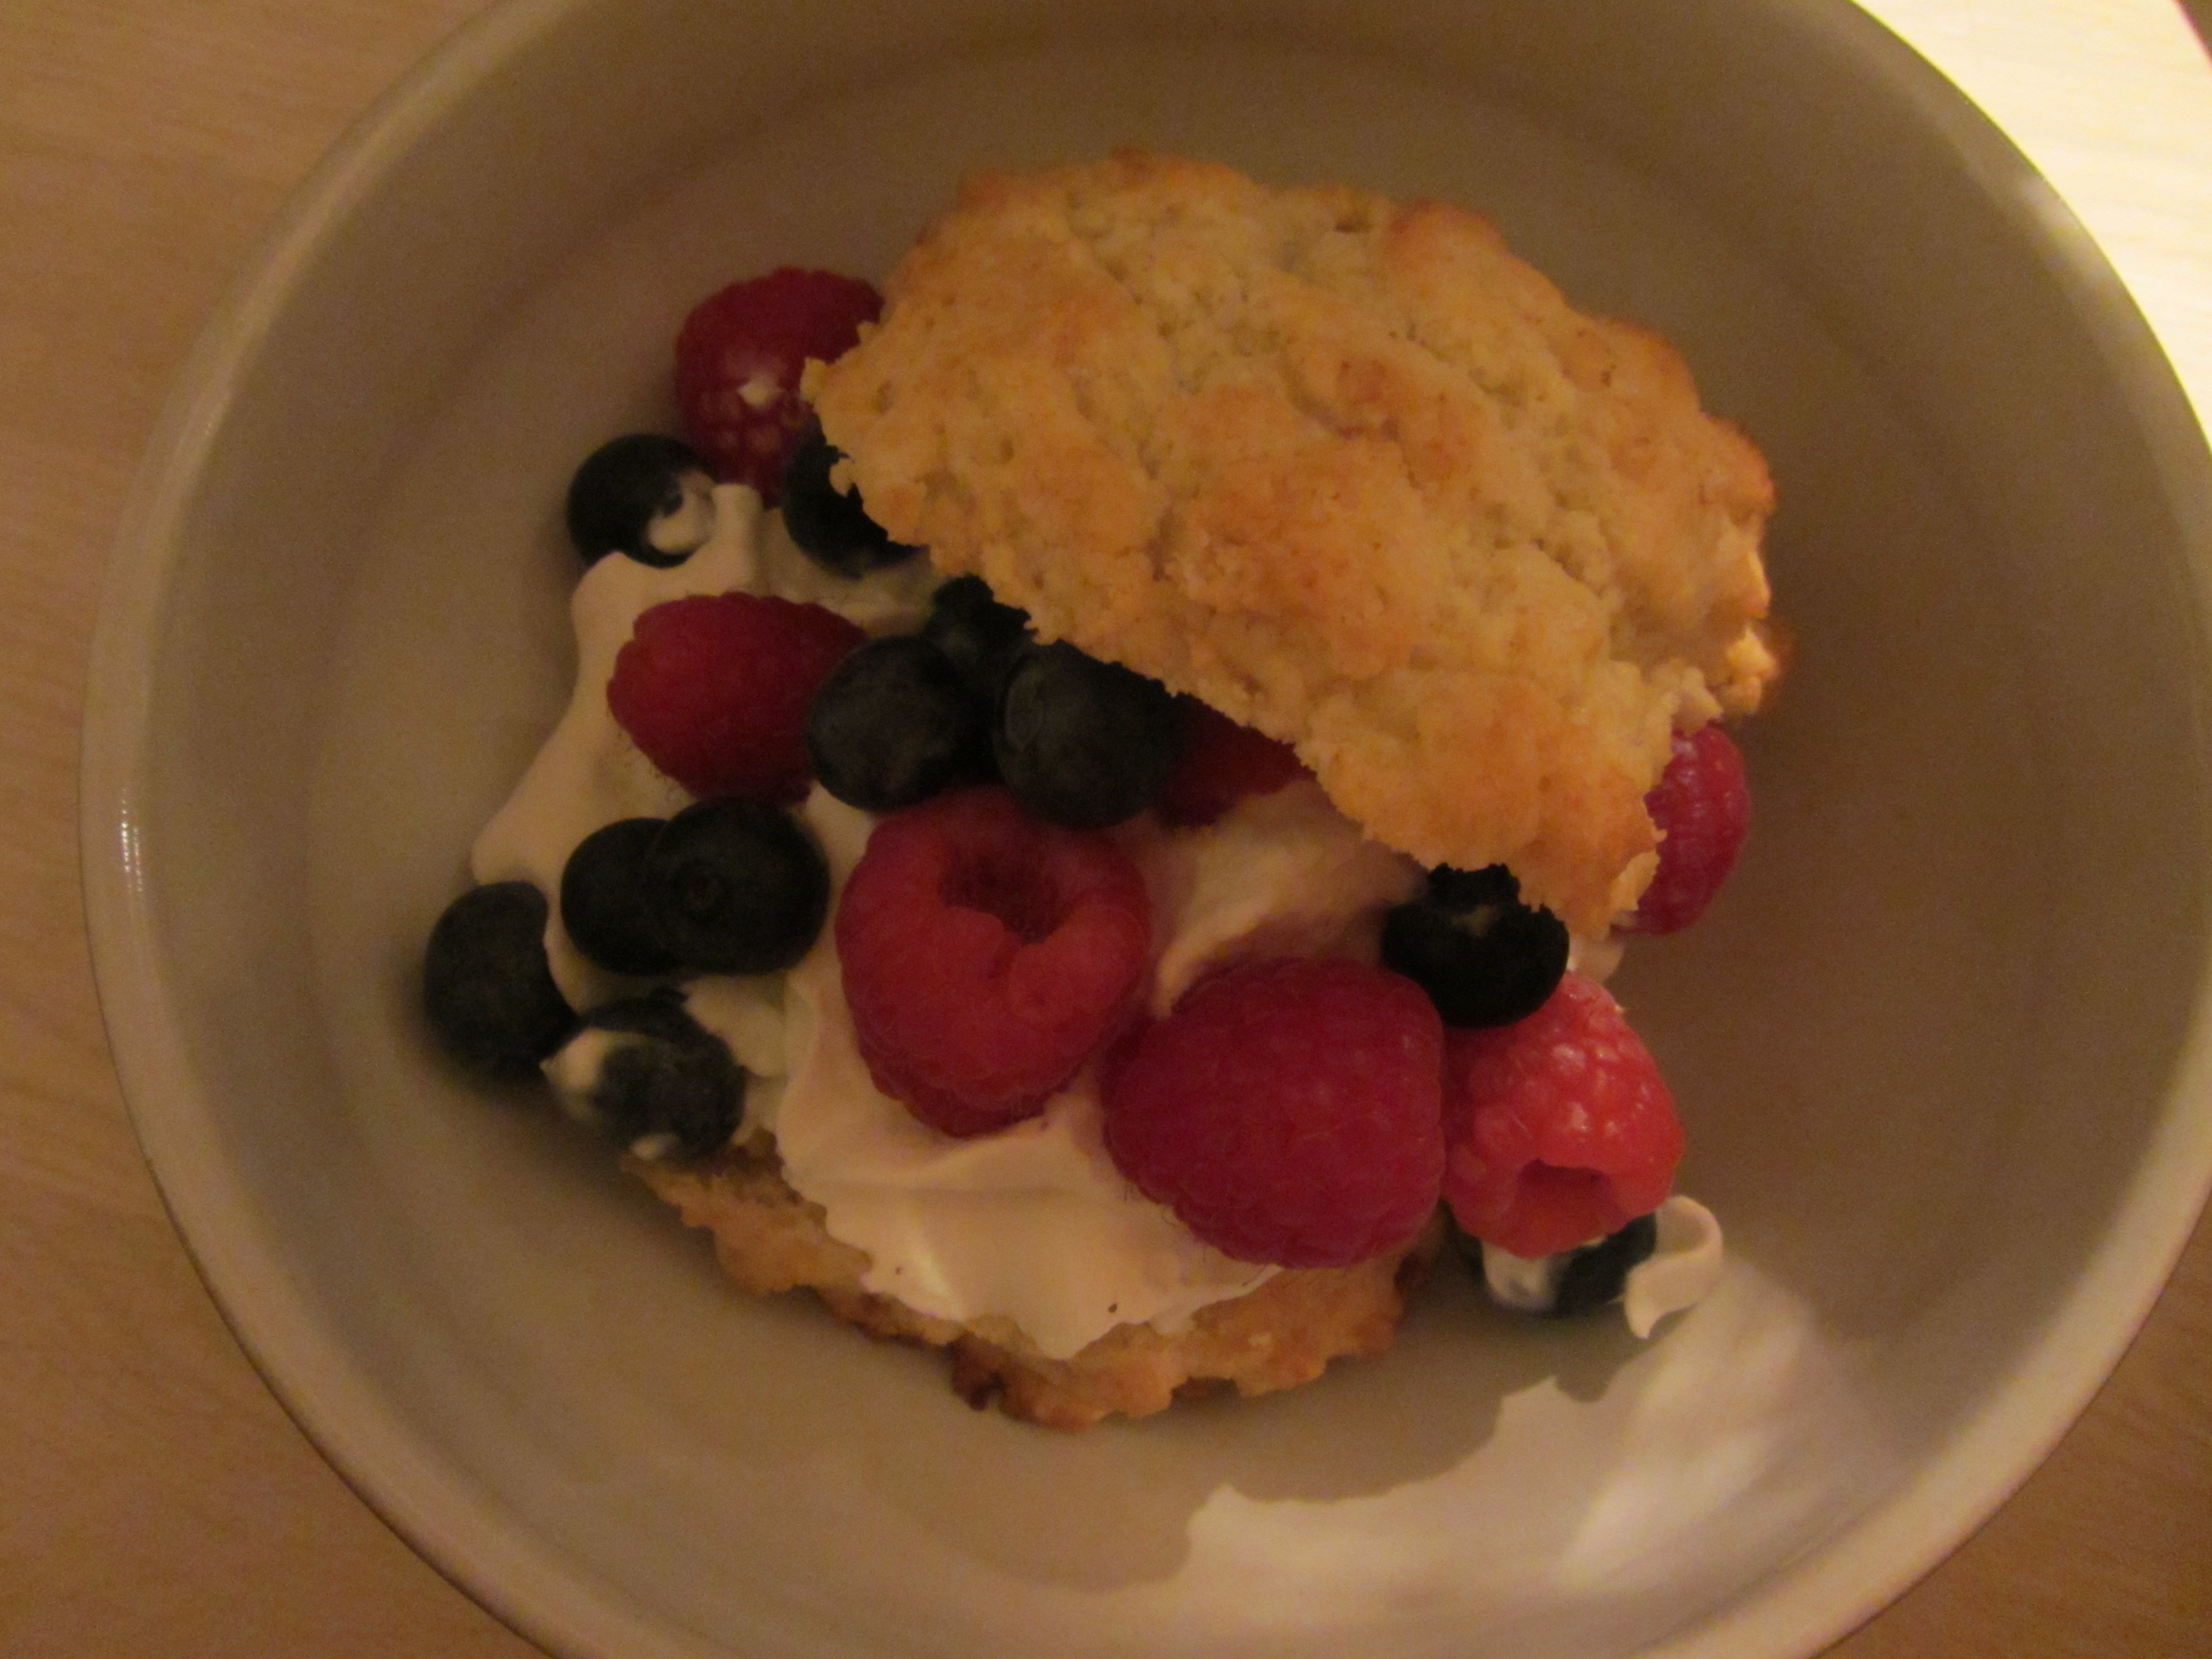
Shortcake with berries and whipped cream.
The shortcakes were best when they were first made, as they had a light, crumbly texture. A day later, the texture was less crispy and more on the cakey side. I tried “refreshing” our shortcakes with a few minutes in a warm oven, which helped to somewhat restore their original texture. I thought the cakes had just the right amount of sweetness to pair well with the fruit and whipped cream, which was my favorite of the ways we ate ours.
Of the three recipes in this episode, the biscuits were definitely our favorite. The shortcakes followed, with the scones not far behind. Thank goodness we work out a lot!