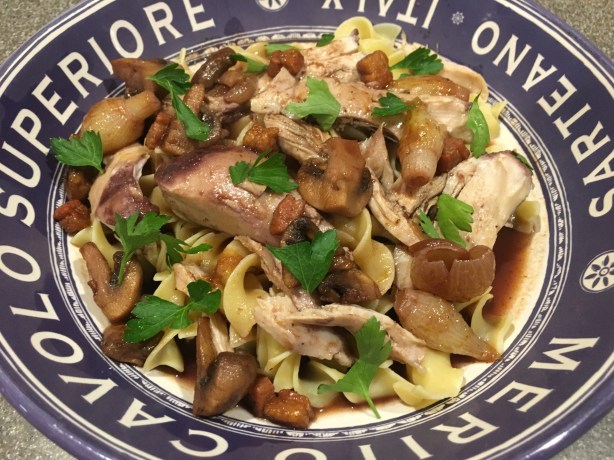
I have not been able to bring myself to write up a Good Eats episode. My dad died on March 18th, after spending three weeks in the ICU; those three weeks were a roller coaster ride, as his condition fluctuated often and rapidly. At times, we thought he would soon be leaving the hospital to head to a rehab facility, but then he would head downhill again. Finally, on March 18th, he succumbed. We received a great gift that day, as Dad was suddenly the most lucid he had been in weeks. He was able to tell us that he was ready to go and he said his goodbyes to all of us.
Needless to say, my dad’s funeral was two days ago and I am still completely devastated, as I lost one of my very best friends, and also my key life adviser. Dad and I shared many common interests, but food and Good Eats were among them. Dad always loved to chat about the recipes I was cooking for my next blog post, and he often recalled watching particular episodes with me in earlier years. Although it is emotionally tough to write a post without him here, I also know he would want me to continue my project, as he thought it was really “neat.”
Carrot Slaw
For a make-ahead side dish, try Alton’s carrot slaw. Begin by washing two pounds of carrots. If they are thicker than an inch at their bases, peel them also.
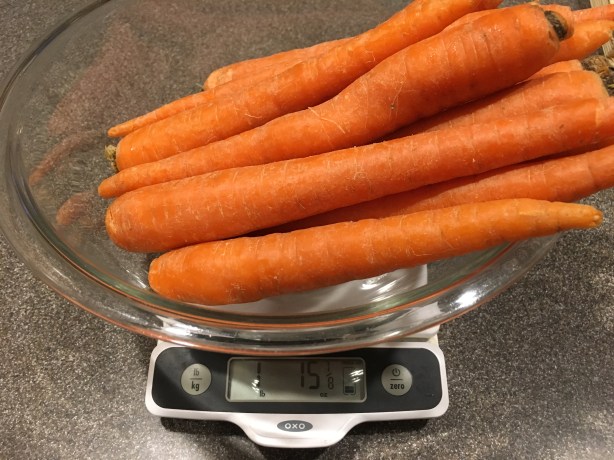
Two pounds of carrots.
Next, use a vegetable peeler to peel the carrots into thin strips. This was quite a noisy task in my house, as our coonhounds are obsessed with carrots, and they howled for the duration of my peeling!
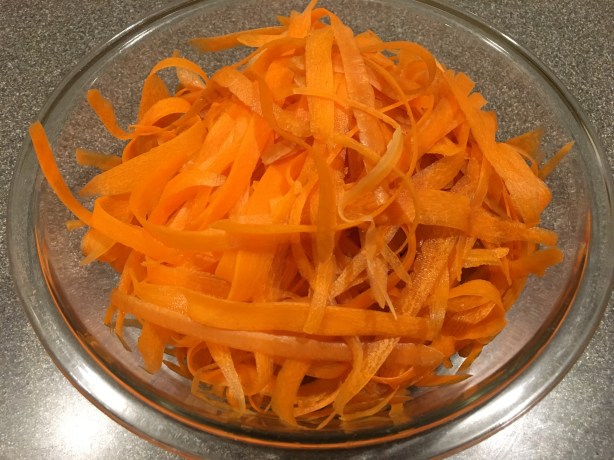
Two pounds of carrots, peeled into ribbons.
Place the following ingredients in a lidded container that is twice the volume of your carrot strips: 1/2 C mayo, pinch of Kosher salt, 1/3 C sugar, 1/2 C drained crushed pineapple (canned), 1/2 C raisins, 2 t curry powder, a pinch of caraway and/or celery seed, and 1 t minced garlic.


Whisk these ingredients together to form a dressing.

The combined dressing.
Finally, add the carrot strips, place the lid on the container, and shake the carrots until they are thoroughly coated with the dressing.


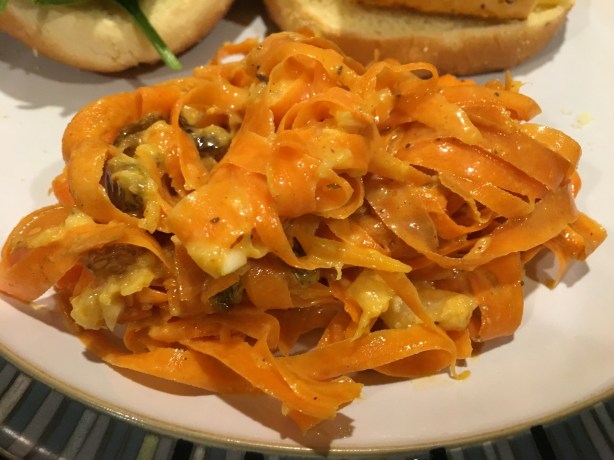
Carrot slaw.
You can eat the slaw immediately or refrigerate it for up to a week. We ate this slaw as a side dish with dinner and both found it to be a flavorful vegetable option, though I felt it was a little sauce-heavy. I don’t know about you, but we tend to get in a rut with our vegetable side dishes, so this was definitely a different choice. My carrot strips were pretty long, which ended up being a bit tricky to eat (like super long noodles), so I would recommend trying to make slightly shorter carrot strips. This recipe is a mix of sweet and savory flavors, and the raw carrots maintain a slight crunch. This could be a good make-ahead option for a summer potluck.
Glazed Carrots
In this episode, Alton refers to this recipe as his all-time favorite carrot recipe. When purchasing carrots, Alton recommends buying carrots with fresh-looking green ends; be sure to trim the stems to a length of one inch once you are home, as they tend to pull moisture from the carrots. And, if you want to store carrots as Alton does, keep them wrapped in bubble wrap. I tend to just opt for plastic wrap, myself. To make glazed carrots, cut, on the bias, a pound of carrots into coins that are 1/3″ to 1/4″ thick.


Place the carrot discs in a 12-inch skillet, along with an ounce of butter, a large pinch of Kosher salt, and a cup of ginger ale.


Heat the burner to medium heat, cover the pot, and bring the liquid to a simmer. Once simmering, decrease the heat to medium-low and cook the carrots for five minutes with the lid on.


After five minutes, remove the lid, add 1/2 t chili powder, and increase the heat to high. Resist the urge to stir the carrots, though you can gently shake the pan. Continue to cook the carrots until the liquid is almost gone, which should take about five minutes.


Check the carrots with the tip of a sharp knife – they should be just knife-tender. Sprinkle the carrots with a tablespoon of chopped parsley and serve immediately.

Glazed carrots.
I have to agree with Alton that these glazed carrots are delicious. This recipe comes together super quickly and is perfect for any weeknight. I highly recommend this one for a side dish.
Carrot Cake
Carrot cake seems to be the most polarizing type of cake. For me, carrot cake is way up at the top of the list, so this recipe gave me a good excuse to have a few slices. To make Alton’s version of carrot cake, preheat your oven to 350 and lube the bottom and sides of a cake pan with butter. Coat the pan with flour, removing any excess, and line the bottom of the pan with a disc of parchment paper. When I watched Alton prep his pan, I recognized the pan immediately as the same one he used to make his cheesecake in episode 61.
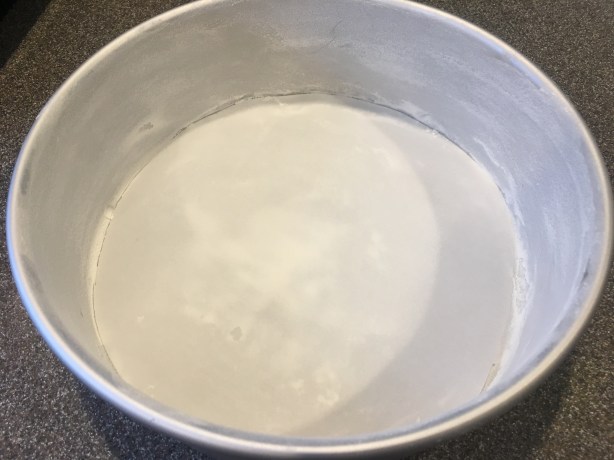
Buttered and floured pan, lined on the bottom with parchment.
Next, shred 12 ounces of carrots on the large side of a box grater and place them in a bowl. Yes, this part is a pain, but at least your arm burns some calories, so you can eat a larger slice of cake later.


Dump the following ingredients into the bowl of a food processor: 12 ounces of flour, 1 t baking powder, 1 t baking soda, 1/4 t allspice, 1/4 t cinnamon, 1/4 t nutmeg, and 1/2 t salt. Pulse the dry ingredients until combined and add them to the carrots, tossing them until coated.


Next, combine 10 ounces of sugar, 2 ounces of dark brown sugar, 3 eggs, and 6 ounces of plain yogurt in the food processor. With the machine running, drizzle in 6 ounces of vegetable oil. Add the wet mixture to the carrots, mixing ten times with your hands.


Pour the carrot mixture into your prepared pan and bake the cake for 45 minutes.

Batter poured into prepared pan.
After 45 minutes, decrease the heat to 325 and bake for 20 more minutes, or until the cake has an internal temperature between 205 and 210 degrees (mine was at 208 after the initial 20 minutes). Oh, and when taking the temperature of a cake, place the thermometer half-way between the center of the cake and the rim of the pan.
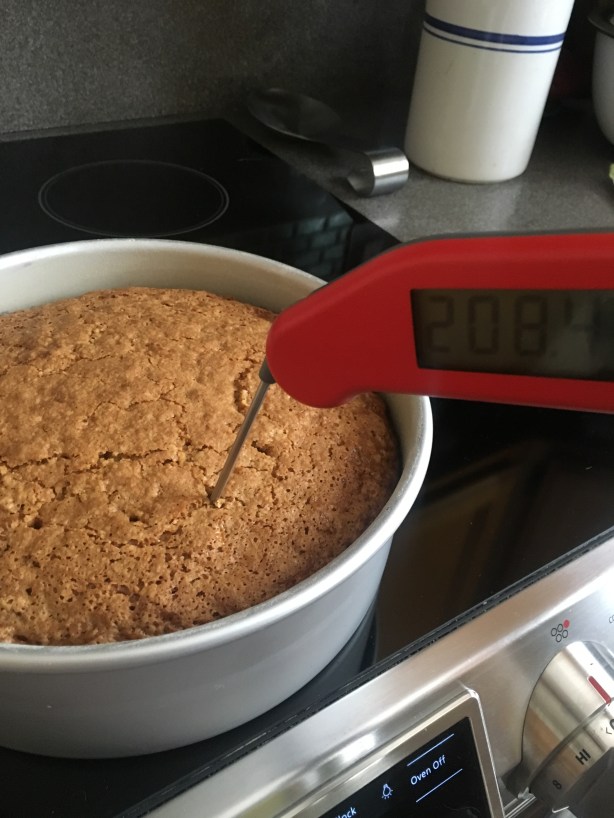
Cake after baking for 65 minutes.
Let the cake cool completely before frosting. I let my cake cool in the pan for the first half hour, and then removed it from the pan for the remainder of the cooling process.
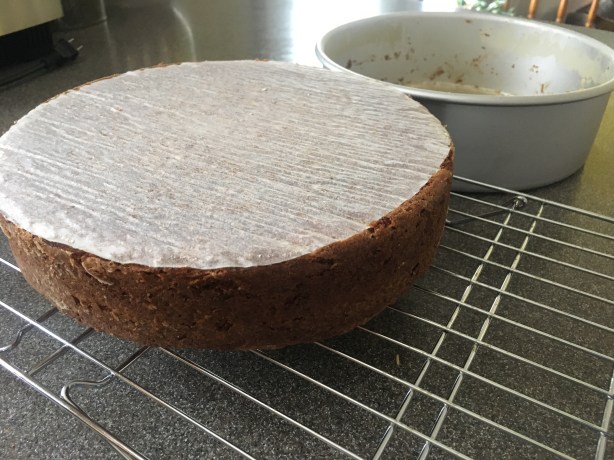
Cake, removed from pan after 30 minutes of cooling. Allowed to cool completely on rack.
For Alton’s cream cheese frosting, combine 8 ounces of room temperature cream cheese with 2 ounces of room temperature butter.
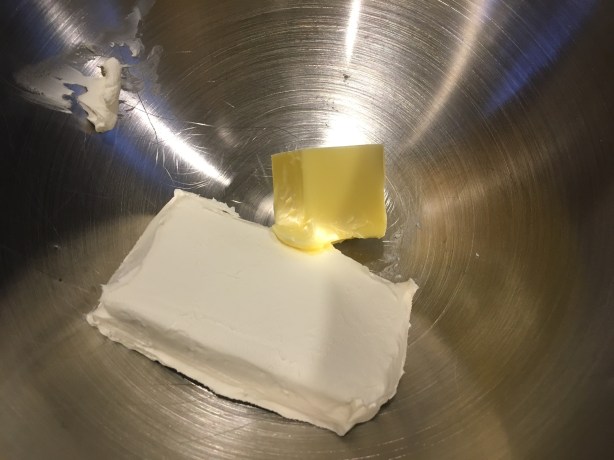
Softened cream cheese and butter in mixer.
Add 1 t vanilla and 9 ounces of sifted powdered sugar, mixing until smooth.


Chill the frosting for 5-10 minutes before using it to frost your cooled cake.
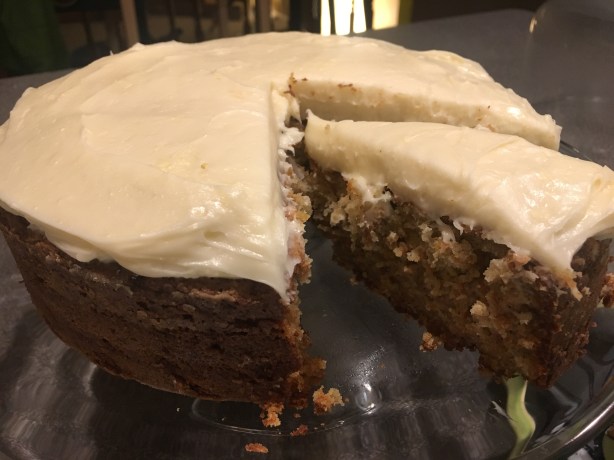
Frosted carrot cake.

A slice of Alton’s carrot cake.
As I said before, I love carrot cake, and this is a simple one. I like the fact that the carrots are really the star of this cake, as there are no pineapple chunks, or walnuts, or raisins in this one. Also, since this is a one-layer cake, it is a cake that can easily be made on a busy day. Alton’s carrot cake is moist, dense, and has just the right amount of sweetness to balance with the sweeter cream cheese frosting. The frosting is smooth and creamy, and the recipe makes the perfect amount to frost the top of this carrot cake. I am actually making this cake again this weekend, as it is my dog’s 13th birthday on Sunday and he adores carrots. He will only get a tiny nibble, but we humans will eat the rest in celebration of him.