This chocolate episode came at a good time, allowing me to share some of Alton’s chocolate goodness with friends and relatives at the holidays. There is really no way we could have eaten all of this chocolate without help! It’s really too bad that my mom doesn’t live closer to me because, though she is tiny, she can pretty much eat her weight in chocolate. Somehow, we persevered and the recipes from this episode have been devoured. All of the recipes in this episode are ganache-based, meaning they are composed of a mixture of chocolate and cream. First up is Alton’s:
Ganache Frosting
This ganache is composed of only two ingredients: chocolate and cream.

Only two ingredients for this frosting: bittersweet chocolate and heavy cream.
The recipe starts with heating a pint of heavy cream (which is also a pound) in a microwave for 3-4 minutes, or until simmering. Note: when heating milk products in the microwave, use a vessel twice the original volume of dairy to prevent overflow. While the cream heats, chop a pound of bittersweet chocolate with a serrated knife.

A chopped pound of chocolate.
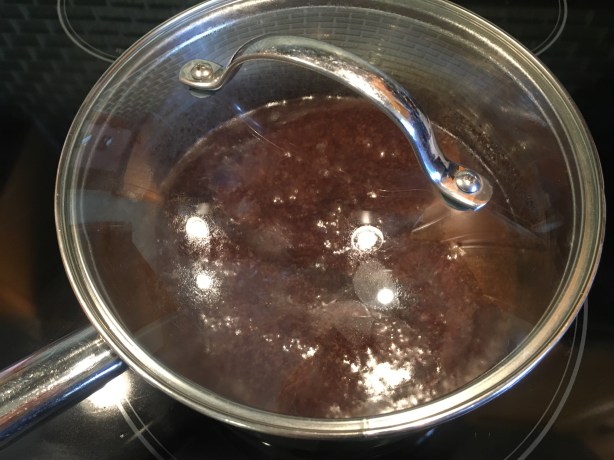
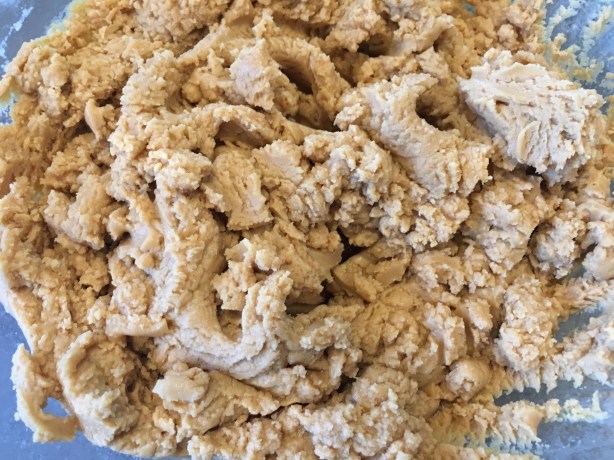
Place the chopped chocolate in the bowl of a food processor and pour the warm cream over the chocolate. Let the cream/chocolate sit for two minutes.


When the two minutes are up, pulse the chocolate and cream three times, or until smooth.

Chocolate and cream after pulsing 3x.
Transfer the ganache to a bowl. You can use the ganache immediately as a pourable cake glaze.
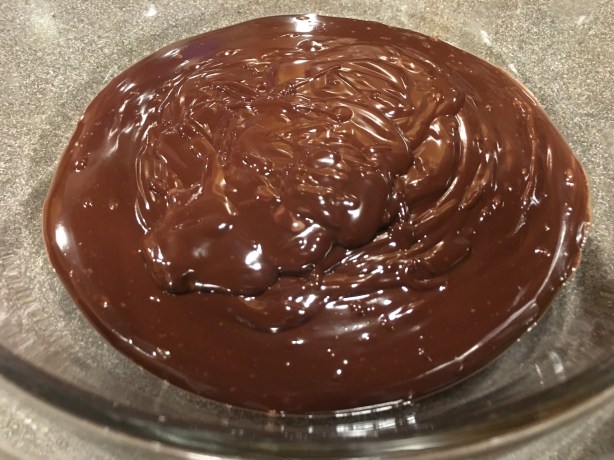
Ganache transferred to a bowl.
Or, you can let the ganache cool for an hour and whip it in a stand mixer to make a cake frosting.


This ganache will keep for two weeks if kept tightly covered and refrigerated. For later use, bring the ganache to room temperature before whipping with a stand mixer. I first used this ganache frosting to frost a simple sheet cake, which we ate for multiple days.
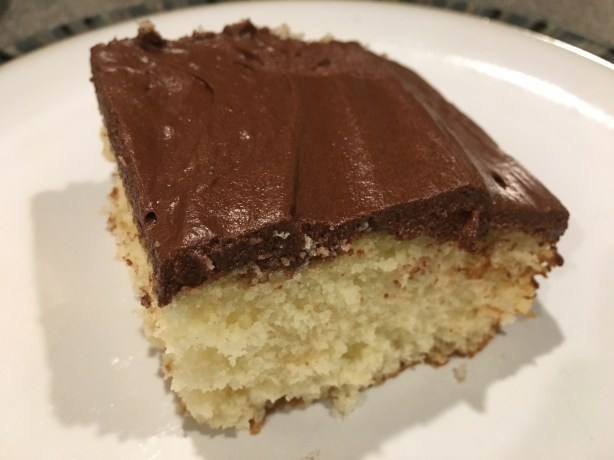
A slice of sheet cake with Alton’s ganache frosting.
I actually prefer this frosting cold because I like the dense mouthfeel of the cold chocolate in contrast with soft, light cake. After frosting a 9×13″ sheet cake, I still had enough frosting for two dozen cupcakes, which I frosted for my in-laws’ Christmas party. I will say that the frosting is best aesthetically when used after the first whipping. This frosting is quite rich, so you only need a thin layer of frosting for a good punch of chocolate. This is about the easiest chocolate frosting you could ever make, and it is so much better than anything you could buy in the store.
Chocolate Truffles
When we headed to my sister-in-law’s house for Thanksgiving, I decided to bring Alton’s truffles to share. I made the truffles two days before turkey day. To make Alton’s truffles, place 10 ounces of chopped bittersweet chocolate in a microwaveable bowl and add 3 T of unsalted butter.


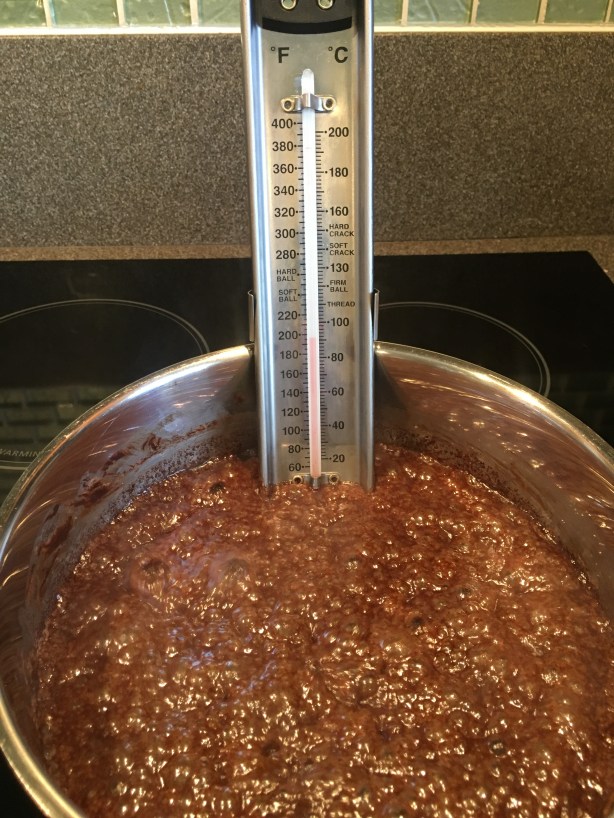
Set the chocolate aside while you bring 1/2 C cream and 1 T light corn syrup to a simmer in a saucepan over medium heat.

Heavy cream and light corn syrup.
While the cream heats, place the chocolate/butter in the microwave for 30 seconds; stir the mixture and put it in the microwave for another 30 seconds or until the chocolate starts to melt.


Pour the simmering cream over the chocolate and let it sit for two minutes.
Cream poured over chocolate/butter.
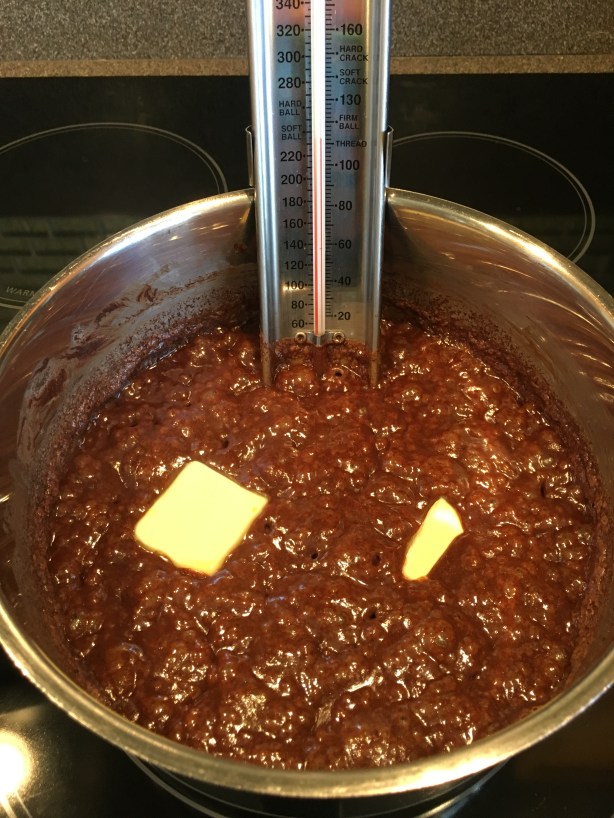
After two minutes, stir 1/4 C brandy into the chocolate, stirring until smooth.

Brandy being stirred into chocolate mixture.
Pour the chocolate mixture into an 8×8″ baking dish and place it, uncovered, in the refrigerator for one hour.


After an hour of chill time, use a melon baller to portion the ganache into rough balls, transferring them to a parchment-lined sheet pan; do not worry about shaping the truffles at this time. When all of the truffles have been portioned, place them back in the refrigerator for 30 minutes.
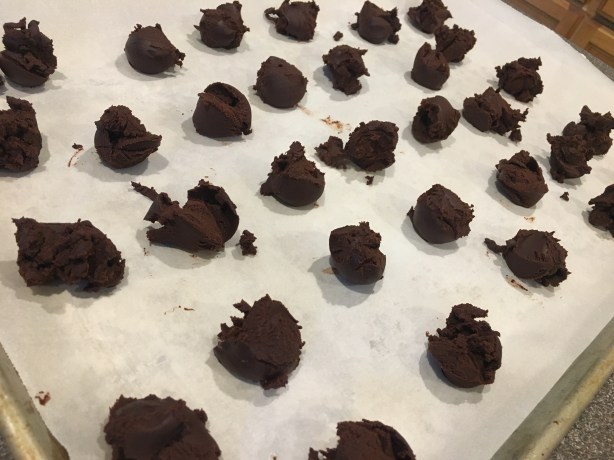
Portioned ganache.
This is the point of the recipe where things get a little more technical, as Alton used a heating pad to melt eight ounces of bittersweet chocolate, keeping the chocolate between 90 and 94 degrees; it is critical not to go above 94 degrees, as this will change the crystalline structure of the chocolate. I found that I had very uneven heating with my heating pad, so I gradually melted my chocolate in the microwave, stirring and checking the temperature after every 15-20 seconds.


Once your chocolate is melted and between 90 and 94 degrees, roll your truffles into smooth balls with gloved hands. Dip an ice cream scoop into the melted chocolate and place a truffle ball into the scoop, using your gloved fingers to coat the center with melted chocolate.

Coating a truffle center in melted bittersweet chocolate.
Once coated in chocolate, place the coated truffle into a topping of your choice: chopped pistachios, cocoa powder, powdered sugar, or toasted coconut. It is ideal to let each truffle sit in the topping until the next truffle is done being coated with chocolate.


Transfer the finished truffles to a wax paper-lined airtight container. Store the truffles in the refrigerator, but serve them at room temperature.


I ended up with 32 truffles, and I used toppings of powdered sugar, cocoa powder, and chopped pistachios.
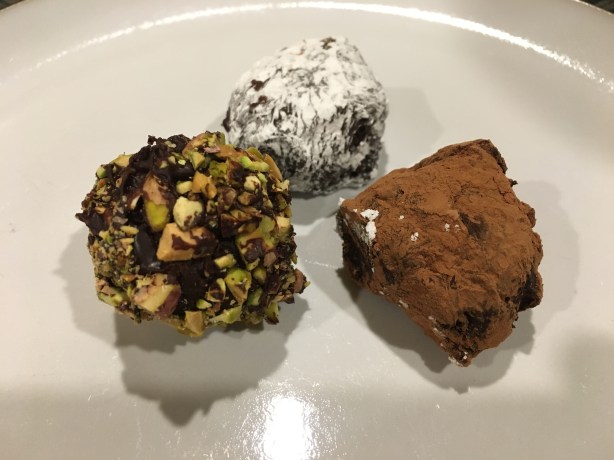
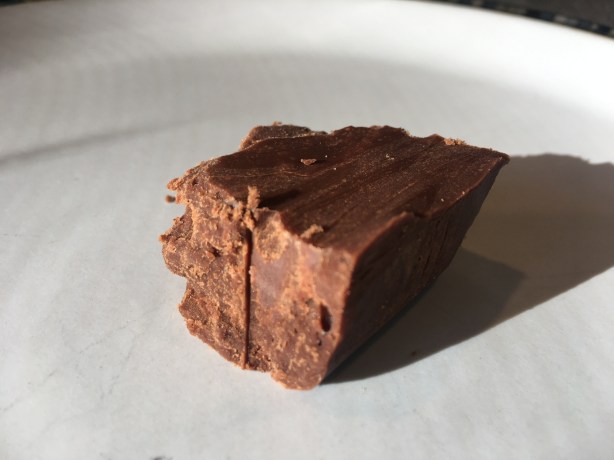
Truffles.
Oh my, these truffles are super rich. If you are able to keep your coating chocolate in the ideal temperature range, your truffles will have a crispy chocolate shell surrounding their dense, rich filling. The filling is creamy, rich, slightly bitter, and intensely full of chocolate. These are absolutely worth the time and effort of making, as well as the calories. They pair fantastically with bourbon or with coffee, depending on the time of day. This is a wonderful recipe.
Good Eats Fudgepops
This episode finishes up with Alton’s version of a fudgecicle.

Ingredients for fudgepops: bittersweet chocolate, vanilla extract, cocoa powder, heavy cream, and whole milk.
Start by putting 2 T cocoa powder into a medium saucepan, and add 12 ounces of heavy cream and eight ounces of whole milk.
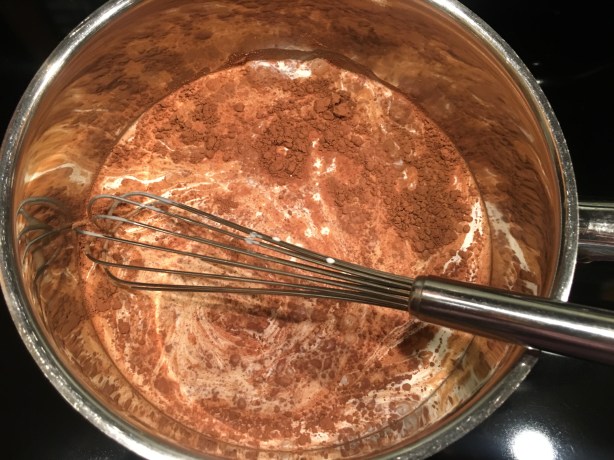
Cocoa powder combined with milk and cream.
Bring the milk and cocoa to a simmer over medium heat, whisking to combine.

Cocoa powder combined with milk and cream, and brought to a simmer.
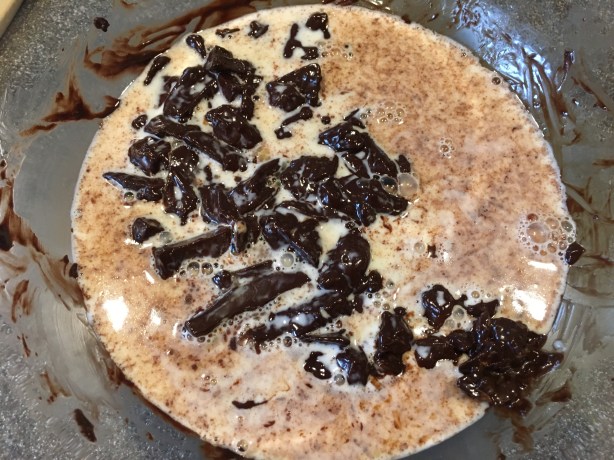
When the dairy is simmering, pour it over eight ounces of chopped bittersweet chocolate, letting it sit for two-three minutes.


Whisk the chocolate mixture until smooth and add 2 t vanilla extract.


Using a turkey baster, equally distribute the chocolate mixture among popsicle molds.

Chocolate distributed among popsicle molds.
Place the fudgepops in the freezer for four hours, or until set.

Alton’s fudgepop.
Conversely, if you are craving hot chocolate, Alton says you can melt one of his fudgepops in the microwave. I chose to halve this recipe since I was just making the fudgepops for two of us, and I ended up with four fudgepops. These fudgepops are full of rich chocolate flavor and they are pretty creamy. They did have a very slight icy texture, but I thought these were pretty good. They were very hard to get out of the molds, but that may have been more of a function of my popsicle molds than due to the recipe itself. I don’t know that I would go out of my way to make these again, but I’ve also never been the biggest fudgepop fan.