First of all, I am getting pretty excited to see Alton Brown’s live show in less than a week, especially considering that we bought tickets the day they went on sale, which was about eight months ago. We will be going with my parents, and I think we are all highly anticipating the show. My dad, too, was an avid Good Eats watcher in the past.
I have not eaten a lot of duck in my life, but I know some people who have, namely my dad and my husband. There was a stretch of time when Dad and Ted would both order duck when we would all go out to eat, and this went on for months. Seriously, they ate more than their fair share of duck. I feel, therefore, that they can appropriately be deemed Duck Aficionados, or “Quackxperts,” as I prefer to call them.
Mighty Duck
I had some trepidation about preparing duck since I know how critical it is to cook properly, but I hoped Alton wouldn’t let me down. I set out to prepare Alton’s recipe last night, after thawing my duck in the refrigerator for a couple of days. Alternatively, for faster thawing, you could thaw your duck under cold, running water. I had intended to cook my duck on Saturday, which would have necessitated the running water thaw, but the combo of too long of a marathon training run with too little food led to a night on the couch, in lieu of duck prep. On the plus side, my duck (I named him Donald) was perfectly thawed for dinner last night.
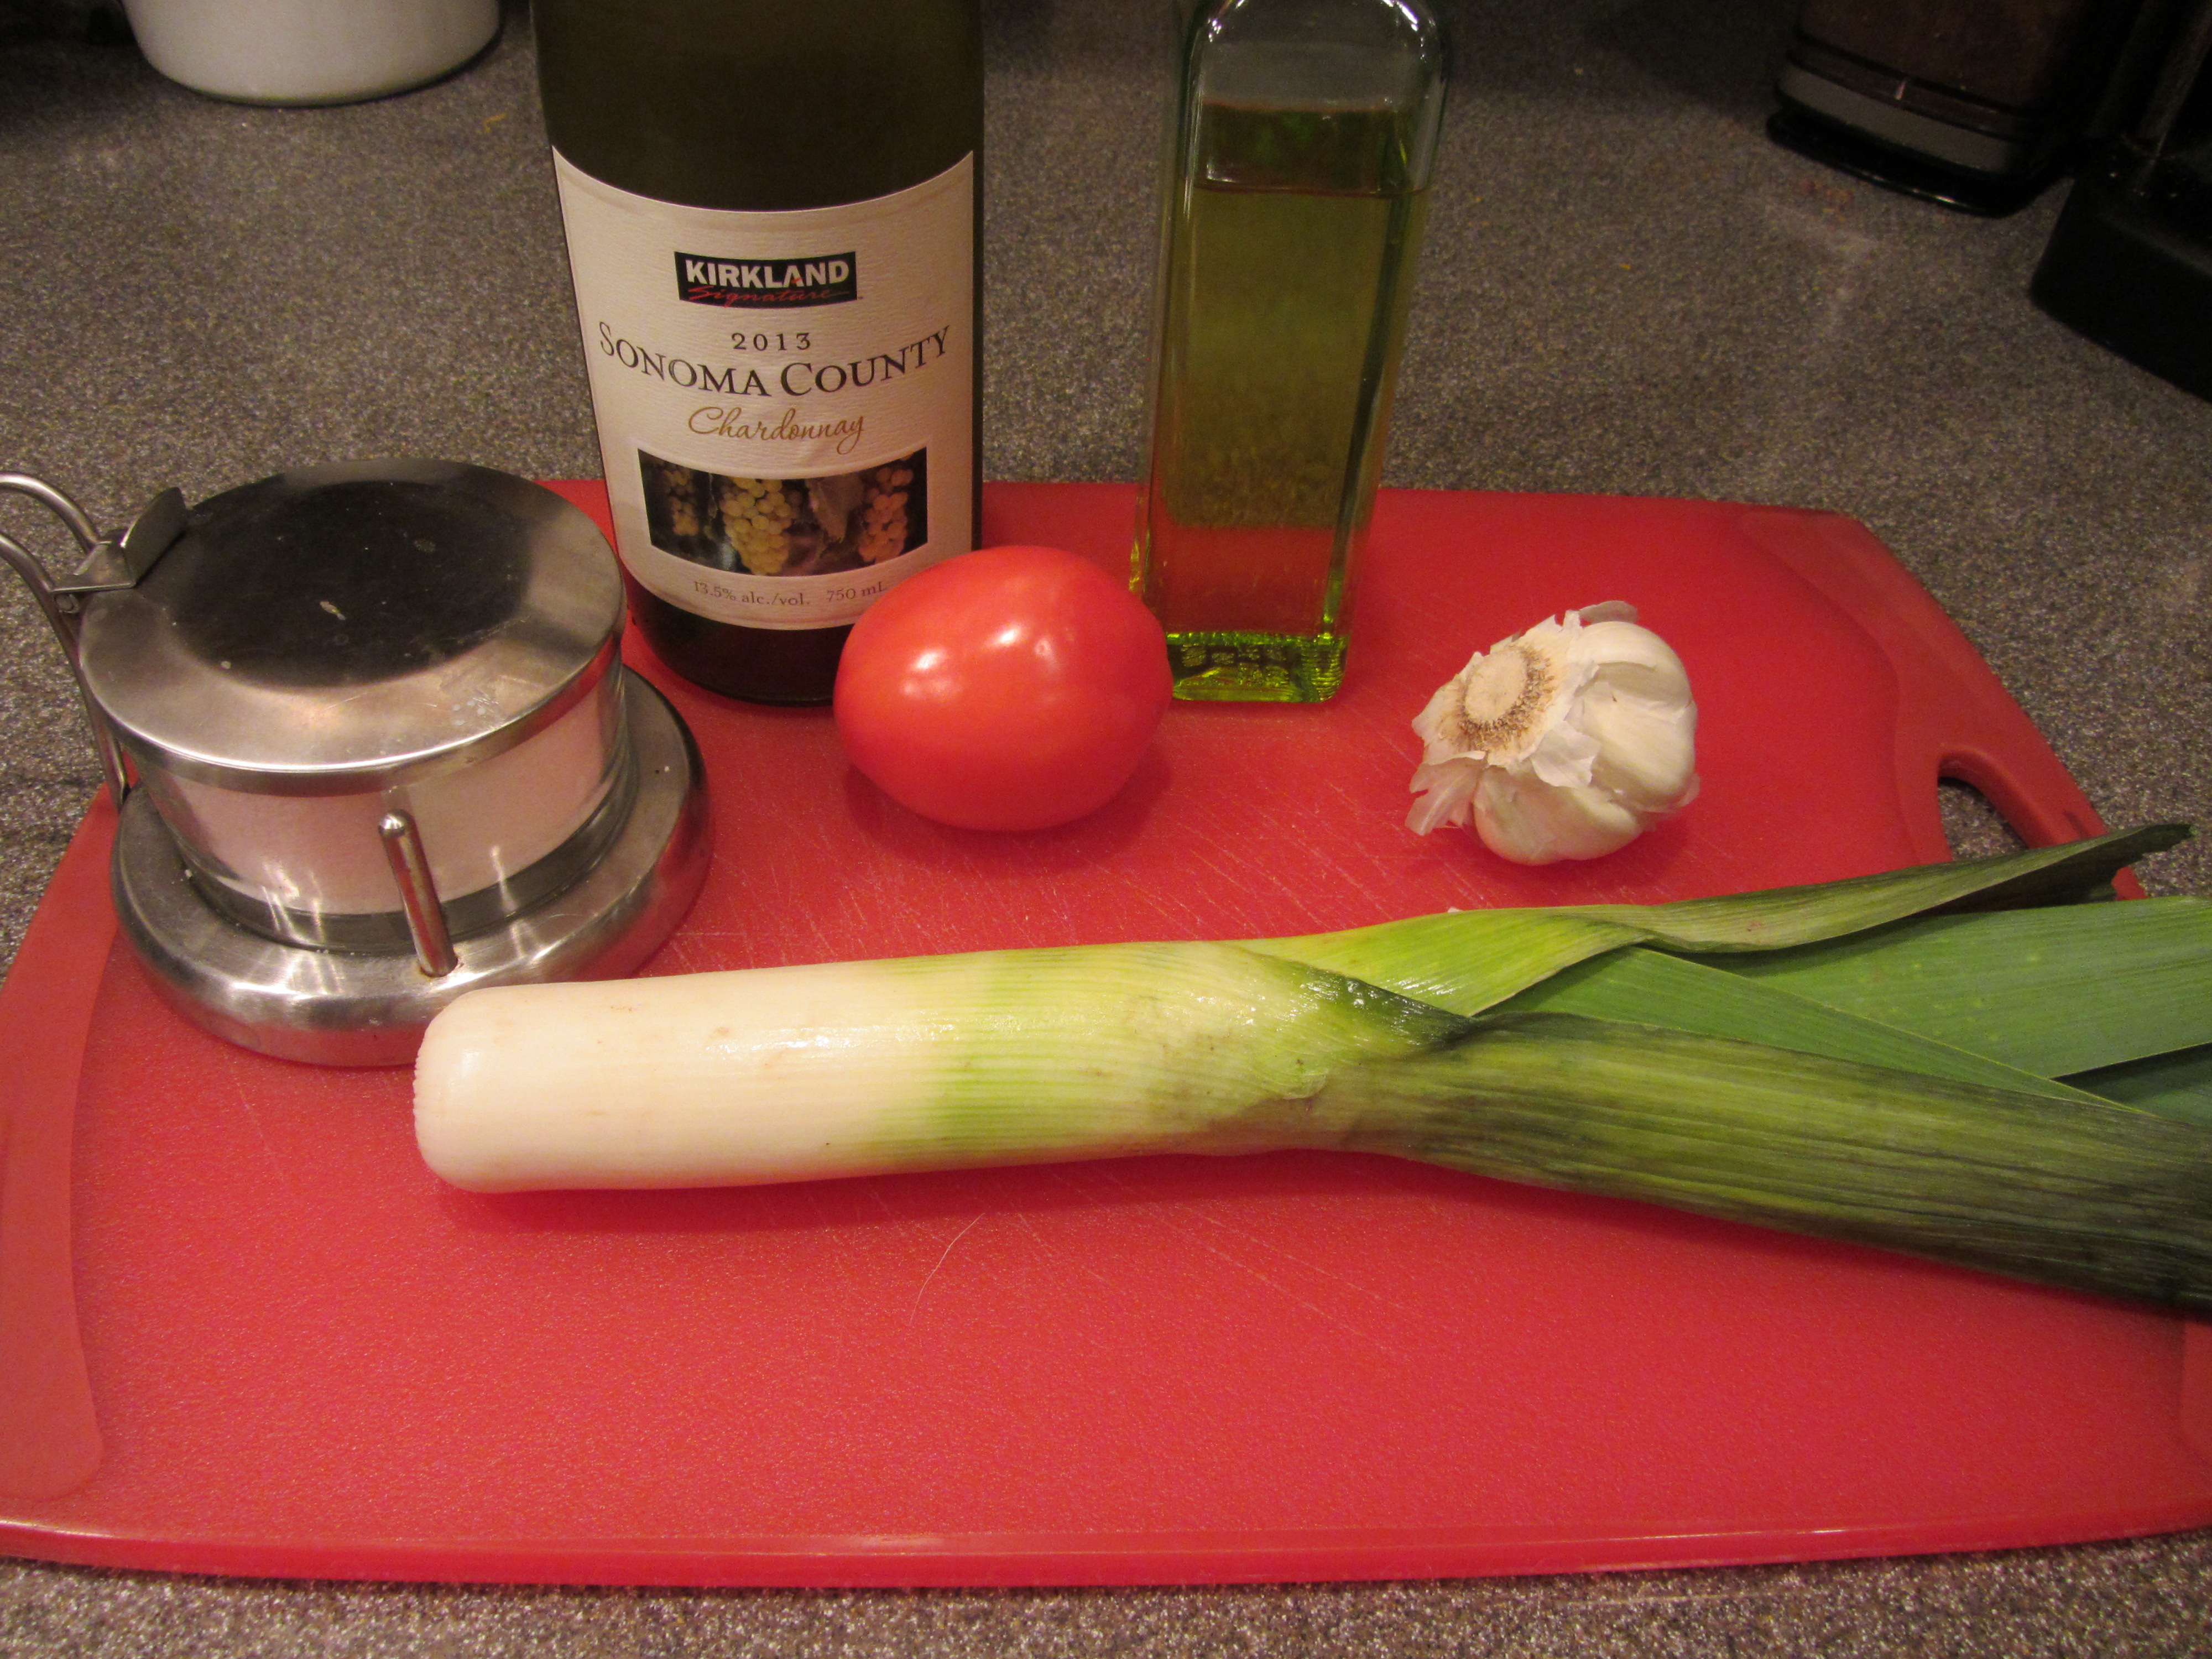
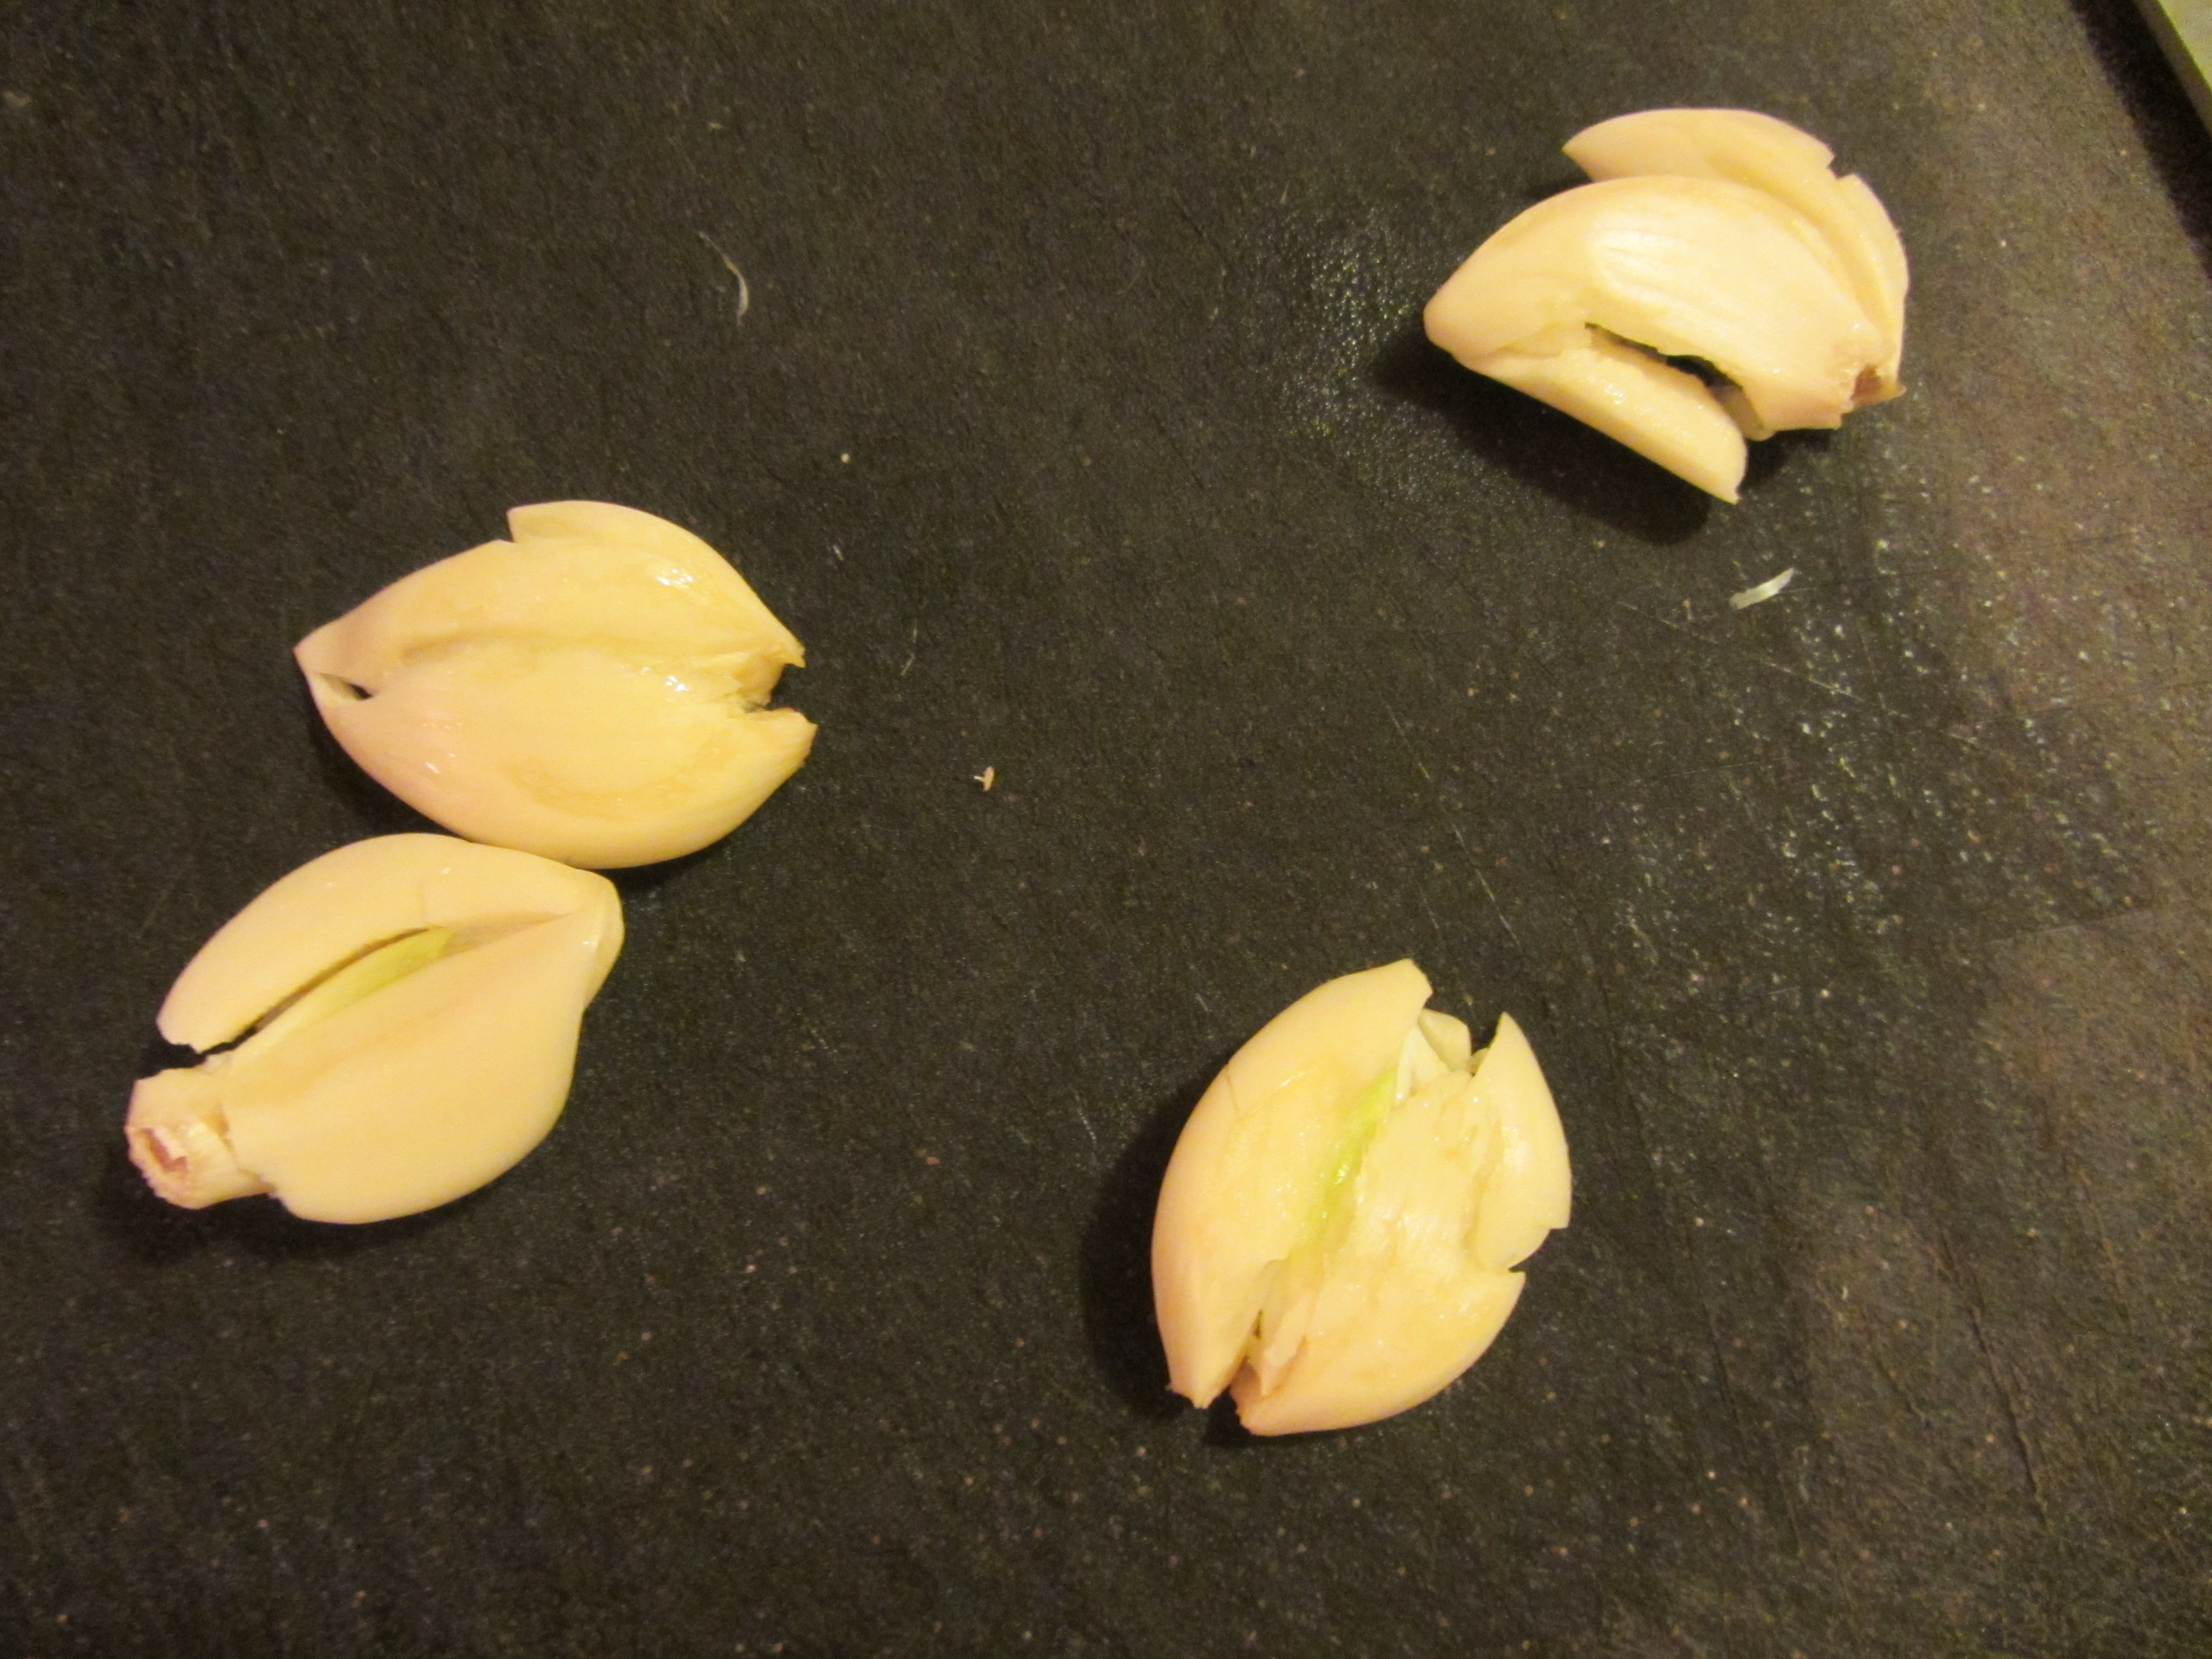
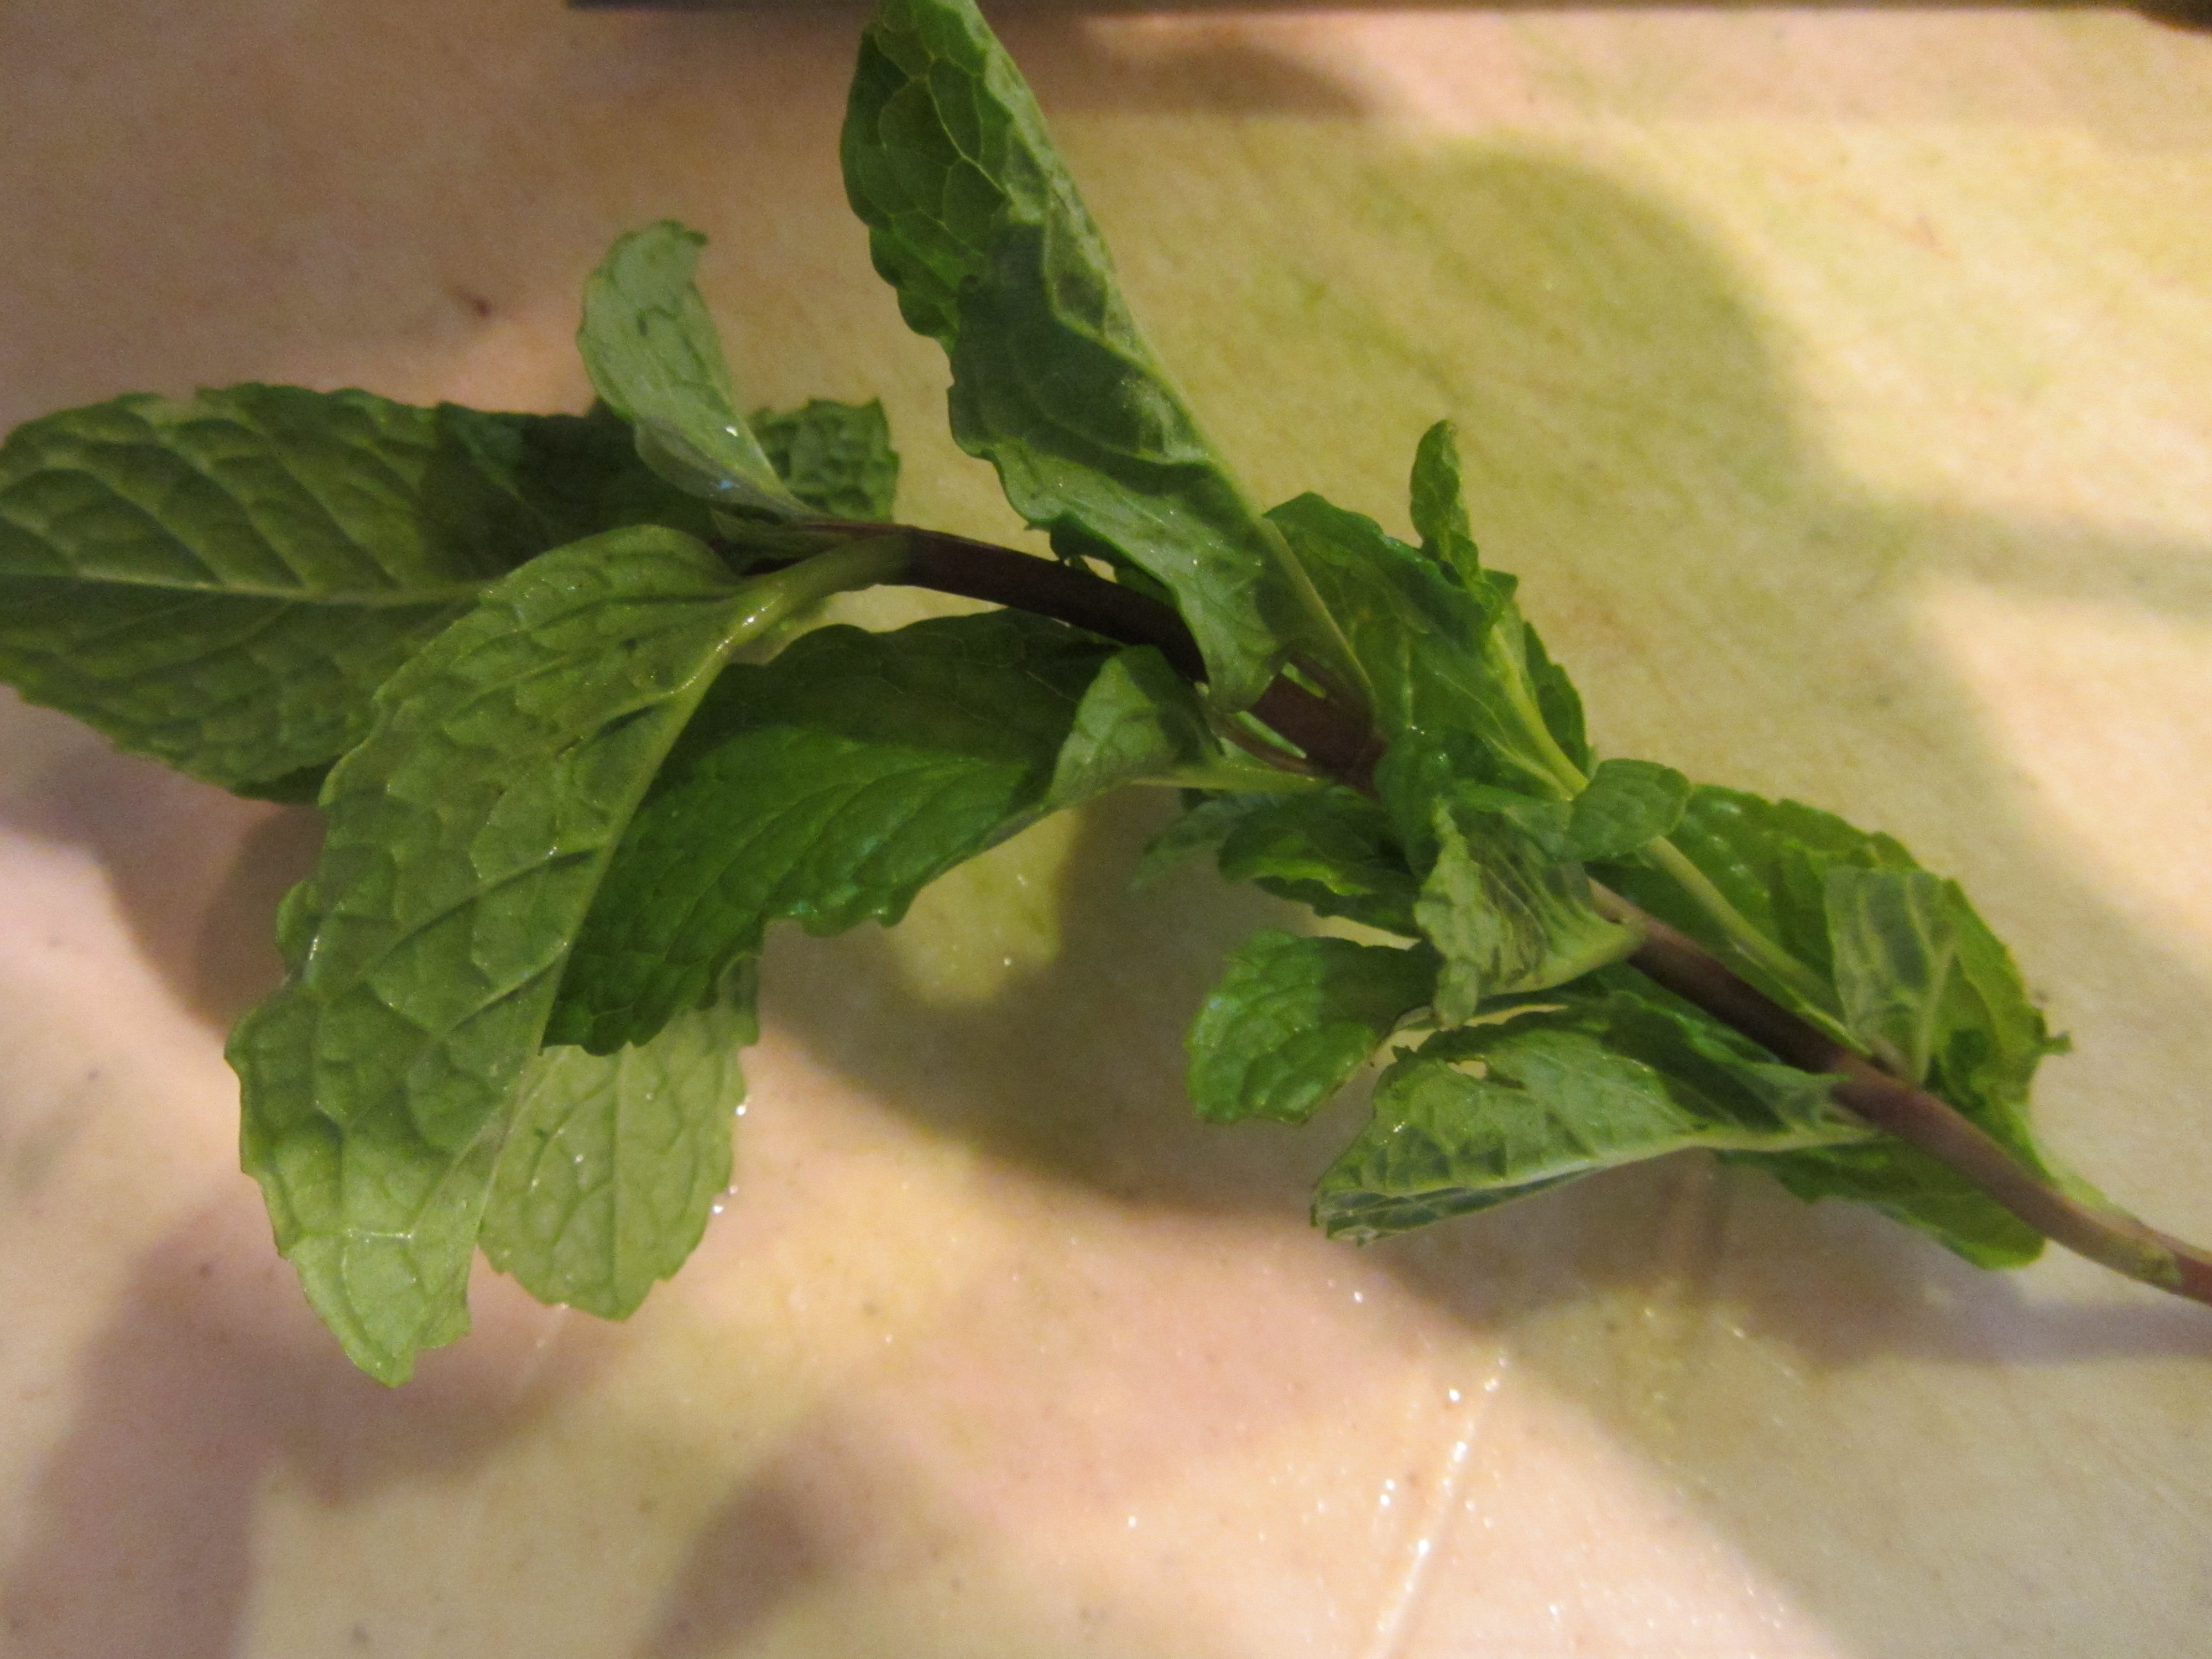
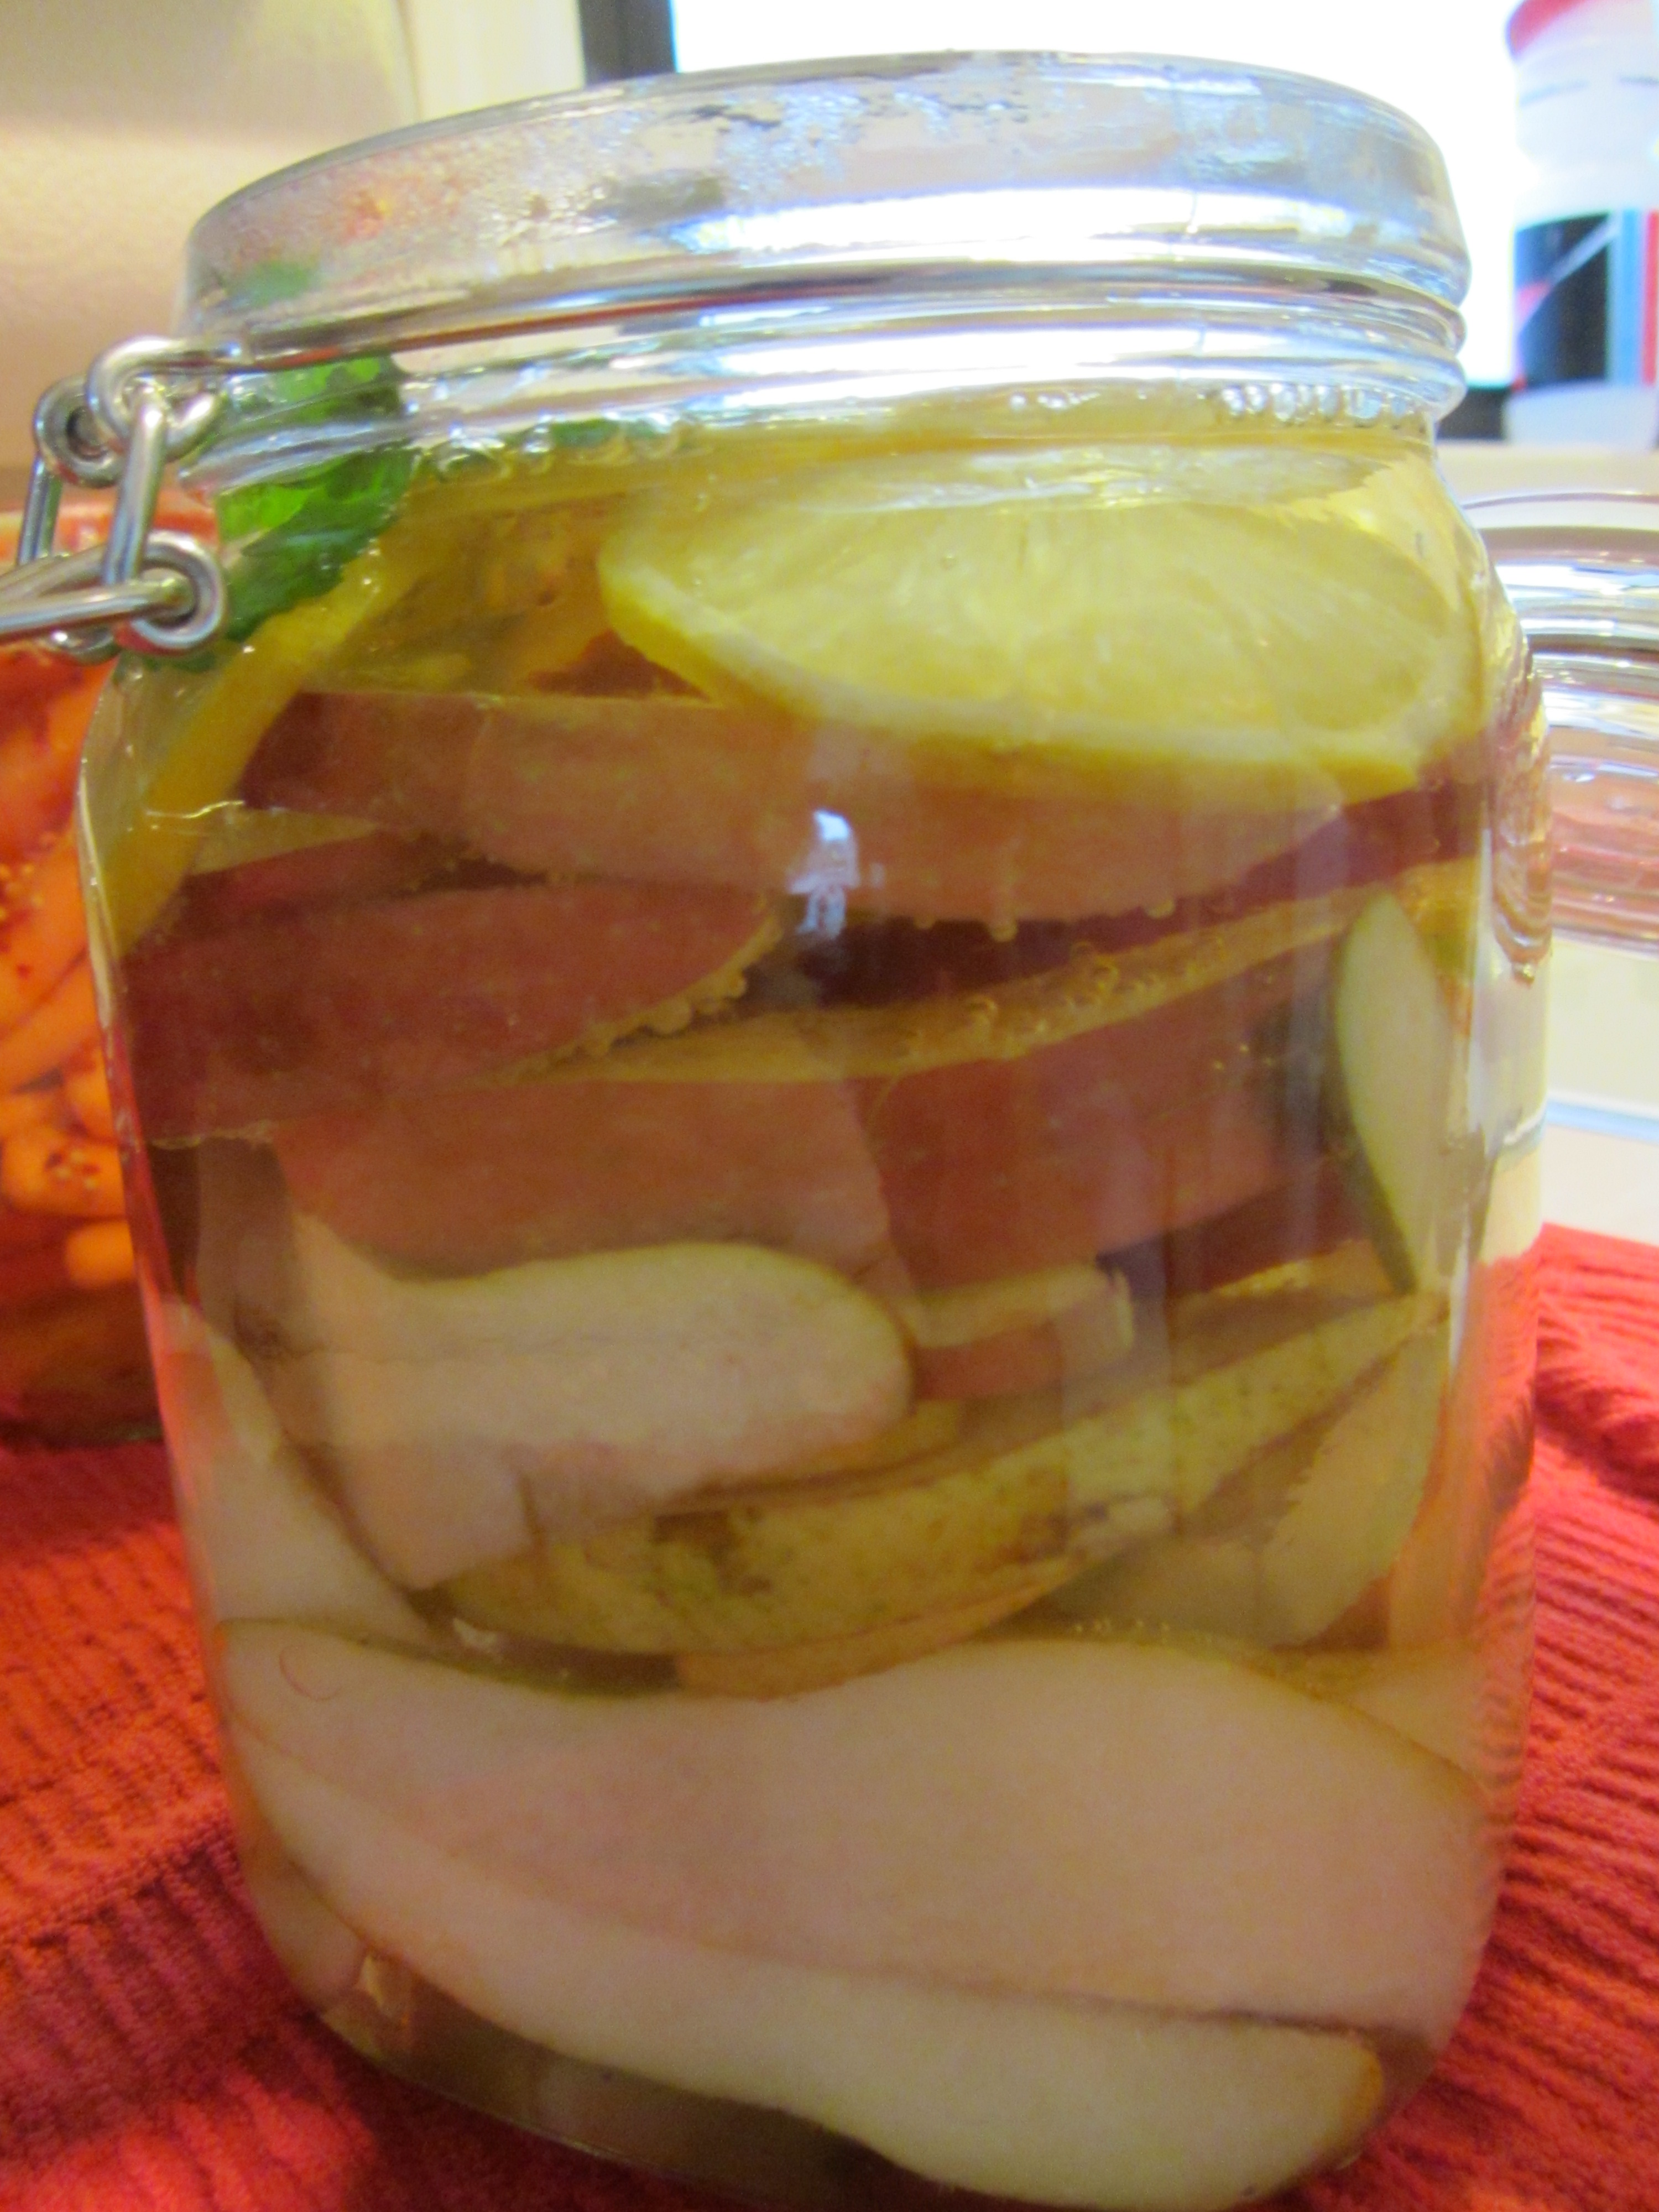
To make Alton’s duck, first mix your brine by combining 1/2 C Kosher salt, a pint of pineapple orange juice, at least 15 black peppercorns, a bunch of fresh thyme, and four smashed cloves of garlic in a leak-proof, lidded container; shake to dissolve the salt.
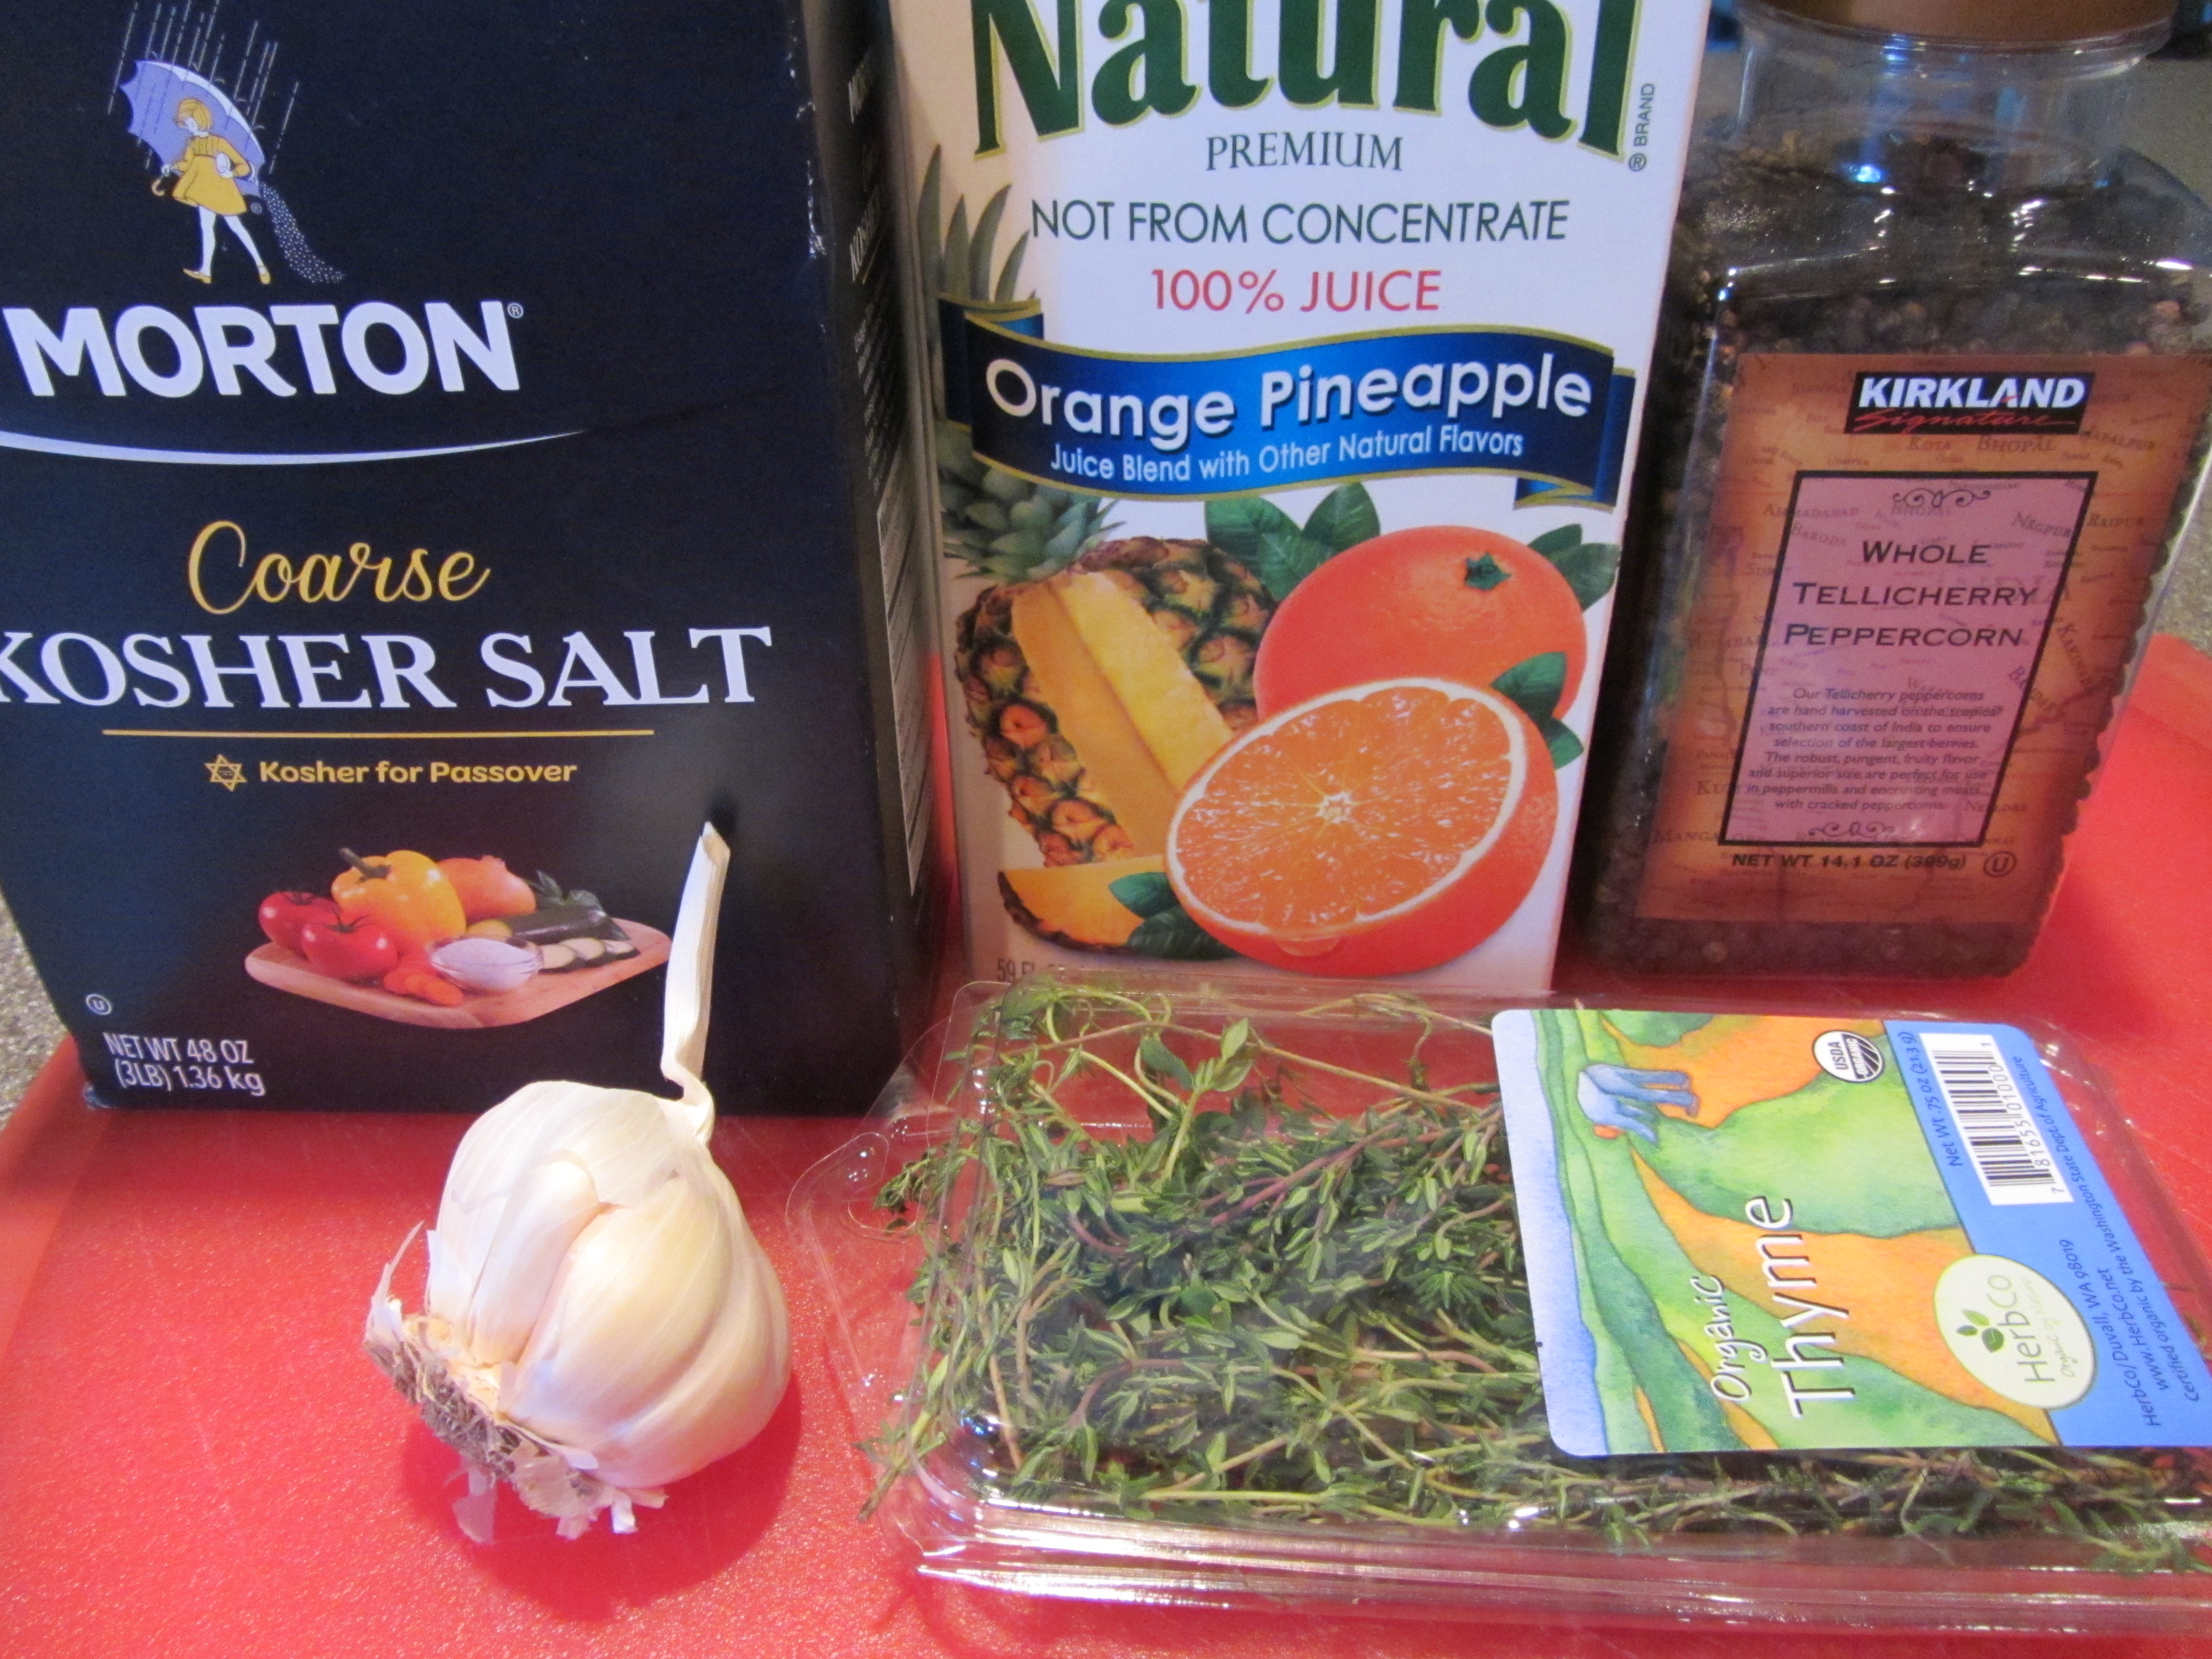
Brine ingredients: Kosher salt, pineapple orange juice, black peppercorns, fresh thyme, and garlic.
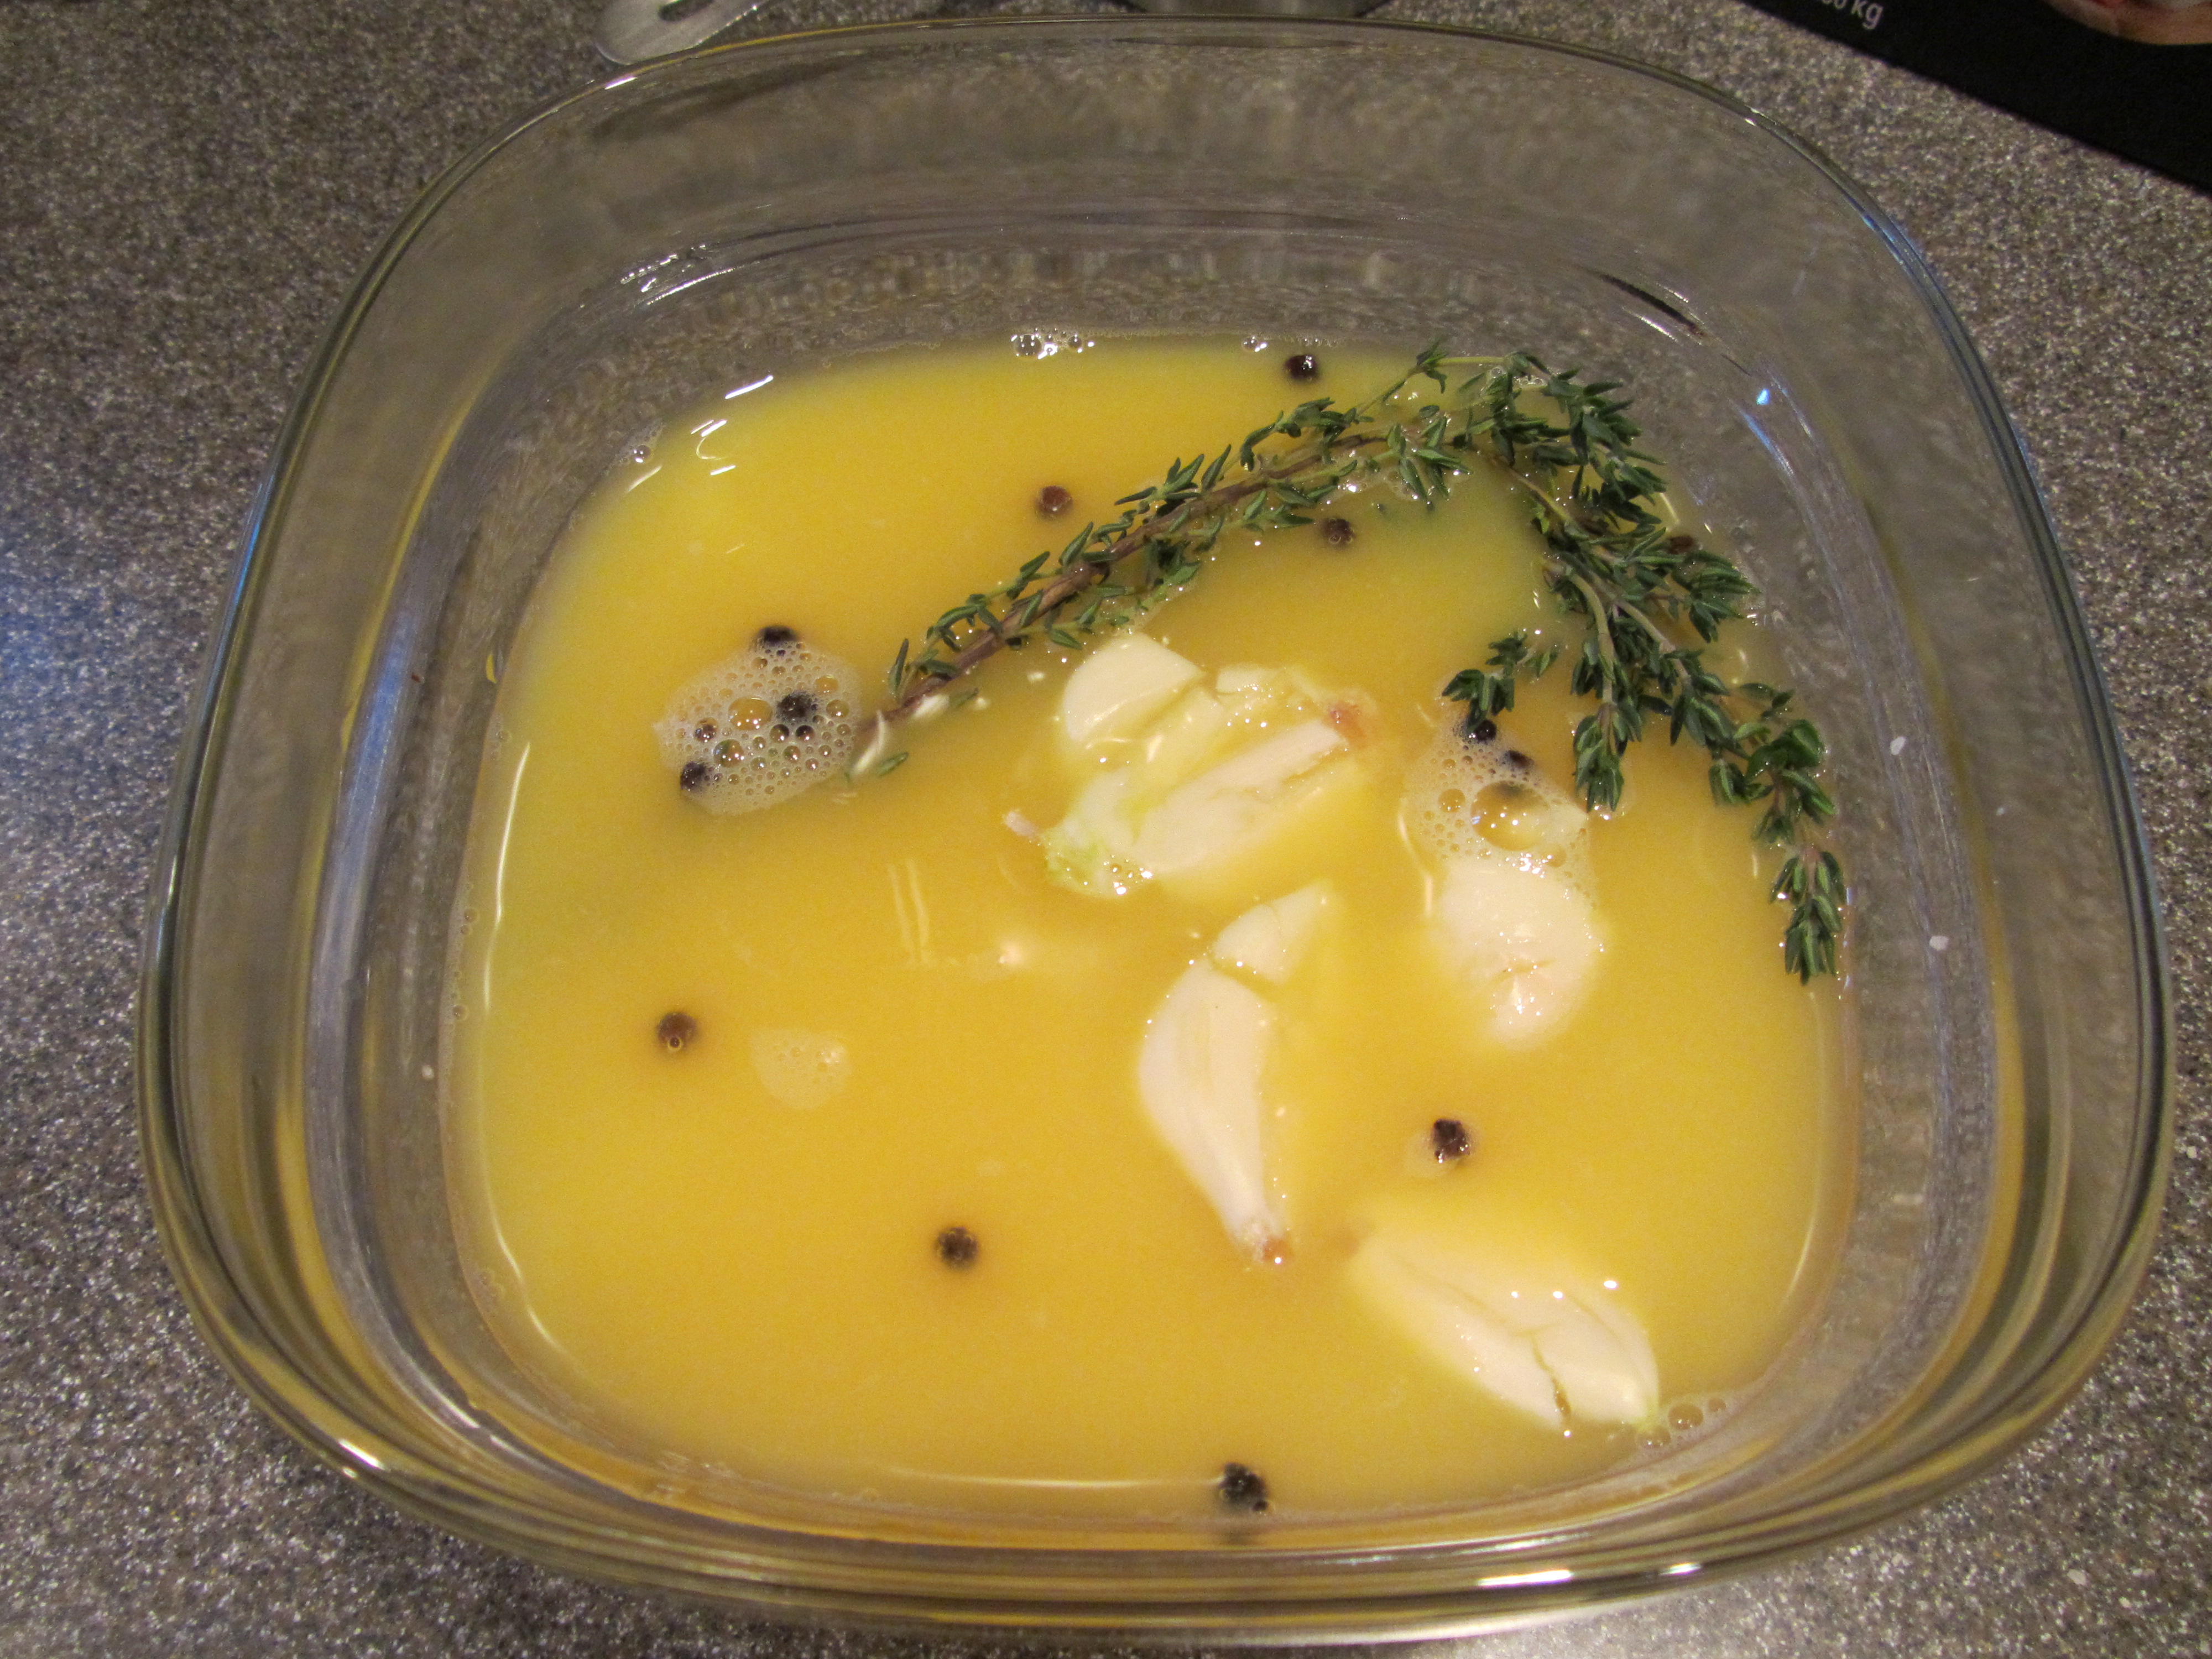
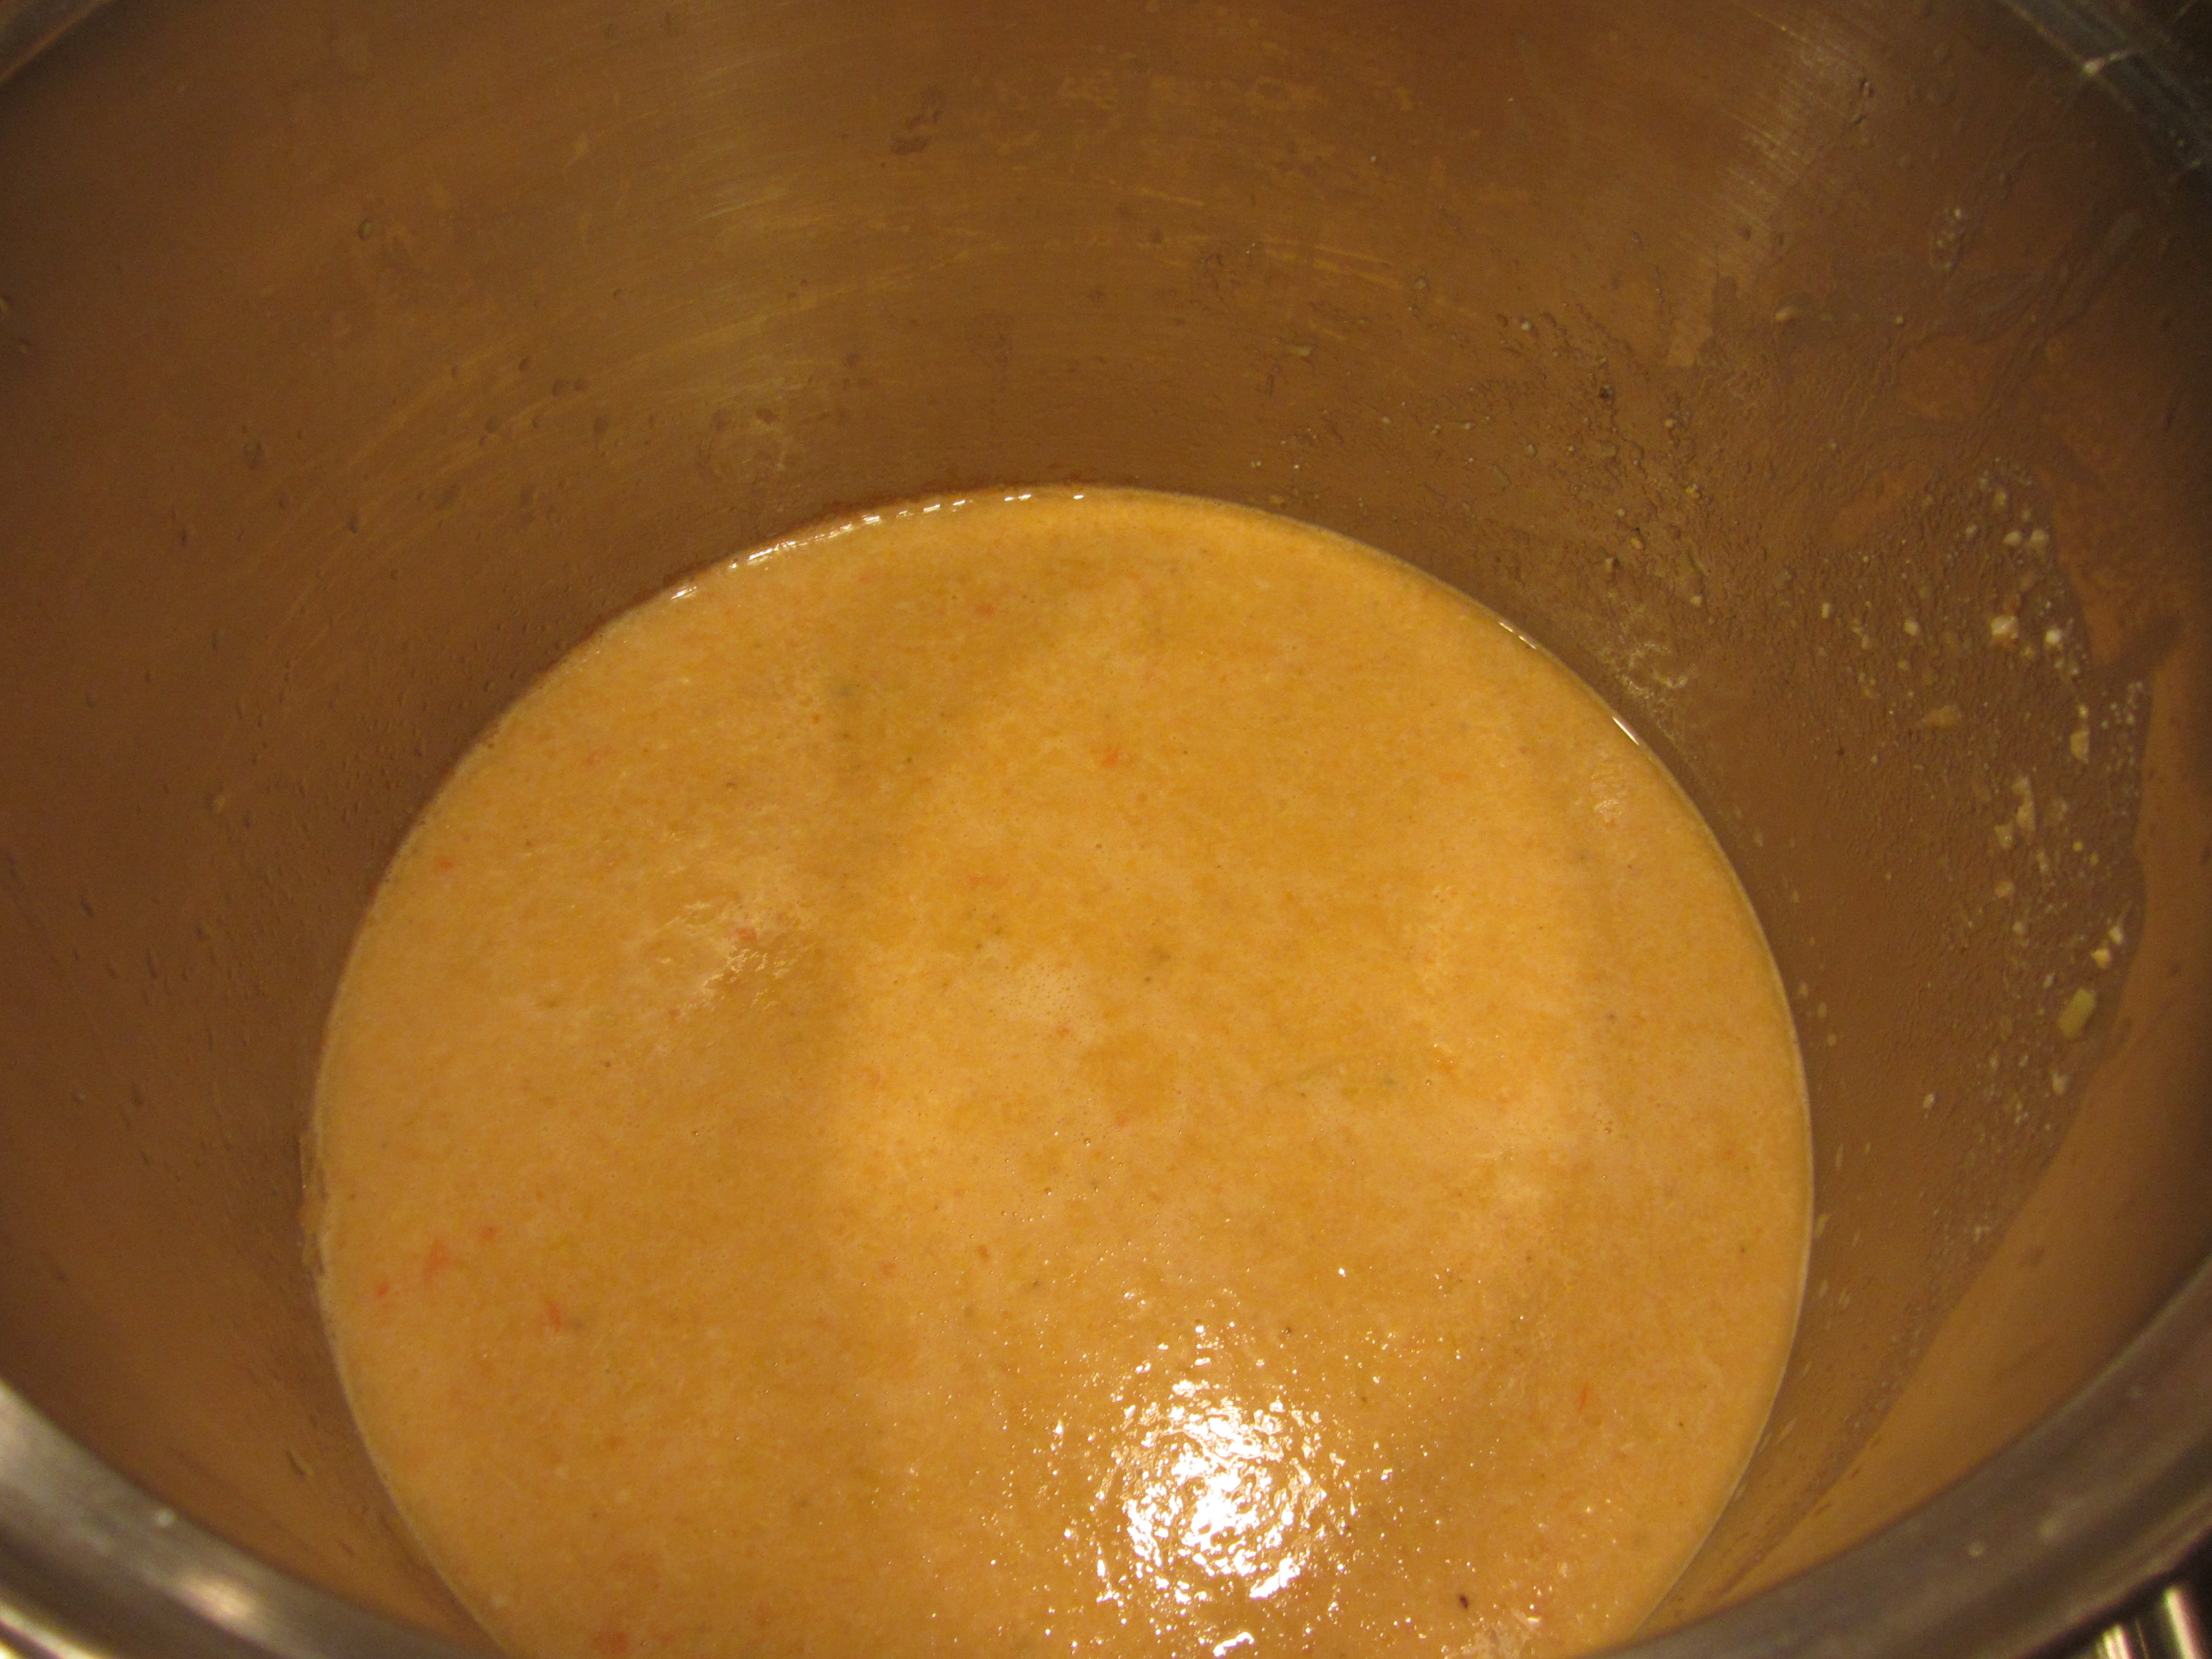
Brine mixture.
Next it is time to prepare the duck itself. Place your duck on a cutting board and discard all of the innards. With a knife, slice through each wing to the joint, and break each wing off by bending the joint backward. From the base of the neck, cut along one side of the back bone of the bird with kitchen shears.
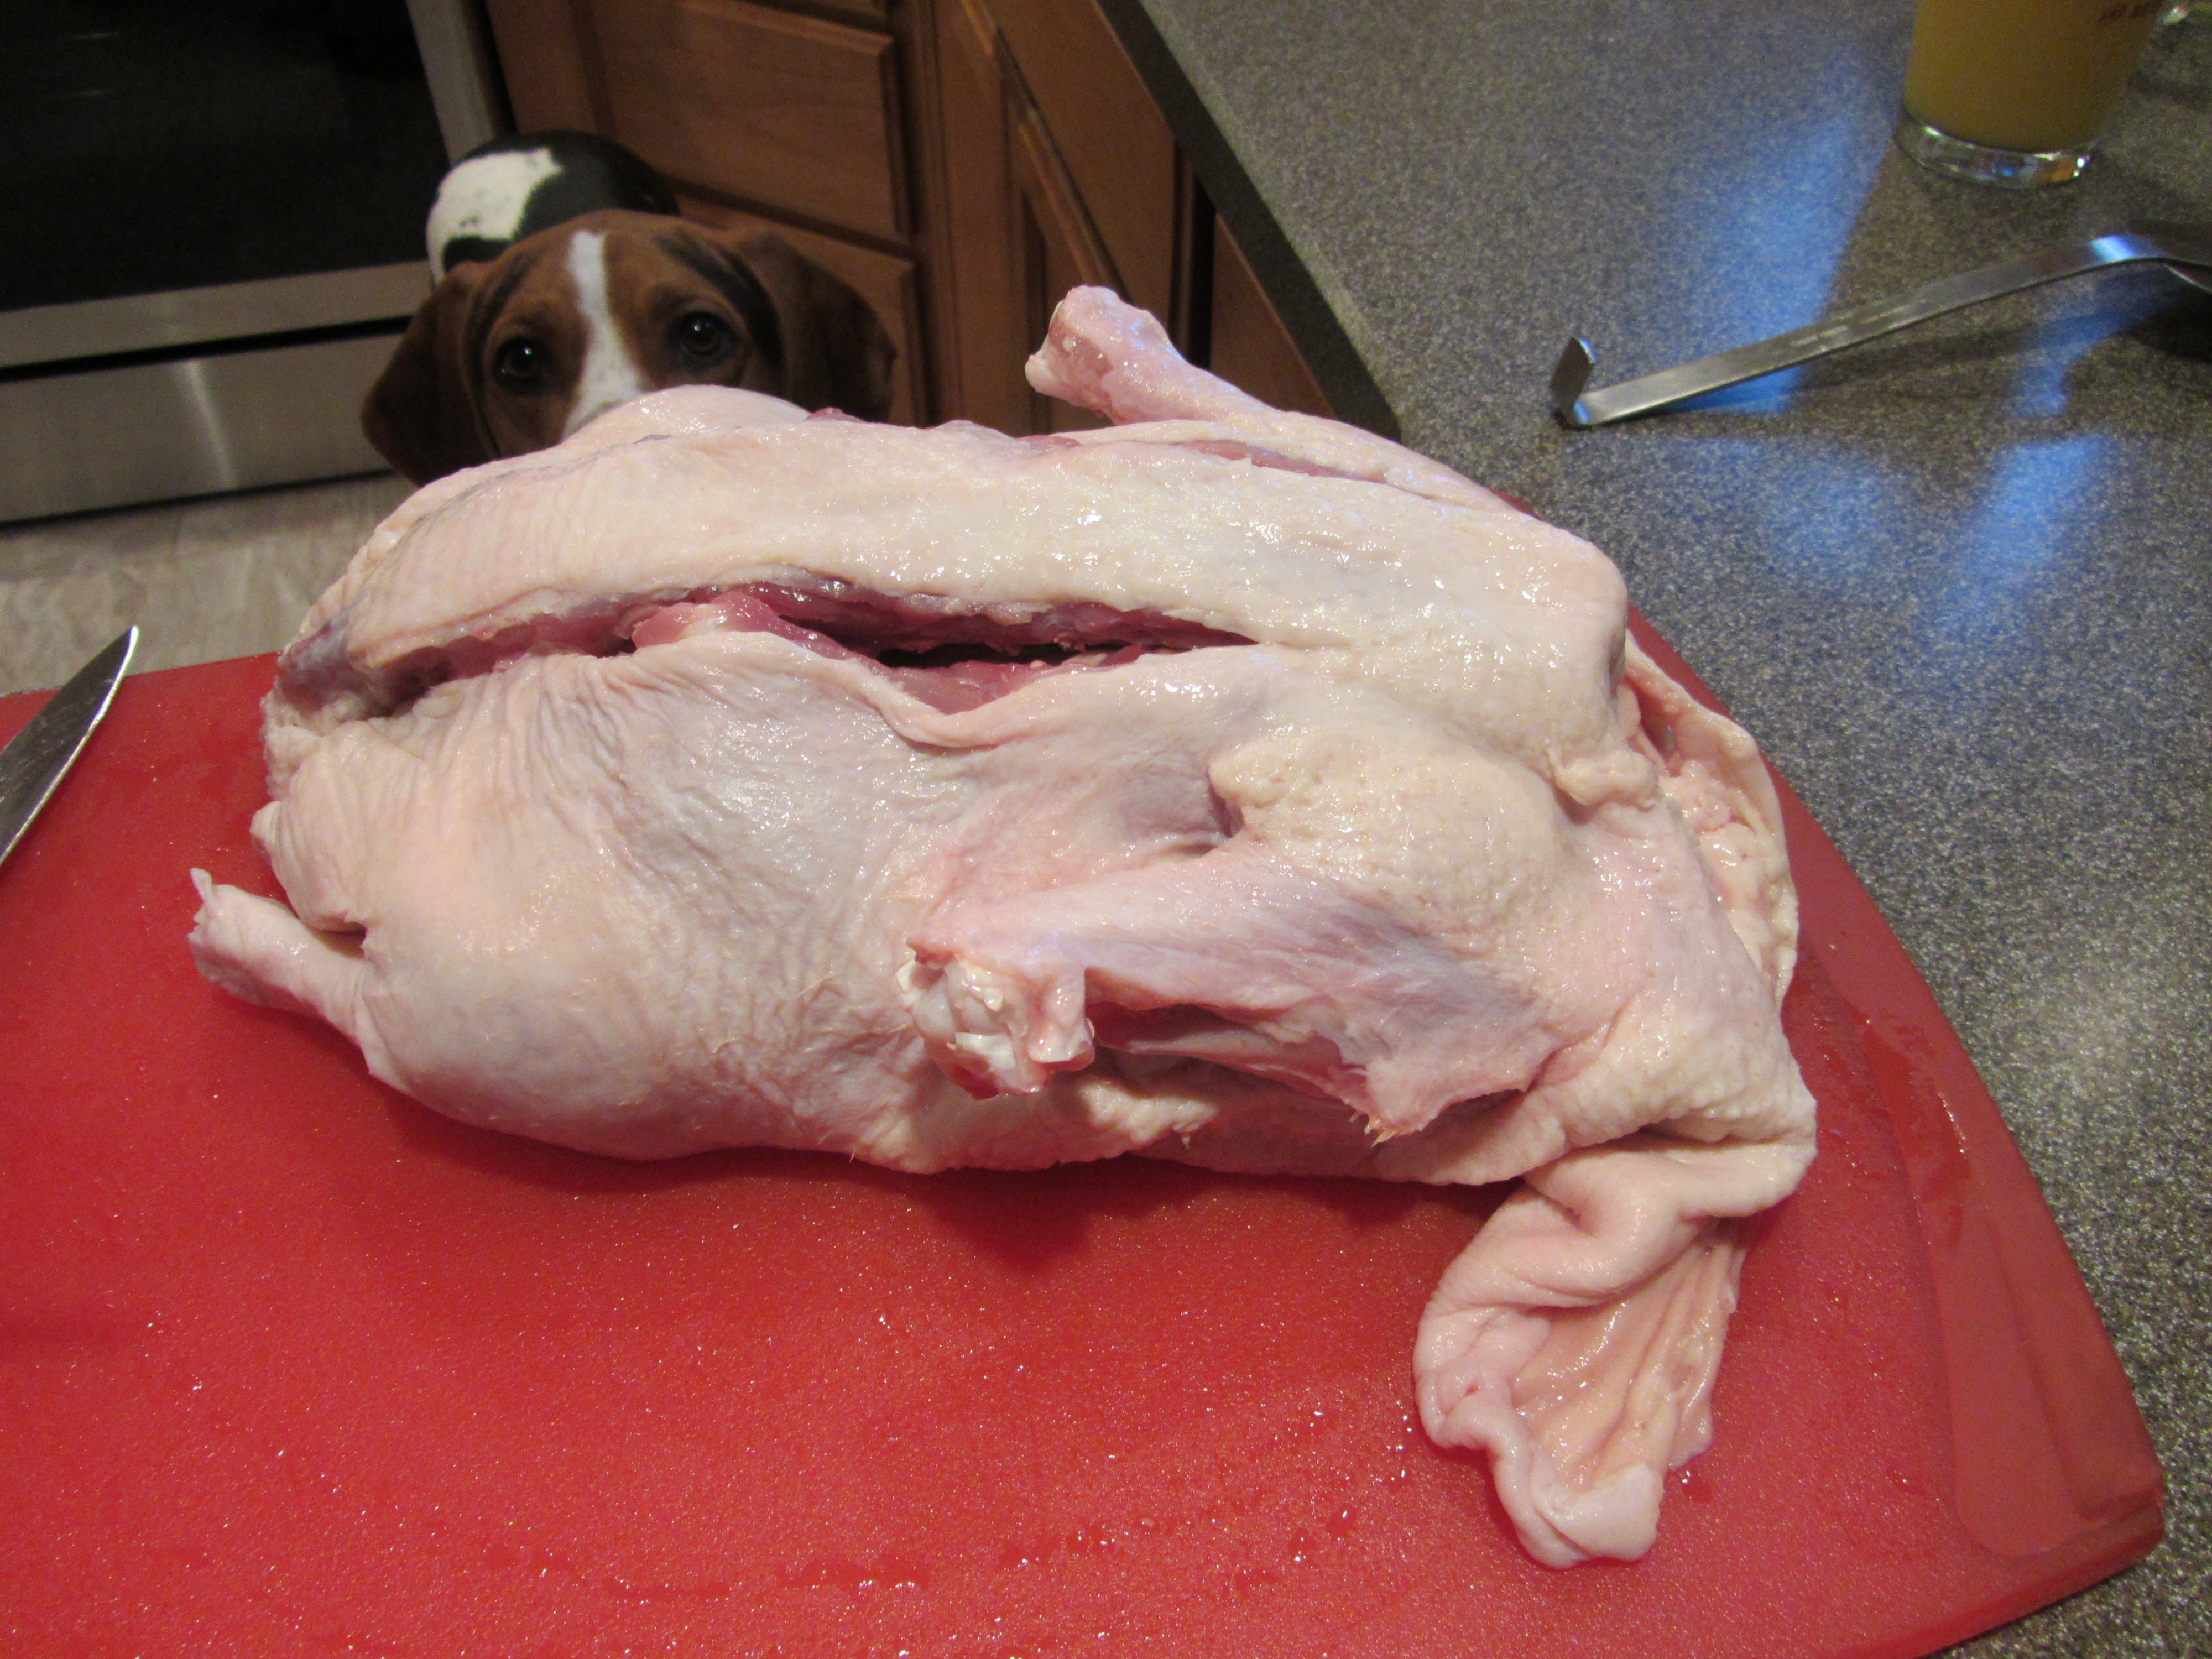
Dog craving duck, as I cut along the back bone.
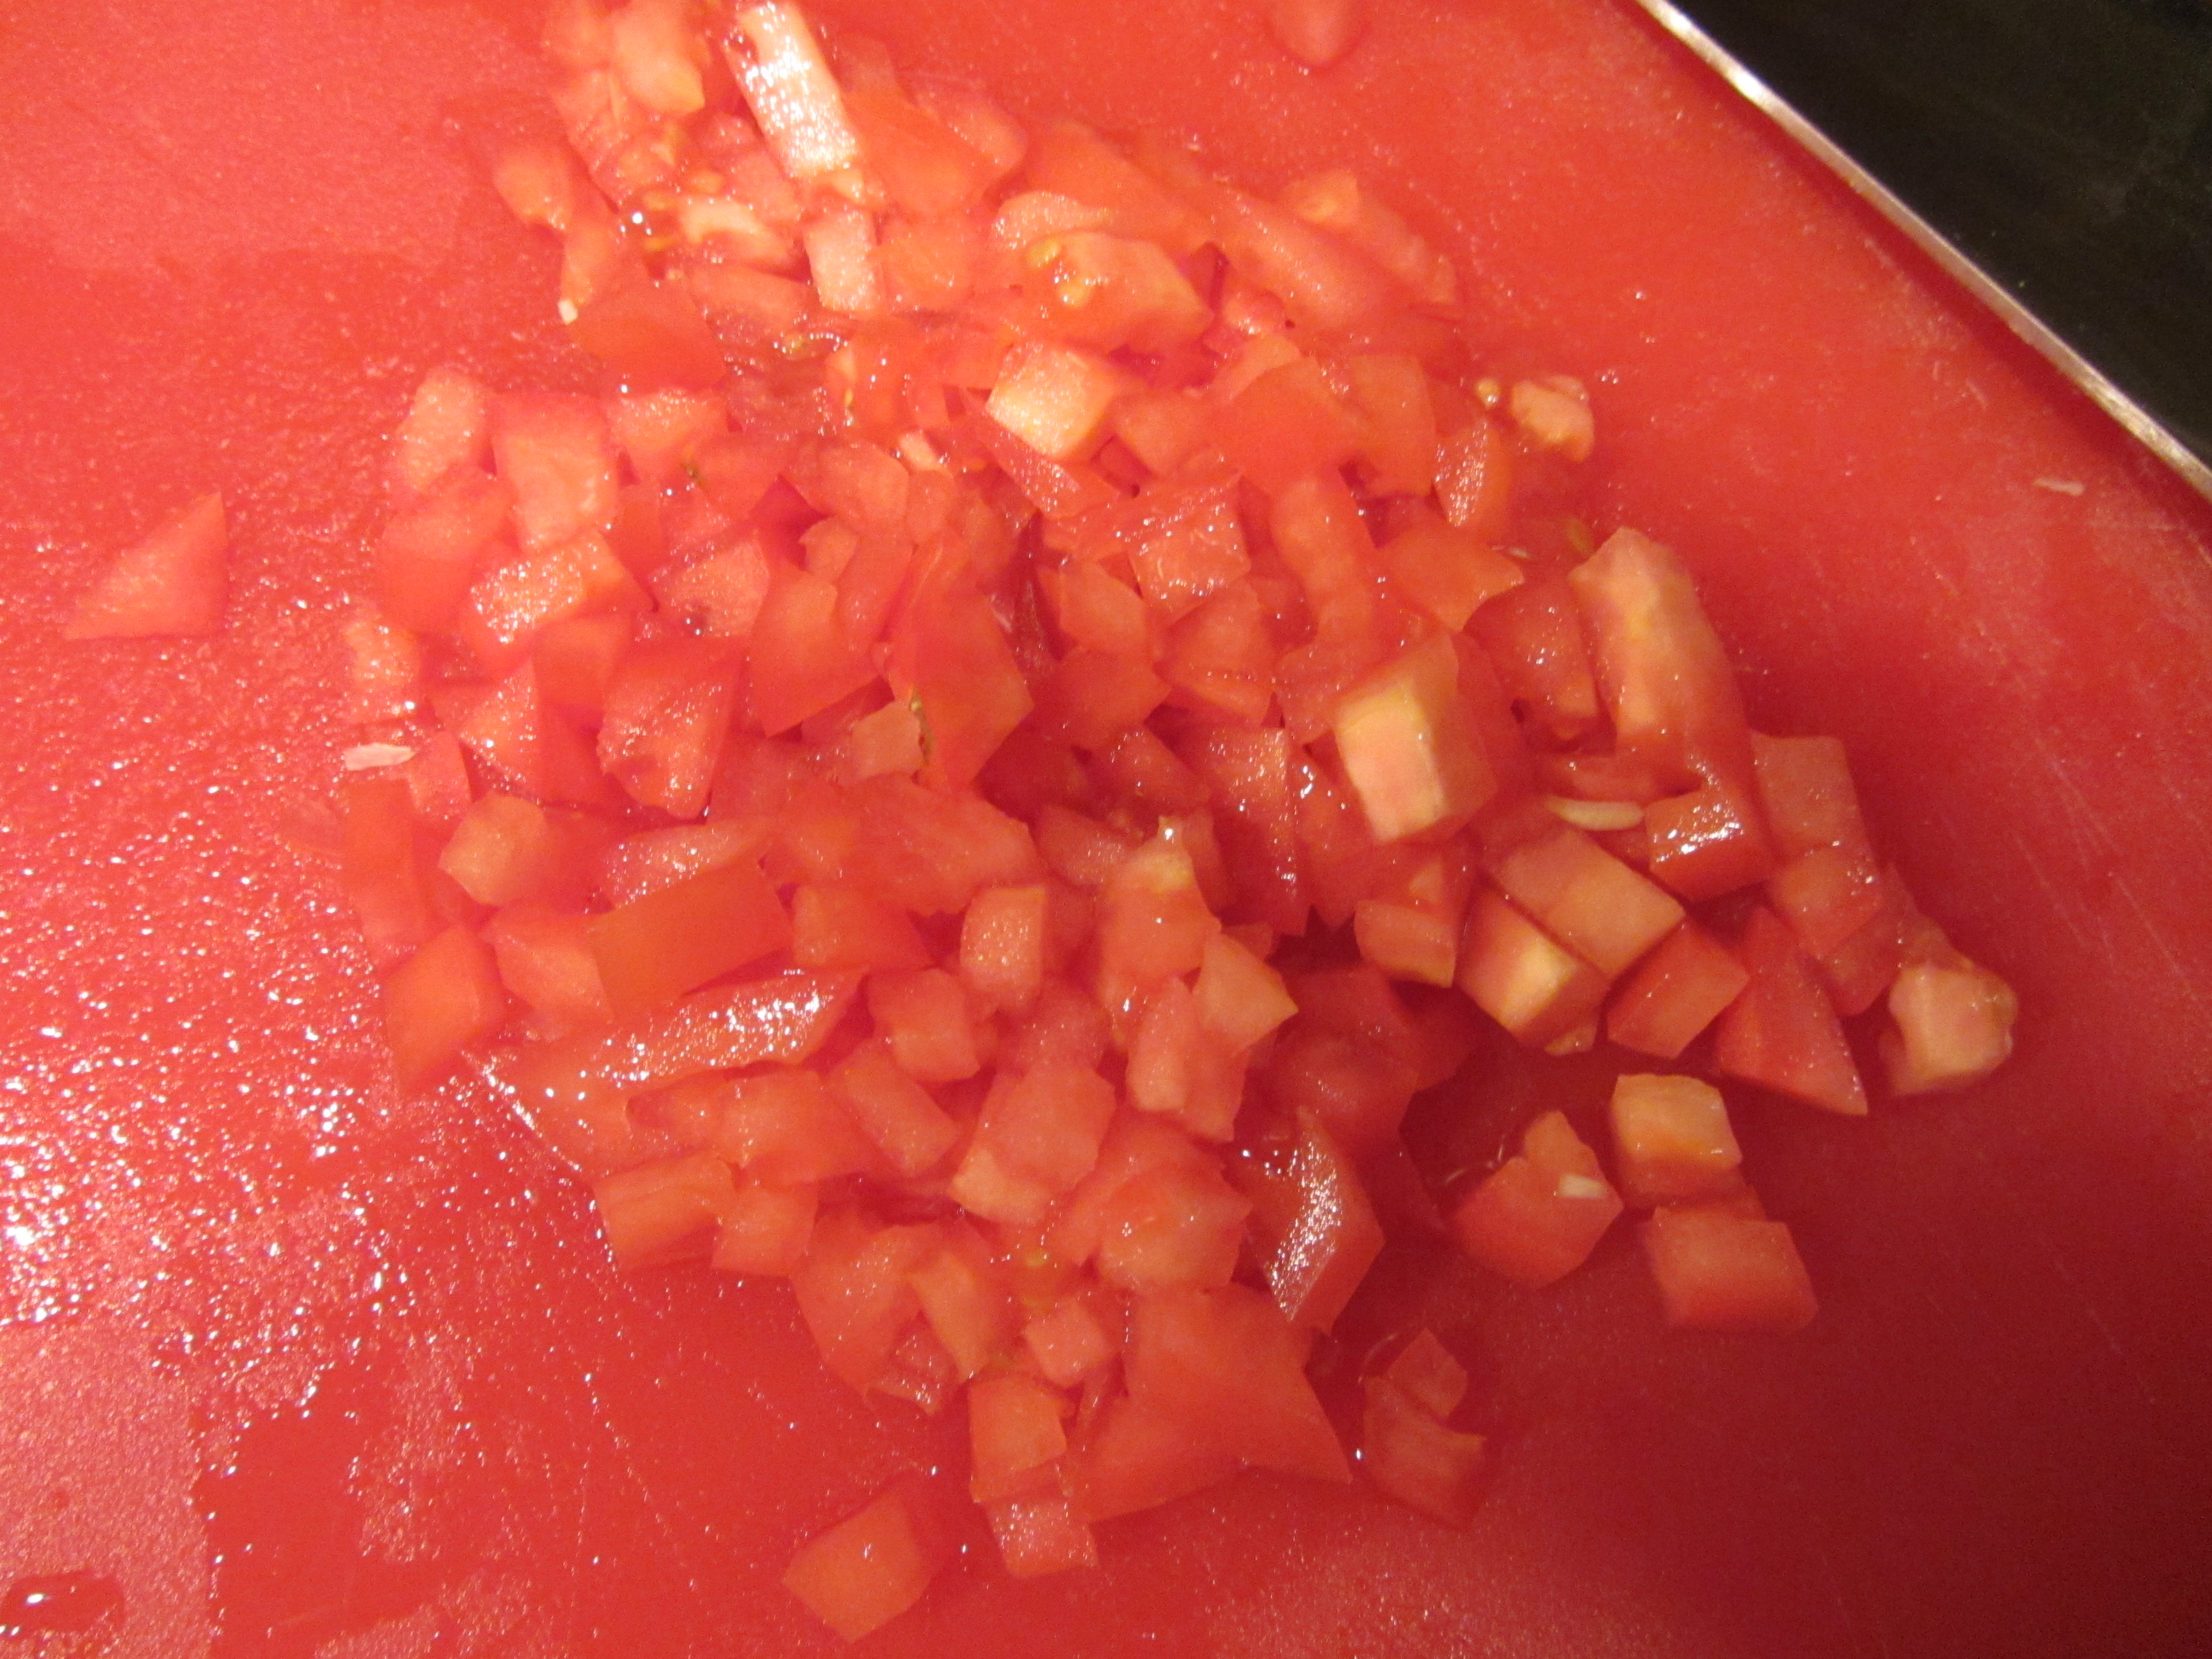
Turn the bird around and cut up the other side of the back bone. It will be tough to cut. Pull the back bone out and discard it. Flatten the duck and flip it over, so the breast is facing up. Again, using the shears, cut down the middle of the breast, splitting the duck into two halves. Using a sharp knife, separate the breast from the leg by making a crescent-shaped cut. The duck is now in quarters, with two breast pieces and two leg pieces. The breast quarters have a fair amount of fat, so you want to score the skin of the breast in a grid pattern (three cuts one way, and three the other way) with a sharp knife, taking care only to score the skin; this will allow much of the fat to cook off.

Duck halves, cut into quarters. The breast pieces are scored.
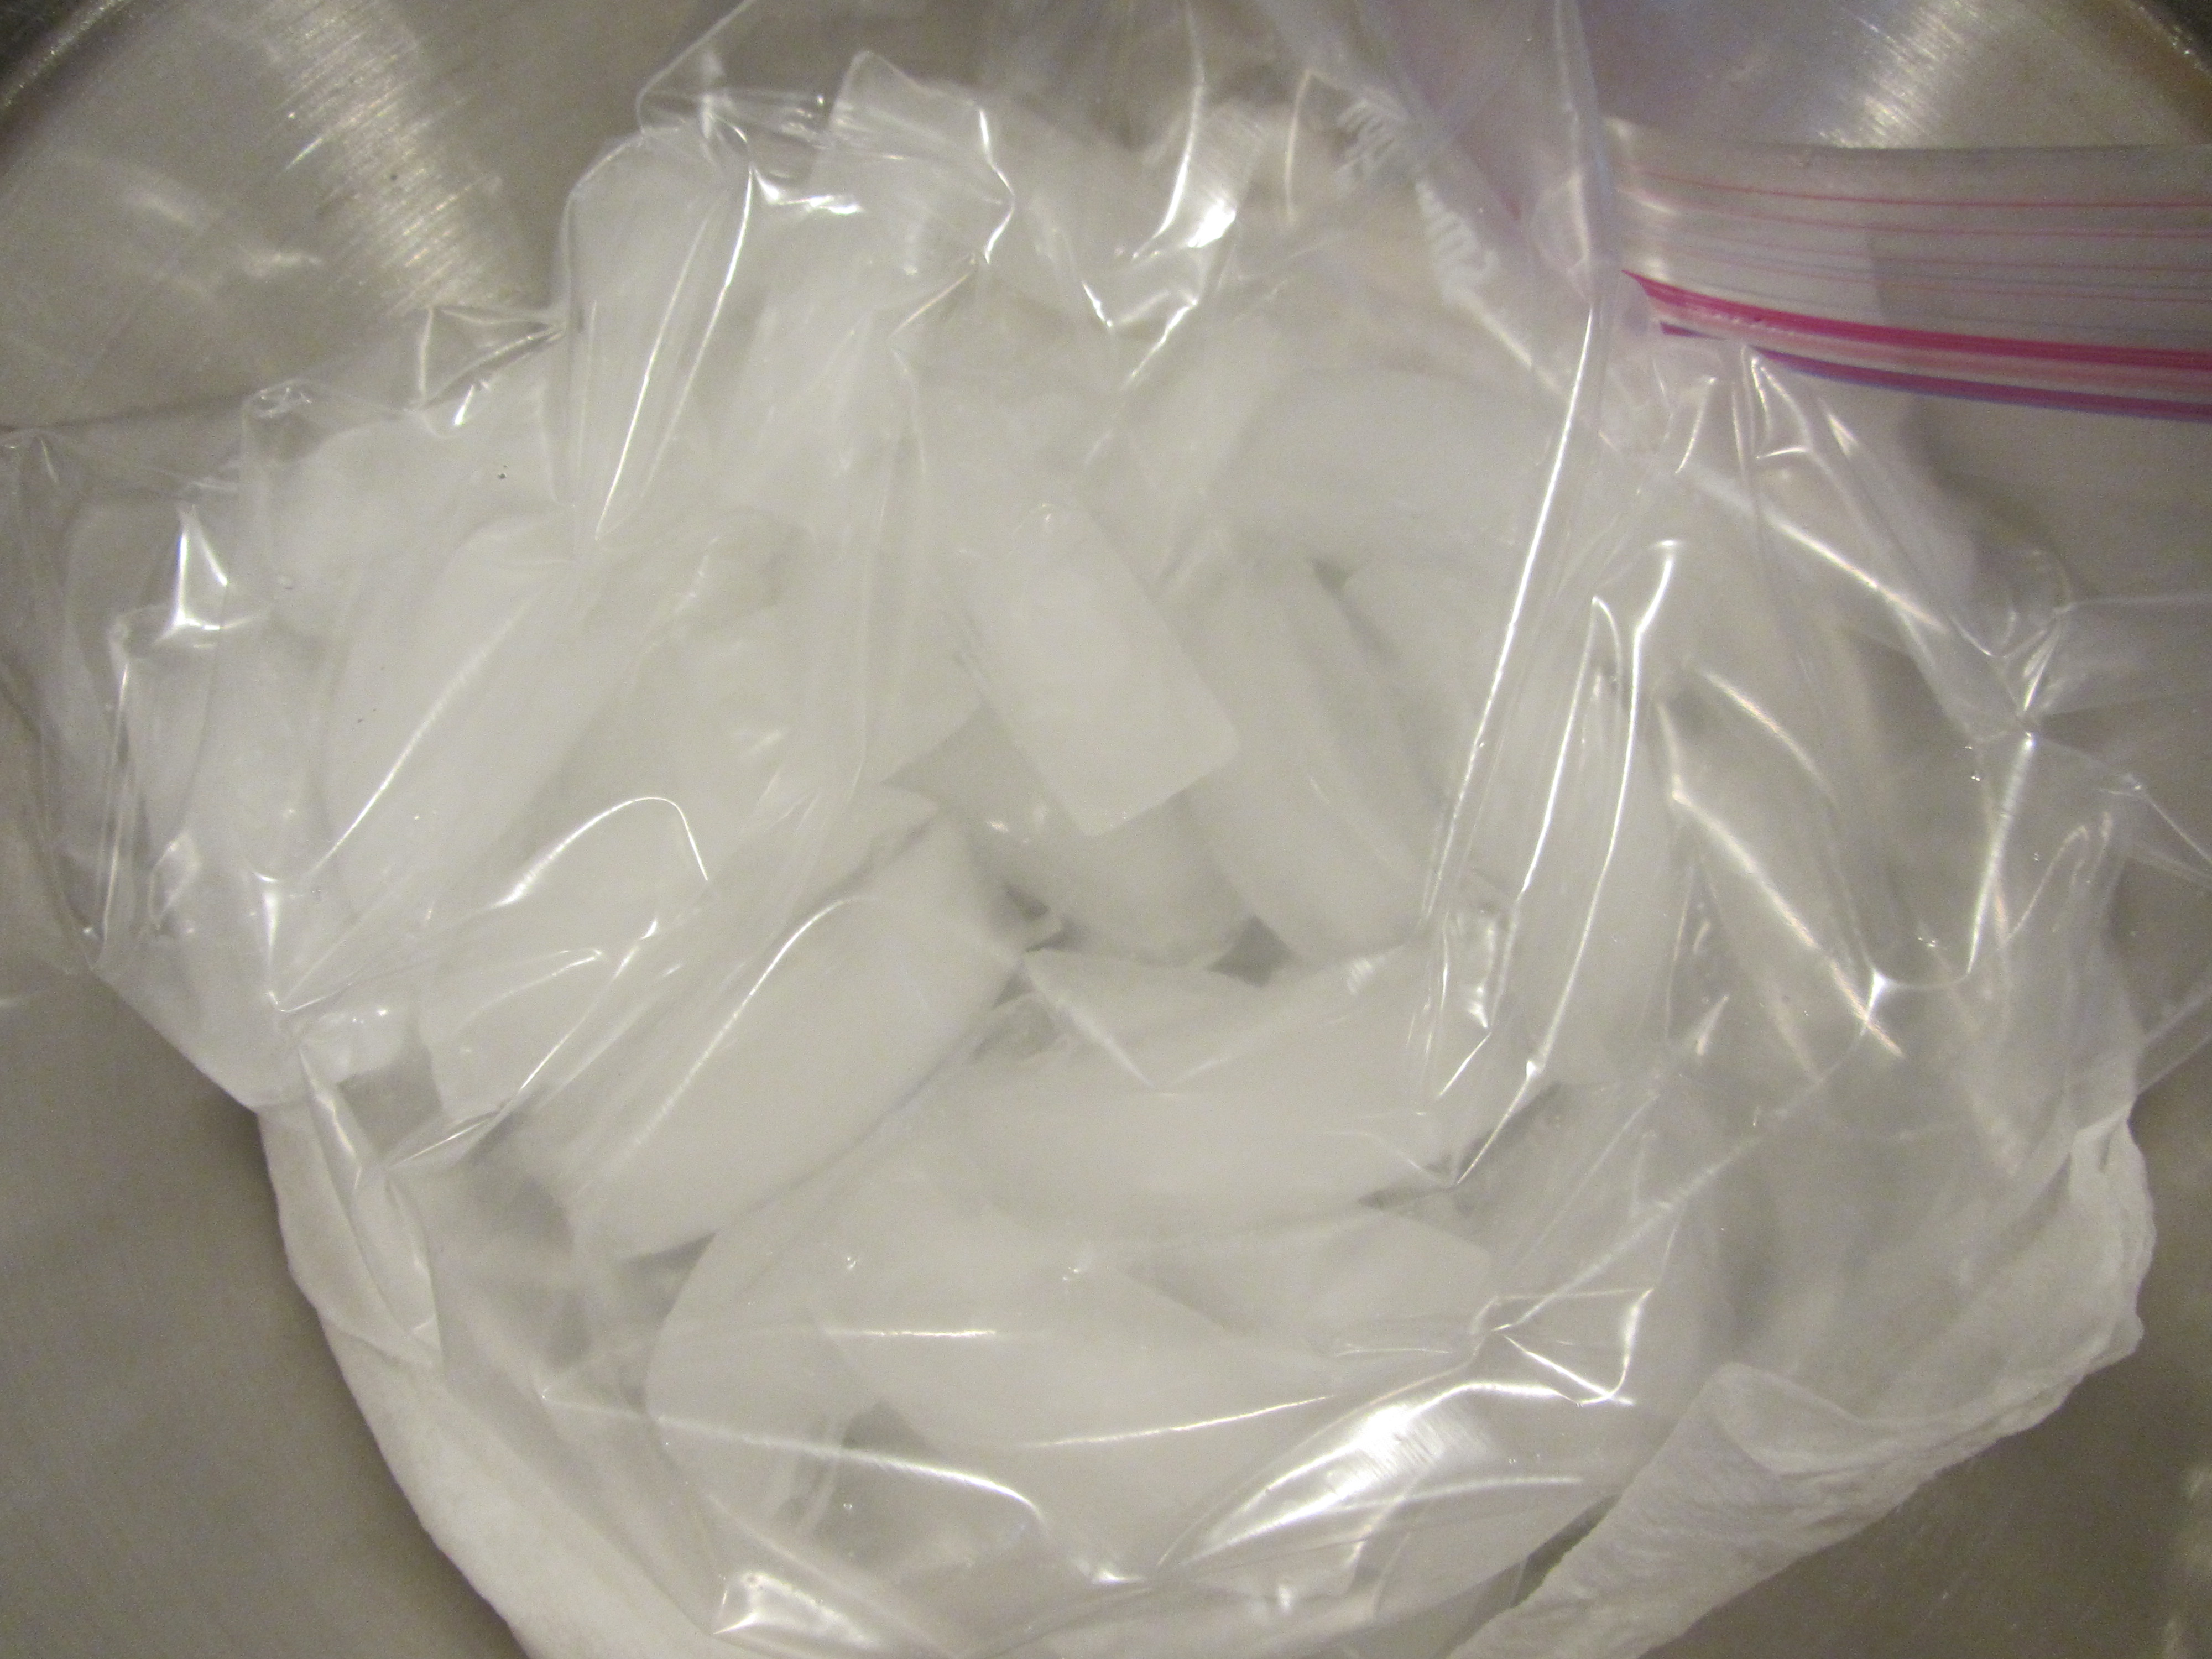
Line a container with a large Ziplock bag, put the duck quarters inside, and pour the brine over the duck, squeezing as much air as possible from the bag.
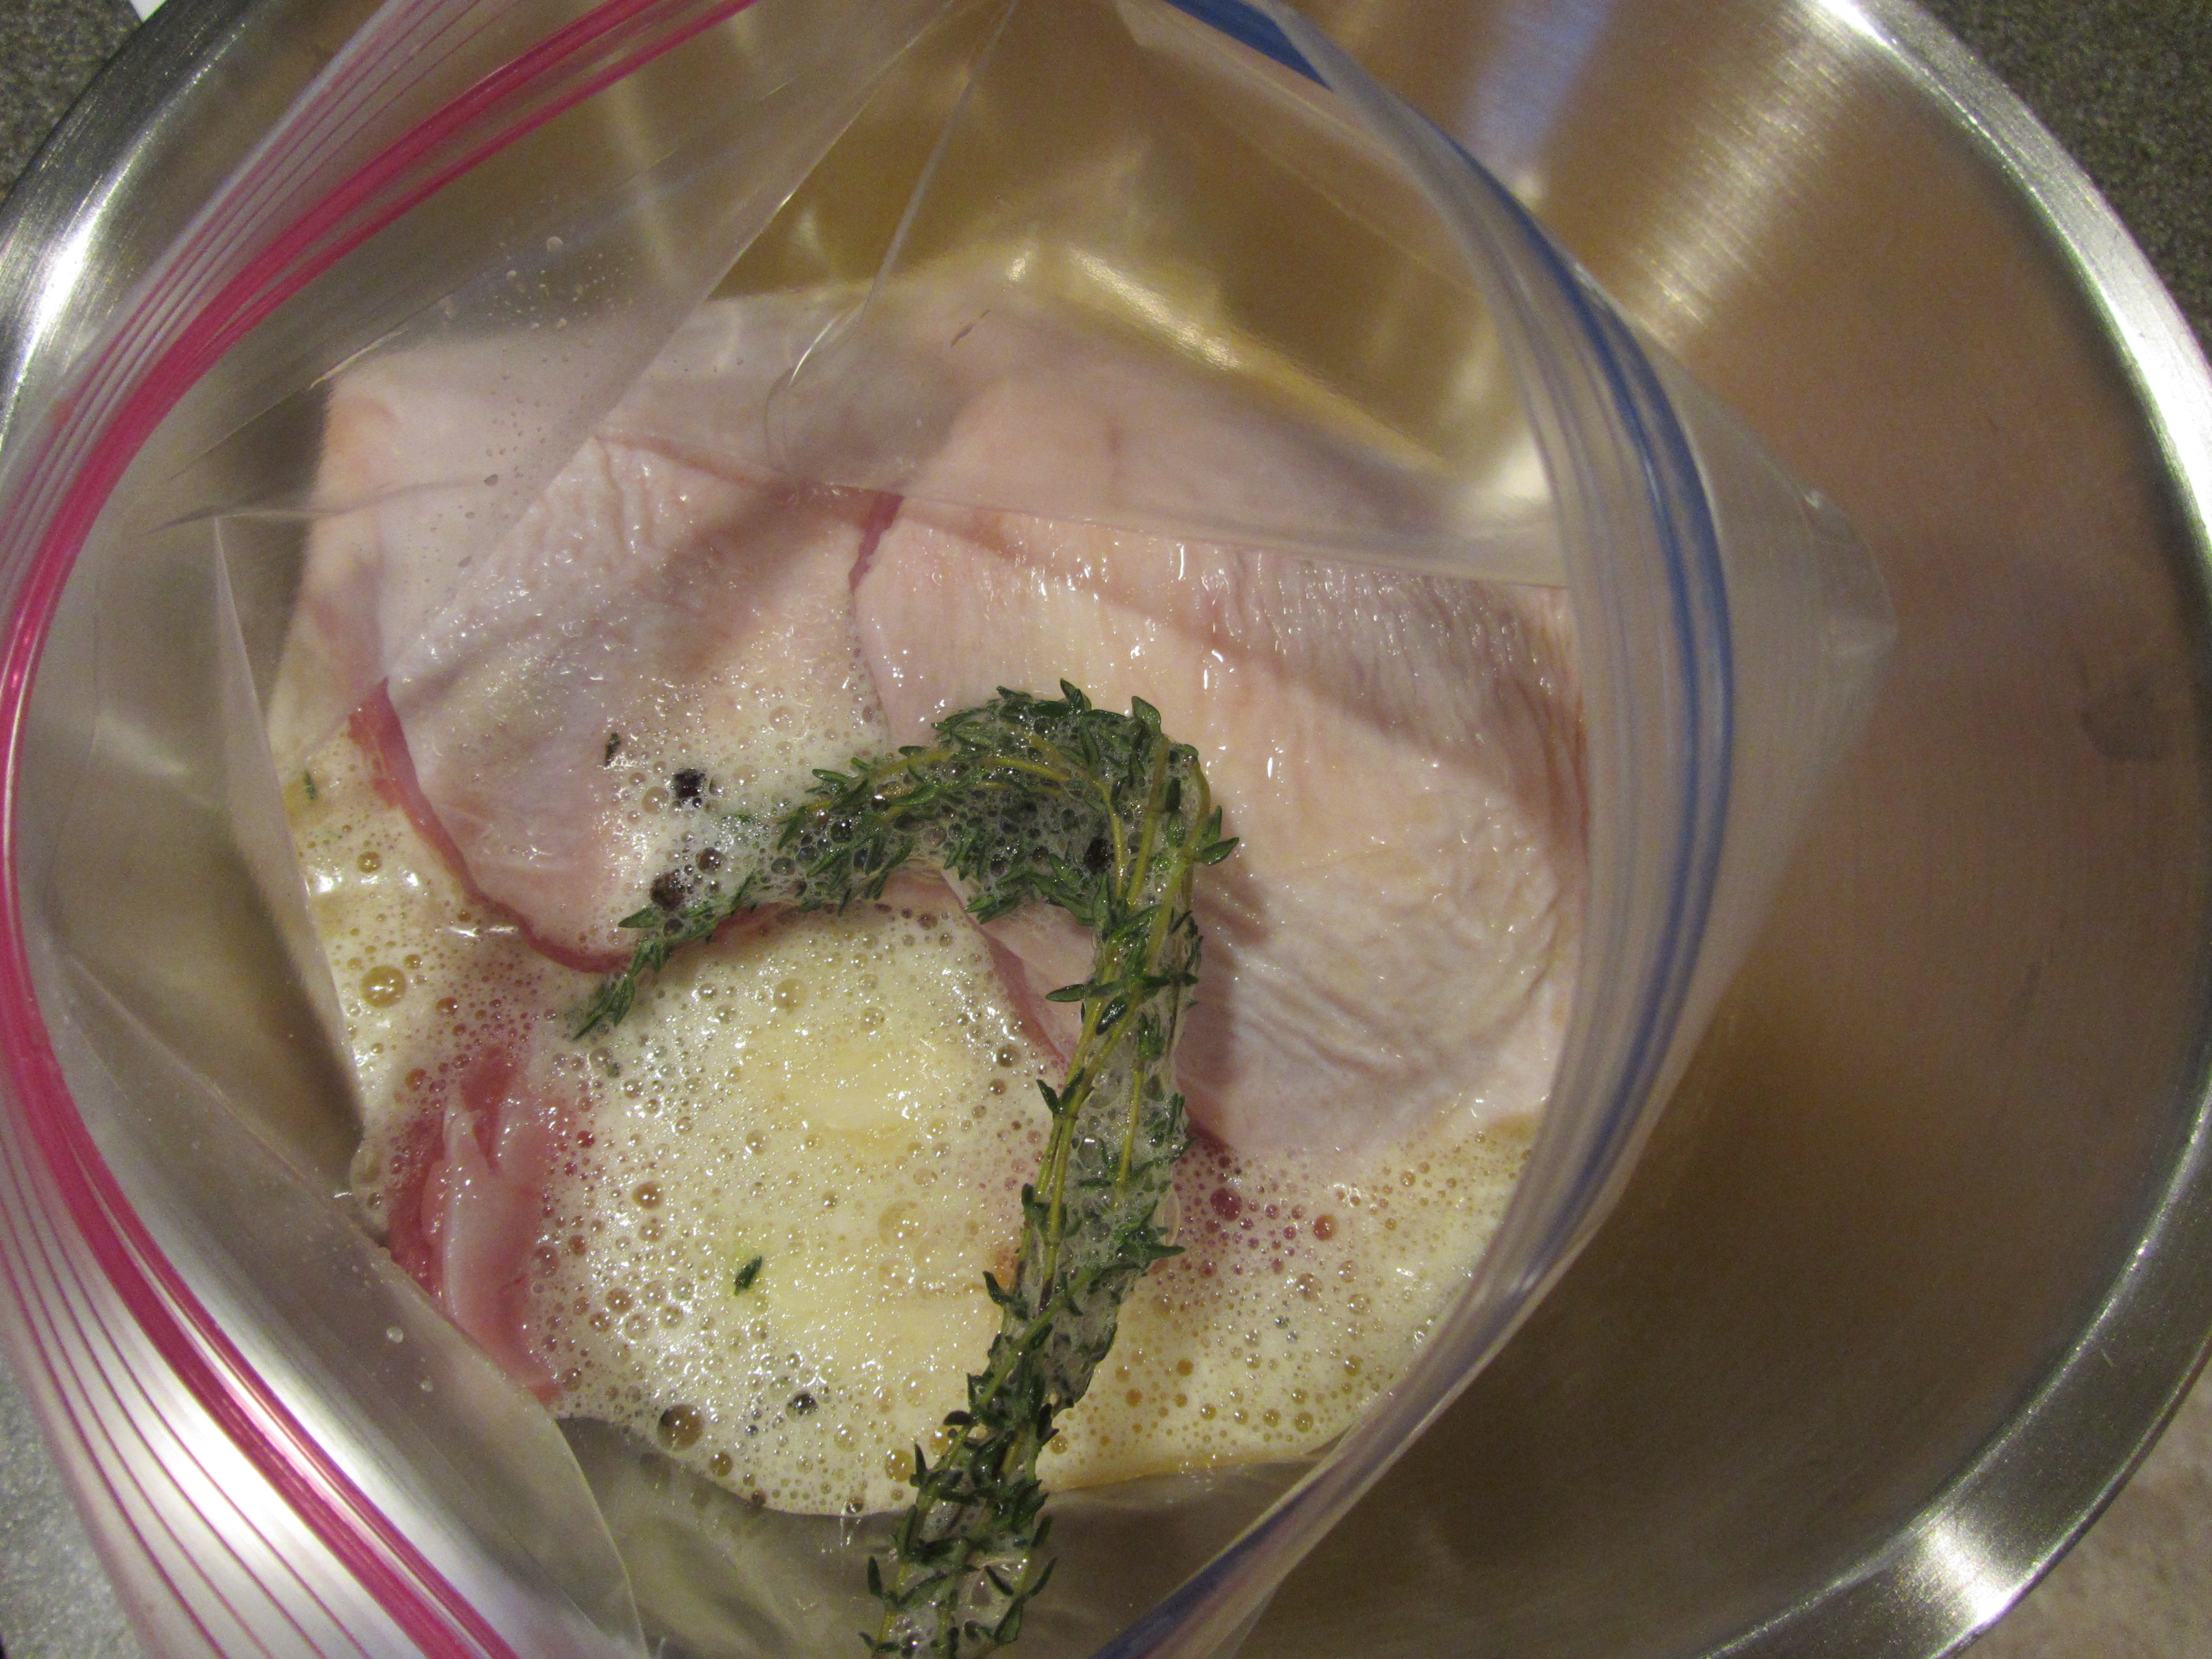
Duck and brine in a bag.

Removed as much air as possible from the bag.
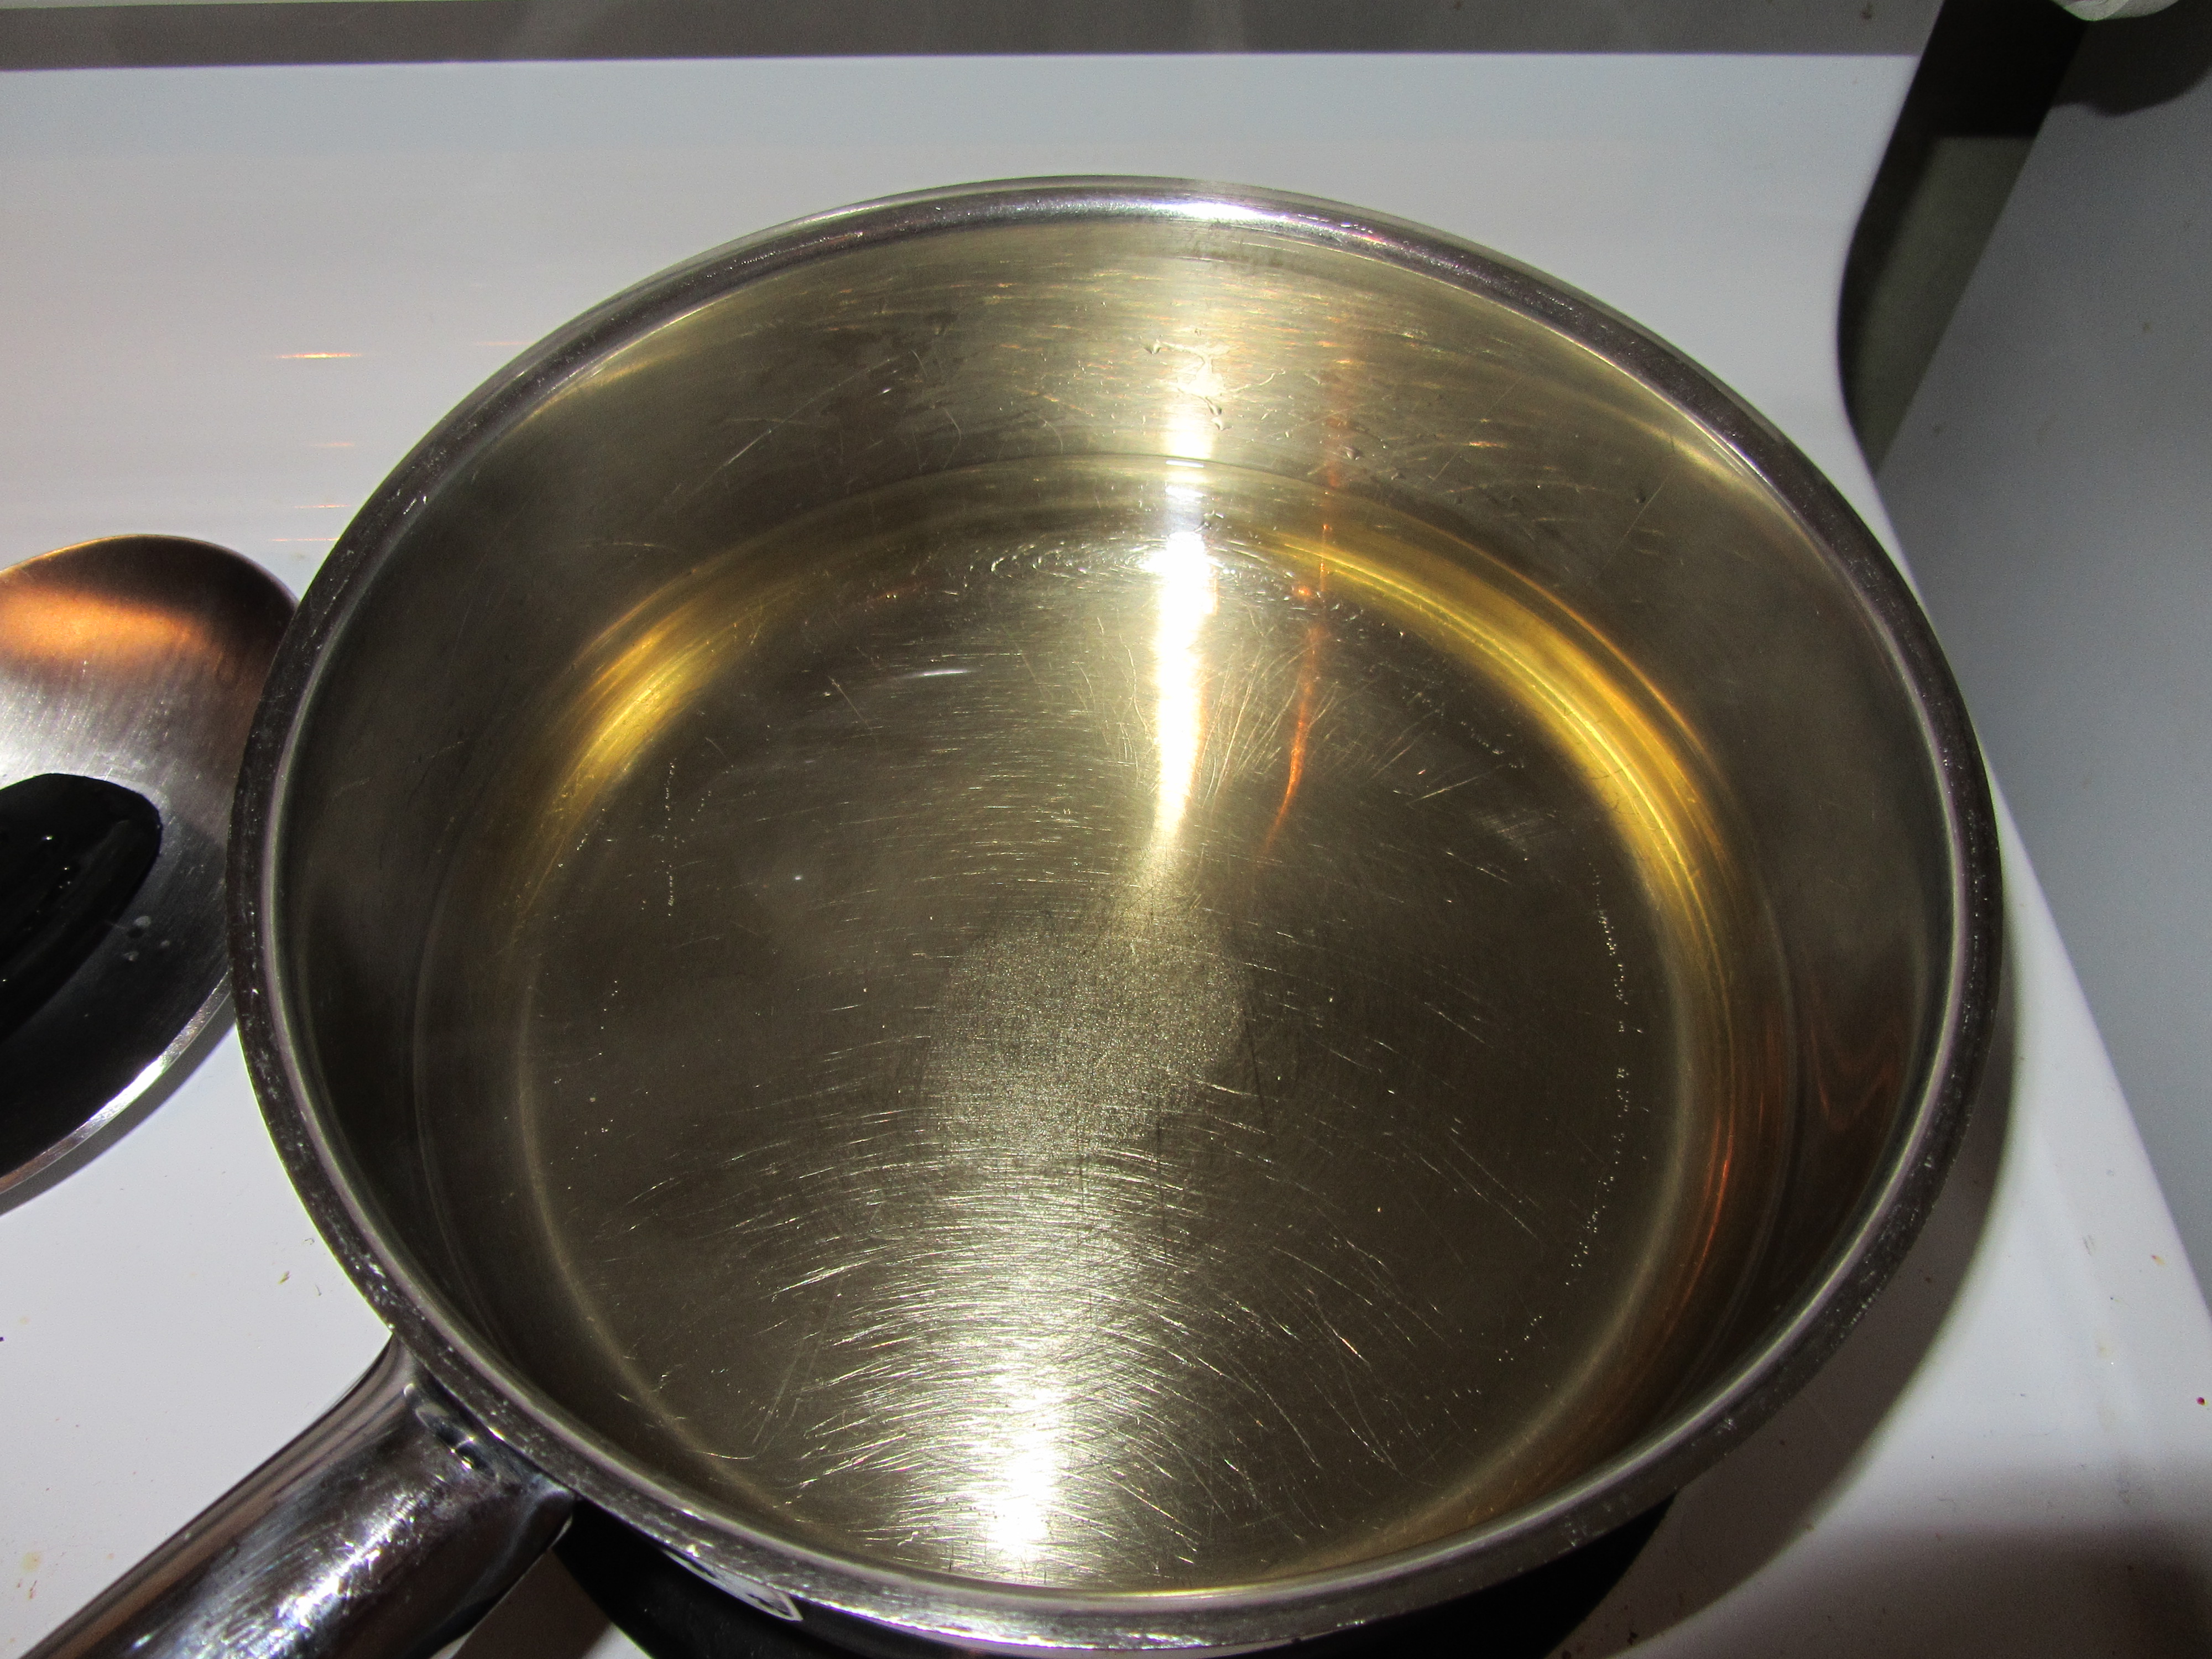
Let the duck brine in the refrigerator for 2-2.5 hours. When ready to cook your duck, bring some water to a boil in a large pot that can hold a strainer or colander; I used our pasta pot.
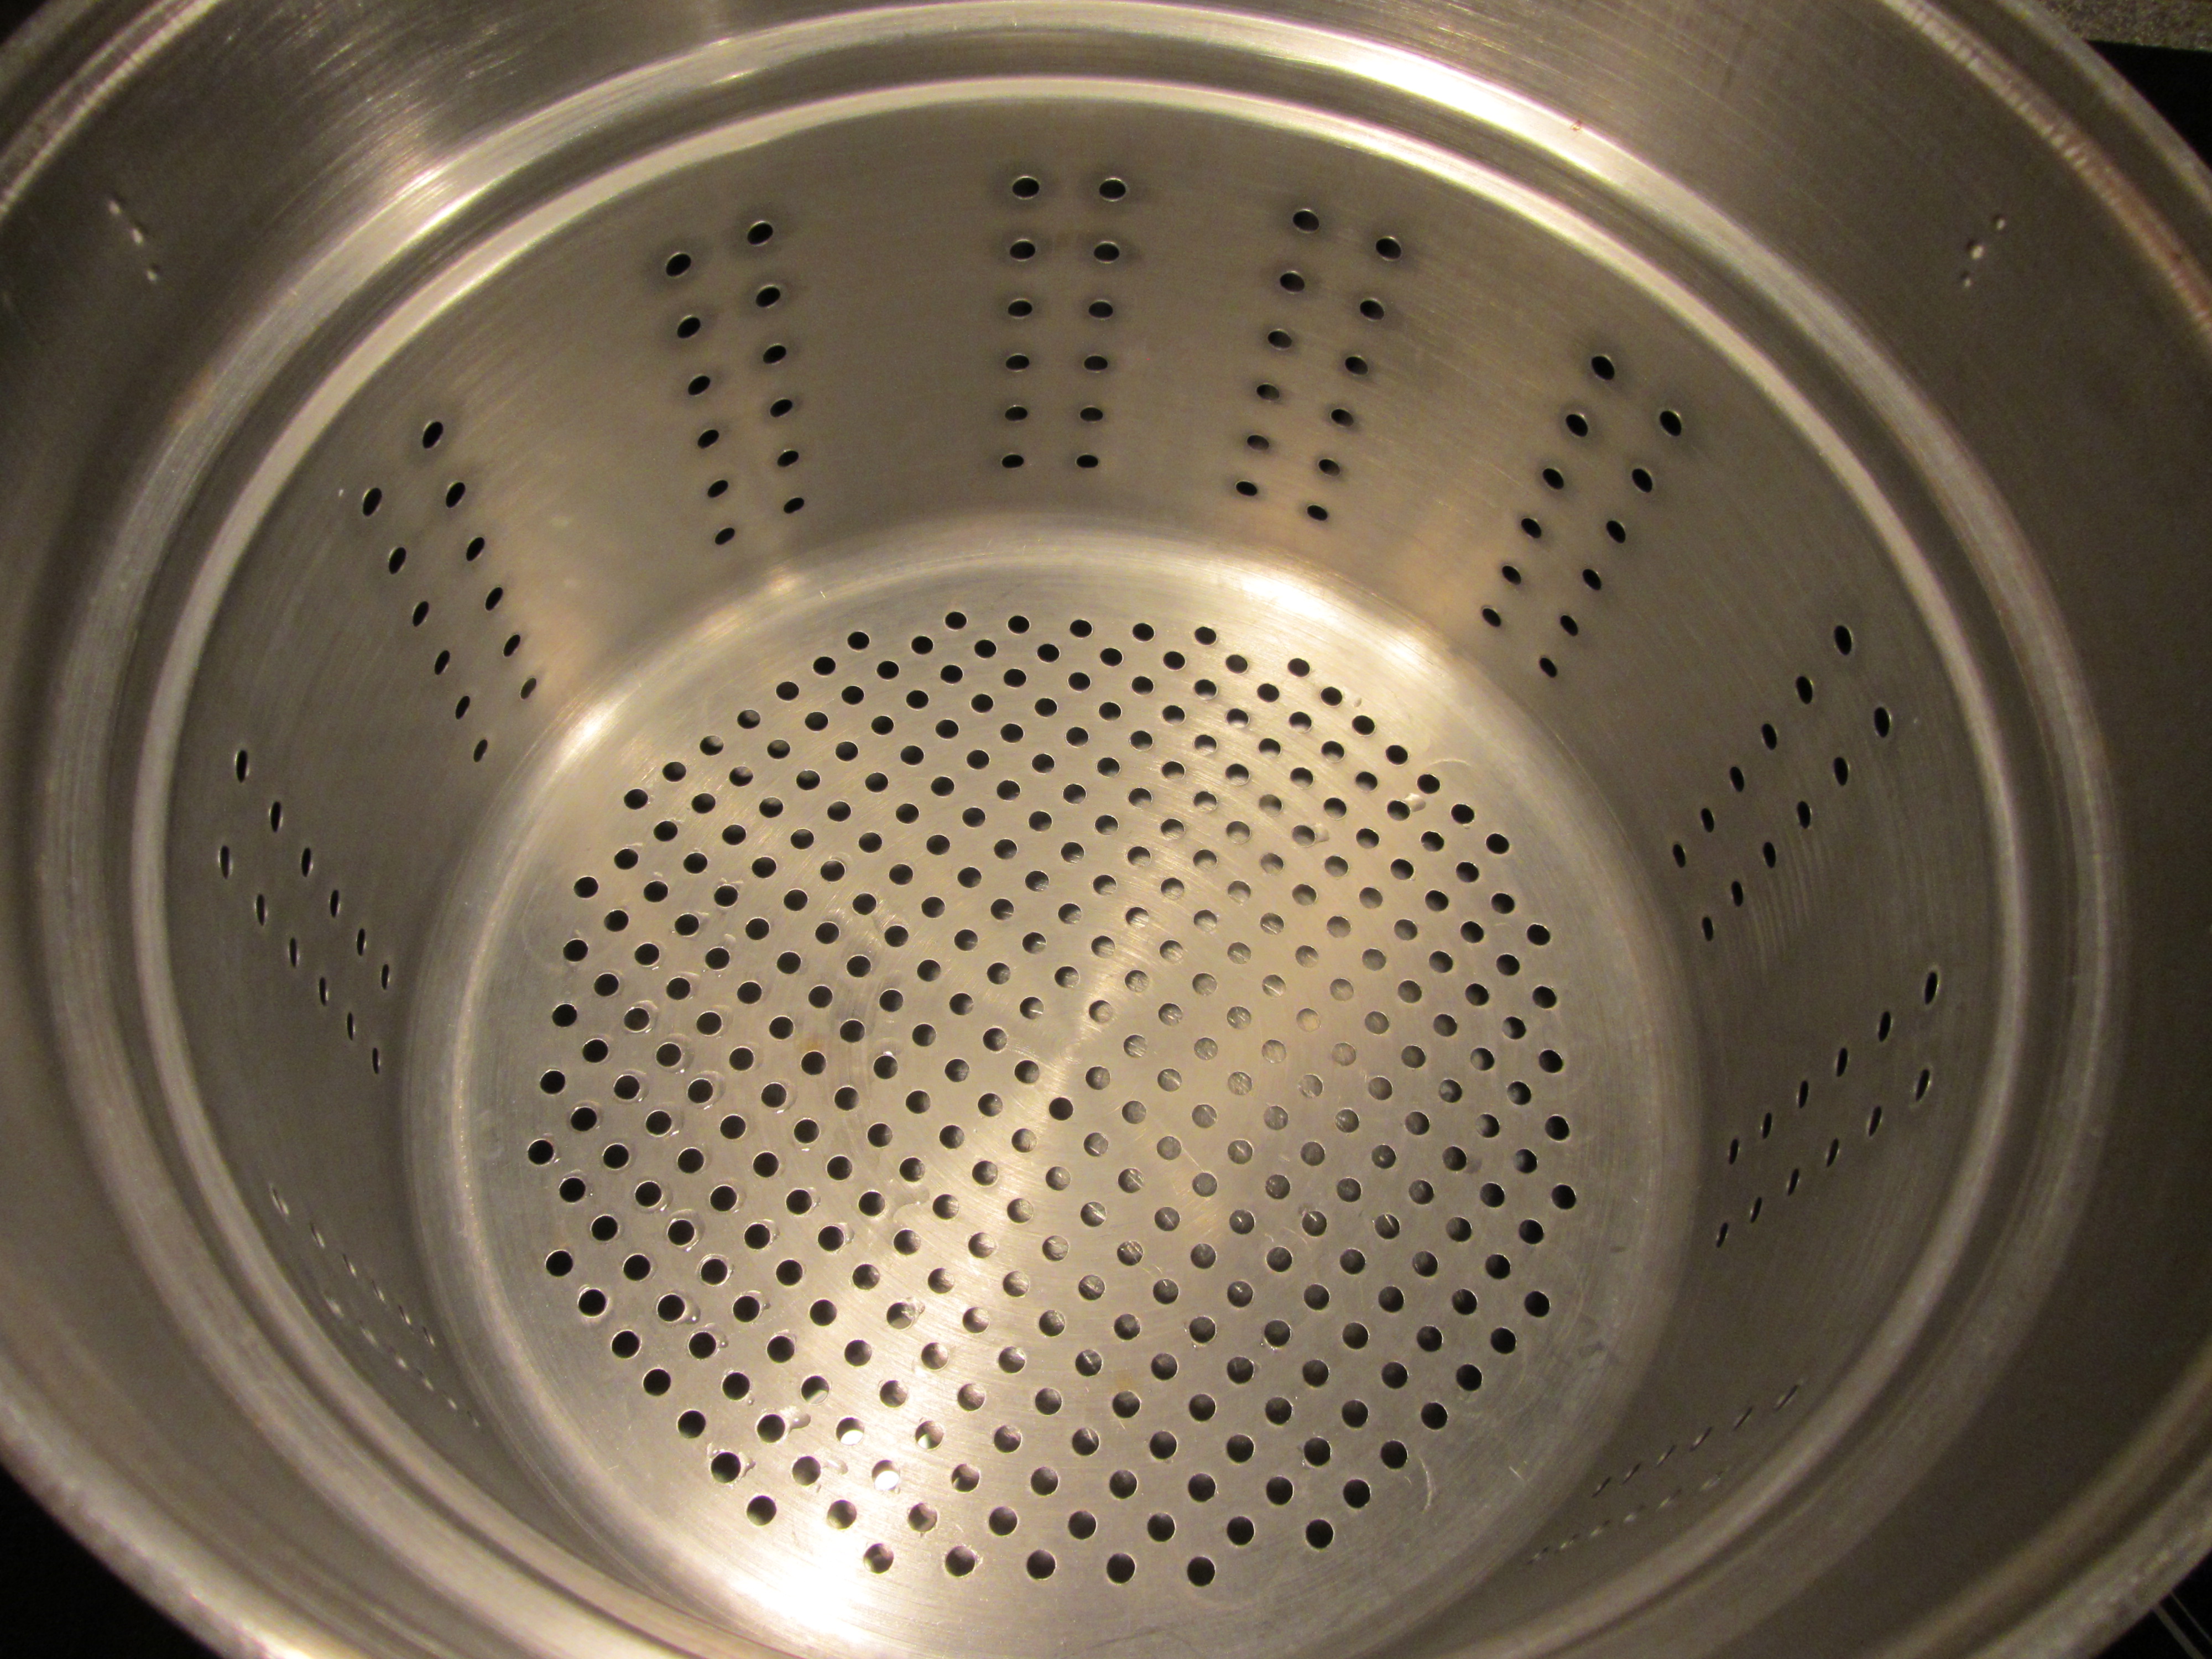
Pasta pot to steam the duck.
Place the duck quarters around the sides of the colander, avoiding stacking them on each other, as this can cause uneven cooking.

Duck quarters, ready to be steamed.
Cover the pot, decrease the heat, and steam the duck for 45 minutes. If your dog is anything like mine are, he/she will be sent into a tizzy, and will pace around the kitchen, whimpering and pleading for just a sampling of your duck. Why steam? In the episode, Alton, or rather his plumber, explains that it is a gentler cooking method than water, is more efficient than air, and it does not wash away the seasoning. Toward the end of your steaming, heat your oven to 475 degrees, placing a cast iron skillet inside.
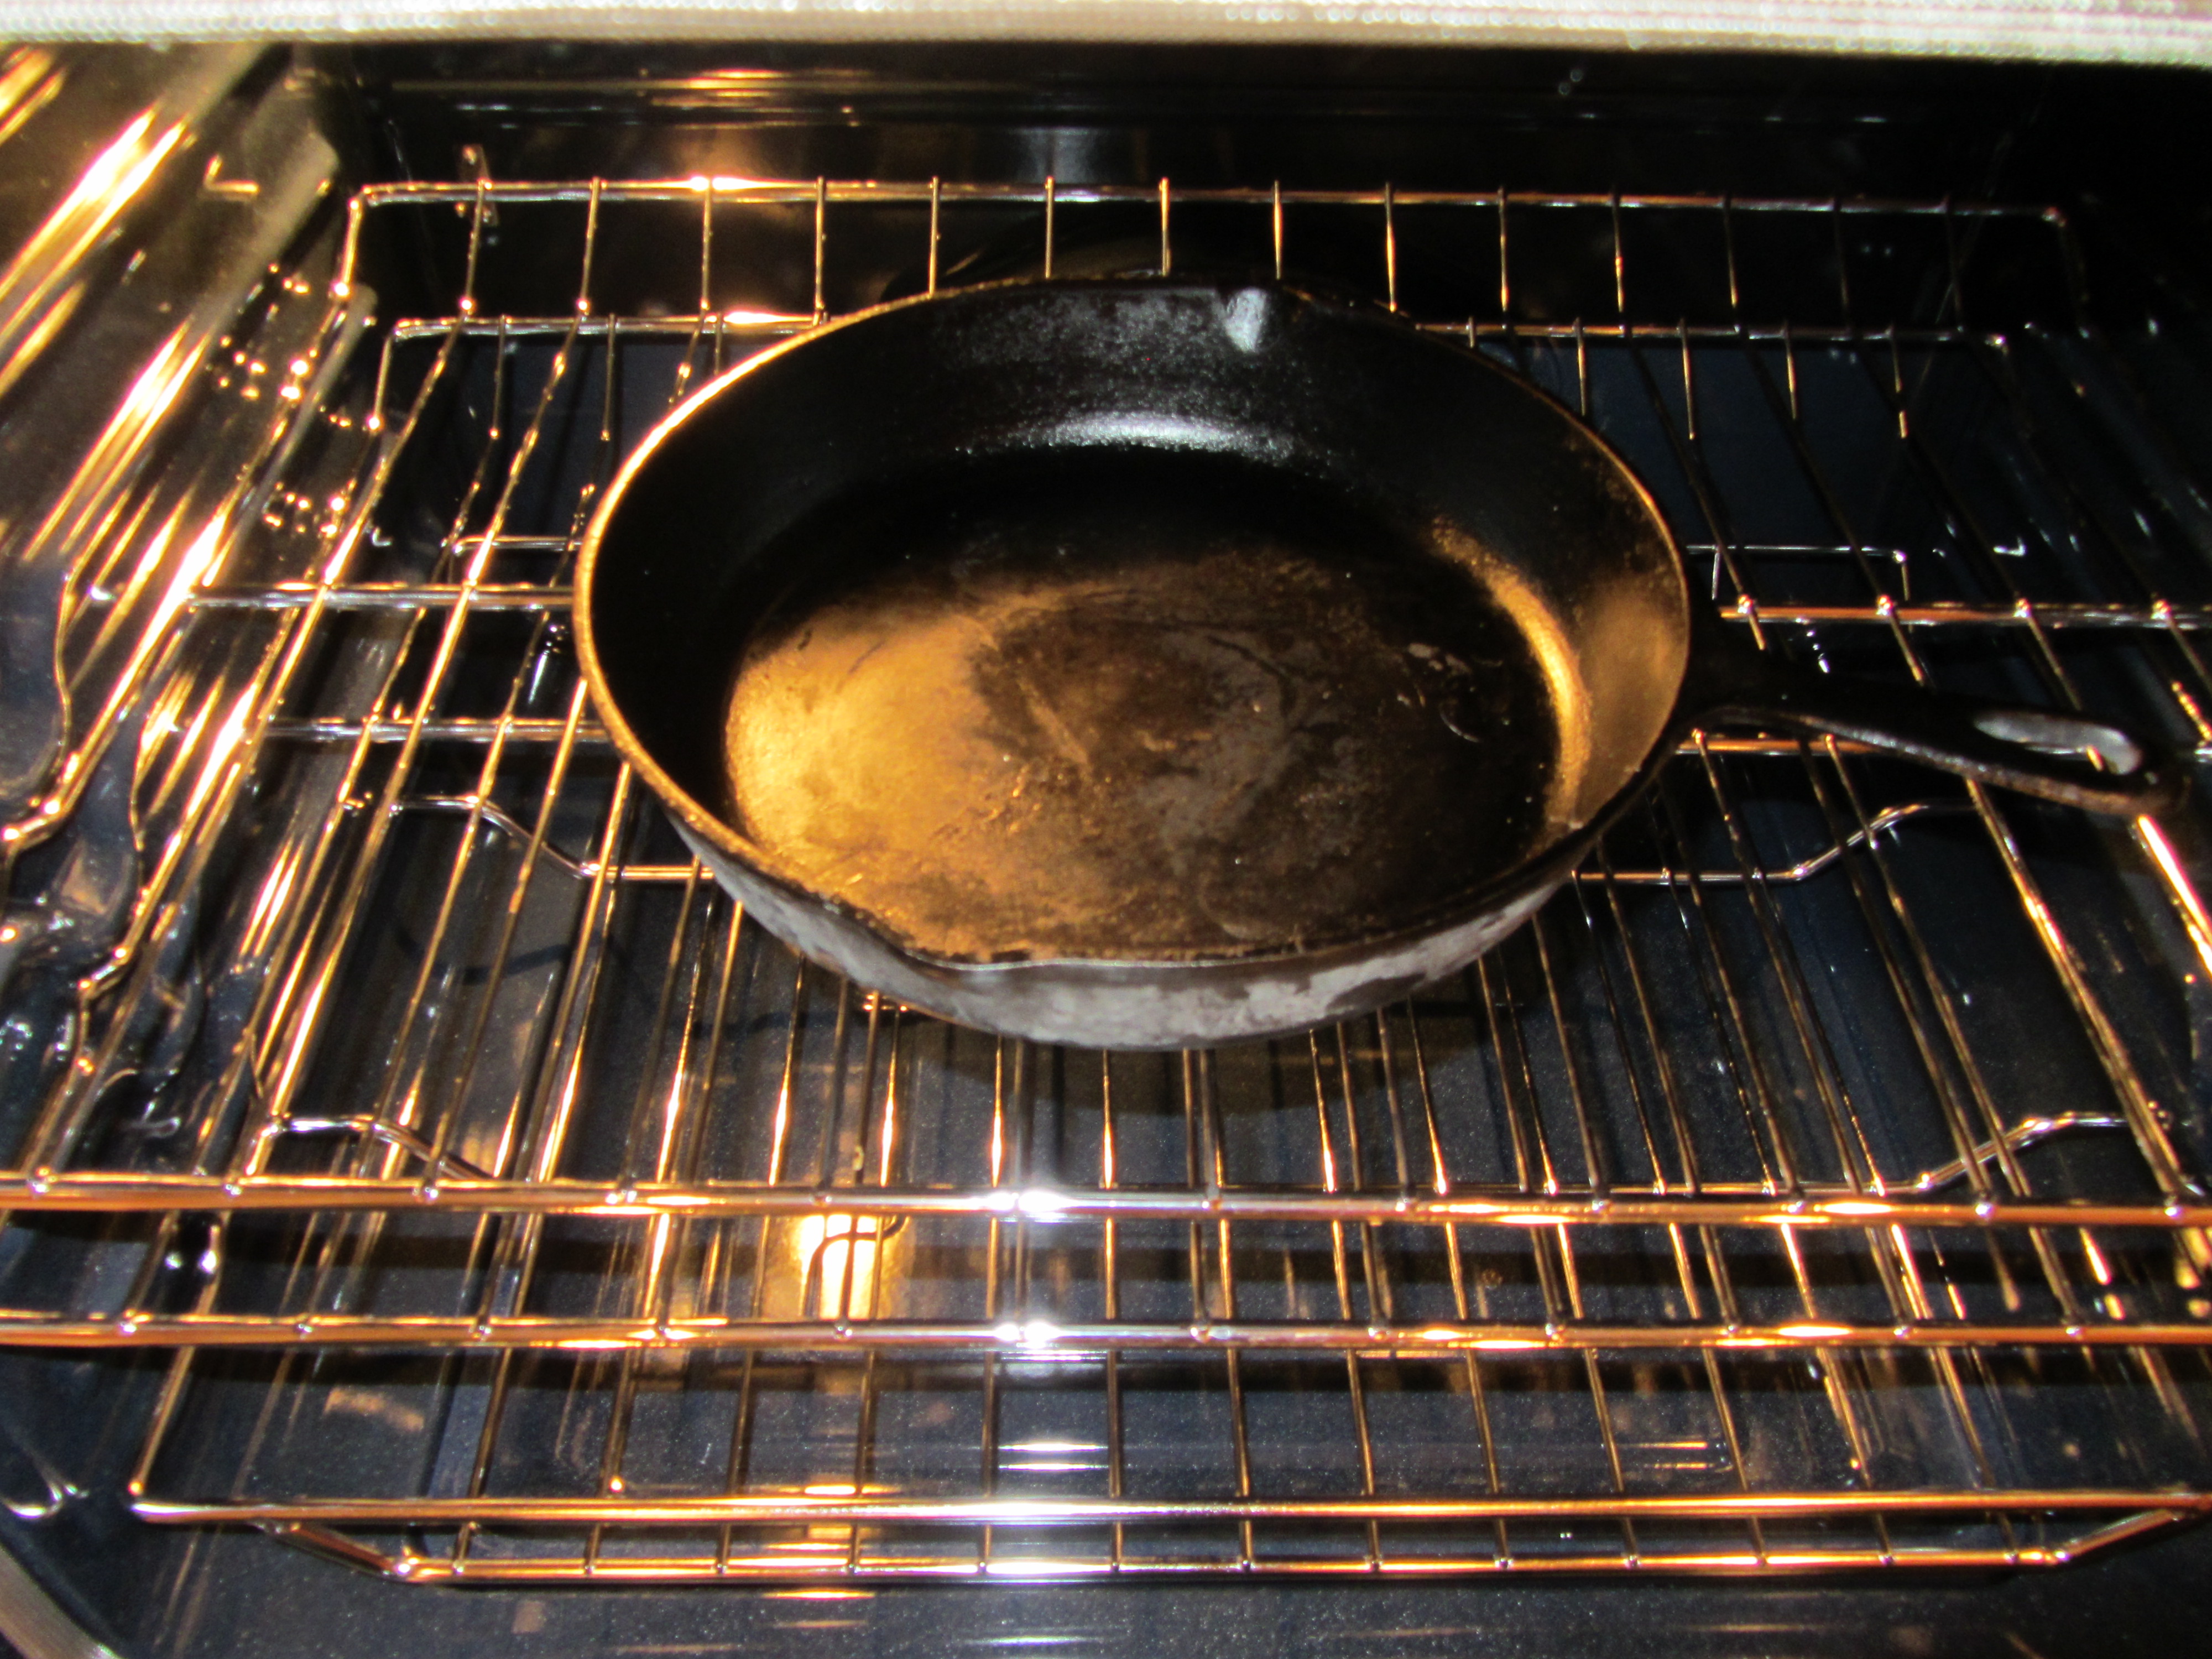
Hot cast iron skillet.
When the steaming is complete, set the steaming water aside, place the duck legs into the skillet, skin side down, and cook them for 10 minutes.
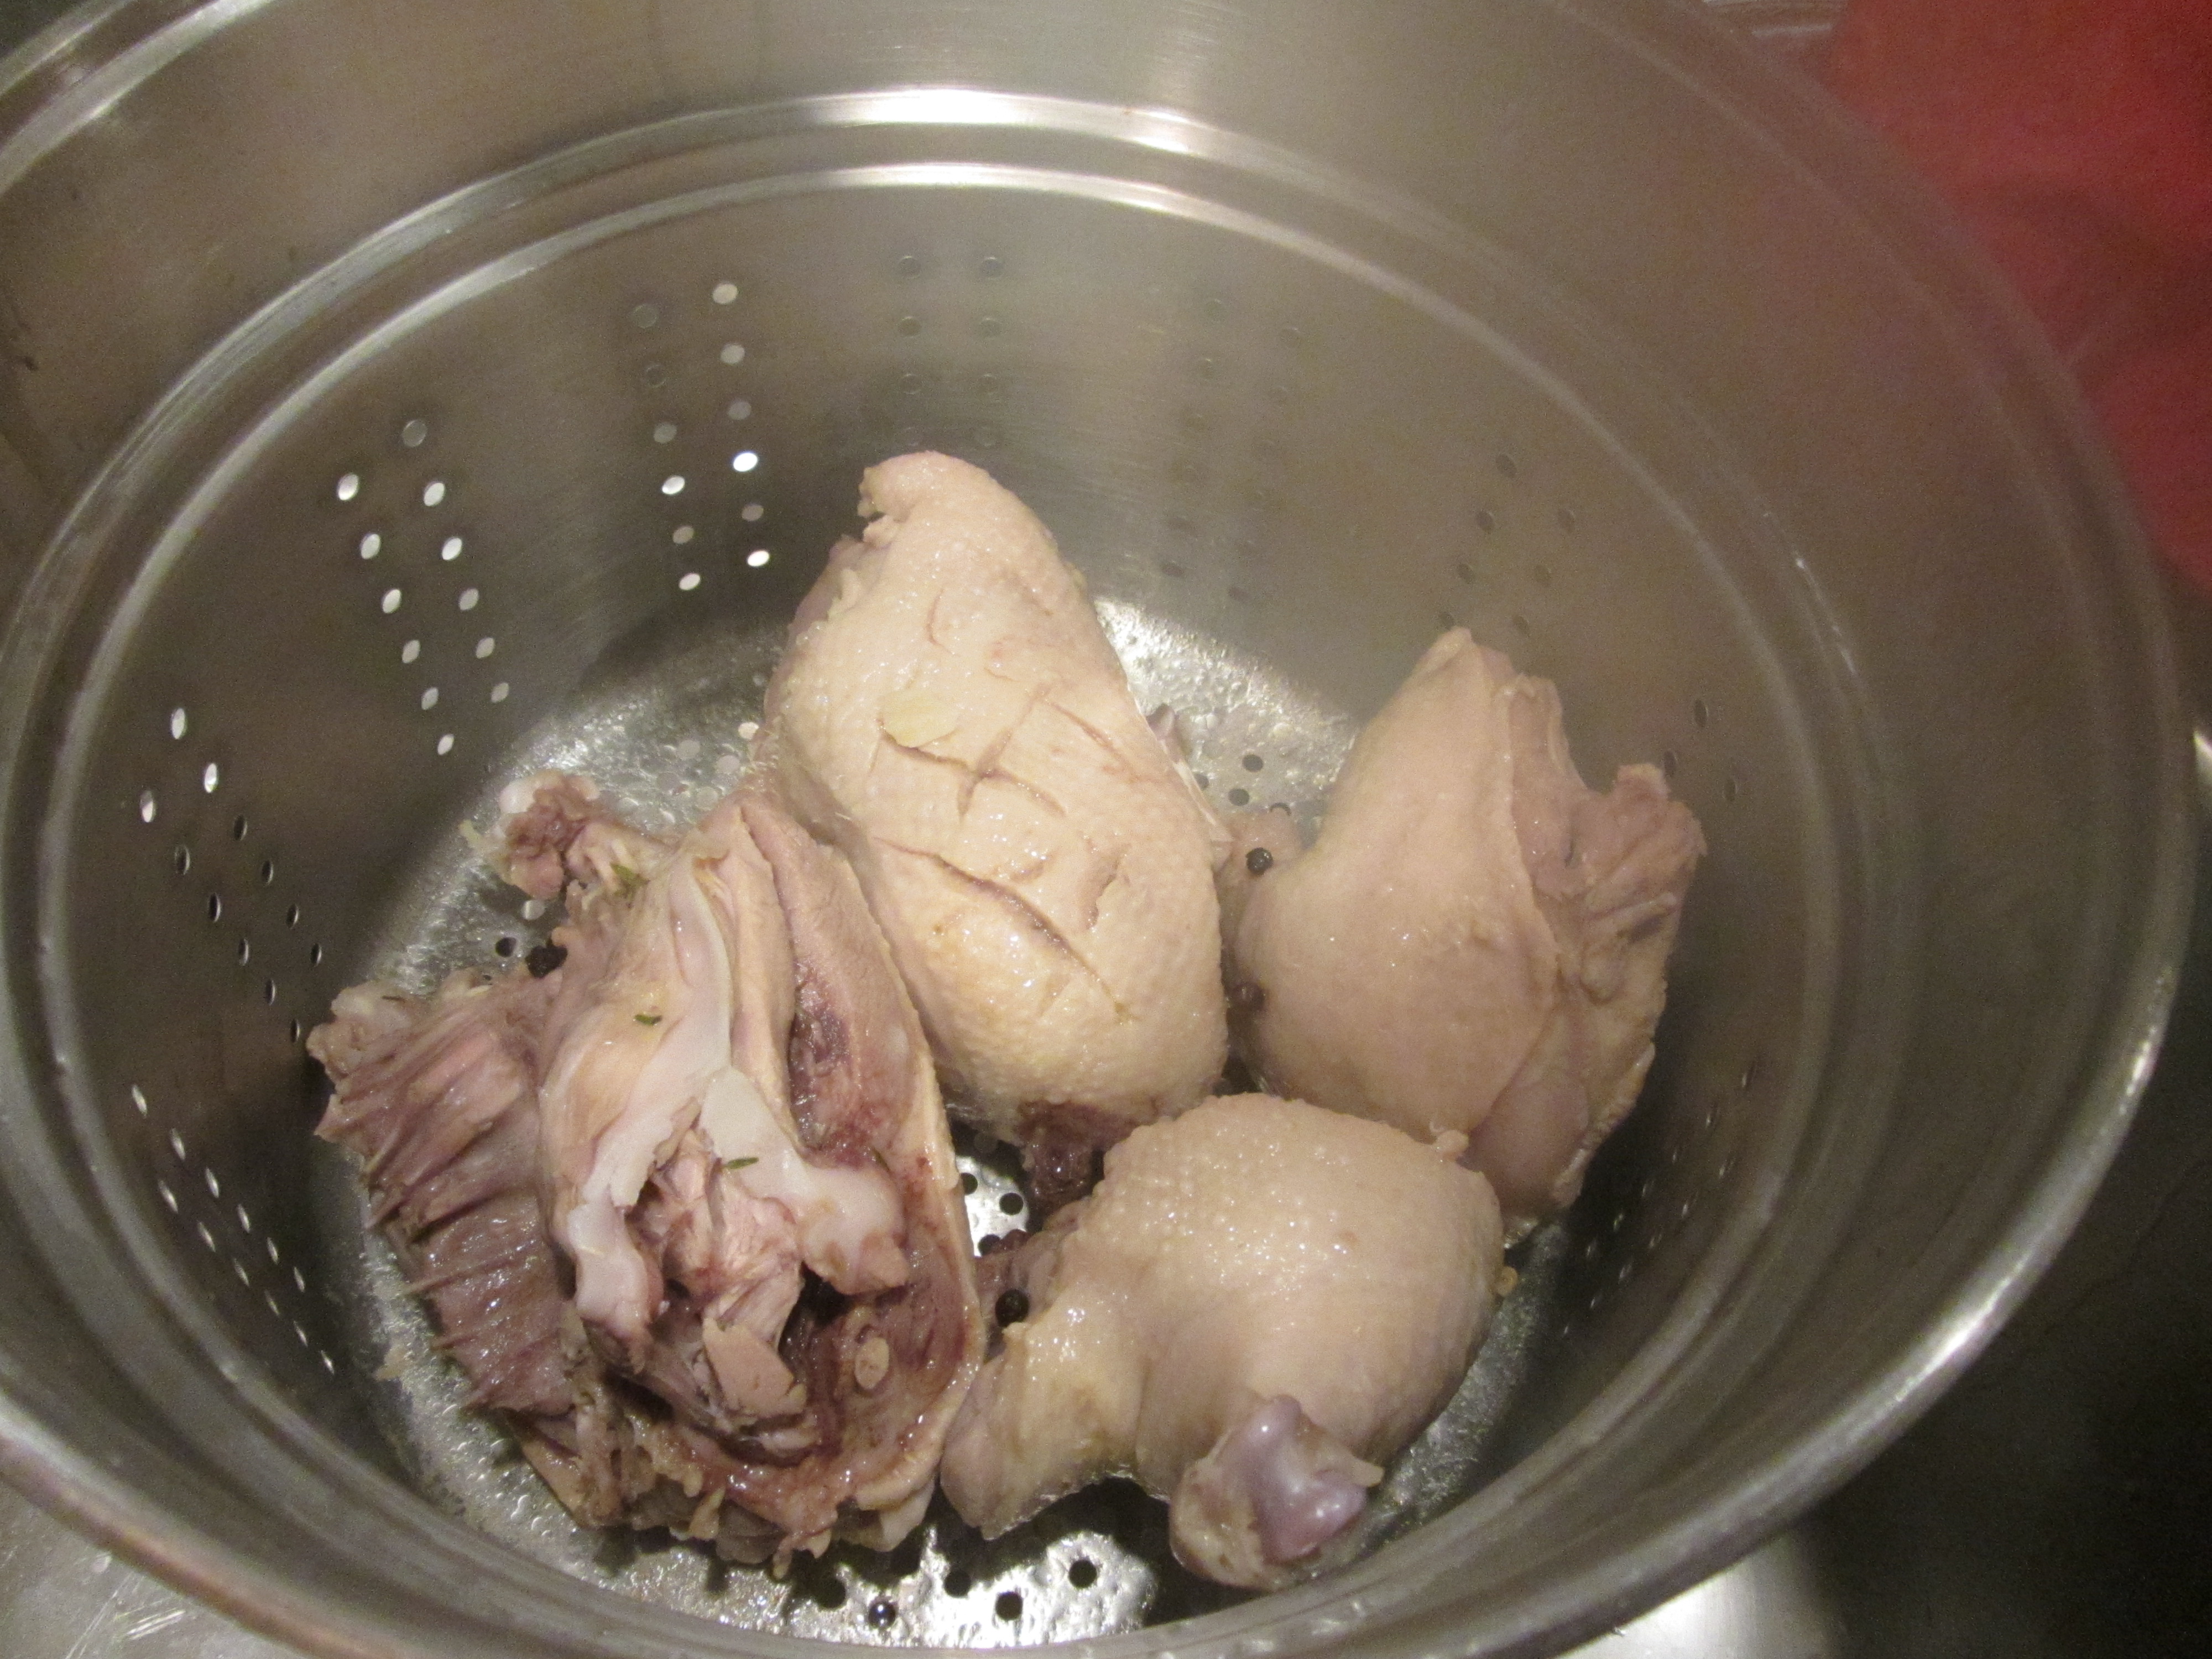
Duck quarters after steaming for 45 minutes.

Duck legs in hot skillet.
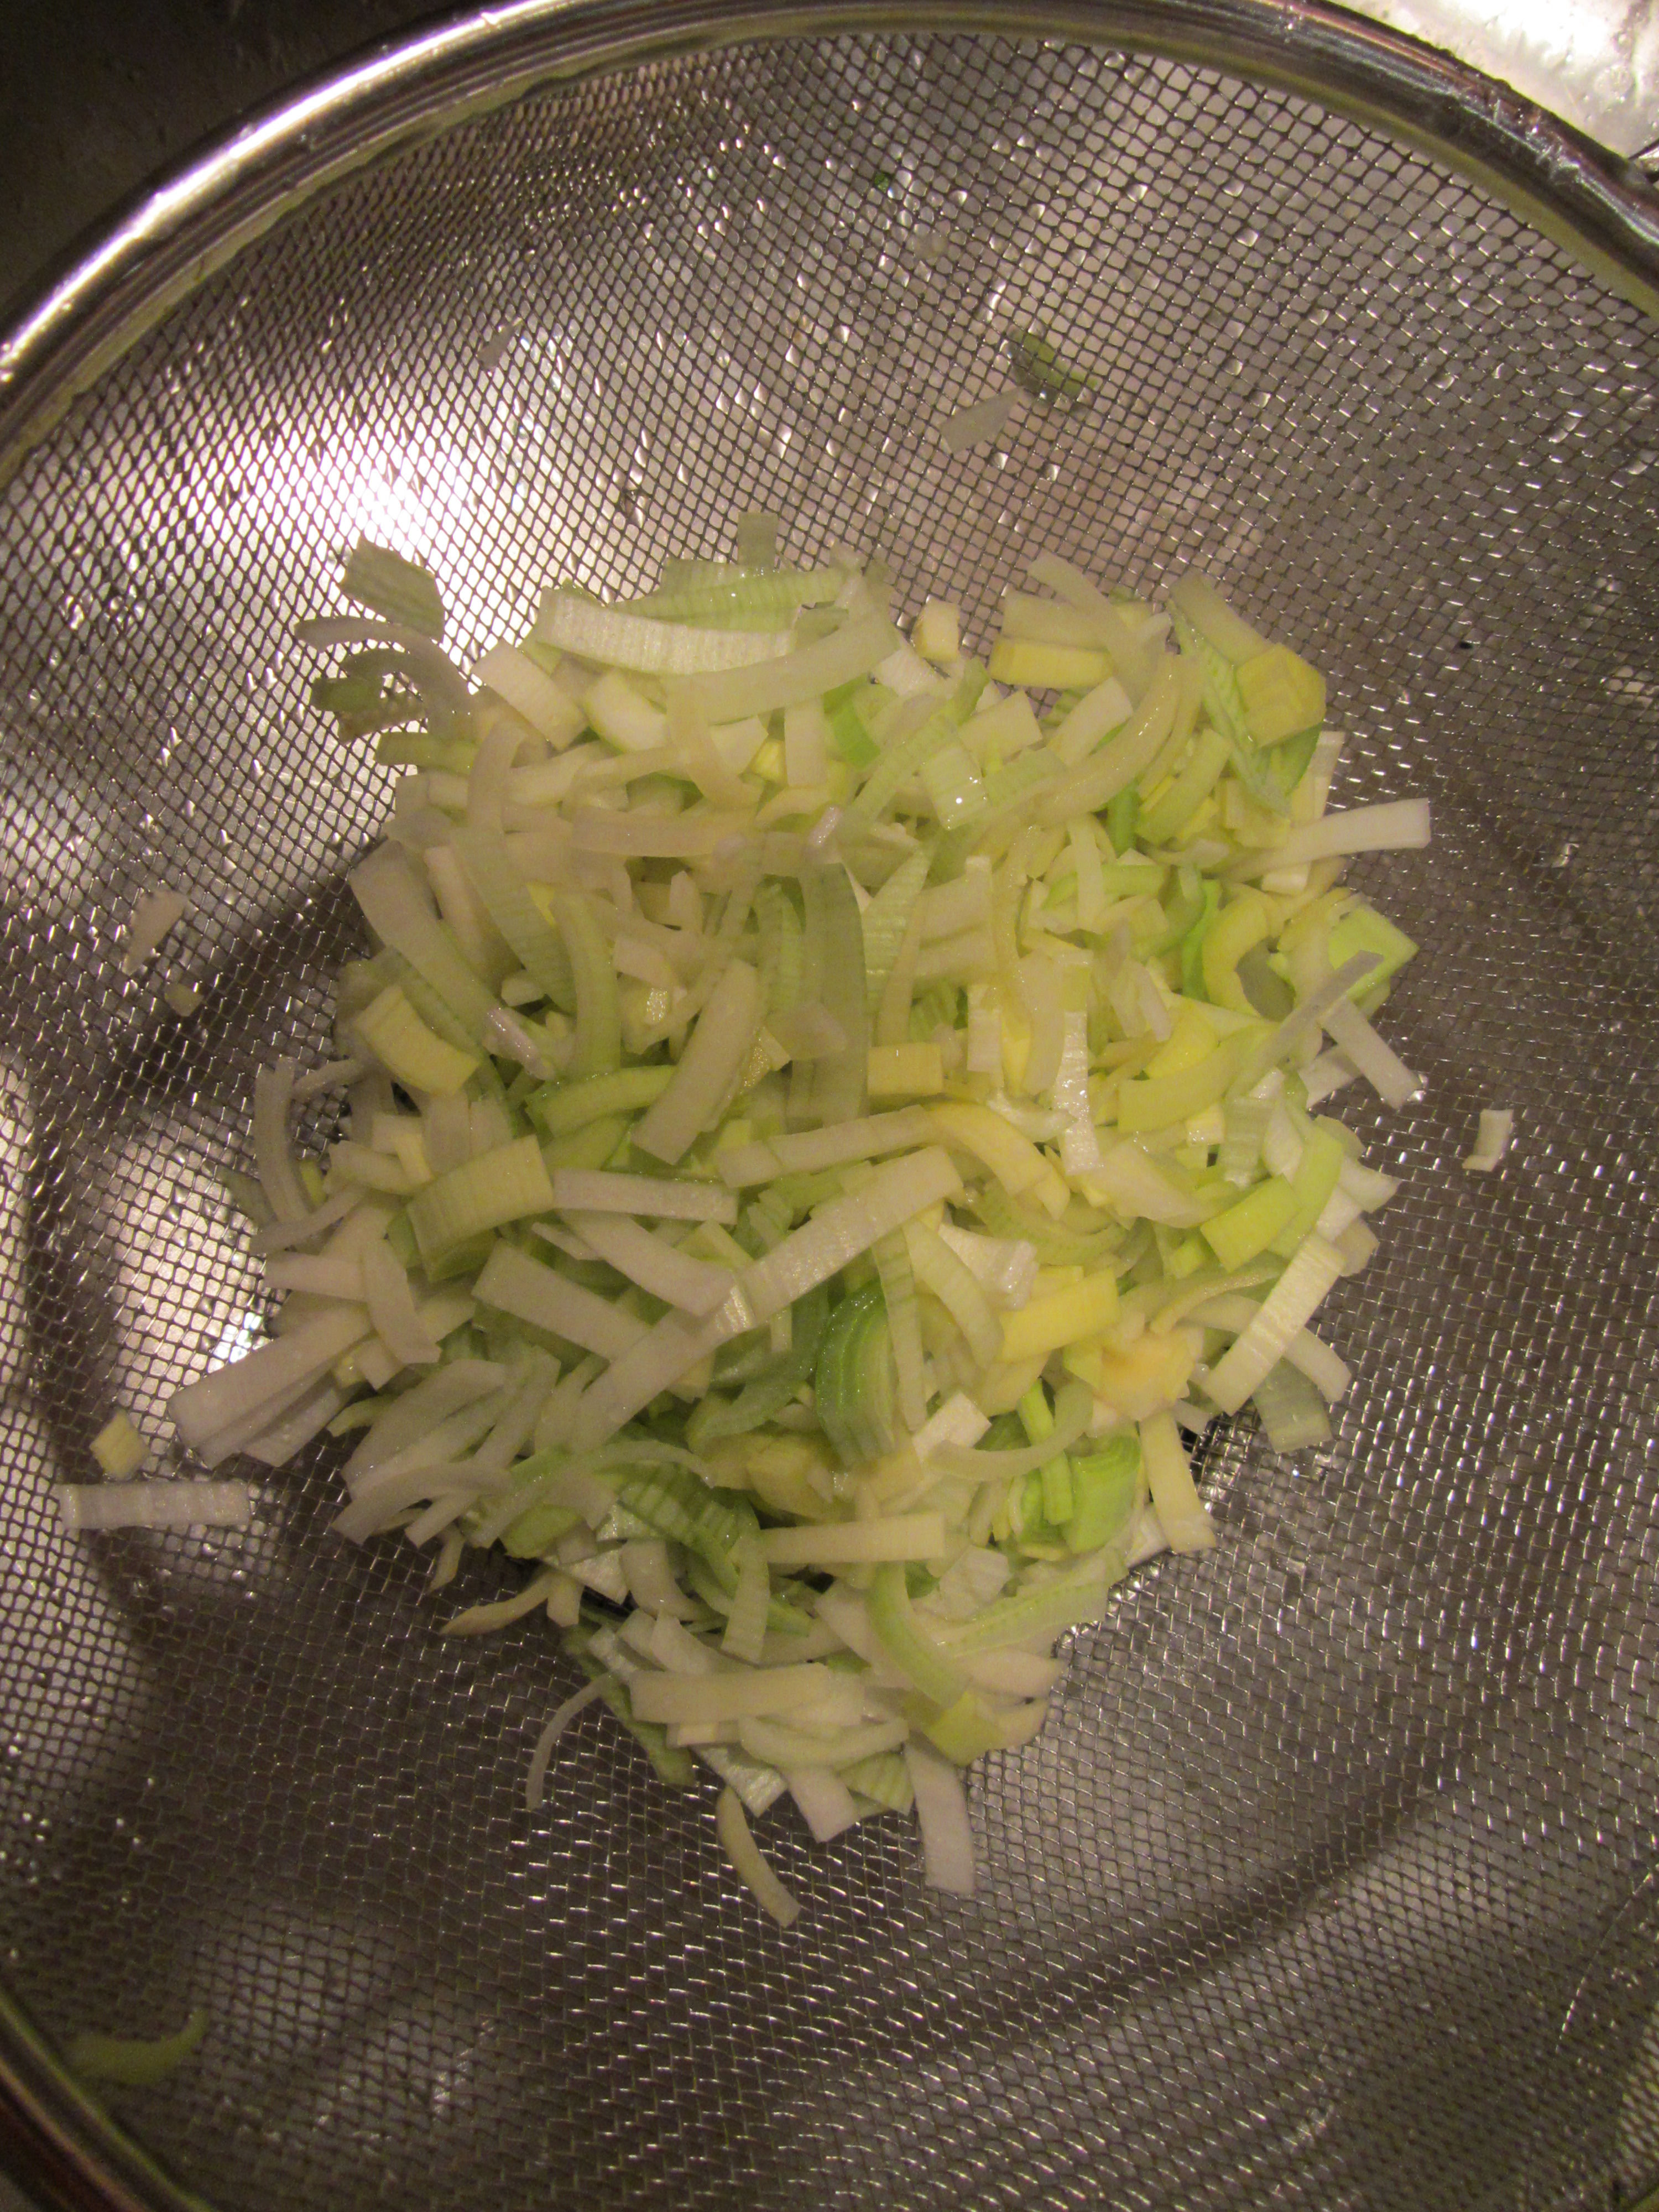
After 10 minutes, use tongs to move the legs up to the sides of the skillet, and add the breast quarters to the pan, skin side down. Cook the duck for an additional 7 minutes. While the duck cooks, shred some chard and chop a couple of shallots.

Duck breasts added to skillet with legs.

Shallots and shredded chard.
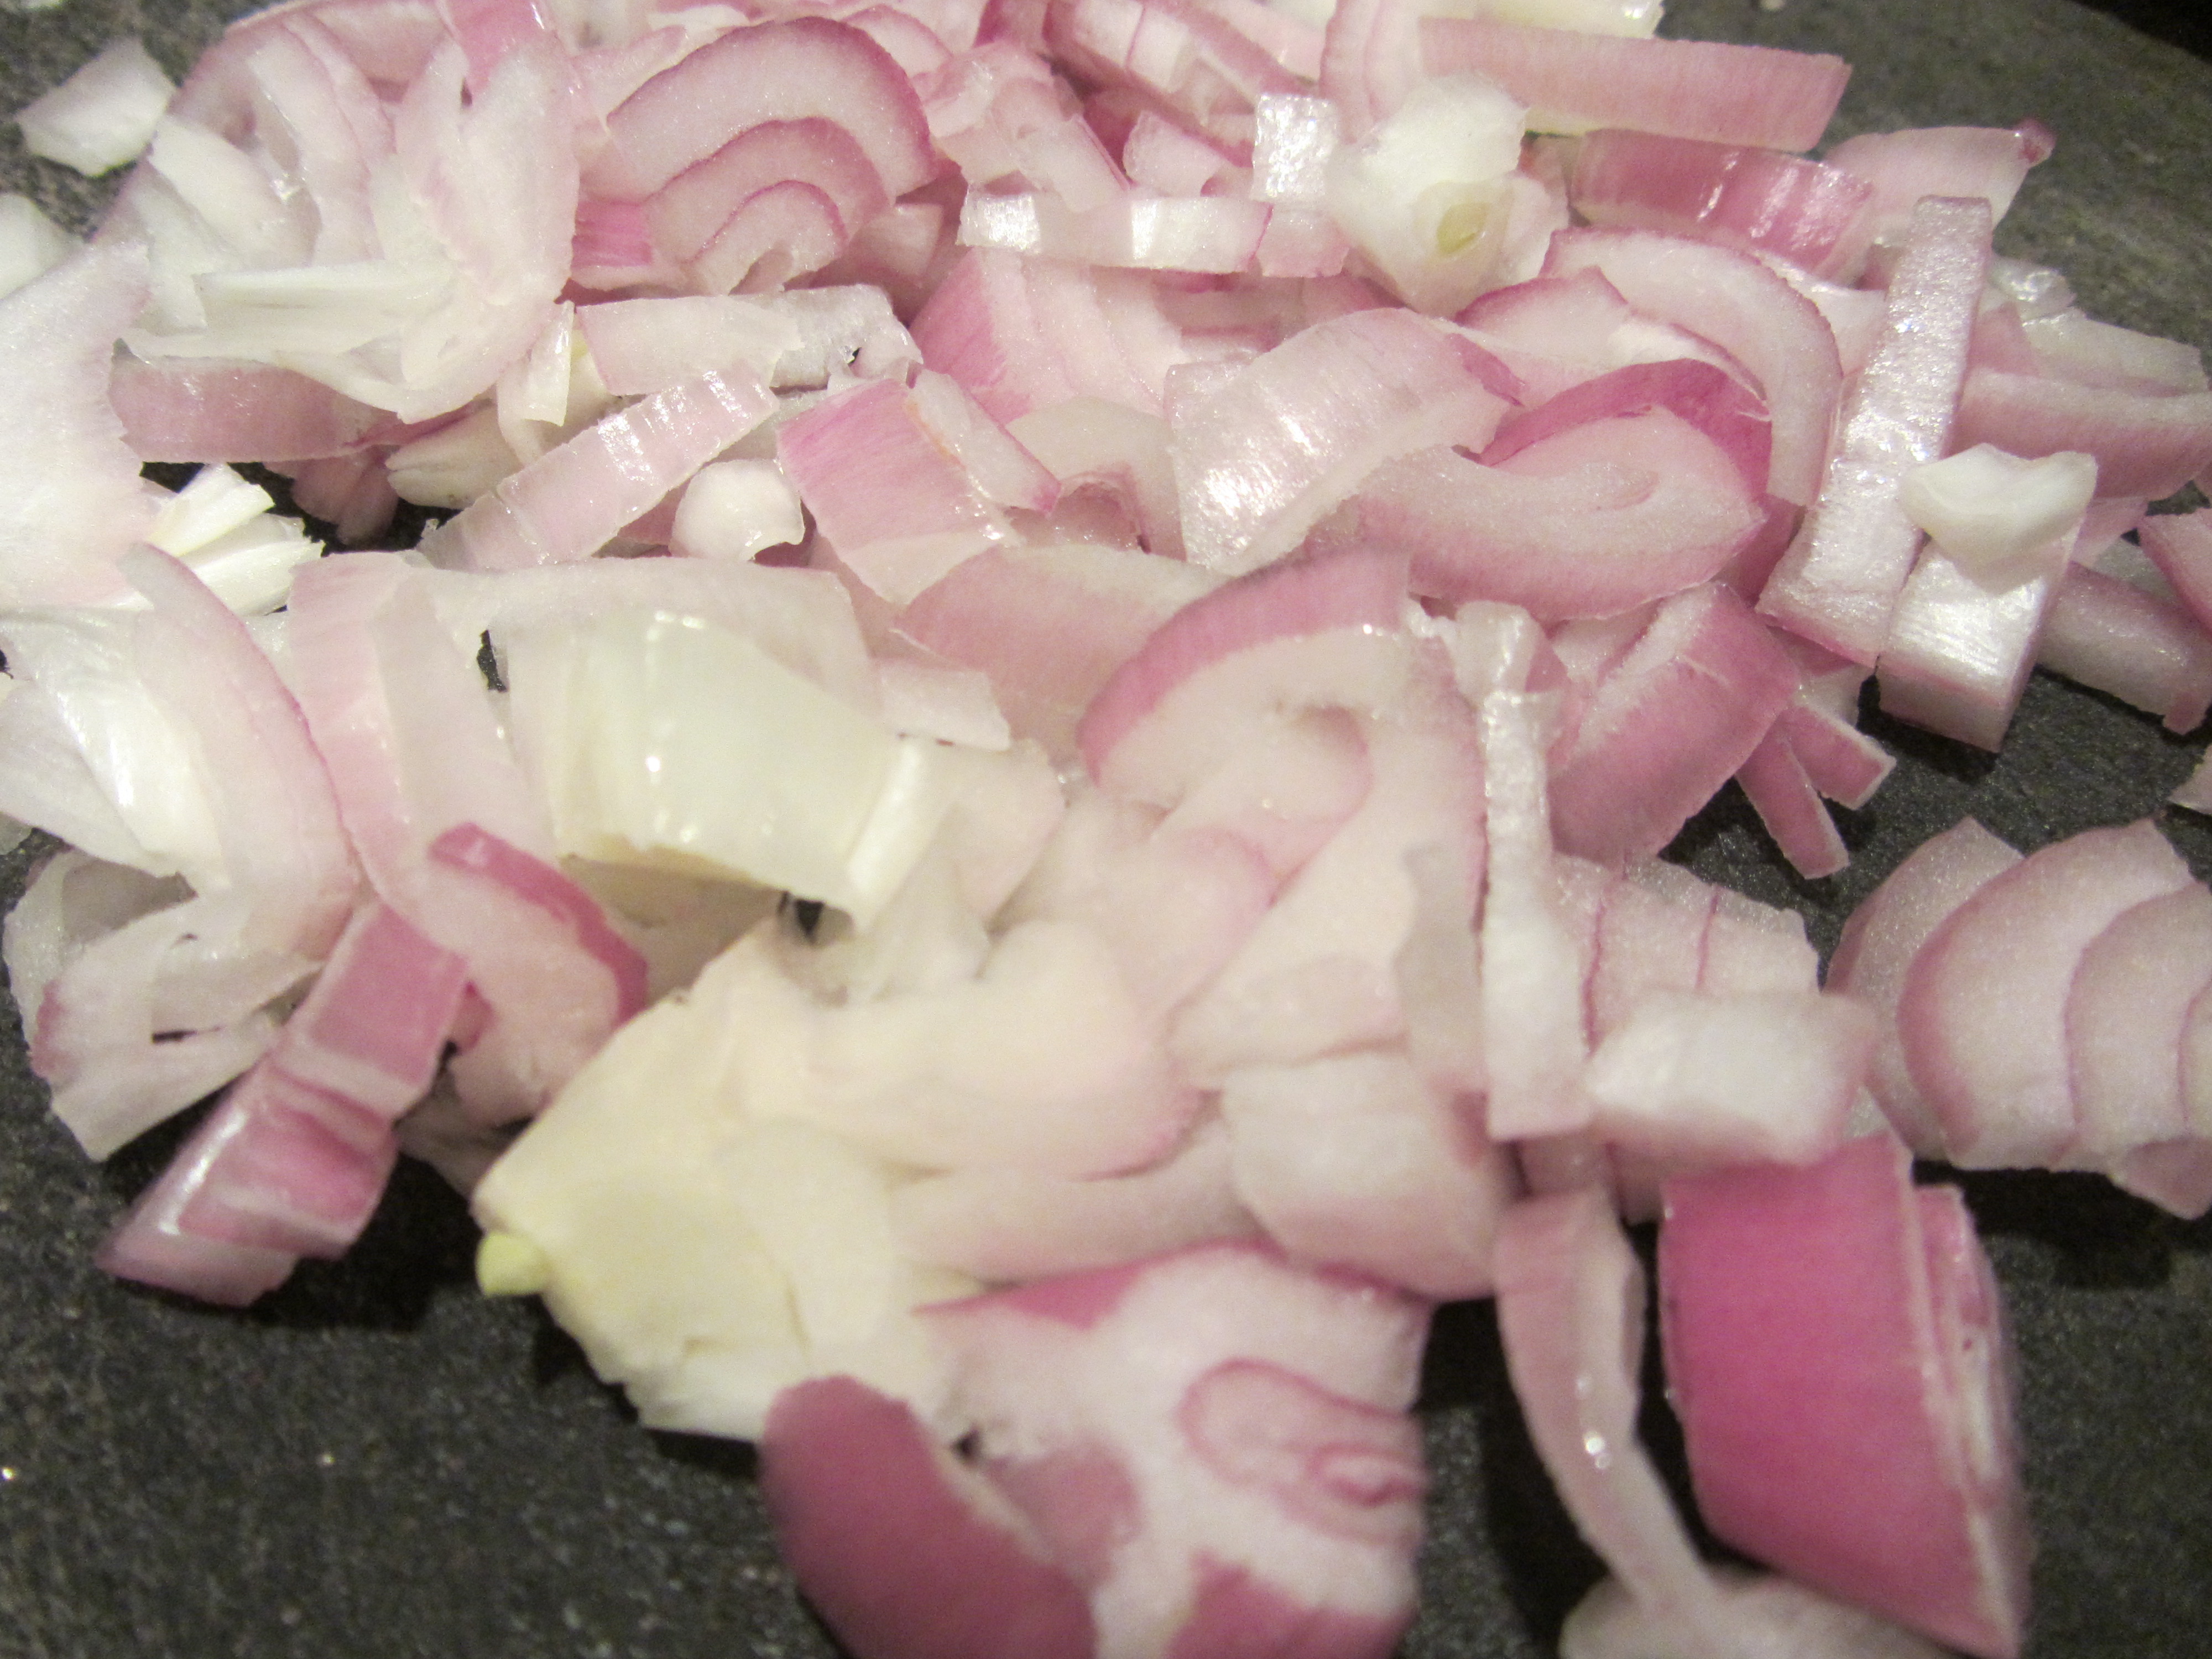
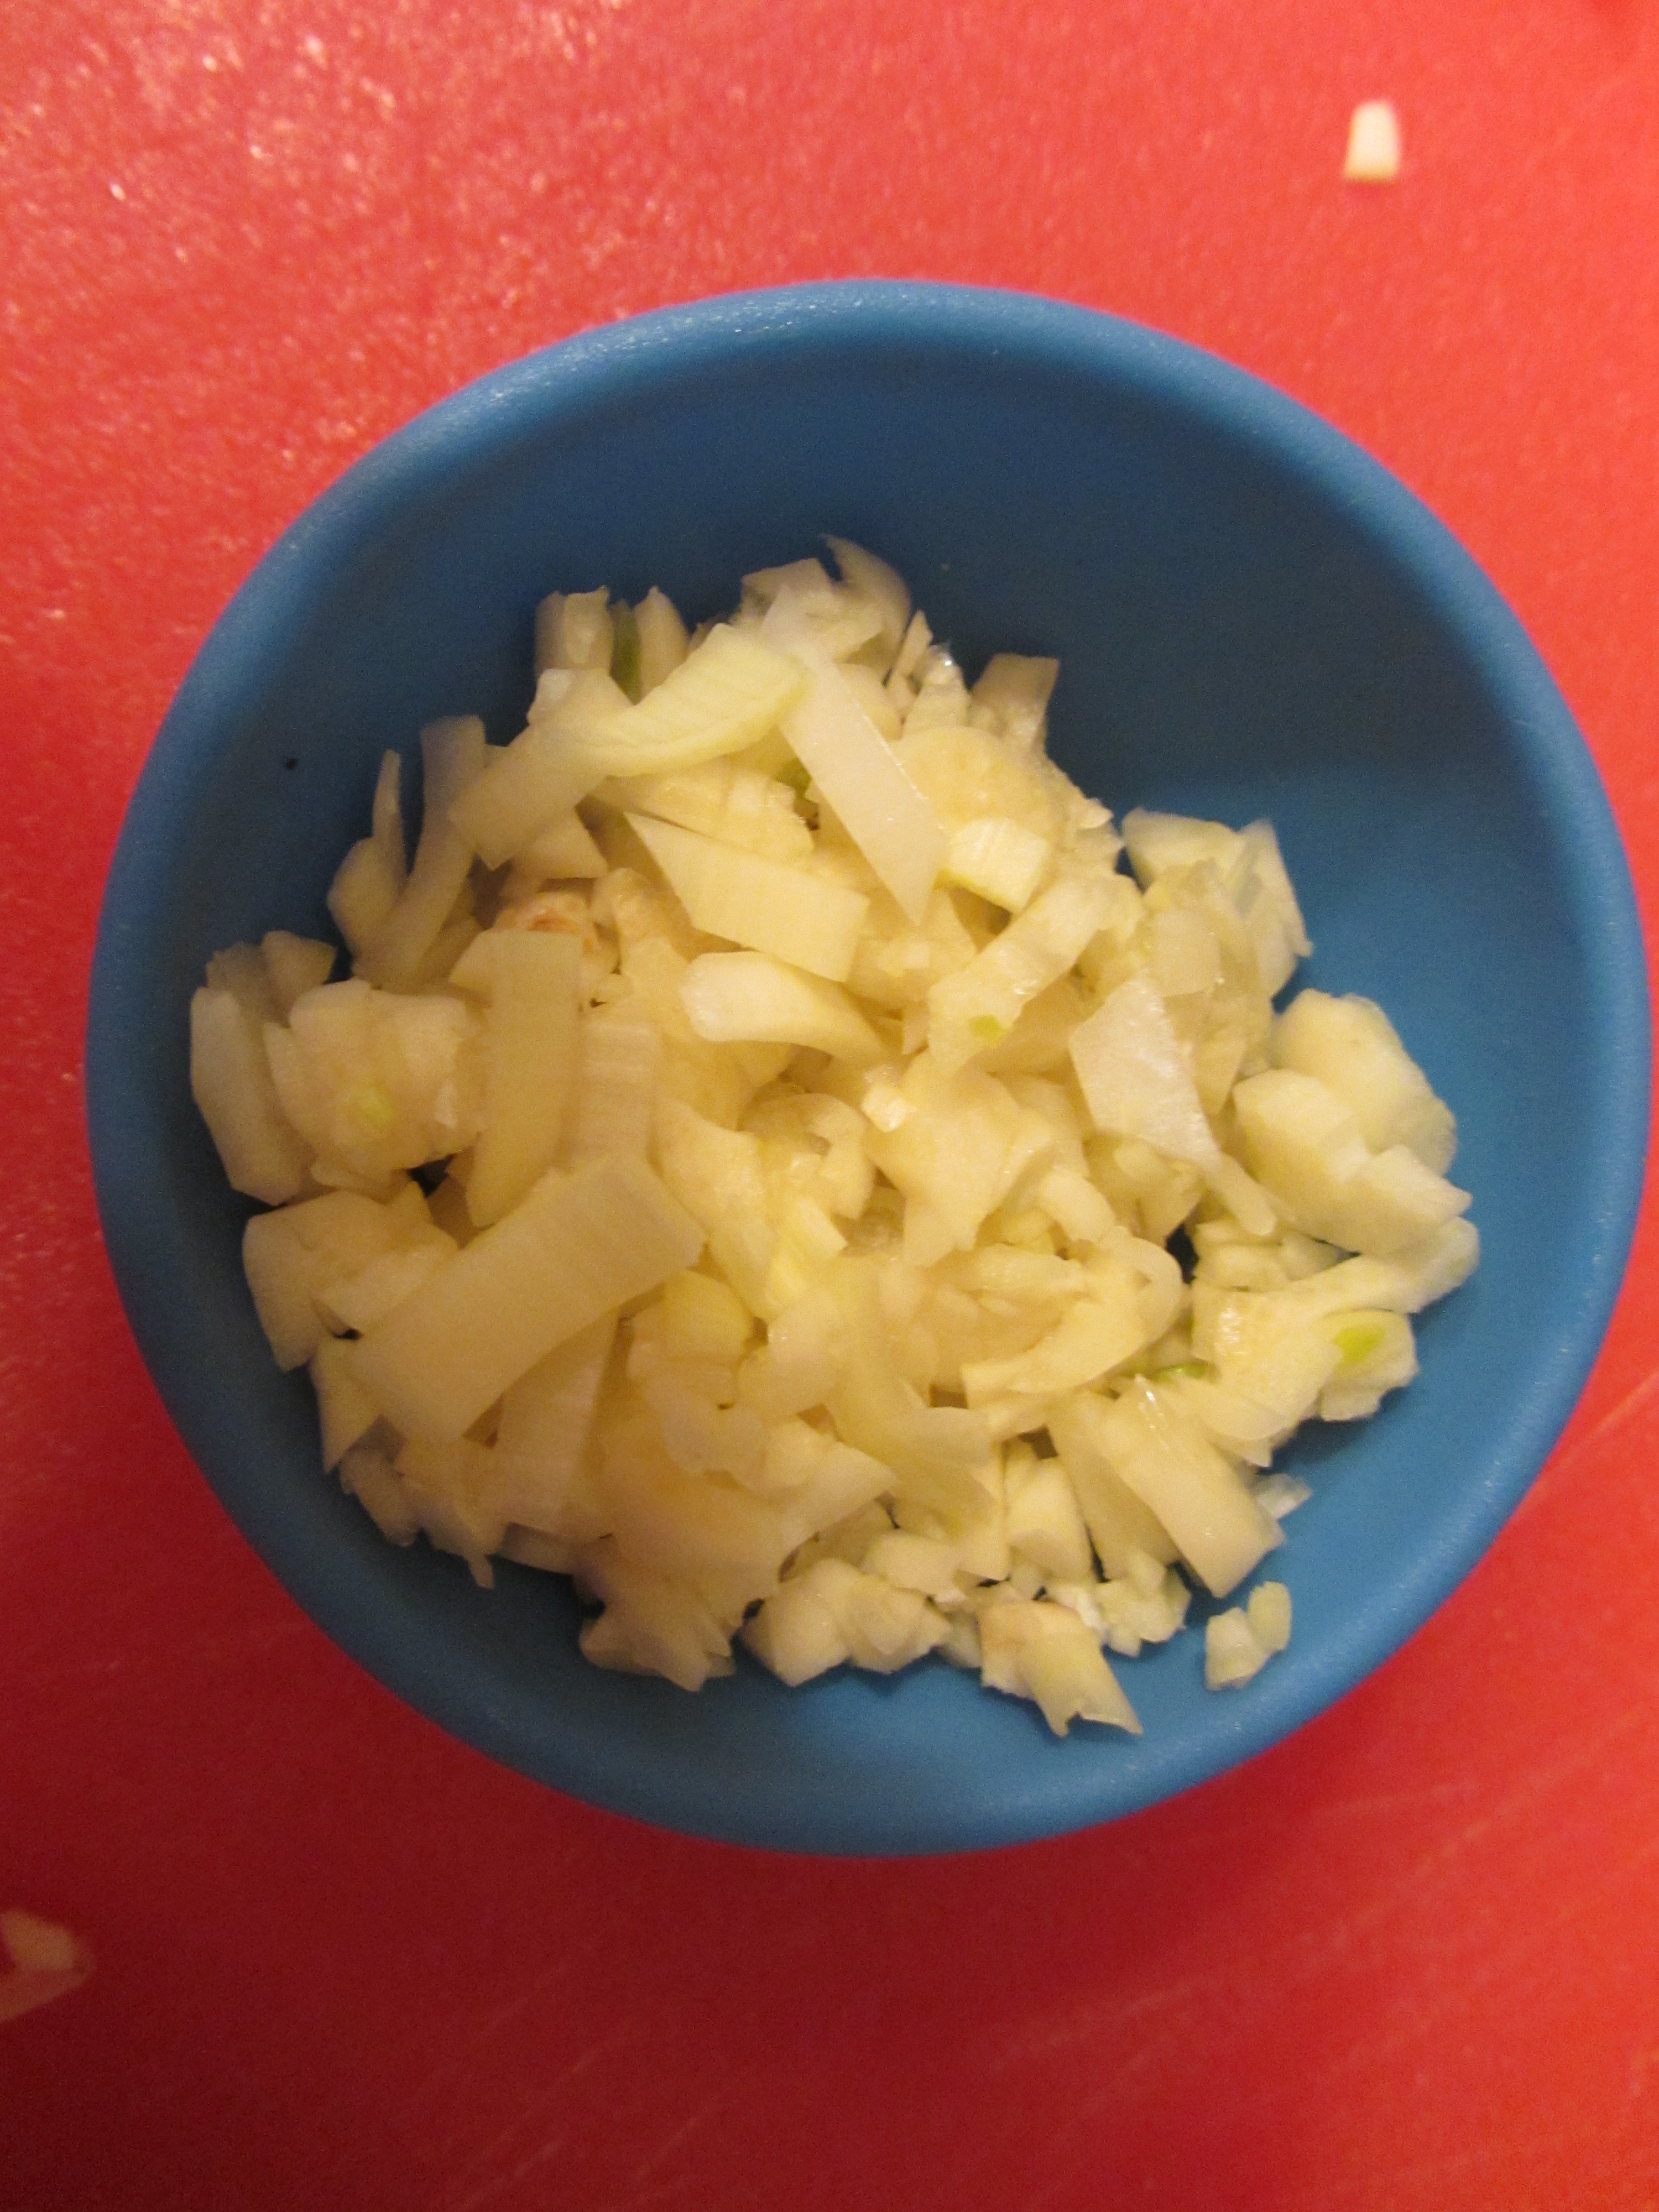
Chopped shallot.
When the duck is done, let it rest on a plate, covered with foil; a small, upturned bowl in the center of the plate gives the duck something to lean against, keeping it from sitting in its own juices.

Duck quarters, resting.
While the duck rests, add a couple handfuls of shredded chard to the hot cast iron skillet, tossing with tongs.
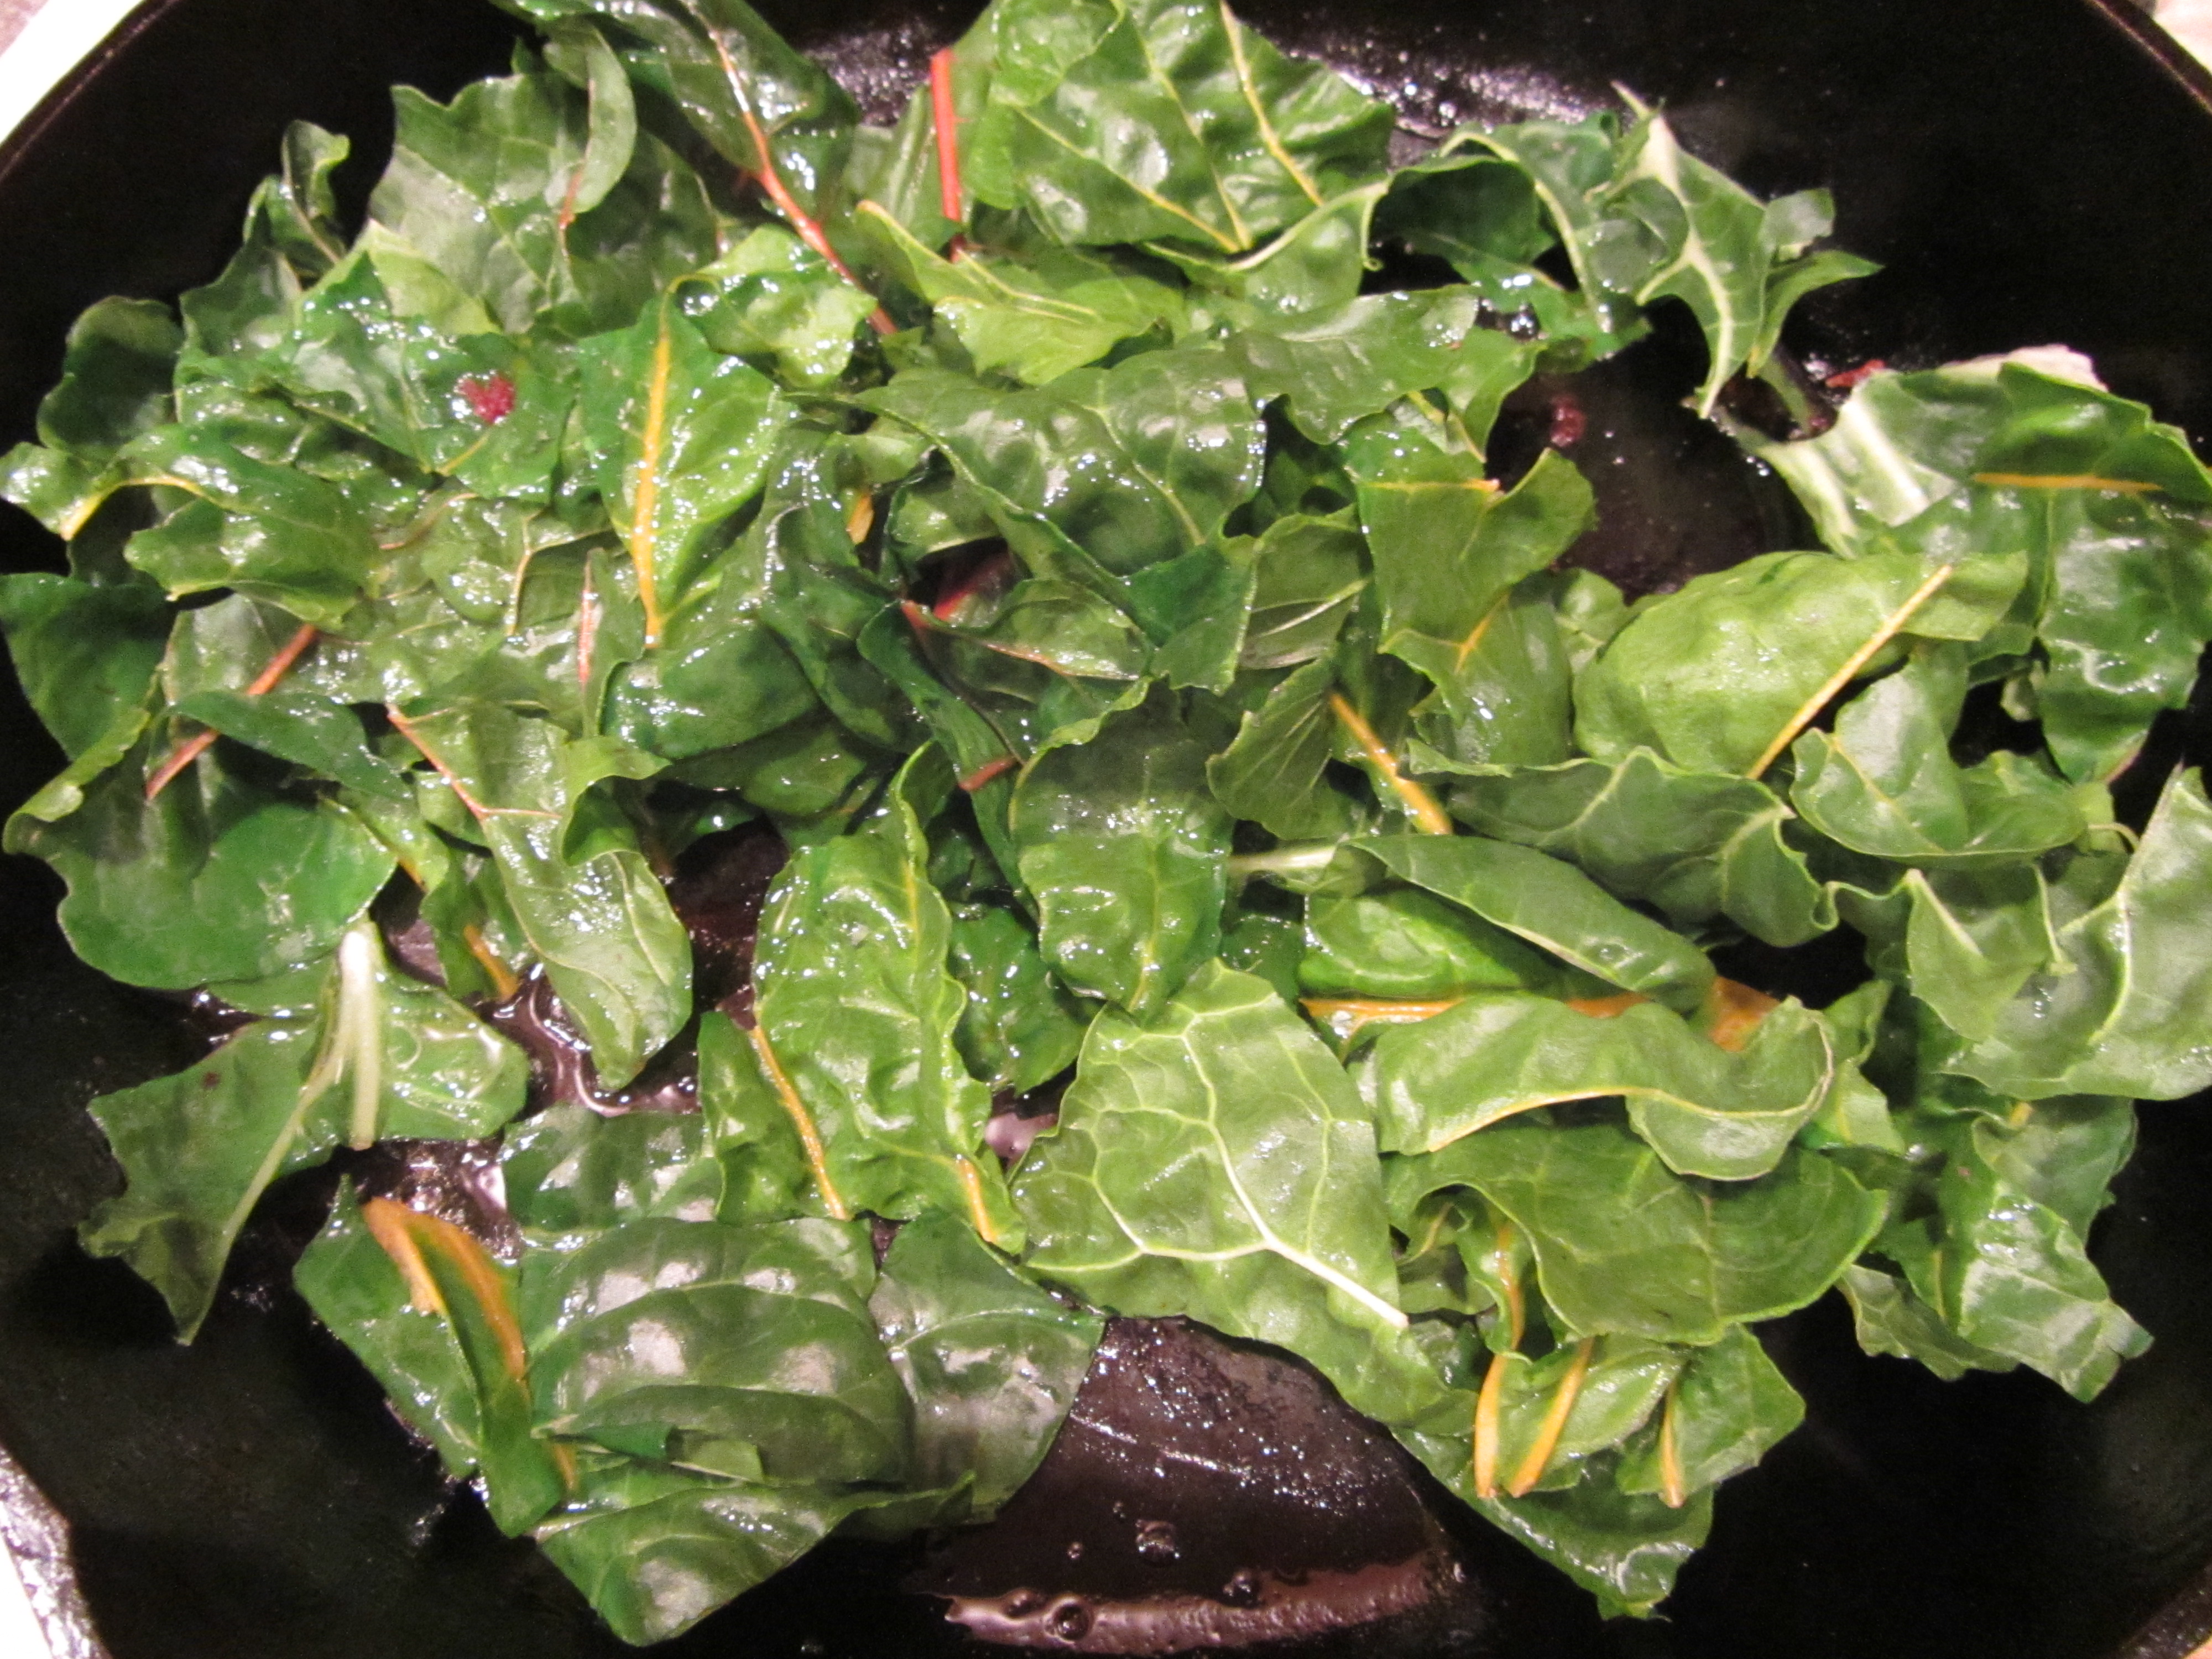
Chard added to hot duck skillet.
The skillet will be hot enough that you can do this off of heat. Add some chopped shallots to the chard, toss until wilted, and sprinkle with some balsamic or sherry vinegar.
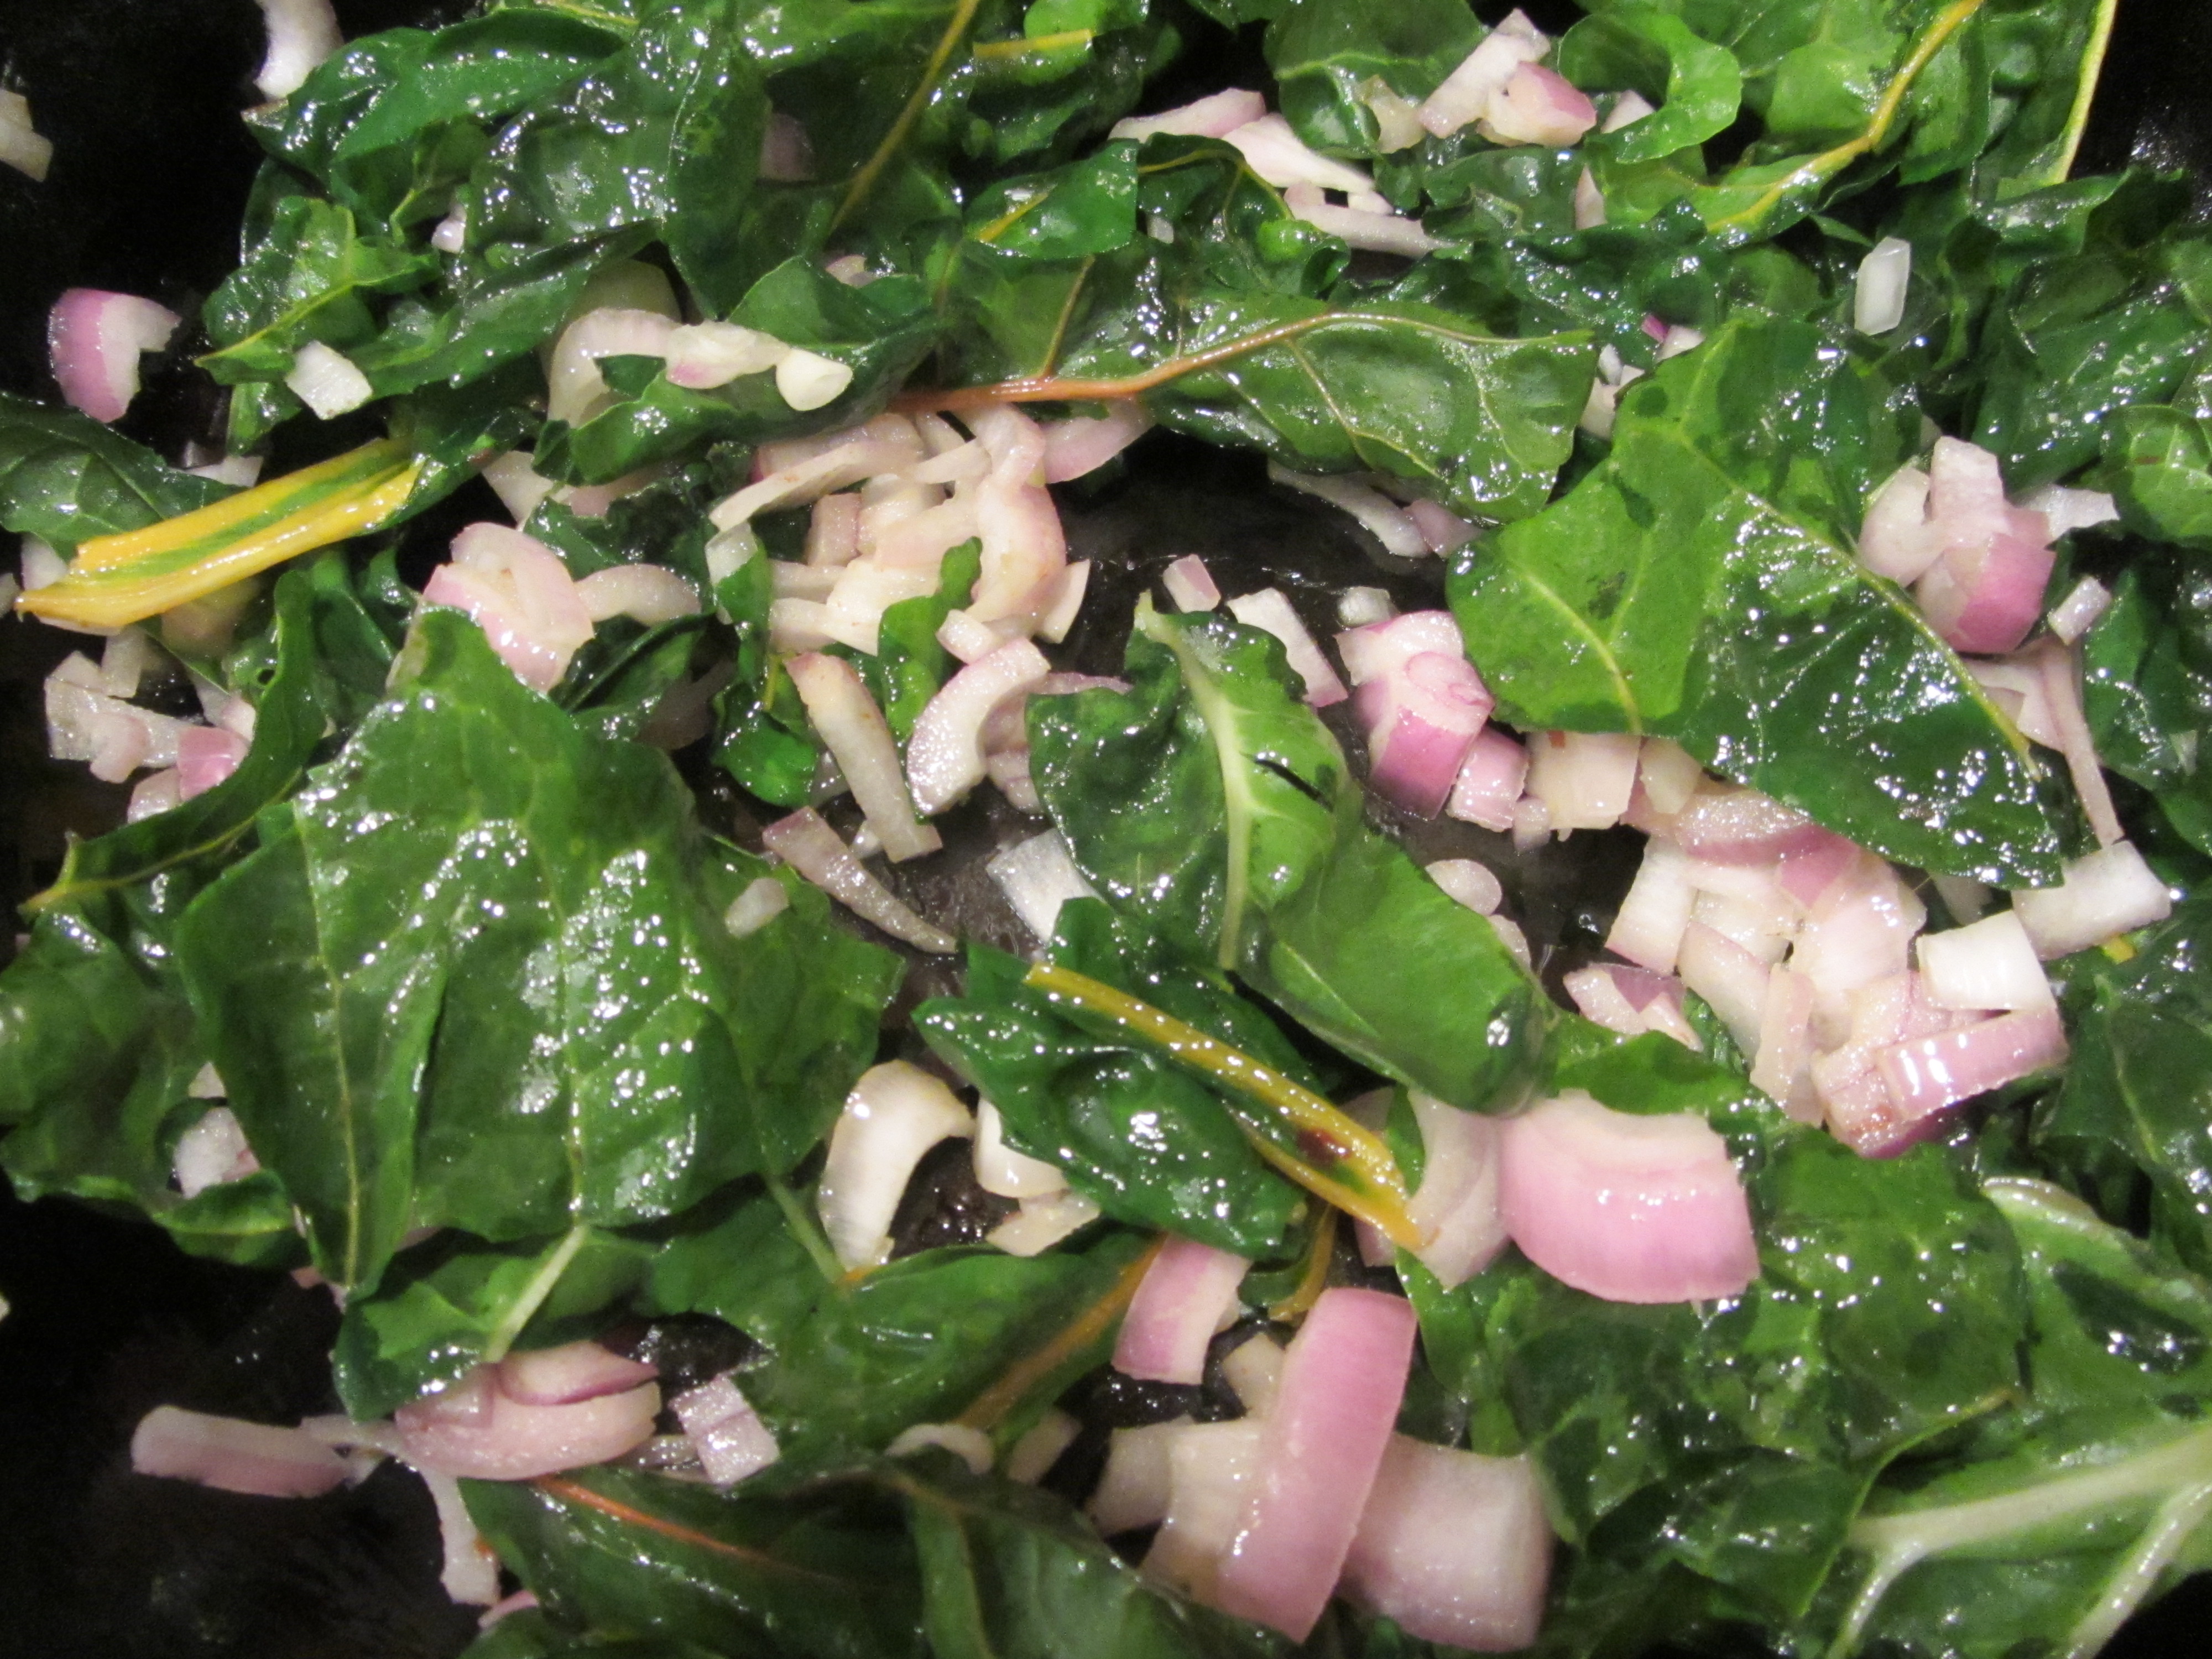
Chard and shallots in hot skillet.
Remember that cooking liquid that remained after steaming? The water portion of that liquid can be boiled away until all that remains is wonderful duck fat.
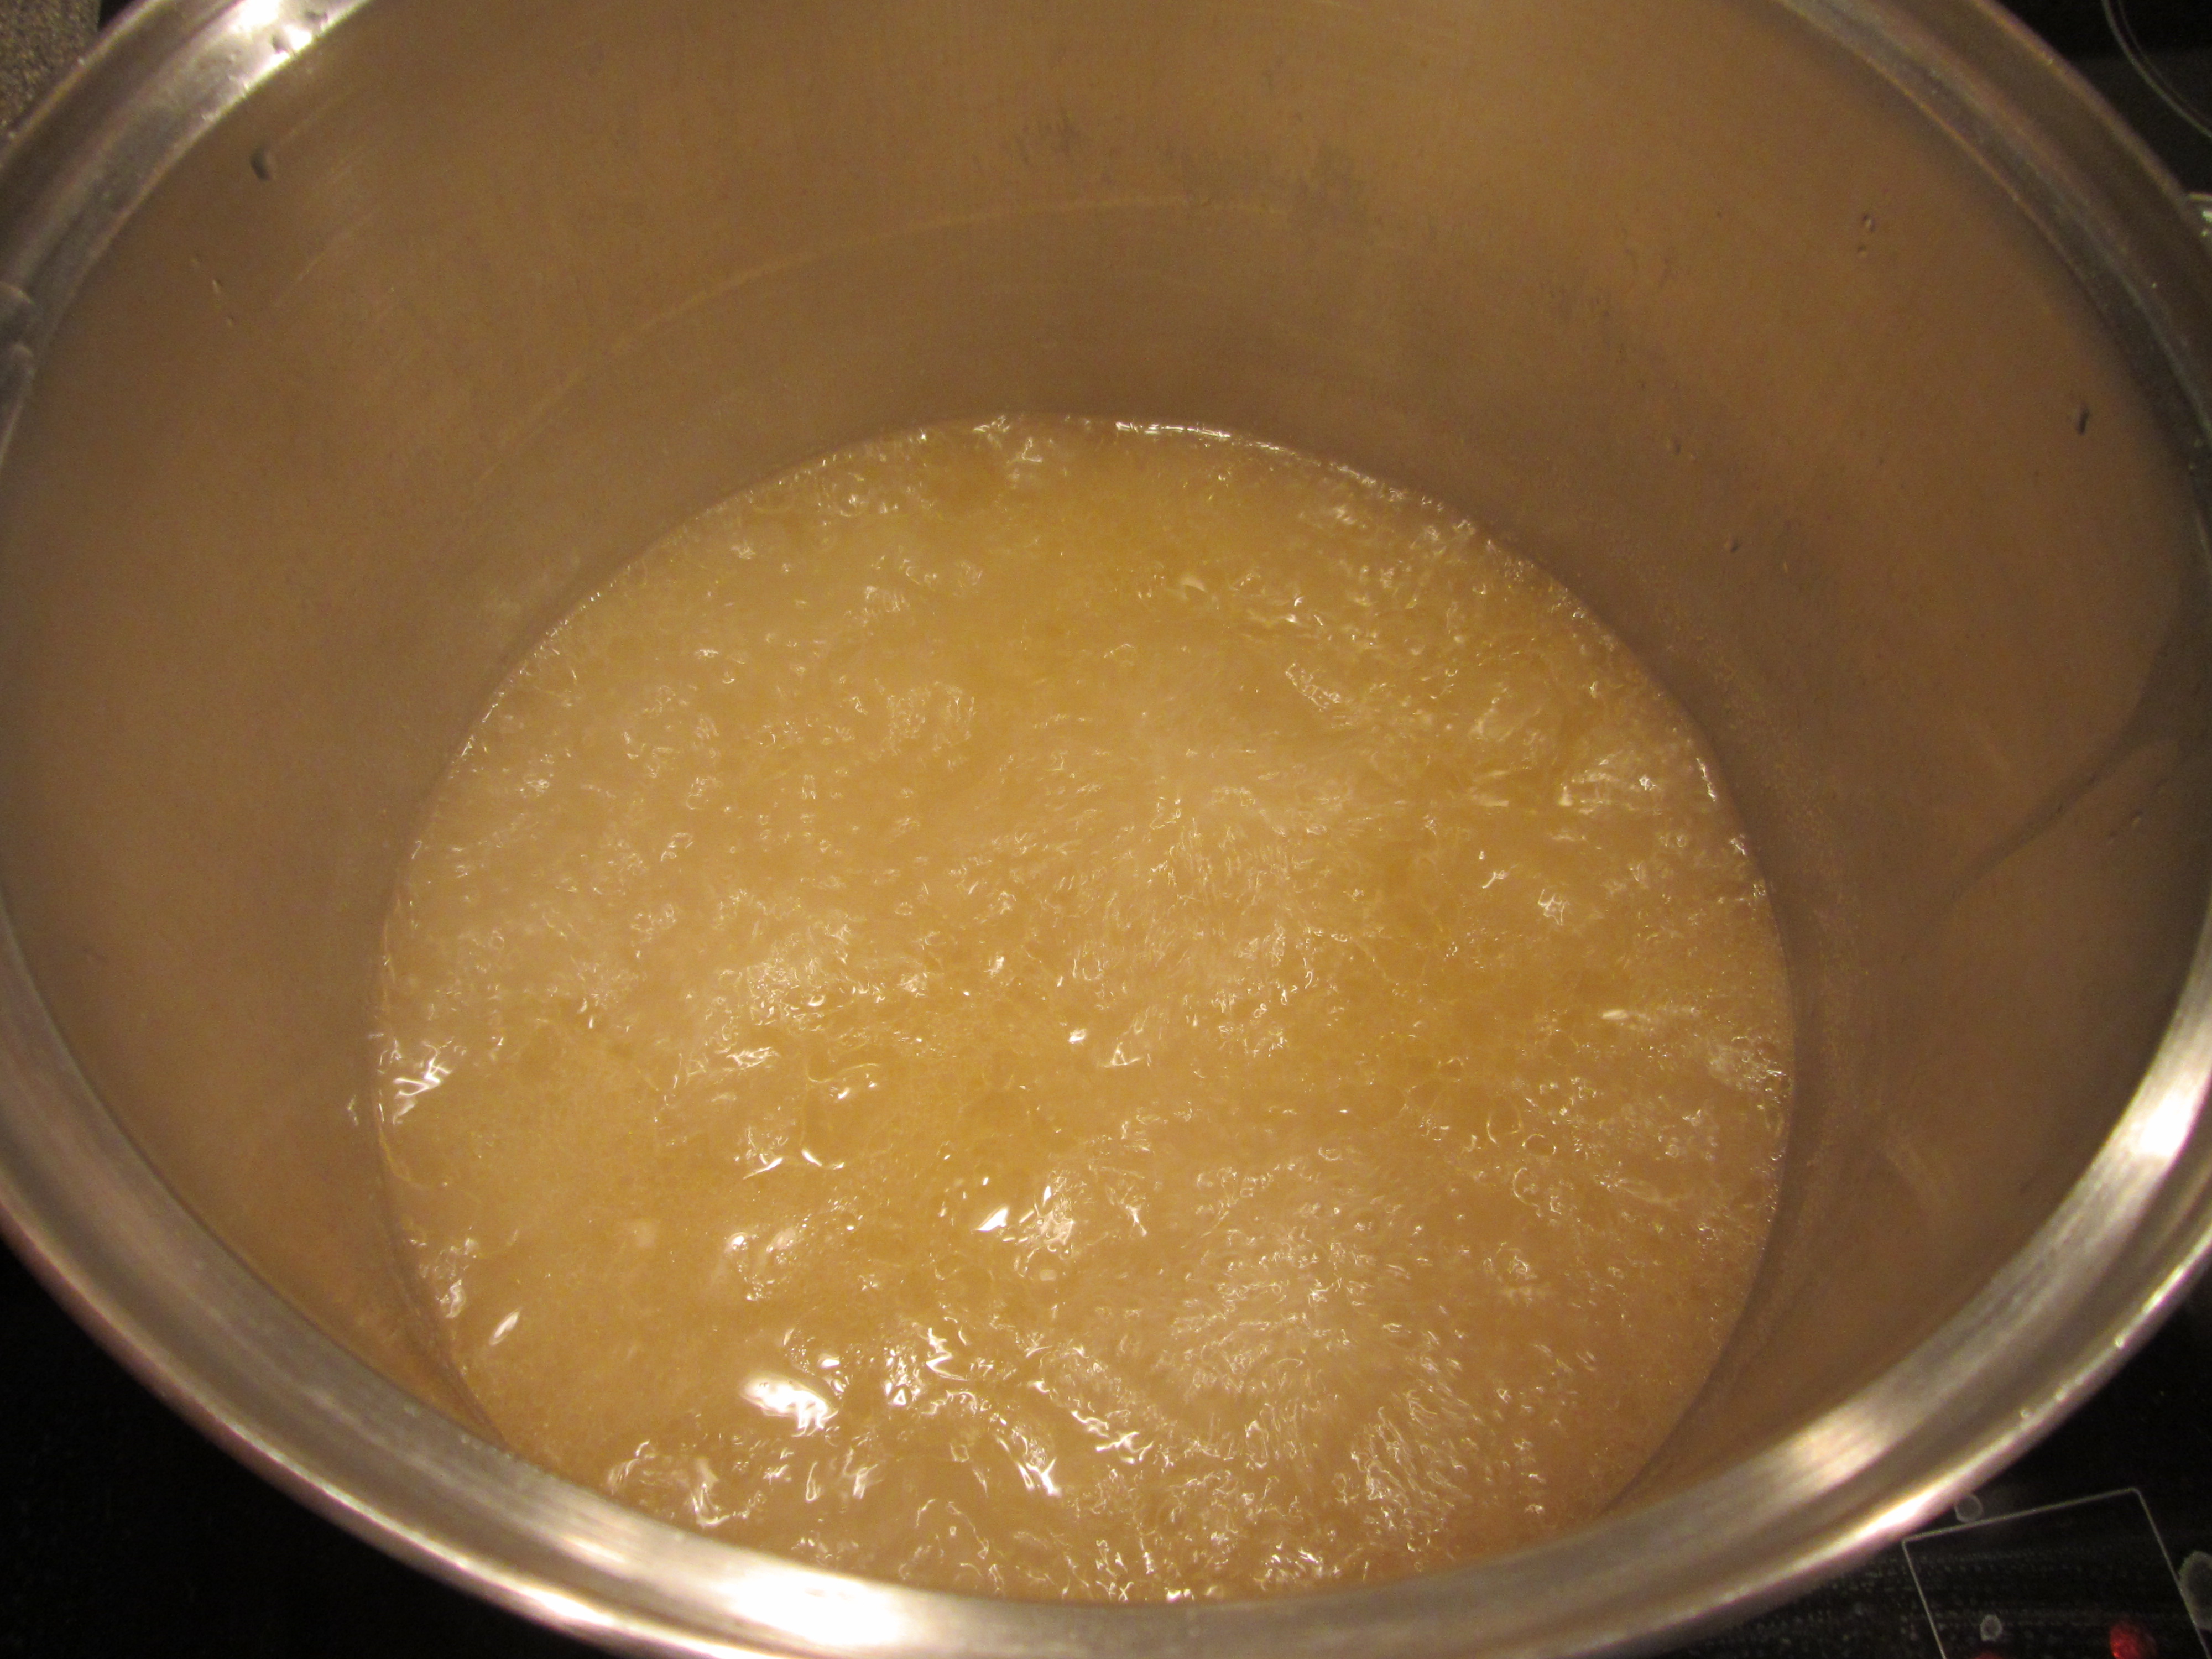
Steaming liquid, boiling down to duck fat.
Alton recommends simmering some cubed red potatoes in salted water before sautéing them in a little duck fat over high heat. I just could not resist that idea, so I heeded his advice and made some duck fat potatoes to go with our duck and chard.
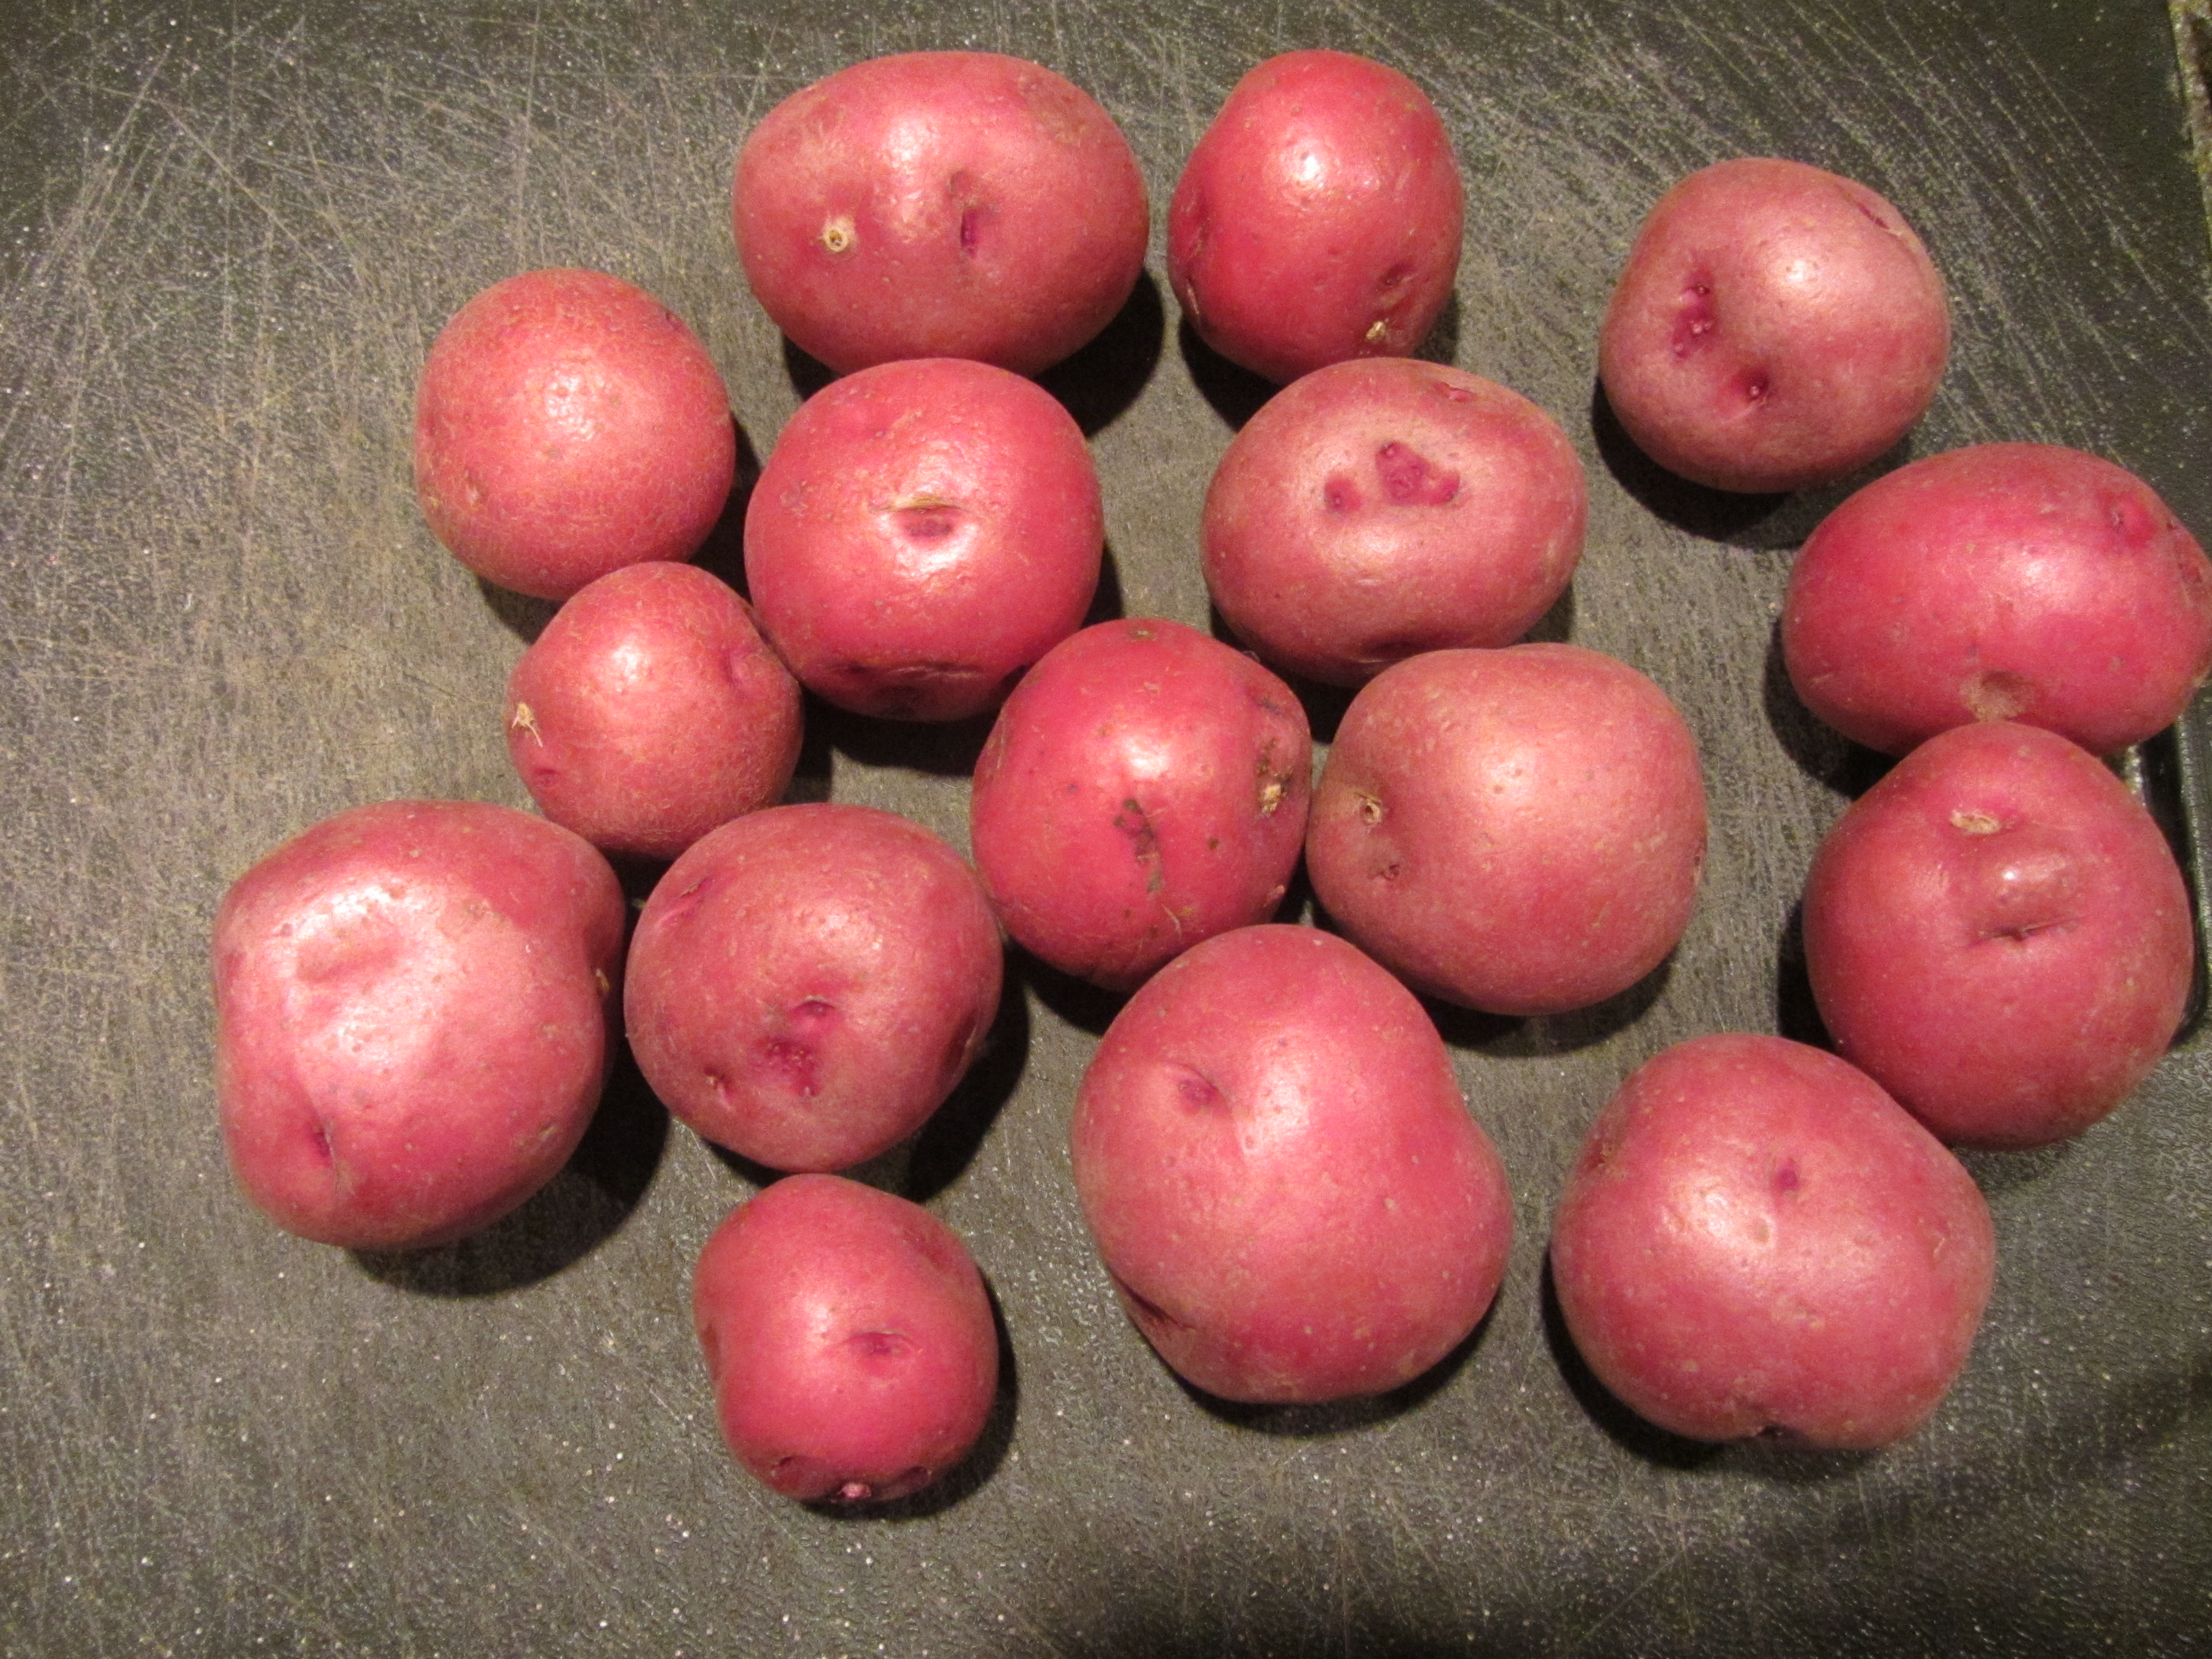
Red potatoes to saute in duck fat.

Red potatoes, after simmering in salted water.

Potatoes cooked in duck fat.

Duck, potatoes cooked in duck fat, and chard.
Not being a Quakxpert myself, I thought this meal was pretty darn delicious… and sinful. My one complaint was that the duck skin was only super crispy where it had directly contacted the skillet, but that crispy part was really great. I also ended up having very strongly flavored shallots, which overpowered the chard a bit, but that was just the luck of the draw. The duck was very moist and had lots of flavor. Ted agreed, and he had the leftovers for lunch today. I foresee making this again for a special meal, and it could be a different option for a future holiday dinner. As my dad would say, “It’s a life’s work for a duck.”