The 96th episode of Good Eats originally aired in December, hence the Christmas cookie theme. I say, however, that Christmas cookies deserve to be eaten at any time of the year, and March seemed like a perfect time to crank some cookies out of my kitchen. First up?
Sugar Cookies
This is a recipe that I actually made years ago (maybe in 2005?) for Christmas at my parents’ house. It was the first Christmas Ted spent with my family and I remember decorating the cookies on Christmas Eve prior to Ted’s arrival. My brother and I were going to head to Christmas Eve mass with our parents, and we somehow ended up with two martinis in our systems prior to church. Let me just say that mass was a little more entertaining than usual, and I ended up with very brightly (and abstractly) decorated cookies. The cookies were a hit then, so I knew they would be good when I made them this time around. This recipe begins by sifting together 3 C flour, 1/4 t salt, and 3/4 t baking powder.


Also, in a small bowl, combine 1 egg and 1 T milk.
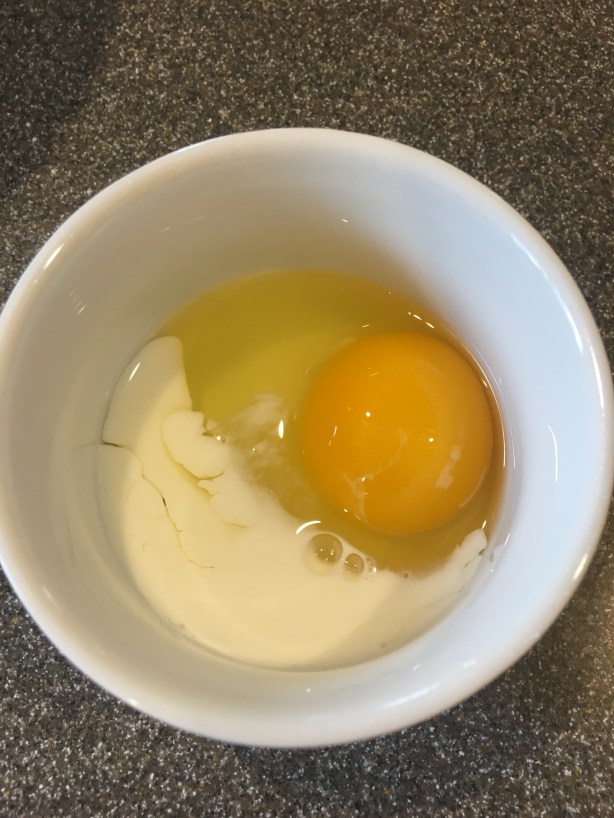
Wet ingredients – egg and milk.
Oh, and place a sheet pan in the freezer. Next, in a stand mixer with the paddle attachment, cream together 1 C butter and 1 C sugar until light and fluffy.


Slowly add the wet ingredients to the mixer until mixed in.

Wet ingredients added to mixing bowl.
Then, slowly add the sifted dry ingredients on low, mixing until the dry ingredients are incorporated and the dough forms a ball.


Divide the dough in half, patting each half into a flat slab. Wrap the dough in plastic or wax paper and place it in the refrigerator for two hours.

Dough, divided into two equal slabs, and ready to head into refrigerator.
When you are ready to cut out your cookies, sprinkle your work surface with powdered sugar (Alton prefers sugar to flour because flour causes the dough to develop more gluten). Roll the dough to 1/4″ thick, lifting the dough every so often to be sure it isn’t sticking; I found that I needed quite a lot of powdered sugar to keep the dough from sticking to my counter.


Remember that frozen sheet pan from earlier? Place it on your rolled dough for 10 minutes to re-chill the dough before cutting.
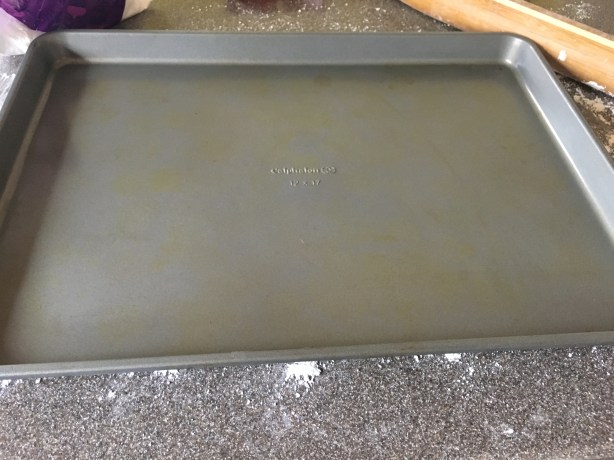
Cold sheet pan placed on top of rolled dough.
Use cookie cutters (FYI Alton likes plastic ones) to cut cookies from your dough, transferring them to parchment-lined baking sheets.


Bake the cookies for four minutes at 375, rotate the pans, and bake them for four to five more minutes. I found that my cookies needed a little more time than this. Let them cool completely on racks before frosting.

Cookies, after baking.
This sugar cookie recipe is fantastic. The dough comes together super quickly and is very easy to work with. The resulting cookies are crispy on the outside and slightly tender on the inside, and they have a rich, buttery flavor. I highly recommend this one! Oh, and how should you decorate said cookies? With Alton’s recipe for royal icing, of course! See below.
Royal Icing
If you are looking for a way to decorate your sugar cookies, look no further than Alton’s royal icing recipe. To make his icing, beat four egg whites or three ounces of pasteurized egg whites (I used pasteurized egg whites) with 1 t vanilla, using the whisk attachment of a stand mixer.


Gradually add 4 C of sifted powdered sugar until you have a smooth, lump-free icing.


Divide the icing among small bowls, adding coloring as you desire. As far as coloring goes, Alton prefers powdered food coloring because it lasts the longest and has no additives. I only had liquid food coloring, so that is what I went with.
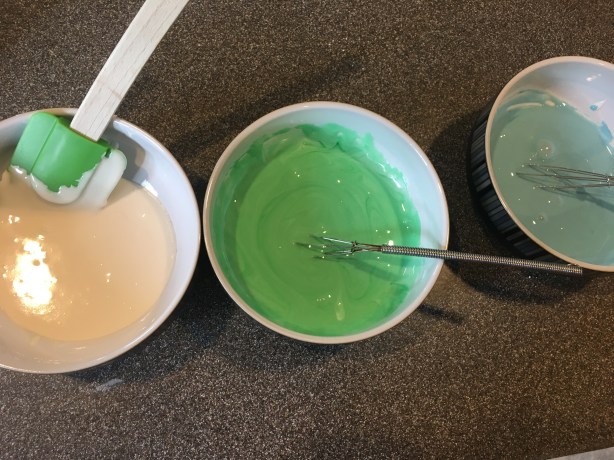
Royal icing, divided and colored.
Frost your cookies and let them sit until the frosting has set up. Oh, and if you end up with a bad color, Alton recommends adding cocoa powder until you have covered it up.

My decorated sugar cookies.
This icing could not be easier to make and it sets up beautifully. Since royal icing is thin, it can be a bit messy to deal with, but it looks and tastes great. This is a fool-proof royal icing recipe that pairs perfectly with Alton’s sugar cookies. I threw a bunch of my frosted cookies in the freezer for later enjoyment, so you can always make these ahead.
Chocolate Peppermint Pinwheel Cookies
Last in this episode was Alton’s recipe for chocolate peppermint pinwheel cookies. I actually made this recipe years ago also, but for a cookie exchange when I was in graduate school. I remembered liking these cookies then. These cookies start with a batch of Alton’s sugar cookies.


Divide the sugar cookie dough in half (it is best to do this by weight), and place the dough in two bowls.

Dividing sugar cookie dough in half by weight.
One half of the dough will become peppermint dough, while the other half will become chocolate dough. Add 1 t vanilla to one of the bowls of dough, and add 1 t peppermint extract to the other.


To the peppermint dough, add 1/2 C crushed candy cane (or peppermint candy).


To the dough with vanilla extract, add 3 ounces of melted unsweetened chocolate (you can melt it in the microwave, stirring until melted).


Use gloved hands to mix the peppermint and chocolate into the two doughs. Additionally, add 1 egg yolk to the peppermint dough, mixing it in by hand.
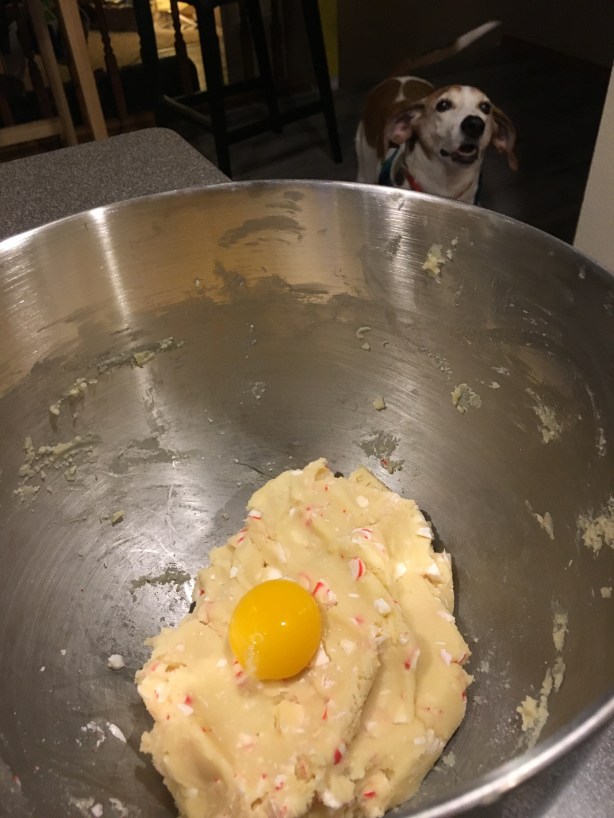
Crushed peppermint and egg yolk added to dough with peppermint extract.
Chill the two doughs for five minutes. Roll out the two doughs to 1/3-1/4″ thick rectangles, using powdered sugar to keep the dough from sticking. You want your chocolate rectangle to be slightly longer and thinner than your peppermint rectangle. Place the chocolate dough on a non-stick mat or a pliable cutting board (I rolled my dough out on a non-stick mat, so I wouldn’t have to transfer it).


Place the peppermint dough on top of the chocolate dough, pressing the doughs together.
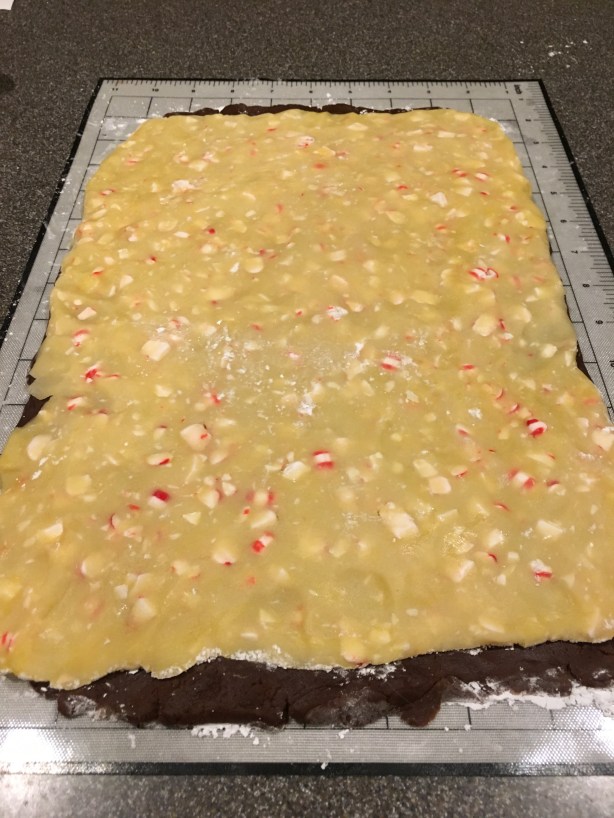
Peppermint dough placed on top of chocolate dough and the two are pressed together.
Use the edge of the non-stick mat or cutting board to roll the doughs into a log. Wrap the log in wax paper and refrigerate it for at least two hours.


When ready to bake, slice the log into 1/2″ slices, placing them on parchment-lined sheets.
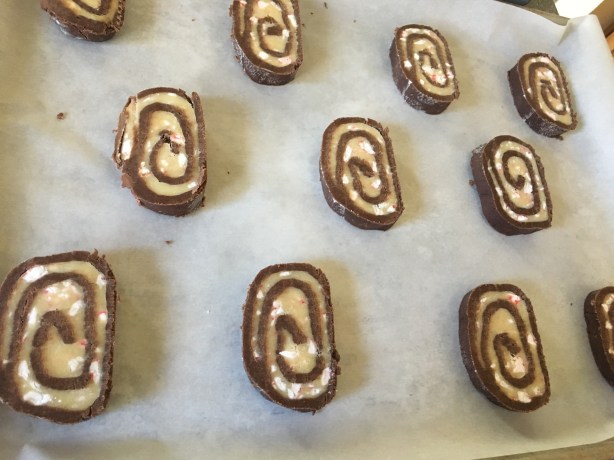
Dough sliced into rounds.
Bake the cookies for 12-13 minutes at 375-degrees, rotating the pans once during baking. Cool the cookies for two minutes on the baking sheets before transferring them to racks.


These cookies are chewy and dense, and have little pockets of crunchy peppermint. They are pretty and fun to make, and they definitely have a seasonal feeling to them. That being said, though, why is peppermint only popular at the holidays? Peppermint ice cream is one of my very favorite flavors, but you can only find it for a couple months each year. Anyway, these cookies are worth a bake, and, yes, you can freeze these too!

Hello. I enjoyed your blog. I agree that cookies are for anytime, especially Christmas cookies
Hello. I was googling around about Alton Brown and cookie cutters because i was trying to remember where I saw that recently he had changed his mind about plastic vs. metal and finally found it. In “Good Eats: Reloaded” in episode 7 at about 11:05 in he says “So, I admit. I used to be excited about plastic cutters, but within a year I was having to replace them because they got dull and nicked around the edges. So I have gone back to metal. American made, heavy duty metal. See, they don’t bend. I mean, well, they could but you’d really have to boss them around and this edge has stayed sharp for years.”
I was surprised when Alton said he preferred plastic cutters – metal cutters work so much better! Thanks!