I was super stoked to find that I would be making fresh pasta in the 79th episode of Good Eats. Fresh pasta is just plain delicious. Pass the gluten, please! Last year we took a pasta class, in which we made fresh noodles using a pasta machine, so I felt comfortable with the basics of making pasta dough. I had not, however, ever tried making filled pasta. First up?
Ravioli
When making Alton’s fresh pasta, you need to plan ahead a little bit because your dough will need to rest for at least an hour, and you will want to freeze your pasta prior to cooking. For Alton’s ravioli, place a mound of flour (~3 C) on a clean work surface, making a well in the center. Combine in a measuring cup: 2 eggs, 3 T water, 1/2 t salt, and 1 t olive oil.

Ready to make fresh pasta – a mound of flour and a mixture of eggs, water, salt, and olive oil.
Pour some of the liquid into the well in the flour, and begin stirring the liquid with two fingers, gradually incorporating some of the surrounding flour; use your other hand to support the “walls” of your flour mound. When you have a paste-like consistency, you can gradually add more of the liquid mixture.


Continue the process of adding liquid and stirring in flour until the liquid is all incorporated and you have a thick paste. Using your hands, knead your dough, adding more flour, until you have a smooth, non-tacky, semi-firm dough. You will likely have a fair amount of excess flour still remaining on your counter. Roll your dough into a ball, cover it in plastic, and refrigerate it for at least an hour.

My finished pasta dough.
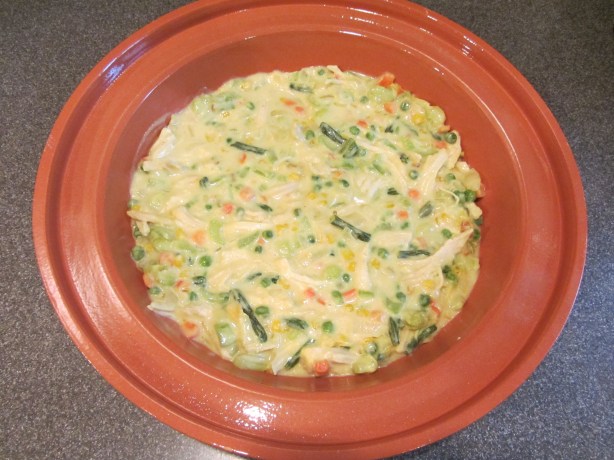
While your dough rests in the refrigerator, you can make your filling, which is Alton’s Good Eats meatloaf mix plus 3 T grated Parmesan, 1 T balsamic vinegar, and 1/2 t oregano.


Once your dough has sufficiently rested, cut it in half, setting one piece aside, covered in plastic.

My dough, after resting in the refrigerator.
Shape the piece of dough you are working with into a candy bar-sized rectangle and sprinkle it with flour, passing it through a pasta machine on the widest setting.


Fold the dough in thirds, turn it 90 degrees, and pass it through again. Follow this procedure one more time, adding flour as needed, so you pass the dough through the widest setting a total of three times.


Continue passing the dough through the machine one time at each progressive setting until your dough has gone through setting #7 (If your pasta machine is like Alton’s, it will have 9 settings. My pasta machine has fewer settings, so I stopped at #4 of 6). Regardless of how many settings your pasta machine has, you want to have a final dough that is almost translucent.


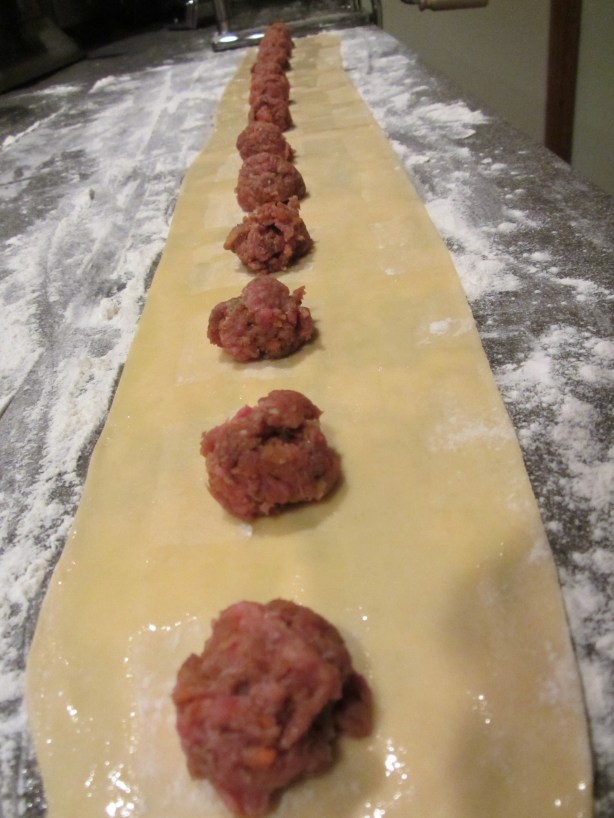
Placing your long sheet of dough on a floured surface, use a teaspoon to place rounded balls of meat filling down the center of the dough sheet, spacing them two inches apart; be sure to place the balls slightly closer to one long edge of the dough, so you have enough dough to fold over the balls.

Balls of meat filling placed on dough sheet.
In a small bowl, combine an egg and a little bit of water, whisking to combine. Brush this egg wash down the center of the dough right next to the meat balls. Next, brush the egg wash down the outside edge of the dough – only on the side closest to the meat. Finally, brush the egg wash between the meat balls.
Egg wash painted down the center of the dough, along the left edge, and between the meat balls.
Now you are ready to form your ravioli. Using your fingers, pull the longer side of the dough over the meat filling, using your fingertips to press excess air out around each ball of meat. Press all along the edges to ensure a good seal with the egg wash.
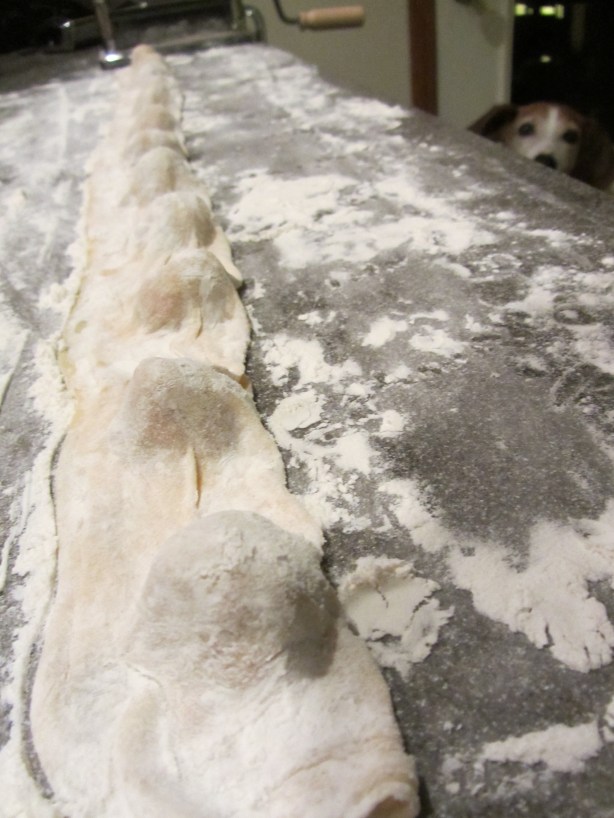
Excess dough folded over filling, and pressed to remove air bubbles.
Using a pizza cutter, cut between the mounds of filling, forming individual ravioli. Carefully press around the edges of each raviolo, ensuring that there are no leaks.
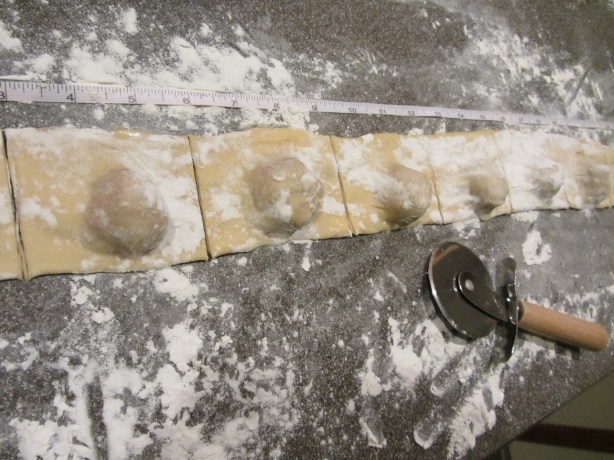
Ravioli cut with a pizza wheel.
Place your ravioli on a sheet pan and freeze them for at least three hours.

Ravioli in the freezer.
Once your ravioli are frozen, you can keep them frozen for later use, or you can cook them. To cook Alton’s ravioli, bring a pot of salted water to a boil, adding a dash of olive oil (to decrease surface area and prevent foaming).
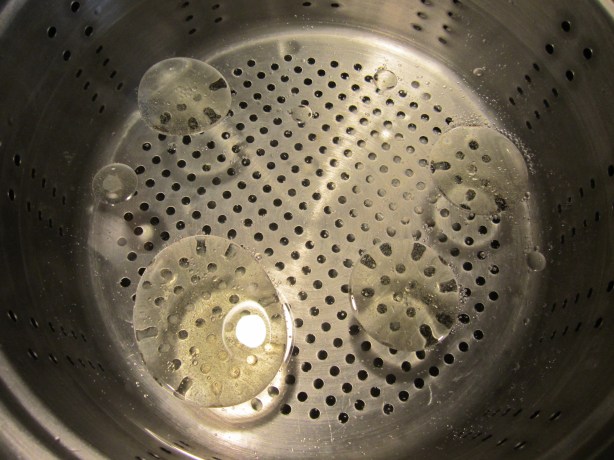
A pot of salted and oiled water.
Adding about 10 ravioli at a time, cook the pasta packets until they float; since the meat mixture is raw when you fill the ravioli, you may want to test one raviolo to make sure the filling is cooked.


Toss the cooked pasta in oil to prevent them from sticking together. For this pasta, Alton recommends a browned butter sauce with sage.

Chopped sage for the sauce.
To make this sauce, heat a skillet over medium-high heat, adding a pat of butter.
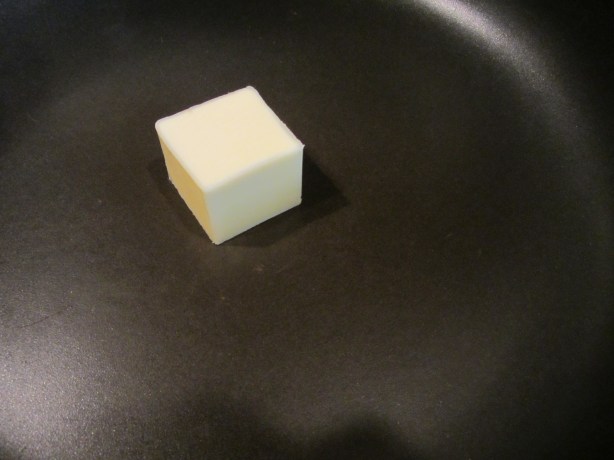
A large pat of butter for the sauce.
Let the butter cook until it starts to brown and foam. Add the ravioli, tossing them in the butter until their edges just start to brown.

Cooked ravioli added to browned butter in skillet.
Finish the sauce by adding some chopped sage and black pepper.

Sage and pepper added to skillet.
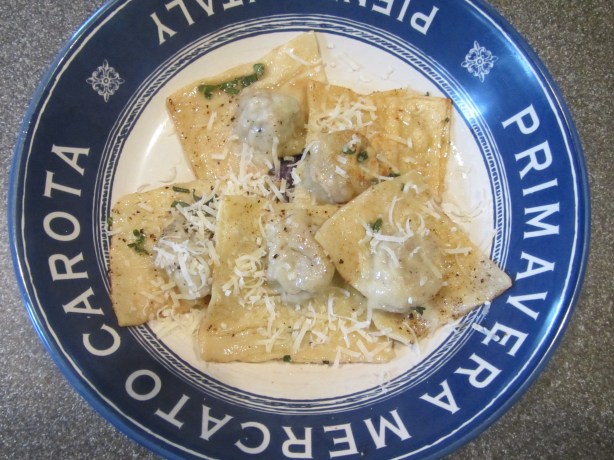
A bowl of Alton’s meat ravioli with browned butter and sage.
So, how did Alton’s ravioli turn out? I was pretty happy with my first attempt at filled pasta, though my ravioli were certainly not picture perfect. We really enjoyed the tangy meatloaf filling in this pasta, and the texture of the pasta was great – perfectly al dente. When making fresh pasta, I think you really want the pasta to be the star of the show, and Alton’s simple brown butter sauce allowed the ravioli to shine. Making fresh pasta is a fun project and is certainly worth the effort.
Tortellini
Once I had made Alton’s ravioli, it was time to tackle his tortellini. For this recipe, Alton did not use a pasta maker, opting to make the tortellini only by hand, which makes it a bit more time-consuming. The basic dough for Alton’s tortellini is made in the same way as for the ravioli above, using a mound of ~3 C of flour and a mixture of 2 eggs, 3 T water, 1/2 t salt, and 1 t olive oil. The liquid ingredients are gradually added to the flour until a firm paste is achieved, and the resulting dough is kneaded by hand until a smooth, firm dough results.


The dough will need to rest in the refrigerator for at least an hour before the tortellini are formed.

Final dough, to be refrigerated.
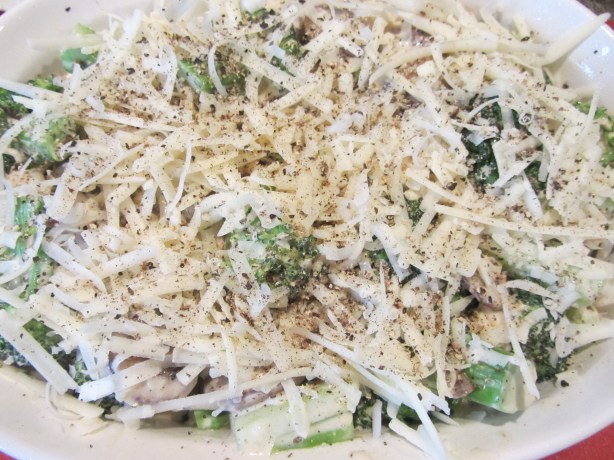
While the dough rests, you can make Alton’s cheese filling by combining 1/2 C ricotta cheese, 1/4 C grated Parmesan, 2 T thawed/drained frozen spinach, 1 egg, pepper, and a pinch of nutmeg.


When you are ready to form your pasta, cut your dough into four equal pieces, setting three of the pieces aside while you work with one.


Roll the piece of dough into a long, 1/2-inch thick snake. Using a pastry scraper, cut the snake into inch-long pieces, rolling each piece into a round ball.


Flatten each piece of dough into a disc, dust it with flour, and roll it out with a thin wooden dowel rod (we keep one in our kitchen window track to “lock” the window).


When you have finished rolling your dough, it should be thinner than a nickel. Next, Alton used a biscuit cutter to cut perfect dough circles, but my dough circles were round enough that I did not bother cutting them. The key with tortellini is not to overfill them, so you want to place only 1/4 t of filling in the center of each round.

Filling placed in the center of the dough.
Brush one side only of each dough round with egg wash (1 egg plus a little bit of water), fold the dough over the filling, and press the edges to seal, forming a half-moon.


To form tortellini, pull the two pointed edges together below the filling, pinching them; if needed, add a little egg wash to keep the ends together.


Freeze the tortellini for three hours before cooking in salted/oiled water until they float.

Formed tortellini in the freezer.


Alton did not recommend a particular sauce for his tortellini, so I served mine with a delicate tomato cream sauce with fresh basil.

Alton’s tortellini with a tomato cream sauce.
We thought these were fantastic. The cheesy filling was light, the pasta had a great texture with just a little “bite,” and the light tomato sauce didn’t overwhelm the delicate filling of the pasta. Also, my tortellini were a little more aesthetically pleasing than my ravioli. Plus, hand forming each one of these babies made me appreciate them a little bit more! Both the recipes in this episode worked fantastically for my maiden voyage into fresh stuffed pasta, and I recommend them both highly.