Scrap Iron Chef’s Bacon
I was super excited for the 59th episode of Good Eats. Who wouldn’t be excited at the prospects of making homemade bacon? This episode was a play on the TLC show Junkyard Wars, which I recall seeing several times. I don’t know that this episode would make much sense if you had not seen the original show, but I’m not here to judge production value… I just judge the food!
For Alton’s bacon, you will need a slab of pork belly, preferably from the back end of the pig (it has more fat). How much pork belly will you need? Alton appeared to prep about 10 pounds of pork belly in the episode, while the online recipe calls for five pounds. I, on the other hand, wound up with a 13.5 pound slab of belly. Basically, you can prep as little or as much bacon as you would like; you will just need to adjust the amount of brine you make accordingly. My pork belly was frozen, so I had to allow a couple extra days for it to thaw in the refrigerator. Even if your pork is not frozen, you will need to brine your pork belly for three days before smoking it.

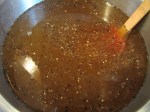
Ingredients for bacon brine: Kosher salt, sugar, molasses, black pepper, & apple cider. Not pictured: water.
To make enough brine for 10 pounds of pork belly, combine 2 C Kosher salt, 2 C sugar, 8 oz blackstrap molasses, 2 T ground black pepper, 2 quarts apple cider, and 2 quarts water in a large pot.
-
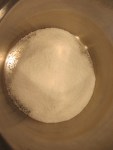
- 2 C Kosher salt
-

- 2 C sugar
-

- 8 oz molasses
-
- 2 T black pepper
-

- 2 quarts apple cider
-
- 2 quarts water
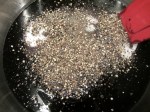
Bring the brine to a simmer and allow it to cool to room temperature. Once the brine is cool enough to use, portion your pork belly into chunks that can be stored in ziplock bags; I cut my pork belly into six sections.


Divide the brine evenly among the bags and refrigerate the pork for three days, turning the bags once per day to ensure even brining.

Pork belly and brine in bags for three days.
When smoking day has arrived, remove your pork belly chunks from their brine and dry them on a rack over a sheet pan. A fan can help to expedite this process. Dry the pork for ~30 minutes per side. The purpose of drying the pork is to form a pellicle, or a protein layer, to which the smoke particles can adhere.

Pork belly drying on racks to form pellicle before smoking.
If you are like me and do not own a smoker, you can build an Alton Brown smoker, much like the one I made for the smoked salmon episode. The difference between the bacon smoker and the salmon smoker is that you want to cold smoke the bacon, while the salmon was smoked with hot smoke. To make a cold smoker a la Alton, you will need a large cardboard box to hold your meat/racks, and a smaller cardboard box to hold your electric burner and wood chips.


You will also need a piece of flexible ductwork to connect the two boxes. Duct tape works great for sealing everything up, and you will want to seal the boxes very tightly.

My smoker. Two cardboard boxes connected with ductwork.
The smoke will be produced in the smaller box before traveling through the ductwork to the meat box; this keeps the smoke cool. If you have a small fan to push the smoke through the ductwork, that helps too. I used a small personal fan that I taped to the inside of the meat box. Alton recommended inserting a probe thermometer in the meat box to be sure the temperature remains below 80 degrees; my temperature never rose above 63 degrees. You will want to smoke your bacon for about six hours, changing the wood chips about every hour.

My bacon after drying. Ready to smoke!
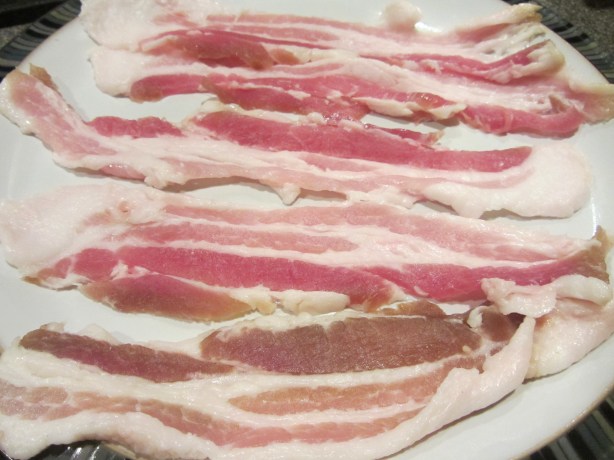
Be prepared for some awesome aromas to waft around your home. When your bacon has finished smoking, chill it in the freezer for an hour before slicing. In the episode, Alton did not mention whether his pork belly had the skin on, as my pork belly did. I opted to cut the skin off before slicing the bacon. We have a meat slicer, which made slicing pretty easy, and I honestly cannot imagine slicing it all by hand. Regardless of how you slice your bacon, slice it fat side up.
My sliced bacon. Freezing the bacon for an hour makes slicing easier.
Alton’s bacon can be stored in the freezer for up to a year. How does Alton recommend that you cook bacon? He recommends that you bake bacon on a rack placed over a sheet pan. Start your bacon in a cold oven that is set to 400 degrees, and check the bacon every three minutes until cooked to your liking. Oh, and save the drippings!


We first tried Alton’s bacon on BLT sandwiches with a slice of cheddar and Alton’s party mayo, and they were delicious sandwiches! The bacon is really quite delicious, though it does not have quite as much smoke flavor as I would have expected. We have a freezer full of delicious bacon that we can eat for months to come. Making bacon is certainly a fun weekend project that is worth a try.
Bacon Vinaigrette with Grilled Radicchio
If you are looking for something to use those delicious bacon drippings for, look no further than Alton’s grilled radicchio. For this recipe you’ll need radicchio lettuce, Kosher salt, black pepper, bacon drippings, brown sugar, coarse mustard, cider vinegar, and olive oil.
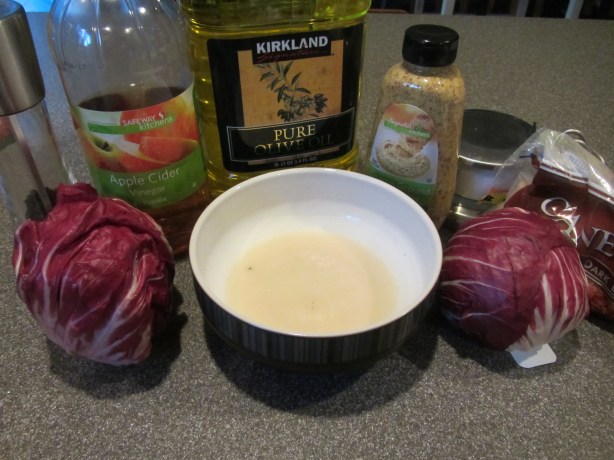
Ingredients for Alton’s grilled radicchio: radicchio lettuce, bacon drippings, Kosher salt, pepper, brown sugar, coarse mustard, cider vinegar, and olive oil.
Cut your radicchio into wedges, leaving some of the core in each wedge. Toss the radicchio wedges in bacon drippings to evenly coat, and sprinkle them with Kosher salt and pepper.


Grill the wedges until they are just starting to brown at the edges. Place the warm wedges on a plate and cover with foil.


Set the radicchio aside and allow the steam to cook the wedges while you make the dressing. For the vinaigrette, combine 1 T brown sugar, 1 T coarse mustard, and 1/4 C cider vinegar in a bowl. Whisk in 1/4 C olive oil and 2 T bacon drippings.


Drizzle the grilled radicchio with the bacon vinaigrette.
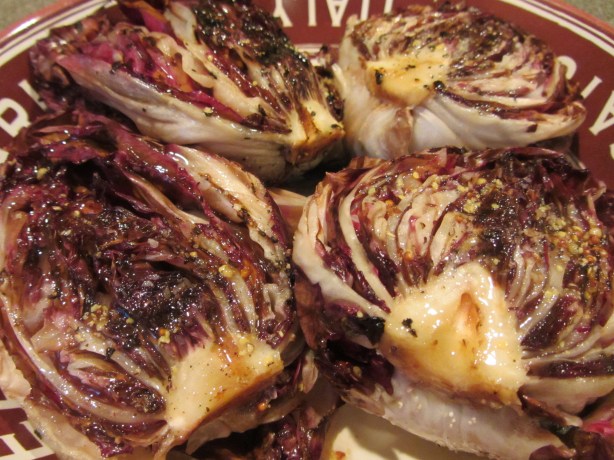
Radicchio wedges served with vinaigrette.
We ate this as a side dish and both thought it was delicious. In fact, we liked it so much that we already plan to have it again. This is an excellent, and different, vegetable side dish that is perfect alongside grilled entrees.