The Shrimp Cocktail
I had to make a decision here with my blog, as to whether to continue with the episodes in production order or in order of how the episodes aired. I chose to continue with the episodes by air date, which put my next episode as the shrimp episode. Shrimp, while I think they are okay, are not my favorite thing. I will almost always opt for other seafood over shrimp. This probably explains why I had never prepared shrimp prior to making this recipe from Good Eats.
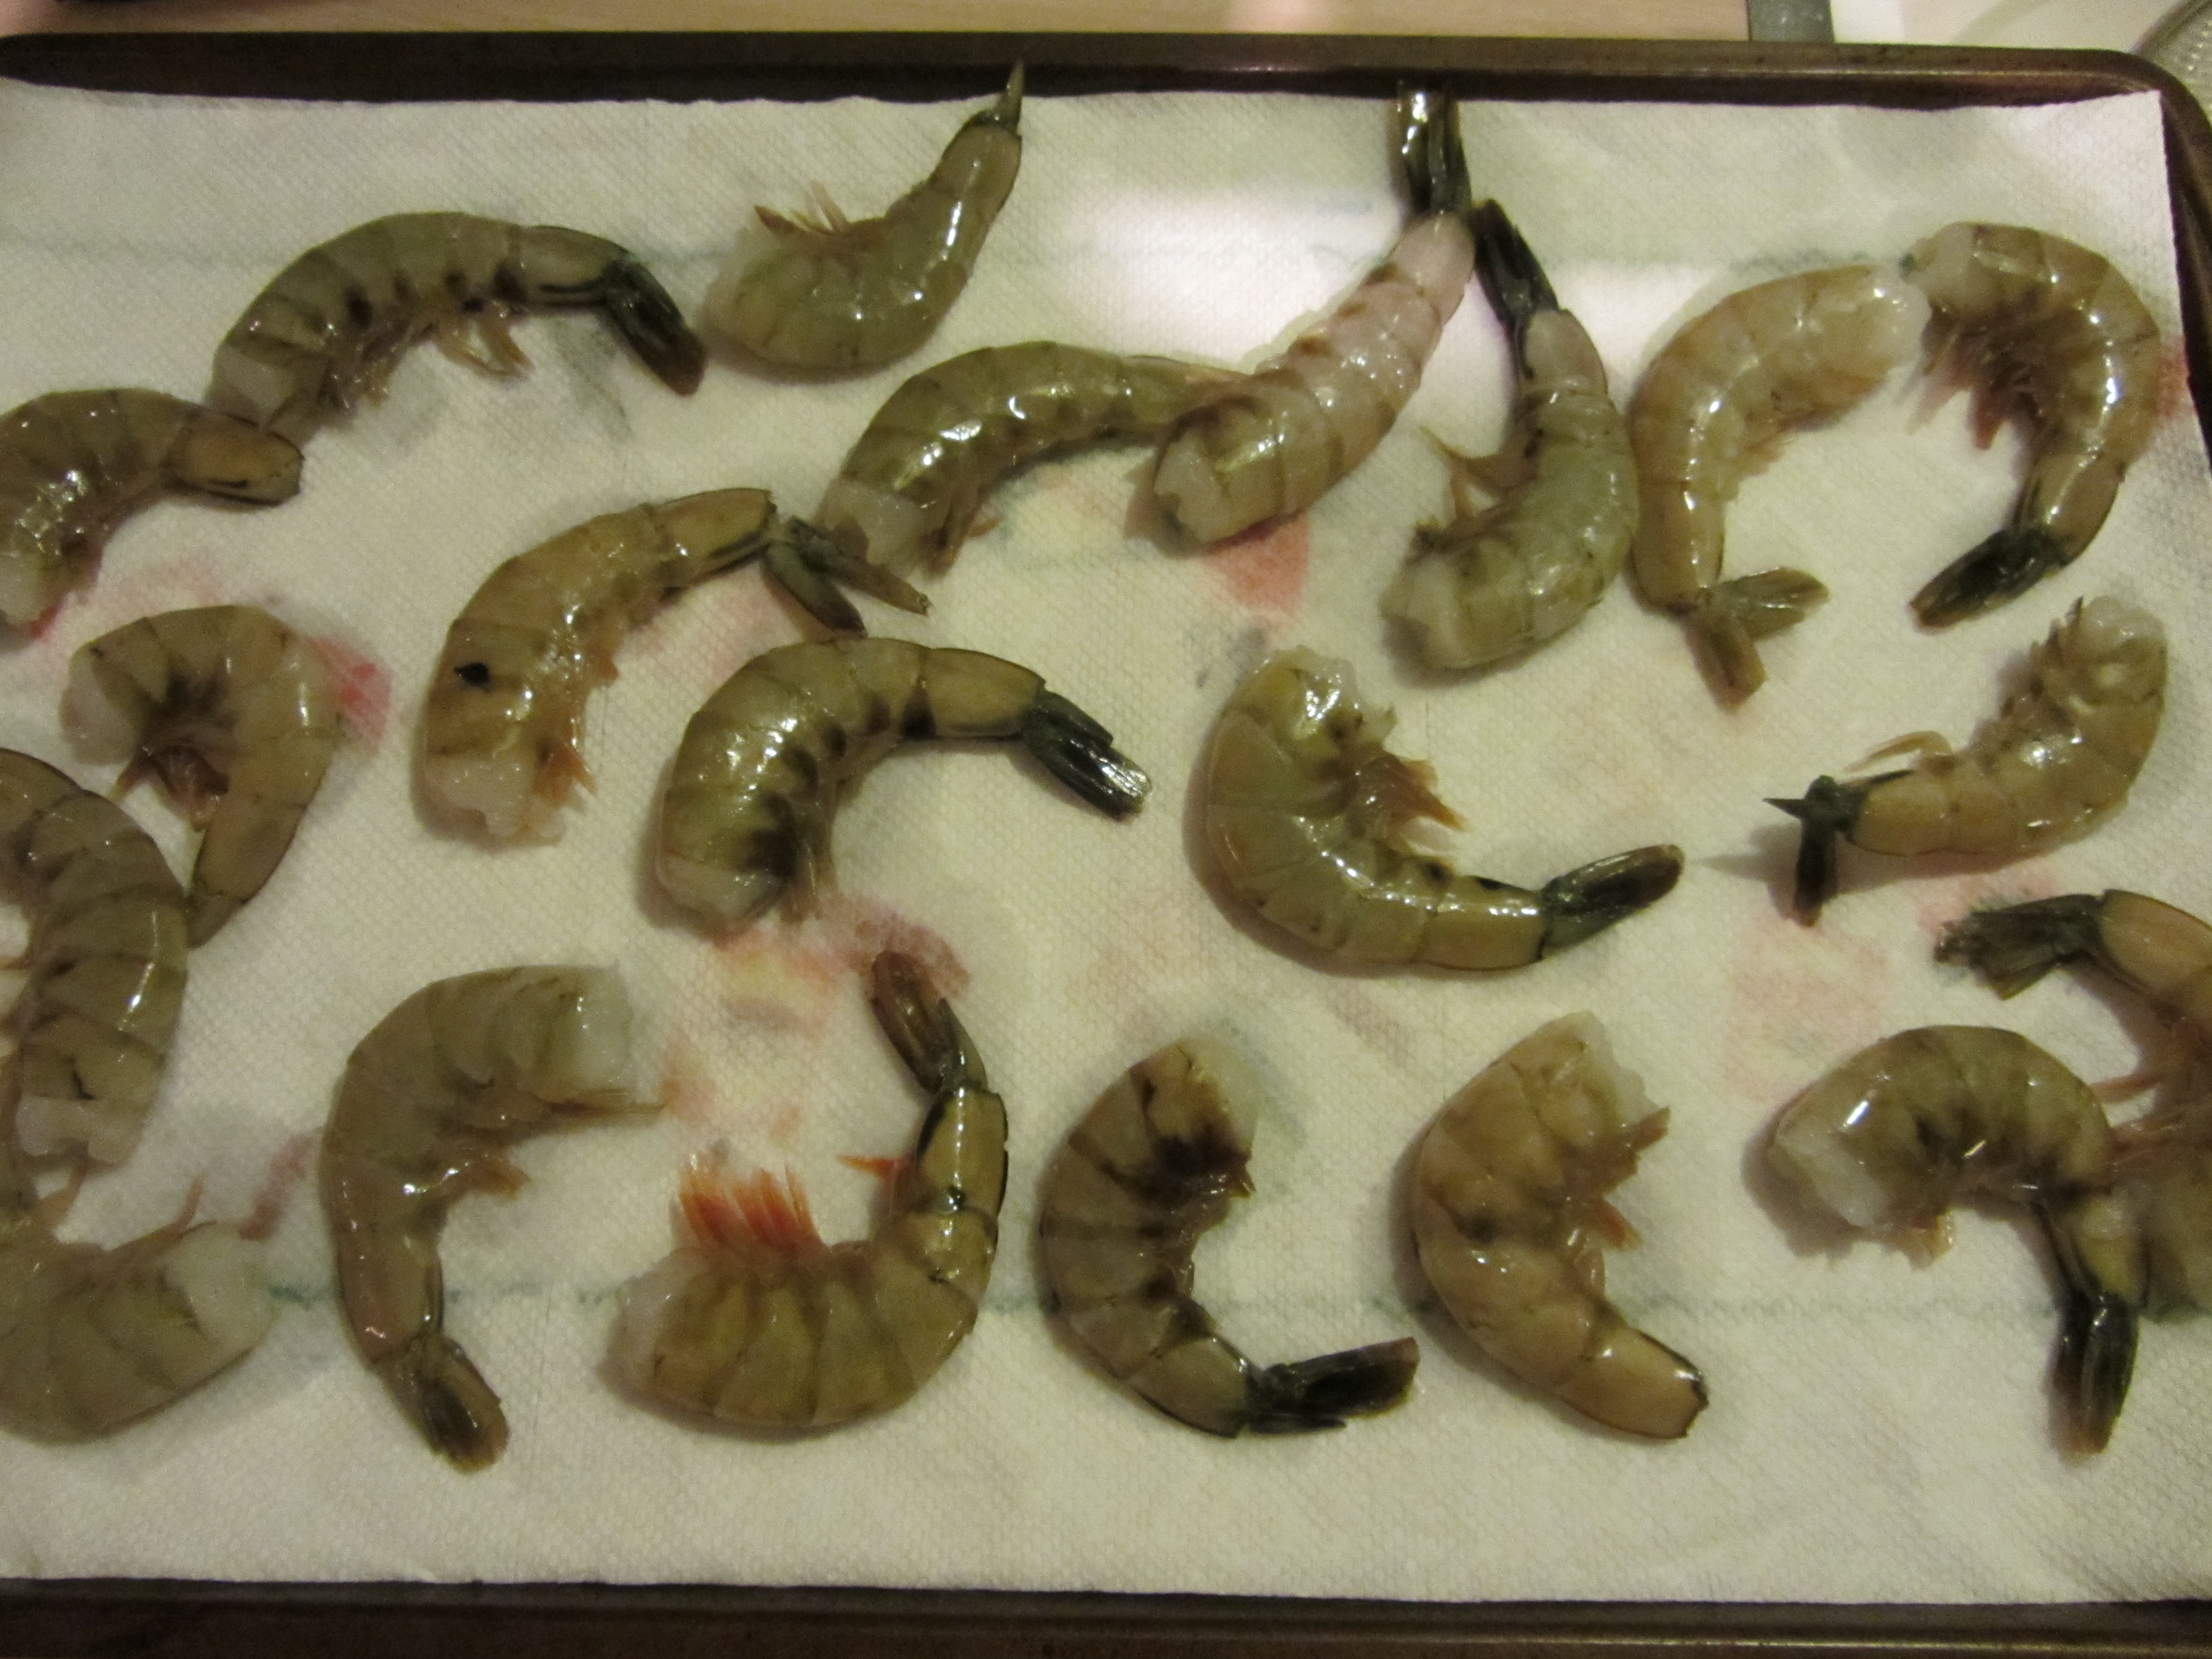
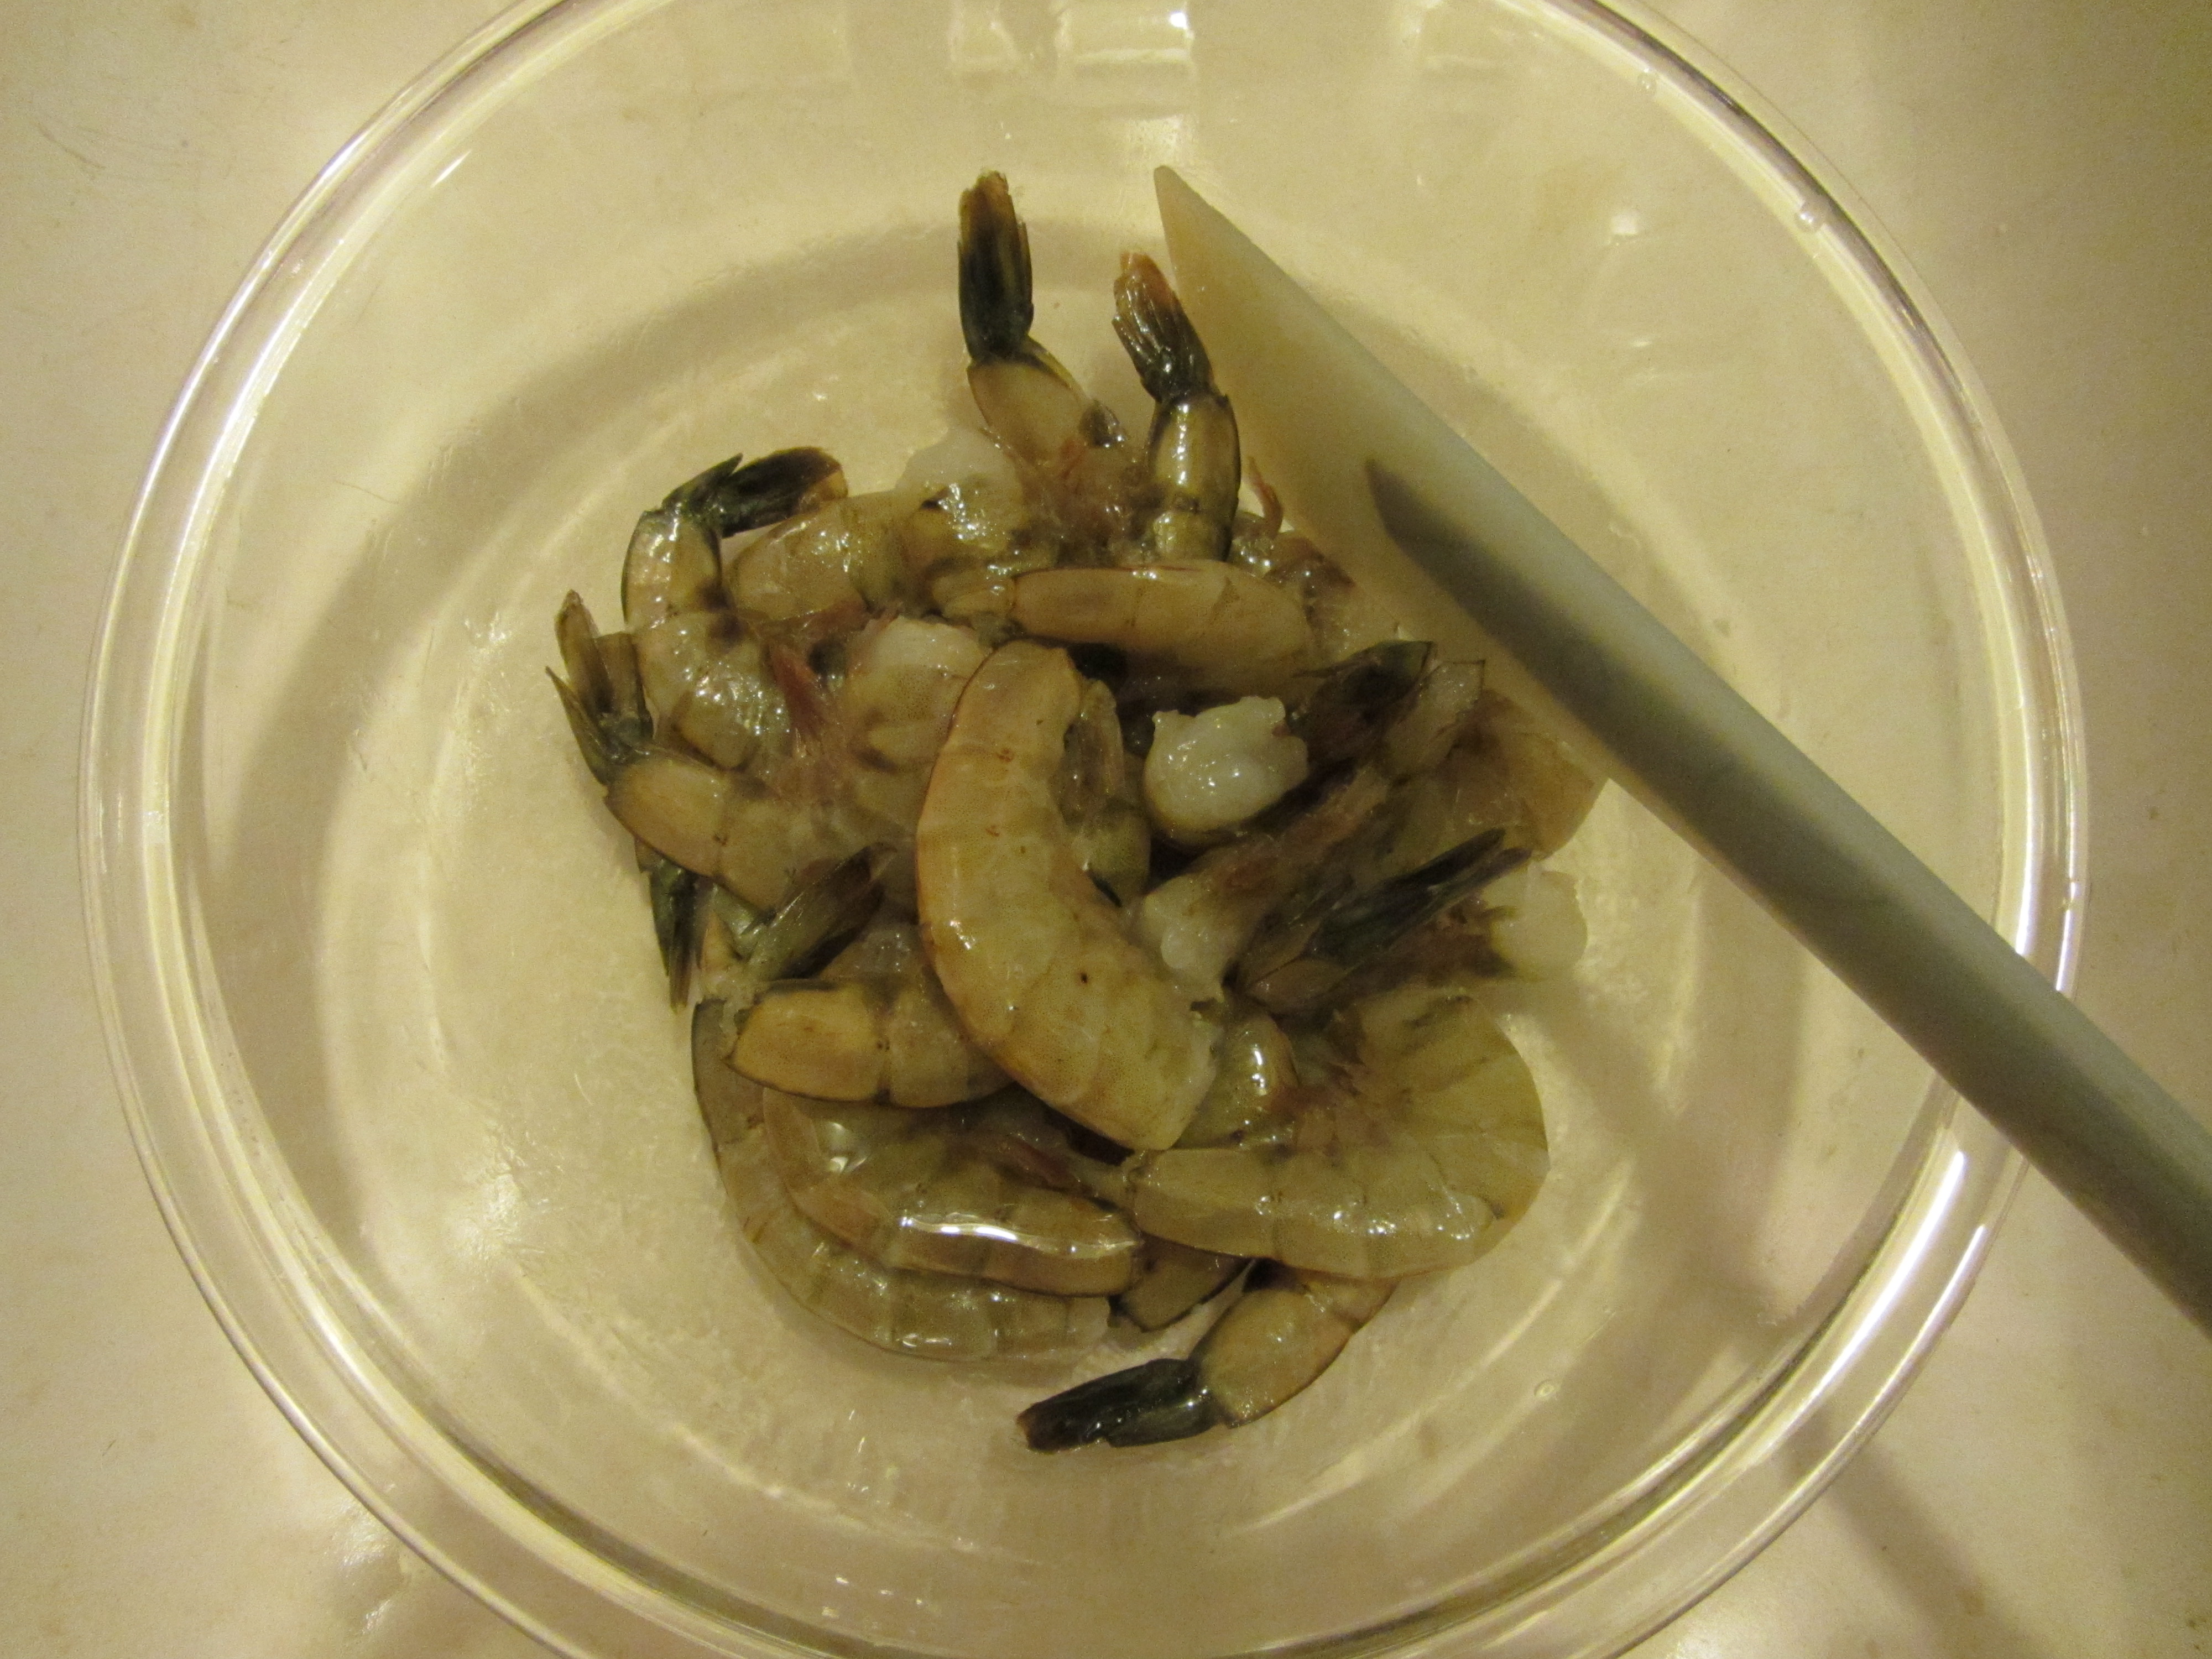
To begin this recipe, Alton shows you how to clean and devein your shrimp by cutting along the back of each shrimp with small scissors. He gives a helpful tip to remove the veins (which are really the intestinal tracts) under water, as they tend to stick to everything. Alton really emphasizes the need to keep your shrimp very cold throughout every step of the shrimp cocktail process, so the shrimp are kept in a bowl of ice water while you devein them.

Cleaned shrimp.
Once the shrimp are all clean, you combine Kosher salt, sugar, water, and ice cubes to make your brine. Alton says he makes his brine by running through one cycle of a coffee maker. I just dissolved my salt and sugar on the stove, let the brine cool slightly, and added my ice cubes. I poured the brine over my shrimp and put them in the refrigerator for 25 minutes.

Kosher salt and sugar, ready to be dissolved in some water to make a shrimp brine.
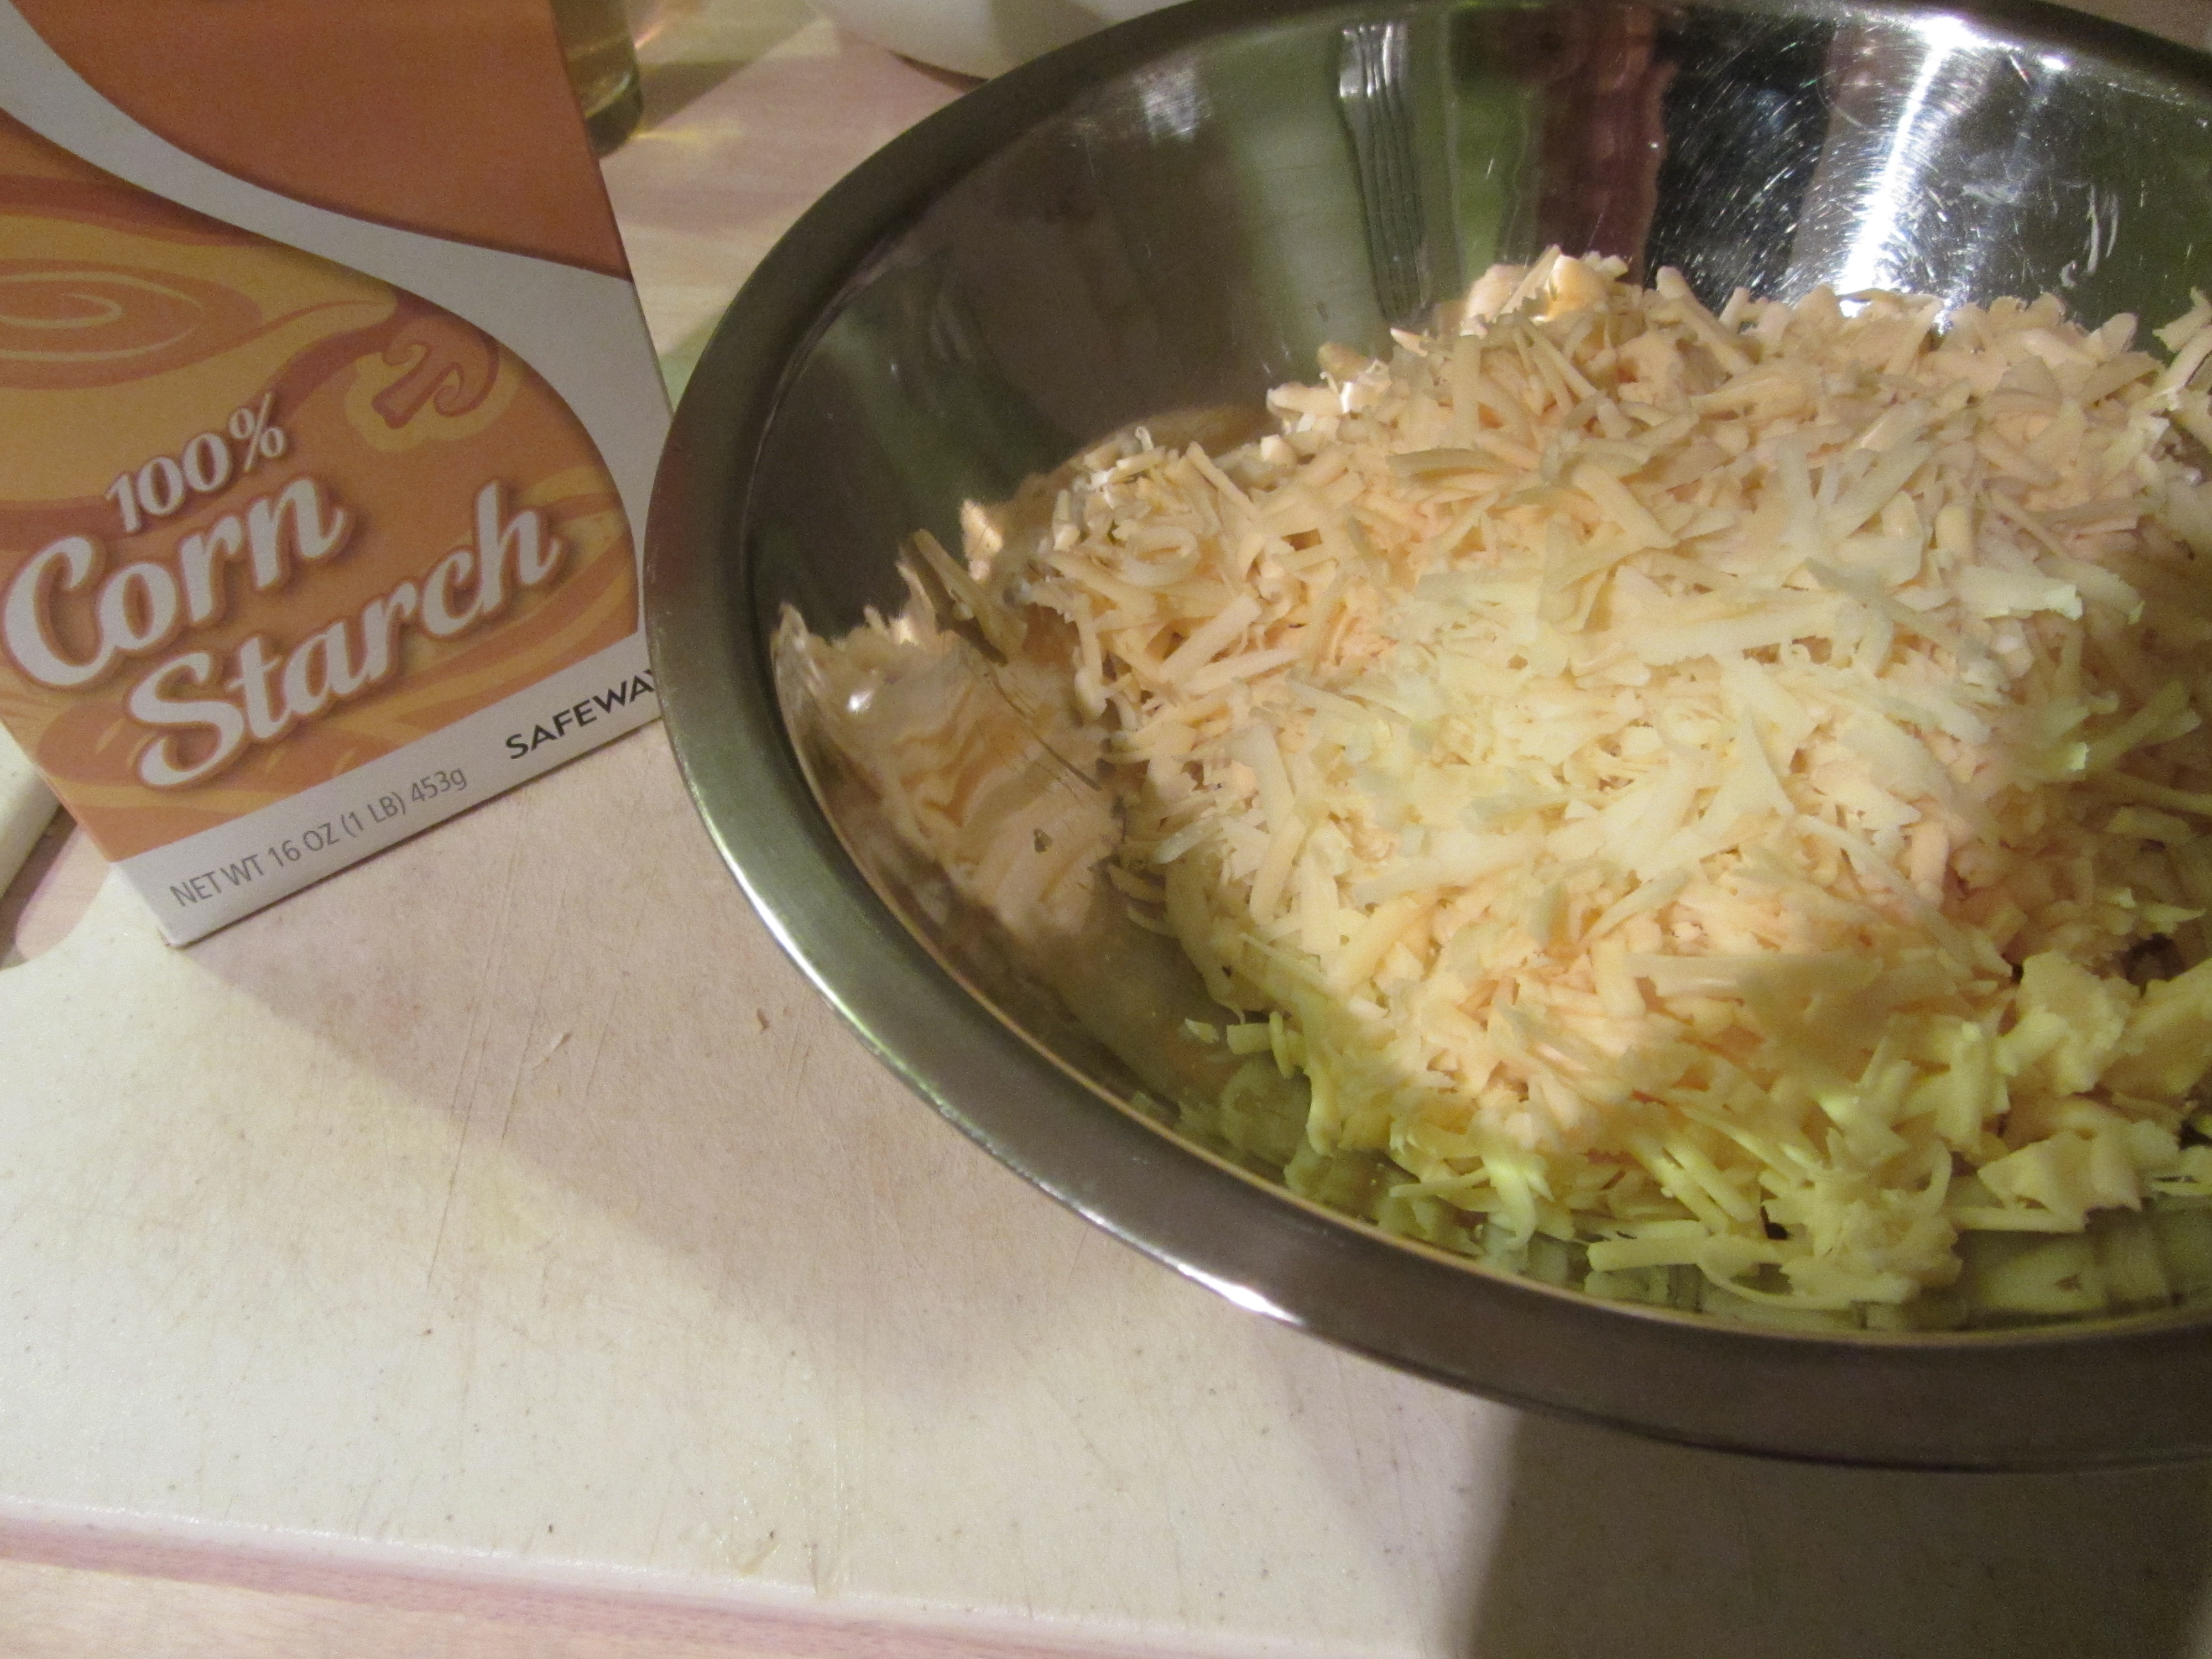
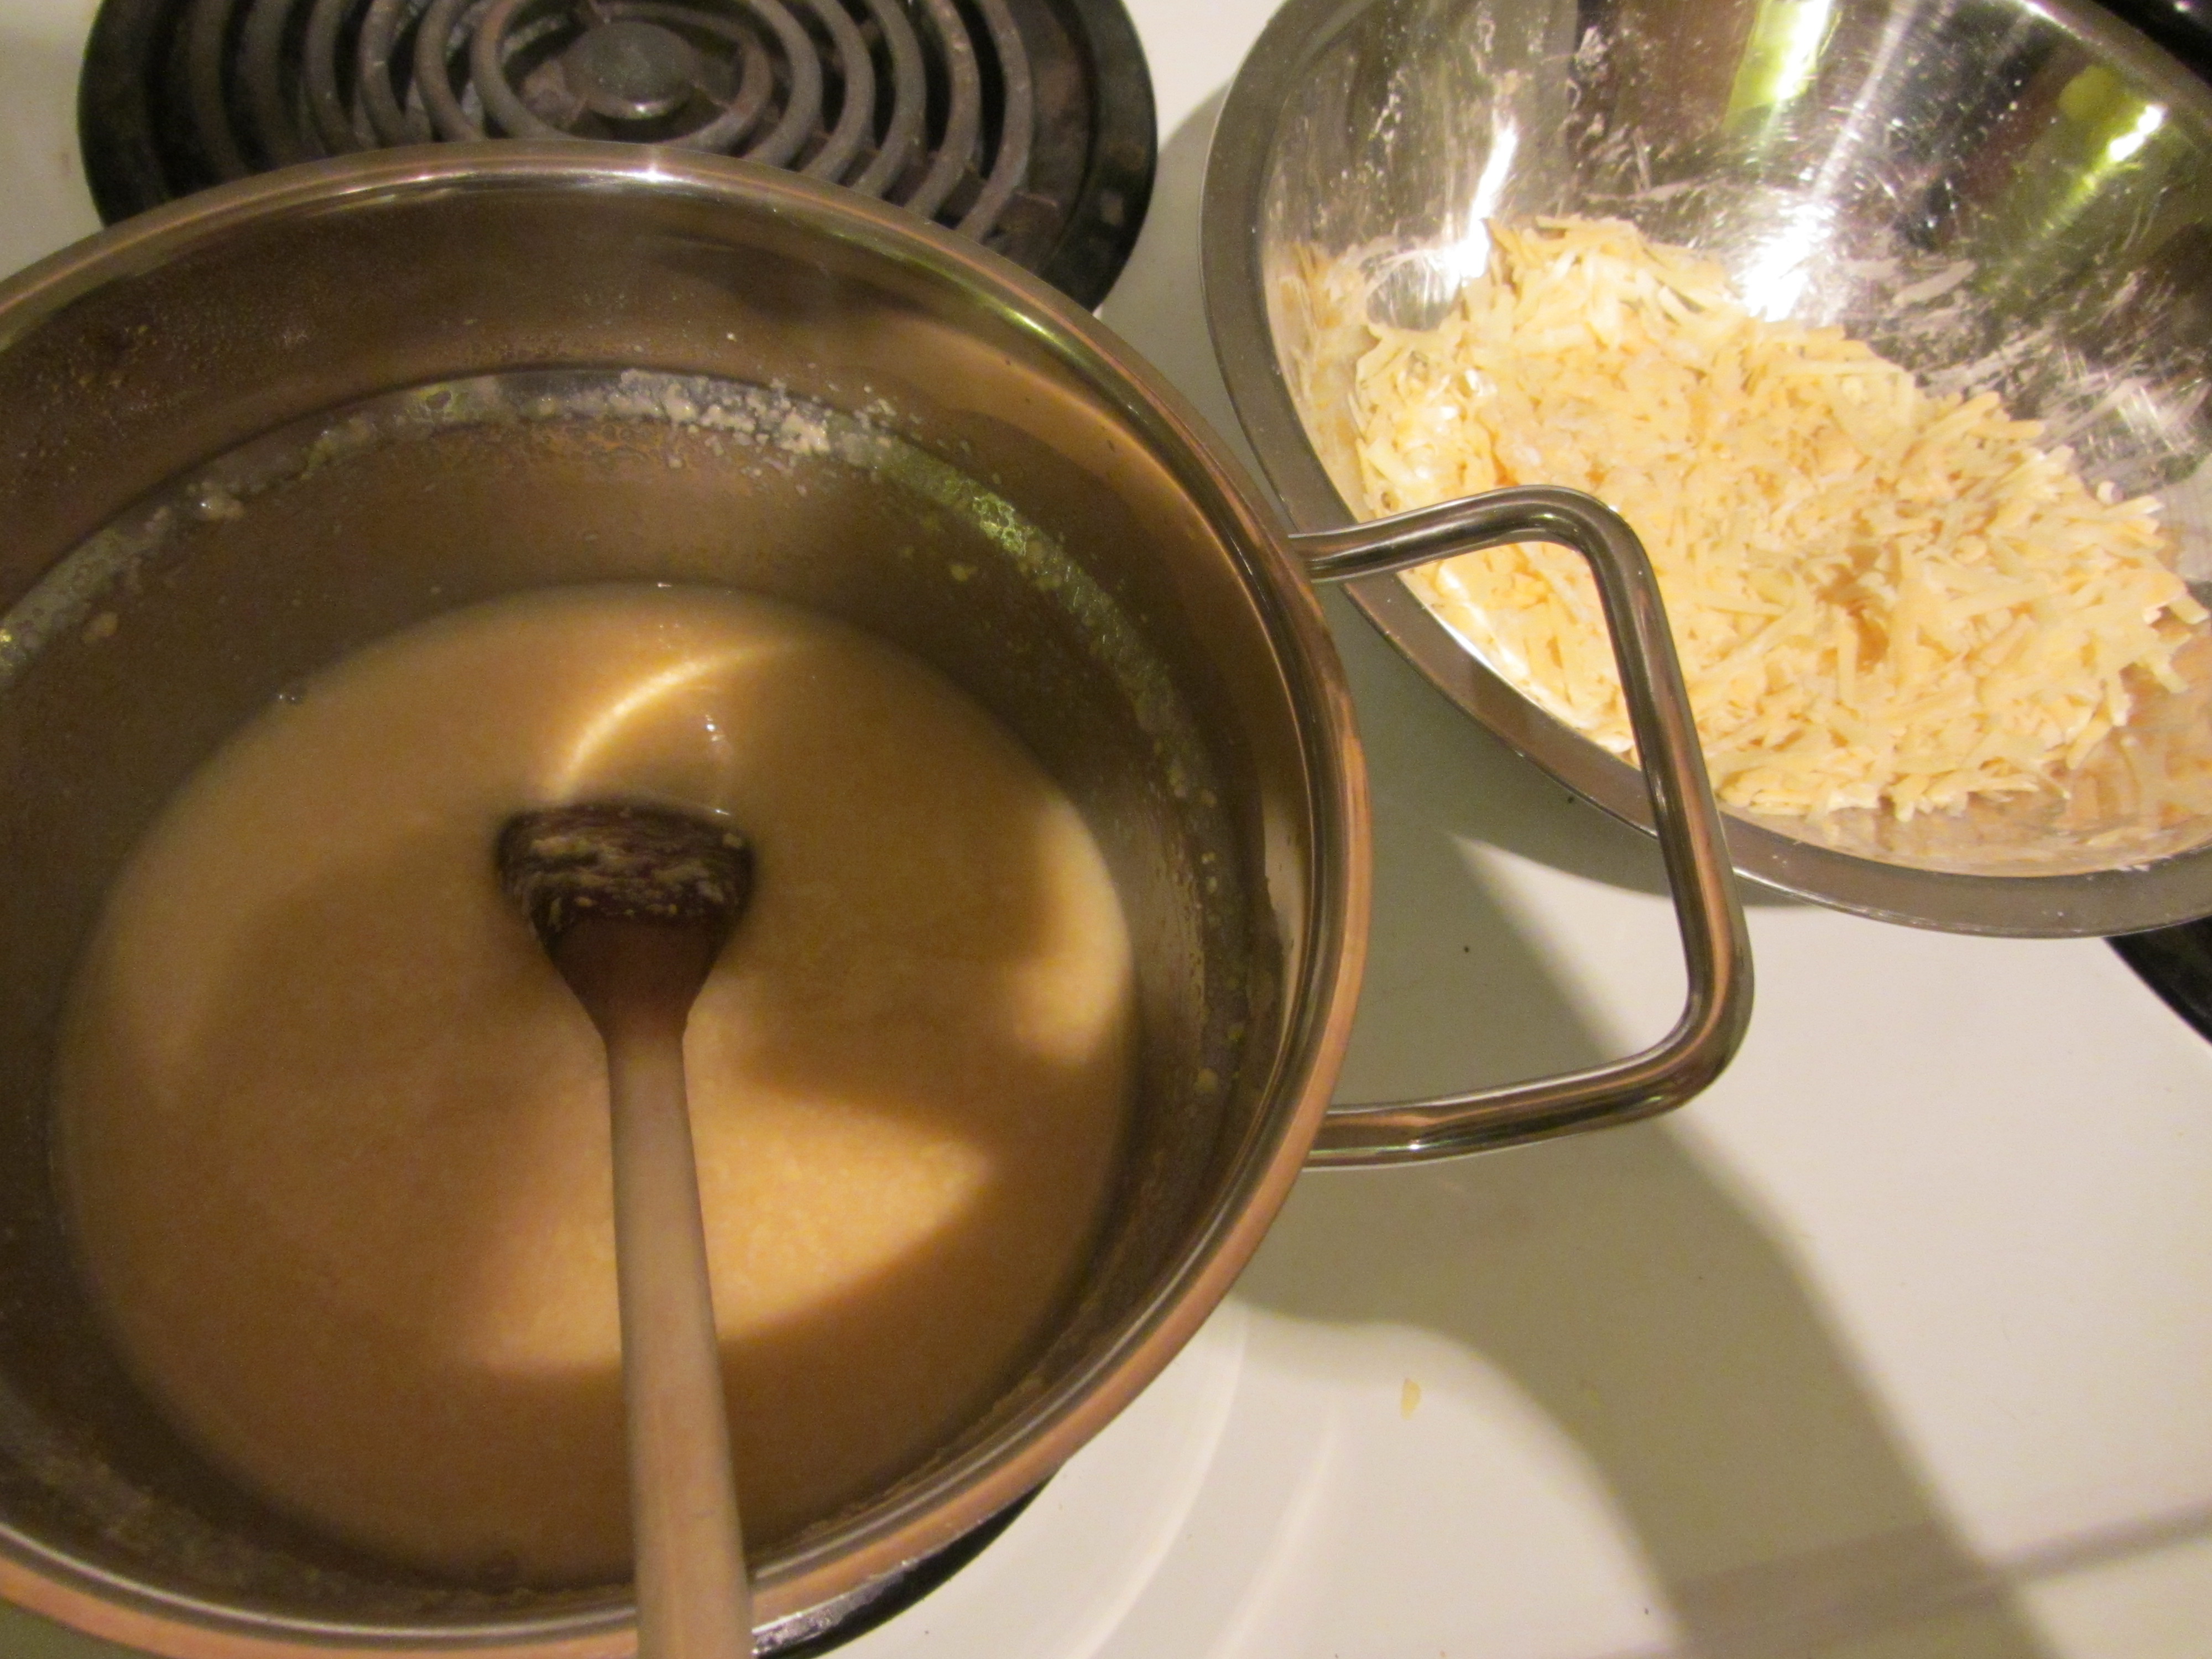
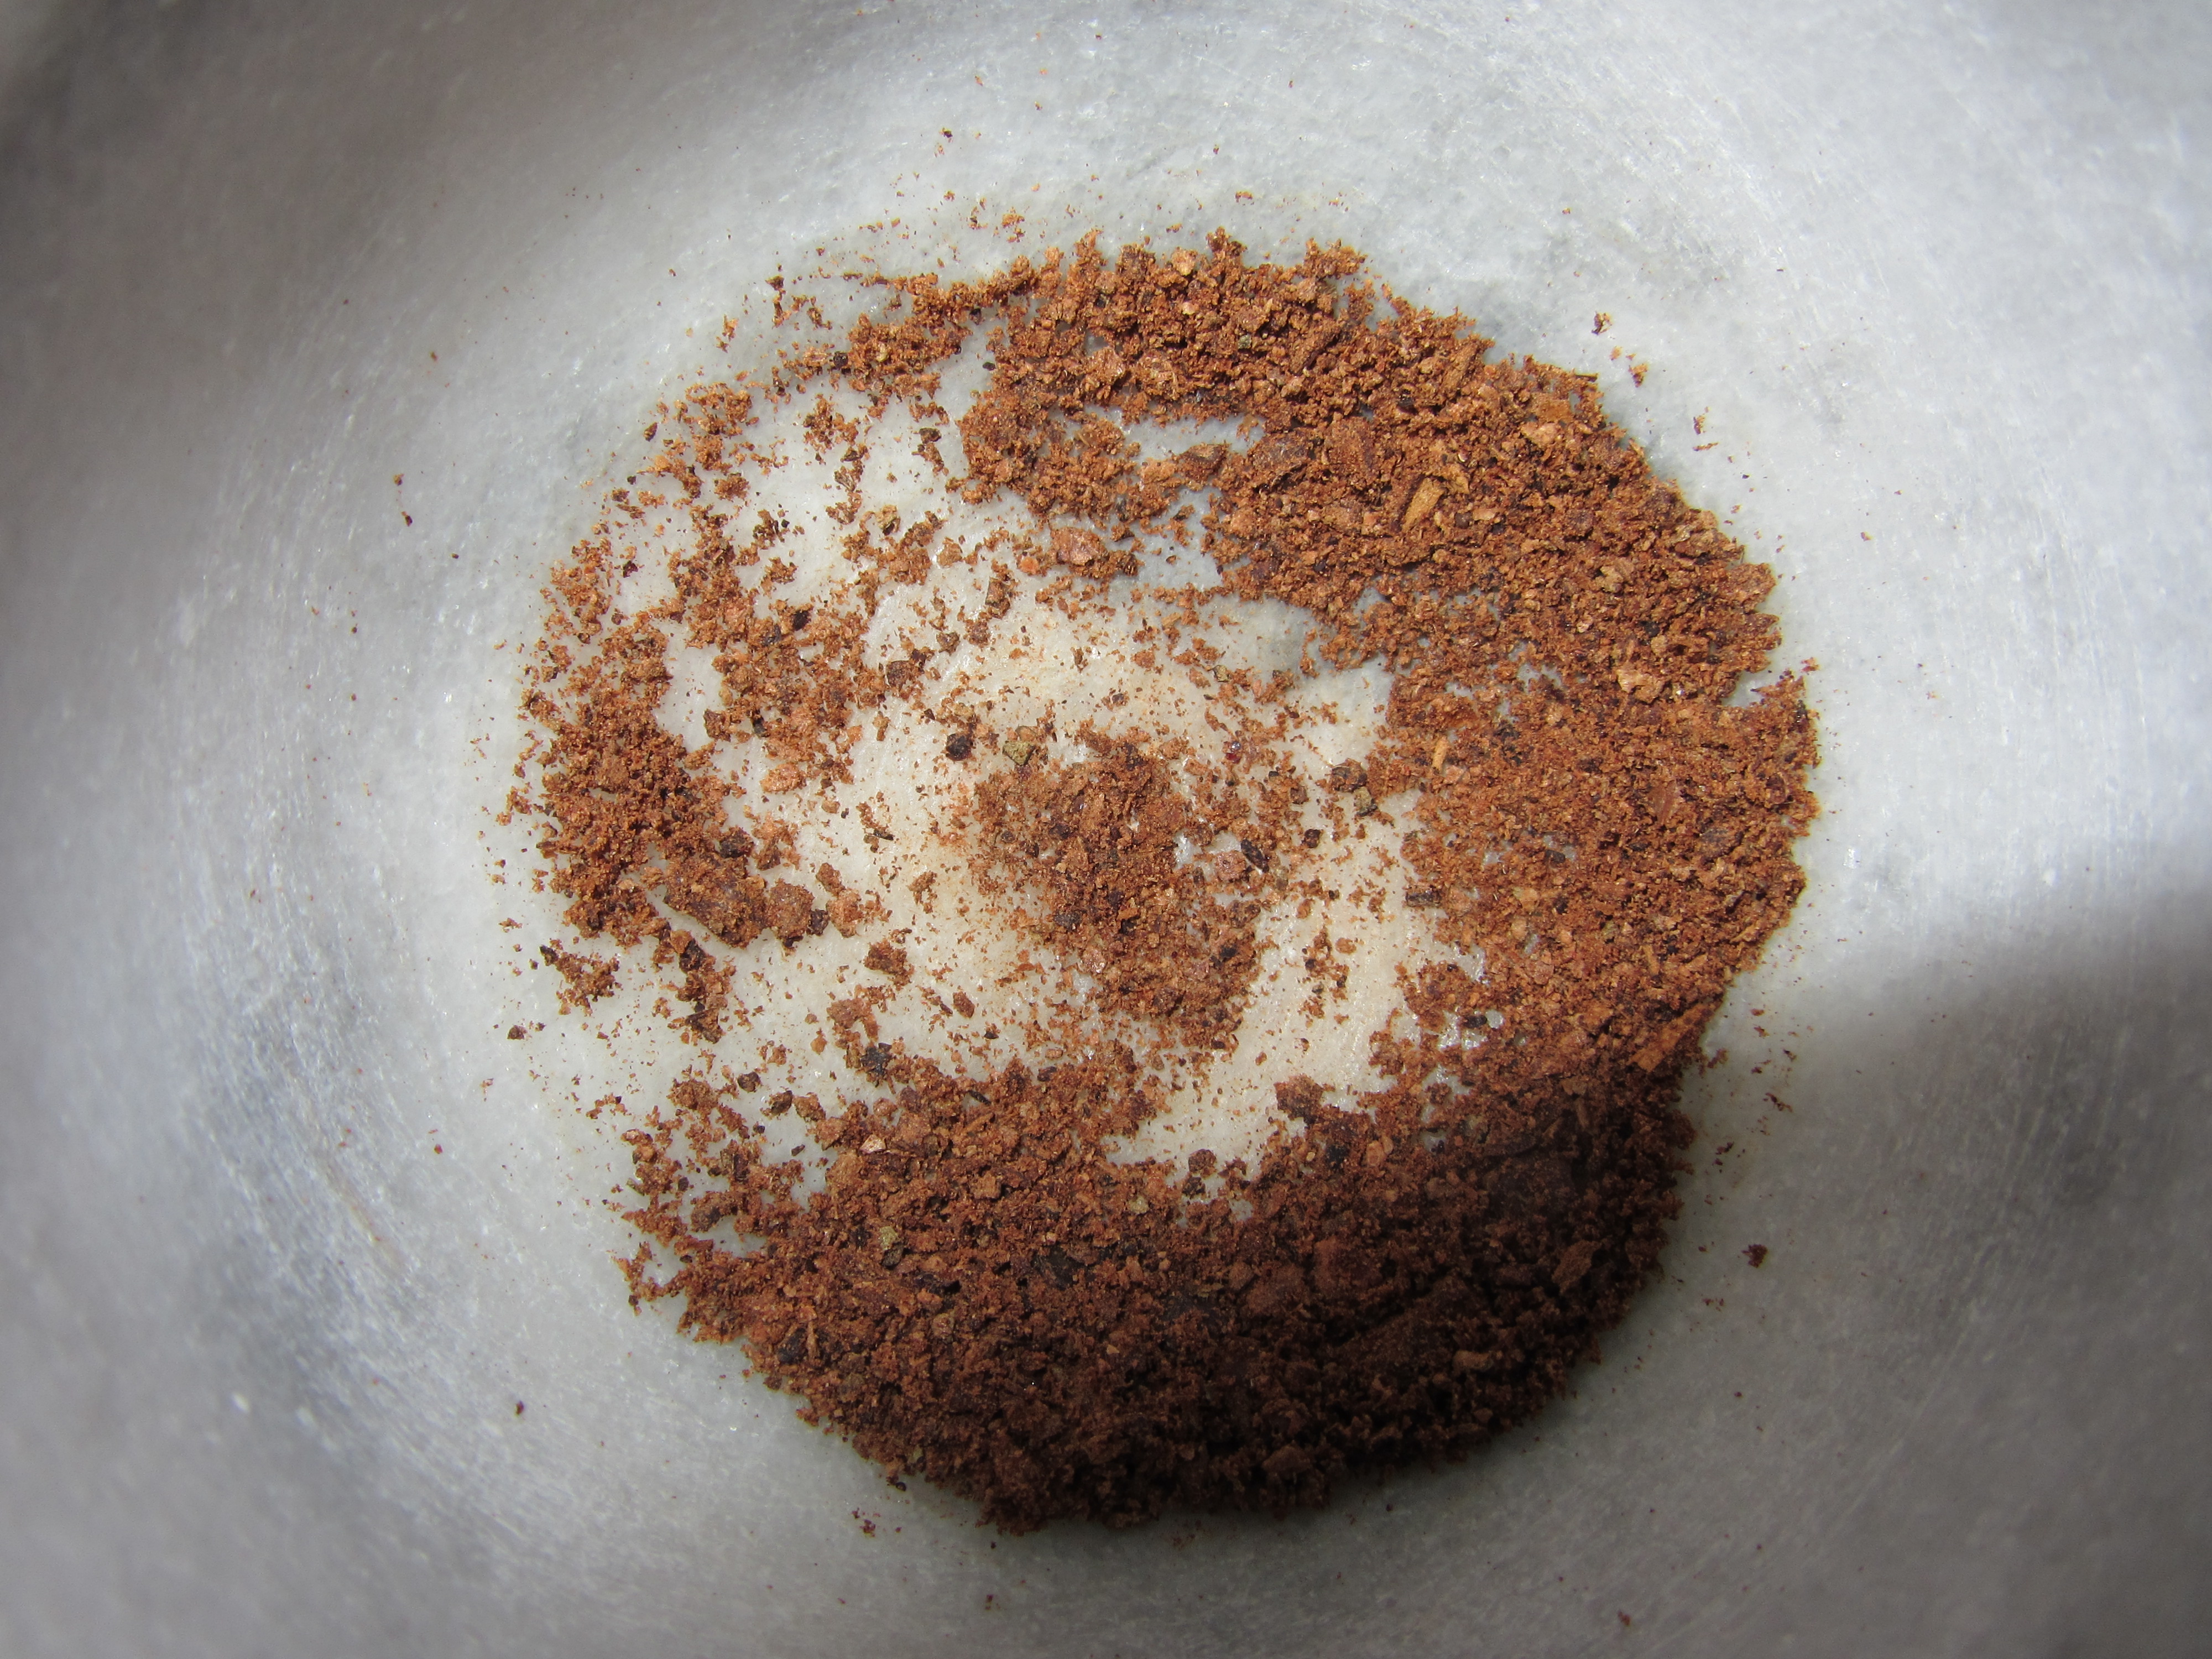
While your shrimp sit in their brine, you make the cocktail sauce. You combine a can of drained tomatoes, chili sauce, horseradish, sugar, pepper, and Kosher salt in a food processor. I used my mini food processor that came with my immersion blender (Alton did this in the episode too), and it worked perfectly.
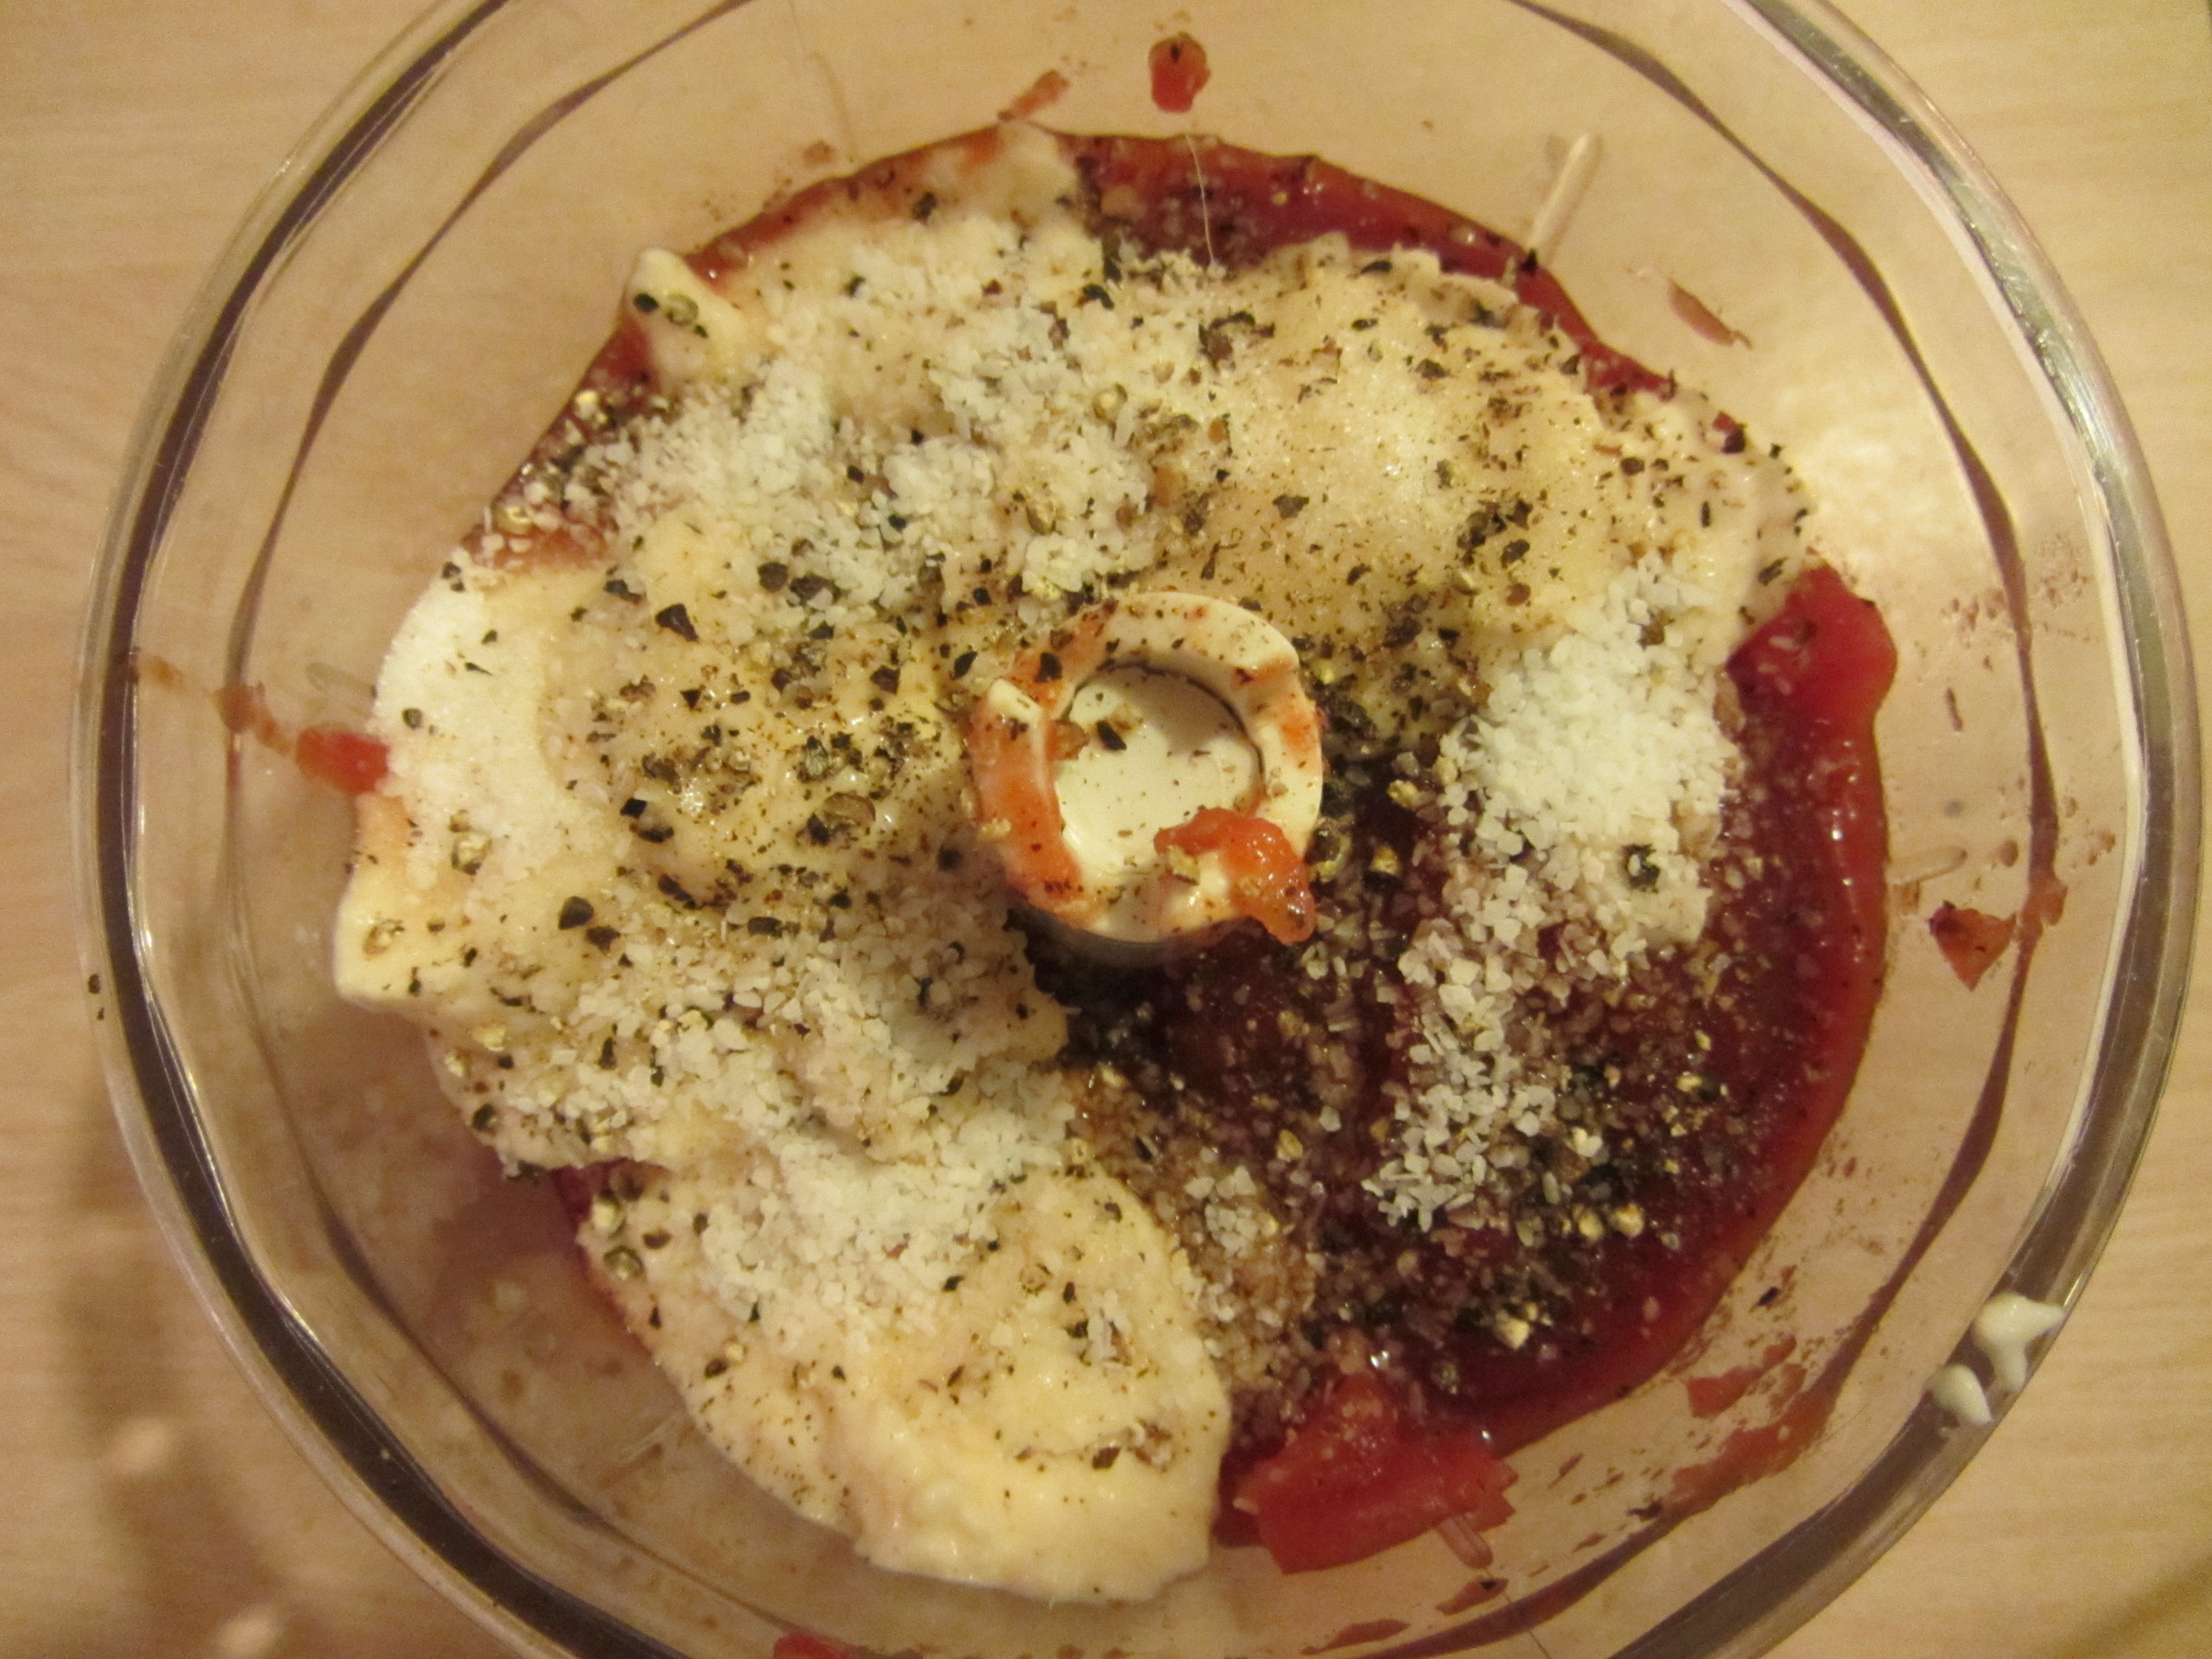
Canned tomatoes, chili sauce, horseradish, sugar, pepper, and Kosher salt.

Finished cocktail sauce.
The sauce goes into the refrigerator while you finish your shrimp. After the brining period, you drain and rinse your shrimp. Alton tells you not to brine your shrimp for more than ~25 minutes. You then dry your shrimp in paper towels while you preheat your broiler with a foil-coated pan IN the oven.
Shrimp after brining.
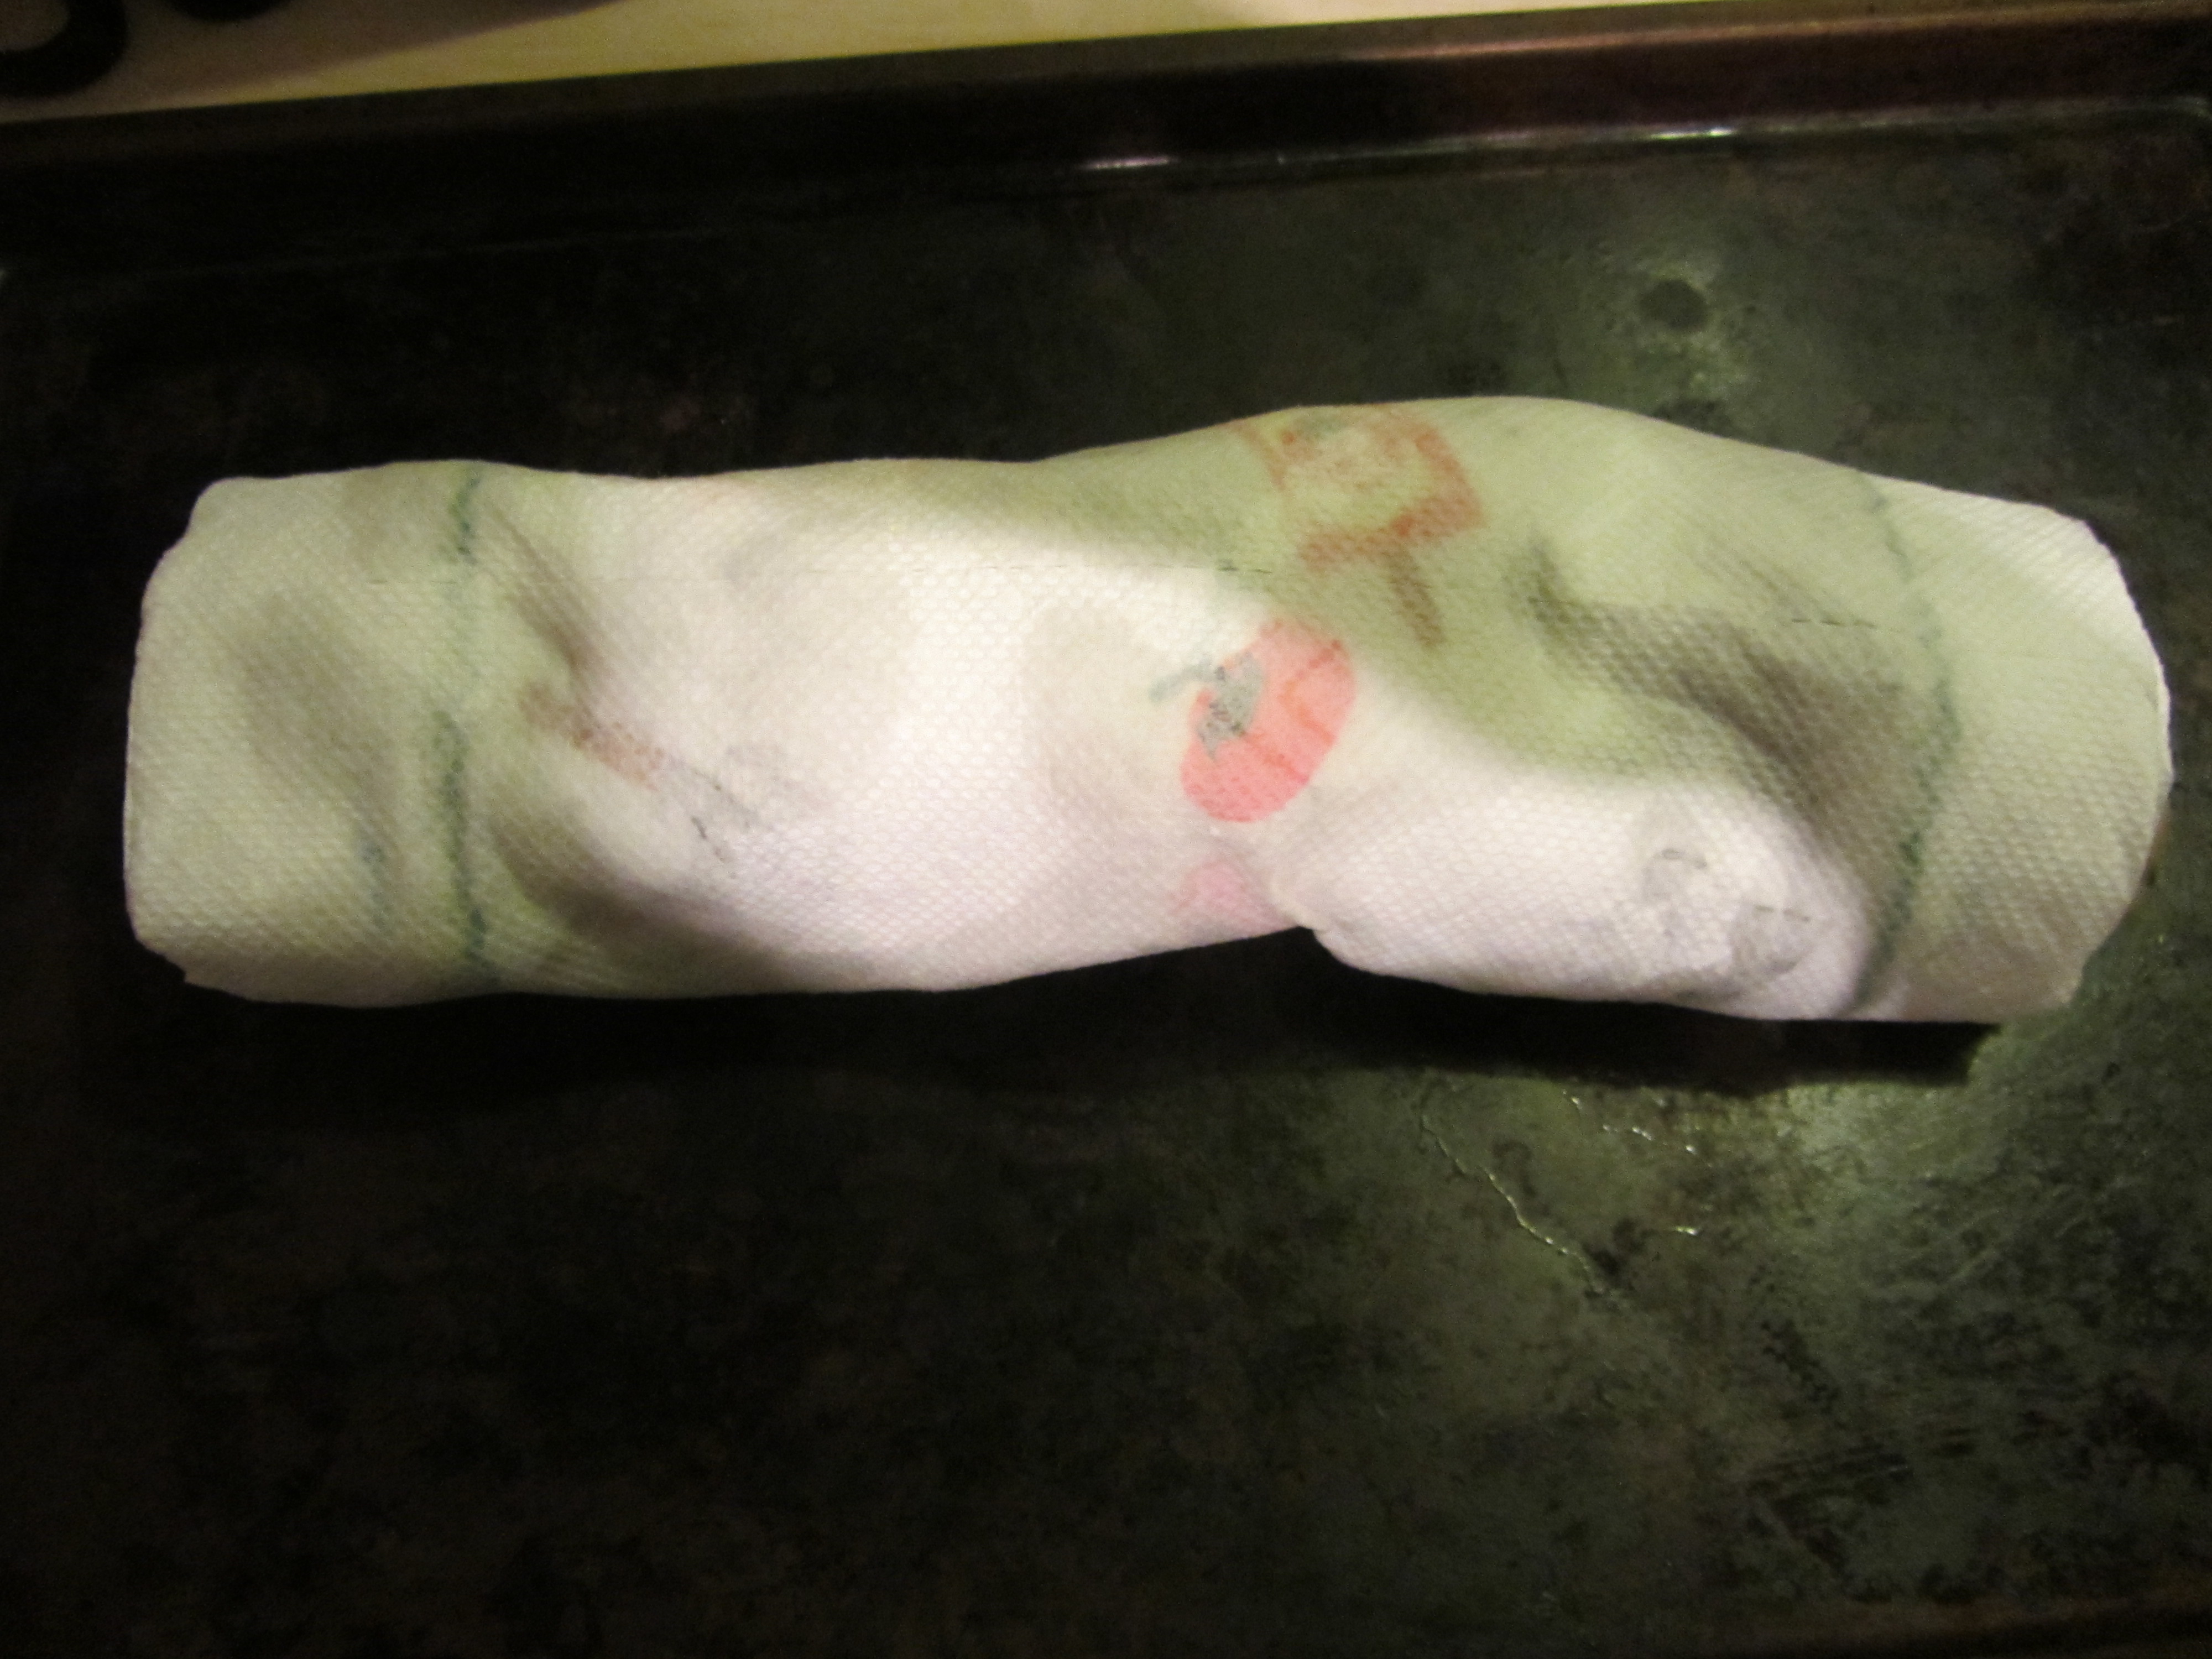
Shrimp, drying in paper towels.
For this recipe, you want to place your oven rack in the position that is second closest to the broiler. Once the broiler is preheated, you toss your shrimp with some olive oil and sprinkle them with some Old Bay Seasoning. I love Old Bay Seasoning. Both my parents are from Maryland, and my grandma made the best crab cakes on the planet with a sprinkle of Old Bay.
Shrimp coated with olive oil.
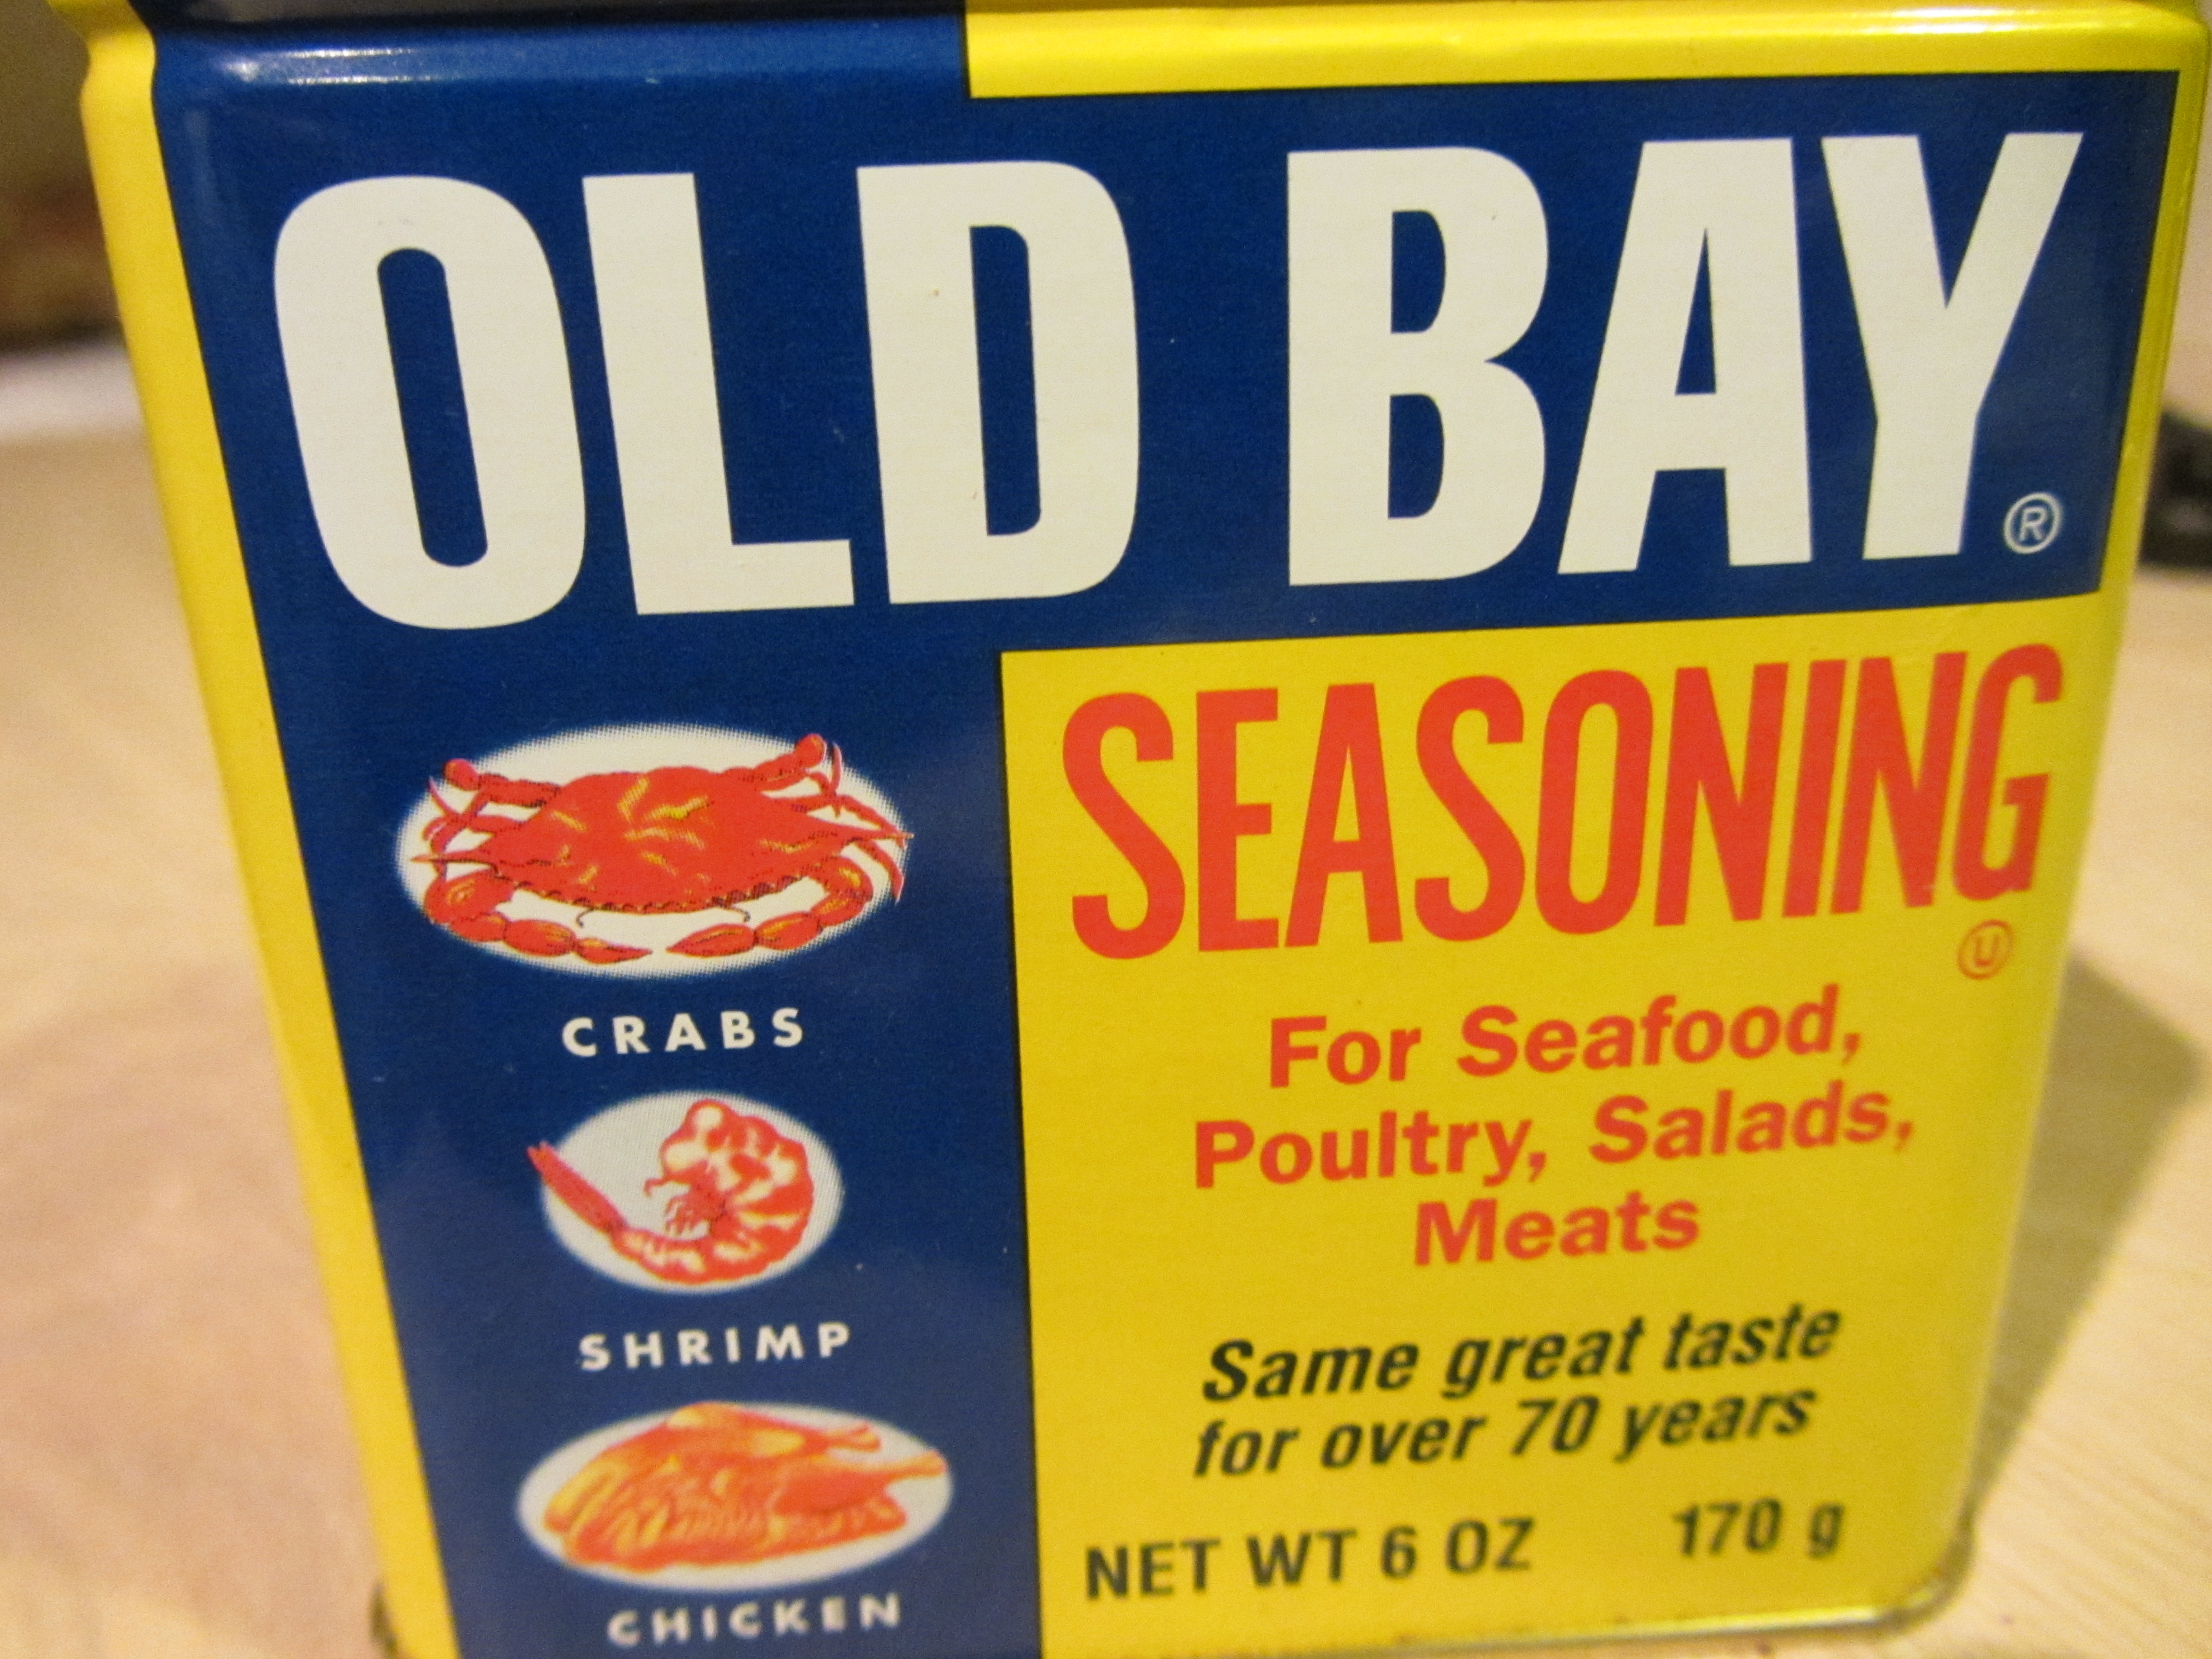
And a sprinkle of Old Bay.

Shrimp with oil and Old Bay.
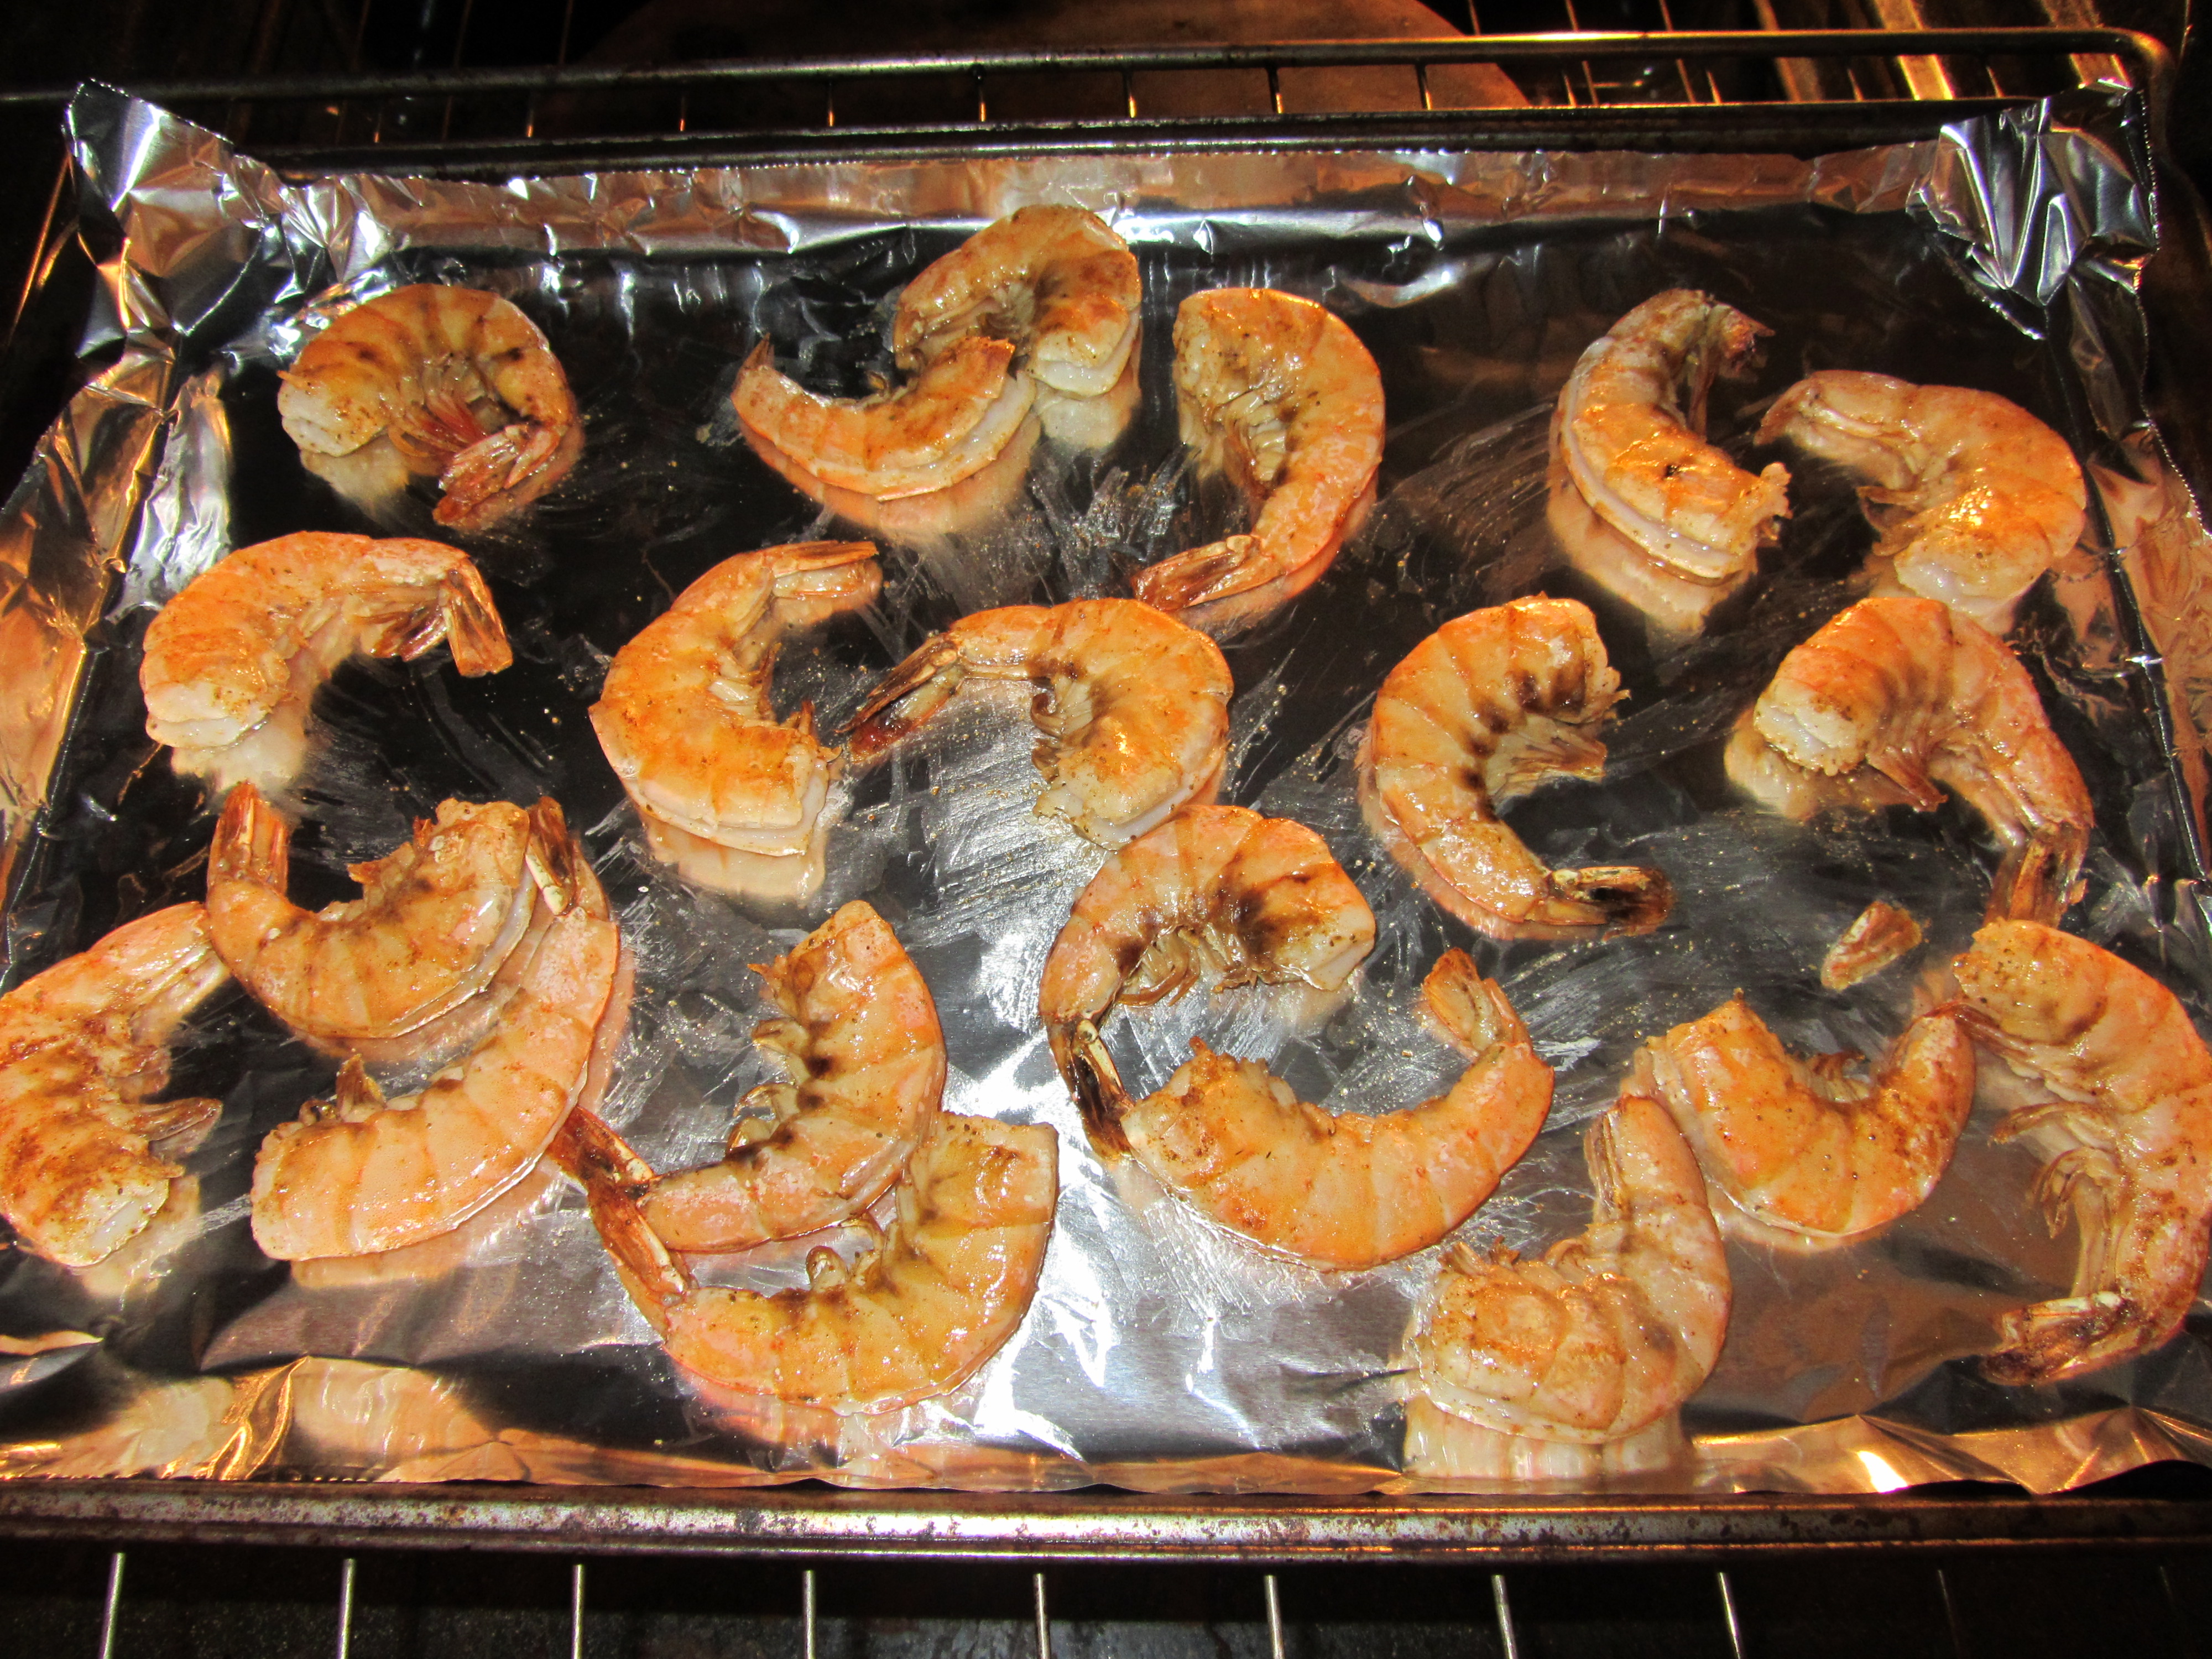
Once your shrimp are well-coated, you toss them, in a single layer, onto your hot pan in the oven, and they go under the broiler for two minutes. My shrimp were turning a nice shade of pink after two minutes. I flipped them over and threw them back into the oven for their additional one minute of cooking.
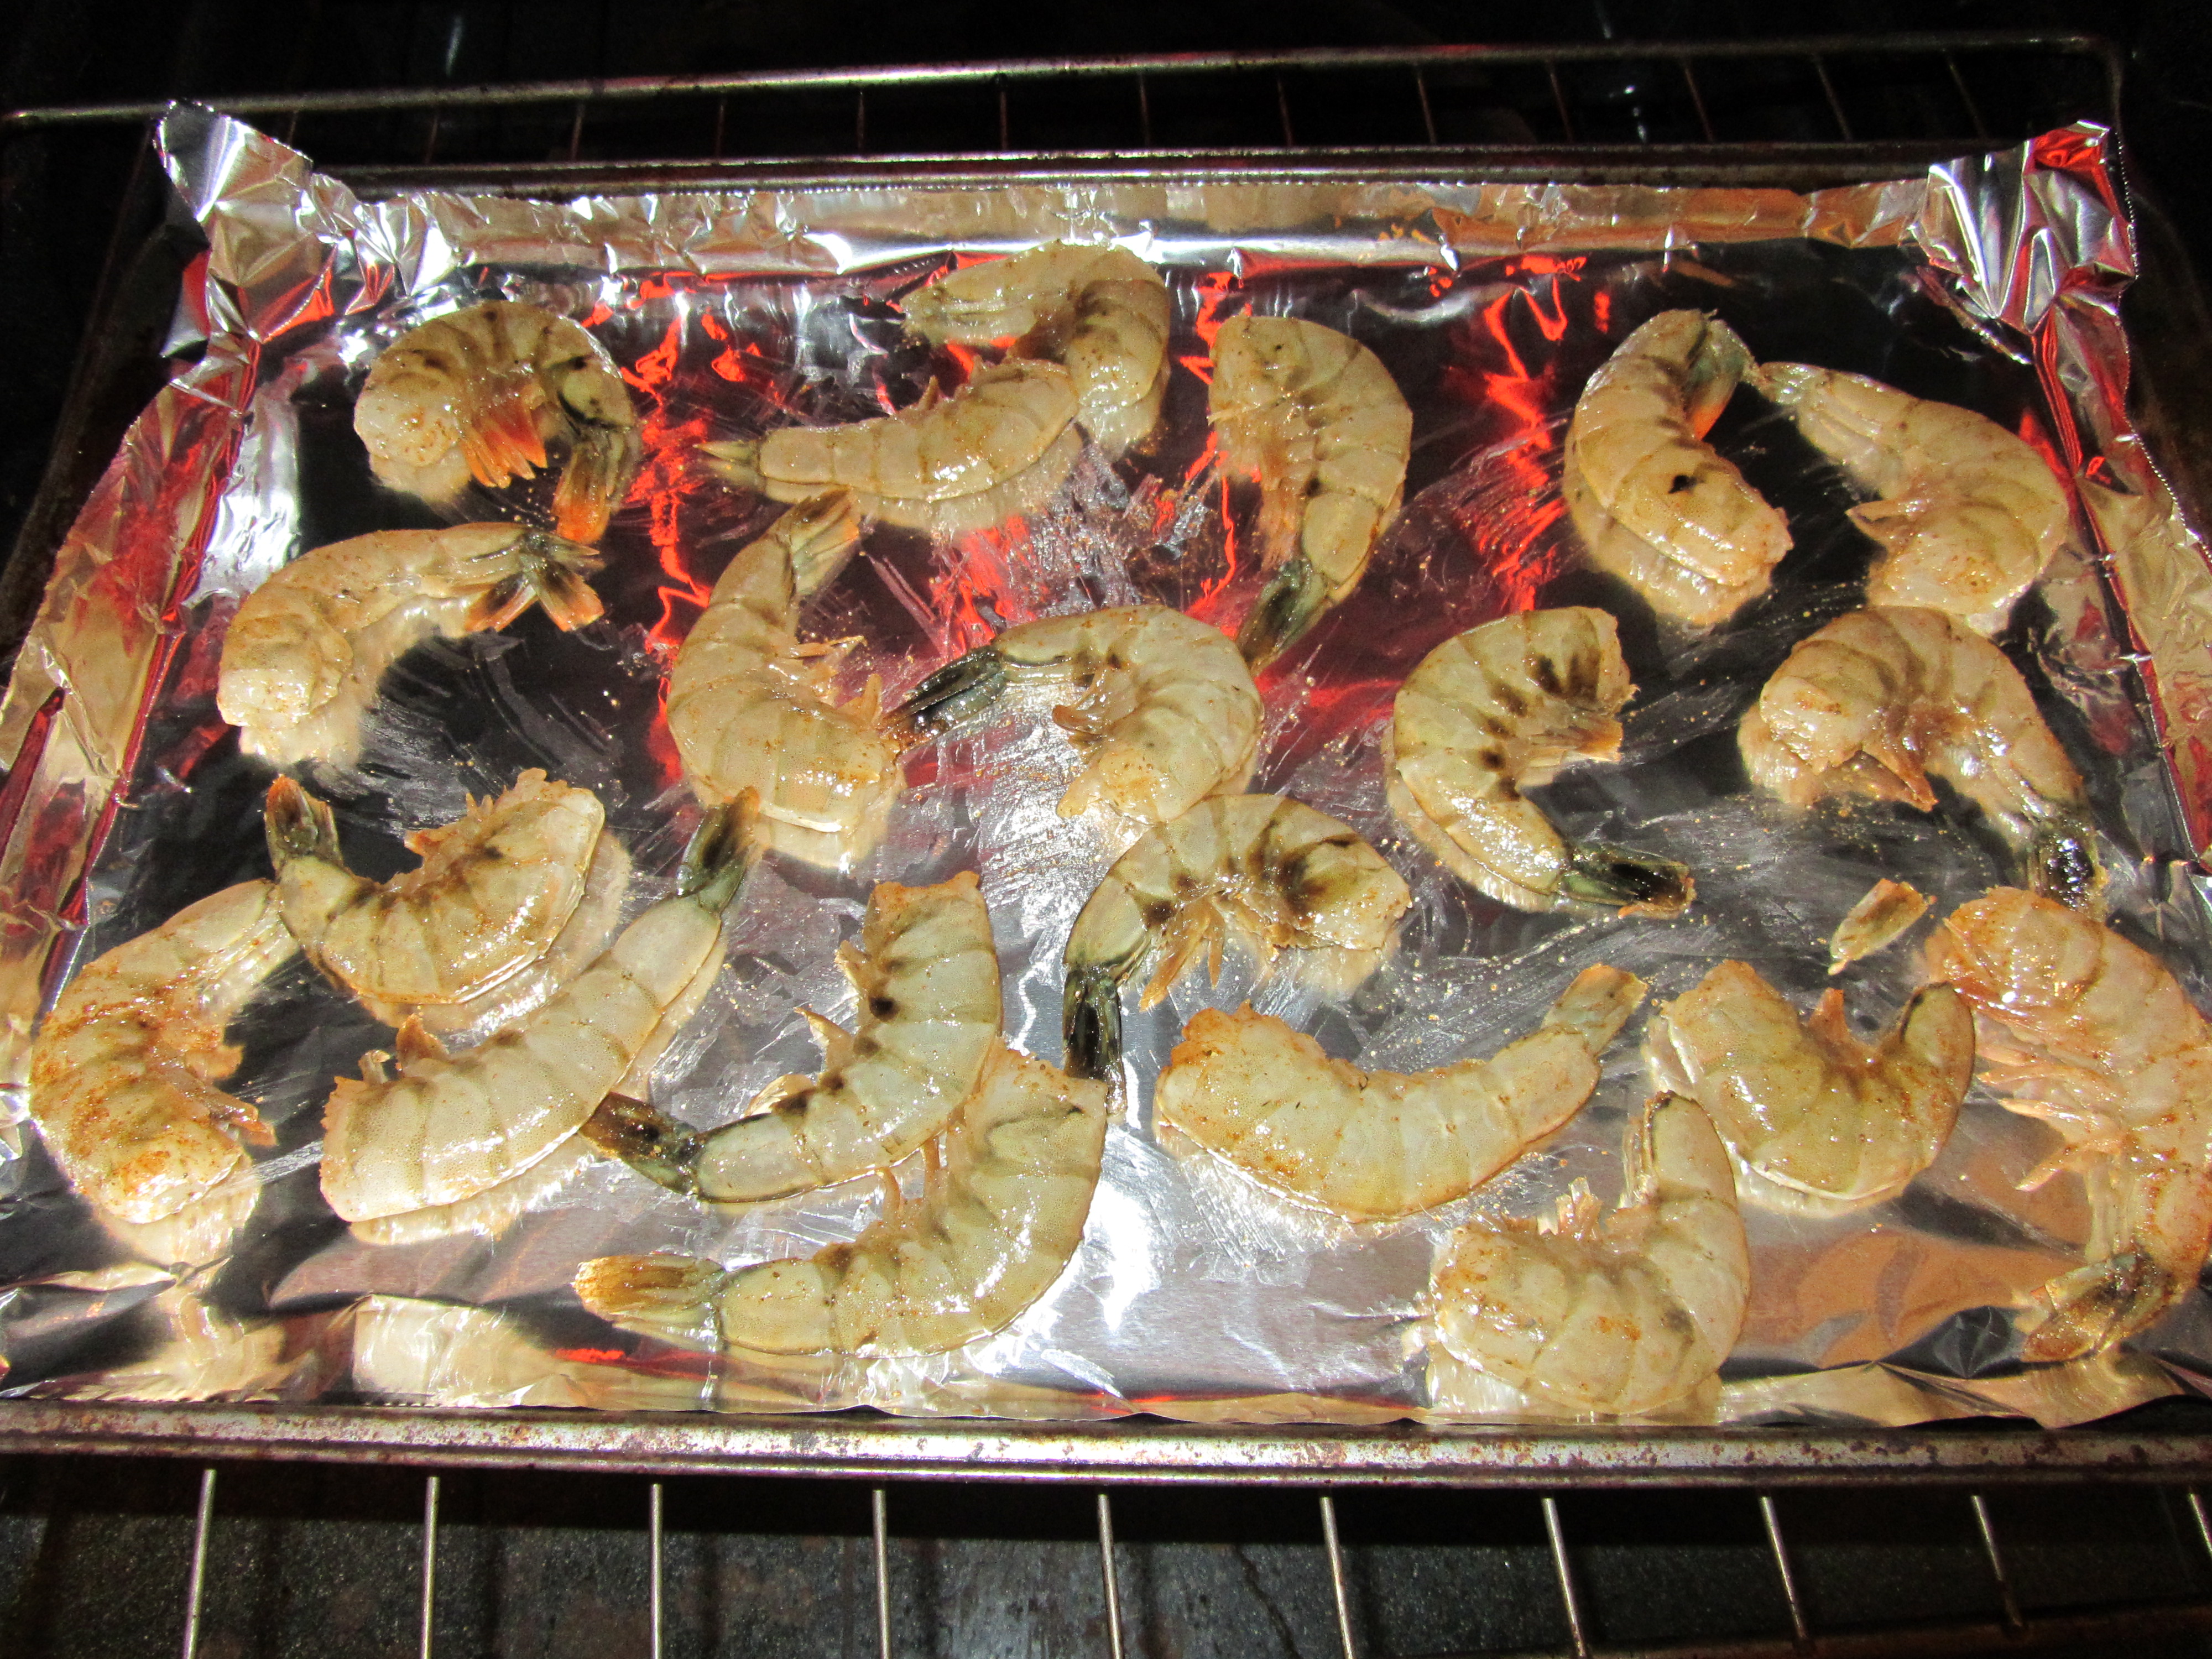
Shrimp into the oven on a pre-heated pan.
Shrimp after 2 minutes under the broiler.
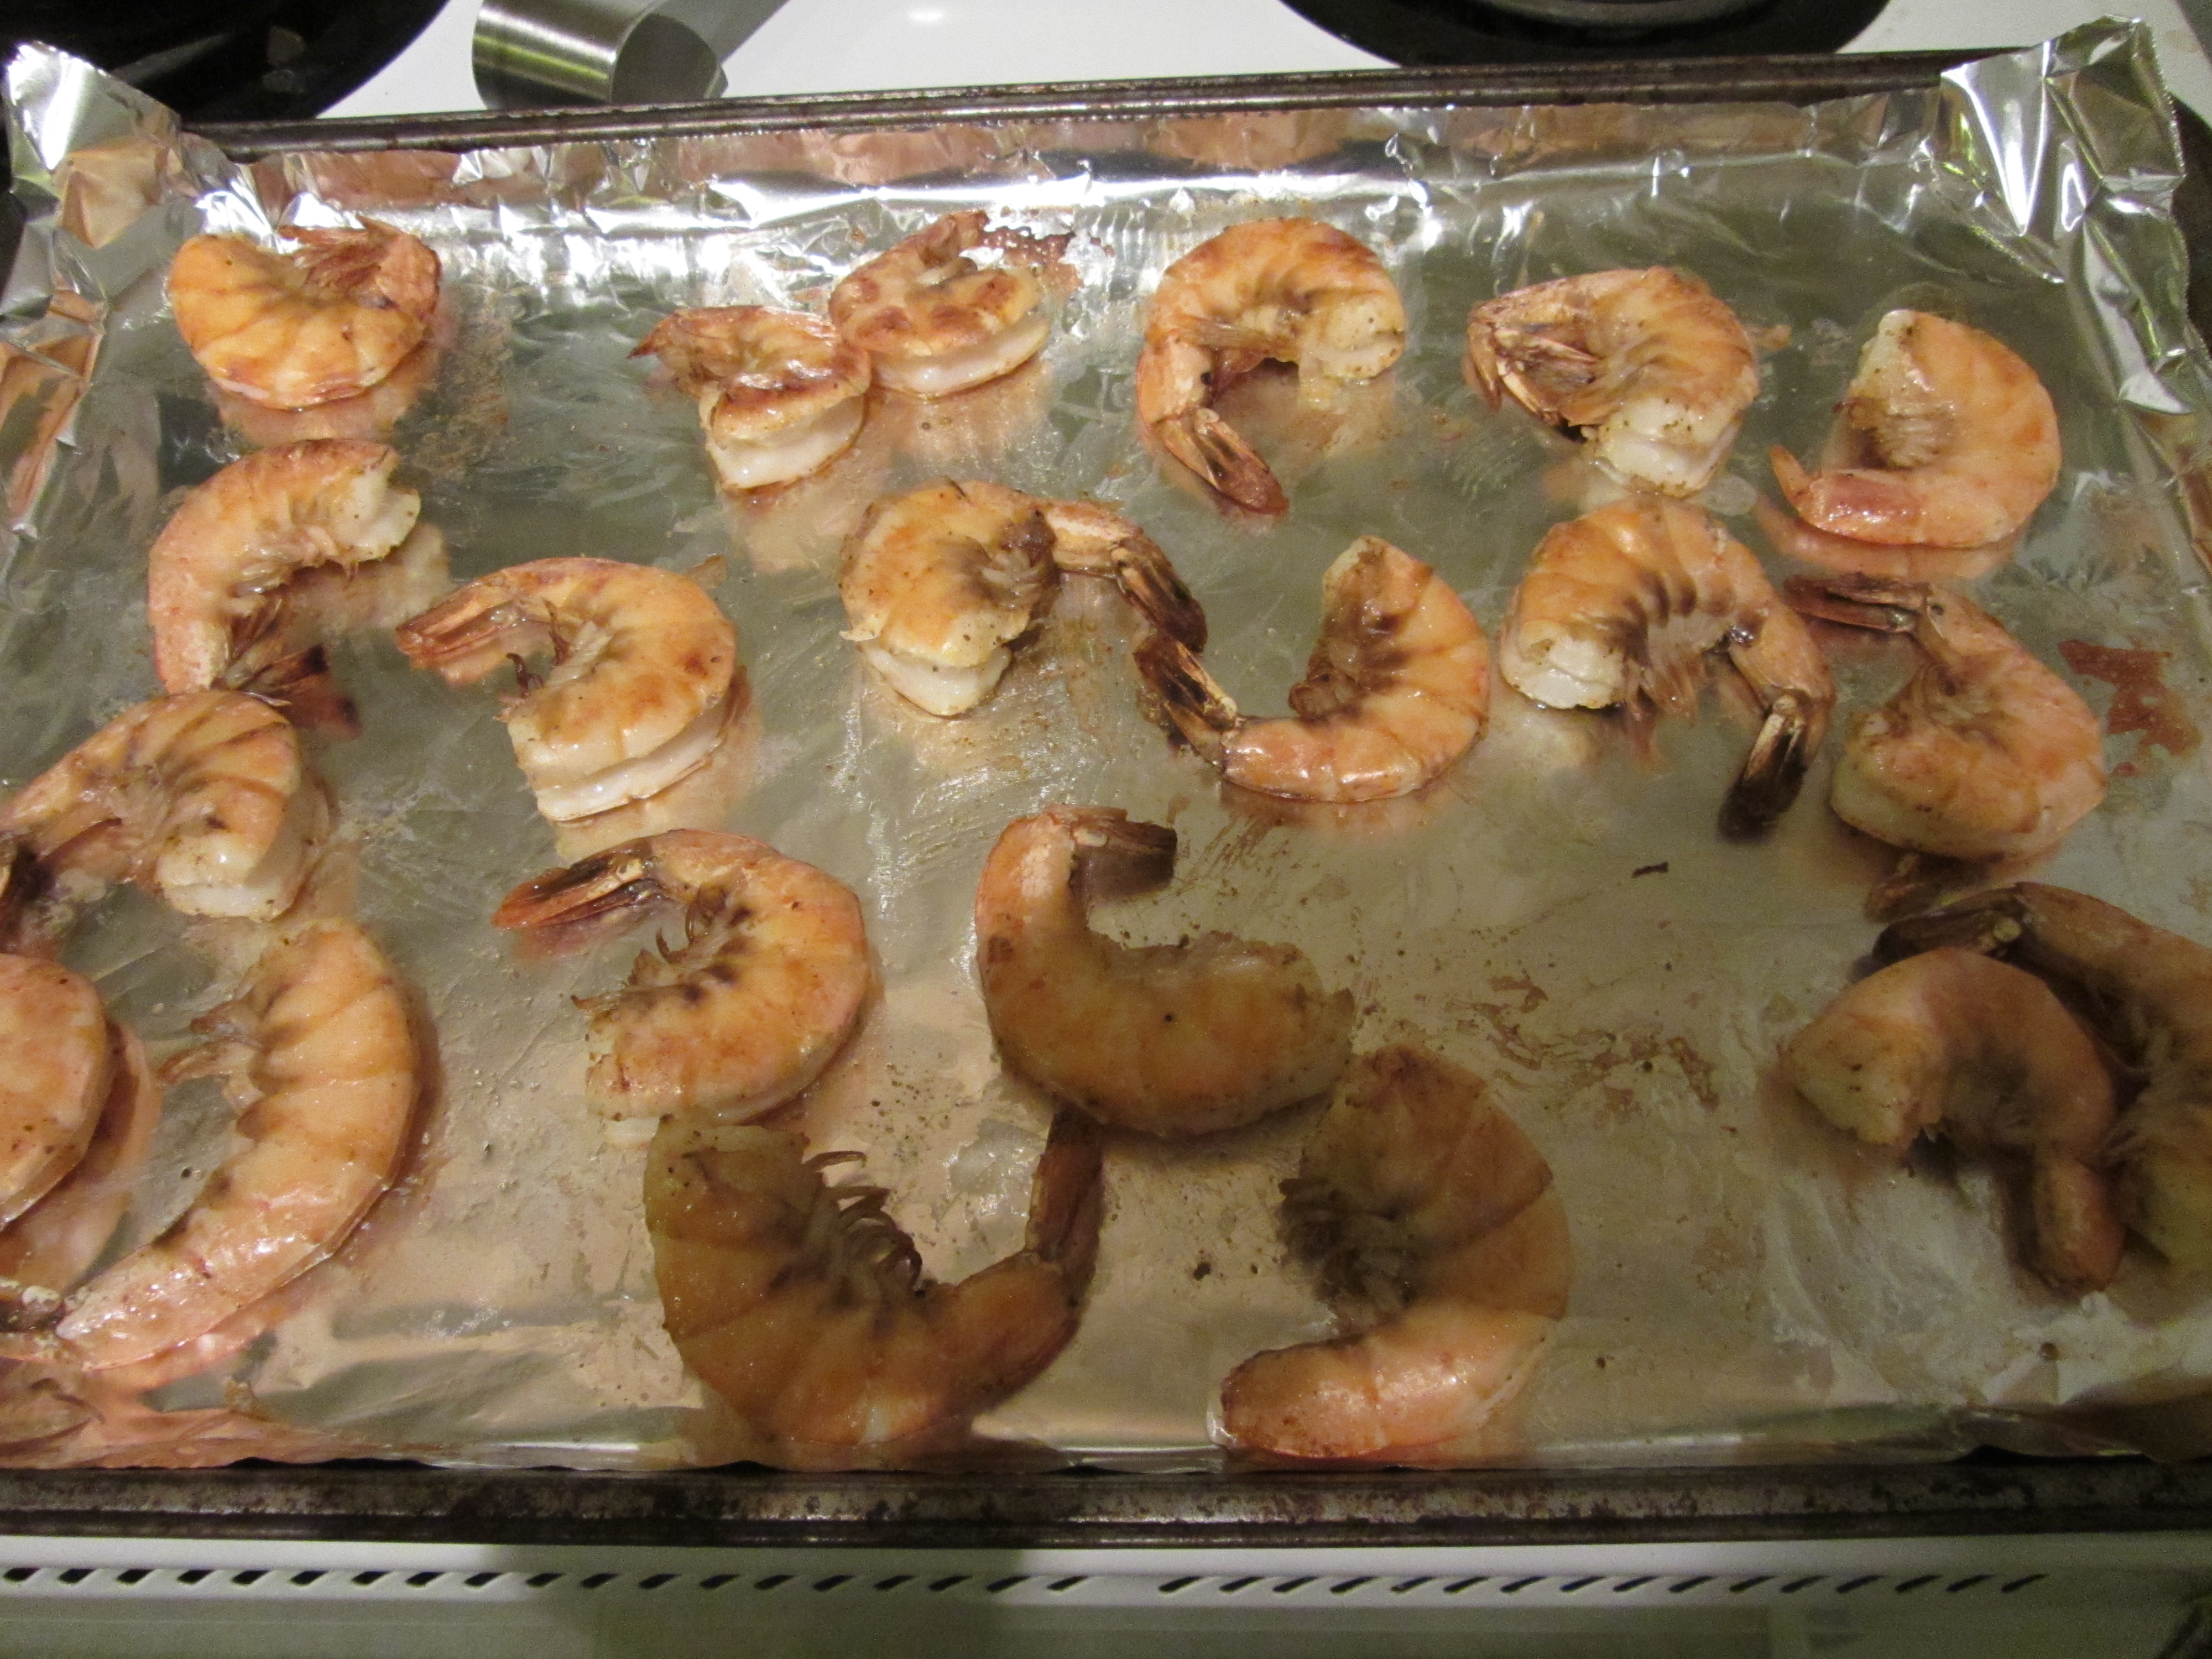
Shrimp after being flipped for an additional minute under the broiler.
As soon as your shrimp come out of the oven, you want to put them into a freezer-cold bowl and toss them around. The bowl then goes back in the freezer for 5 minutes, and then is transferred to the refrigerator.
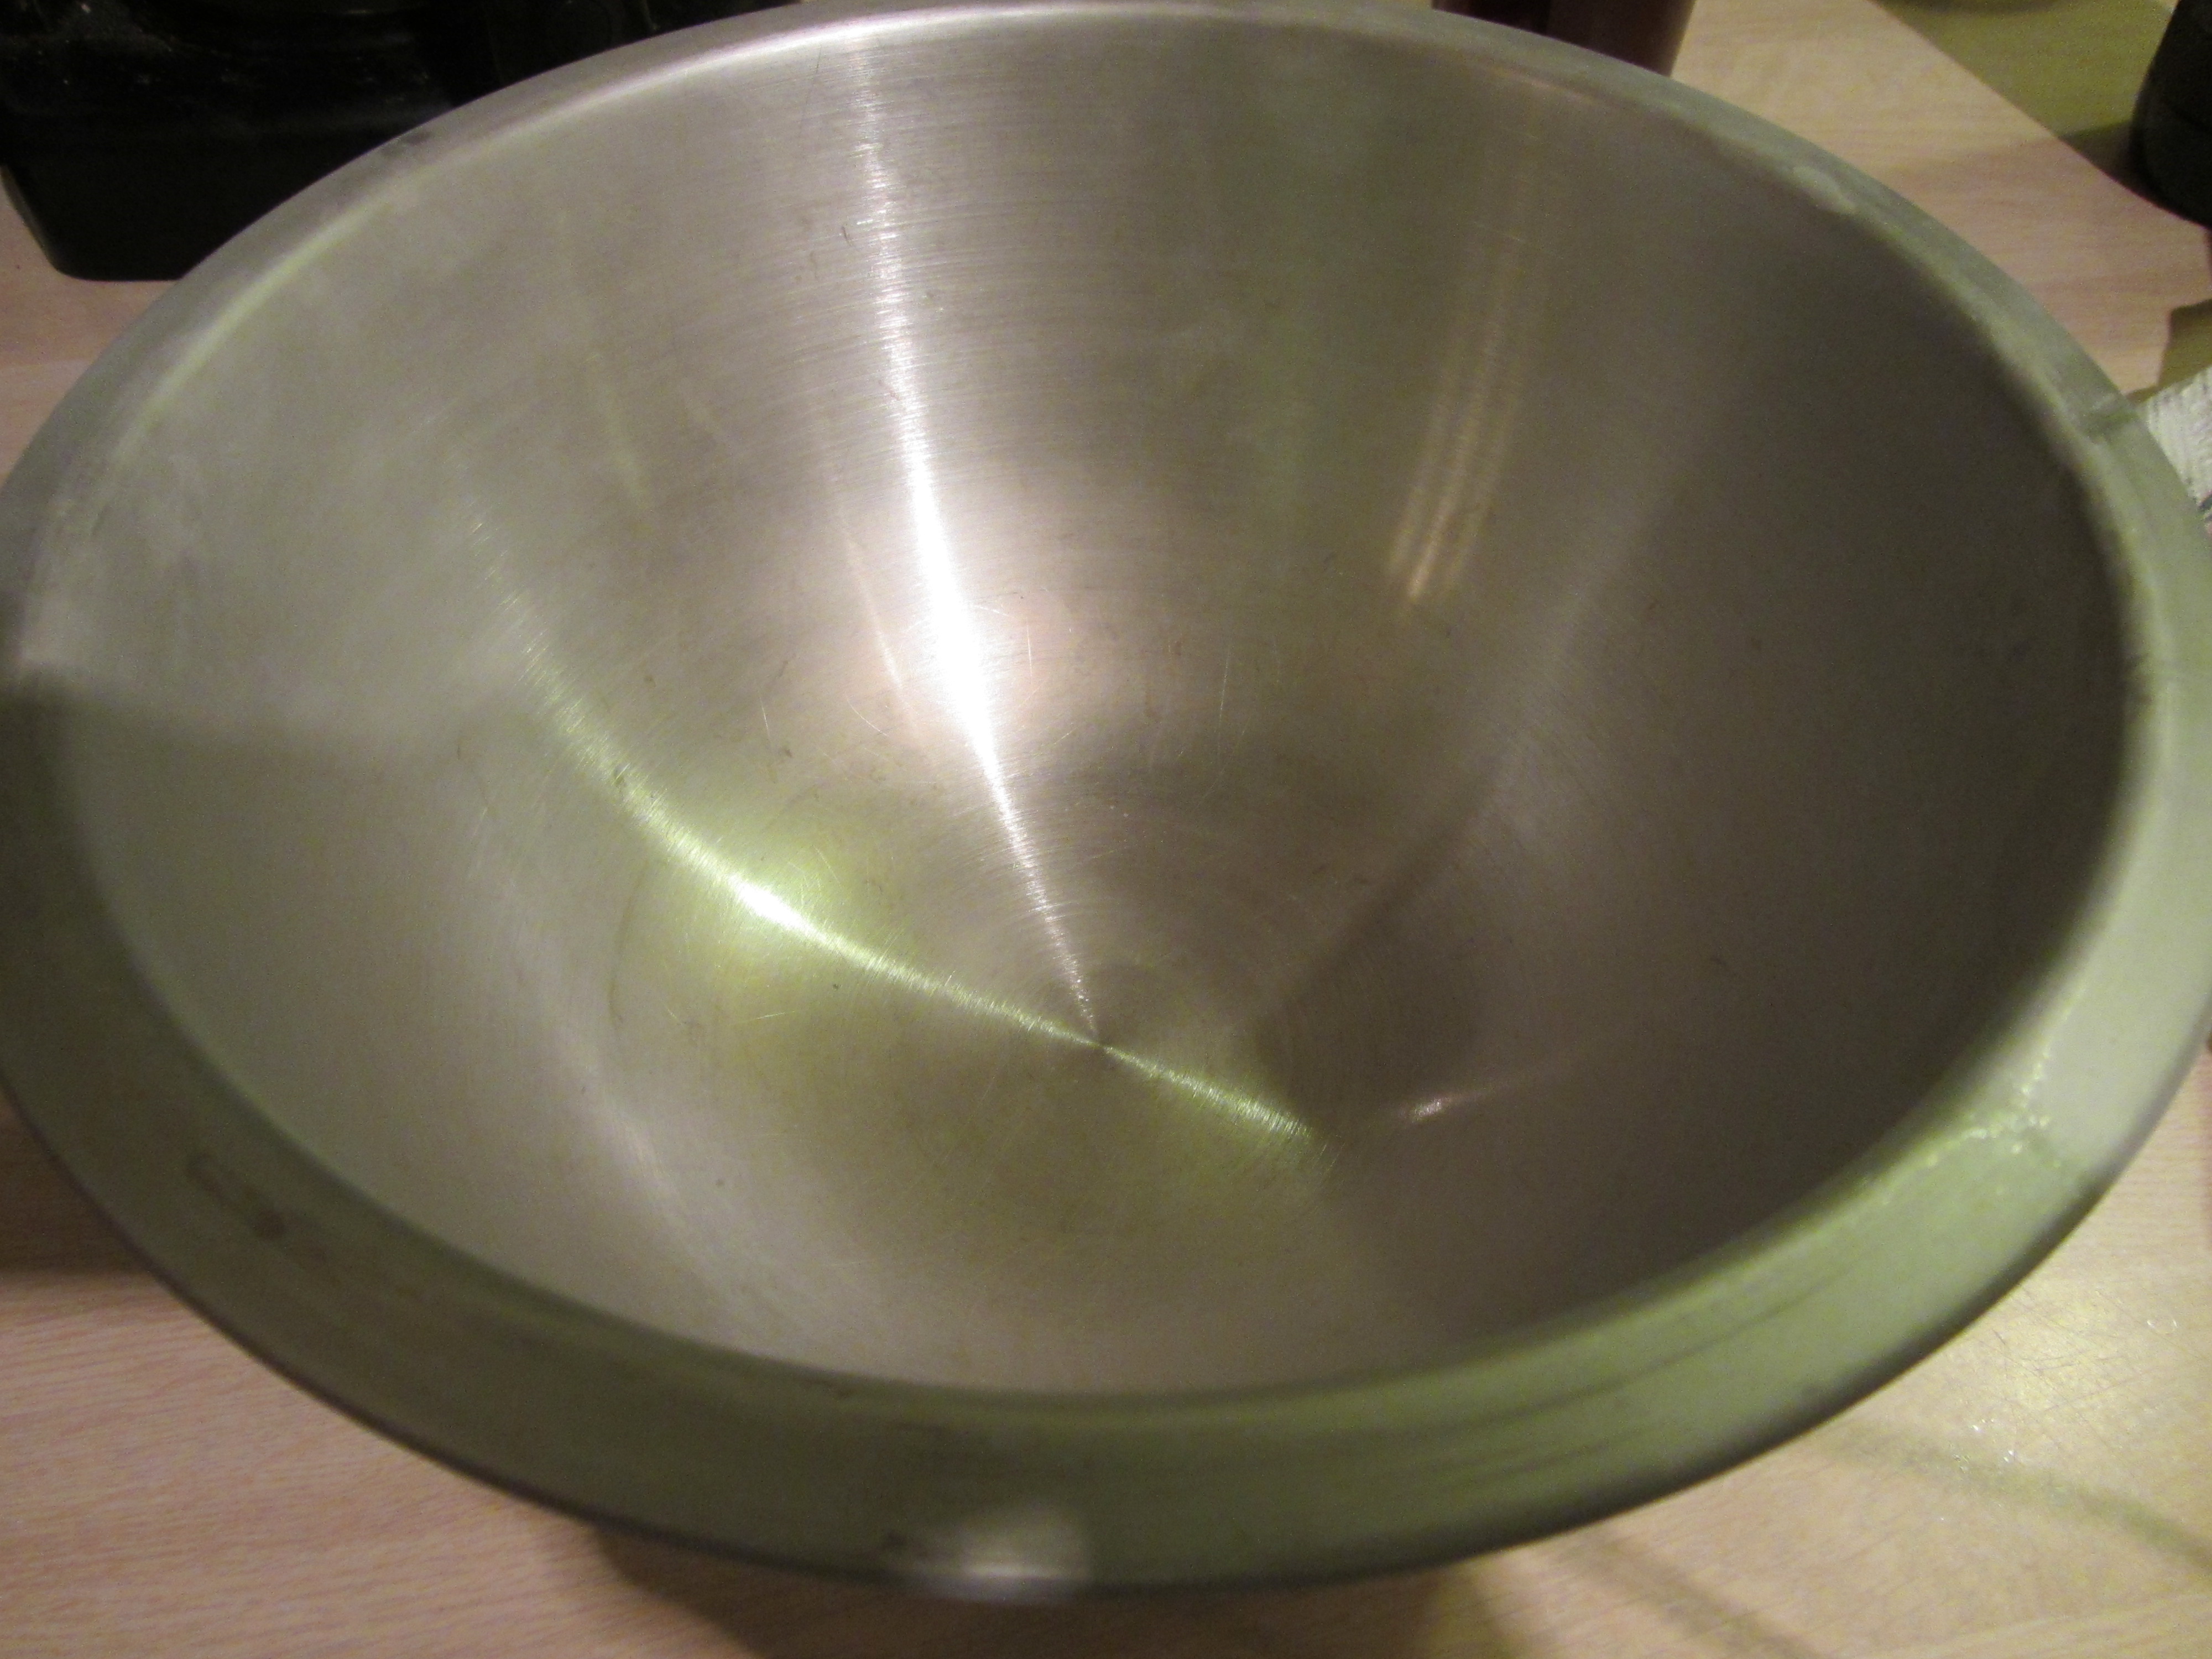
Frozen bowl.
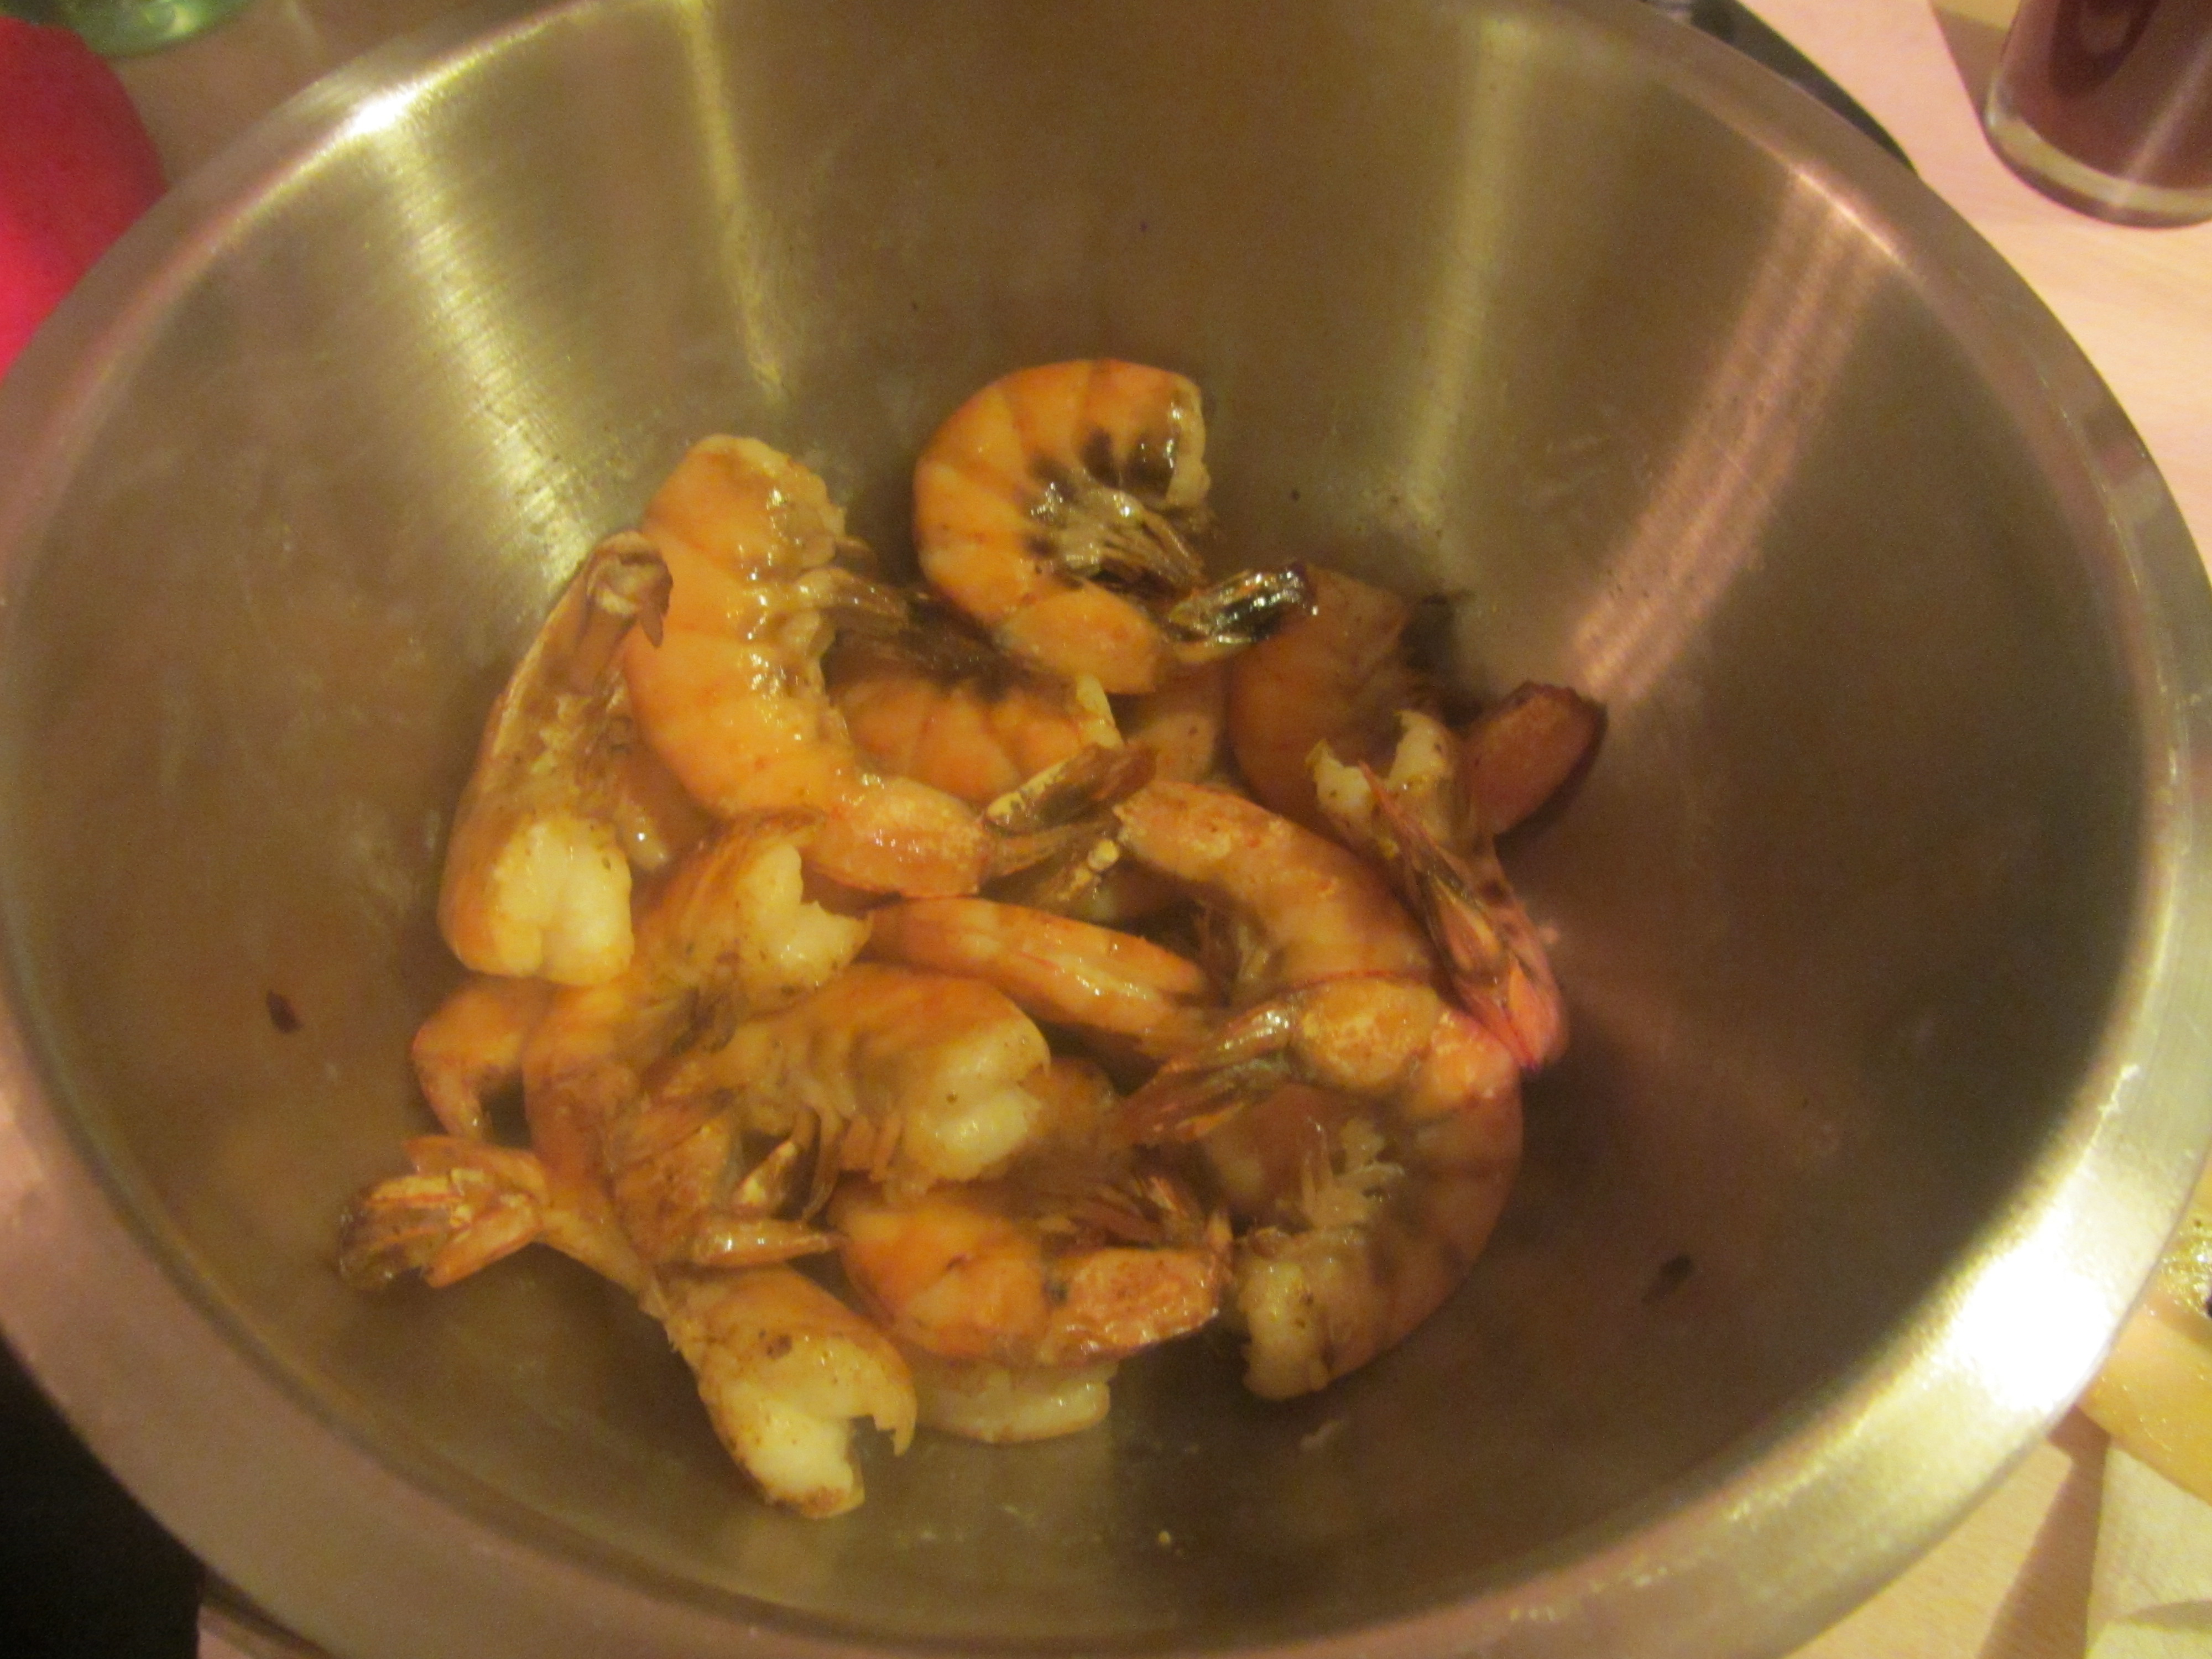
Hot shrimp into the cold bowl.
Once the shrimp are thoroughly chilled, you recreate the classic shrimp cocktail presentation, filling a martini glass with cold cocktail sauce and placing shrimp around the rim of the glass.

Completed shrimp cocktail.
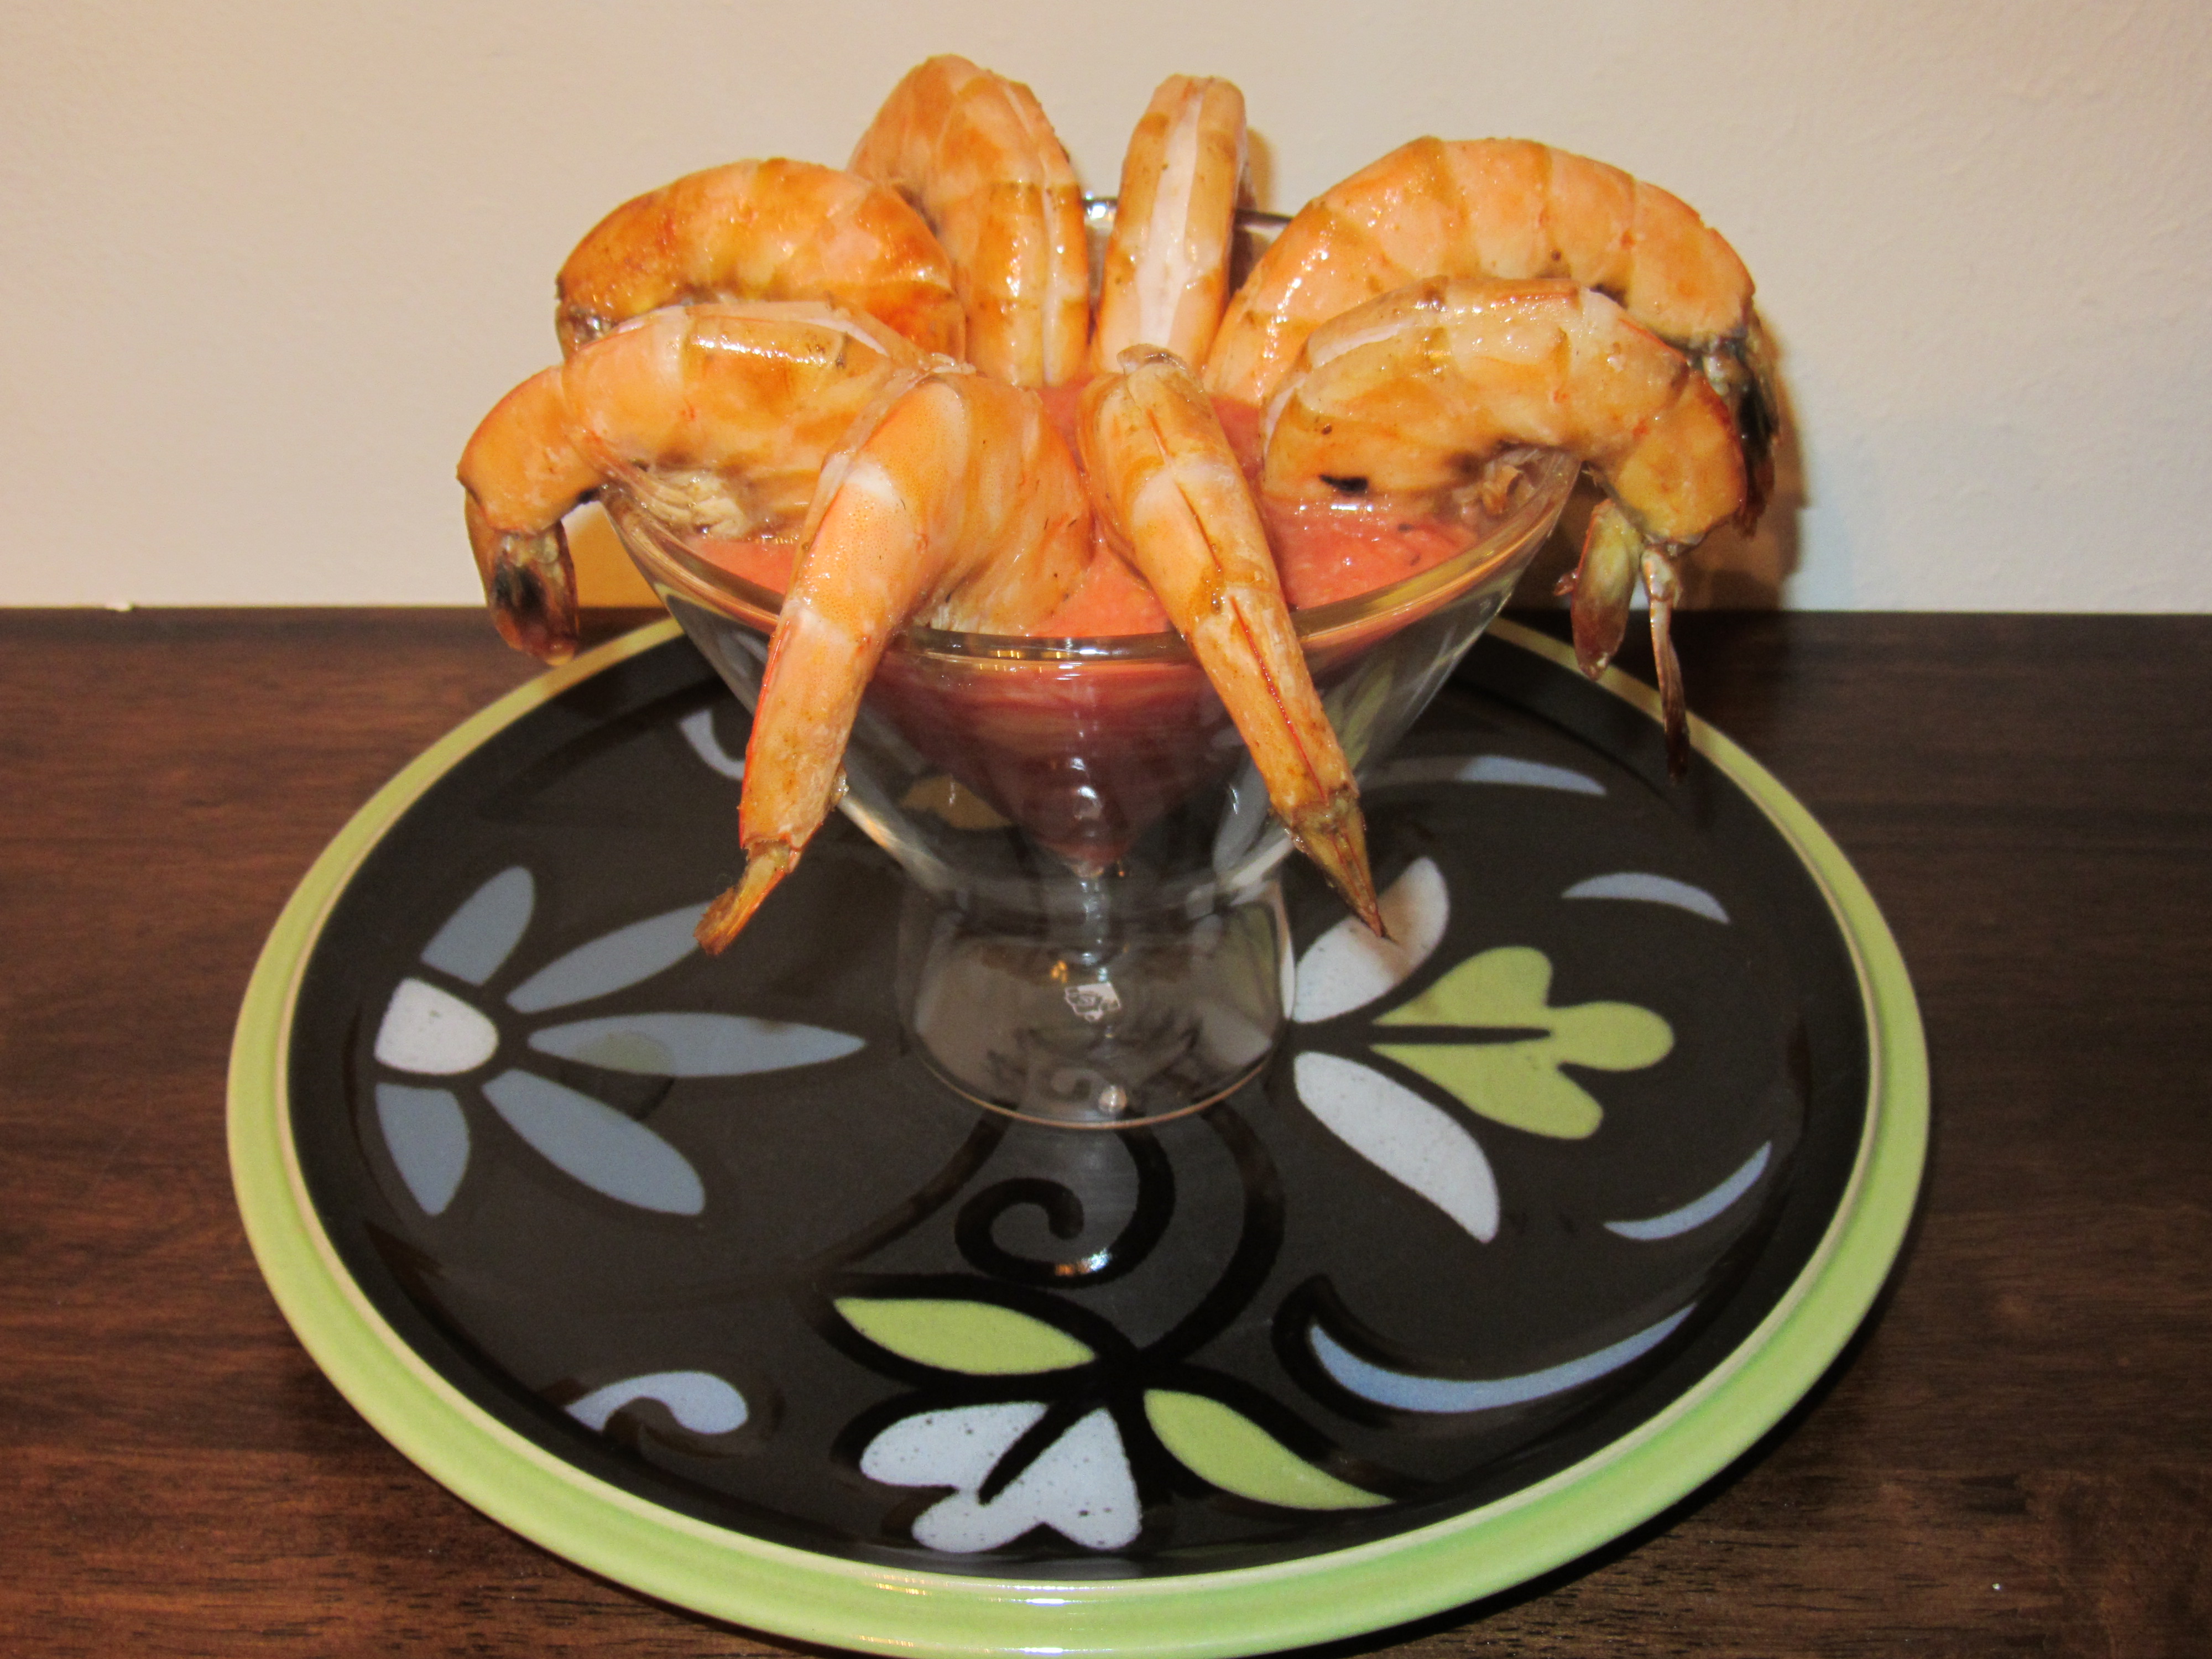
Shrimp Cocktail.

My blogging helpers.
We ate this shrimp cocktail for dinner one night last weekend. We loved the spicy kick of the cocktail sauce, though I am sure some people would find it to be too spicy. I found the heat of the horseradish to contrast nicely with the sweetness of the tomatoes and chili sauce. The shrimp had a nice texture that was far from the rubbery texture I have come to dislike in shrimp. Alton says dry heat methods are the best for cooking shrimp, and this recipe seems to confirm that. My husband thought this shrimp cocktail was delicious, and said this was the best cocktail sauce he had ever had.