It’s a Wonderful Waldorf
I live in Washington state. It is Fall. Could the timing be any better for me to happen upon the “Apple Family Values” episode of Good Eats? I love apples, but I sort of refuse to eat them in the summer. In fact, I see the commencing of apple eating as my concession that the fall season is indeed upon us. As a Washington apple eater, my new personal favorite apple is the SweeTango, though a good Honeycrisp is hard to beat. They are expensive, but so worth it.
I will admit that I was not overly enthused to make Alton’s Waldorf salad. My impression of Waldorf salad has always been that it is a dated, over-mayonnais-ed salad from a famous hotel. Boy was I wrong about this one, as Alton’s take is well worth making.
For Alton’s Waldorf salad, he recommends that you use three apples: two Ginger Golds or Fujis and one Red Delicious. Ginger Gold apples are not readily available in our area, so I used Fuji apples in their place.
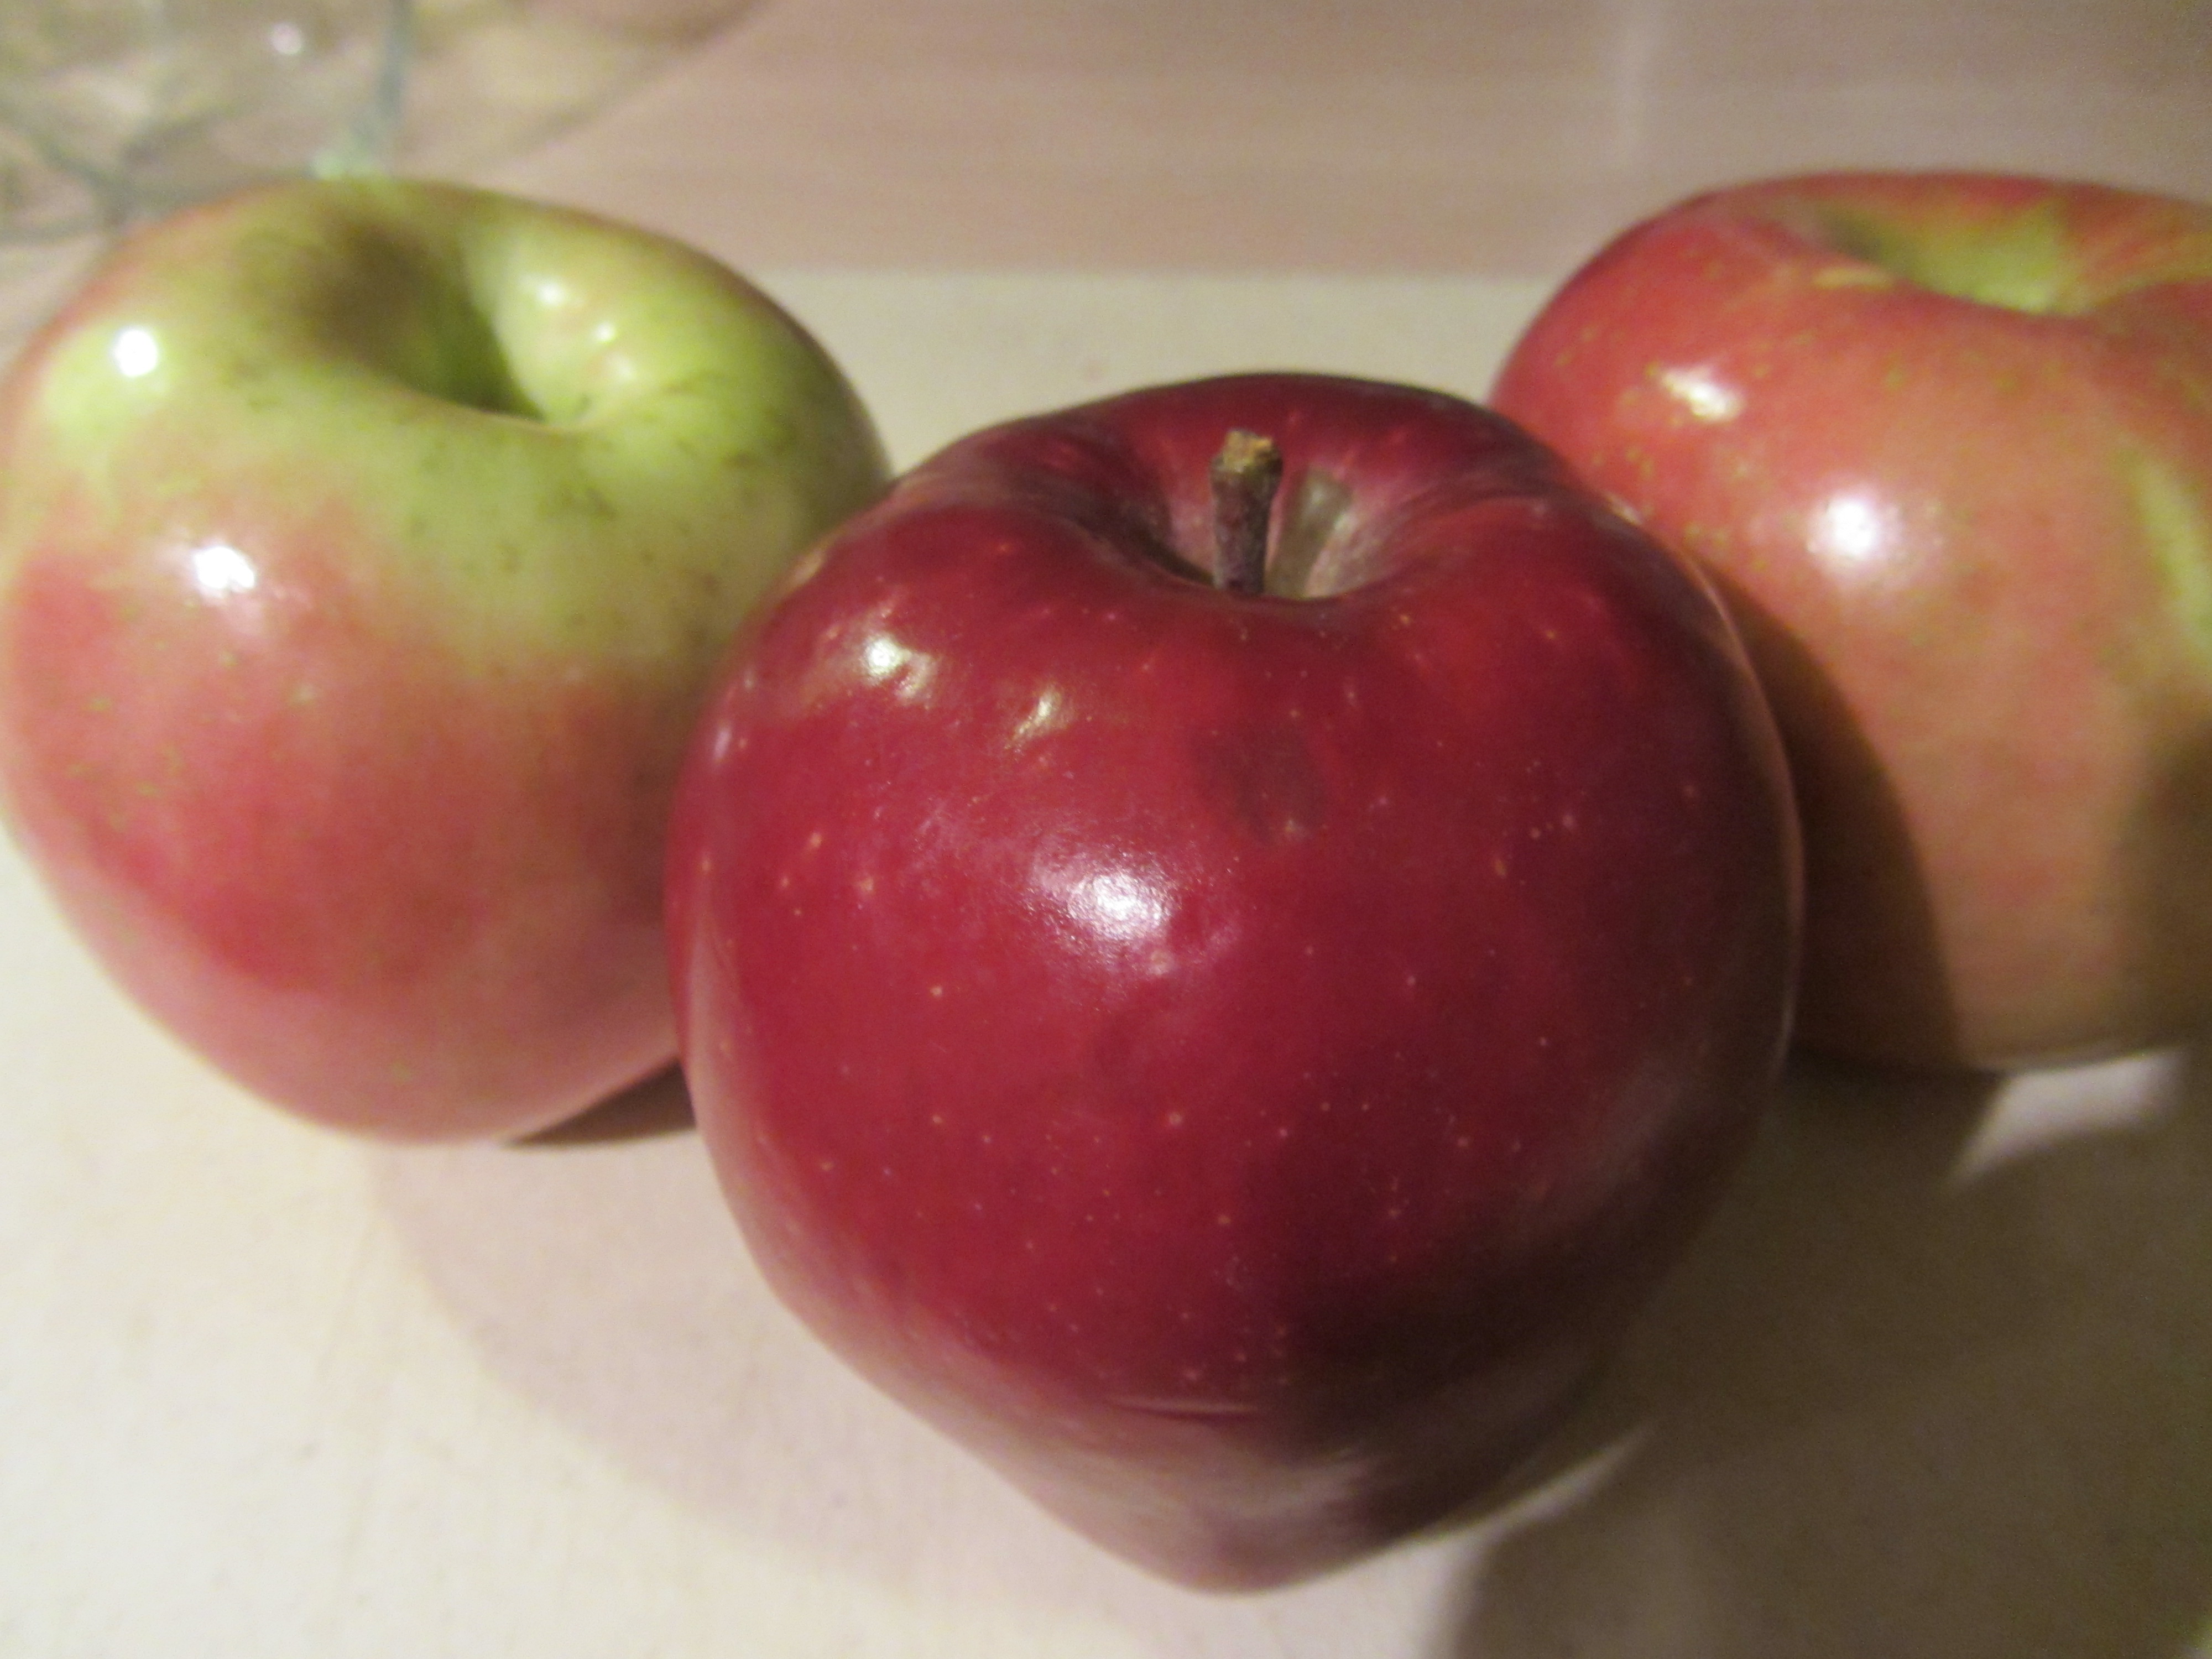
Two Fuji apples and one Red Delicious apple.
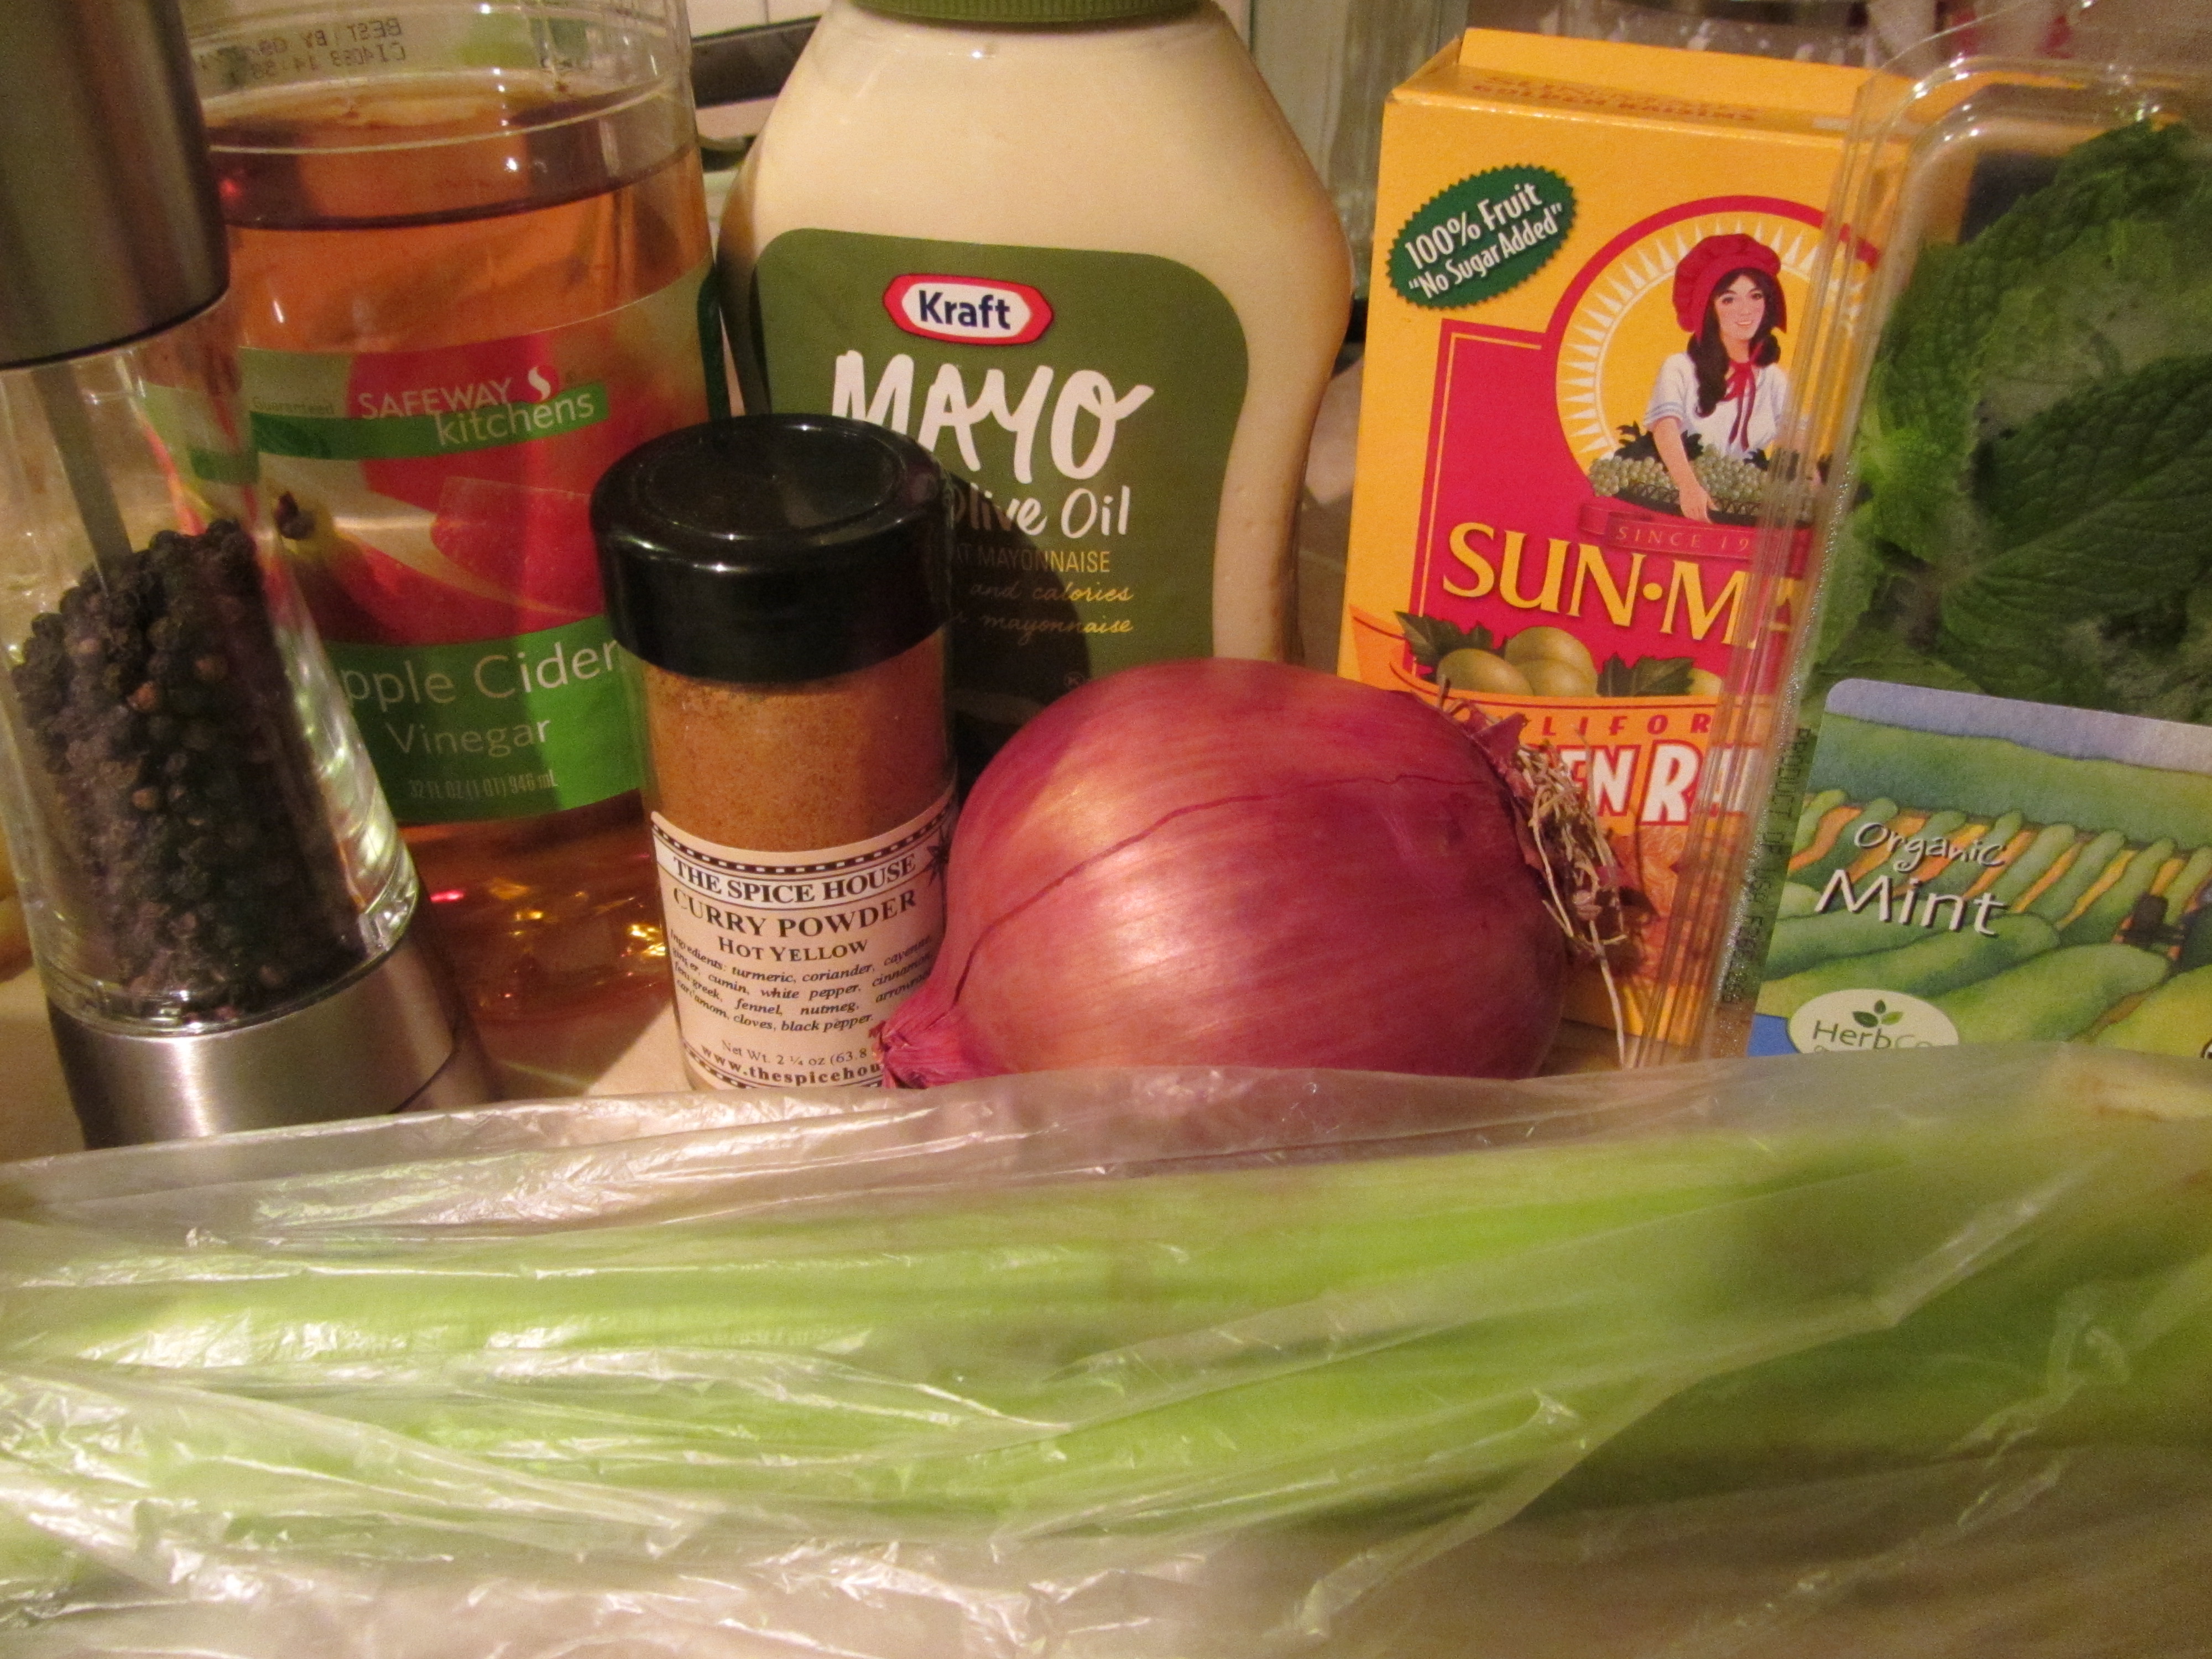
Ingredients for Waldorf salad (minus apples, toasted walnuts, and salt).
Alton suggests that you cut the apples in half, and use a melon baller to scoop out the core. This works like a charm, and I will be using this trick in the future.
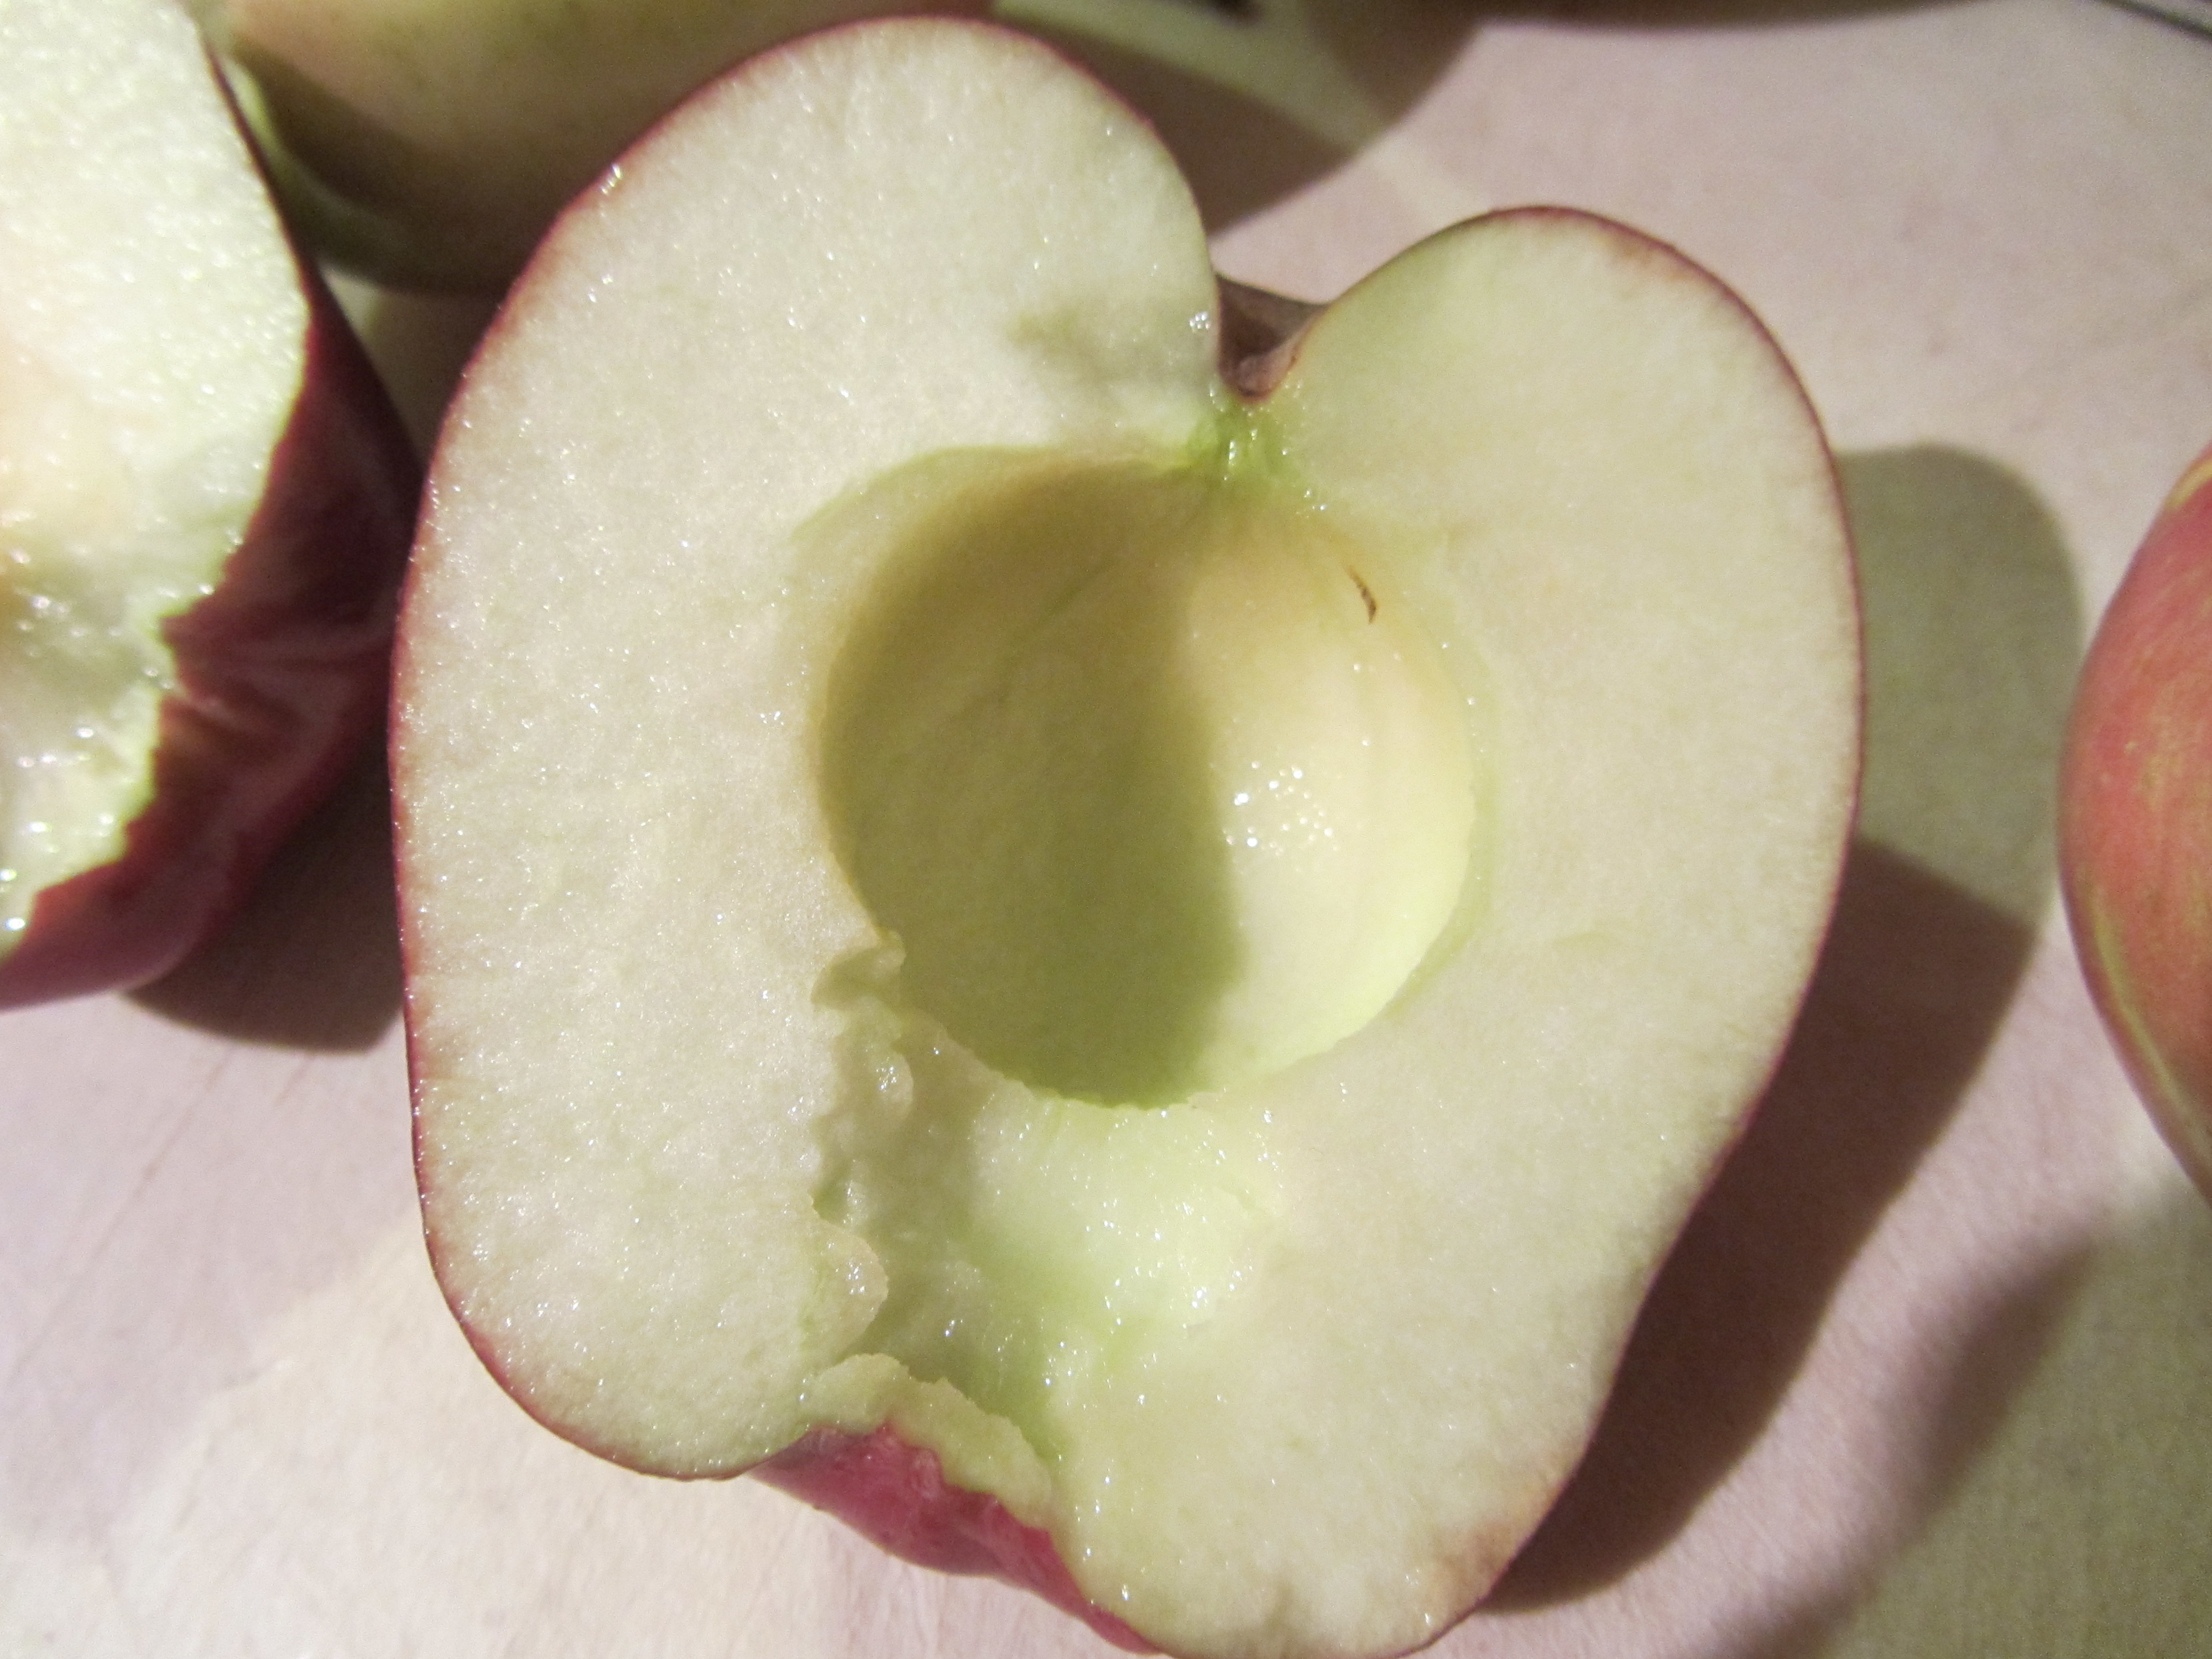
Apple, cored with a melon baller.
After coring and chopping the apples, you toss them with some cider vinegar.
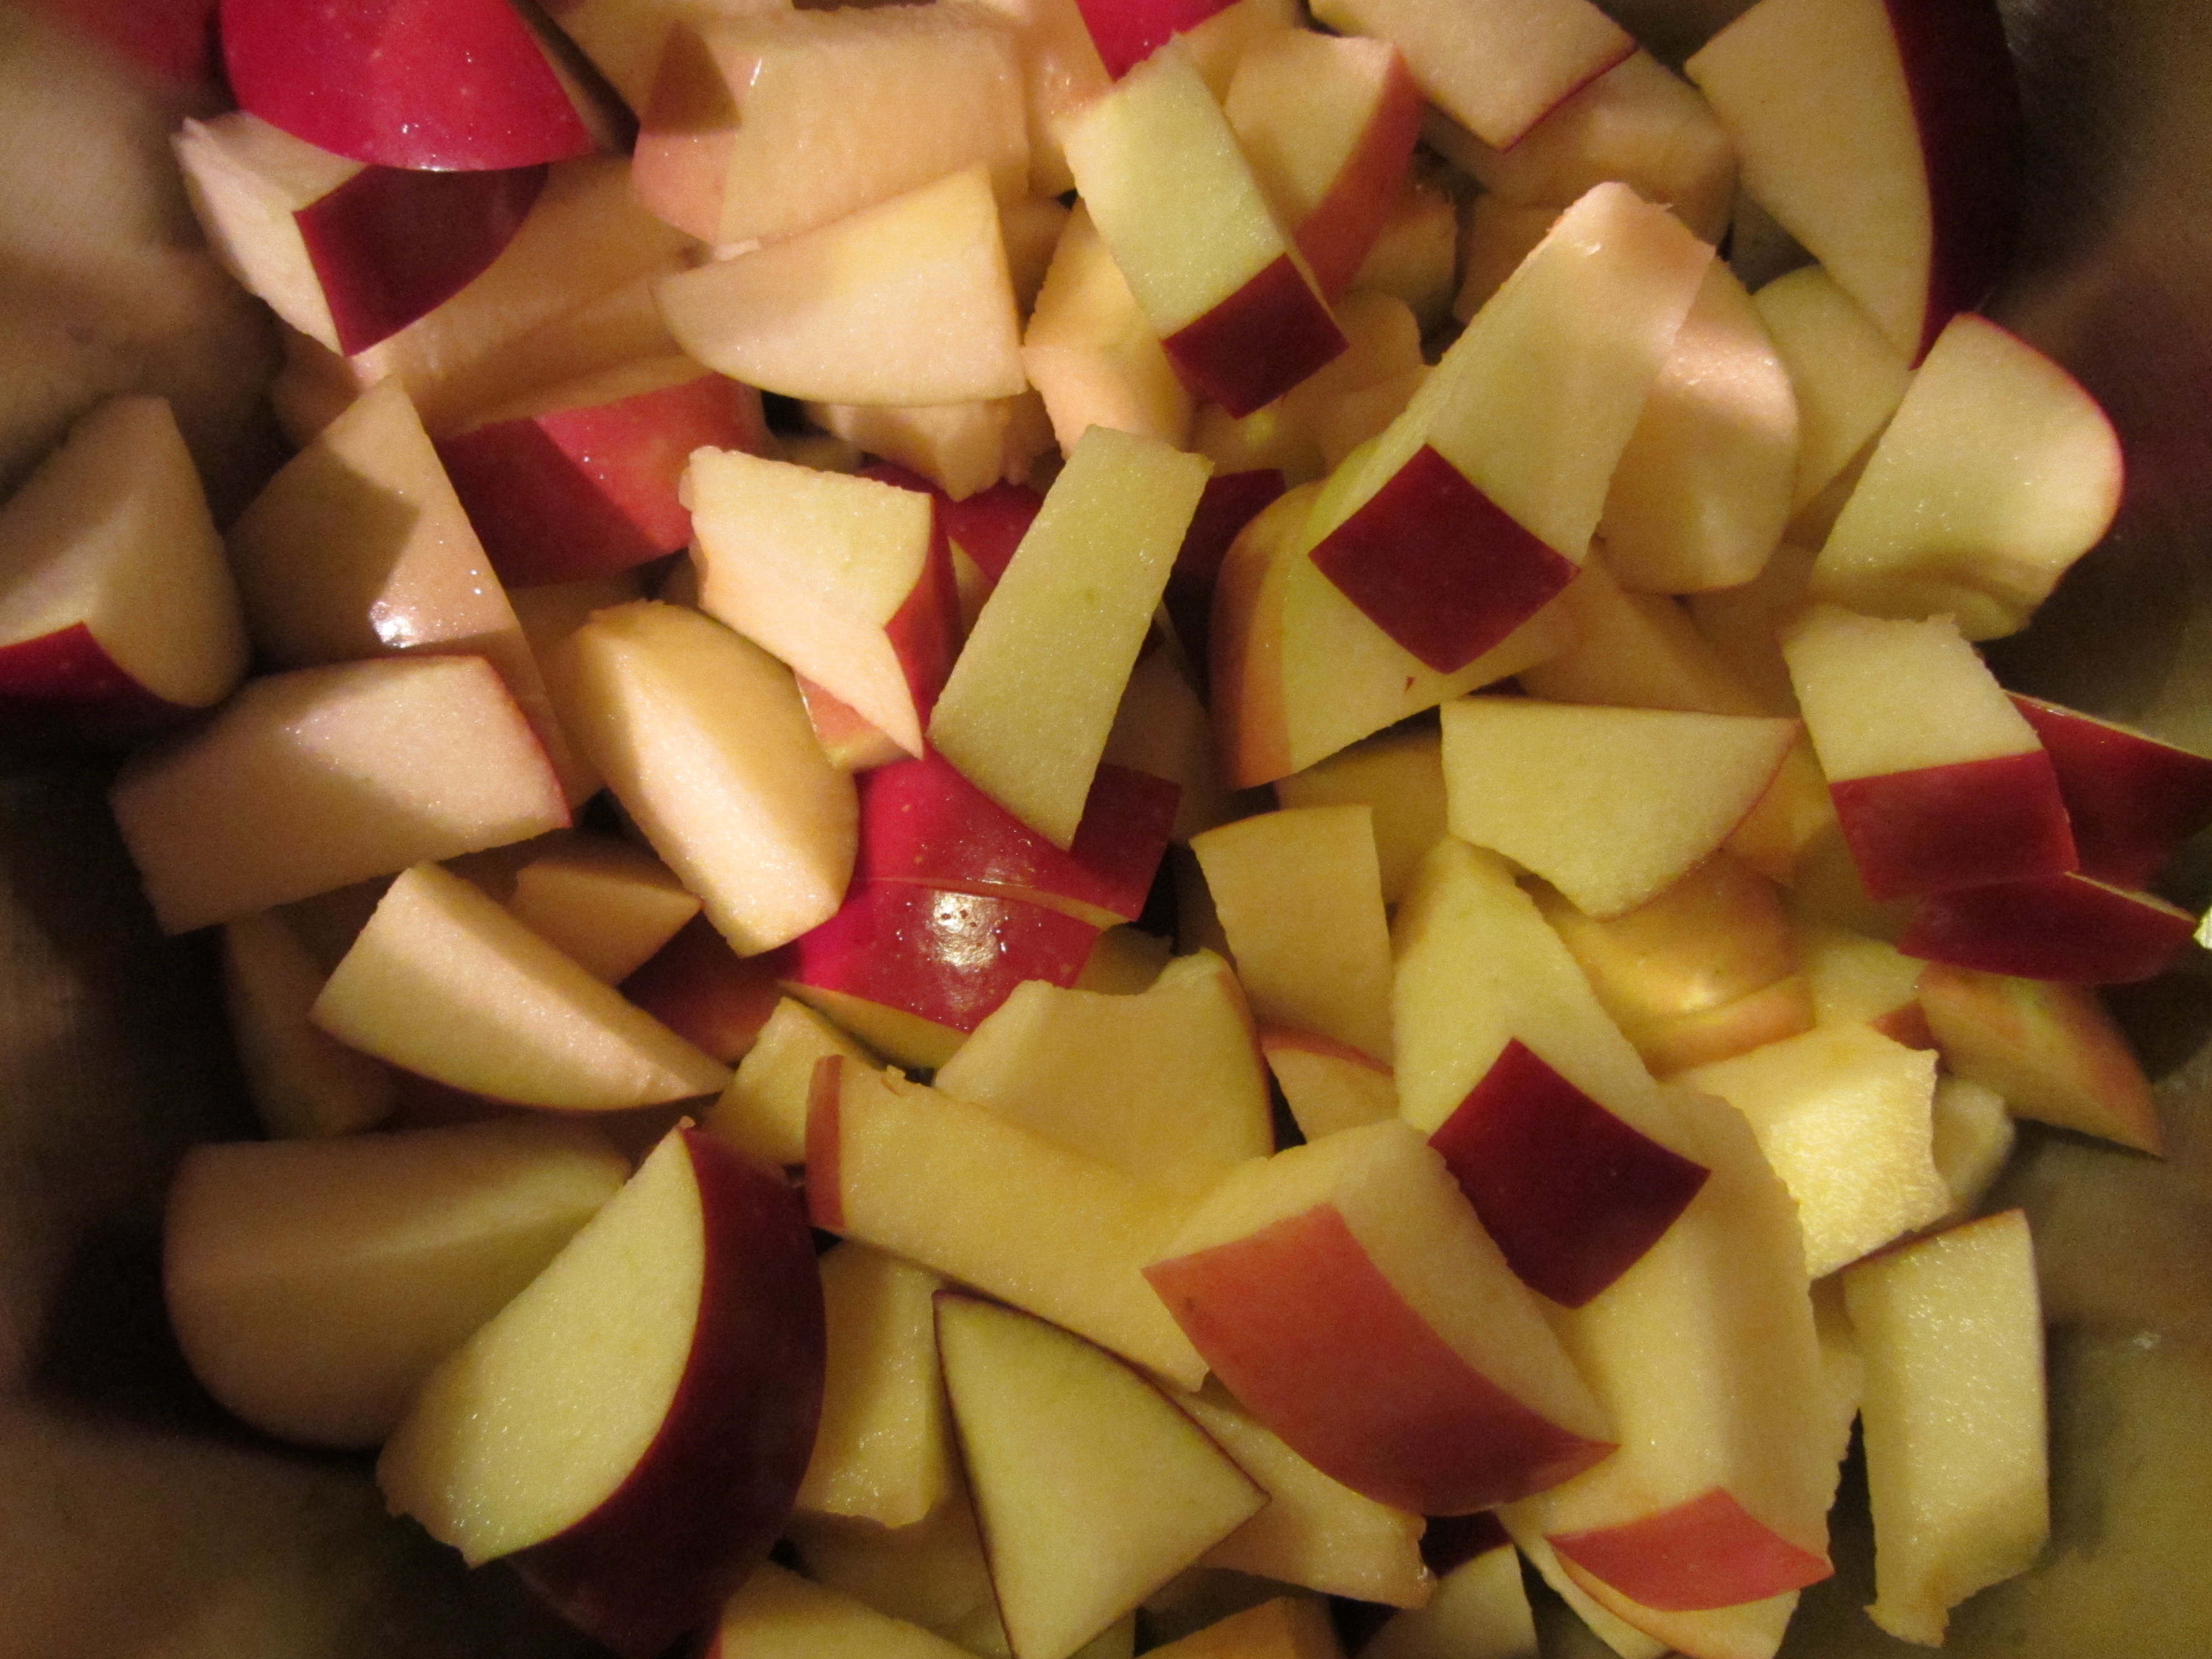
Chopped apples, tossed with cider vinegar.
Following the vinegar, you add some mayonnaise to your apple mixture, tossing to make sure the apples are thoroughly covered.
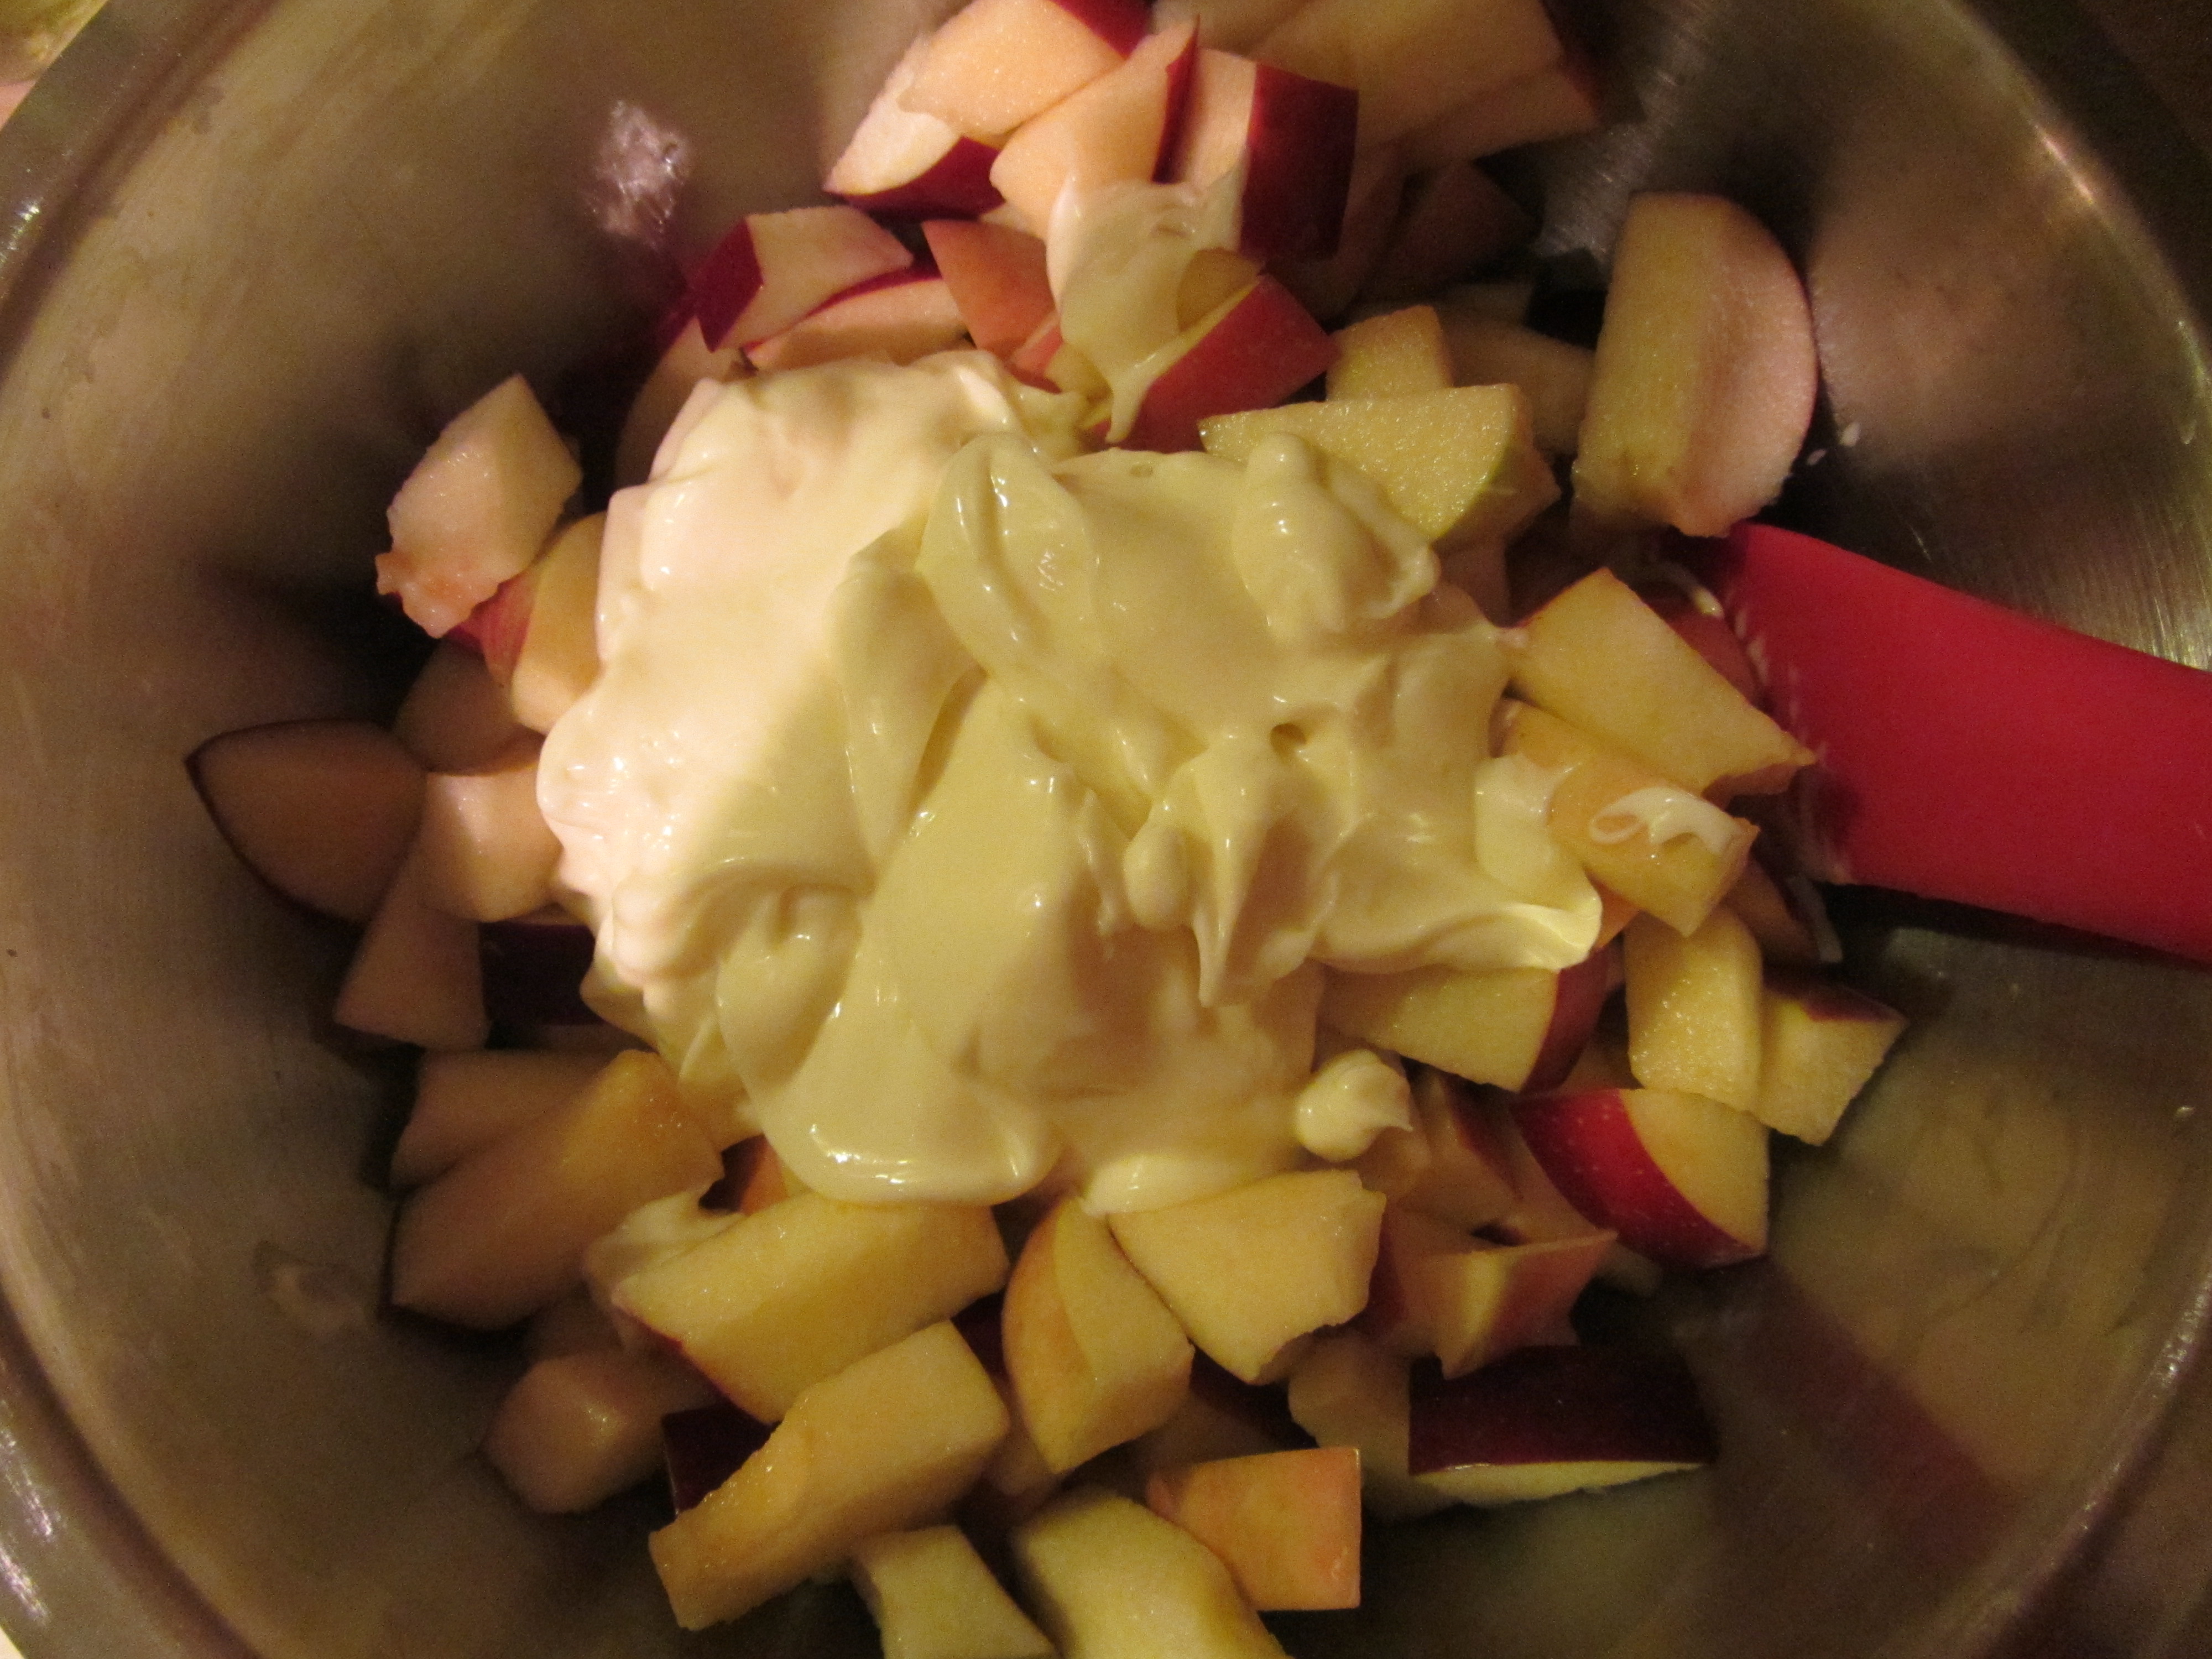
Vinegar-coated apples with mayonnaise.

Apples coated with mayo.
You add some Kosher salt and pepper for seasoning.

Apples with vinegar, mayonnaise, salt, and pepper.
Meanwhile, you toast some walnuts on the stove, and throw them into the mix.
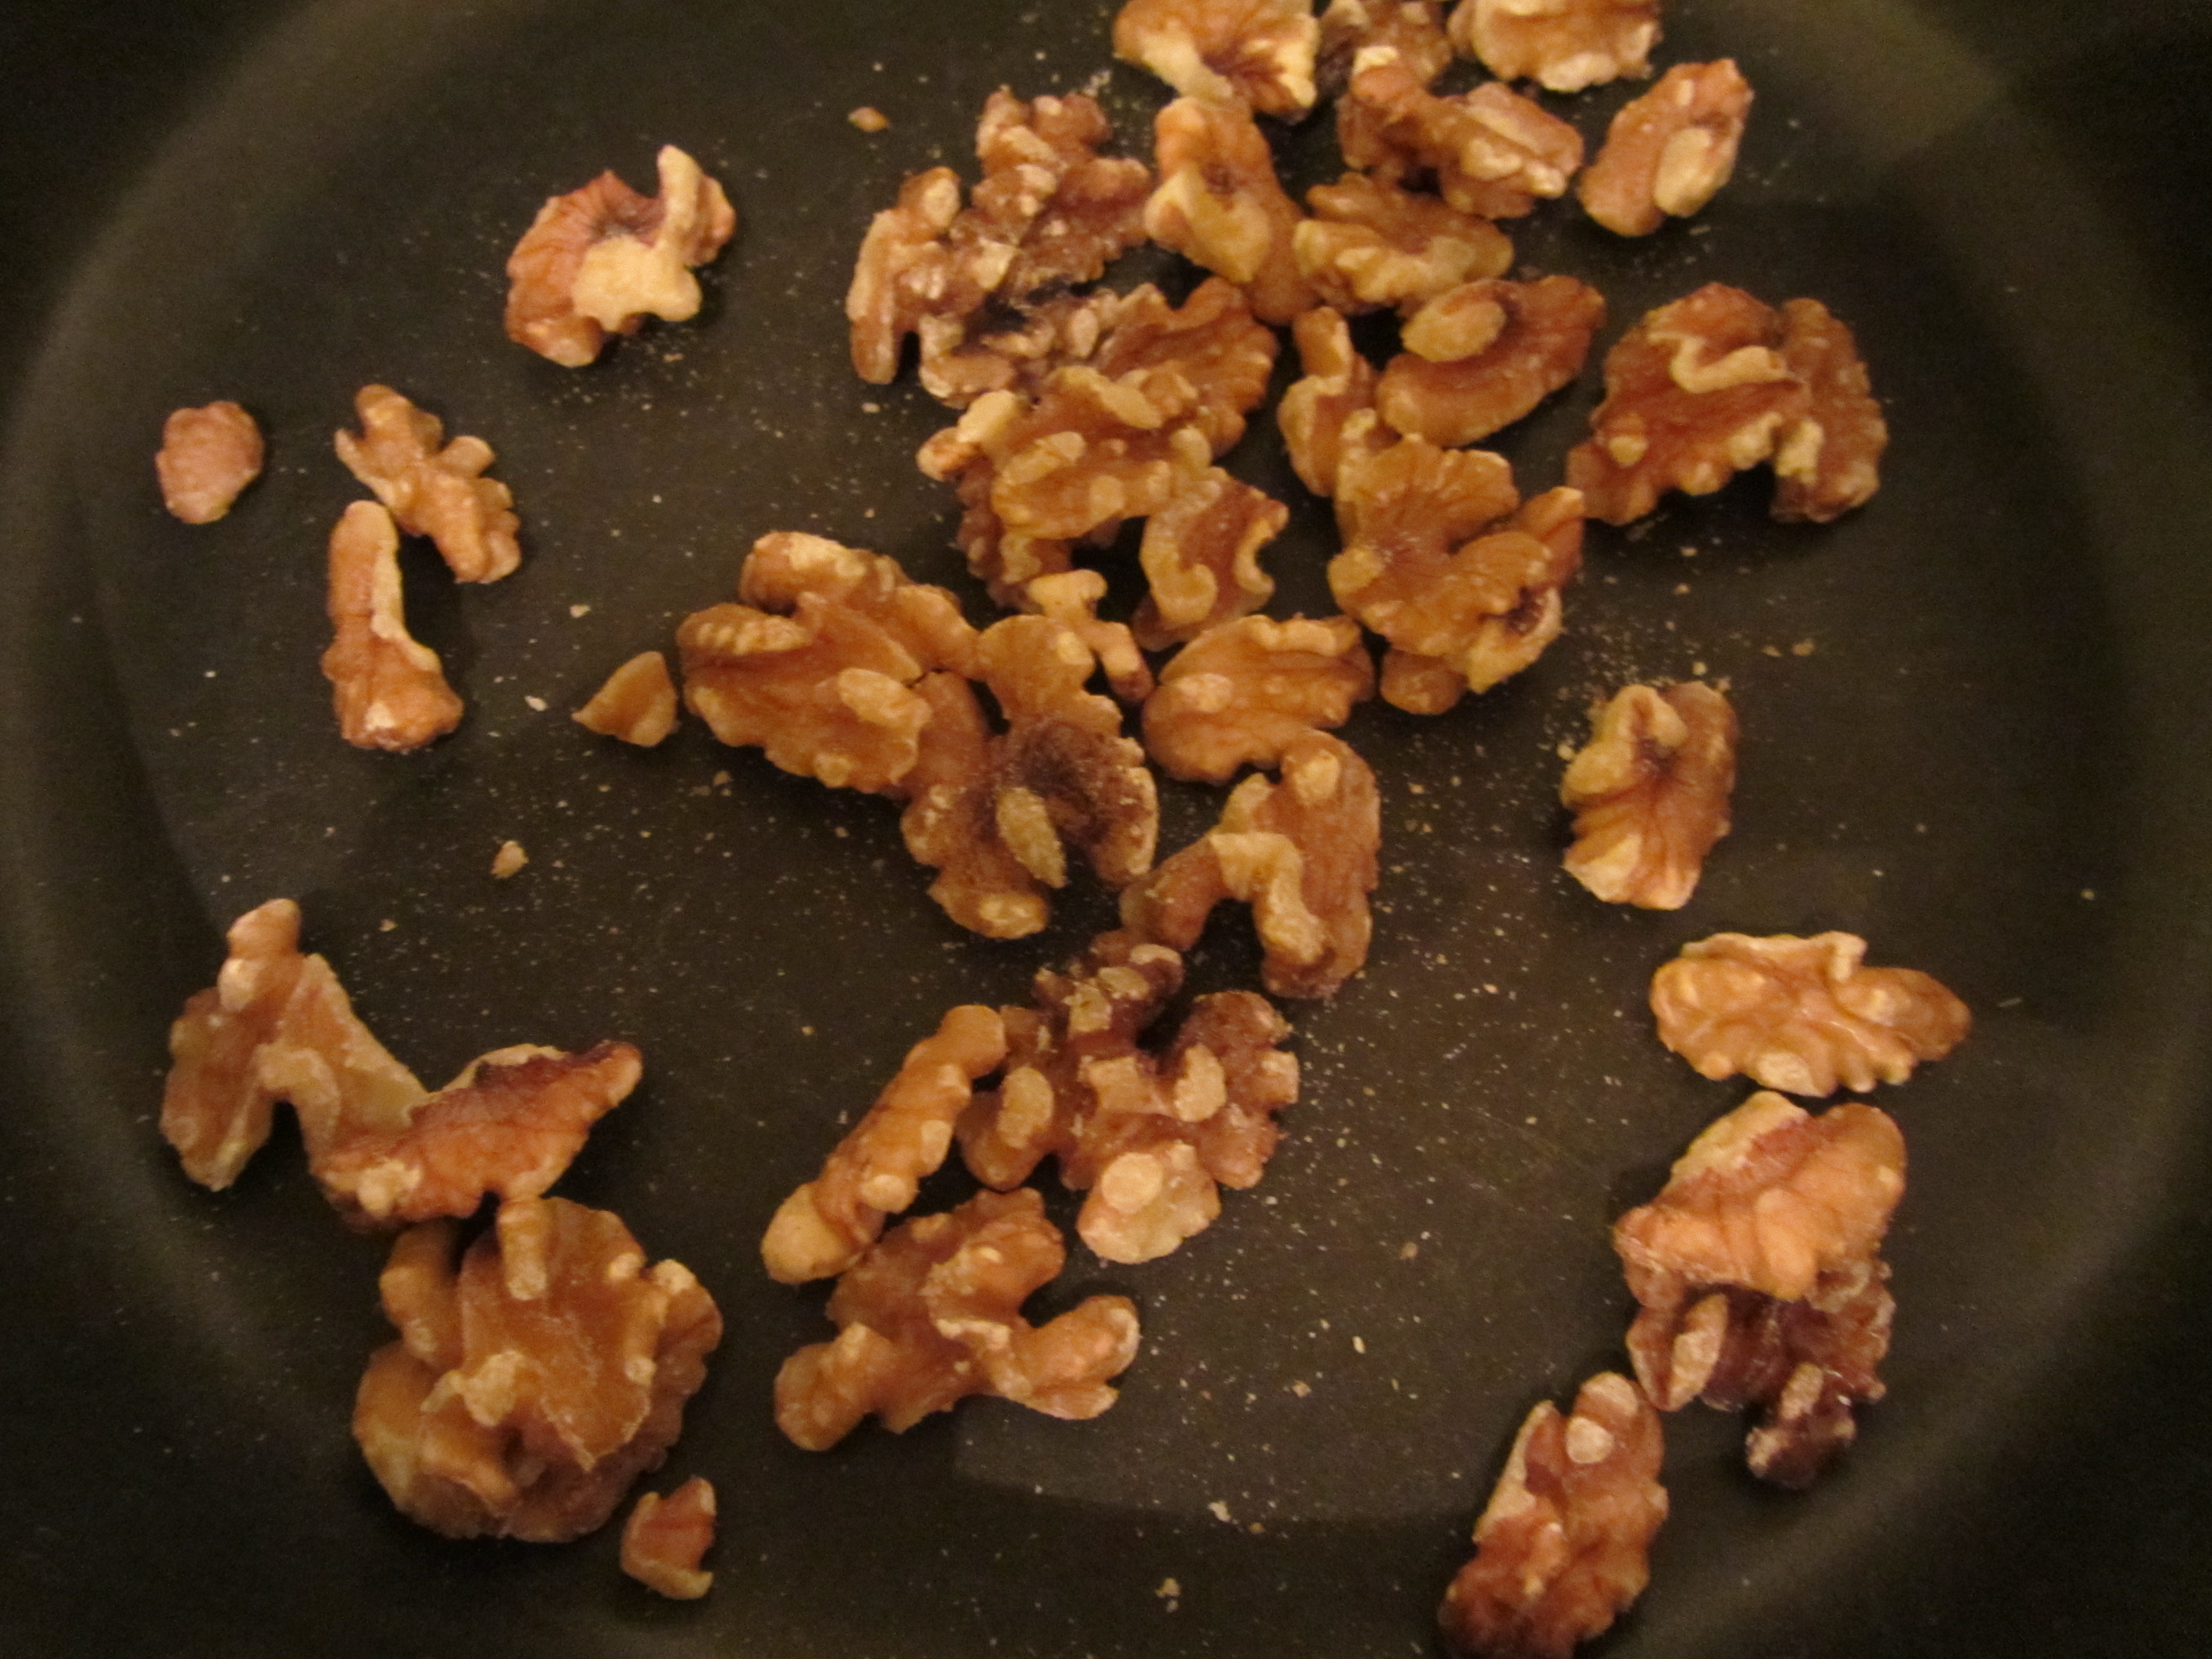
Toasting walnuts.
Next, you throw in some golden raisins, curry powder (I used hot curry powder for some extra kick, though maharajah curry would also be excellent), some celery, fresh mint, and red onion.
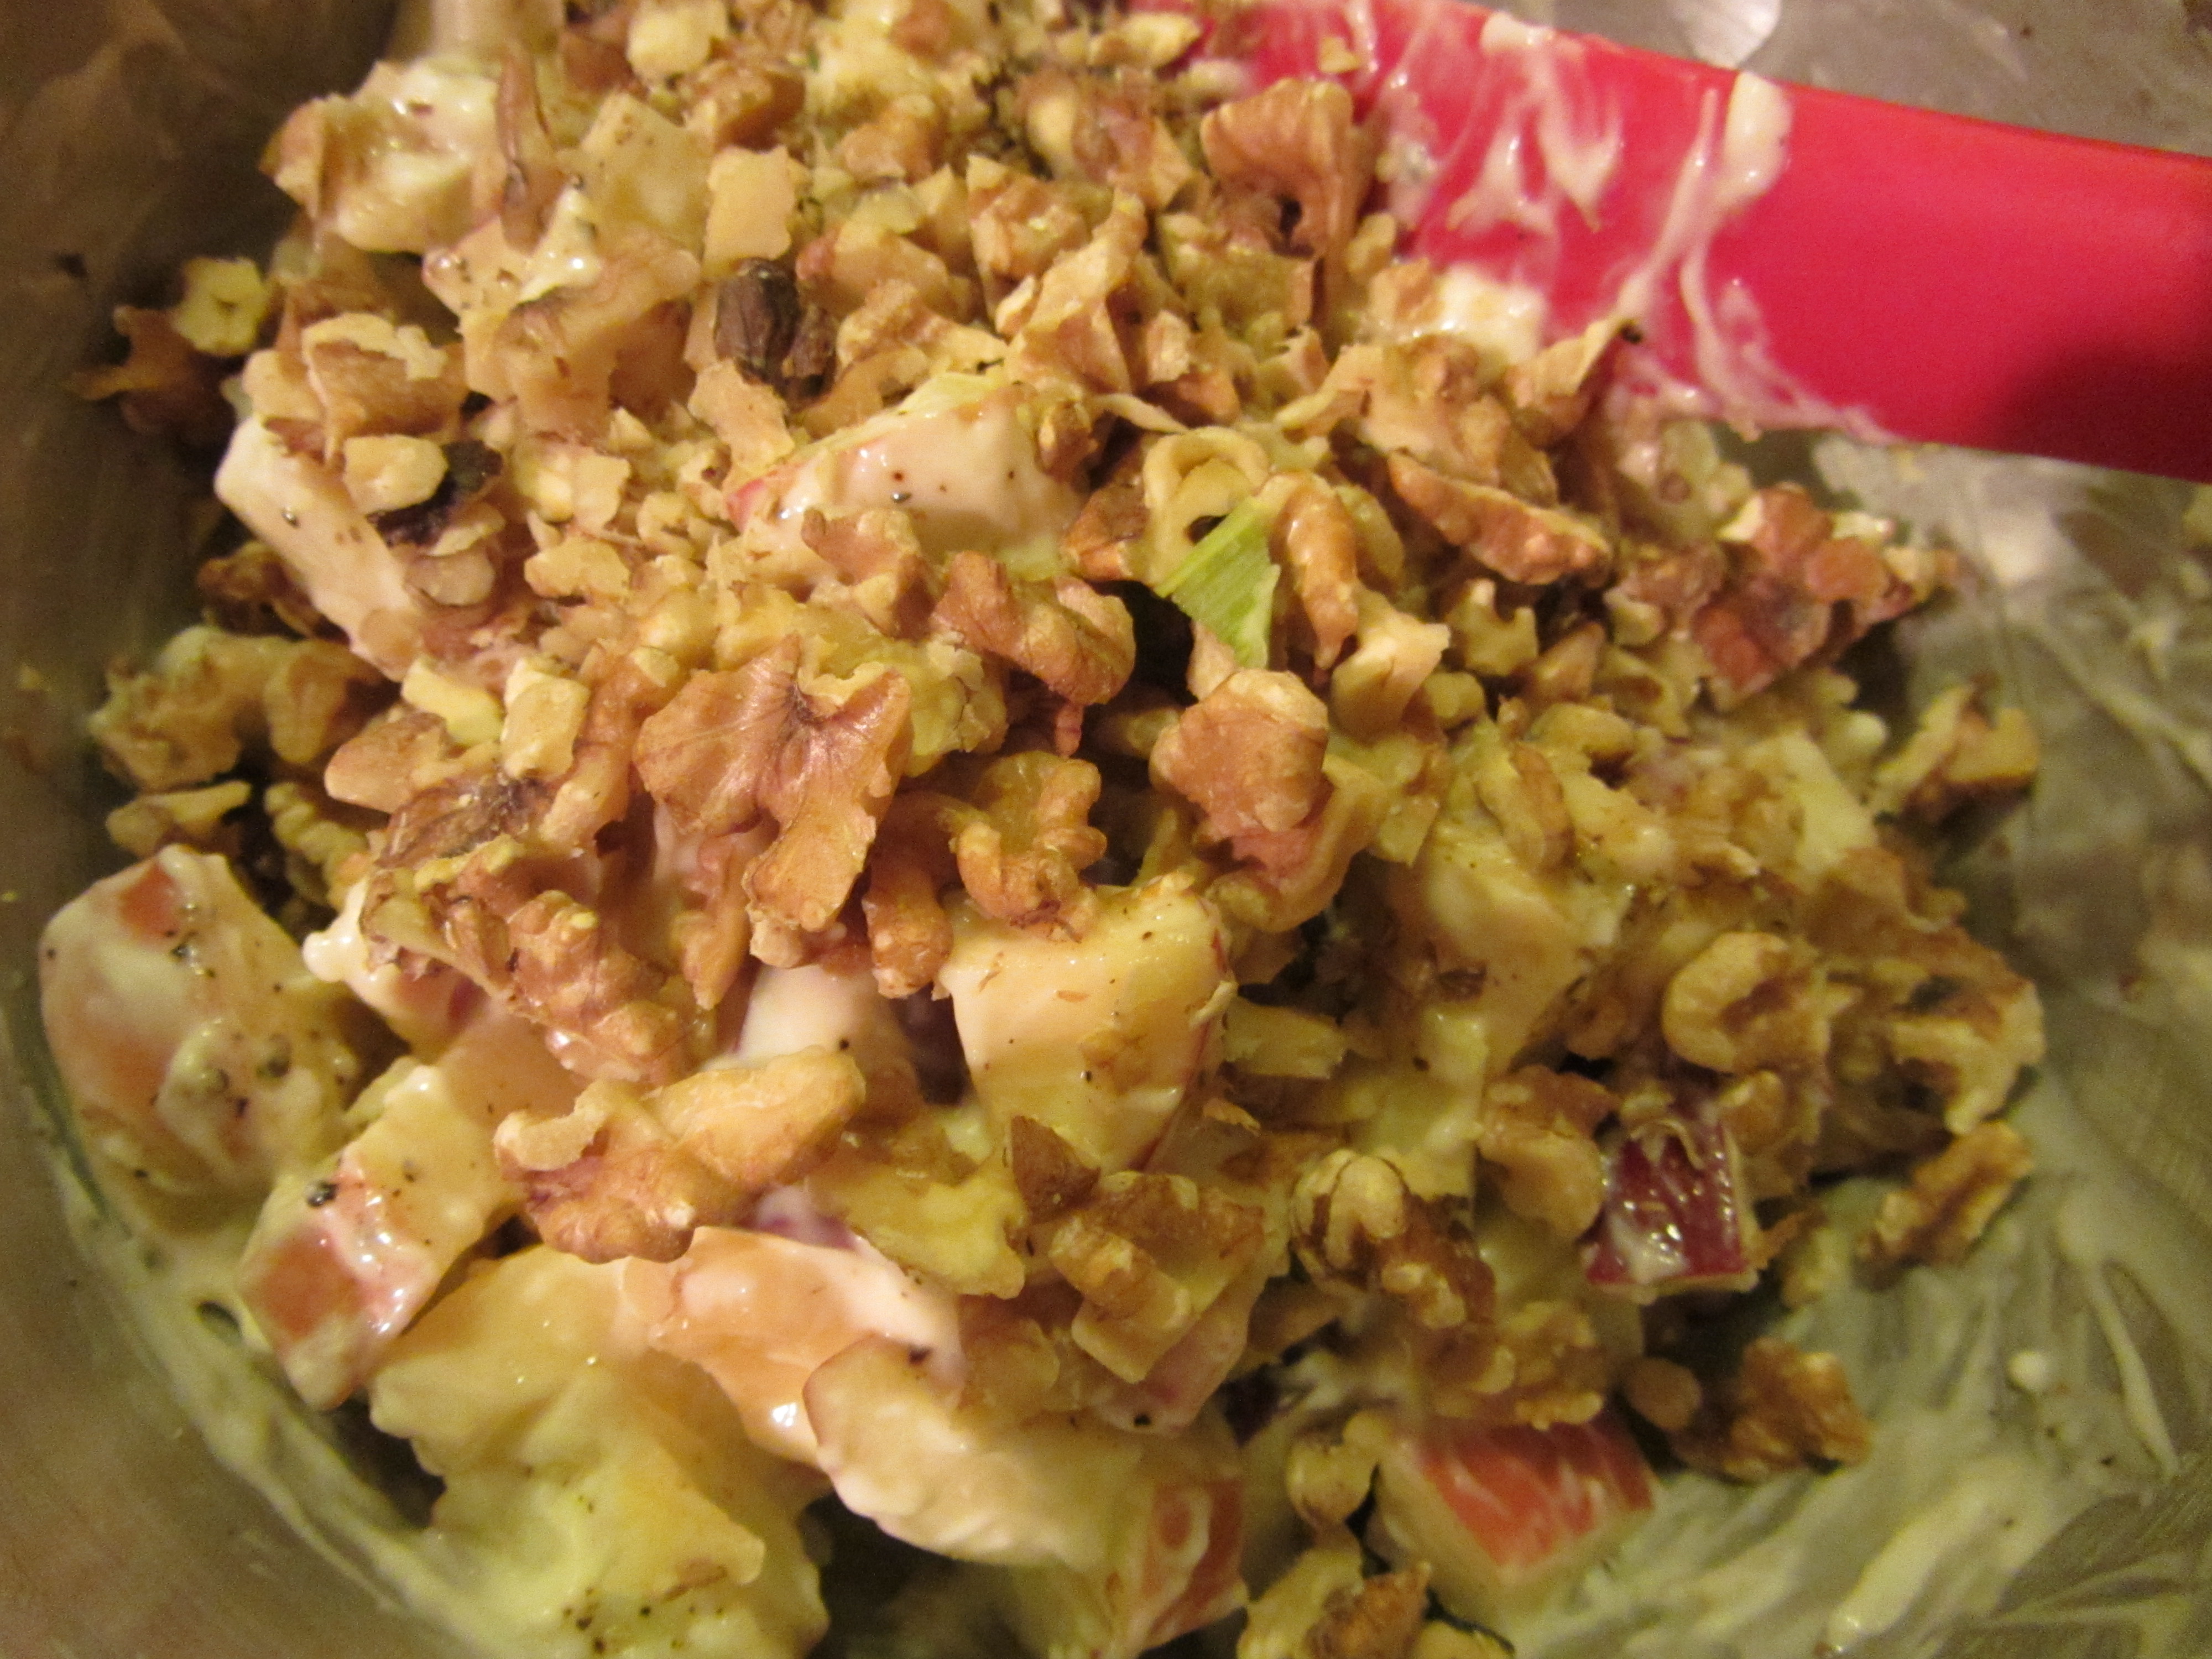
Apple mixture with toasted walnuts.
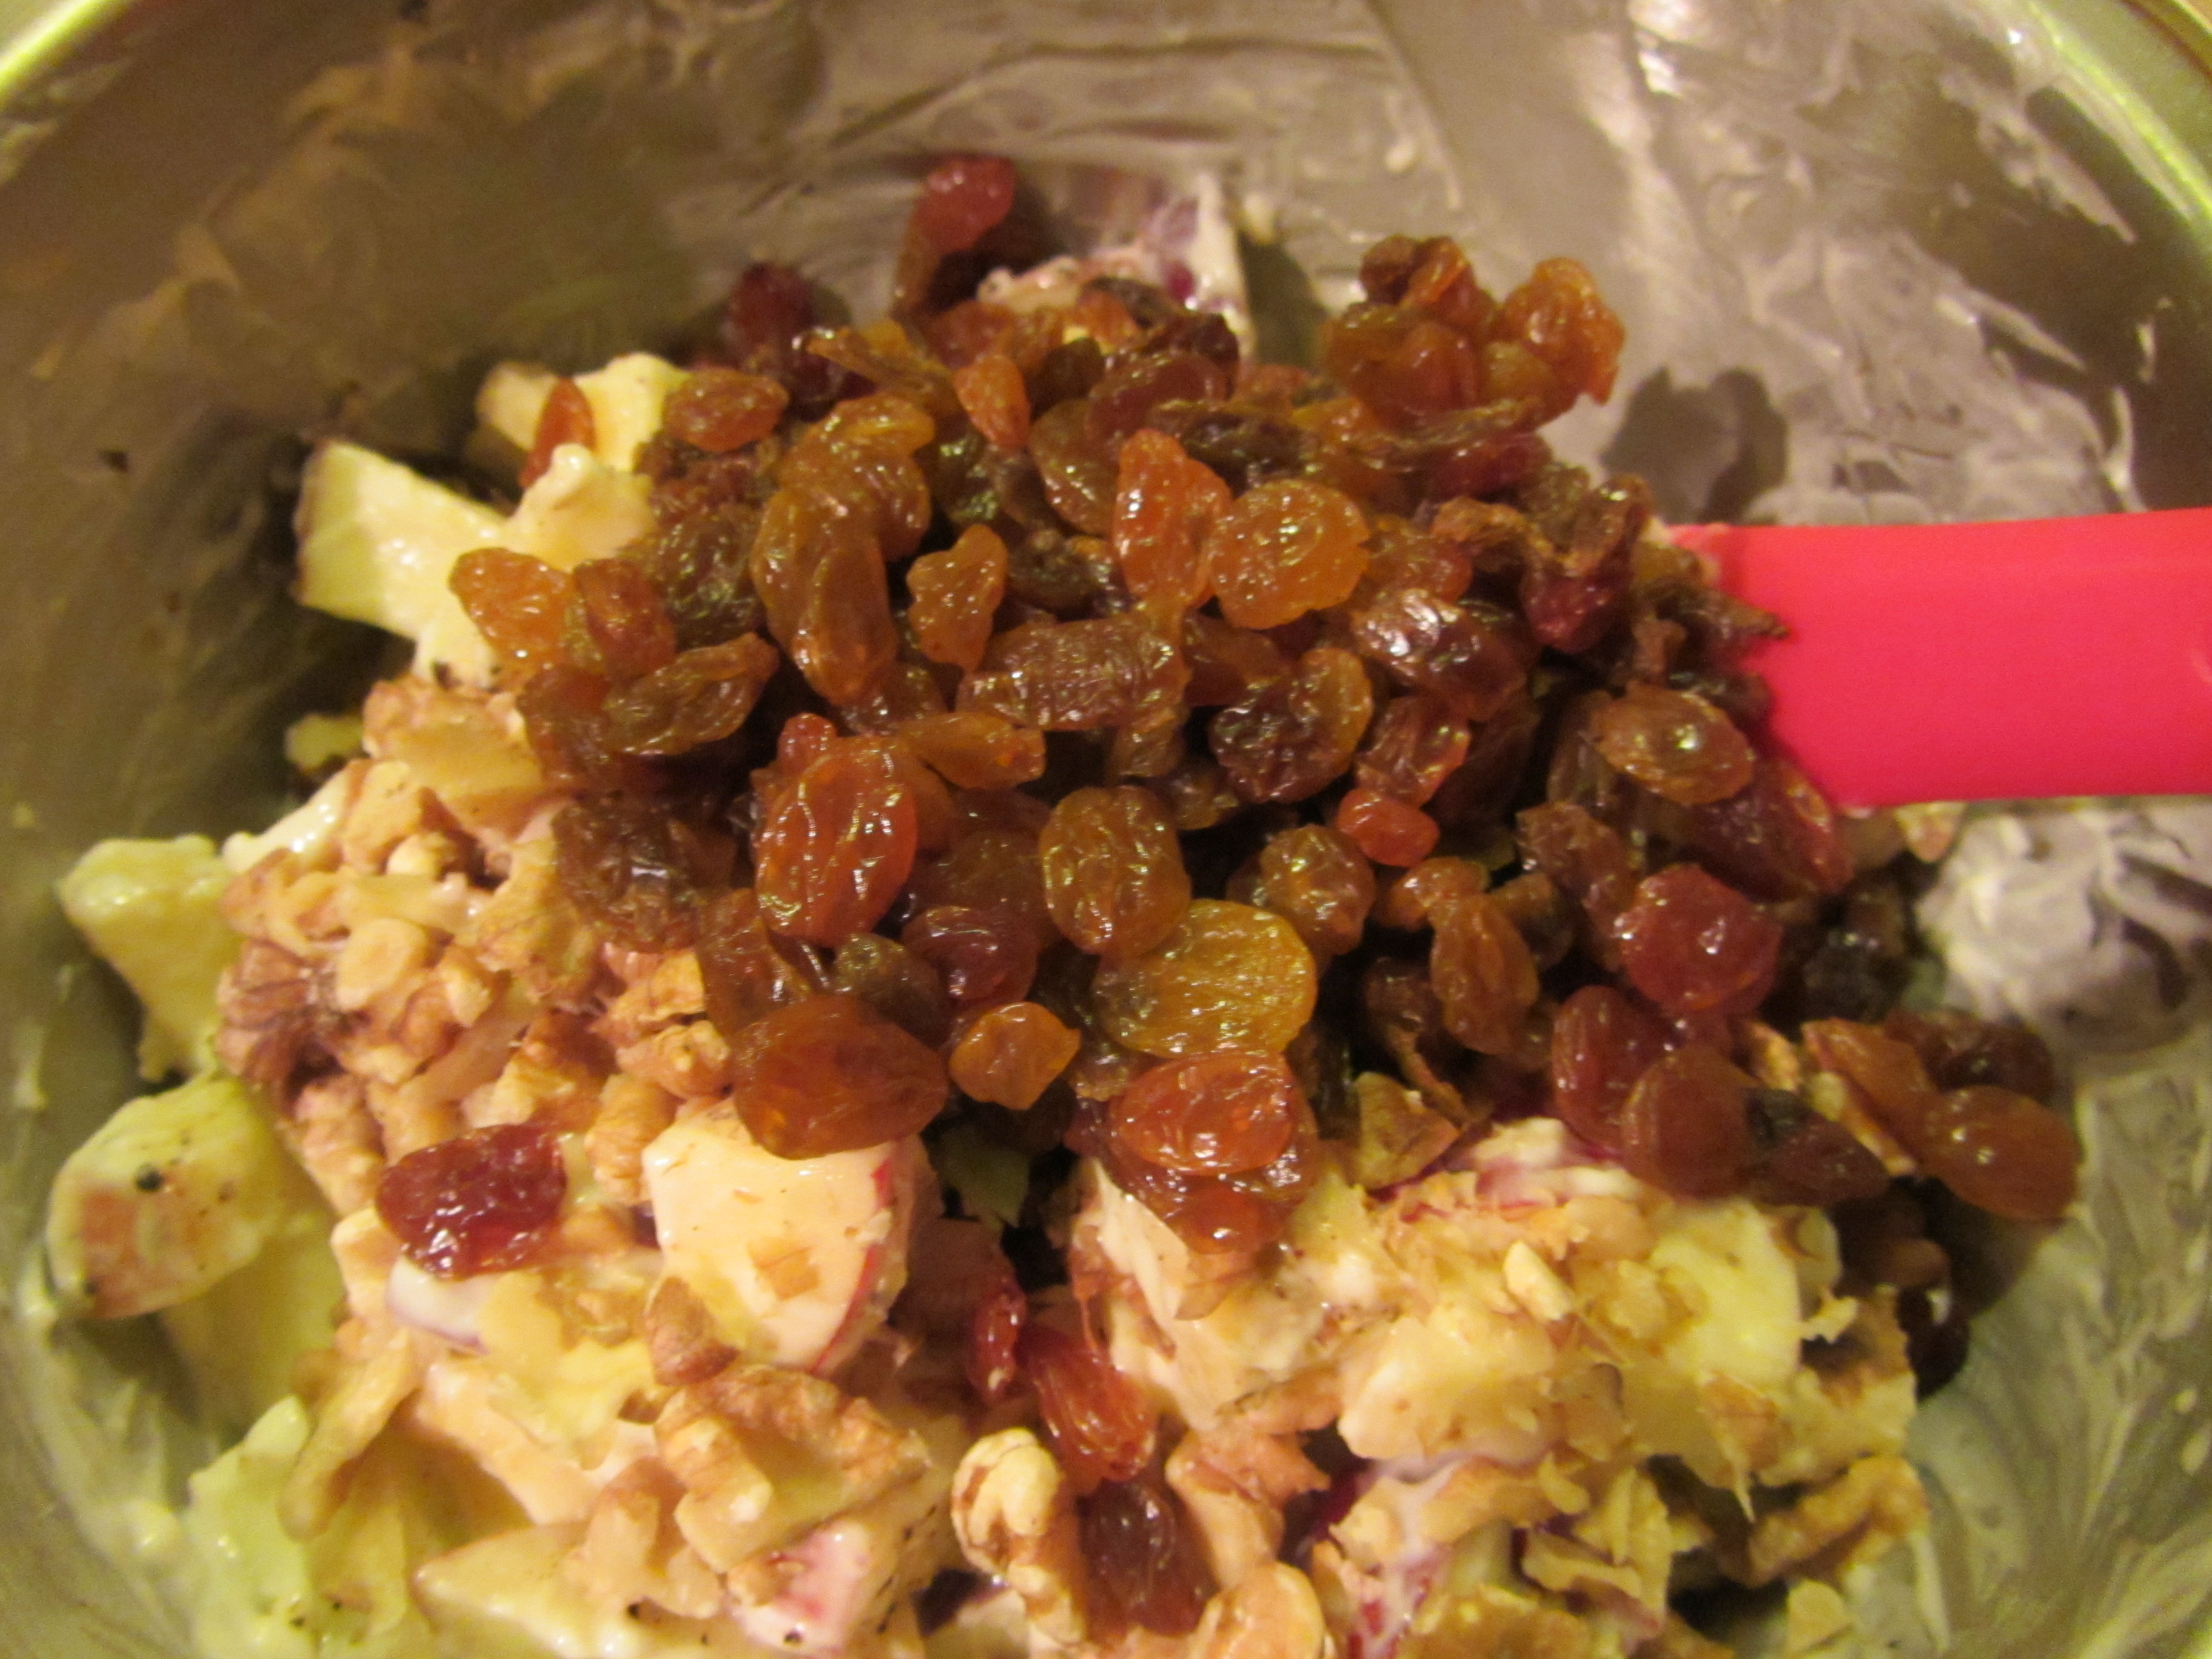
Apple mixture with walnuts and golden raisins.

And some hot curry powder.
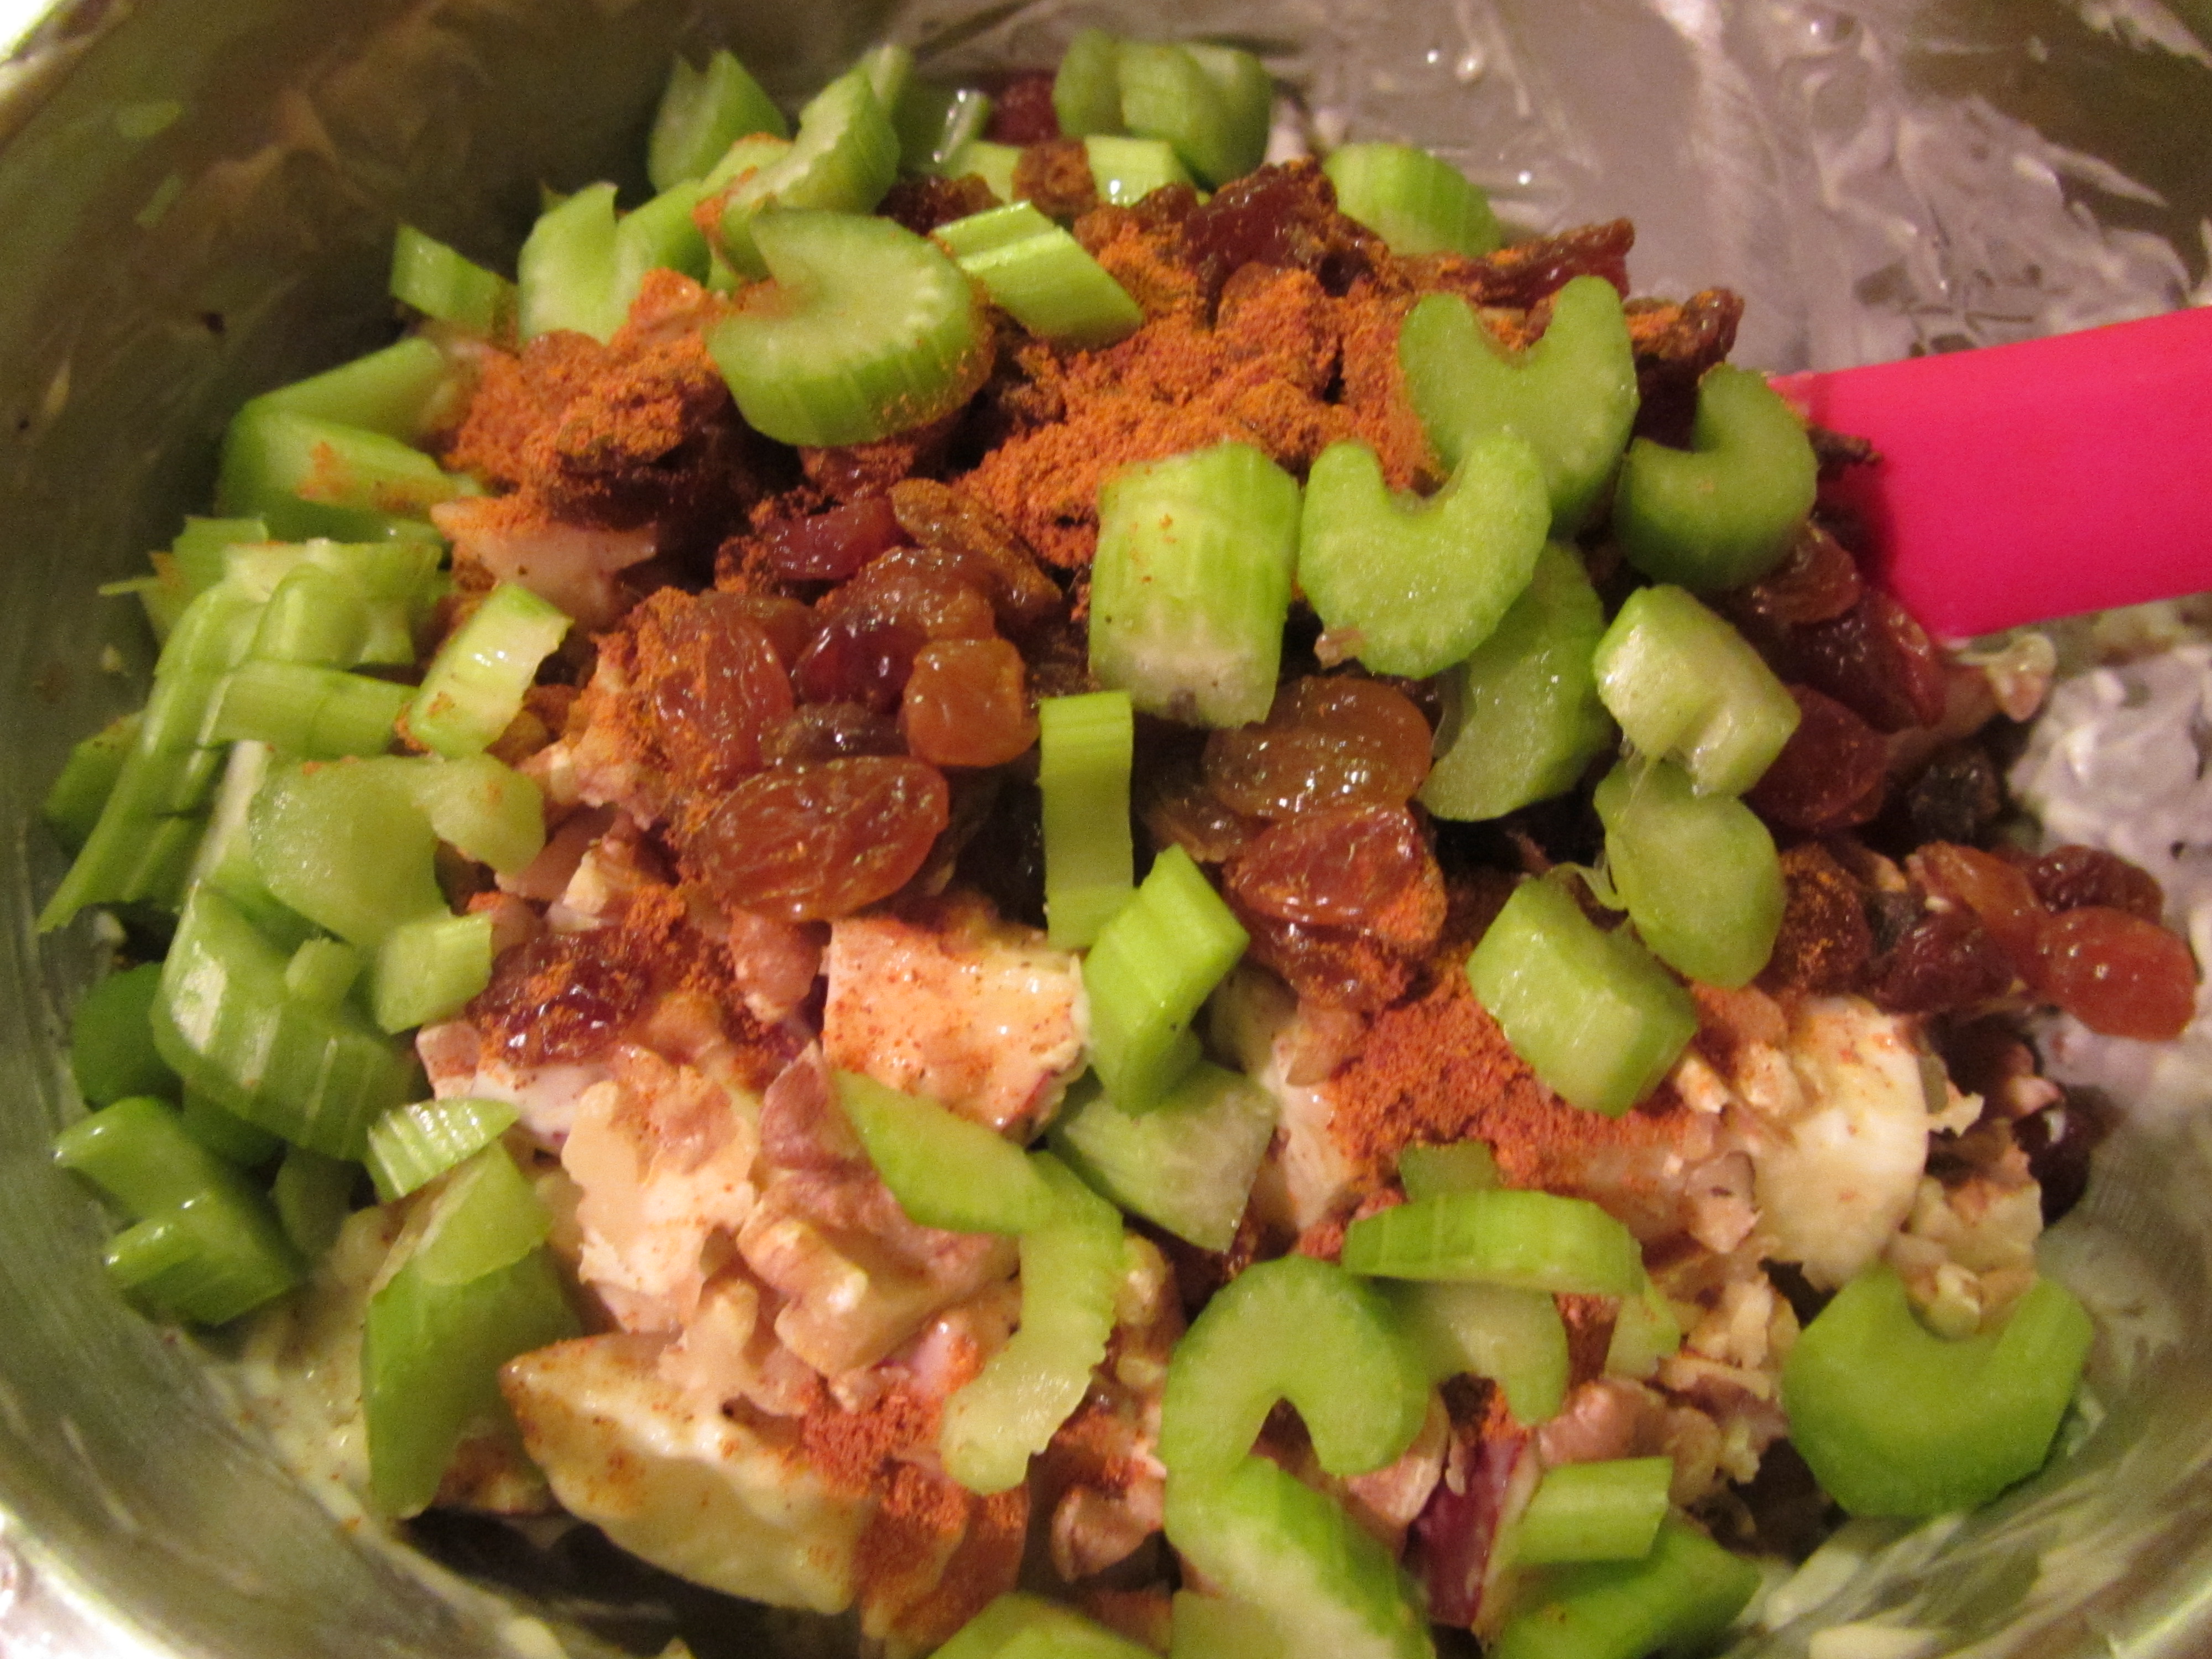
Plus some celery.

And some mint chiffonade.

Some red onion tossed in.
In the episode, Alton tells you to shred the red onion, while the online recipe calls for julienned red onion. I just sort of chopped my onions into thin strips. Also, the online recipe tells you to chill the salad for at least an hour prior to serving, but Alton does not mention this in the episode. I chilled my salad for 30 minutes, at the most.

The final mixture.
To serve the salad, you spoon it onto Romaine lettuce leaves.
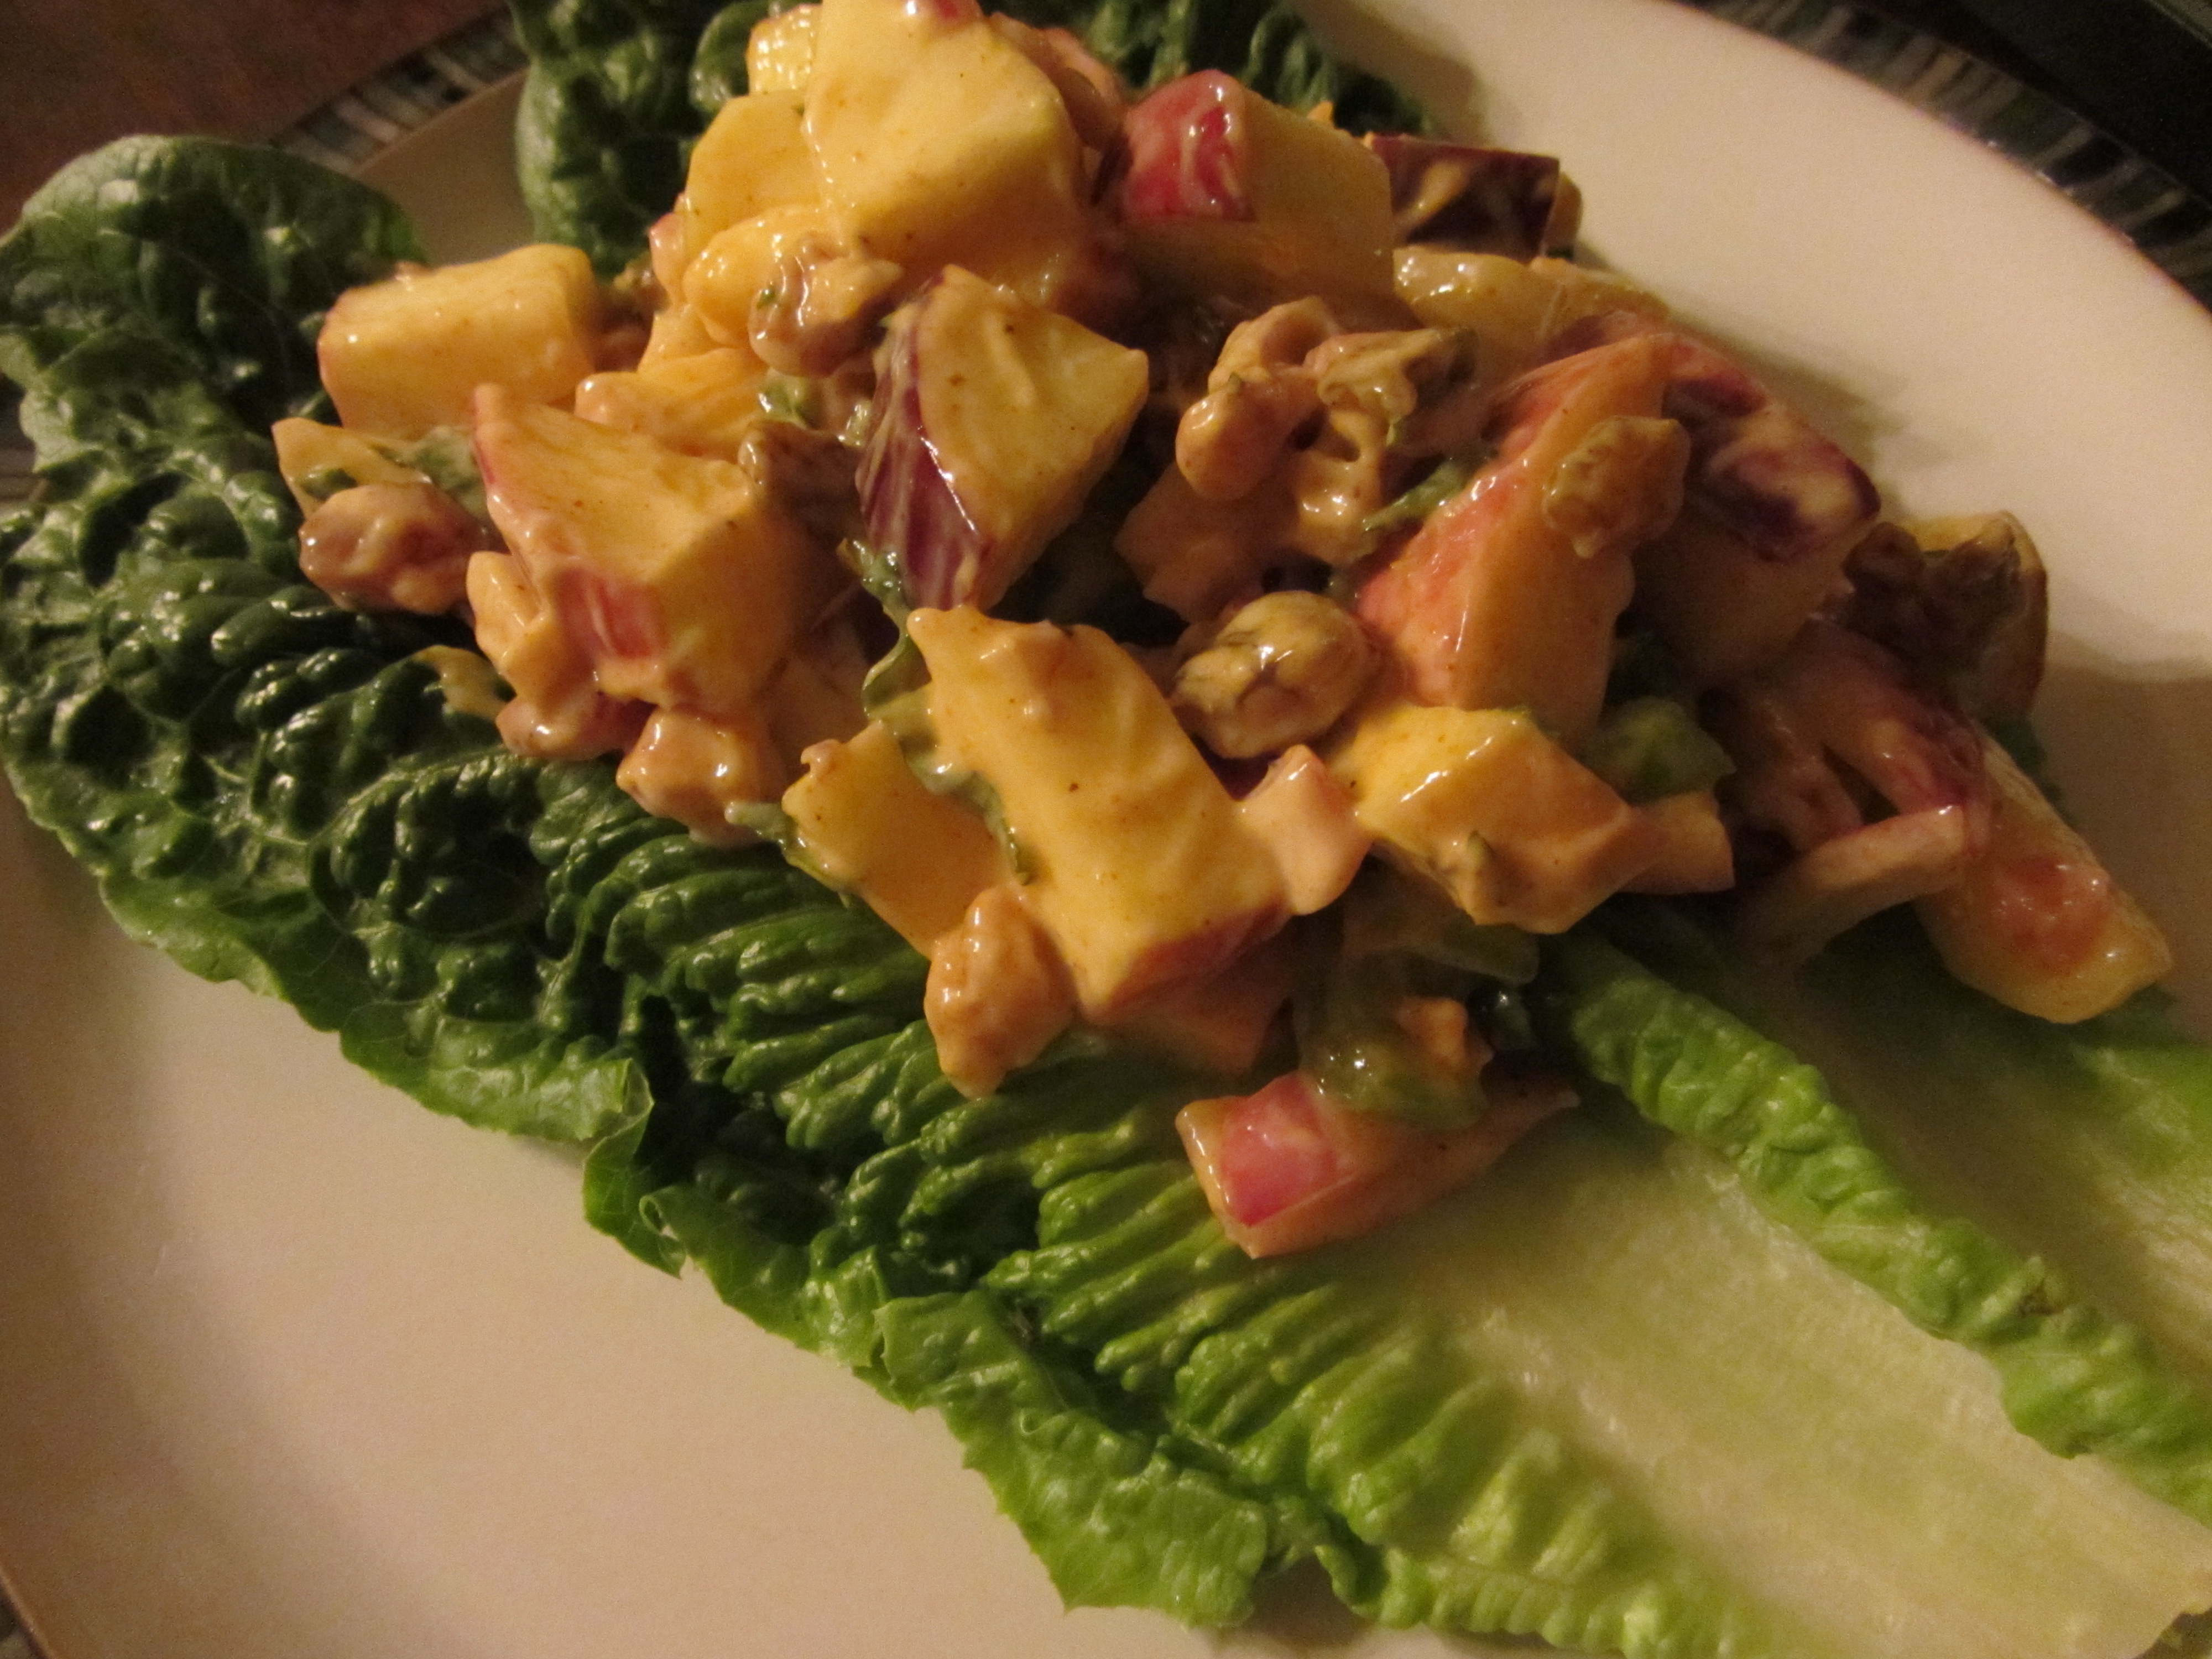
Wonderful Waldorf.
We had this salad with a potato soup, but it could easily serve as an entree itself. I really loved this salad and will be making it again. It has so many wonderfully contrasting flavors and textures. The sweetness of the apple paired with the crunchy walnuts and celery, fresh mint, astringent red onion, and sweet-hot curry powder was delicious. My only complaint with this salad was that my red onion was quite strong, and almost overpowered some of the other flavors in the salad, but red onions tend to greatly vary in their potency. I also opted to use hot curry powder, as we tend to like a little spice in our food. I may have to try the Maharajah curry powder next time, as its sweeter flavor would probably pair nicely with the apples. Since we had the Waldorf salad as a side to our soup, we had leftovers. I anticipated that the texture of the salad would become one-note overnight, but the salad was just as good the following day, so do not be wary of having leftovers with this one.
10 Minute Apple Sauce
My mom used to make apple sauce in the fall. I remember her standing over the sink, her right arm spinning in circles as she turned the arm of her tattered food mill. Often, Mom would serve homemade (and sometimes store-bought) applesauce to my brother and me for breakfast. It was usually served in a bowl, and with a drizzle of heavy cream on top. I preferred my applesauce warm, and discovered that I liked it with a sprinkle of extra brown sugar. My mom could always make store-bought applesauce taste almost like homemade, with the additions of cinnamon, vanilla, and sugar.
When I watched Alton prepare his 10 Minute Apple Sauce, I was skeptical that it could taste anything like my mom’s homemade applesauce. To begin, you combine unfiltered apple juice, cognac or brandy (I used brandy), butter, honey, and cinnamon in a microwave-save container that has a lid. To this liquid mixture you add six peeled, cored, and quartered apples (three Golden Delicious apples and three Fuji apples).
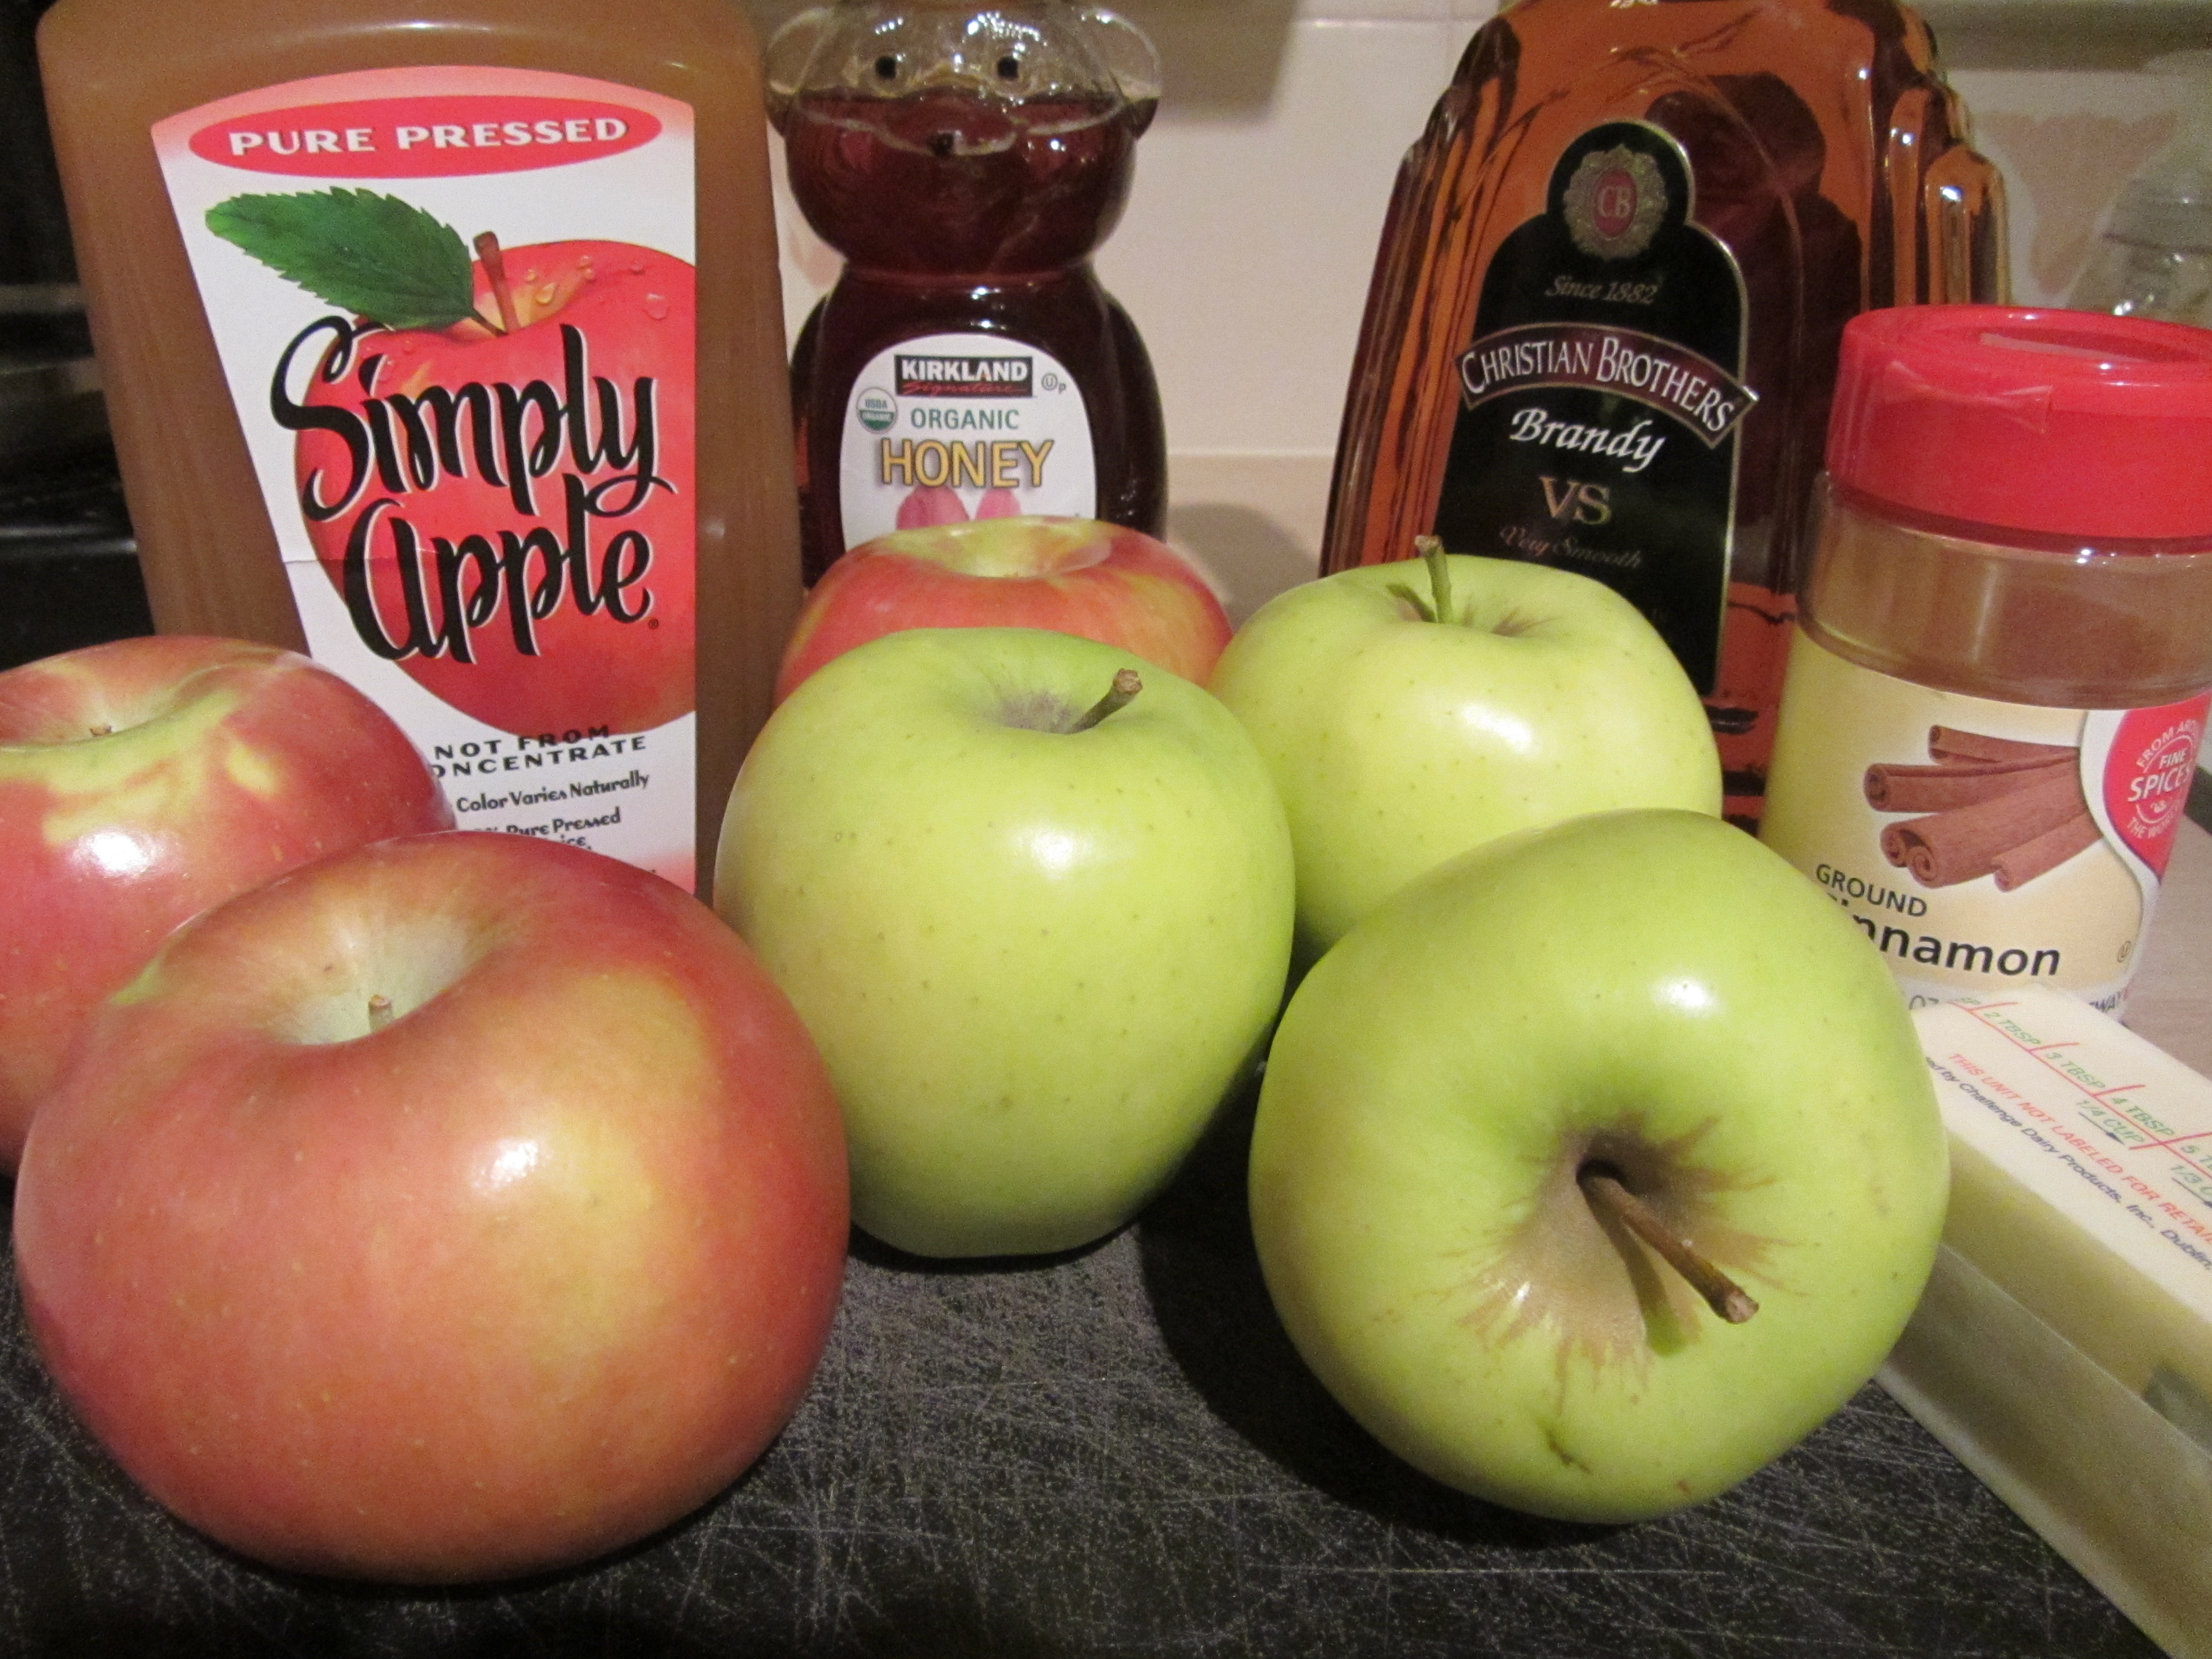
Golden Delicious apples, Fuji apples, unfiltered apple juice, honey, brandy, cinnamon, and butter.
You put the lid on your container and give the entire mixture a good shake. Once everything is good and mixed, you open one corner of your lid and microwave the applesauce on high power for 10 minutes.
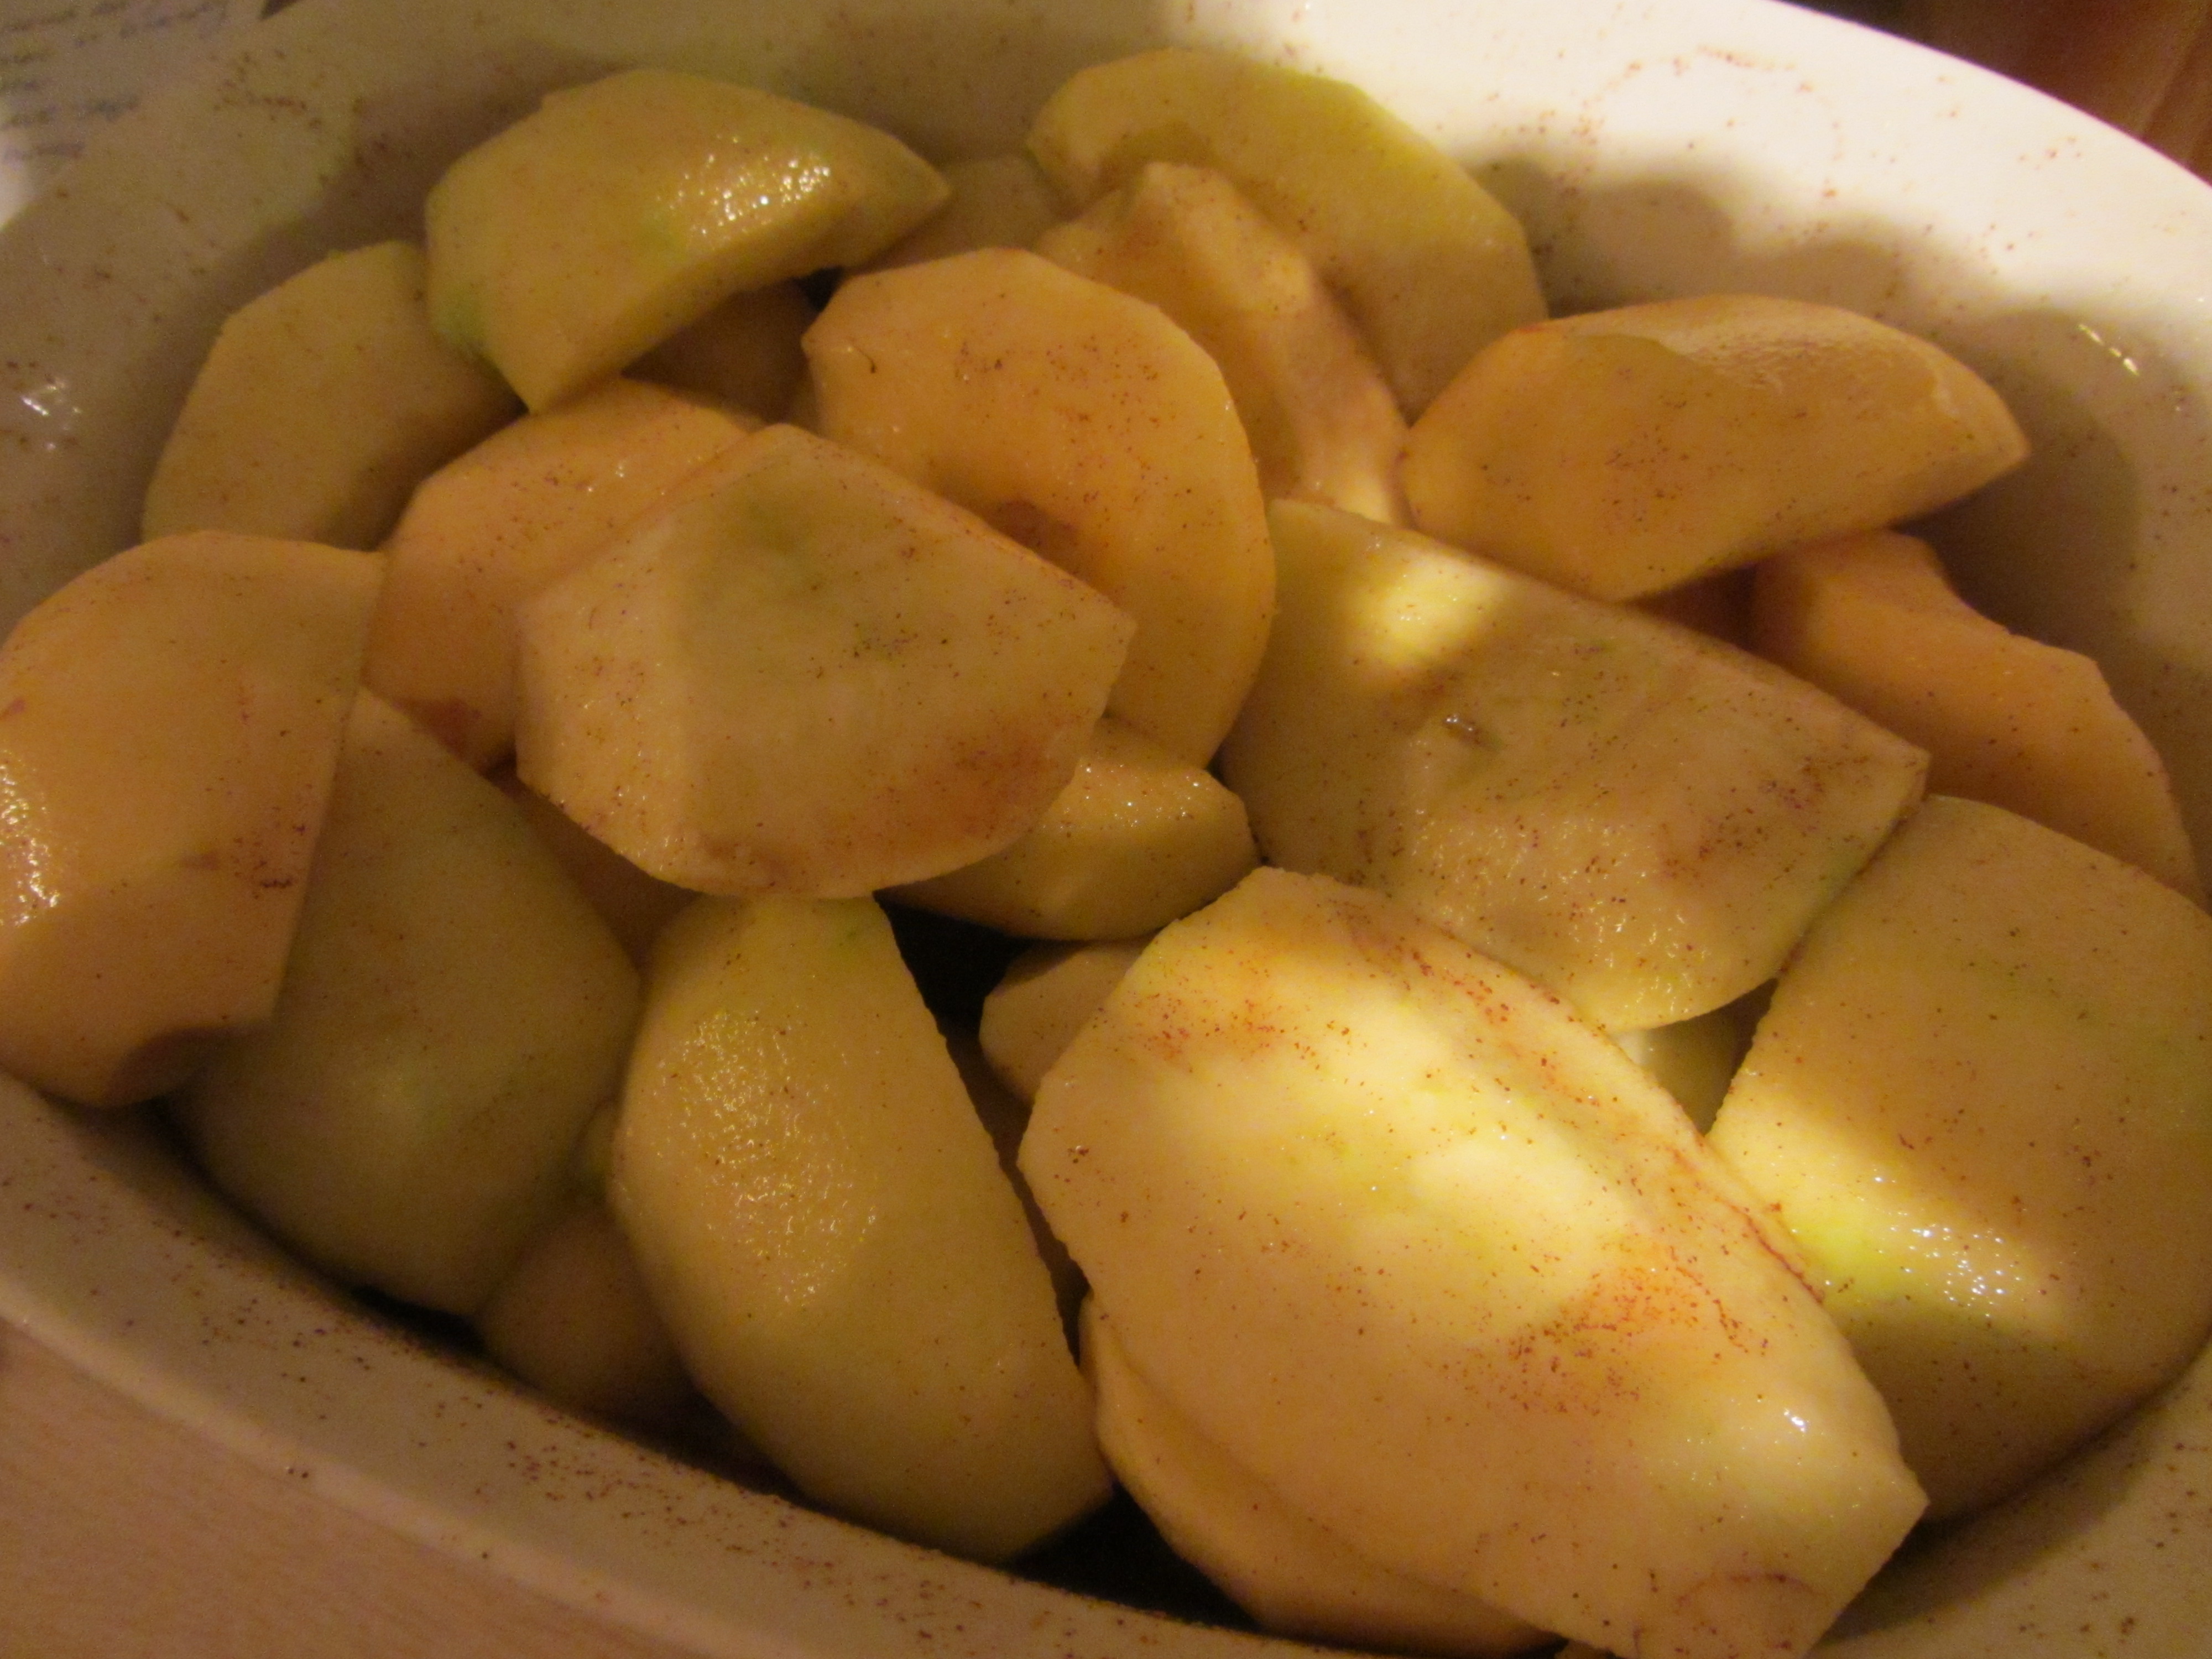
Apple mixture, prior to cooking.
After cooking, you blend the mixture until it is “almost smooth.”
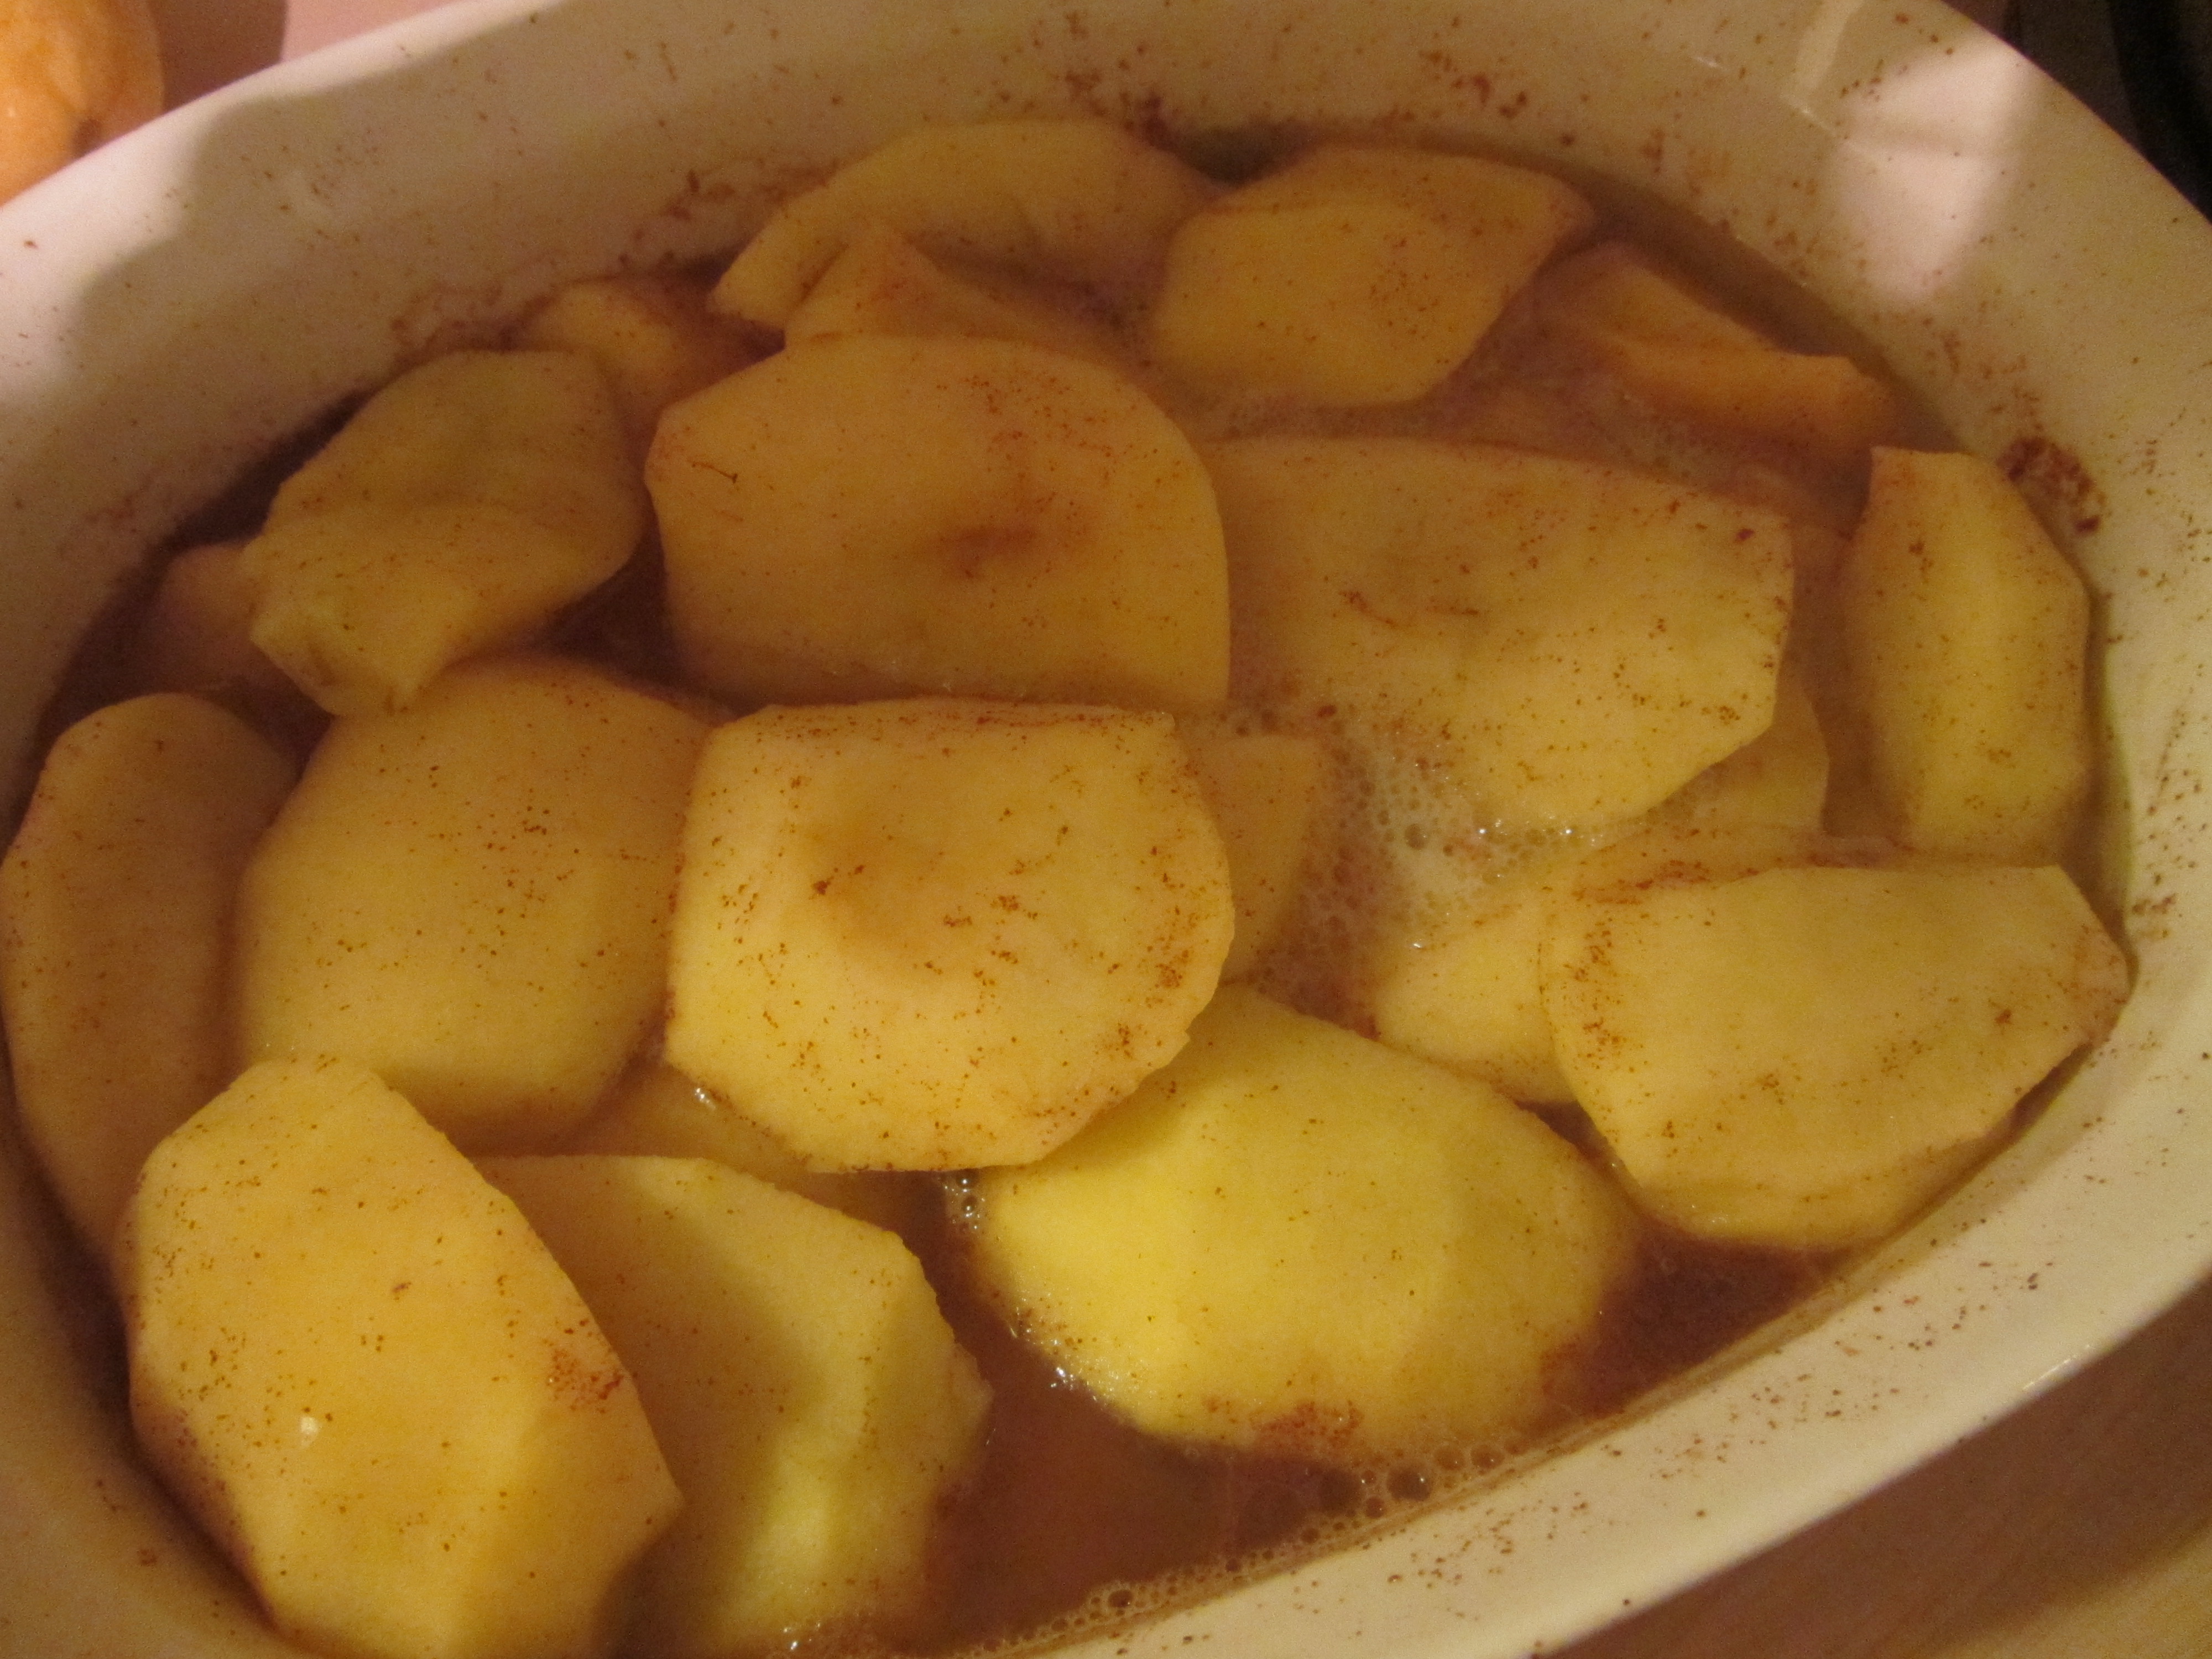
Apple mixture, after baking.
My immersion blender is one of my very favorite kitchen gadgets, but it happens to be quite unhappy at the moment. Our Coonhounds also happen to love the immersion blender (they come running), as they recognize that the sound of the whisk attachment often means whipped cream for them. Since the immersion blender is currently out of commission, I threw the entire apple mixture into the blender and blended it until it was nearly smooth.

Final applesauce.
Alton says that this applesauce will keep well in the refrigerator for two to three weeks. I guess that isn’t an issue when your applesauce is gone in two days. This is definitely the fastest and easiest applesauce I have ever made. Was it as good as Mom’s? Tough to say, but it was pretty darn good.
Baker, Baker
The final recipe in this episode is for baked apples. Yet again, I think of my mom when I think of baked apples. She would make baked apples for us for breakfast or dessert. Sometimes the apples were sliced prior to baking, while other times they were whole, as in Alton’s recipe in this episode.
For these baked apples, you first combine your topping ingredients. In a bowl you combine oats, flour, light brown sugar, cinnamon, ground ginger, and Kosher salt.

All of the ingredients for baked apples.
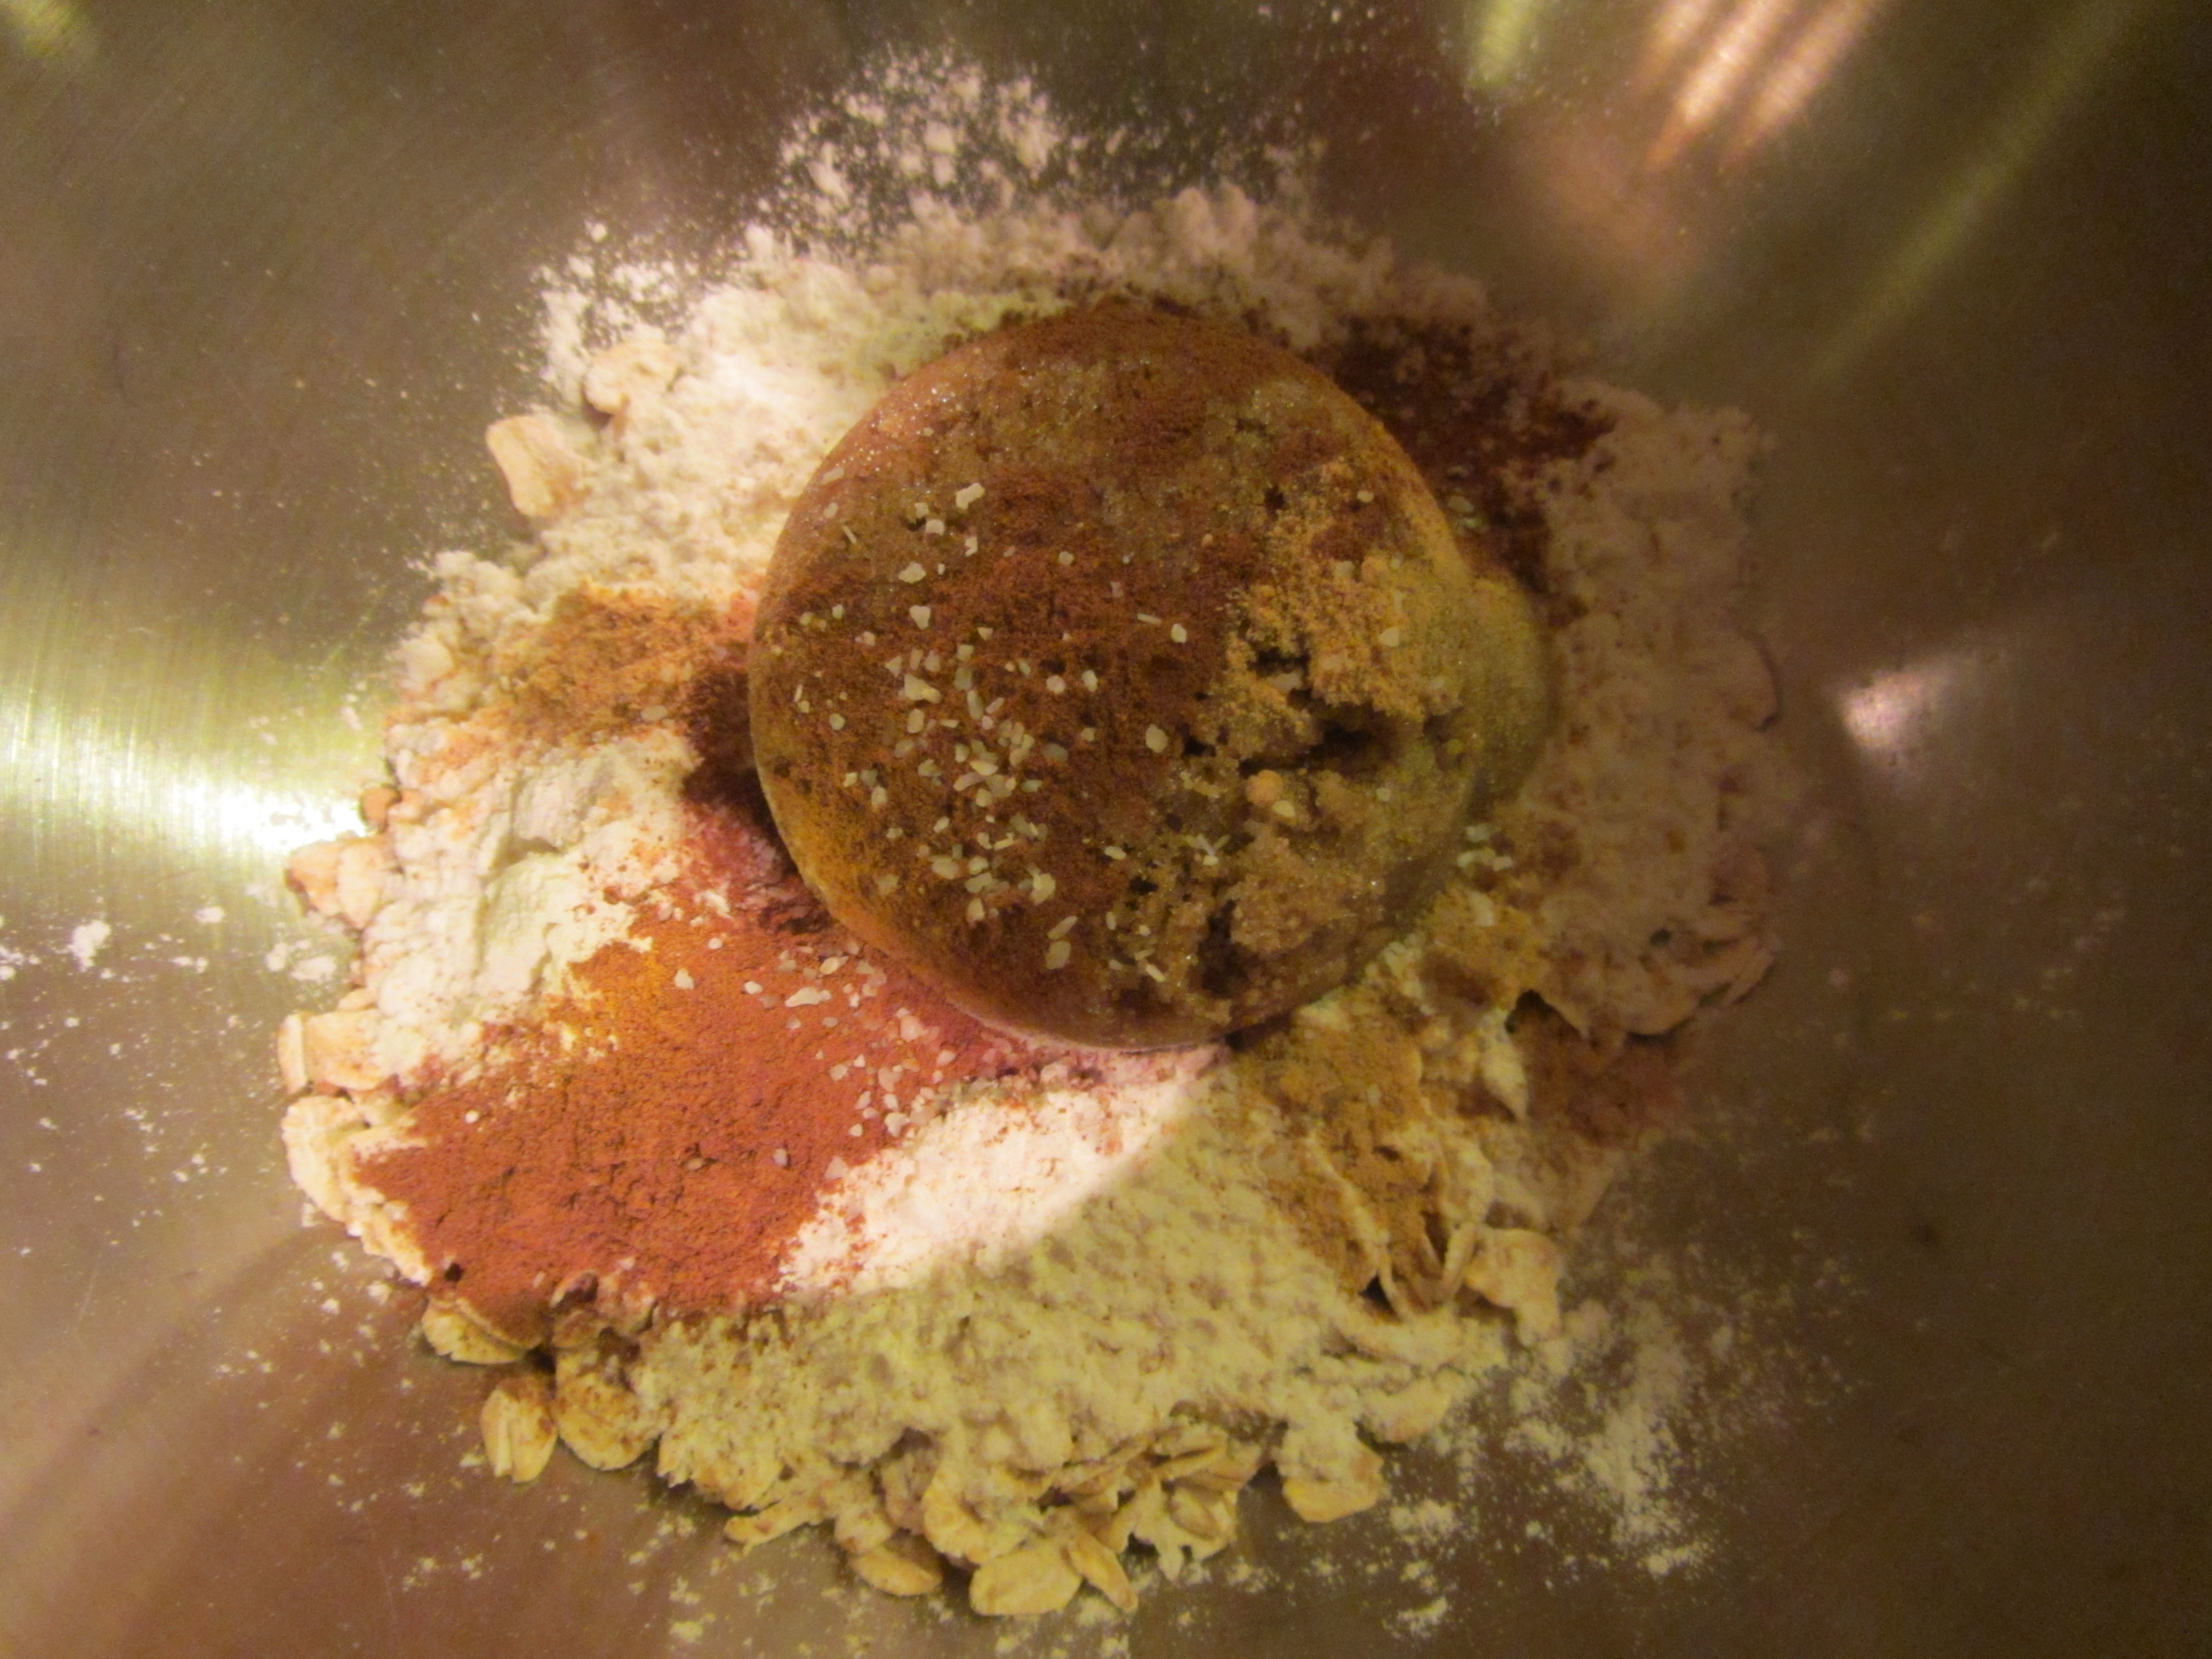
Oats, flour, light brown sugar, cinnamon, ginger, and salt.
Into this mixture you add some butter with your hands, working until the mixture is crumbly.
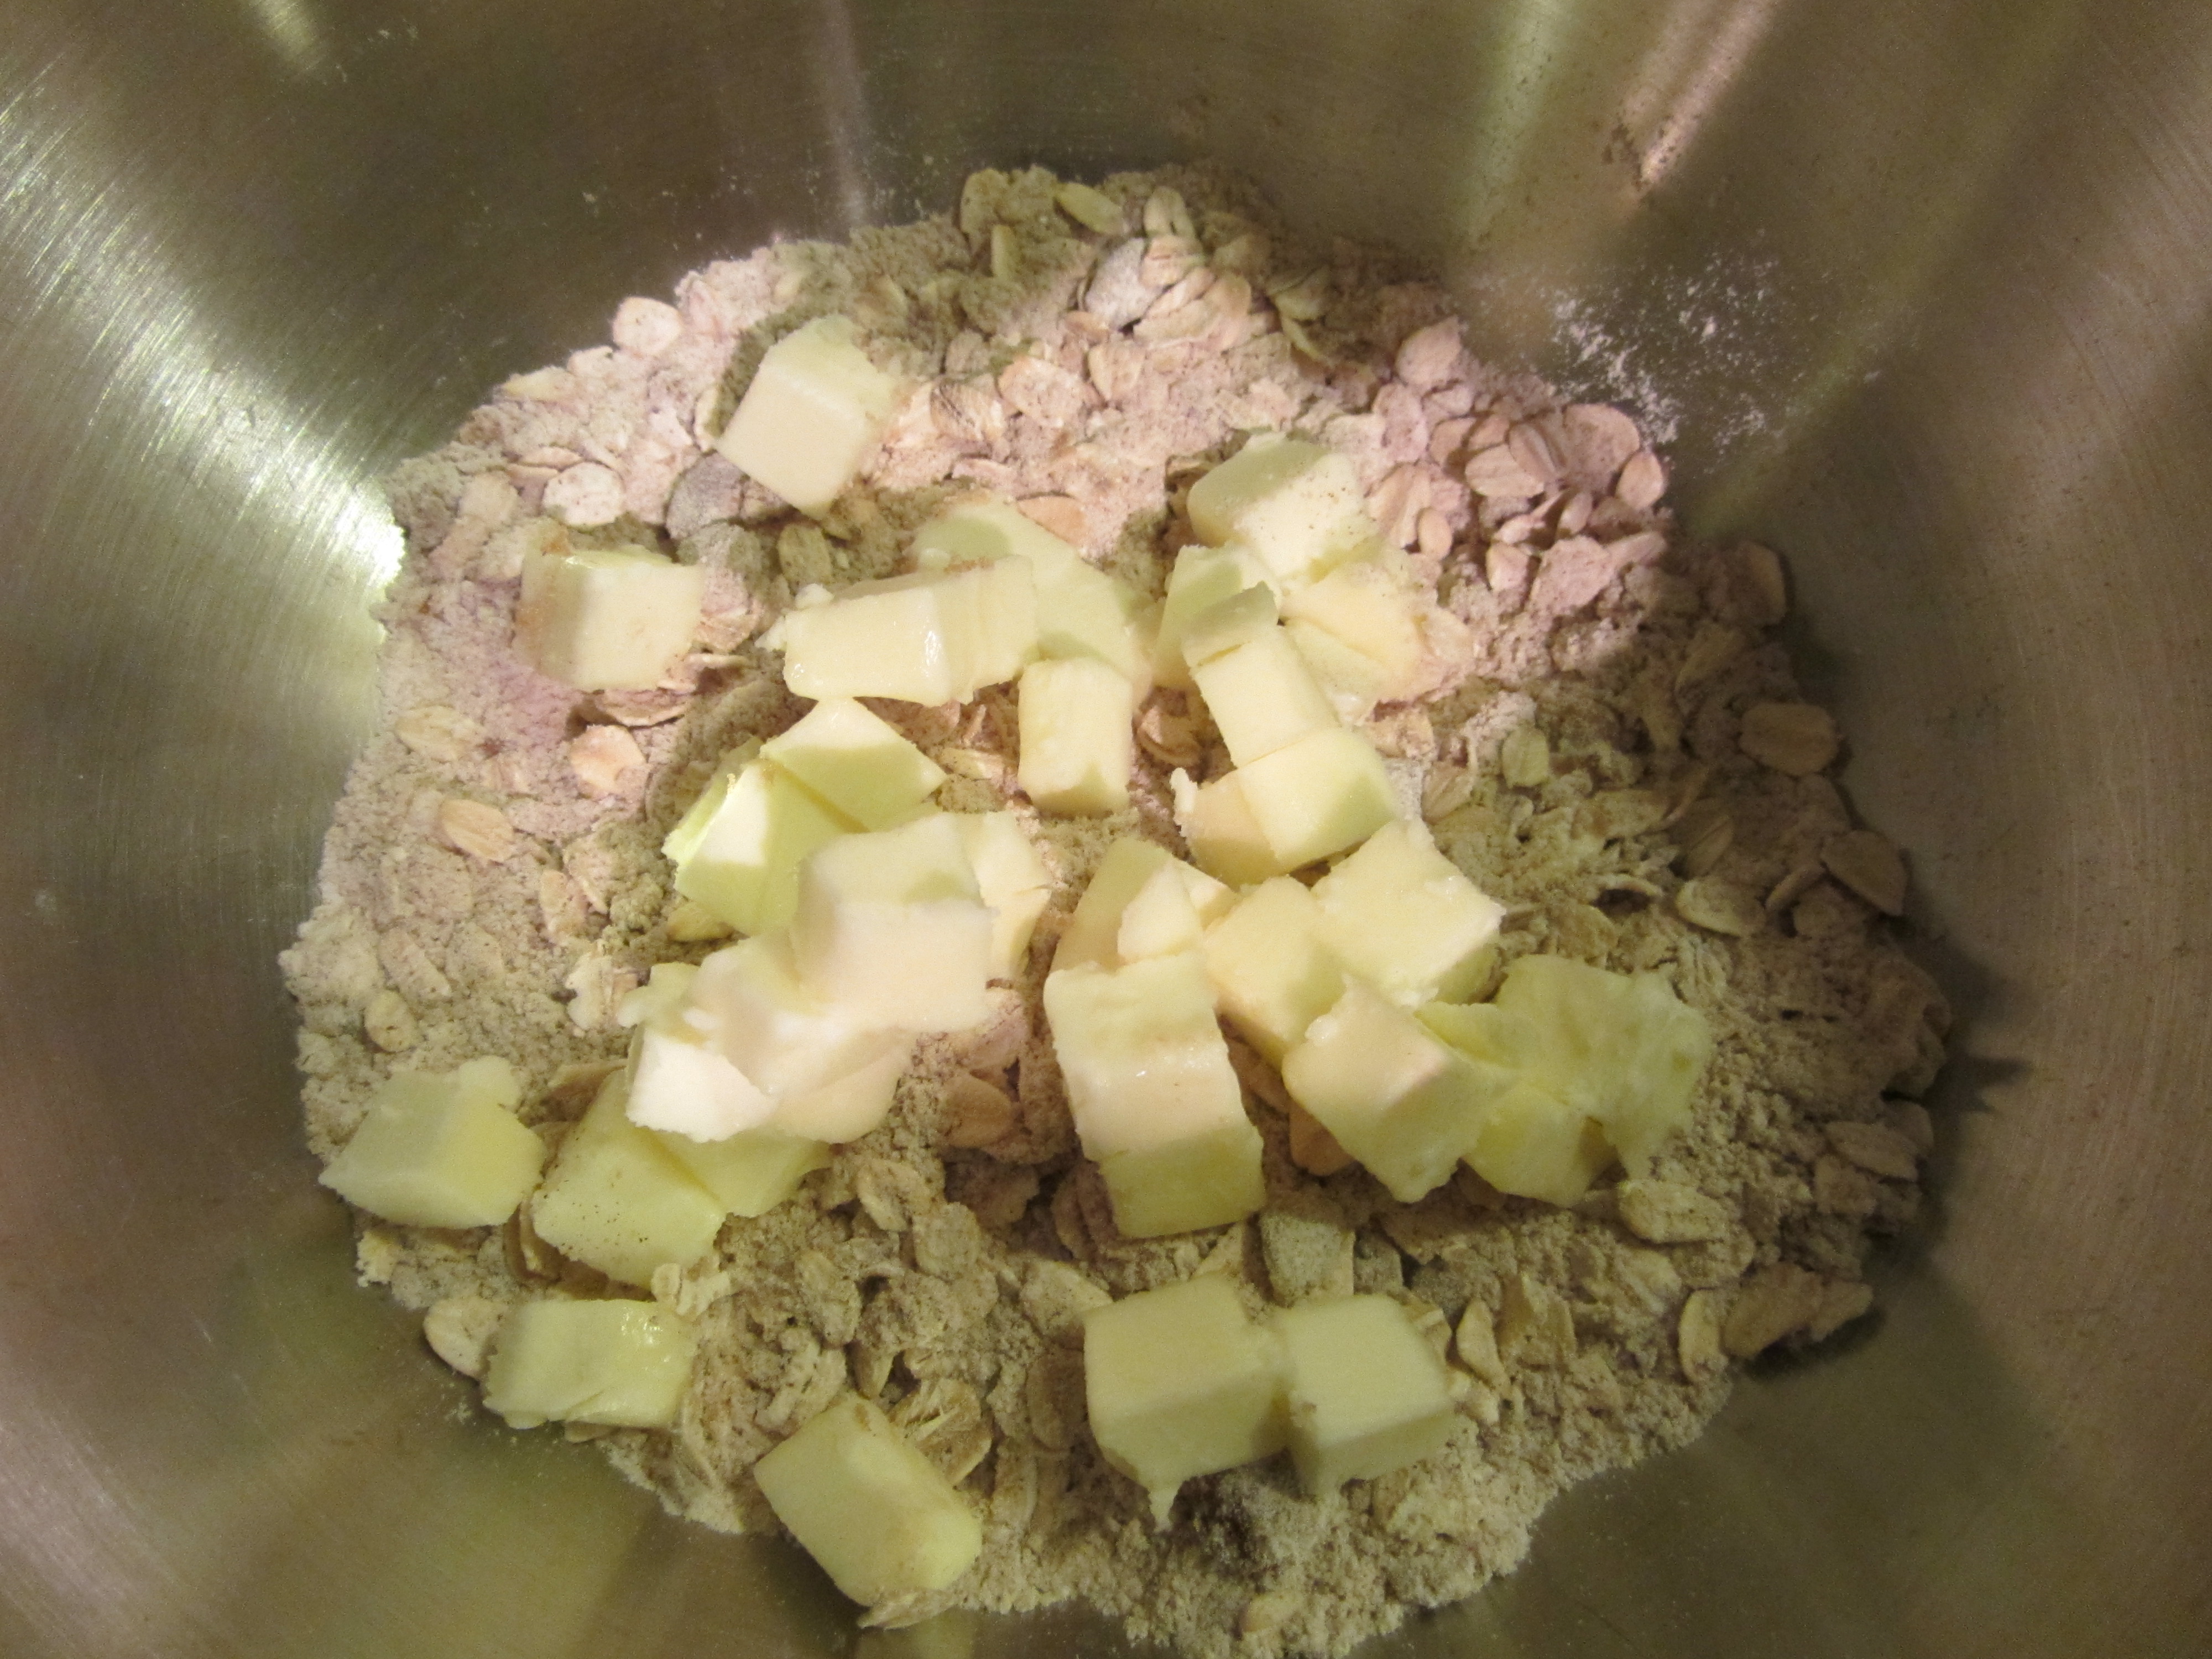
And some butter.

Completed streusel topping.
The topping mixture goes into the refrigerator while you prep your apples. For this recipe you want to use Braeburn or Fuji apples. I used Braeburns for this recipe. You first want to cut the bottoms off of your apples; this will give your apples a level, stable base while you work on them.
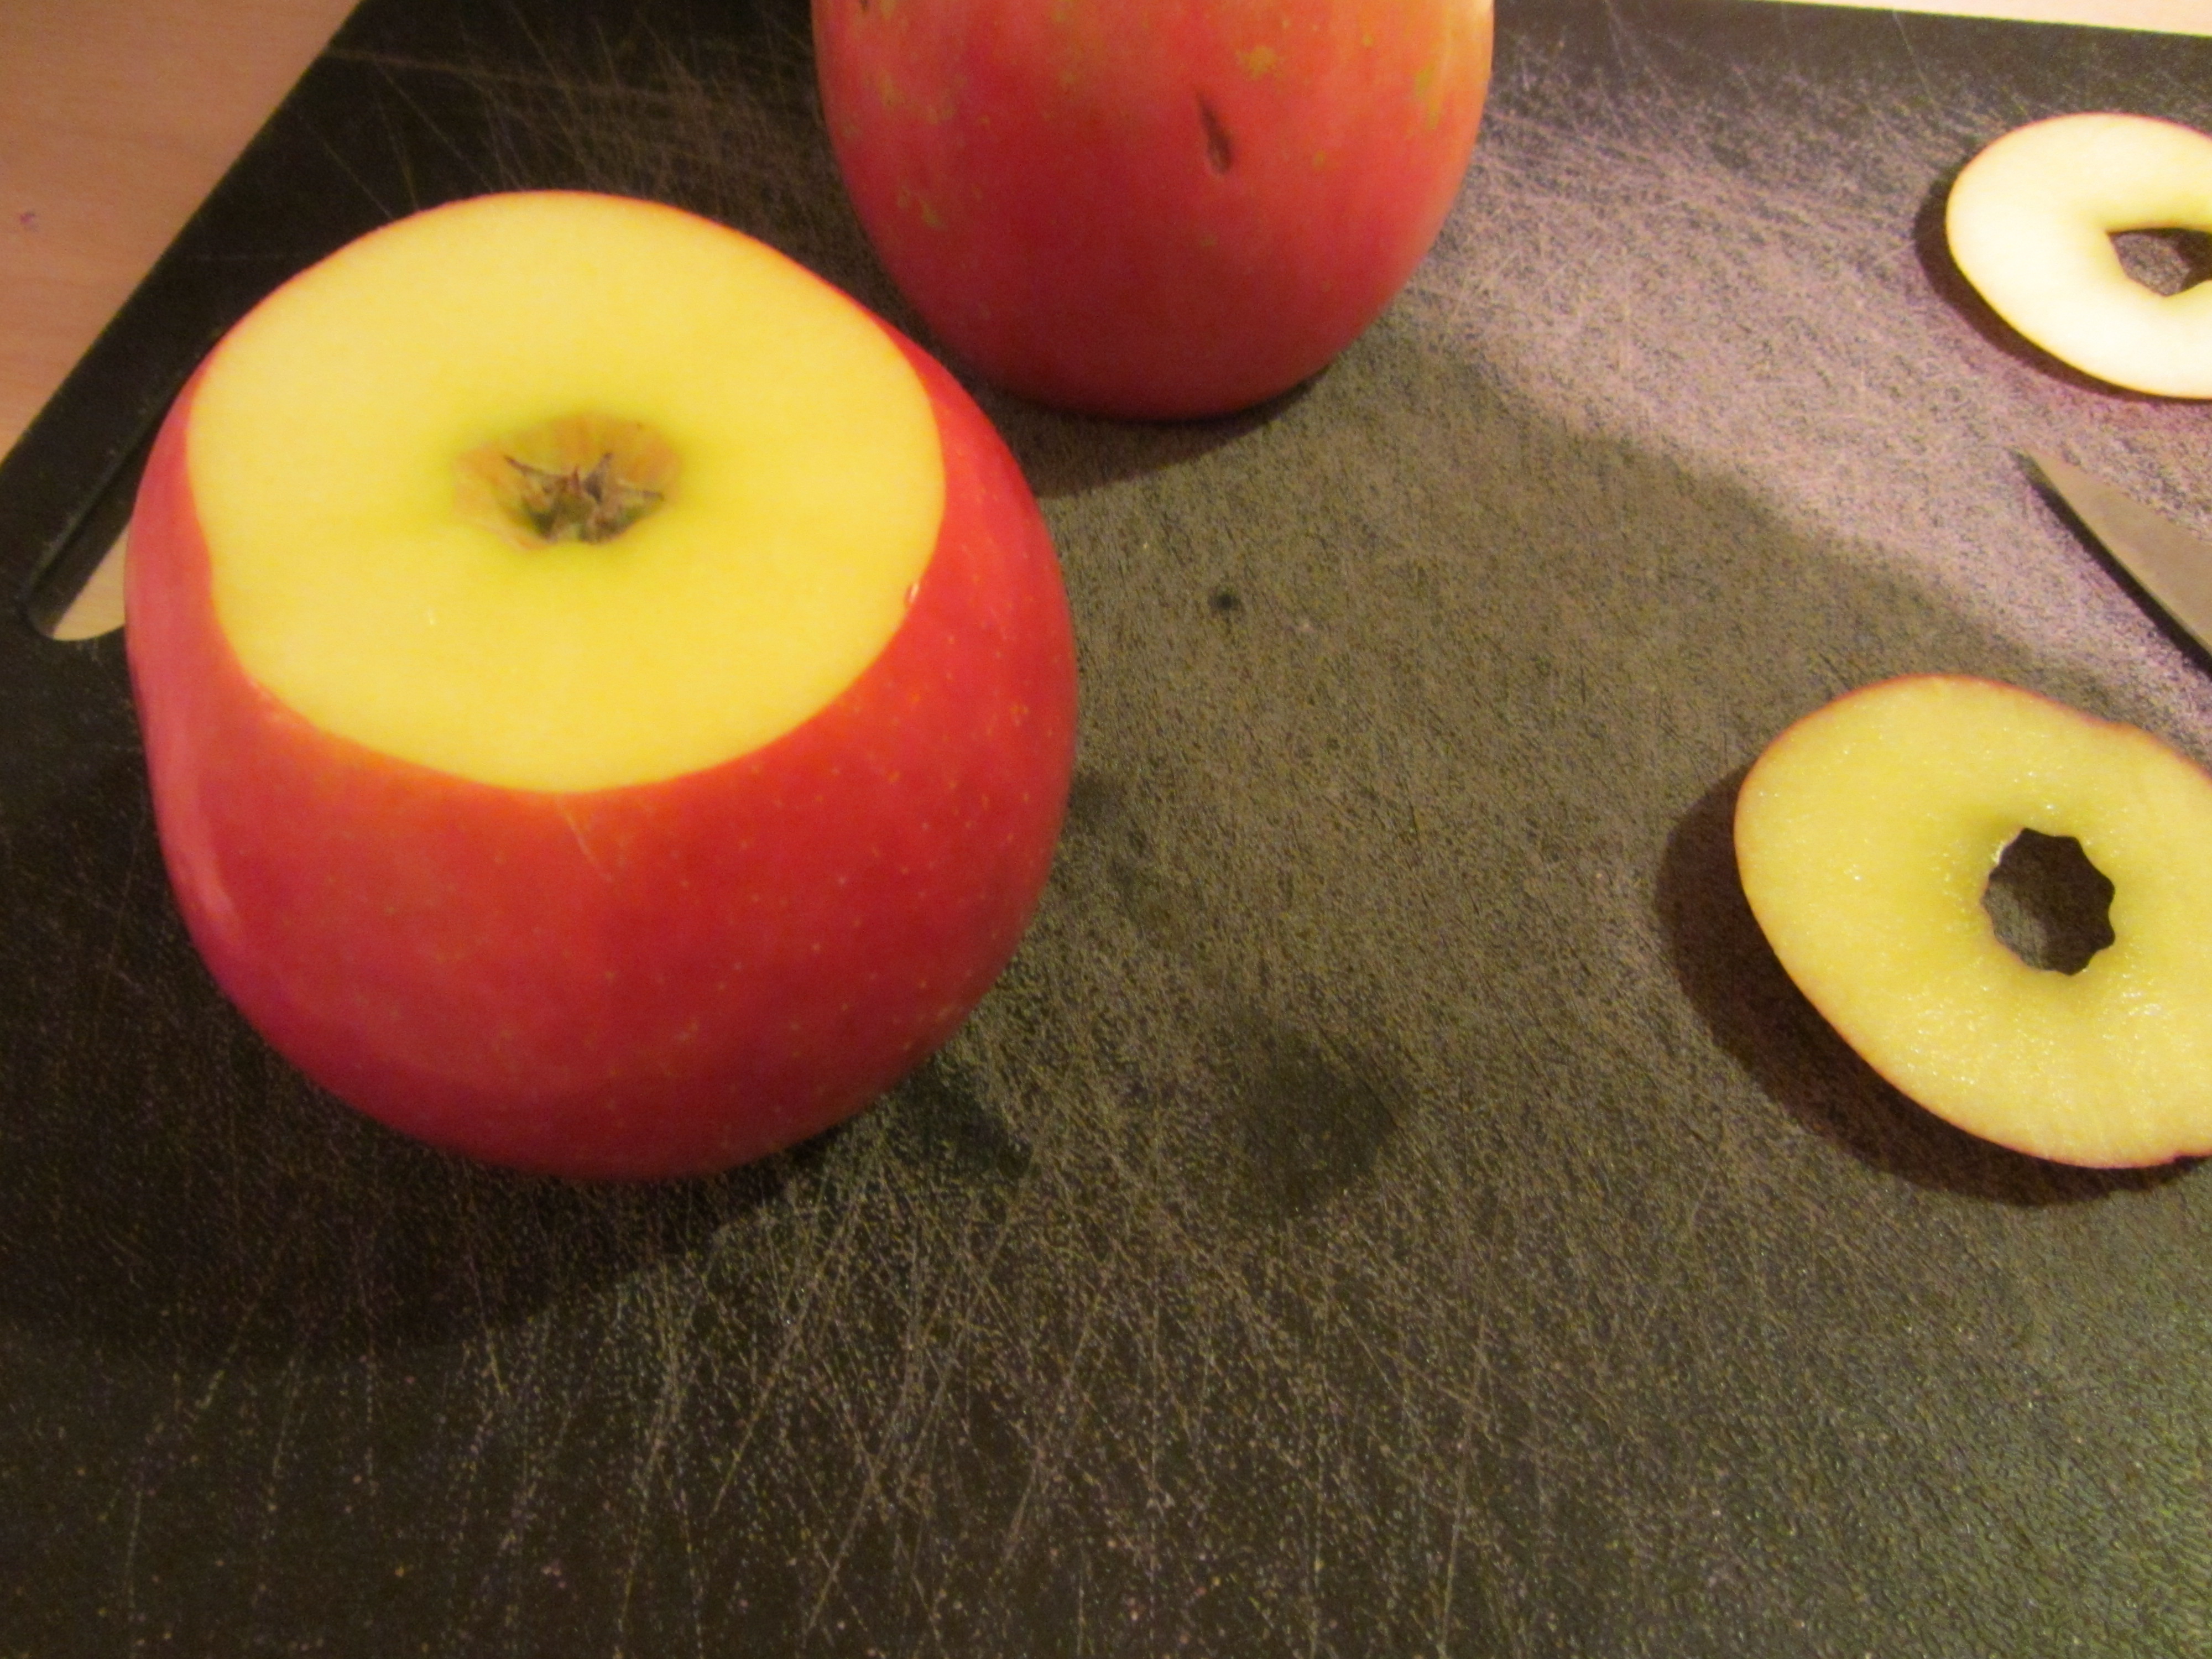
Leveling the apples.
Once the apples are level, you carve off the tops of the apples, using a paring knife. A melon baller is then used to scoop out the seeds and core of the apples. Once cored, you fill the apple reservoirs with honey and sprinkle the tops with the topping mixture. You pack down the topping, and then sprinkle on additional streusel, taking care not to pack the second layer of topping.
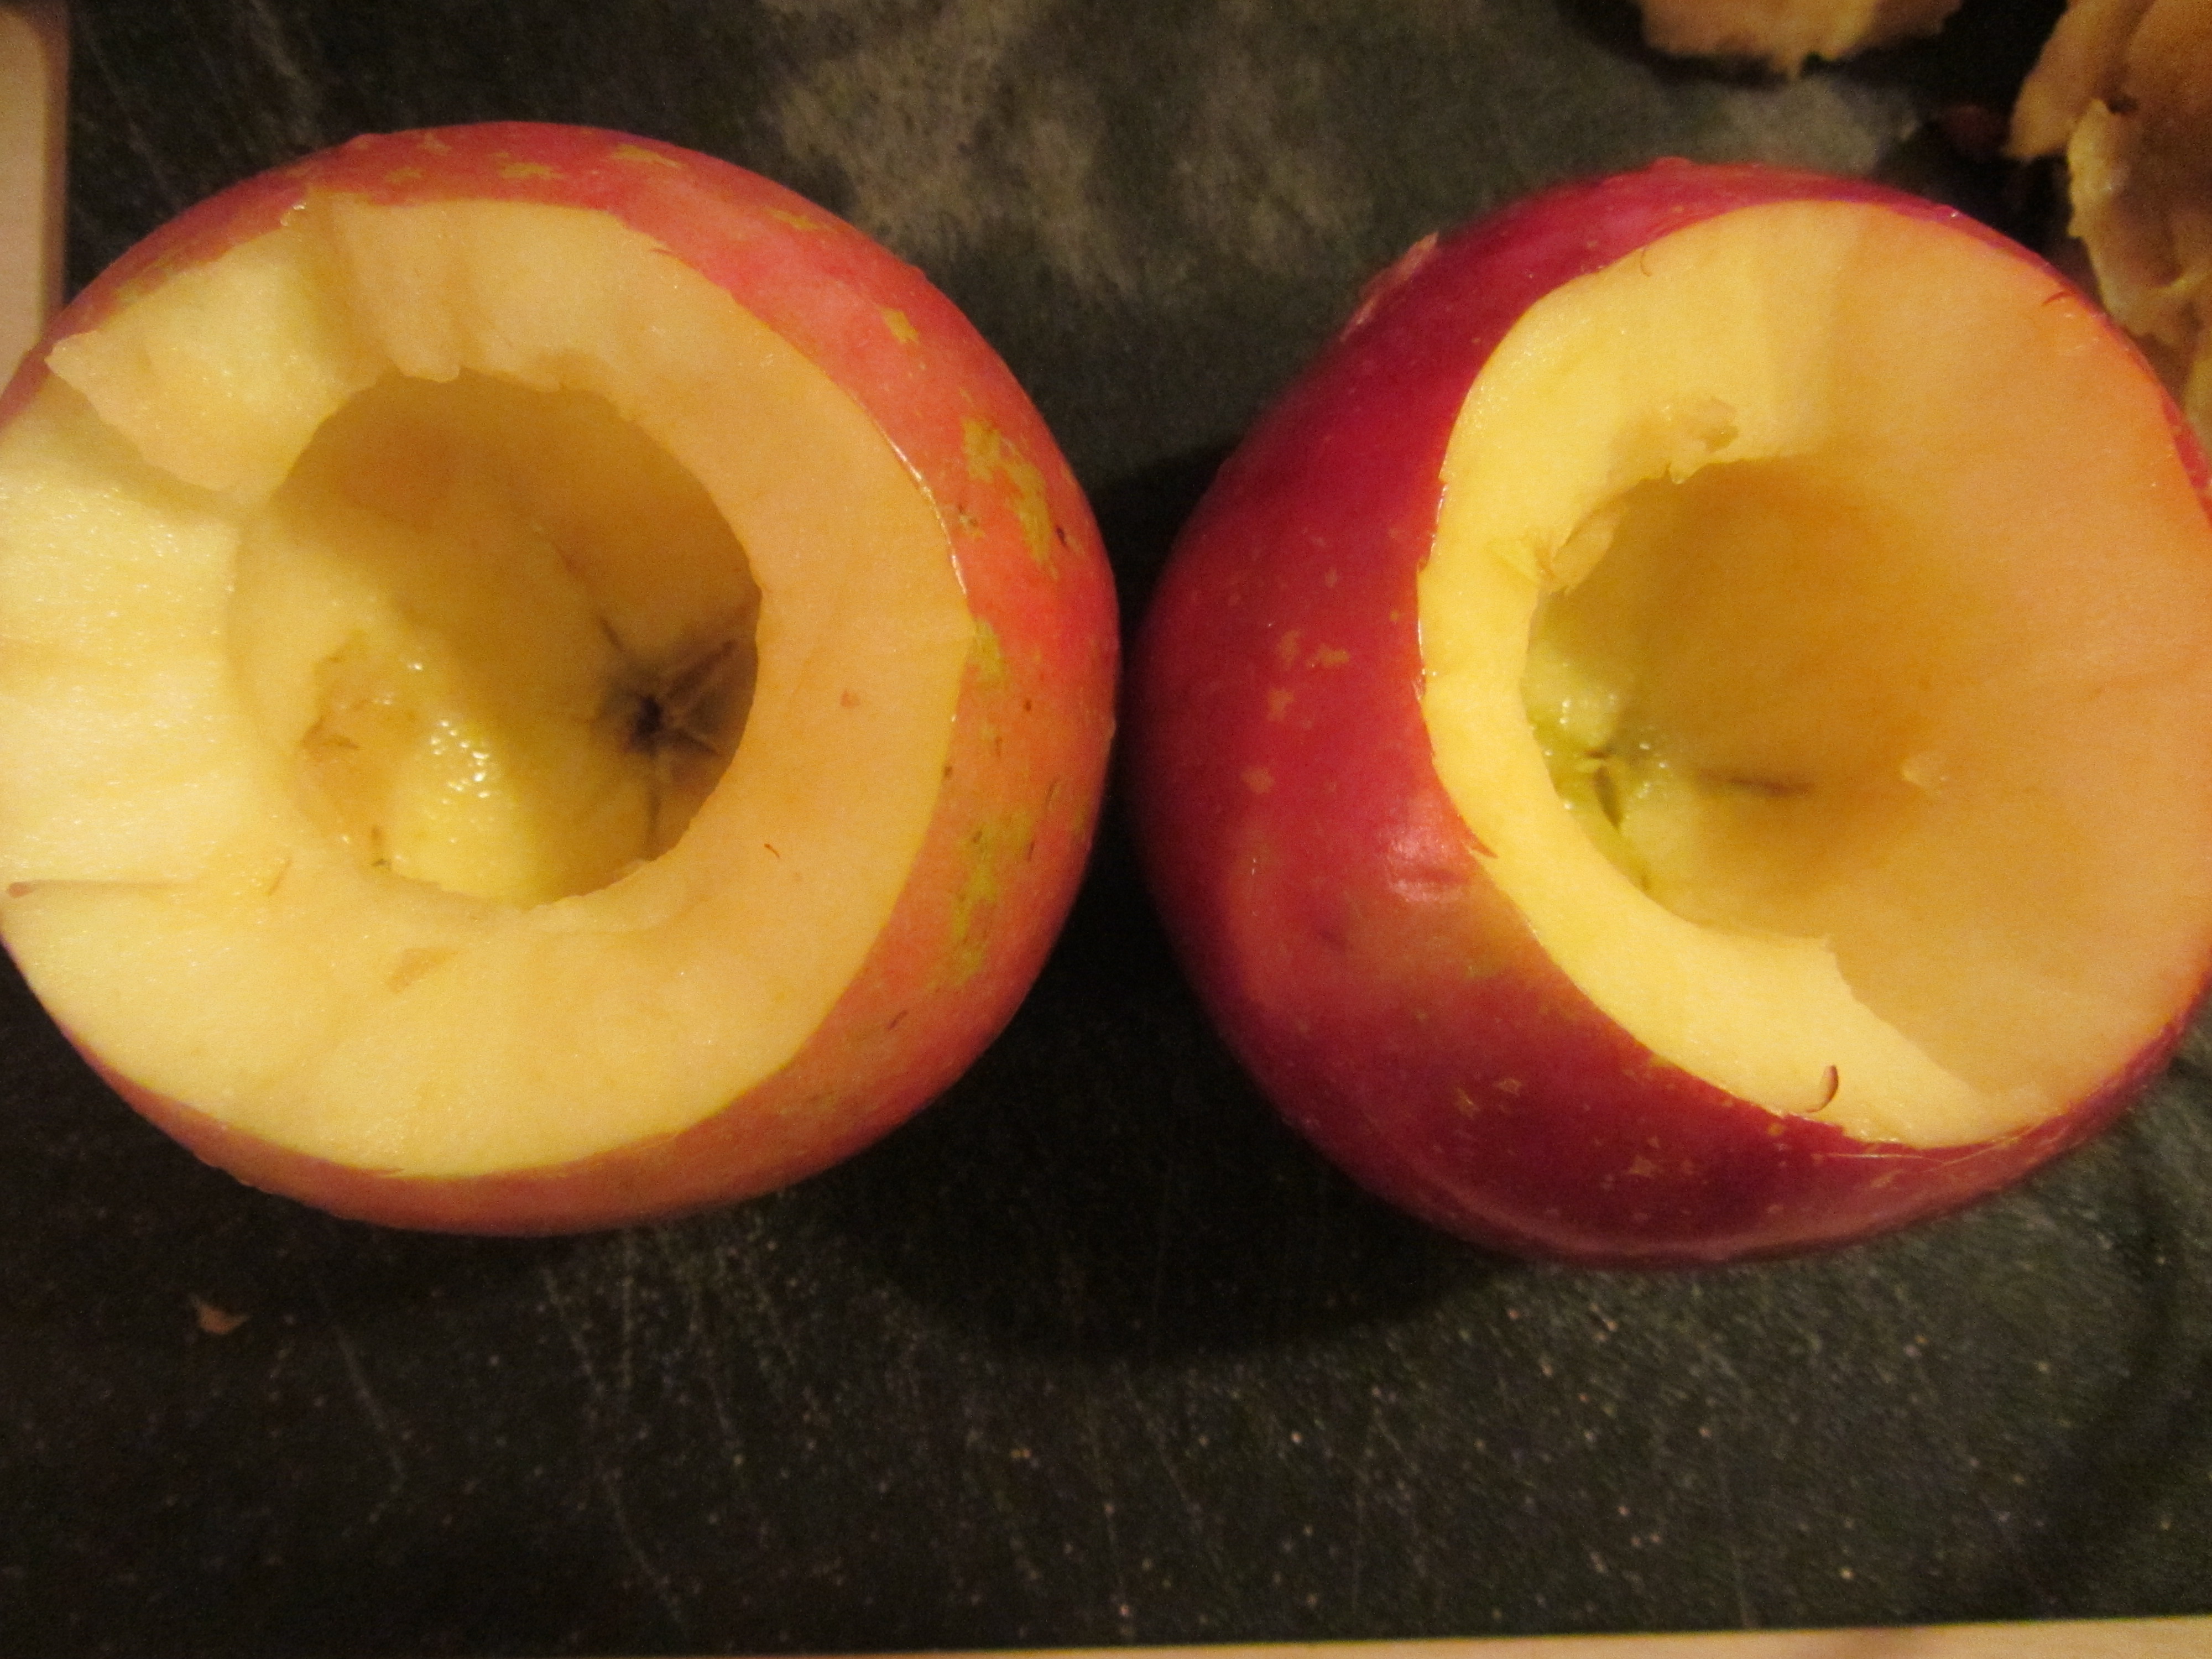
Cored and ready to go.
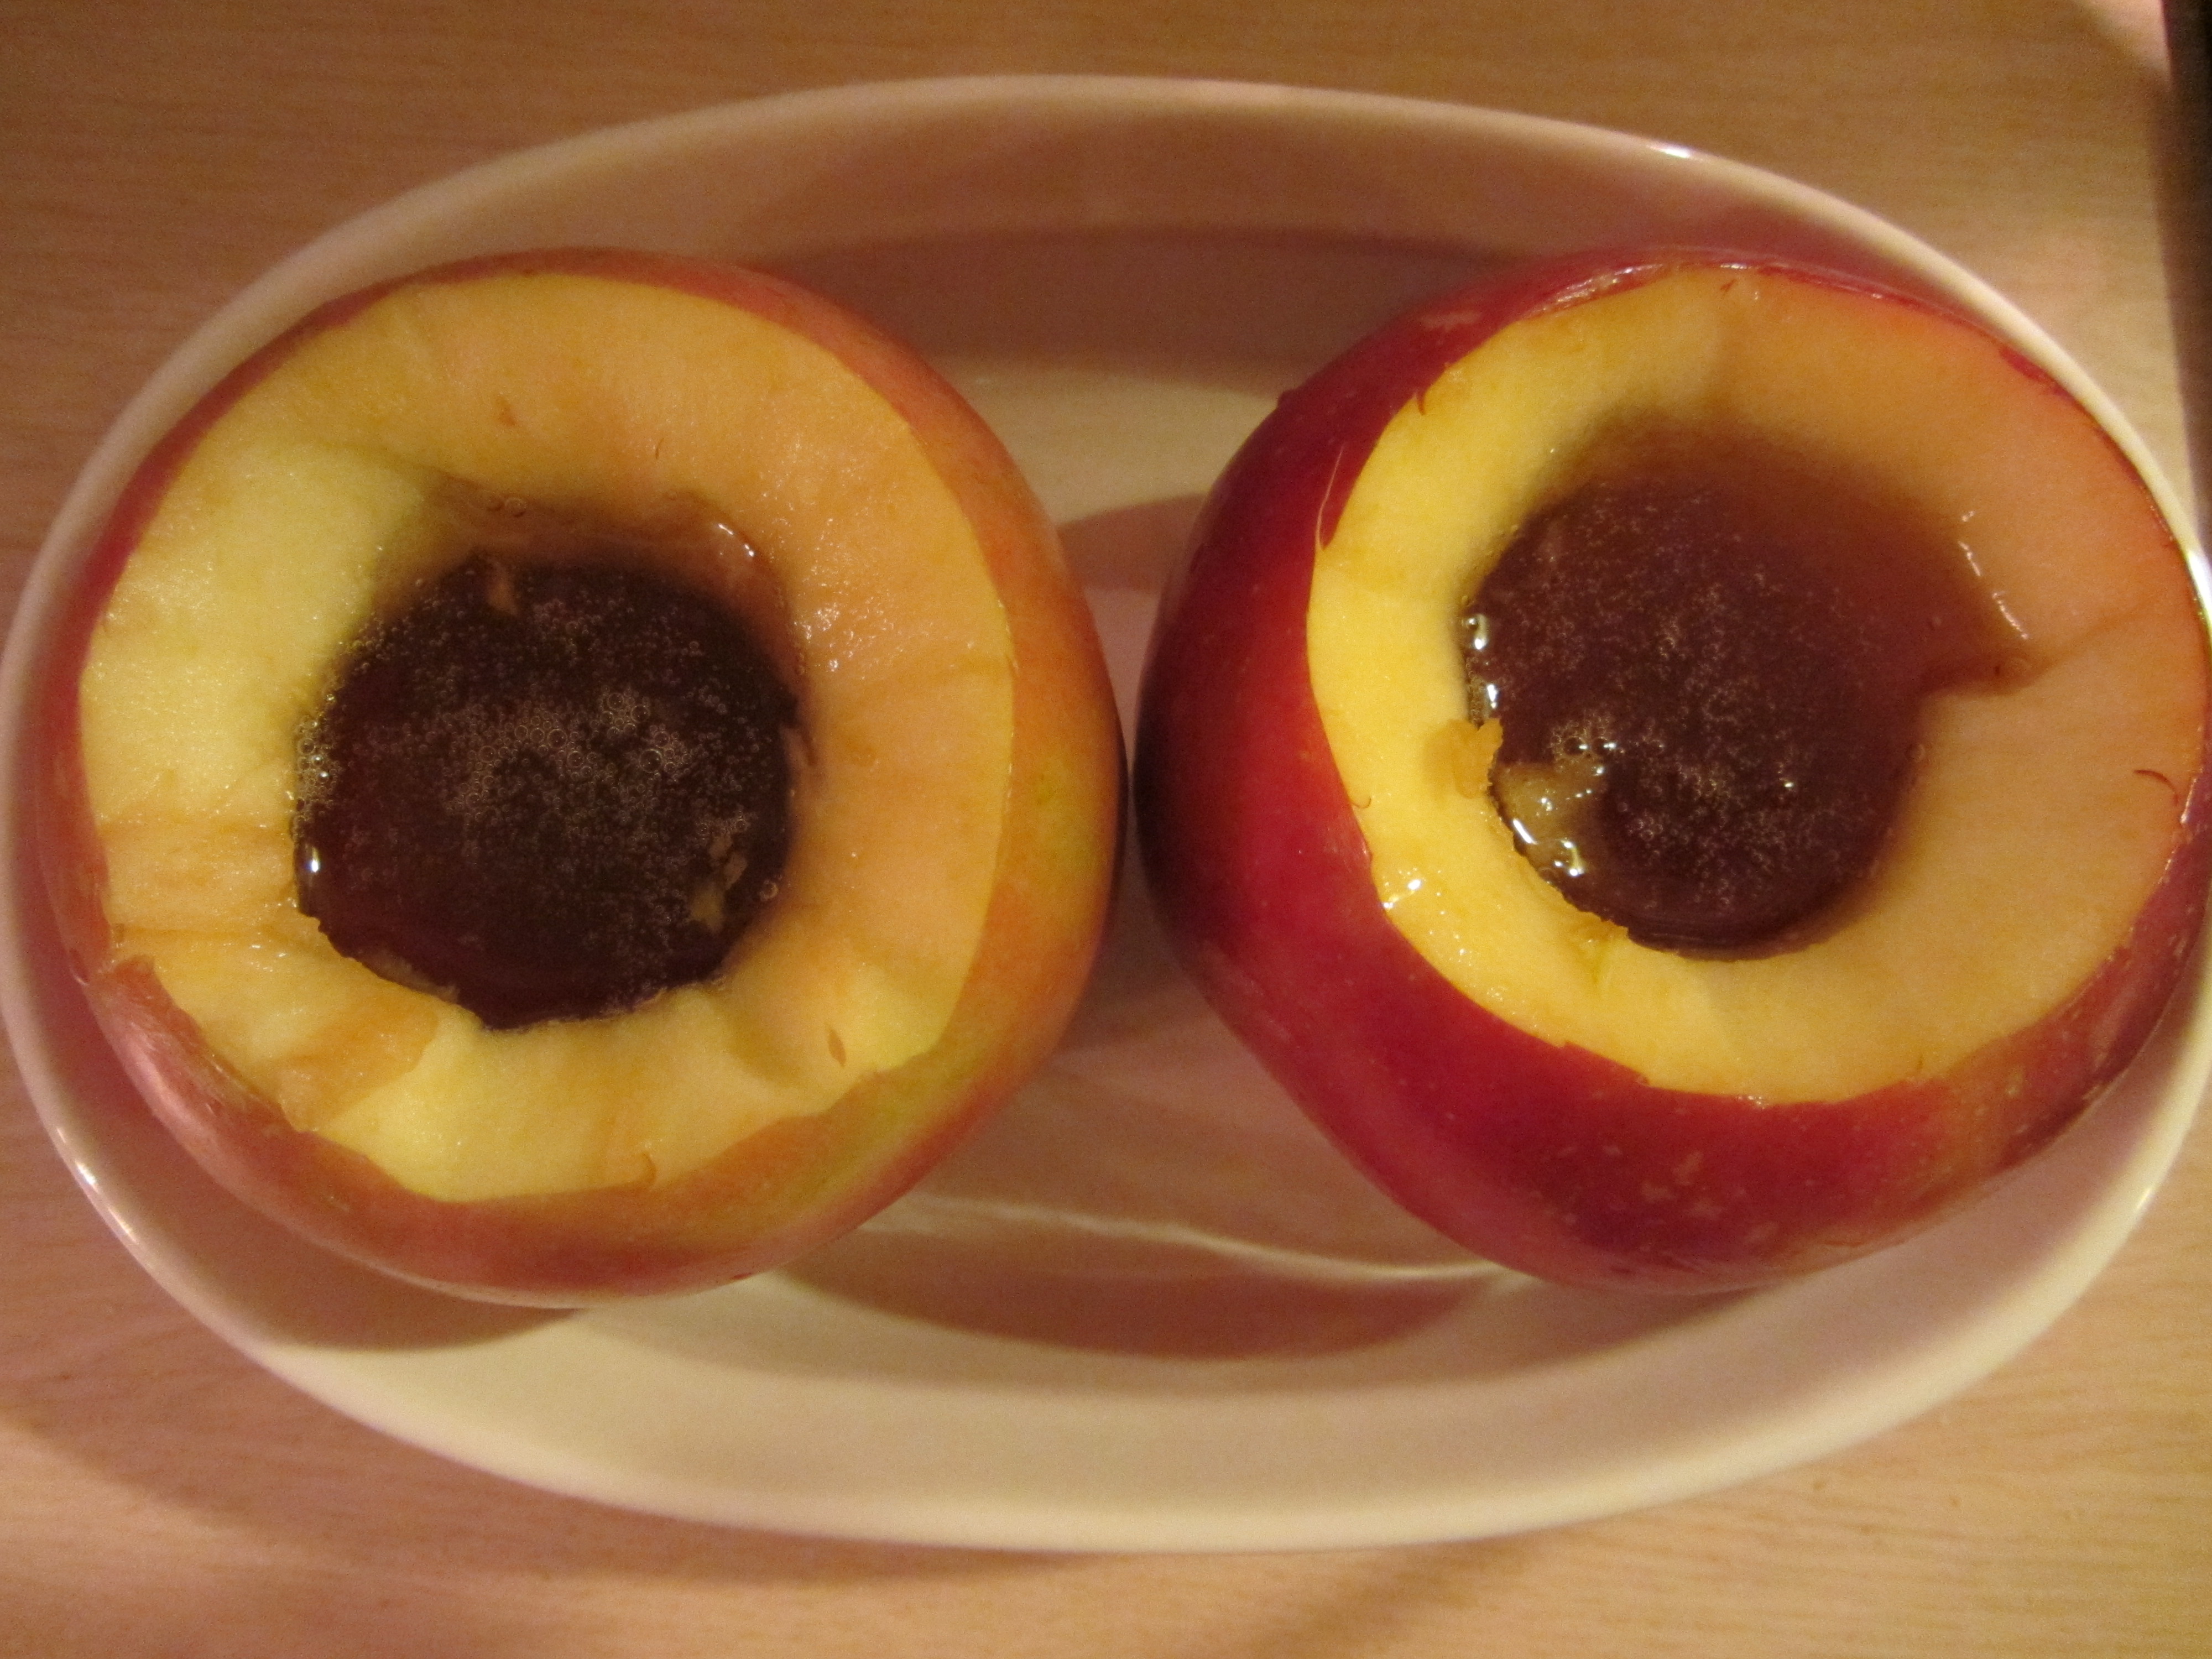
Reservoirs filled with honey.
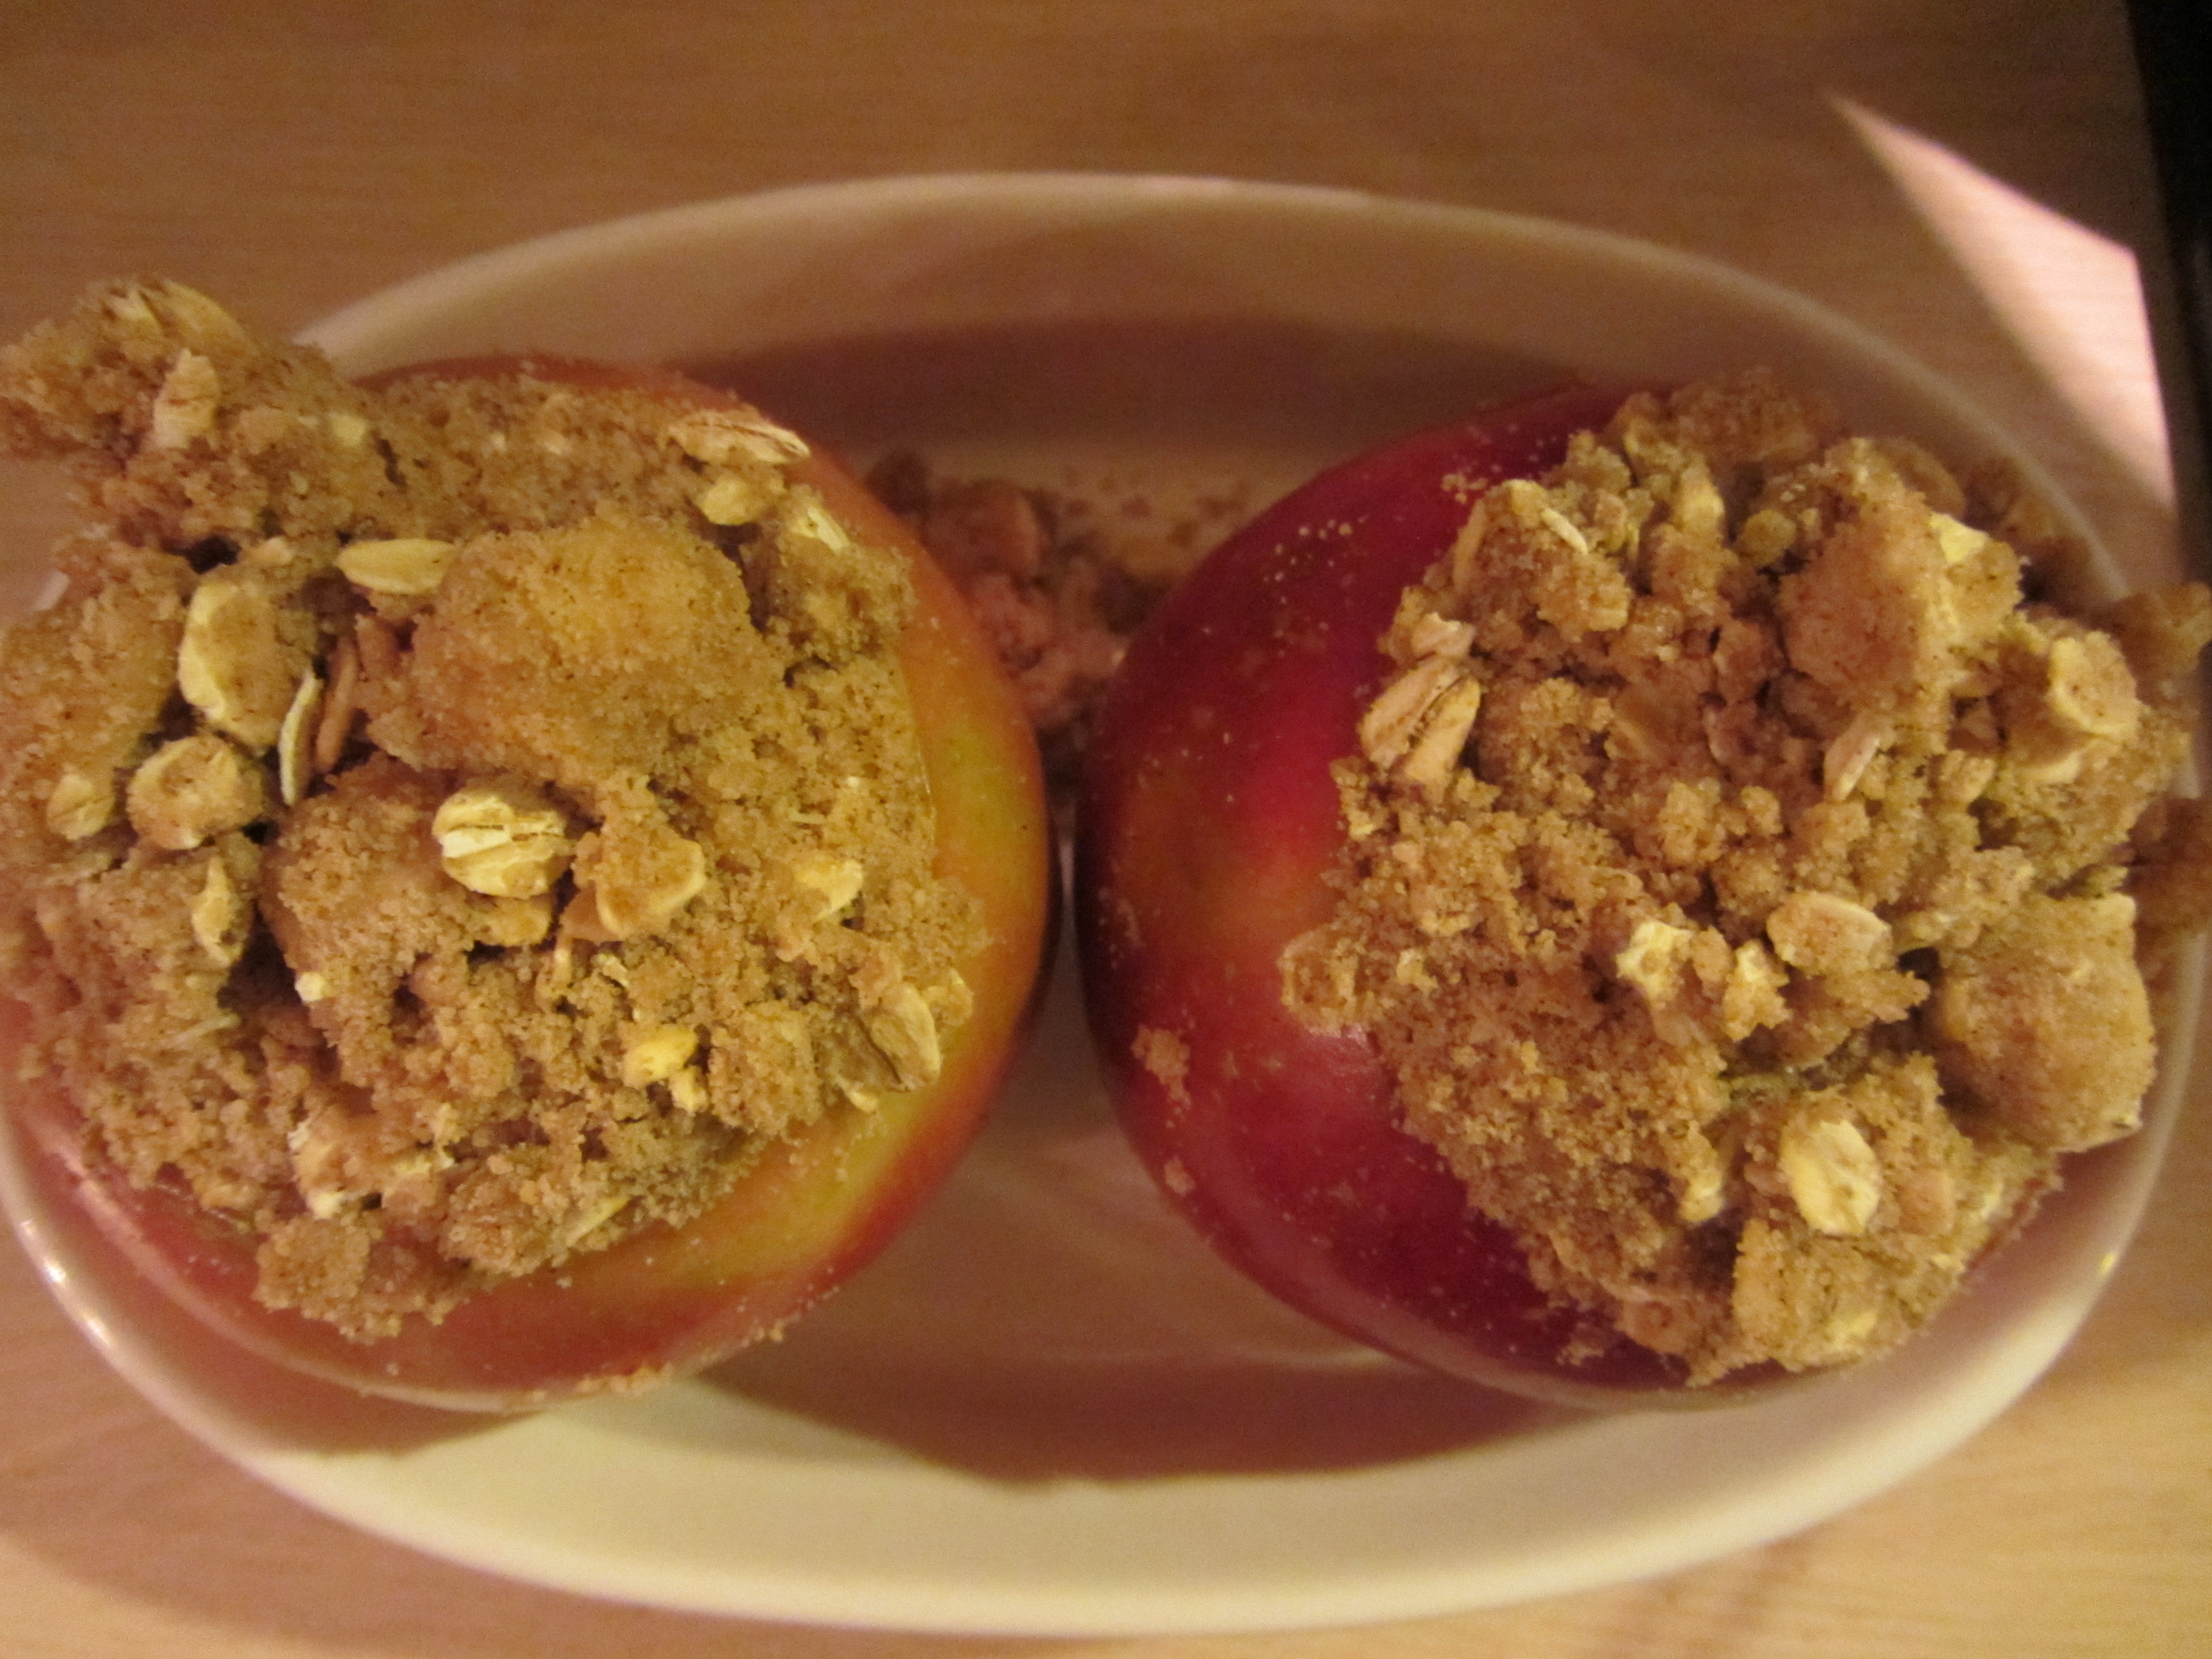
Apples topped with two layers of streusel.
The apples are placed in a baking dish and go into a 350 degree oven for 40 minutes, or until they are tender when squeezed with tongs. The apples need to cool for about 10 minutes prior to eating. We ate ours with ice cream on the side.
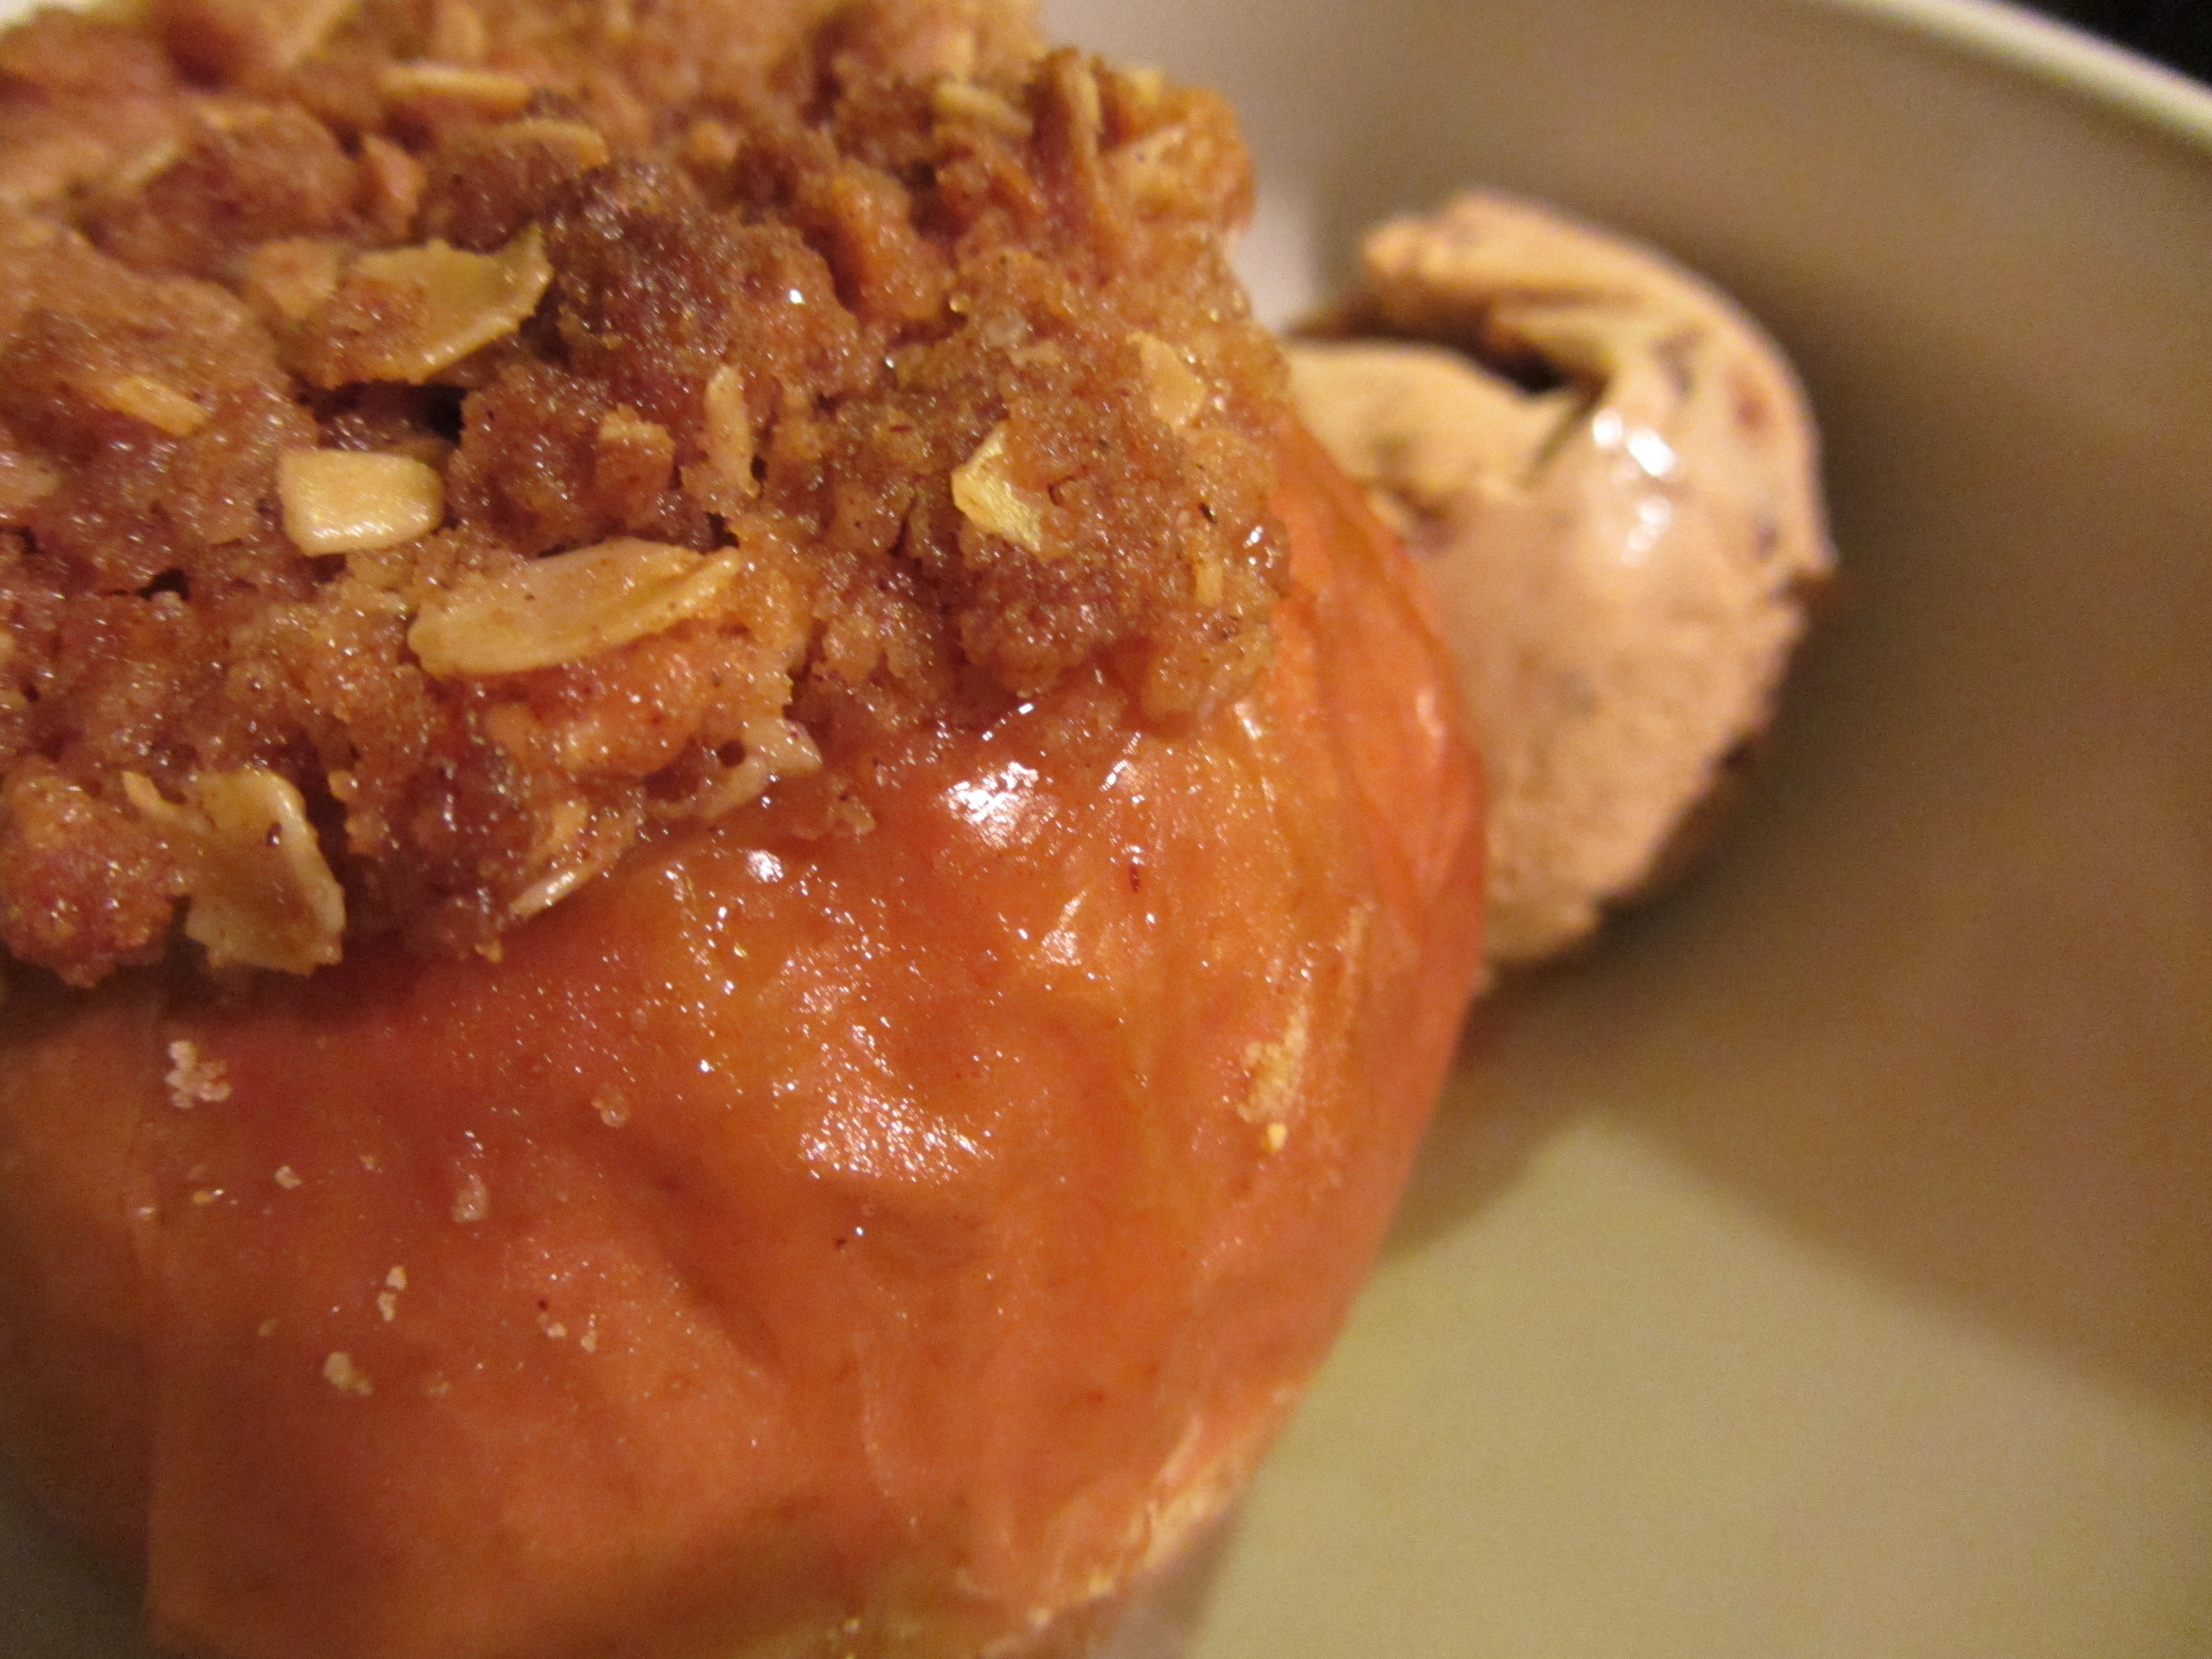
Baked apples, served with ice cream.
This recipe does make additional streusel topping, so I made baked pears the following evening.

The streusel topping can also be used for pears.
These baked apples have all of the flavor of homemade apple pie, yet they are so much easier to make. When served with ice cream, they are truly a treat. The apples are tender to the bite and filled with a glorious almost-caramelized filling. For an easy, yet indulgent, treat, these are a great way to go. I can say that I would gladly make any of these recipes again.
