In Season 1 of Good Eats, chocolate was chosen as the subject of the final episode, which I wrote about here. That episode featured a couple of chocolate desserts that used chocolate chips. Again, chocolate is the star of the 63rd episode, but this time the recipes utilized cocoa powder as the source of chocolate.
Baking with cocoa powder always makes me nervous since we have two dogs. Years ago, I made a chocolate cake from scratch and placed it INSIDE a kitchen cabinet. Imagine my surprise when Ted called to tell me that he had arrived home to find that Hitcher, our male hound, had jumped onto the kitchen counter, pried open the cabinet, and eaten the chocolate cake. Thankfully, Hitcher turned out to be just fine!
Cocoa Brownies
Naturally, the first recipe Alton tackled with cocoa powder was for a classic brownie. I have always found that brownies made from scratch with cocoa powder are much richer and have more intense chocolate flavor. For baked goods, Alton recommends that you use natural process cocoa, which is redder and more bitter than Dutch process cocoa. To make his brownies, preheat your oven to 300 degrees and spray an 8″ square pan with nonstick spray. Additionally, line the pan with parchment paper, allowing the paper to hang over two opposite edges of the pan; this will allow you to easily lift the brownies from the pan. The online recipe does not mention the parchment paper, but it really is a good trick.

Pan sprayed with nonstick spray and lined with parchment paper to overhang on two sides.
When your pan is set, sift together 1 1/4 C natural process cocoa, 1 C brown sugar, 1 C sugar, 1/2 C flour, & 1/2 t Kosher salt.


Next, in a stand mixer with the paddle attachment, beat 4 eggs until light.


Add the sifted dry ingredients to the eggs, gradually incorporating them until smooth.
Batter after incorporating dry ingredients.
Once the batter is smooth, add 2 t vanilla extract and 8 ounces (2 sticks) of melted butter; you will want to add the butter gradually and on low speed.


Finally, scrape the bowl and pour the batter into your prepared pan.

Batter in pan, and ready to go in the oven.
Bake the brownies for 45 minutes before checking with a toothpick. You will want to remove your brownies from the pan when a little bit of crumb still sticks to the toothpick, which took about 49 minutes in my oven.
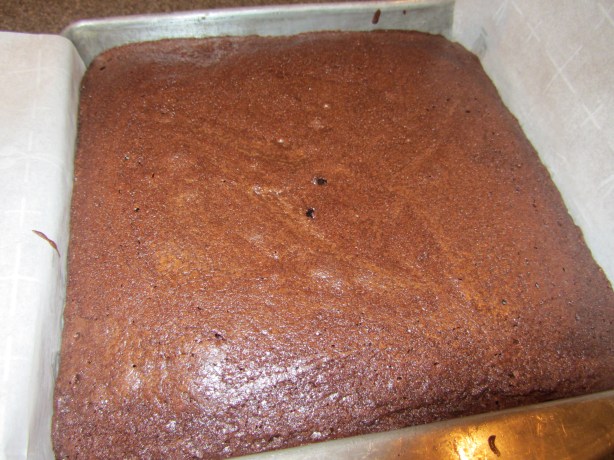
My brownies, after baking for about 49 minutes.
In the Good Eats episode, Alton strictly tells you to remove the brownies from the pan as soon as they come out of the oven. He also tells you to immediately cut the brownies, using a pizza cutter.


Once cut, allow the brownies to cool completely on a rack. My brownies were a little tricky to cut, so I would probably let them cool for a few minutes out of the pan before attempting to cut them. These brownies are really good if you like your brownies to be super dark and rich. Seriously, you cannot eat a lot of these. These paired very well with vanilla ice cream, which helped to cut the chocolate slightly. Personally, I like brownies to be kept in the refrigerator… but that’s just me.

These brownies pair greatly with vanilla ice cream.
Cocoa Syrup
Next up in Alton’s cocoa arsenal was his take on chocolate syrup. Growing up, I was always more of a hot fudge sauce girl, while my brother was a chocolate syrup fanatic. I was curious to see if homemade chocolate syrup would convert me to more of a syrup person. For this particular recipe, you will want to try to use Dutch process cocoa, as it works better in applications with low fat content. Honestly, I looked at three stores for Dutch process cocoa and could not find it, so I made my syrup with a cocoa powder that was a blend of natural and Dutch process cocoas. To make Alton’s chocolate syrup, begin by combining 3 C sugar, and 1 1/2 C water in a pan. Bring the sugar and water to a boil and add 2 T light corn syrup; this will prevent crystallization.
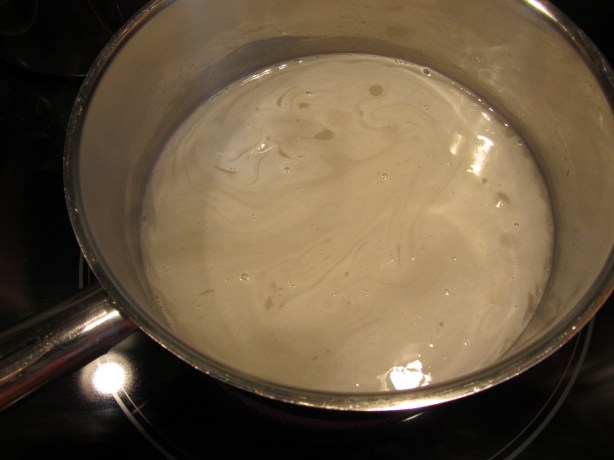
Sugar, water, and corn syrup being brought to a boil.
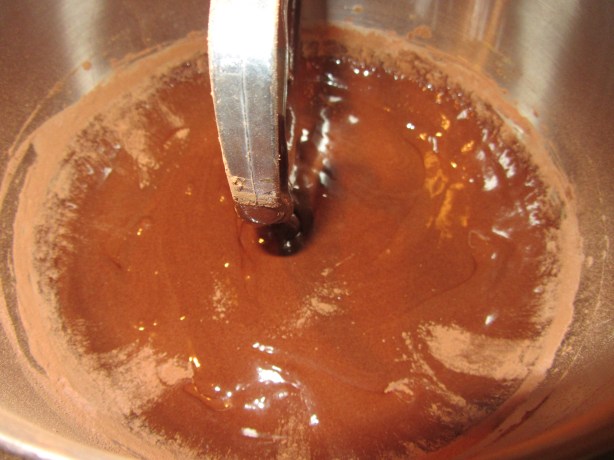
To this, slowly add 1 1/2 C cocoa powder, along with 1/4 t Kosher salt. You will want to gradually whisk the cocoa powder into the liquid, which will take a little bit of time.
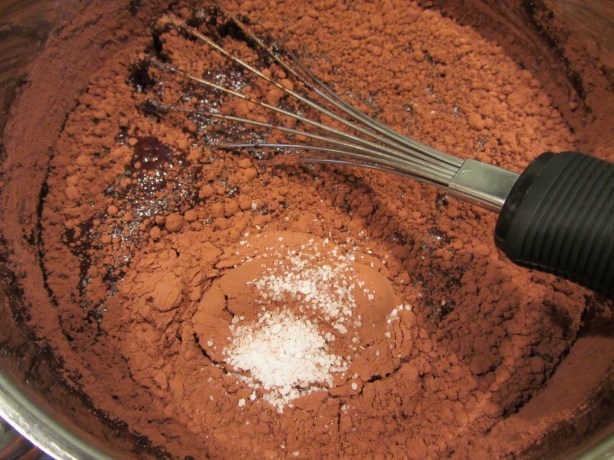
Salt and cocoa powder, gradually being whisked into liquid mixture.
Finally, once all of the cocoa powder is incorporated, stir in 1 T vanilla extract.


Pour the syrup into a squeeze bottle and allow it to cool to room temperature.

My chocolate syrup.
If you want to reheat your syrup, place the squeeze bottle in hot water for ~10 minutes. I served this chocolate syrup in the traditional way – over vanilla ice cream, and with cake on the side.
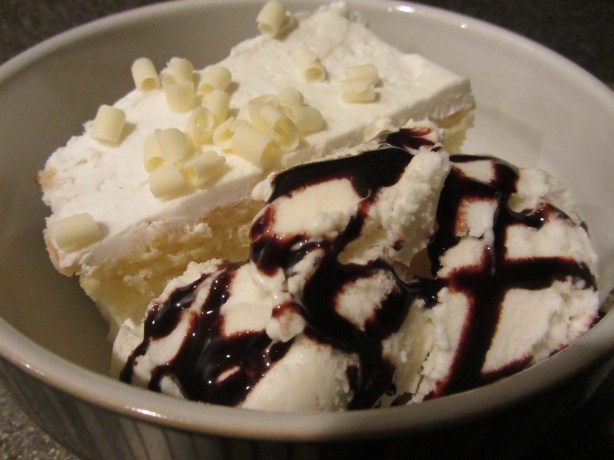
Chocolate syrup over ice cream.
I have to admit that this syrup is pretty darn good, and much better than the stuff you can buy. The chocolate flavor is much more intense, and this tastes like a much darker chocolate than store-bought syrups. I also think this syrup is a bit thicker than other chocolate syrups I have had, which I like. If you’re a chocolate syrup fan, I’d certainly give this one a try. Note that this recipe makes a lot of chocolate syrup, but you could always cut the recipe in half.
Hot Cocoa
Last but not least, no cocoa episode would be complete without a recipe for hot cocoa. To make Alton’s hot cocoa mix, into a large, lidded container place 2 C powdered sugar, 1 C Dutch process cocoa, 2 1/2 C powdered milk, 1 t salt, 2 t cornstarch, and a pinch of cayenne pepper.


Place the lid on the container and shake the mixture to thoroughly combine.
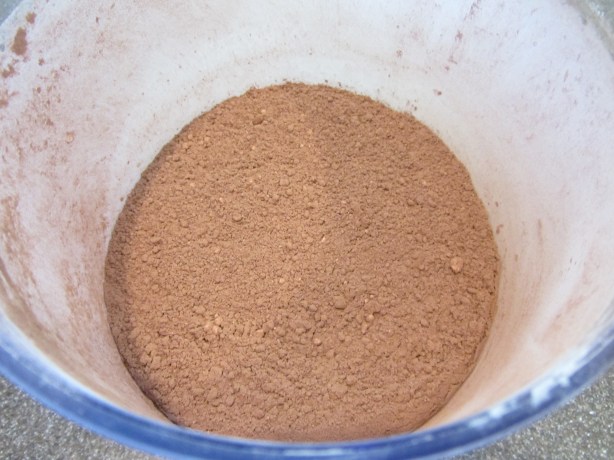
The shaken/combined cocoa mix.
To serve Alton’s cocoa, fill a mug 1/3 full with Alton’s cocoa mix and add boiling water just to cover the powder.


Stir the cocoa/water mixture to create a thick slurry. Finally, top off the mug with more boiling water and stir again to combine.


We do not typically drink a lot of hot chocolate, but this was pretty good. Of course, this isn’t really the season for hot chocolate either. We both really liked the addition of the cayenne (I added a pretty hefty pinch), which made this a little different from your typical hot cocoa. We had our hot cocoa with whipped cream because really, why not?

Alton’s hot cocoa, served with whipped cream, of course.
I will probably make this mix again, though I will likely wait for colder weather to make it again. I have to say, though, that I have a serious hankering for some chocolate after typing up this episode. Though the brownies are long gone, we still have homemade chocolate syrup and hot cocoa mix, one of which I will probably be tapping into shortly!