Free Range Fruitcake
The second season of Good Eats begins with Alton’s take on fruitcake. I don’t know about you, but when I think of fruitcake, I envision a cloyingly sweet, dense brick of a cake, filled with sticky globs of artificially bright, candied, green and red cherries. My mom says that she used to make fruitcake, though I never remember having hers. Due to the fact that I have not particularly adored the fruitcakes I have tasted in the past, it is not something I consume frequently, or even occasionally. In fact, I couldn’t tell you the last time I had fruitcake prior to making this recipe of Alton’s. I was excited for this one, as I was pretty confident I would like the resulting cake.
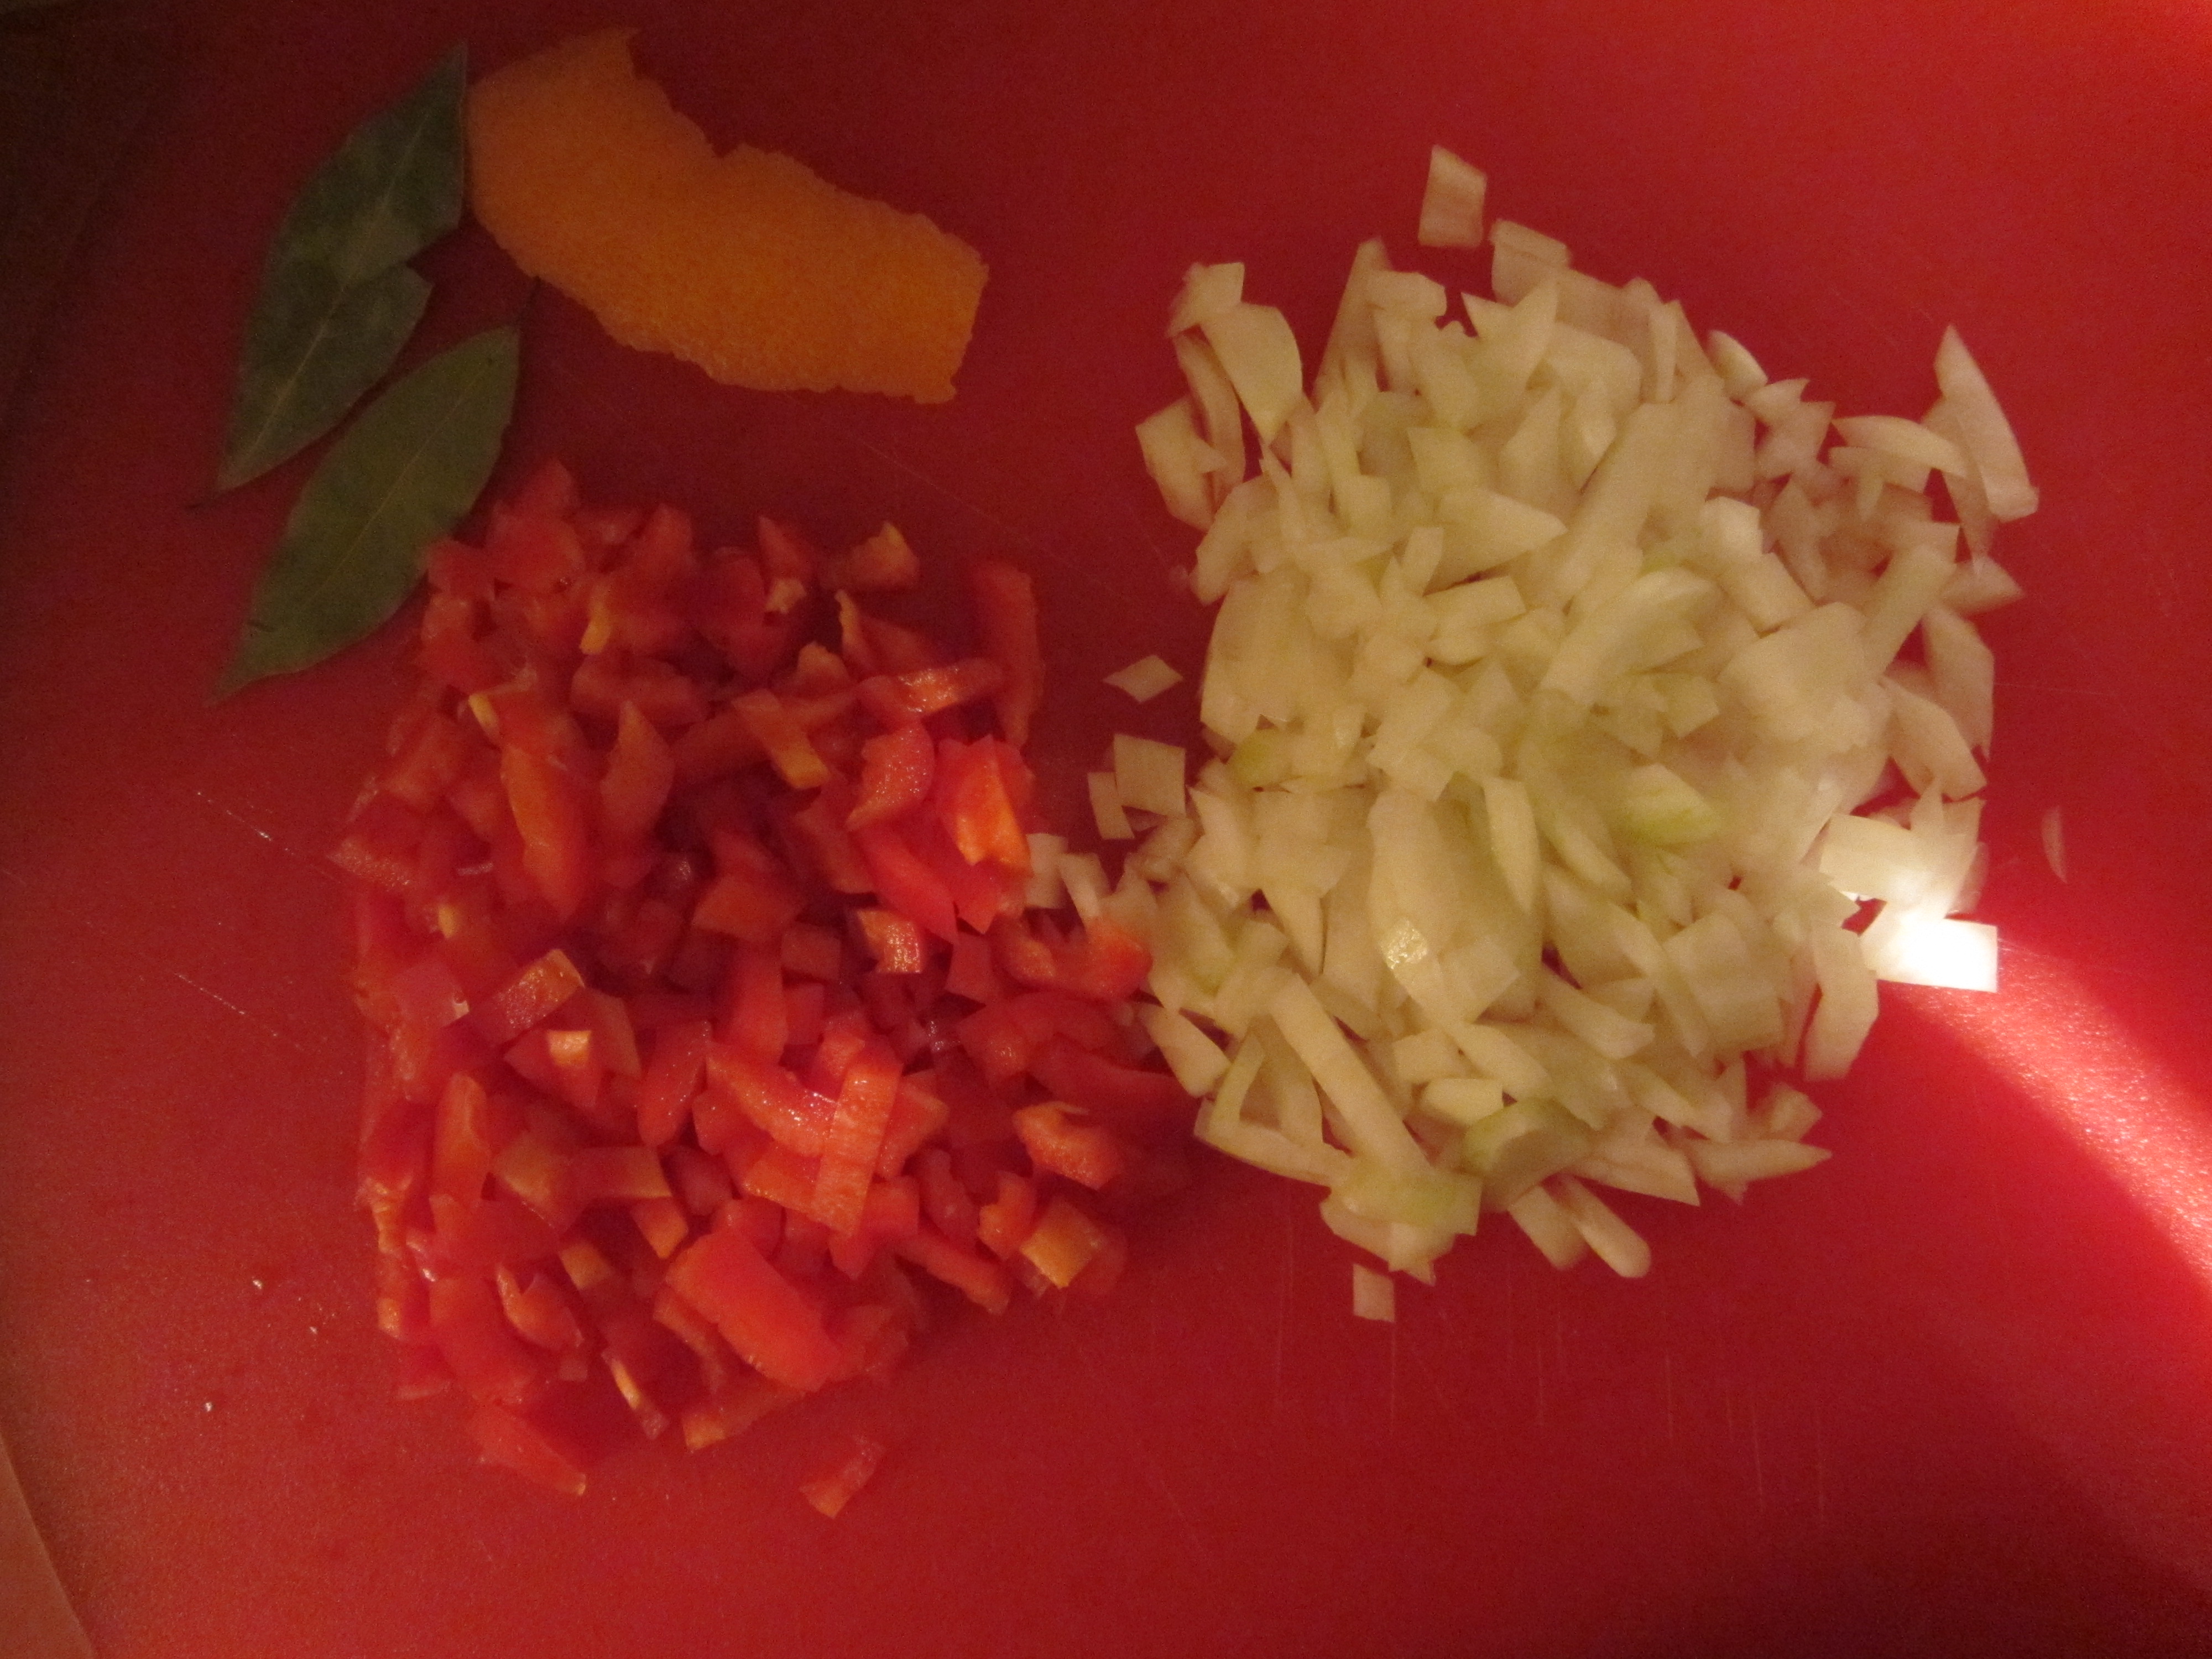
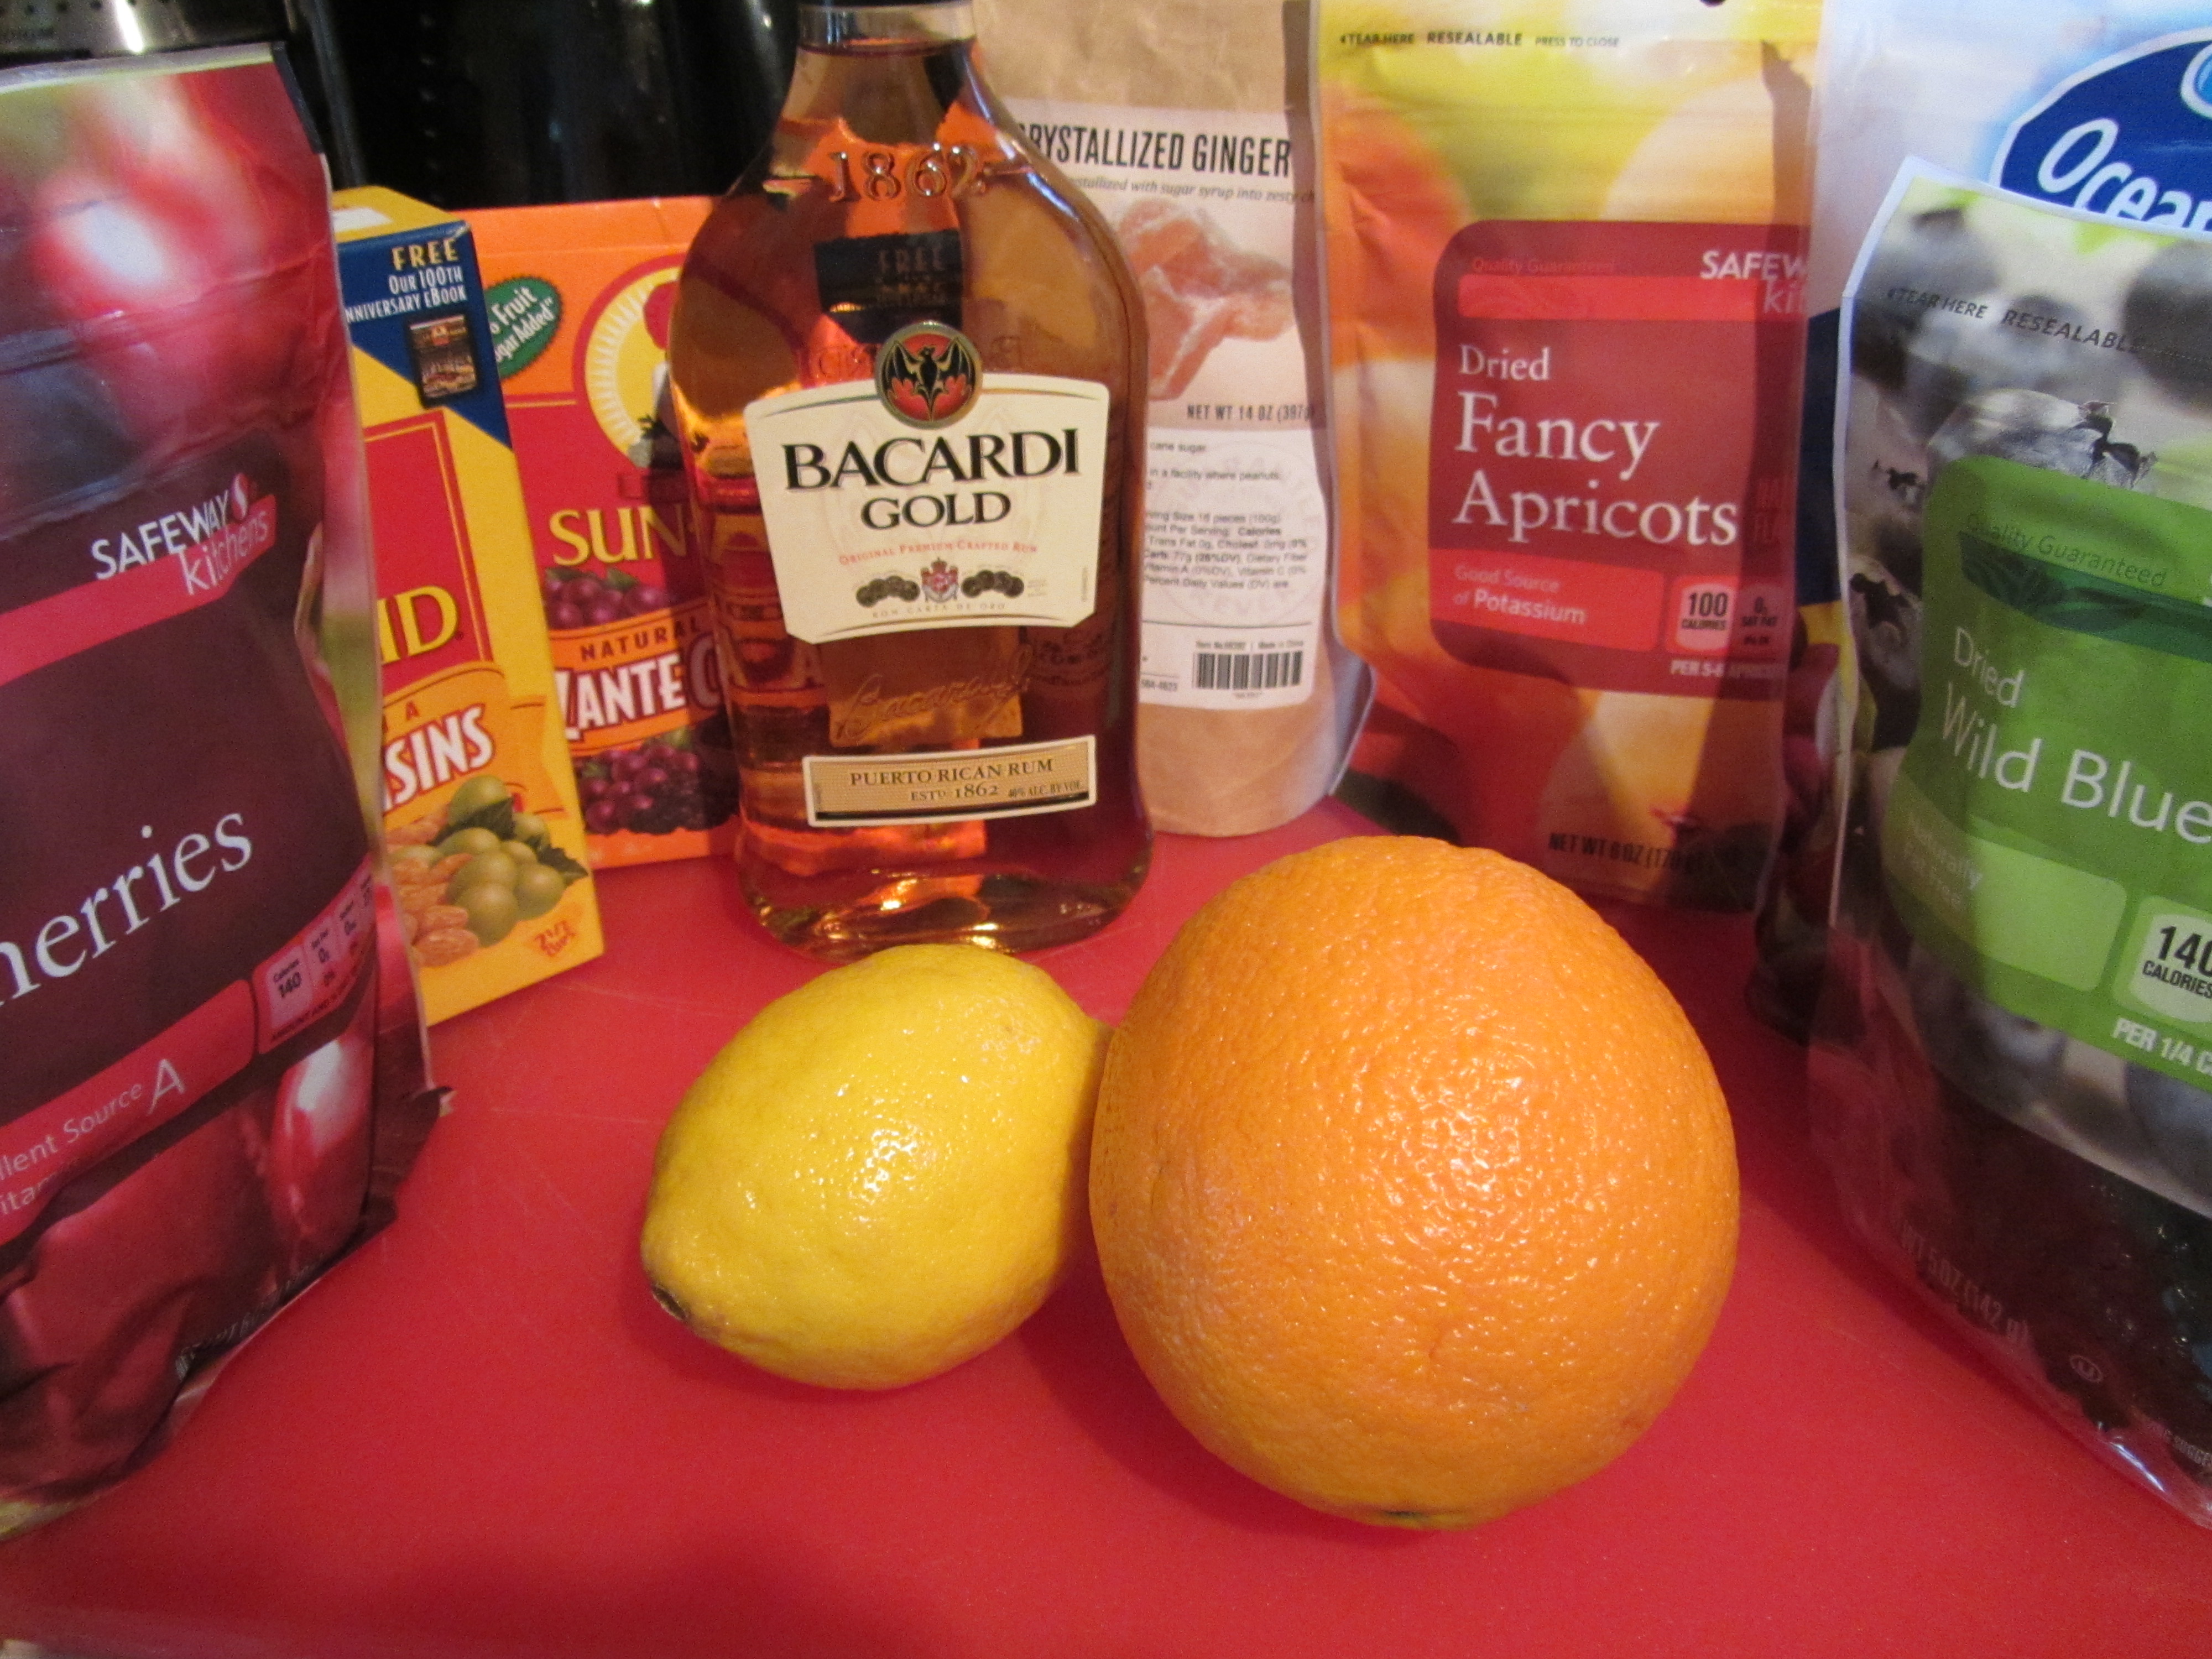
Alton’s fruitcake recipe begins with macerating in rum a plethora of dried fruit (golden raisins, currants, cranberries, blueberries, cherries, & apricots), along with lemon zest, orange zest, and candied ginger.
Ready to macerate.

Golden raisins, currants, dried cranberries, dried blueberries, dried cherries, dried apricots, lemon zest, orange zest, and candied ginger.

Soaking the fruit in the rum.
Ideally, you are to let the fruit sit overnight, though Alton says you can microwave the fruit and rum for 5 minutes, if you are short on time. I took the time to soak my fruit overnight, as I knew the result would be much better that way. Sure enough, the fruit had soaked up much of the rum, and was visibly plump when I checked it the next morning.
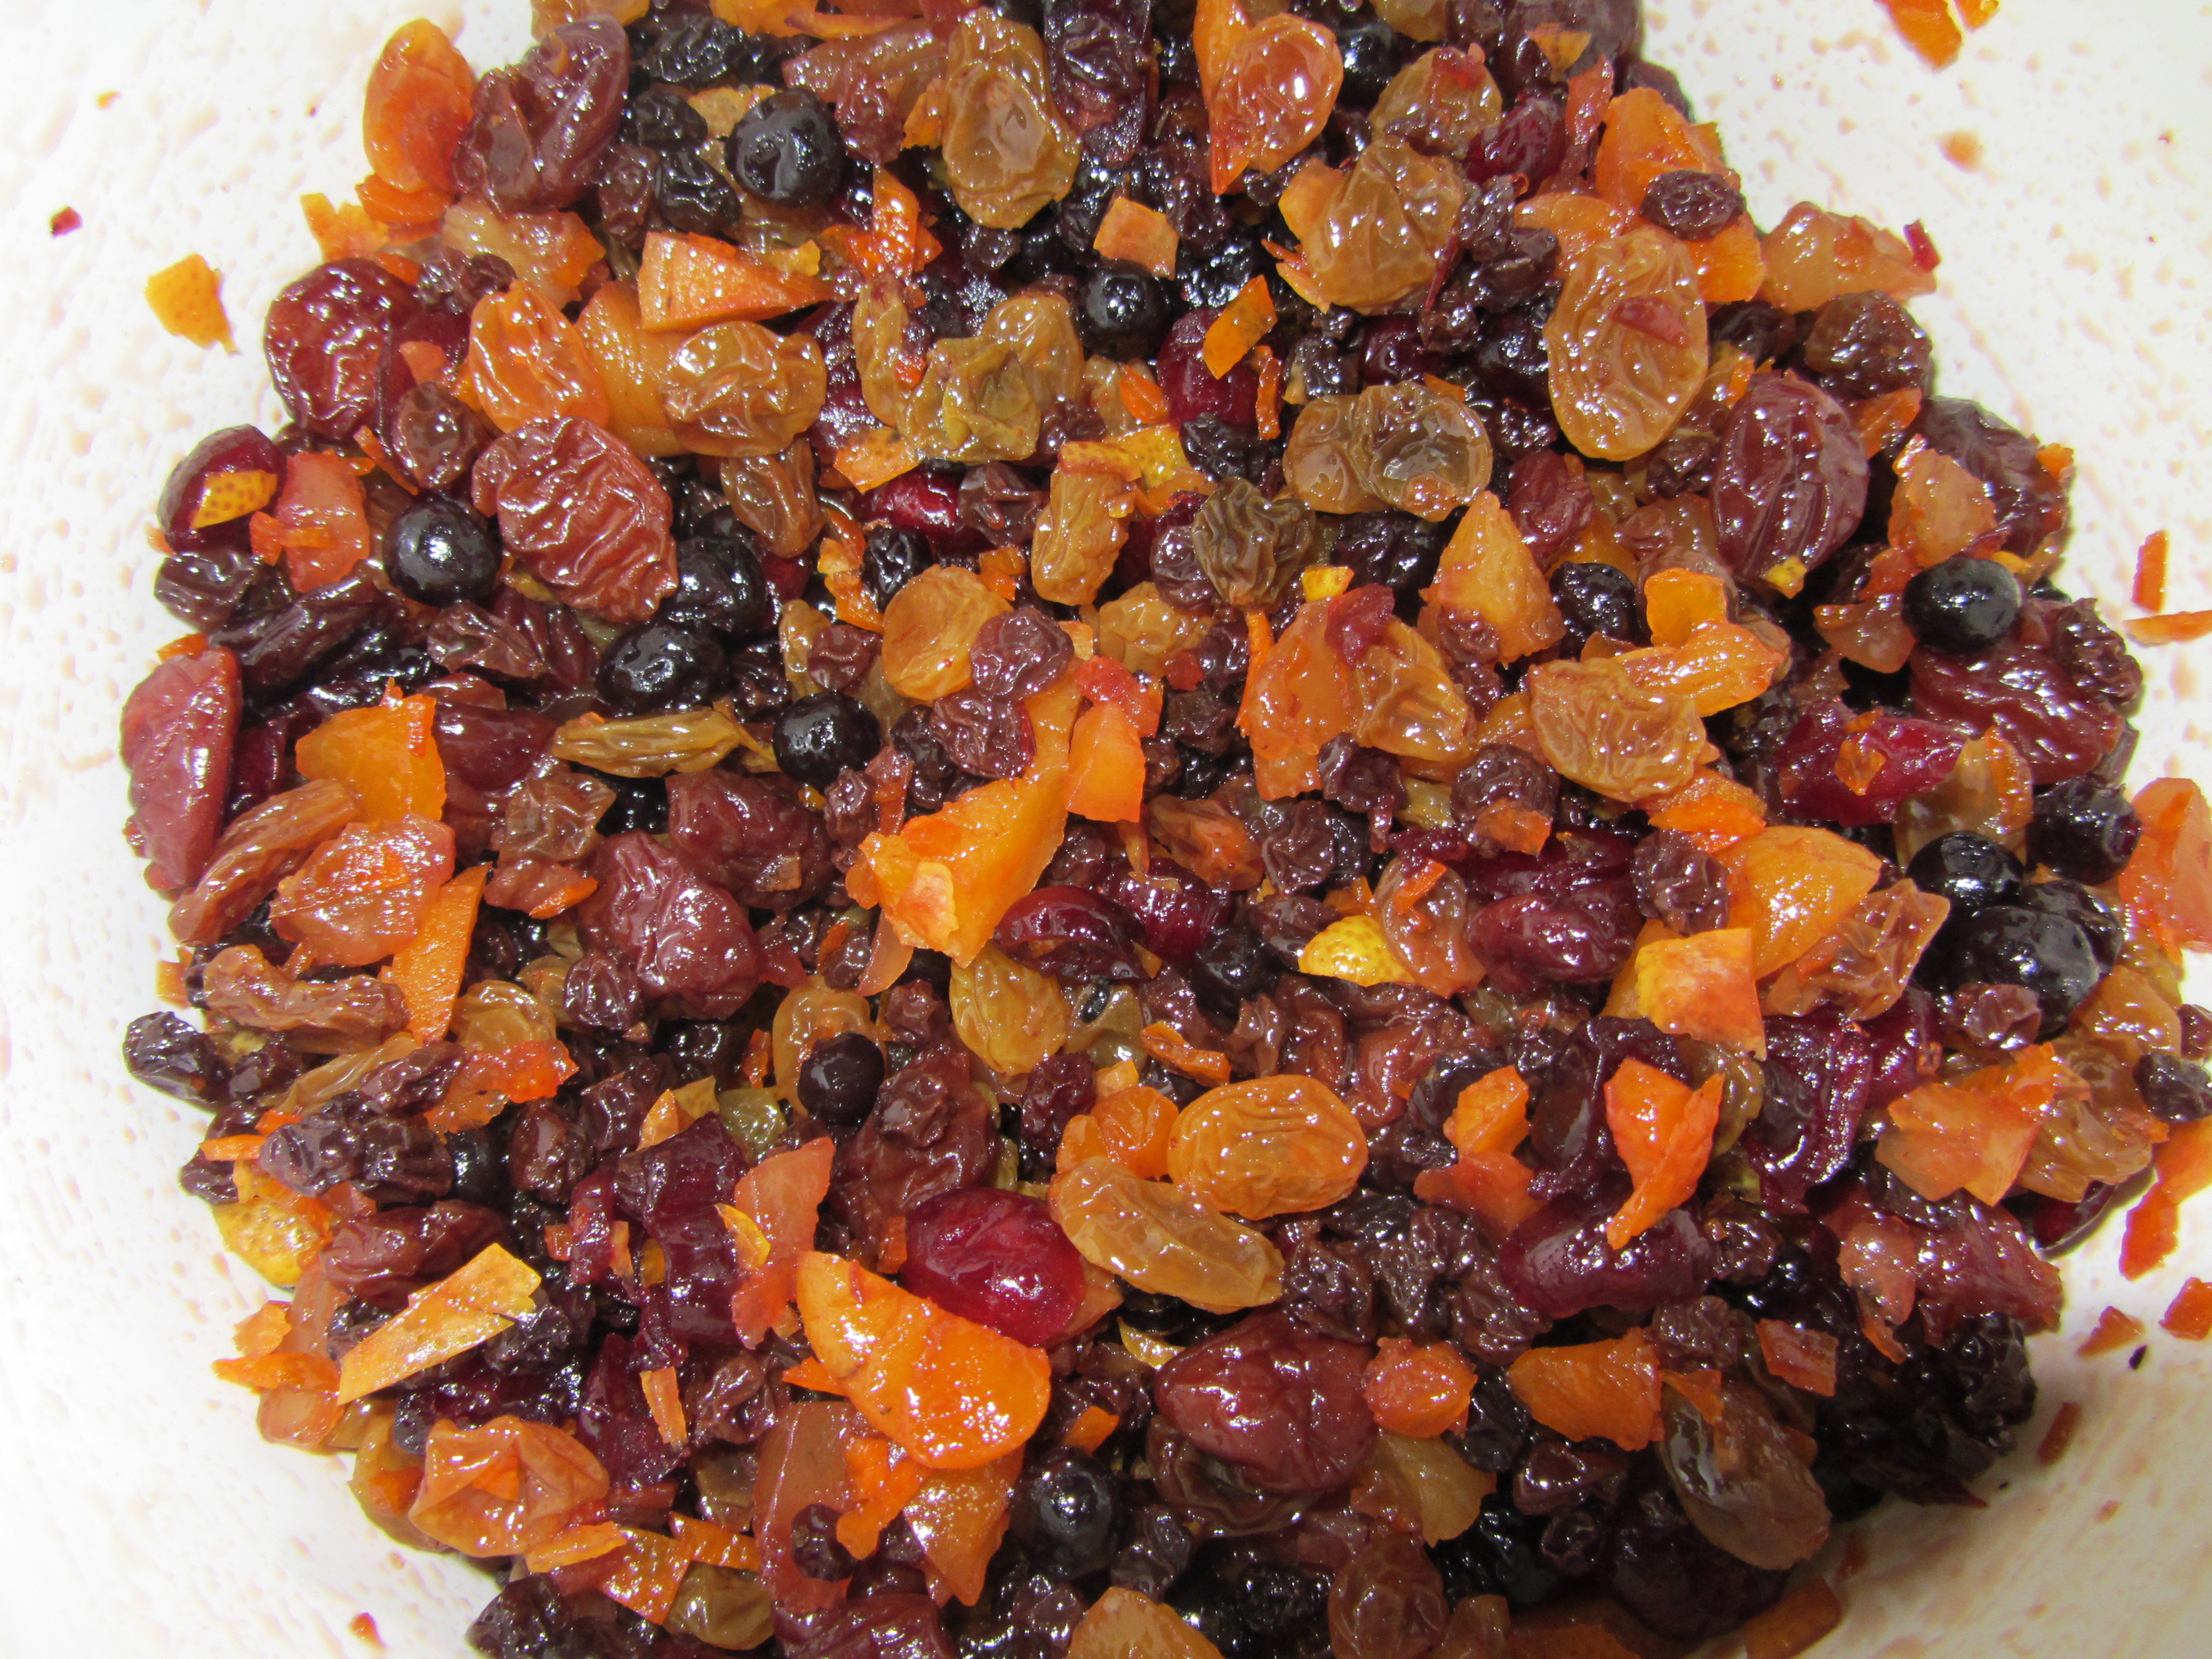
Fruit after soaking overnight.
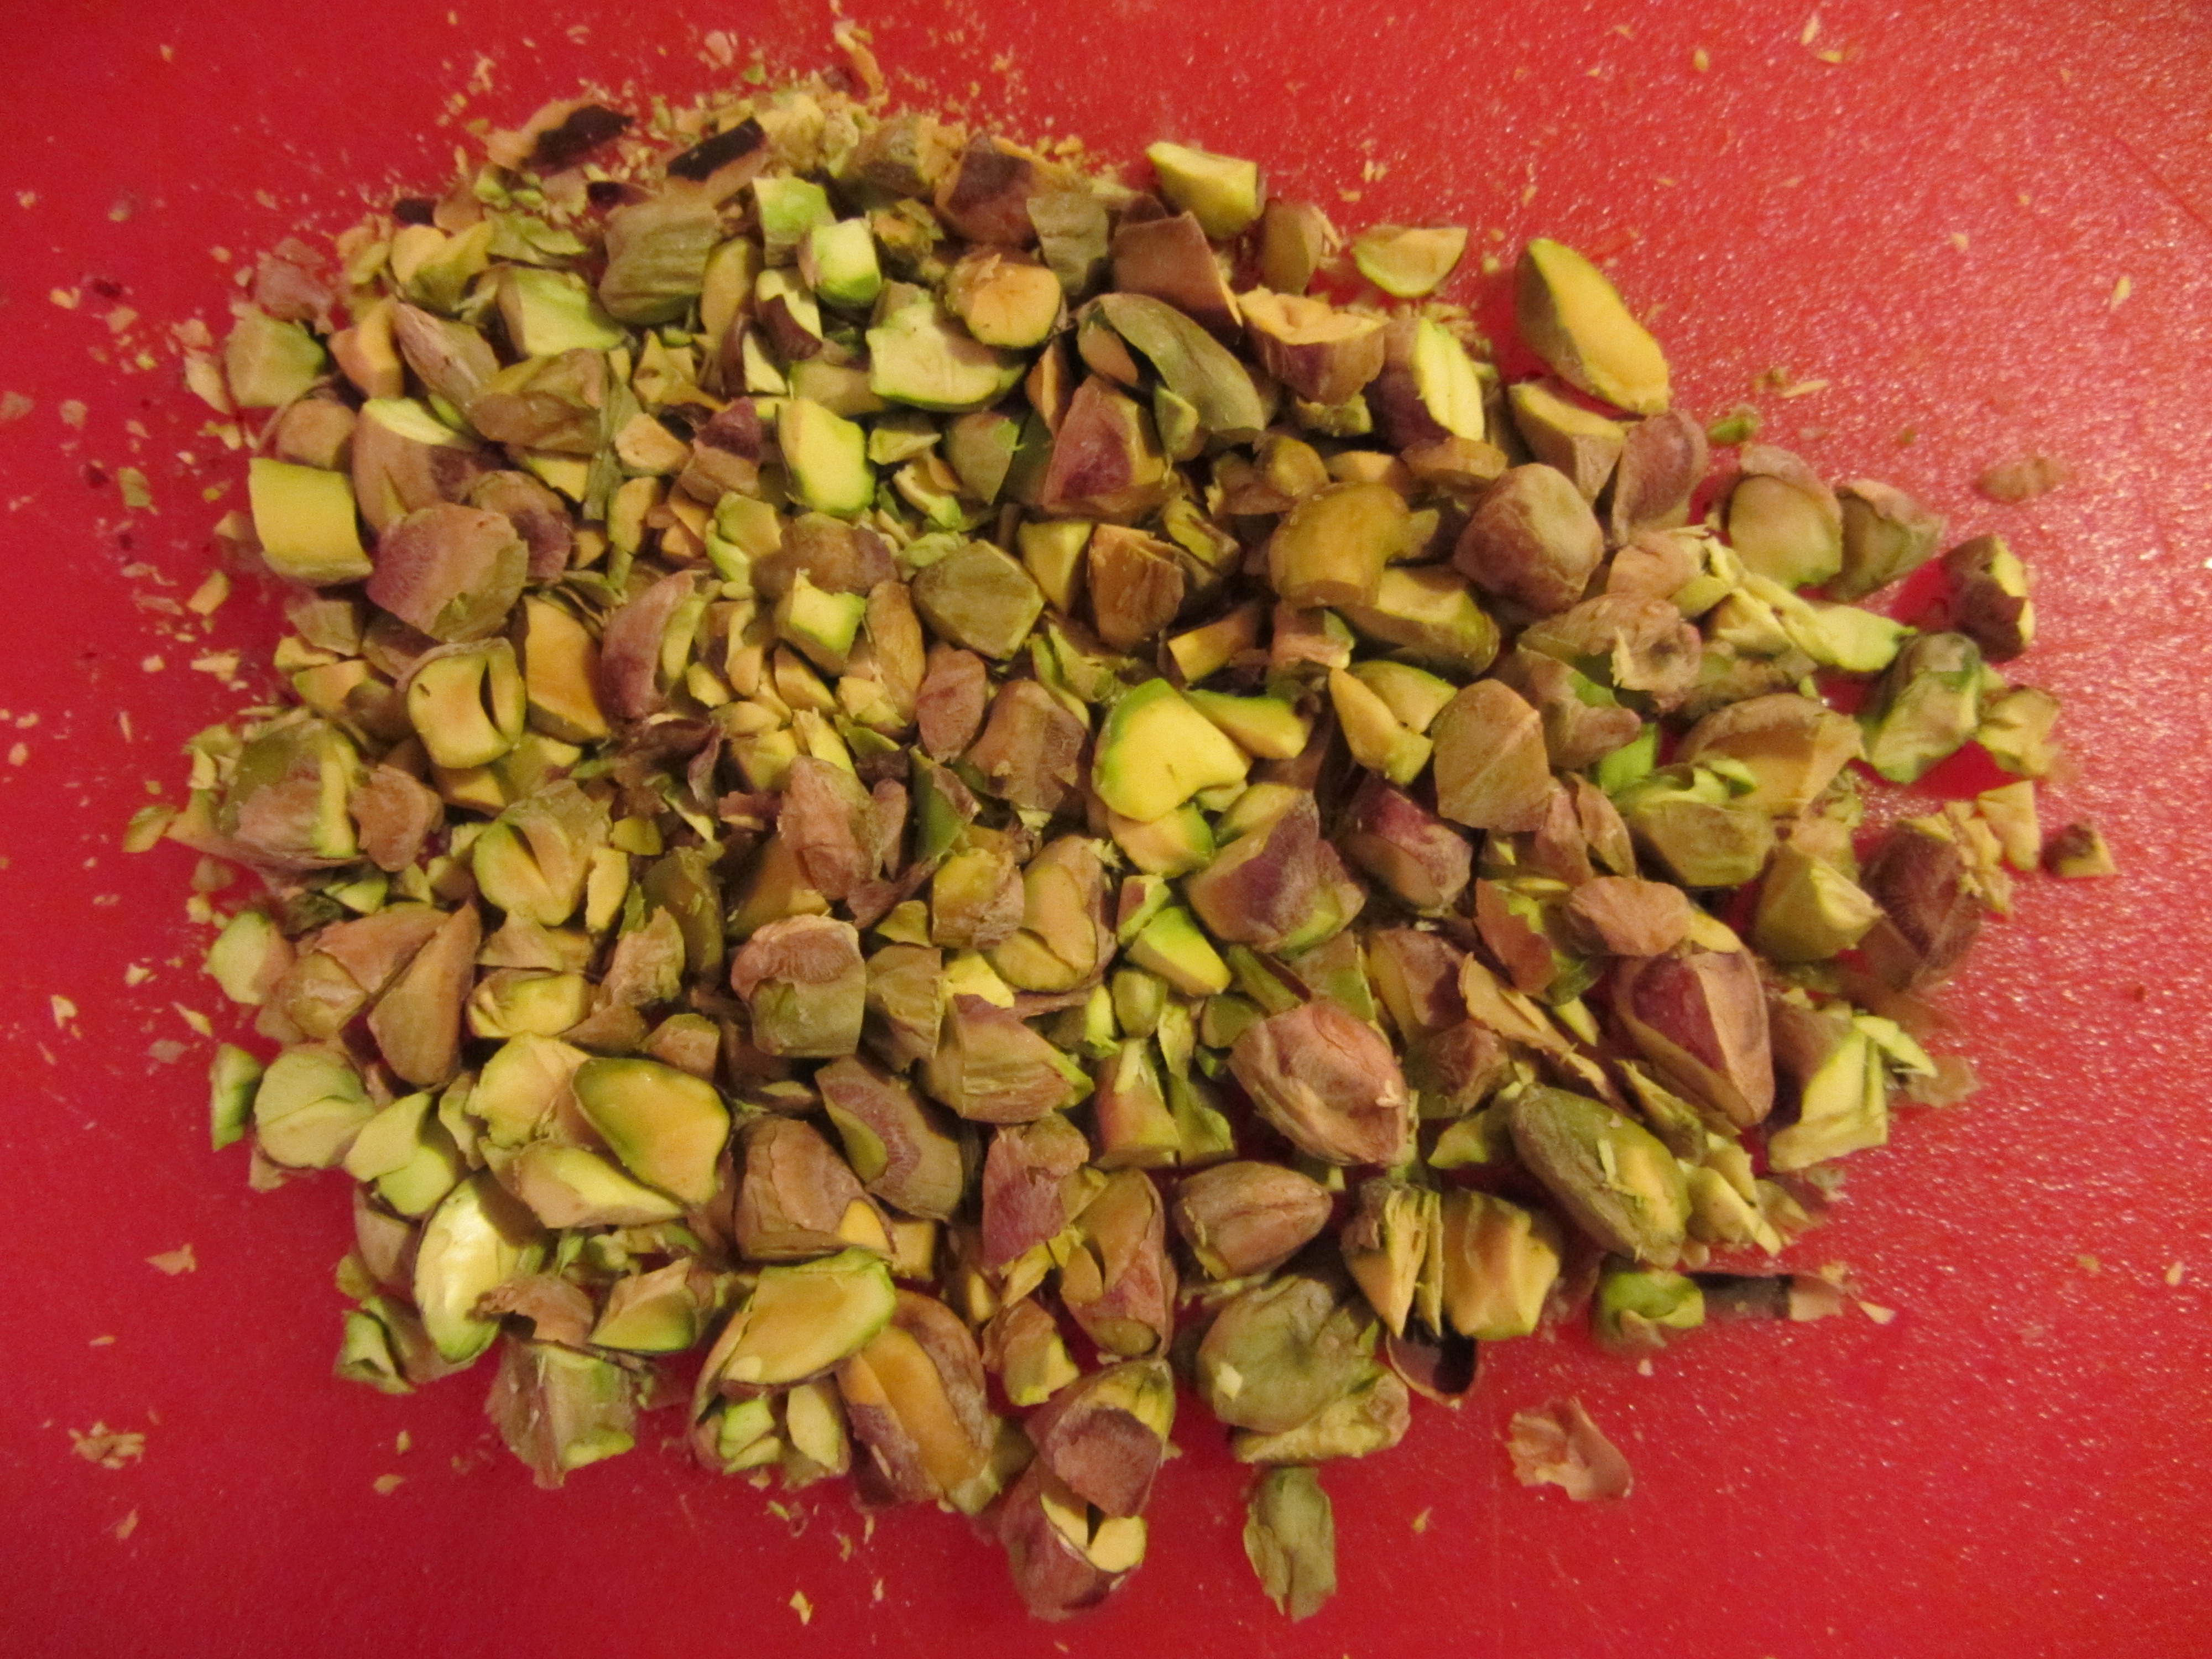
The next step was to toast my pecans. Though Alton recommends using freshly shelled nuts, my grocery store did not have pecans in the shell, so I bought the pre-shelled variety. I toasted them for 15 minutes at 300 degrees, just as Alton specifies in the episode.

Toasted pecans.
Next, I ground some whole cloves and allspice berries in my mortar and pestle, and I added this to a large pot with my macerated fruit.

Allspice and cloves.
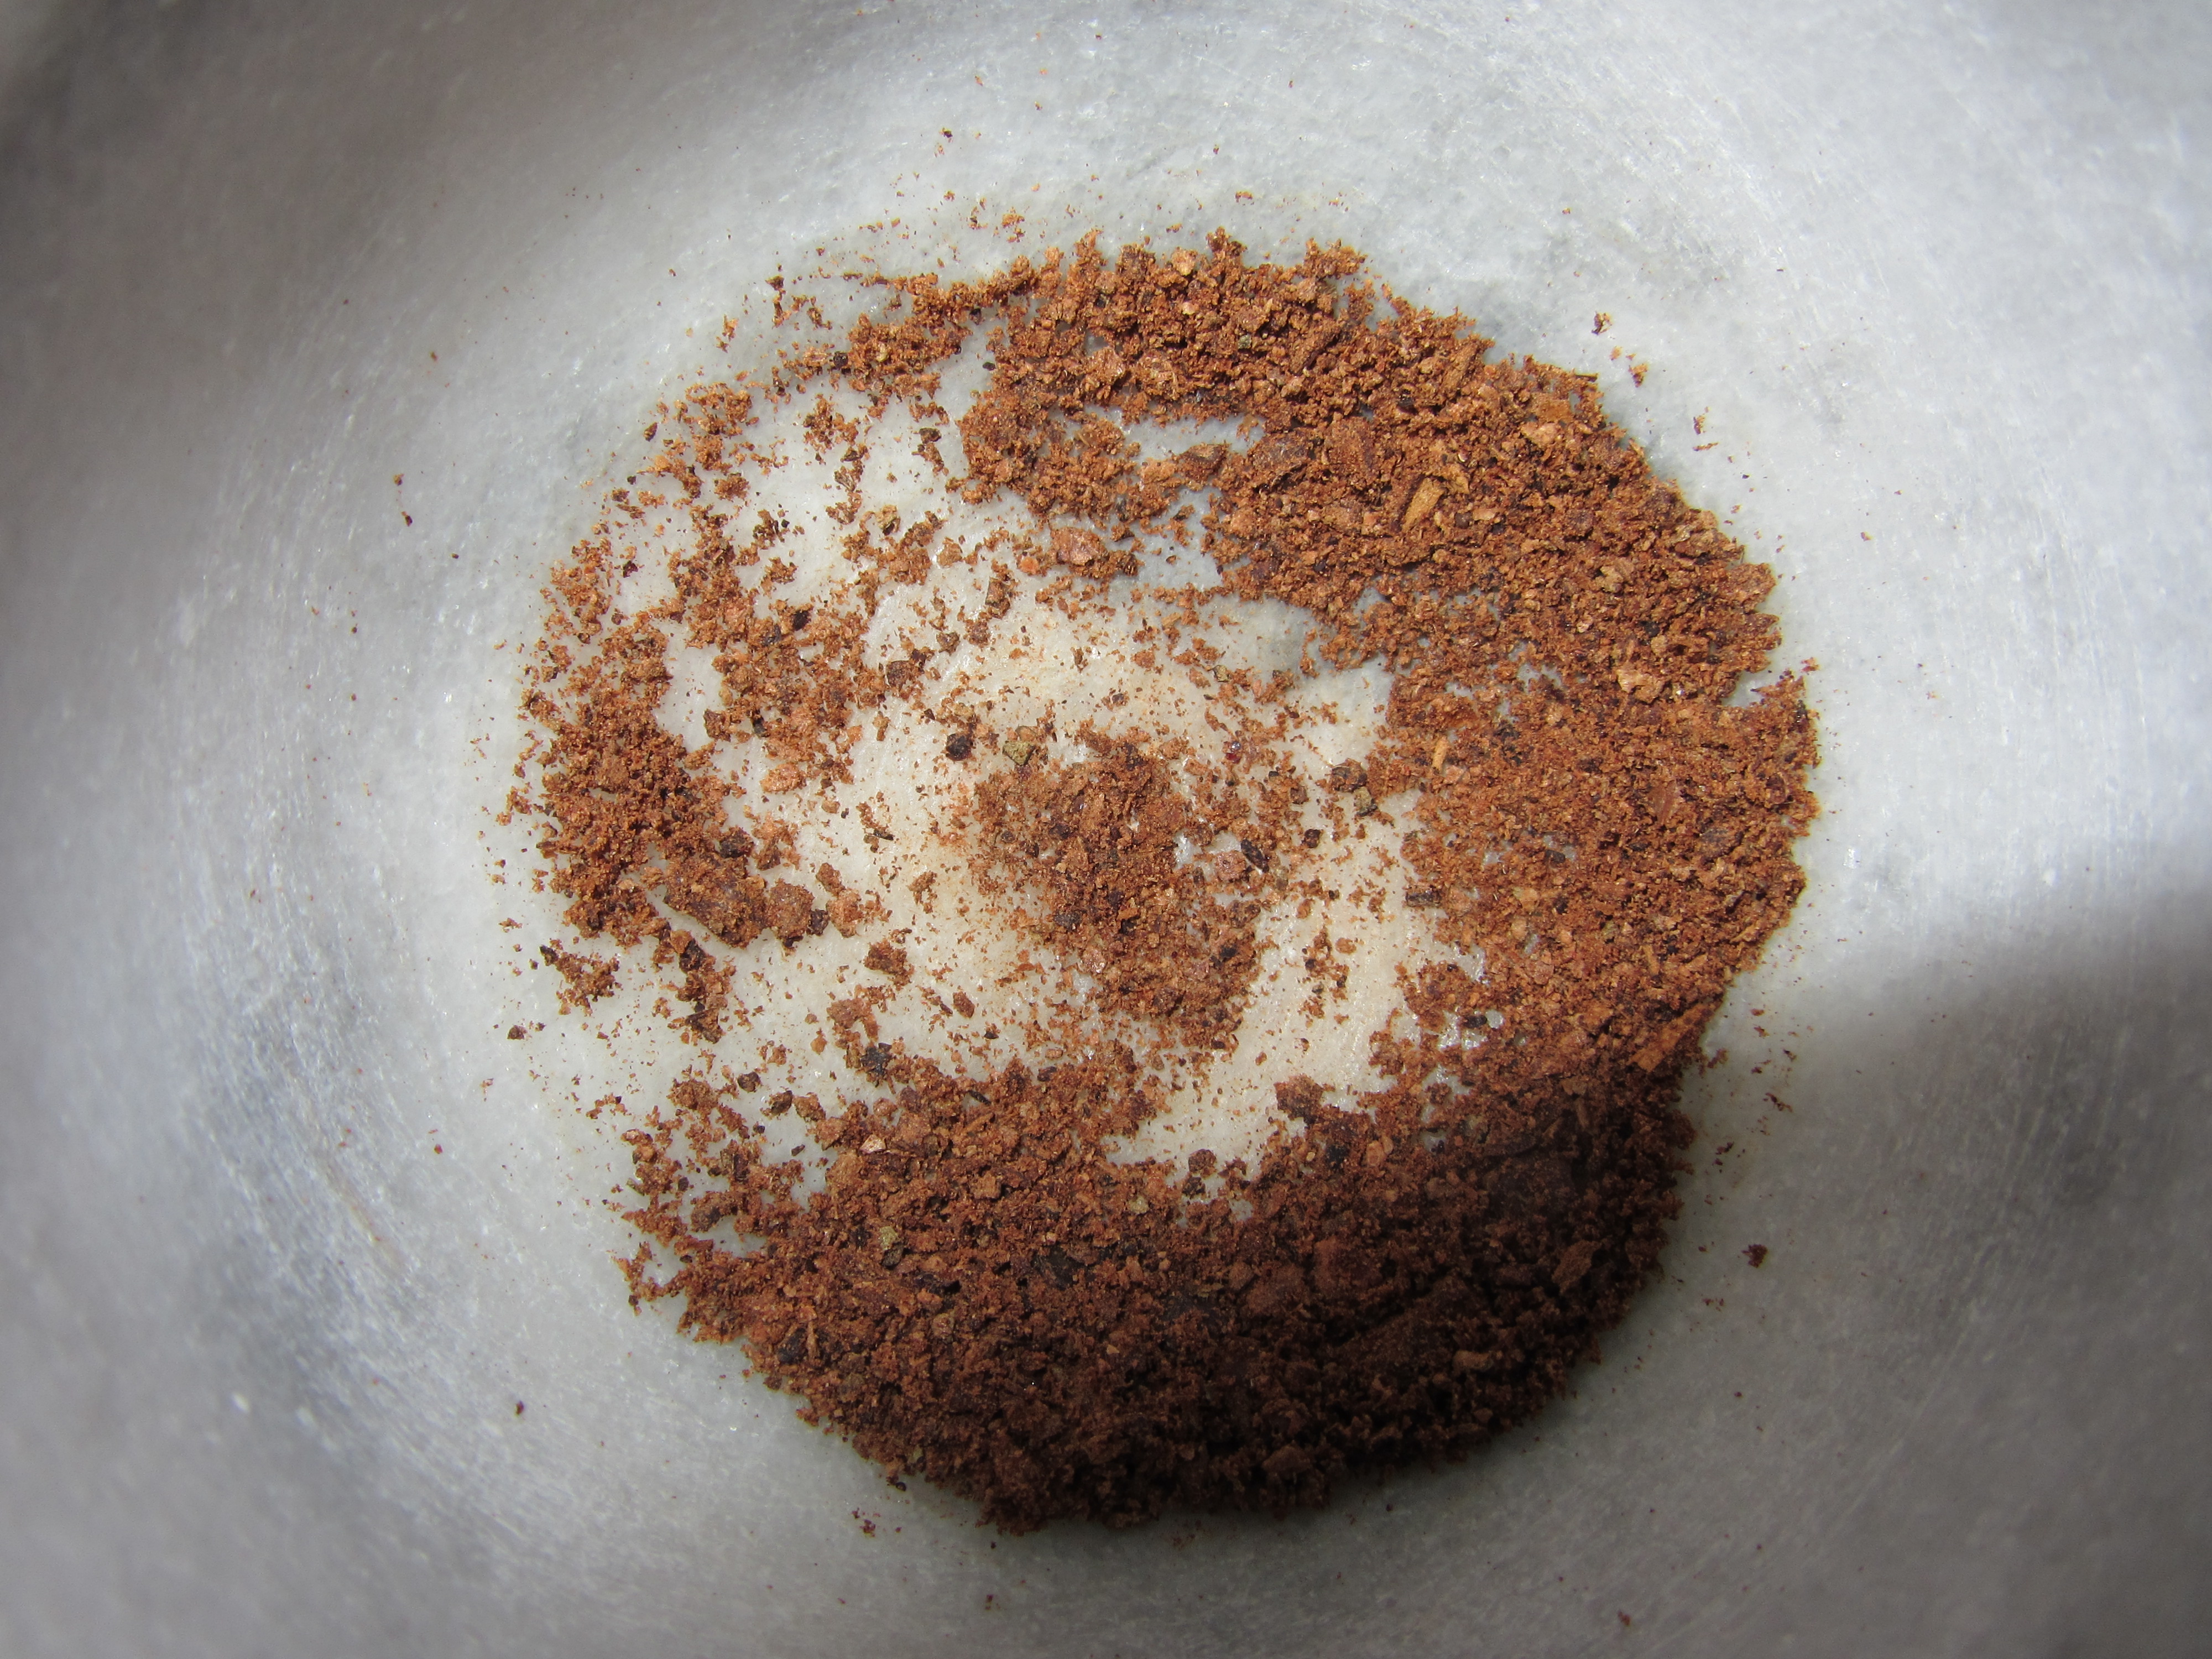
Ground allspice and cloves.
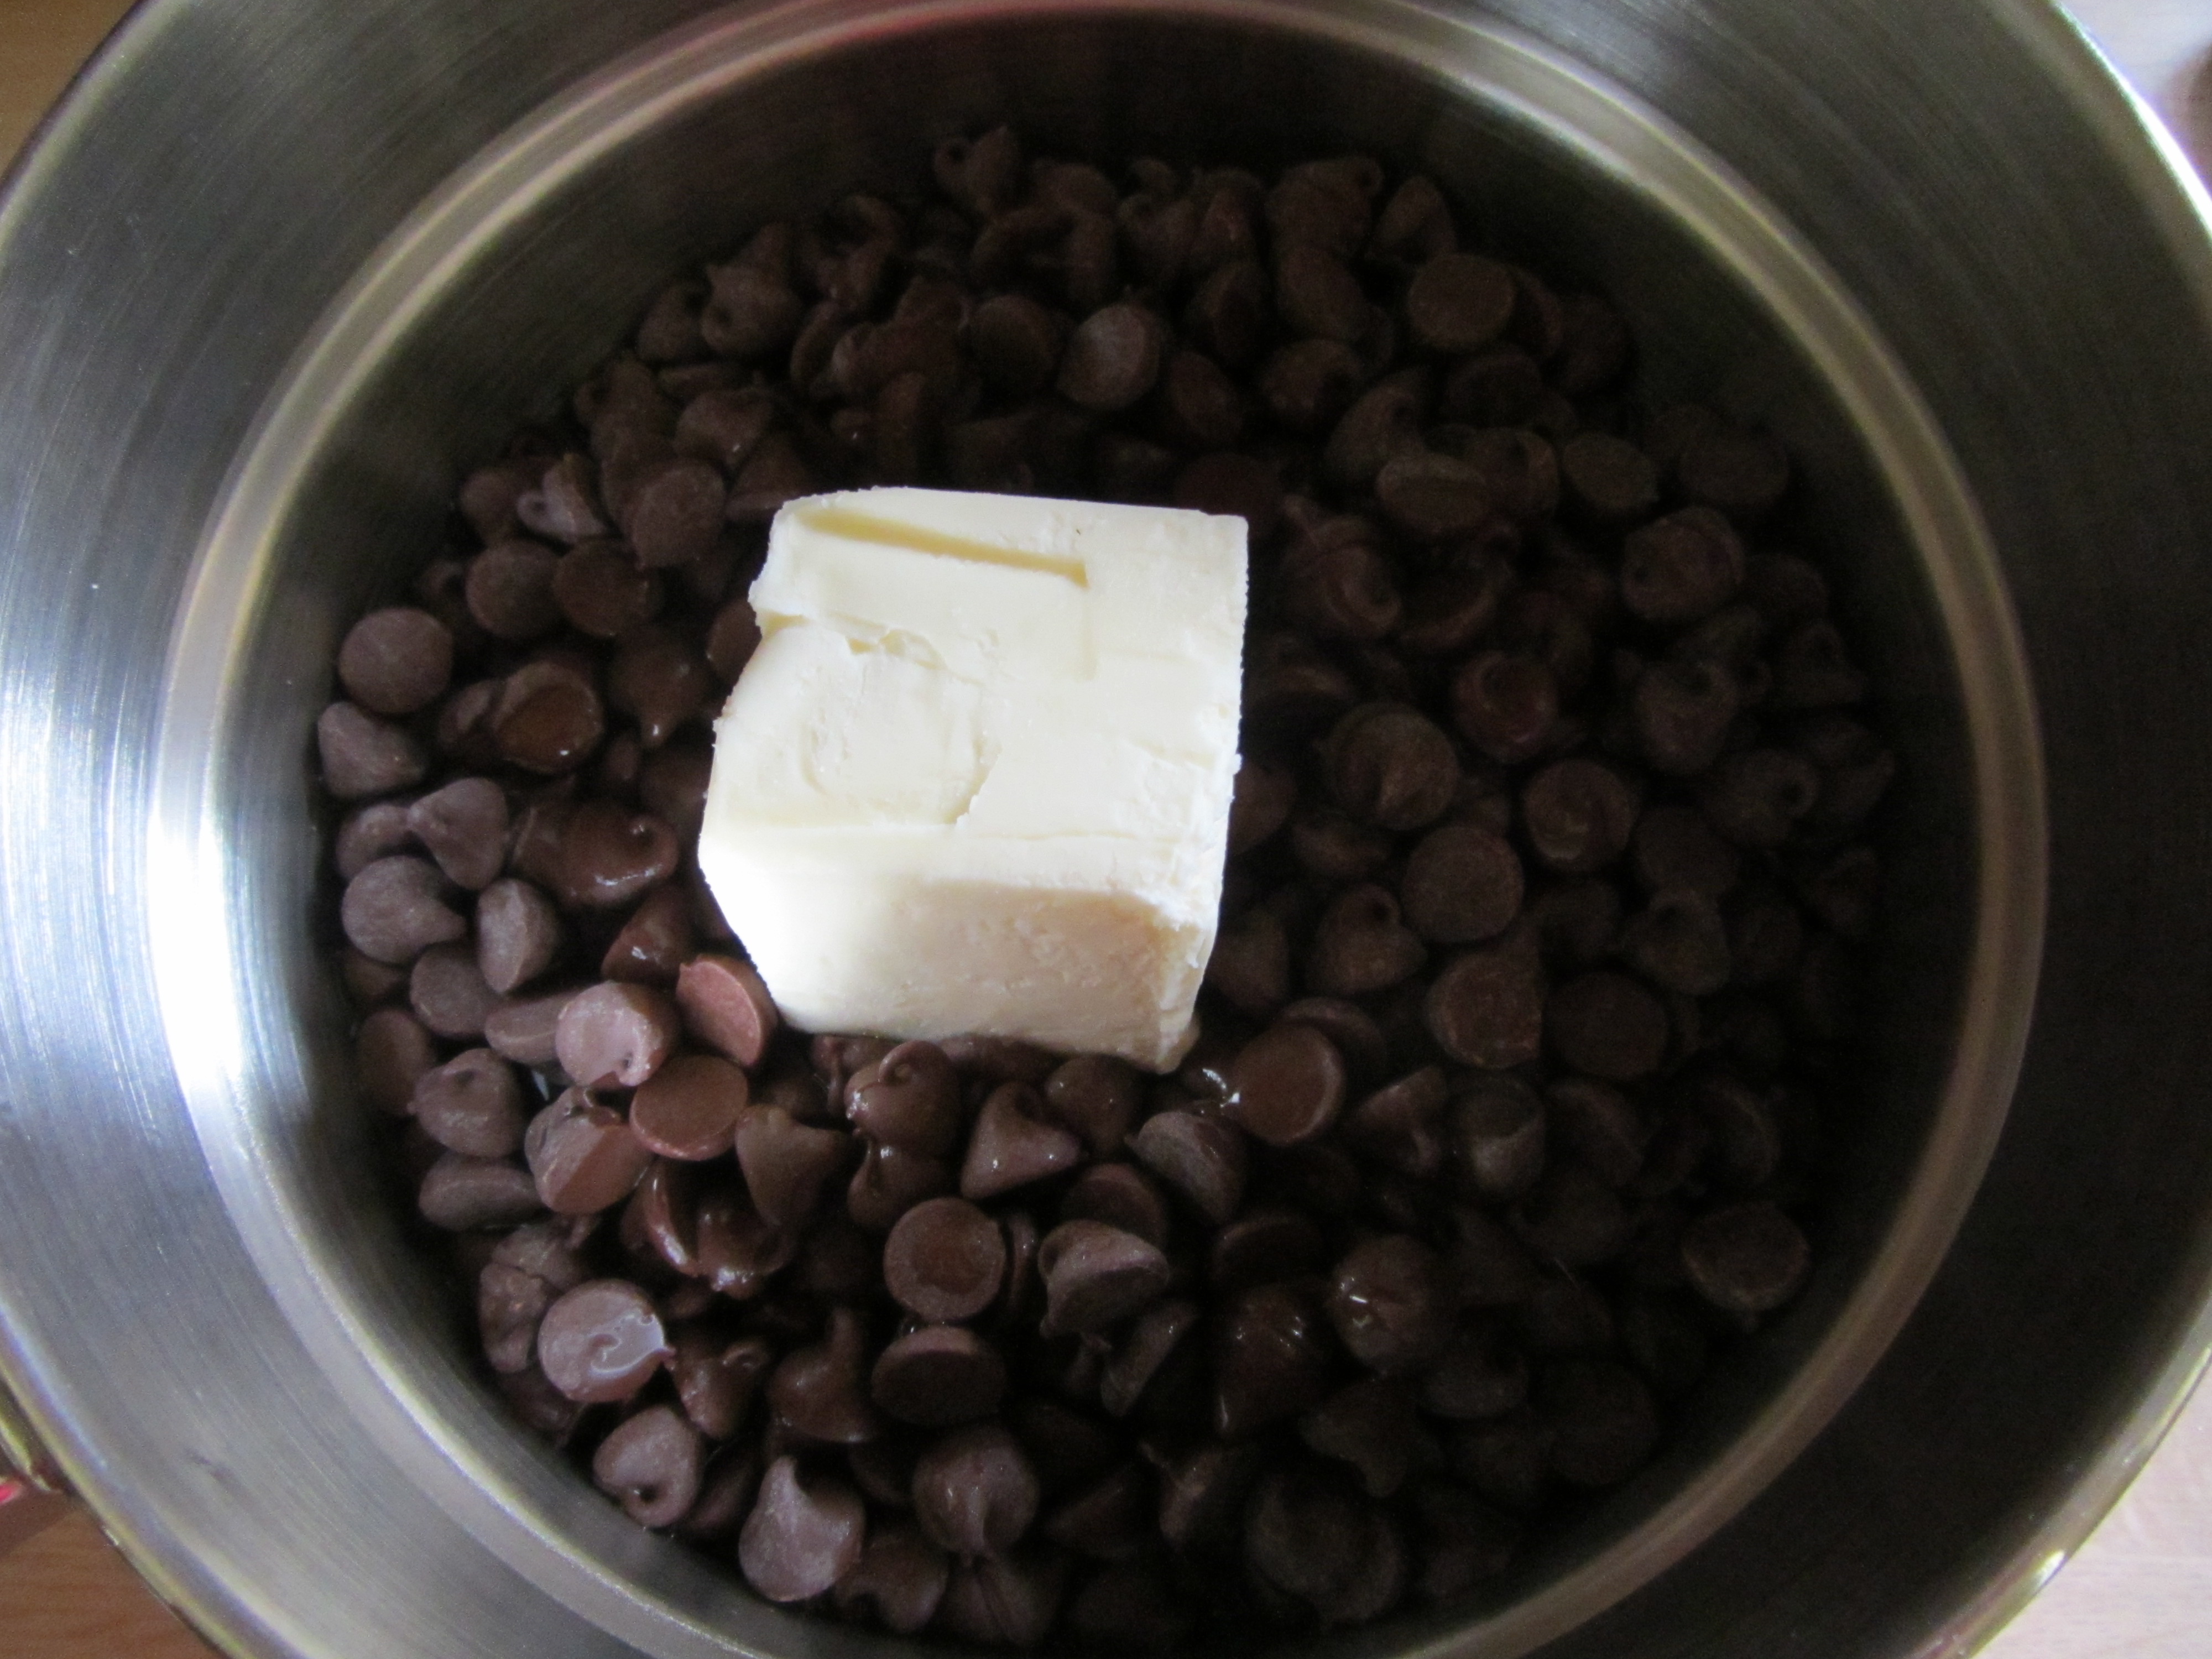
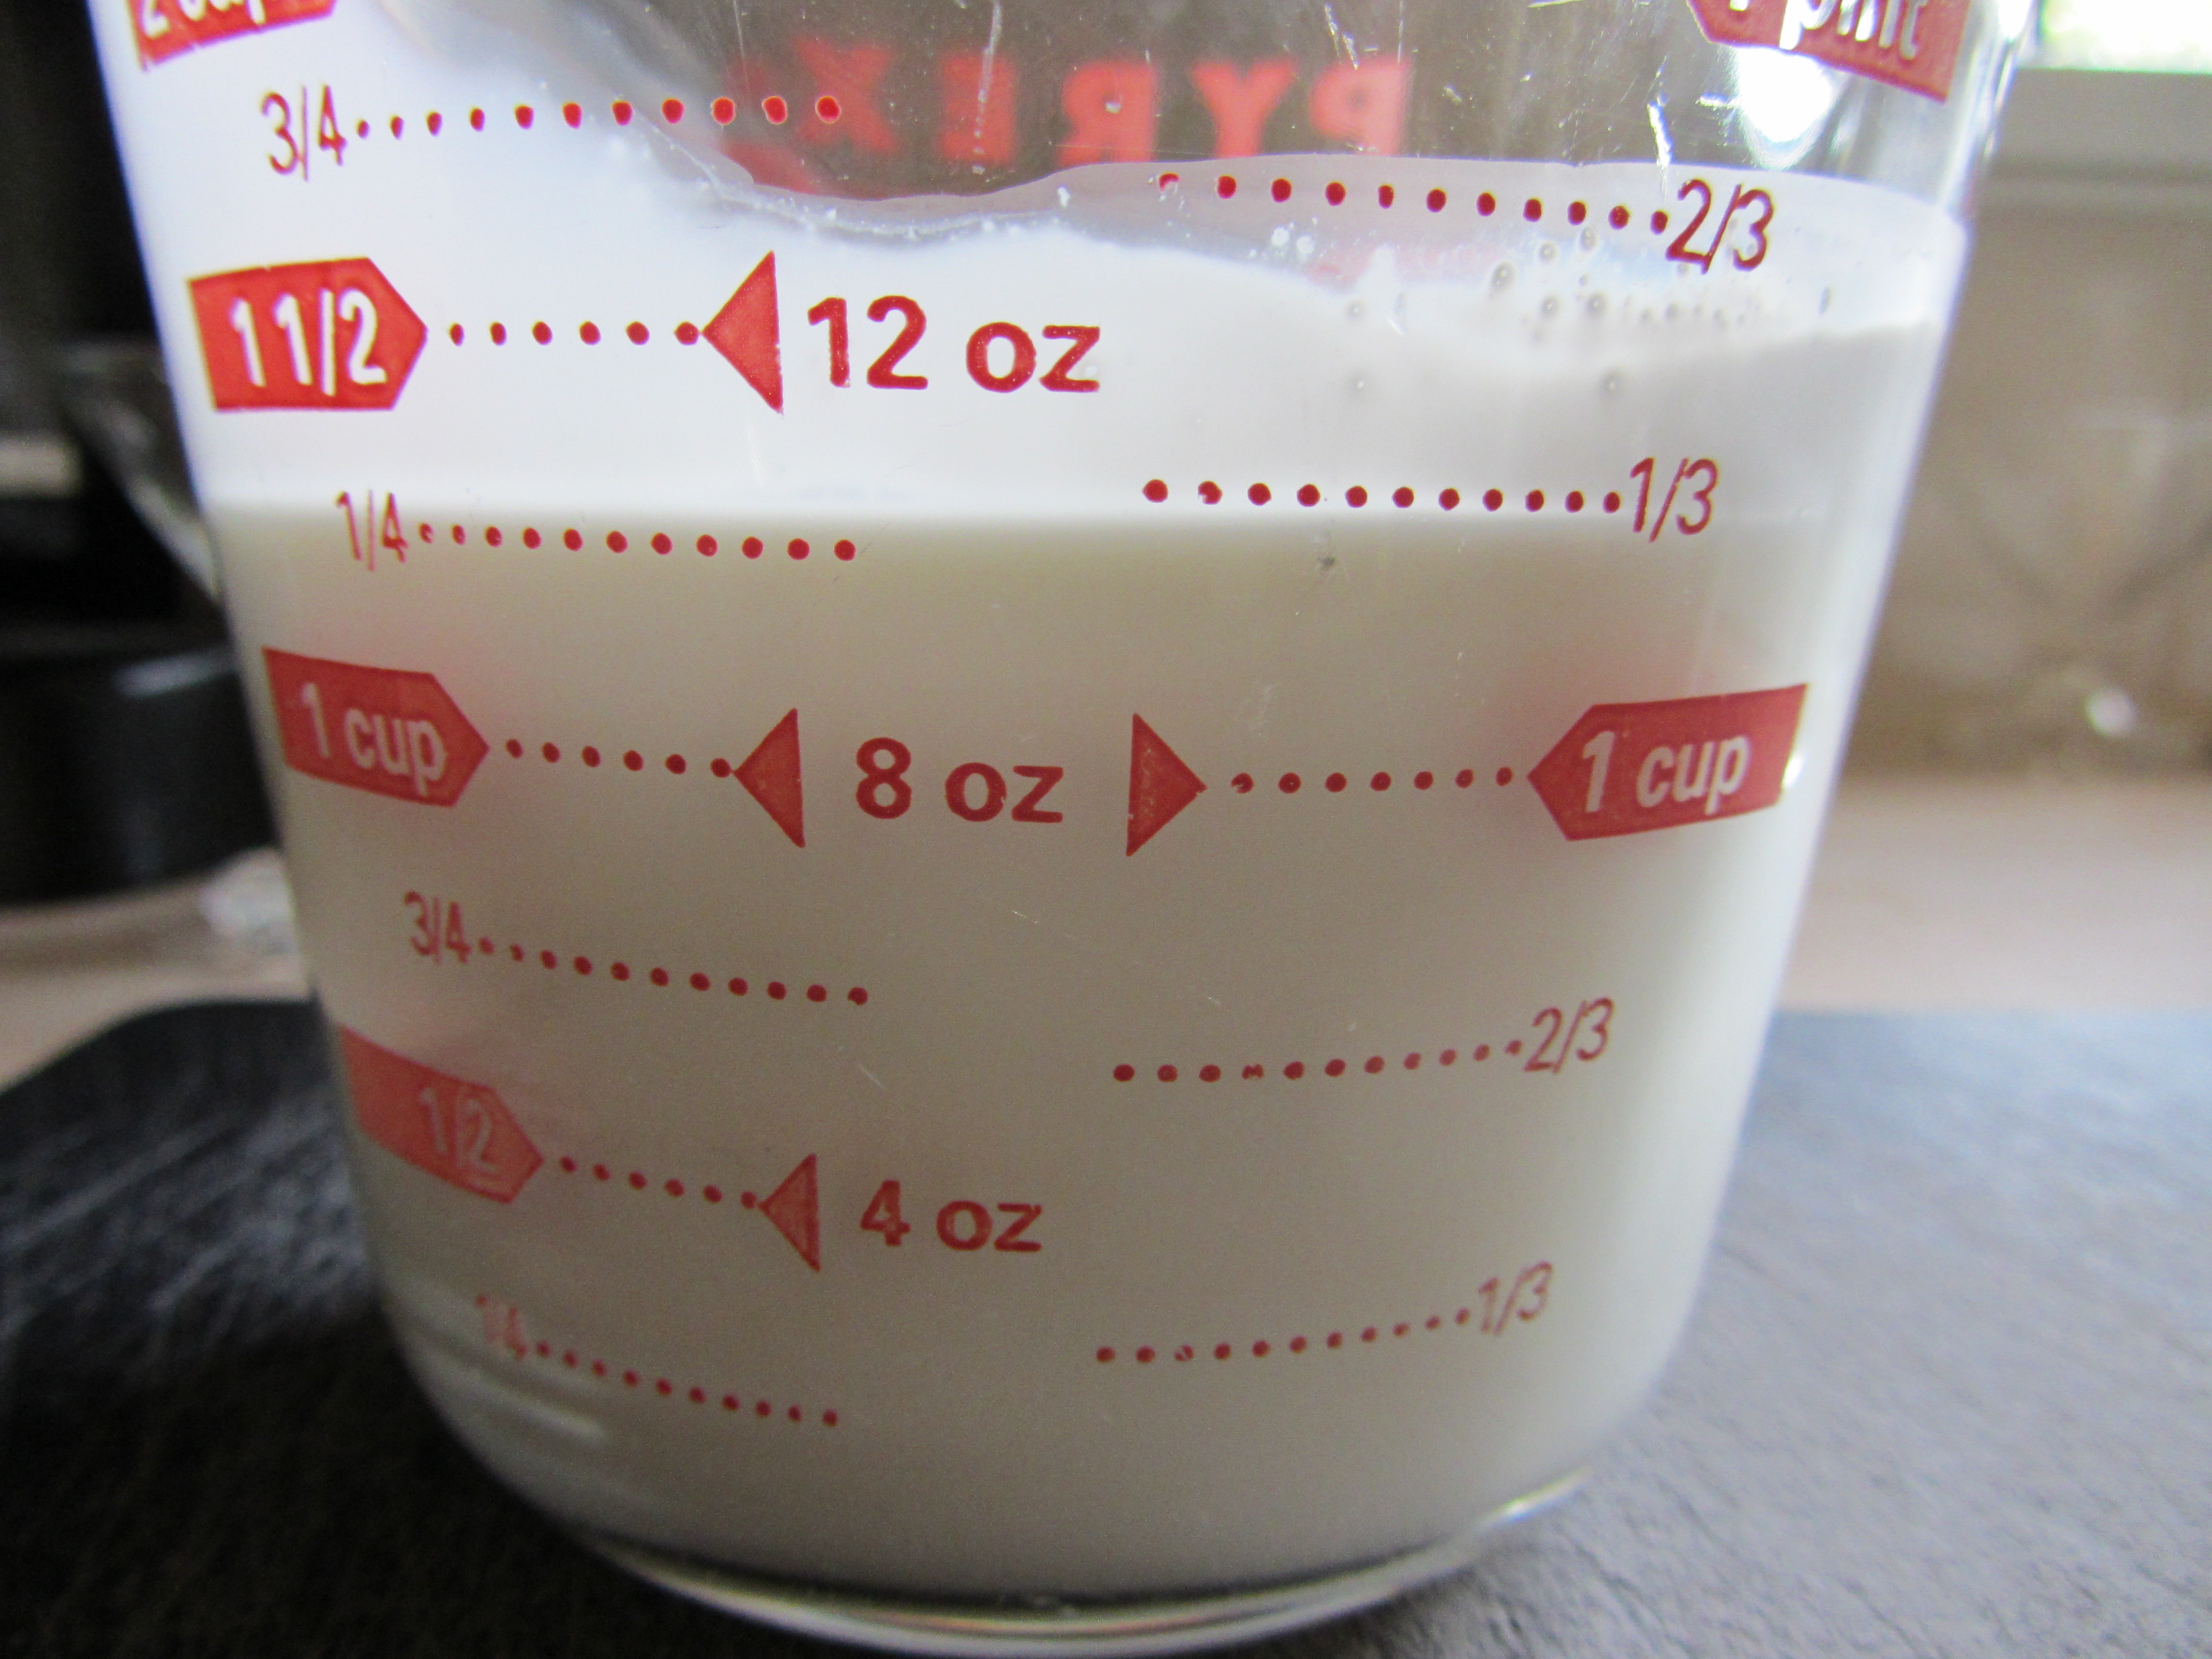
To this mixture, I added cinnamon, ginger, butter, apple cider (the recipe calls for unfiltered apple juice), and sugar.
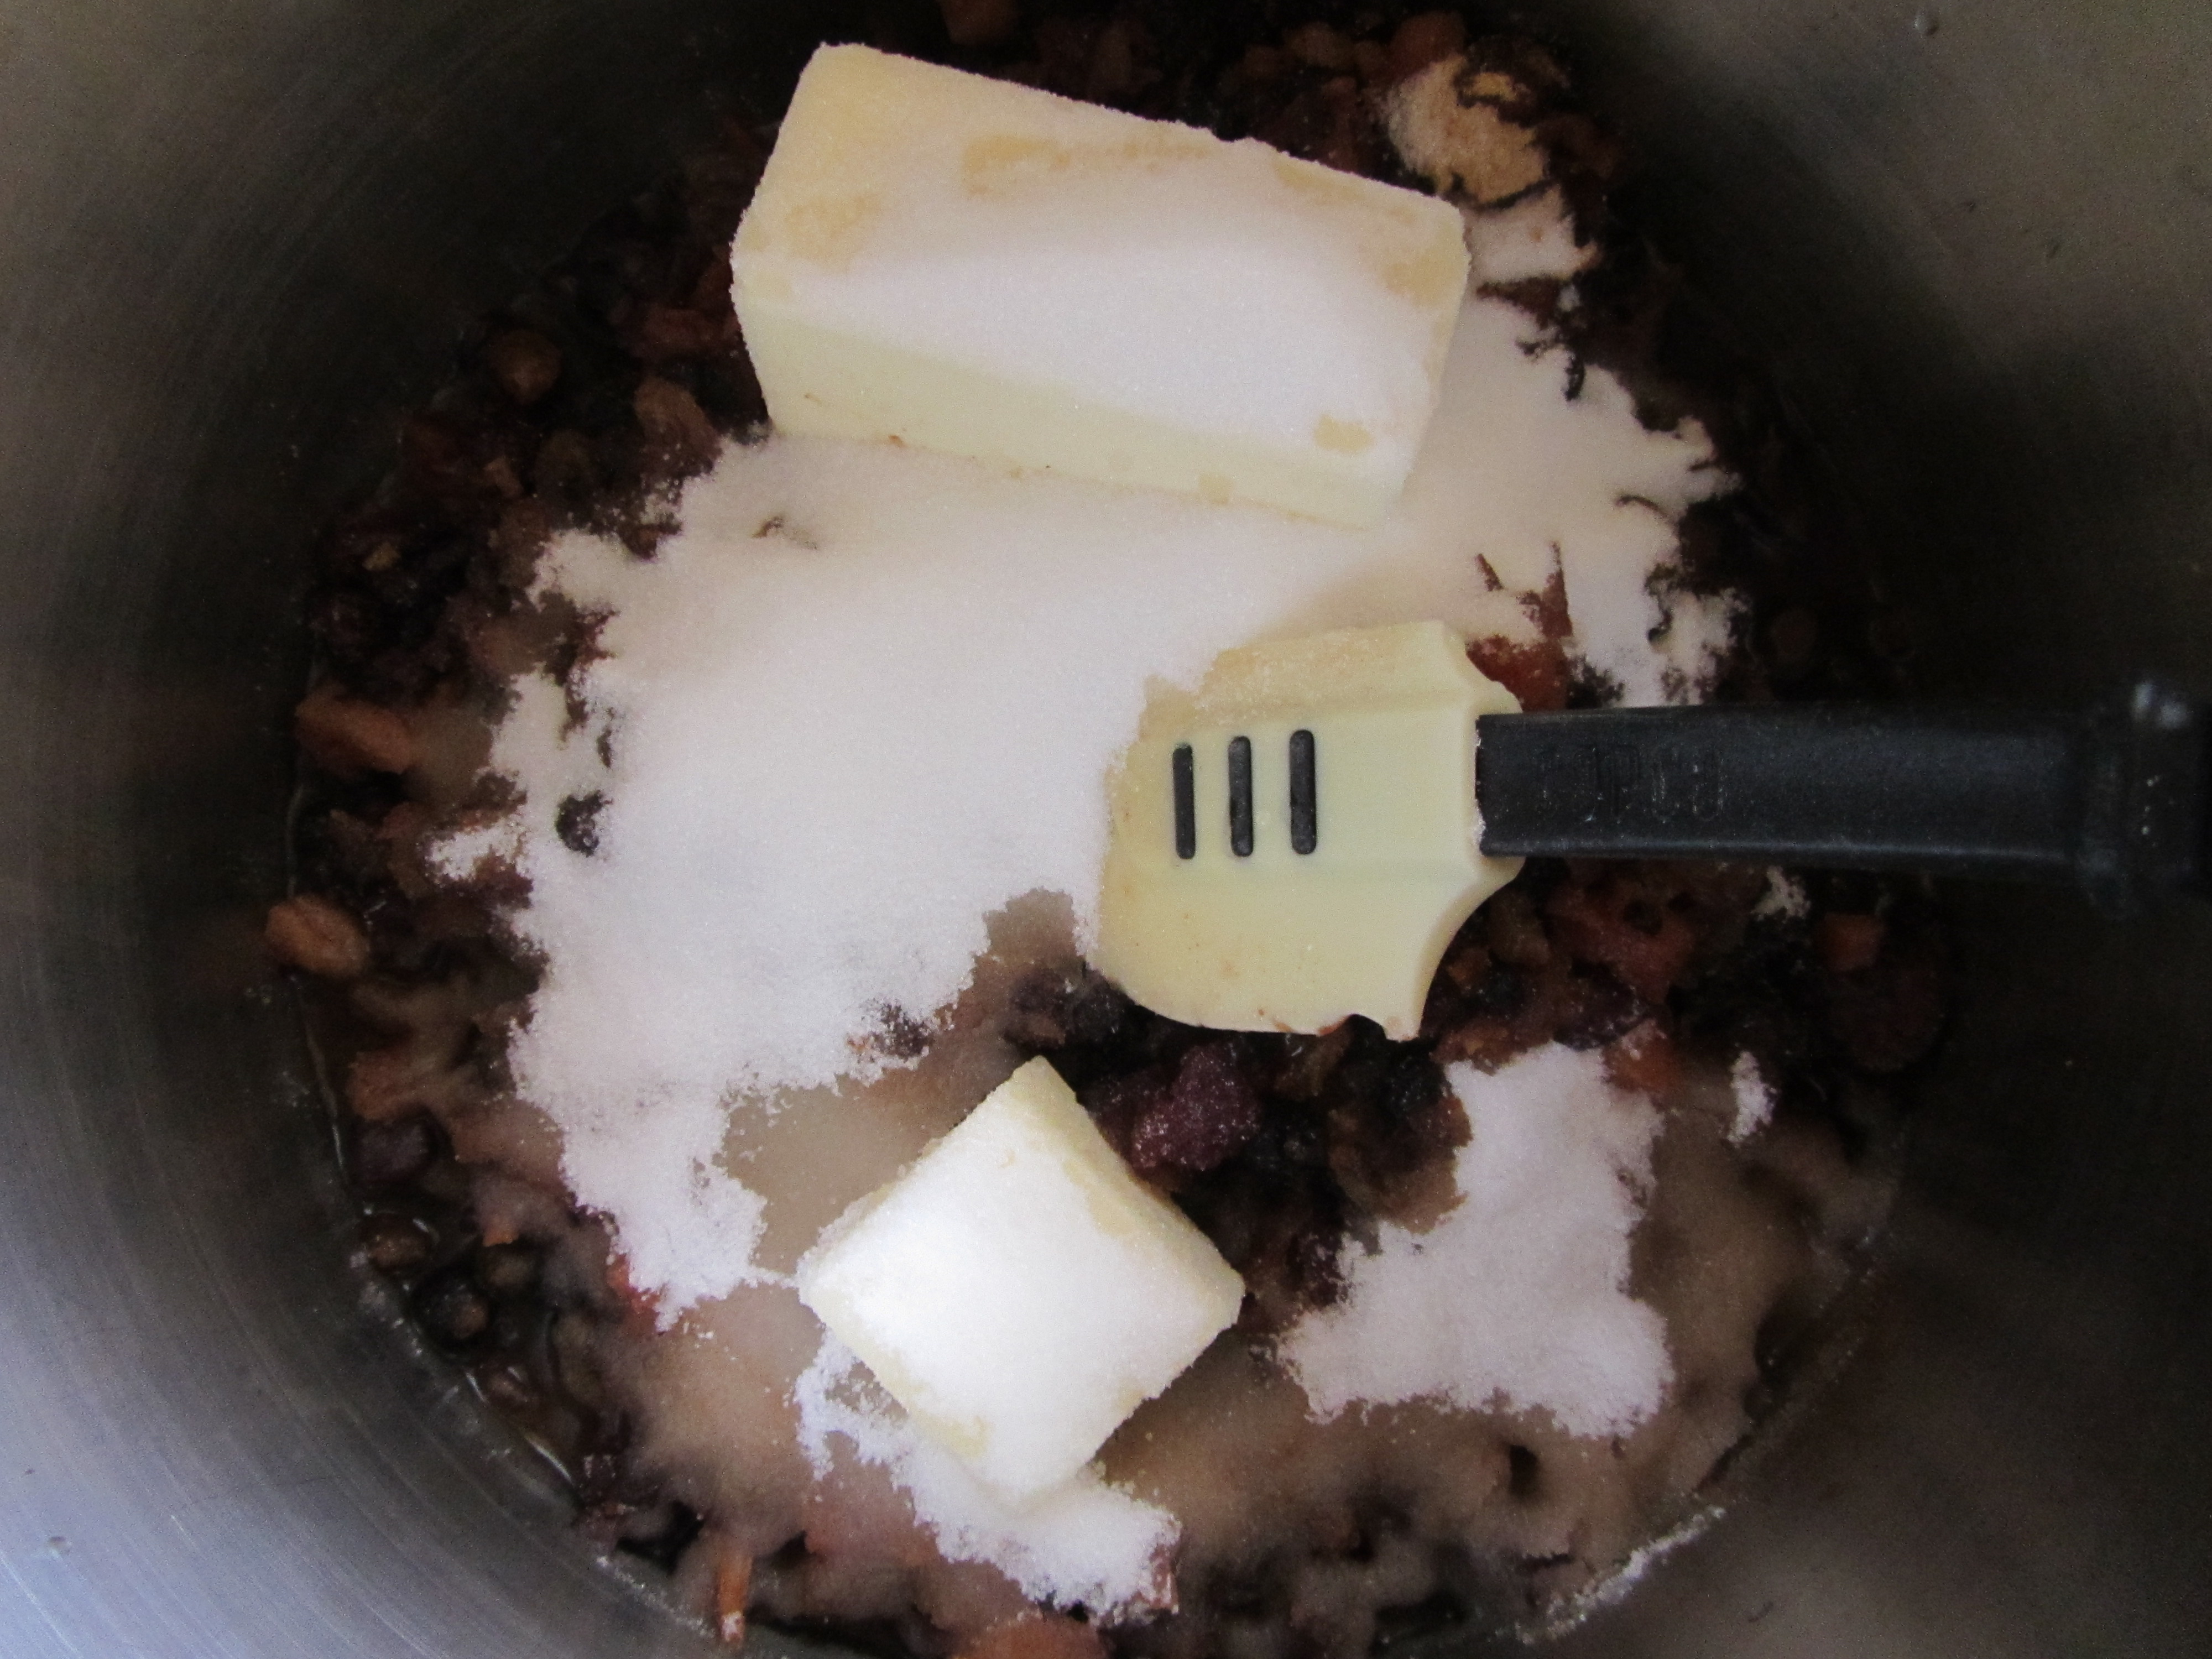
Macerated fruit, spices, butter, sugar, and juice.
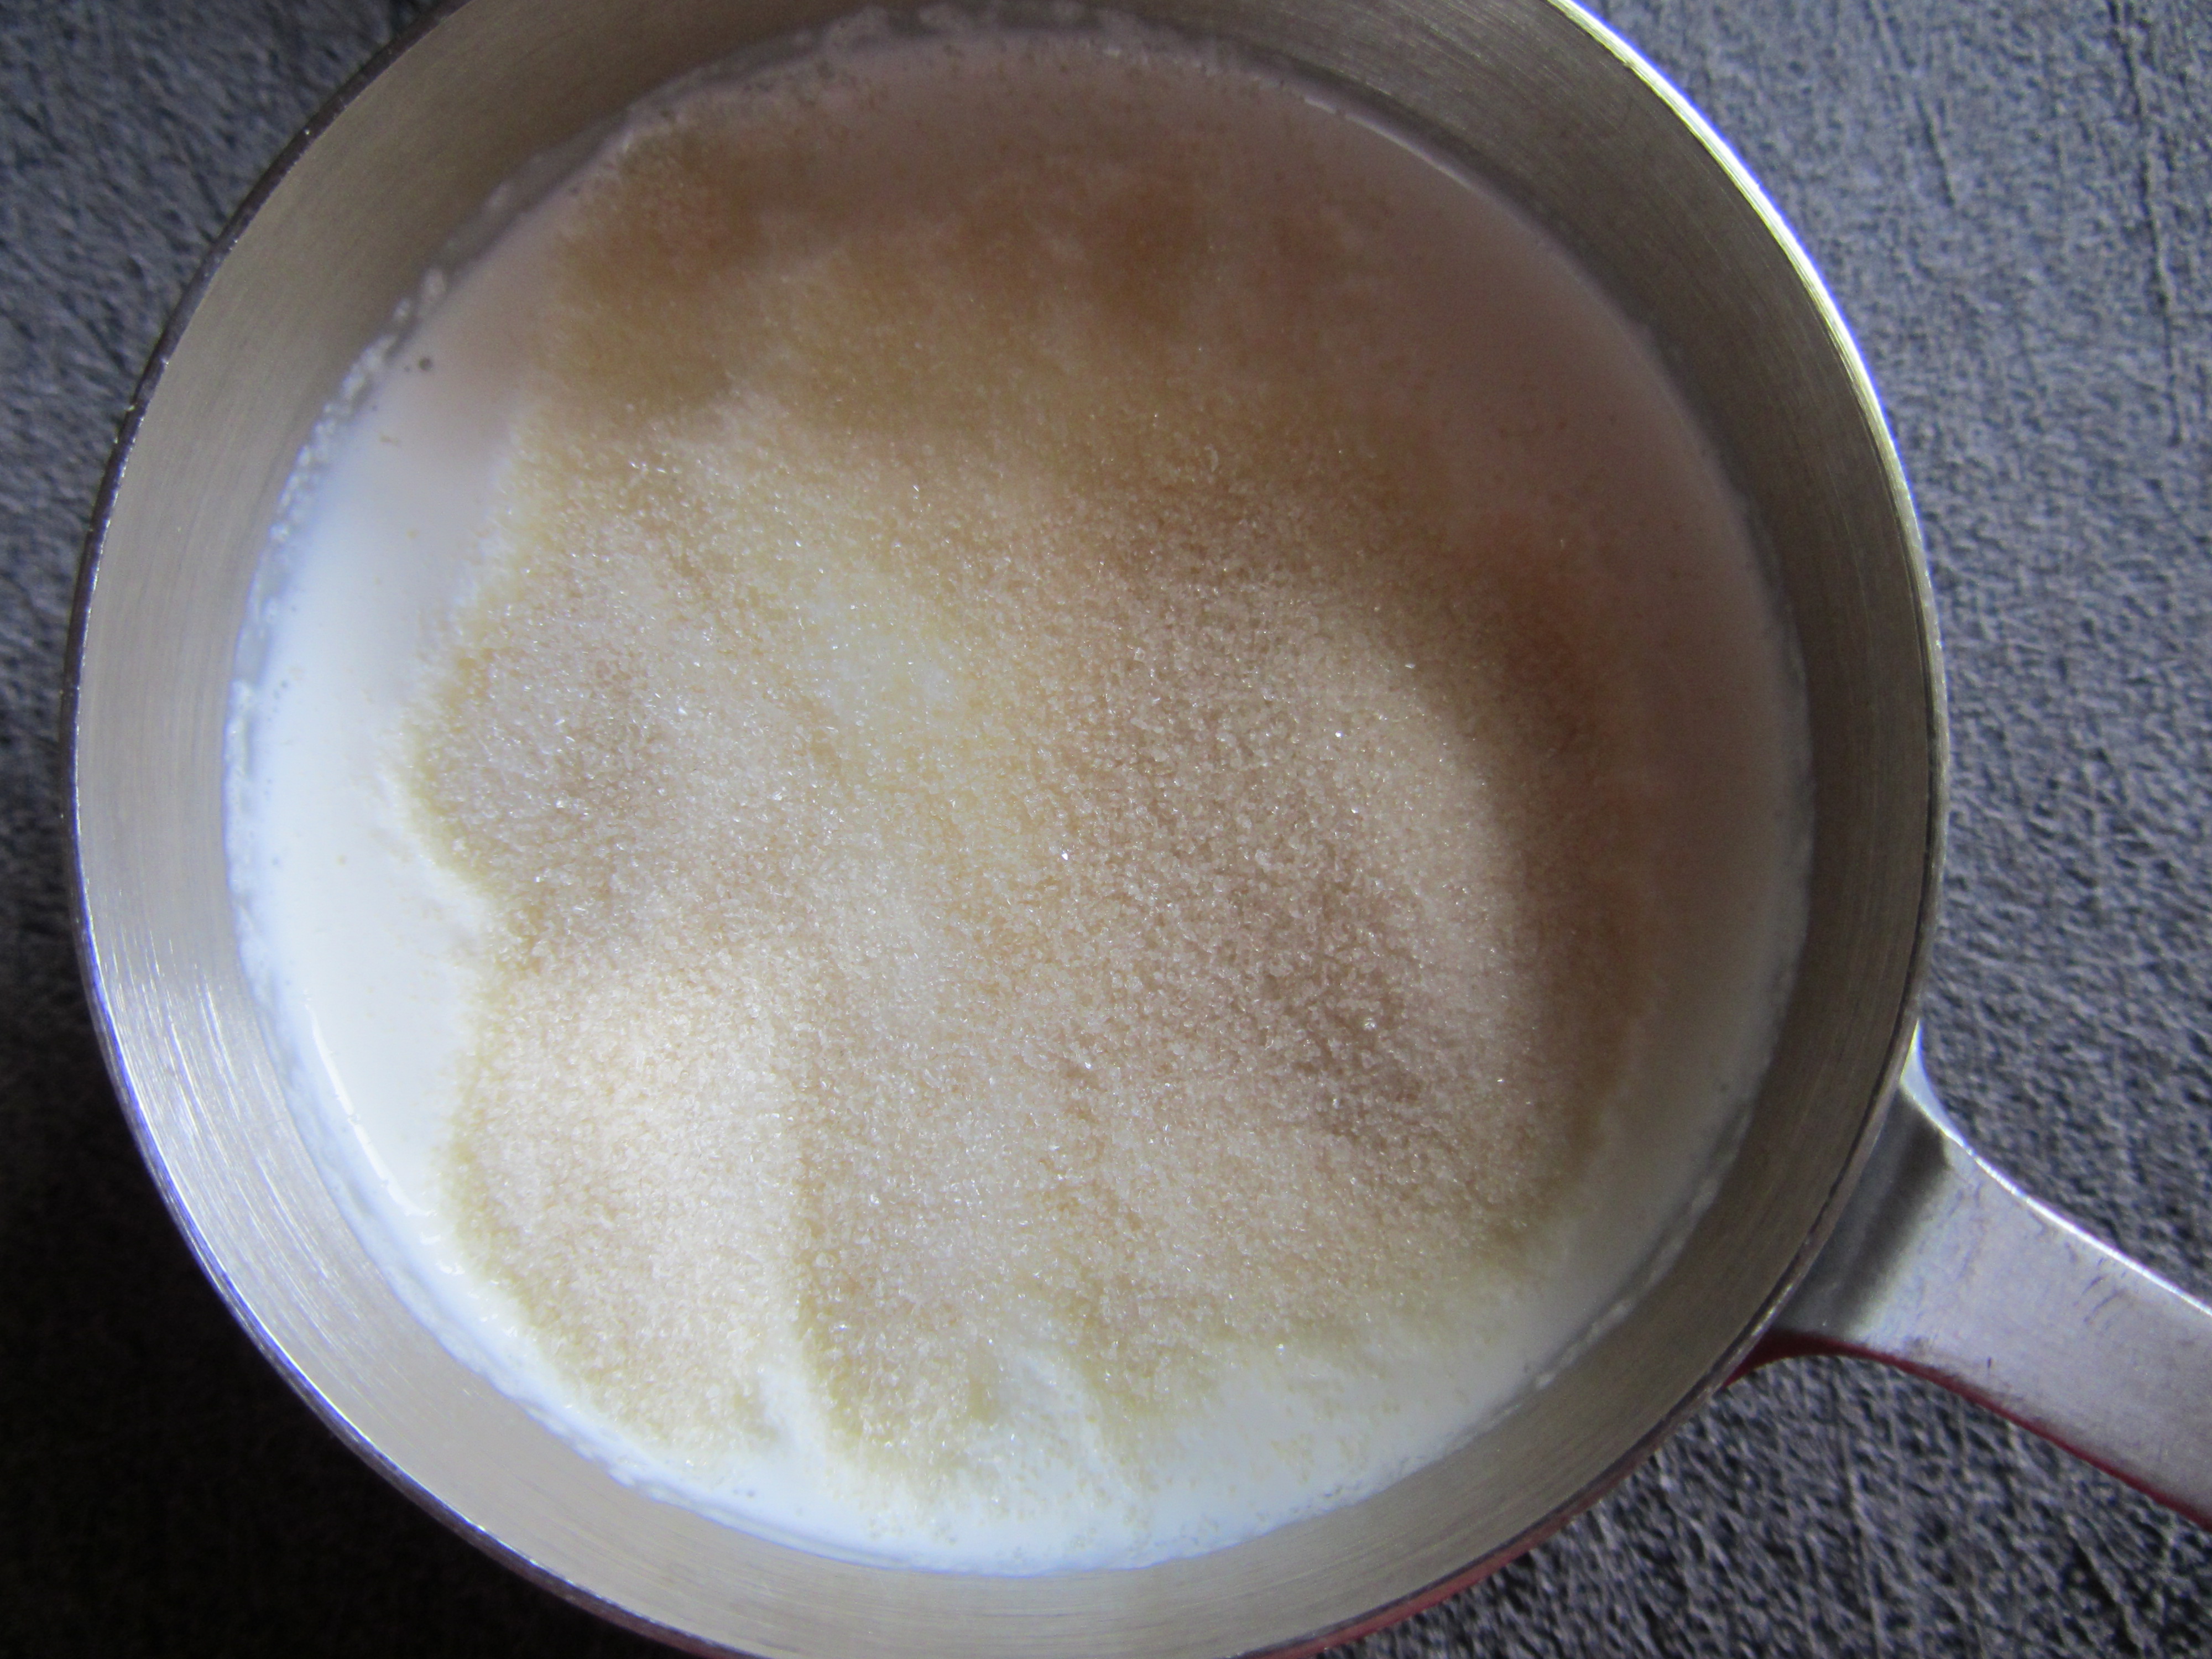
I brought my mixture to a boil, decreased the heat, and simmered it for a good 15 minutes. Alton then tells you to let this mixture cool for ~15 minutes.
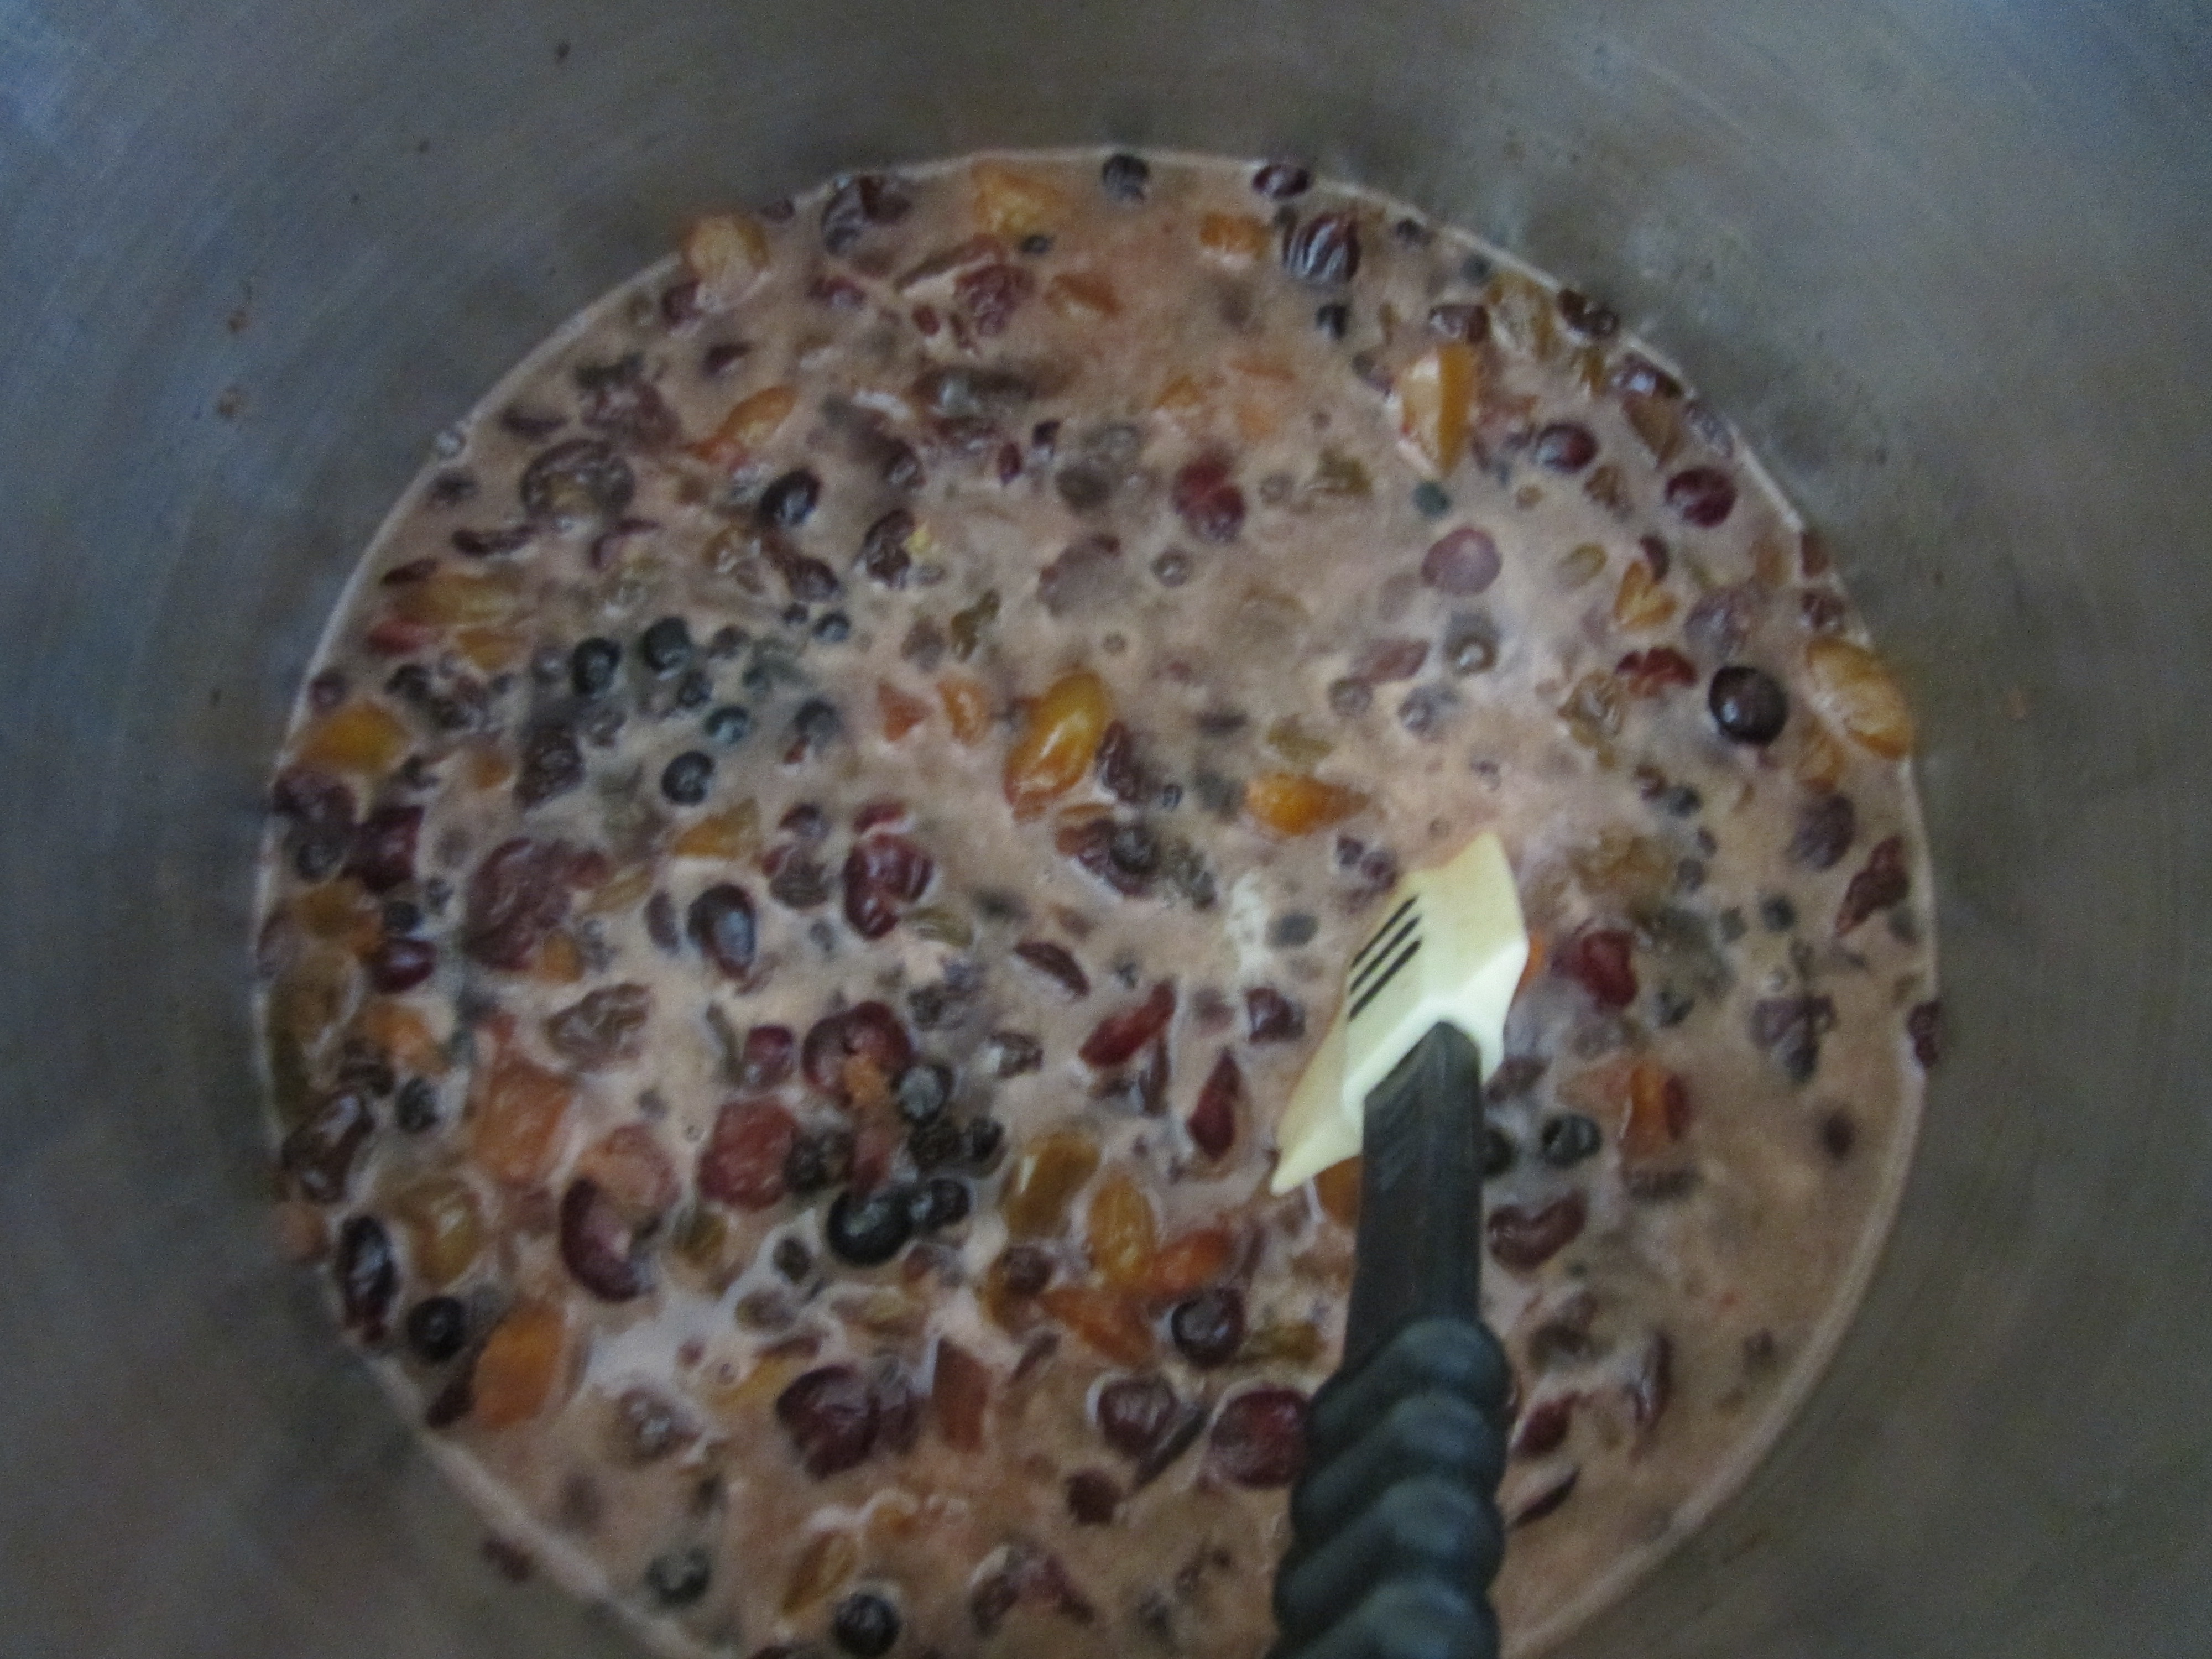
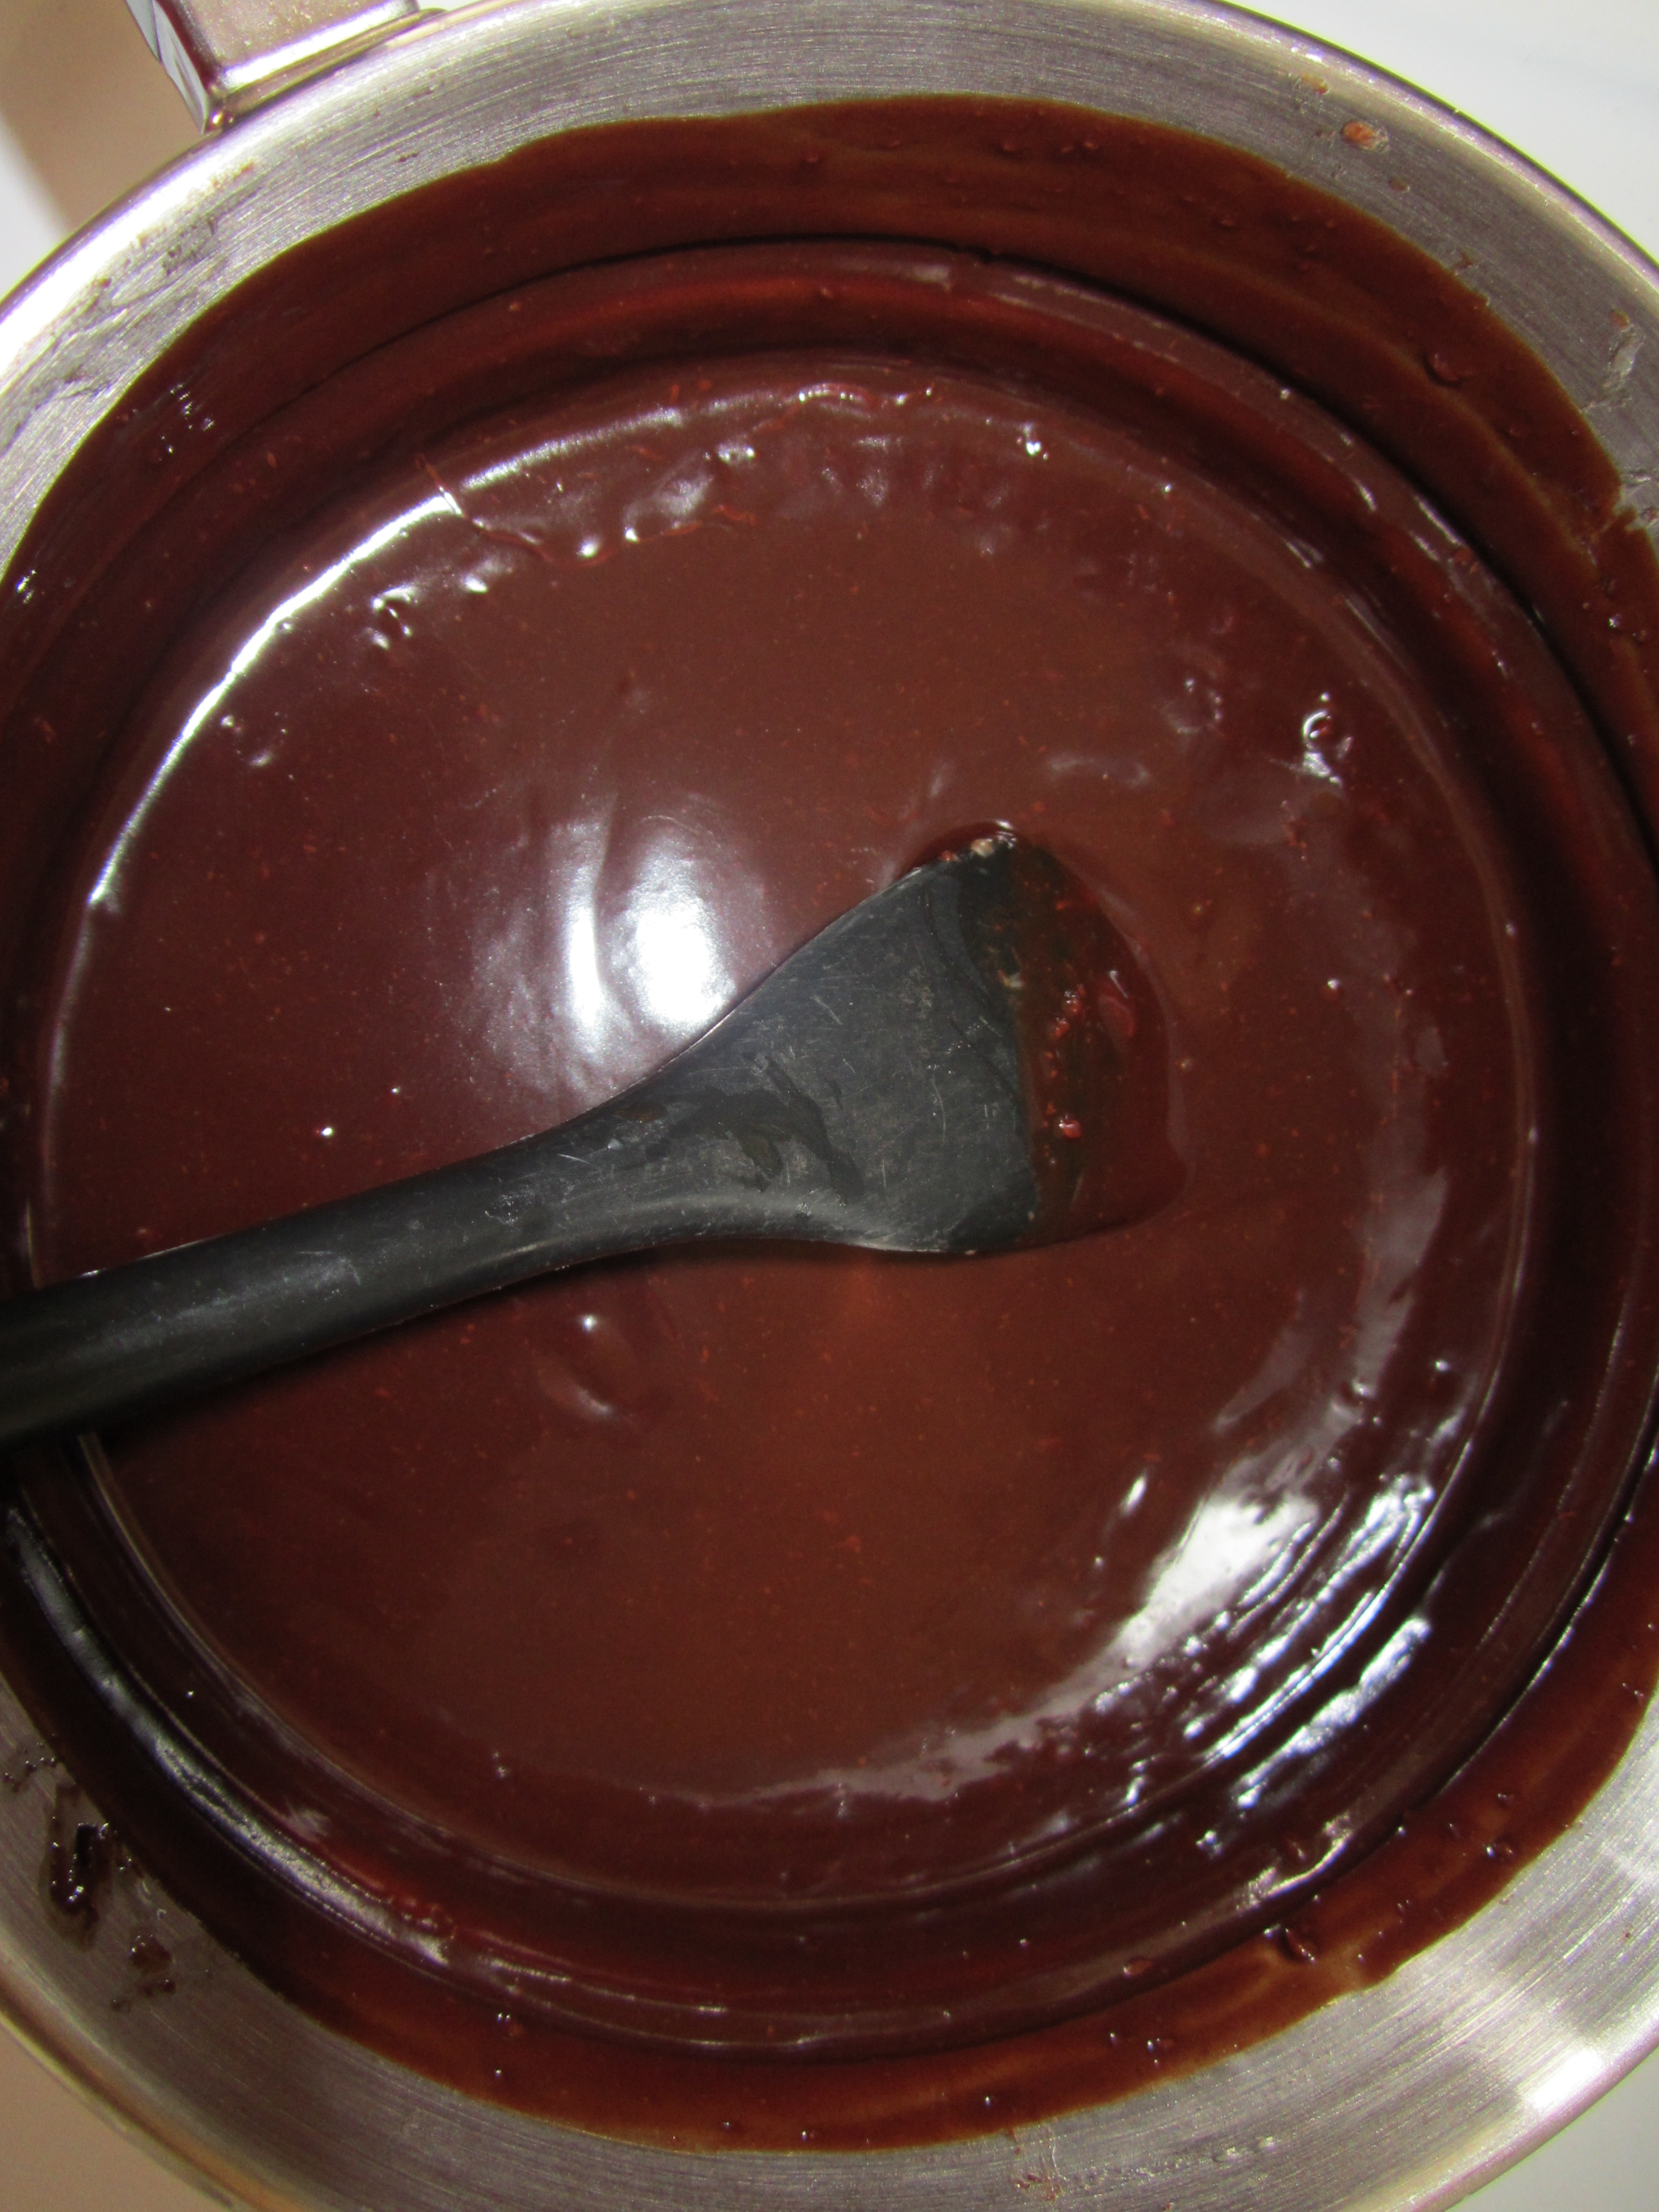
The whole fruit mixture.

After simmering.
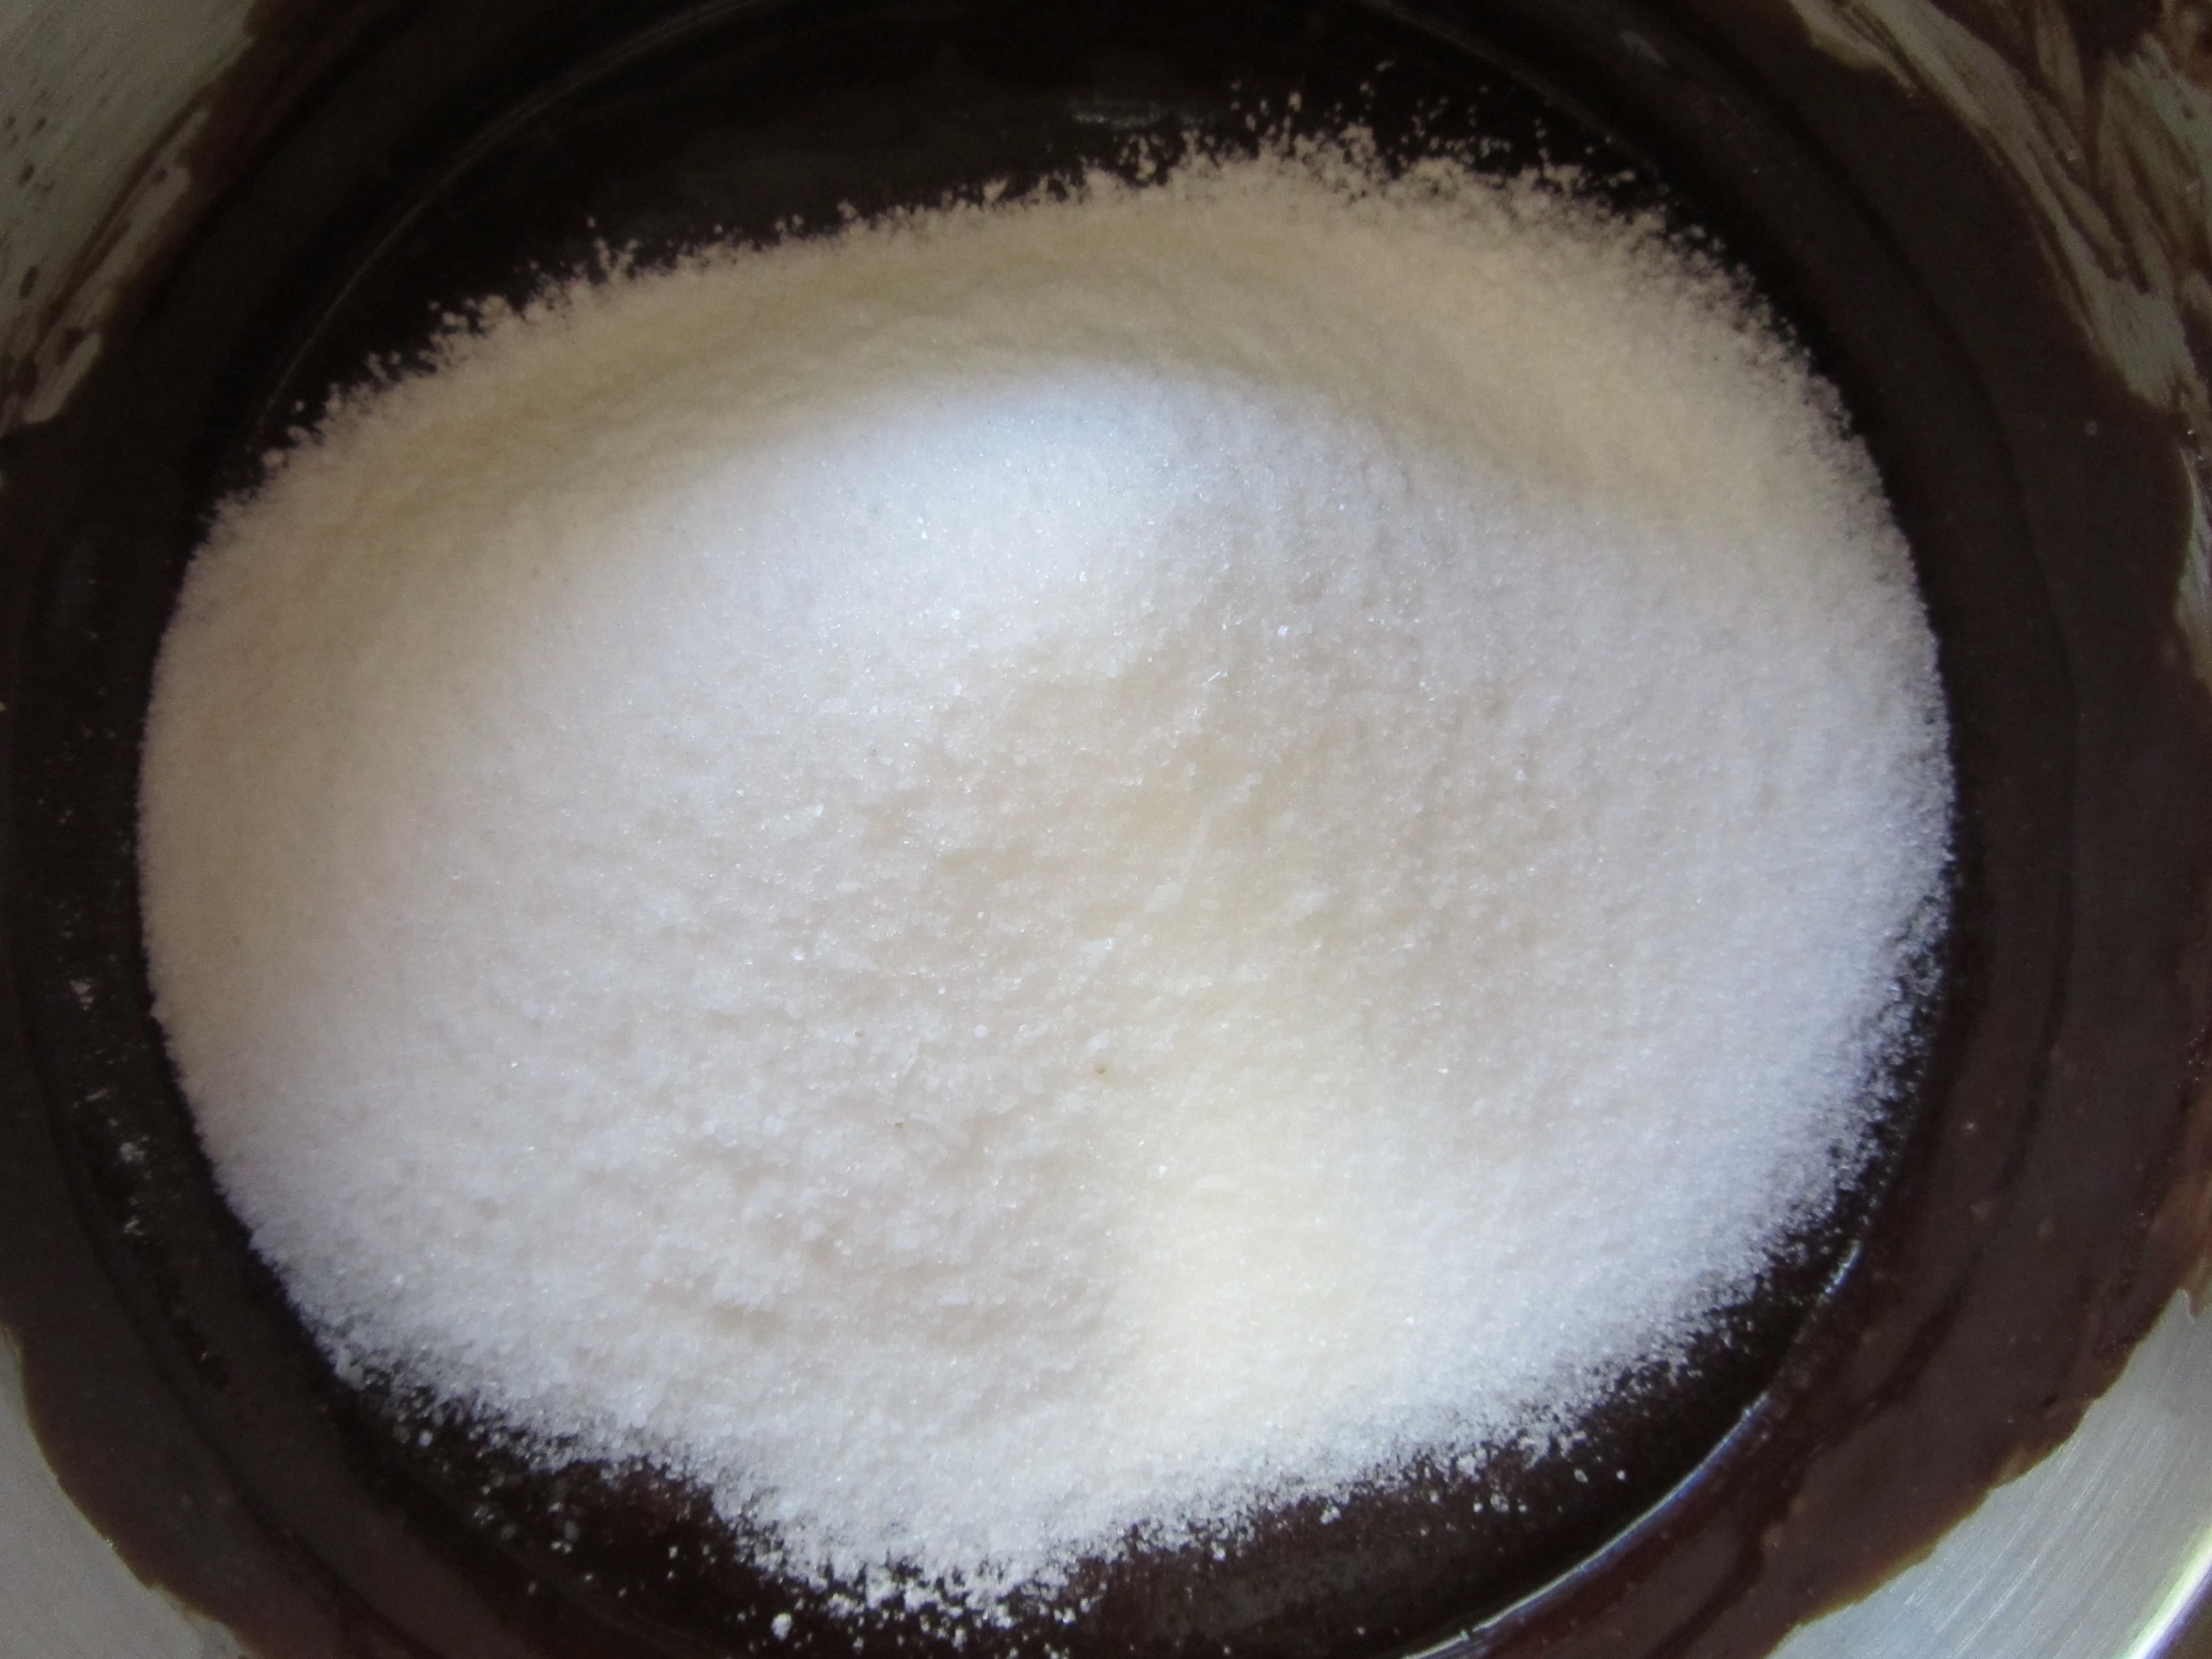
Once cool, you sift in your dry ingredients, stirring quickly to avoid incorporating a lot of air into the batter.

Dry ingredients sifted in.
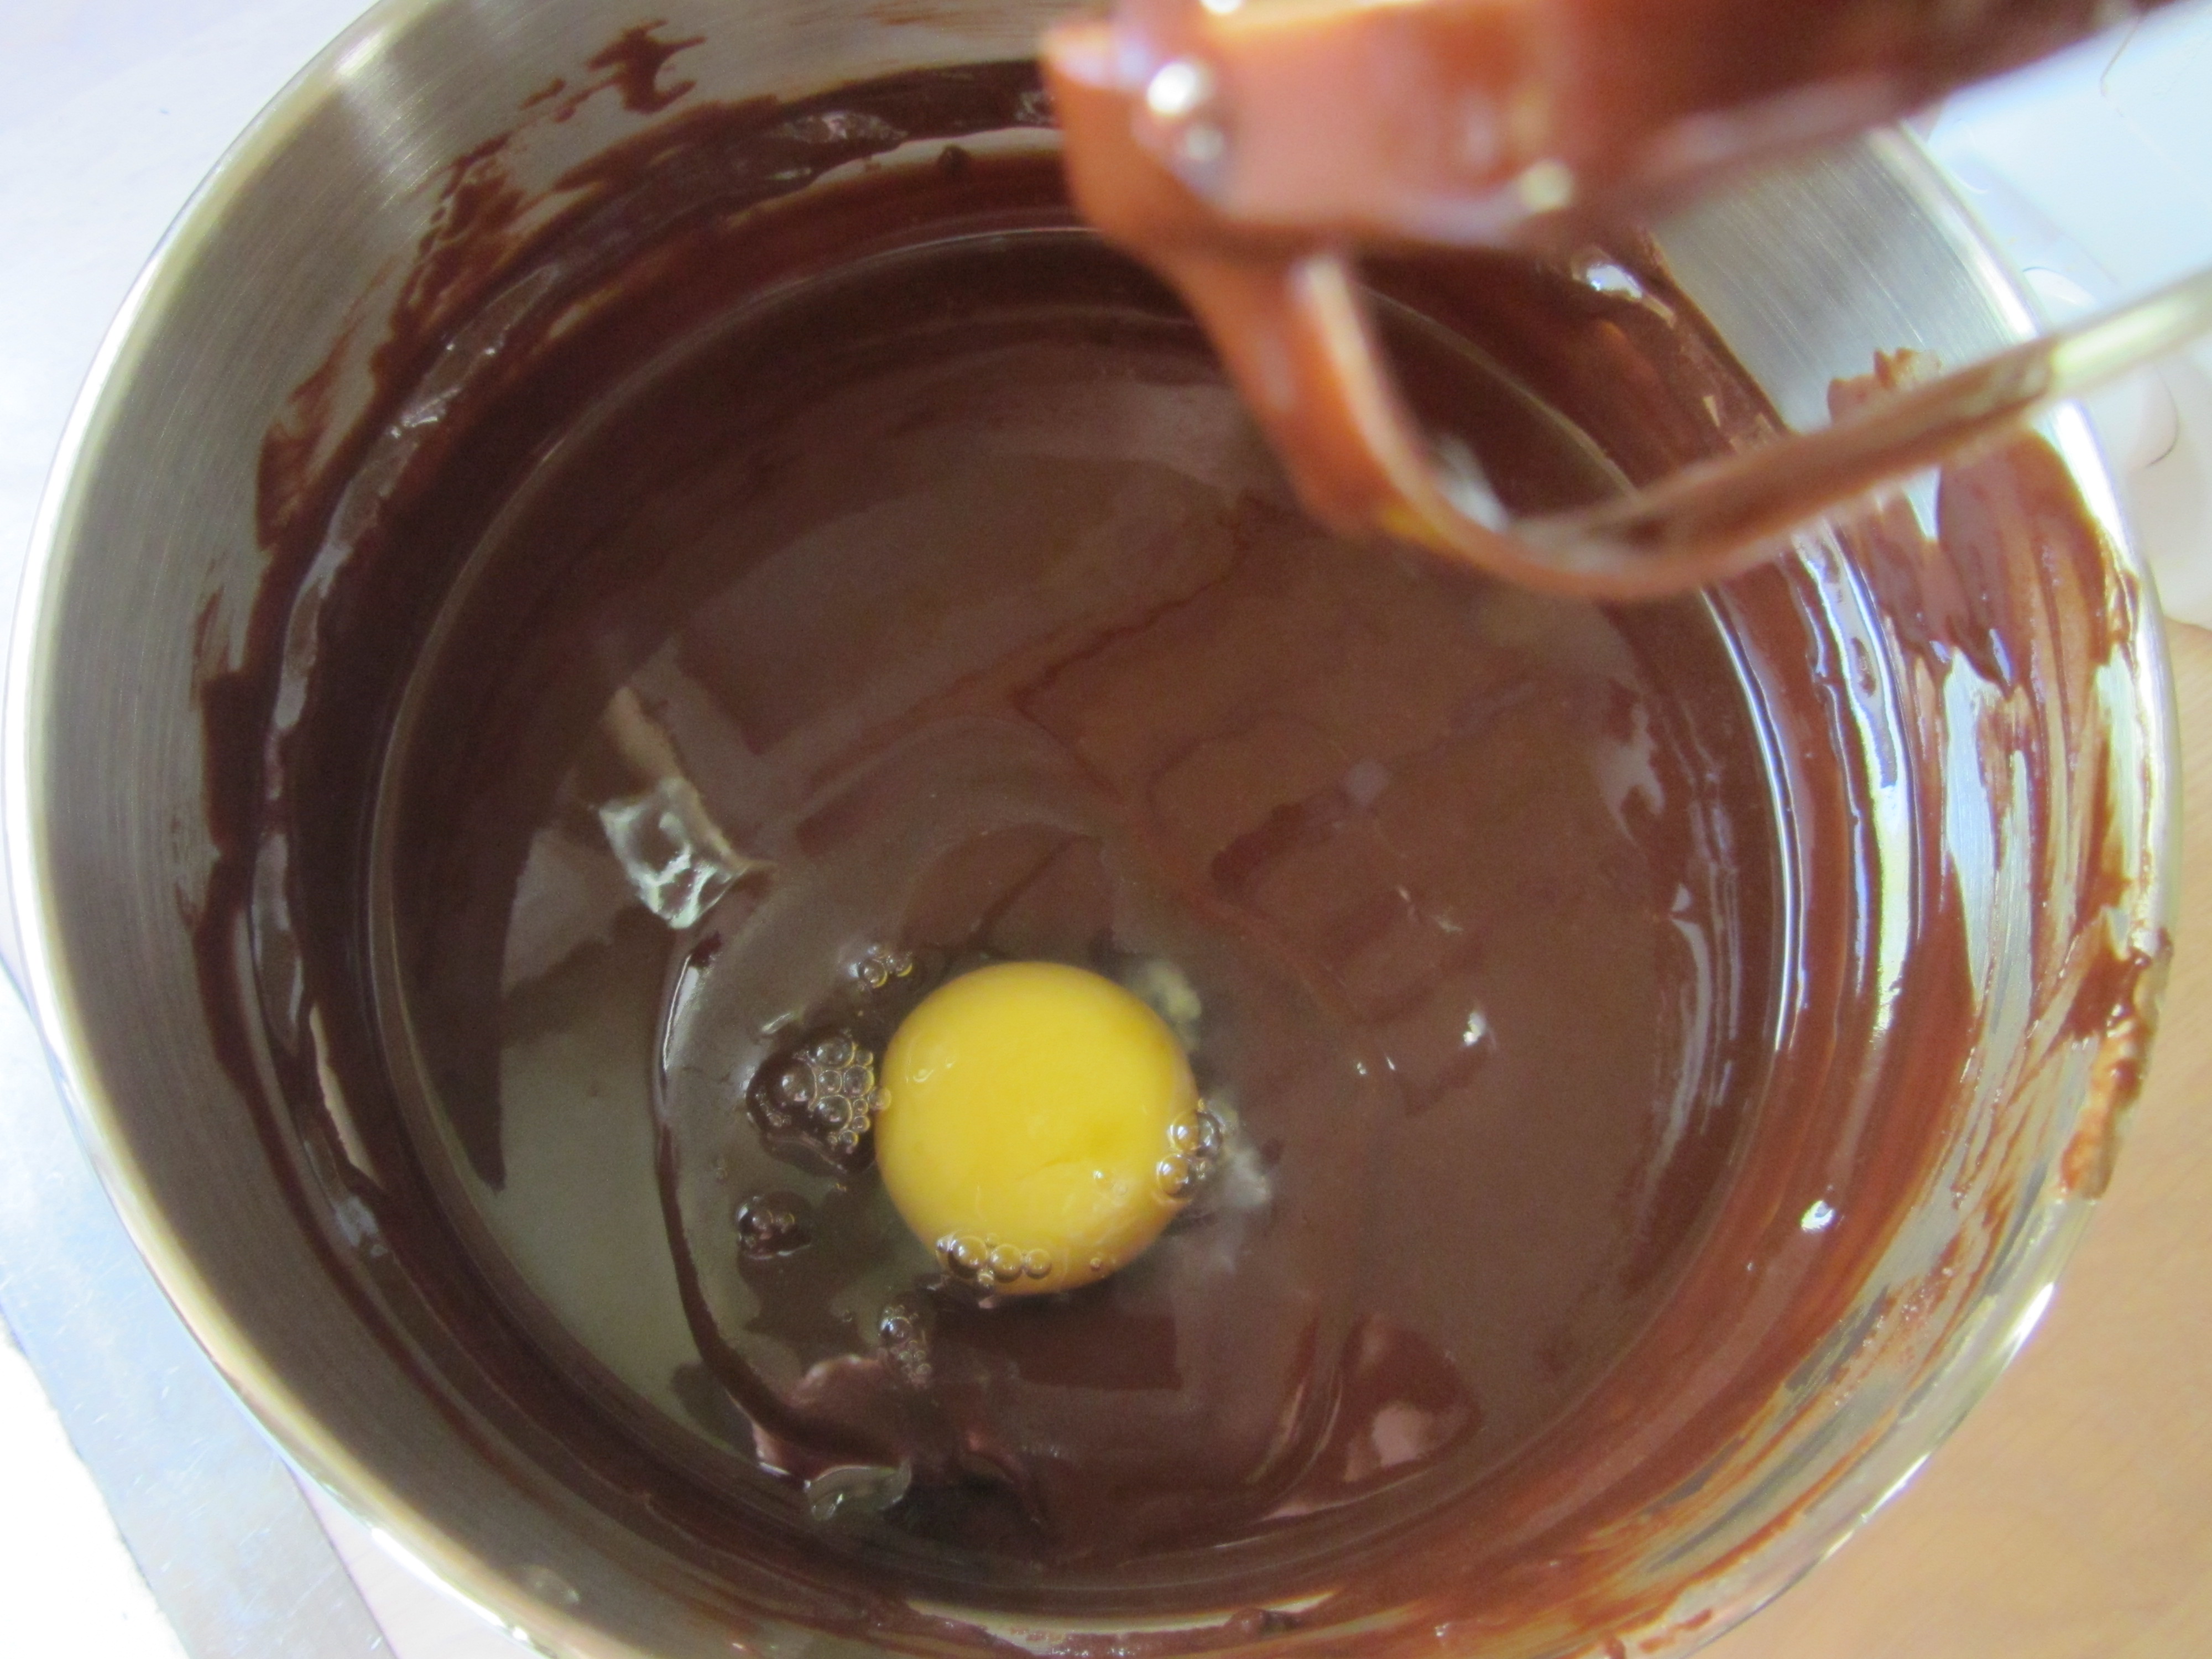
Two eggs are added, one at a time, followed by the toasted pecans, and the batter goes into a loaf pan.
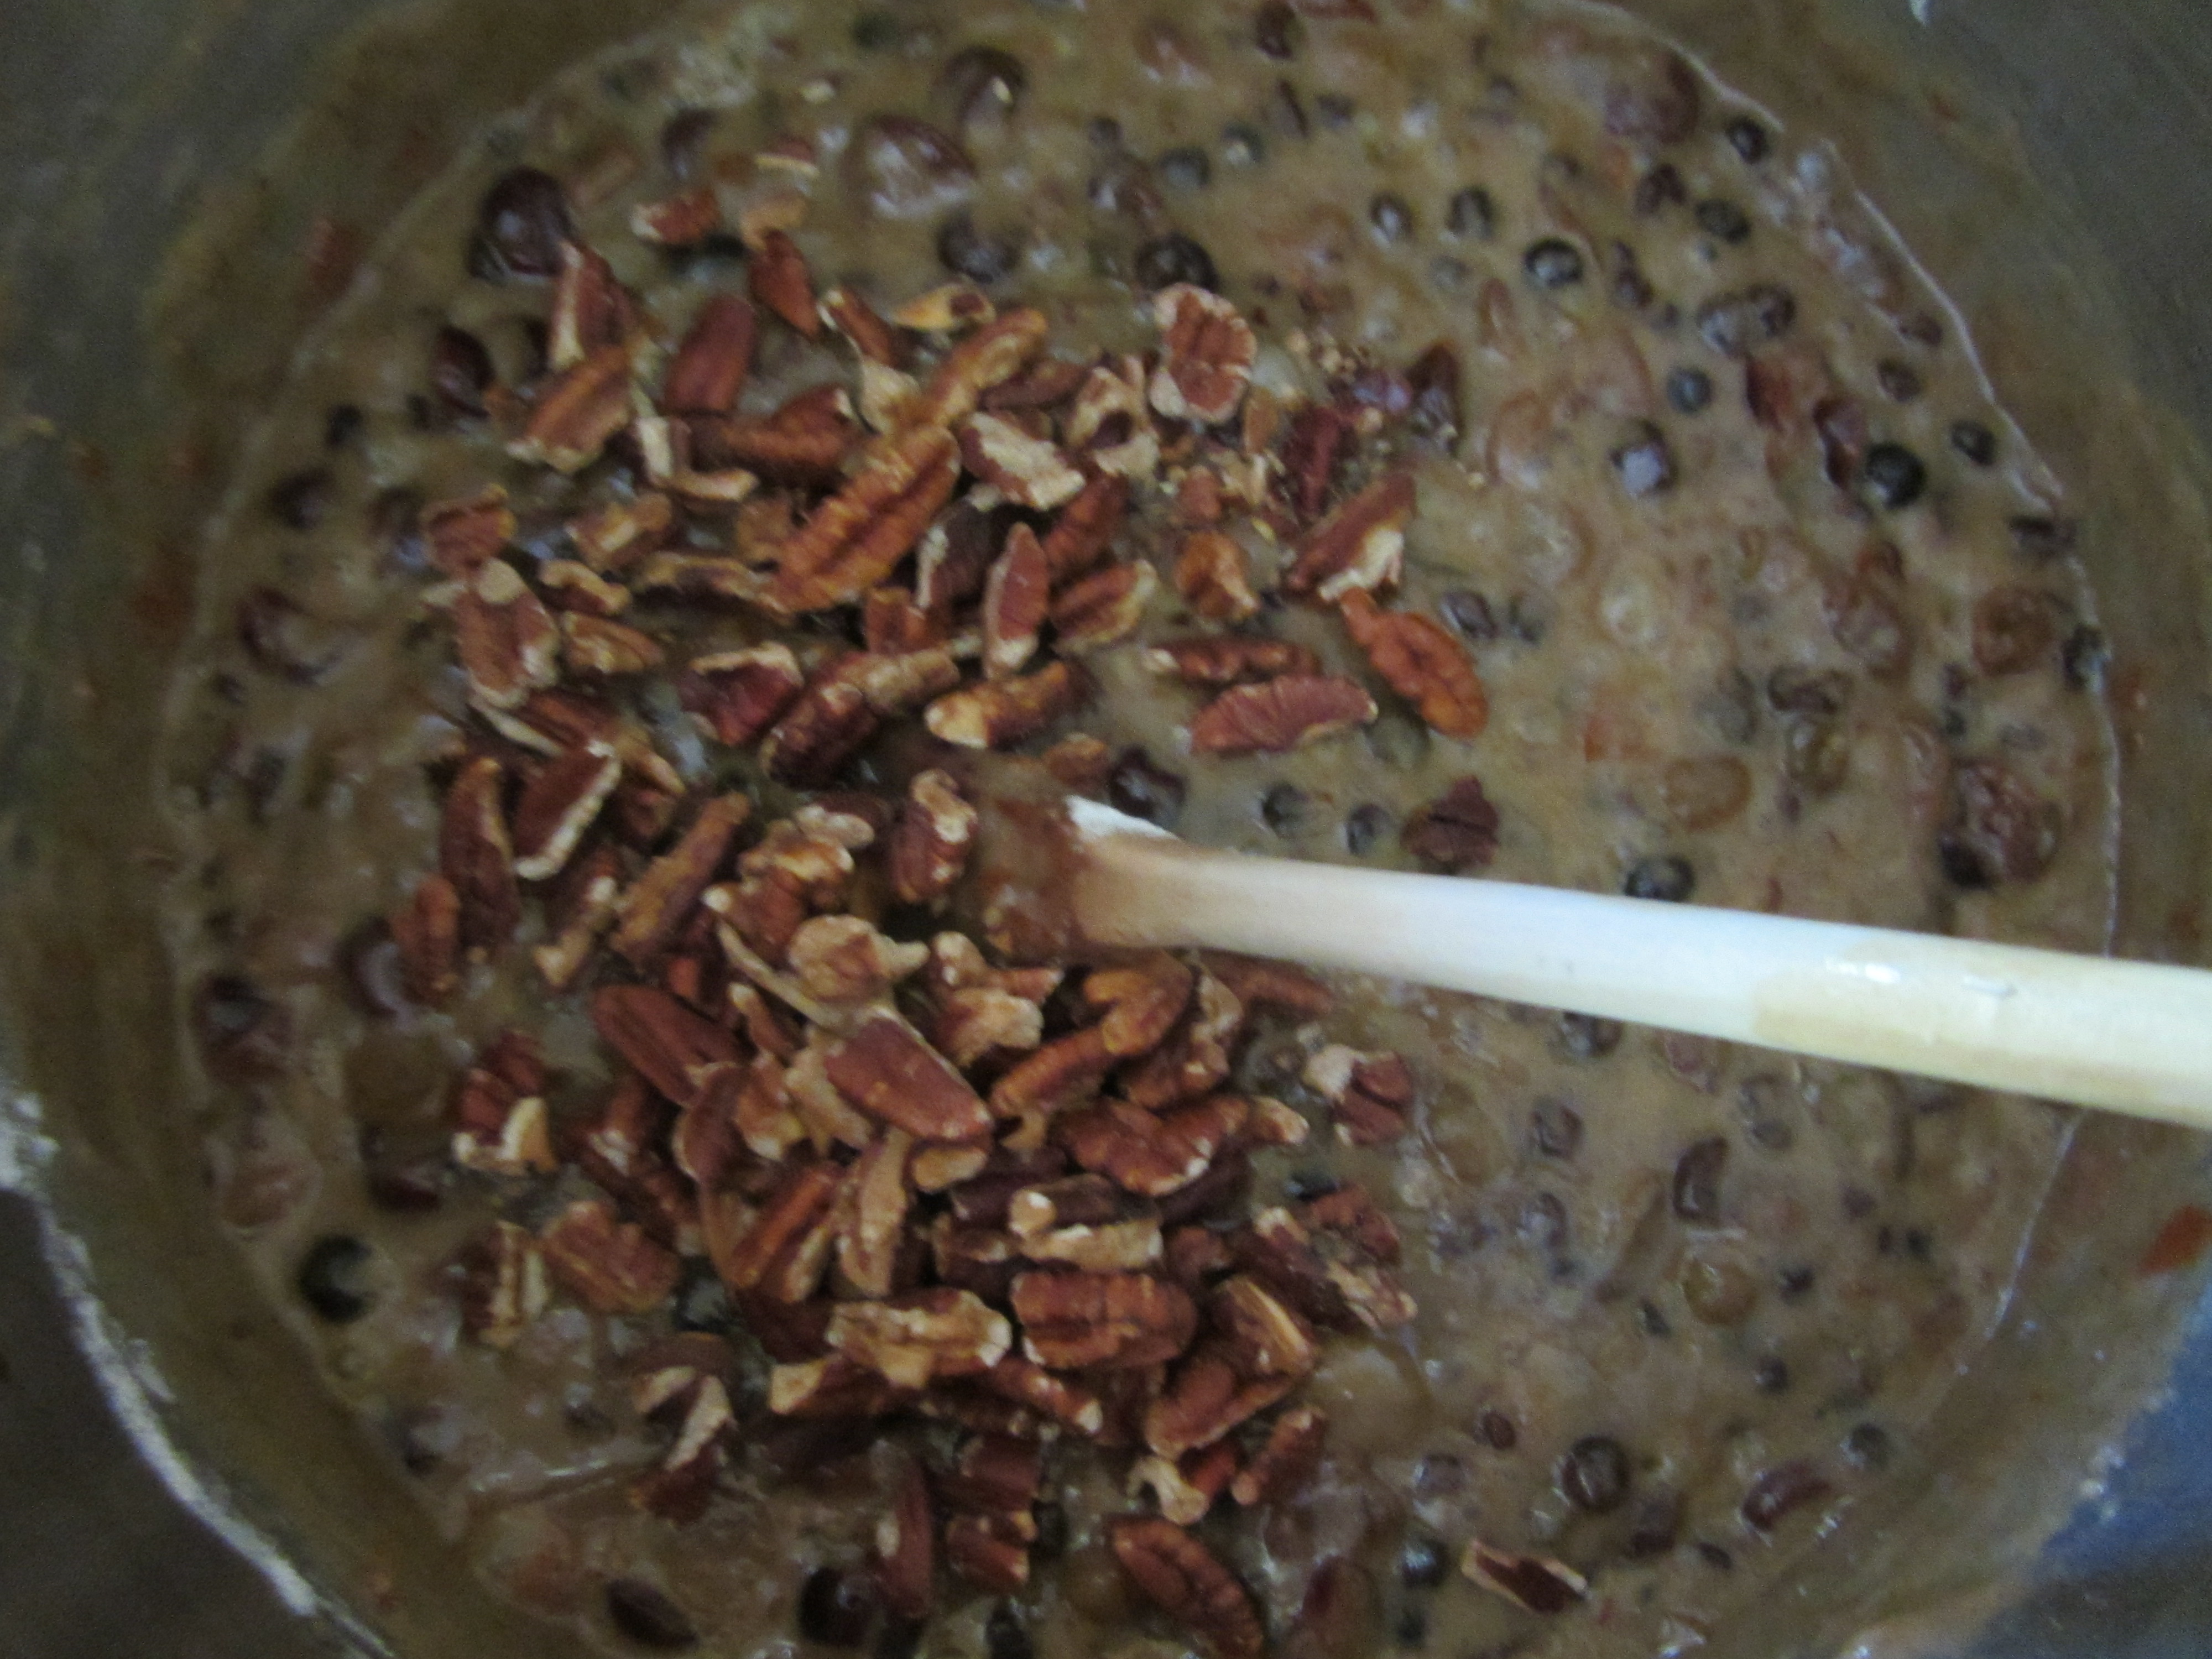
Folding in the pecans.

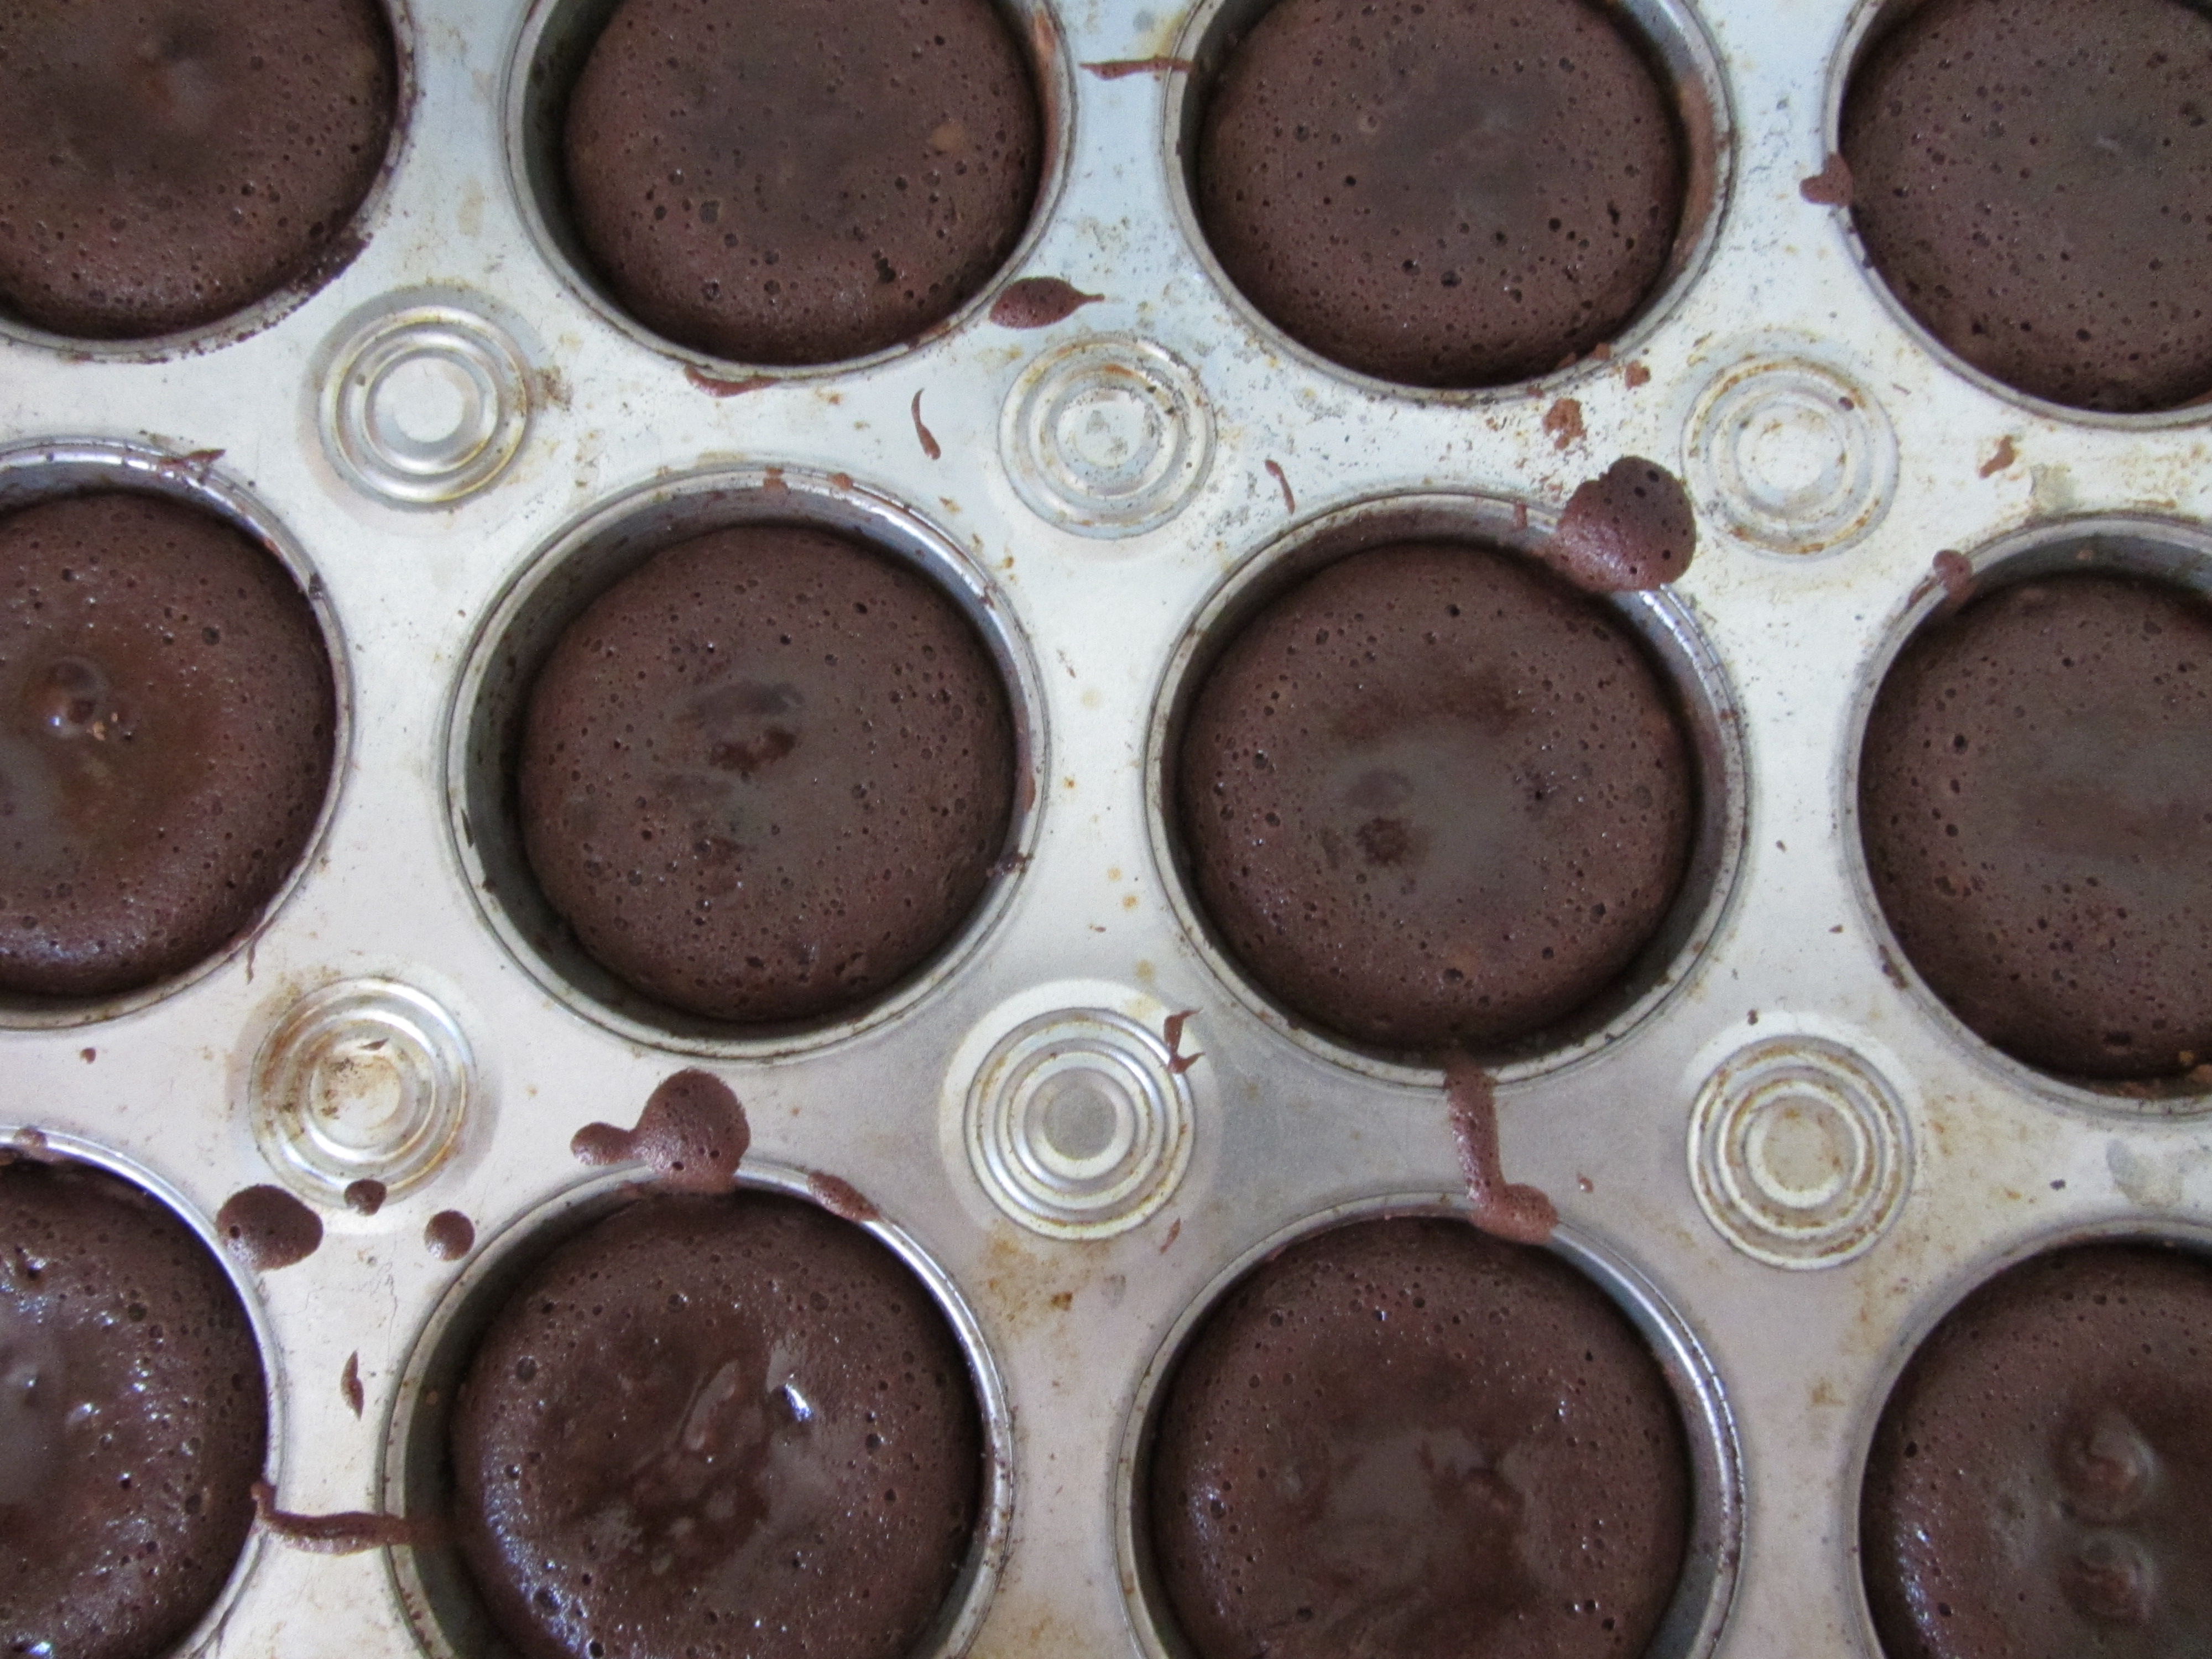
Batter into the pan.
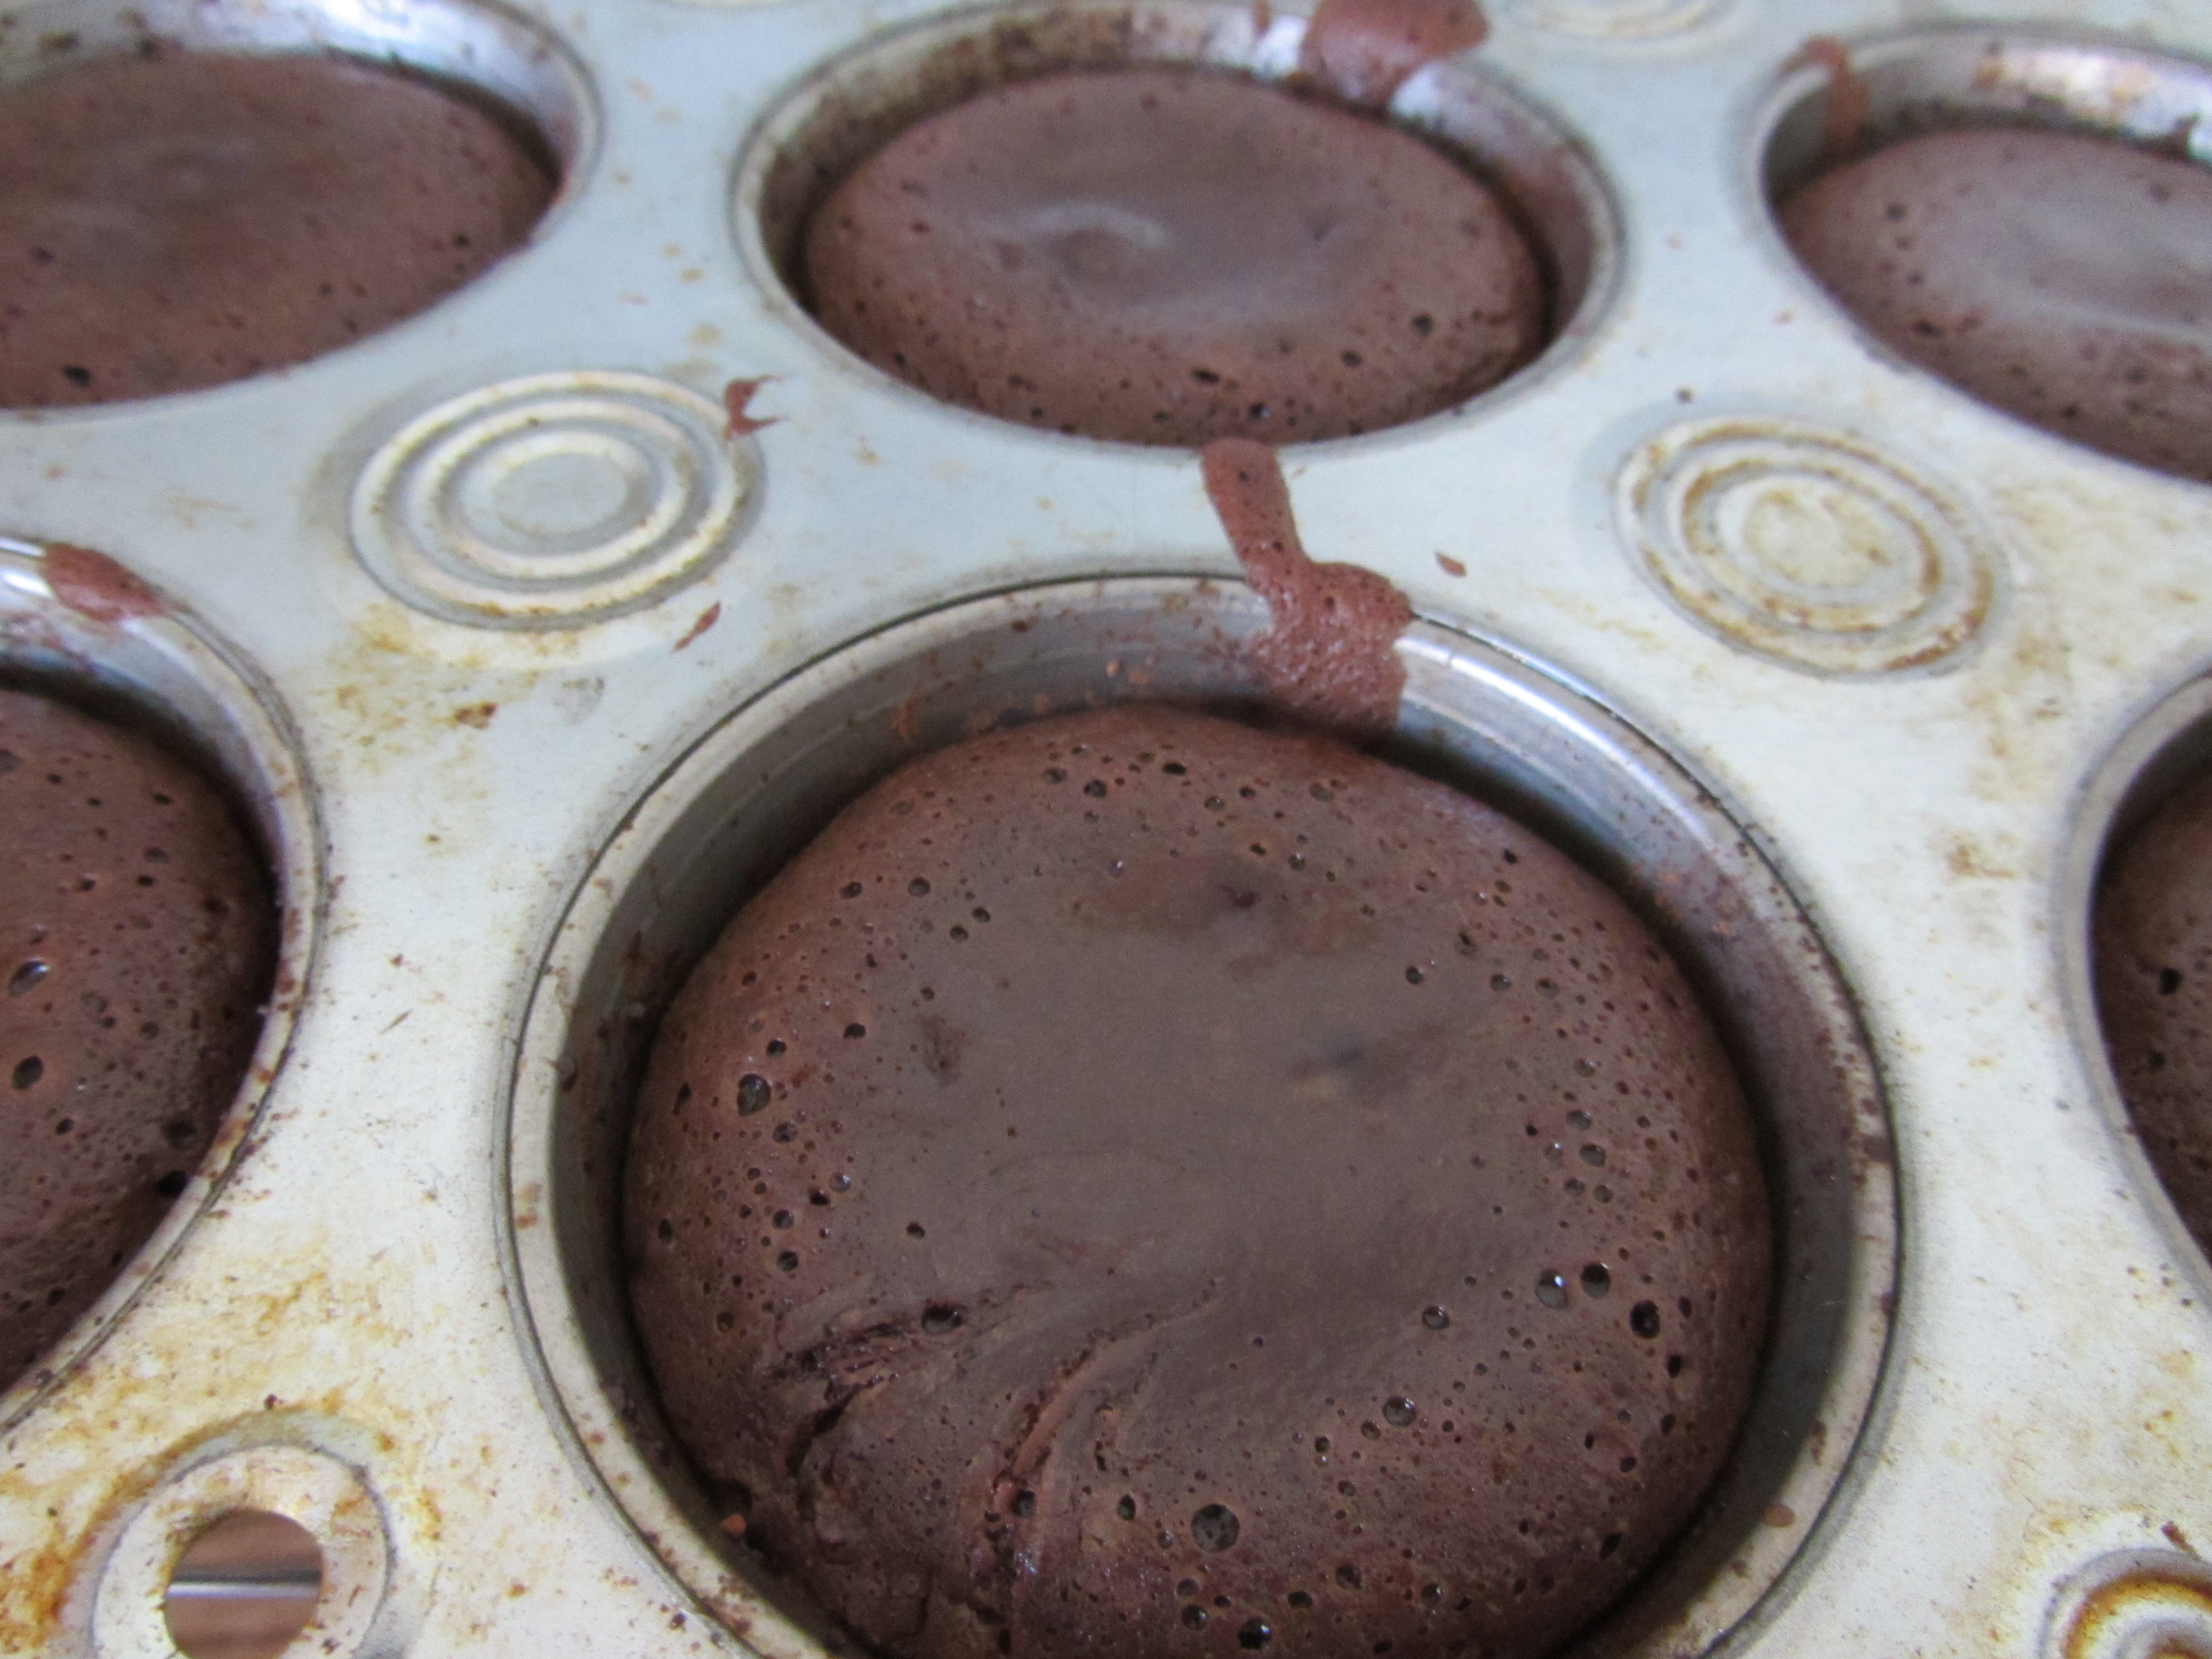
One tip Alton mentions in the episode (that is not mentioned in the online recipe) is to place a pan of hot water on the oven rack below the cake while it bakes. This is to keep the top of the cake from cracking. Once the cake is done (mine took 56 minutes), you spray it with brandy and allow it to cool completely before removing it from the pan.
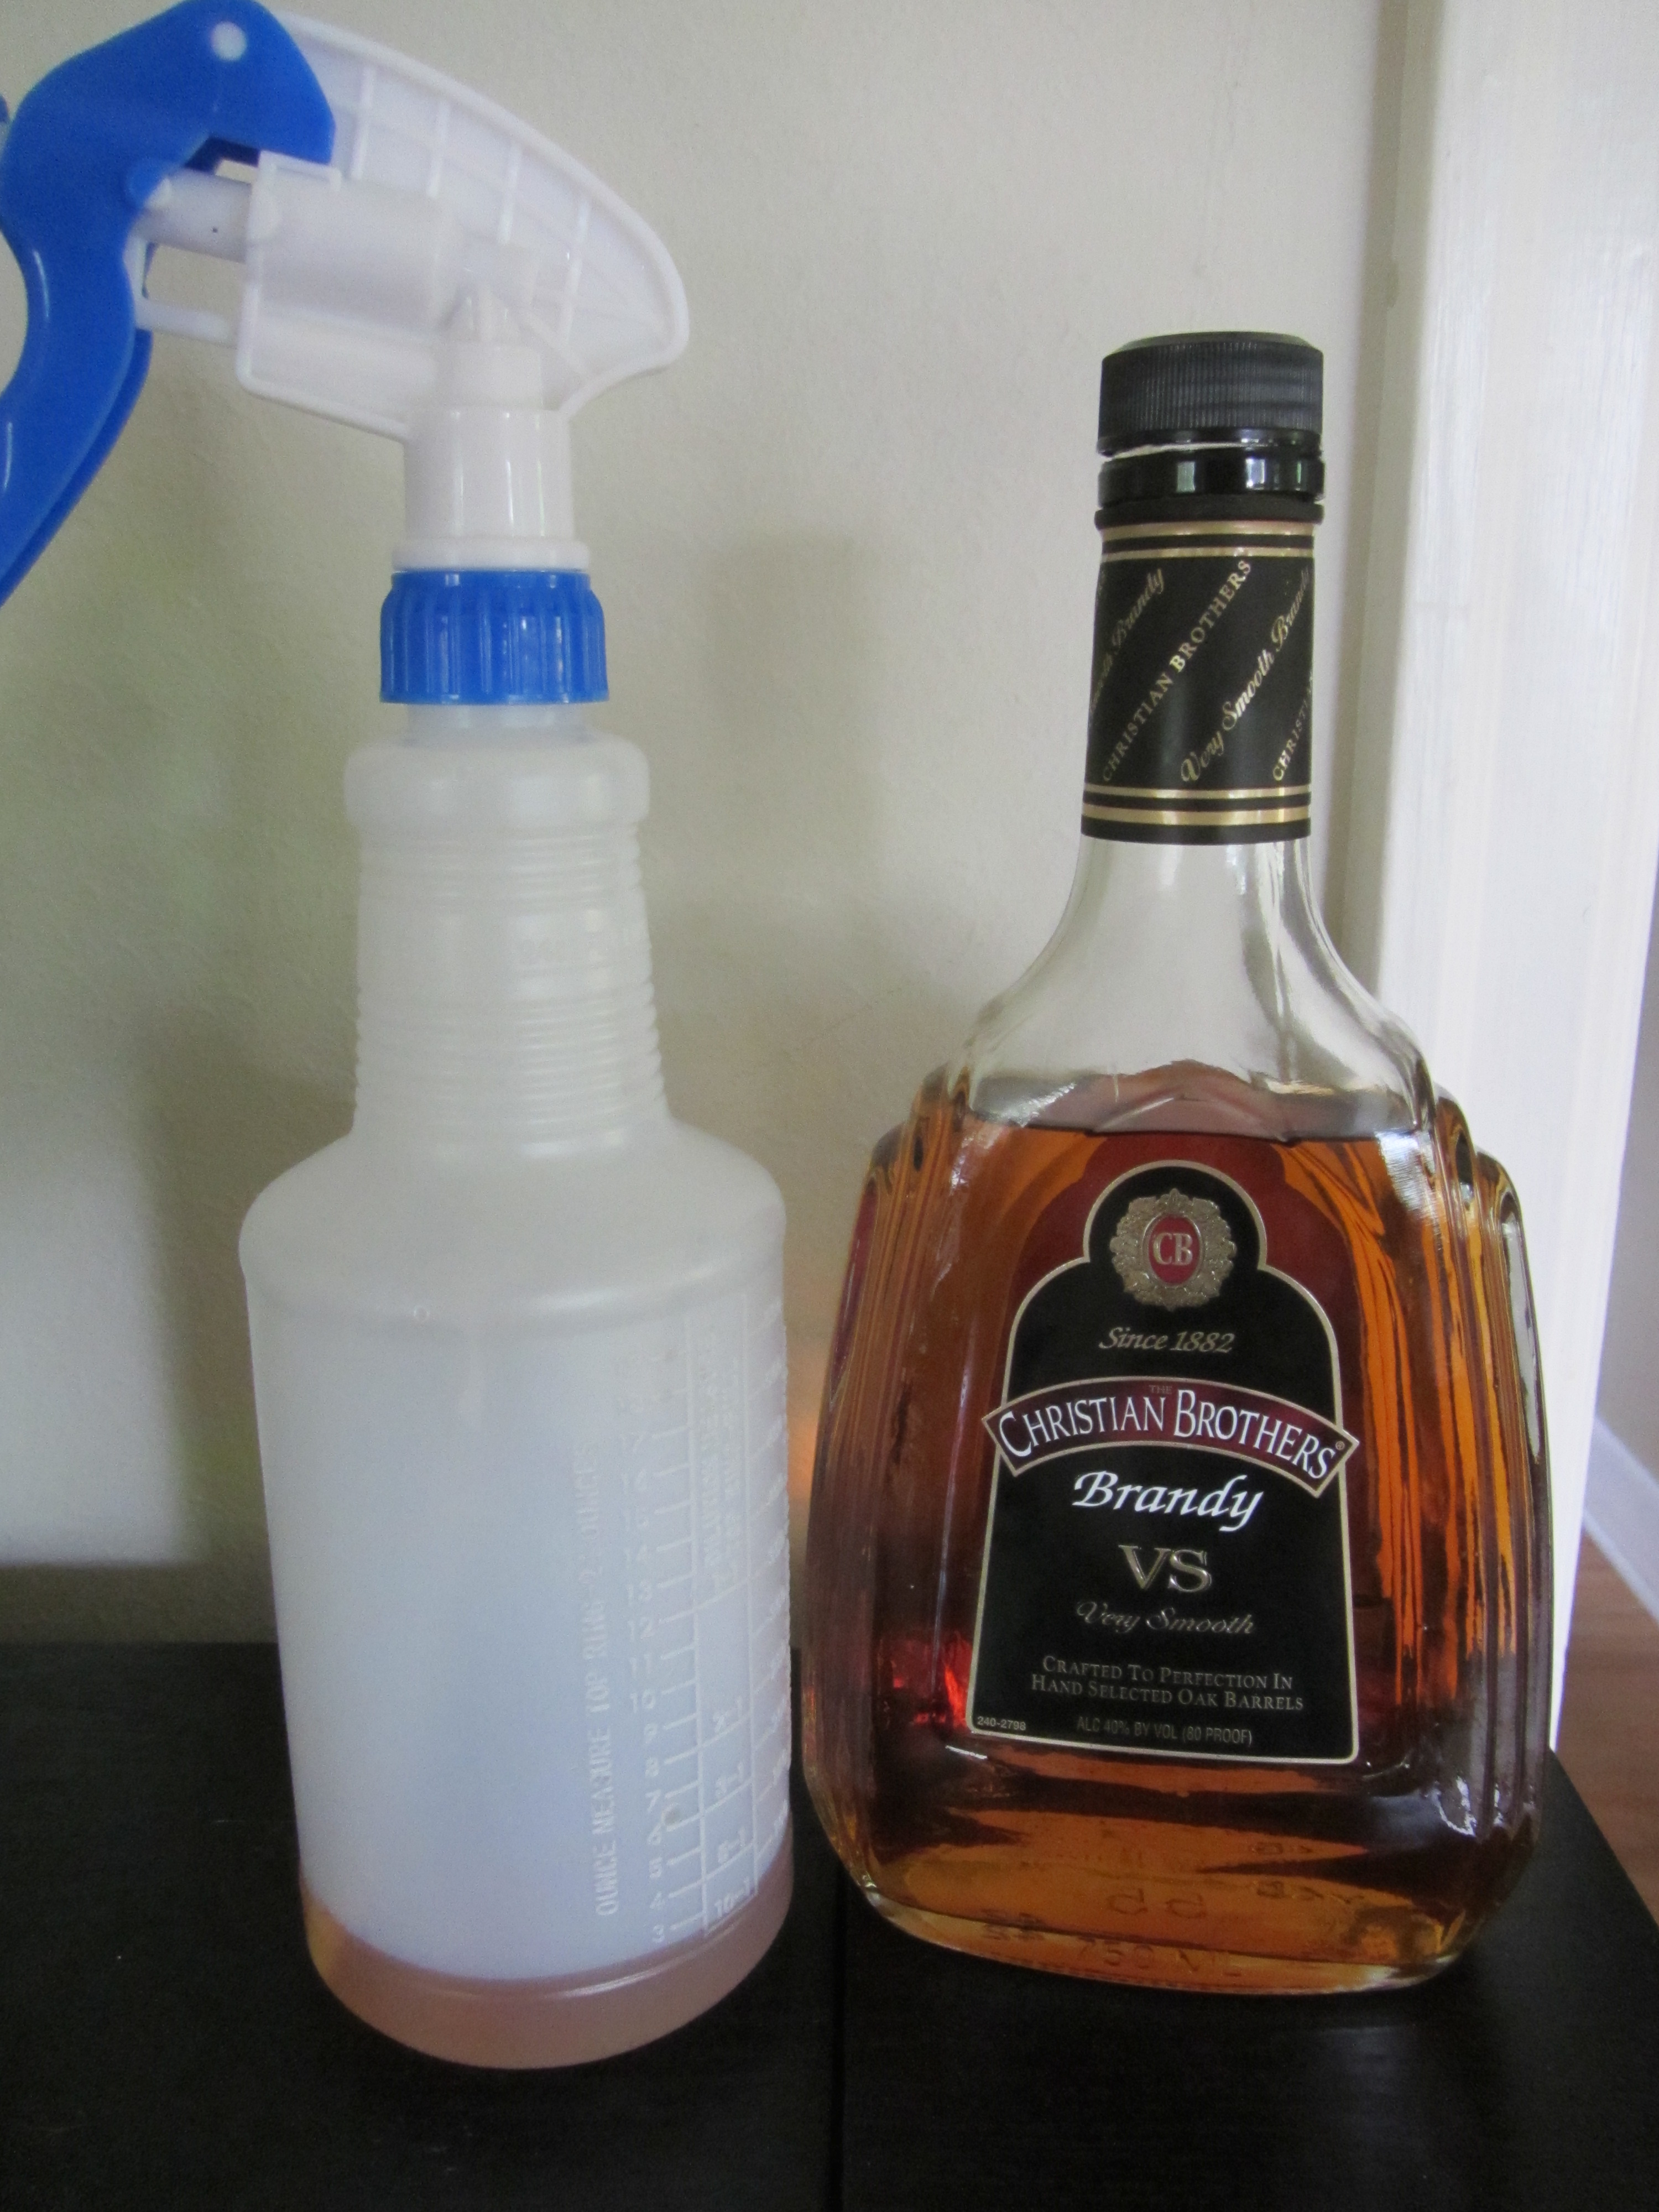
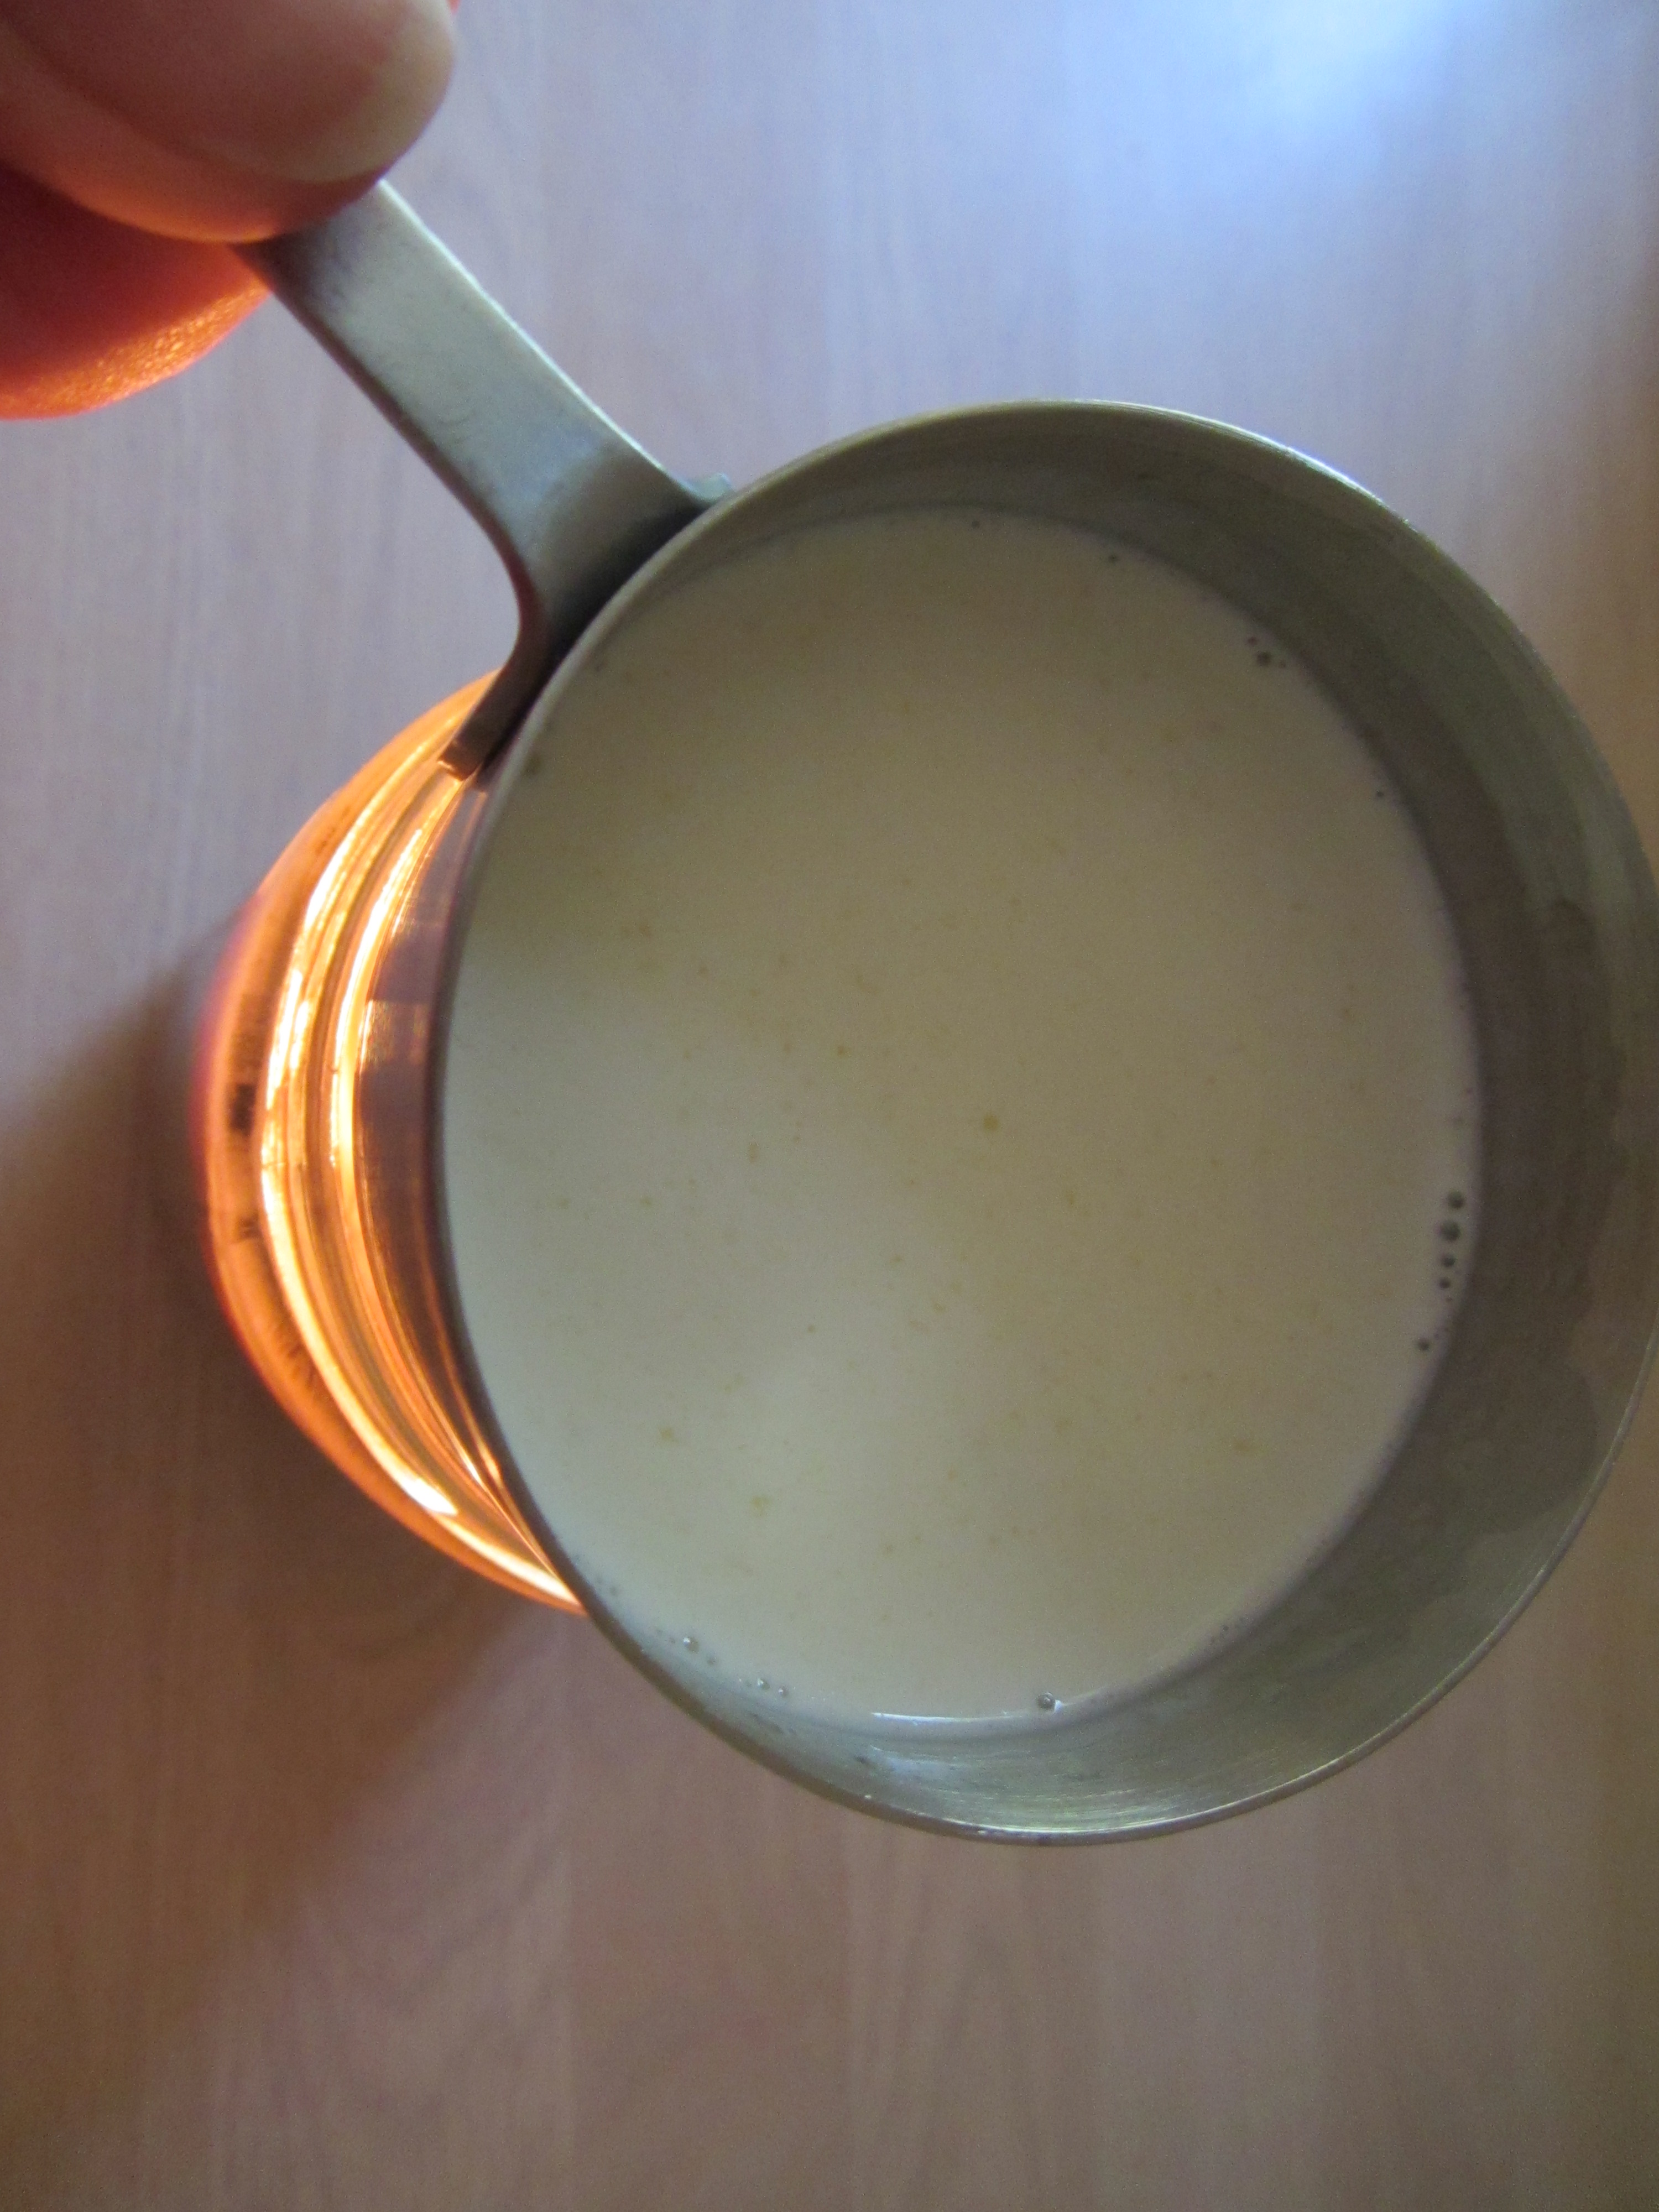
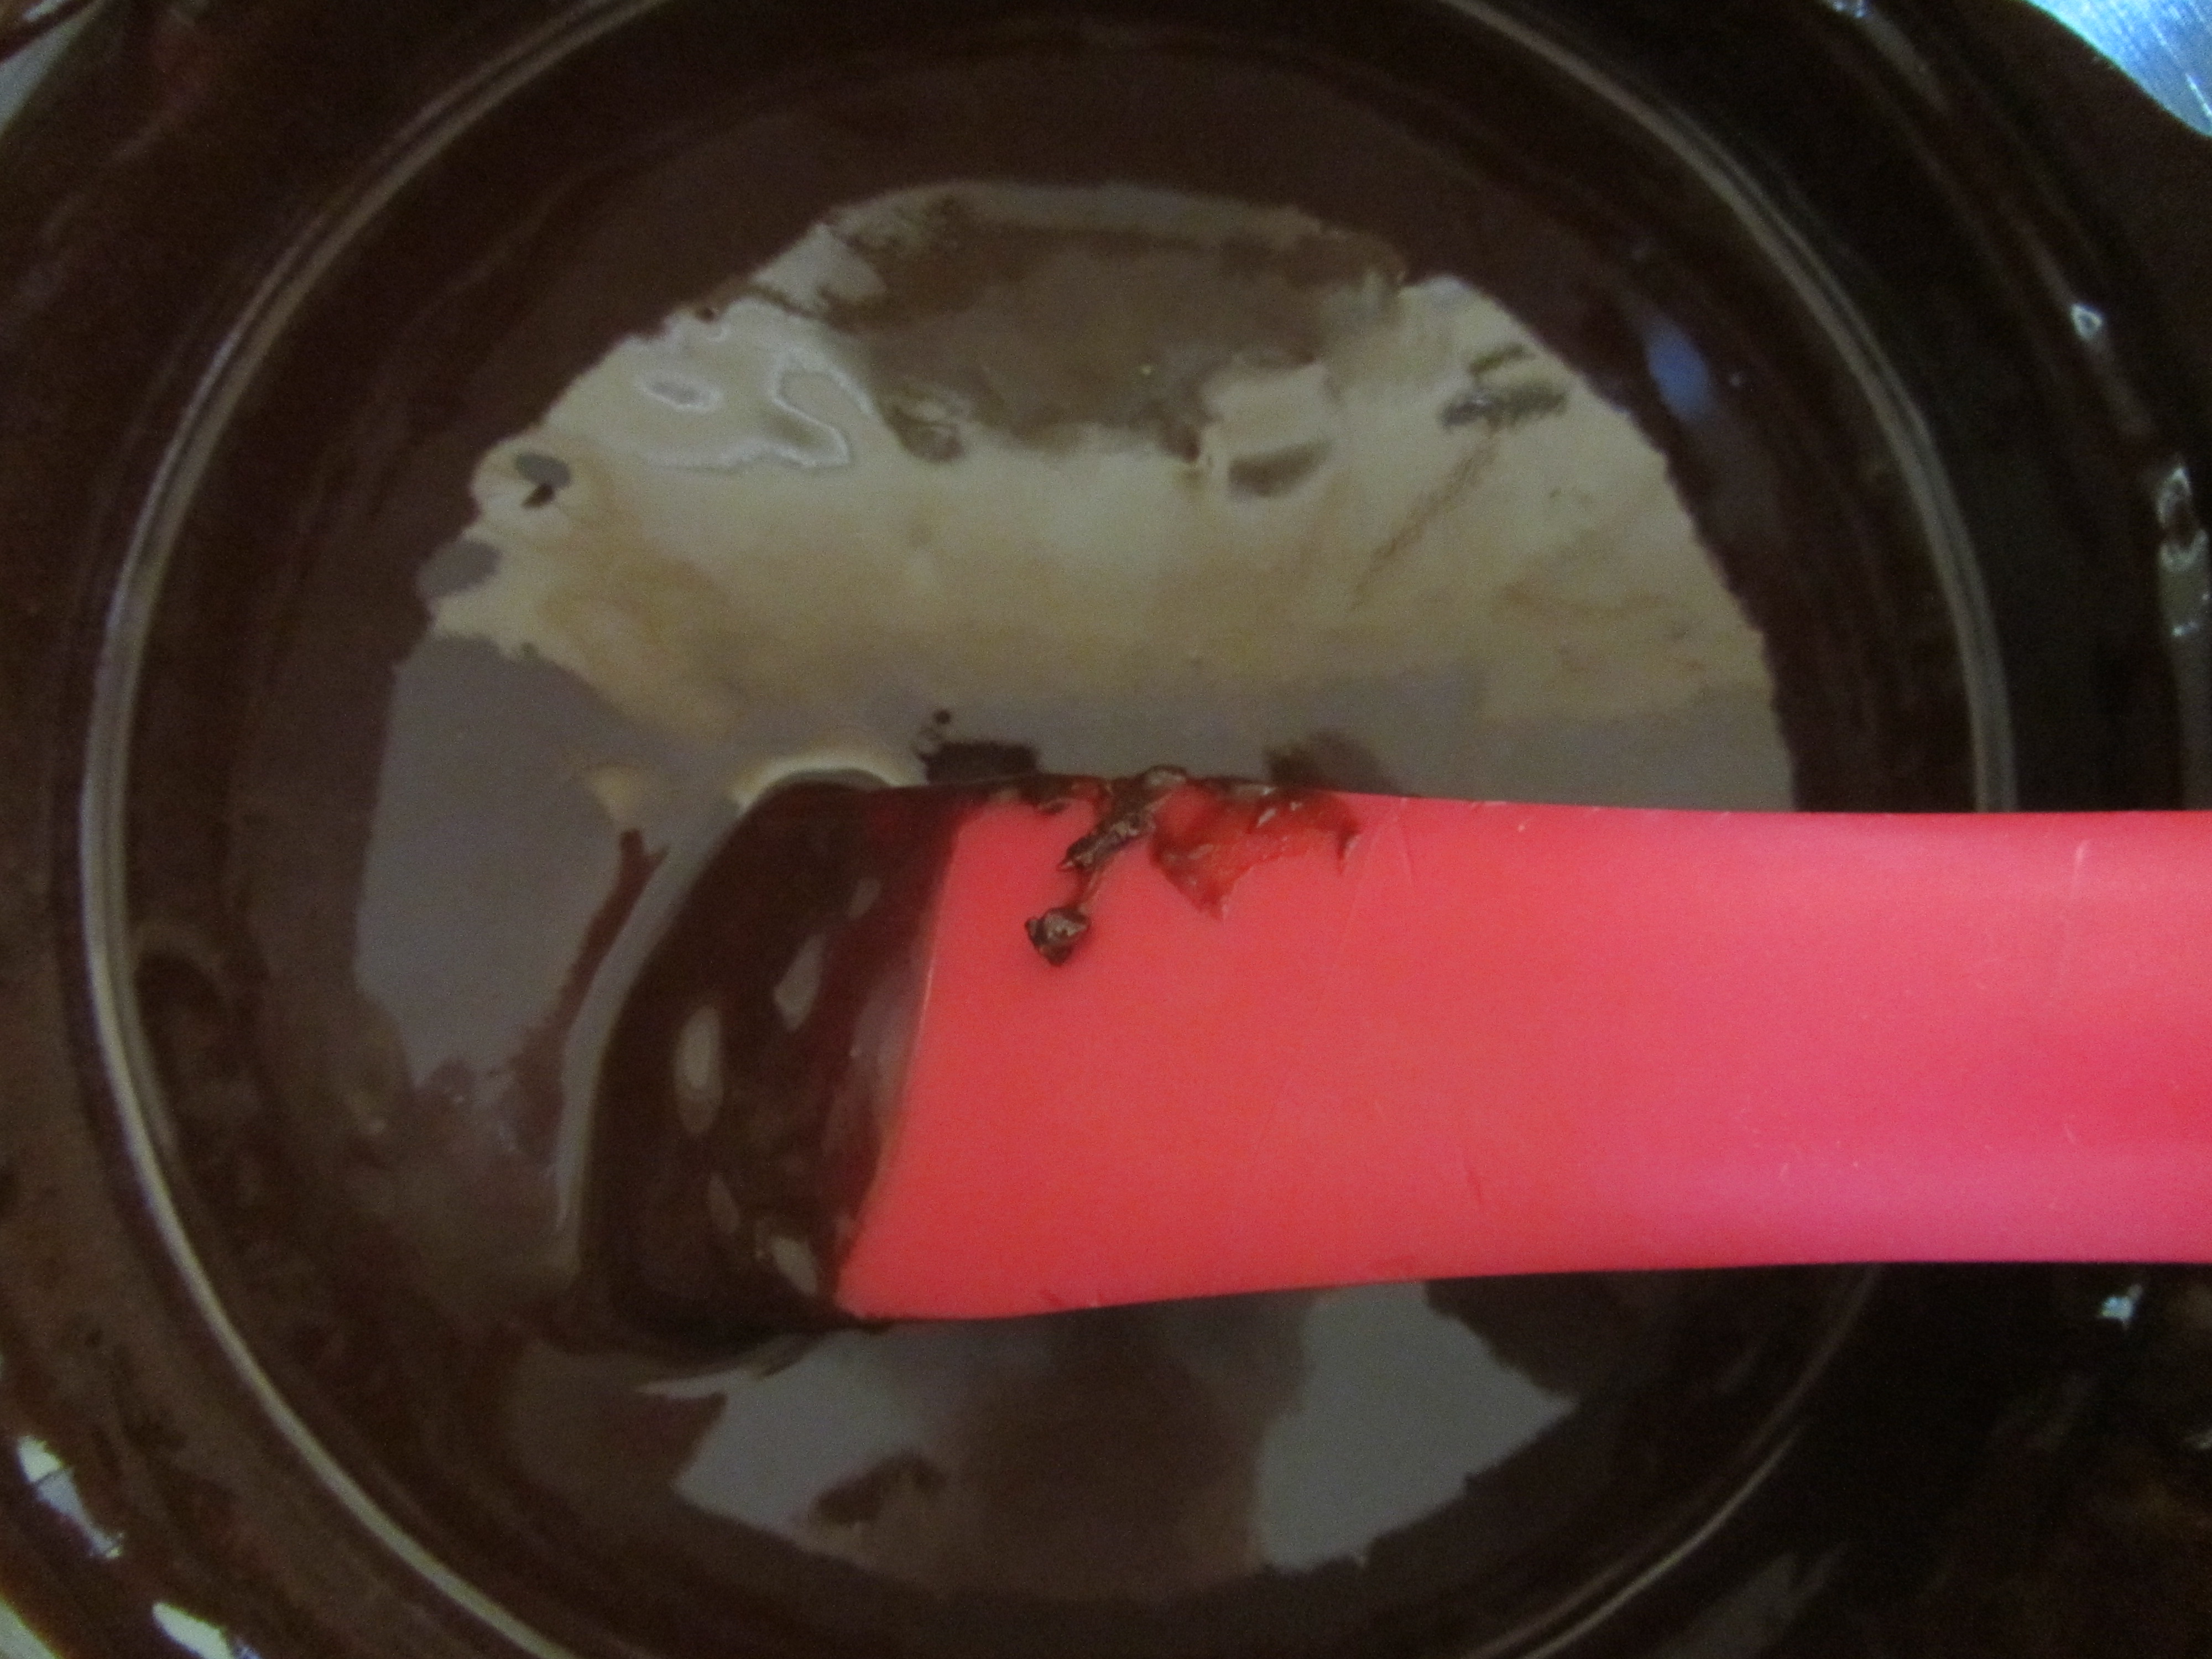
Brandy to spritz.
It took hours for my cake to cool completely since it was so dense and had baked for nearly an hour. Once the cake is completed, Alton tells you to store it in an airtight container, checking it every three days. If the cake is dry, you spritz it again with more brandy. The cake will keep for at least two weeks.
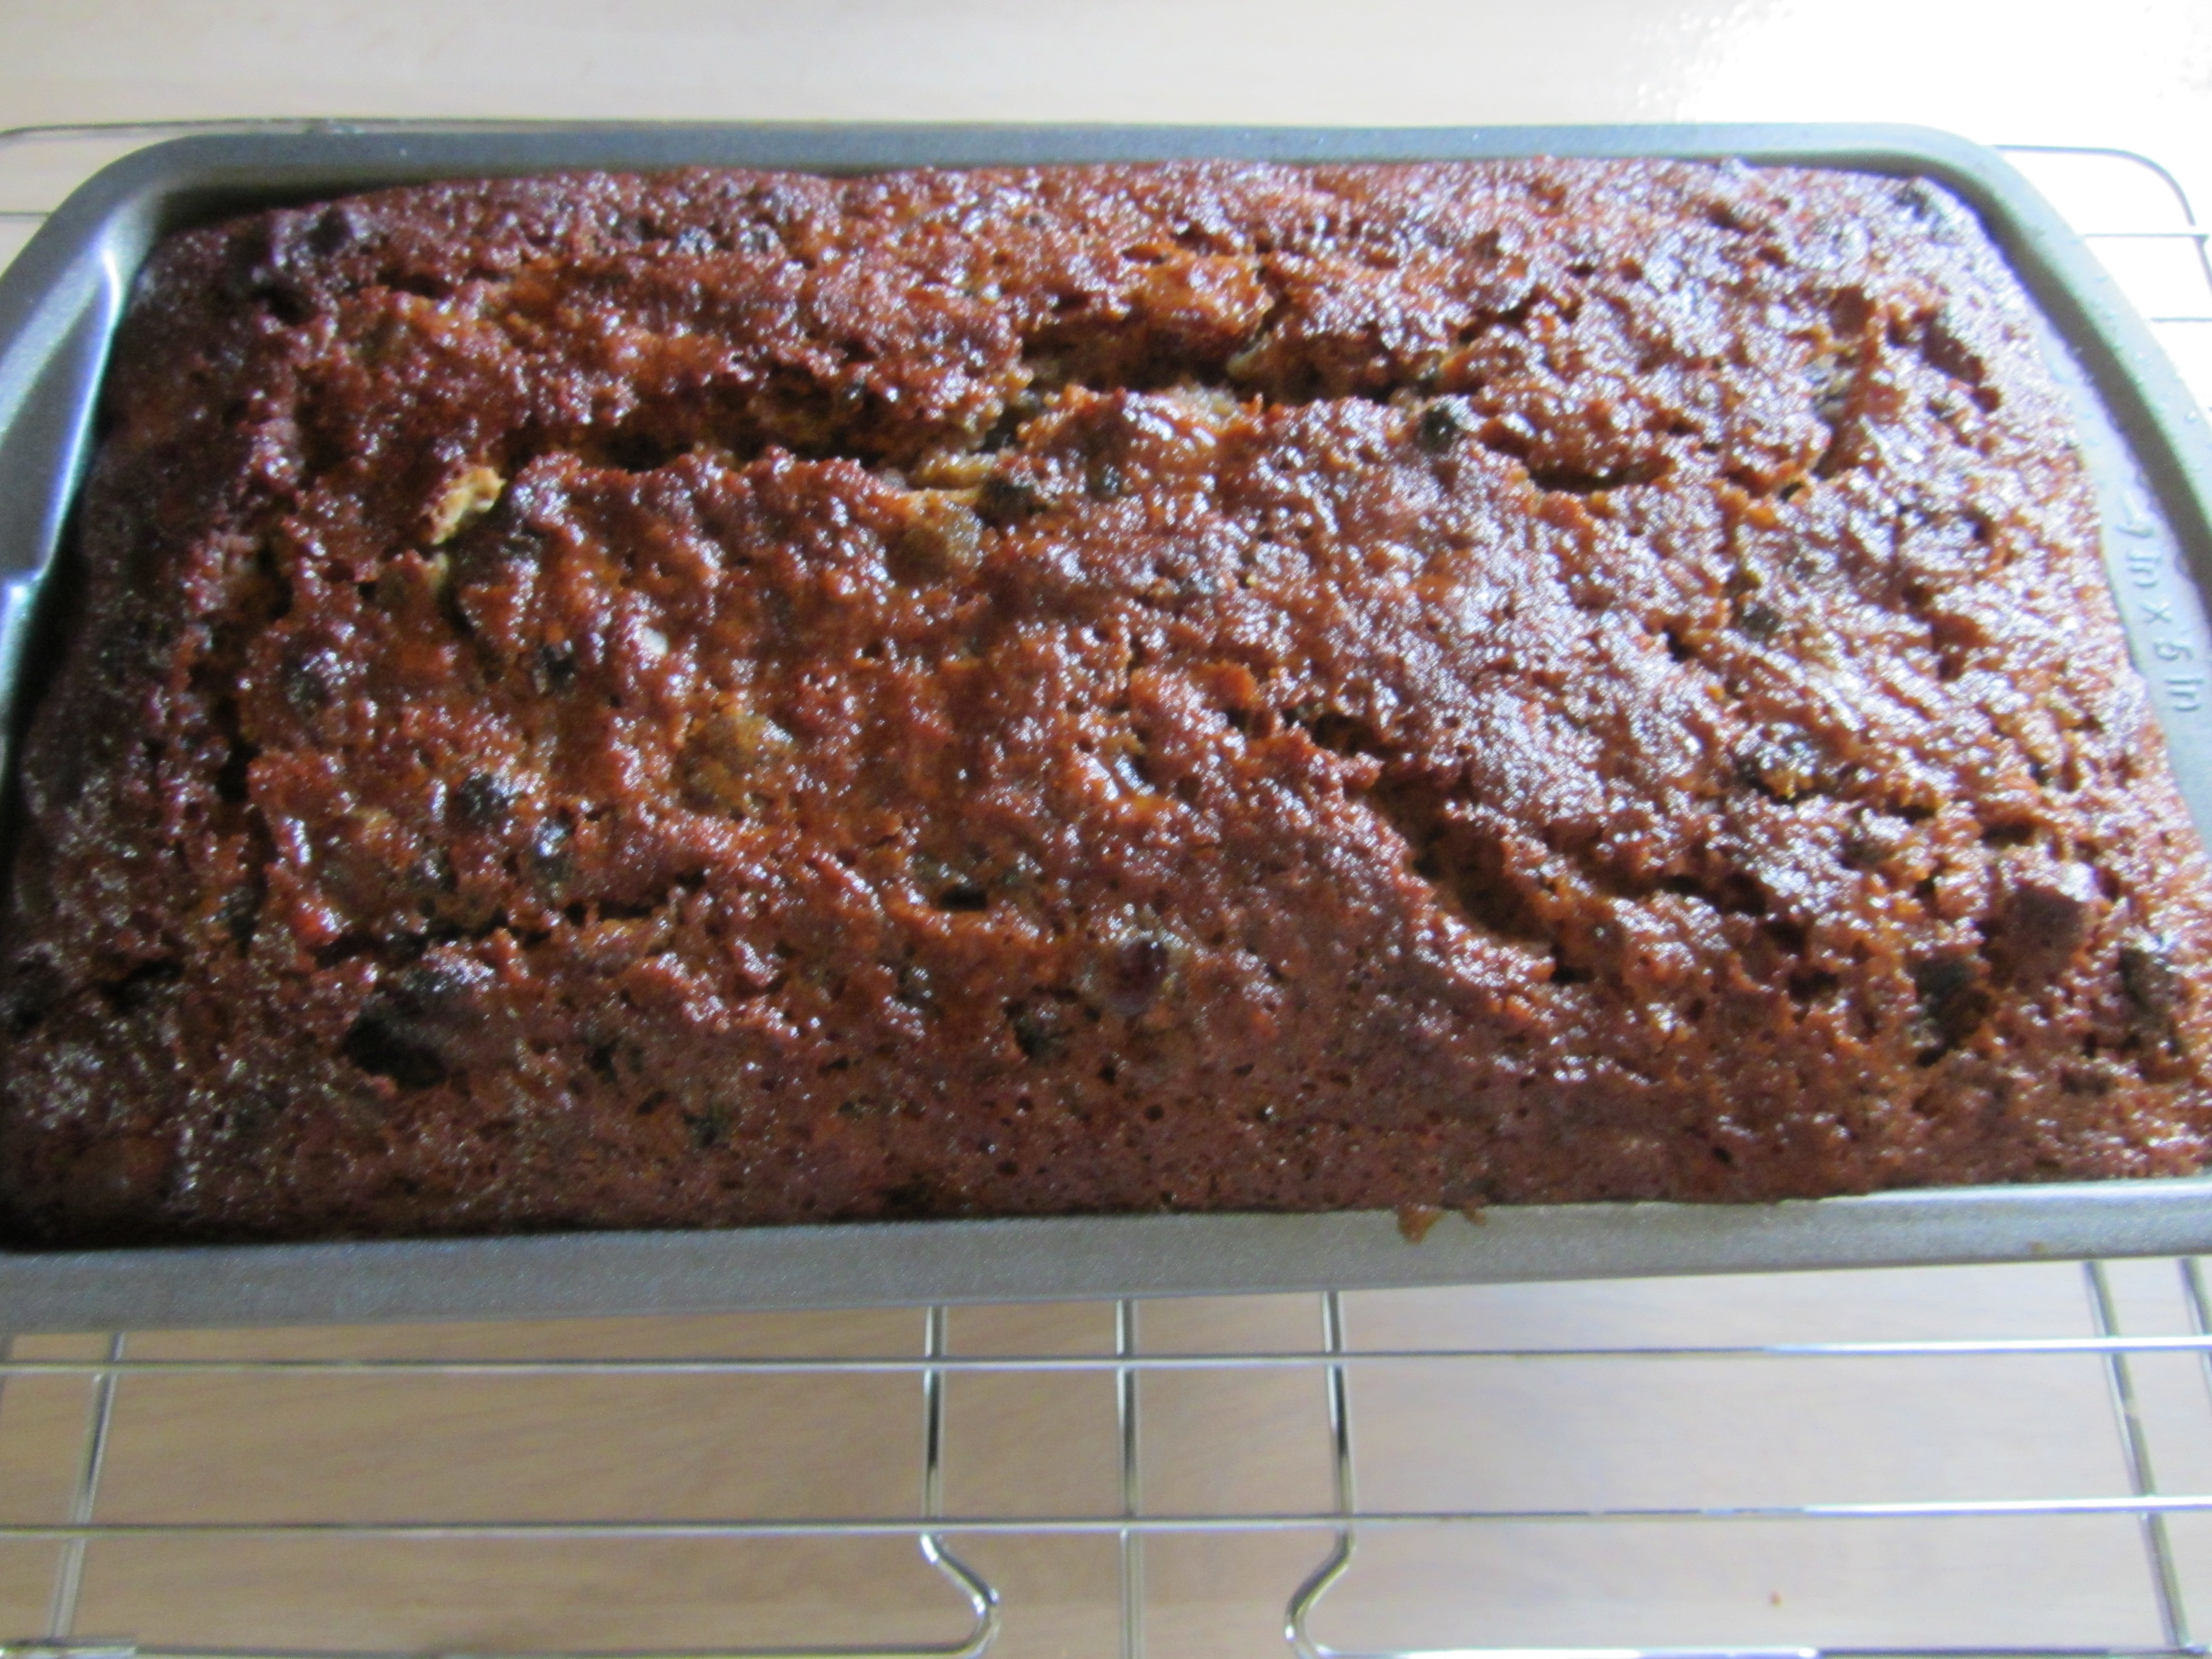
Spritzed cake right out of the oven.
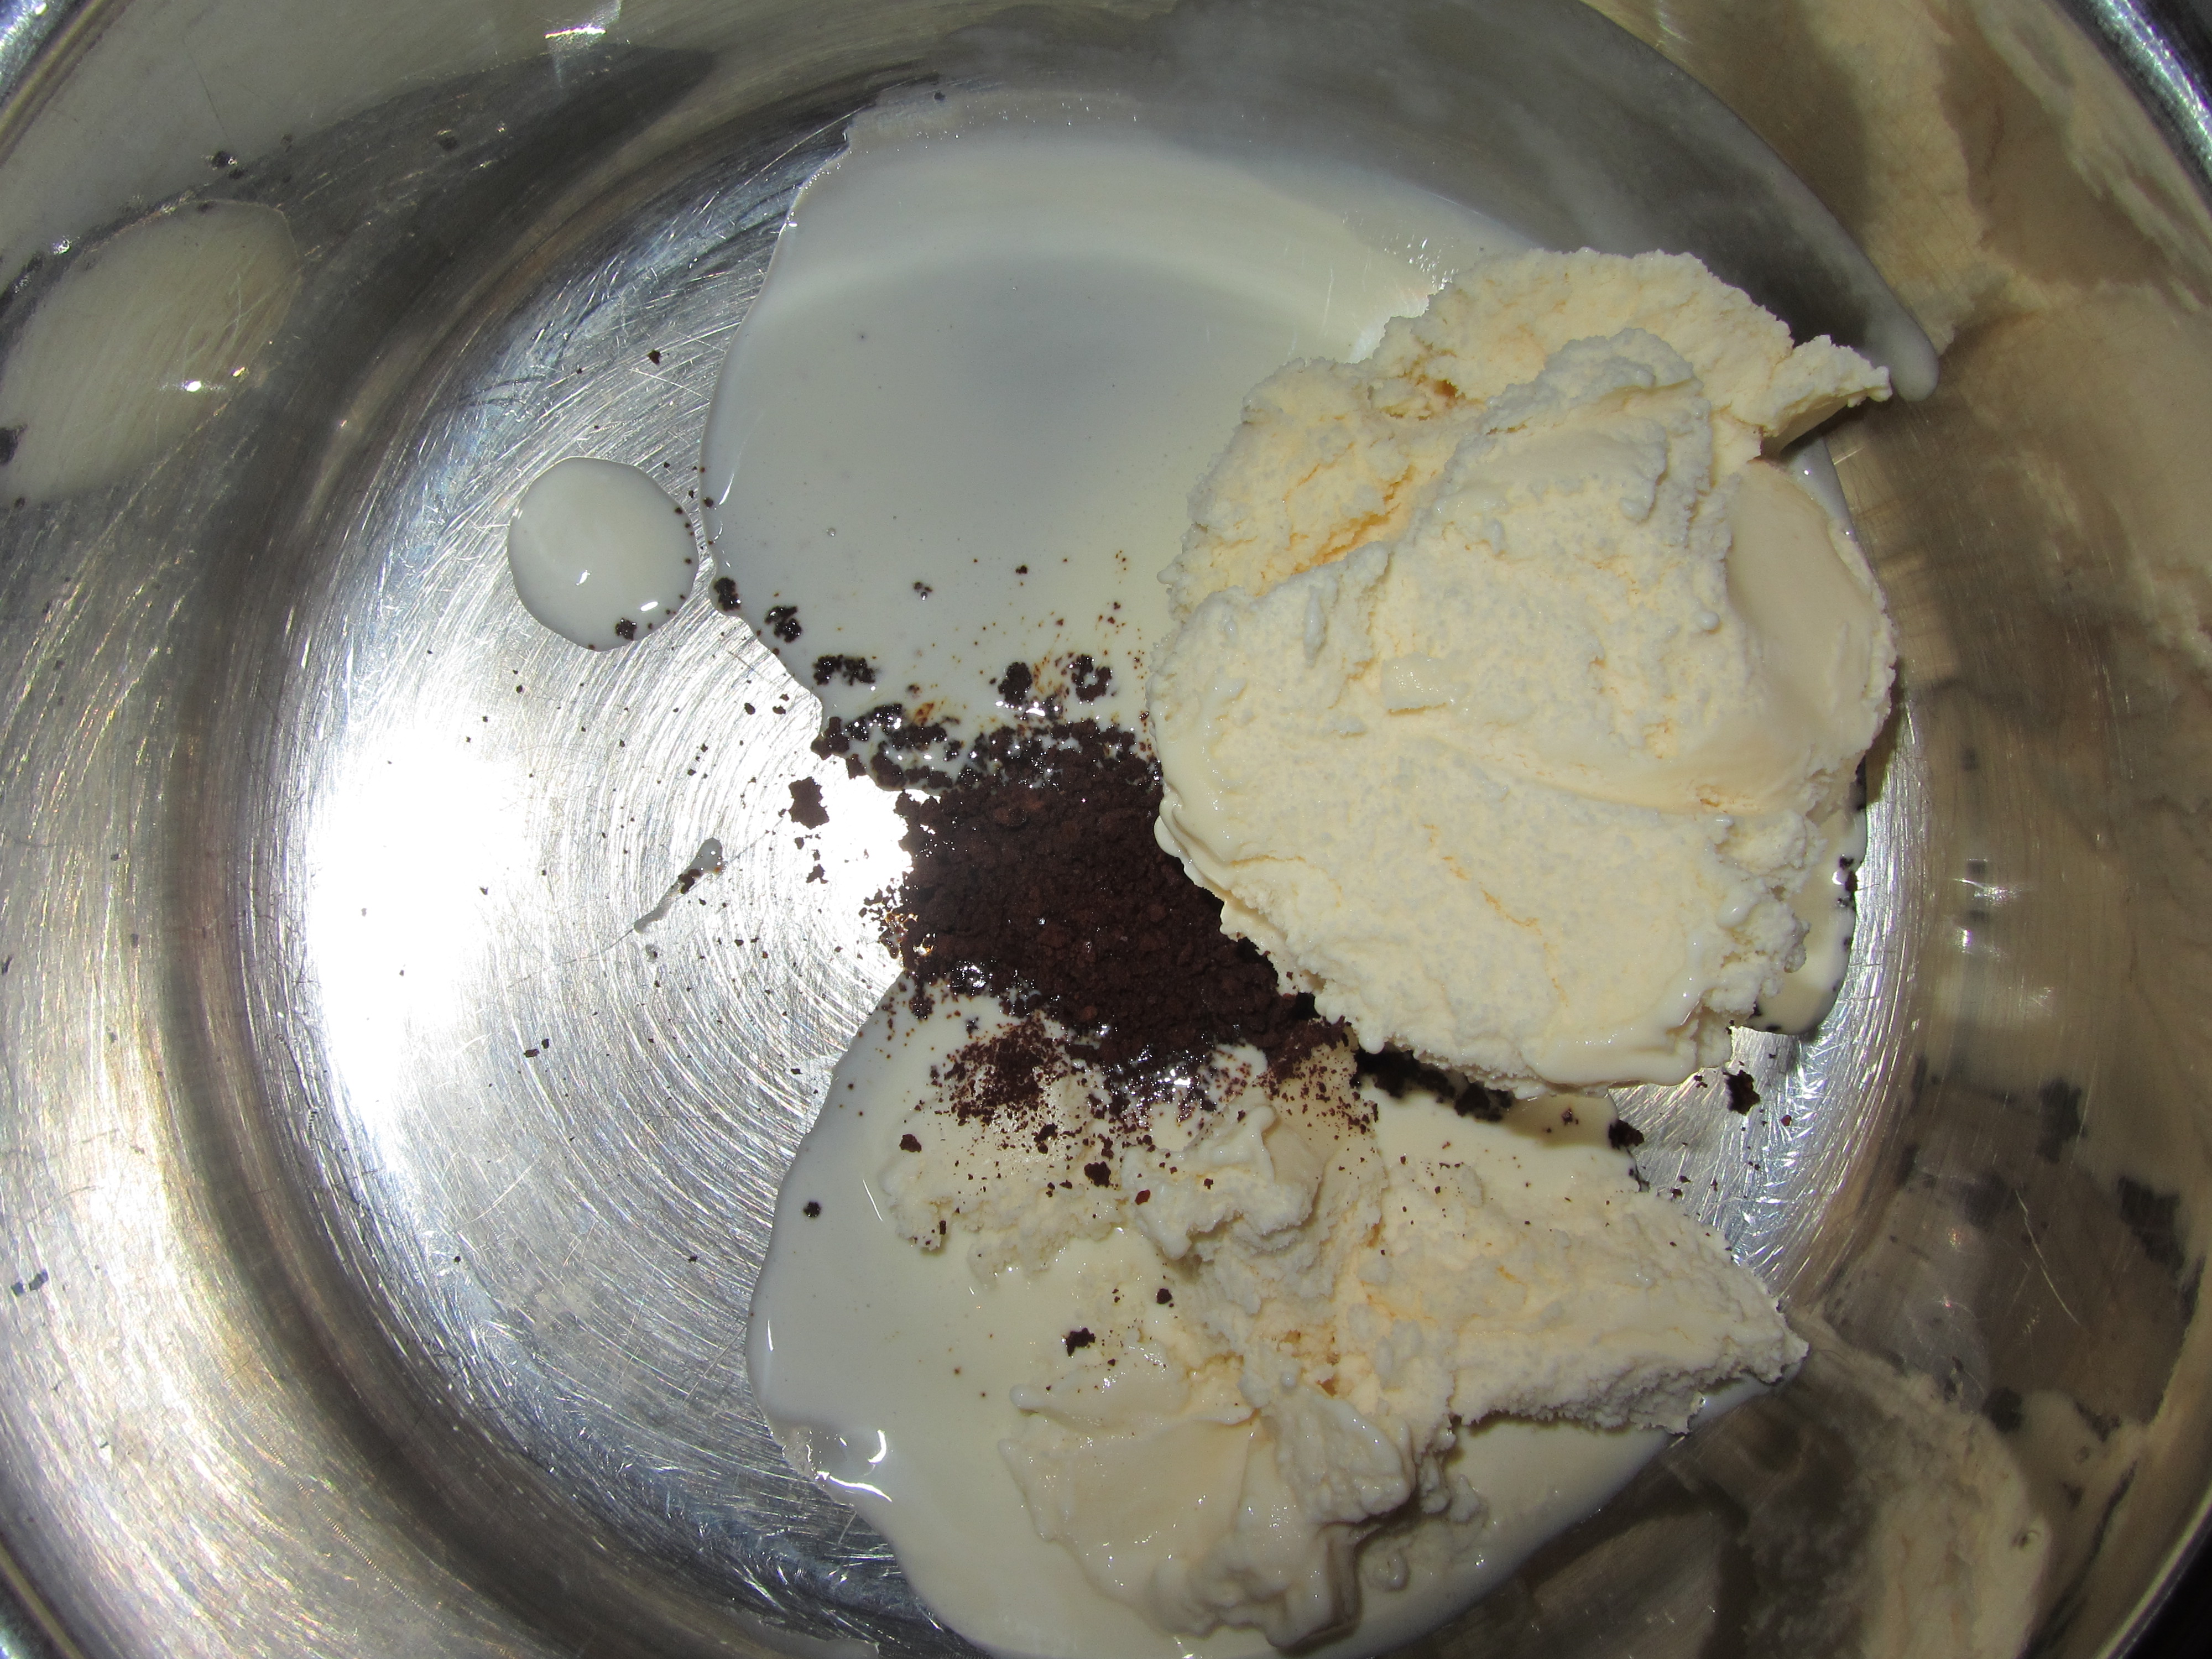
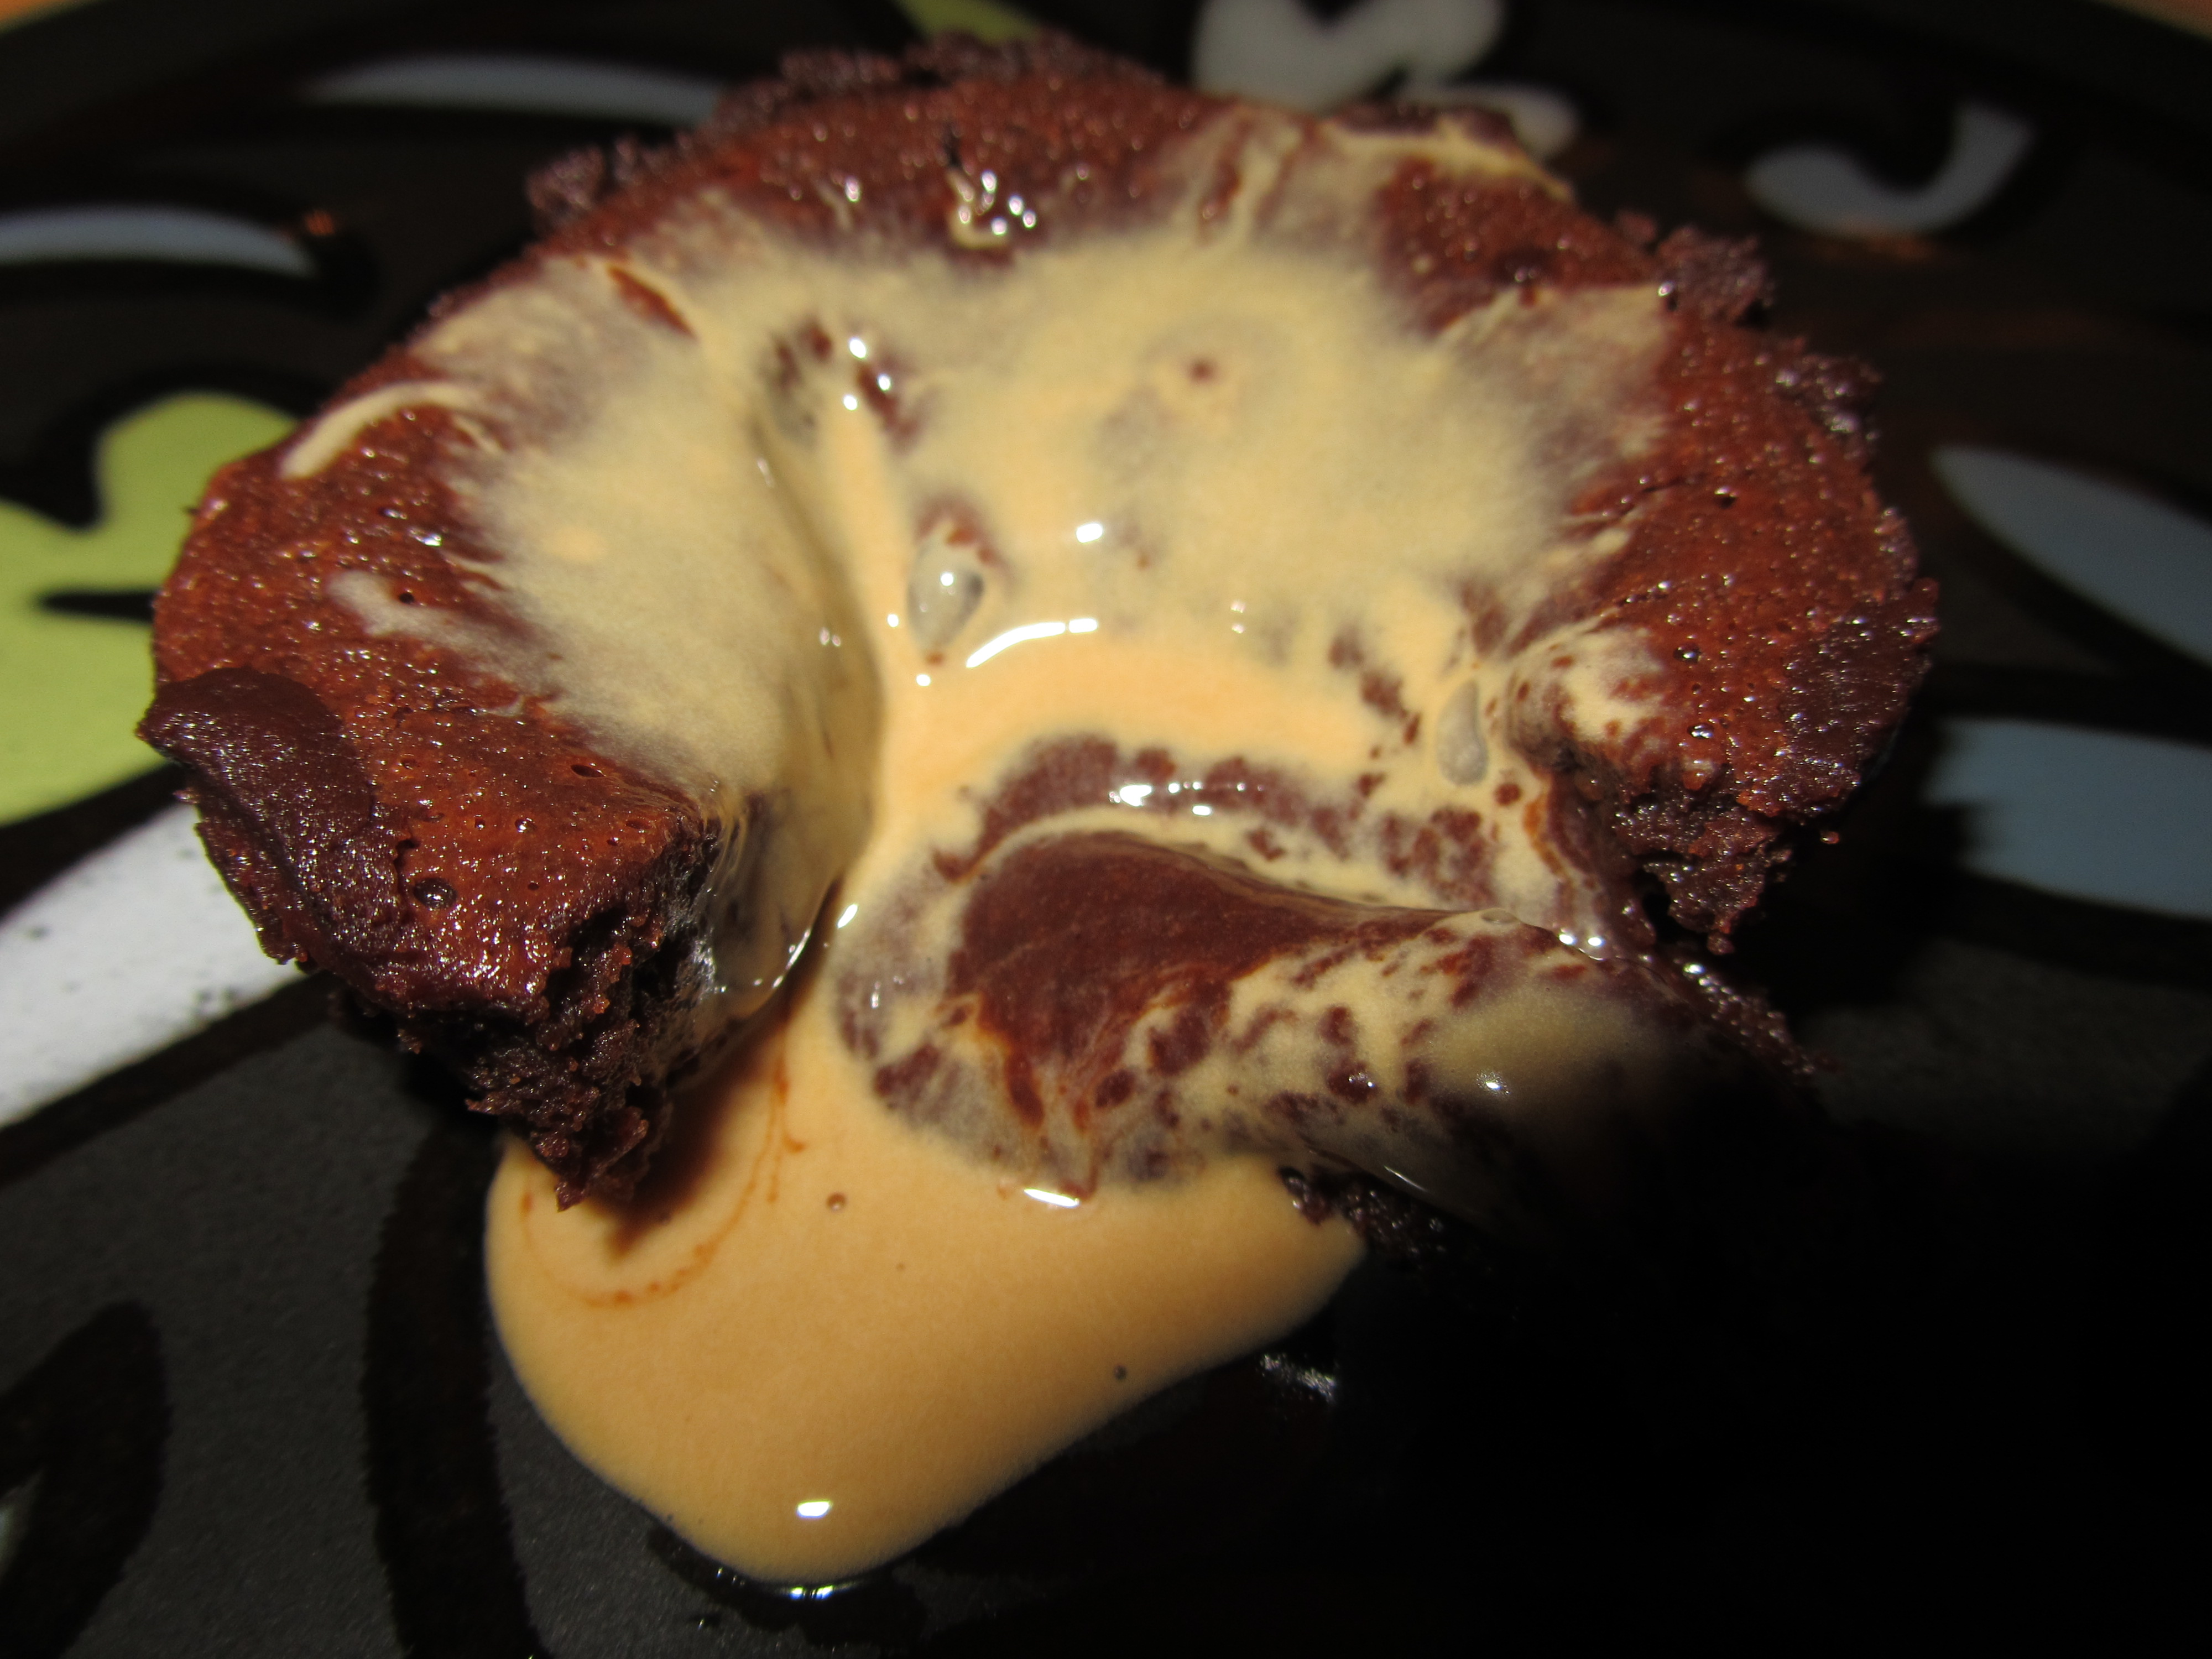
We broke into our cake the day after I made it, serving it the way Alton recommended, which was toasted and topped with mascarpone cheese. It was dense, sweet (but not overly so), super moist, and had loads of fruit flavor. It was also quite boozy!
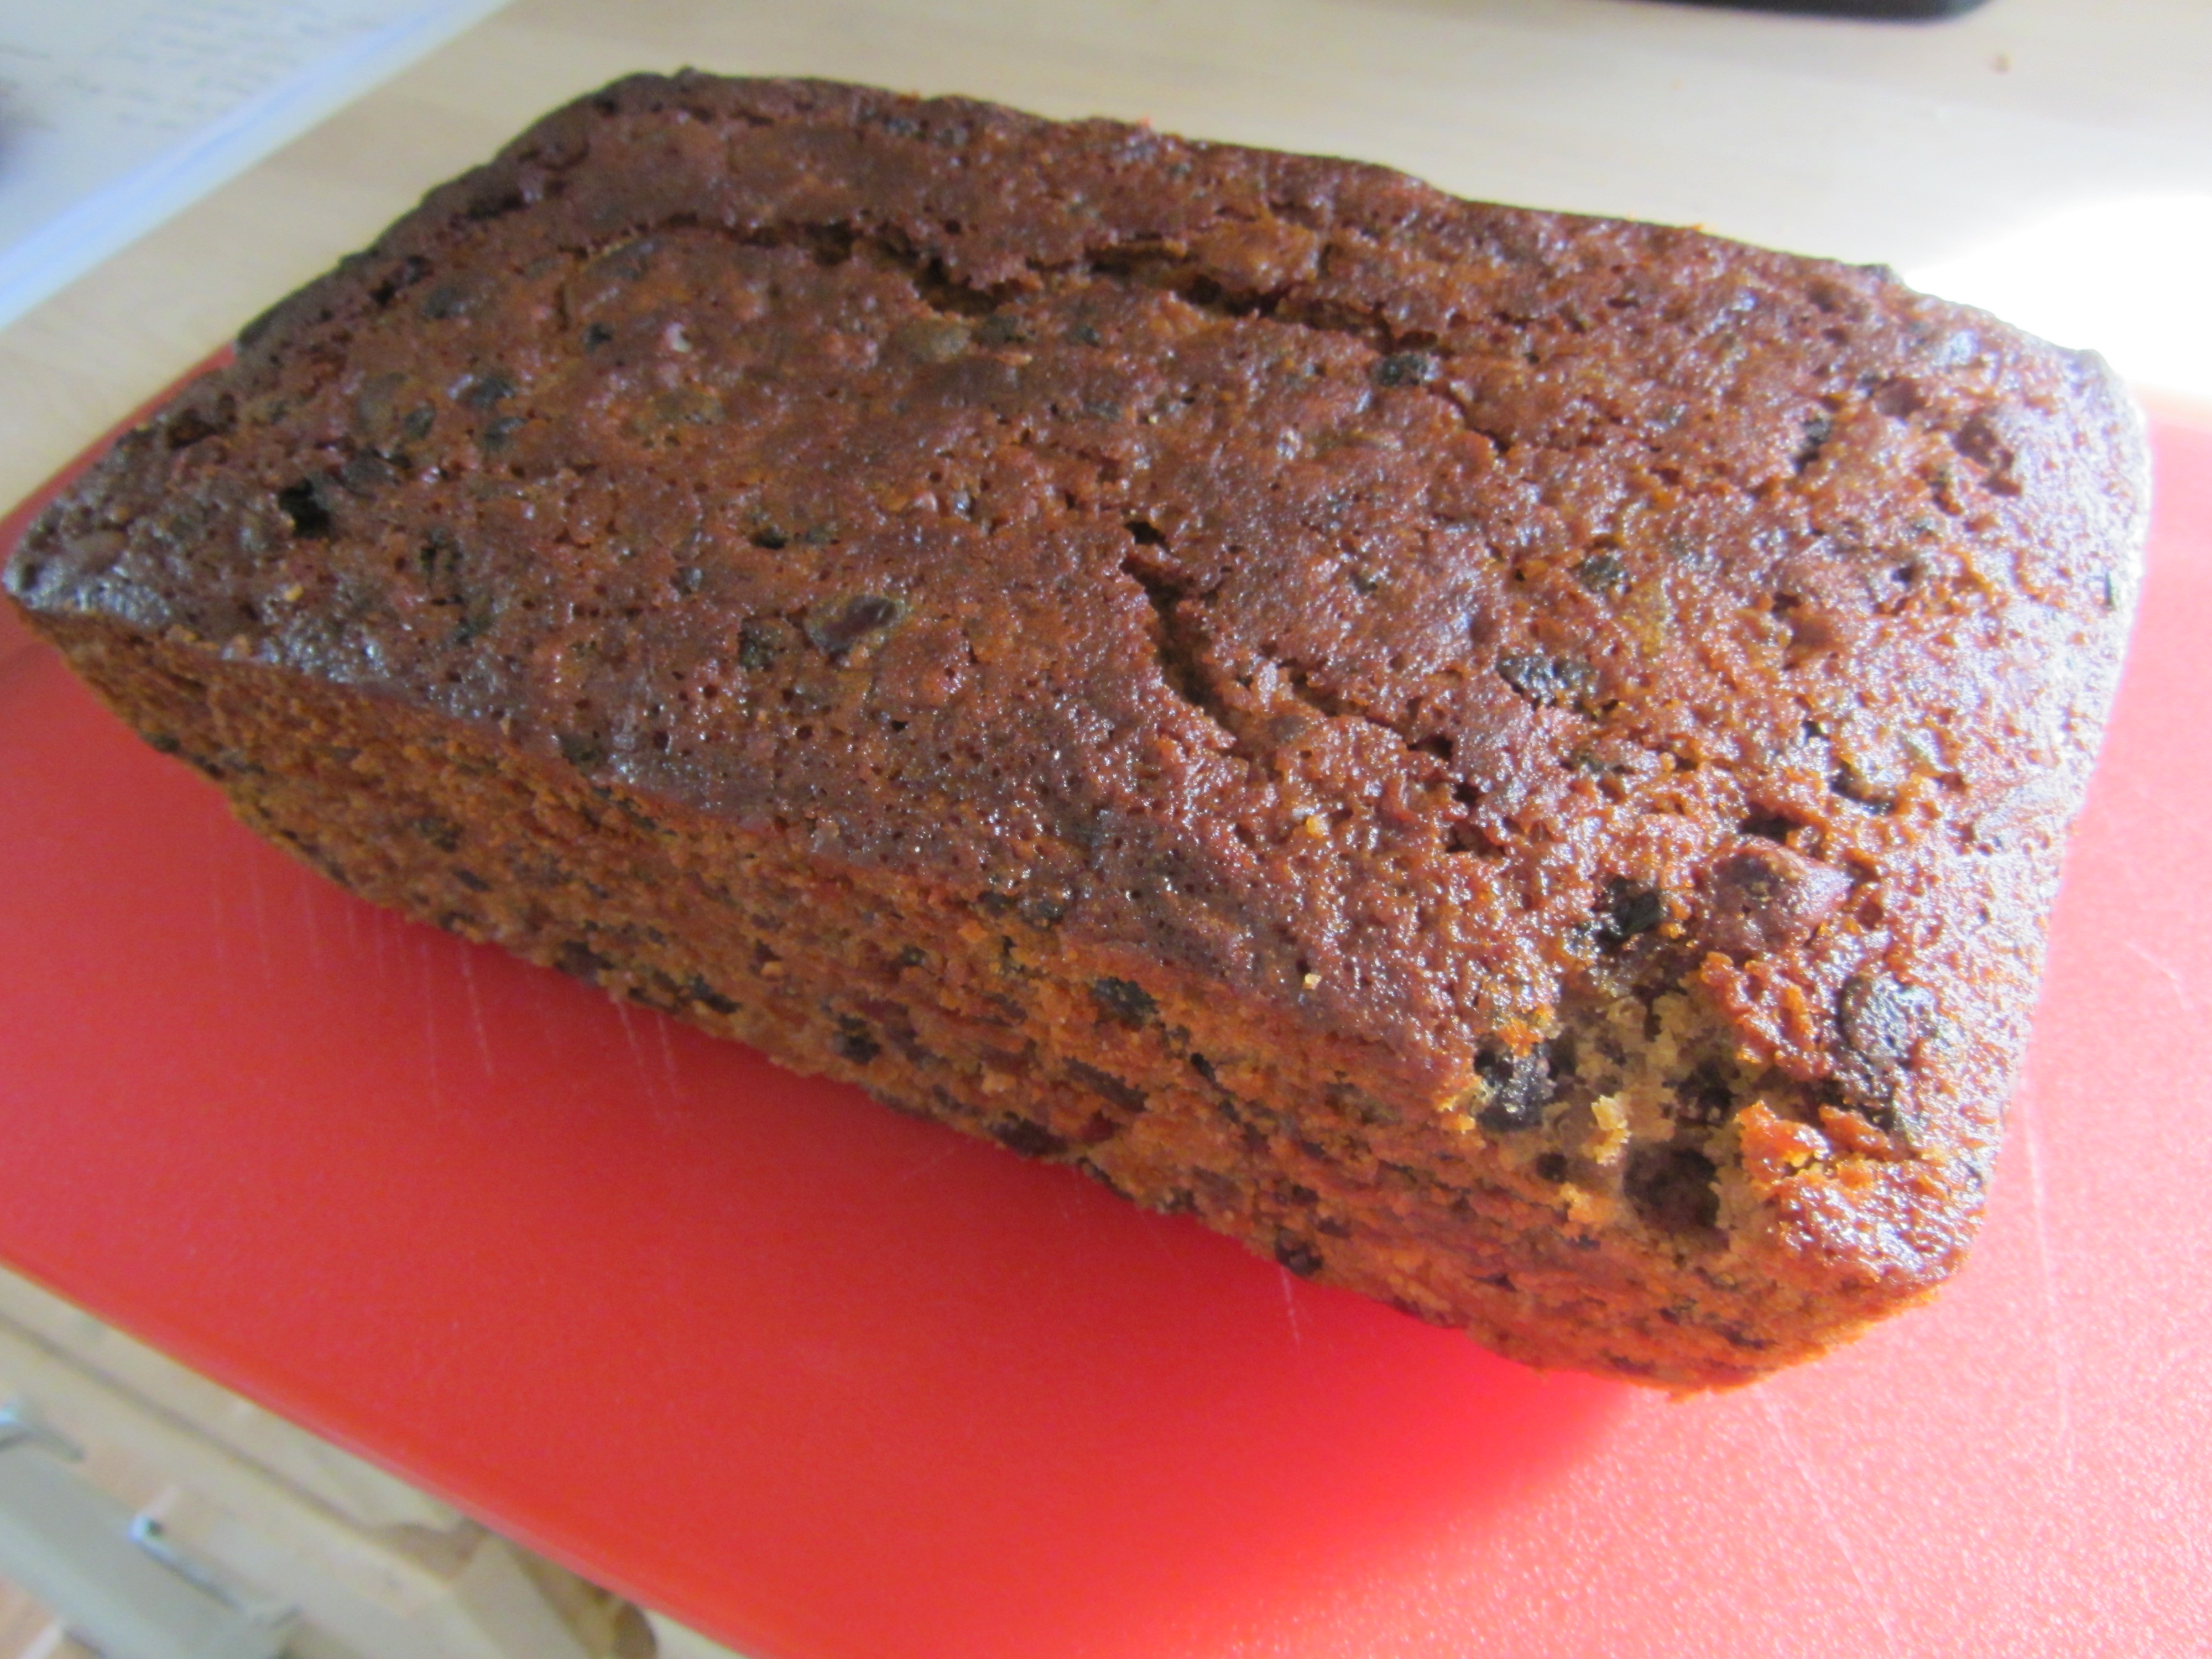
Completed cake, ready for slicing.
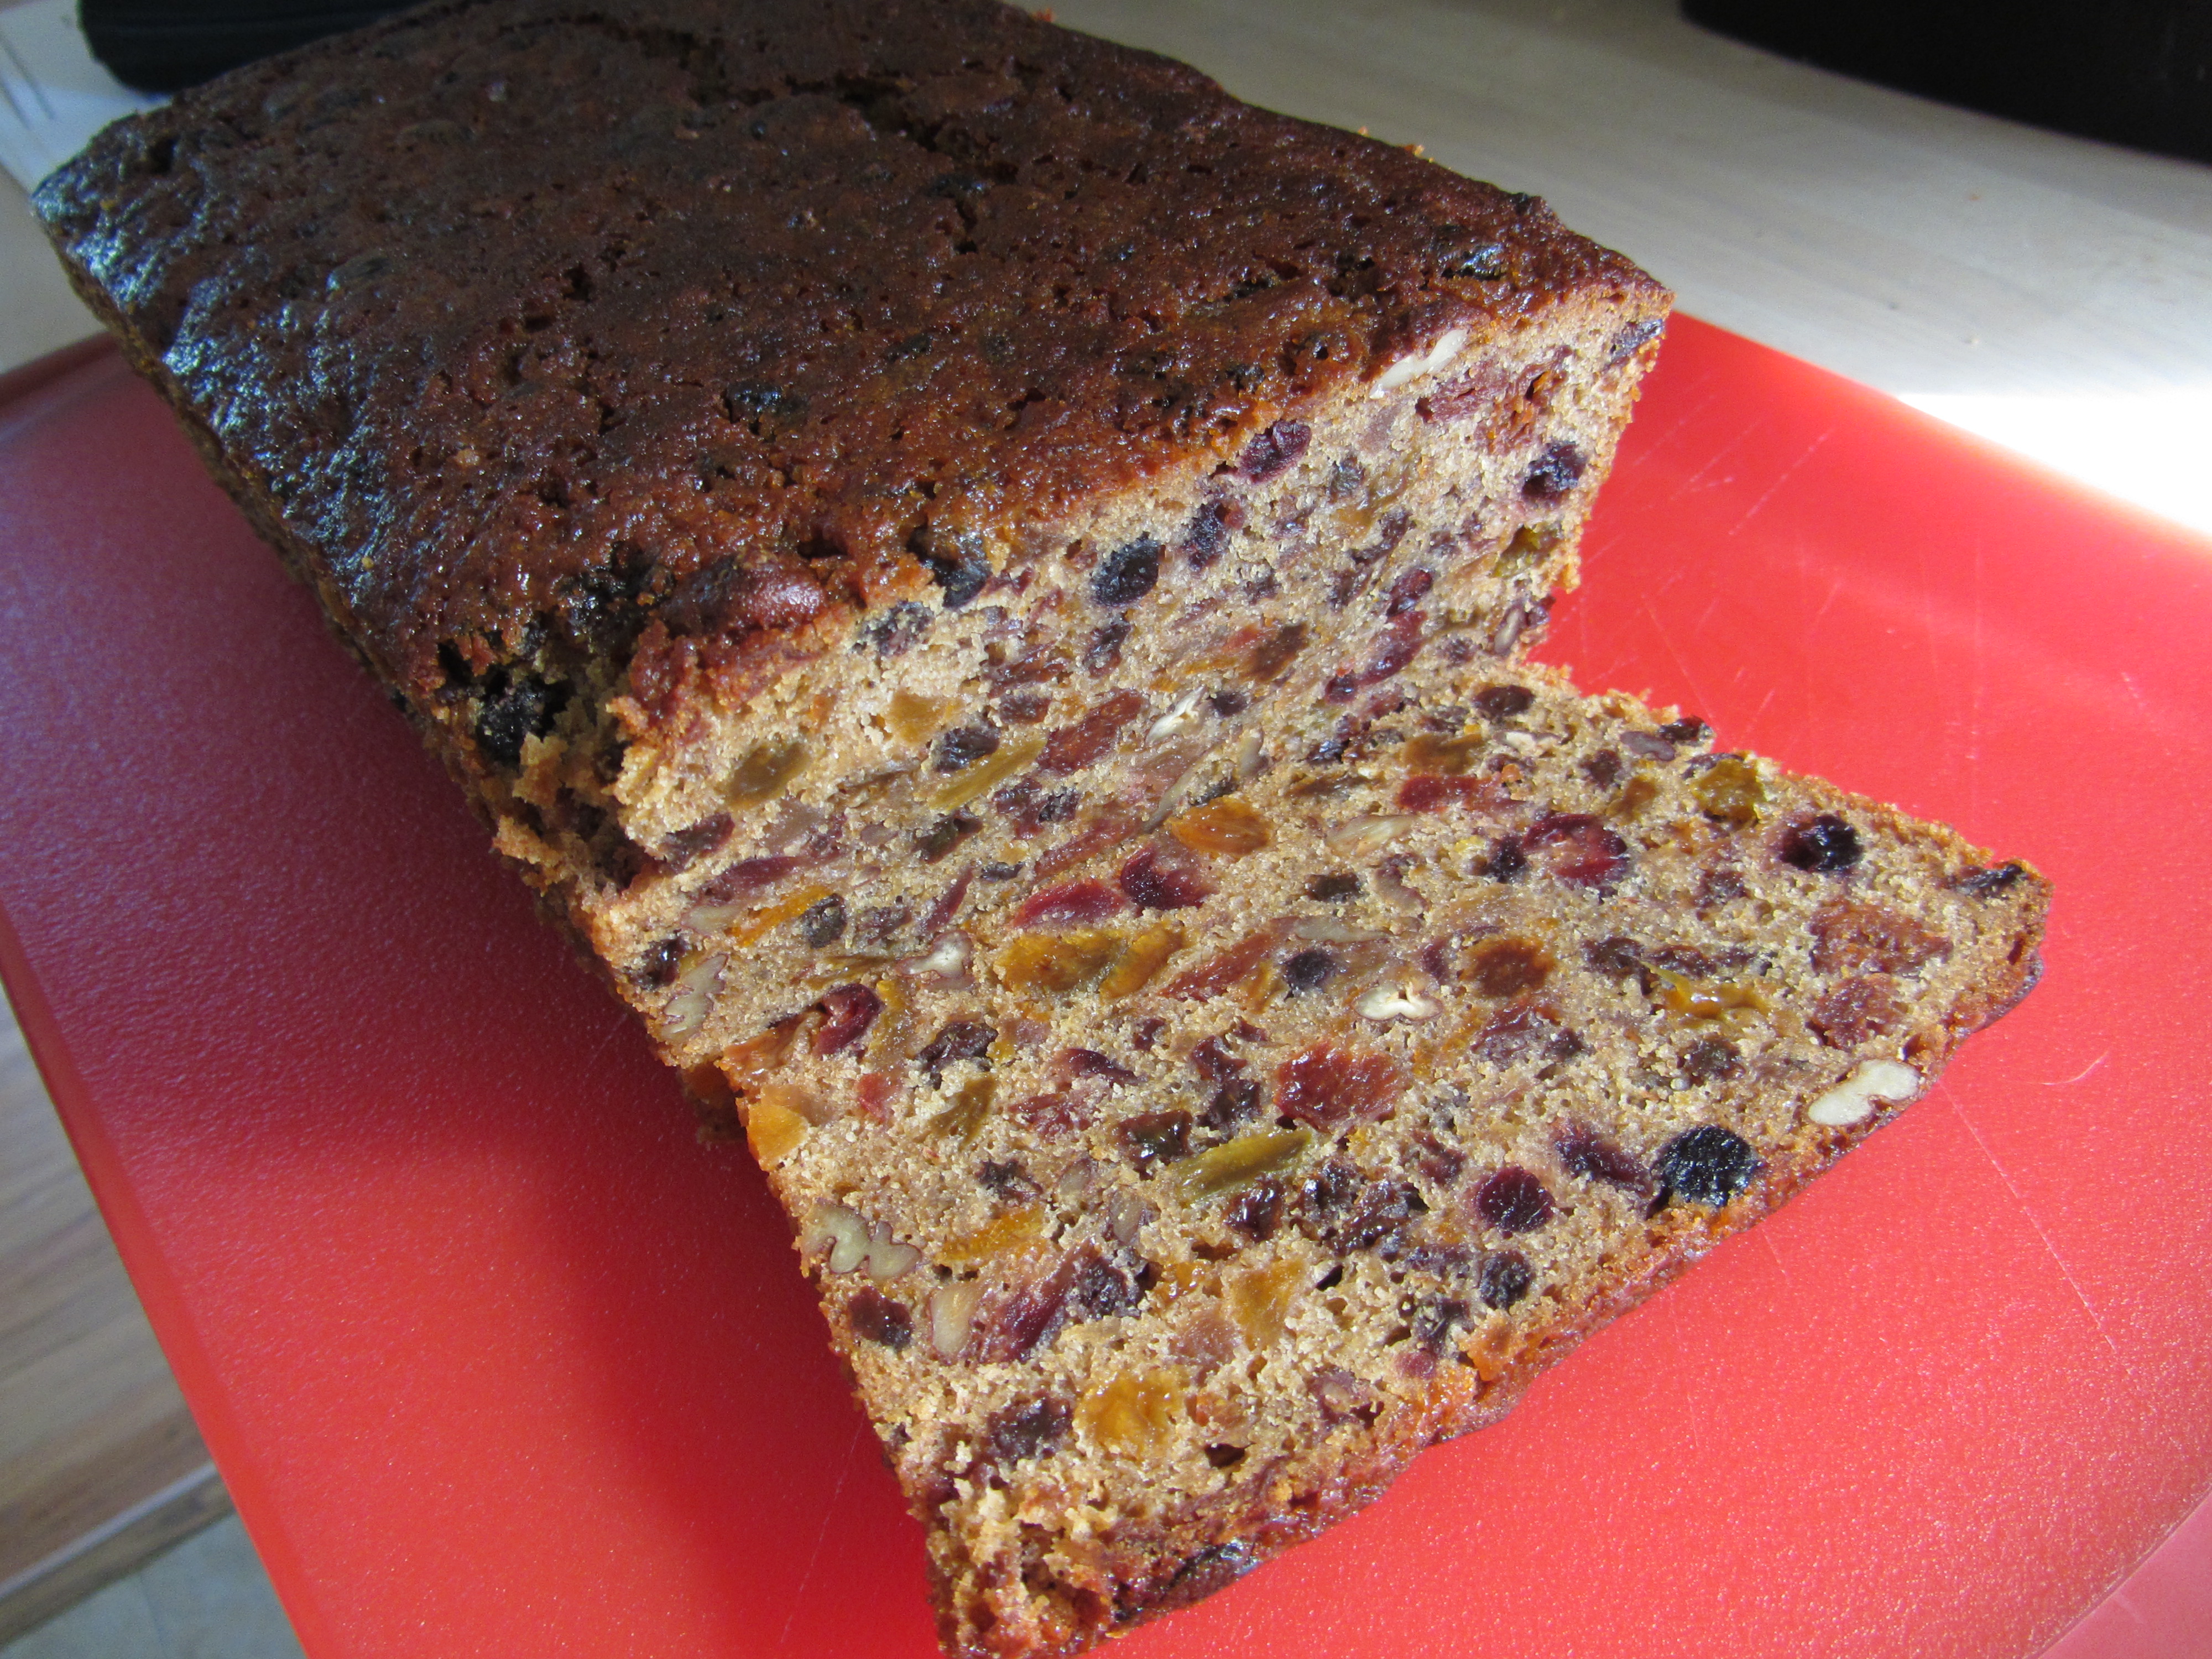
Loaded with fruit.
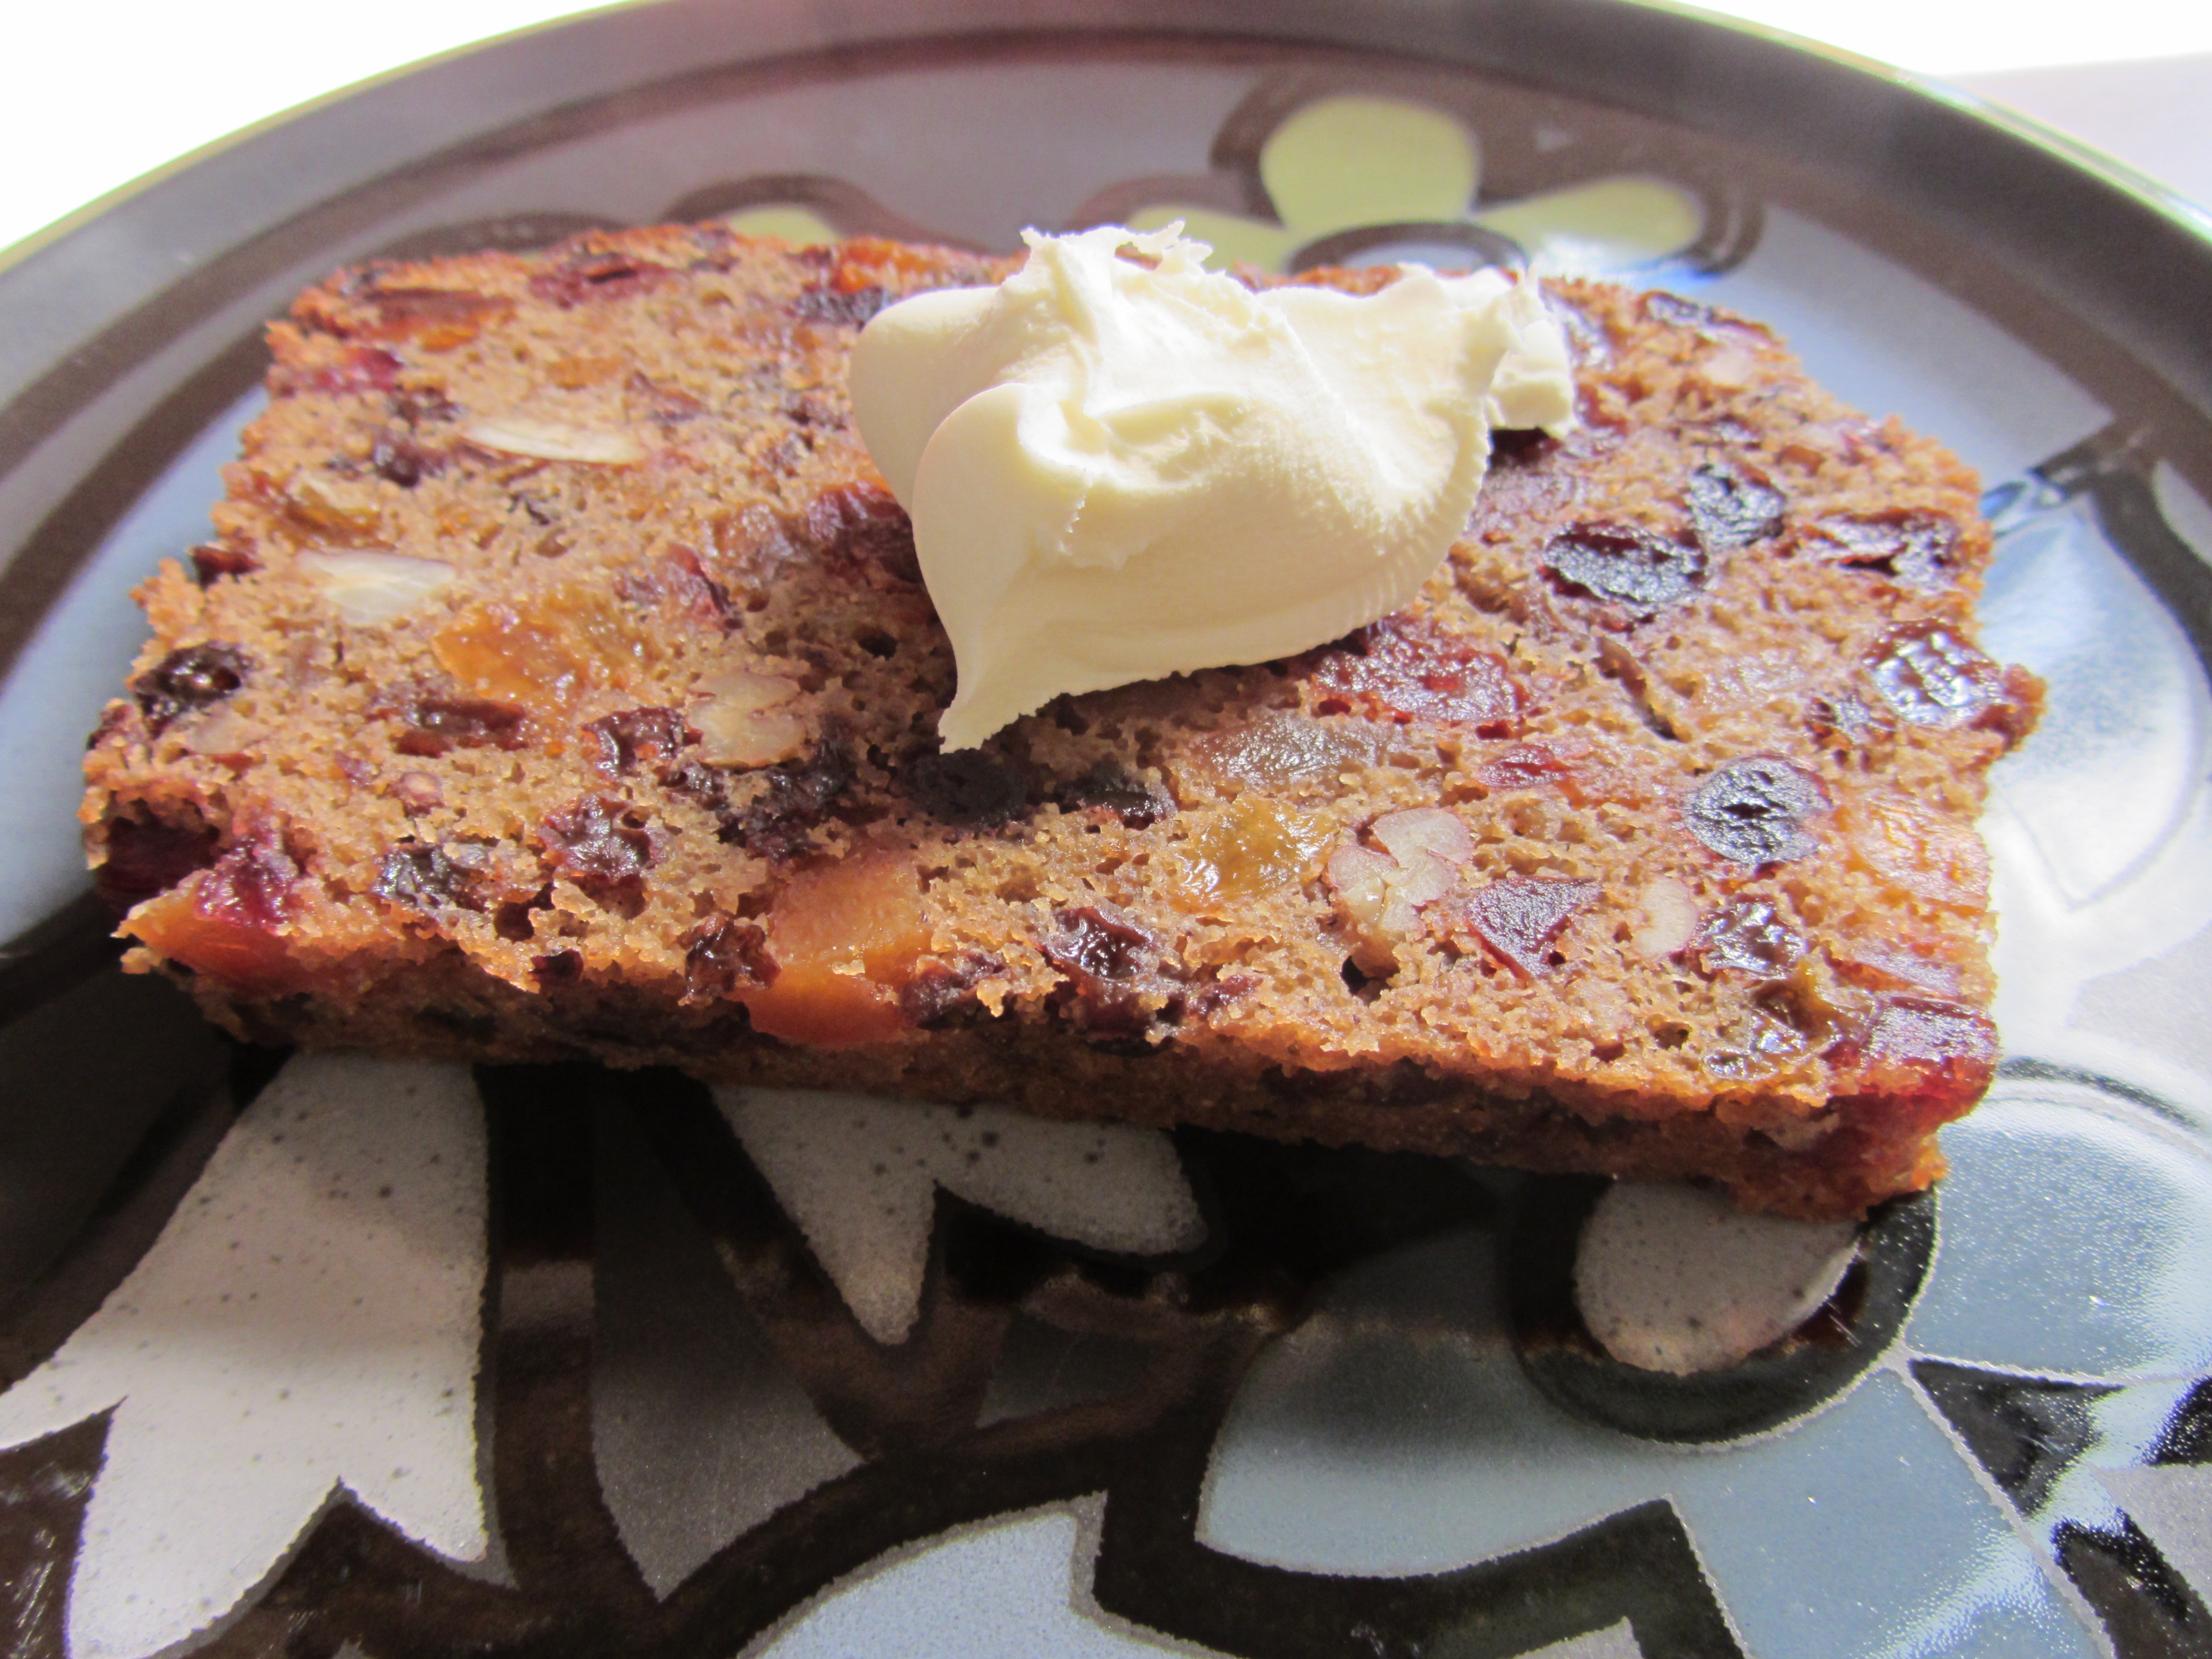
Toasted with mascarpone cheese.
I shared some fruitcake with my parents also, and they both highly enjoyed it, saying they preferred it untoasted. As it sits, my cake was made 10 days ago, and we still have a hunk of it left. It has only gotten better since I first made it. This would be perfect to start a couple weeks before Christmas. I highly recommend this fruitcake recipe. It is perfect for a special occasion, and would also make a nice holiday gift, especially if you made it in mini loaf pans.